Final Mission I Guide
Start of the Mission
When you first start the mission, the commander will give you a rundown of the situation.
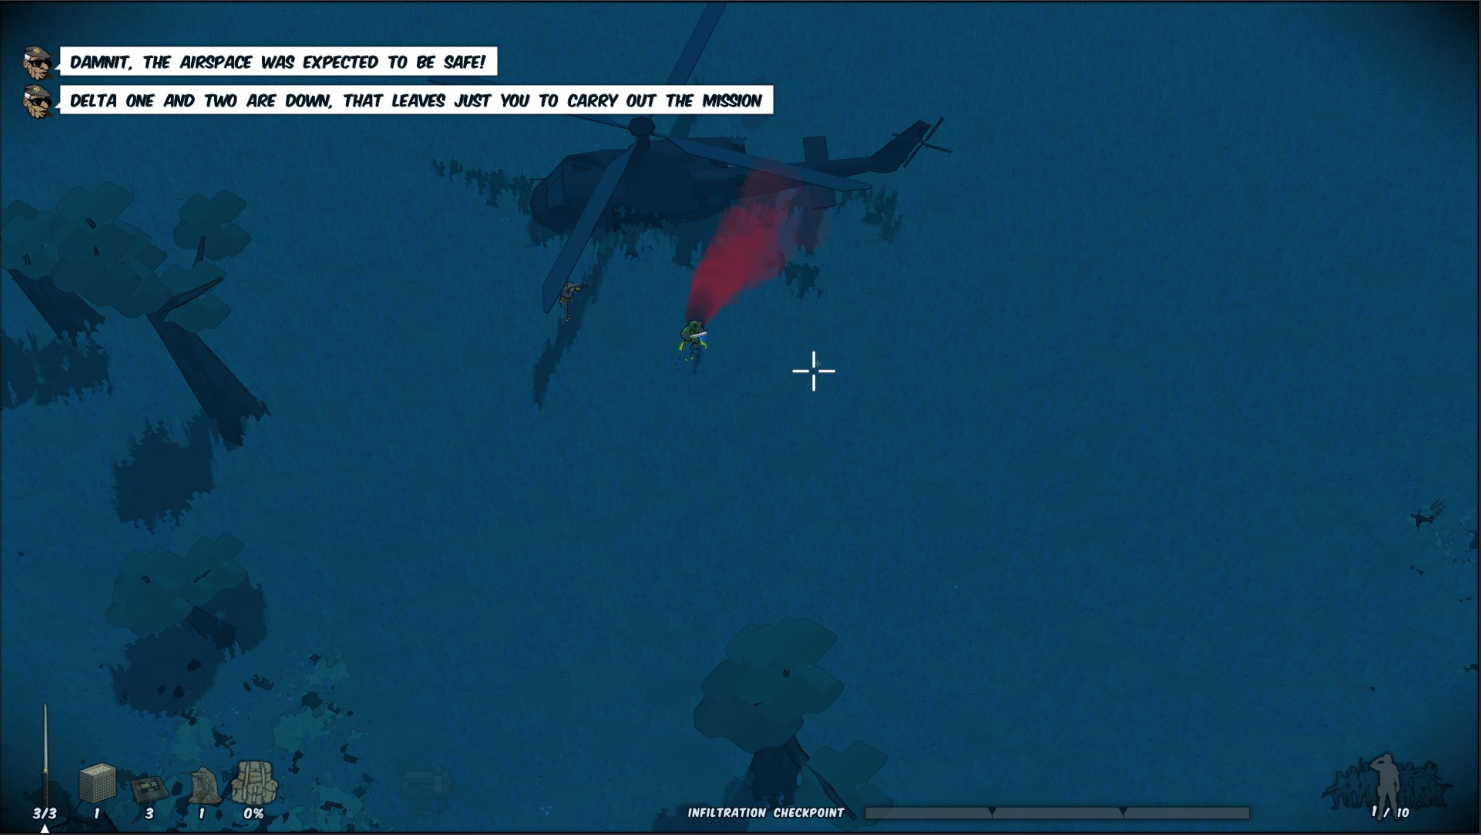
Here's some things you should take note of
Here's some things you should take note of
- You will start with 1 other soldier, but they will not respawn when they die
- You can secure 2 areas that whatever enemy faction you're going against hasn't
Your Objective
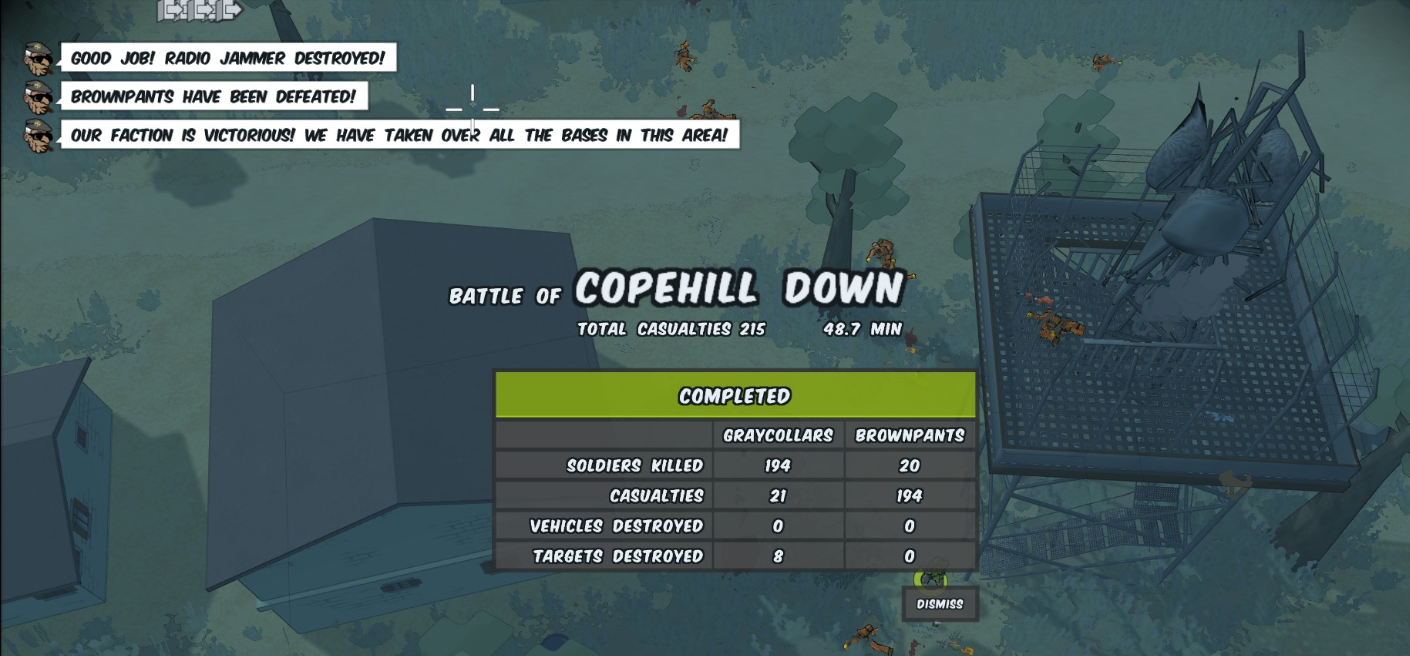
While it might seem like you have to capture all the bases, that isn't the case. Instead, why you have to do is destroy each radio jammer at every base.
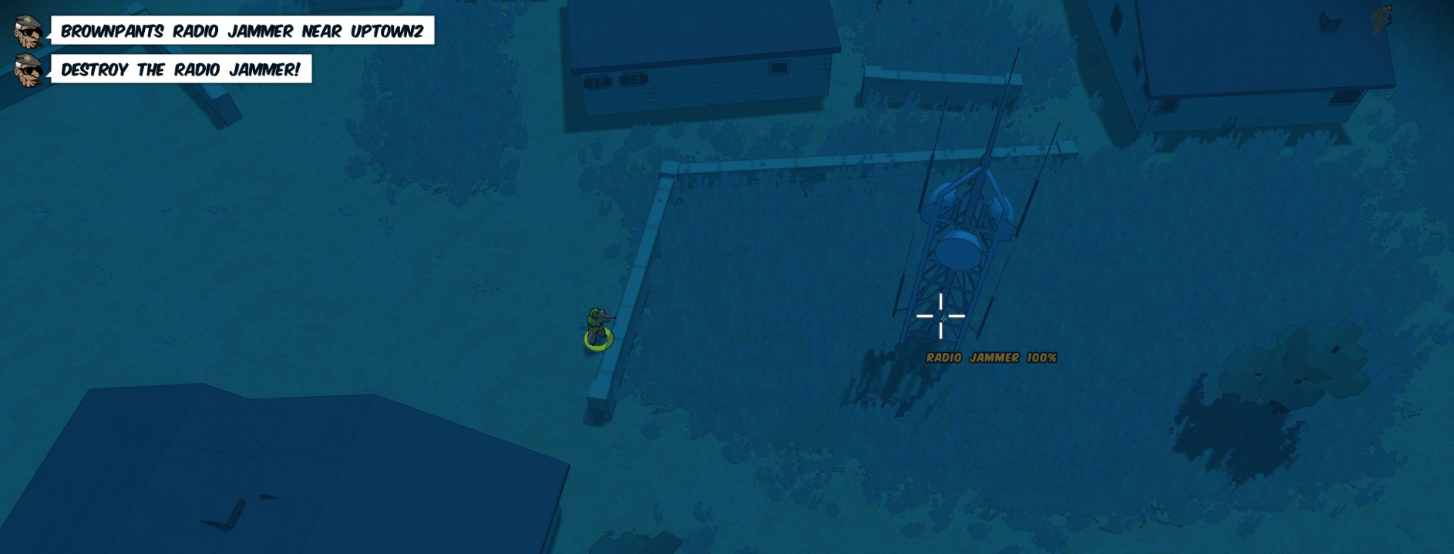 You will not be able to capture a base normally, just destroy the radio tower in each base and move to the next one.
You DO NOT have to kill all the enemies that are guarding each base.
You will not be able to capture a base normally, just destroy the radio tower in each base and move to the next one.You DO NOT have to kill all the enemies that are guarding each base.
Loadout
BE SNEAKY
Stealth is your best option for this mission, the reason being you're all alone for this mission. Going in guns blazing will lead to being swarmed and repetitive deaths. Recommended Weapons and Equipment
While any suppressed weapon will work for this mission, some are better than others.I would recommend using the APR, as it allows you to pick off enemies from far away with great accuracy while prone. You can find the APR from cargo trucks, briefcases, or anything that will give non-stock weapons. In terms of grenades, you will primarily need c4 for destroying the radio towers. However, you can bring flashbangs/grenades in your backpack, just in case you need to quickly deal with someone that has spotted you (just make sure you aren't being affected by encumbrance, you want your shots to be as accurate as possible). Don't forget to bring a camouflage suit too!

Pro Tips
- BE PATIENT: You are all alone for this, there are are very few respawn points so get ready to run a LOT.
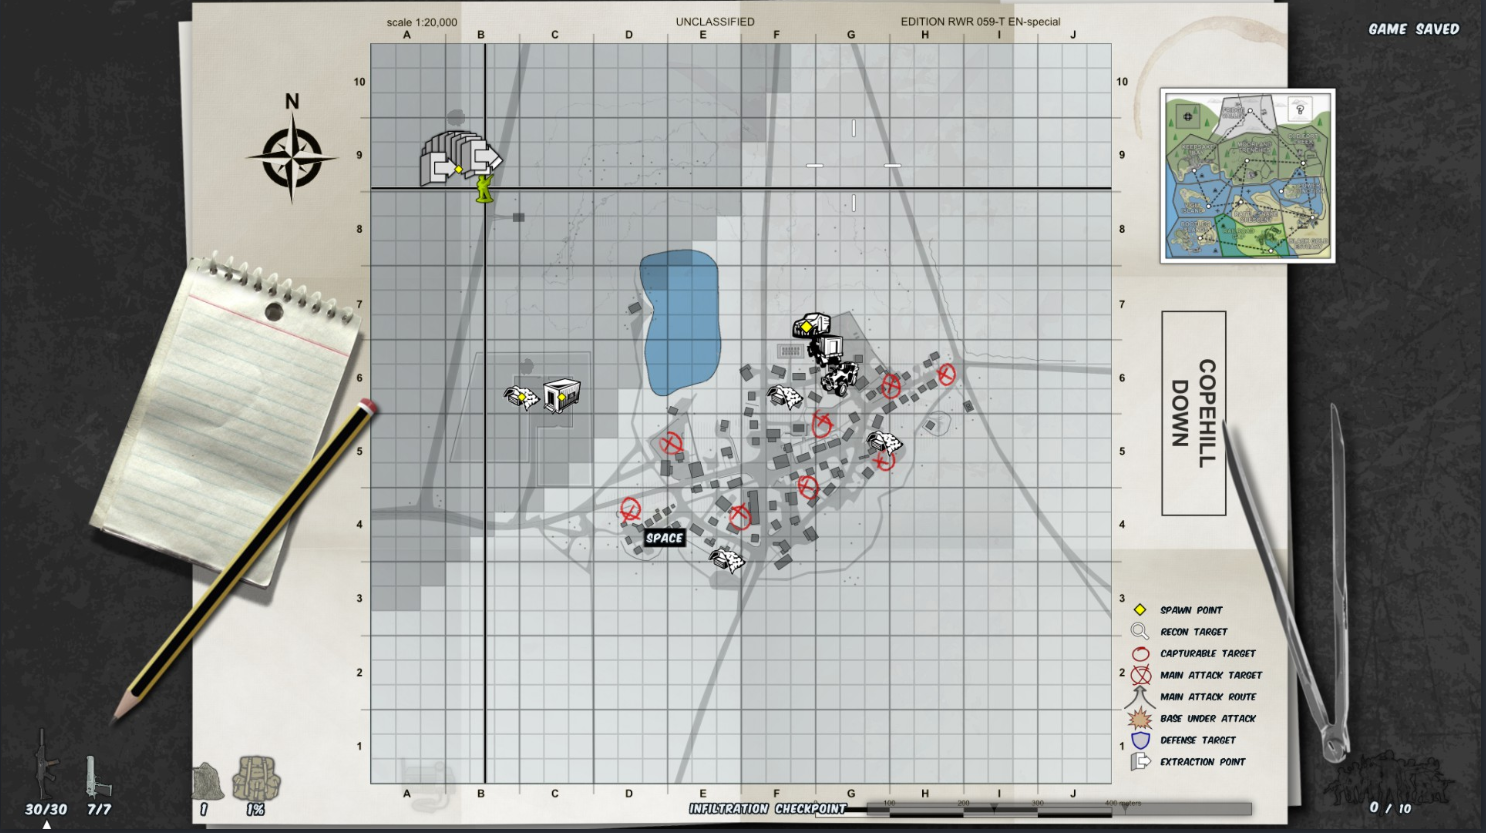
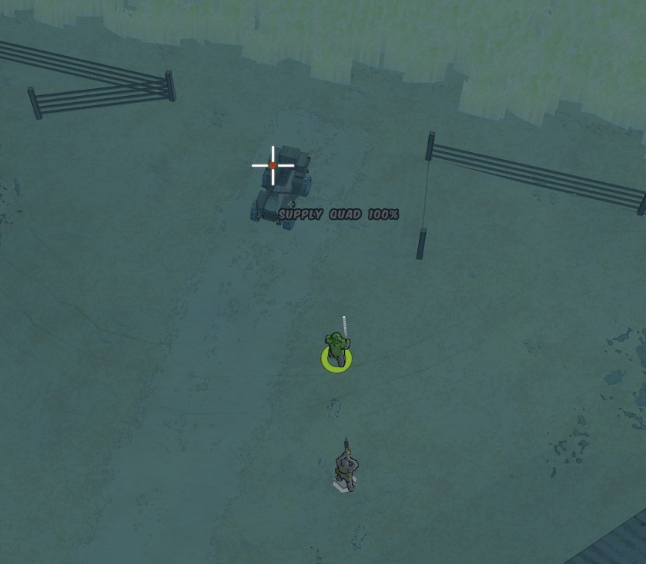
- USE THE SUPPLY QUAD: The supply quad is your mini armory, which is located in the hangar at the Forward Camp base (the place you respawn). Be sure not to place it close to the enemy, or else you won't be able to use it without getting shot!
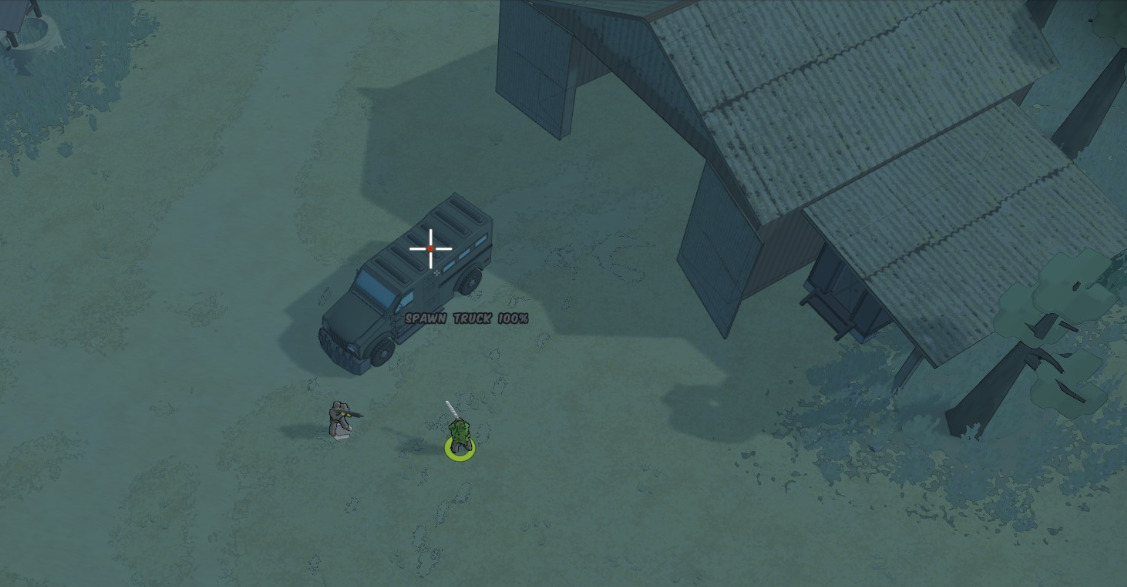
- USE THE SPAWN TRUCK: The spawn truck can significantly reduce the distance you need to walk after you die, it can be found in the same area as the supply quad. Just make sure its not too close to the action, or else you won't be able to use it!
- HAVE PLENTY OF RP BEFORE STARTING THE MISSION You will not be able to return to the original maps until you have completed the mission. Backtrack to past missions to find secret crates and vehicles. Here is a guide detailing those locations!
https://steamcommunity.com/sharedfiles/filedetails/?id=257912293
Good Luck!
Hopefully this guide helped. If you have any other tips/suggestions you think I should add, leave a comment!
GOOD LUCK, AND DON'T DIE! :)
GOOD LUCK, AND DON'T DIE! :)
More RUNNING WITH RIFLES guides
- Opt_0™: Starter Guide to RUNNING WITH RIFLES.★ 5 (472)28k views457 ♥33 minUpdated 23 Mar, 2023
- Secret Crates and Cars in RWR / The Tracker challenge guide★ 5 (1k)26k views2k ♥4 minUpdated 27 Jun, 2020
- Private to Commander: Guide to Running With Rifles★ 5 (460)25k views454 ♥78 minUpdated 27 Jan, 2020
- Running With Rifles: Weapons and Equipment Guide★ 5 (186)13k views352 ♥78 minUpdated 18 Jul, 2021
- 【中文指南】如何在潜行中把作者充满恶意的设计按在地上摩擦★ 5 (570)13k views531 ♥1 minSimplified ChineseUpdated 1 Oct, 2018
- Single player chat codes★ 5 (226)11k views528 ♥4 minUpdated 18 Aug, 2020


🔥 Popular guides
- Upgrading to PremiumTeam Fortress 2★ 5 (20k)1441k views11k ♥6 minUpdated May 11, 2022
- No More Room in Hell Official ManualNo More Room in Hell★ 5 (2.8k)569k views2.1k ♥29 minUpdated Apr 22, 2019
- NMRiH Community Hosting GuidesNo More Room in Hell★ 5 (526)351k views653 ♥1 minUpdated Aug 10, 2022
- How to 'Git Gud' Soon™MORDHAU★ 5 (2k)318k views3k ♥68 minUpdated Nov 16, 2024
- Лучшие кооперативные игры SteamPAYDAY 2★ 5 (1.5k)315k views2.1k ♥56 minRussianUpdated Apr 27, 2025
- Desert Eagle Heat Treated | Blue GemCounter-Strike 2★ 5 (1.6k)293k views1.5k ♥2 minUpdated Jan 16





This guide was created by its original author on the Steam Community. Are you the author and want it removed? Request removal.