Guide For Historical Verdun Matches (OUTDATED)
The Flanders Front
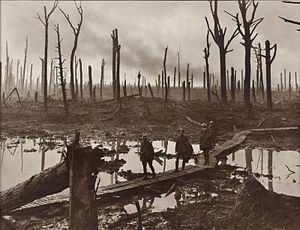 The battles that took place on the Flanders Front, particularly the Ypres Salient, were fought in the cold rain, wind, and mud. From the in-game description, it explains how the fighting stretched from 1914 at the start of the war all the way to the end in 1918, featuring factions such as the British and Canadians. The Belgians were a fighting force as well, knowing that the last unoccupied section of their country depended on them. The Battle of Passchendaele during 1917 was the most well known assault on this front, resulting in one of the worst fights of the Western Front.
Entente Powers:
The battles that took place on the Flanders Front, particularly the Ypres Salient, were fought in the cold rain, wind, and mud. From the in-game description, it explains how the fighting stretched from 1914 at the start of the war all the way to the end in 1918, featuring factions such as the British and Canadians. The Belgians were a fighting force as well, knowing that the last unoccupied section of their country depended on them. The Battle of Passchendaele during 1917 was the most well known assault on this front, resulting in one of the worst fights of the Western Front.
Entente Powers:- 2 Belgian Squads
- 1 Tommies Squad
- 1 Canadian Squad
Central Powers:
- 1 Landser Squad
- 1 Pioneer Squad
- 1 Stosstruppen Squad
- 1 Schutzen Squad
Yes, the French fought here as well in the 1915 assaults but it seems fair to give the Belgians their fair share in the war, since they're not seen on any other map in the game thats historically accurate. If you wish to otherwise, replace one Belgian Squads with a Polius. The mix together with the factors promises for some rigirous gameplay.
The Belgian and Schutzen Squads are identified as Defensive Squads, making them the best choice with defensive situations, considering those houses and bunkers as good MG Cover. Meanwhile, the Tommies and the Landsers are duking it out in the mud. On top of that, the Stosstruppen and Canadians are showering down gas upon the field, making the battle even more hazardous. The Pioneers create an interesting conflict for the Entente Powers, especially with a good Flammenwerfer who follows his NCO's instructions.
The Artois Front
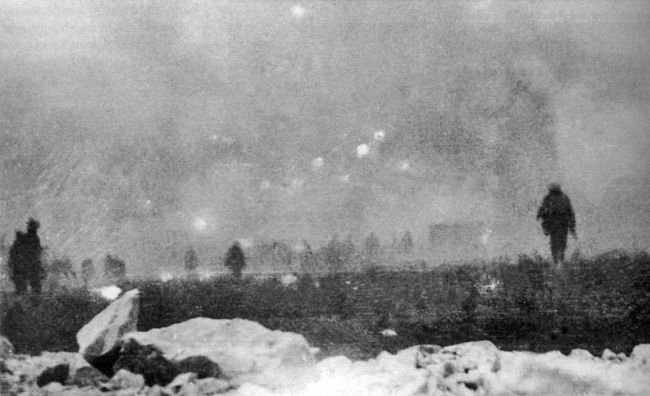 Down south more lies the fighting at Artois: a mining region torn apart by artillery fire and devestation. Many battles were fought, including the Battle of Loos and the Battle of Vimy Ridge, which saw the Canadians bring a furious beating against German Forces hunkered down there. The British were the largest force fighting across this region, along with their fellow English support and Scottish Troops. The Flamethrower Regiments saw huge fights here and were feared by many who fought through the hill side fortifications.
Entente Powers:
Down south more lies the fighting at Artois: a mining region torn apart by artillery fire and devestation. Many battles were fought, including the Battle of Loos and the Battle of Vimy Ridge, which saw the Canadians bring a furious beating against German Forces hunkered down there. The British were the largest force fighting across this region, along with their fellow English support and Scottish Troops. The Flamethrower Regiments saw huge fights here and were feared by many who fought through the hill side fortifications.
Entente Powers:- 2 Canadian Squads
- 1 Tommies Squad
- 1 Highlanders Squad
Central Powers:
- 2 Schutzen Squads
- 1 Pioneer Squad
- 1 Stosstruppen Squad
The largest threat to both armies are the hill positions on both sides of No Man's Land. The Schutzen play a large roll in MG fire upon the Entente, considering the fact that the Central Powers usually have the advantage on this particular map most of the time. Pushing forces on both sides will have to really be careful when advancing and defending, as Machine Guns are the tool of choice for this map.
The Gas Assault Squads are a perfect addition to the map design, as gas plays a very useful role in advancements. Smoke serves well in the Pioneers case as a close quarters fighting group. The Highlanders Squad will have the responsibilty of using recon planes wisely, for it becomes very important when clearing cluttering areas of pushing or defending nests.
The Picarde Front
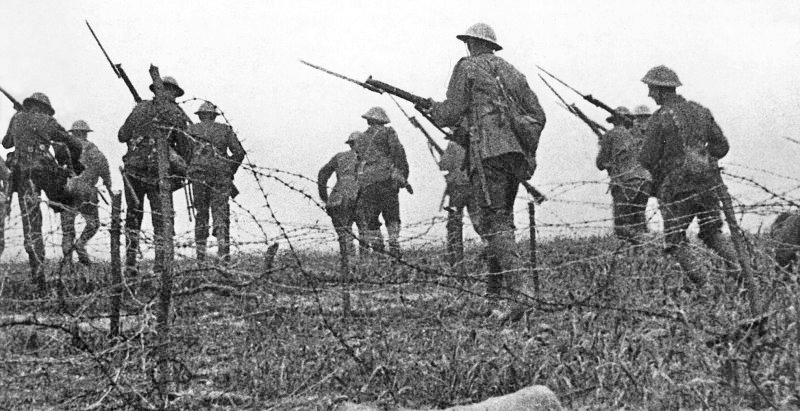 The Battle of the Somme, no question about it, is the largest battle on the Western Front and one the largest battles of the entire war. In 1916, British Forces were ordered by their superiors to engage on German positions in the region. The rolling hills were the sight of many bloody offensives from both the Germans and the British/Commonwealth Forces, with months of very little ground cover and loads of casualties stacking up every day. The entire fight in those sectors stack up to a grand total of 1,220,000 dead by World War Ones aftermath. The battles victory was even considered by many to be undecisive.
Entente Powers
The Battle of the Somme, no question about it, is the largest battle on the Western Front and one the largest battles of the entire war. In 1916, British Forces were ordered by their superiors to engage on German positions in the region. The rolling hills were the sight of many bloody offensives from both the Germans and the British/Commonwealth Forces, with months of very little ground cover and loads of casualties stacking up every day. The entire fight in those sectors stack up to a grand total of 1,220,000 dead by World War Ones aftermath. The battles victory was even considered by many to be undecisive.
Entente Powers- 2 Tommies Squads
- 2 Highlanders Squads
(or 1 Tommies Squad, 1 Canadian Squad, 1 Highlanders Squad and 1 Polius Squad)
Central Powers
- 2 Landser Squads
- 1 Alpenjager Squad
- 1 Stosstruppen Squad
This particular sector was commonly populated by British and Commonwealth Forces, however if teamwork and squad balance is your deal, feel free to try the other Entente bunch. The wide spaces between trench lines create a very intense challenge for both teams. The bulk of both sides are their Heavy squads who rely on their firepower and quick efforts to clear a pathway to the trenches. The Germans possess a gas squad that the British will need to overcome, with the help of the Scottish serveying the landscape.
For both factions, flanking is the most important focus. From what many players could tell you, it only takes one or two enemies to slip into your trench for all havoc to break loose. Keeping those far sides protected is your best bet while the others deal with the middle field. Much like Flanders, the open mass of land gives troops defending a good view. Unlike Flanders, cover is more plentiful on this map. Use the craters and debris to move up and shoot.
The Aisne Front
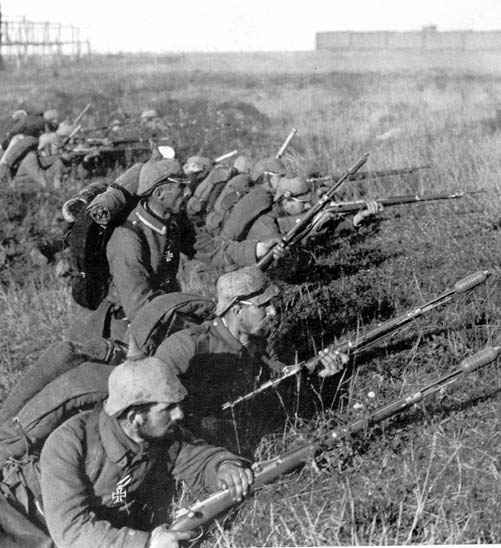 The wooded areas surrounding the Rhine and Meuse Rivers were the sight of many offensives from both the Entente and Central Powers. Whether it's the Three Battles of the Marne or the well-known Spring Offesive of 1918 (Kaiserschlacht), there are more ways to play with squads on this map than any other in the game. The First Battle of 1914 has the French against the German, The Third Battle of 1918 saw the French and the British combat the Germans. Even the Americans came in to help out with the fight just as the offesive was petering out.
Entente Powers:
The wooded areas surrounding the Rhine and Meuse Rivers were the sight of many offensives from both the Entente and Central Powers. Whether it's the Three Battles of the Marne or the well-known Spring Offesive of 1918 (Kaiserschlacht), there are more ways to play with squads on this map than any other in the game. The First Battle of 1914 has the French against the German, The Third Battle of 1918 saw the French and the British combat the Germans. Even the Americans came in to help out with the fight just as the offesive was petering out.
Entente Powers:- 3 Polius Squads
- 1 US Marines Squad
(or 1 US Doughboys Squad)
Central powers:
- 3 Landser Squads
- 1 Alpenjager Squad
The forest landscape offers players a few options in fighting areas, including: Corn Fields, Meadows, Artillery Posts and a Fortified Hill Position. For the most part, flanks are an important aspect to fighting once more. Often, many people would use the ditches and haystacks to move forward, so keep your eyes open for those. In terms of combat, the French Polius and German Landsers play the largest roles here. The German Recon Squad does their job at watching for advancing targets and keep their weapons ready for quick engagements.
The Entente also have either an additional Doughboys or Marines Squad to back themselves up. Depending on what type of player style you perfer, both of these two groups could have a big impact on how the battle is played out, as they act as support fire for the Heavier Advancing Soldiers in front of them.
The Champagne Front
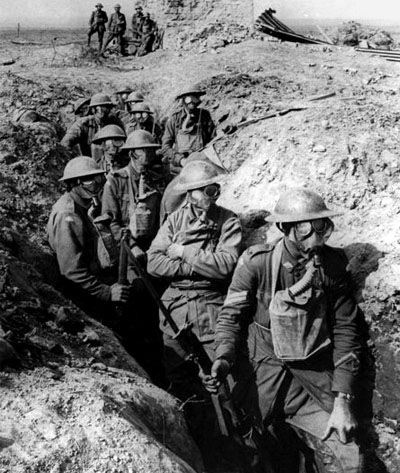 The Champagne Region was bitterly contested throughout the entirety of World War One, forcing deep networks of trenches to be dug for the troops who were trapped in the nightmare. For the early battles that were fought there, the French and the Germans were constantly pushing each other back and forth, eroding the frontlines to nothing more but a series of tunnels and narrow paths that dug through the countryside. In 1918, the manpower for the Entente was re-enforced with the arrival of American Soldiers, who particpated in the Marne-Champagne Offensive in overthrowing the Germans hunkered down there.
Entente Powers:
The Champagne Region was bitterly contested throughout the entirety of World War One, forcing deep networks of trenches to be dug for the troops who were trapped in the nightmare. For the early battles that were fought there, the French and the Germans were constantly pushing each other back and forth, eroding the frontlines to nothing more but a series of tunnels and narrow paths that dug through the countryside. In 1918, the manpower for the Entente was re-enforced with the arrival of American Soldiers, who particpated in the Marne-Champagne Offensive in overthrowing the Germans hunkered down there.
Entente Powers:- 2 Polius Squads
- 1 US Doughboys Squad
- 1 US Marines Squad
Central Powers:
- 2 Landser Squads
- 1 Schutzen Squad
- 1 Pioneer Squad
Not only is the Champagne Front the only night map in the game but its the only map in the game that is composed of mostly narrow path trenches. These are very cool features that seperates this map from the rest. Close Quarters is your best friend on this map and both sides have an equal amount of firepower to combat this. The German wield the Flamethrower once more while the US Marines charge forth with the deadly shotguns. For both sides, pistols and grenades are extremly useful for these types of engagements.
The No Mans Land on this map is very dangerous for players treading the area above the trenches. There is no shortage of barbed wire and sudden crater drops to stumble your advancement. Unless you seek a good oppurtunity to tread on the area above the tunnels, its best to stay clear. Watch your backs as well, as the wrapping pathways and darkness could easily turn your flanks into an open attack. Artillery, despite having a harder time hitting targets, should still be taken into account.
The Argonne Front
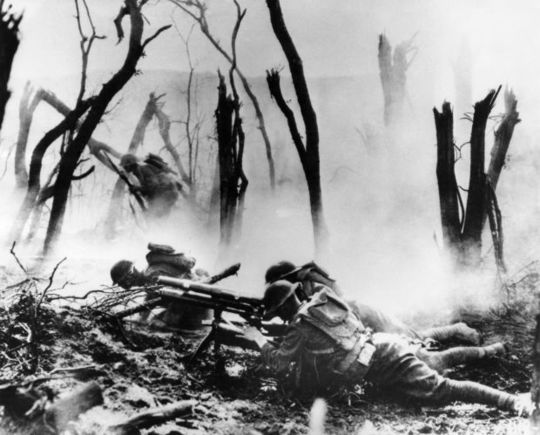 The Argonne Forest was a very ongoing and static front in the line. Sections of the land have been burned out to create nothing but barren patches and vaccant trenches, creating trouble for any forces trucking onward through the region. The Germans from 1914 onward have gave the French forces the worst that they've got, seeing the potential in breaking through the Entente Lines. In 1918, Argonne became static again as the Americans race through with full force, pushing the Central Power out of Argonne using everything that they had on them.
Entente Powers:
The Argonne Forest was a very ongoing and static front in the line. Sections of the land have been burned out to create nothing but barren patches and vaccant trenches, creating trouble for any forces trucking onward through the region. The Germans from 1914 onward have gave the French forces the worst that they've got, seeing the potential in breaking through the Entente Lines. In 1918, Argonne became static again as the Americans race through with full force, pushing the Central Power out of Argonne using everything that they had on them.
Entente Powers:- 2 US Doughboys Squads
- 2 US Marines squads
(or 1 US Doughboys Squad, 1 US Marines Squad, and 2 Polius Squads)
Central Powers:
- 3 Landser Squads
- 1 Pioneer Squads
(or 2 Landser Squads, 1 Pioneer Squad, and 1 Stosstruppen Squad)
Argonne is classified as a very small and skinny map with multiple hazards and obsticles in the players way. Due to such a small amount of space between the two trenchlines, stalemates and easy captures are common. To stick with the 1918 battle (personally), the US Squads will be the best offesive fighters on this map while the Germans play more defensivly. The ability for the Doughboys to wield the hip-firing BAR and Chauchat give the Landser Machine Gunners more of a reason to protect the flanks and the middle as much as possible to avoid breaches.
The Pioneers and the US Marines share equal attributes, which could sway the battle either way if one can overcome the others close ranged punishment. Smoke or gas are very deadly on this map, as the the small radius and playing field create a challenge that both sides must be ready for. Bayonet Weapons, pistols, grenades and artillery barrages are very helpful in close quarters to elimanate camping enemies or emplacments.
The Douaumont Front
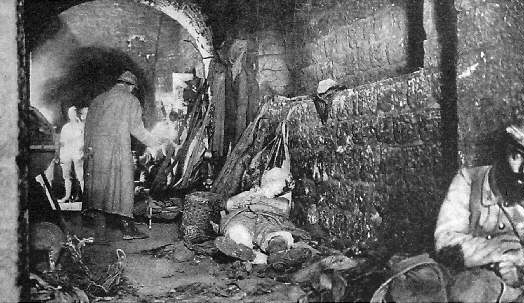 The Battle of Verdun (the battle for which this game is named after) was one of the largest battles on the Western Front and the one fight that the French in World War One are remembered by. The slogan, "On ne passe pas!" ("They Shall Not Pass!") rang in the French Armies Ears as they stormed the areas ahead. Back in 1916, the Germans took Fort Douaumont, the largest fortress at the time, without a single drop of blood being spilled. In response to the Battle of Verdun, the French High Command ordered that they must take back the Fortress, along with a series of other assualts later that year at Fort Vaux. As a result, more than 100,000 French and German Soldiers were killed in action by December of 1916 when the fighting there began to decrease.
Entente Powers:
The Battle of Verdun (the battle for which this game is named after) was one of the largest battles on the Western Front and the one fight that the French in World War One are remembered by. The slogan, "On ne passe pas!" ("They Shall Not Pass!") rang in the French Armies Ears as they stormed the areas ahead. Back in 1916, the Germans took Fort Douaumont, the largest fortress at the time, without a single drop of blood being spilled. In response to the Battle of Verdun, the French High Command ordered that they must take back the Fortress, along with a series of other assualts later that year at Fort Vaux. As a result, more than 100,000 French and German Soldiers were killed in action by December of 1916 when the fighting there began to decrease.
Entente Powers:- 3 Polius Squads
- 1 Chausseur Alpin Squad
Central Powers:
- 2 Landser Squads
- 2 Schutzen Squad
In the heart of the battlefield lays the fortresses barracks; it is a place with minnimum cover and poor lighting. As a result, the one thing that is important is the middle courtyard dip and the occupied hallway. If the Central Powers were to expell the Entente Powers from the courtyard, they could easily drive them out to the open trenches and erase them. On the other hand, if the Entente Powers could push the Central Powers out of the barracks, they could just as easily knock the Germans out the game with the right blow. Hence, team coordination and covering fire is key at Douaumont.
MG Suppresion Fire is useful to the defenders, who could repel attack after attack if done right. Meanwhile, offensive rifle fire could puncture the enemy in the gut if played swiftly and smartly. Poor tactics, such as charging into the open haphazardly, is an unwise move. Sticking behind debris and walls will help you move up in your teams advance. Slowly but surely, one group could flush the other one out if teamwork prevails.
The Vosges Front
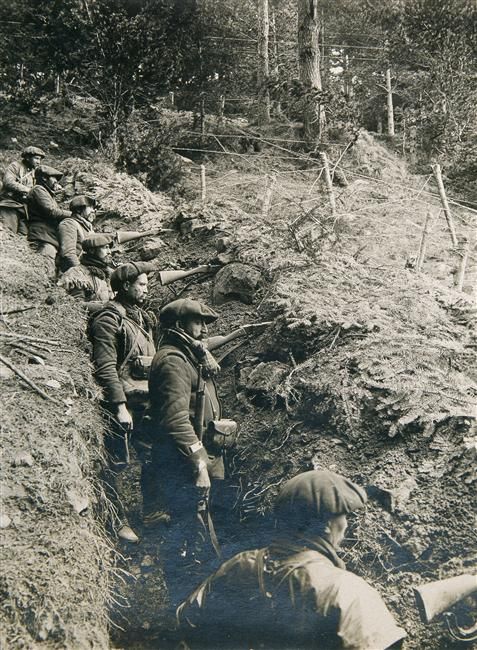 Far to the south are the mountainous highlands of Vosges and Palatine Forest, where the French and German Elite Alpine Regiments are making an effort to push through. The steep rocky creveses and well positioned trenchlines create many ergonomical challenges. Throughout 1914 and 1915, the two exchange fire with one other with rifles and artillery until the end of 1915, where the front grew quiet for the remainder of the Great War. The highlands proved to be a place of harsh climates, where the winter would cause trouble in movement and combat.
Entente Powers:
Far to the south are the mountainous highlands of Vosges and Palatine Forest, where the French and German Elite Alpine Regiments are making an effort to push through. The steep rocky creveses and well positioned trenchlines create many ergonomical challenges. Throughout 1914 and 1915, the two exchange fire with one other with rifles and artillery until the end of 1915, where the front grew quiet for the remainder of the Great War. The highlands proved to be a place of harsh climates, where the winter would cause trouble in movement and combat.
Entente Powers:- 2 Chausseur Alpin Squads
- 2 Polius Squads
Central Powers
- 2 Alpenjager Squads
- 2 Lander Squads
This front is recognizable for its mountainous apperance and one trench each frontline. The Recon Squads are top key here and constant observation plane runs ensure that the one capture that both sides want will not be historically simple. Snipers can hide in hard to see places and foliage while multiple blockades assist in helping Riflemen and Machine Gunners get the kills that they need. Artillery can also clear up at pathway or a position that hostiles are sitting in.
The high stakes here cause many players to fight aggressively and have constant periods of Foothold Overtimes. A squad in every part of the frontline can keep the attackers away and help point out anymore that are moving that way. Cratered out defenses are areas of interest for the attackers to hunker down in and wait for reforcements, so keep those areas clear and hostile free as much as you can.
Conclusion
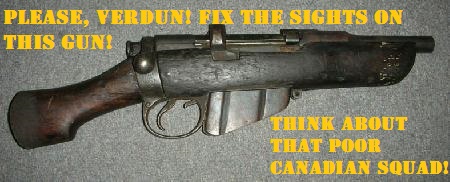
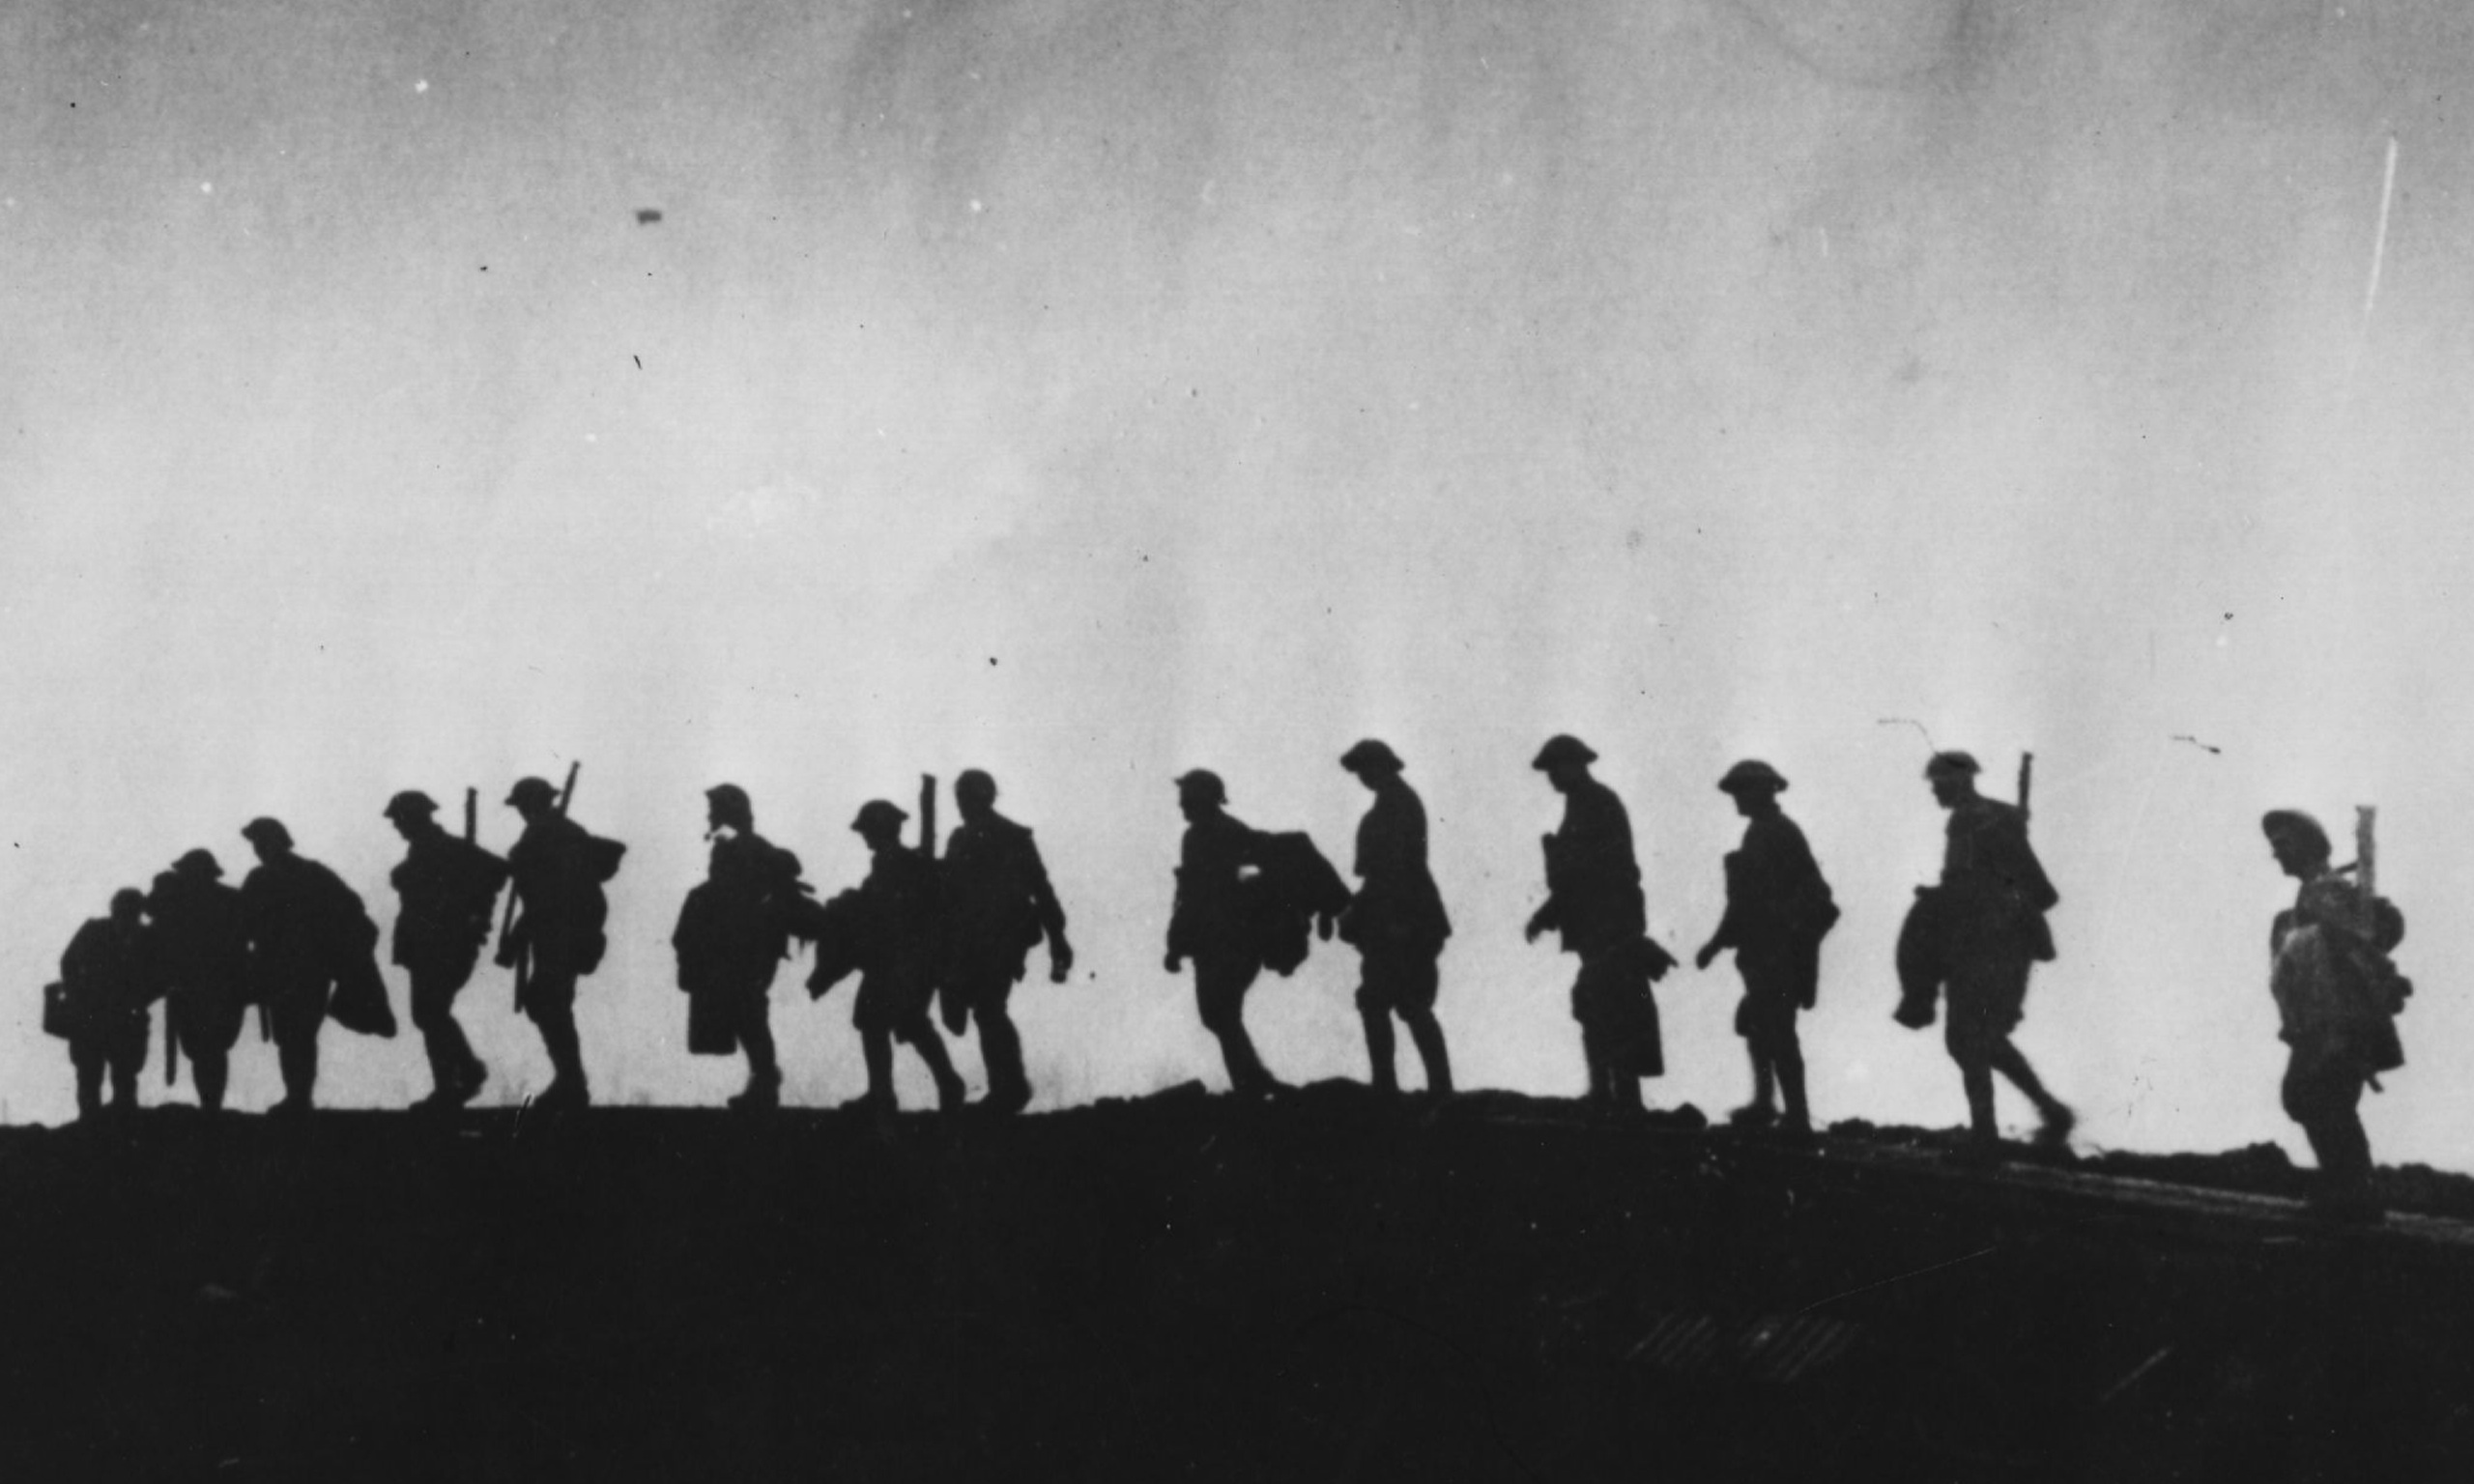 A game that allows players to re-enact a major world conflict is fascinating on its own, but with the abilities to make that battle come back to life once again makes it even more of an experience. Hopefully, this guide has given some readers an itch to try out the tactics and squad combinations themselves. Who knows, you might get a very interesting series of battles out of it. This doesn't mean that we can't have a Level 100 Team of Pioneers against a single Canadian Squad with Sawed-off Enfields, it just allows players to get a feel for how this brutal conflict was fought out and what it would feel to race back 100 years into the past to experience it for themselves. Once more, hope this guide was helpful and will lead to some great gameplay and some true remeberances to the men who fought through them.
Hope you enjoyed and thanks for reading. Comments and feedback is wonderful as long as it isn't flaming.
- Official Verdun Game Guide★ 5 (960)244k views1.1k ♥13 minUpdated Jun 3, 2019
- Official Verdun Weapon Guide★ 5 (409)145k views404 ♥18 minUpdated Jun 3, 2019
- The Do's and Don'ts of Verdun (In Pictures)★ 5 (363)15k views234 ♥11 minUpdated Aug 3, 2015
- Verdun Veteran Tactics★ 5 (475)11k views524 ♥61 minUpdated Nov 8, 2016
- Trench Raiding Guide★ 4 (122)4.9k views116 ♥9 minUpdated Dec 22, 2025
- Verdun Server Commands and Custom Match Administration★ 4 (92)3.3k views166 ♥10 minUpdated Aug 26, 2020



- Upgrading to PremiumTeam Fortress 2★ 5 (20k)1441k views11k ♥6 minUpdated May 11, 2022
- No More Room in Hell Official ManualNo More Room in Hell★ 5 (2.8k)569k views2.1k ♥29 minUpdated Apr 22, 2019
- NMRiH Community Hosting GuidesNo More Room in Hell★ 5 (526)351k views653 ♥1 minUpdated Aug 10, 2022
- ULTIMATE GUIDE FOR GAME DEV TYCOONGame Dev Tycoon★ 5 (5.8k)326k views10k ♥4 minUpdated 23 Jan, 2014
- How to 'Git Gud' Soon™MORDHAU★ 5 (2k)318k views3k ♥68 minUpdated Nov 16, 2024
- Лучшие кооперативные игры SteamPAYDAY 2★ 5 (1.5k)315k views2.1k ♥56 minRussianUpdated Apr 27, 2025






This guide was created by its original author on the Steam Community. Are you the author and want it removed? Request removal.