How to play D&D in Tabletop Simulator
Foreword
It is VERY important you know how to use and control Tabletop Simulator before using this mod. This is NOT a guide on how to use Tabletop Simulator, or how to play D&D, it's how to SETUP to play D&D in Tabletop Simulator.
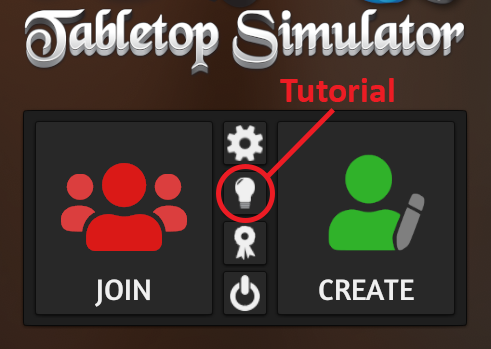
I recommend playing the tutorial on the main menu first (The tutorial is the Lightbulb button in the middle) you can also press the '/' or '?' key to bring up the control instructions.
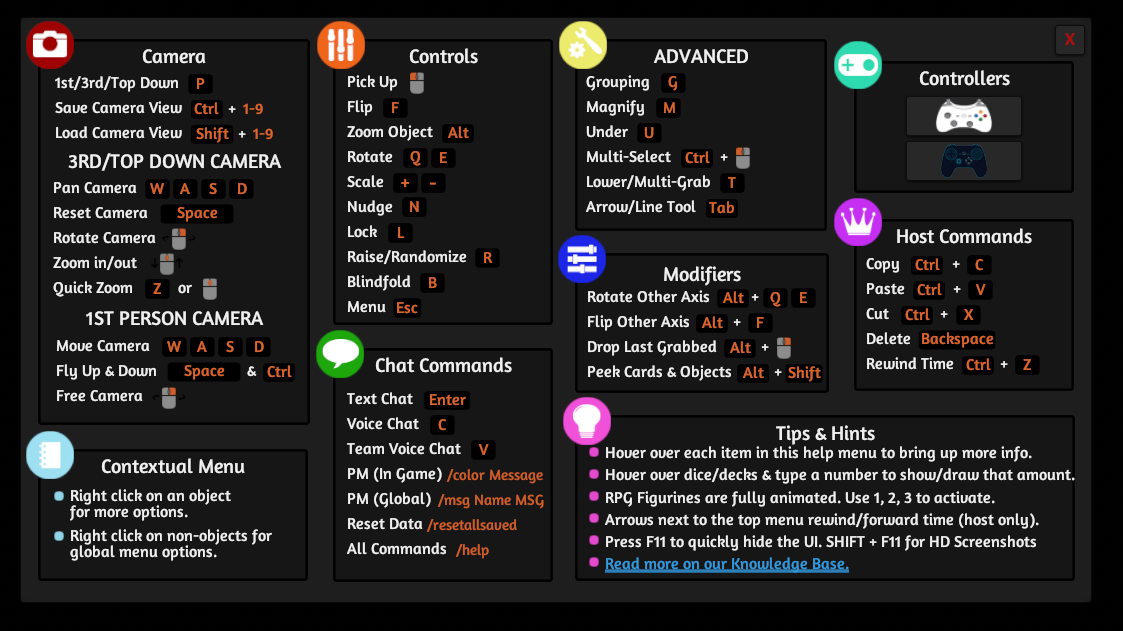
There are also PDFs in this mod that you can read over that will help you learn to play D&D if it's your first time i.e. the Player's Handbook which is located on the DM's (Player Color black) side of the table.
Getting Started
https://steamcommunity.com/sharedfiles/filedetails/?id=2887122859
Next, they decide set who can join: Public, Friends, or invite only.
The host should be the person with the most stable internet connection and best proximity to all the other players, as their connection will affect all the players who join. It's also preferable, but not mandatory, that the host is the DM. Otherwise, the host can Right-Click on the DM's name, and Click 'Promote' to give them higher permissions while in game.
For instance, if you have someone in Germany host, and everyone else is in the US, all the US players will have high latency, even if the German host has good internet. If the host ever disconnects or their game crashes, EVERYONE will also disconnect.
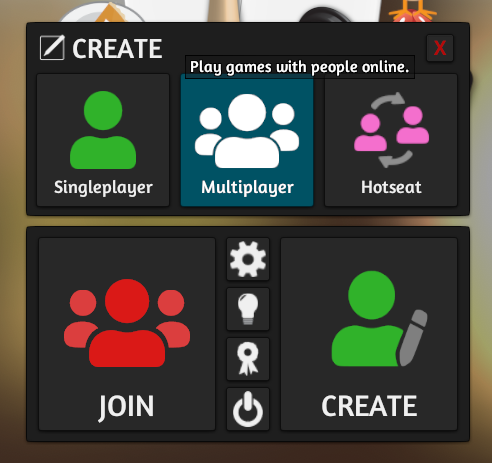
Left click the thumbnail of the mod, and click load to start loading the mod. Once the host has fully loaded in, THEN, the rest of the players should join.
To invite players, on the top right of the screen where the player names are, the host can click on the 'Plus' button to invite people on their friend's list. Or, players can click the 'Join' button on the main menu and join that way.
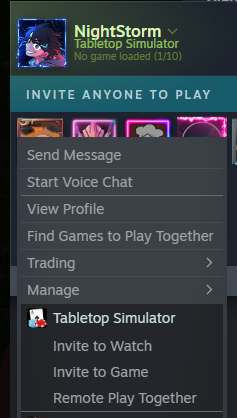
Player's can also join by pressing 'SHIFT + TAB' to bring up the steam overlay and right click on your friends, then click 'Invite to Game' or if you're the player click 'Join Game'
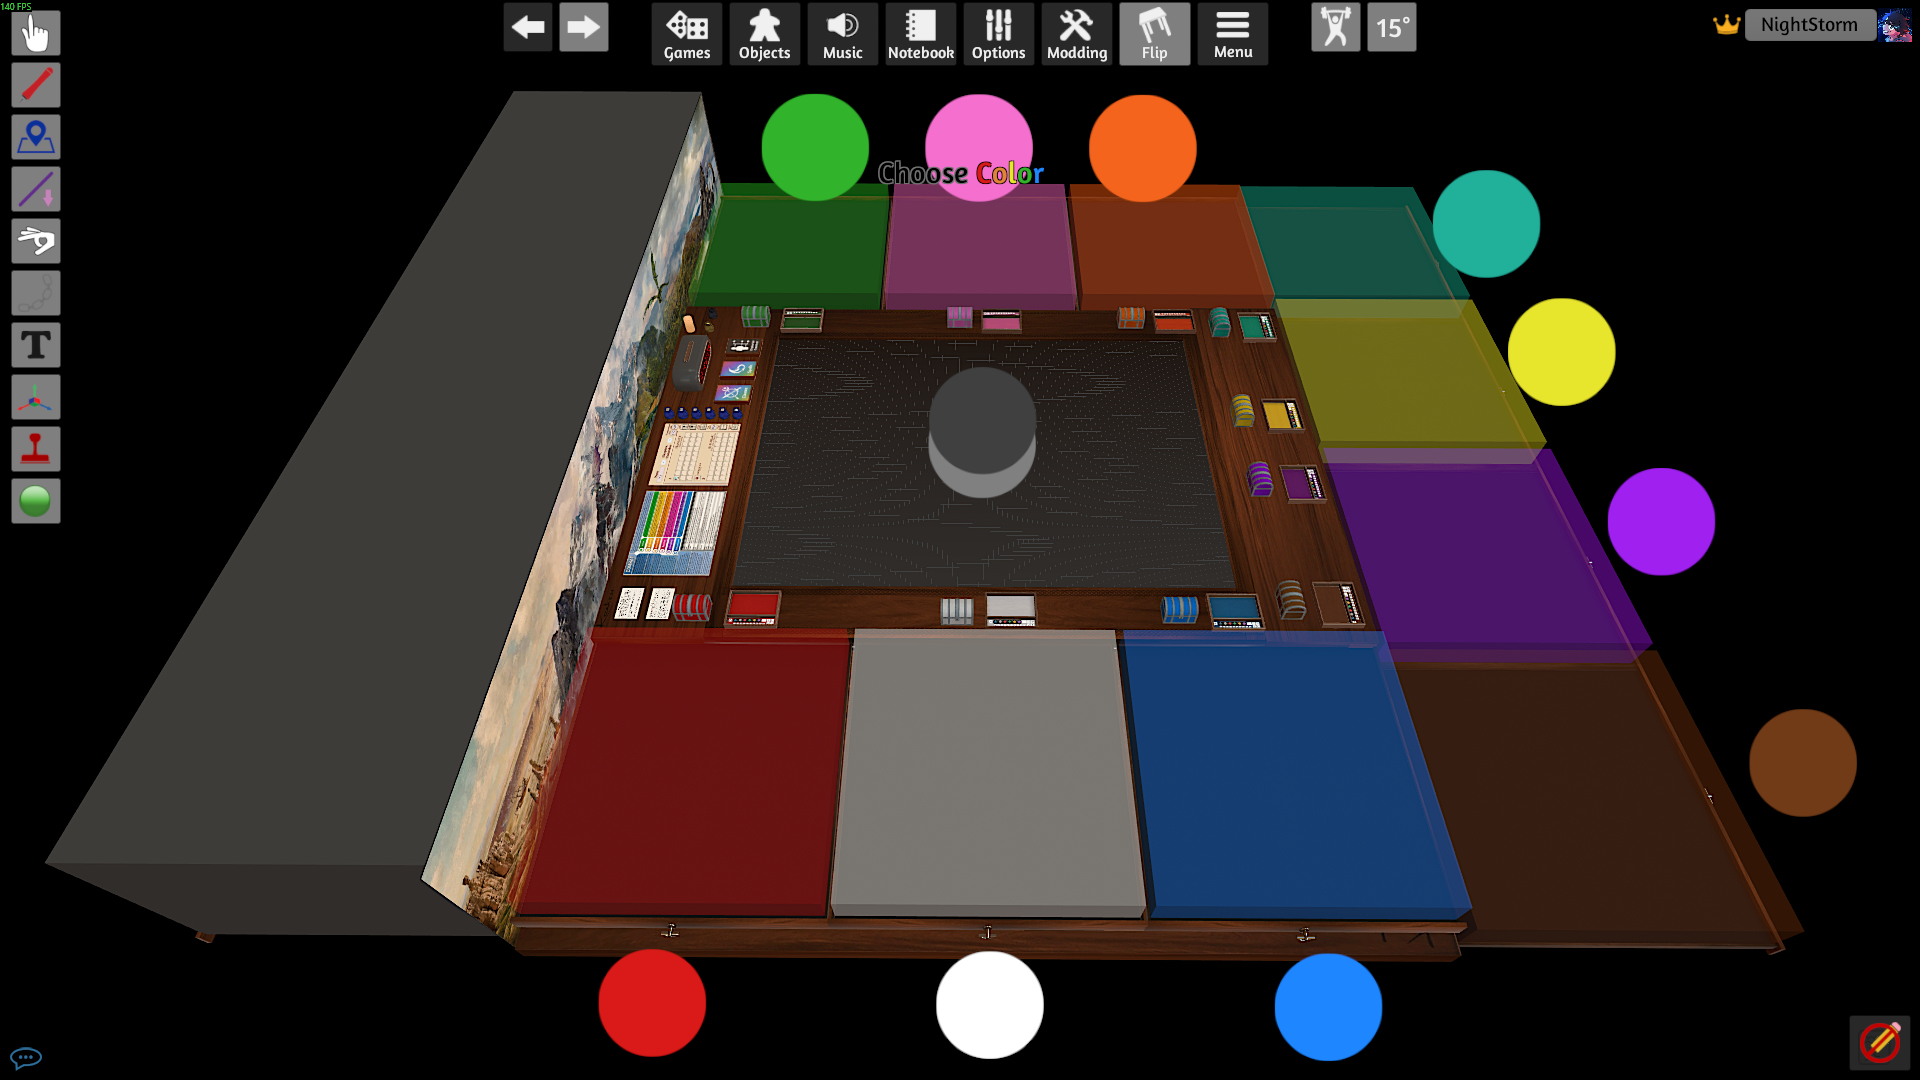
The two circles in the middle are Black and Grey. Only the player who wants to be the DM (Dungeon Master) should pick the Black color. Anyone who doesn’t pick a color or clicks on the Gray color, will become a Spectator.
Bags, Infinite Bags, & Bag Explorer
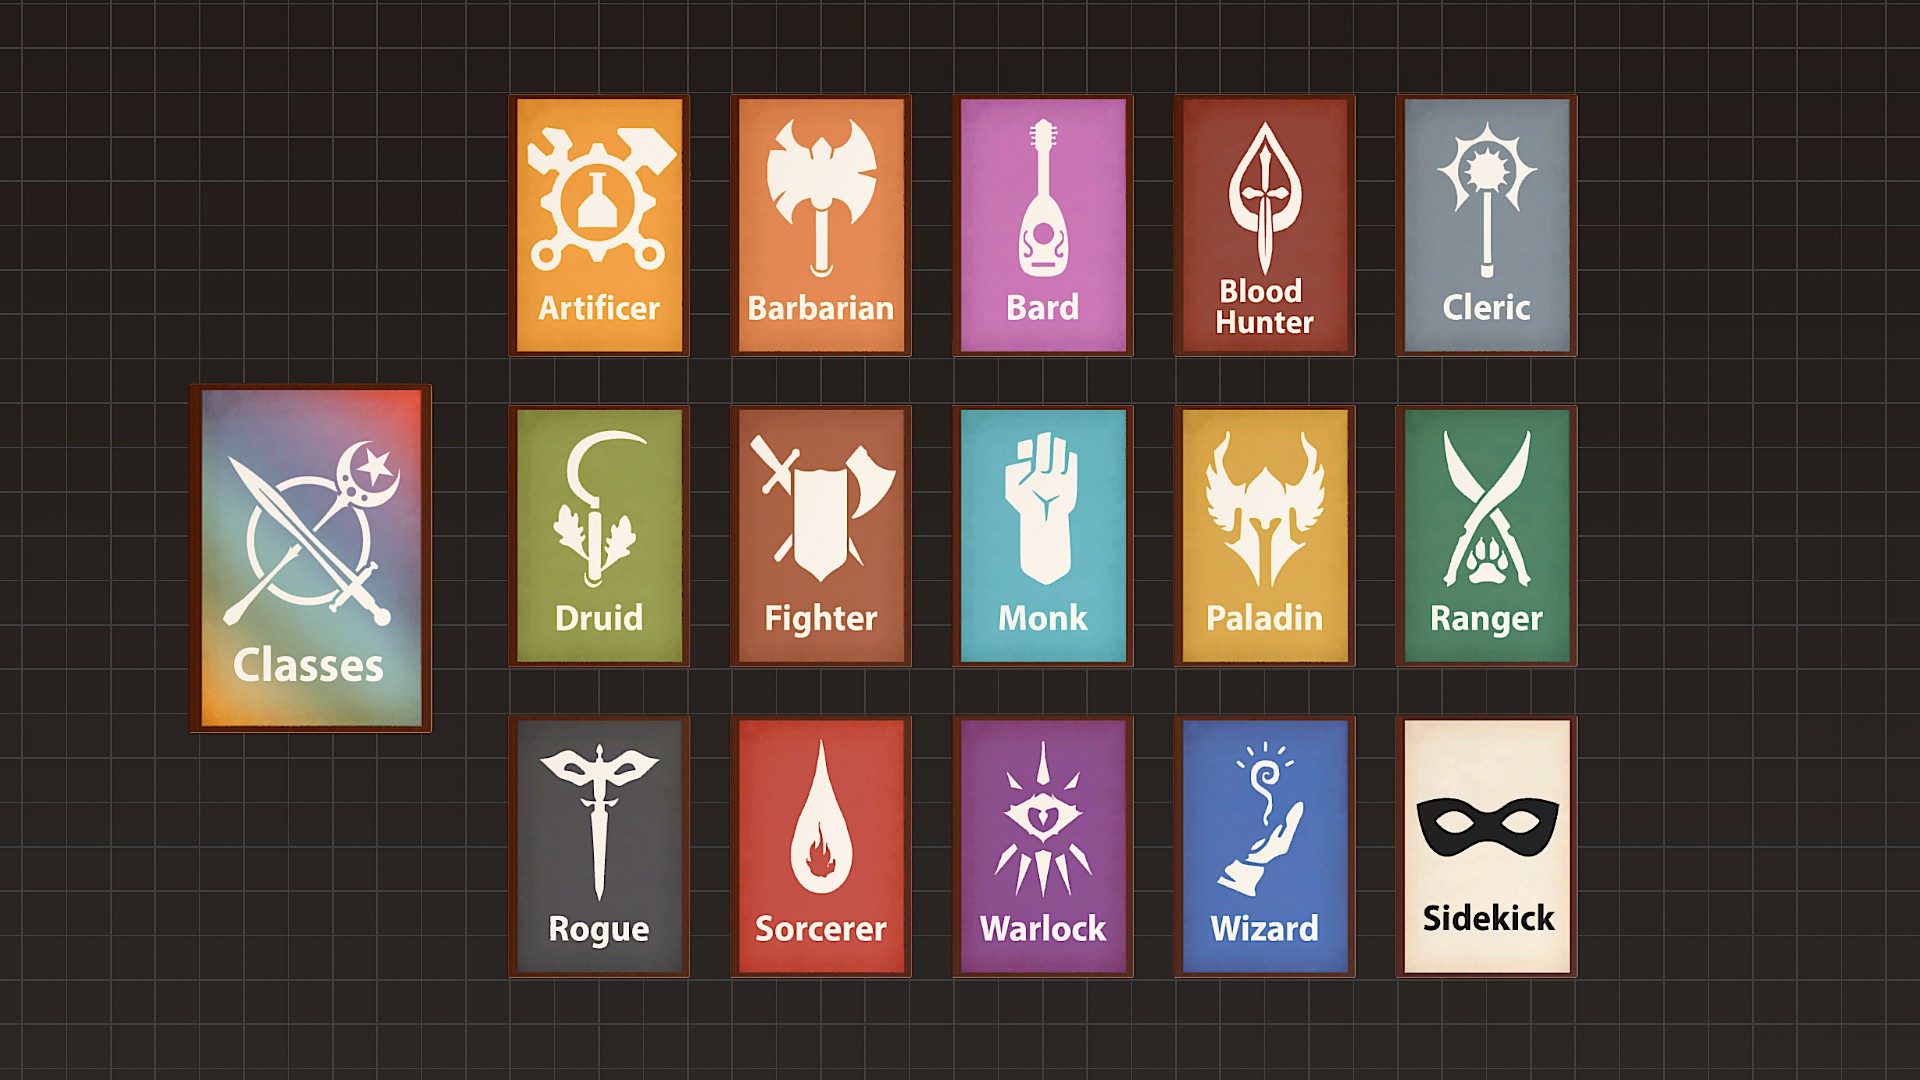
This is important to bring up because a lot of cards and boxes are nested inside other boxes. Such as all the classes and their subclasses.
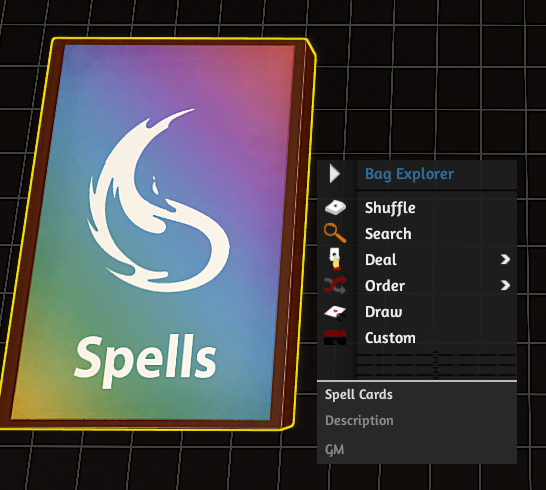
However, if the DM knows exactly what they want, but is having trouble finding a particular item, they can Right-Click a regular bag, and select the Bag Explorer option to bring up a UI that makes it easier to search nested boxes.
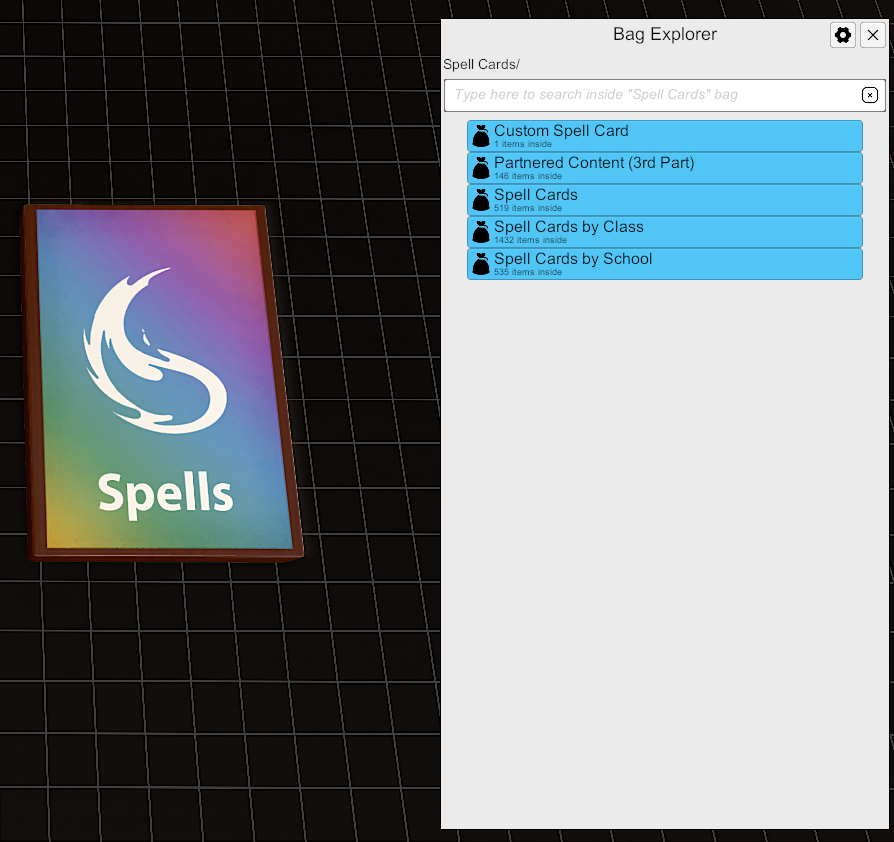
You can search the name of the card you are looking for and drag the name to the area you want to spawn it. Any player can use Bag Explorer, not just the DM. BUT, be aware only one person can use it at time.
Dice Rollers
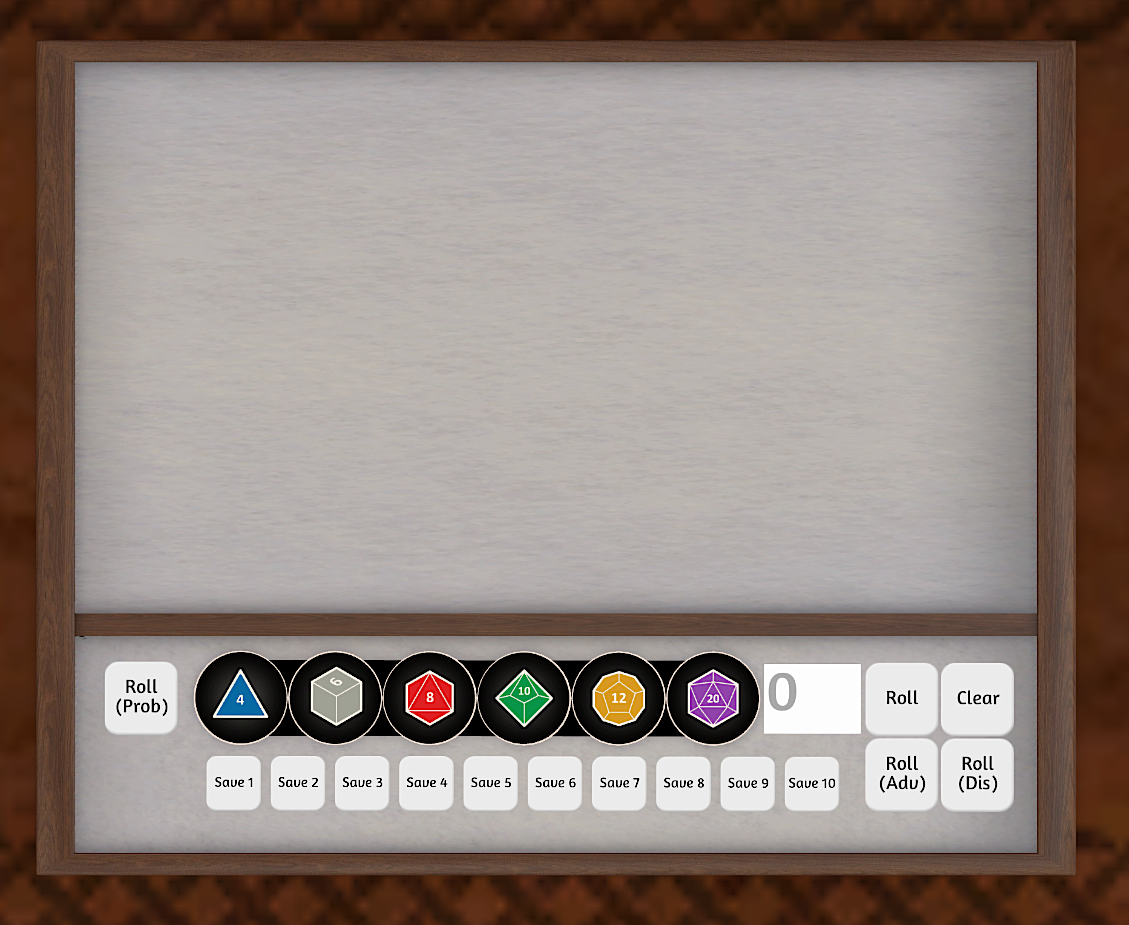
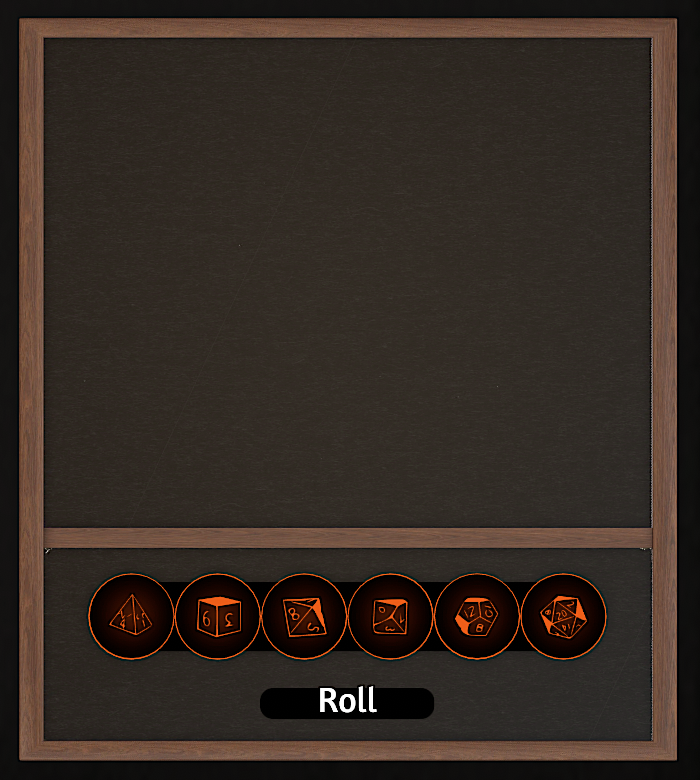
Text will then show up for everyone, showing who rolled, and what number they rolled. The dice will then automatically add up the totals. Press Clear when you want to clear the area of the dice.
Creating a Character PART 1 Sheets
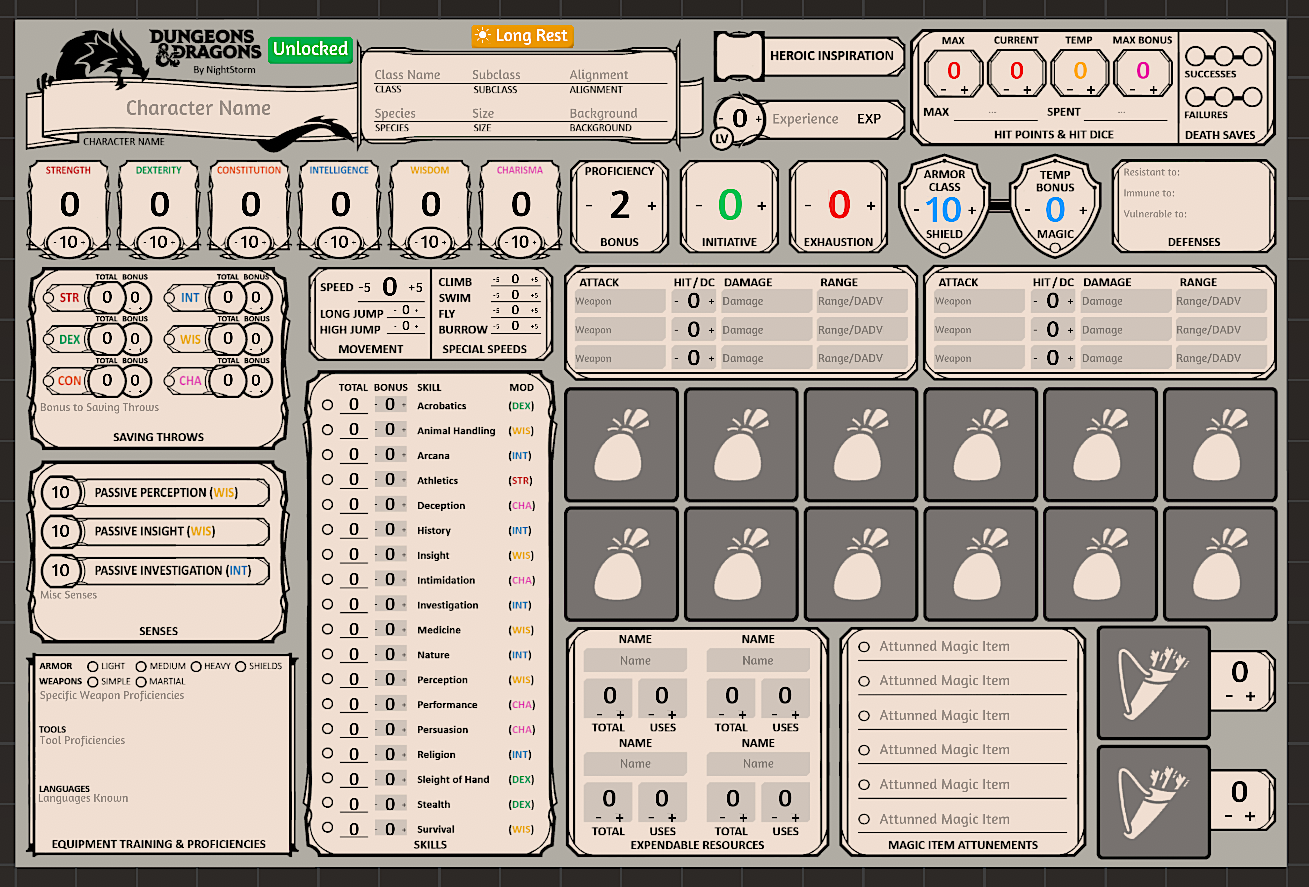
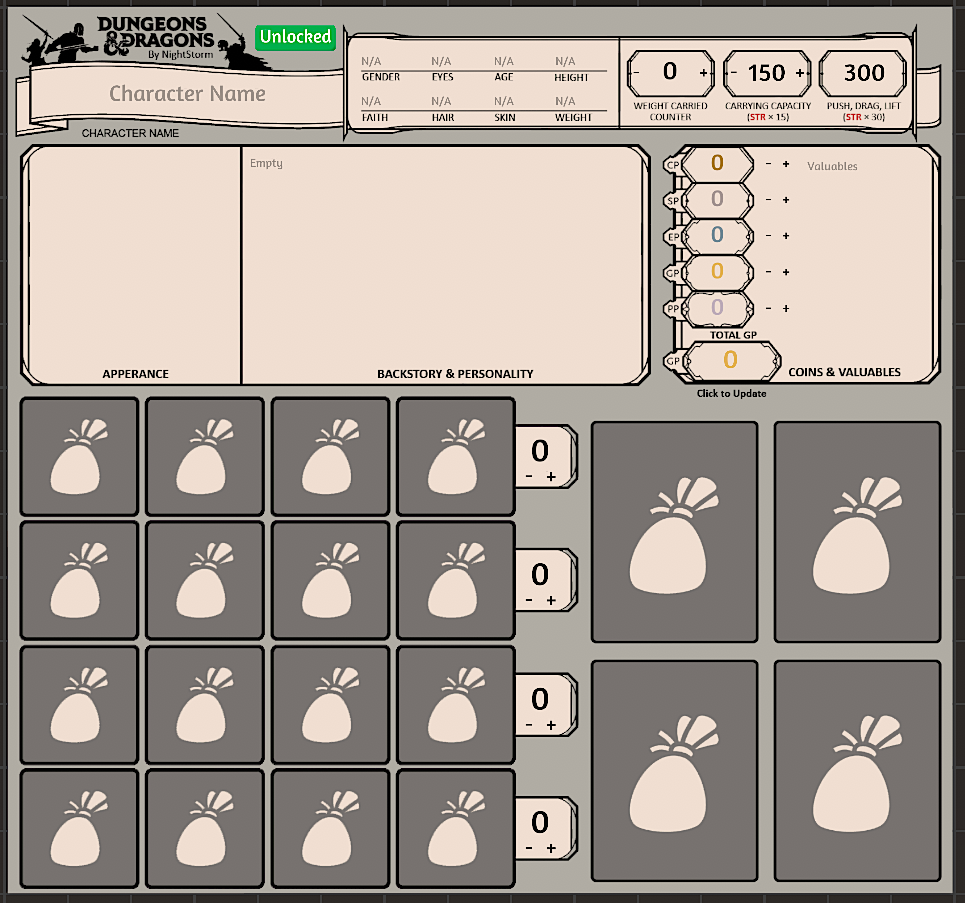
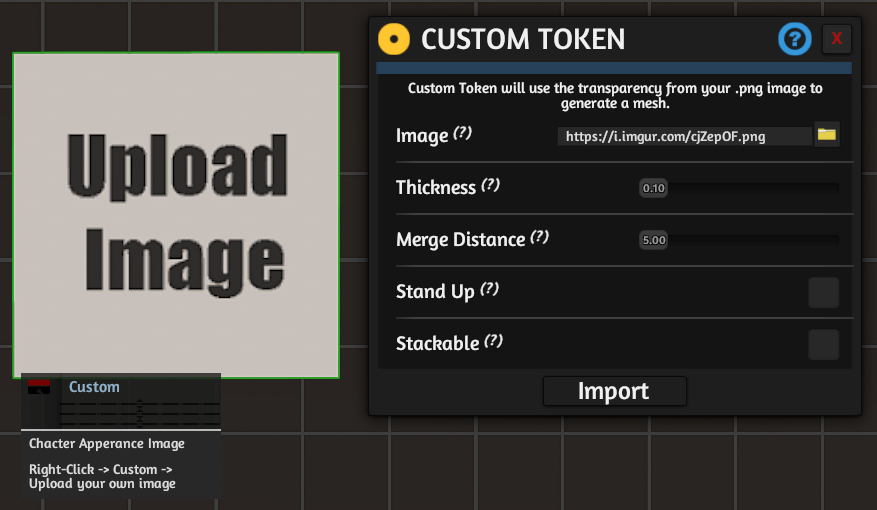
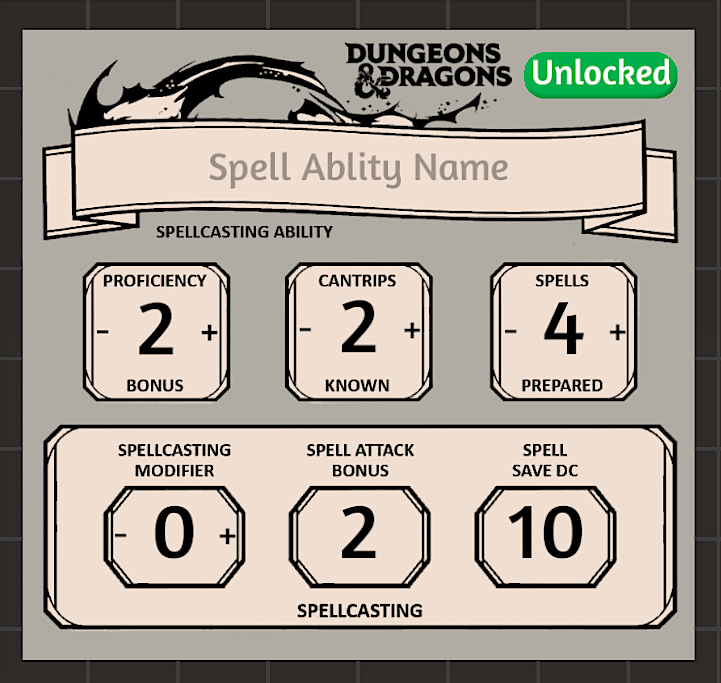
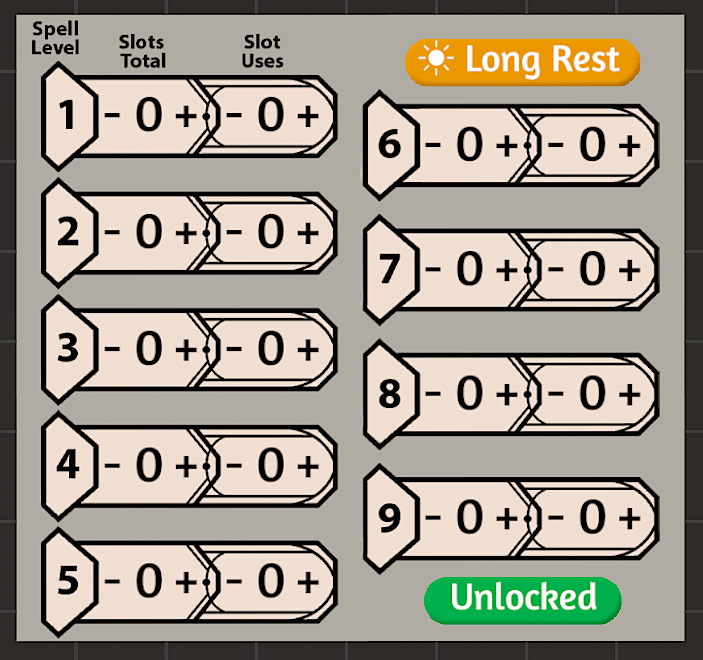
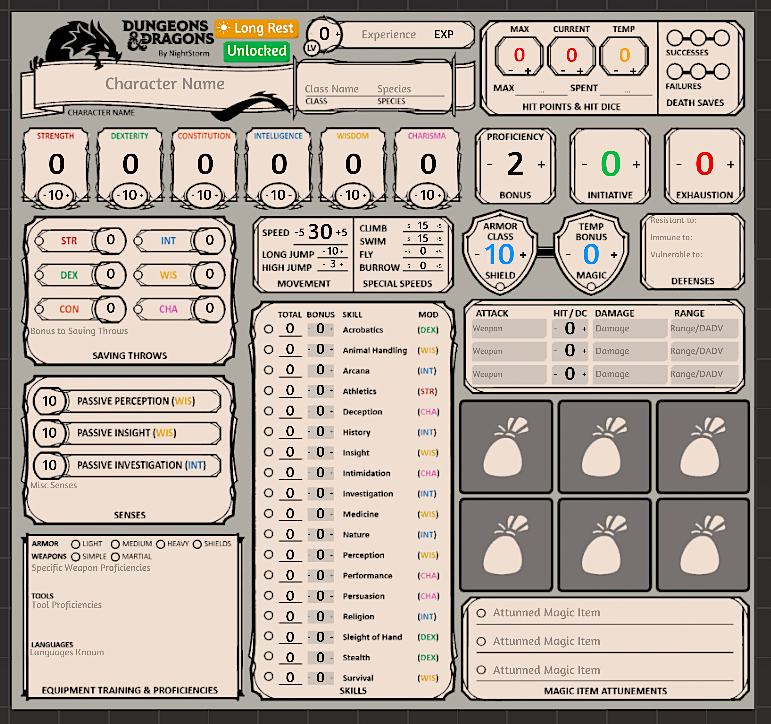
Below will describe more in depth what each sheet does.
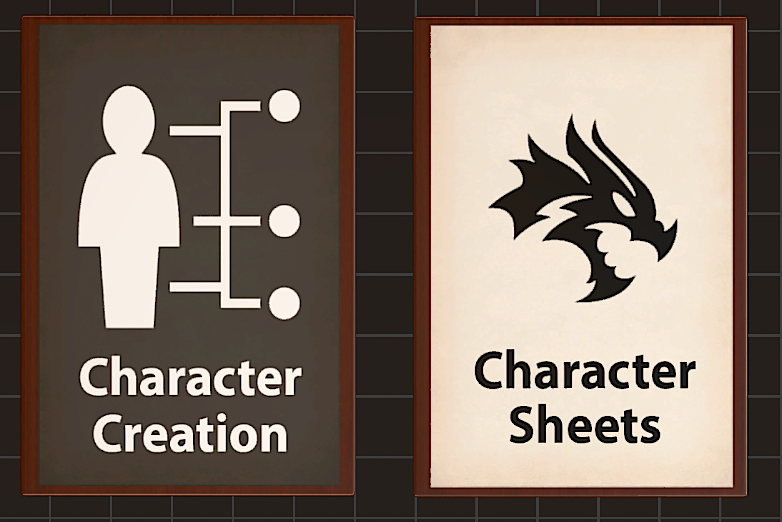
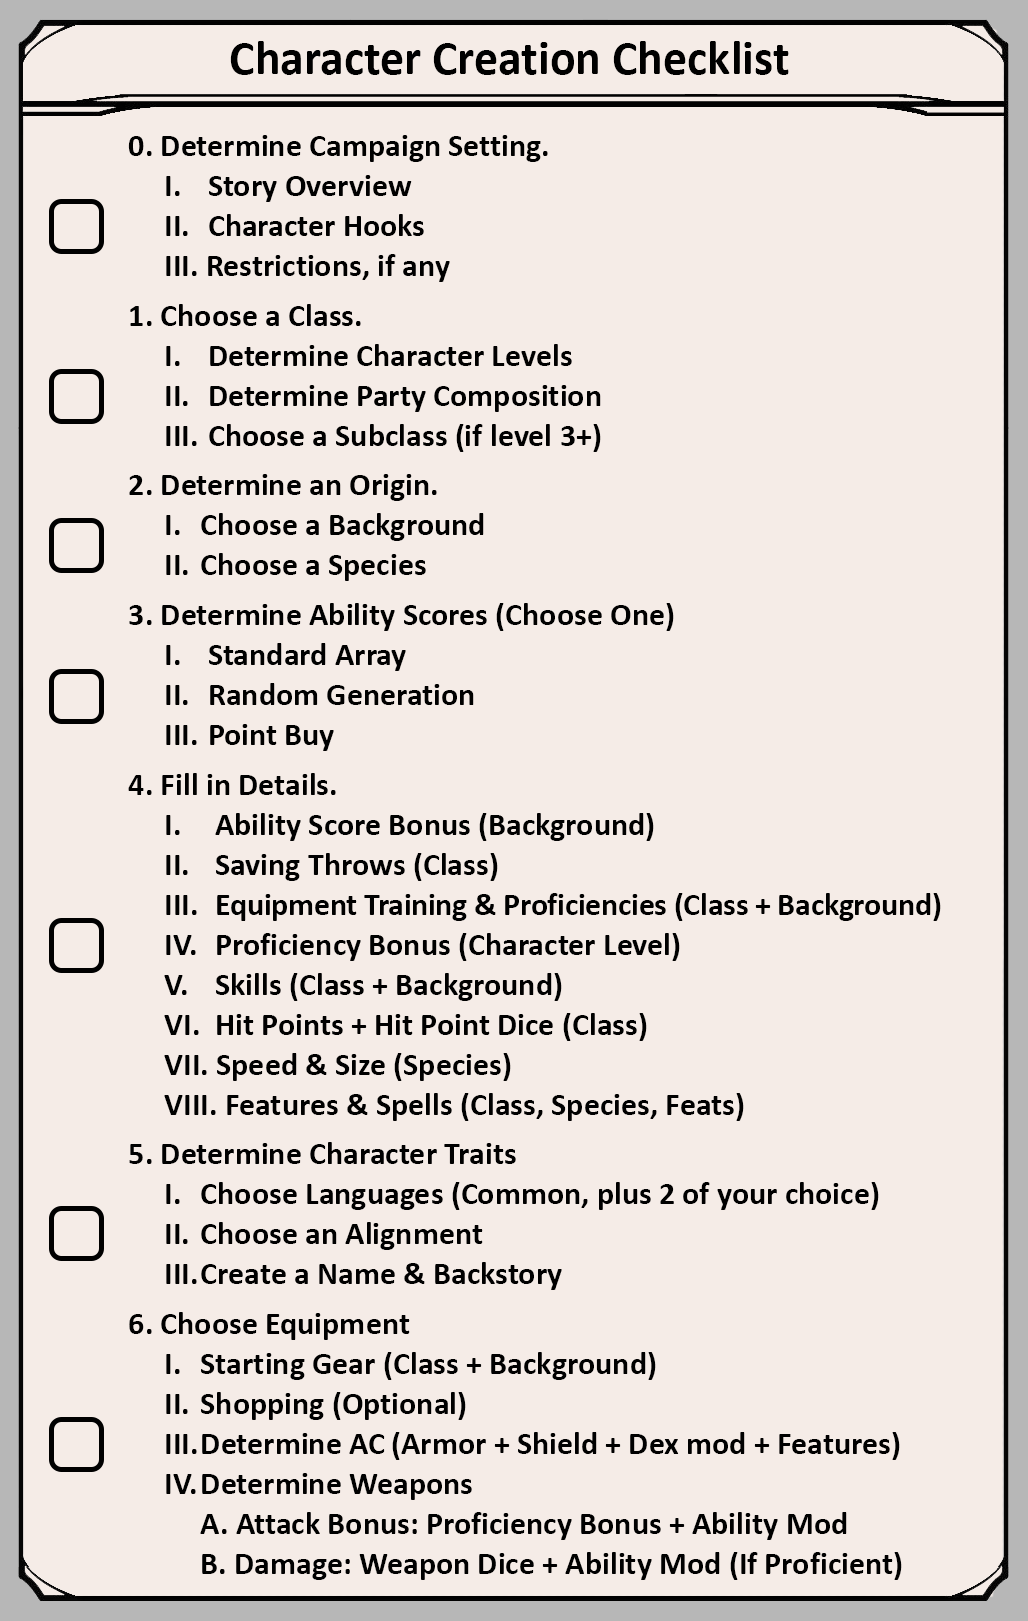
Also included in the Character Creation box is a checklist on how to make a character. You can click each box to check off when you completed a step.
- You can increment all numbers by pressing on the '+' or '-' buttons.
- You can press on the bullet points to add proficiency bonus to skills, click again to make it expertise in that skill (adding proficiency bonus twice), click once more to reset it.
- You can click to increment or type in the values of the Maximum HP, Current HP, Temporary HP, and expendable resources of your character.
- Pressing the Long Rest button sets your current HP equal to your Max HP, does the same for your expendable resources, and sets your Temporary HP to zero.
- The item bag sections are Placeholders for item cards. Drag an item card onto a slot for it to automatically position itself. This area is for quickly referencing items, essentially like a hot bar.
When it's that player's turn, they can click the action icon to make it disappear, so it's easy to tell when they used that action on their turn. That player can then reset the icons by clicking the Reset button, or clicking the icon again to bring it back. Make sure to lock the action bar so the player doesn't accidentally delete the written text.

Creating a Character PART 2 Cards
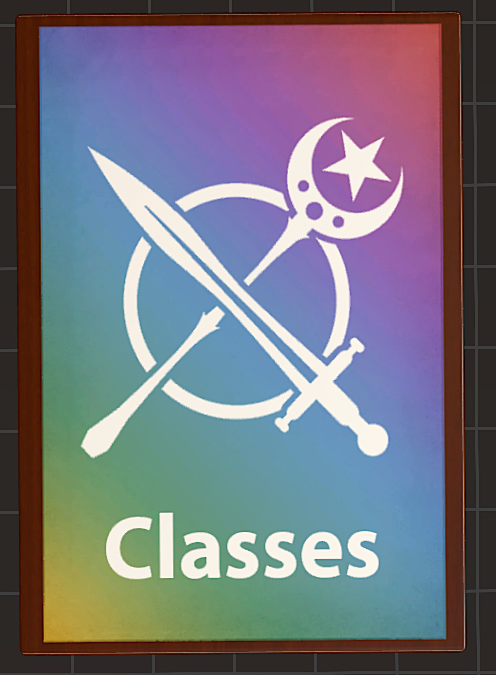 We will be using the Fighter class box as an example. Inside every class box, has their:
- Creating a level 1 *Class
- Class Table, showing what they get at each level
- Bag of Equipment Cards
- Spells, Weapon Masteries, Feats, Special options, if any
- Subclasses, each class gets one at level 3+
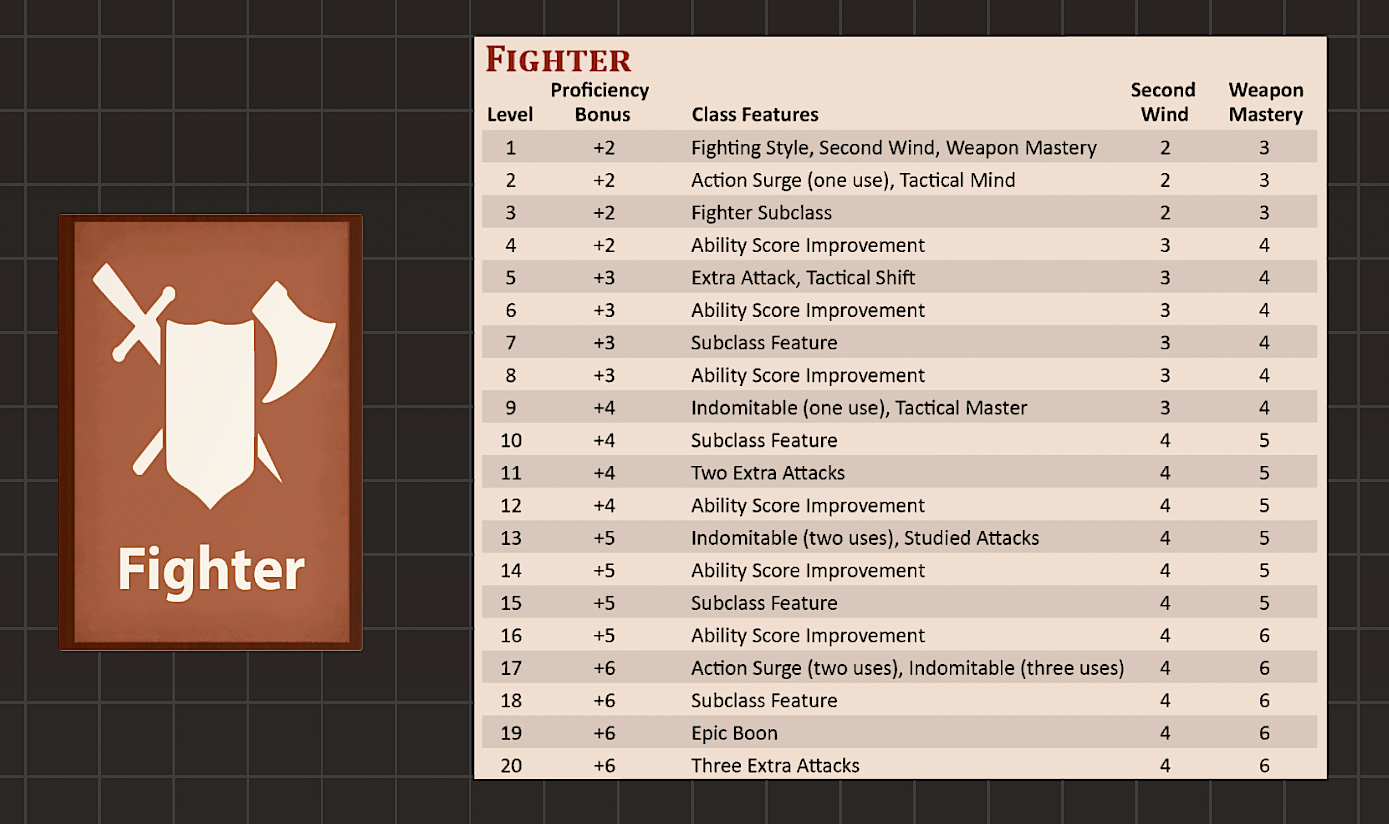
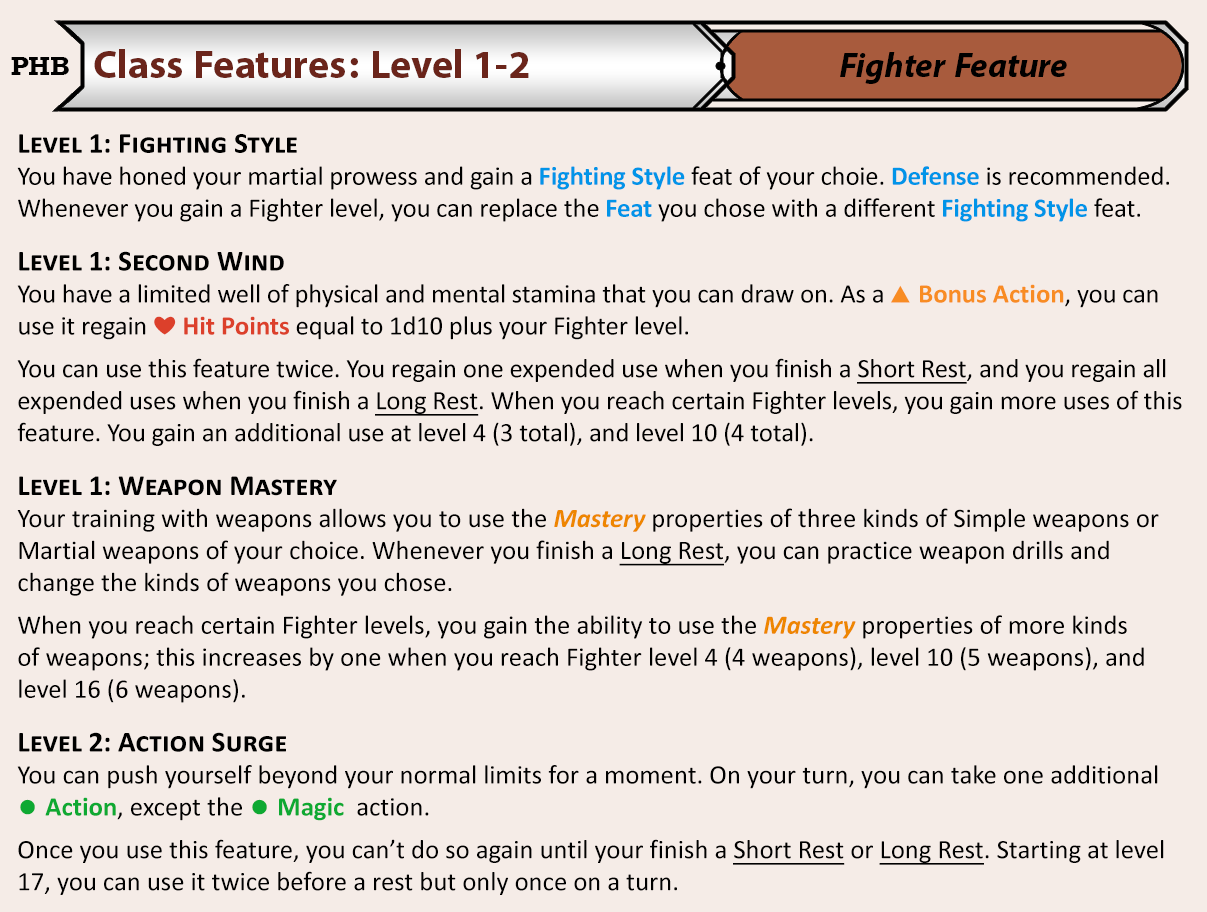
Whatever character level that player is, drag out the relevant cards that are that level and lower. For example, if they are level 5, drag out all the cards that say "Class Features: Level 1" up to level 5. The player can drag them over to their player area and arrange them however they wish.
Backgrounds, Species, and miscellaneous feats are located in the Character Creation box.
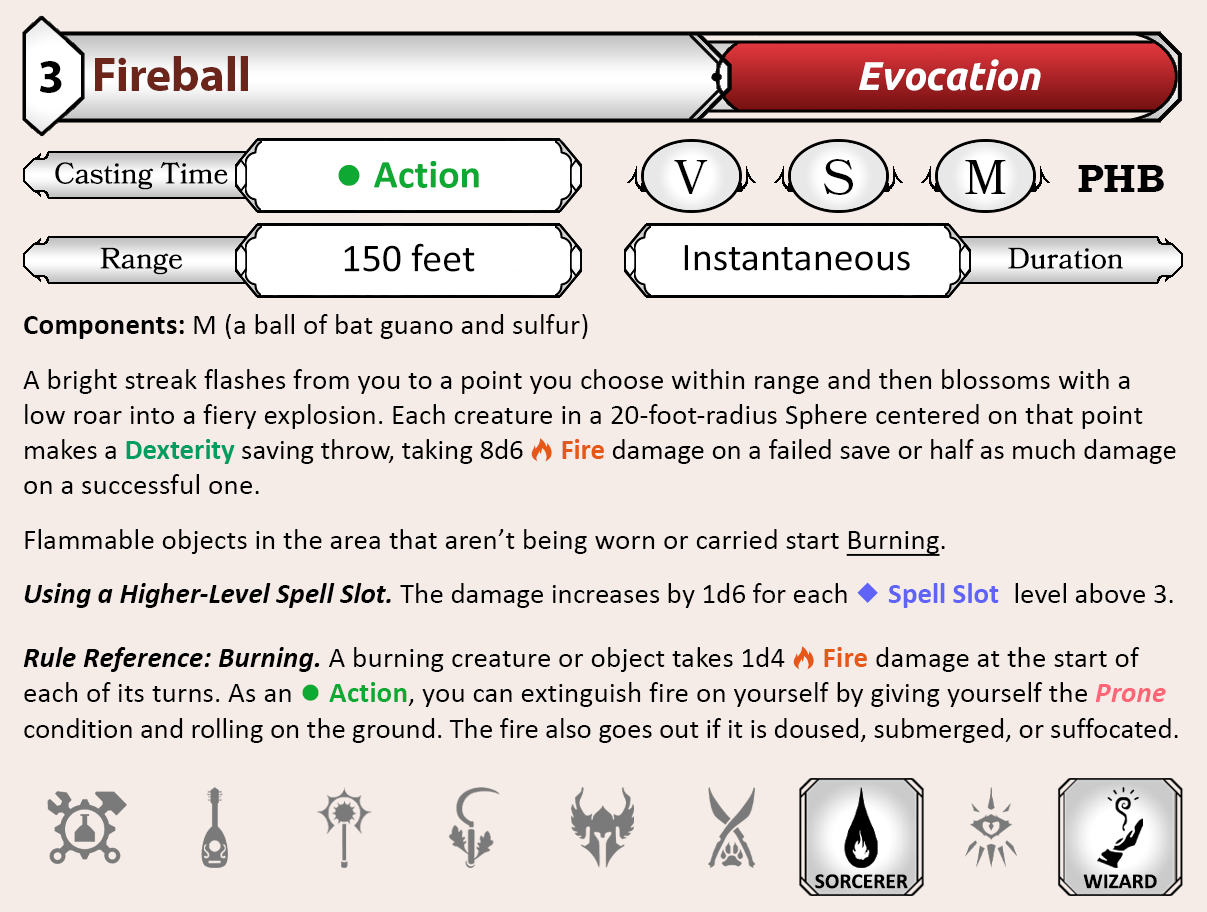
- Casting time, whether it's an Action, Bonus Action, 1 minute, etc.
- Range: how far it can target.
- Duration: how long it lasts.
- Spell components: Verbal: needs to be spoken to be cast, Materials needed, Somatic: hand movements.
- Spell school its categorized as, Abjuration, Conjuration, Divination, Enchantment, Evocation, Illusion, Necromancy, or Transmutation.
- What classes can cast the spell initially, any class, background, feat, or card that says otherwise can also allow you to cast the spell.
Be aware, if you are dragging spells out of the Spells box, it may lag because there is a stack of every single spell in the game being dragged out. It's recommended to instead use Bag Explorer if you know what spells you are looing for.
Miniatures & Combat
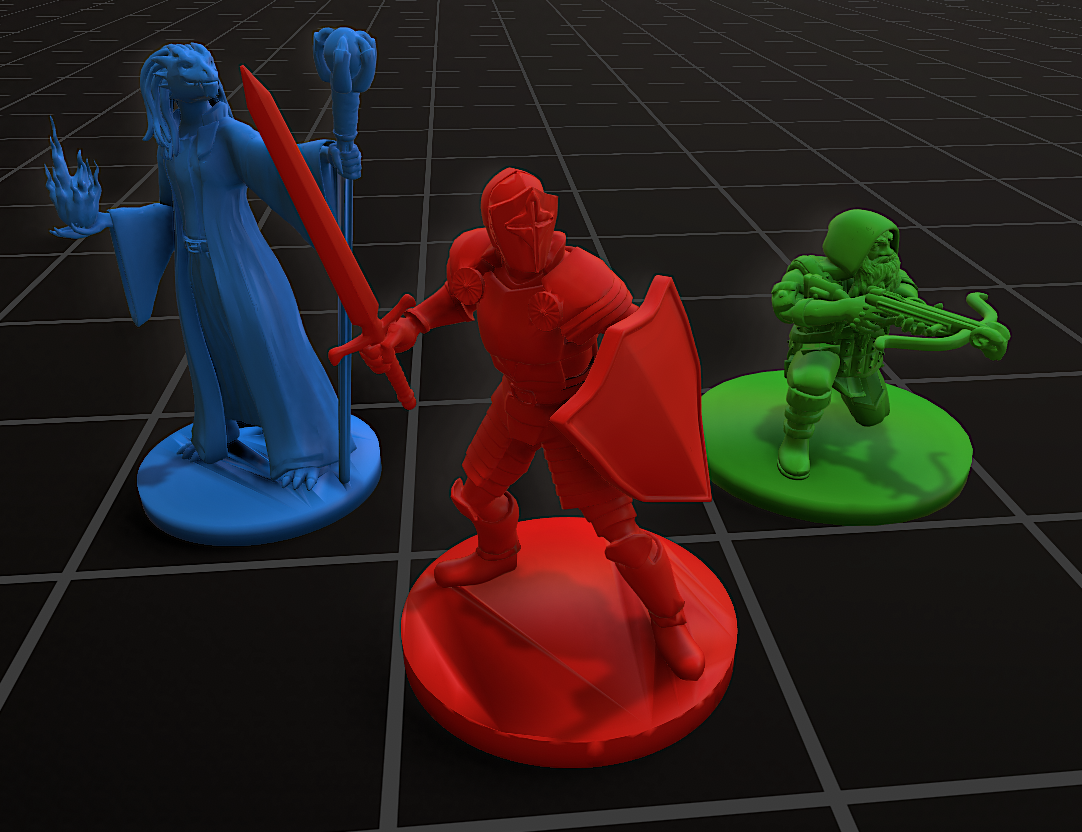
You can also use Bag Explorer to search by name and drag them out that way instead. All creatures are named respectively, i.e. Owlbears, Goblins, etc.
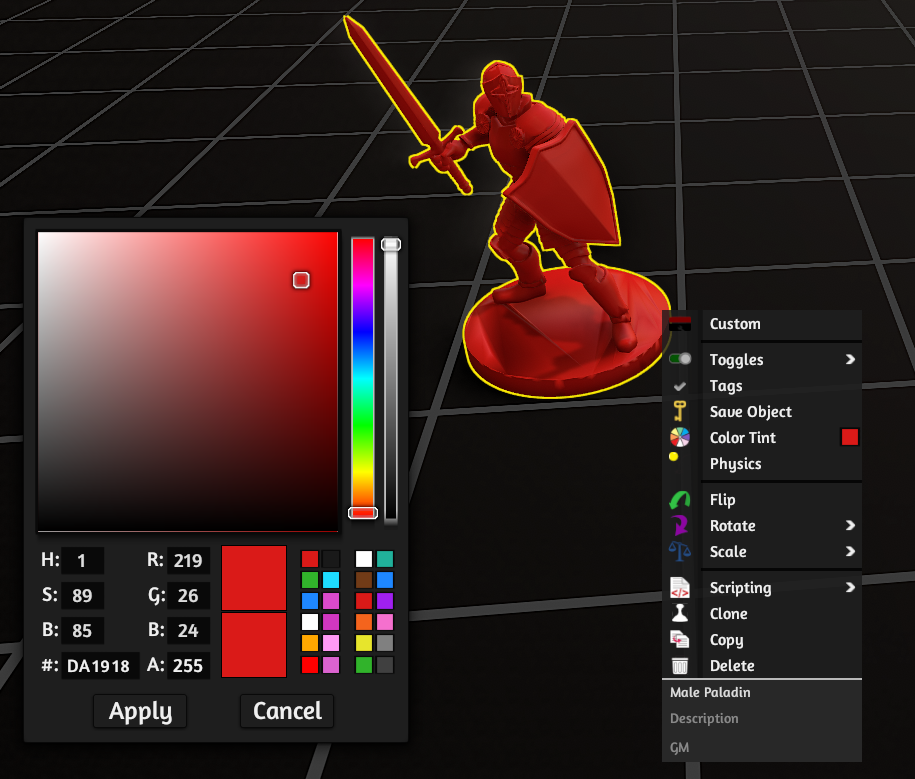
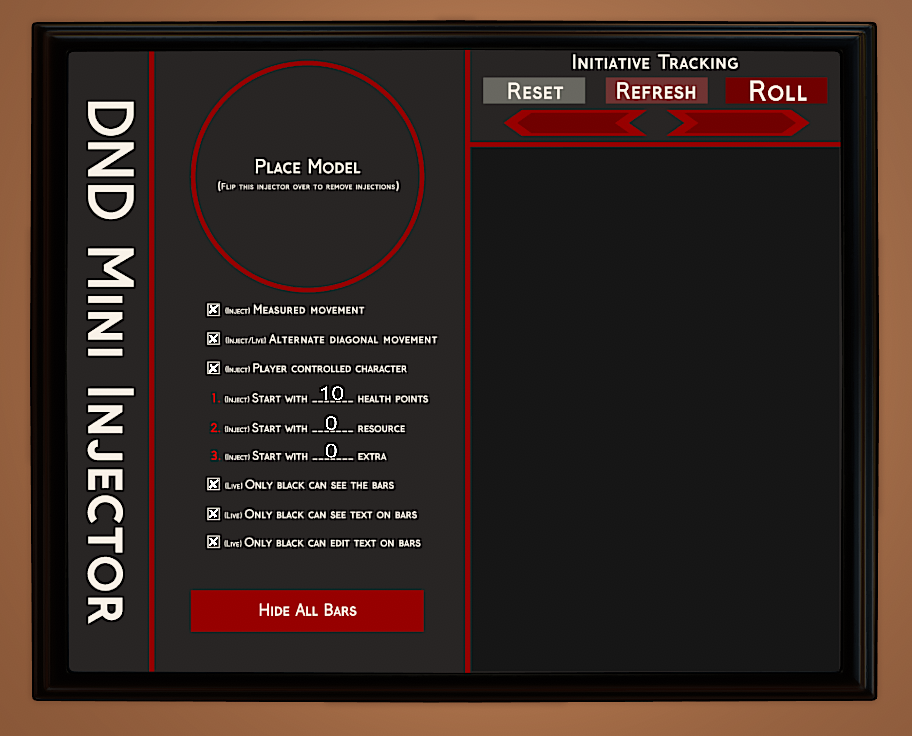
https://steamcommunity.com/sharedfiles/filedetails/?id=2454472719&searchtext=dnd+mini+injector
https://www.youtube.com/watch?v=GWwq8VGAHL0
After you place the mini on the injector, it will spawn a UI above the mini like the one below. I will step by step go over what each of these do.
If you have trouble pressing the buttons on the mini's UI, you may need to hold Right Click and slightly change your camera view till you can press one of the options. You can press the red bar to turn the UI off at any time.
If an option is colored Red, it means it's selected / on. If it's gray, the option is turned off.
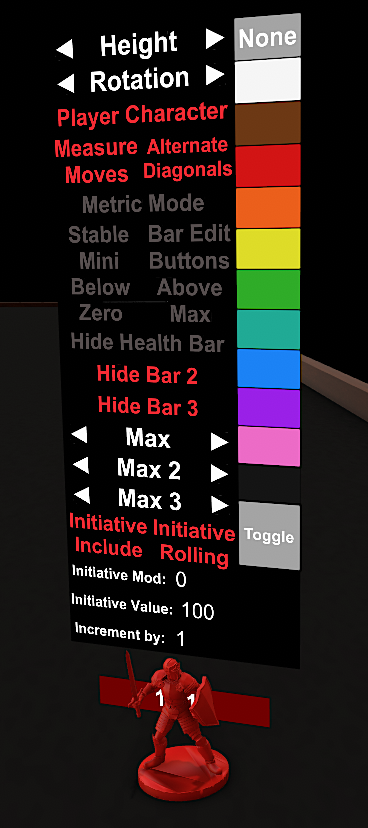
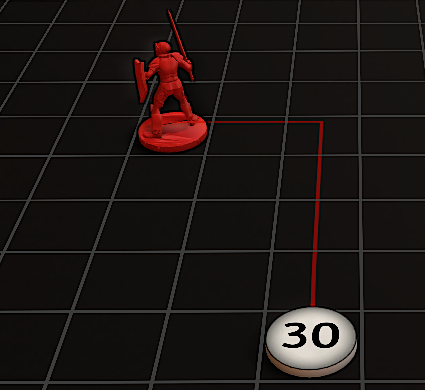
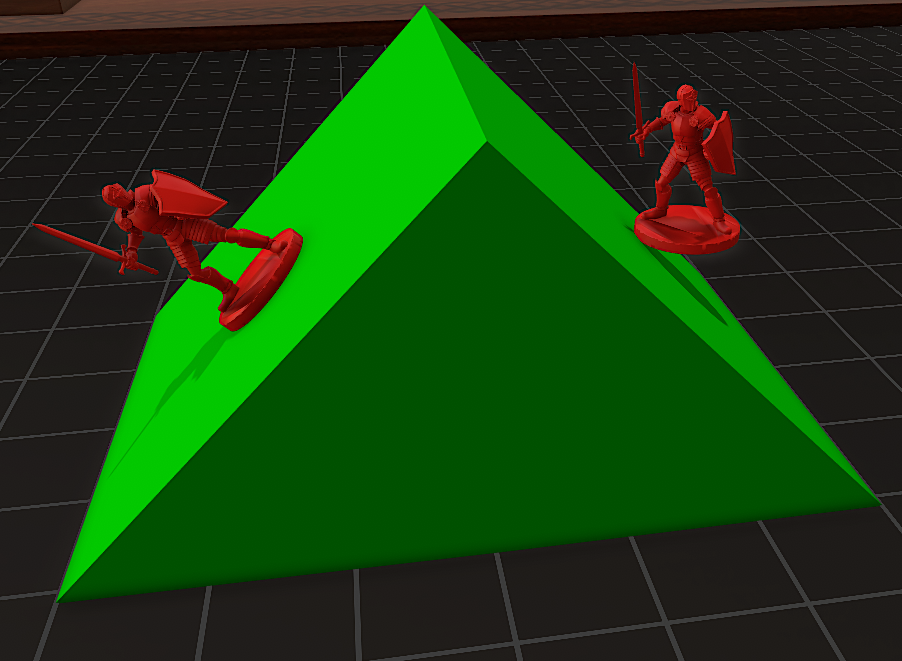
Below Zero and Above Max. Checking these options allows a mini's bar's value to go below zero and above its maximum value respectively.
Hide Bars. Checking these options will turn off the UI or turn on the UI of the HP bar and two more bars colored Blue and Yellow. These additional bars can be used to track other resources. The Max sections below them change the max values of the respective bar.
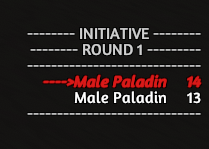
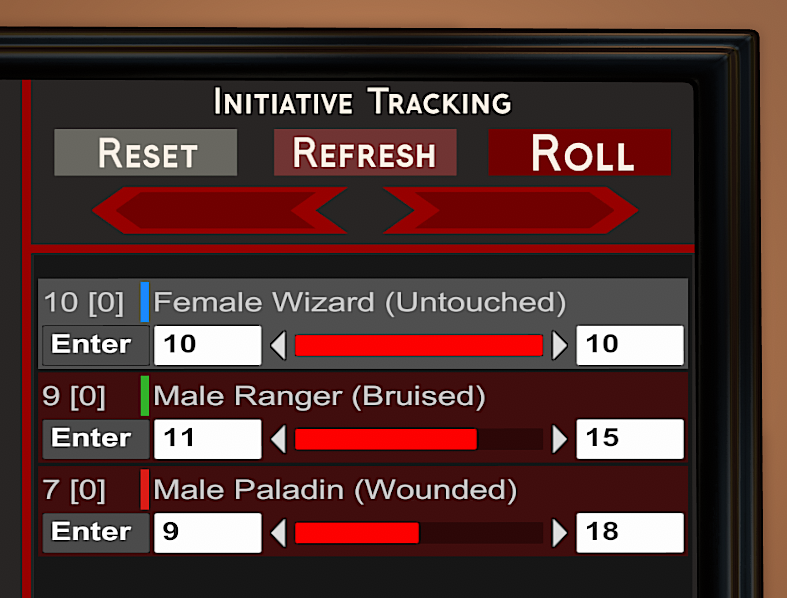
The 'Initiative Mod' is a bonus value added to that minis initiative when rolled. Otherwise, you can enter a manual initiative in the 'Initiative Value' if rolling is disabled. 'Initiative Value' resets to 100 each time initiative ends.
When combat is over, you can press the Reset button to clear the screen of the iniative.
Maps & One World
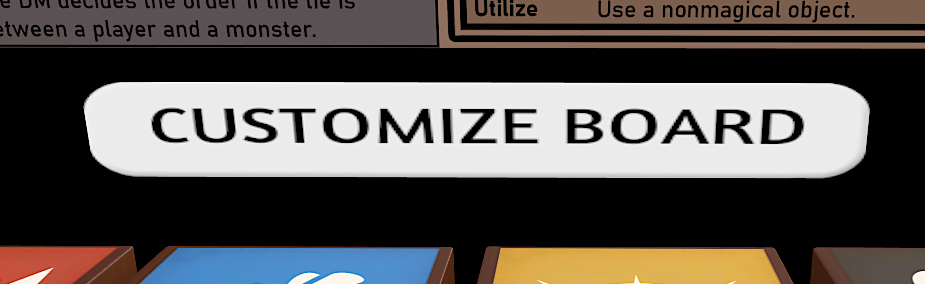
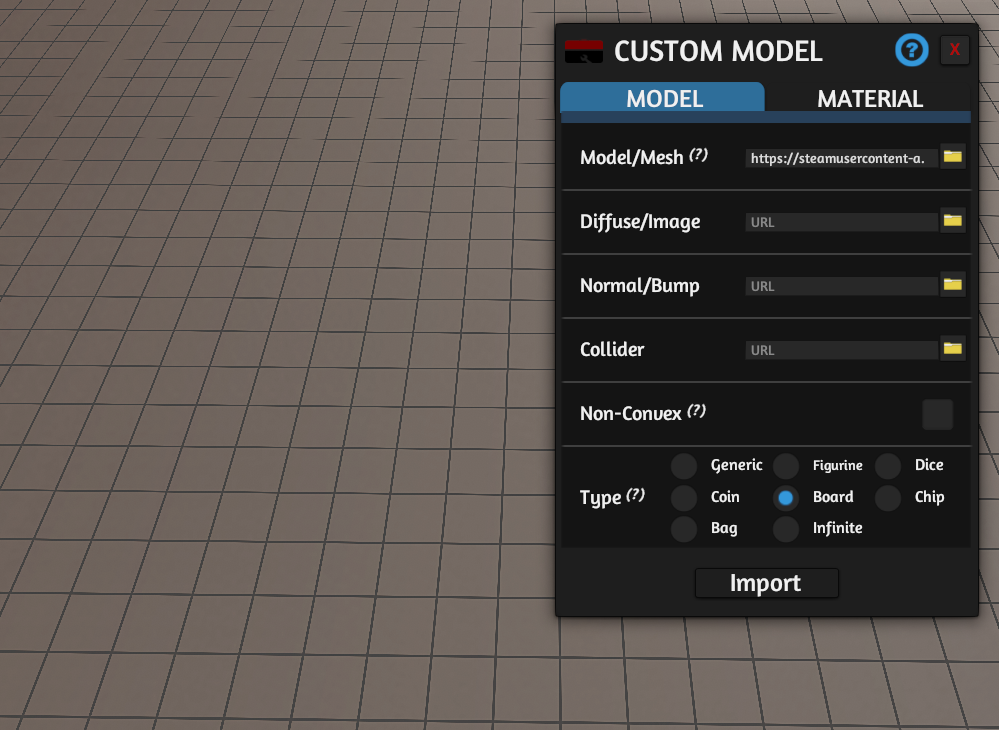
This will change the grid area in the middle of the table white and will allow you to change it's image. You can Right Click the white area > Custom > and paste the Image URL or folder browse for a map you want to use in the 'Diffuse/Image' area.
While One World may be a little complicated, you can make maps that link to other maps and spawn objects on top of images. And there are a vast amount of mods on the workshop that people make to share and allow you to import and play with.
For a simple video tutorial, see Tattle Tale's video.
https://www.youtube.com/watch?v=YOVAI_0dPVw
For an in depth guide, watch ColColonCleaner's video.
www.youtube.com/watch?v=7EvakLCmzZE&ab_channel=ColColonCleaner
Misc. Tools

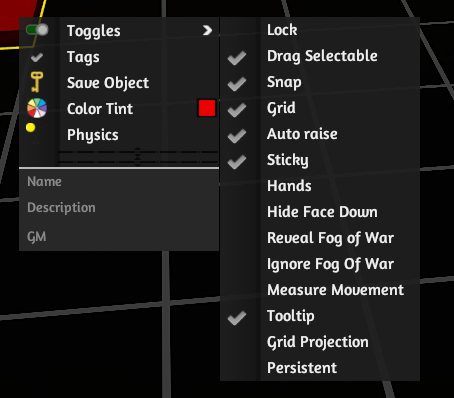
If you set a reveal color, only that player and the DM will see what is revealed with that setting for that object.
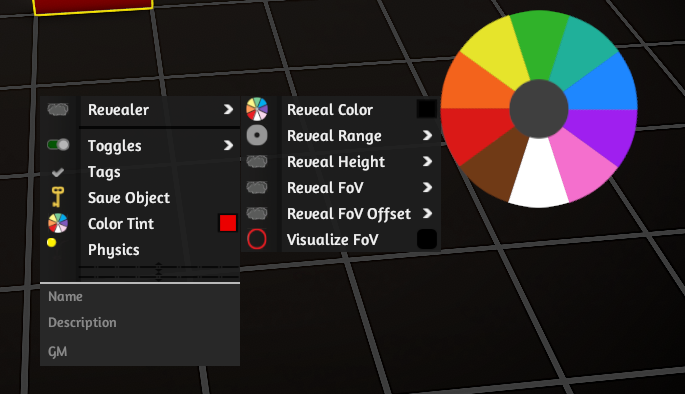
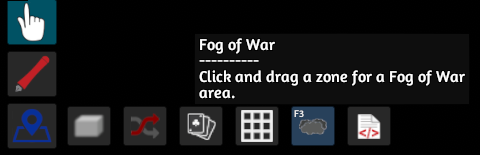
To delete, reset, or further customize a Fog of War area, you can select the Fog of War tool. Either press the 'F3' key five times, or go to the UI on the left side and the third down option, select the fifth option, Fog of War. See below. Left click the Fog of War to customize or select delete.
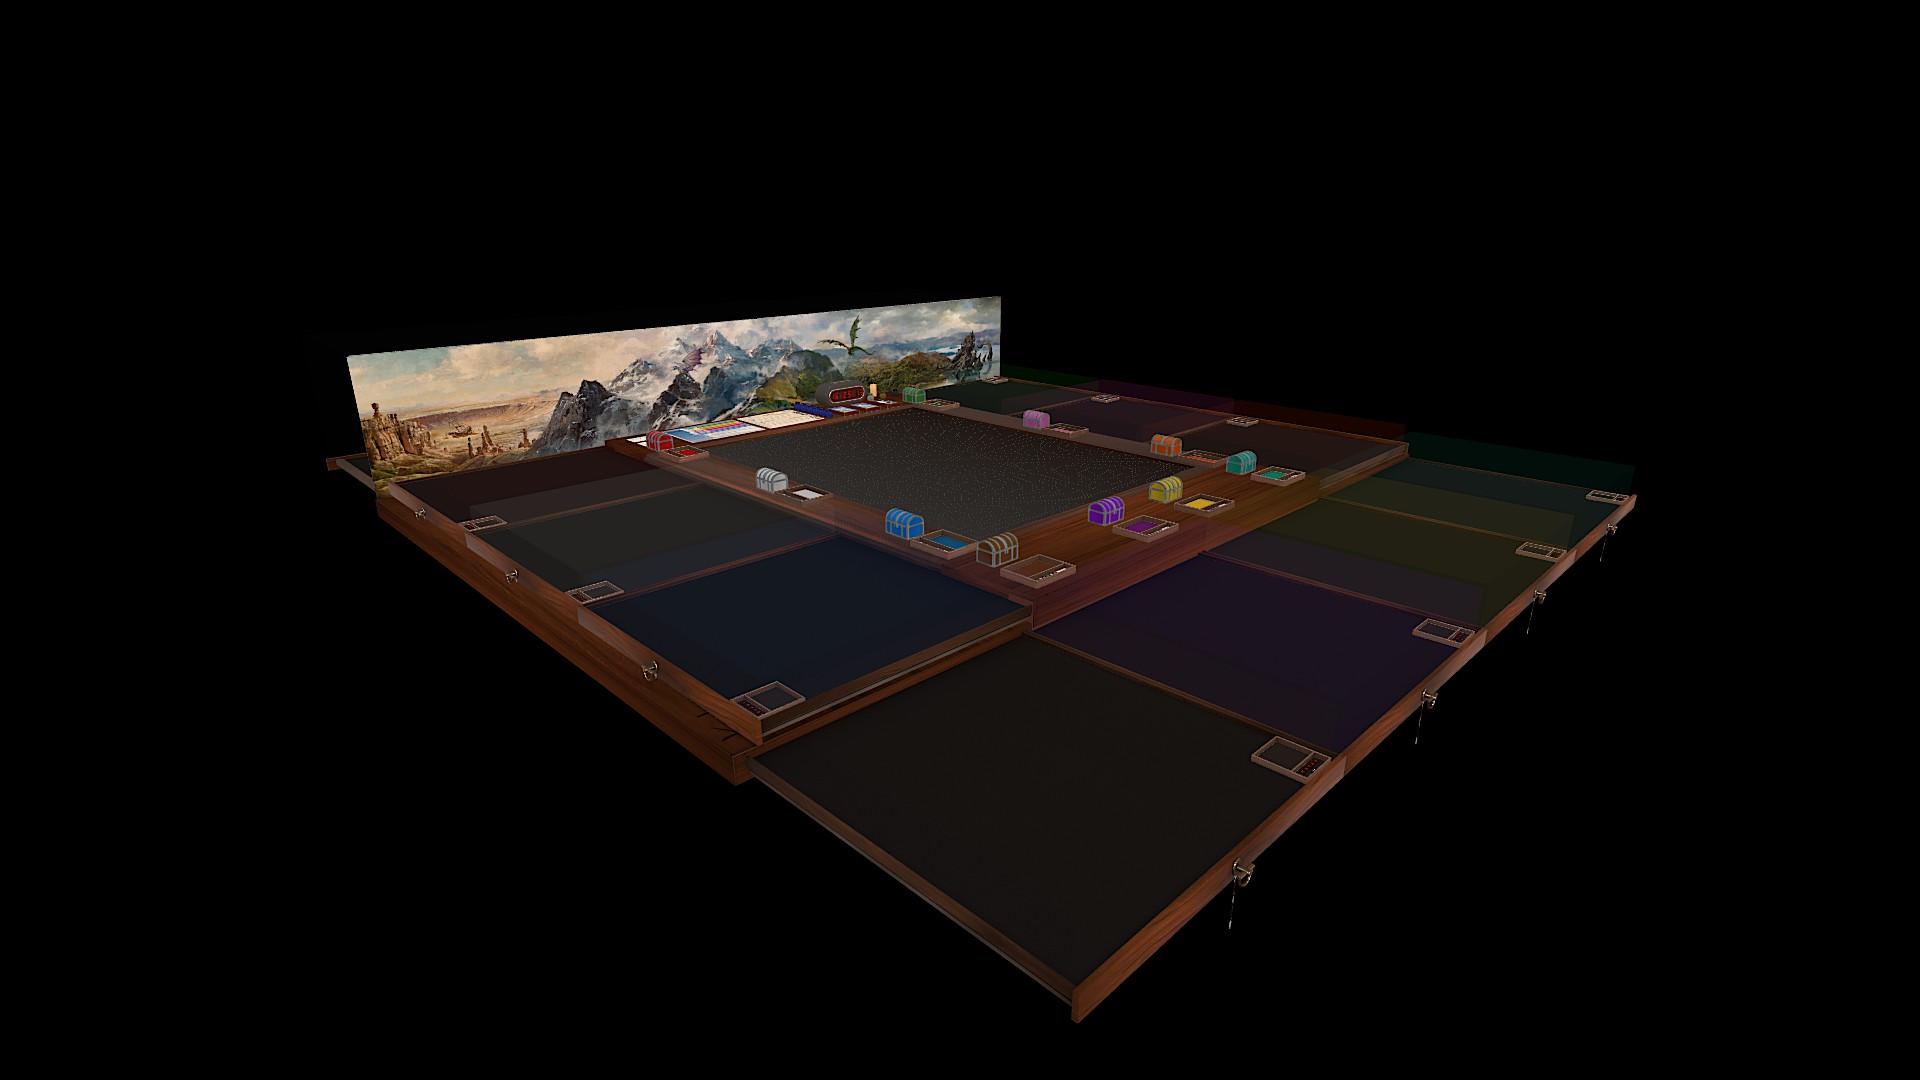
The color tint can be annoying to some people. To turn the color tint opacity down go to: Menu > Configuration > Interface > Misc. Settings > Hidden Zone Show Opacity.
Turn the Hidden Zone Show Opacity slider all the way down.
There is also a tool to turn them off on DM's side.
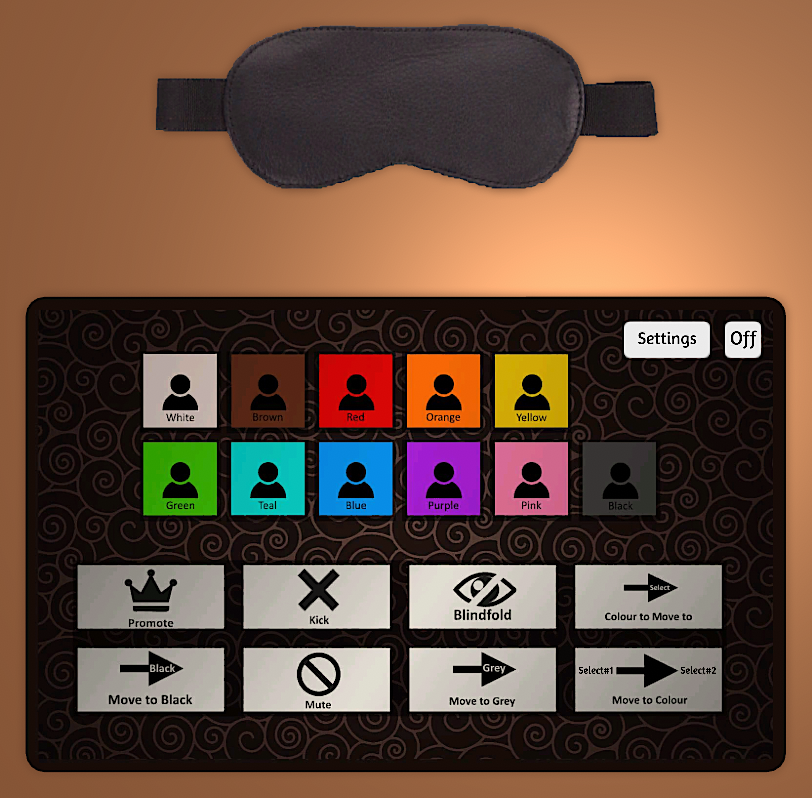
If you want to blindfold a particular player, use the promote board. The promote board can also be used to switch a player to a different color, or promote them, giving them higher permissions.
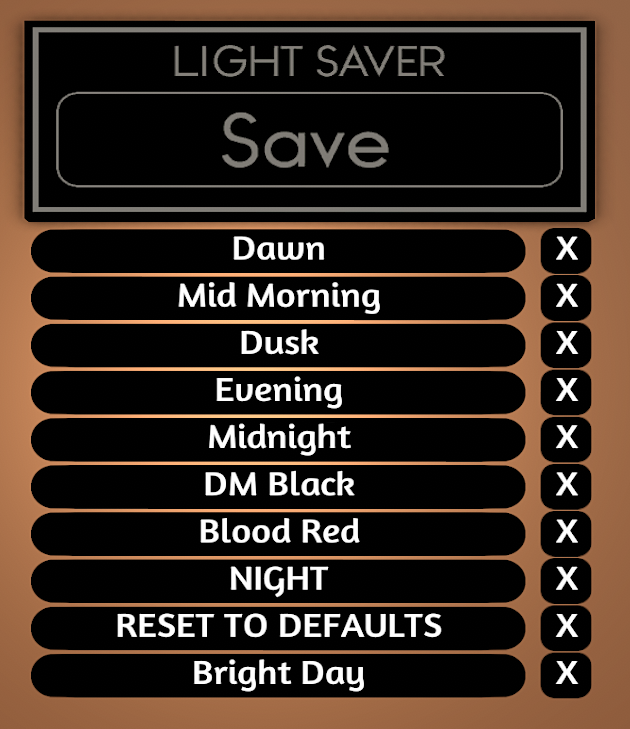
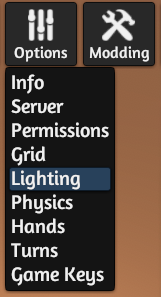
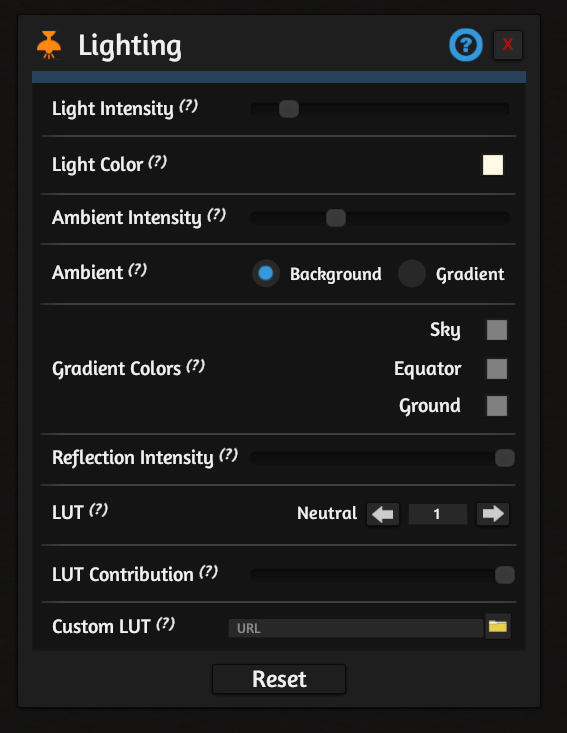
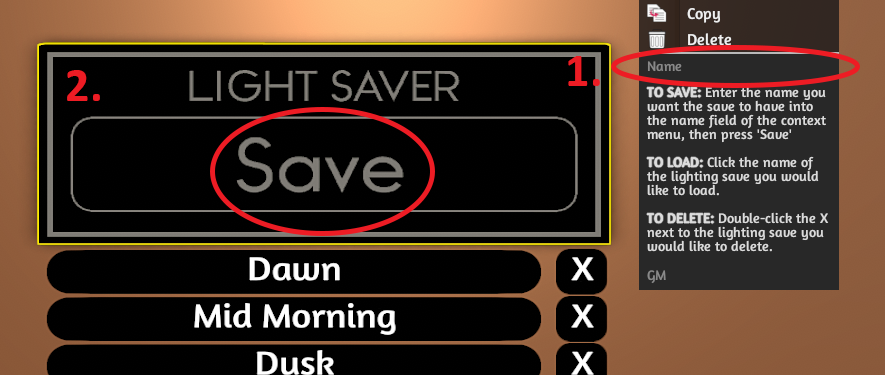
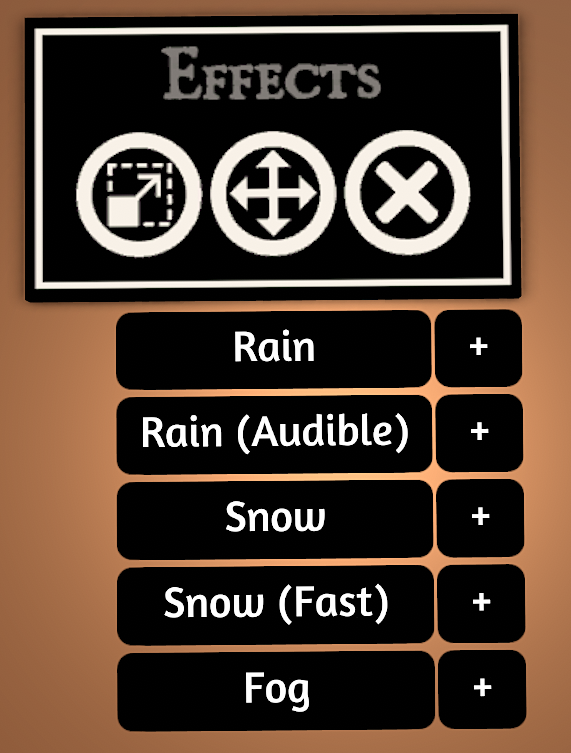
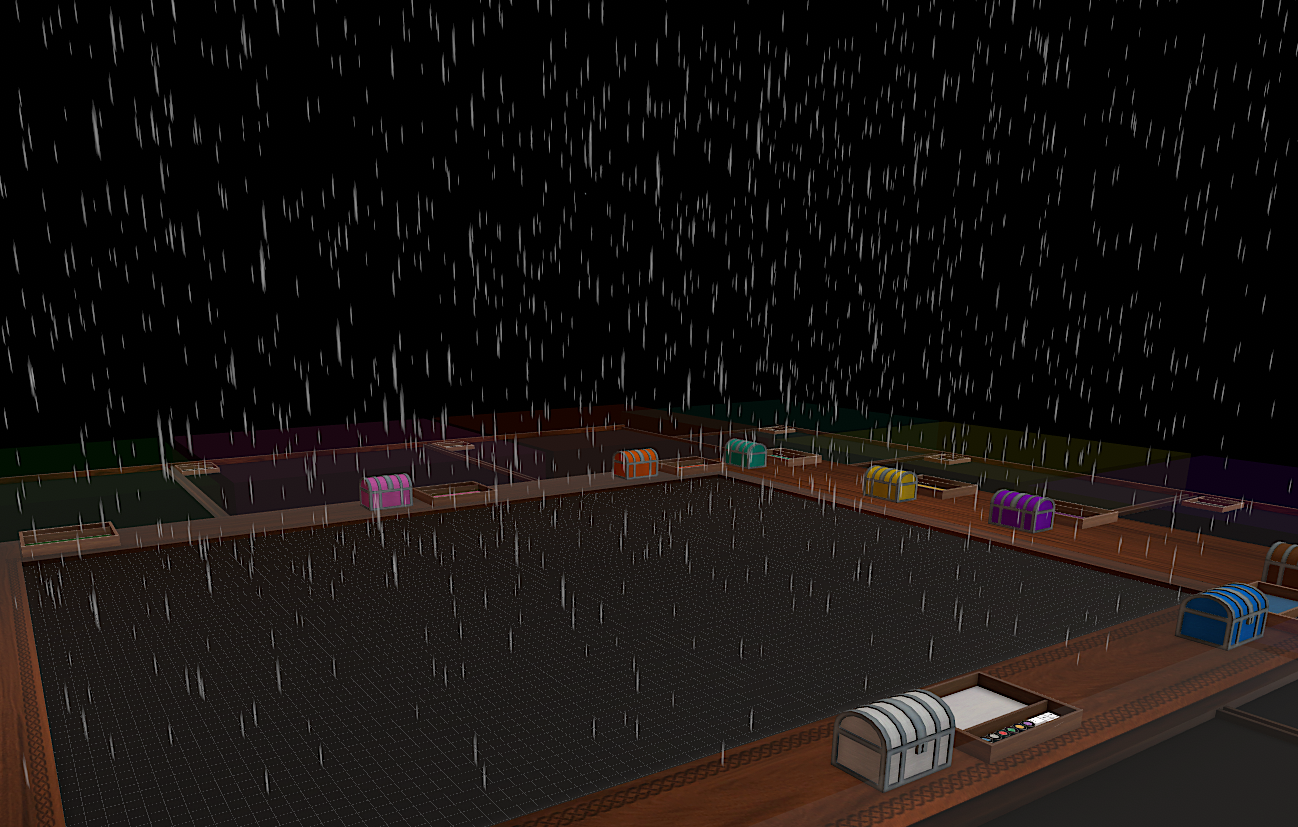
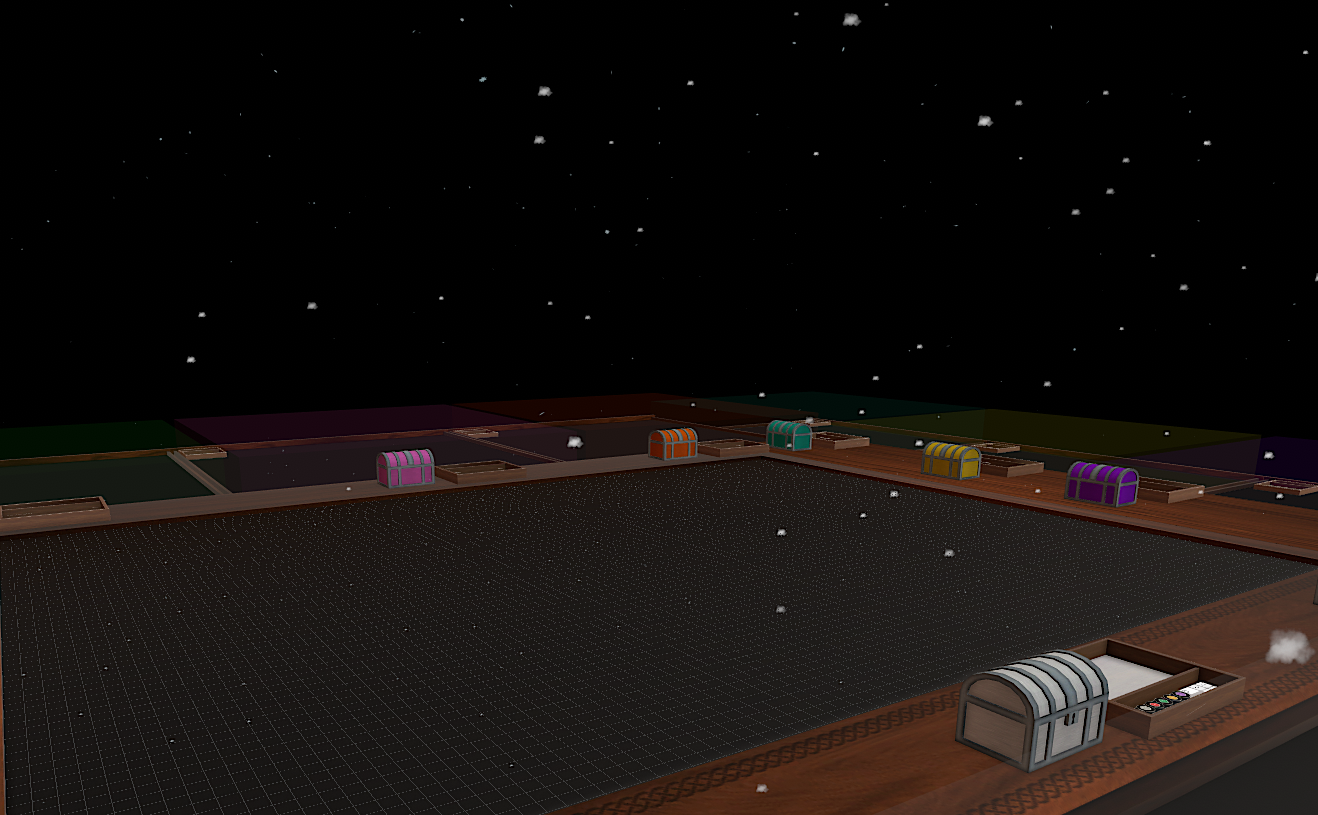
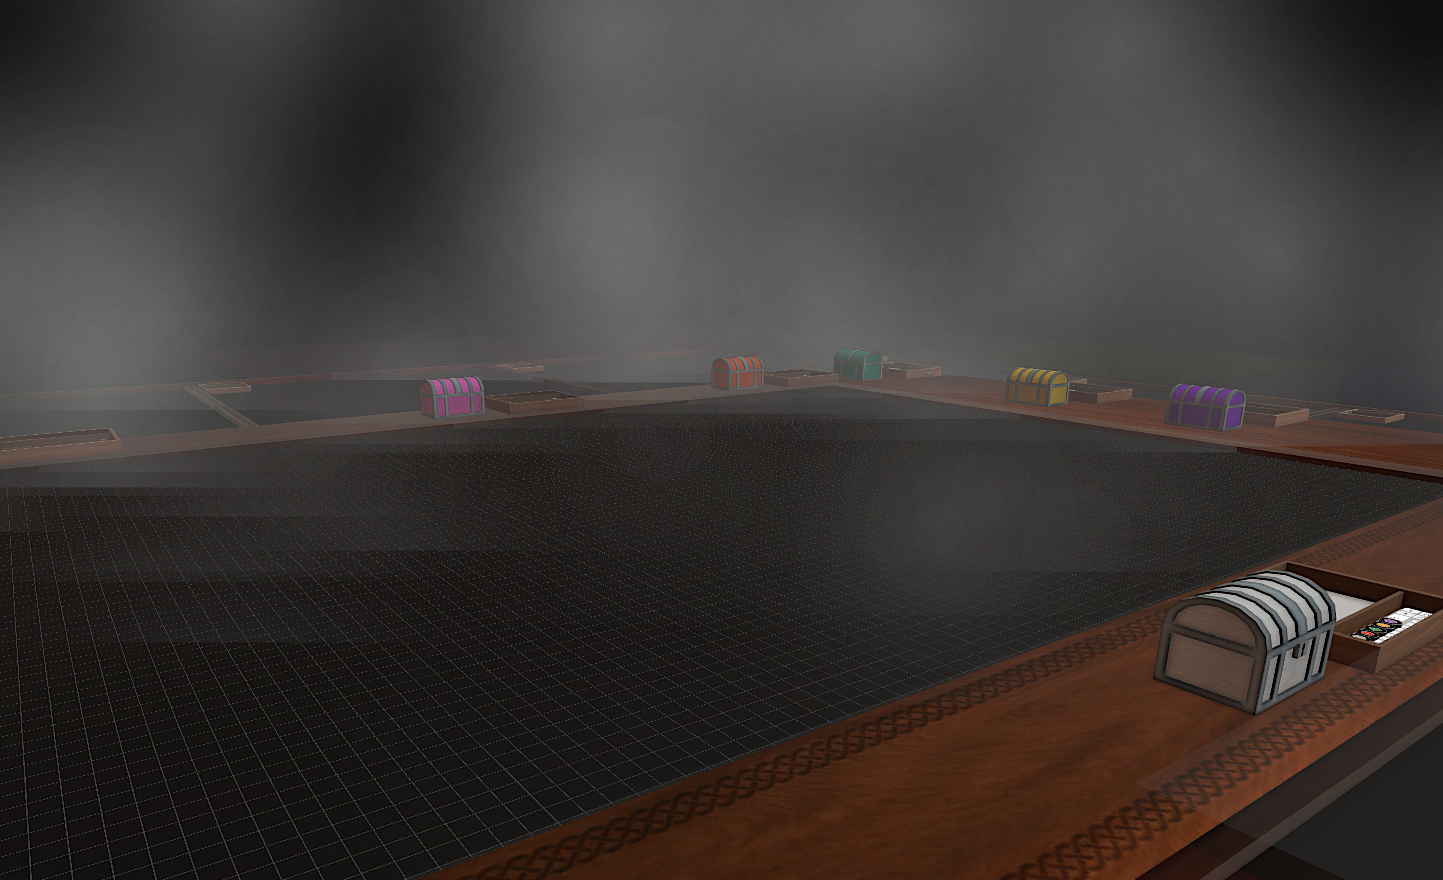
To change the lighting to one of the presets, simply click on the name of the button. If you want to create your own lighting preset, you need to do the following:
Conclusion
That's a large chunk of how to play D&D using this mod.
This is the first steam guide I've made so it may be a bit sloppy and I haven't included every single explanation of everything in the mod. But, I encourage you to tinker and learn for yourself how things work. The best way to learn is to go into the mod and mess around with things.
For some of the stuff I didn't mention, there should be notecards in game explaining, or tooltips that appear if you hover your mouse cursor over the item.
Of course, if there are any issues, if you have any suggestions, or just want to give any feedback. Don't be afraid to leave comments on this guide or on the workshop.
Have fun, and good luck on your D&D journeys!
- D&D Setup [Up to 9 Players]★ 5 (513)35k views1.6k ♥5 minUpdated Nov 26, 2021
- Achievement Guide★ 5 (550)34k views880 ♥7 minUpdated Nov 9, 2024
- Learning Lua - A beginner's guide to scripting★ 5 (576)29k views1.5k ♥15 minUpdated Jul 3, 2017
- [RUS] Тайный Гитлер / Secret Hitler★ 5 (582)27k views1.1k ♥8 minRussianUpdated May 5, 2019
- Making Card Games★ 5 (310)27k views734 ♥3 min
- 100% Achievements: A Comprehensive Guide★ 5 (303)26k views515 ♥7 minUpdated Jul 11






- Upgrading to PremiumTeam Fortress 2★ 5 (20k)1441k views11k ♥6 minUpdated May 11, 2022
- No More Room in Hell Official ManualNo More Room in Hell★ 5 (2.8k)569k views2.1k ♥29 minUpdated Apr 22, 2019
- NMRiH Community Hosting GuidesNo More Room in Hell★ 5 (526)351k views653 ♥1 minUpdated Aug 10, 2022
- ULTIMATE GUIDE FOR GAME DEV TYCOONGame Dev Tycoon★ 5 (5.8k)326k views10k ♥4 minUpdated 23 Jan, 2014
- How to 'Git Gud' Soon™MORDHAU★ 5 (2k)318k views3k ♥68 minUpdated Nov 16, 2024
- Лучшие кооперативные игры SteamPAYDAY 2★ 5 (1.5k)315k views2.1k ♥56 minRussianUpdated Apr 27, 2025






This guide was created by its original author on the Steam Community. Are you the author and want it removed? Request removal.