Phasmophobia Alan Wake Guide
Introduction

Welcome back to another guide, and welcome to Phasmophobia by Alan Wake; a writer, a story, and several deeply questionable decisions involving haunted locations.
Something strange has started bleeding into a handful of investigation sites. Words of Power now hide throughout the maps, shadowy Dark Presences whisper from dark corners, and scattered dolls are tied to a series of riddles that somebody, somewhere, definitely thought was a good idea.
Throughout the event, investigators will work through puzzles and hidden objectives spread across several themed maps, uncovering secrets of the Dark Place while progressing toward both personal and community rewards. Along the way, you'll be banishing Dark Presences, tracking down Dolls, and aggressively shining UV lights at walls in the hope something starts glowing...
This guide covers the event mechanics, puzzle solutions, map routes, rewards, and hidden collectibles tied to the event. Some sections contain full solutions and locations, so consider this your spoiler warning before we start poking around!
Anyway, let’s go meddle with supernatural forces beyond our comprehension. Again.

Event Overview
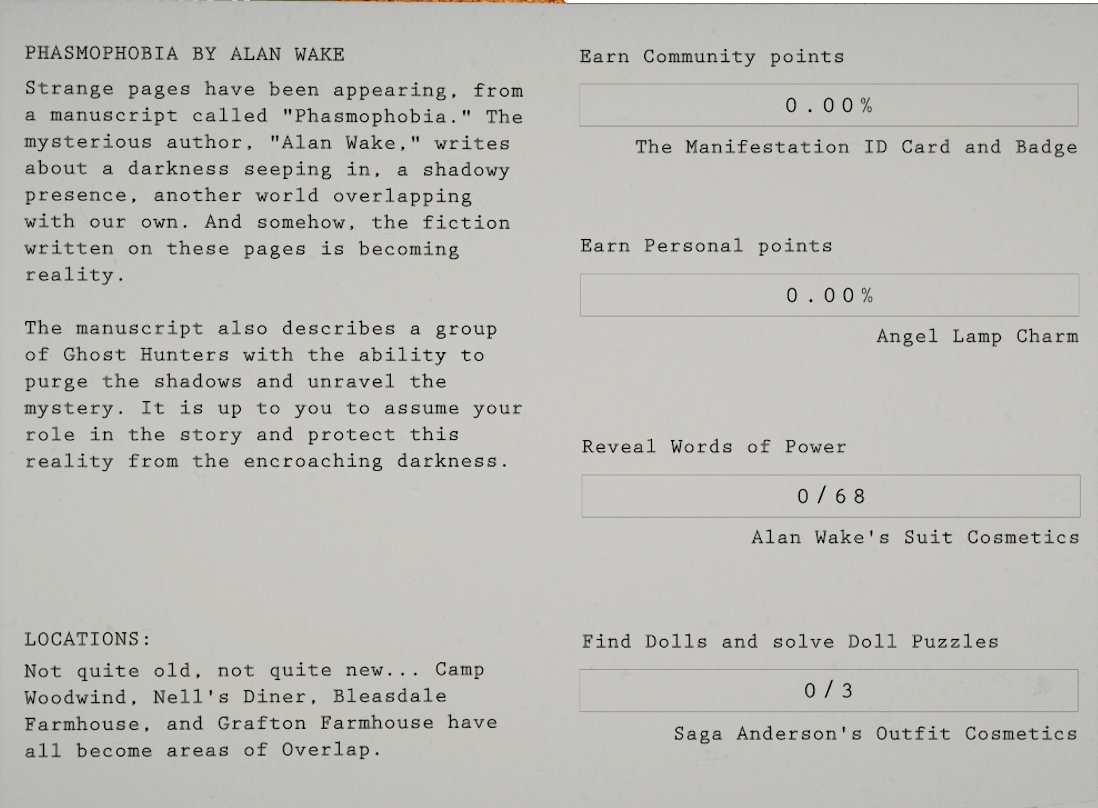
- 1. Identify Ghost Correctly (10 points)
Correctly identifying the ghost will earn you 10 points. - 2. Reveal Words of Power (2 points each)
Finding and shining a UV Light on a word of power to reveal it will earn (2) points per hieroglyph. - 3. Finding and destroy the dark presences
Finding and banishing a dark presence will earn you 2 points per, whatever they are.
Event Points are affected by your difficulty multiplier. For example, correctly identifying the ghost on Amateur difficulty with a x4.00 multiplier will grant 4 Event Points.
The maximum possible total per contract is 56 Event Points.
Note: A x1.00 difficulty multiplier or higher is required to earn Event Points. (No cheesing it.)
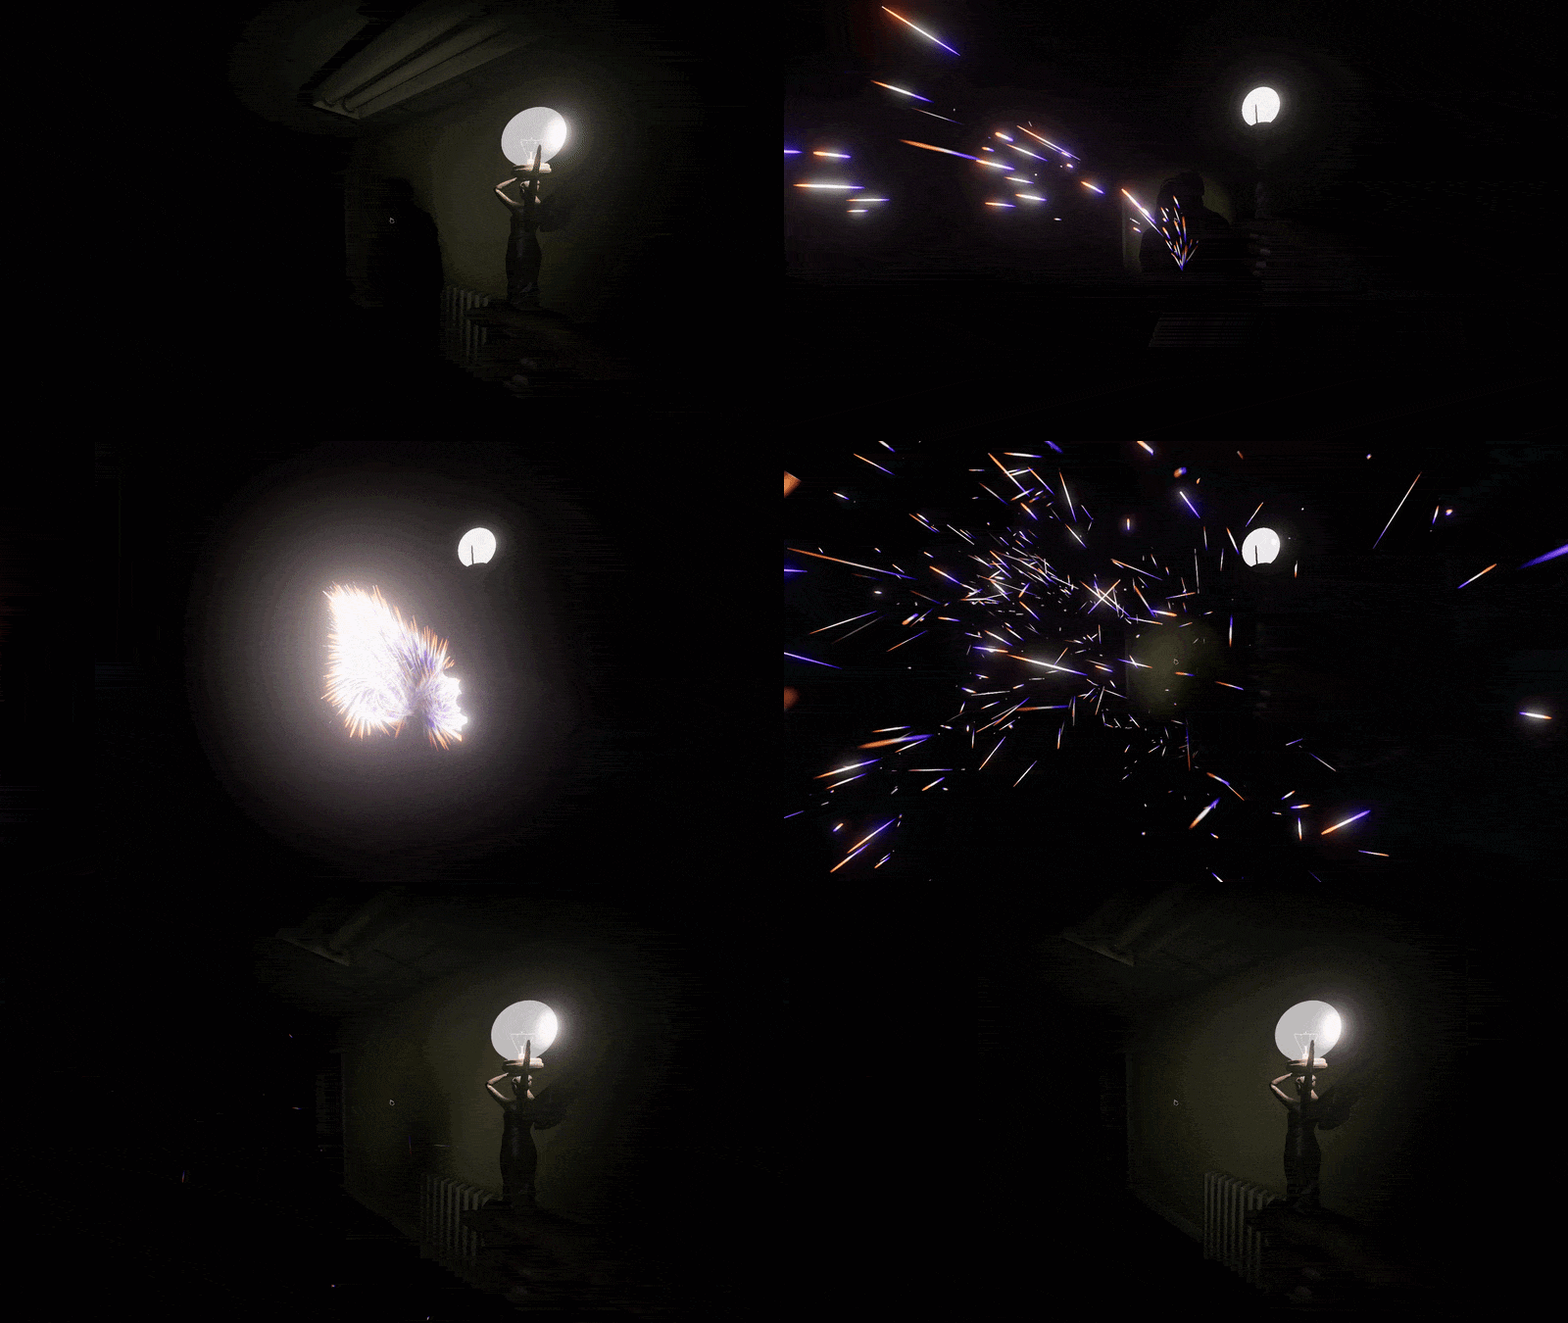
Dark Presences are the shadowy figures found across the event maps. Unmoving, untouchable, but far from silent, these lingering entities whisper from somewhere beyond the Dark Place.
To banish them, grab the Angel Lamp from the truck. When you encounter one of these otherworldly guests, hold down the "Use" button to focus the lamp’s light onto the Dark Presence. After a few seconds, the light will cut through the darkness and force the ethereal figure to disappear.
Each Prescence you banish grants +2 event points. A map can have anywhere between 3 and 20.
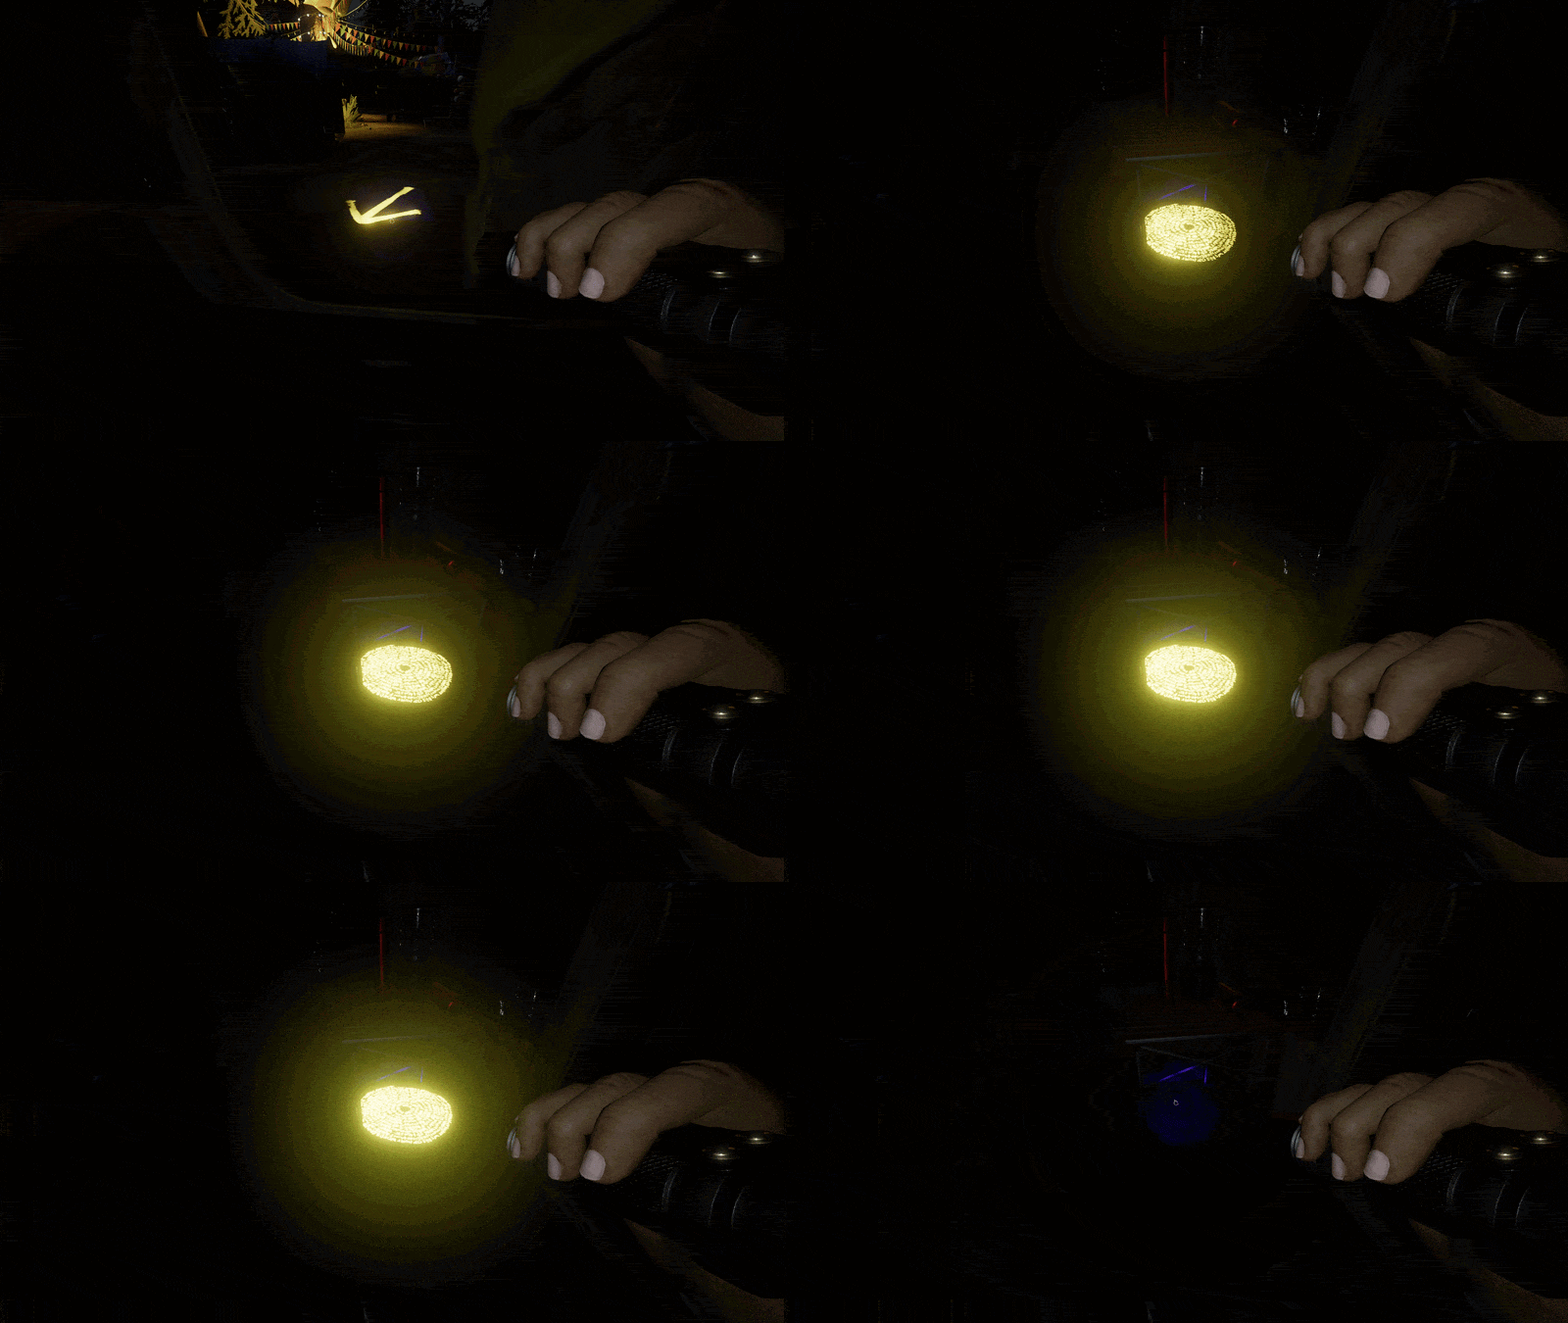
Words of Power are hidden across each of the event maps and can only be revealed using a UV light. When you get close to one, glowing yellow arrows will begin appearing nearby, guiding you toward a spiral of glowing letters hidden somewhere in the area.
Once you’ve found one, shine your UV light directly onto it to burn away the darkness surrounding the text. After a few seconds, the Word of Power will disappear completely.
There are 68 Words of Power spread across all event maps in total. Each player must reveal the Words of Power themselves, so if a teammate finds one first, it won’t count for you.
Tip: When following arrows, be sure to look up, or even down! Try different angles to spot these spirals!
Coffee World (Camp Woodwind)
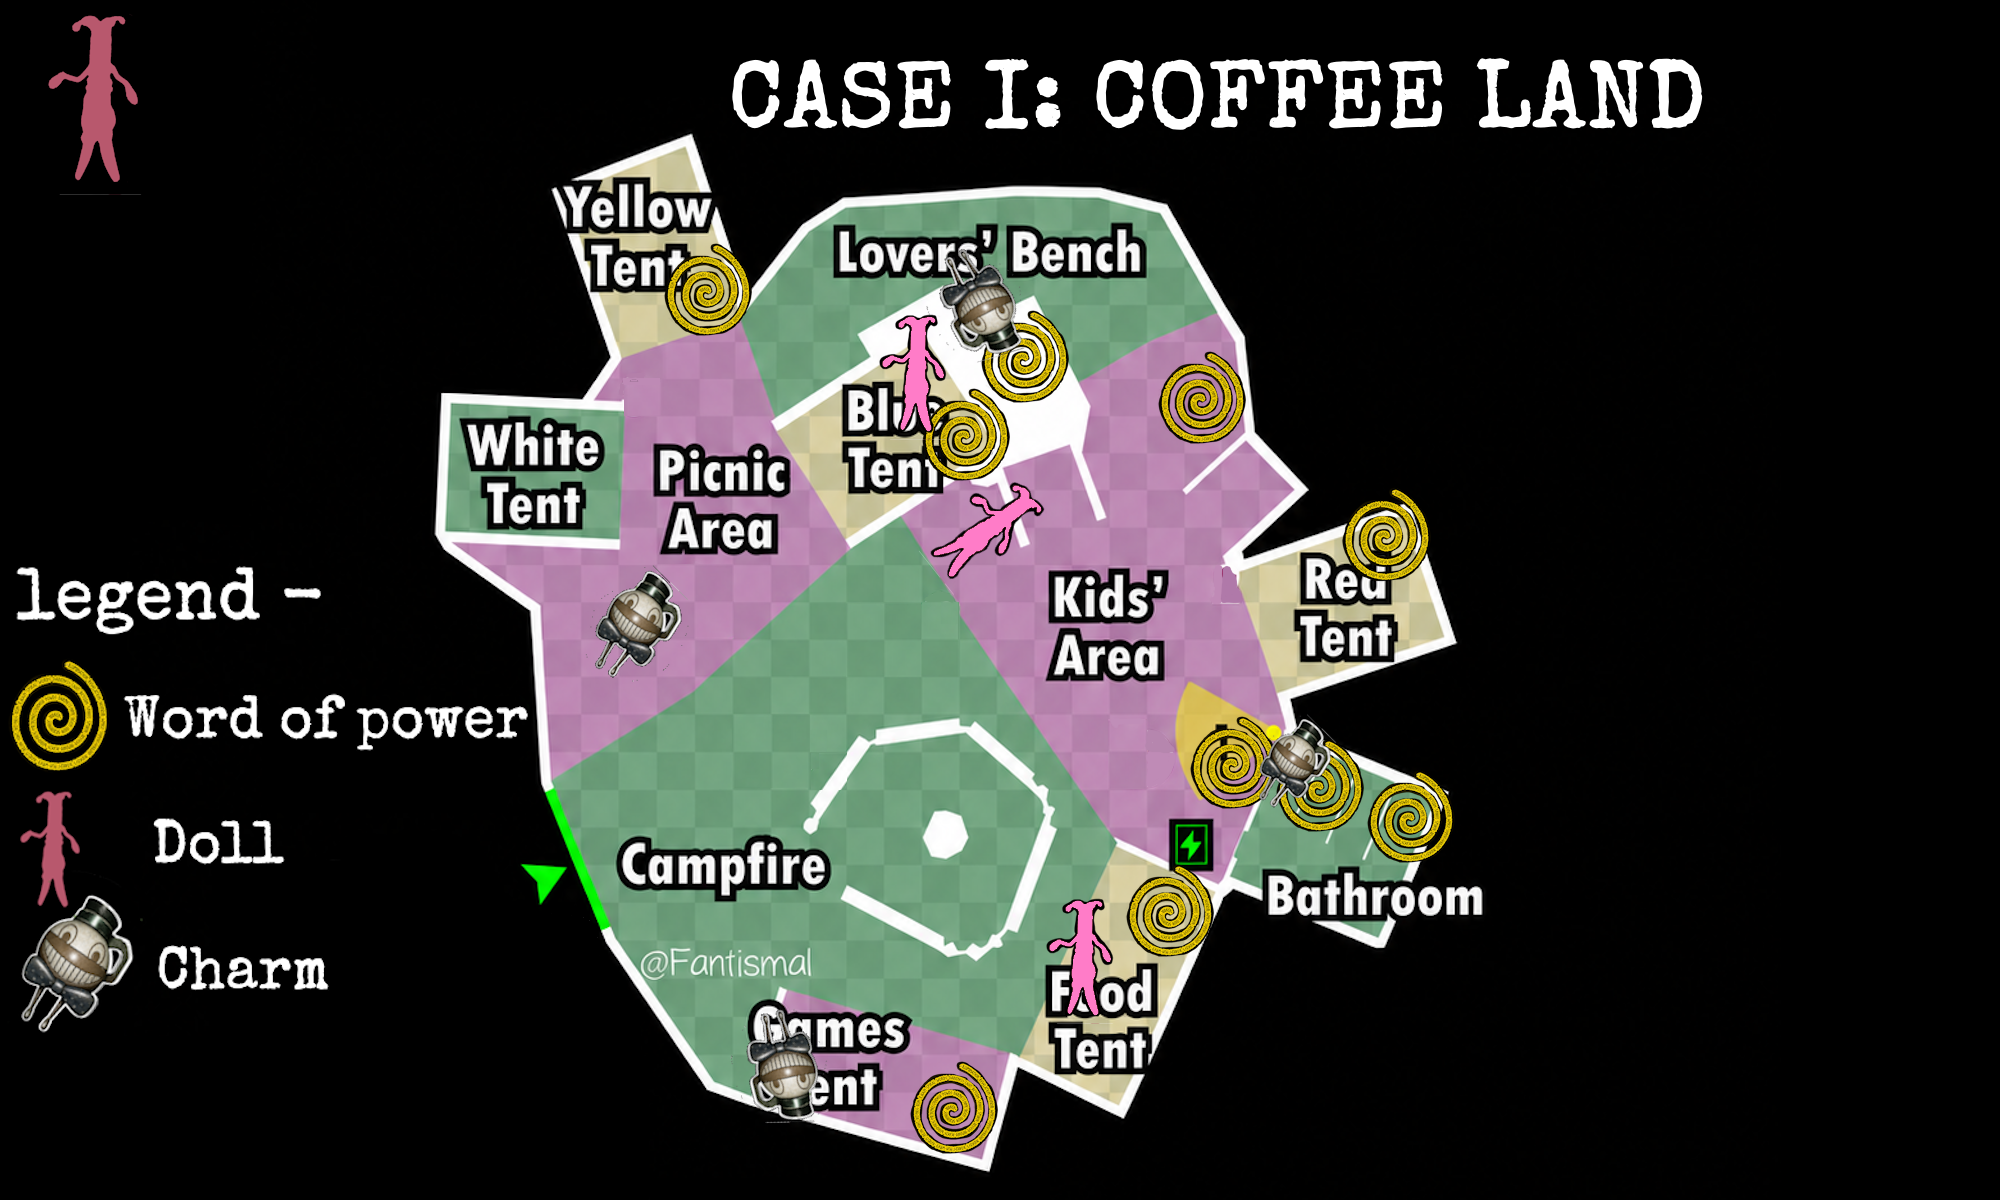
There are 10 Words of Power, 3 Dolls, and 4 possible Charm locations to find across 'Coffee world.'

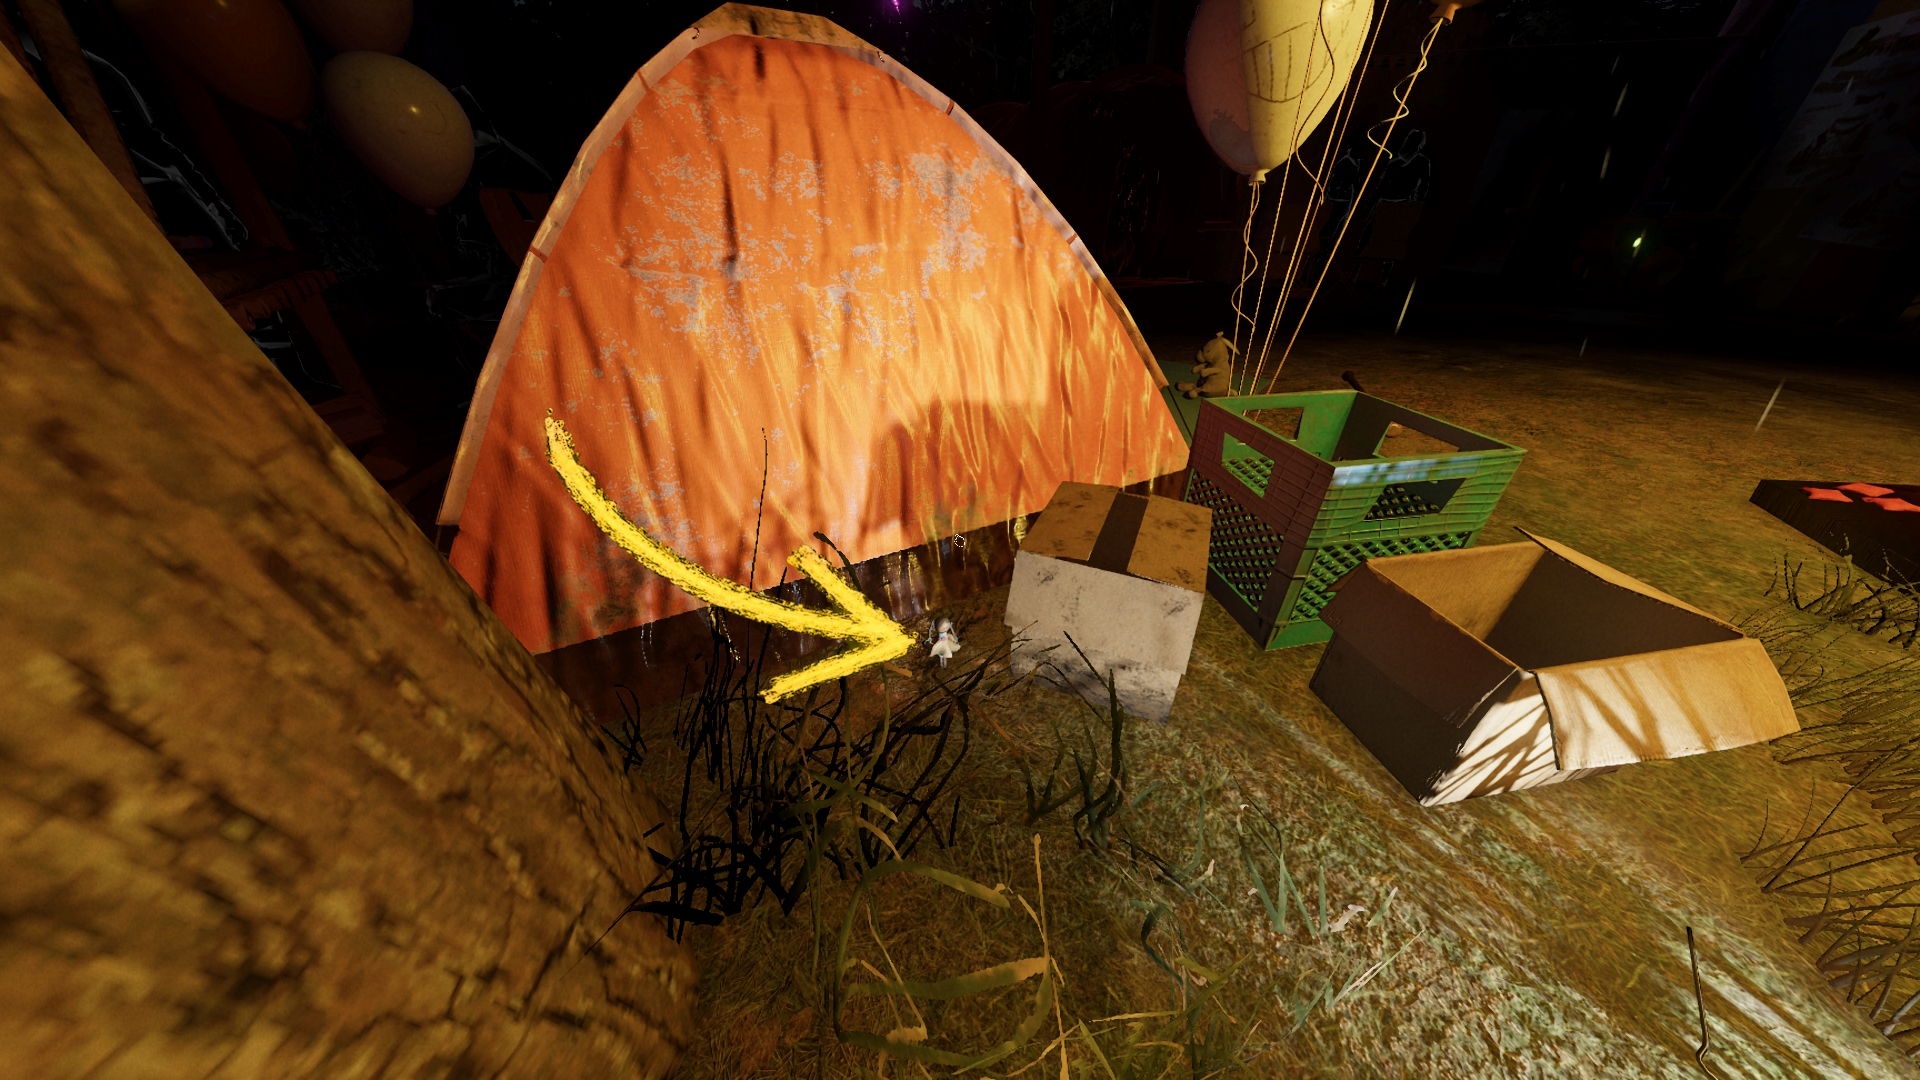
Found just behind the small red tent, by theboxes at the tree stump. The absolute spanner.
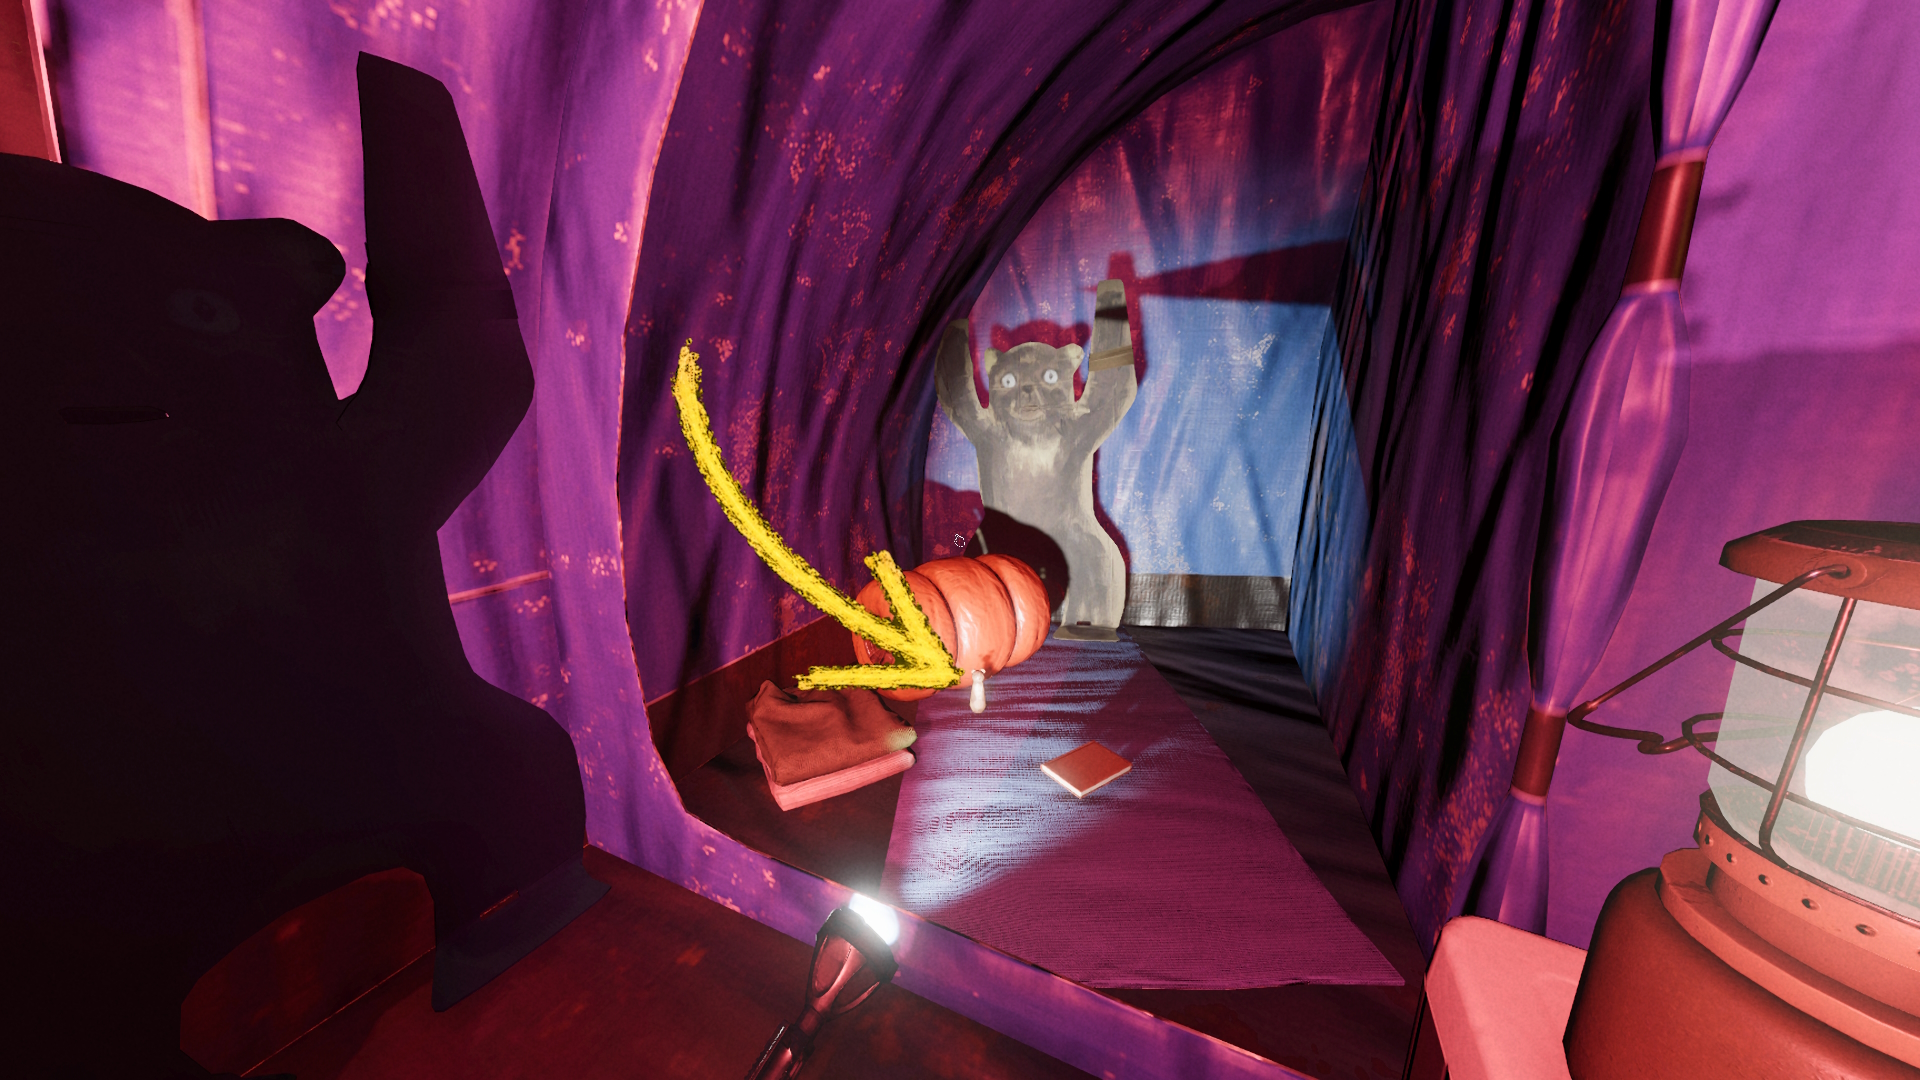
This one is very easy. Always spawns in the blue tent. On the left as you enter
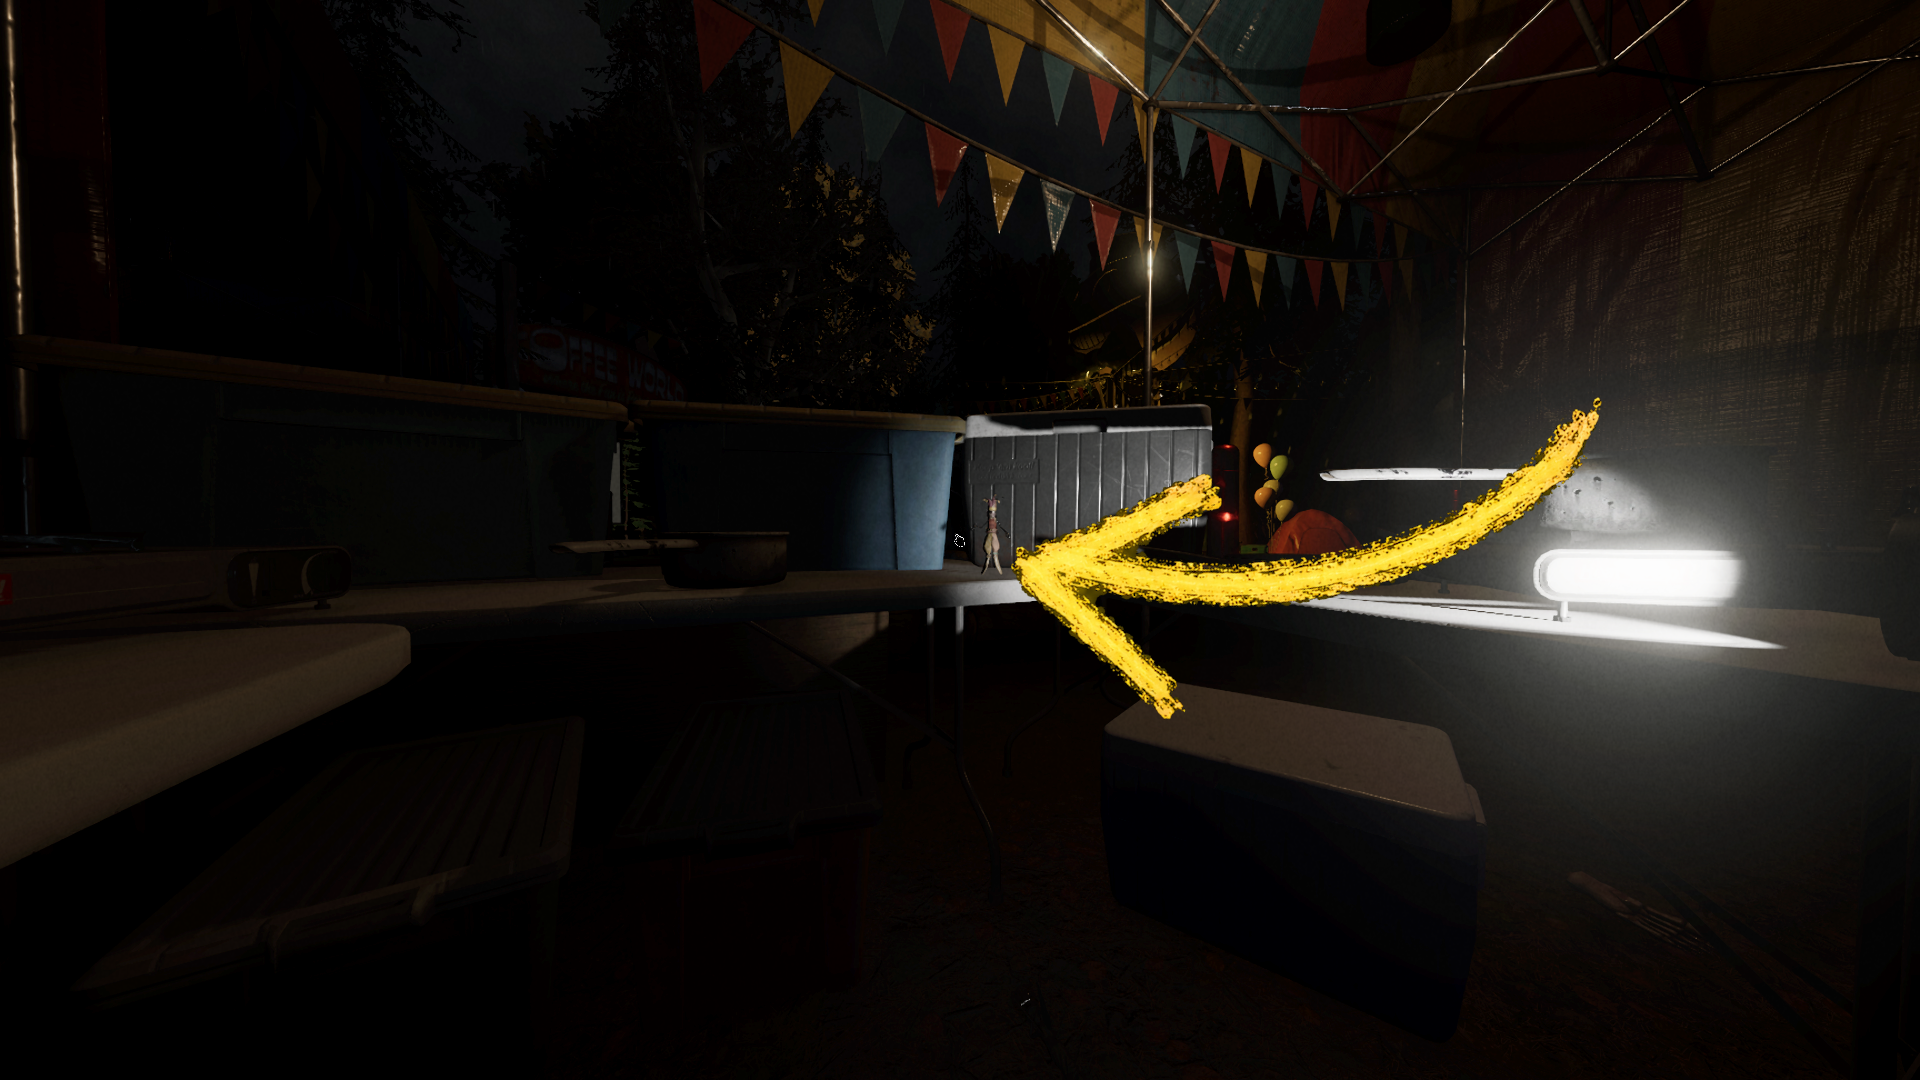
The Jester doll can be found in the Food tent by the coolers.

Here are the 5 locations to get the Mr Drippy mascot charm cosmetic!
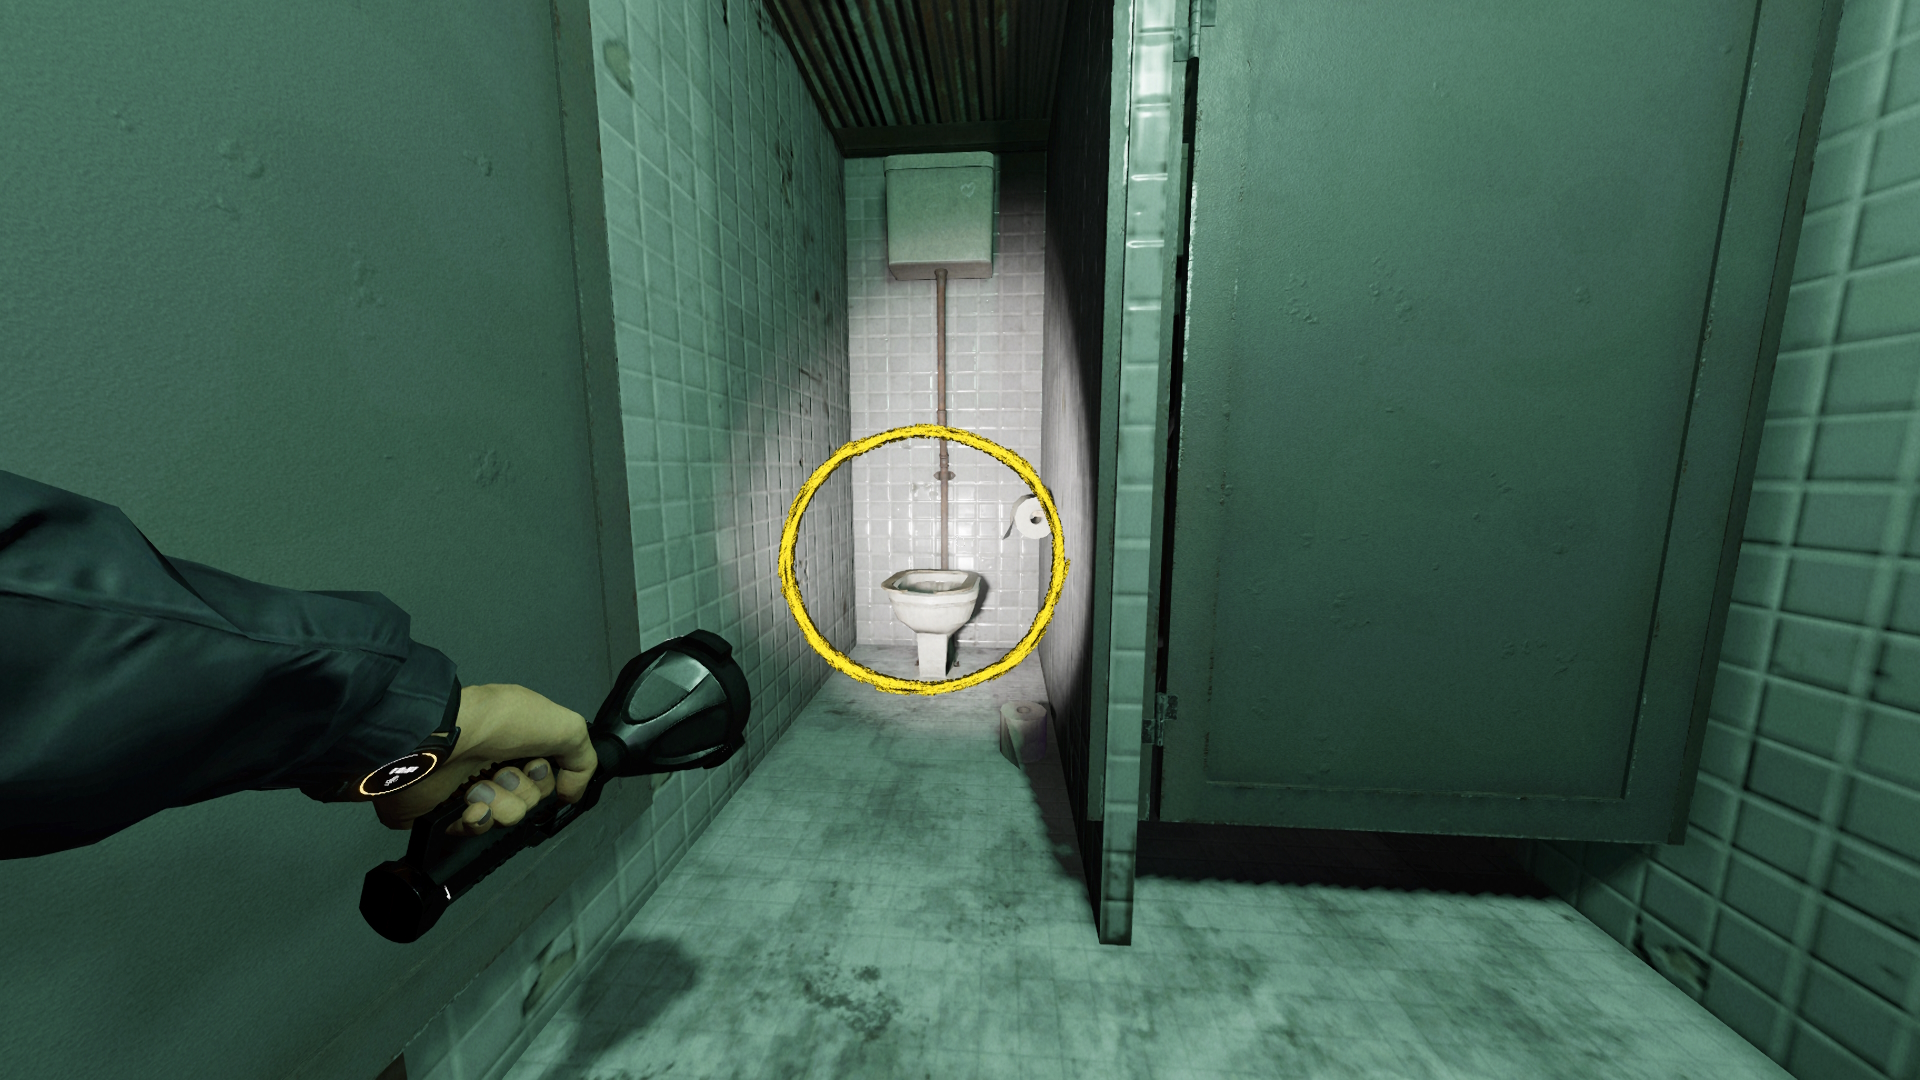
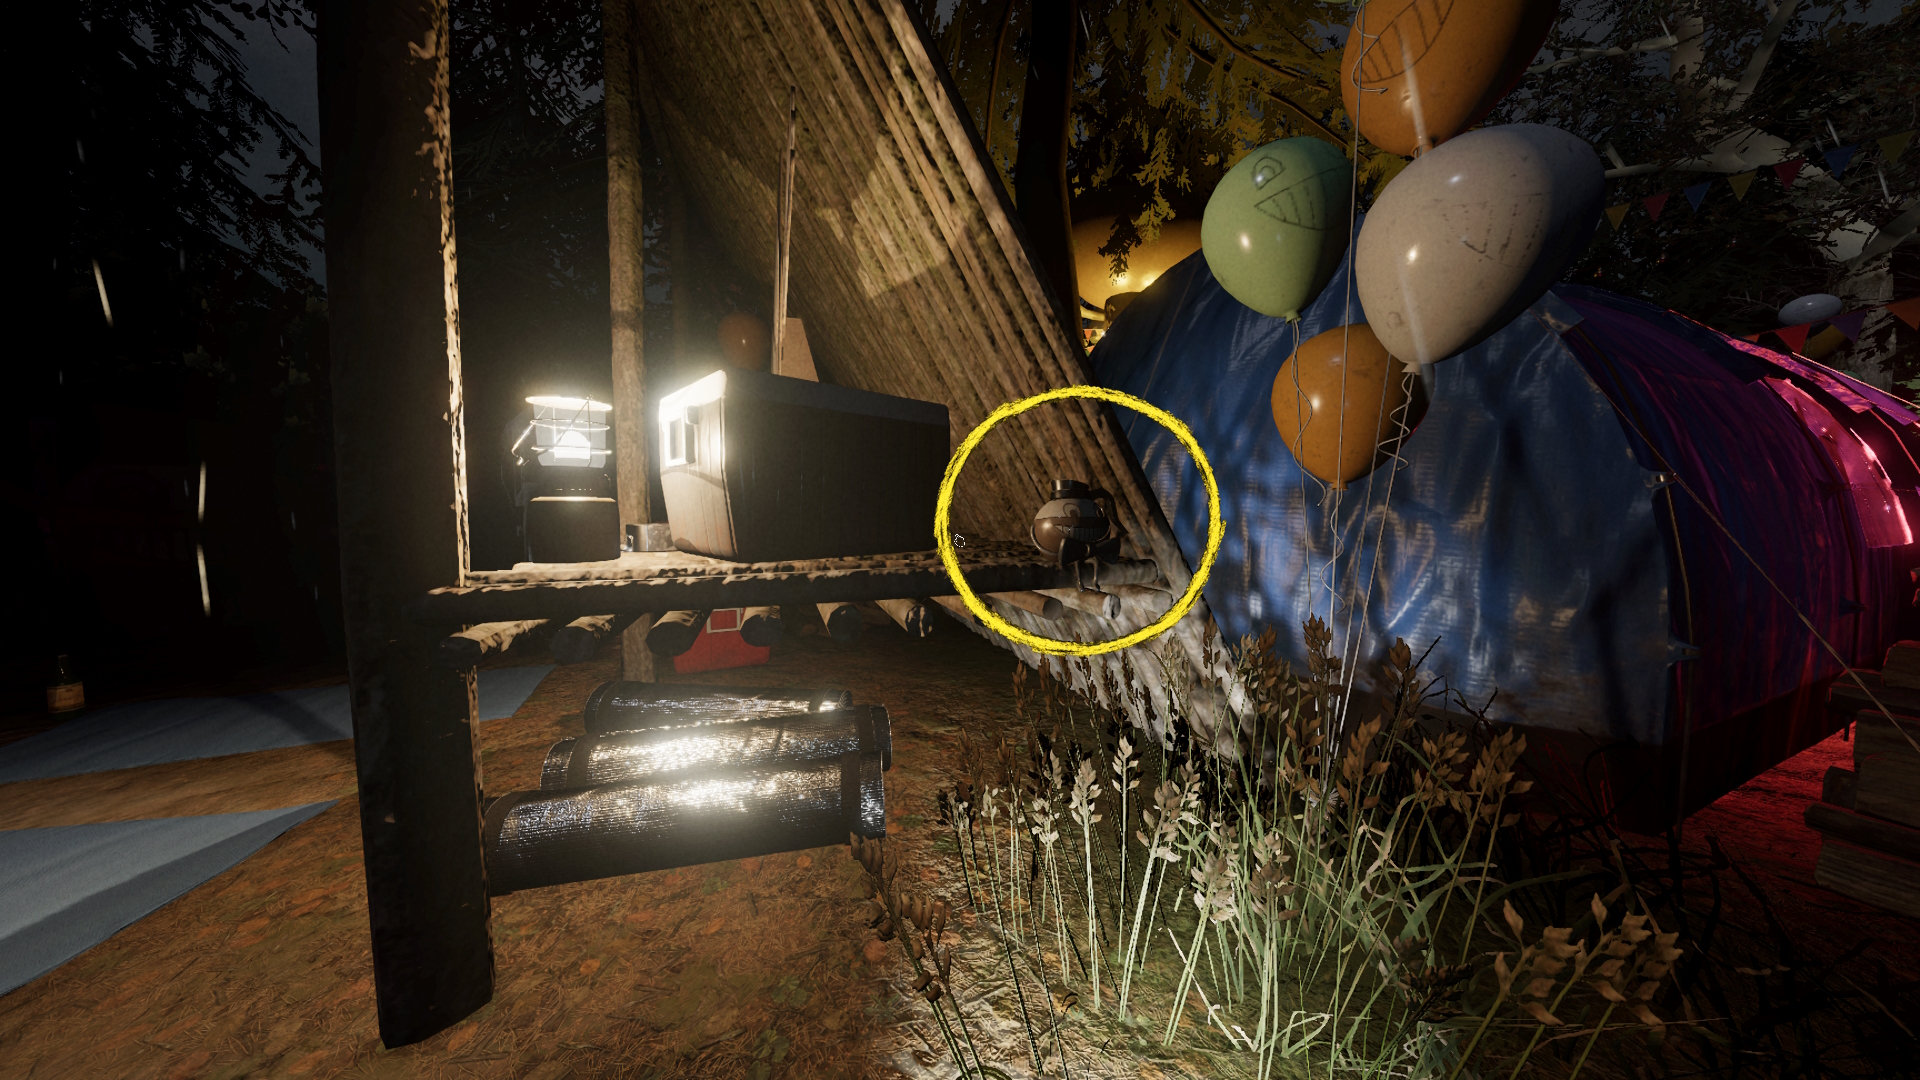
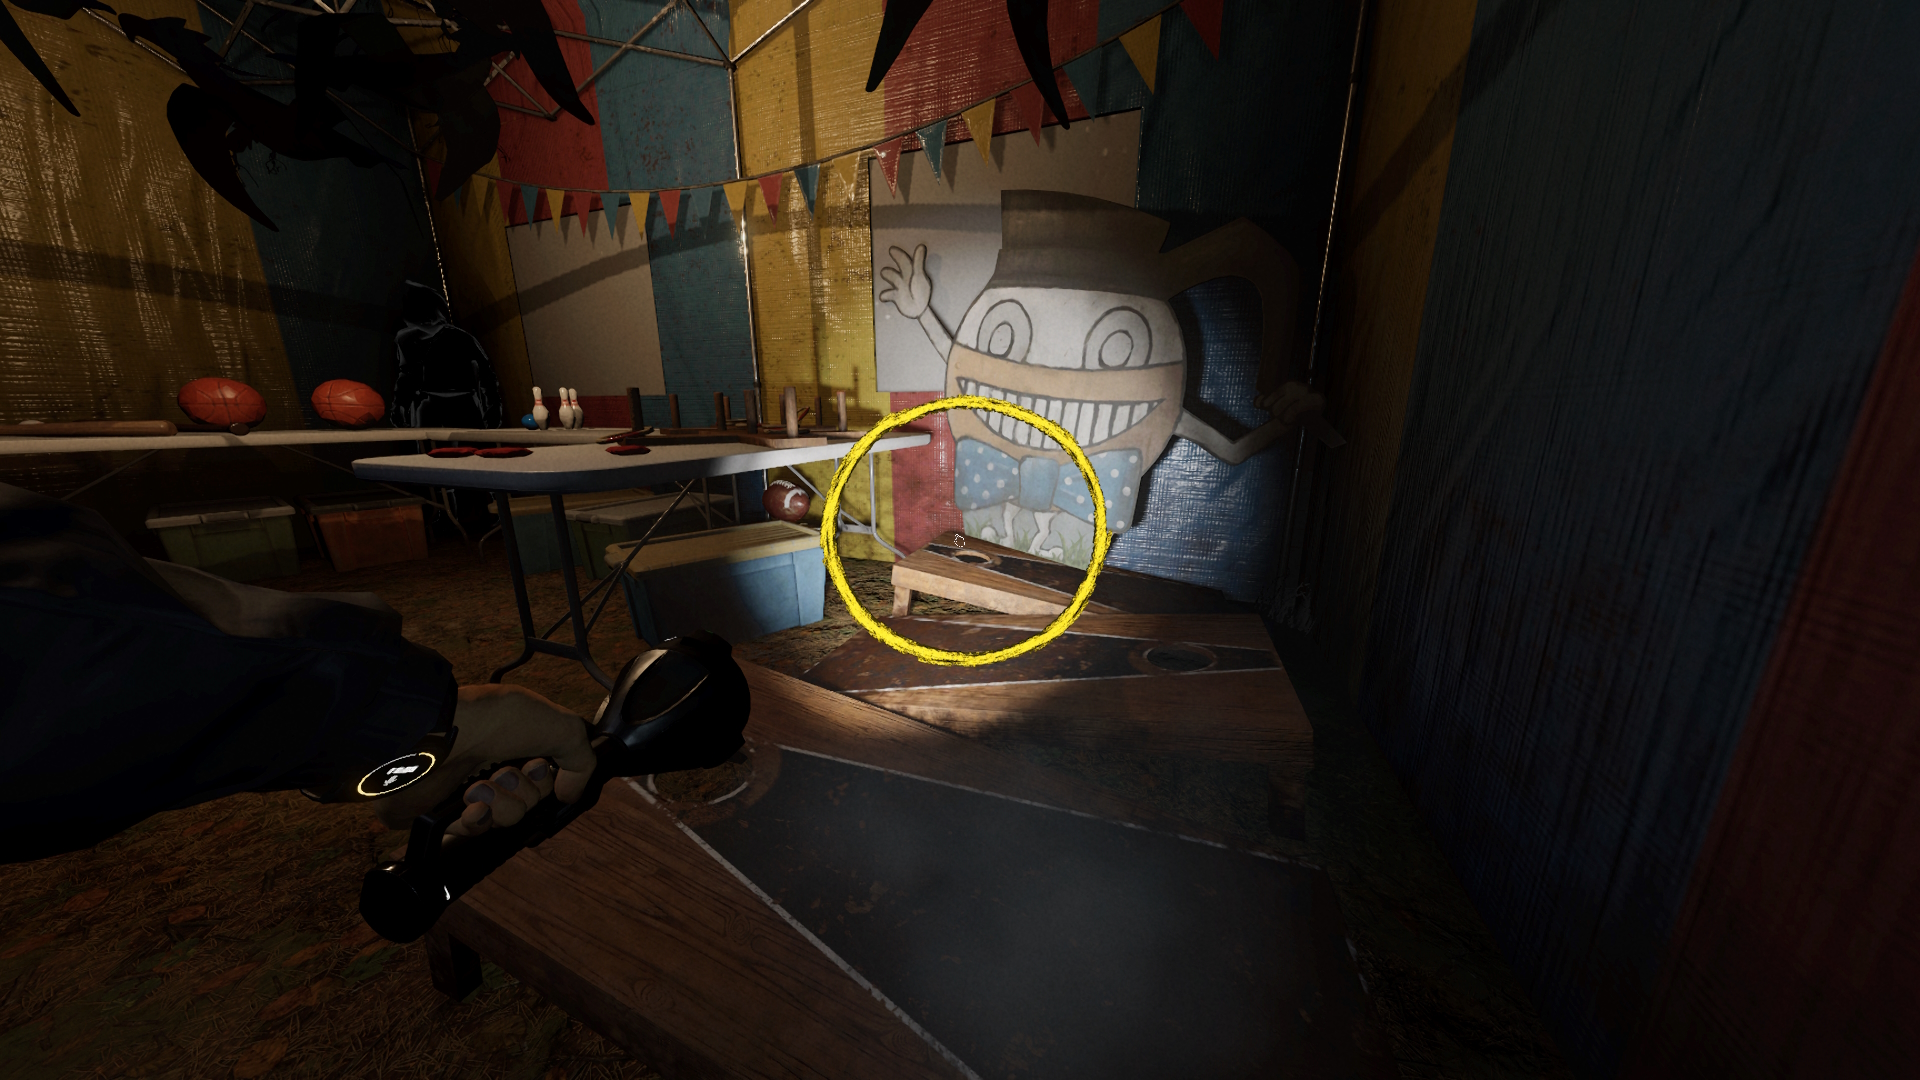
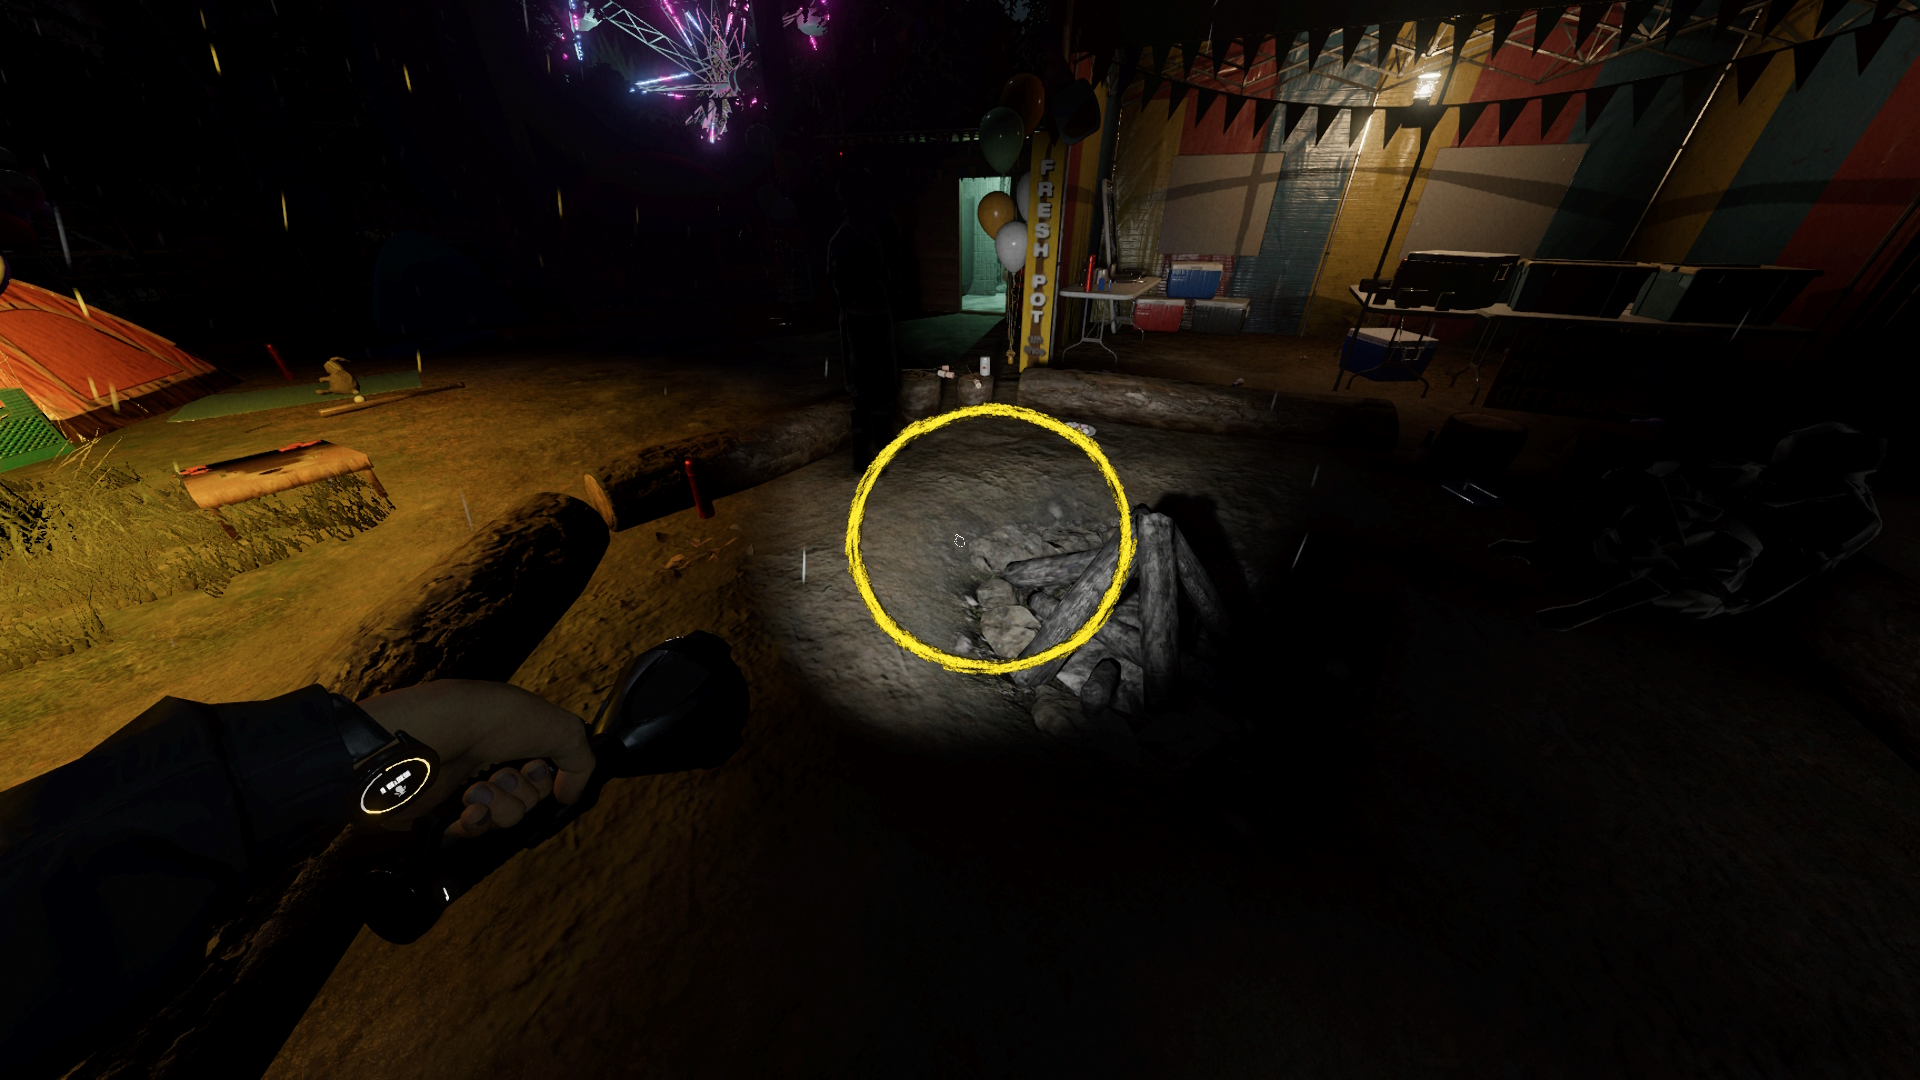
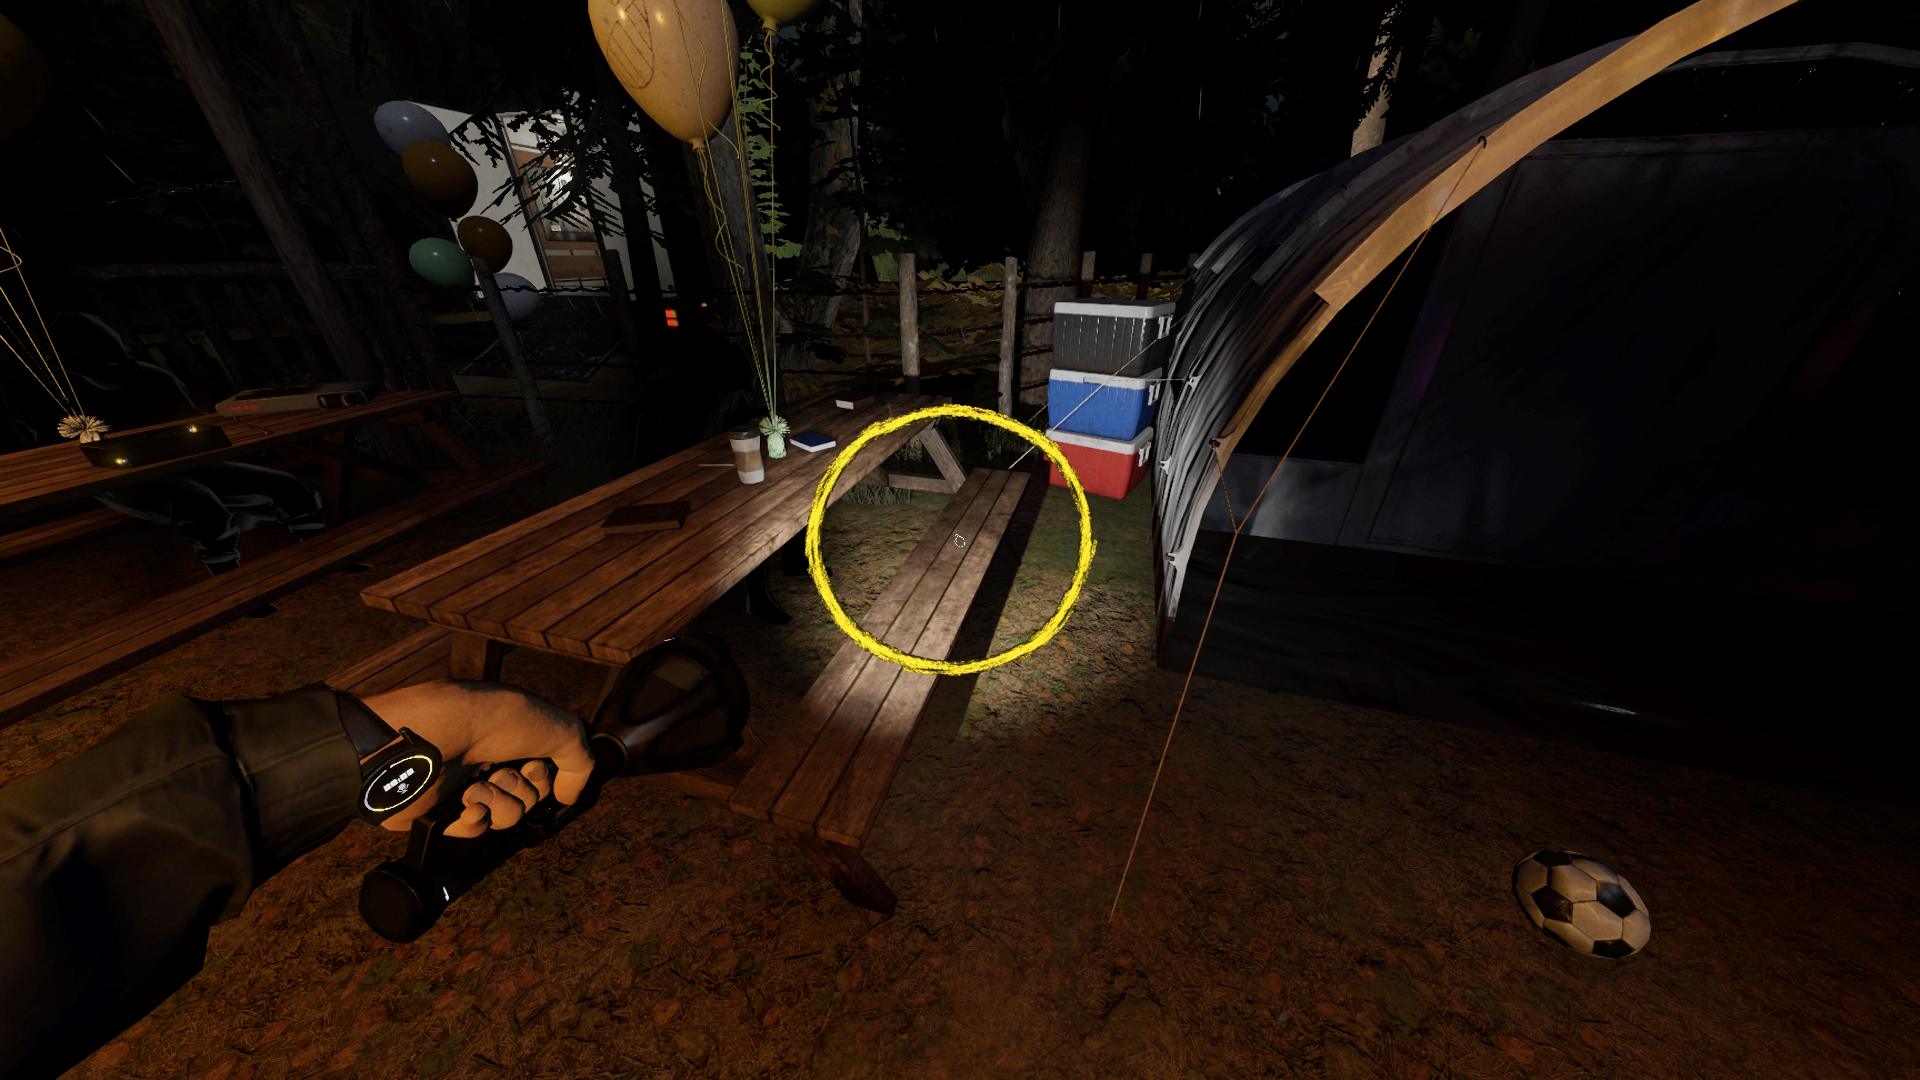 Pictured: (1) Bathroom, (2) Lovers' Bench, (3) Games Tent, (4) Campfire and (5) Picnic Area.
Cauldron Lake (Grafton Farmhouse)
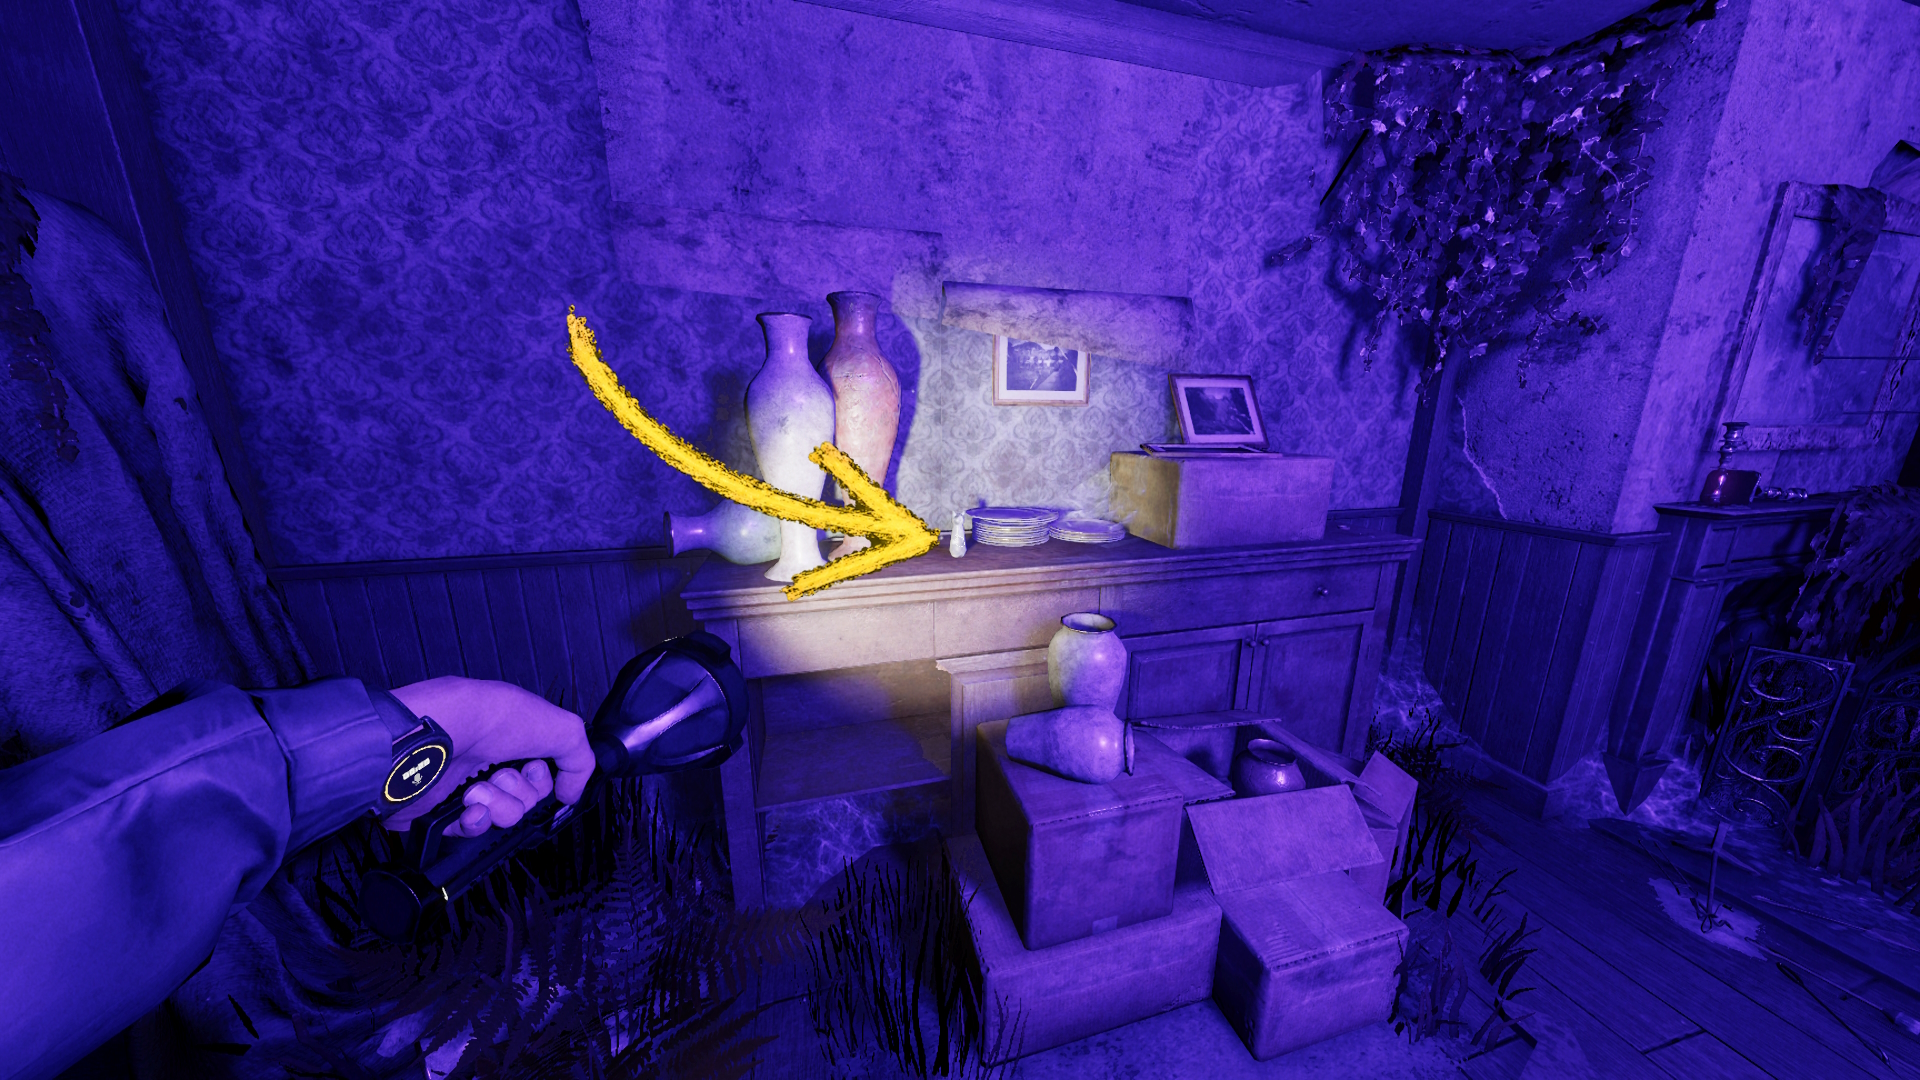
In right-hand side of the dining room, on the fireplace mantle is a cat doll.
(very cute!)
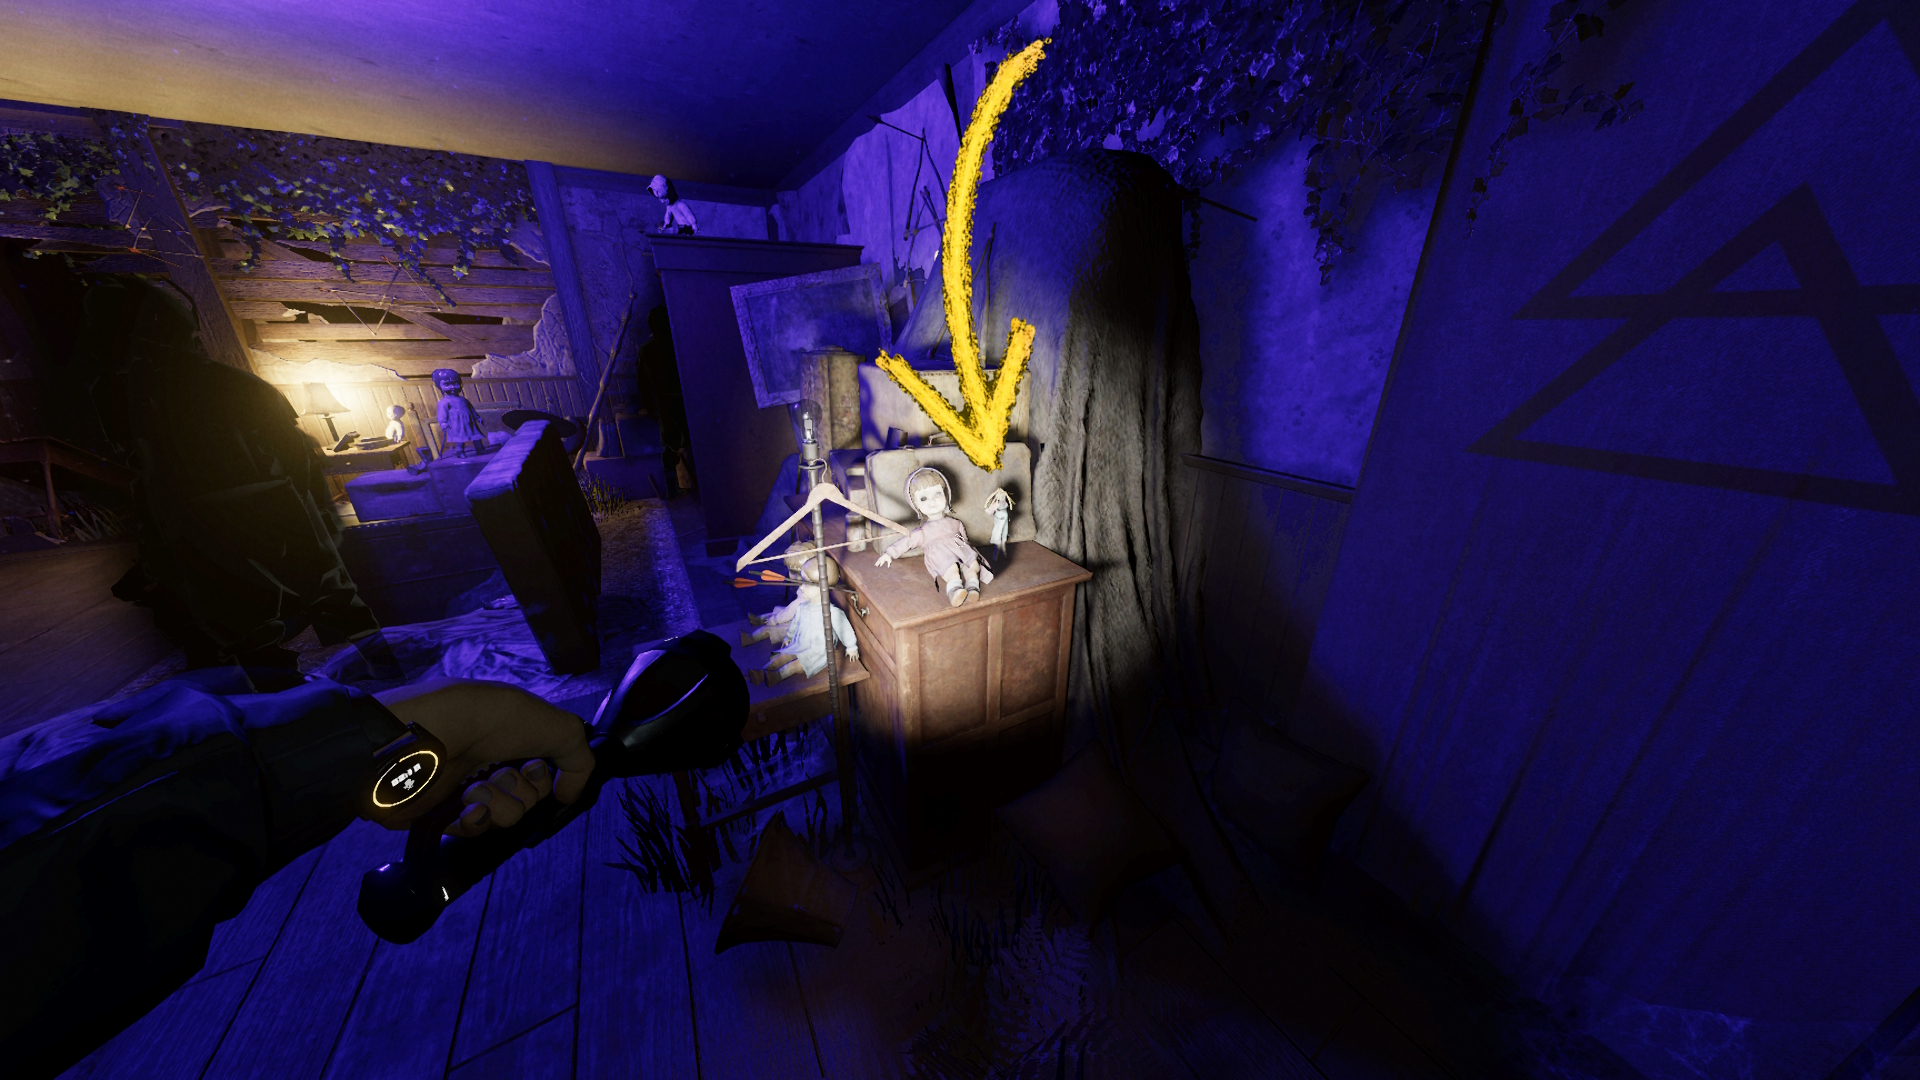
(I really hate glass dolls. Creep me out). The Princess Doll can be found upstairs in girls bedroom, back left corner of room on cabinet.
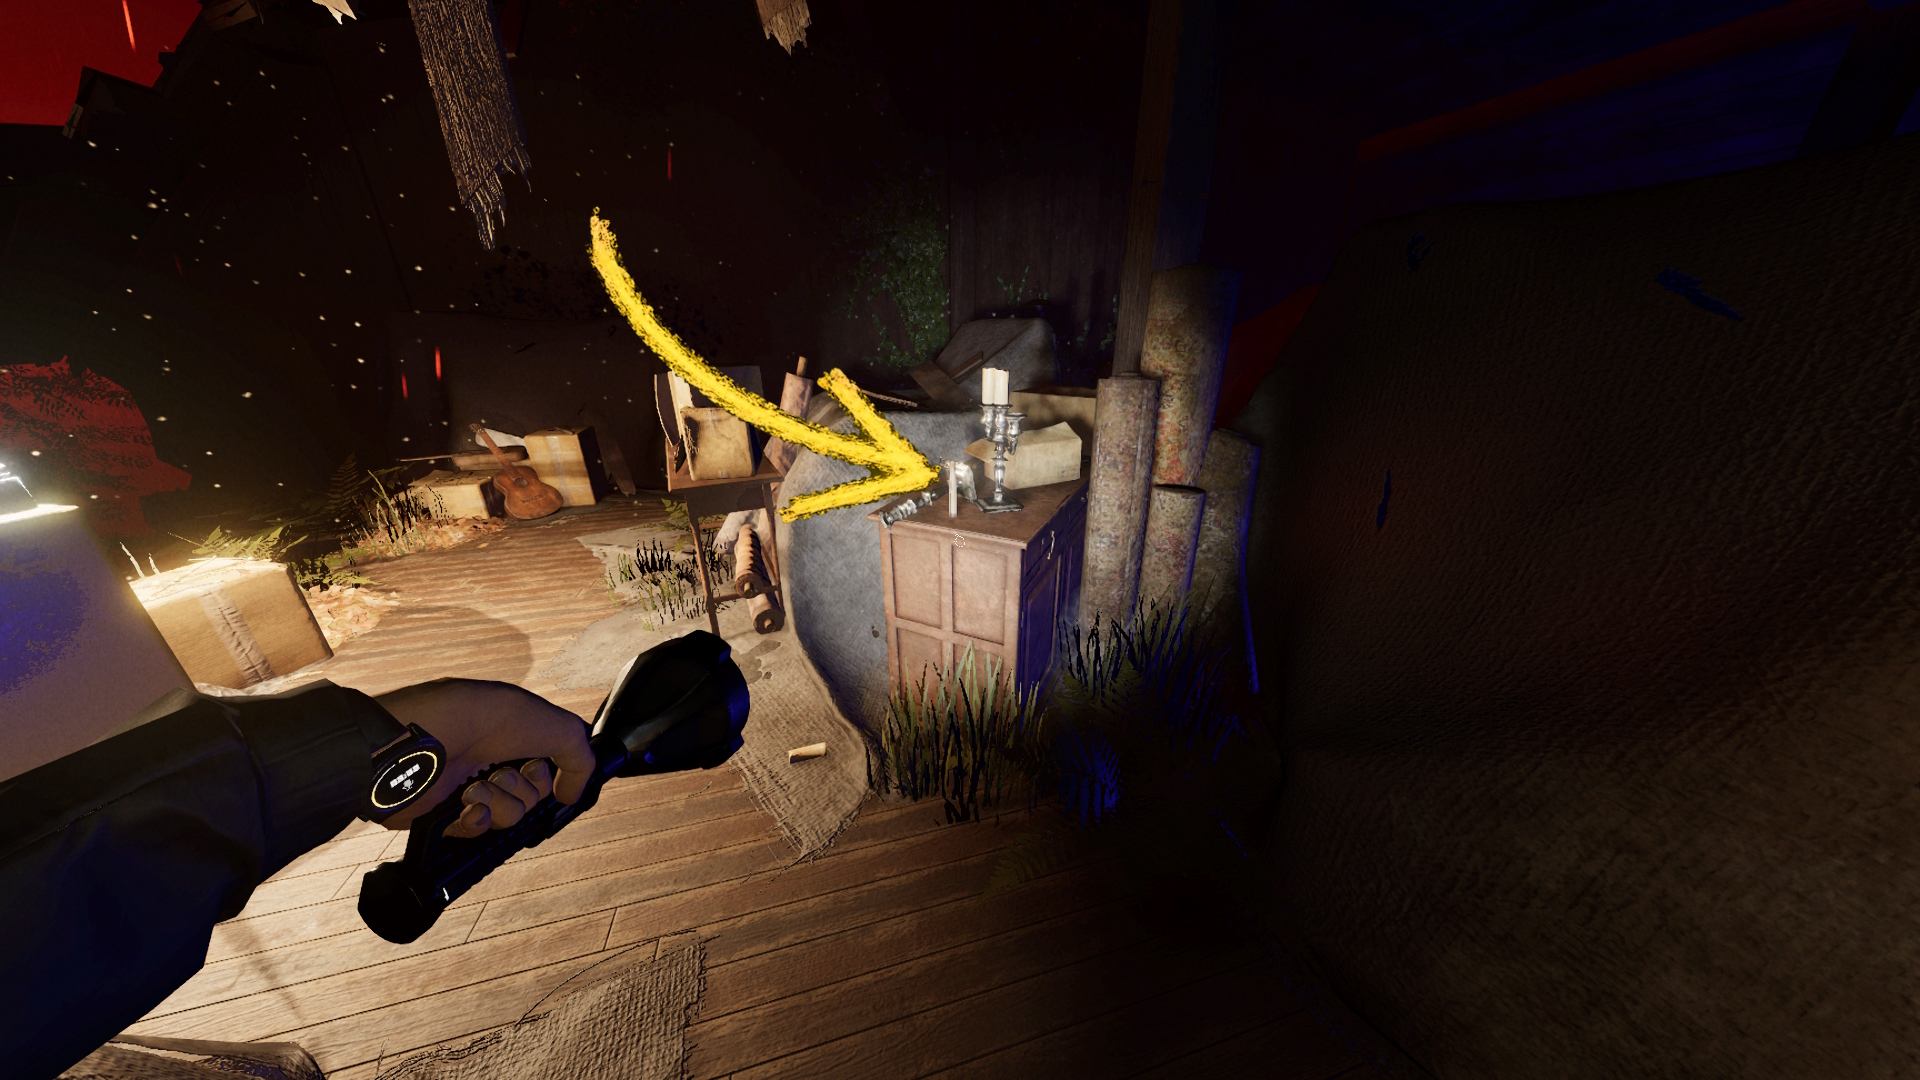
All the way up in the Attic, the Moose Doll is found in the middle, next to the broken candle on boxes.
This is a puzzle piece.

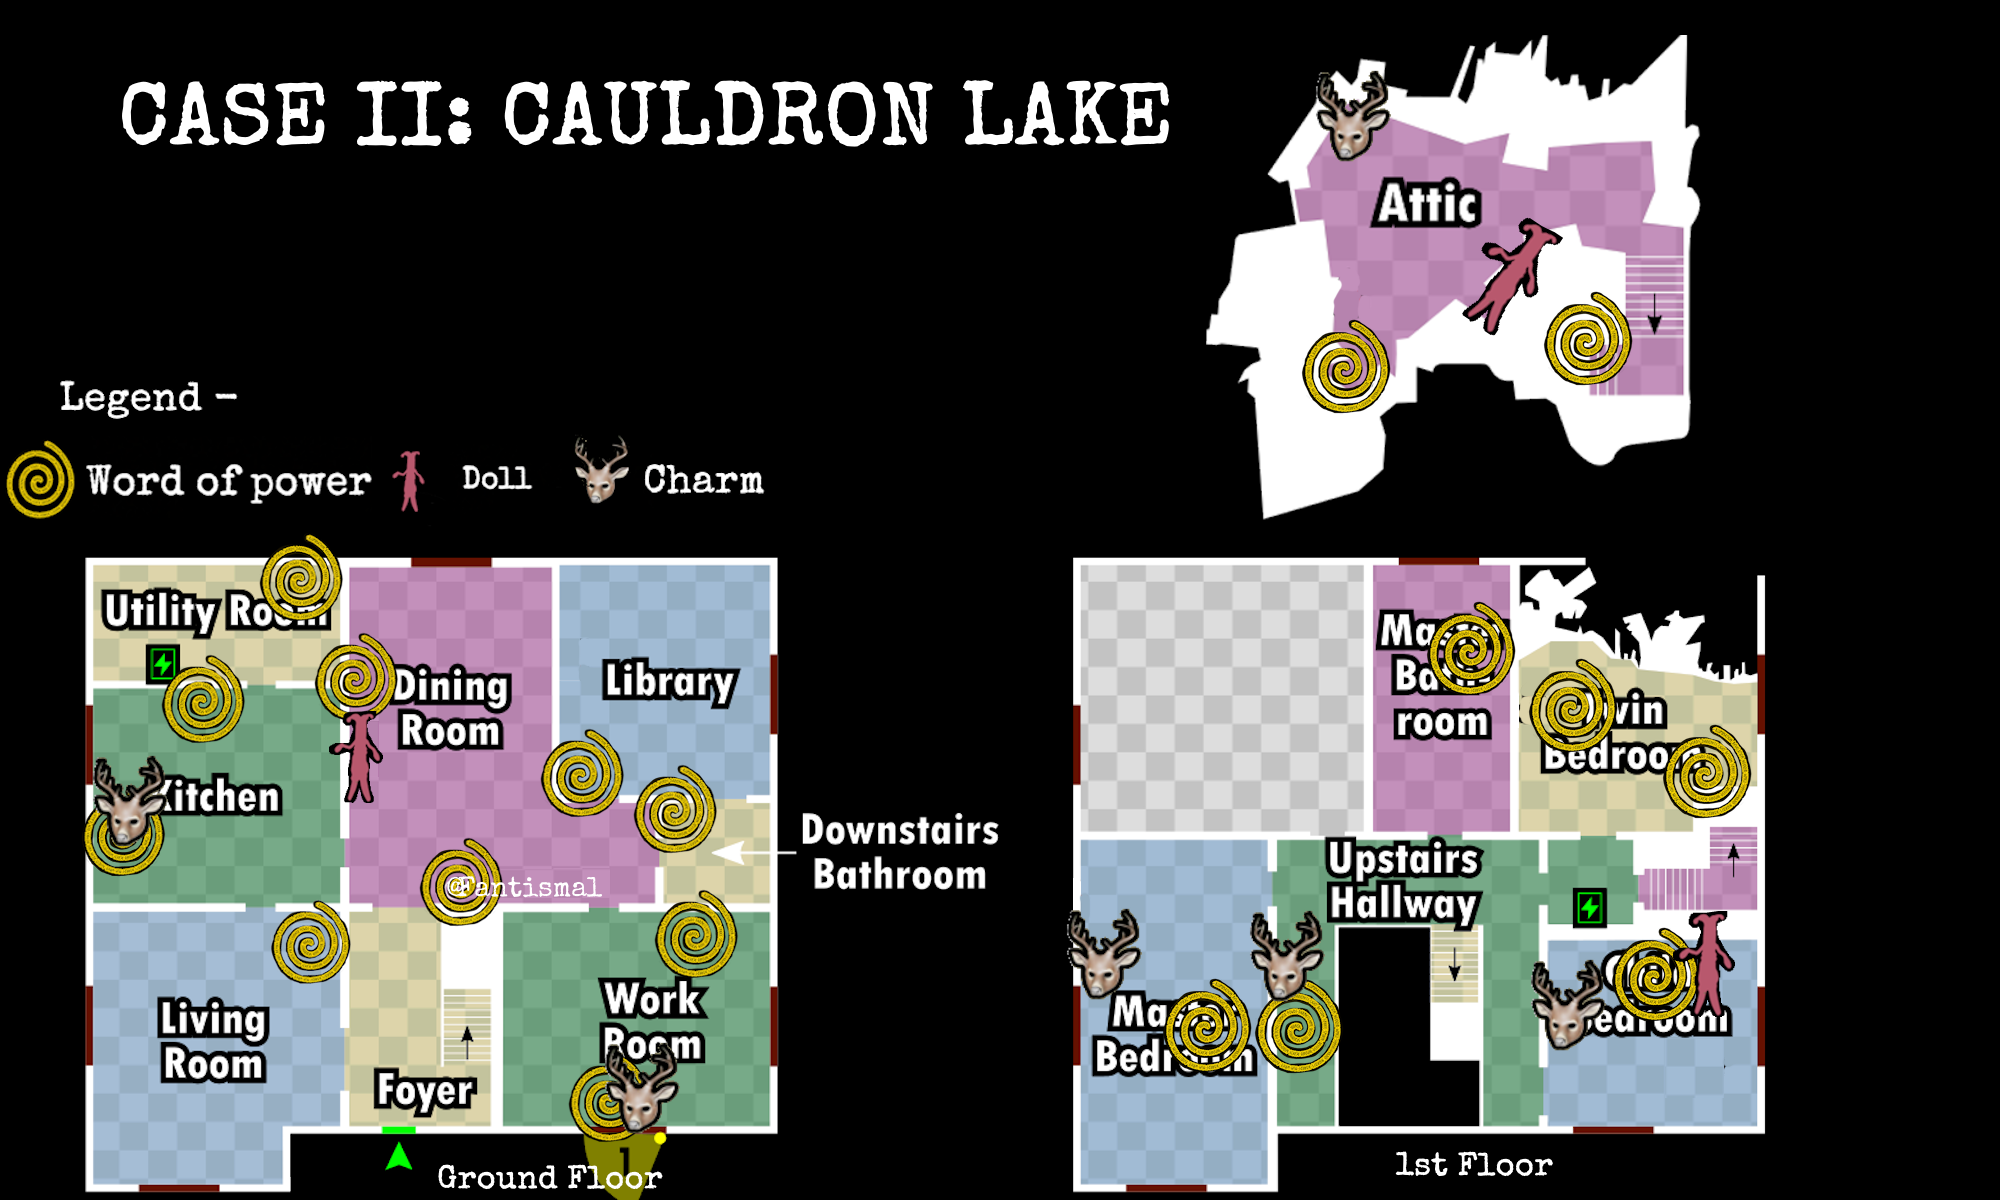
Here are the 6 locations to get the the Deer Mask charm:
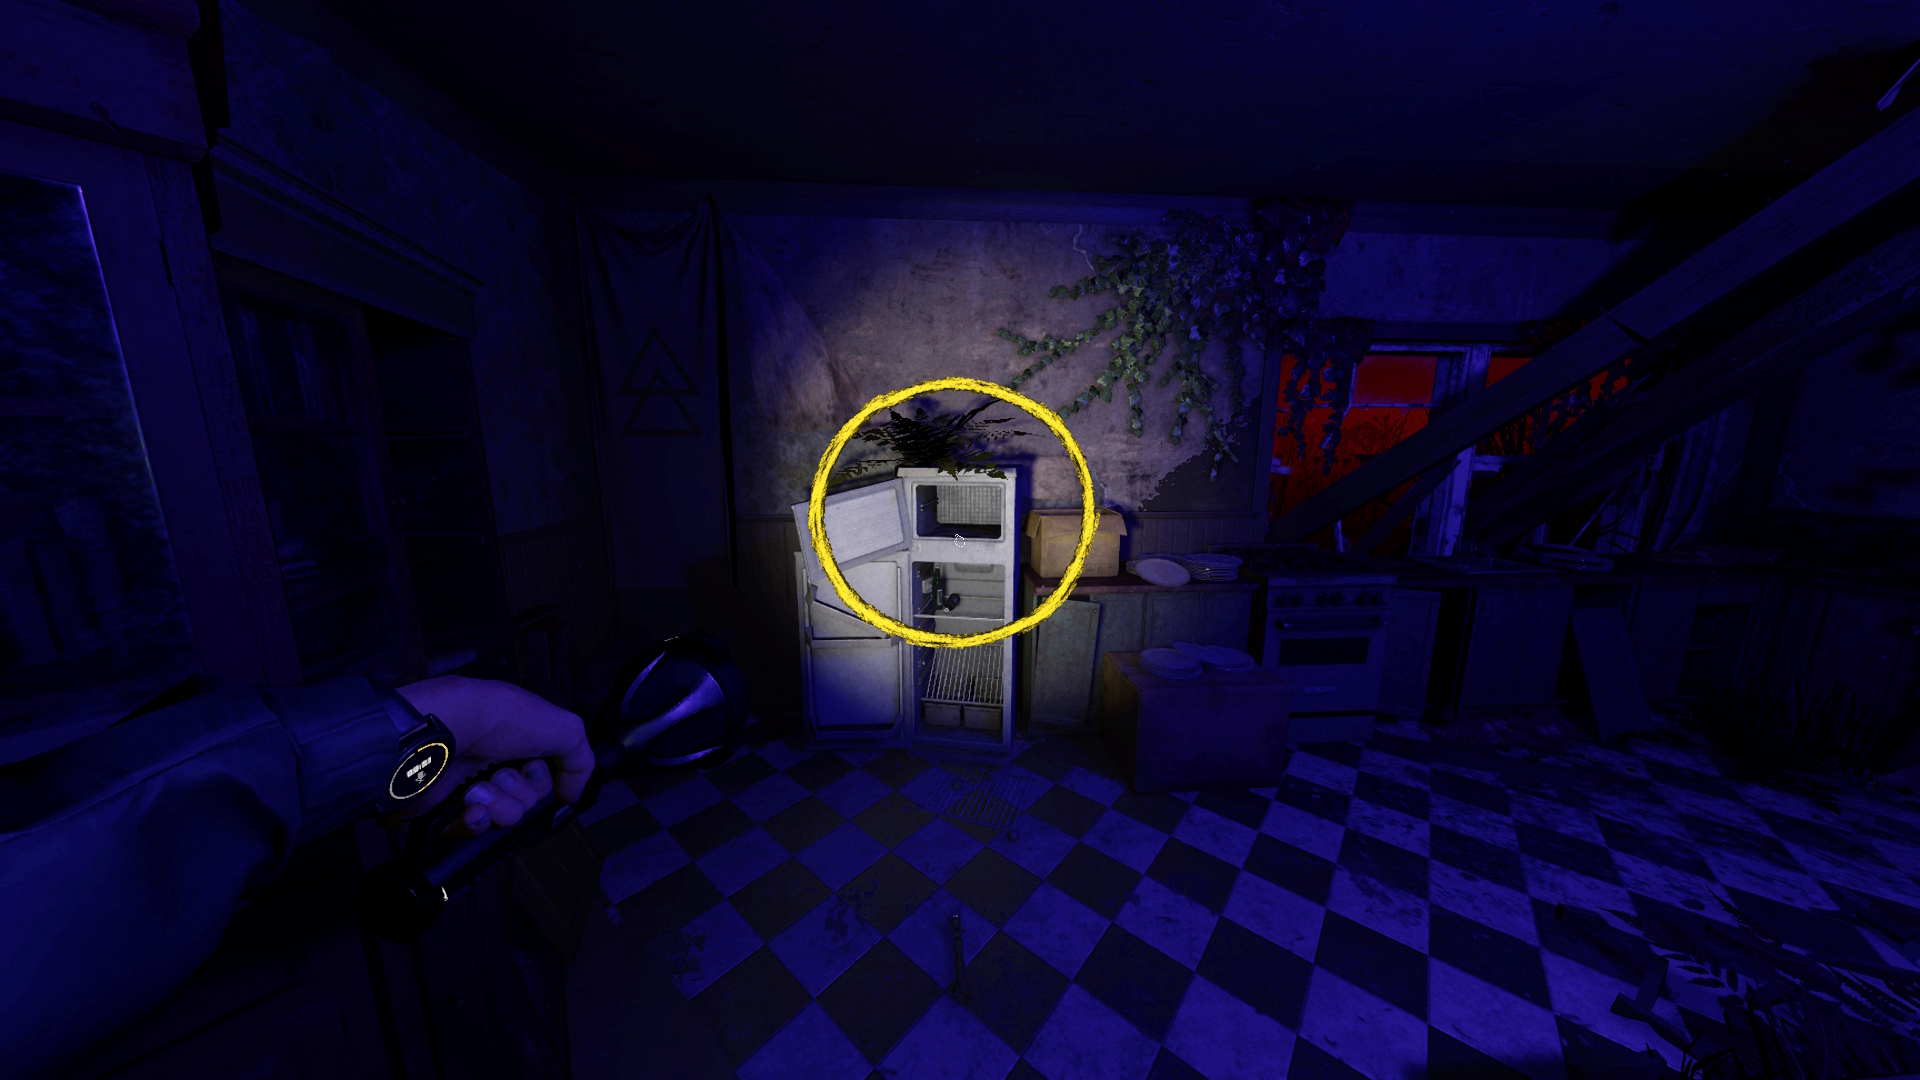
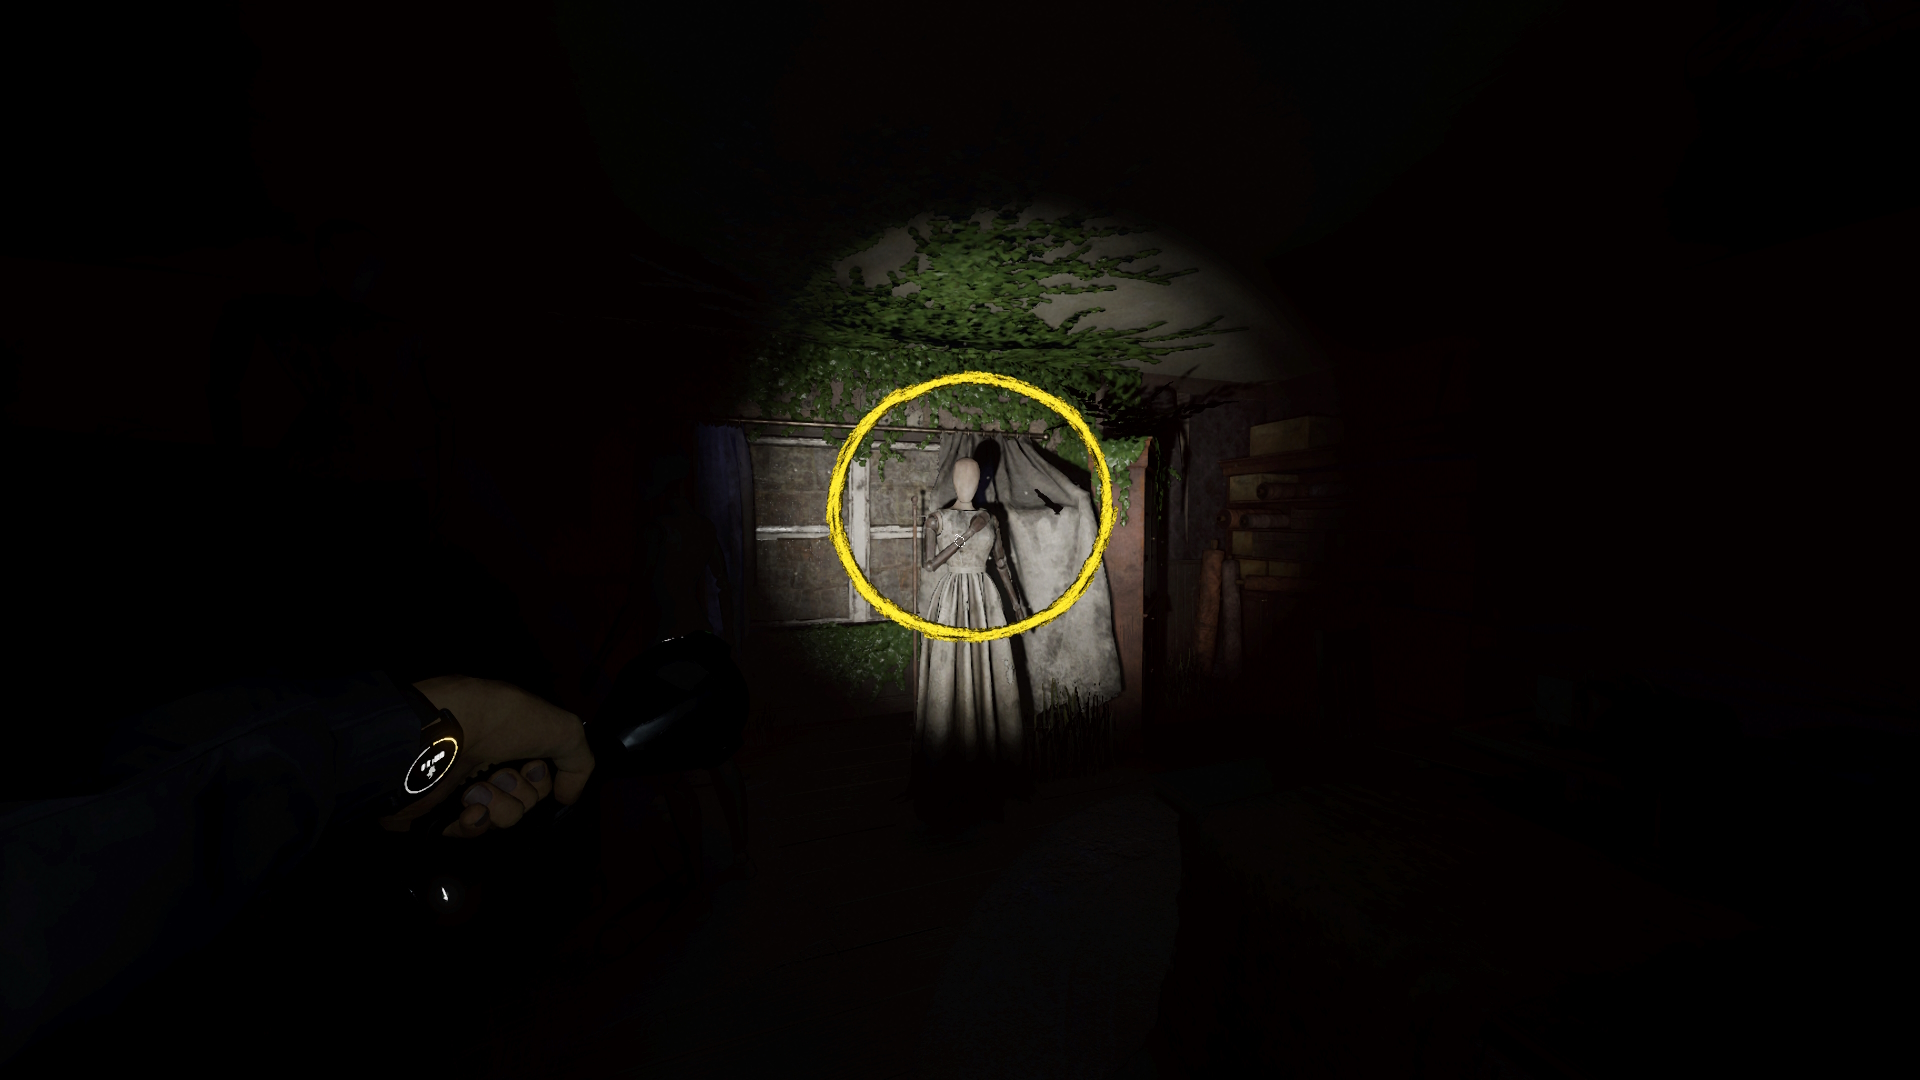
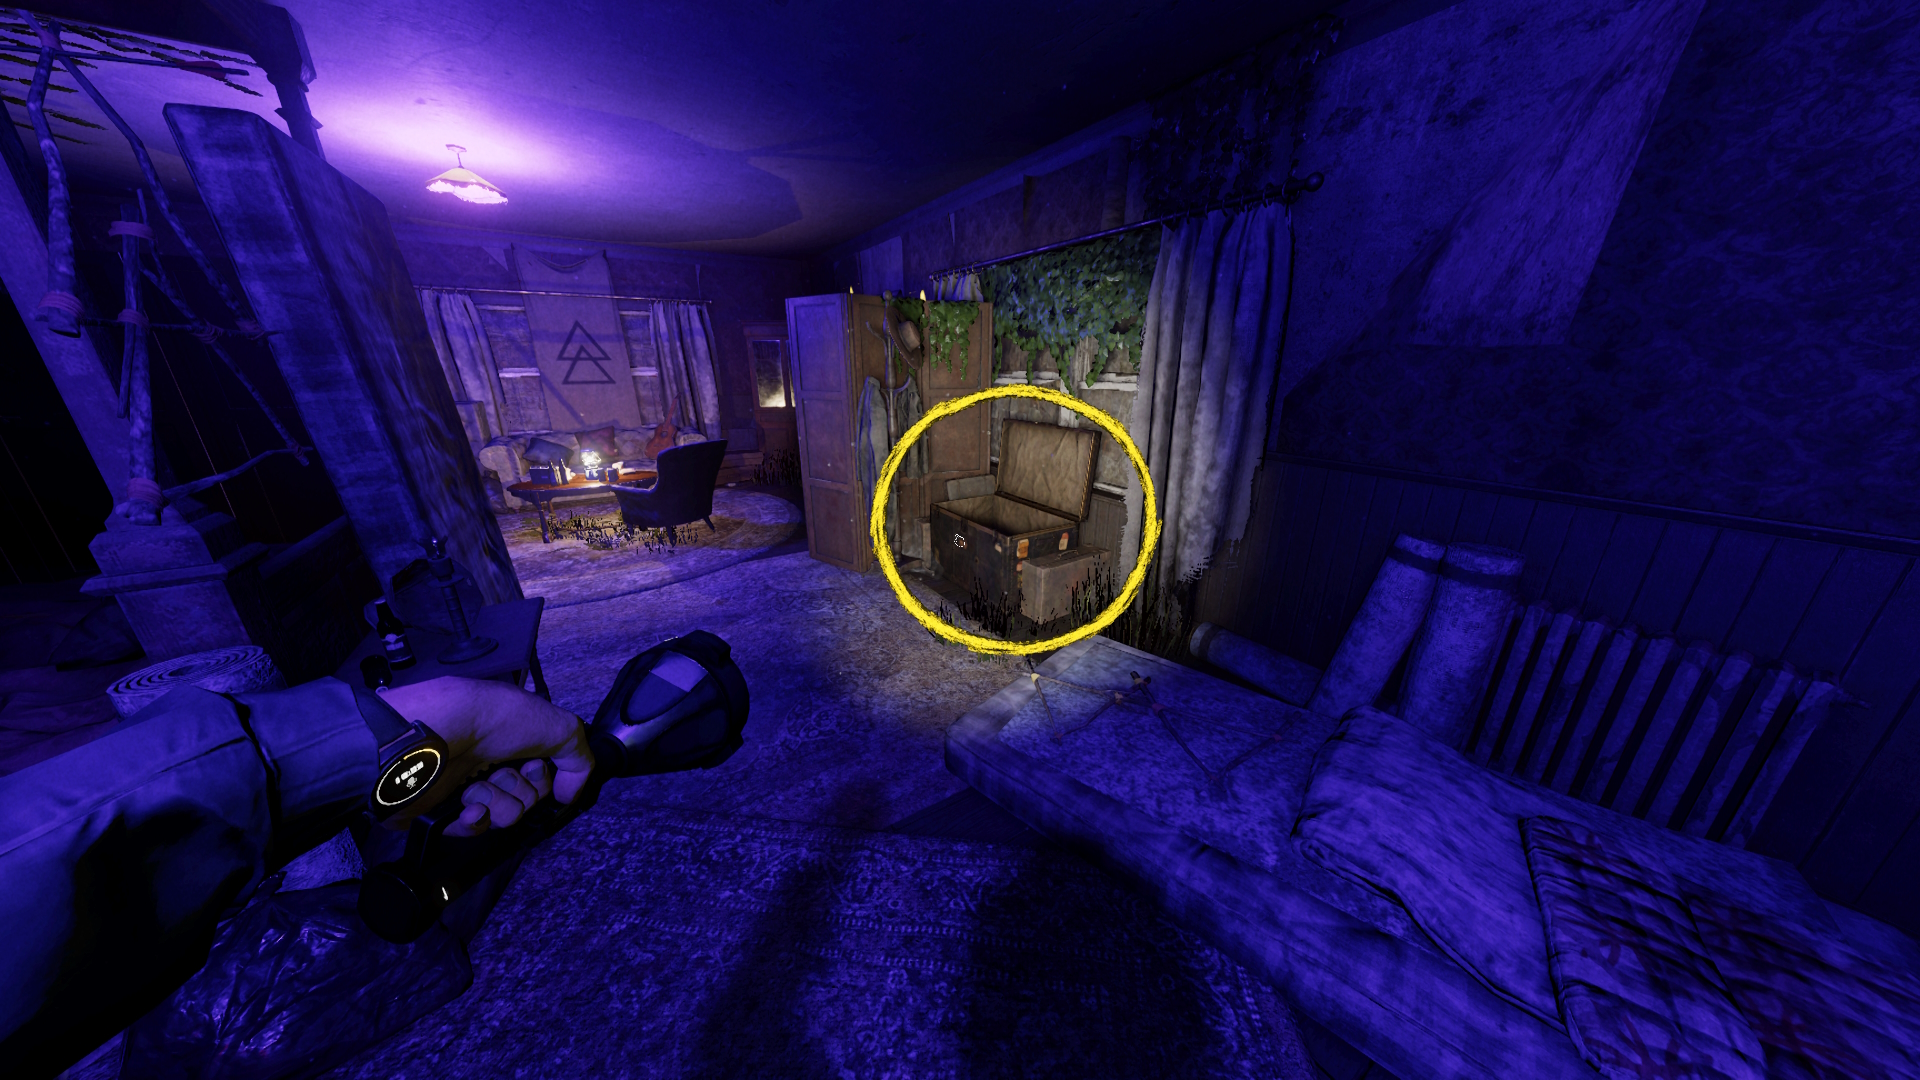
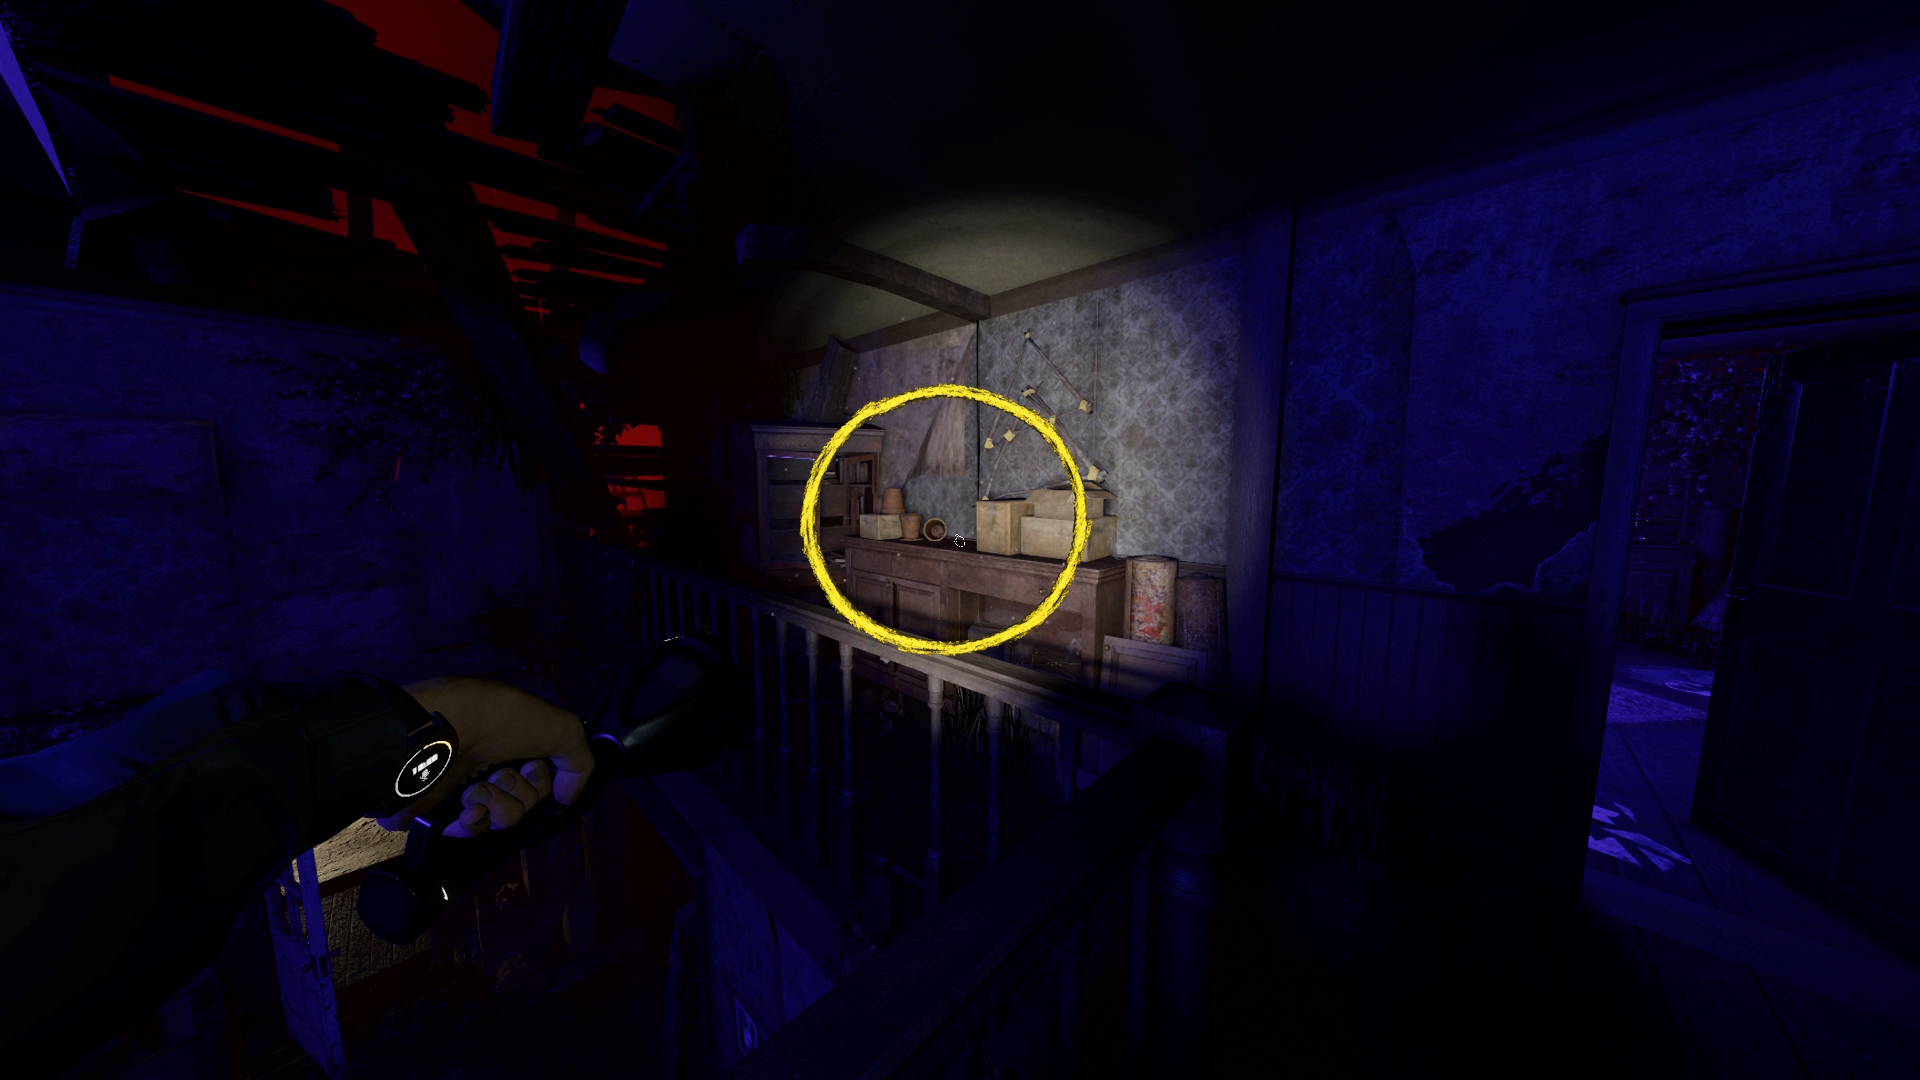
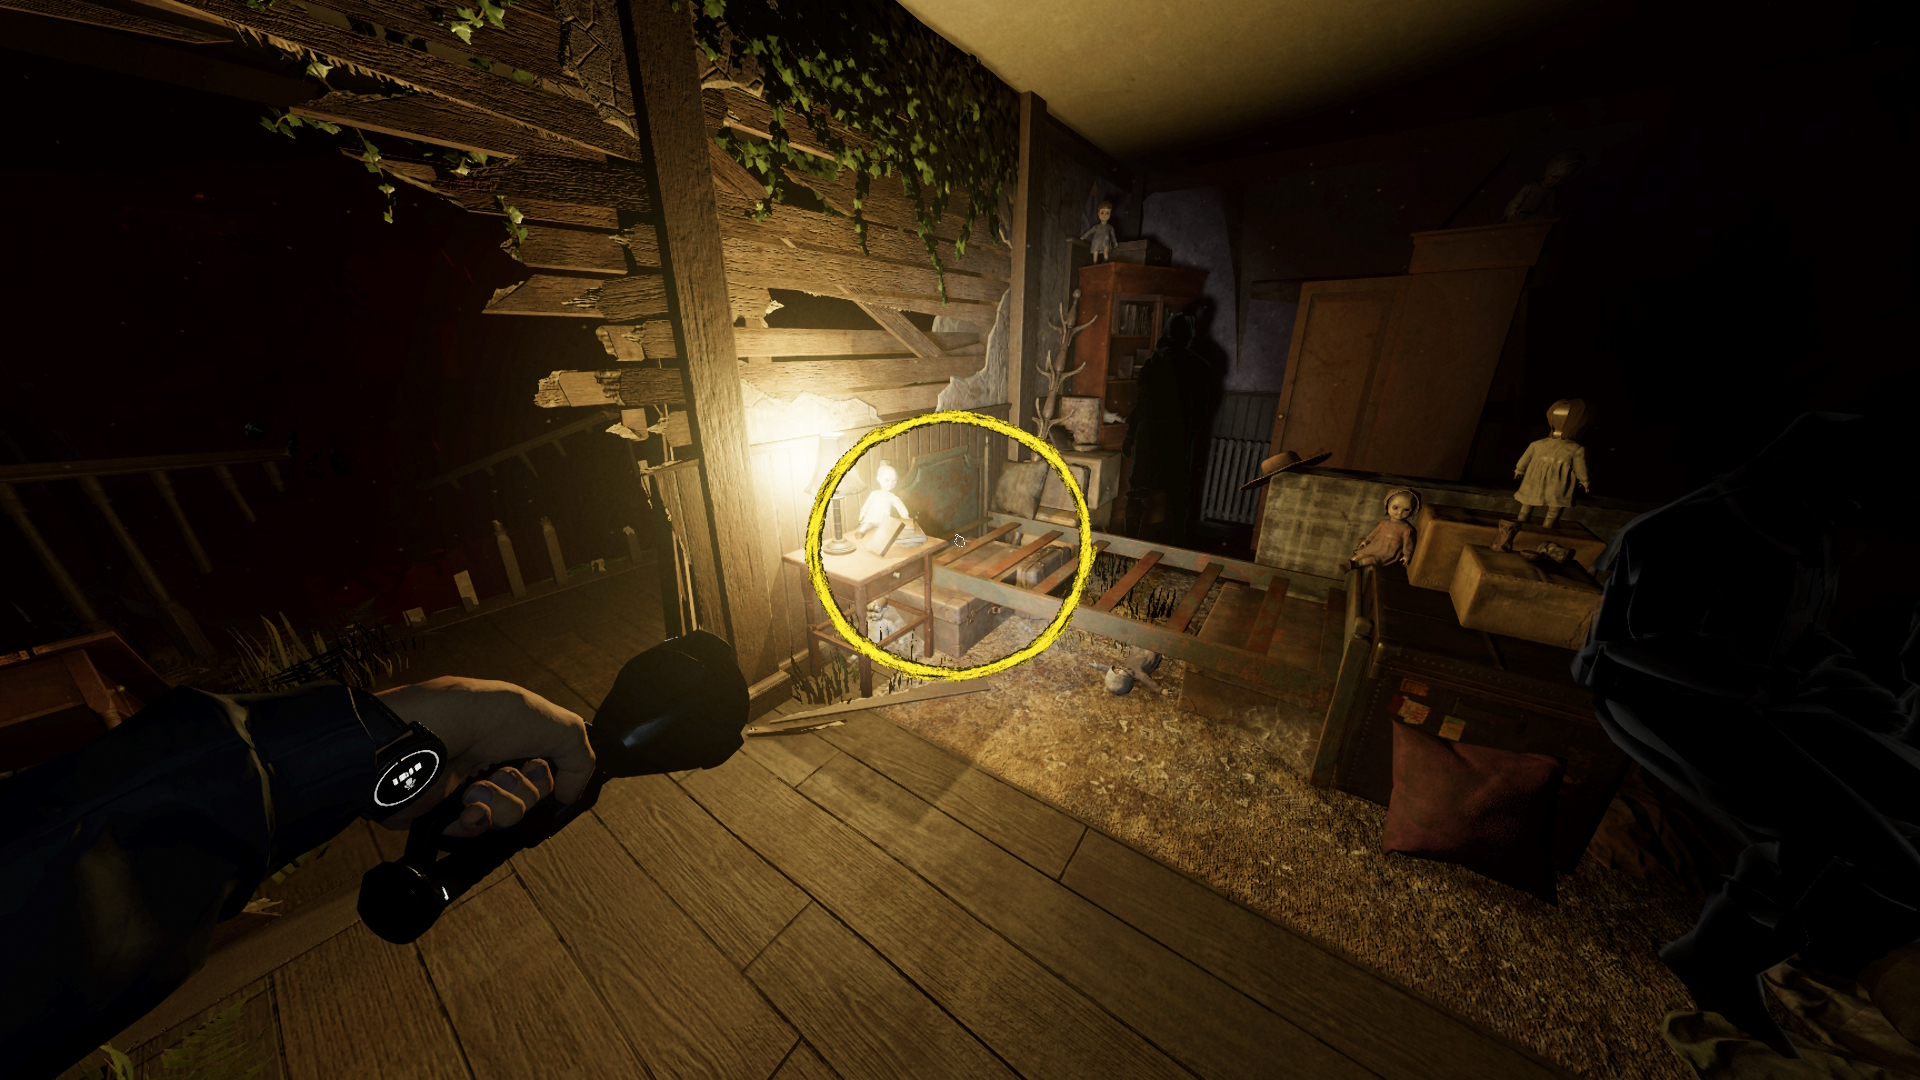
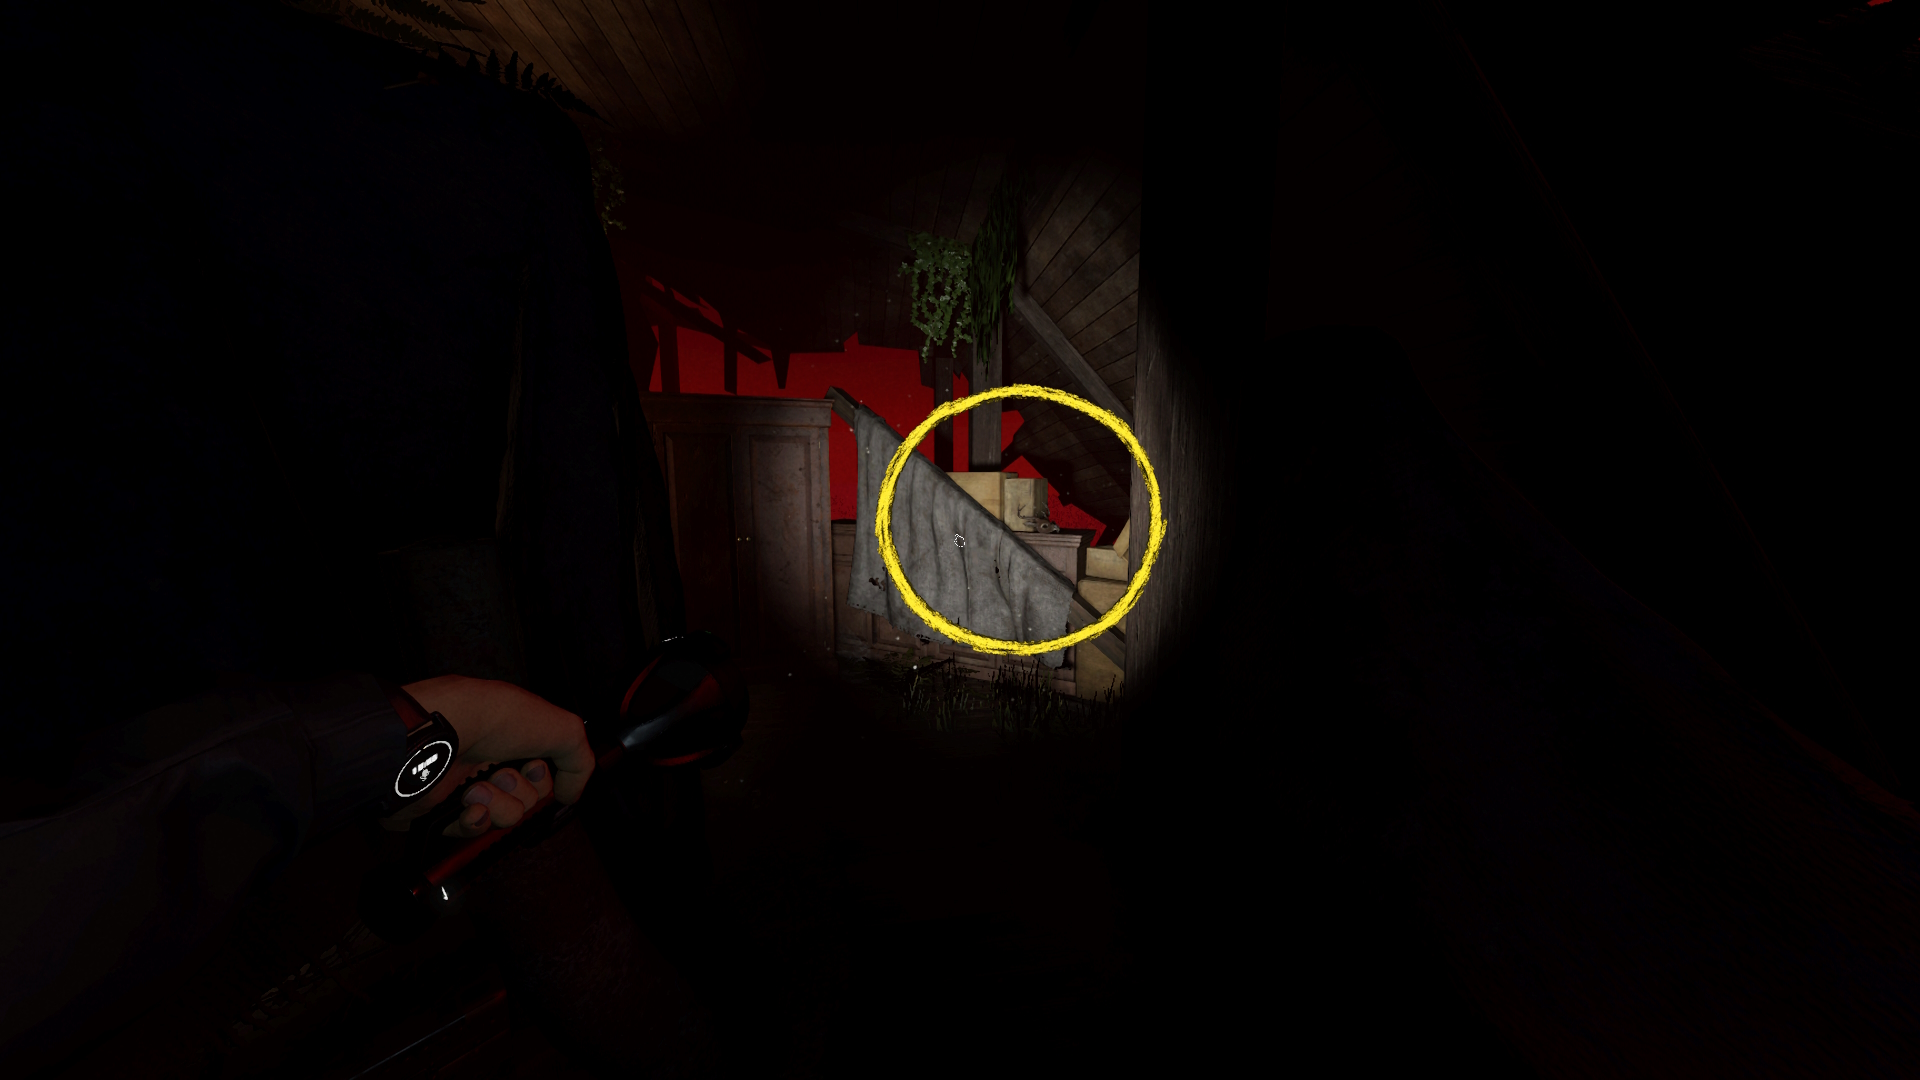 Pictured: (1) Kitchen, (2) Work Room, (3) Master Bedroom, (4) Landing, (5) Children's Bedroom and (6) Attic.
Oh Deer Diner (Nell's Diner)
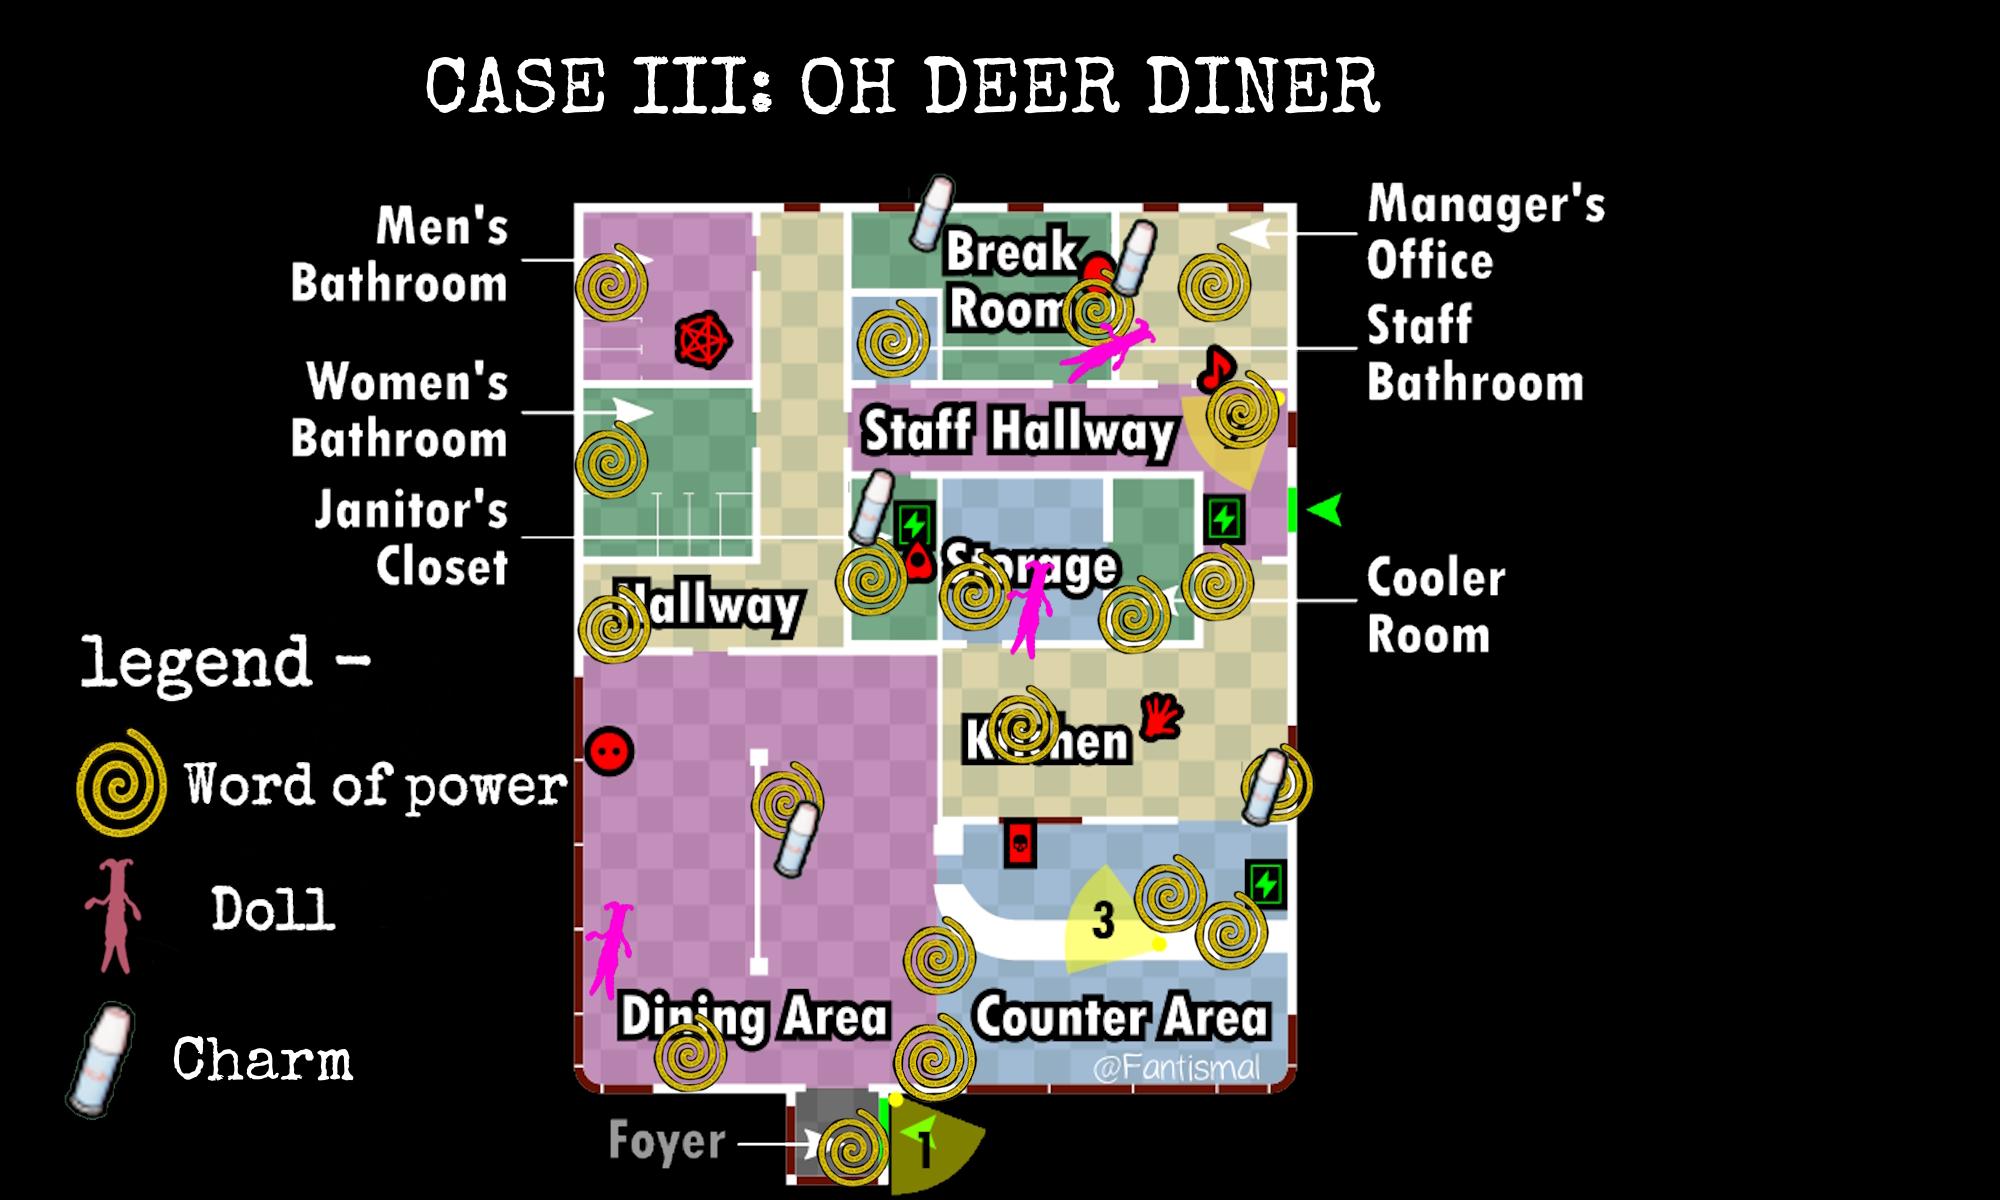
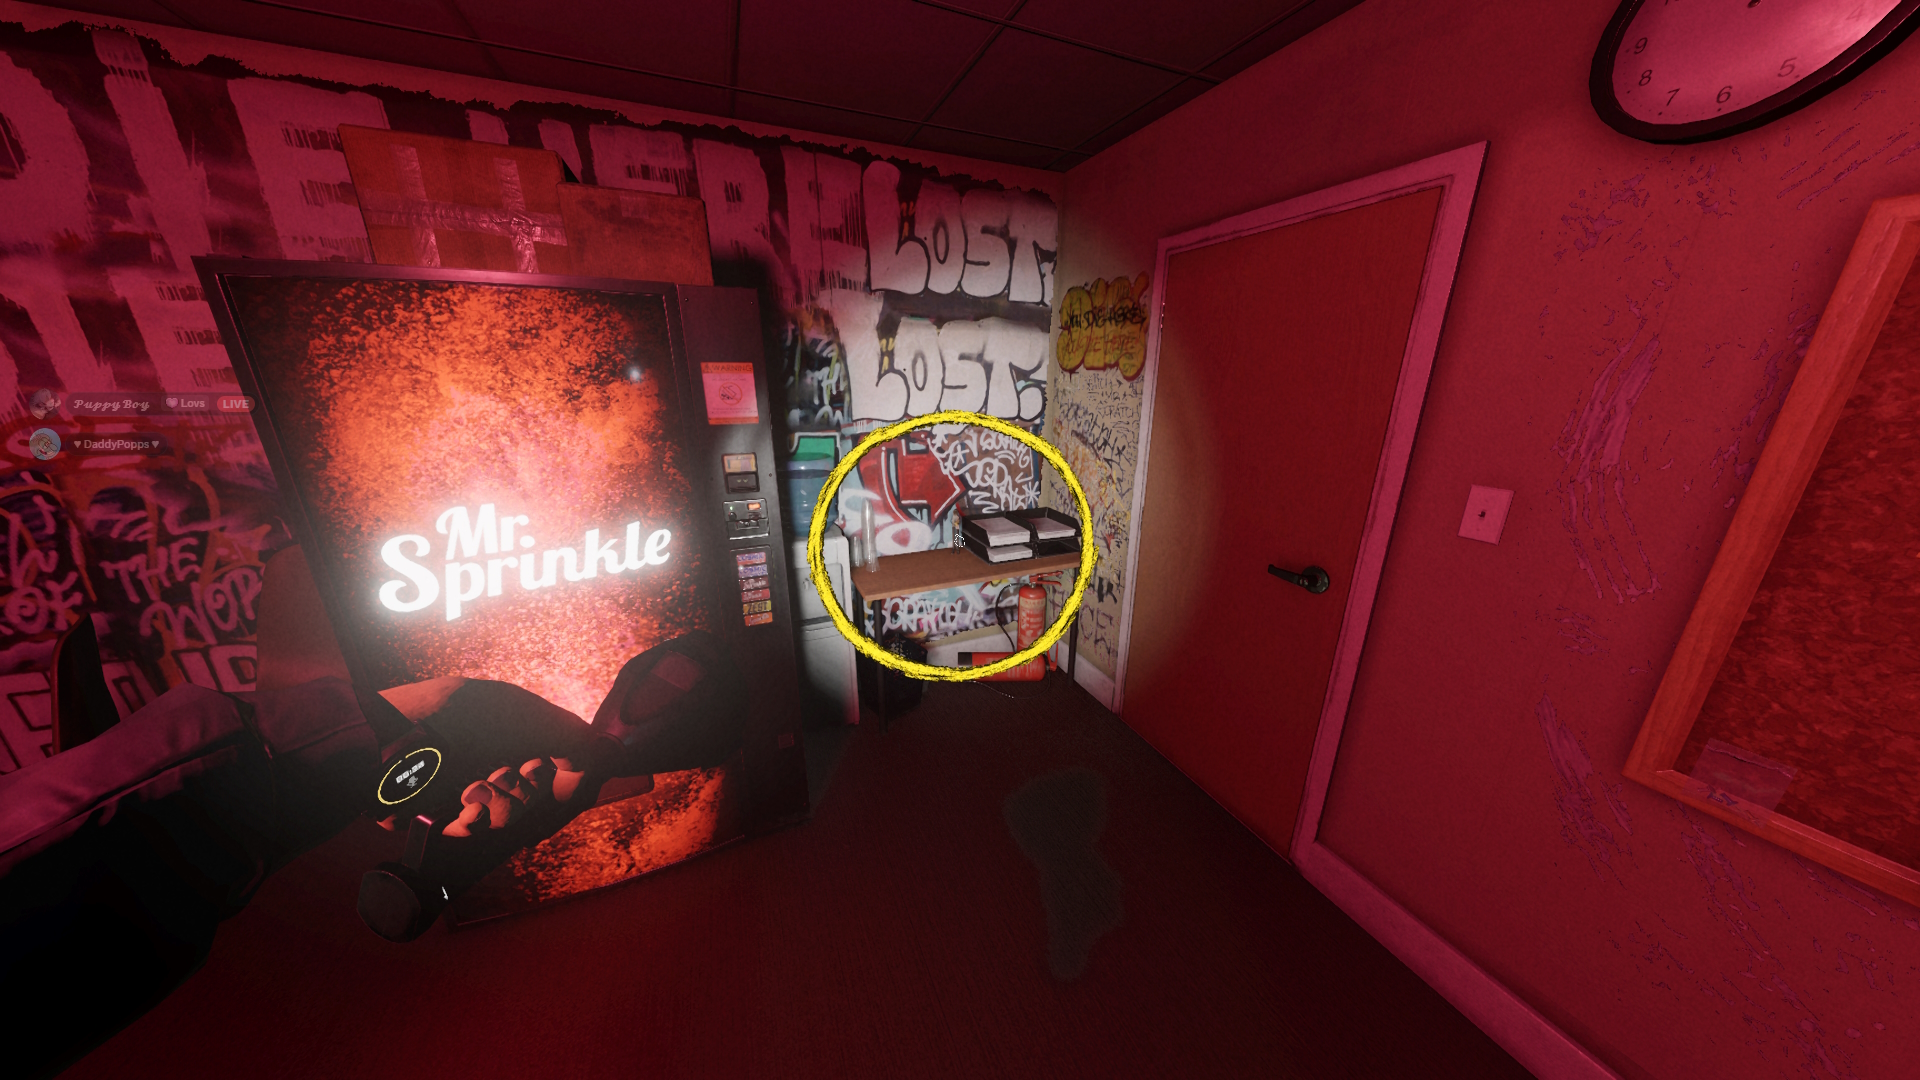
In the breakroom, behind the door is a table. On said table is a doll.
This is a puzzle piece.
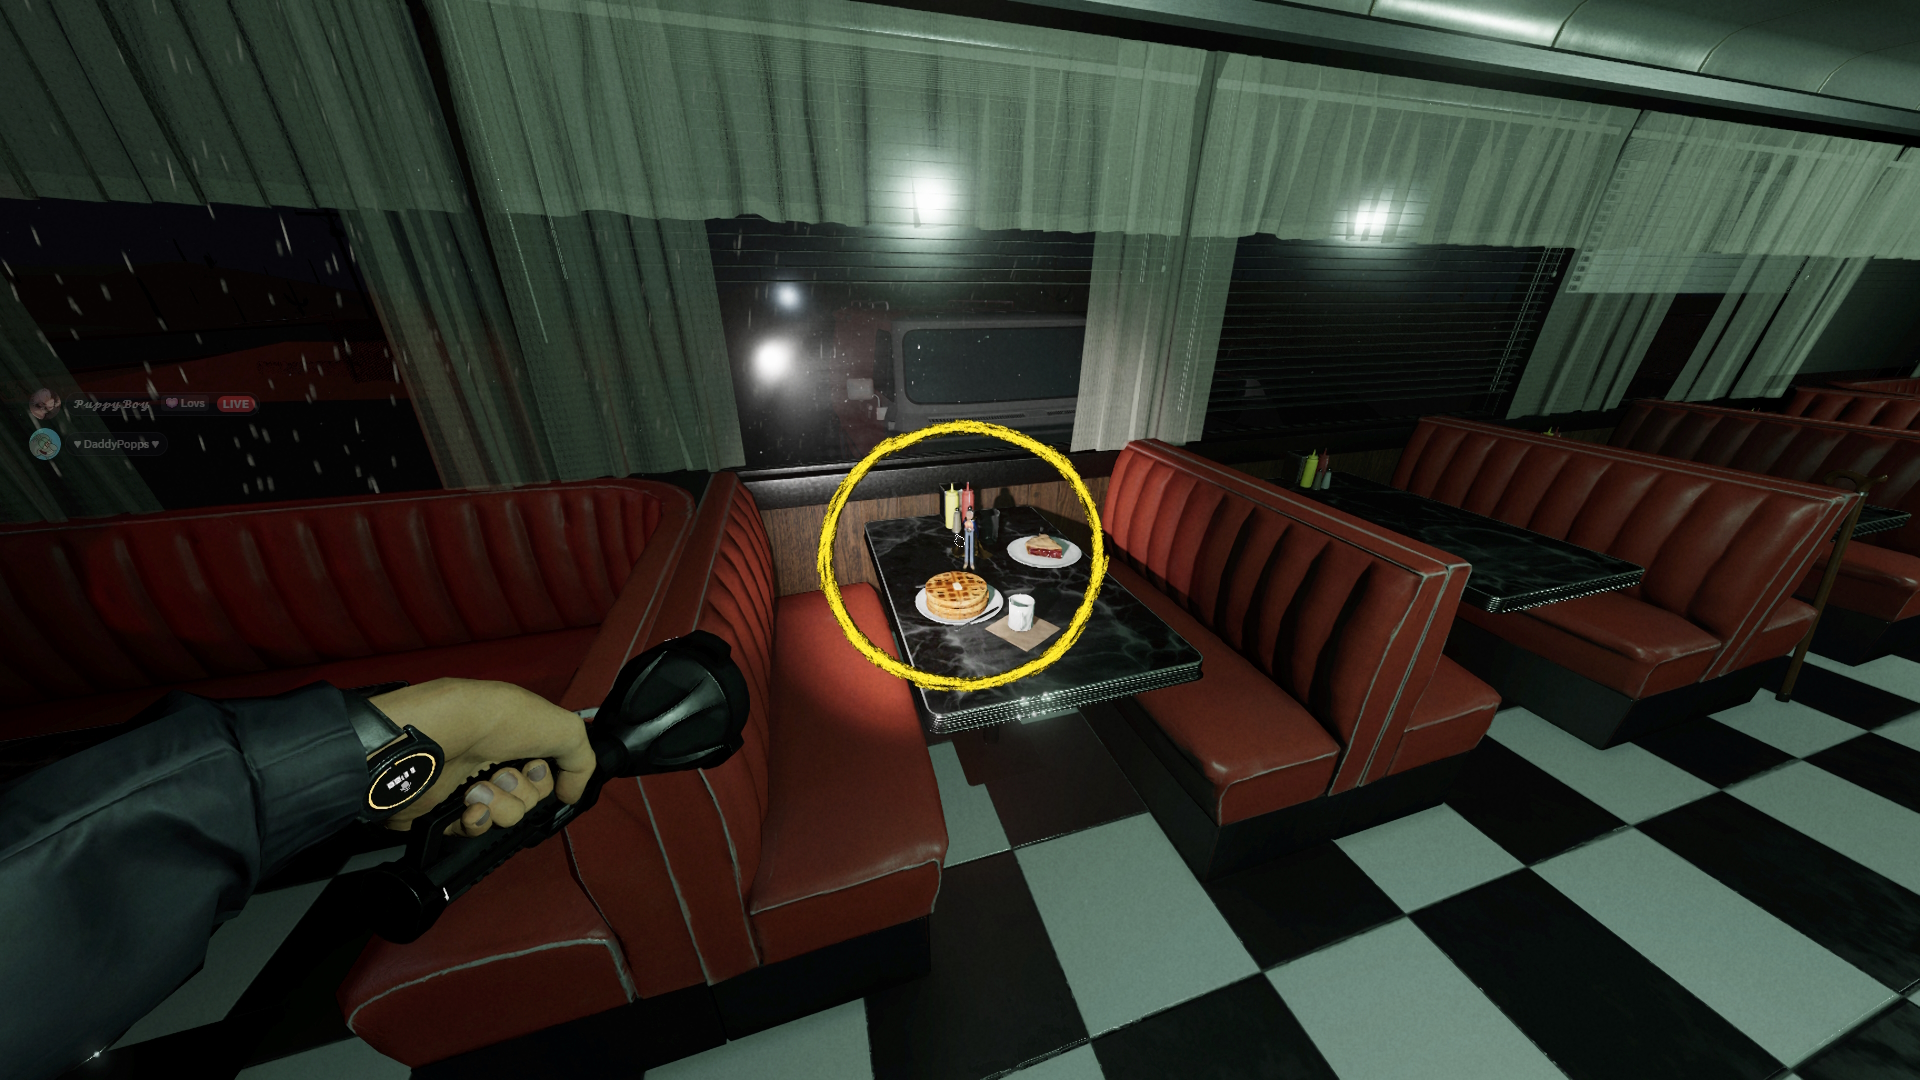
Another can be found as you enter the diner, take a left past the Alan Wake sign and the tables to the far side, the 2nd should have a superhero doll
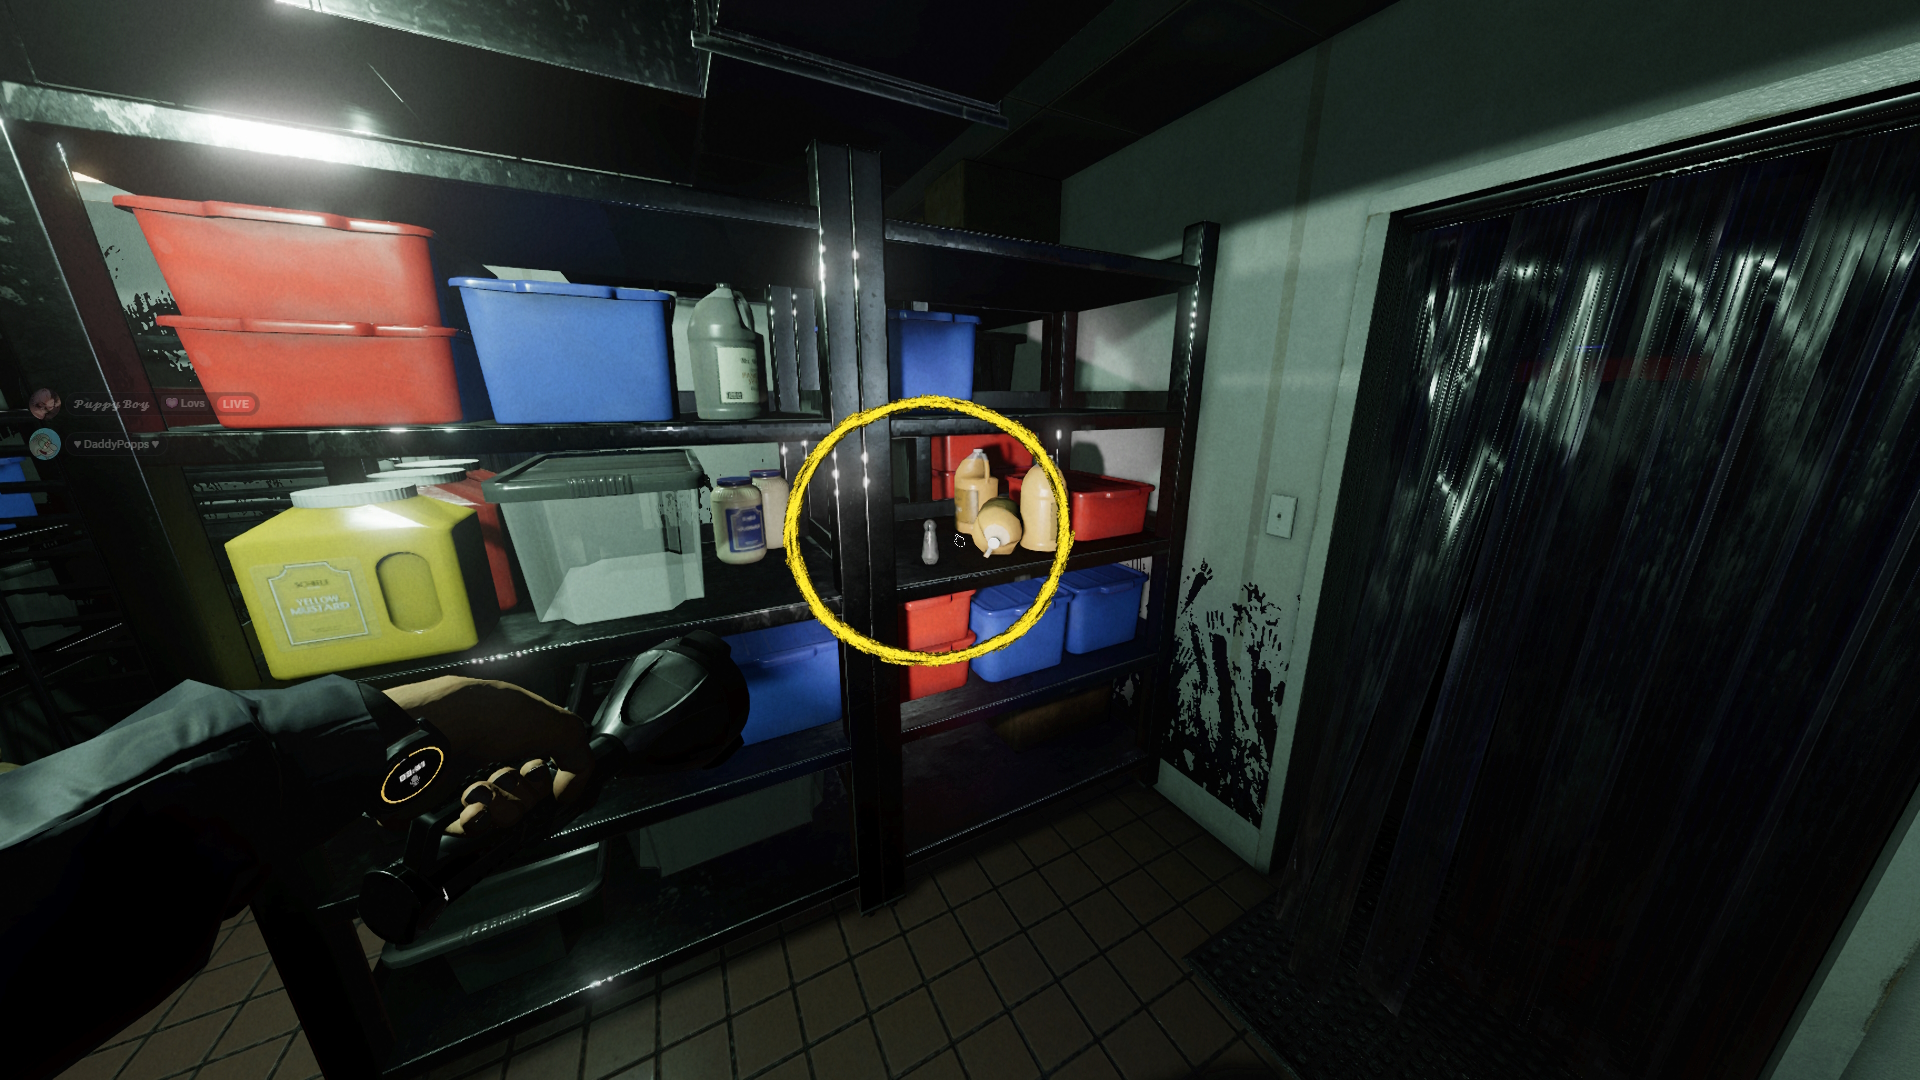
This one is a bit hard to see, as you enter the coldroom from the kitchen, look to your right. On a shelf is the next doll.

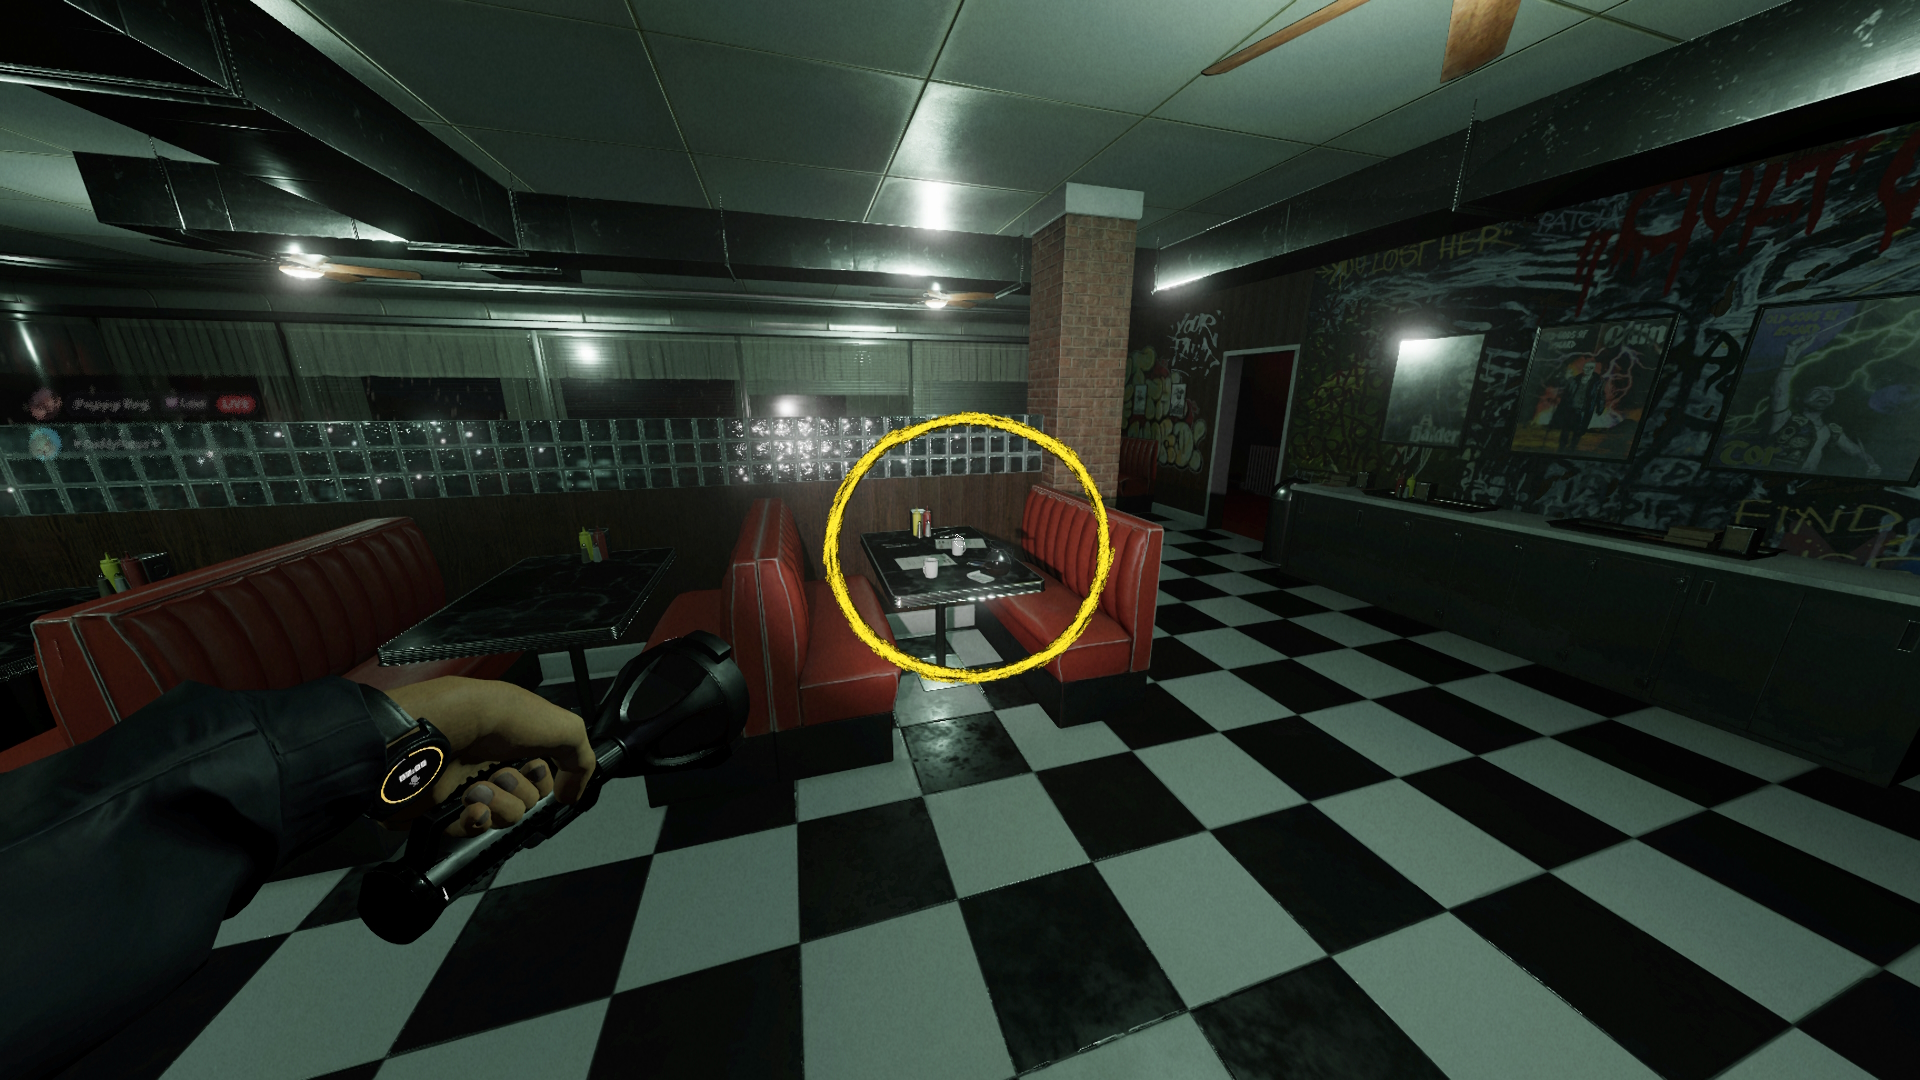
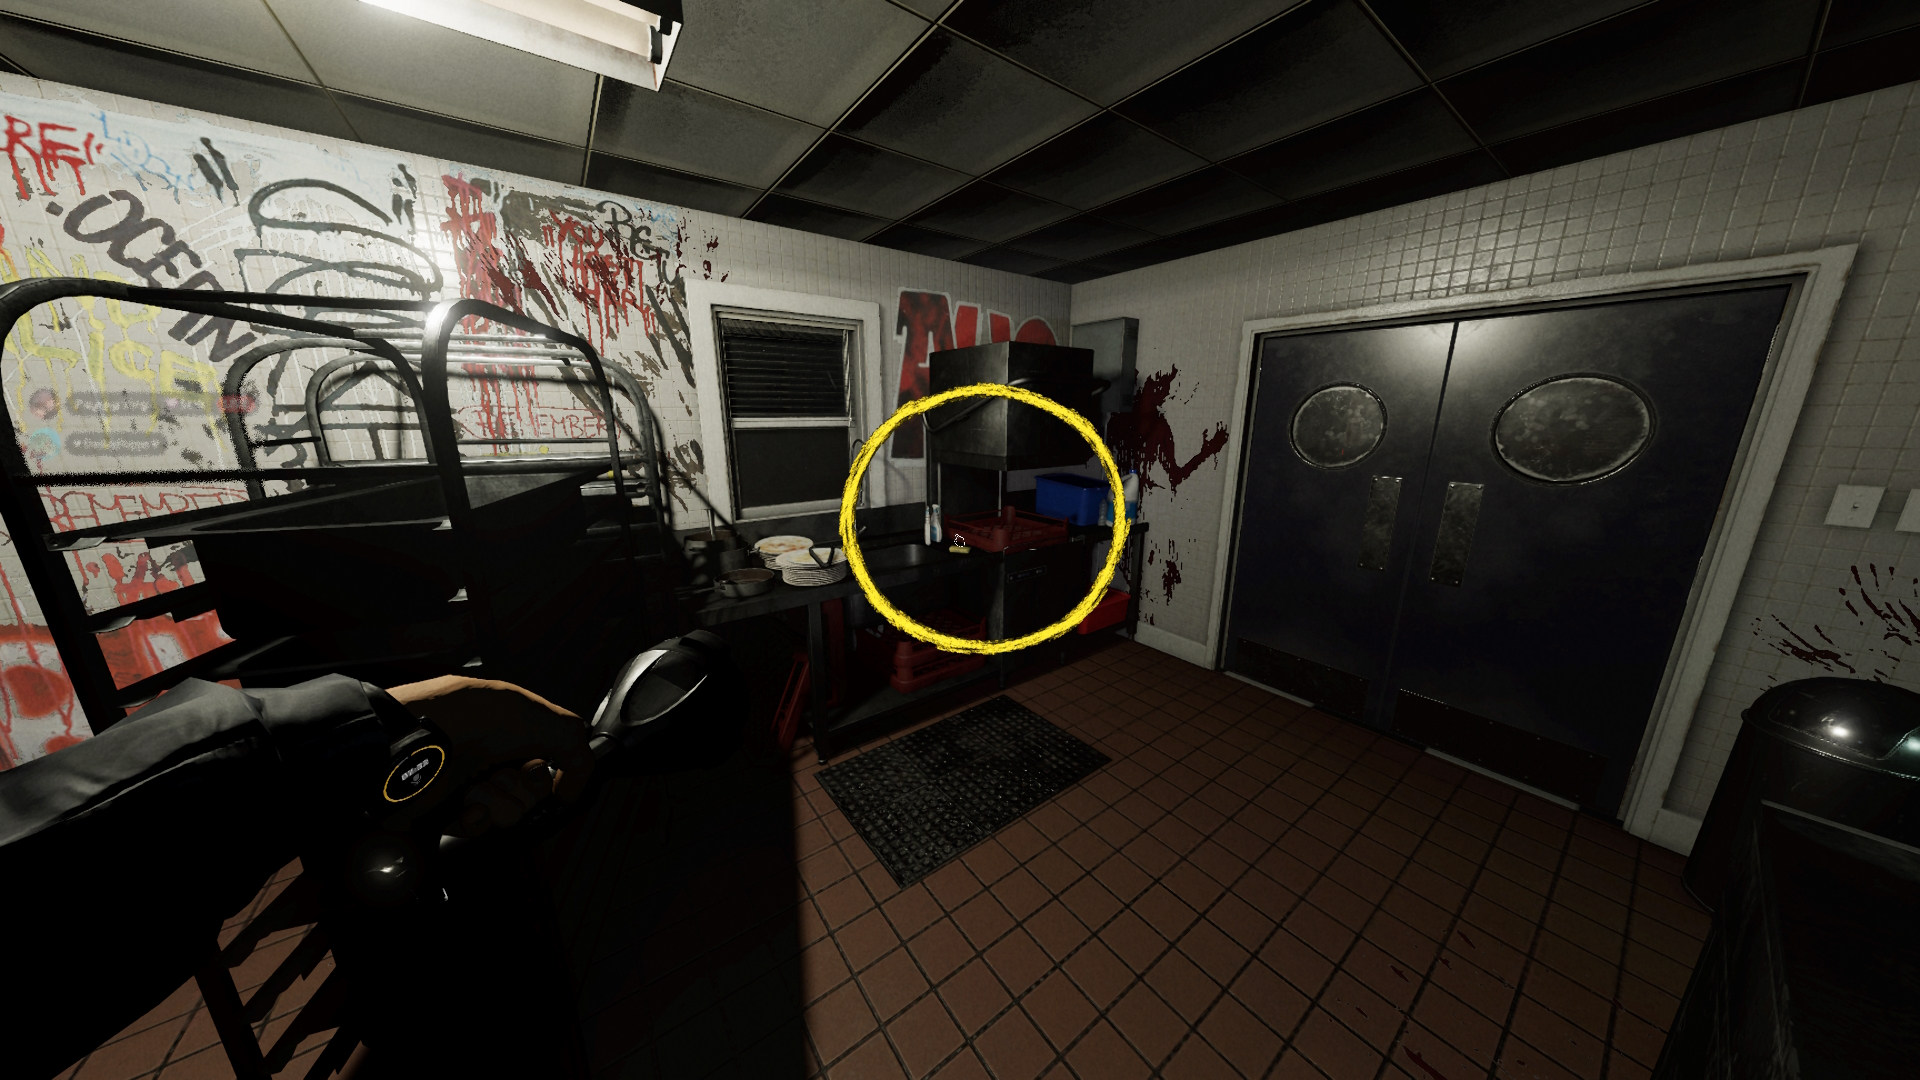
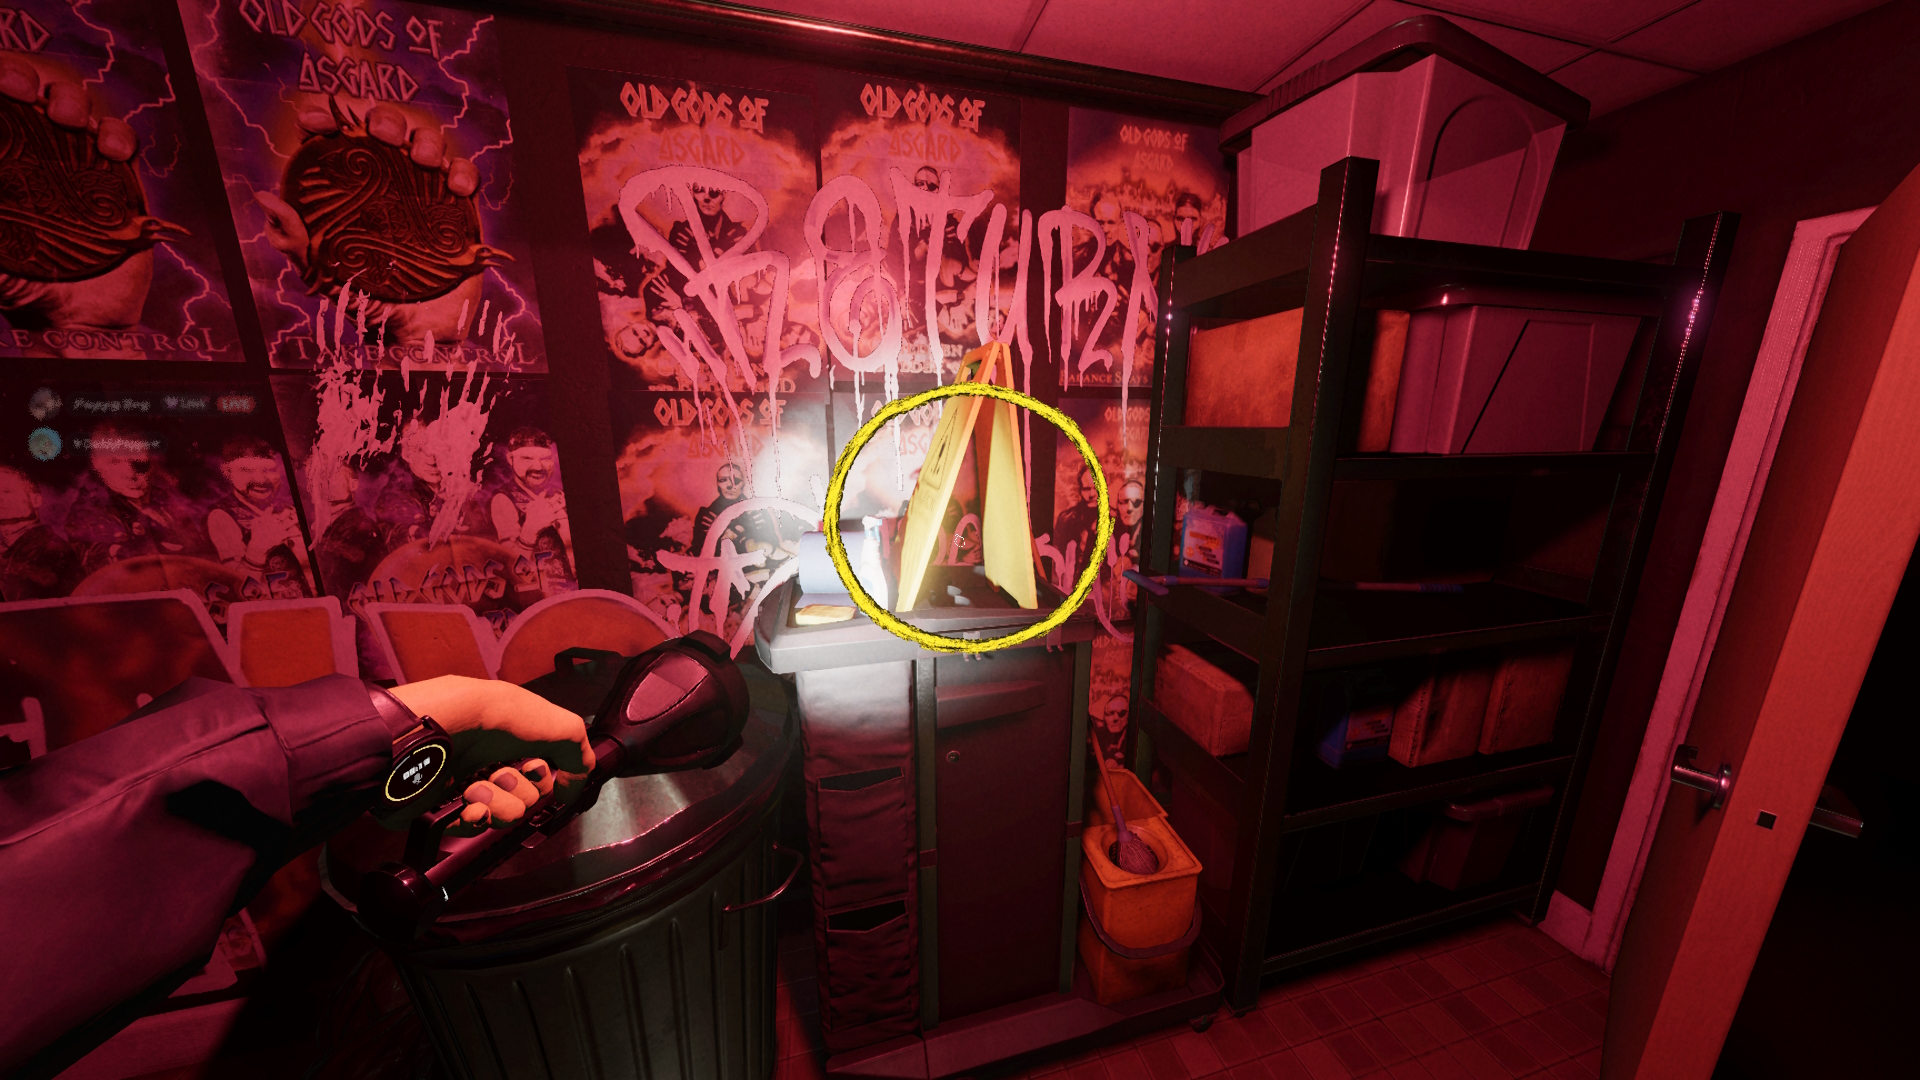
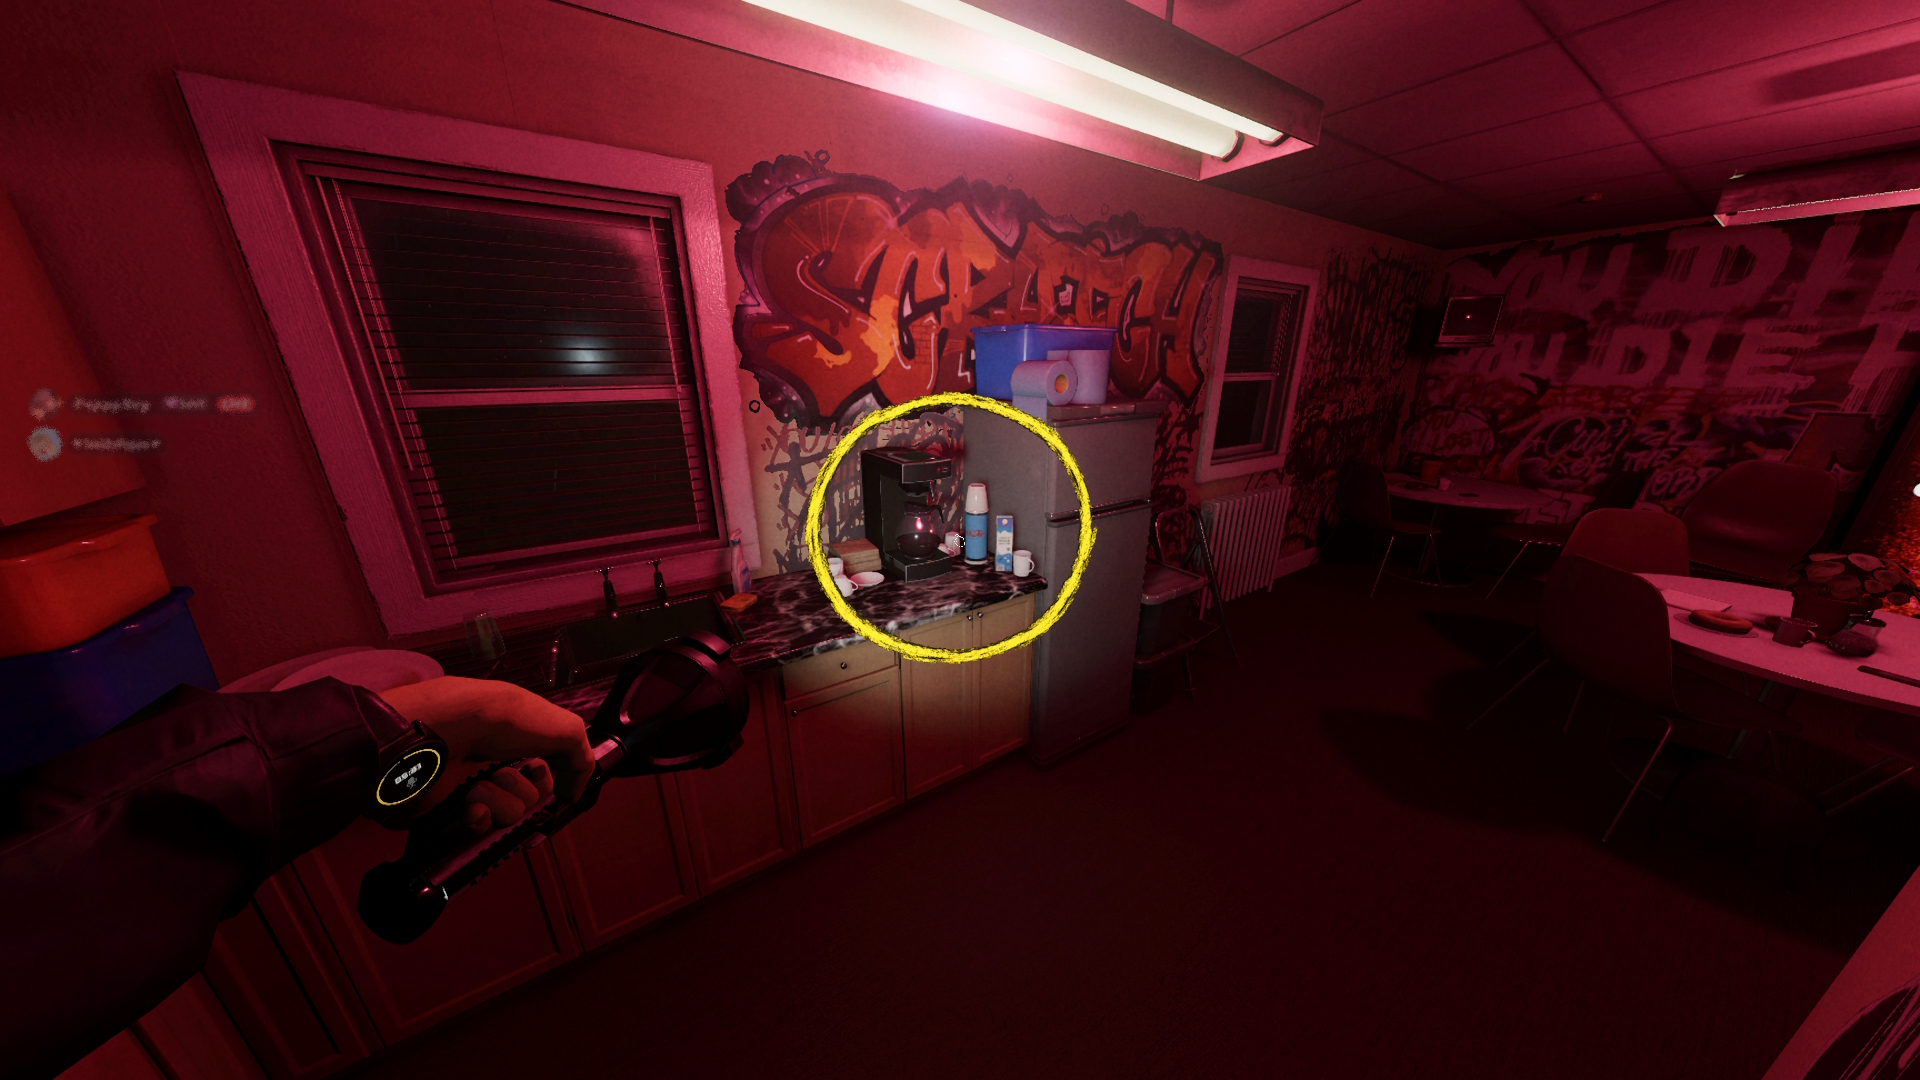
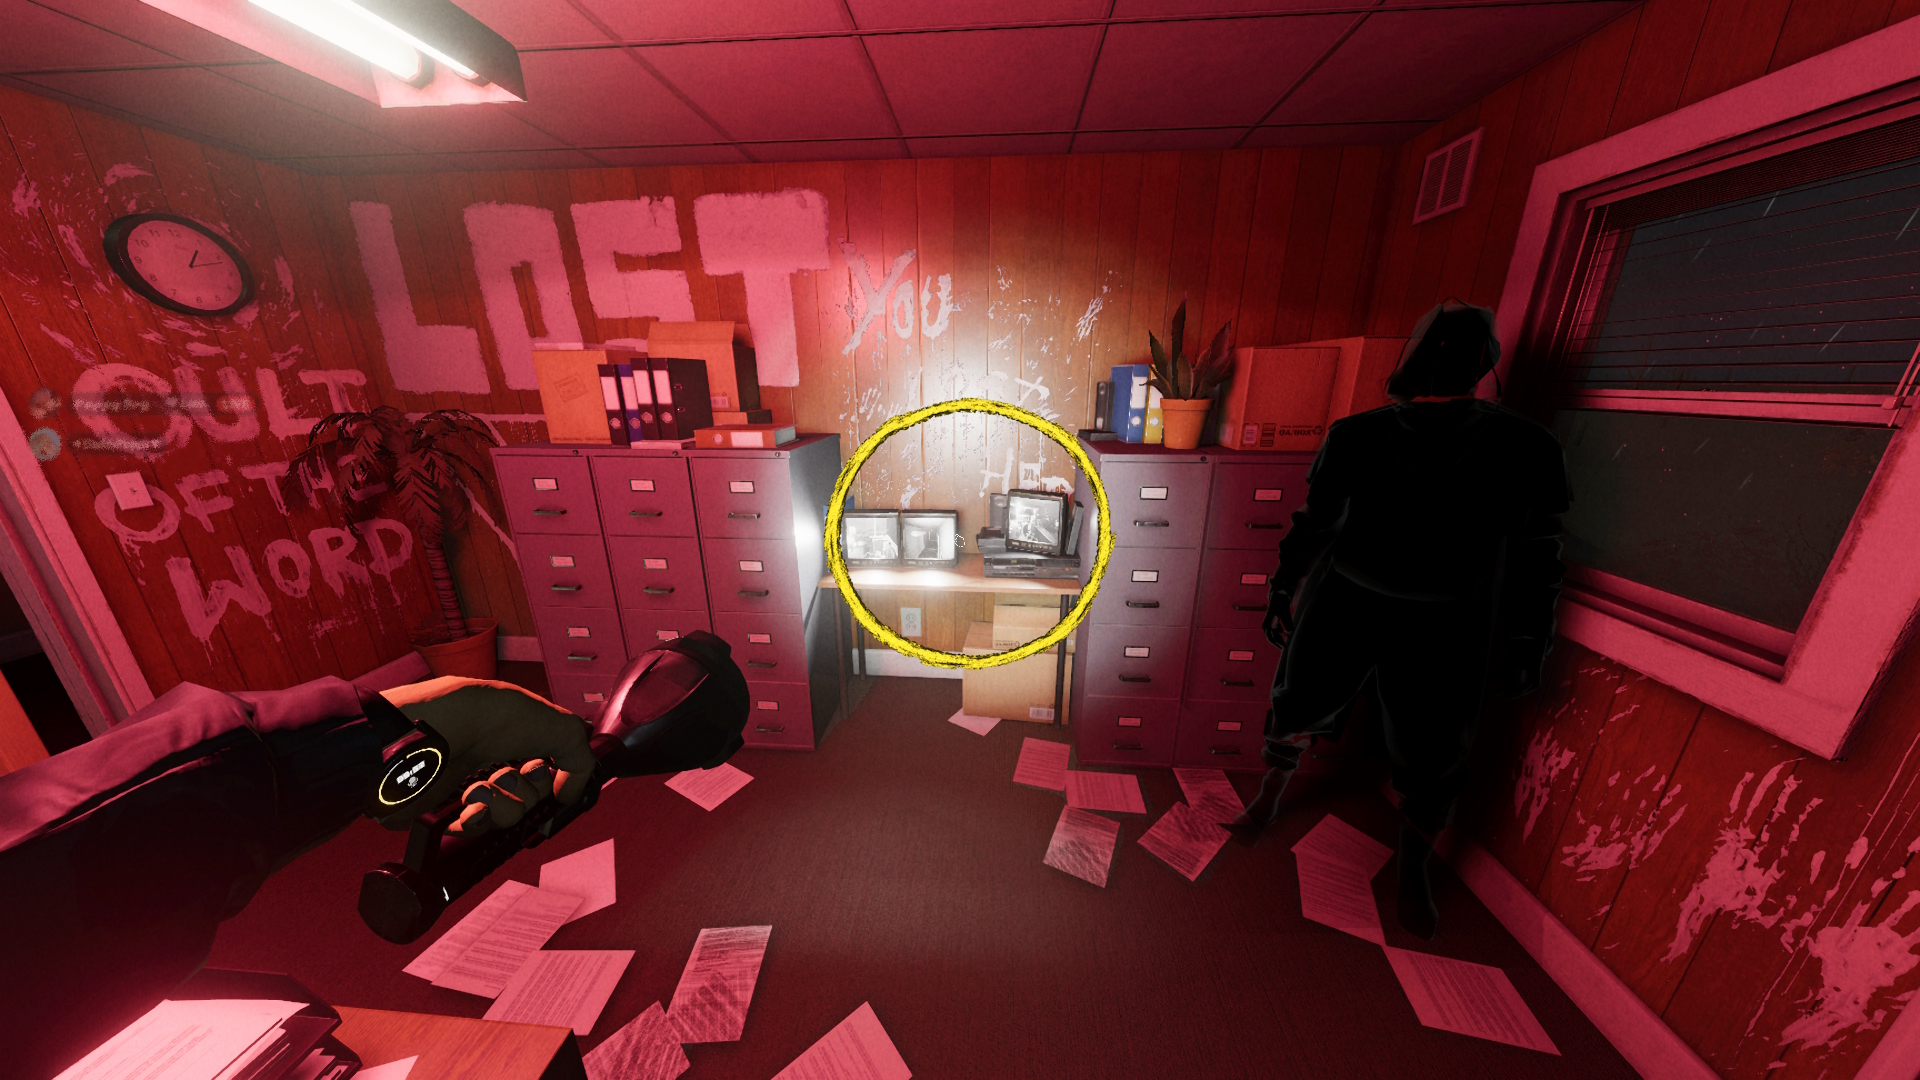 Pictured: (1) Dining Area, (2) Kitchen, (3) Janitor's Closet, (4) Break Room, and (5) Manager's Office.
Elderwood Palace Lodge (Bleasdale Farmhouse)
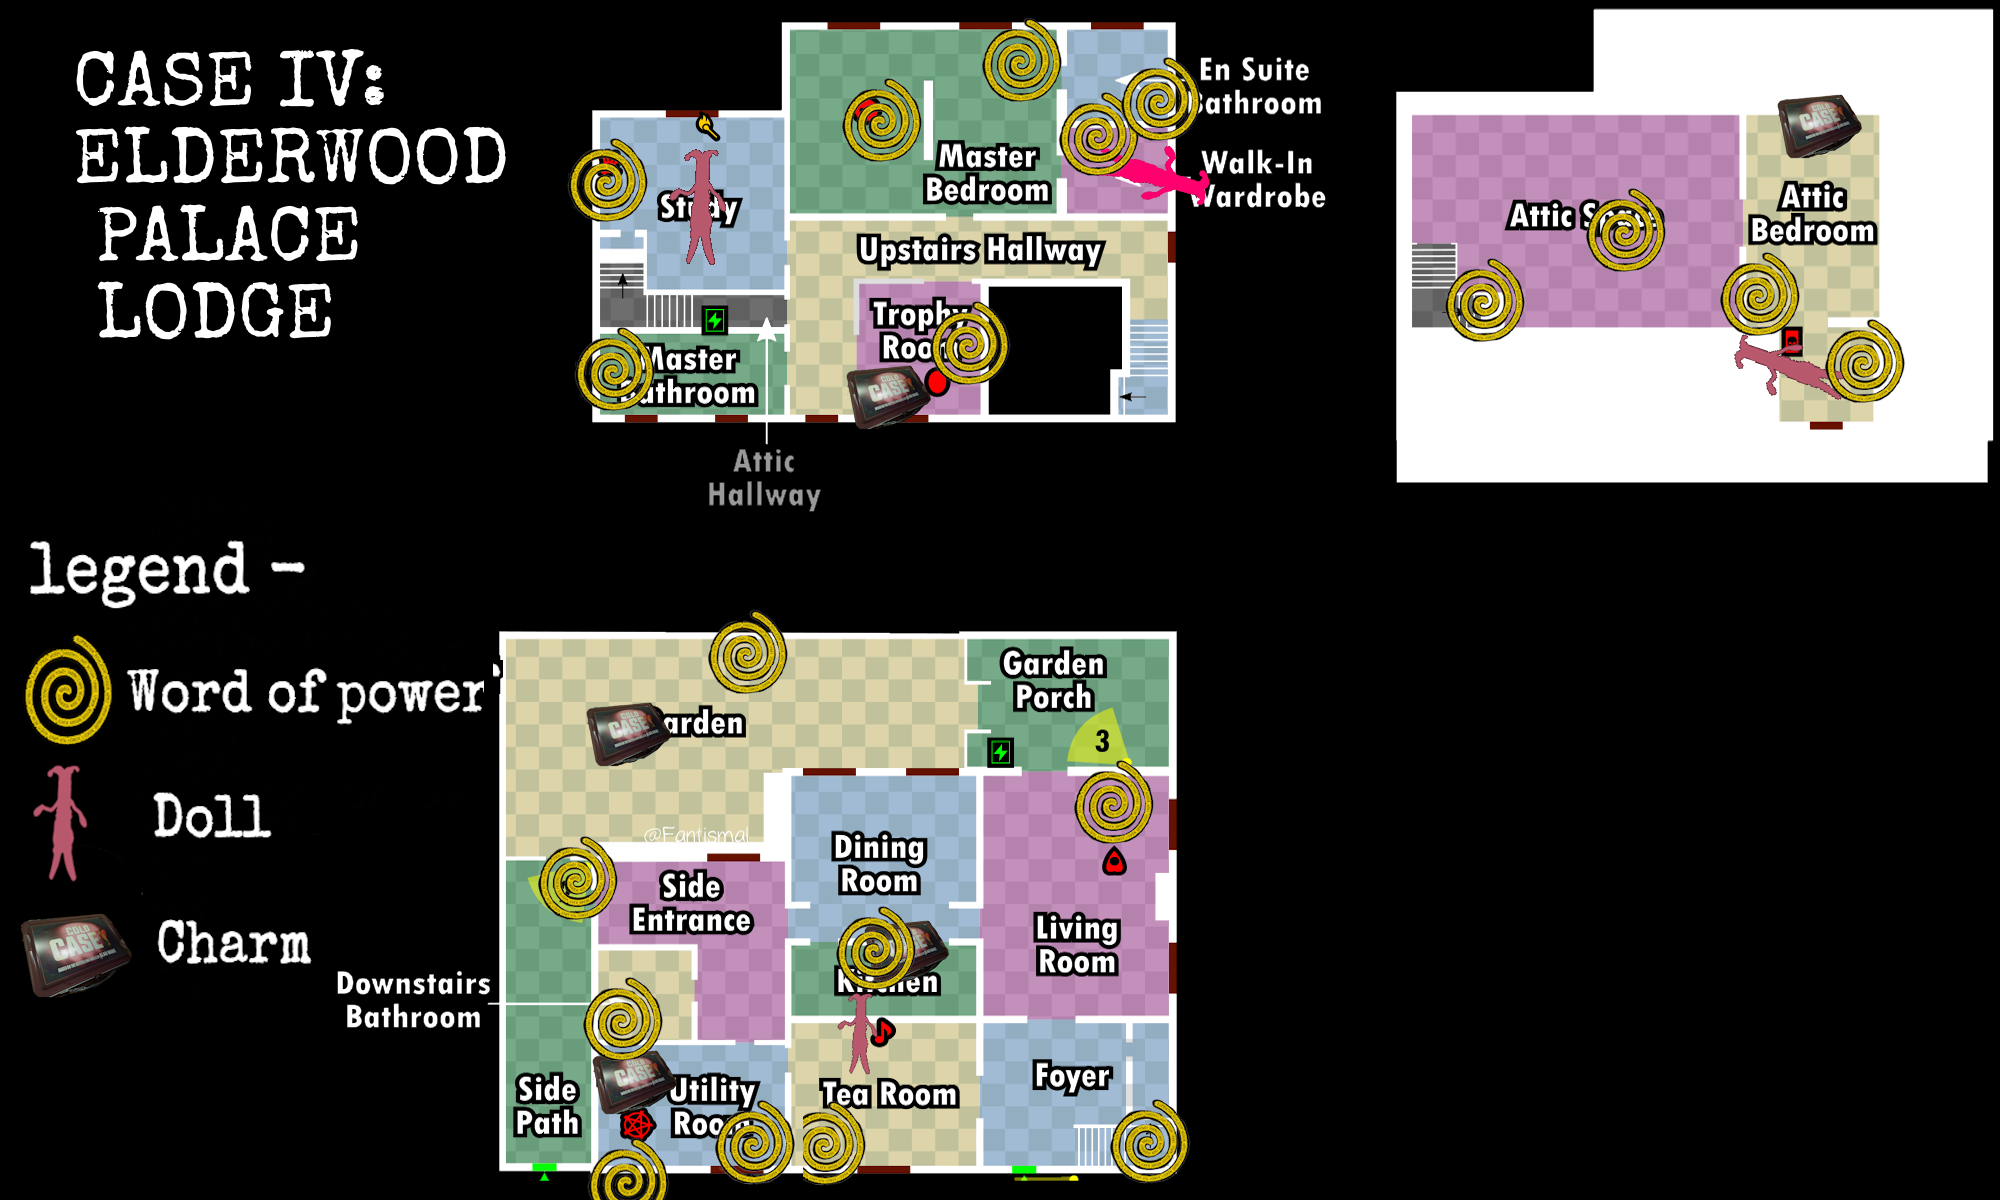
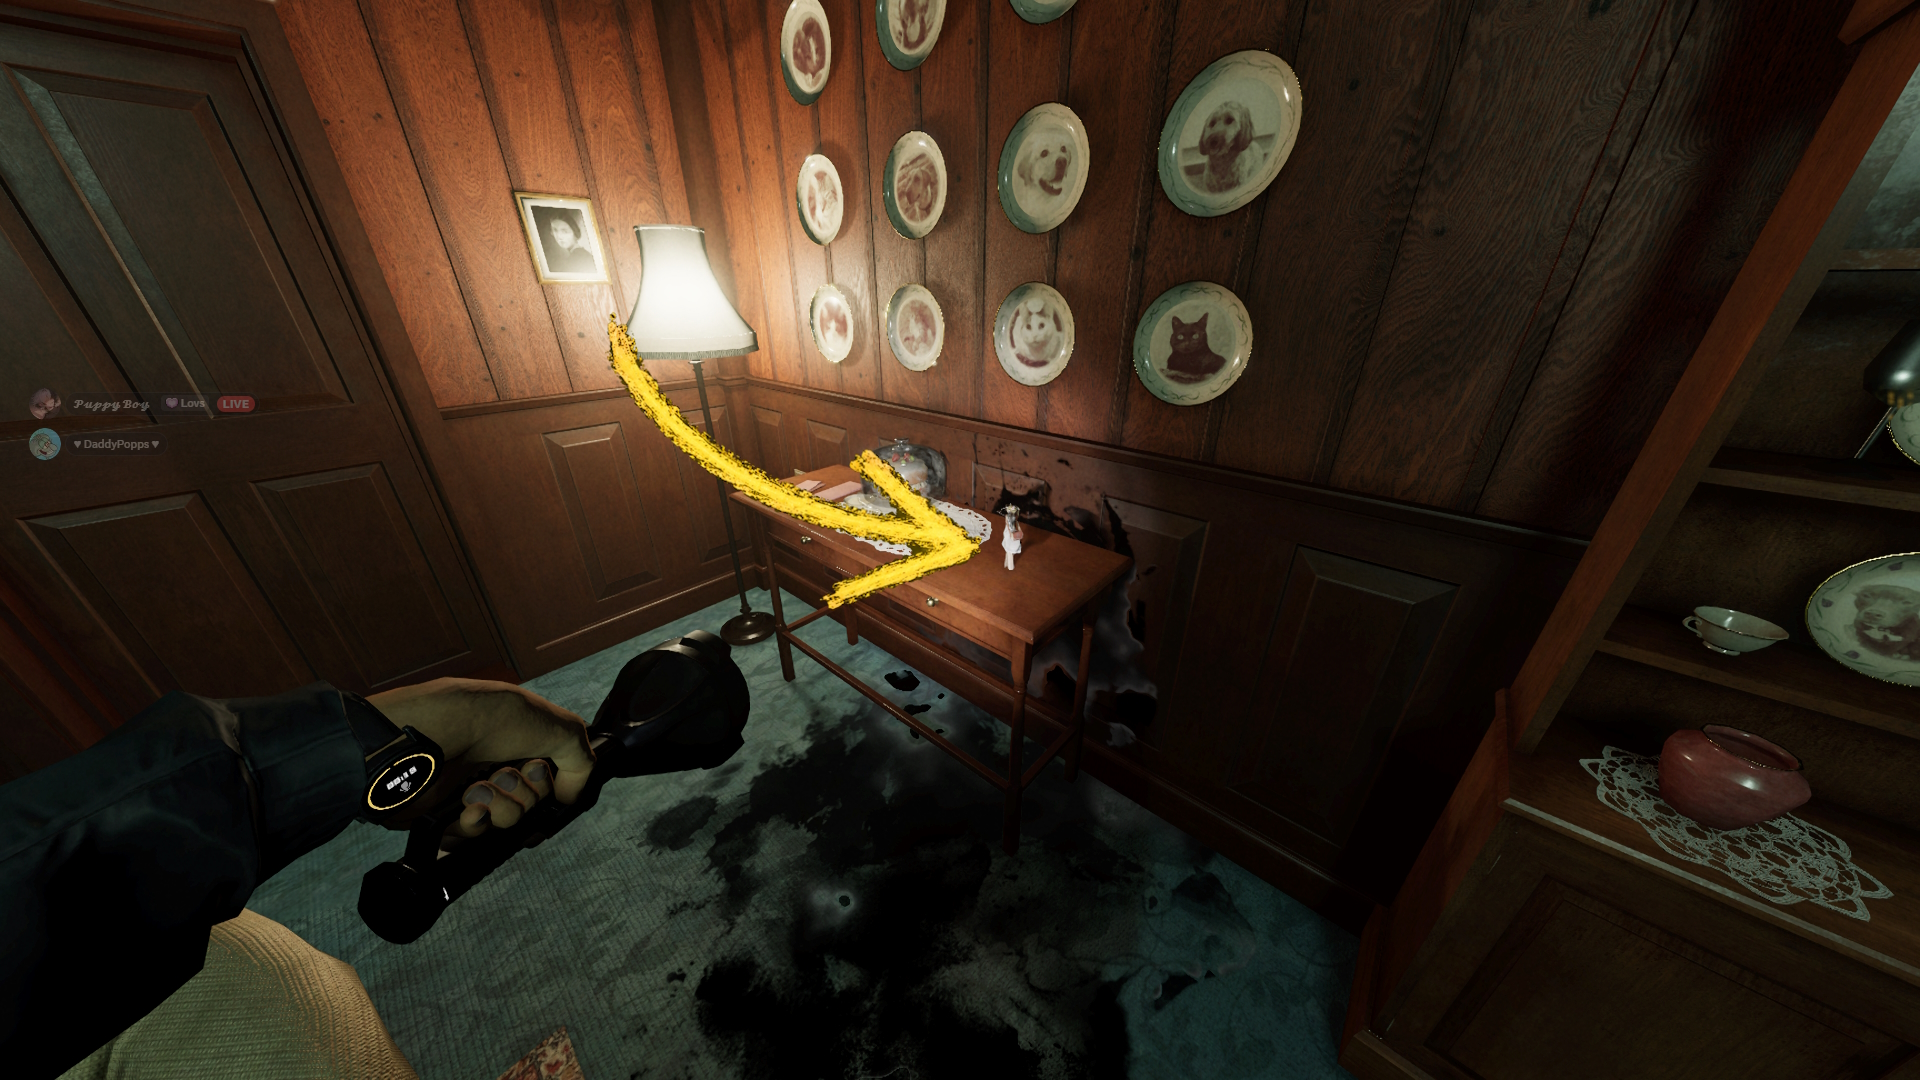
In the tea room, right next to where the music box would spawn (right-hand side table) is a bride doll.
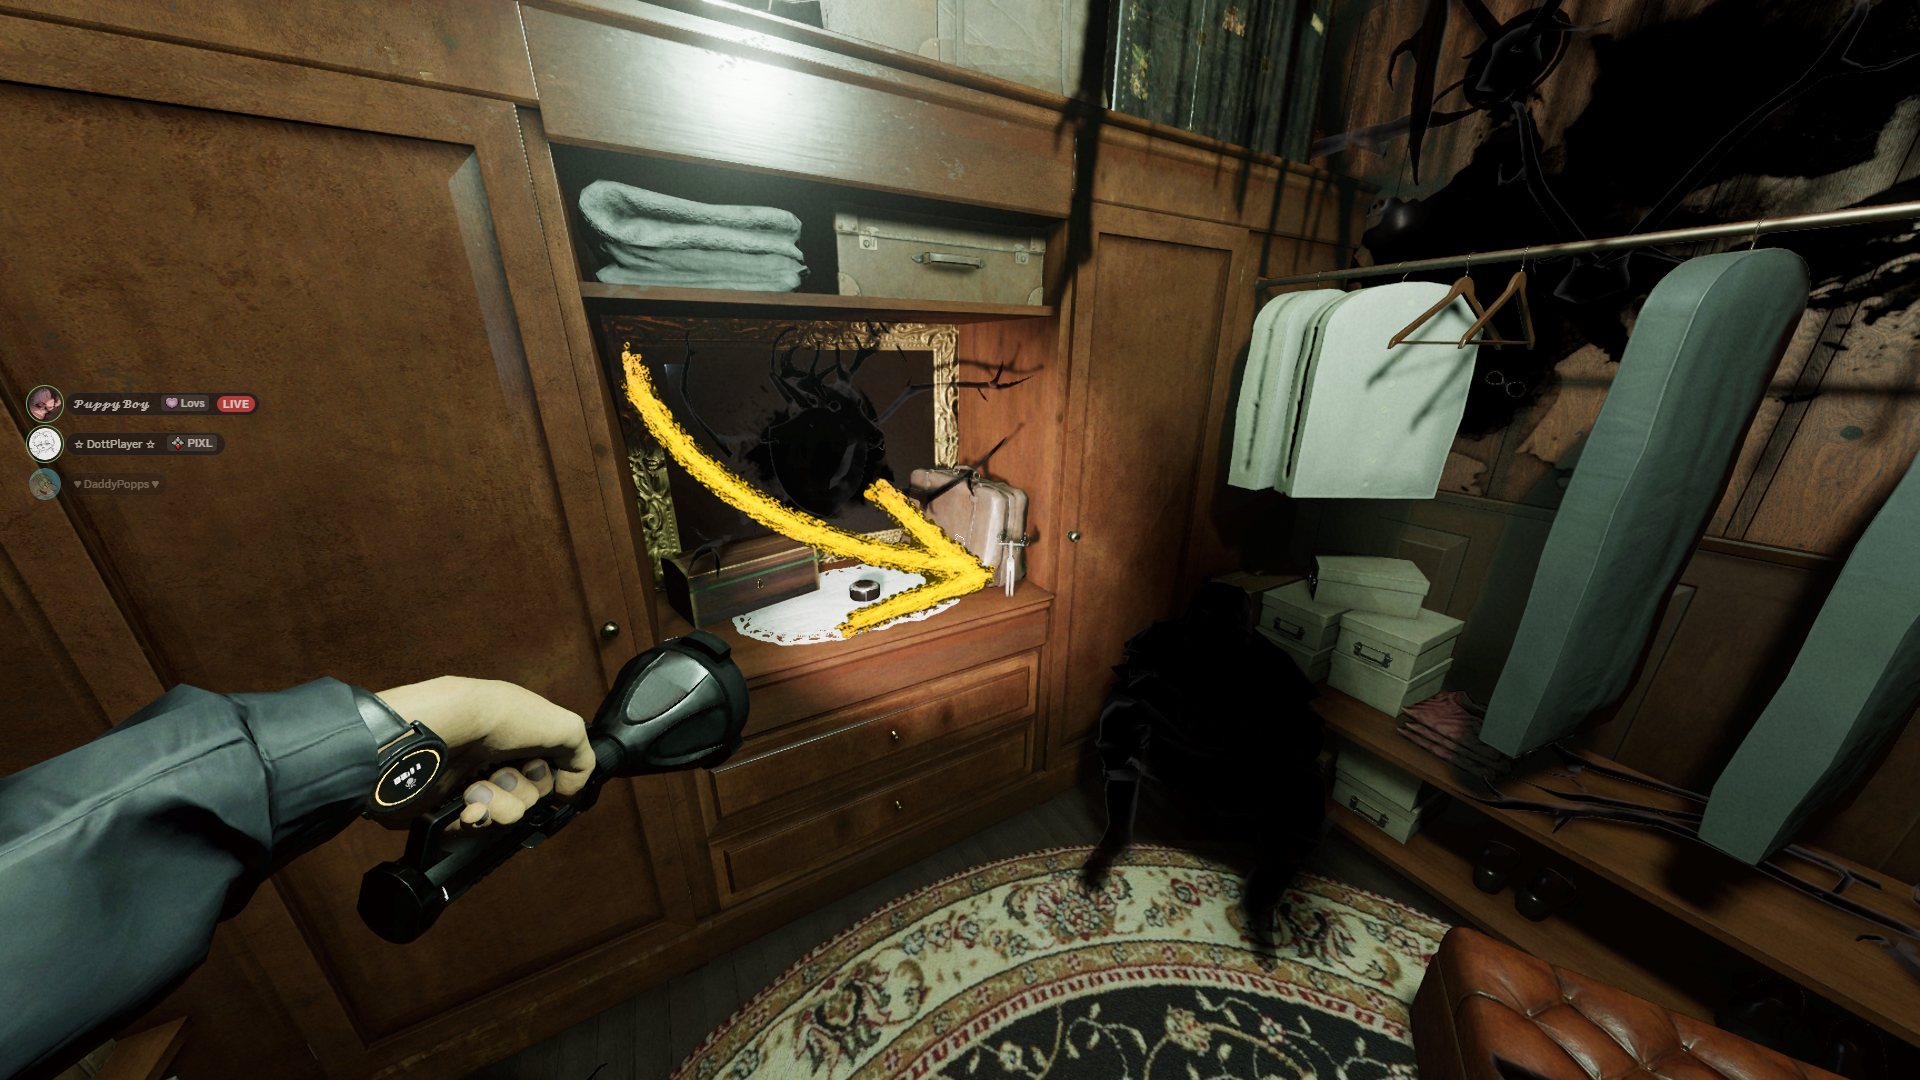
A Deer doll can be found in the master bedrooms ensuite closet. Right at the back by the mirror.
This is a puzzle piece.
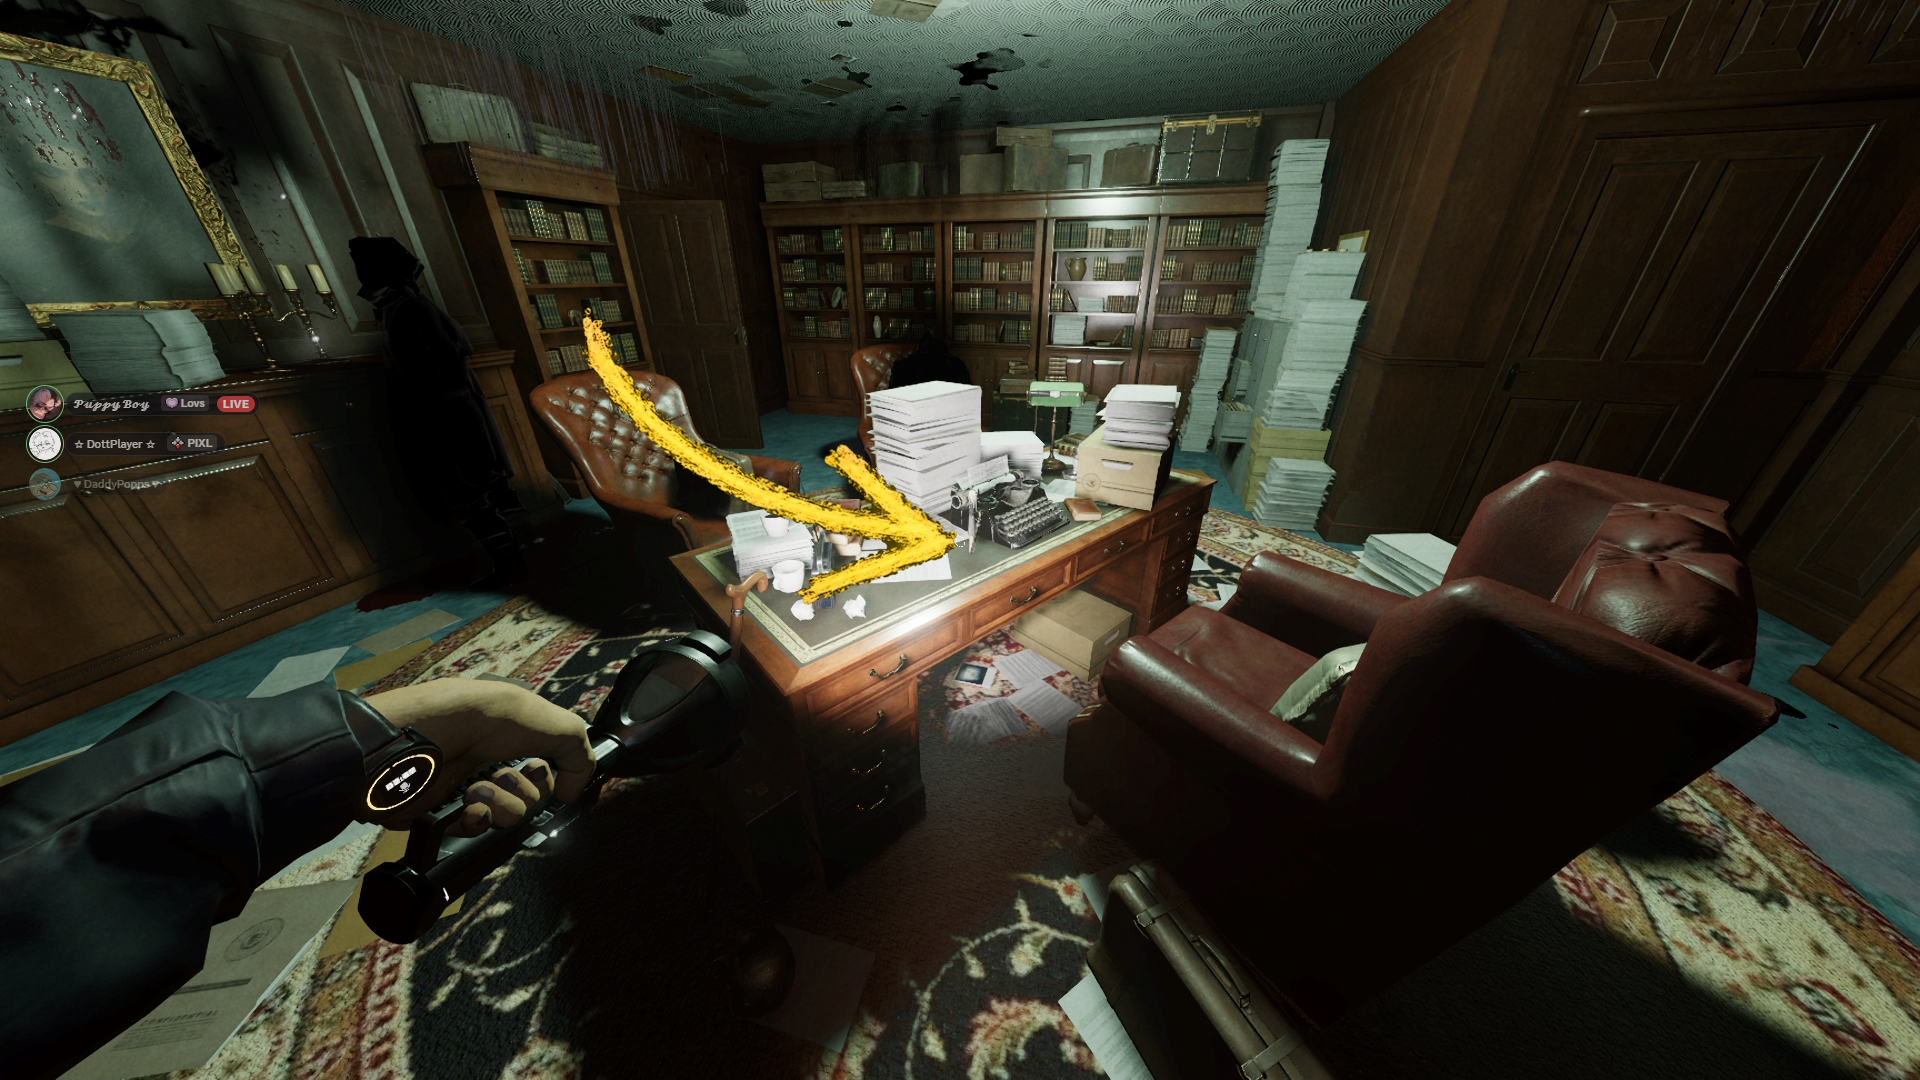
Old man doll is found in the upstairs office. On the desk.
This is a puzzle piece.
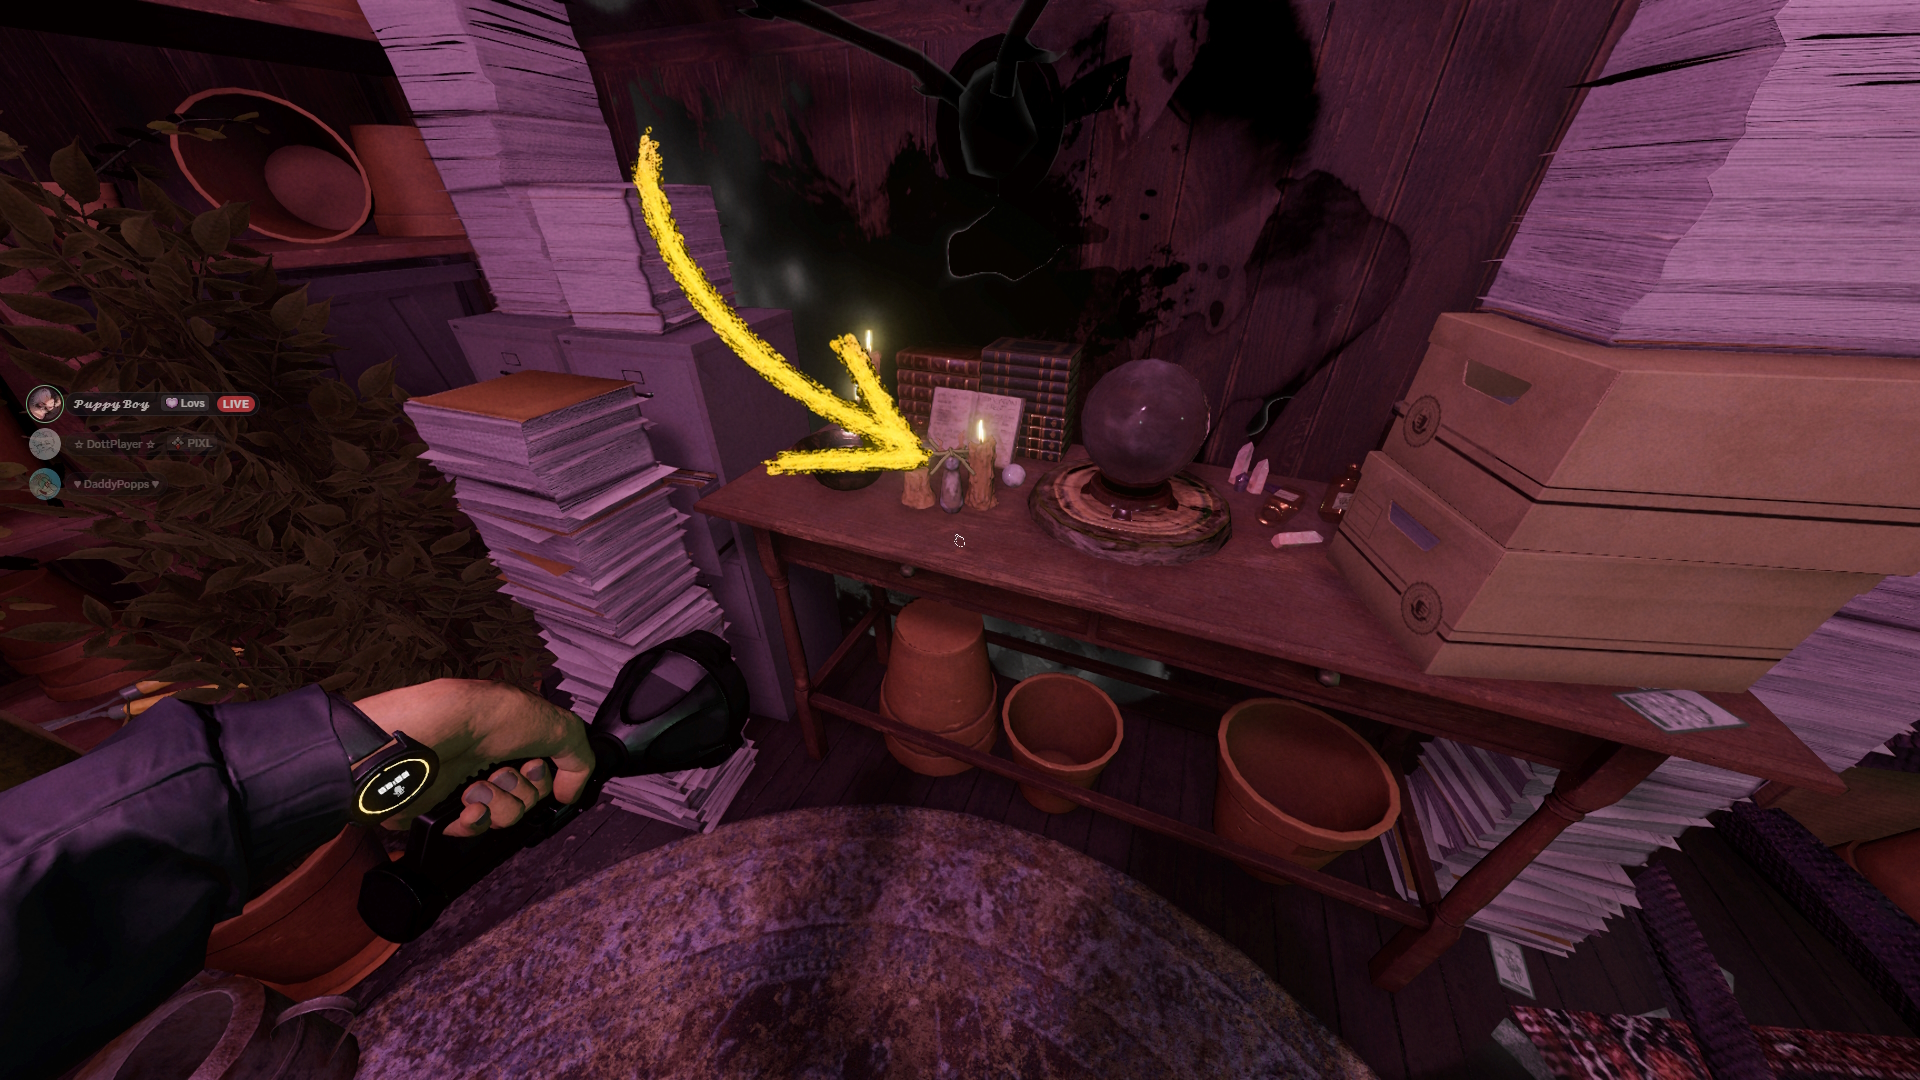
The last doll is found all the way in the attic. In the back bit next to the crystal ball is this, weird Rastafarian Doll?

Here are some locations you can find the Lunchbox charm cosmetic.
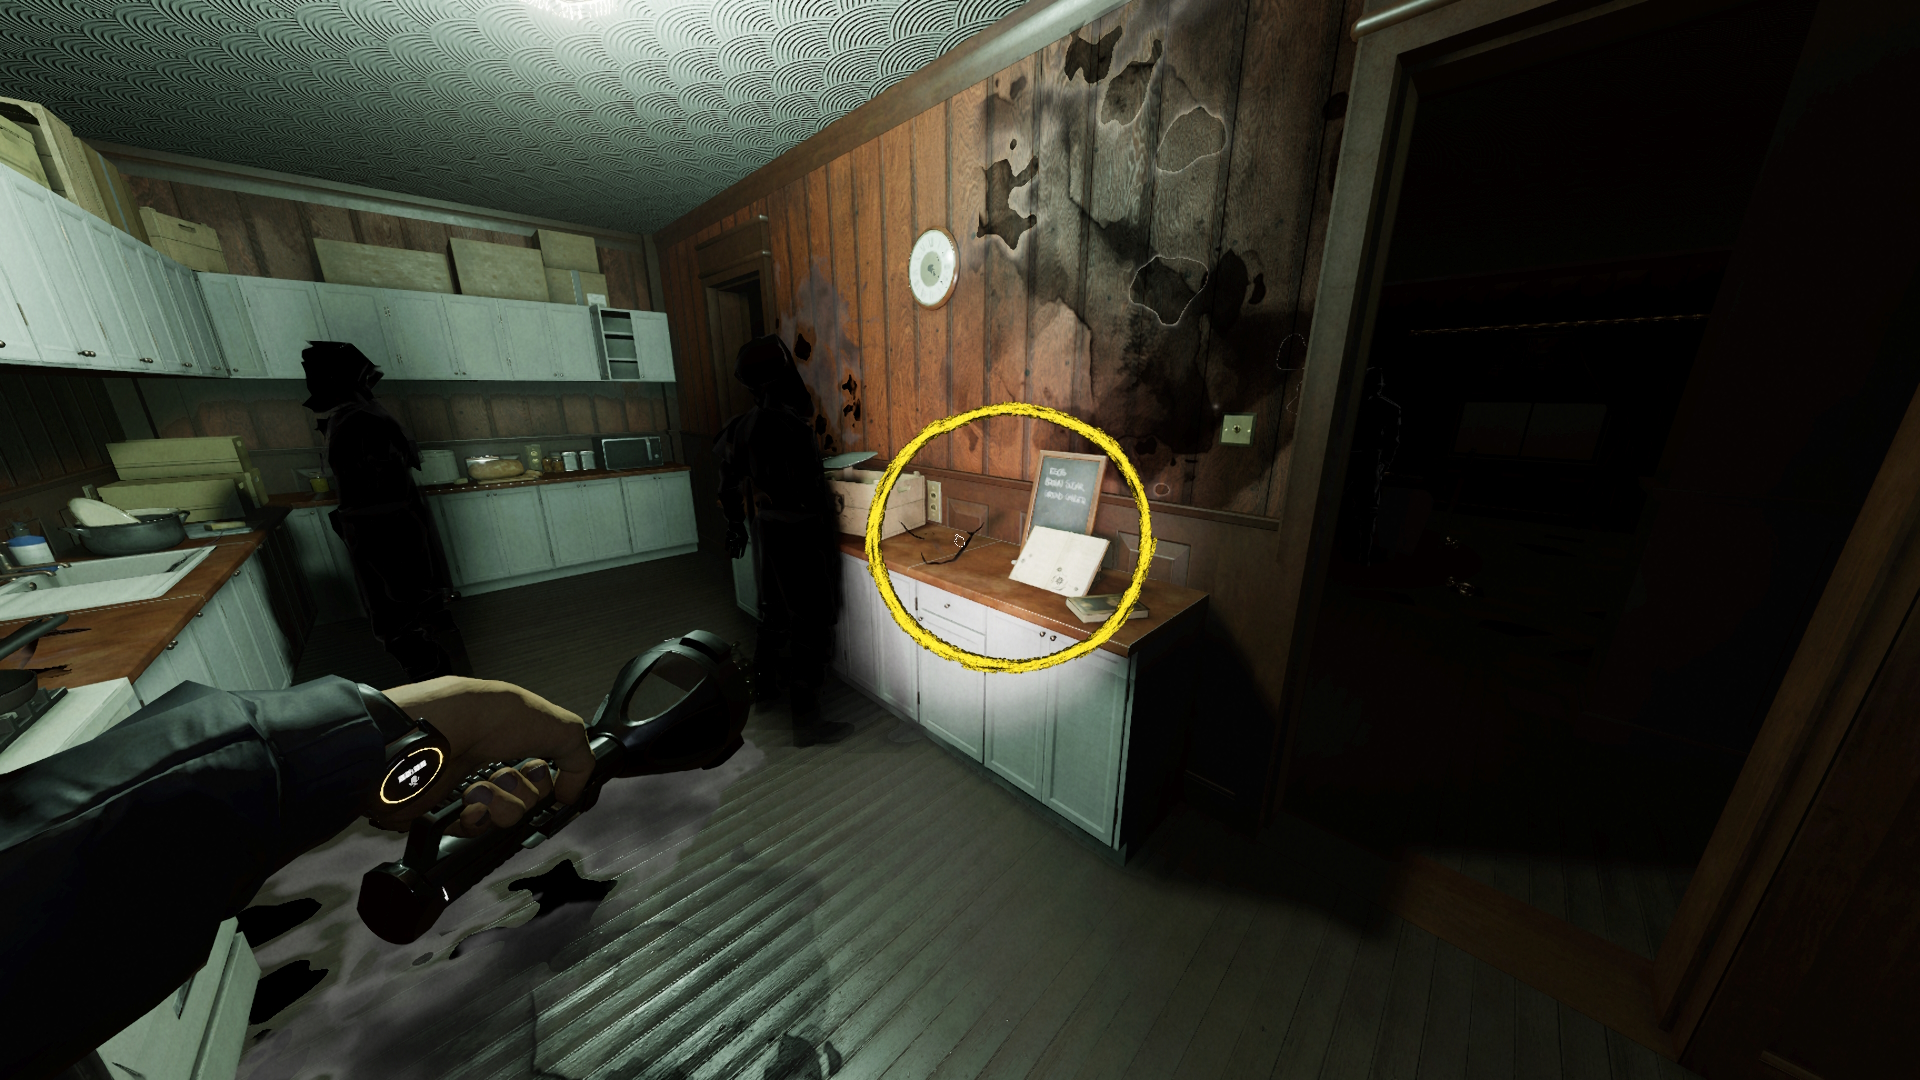
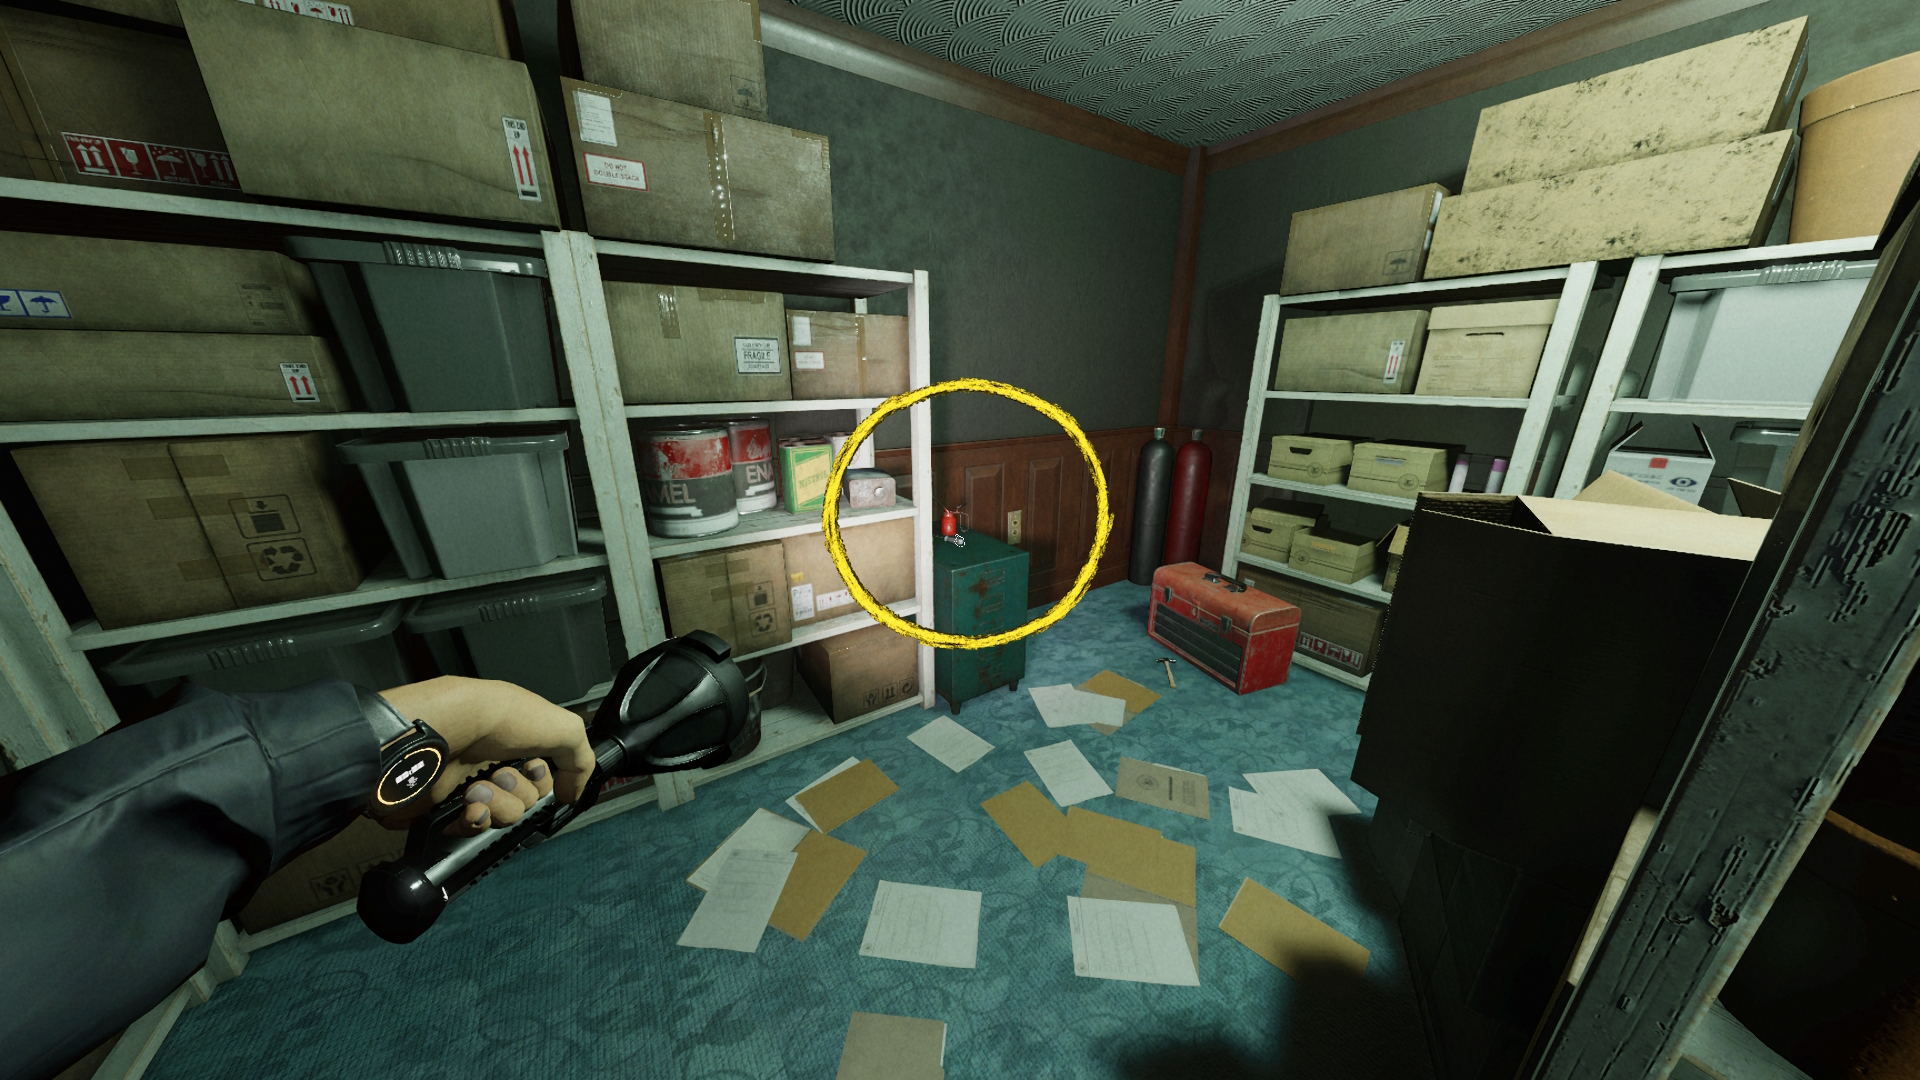
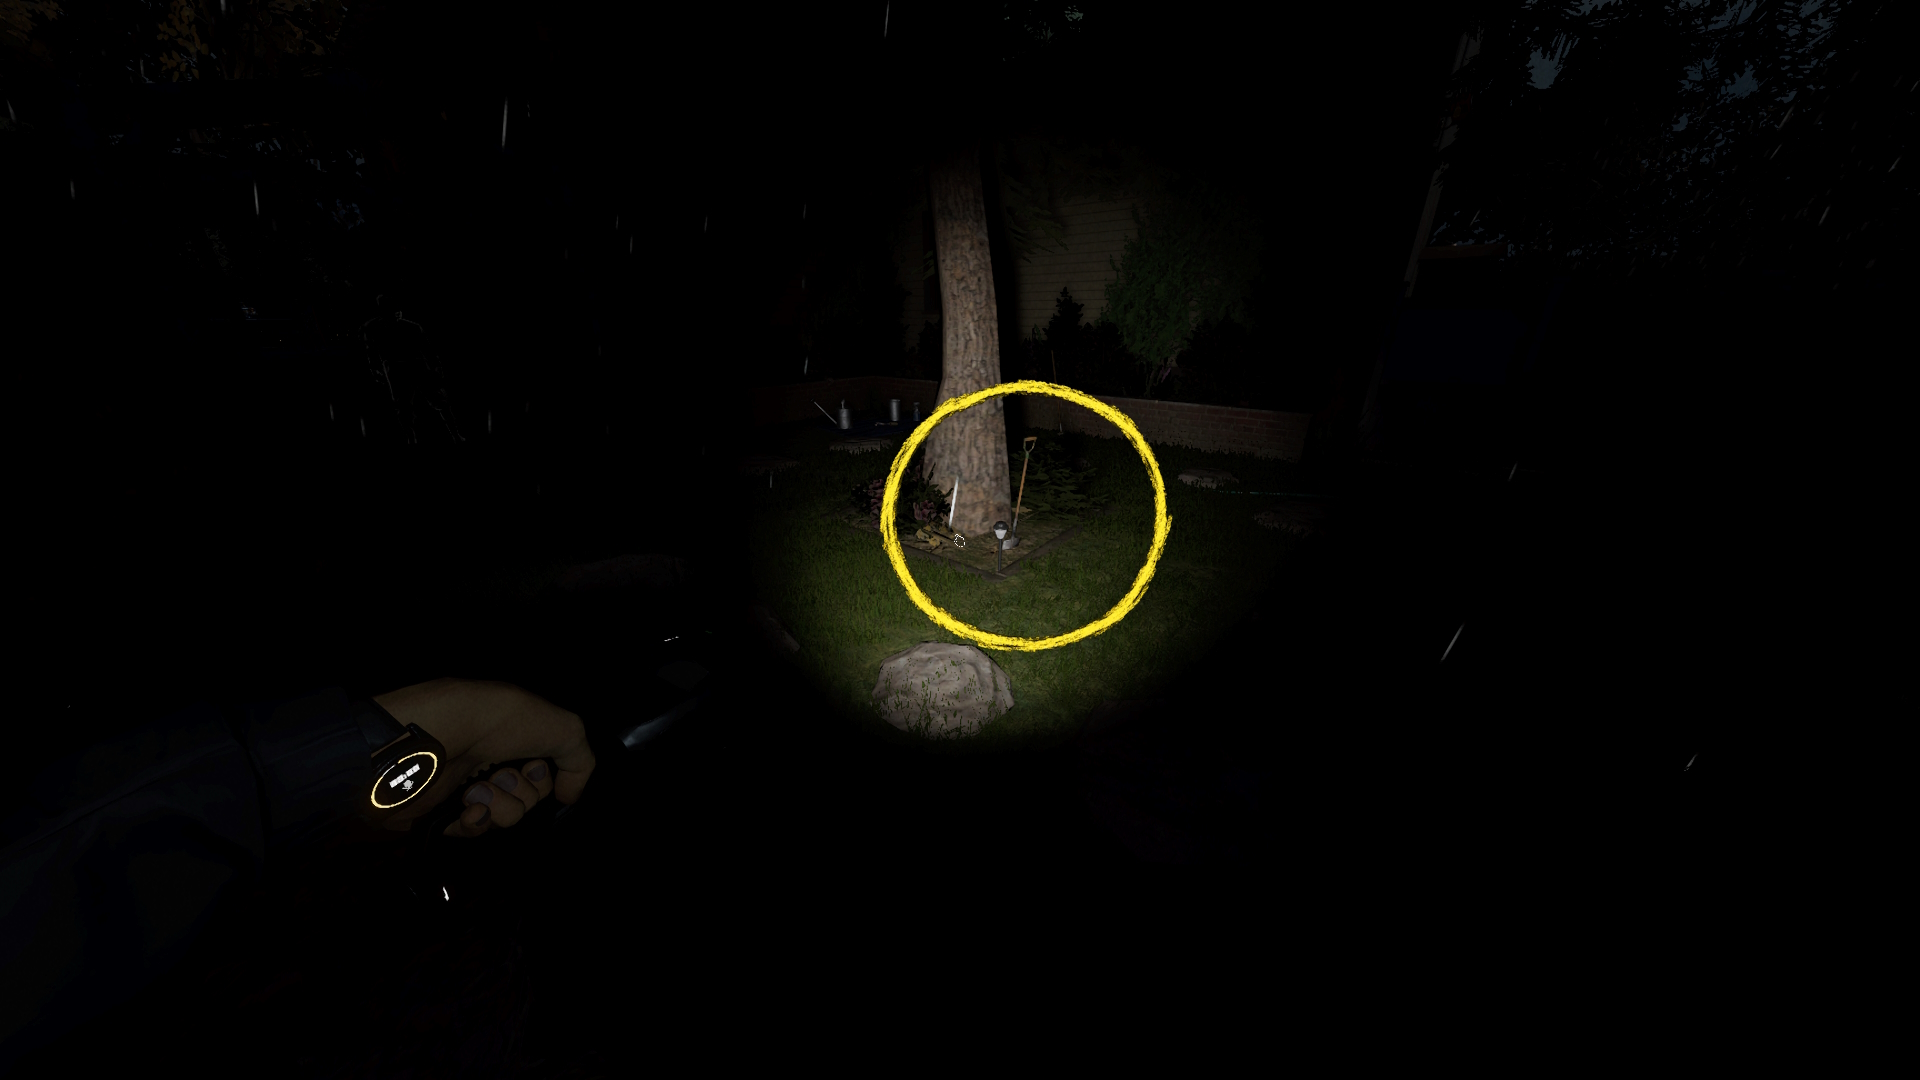
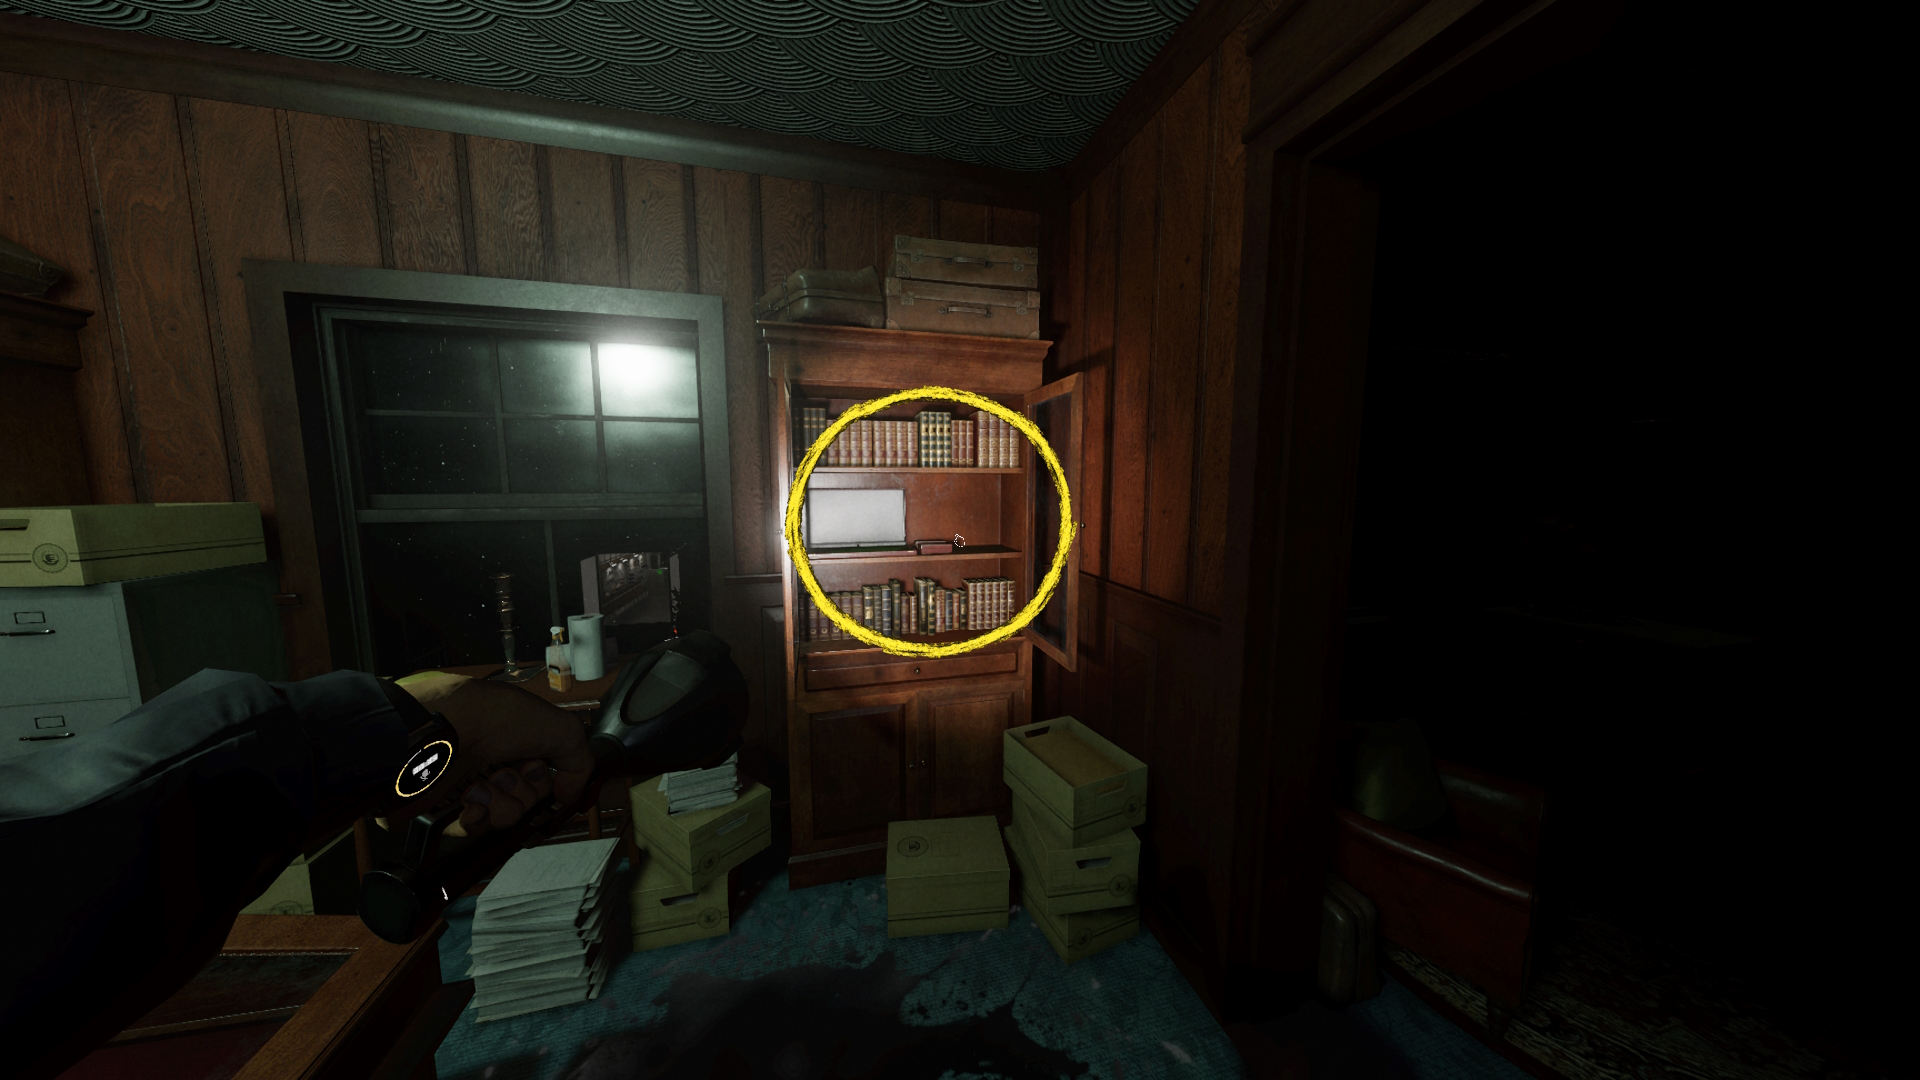
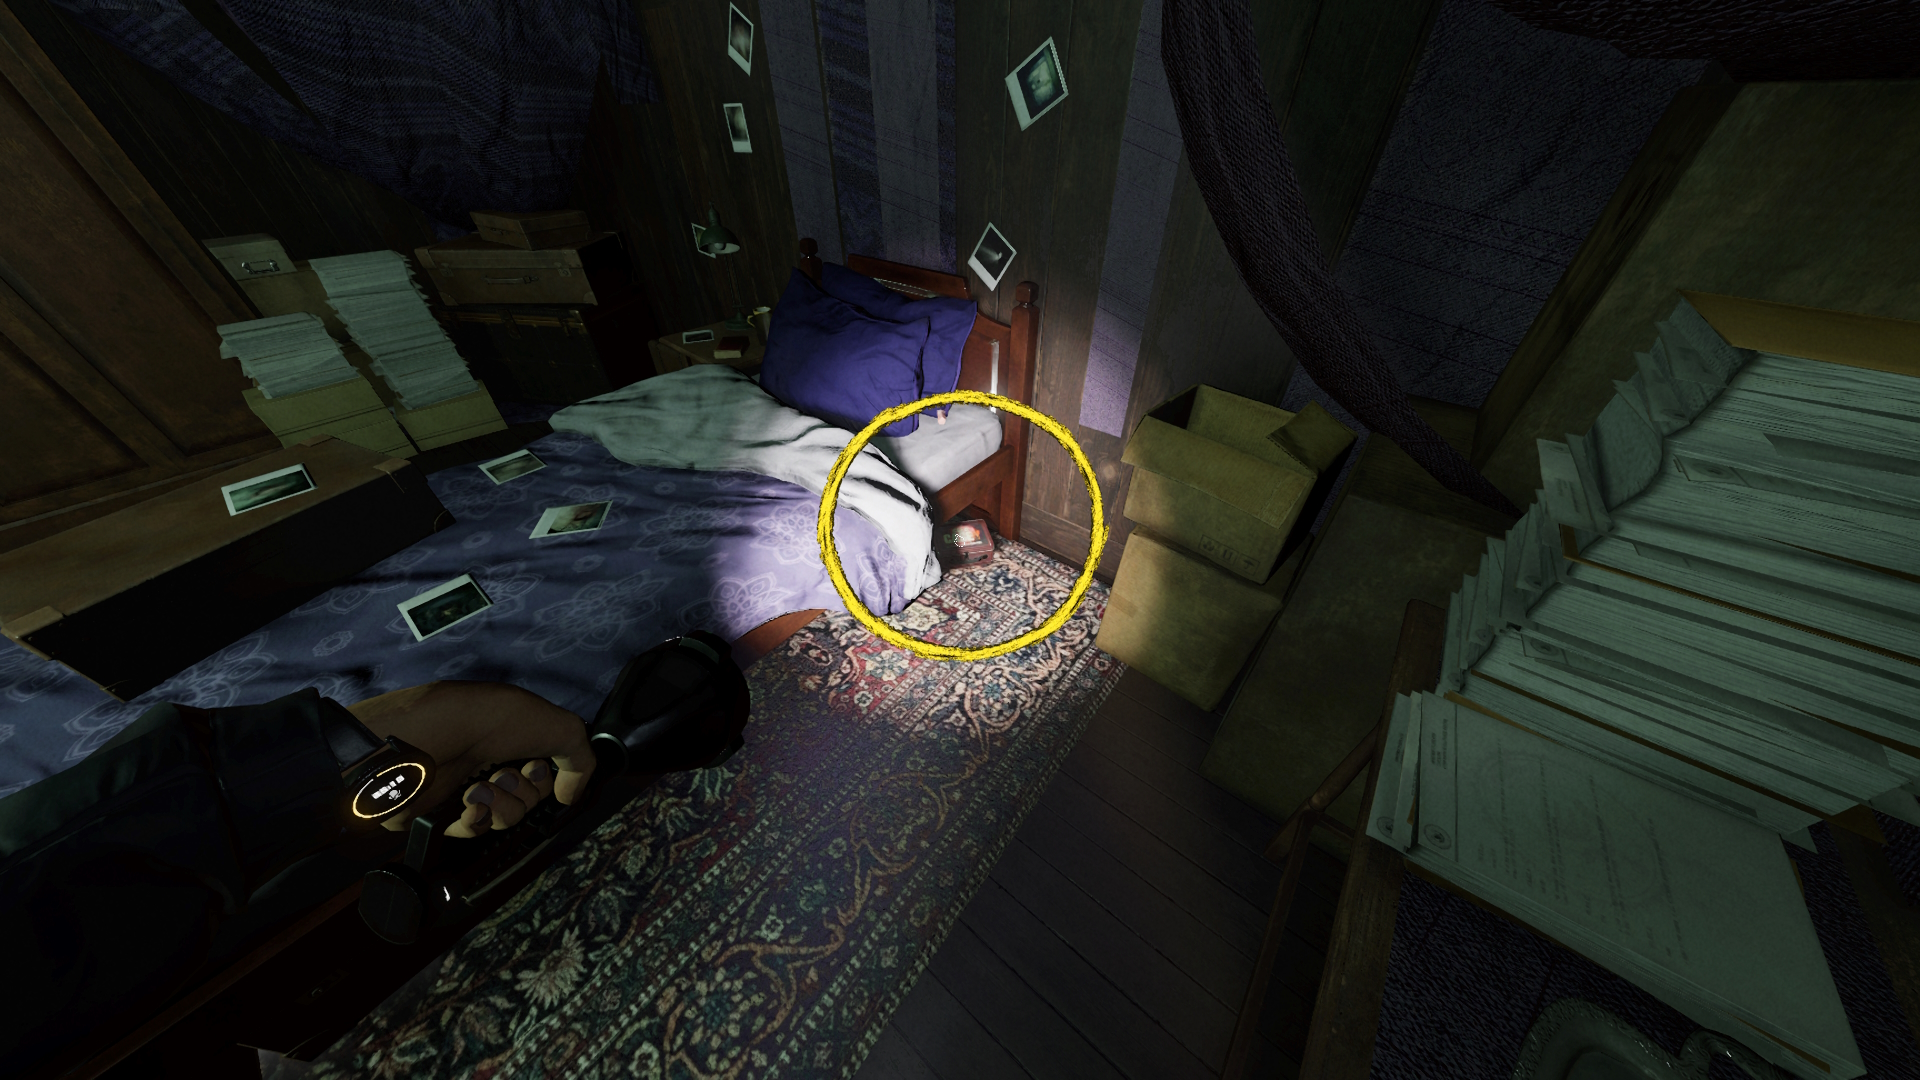 Pictured: (1) Kitchen, (2) Utility Room, (3) Garden, (4) Trophy Room, and (5) Attic Bedroom.
ㅤLobby Room Puzzle
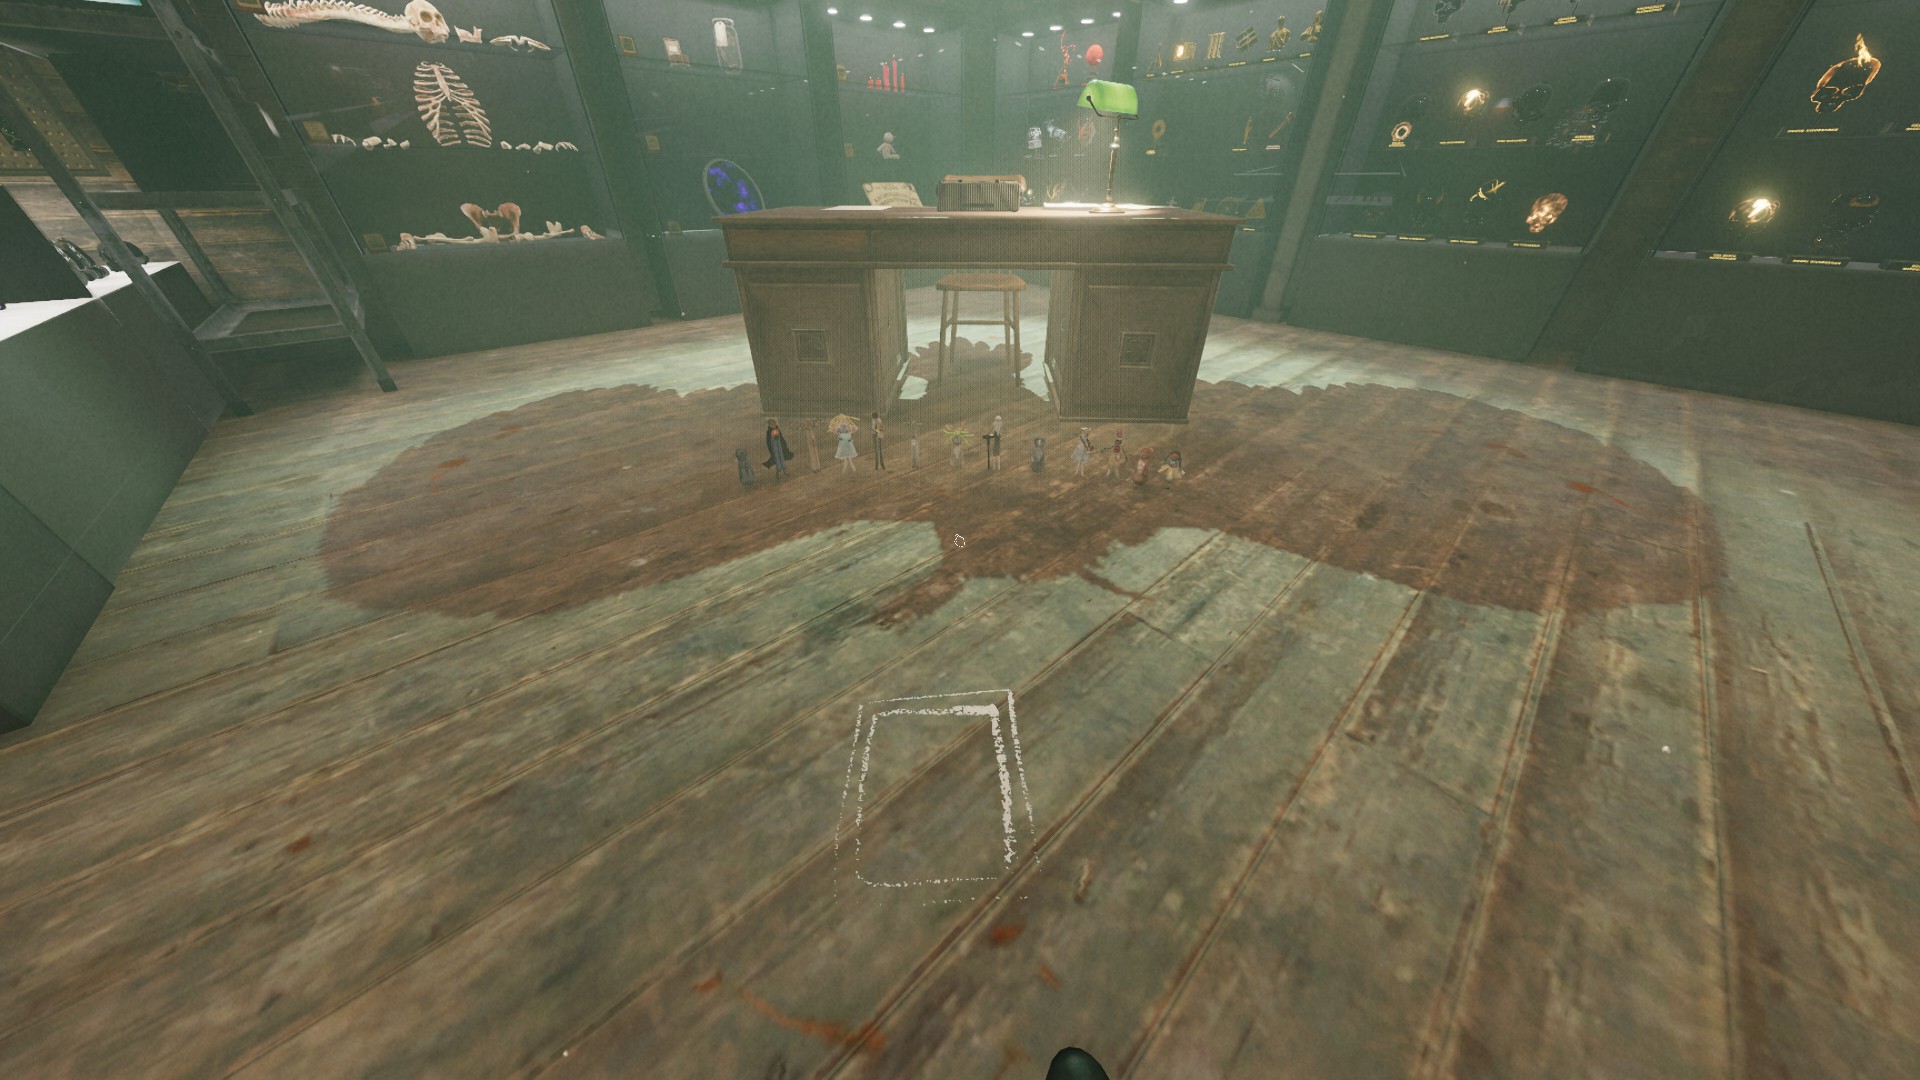
Don’t worry, there was apparently a very good reason you risked life, limb, and possibly tetanus collecting all those dolls. Hidden in the lobby is one final puzzle using several of the dolls you’ve found throughout the event. And yes, for reasons unknown you still need to collect every doll first.
Head over to the desk in the centre of the lobby and you’ll find a series of chalk drawings laid out on the floor, alongside the dolls themselves. In the middle sits a handwritten riddle, almost certainly penned by a child named Florence, Esme, or something equally odd.
Each puzzle requires you to place the correct dolls onto the matching chalk symbols to solve the riddle. Once a stage is completed, the drawings will change and the dolls reset for the next puzzle. To make things easier, I’ve put together a small infographic below showing which dolls go where.
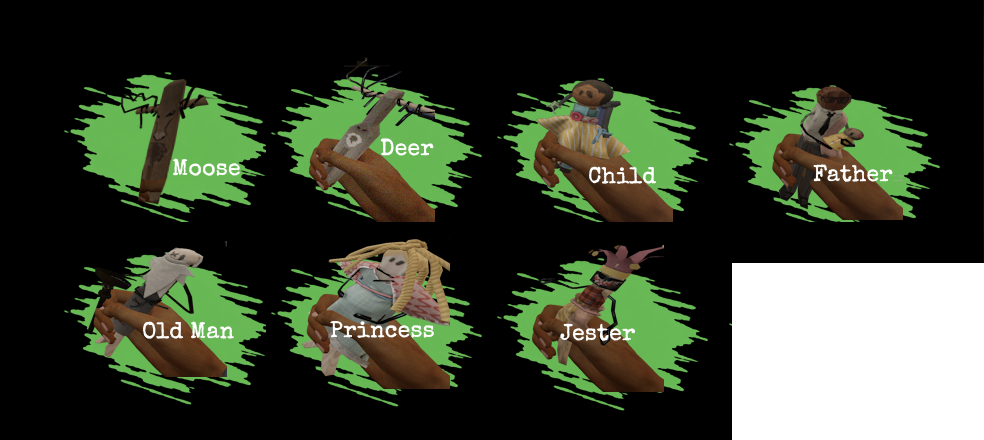
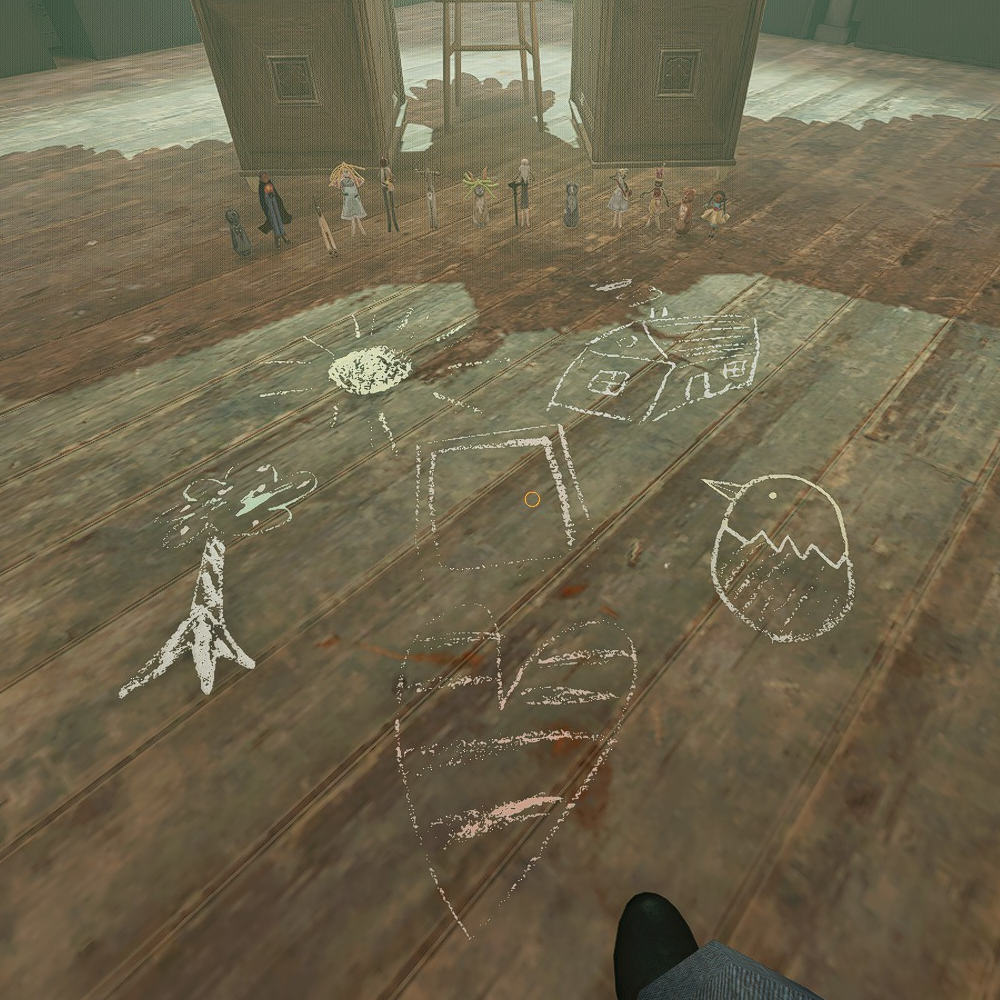
"He shot the Moose in the WoodsPick up the Moose Doll and place in on the tree drawing. Then pick up the Deer Doll and place it on the chalk house drawing.
but he did not shoot the Deer
He took the Deer to his House
and there he made her his wife
We laughed,
but he set us straight
"The Deer is dear to me,
in more ways than one
but a Moose steak
is never a mistake."
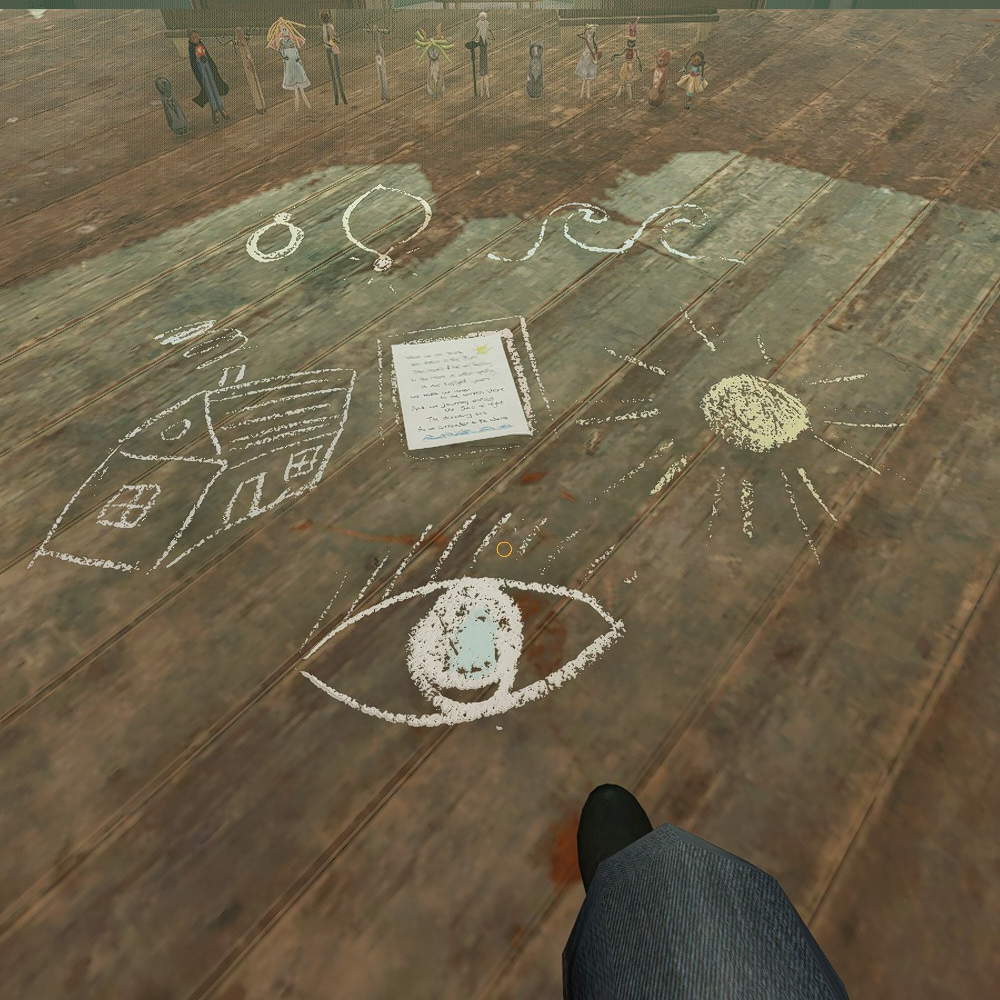
"When we are youngChild Doll goes on the sun. Pick up and place the Father Doll on the house, and as you might've guessed - the Old Man Doll goes on the wave chalk drawing. Groovy.
We dance in the Sun
The years of toil and family
In the House were spent quietly
In our twilight years
We make our way
to the sunken shore
And we journey across
The Sea of night
The dreaming sea
As we surrender to the Waves"
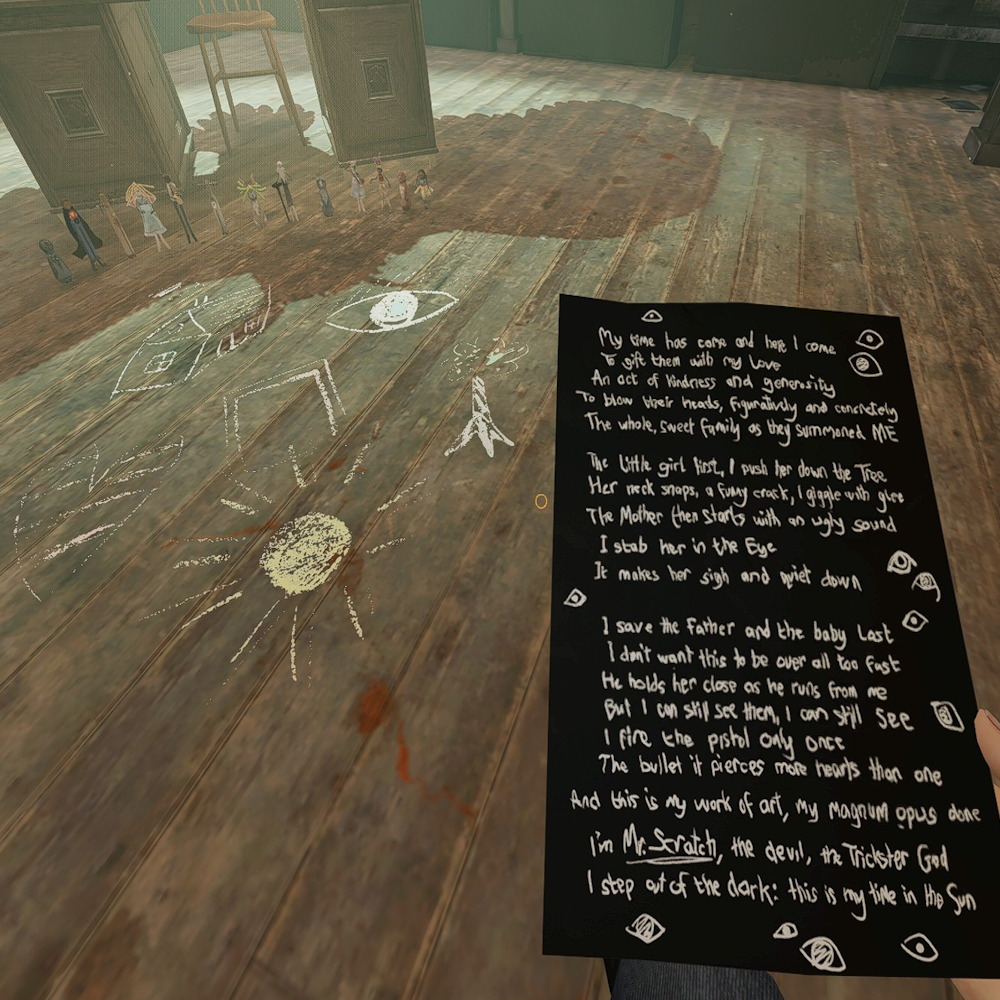 Just... Not beating the creepy allegations. Place the Child Doll on the tree. The Princess Doll goes on the Eye drawing. The Father Doll goes on the heart and naturally the Jester Doll goes to the sun.
My time has come and here I come
To gift them with my love
An act of kindness and generosity
To blow their heads, figuratively and concretely
The whole, sweet family as they summoned METhe little girl first, I push her down the Tree
Her neck snaps, a funny crack, I giggle with glee
The Mother then starts with an ugly sound
I stab her in the Eye
It makes her sigh and quiet downI save the father and the baby last
I don't want this to be over all too fast
He holds her close as he runs from me
But I can still see them, I can still see
I fire the pistol only once
The bullet it pierces more hearts than one
And this is my work of art, my magnum opus done
I'm Mr. Scratch, the devil, the Trickster God
I step out of the dark, this is my time in the Sun
Personal Rewards
SPOILERS AHEAD: hover over black bar to reveal
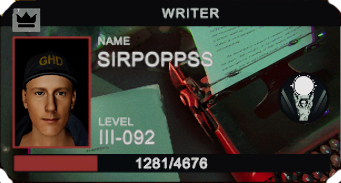
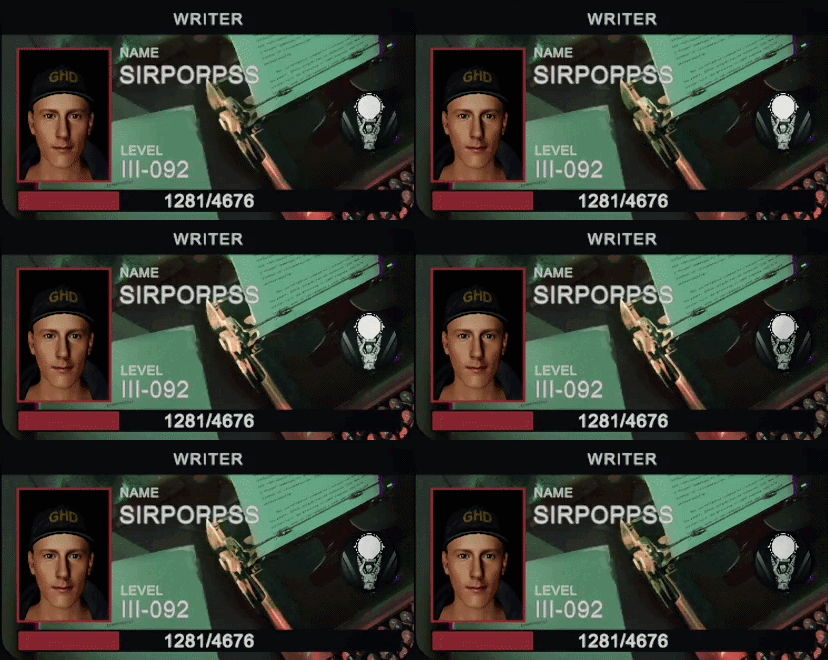
Writer ID Card and BadgeㅤㅤㅤㅤㅤㅤㅤㅤㅤㅤㅤㅤAnimated Writer ID Card and Badge
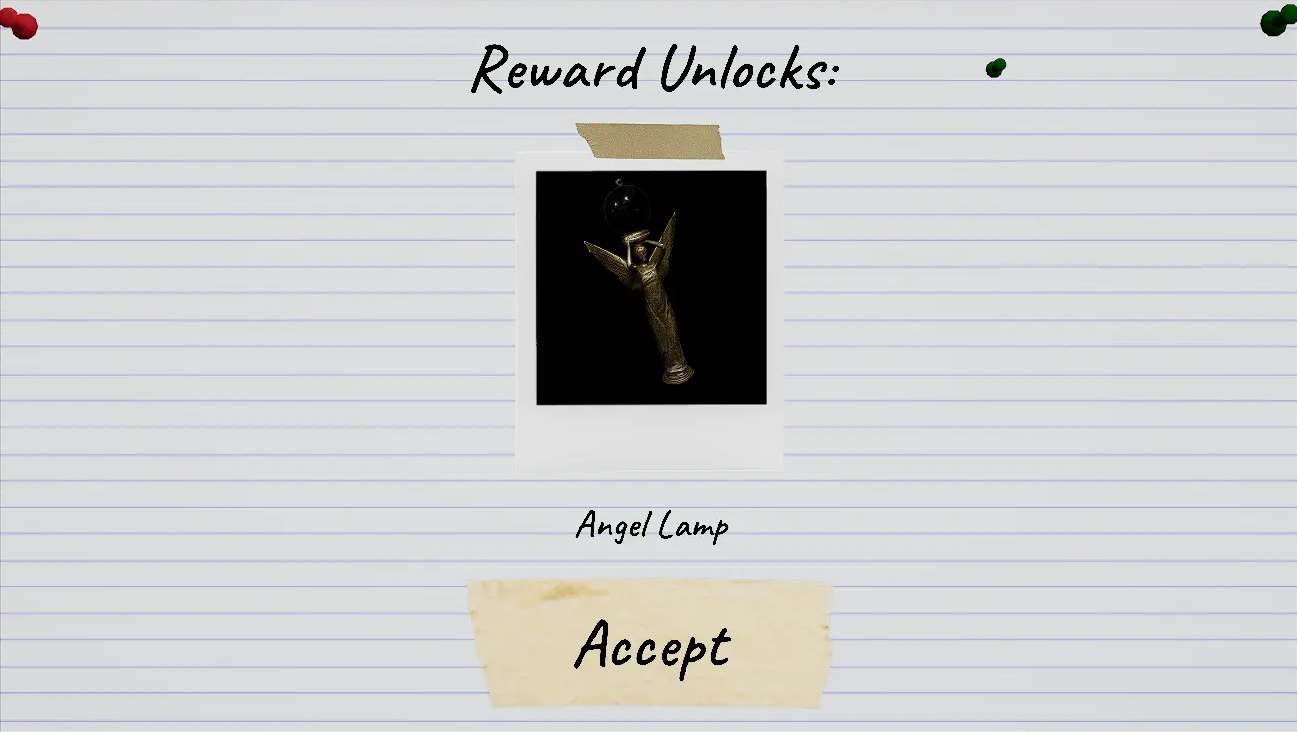
Angel Lamp cosmetic (Check below in the Cosmetics section to see how it looks!)
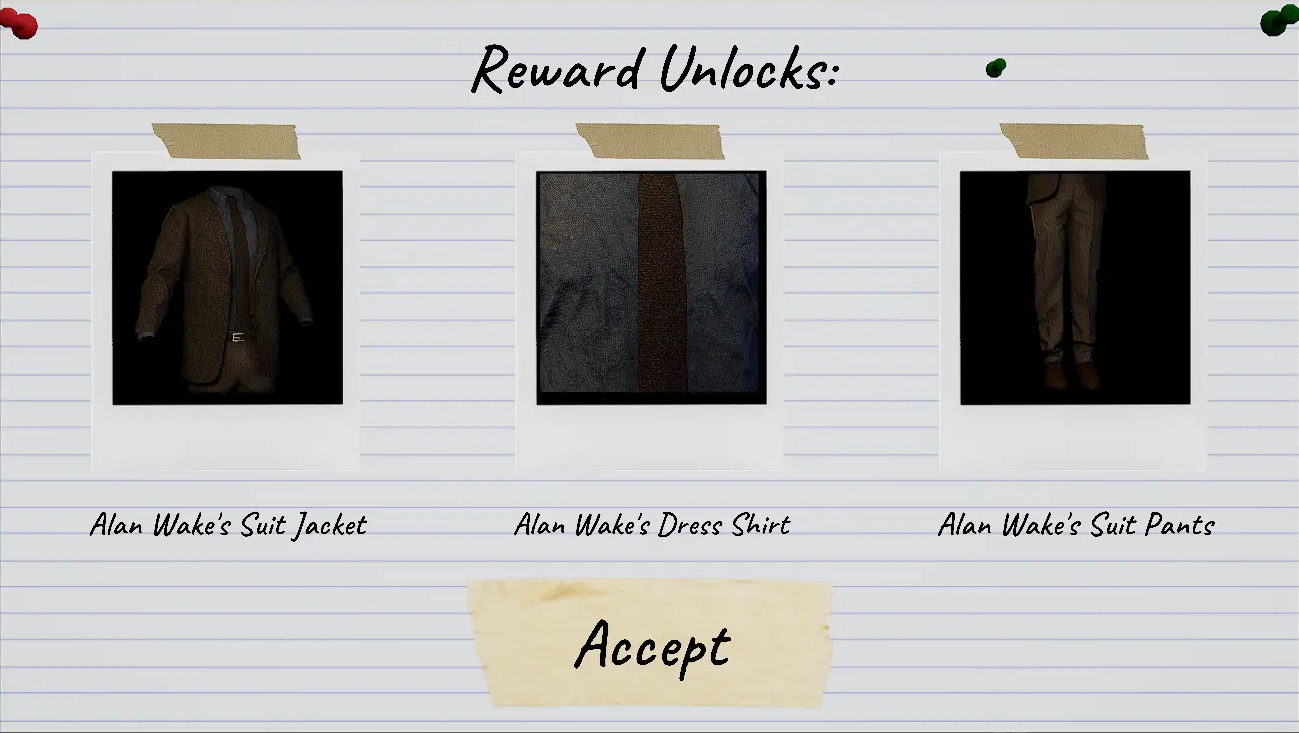
Alan Wake outfit (Check below in the Cosmetics section to see how it looks!)
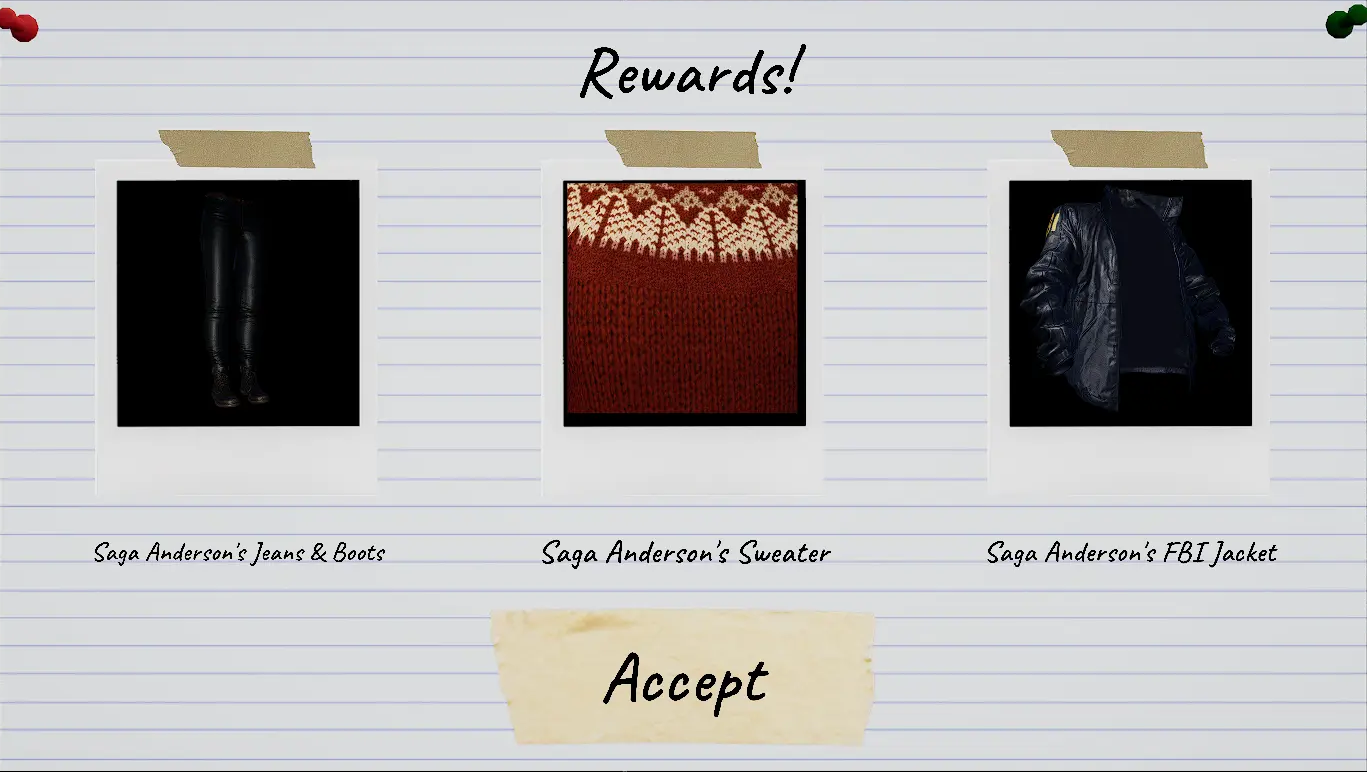 Sage Anderson Outfit(Check below in the Cosmetics section to see how it looks!)
Community Rewards
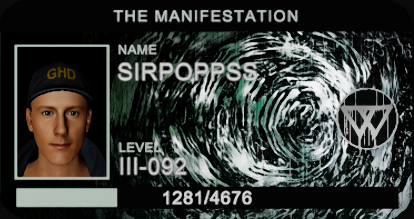
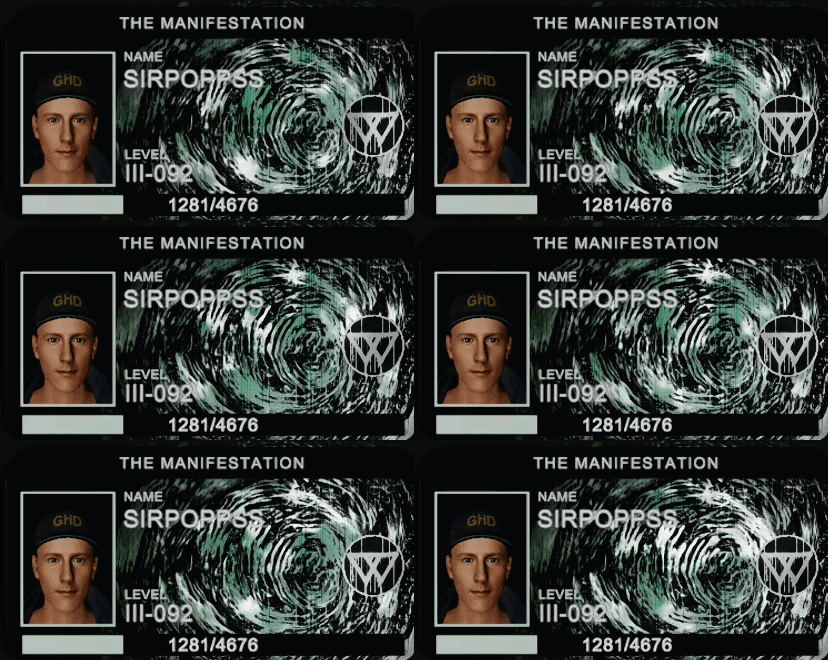
The Manifestation ID Card and Badge
Customisation Items
Thank you! (Acknowledgments)
The support for this guide has genuinely been incredible. We’ve somehow reached nearly 10,000 views and the event has only been out for two days. On top of that, the guide has also hit 5 stars, which honestly means a lot to me. Thank you all for the support, corrections, discoveries, and general chaos in the comments while we’ve all been trying to unravel this event together.
A huge thank you as well to everyone helping track locations, puzzles, and hidden interactions. I’ll be giving shoutouts throughout the guide to people who’ve helped contribute information and screenshots along the way.
And genuinely, thank you again. Seeing people enjoy something I’ve poured this much time into never really stops feeling surreal.
Okie dokie artichoke, and with that, the case file closes for now! Thank you genuinely for checking out my guide. If it helped you out, please consider favouriting and rating it so more people can find it. And as always, if I’ve missed anything, made any mistakes, or the event suddenly decides to rewrite reality overnight, feel free to let me know in the comments below.
- Guide header and chapter cards: Built using assets, inspiration, and far too many paused trailer frames from Kinetic Games and Remedy Entertainment.
- Map Assets: Maps originally by Fantismal.
- Special thanks to these commenters for their helpful advice: Sonderam, Gwuack, Yeah, TurtleMcTortoise, Glaceon, RavenNevermore420 and everyone else that commented!
- Future Me: Because I will be editing and changing stuff I tested but somehow forgot to mention.
- Camp Woodwind Rangers: For somehow missing all the strange lights in the forest after midnight.
- Gamewatchers: For the creative freedom, of not being asked for them to write anymore :(
- M&S: For funding my (and my cats) expensive habits
- Bandit: Distracting me when he sent my brother to A&E for a cat bite. 'He's still intact.'
- Lucy (My sweetheart cat): Professional lap warmer and ongoing emotional support provider.
Extra shout-out to Jay and Corey. Extra special thanks to my closest and dearest friends Kav and Alex for their loving support and companionship over the years, I could never have got to this point without either of you.
- How to Talk to Ghosts, What to Say, What Questions to Ask★ 5 (1.9k)81k views3.2k ♥3 minUpdated 12 Jan, 2021
- Особенности призраков или как определить тип на КОШМАРЕ и ВЫШЕ★ 5 (1.2k)50k views2.8k ♥25 minRussianUpdated 25 Mar
- NO EVIDENCE CHALLENGE - Identify the ghost!★ 5 (467)36k views1k ♥42 minUpdated 16 Feb
- Ghost Handbook (Updated!)★ 5 (1.1k)31k views2k ♥12 minUpdated 28 Sep, 2025
- [UPDATED] All Cursed Possessions (All Spawn Locations, Every Map)★ 5 (446)24k views1.3k ♥17 minUpdated 28 Oct, 2023
- Русские фразы на которые призрак реагирует👻★ 5 (541)24k views1.3k ♥5 minRussianUpdated 23 Jan, 2022





- Upgrading to PremiumTeam Fortress 2★ 5 (20k)1441k views11k ♥6 minUpdated May 11, 2022
- No More Room in Hell Official ManualNo More Room in Hell★ 5 (2.8k)569k views2.1k ♥29 minUpdated Apr 22, 2019
- NMRiH Community Hosting GuidesNo More Room in Hell★ 5 (526)351k views653 ♥1 minUpdated Aug 10, 2022
- Лучшие кооперативные игры SteamPAYDAY 2★ 5 (1.5k)315k views2.1k ♥56 minRussianUpdated Apr 27, 2025
- Desert Eagle Heat Treated | Blue GemCounter-Strike 2★ 5 (1.6k)292k views1.5k ♥2 minUpdated Jan 16
- Treasure Hunt Puzzle SolutionsTotal War: WARHAMMER II★ 5 (6.9k)281k views15k ♥3 minUpdated Aug 19, 2021






This guide was created by its original author on the Steam Community. Are you the author and want it removed? Request removal.