Quick Guide to Maximum Texture Quality
Before the changes to Engine.ini
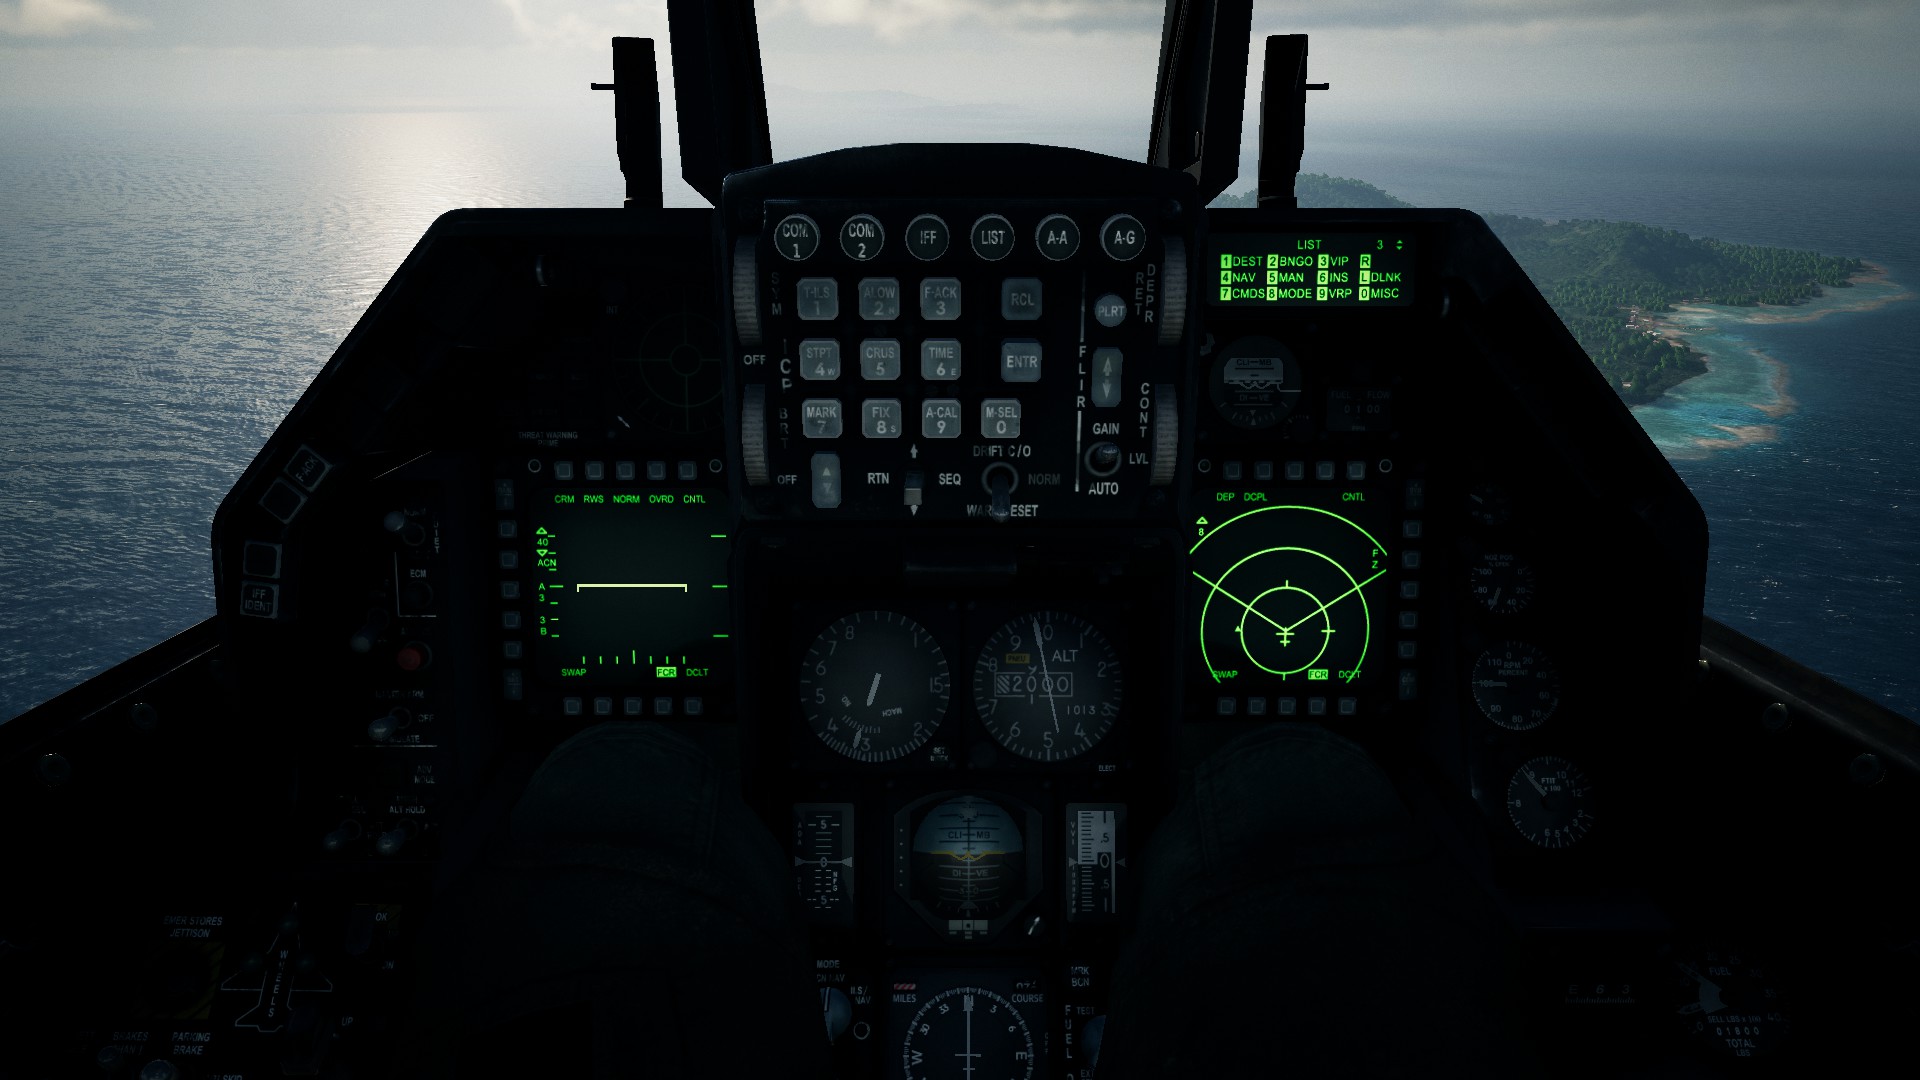
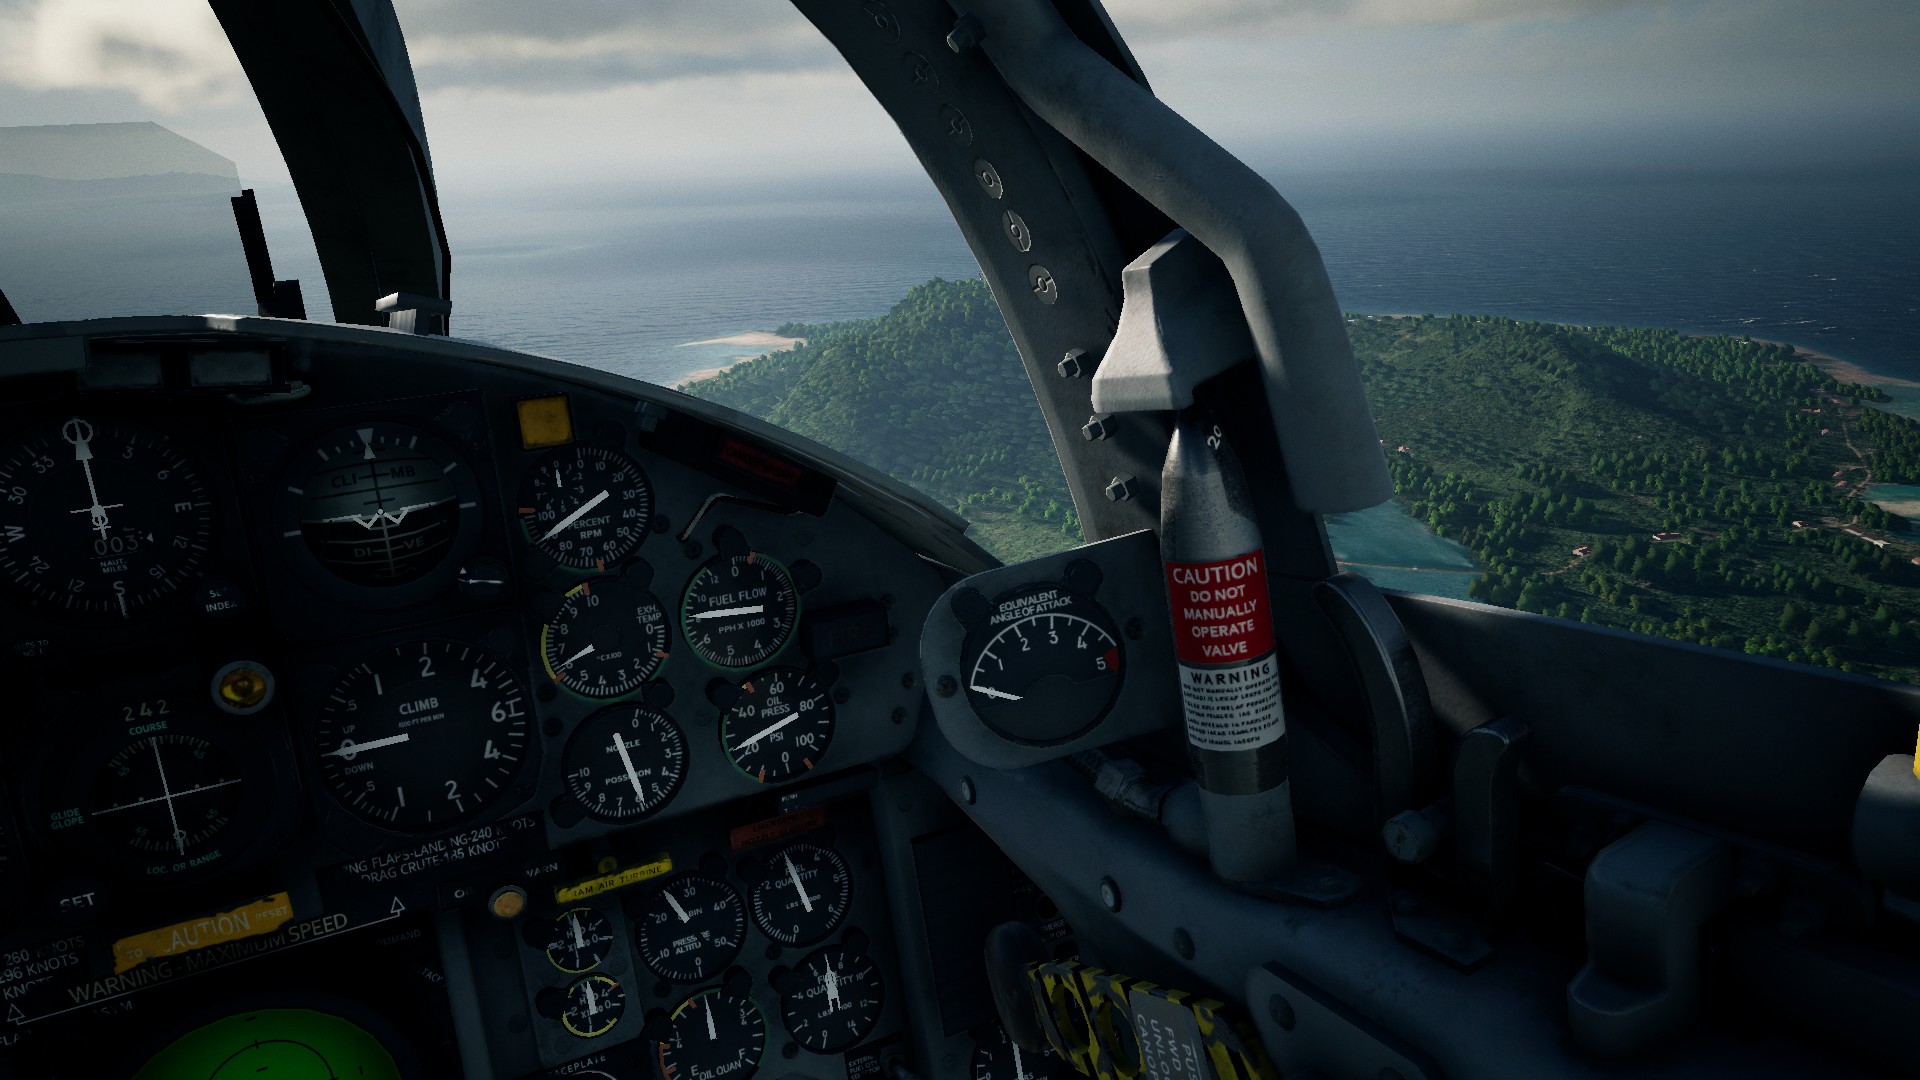
Here is the appearance of maximum texture fidelity, set by in-game settings, before the Engine.ini changes:
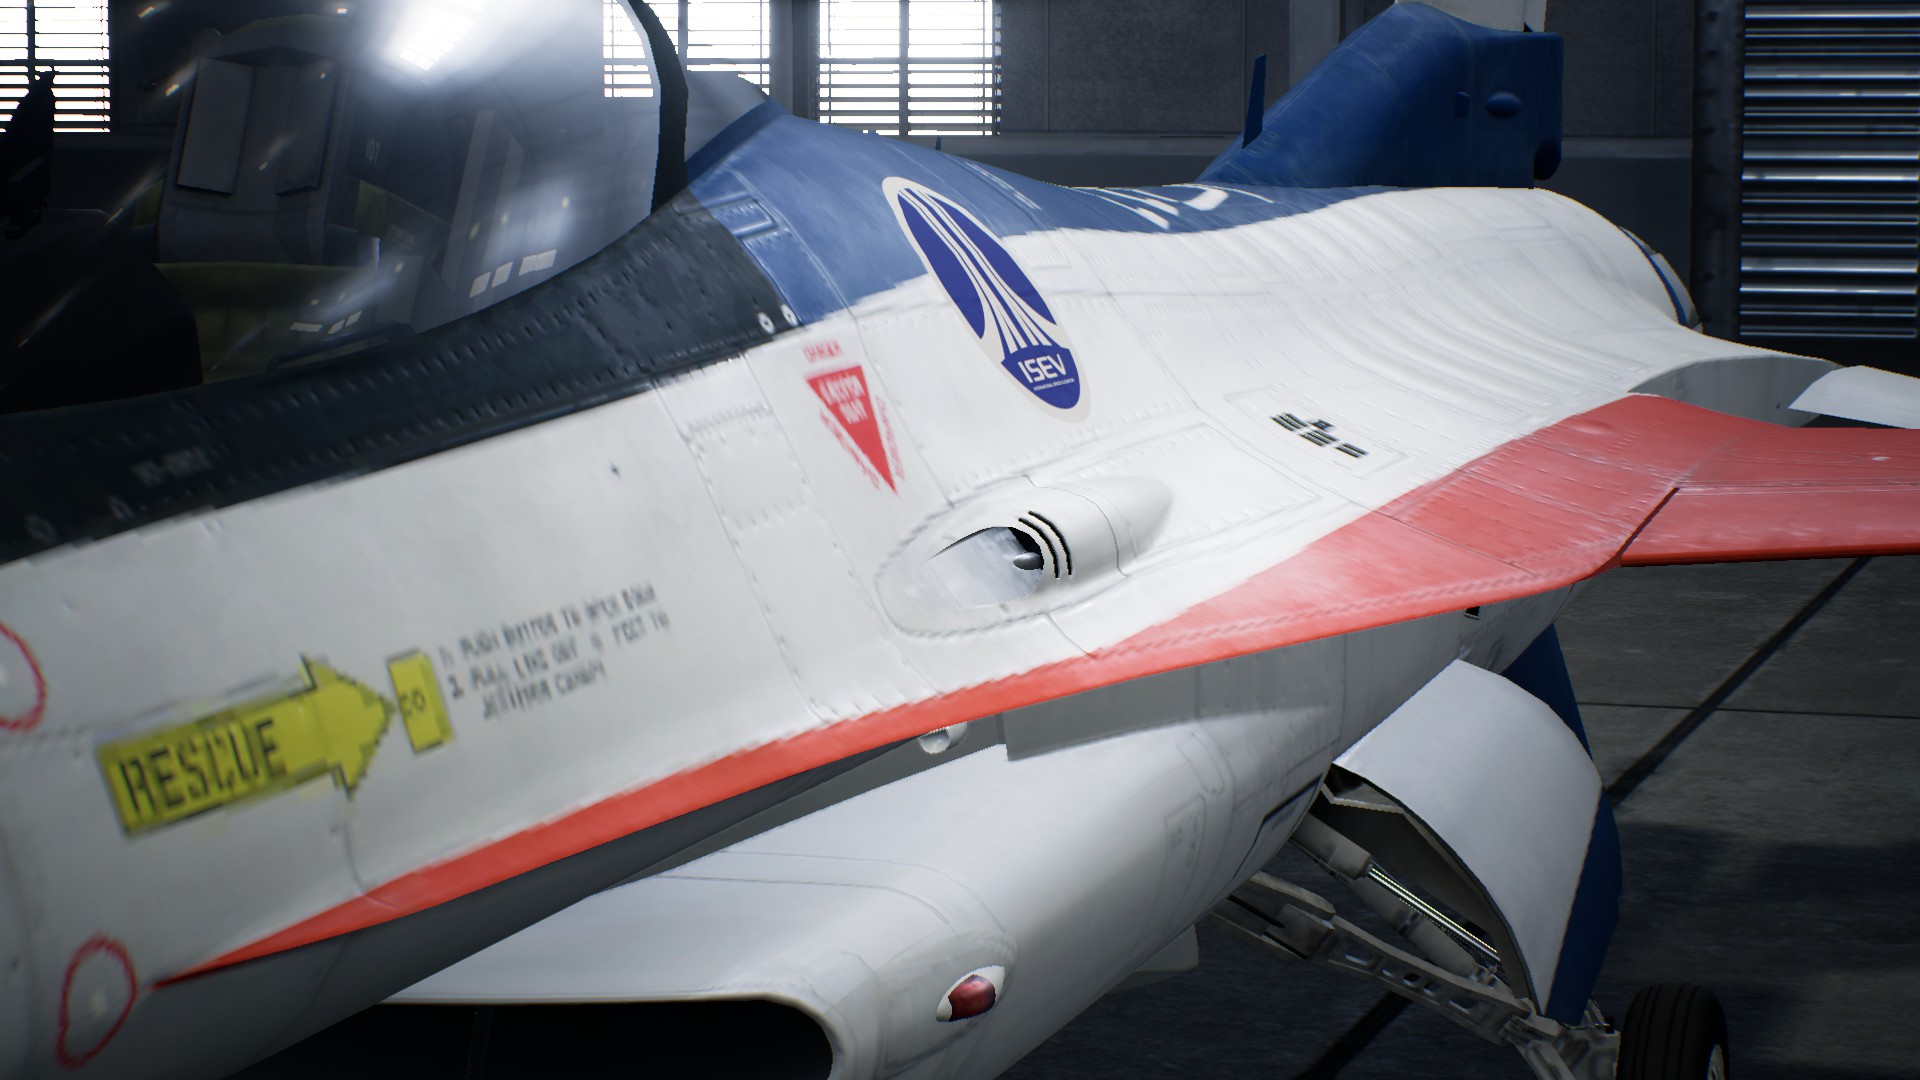
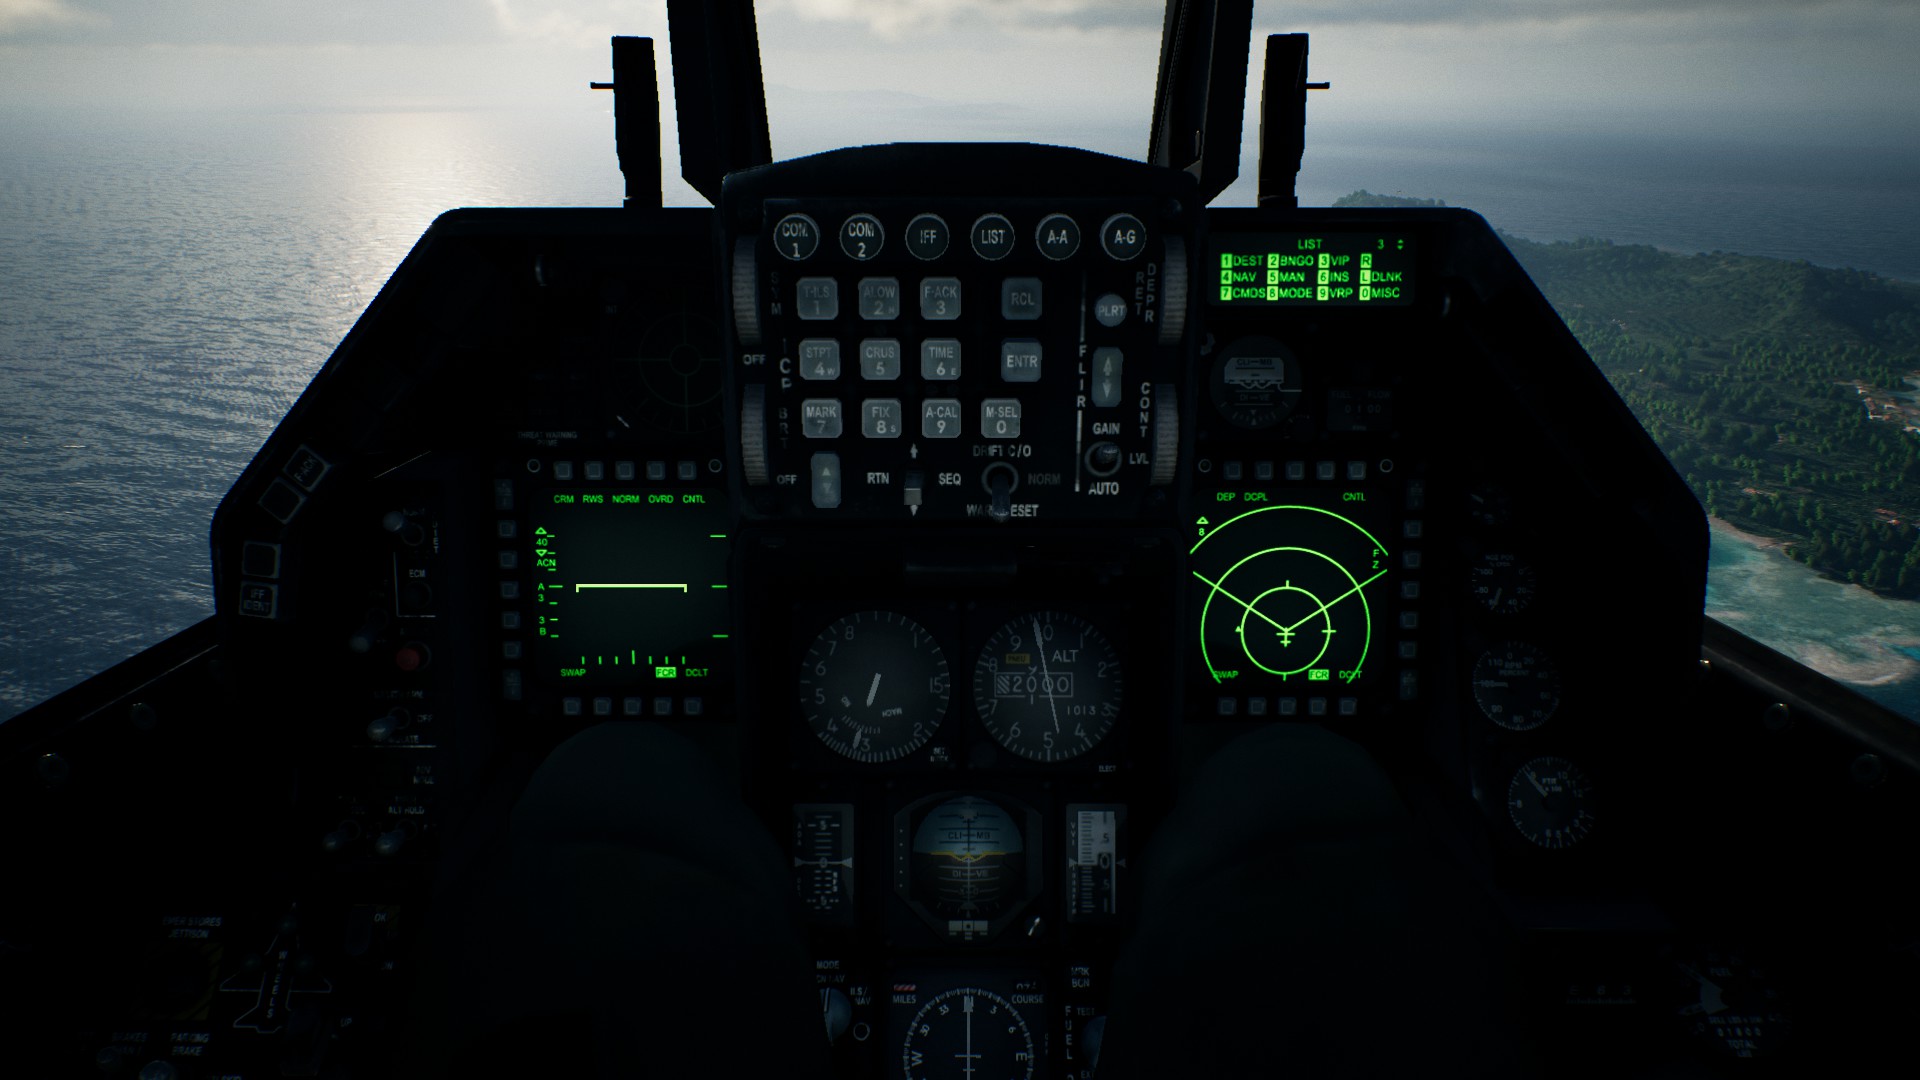
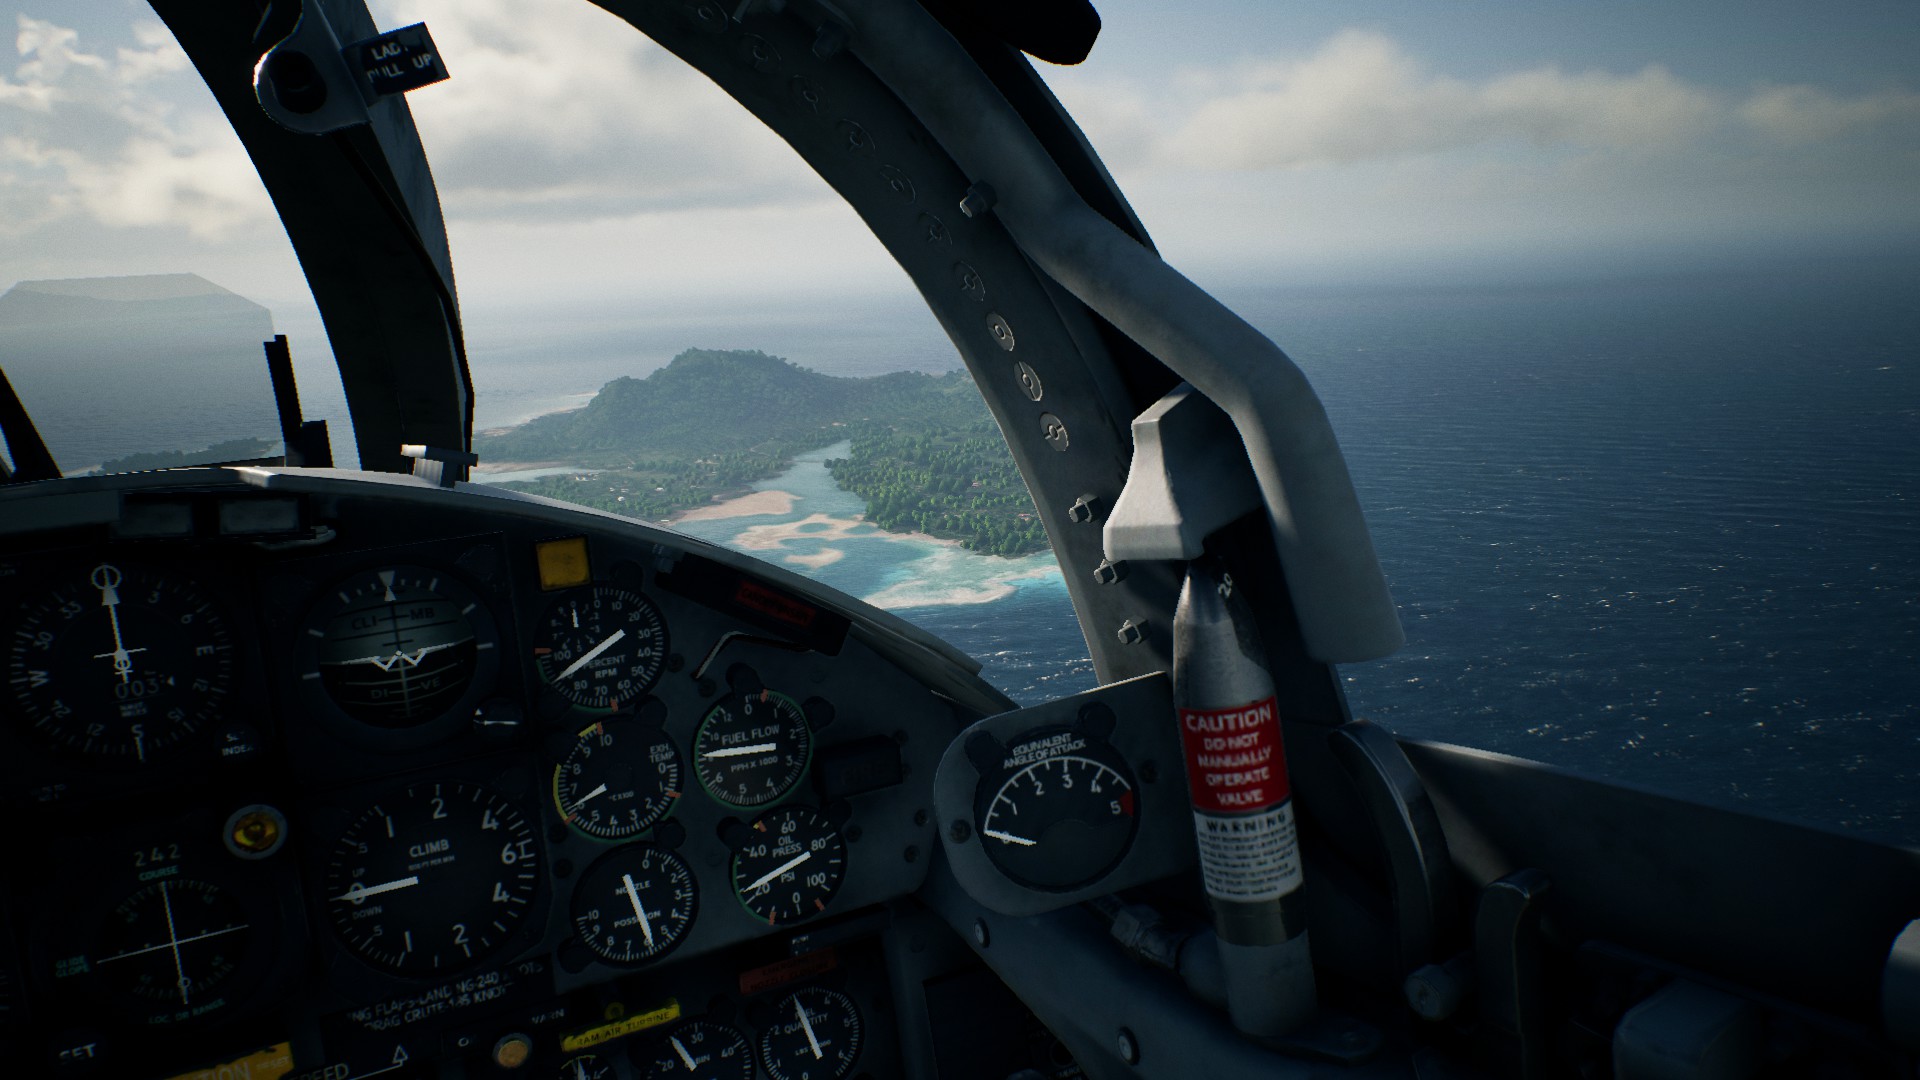
The above photos show a subpar level of texture quality, with the F-104's cockpit showing text with a lot of bluriness, especially on the fire extenguisher. The side/nose of the F-16 also has flat textures, notably the yellow warning label; within the F-16's cockpit, textures on various digital and analog displays are blurry.
Editing the Engine.ini File
The first step is to find your Engine.ini file, located here:
C:\Users\[USERNAME]\AppData\Local\BANDAI NAMCO Entertainment\ACE COMBAT 7\Config\Engine.ini
All you have to do is click on it to open it. It'll likely open with Notepad or a similar program. Then, copy and paste the lines below into the Engine.ini file:
[SystemSettings]
r.MaxAnisotropy=16
r.Streaming.UseAllMips=1
r.Streaming.FullyLoadUsedTextures=1
r.Streaming.HLODStrategy=2
r.Streaming.FramesForFullUpdate=0
r.Streaming.UseFixedPoolSize=False
r.Streaming.PoolSize=0
r.MipMapLODBias=-1
r.DisableLODFade=True
r.SceneColorFringe.Max=0
r.SceneColorFringeQuality=0
r.ViewDistanceScale=6
r.SkeletalMeshLODBias=-2
r.StaticMeshLODDistanceScale=0.1
(Note: Chromatic Aberration is disabled with SceneColorFringe.Max & SceneColorFringeQuality; if you wish to keep the effect in the game, omit those two lines from the .ini changes)
If done right, the file in it's entirety should appear like so:
[Core.System]
Paths=../../../Engine/Content
Paths=%GAMEDIR%Content
Paths=../../../Engine/Plugins/Wwise/Content
Paths=../../../Engine/Plugins/2D/Paper2D/Content
Paths=../../../Engine/Plugins/Media/MediaCompositing/Content
Paths=../../../Engine/Plugins/Runtime/CriWare/CriWare/Content
Paths=../../../Engine/Plugins/TrueSkyPlugin/Content
[SystemSettings]
r.MaxAnisotropy=16
r.Streaming.UseAllMips=1
r.Streaming.FullyLoadUsedTextures=1
r.Streaming.HLODStrategy=2
r.Streaming.FramesForFullUpdate=0
r.Streaming.UseFixedPoolSize=False
r.Streaming.PoolSize=0
r.MipMapLODBias=-1
r.DisableLODFade=True
r.SceneColorFringe.Max=0
r.SceneColorFringeQuality=0
r.ViewDistanceScale=6
r.SkeletalMeshLODBias=-2
r.StaticMeshLODDistanceScale=0.1
Save the file, and then right click on the file, click on "Properties," and check the box that says "Read-only," that way the game does not override the settings in any way.
MipMaps
MipsMaps are a function of the Unreal engine. In Ace Combat 7, they can be added in for additional layers and adjusted; the fine tuning can affect the clarity, depth and overall appearance of textures and are also impacted by Anisotropic Filtering.
These are the recommended settings, provided you have the hardware to run them:
r.MaxAnisotropy=16
r.MipMapLODBias=-2
Below, are two examples of how the MipMaps and Ansitropic Filtering interact in-game (these changes are less visible in the hangars):


After Changes to Engine.ini
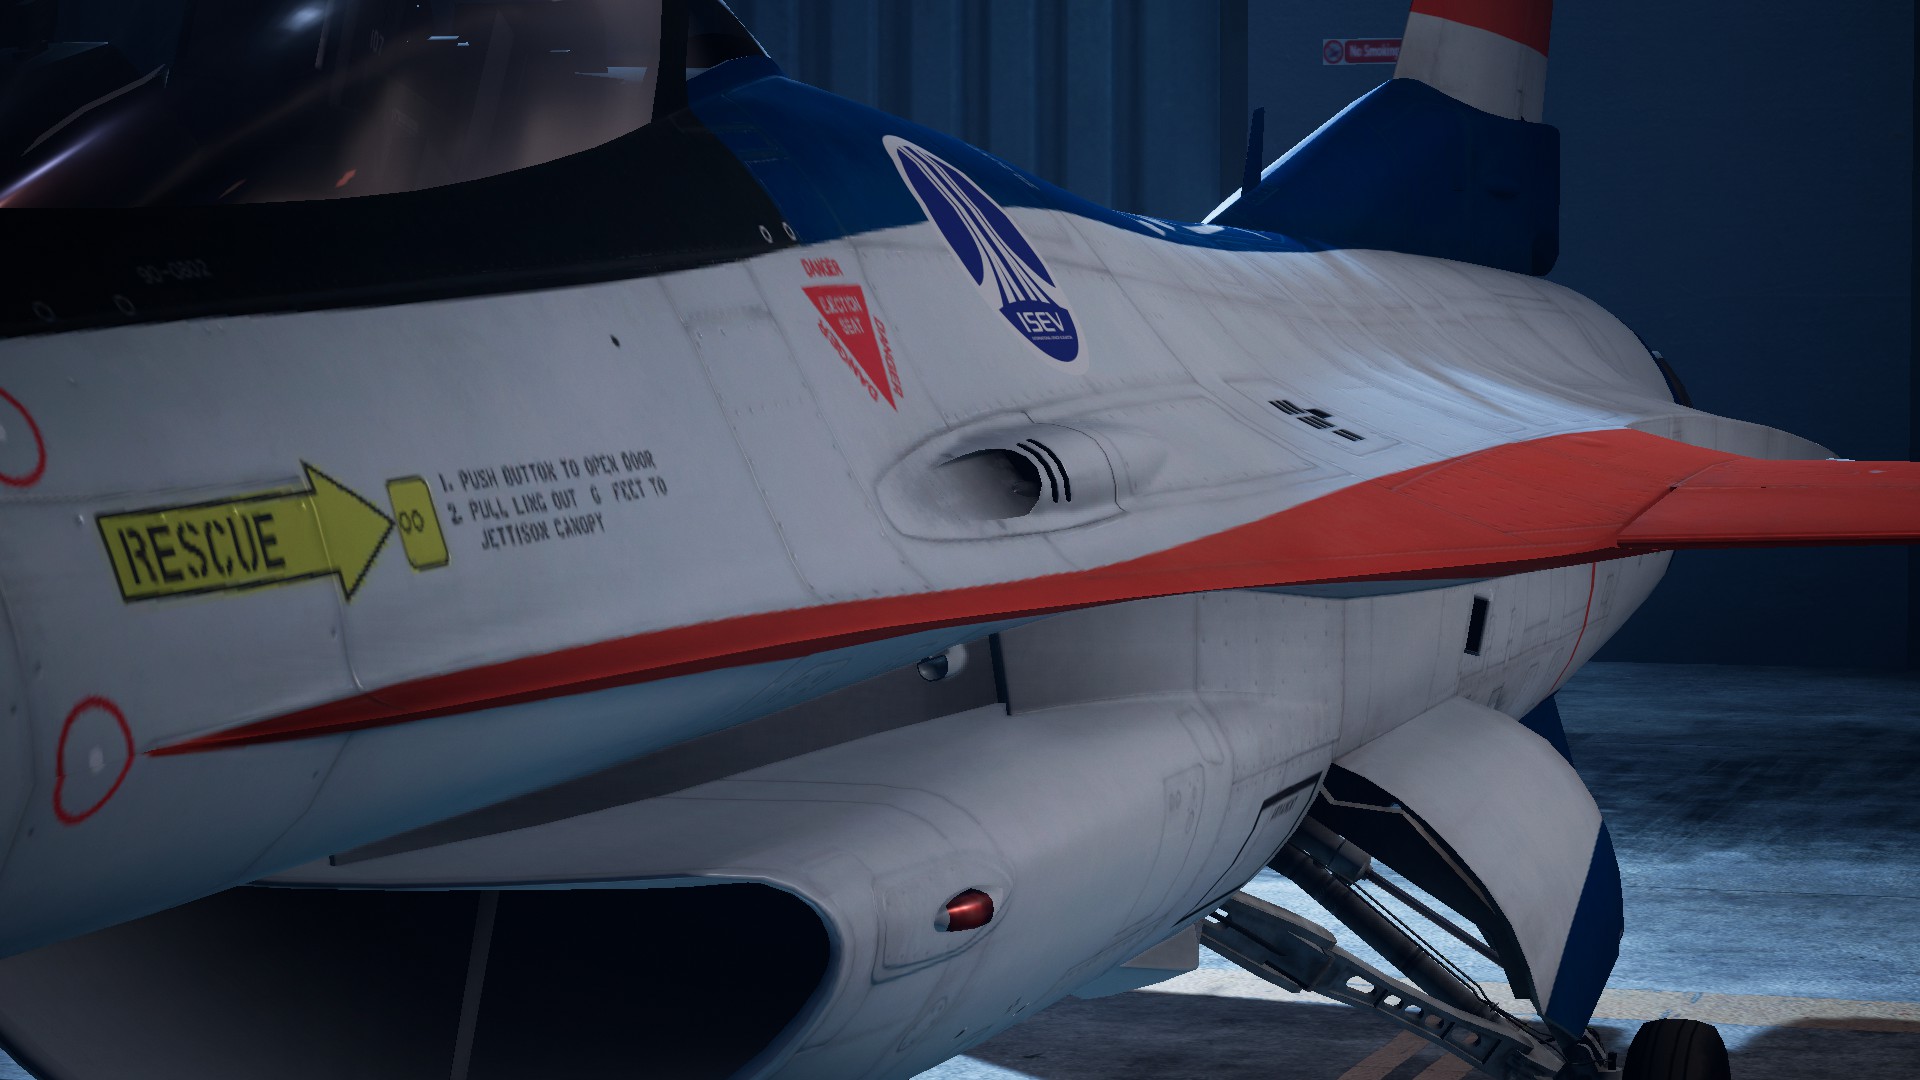
I hope this guide helps, and you can enjoy your Ace Combat 7 experience a little more!
Side-by-side Comparison
- How to S rank all missions on ACE difficulty - ACE of ACES achievement★ 5 (717)26k views1.6k ♥23 minUpdated May 12, 2019
- Native Flightstick Configuration★ 5 (316)24k views670 ♥8 minUpdated Oct 15, 2025
- Named Aircraft/"Bird of Prey" Guide★ 5 (980)20k views1.9k ♥10 minUpdated Feb 8, 2019
- All Aircraft Skins {Detailed Unlocks}★ 5 (414)19k views873 ♥15 minUpdated Dec 13, 2022
- The ultimate(ish) nugget's guide to Ace Combat 7★ 5 (290)17k views540 ♥27 minUpdated Sep 8, 2022
- AC7 Achievement Guide★ 5 (417)17k views845 ♥7 minUpdated Feb 8, 2024




- Upgrading to PremiumTeam Fortress 2★ 5 (20k)1441k views11k ♥6 minUpdated May 11, 2022
- No More Room in Hell Official ManualNo More Room in Hell★ 5 (2.8k)569k views2.1k ♥29 minUpdated Apr 22, 2019
- NMRiH Community Hosting GuidesNo More Room in Hell★ 5 (526)351k views653 ♥1 minUpdated Aug 10, 2022
- ULTIMATE GUIDE FOR GAME DEV TYCOONGame Dev Tycoon★ 5 (5.8k)326k views10k ♥4 minUpdated 23 Jan, 2014
- How to 'Git Gud' Soon™MORDHAU★ 5 (2k)318k views3k ♥68 minUpdated Nov 16, 2024
- Лучшие кооперативные игры SteamPAYDAY 2★ 5 (1.5k)315k views2.1k ♥56 minRussianUpdated Apr 27, 2025






This guide was created by its original author on the Steam Community. Are you the author and want it removed? Request removal.