Story Mode: All Observations/Breakables
General information/notes
No need to curse if (when) you miss a collectable or two in a mission - it happens to the best of us. As confirmed by Kotov the Helpful, it is not necessary to replay the entire level for it to count.
Just restart the mission on any difficulty, and once you've collected the observable/pot contents it will still count regardless of whether you finish the level or simply quit to the menu.
Some screenshots in this guide contain 2 collectables often not clearly visible, and some might slip through the watchful eyes of our QA team, despite their cracking expertise.
If can't find what you're looking for, it's often worth checking the comments before leaving one yourself :)
In that regard, we do appreciate constructive input on which screenshots needs clarification.
So you're one of those who clicks the «I'll do it for an extra 1000 gold» dialogue options?
Playing through the solo/coop campaign nets you a cool ~10.000 steel and 10-or-so scavenger crates.
If you don't know what either of those do, you'll find out in the customize heroes section in the For Honor's main menu.
Happy hunting :)
The De-Spoilerized Observamatic Instahinter 3000™
Do you have an unhealthy obsession for clicking every clickables in a explorey but timely manner?
Are your lore- and narration-desires only satisfied by following button prompts in Ubisoft games on the condition that you find it all-by-yourself-ish?
Are you perhaps interested in the extra loot and cosmetics needed for you to bedazzle that AI-bot you kinda like, as well as some fantastic level design?
Want to know which haystack to search before you go looking for the needle?
If you've used the word yes at any time in your life, then this is the tool for you!
This is a spoiler-free table contains the names of all the observables in the game, found in «Mission Details» of any individual level.
For the vast majority of them, the name corresponds to the object or scenery where the observable is located - you'll do the searching knowing what to search for.
Ruined Church, Viking Camp, Knight Tomb
Elevator Machinery, Central Mechanism
The Sea, Apollyon 2, Gate, Gudmundr, A Nice House
Runes around the Tower
Edge of The Myre, Dead Vikings
Fallen Stone Head
Dead Praying Daimyo
Ruined Warmachines, Knight Statue Chancel*, Acid Lake*, Bridge Will Fall*, Old Dead Tree*, Cathedral*
* located in the second part of the mission
Keep scrolling for your Lionel Richie!
Chapter 1: Knights

1.1 - Warlords and Cowards
At the start of the mission:
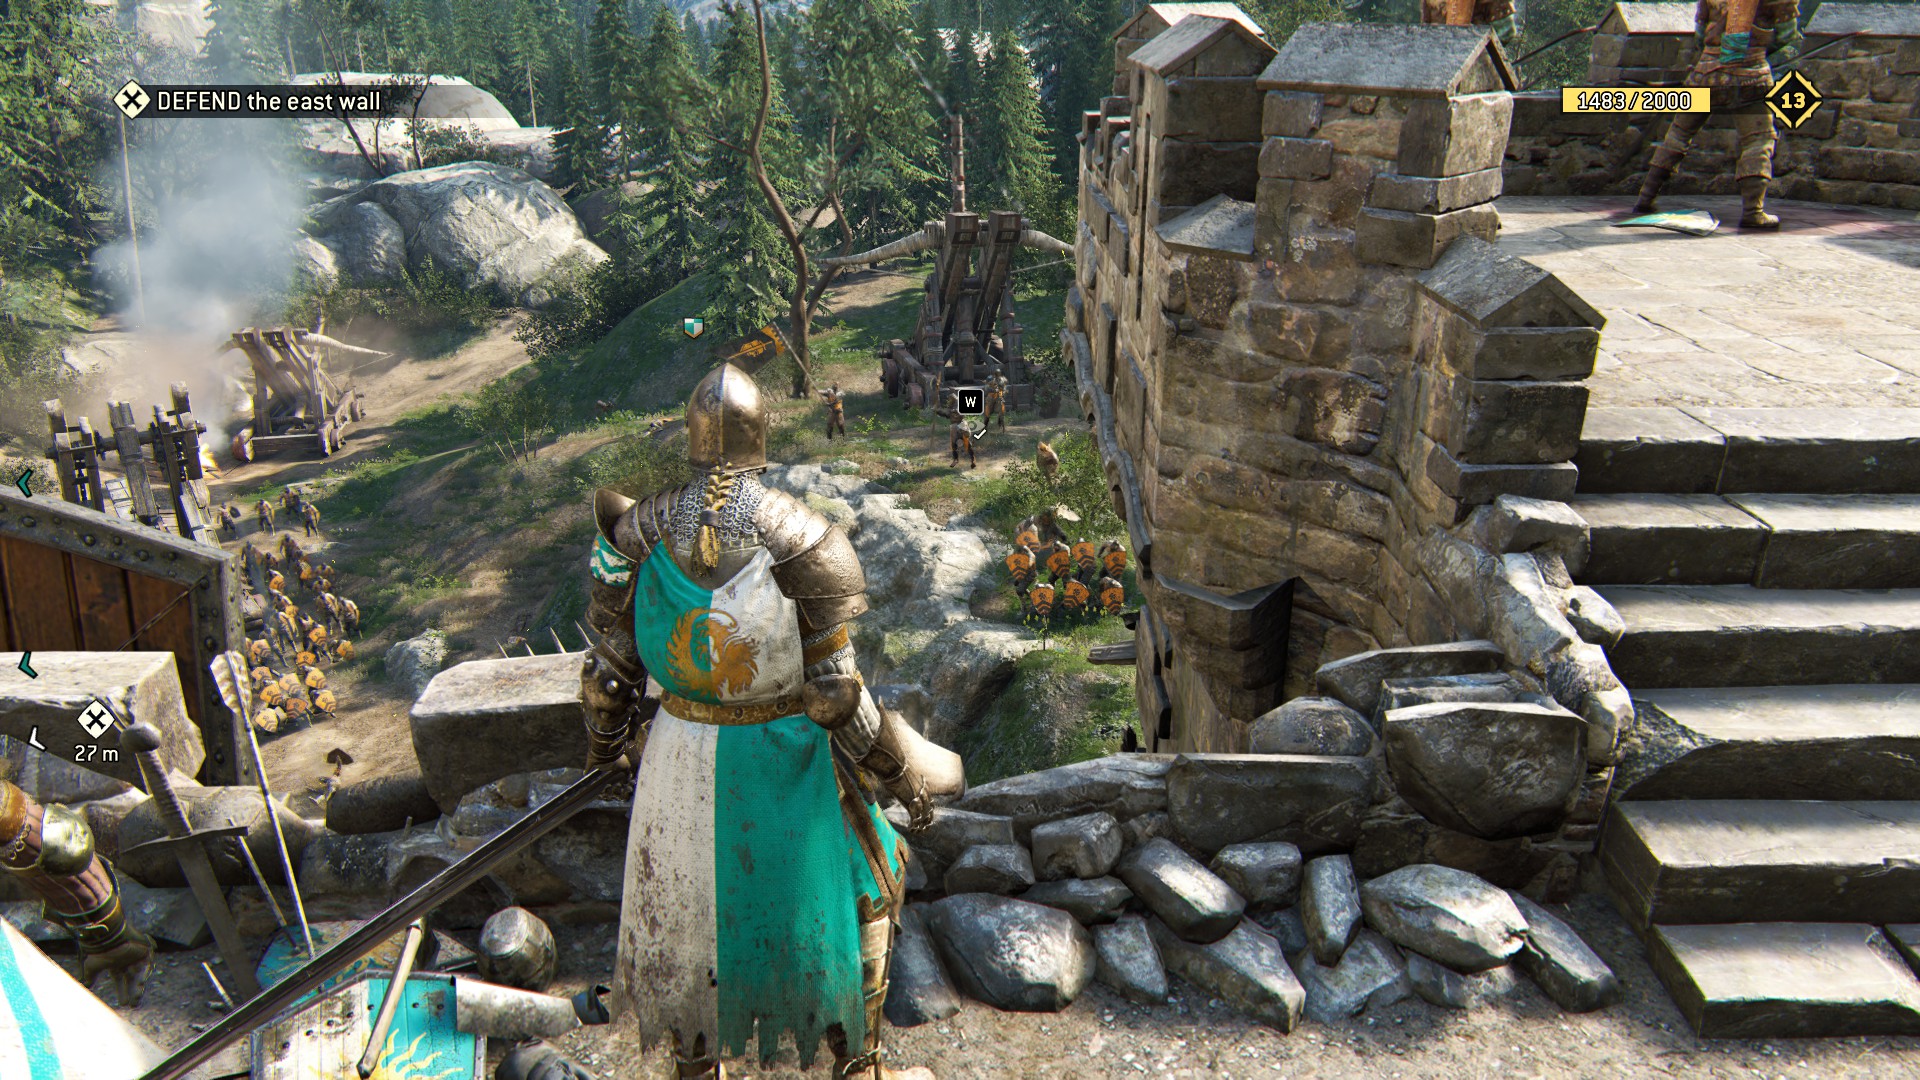
It's Daubeny, say hi!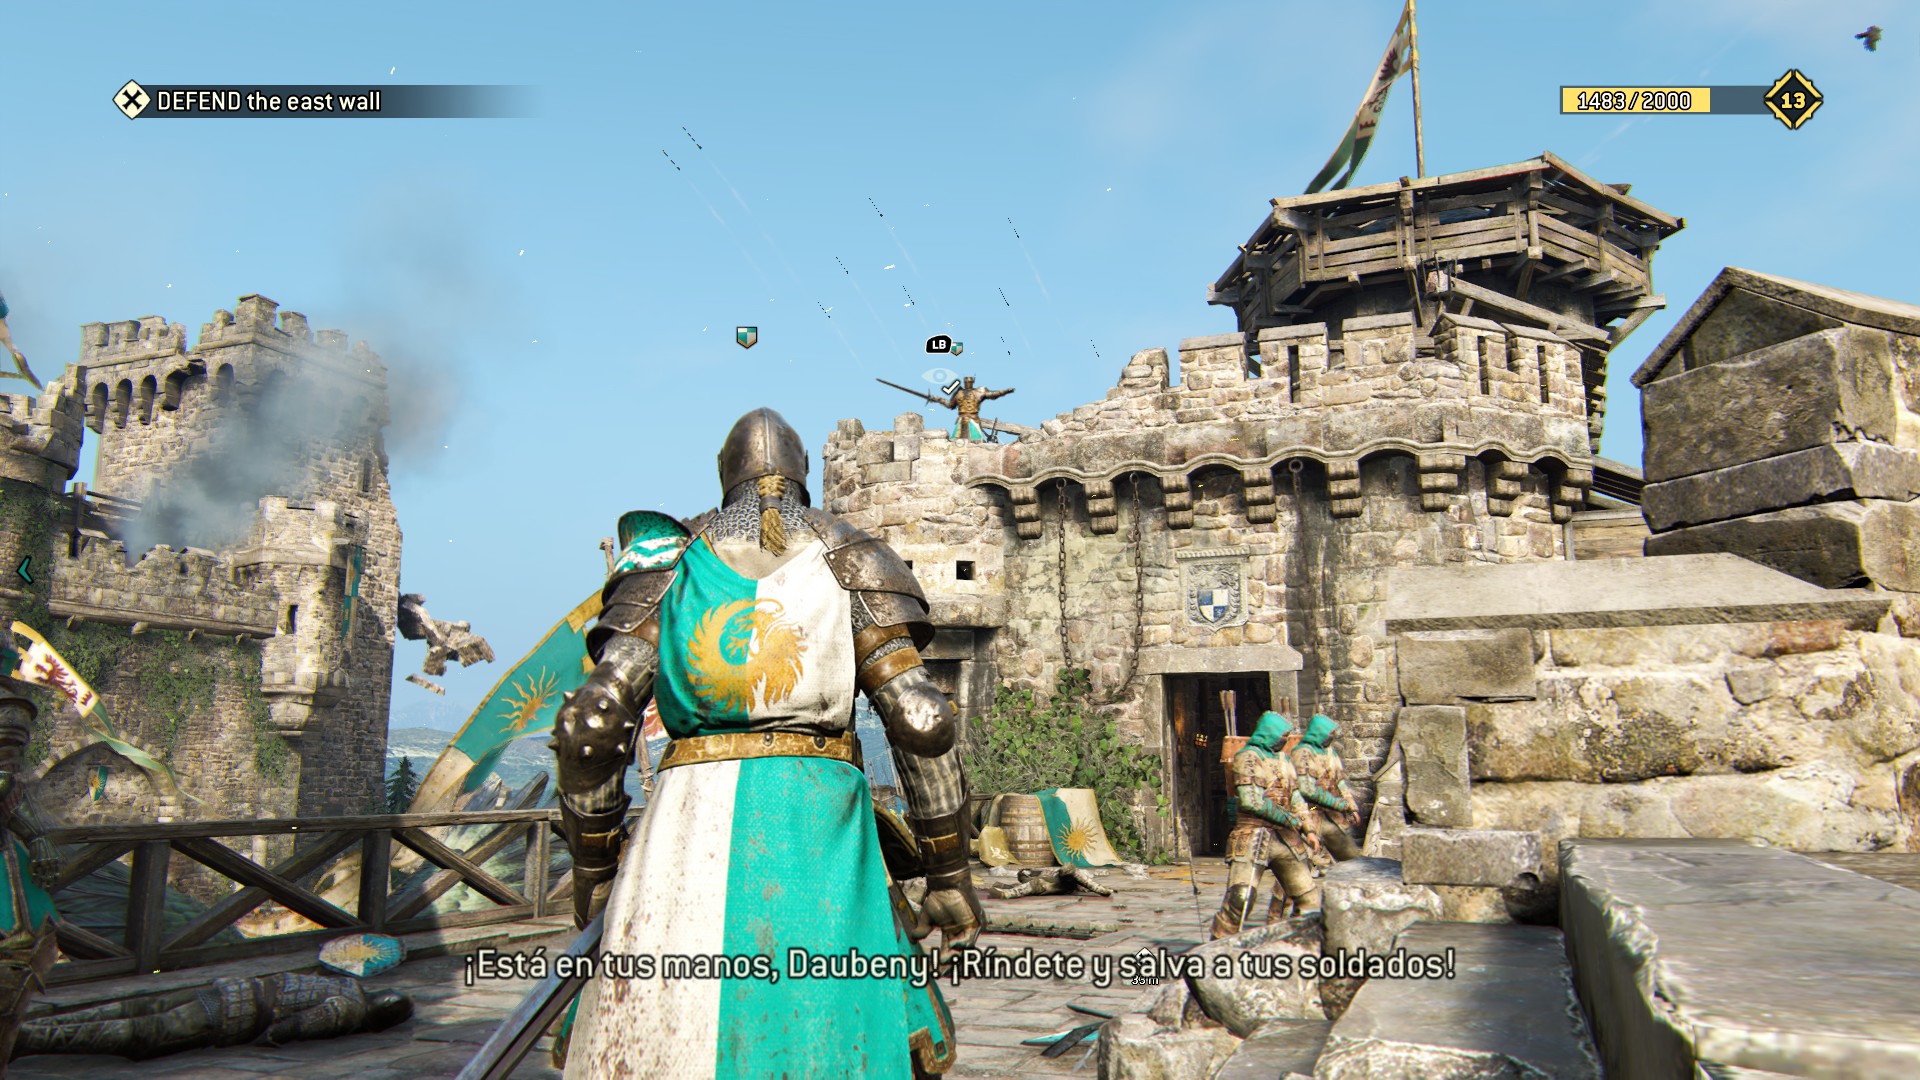 Near the catapult, gaze at the Lawbringer
 Bueno vista, yes? Check out that castle!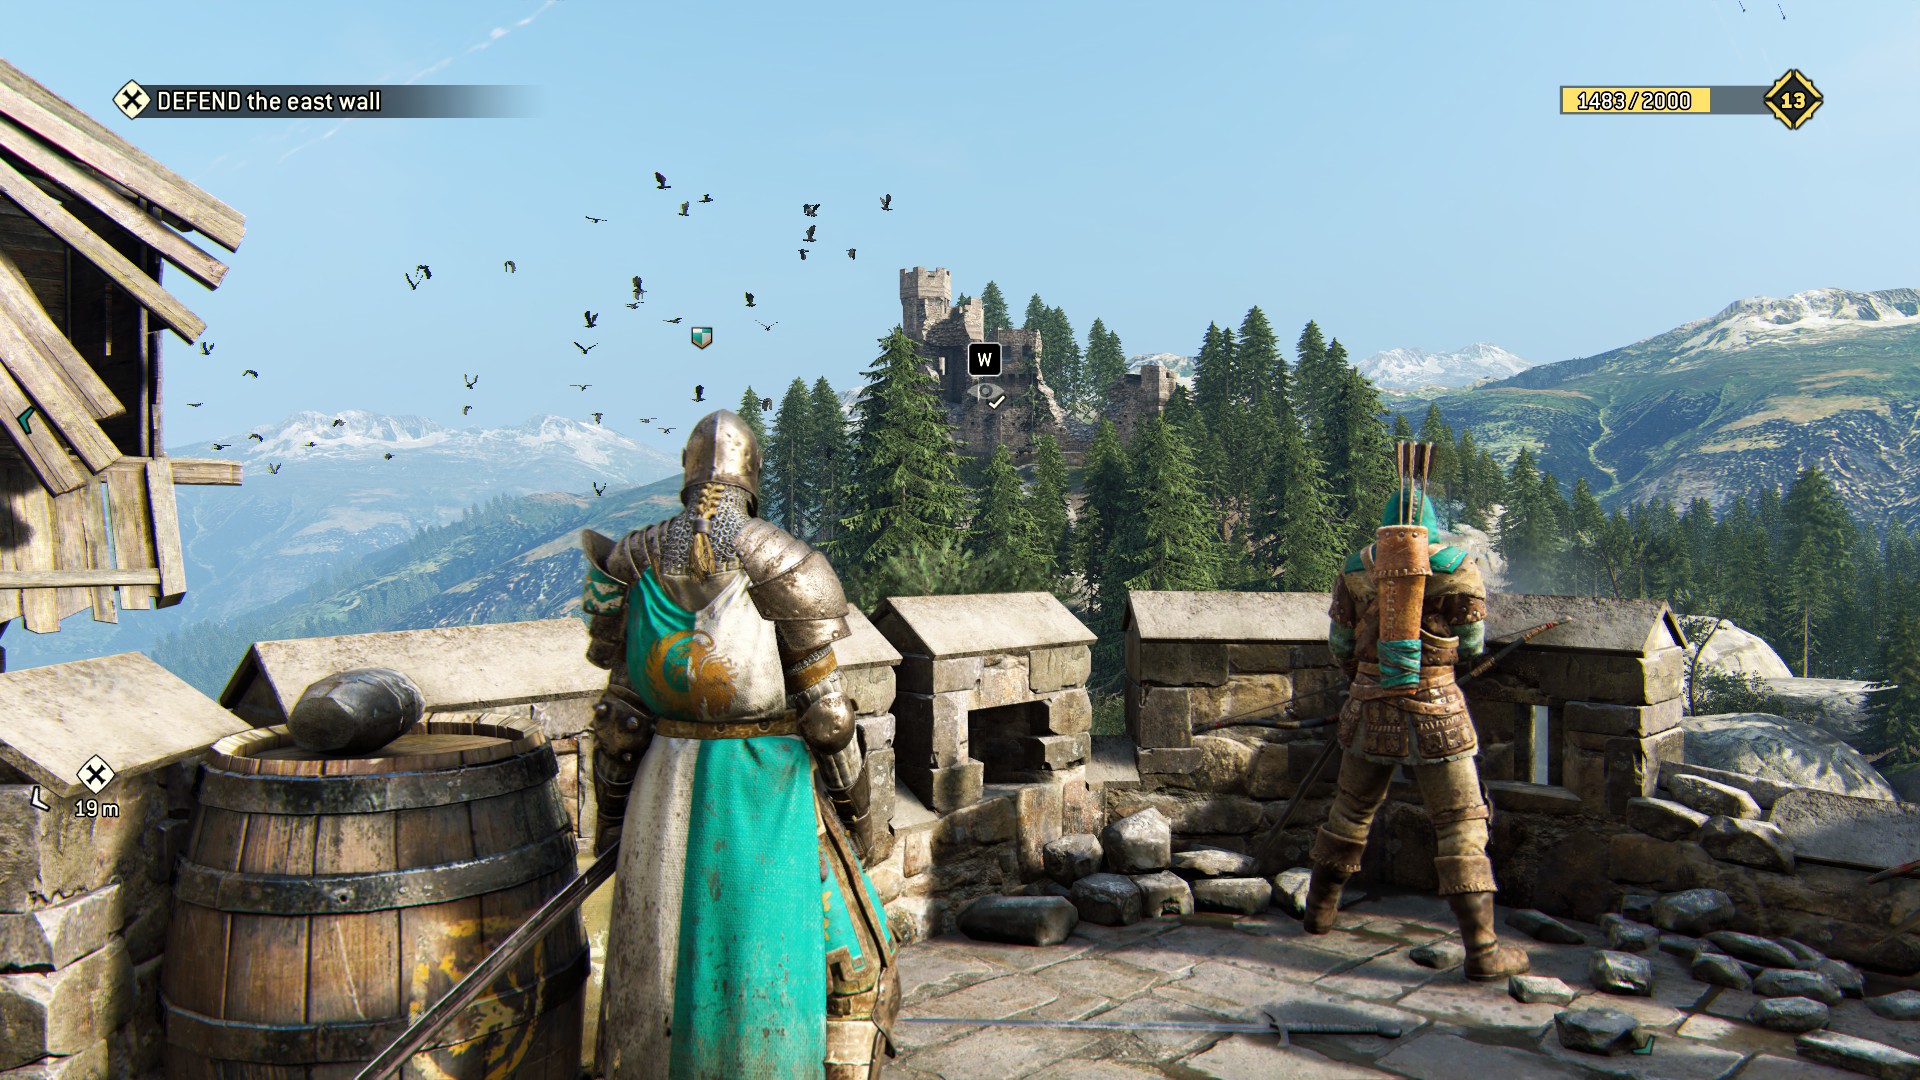
After the tutorial:
Can't miss that broken wall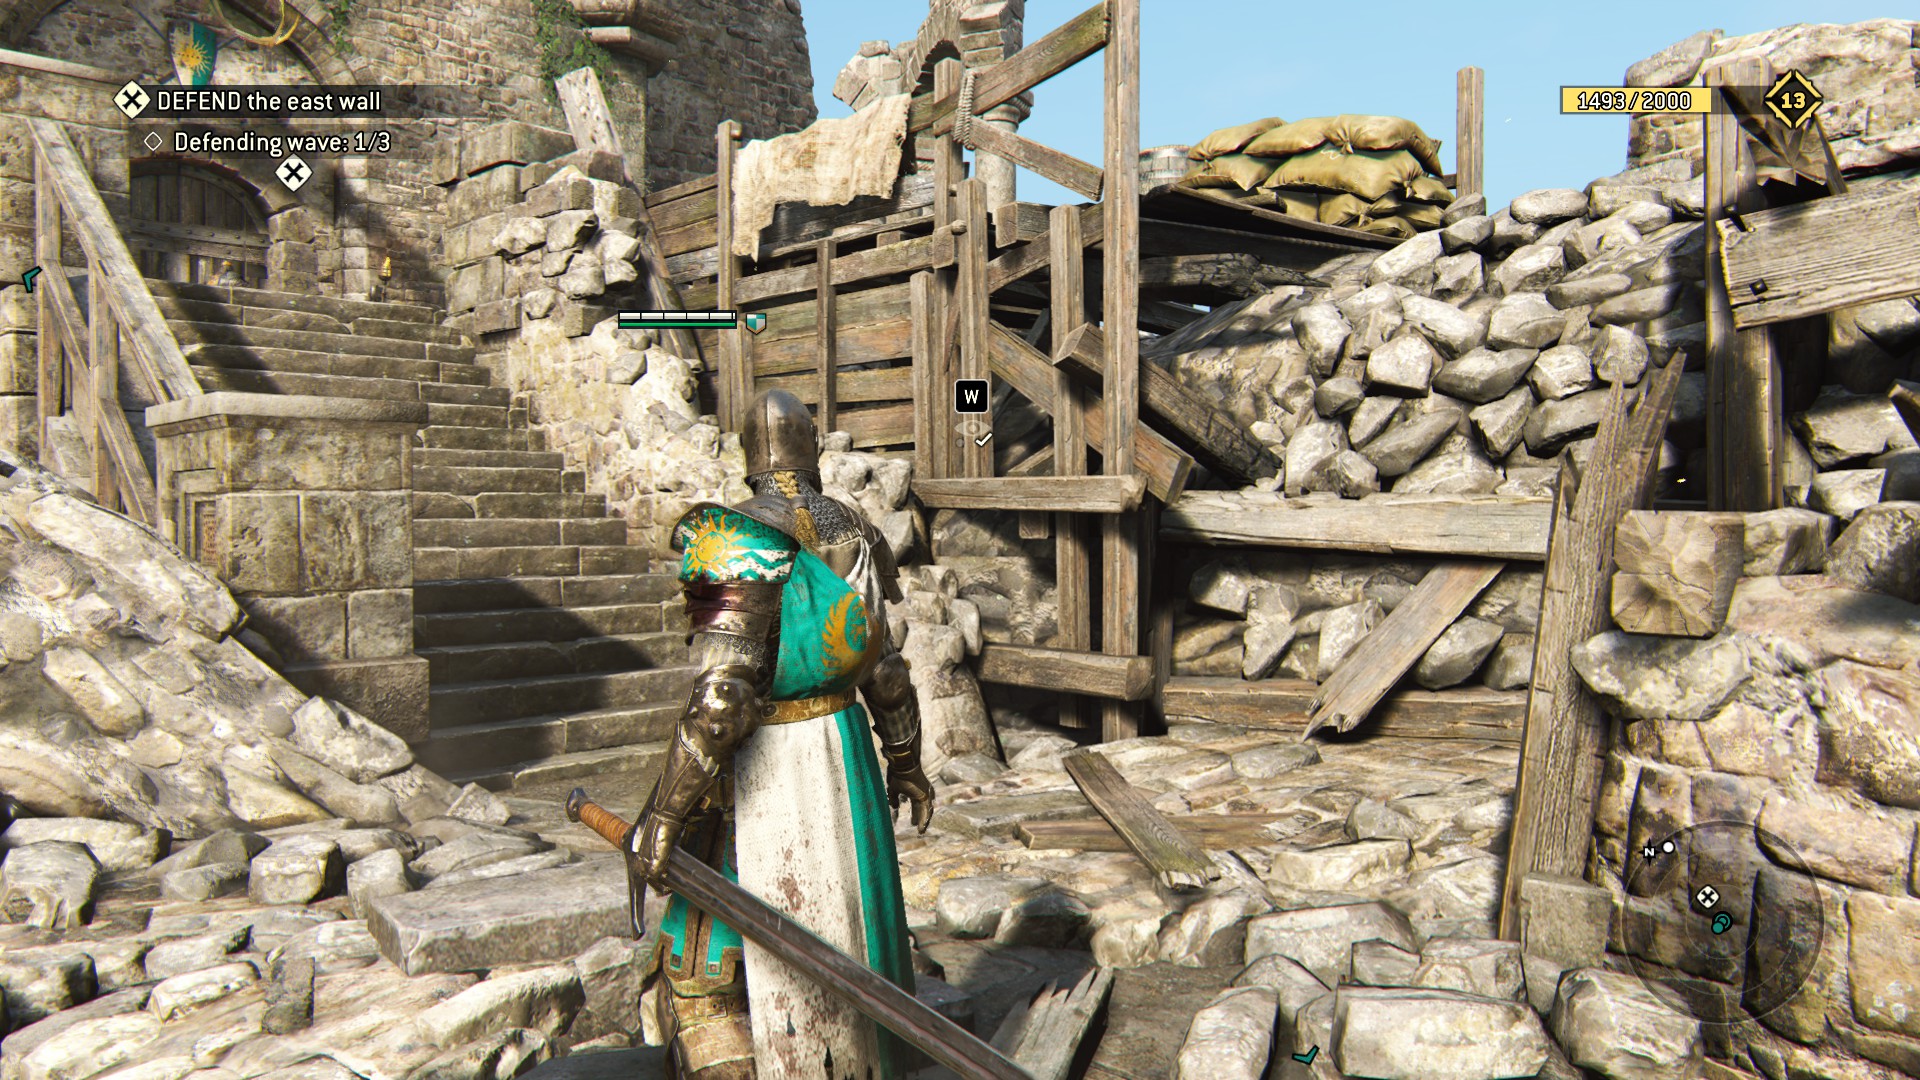 Always remember where you came from
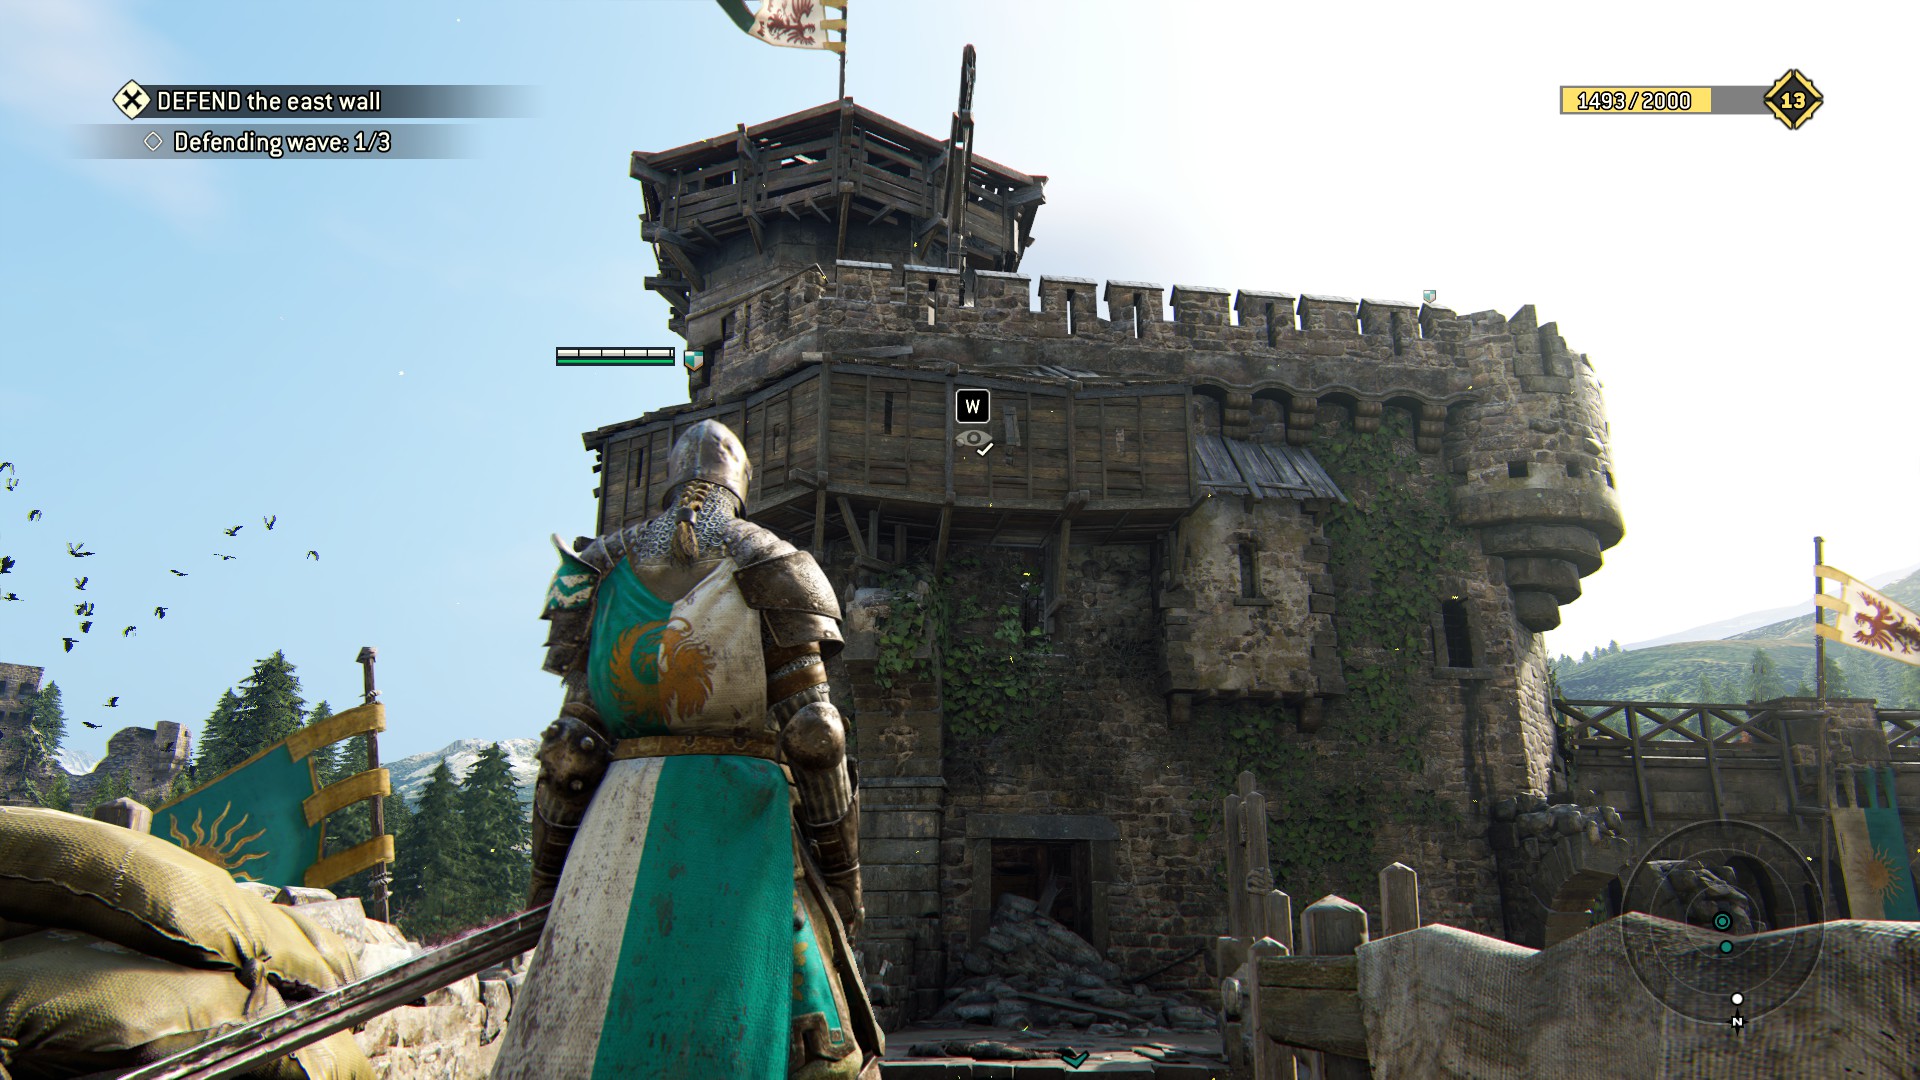 But don't stop looking up towards the future.. it's up there, to your left
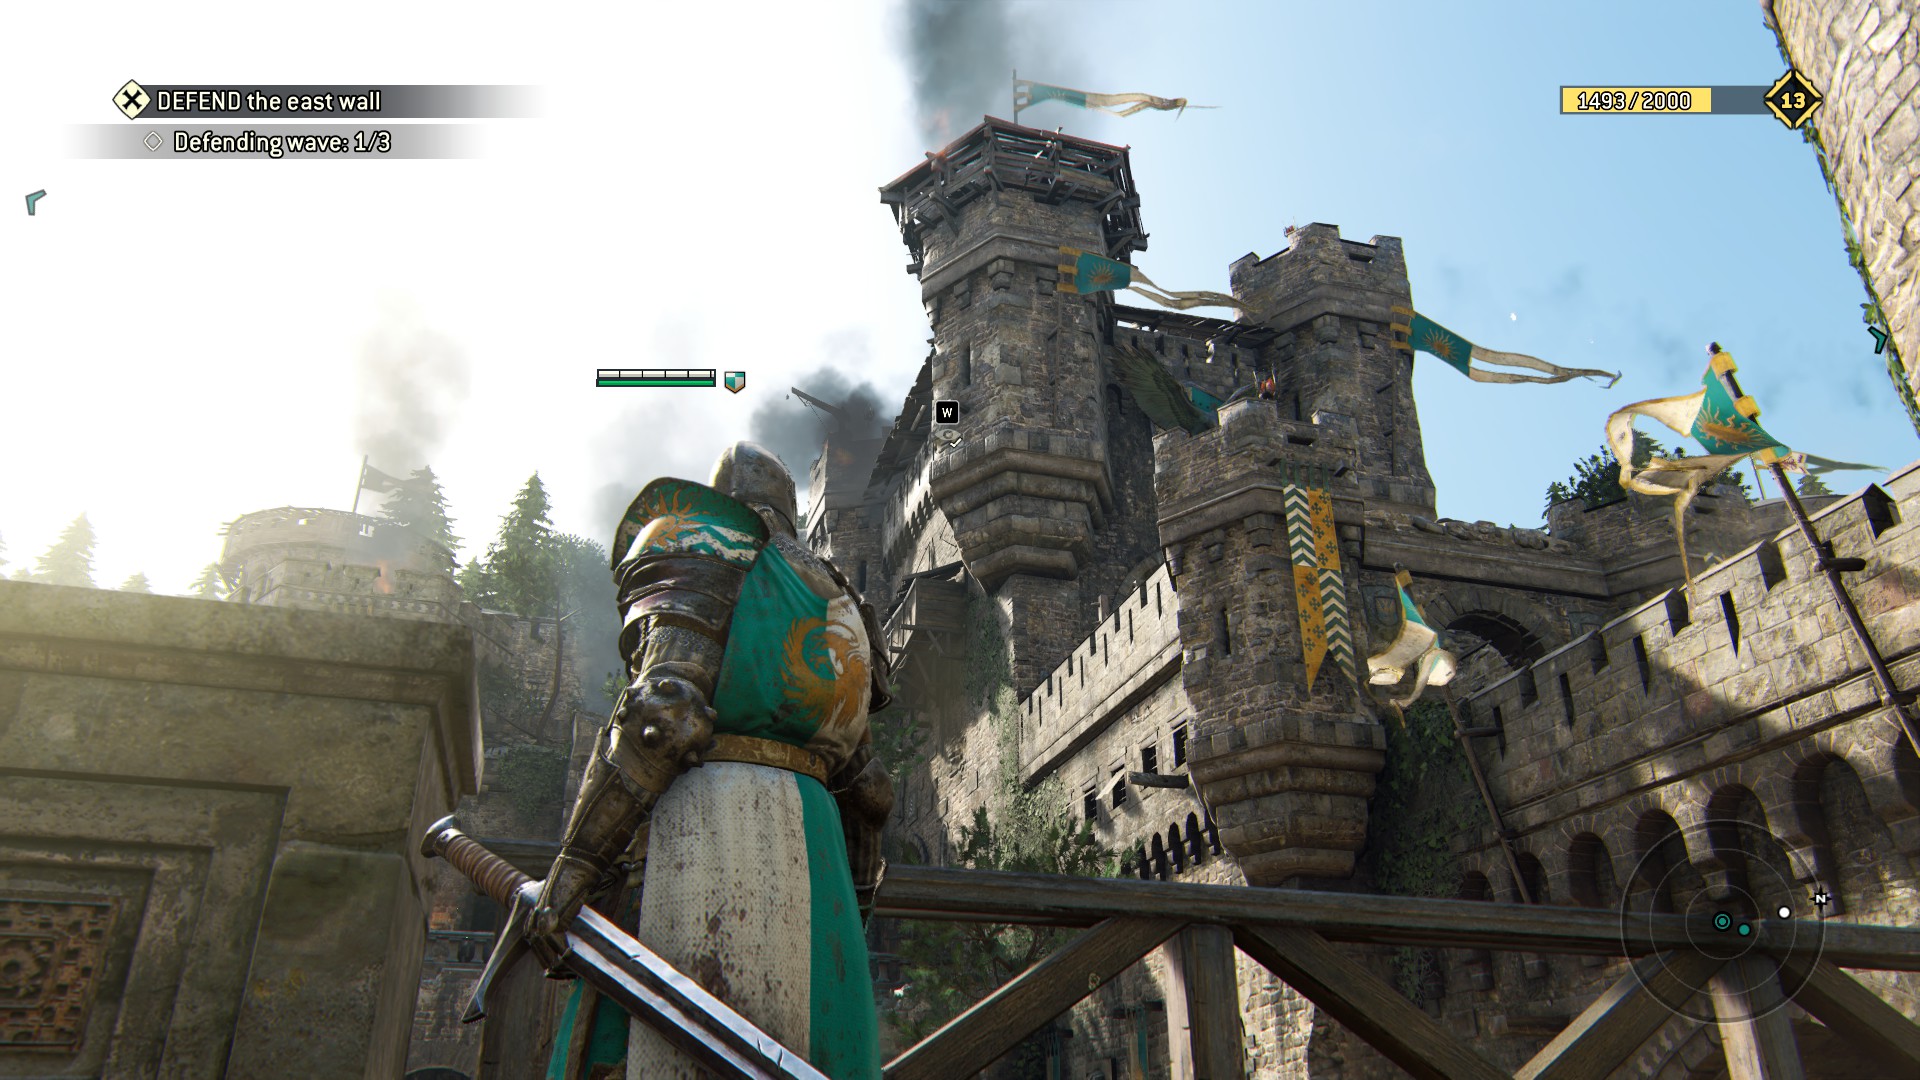 Don't overlook these near the stairs. Gotta hit 'em to break 'em, see
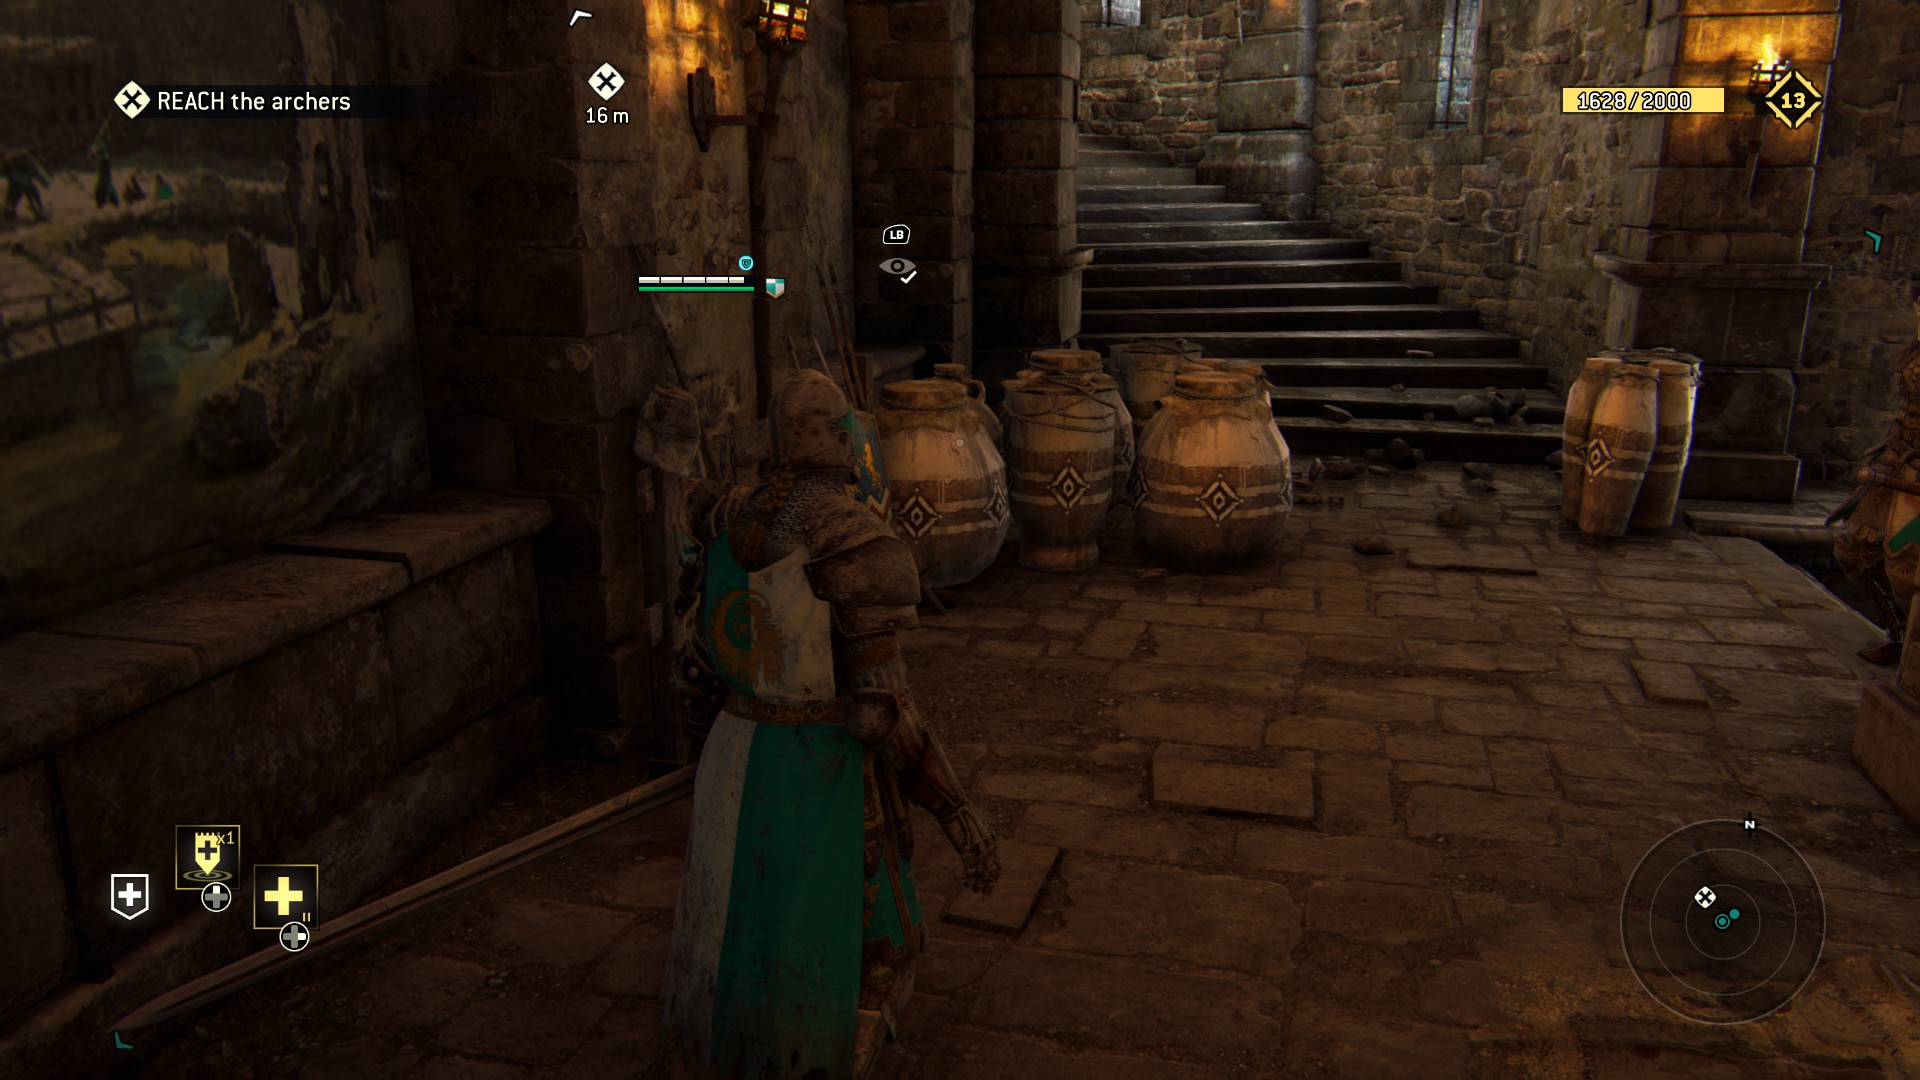 And on your immediate right, a lion. Made of stone, lucky for you
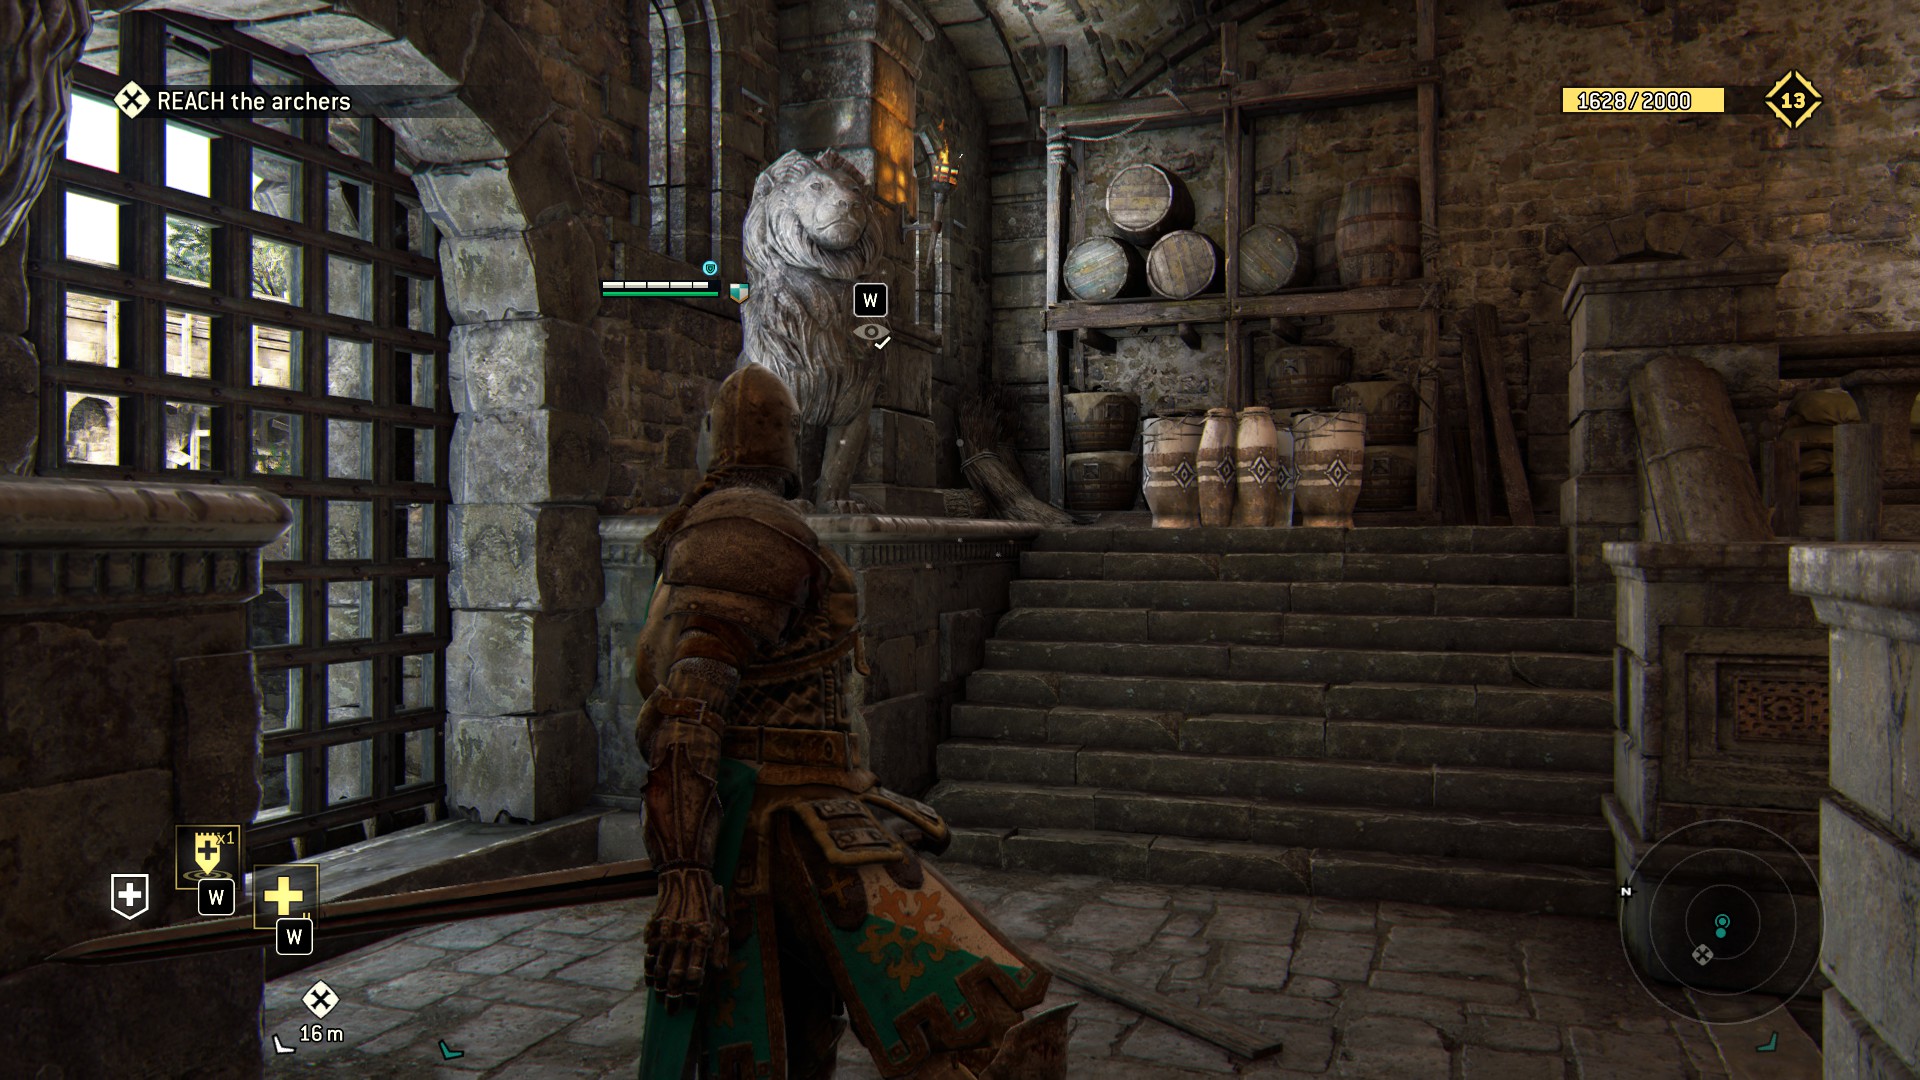 Go right after the stairs, a room to explore!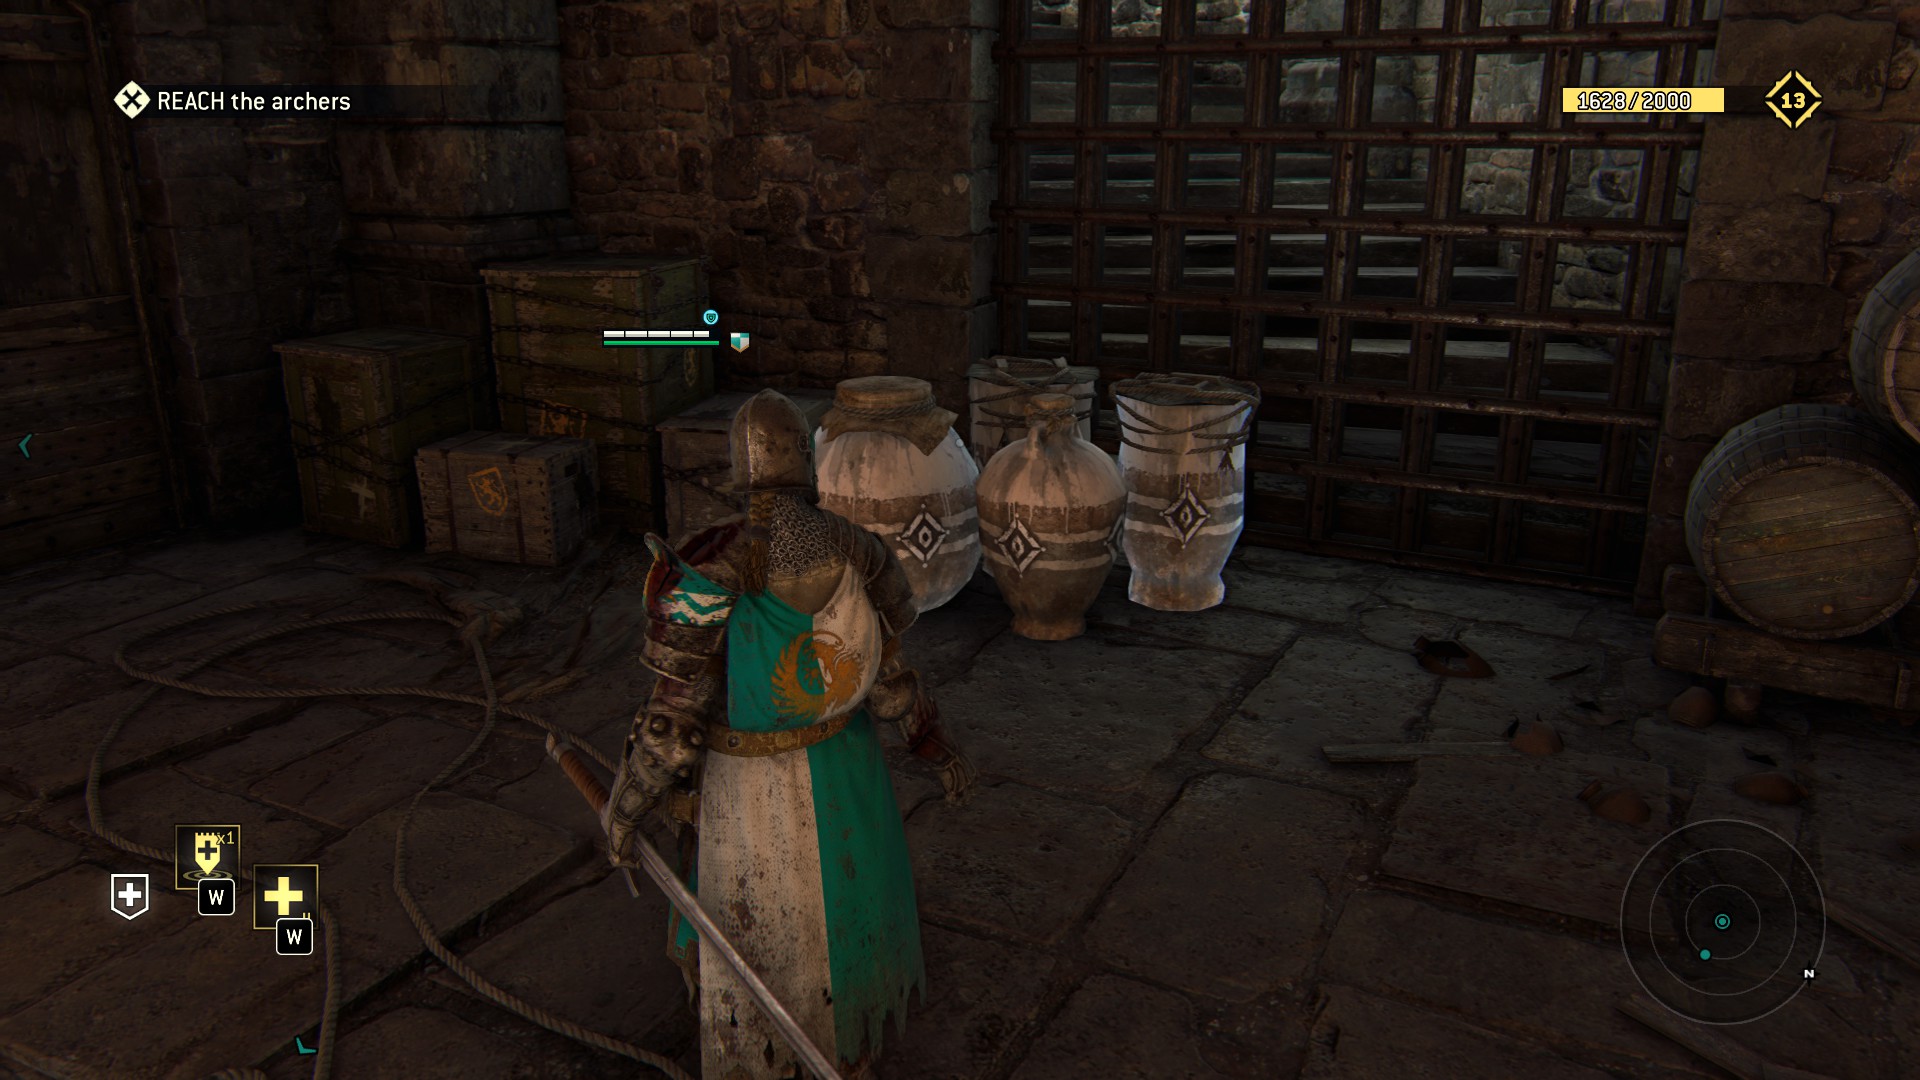
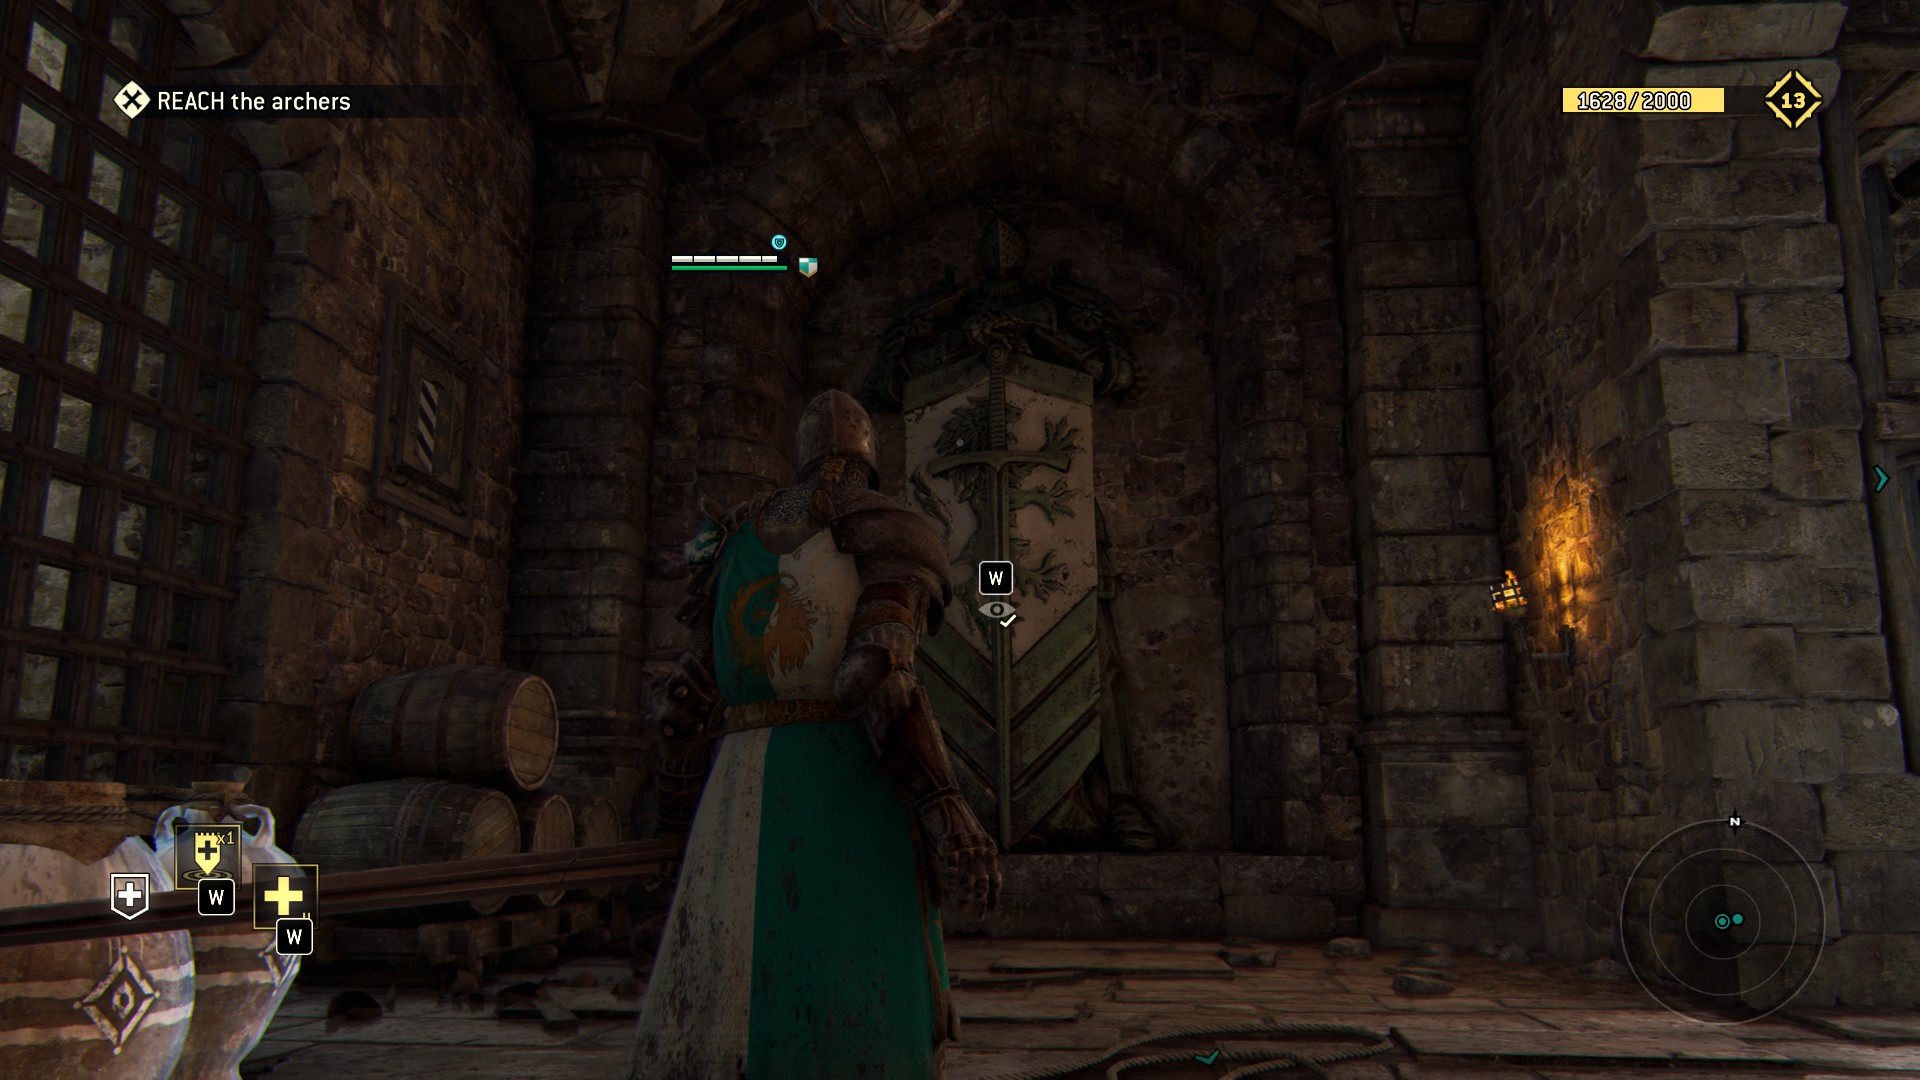 Game wants you to look at the vines on the wall. So look at them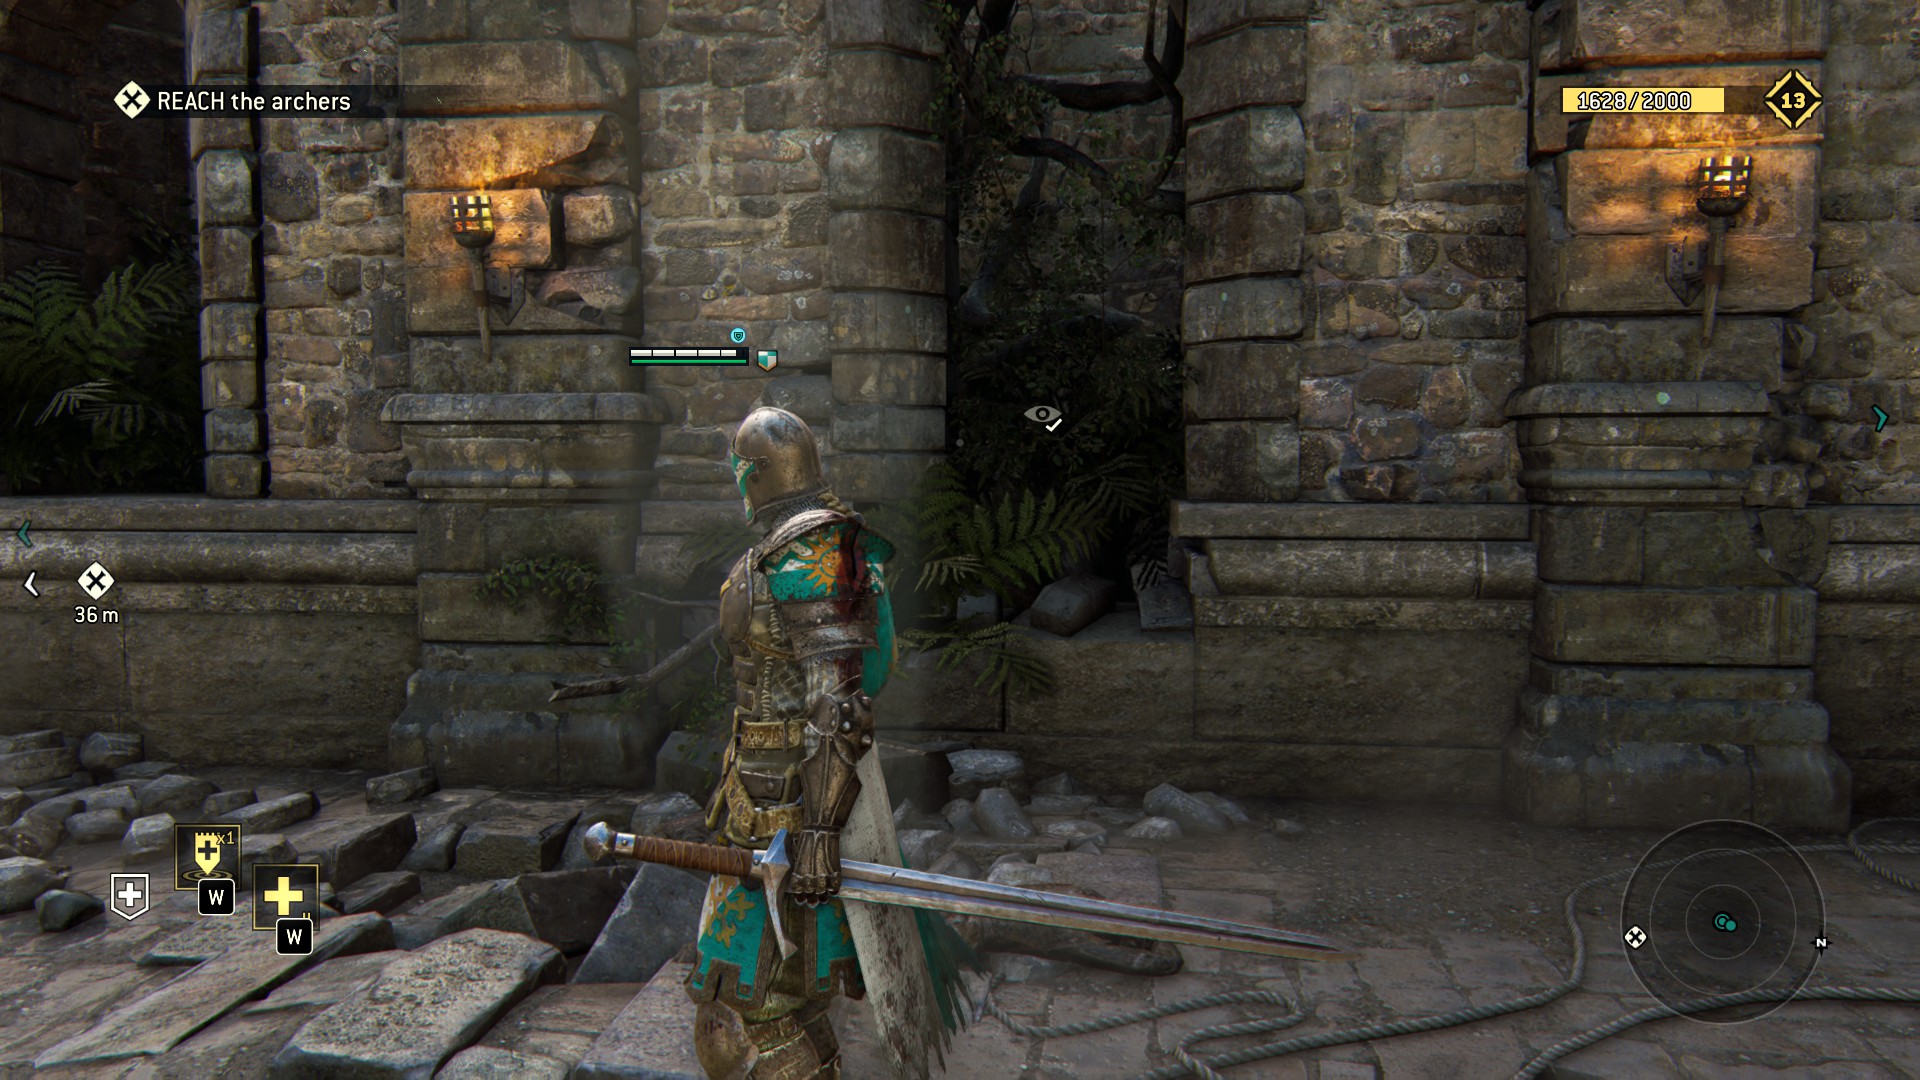
1.2 - AND STAY OUT
This is perhaps the most recognizable multiplayer map, if you don't know it yet - you will.
Probably.
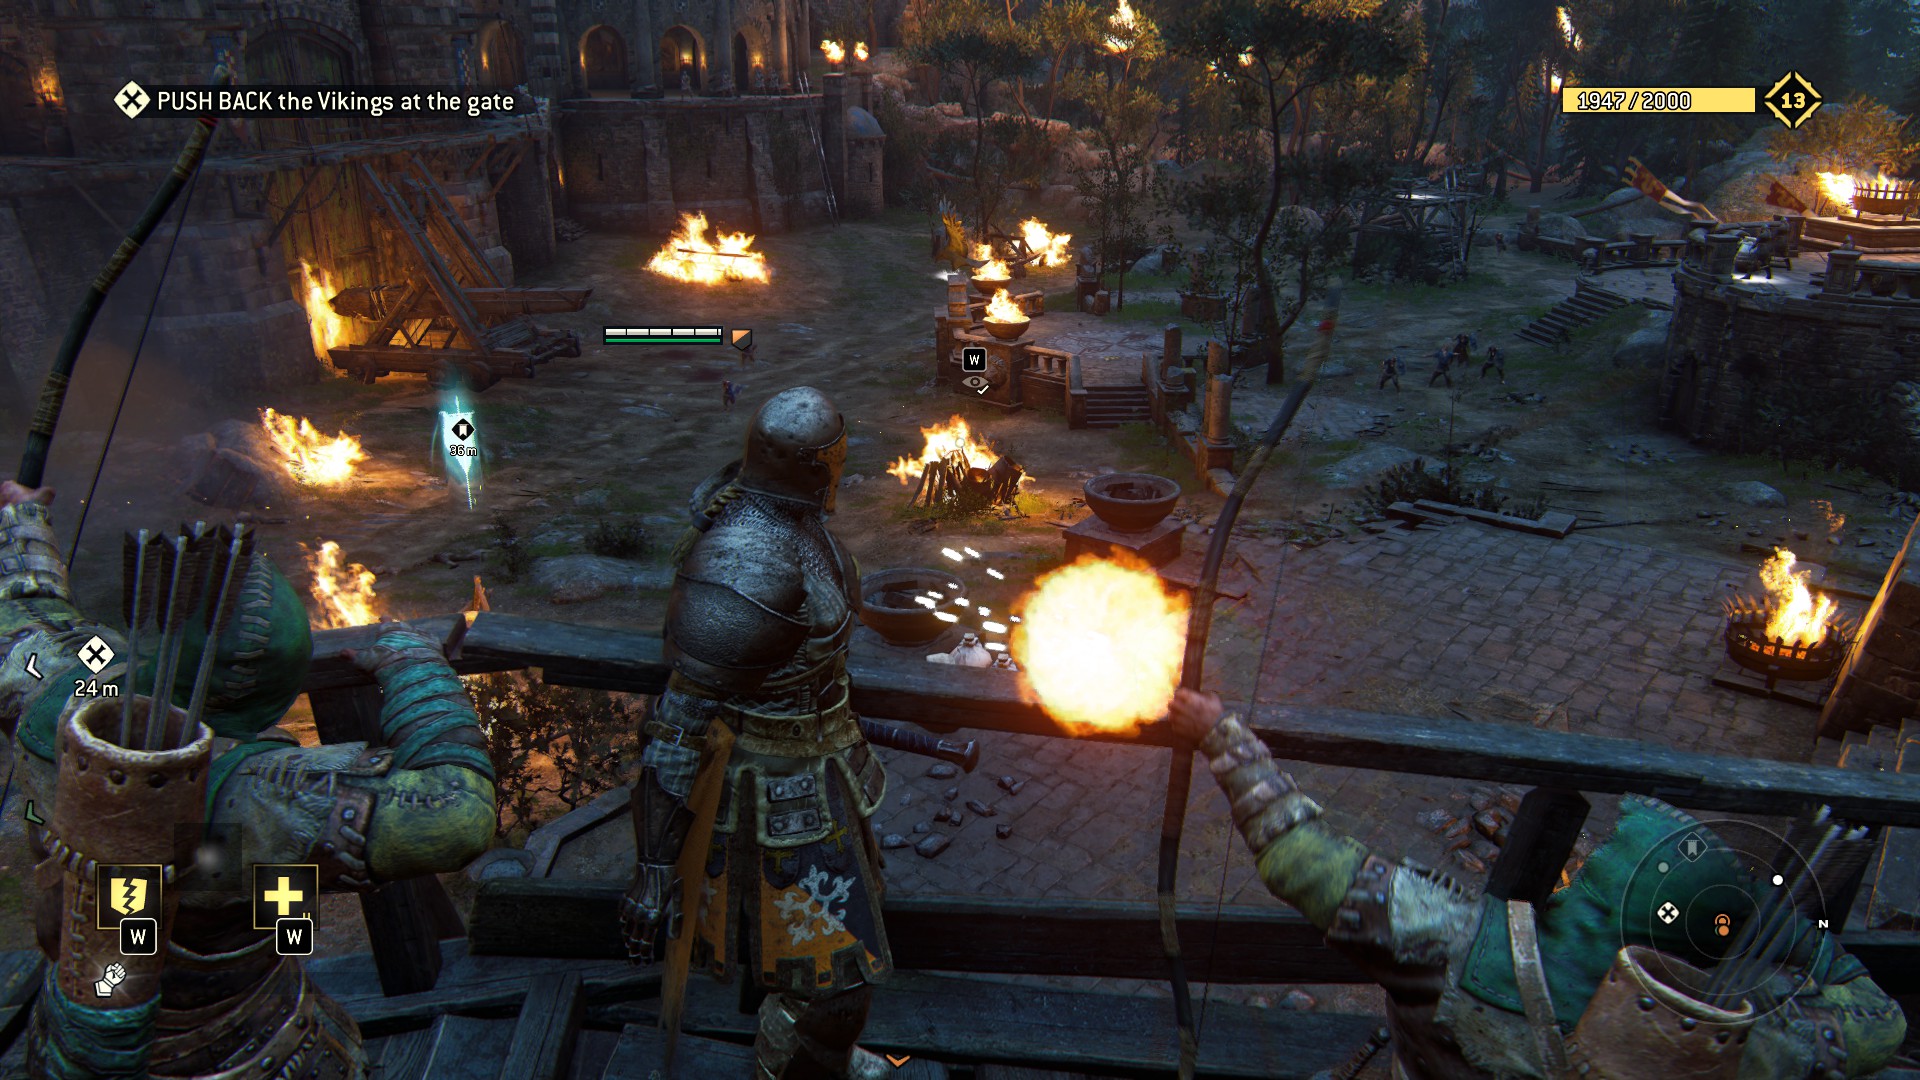 Moving on to the marker, you'll see these breakables cleverly disguised as breakable pots outside and in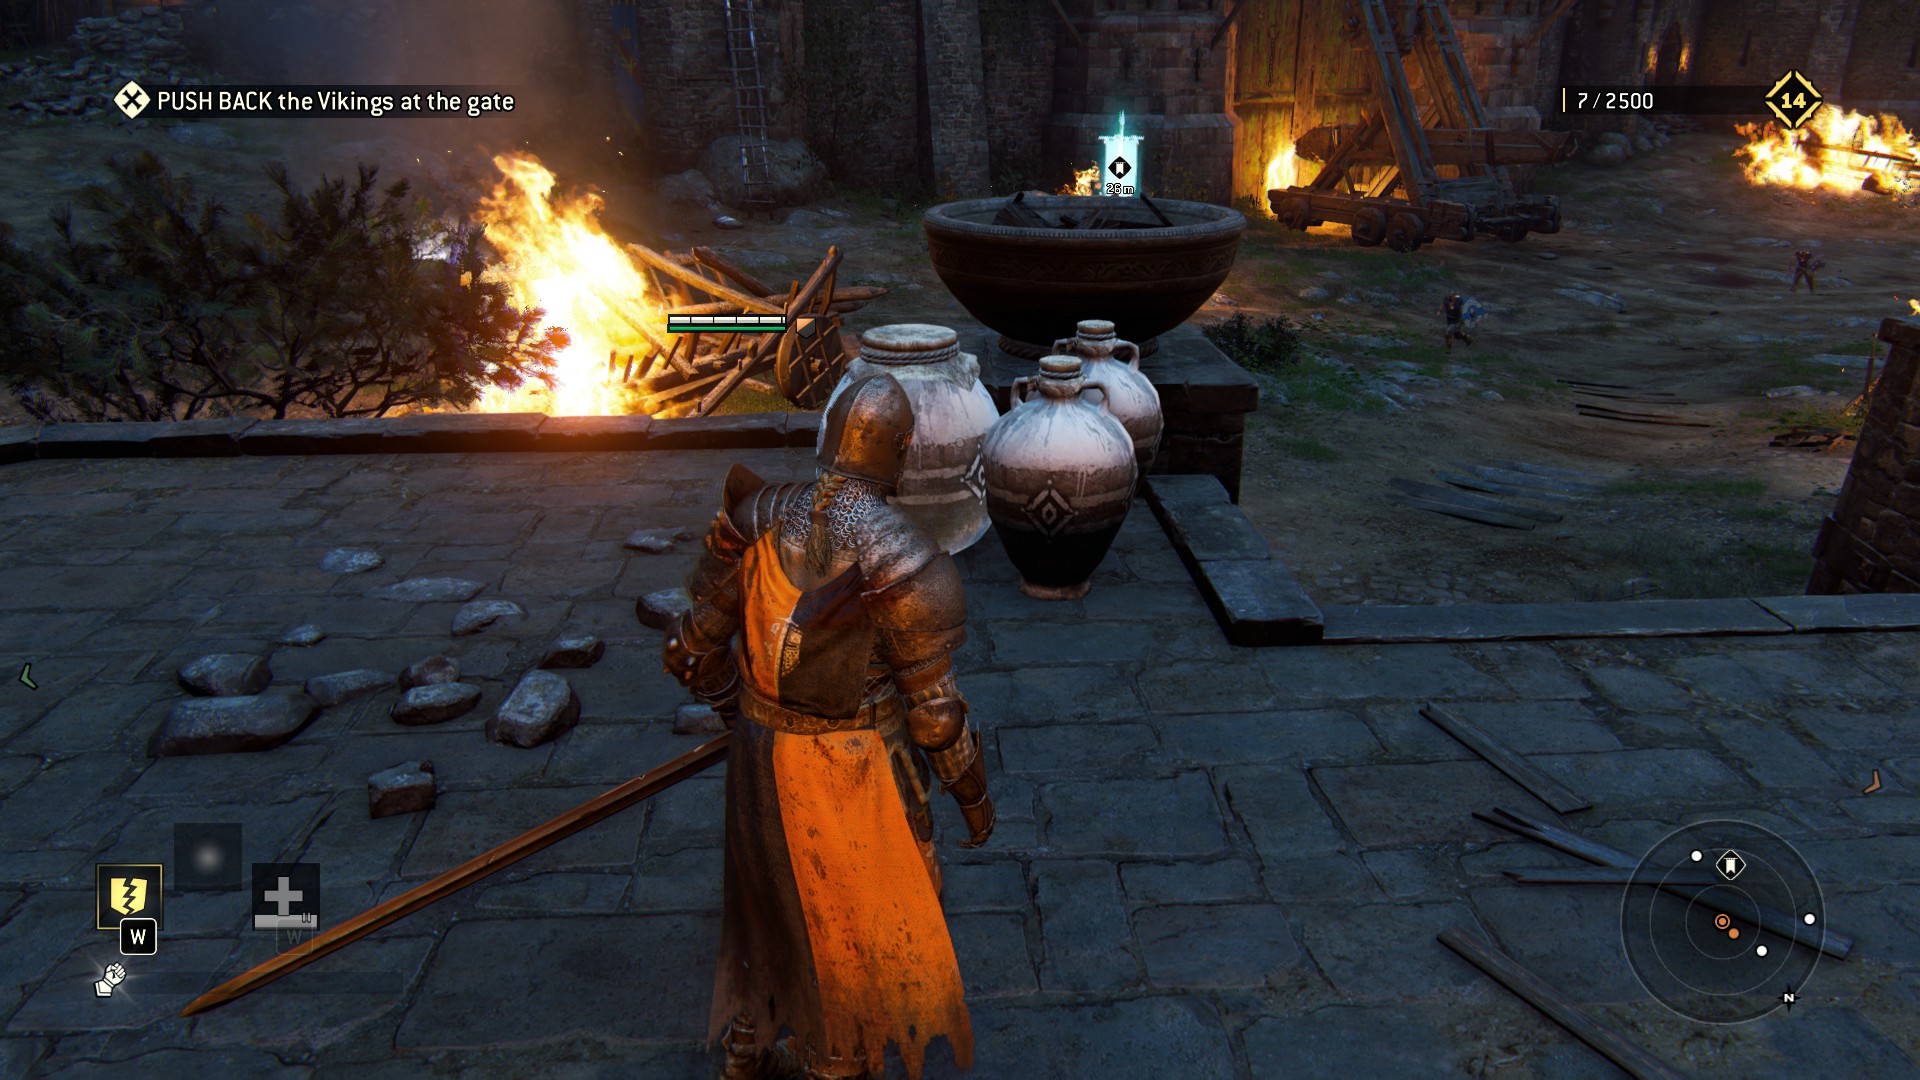
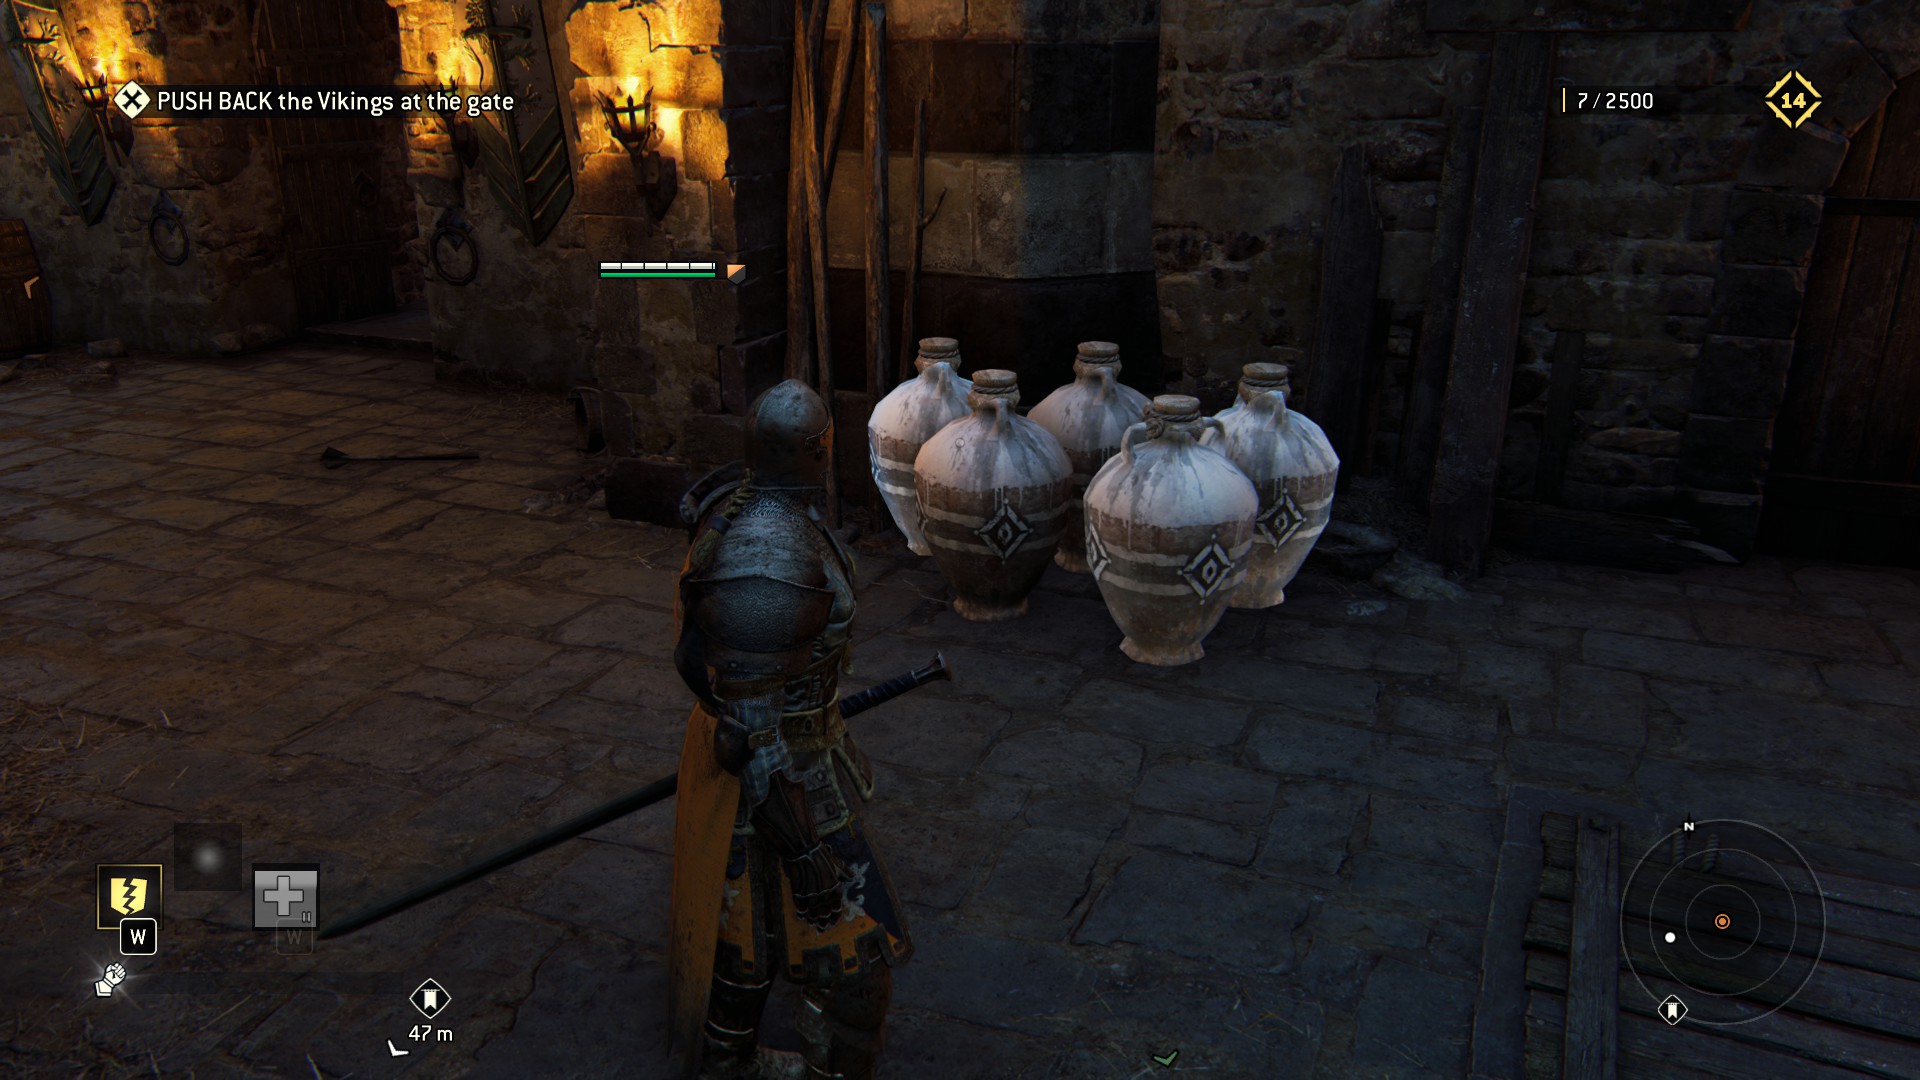 Keep to the maps right edge, and from the bridge
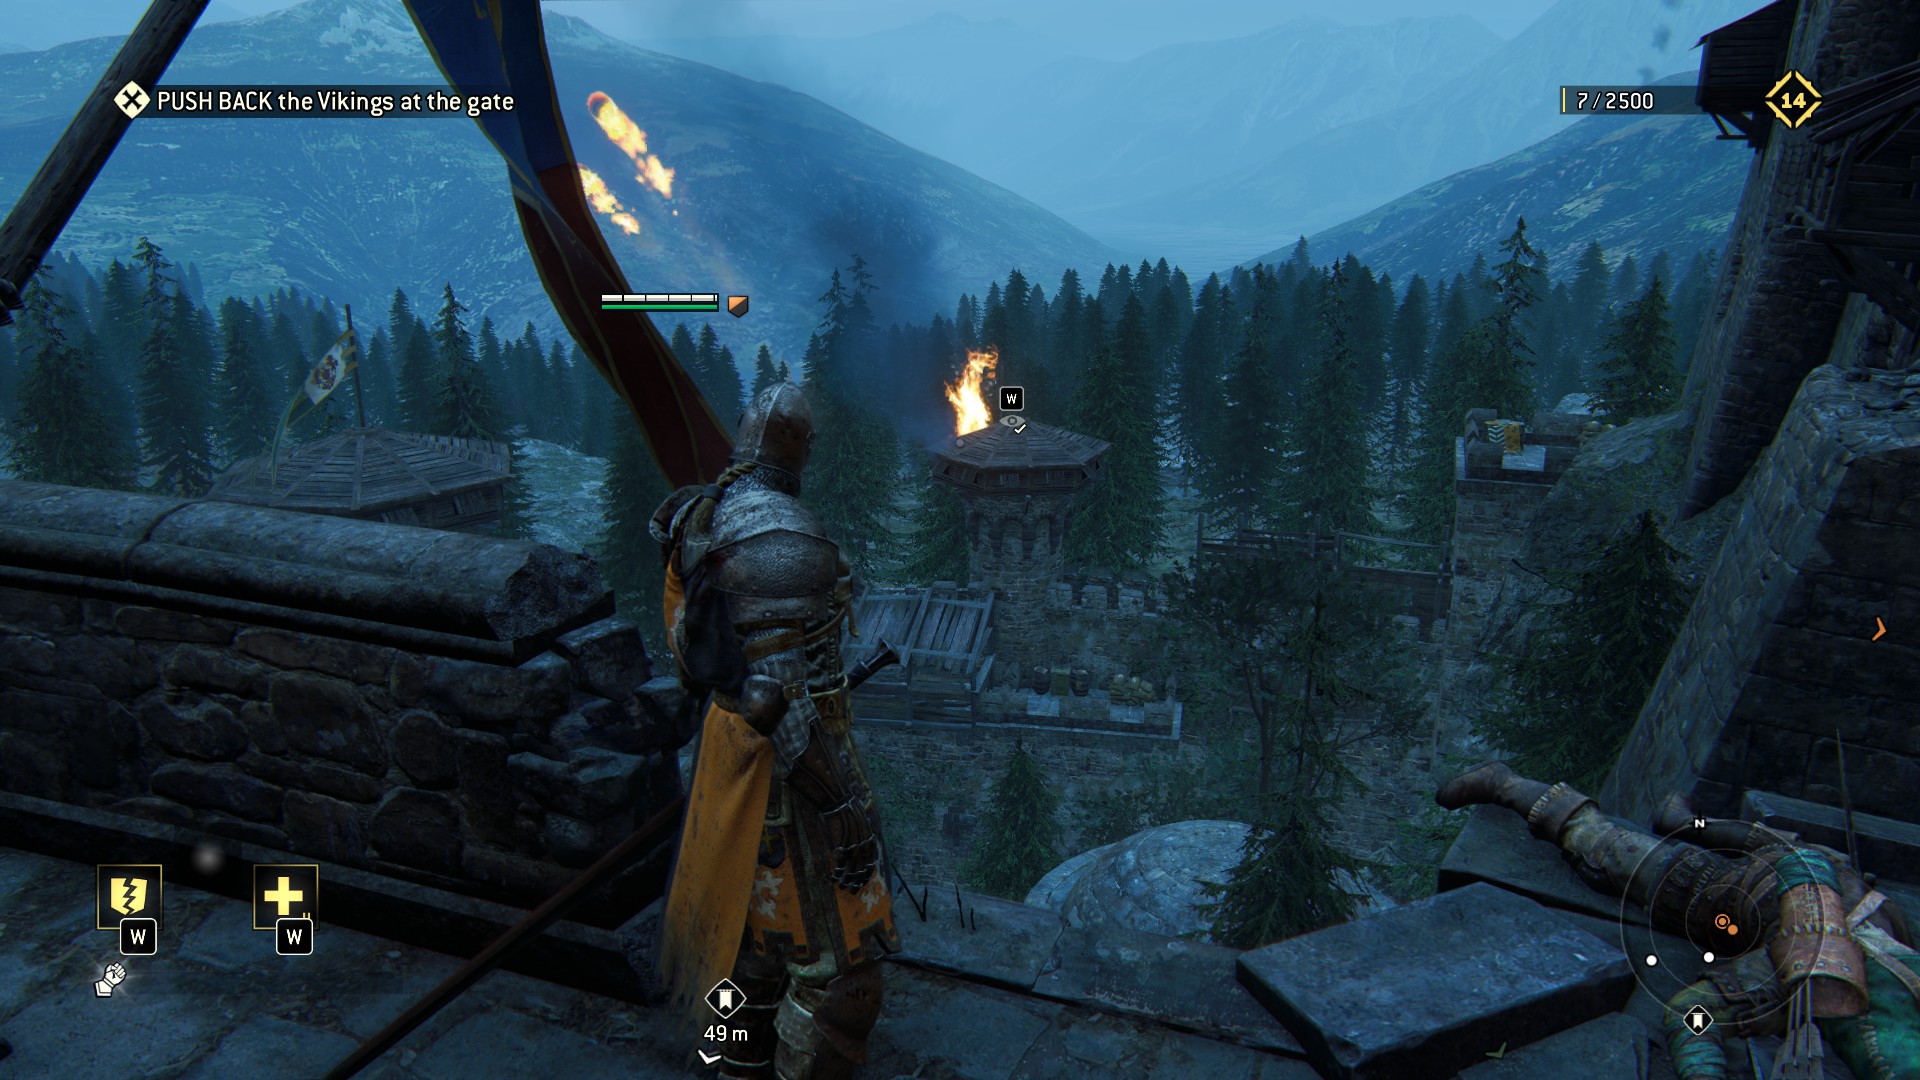 Kill some bad hombres so you can break these pots in your leisurely way
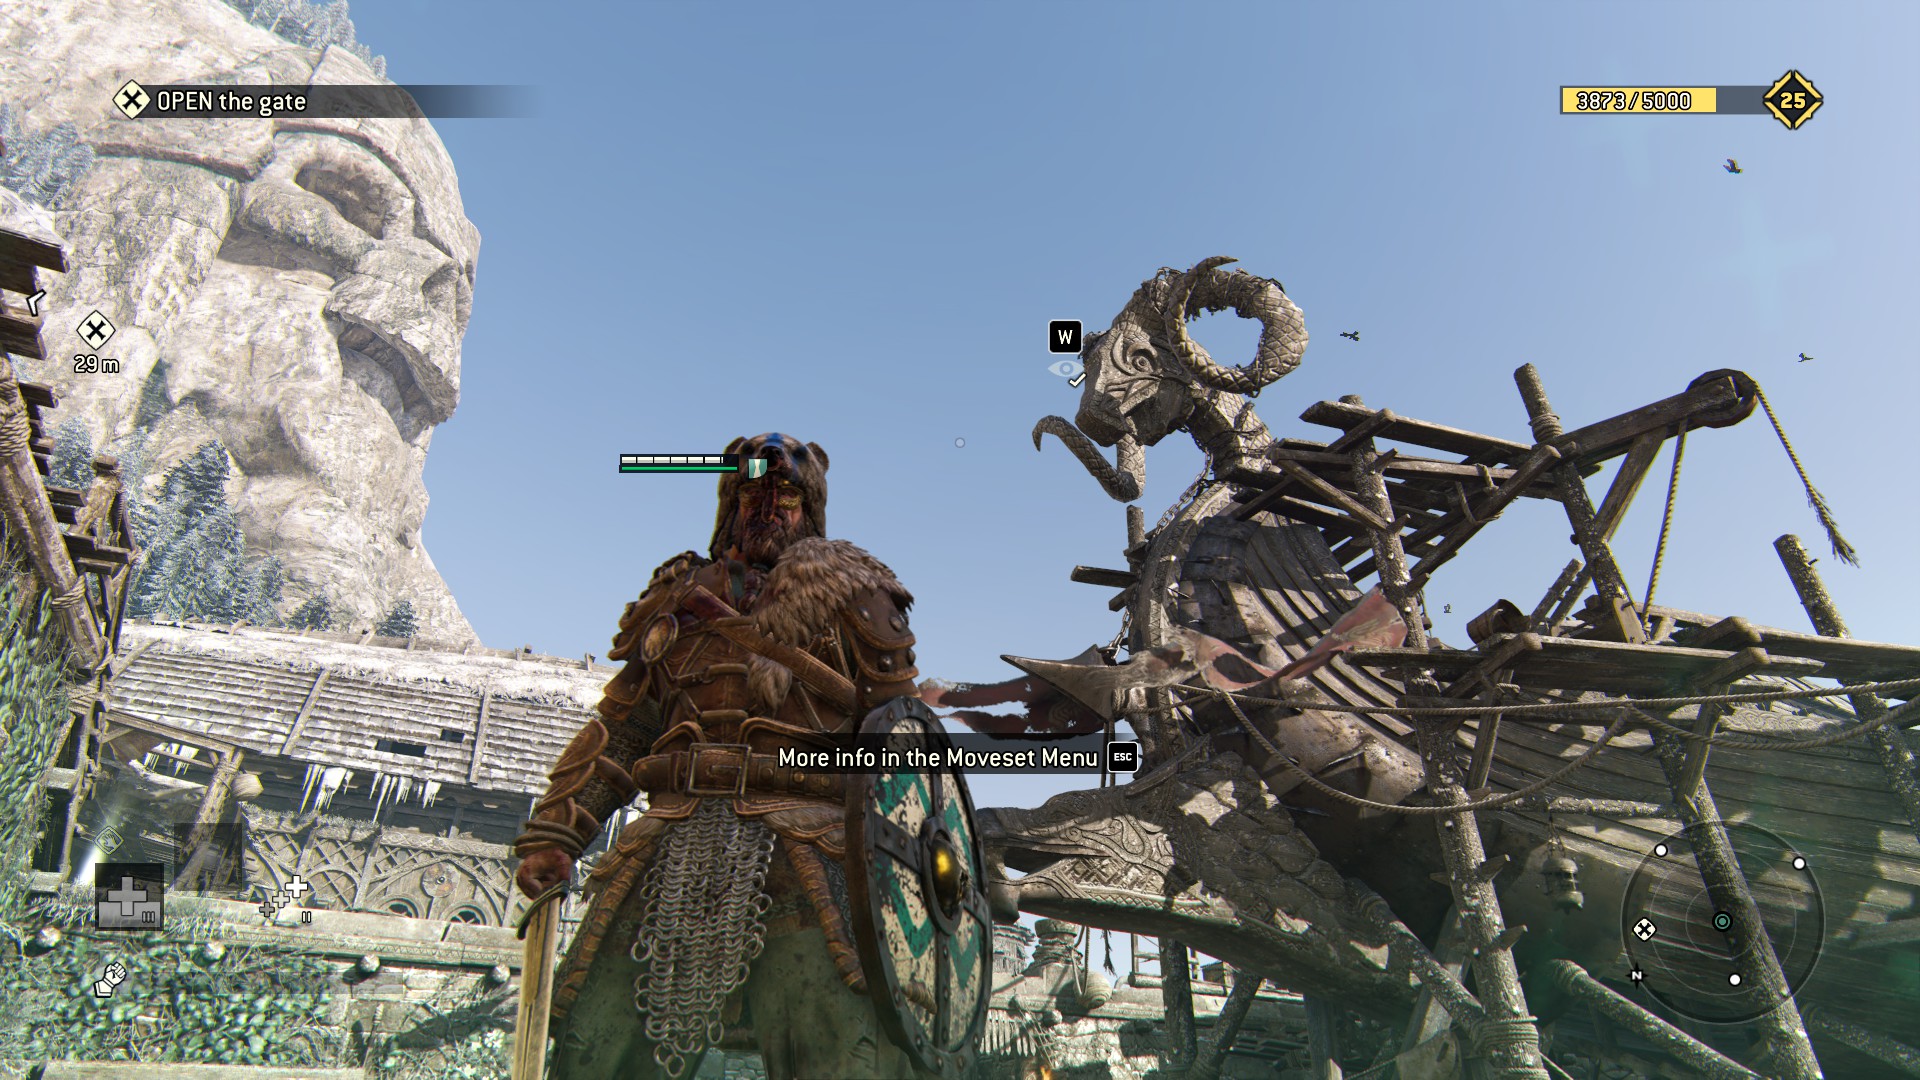
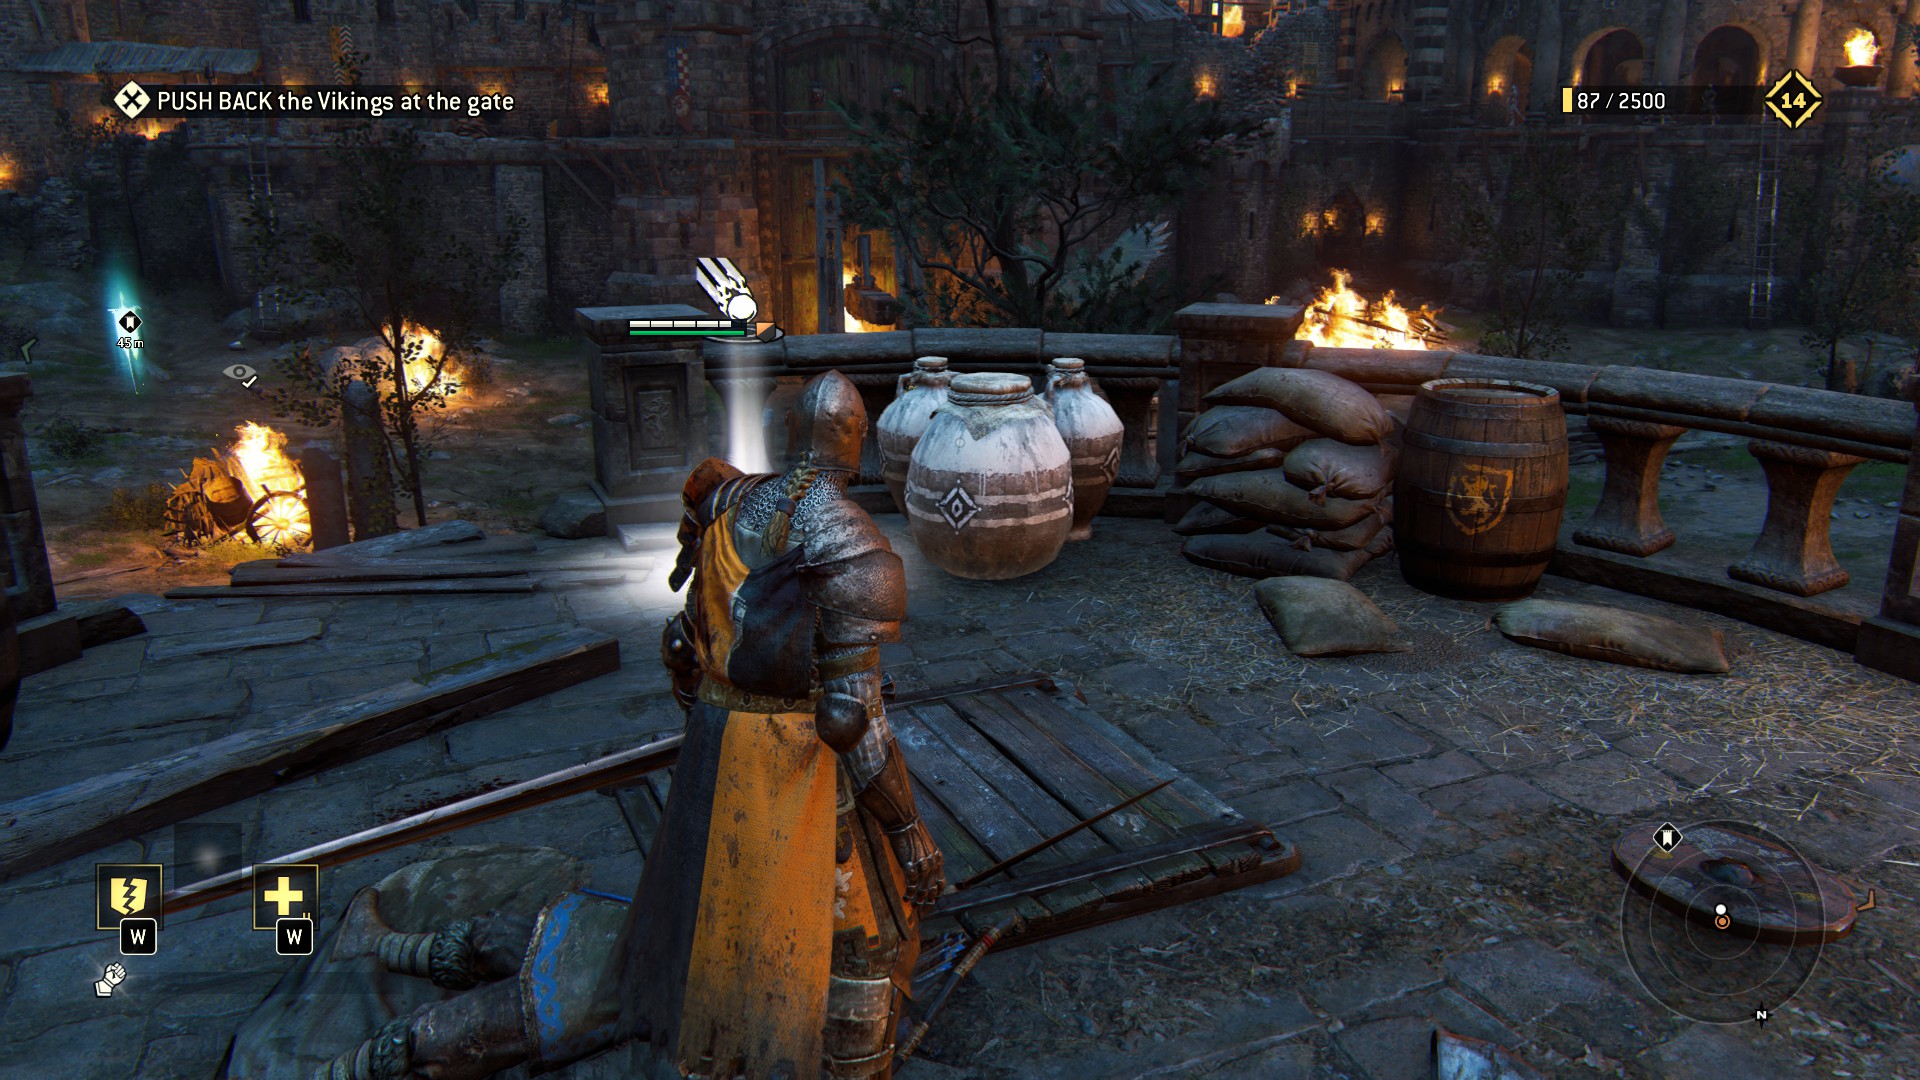 Go middle. Look ram. Look Bird statue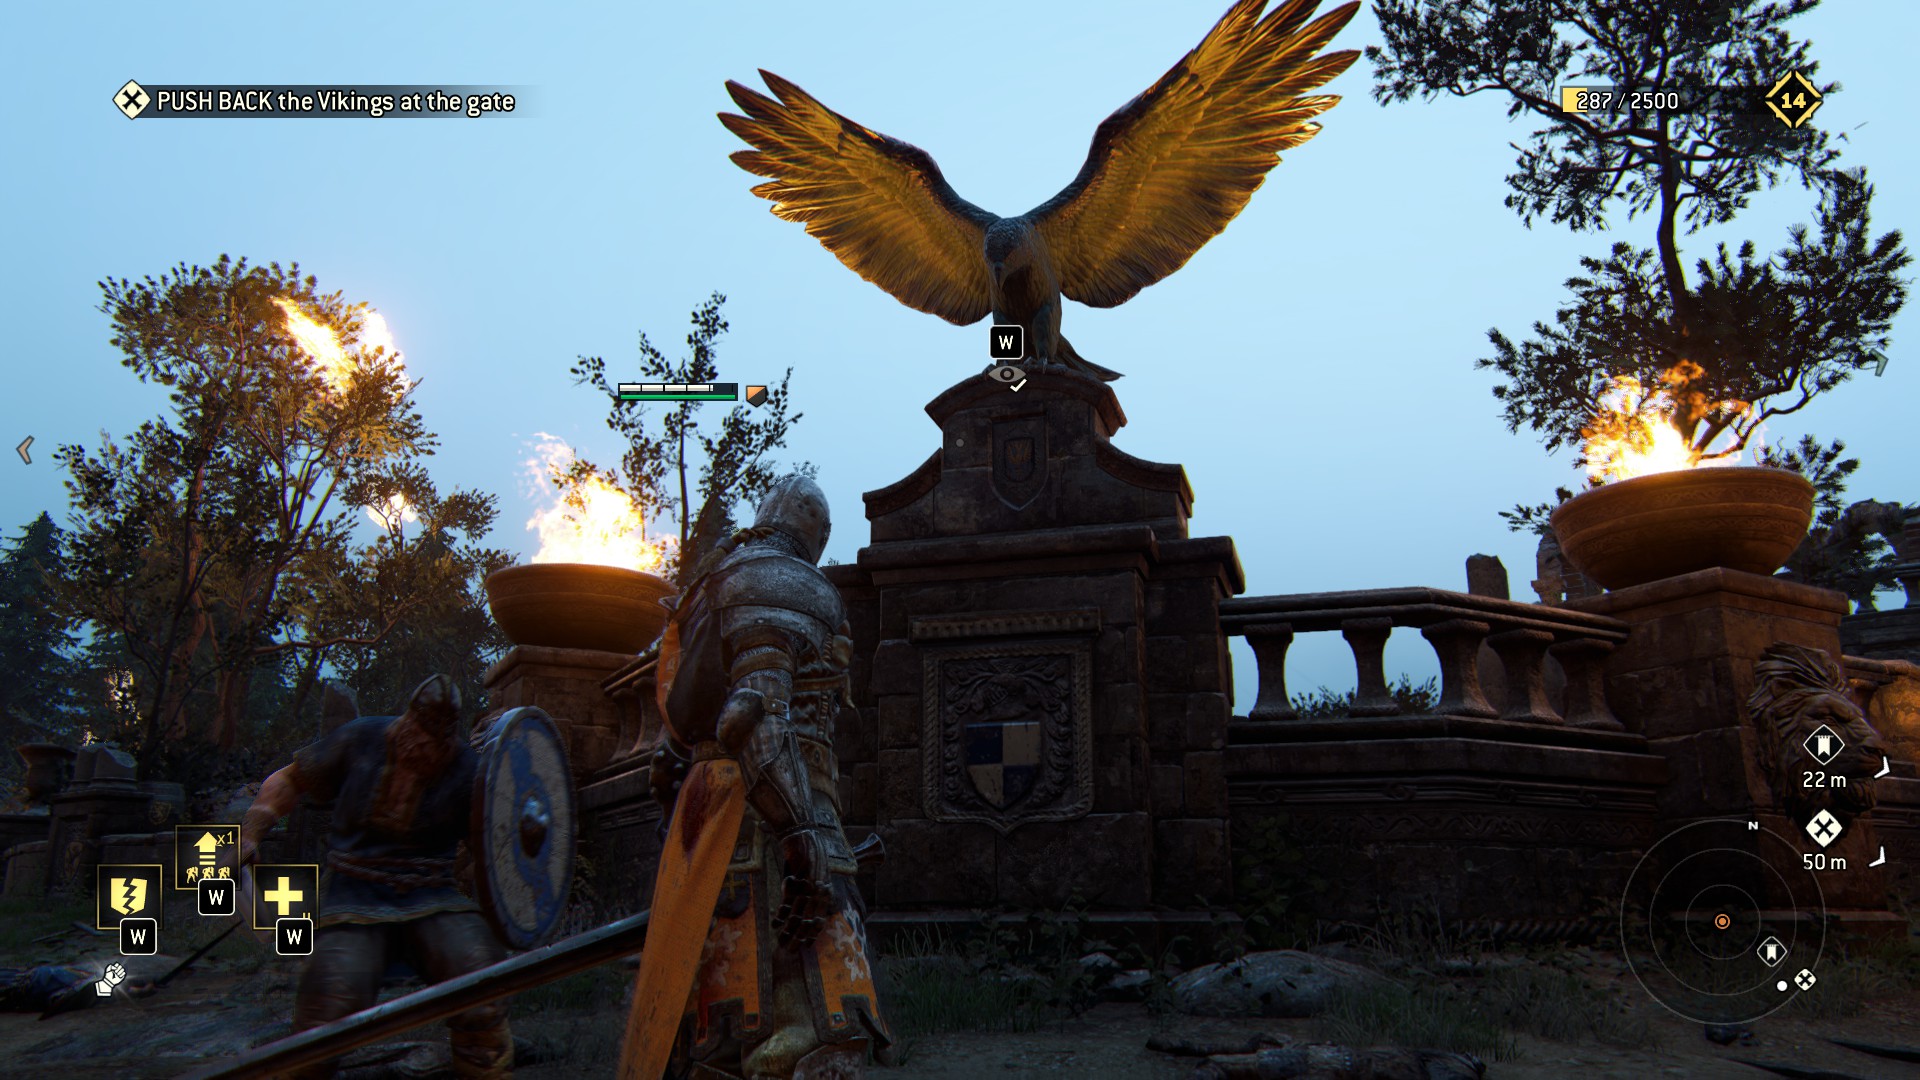
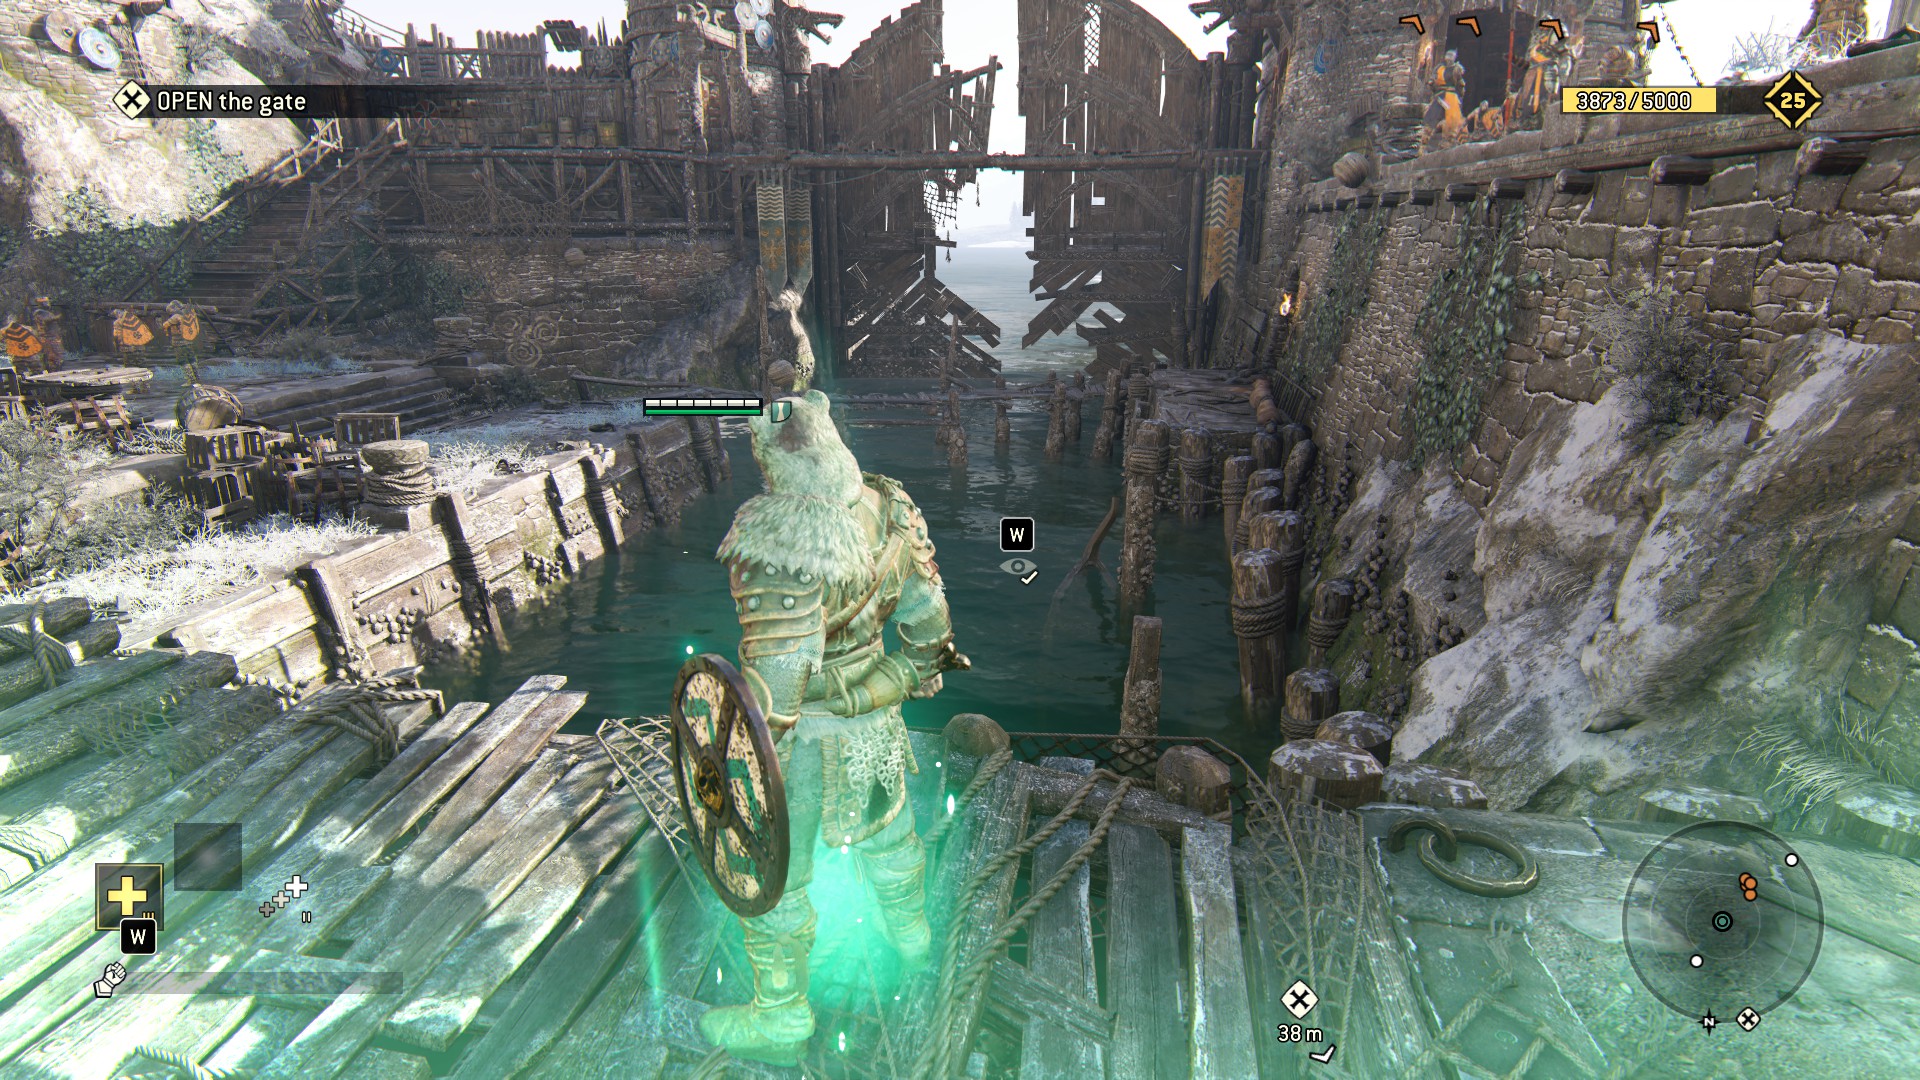
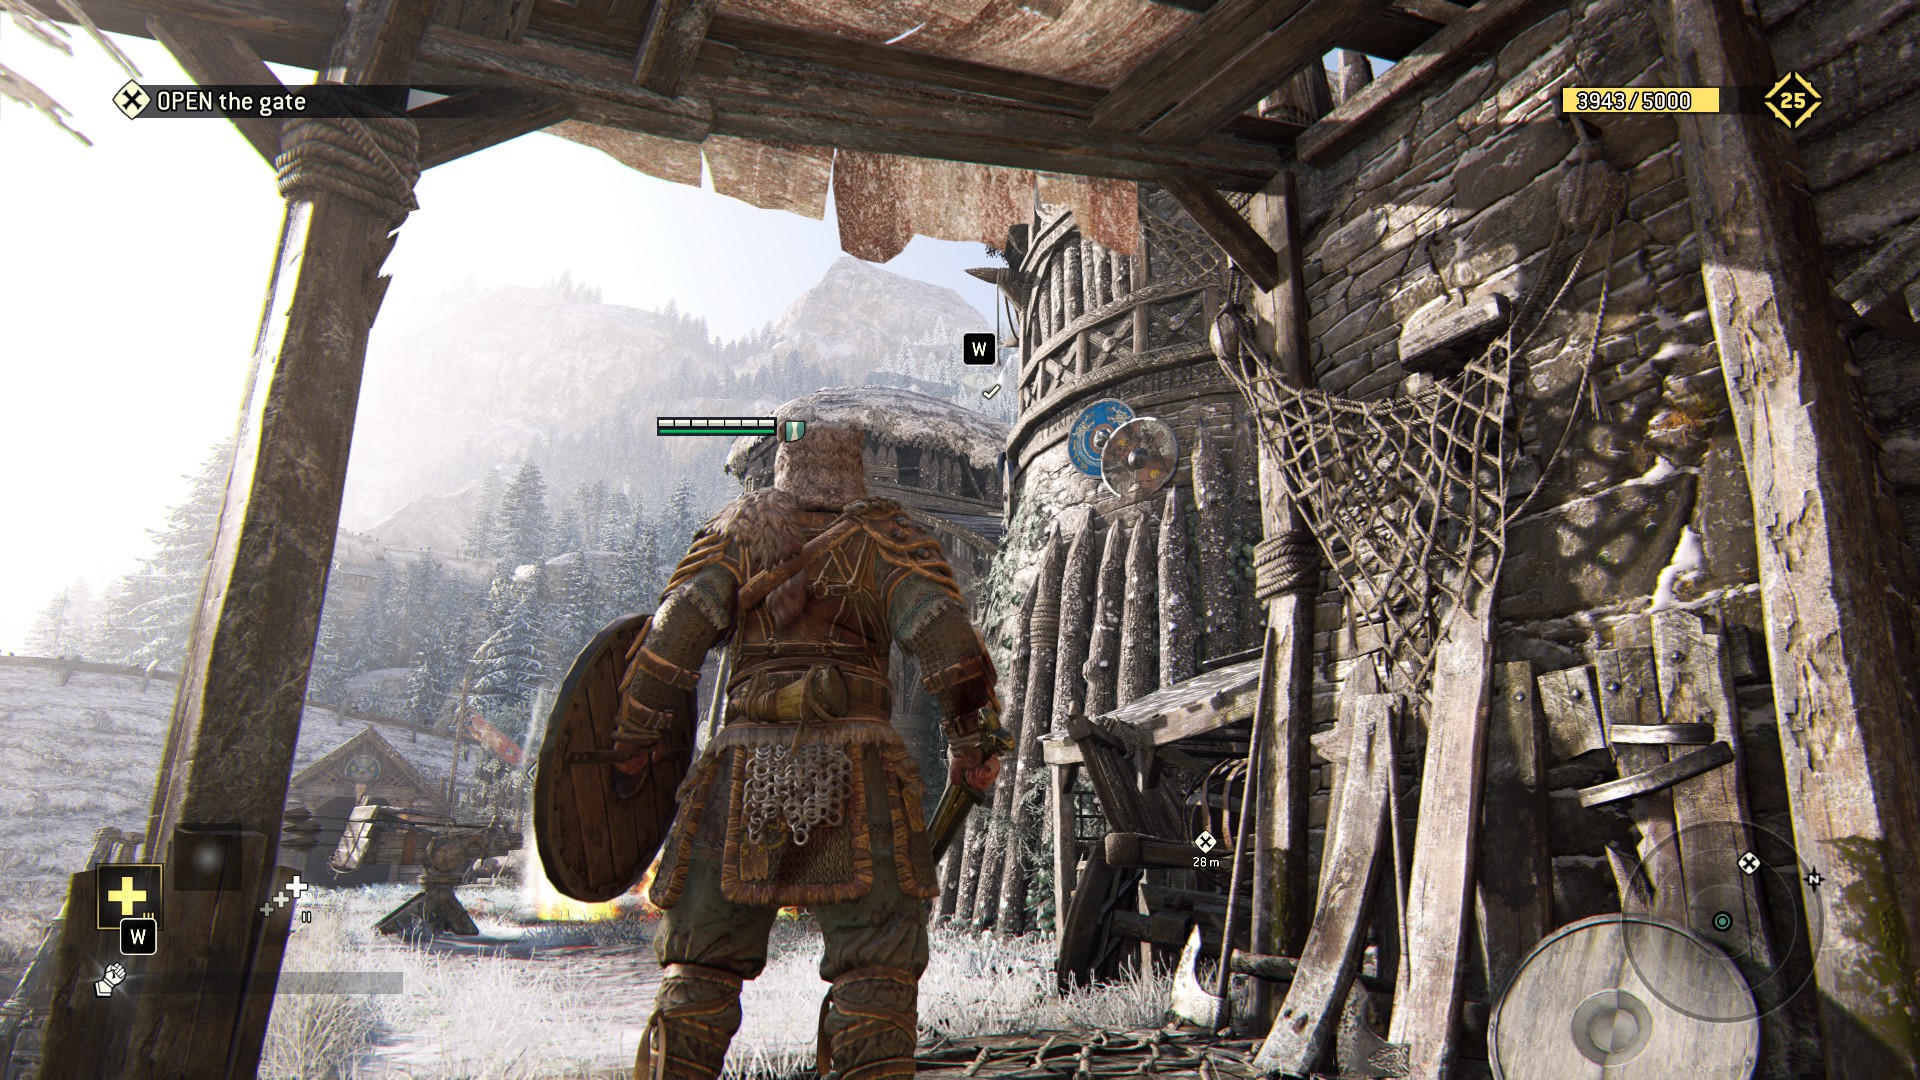
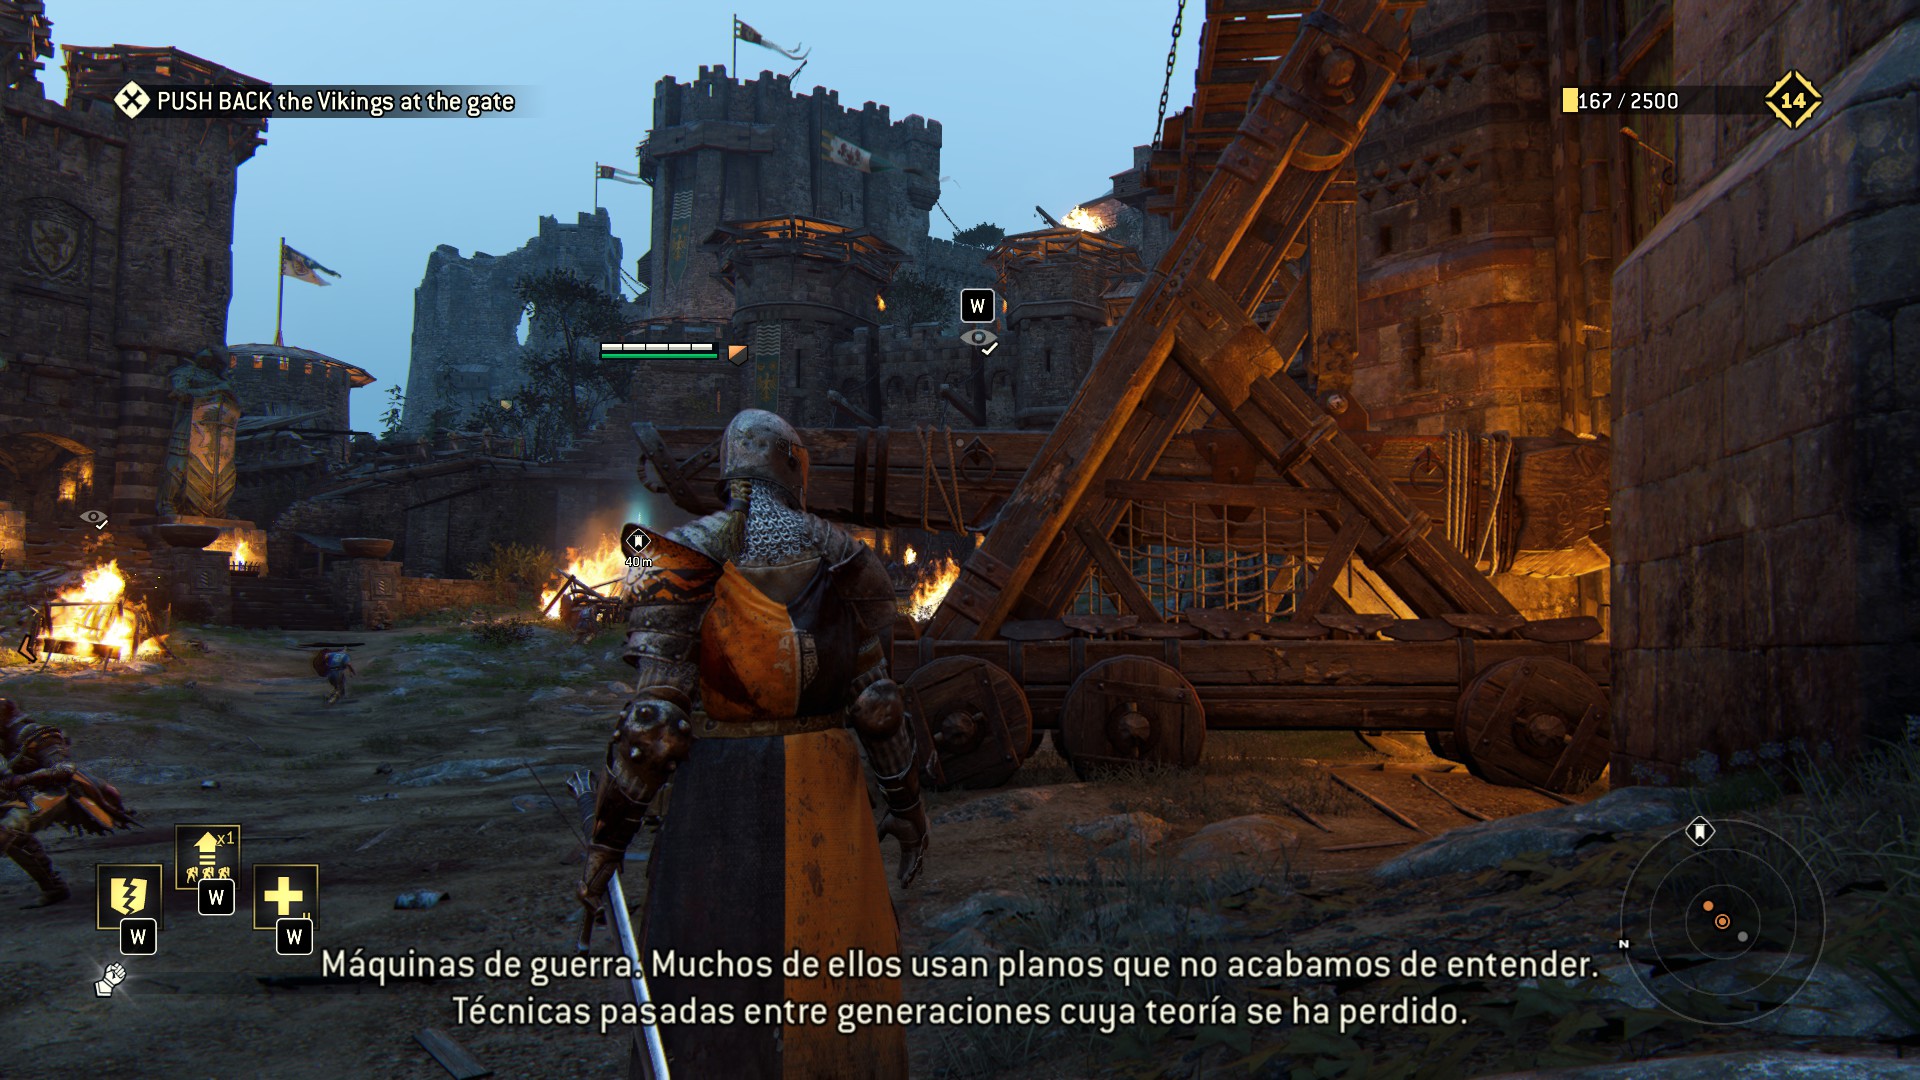 Take the stair near the gate, break pots. Coming up, head out to your right, leading back to the main gate, and check out that gnarly broken wall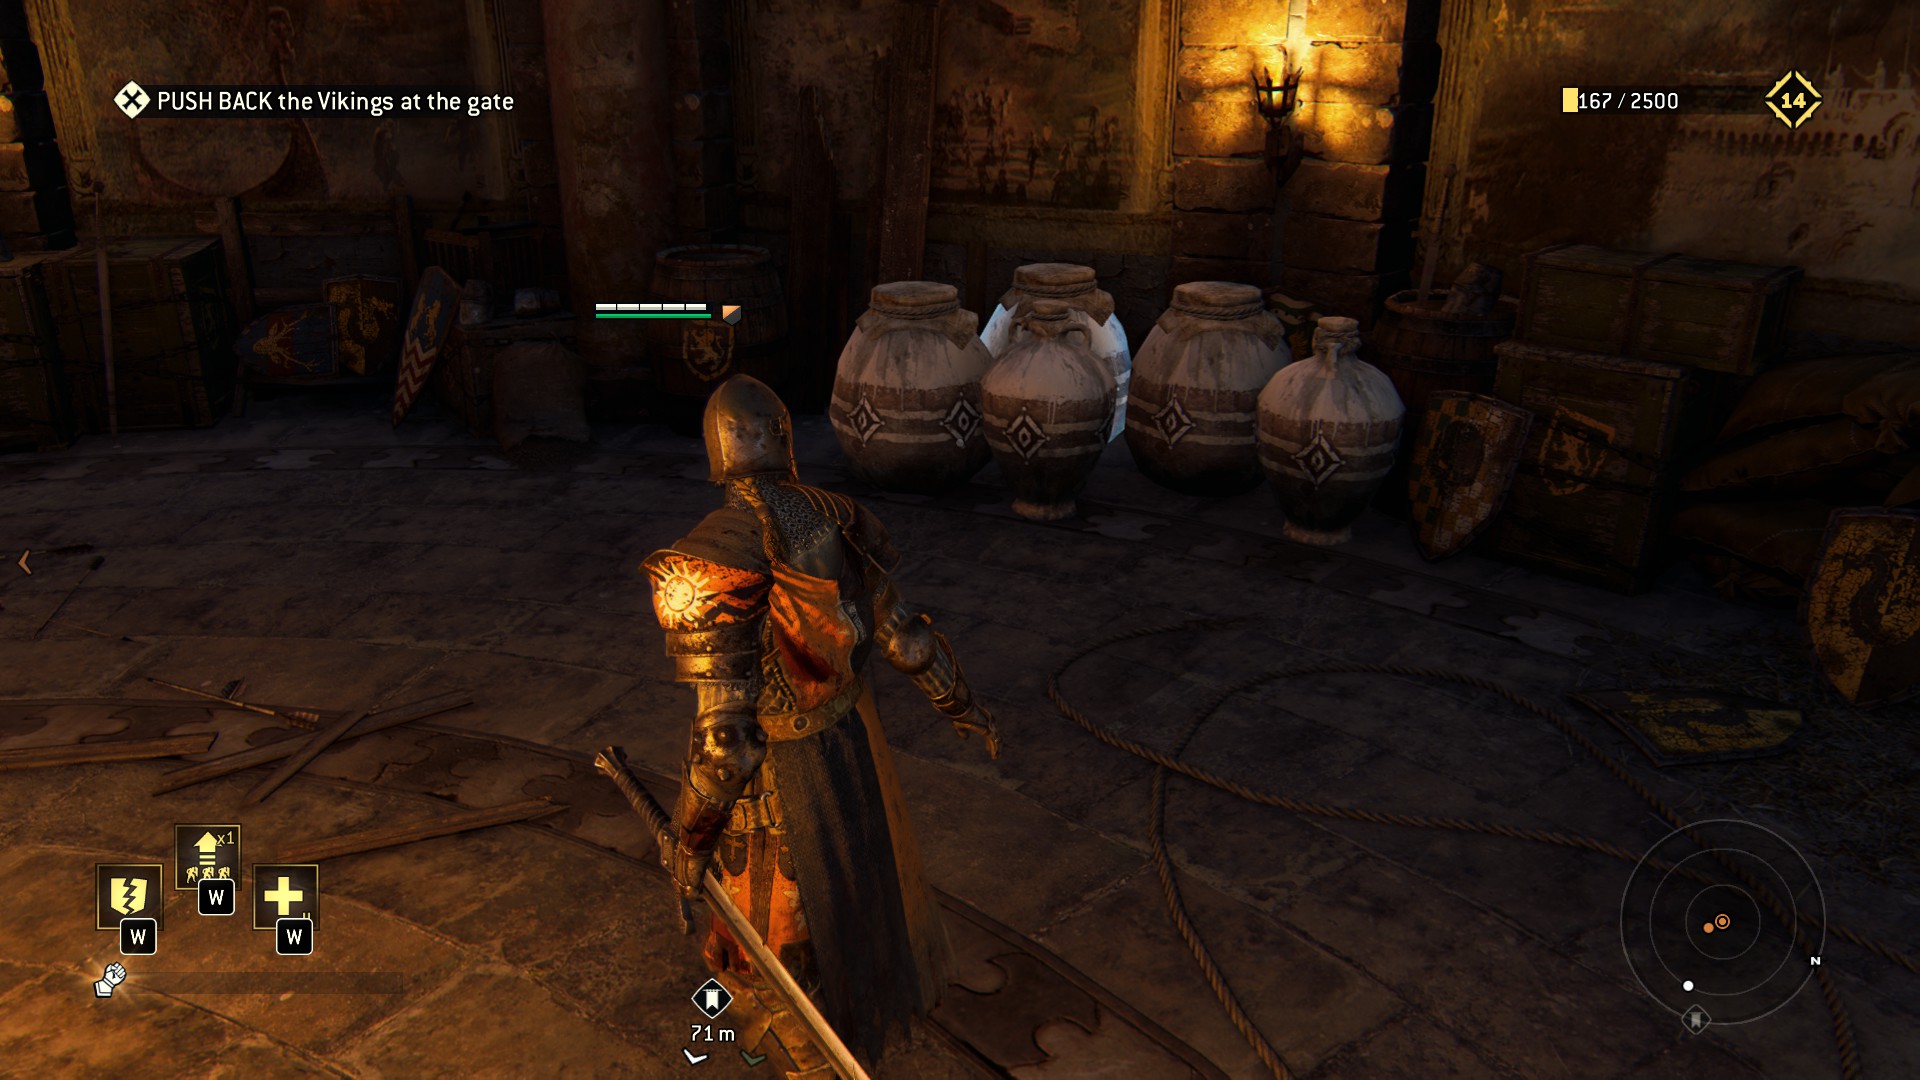
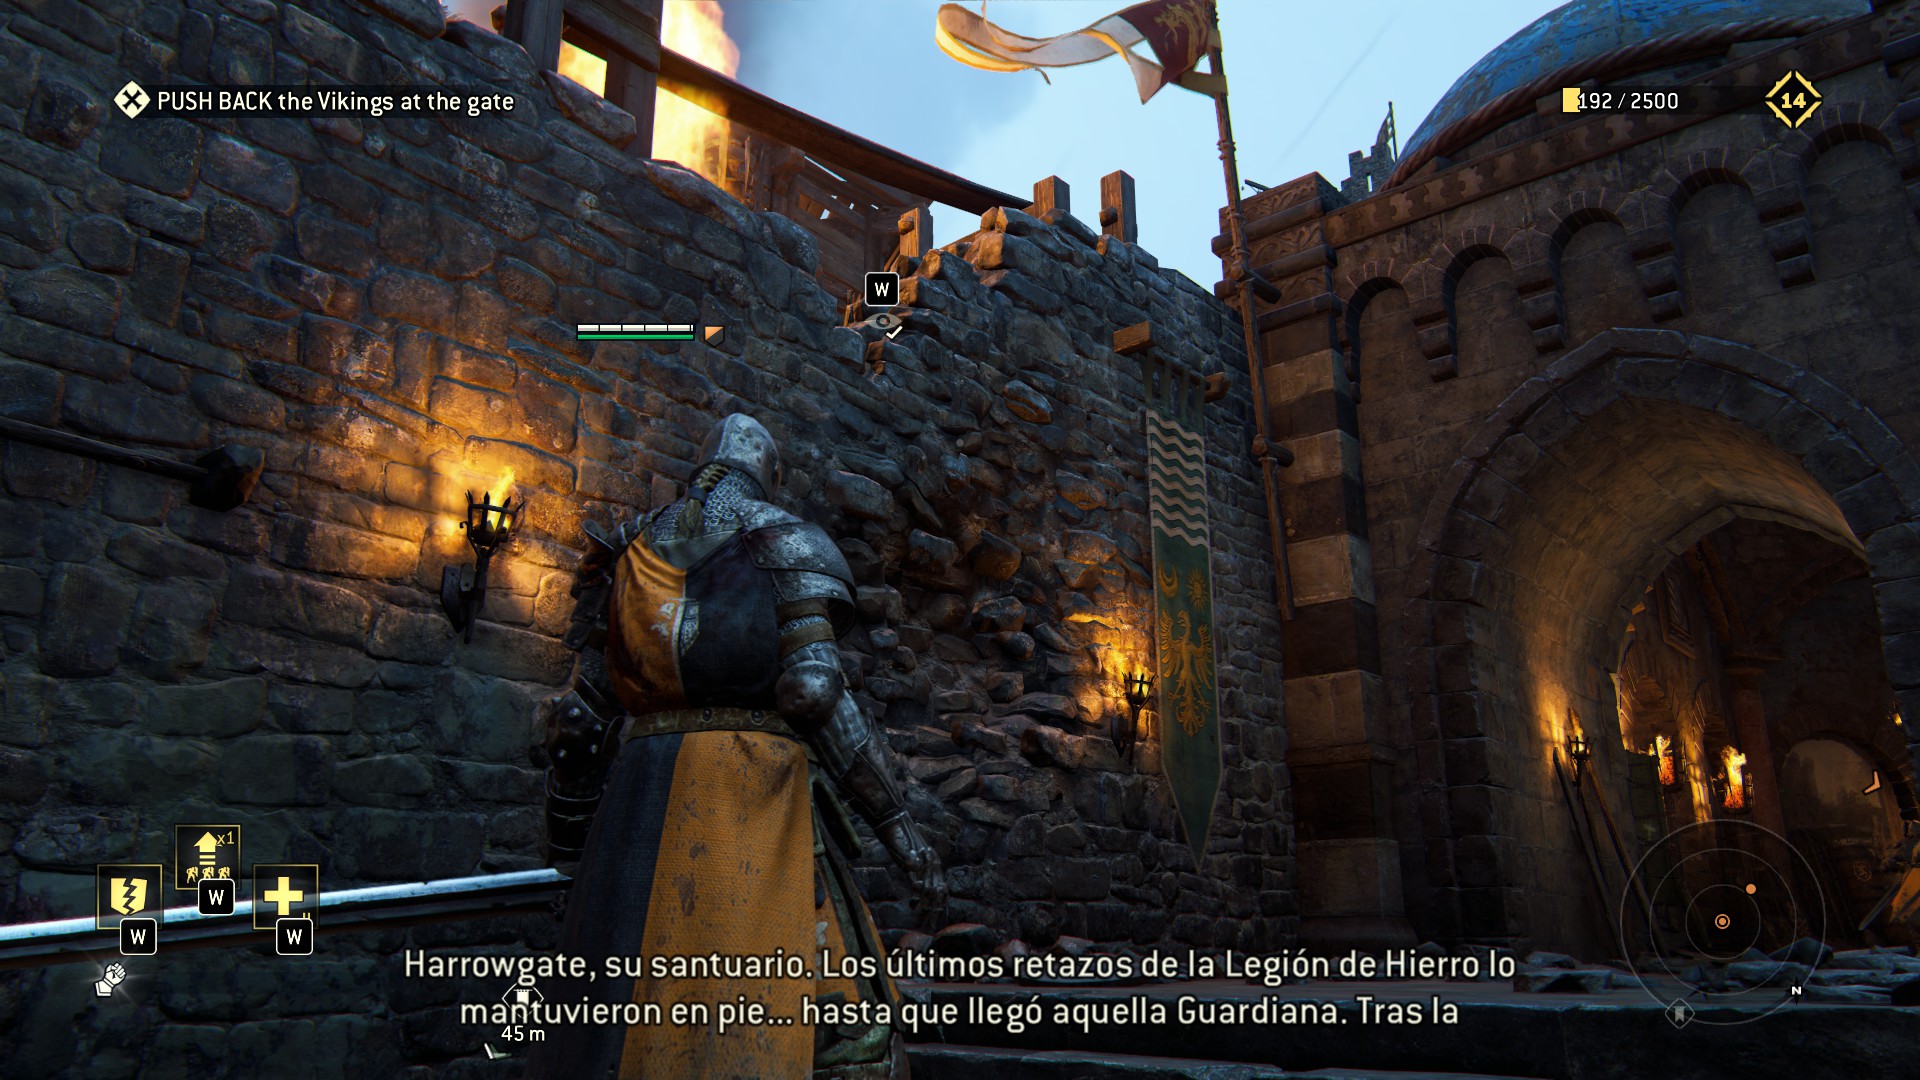 Down back down and cut across to the other side of the ballista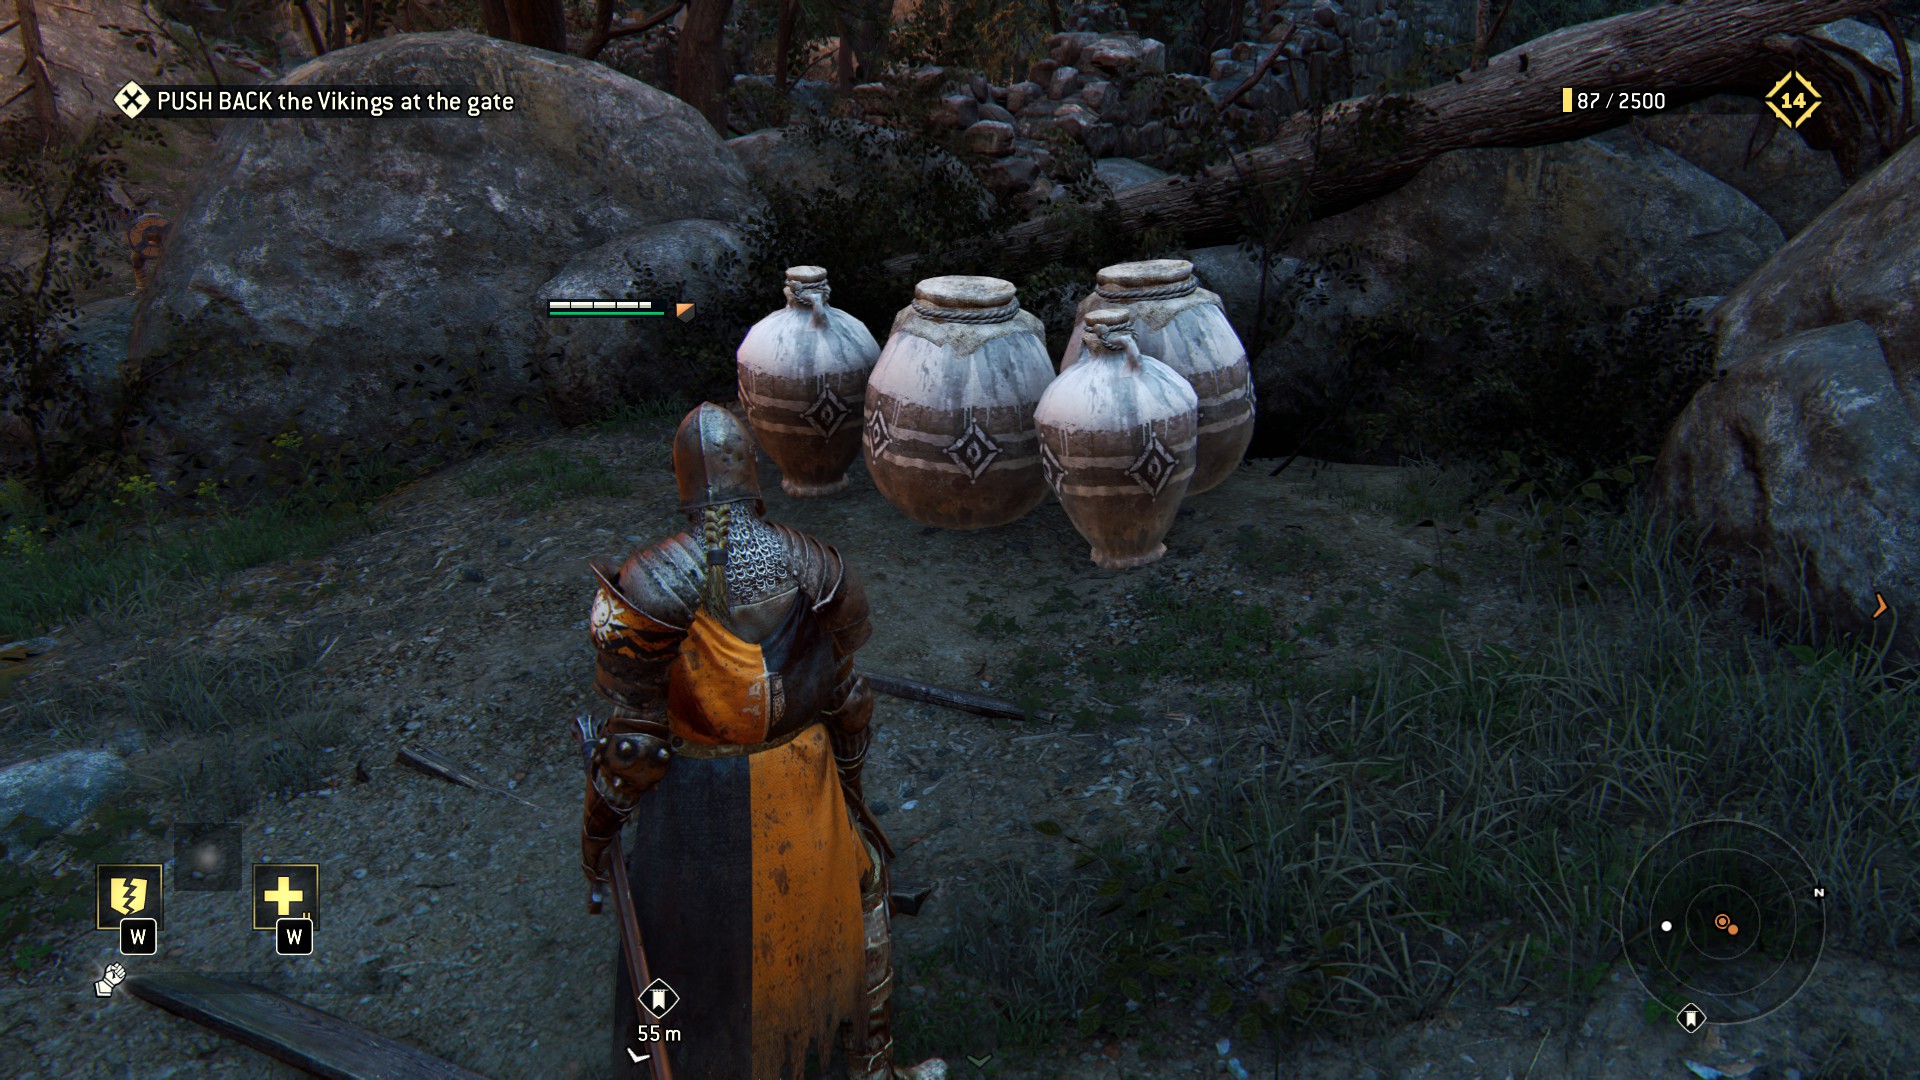
All done!
1.3 - The Blackstone Legion
Very linear map, be mindful of a cutscene trigger near the end
Starting off, break a breakable its just chilling there at the start. Taunting you. Can't have that, can we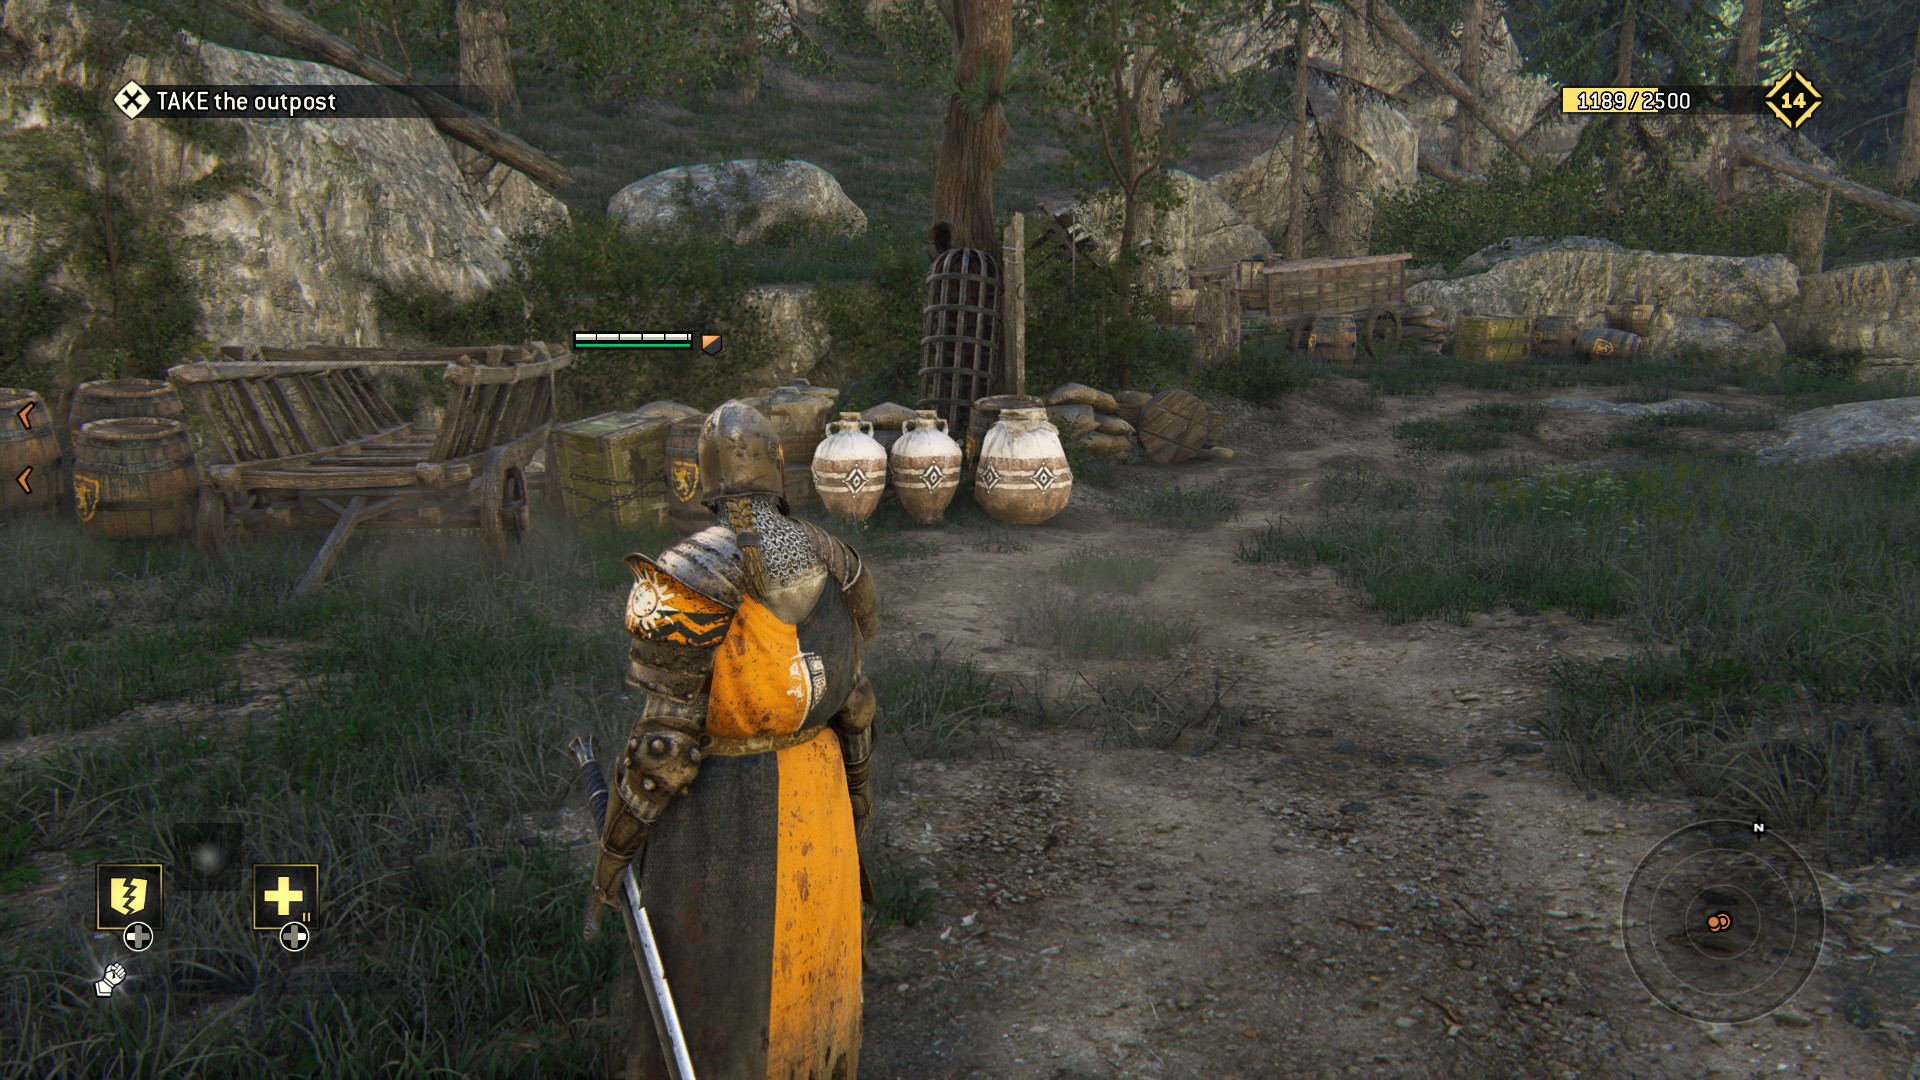 Also, look at that idiot stuck in the tree
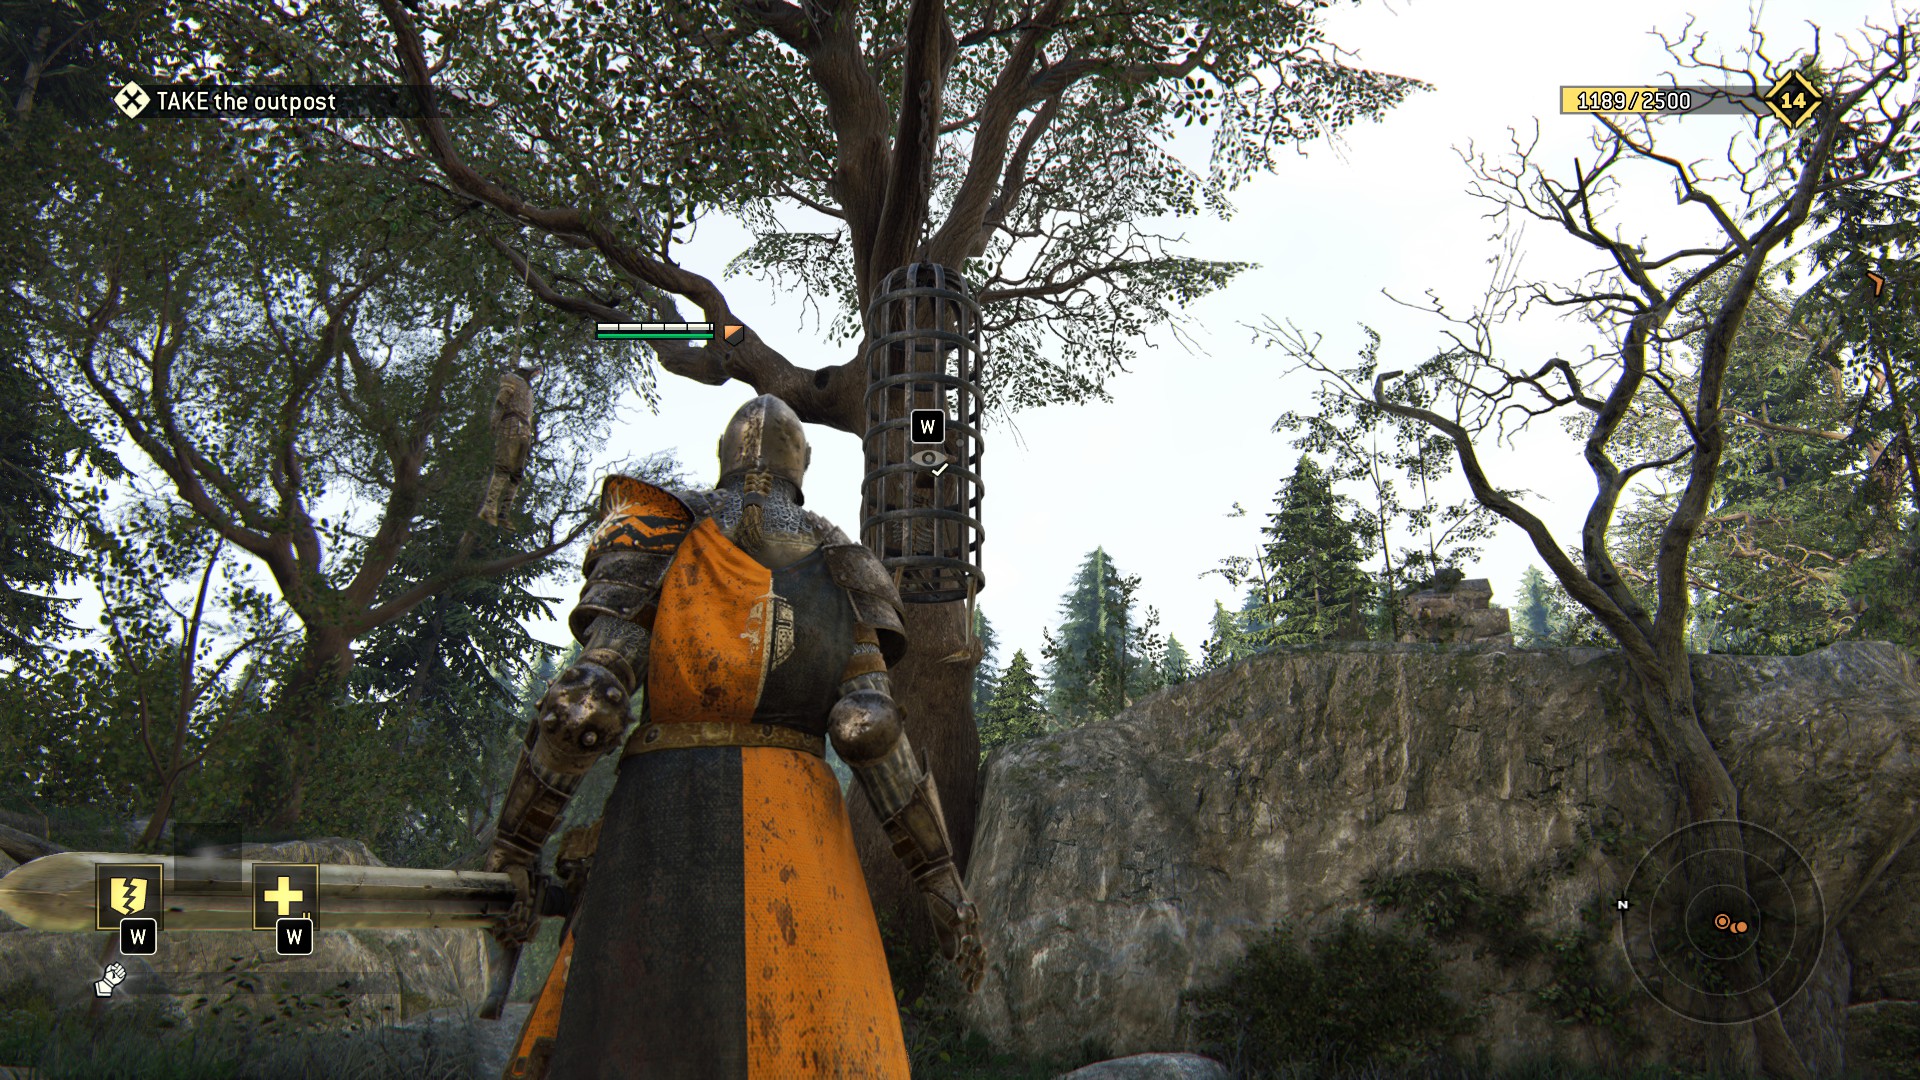 Before crossing the bridge into the village, there's a cliff and Ol' Faithful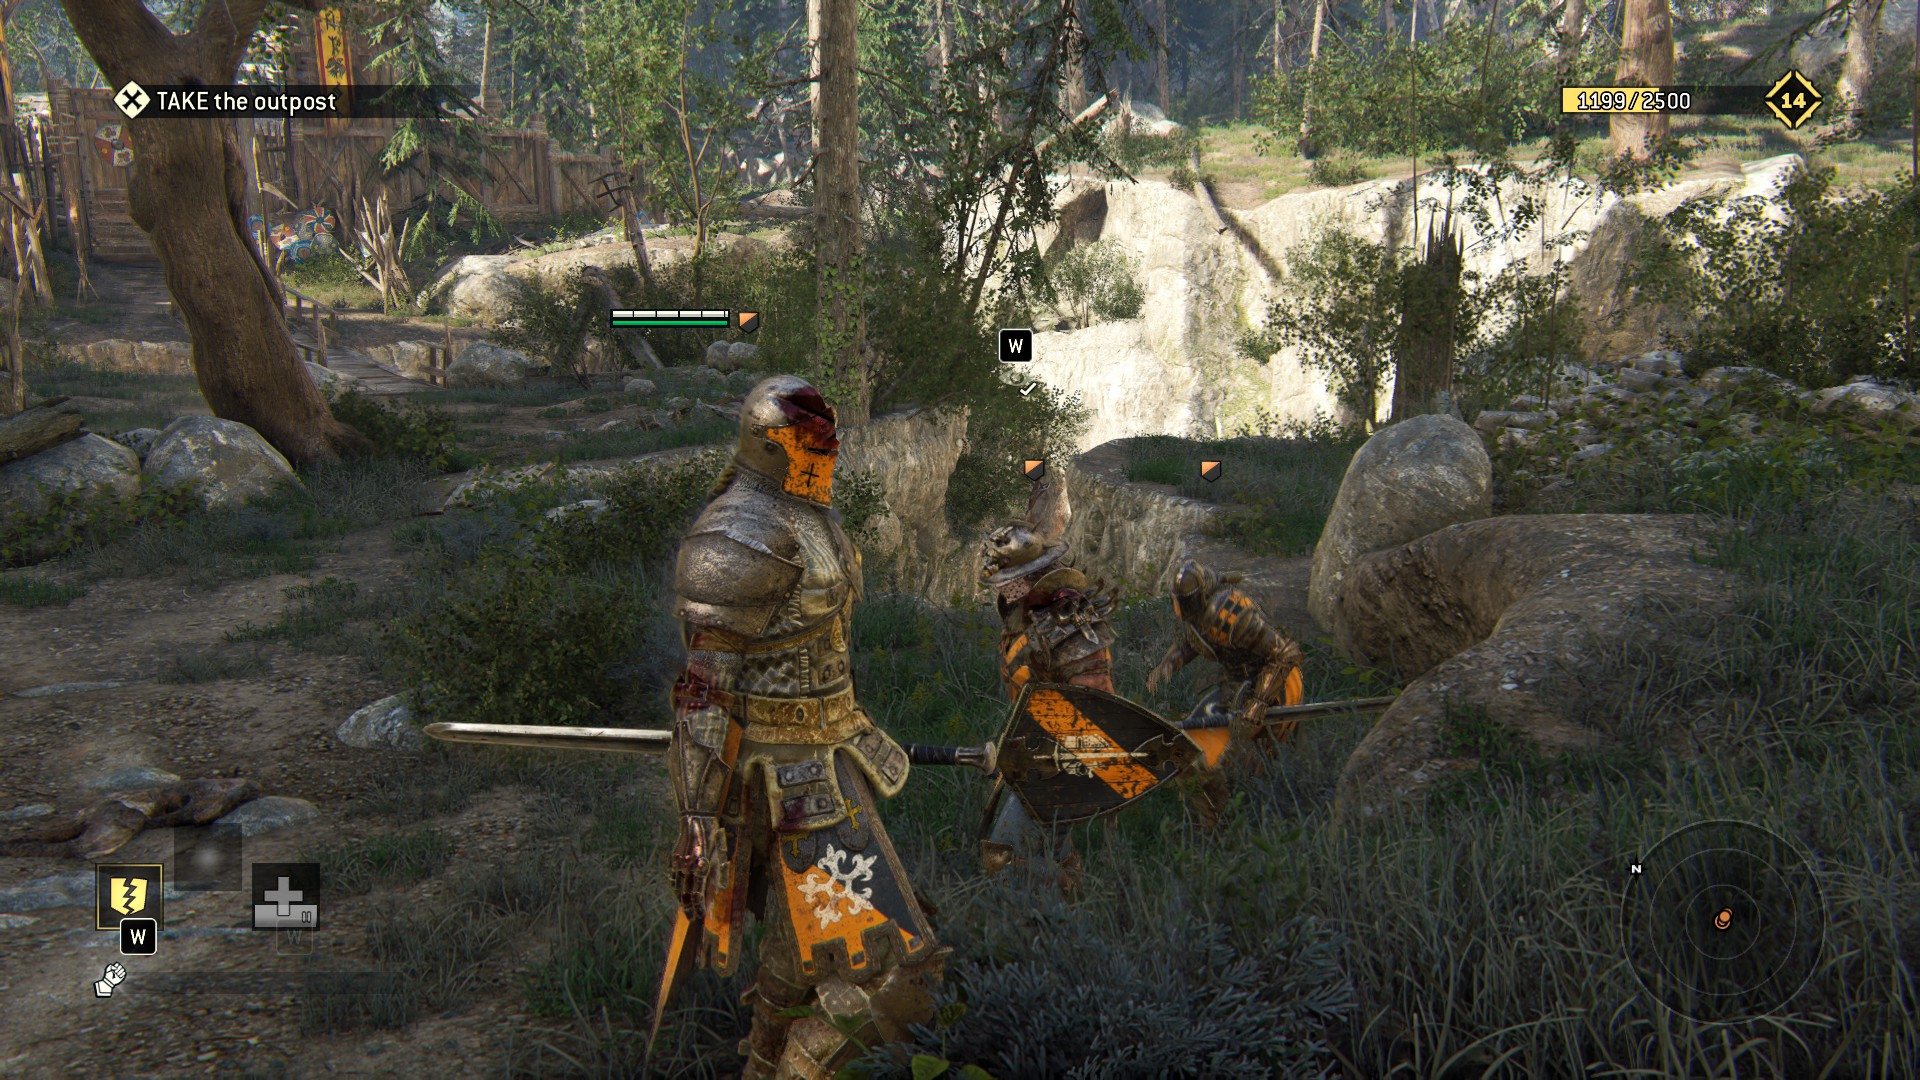
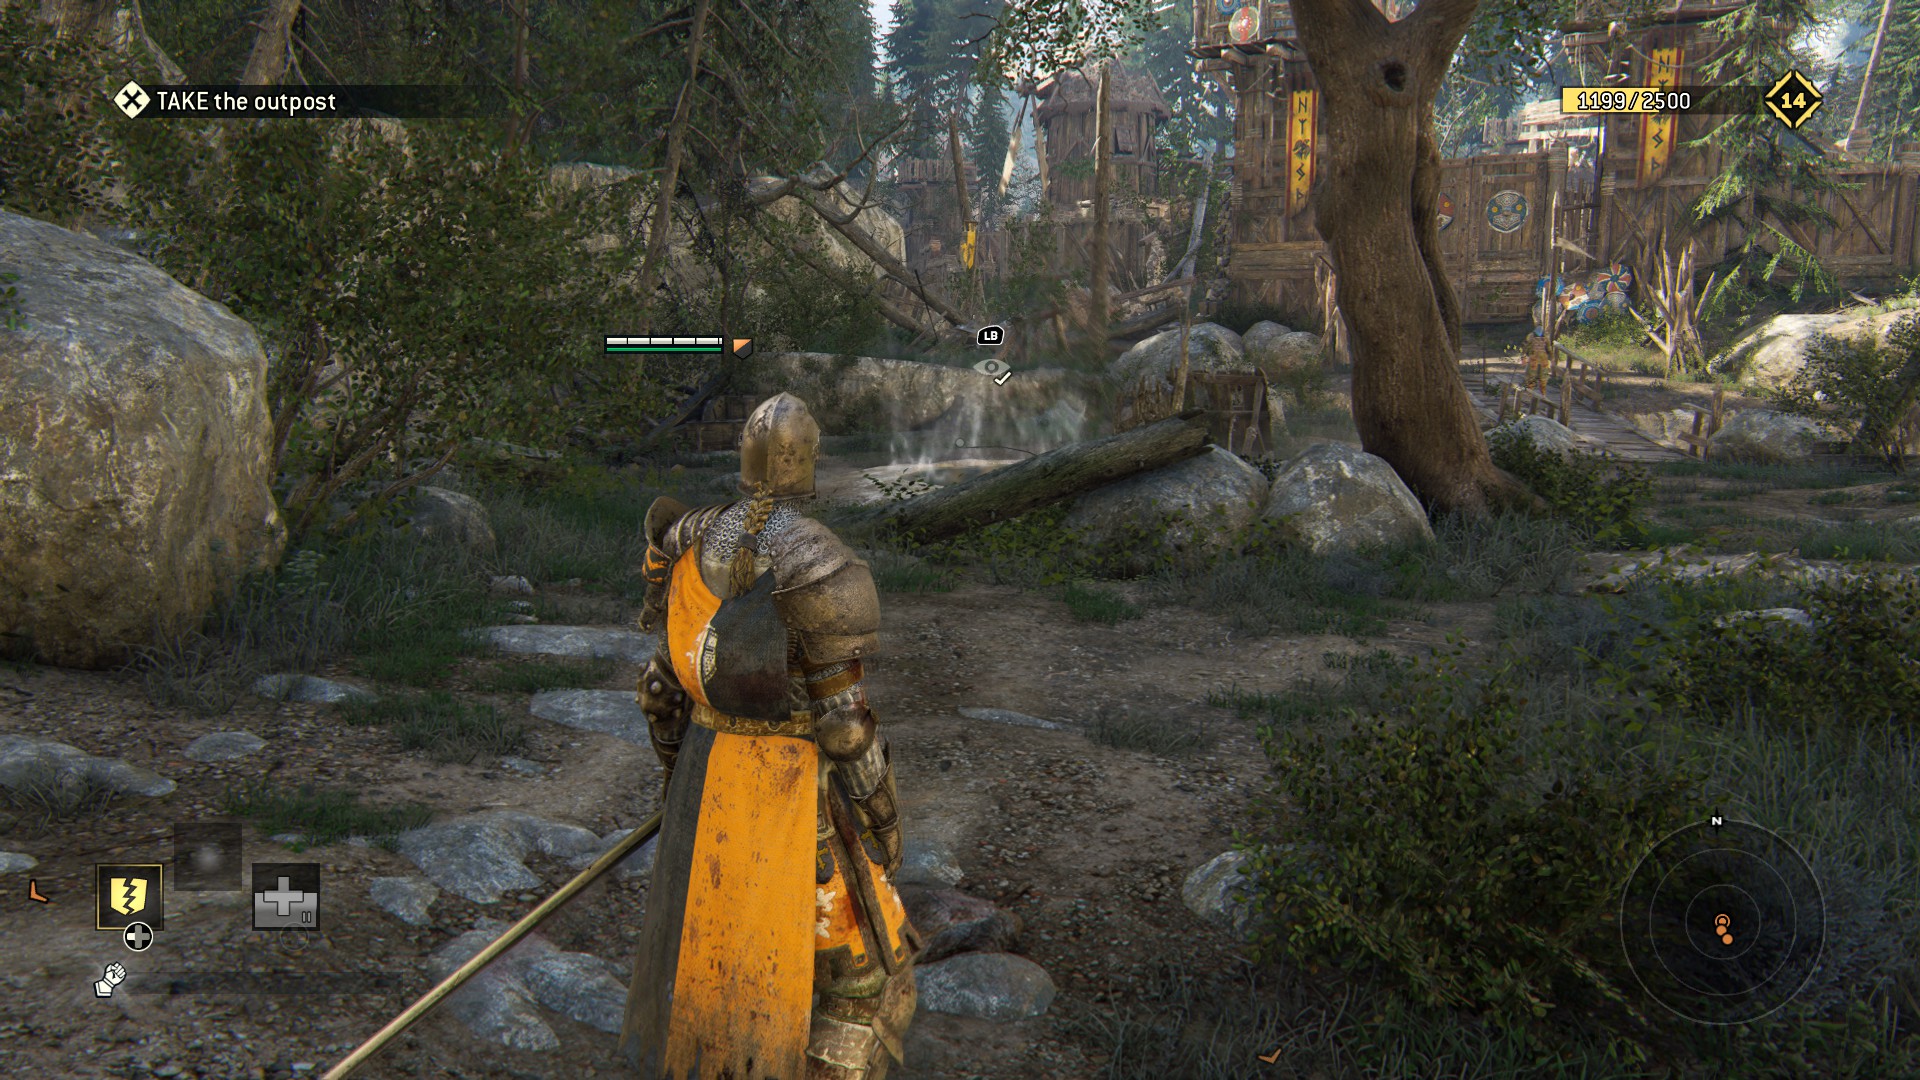 Check out the banner of those you're about to slaughter before you ponder on the symbolism of having a deer skull on top of a gate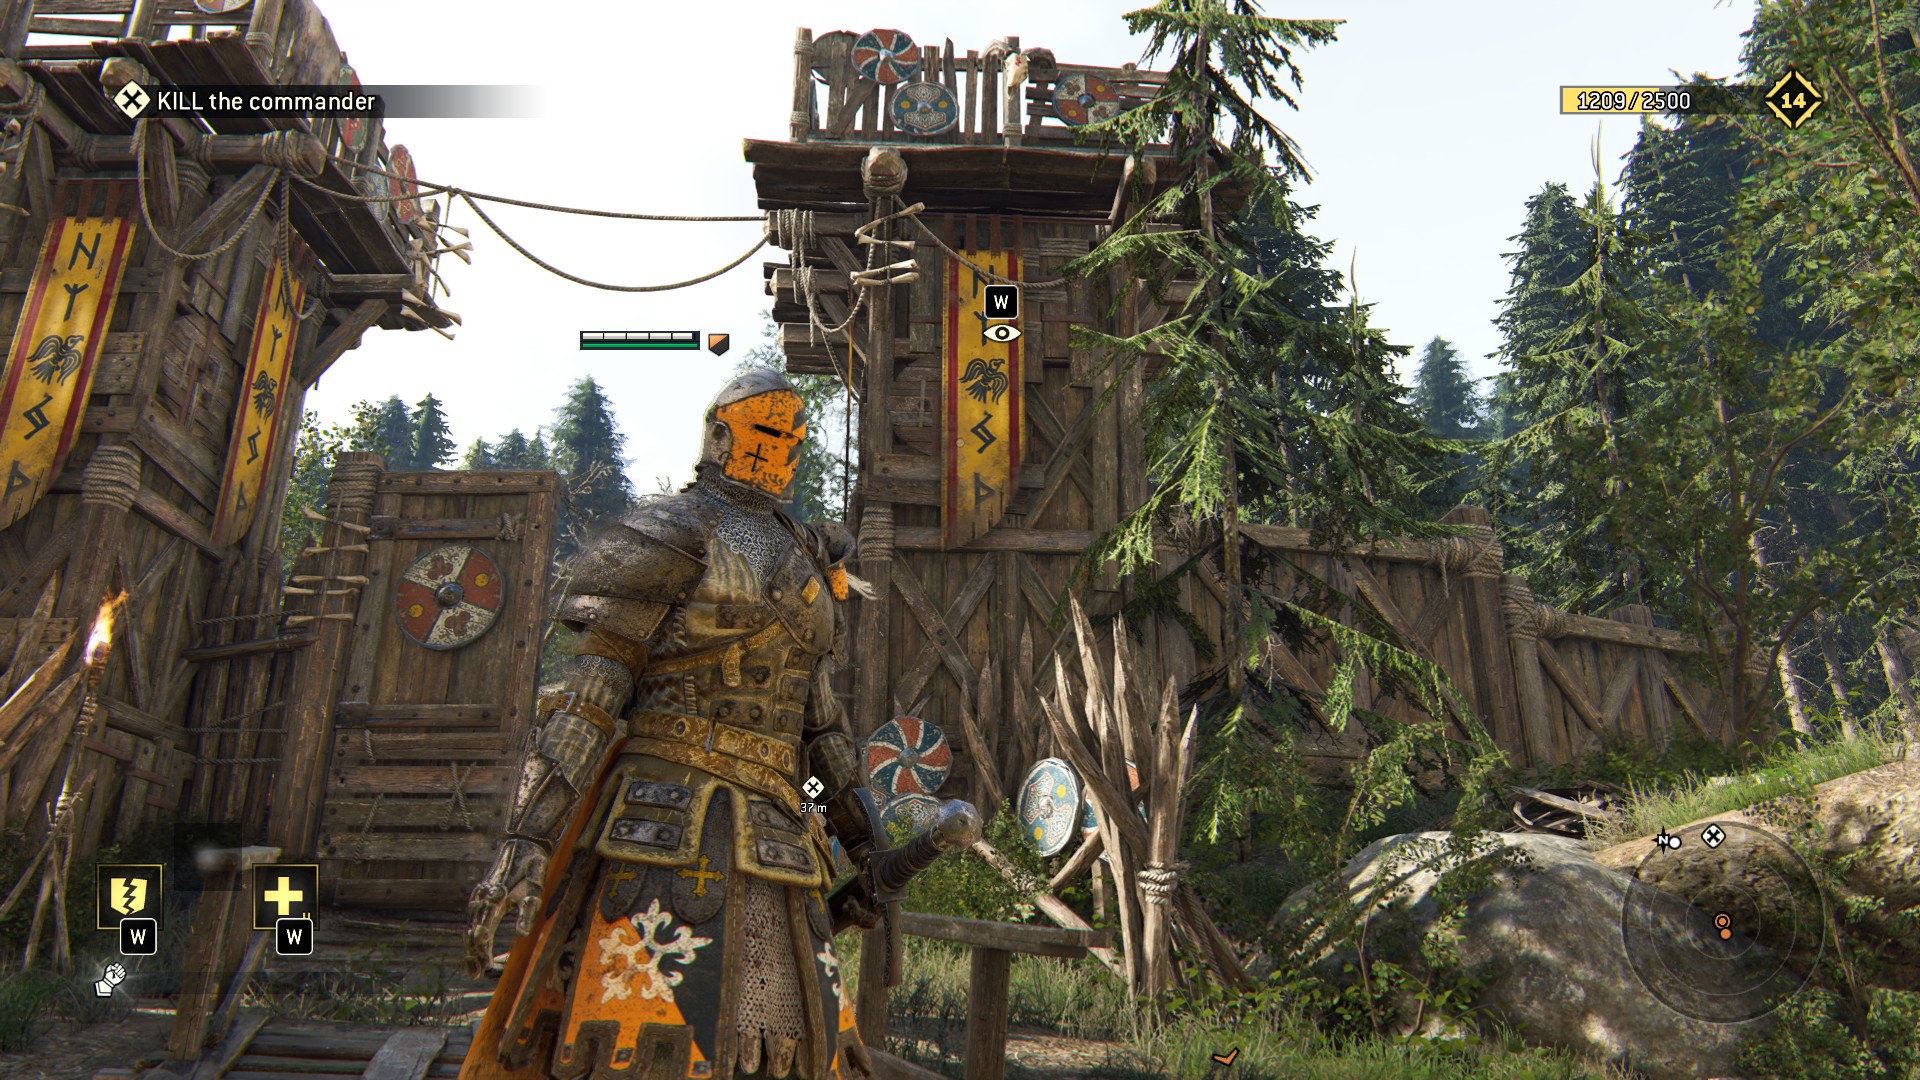
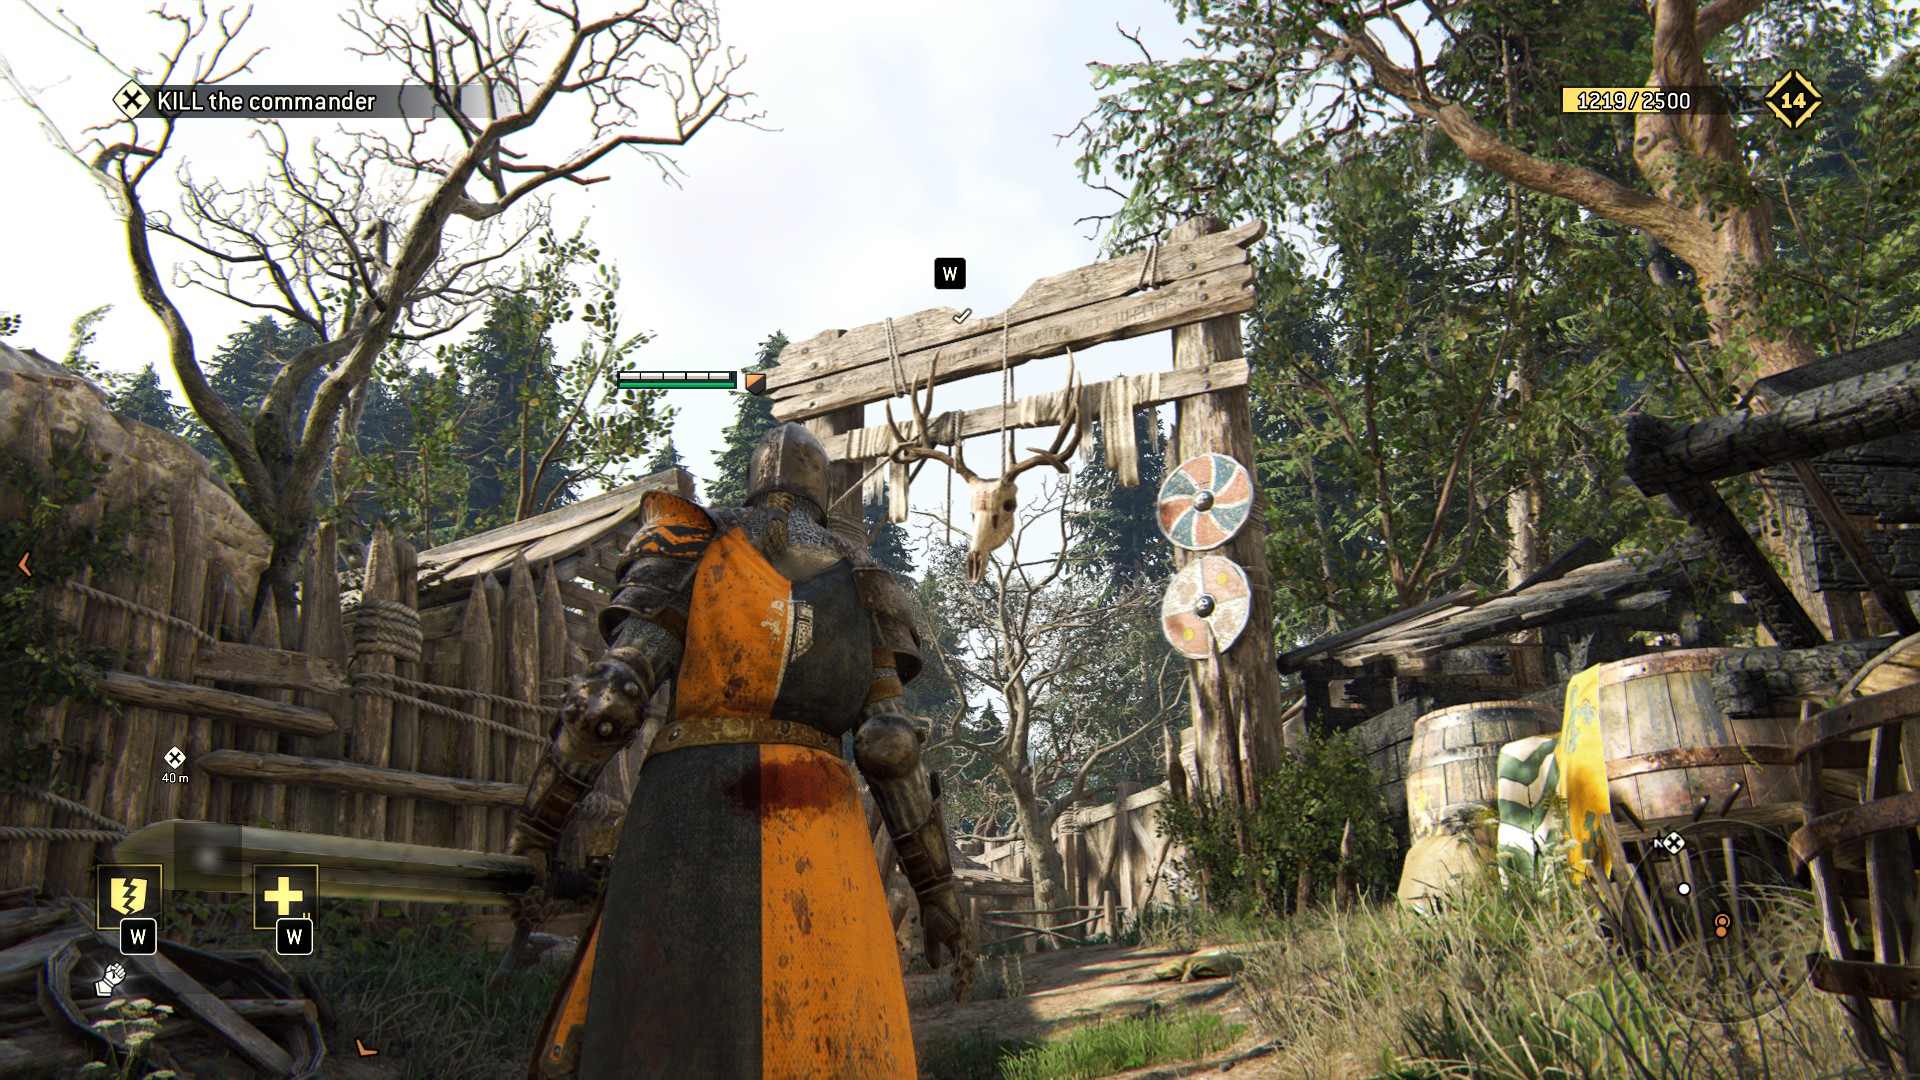 Go right and you will find more savage pots near the wall spikes (IKEA name: Aua På Veggen, only $20 for a set!), go right to the end for more pottery breakery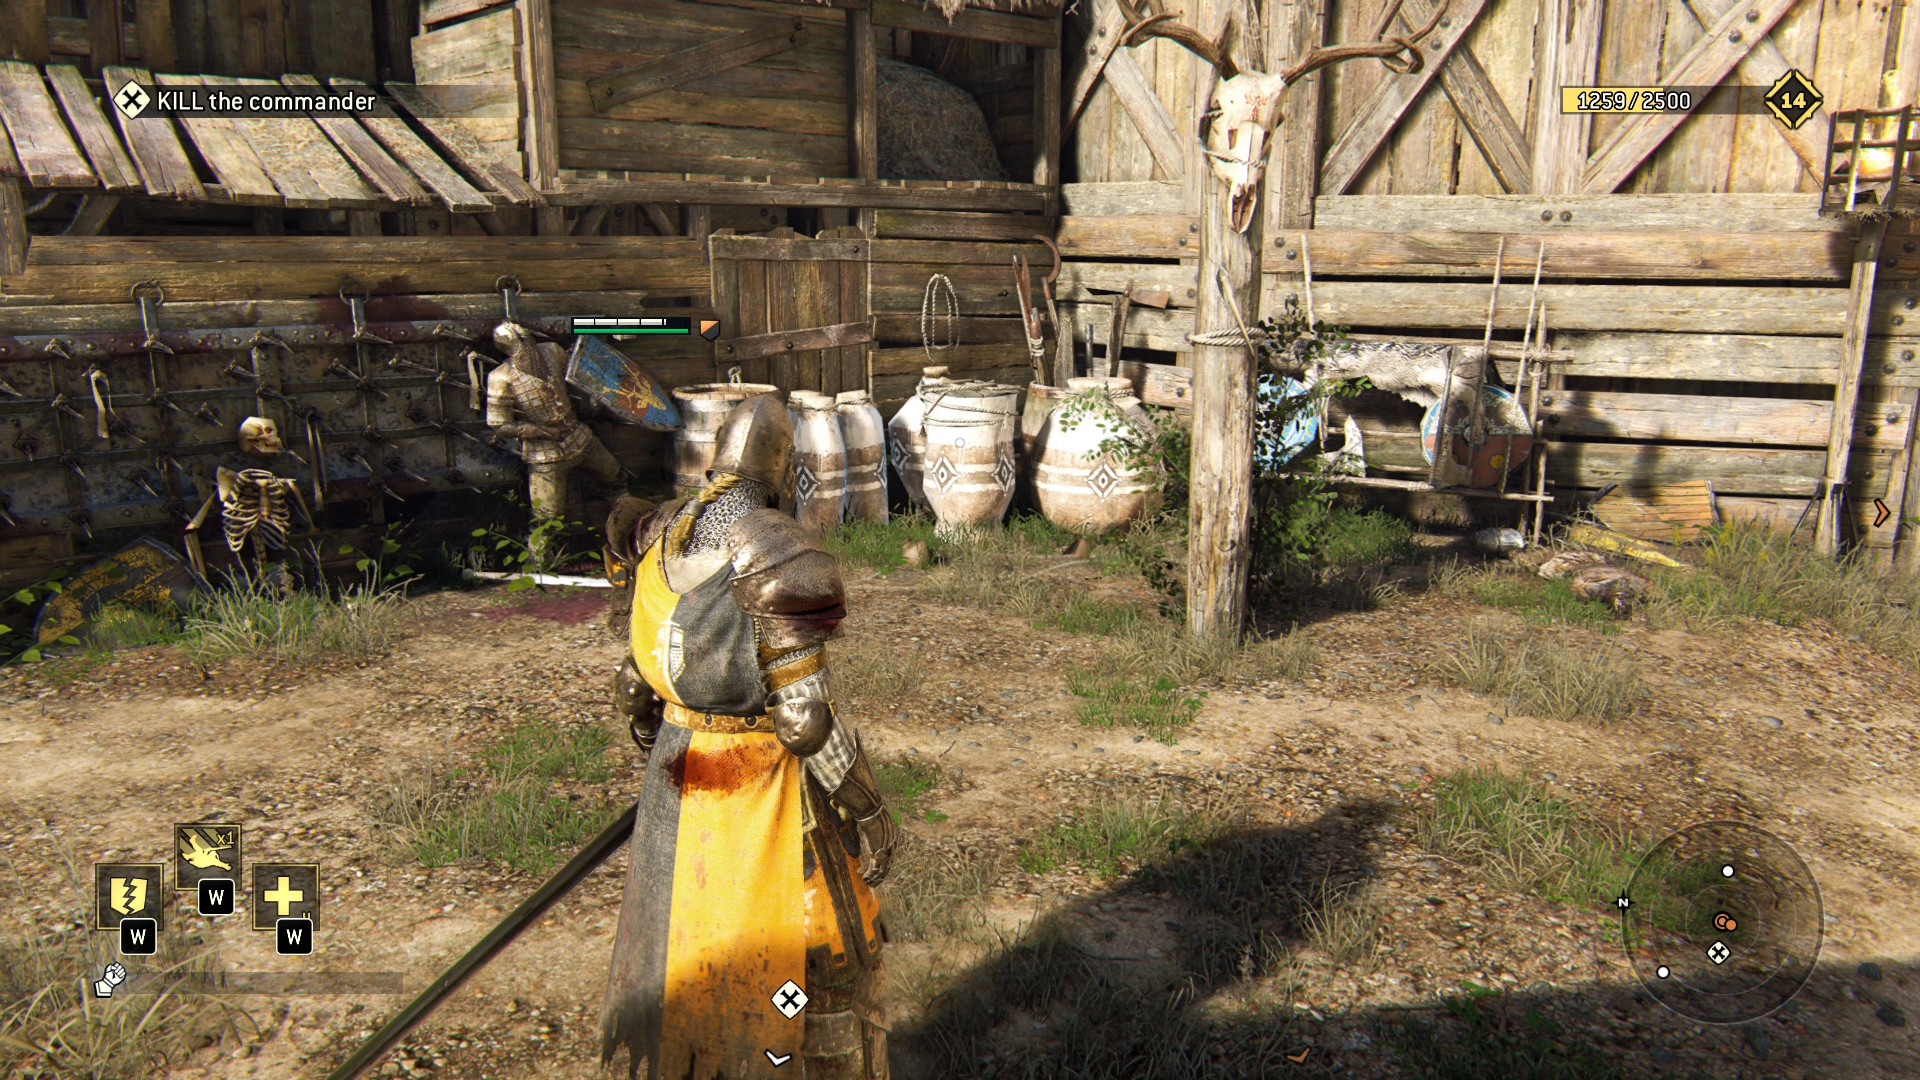
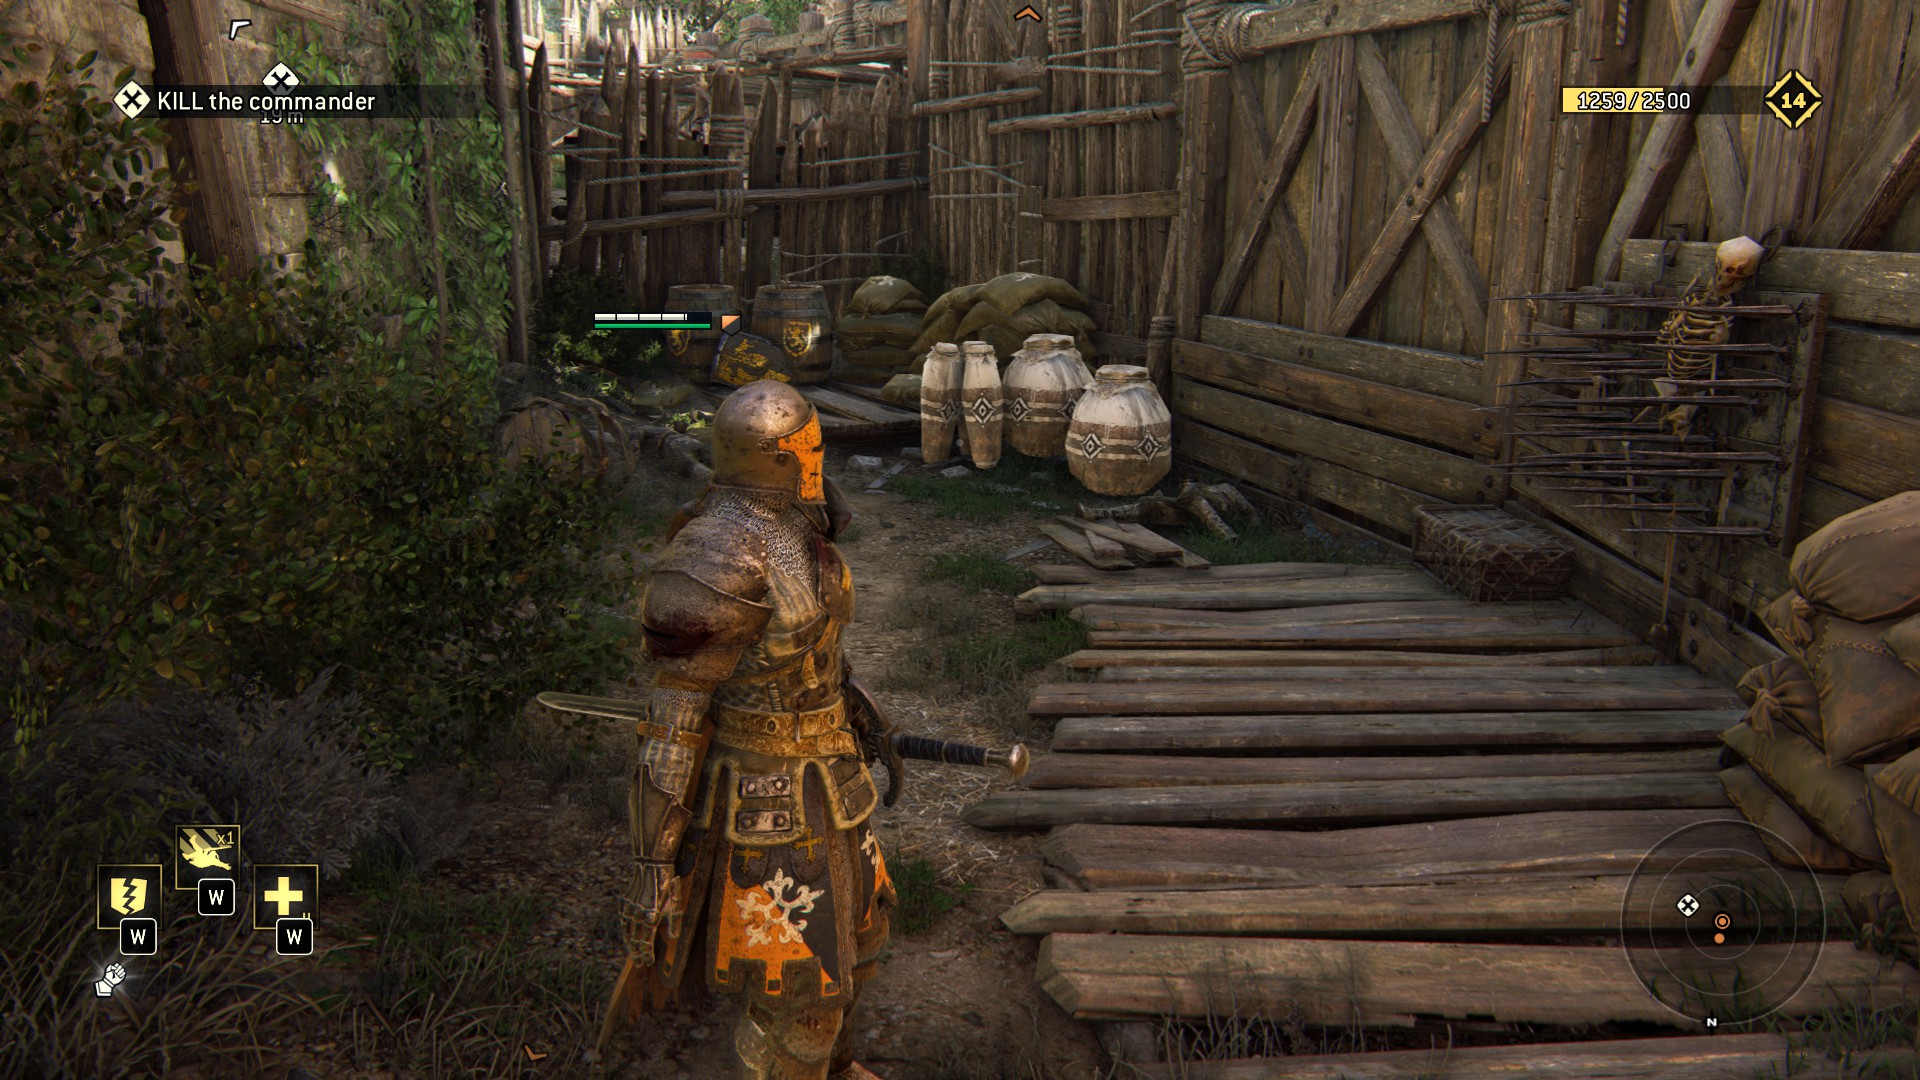 Throw the nice warlord off the roof, thereby opening the gate (cause that's how doors actually work) and break the stuff in front of you
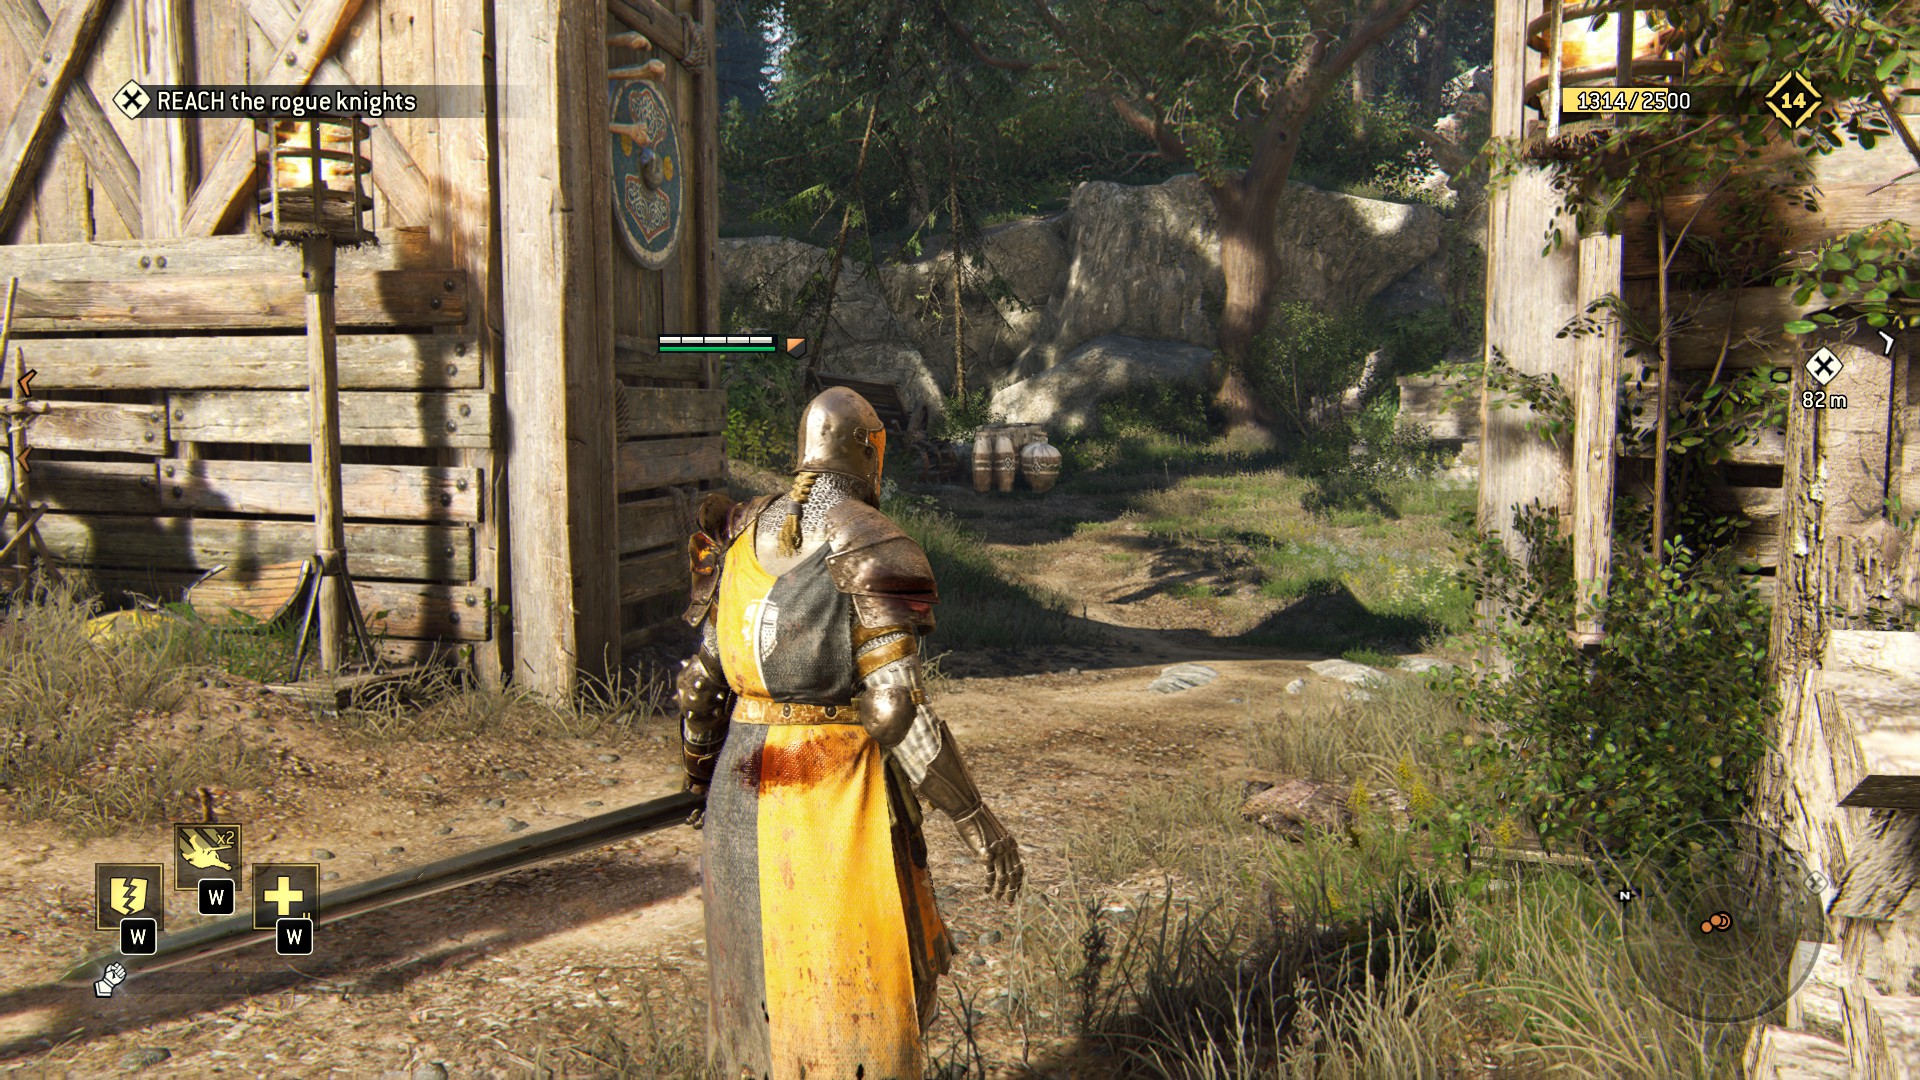 Who doesn't like angel-statues? And totems?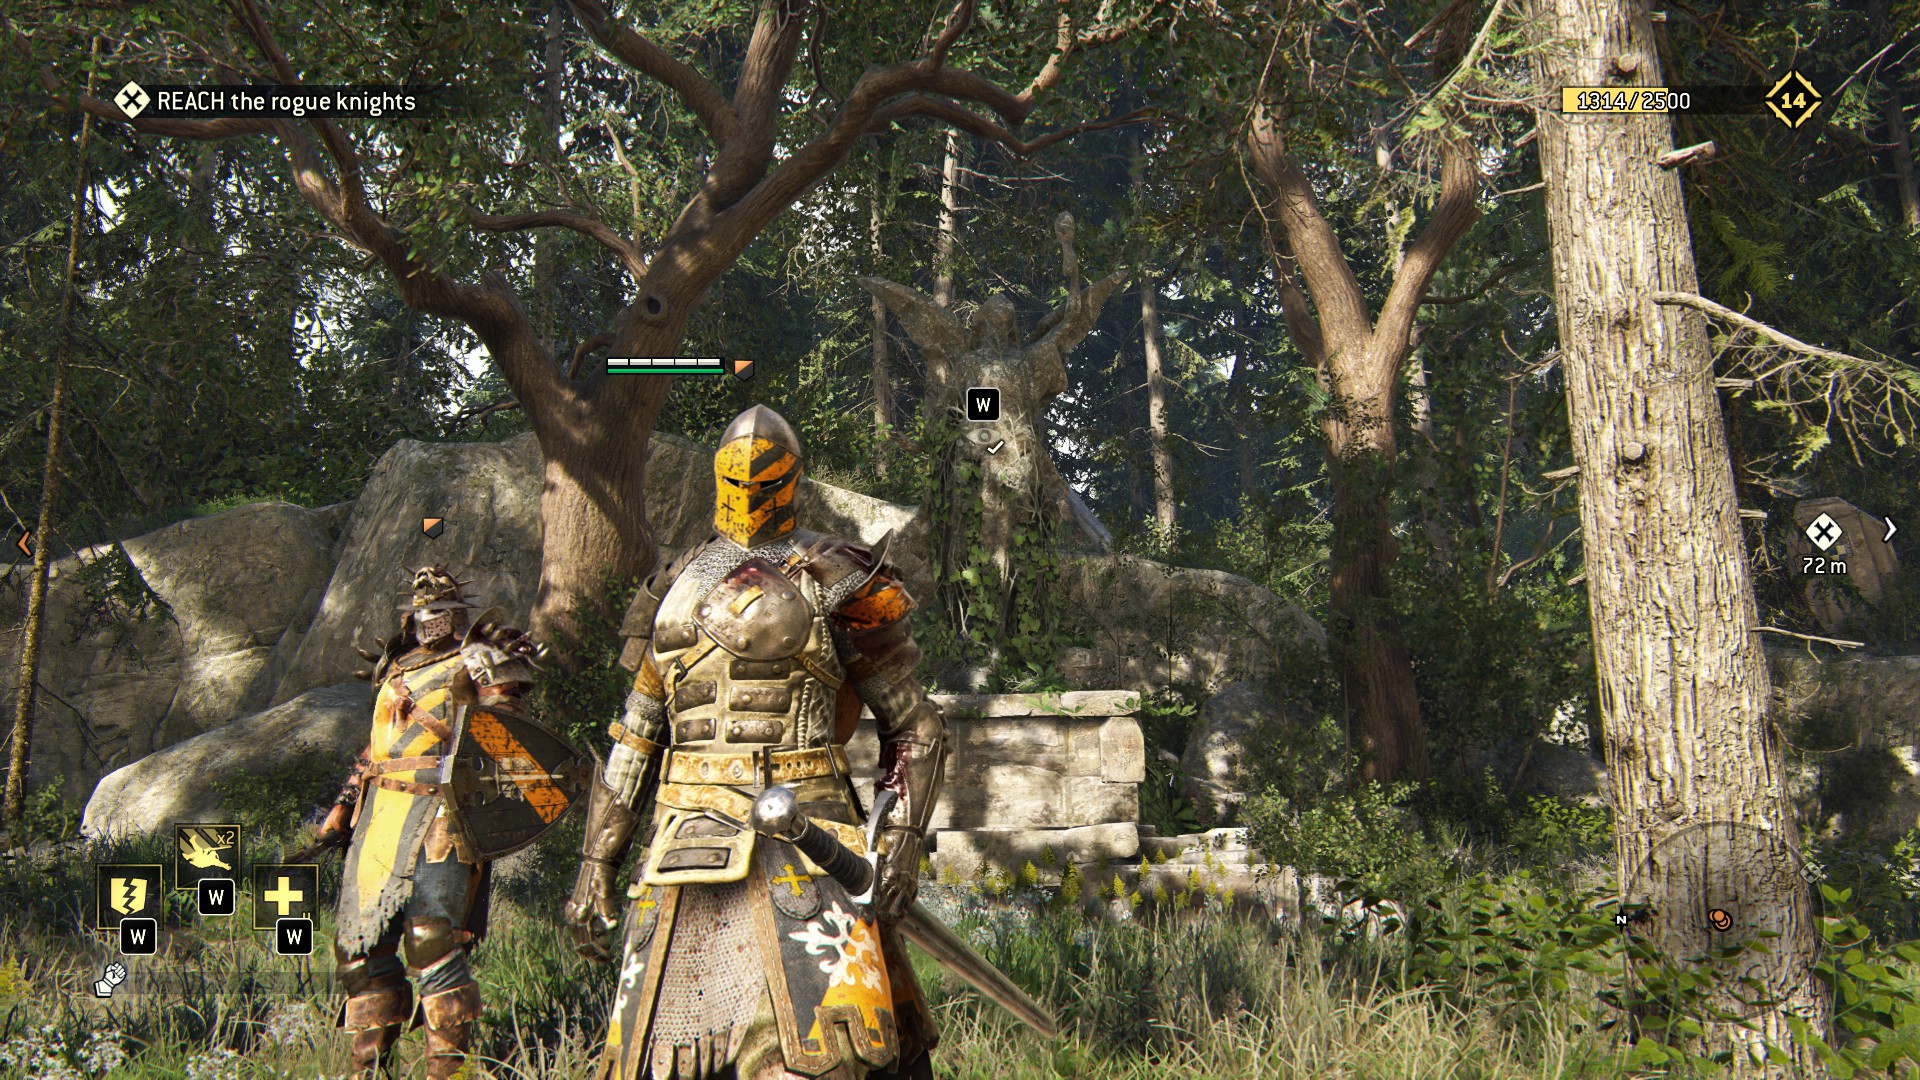
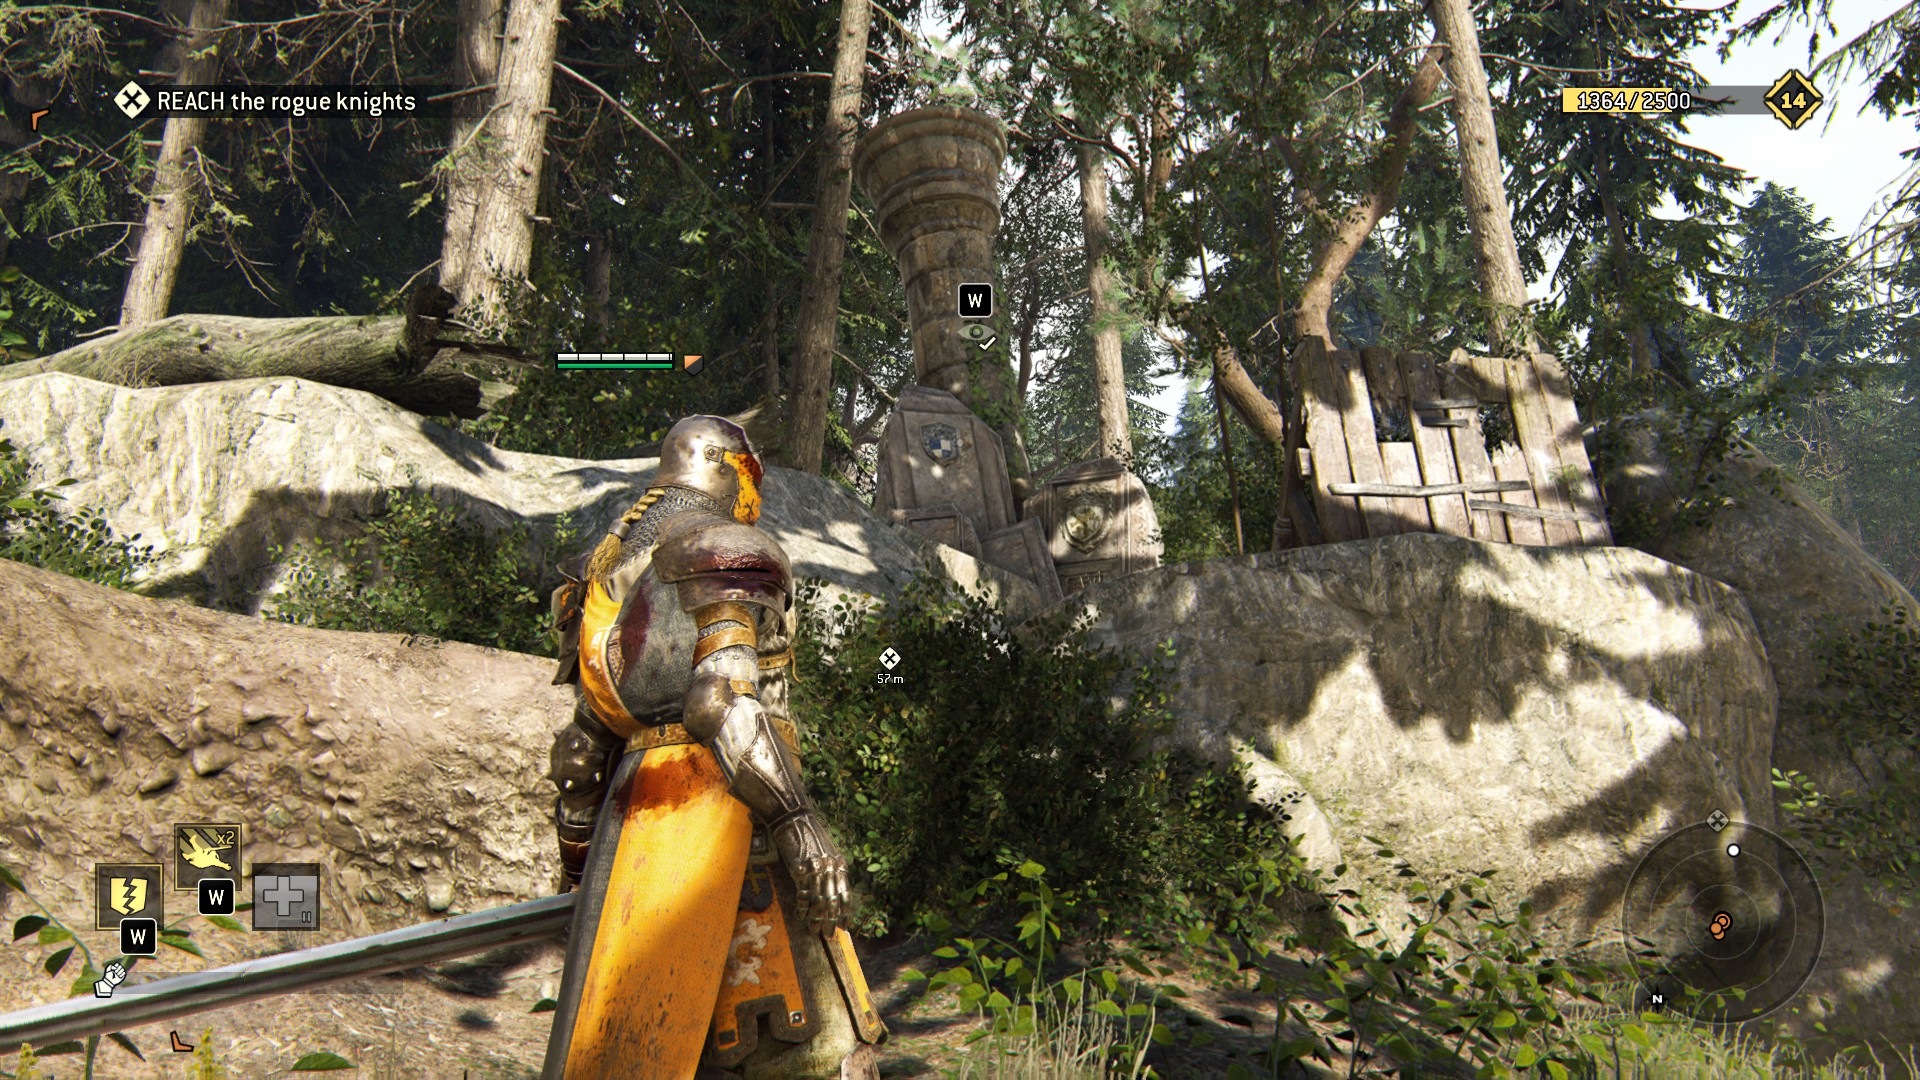
(the people making all these pots, that's who!) Coming up to the end, there are pots to your left and two observables. Trigger warning: the cutscene triggers near the foot of the chapel, so get it before it gets you
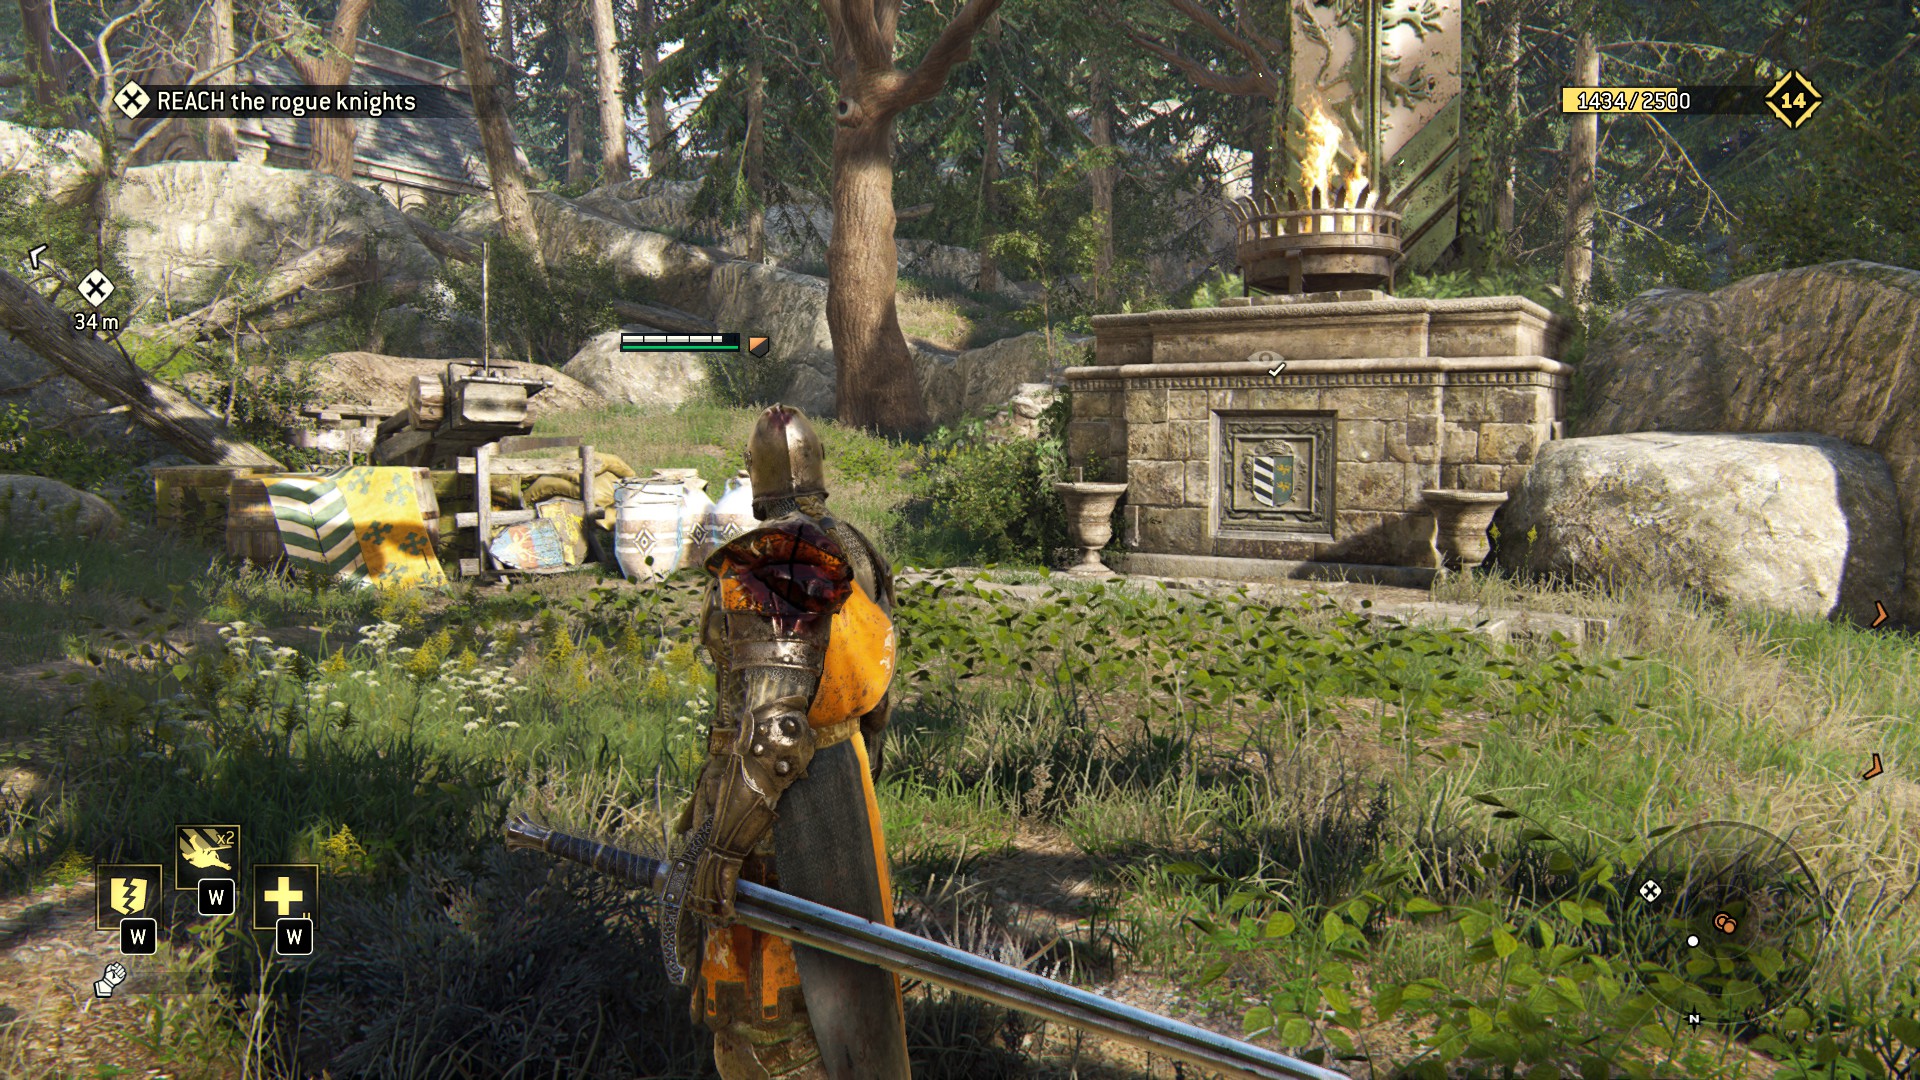
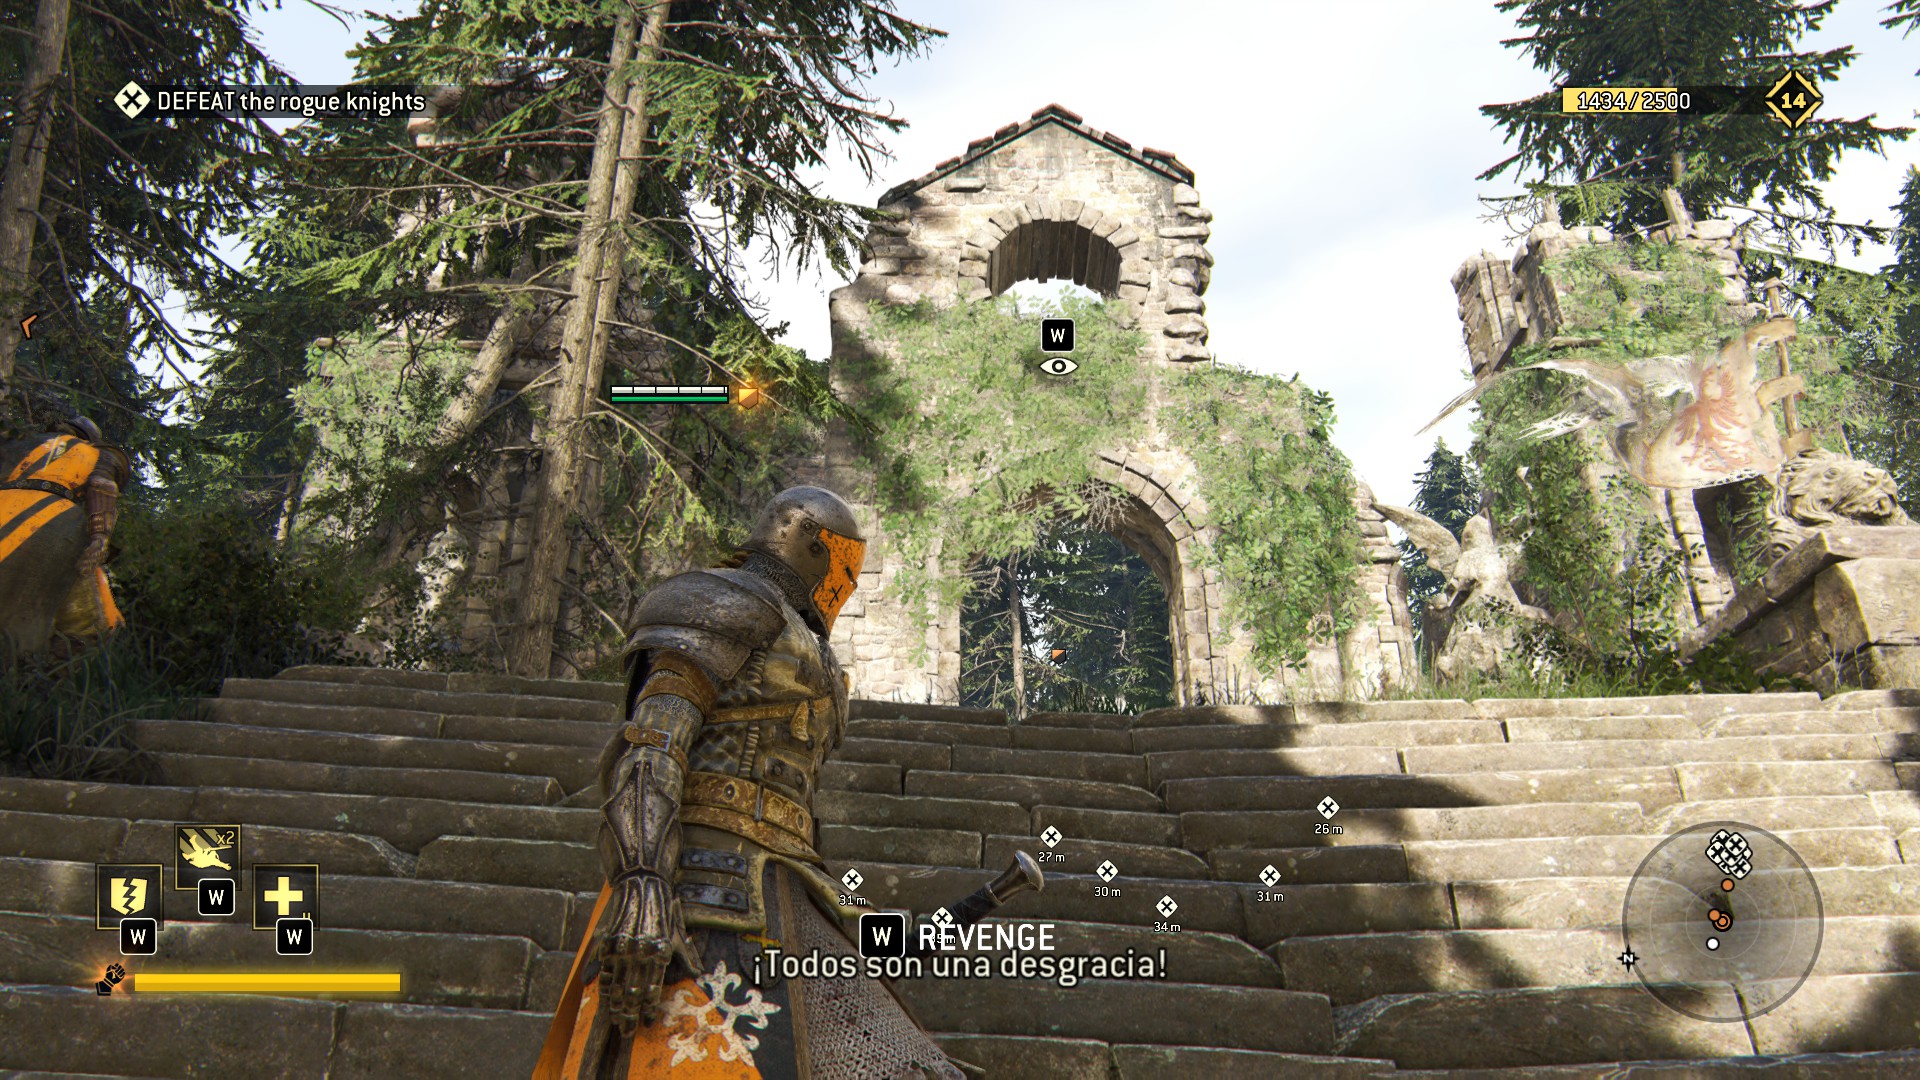
Ding!
1.4 - Valkenheim in Winter
This mission is fairly big, very beautiful, and not an entirely unrealistic depiction of a frozen Norwegian fjord! Good on 'ye, Ubisoft!
It has at least two points-of-no-return, so do mind the gap.
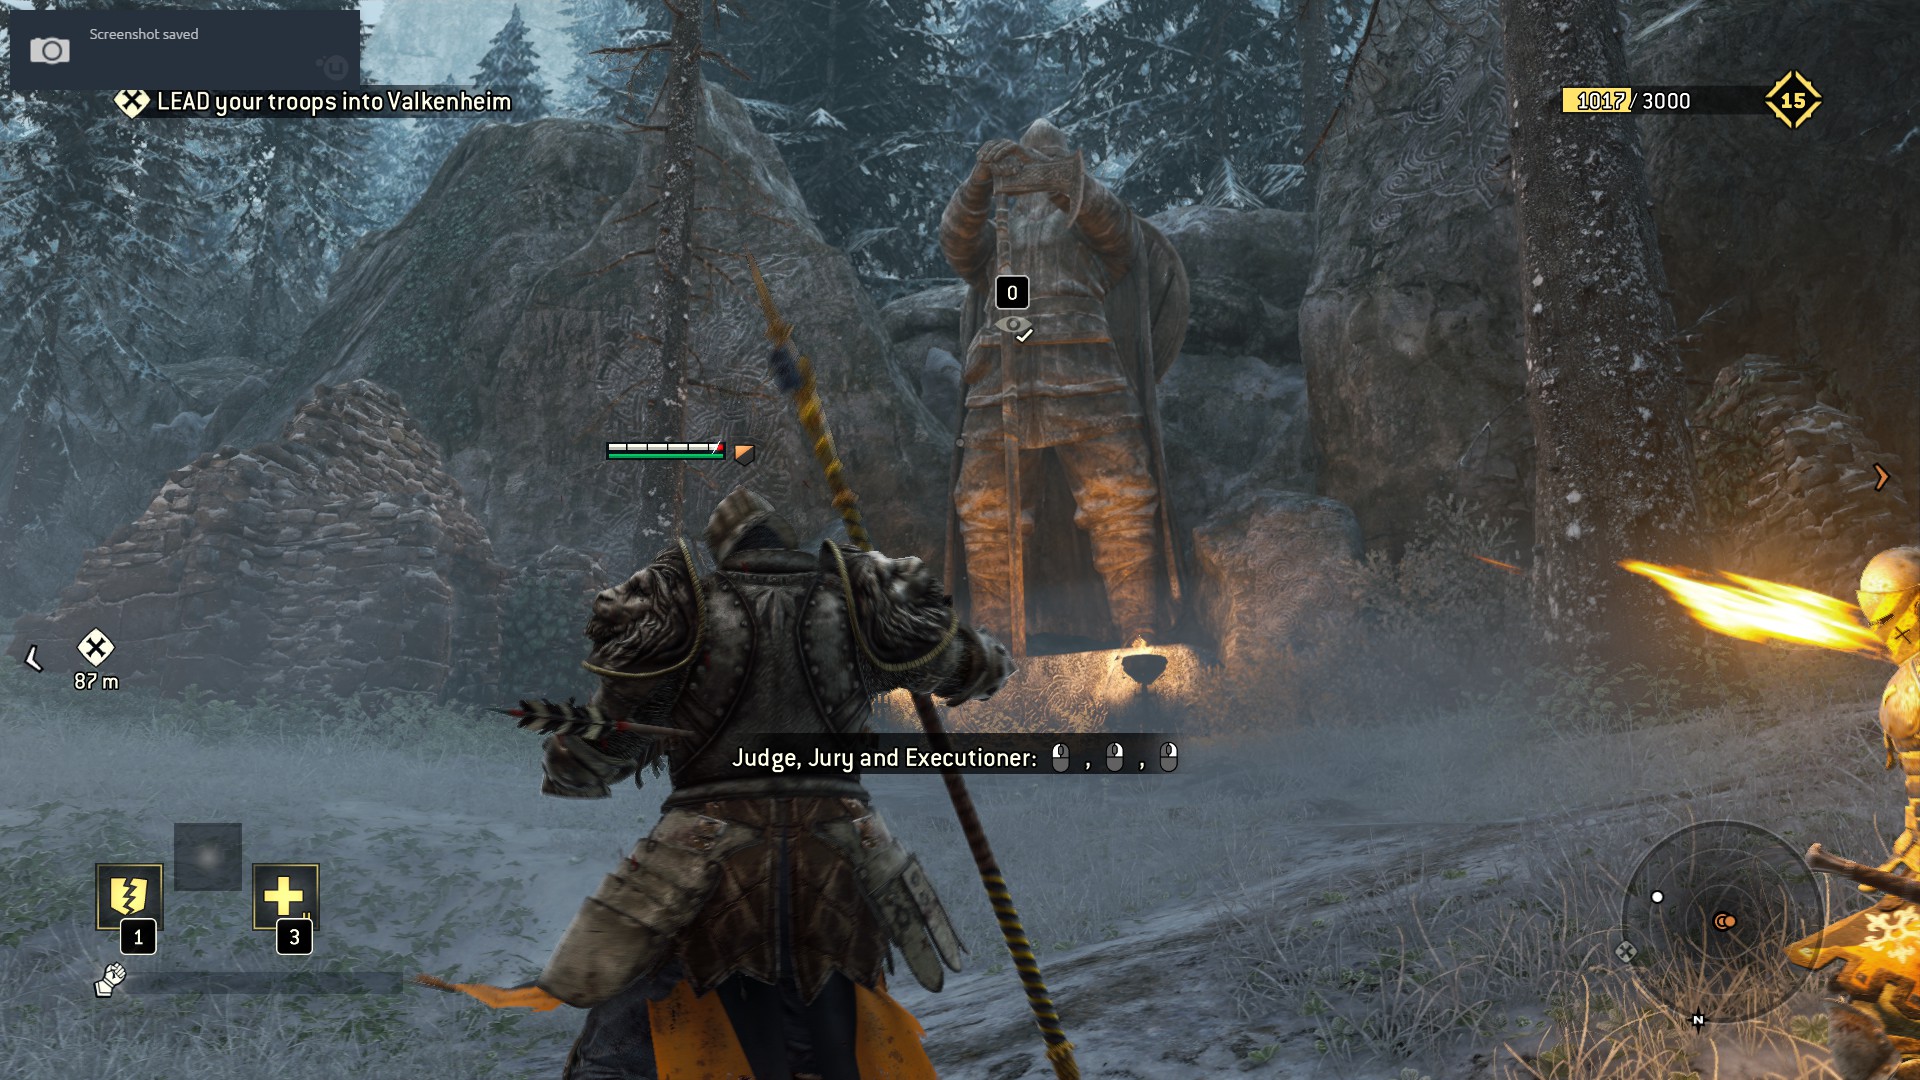
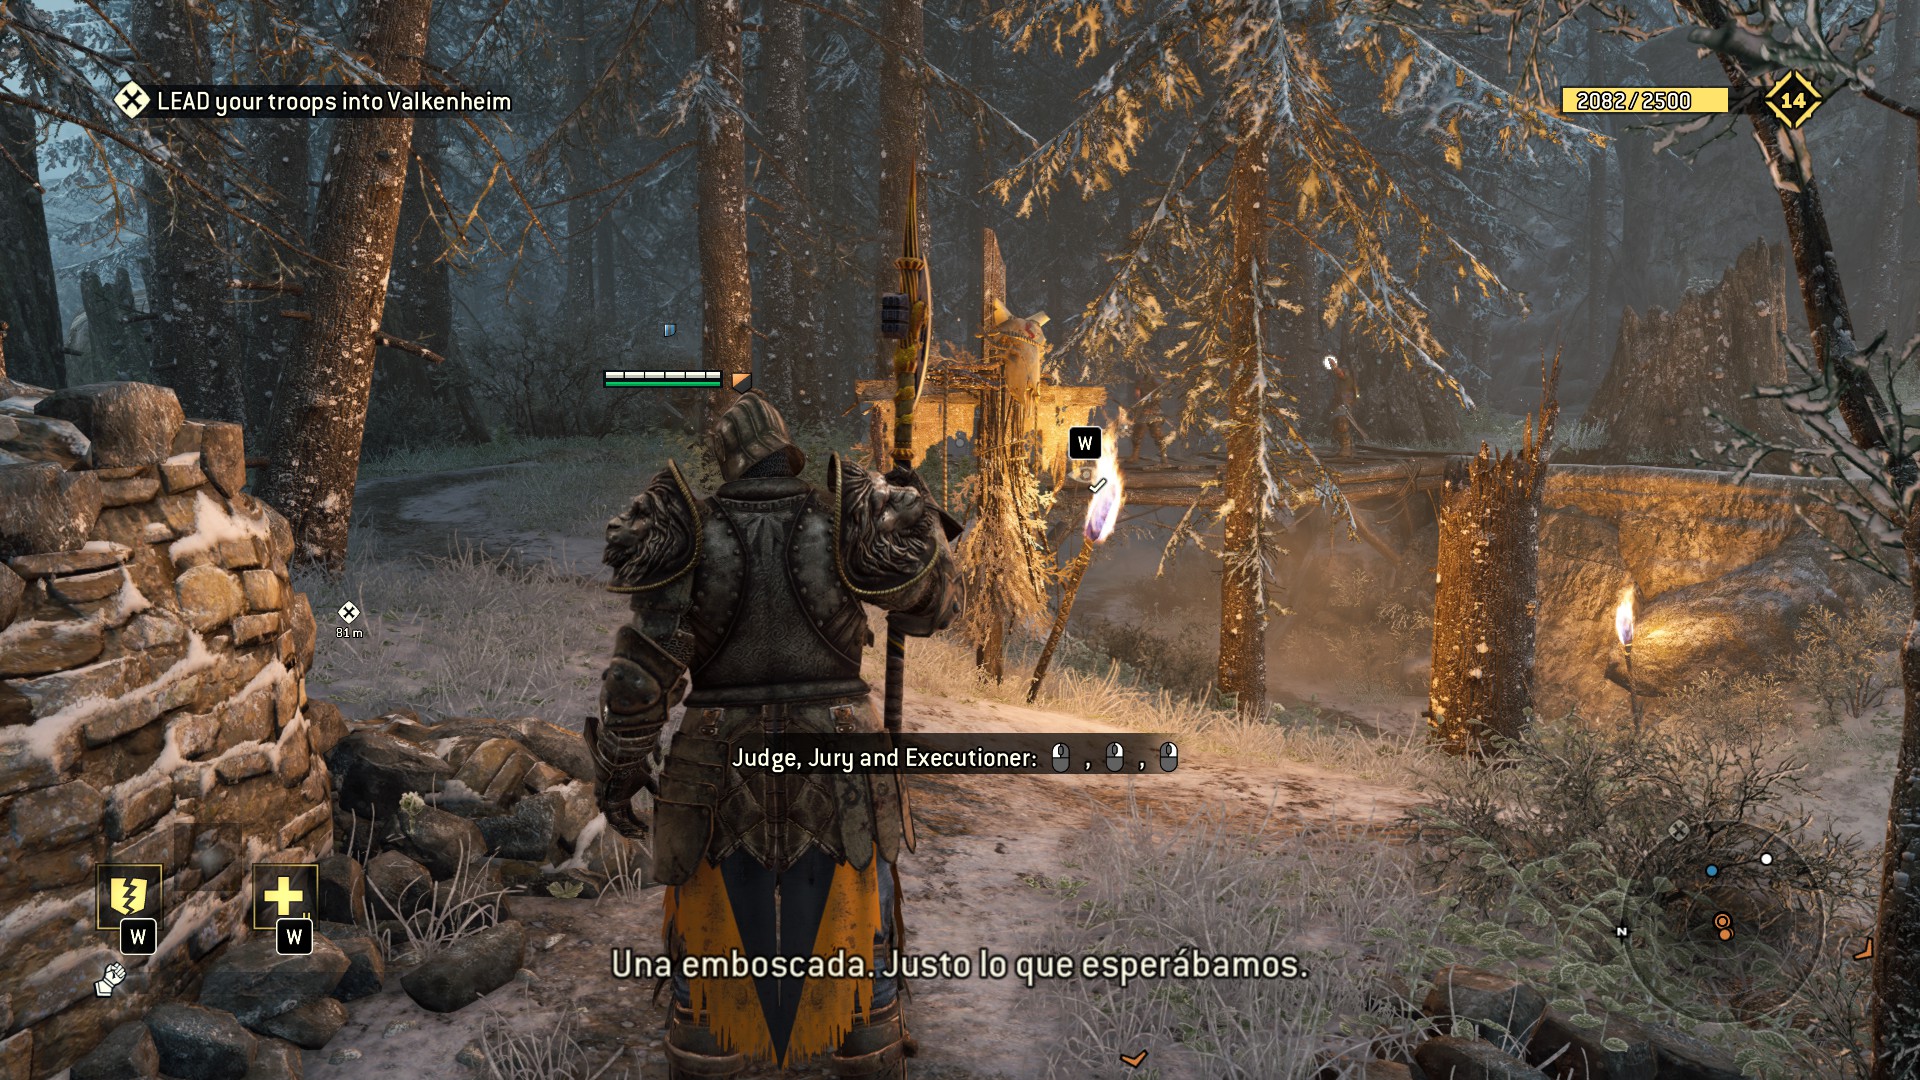 Along a narrow path / a runestone does mark / a house, its previous tenant fire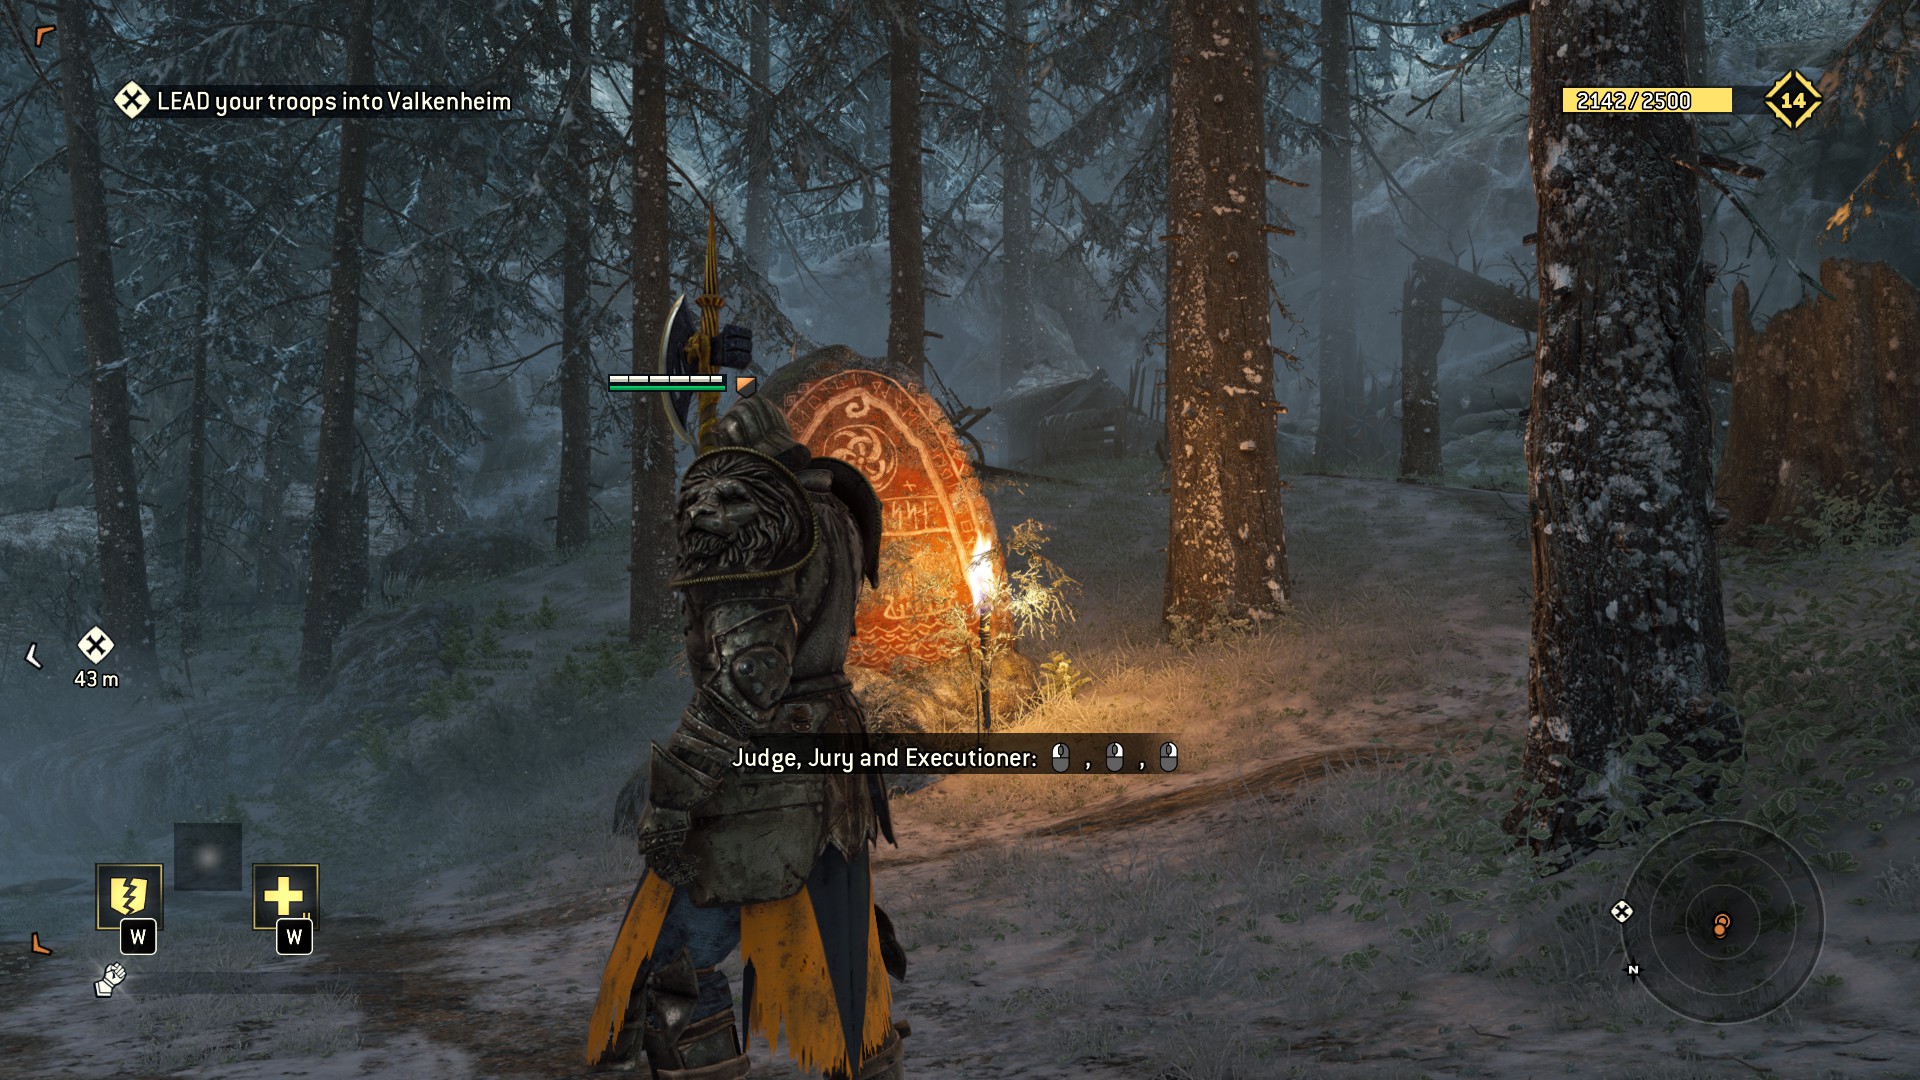
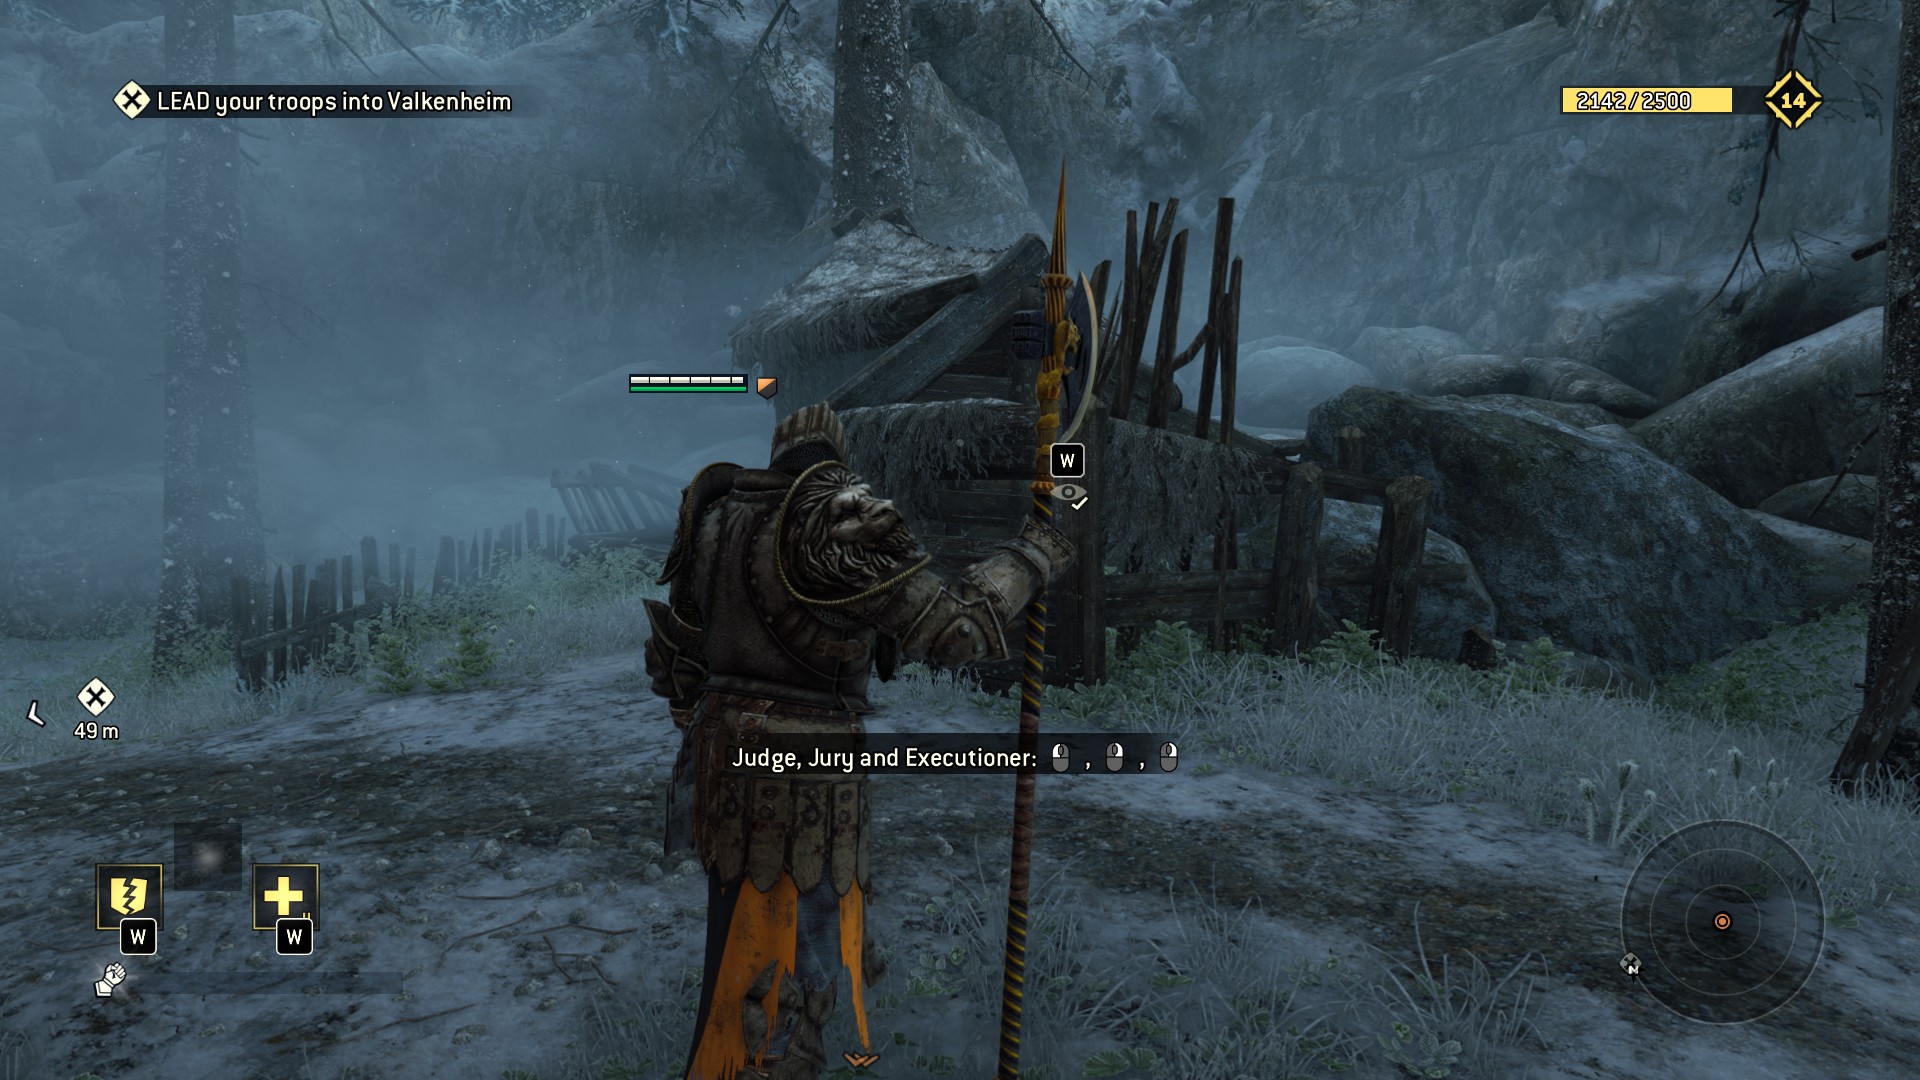
The runes spell "L ? I E U I E S S E" and translates from old norse to "Dumb is he who translates". (that was a lie)
Vikings - history's first trolls (Trolls. Vikings. Get it?)
Having collected all of those, follow the objectives and sit through a short cutscene
They rek bridge, you rek pots after grabbing the observable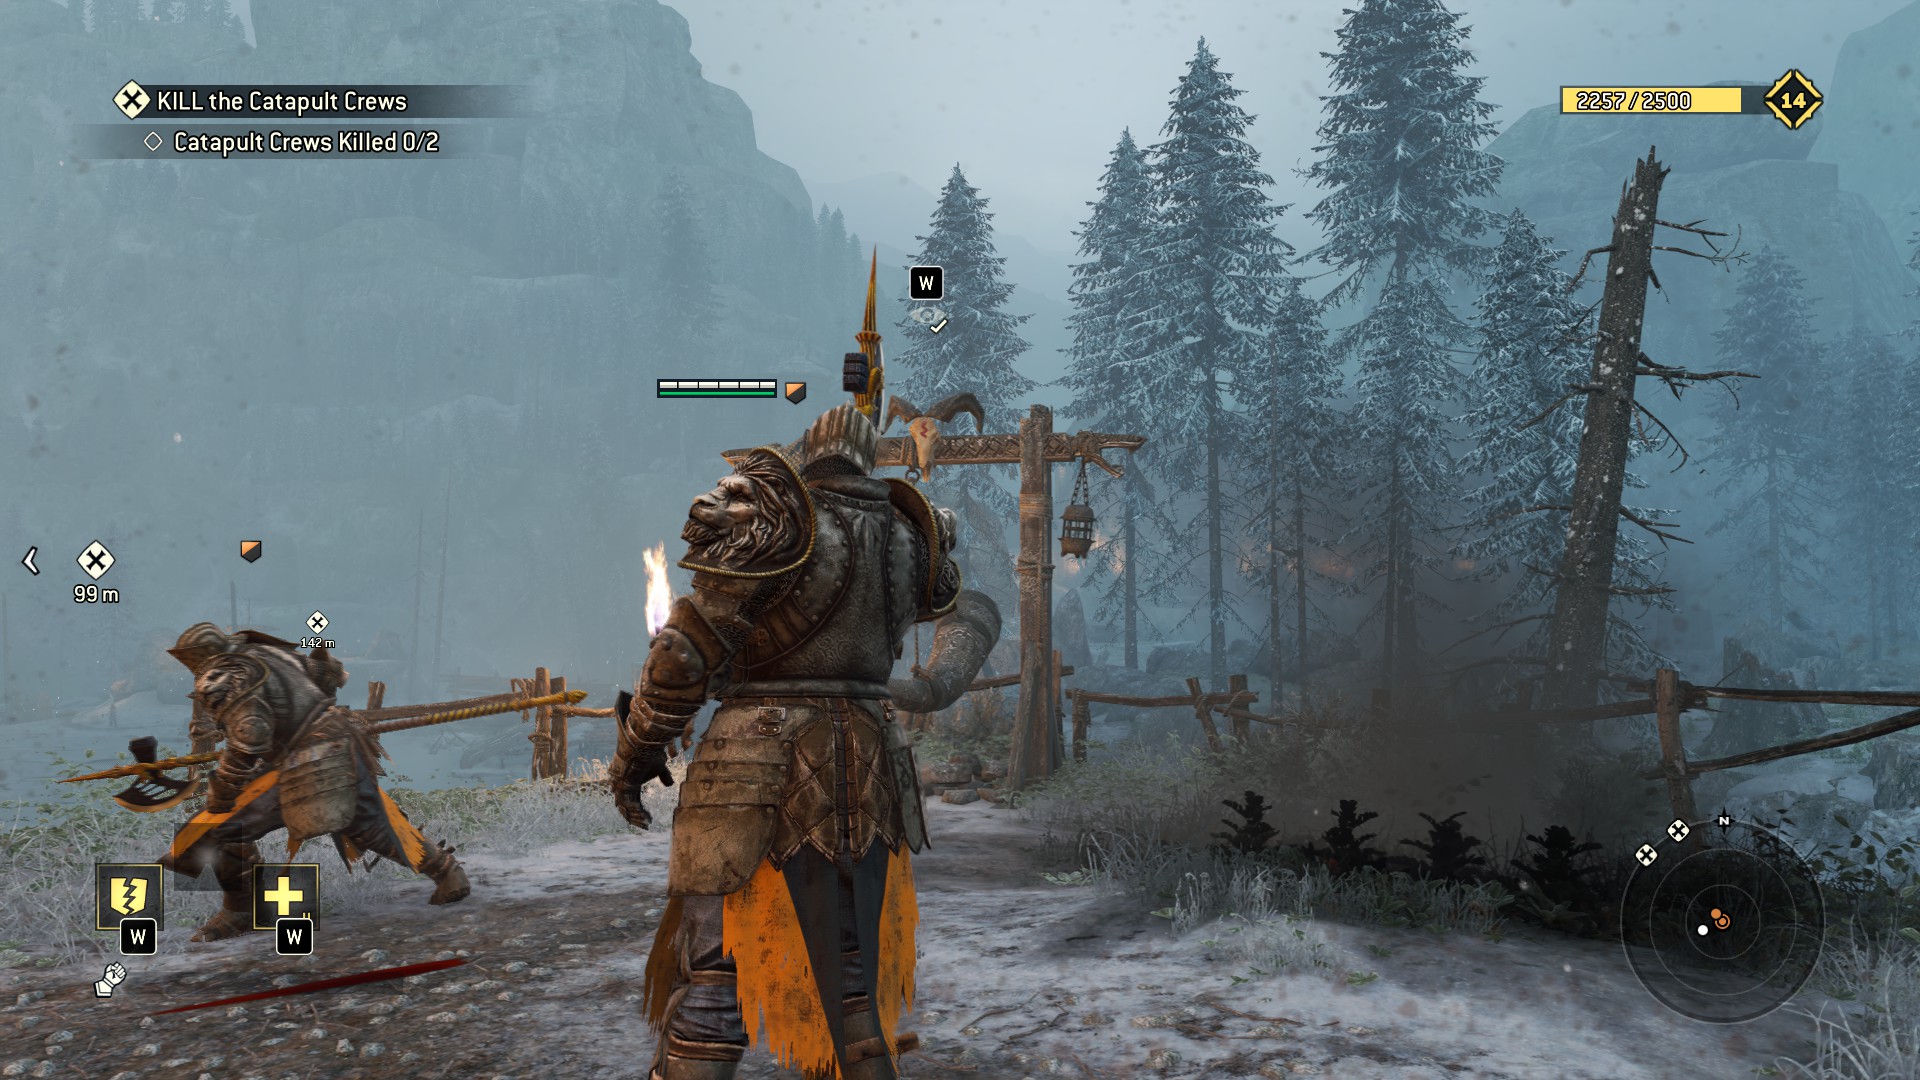
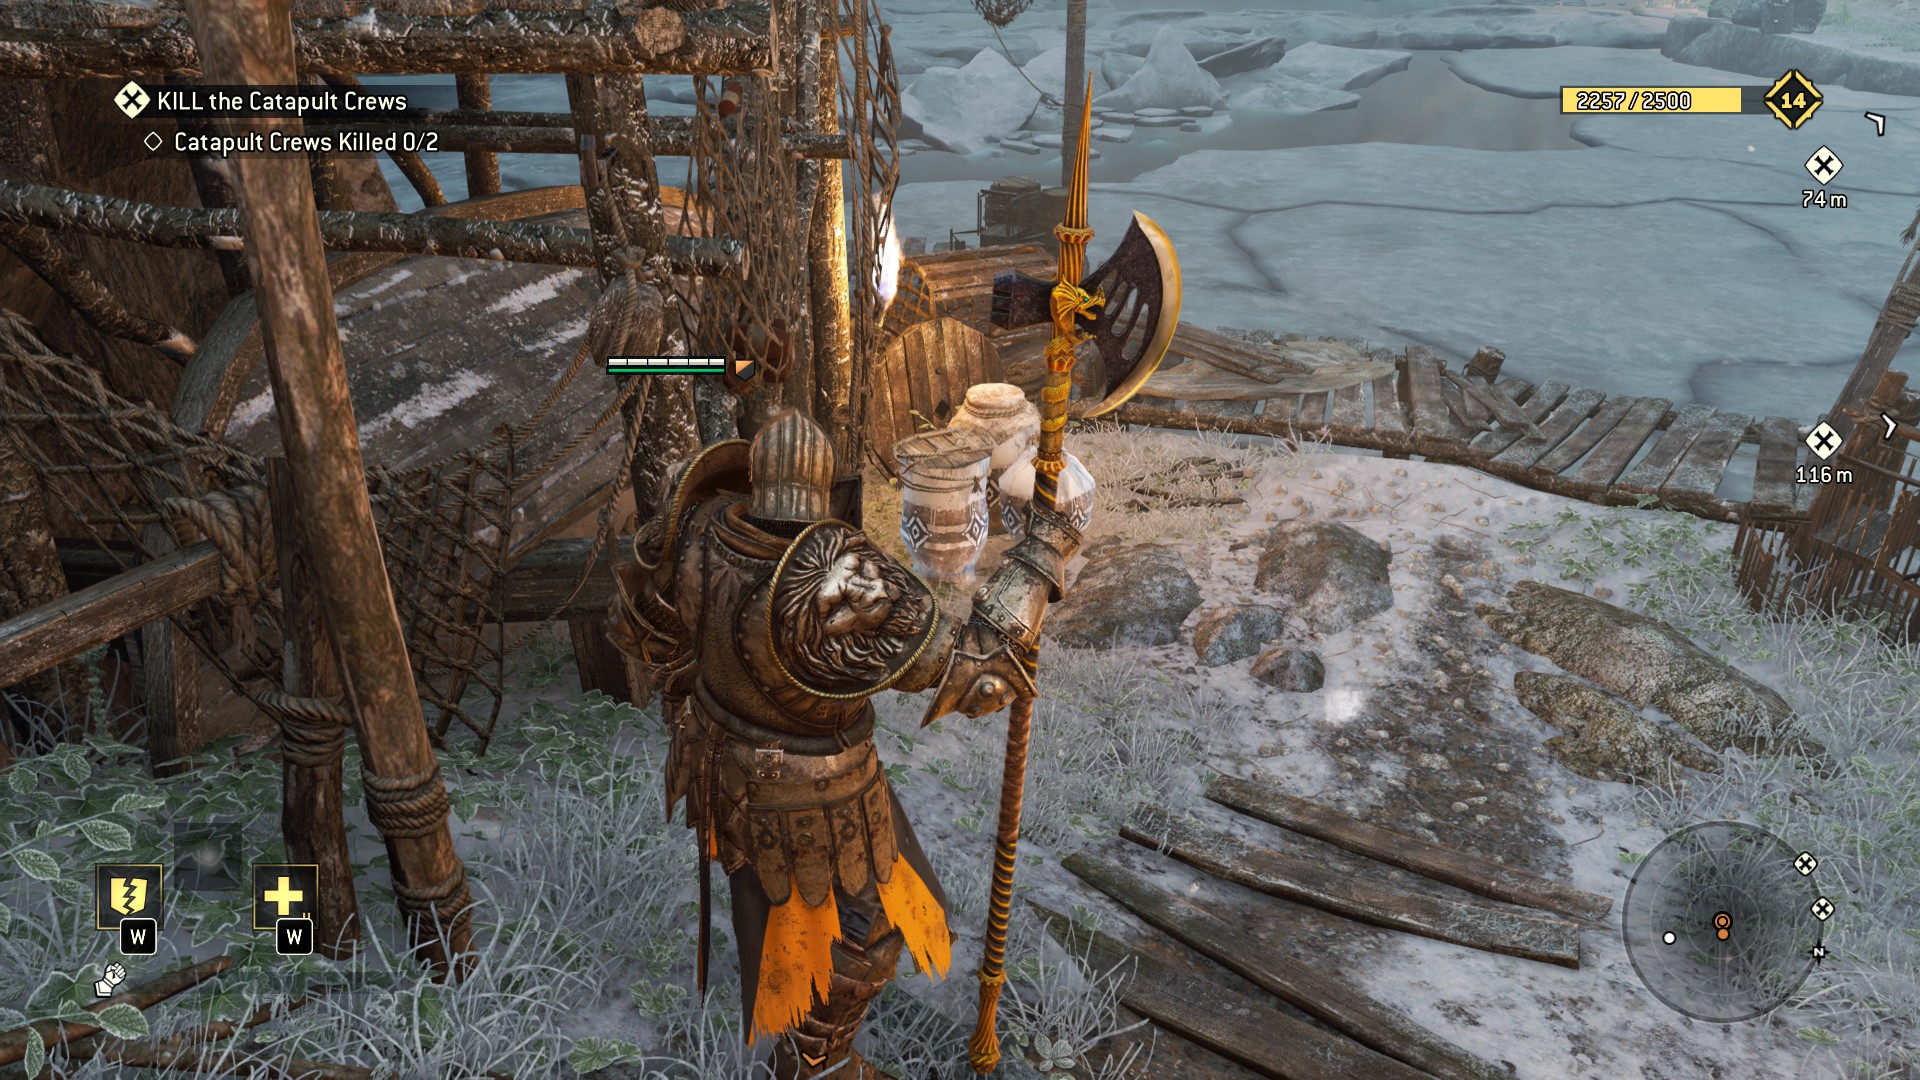 Look at the big, impossible-to-miss stoned viking face, before the even more impossible to miss pots before and at the objective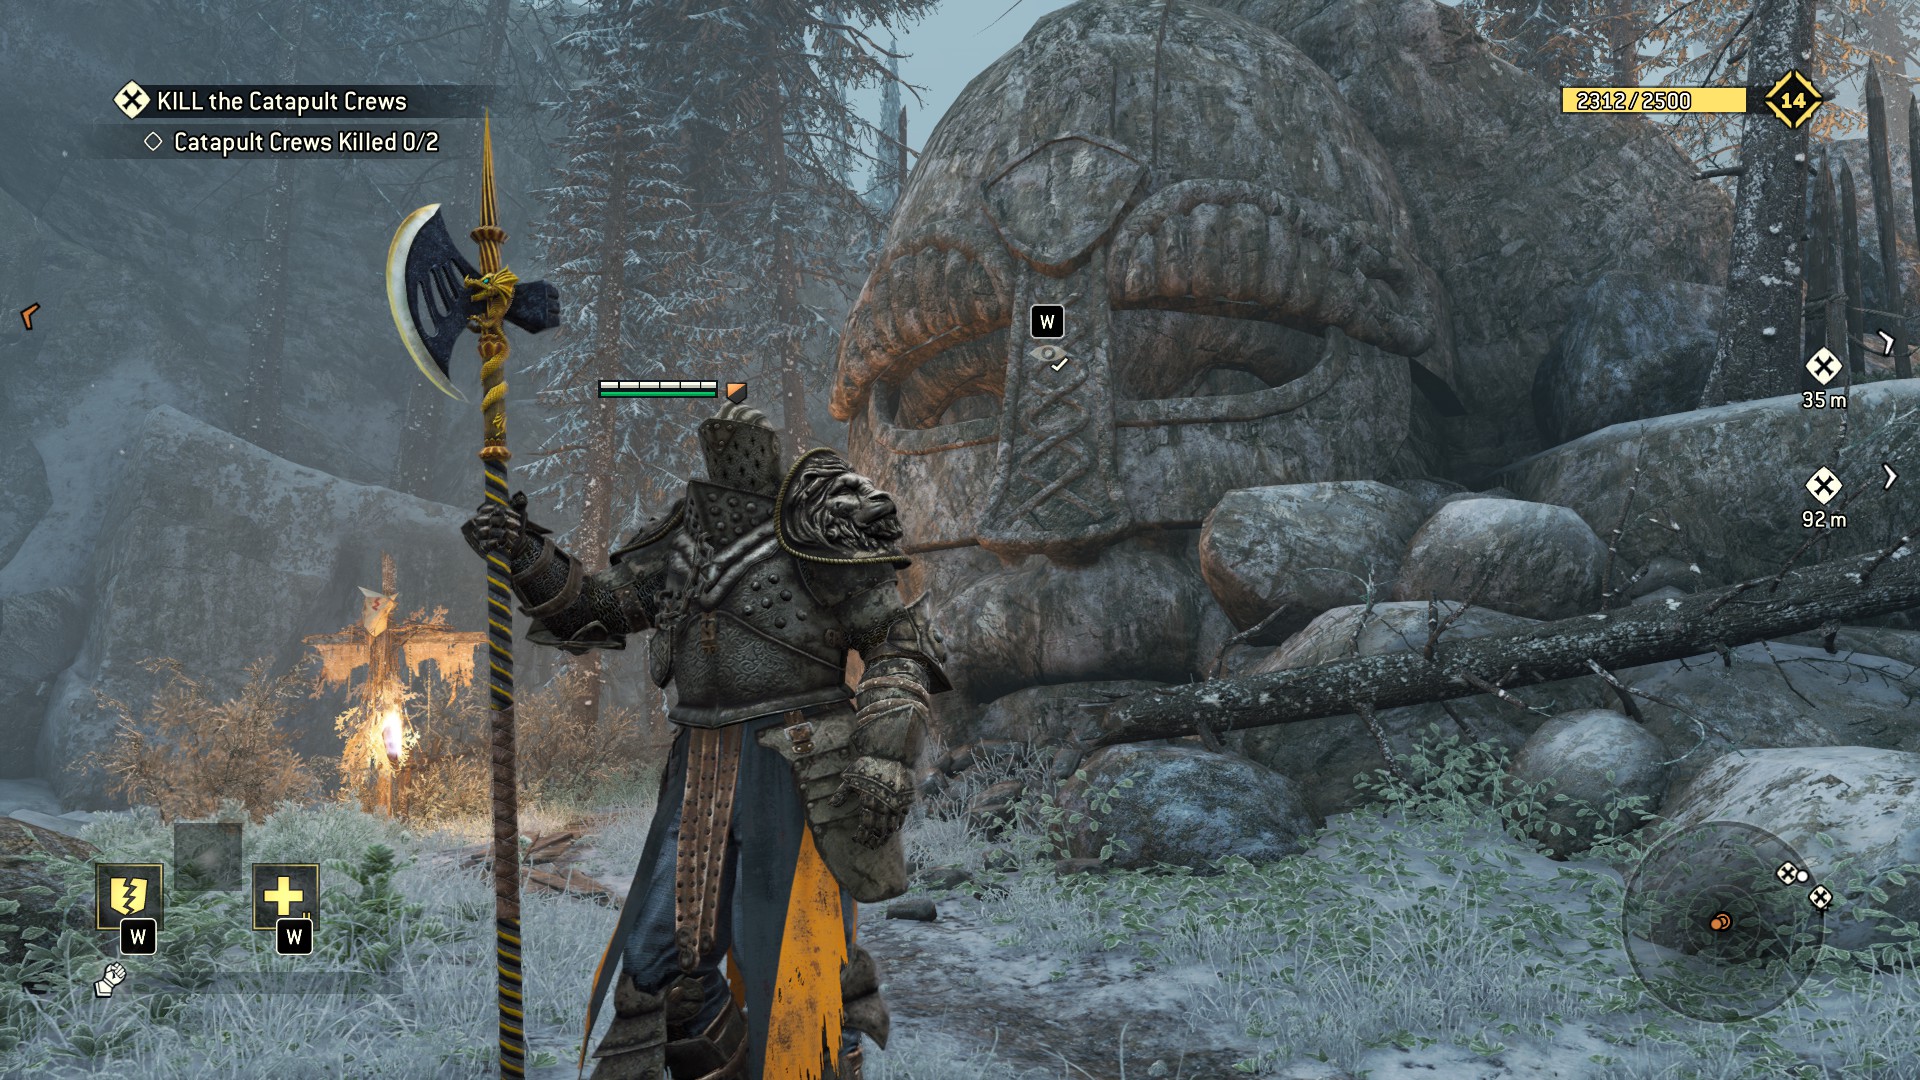
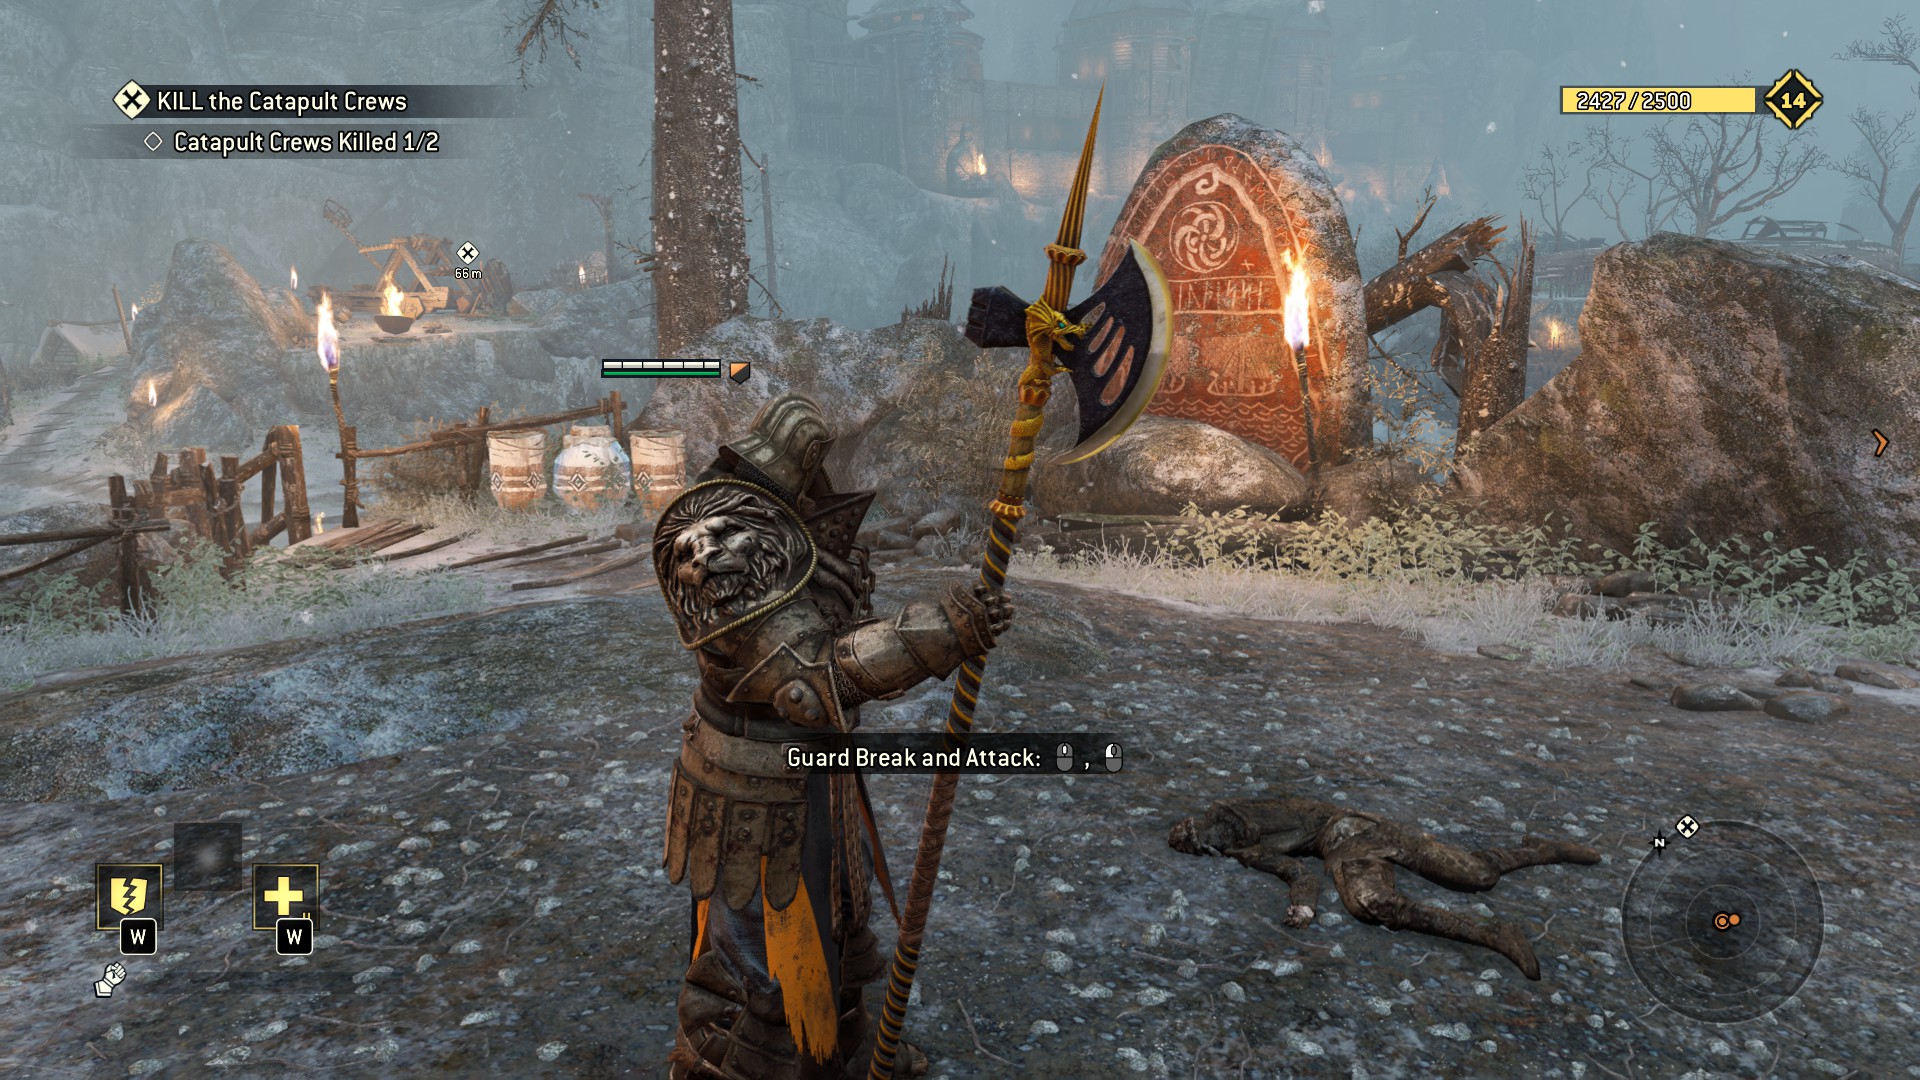
Now go break the second catapult if you want - or take in the sounds, sights and smells of the fjord - but whateveryoudo: Don't go swimming. The water's freezing cold!
Literally.
Hehe
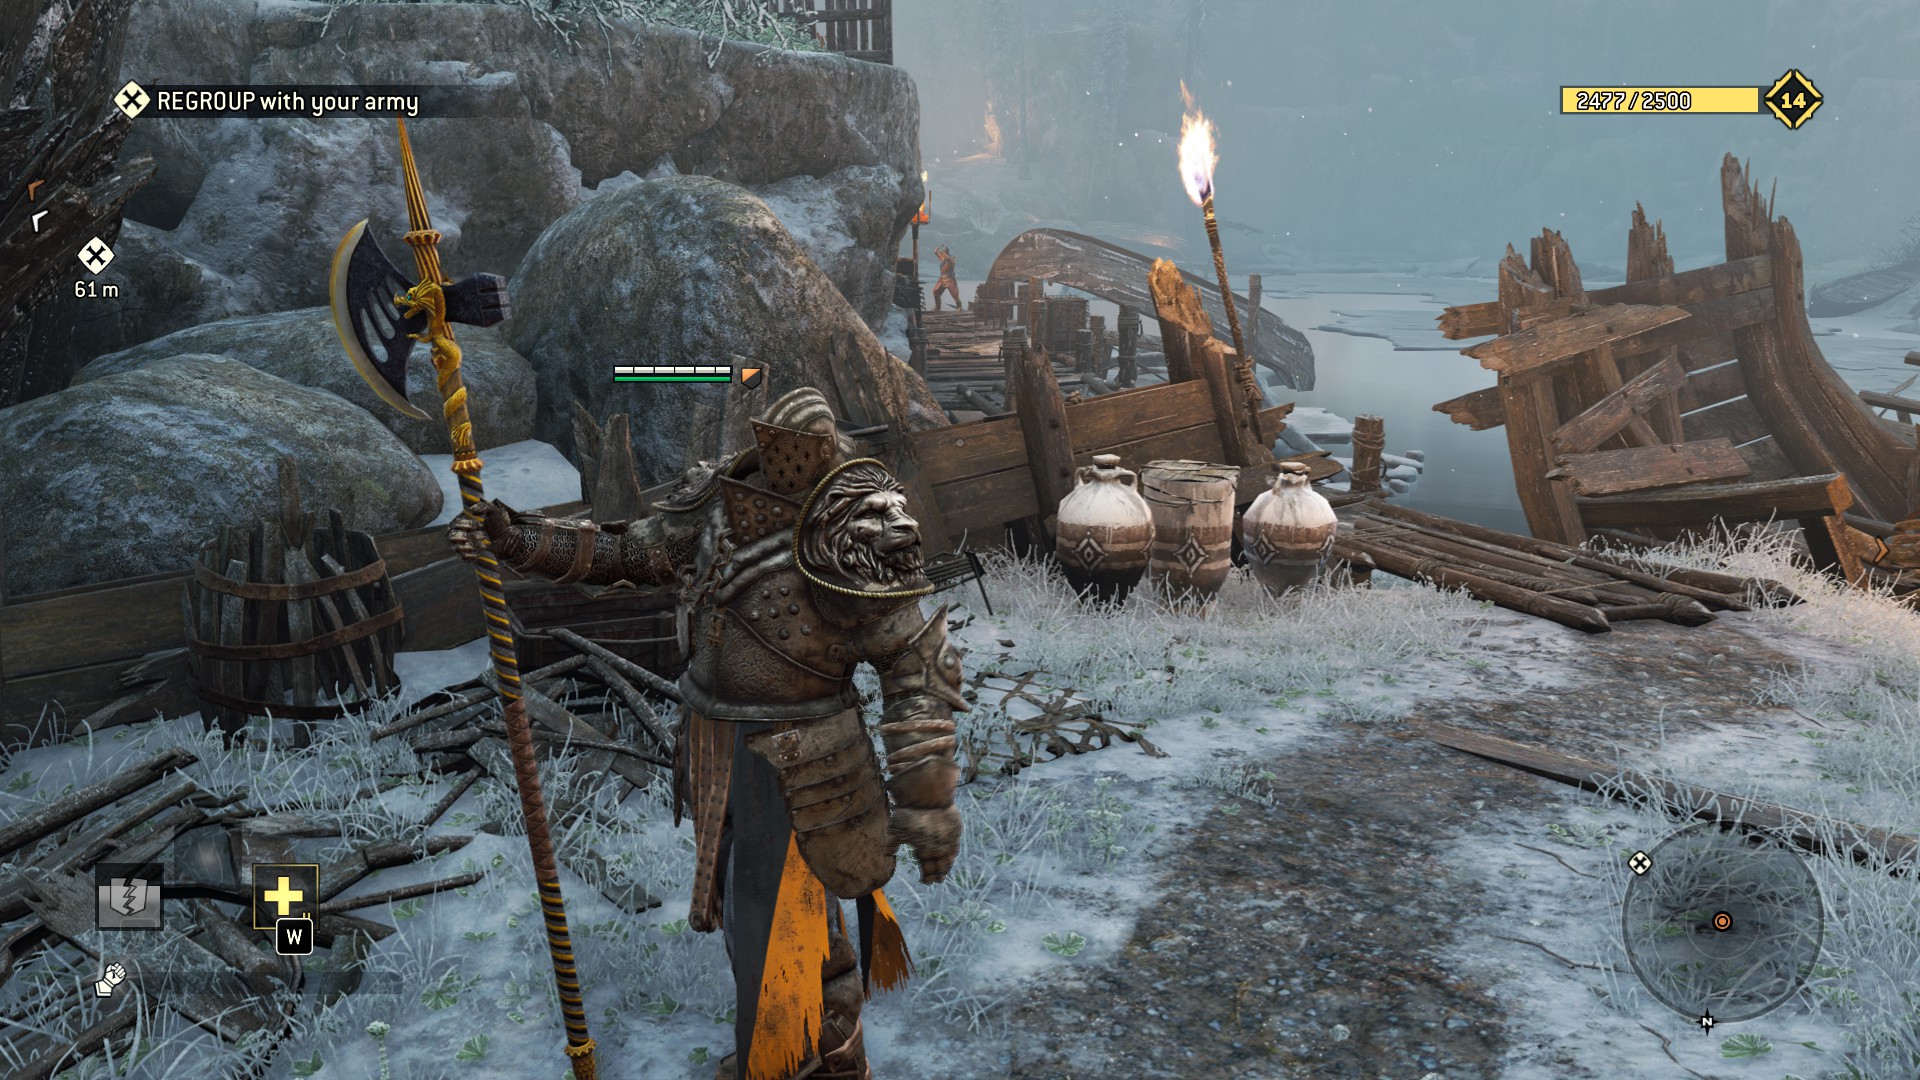
You can also snatch this observable from here - but this is also available by following the left edge after jumping down
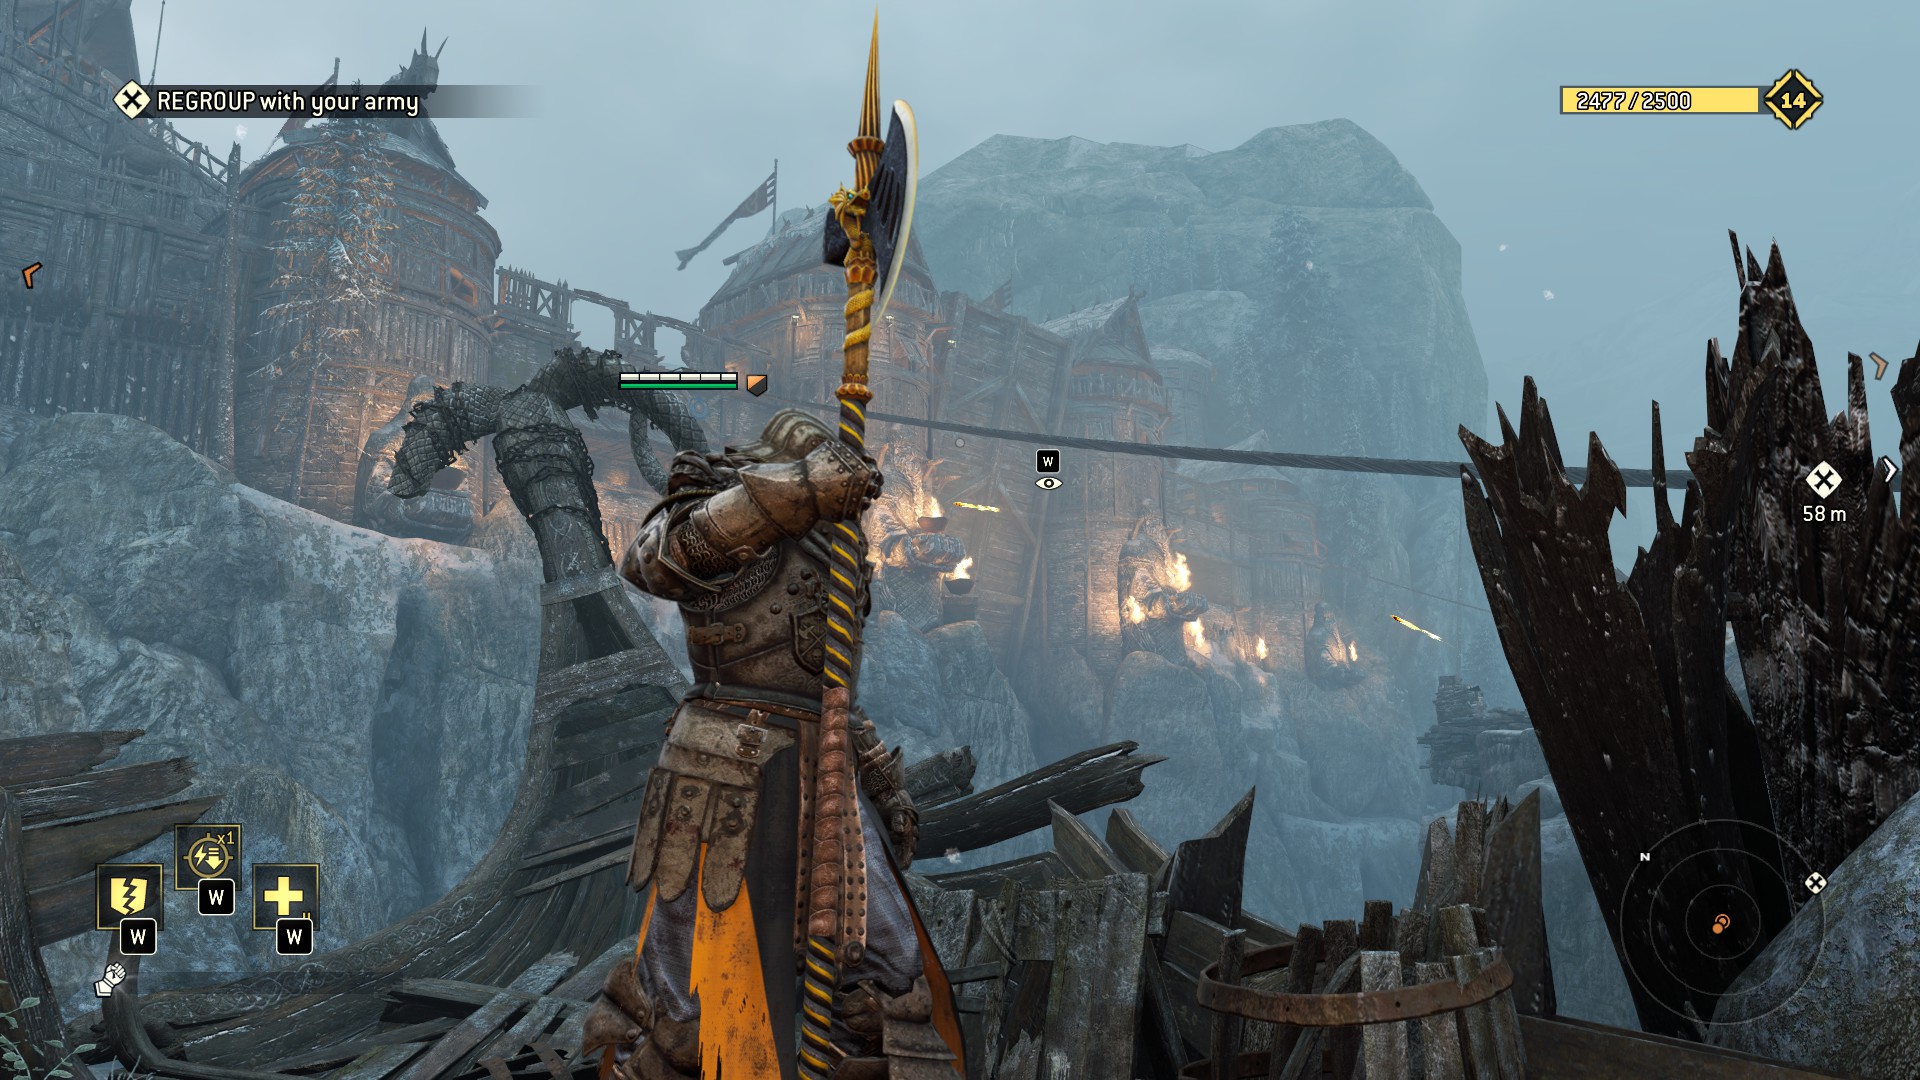 At the siege, run around in circles until you're confident you've gotten all of these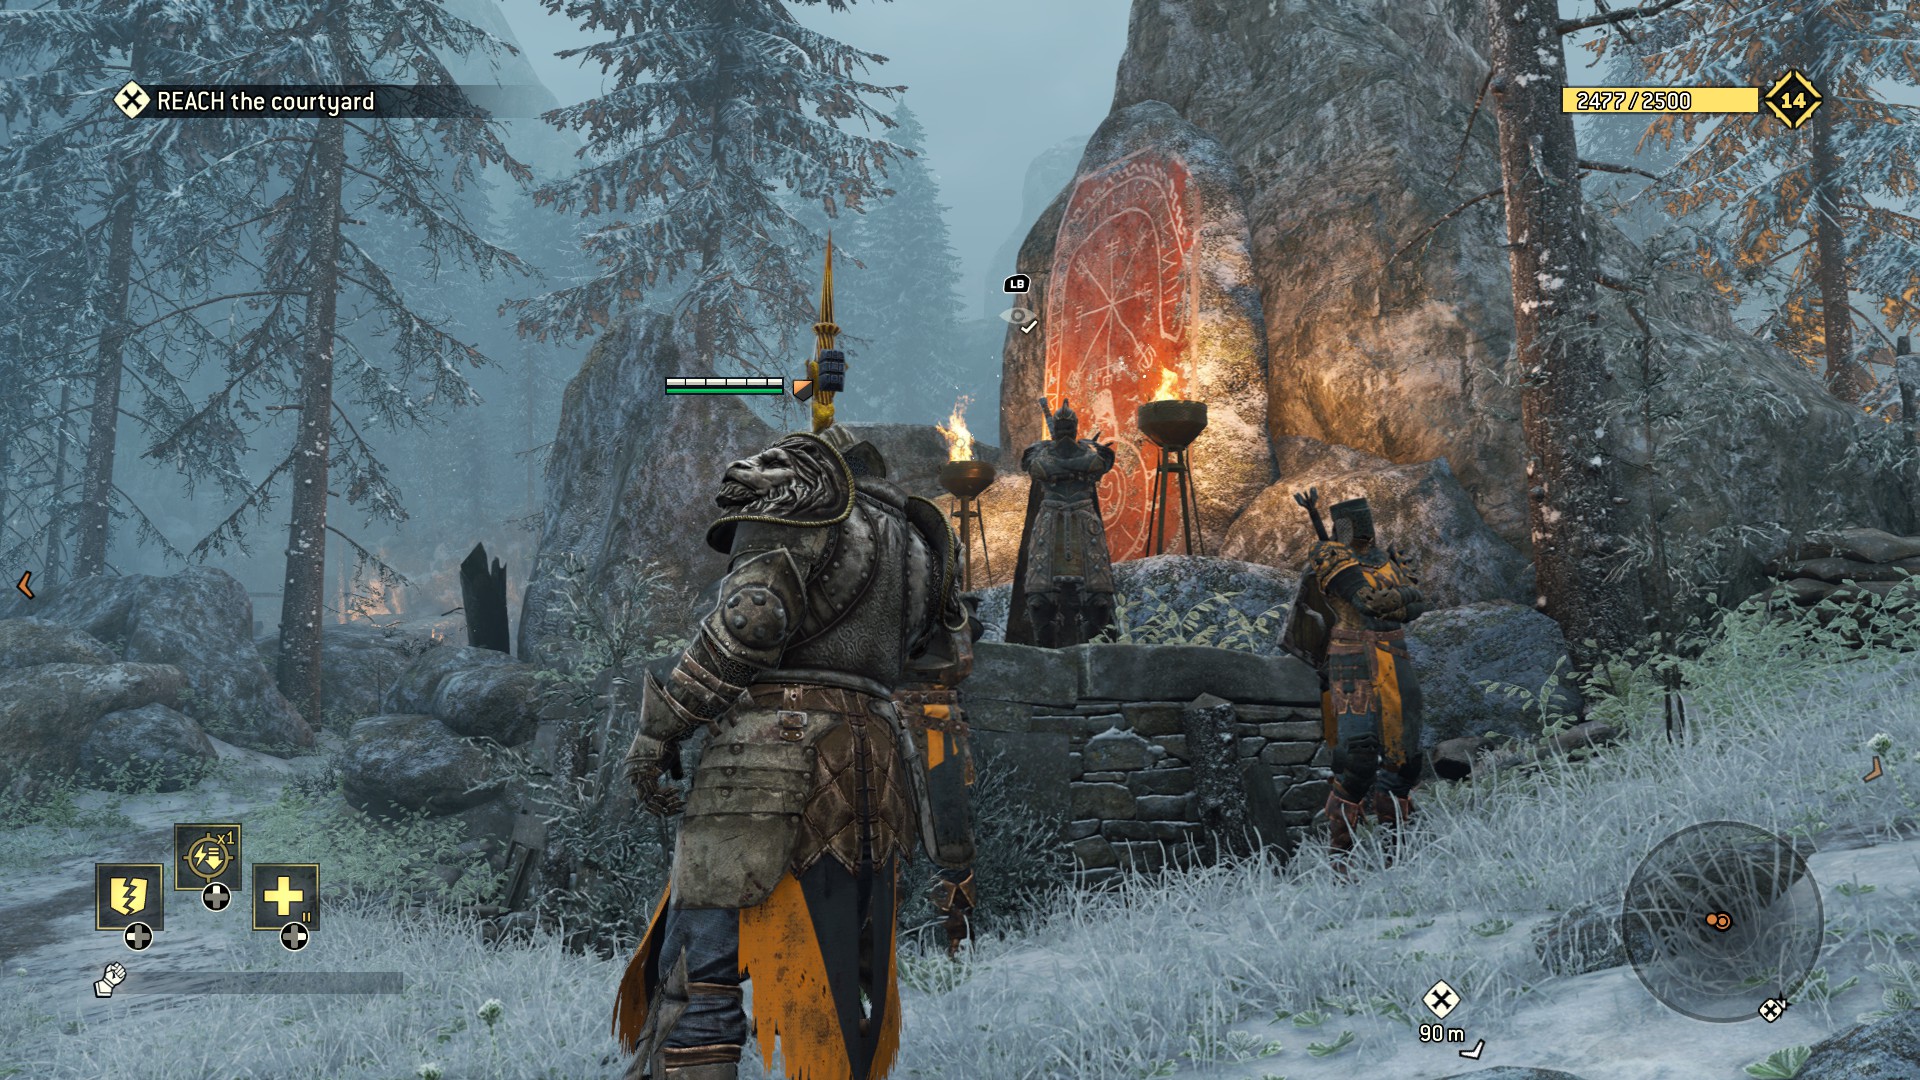
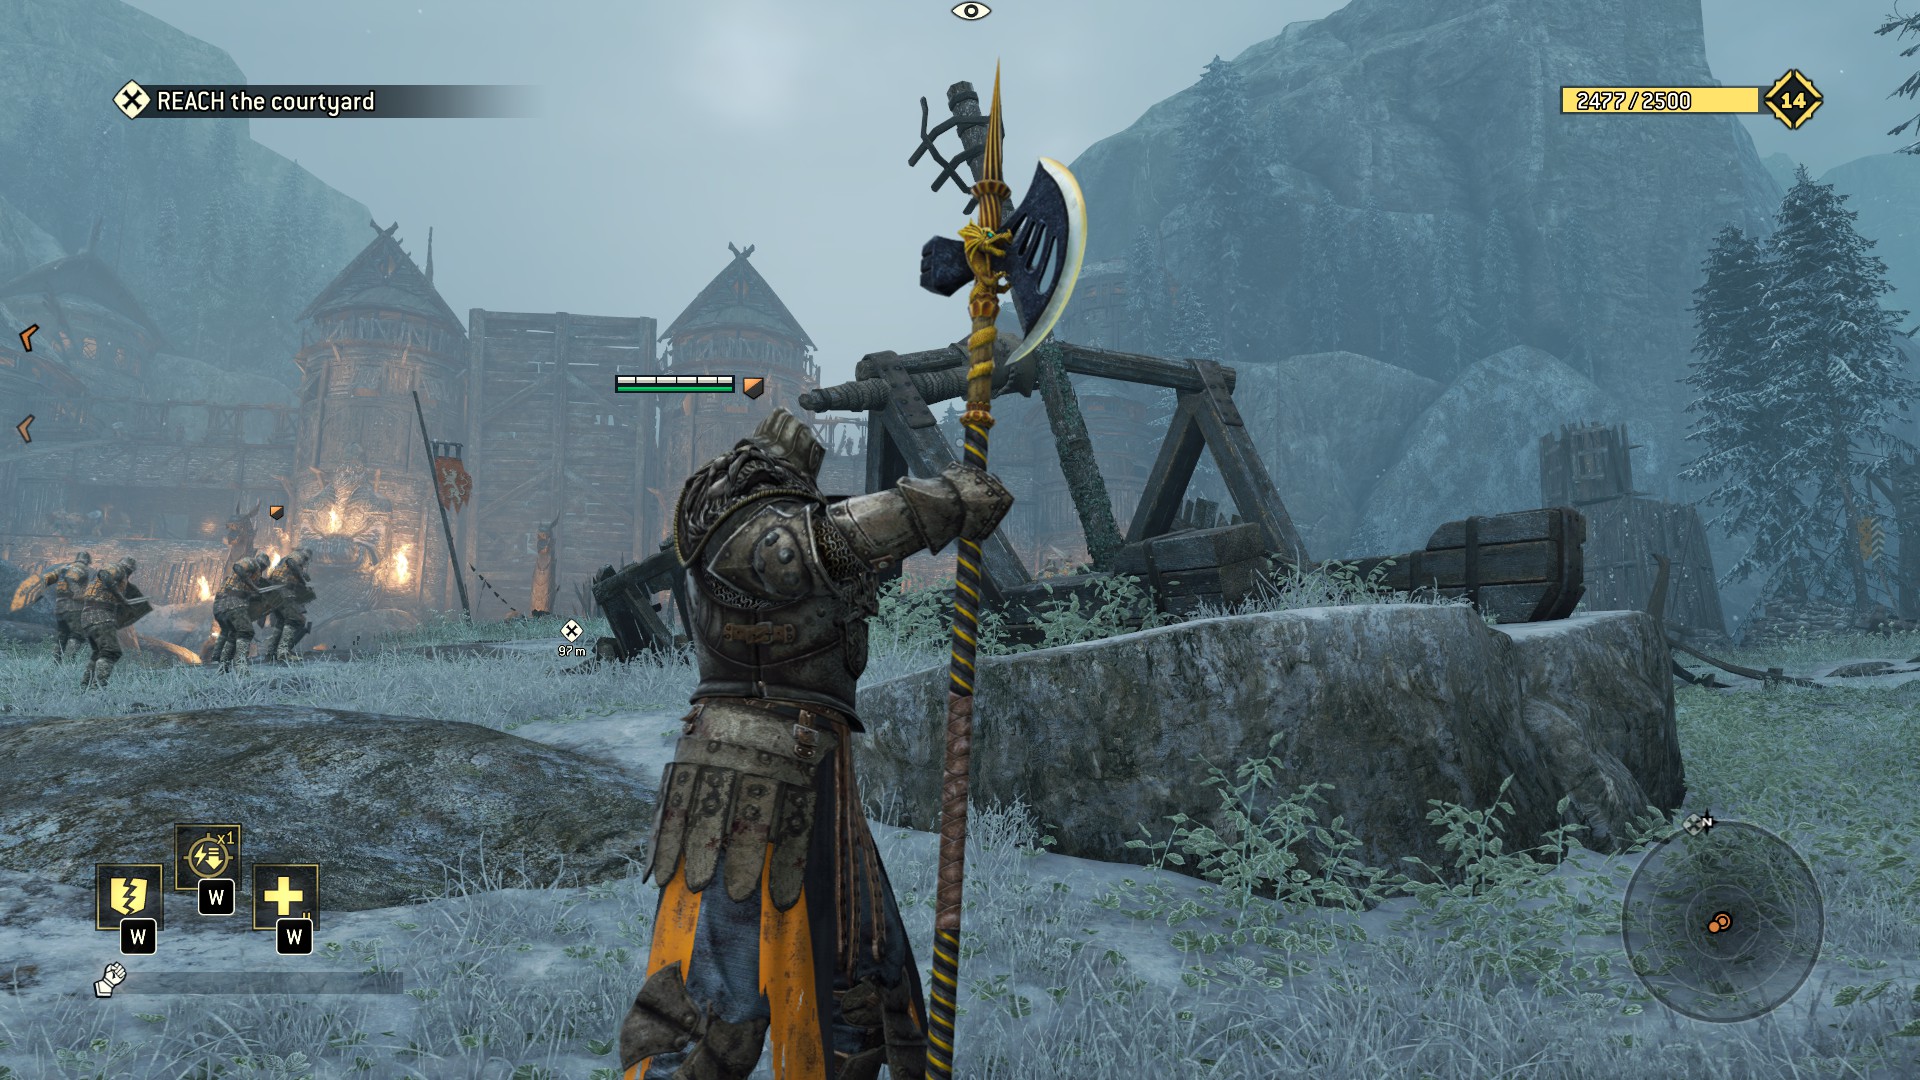
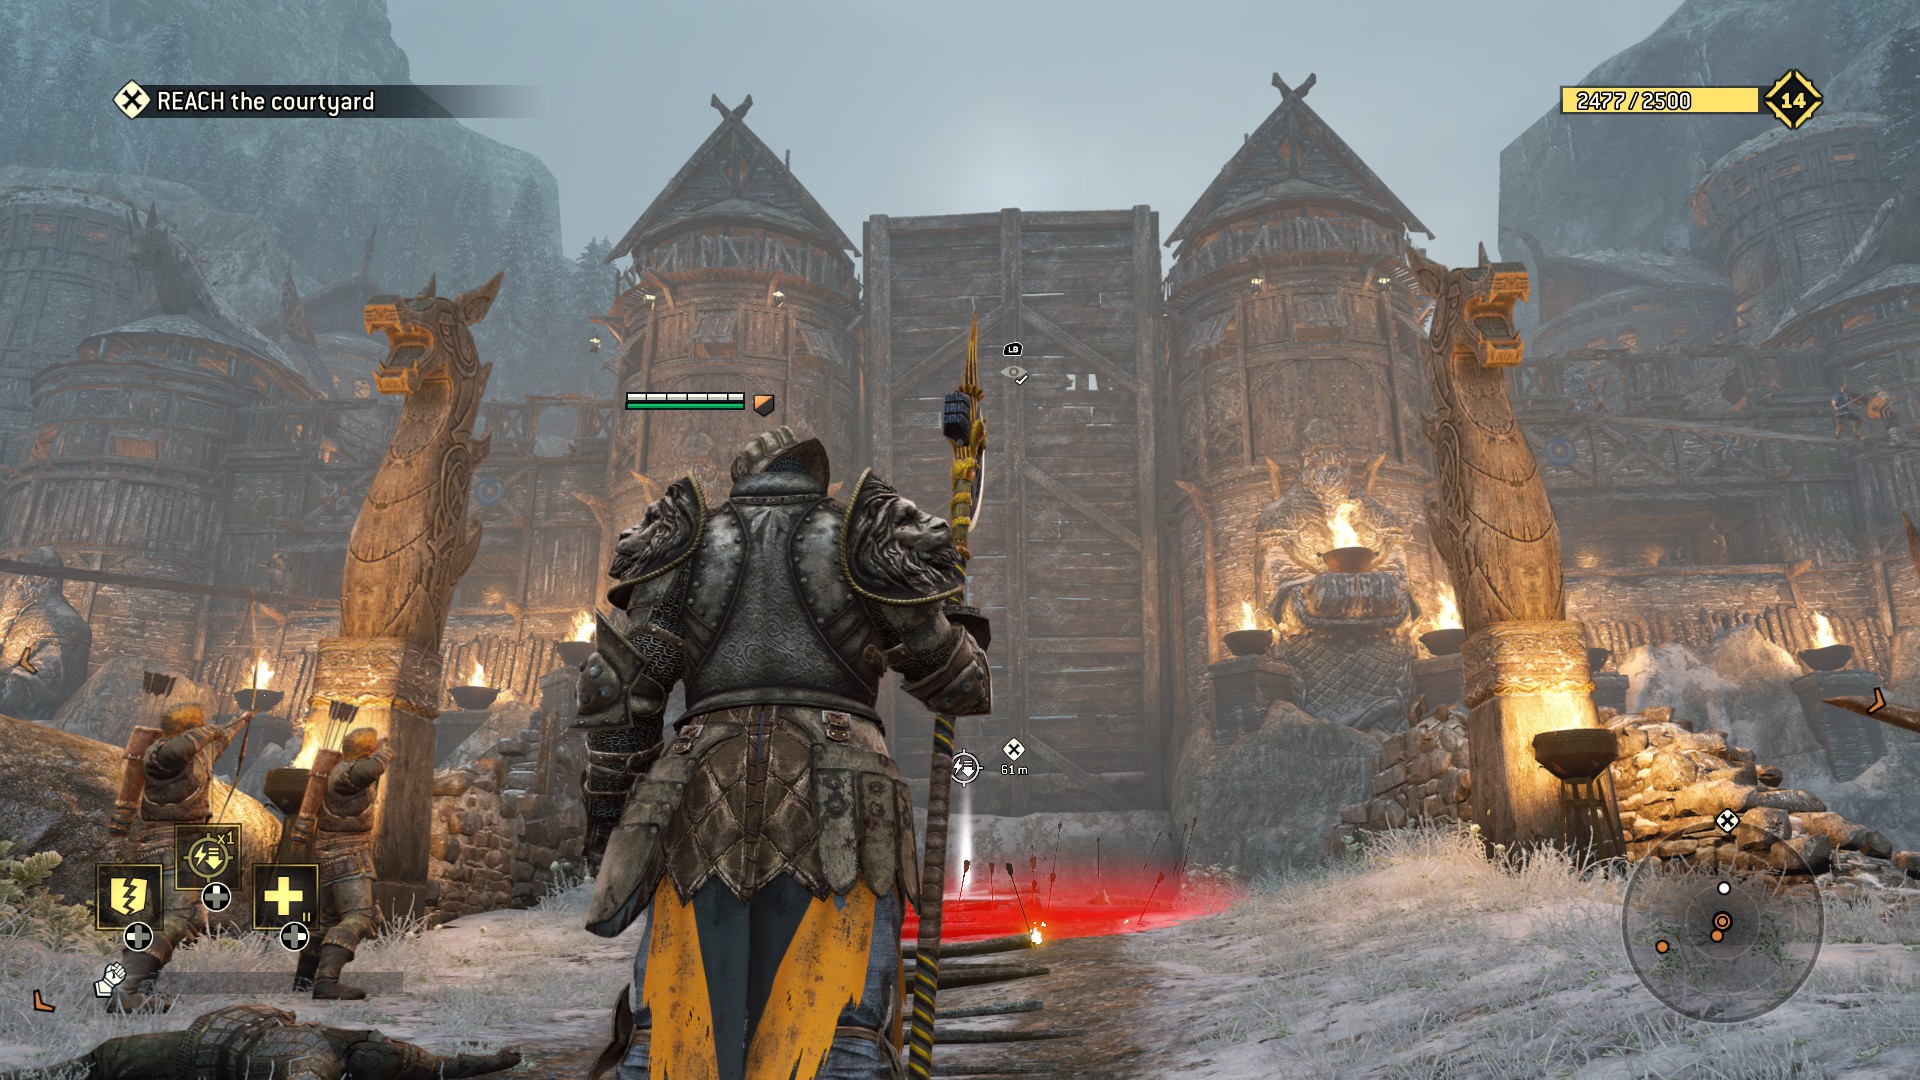
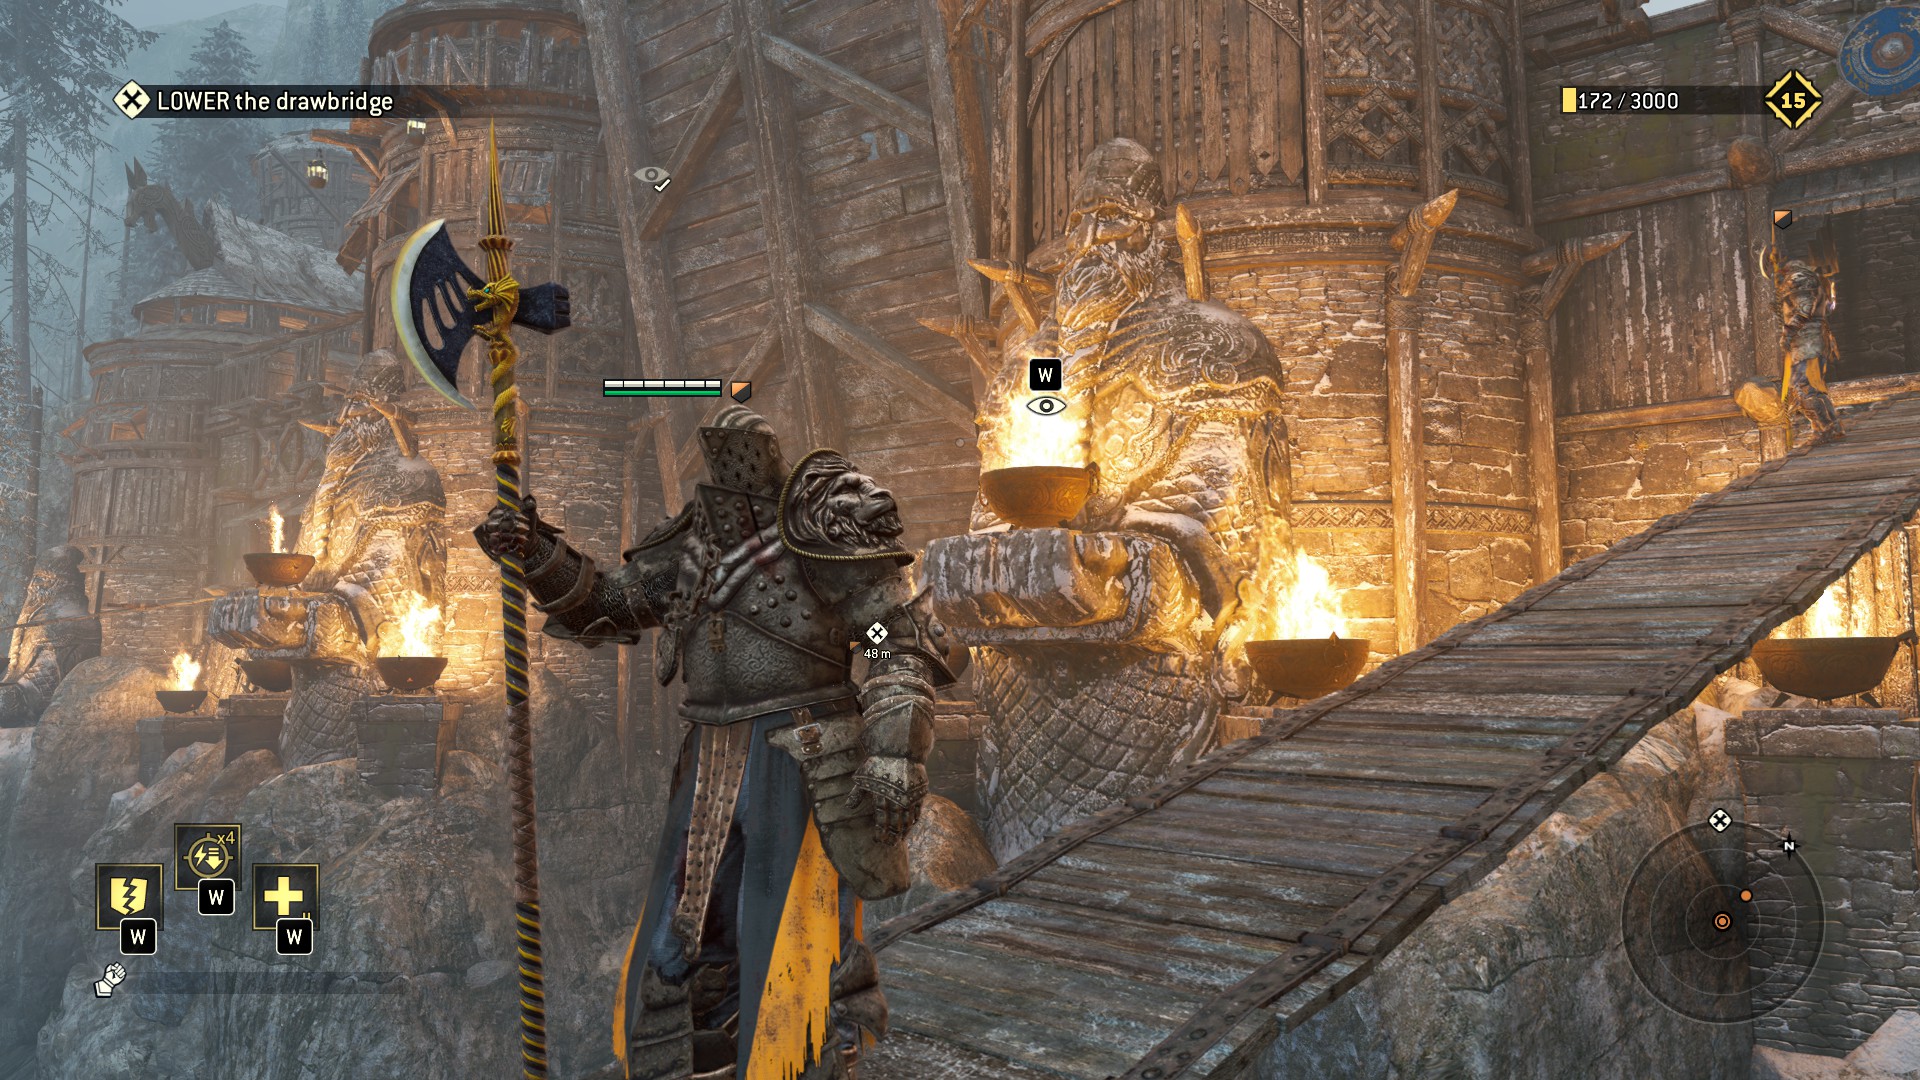
That should be all of them, enjoy the rest of this great level!
1.5 - Sabotage
Okey this map its tricky, a lot of curves and hidden places just like peacekeeper so overwatch everything and also theres a point of no return so be careful.
Start of the mission
1) Pretty straight forwatd, theres a giant statue and little further a scout corpse impossible to miss.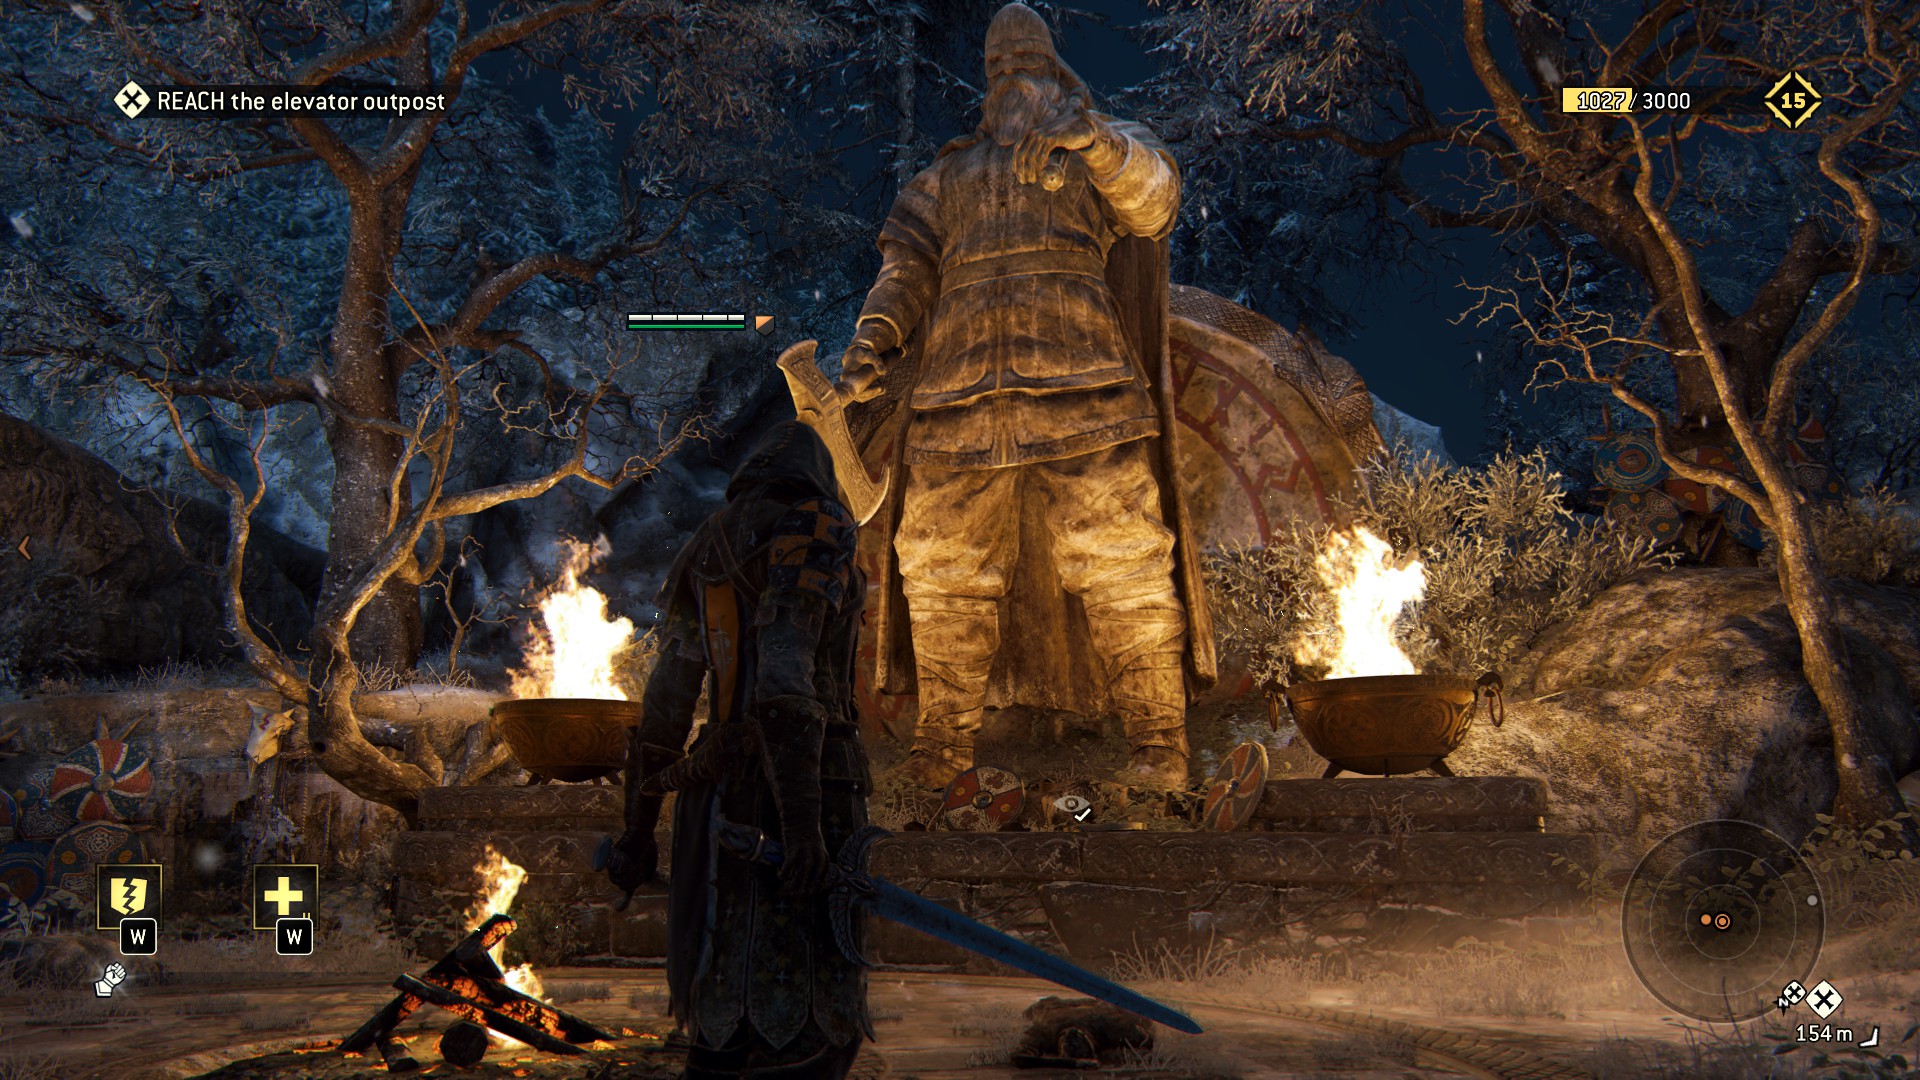
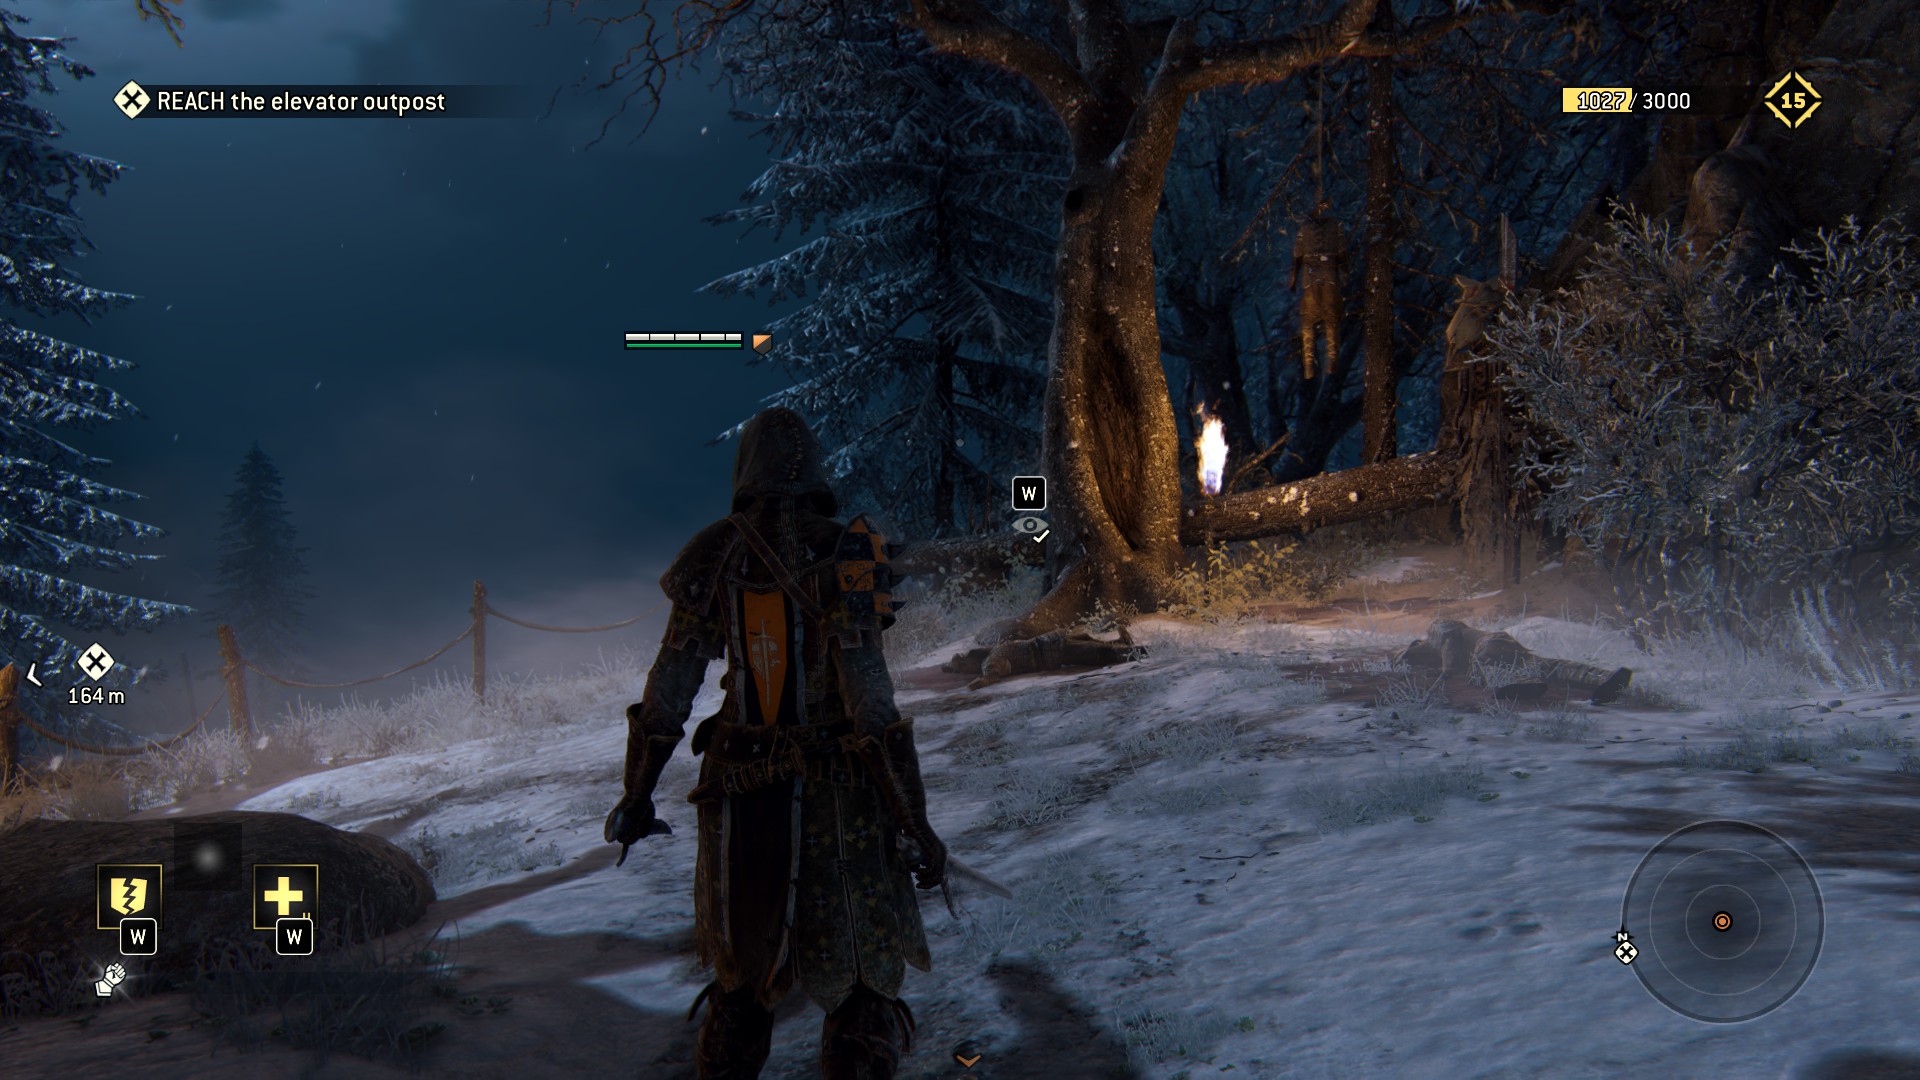
Middle of the mission before point of no return
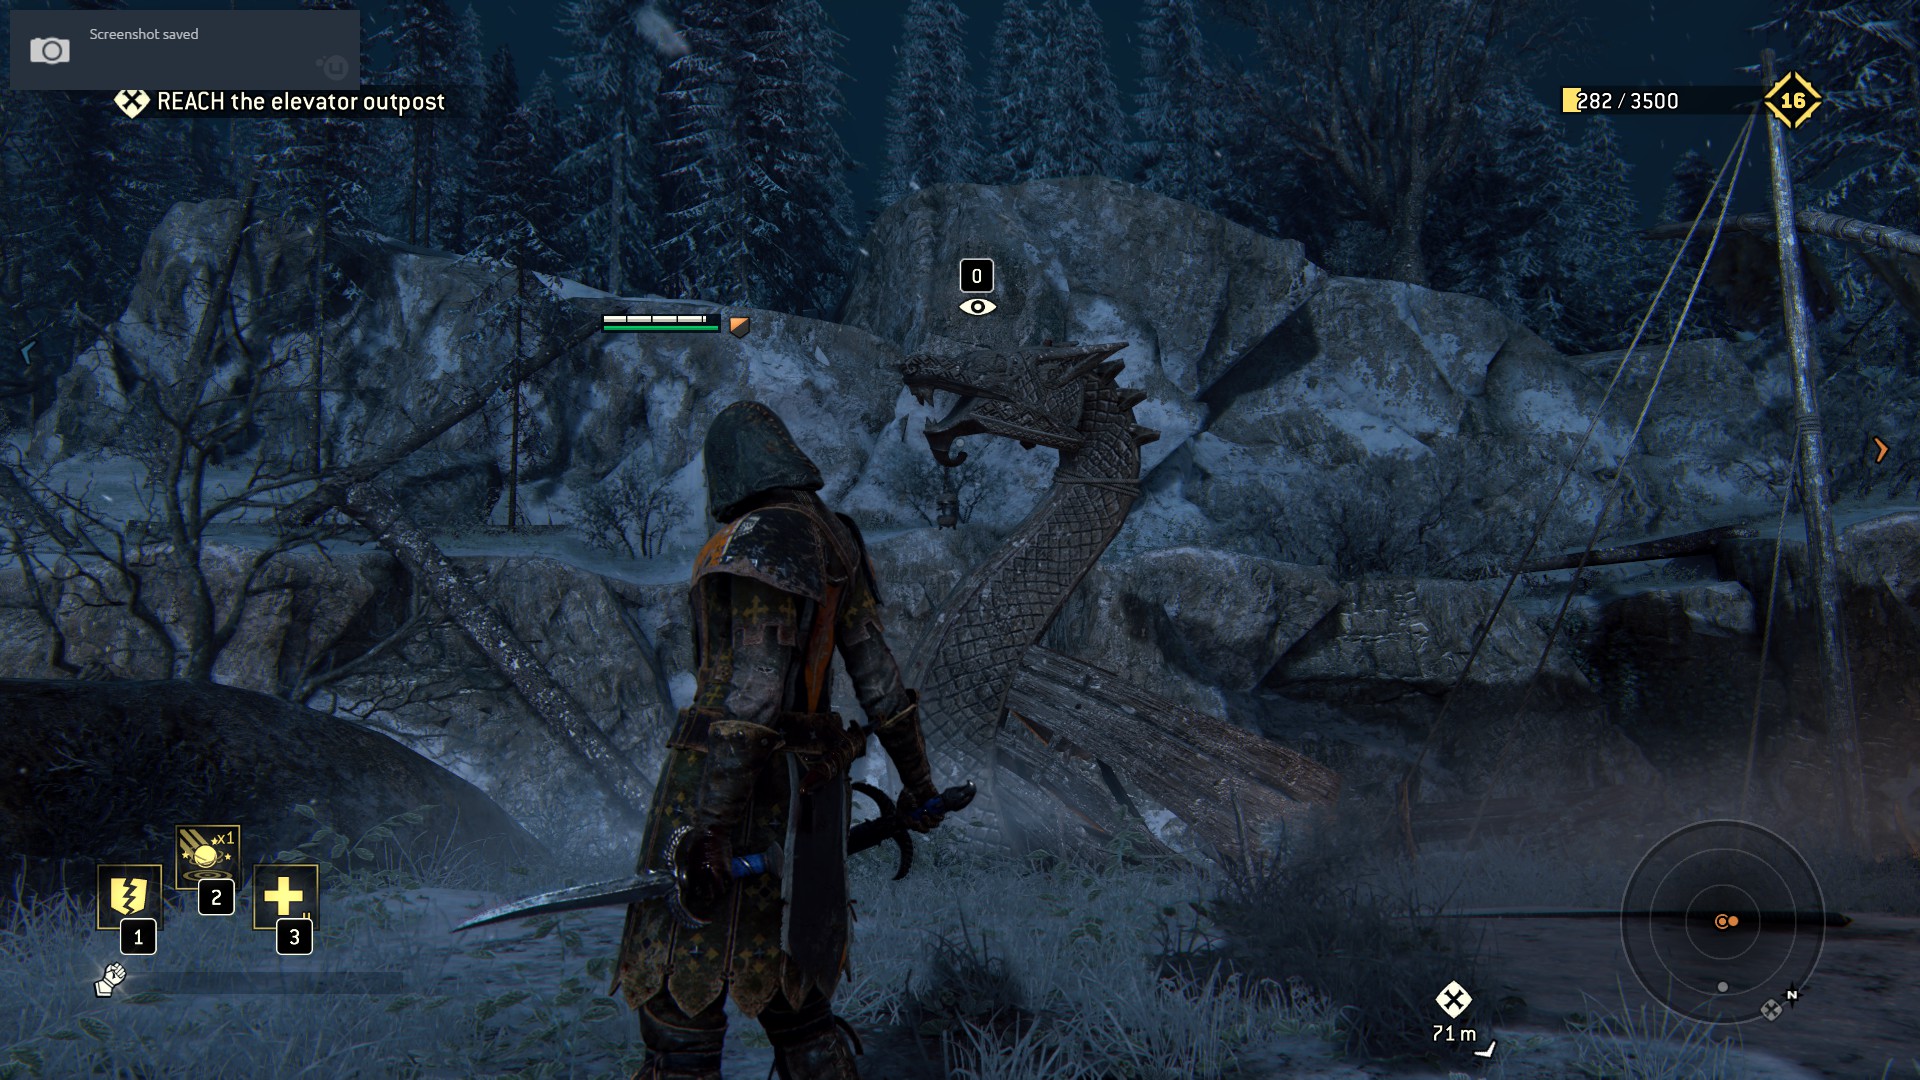
2) Follow the road until theres a viking gank near a boat, theres a lof of stuff here so look around, one its the boat and the hanged man.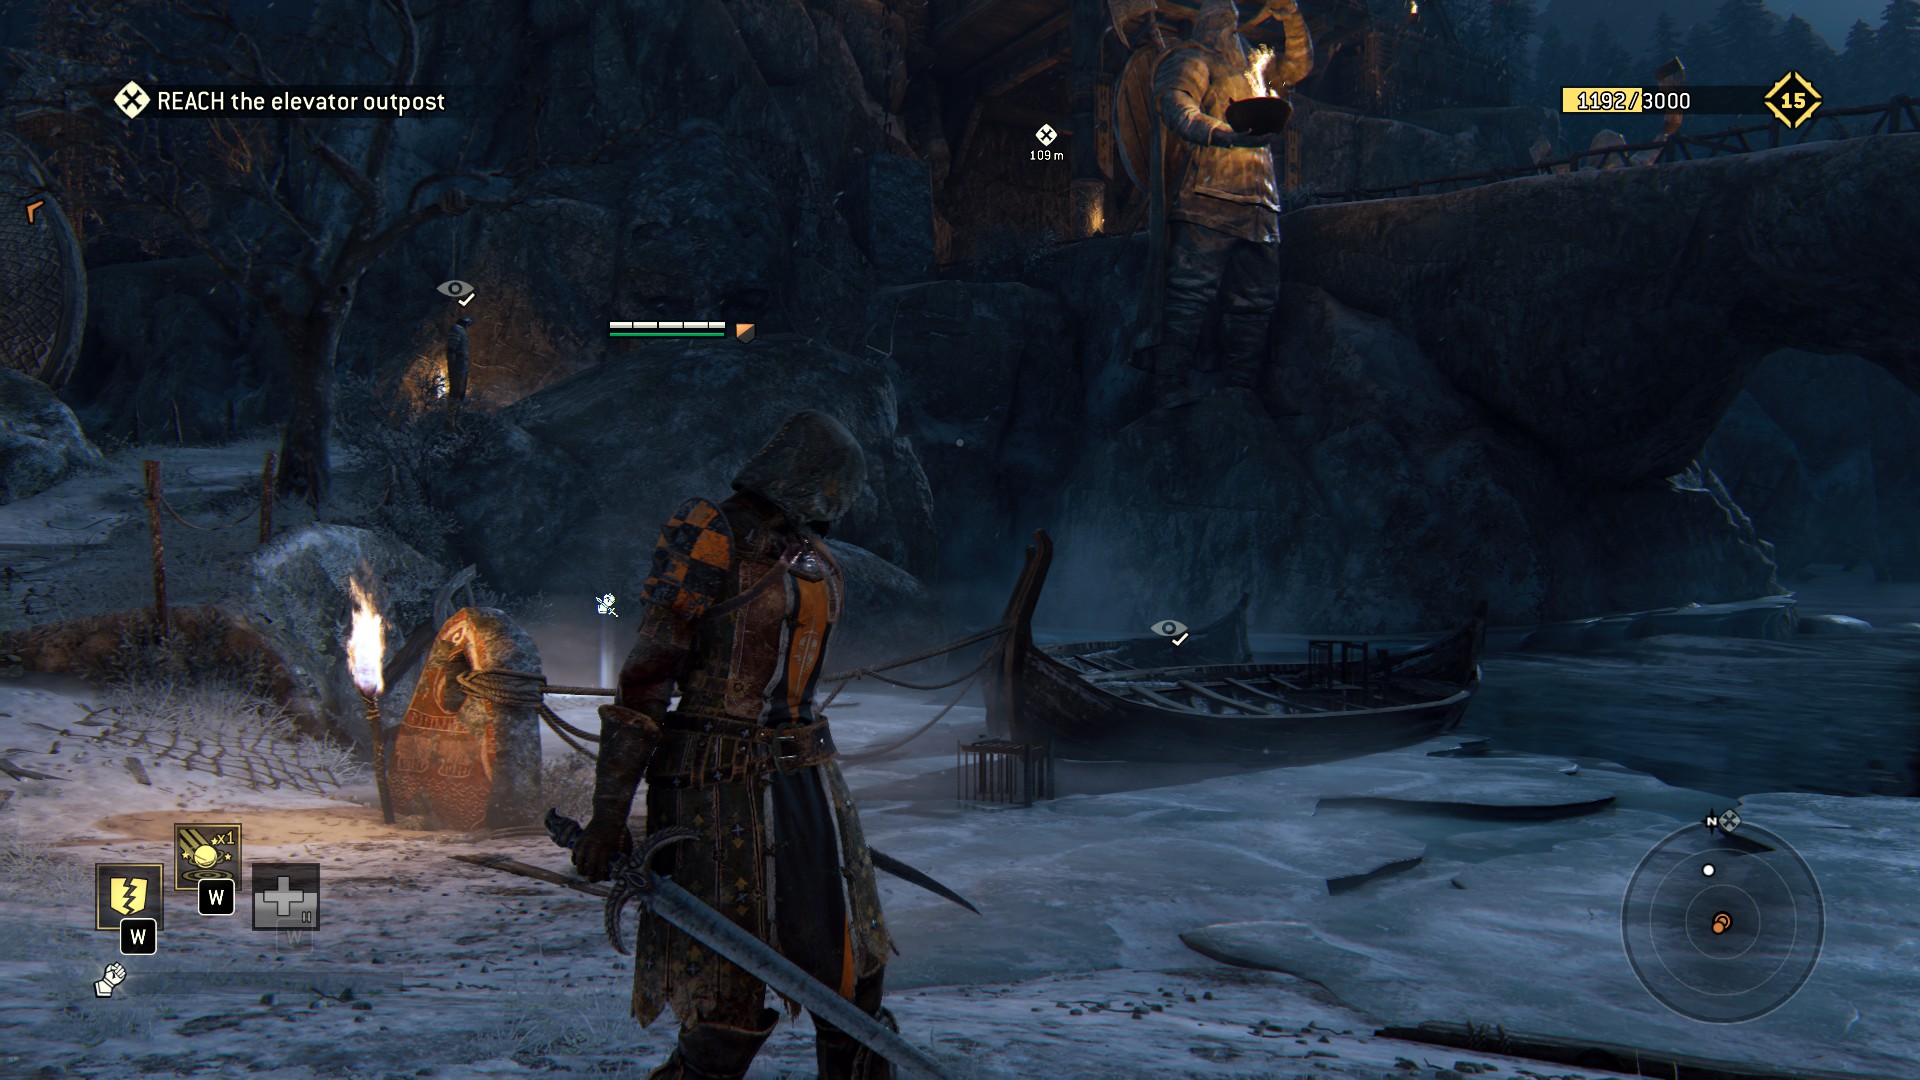 3) Futher at the destroyed ship where another gank waits, look around theres a breakable and an observation spot at the ship "serpent" head.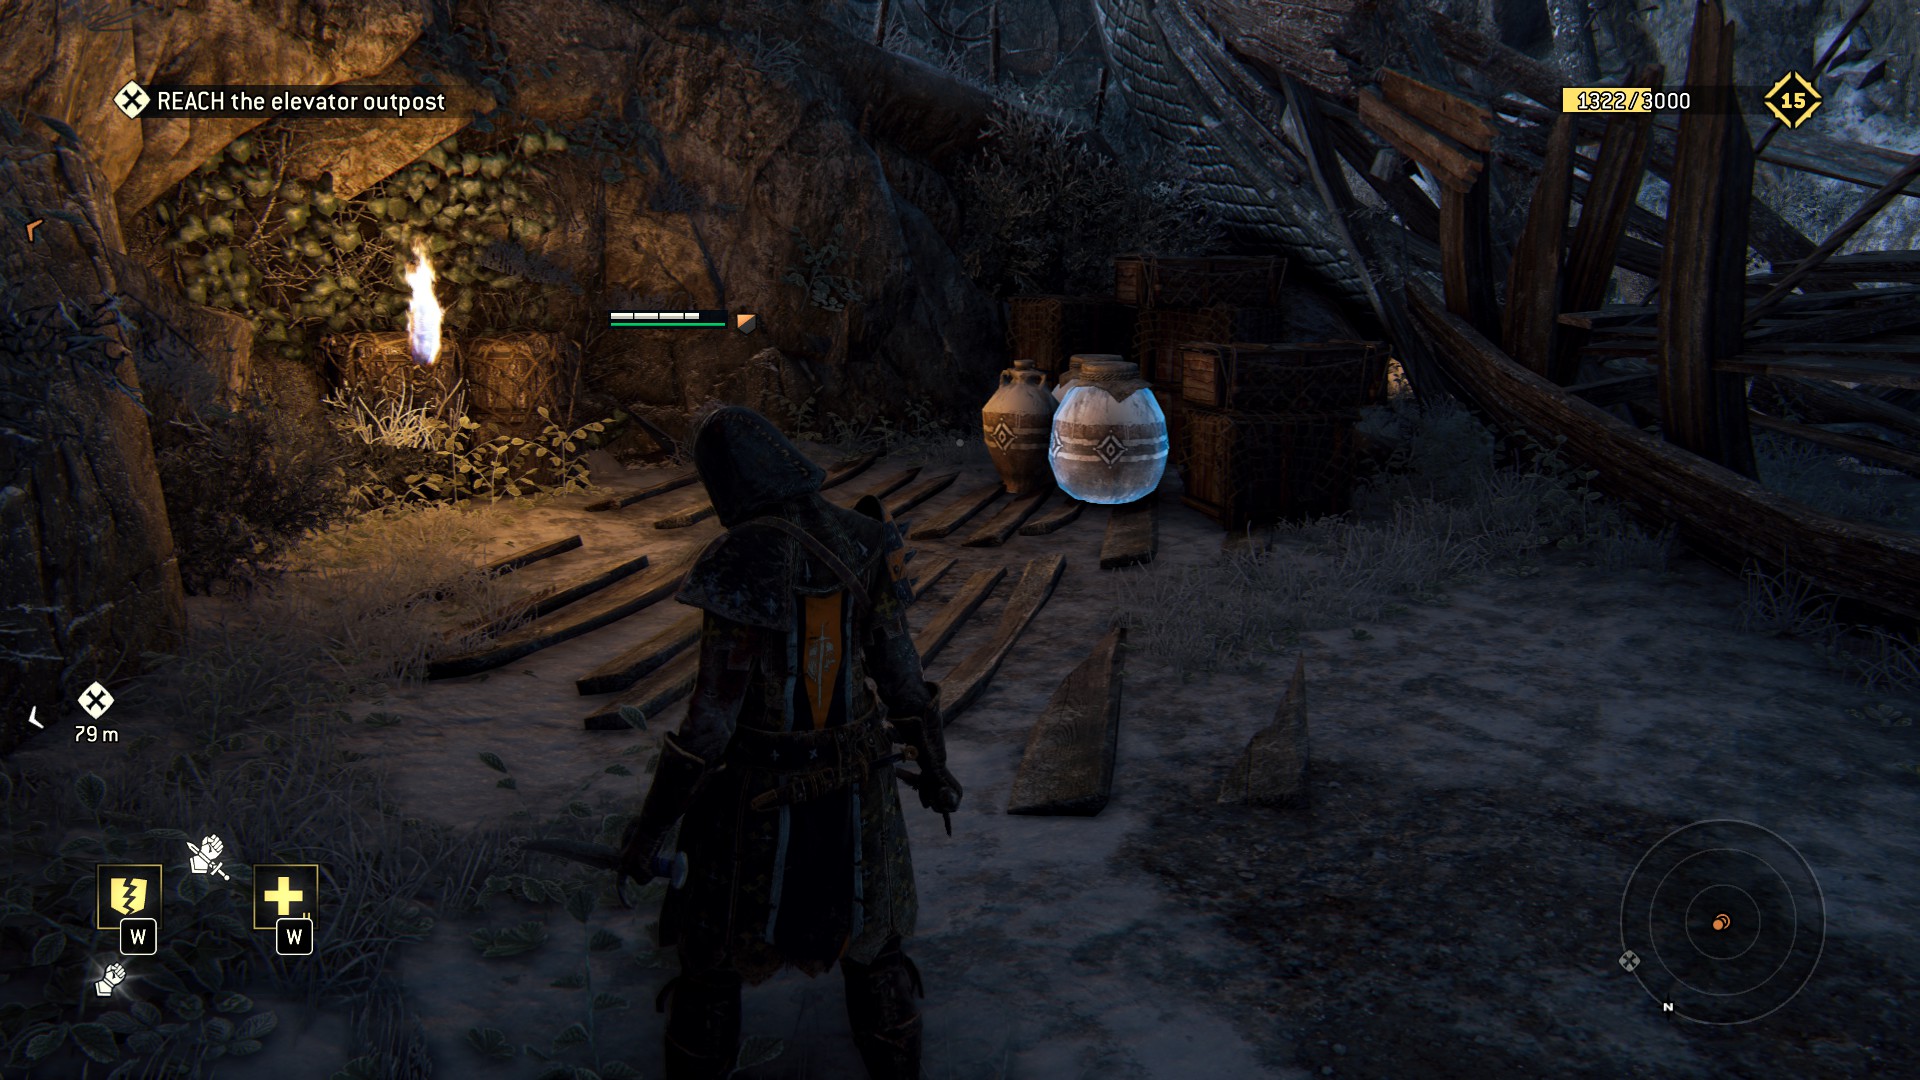
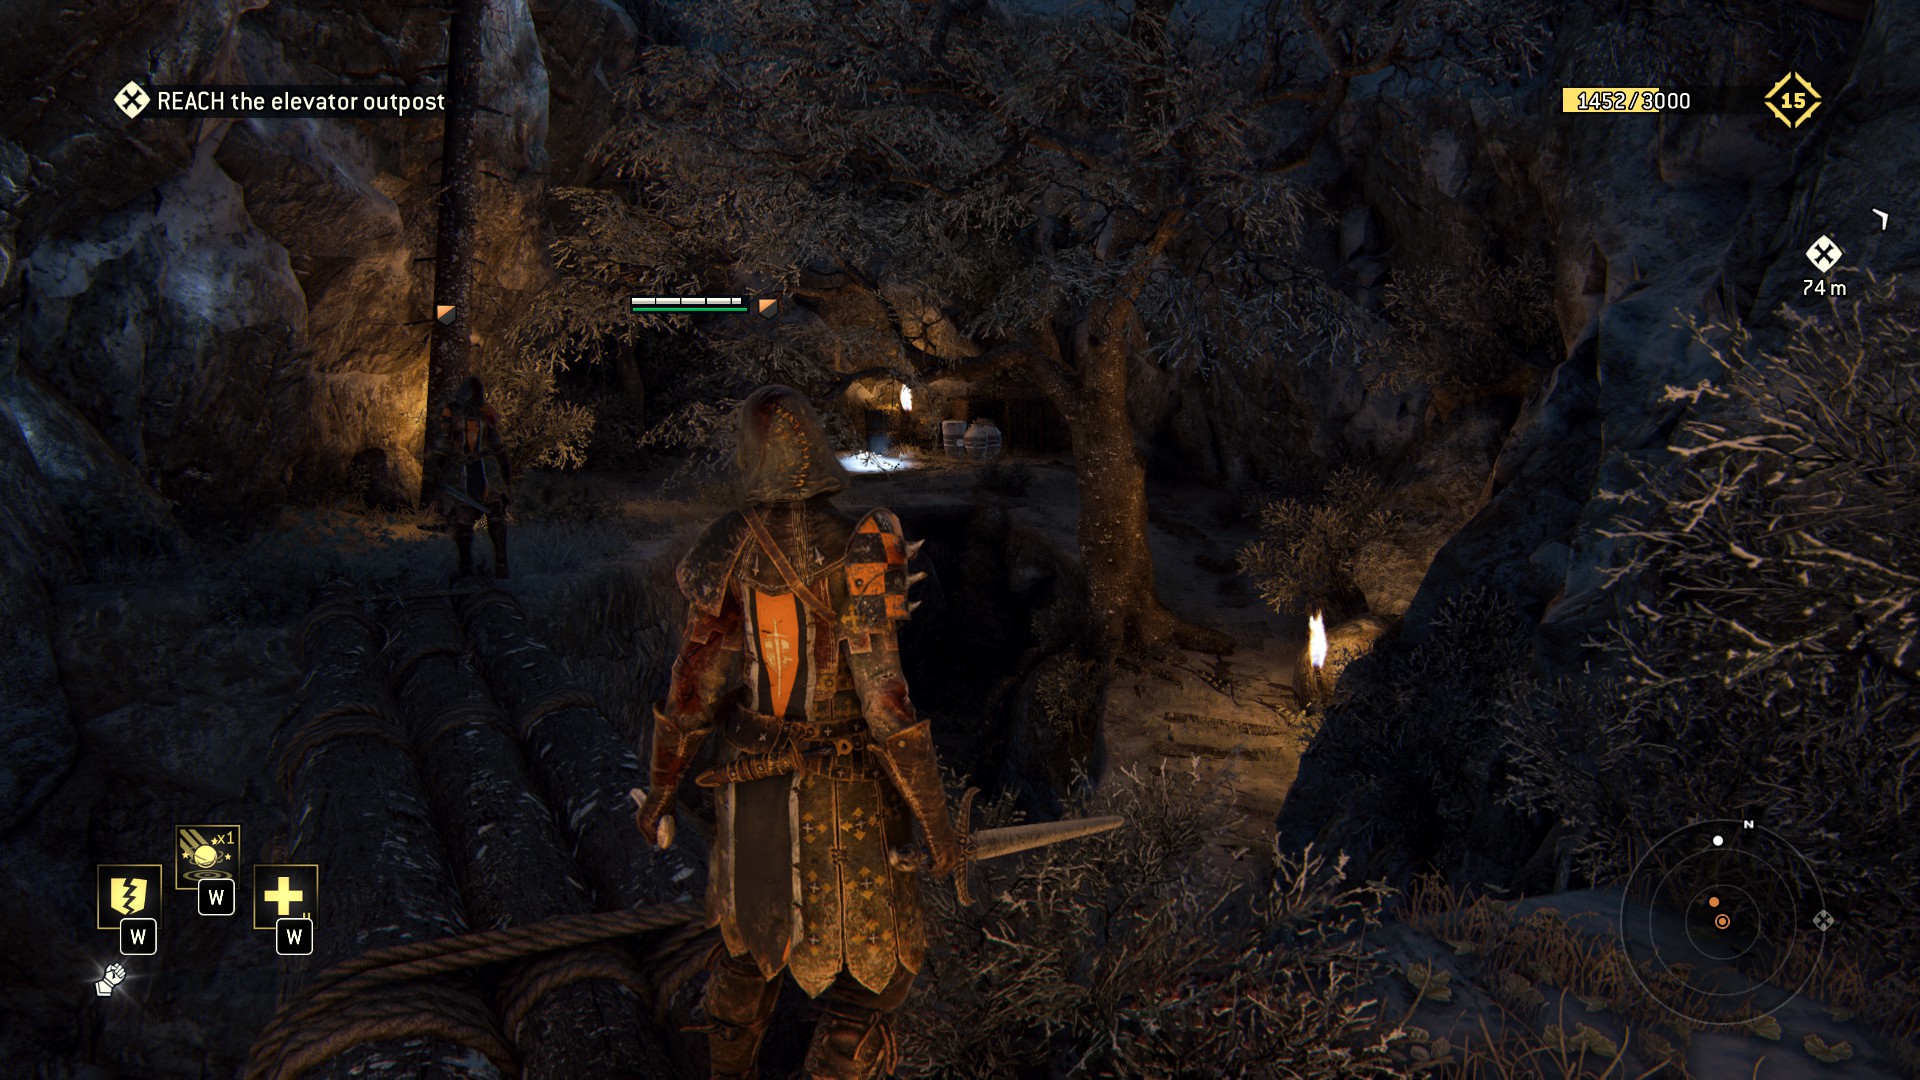
 4) Breakable after the ruined ship, take the stairs and go left.
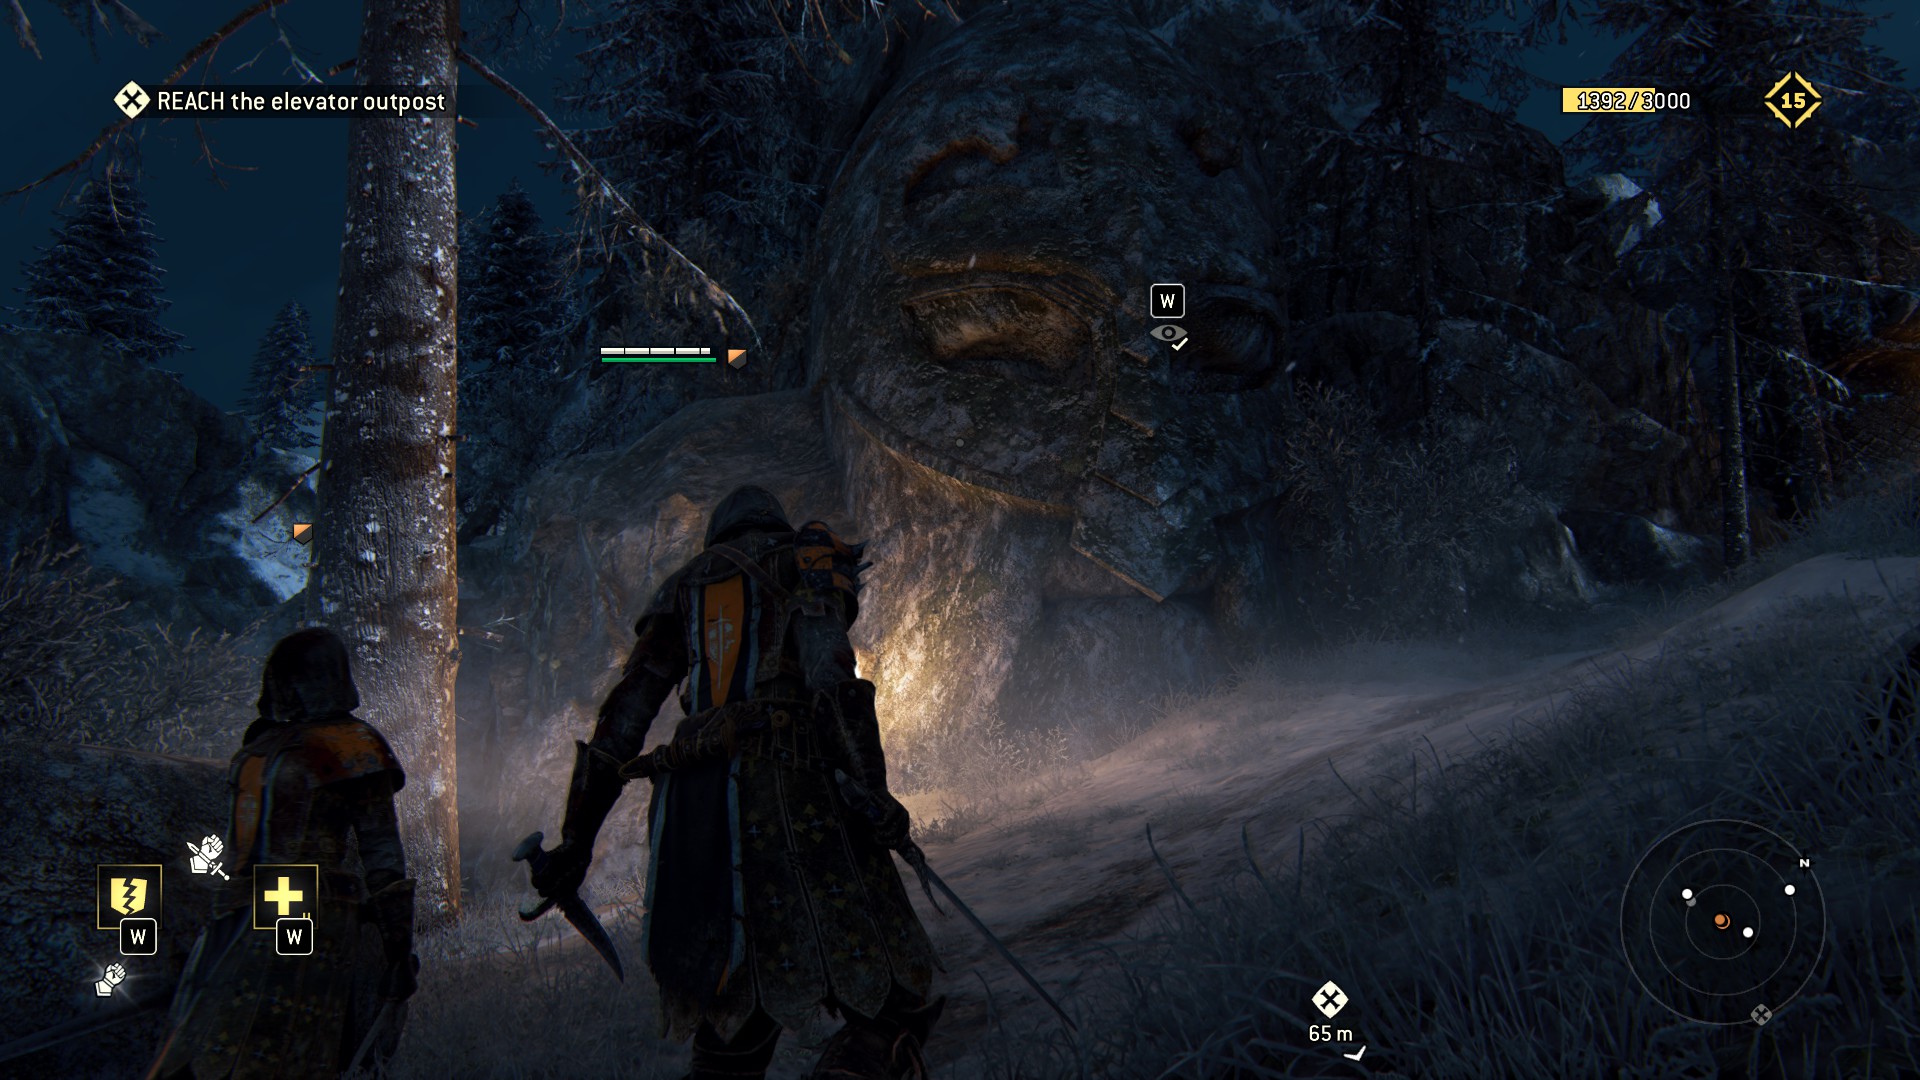
 5) Giant stone head in the way to the village impossible to miss.
 6) Just before entering to the village, theres some breakables near a campfire and a giant skull and right the giant skull the village main gate.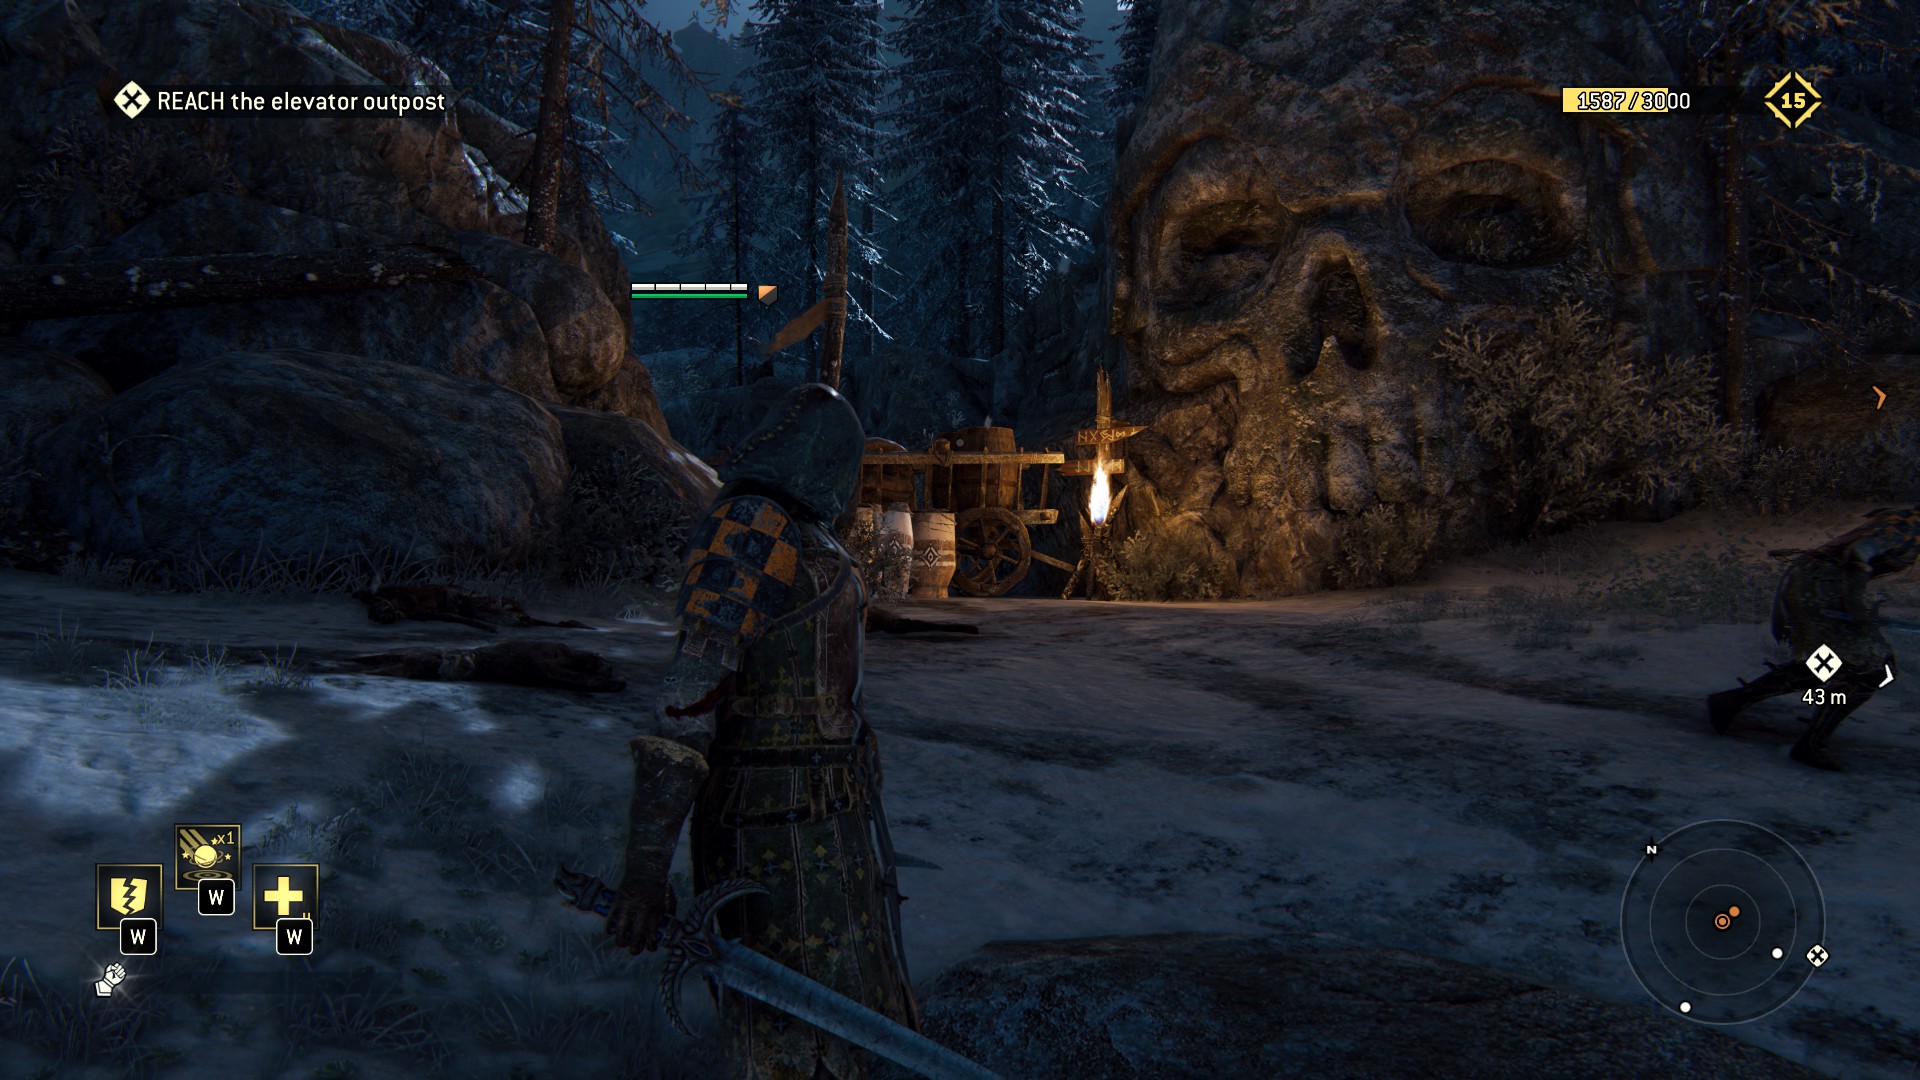
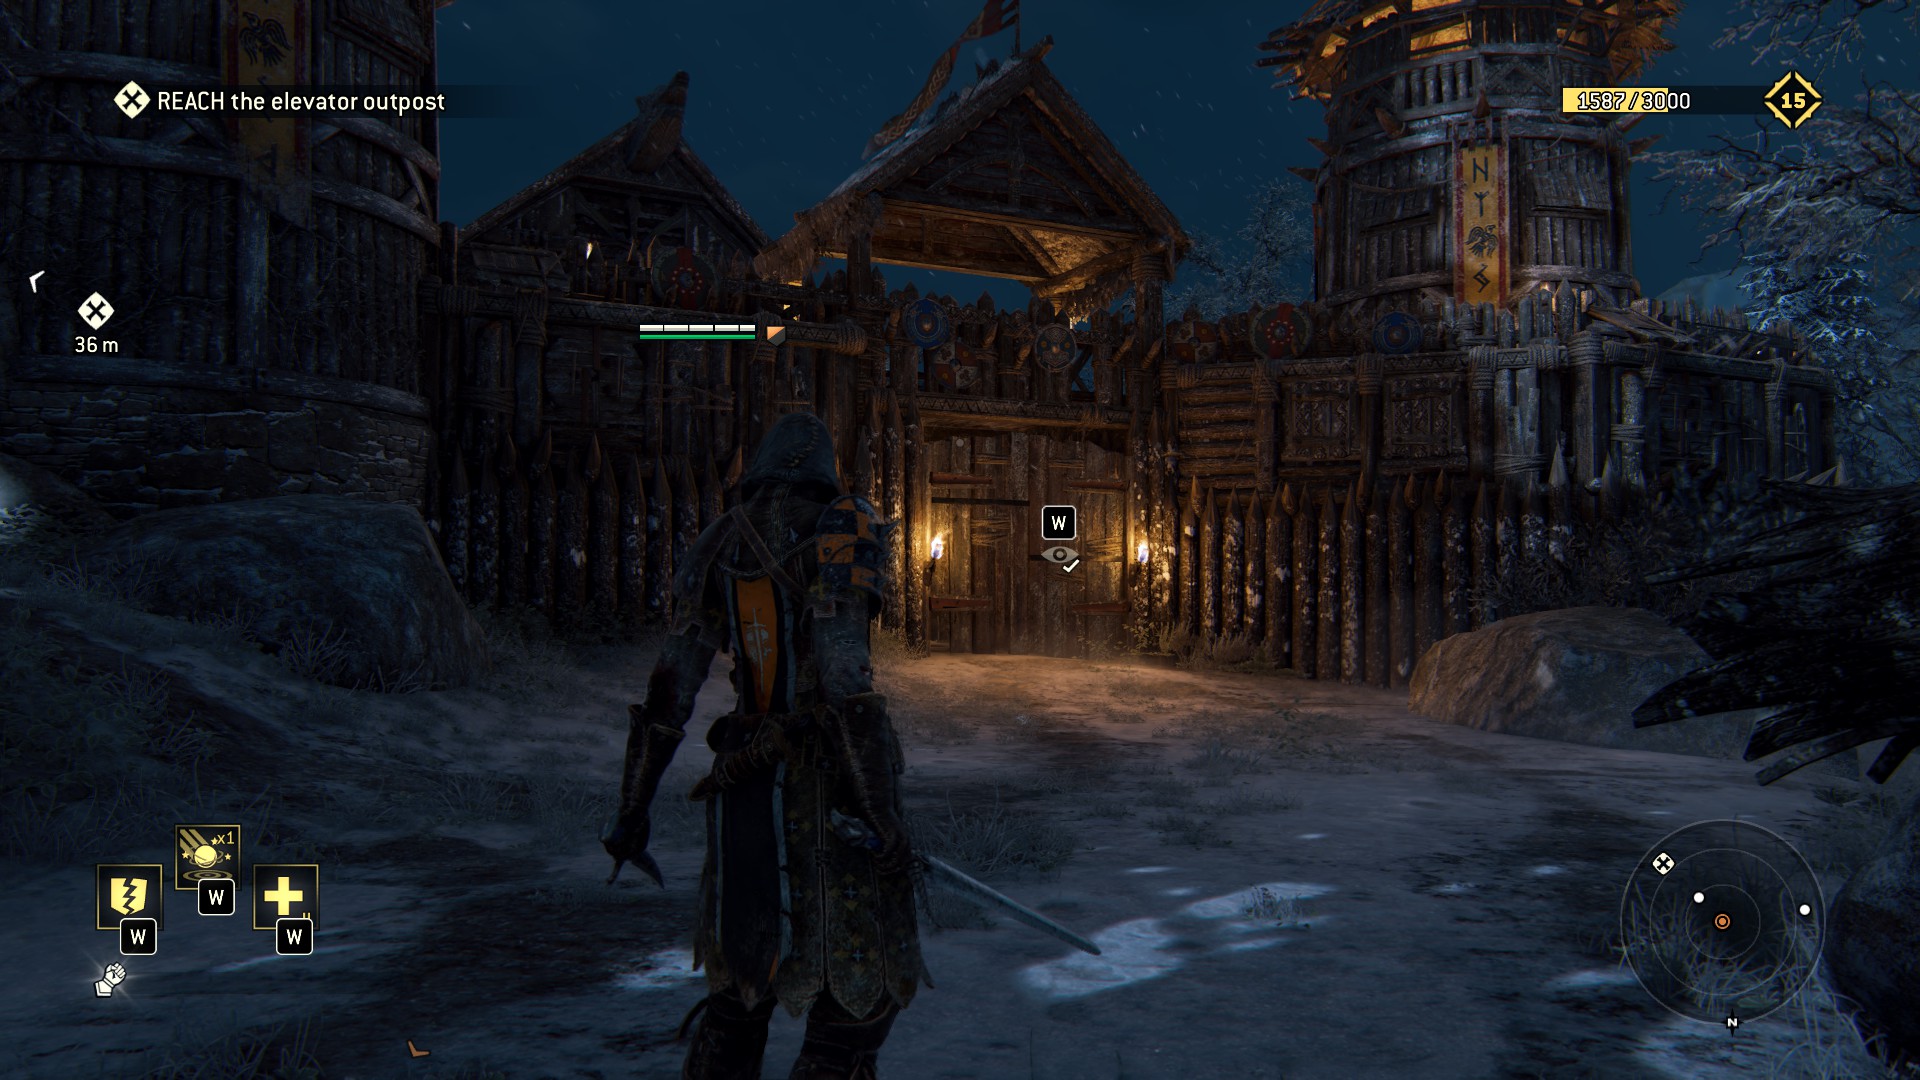
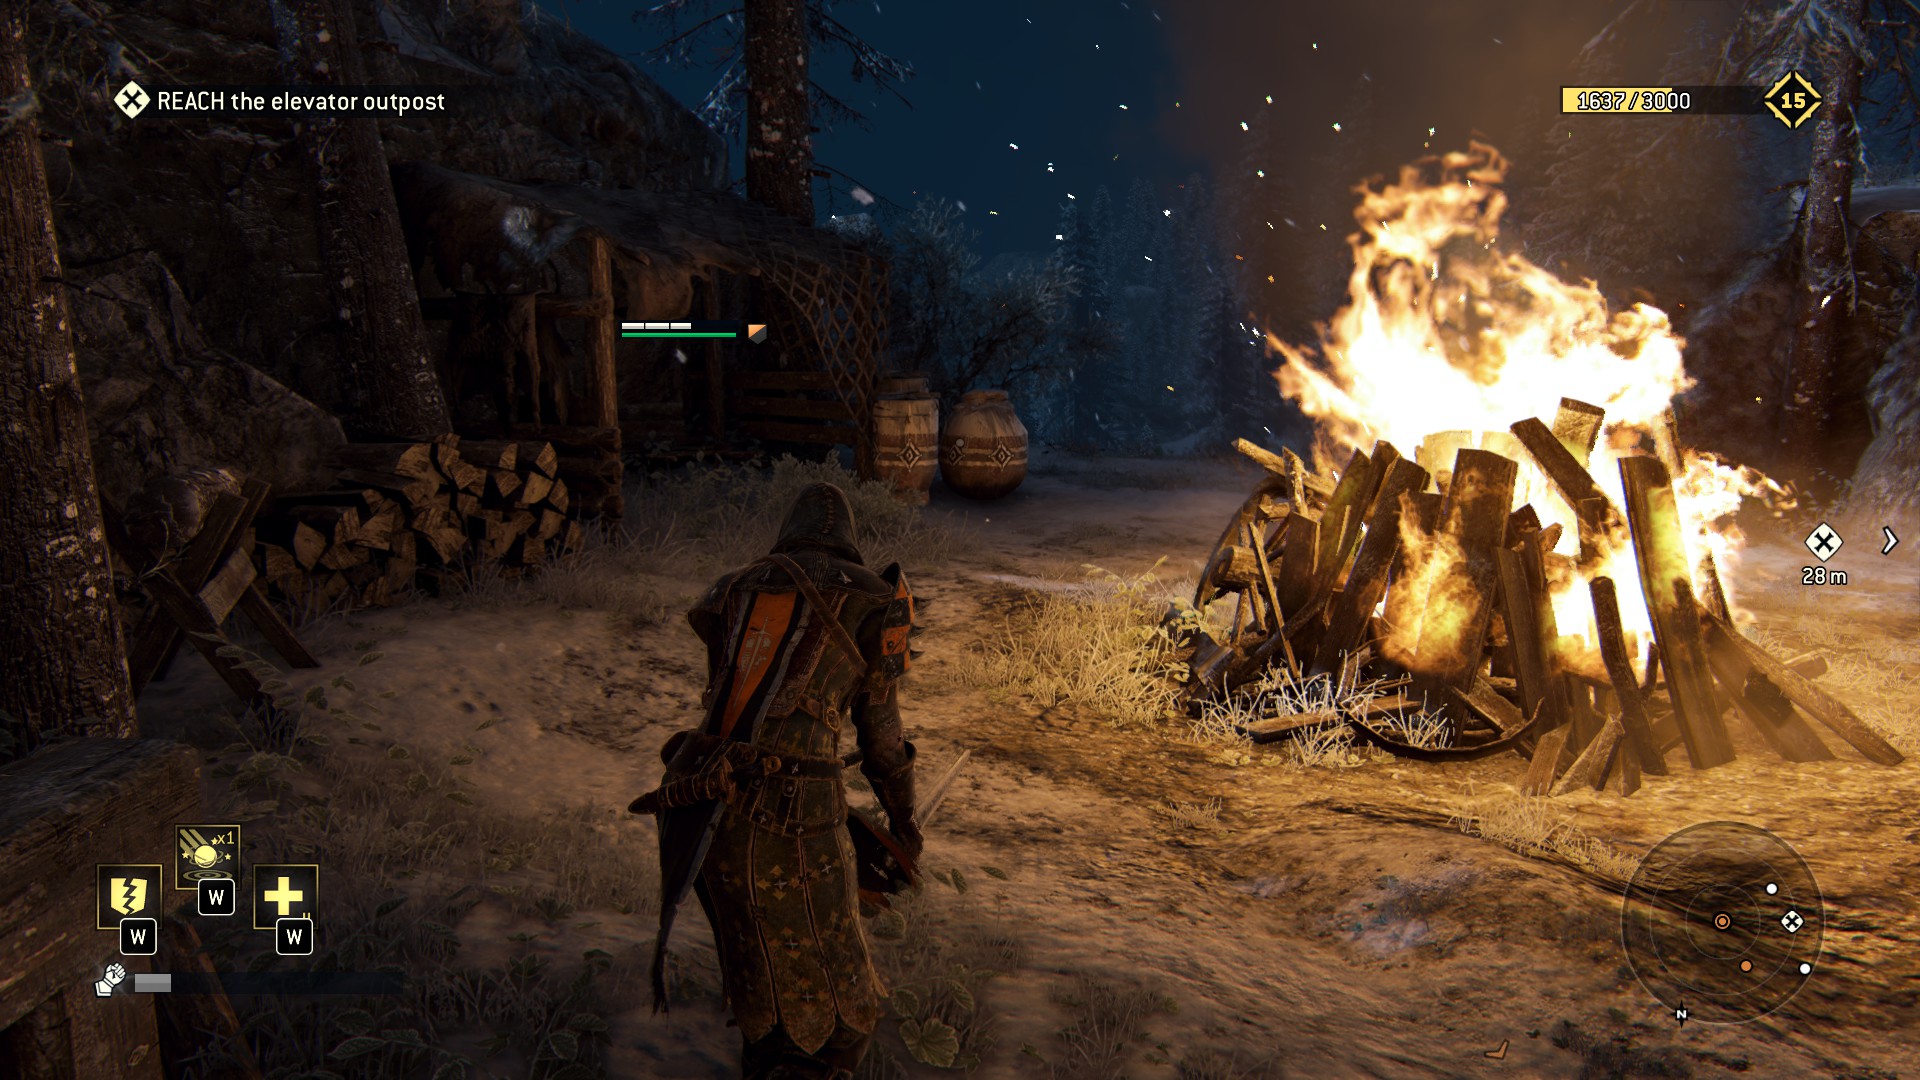
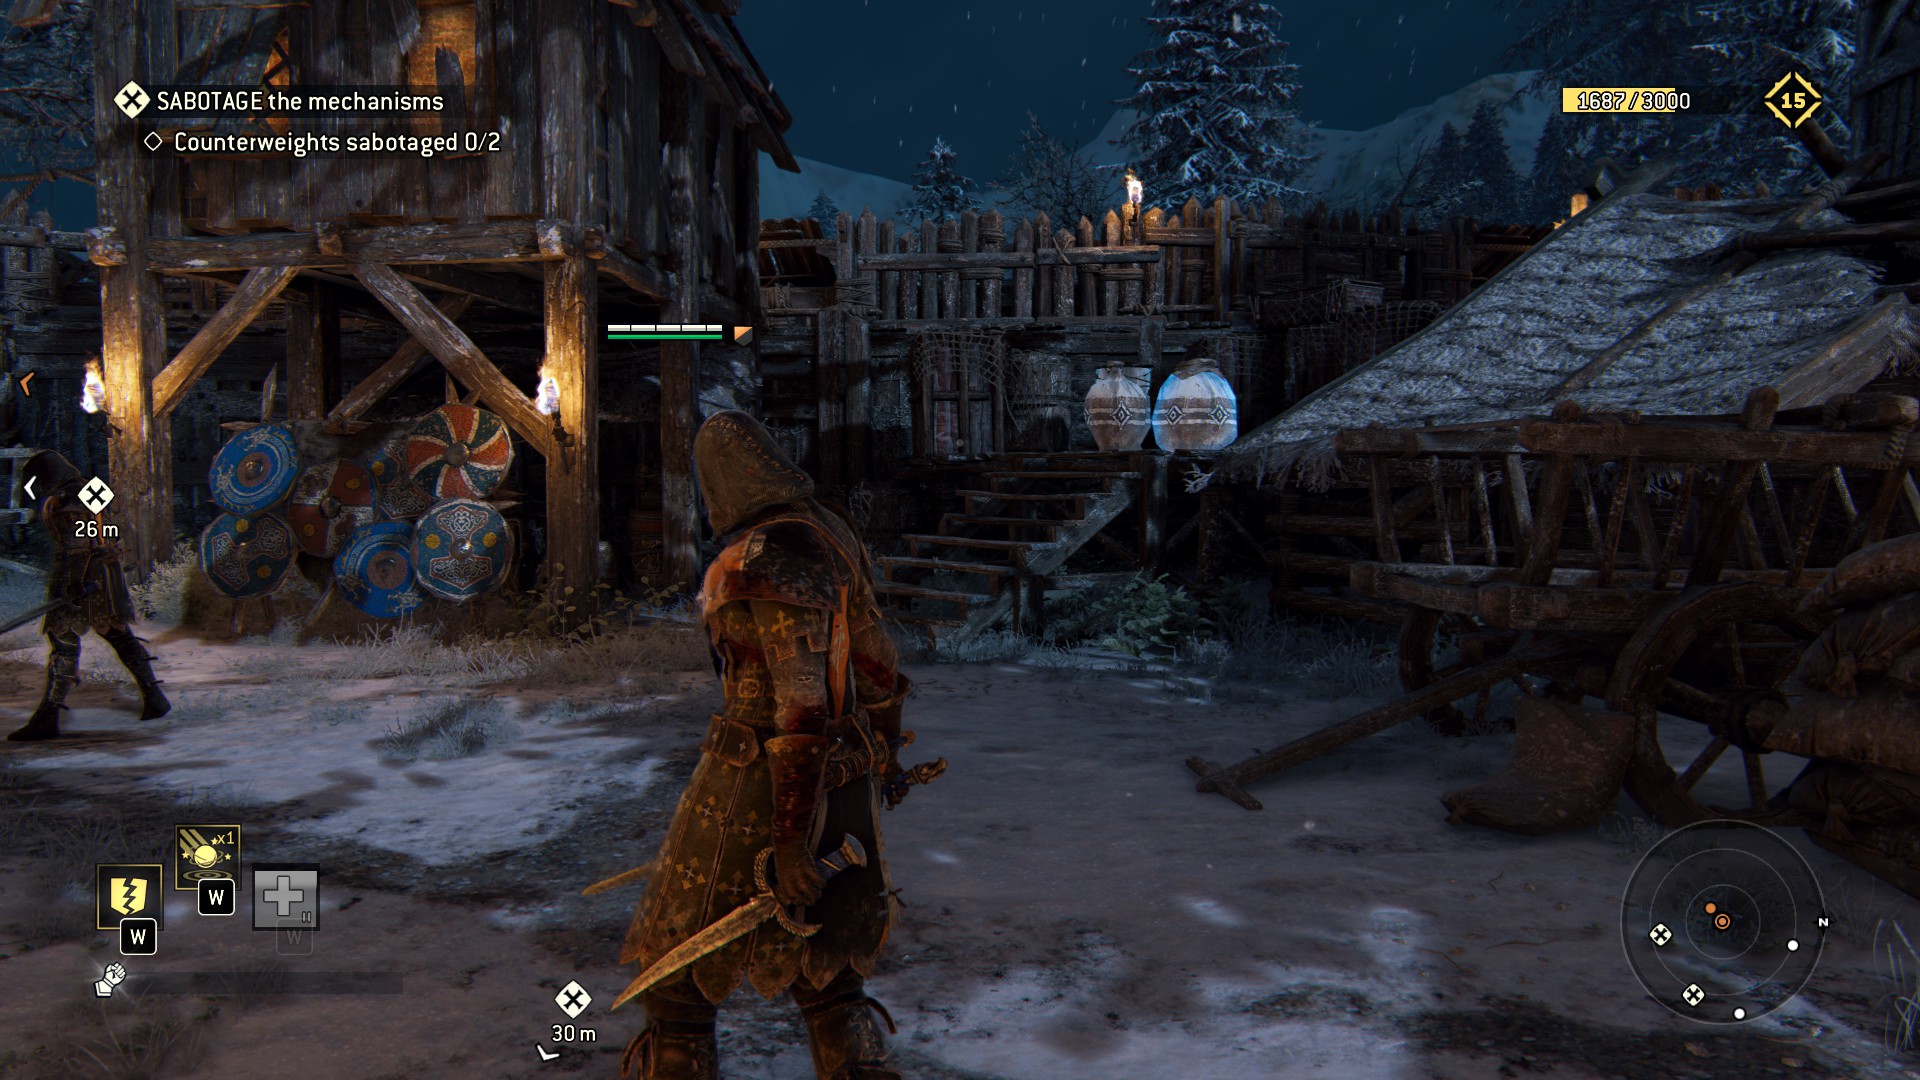
The village (POINT OF NO RETURN)
- Circle around the village theres a obervation point on the main hall and a breakable near a tower.
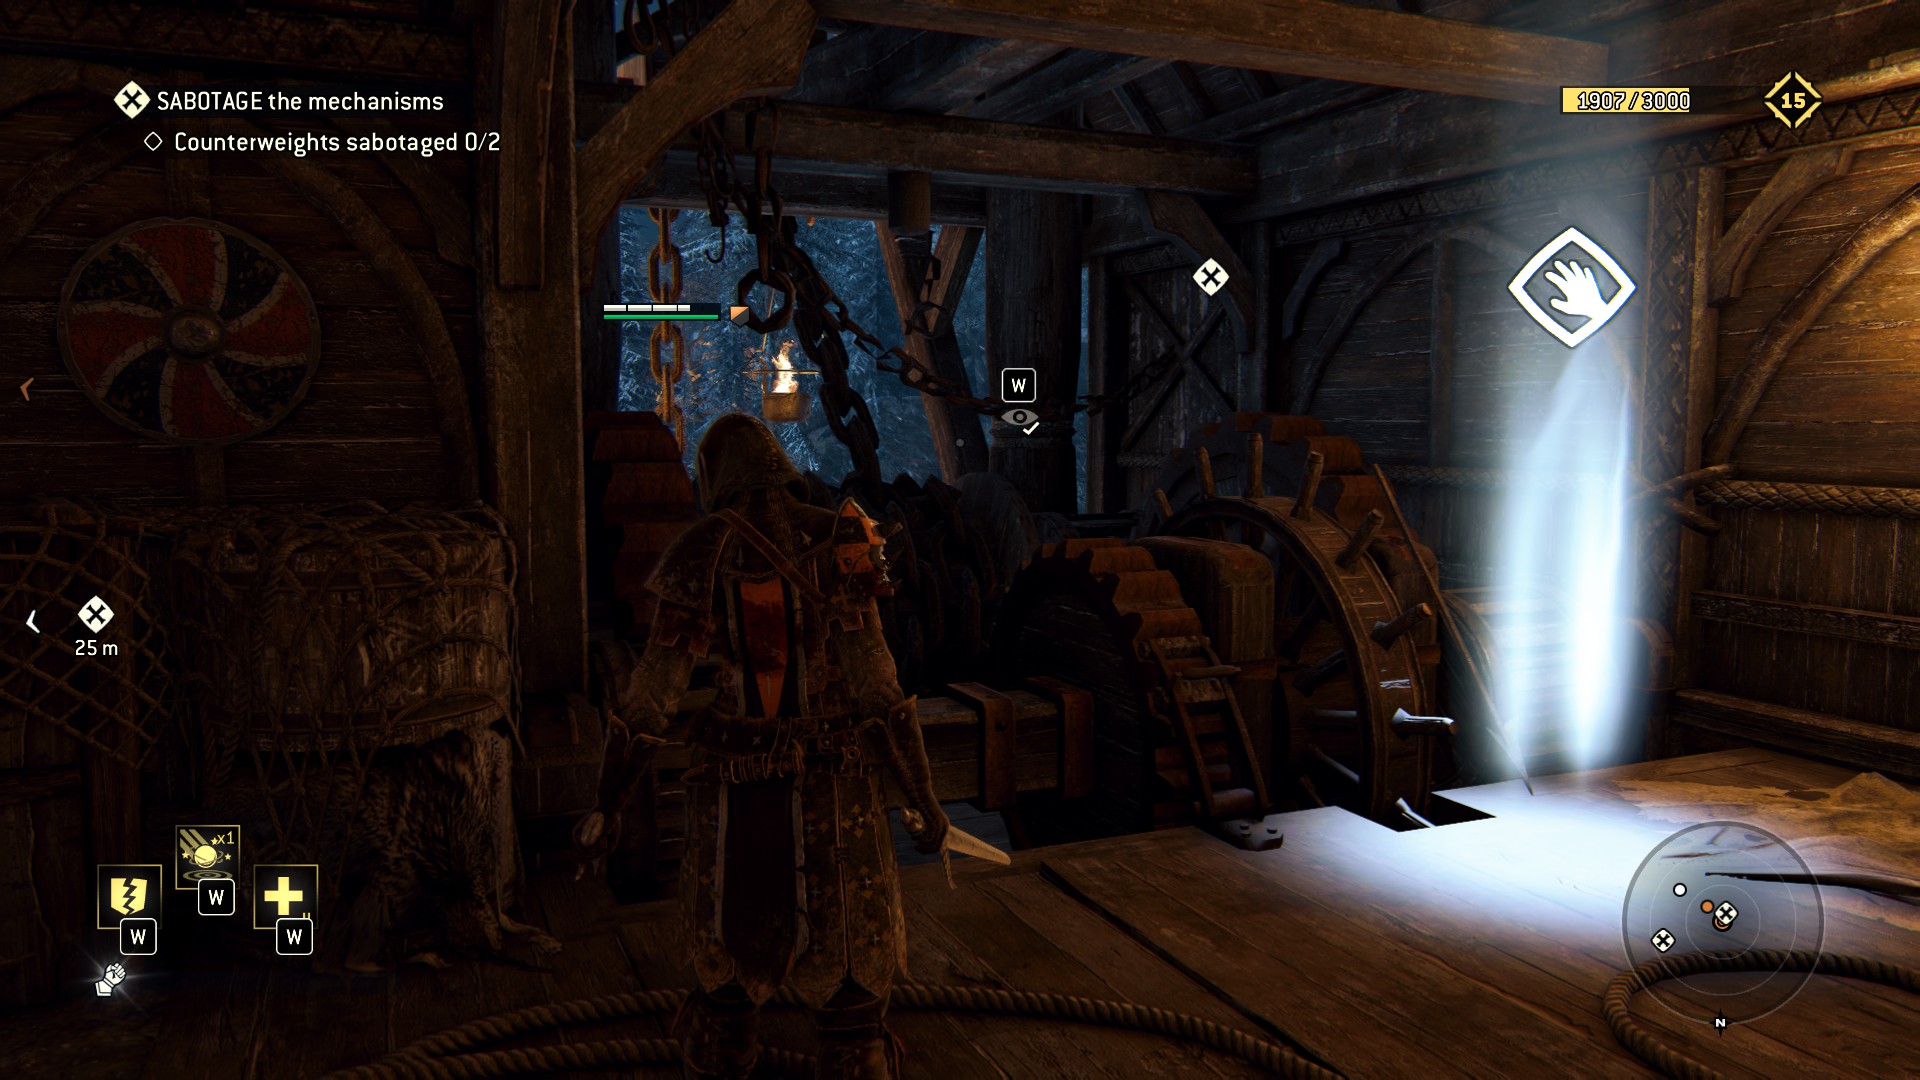
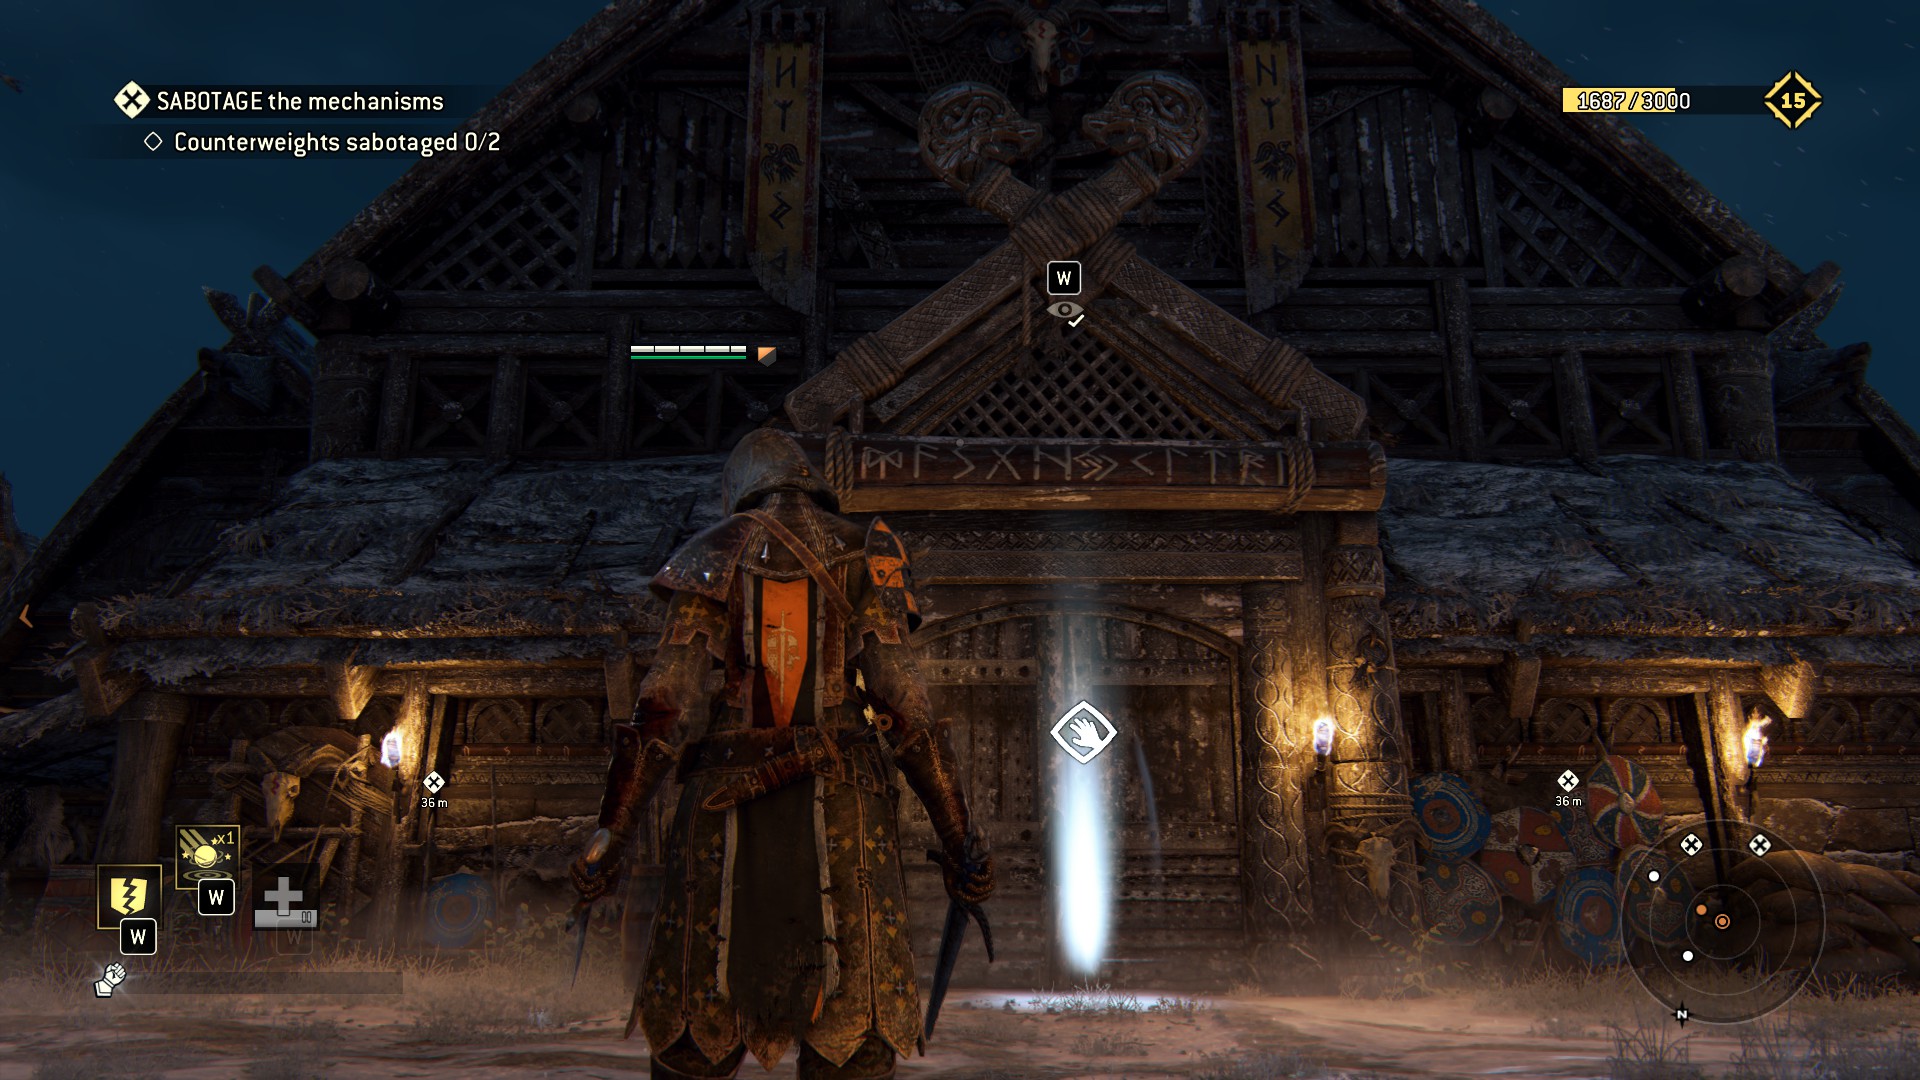 8) Enter the mechanism room theres 2 obervation points near the gate mechanism.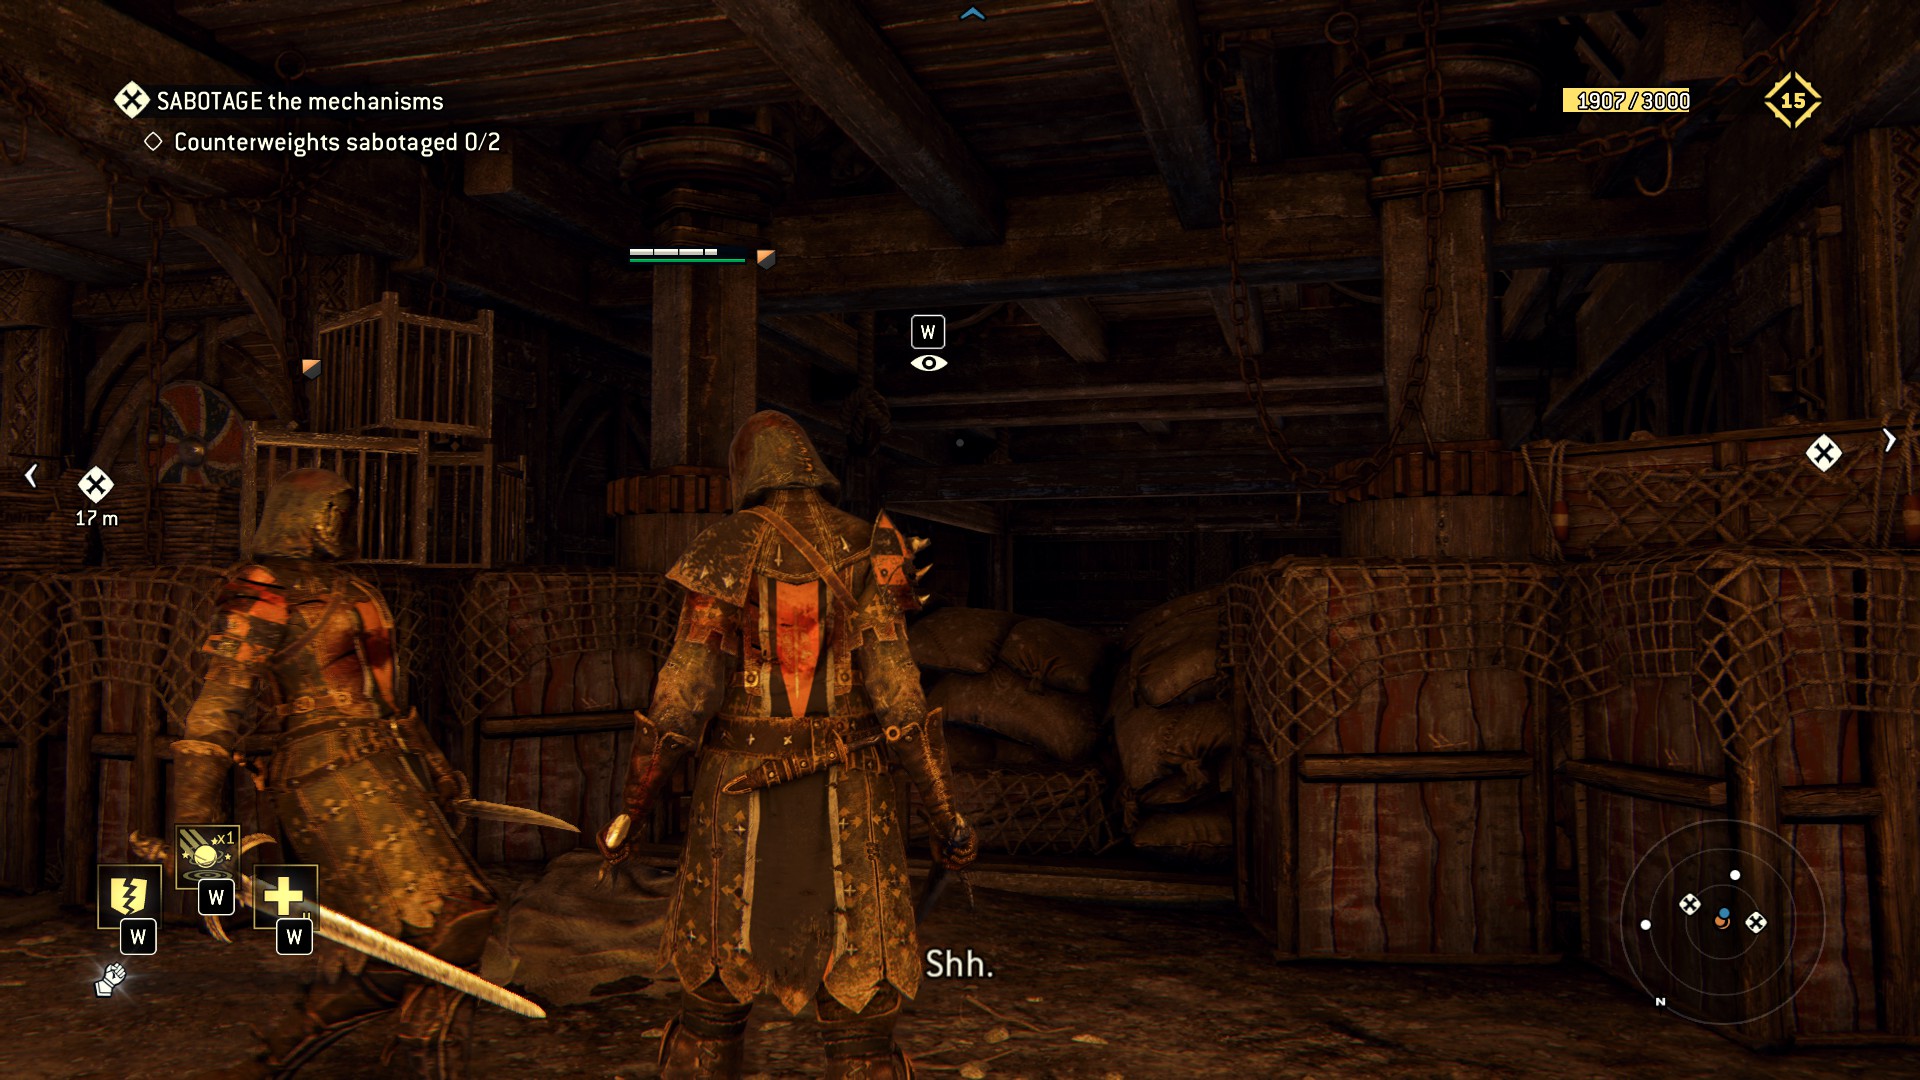
1.6 - Wolves among sheep
Last mission this one was pain in the ass, you have short windows to look around before those savages destroy the ram so be swift. Oh and 2 points of no return.
Start of the mission ( 5 Observation points and 1 breakable)
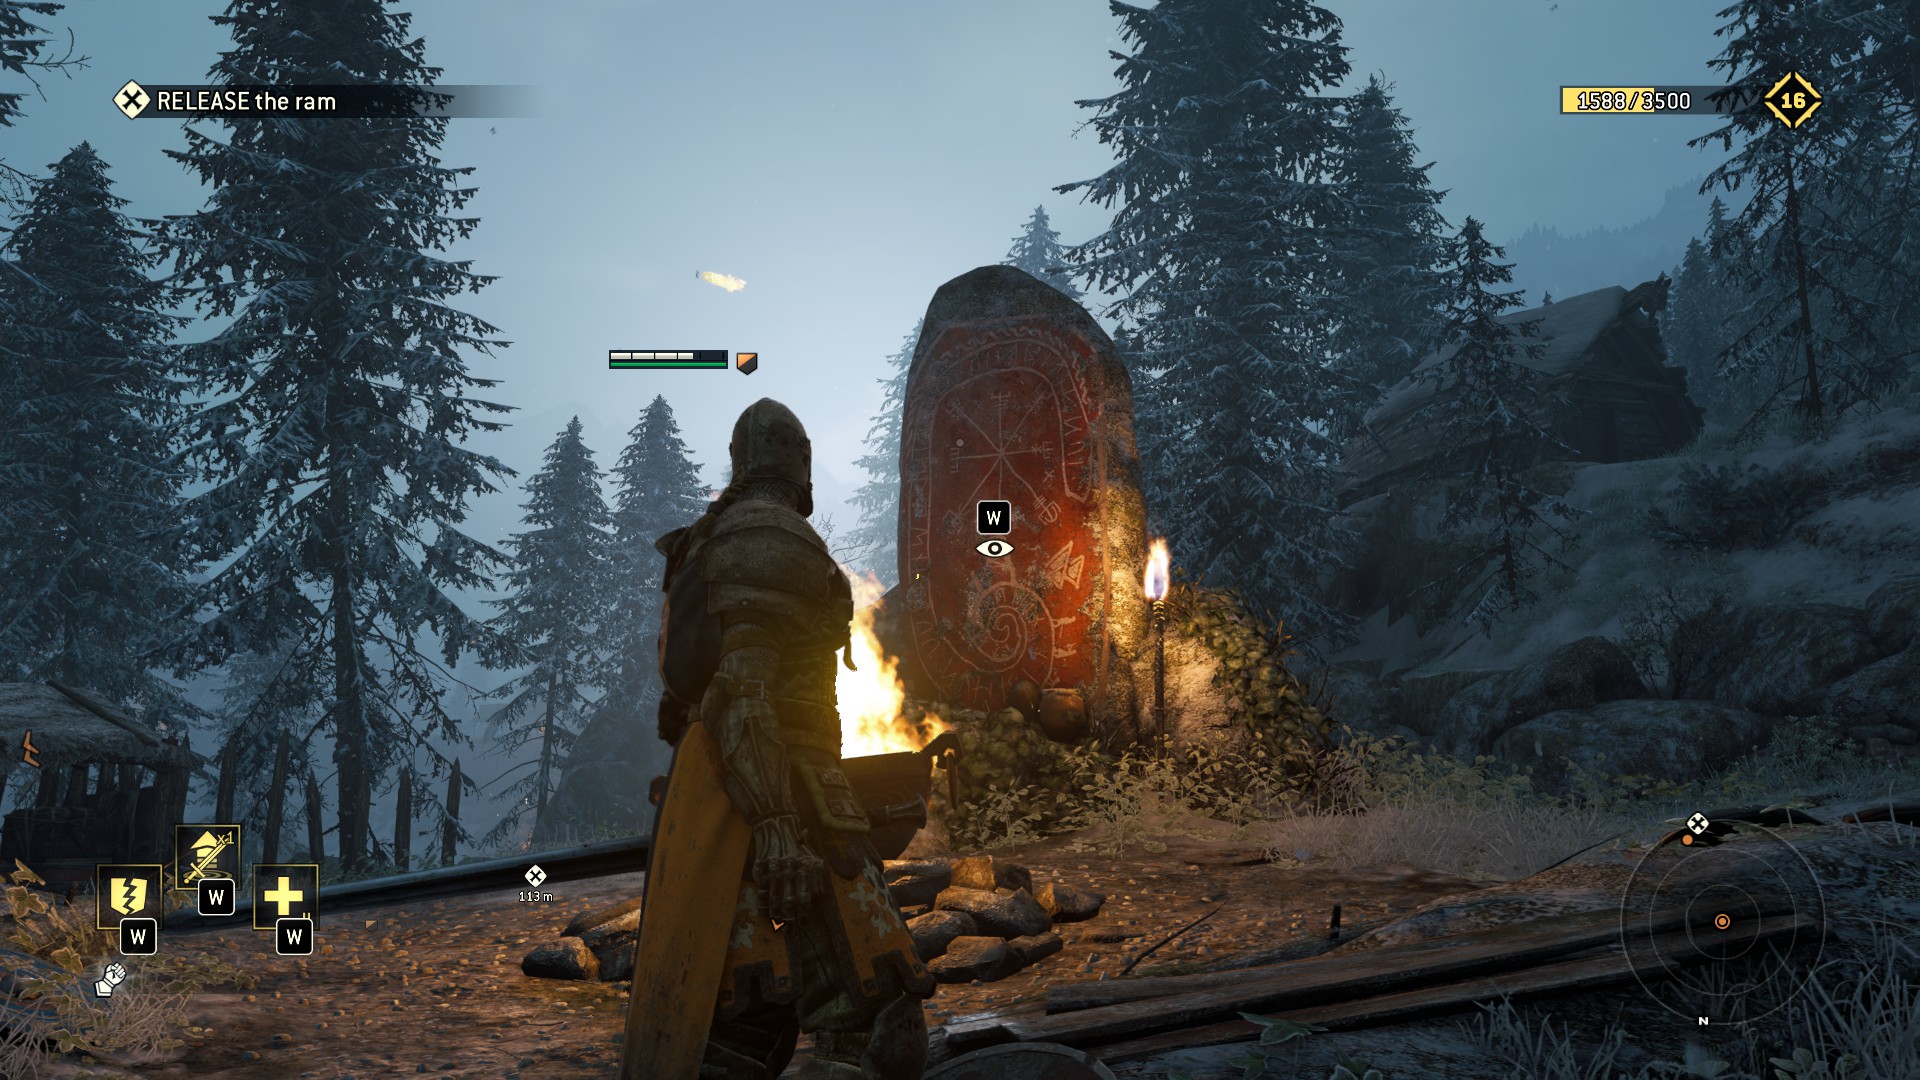
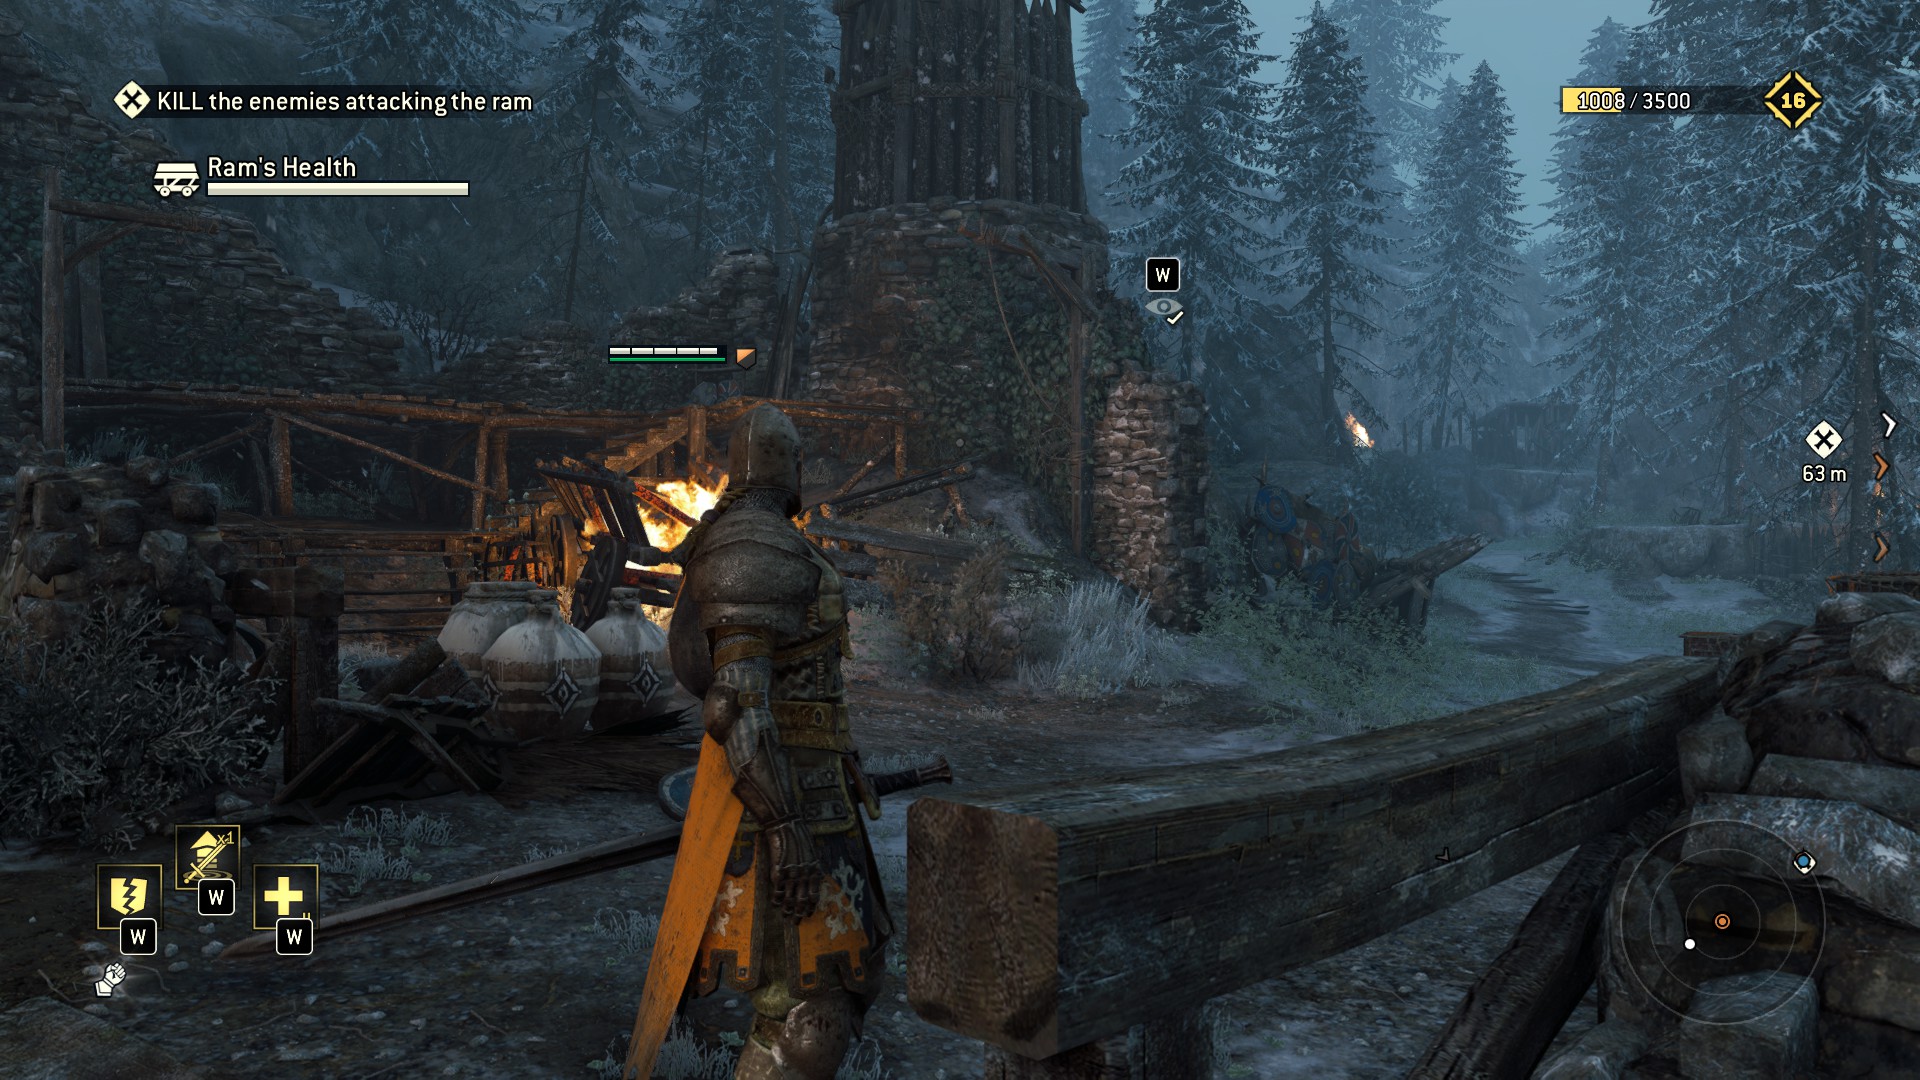
- Go right to the ram stright to the woods, in this place theres 2 observables, one its a monolith hidden depth on the woods another its a destroyed building where you find the breakable.
 2) The Storehouse entrance and the vikings boats left to the main gate.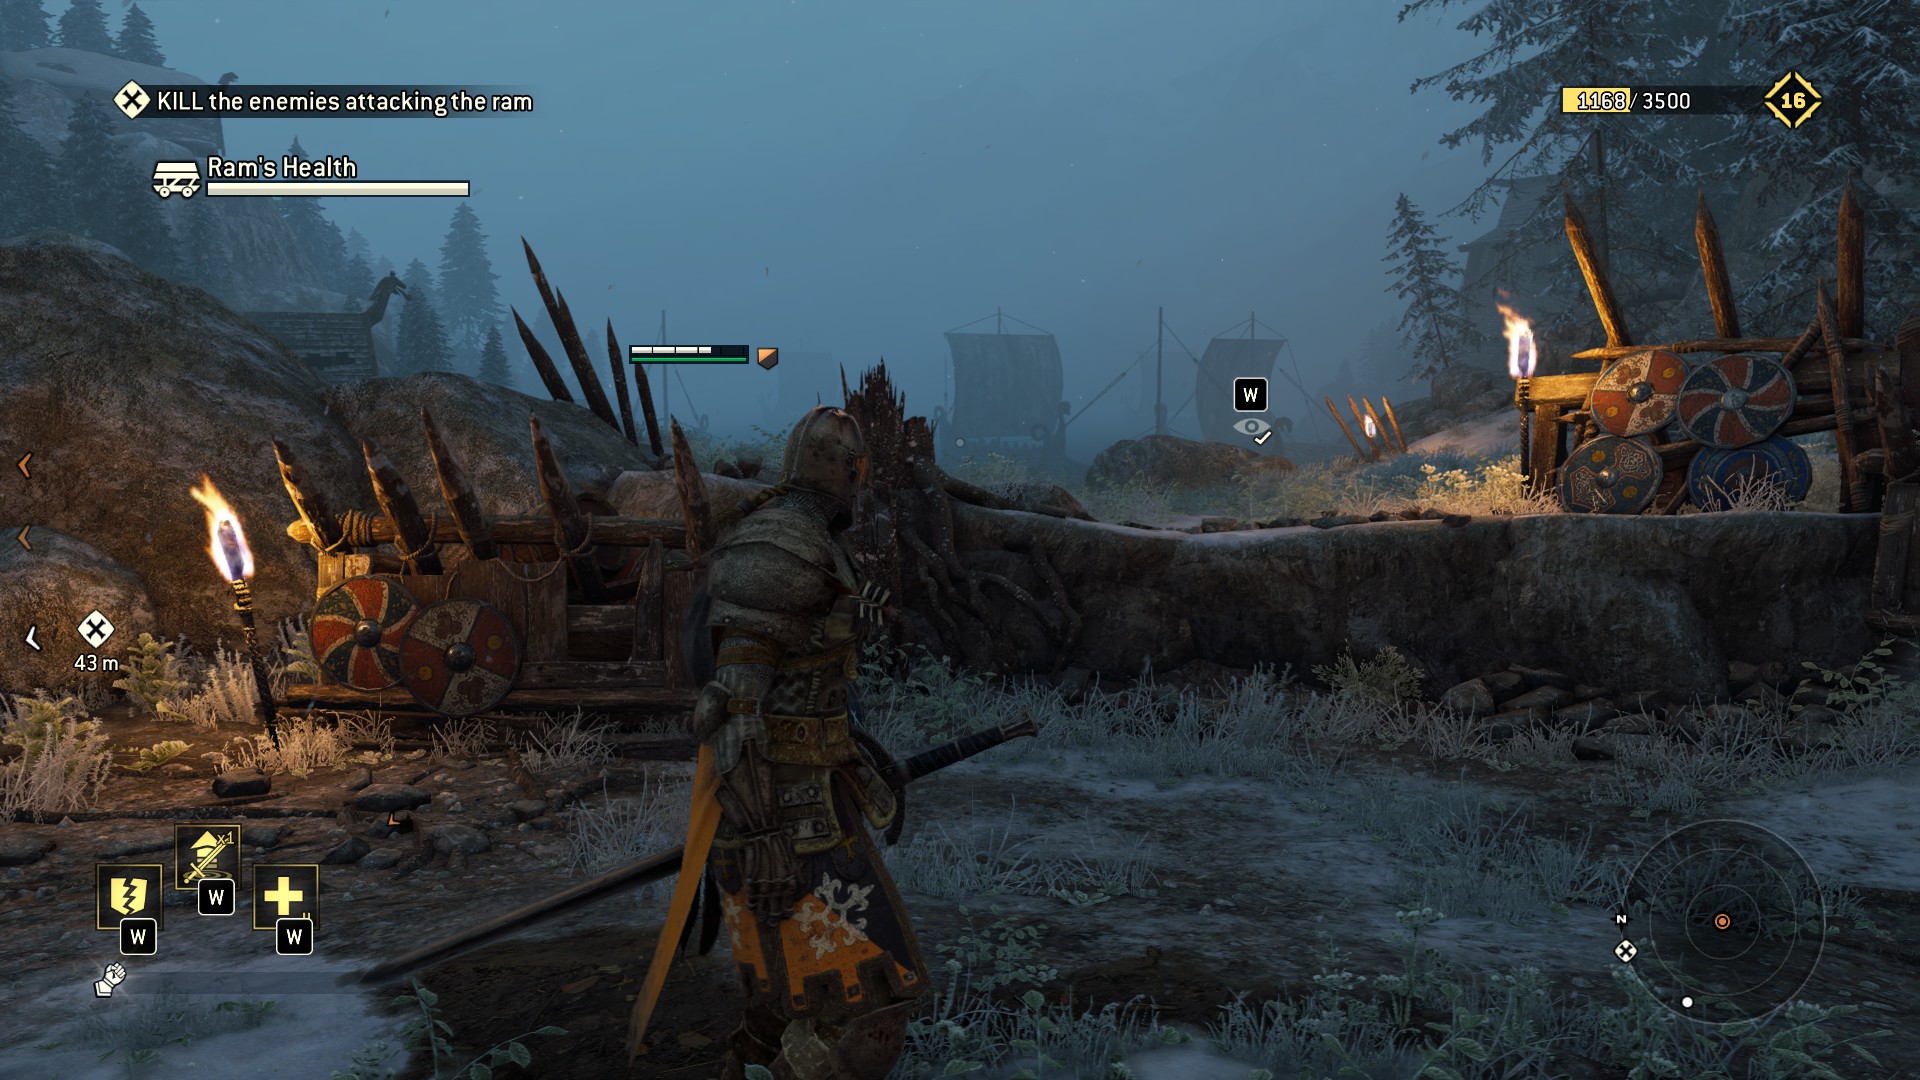
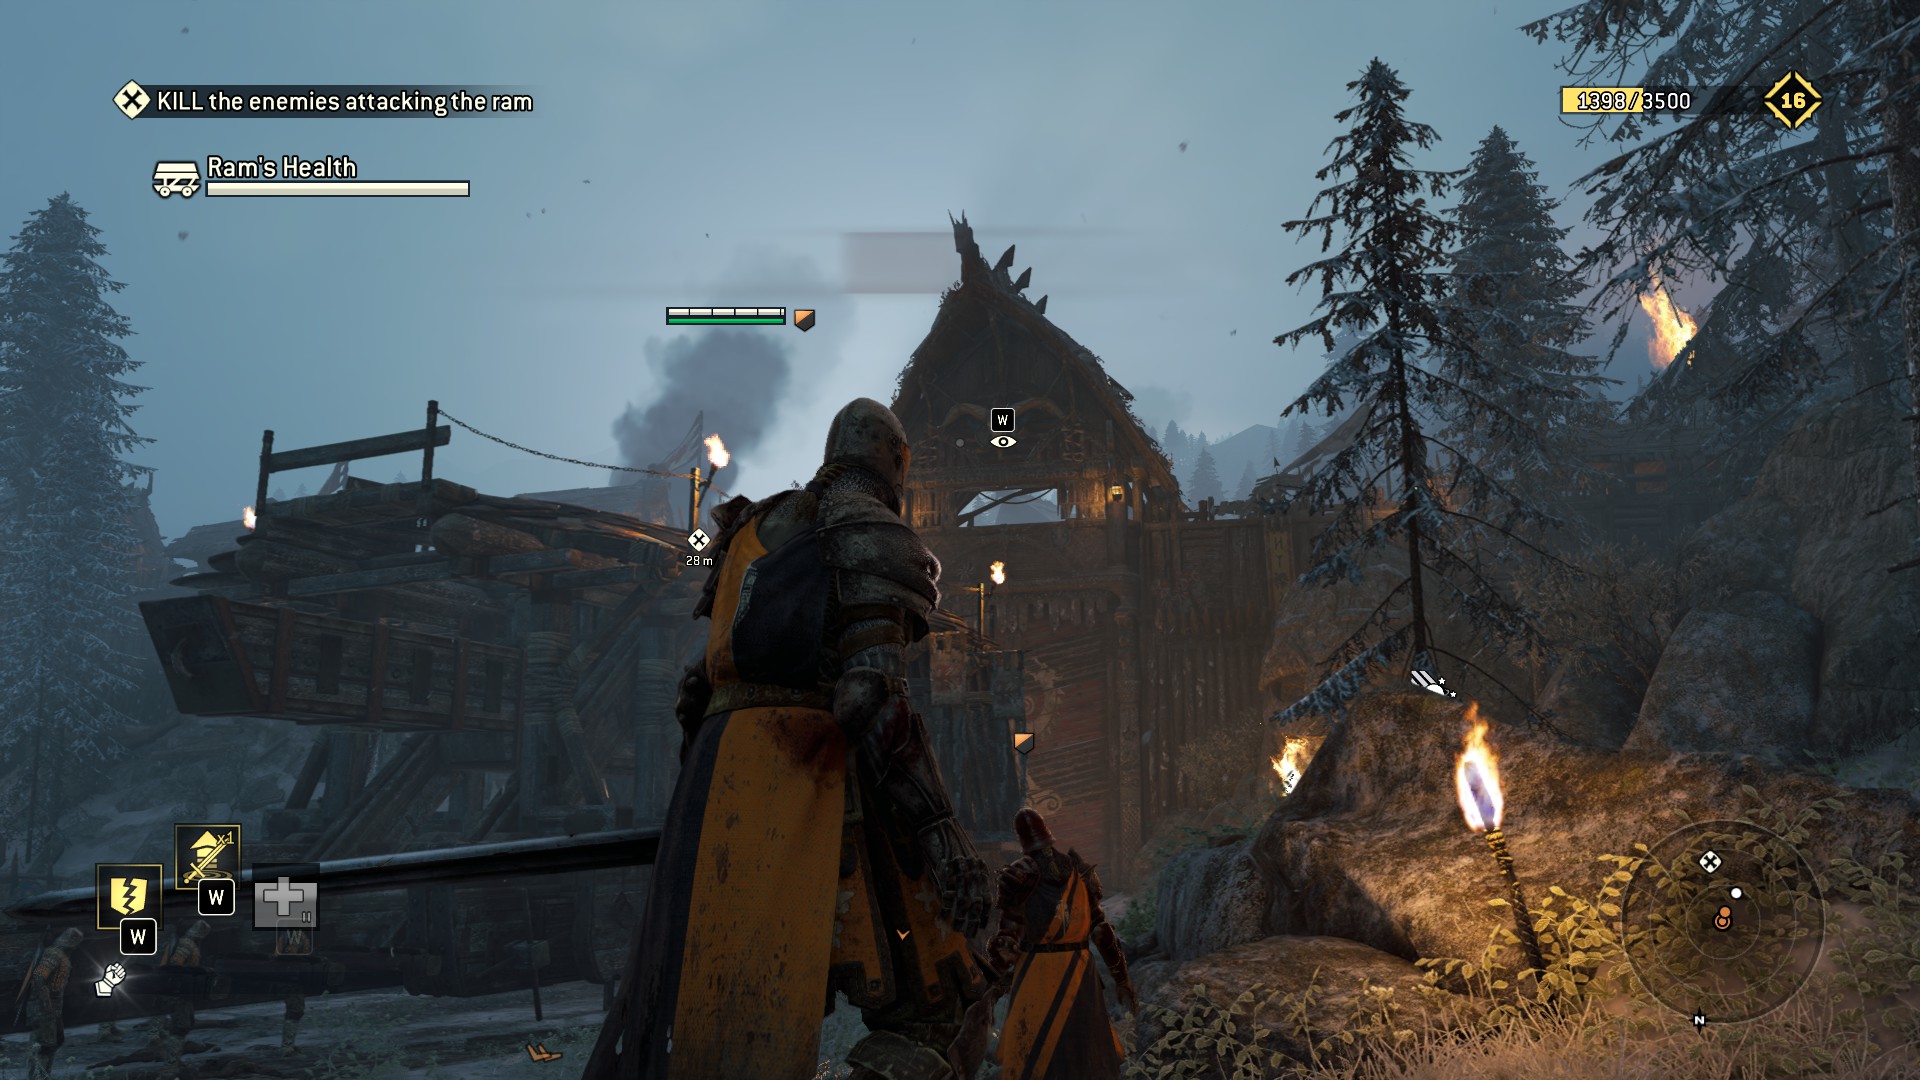 3) The ram when its in position be careful to no trigger the warlord confrontation.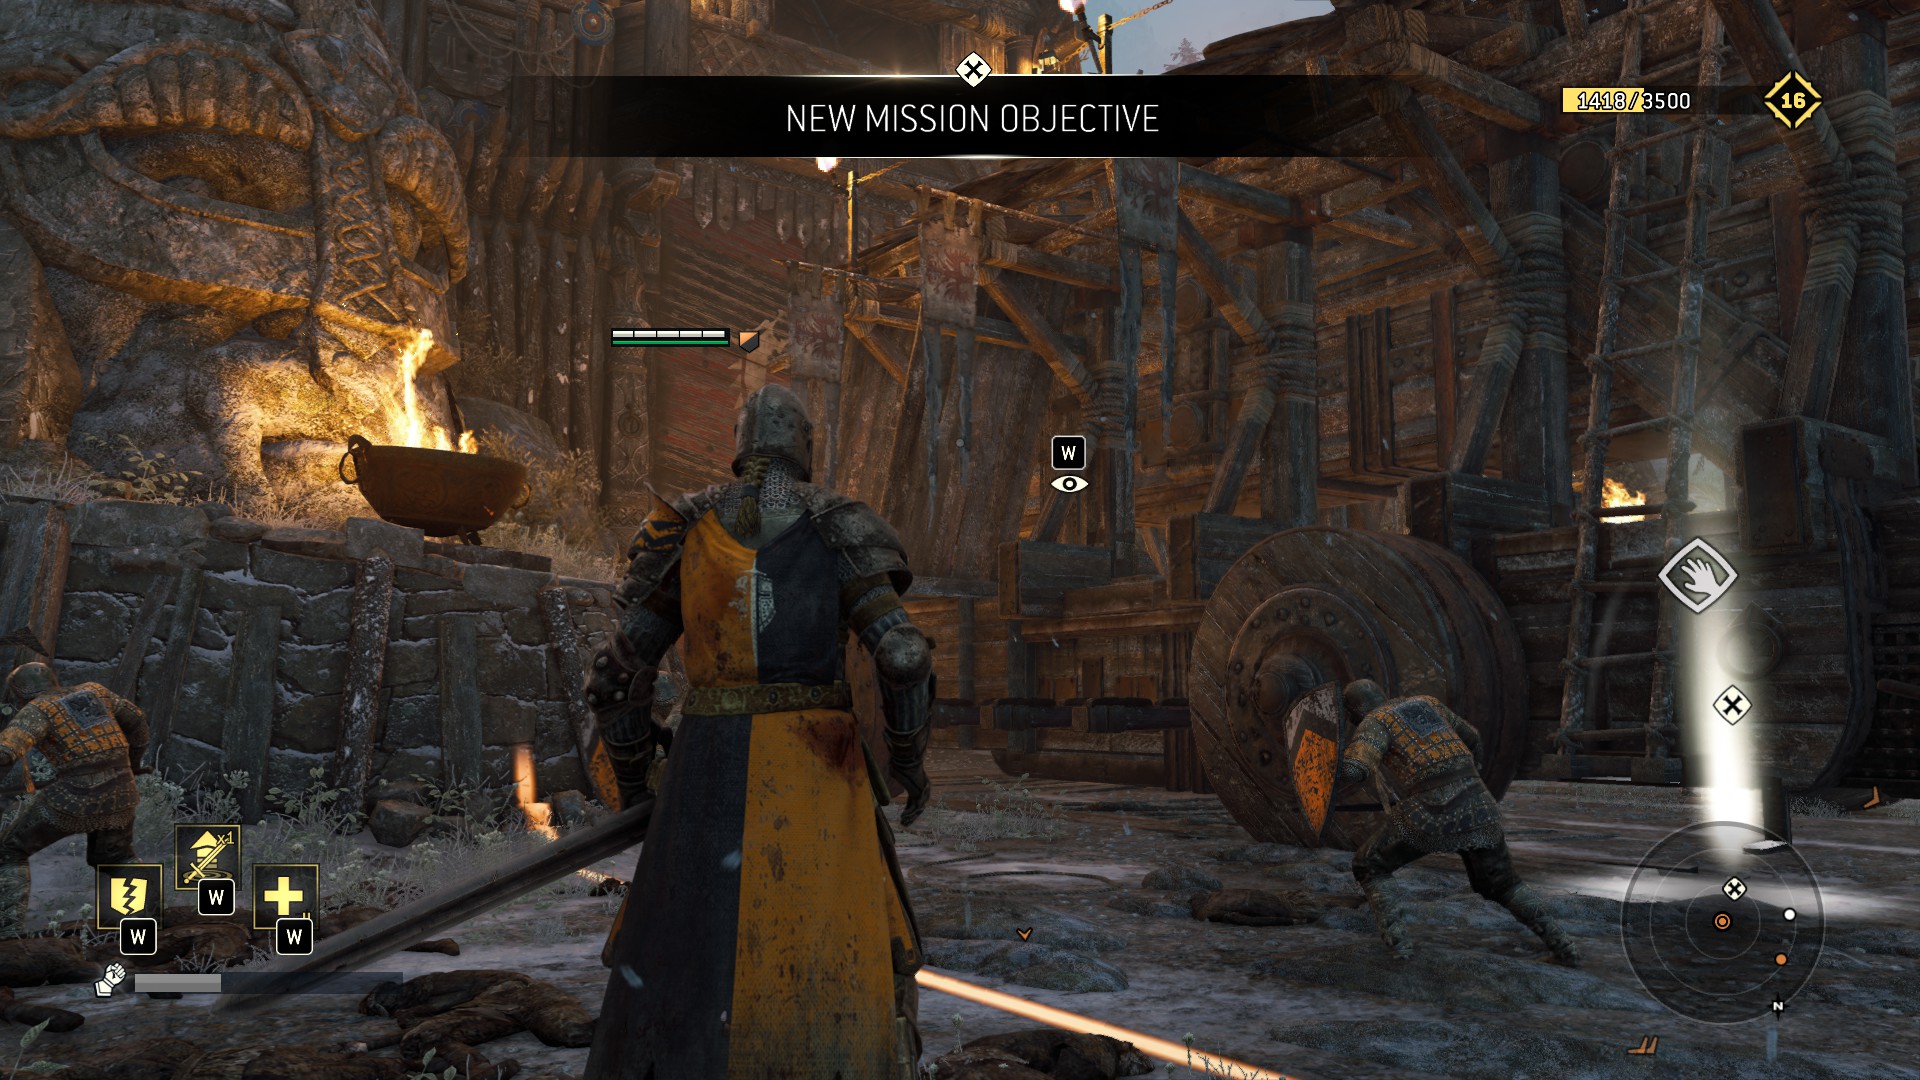
The Village First Part (Point of no return)
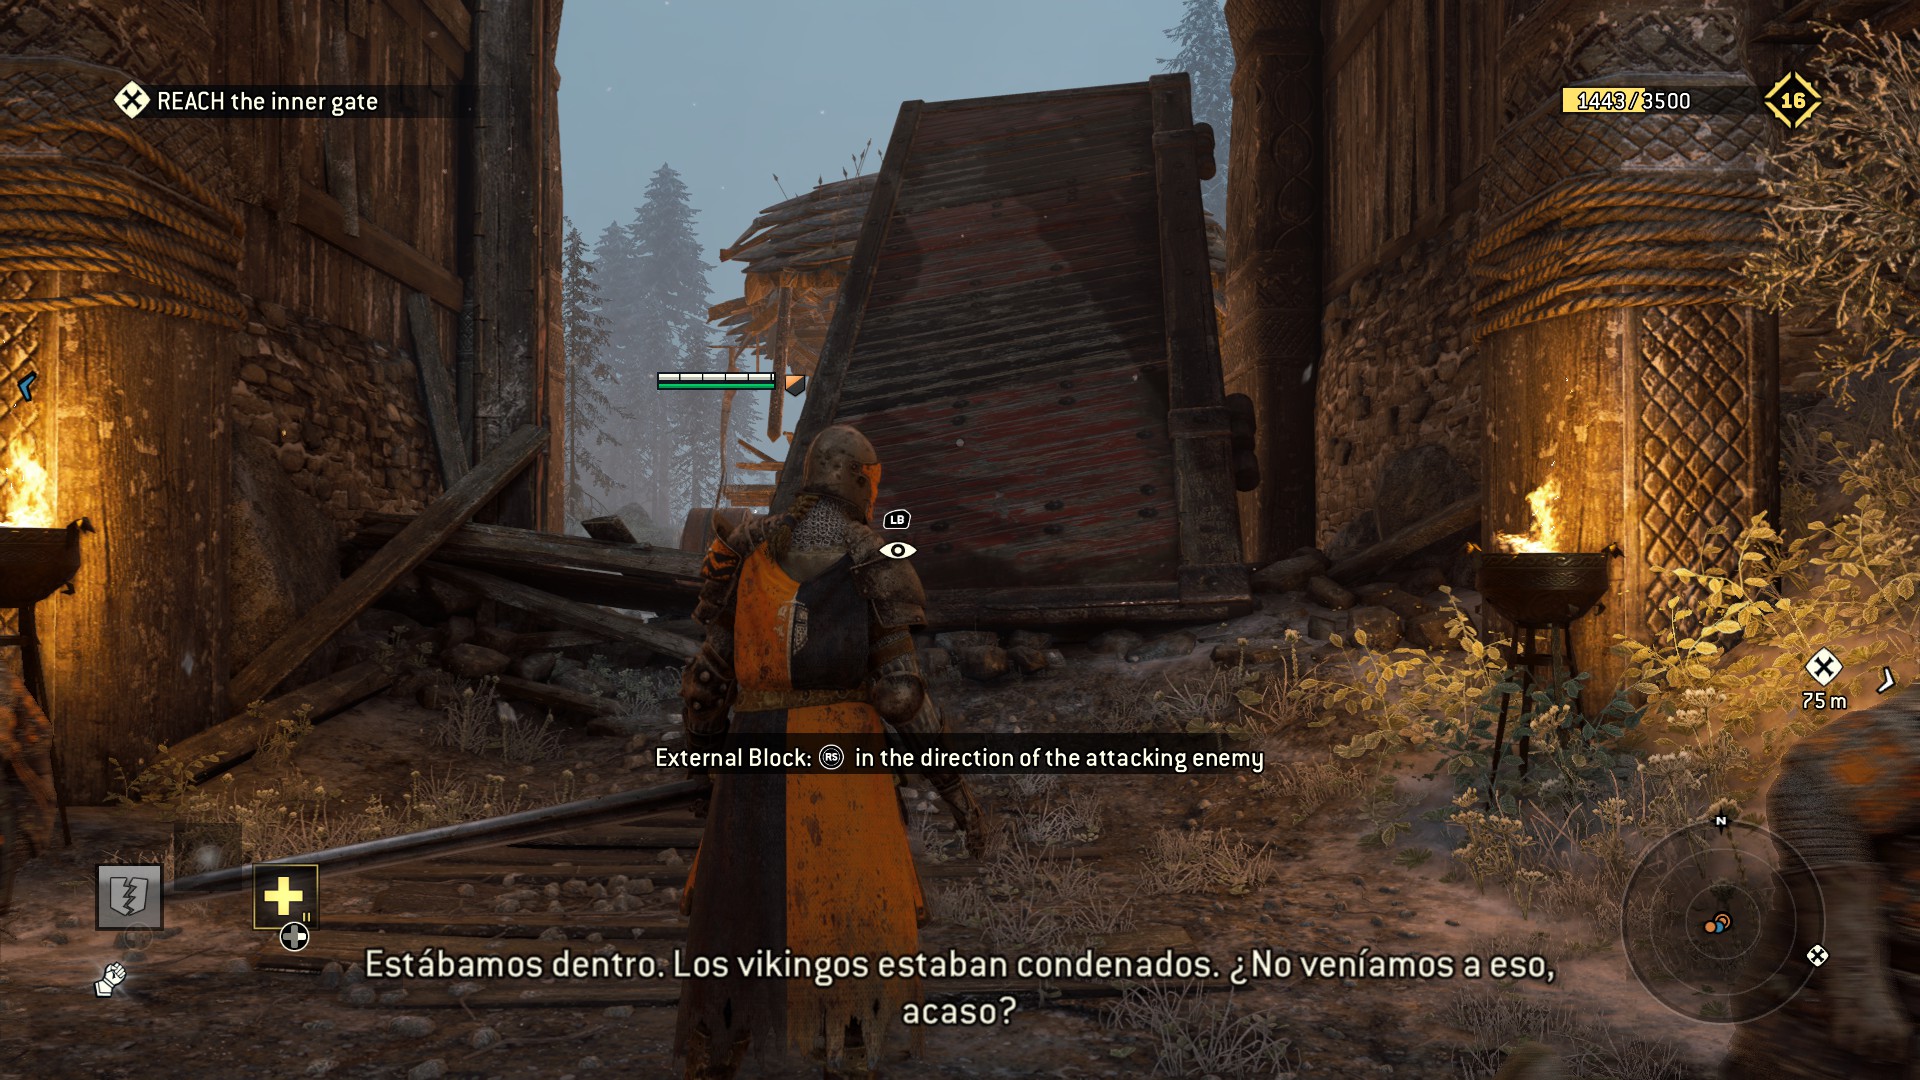 5) the patch divide in two, go left to find apollyon again, a hidden breakable and a house.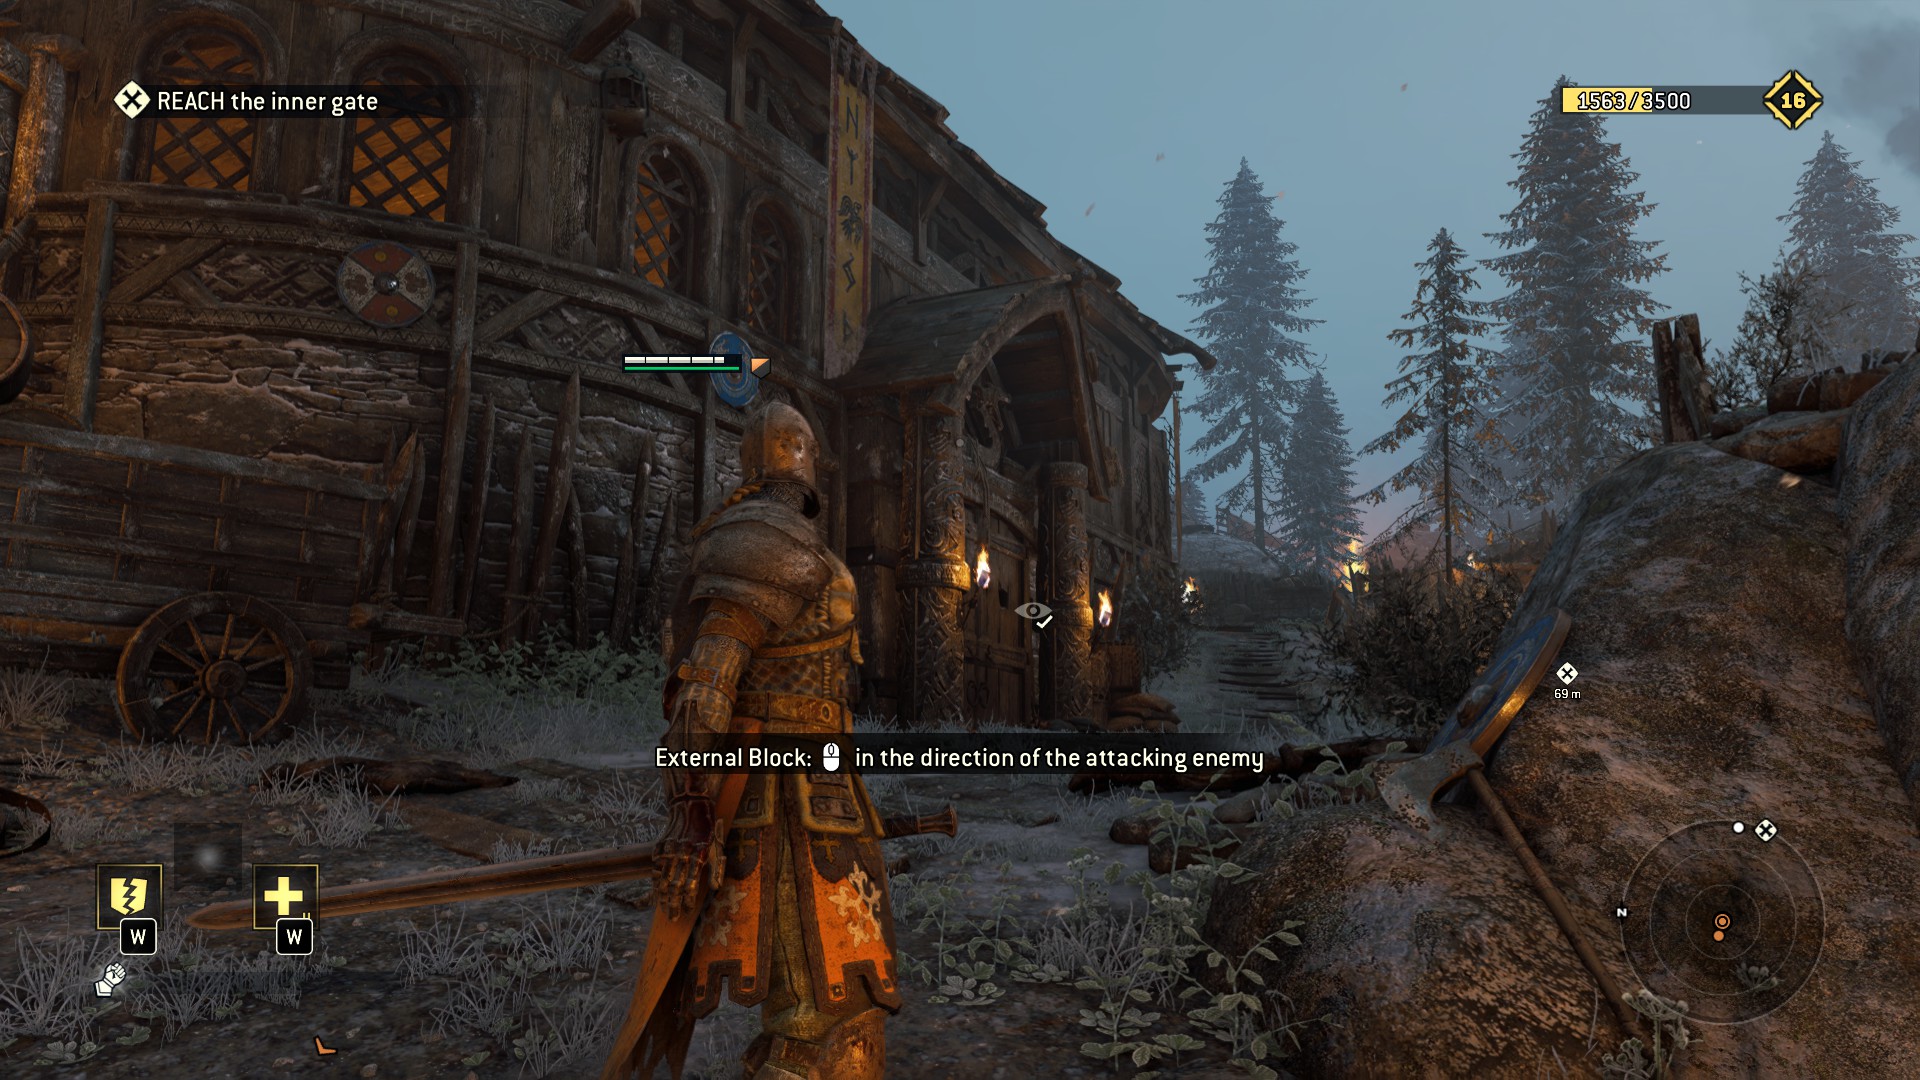
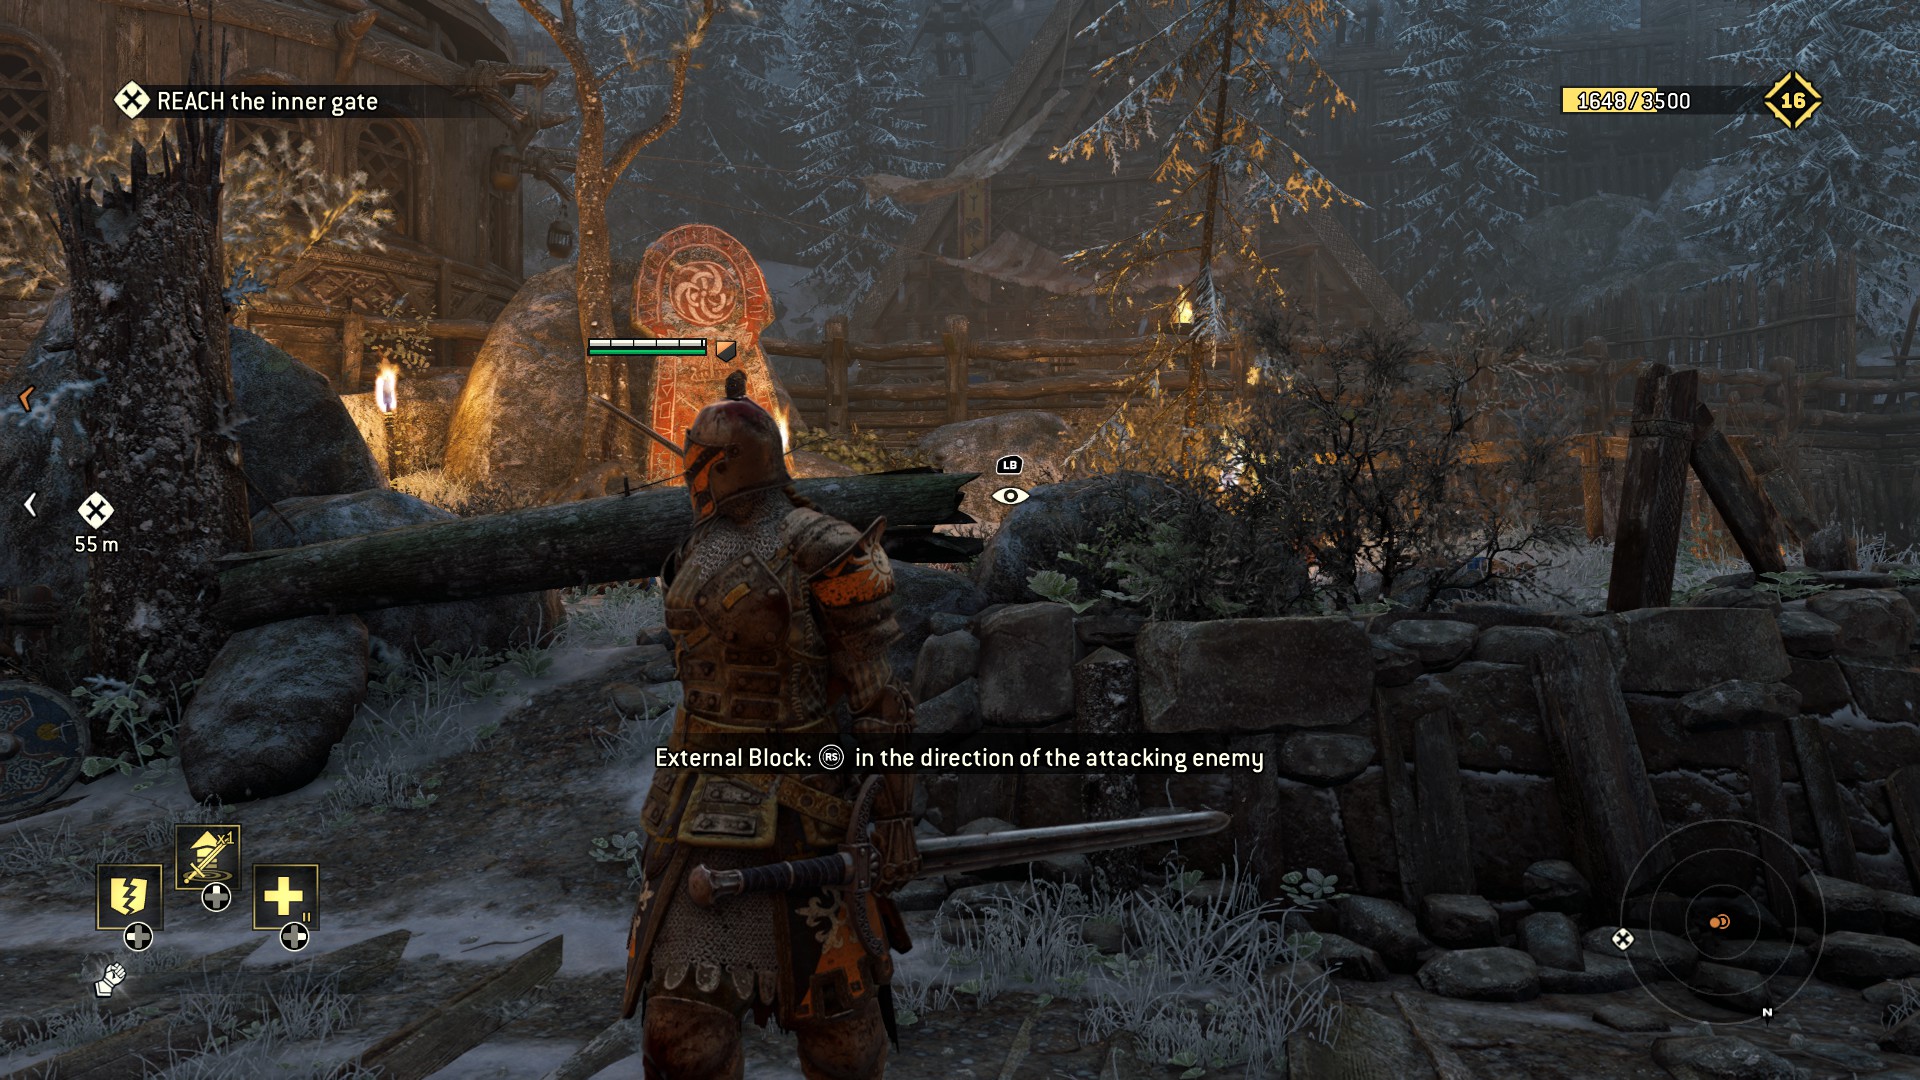
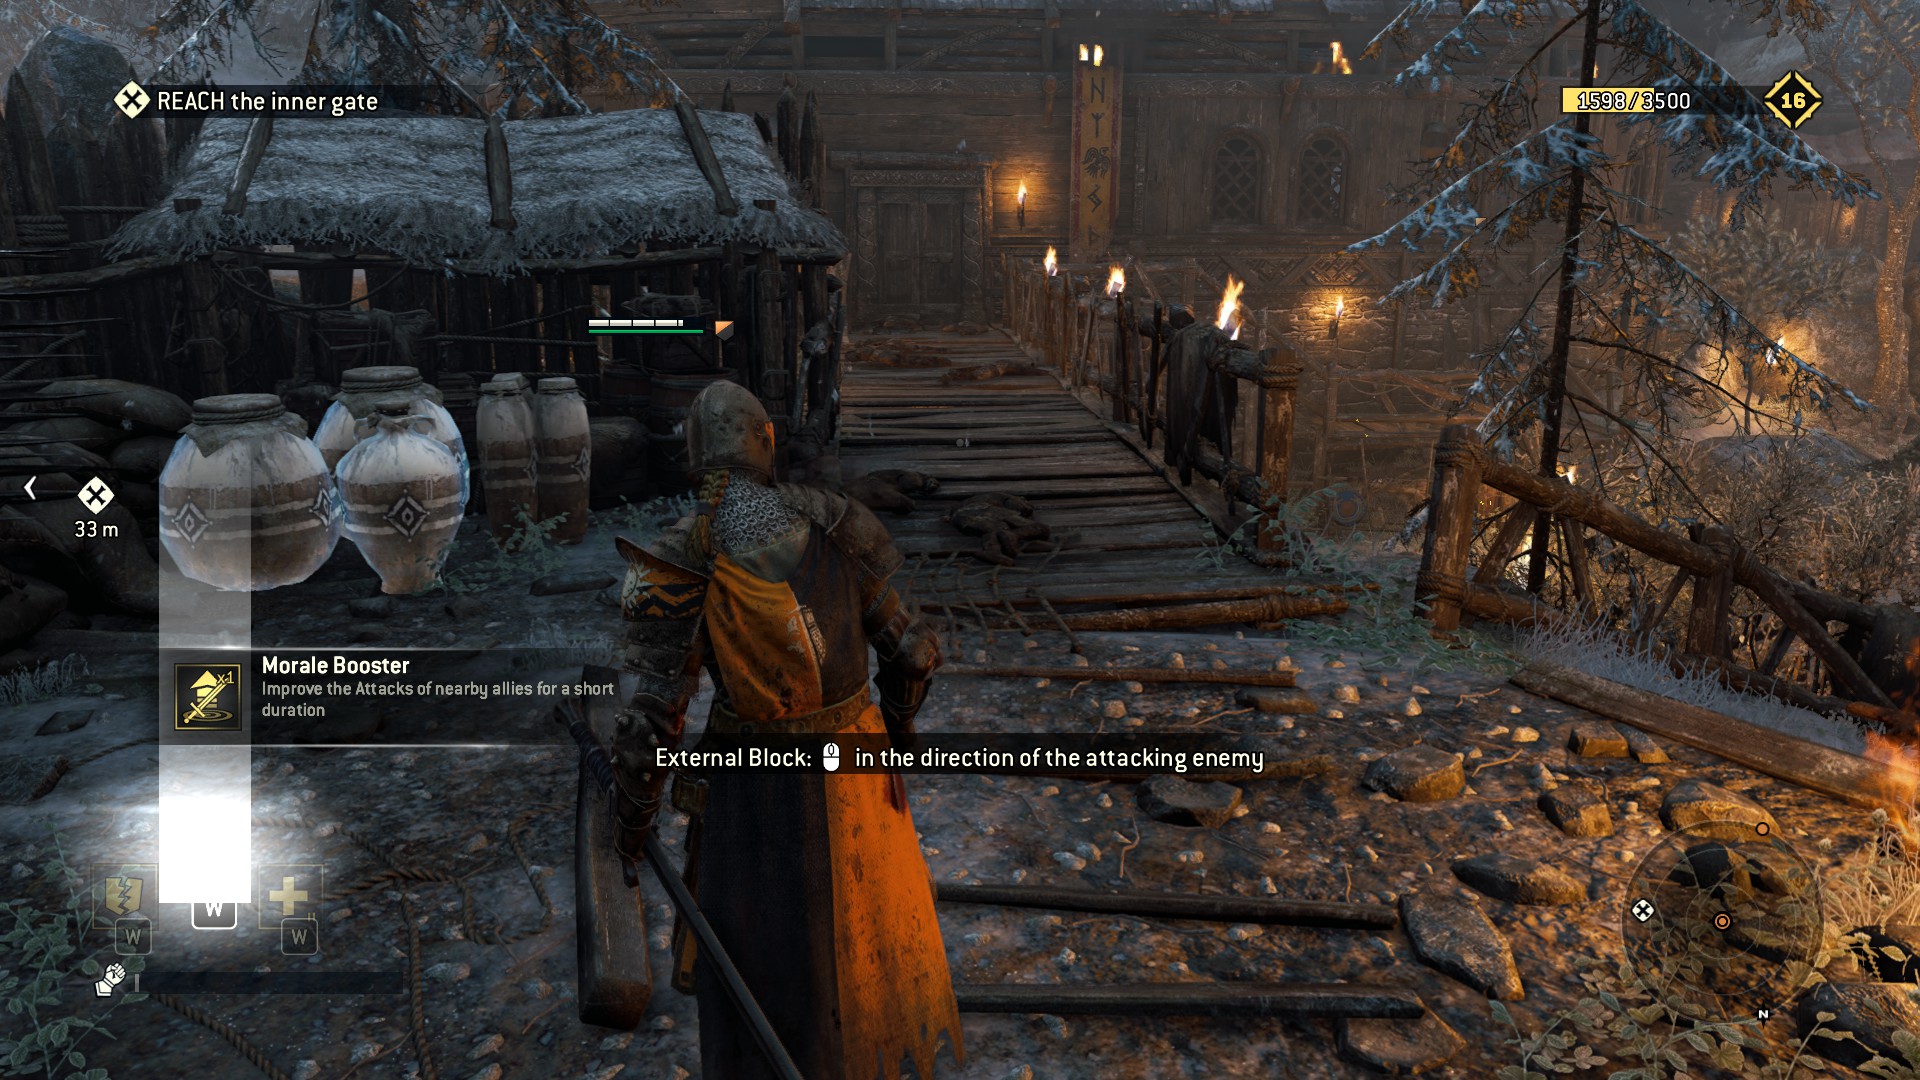 6) Right patch where some vikings spawn where the patch divide in two, look arund.
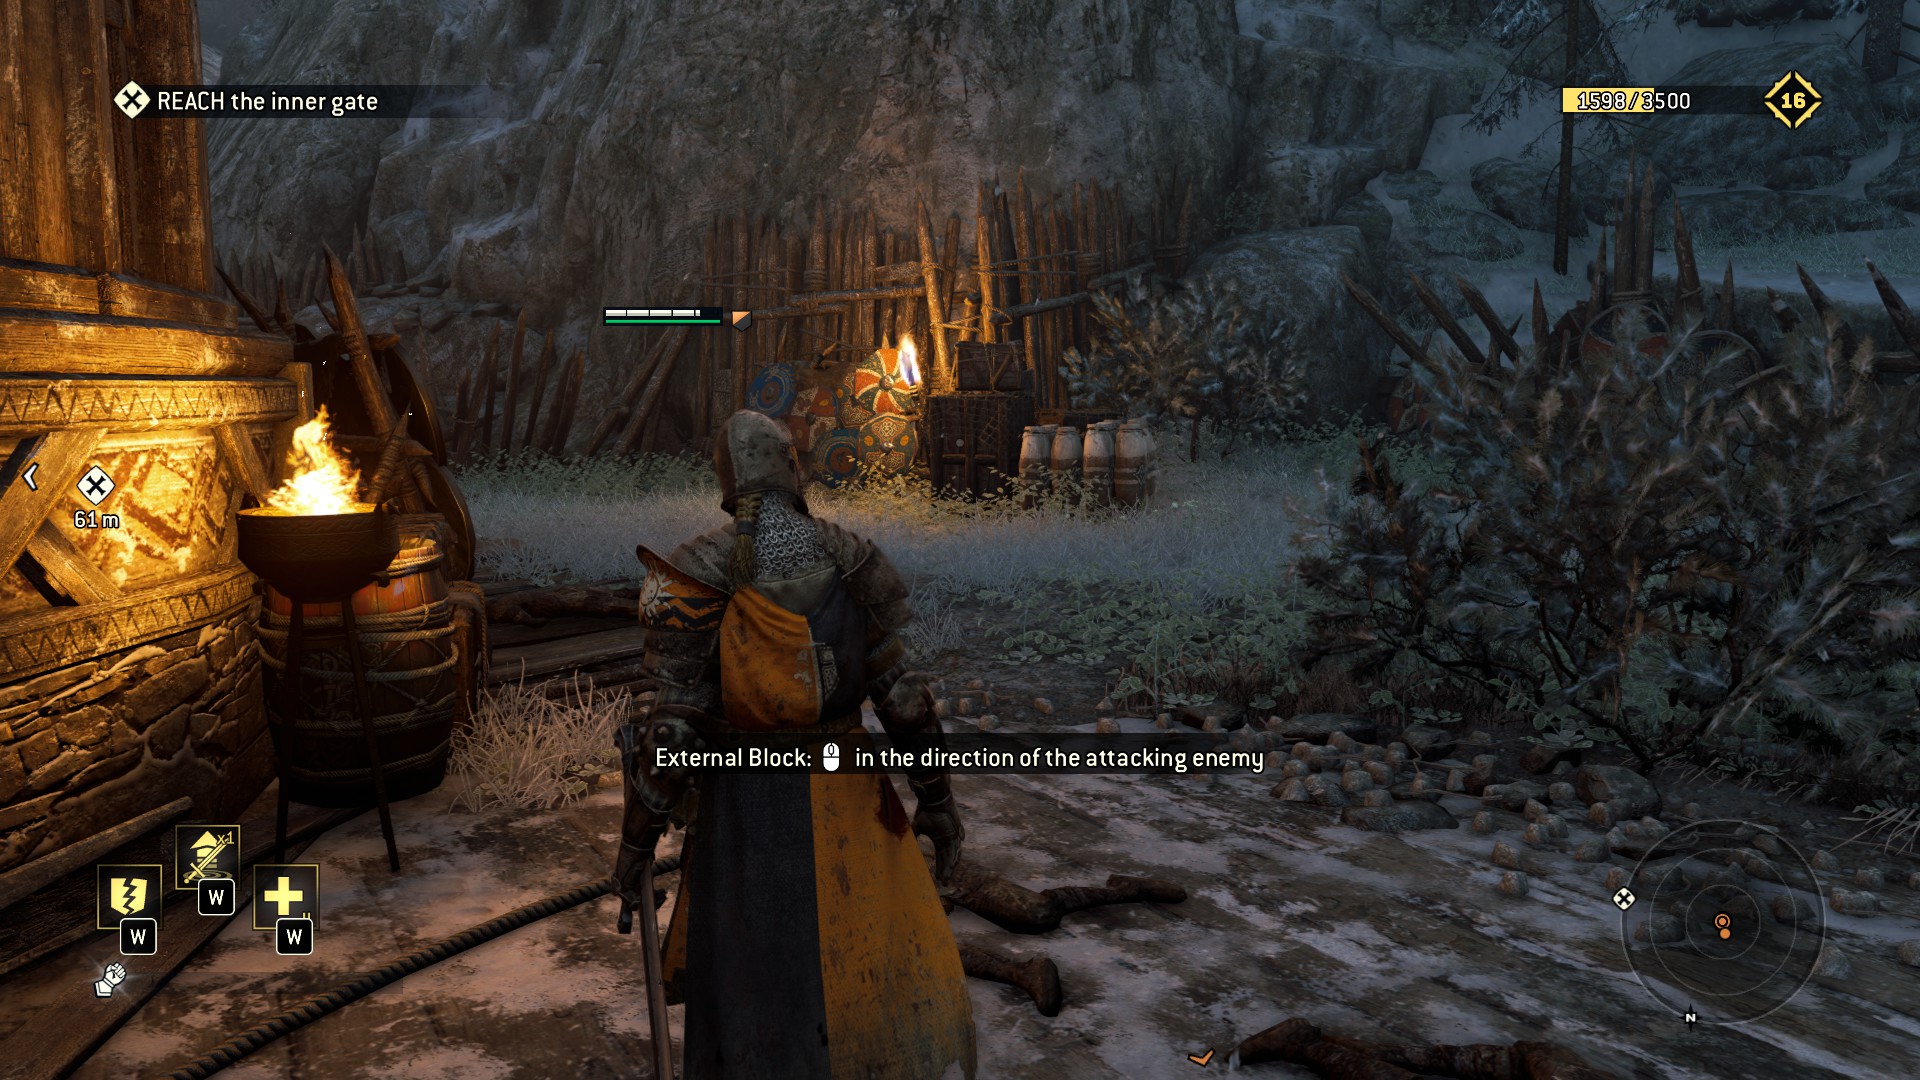 7) CAREFUL with this one, its the warlord at the wolves pit, DONT JUMP TO THE PIT or you will miss it.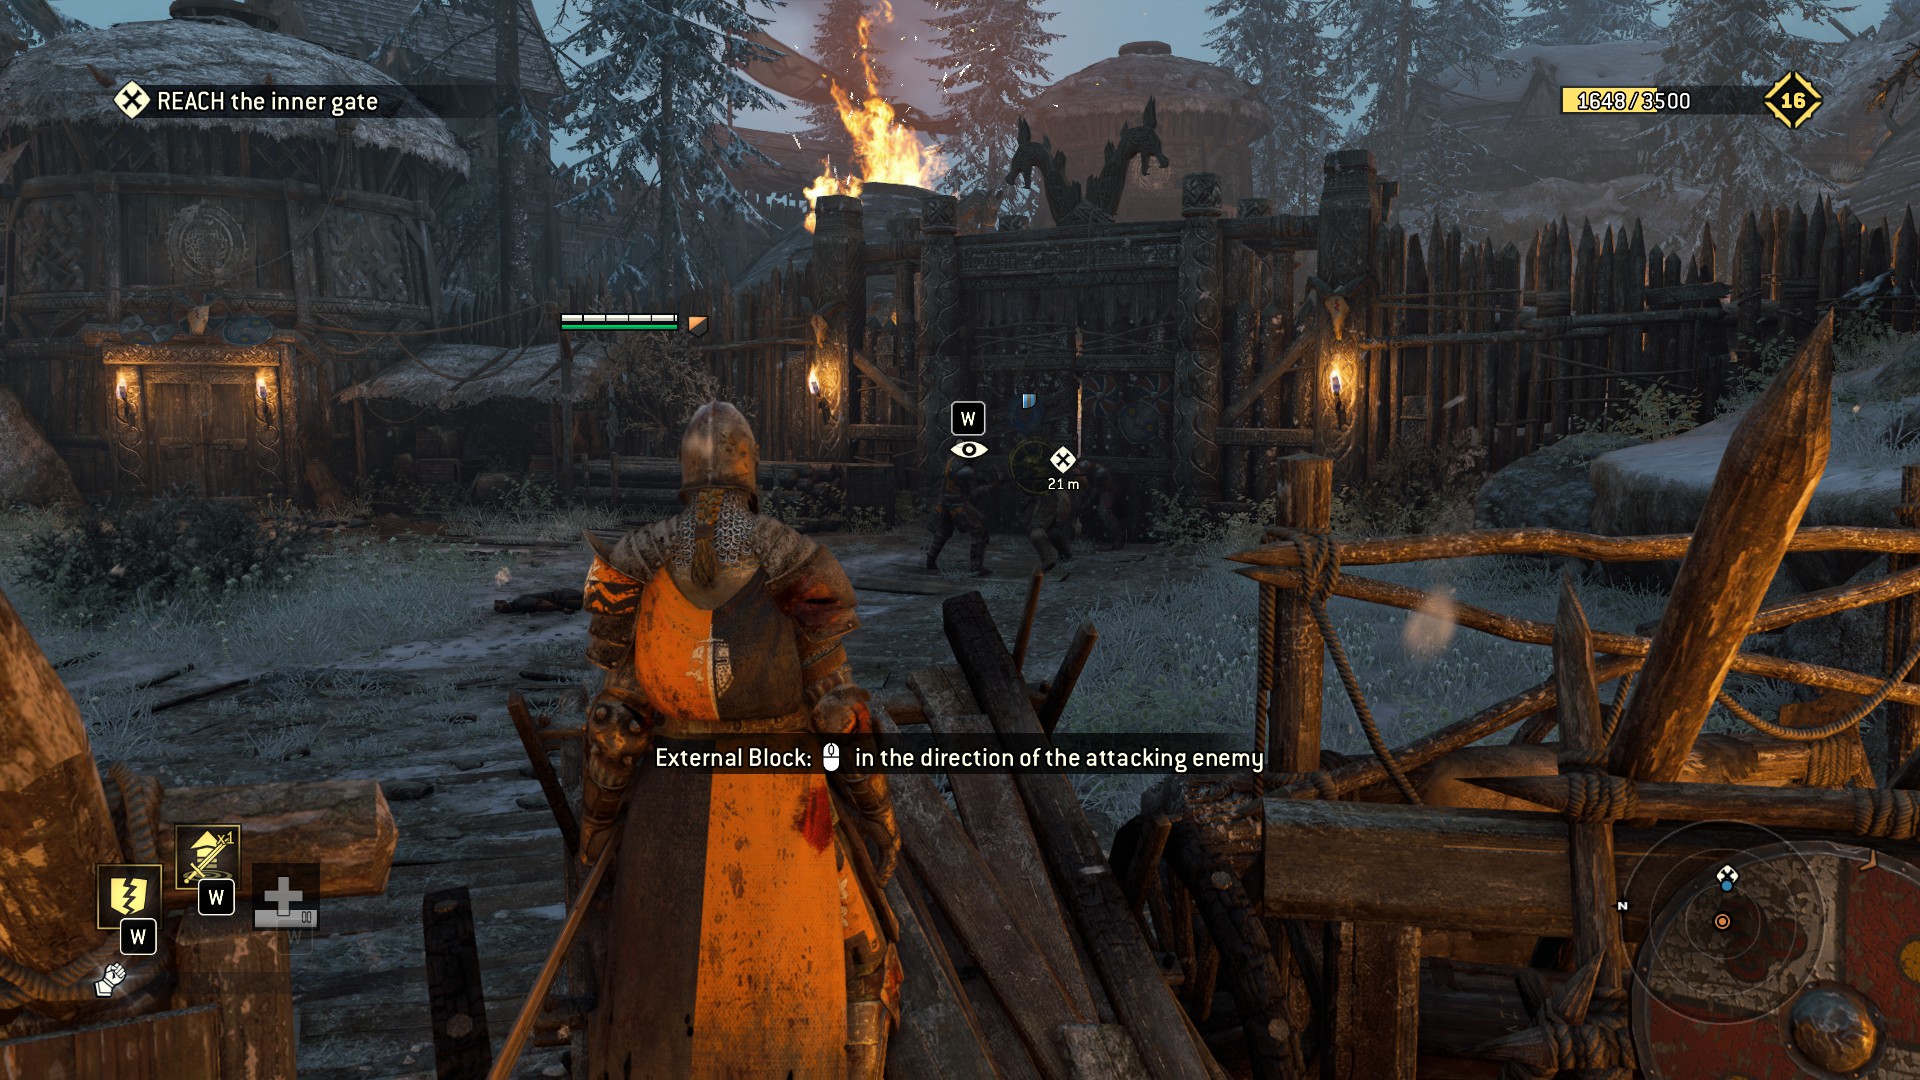
The Village Last part (Point of no return)
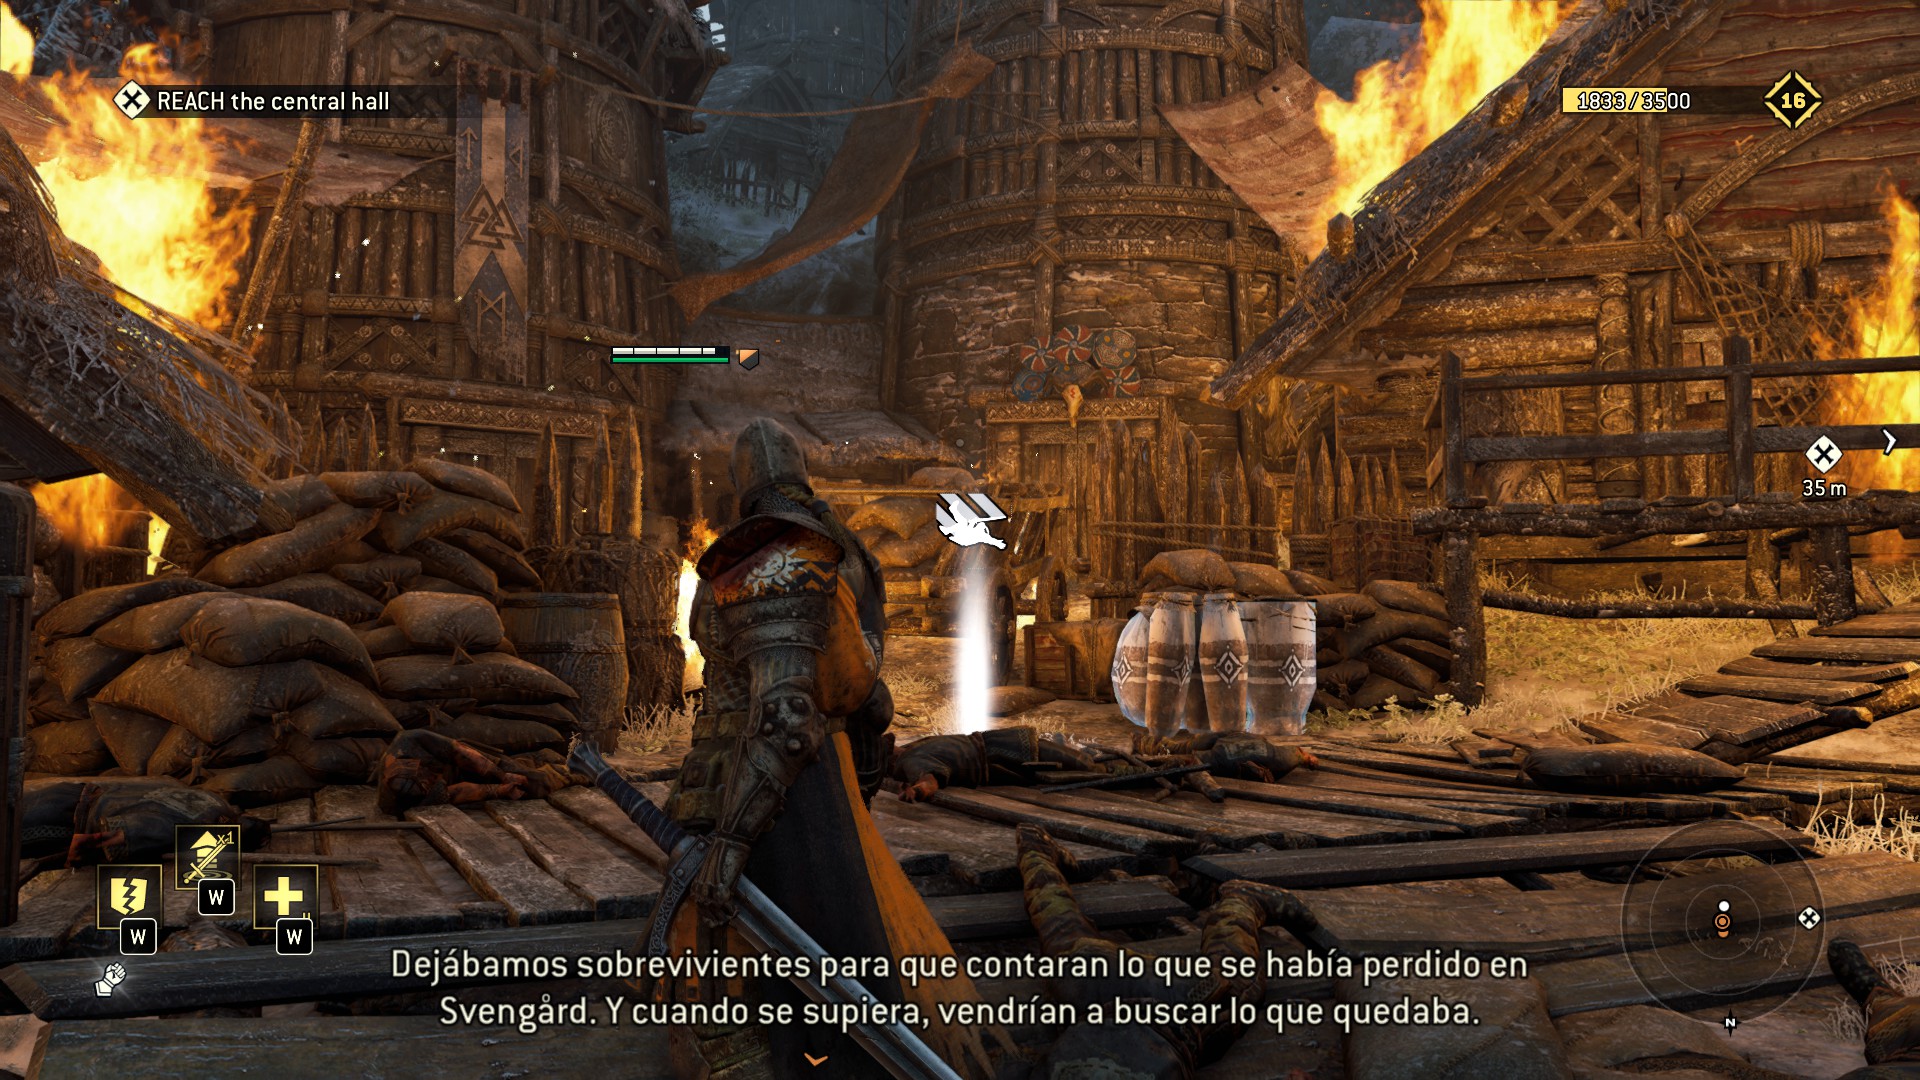
8) After you beated the warlord ass and those annoying wolves look right theres some breakables.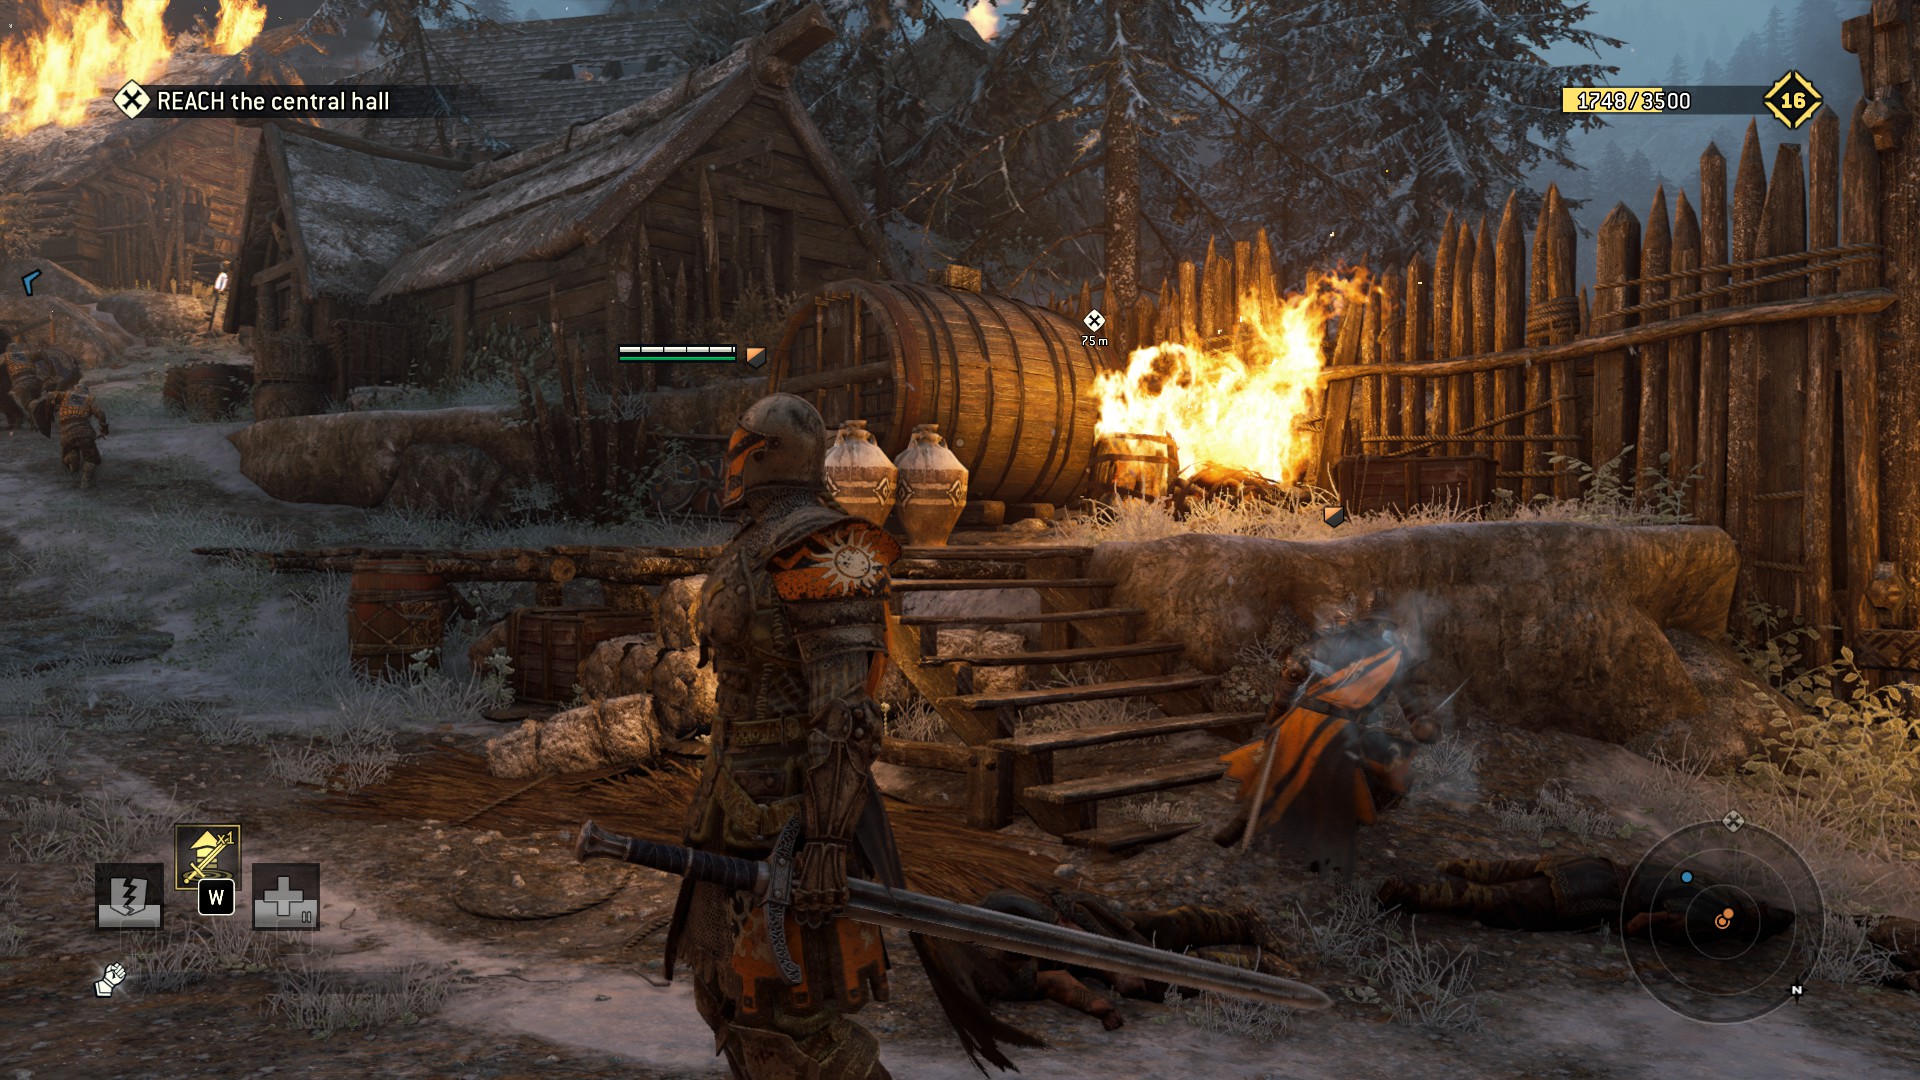 9) Before the final fight the millwind burning and breakables there.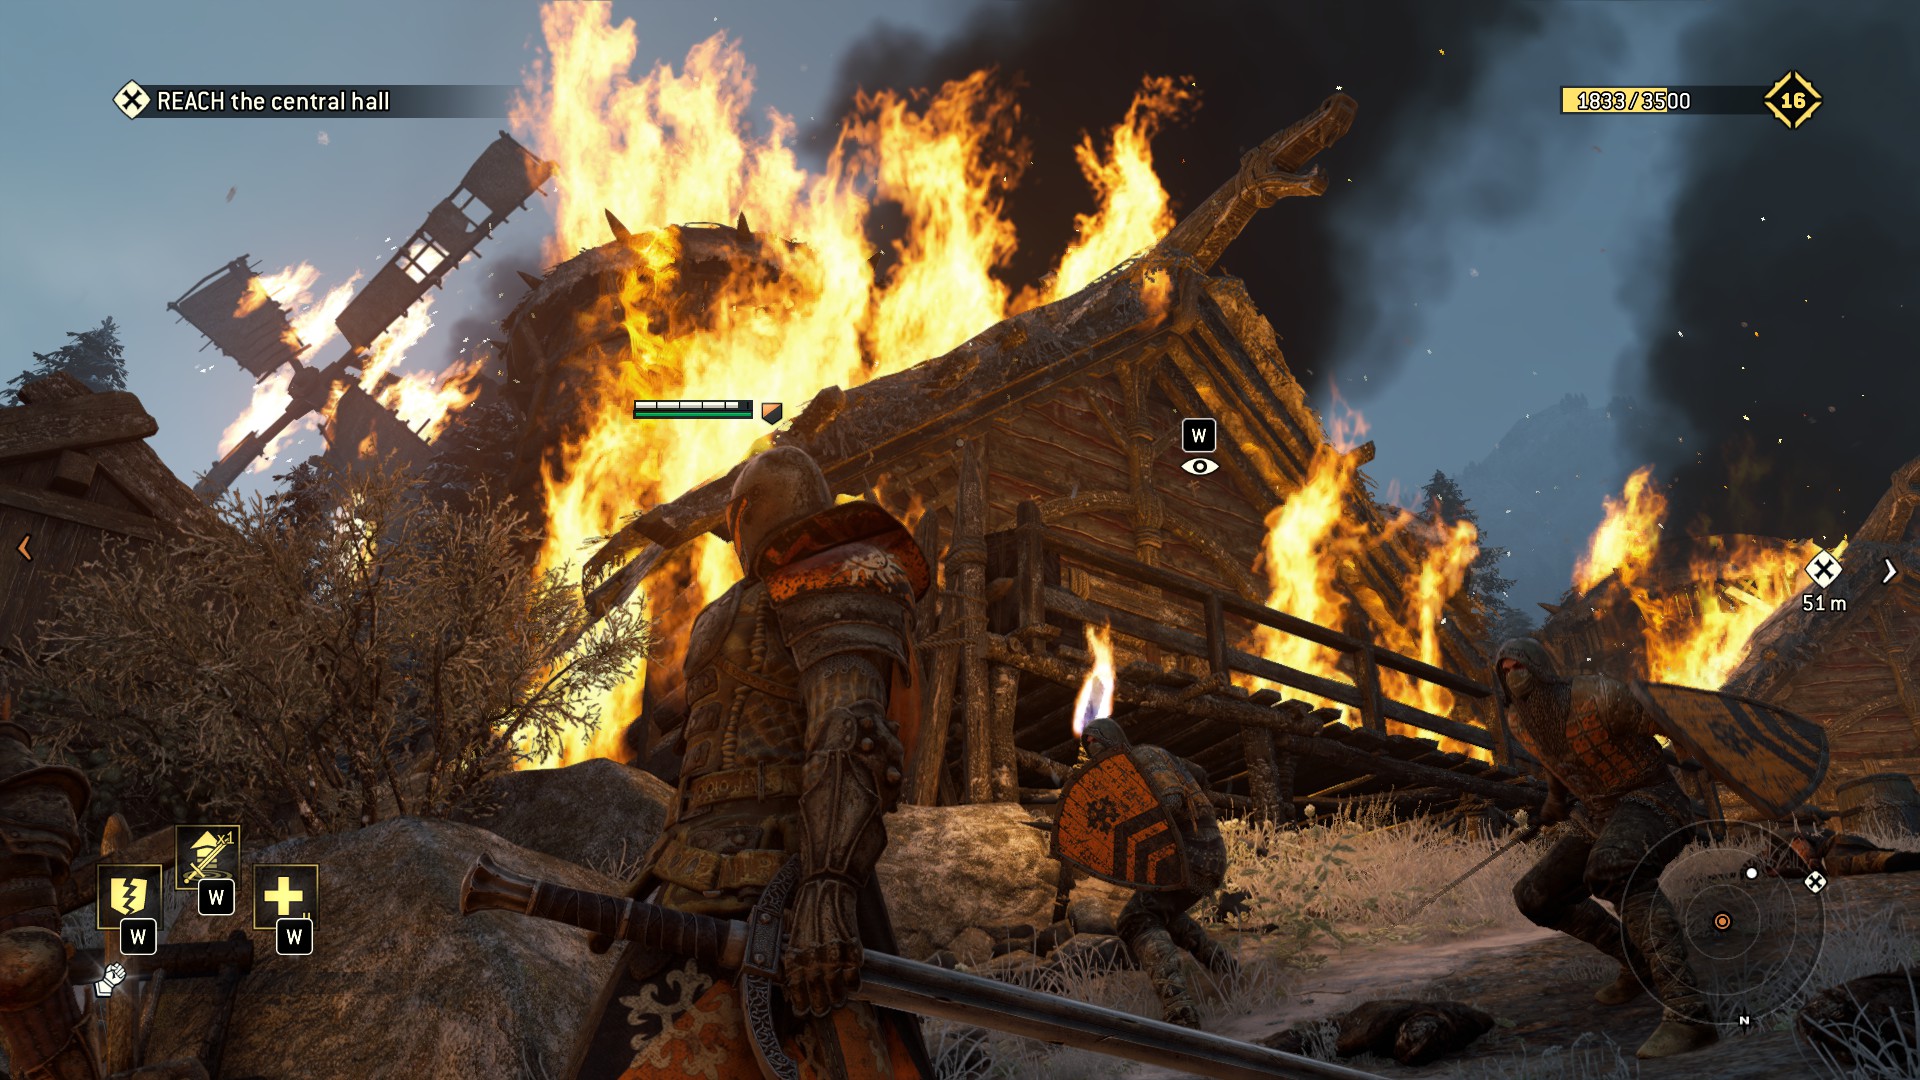
Chapter 2: Vikings

2.1 - Raiding the Raiders
Burn all that burns! Well, except the food
A fairly straight forward level with a grid layout. Do be careful of the point-of-no-return cutscene trigger near the top of the village - you'll know.
First observable is down the second left from the start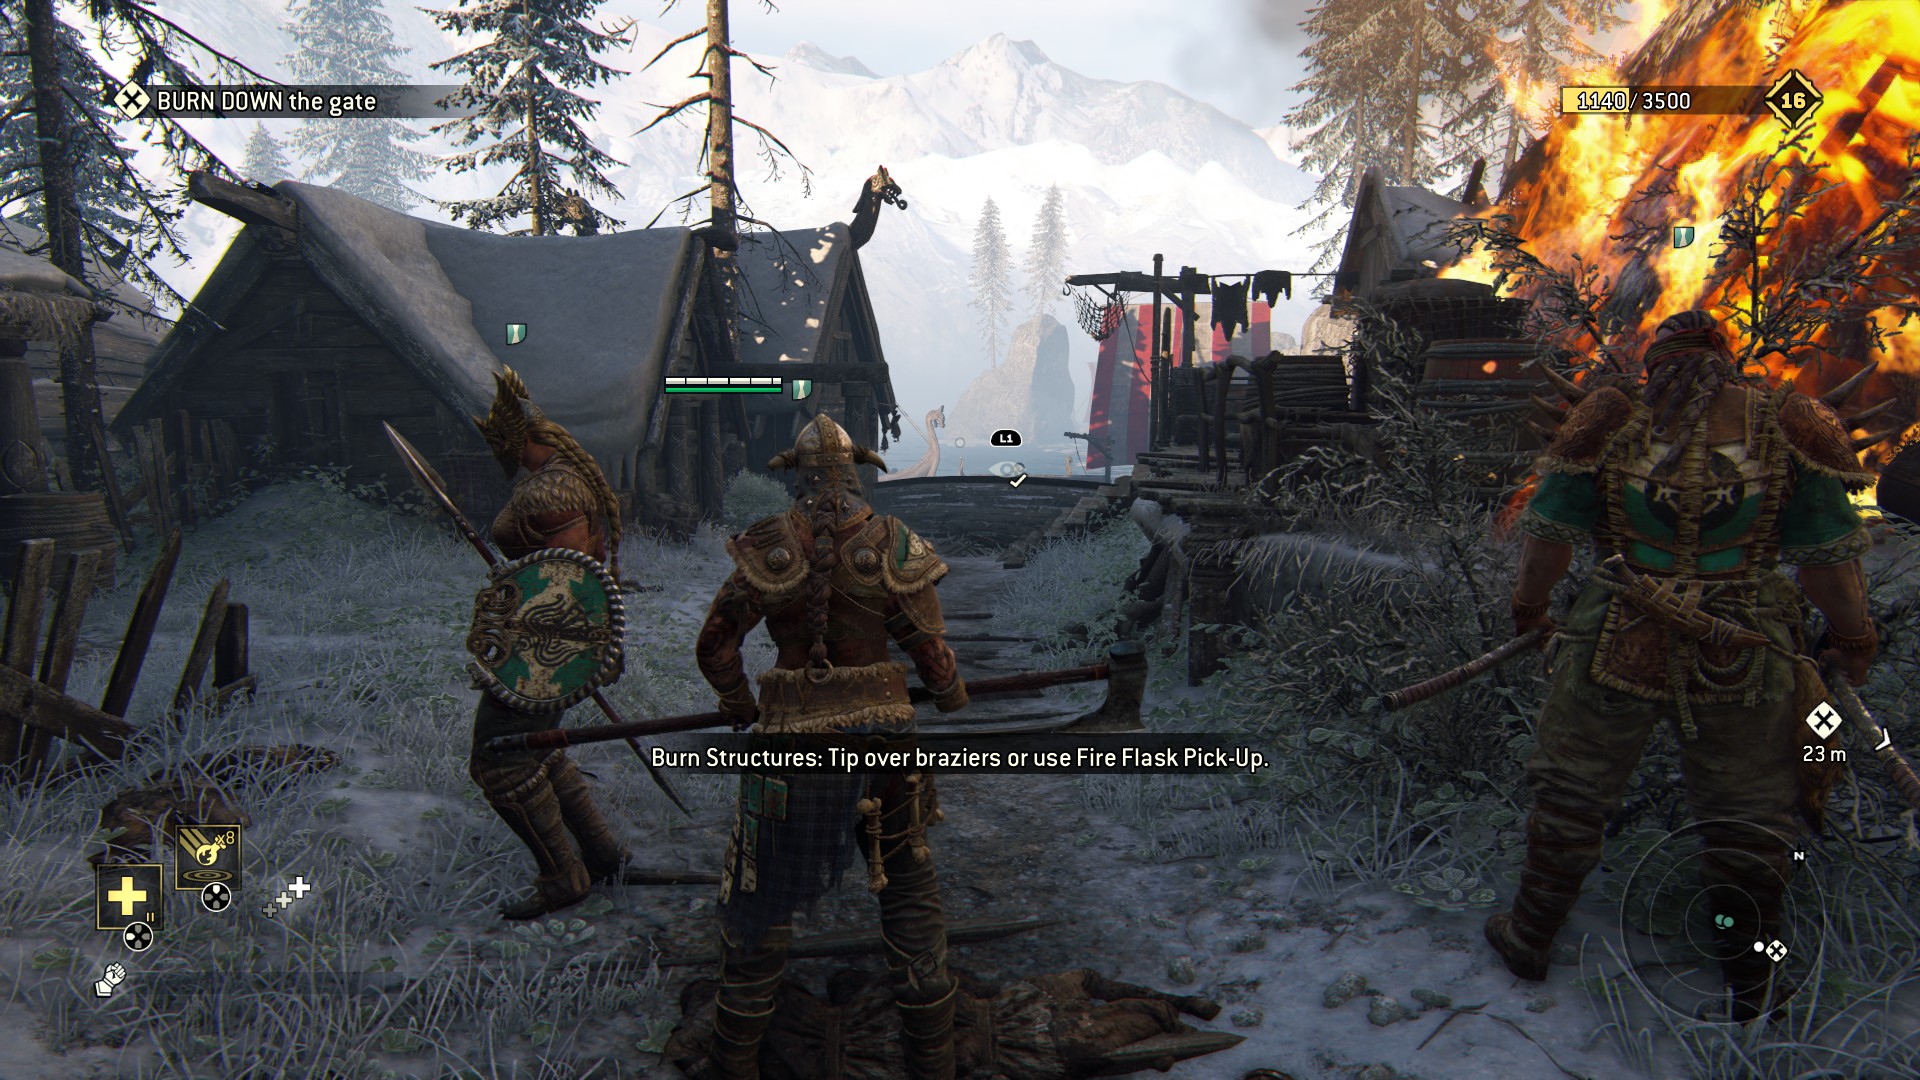 Burn the stuff, click the thing and head straight, look right at the end for observable number 2
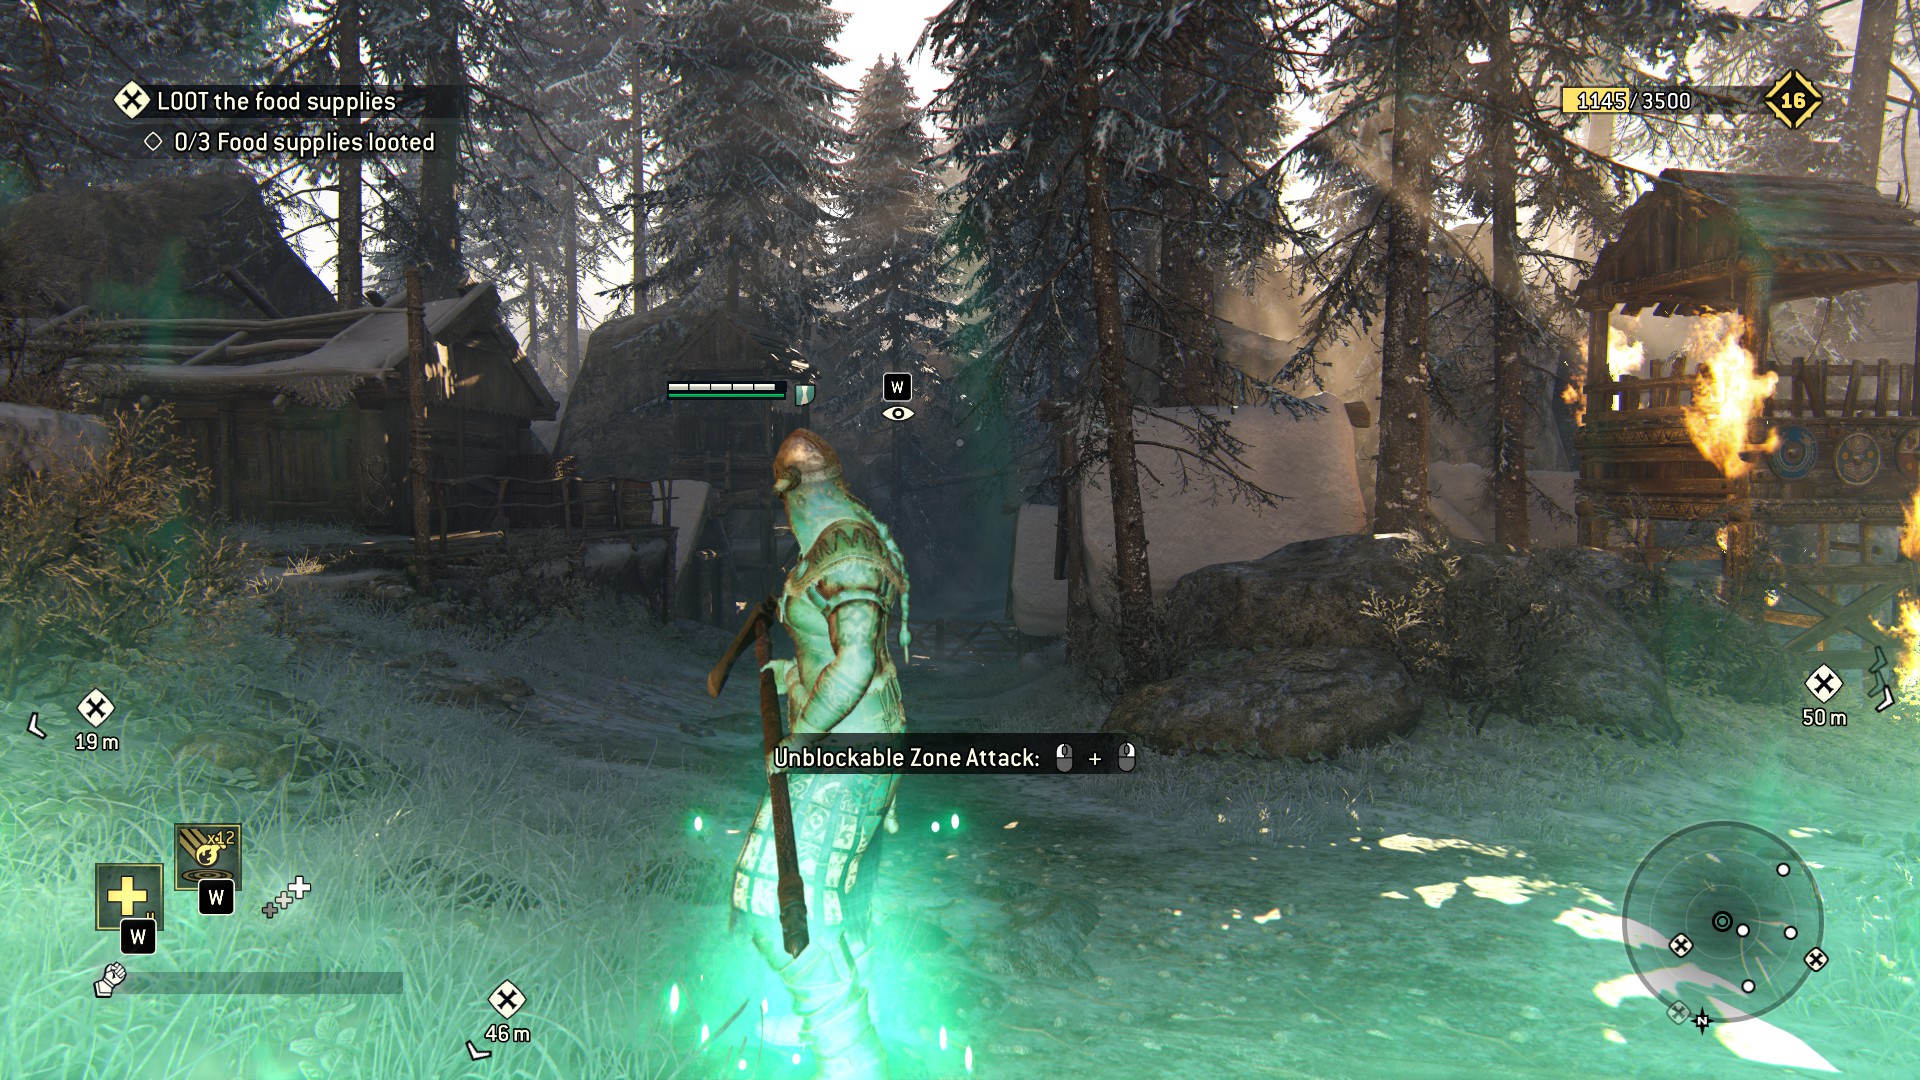 Going up a street level, you'll find the first breakable behind the gate on your right
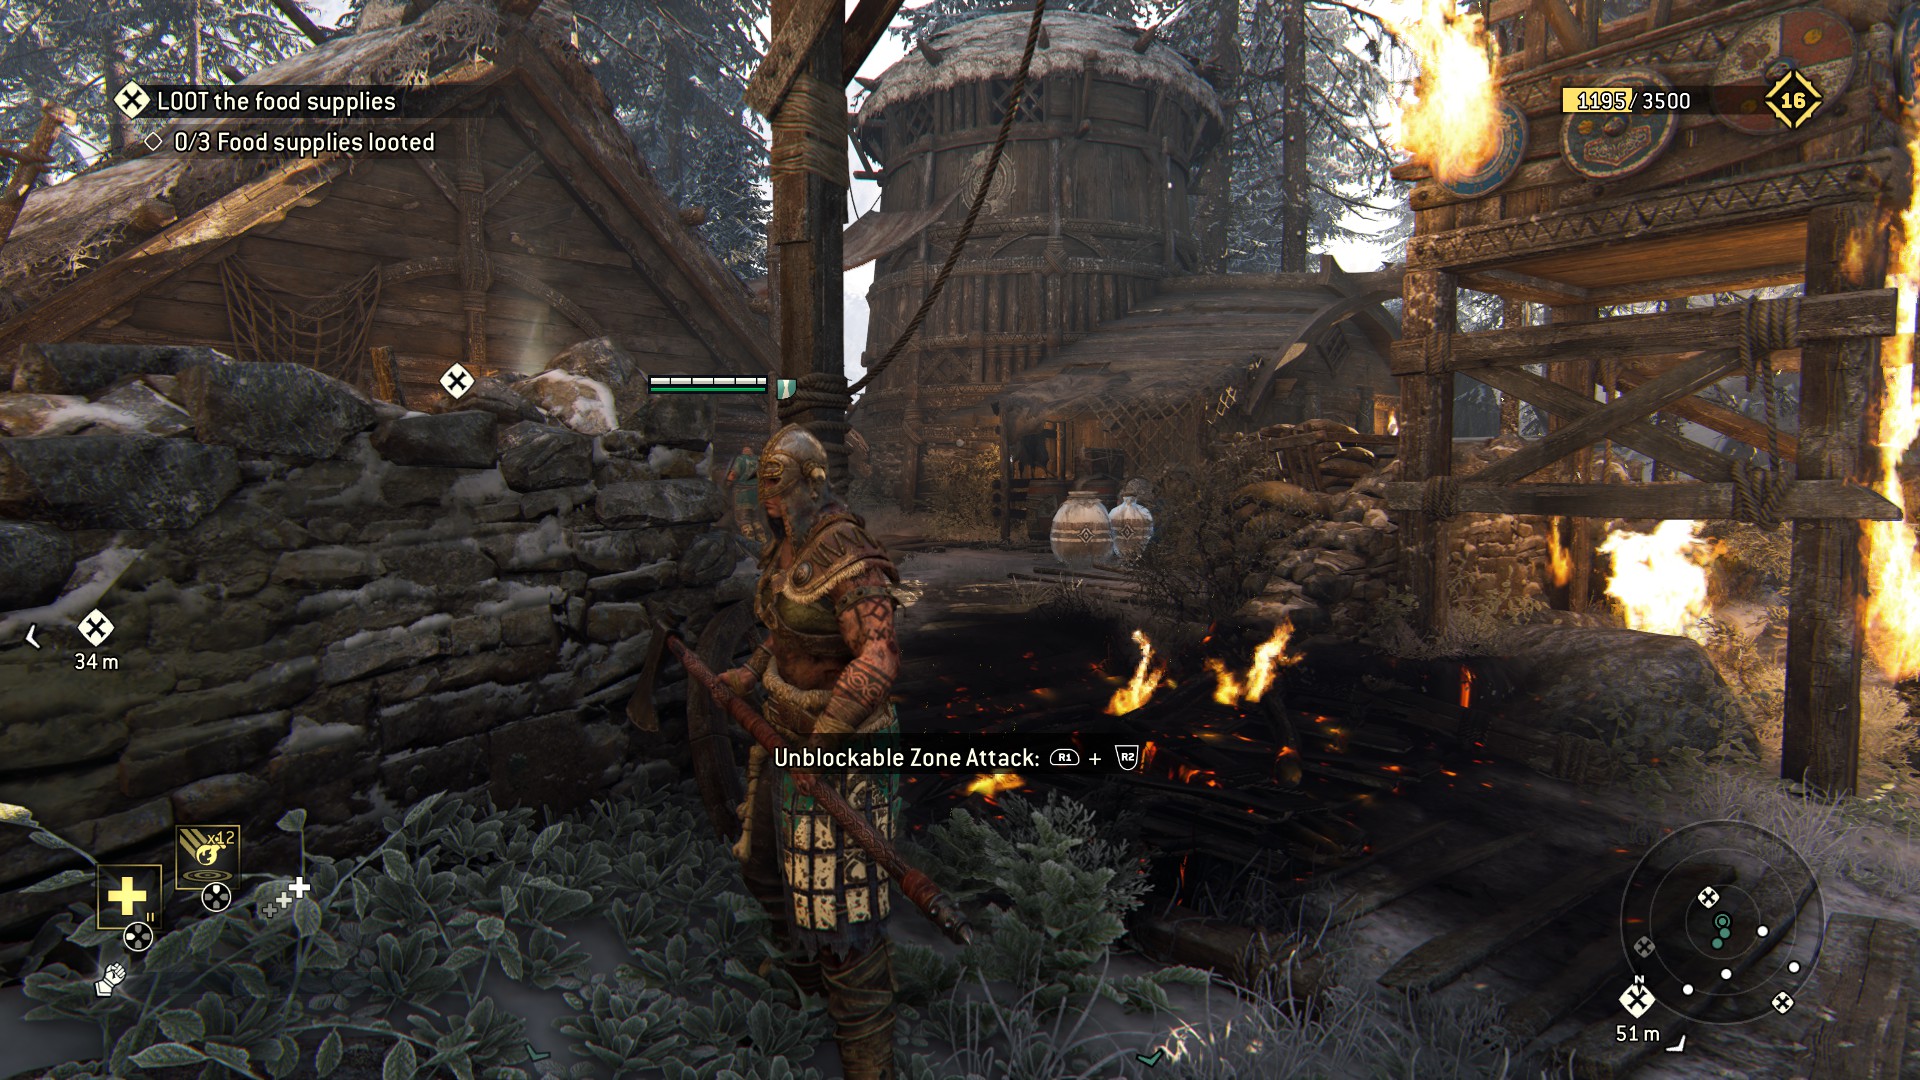 Go straight ahead out of the gate to the other end for the next observable
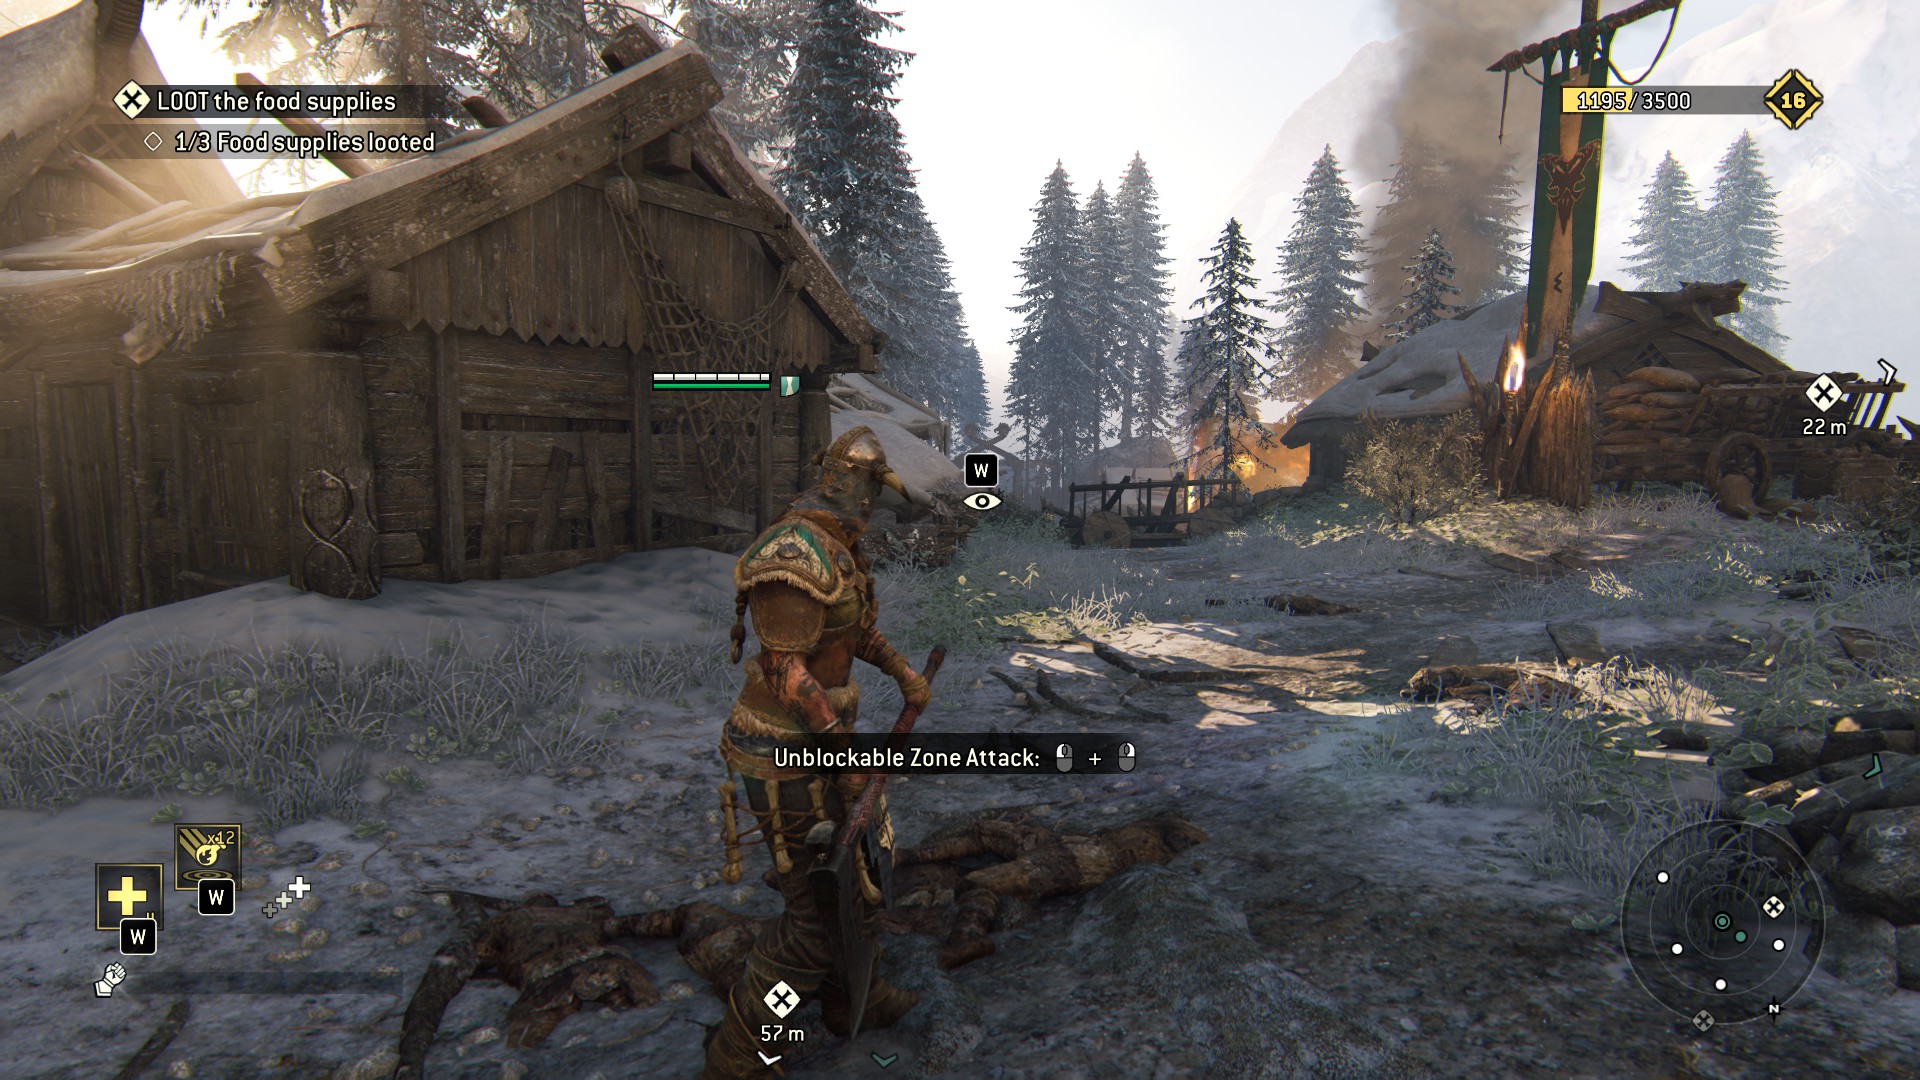 Coming out, go left and up for the next couple of collectibles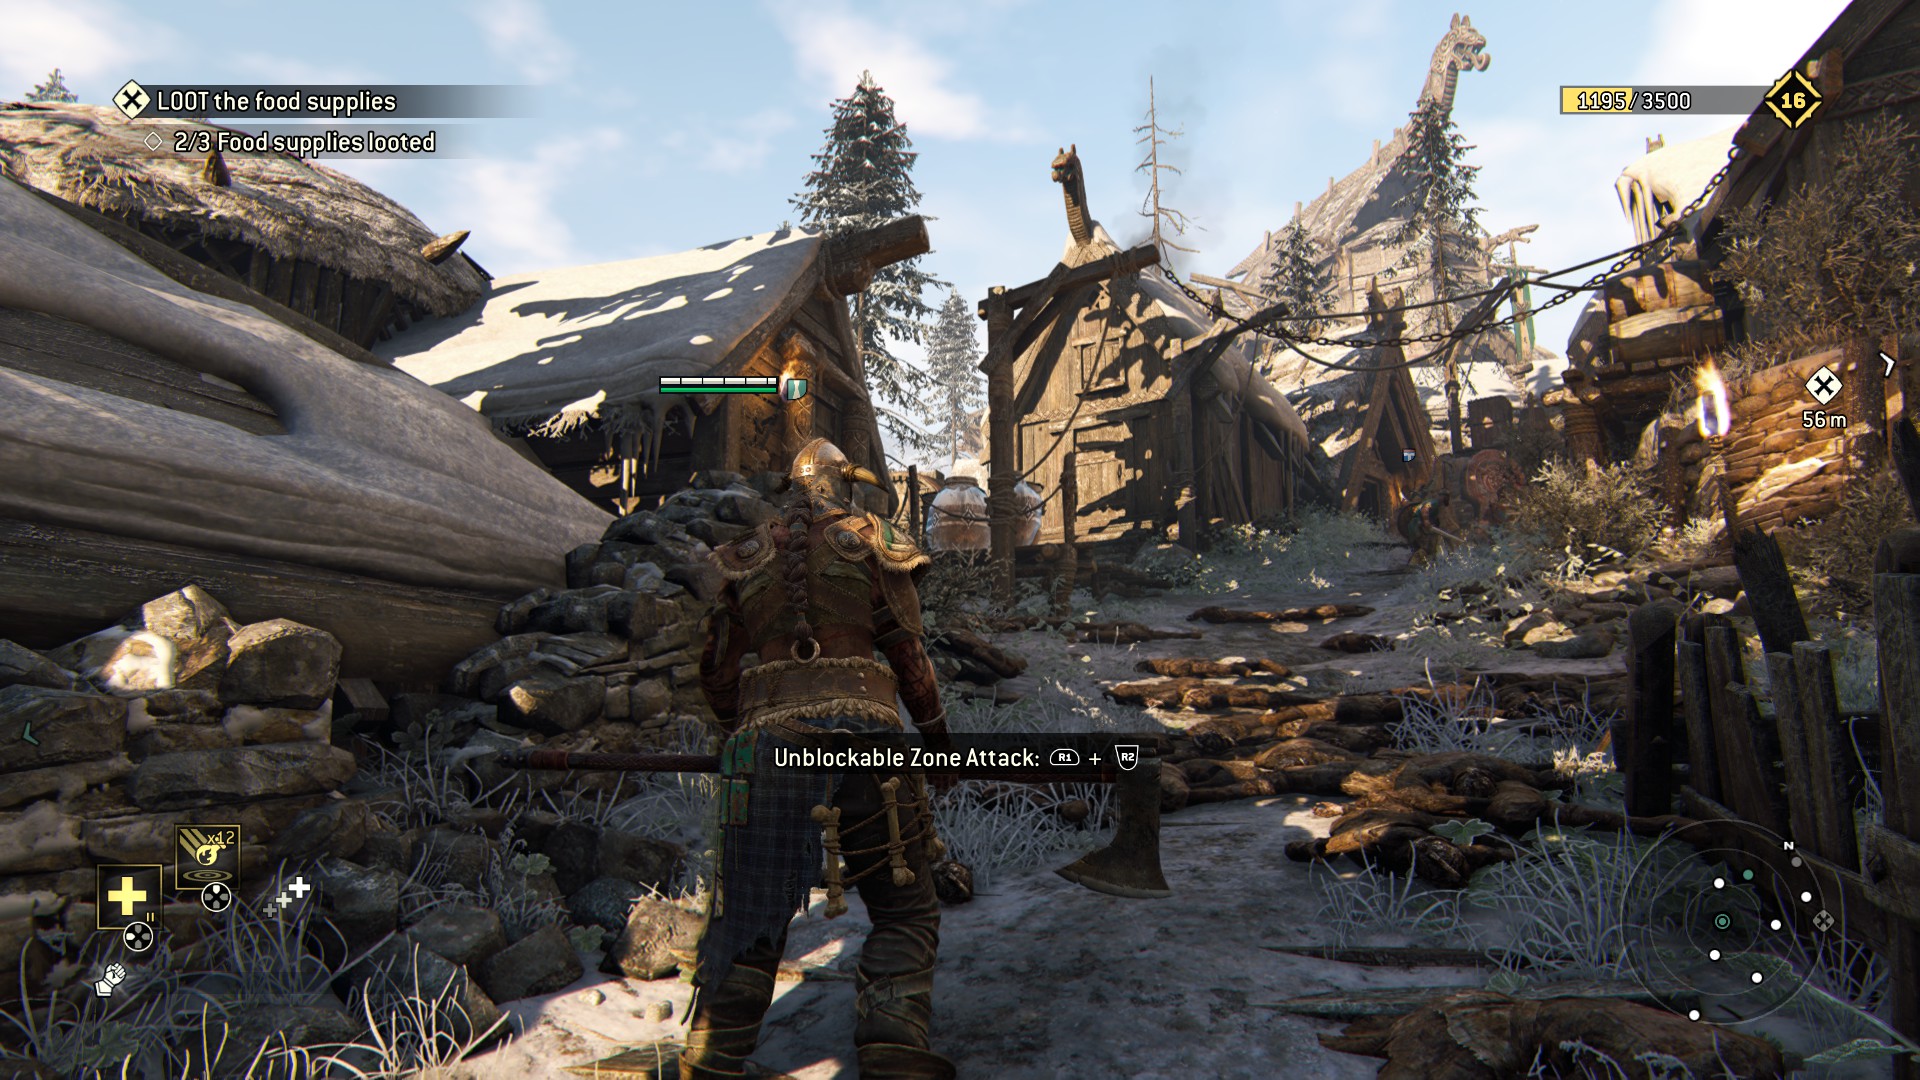
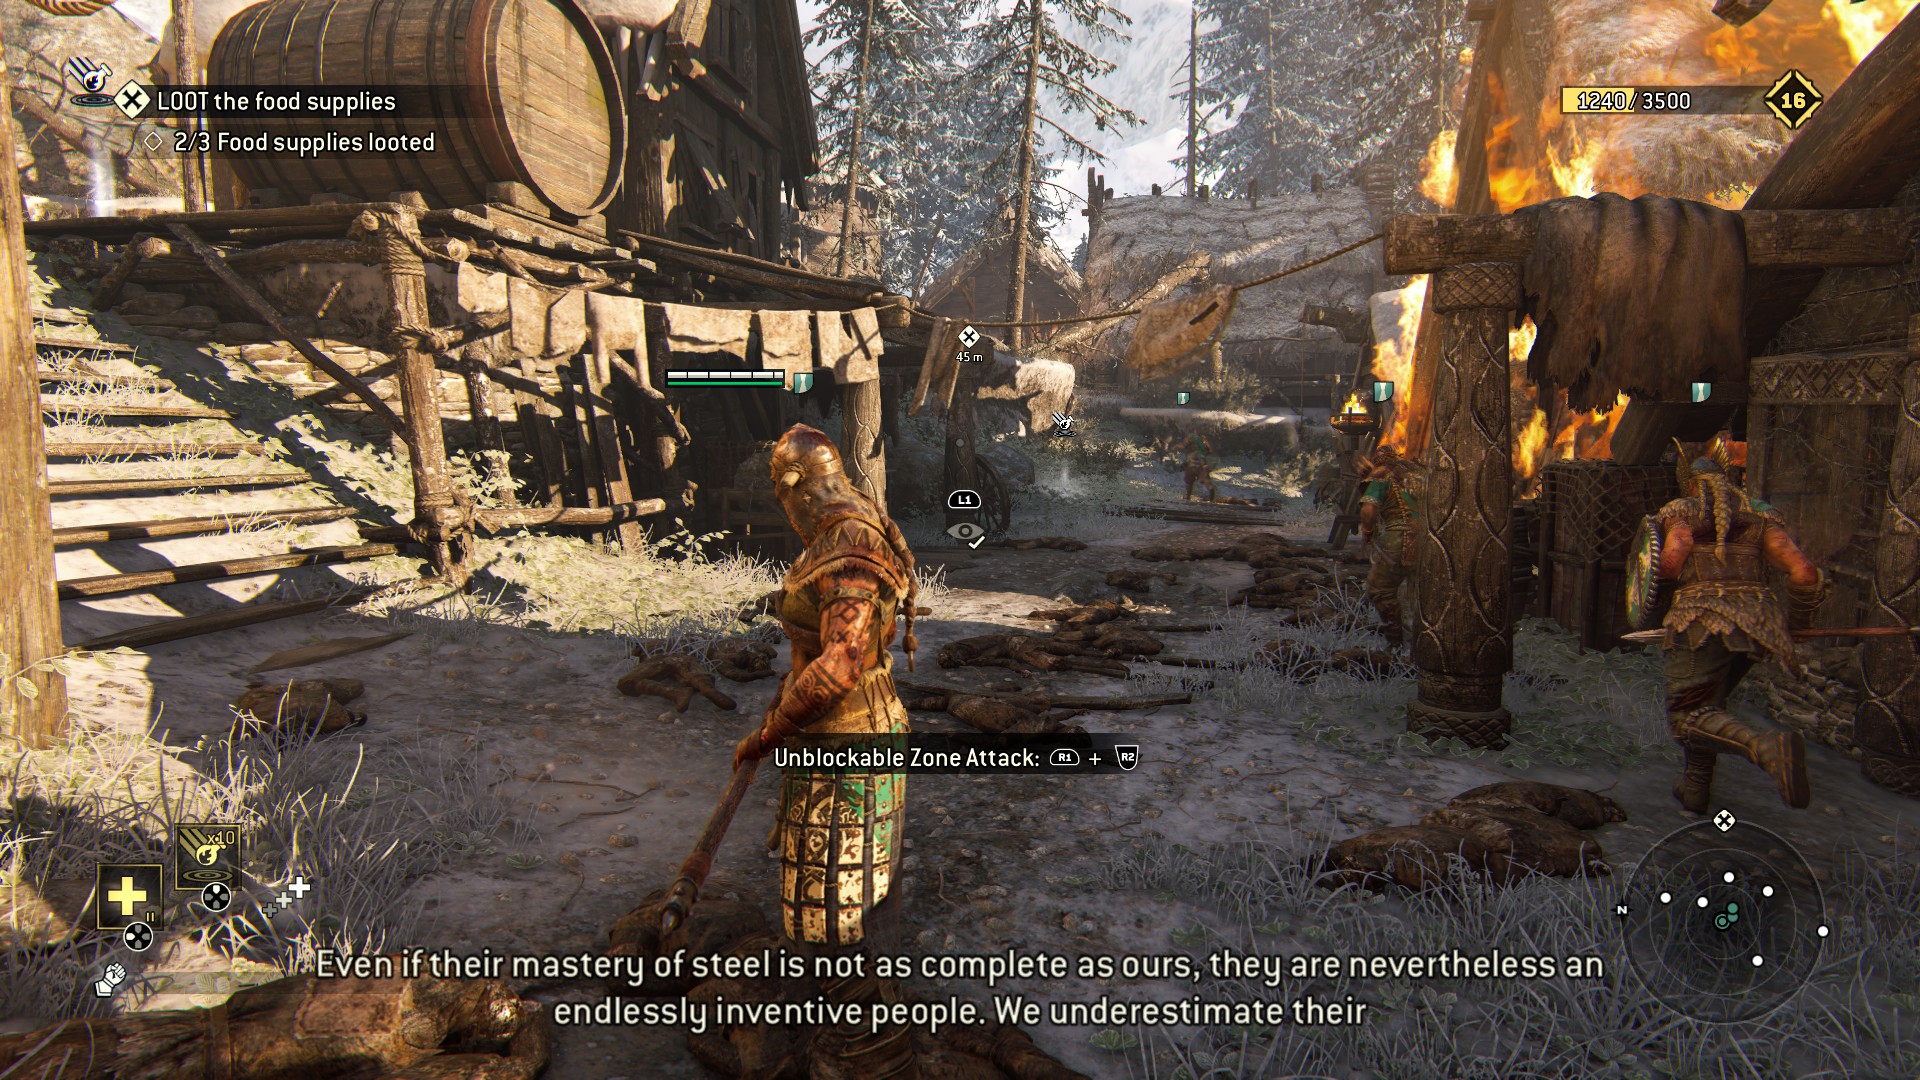 Up the stairs and on your immediate left hidden behind some laundry
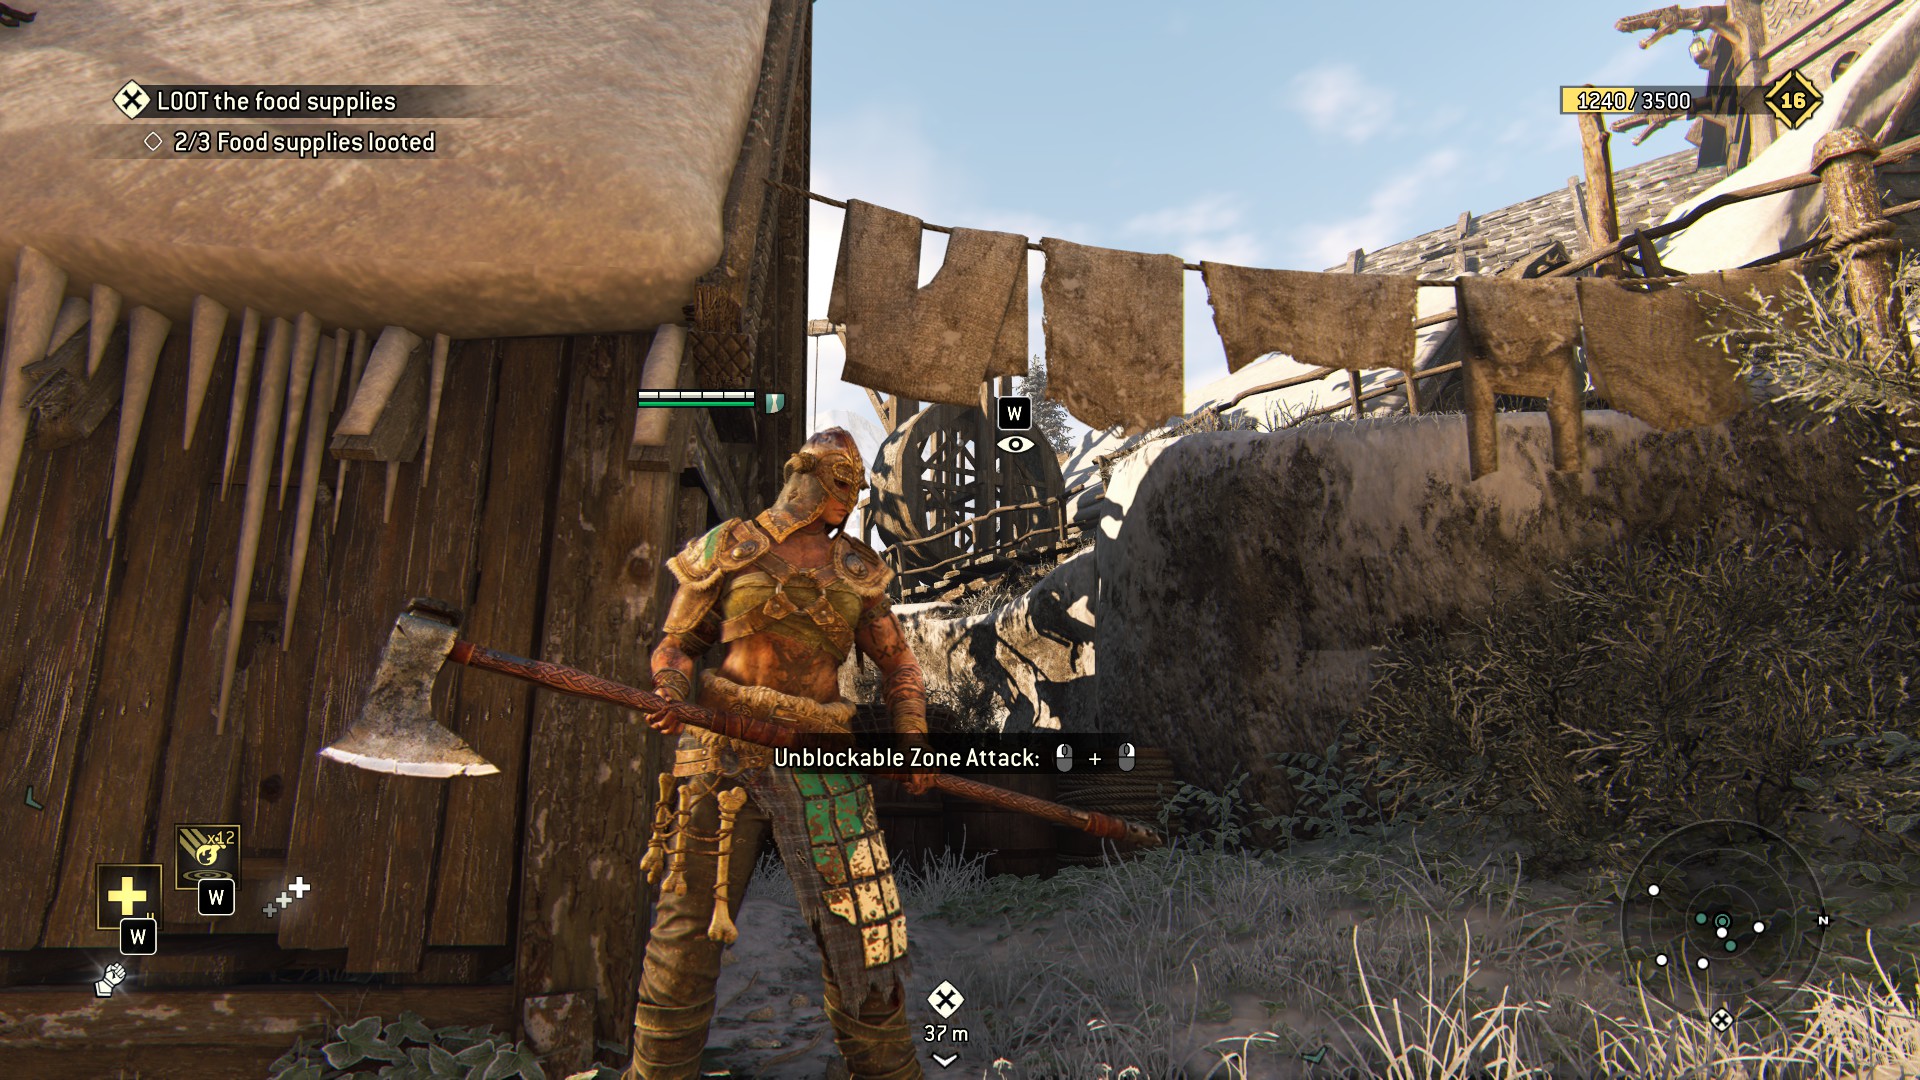 Next observable is virtually unmissable, with another one further on up on the water tower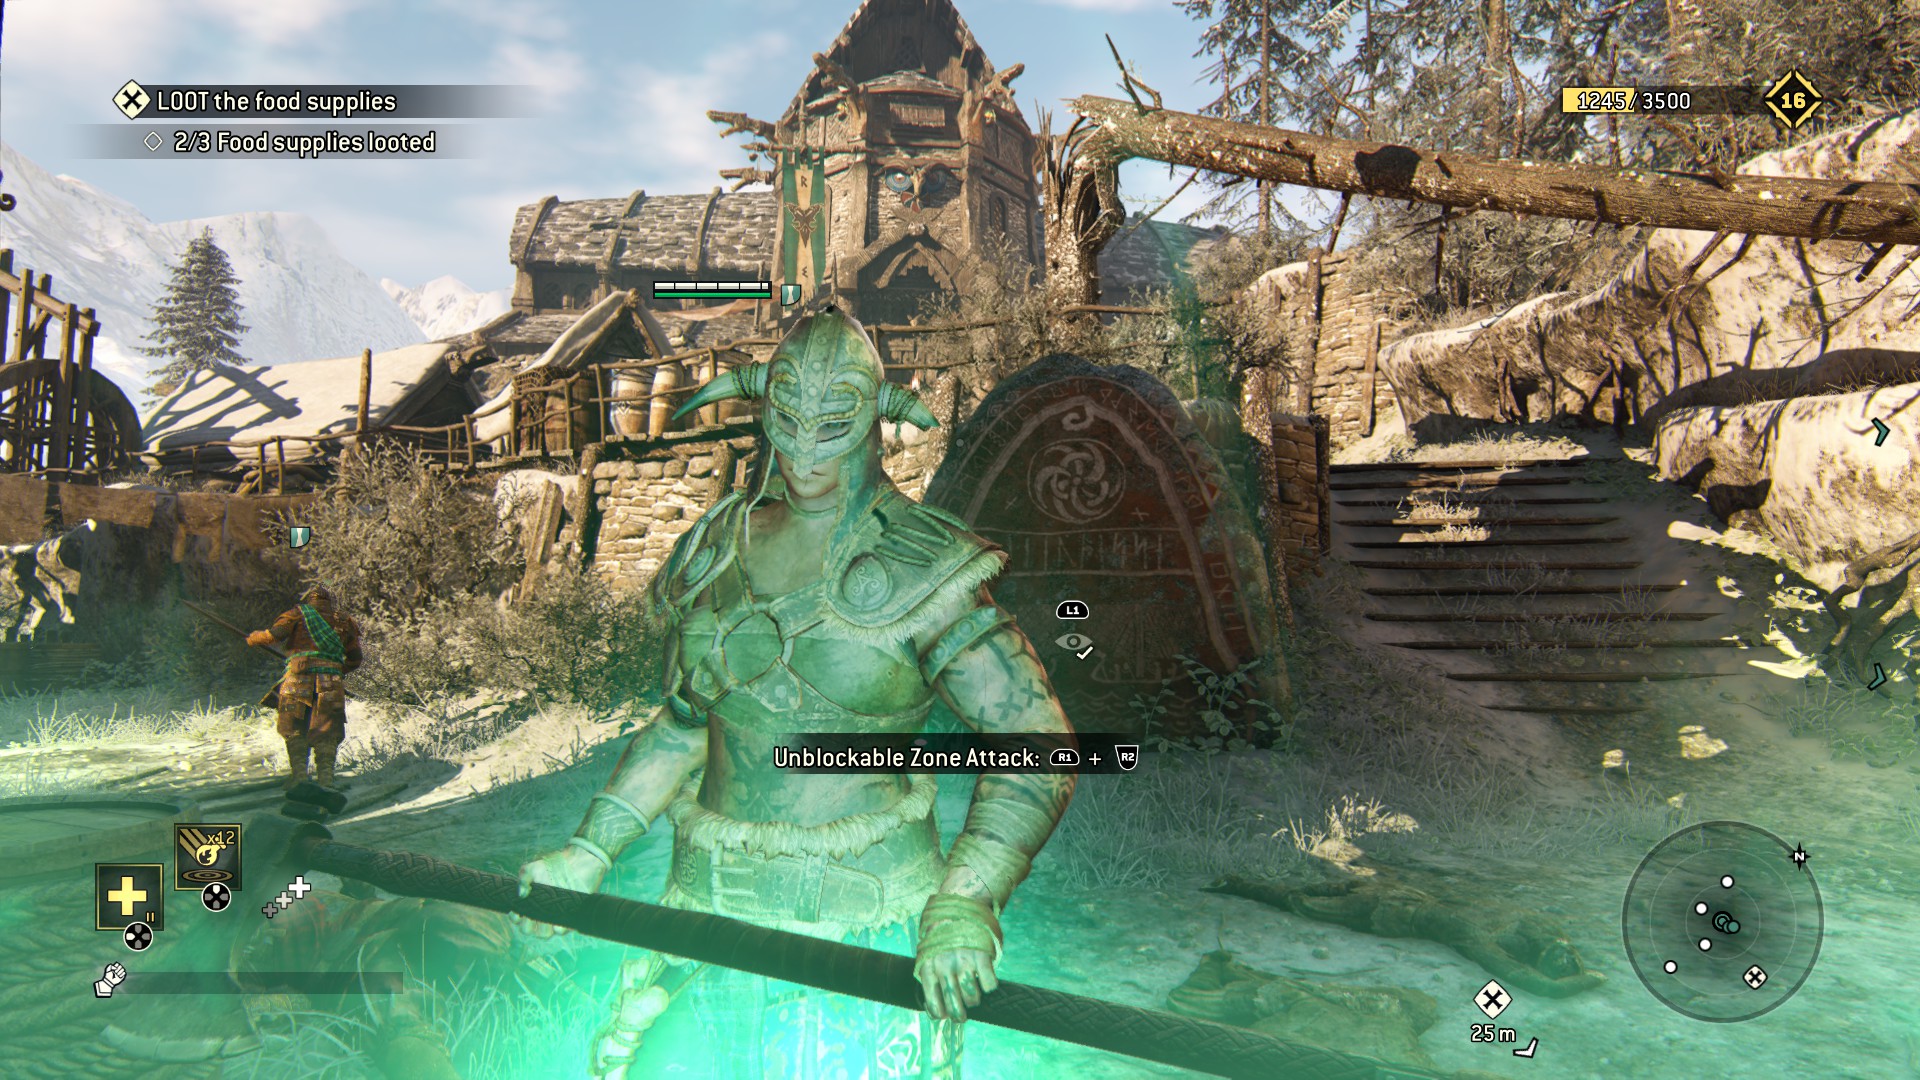
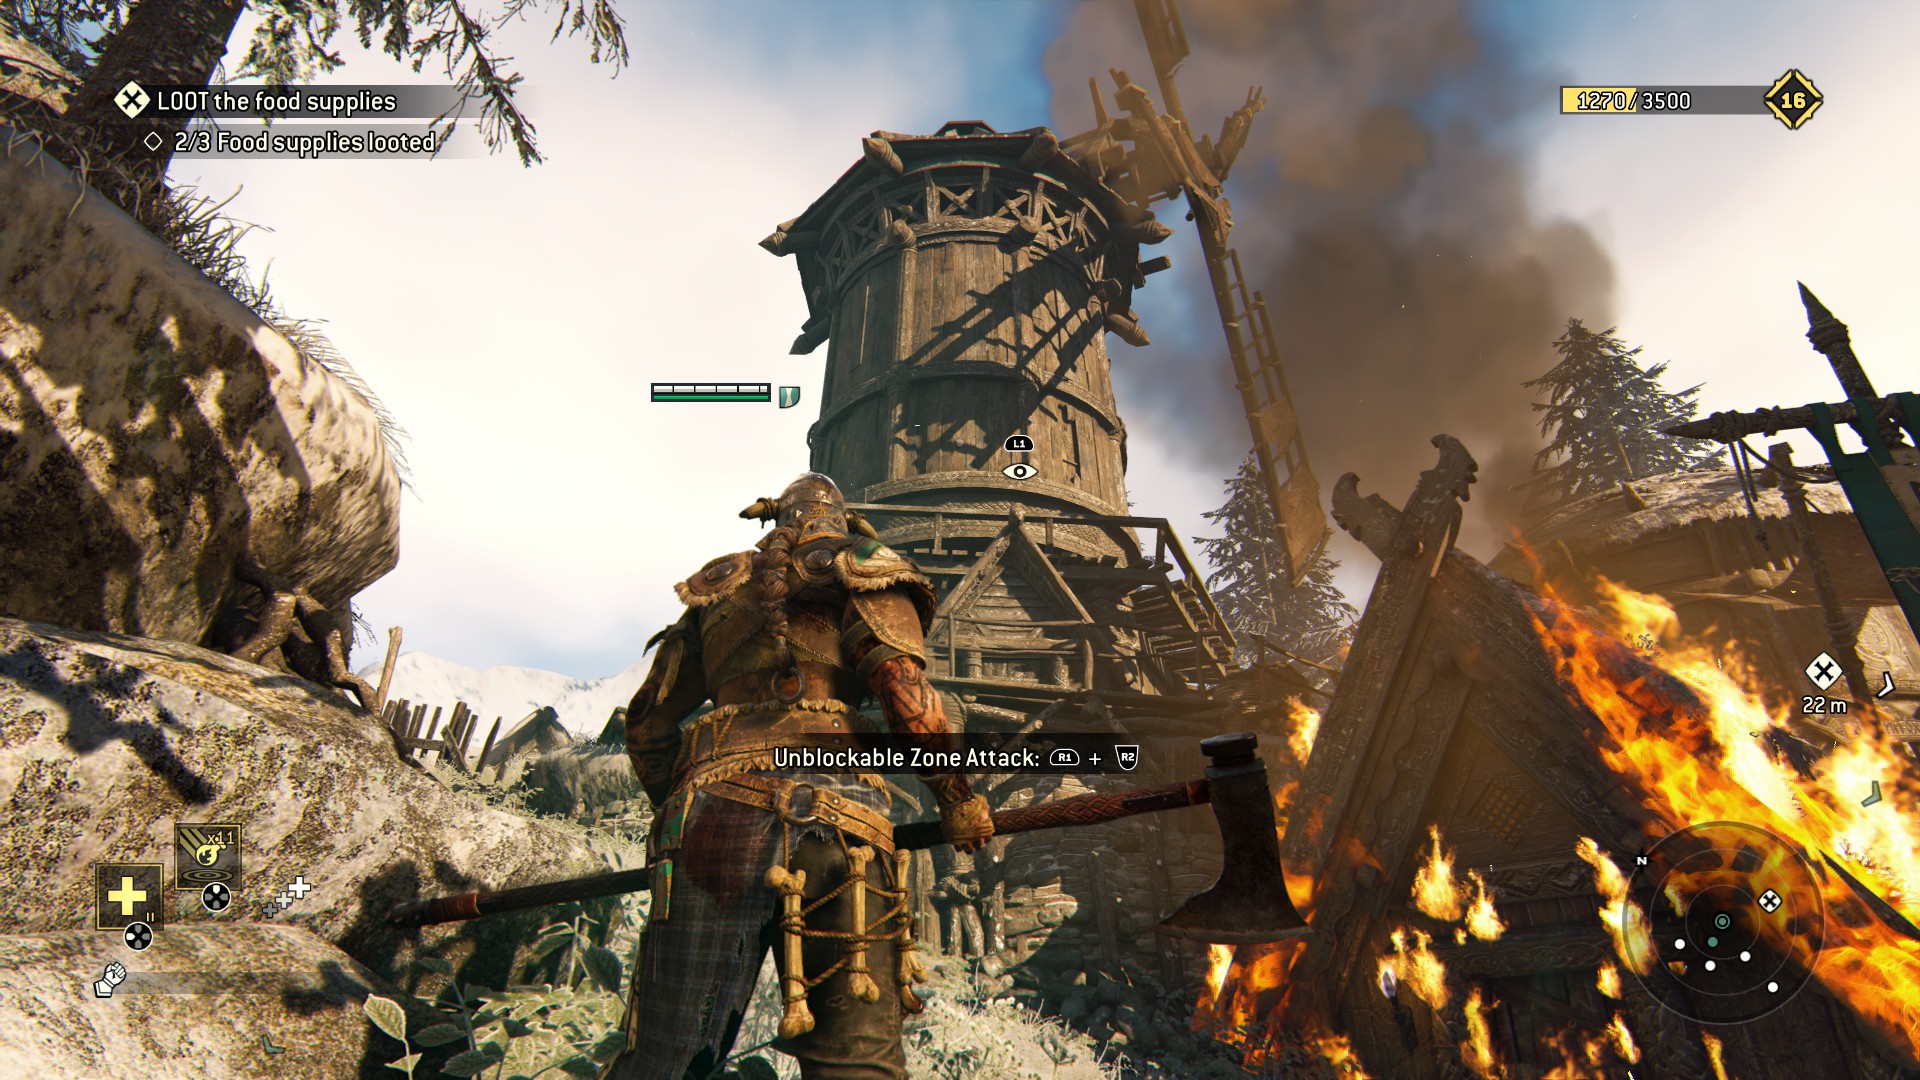 Going up you'll find the last two, cutscene trigger warning at the very last one above the drunk guy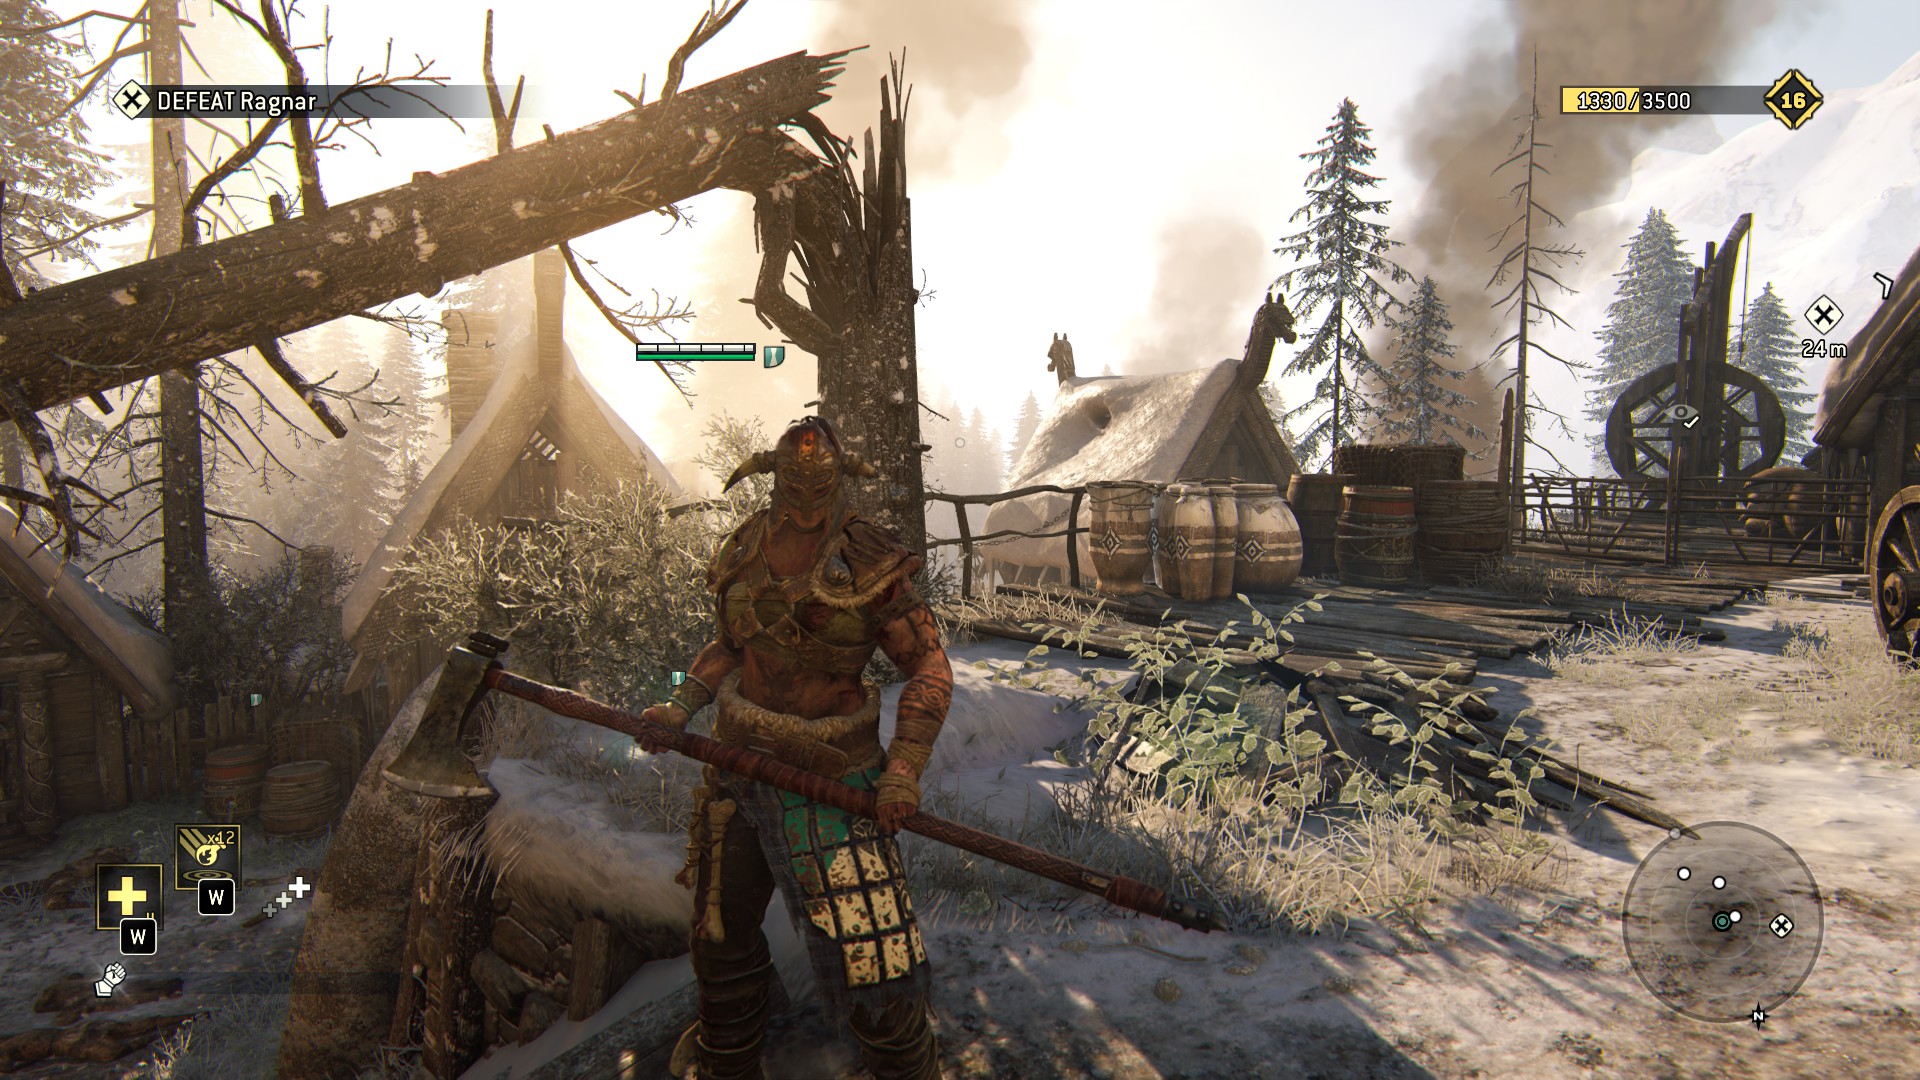
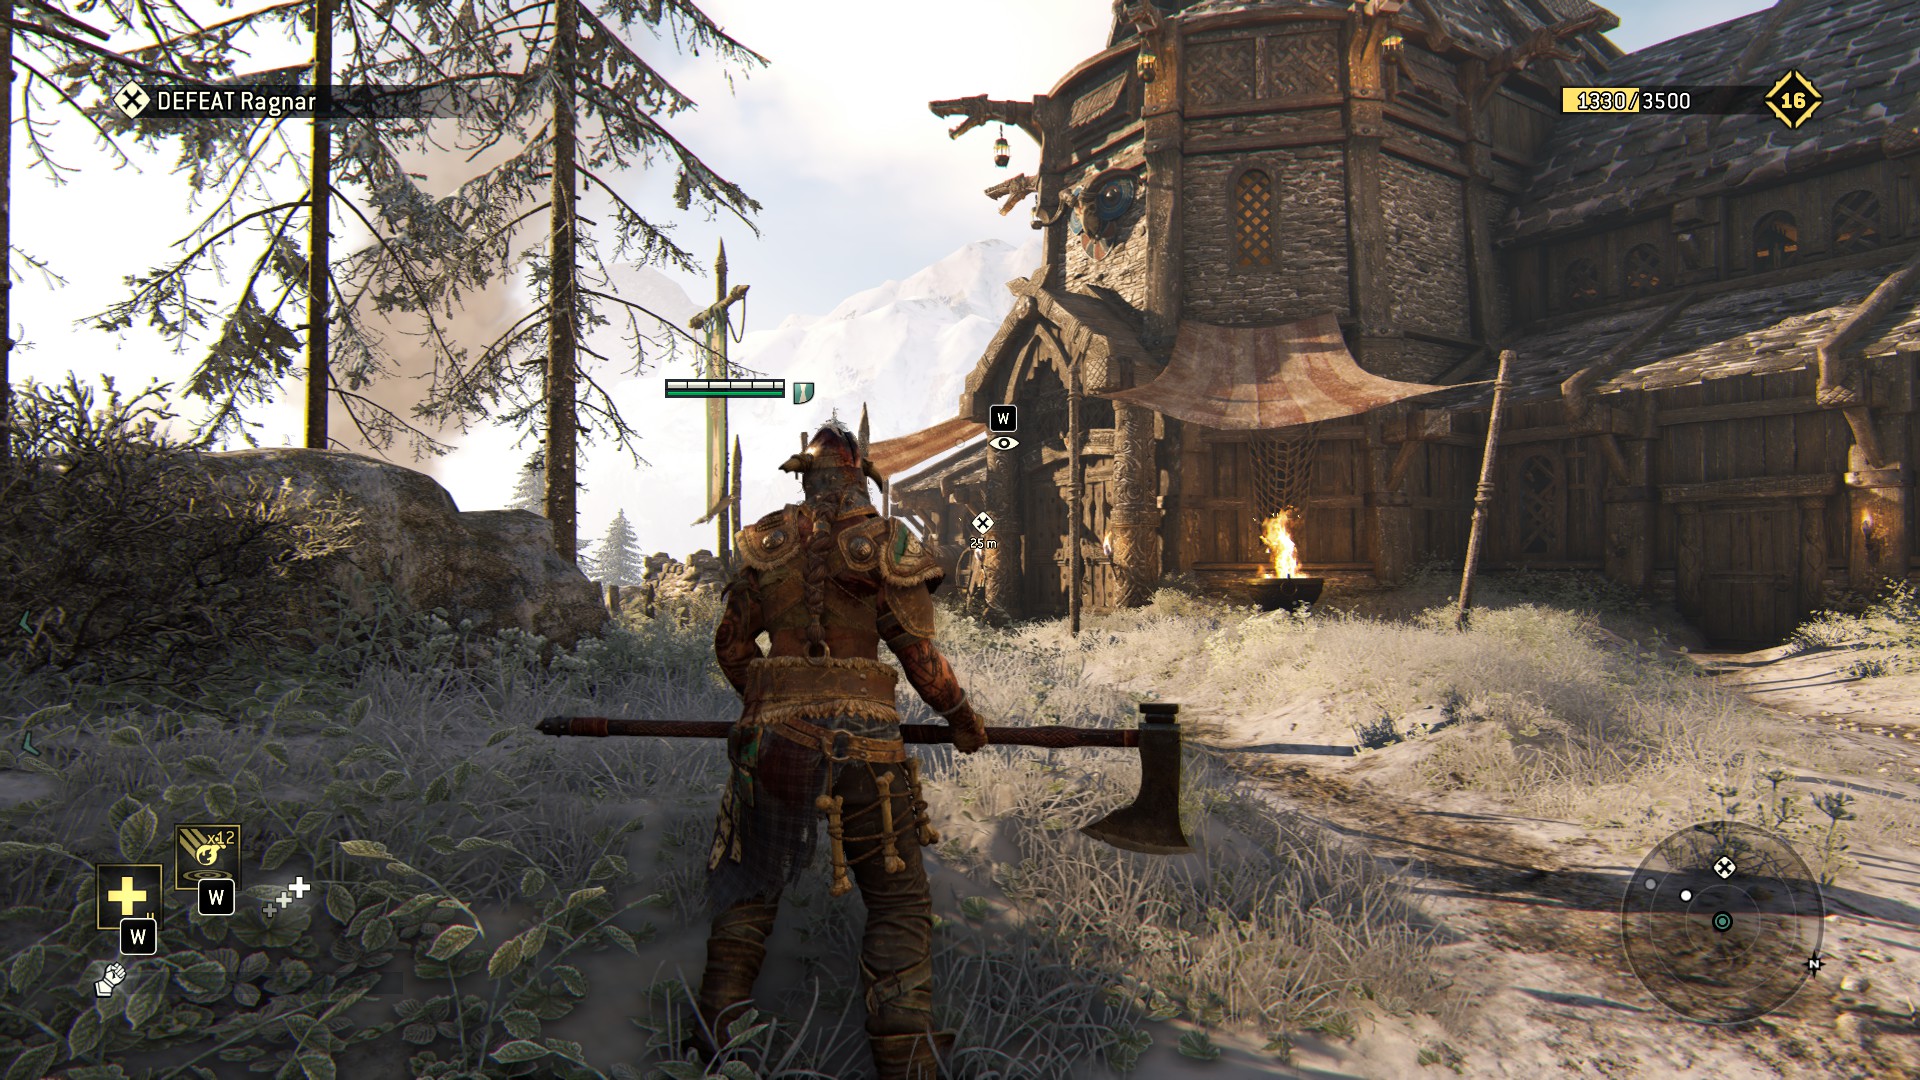
Now enjoy viki-ing around for rest of the level
2.2 - Viking Diplomacy
«RAIDER!»
- Ms. Axy McAxeface
Short level, you'll recognize this from the multiplayer.
Do get all the collectables before you rescue the prisoners as their favorite thing to do is to be in your way.
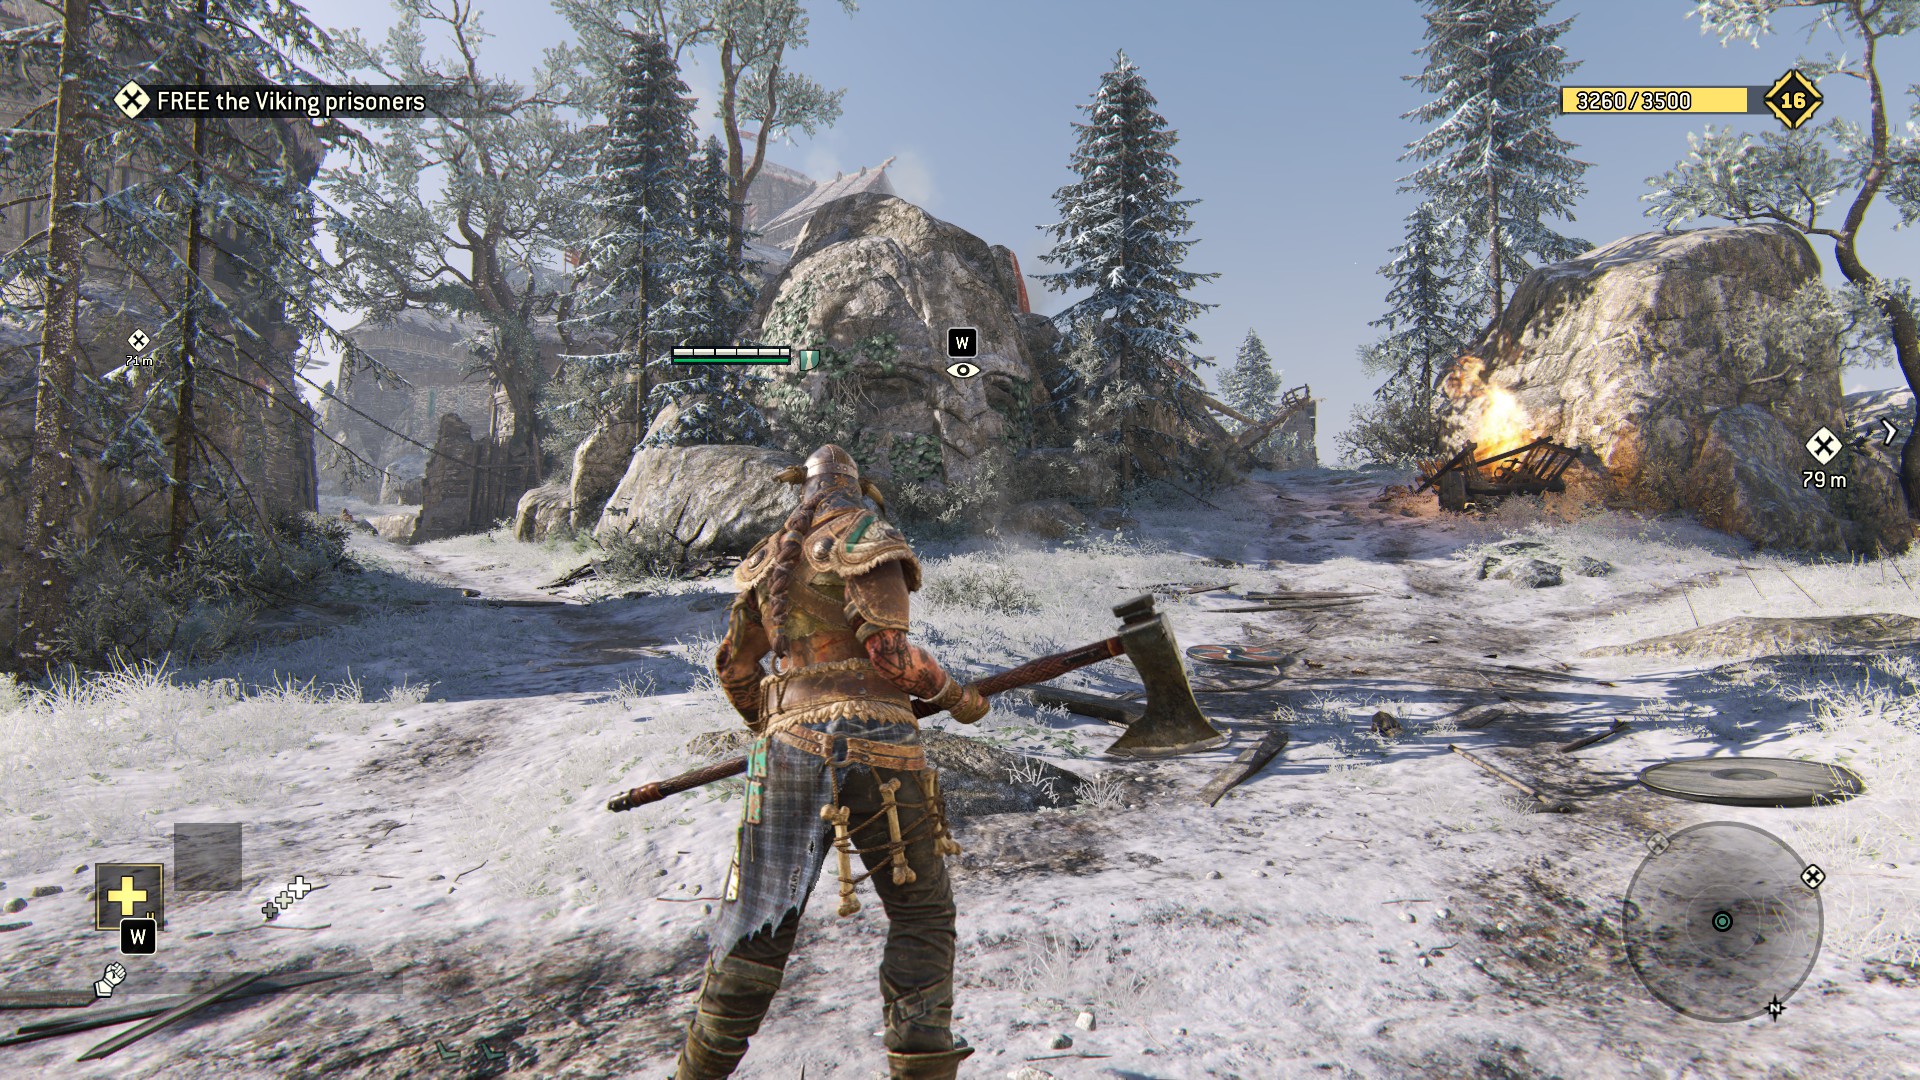
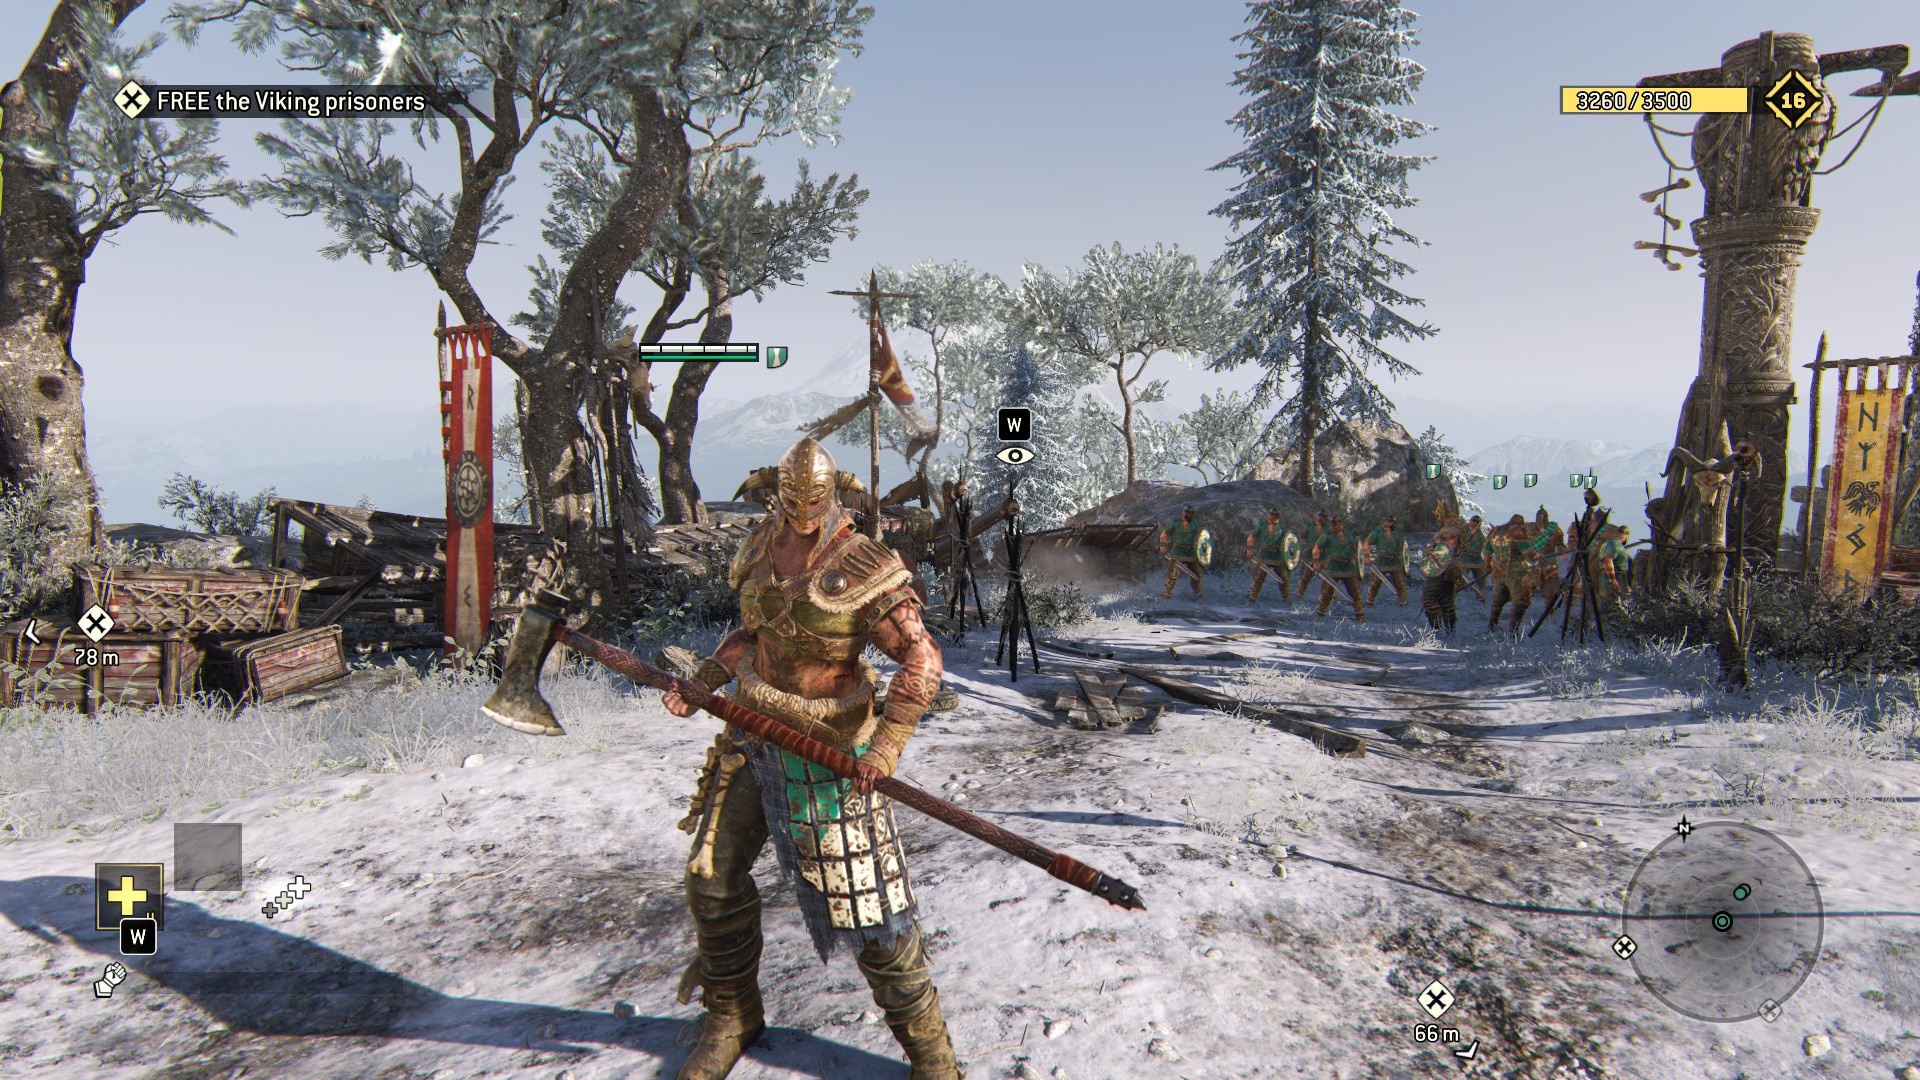
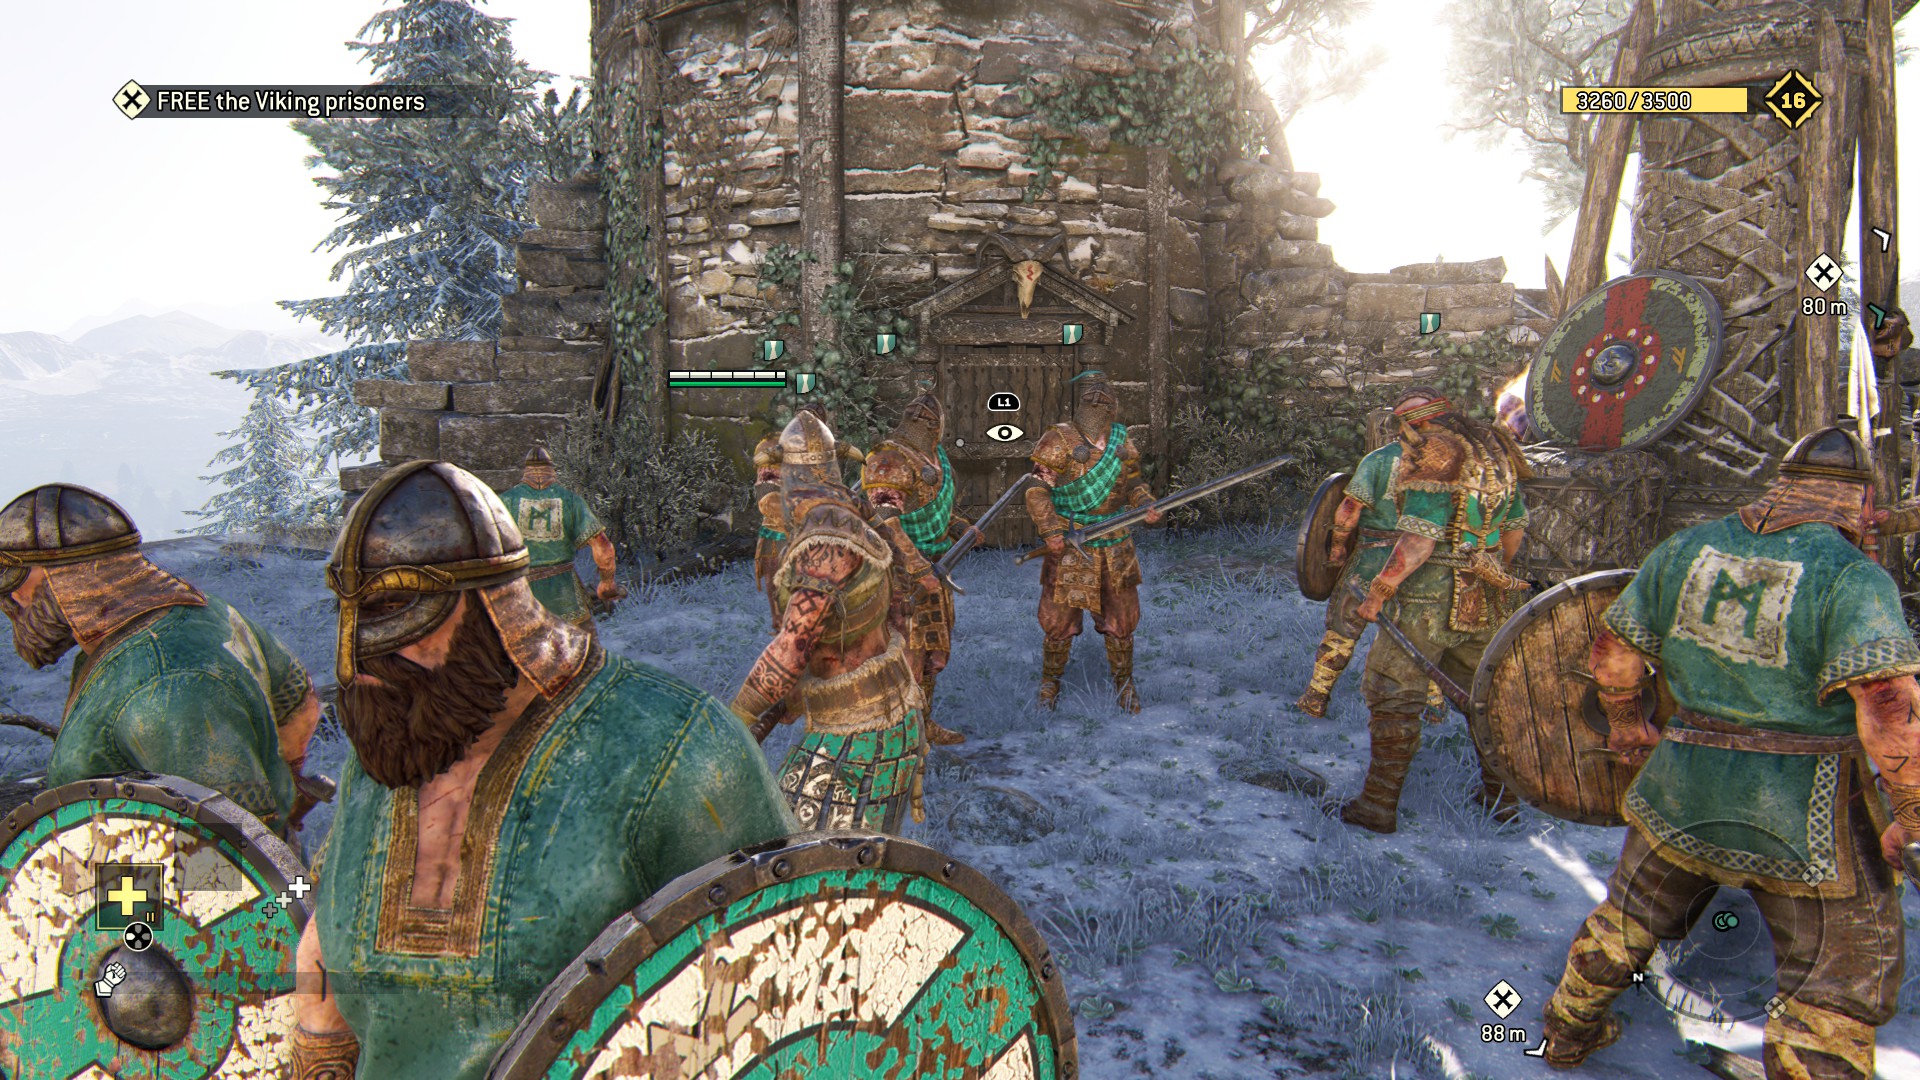
Here's the rest of 'em in order by circling around the mission, first going to the left objective:
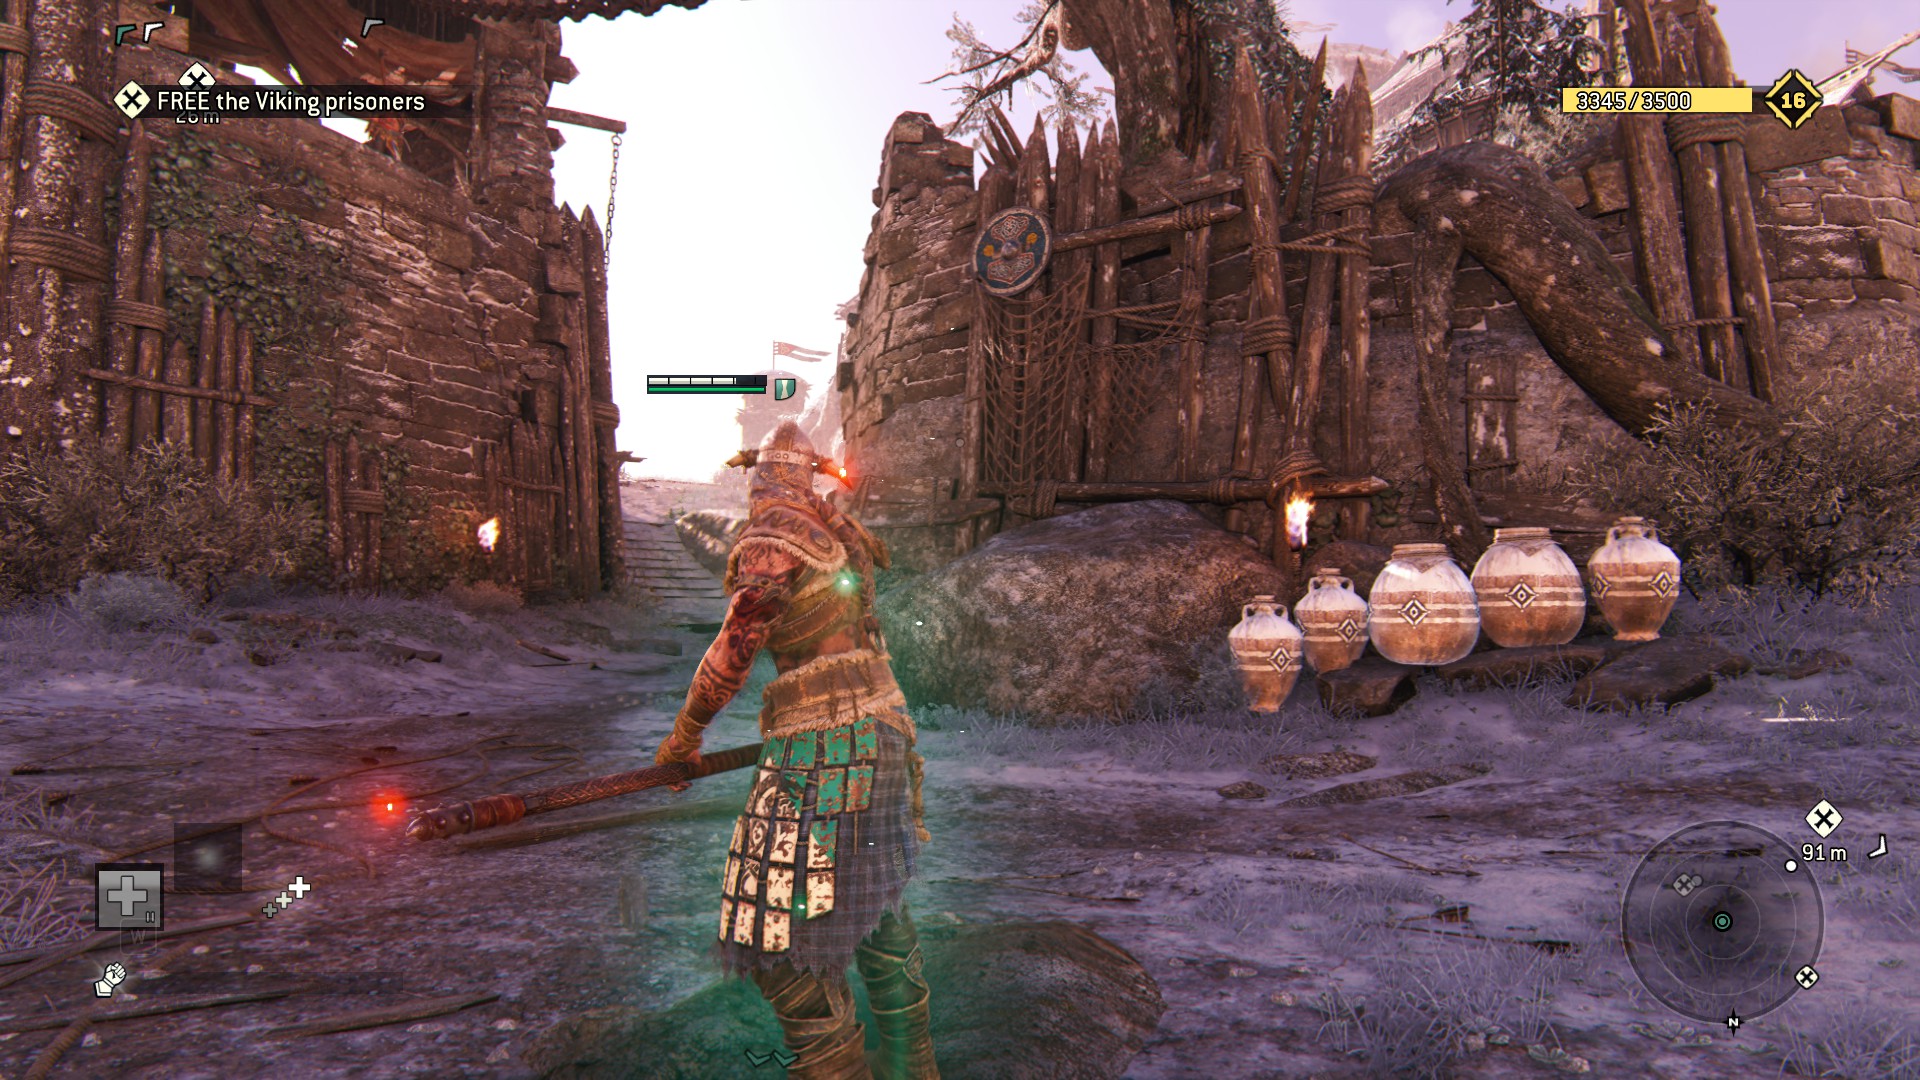
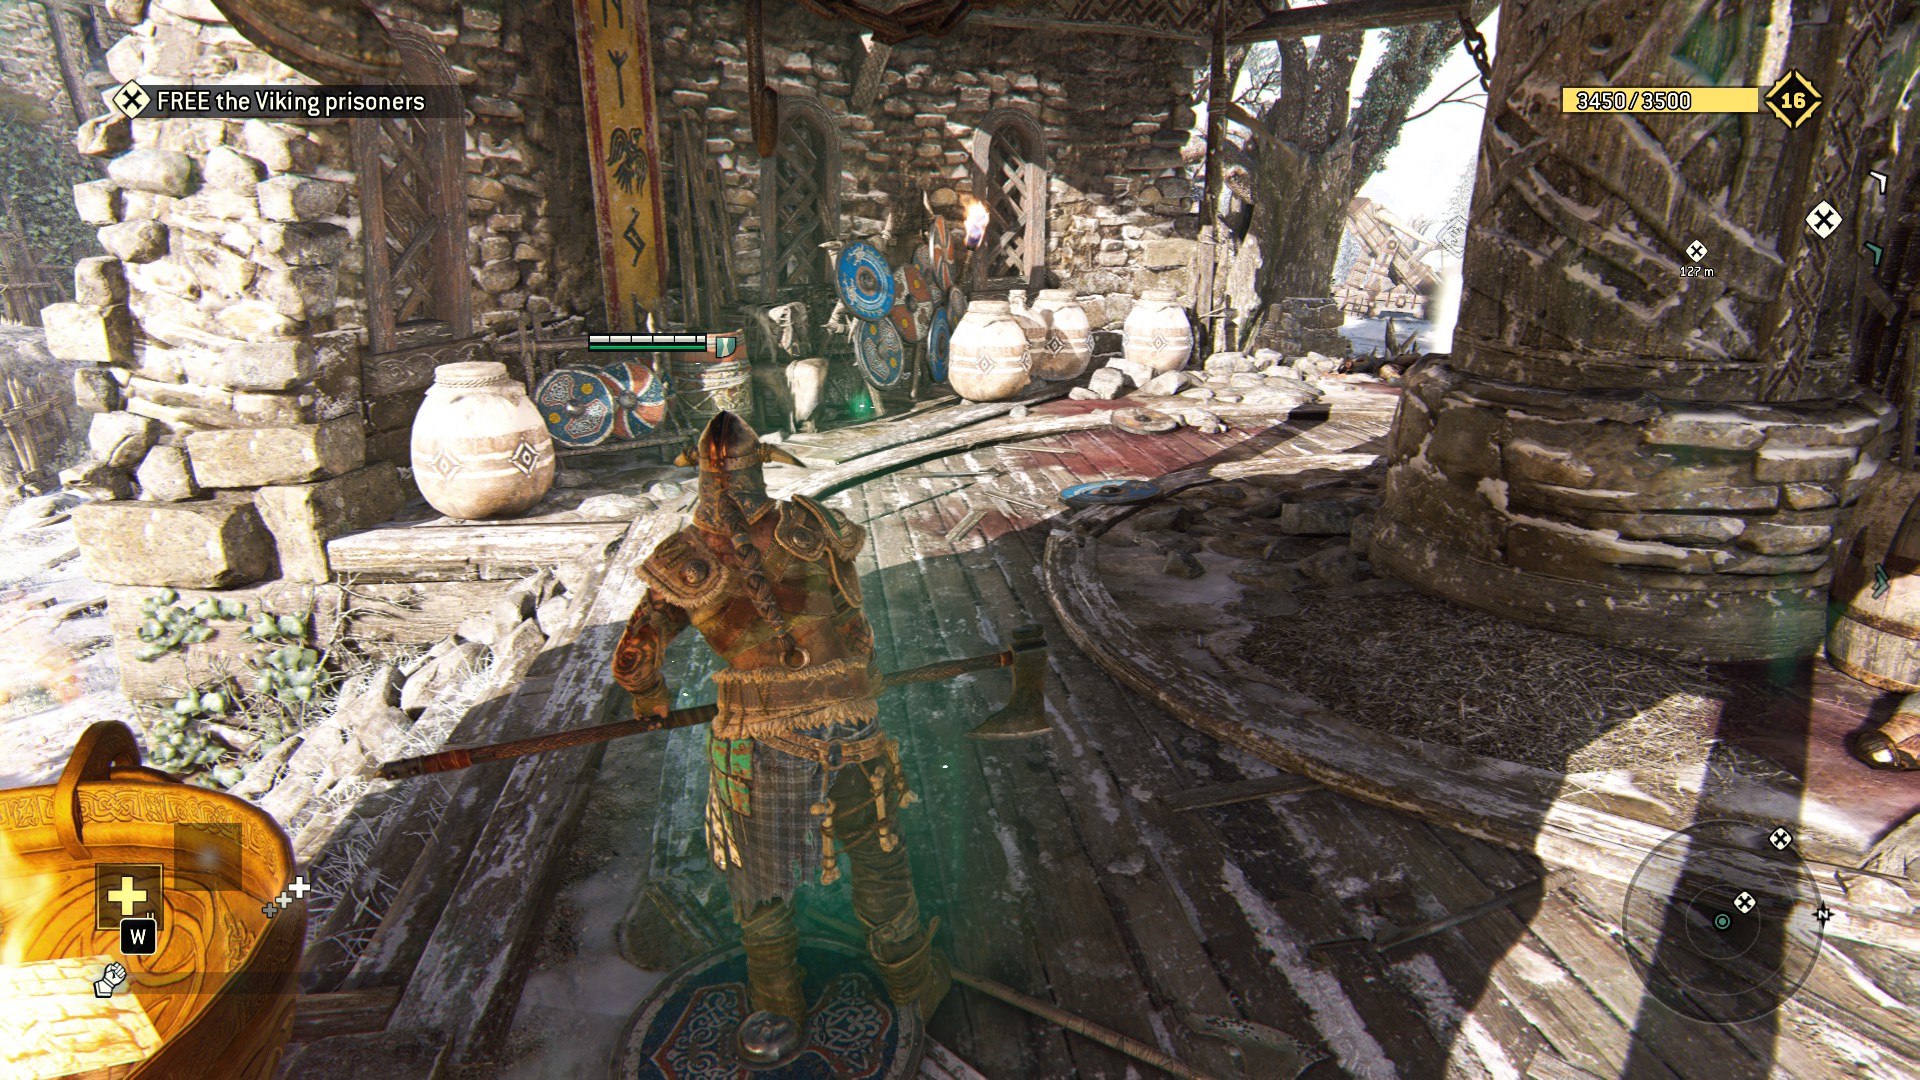
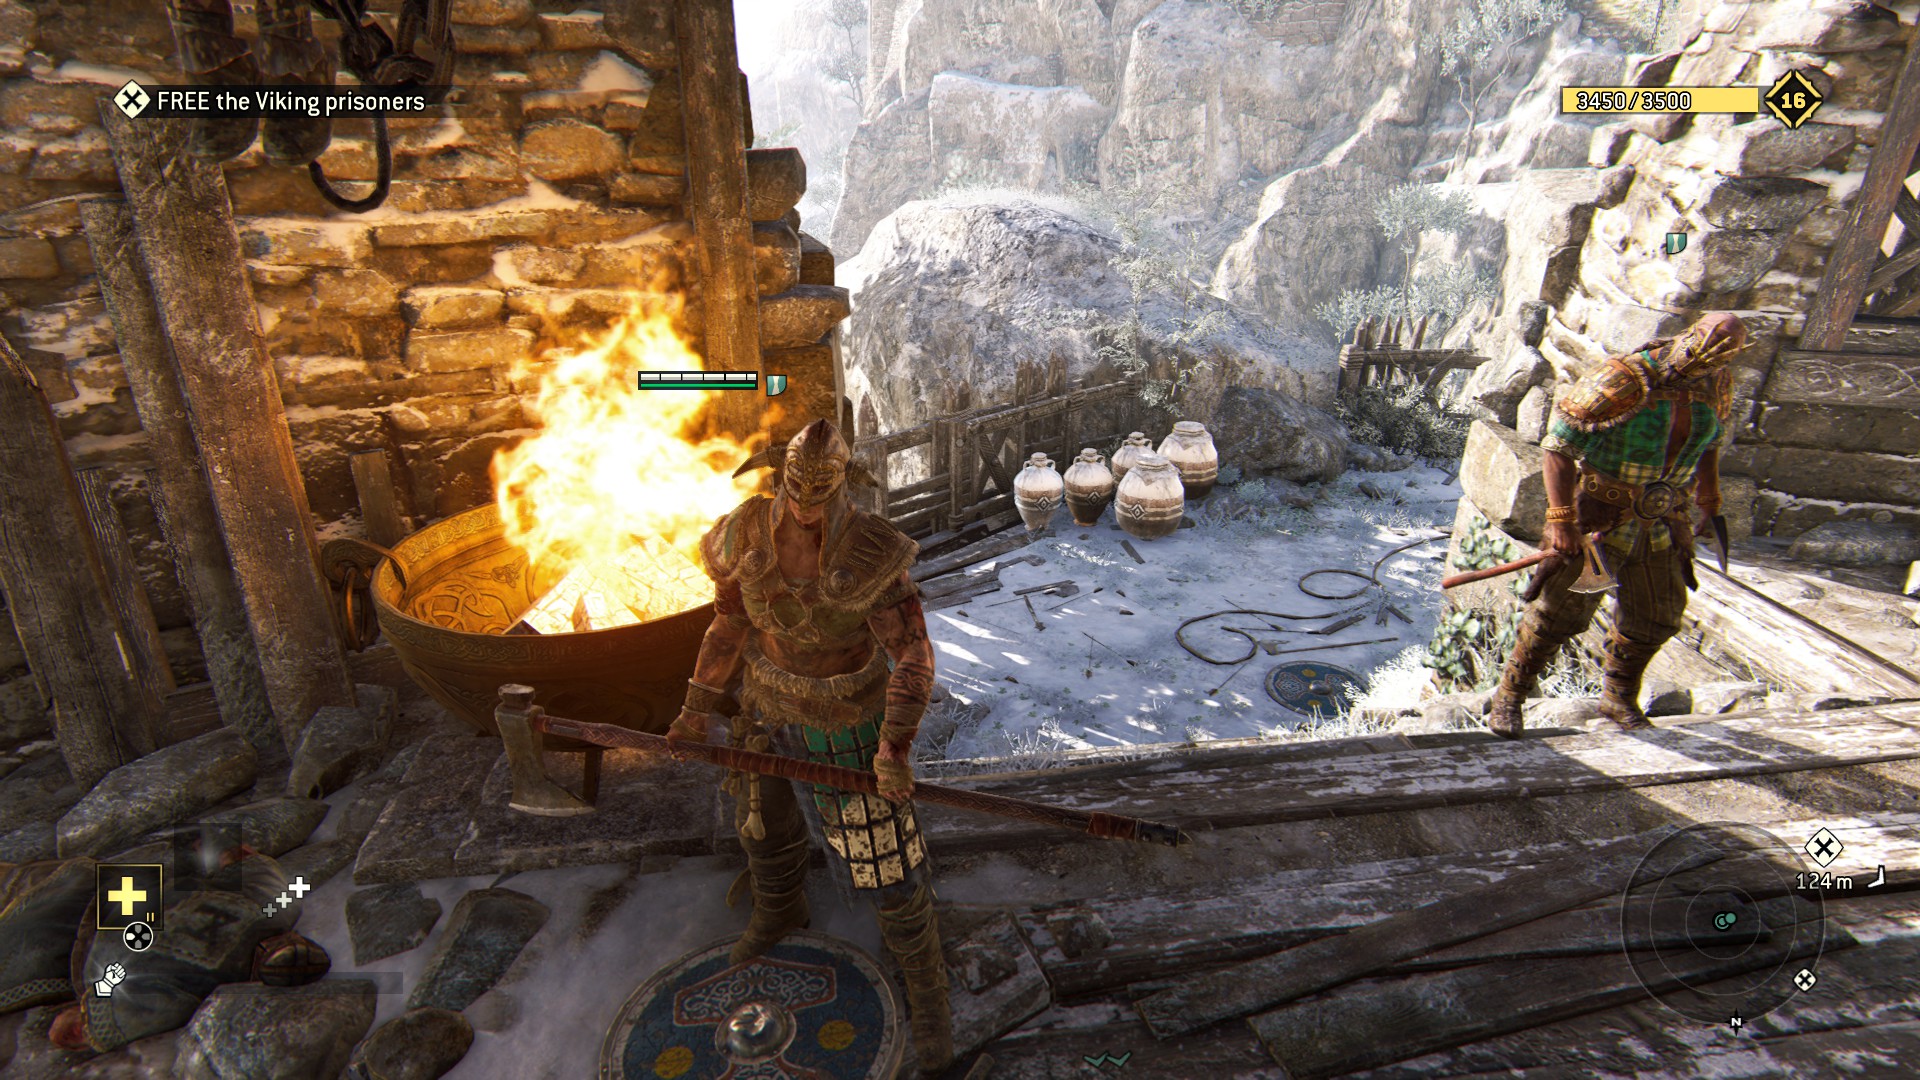
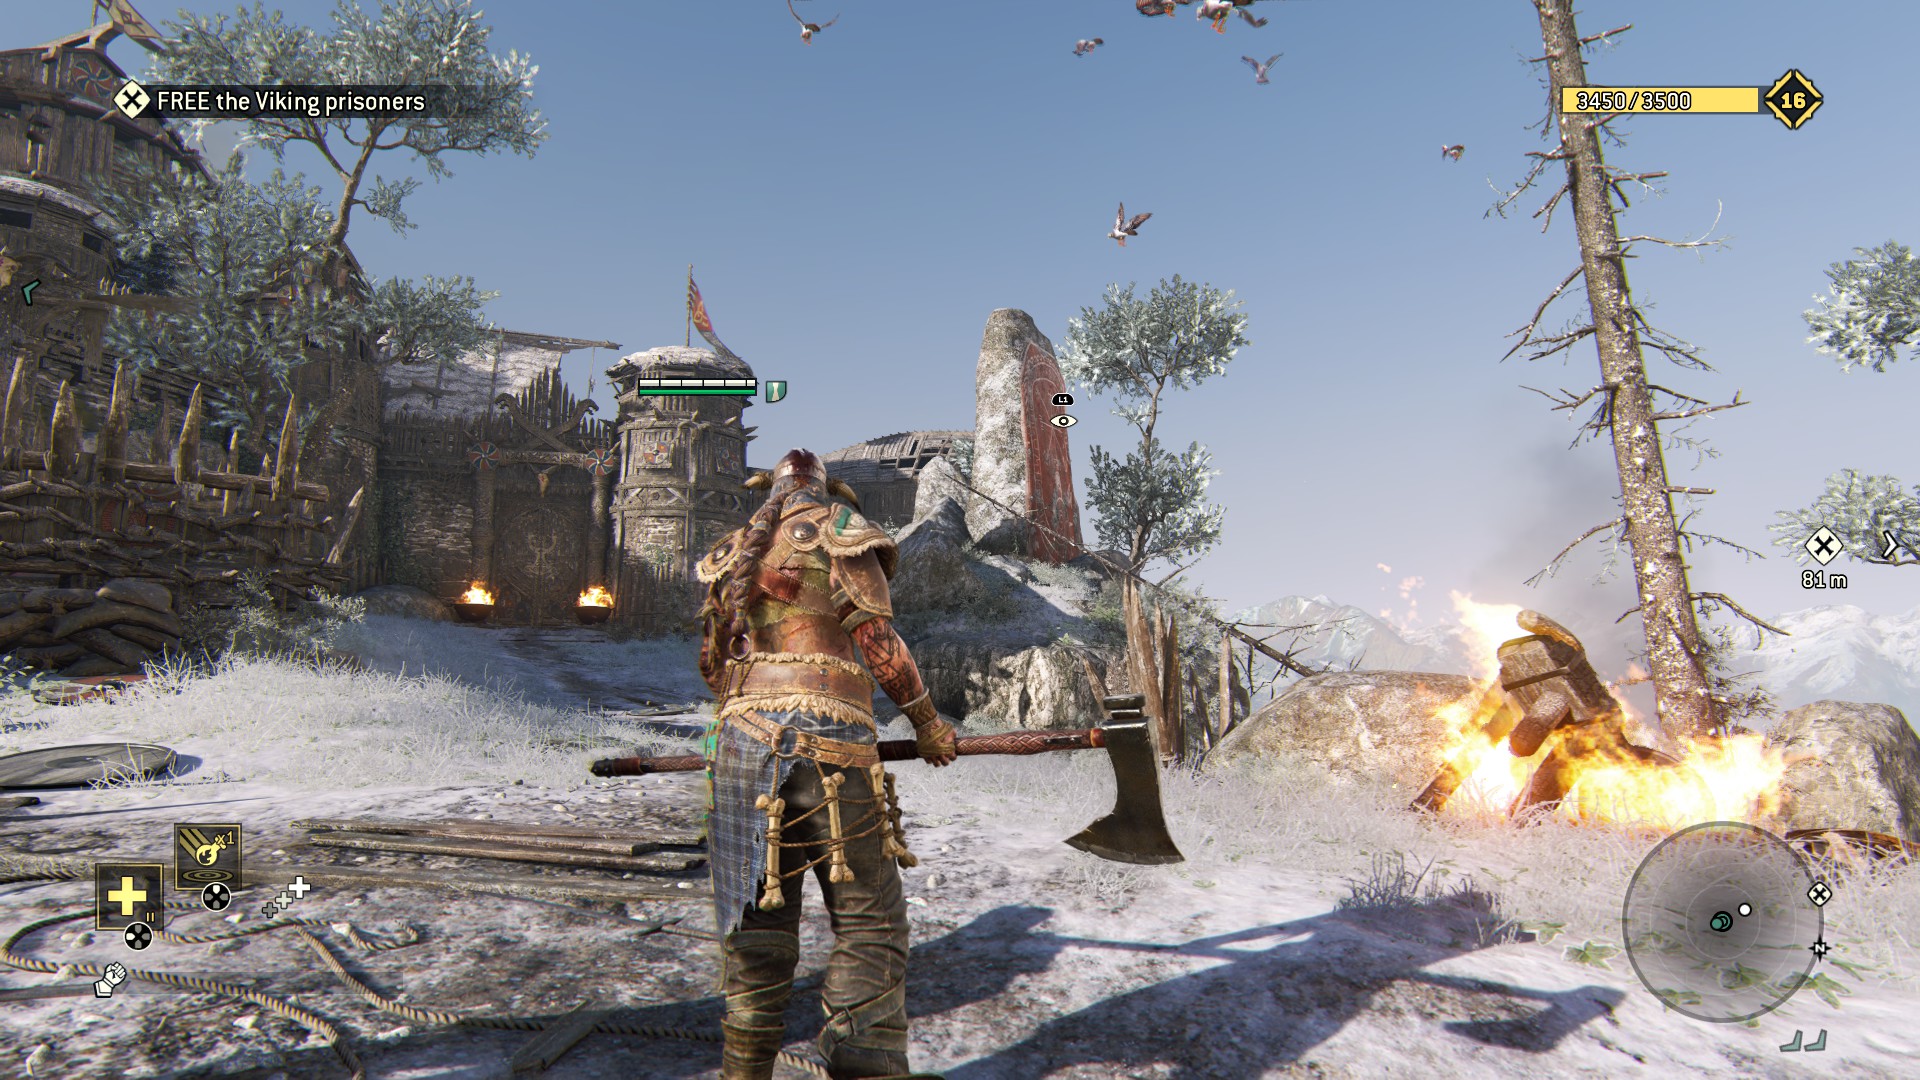
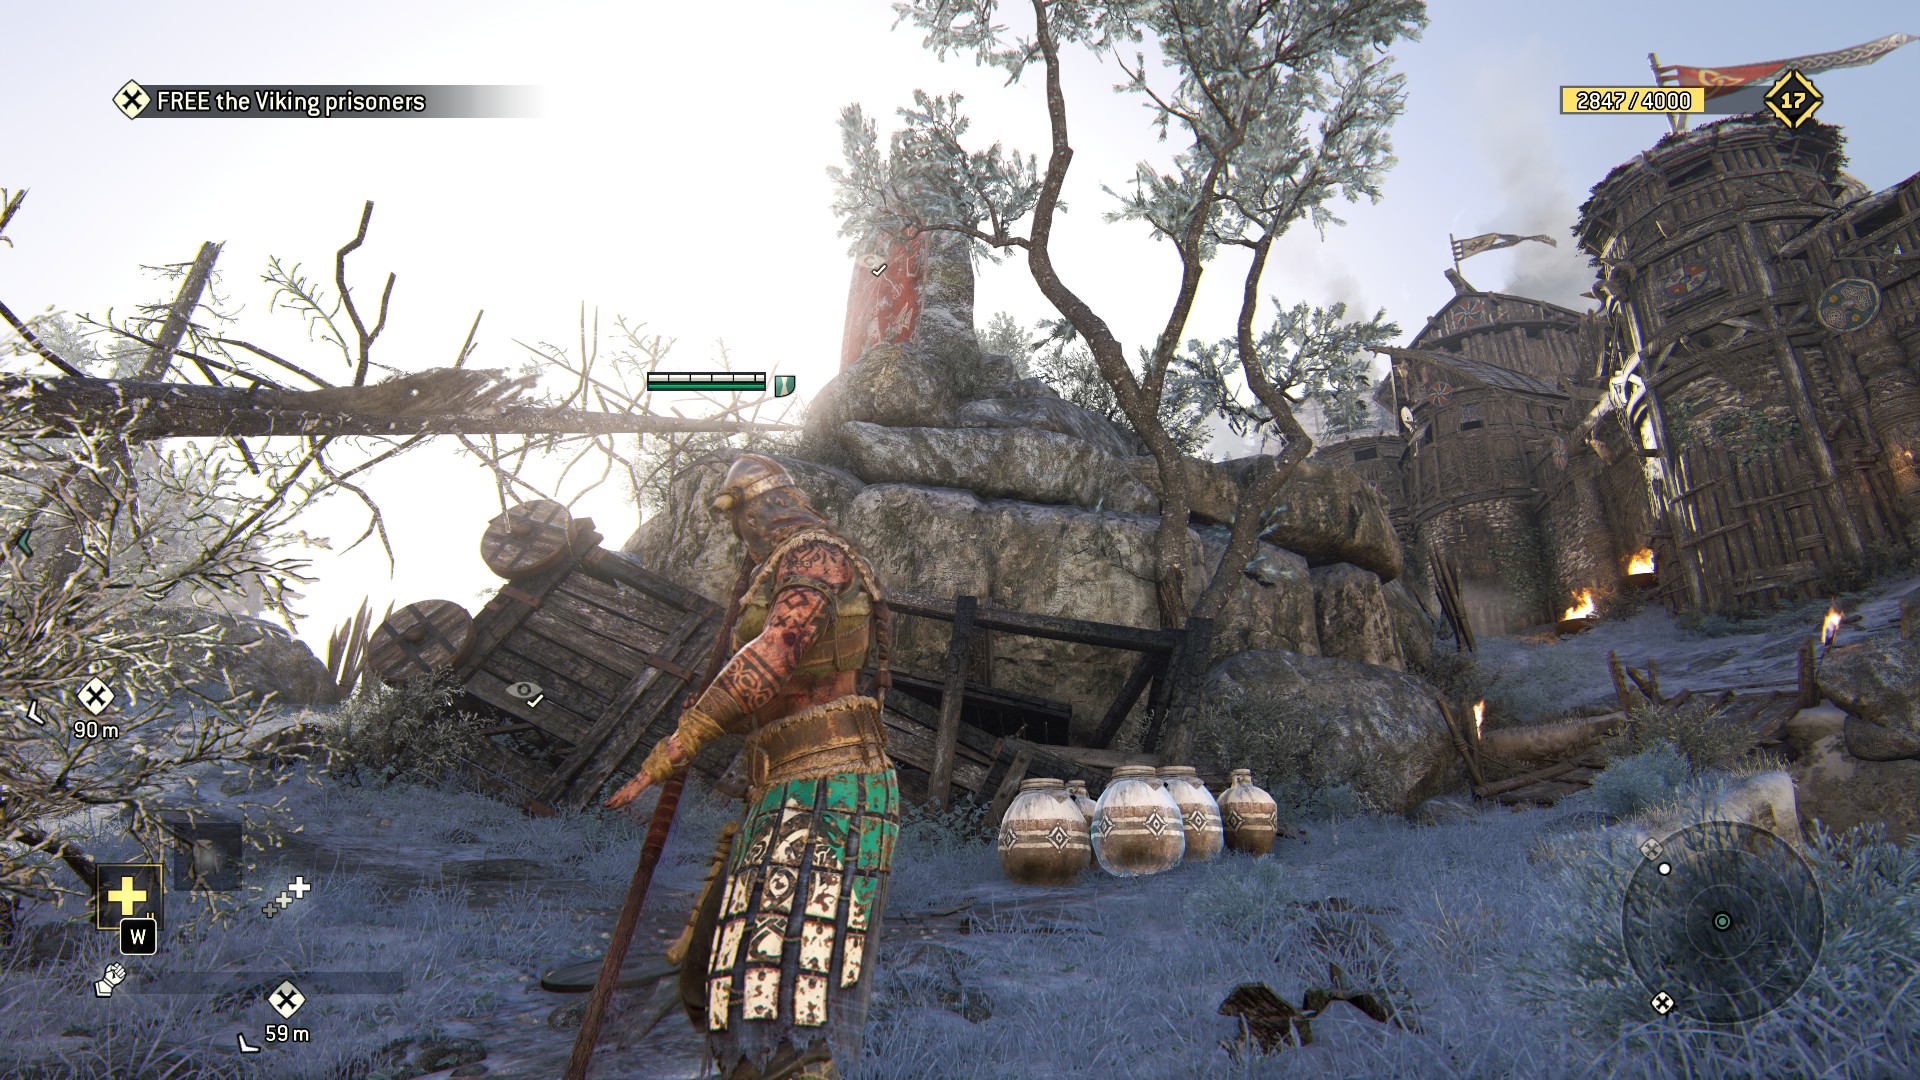
(Note: both observable & pots on the right)
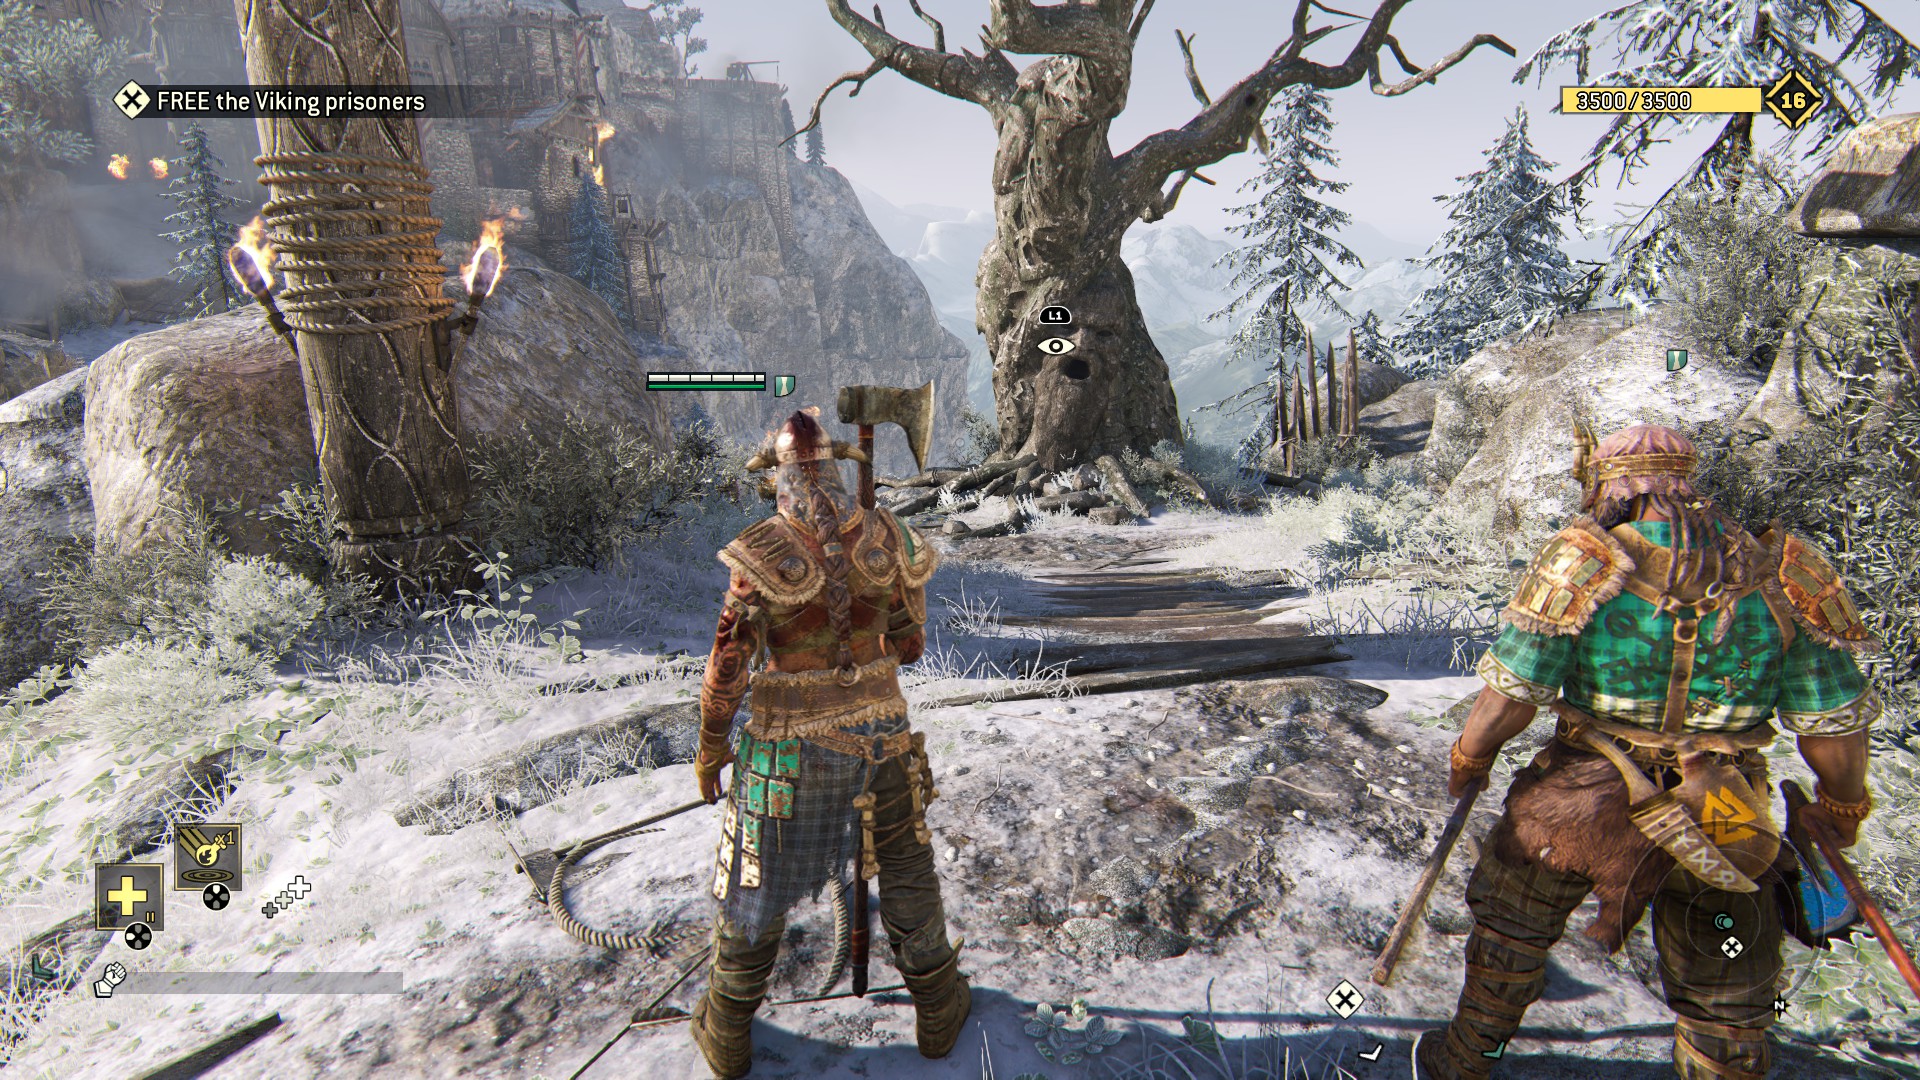
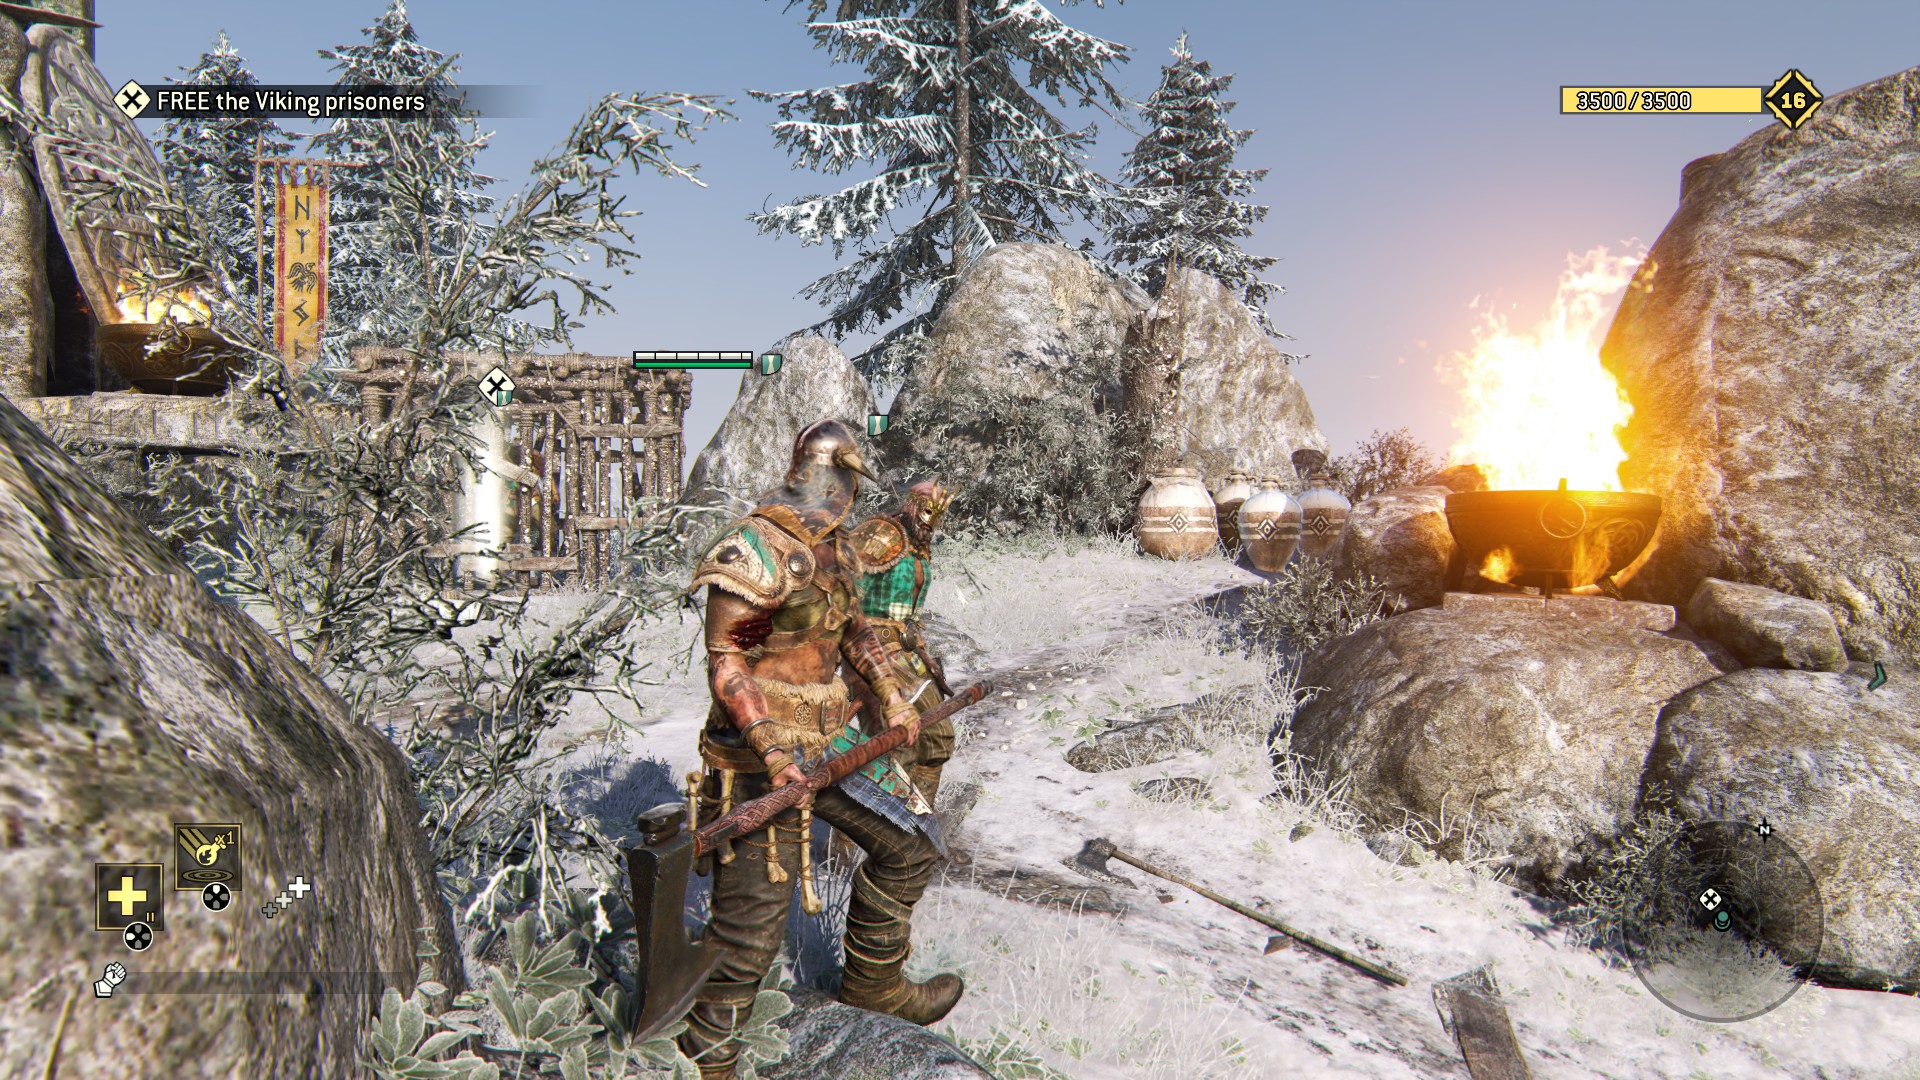
Somewhat noteworthy for this level, its lack of checkpoints on realistic difficulty makes dying on the last fight a real treat. Pure joy.
2.3 - Wood, Iron, and Steel.
The adventures of Stigandr the Embarassed
Welcome to Odingård, a small and somewhat straight forward level that also includes a fun little turret sequence.
Save the objective for last, here's all the observables and breakables in order of appearance using no ladders
Pots to your right from the first stairs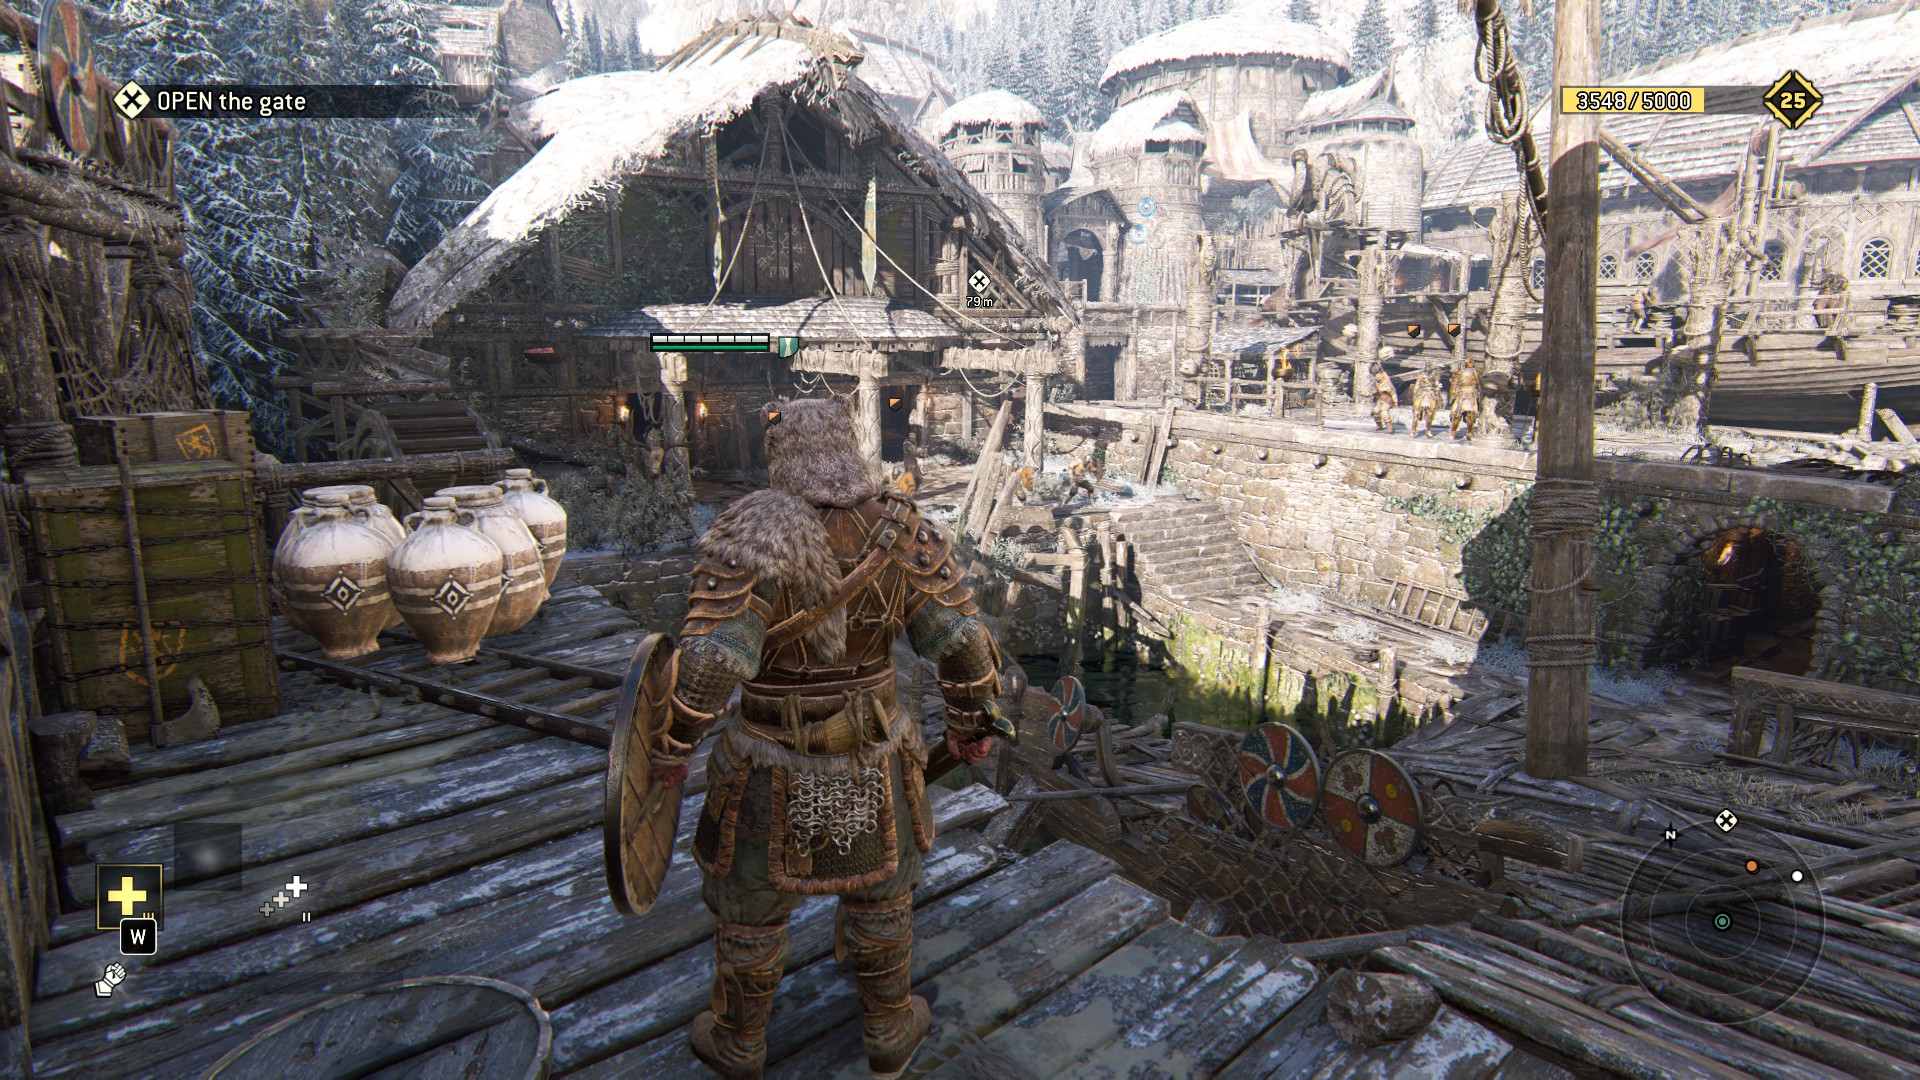 One observable and some pots inside the mill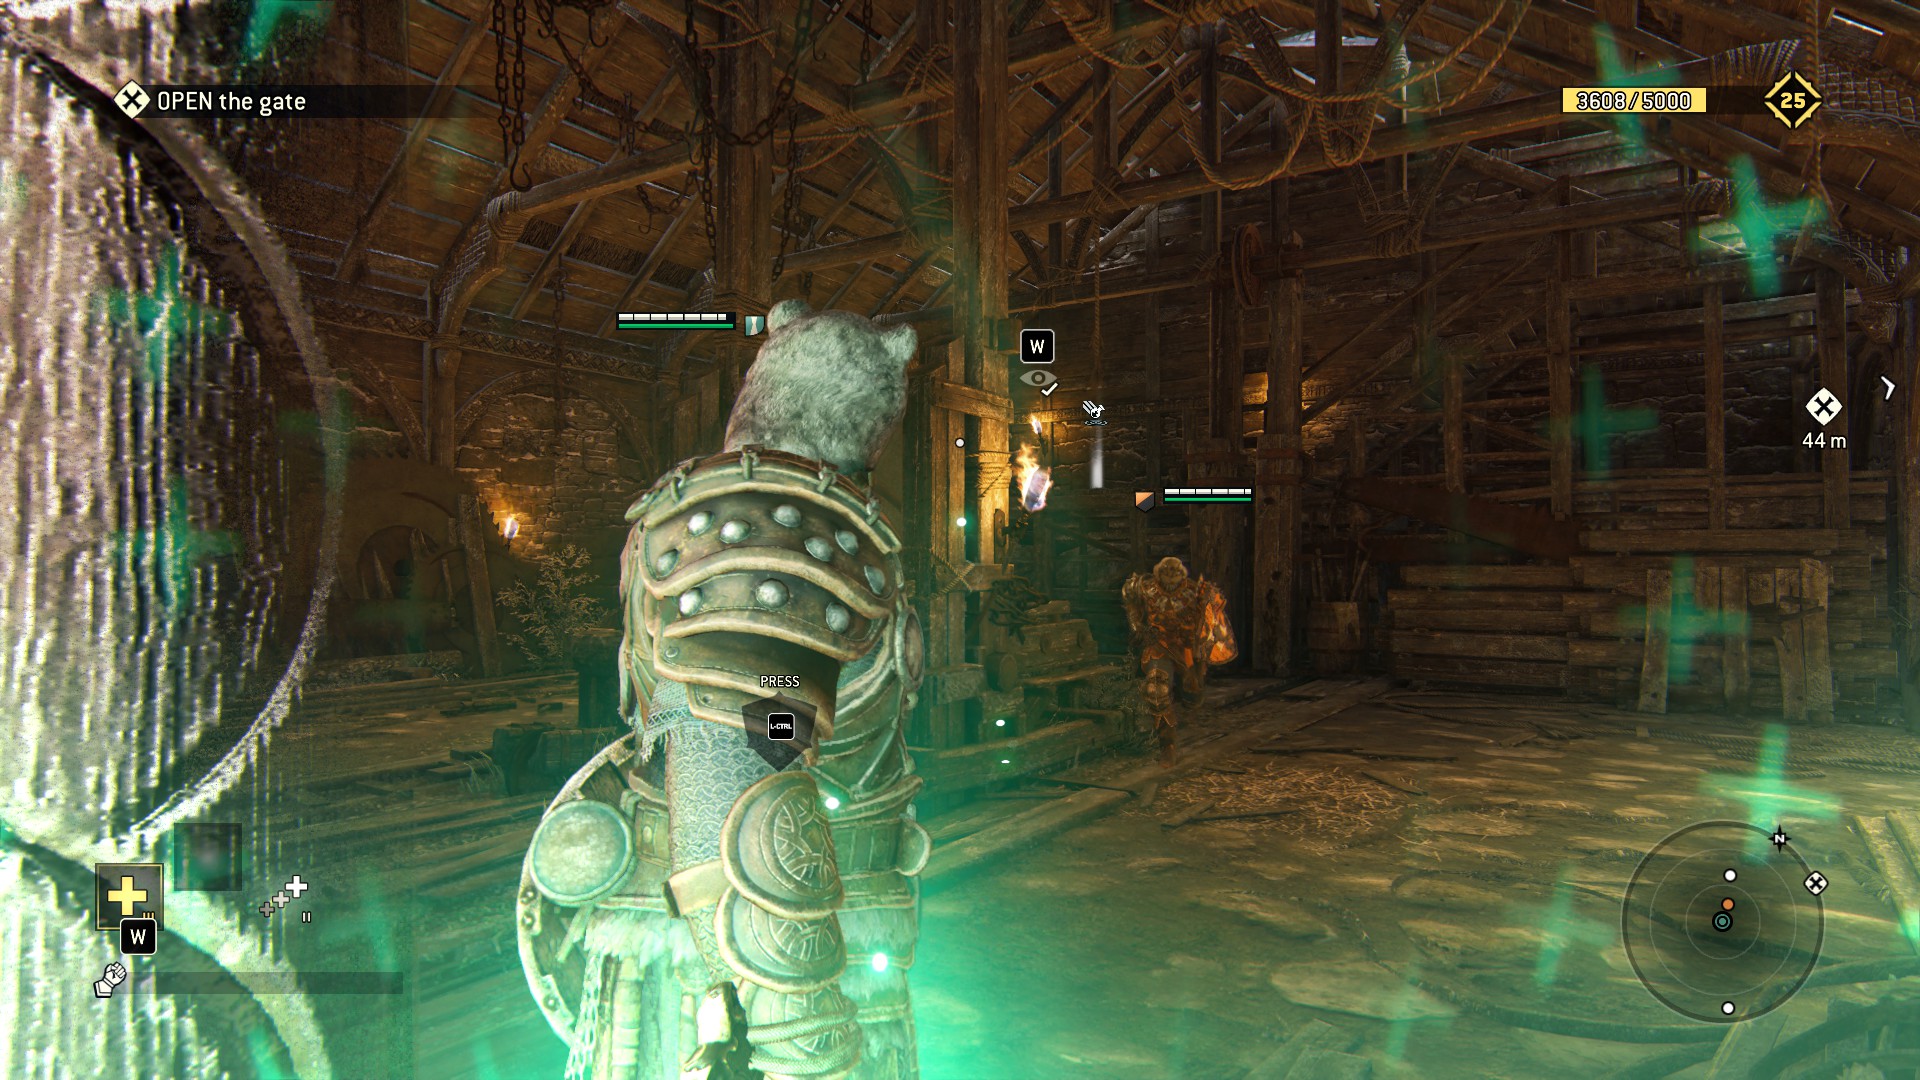
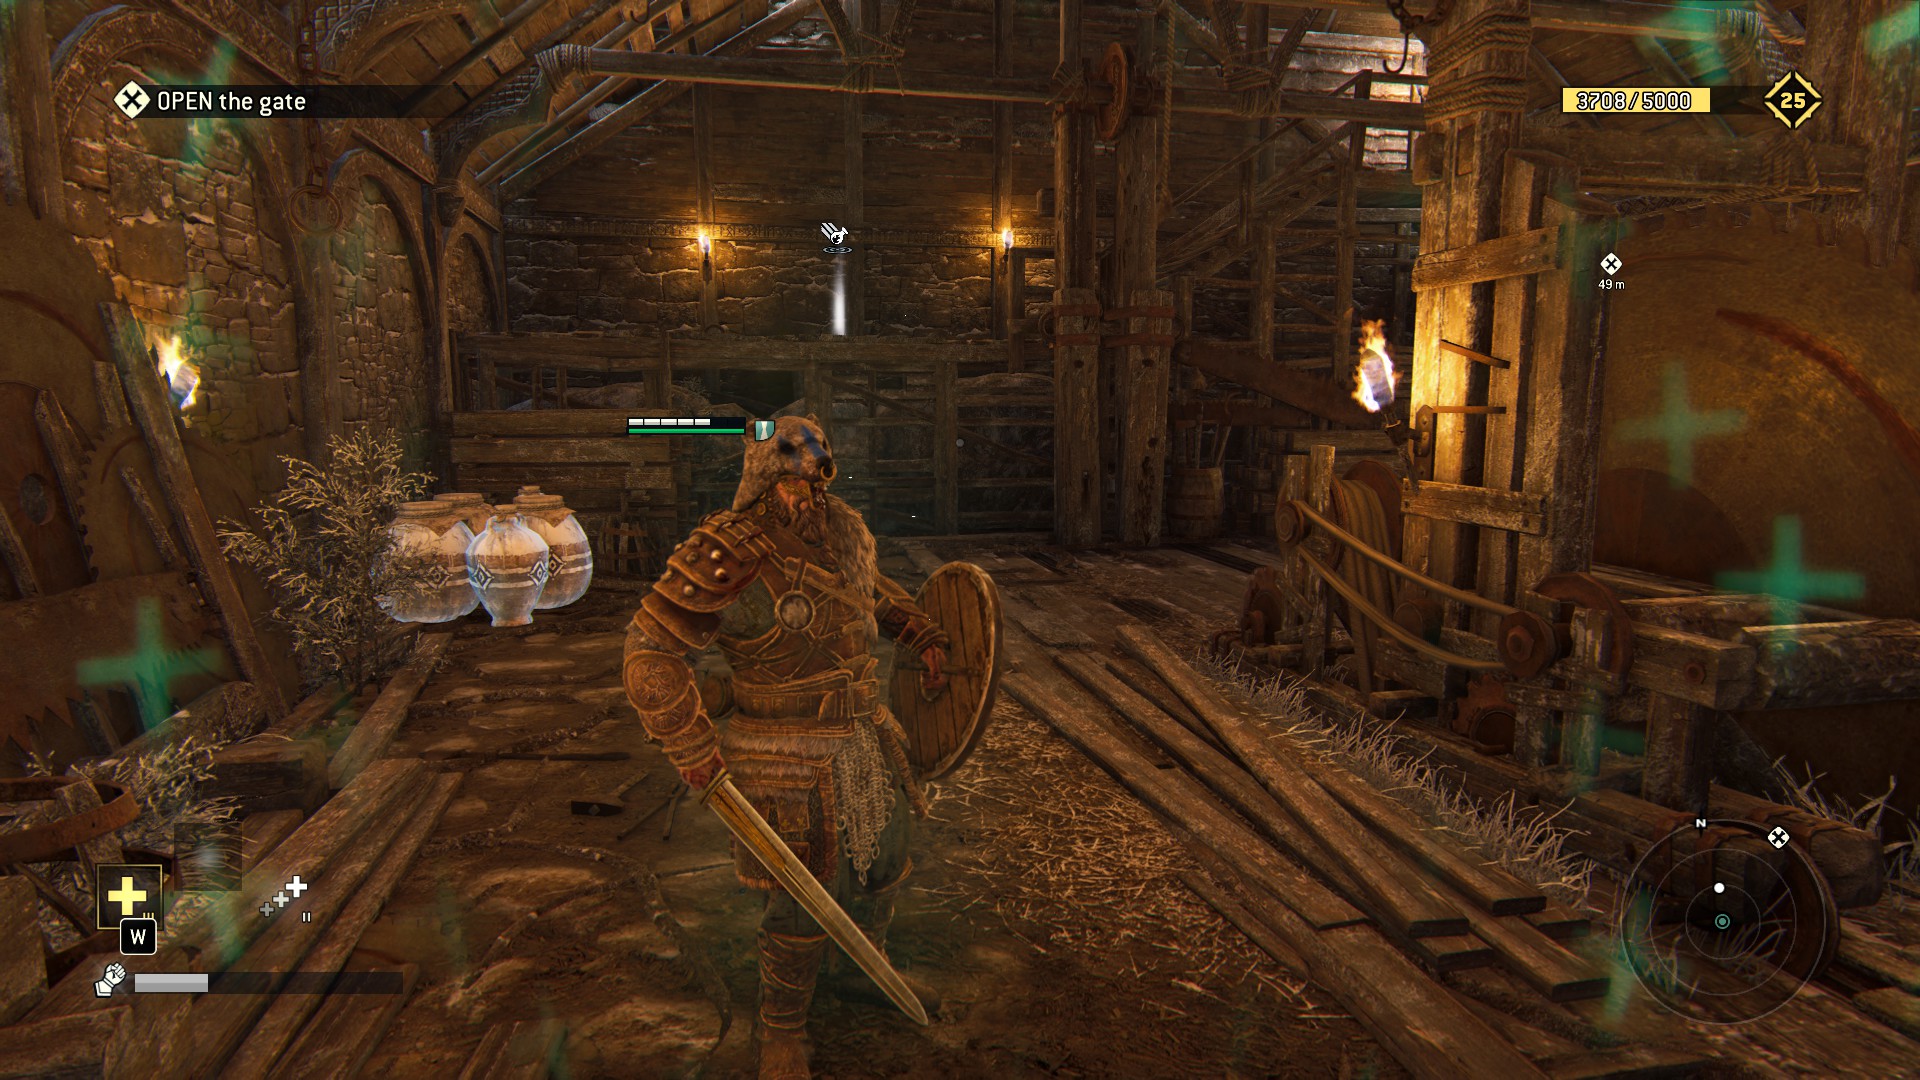
Do satisfy your inner sadist with an object in this room Look up coming out and left across the bridge
 No way you can miss these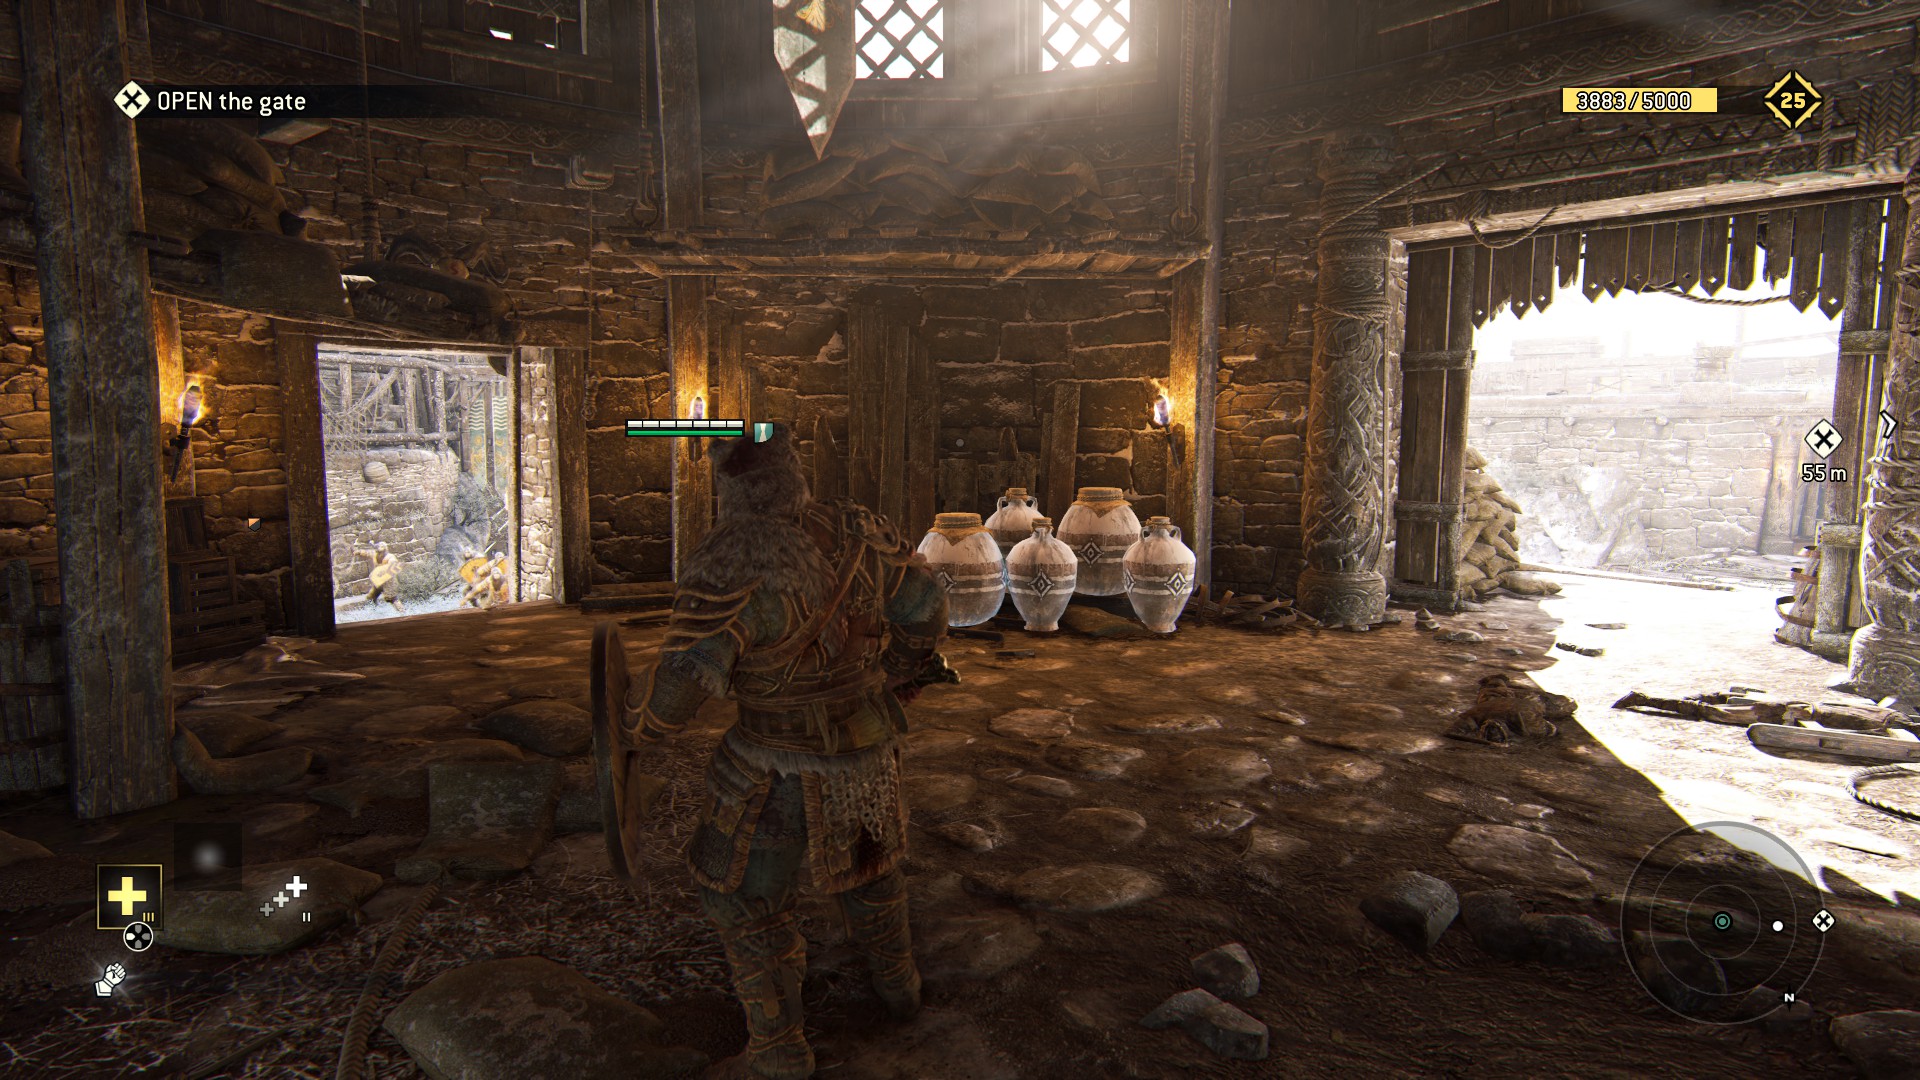
 The next one took me way longer than it needed to.
 From the turrets, go down the center aisle into this tower
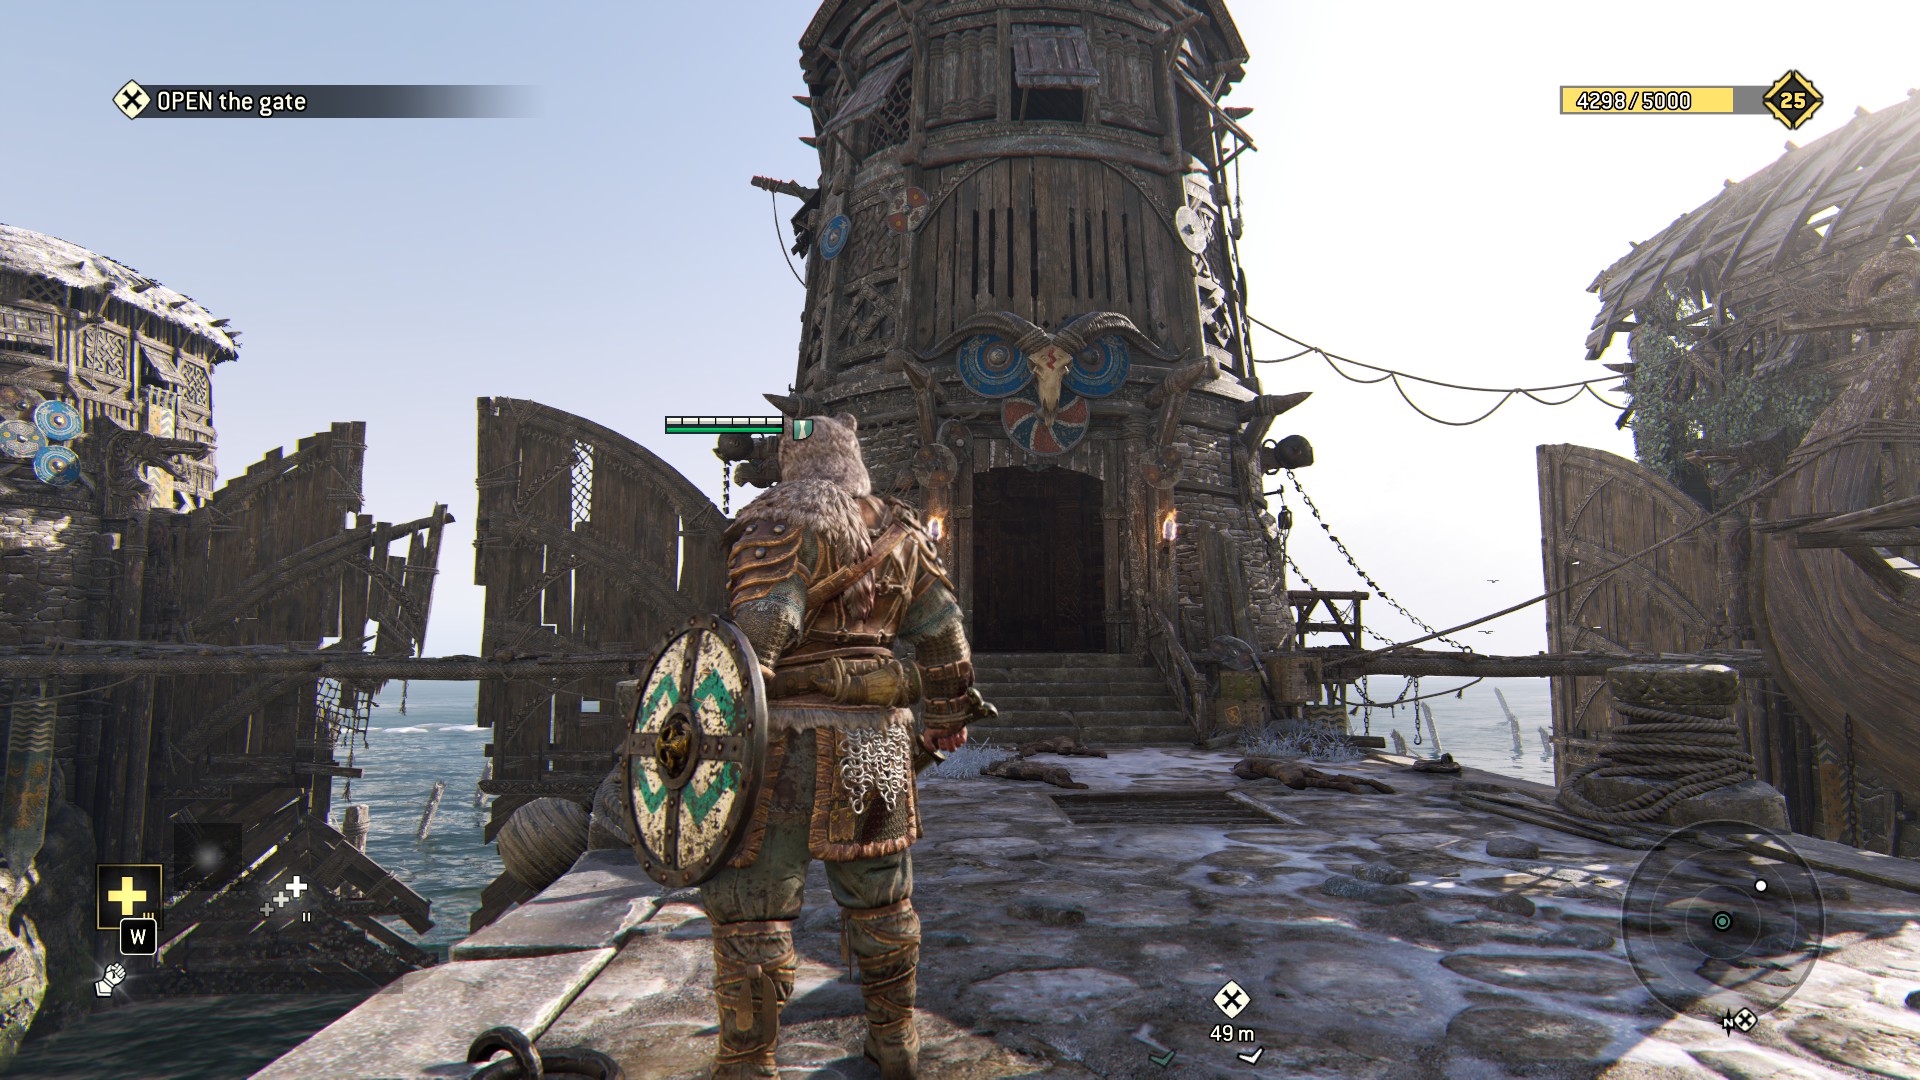 and do a cool 180 like so
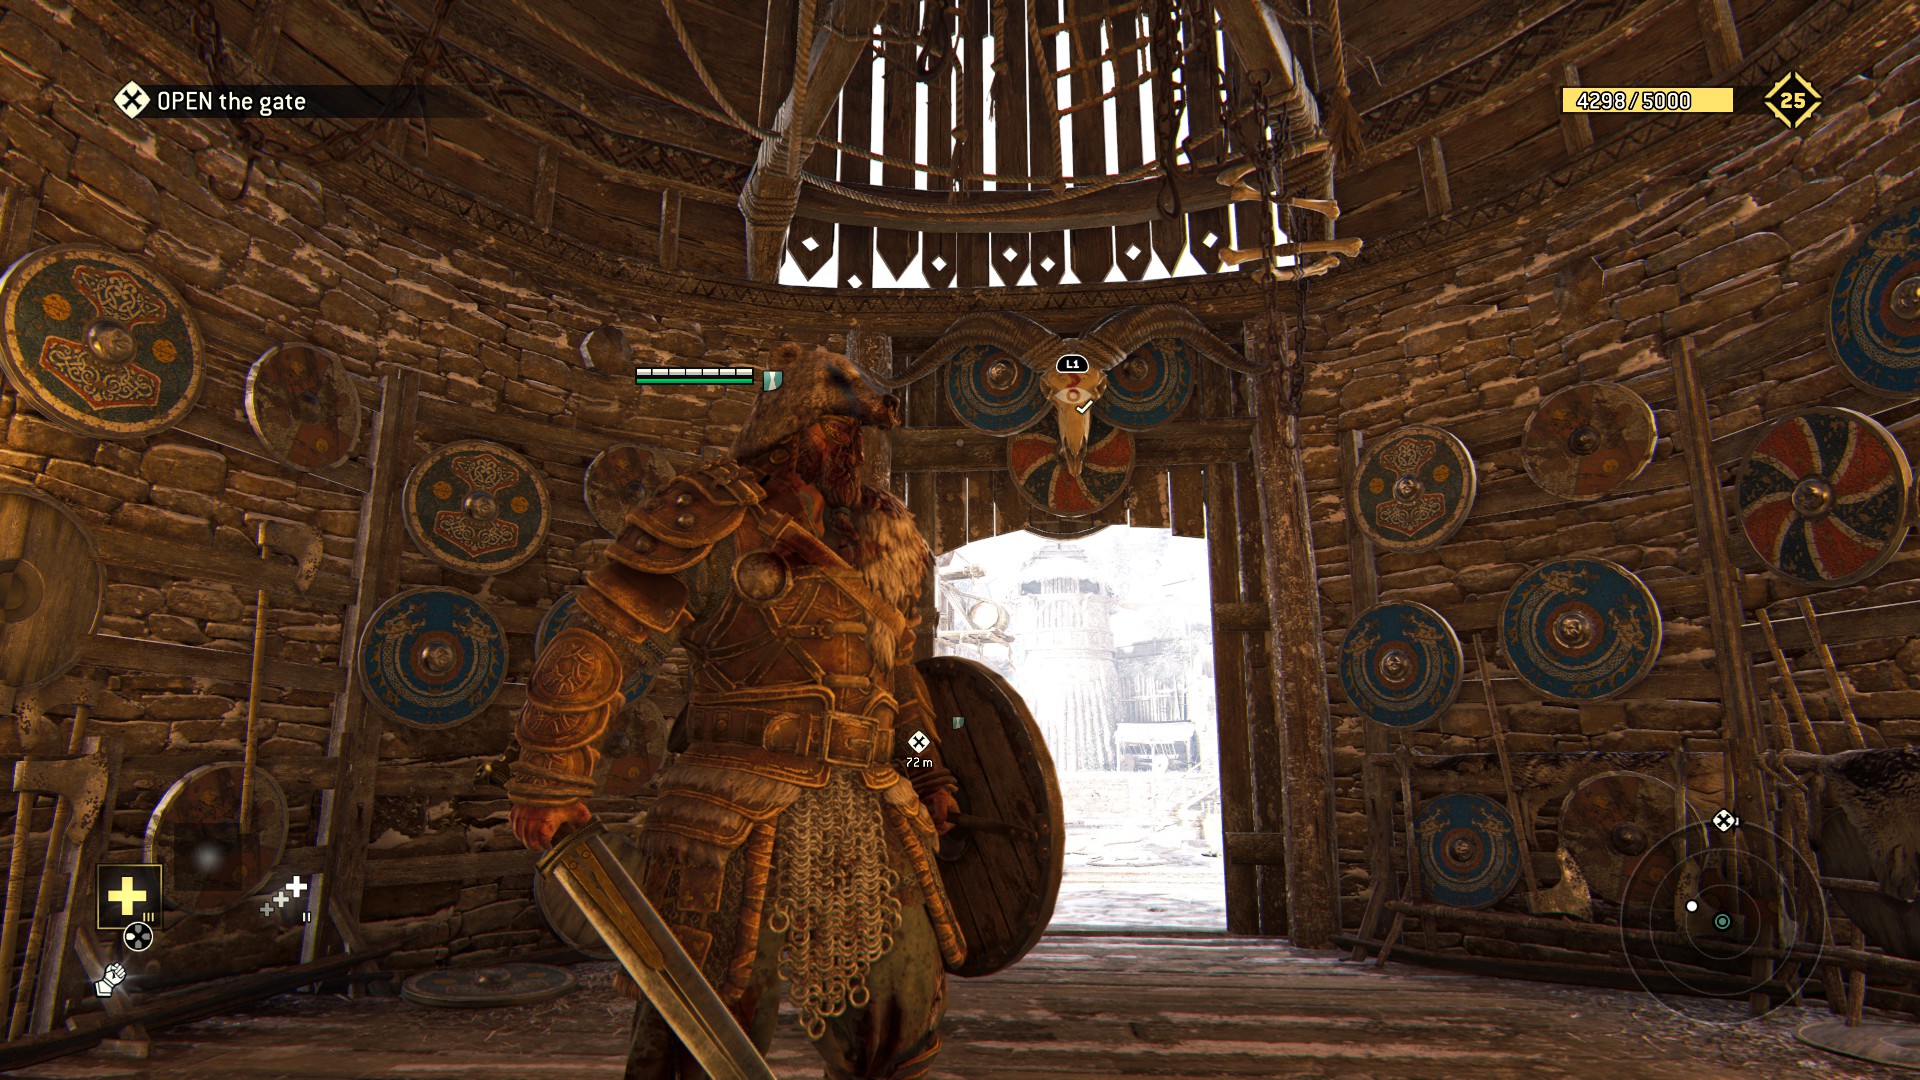 Last two breakables are on the boat and next to the objective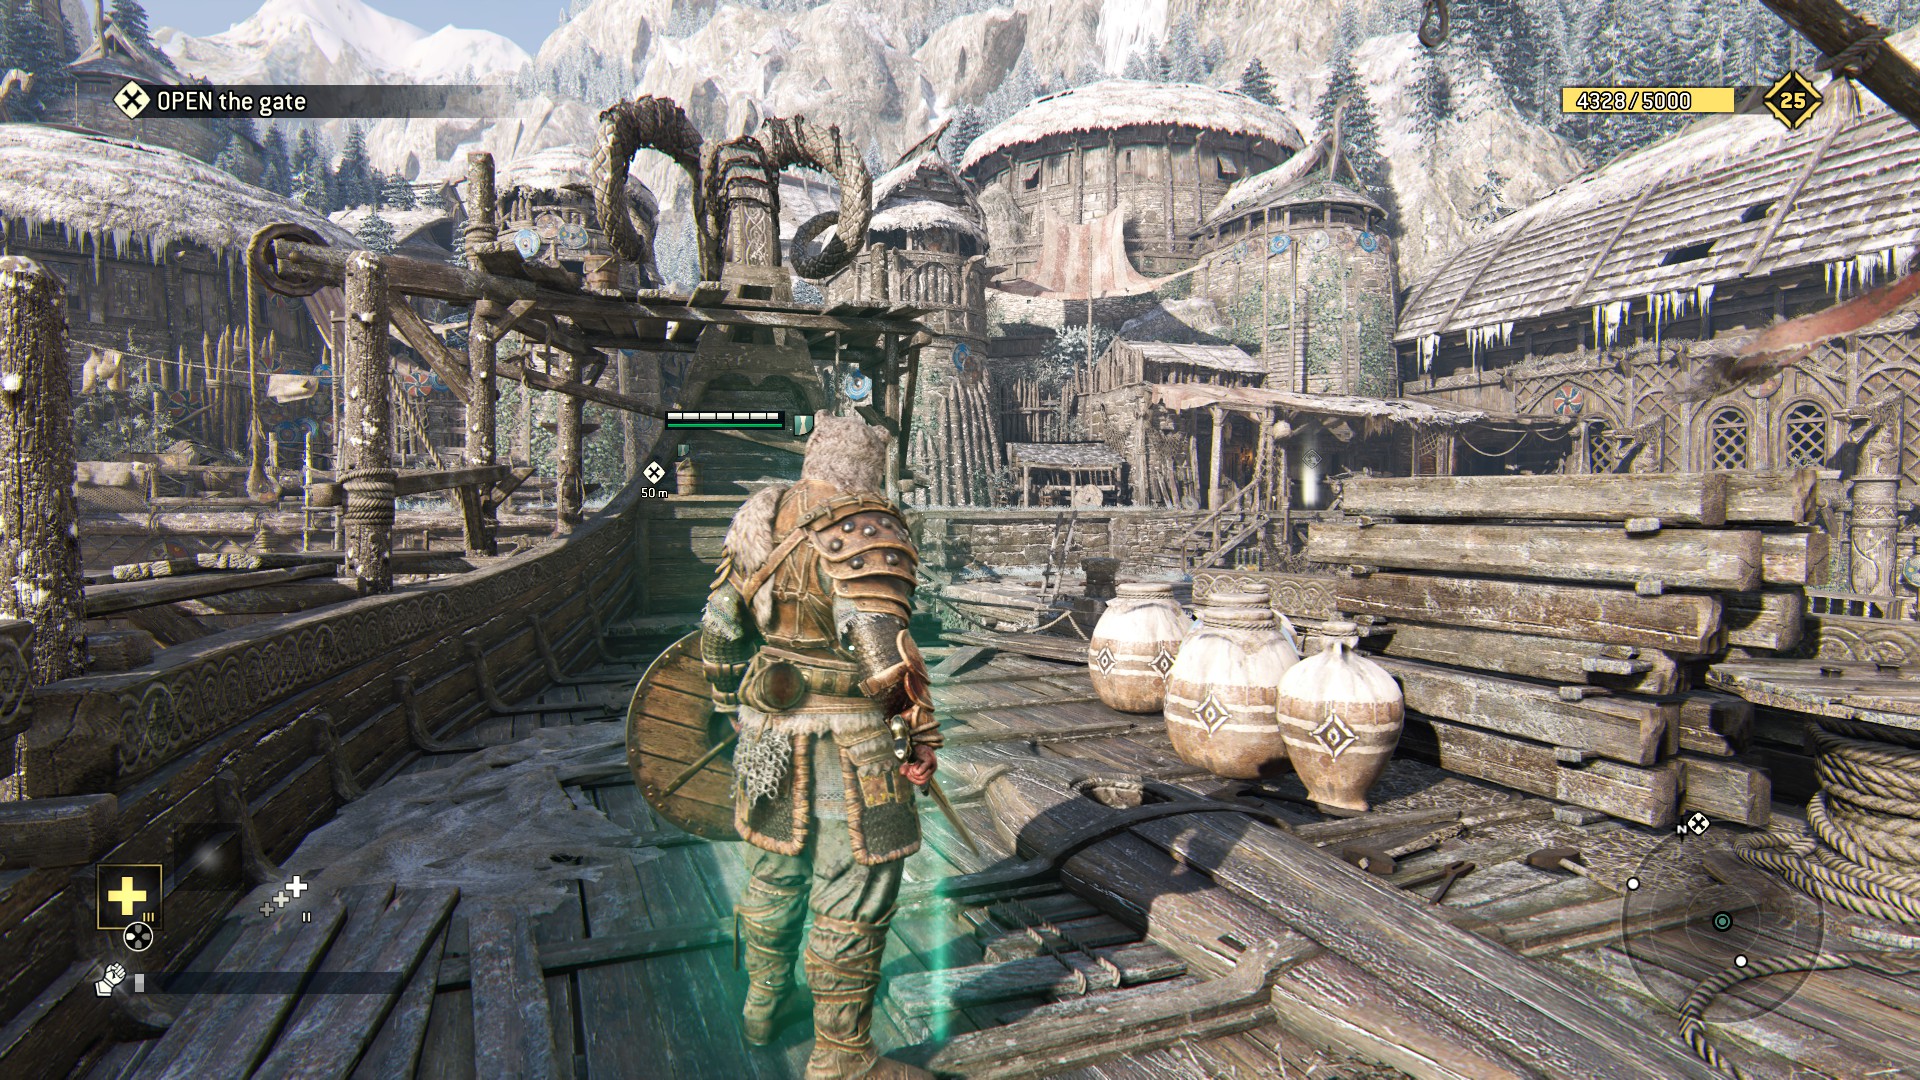
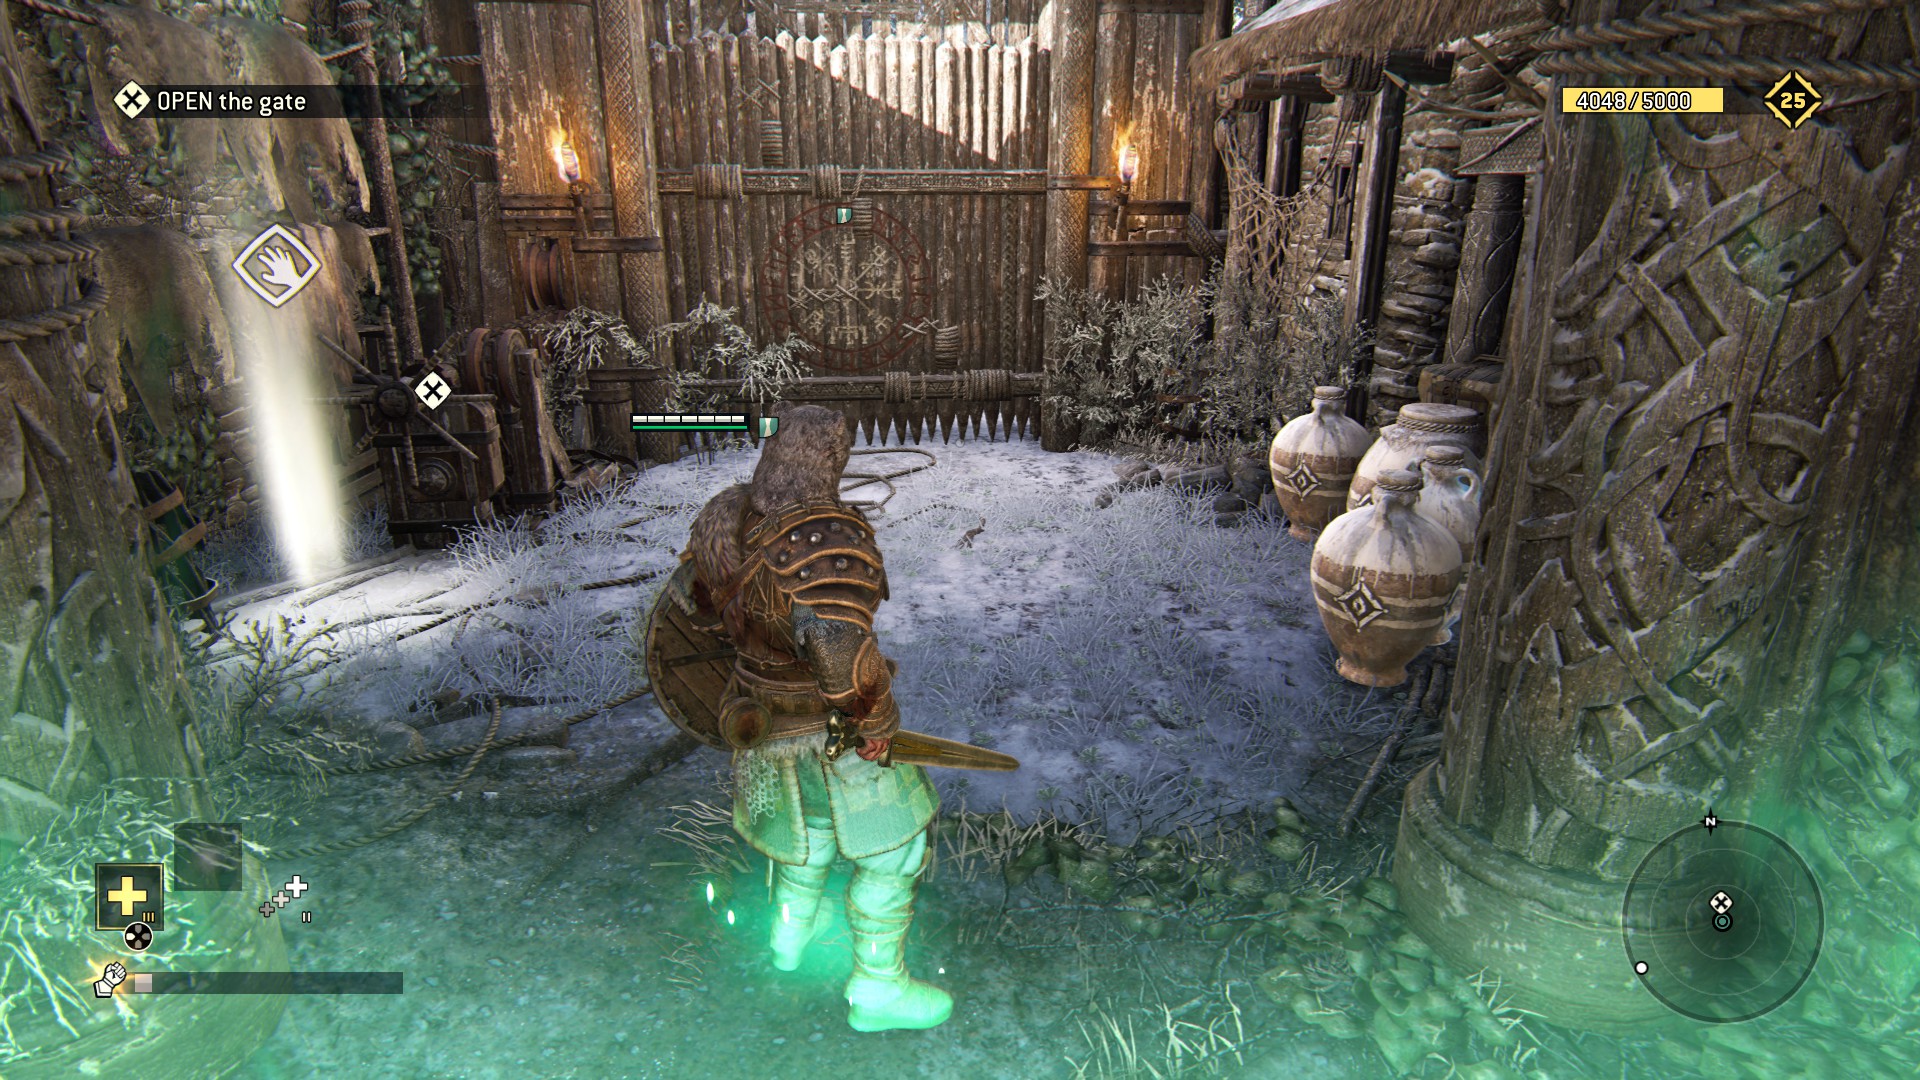
Level's fast and fun! 5/7
2.4 - Up The Beach
«Kisama, ka?»
READY TO SCRATCH YOUR E3 ITCH? No? Too much? Ok.
"Somewhat epic" is a good description for this level.. Lots of room for activities, but fairly fast as you can just run past nearly all of it.... ;)
Here's the stuff:
After running through the gauntlet and playing rock climber, you'll find this catapult before you descend to the first objective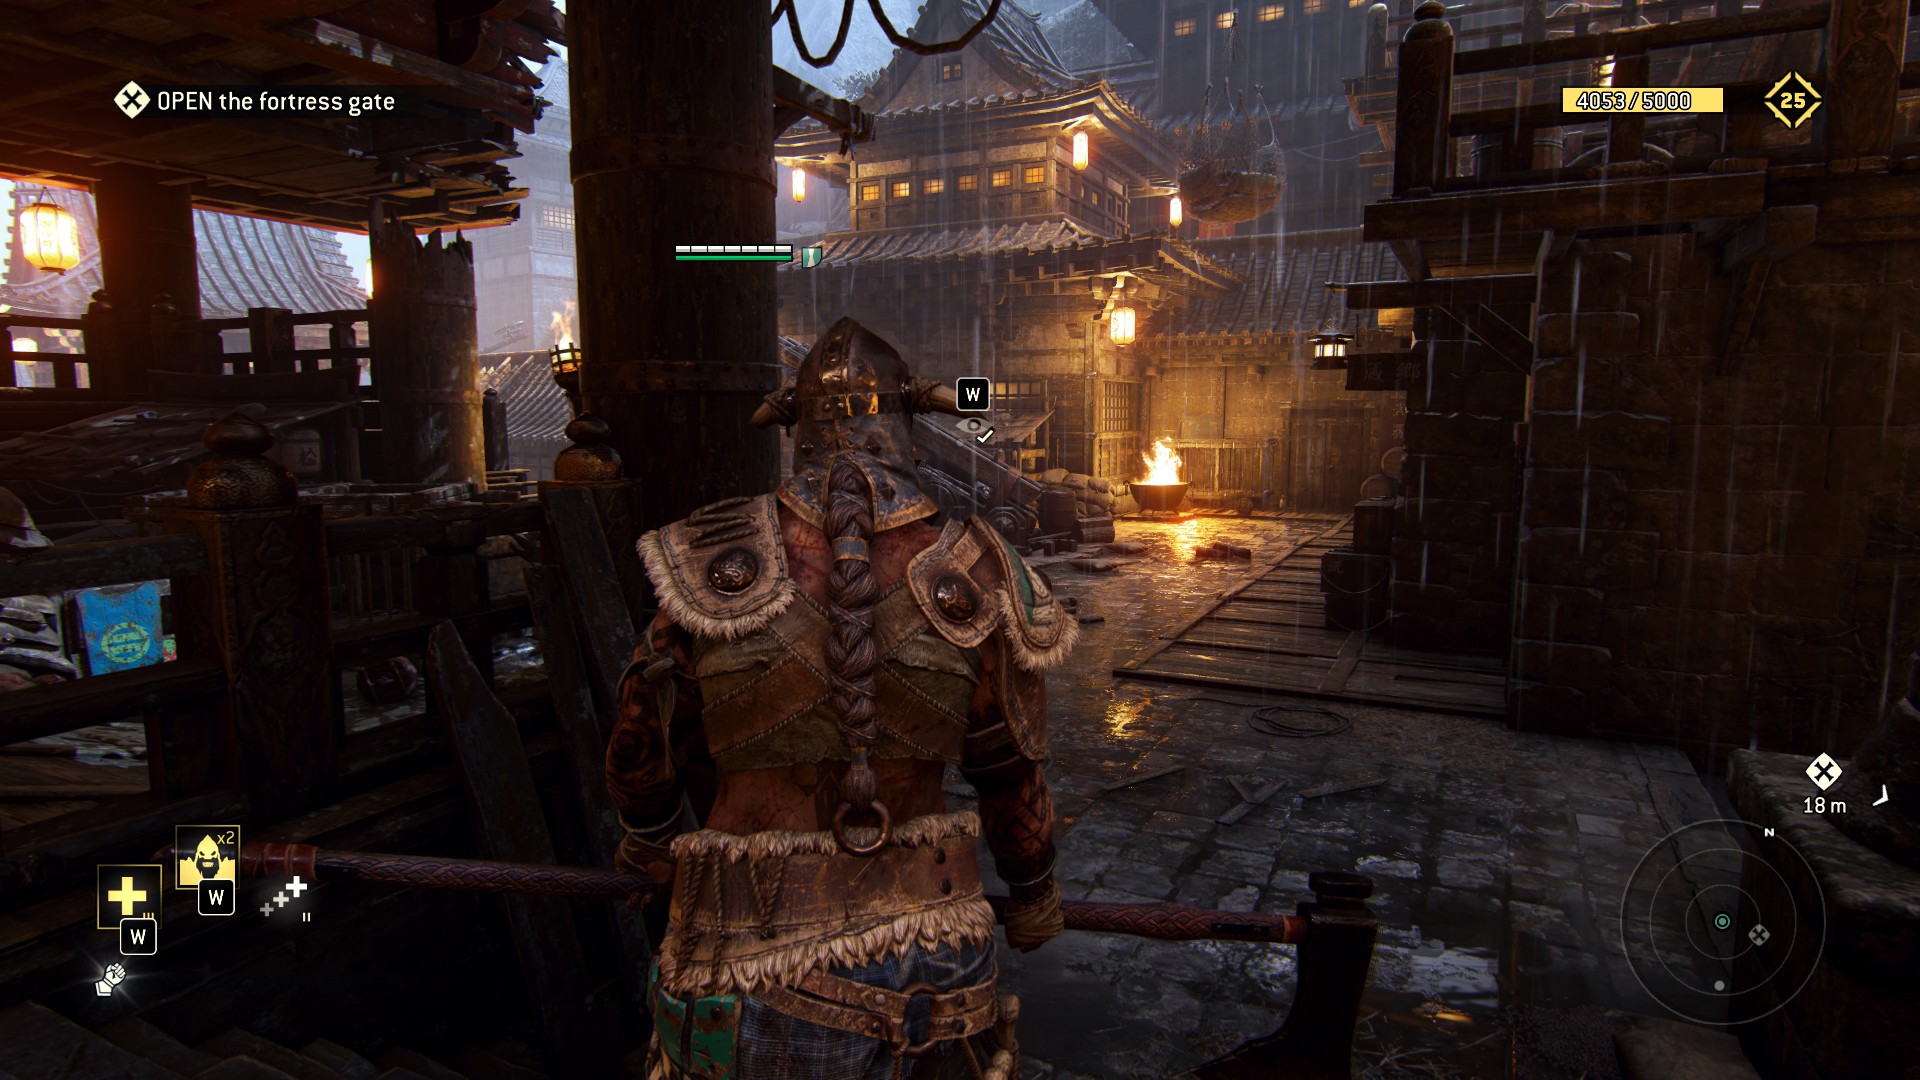 After clickeridoo and fighterimoo, turn left away from the objective marker for the second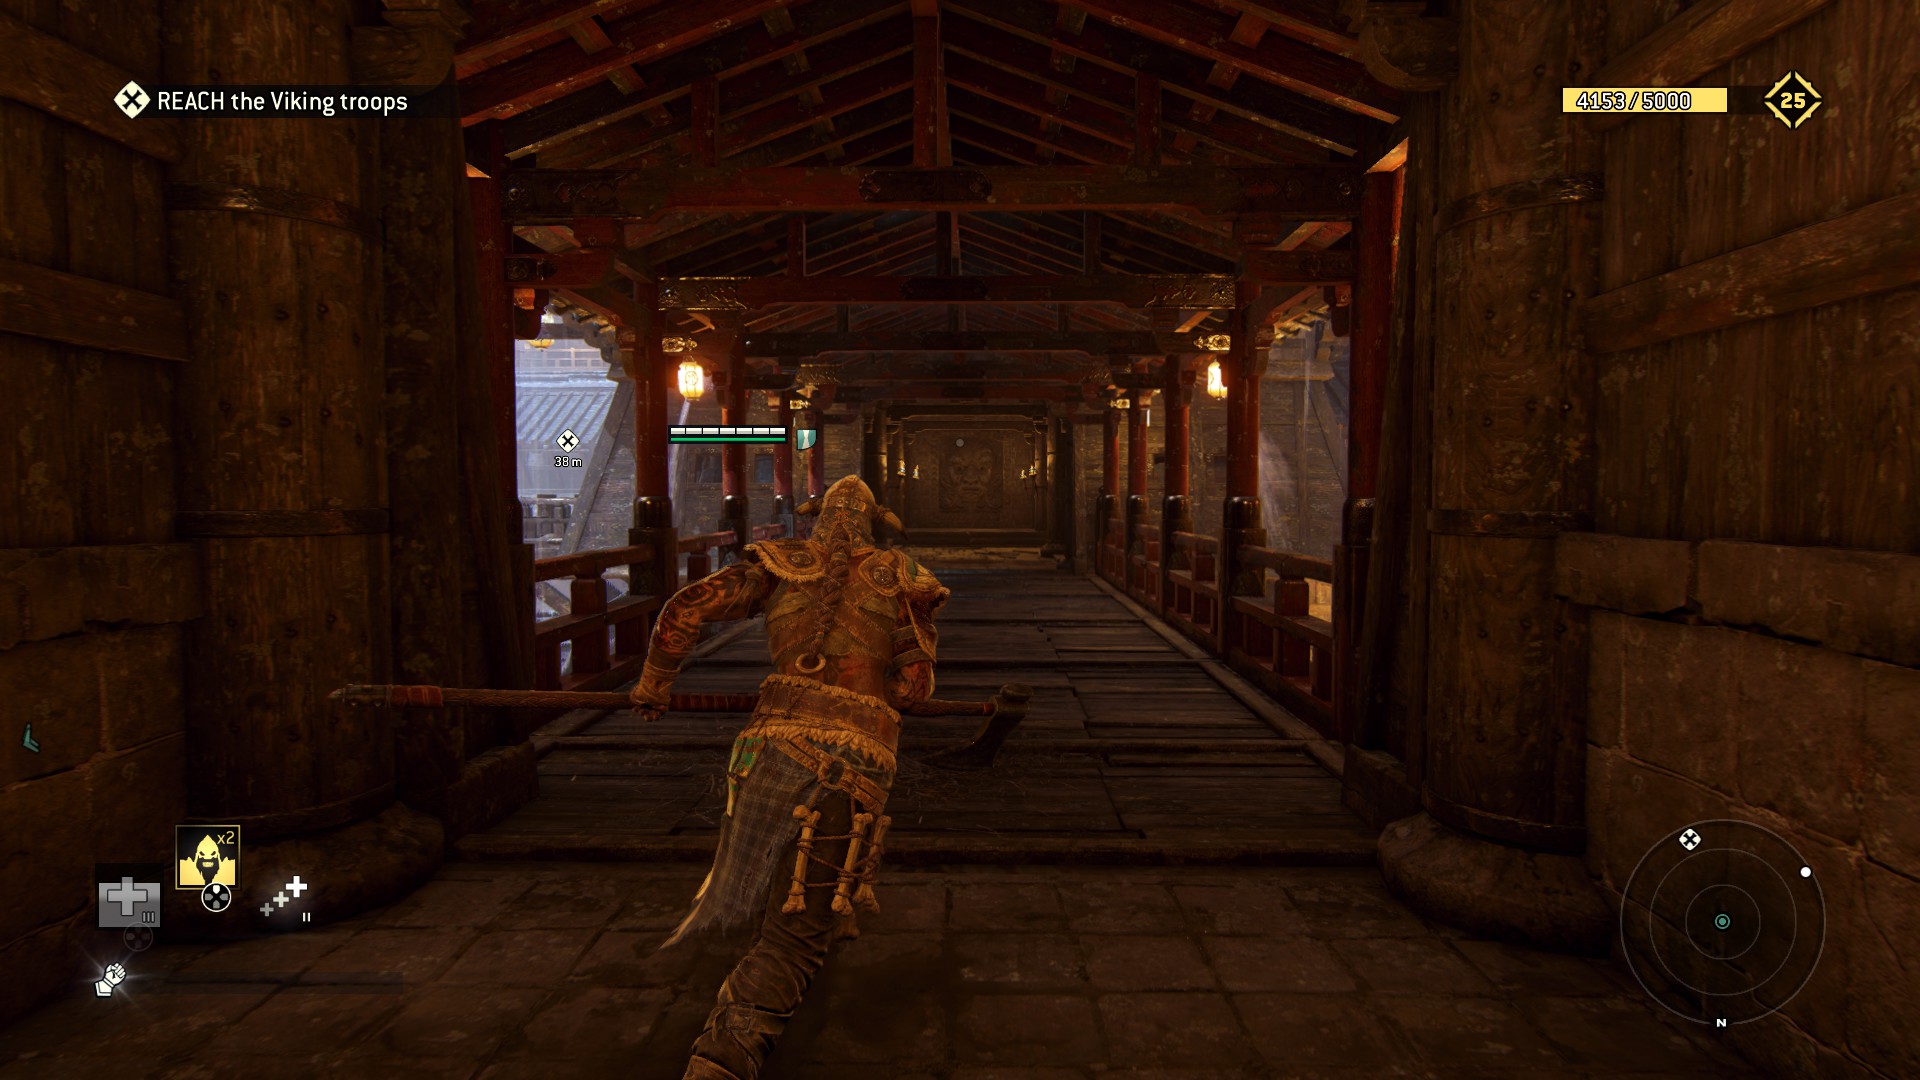
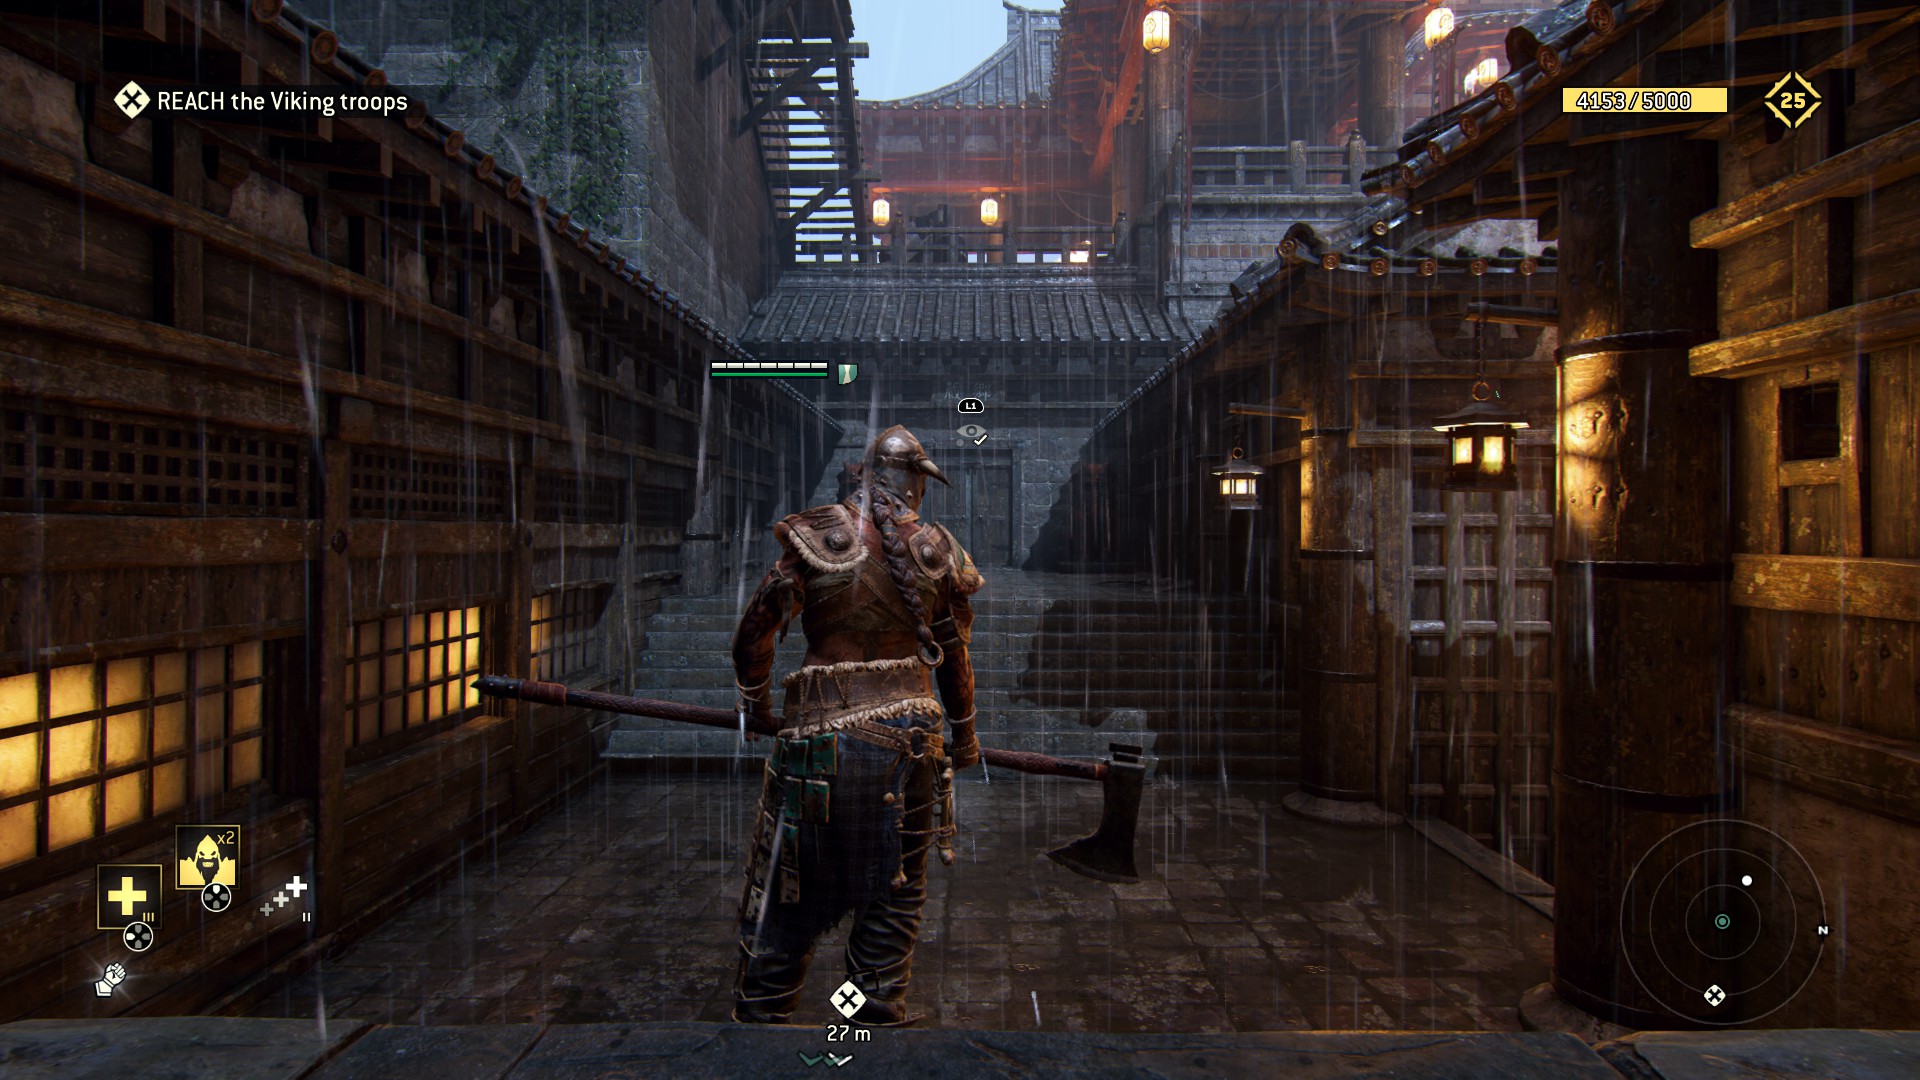 After brutally slaughtering the nice person and descending the ladder, turn right and do a click
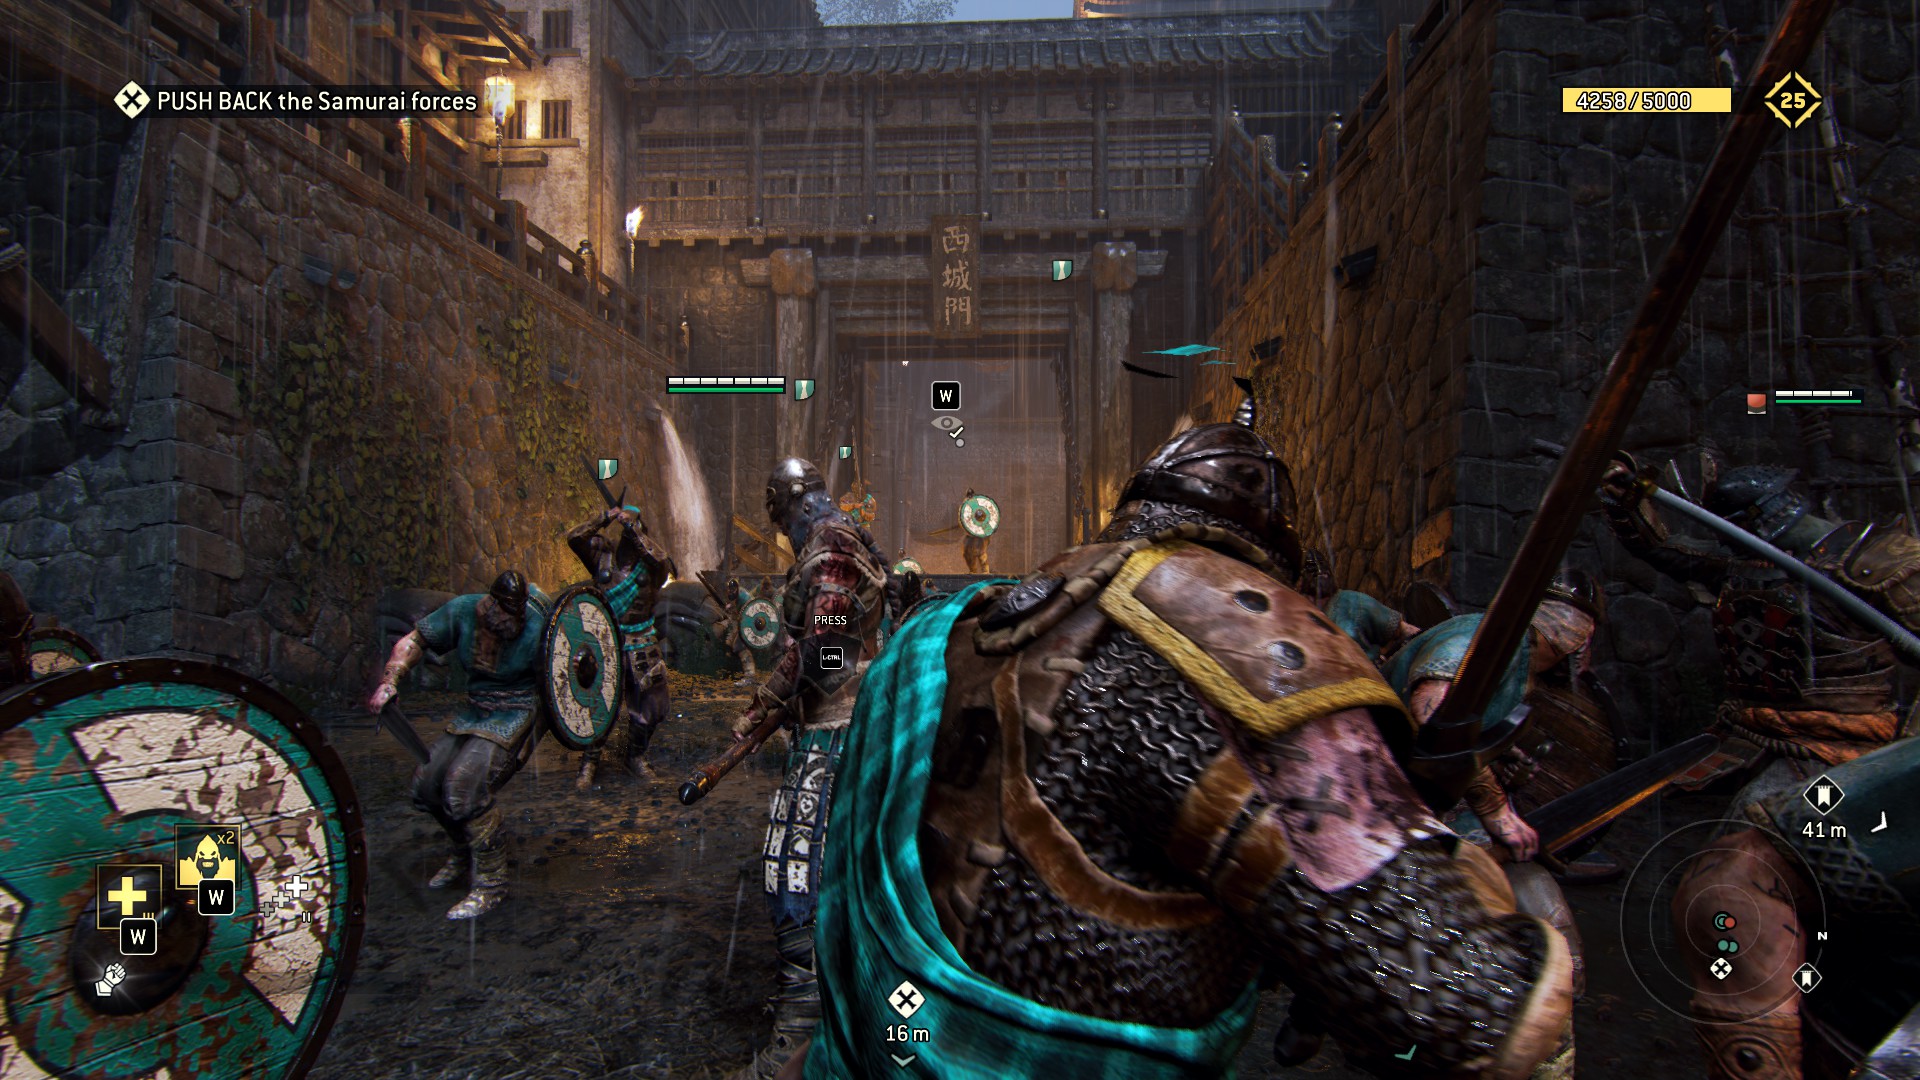 Pardon the screenshot, we were busy pillaging and raping
Massacre your way through the crowds of peasants, farmers and various other people obeying orders and defending their city from you - the invading, horney-helmed would-be looter - take a rest about halfway across the bridge and enjoy the beautiful scenery this city has to offer, situated to your immediate left and right
Pardon the screenshot, we were busy pillaging and raping
Massacre your way through the crowds of peasants, farmers and various other people obeying orders and defending their city from you - the invading, horney-helmed would-be looter - take a rest about halfway across the bridge and enjoy the beautiful scenery this city has to offer, situated to your immediate left and right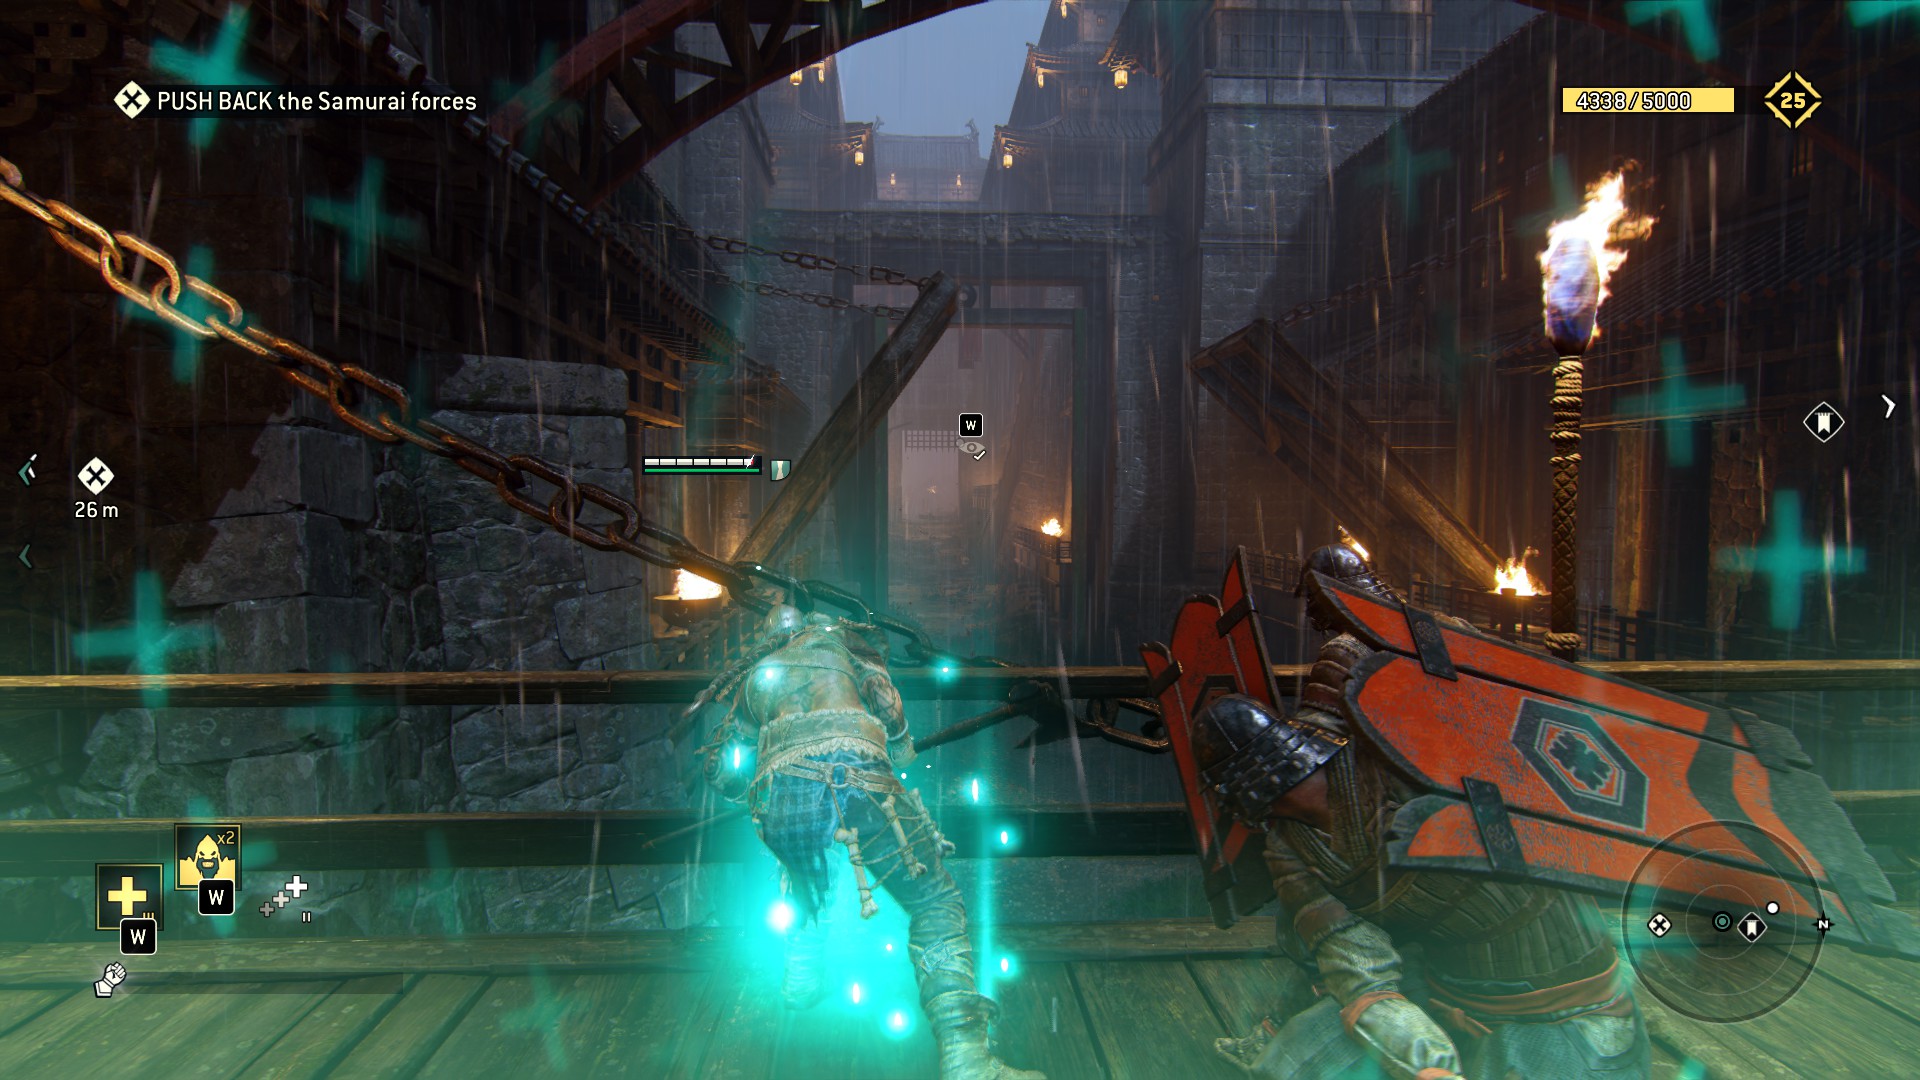
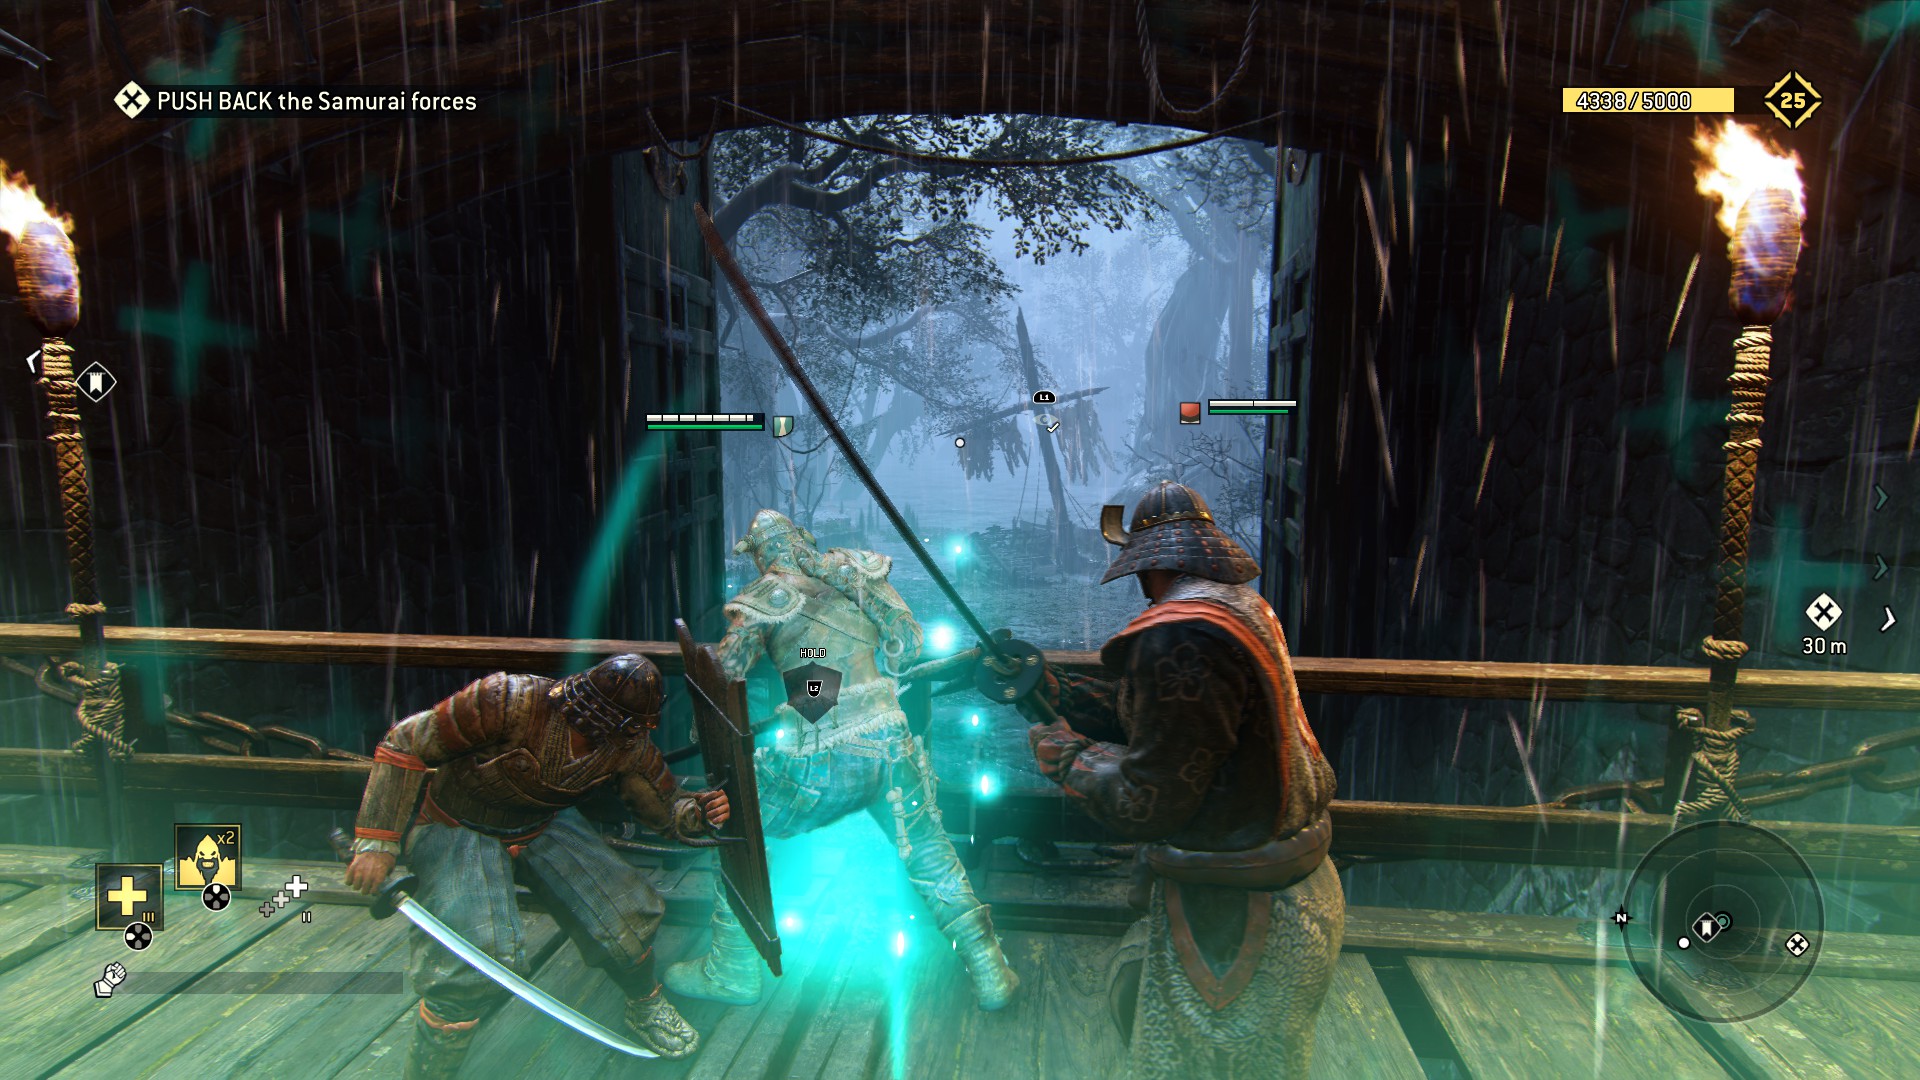 Last, but not least, right before you behead the mayor, you'll find the last one right before the point-of-no-return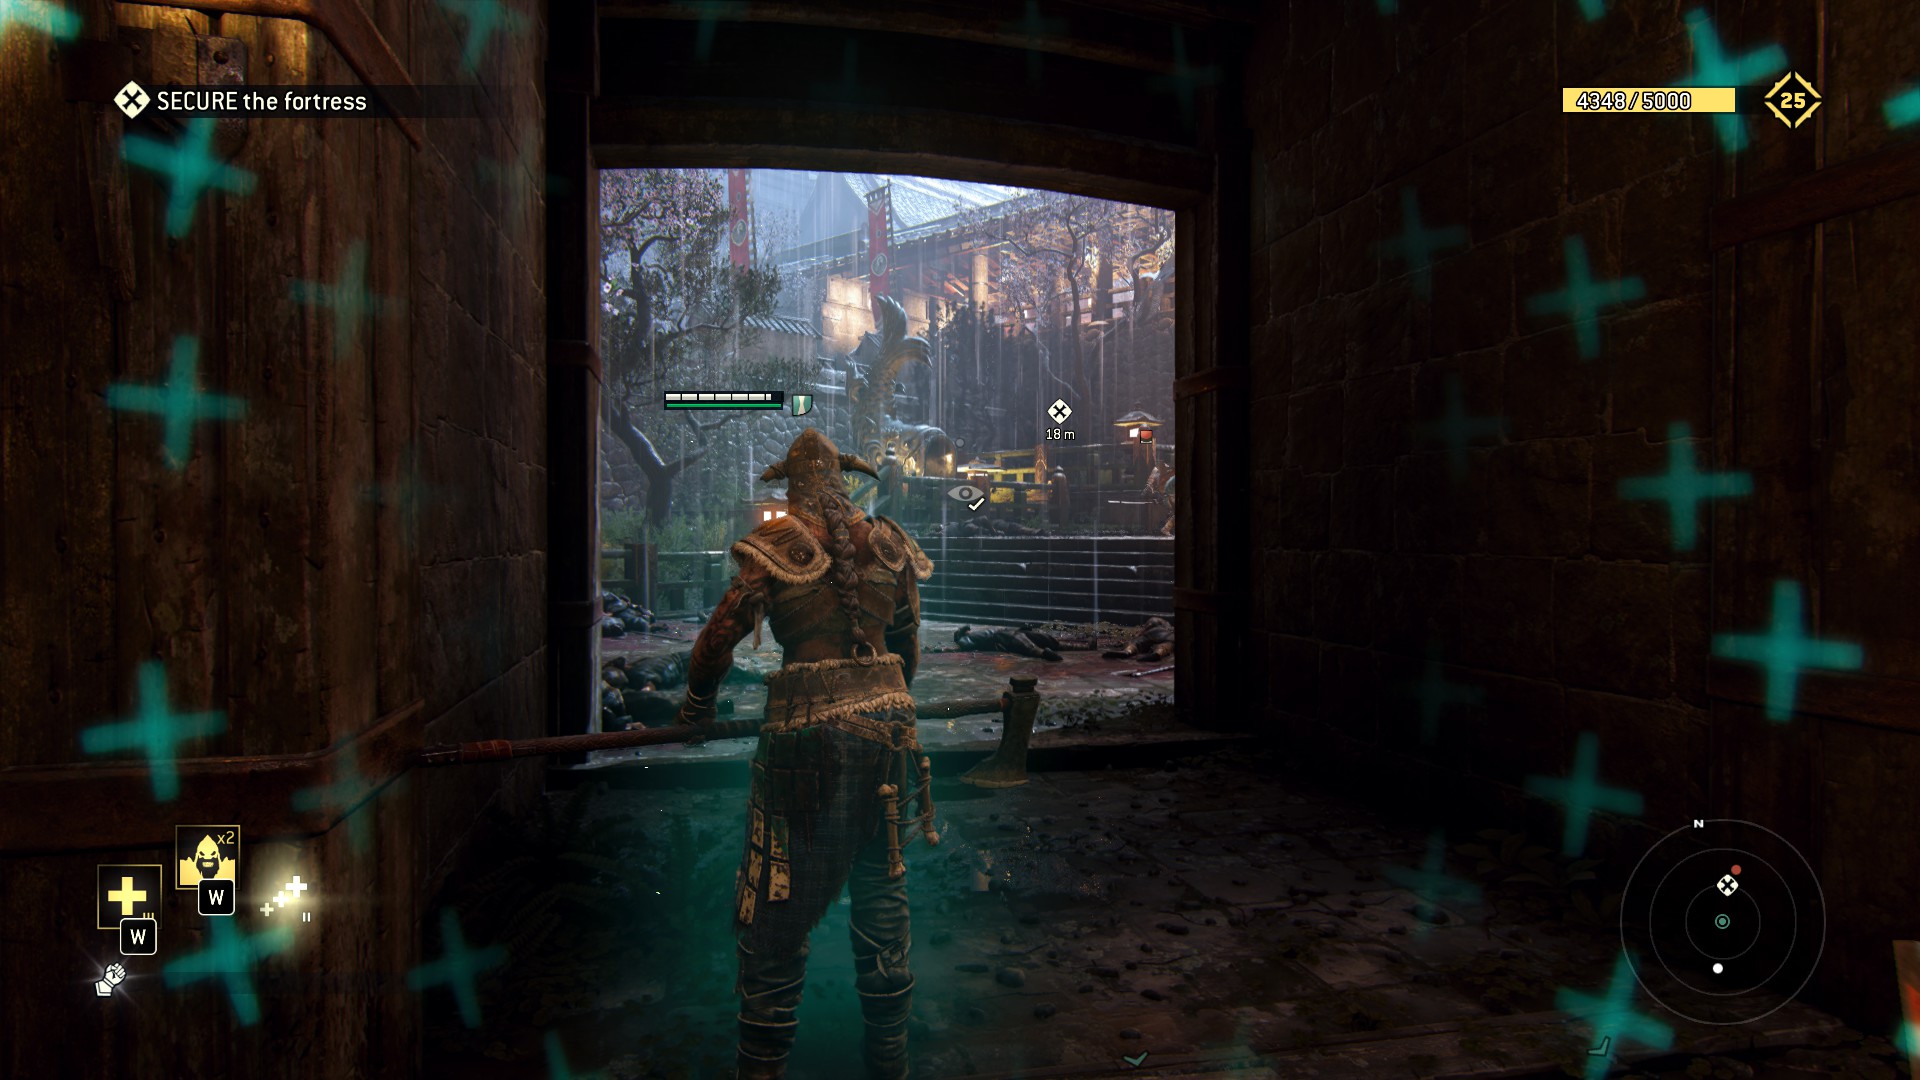
Hope you feel good about yourself, murderer.
2.5 - Reconnaissance
Ogre Love in the weaboo swamp...
No really if 1.6 was a pain then 2.5 its you worst nightmare, the map its HUGE and when i say HUGE i mean more BIG AND FAT than those Onis wanna be you will meet.
The mission its divided in two maps, the swamp and the monastery, lets start with the swamp.
Myr Swamp
Before numering theres 6 observations and 5 breakables before leaving the swamp, the place its huge and confusing so gonna try to explain it the best i can.
1) This at the very start and the "door" its very big so really easy to spot, look at the hanged man.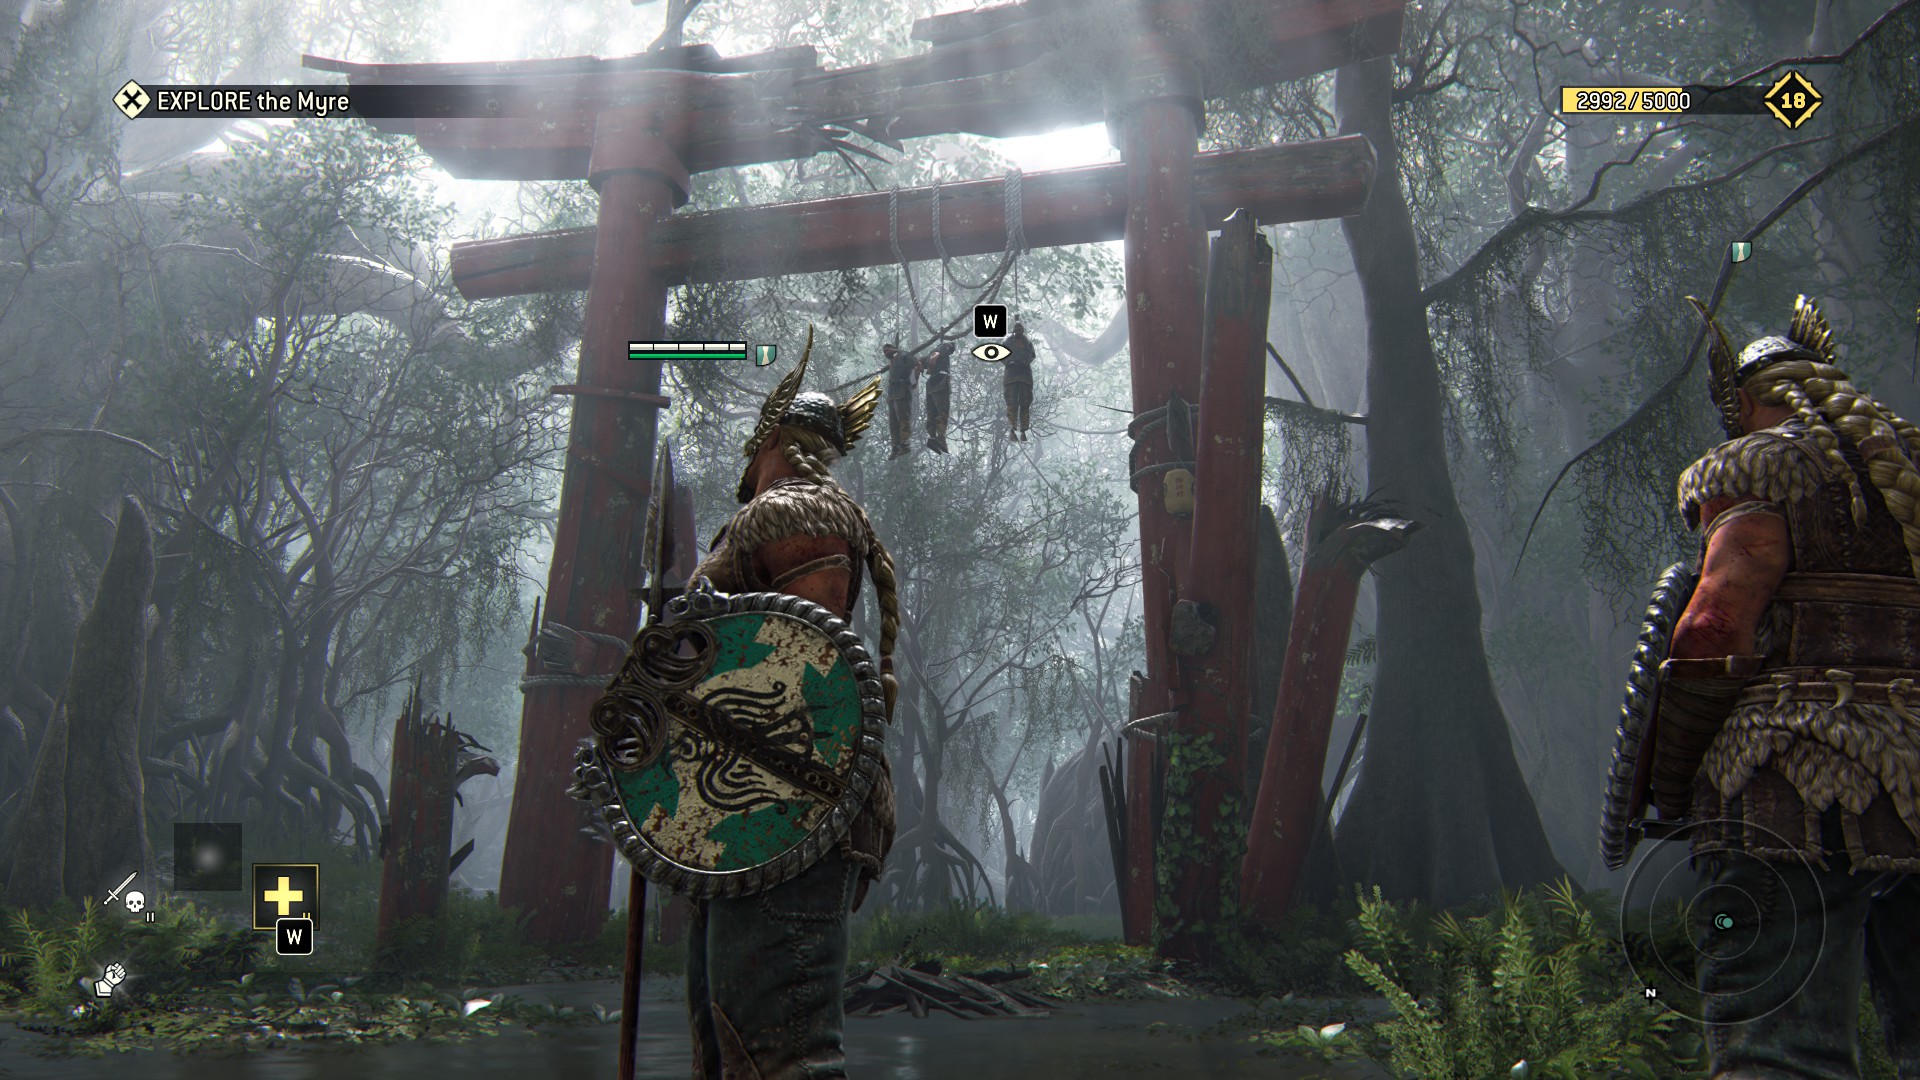 2) This one its right after the hanged man, look for a destroyed ship there will be the remains of the old scout squad, if it helps its before you need to wipe the ambushers.
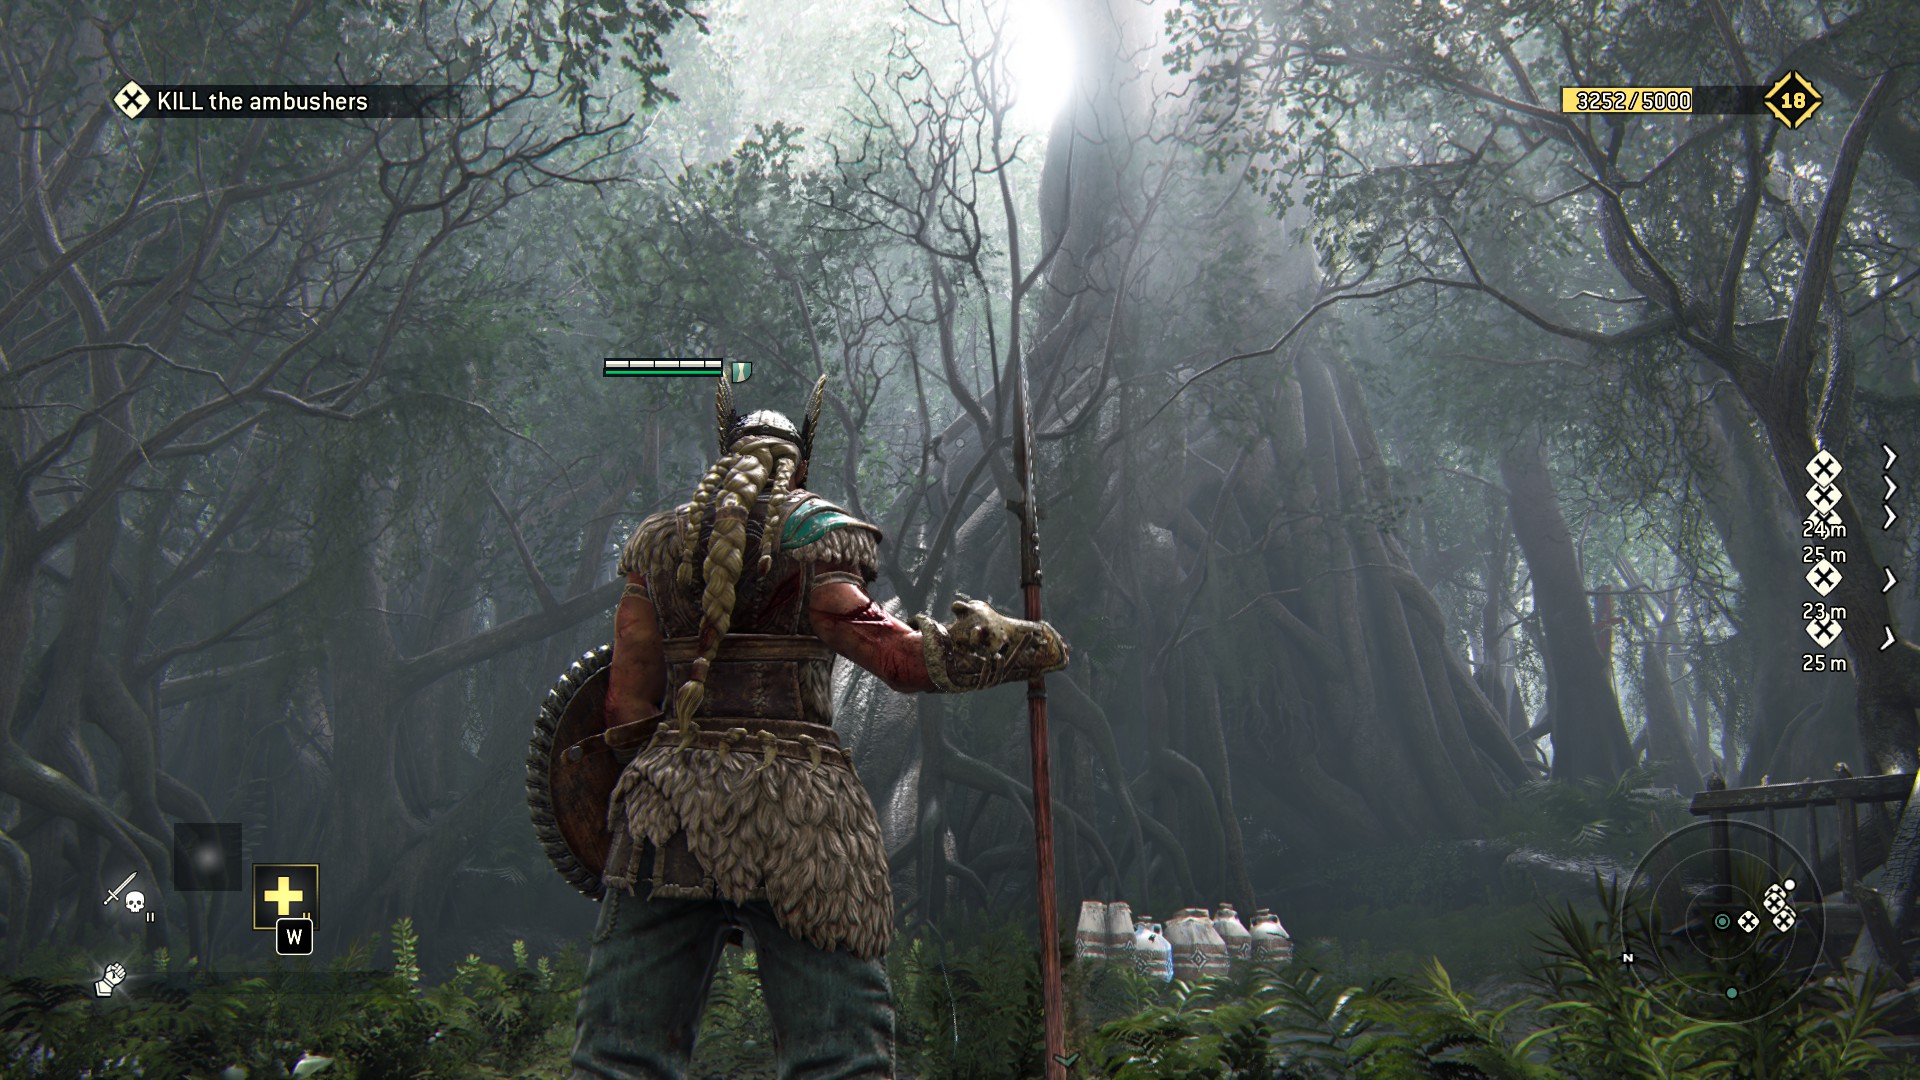
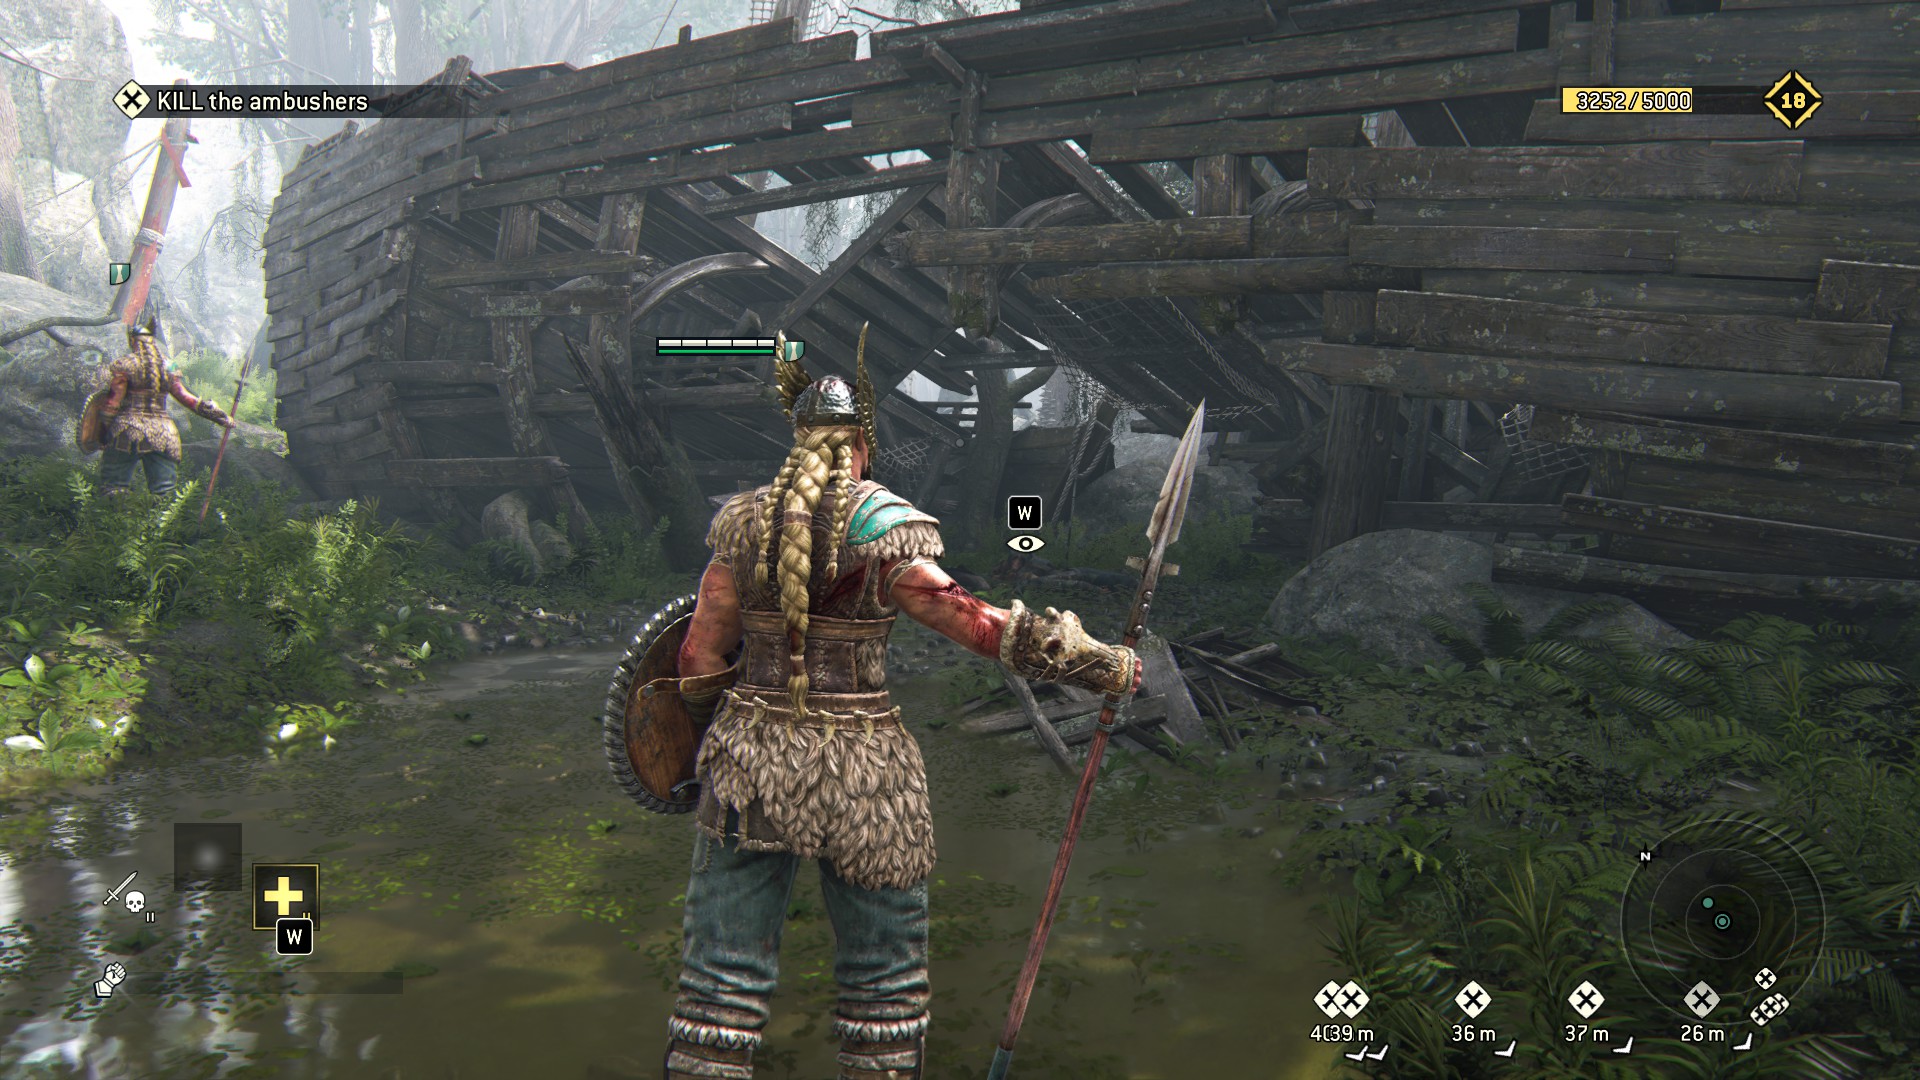 3) Those breakables are really close to the ambushers as you can see in the minimap, look for a wierd looking tree (good luck the swamp its fulled with those and shrek) now serious this one its bigger than the others.
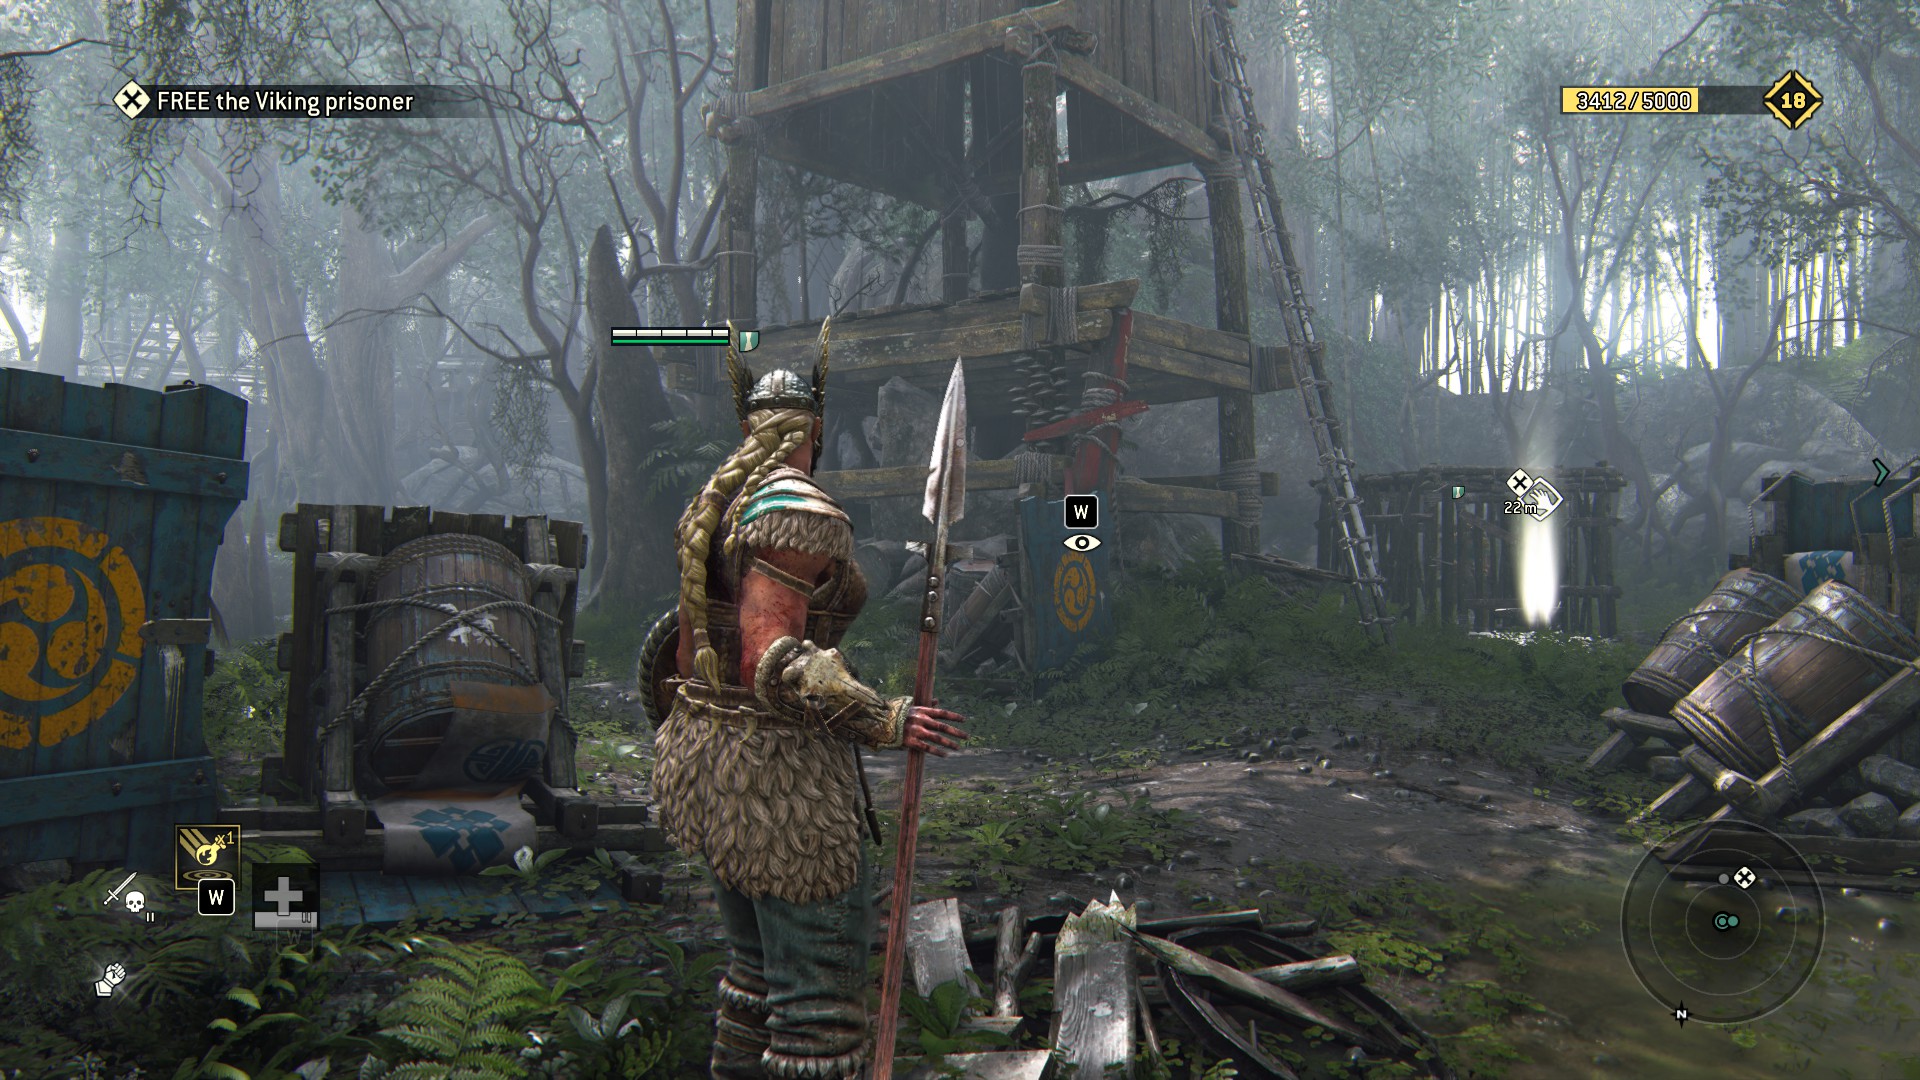
 4) Pretty straight forward, where you free the jailed zerker and theres a huge watchtower impossible to miss.
 5) Buda Statue, its really hidden with all those trees and vines, look between the watch tower and the way to the wall fulled with archers.
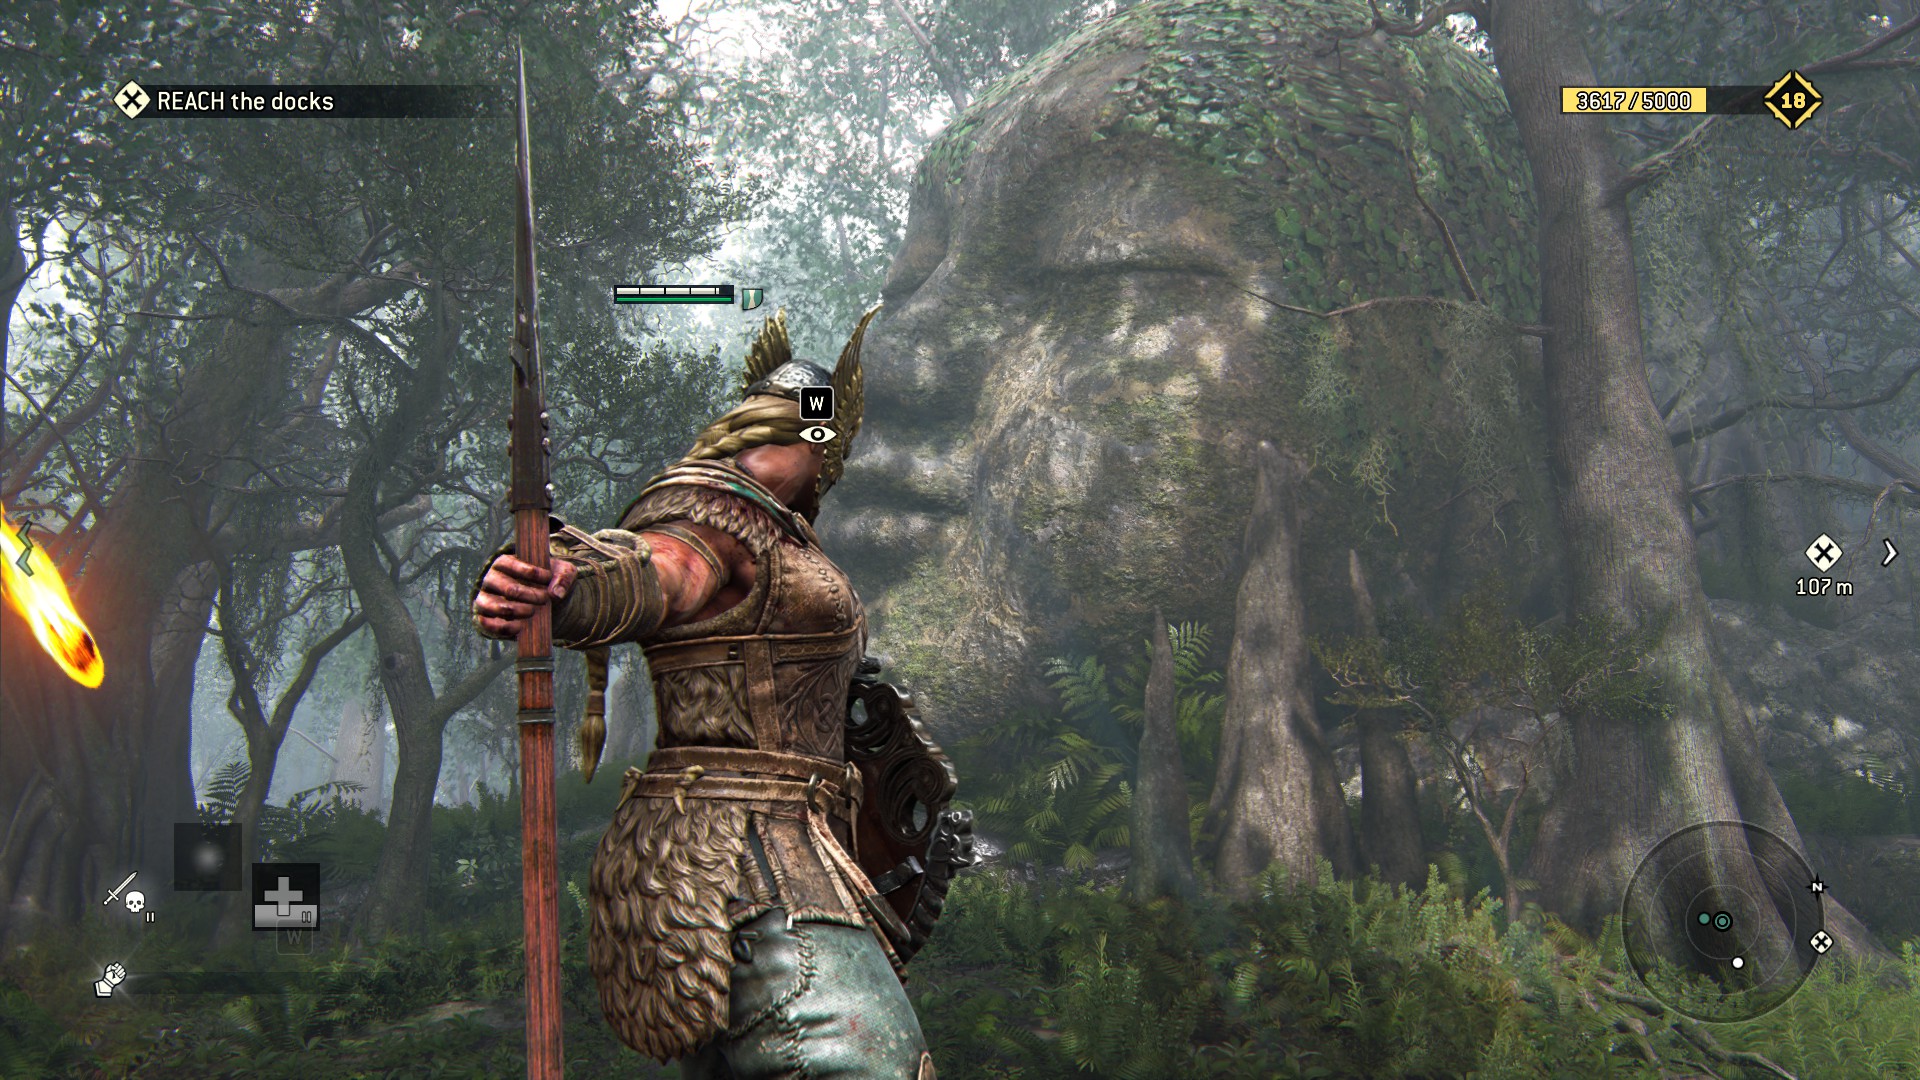 6) This im not sure really how to explain it but use the mission status to find it its 68m north from the docks, just follow the minimap and you will find it. Its a observation and a breakable (gotta explain it better later gonna need to replay it)
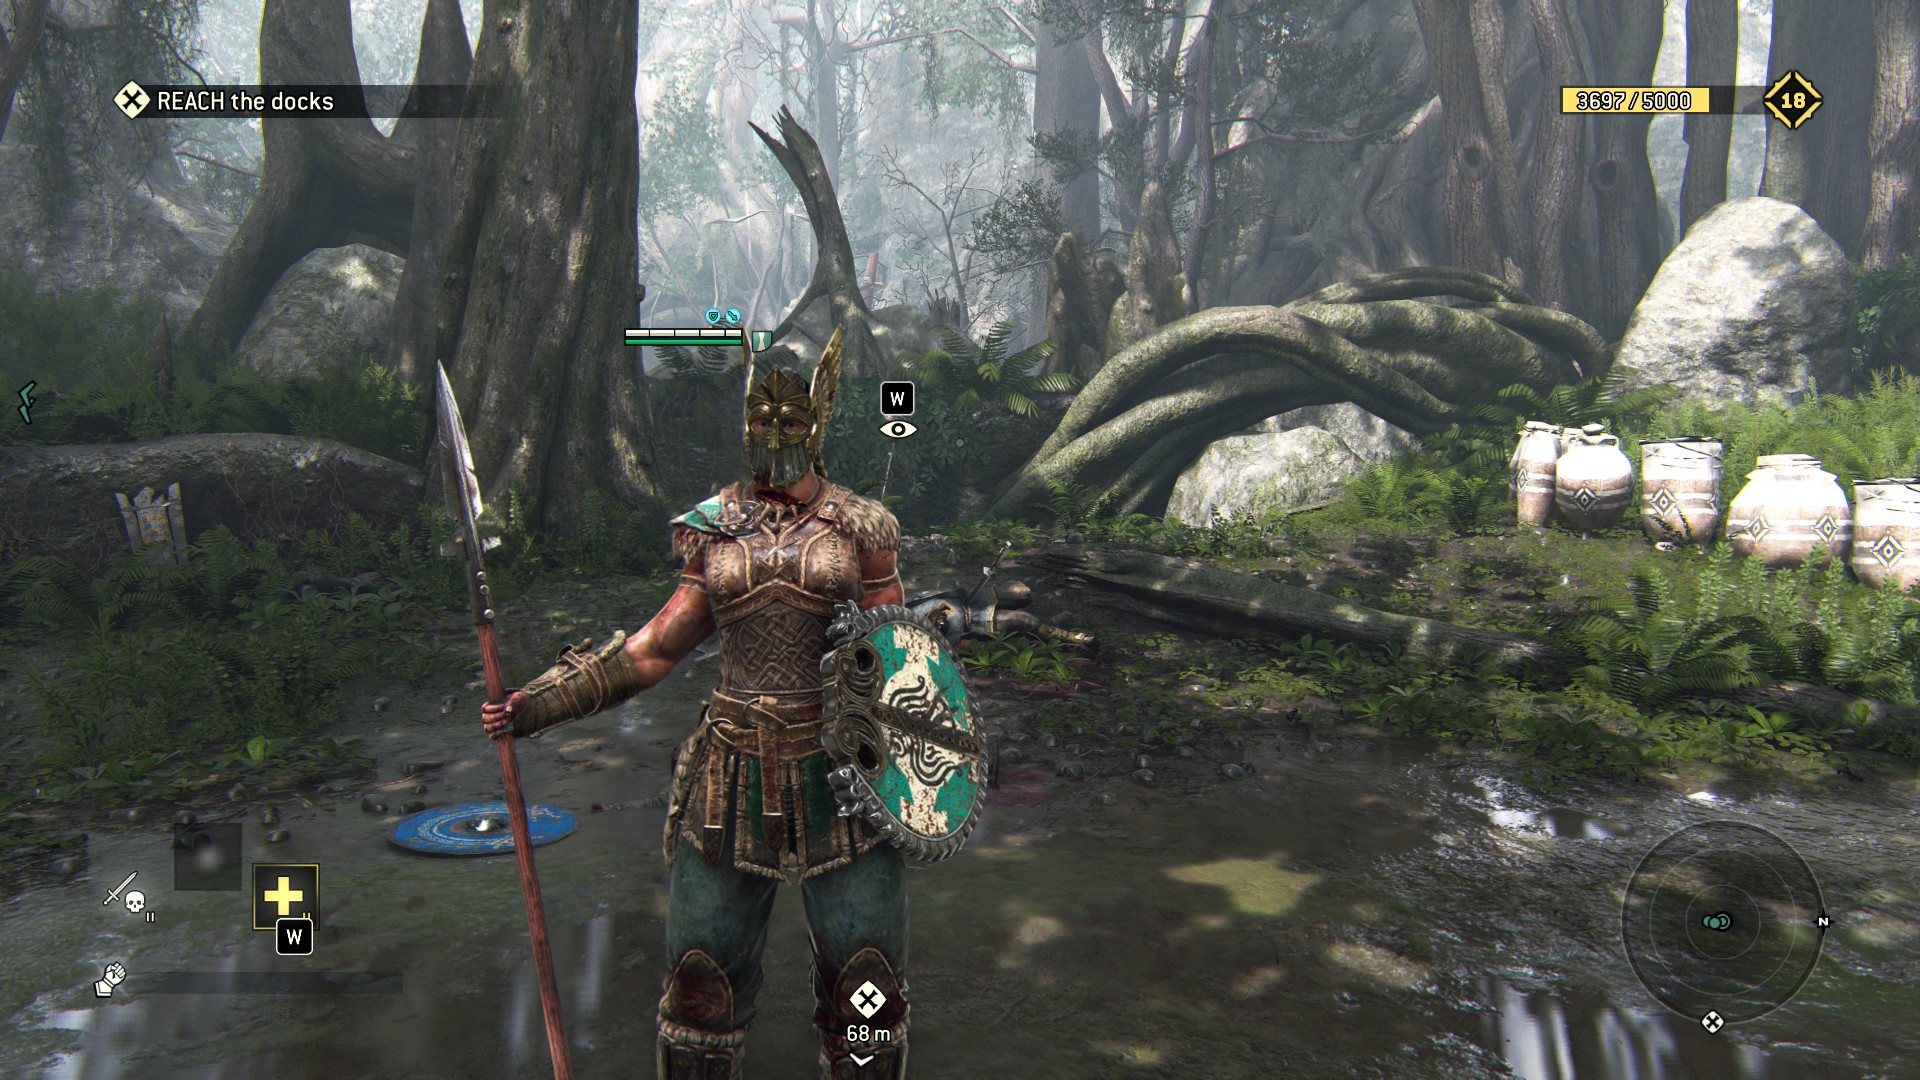 7) Those breakables are easy to find just go right in directions to the docks near the wall fulled with archers.
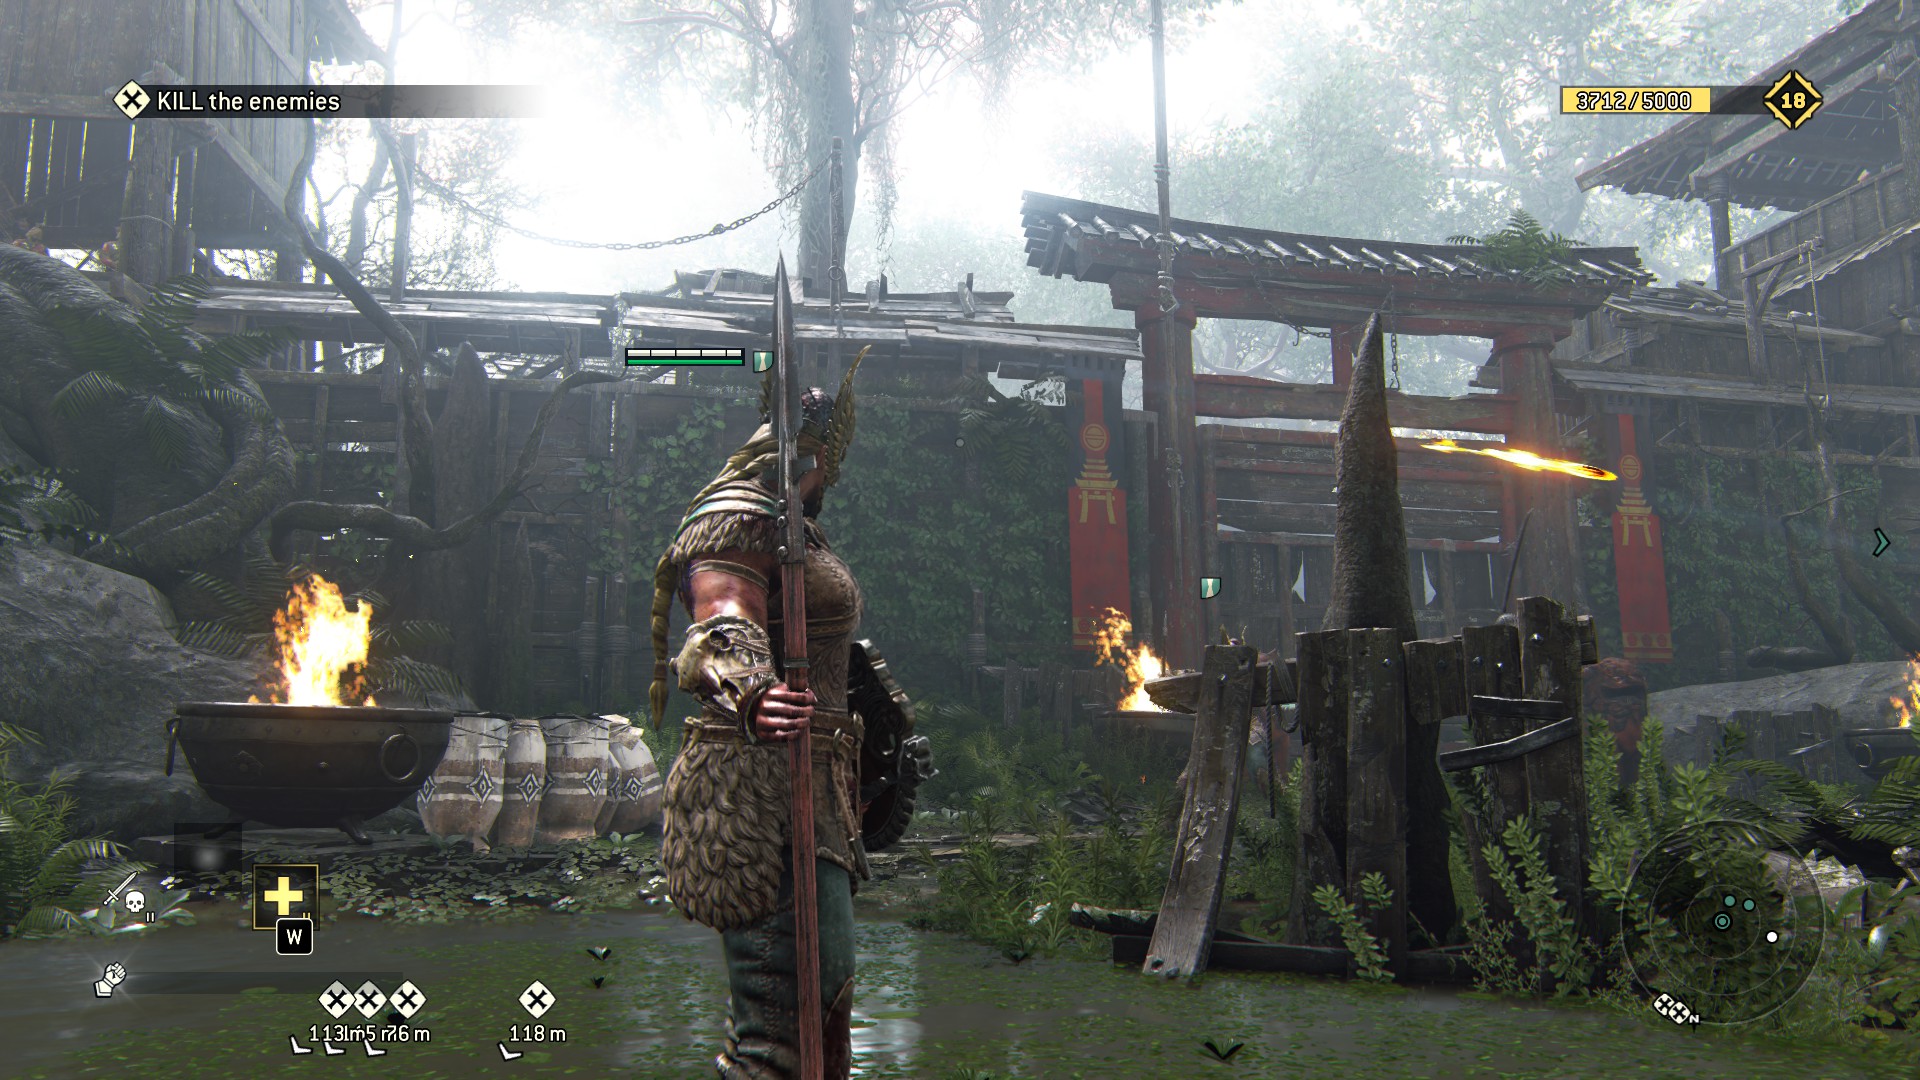 8) Breakables just right in the giat bell, its in direction to the docks near the lake, just after the wall filled with archers.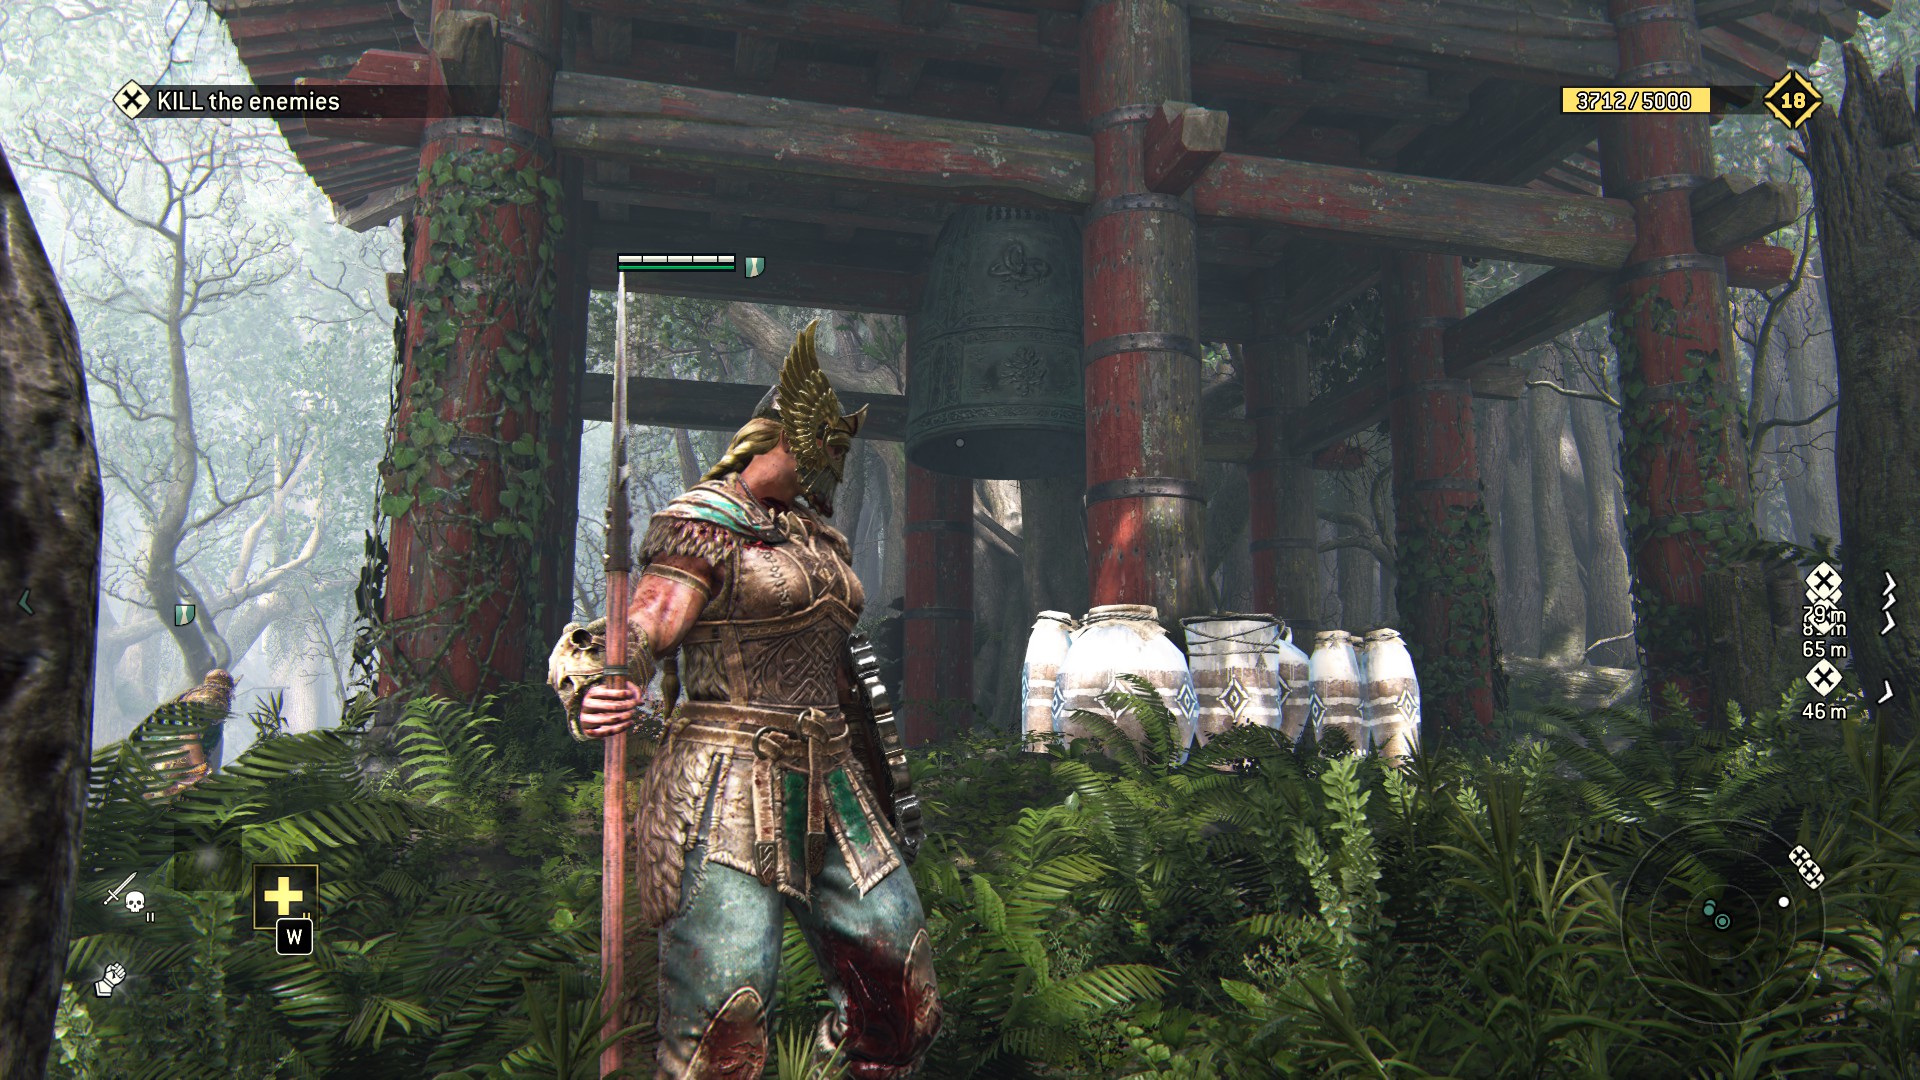
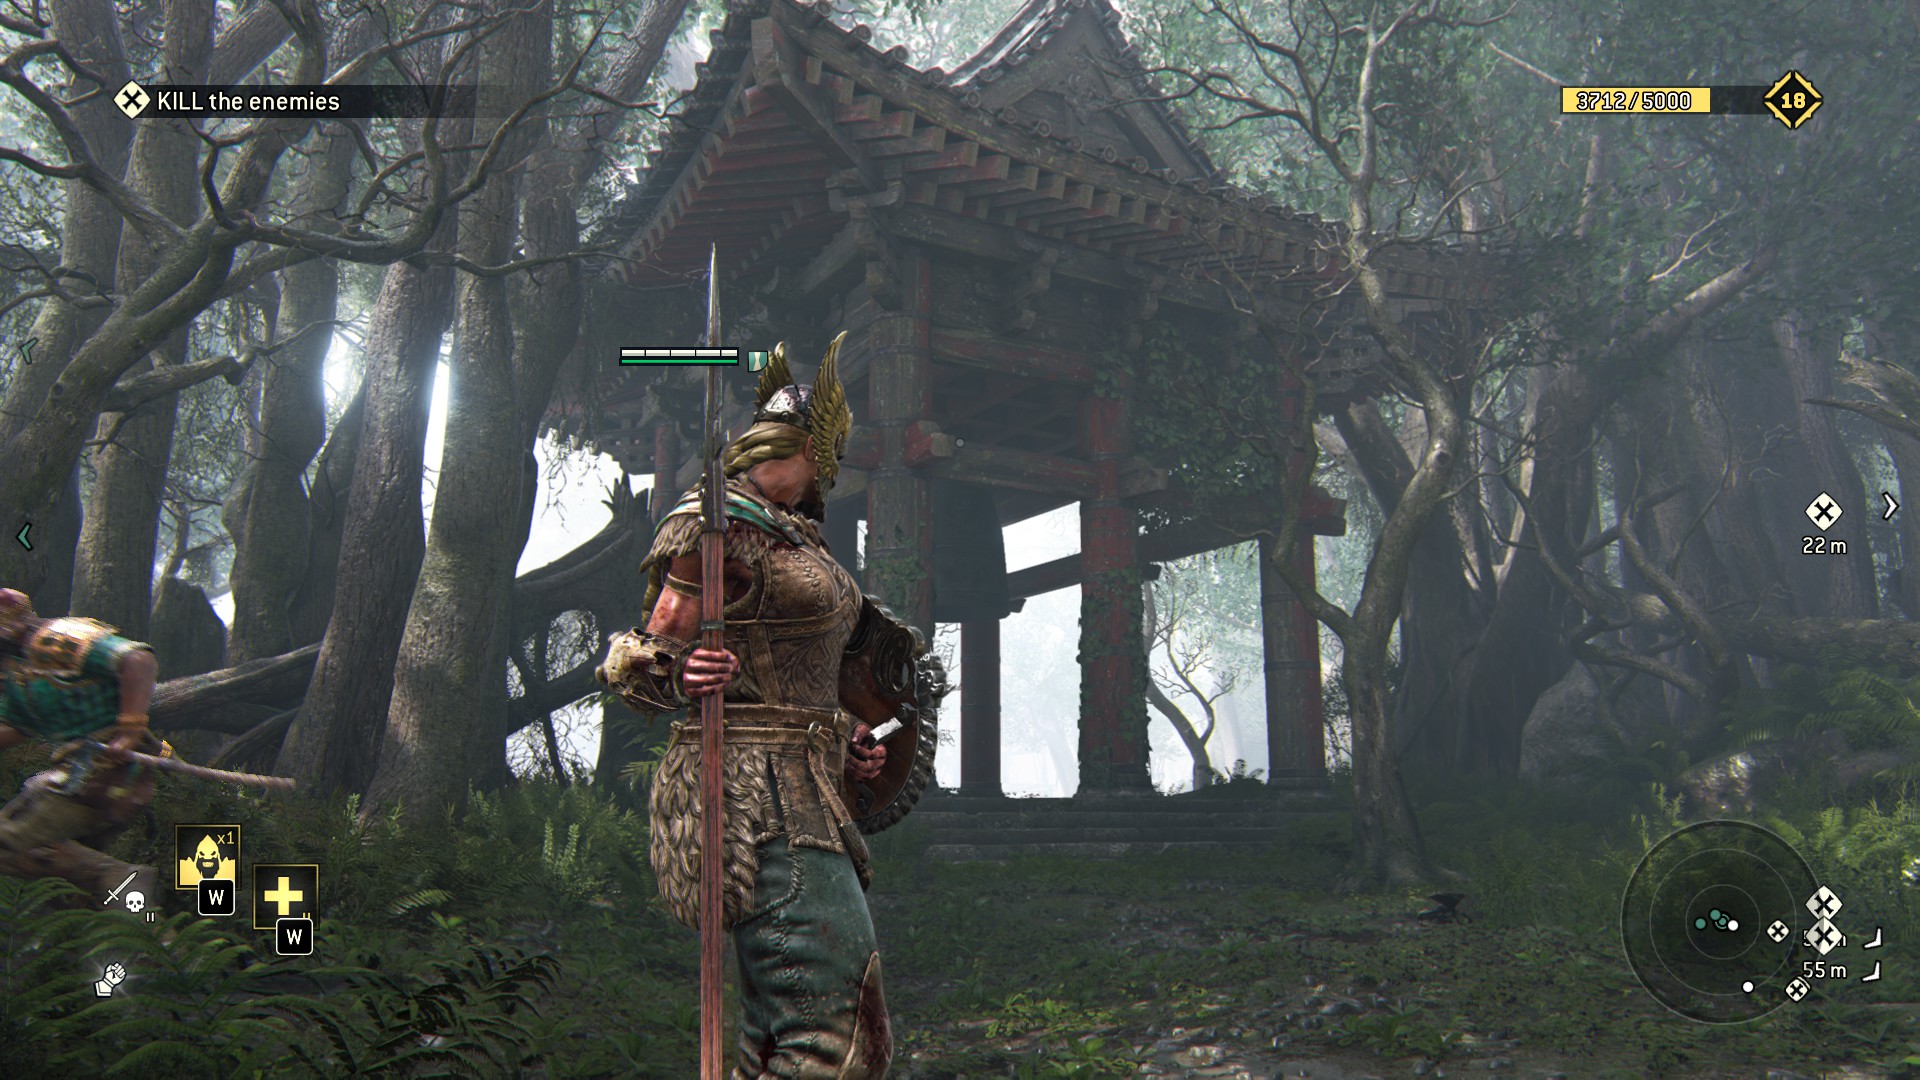 9) After you leave the giant bell take a look to the lake theres a boat that its "observable"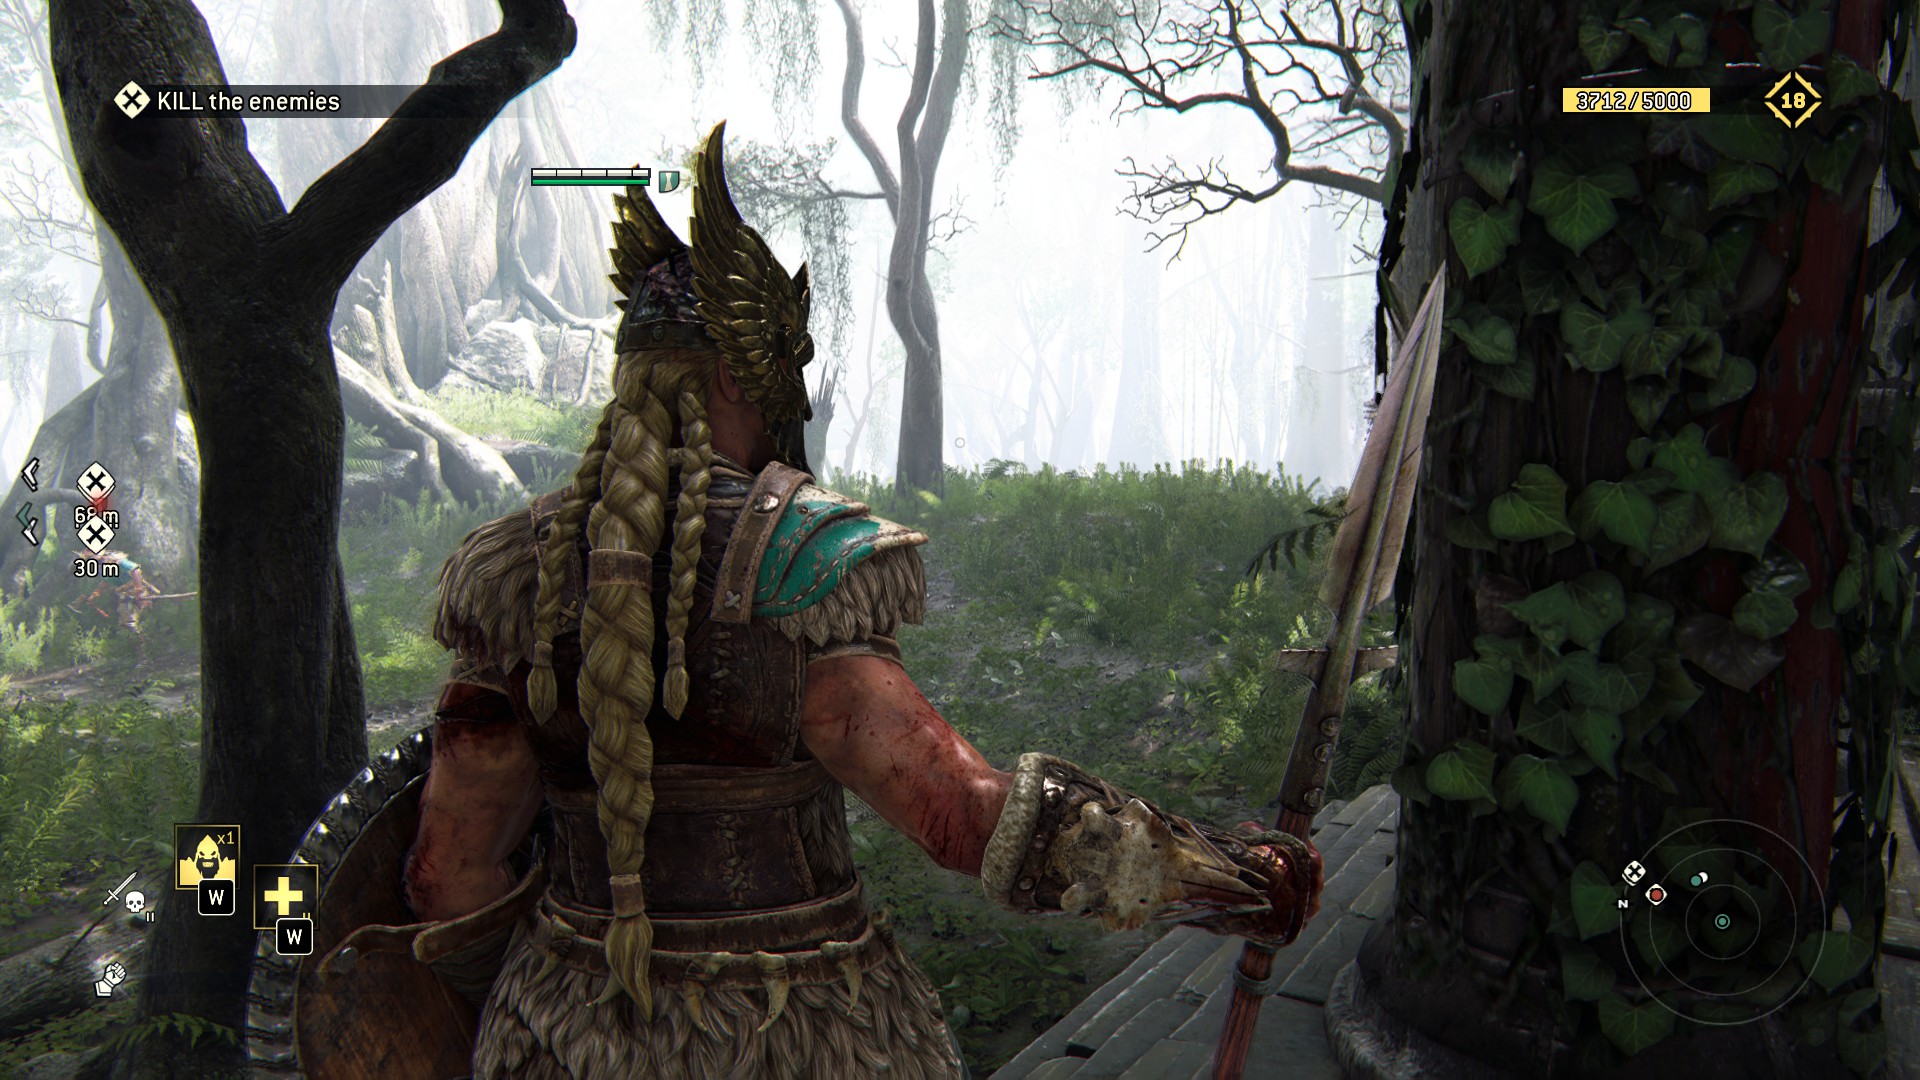
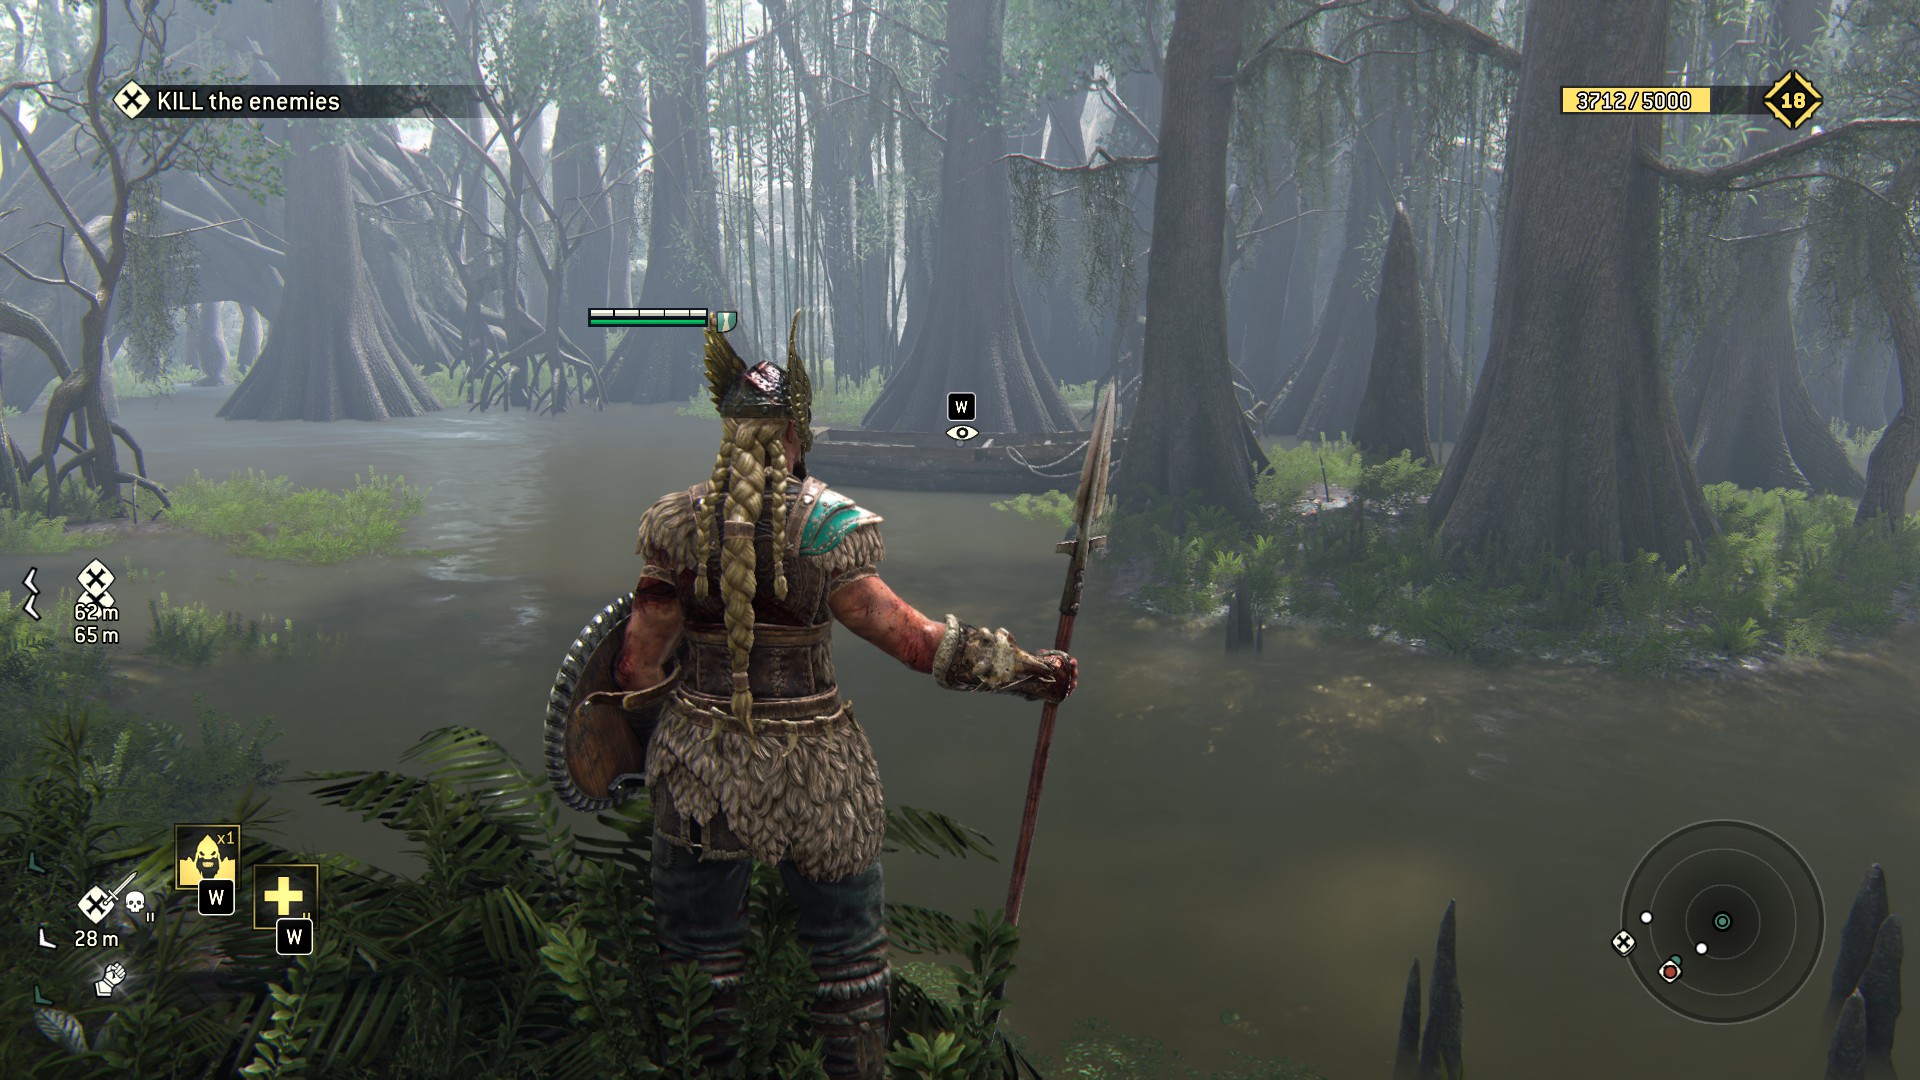 10) In this one you can easy screw everything becouse its just right before you need to kill everyone on the docks, if you killed everyone without getting the breakables you screwed it.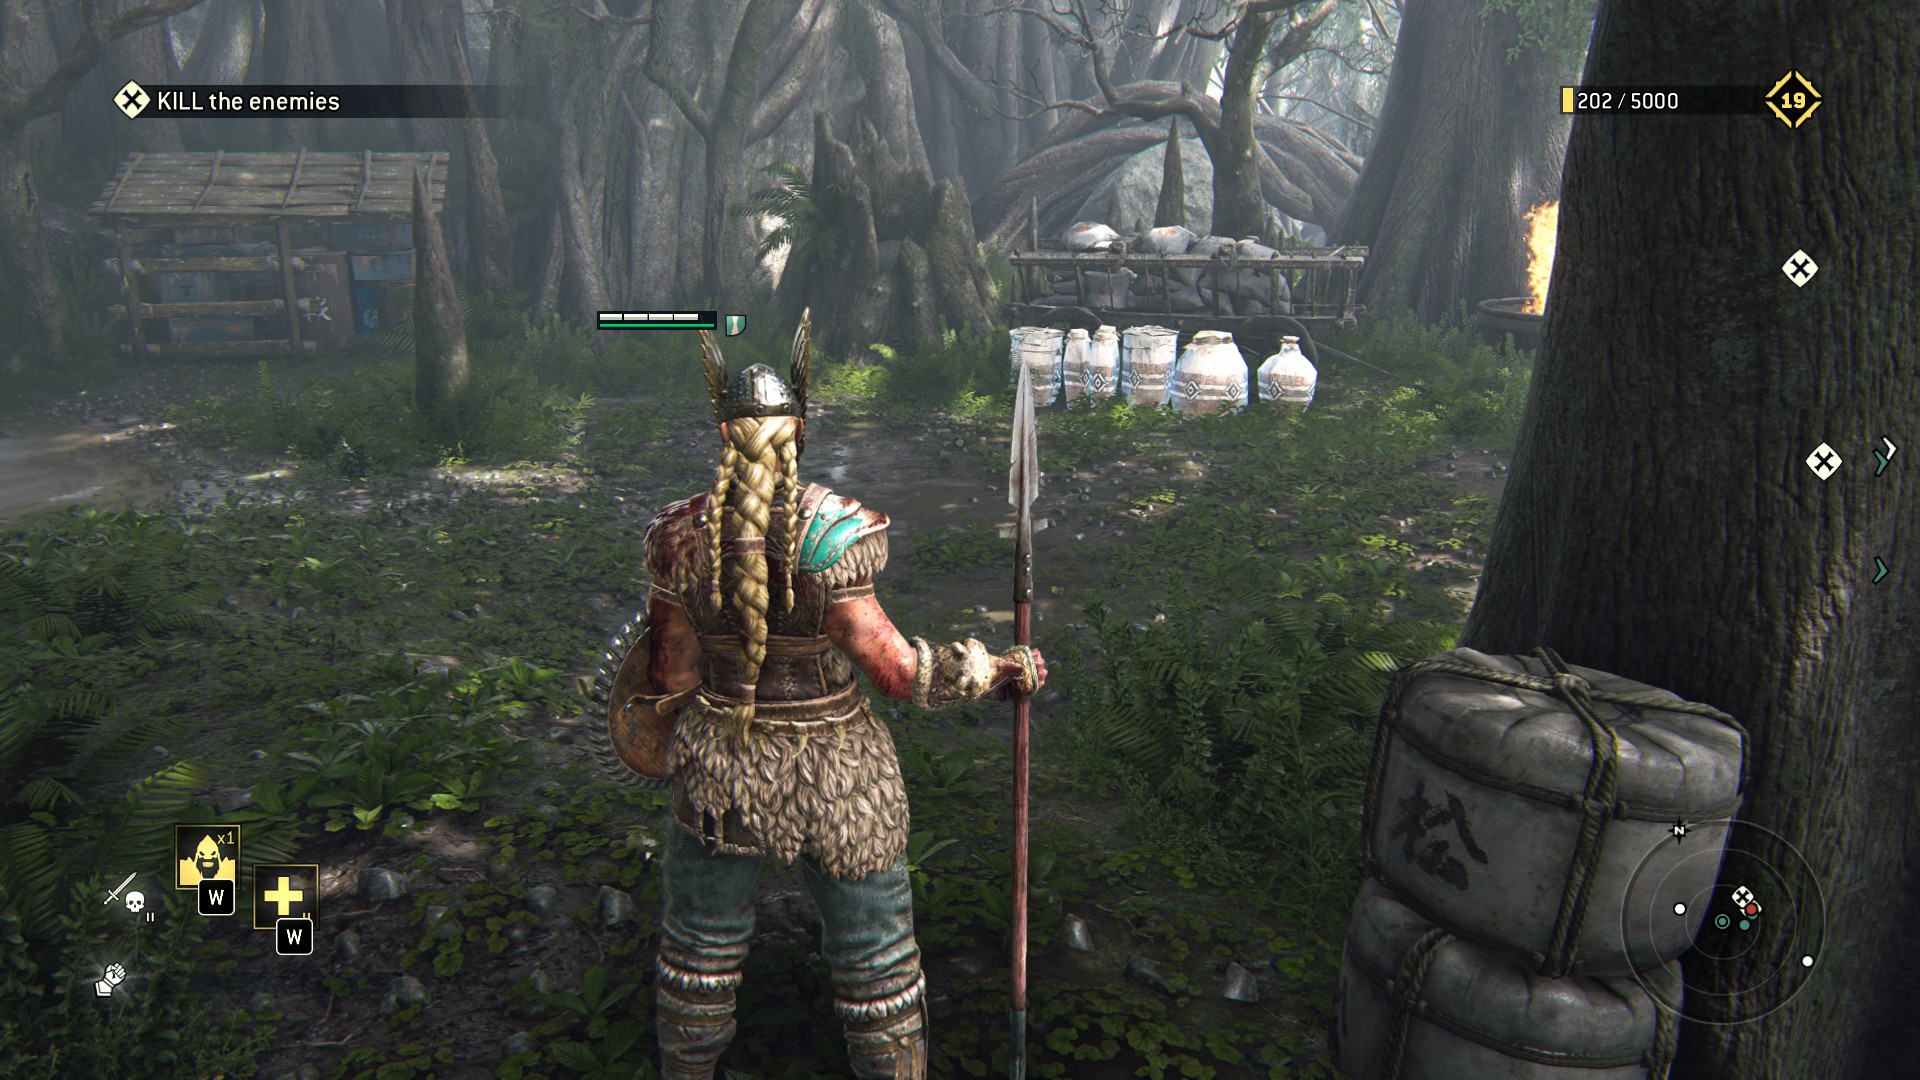
The Monastery
Okey we did it, we survived shrek and those filthy weaboos in the swamp, this place its a cakewalk if you dont mind those annoying Orochis with perfect parry in realistic.
1) Straight forward after the bridge, theres a Blackstone scout corpse restin in a trunk.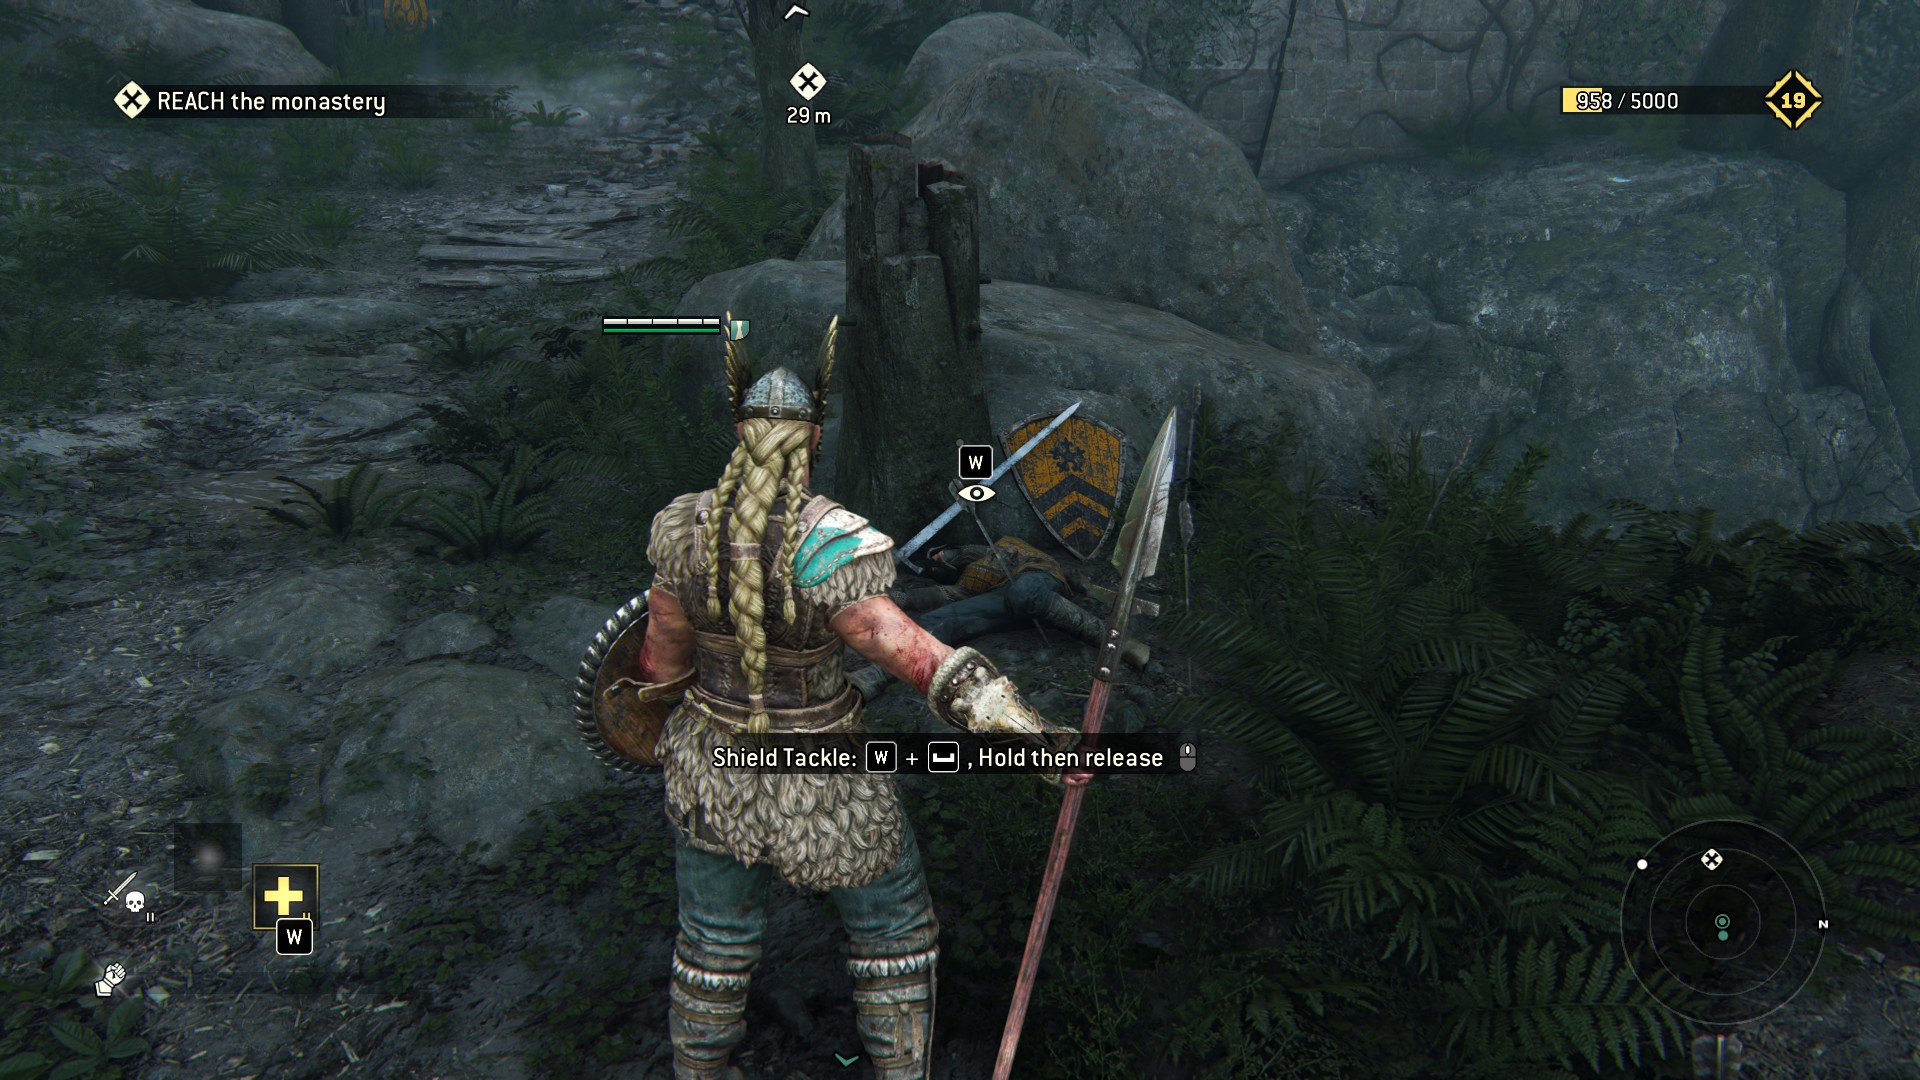 2) First room where you meet a Nobushi (waiting you in a sexy pose), theres 2 breakables.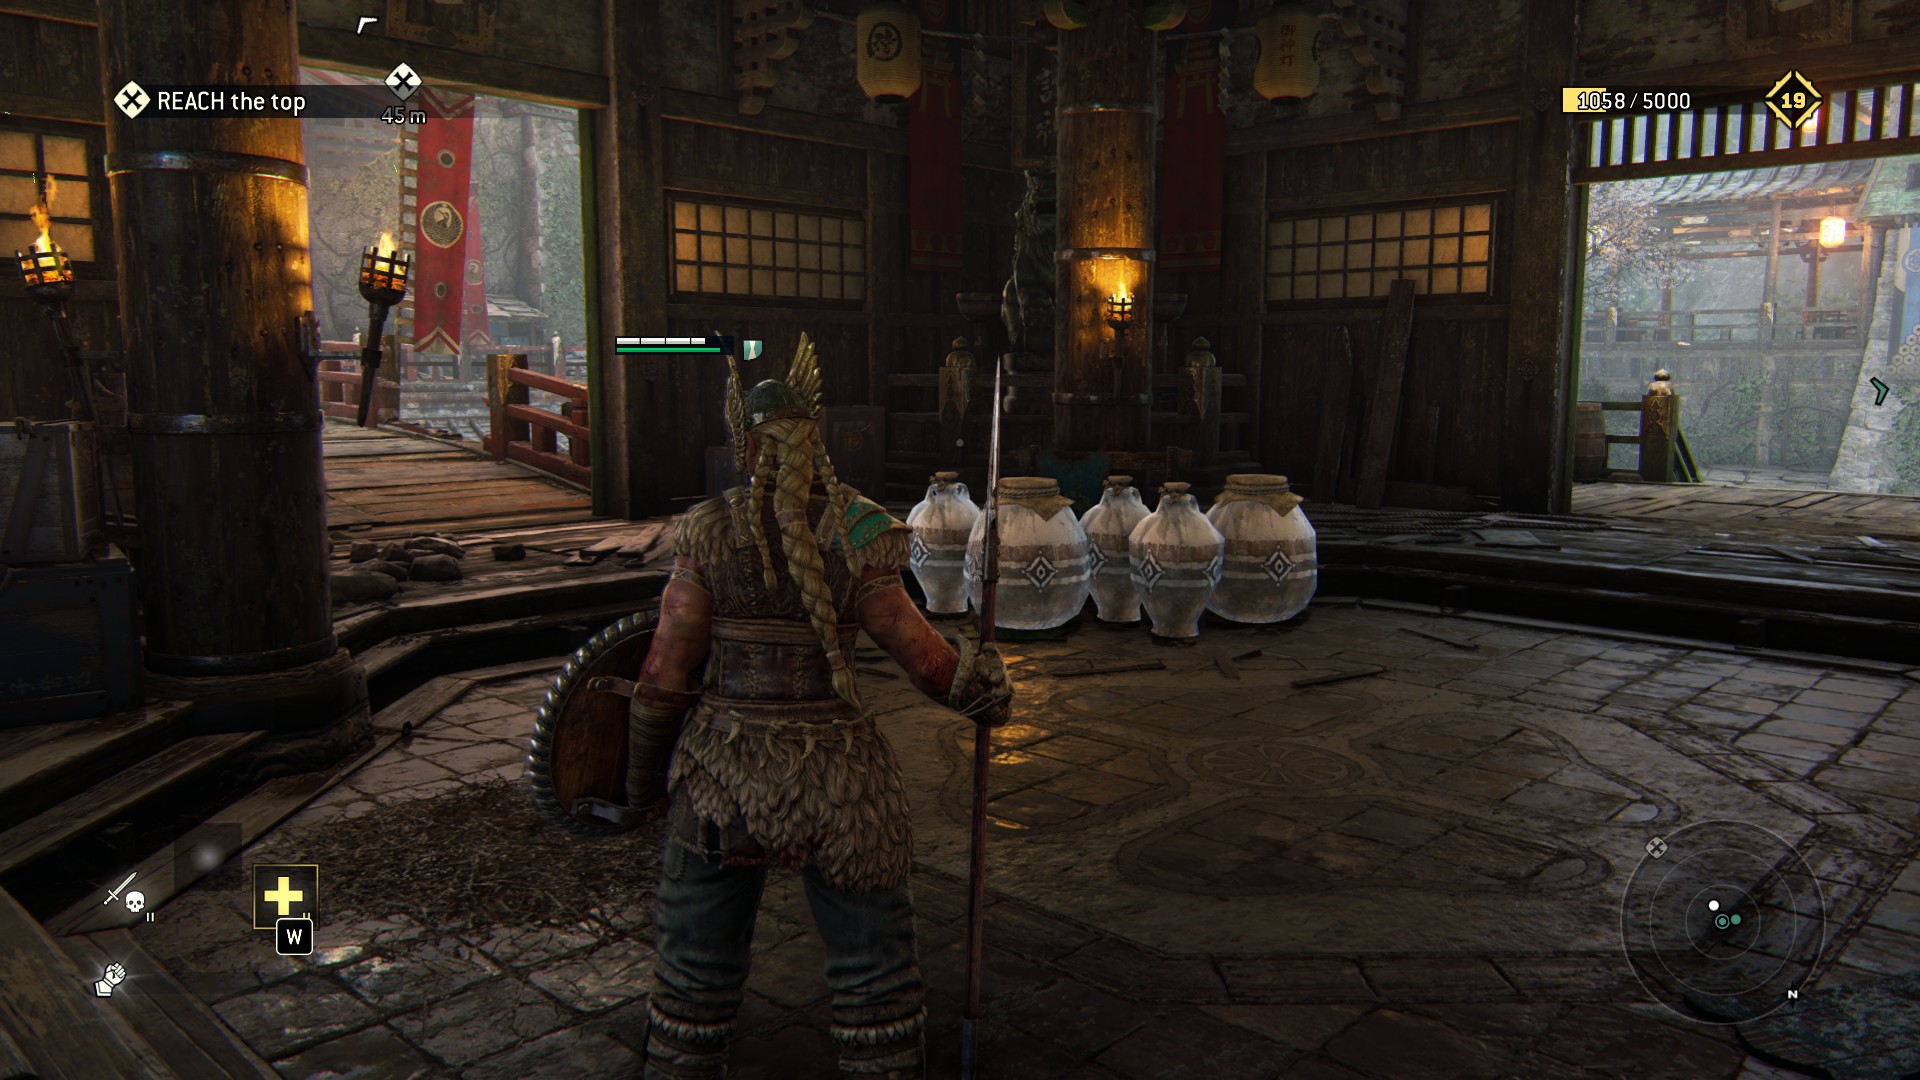
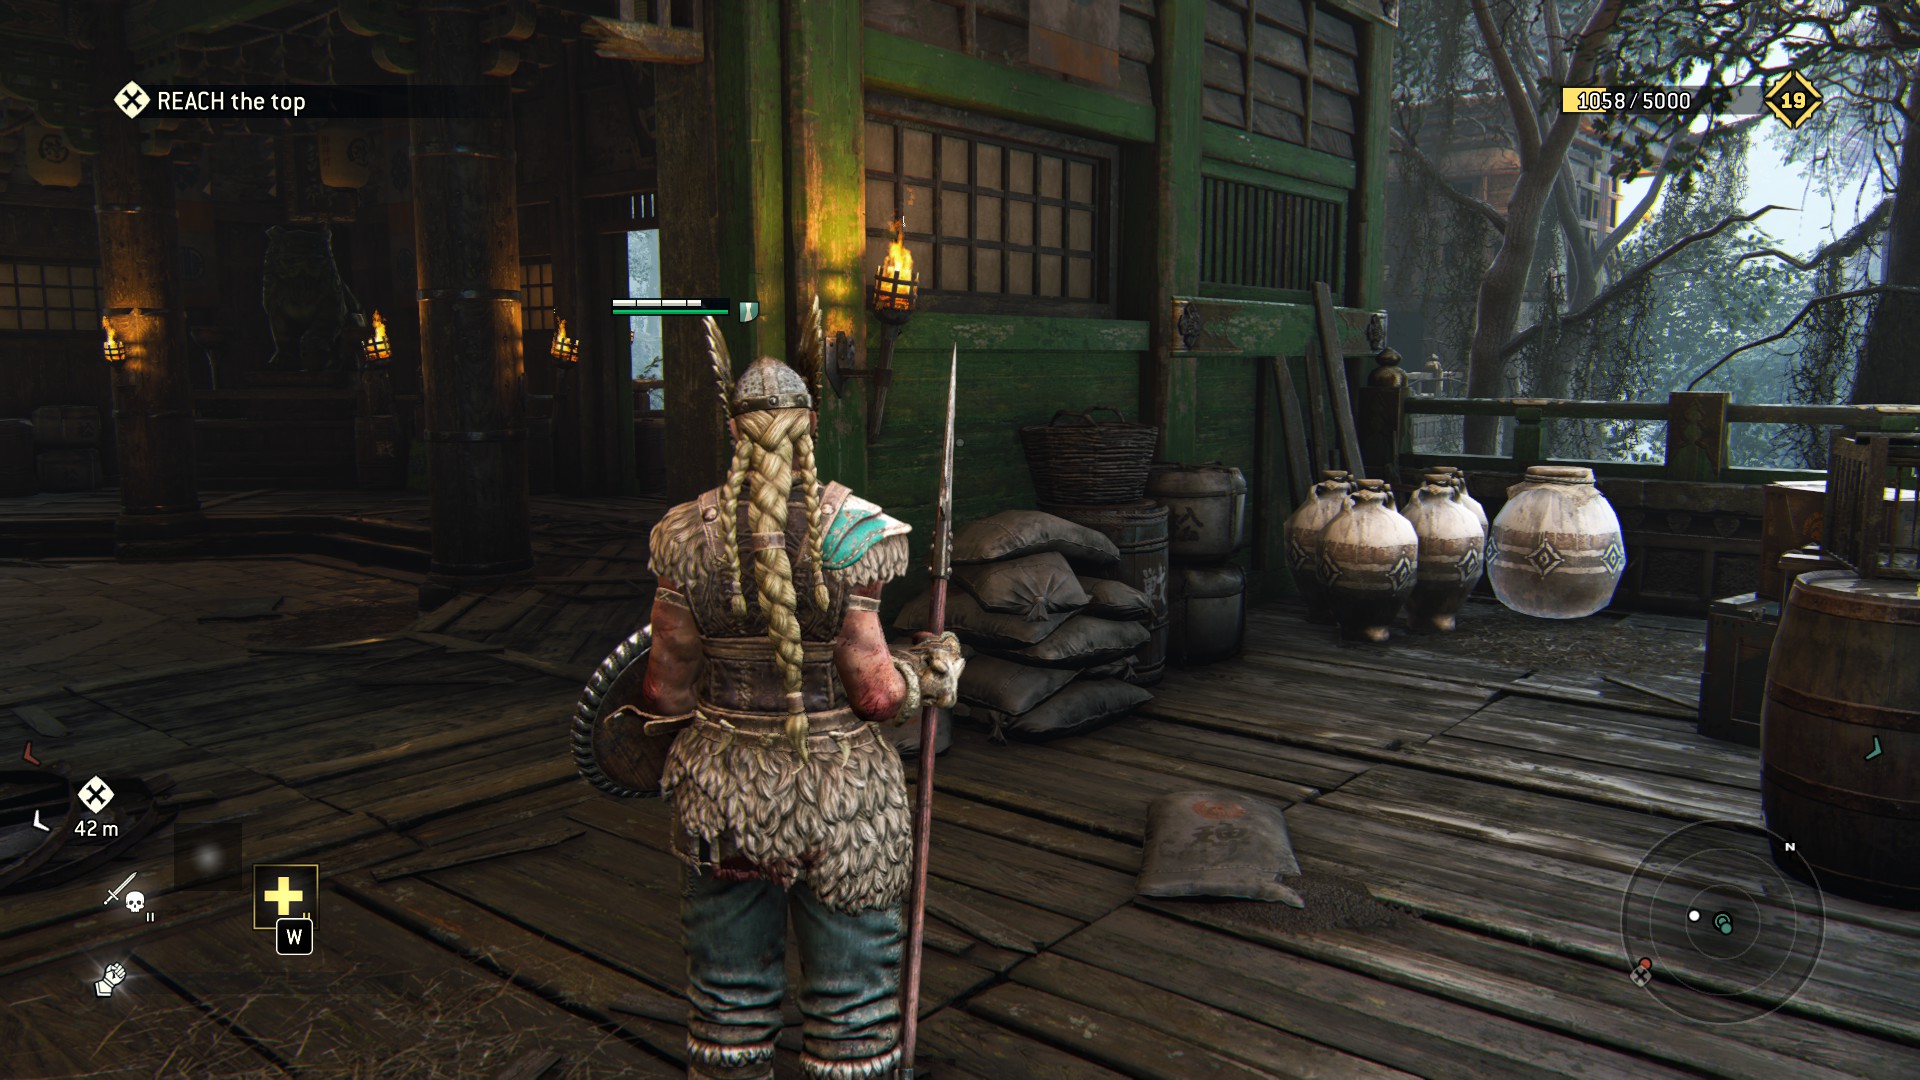 3) Keep going right where the wall its destroyed and the other side you will see this statue.
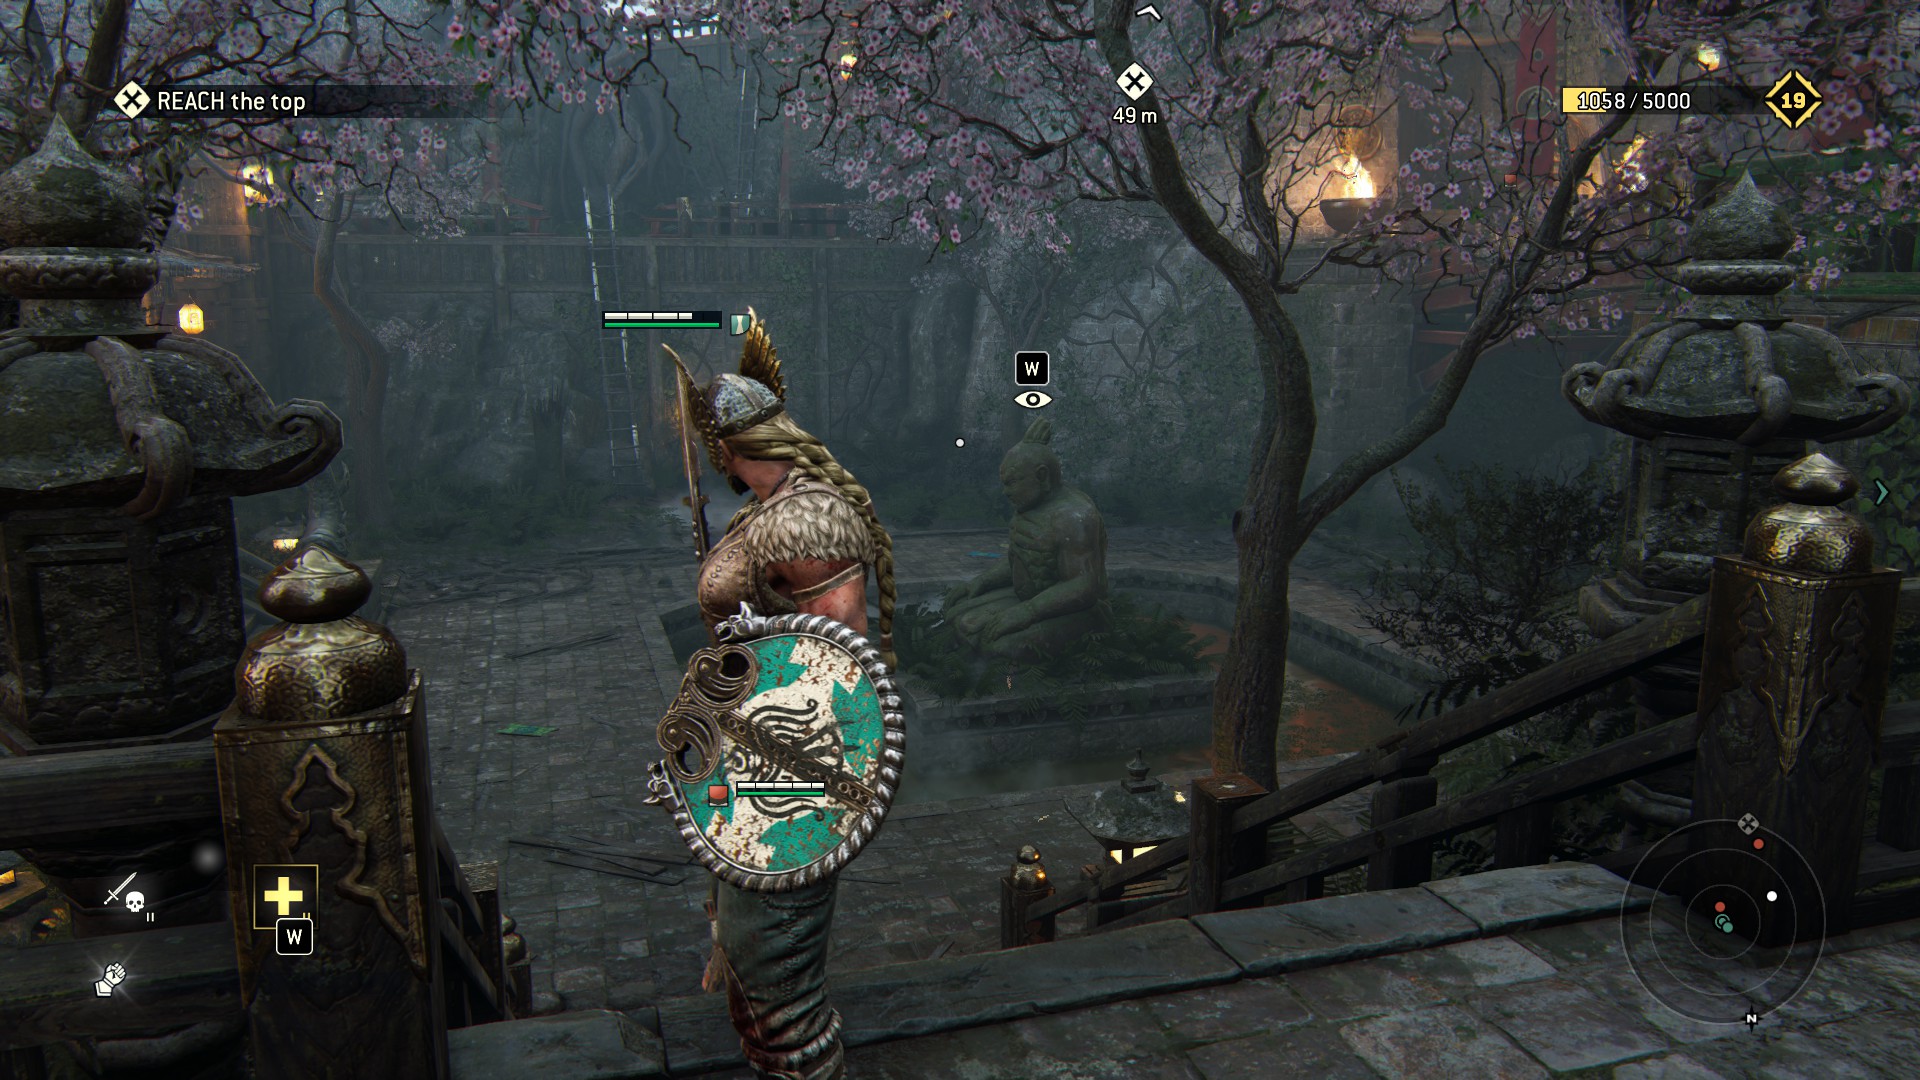 4) This one its in direction where the samurai statue its looking.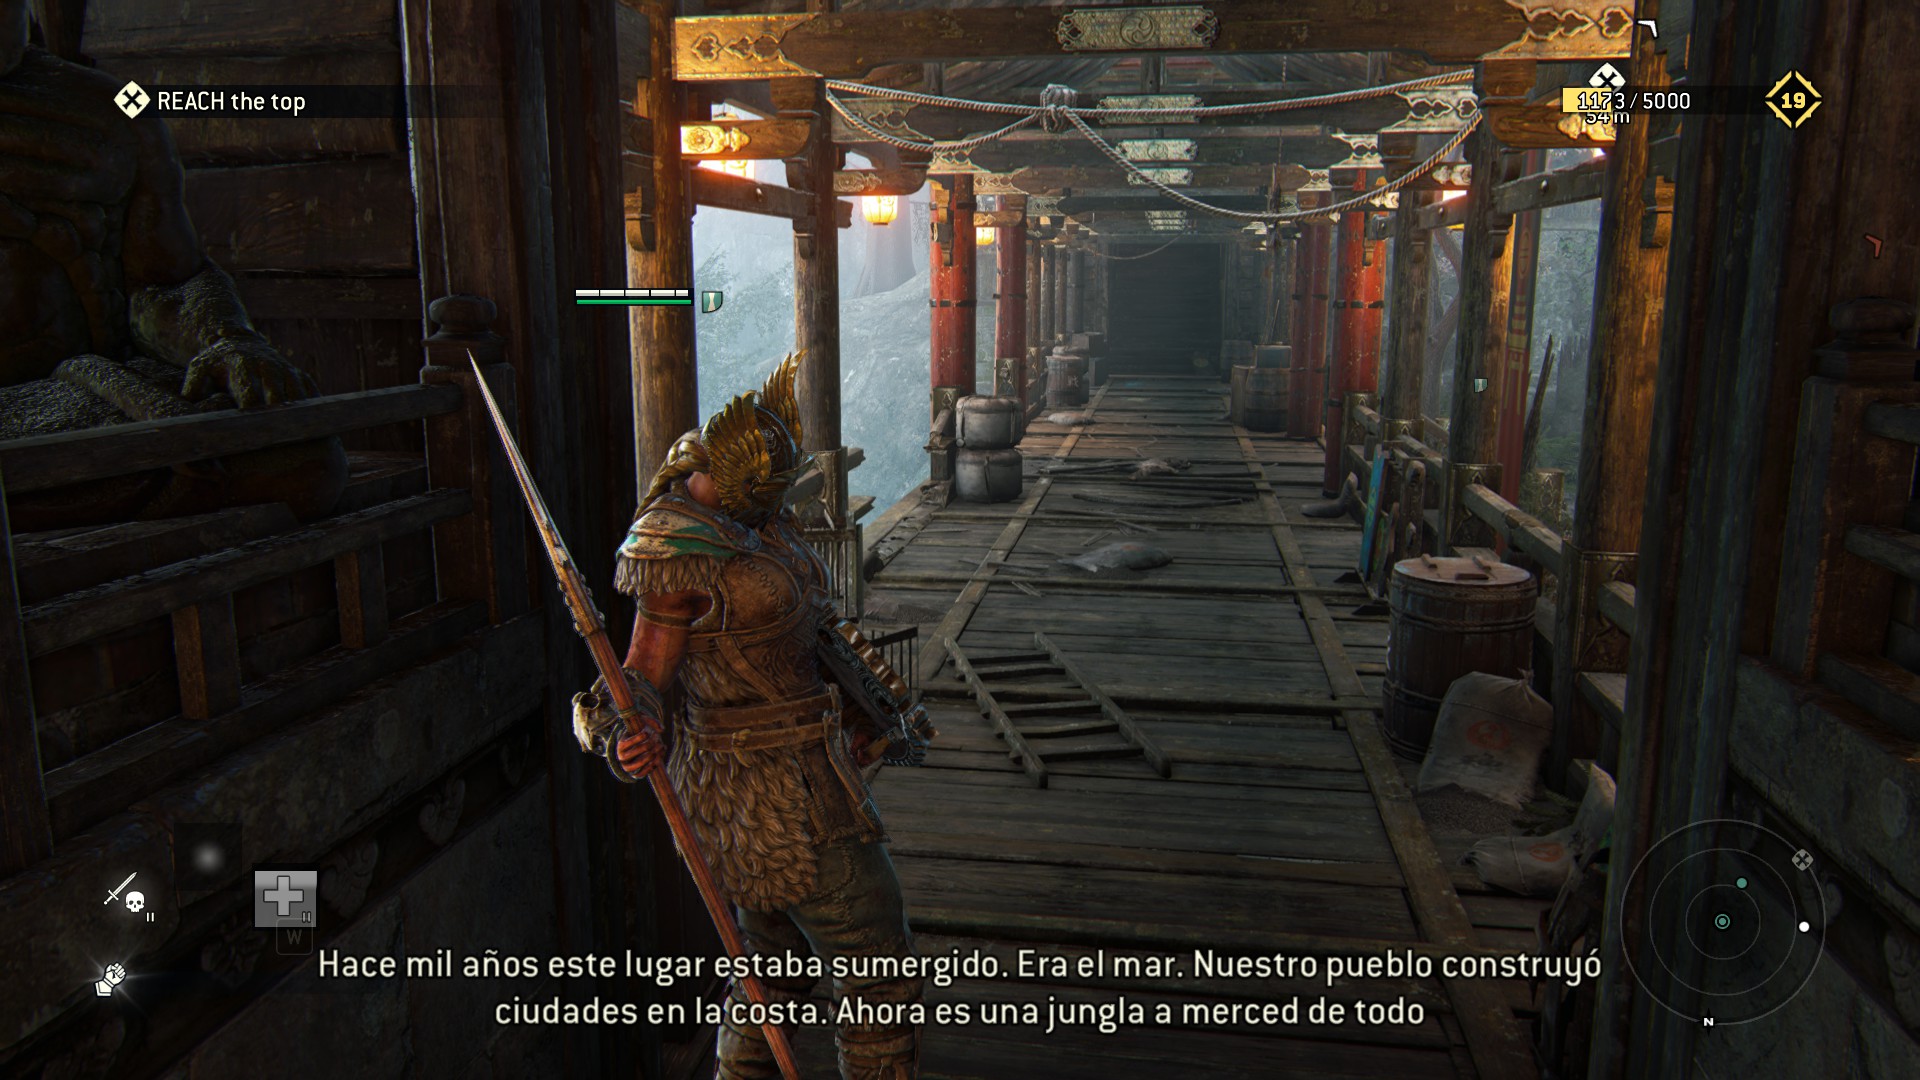
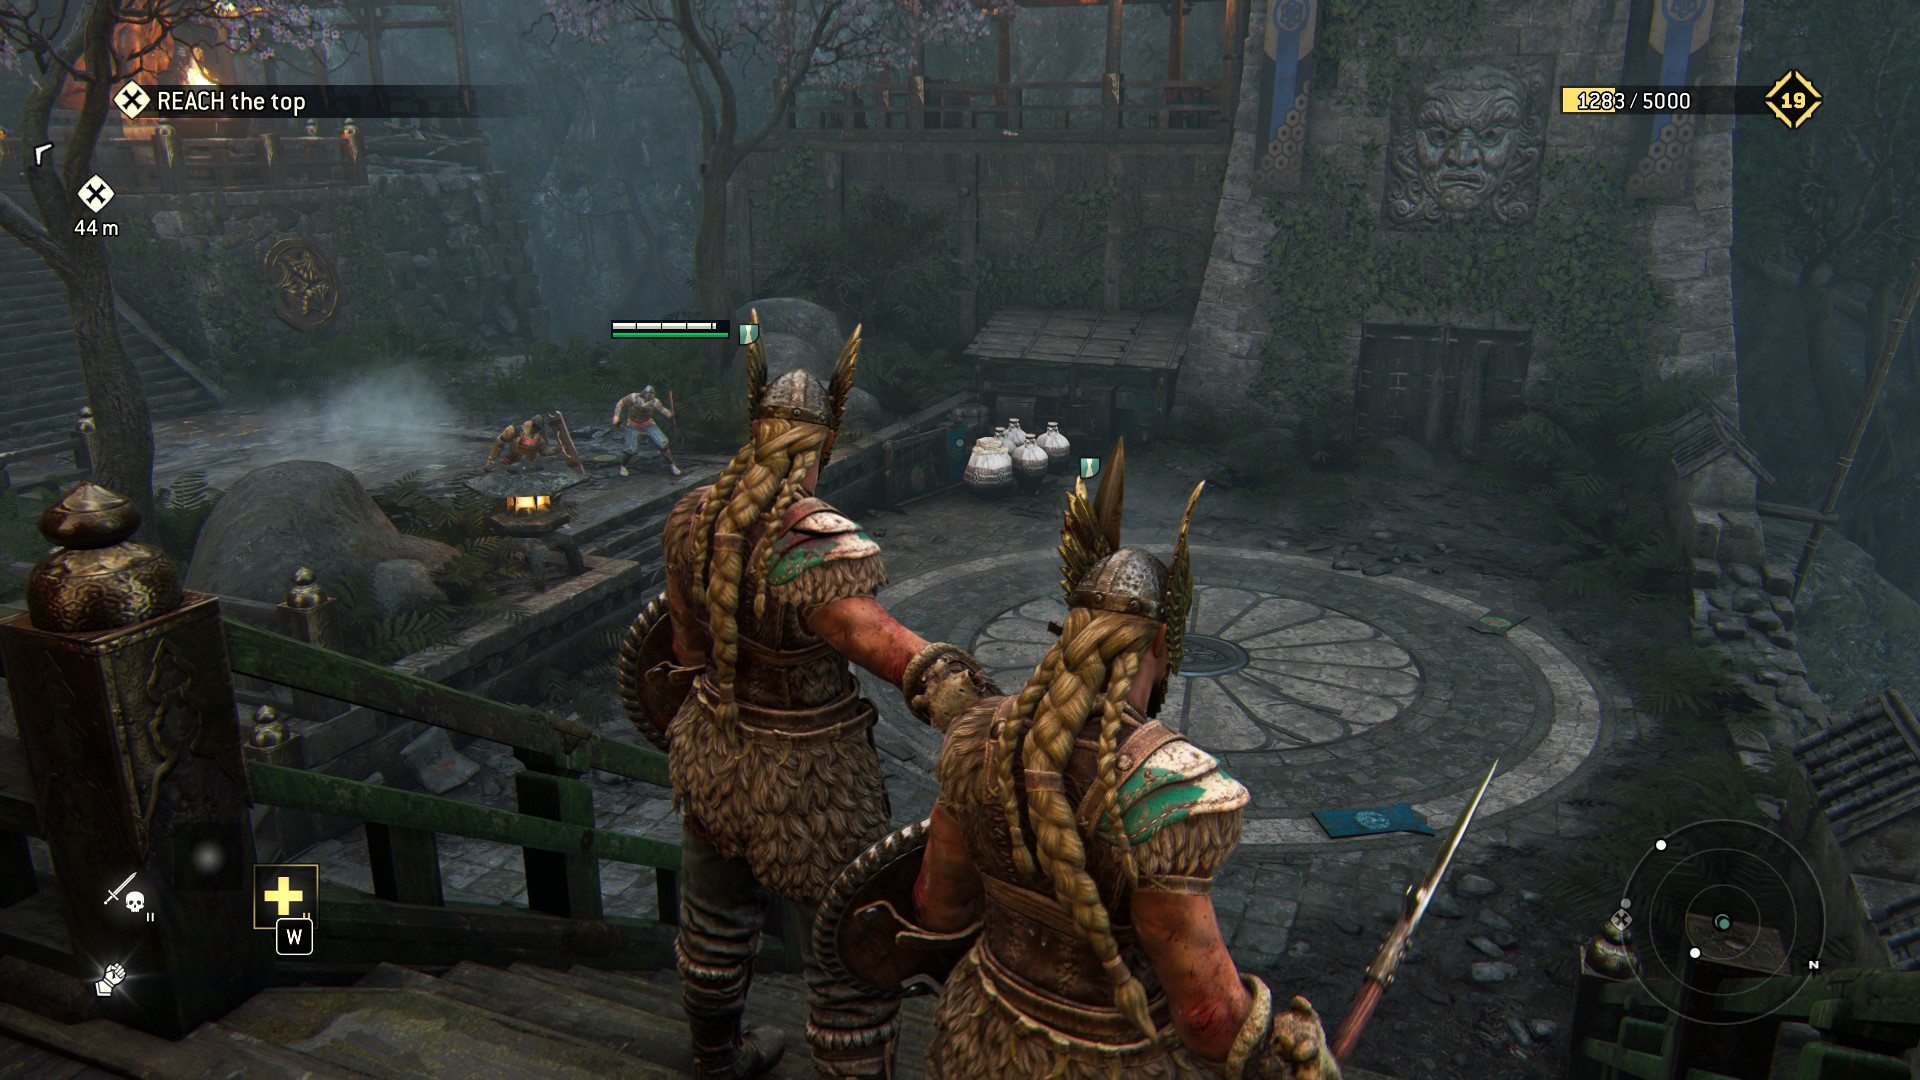
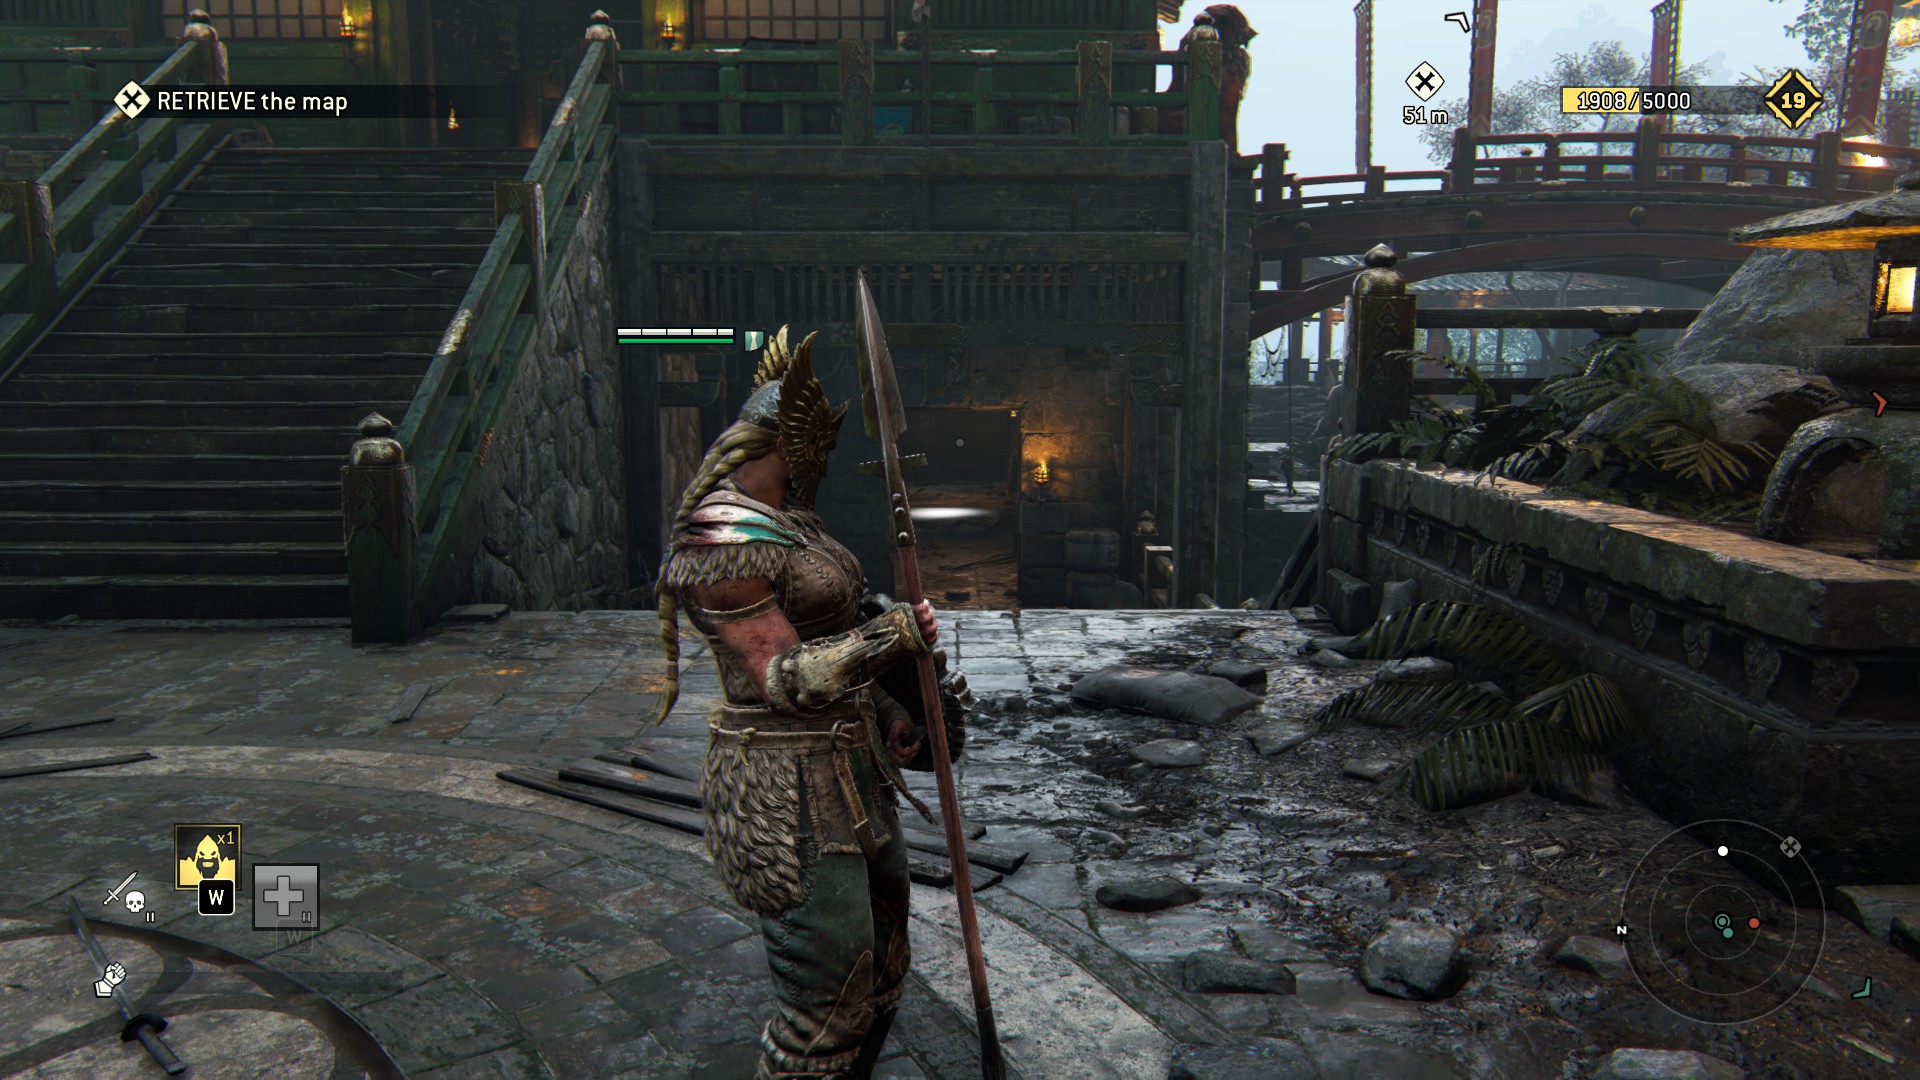
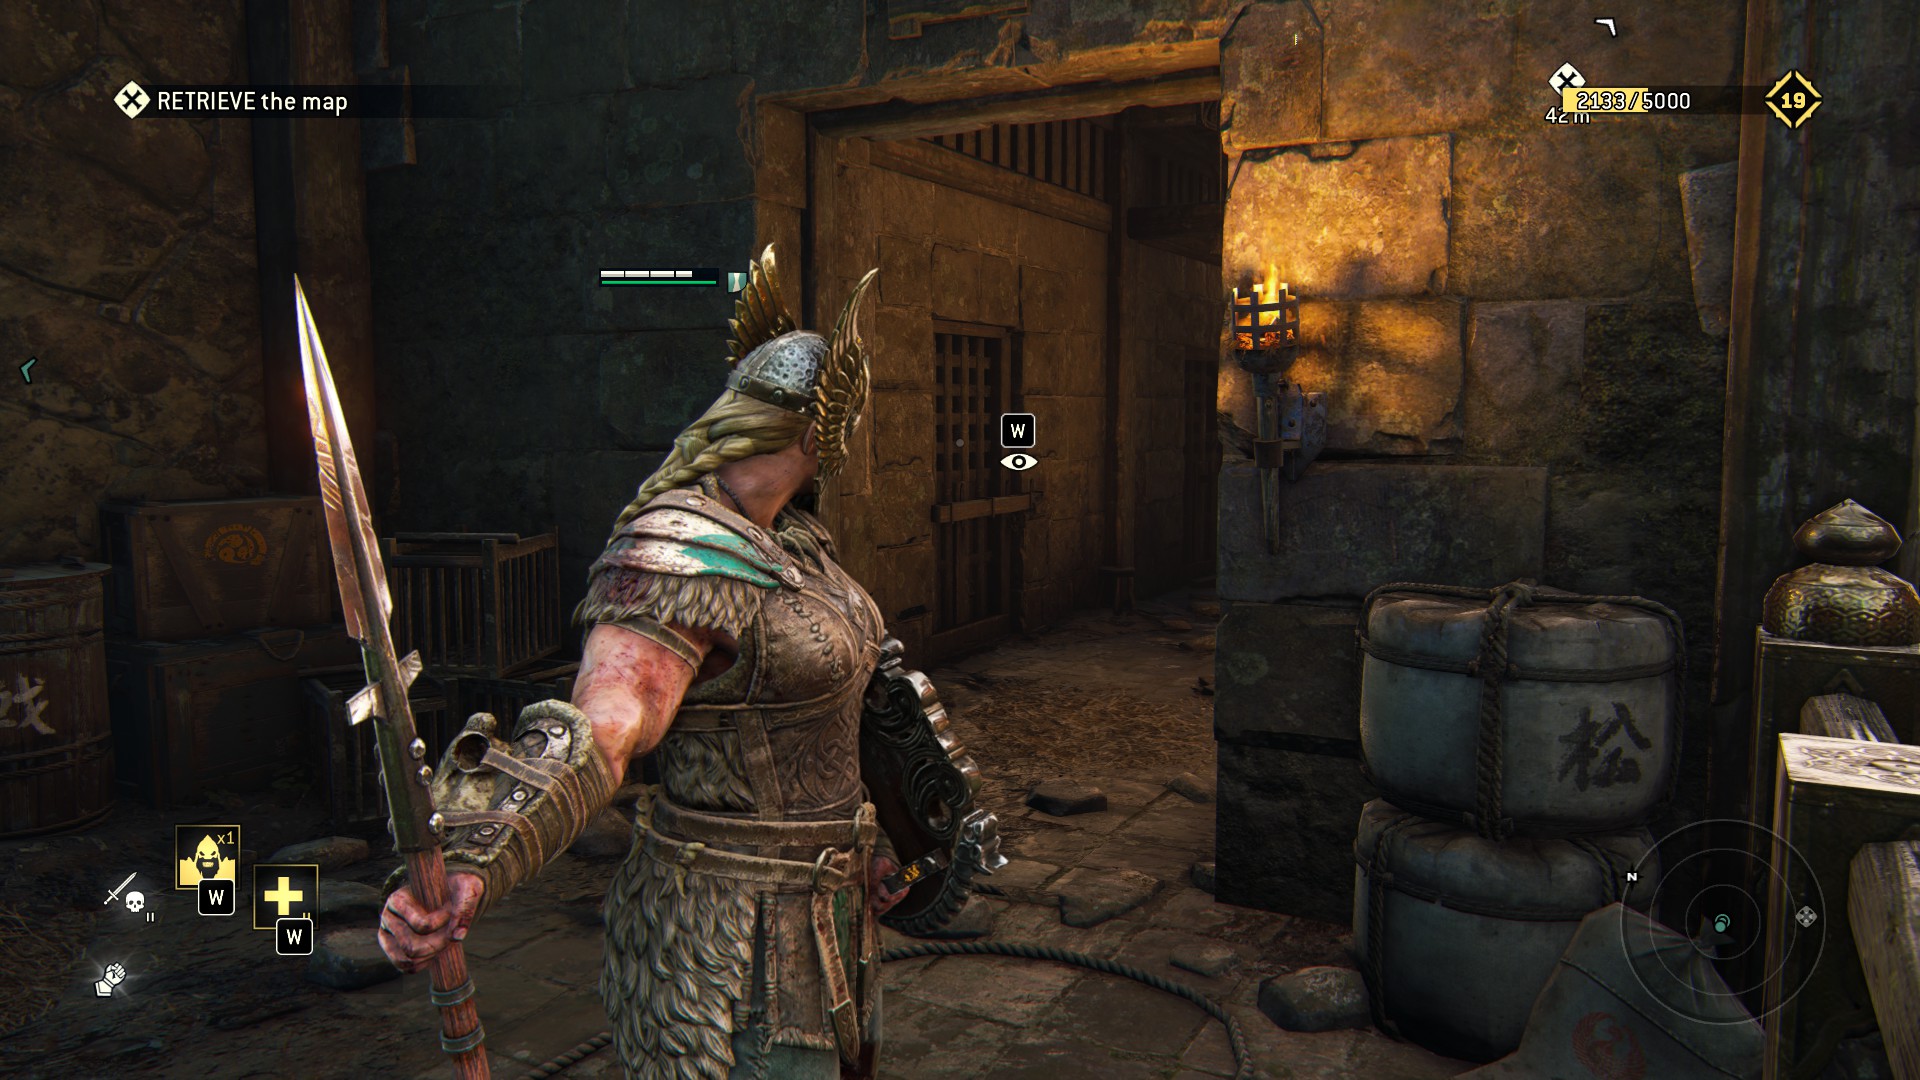
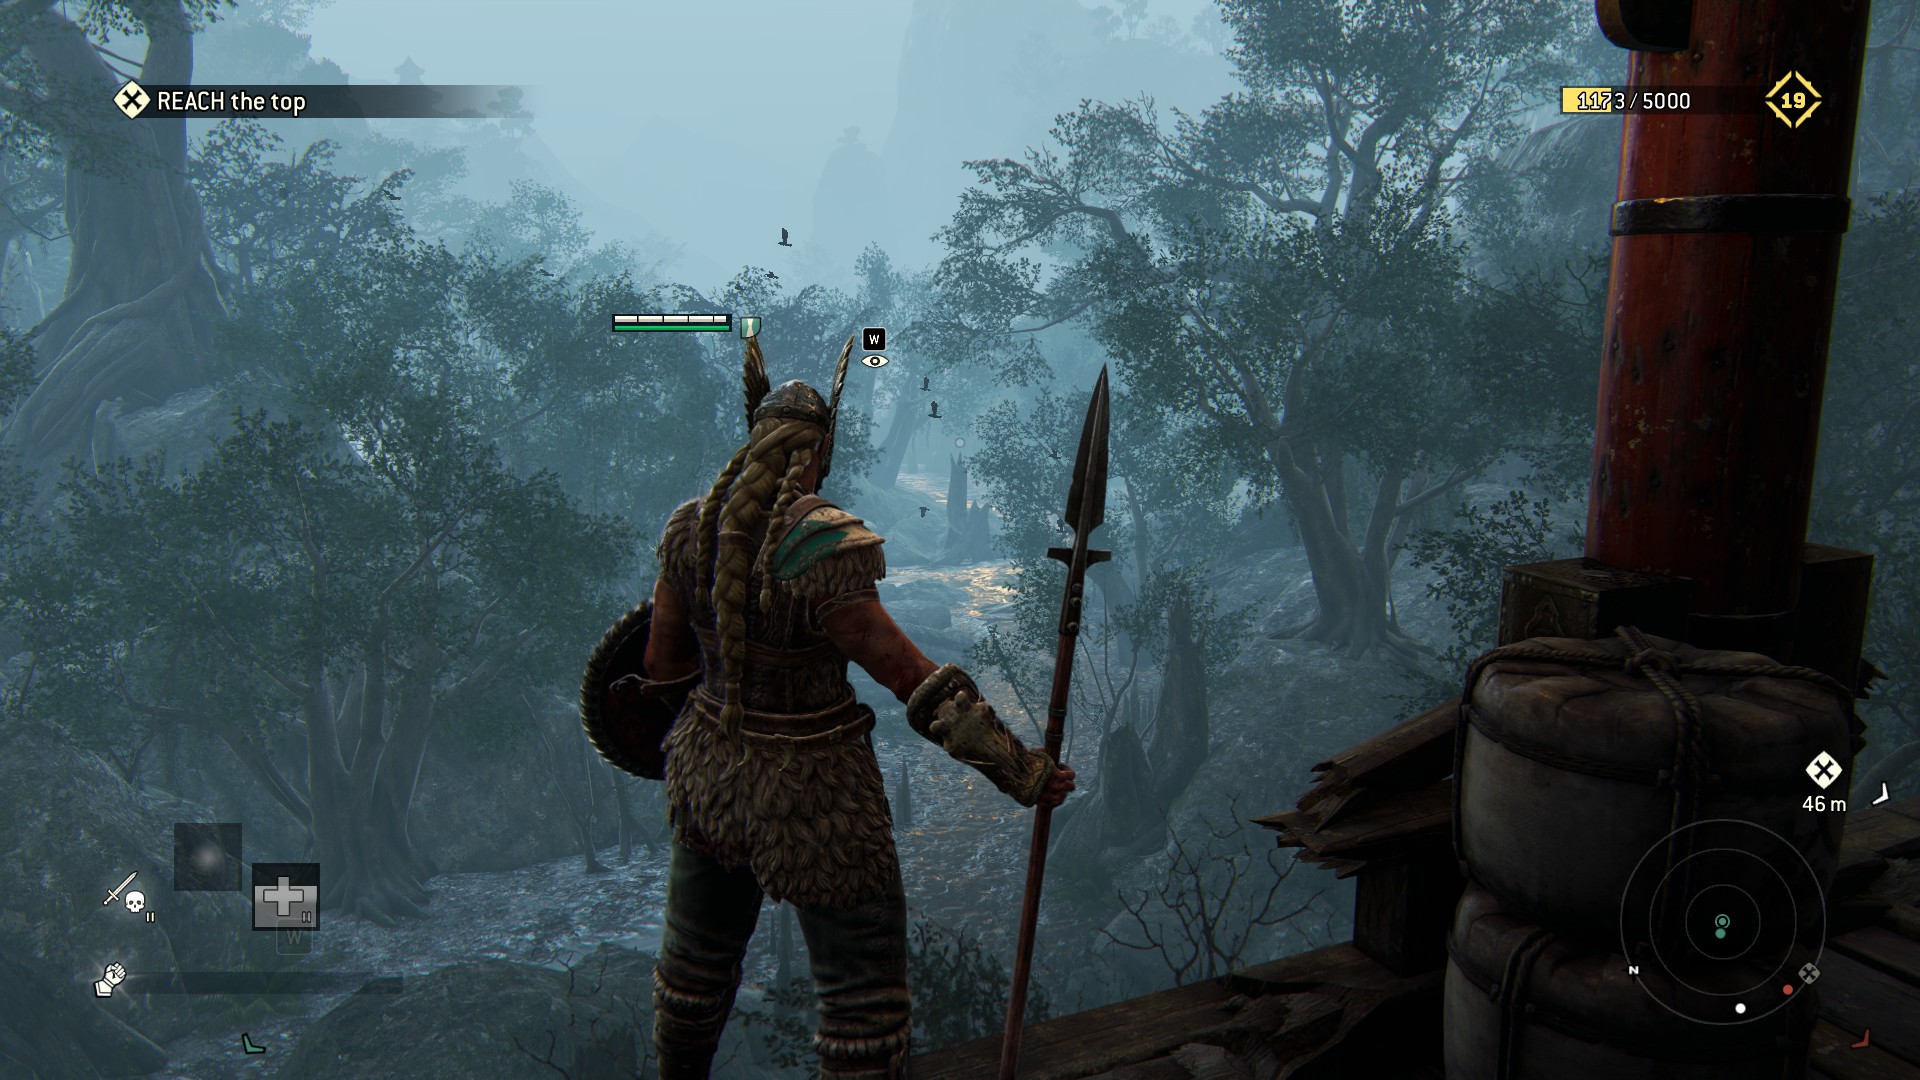 5) Those breakables are at the bottom of the tower holding the maps.
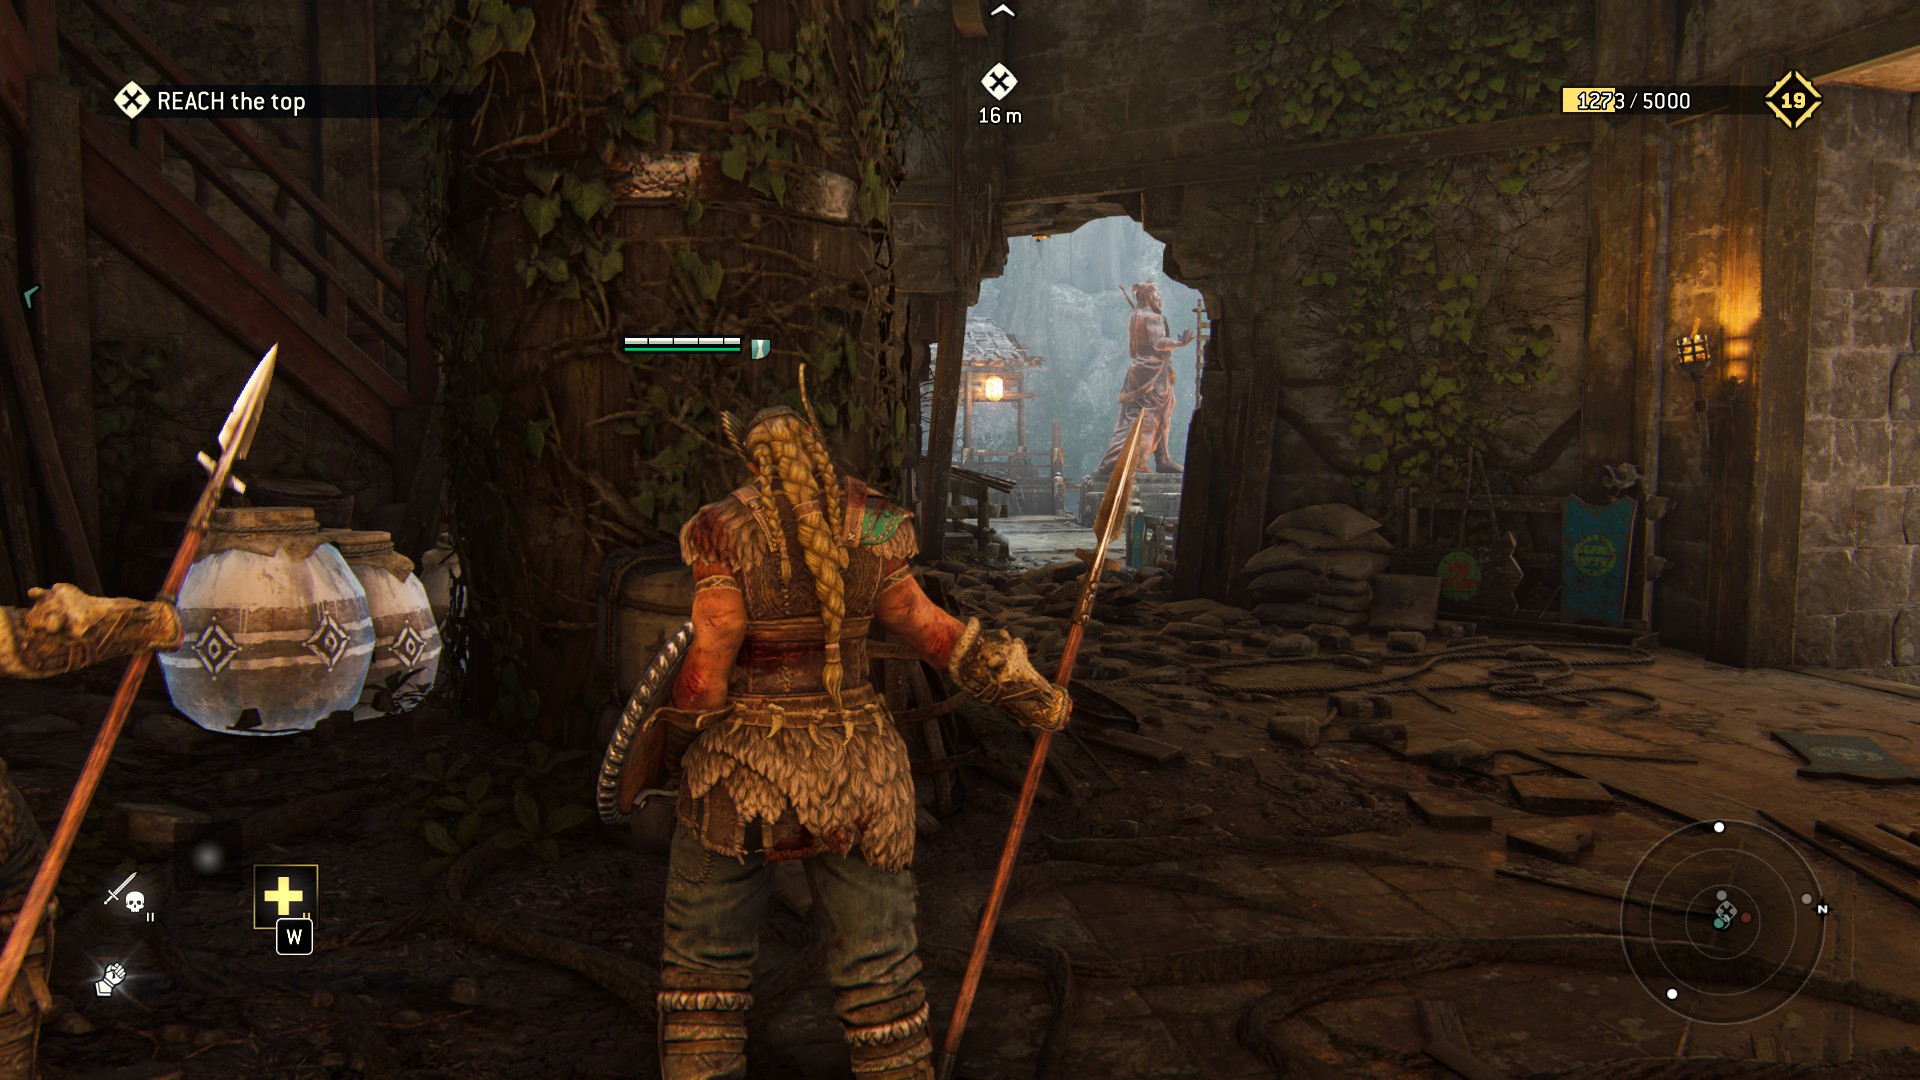 7) Take left from the bottom of the tower holding the maps
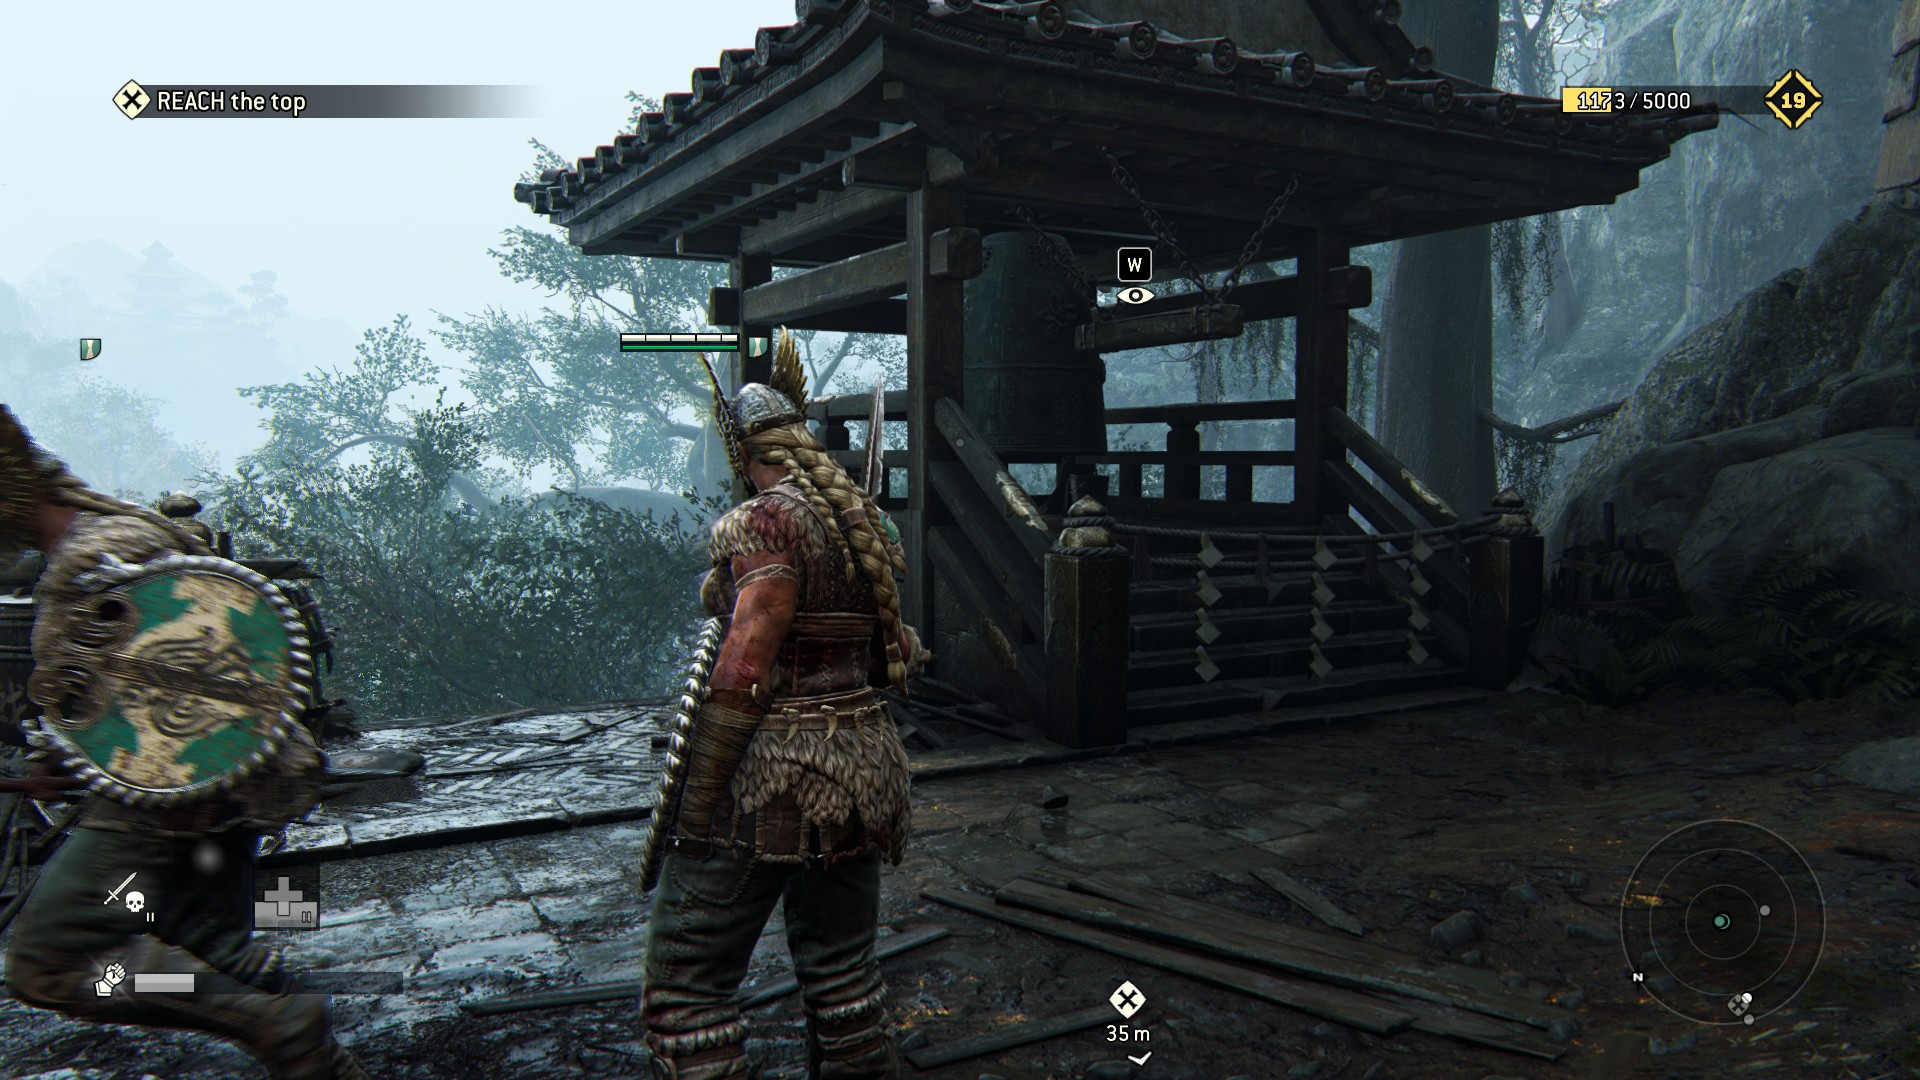 7) Go from the bottom of the tower to the statues you will find a destroyed gate and some breakables.
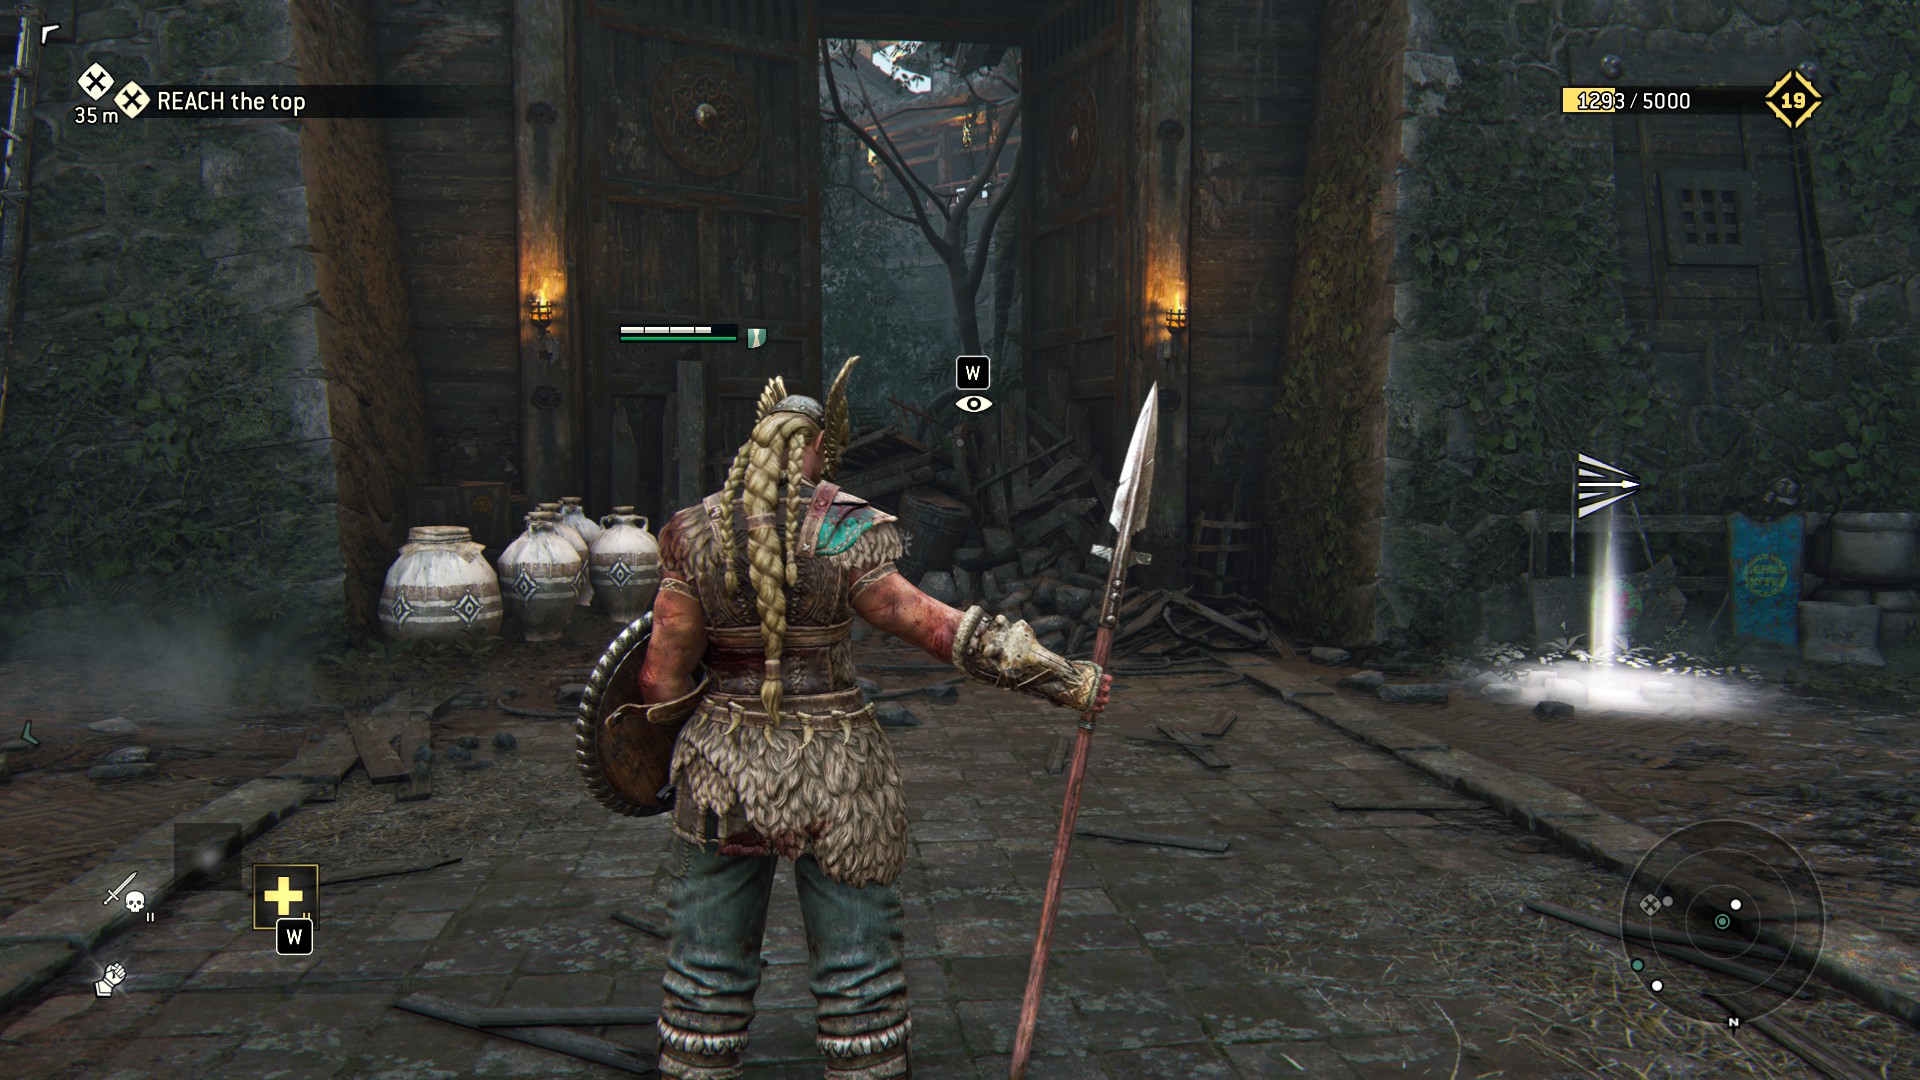 8) In this one theres a breakable and a observation point, just go down stair at the twin statues.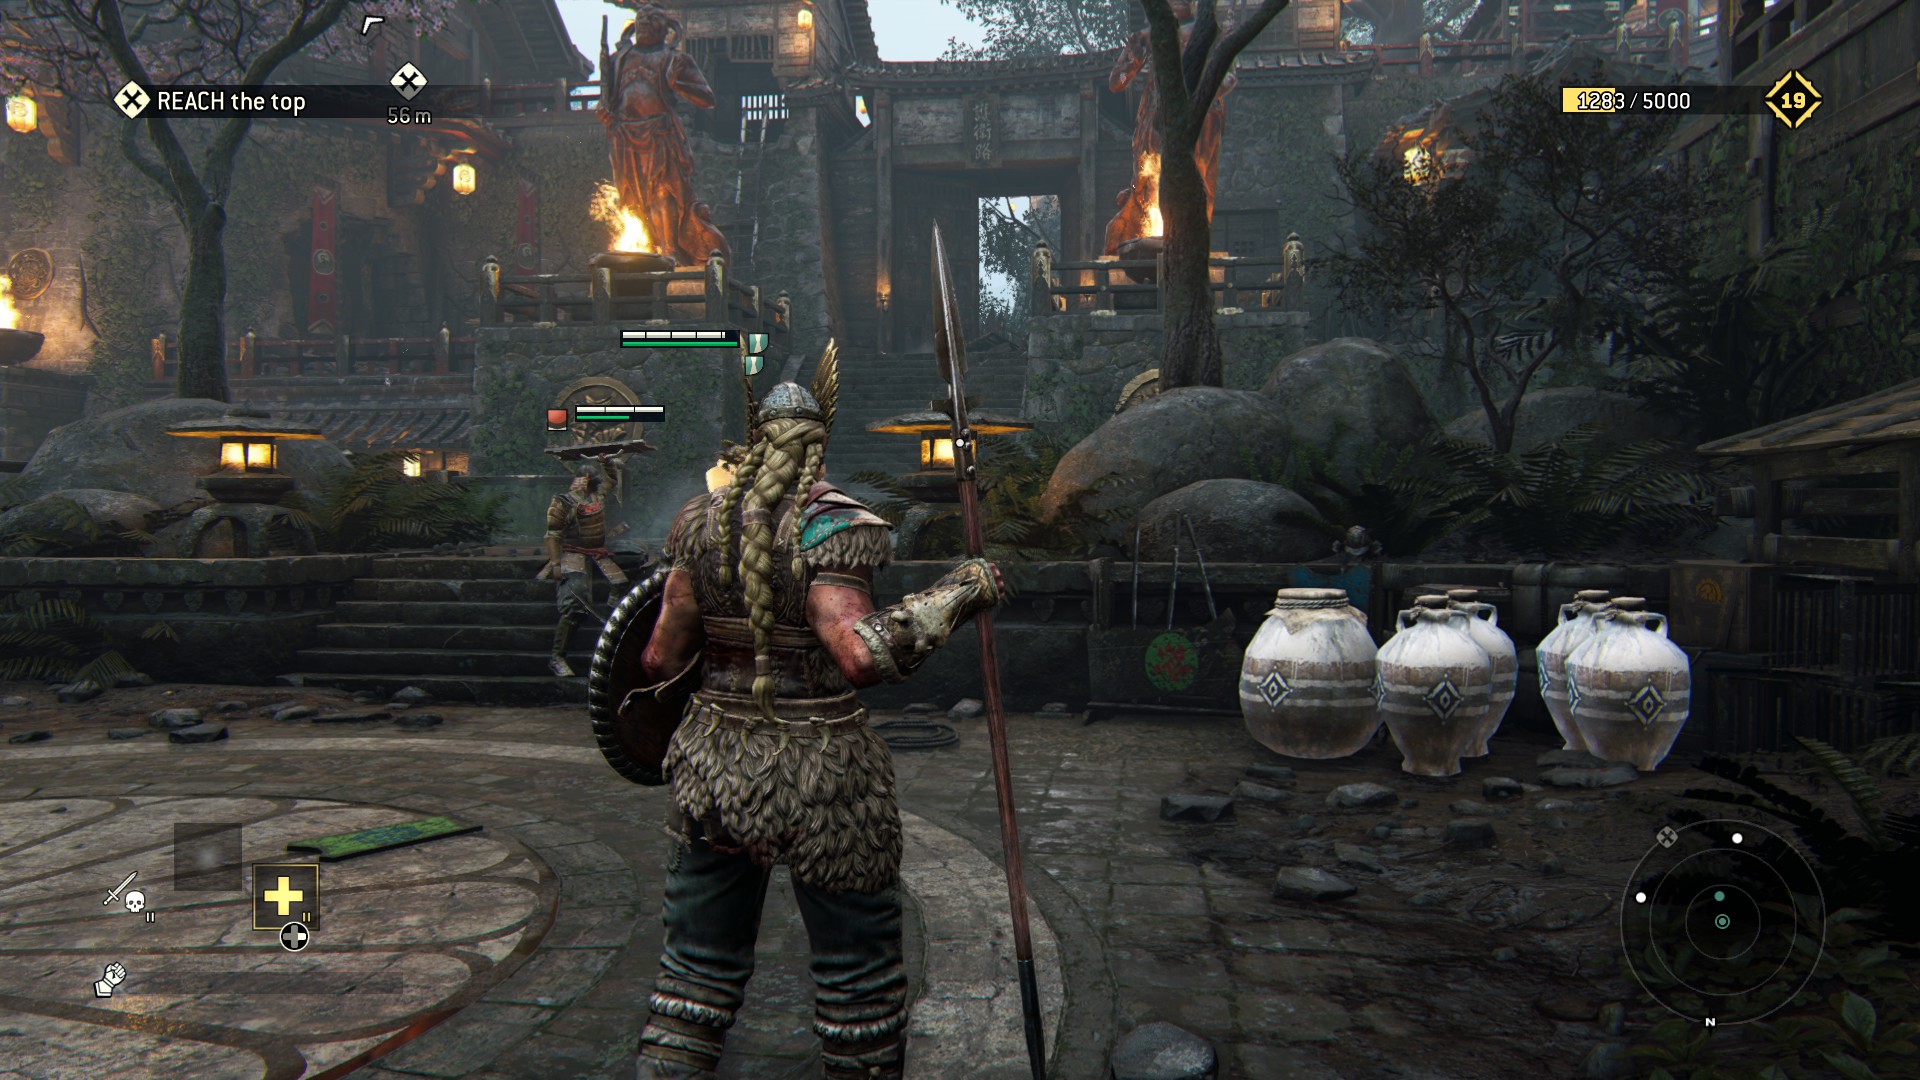
Okey thats all now grab those maps and run like hell.
2.6 - The Great Raid
You are a raider! Legendary!
The Big Game its here, Vikings gonna throw samurai jack to the future where its only aku samurais out of the bridge and take their city.
The map its a huge bridge so its really easy to move around and find the spots thanks to Tyr. If you played during the beta you will find it very familiar.
Start of the mission:
1) At the very beggining really easy to spot just take that piece of art made by the finest woodsman vikings and you will find it.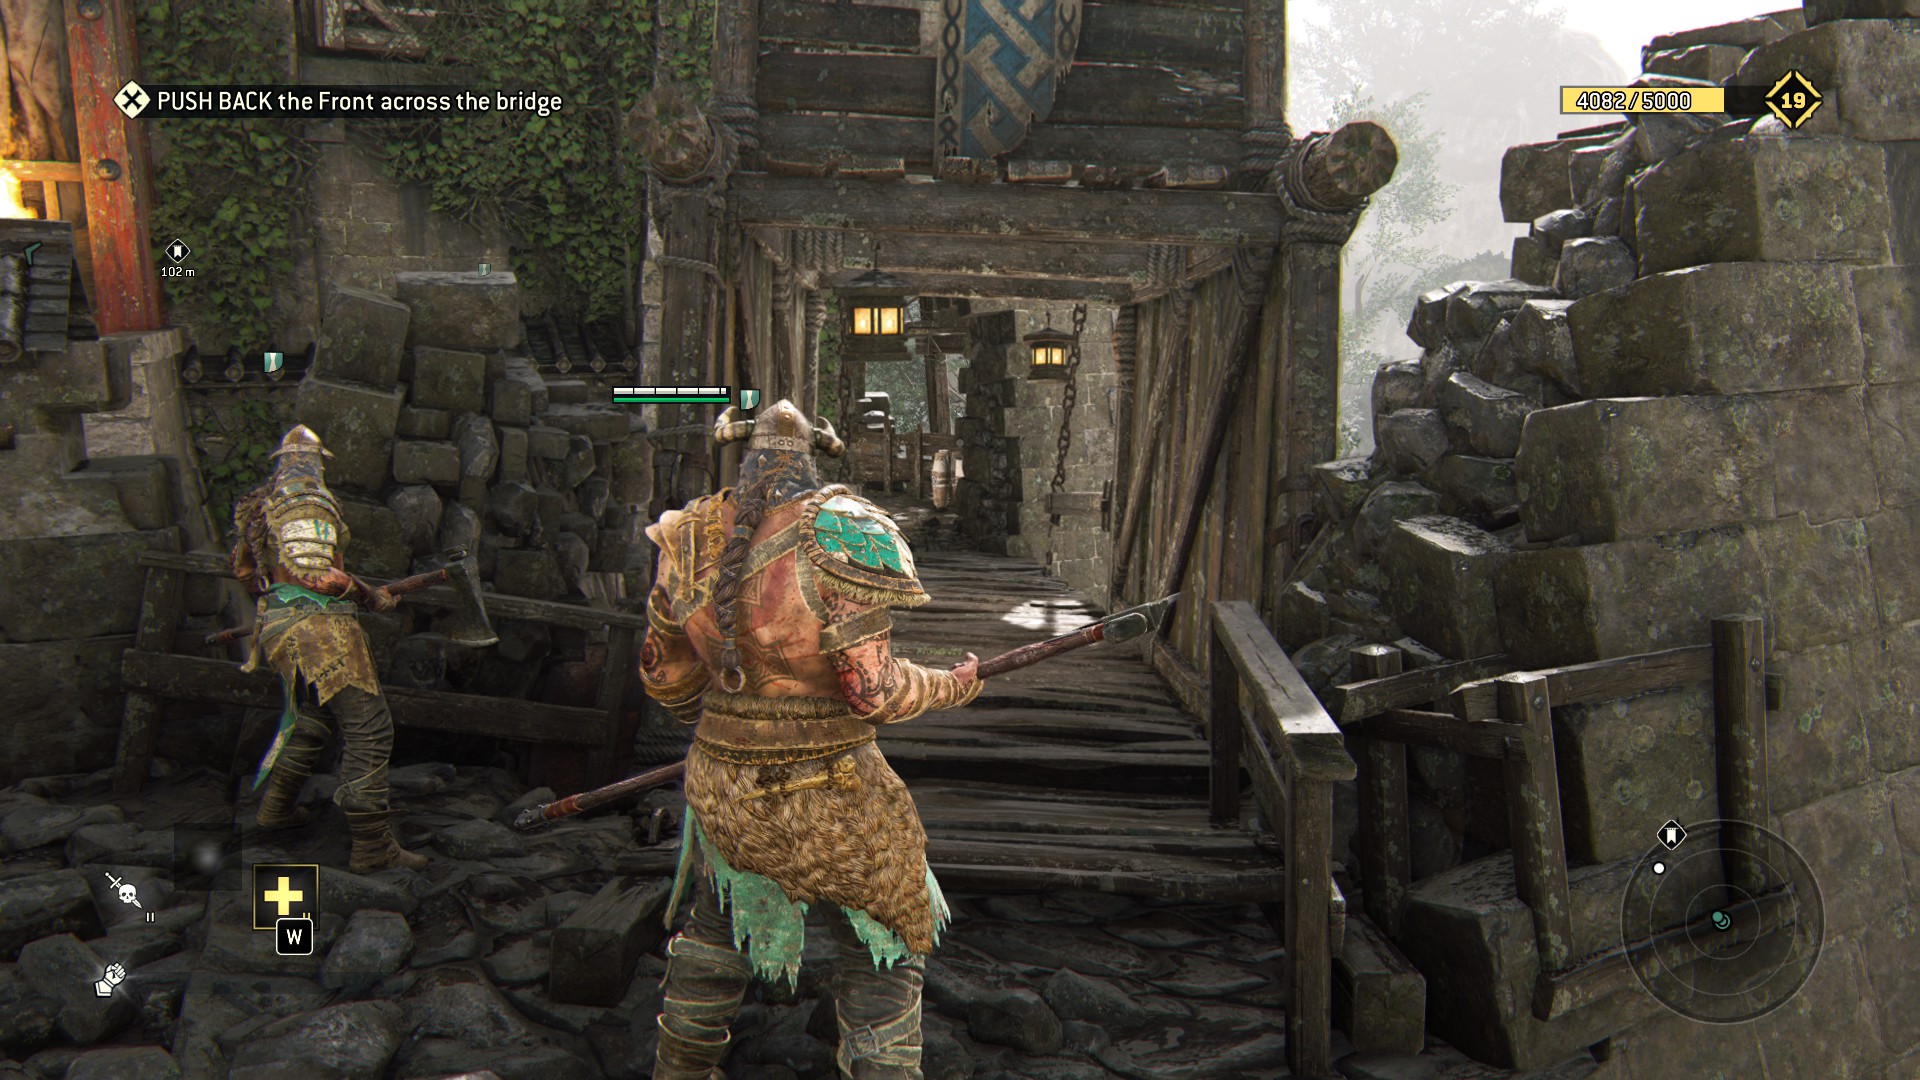
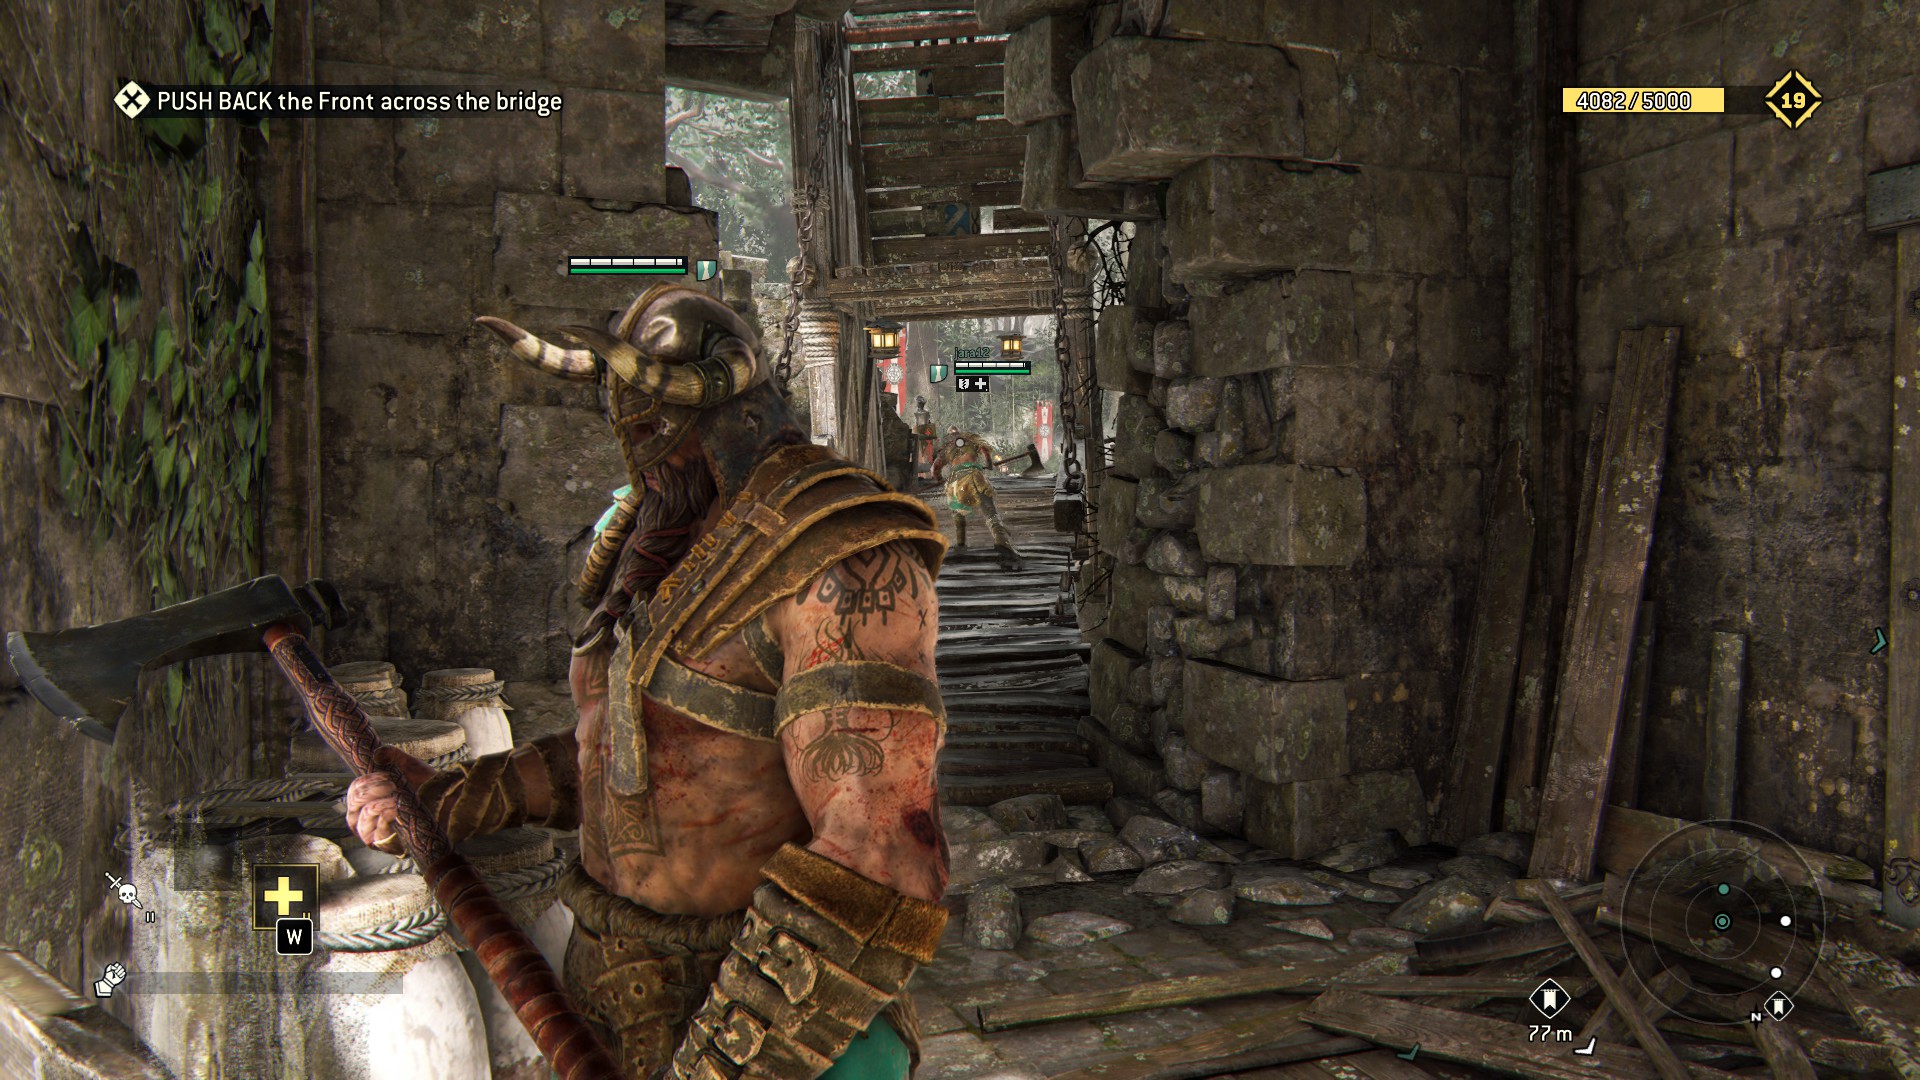 2) Middle of the map before the first reach, theres another fine piece of machinery by the best viking engineers.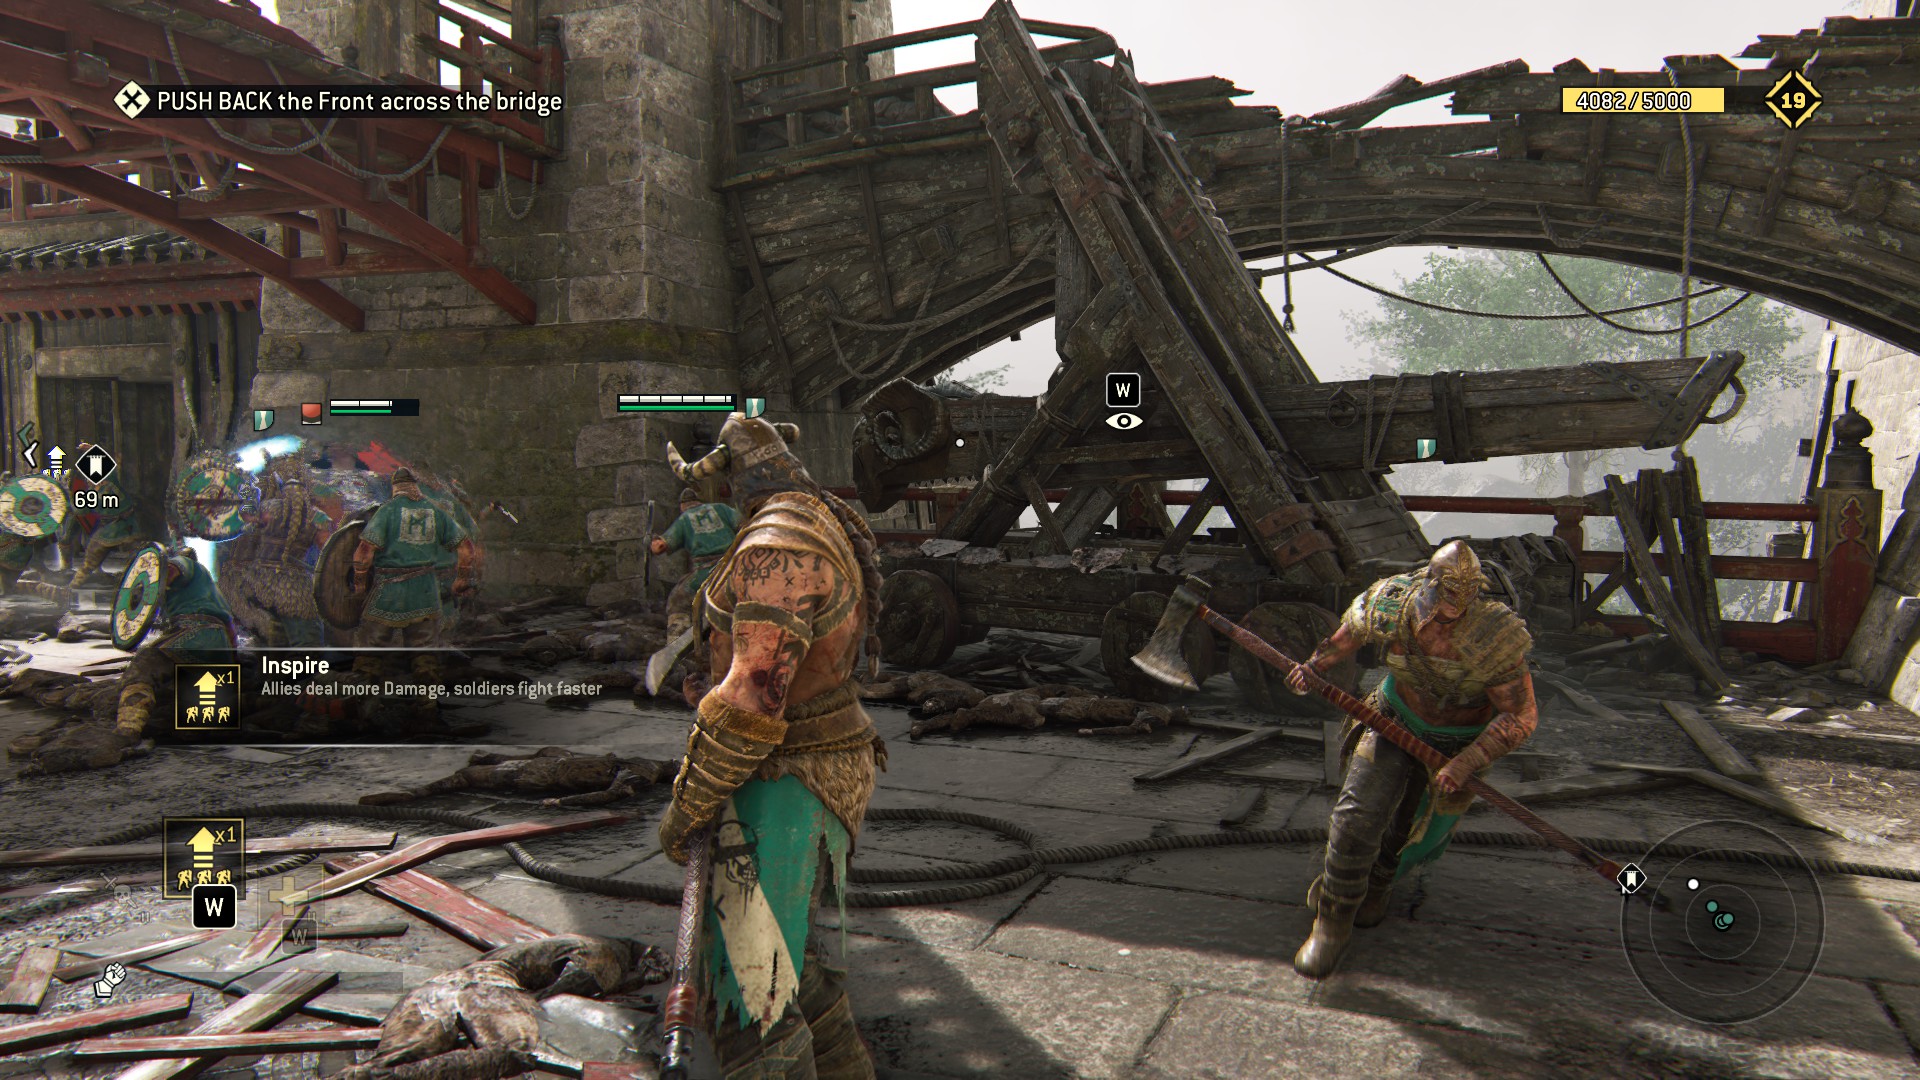
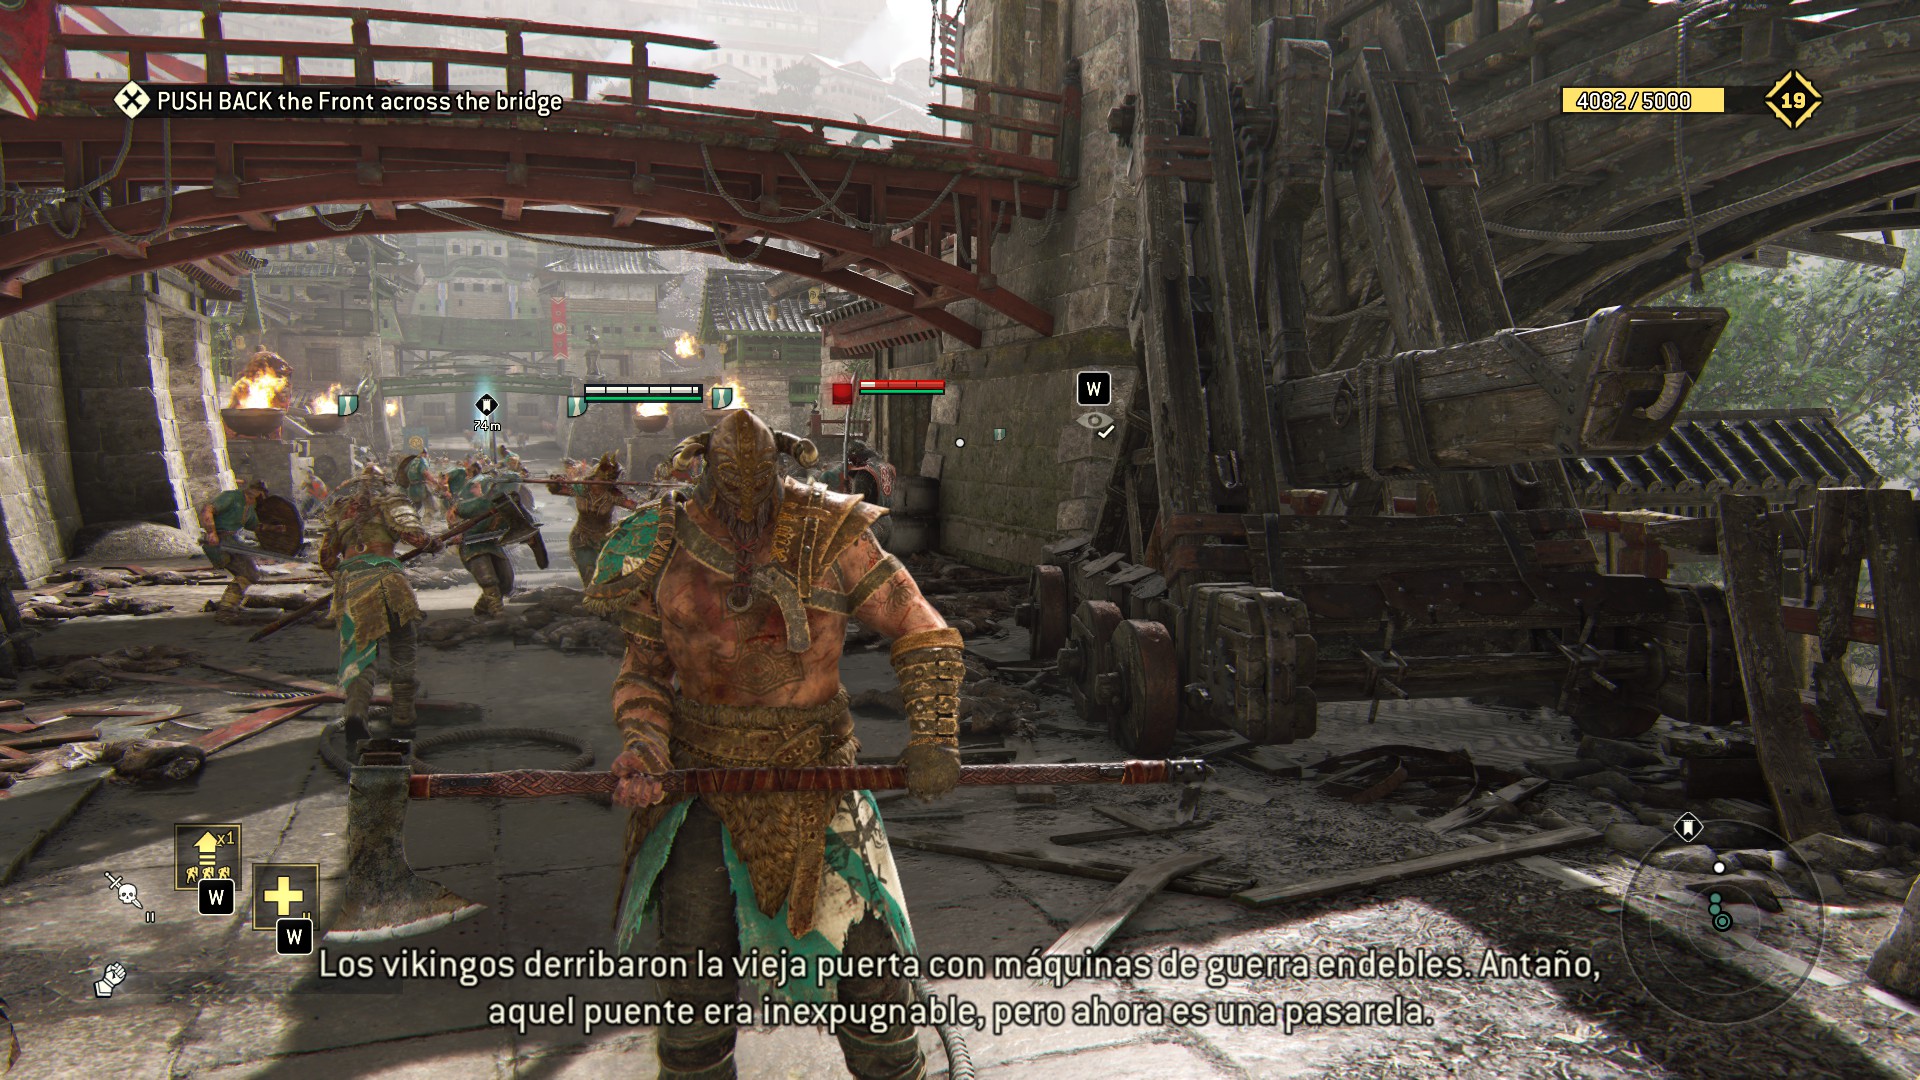 3) The first towers also know as Capture Point A, a breakable and an observable.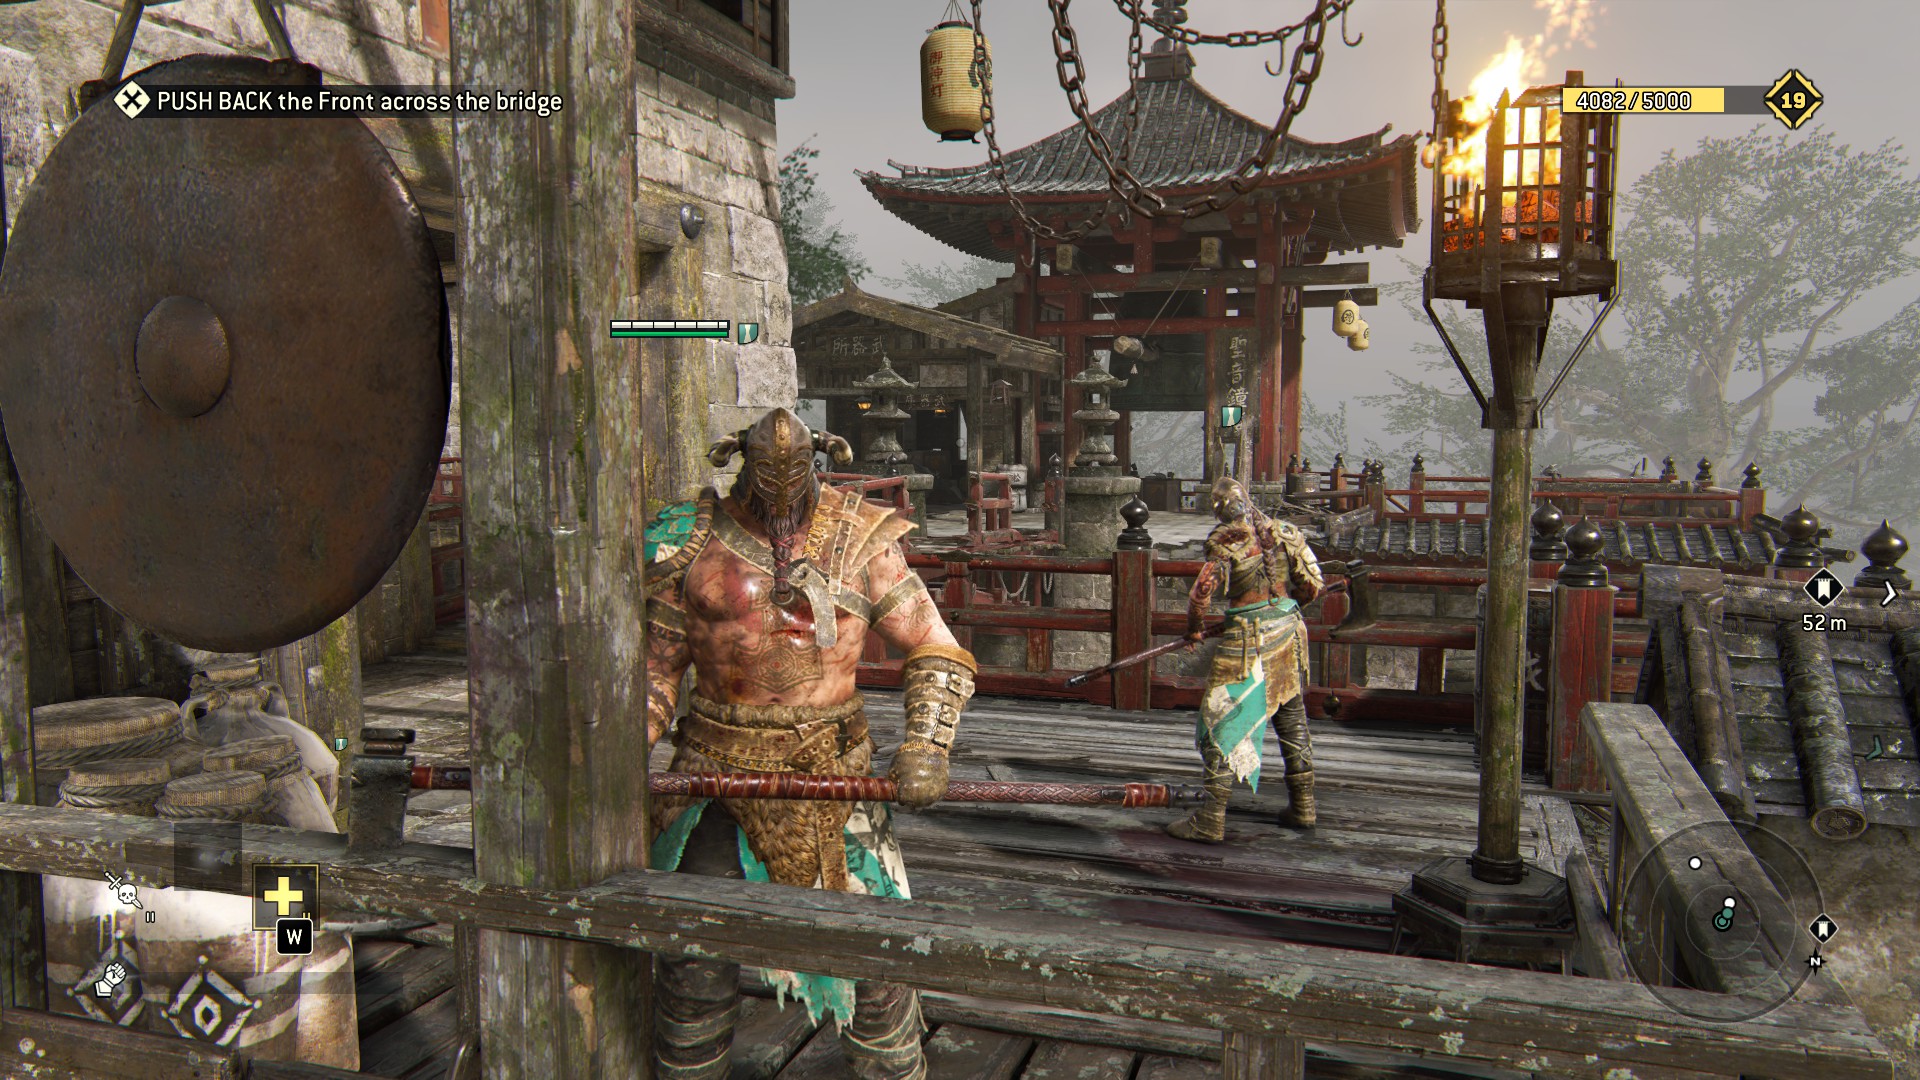
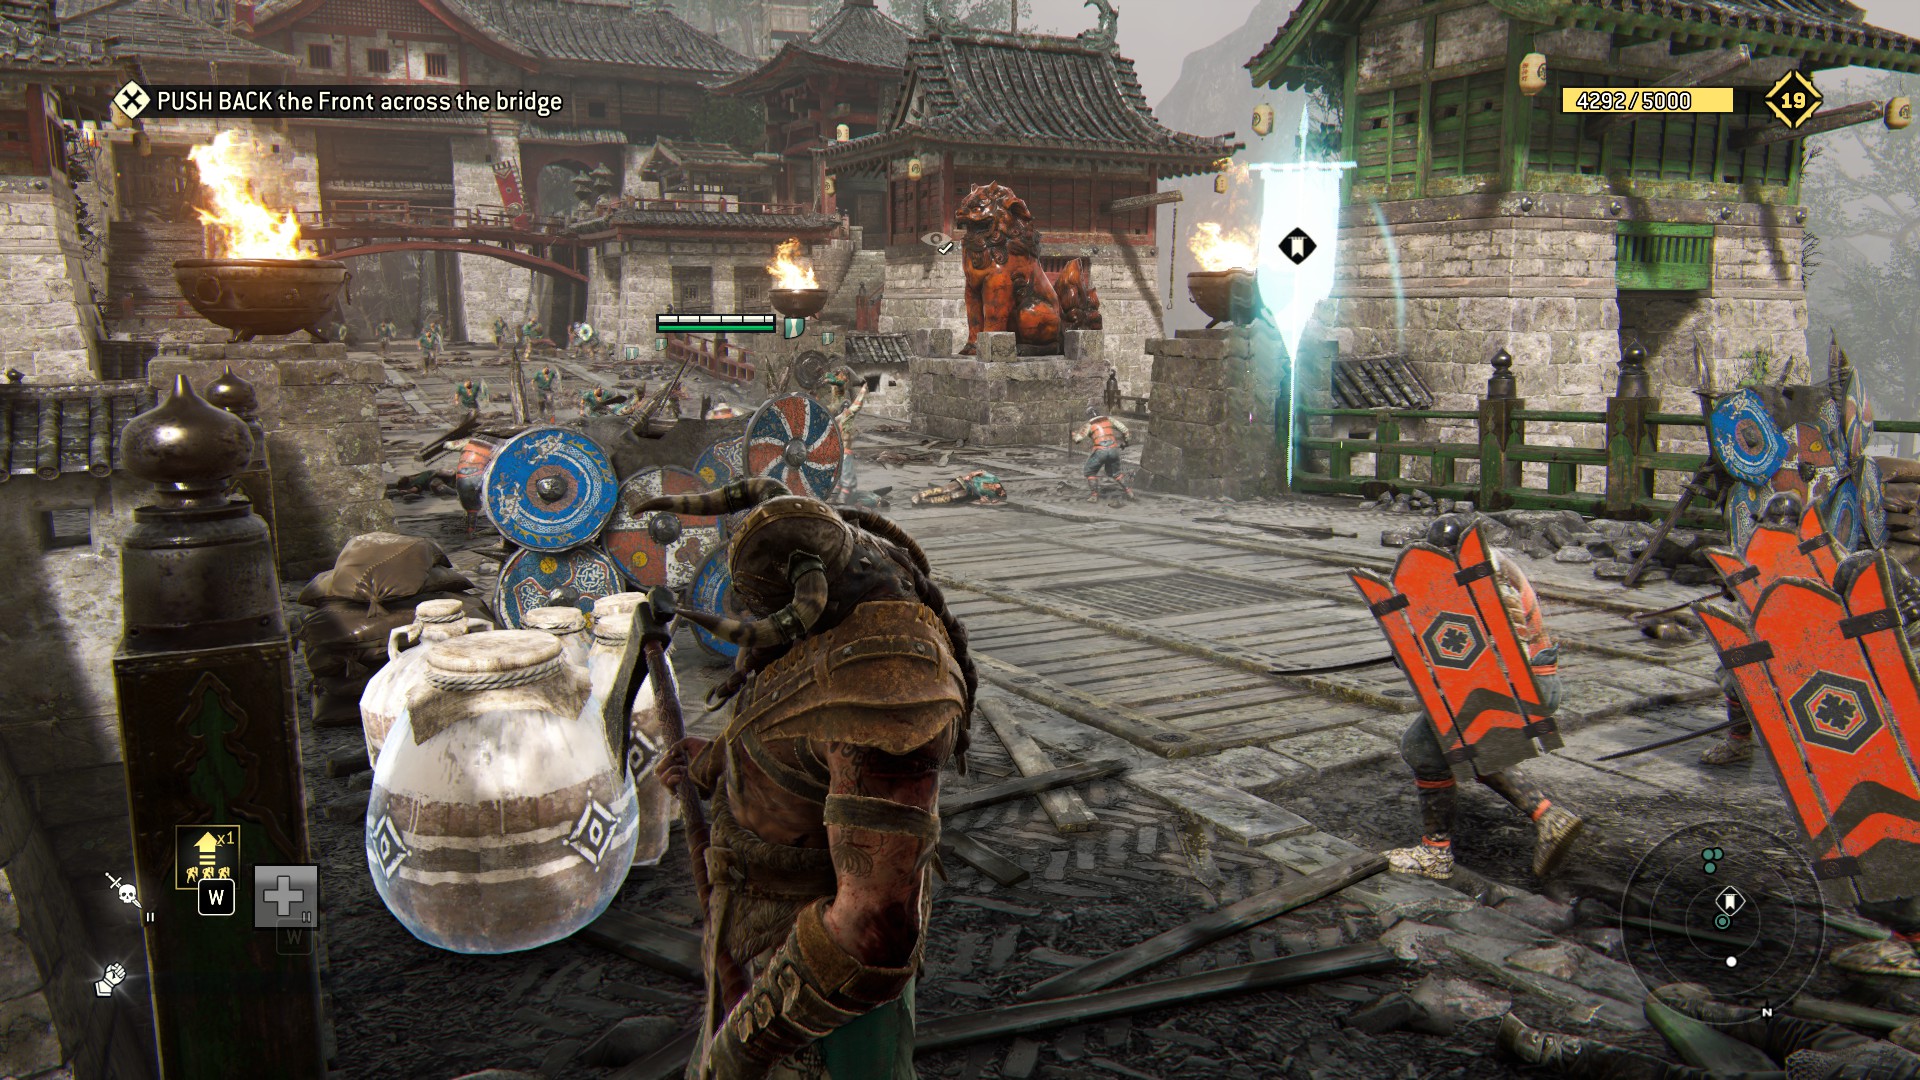
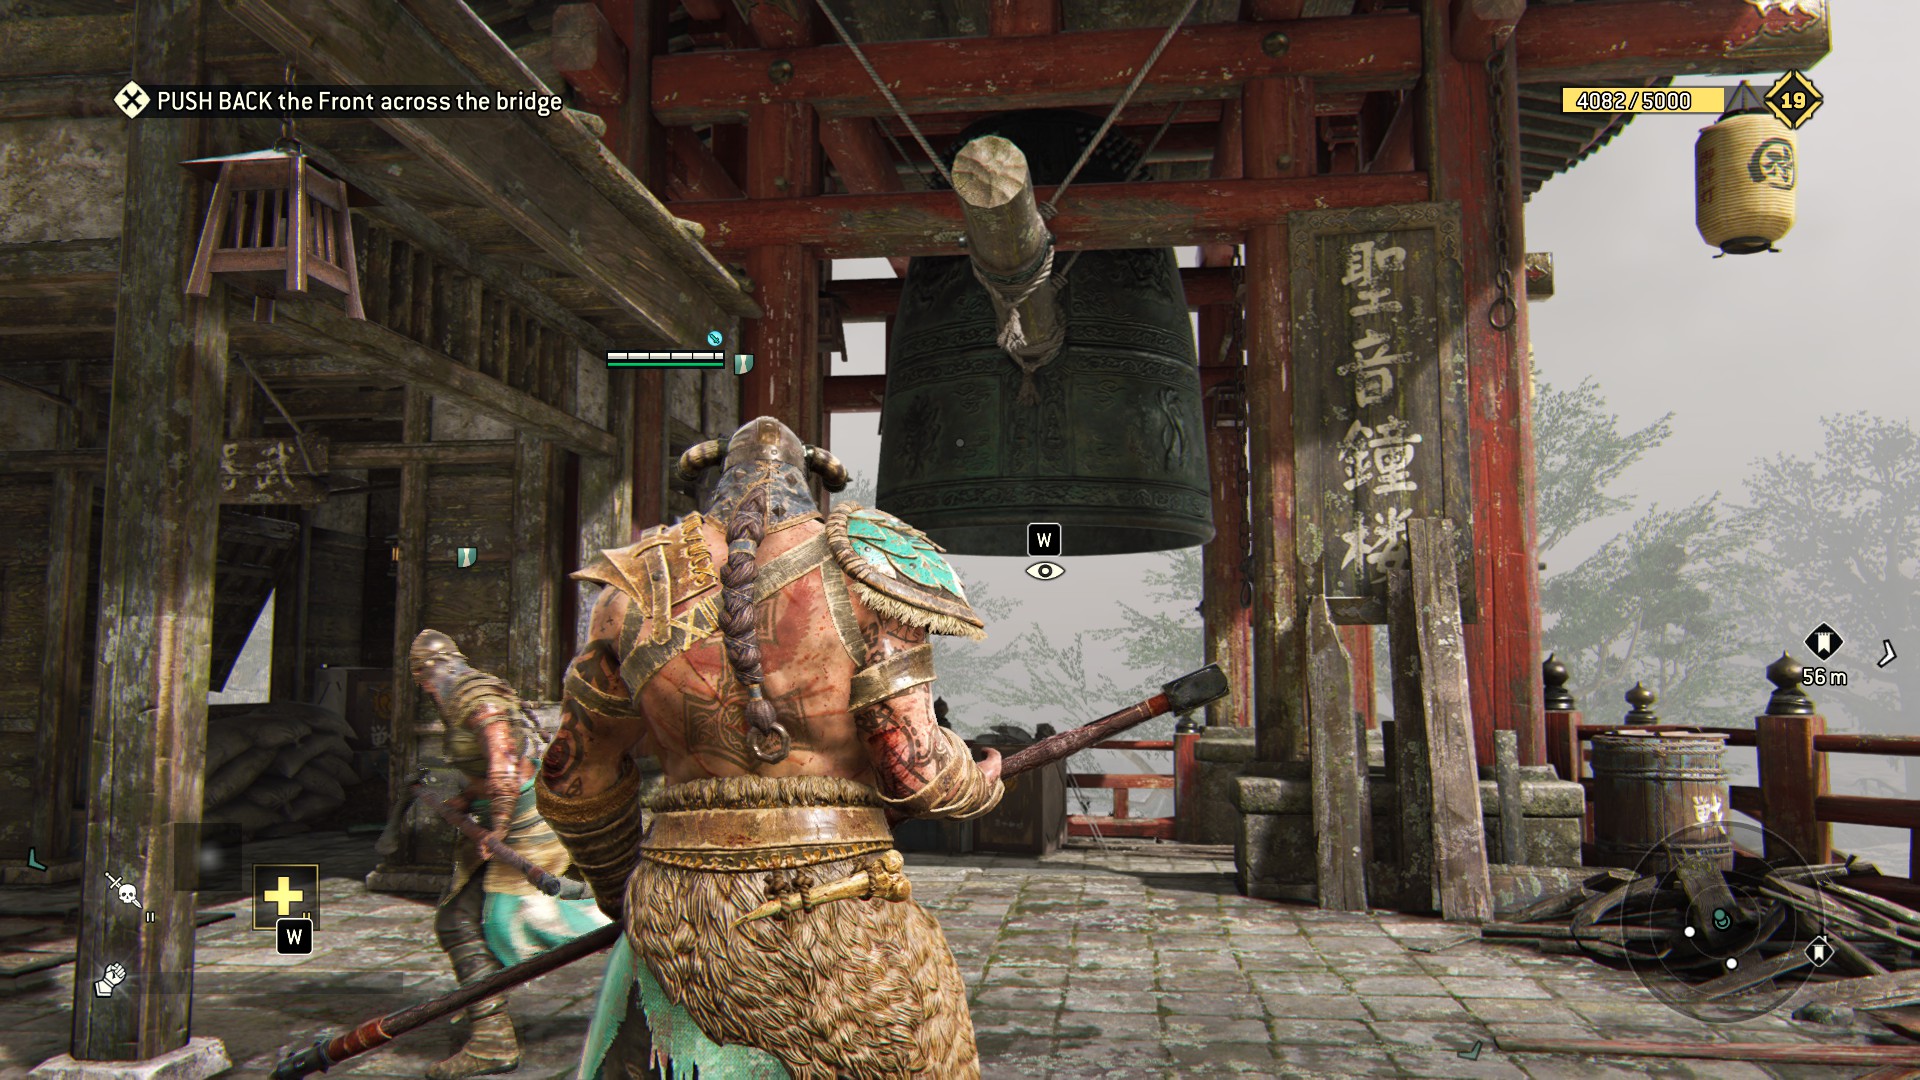 4) Some breakables follow the left route until the green tower.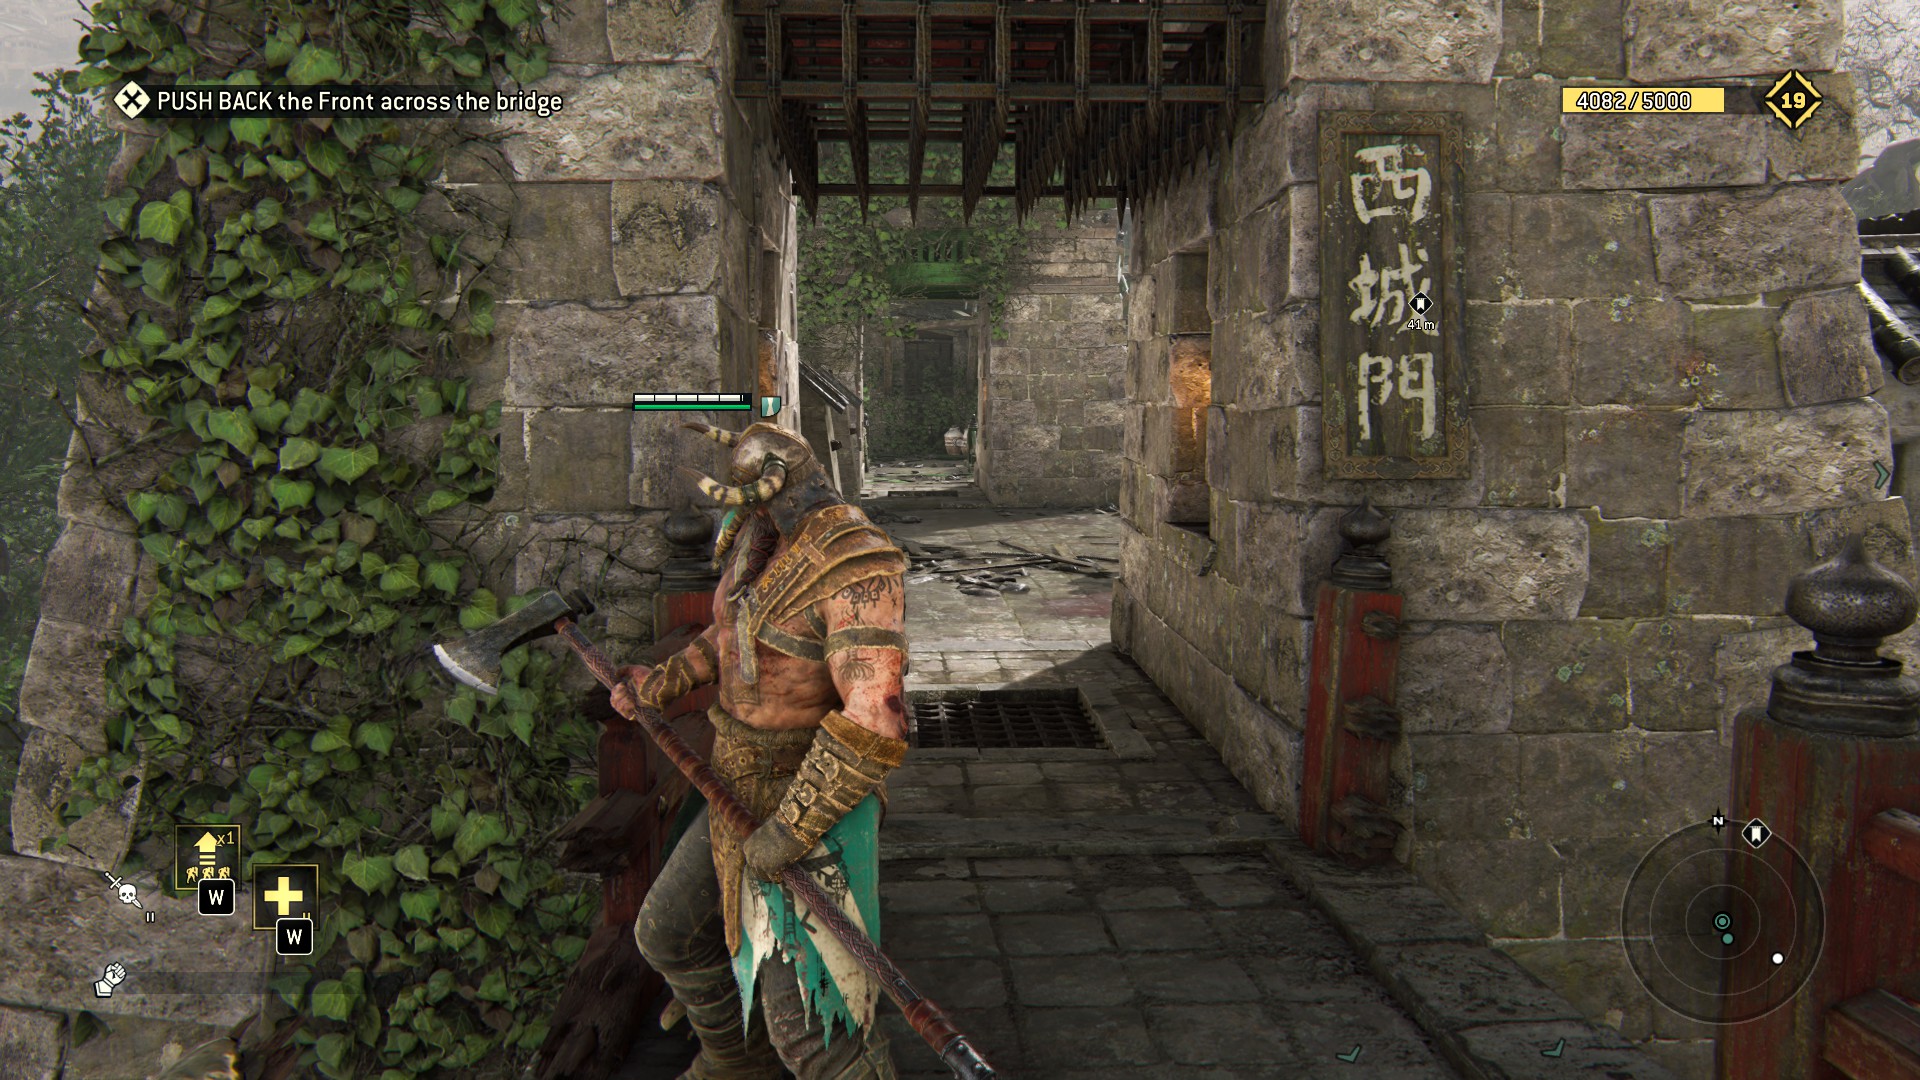
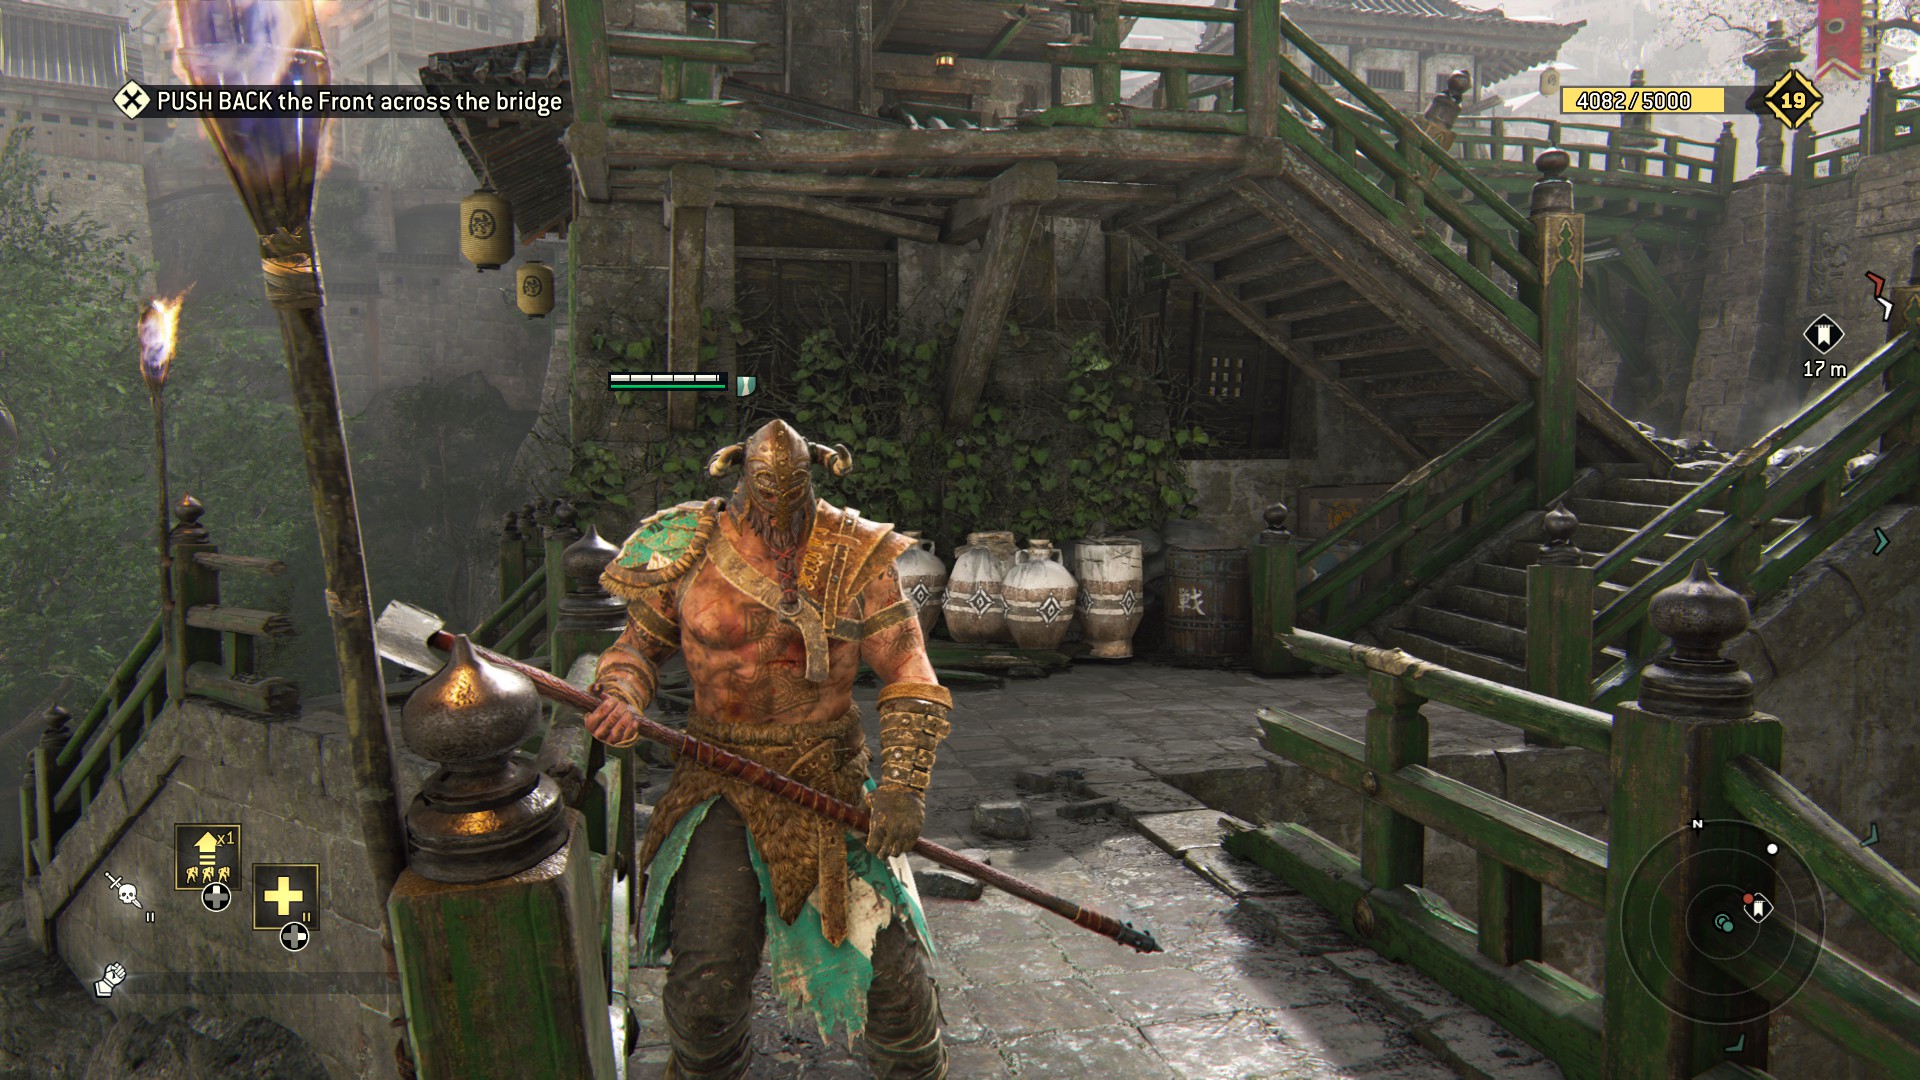 5) At the middle (?) of the map, the dragon statue and some breakables.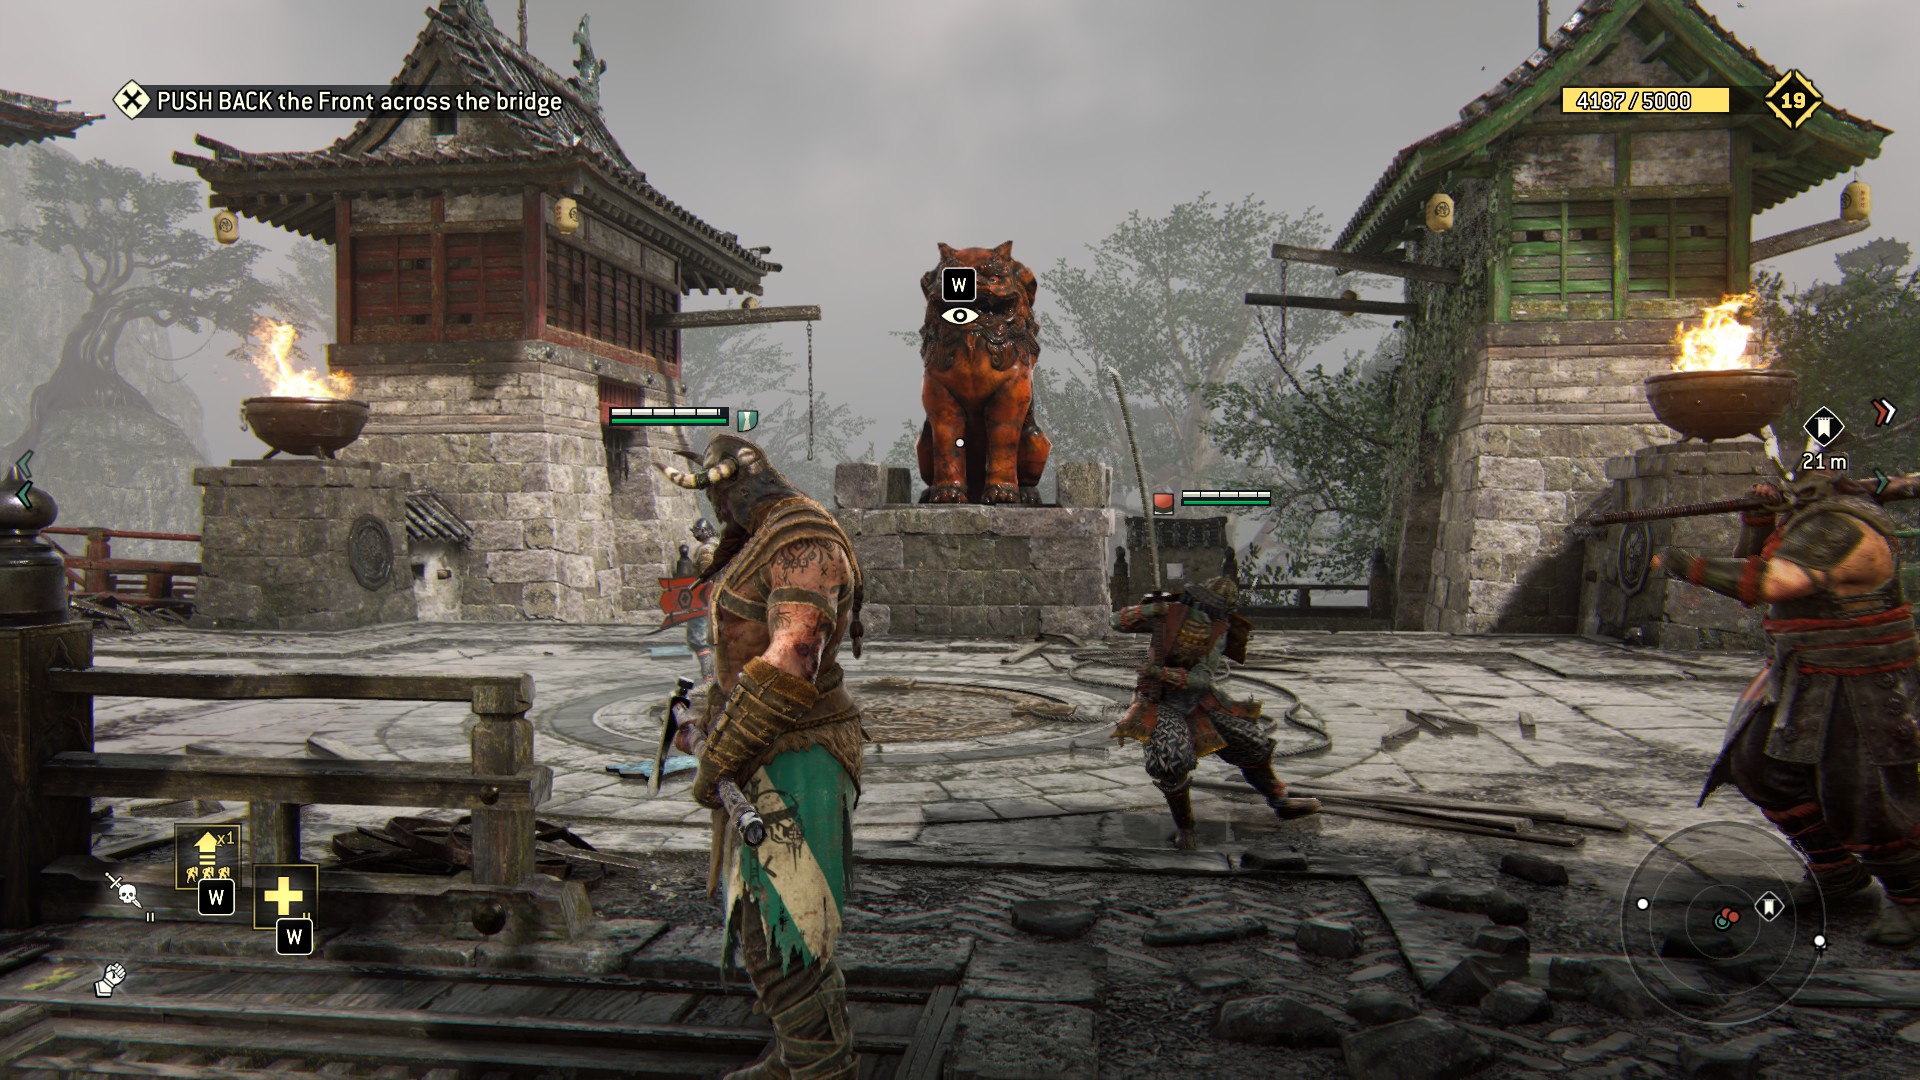
 6) The tower with 2 lotus tree, look at the left lotus tree and some breakables in the zone.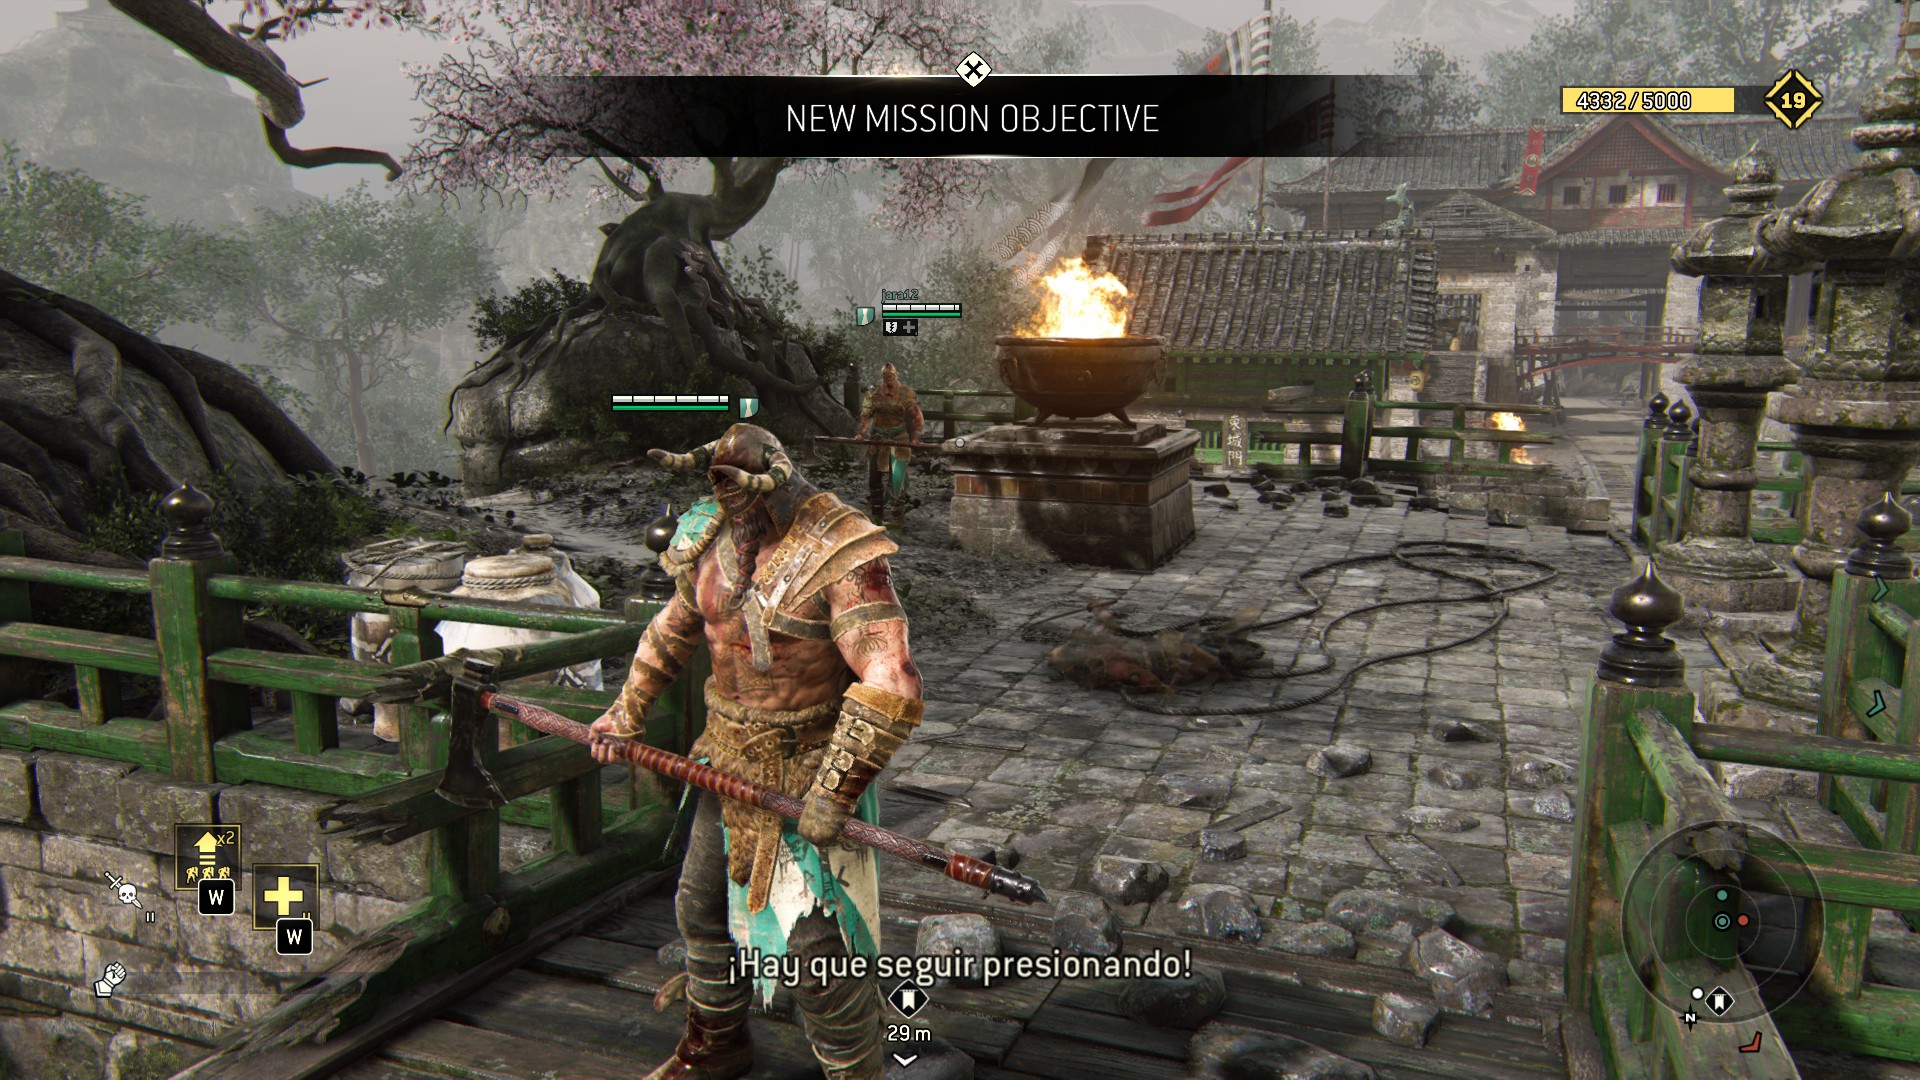
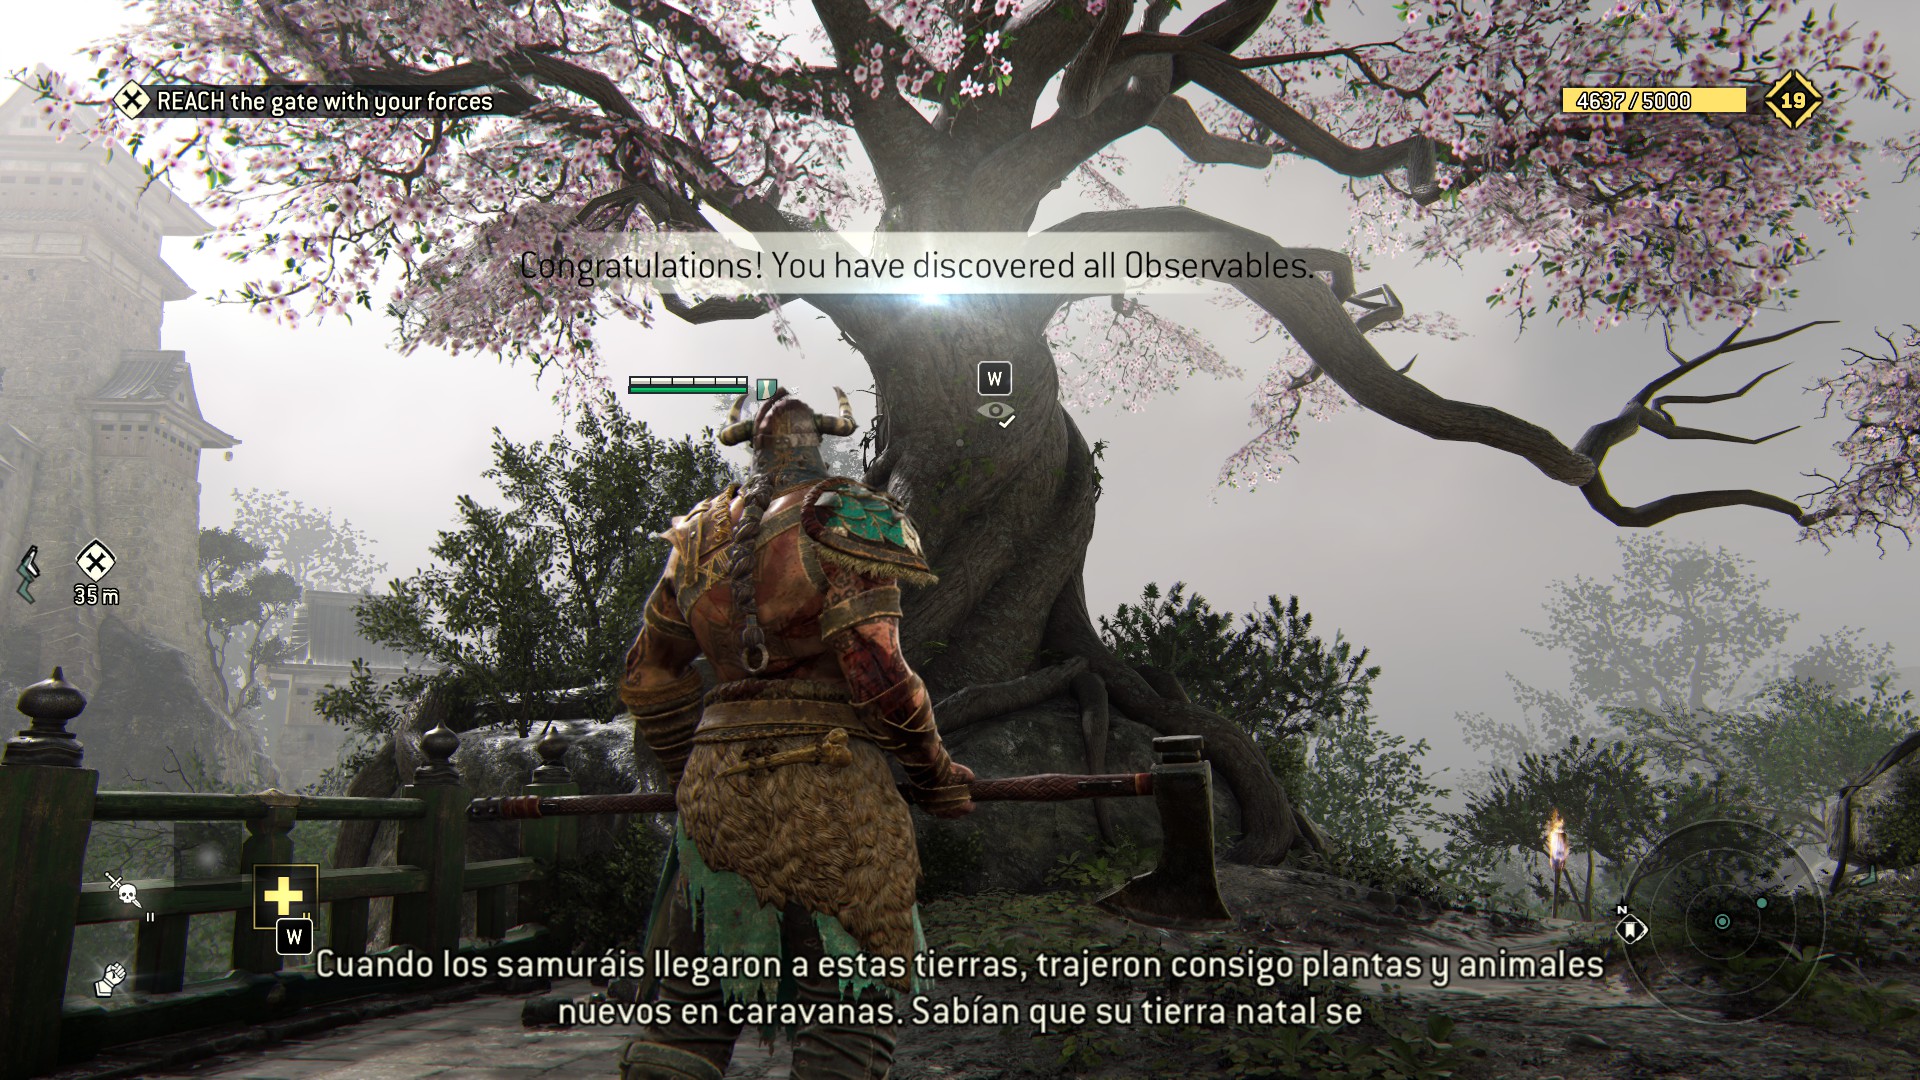 7) At the end of the road just before to the gates that leads to the city.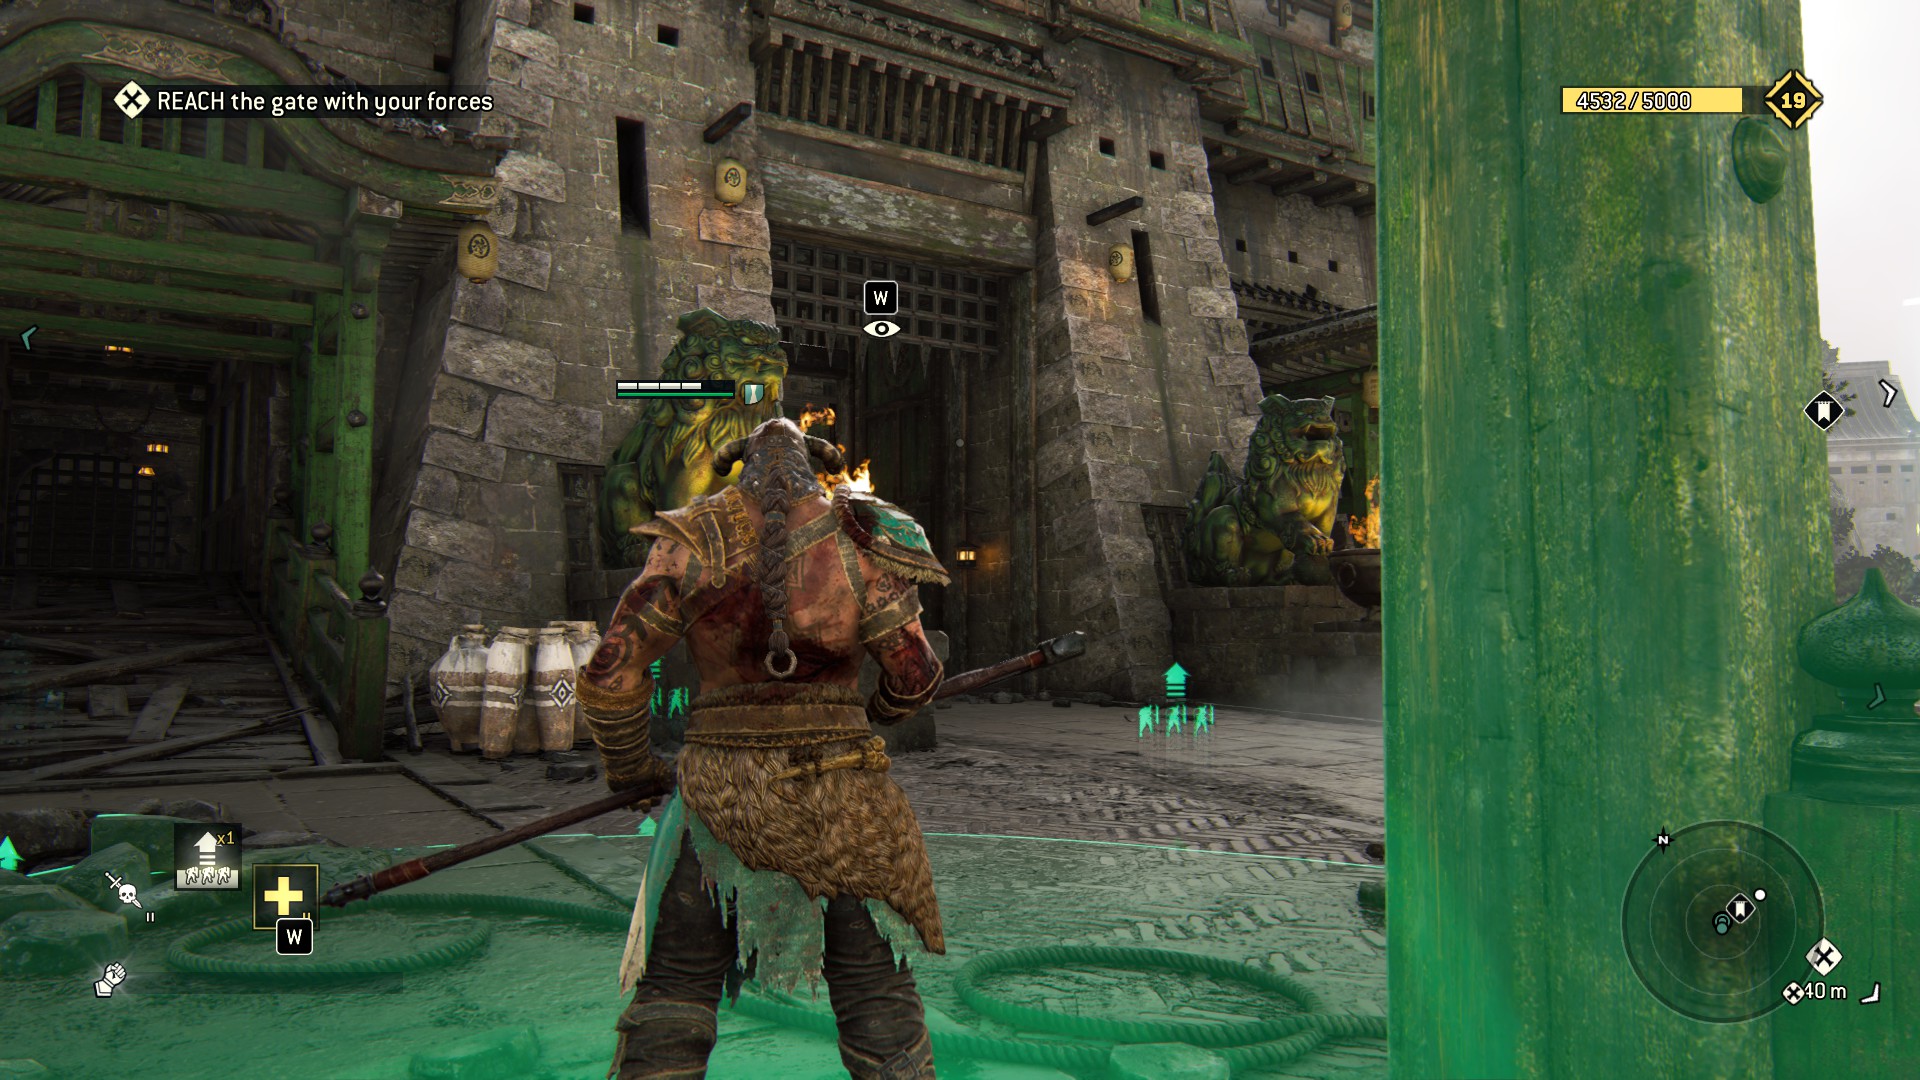
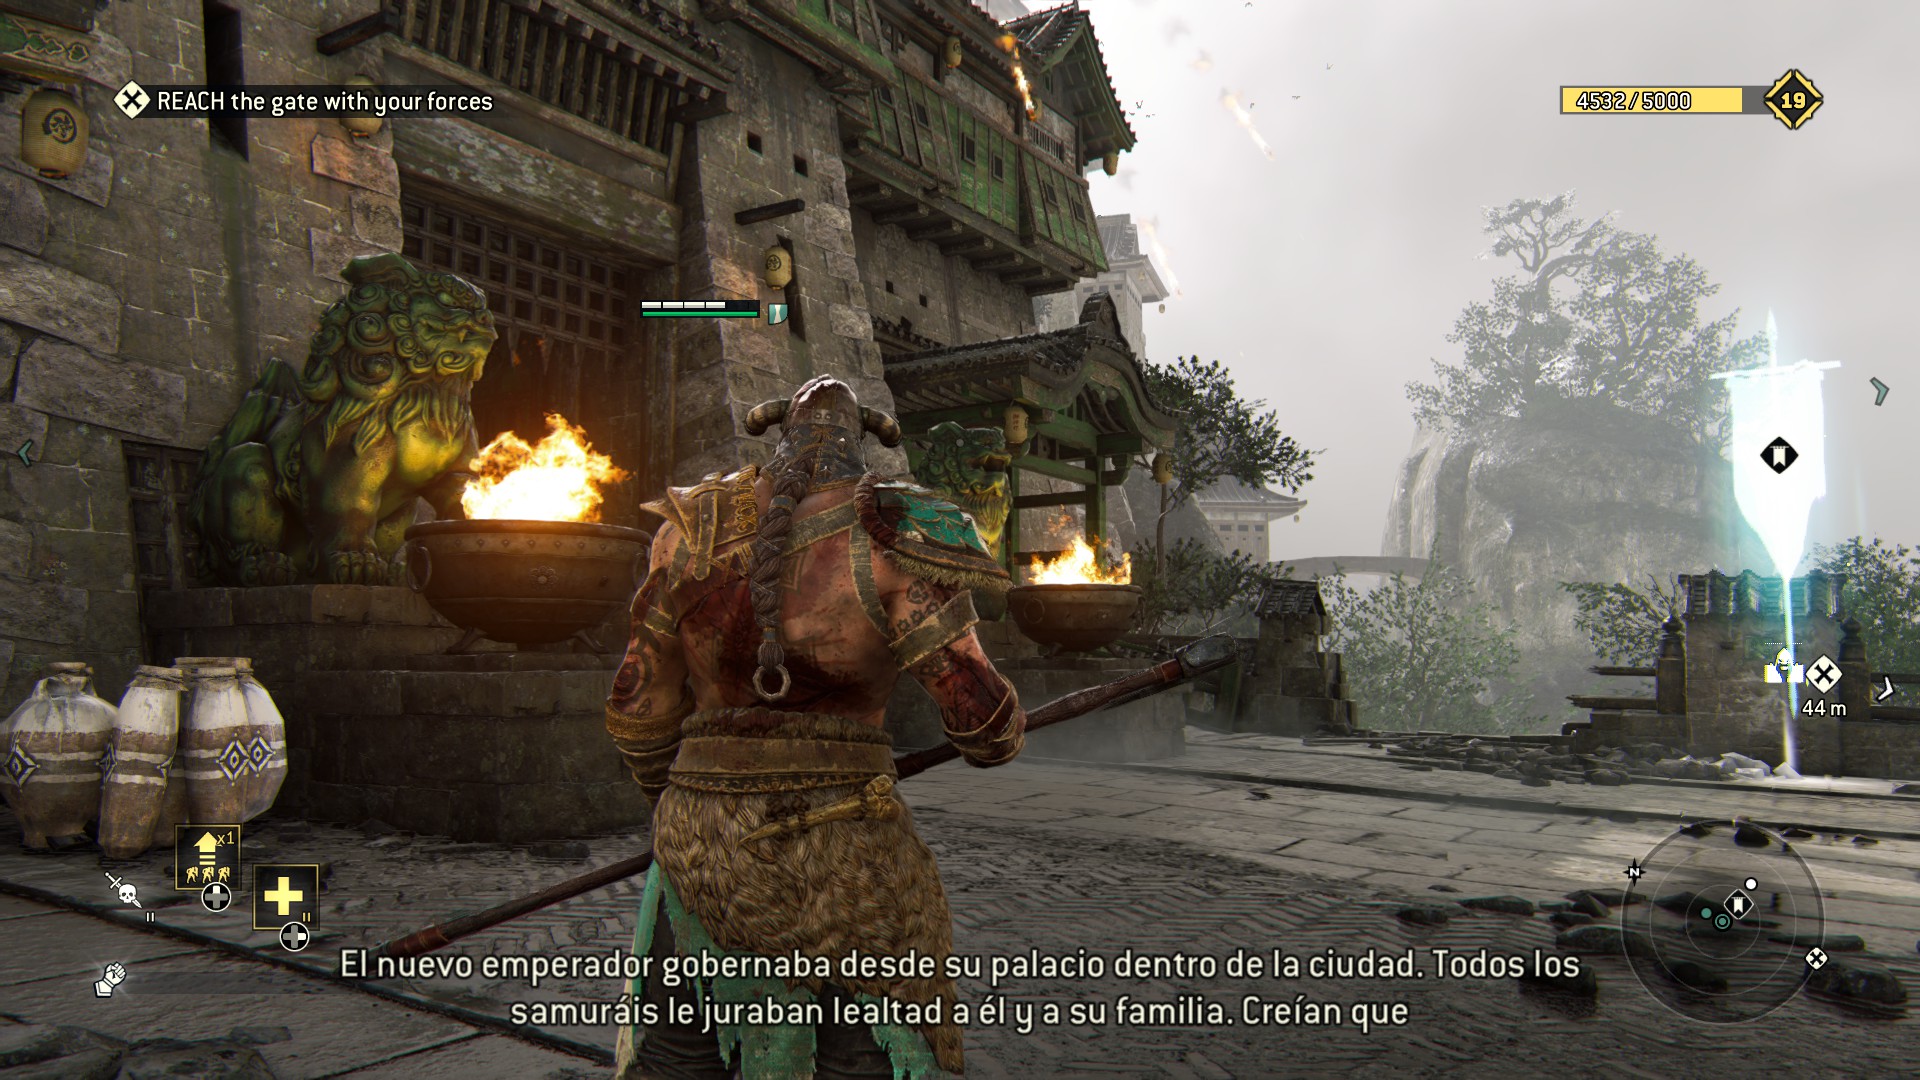
Okey now finish this assault and dont forget You are a raider! Legendary! You are a raider! Legendary! You are a raider! Legendary! You are a raider! Legendary! You are a raider! Legendary!
Chapter 3: Samurai

3.1 - Duty
Hehe, you said doody.
- Macbeth
Konnichiwa and congratulations, you're still alive - well done.
Duty is a medium-sized and fairly open map that is divided into two parts by a point-of-no-return cutscene. It may or may not be a bridge, we can't say. We will neither confirm or deny any rumors or allegations about said Schrödingers bridge's relations to any river or stream called Kwai
Anyways..In the usual start-of-the-level-fashion, gently (or wildly, whichever you prefer) swing the camera around to find the first two
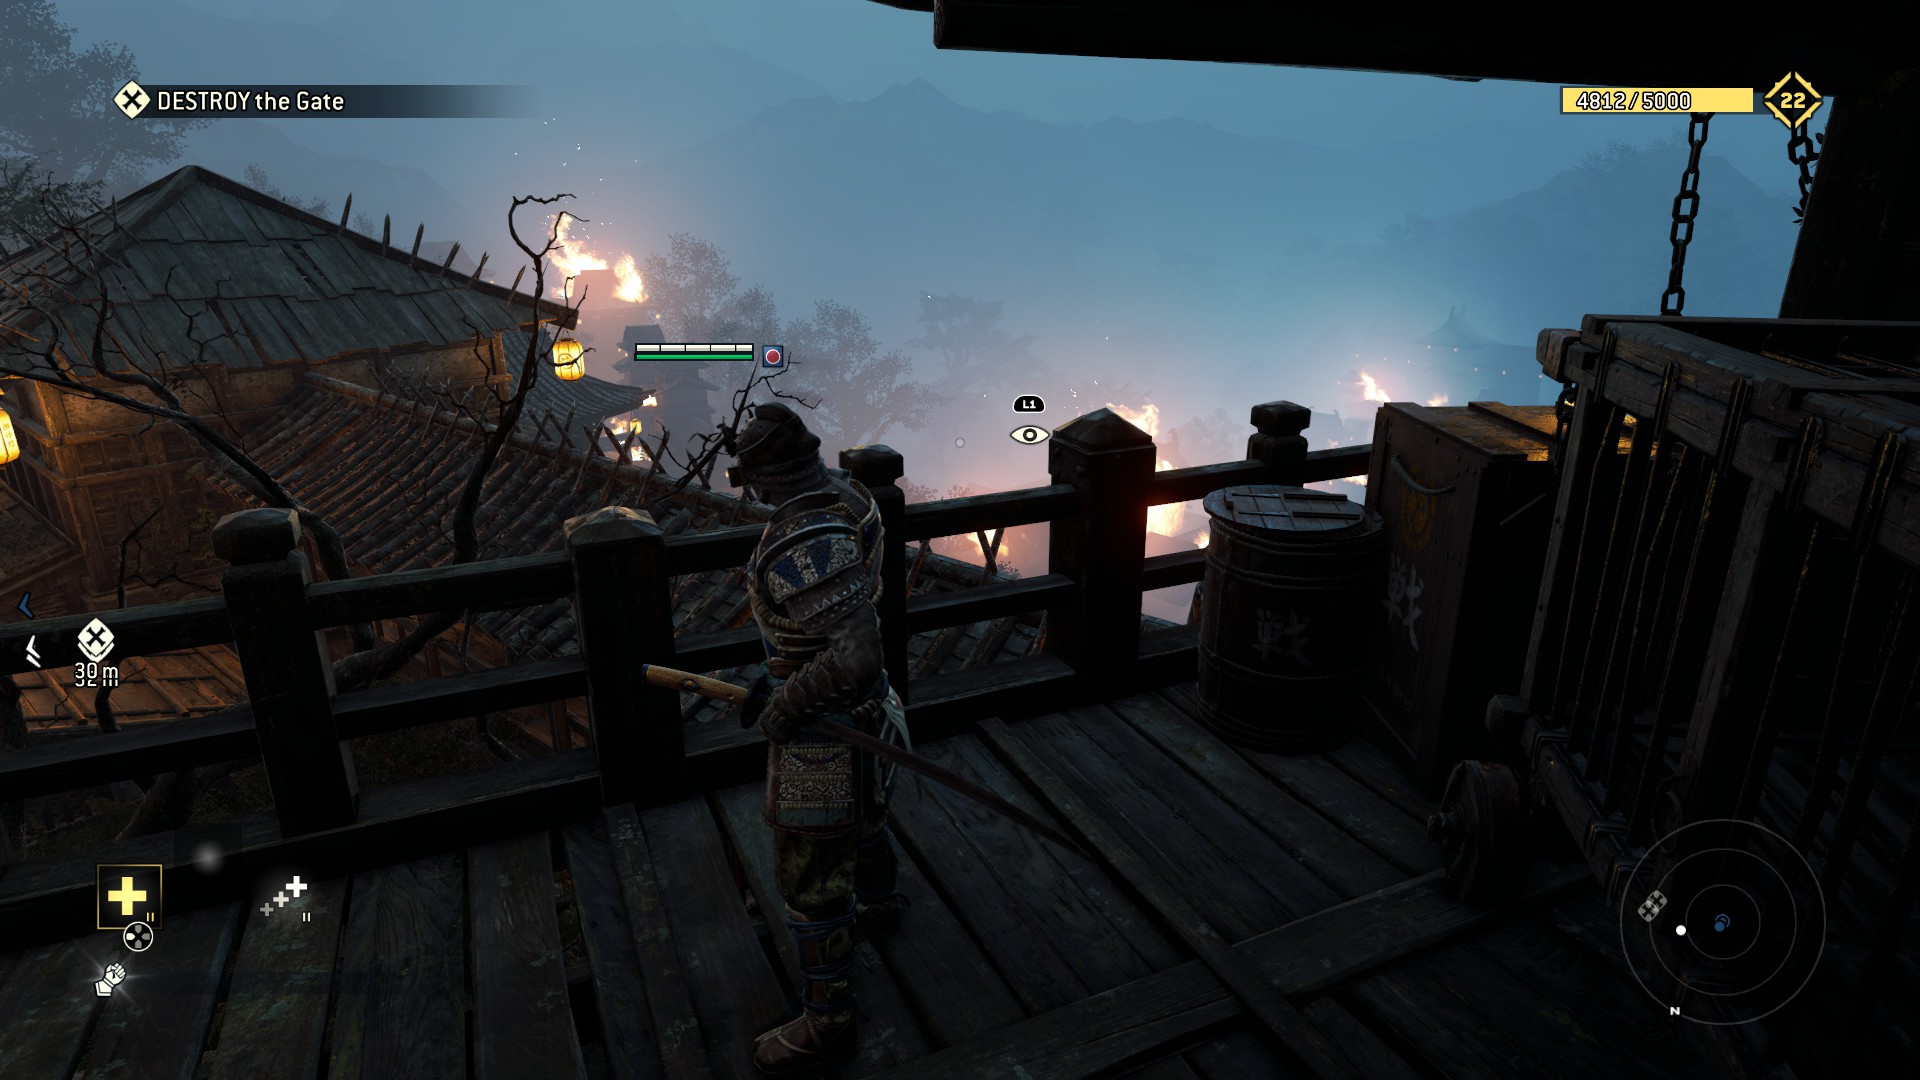
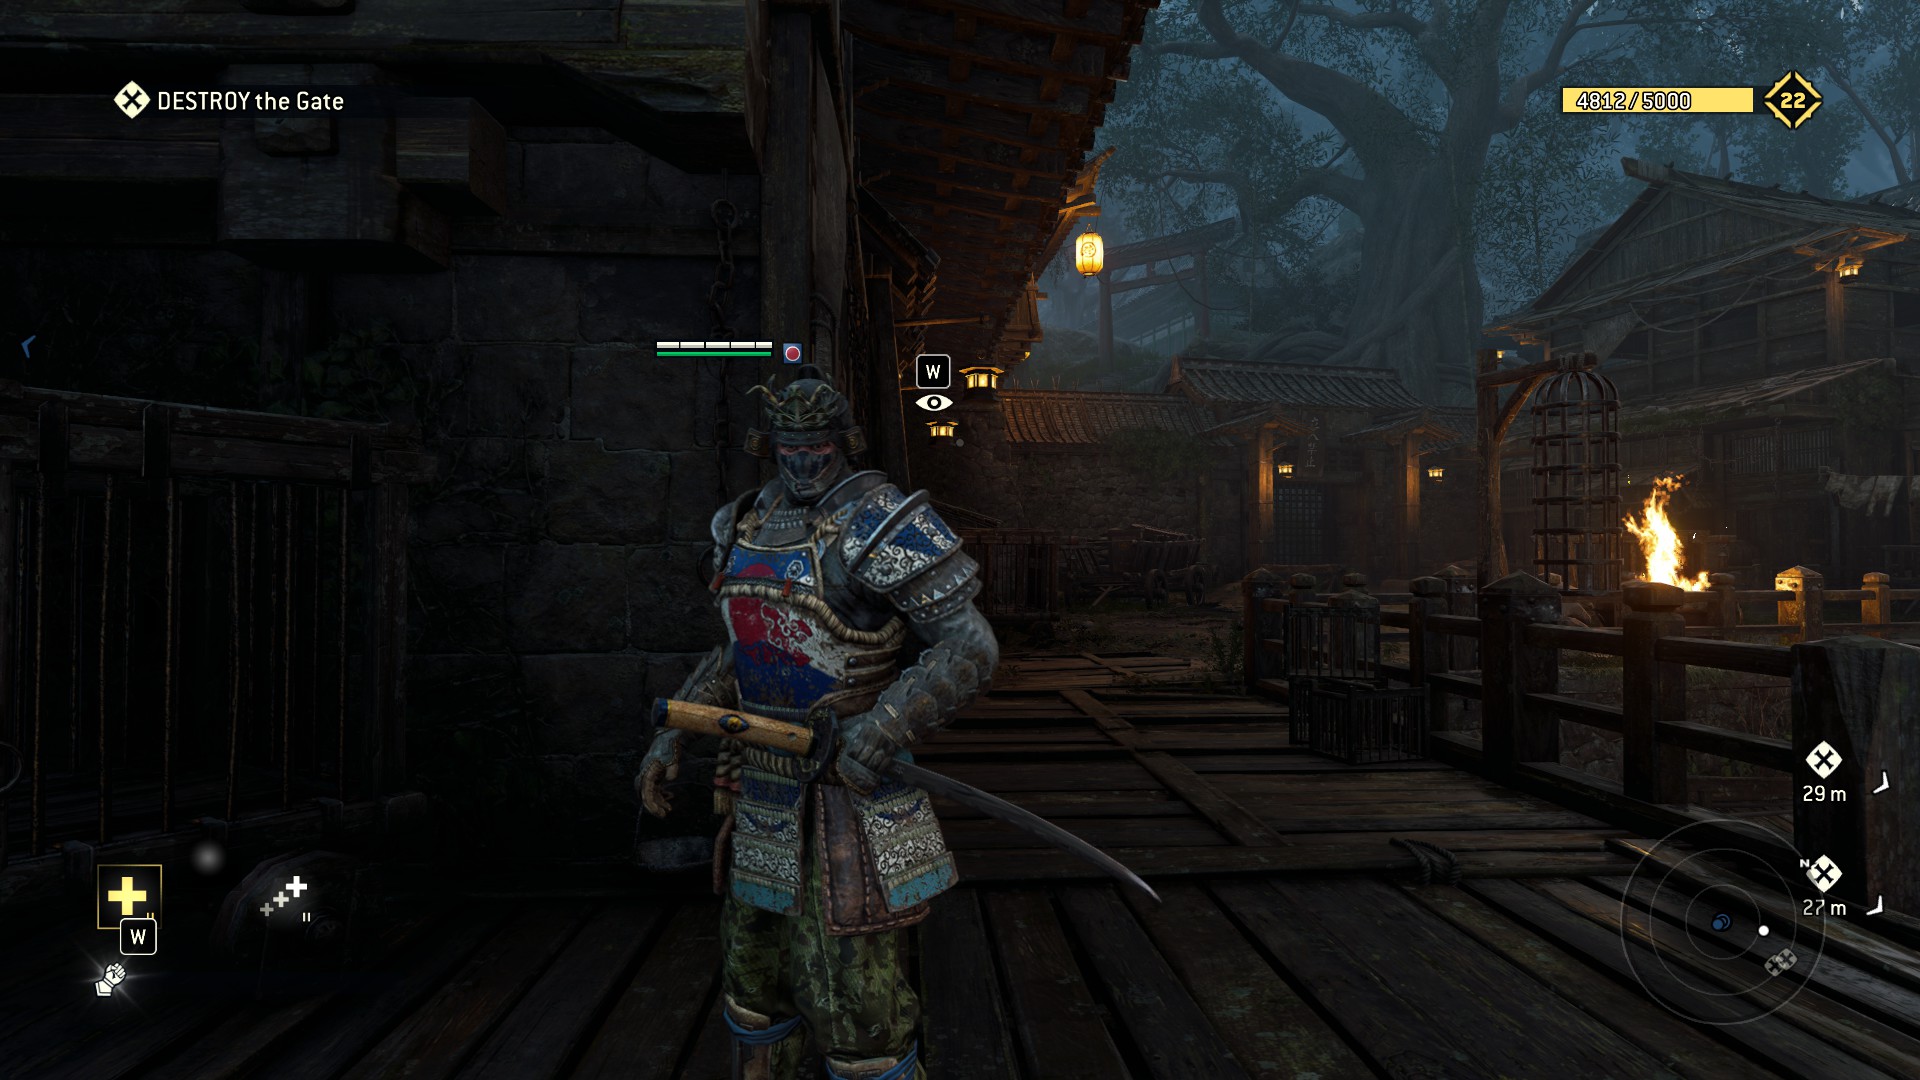
Before heading down the tutorialstairs, you can satisfy a fifth of all your pot-breaking needs to the left
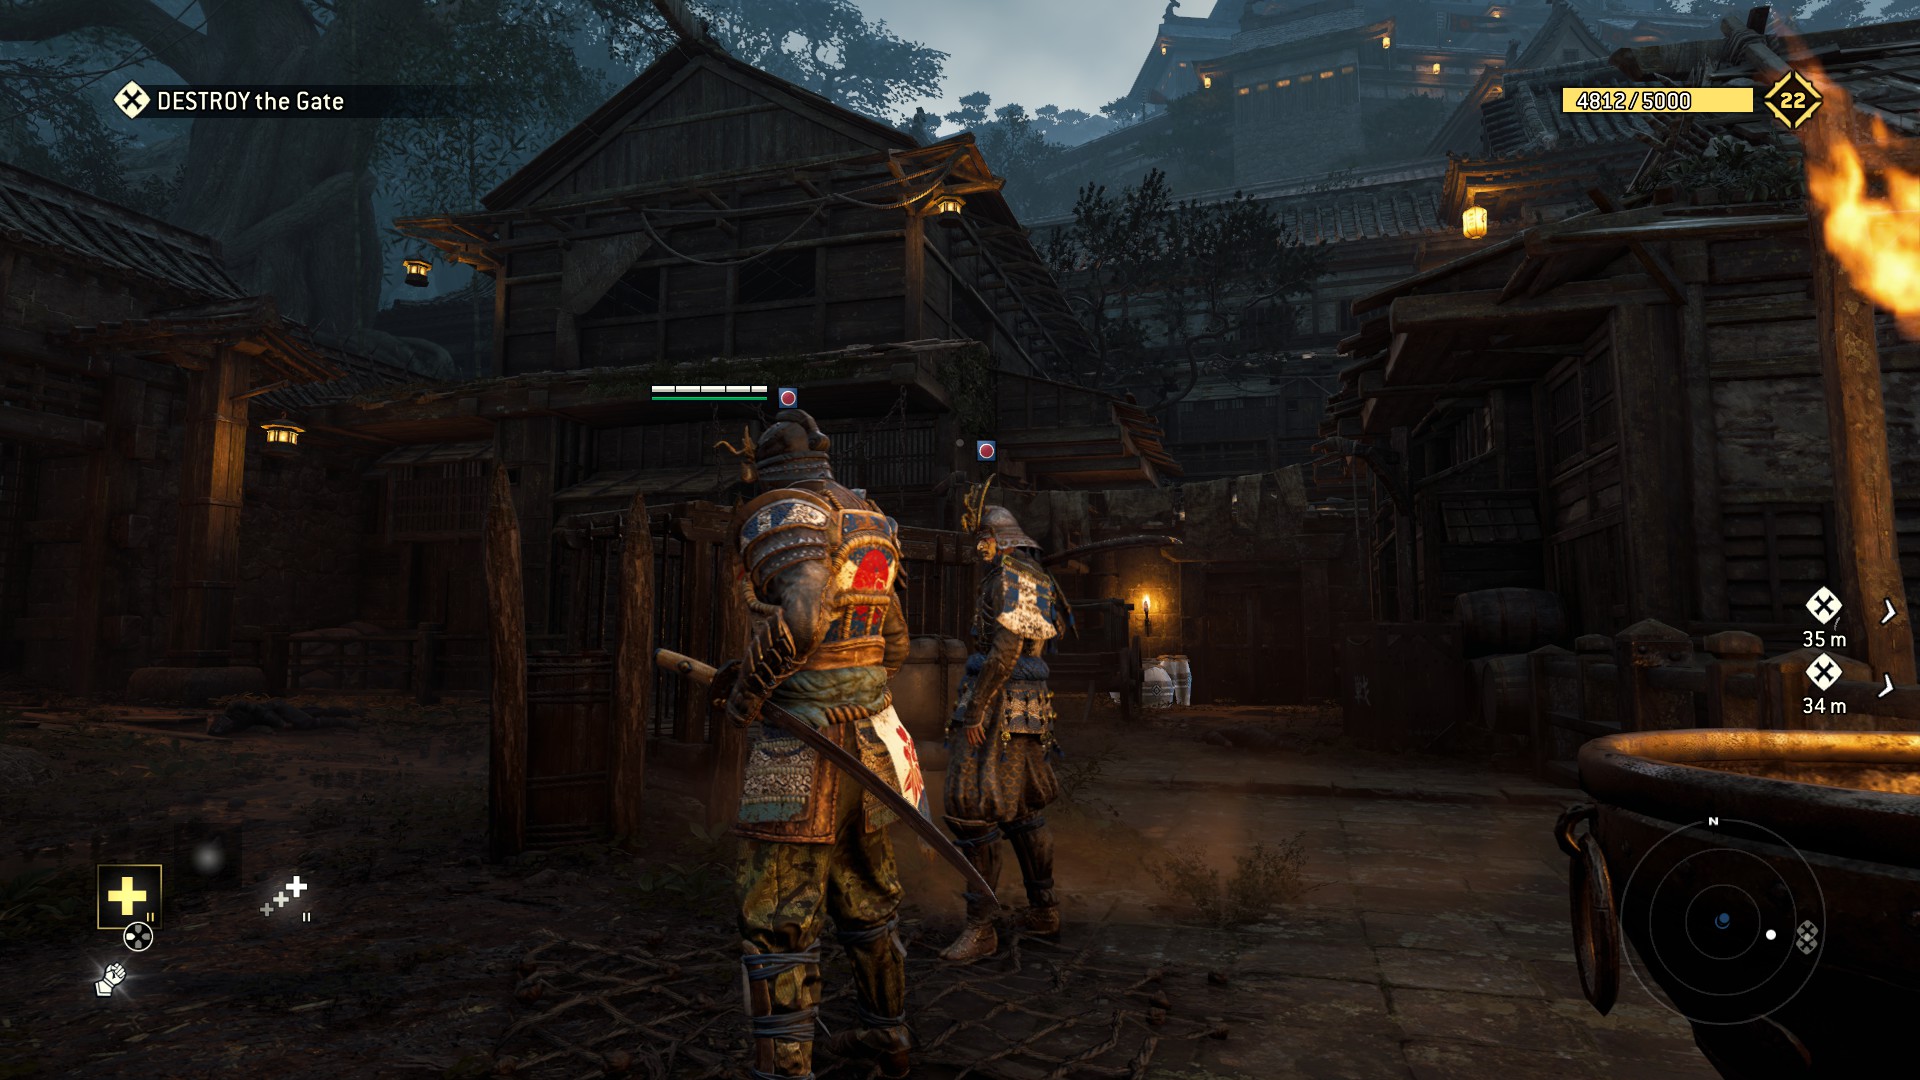
After the tutorial stuff, the first few objectives forces you to run up and down the streets (or rooftops if you prefer) anyway - so in no particular yes-it's-quite-possible-I-did-go-left order:
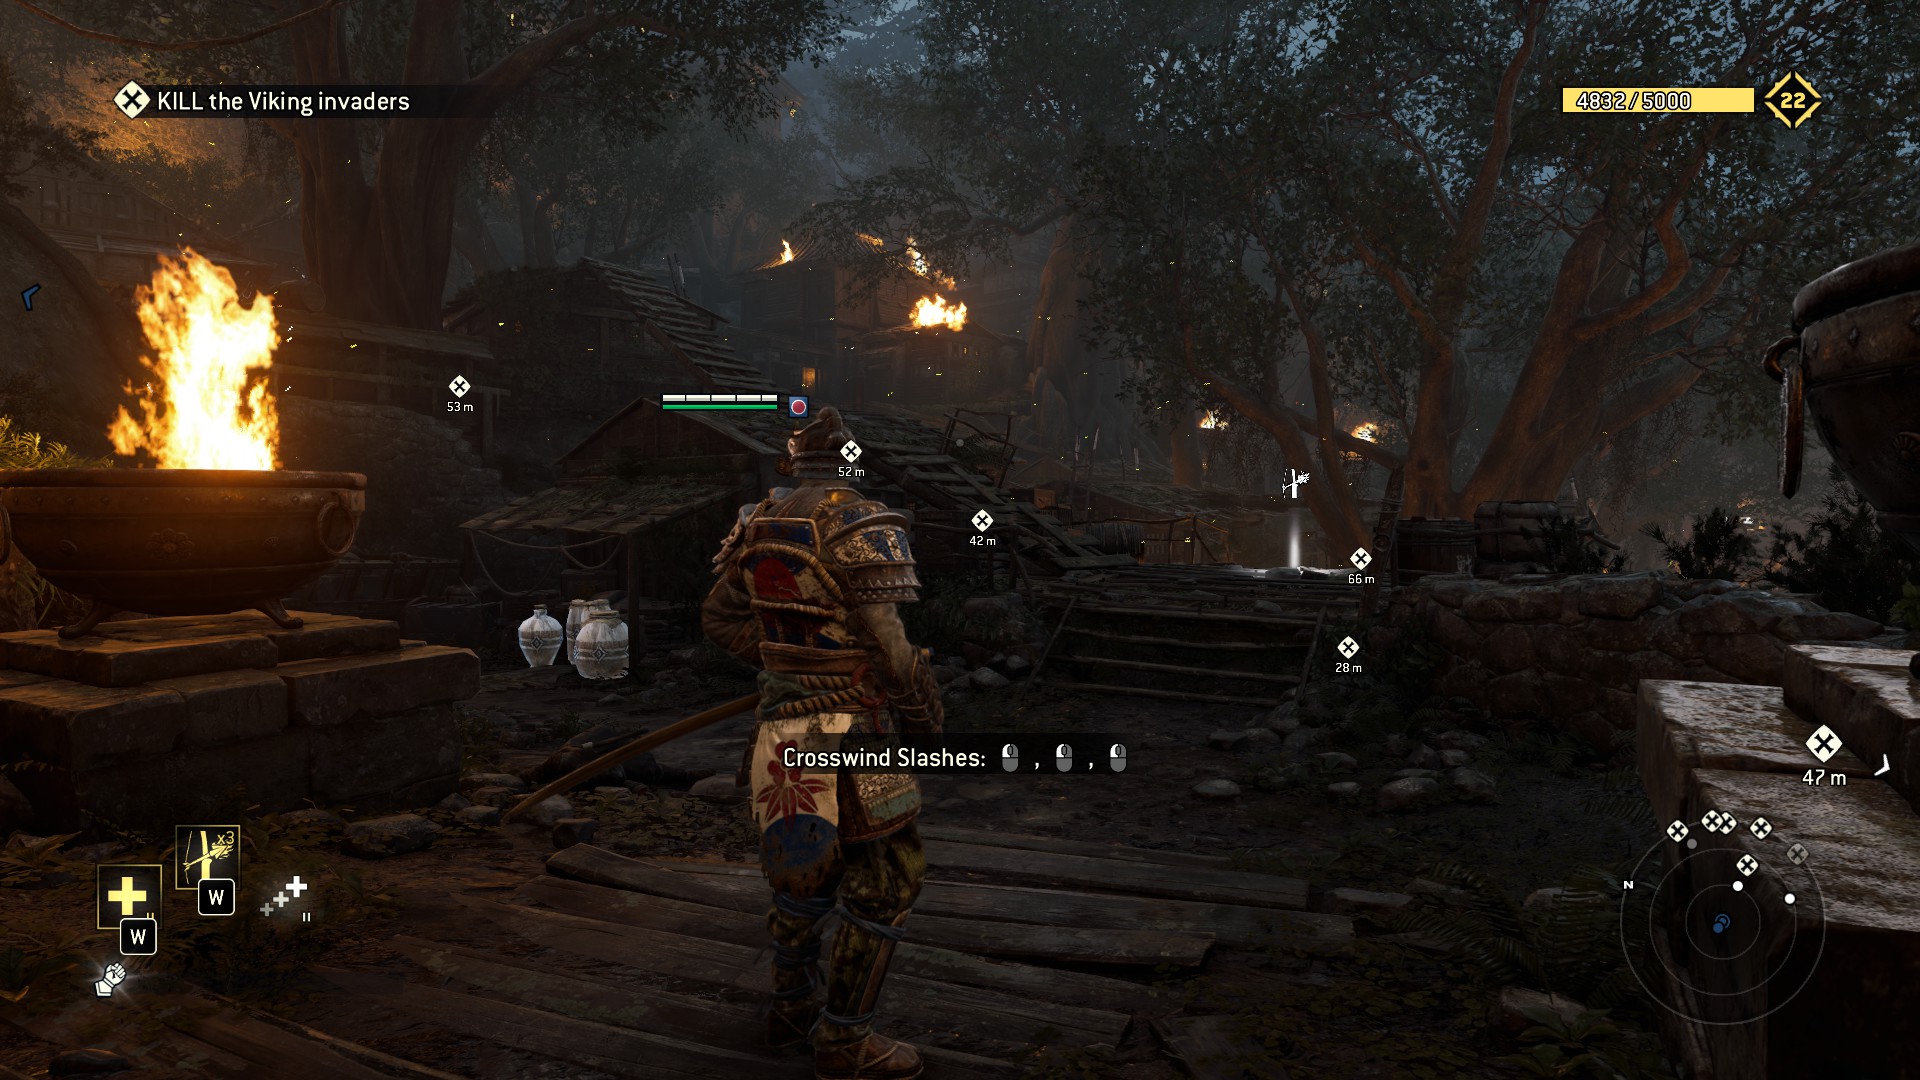
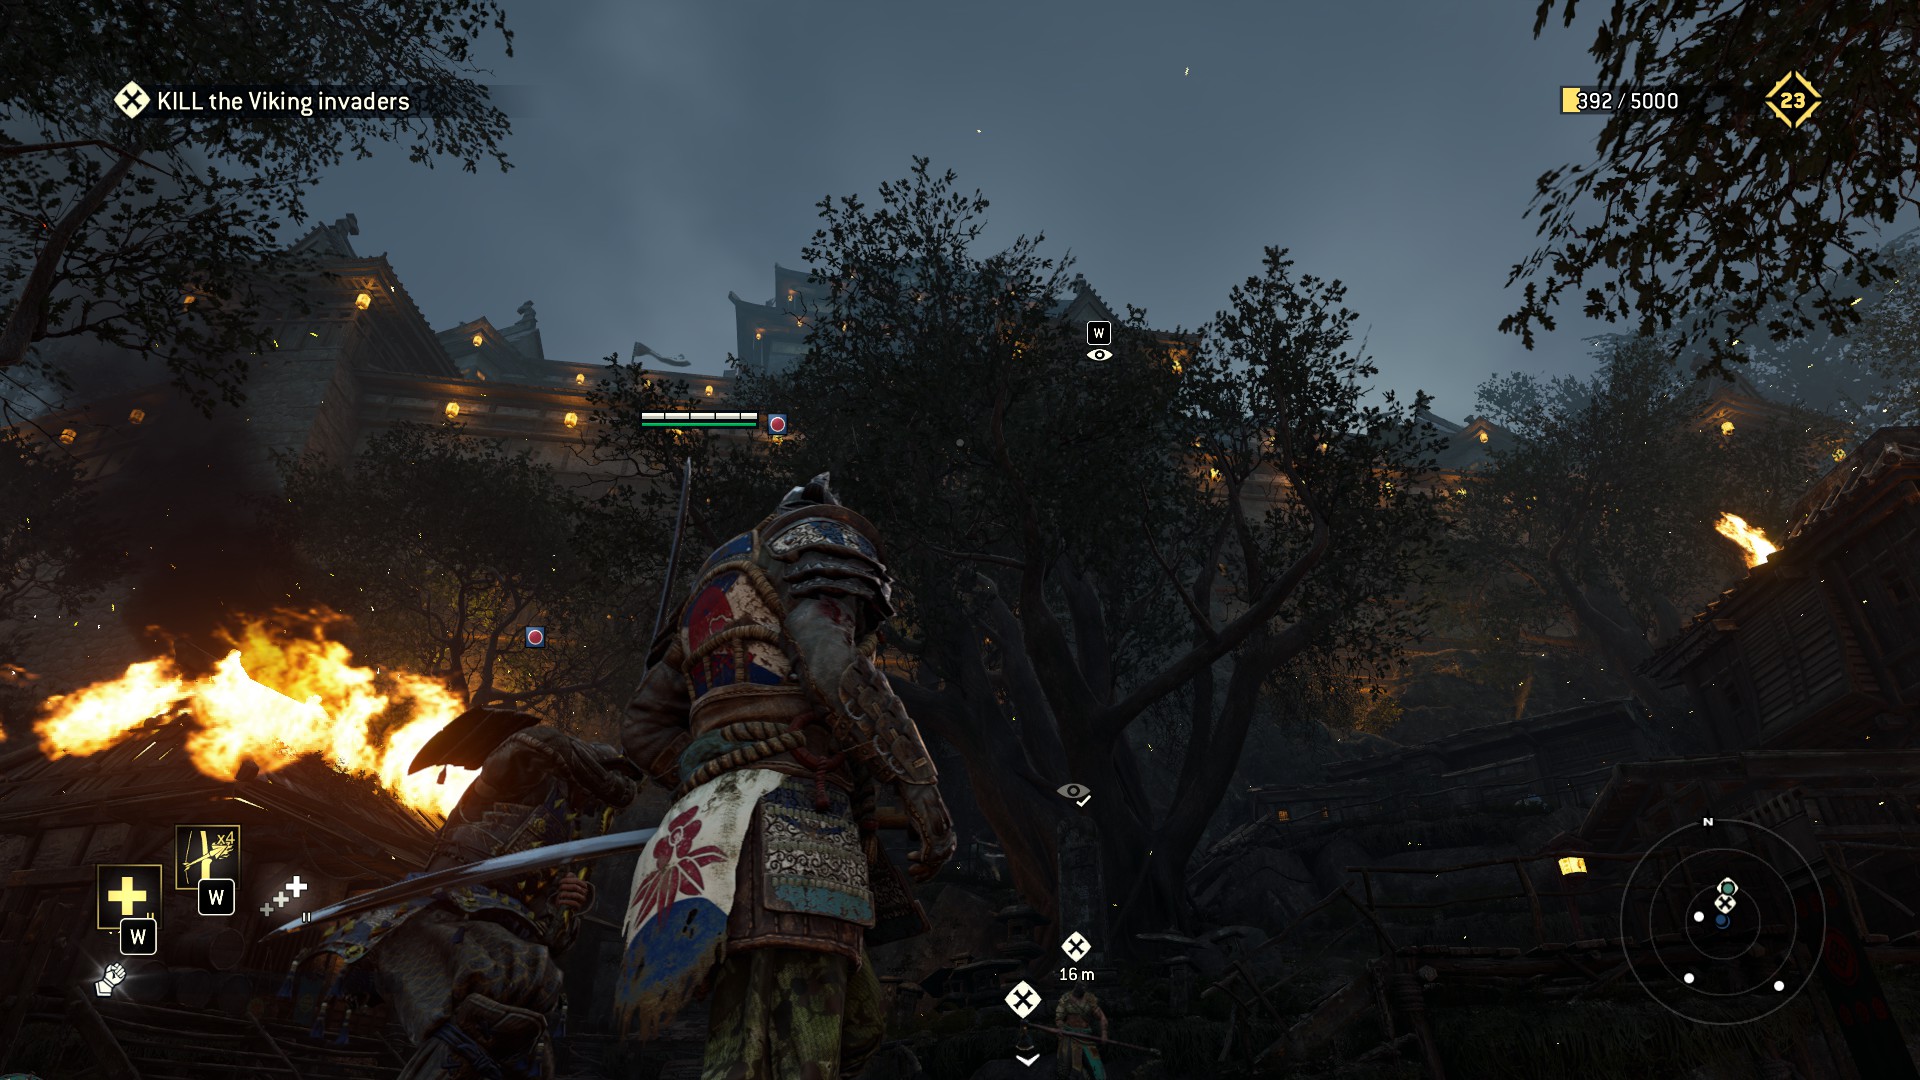
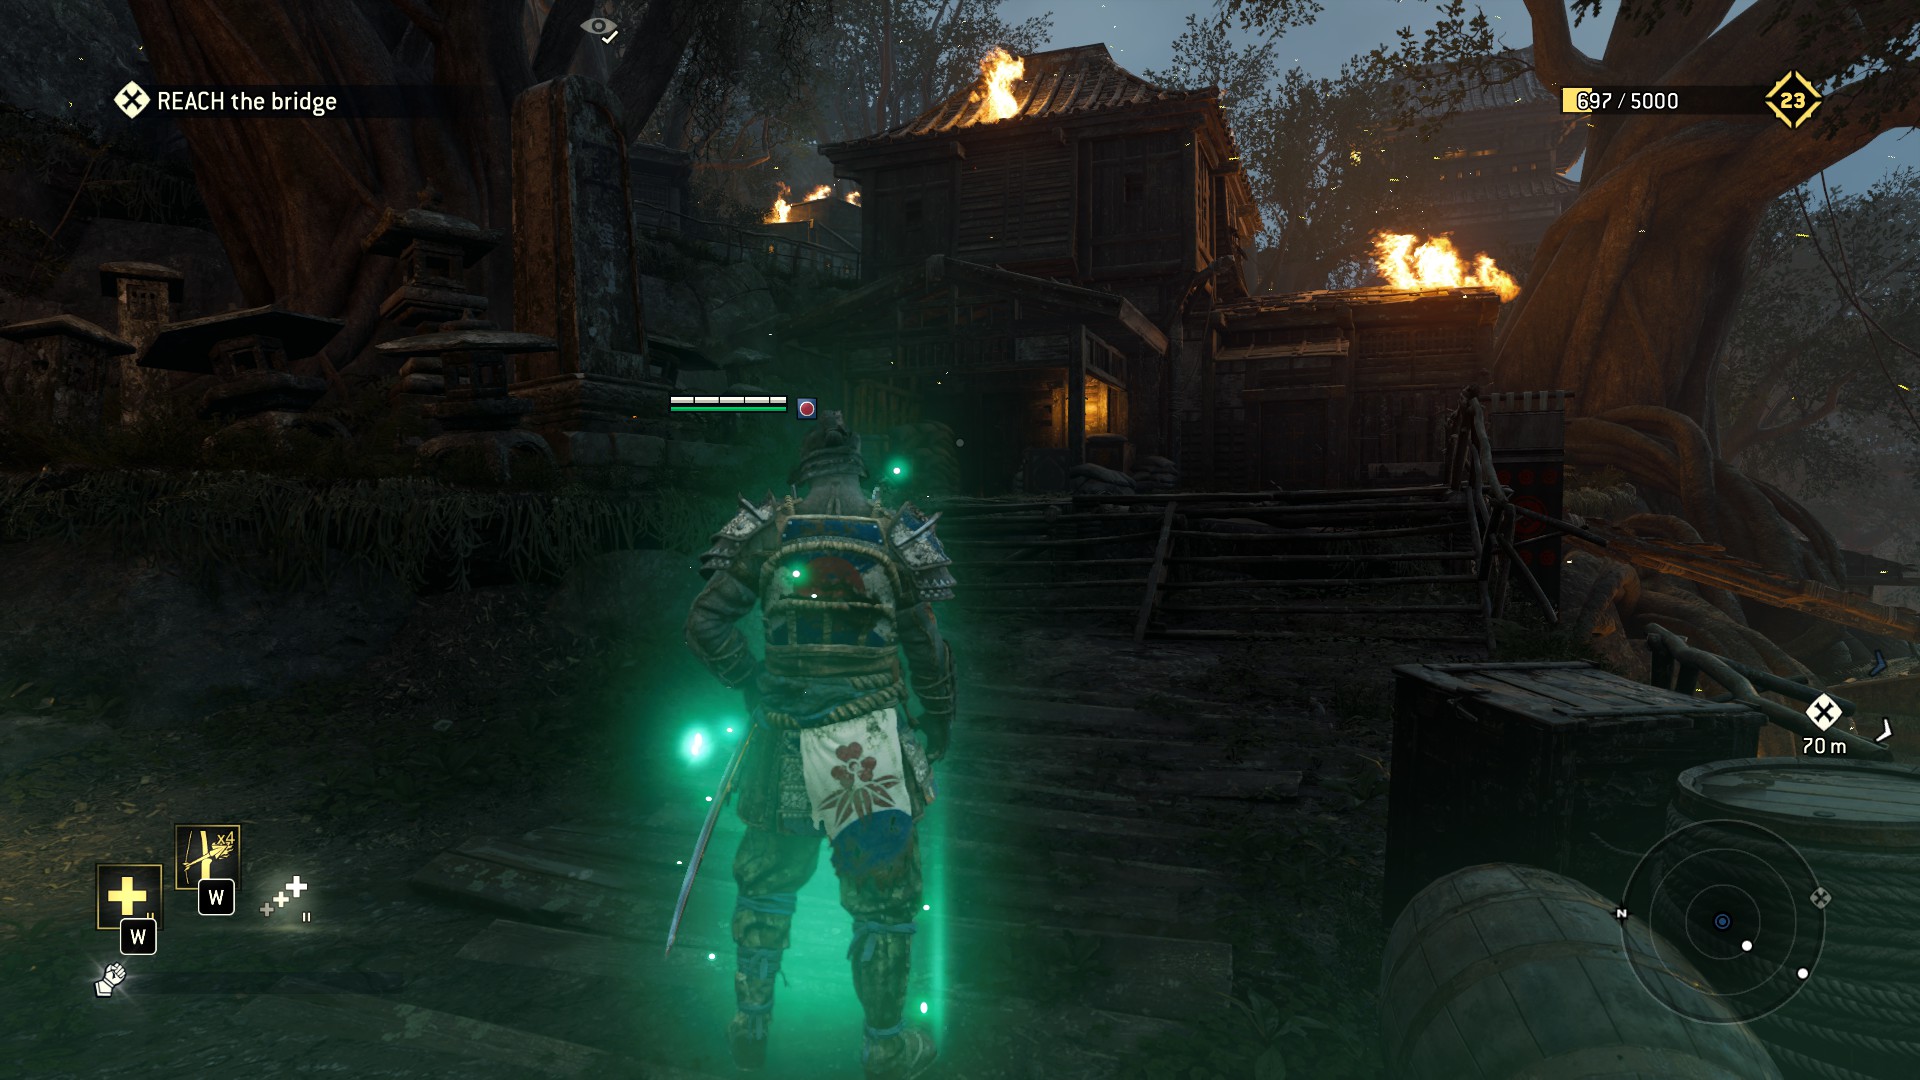
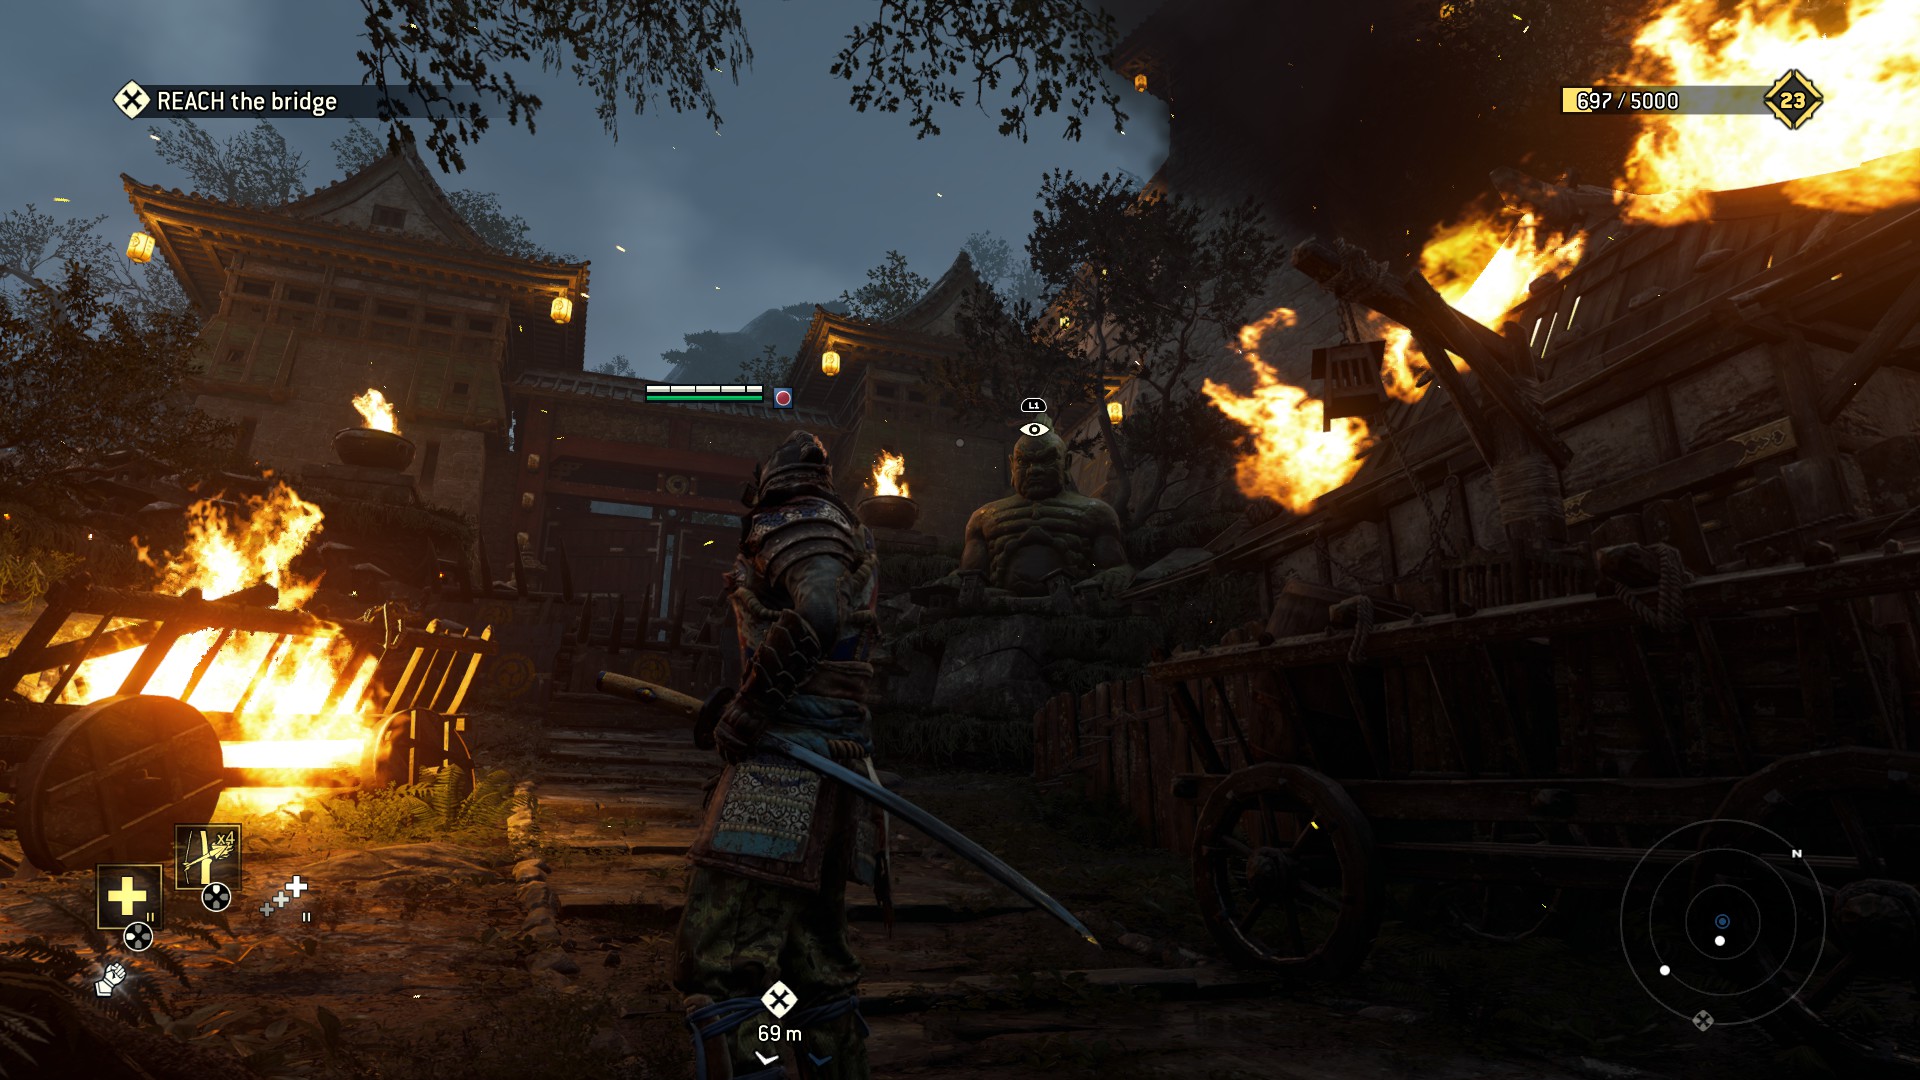
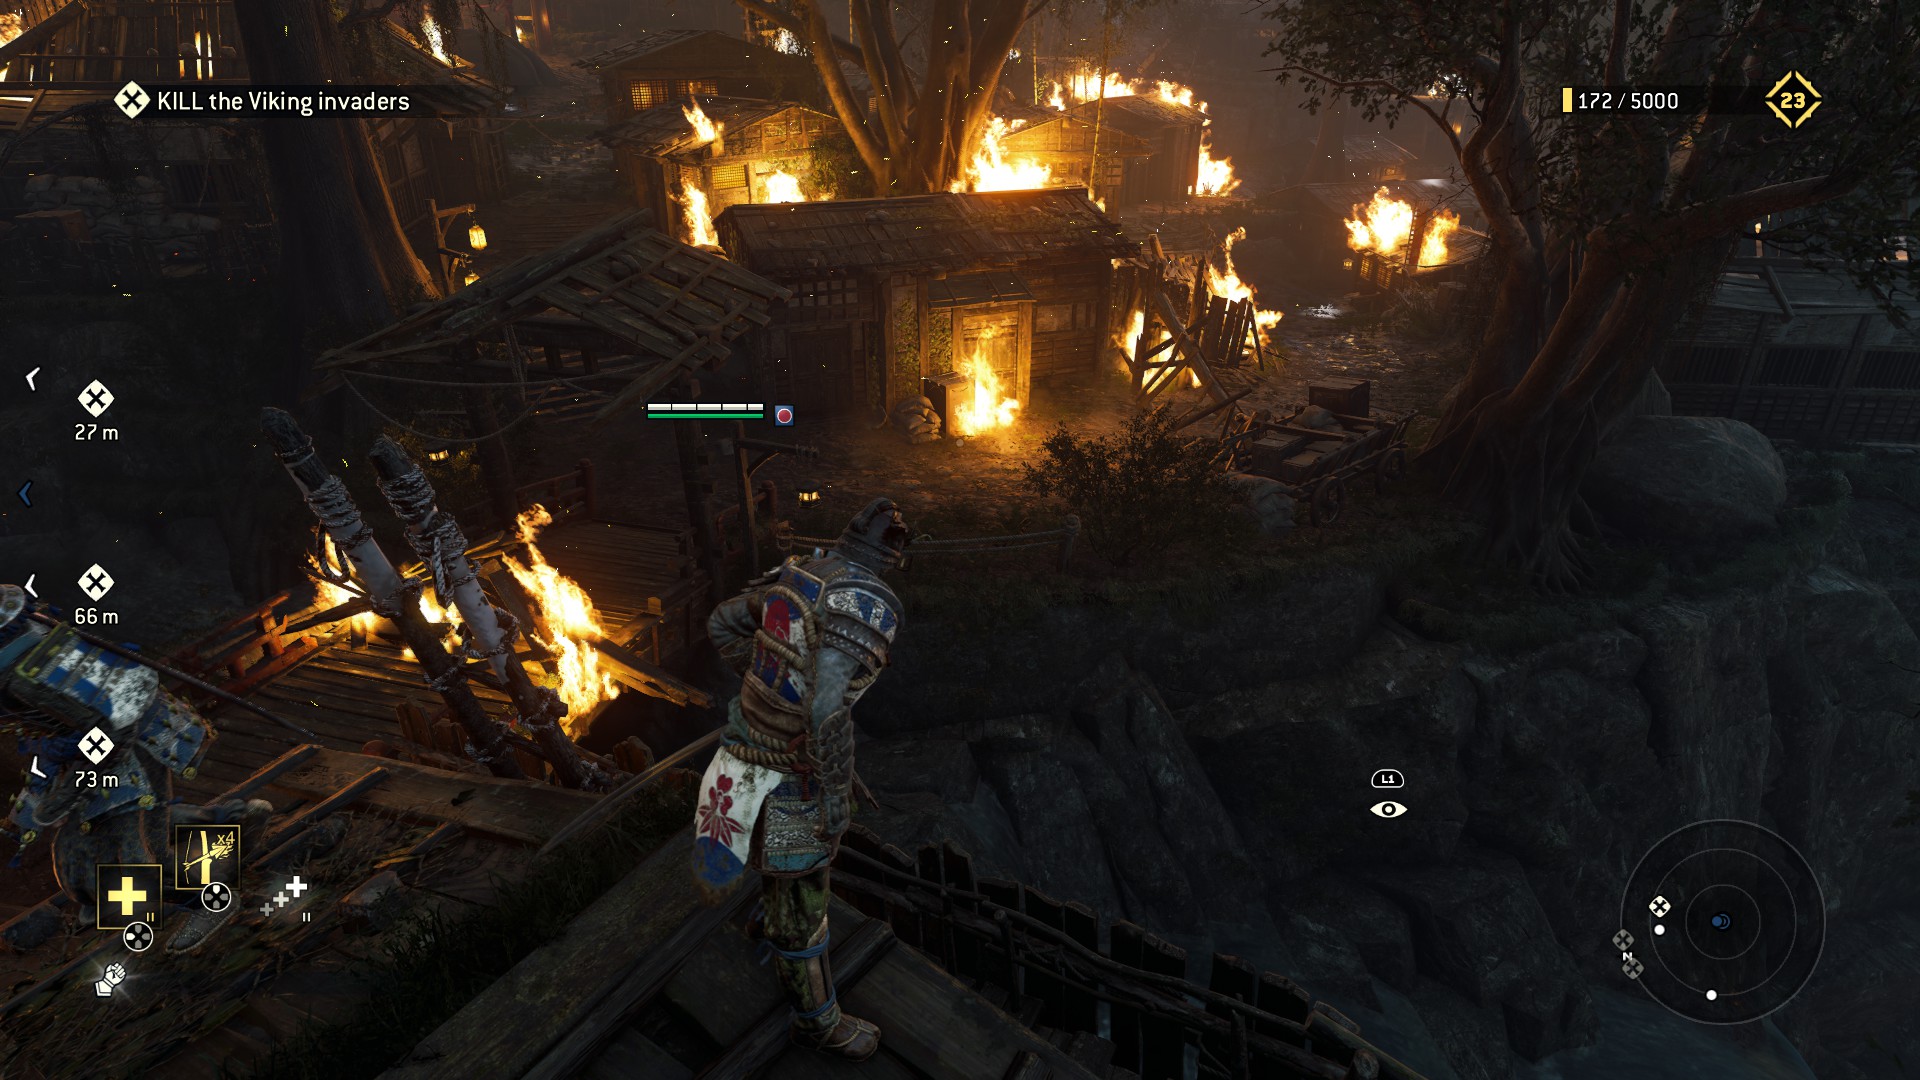 Not pictured: A bridge.
Note: Second image contains 2 observables. And because I'm a dumbass, there were some pots where the cursor is pointing in the third image.
For the second part of the map, feel free to roam around and get the delicious collectibles before you go to this next-to-last objective:
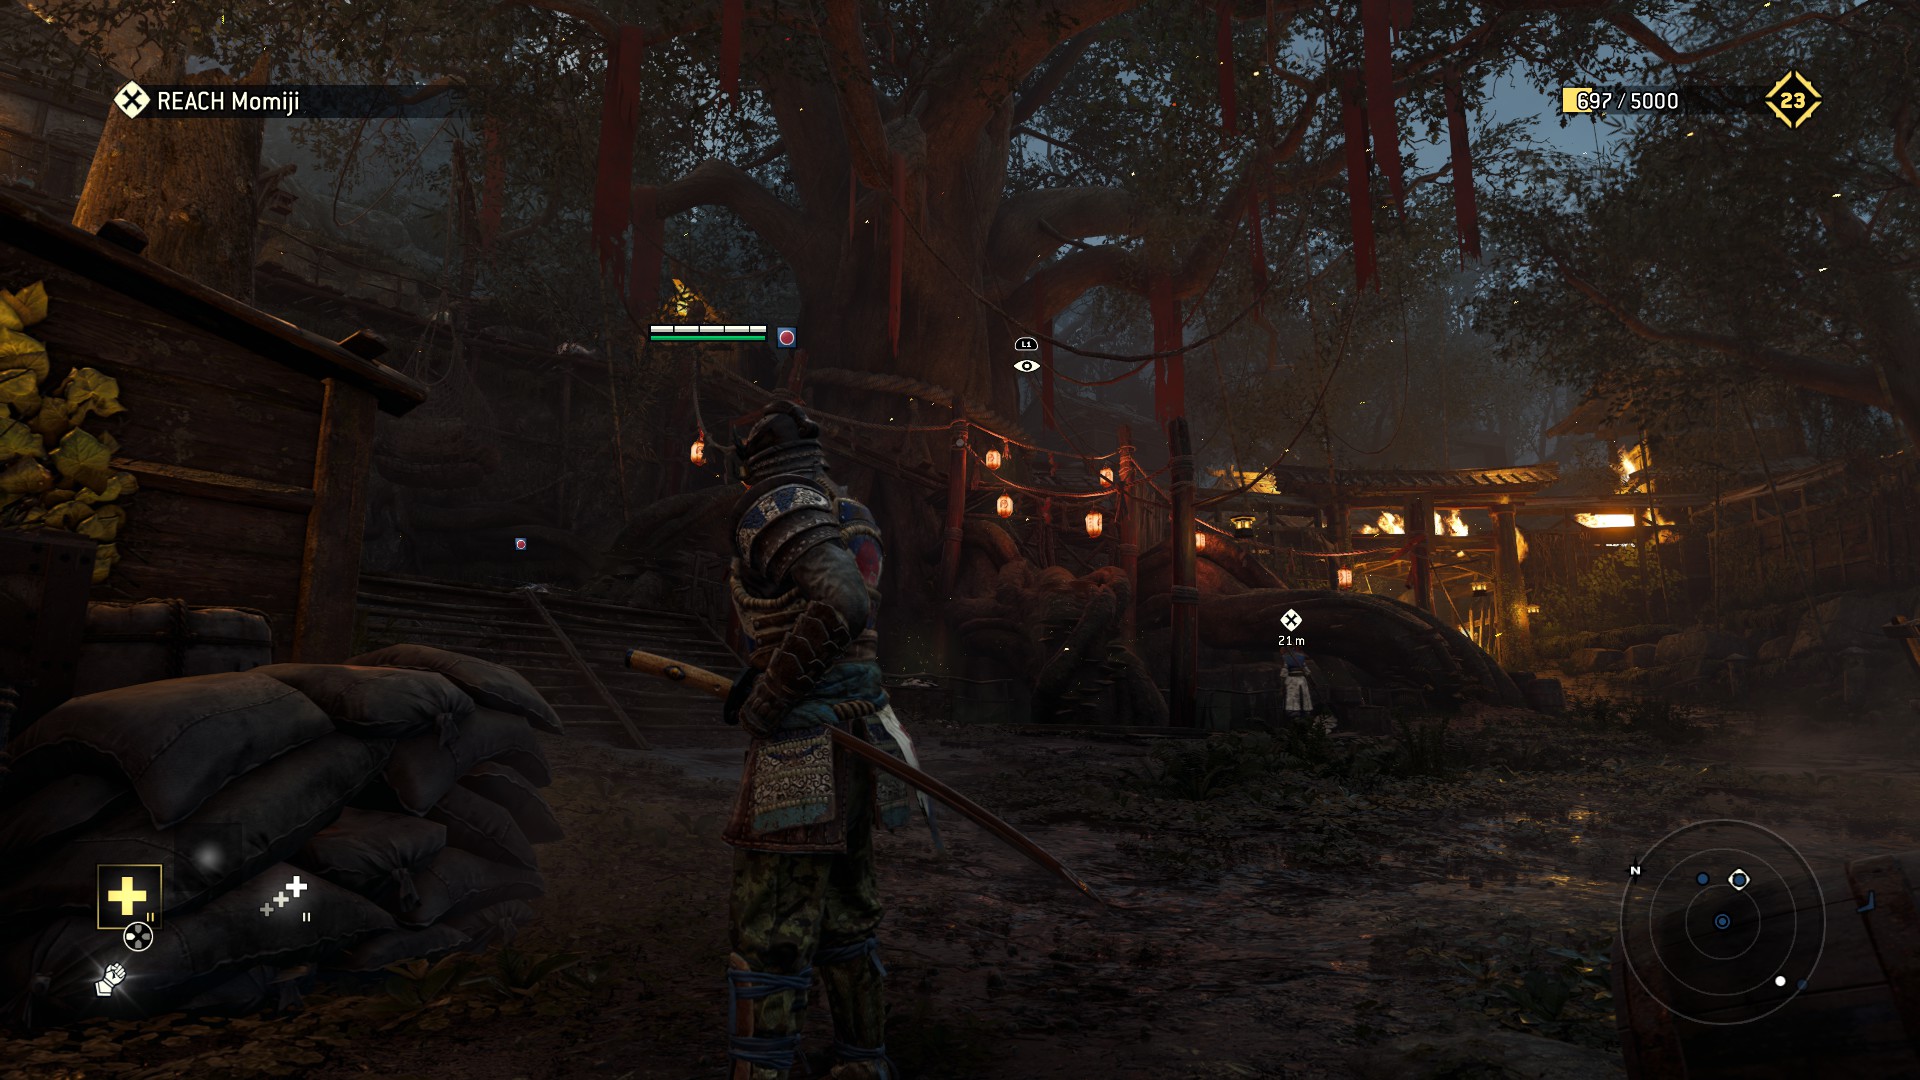
Note: The existence of POTS up the stairs to the left of that tree must be remedied!
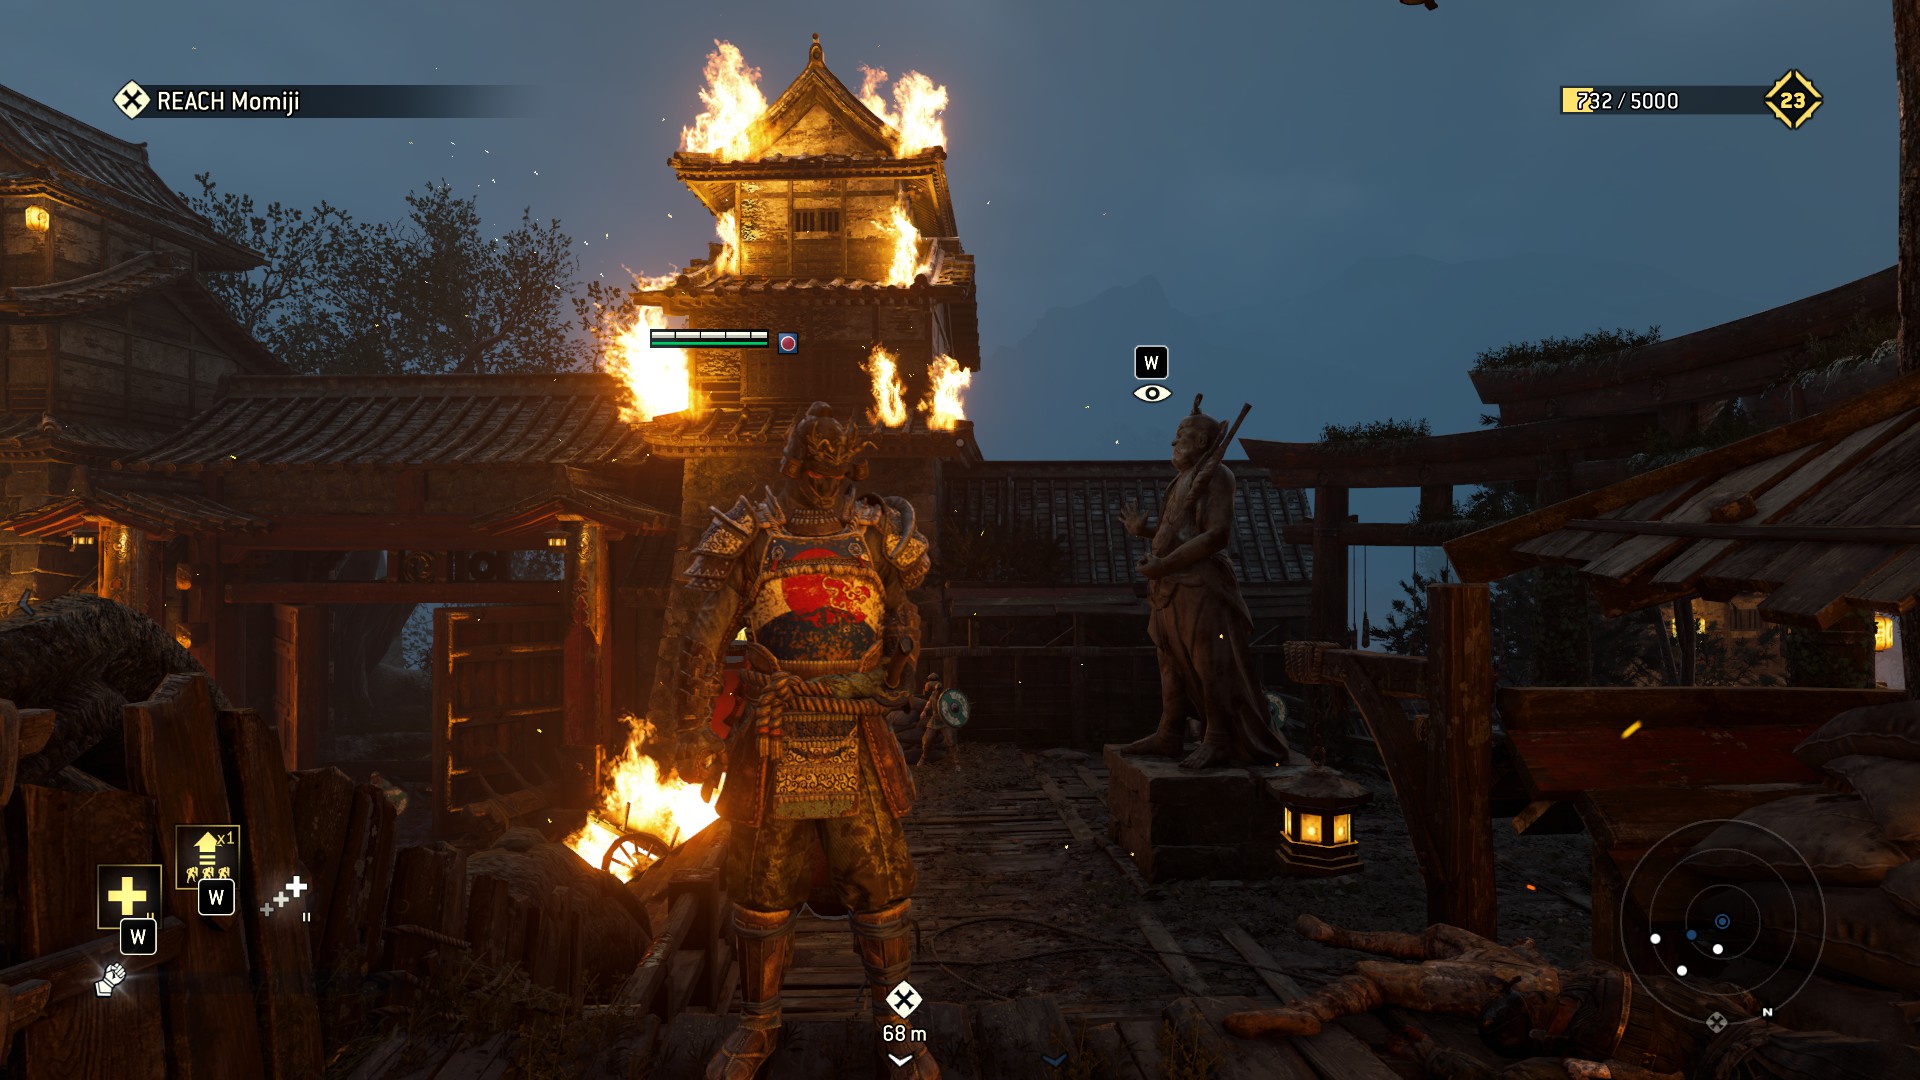
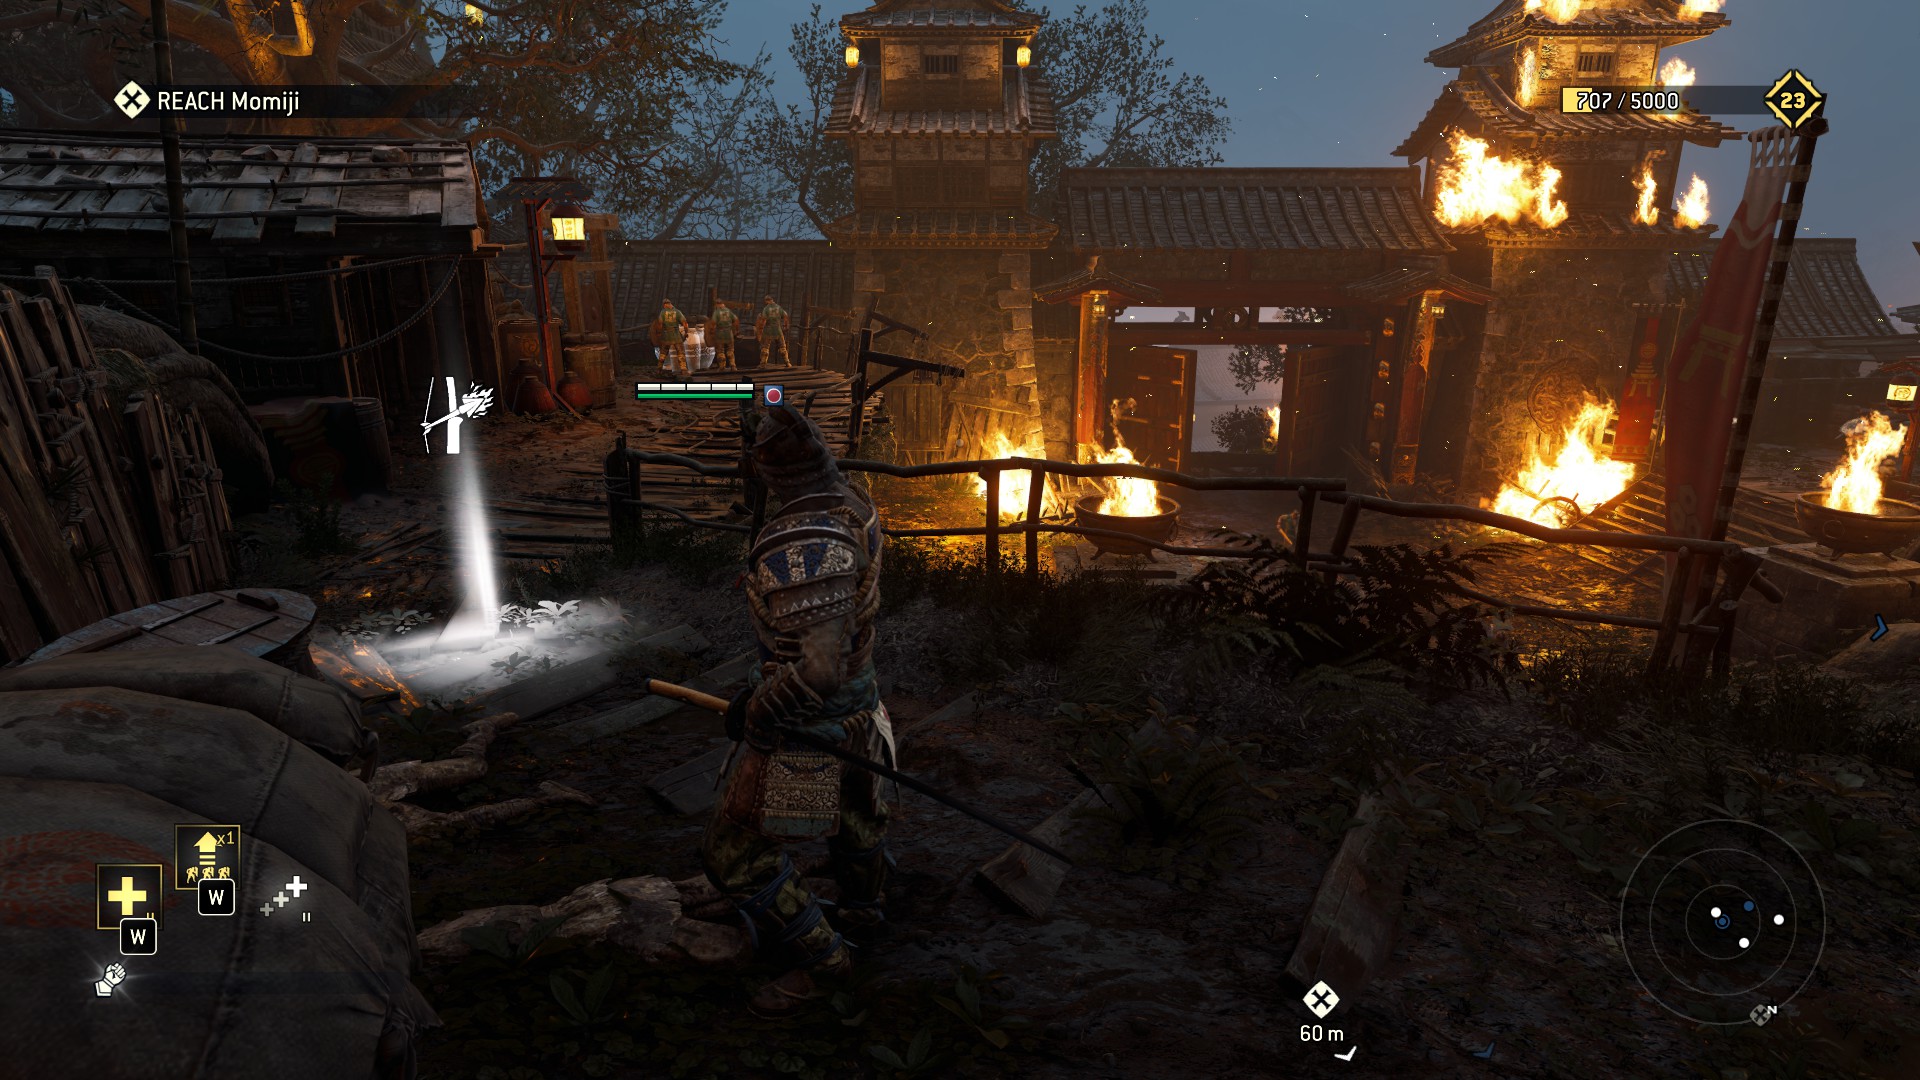
That's it, all done, enjoy the QTE.
3.2 - Thinning The Herd
Moo?
- Gary Larson
We are back at the swamp and that mean trees. trees and more trees making it kinda difficult to give directions but now theres 3 bases: Red, Yellow and Blue so it would be more easier.
Now where...
1) This one its near you spawn guarded by some generic soldiers.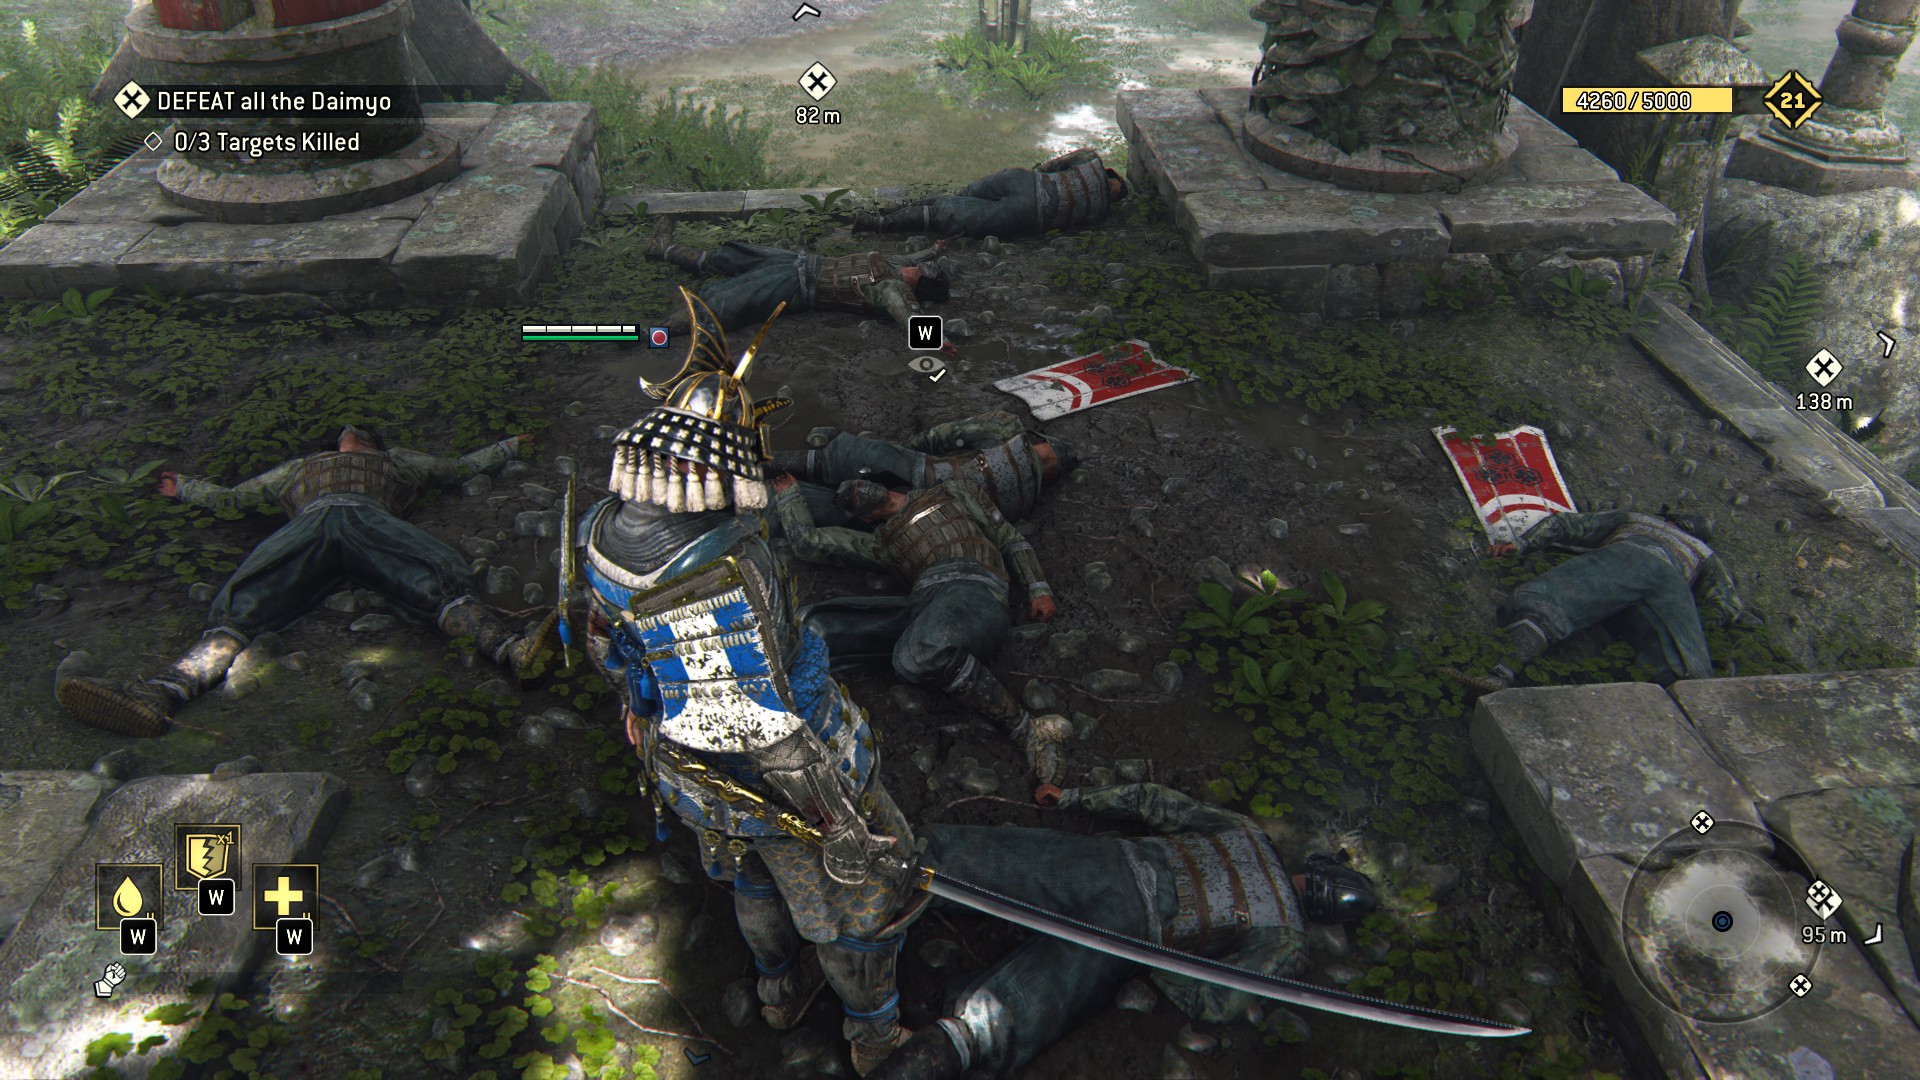 2) We back where you spawn and go straight to a hollow tree, it will lead to a gate with the observable and you first target.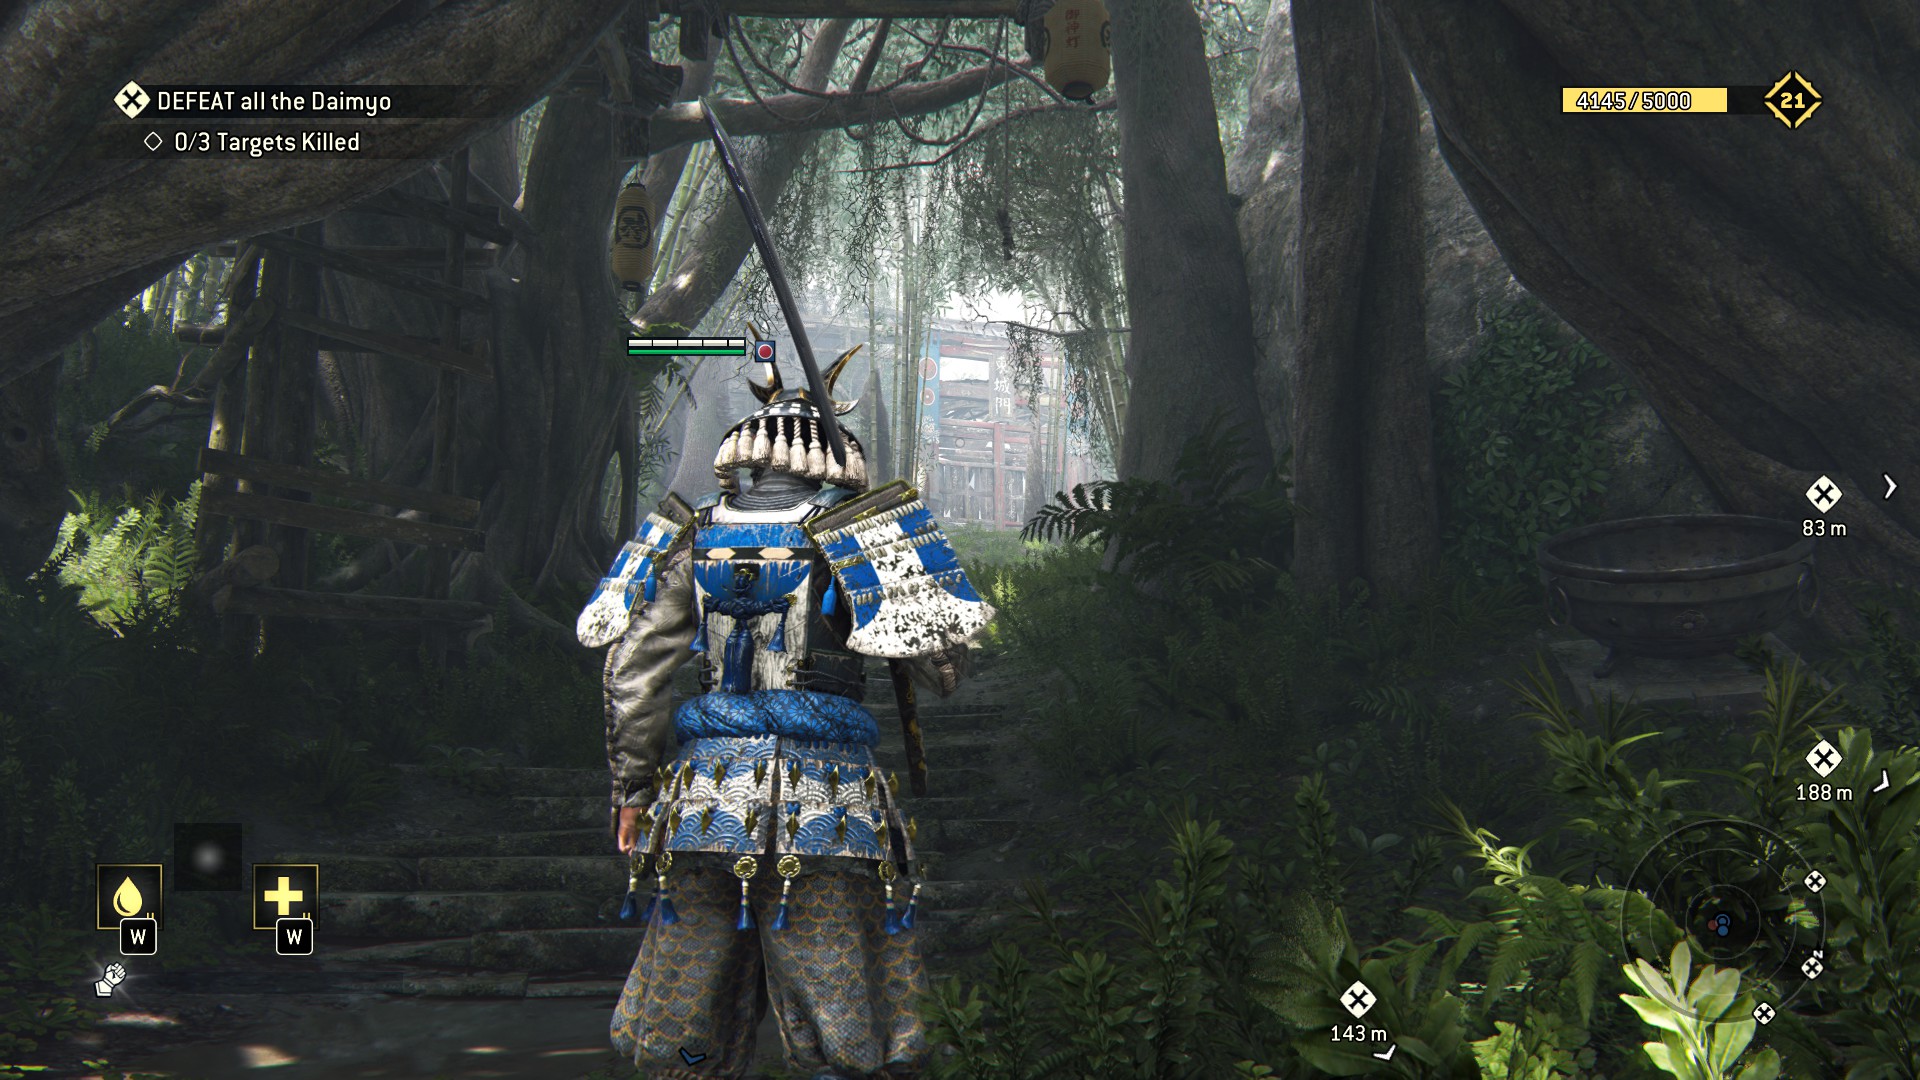
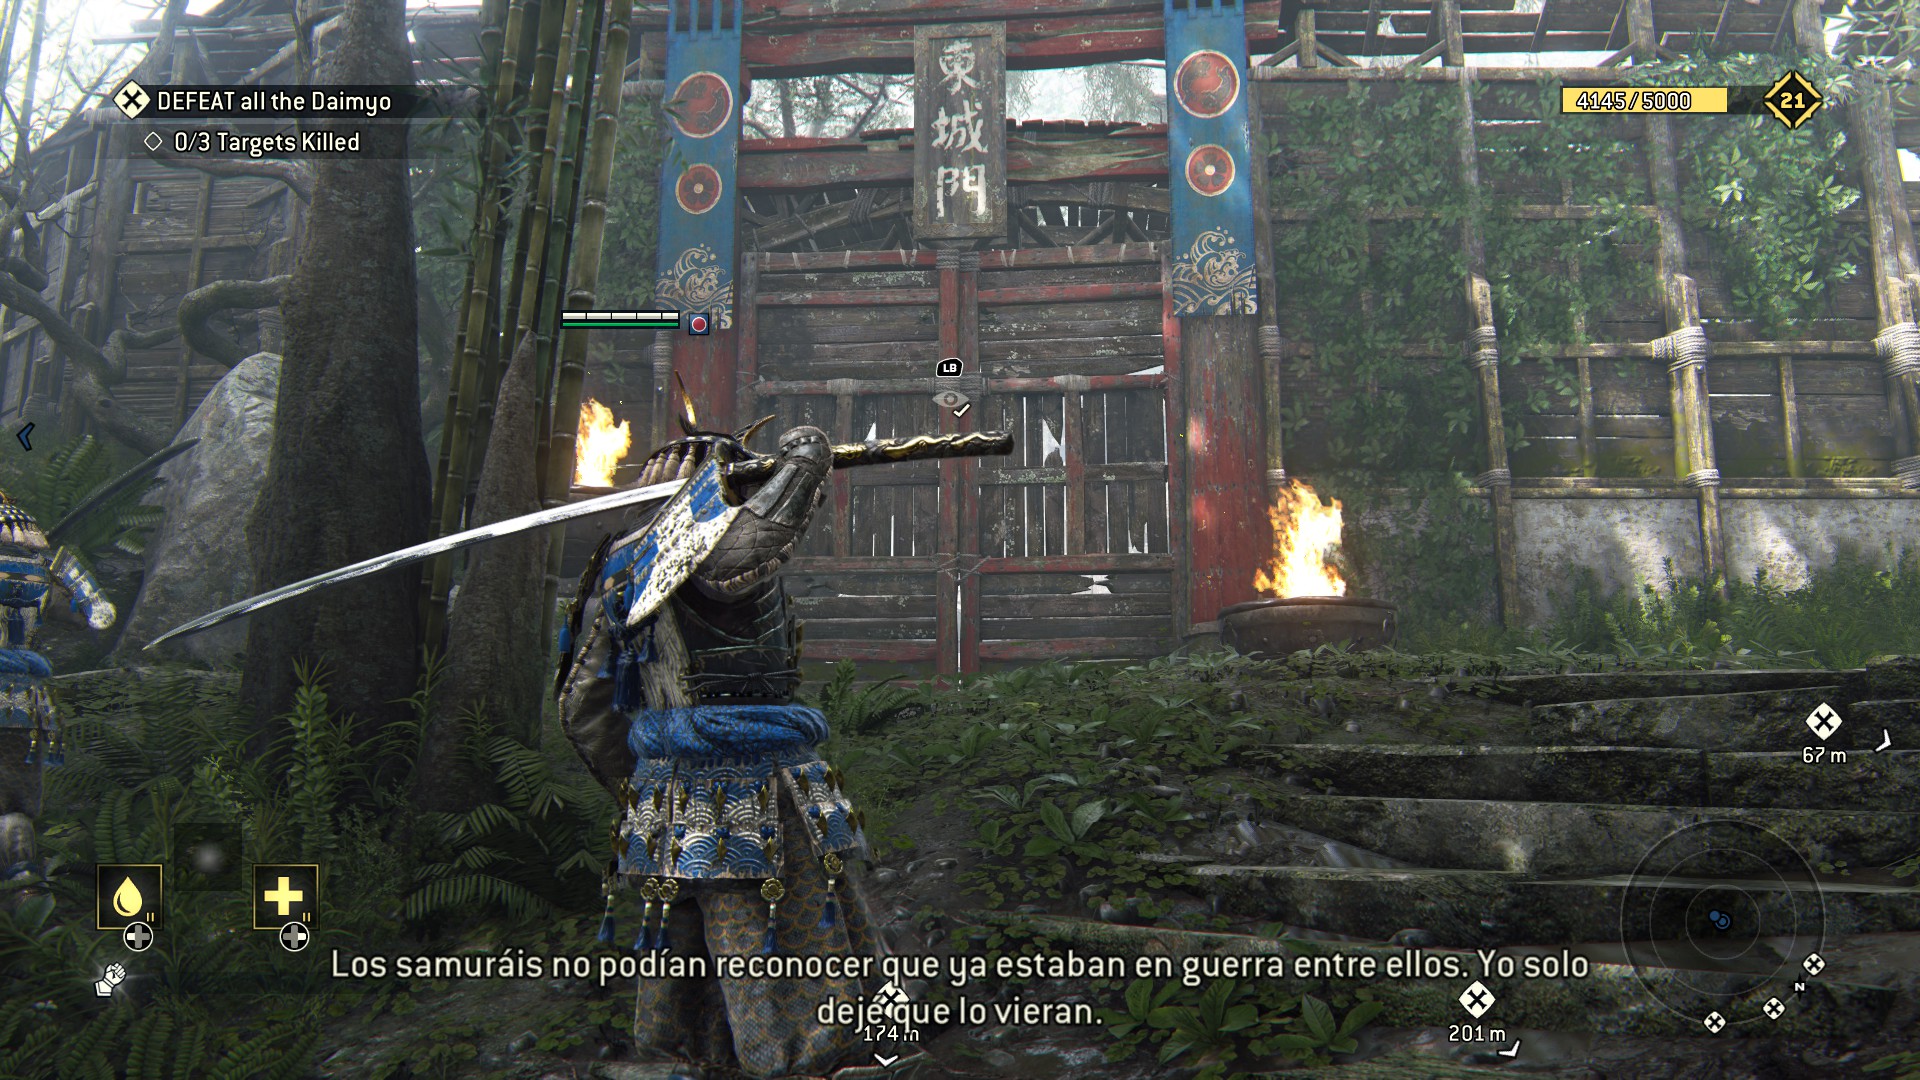 3) In the place where you meet the female kensei, look at the statue and next to it some breakables.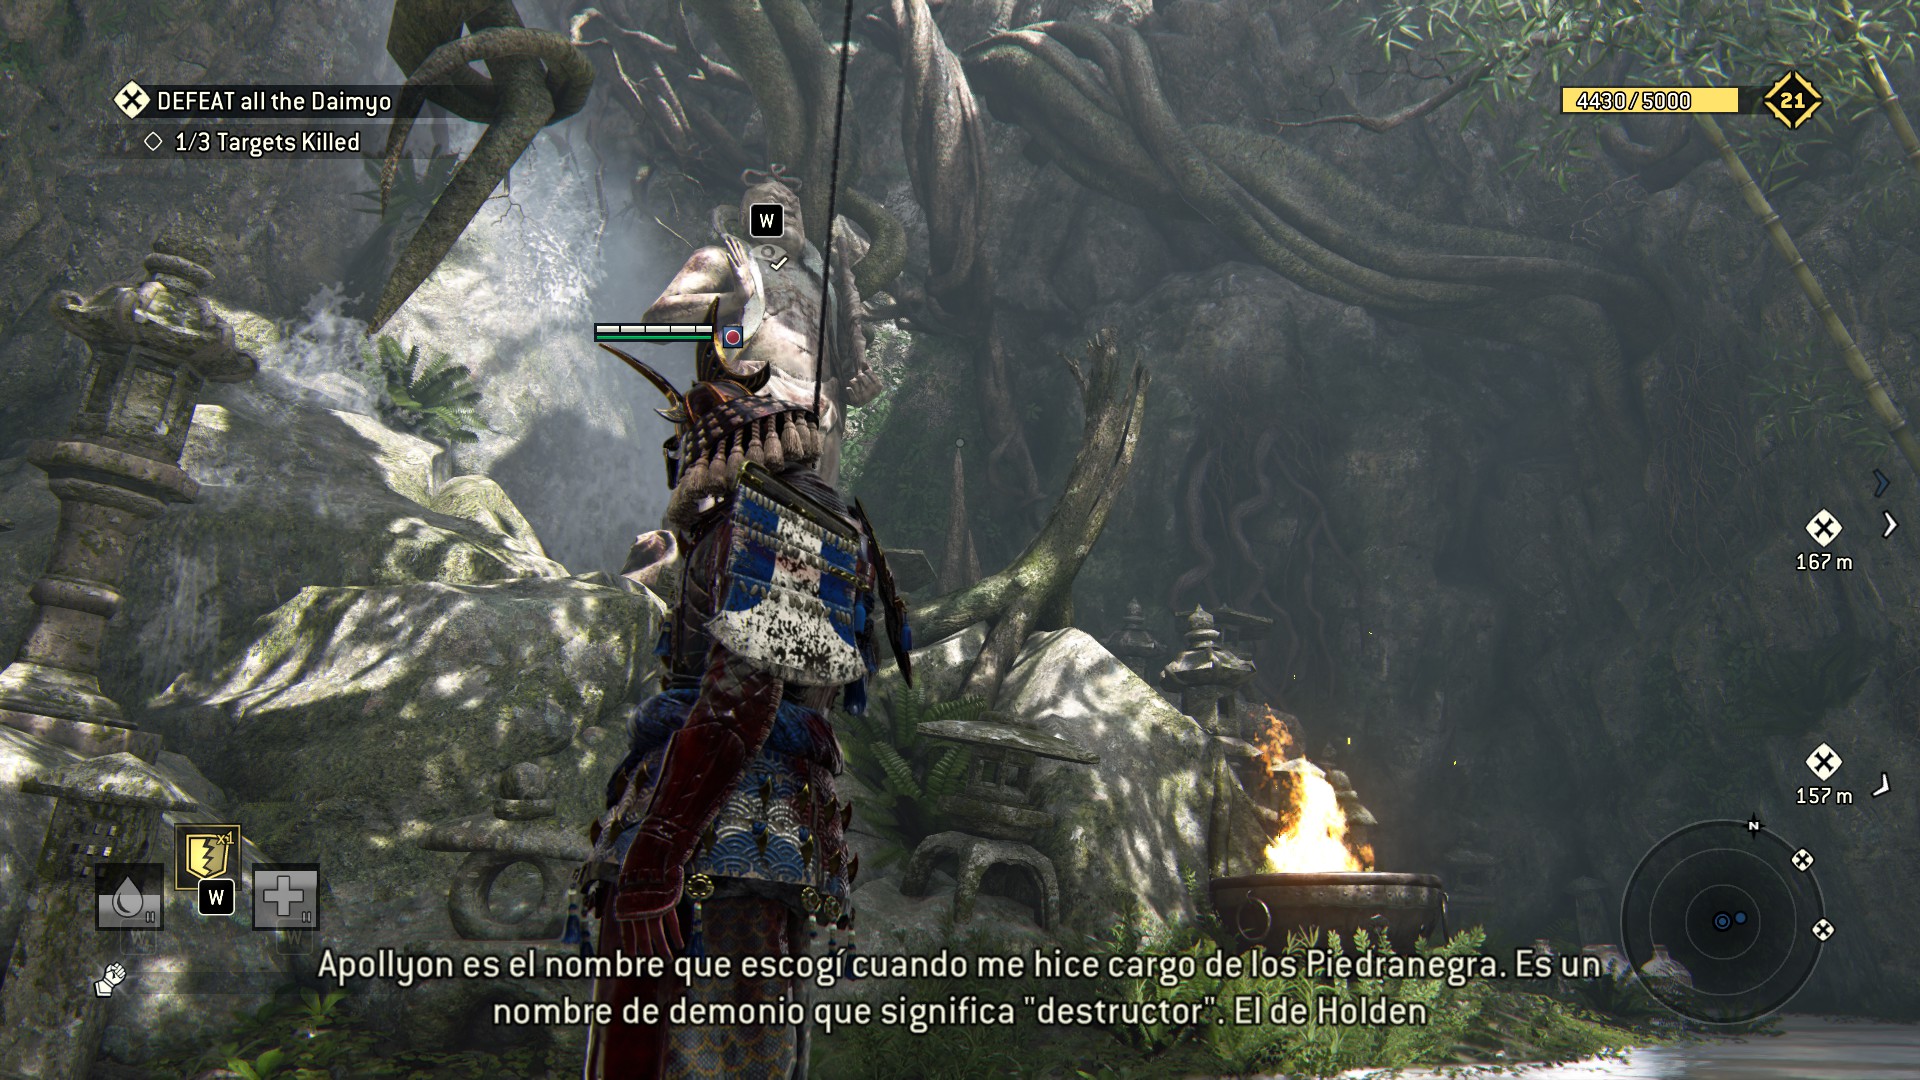
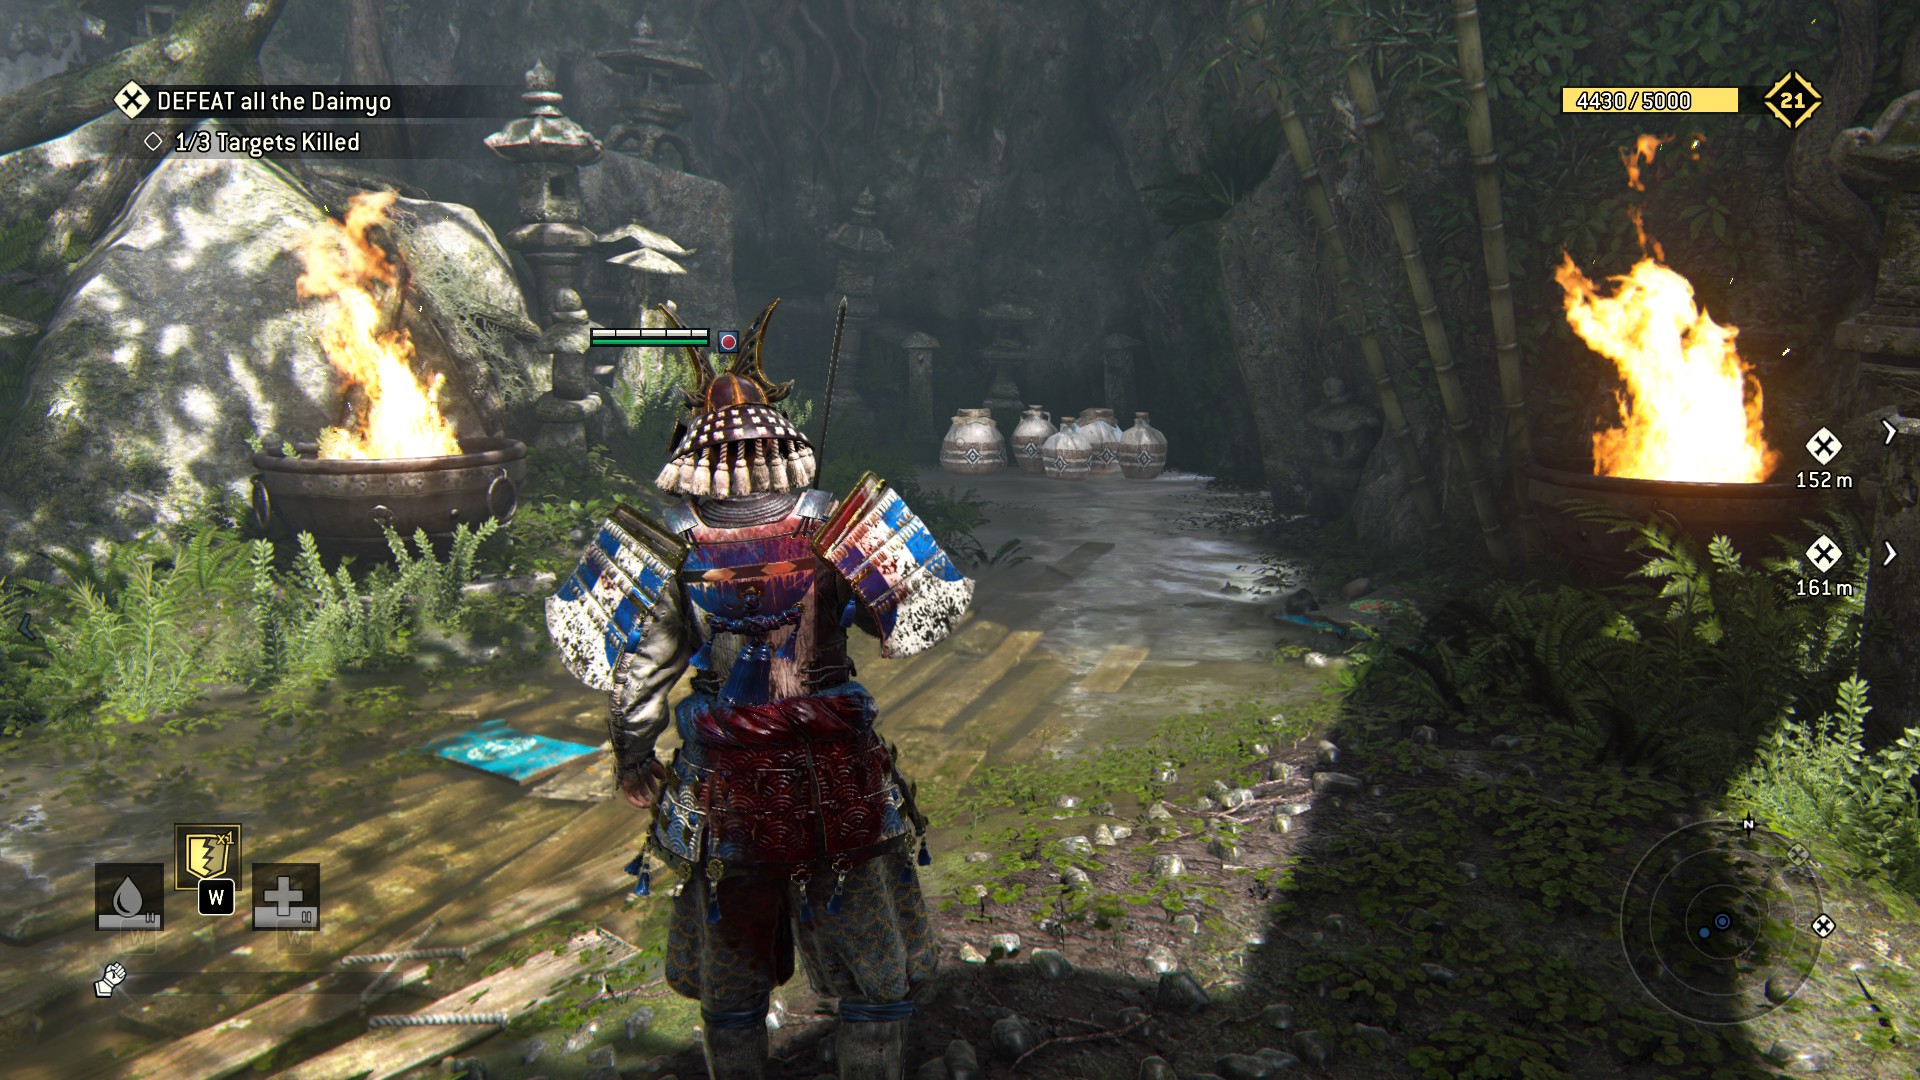 4) Now we go to the next Daimyo at the Yellow base, here its only one breakable.
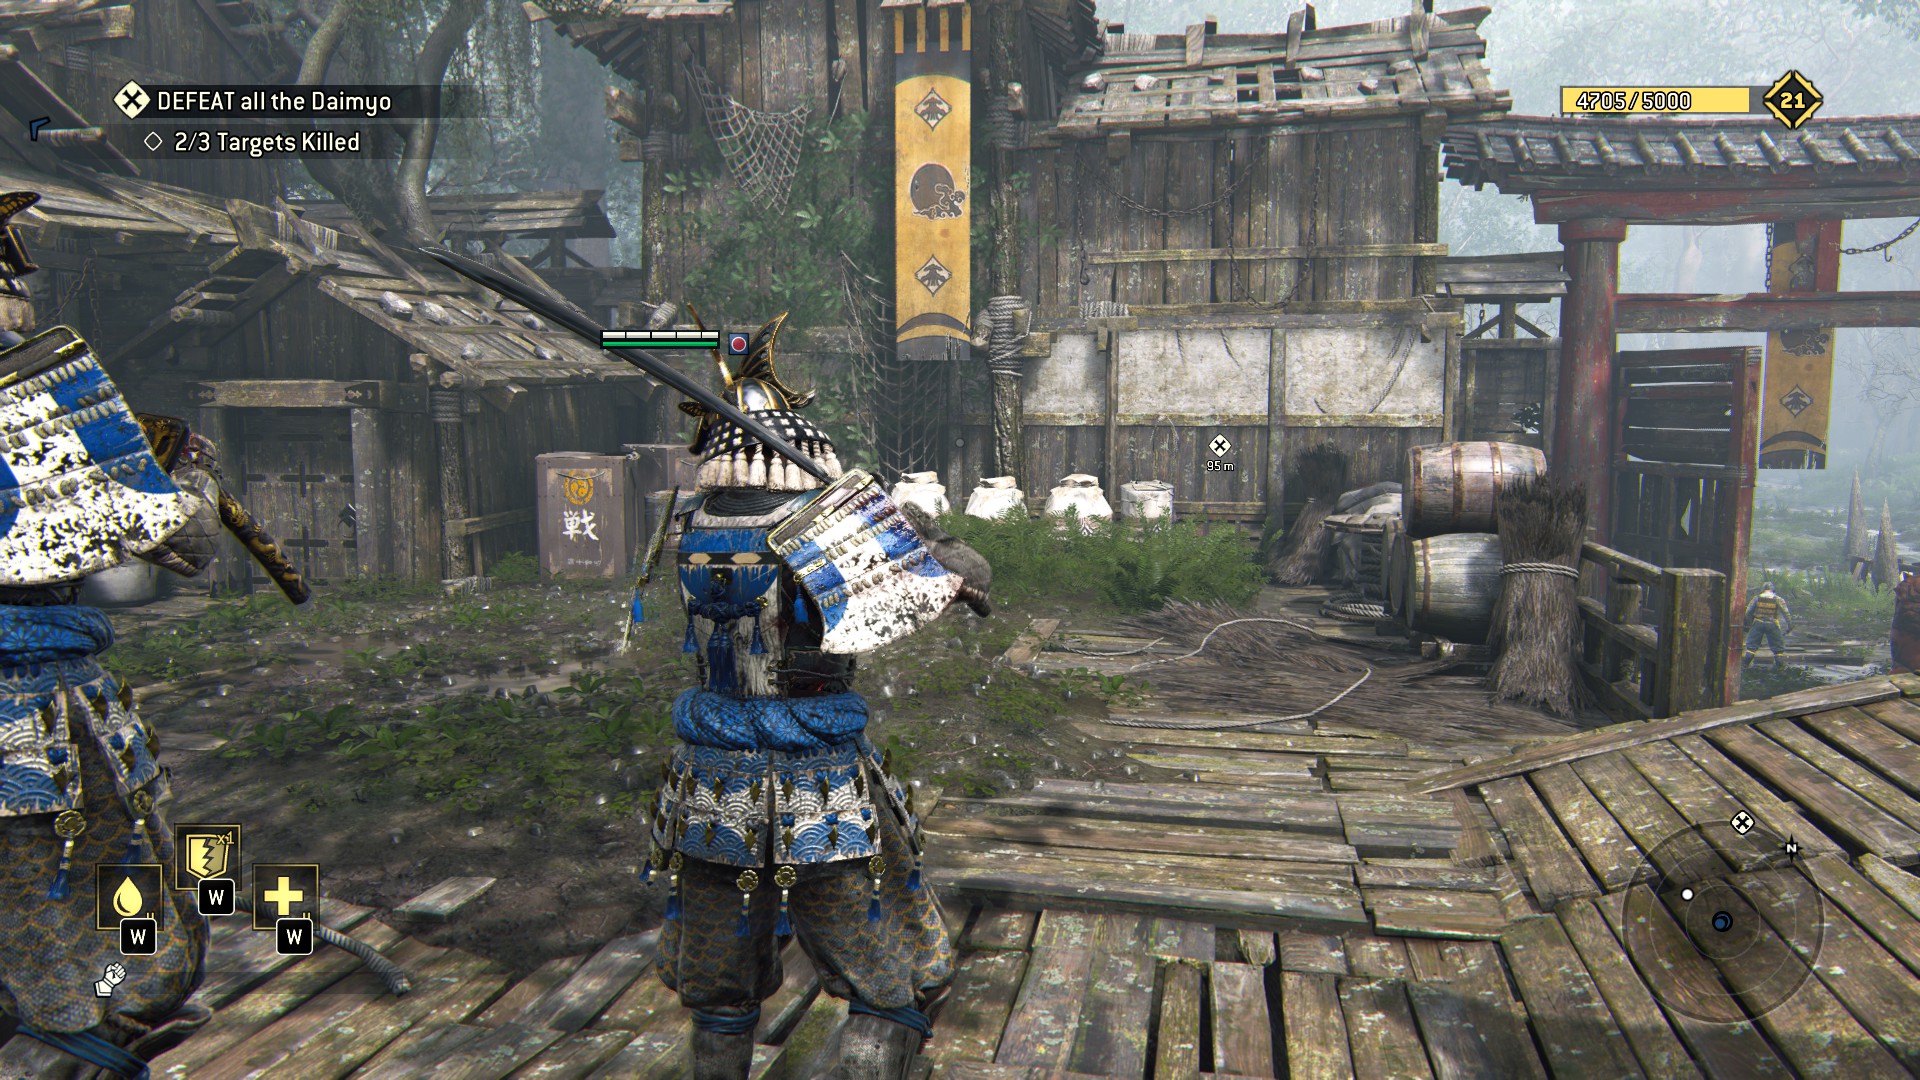 5) After killing the fattie and leaving his base to you next target look for a bell, you can see it from the yellow base exist.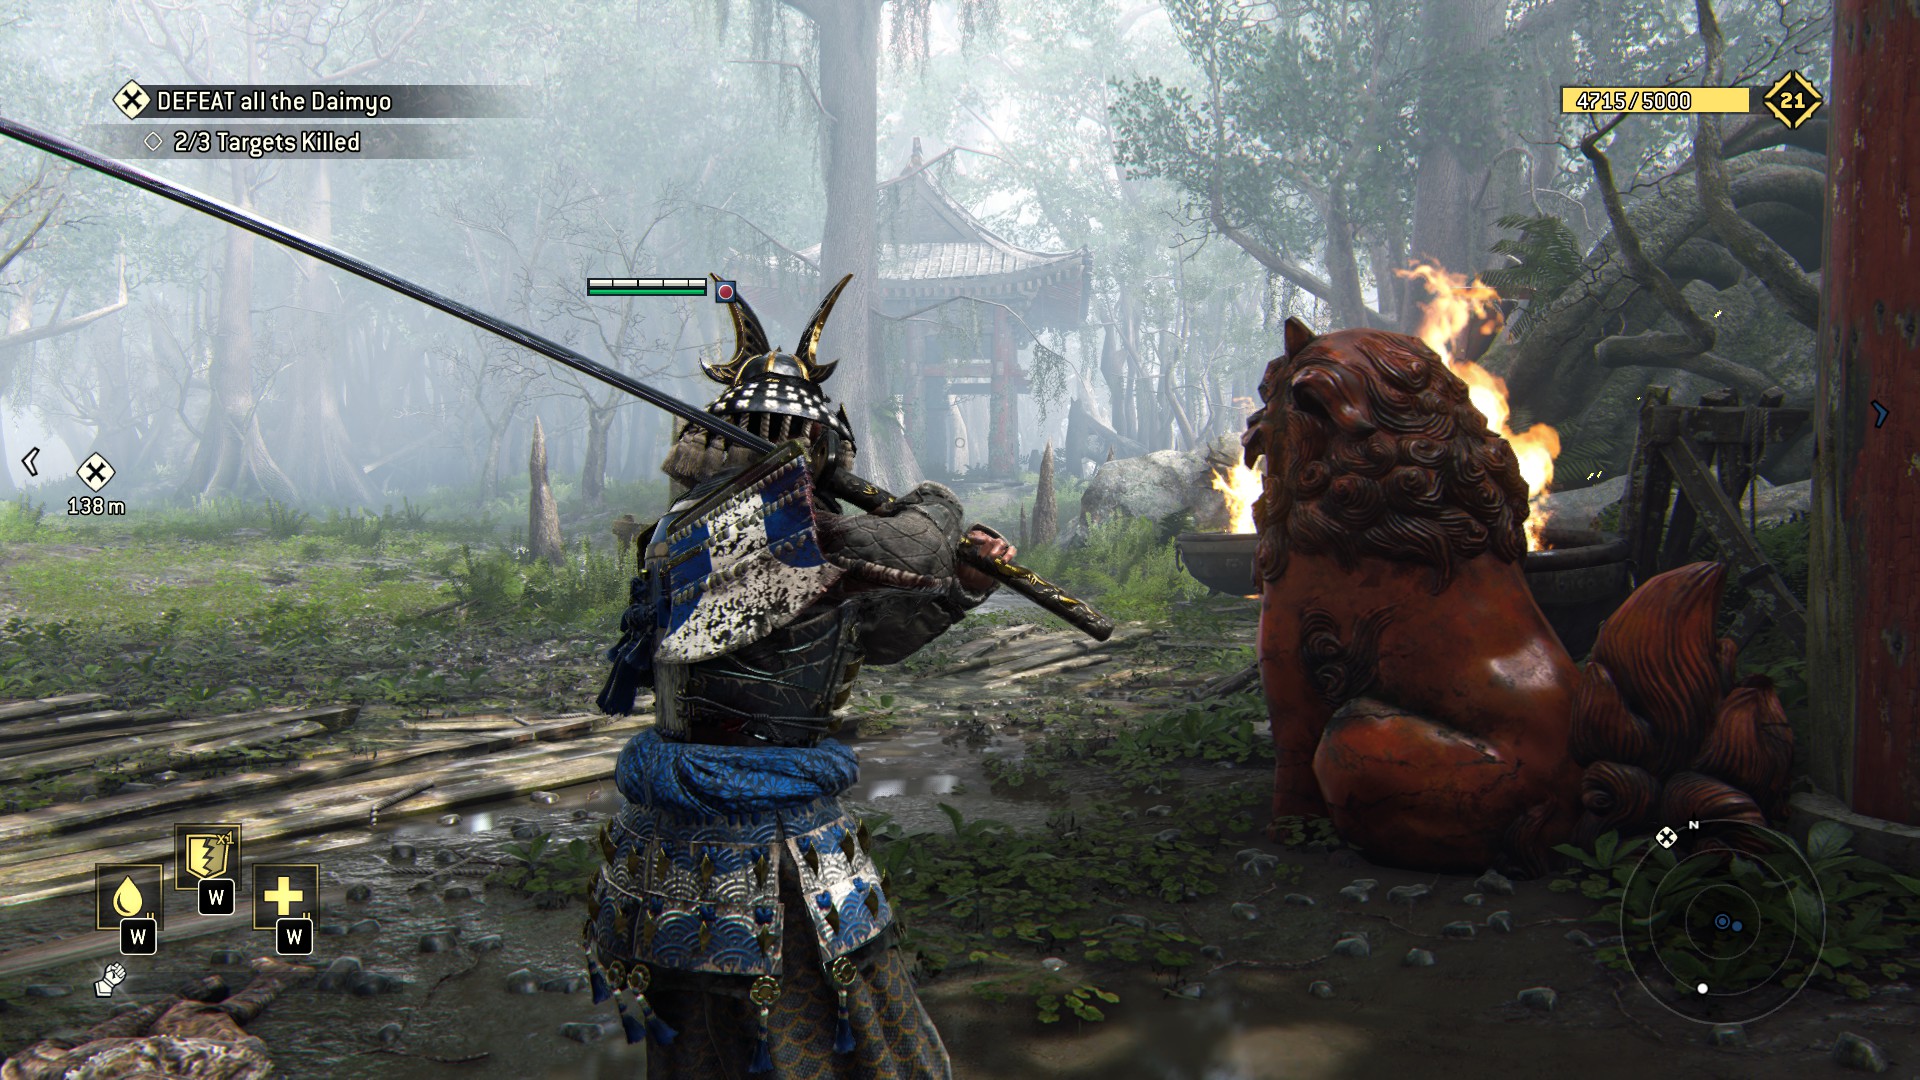
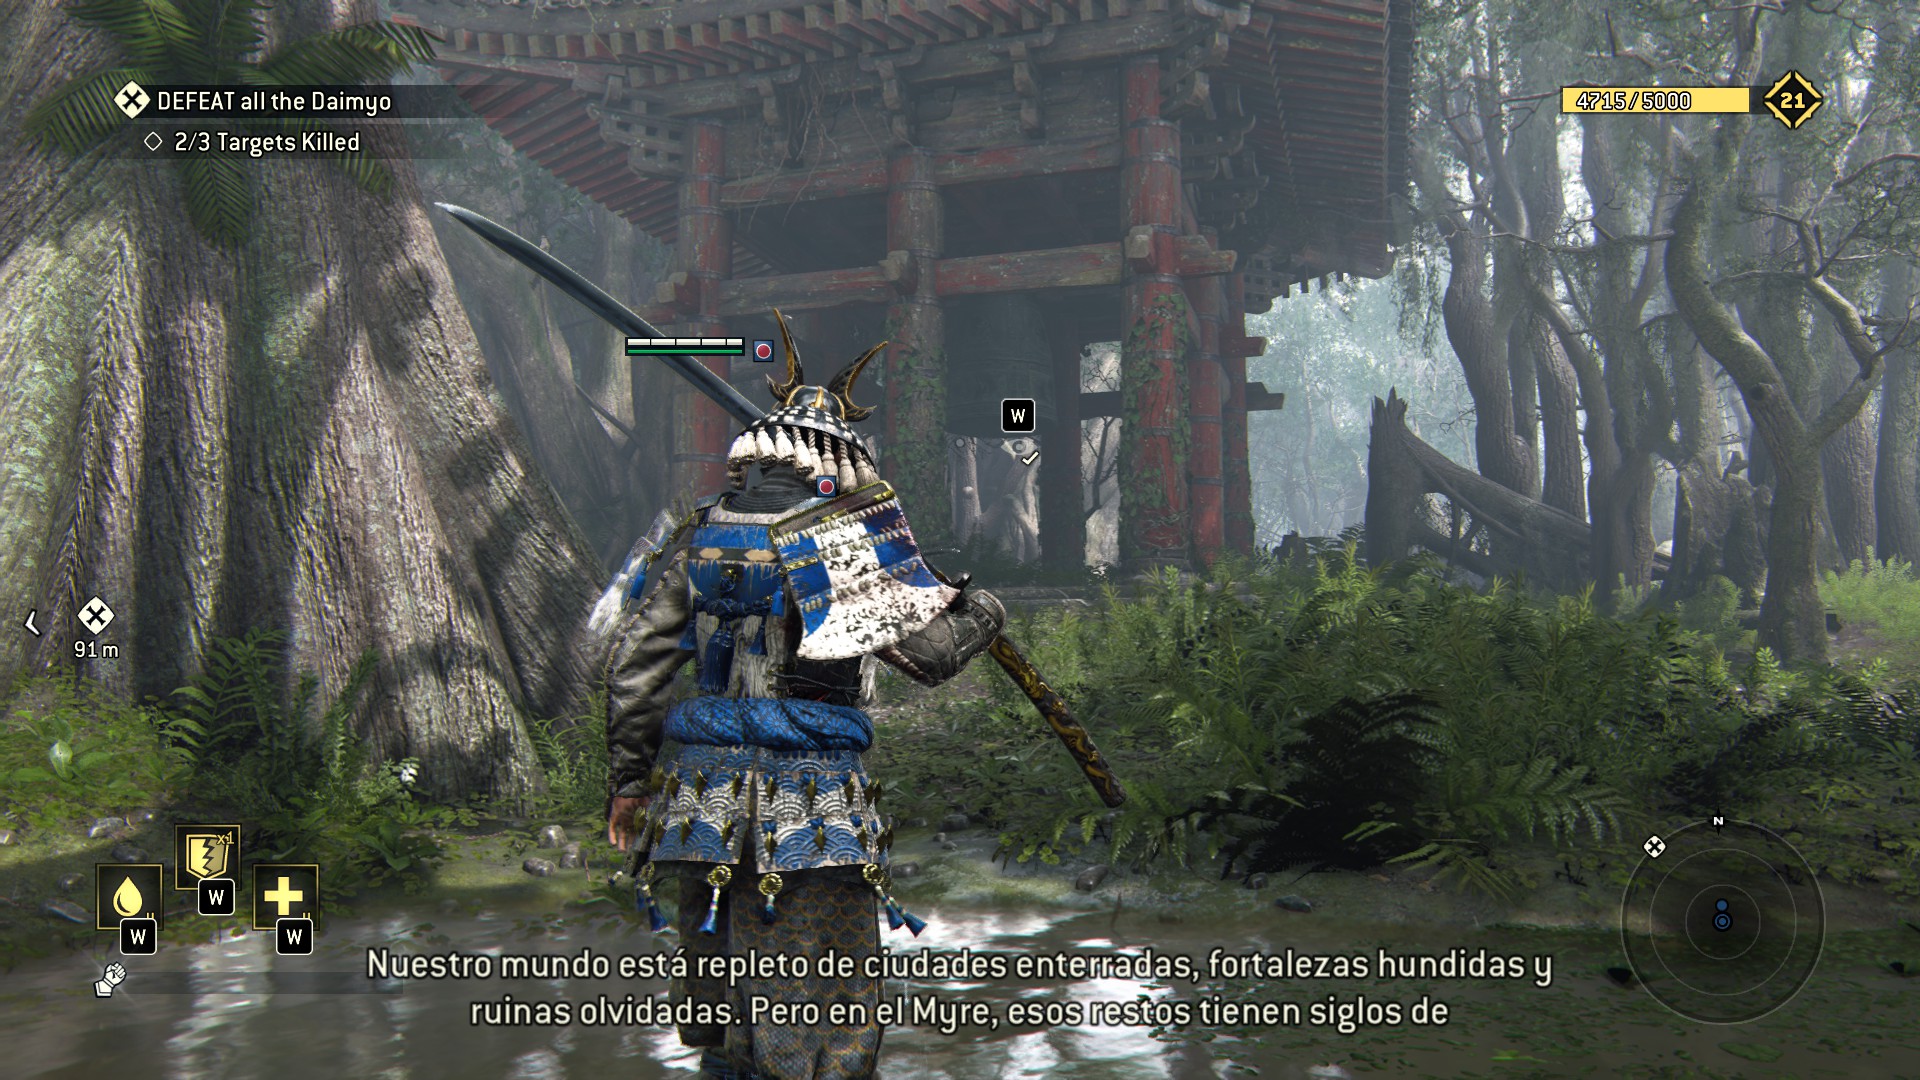 6) Oh the oldies, if you remember 2.5 this gonna be even easier, its the same watchtower where the zerker was jailed.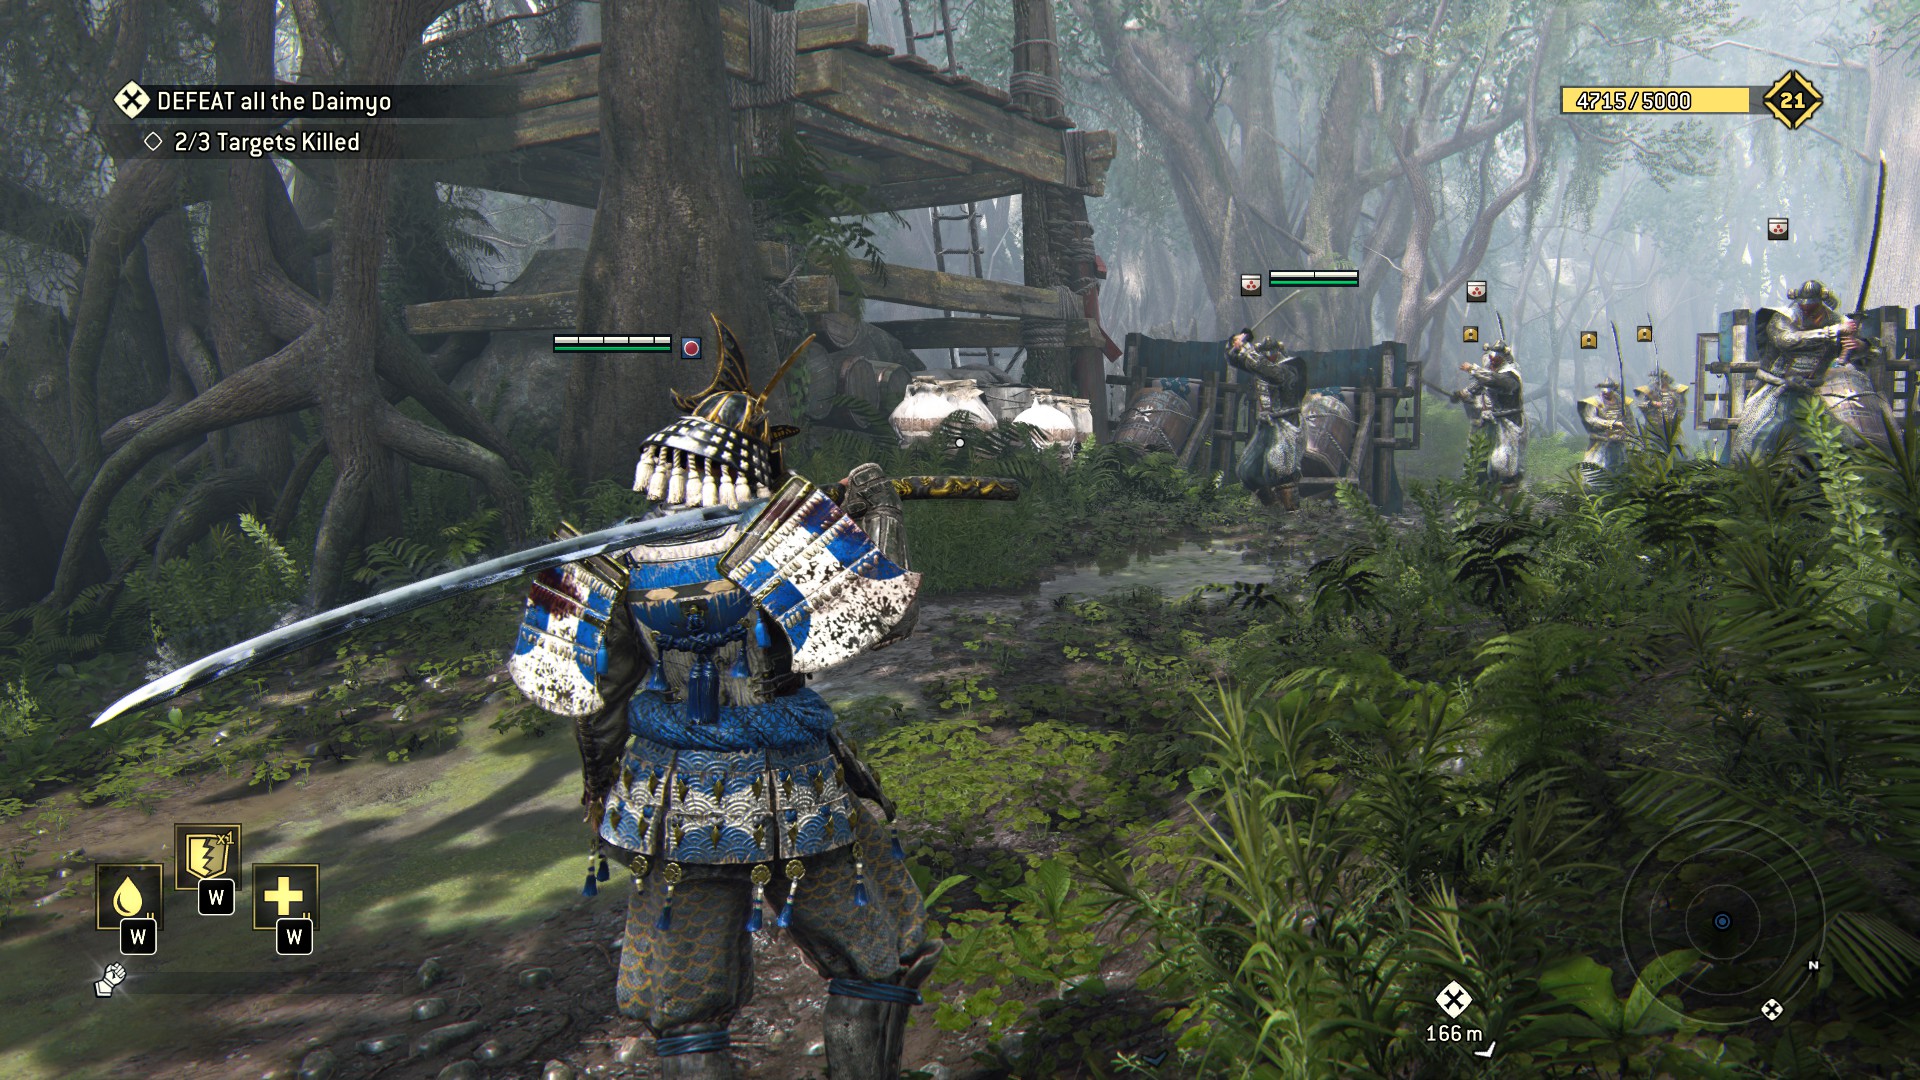
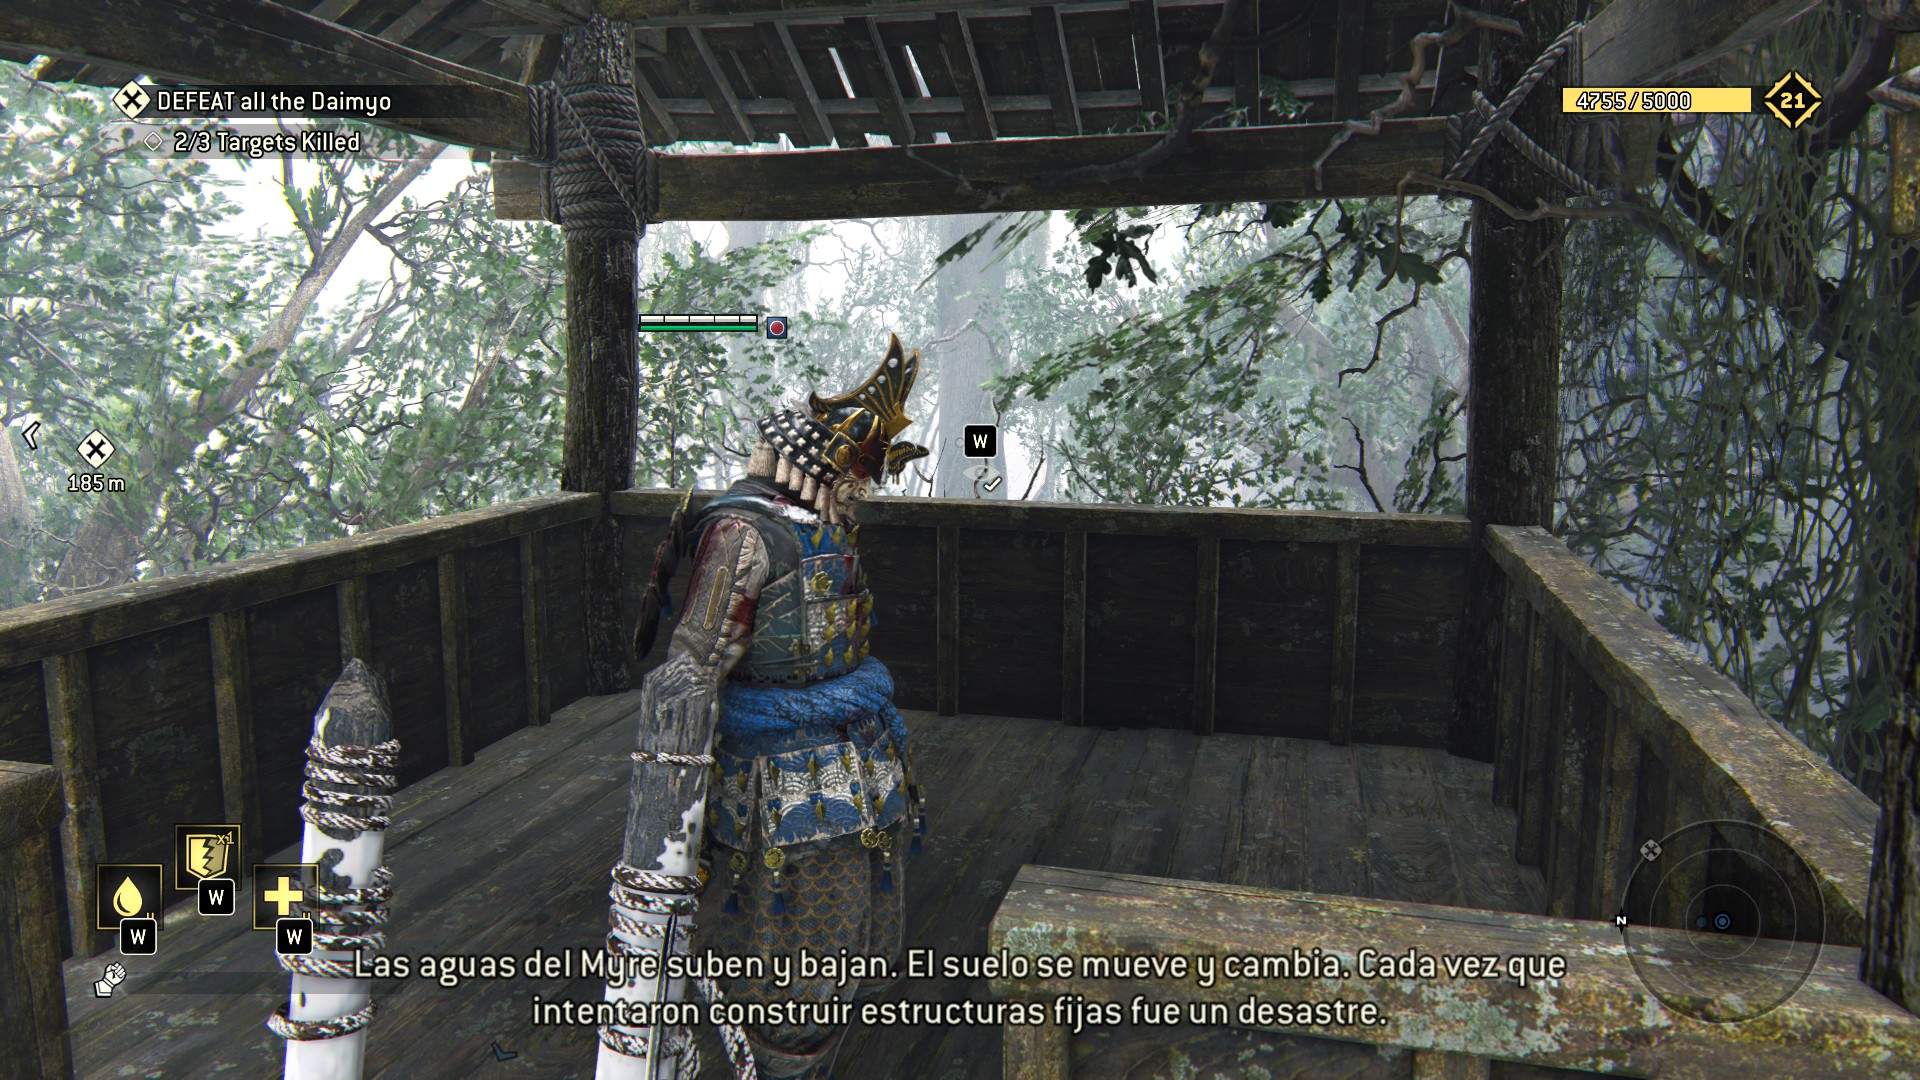 7) In direction to you last target go to the destroyed ship and then go to the docks for the last breakables.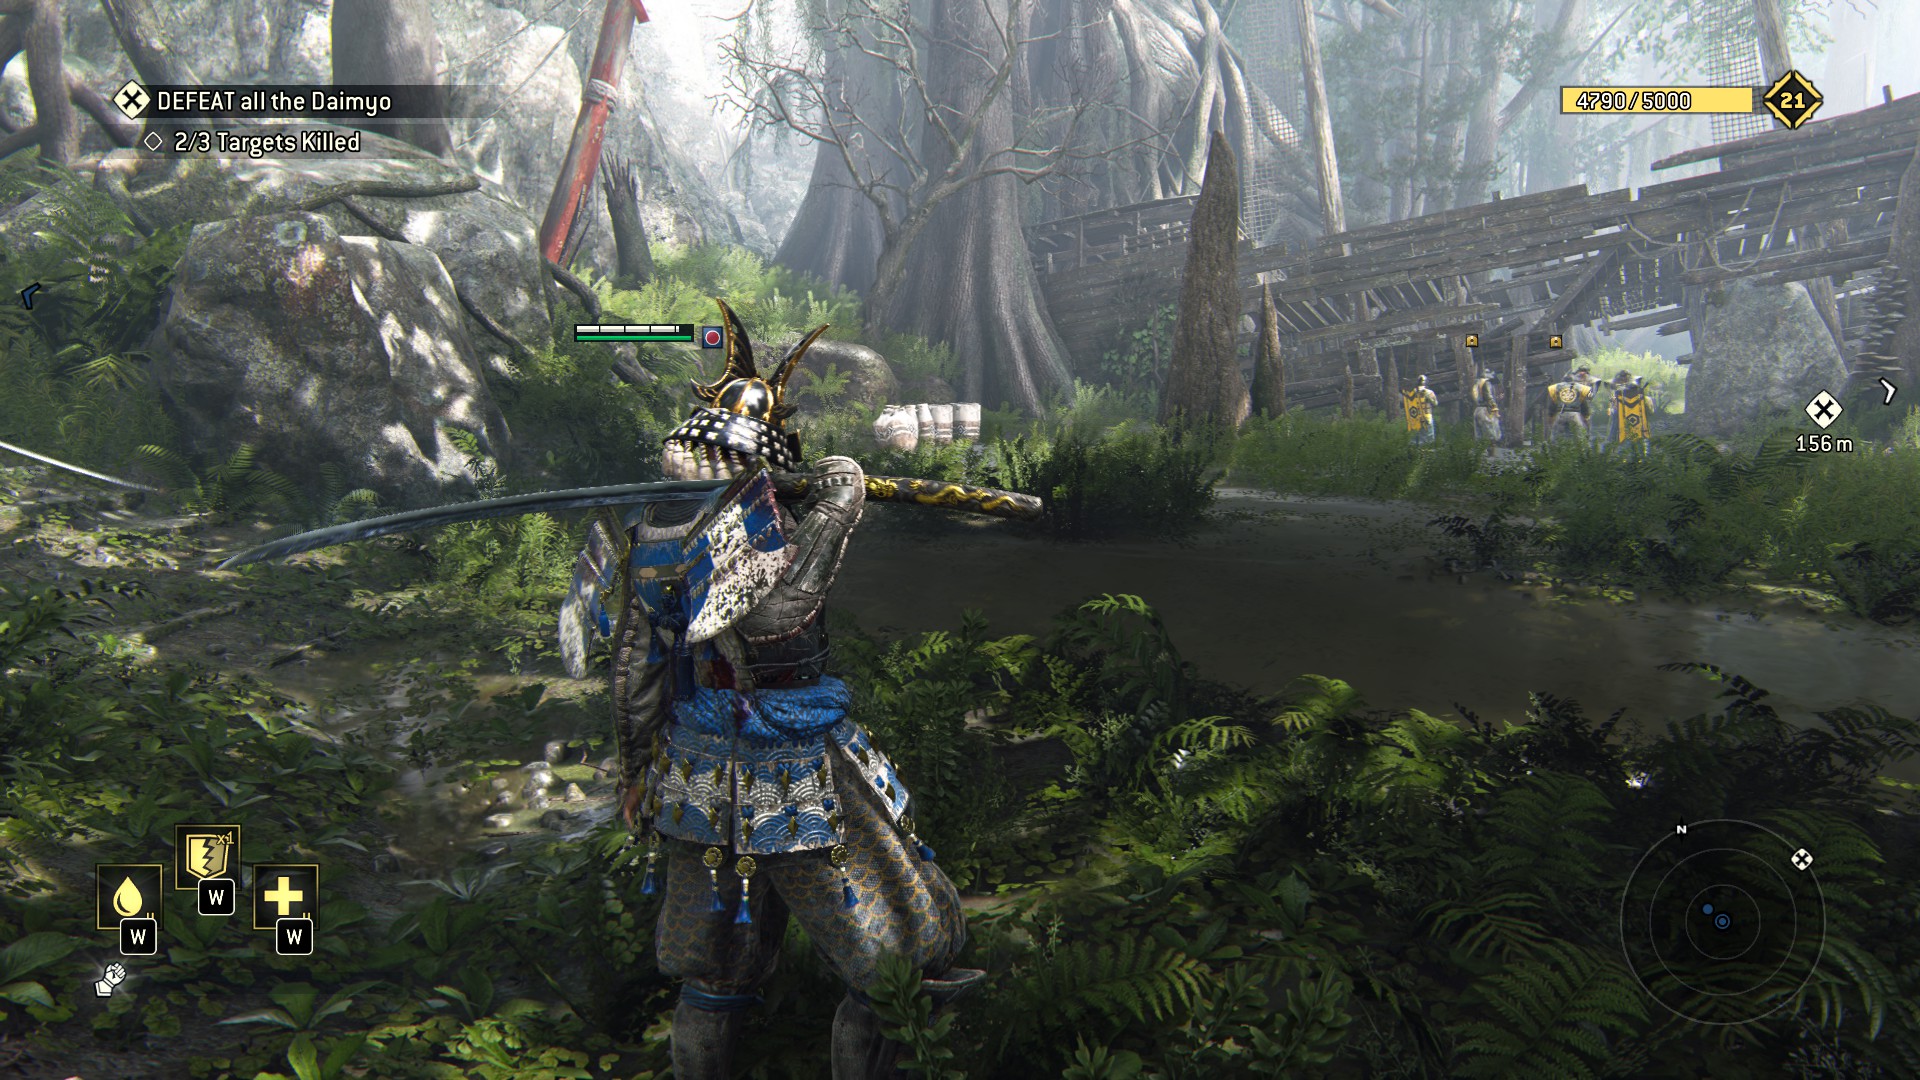
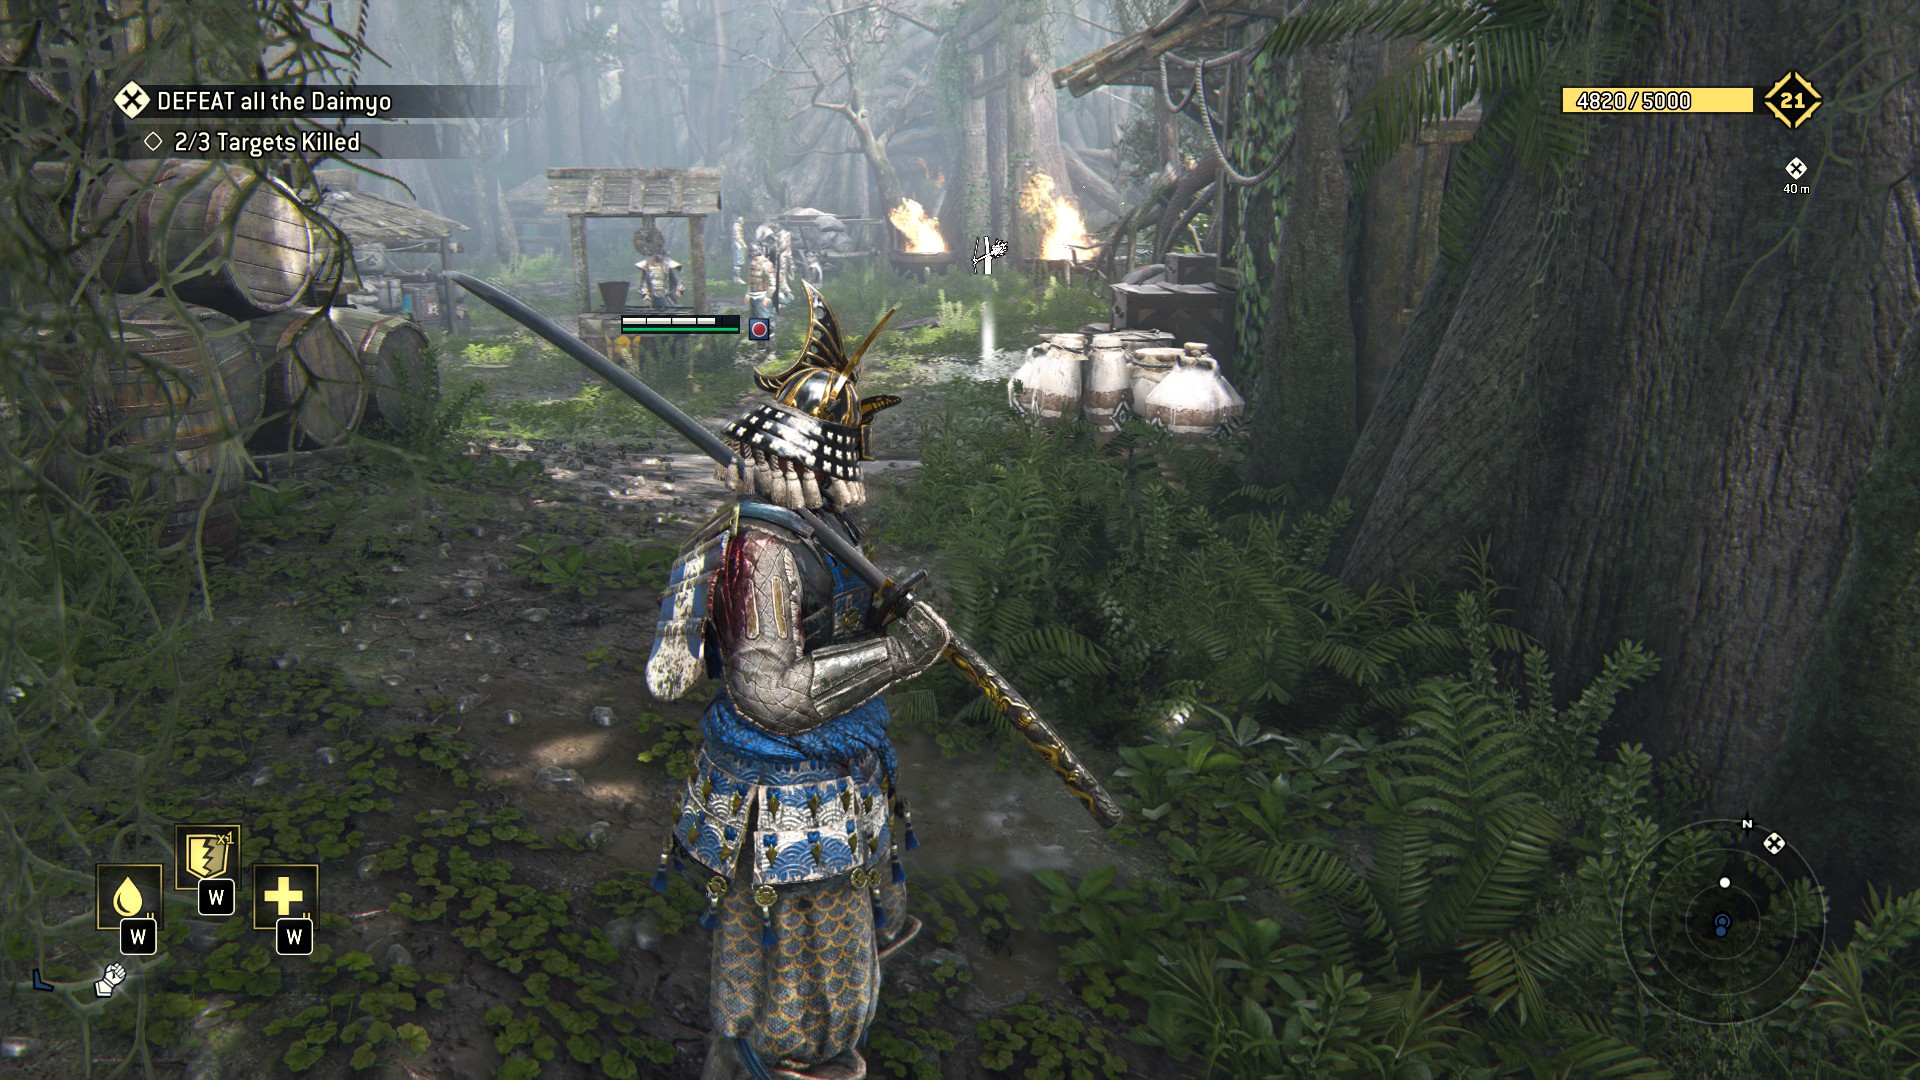
Thats it, now you are the last Daimyo.
3.3 - Picking Up The Pieces
Thus let it be known throughout the land, that from this time and forever more, no man nor any woman shall ever visit Dagobah more than twice.
- George Washington
But we did.
Seeing as we're all too familiar with the mire now, without further ado:
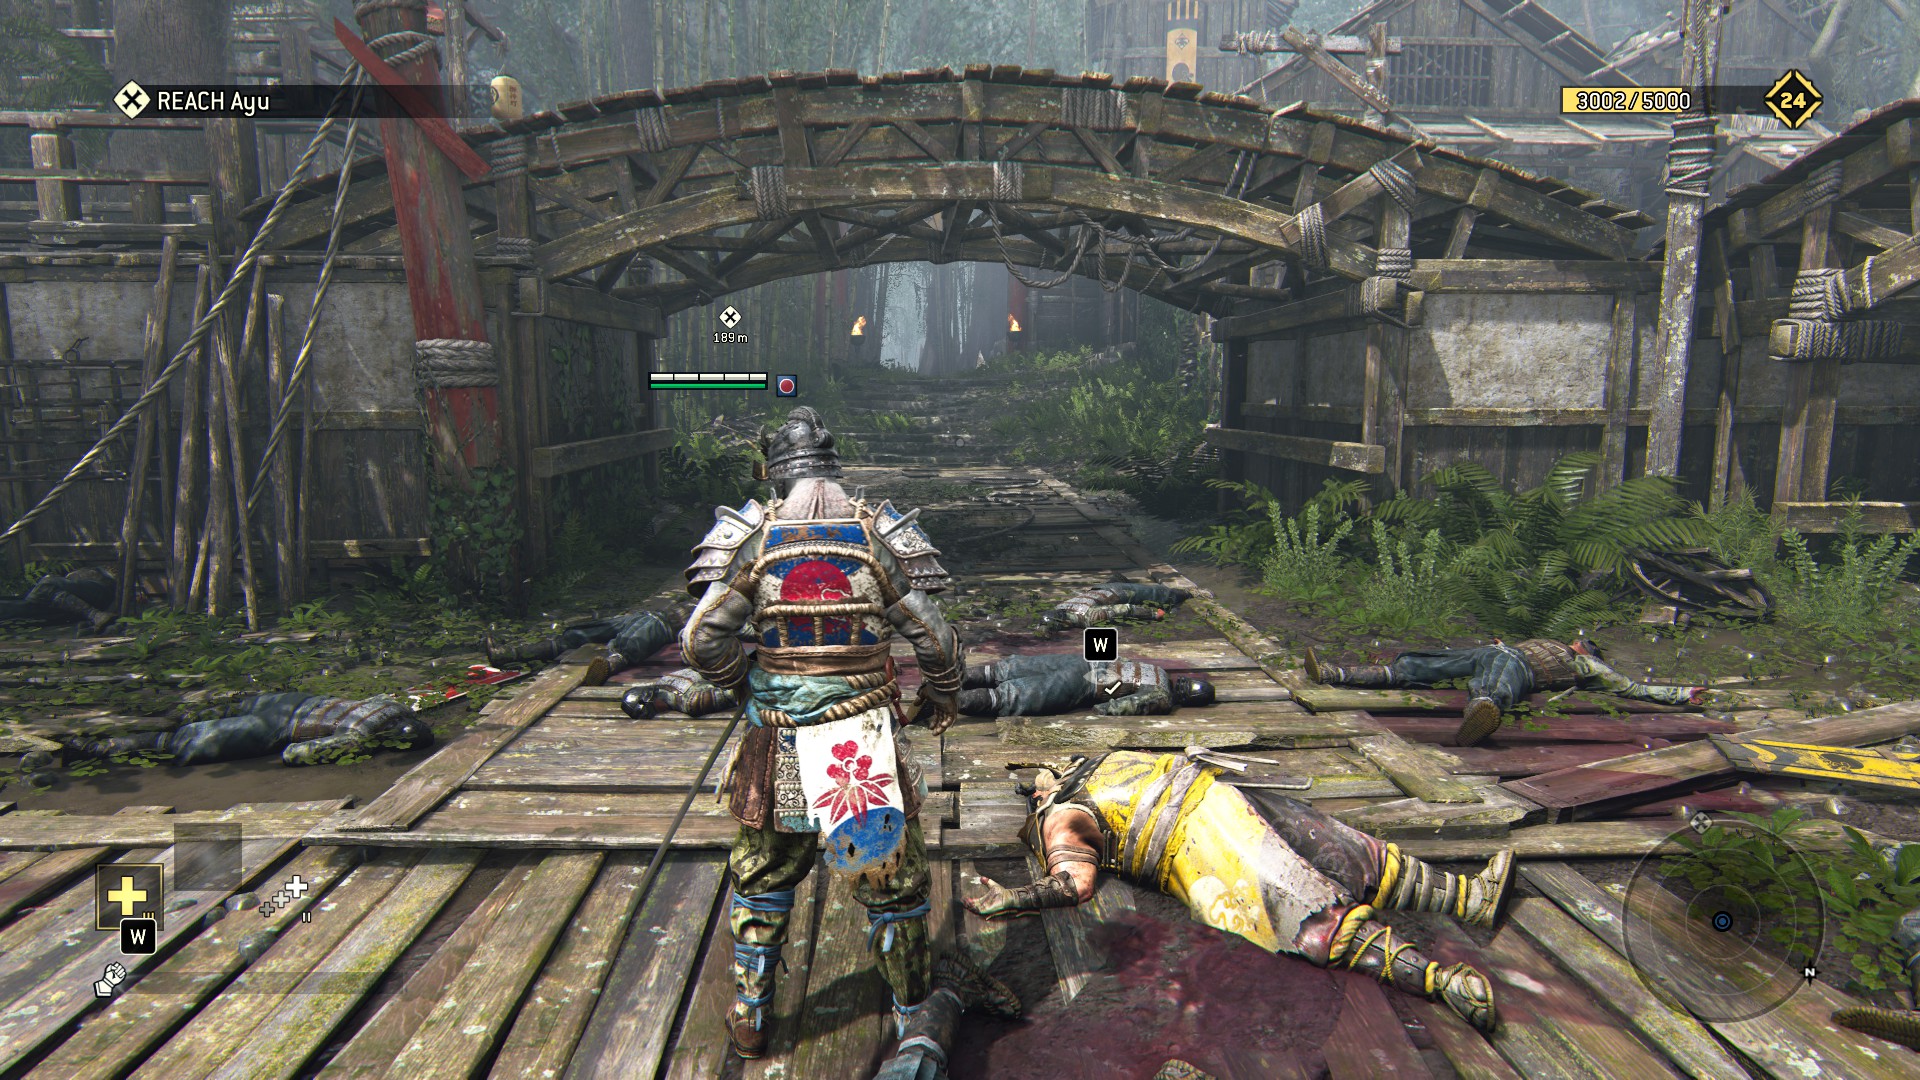
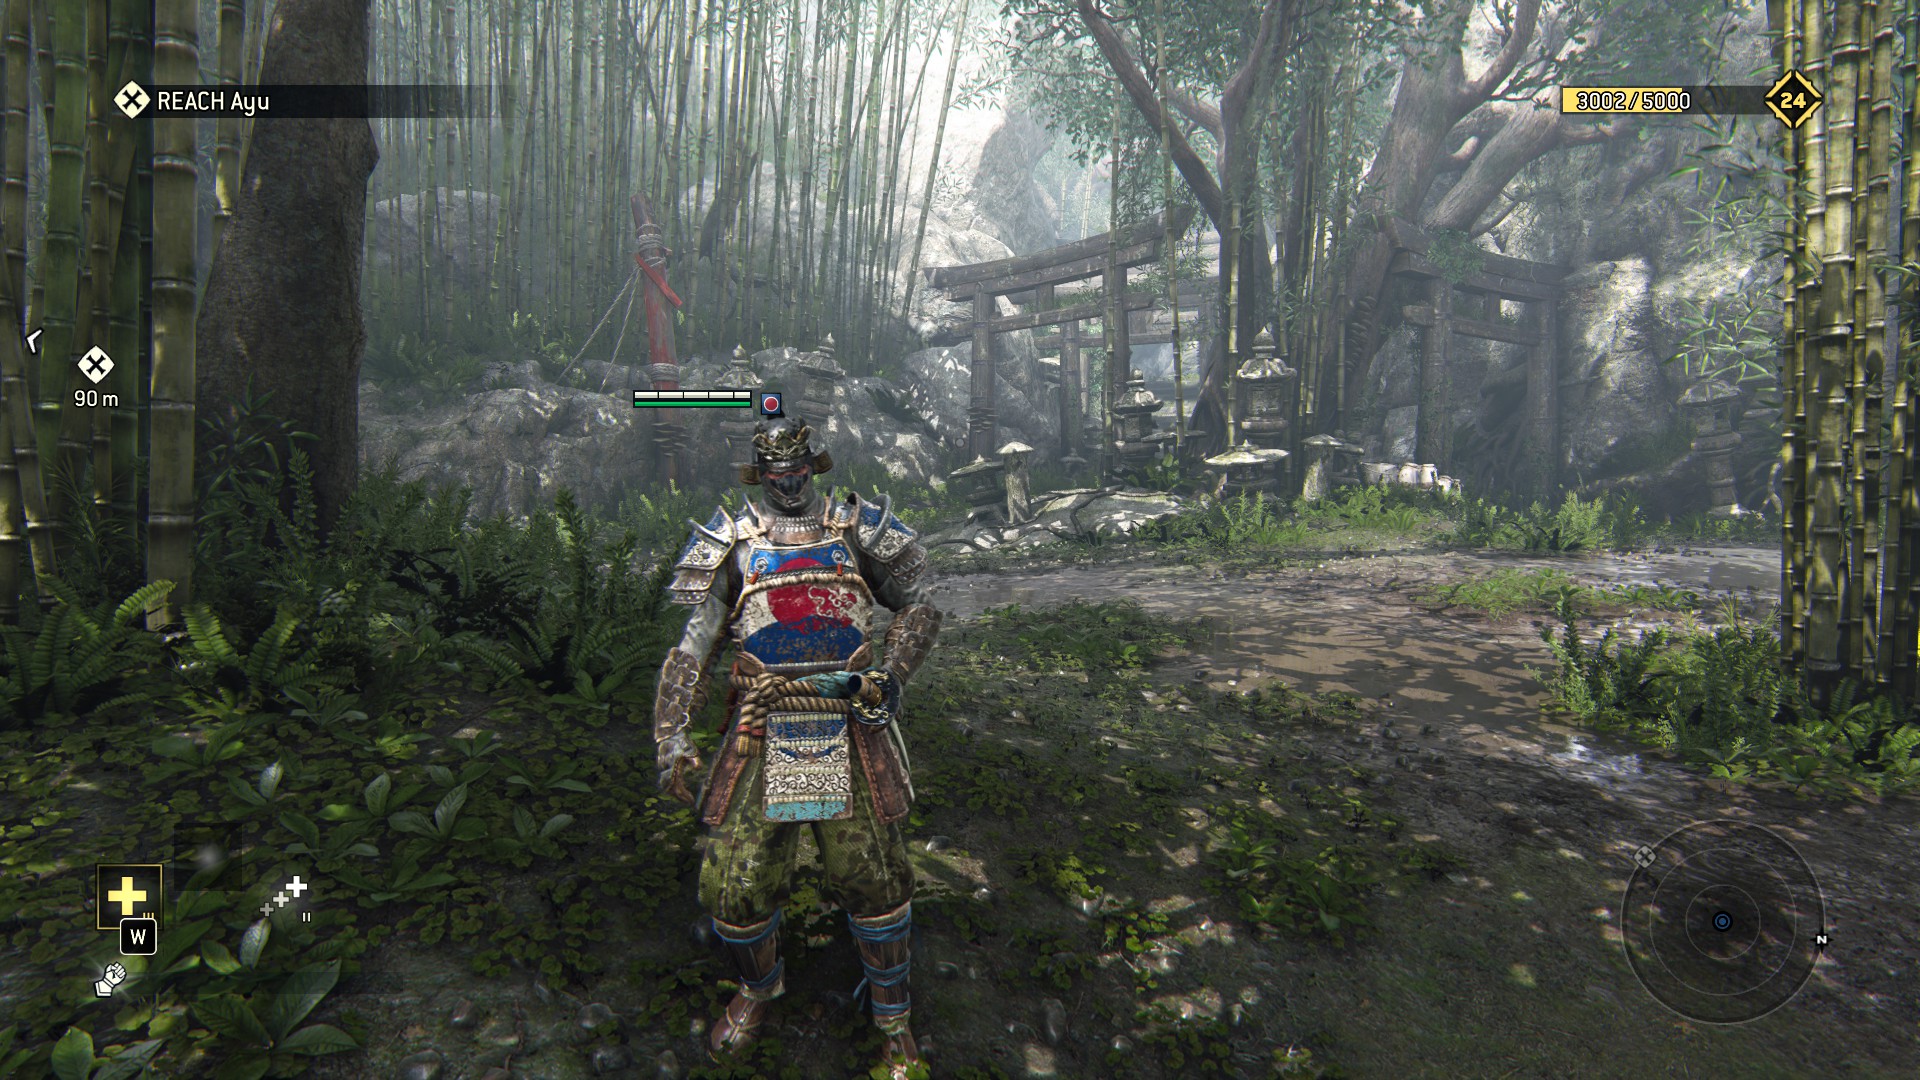
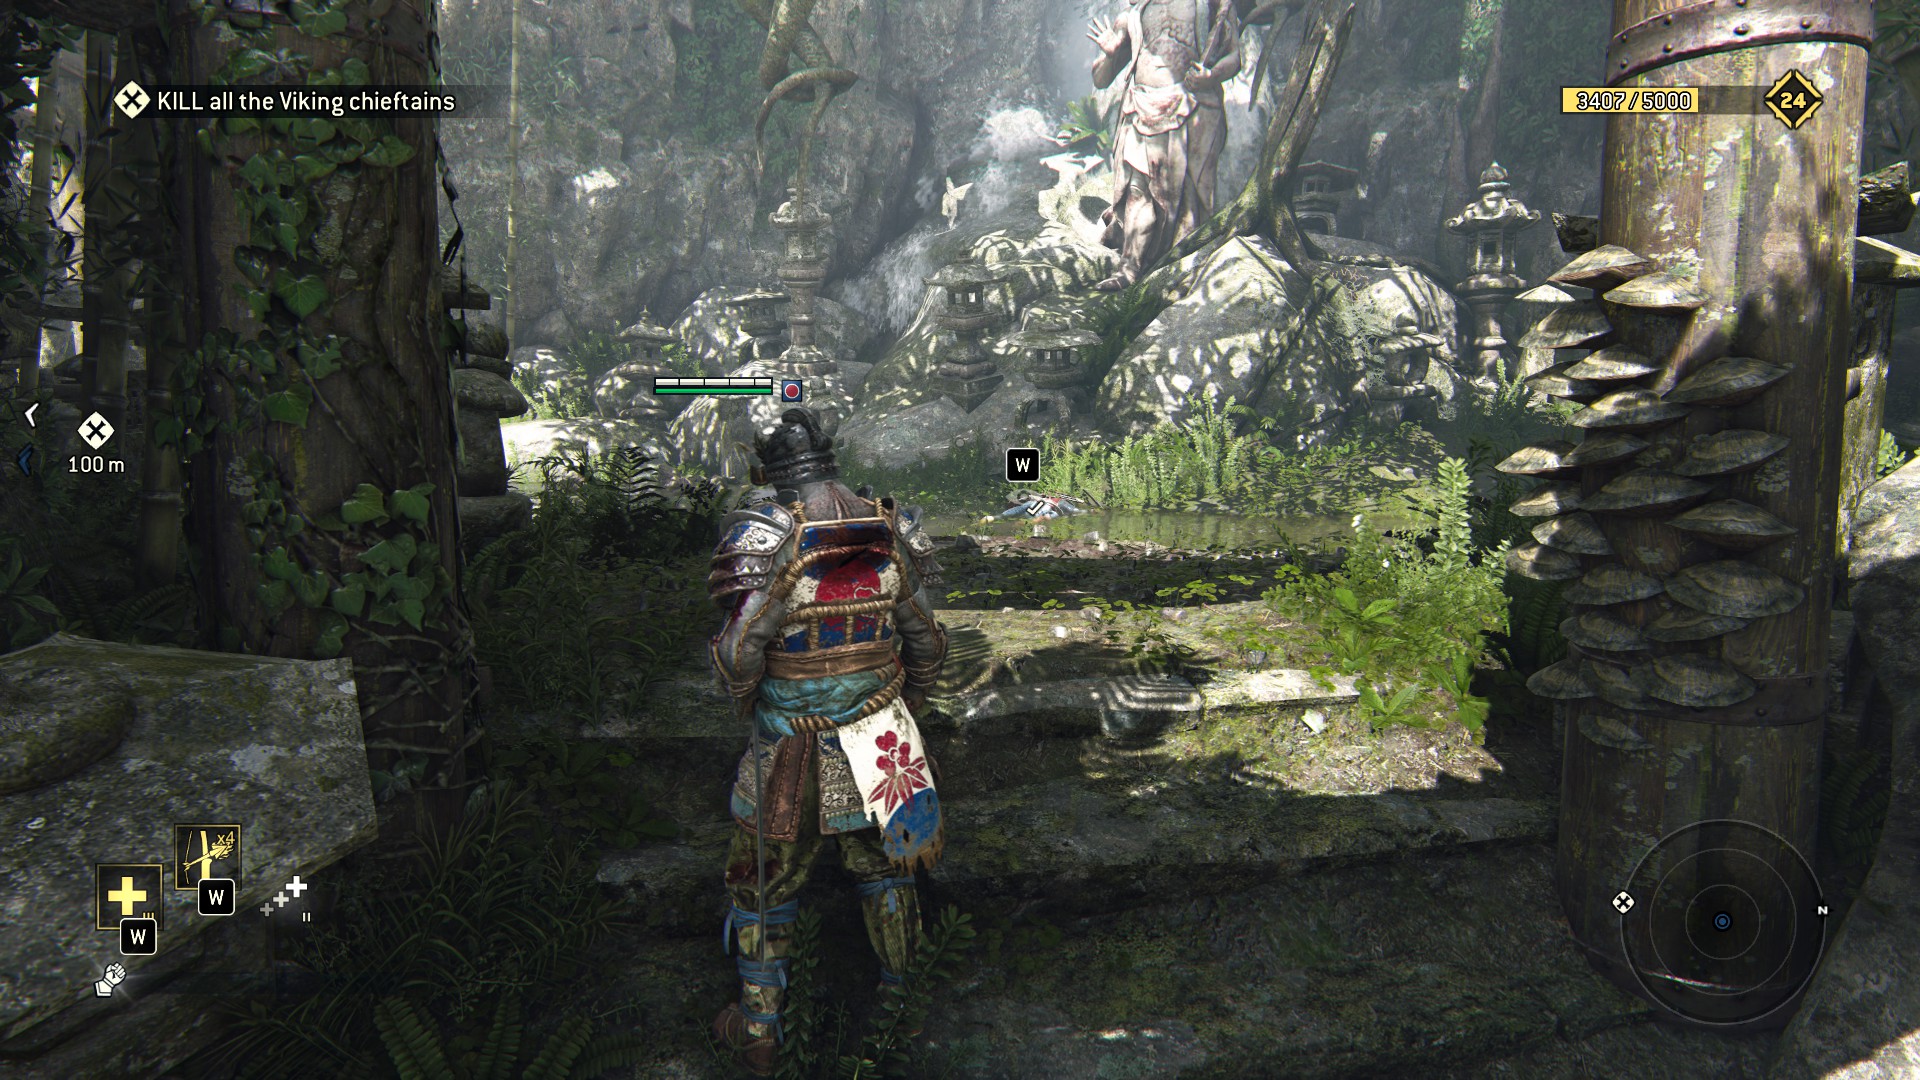
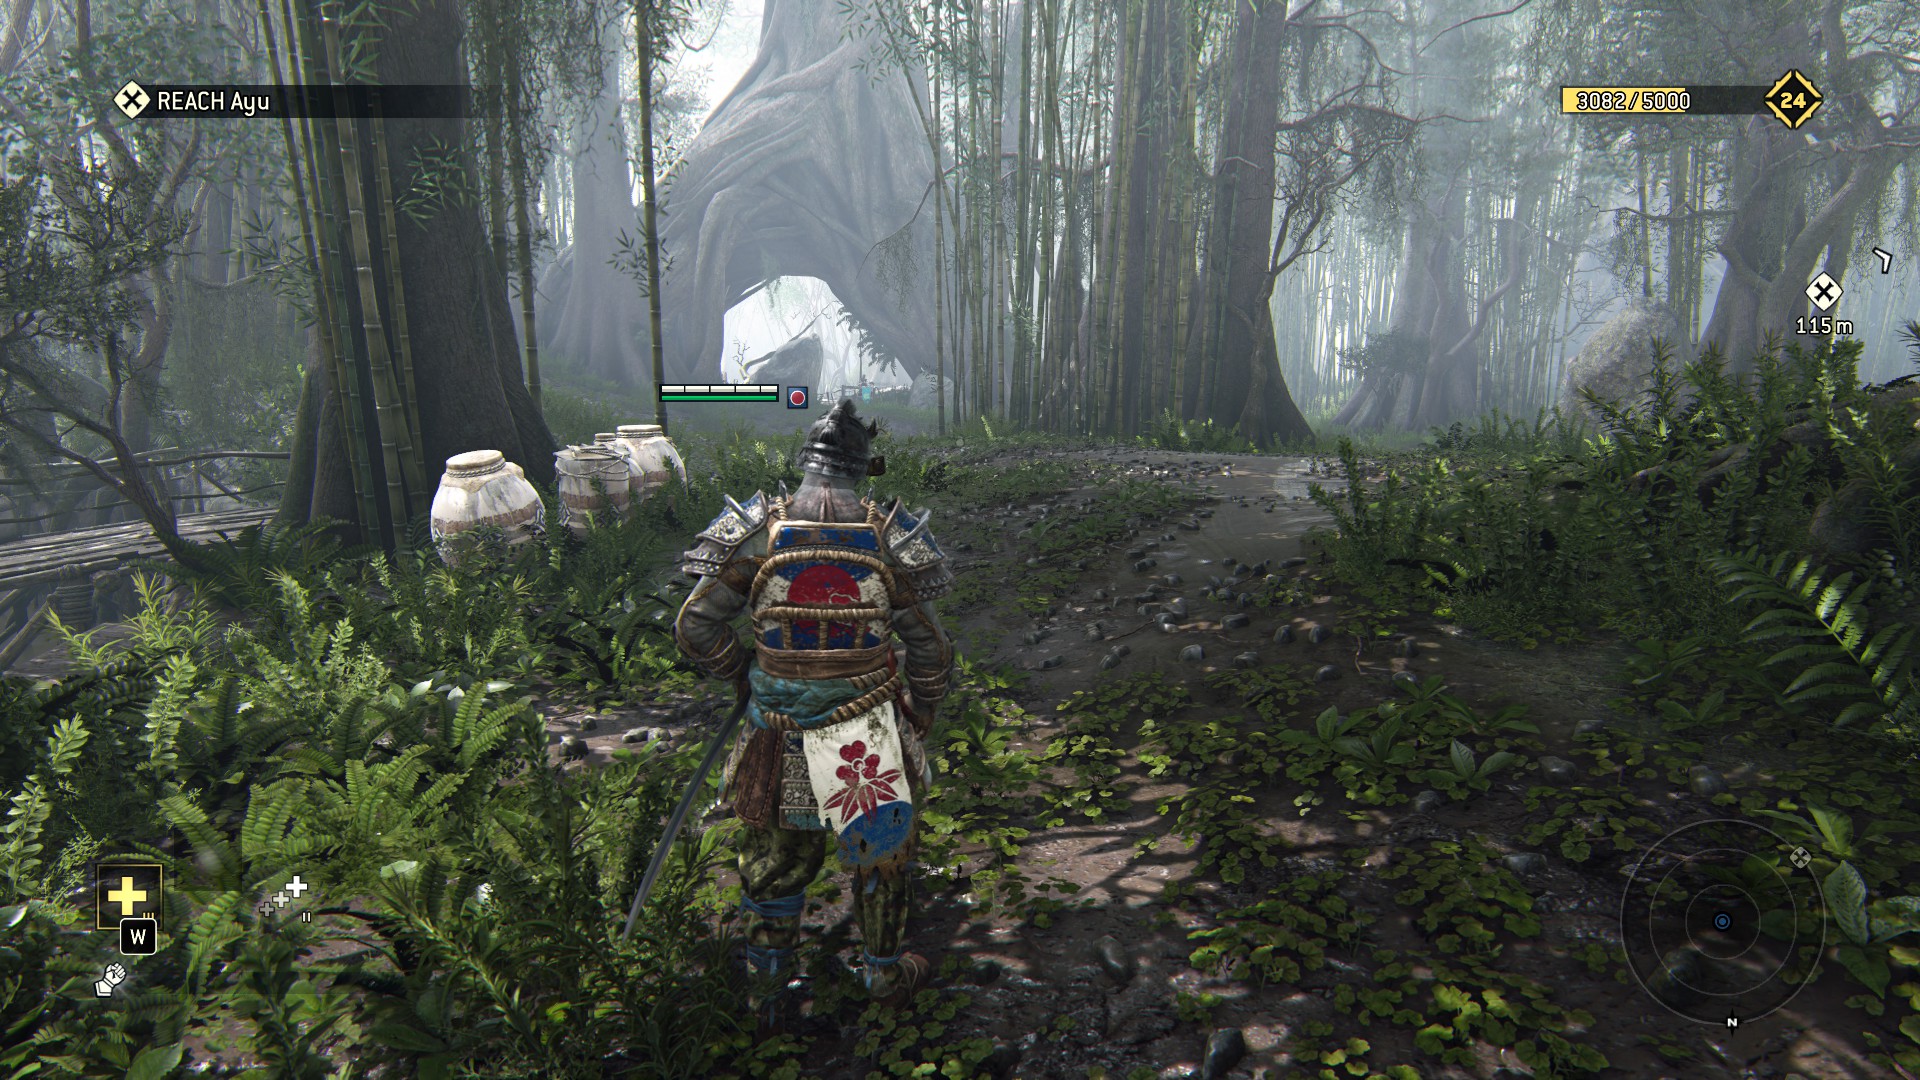
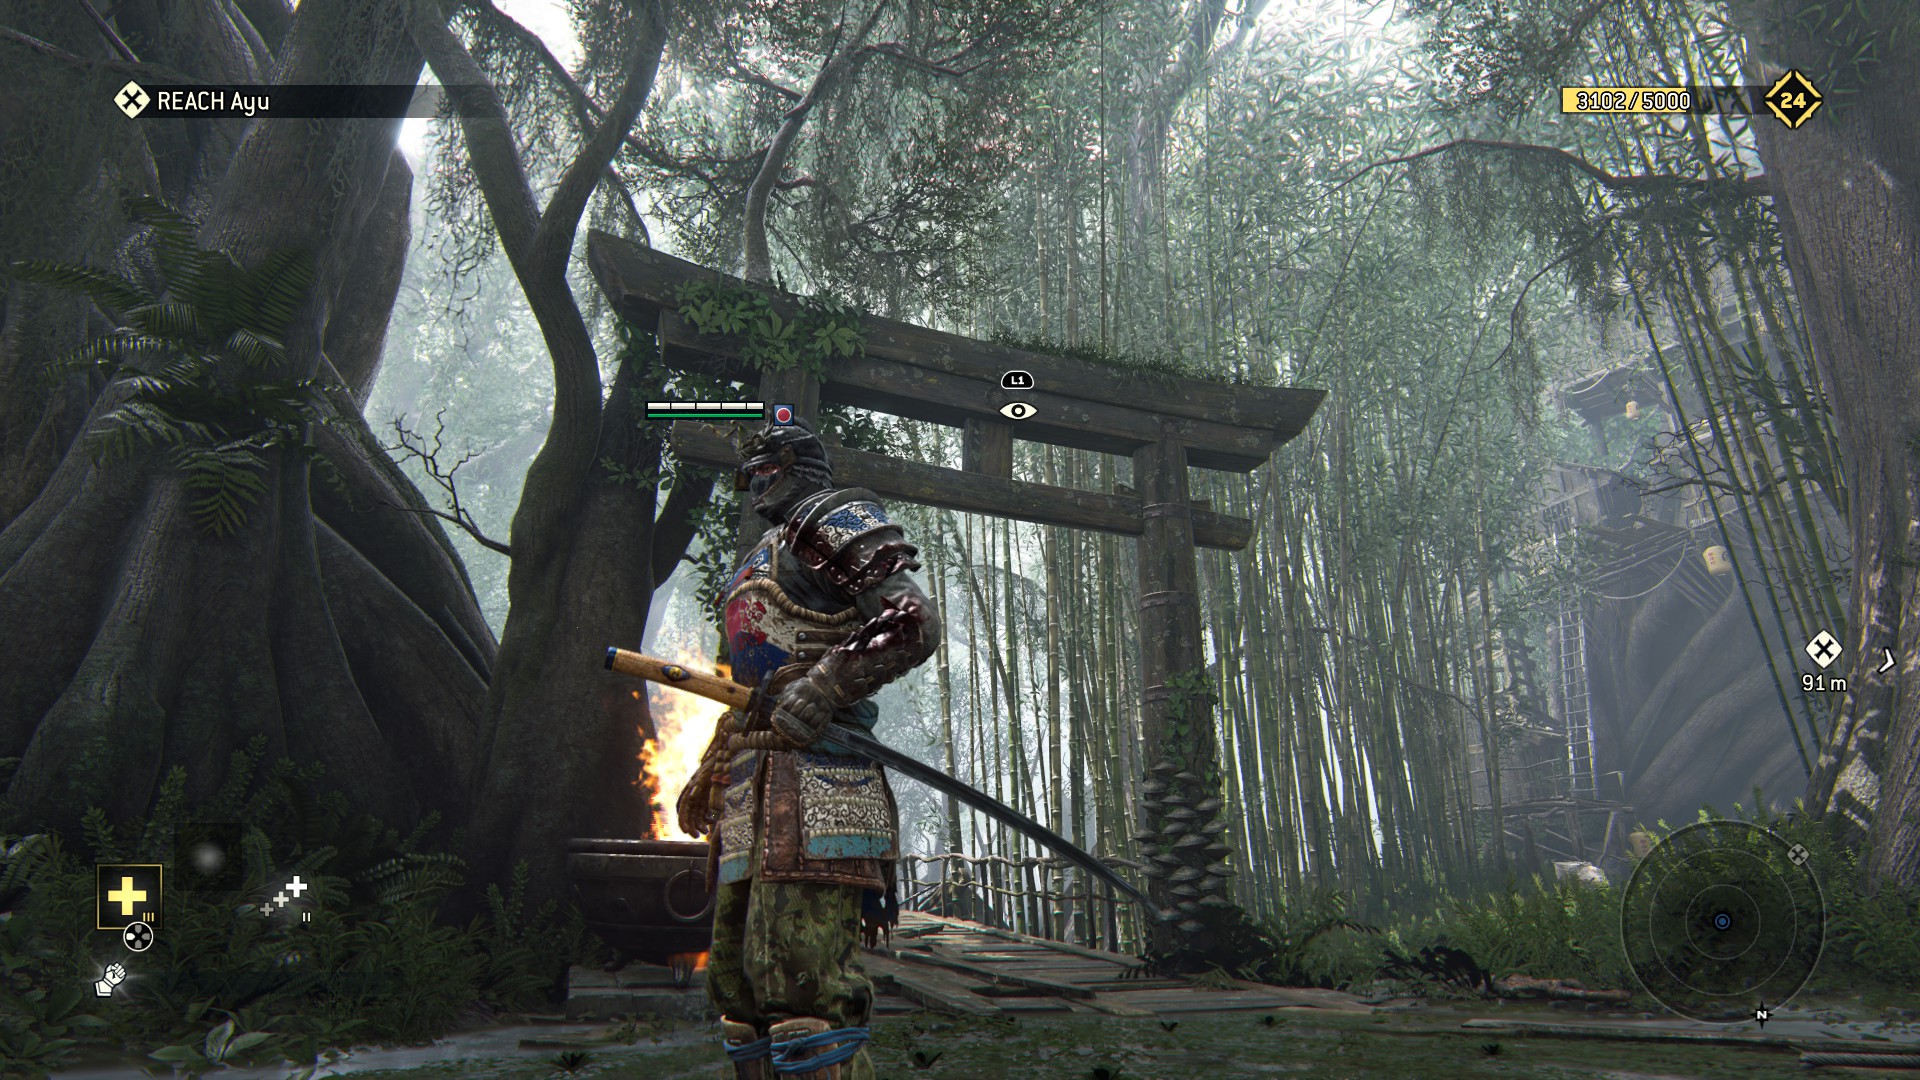
Note: There's two in this one, pots to the left and an observable smack dead center
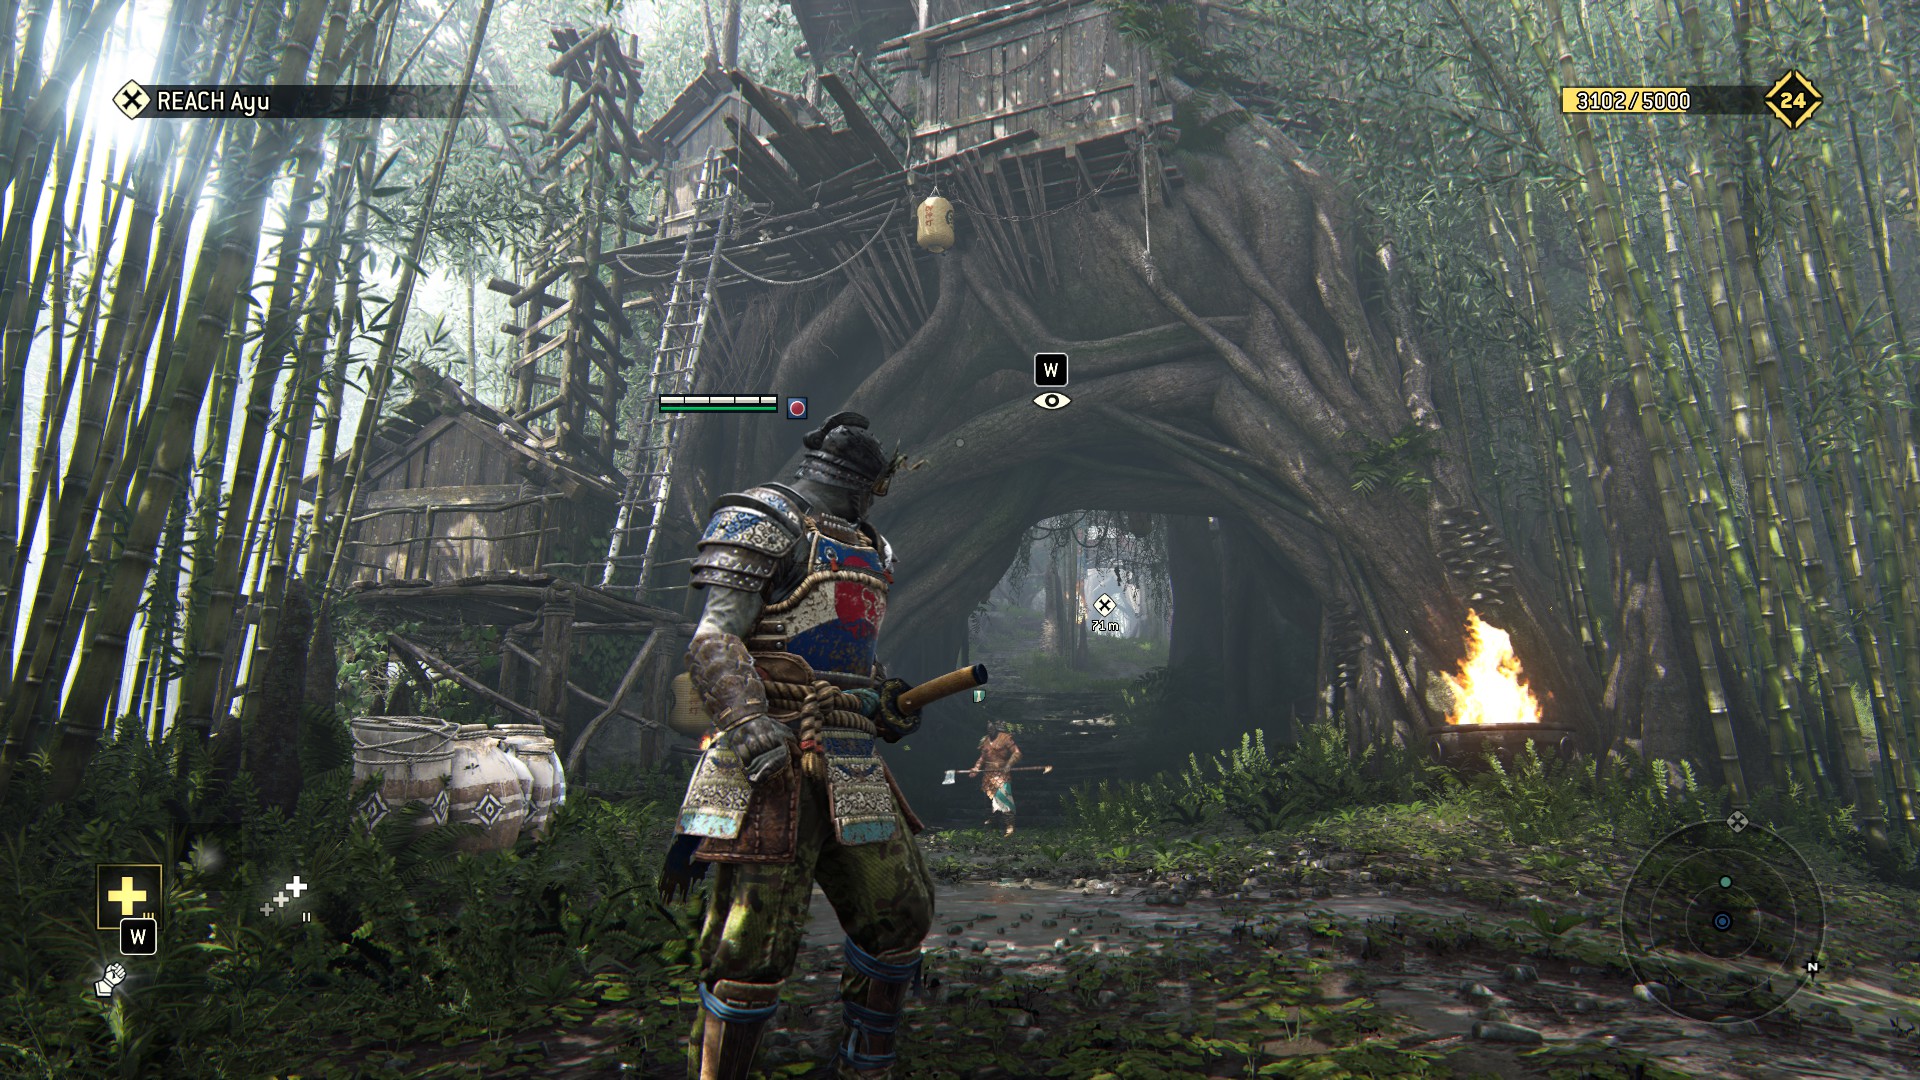
Note: The next two are right next to each other, depending on which way you came.
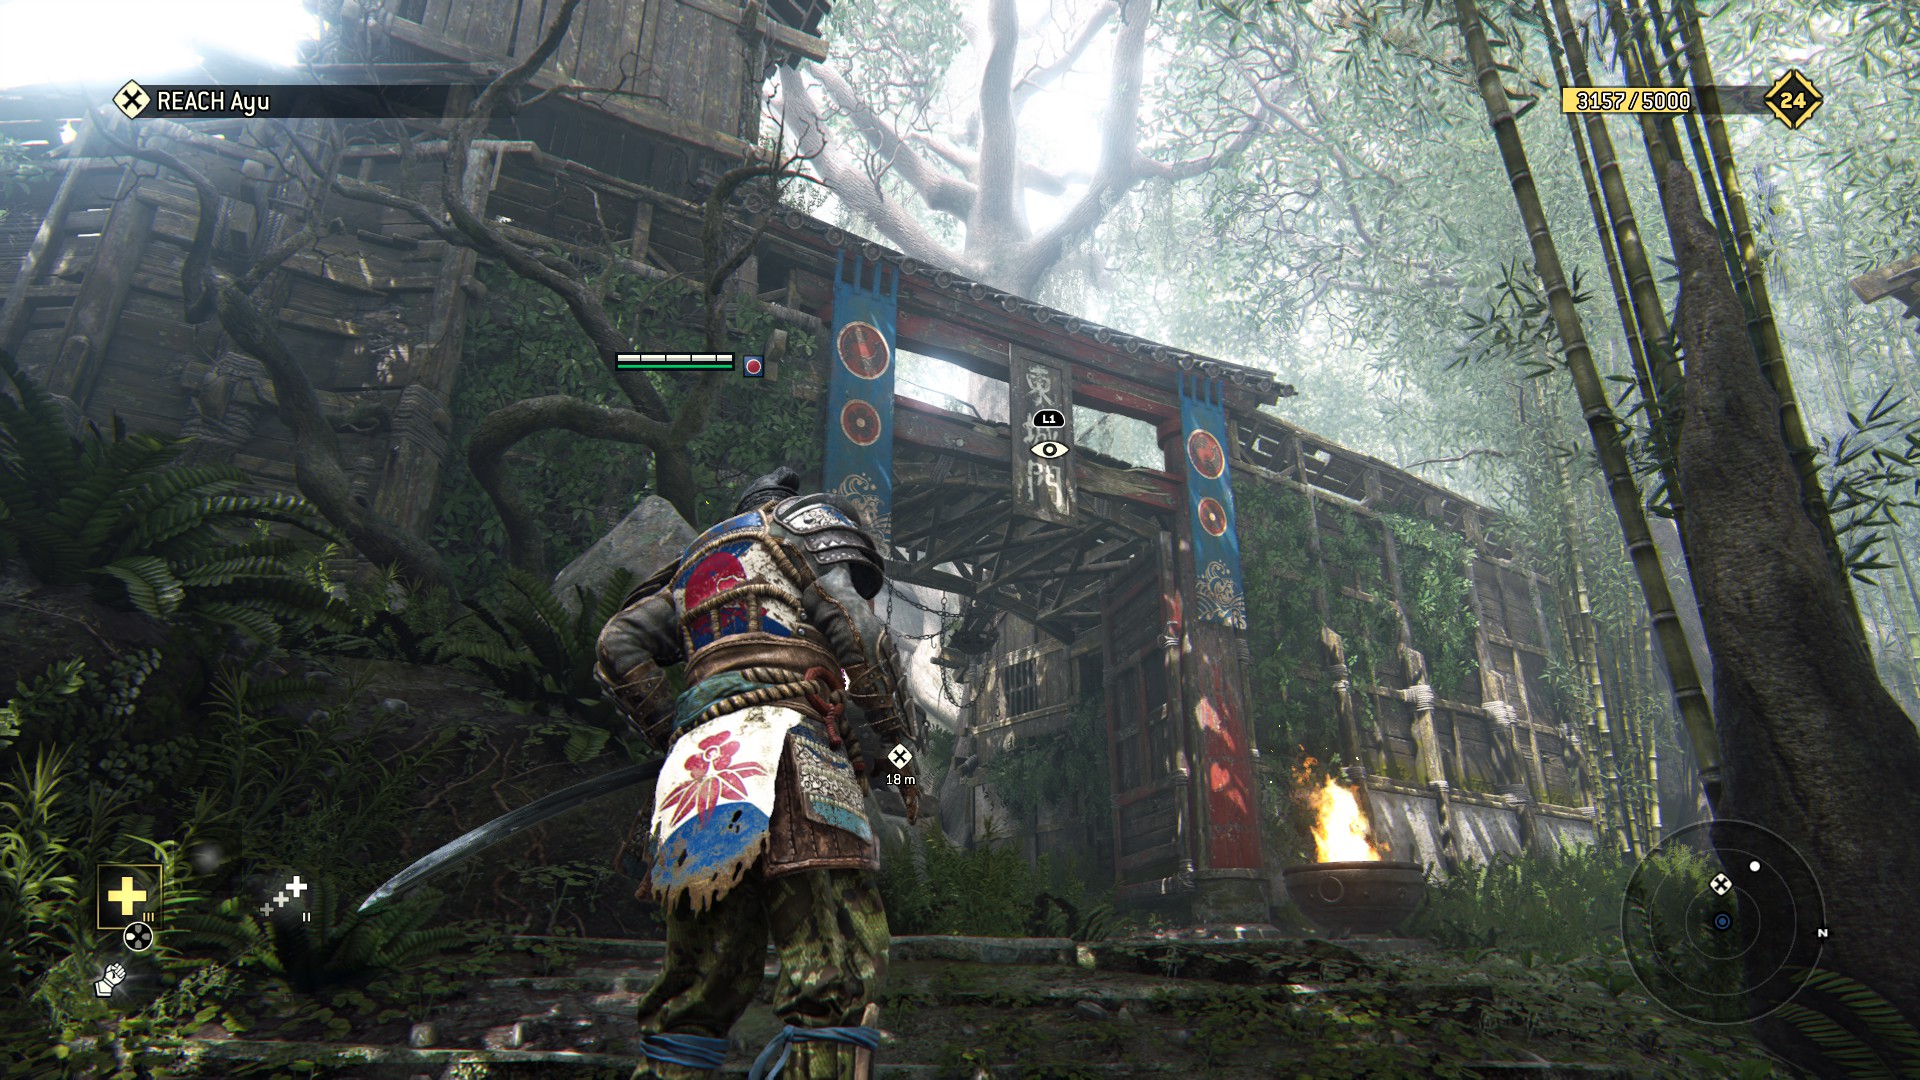
Same gate as above, pots in the weeds on the left there (SWIDT?)
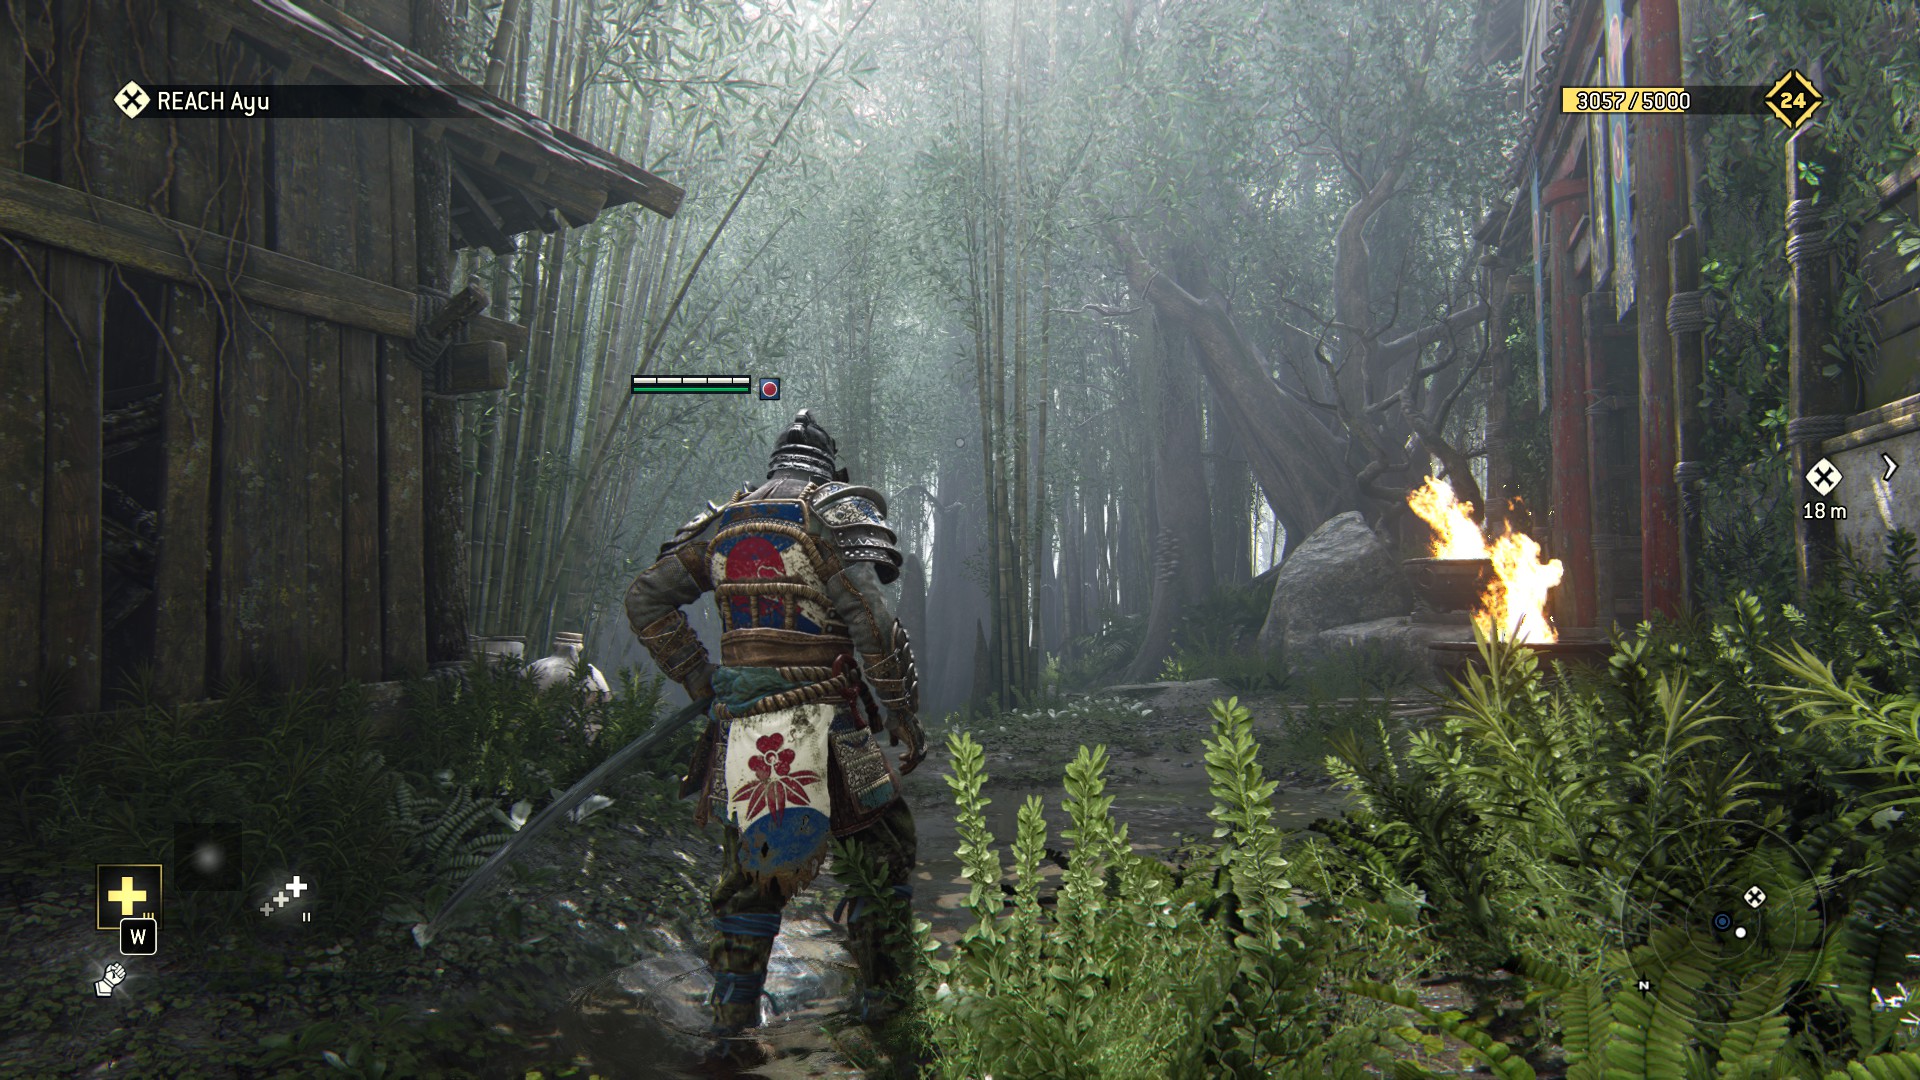
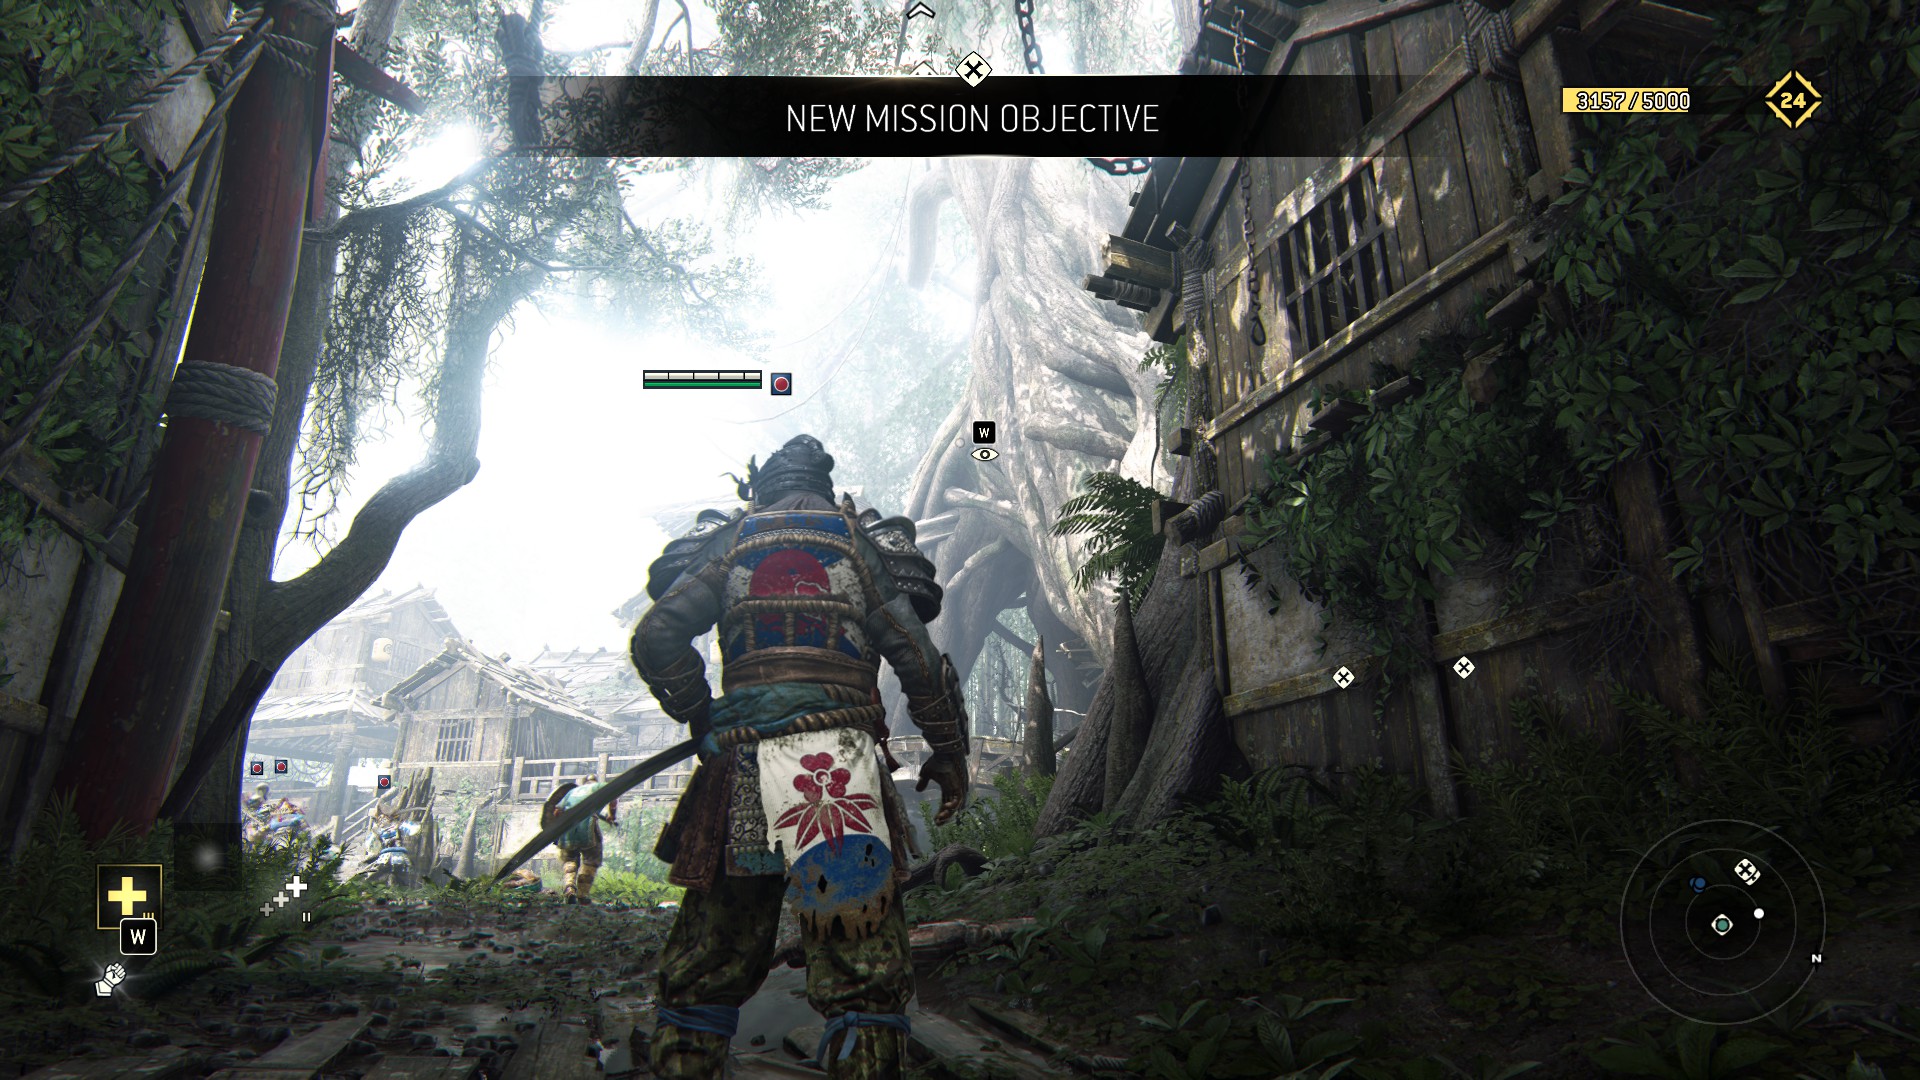
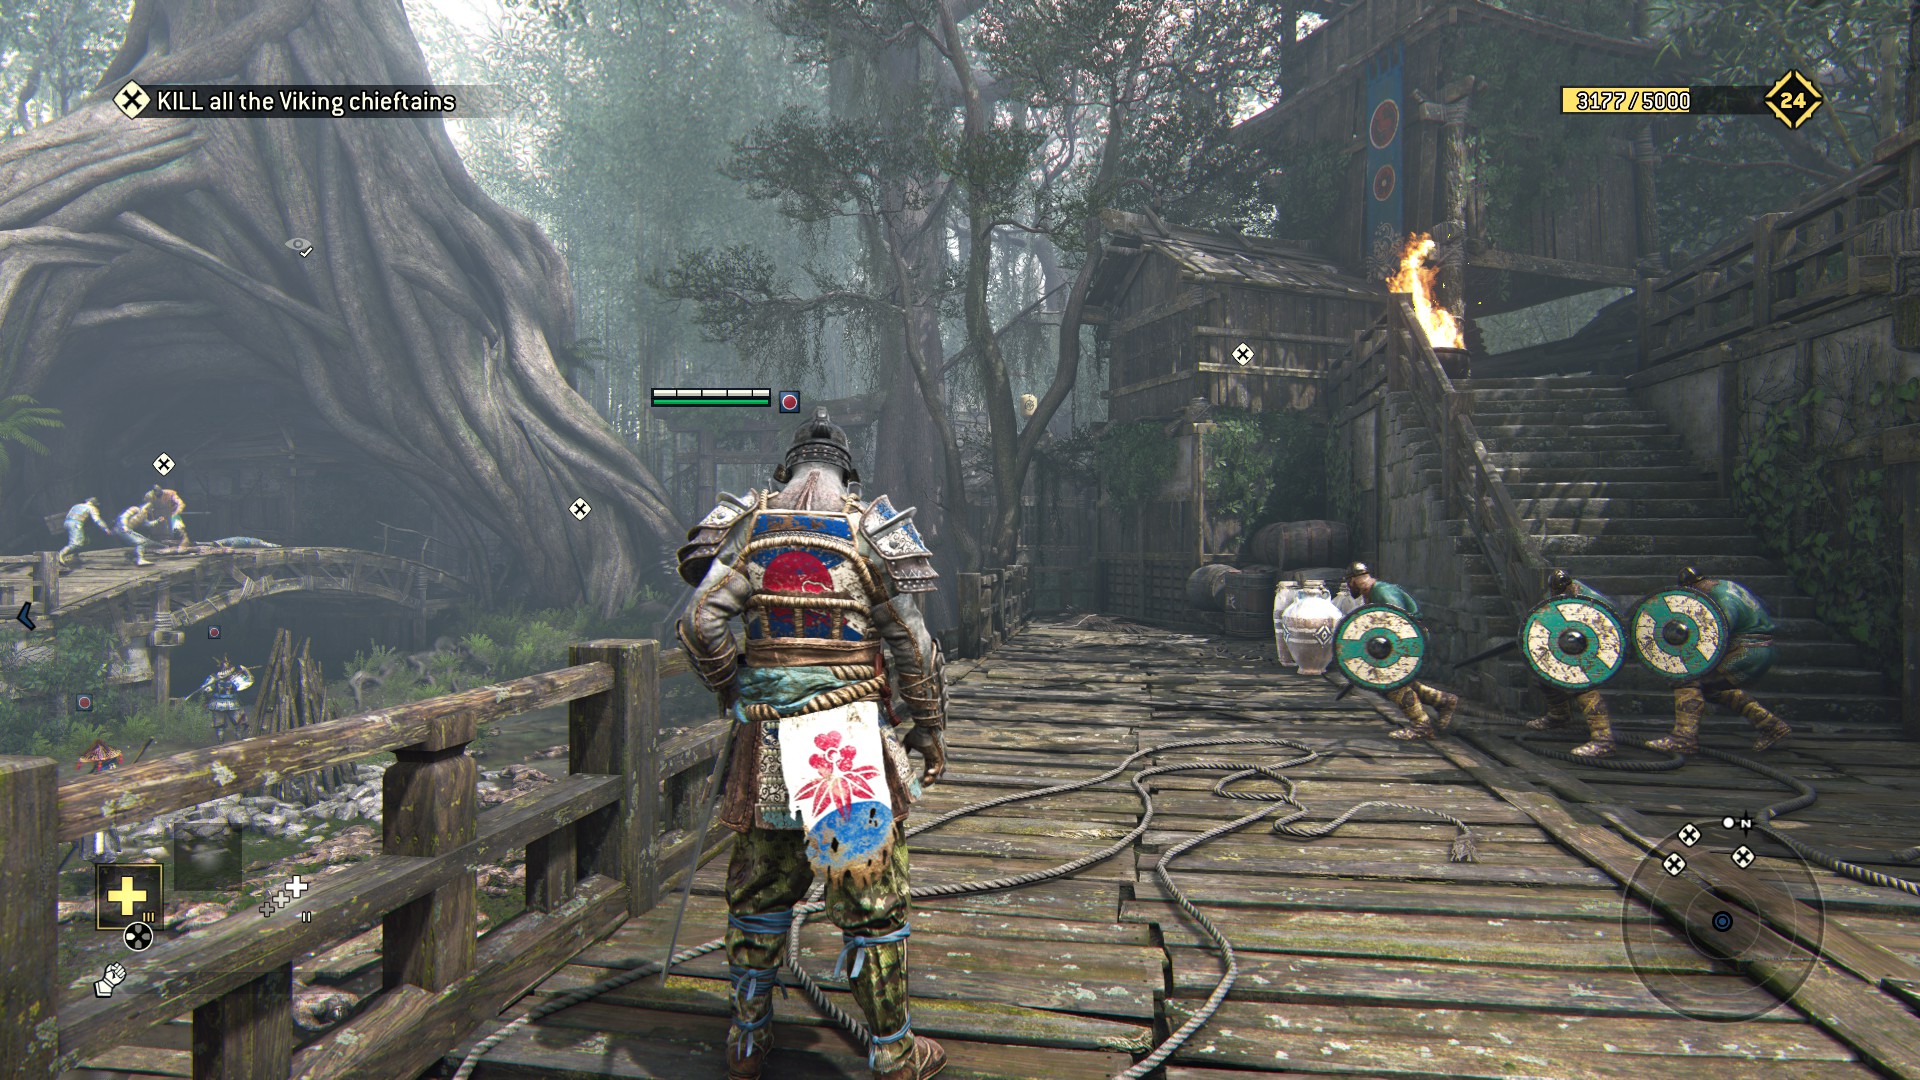
Easy peasy, citrus fruit squeezy
If you've got problems with the fights, you might find the fire arrows that respawn mighty useful
3.4 - Unity
«We will die, my tigers, but we will never serve the imposter Daimyo! We will die warriors. We will die legends. We will die Samurai!»
- Daimyo Seijuro
Paper walls, they said.
This level is linear, but awesome because you're fighting with a ♥♥♥♥♥♥♥♥ elephant.
But I digress..
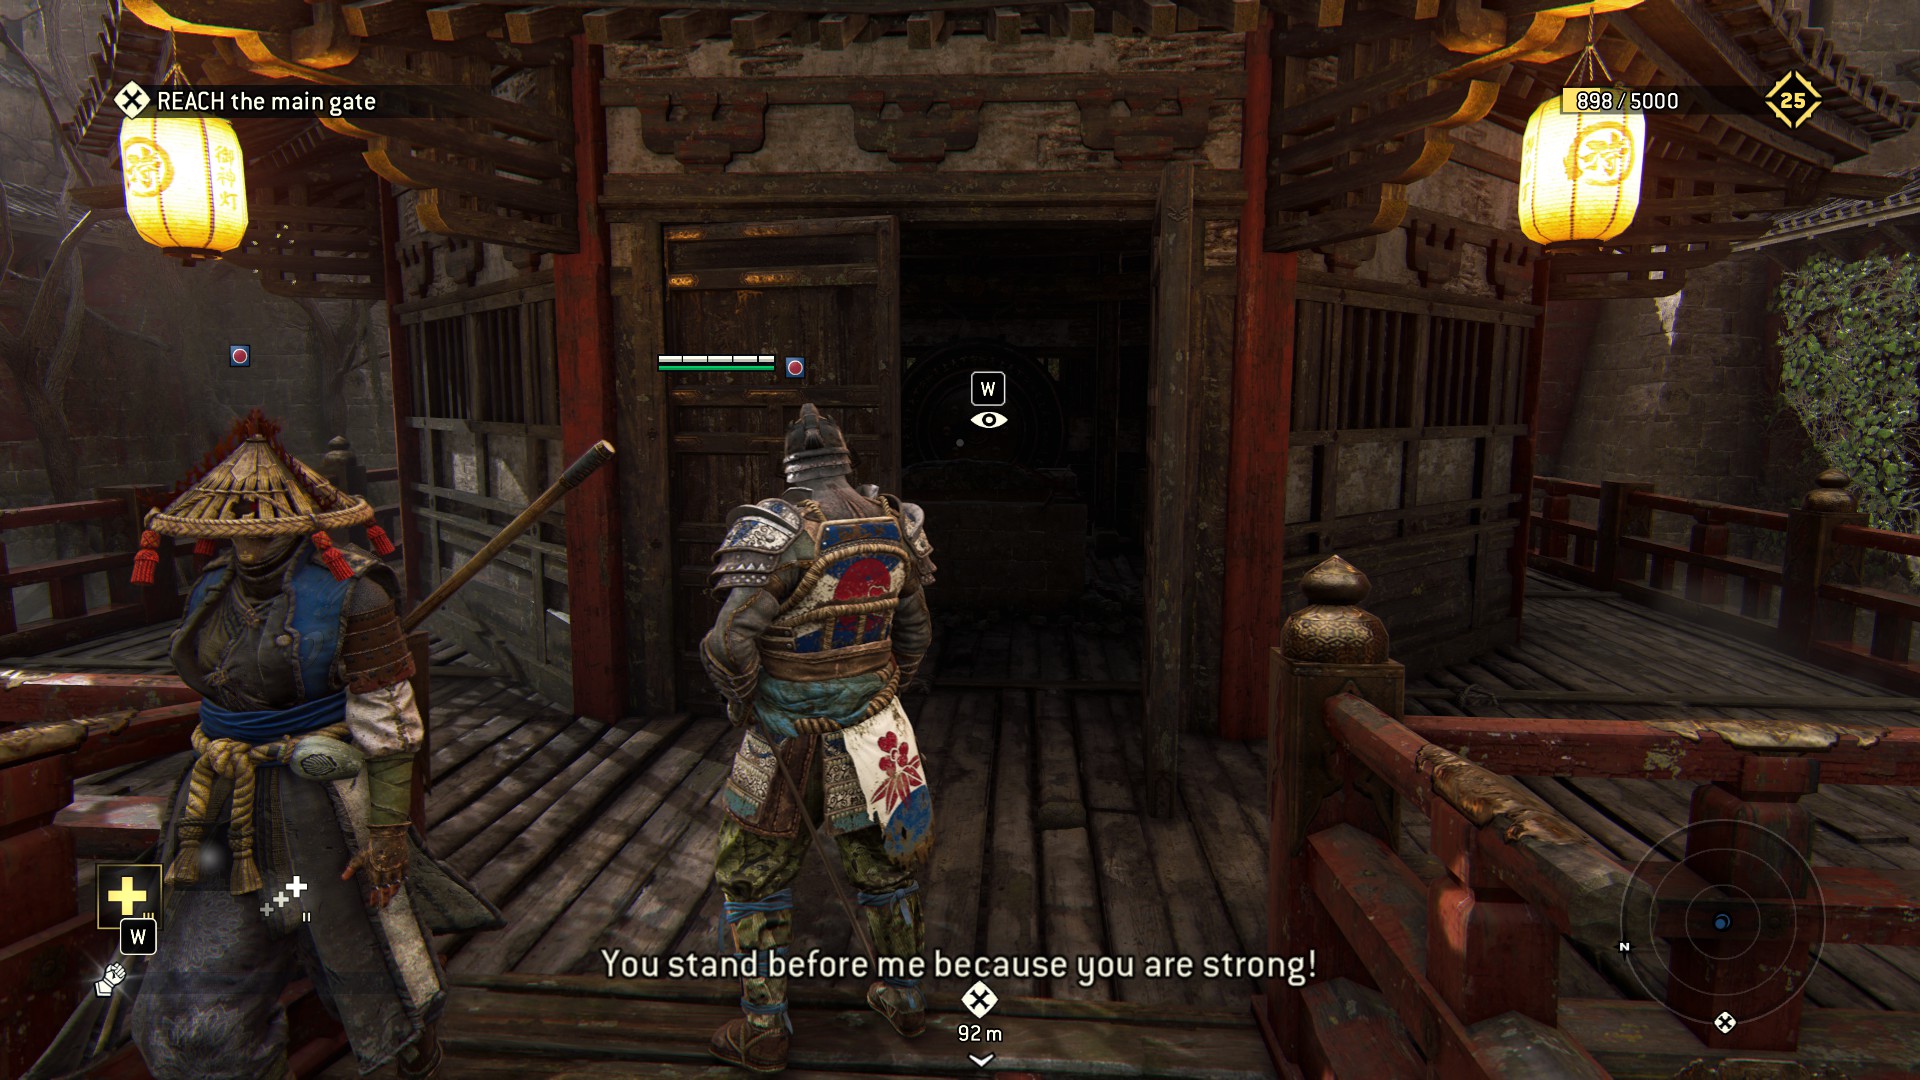
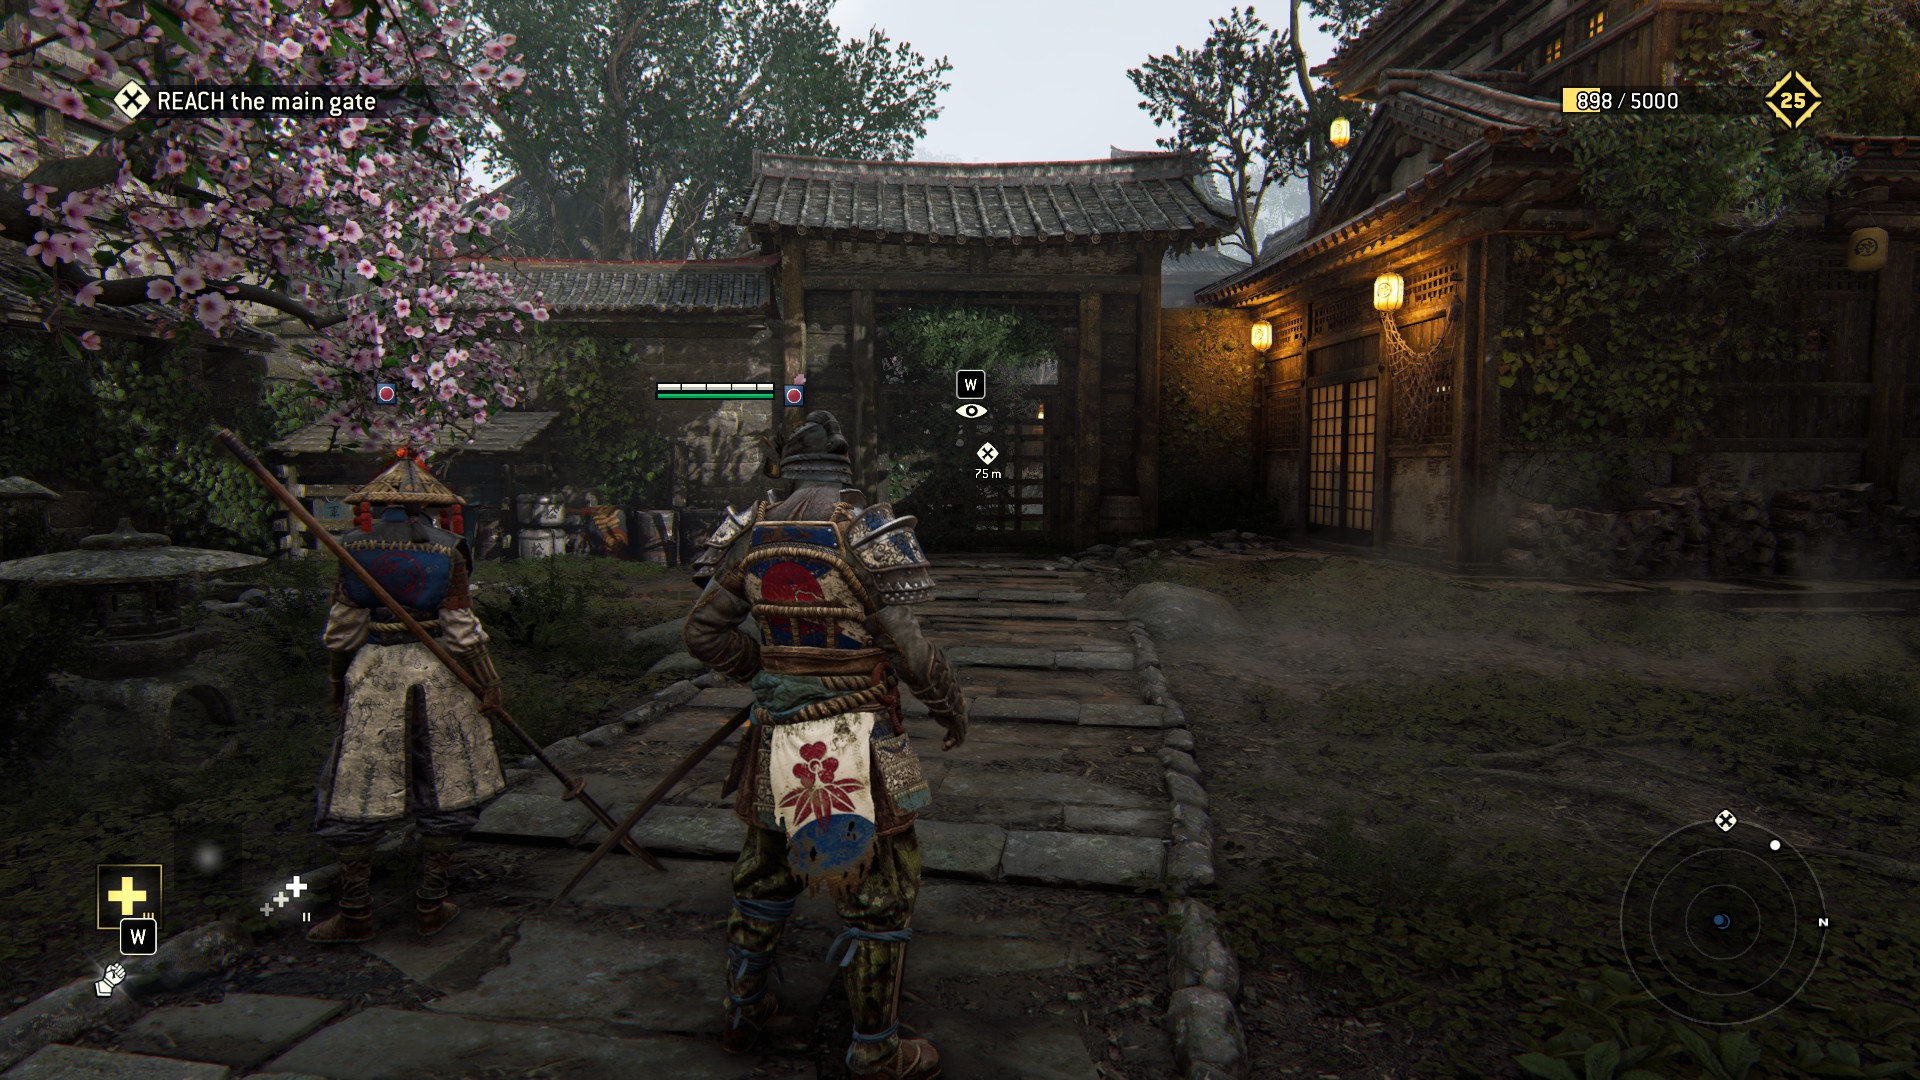 Coming through to the courtyard, go left and give the pack of soldiers a peek and a click.. Don't worry - you don't have to fight them
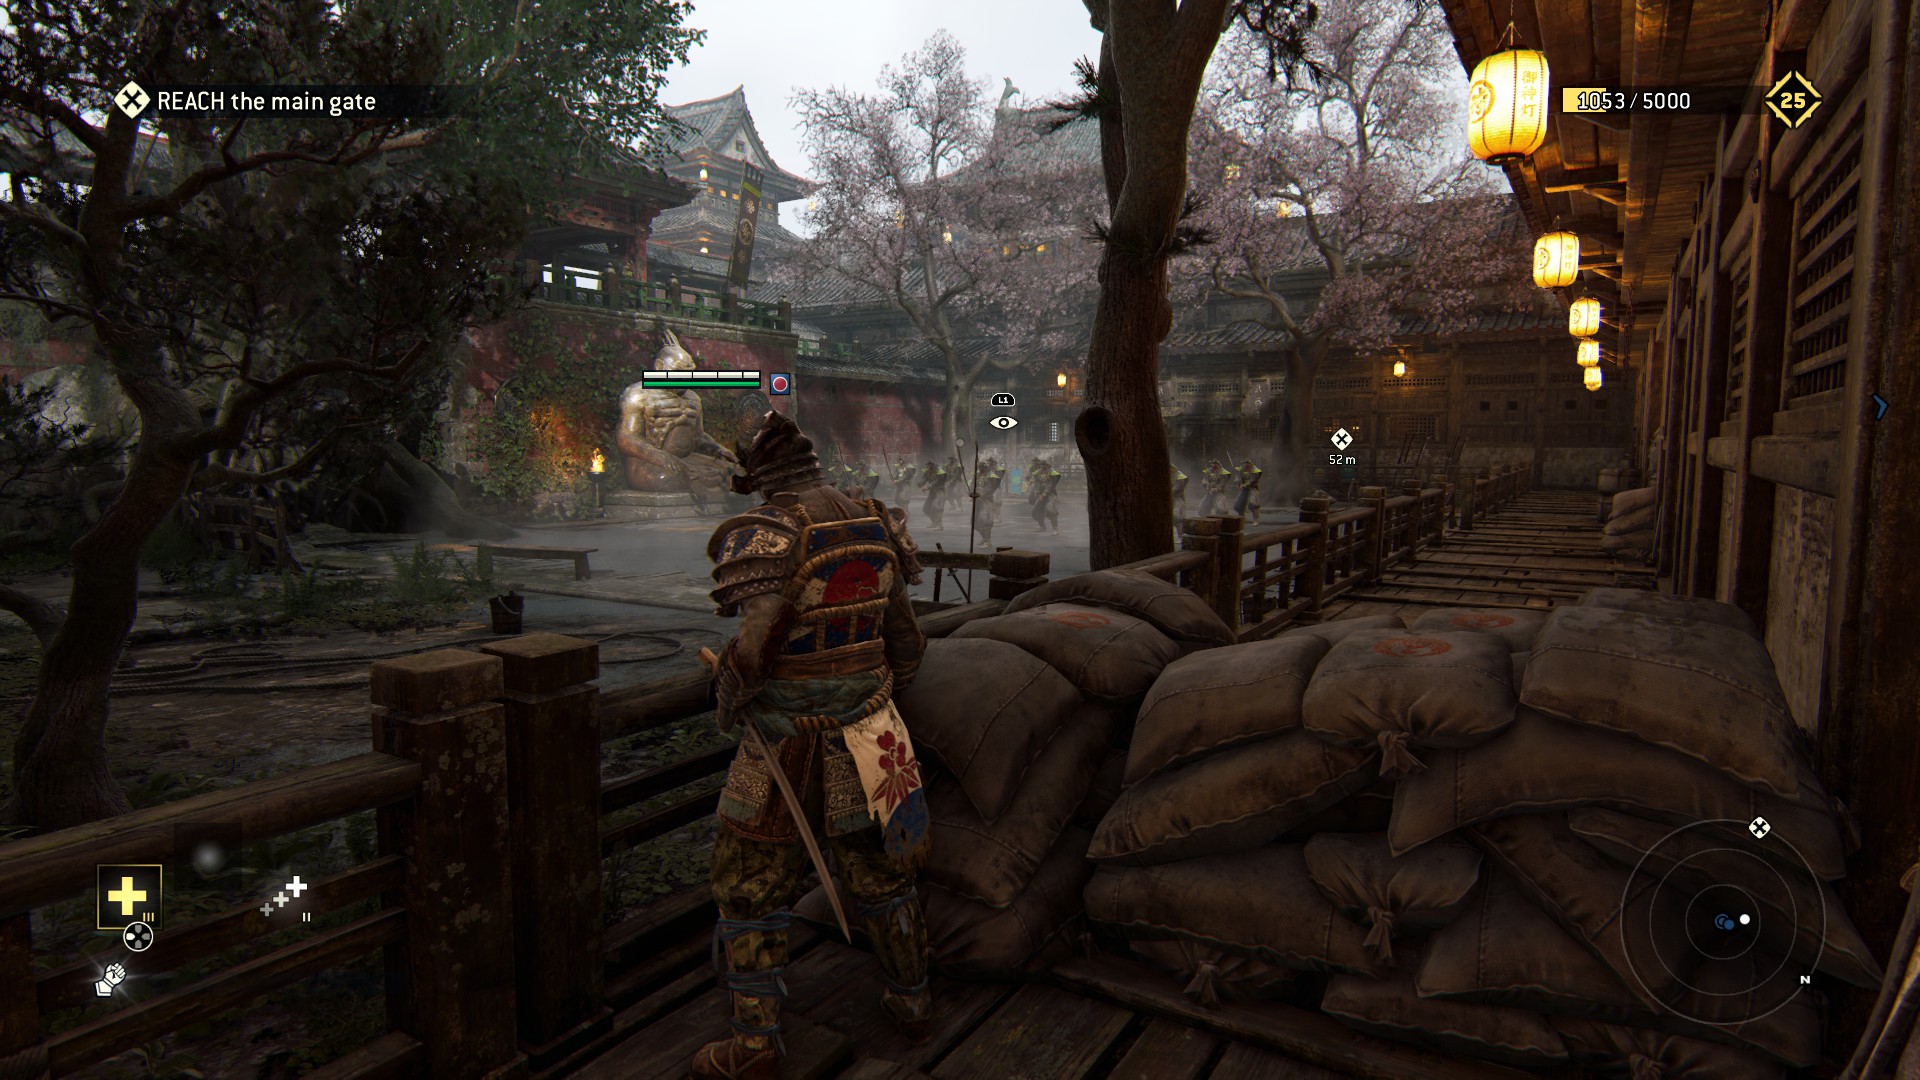 Taking a left turn or two will net you a pot of steel, and another observable once
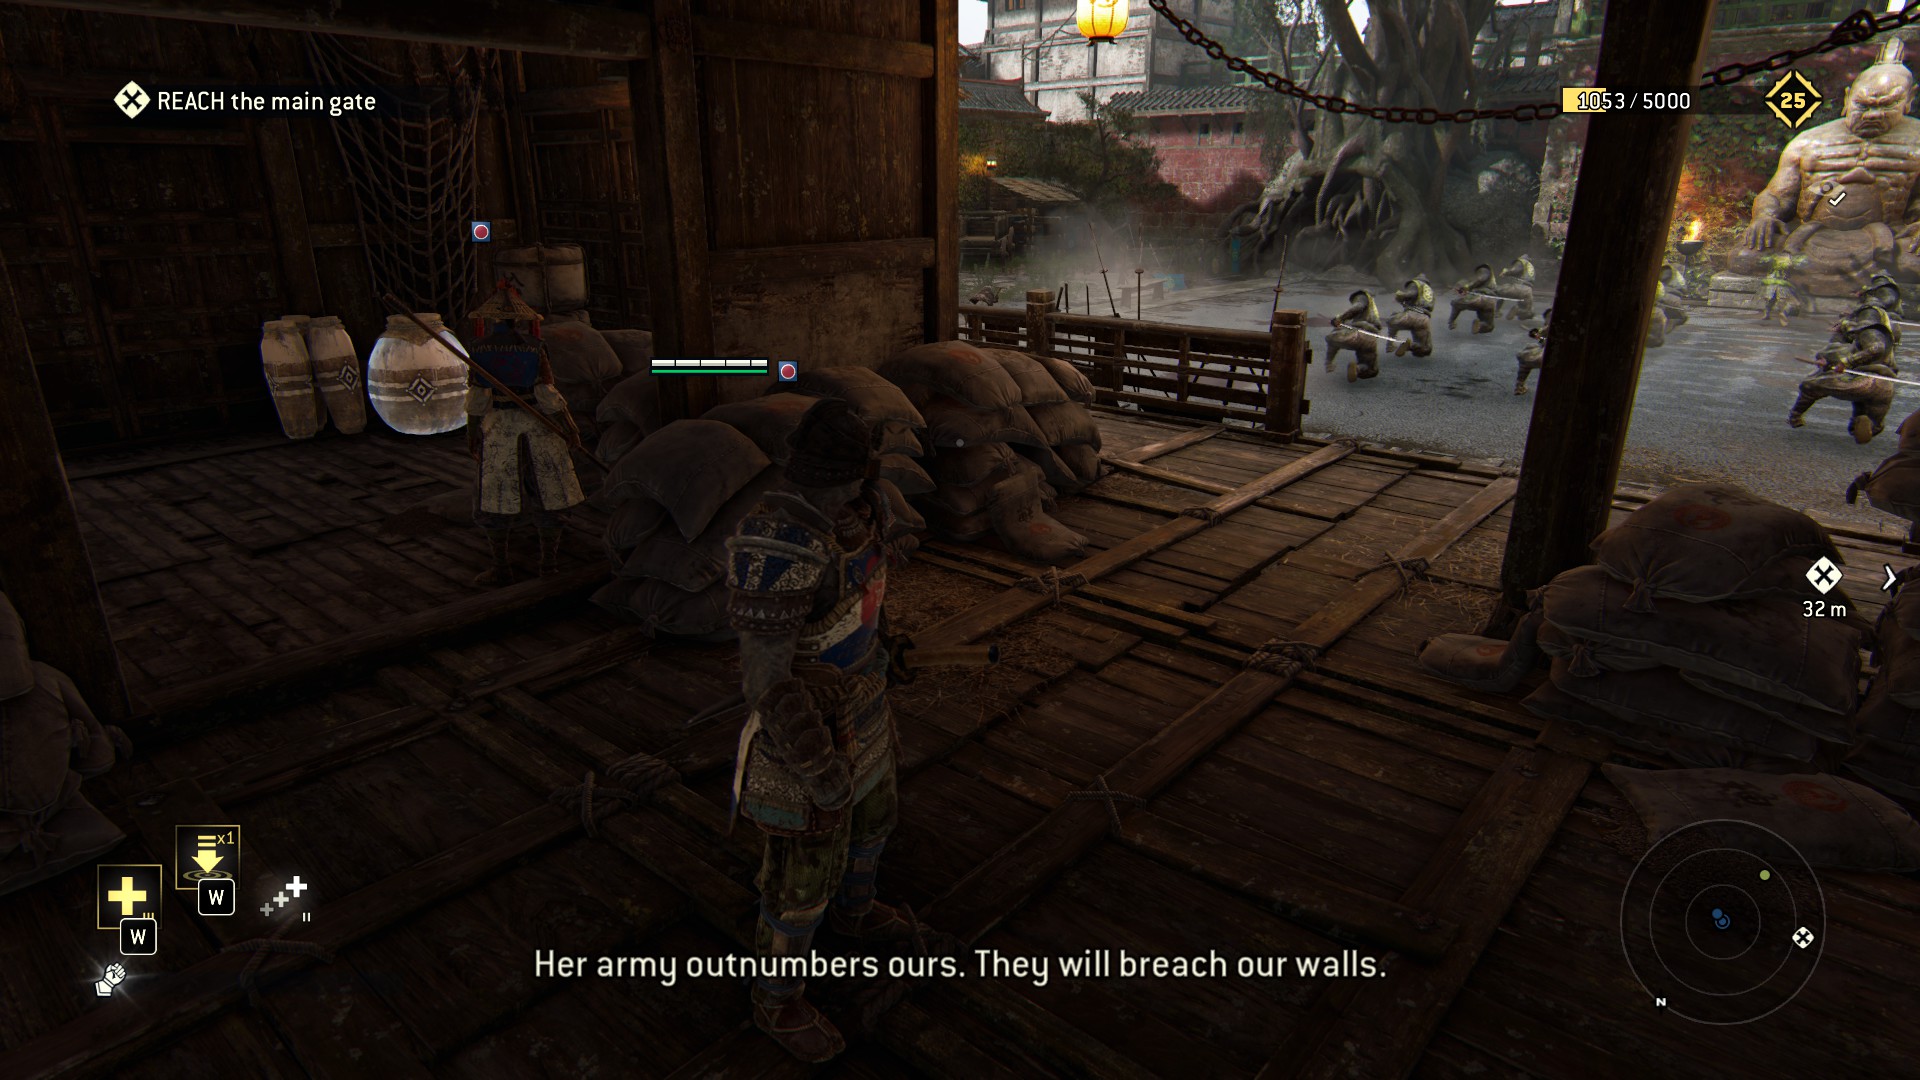 you've realized I lied to you just now. The observable is visible from the middle of the yard
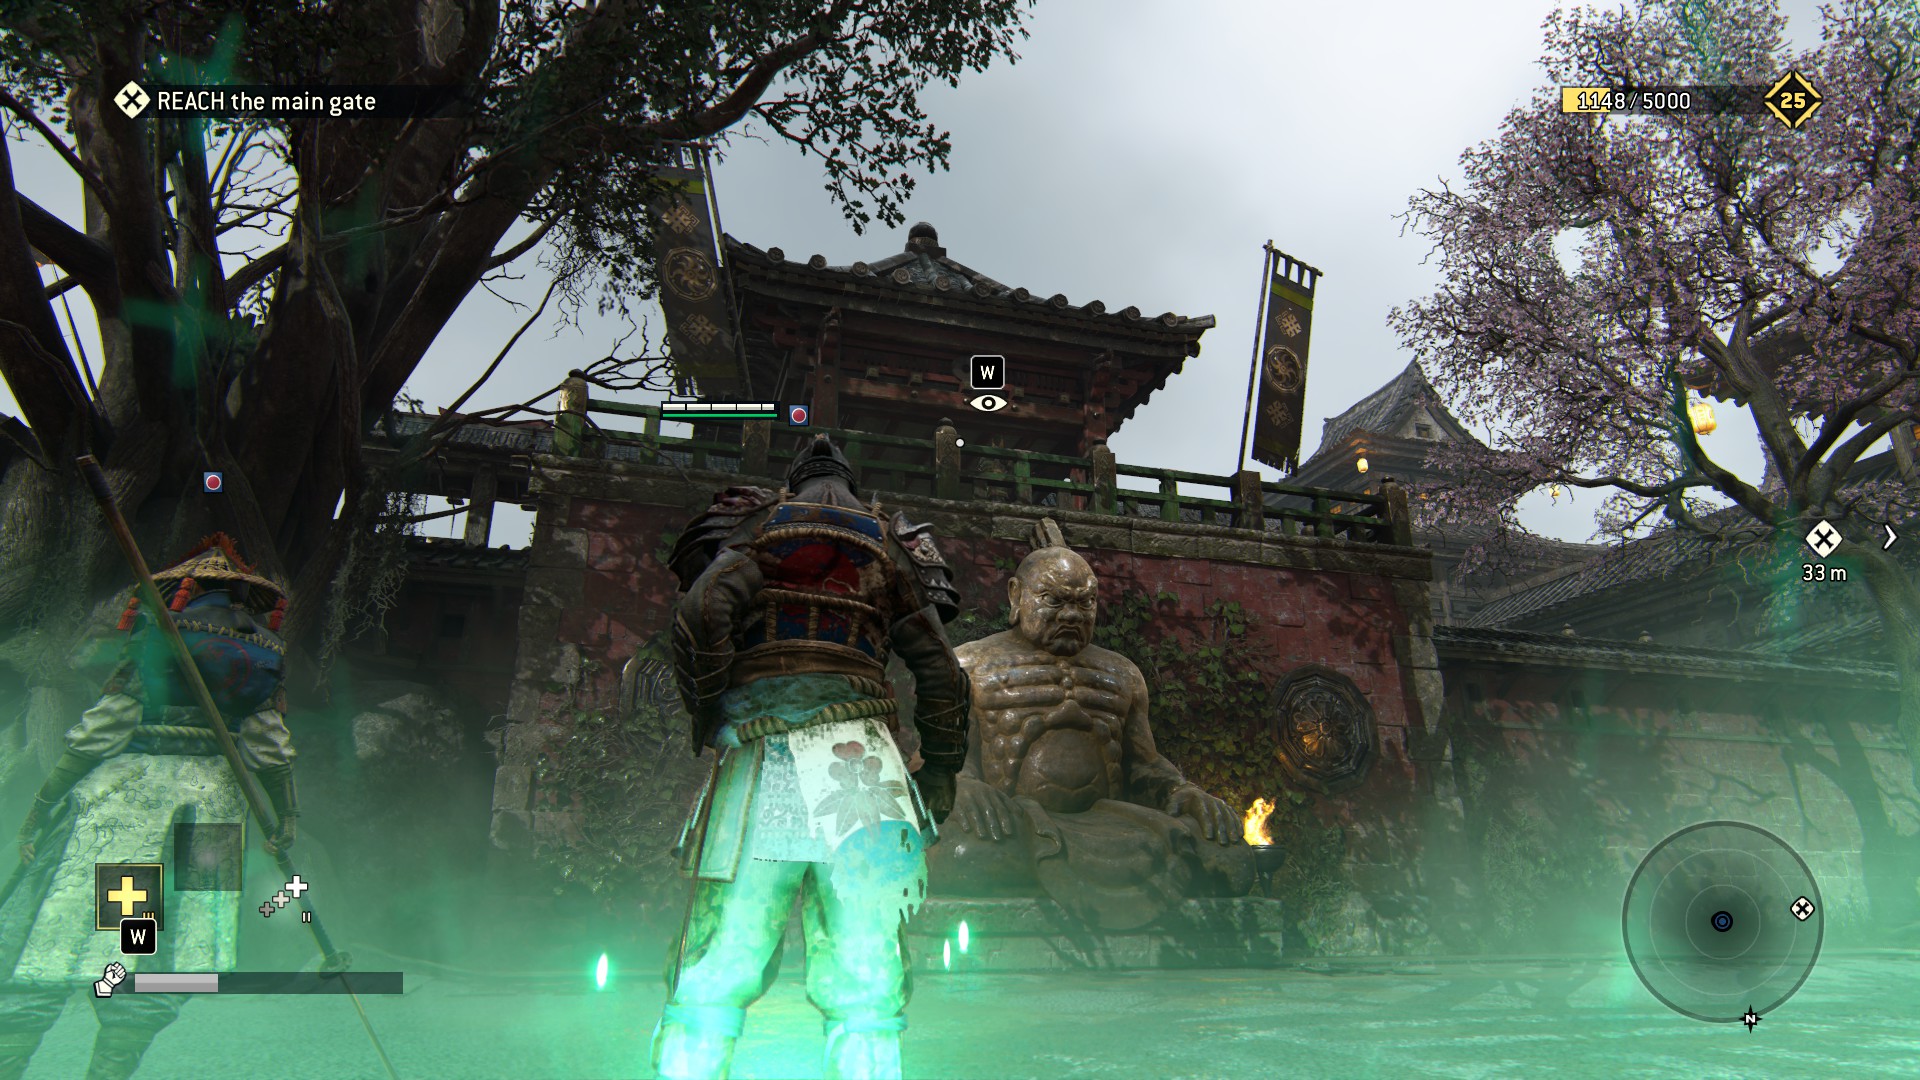 Bygones be bygones, moving on you can't miss these two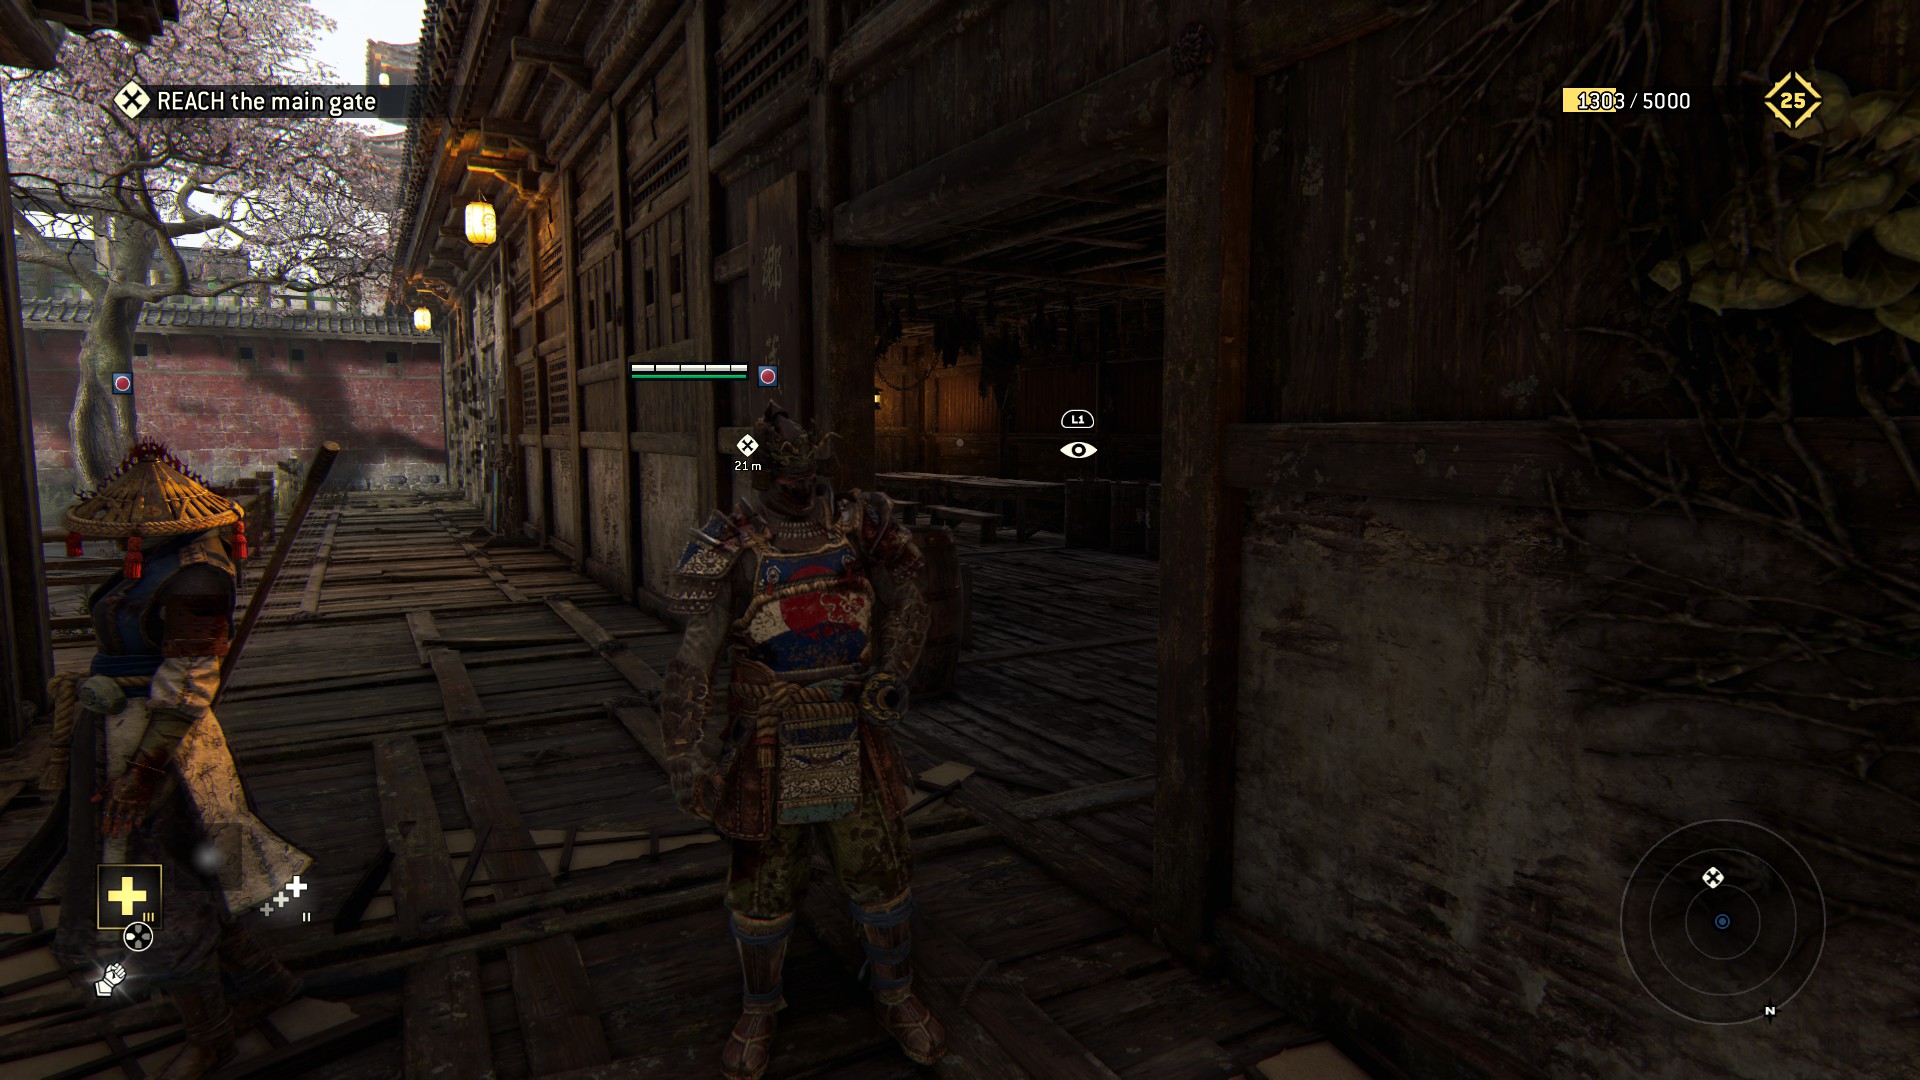
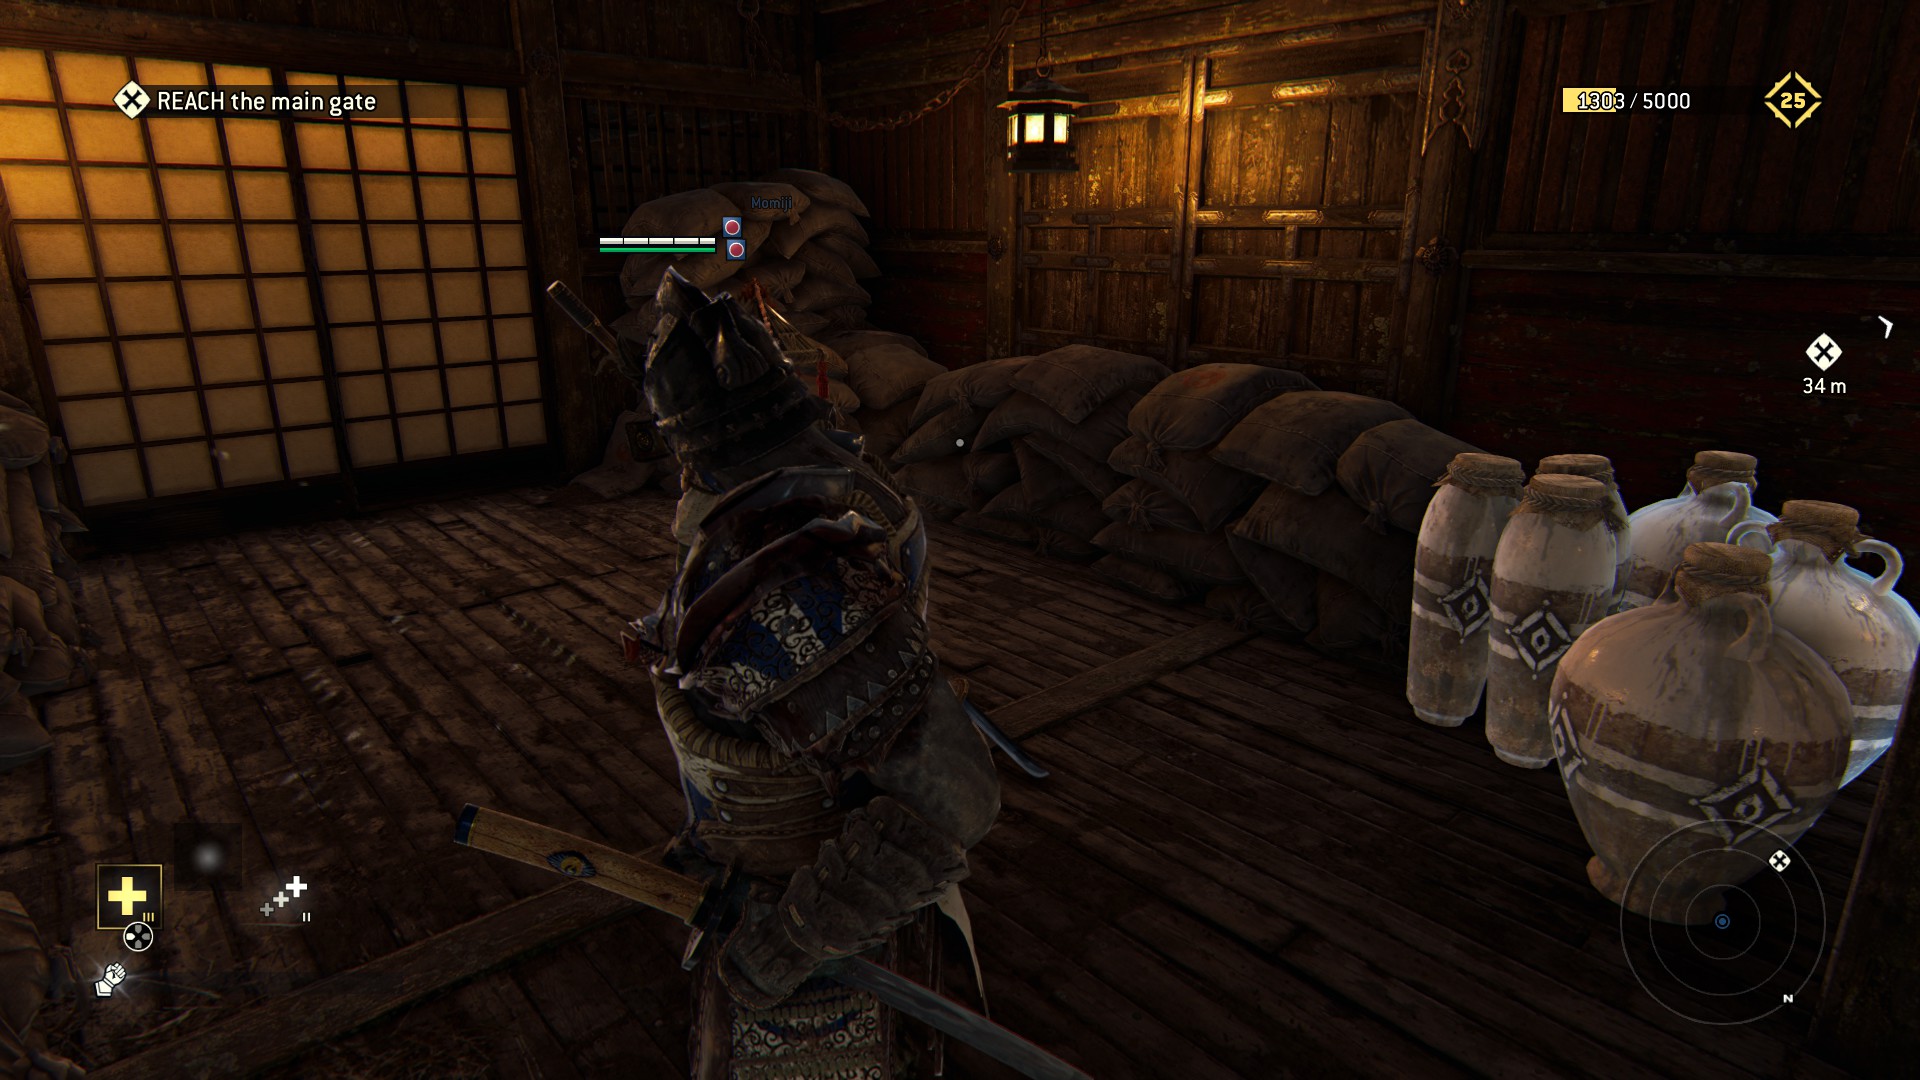 Unlike this one, which you'll find outside the window the burgerman was guarding
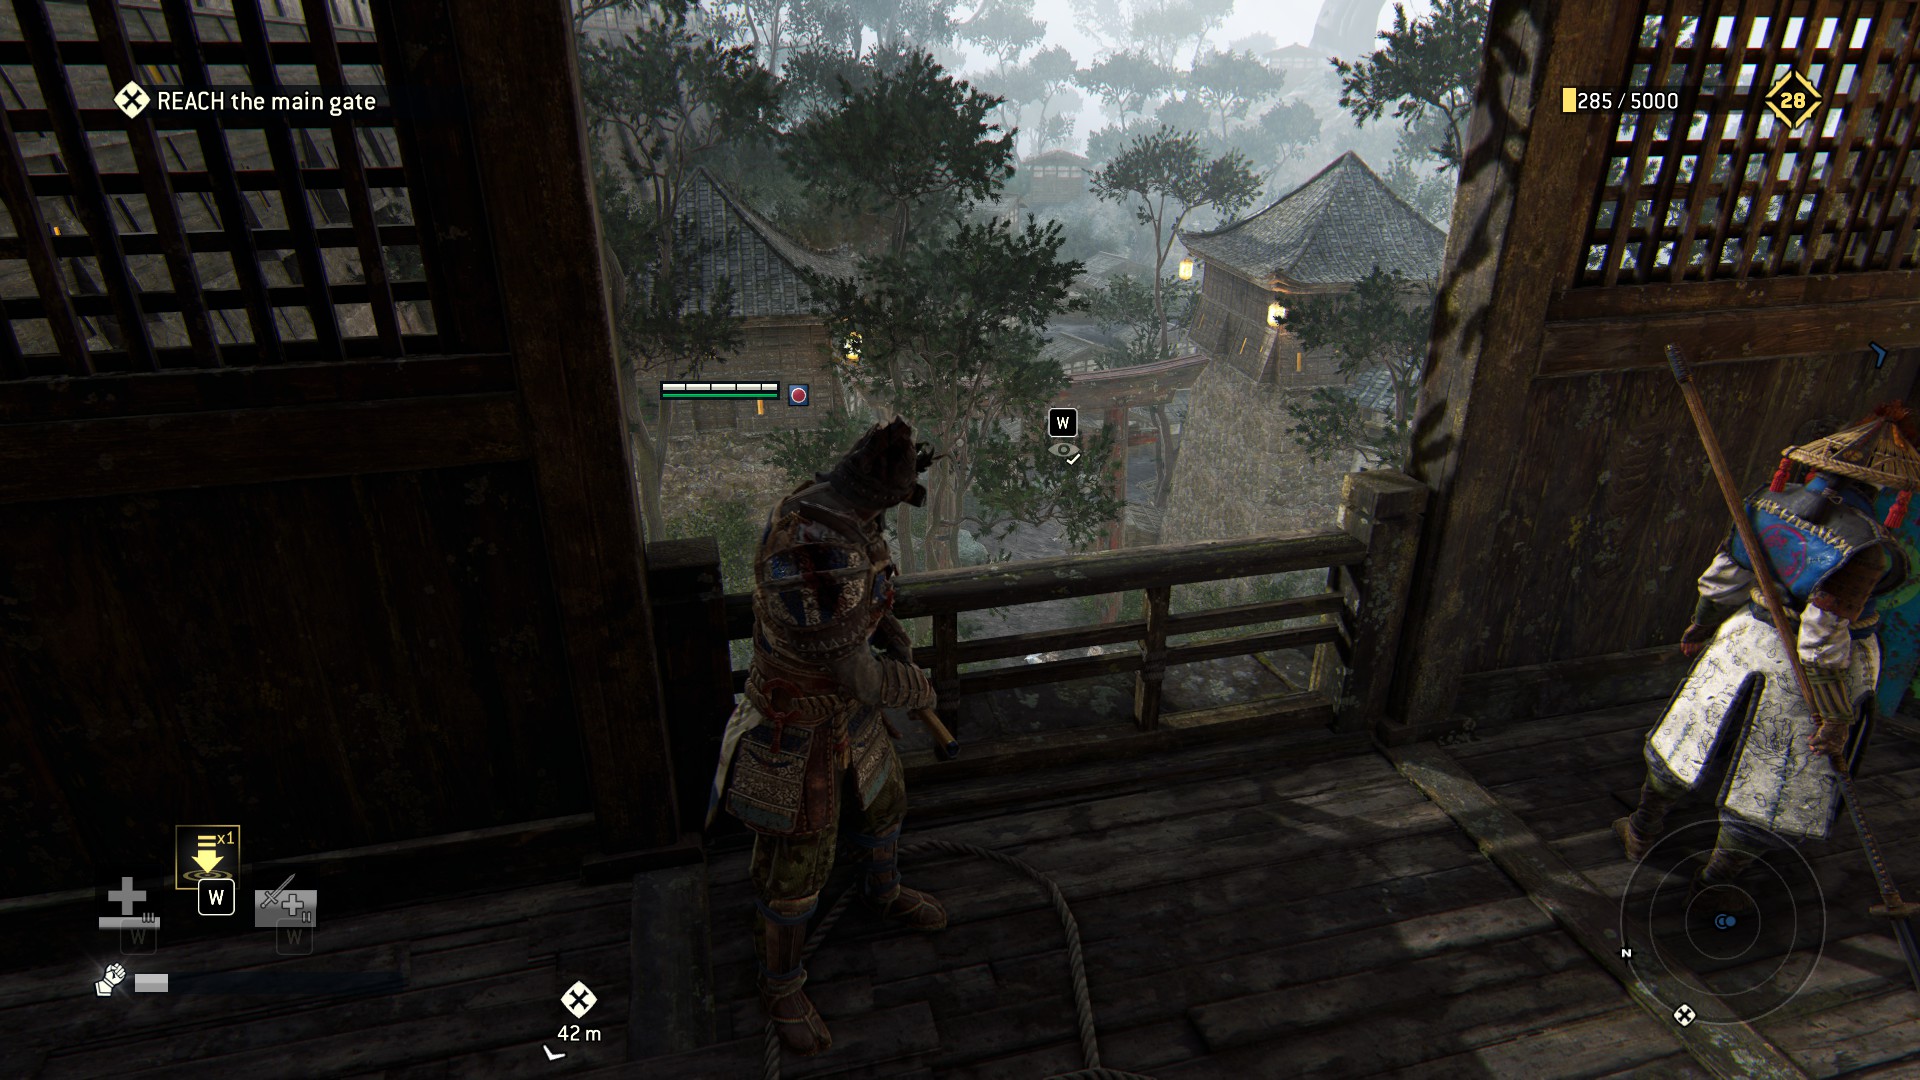 Coming up to the checkpoint, this one is easy to overlook, but you can get it after jumping down anyways
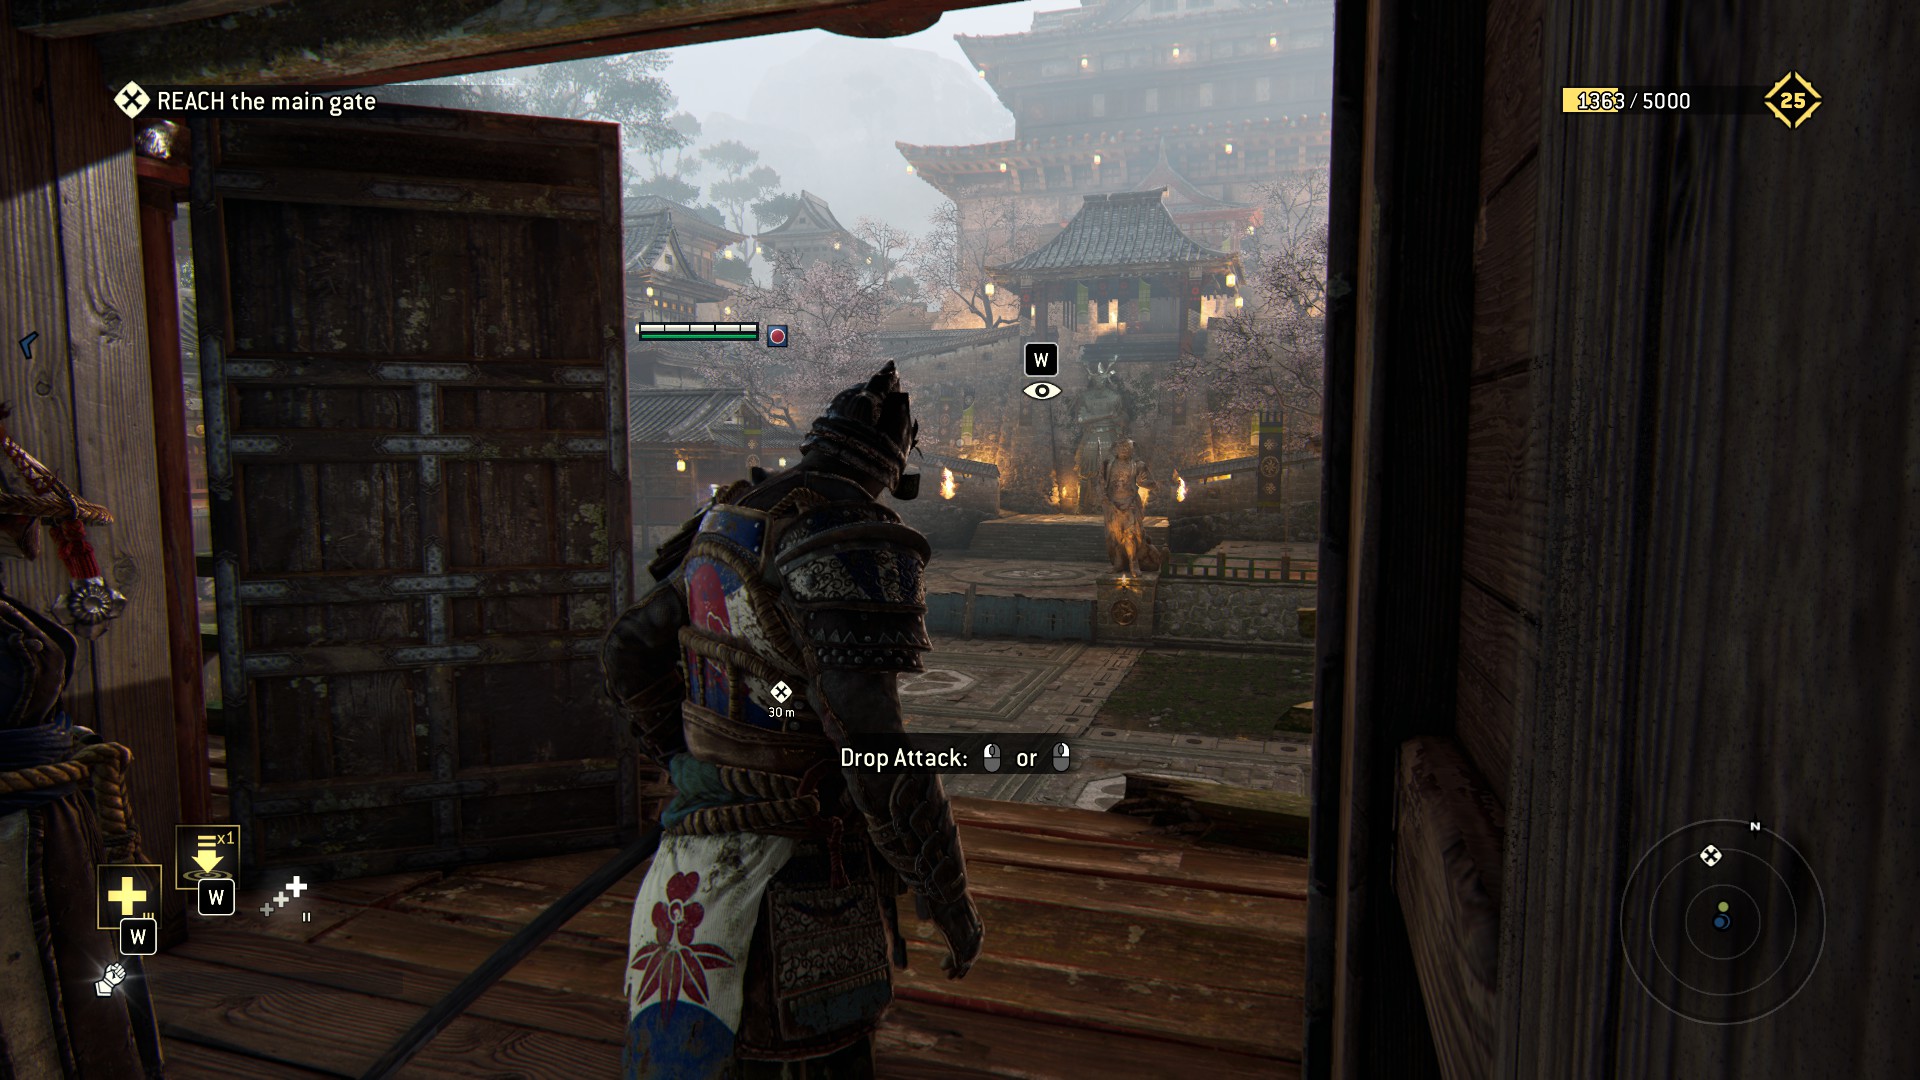 After having your way with the elephant, you'll see these two
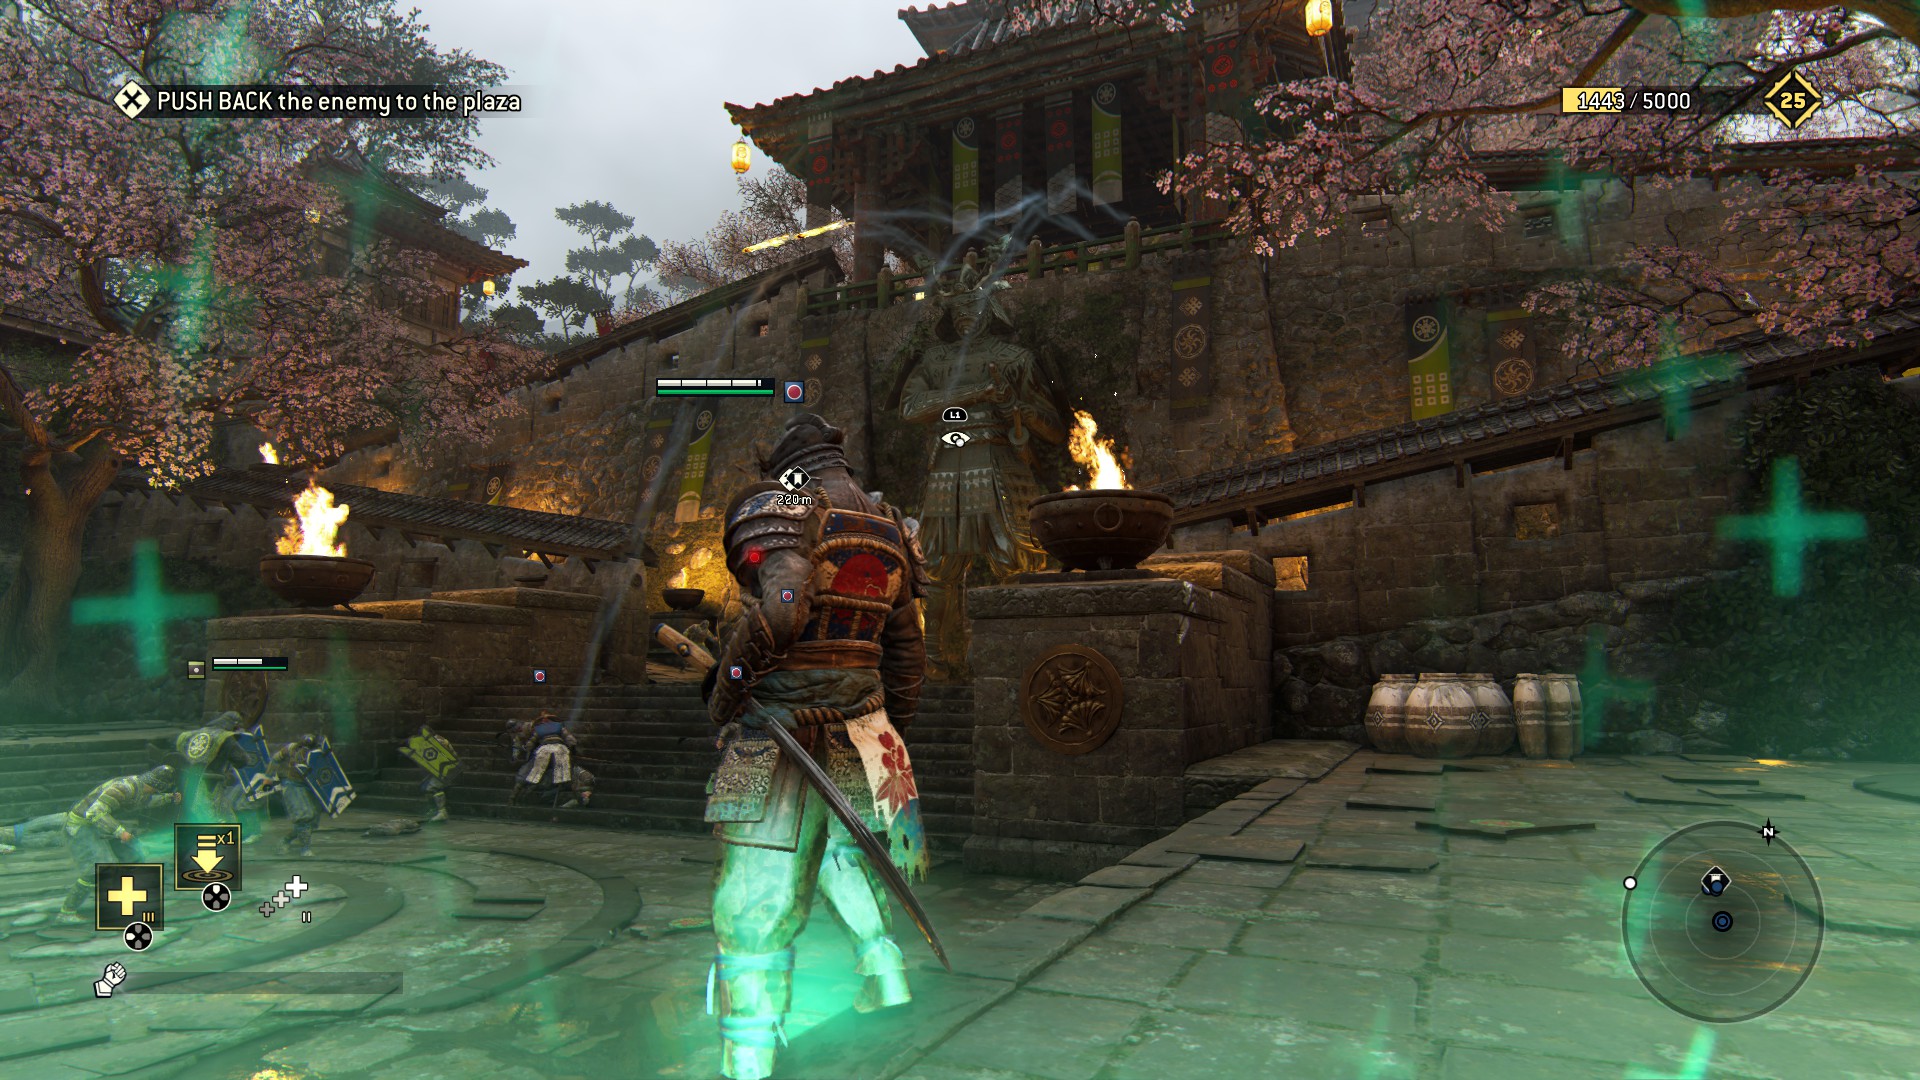 Now - remember the game teaching you the mechanics of paper walls? As you can se-
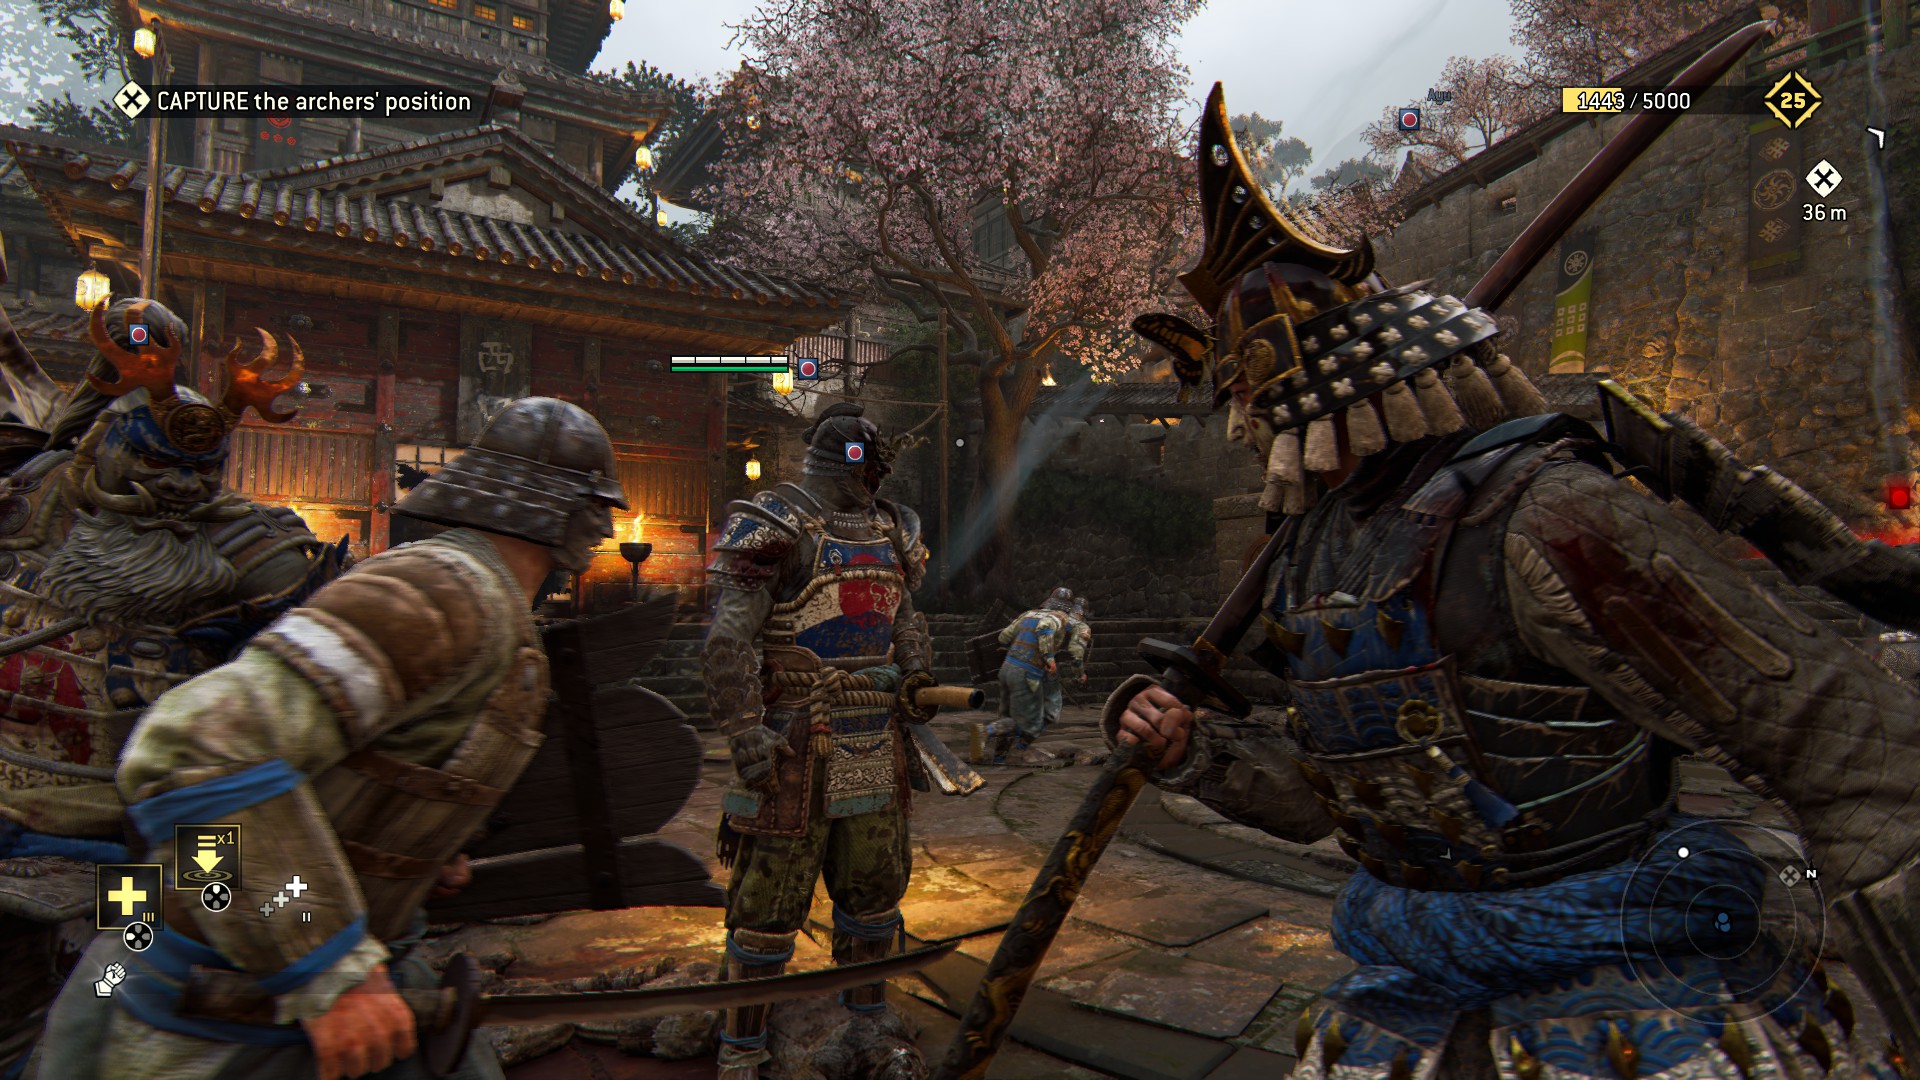 damnnpcs
As I was saying, I've cleverly pre-removed such a wall, thus revealing stuff we want
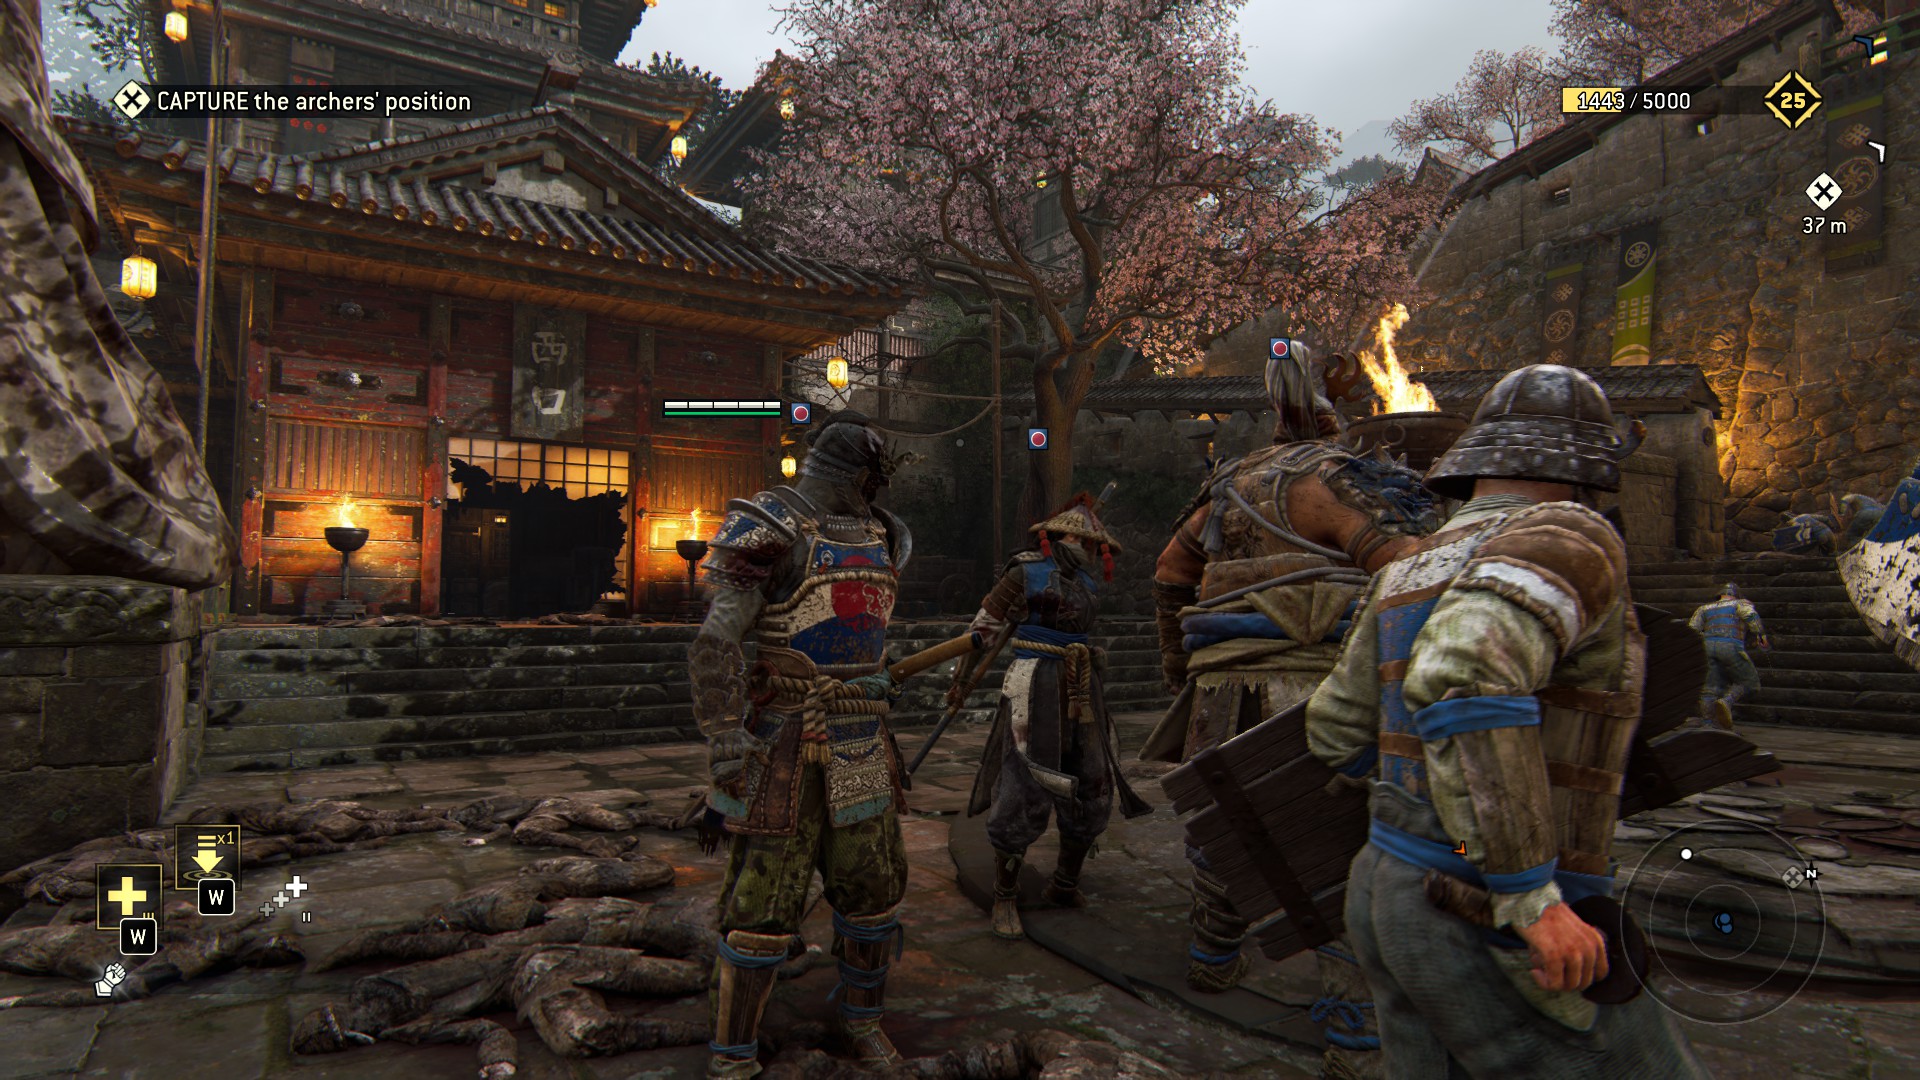
ooh, piece of candy - ooh, piece of candy - ooh piece of candy
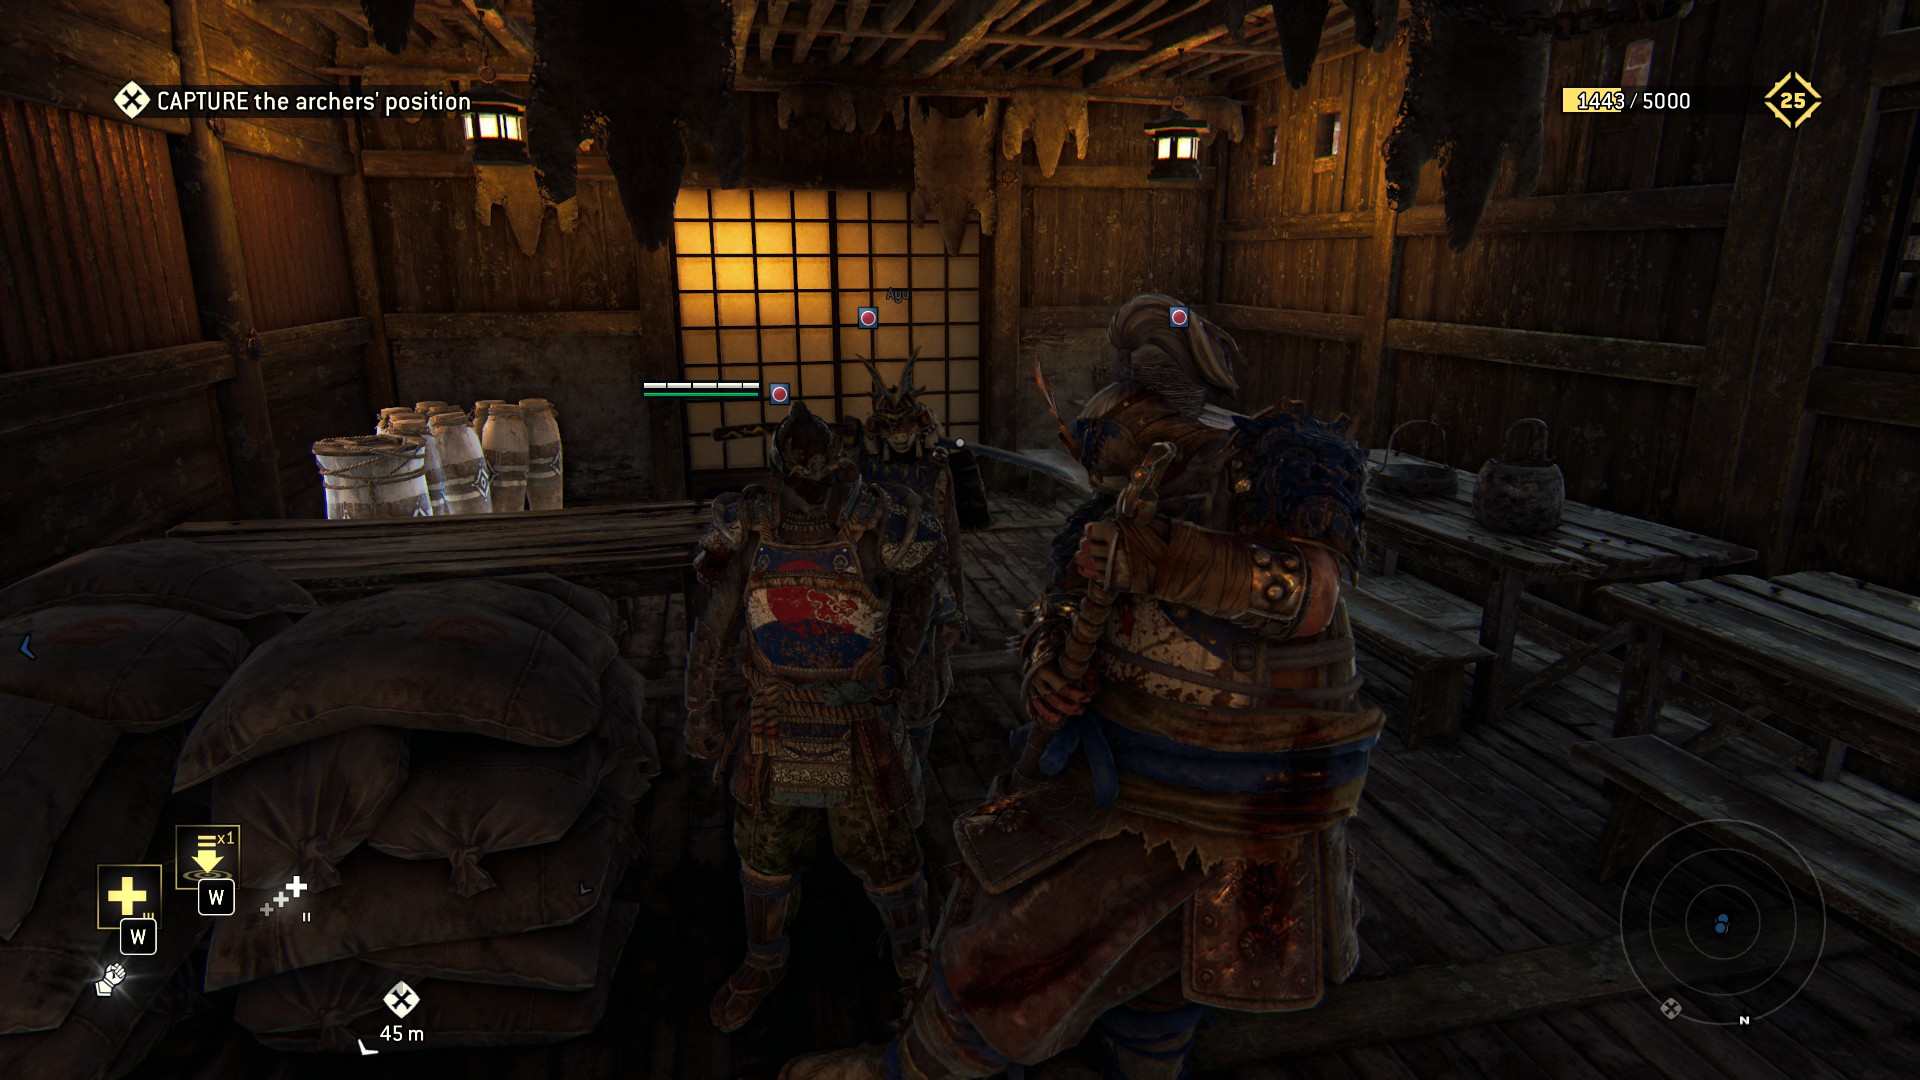
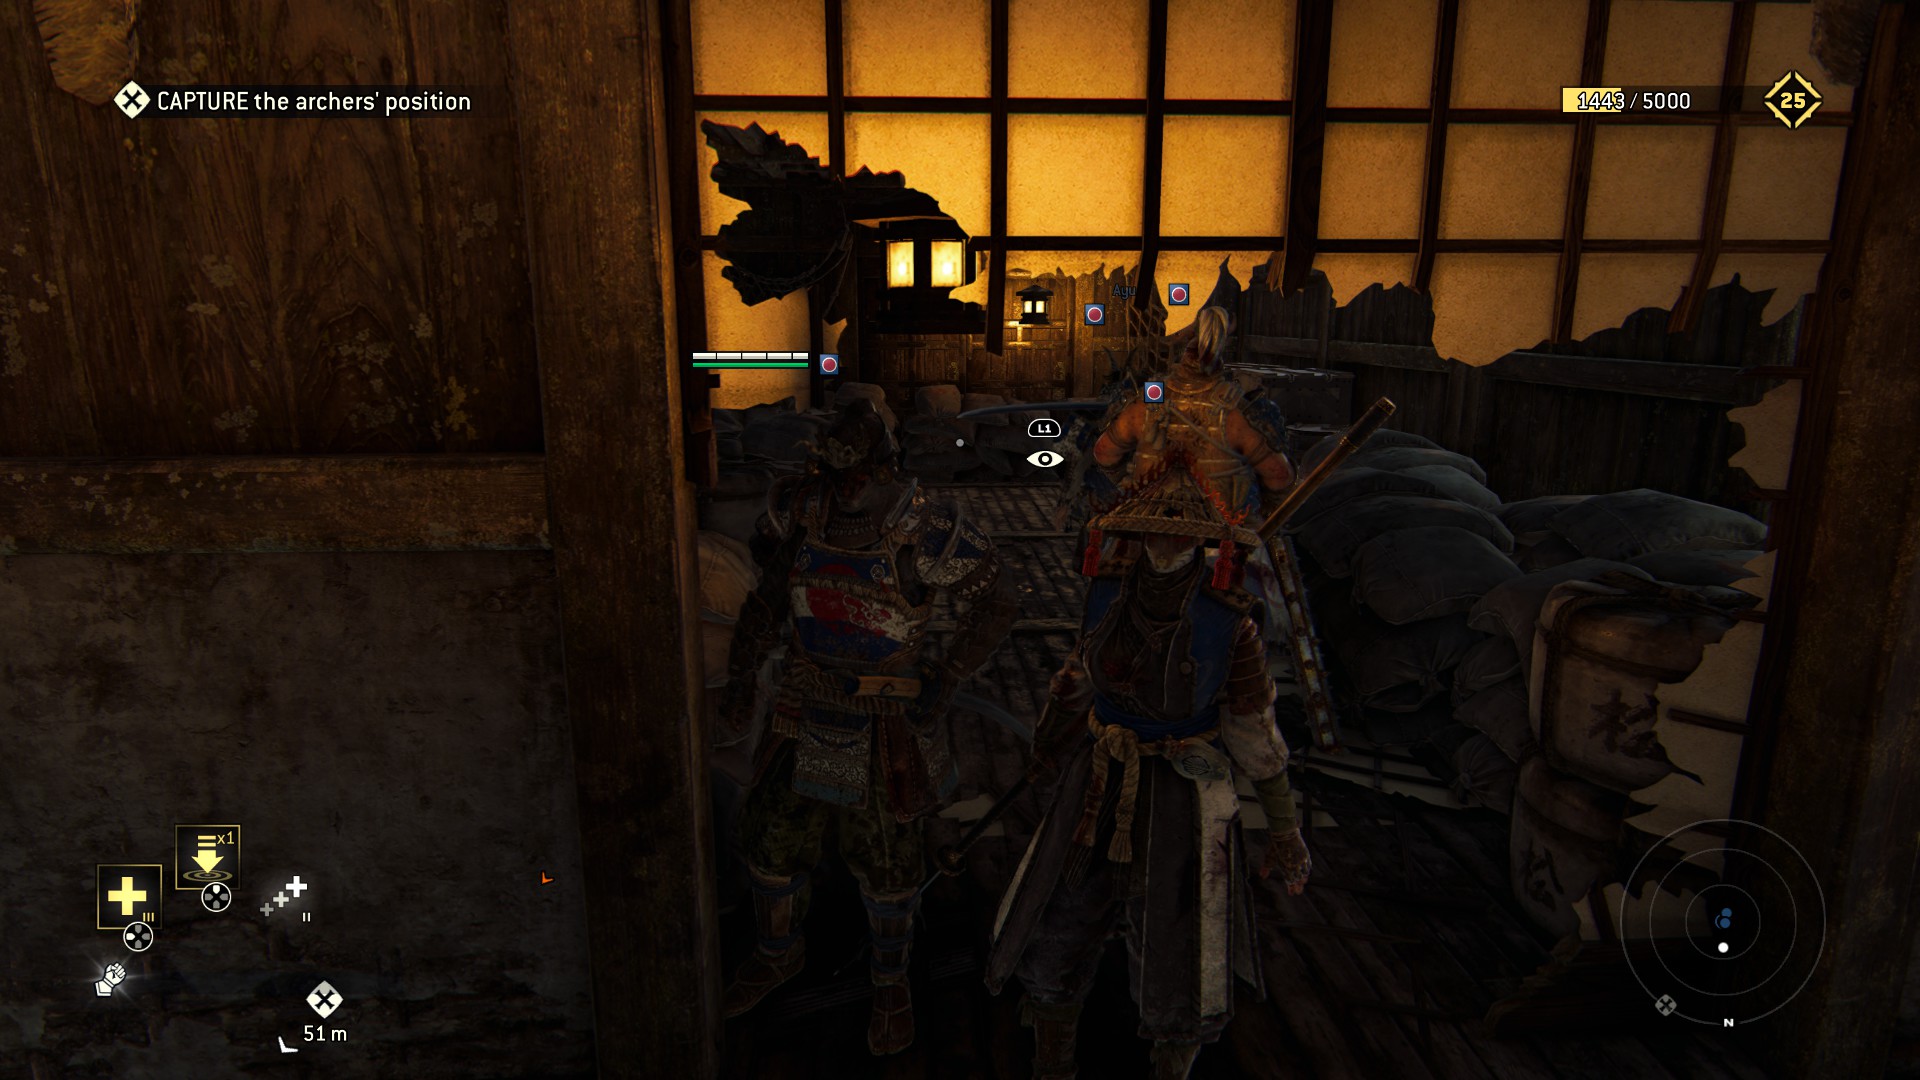 And last, but missable if you're dumb like me and go right, up the left side is the last piece of the pots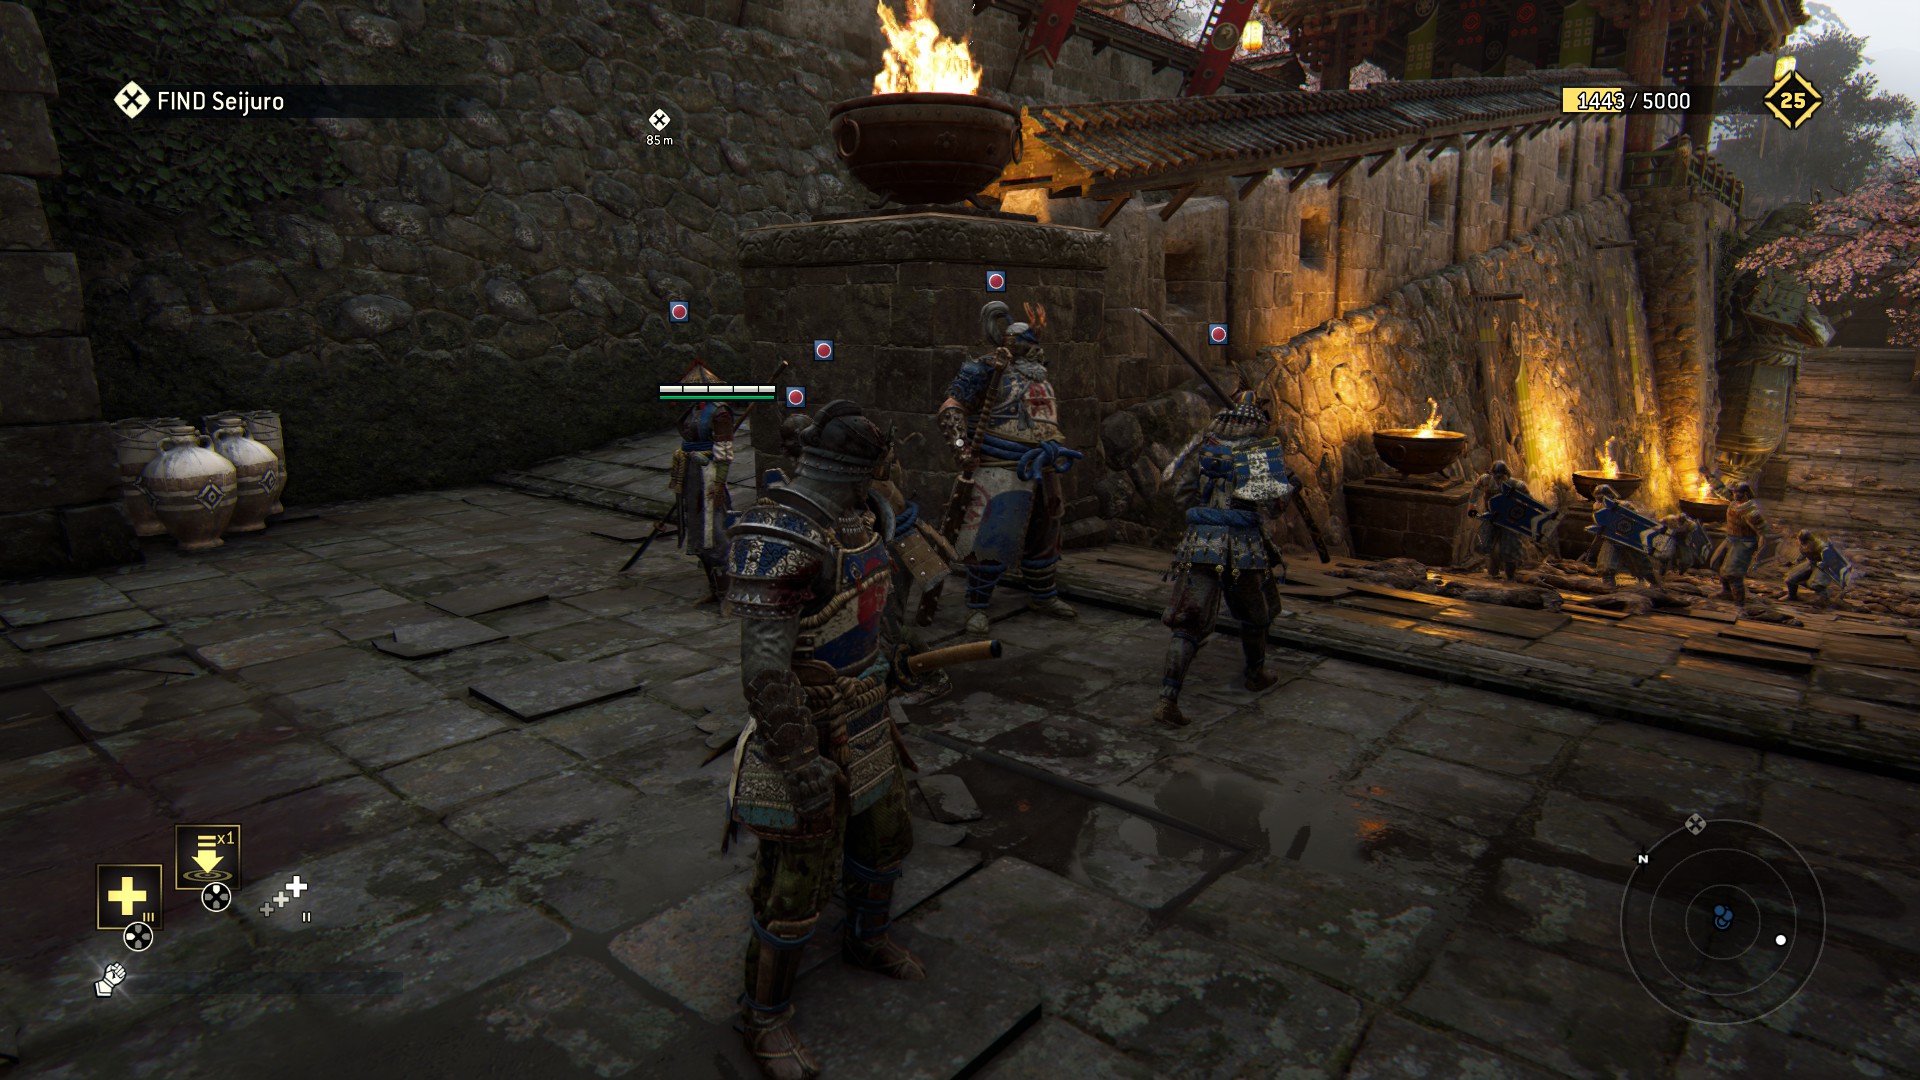
Now go forth and slay!
3.5 - Honor
«My knee! I hope I can keep adventuring»
- Momiji
Yep.
Ashfeld is, according to both our protagonist and our narrator, a lawless land where the strong prey on the weak. Not unlike Detroit.
The level is a two-parter, starting off in the circular forest of Ashfeld and ending in the derelict cathedral you might recognize from multiplayer.
Both parts have a point-of-no-return each, so to make this more picture-y and less word-y:
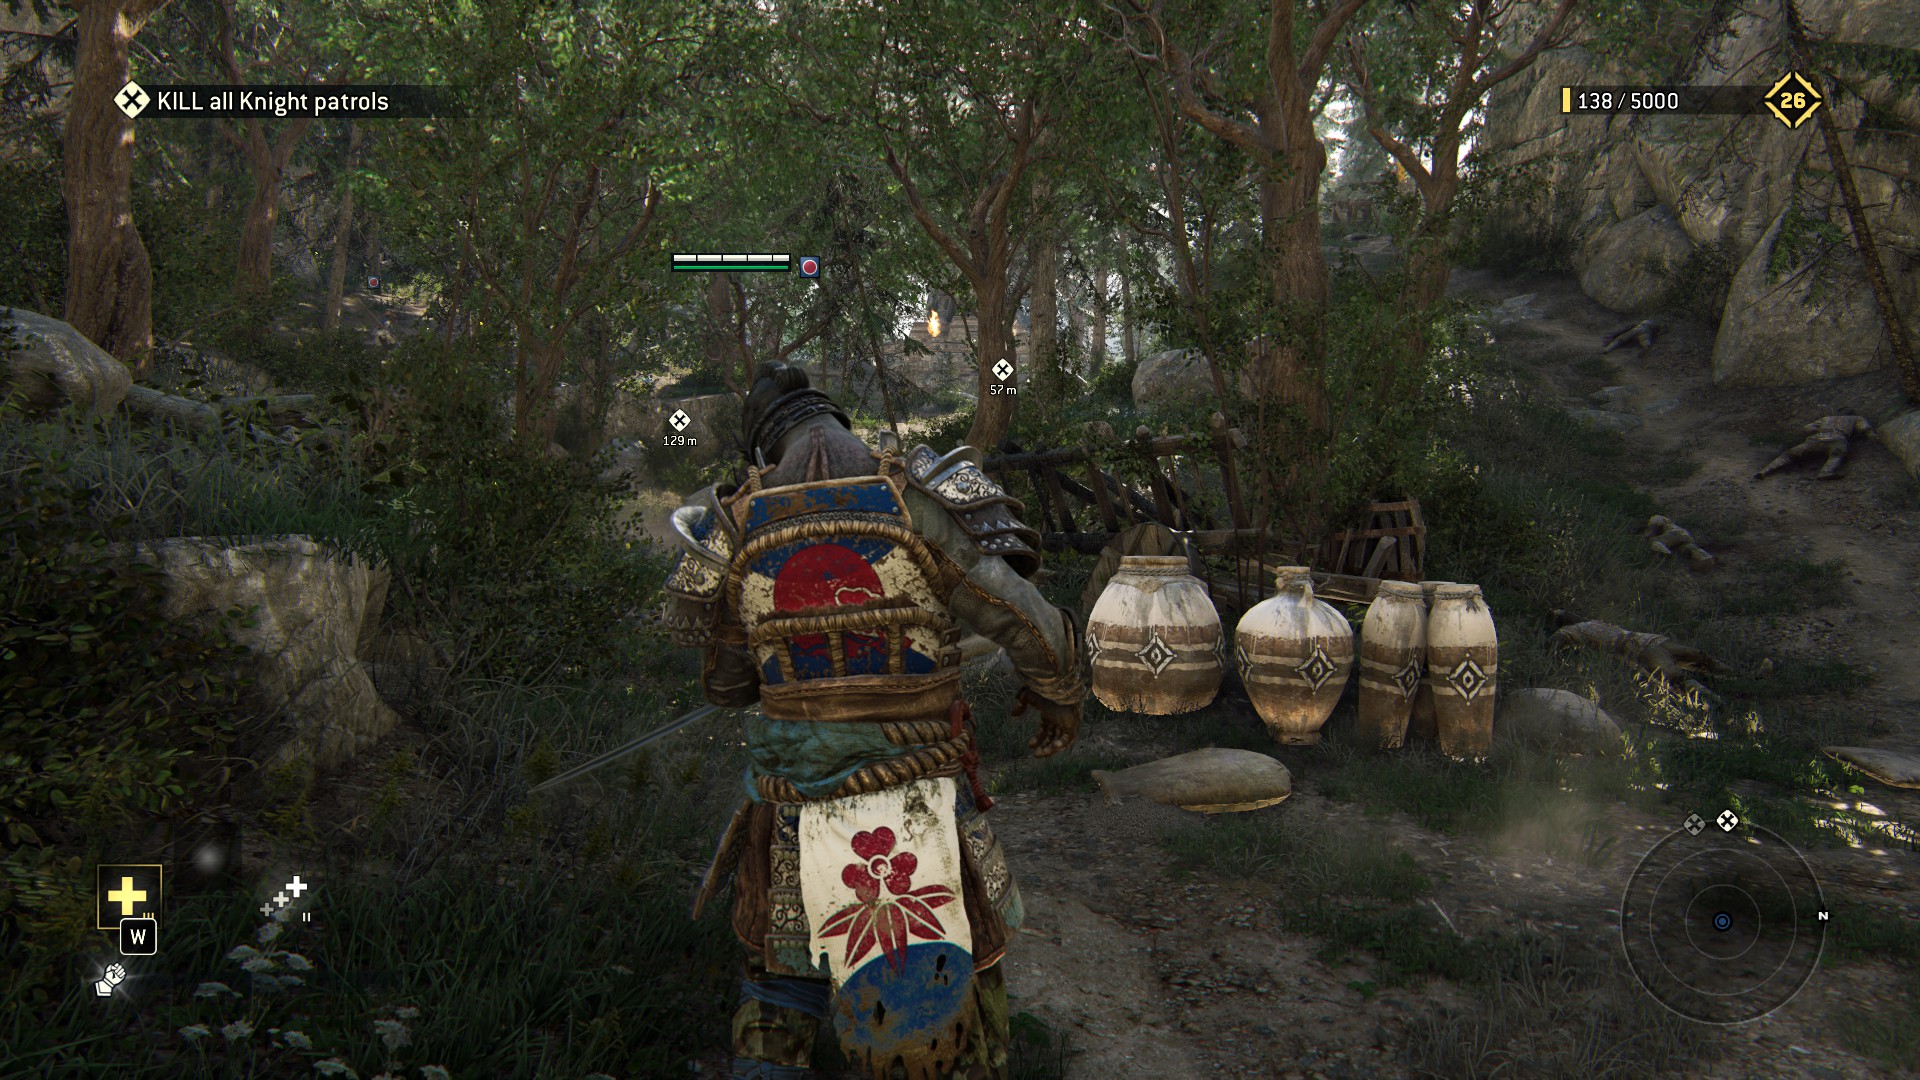
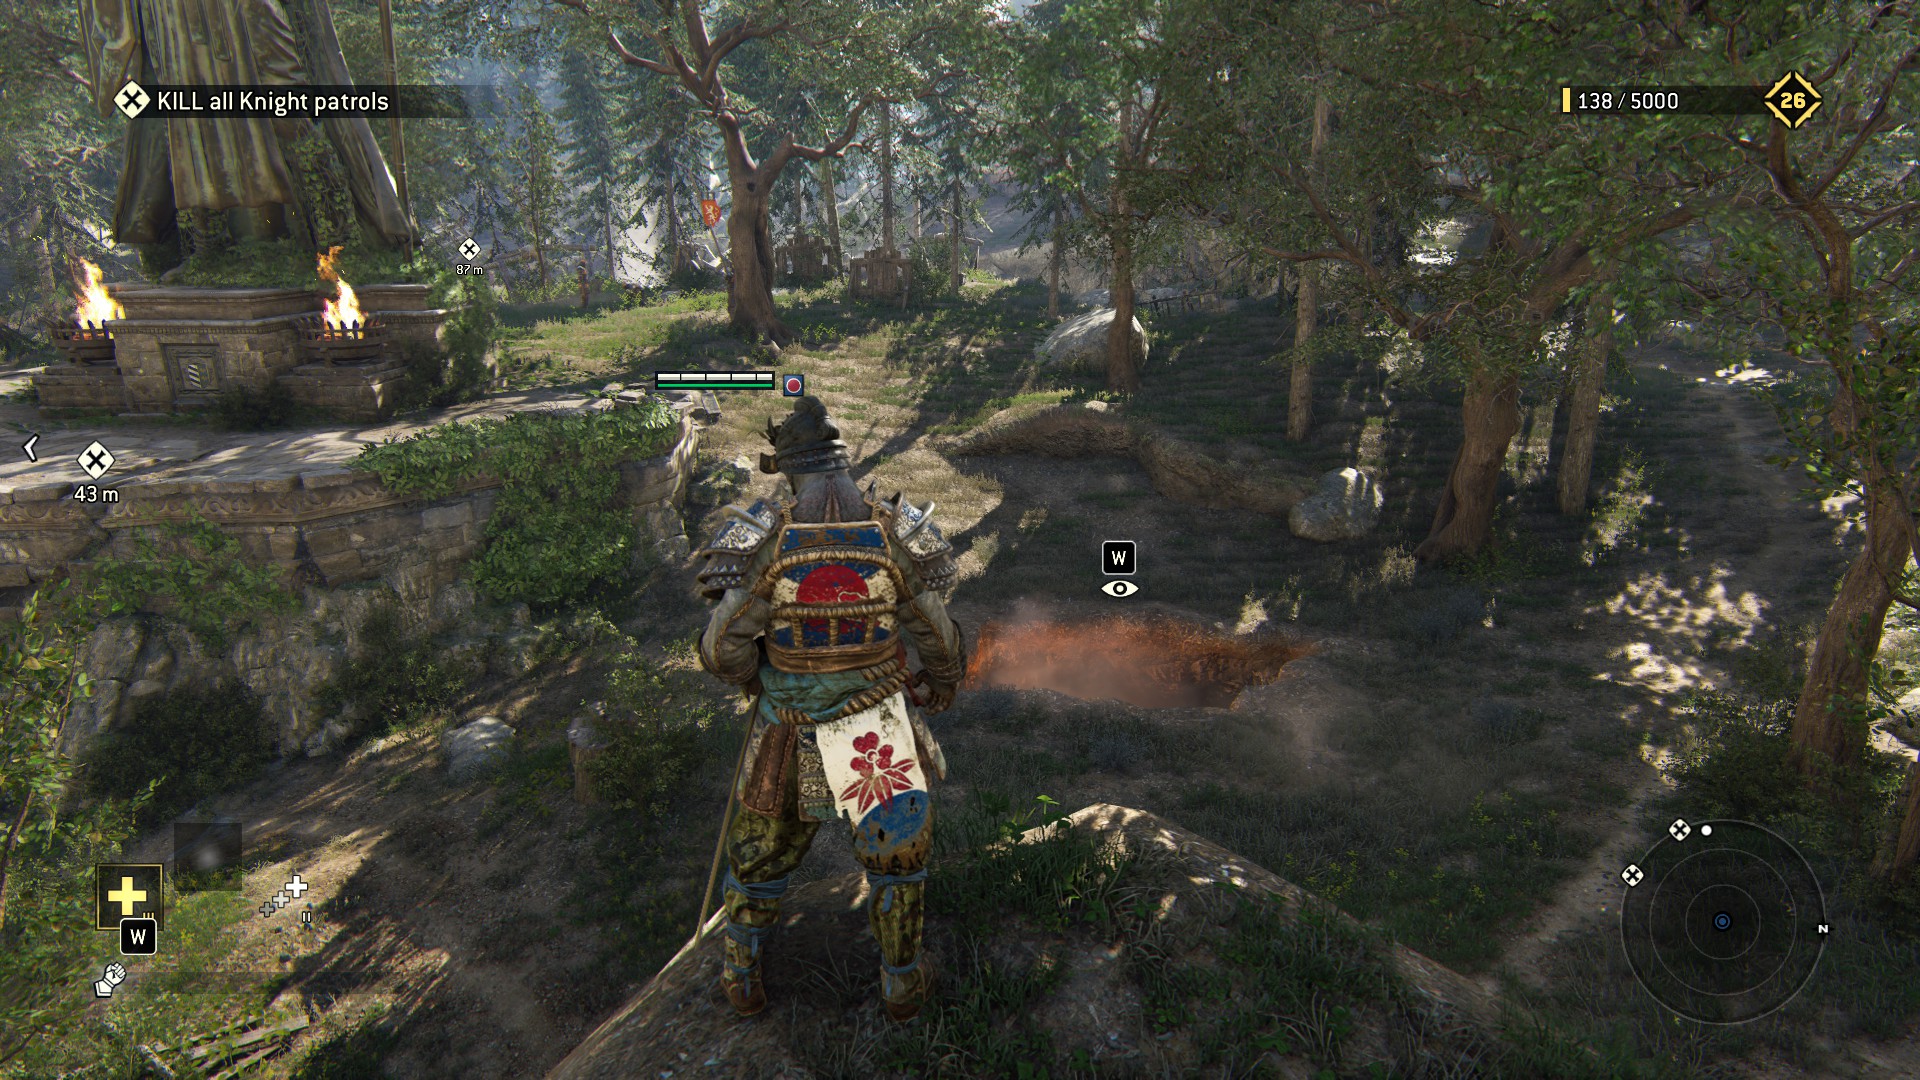 then, from this point, cut straight across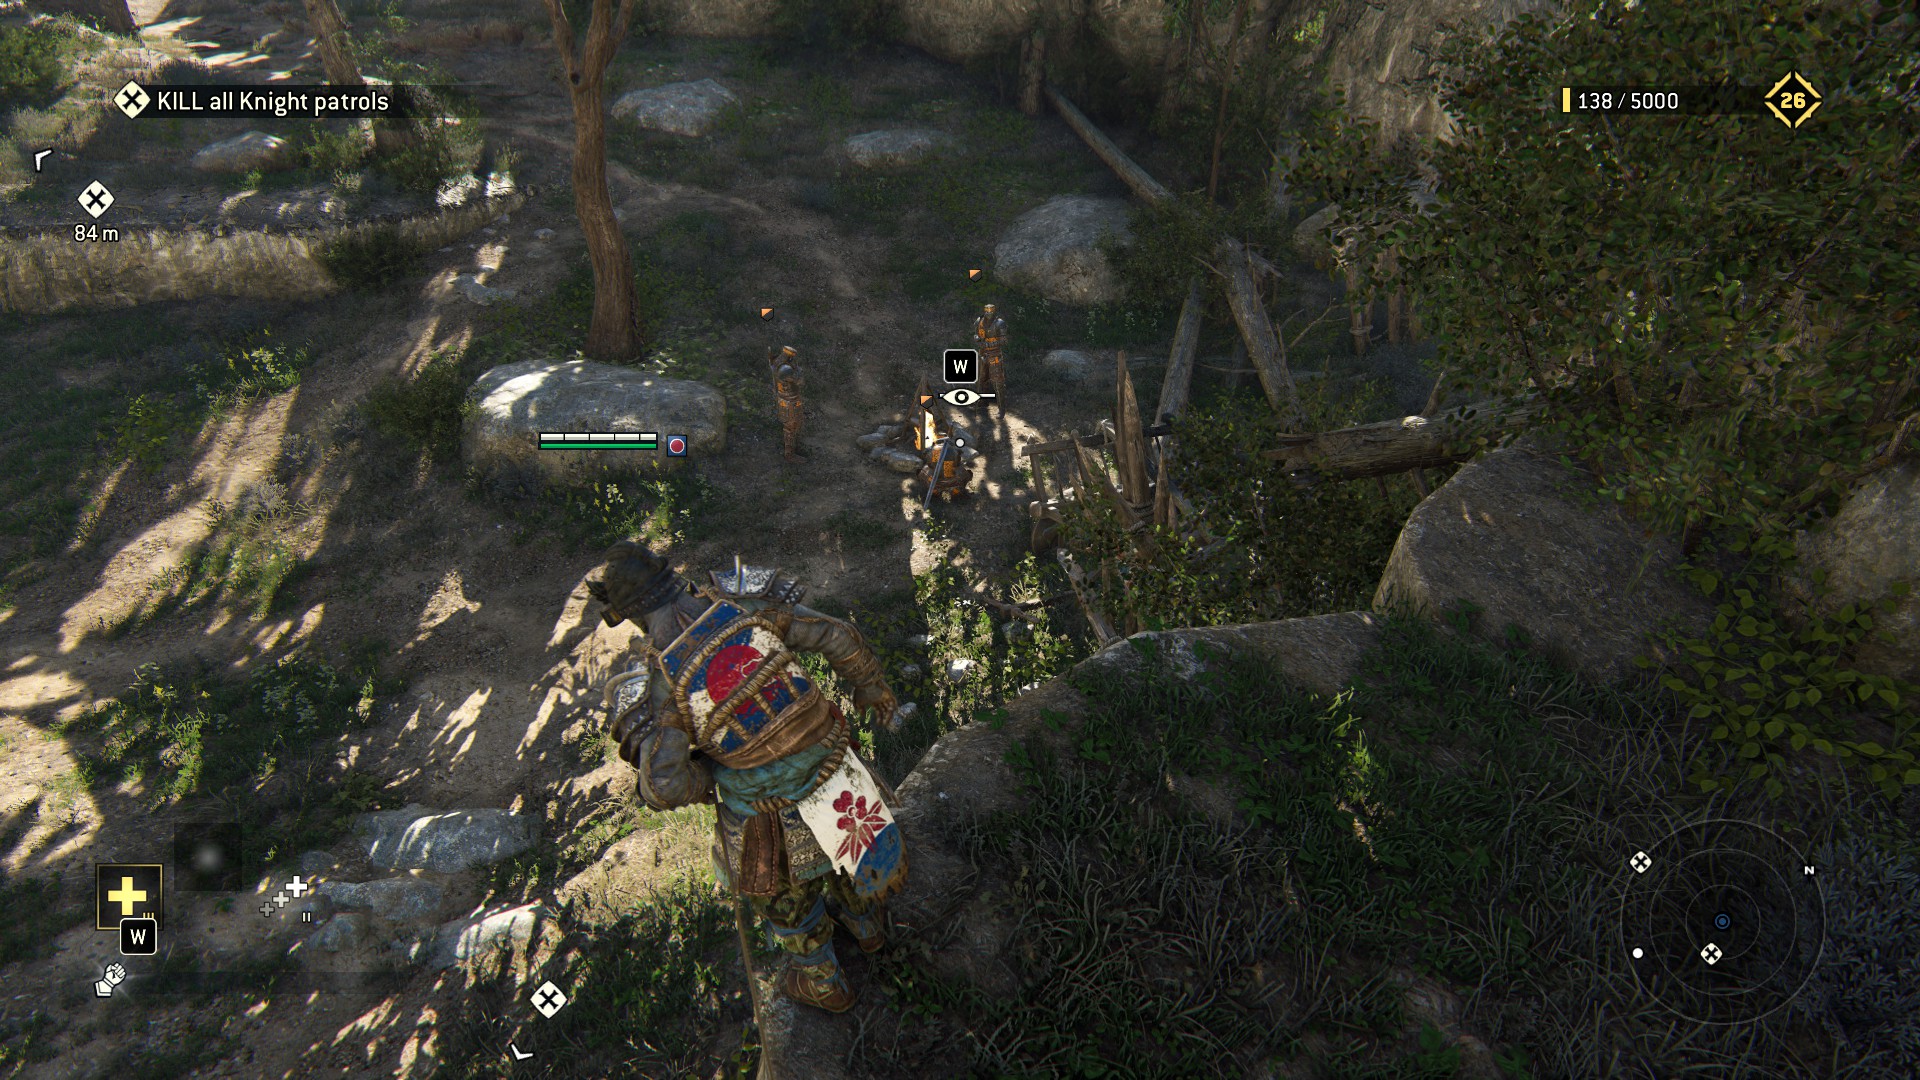
to these two; from here, go out to the left
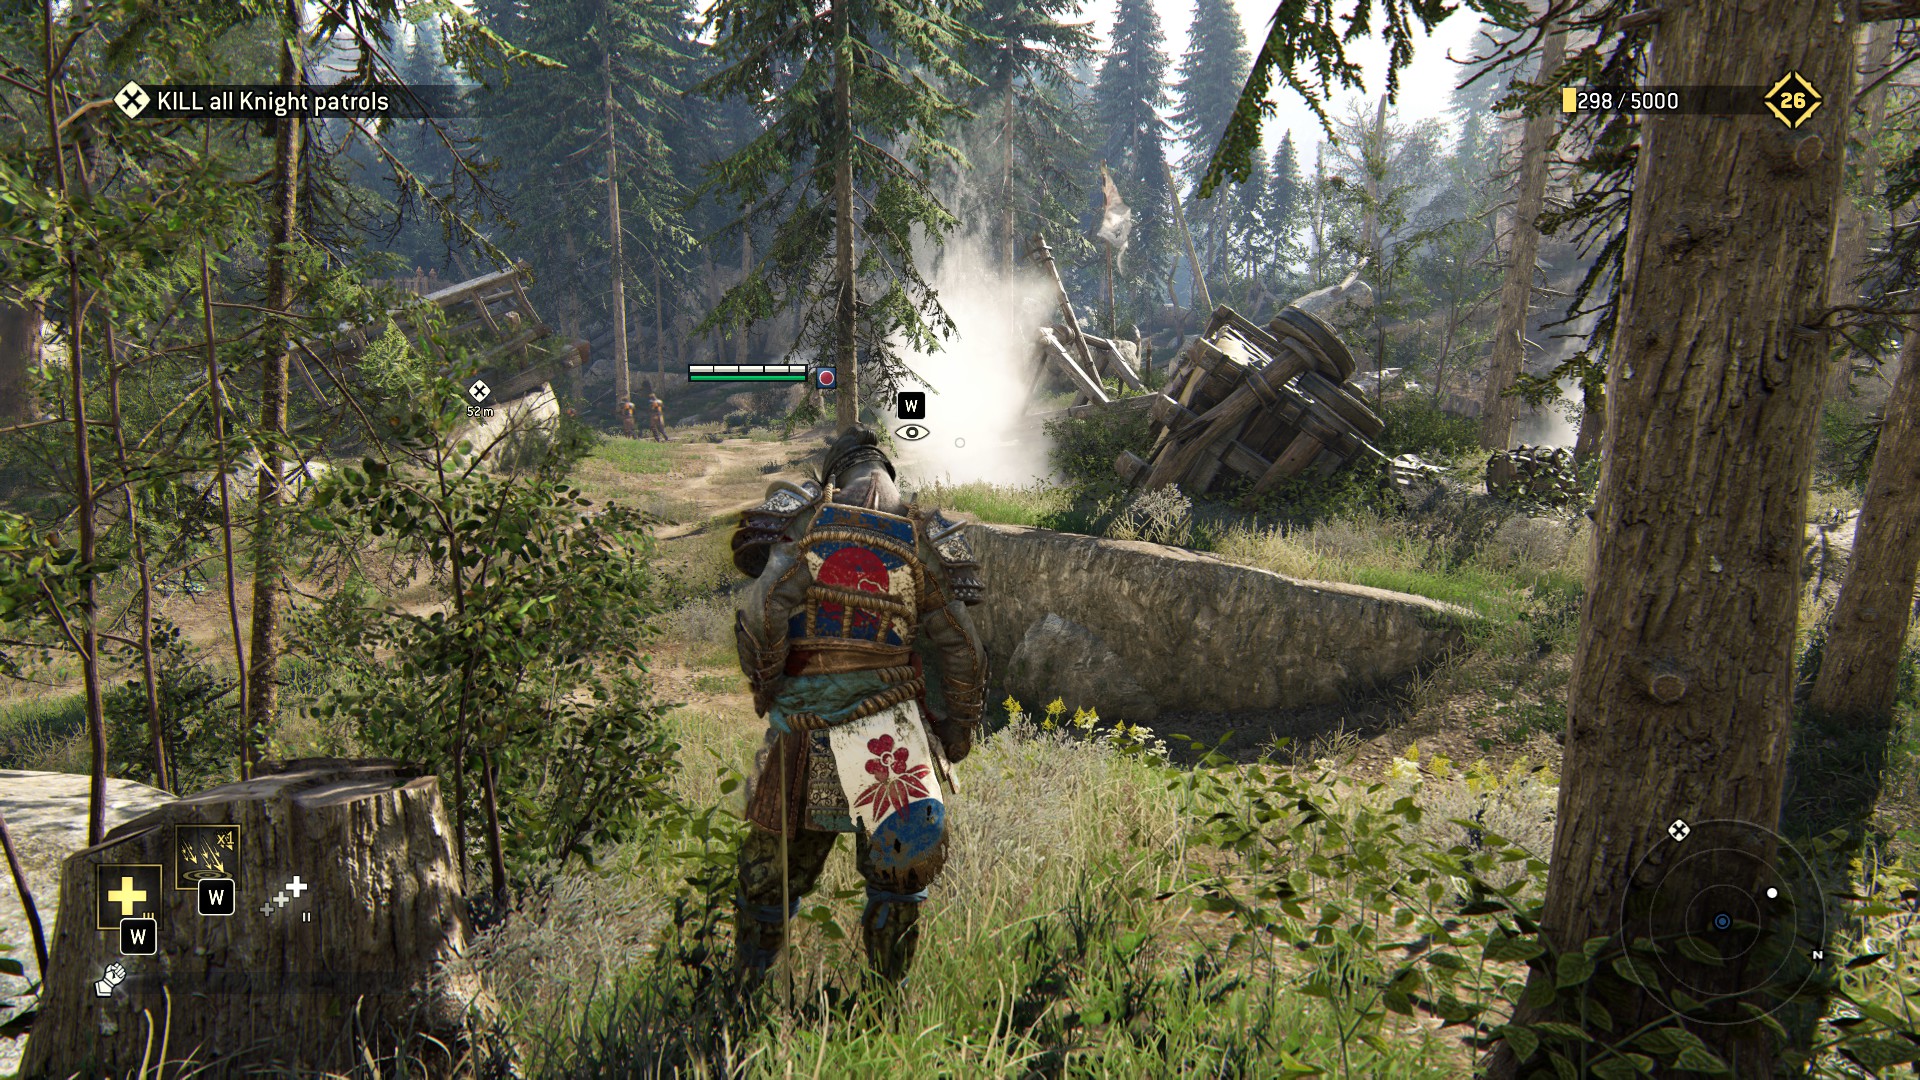
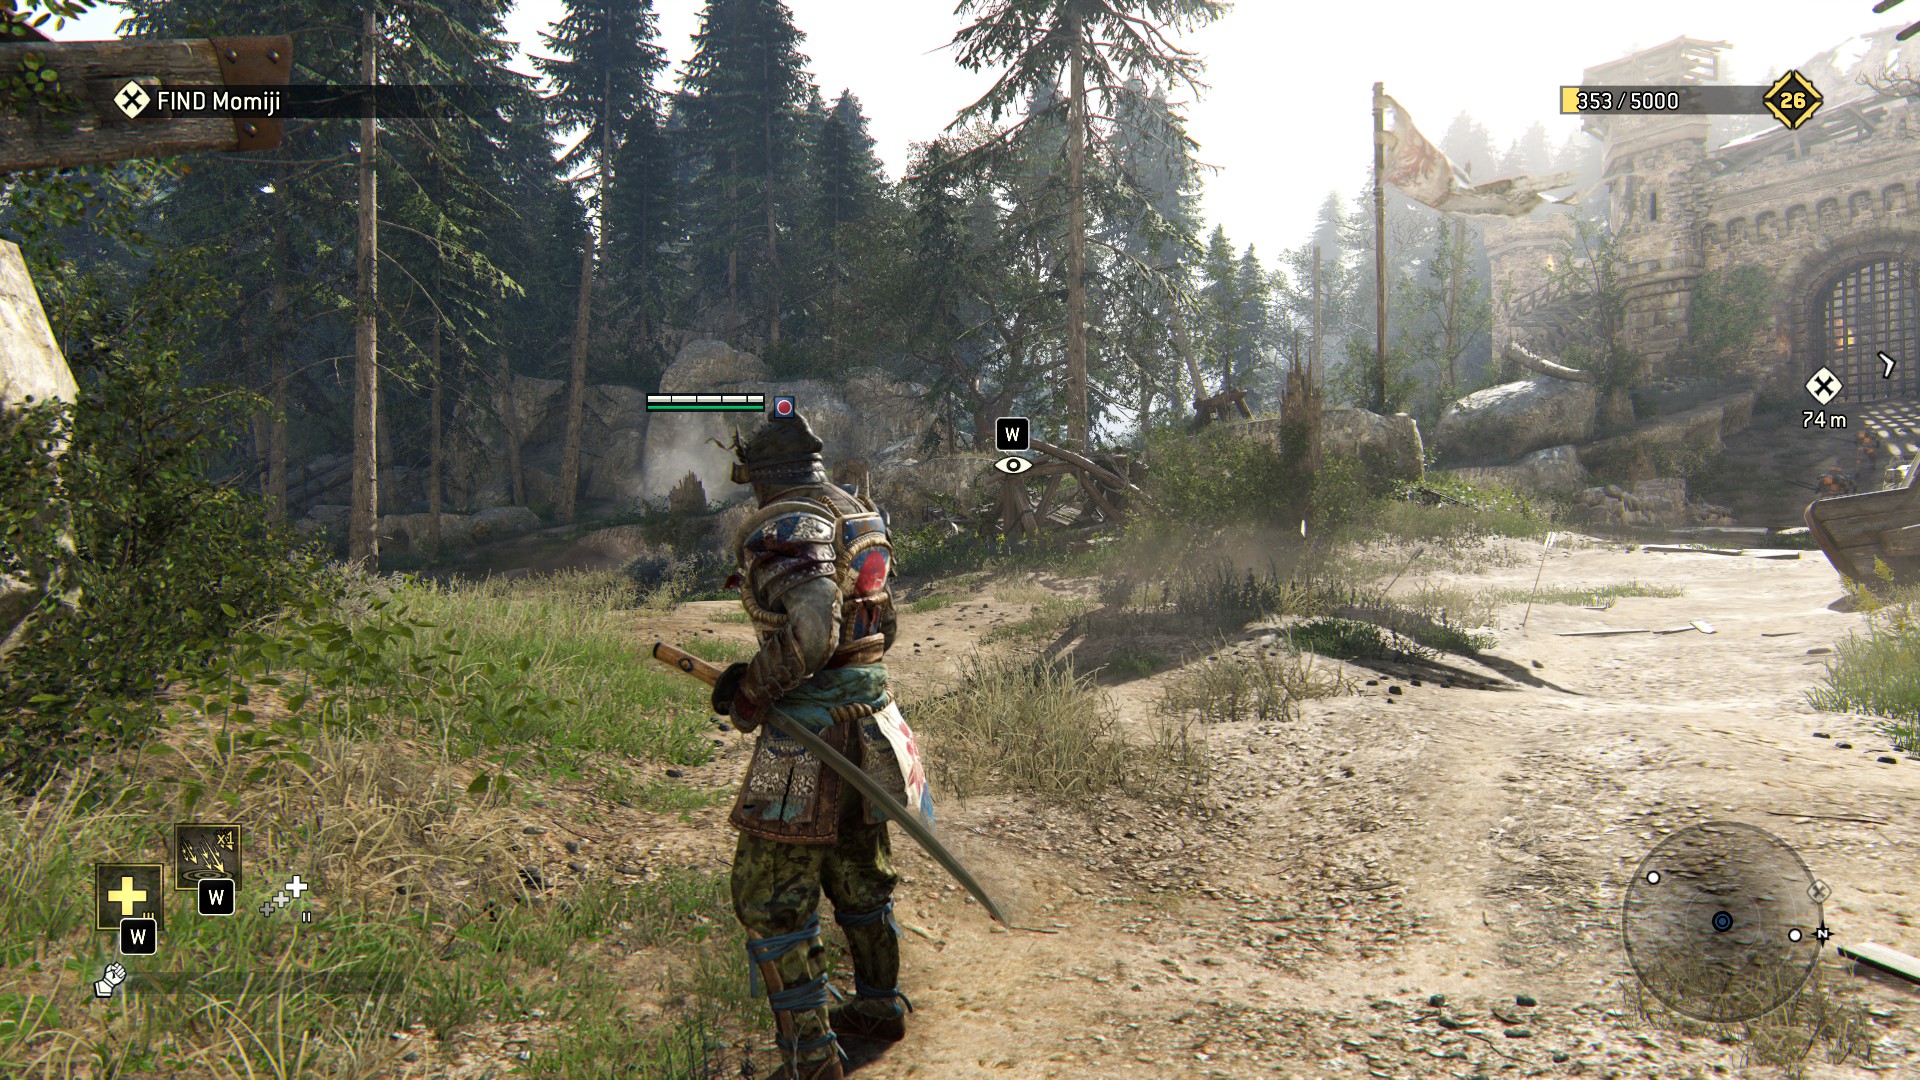 to this little thing (bob and weave, bob and weave!)
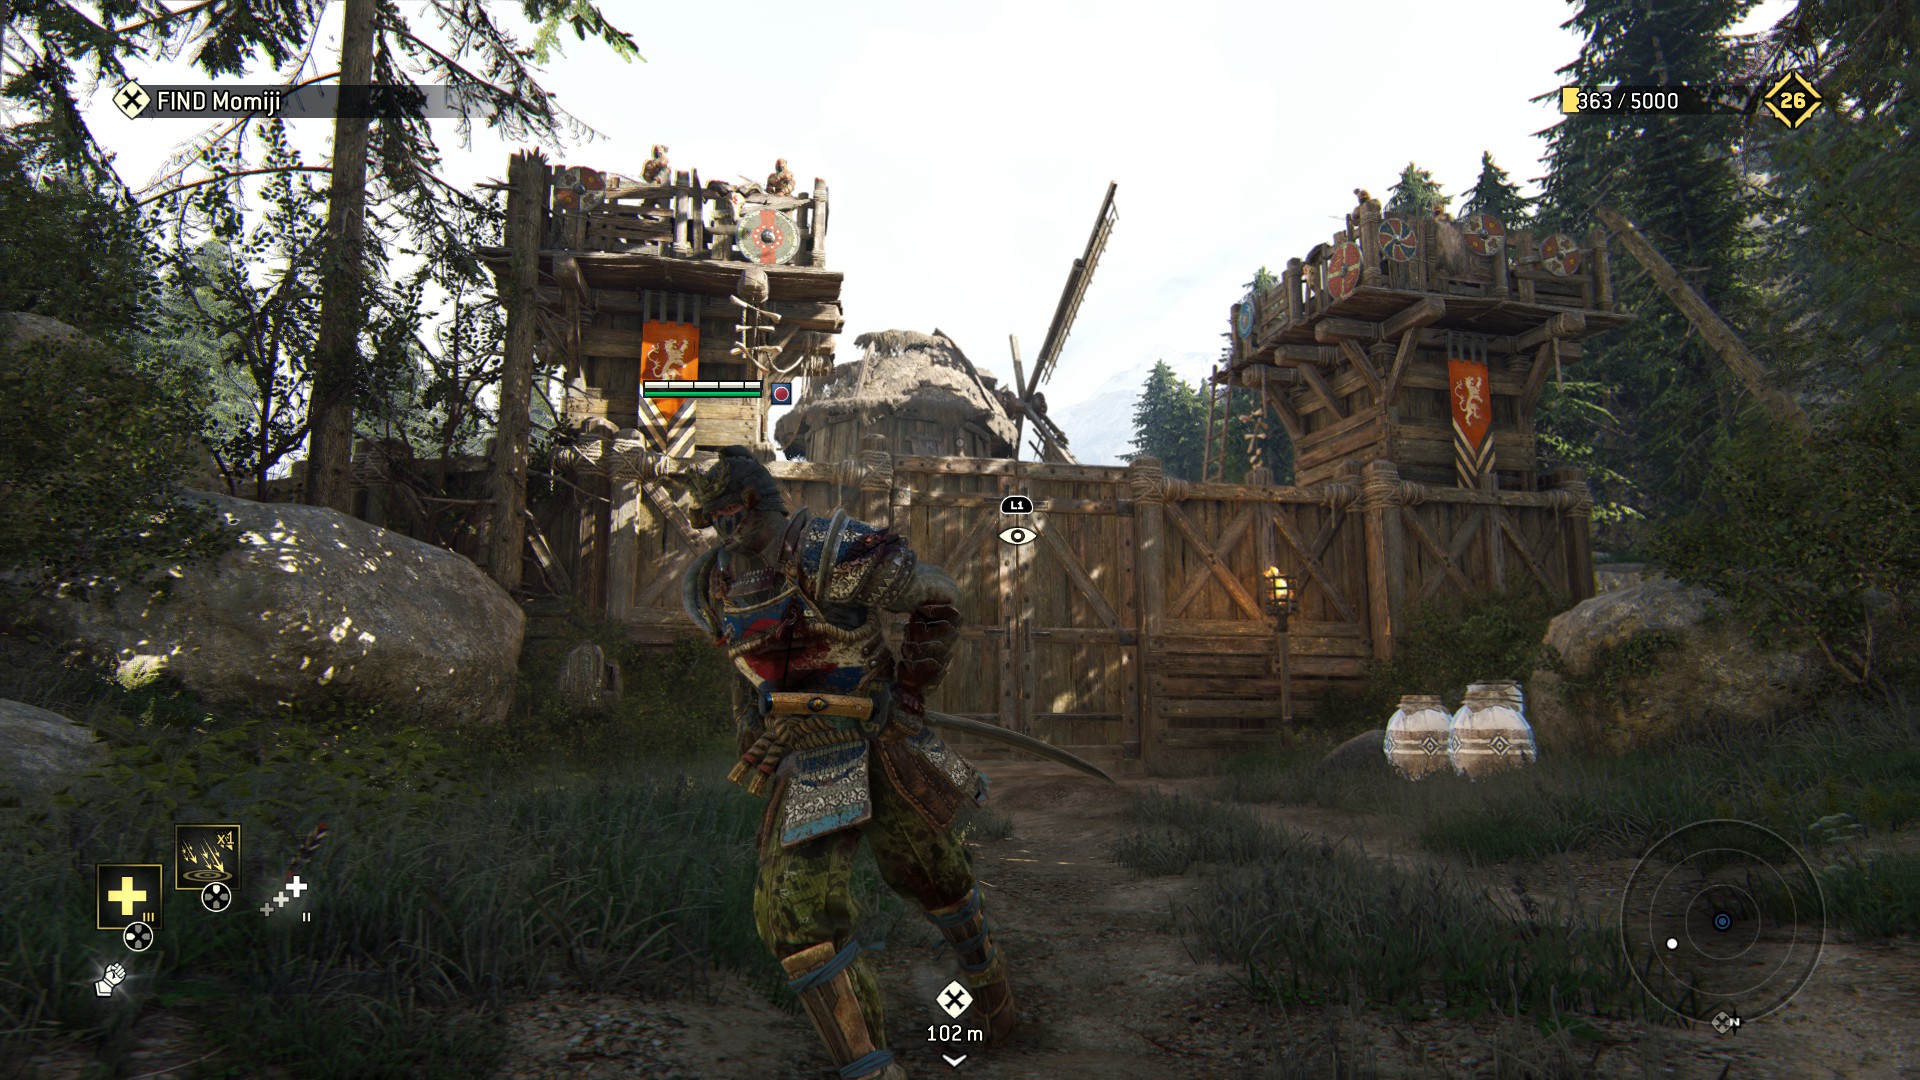 follow the edge to the stone fortress, still bobbing and weaving
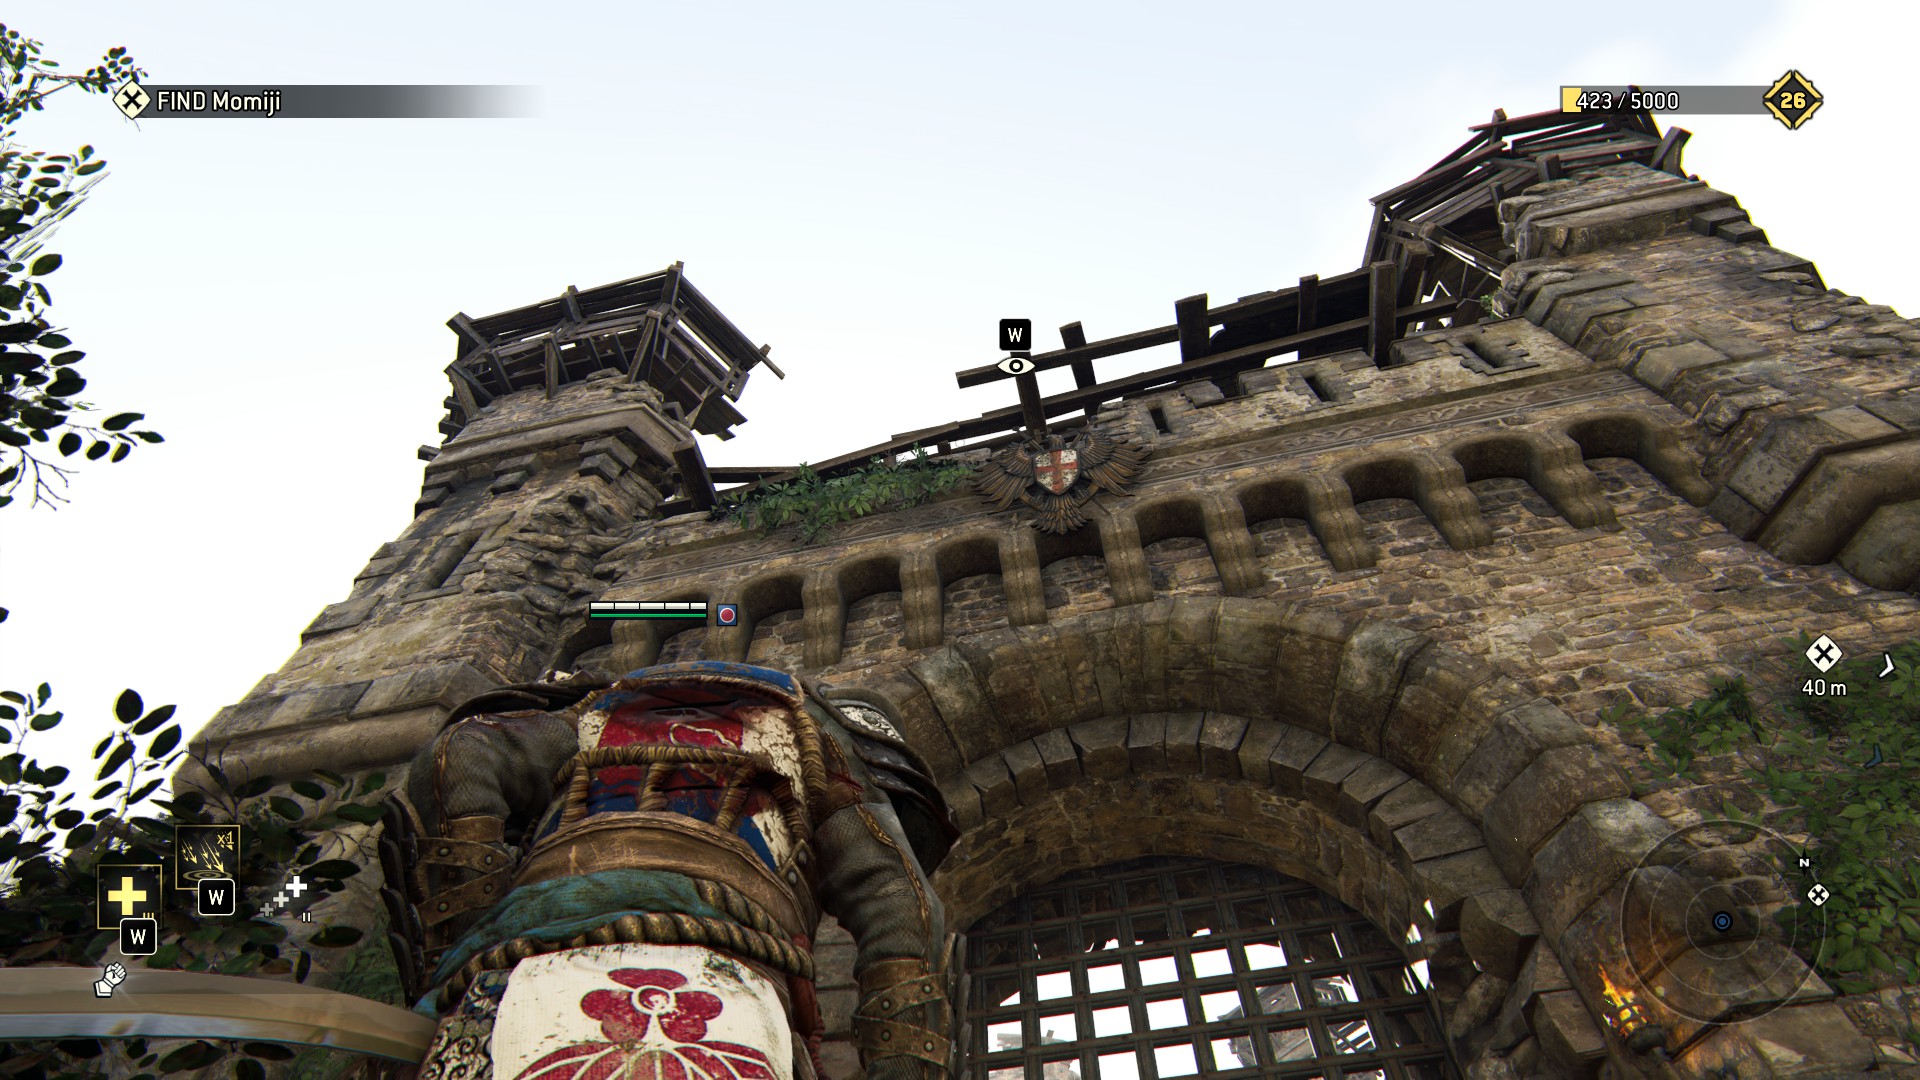 With the patrols dead, this is the last few before going into the castle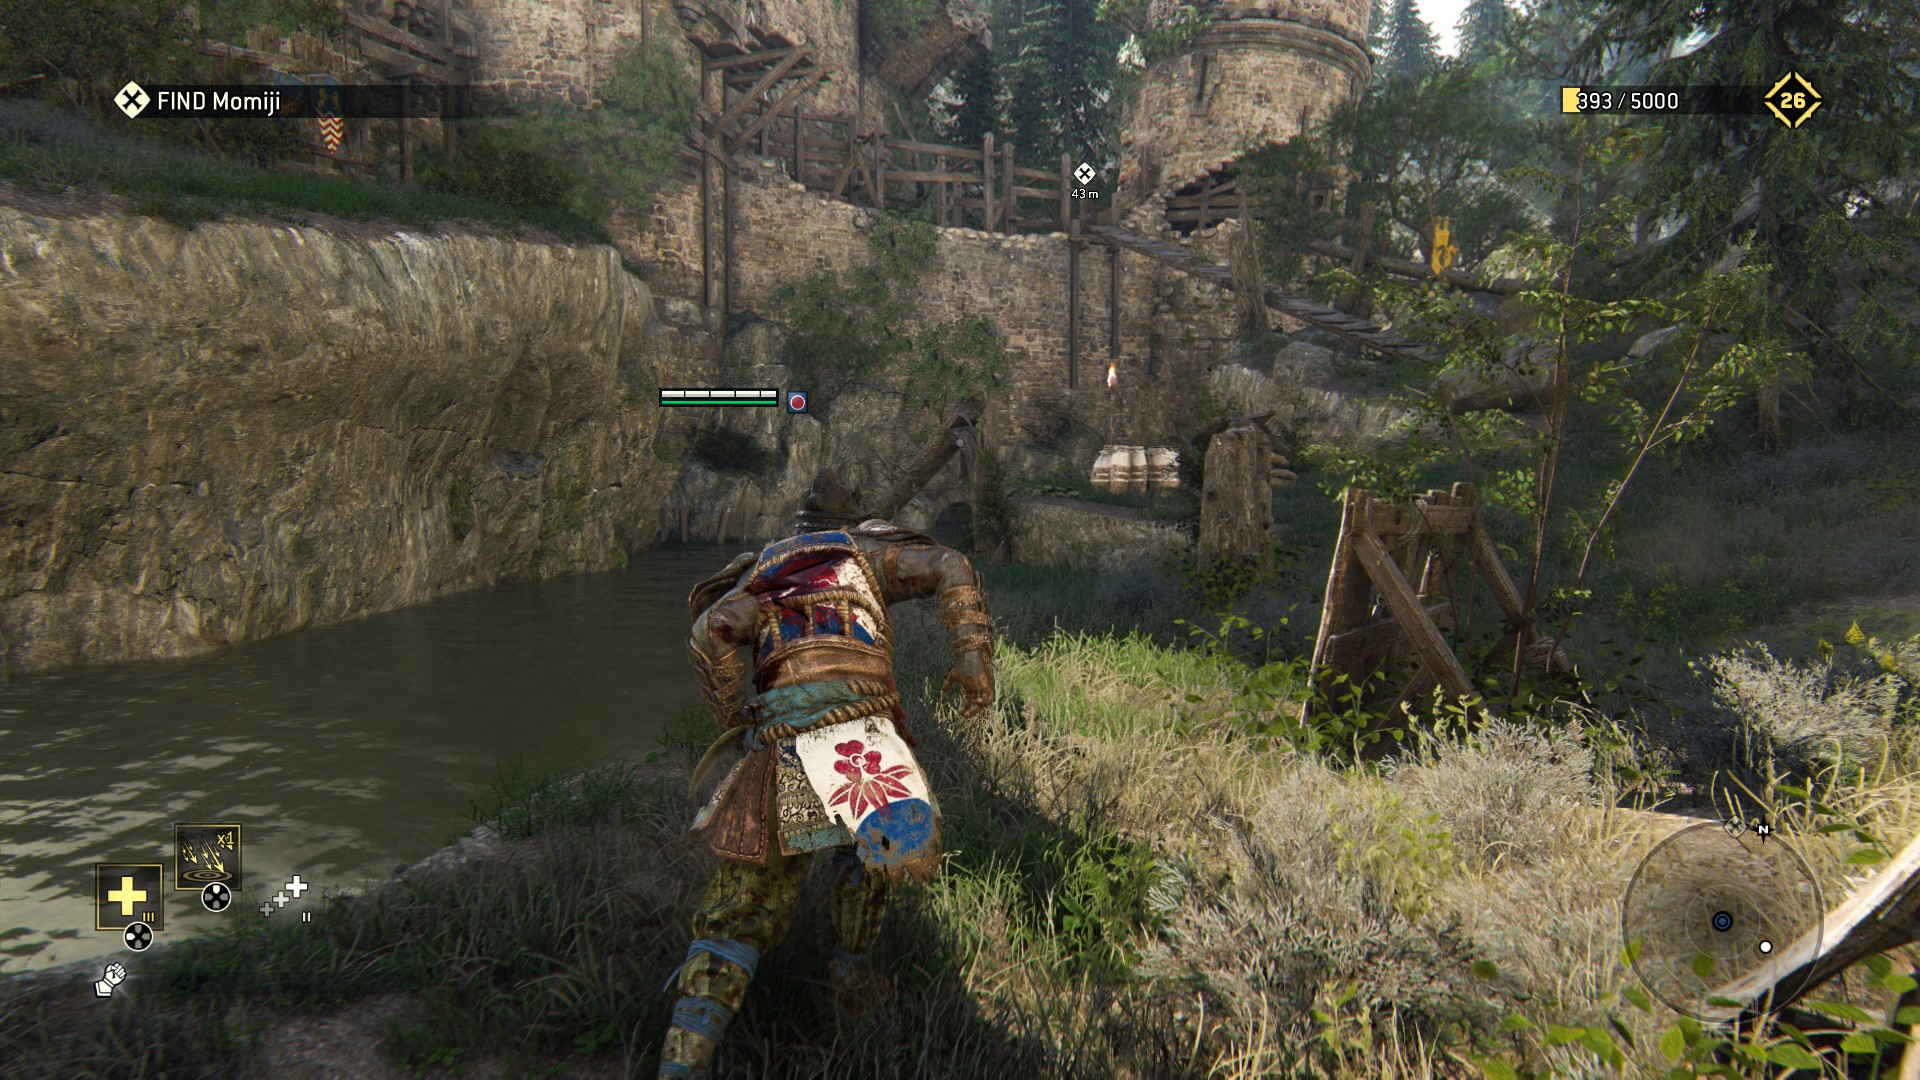
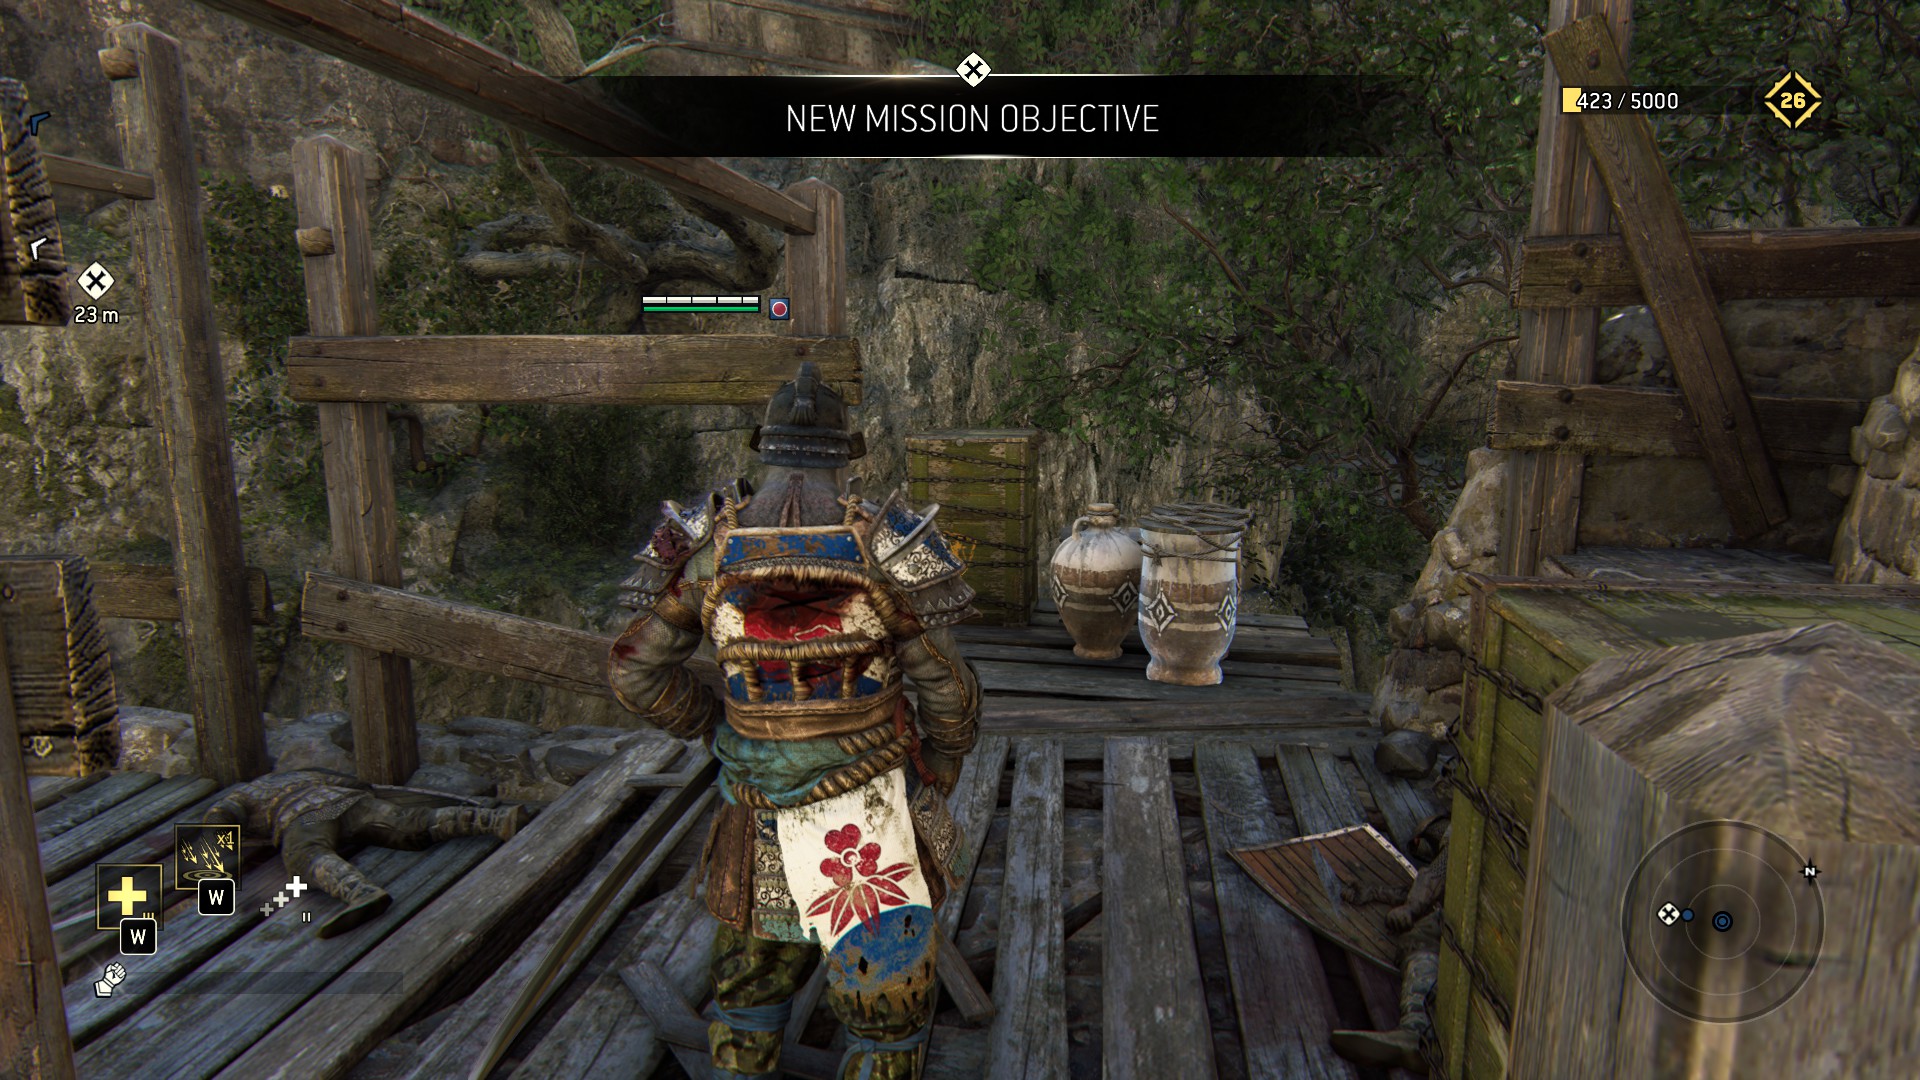 Grab this during the event, which ends with part of of the level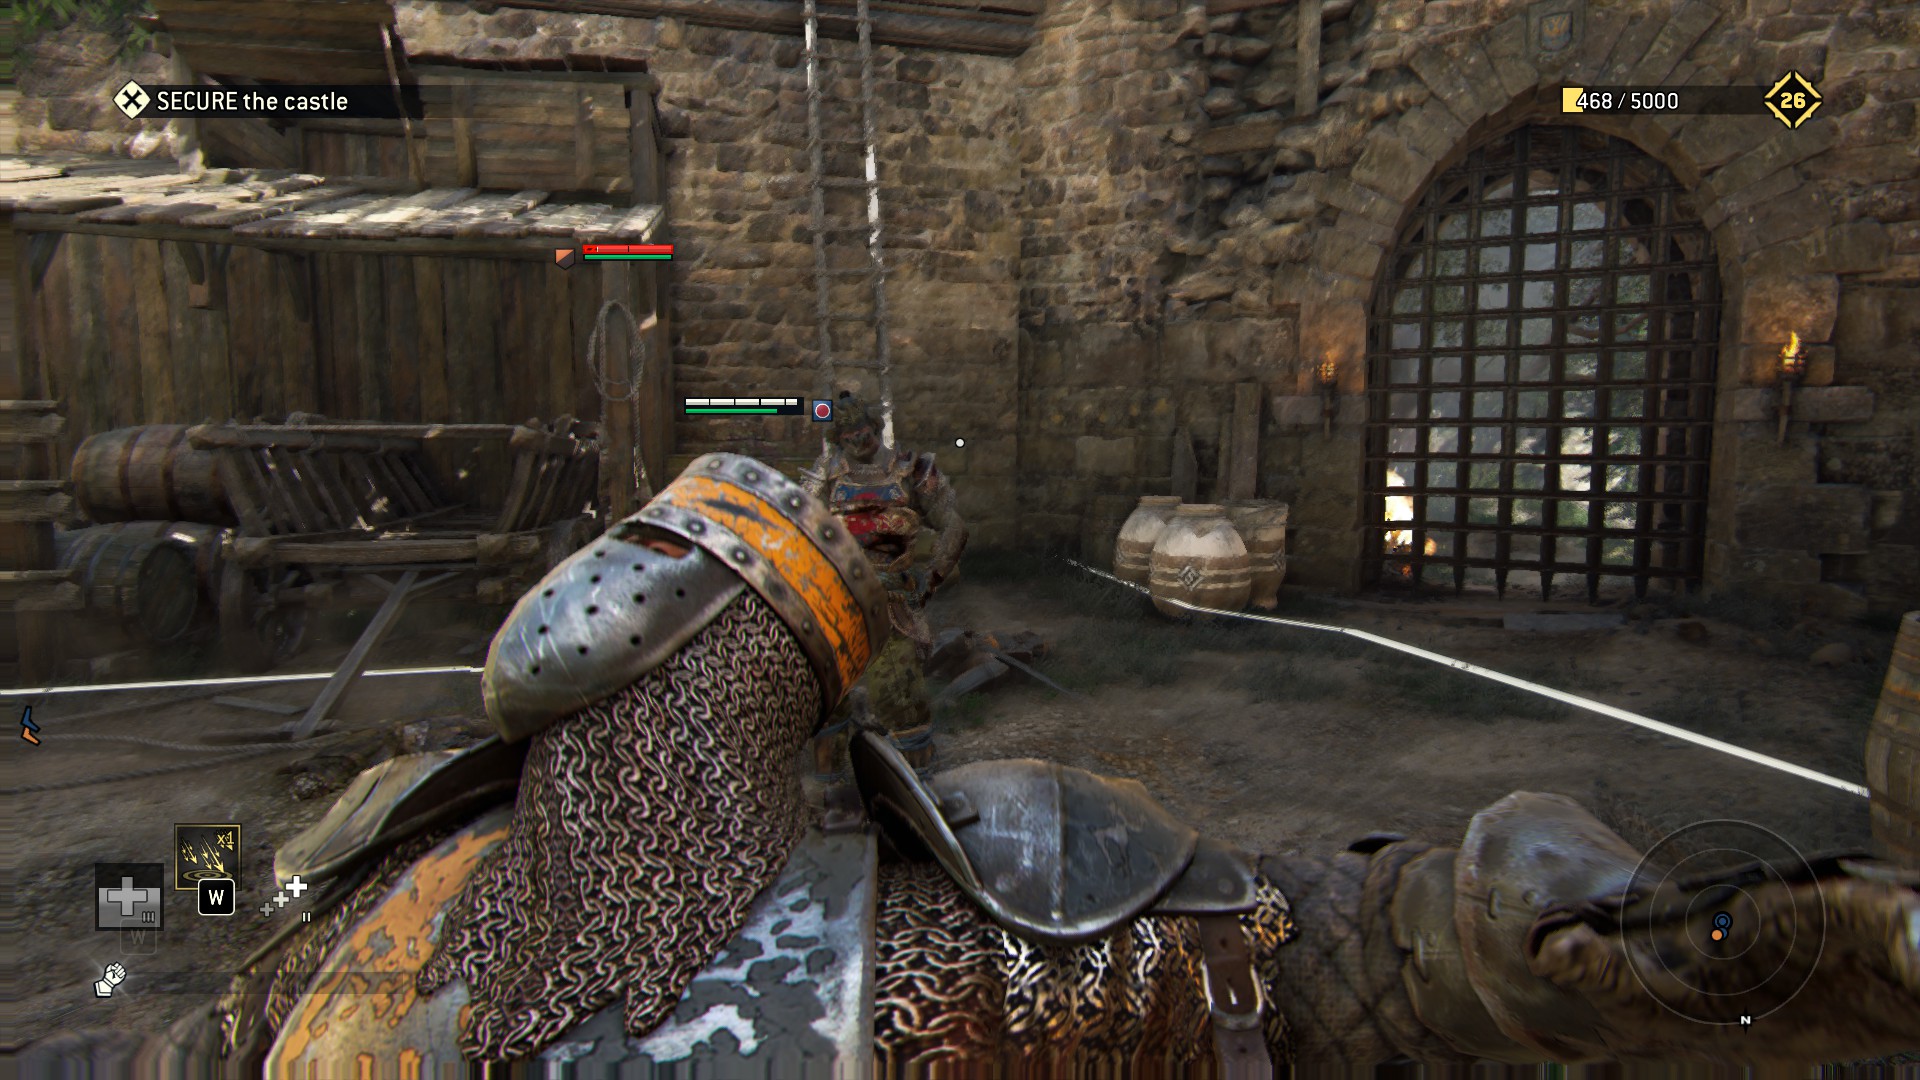
The point-of-no-return on this part of the level is the objective itself, so lets take Momiji and her knee for a brisk, long walk.
At the start, grab this and go down left down the ladder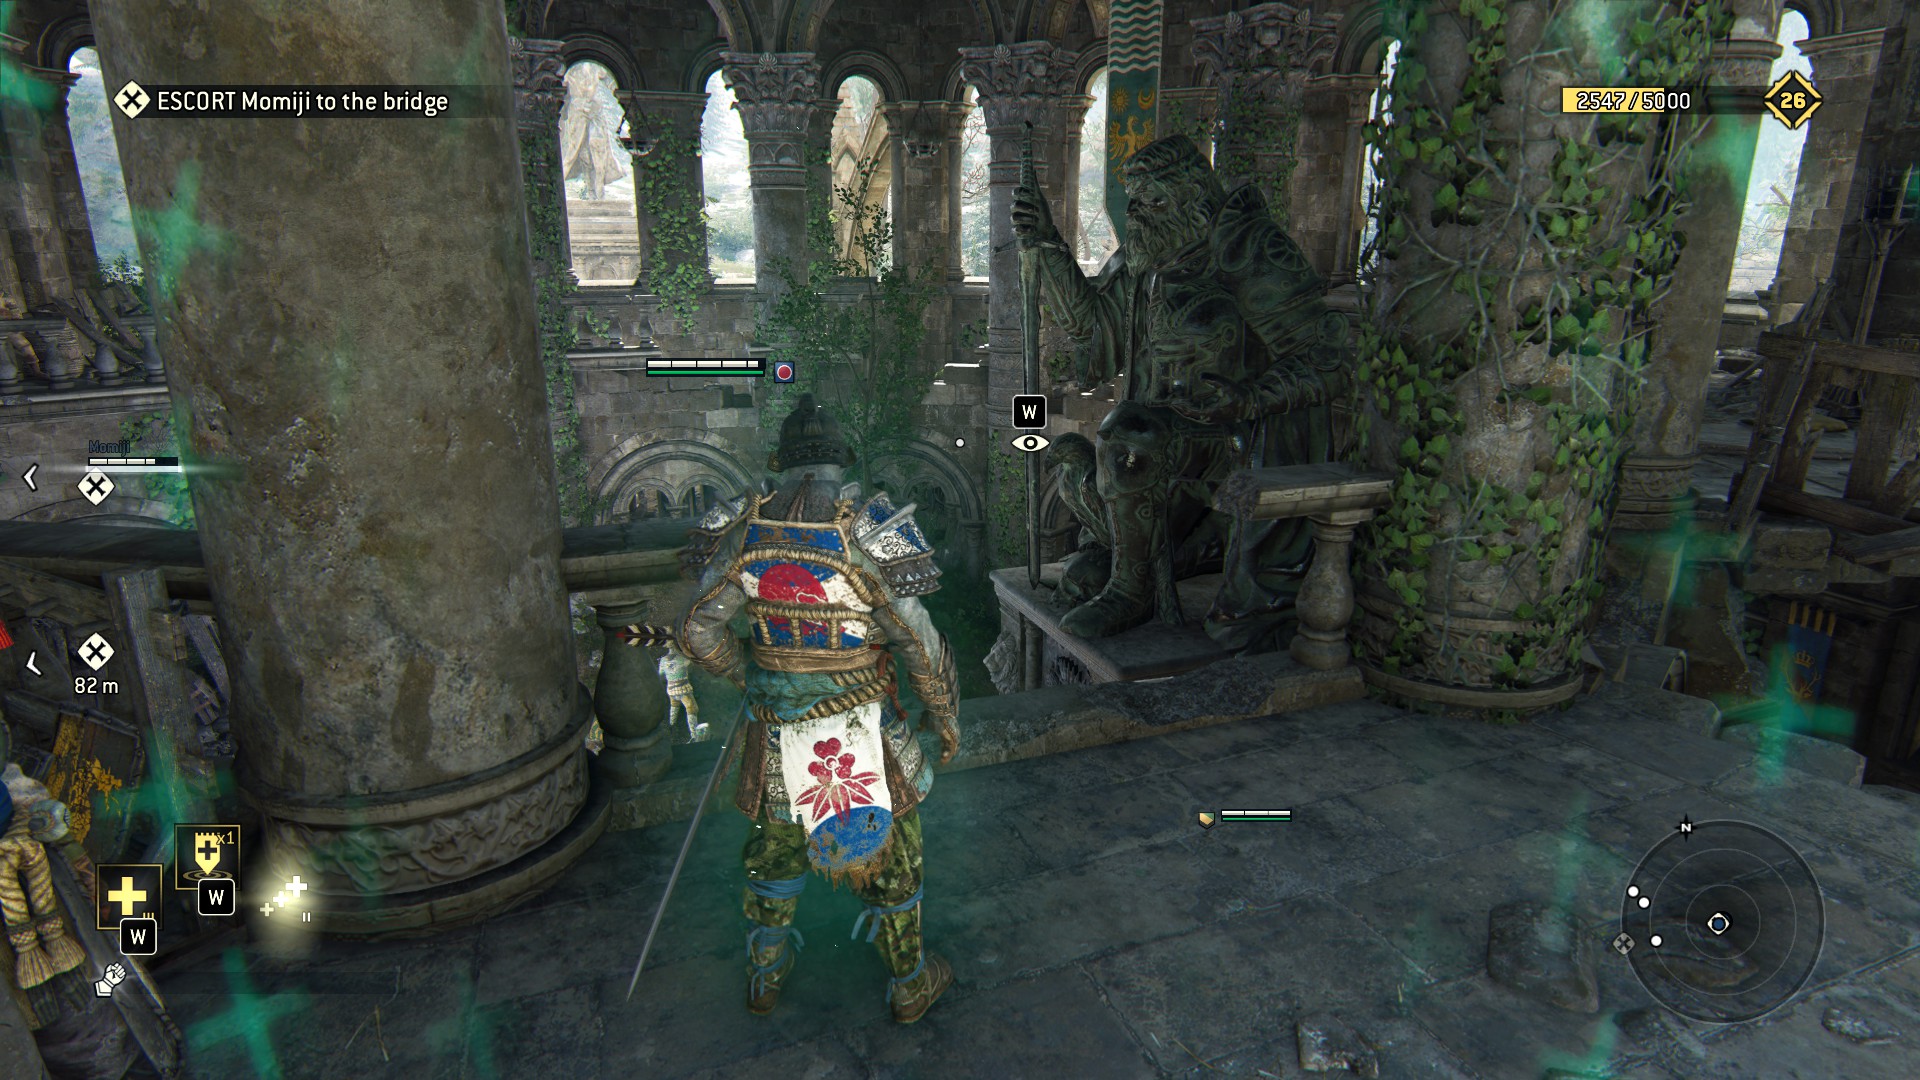
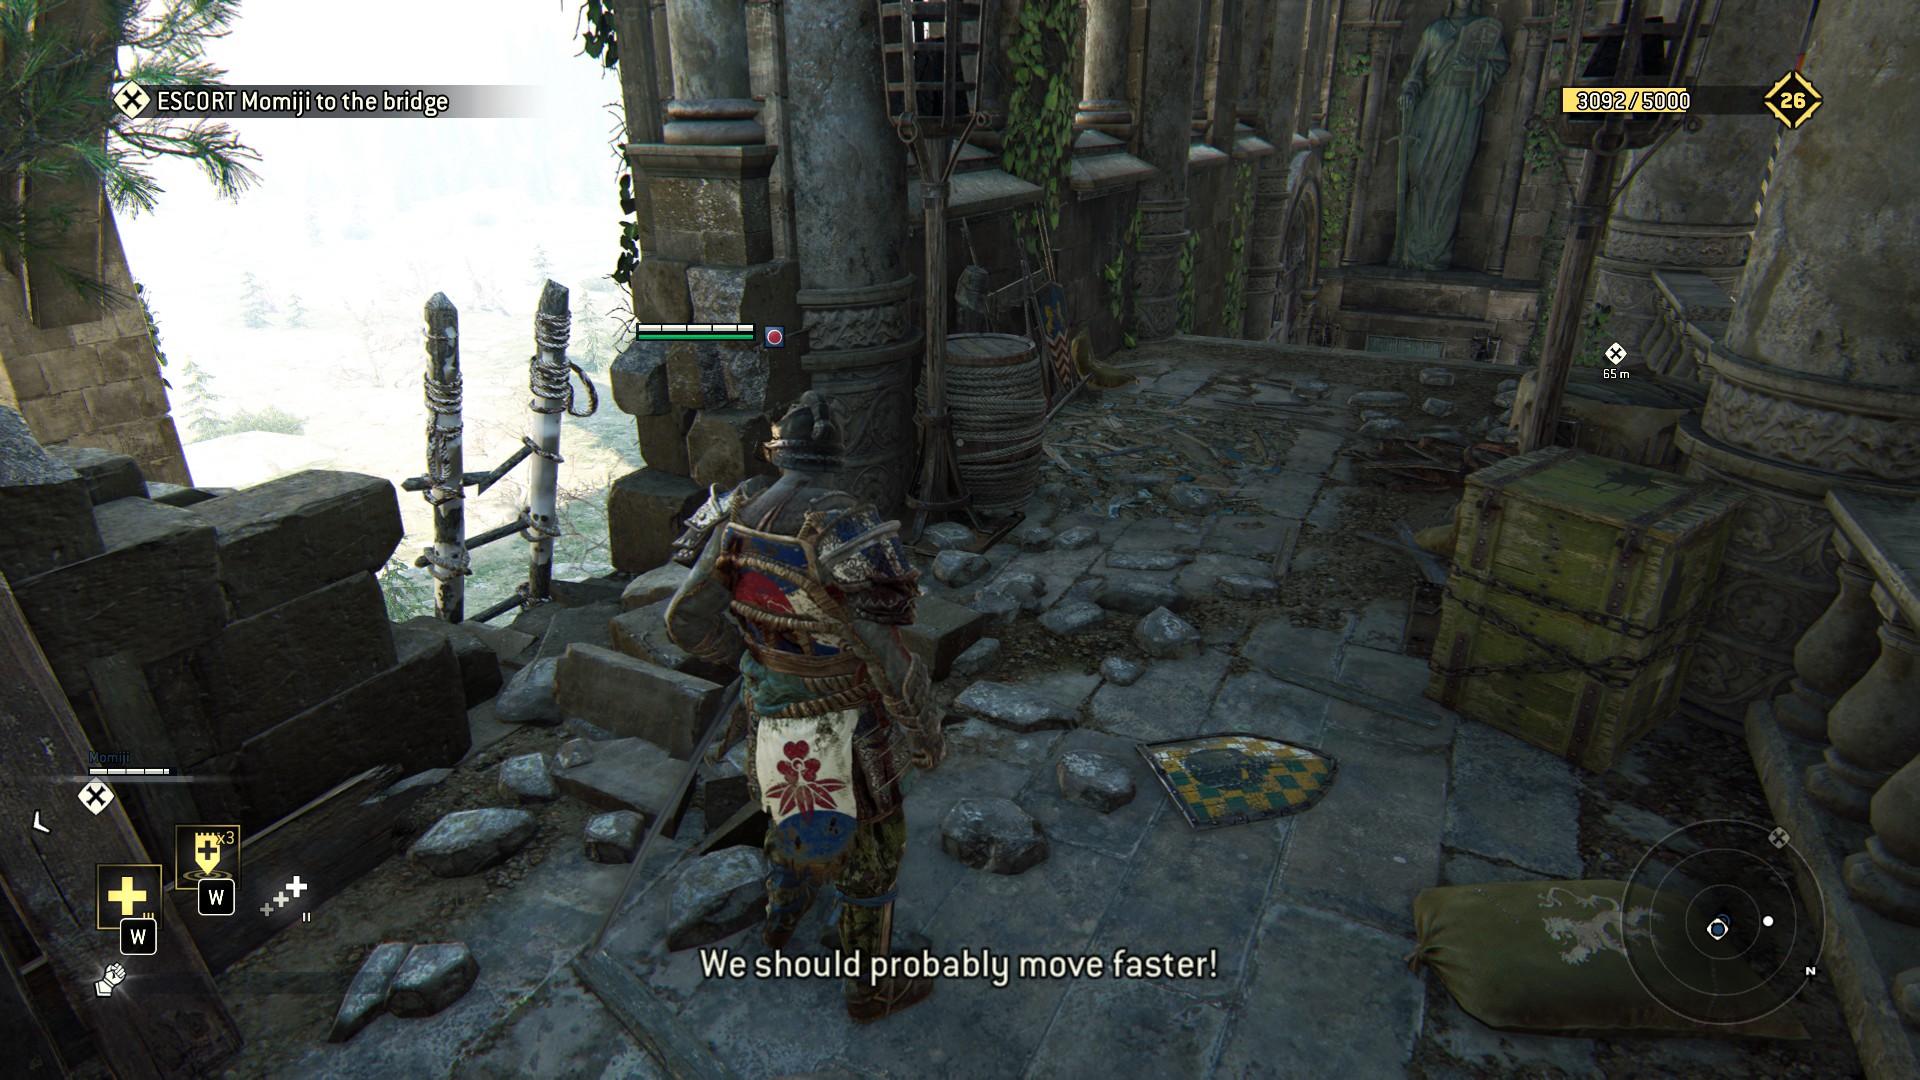 Kill things, break stuff and look at ♥♥♥♥, before you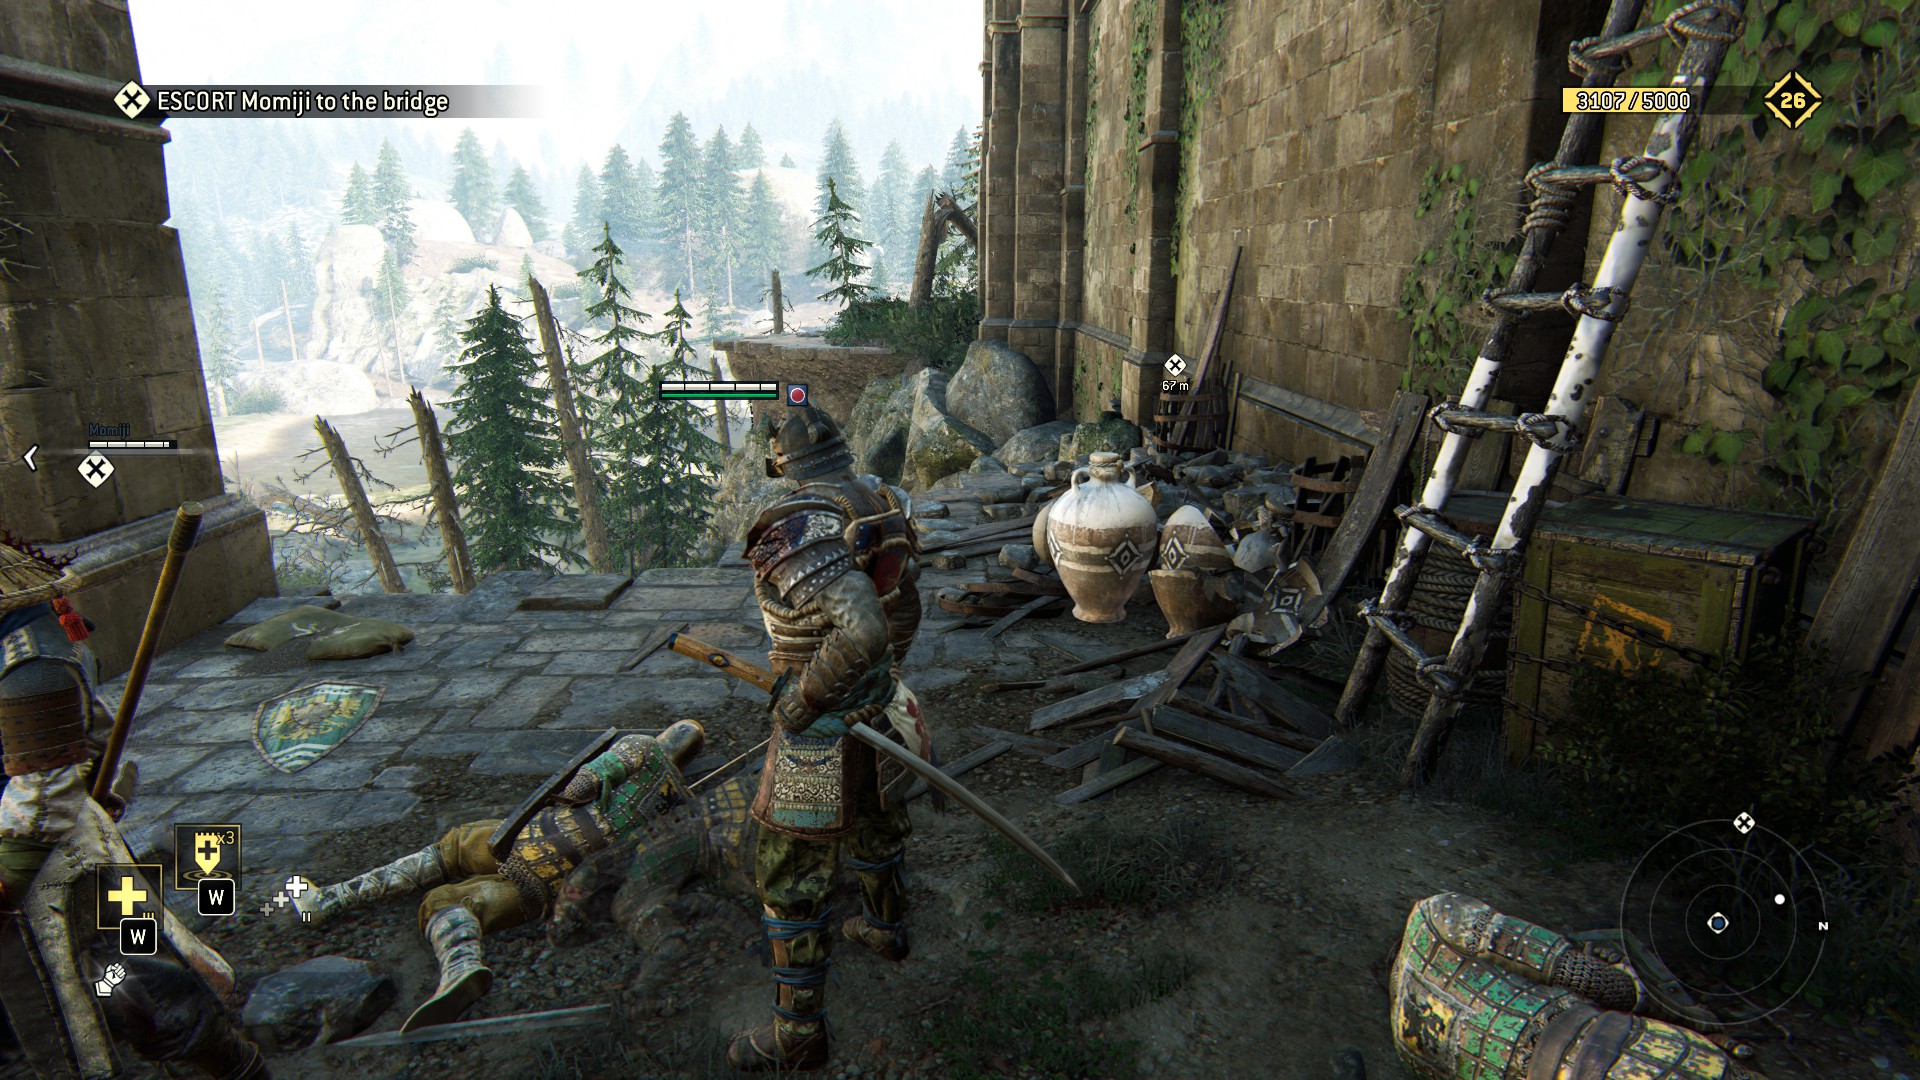
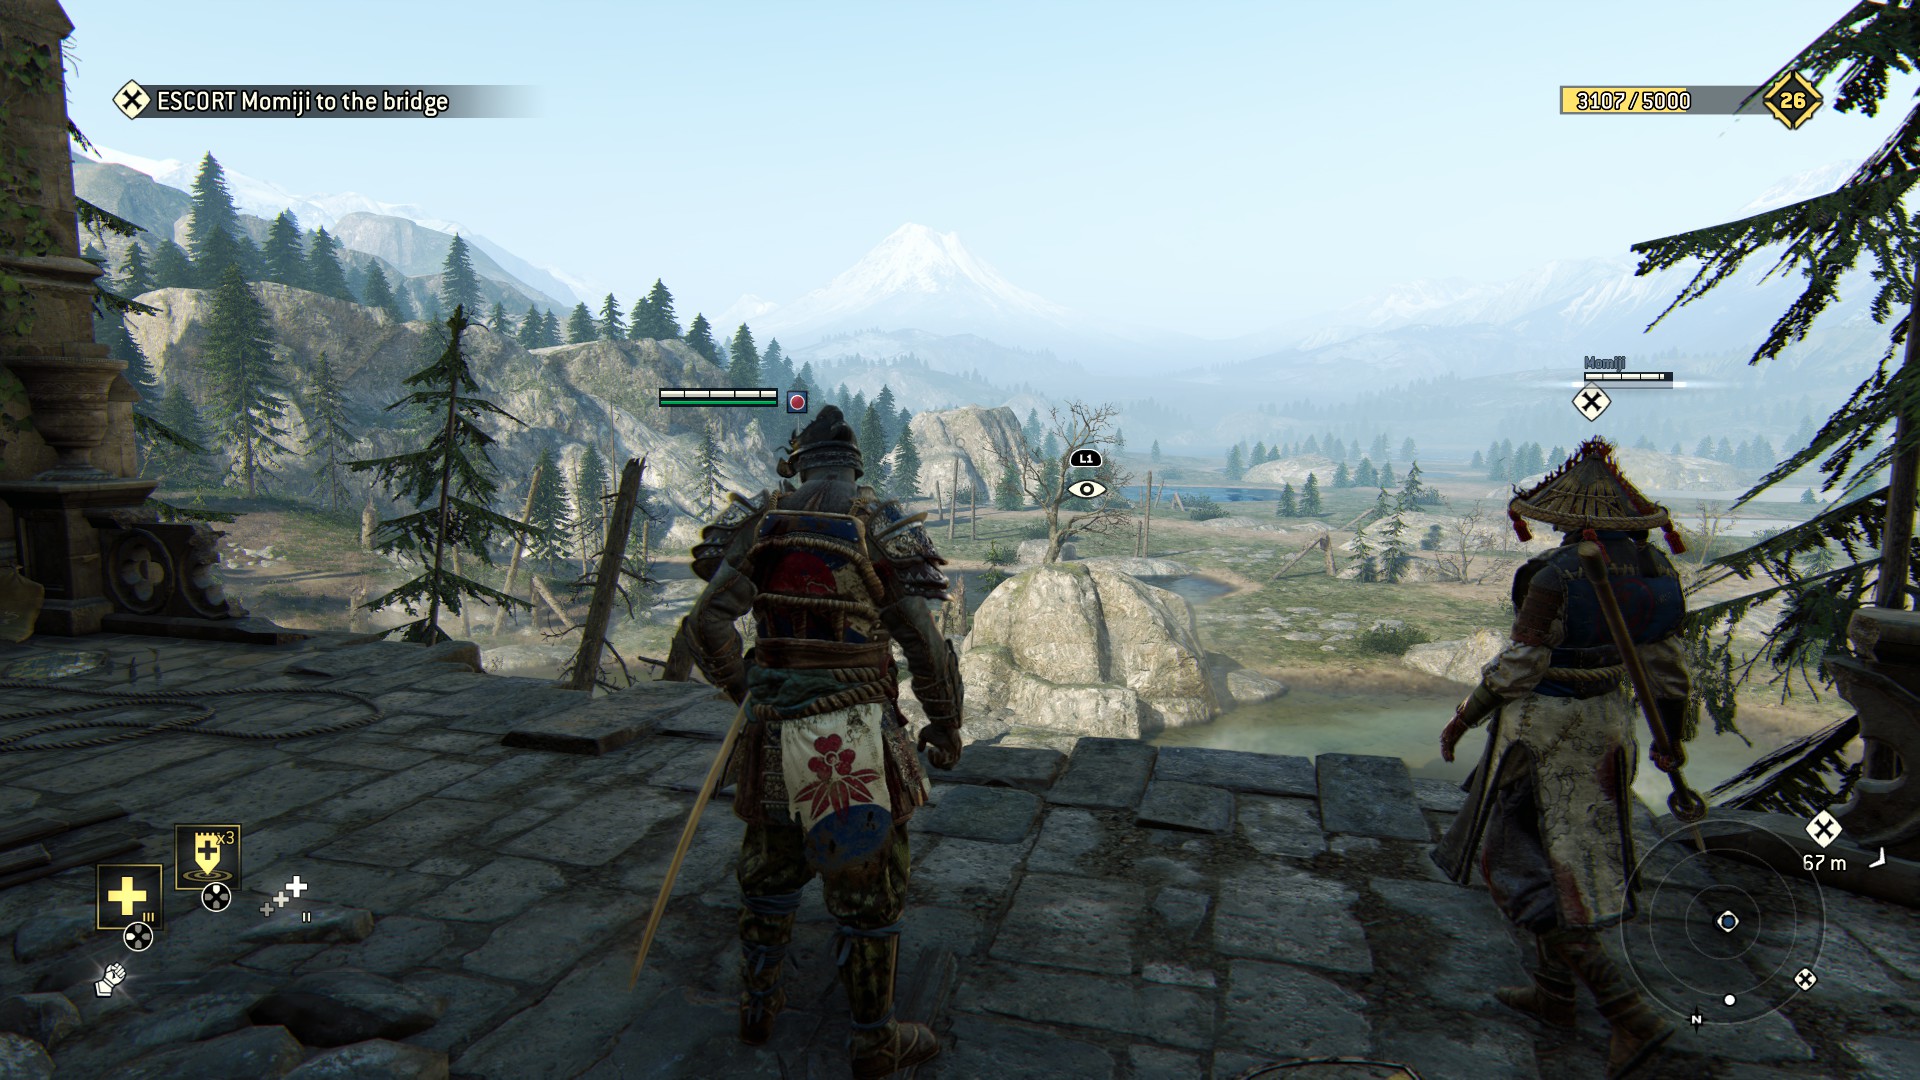 head straight on through the other side of this doorway (SWIDT?)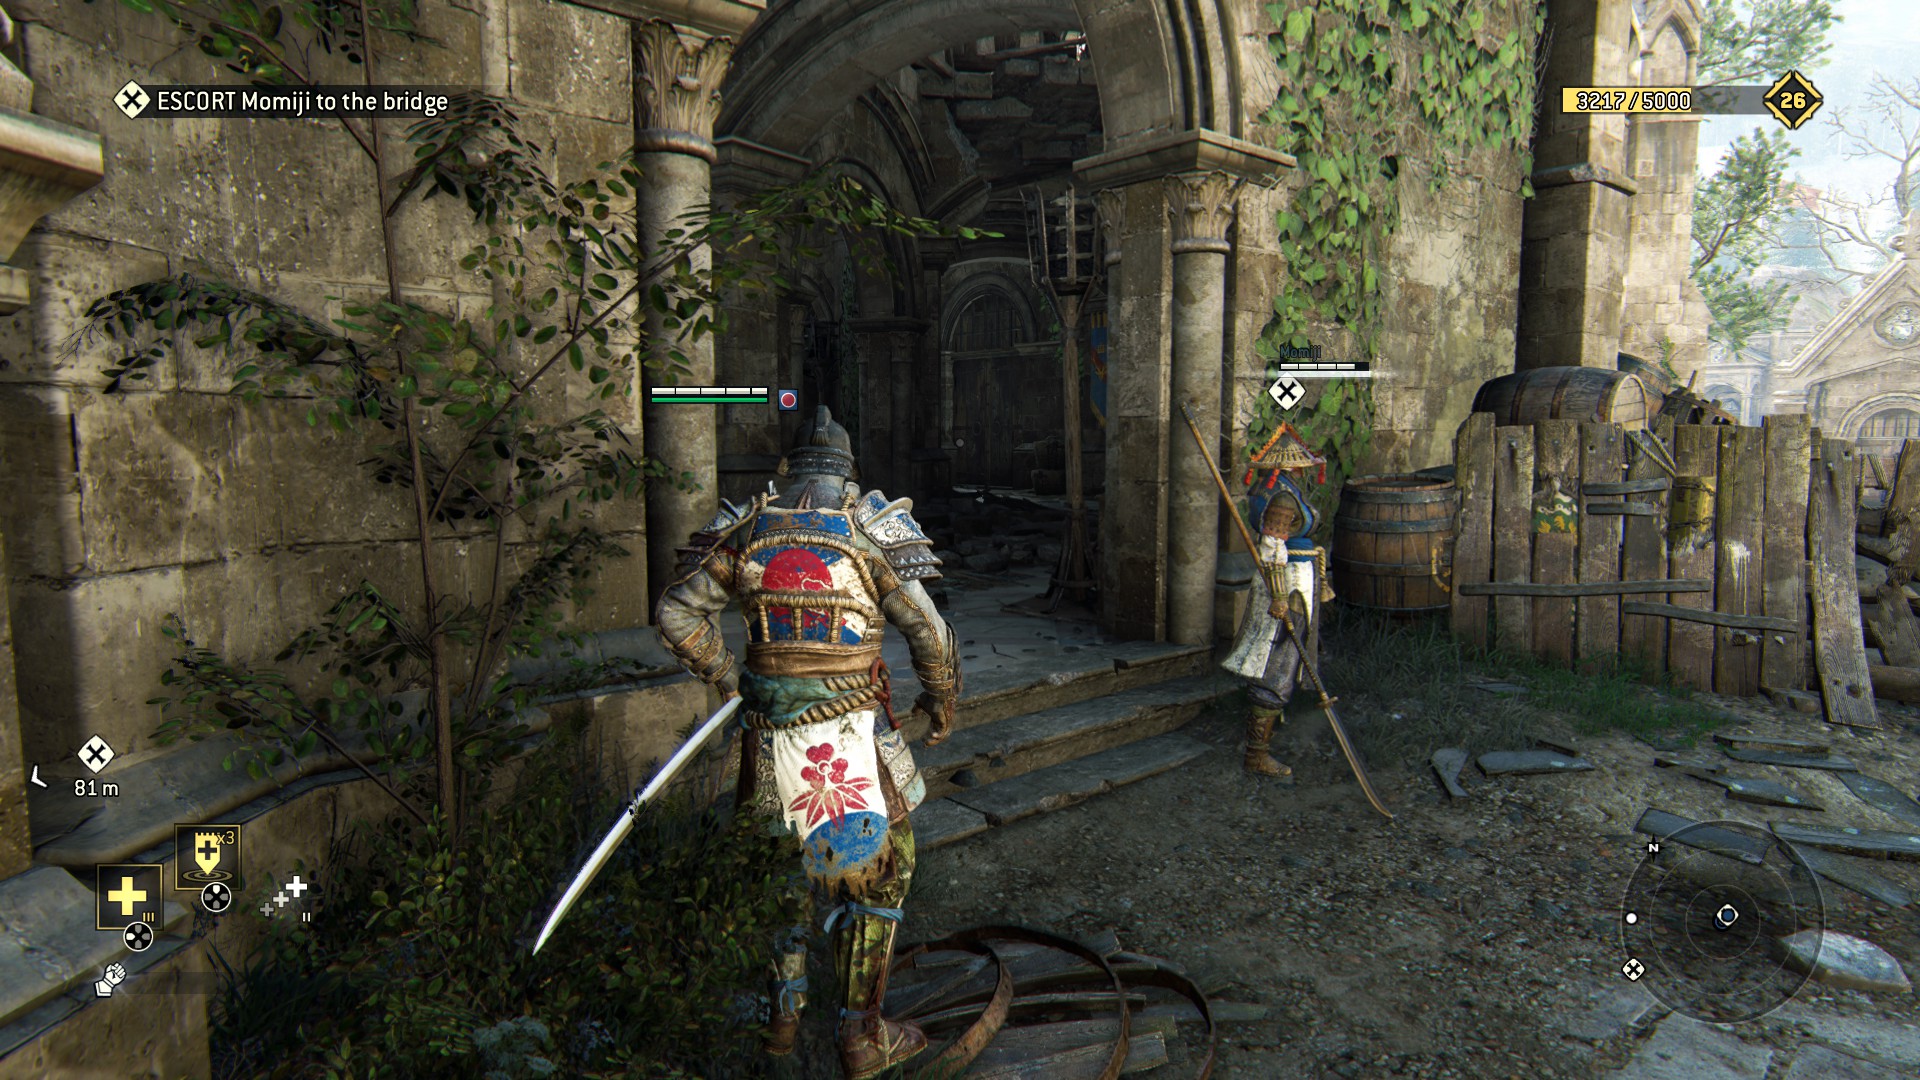
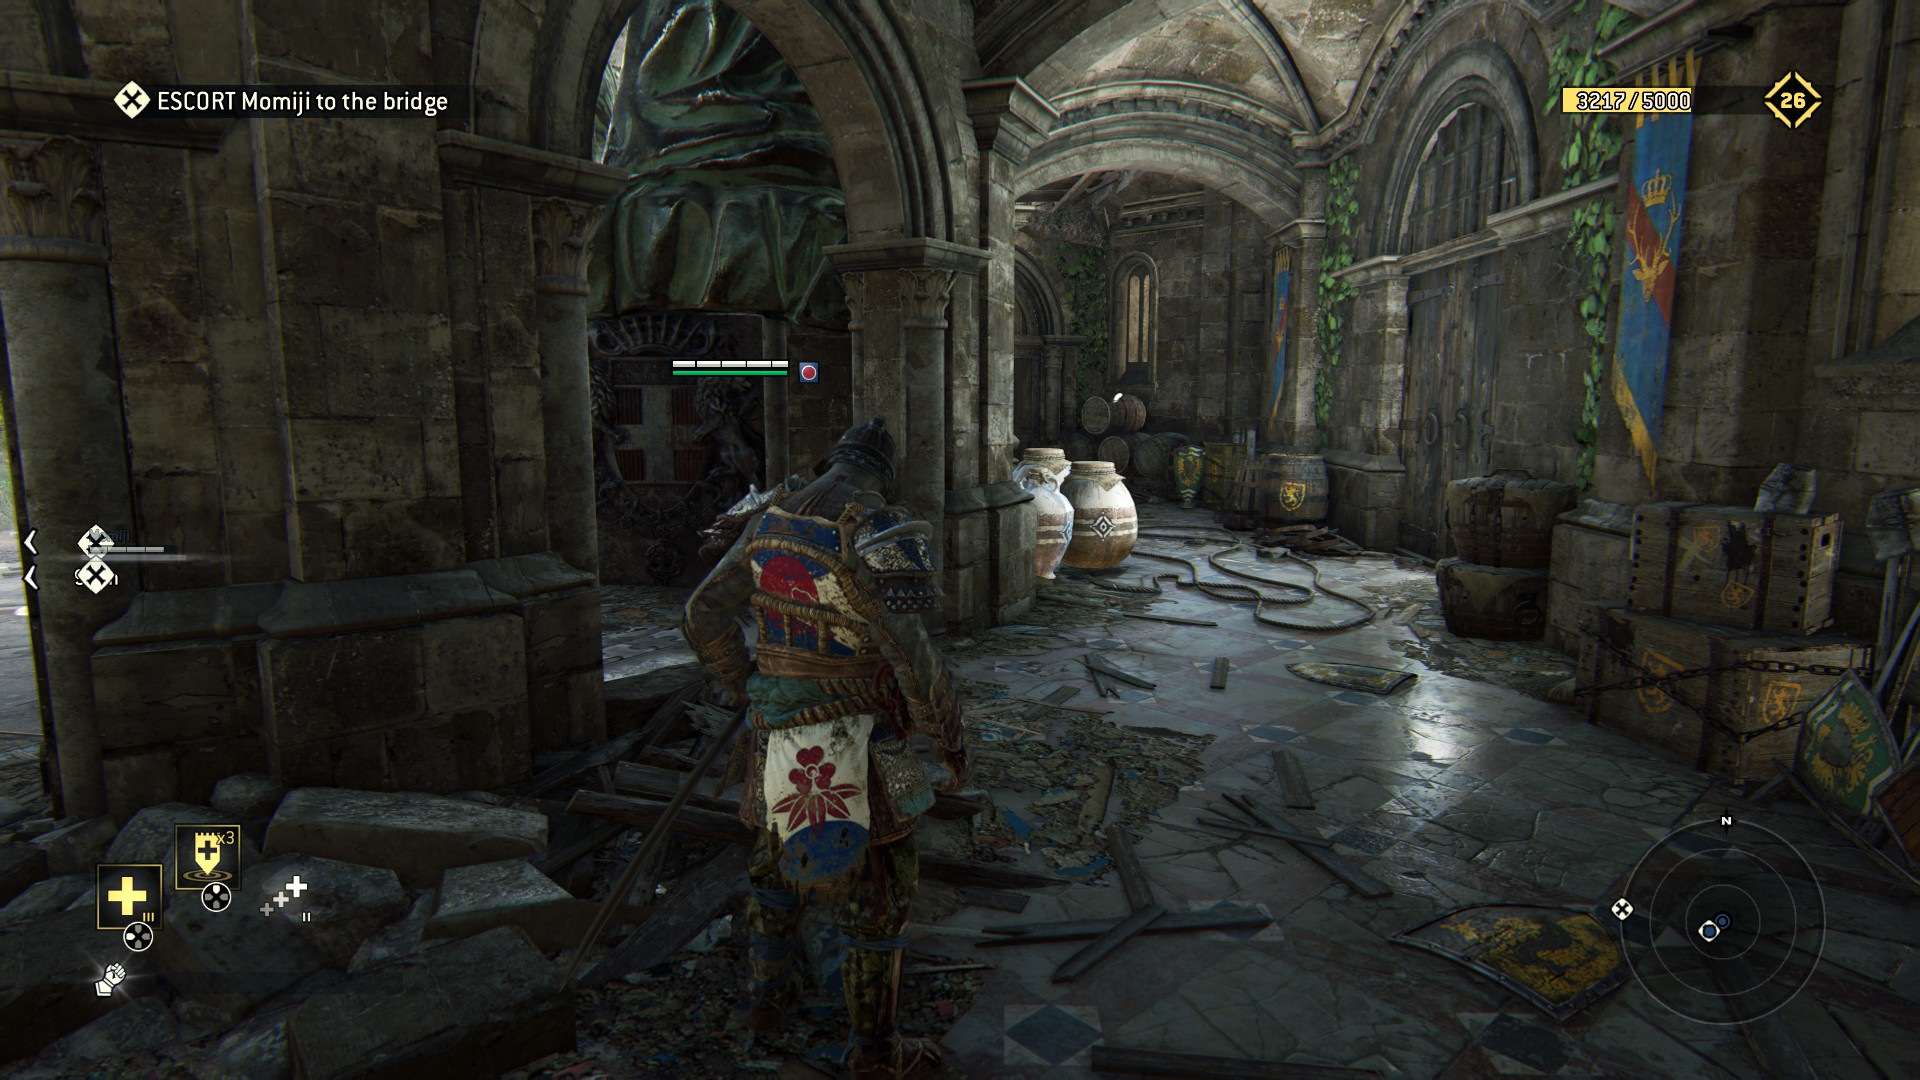 After you've killed stuff, shouted a bit on Momiji for being in the way, go back up to start and go right, outside to your right you'll find this tree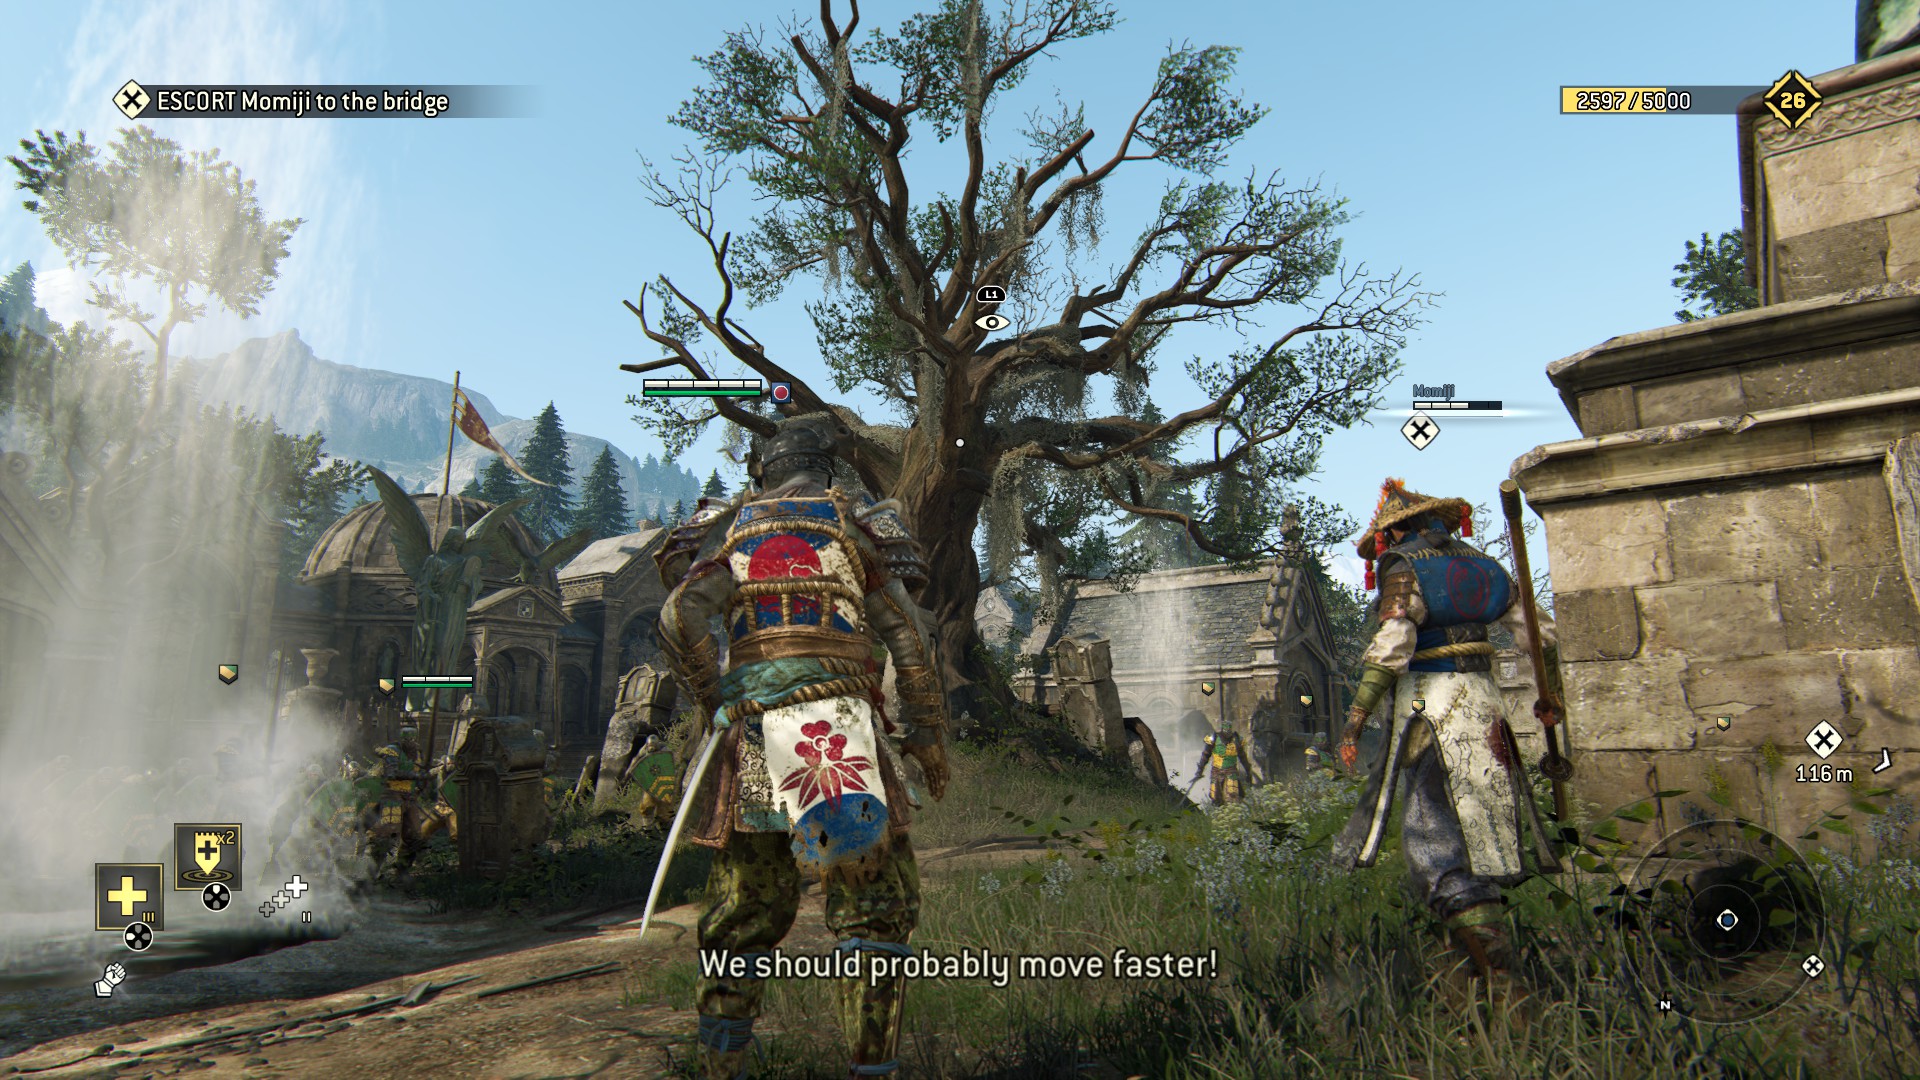
And behind that horde of evil men who stole your teddy which is why they all have to die, there are pots that those men made - so they too have to die
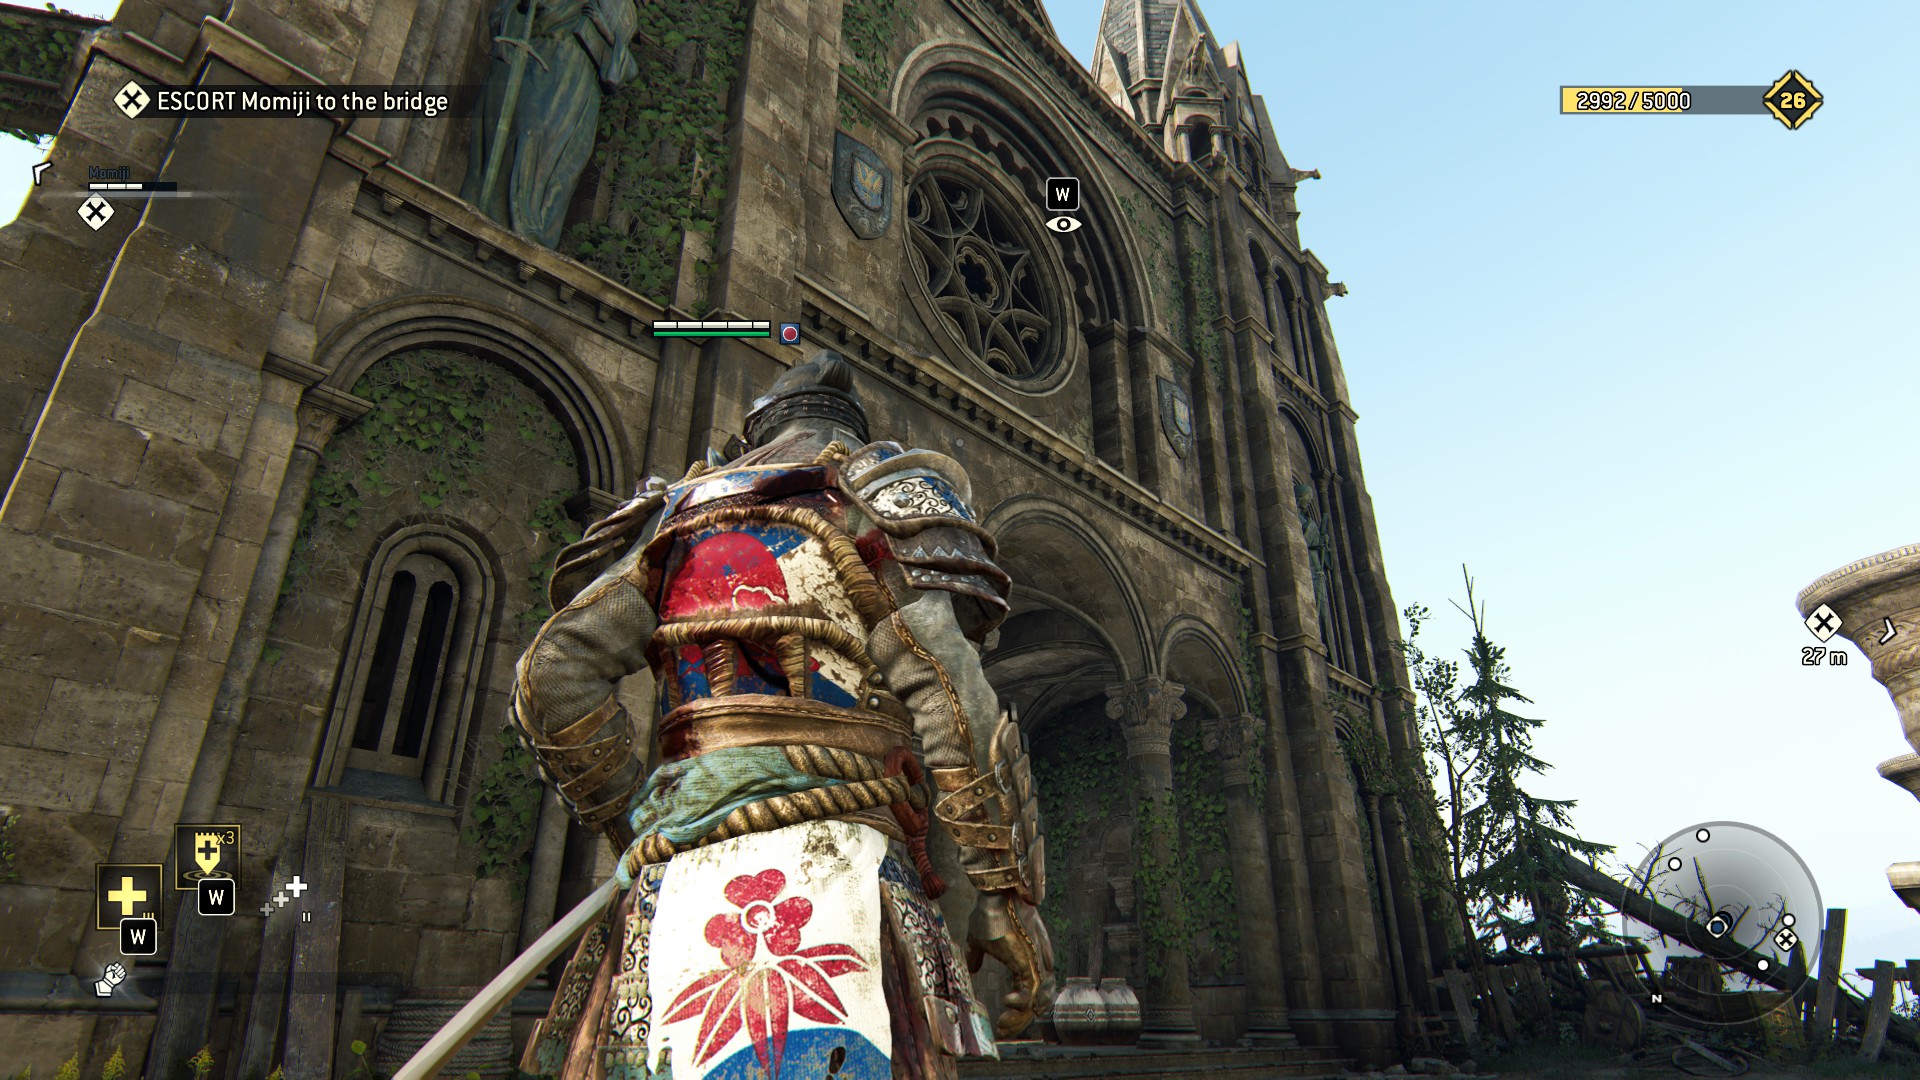
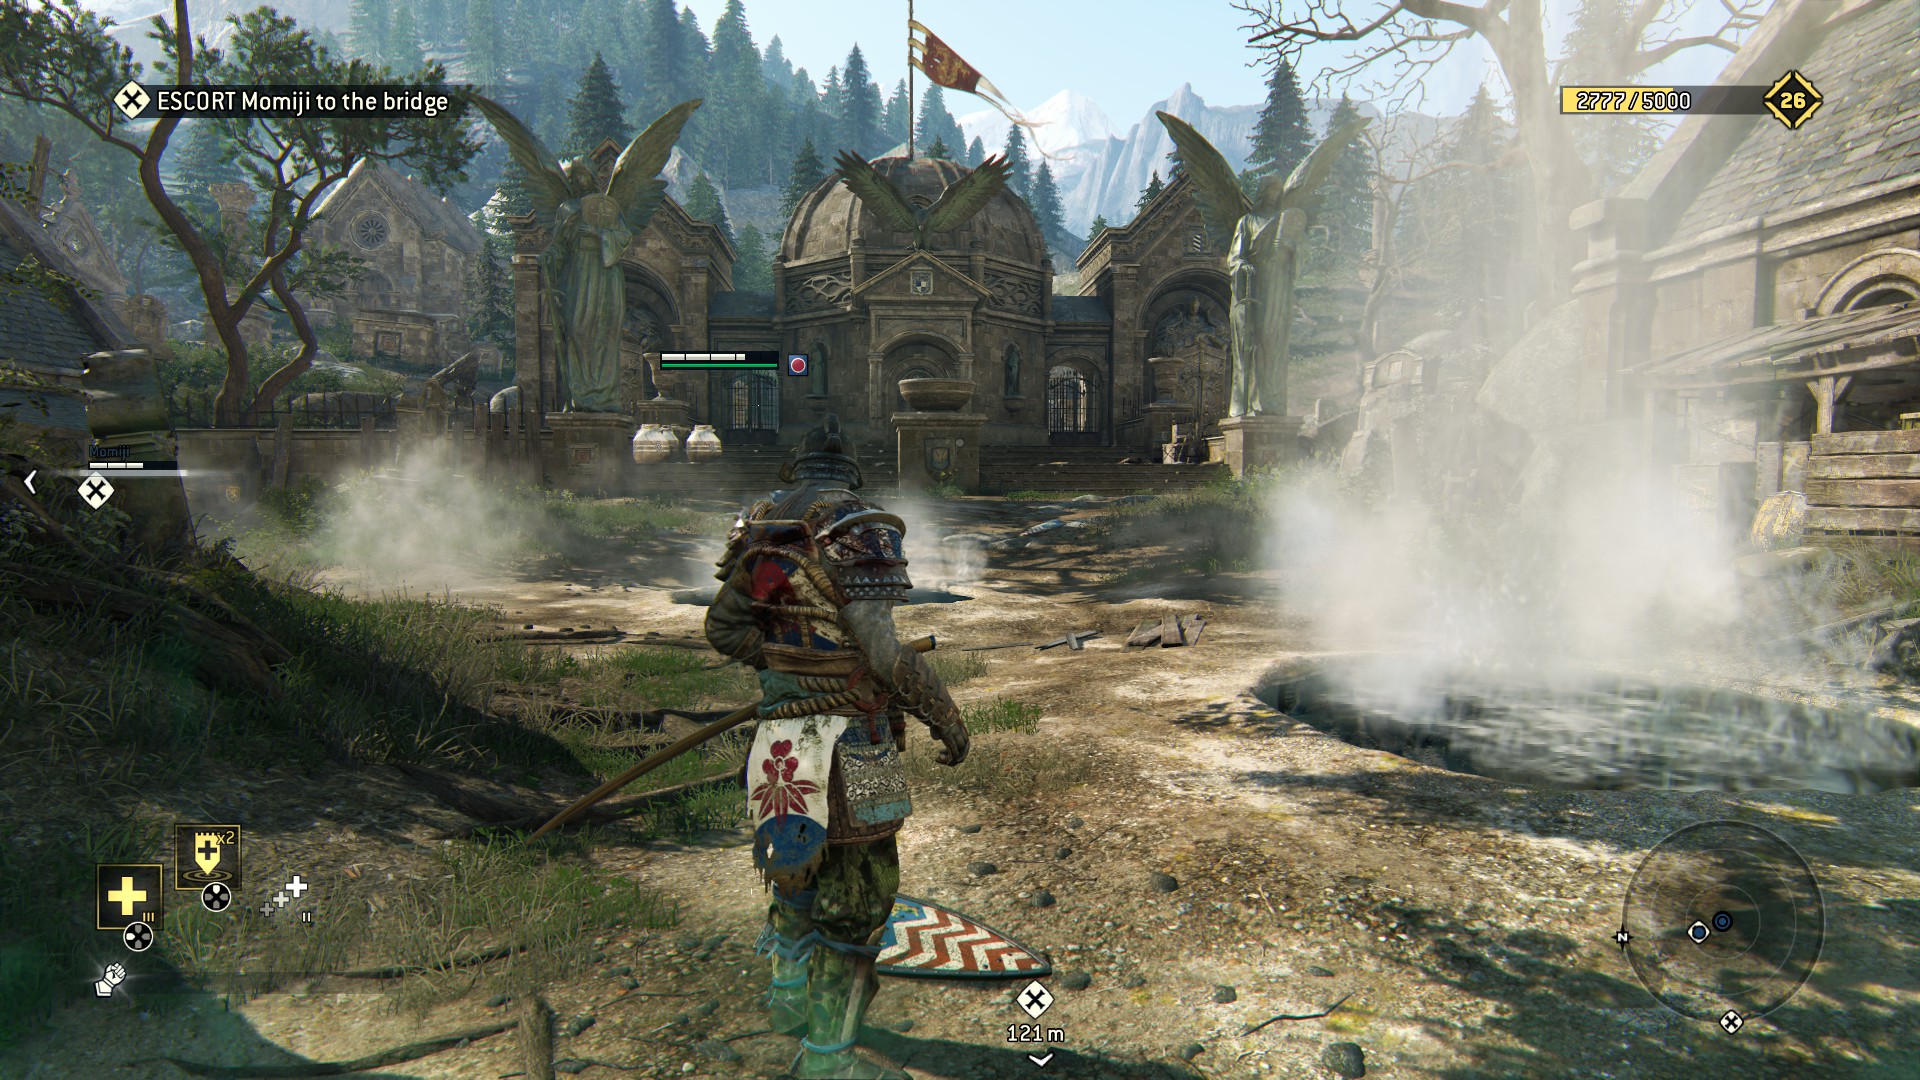 Now back the way you came and around to the front of the cathedral, there's a looky thing and a breakybob
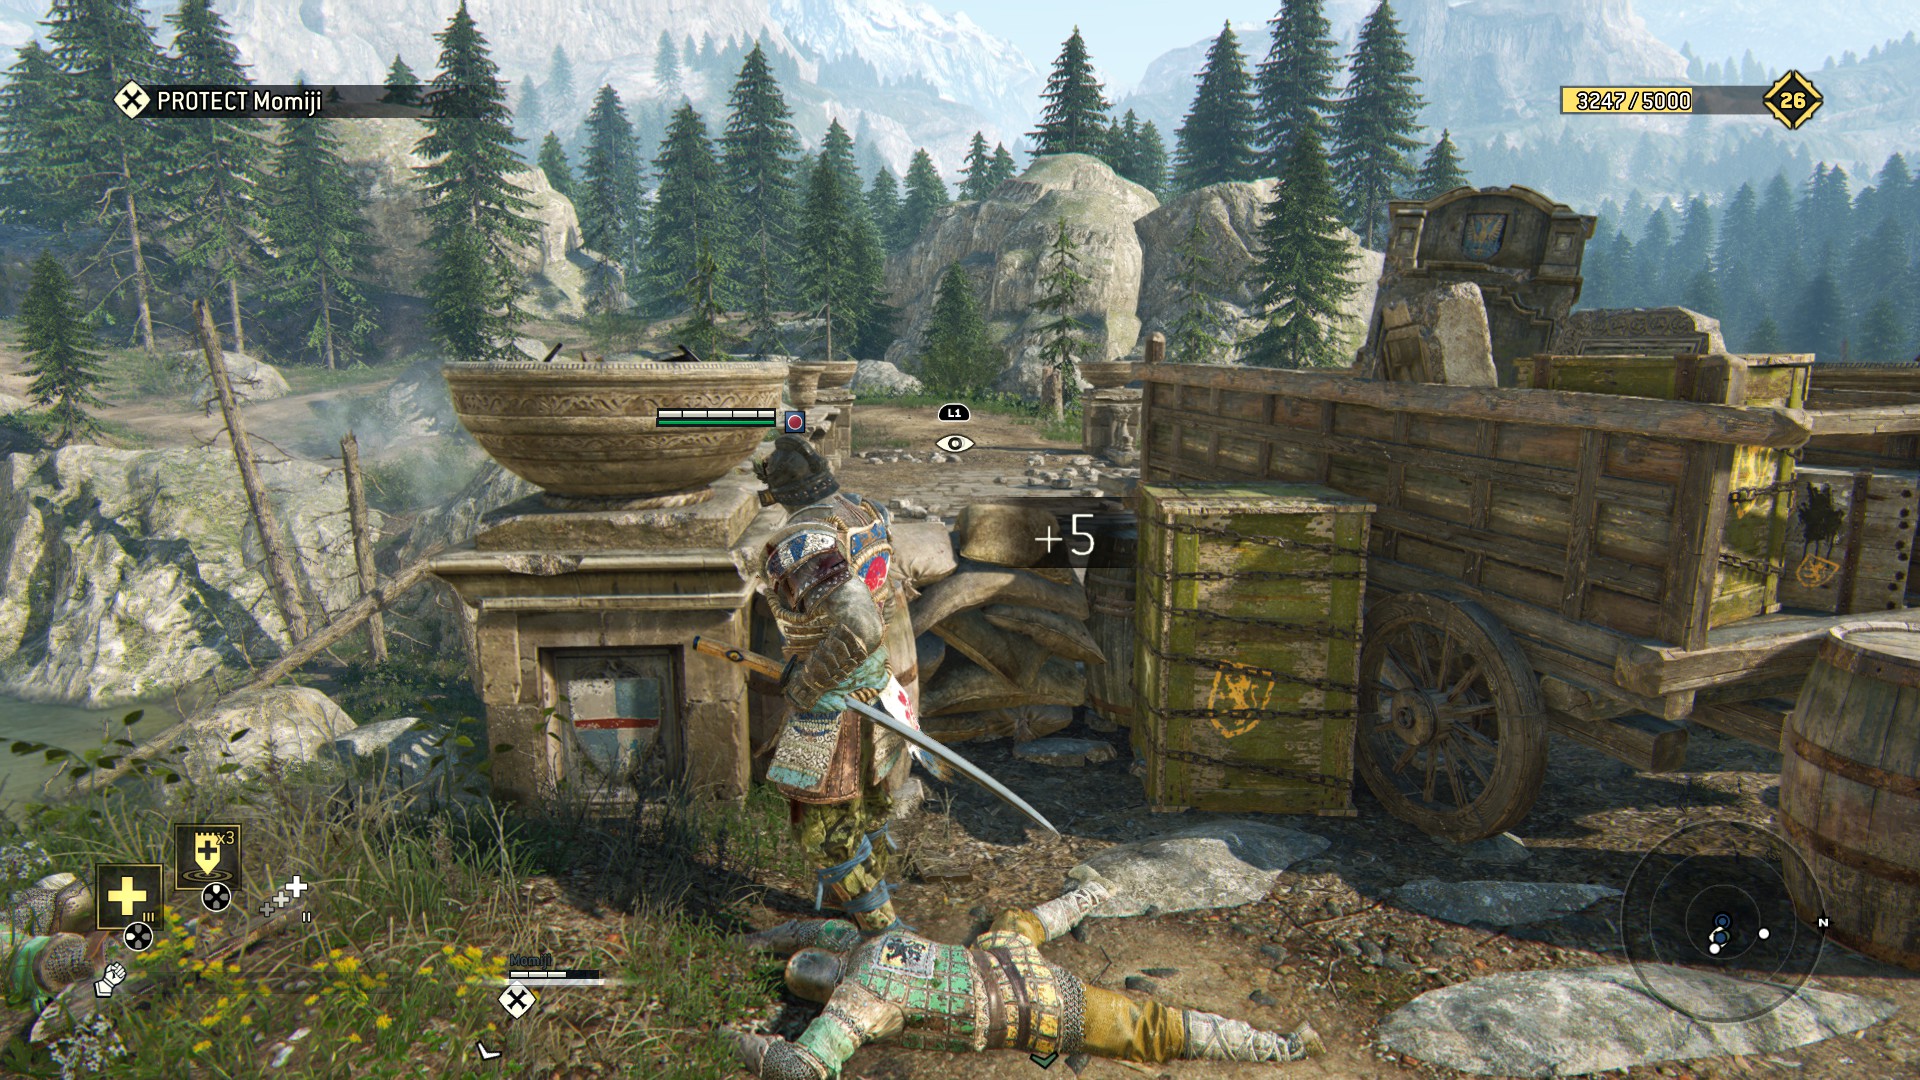
 All's well that ends well, the last two pickey-upey-majigs are right at the objective marker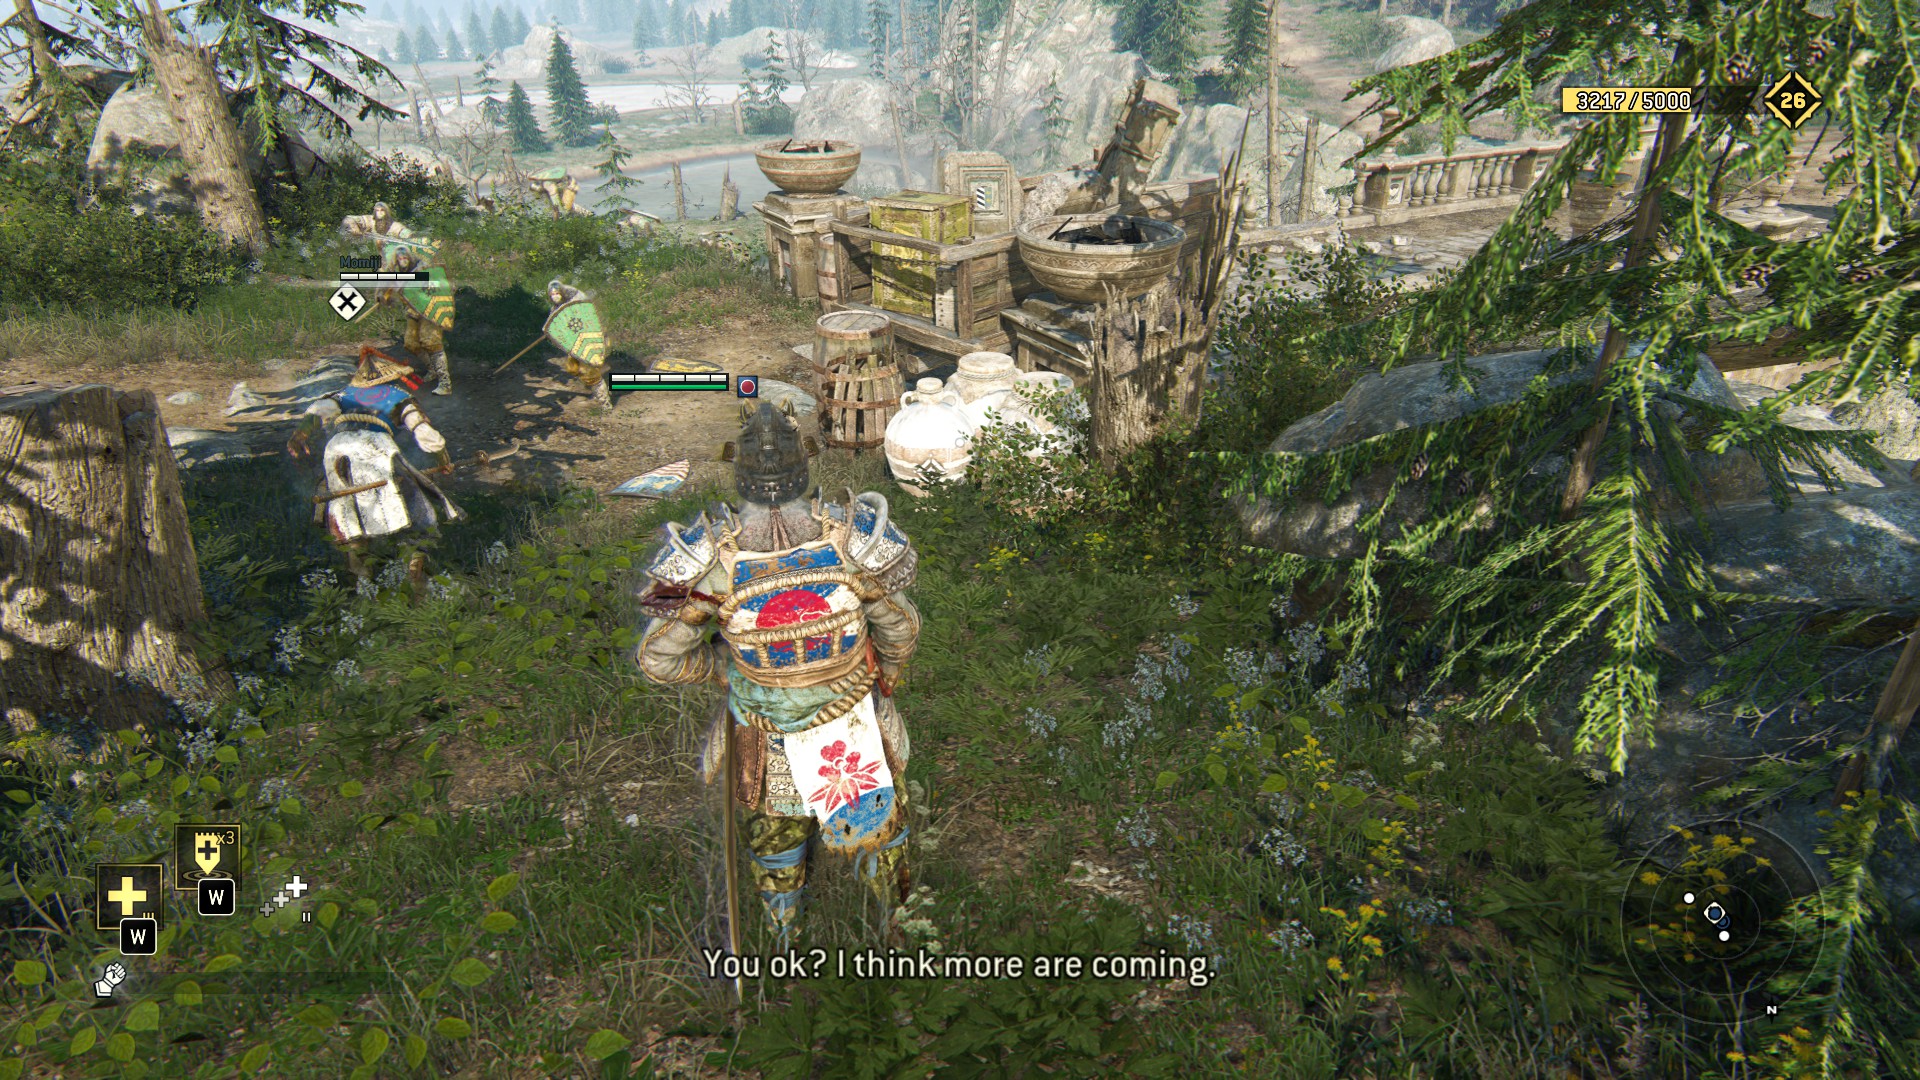
Enjoy the slaughter and the loot, and we'll meet for the climactic ending!
3.6 - Apollyon
«All I want is for you to admit what you are.
All of you.
My wolves.»
- Apollyon
This level it really straight forward, but one might miss the obvious with all the "Hey I'm gonna stop Apollyon, there's no time for this nonsense".
Let's start.
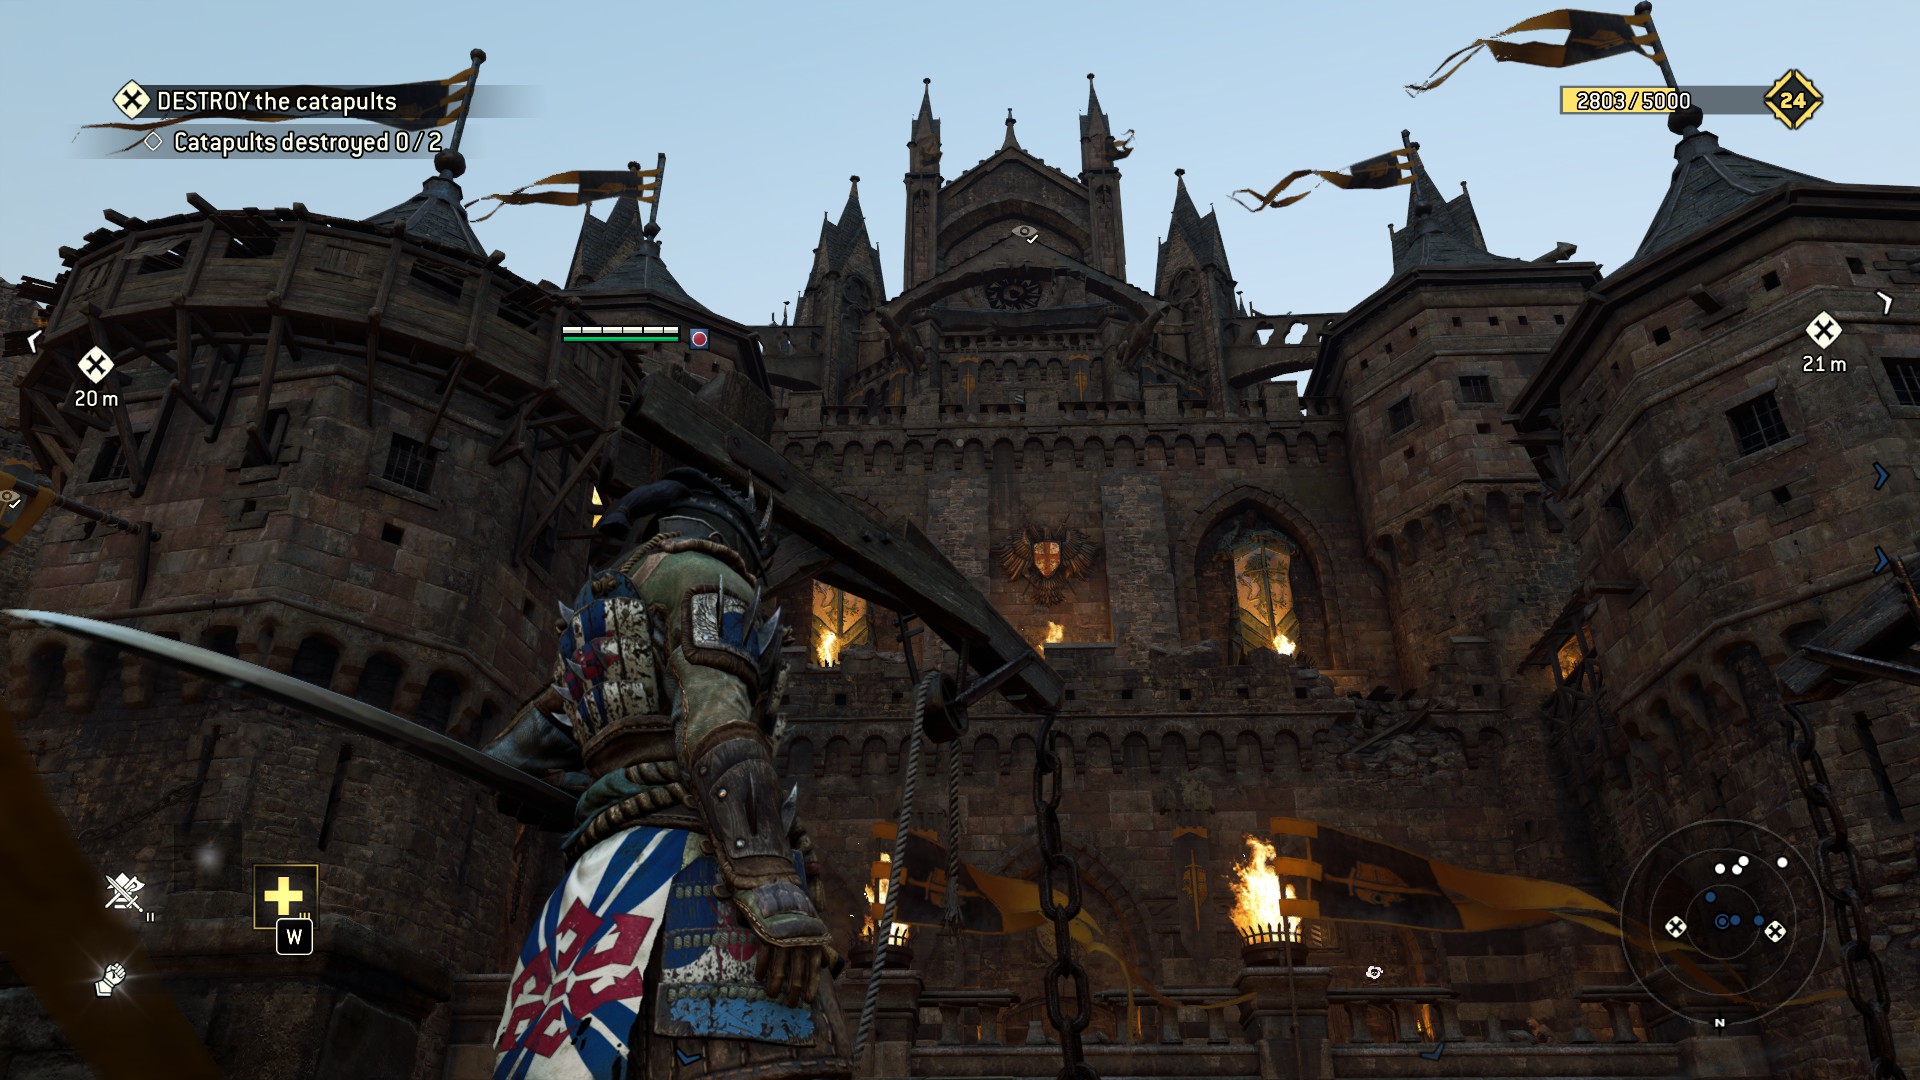
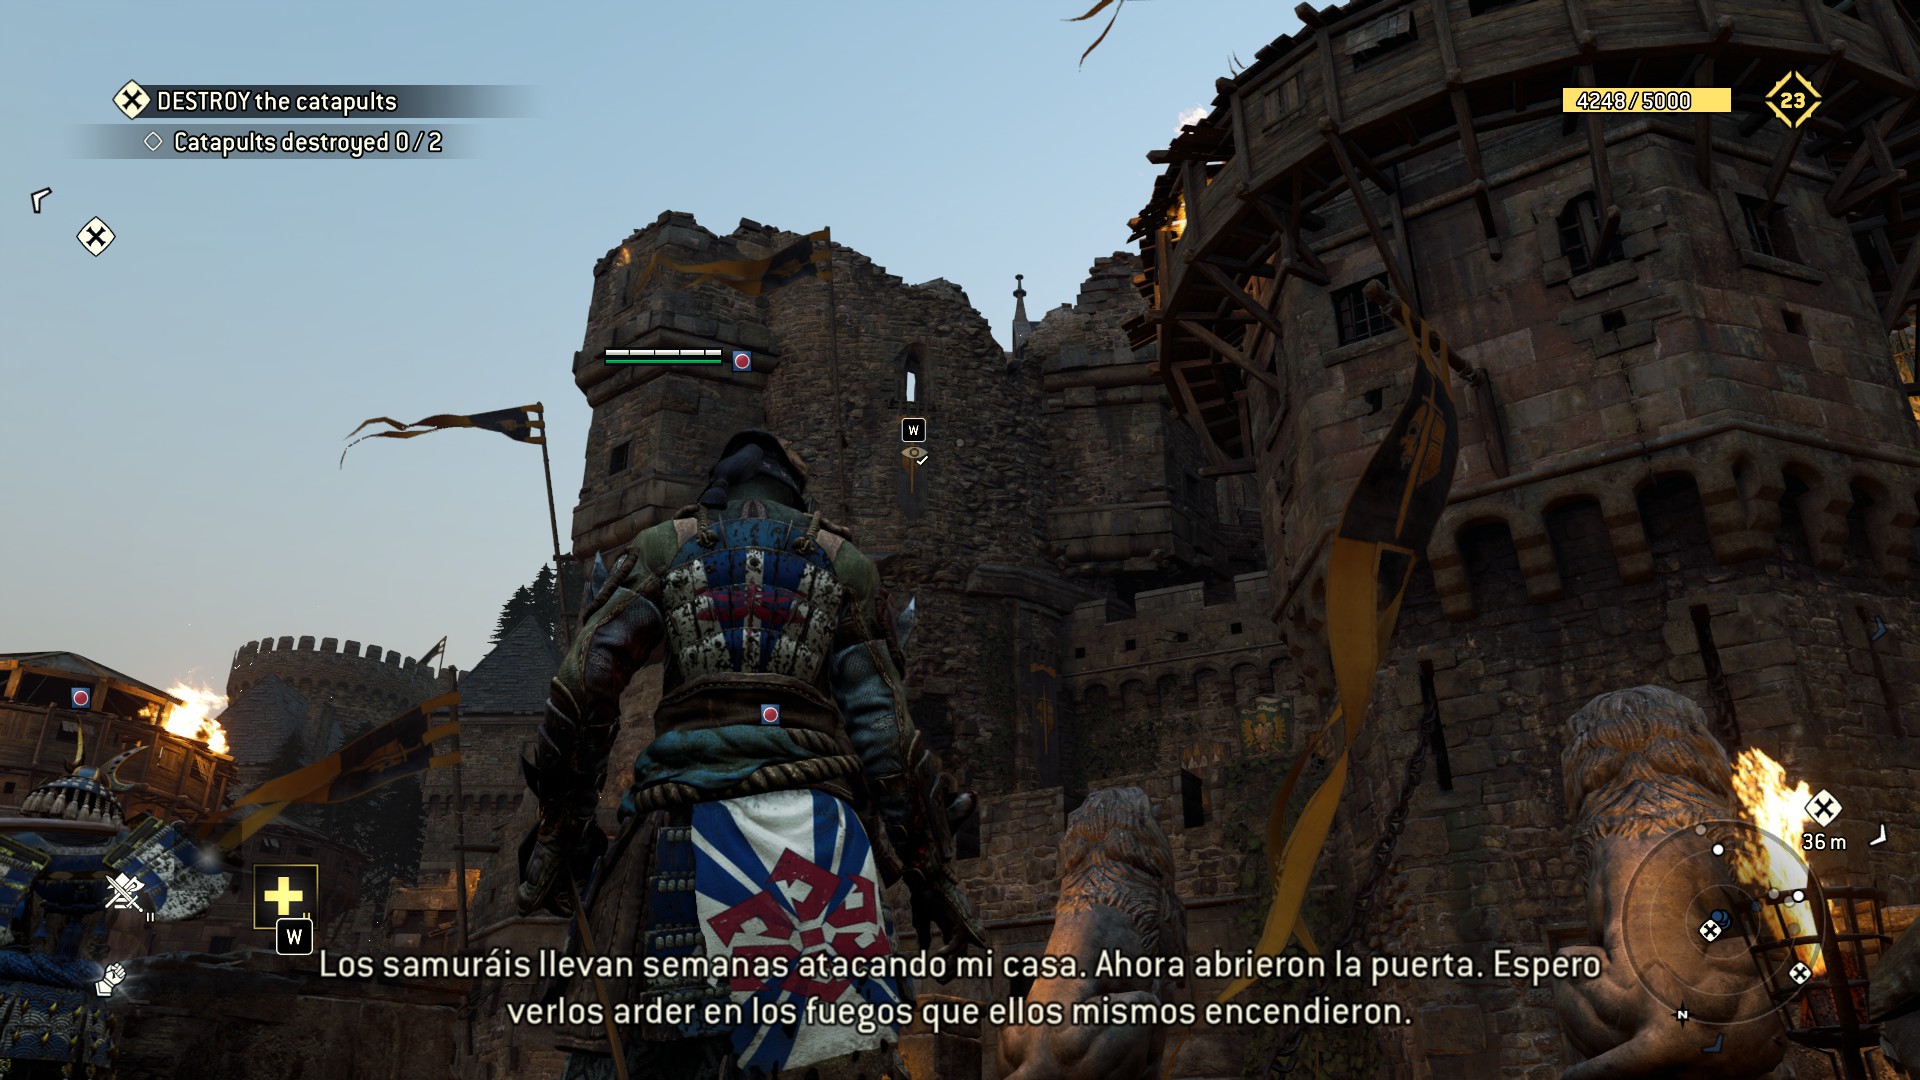
1) Just take a look at those armies, you can't miss it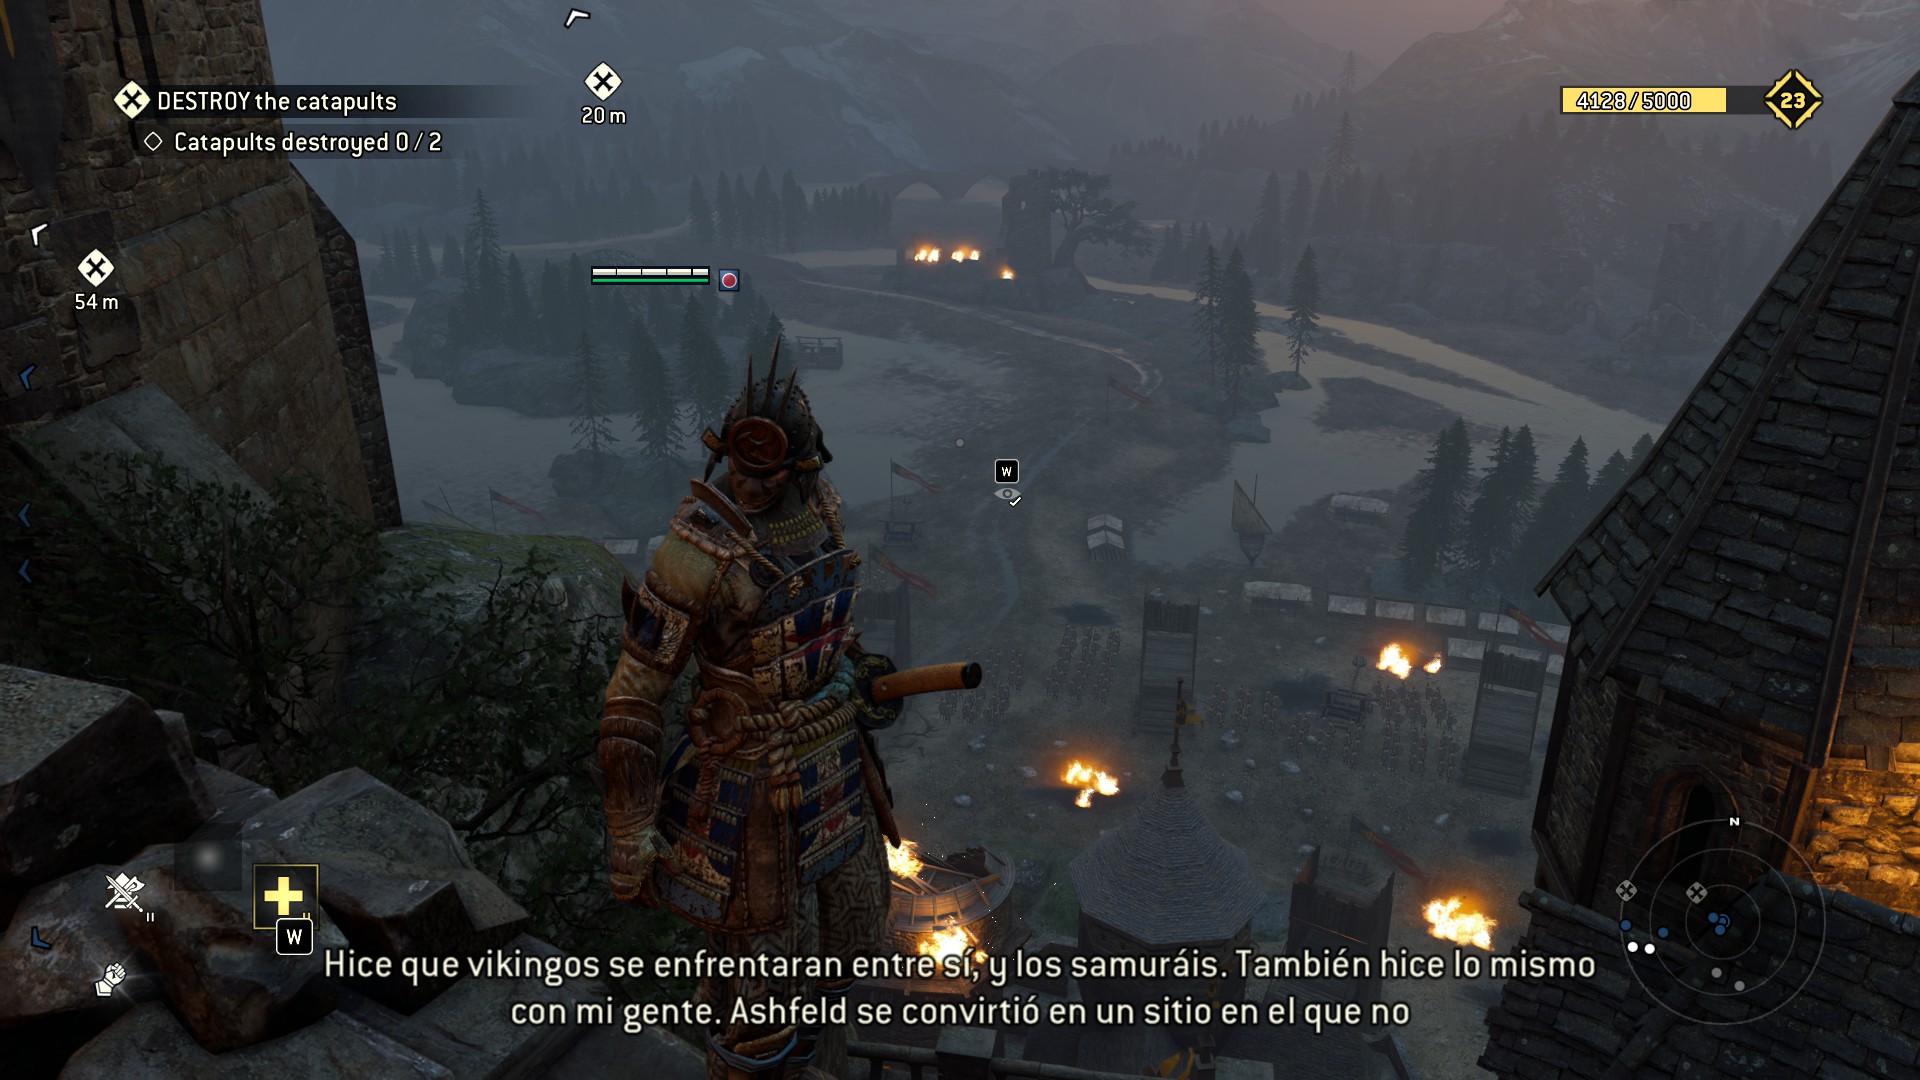 2) Next, move to the objective zone where you need to destroy two catapults. Before scaling the statue theres a breakable and the statue is an observable. As you get up on the same level as the catapults, go to the middle and look at the bottom of the "chapel" roof, then up to Apollyon's citadel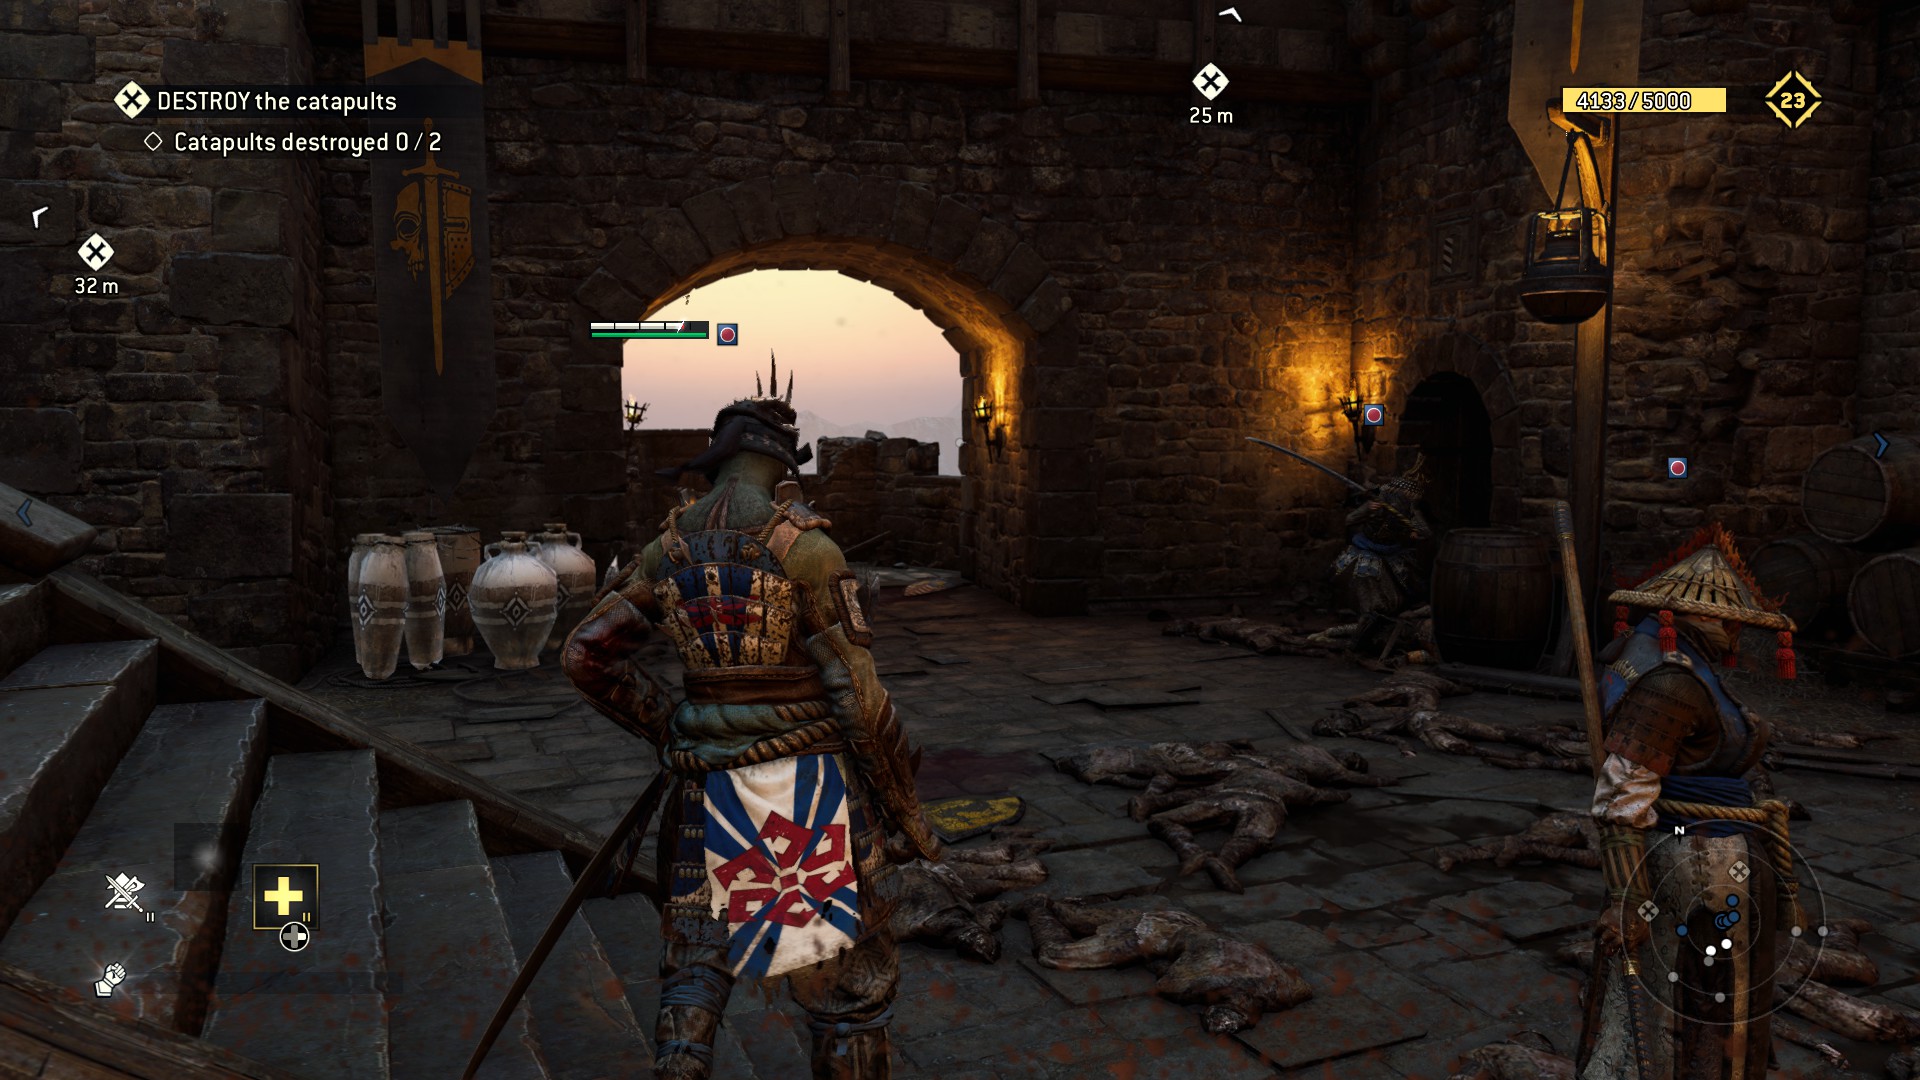
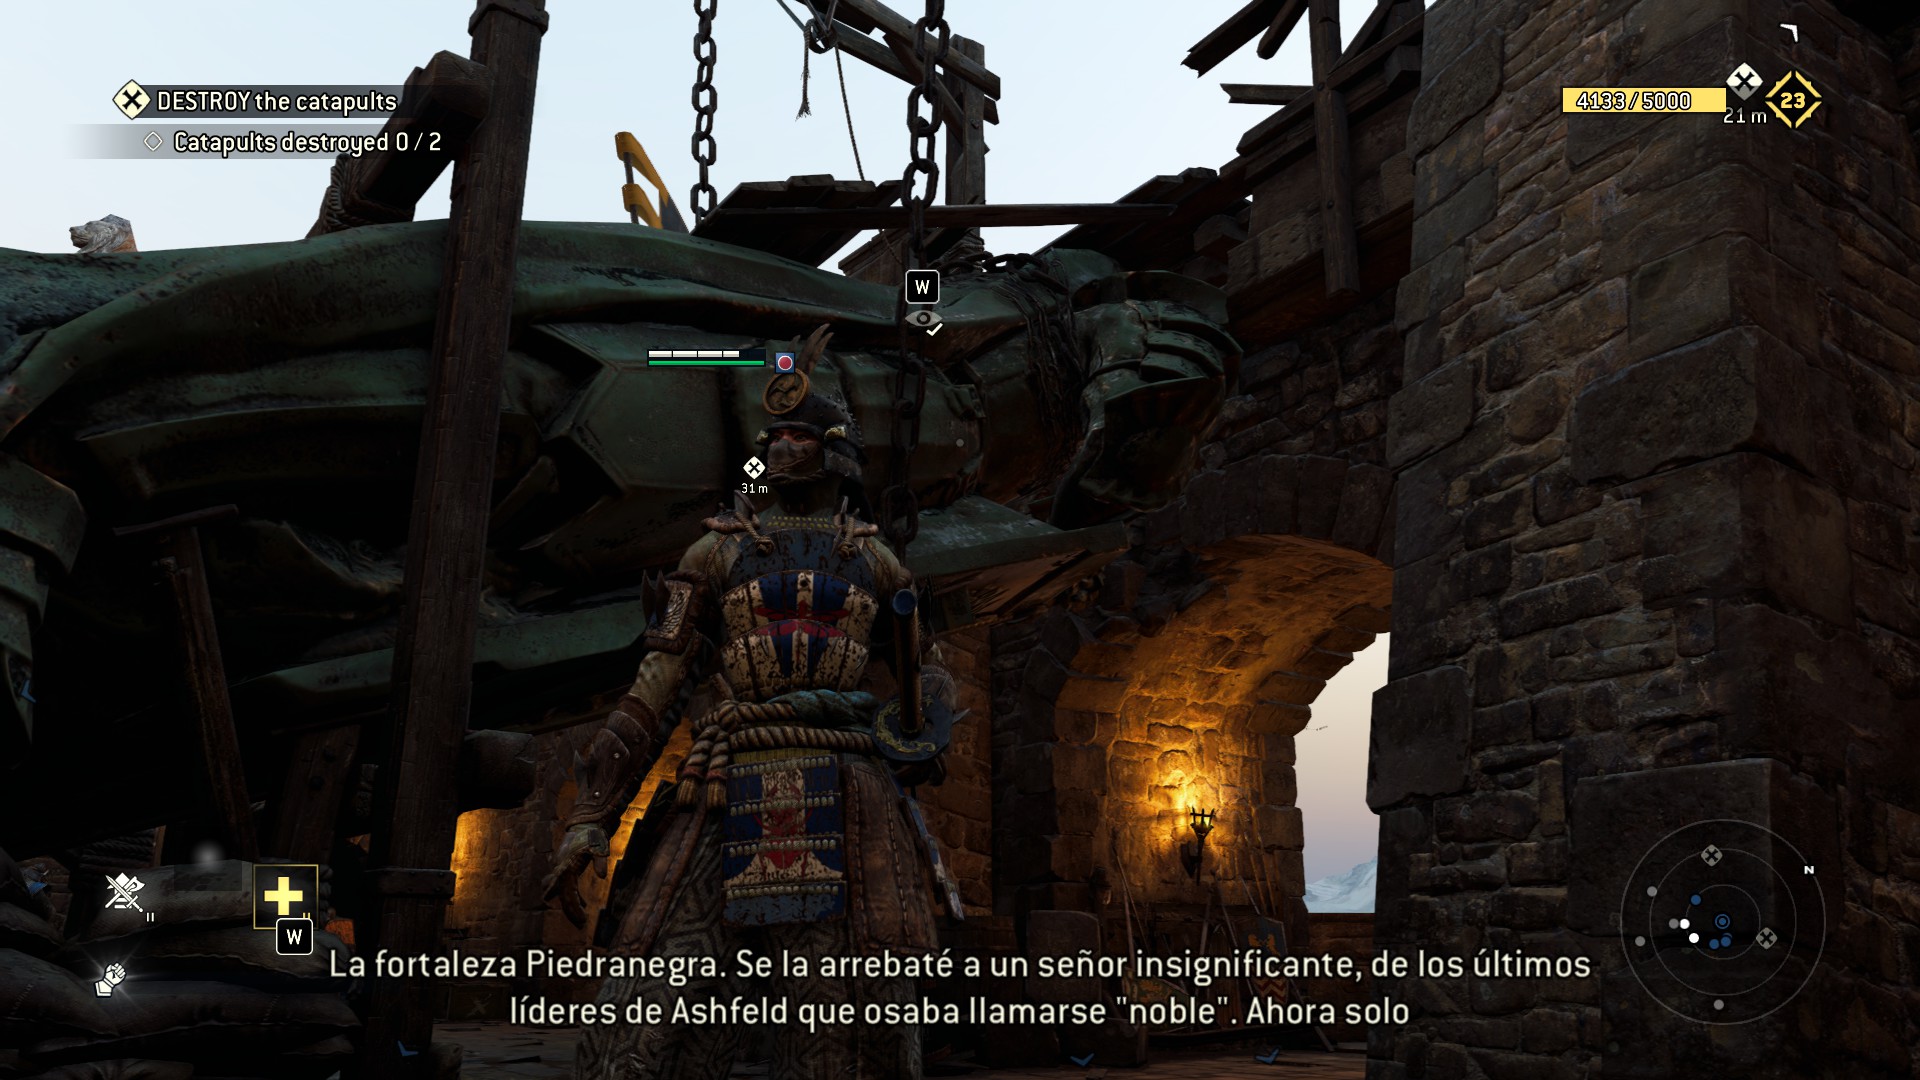
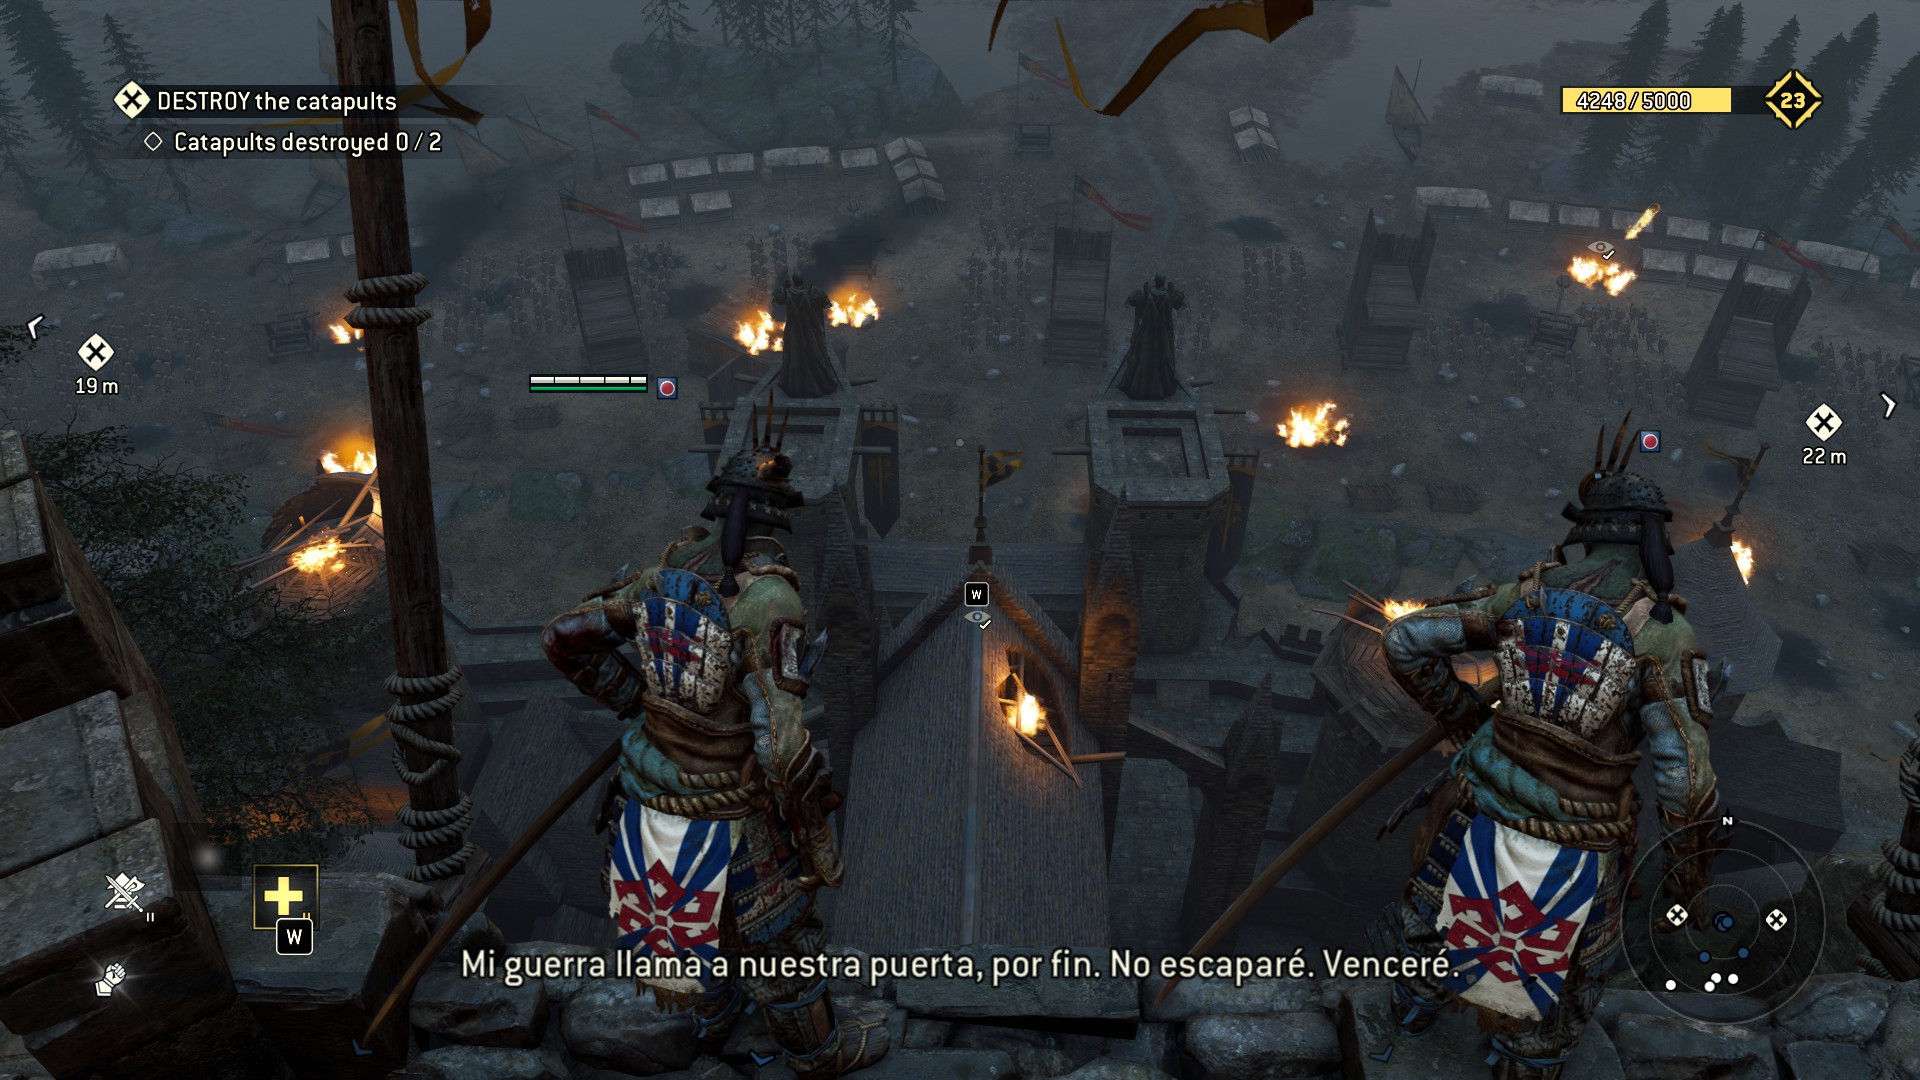 3) From the catapult closest to the starting position, look up and towards the citadel for a banner on a destroyed wall
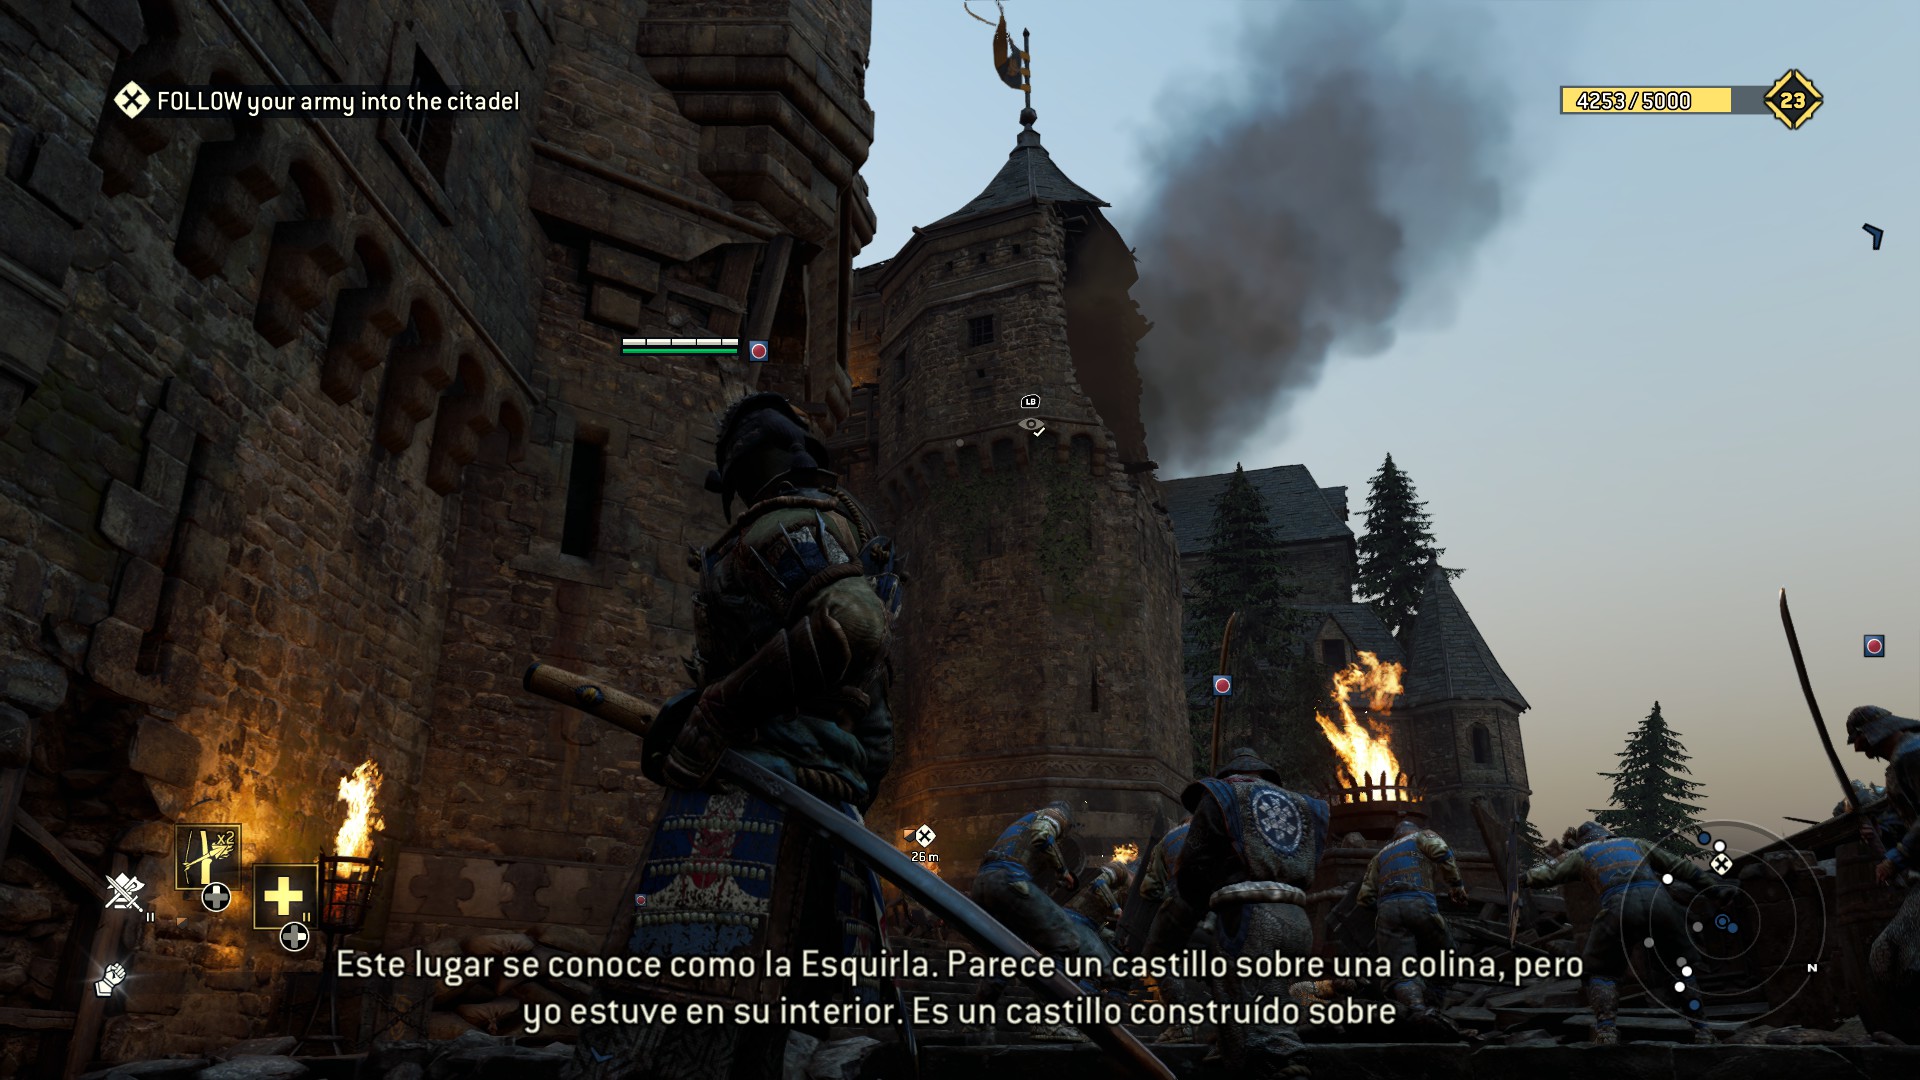
 4) This one is found right before entering the next objective
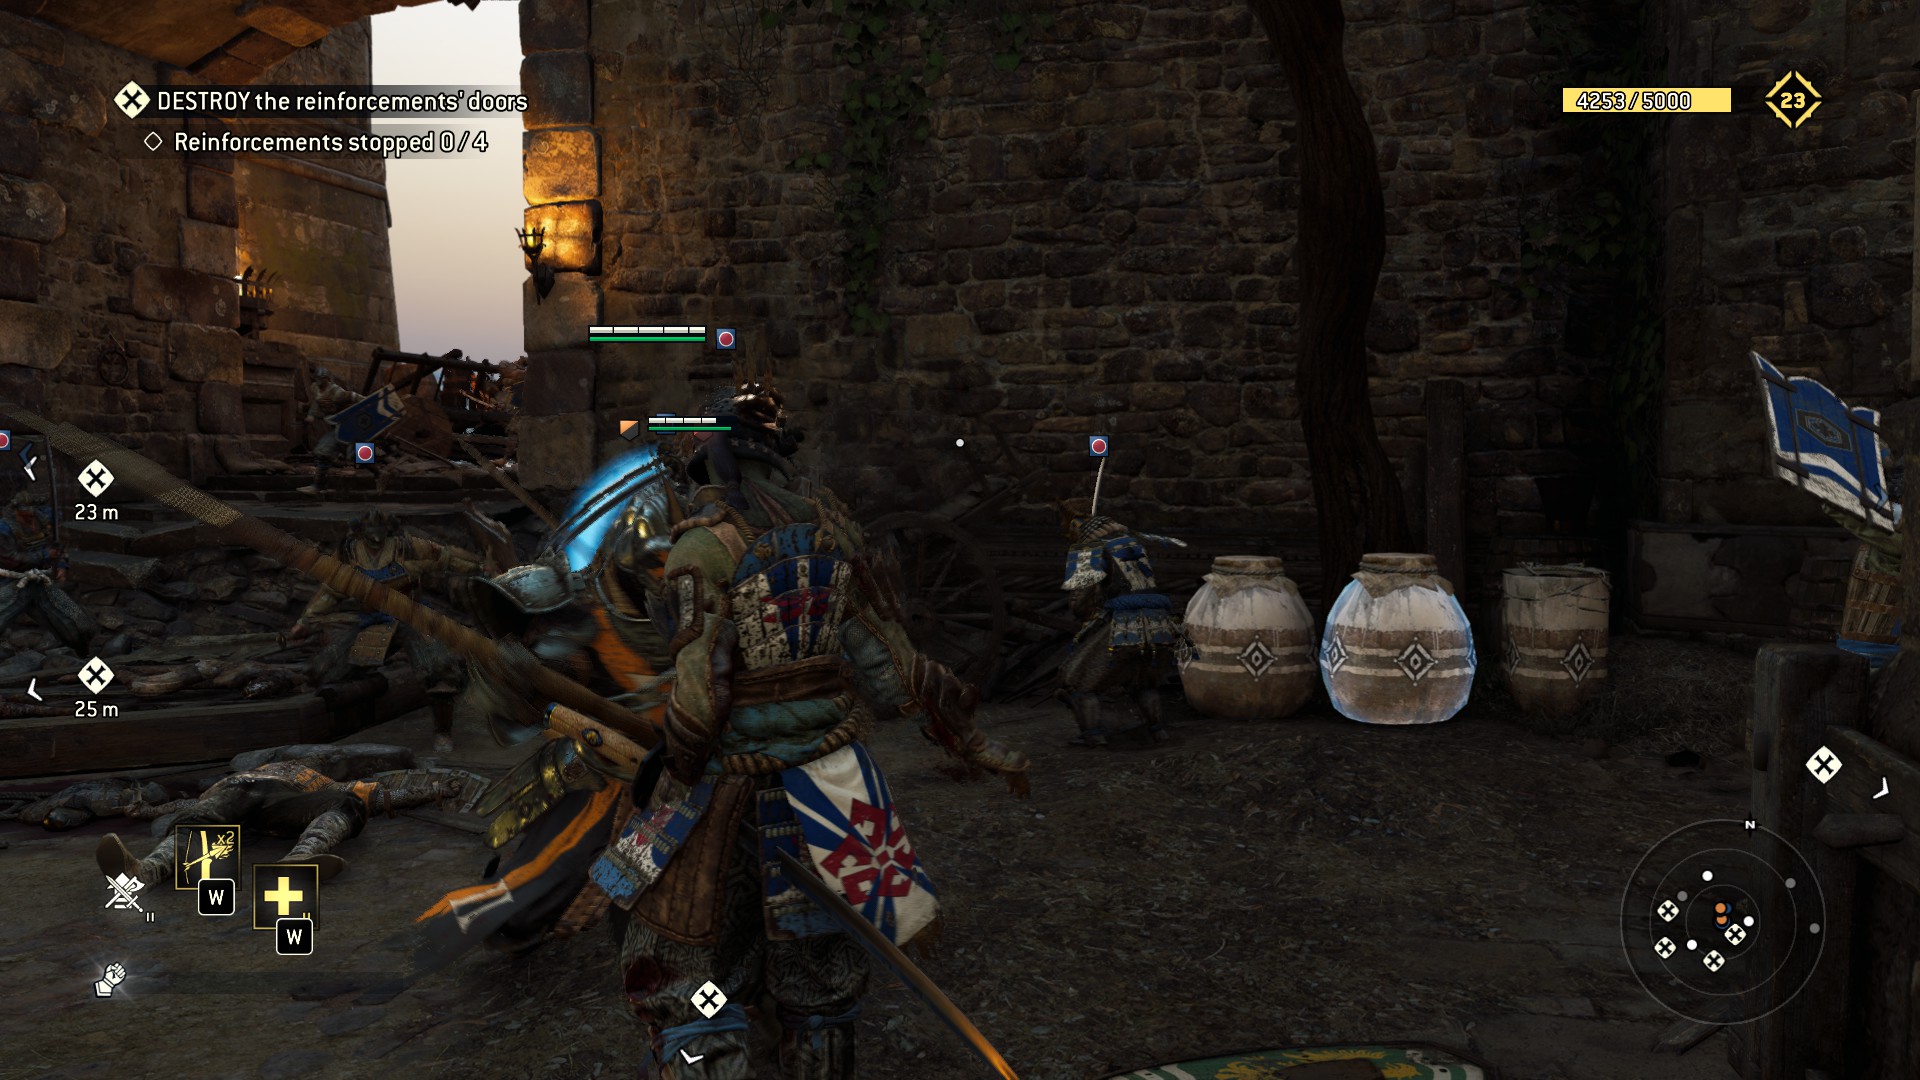
 5) Breakable in the area where you repel Apollyon's forces, can't miss it
 6) Moving on up you'll see this impossible-to-miss breakable, and to your right an observable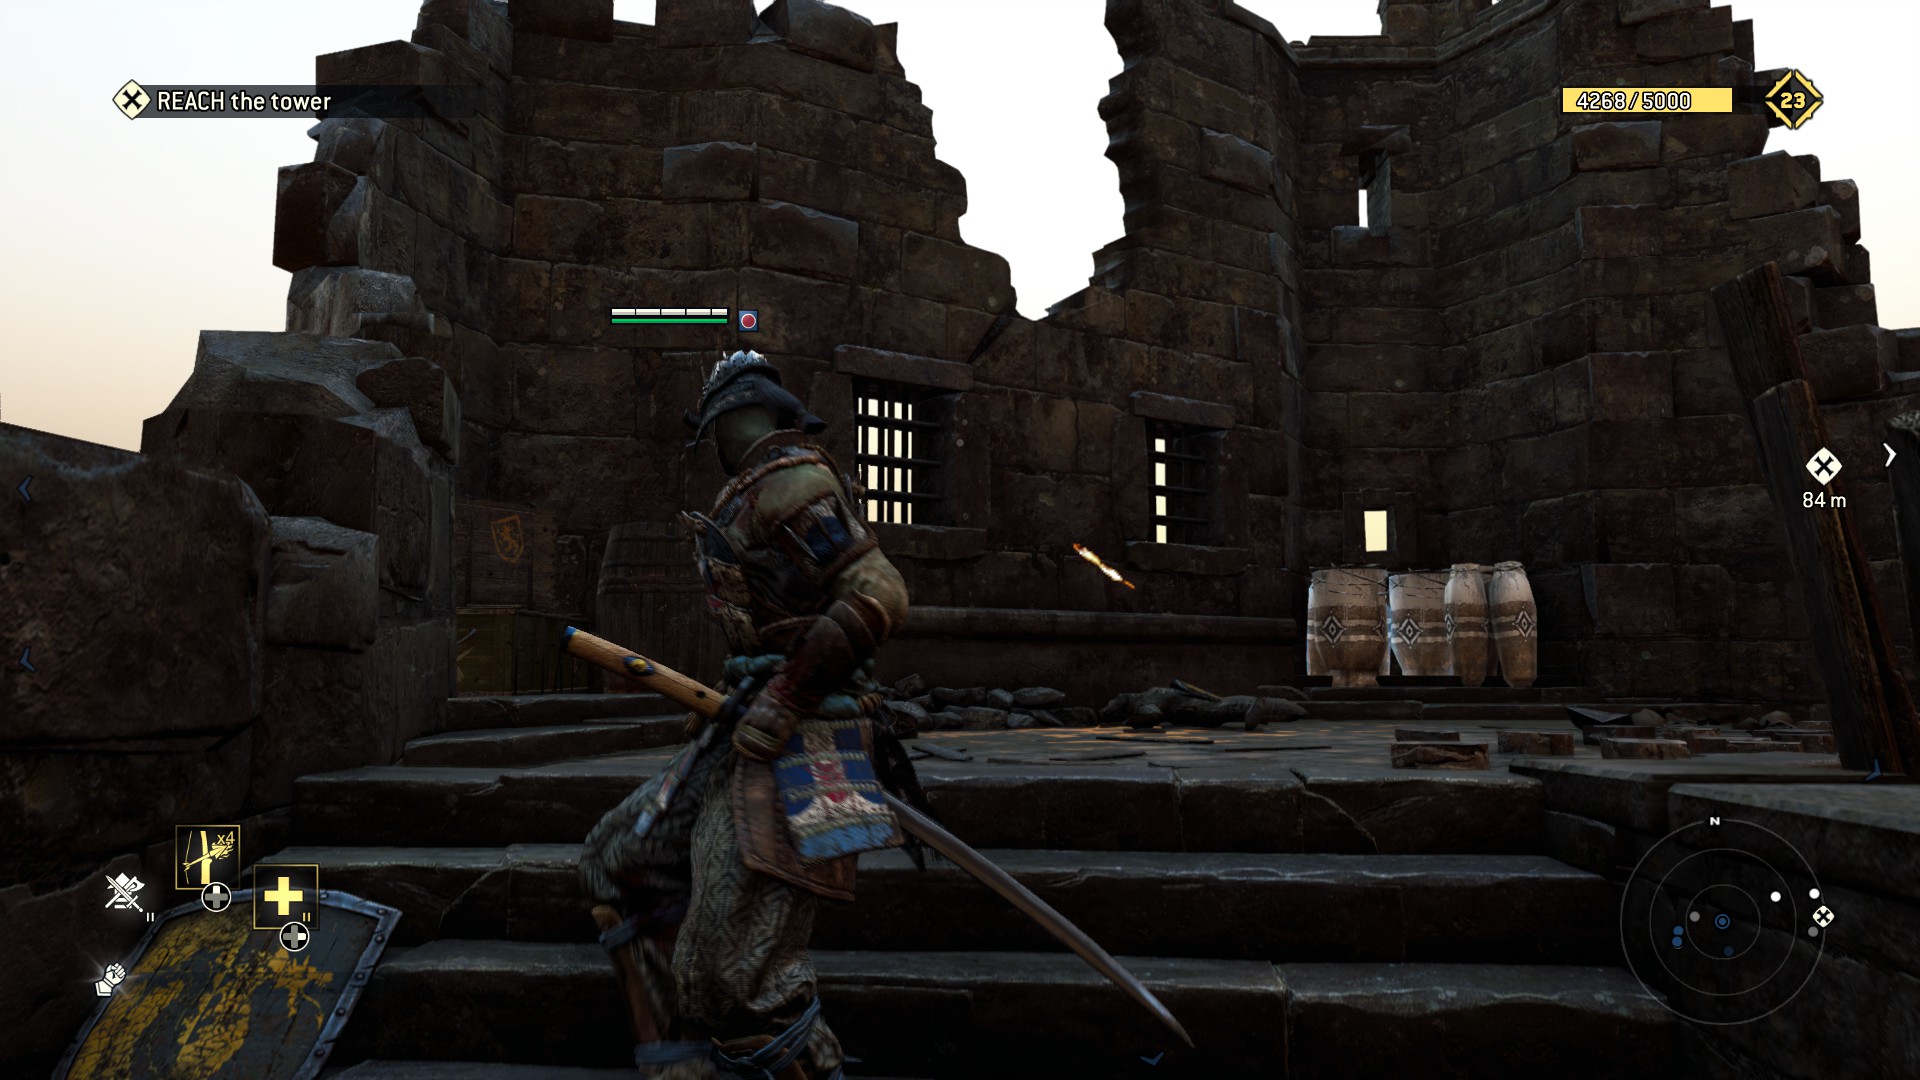
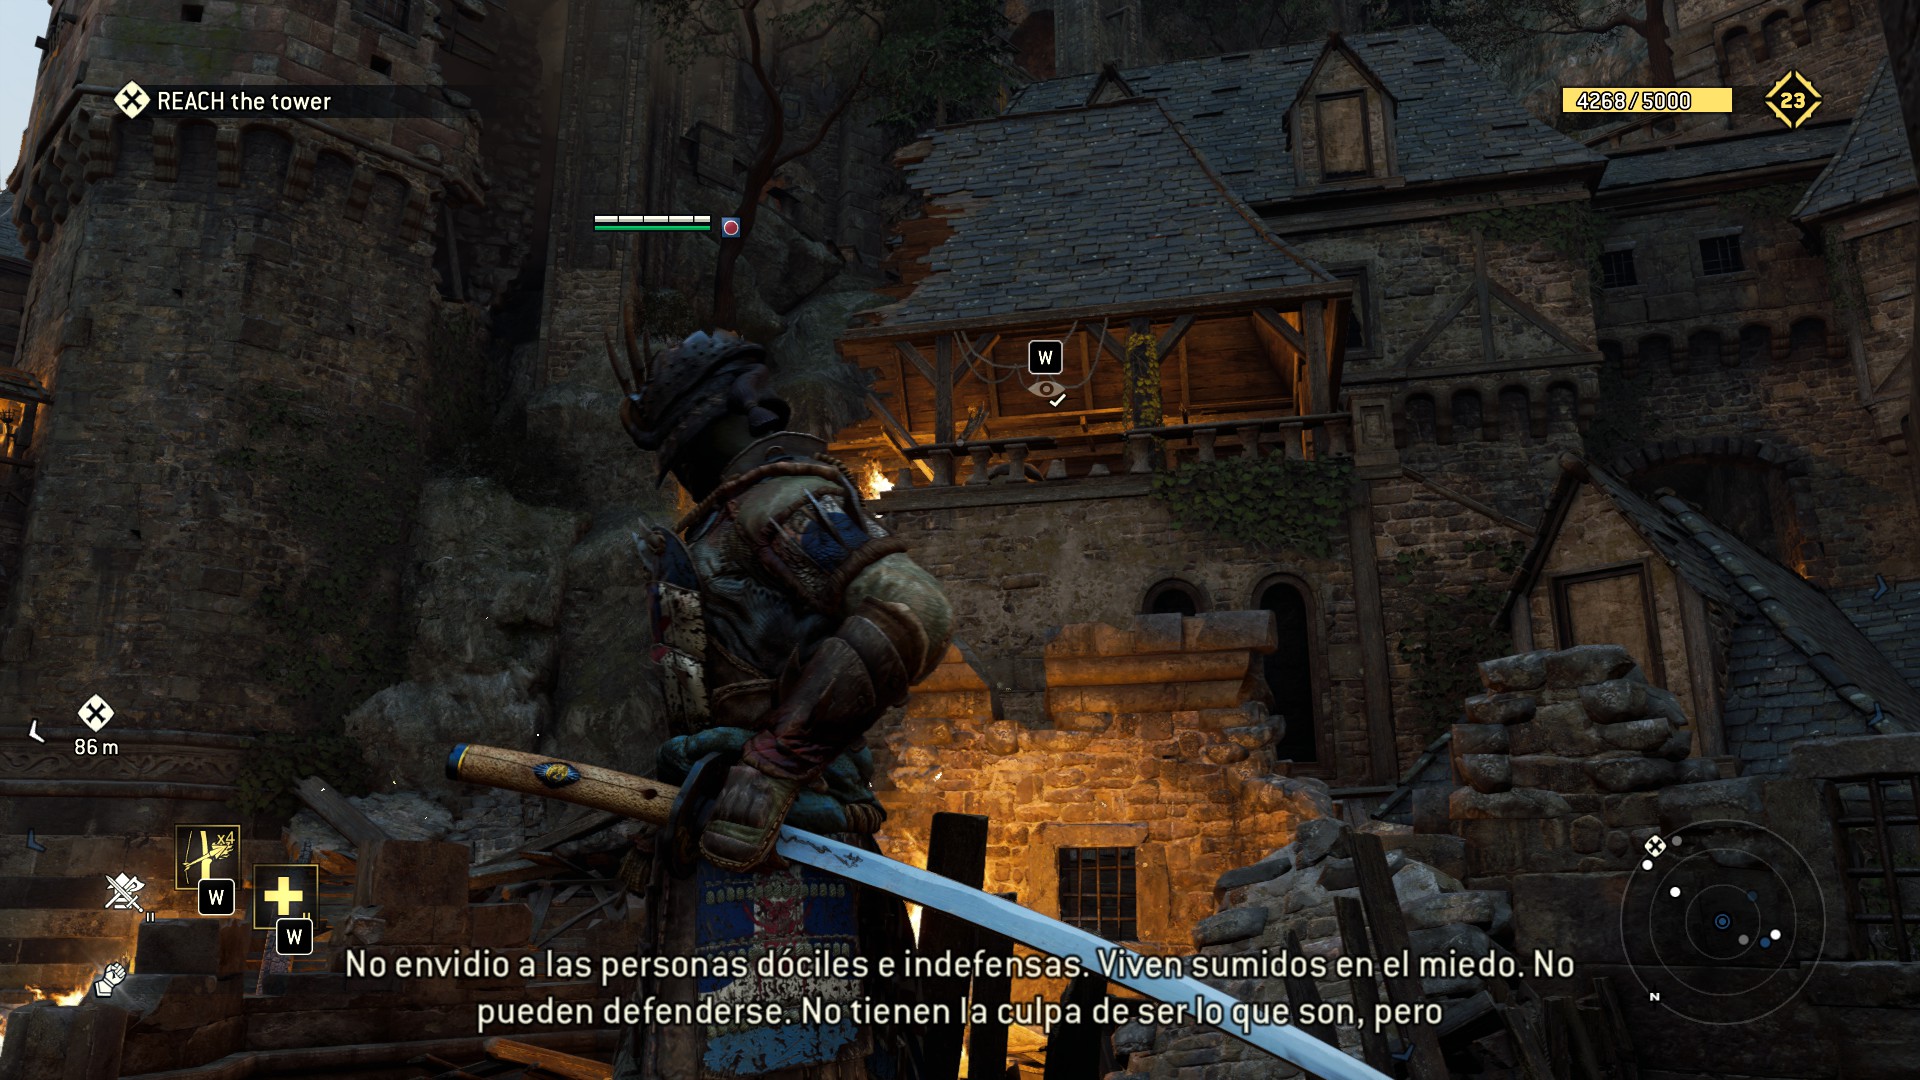 7) We will miss you Oni Chewbacca! After he opens the gates to Apollyon's tower, there's a breakable and an observable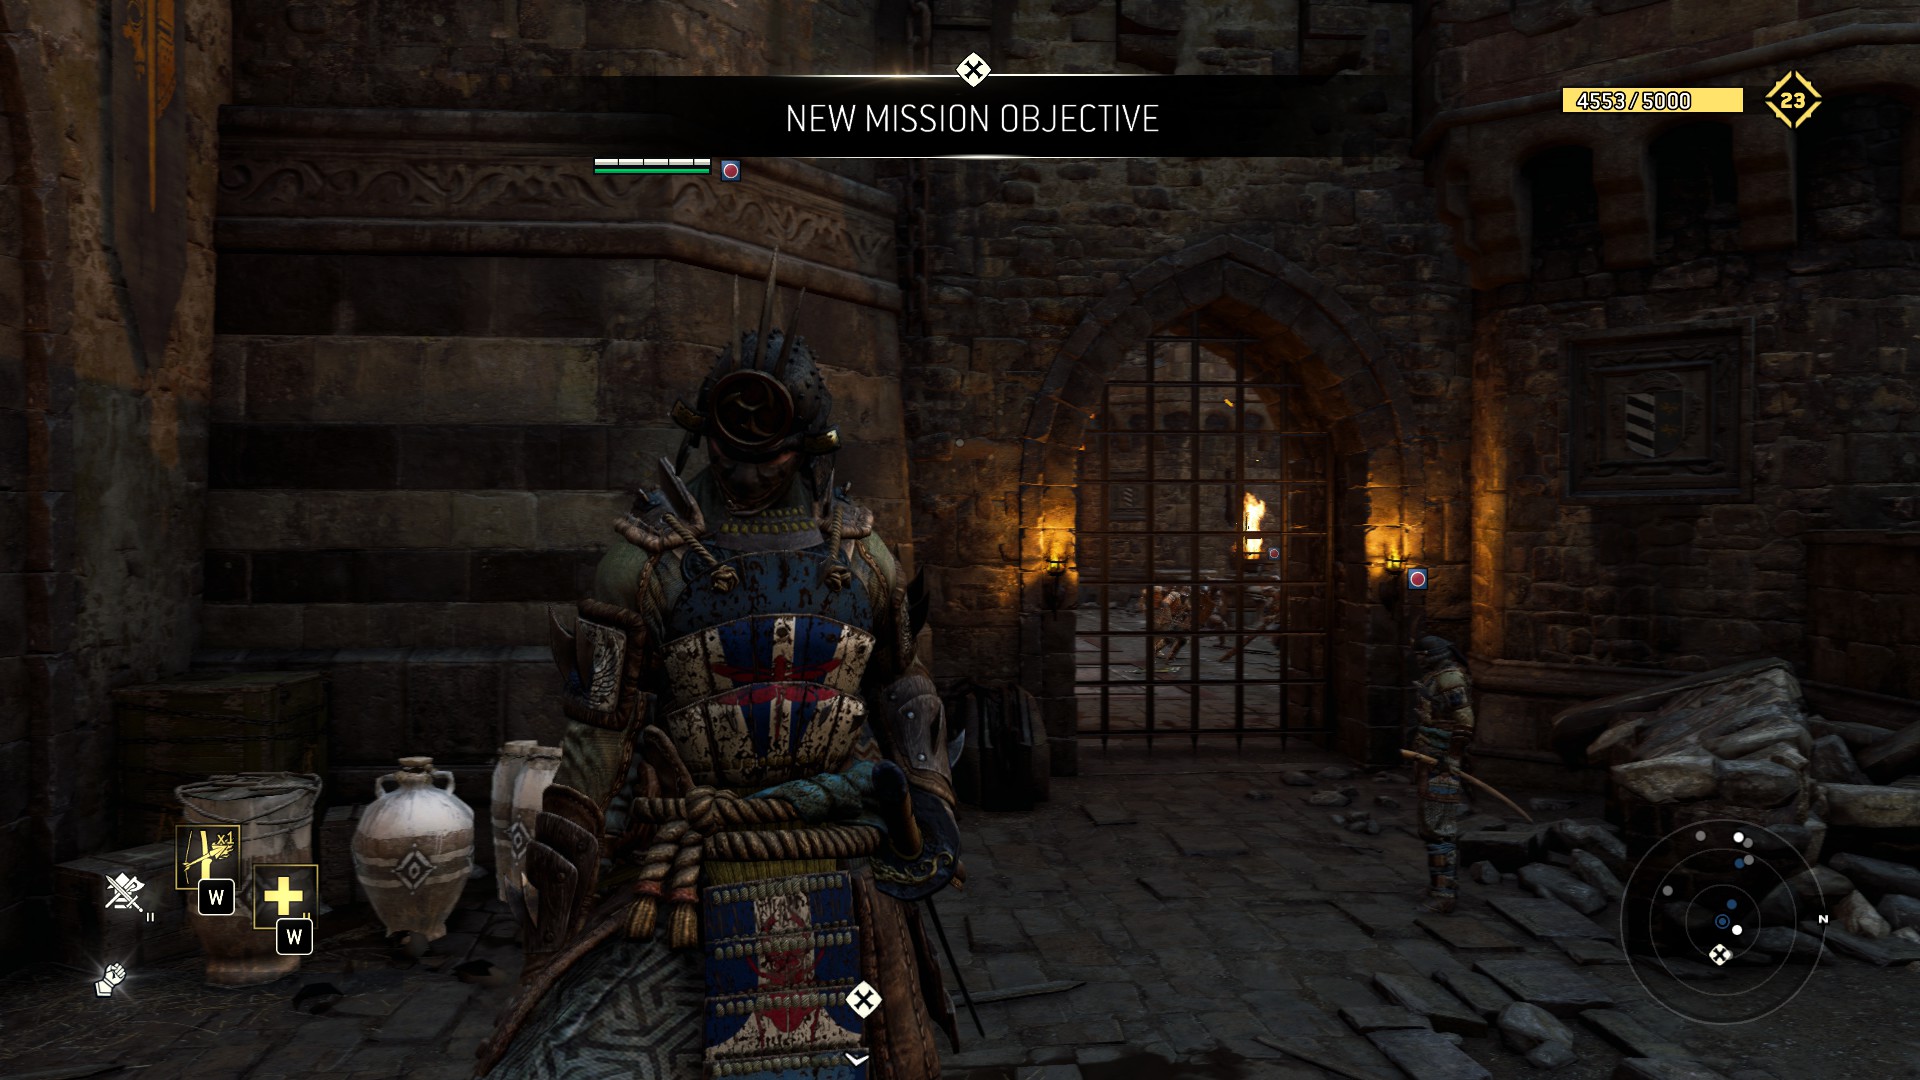
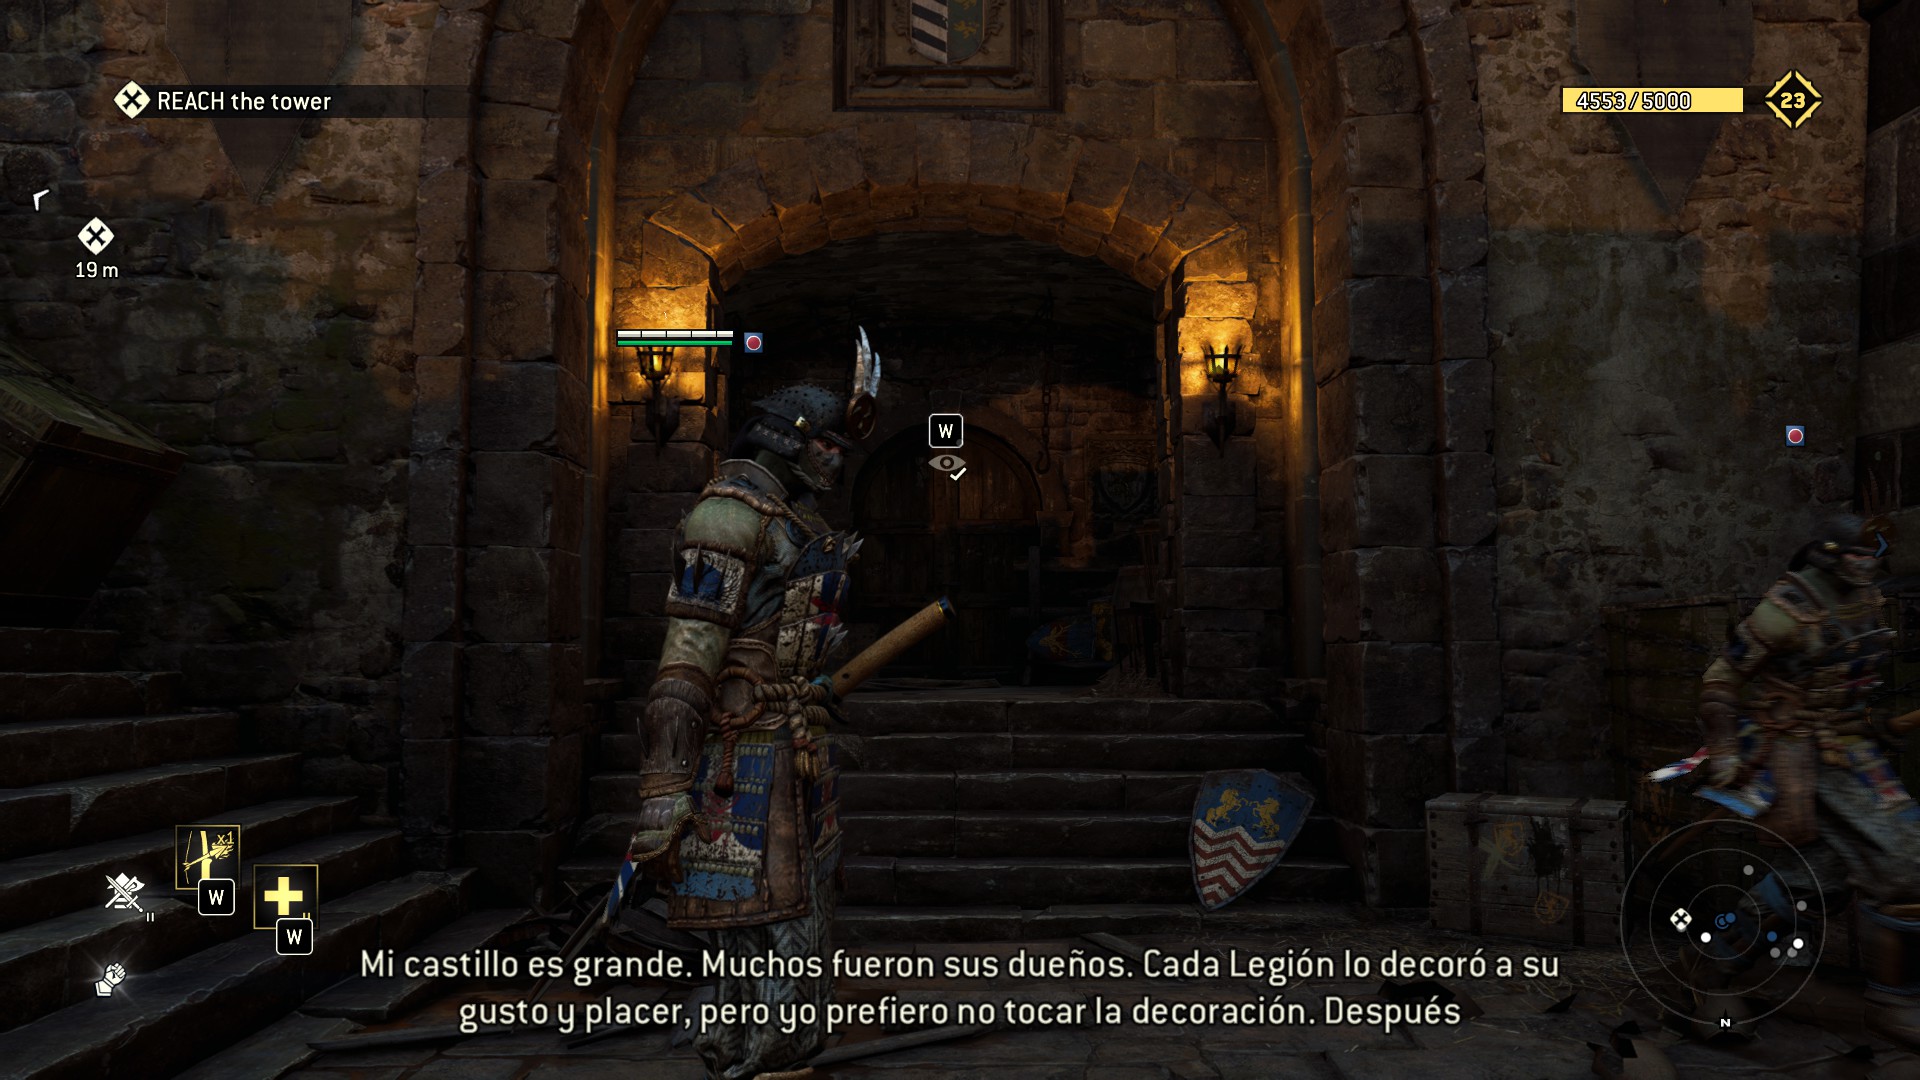 8) Climbing the flaming tower, where you fight the first Apollyon General, you might be interested in that big green emblem
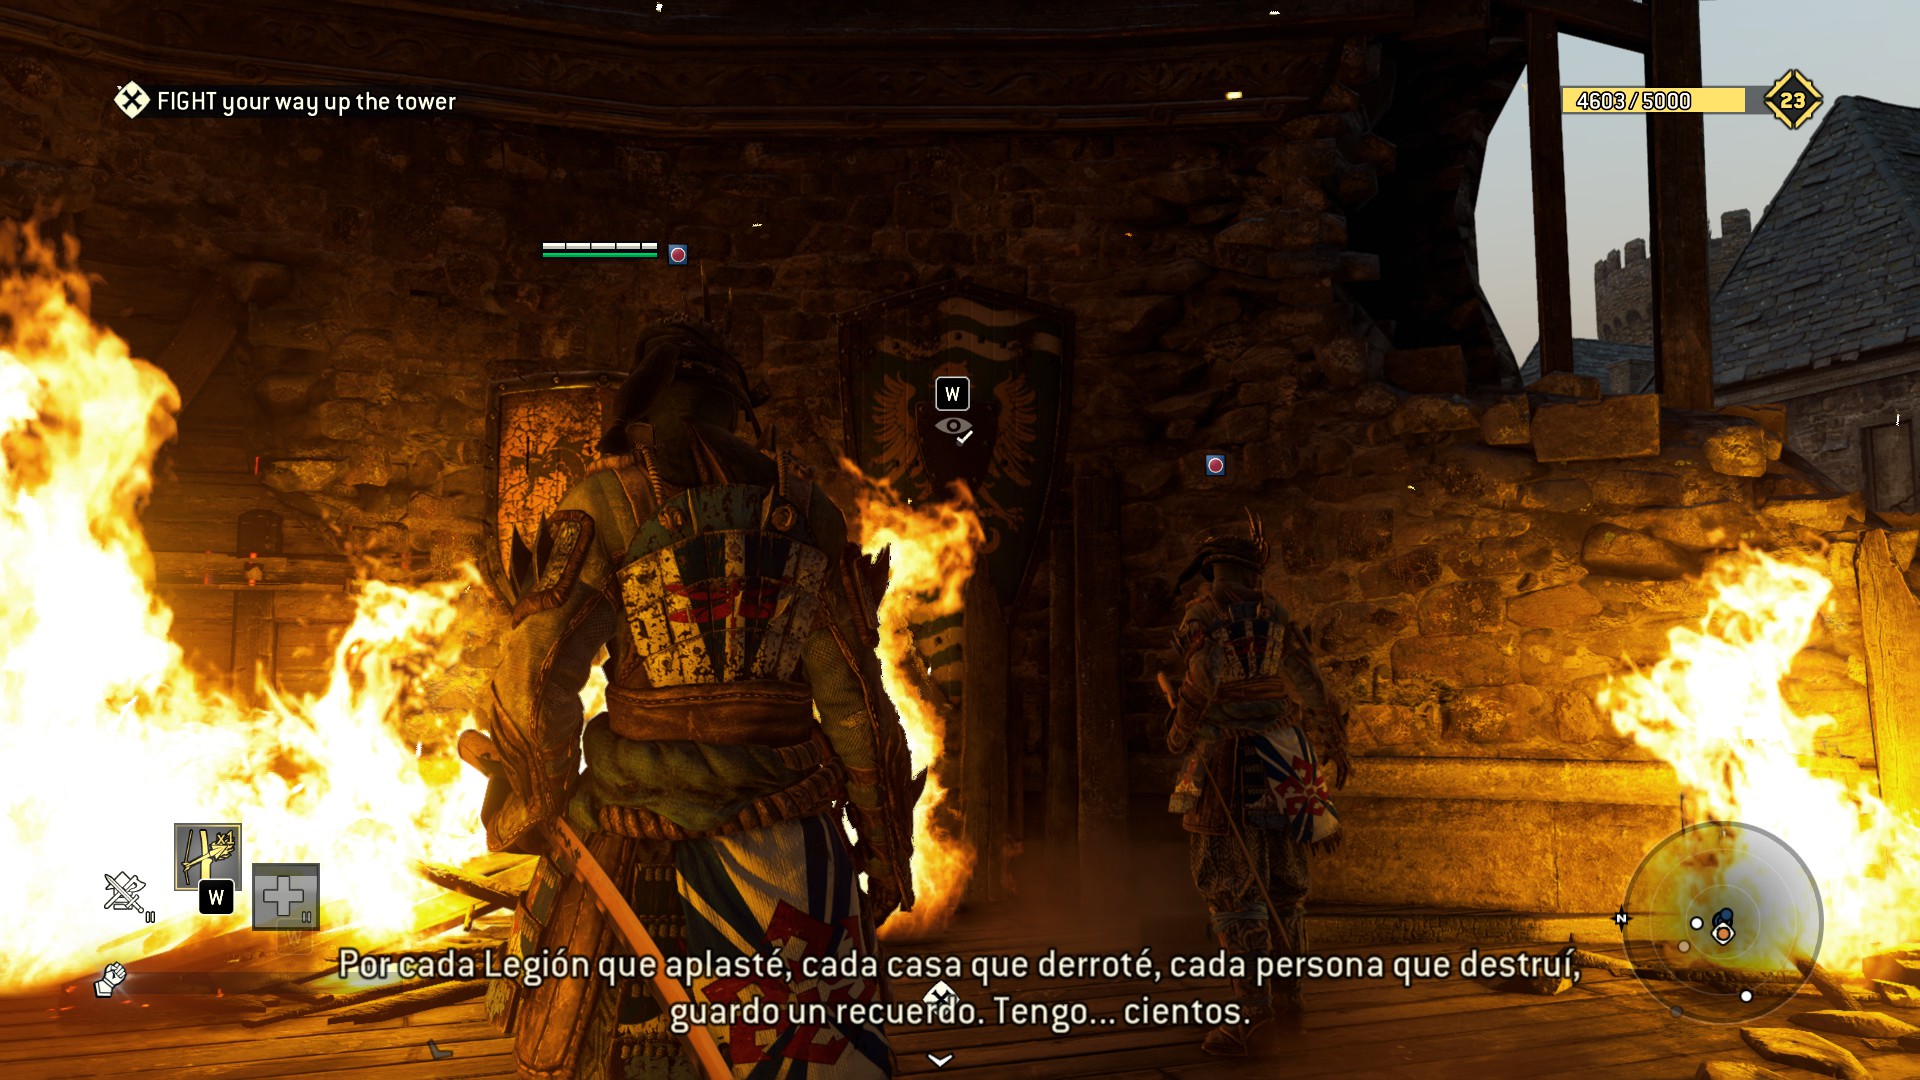 9) Last breakable is unmissable right next to the Conqueror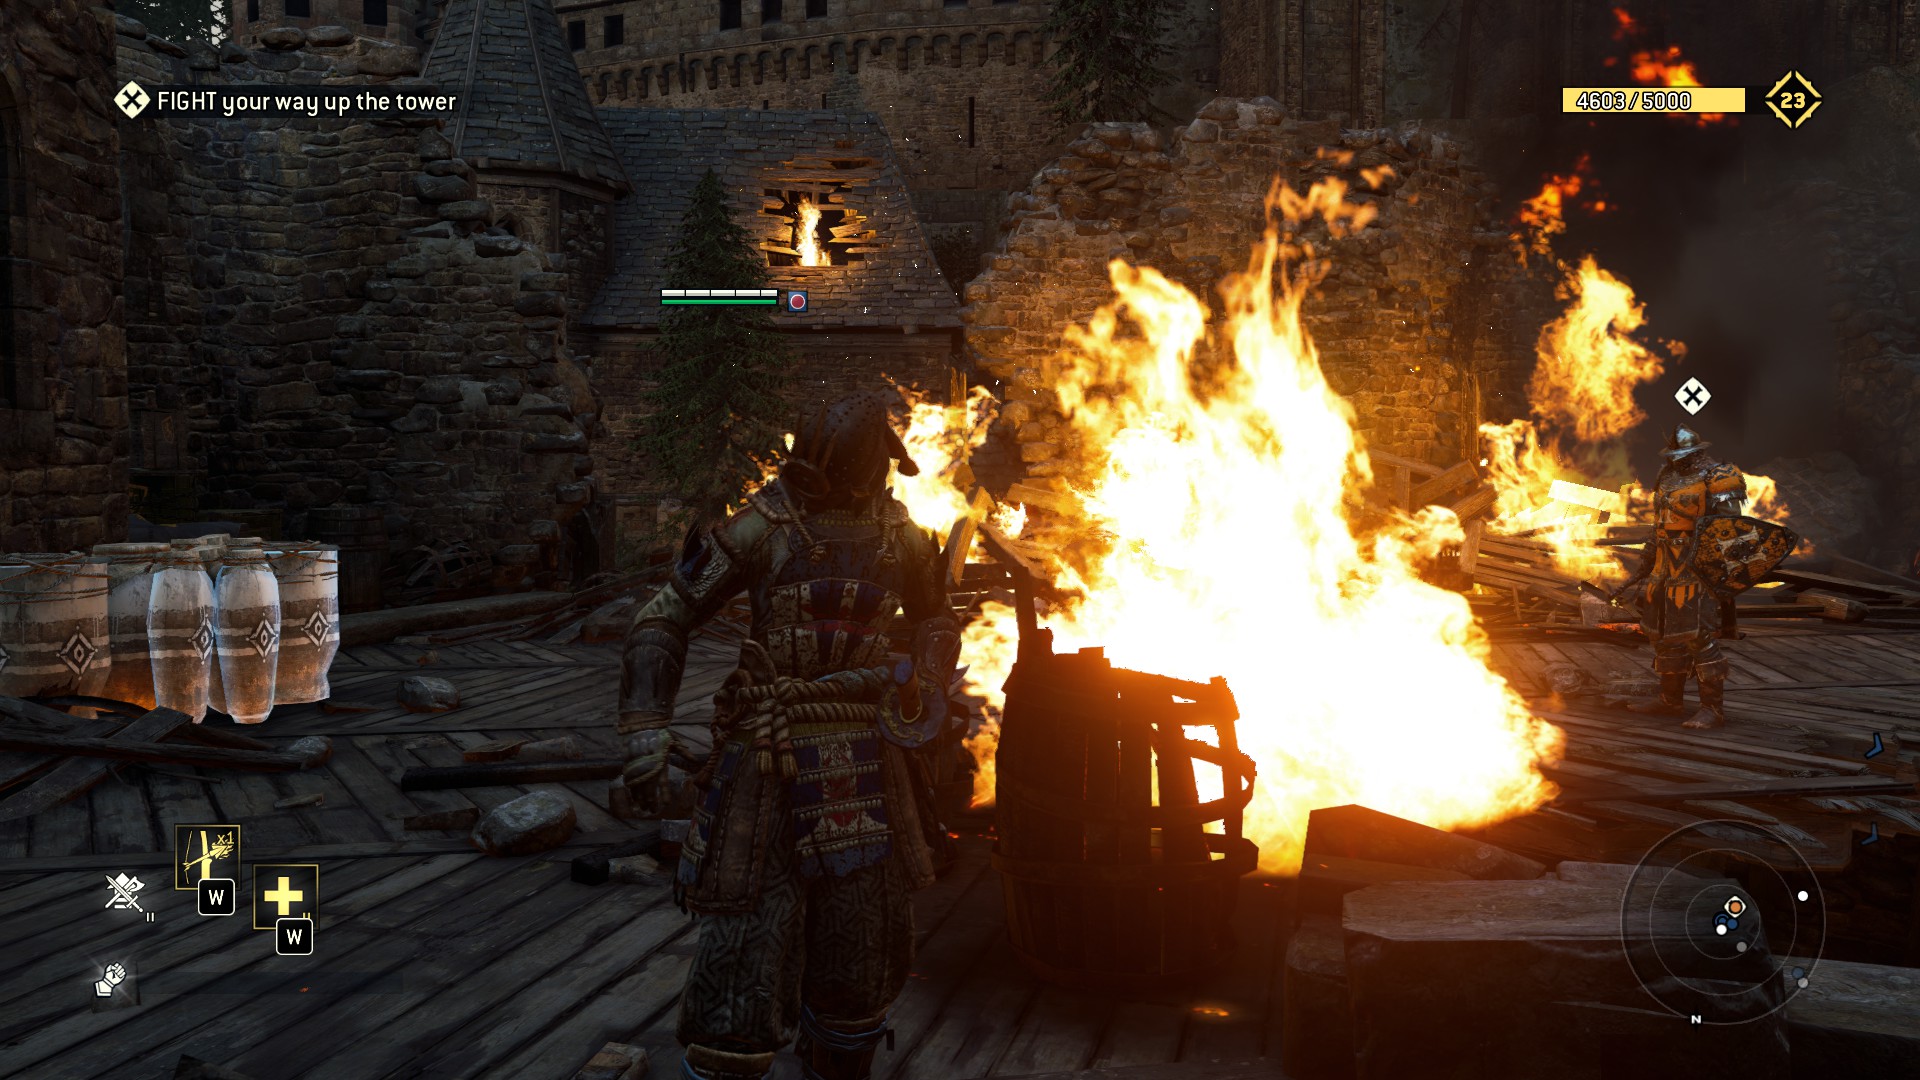
Now go, stop Apollyon and bring back the peace....
- how 2 get cancer★ 4 (663)36k views142 ♥1 minBulgarianUpdated Jun 7, 2018
- A Serious Guide on How to Enjoy For Honor★ 5 (630)21k views368 ♥4 minUpdated Jun 13, 2021
- How to be the average for honor player★ 5 (451)19k views177 ♥2 minUpdated May 11, 2025
- Все важные и разрушаемые объекты в сюжетной кампании For Honor★ 5 (838)16k views1k ♥25 minRussianUpdated Aug 23, 2018
- How to be Happy in Real Life★ 5 (462)16k views181 ♥1 minBulgarianUpdated Feb 15, 2023
- How Not to Get Depressed While Playing For Honor★ 5 (541)16k views231 ♥1 minUpdated May 16, 2023



- Upgrading to PremiumTeam Fortress 2★ 5 (20k)1441k views11k ♥6 minUpdated May 11, 2022
- No More Room in Hell Official ManualNo More Room in Hell★ 5 (2.8k)569k views2.1k ♥29 minUpdated Apr 22, 2019
- NMRiH Community Hosting GuidesNo More Room in Hell★ 5 (526)351k views653 ♥1 minUpdated Aug 10, 2022
- ULTIMATE GUIDE FOR GAME DEV TYCOONGame Dev Tycoon★ 5 (5.8k)326k views10k ♥4 minUpdated 23 Jan, 2014
- How to 'Git Gud' Soon™MORDHAU★ 5 (2k)318k views3k ♥68 minUpdated Nov 16, 2024
- Лучшие кооперативные игры SteamPAYDAY 2★ 5 (1.5k)315k views2.1k ♥56 minRussianUpdated Apr 27, 2025






This guide was created by its original author on the Steam Community. Are you the author and want it removed? Request removal.