A Necro-master's guide to Necro-mastery
Introduction
Gameplay Videos
My Coda Clear:
My Lowest of the Low Clear:
You can observe and notice how I put these tips into practice from my runs. Of course, it is not possible to always kill enemies in one specific way due to the nature of randomness of enemy spawns and layouts, but the key is to have consistency to minimize room for errors.
Tip 1: Understand zone layouts
There are 4 zones, each zone containing 3 levels. While each seed is randomly generated, the exits usually have a pattern as to where they are located.
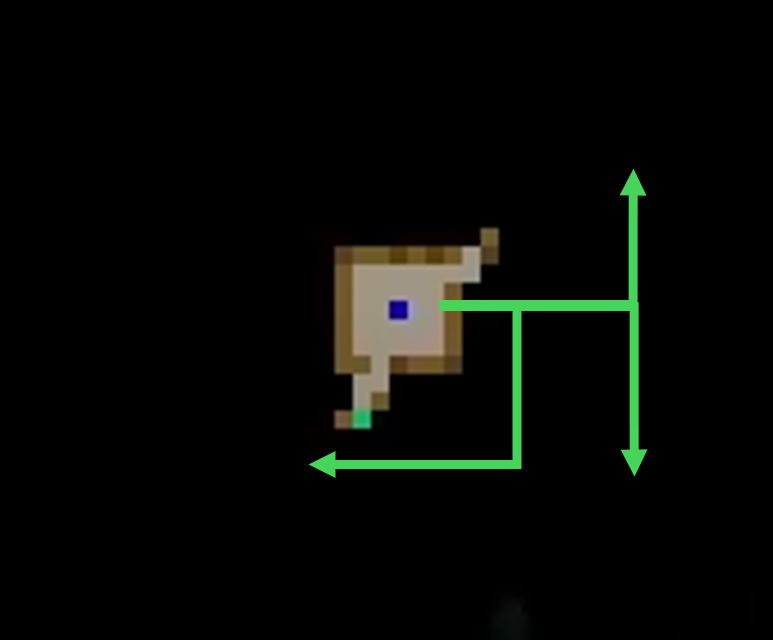
There are times you will be blocked by Grey walls, which you will have to find another way to get around it. Exits in Zone 1 are never located at the top left from where you start.
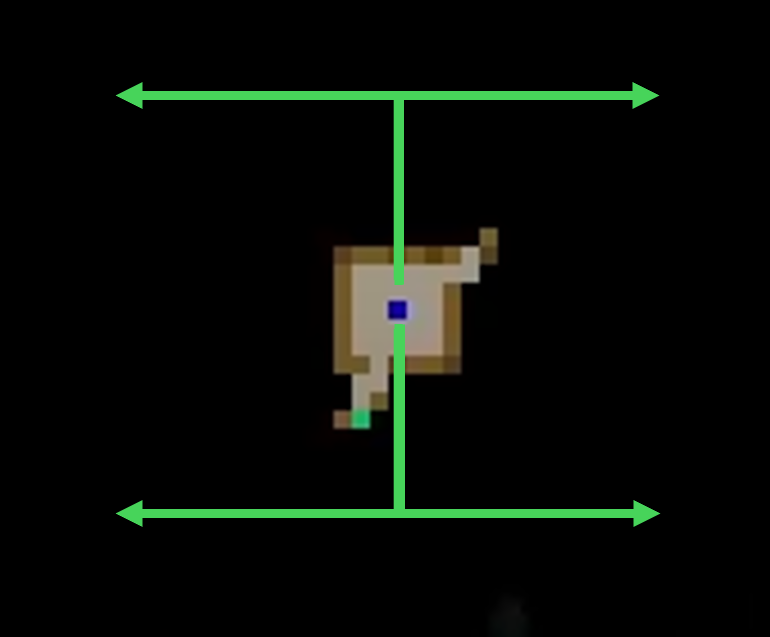
For Zone 2, keep in mind that there are some cases where the exit is on the same line (either towards the left or right) of where you spawn.
For example, if you spawn at the bottom left, the exit will always be located at the top right.
The opposite is also true. Always think of the right angle to figure out the exit location. If you spawn at the top left, the exit will always be located at the bottom right as shown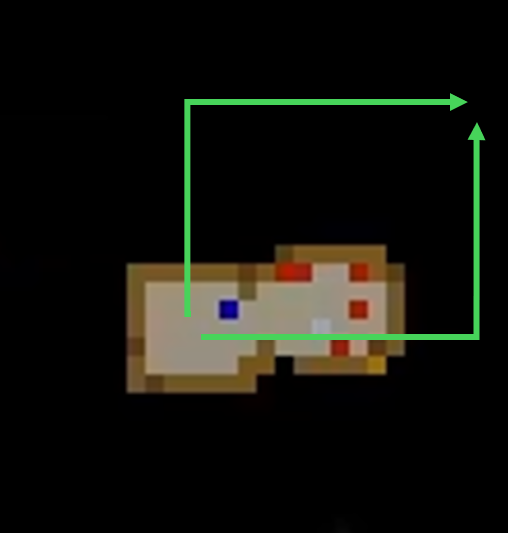
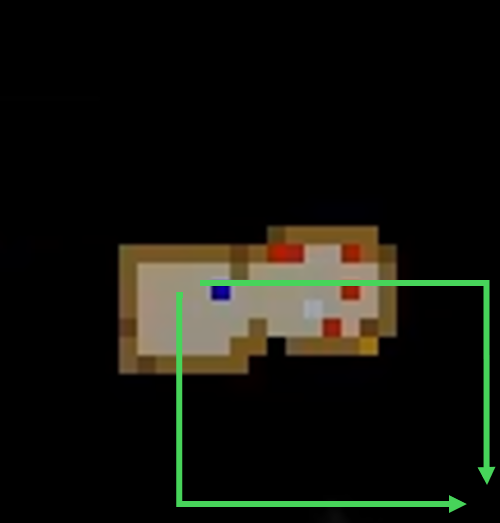
For Zones 3 and 4, I will be discussing the best way to approach them in depth due to the nature of the Zone.
Tip 2: Always try to eliminate enemies that move the fastest
Bonus Tip: Hiding in the shopkeeper can be optimal to deal with enemies one by one.
Tip 3: Have a consistent method for killing enemies
This may not always be applicable, since you have to improvise and act accordingly sometimes when you are swarmed with enemies. But it is always good to have a consistent method of dealing with certain enemy types. By doing so, it is ingrained in your muscle memory such that you know what moves to take when encountering each enemy.
For example, skeleton riders always attack you on the next move after they have been dismounted. One consistent way of dealing with this is to attack them while they are against the wall:
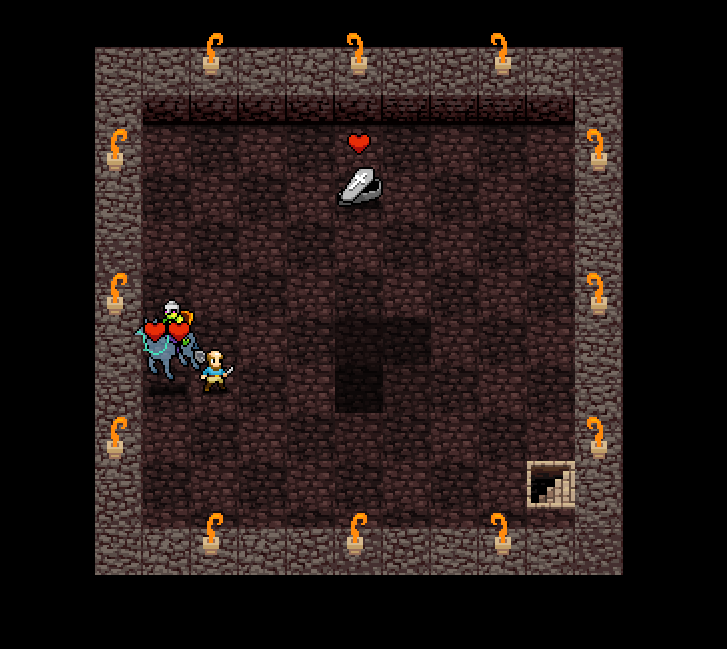
From here, you can simple attack twice: once to dismount, the second to render it useless:
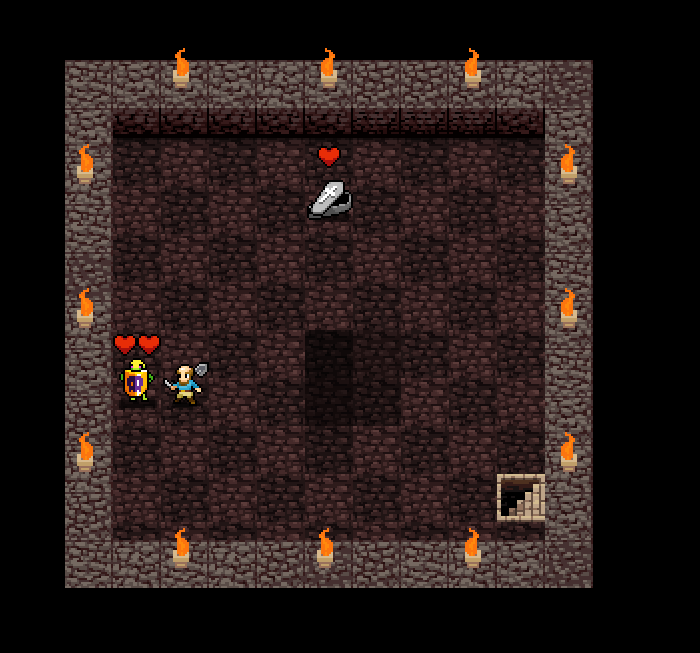
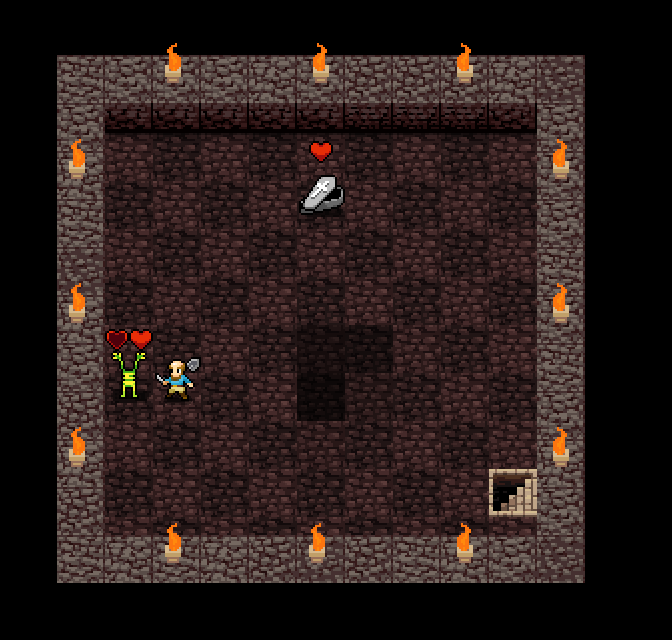
For black skeleton riders, since they have 3 health, you must move away for one beat before attacking twice to render it useless. If you have a damage output of at least 2, you can hit it twice immediately to eliminate it.
This is just one example of many enemies in this game. The most important thing is to find a consistent method that works for you and stick to it.
Tip 4: Approach Zone 4 exits vertically
As mentioned earlier, Zone 4 exits are always generated such that exits are at the opposite direction of where you spawn. In almost every case, you should try to approach the exit either top-down or from botttom-up. The reason is that the mini-bosses in this Zone are easier to deal with vertically. I will give 3 examples to support this reasoning.
The Mummy is the most technical mini-boss in the game, dealing with it horizontally can be extremely challenging with the baby mummy and other enemies. By approaching the Mummy vertically, you almost always get to land a couple of hits on the Mummy, eliminating it much easier.
The Blue Dragon is a notorious mini-boss that spawns in both Zone 3 and Zone 4. Due to the enclosed nature of Zone 4, approaching the Blue Dragon vertically is much easier as your chance of being rooted by its ice breath is much lower.
The Red Dragon, while not as difficult to deal with as the 2 previously mentioned, has the ability to cast its fireball ability when standing on the same line. In Zone 4, this can be extremely dangerous if approaching the exit horizontally. You have to take a mental note to not stand on the same line while dealing with multiple enemies. To eliminate this extra worry, approaching the Red Dragon vertically will not trigger its fireball ability.
Of course, it is not always possible to use the vertical approach sometimes as you may be blocked by Gargoyles or Ooze tiles. The next best alternative will always be to approach the exit through the center of the room.
Tip 5: Always stand still when starting out in Zone 3
This can be applied to all the Zones to get the groove of the rhythm or just to calm yourself down, especially on higher difficulty characters. This approach works exceptionally well in Zone 3. Since Zone 3 is an open layout, by standing still, you can assess the visible enemies and plan out your moves carefully.
It is not uncommon to spawn and have to immediately deal with multiple enemies. By standing still and letting them come to you, it gives you some buffer time to think about enemy priority and how to get rid of them. An important note is not wait too long as well, or you will get swarmed with no way out.
Here is an example: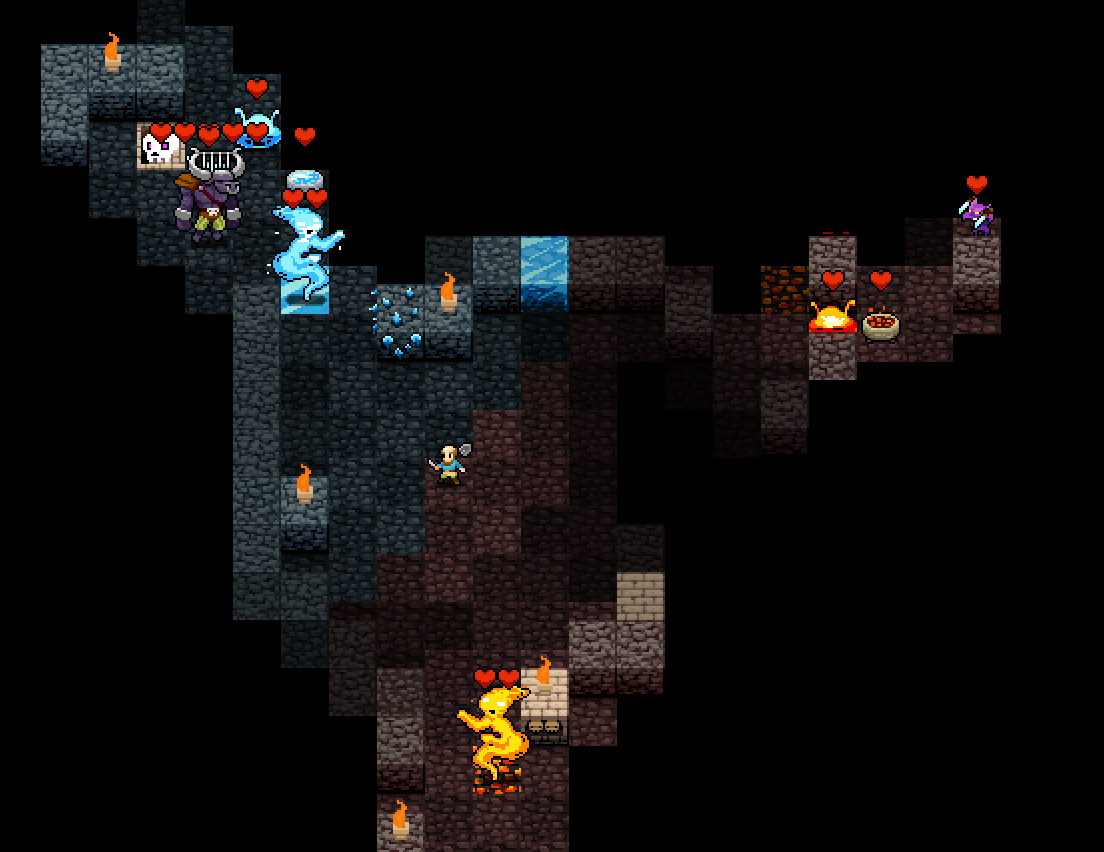
In this image, there are 2 elementals and a Minotaur mini-boss approaching. The best approach is to jump around back and forth within the green arrows as shown below and let the enemies come to you.
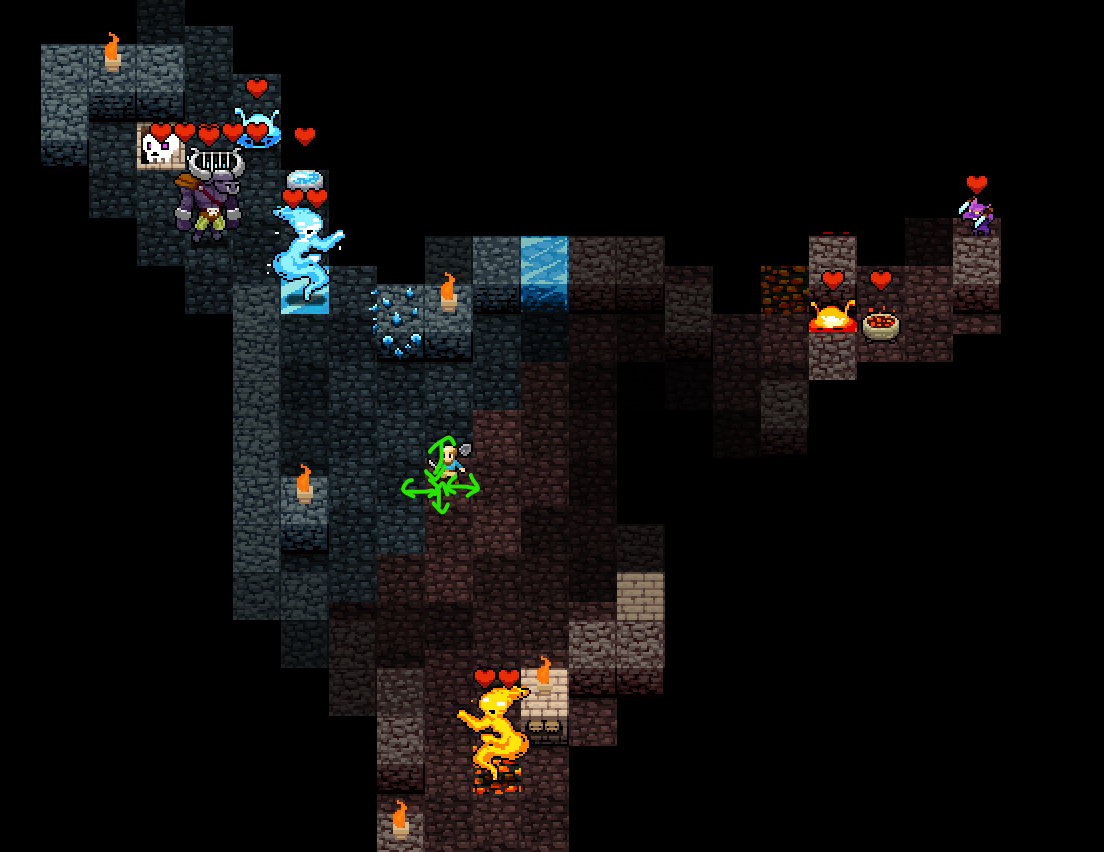
Another reason why you should always stand still and/or stay within the tiles marked with the green arrows is simple: Enemies will lock onto you if you approach close enough. Even though you may not be able to see them, they have already detected you. The common instinct in Zone 3 is to run as far away as possible when swarmed with enemies, but this is counter-effective as by running far, you tend to trigger aggro of more enemies, creating more swarms of enemies from multiple directions.
Here is one more example that might seem extreme, but is happens fairly often:
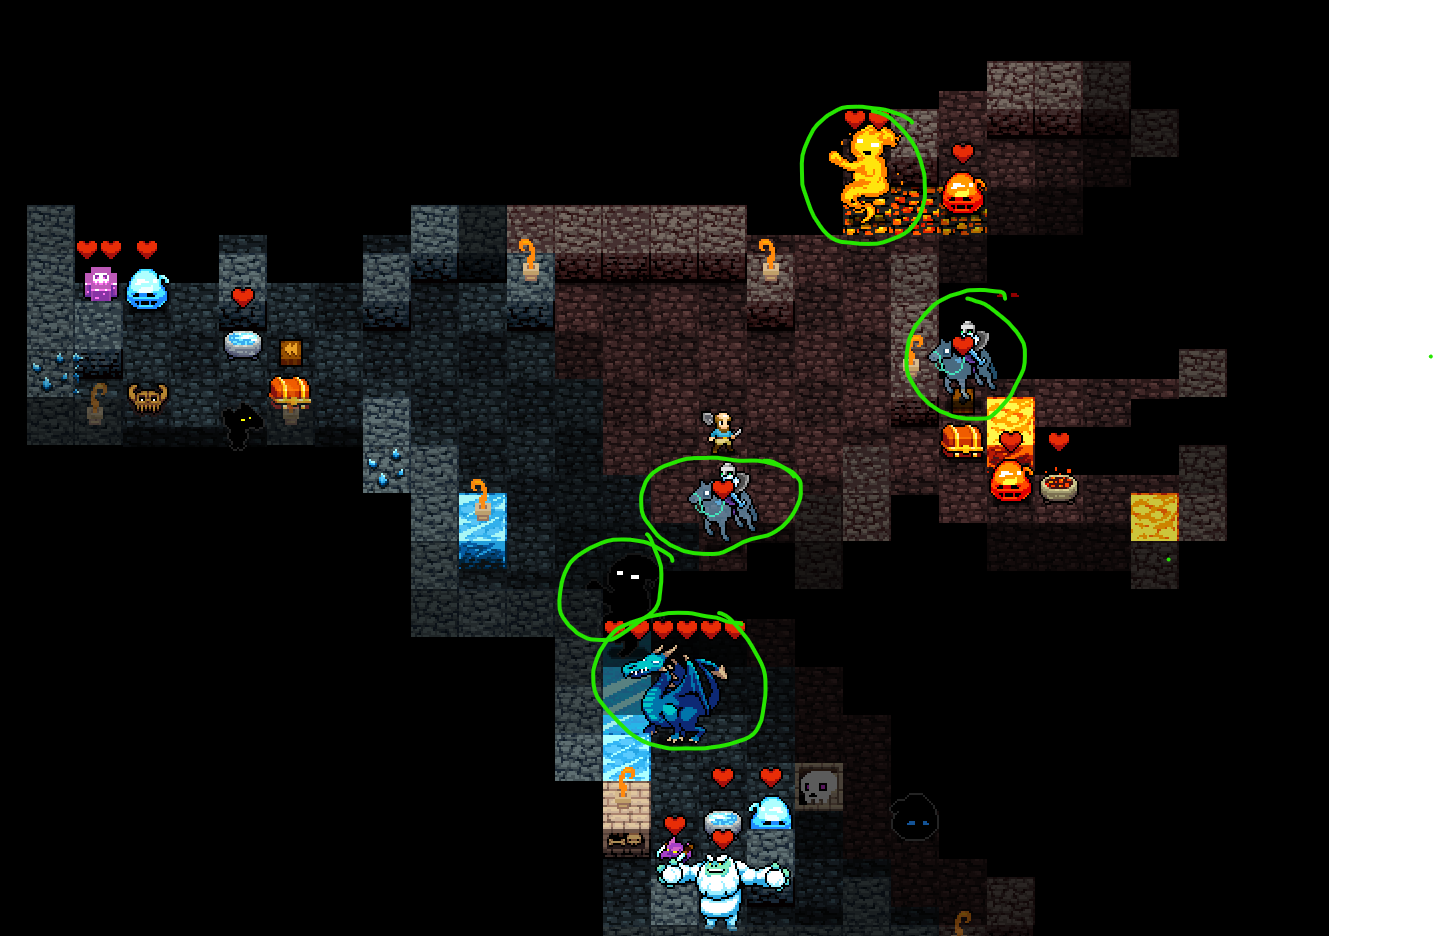
There are 5 enemies locked on targeting me upon spawning. 2 of the skeleton riders move every beat, but 1 is stuck behind the wall, so we only have 1 skeleton to worry about.
The Blue Dragon moves every 2 beats and the fire and ice elemental move every 3 beats. The best way to approach this would be to kill the nearest skeleton rider, then the Blue Dragon, followed by the elementals.
Tip 6: Approach each character with a different mindset
Here is a mod I use when playing Monk:
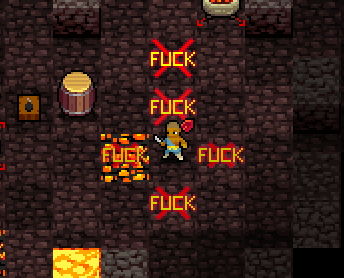
You can get the mod here: https://steamcommunity.com/sharedfiles/filedetails/?id=454072607
Tip 7: Consistency is key
This tip is more external than gameplay-related, but has one of the biggest effect on gameplay in my opinion. The nature of this game is such that it requires extreme consistency from the player to be able to beat the harder achievements (All chars/Coda/Lowest of the Low). This is especially true for Lowest of the Low, since you only have 1 try for each of the 9 characters back to back. The only way to be consistent is by simply practicing each character such that you can get a clear either 8 out of 10 times, or you can get a clear at least 3 times back to back. These numbers are not fixed, but are meant to give an idea of how much consistency is required to clear the harder achievements.
For example, if out of 10 runs on Bolt, you are only able to clear on your first and tenth try, die at Zone 3 five times, and die at Zone 4 three times, you are simply not consistent at Bolt. You just got lucky that Zone 3 spawn did not kill you.
This is a very extreme example, and of course the element of randomness will become something very frustrating as you play more and more. There will come moments where you feel the RNG in this game is simply unfair. The key is not to make zero mistakes, but to make as little mistakes as possible that will end your run. At the end of the day, if you are consistently able to handle the RNG such as swarms of enemies and bat caves, you will improve at the game.
Tip 8: Do not let nerves affect your gameplay
Lets take an Aria low % clear for example. It is your first time reaching the final boss. You get nervous, which ends up costing the run. The thing is: If you are consistent enough, you won't feel nervous because you can easily reach the final boss again. It will be a given that the first time you reach a new milestone for a character, you will tend to get nervous. If you reached a new milestone once, you can definitely reach it again. Ultimately, you determine the pace of the game.
Tip 9: Take breaks
If you are seriously considering going for completion of this game, I applaud your commitment to such an arduous task. This game is widely considered as one of (if not) the hardest game to complete, due to the insane achievements and demand of perfection.
You will need constant practice and dedication to see this game through. In doing so, you might come to a point where you get extremely addicted to this game. All you can think about is retrying run after run, hoping that the next run will be "the one". When you see yourself having such a mindset, be kind to yourself enough to walk away and take a break, however long you may need. Developing such a "gambling mindset" is detrimental to your mental and will only make each defeat feel worse and worse.
It is important to realize that progress in this game can be non-linear at times; On some days, you will be able to reach Zone 3 on Coda 3 times in an hour, only to not be able to break Zone 2 for the next 3 days. When such an incident occurs, it is easy to feel demoralized or feel like you have lost your skill. This is the point where you need to take a break.
Tip 10: Have fun
Conclusion
If you've read this far, thank you for reading! While I'm sure some of these tips have been echoed before by other people, these were the biggest tips that helped me push my skill ceiling and improve at the game, eventually becoming a Necro-master!! Please let me know if you liked this guide by giving a star or leave a comment, I'd love to hear if there's any feedback you have. I might make character-specific guides depending on people's feedback. Until then, take care and happy vibing in the Crypt!!
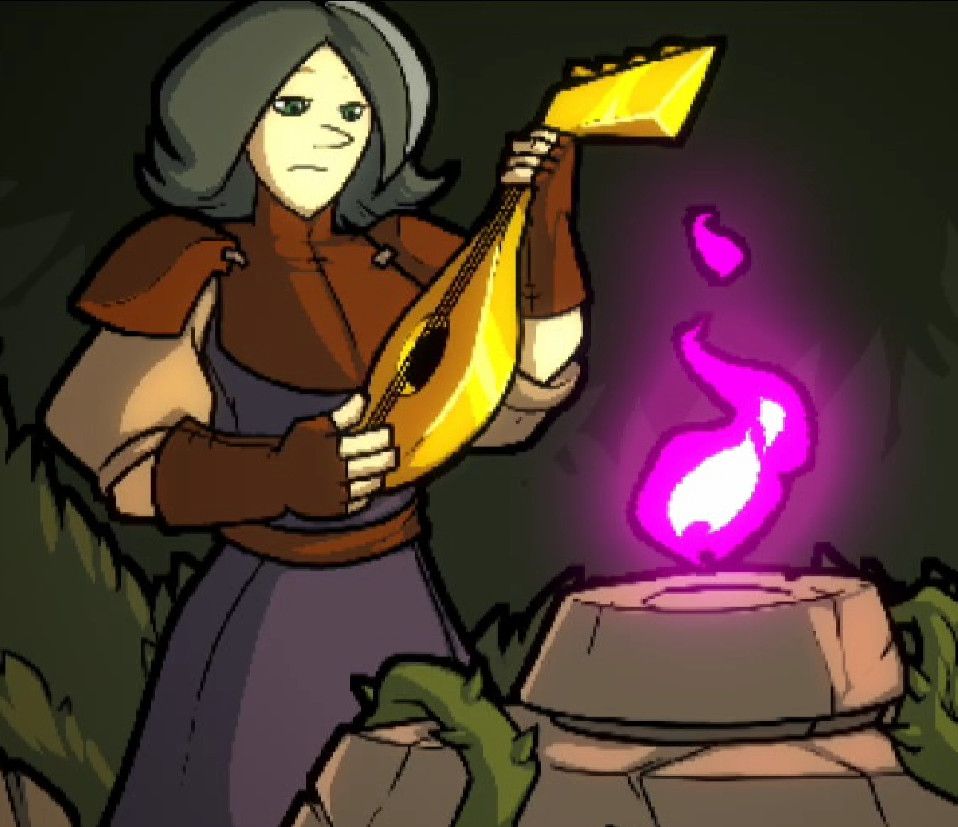
I'll leave an image that specifically helped me alot during my challenge runs to push through and never give up:

P.S This is my first ever guide on Steam, so the format of some images and texts might be messy
- Top Tips to improve your play★ 5 (584)35k views416 ♥2 min
- How to get killed by a Green Slime (Mostly Harmless achievement)★ 5 (281)33k views156 ♥5 minUpdated Jul 27, 2022
- Wikrypt: Know Your Enemy★ 5 (379)17k views555 ♥17 minBulgarianUpdated Dec 18, 2016
- How to die quick as coda★ 4 (178)12k views21 ♥1 minBulgarianUpdated Oct 5, 2016
- 节奏地牢中文百科全书【大坑正式完工!】★ 5 (824)9.8k views1.1k ♥15 minUpdated Aug 19, 2022
- How to Play as Aria★ 4 (76)6.4k views88 ♥11 minUpdated Feb 23, 2017


- Upgrading to PremiumTeam Fortress 2★ 5 (20k)1441k views11k ♥6 minUpdated May 11, 2022
- No More Room in Hell Official ManualNo More Room in Hell★ 5 (2.8k)569k views2.1k ♥29 minUpdated Apr 22, 2019
- NMRiH Community Hosting GuidesNo More Room in Hell★ 5 (526)351k views653 ♥1 minUpdated Aug 10, 2022
- Лучшие кооперативные игры SteamPAYDAY 2★ 5 (1.5k)315k views2.1k ♥56 minRussianUpdated Apr 27, 2025
- Desert Eagle Heat Treated | Blue GemCounter-Strike 2★ 5 (1.6k)292k views1.5k ♥2 minUpdated Jan 16
- Treasure Hunt Puzzle SolutionsTotal War: WARHAMMER II★ 5 (6.9k)281k views15k ♥3 minUpdated Aug 19, 2021






This guide was created by its original author on the Steam Community. Are you the author and want it removed? Request removal.