Fragments Guide/Anniversary New Achievements
Intro
As of the 10 year anniversary update, new achievements were added to Besiege – To earn fragments, you have to either complete extra steps within levels, or beat them in a certain way. Some of these can be tricky to do – This guide isn’t comprehensive instructions, but is more like detailed hints, and is meant to help those who are having trouble and or stuck.
Use the search function to find achievements by name. I’ve listed them sequentially and categorised them by their level set.
Fragments make a noise which sounds like glass being slid together when they appear after you meet the requirements to make them spawn, and you have to collect them by touching them with any part of your machine.
Big, big shout out to Spiderling Studios for giving us more challenges and making the game more fun!
PLEASE NOTE – I already had some of these as old versions of the achievements before the anniversary update was released, so some of my hints for a couple of them might be wrong. Once you get a fragment, a shadow of it will appear if you complete the objective for it again, which makes it harder to get twice.
In addition, I made a very versatile solution which beats all 70 levels of the game in July ‘24, which still works (aside from Strange Artefact) as of Feb ‘25. The video of me doing this can be found below. It’s this machine which I used to collect most of the trickier fragments from the later levels, and it can be found among my workshop if you go look for it – But it’s probably more rewarding if you build something yourself which suits you and your own control scheme.
Intro continued
Still, gives you an idea of what also can be built to get many of the fragments if you simplify things, you don't need anything as elaborate as the previous machine.
Ipsilon
How? : Destroy all the bombs, and then complete the level.
Advice: Either have a machine which shoots, or make one that doesn’t use wooden parts. Even crossbows can destroy bombs.
How? : Beat this level without using fire or explosives.
Advice: Just build a simple car, and mow ‘em down with it.
How? : Hit a sheep with the laser which the stone shoots you with.
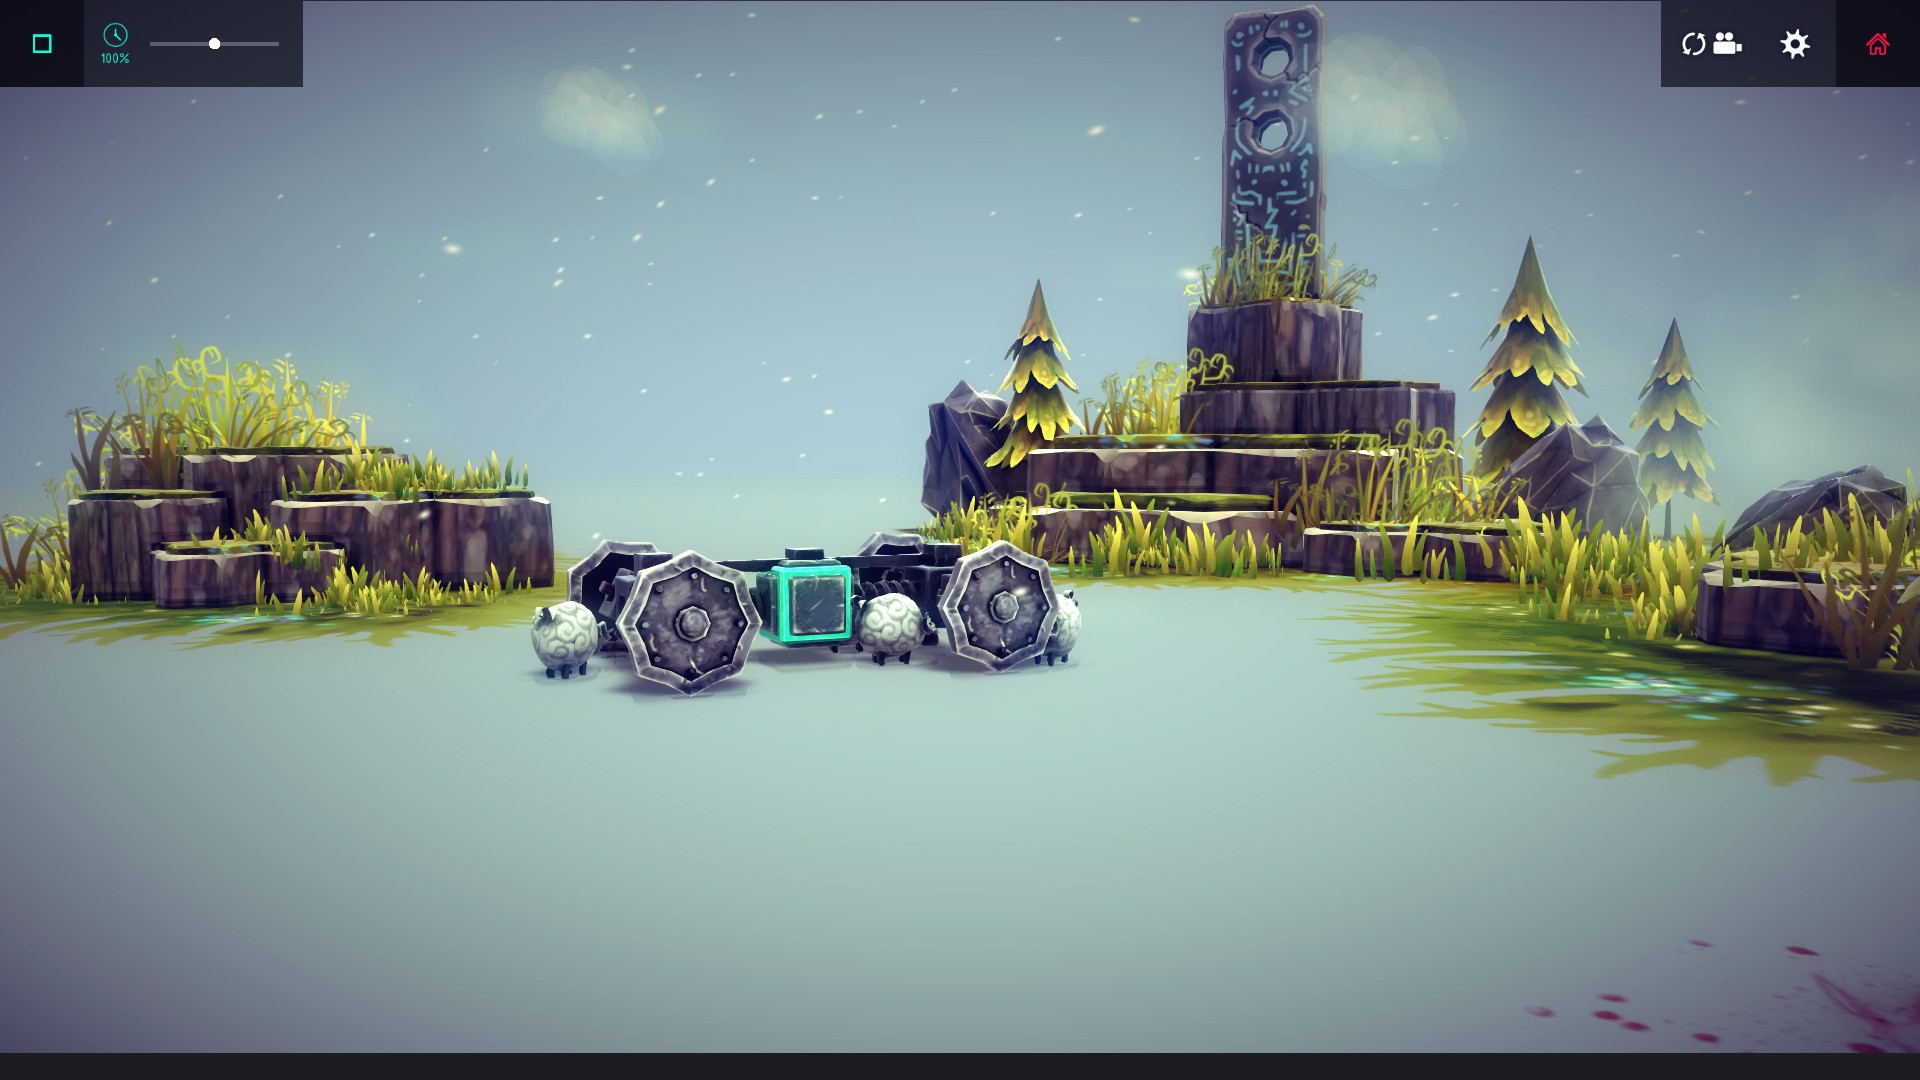
Advice: Sheep like to cluster around your contraption, so build something fireproof and slow moving. Did you know you can using steering blocks as powered axles? Place multiple steering blocks together to make them spin faster.
If you’re having trouble with this – Obviously you need to get the sheep between you and the stone. Maybe make a machine surrounded by armour which sheep can’t hide behind.
How? : Destroy the monument, then collect the fragment.
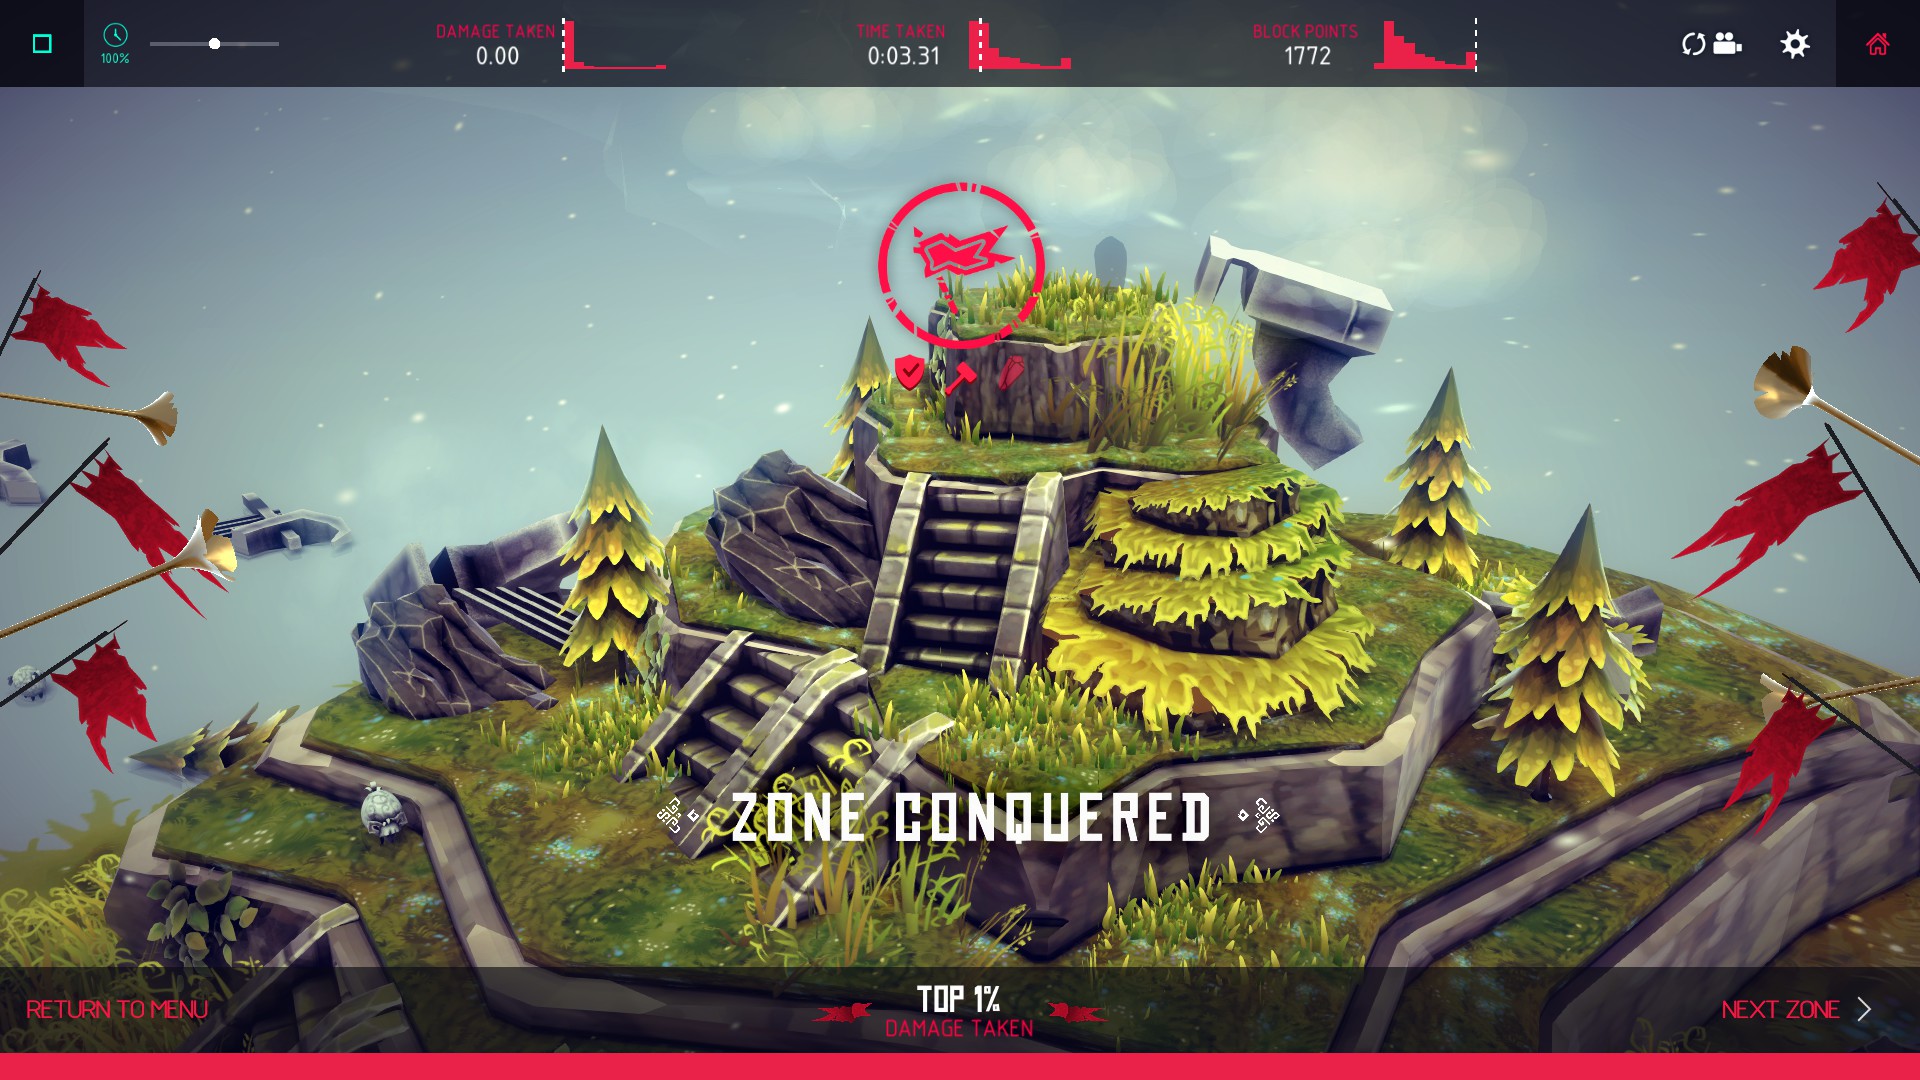
Advice: The fragment spawns atop the hill after destroying the monument entirely. Maybe shoot it. Then either build something that can crawl up the hill, or use a flying machine and align yourself with the wind.
How? : Find and destroy the imposter in Solomon’s Flock.
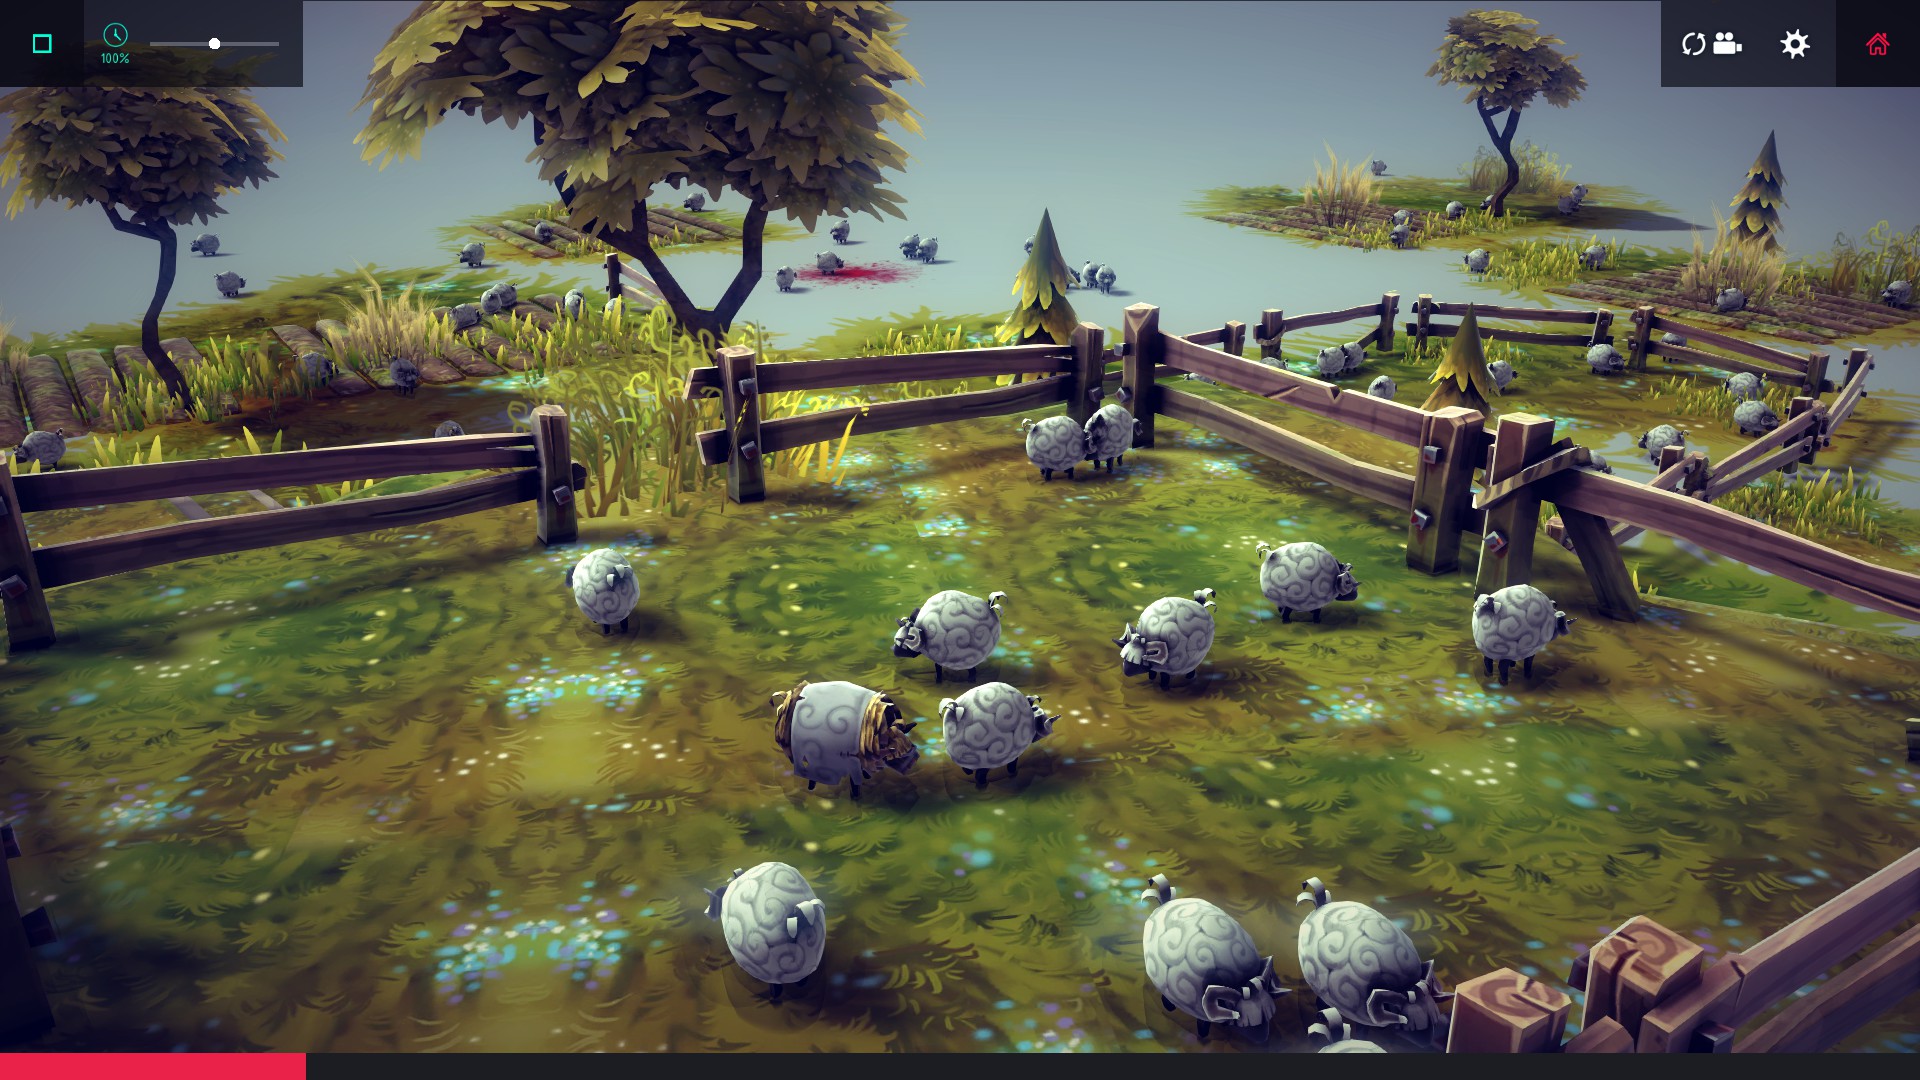 Advice: There’s a fake sheep on the upper tier of the level.
Tolbrynd
How? : Kill every NPC in this level, except for the guy holding the scroll.
Advice: It should be easy to avoid him. Move around him. Or use crossbows if you can figure out how to aim them. The fragment spawns by the cart with the gold bars in it.
How? : Destroy every scout balloon.
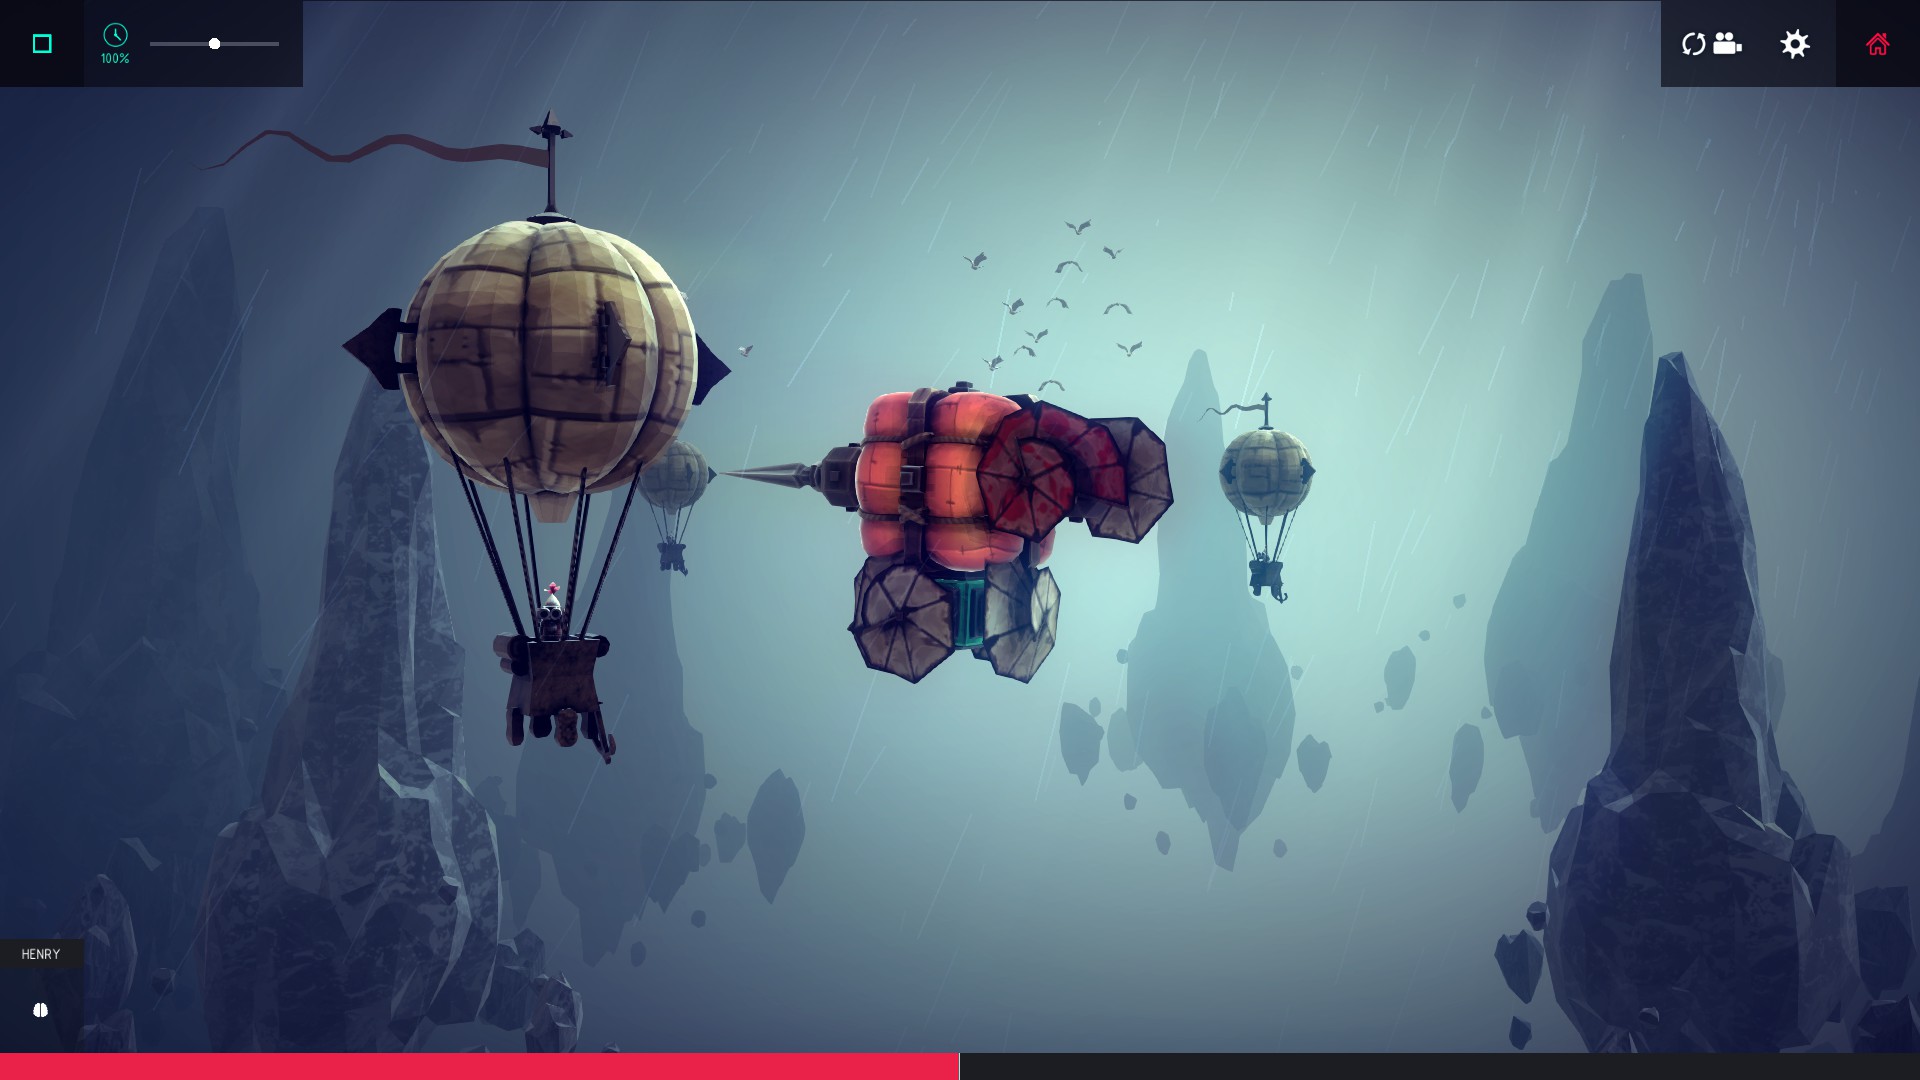 Advice: Just fly into them. The fragment appears floating when you burst the last balloon. Since the “Hot Air Balloon” block was introduced, making flying machines is now very easy.
How? : Destroy all the crates in this level, then collect the fragment.
Advice: There’s a crate hidden in the fog by one of the mountains. Watch that debris from the freighters may hide crates. Finding a way to take out the explosive cows as well may make this easier. Two crates are carried by the freighters.
How? : Make the monks in this level play a secret melody.
User Pfoof figured out how to do this before I did, so much kudos to them!
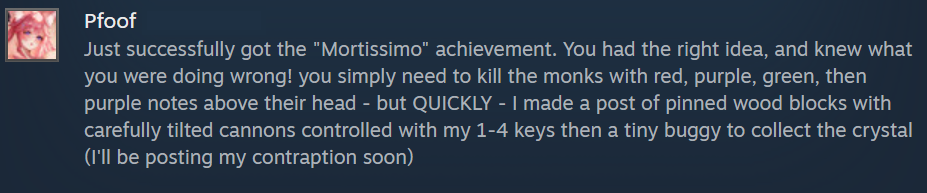 As Pfoof says above, you need to kill 4 NPCs in a certain order.
 If you observe by moving the camera around the map, you'll notice that one of the NPCs has four coloured notes above his head.
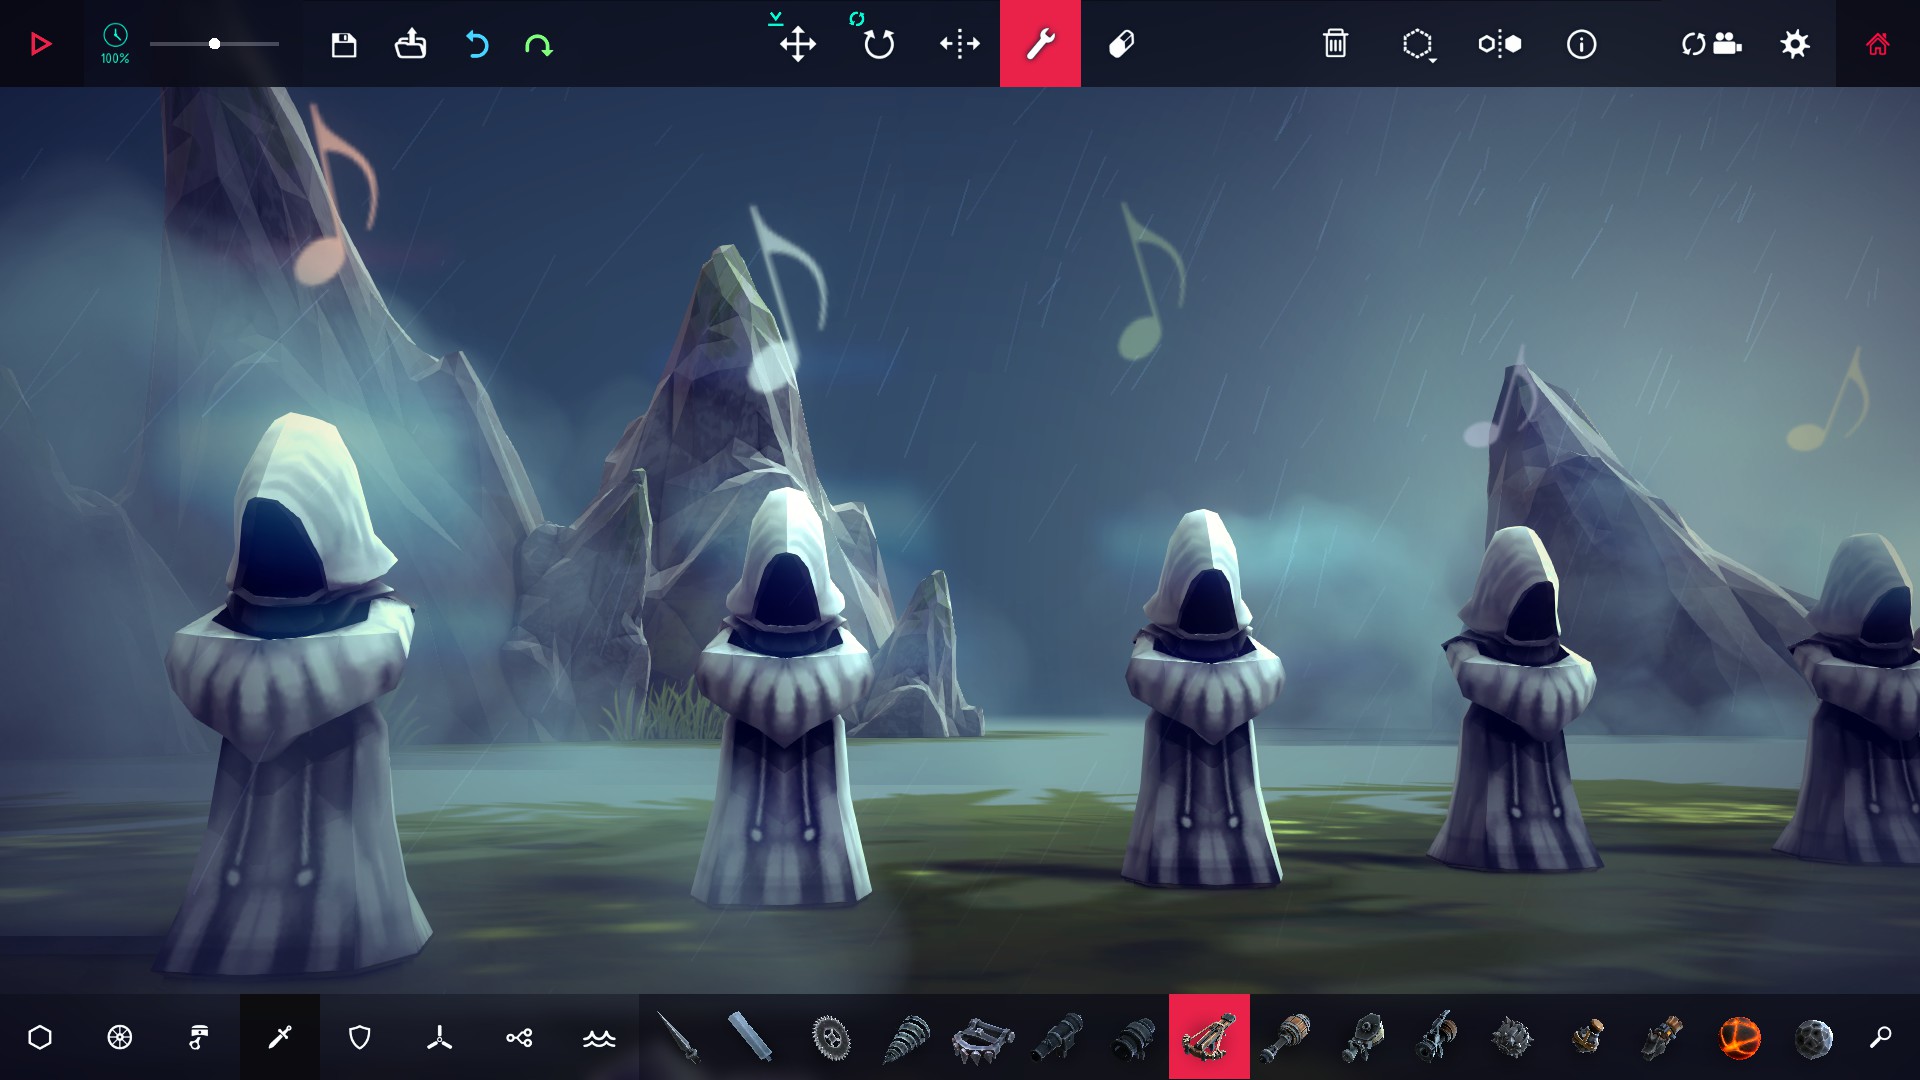 The other NPCs have single coloured notes over them. NPCs in this level sing when you hit them with your machine or projectiles, but not if you shoot them with crossbows or burn them.
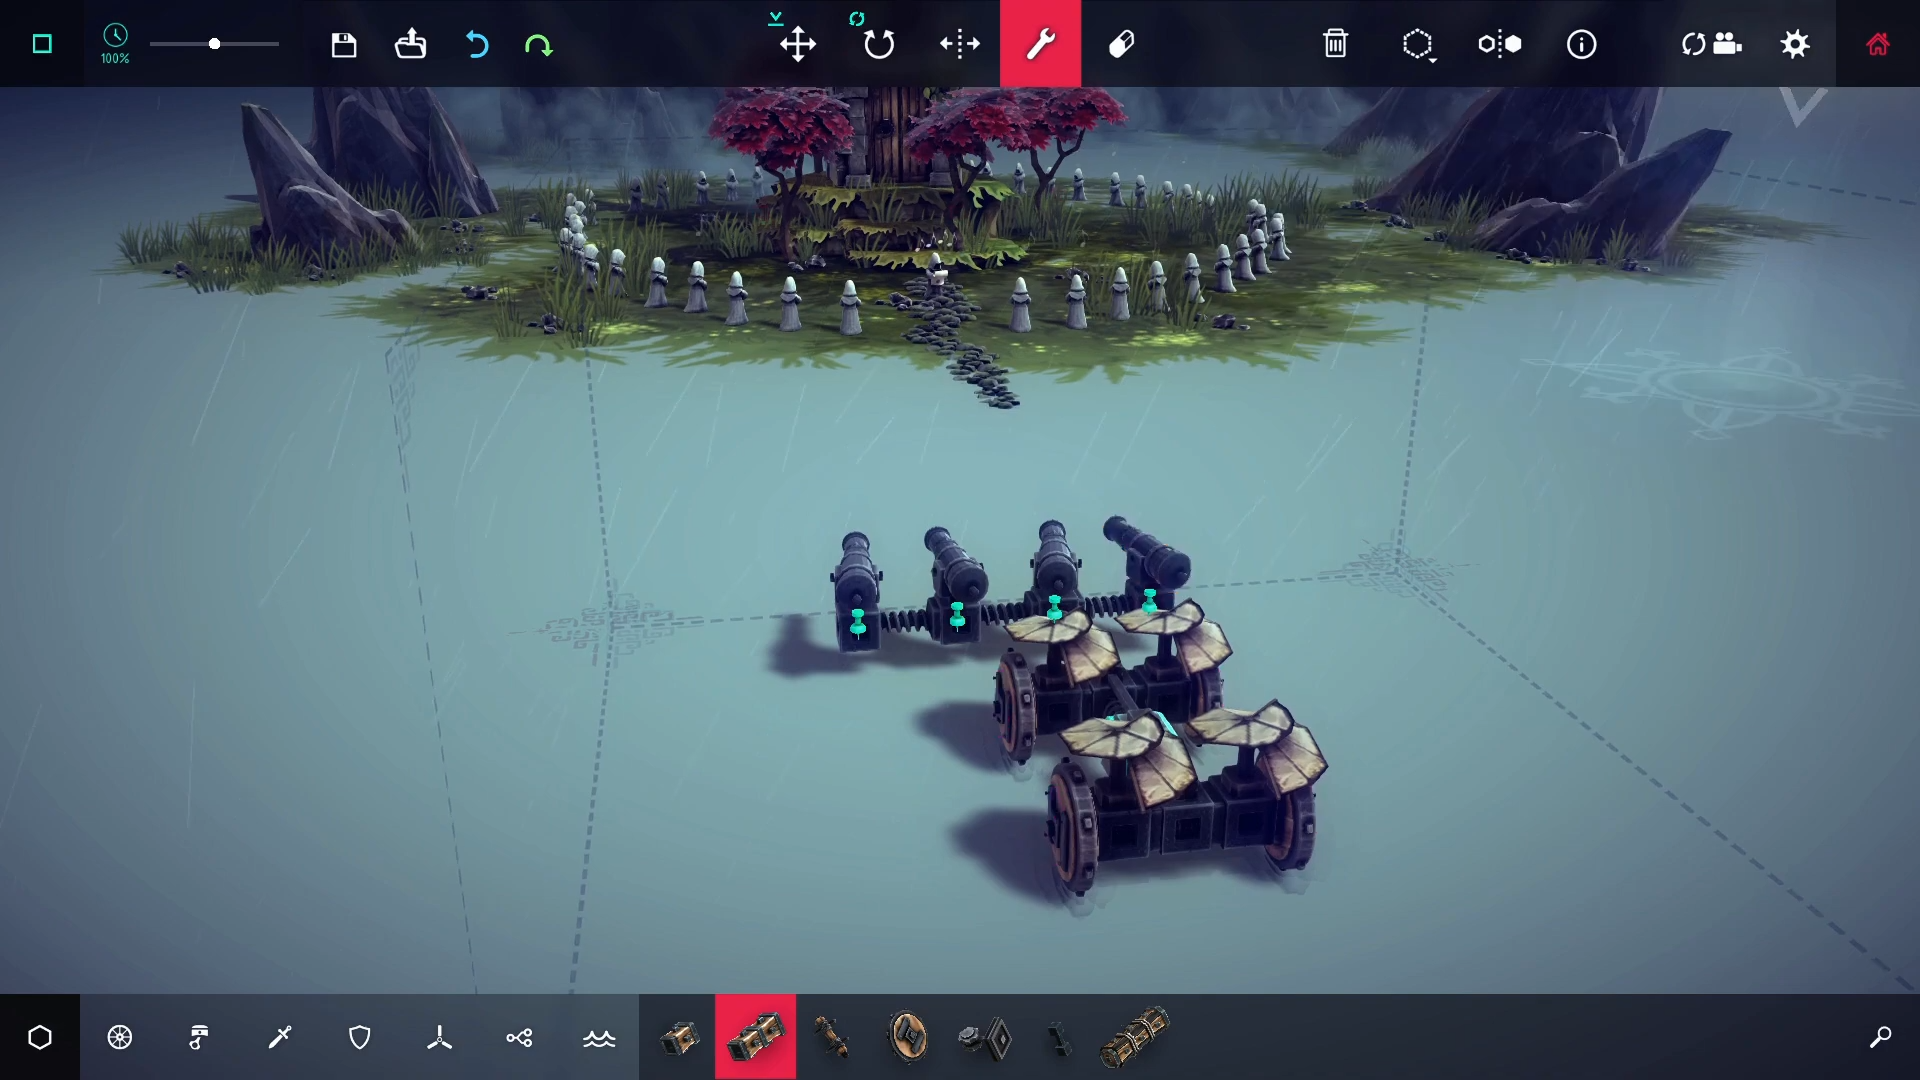 Cannon balls work, so as Pfoof suggested, the achievement can be done by pinning blocks to the ground, aiming cannons at four NPCs, and killing them in the order of: red, purple (or blue), green, then purple (blue). You can then use a ground vehicle to collect the fragment when it appears.
User Blueberry Cat in the discussion boards says that the NPC holding the scroll sings a purple (blue) note when hit, which may help.
I've posted a video on my YouTube channel of me getting this achievement if you're still stuck and need further guidance. Go find it. :)
How? : Kill all NPCs on this level without destroying any tents.
Advice: They’ll spawn from the tents when you get close enough, but there is a limit. They can’t shoot you, so use a blimp to make them spawn. Get them to follow you away from the tents. How you then kill them is up to you.
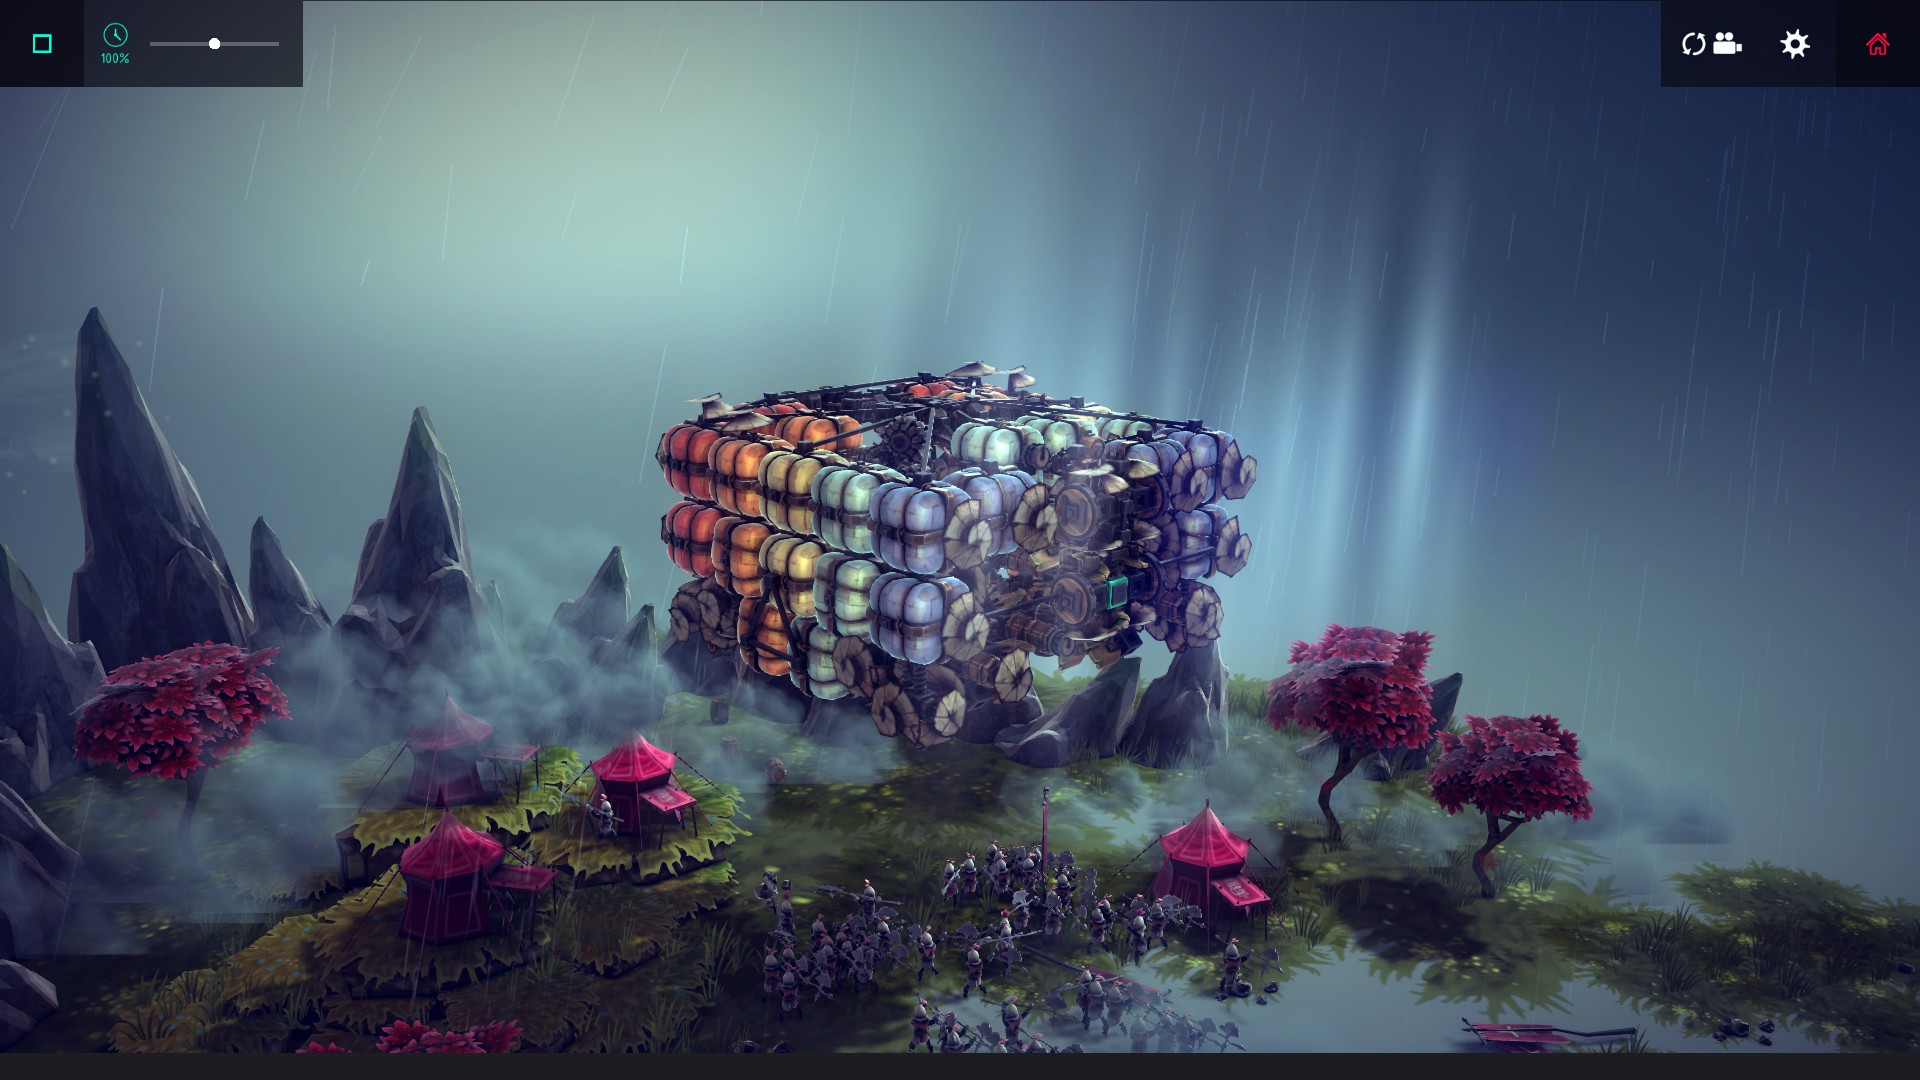 How I did it: My machine is a blimp that carries a “tank” of sorts, I hovered the blimp over each tent until the NPCs stopped spawning.
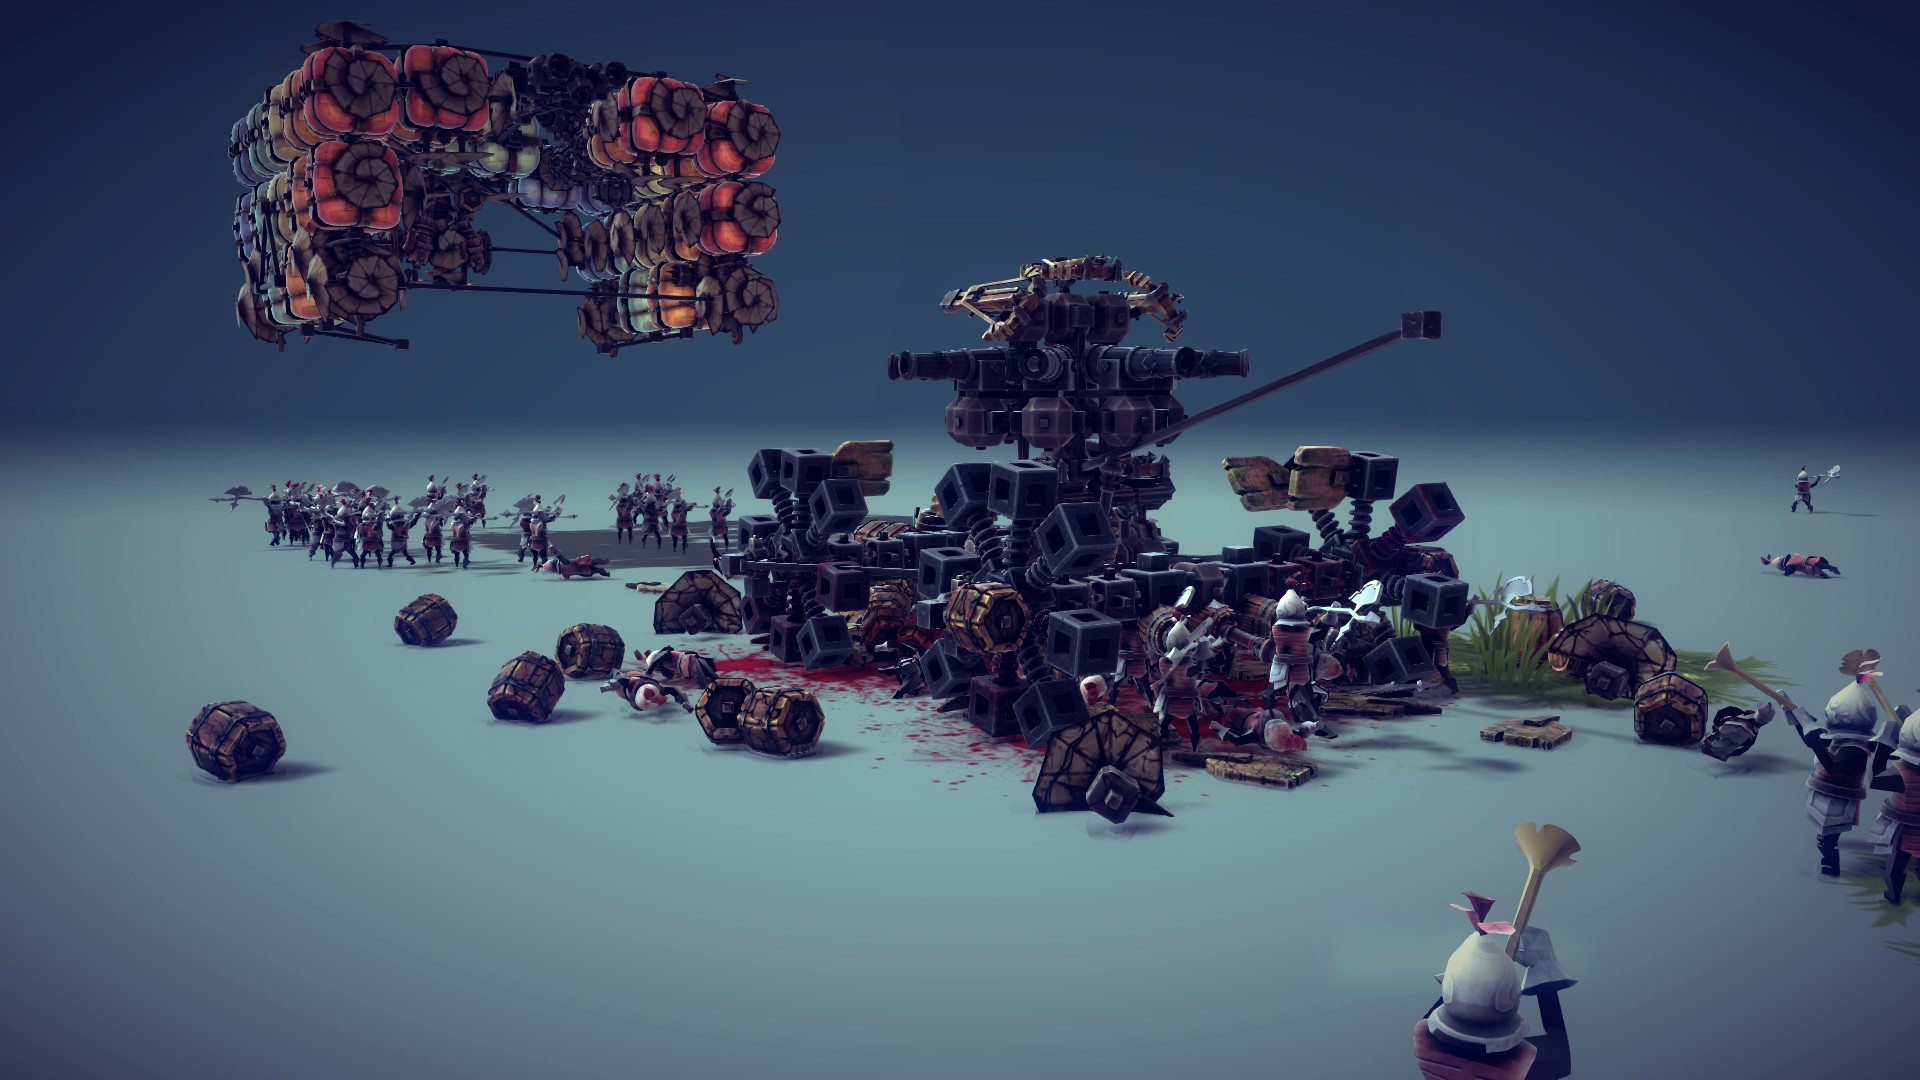 Then I lead them away, then dropped the “tank” to run them all down.
How? : Find a way to retrieve the fragment.
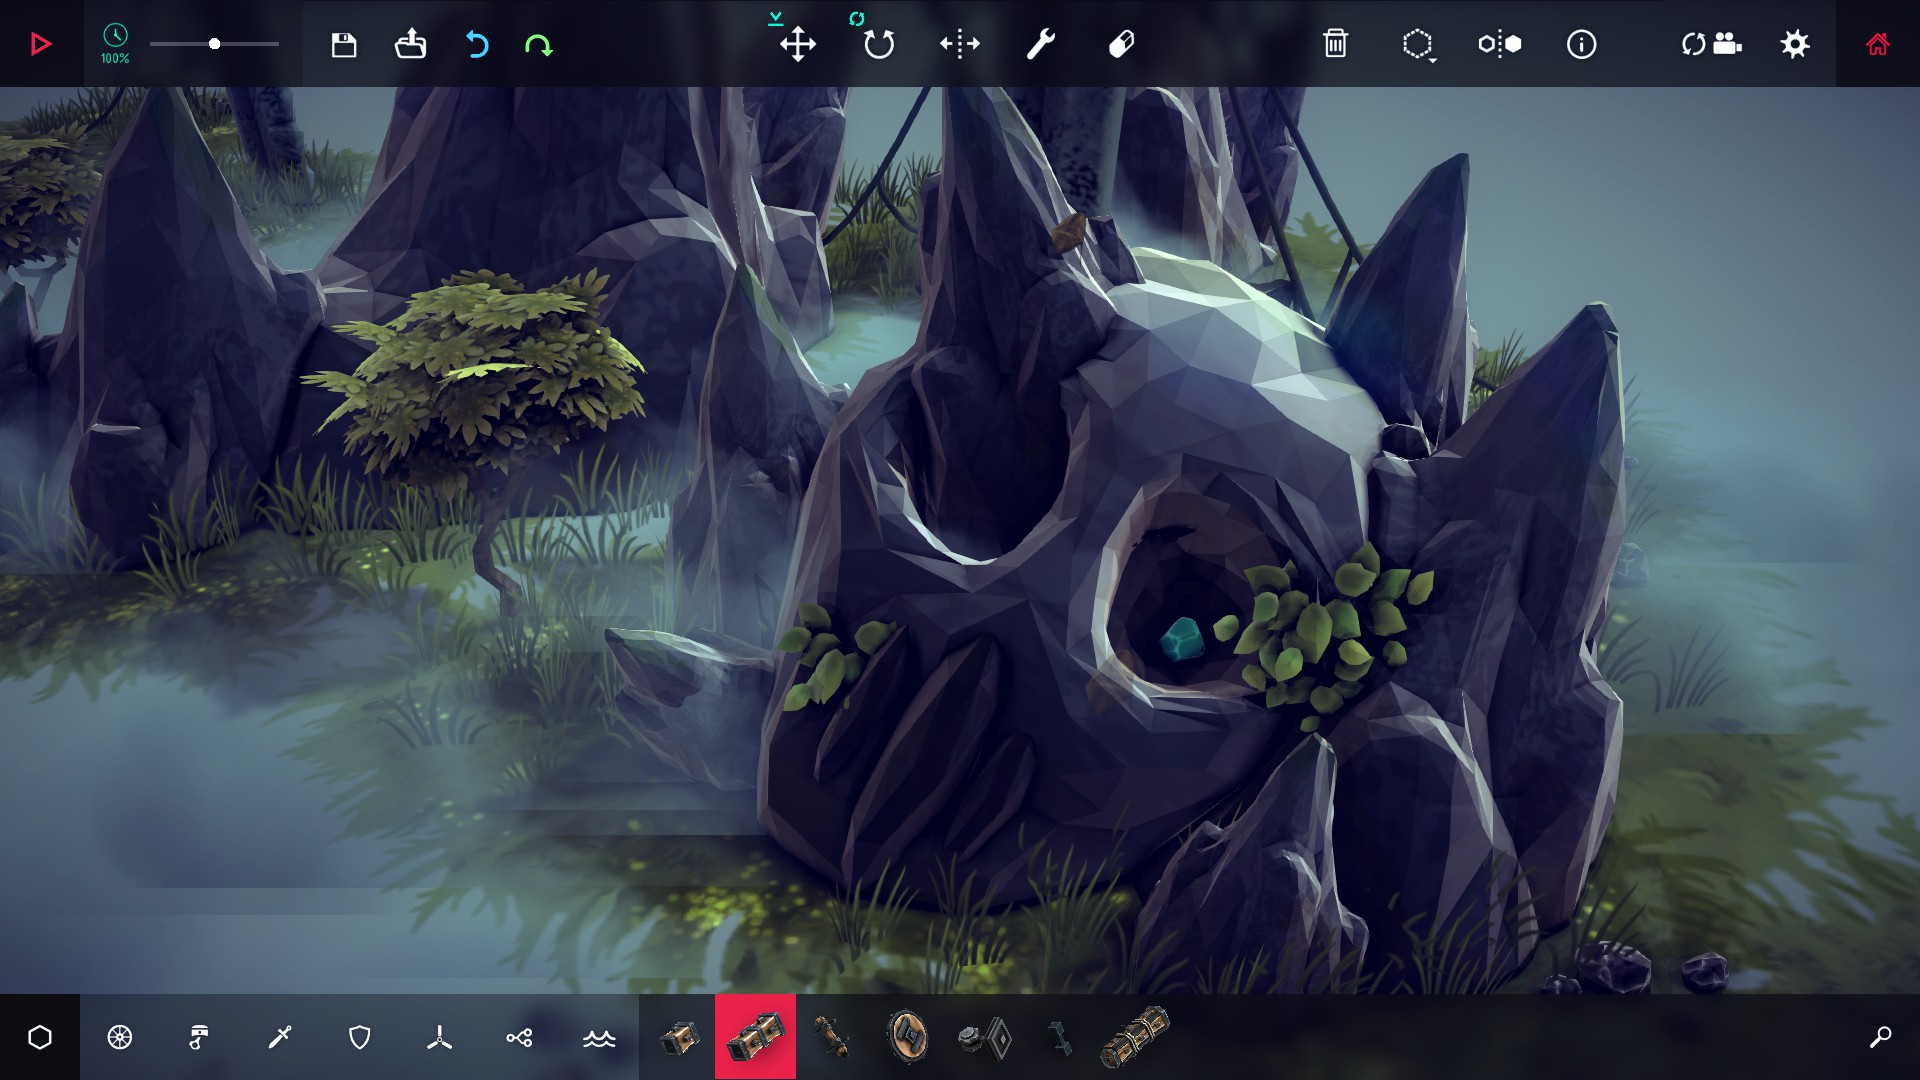 See this skull here? The fragment is inside the eye socket, it's destructible. But not with bombs. :) How to destroy the skull? The hint's in the achievement name, "Sword Buster".
How I did it: Build a blimp with an arm with a grabber underneath that can lift the sword, you only need a simple blimp for this. There's now a video on my YouTube channel (DarkHoodness) showing how to do this from scratch if you're still stuck, go find it.
How? : Kill every hostile NPC on the floating islands in this level. You do not need to kill the peasants or the cows on the ground. Advice: As it says on the tin, good luck! These NPCs shoot at you. Bad news if you use a blimp! But you may still be able to bomb them from high up, if you can figure out how to do this accurately. The fragment spawns next to the last NPC you kill, but bear in mind that it might fall to the ground and be difficult to find. Take out the balloons first, and save the NPCs on the larger island until last.
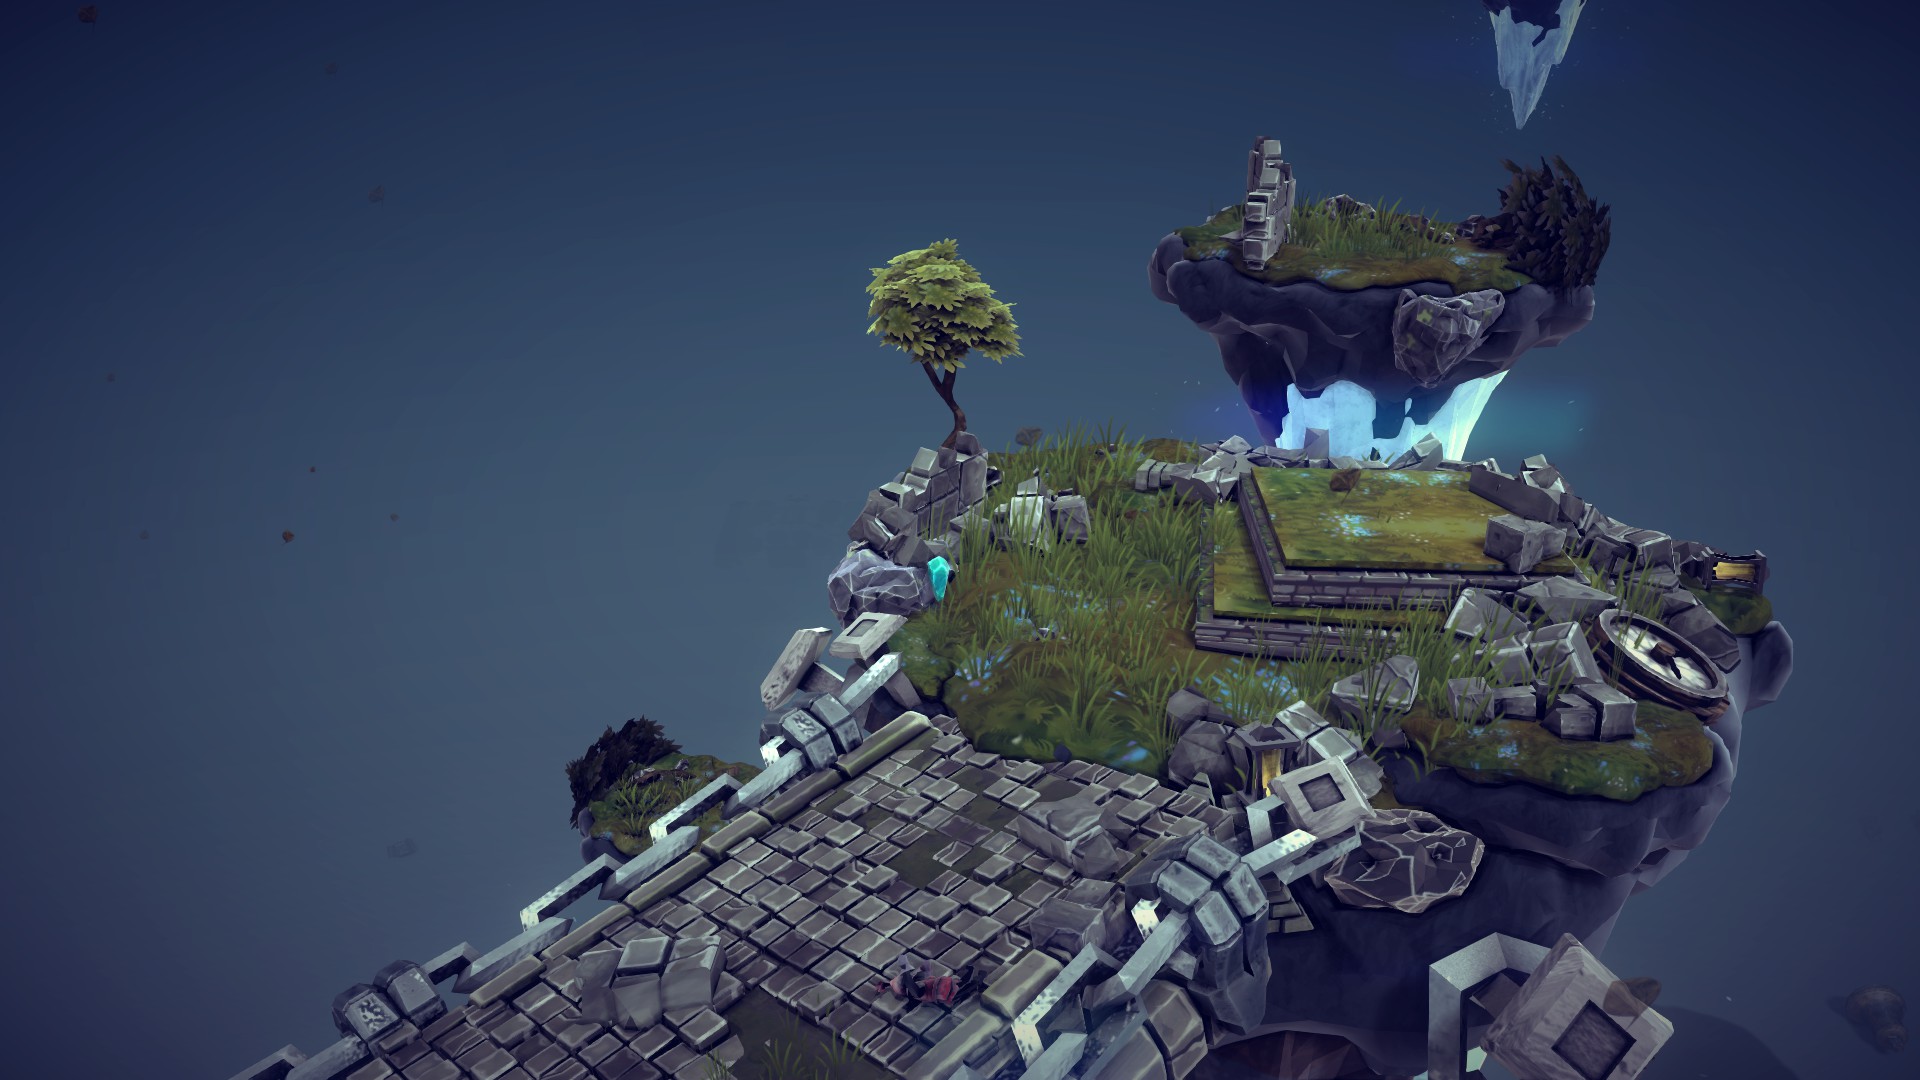
How I did it: As above, my blimp drops a tank with 8 cannon shots which can aim accurately, which I used to take out both freighters, then I shot the tower until it fell. I climbed the blimp higher than the NPCs can shoot – The balloons cannot be destroyed with cannons or crossbows, but they can still burn and be bombed. My blimp also has 8 bombs which drop accurately. I used those to take out all remaining NPCs after taking out the balloons first.
Valfross
How? : Smash all crates on this level.
Advice: If you’ve figured out how to make a machine which can move against the strong winds in this level with enough controllability, it should be easy. The crates are scattered throughout.
How? : Ring all three bells at once.
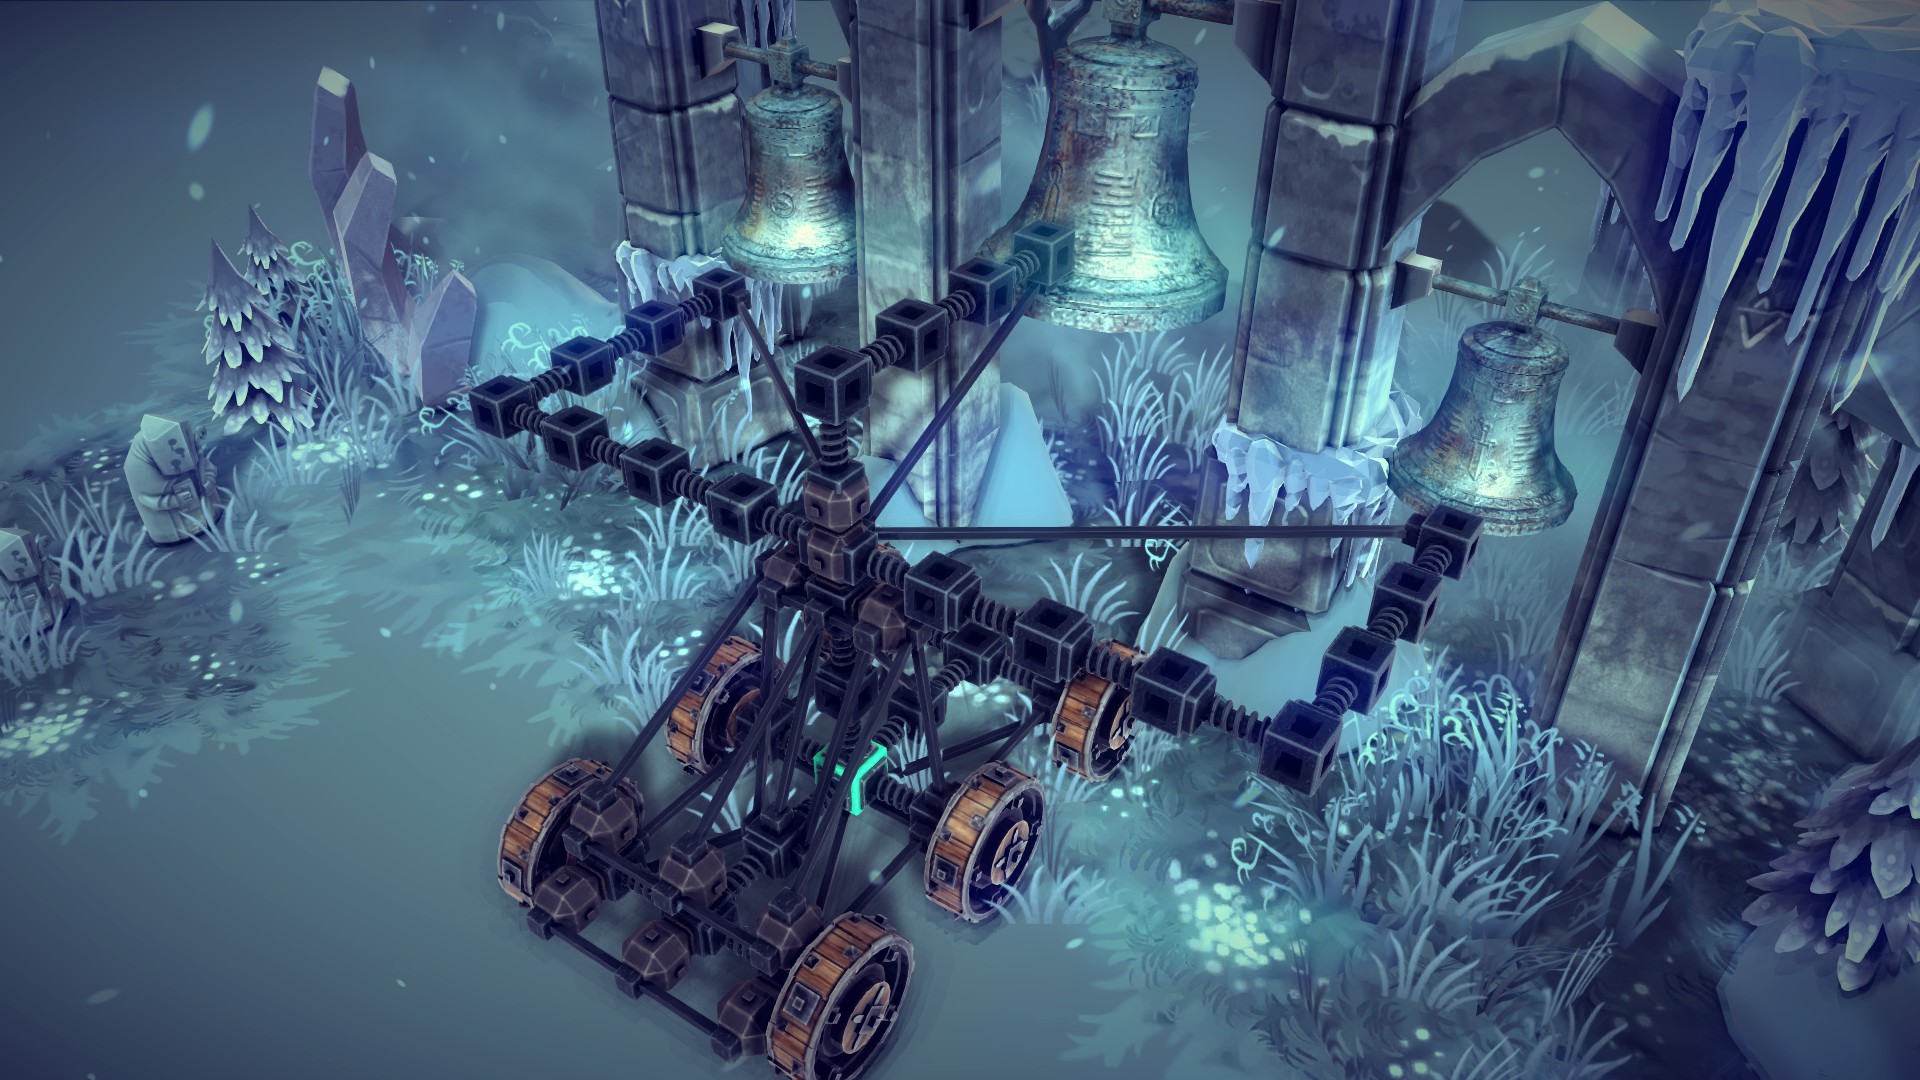 Advice: Plenty of ways to skin a cat, is the saying. A simple way of doing this is to build a “forked” scaffold on top of a wheeled vehicle which lines up against the three bells, then drive against them. Other people have attached winches to each bell with grabbers, and pull them. Or you could build a giant blimp bomb!
How? : Complete this level without explosives.
Advice: Bulldozer! Kool Aid Man, eat your heart out. Remember my hint about steering axles if you want to build something which doesn’t use wheels? Or protect wheels with armour, build a tank-like thing that you can use to smash through it. The little keep on the right side of the level is vulnerable to cannon fire, and can also collapse onto the wall to win the level that way.
How? : Break the fragment out of the ice in this level, then collect it.
Advice: After you’ve moved the Relict, the fragment is in one of the ice crystals that the Relict was resting on.
How? : Get the axe throwers to hit one of the dummy targets.
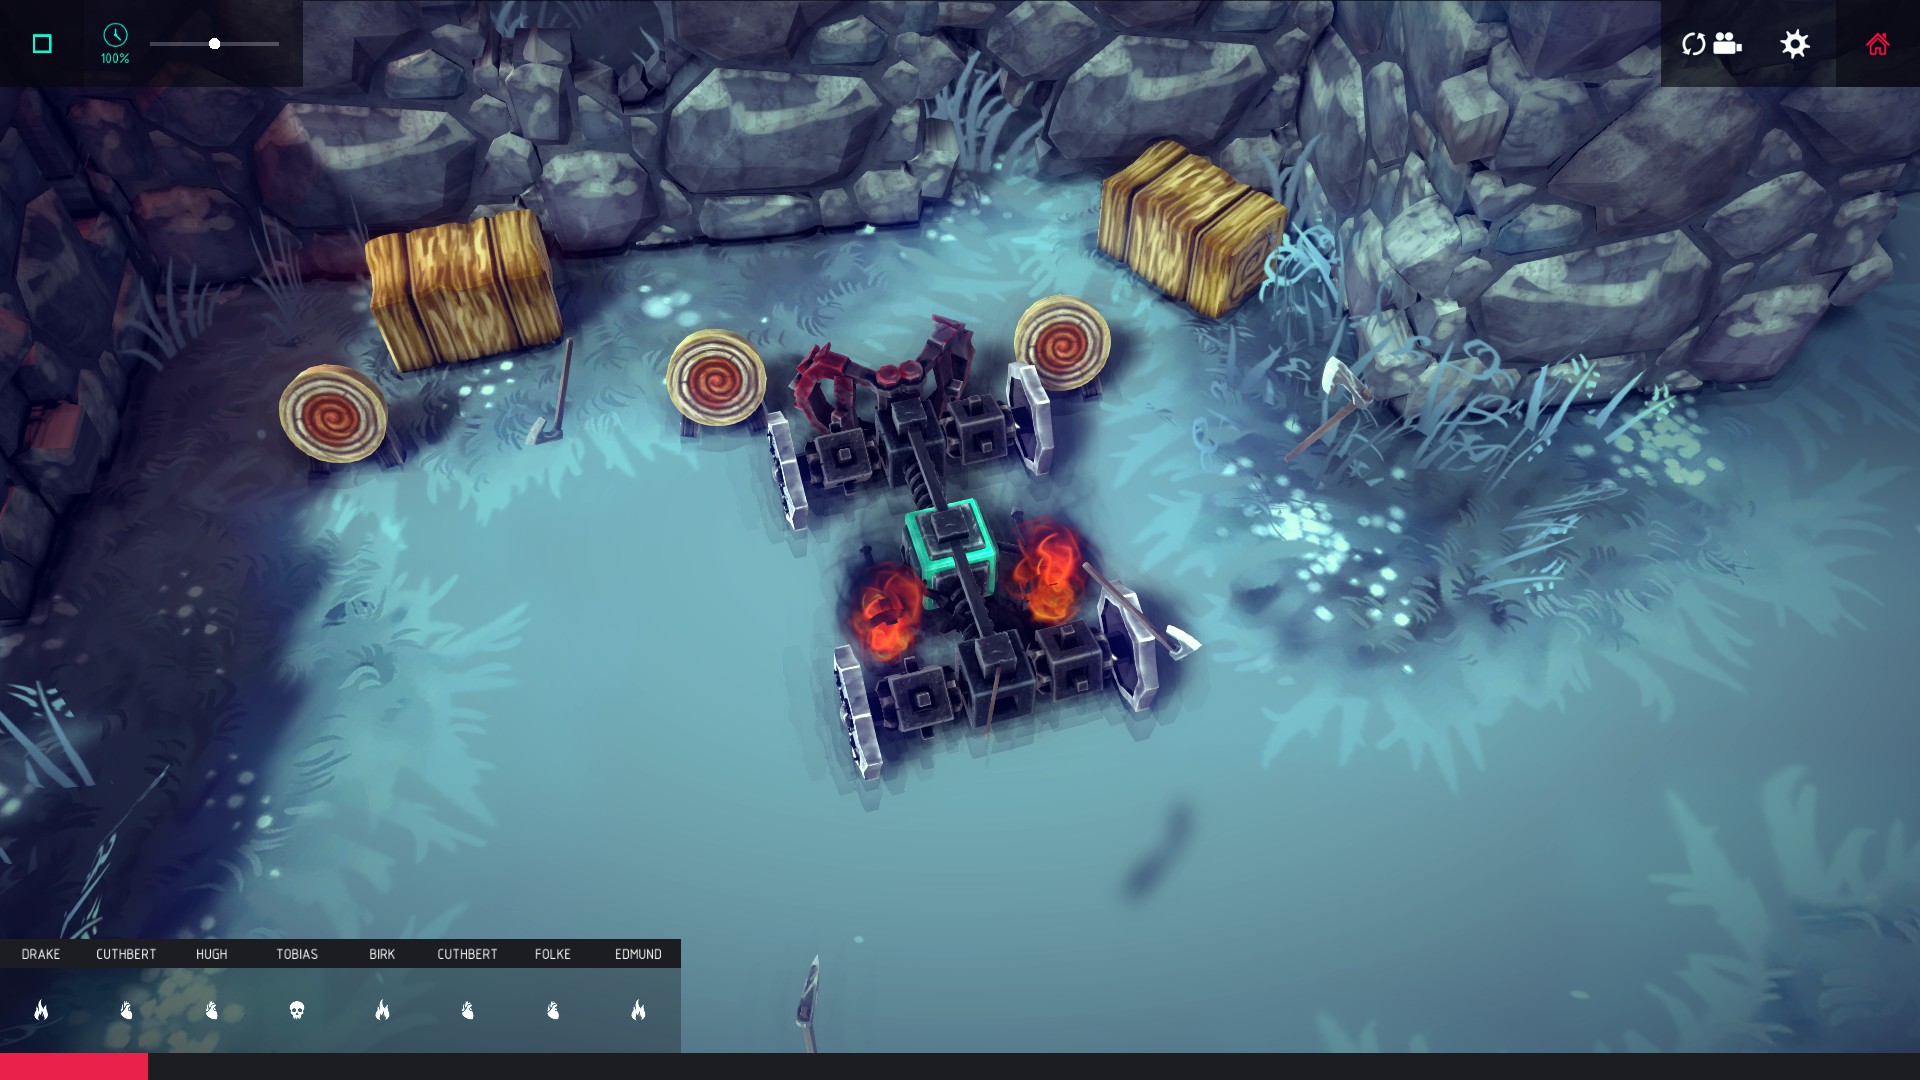 Advice: A slow moving vehicle that’s immune to axes may be good for this – Park it near one of the targets until they hit it, but don’t destroy them all. And don’t let other NPCs destroy them – Perhaps get rid of the melee NPCs first before going near the targets. Despite the achievement description, only one target needs to be hit for the fragment to spawn.
Krolmar
How? : The strange fragment is in a cage on a plateau to the rear of the level. Collect it.
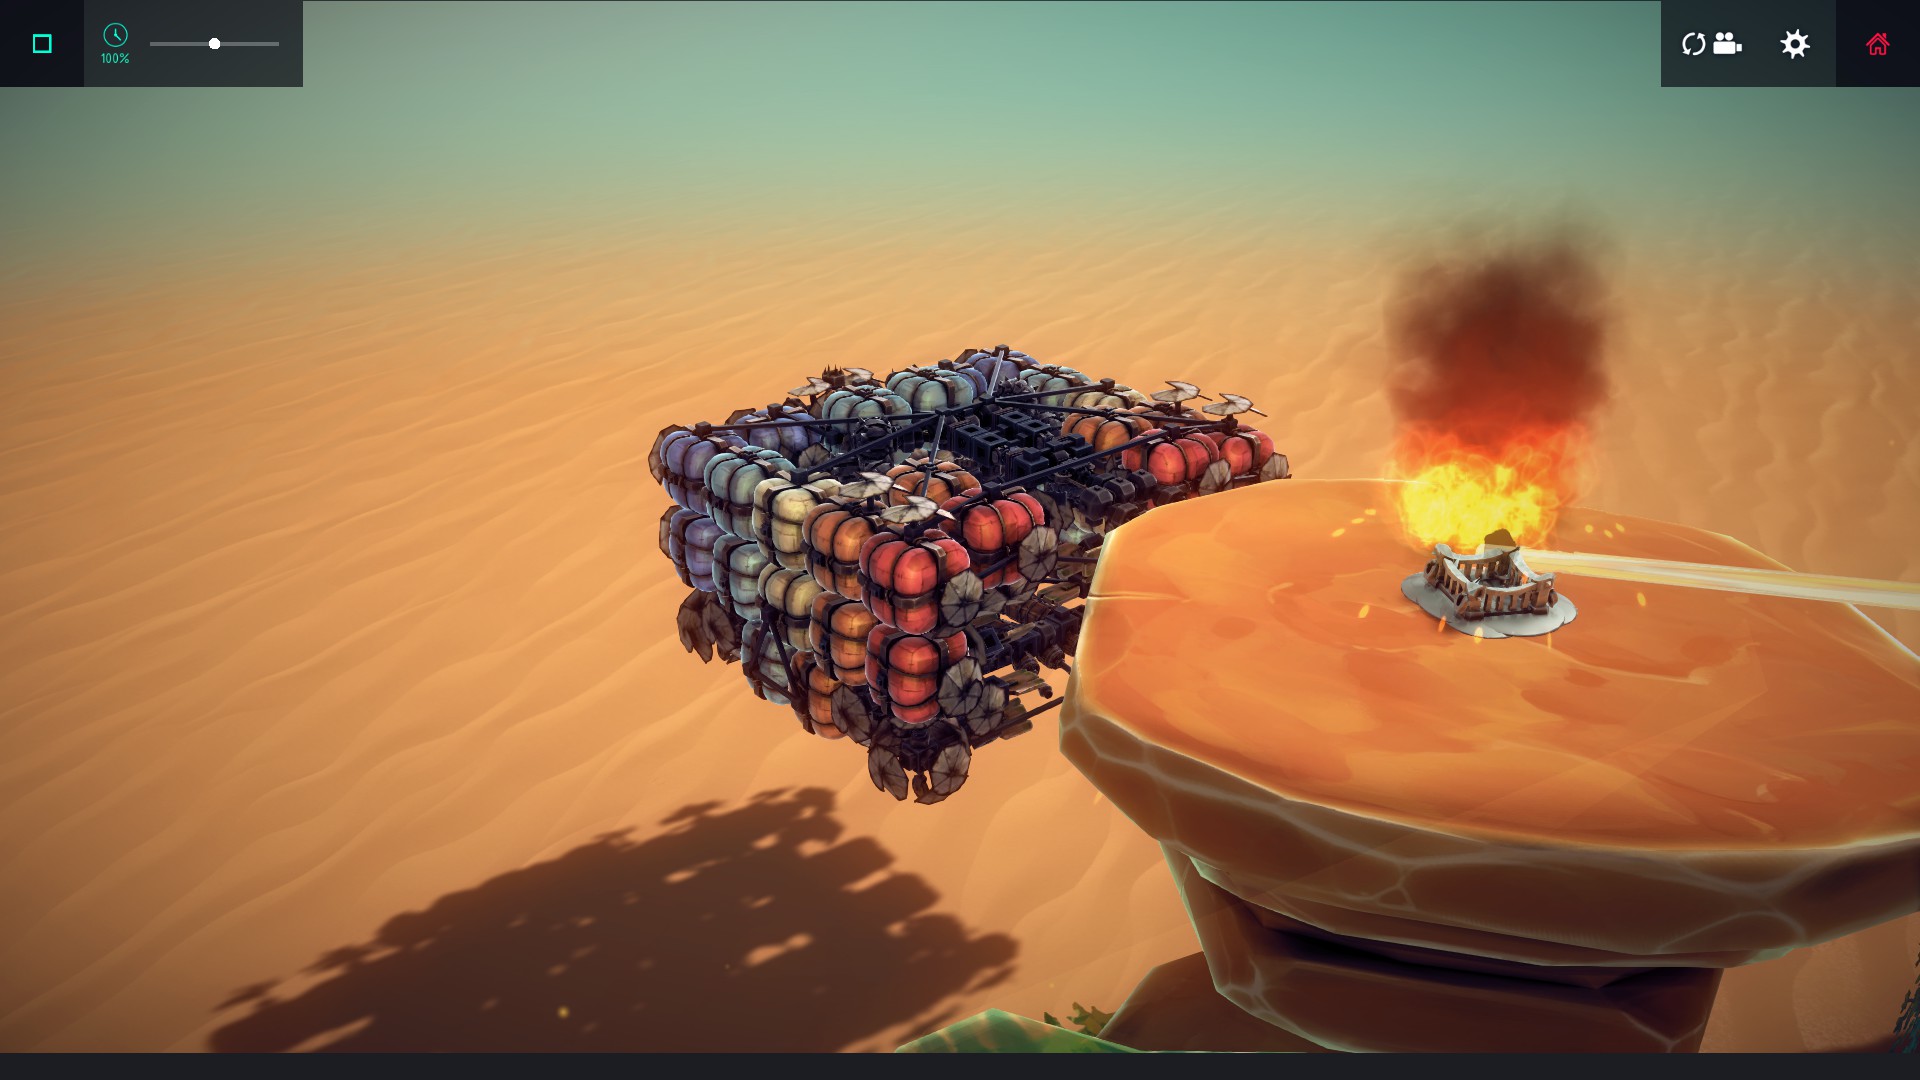
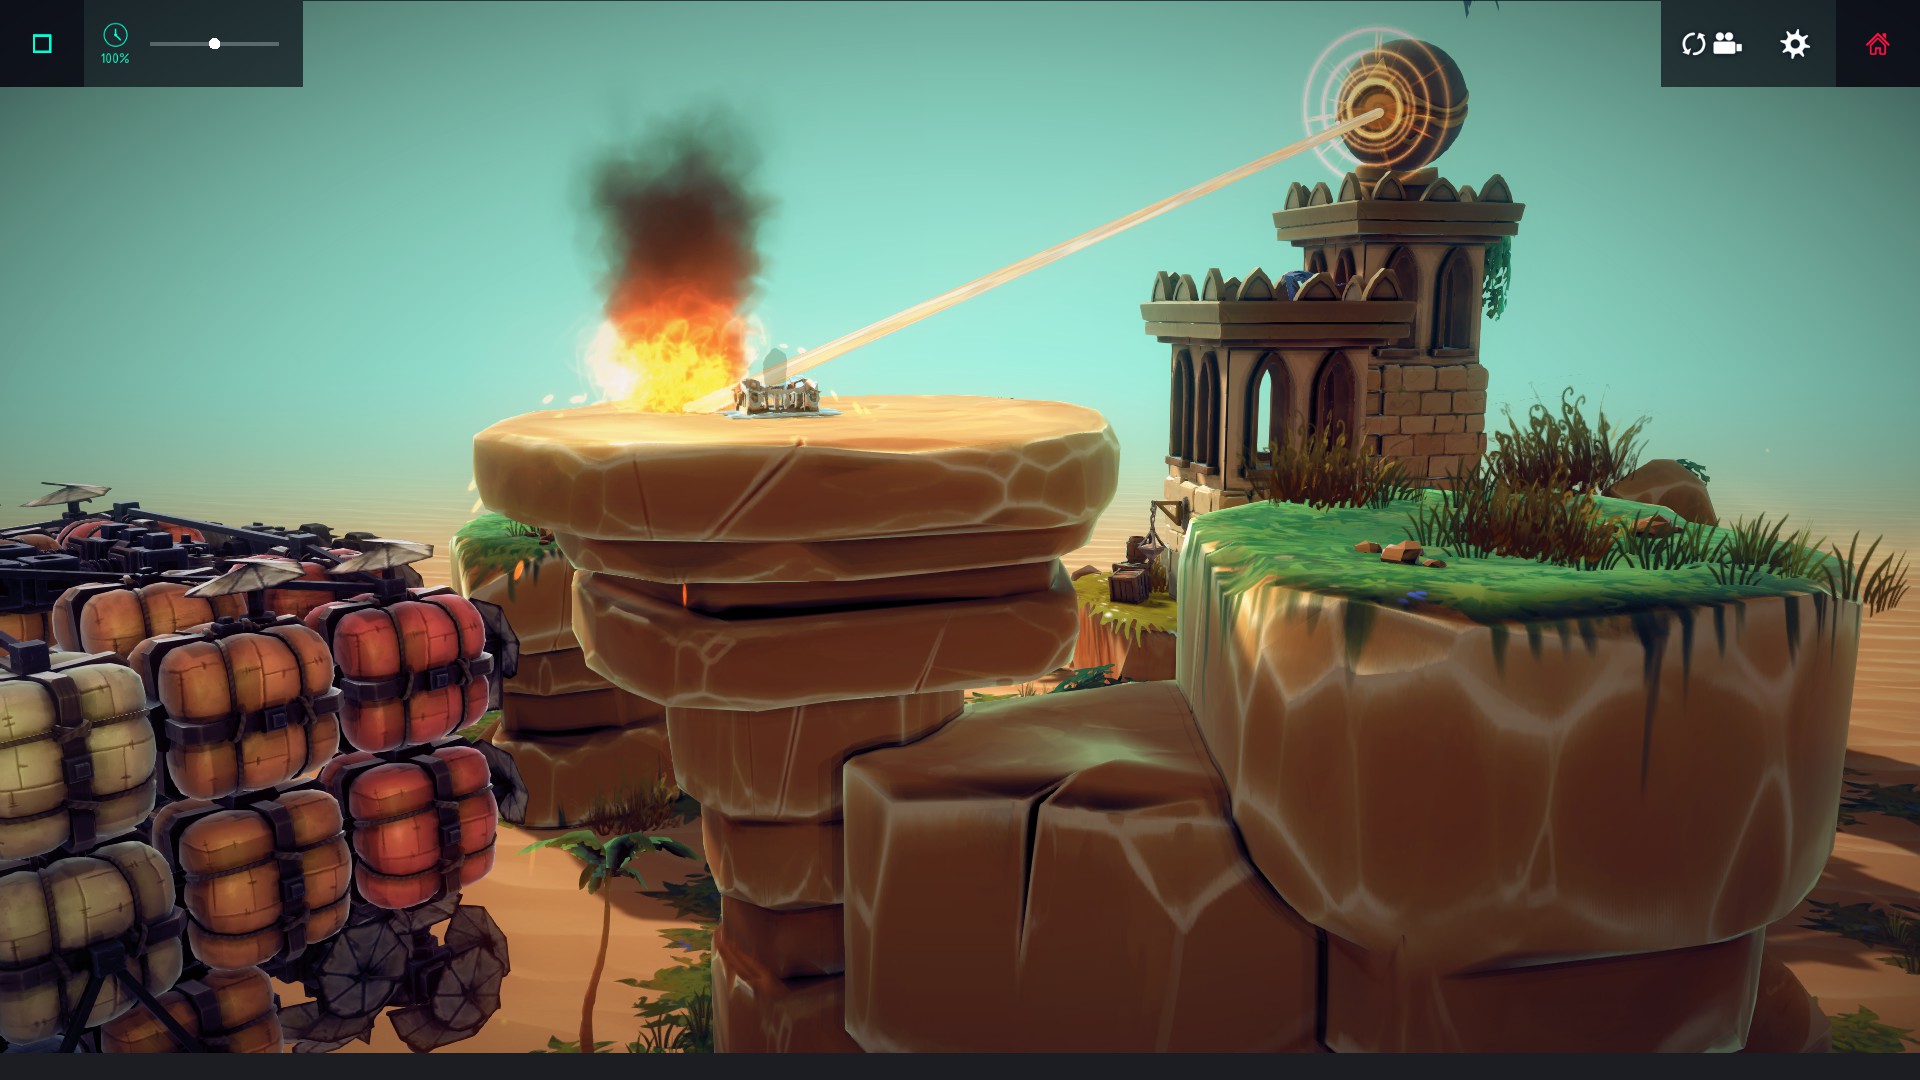
Advice: The cage can be melted.Use a fast enough flying machine to hide behind the plateau, then peak out. After you’ve destroyed the eye, collect the fragment.
How? : Complete this level without using projectiles.
Advice: Either use a grabber or a spike on a flying machine to break the fruit – They splat if you drop them hard enough.
How? : Destroy all the crates in this level.
Advice: The crates are dotted around the ridge – You’re probably going to need a flying machine to get them after you’ve beaten the level. Pick them up with a grabber and drop them. Keeping your flying machine safe before you beat the level, or using it to beat the level, is a different matter. :) But if you’ve already figured that out, it should be easy.
How? : Beat this level in under 30 seconds.
Advice: There are multiple ways to do this. An easy way would be to build a blimp bomber (you have to kill the NPCs too). Either from above, or something that can detonate in a huge explosion. Or build a bulldozer. Or maybe even a “tank” of sorts like I did. :)
How? : Lift the boulder 10 units off the ground.
Advice: I got this achievement long before the update – I think the physics bugged out on me. If you’ve beaten this level, then you know how to move the boulder, and that it rolls downhill.
My experiment:
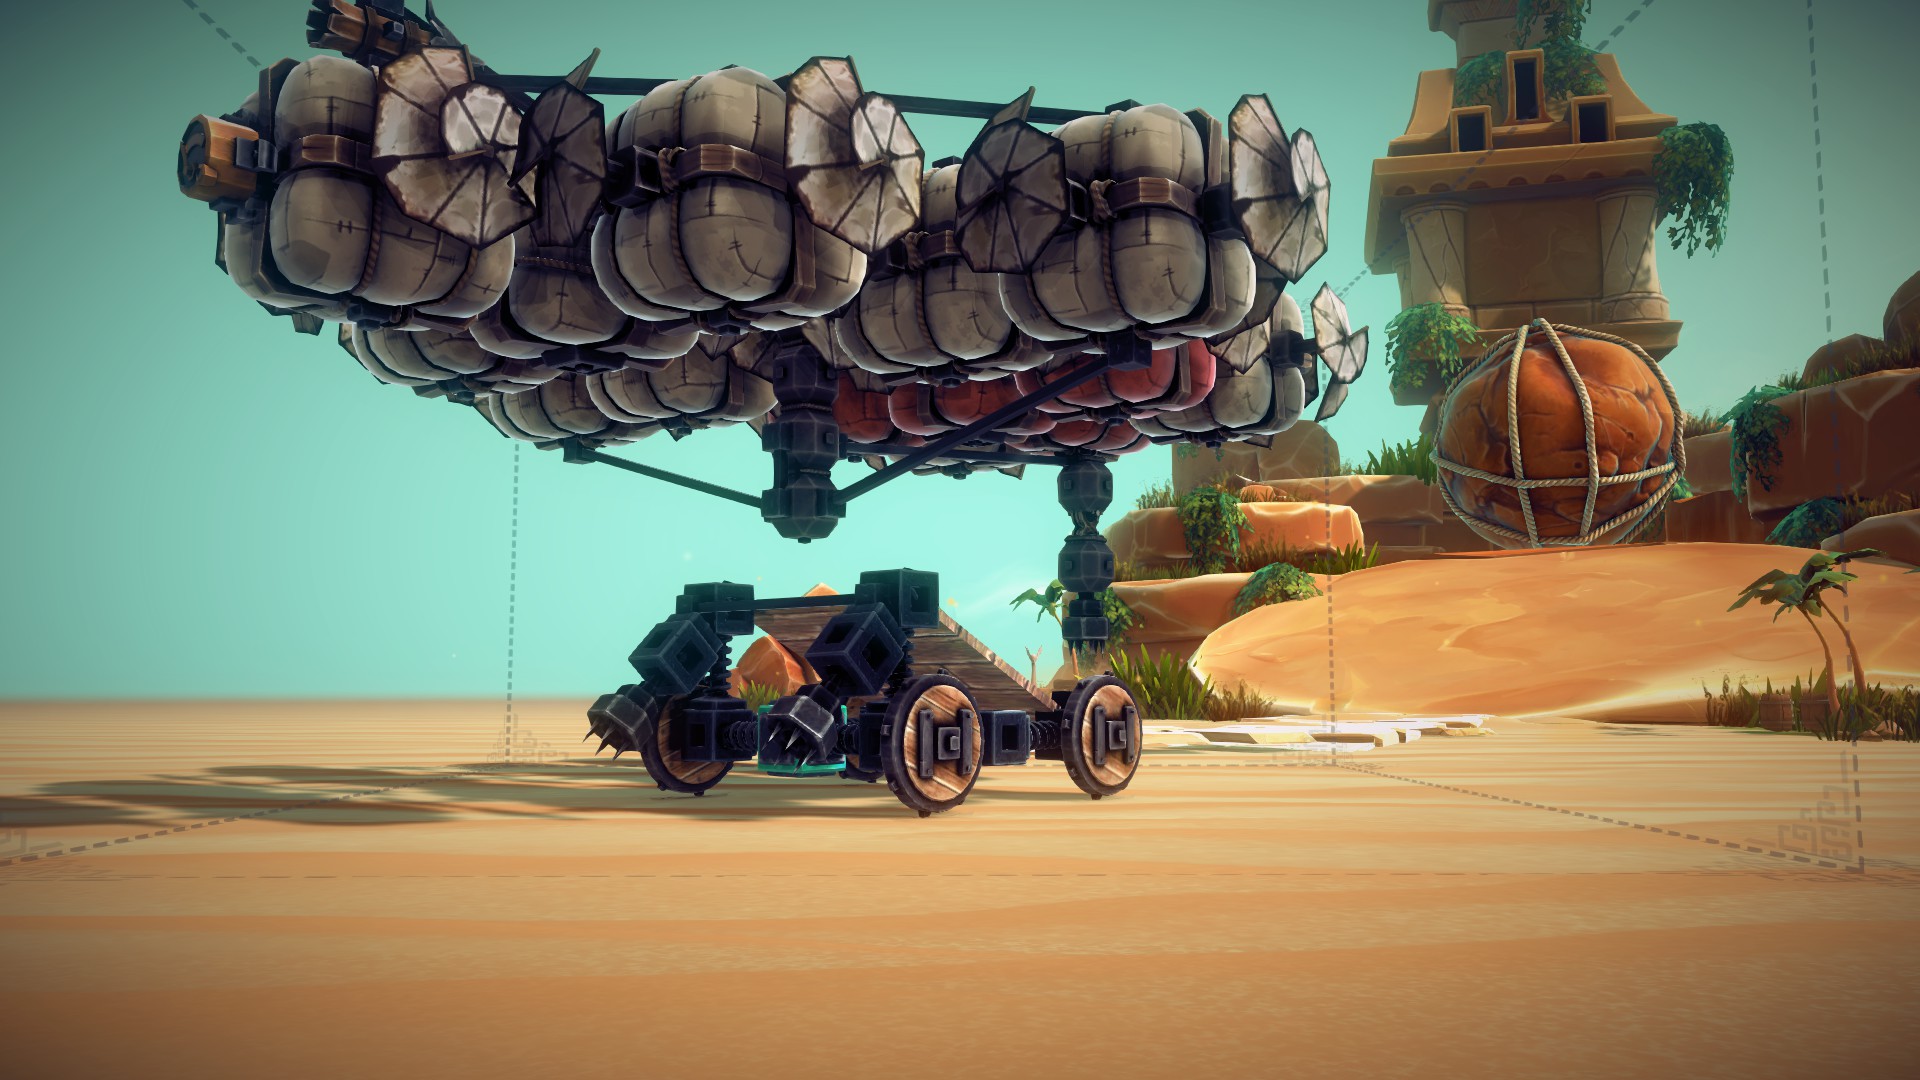 I converted an old “All levels, one machine” build to include a move-able ramp which attaches itself to the ground, and a separate blimp with a tow cable capable of moving the boulder.
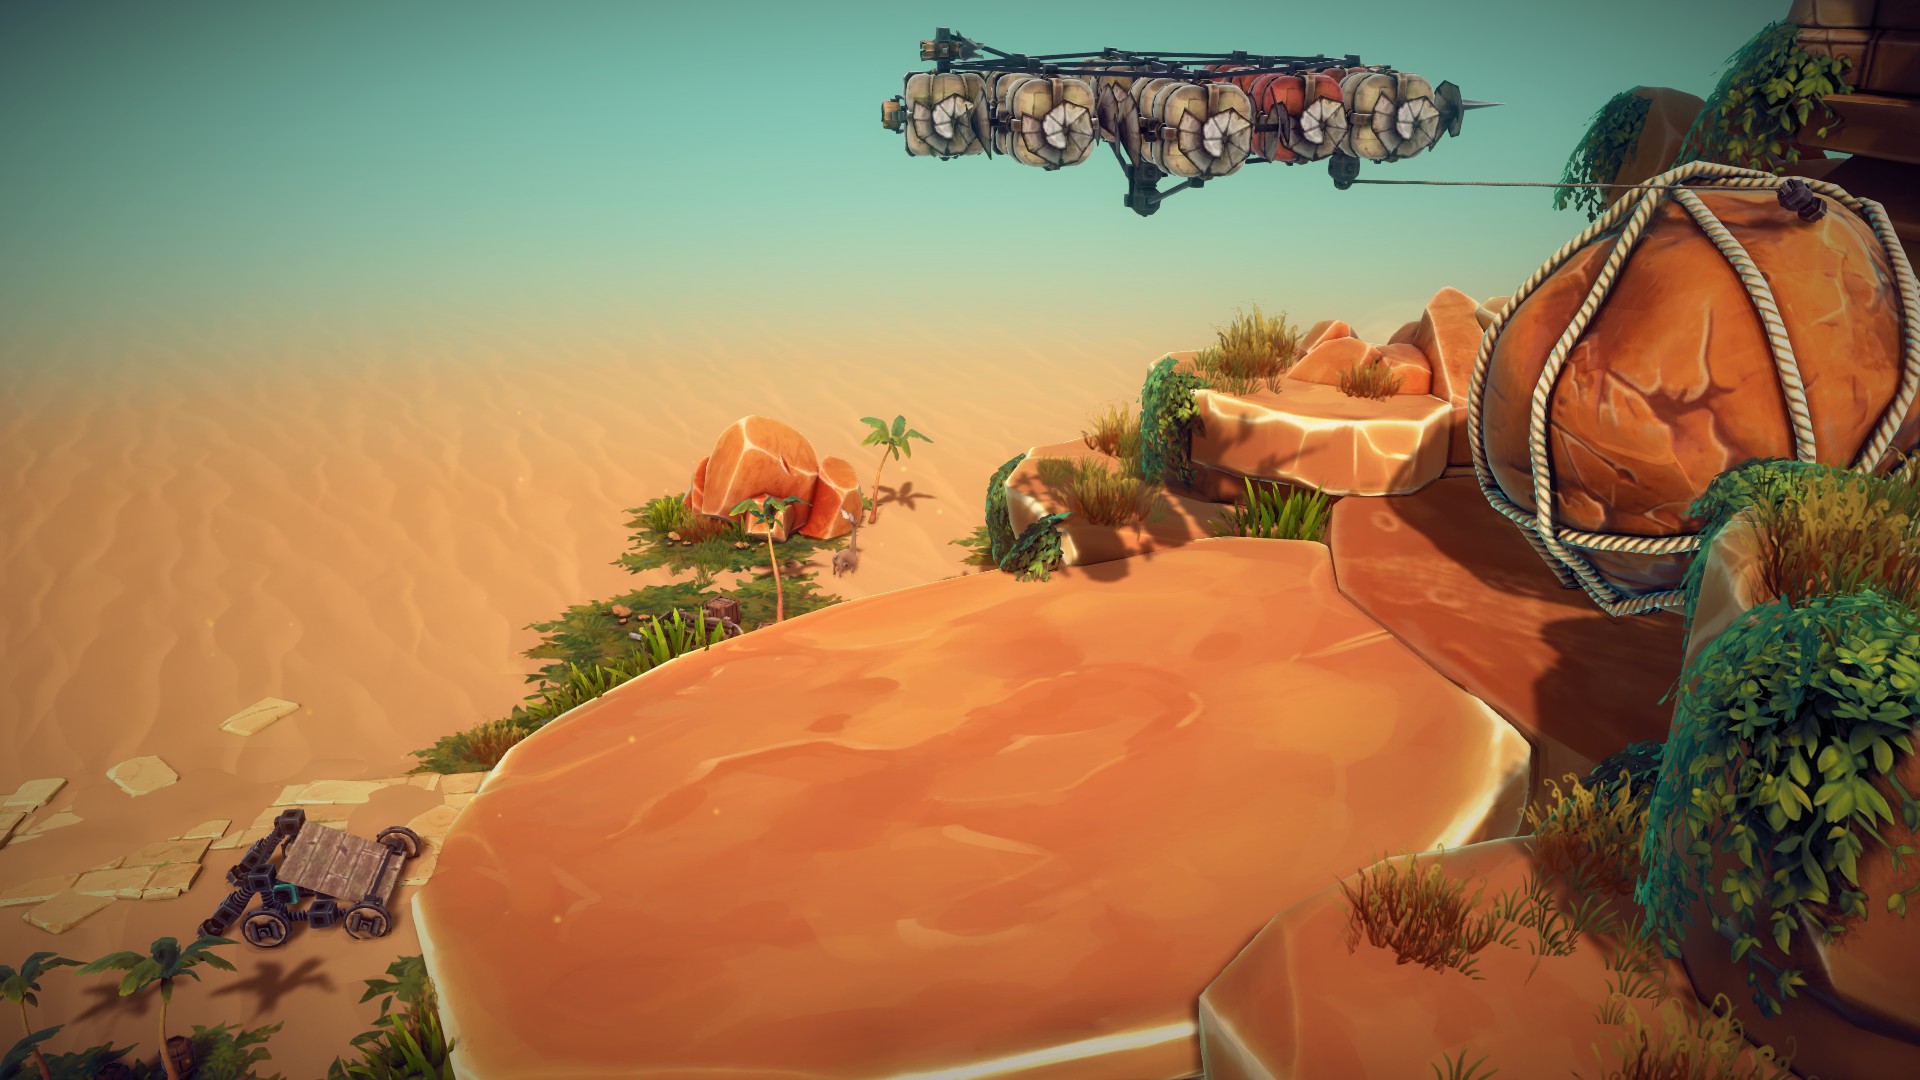 The boulder rolls down the hill and jumps off of the ramp, but I’ve no idea if it jumps high enough, or how much a “unit” is. One idea among many. If the demand is there I might share this build on the workshop for people to try this out – Leave a comment if you want it. There’s other guides out there which might tell you how to do this. I’d encourage people to experiment first, though!
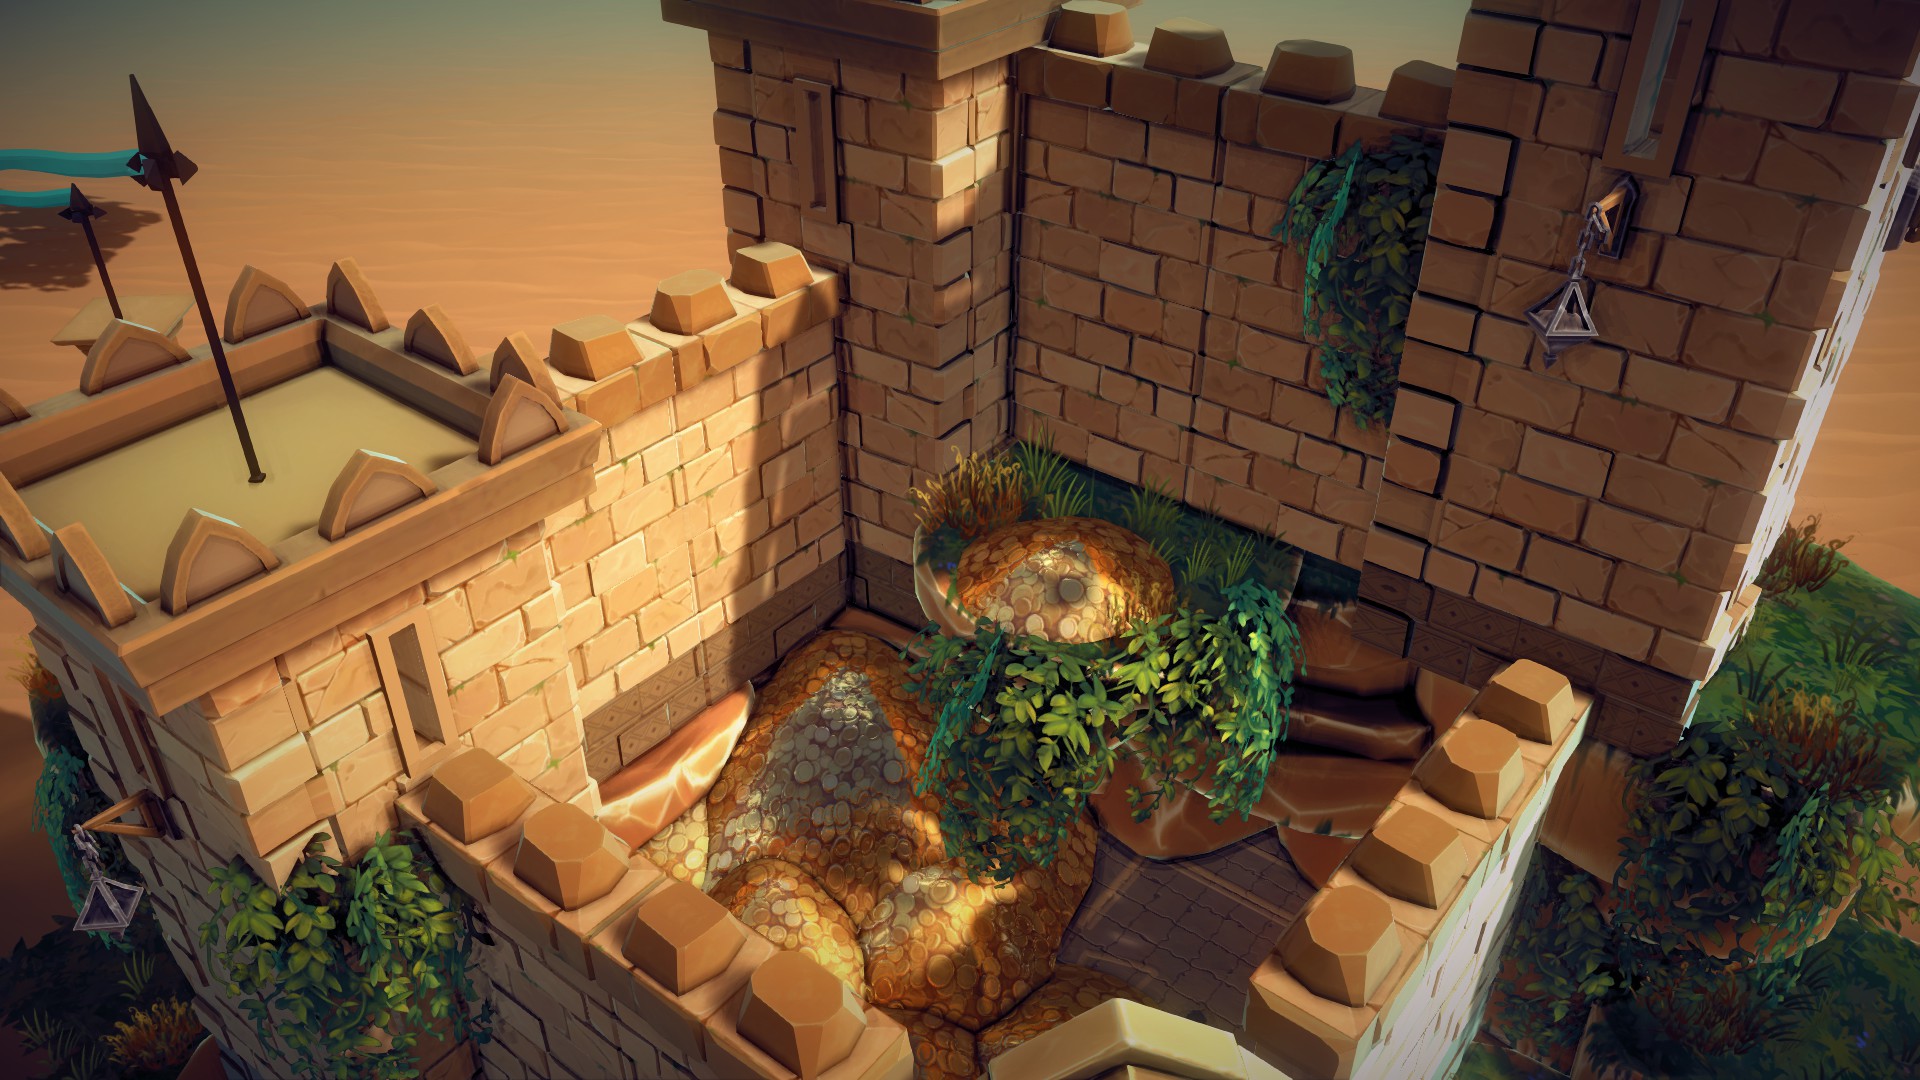
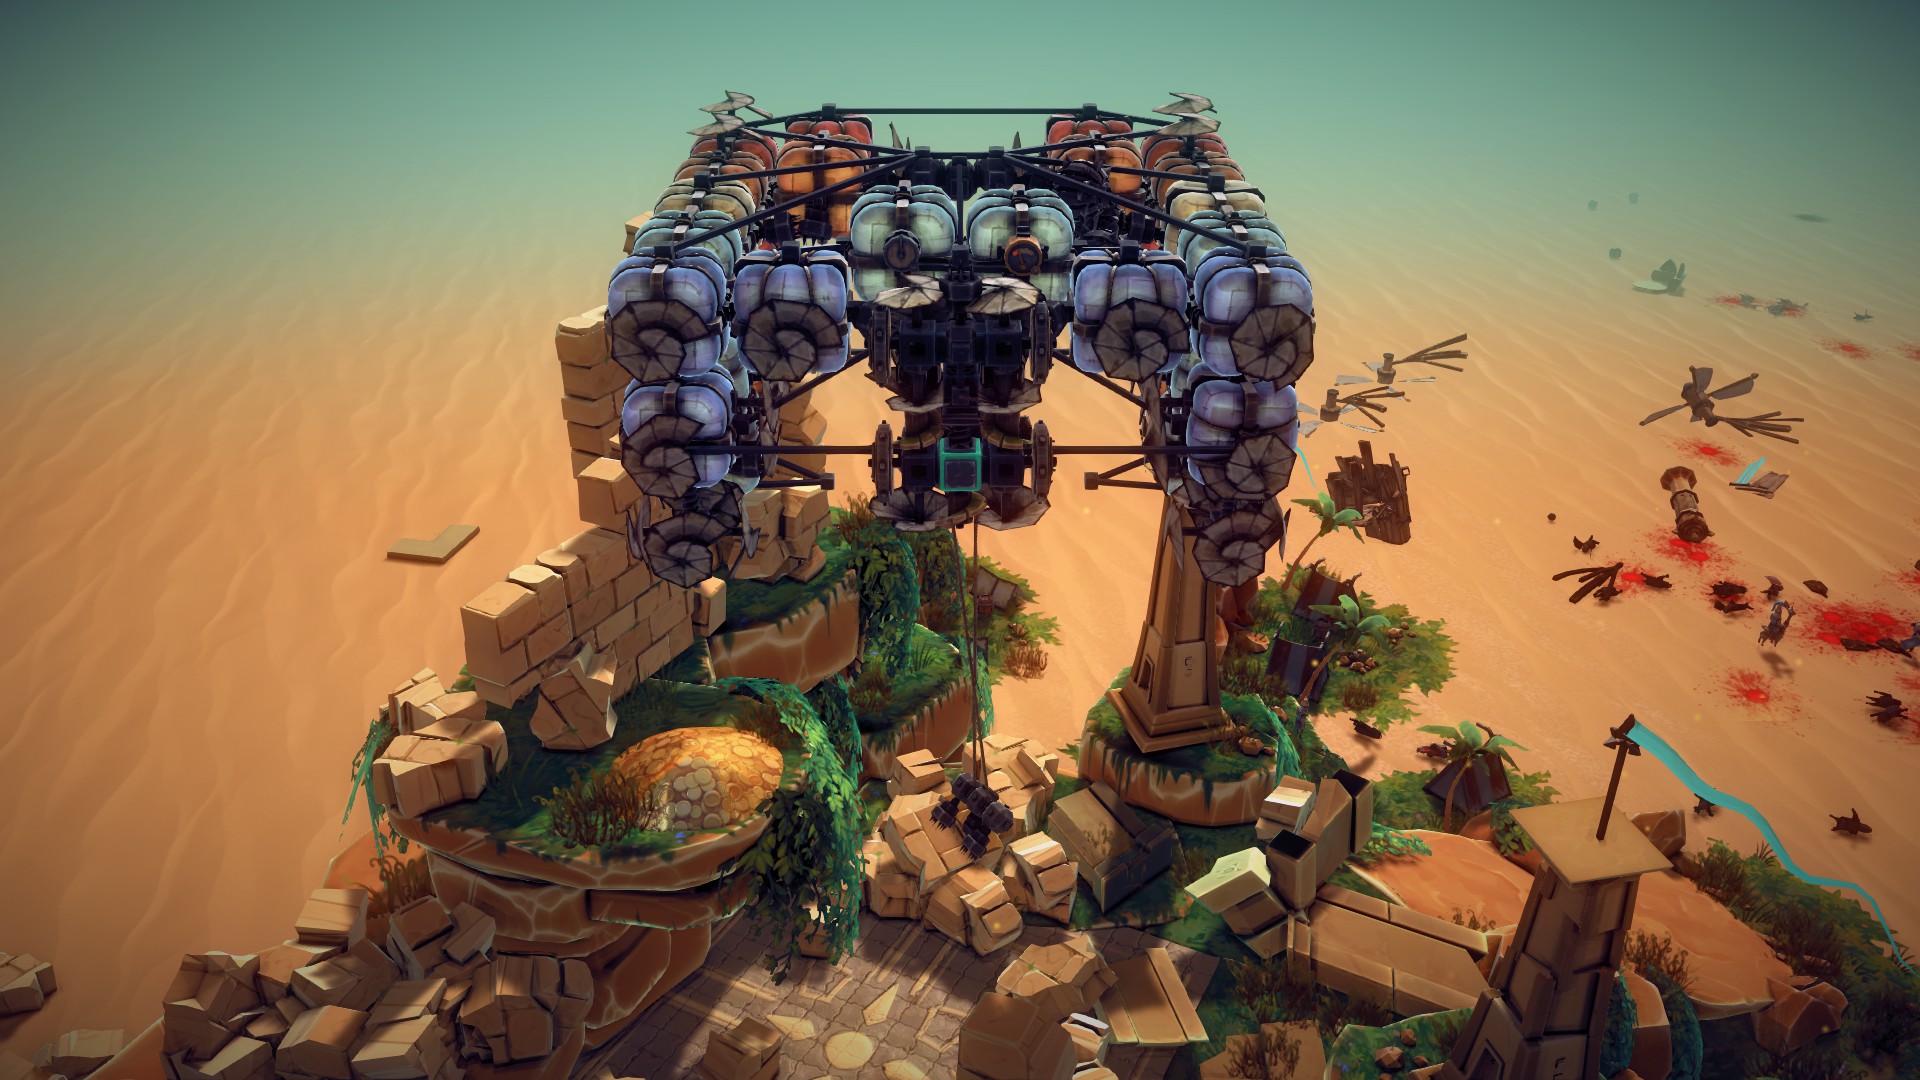
How? : Locate the shard in this level. How I did it: It's in the castle keep. I can’t remember what makes it spawn – Either levelling the castle entirely, or destroying the gold piles inside. Regardless, I retrieved it with a winch on the underside of a blimp after beating the level.
Splintered Sea DLC (Autilis)
How? : Destroy the cargo ship and collect the fragment.
Advice: The fragment spawns within the ship upon its destruction, which you might hear happening. It may be easier to use explosives or otherwise break the ship apart entirely using a machine that can dive, then dive down to retrieve the fragment as it falls out of the ship’s remains. Physics apply to this fragment, and it will sink to the sea floor.
How? : Destroy all of the sunken chests in this level.
Advice: They’re all submerged throughout the level and look like in the screenshot below.
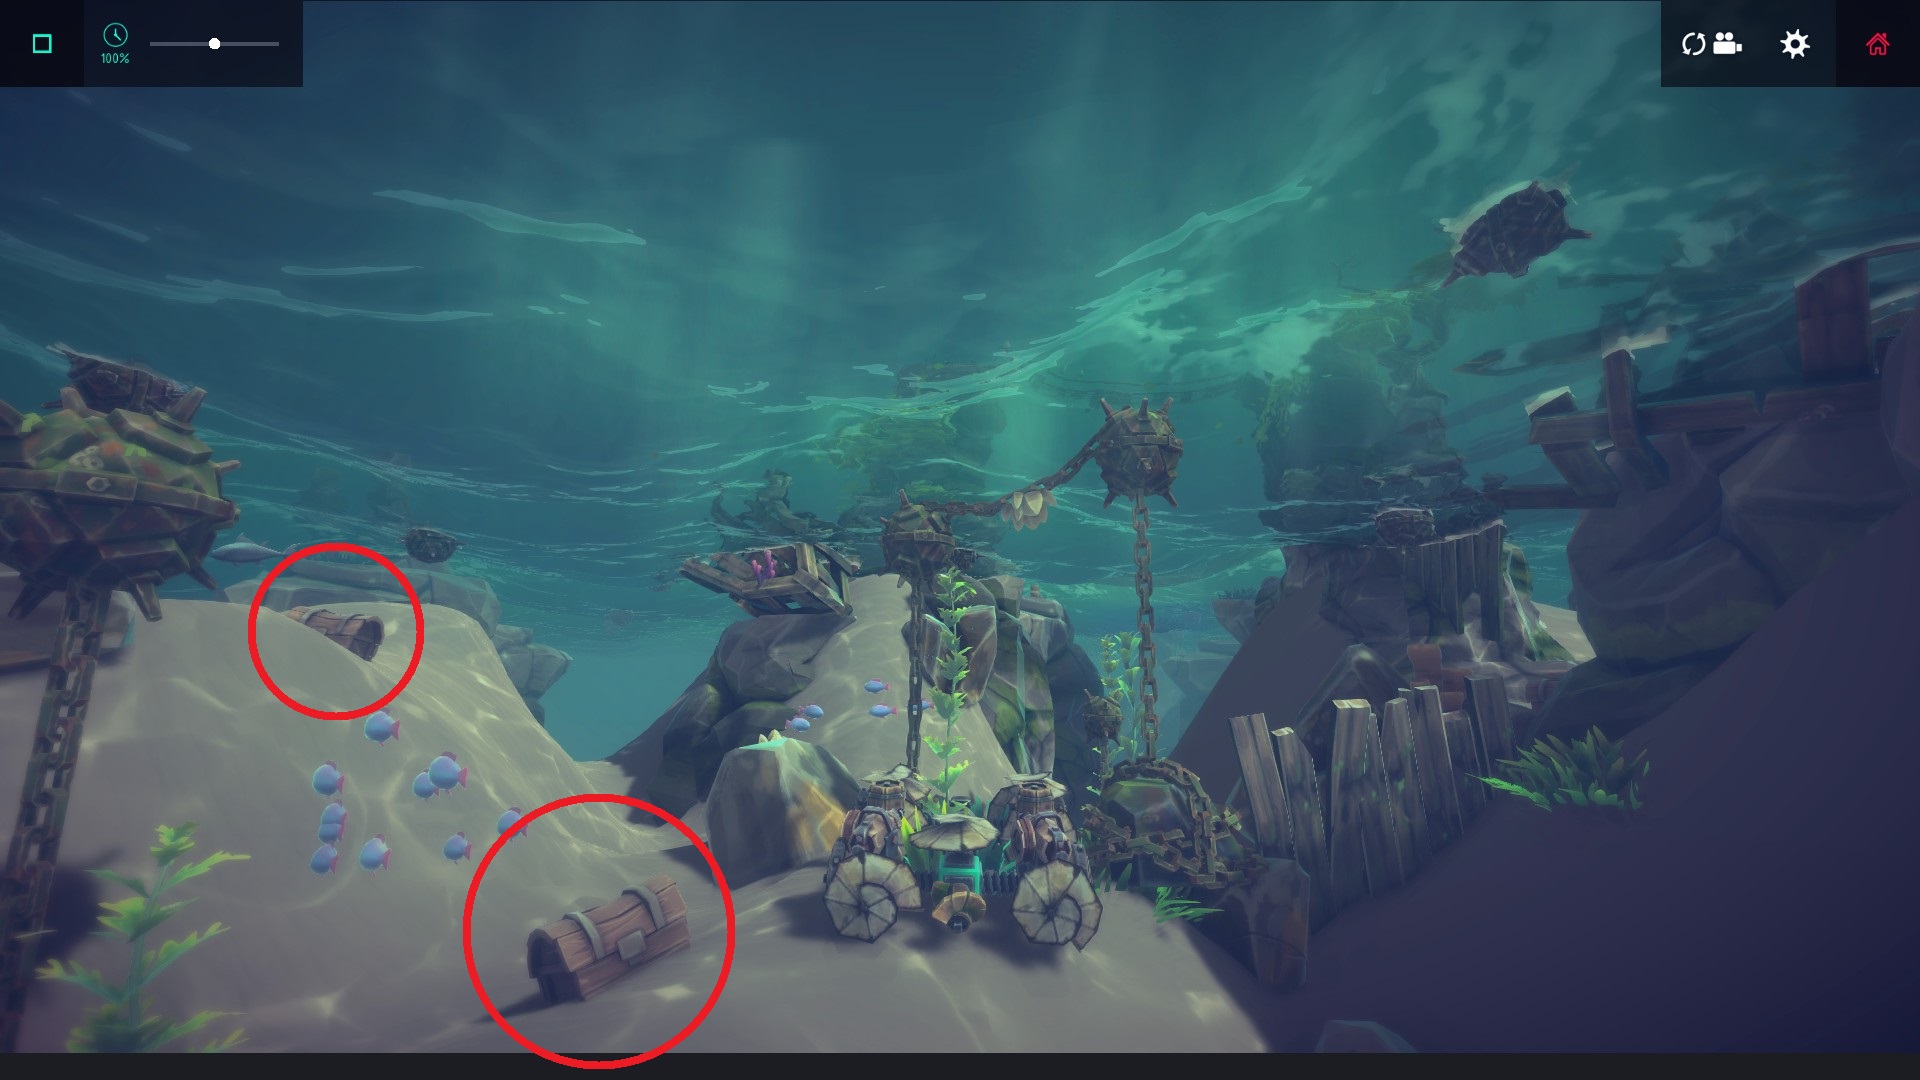 You’ll need a submersible machine. It may be easier to destroy the mines somehow first. The fragment spawns hovering above the capture point where you have to move your machine through to beat the level.
How? : Destroy all the floating crates on this level.
Advice: You need a fast boat or at least a floating machine that can resist cannon fire, or is agile enough to avoid it. The fragment spawns floating after the last gate at the end of the course.
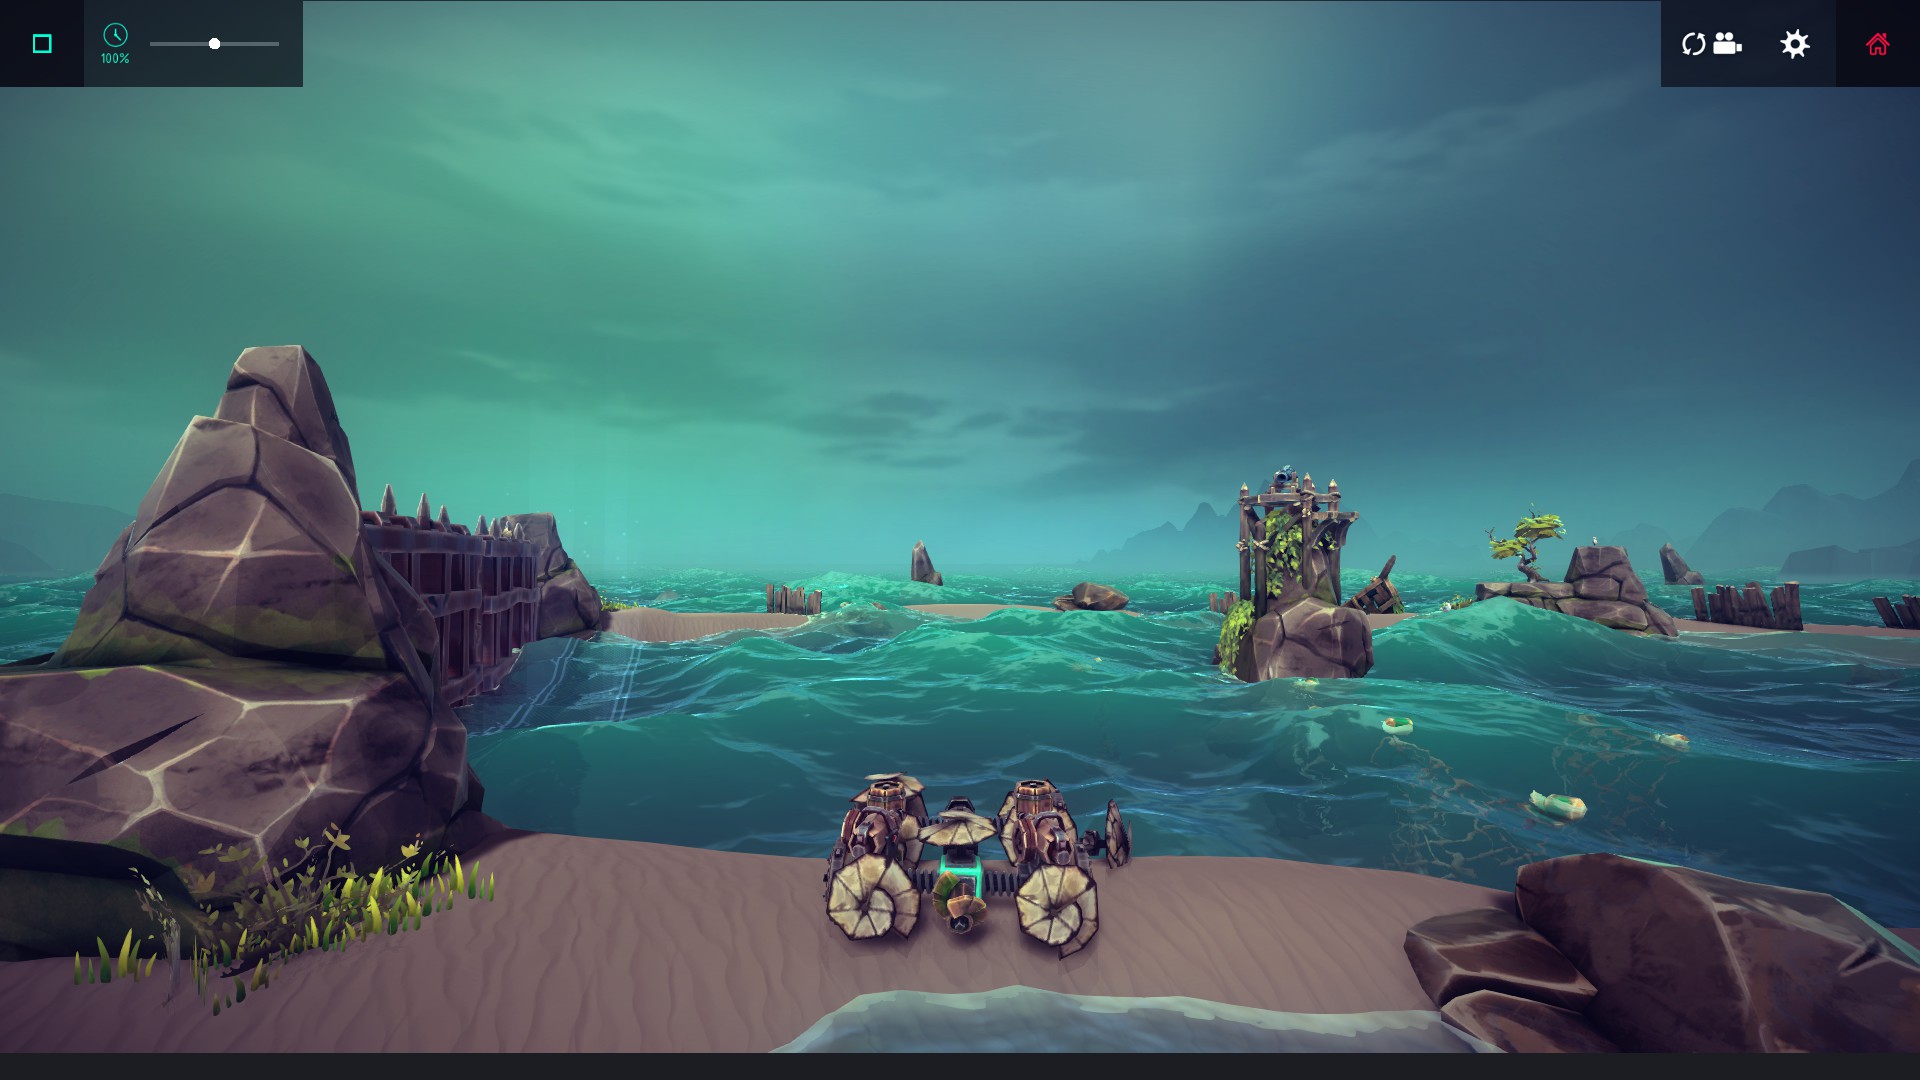 If your machine is amphibious, as well as being small enough, you can hop over gaps in the borders which line the course. This defeats the time limit and giving you as much time as you need to collect the crates, subject to how much of a beating your machine can take from the cannon fire.
How? : Lure a shark into the cage in this level.
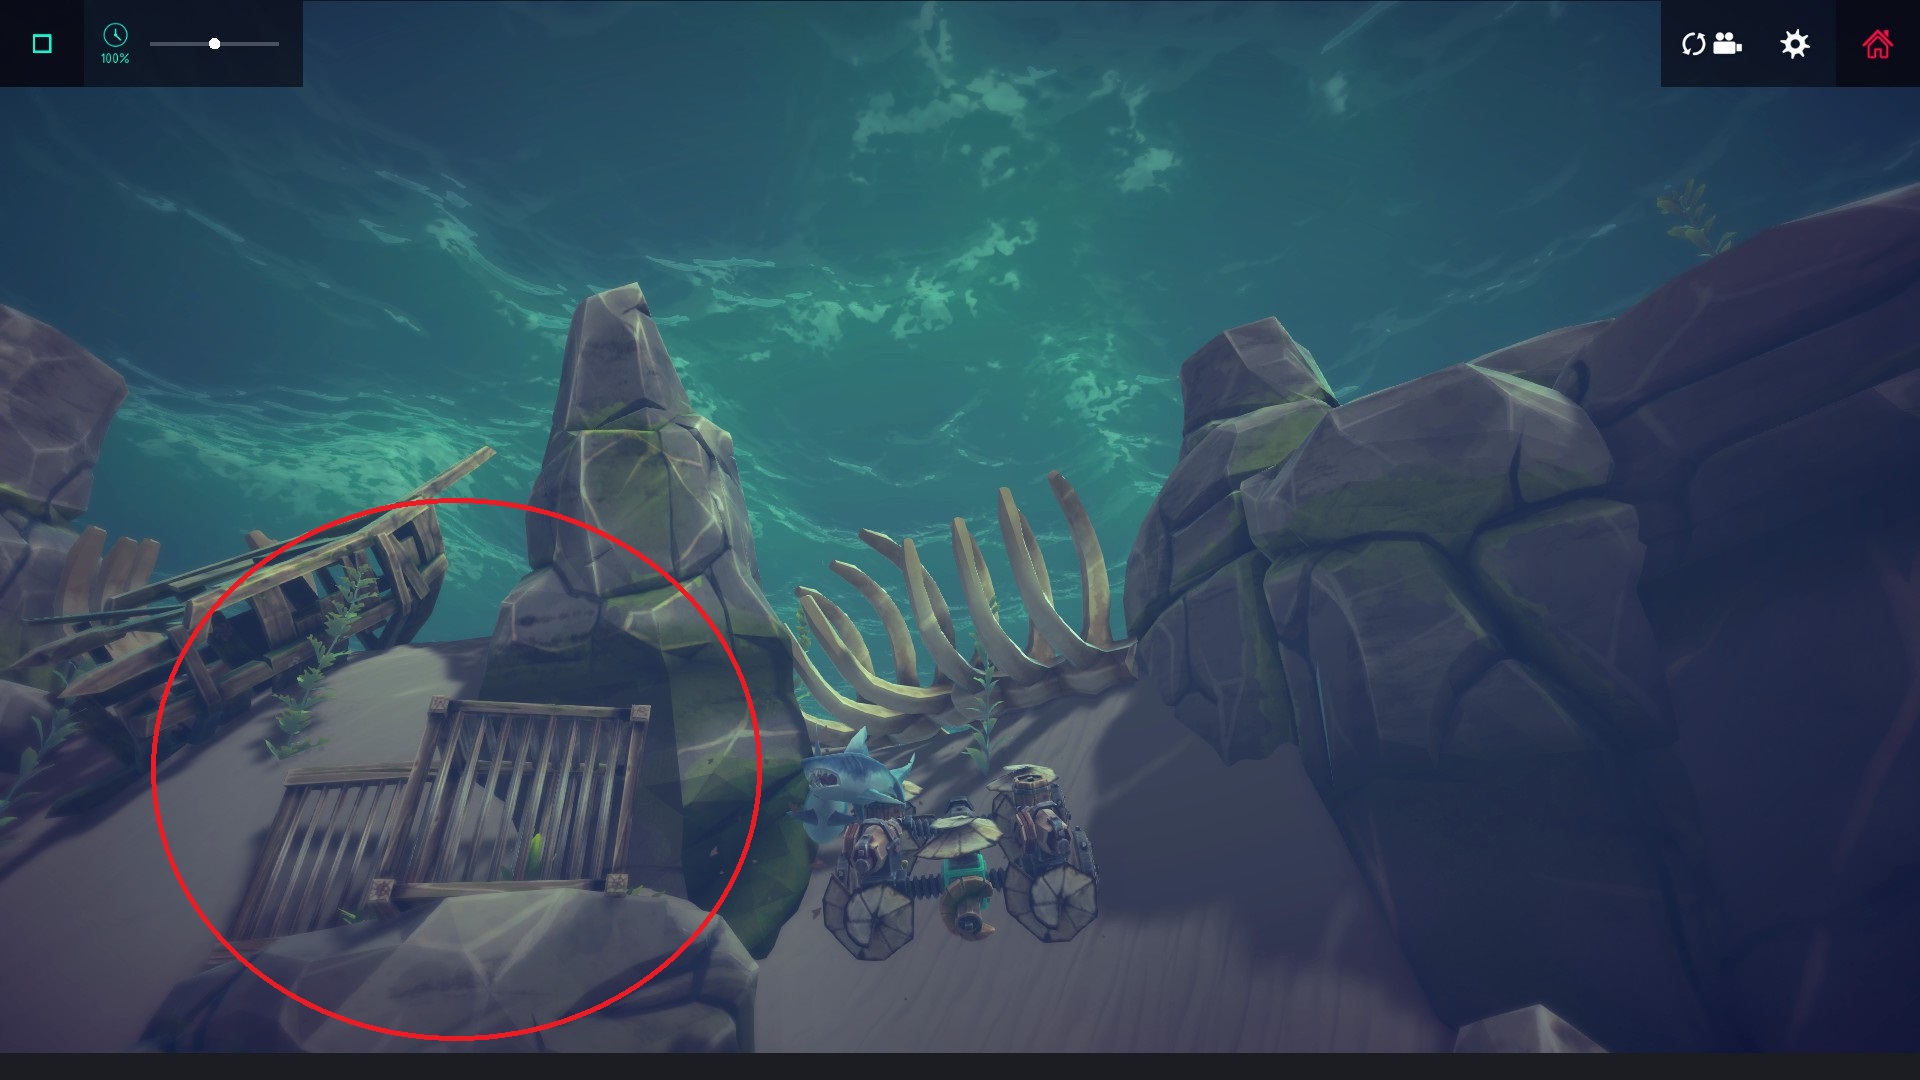 Advice: Build yourself an agile submersible with a grabber on the front, then go collect the cage at the back of the level.
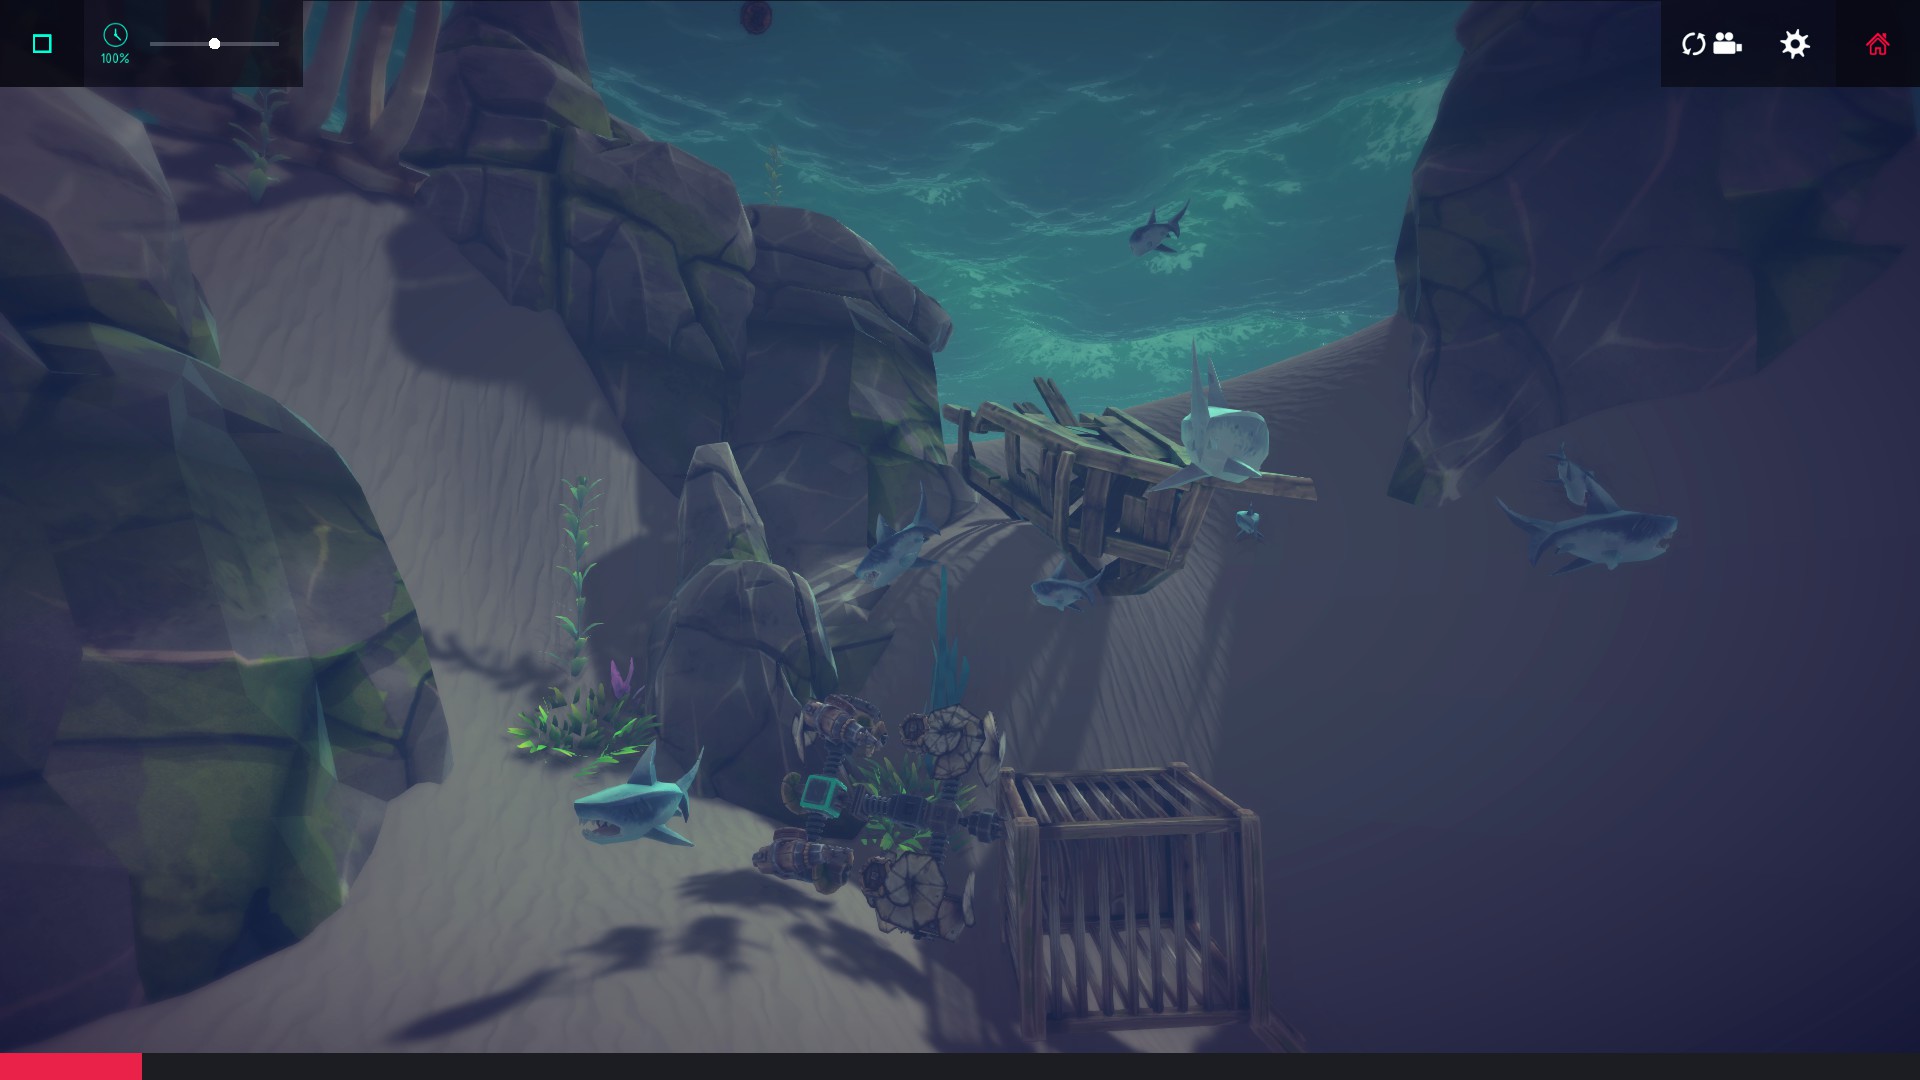 You’ll need to collect or scoop up any of the sharks into this cage (not just the big one), and your machine needs to be resilient enough to withstand the sharks. (sorry about the bad screenshots, my middle mouse button is broken and I can't reassign the camera focus key)
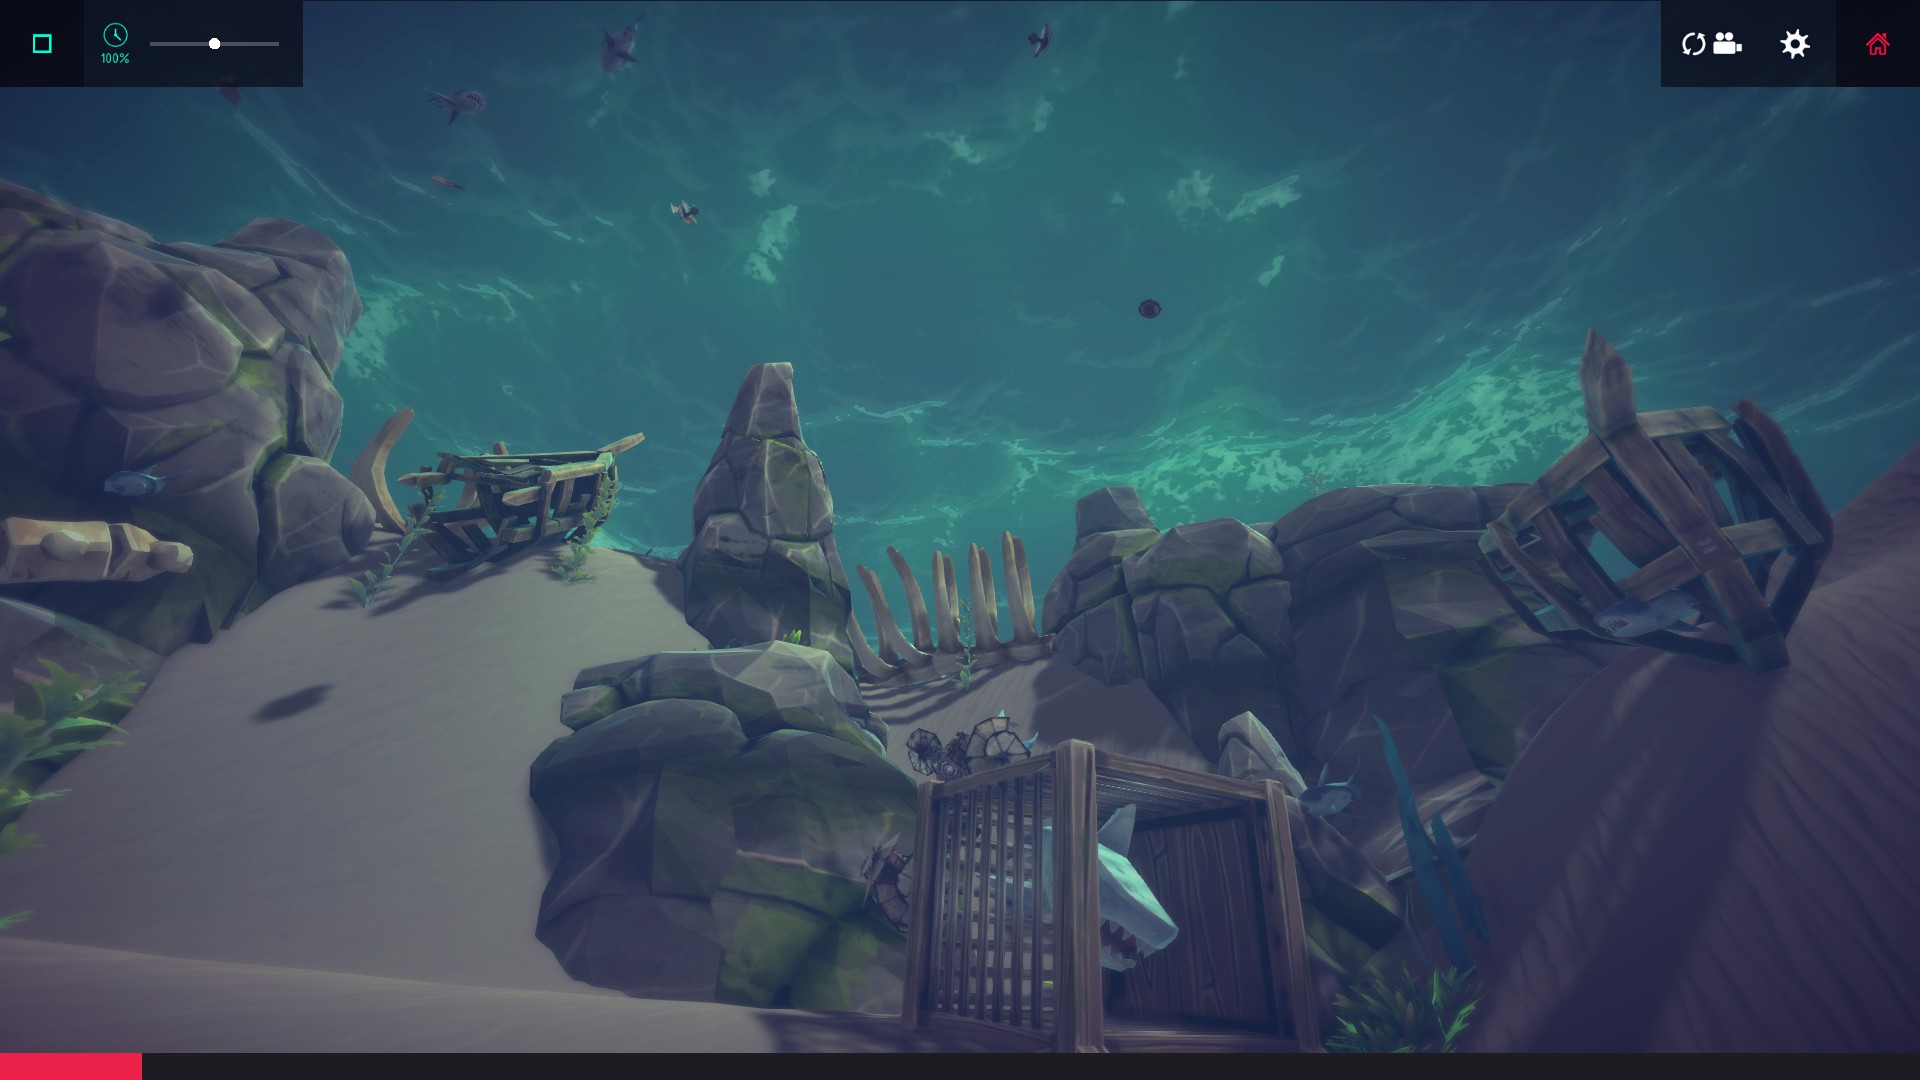 The door has to close fully while a shark is inside the cage for the fragment to spawn, it should float in place. Physics should close the door if you keep moving forward through the water.
How? : Find a way to crack open the shell.
Advice: The shell is on a rock stack is the pink spiky one on the edge of the tentacle pit which looks like its achievement icon, it should be obvious what to do with it. :)
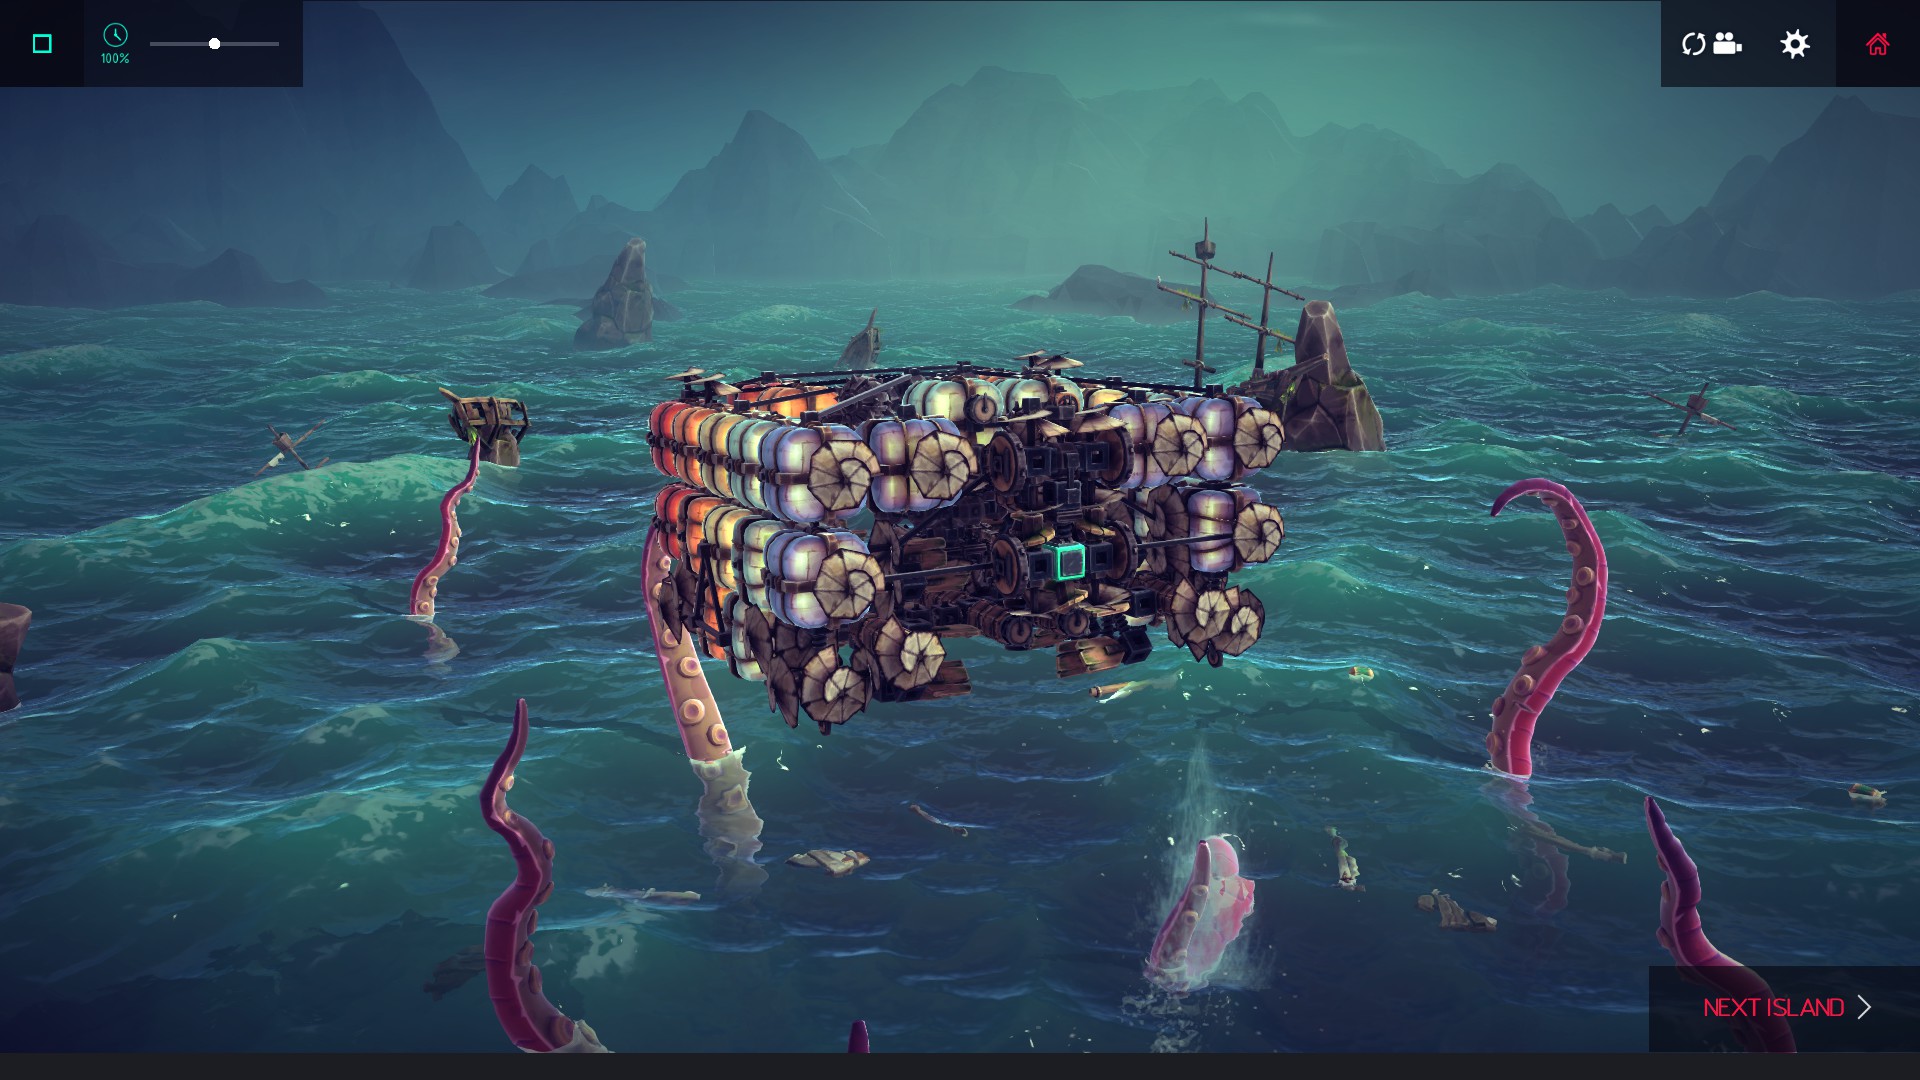
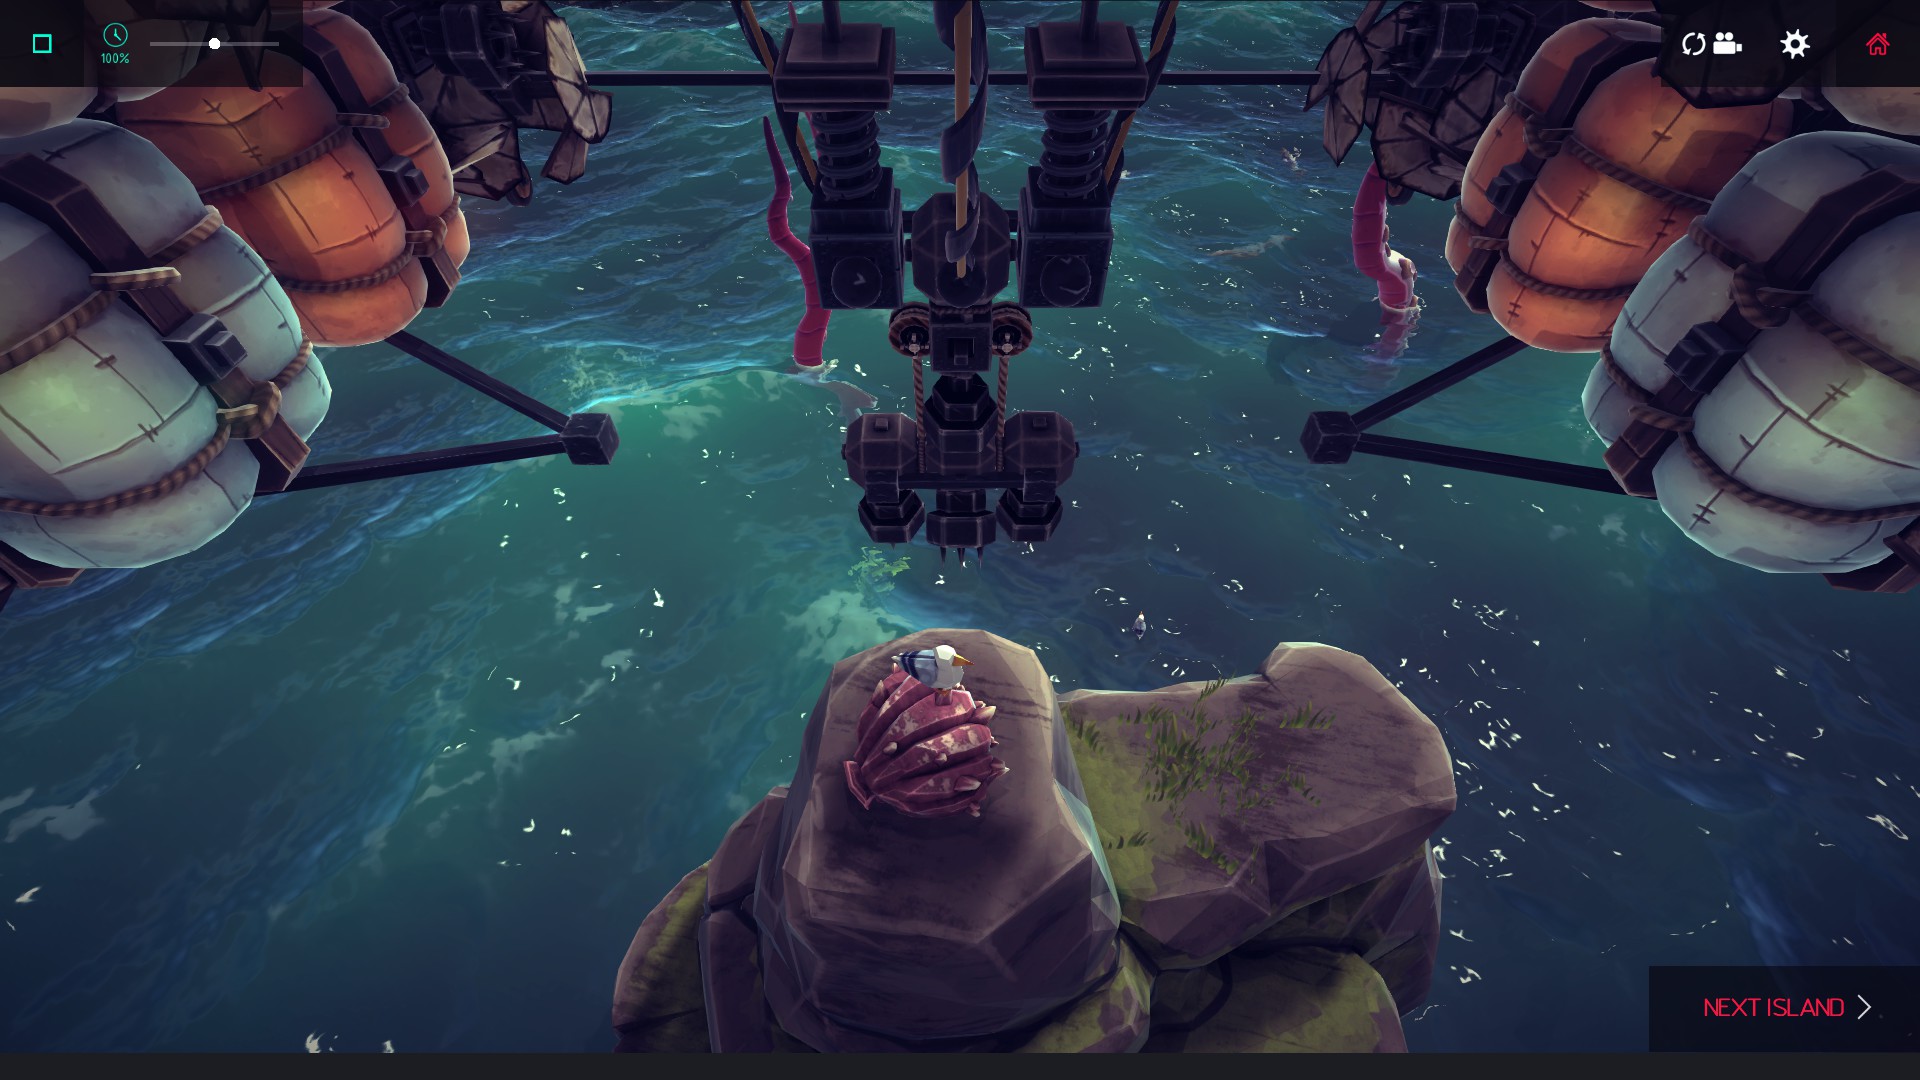 How I did it: Hoo boy, this one was fun. There’s some RNG involving the games physics here. The shell can be picked up and given to the tentacle monster. I used my blimp with an arm to give the shell to the tentacles. My blimp can drop a separate mini submersible machine, which I used to collect the shard.
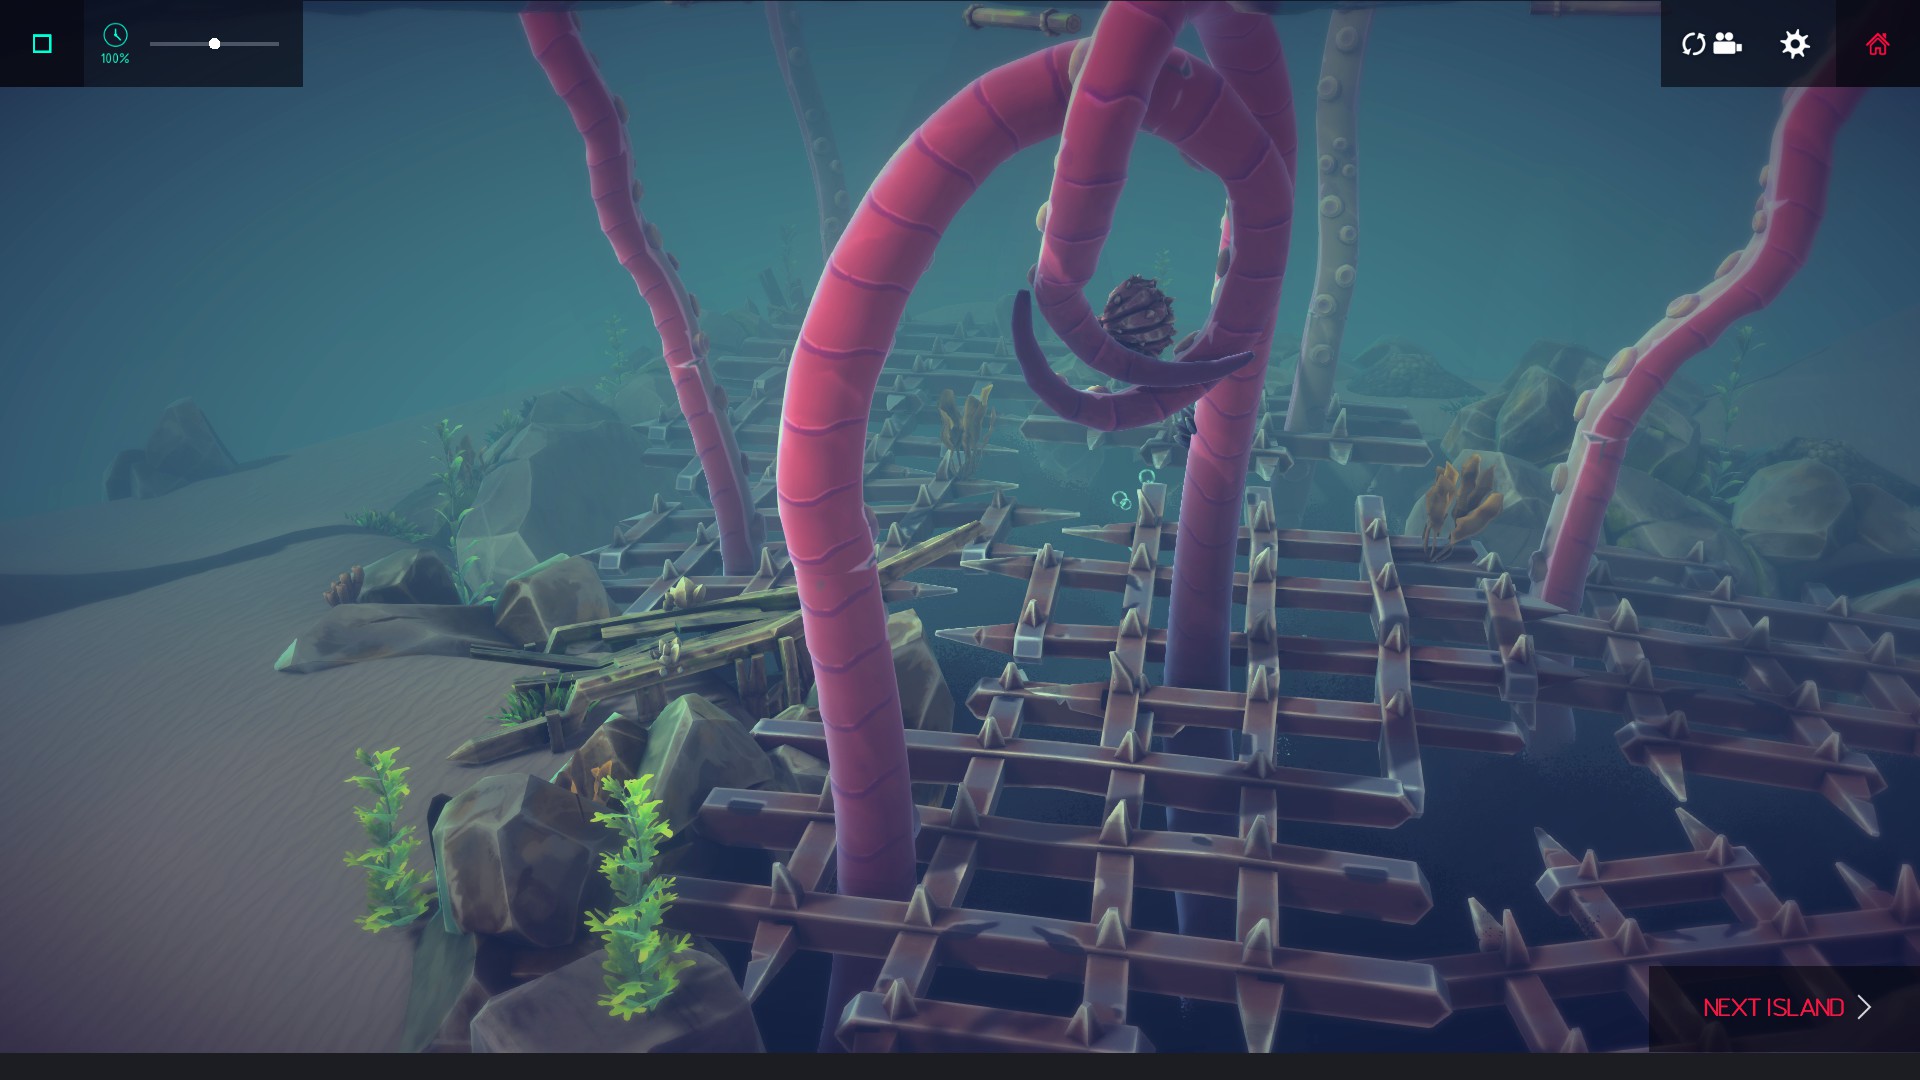 If the monster grabs the shell with more than one of its tentacles, it’ll break.
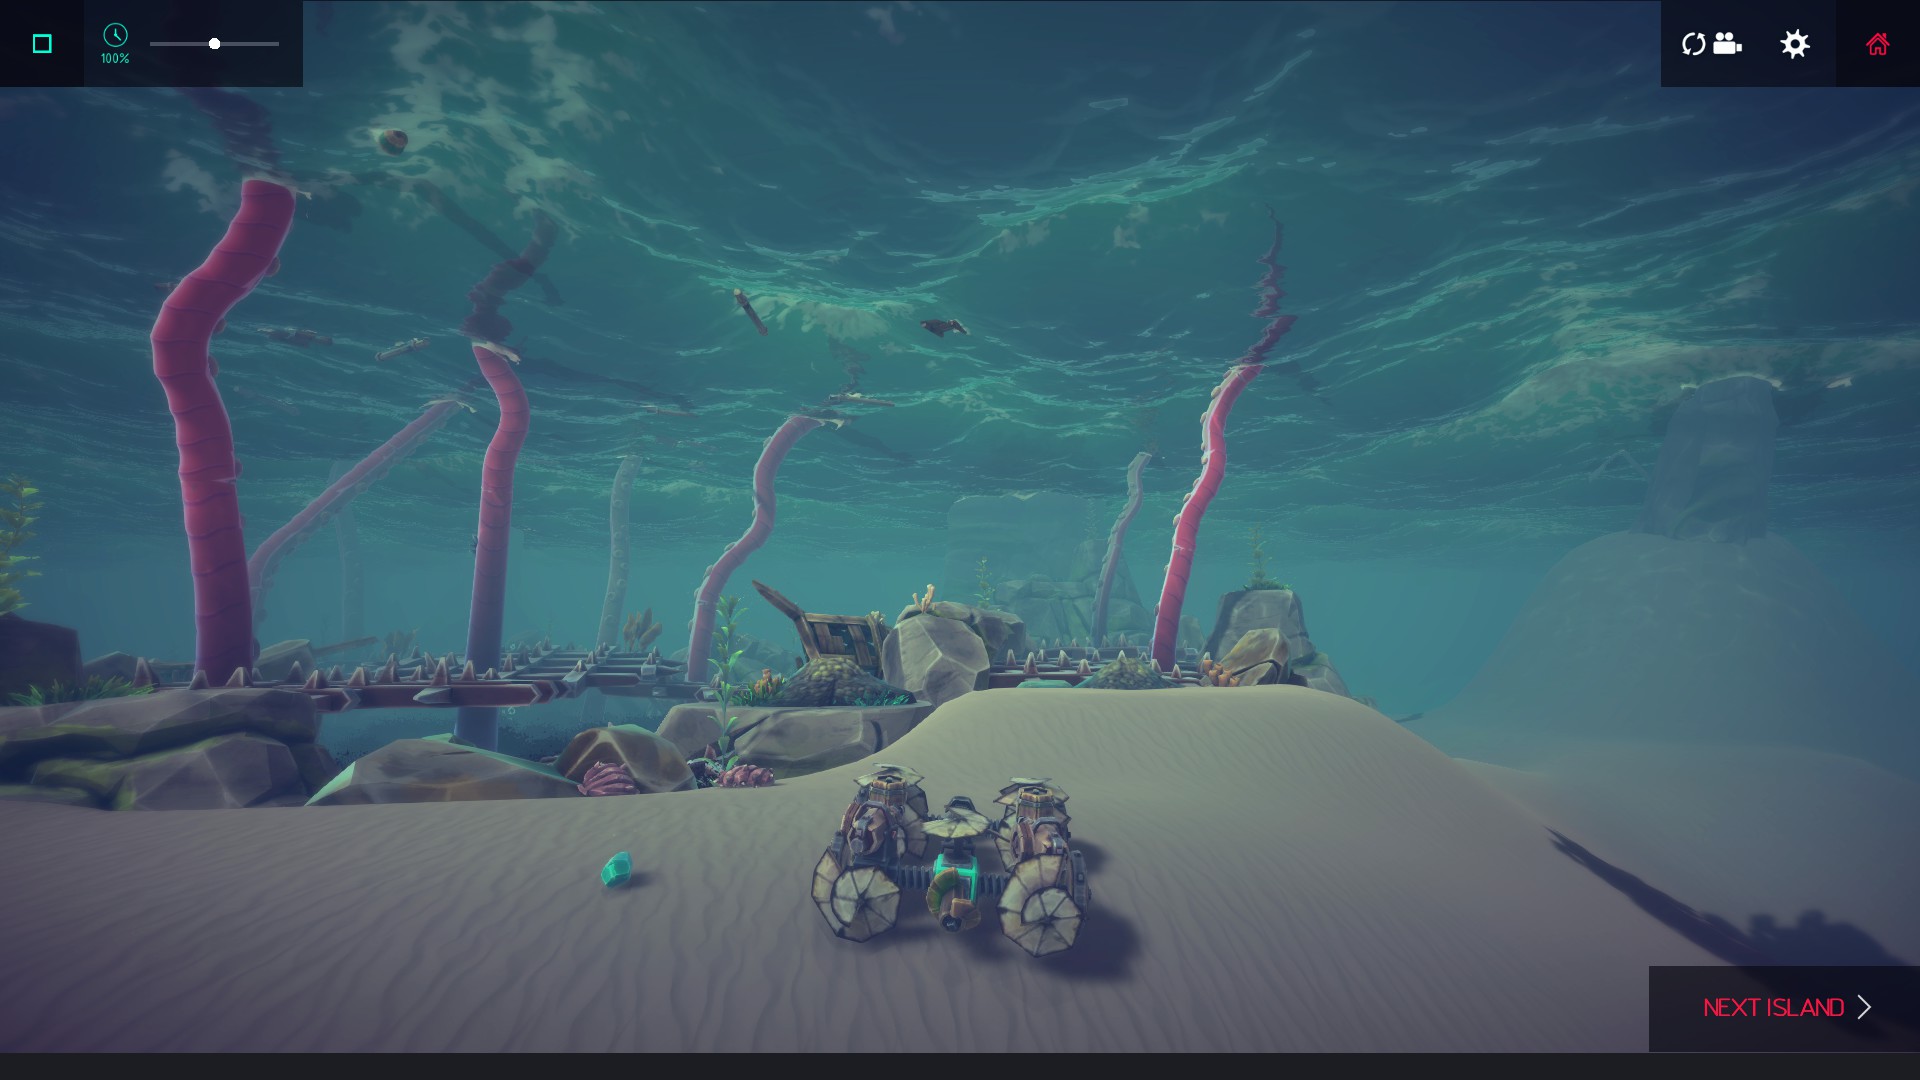 BUT, and this is the hard part, the fragment has to be flung away from the grated pit here, unless you’re fast enough to collect it, AND avoid the tentacles, before it falls between the grid. If it lands on the sand beside the pit, then it’s easy enough to collect. My blimp has a camera on its underside, which helped me keep track of where the fragment went after the shell was opened. Physics RNG-tastic! Have fun. :D
Beat Besiege's achievements?
Flex it — let your friends know you pulled it off.
- Fast Steering Catapult★ 5 (311)29k views313 ♥1 minUpdated 11 Mar, 2022
- Machines to complete all 54 zones!★ 5 (471)21k views931 ♥2 minUpdated 26 Aug, 2021
- How to Build a Plane in Besiege [Basic Vanilla]★ 5 (327)19k views637 ♥5 minUpdated 5 Jul, 2018
- Getting started in Besiege★ 4 (122)17k views128 ♥5 minUpdated 5 Feb, 2015
- Comprehensive Realistic Helicopter Tutorial★ 5 (346)17k views644 ♥21 minUpdated 24 Mar, 2017
- Besiege -初心者向けガイド-★ 5 (770)14k views1.1k ♥2 minJapaneseUpdated 22 Aug, 2015




- Upgrading to PremiumTeam Fortress 2★ 5 (20k)1441k views11k ♥6 minUpdated May 11, 2022
- No More Room in Hell Official ManualNo More Room in Hell★ 5 (2.8k)569k views2.1k ♥29 minUpdated Apr 22, 2019
- NMRiH Community Hosting GuidesNo More Room in Hell★ 5 (526)351k views653 ♥1 minUpdated Aug 10, 2022
- ULTIMATE GUIDE FOR GAME DEV TYCOONGame Dev Tycoon★ 5 (5.8k)326k views10k ♥4 minUpdated 23 Jan, 2014
- How to 'Git Gud' Soon™MORDHAU★ 5 (2k)318k views3k ♥68 minUpdated Nov 16, 2024
- Лучшие кооперативные игры SteamPAYDAY 2★ 5 (1.5k)315k views2.1k ♥56 minRussianUpdated Apr 27, 2025






This guide was created by its original author on the Steam Community. Are you the author and want it removed? Request removal.