How to Edit Campaign and Custom Maps
Create a Custom Map
First step, create a custom map and use any name which you haven't already used for any of your previous maps.
To create a map you must be in offline mode (P is the default key for switching modes on PC)
Enter the map editor by selecting it and pressing E, be sure to save the map.
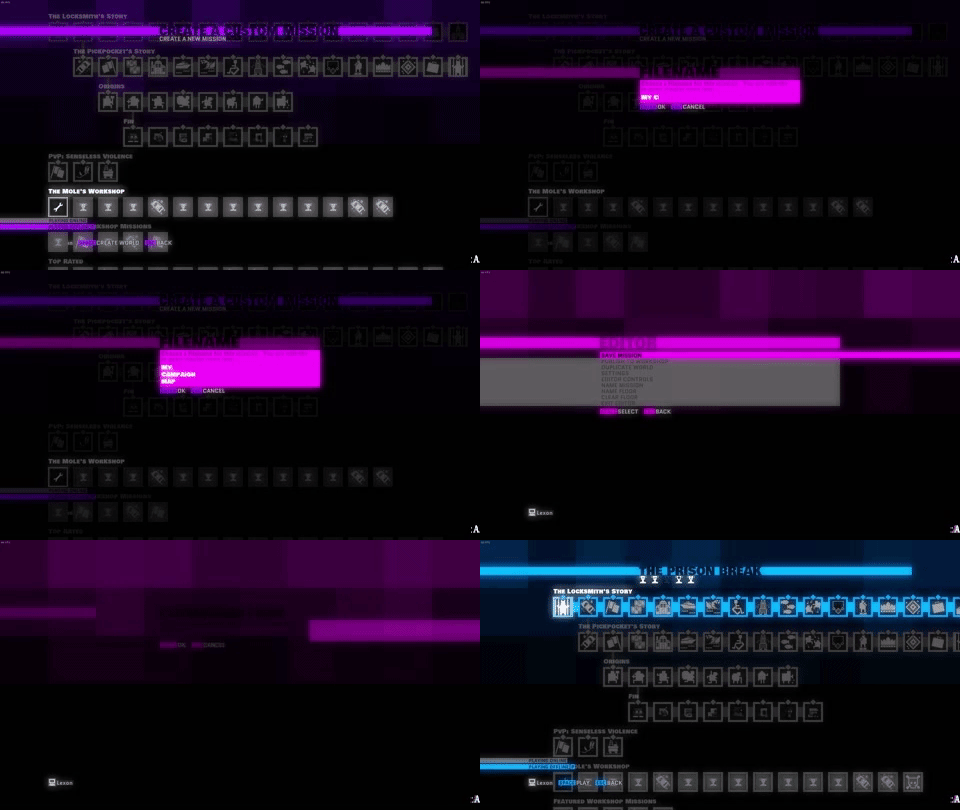
To create a map you must be in offline mode (P is the default key for switching modes on PC)
Enter the map editor by selecting it and pressing E, be sure to save the map.
Map Folder
An easy way to open the main Monaco folder is to right click Monaco in Steam Library, click Properties, then Local Files and finally Browse Local files... (same works for most other games).
By default, Monaco is installed in C:\Program Files\Steam\steamapps\common\Monaco.
Open the Textures folder and then the Worlds folder.
There should be 7 folders: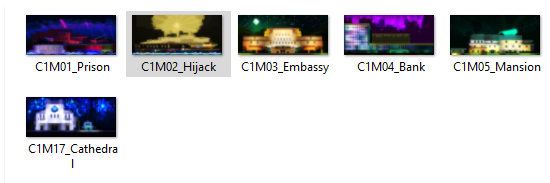
Chose the map you would like to edit and copy it.
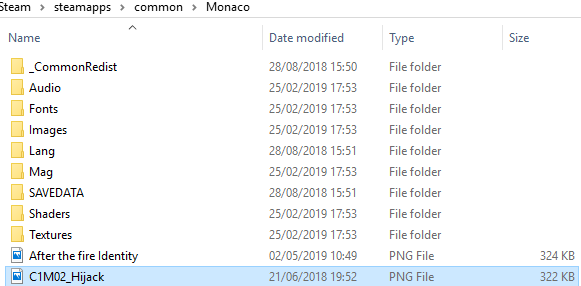

Open the map editor and you should now be able to edit the campaign map you chose.
By default, Monaco is installed in C:\Program Files\Steam\steamapps\common\Monaco.
Open the Textures folder and then the Worlds folder.
There should be 7 folders:
- Campaign_Arenas (PvP maps)
- Campaign_Part1 (The Locksmith's story, Classic)
- Campaign_Part2 (The Pickpocket's story, Classic)
- Campaign_Part3 (Origins)
- Campaign_Part4 (Fin)
- DC1 (The Locksmith's story, Enhanced)
- DC2 (The Pickpocket's story, Enhanced)
Chose the map you would like to edit and copy it.
Go back to Monaco folder, paste the campaign map png here and be sure to rename it to the name of the map you created in Monaco at the start.
Open the map editor and you should now be able to edit the campaign map you chose.
Editing Custom Maps
You can edit custom workshop maps as well!
Open the workshop page of the map, save its sideview(.png) in Monaco folder and rename it to the name of the new map you created at the start..
To save a map's sideview, you can simply drag the image to the destination folder.
Open the workshop page of the map, save its sideview(.png) in Monaco folder and rename it to the name of the new map you created at the start..
To save a map's sideview, you can simply drag the image to the destination folder.
Enjoy!
...you may even find some easter eggs and secrets.
This is my first guide :) I hope it helped.
Any comments or suggestions are welcome!
This is my first guide :) I hope it helped.
Any comments or suggestions are welcome!
More Monaco guides
- Character cheat sheet★ 5 (498)27k views378 ♥3 minUpdated Aug 8, 2021
- Achievements Guide in Monaco: What's Yours is Mine!★ 5 (224)9.5k views243 ♥6 minUpdated Apr 8, 2020
- Monaco 日本人用ガイド★ 5 (534)8.4k views710 ♥2 minJapaneseUpdated Sep 6, 2014
- Editor: A comprehensive guide★ 5 (356)7.9k views432 ♥44 minUpdated Apr 20, 2014
- "Play It Again Sam" Achievement Guide★ 4 (39)4.6k views25 ♥2 minUpdated Dec 25, 2023
- Strategy behind each pickup★ 4 (76)4.3k views71 ♥8 minUpdated Feb 1, 2015


This guide was created by its original author on the Steam Community. Are you the author and want it removed? Request removal.