Main Bus Design
Distance Between Belts
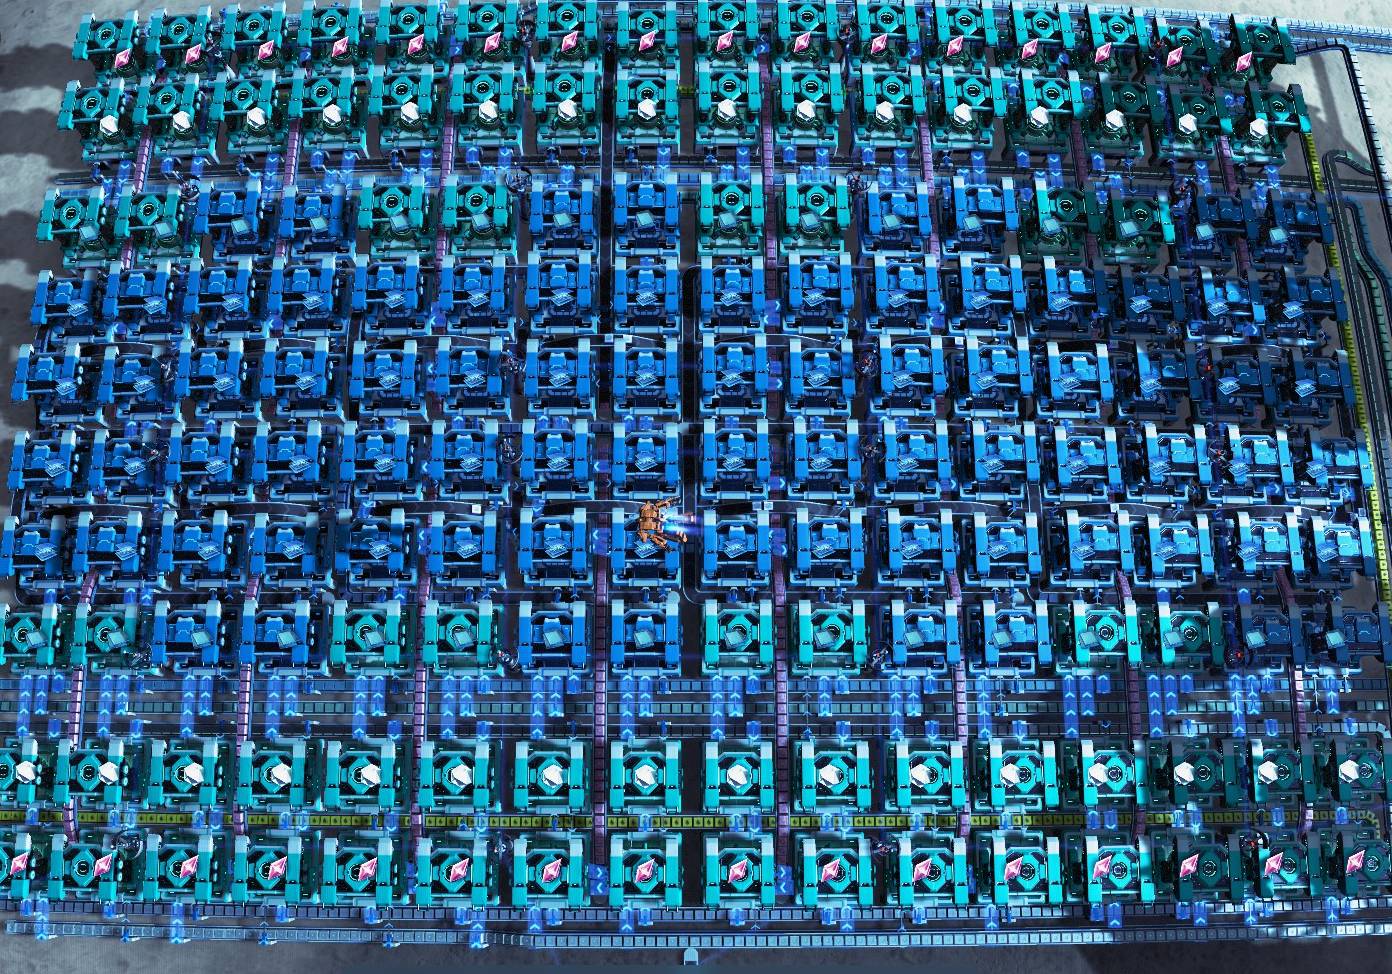
I recommend putting your belts on every 4th line. This is enough room for running belts between splitters, which may be necessary under cramped circumstances.
You could try getting away with every 3rd line, though. If you plan to always have all your factories on one side of the bus, and don't foresee having to randomly belt materials down the length of the bus, then it could certainly work.
I really don't recommend trying every other line. This is too close for splitters to be placed next to each other.
Belt Height
Belt Orientation
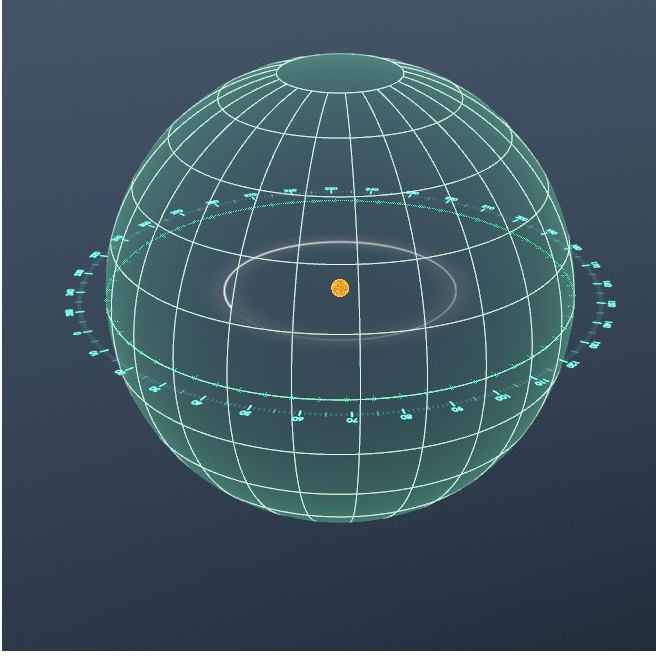
You'll know you're on the equator because it'll be a thick green line.
Splitter Types
Merging Belts
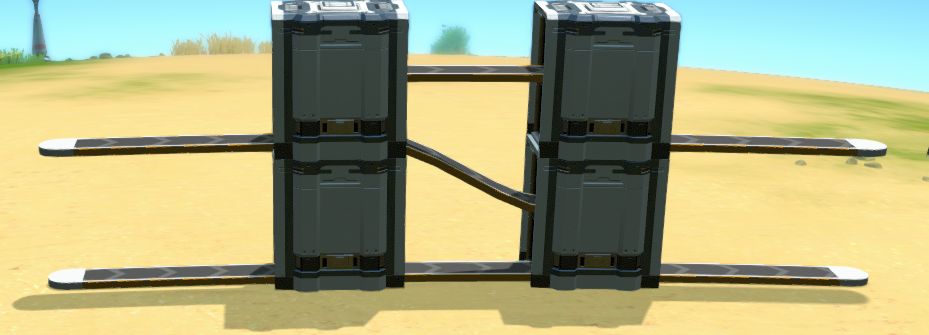
Very simple actually, you just vertically split the belt and it passes through on the level above. Since we're only using the odd levels for our belts, this frees up the even levels for such purposes.
Screenshots
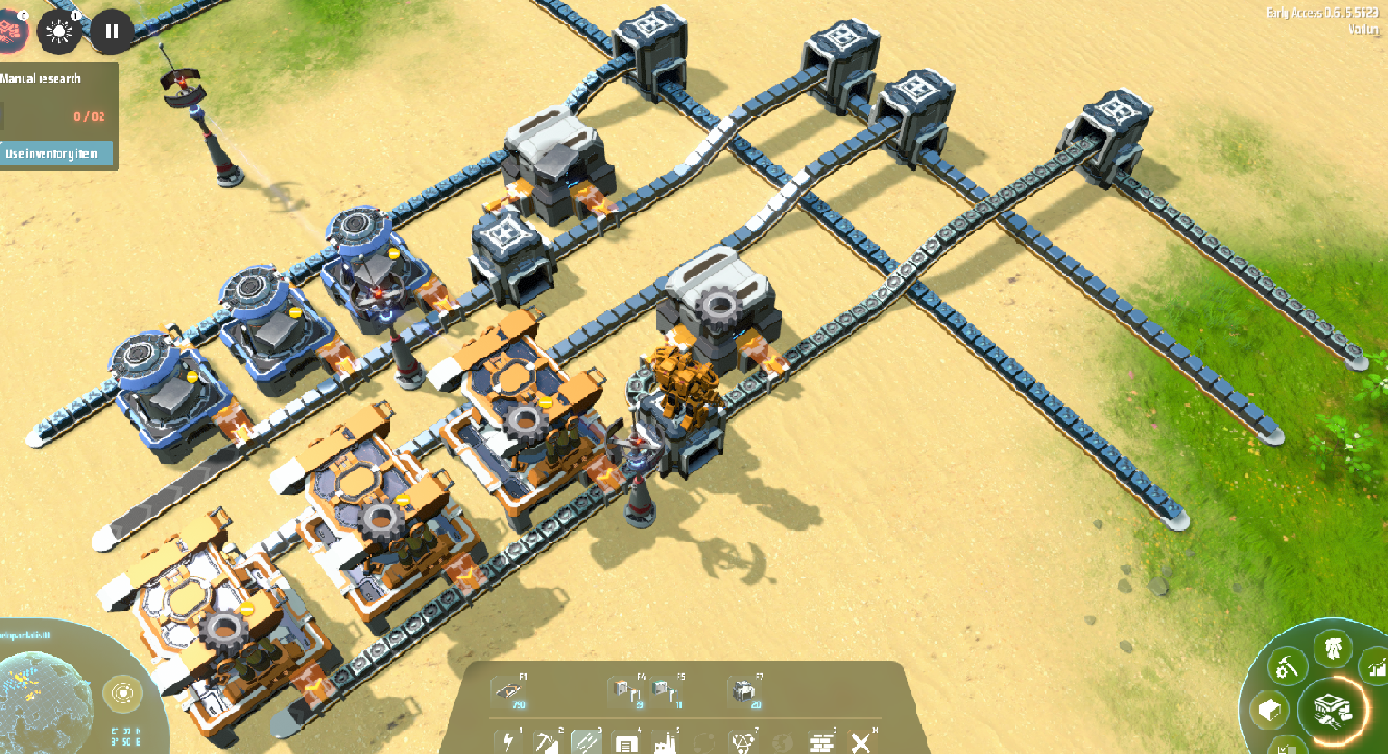
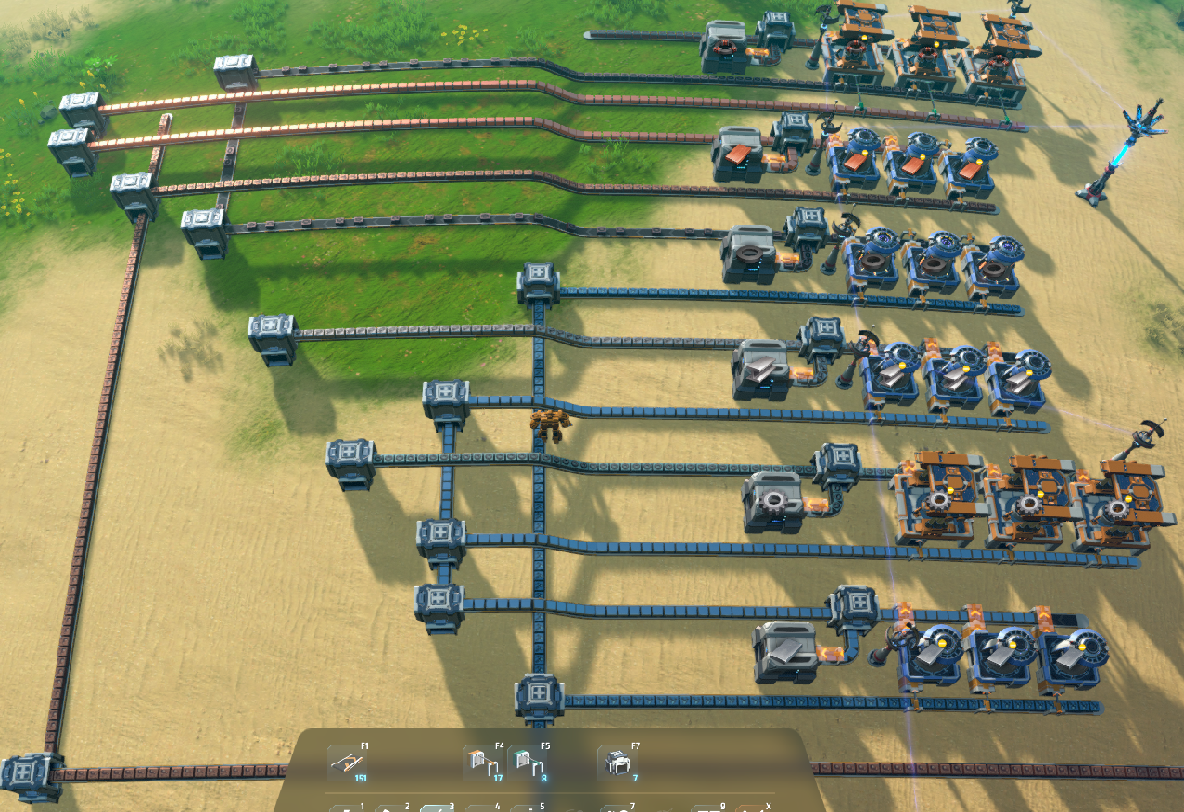
Storage Containers
I wouldn't consider trying to use them in the actual bus line, for a few reasons.
Containers don't have priority settings like splitters do. You will also be limiting the throughput of your line to your sorter speed. And you can't stack containers on splitters or vice versa.
---
They can be used to cleanly change elevations.
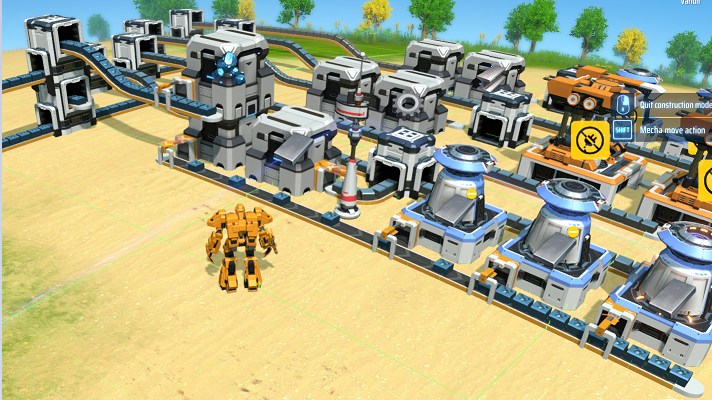
Here you can see an example of using containers to pull resources off a higher level of the bus. If you wanted to do it this way, this could potentially save you from having to push your factory line further away from the bus (because you wouldn't need to use the distance to drop the belt height).
However, I don't recommend doing it this way, explained below.
Primary Belts
For example, if your bus is handling too many iron ingots for one belt, you'll have to use a 2nd belt. And let's say you are pulling iron ingots from the bus to make gears in one factory, and steel in another, in that order. So after your ingots pass the gear factory (reducing the fullness of the belt), merge the upper belt down to fill it up again.
Design Feedback & Closing Comments
I hope this was helpful! Don't forget to rate the guide! :)
- Dyson Sphere Program Production Chain Layouts★ 5 (1.2k)58k views2.8k ♥29 minUpdated 17 Dec, 2023
- Dyson sphere design and construction★ 5 (334)35k views761 ♥39 minUpdated 6 Feb
- Pre-planetary logistics: An organization method for starters, circular belts and sorter dynamics★ 5 (741)34k views2k ♥26 minUpdated 19 Mar, 2021
- A Set of Basic Factory Blueprints★ 5 (403)29k views1.1k ♥5 minUpdated 15 Sep, 2024
- Basic Basics★ 5 (322)29k views529 ♥8 minUpdated 25 Dec, 2022
- Plots - An orderly, flexible, resilient approach to planetary organization★ 5 (331)24k views719 ♥23 minUpdated 10 Jan, 2024


- Upgrading to PremiumTeam Fortress 2★ 5 (20k)1441k views11k ♥6 minUpdated May 11, 2022
- No More Room in Hell Official ManualNo More Room in Hell★ 5 (2.8k)569k views2.1k ♥29 minUpdated Apr 22, 2019
- NMRiH Community Hosting GuidesNo More Room in Hell★ 5 (526)351k views653 ♥1 minUpdated Aug 10, 2022
- How to 'Git Gud' Soon™MORDHAU★ 5 (2k)318k views3k ♥68 minUpdated Nov 16, 2024
- Лучшие кооперативные игры SteamPAYDAY 2★ 5 (1.5k)315k views2.1k ♥56 minRussianUpdated Apr 27, 2025
- Desert Eagle Heat Treated | Blue GemCounter-Strike 2★ 5 (1.6k)292k views1.5k ♥2 minUpdated Jan 16





This guide was created by its original author on the Steam Community. Are you the author and want it removed? Request removal.