Map Secrets Part 1: A-Boowalk_2018
Intro
To provide a single and complete guide of secrets, I have included all nmo maps from previous secrets guides, credited the original authors and linked their works. I have removed references to deleted guides
For better loading and scrolling, guide parts increased from 4 to 8. Letter b nmo maps are broken into 2 guide parts. All guide parts have a links section that has the previous and/or next part
If you like this guide, give it an upvote (thumbs up) above. Add it your favorites and it's easier to find in the guides section
For better loading and scrolling, guide parts increased from 4 to 8. Letter b nmo maps are broken into 2 guide parts. All guide parts have a links section that has the previous and/or next part
If you like this guide, give it an upvote (thumbs up) above. Add it your favorites and it's easier to find in the guides section
nmo_2012_t1_3
For this opening secret to work, you need to spawn in the middle area at start and activate the secret before you leave the area


Press e on the left rune (it will sink in), and then the right one. Then the runes behind you will sink in revealing a crystal and a few supplies

Break the crystal for a custom trail
The other secret here will only appear if the street area is blocked to the left side


Go through the tunnel and then break the glass on this building and jump up to the chainsaw and fuel. If the street opened to the left side, you can come here but the glass will be unbreakable and there will be no items
Not exactly a secret, but 2012 is not broken. Due to the lack of translation, many players cannot get the street event to start

Gather the full team inside the building. You will need all players, meaning you will need to get nmrih players to listen - easier with some teams than others. The objective will change once everyone is inside

Then leave the building and hold e on the woodpile near the weapon box

Now return to the building and gather the team there again. The doors will close when everyone gets inside


Hold e on the doors to place the wood from the woodpile. Now survive the event
Press e on the left rune (it will sink in), and then the right one. Then the runes behind you will sink in revealing a crystal and a few supplies
Break the crystal for a custom trail
The other secret here will only appear if the street area is blocked to the left side
Go through the tunnel and then break the glass on this building and jump up to the chainsaw and fuel. If the street opened to the left side, you can come here but the glass will be unbreakable and there will be no items
Not exactly a secret, but 2012 is not broken. Due to the lack of translation, many players cannot get the street event to start
Gather the full team inside the building. You will need all players, meaning you will need to get nmrih players to listen - easier with some teams than others. The objective will change once everyone is inside
Then leave the building and hold e on the woodpile near the weapon box
Now return to the building and gather the team there again. The doors will close when everyone gets inside
Hold e on the doors to place the wood from the woodpile. Now survive the event
nmo_2049_v5
Map has 2 stages, very hard extractions. No fall damage and drops teleport. Drop special machete to interact with objects
Developer rooms
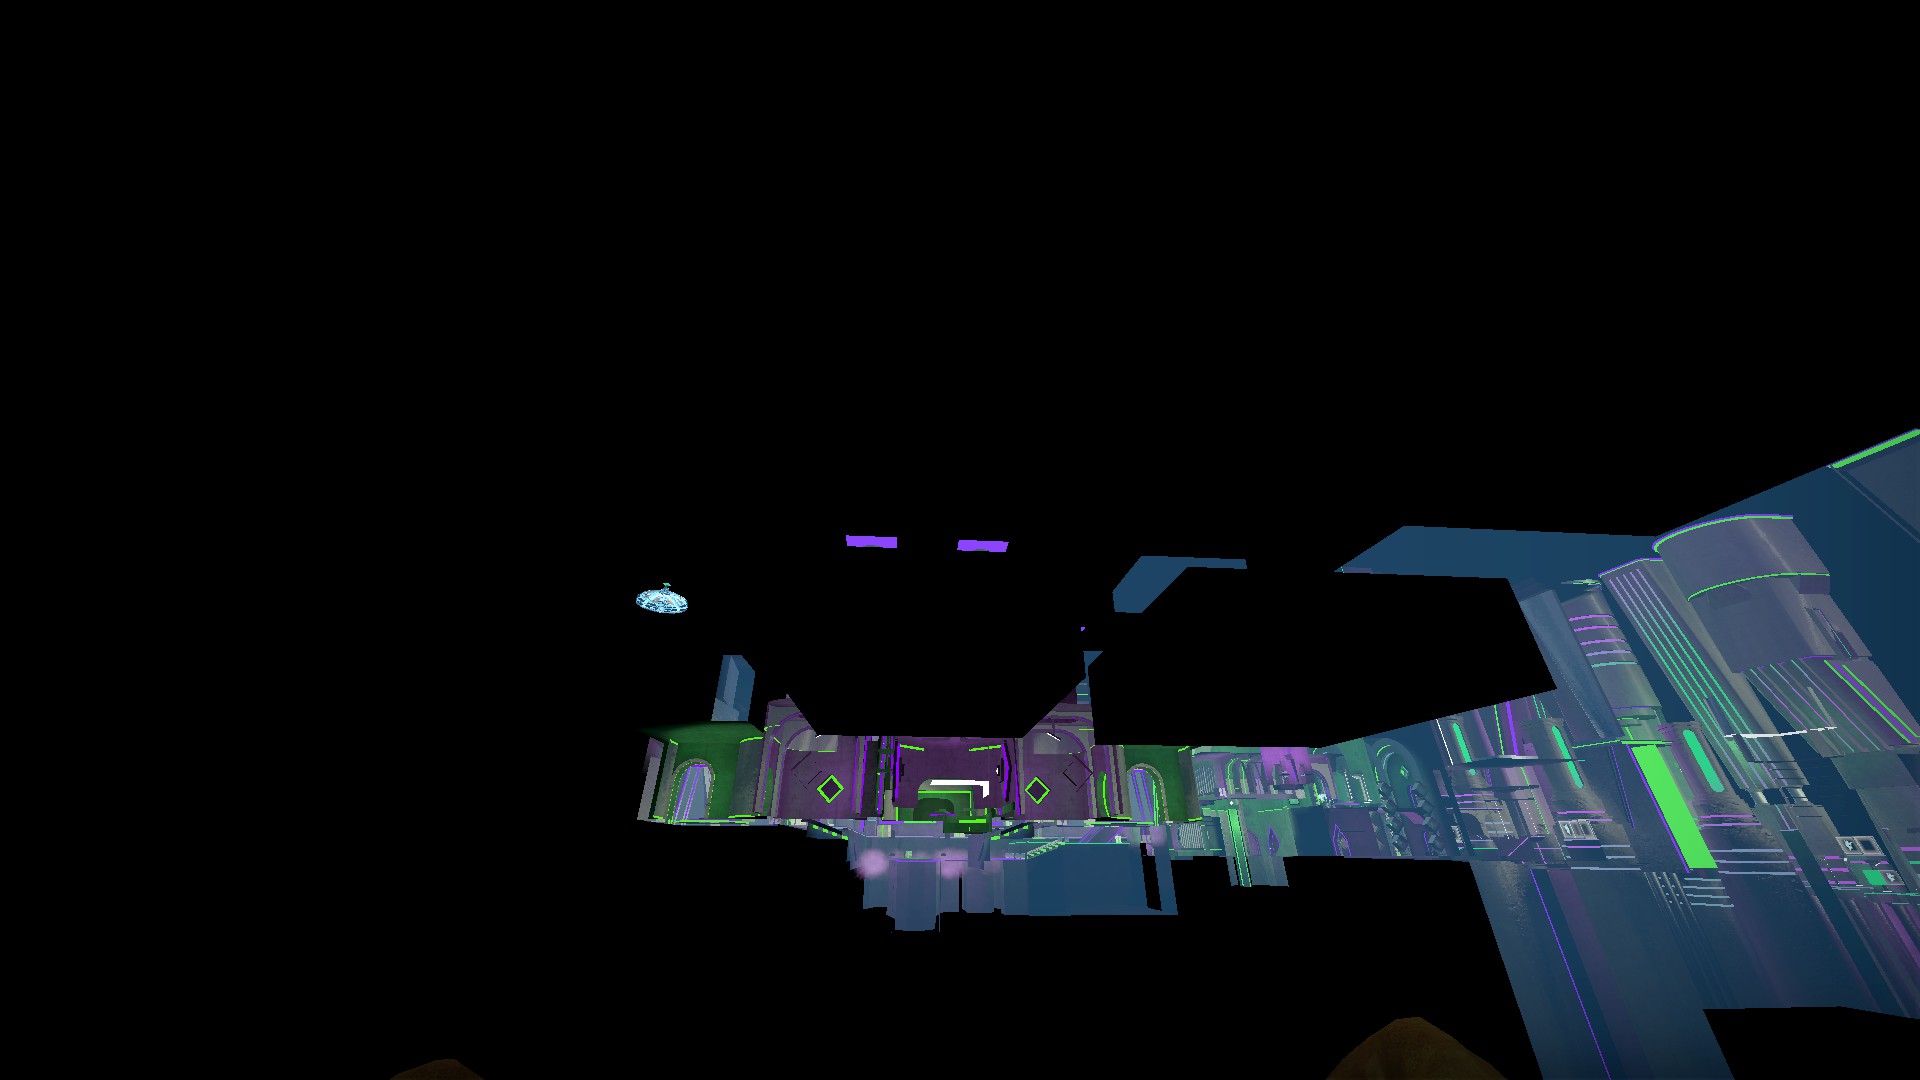
These 2 dark rooms can be found by noclipping back from the starting area. They are totally dark and best seen against the brighter map. No buttons here, just clip into the rooms to move stages. Enter the room on the left and stay there for a few seconds to be extracted and start on stage 2. Enter the room on the right to be immediately returned to the start of stage 1
Tetrahedron machete


Look slightly down and press e to use. Creates a pyramid in front of you that freezes zombies and players inside for 10 seconds. 90 second recharge
Icosahedron machete


Look slightly down and press e to use. Fires a yellow bolt forward that does a little damage to zombies. It can kill crawlers and children in 1 shot, but will need 3-4 hits for normal zombies. 3 second recharge
Blue flame machete


Summons a robot that fires a blue laser directly forward that lasts 5 seconds and kills all zombies that it contacts. 60 second recharge time
Healing machete


Found only on stage 2. Heals you and nearby players by up to 85hp over 9 seconds. The healing effect does not move with you. 120 second recharge
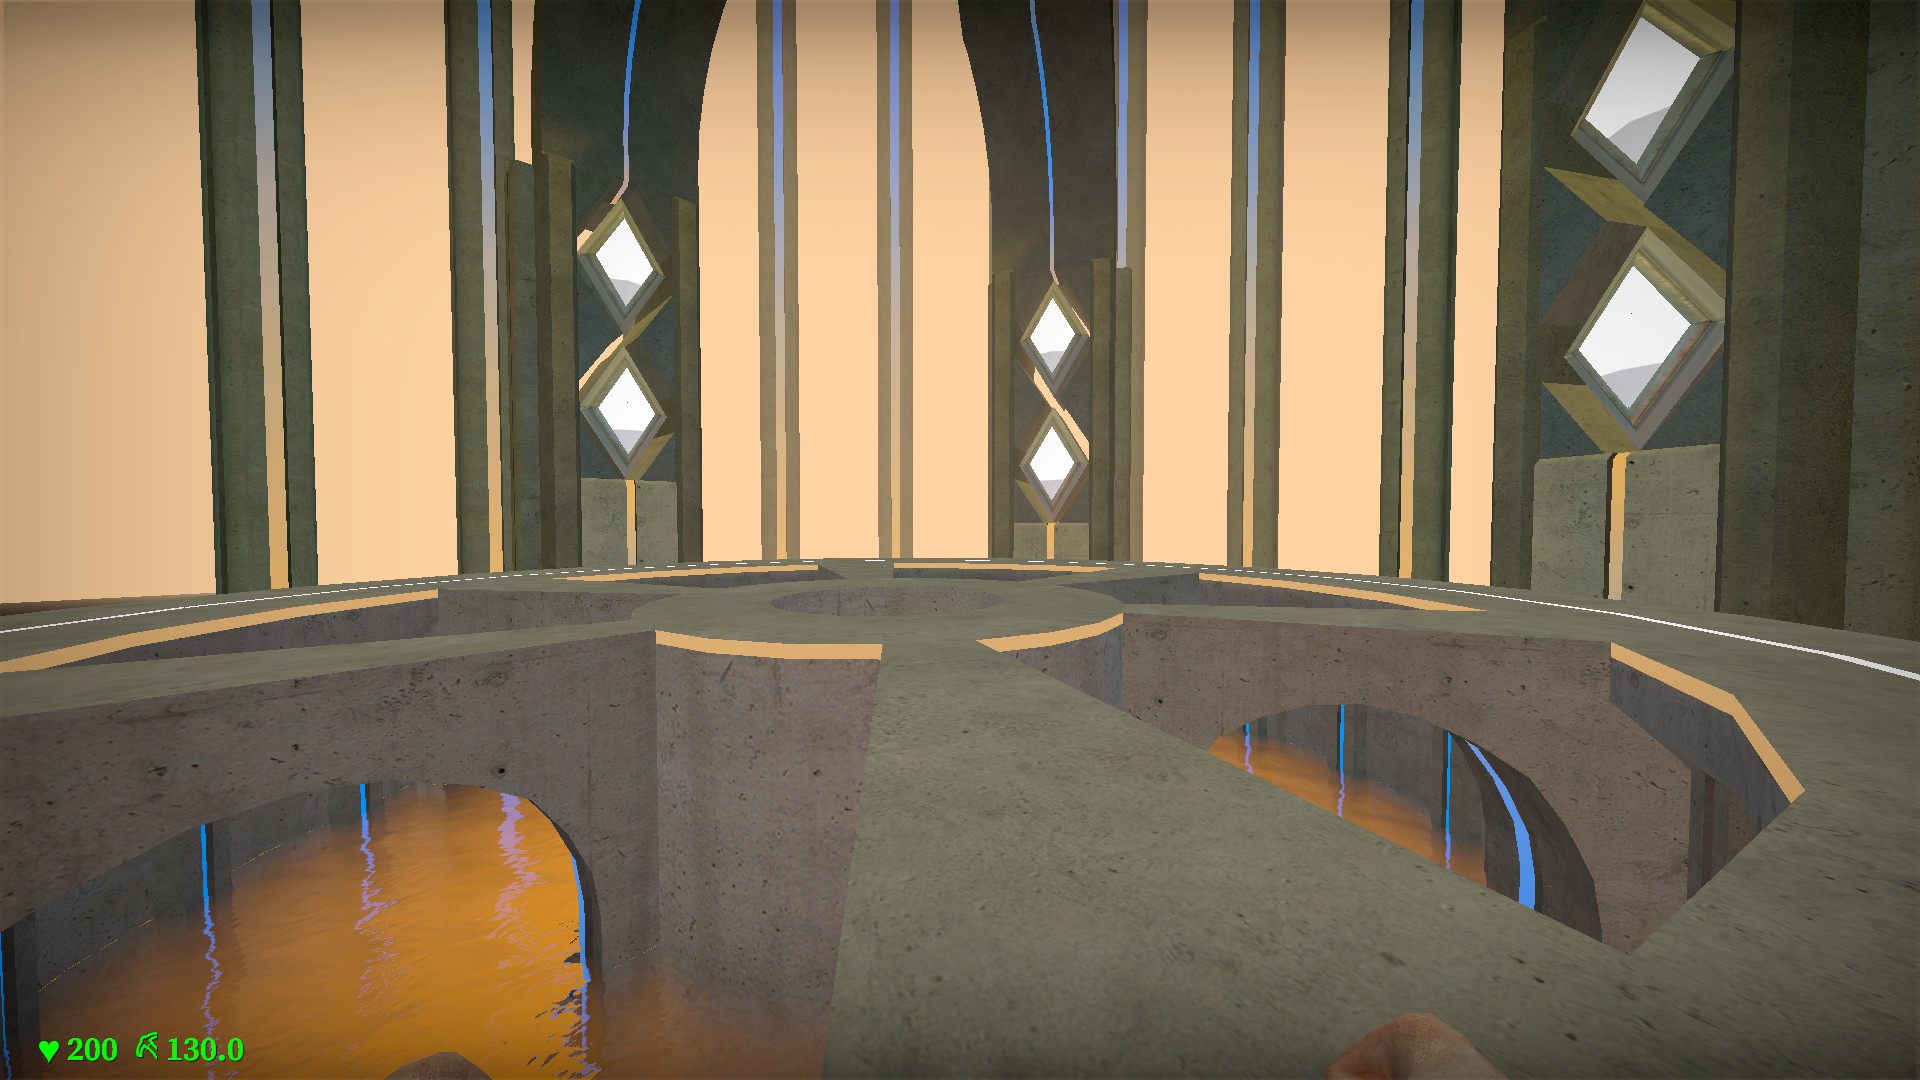
Wait to use the machete until after the boss fight starts. At the start of the boss fight your base hp will be increased to 200
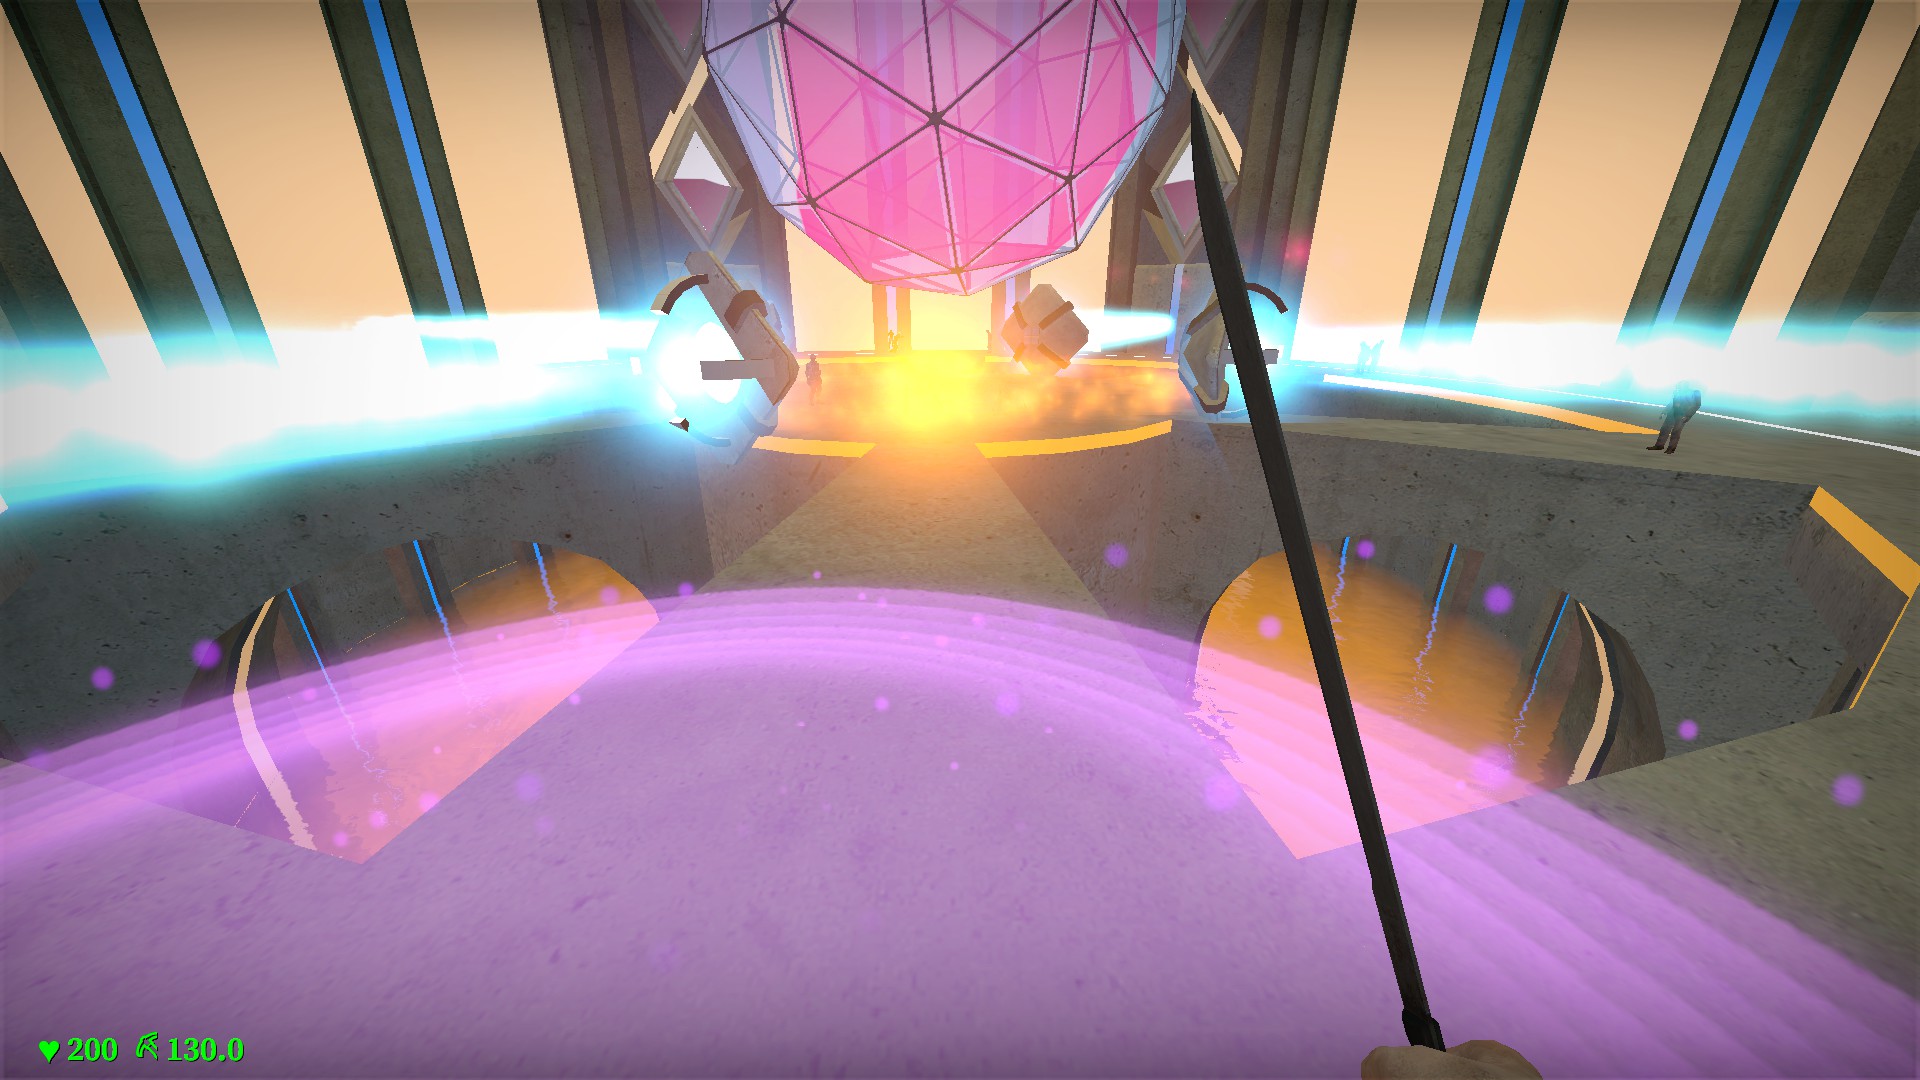
This new base is heal-able with the machete and medkits
Developer rooms
These 2 dark rooms can be found by noclipping back from the starting area. They are totally dark and best seen against the brighter map. No buttons here, just clip into the rooms to move stages. Enter the room on the left and stay there for a few seconds to be extracted and start on stage 2. Enter the room on the right to be immediately returned to the start of stage 1
Tetrahedron machete
Look slightly down and press e to use. Creates a pyramid in front of you that freezes zombies and players inside for 10 seconds. 90 second recharge
Icosahedron machete
Look slightly down and press e to use. Fires a yellow bolt forward that does a little damage to zombies. It can kill crawlers and children in 1 shot, but will need 3-4 hits for normal zombies. 3 second recharge
Blue flame machete
Summons a robot that fires a blue laser directly forward that lasts 5 seconds and kills all zombies that it contacts. 60 second recharge time
Healing machete
Found only on stage 2. Heals you and nearby players by up to 85hp over 9 seconds. The healing effect does not move with you. 120 second recharge
Wait to use the machete until after the boss fight starts. At the start of the boss fight your base hp will be increased to 200
This new base is heal-able with the machete and medkits
nmo_9circlesofhell_1-3_ep1_v2

3rd circle house: interact with the yellow book to gain access to the attic

Use the blue barrel to block off the cafe entrance for a much easier ending event. Use a box from the house or gas station where the barrel is usually placed. You can block the cafe with boxes, but they are breakable
nmo_a_map
First shed
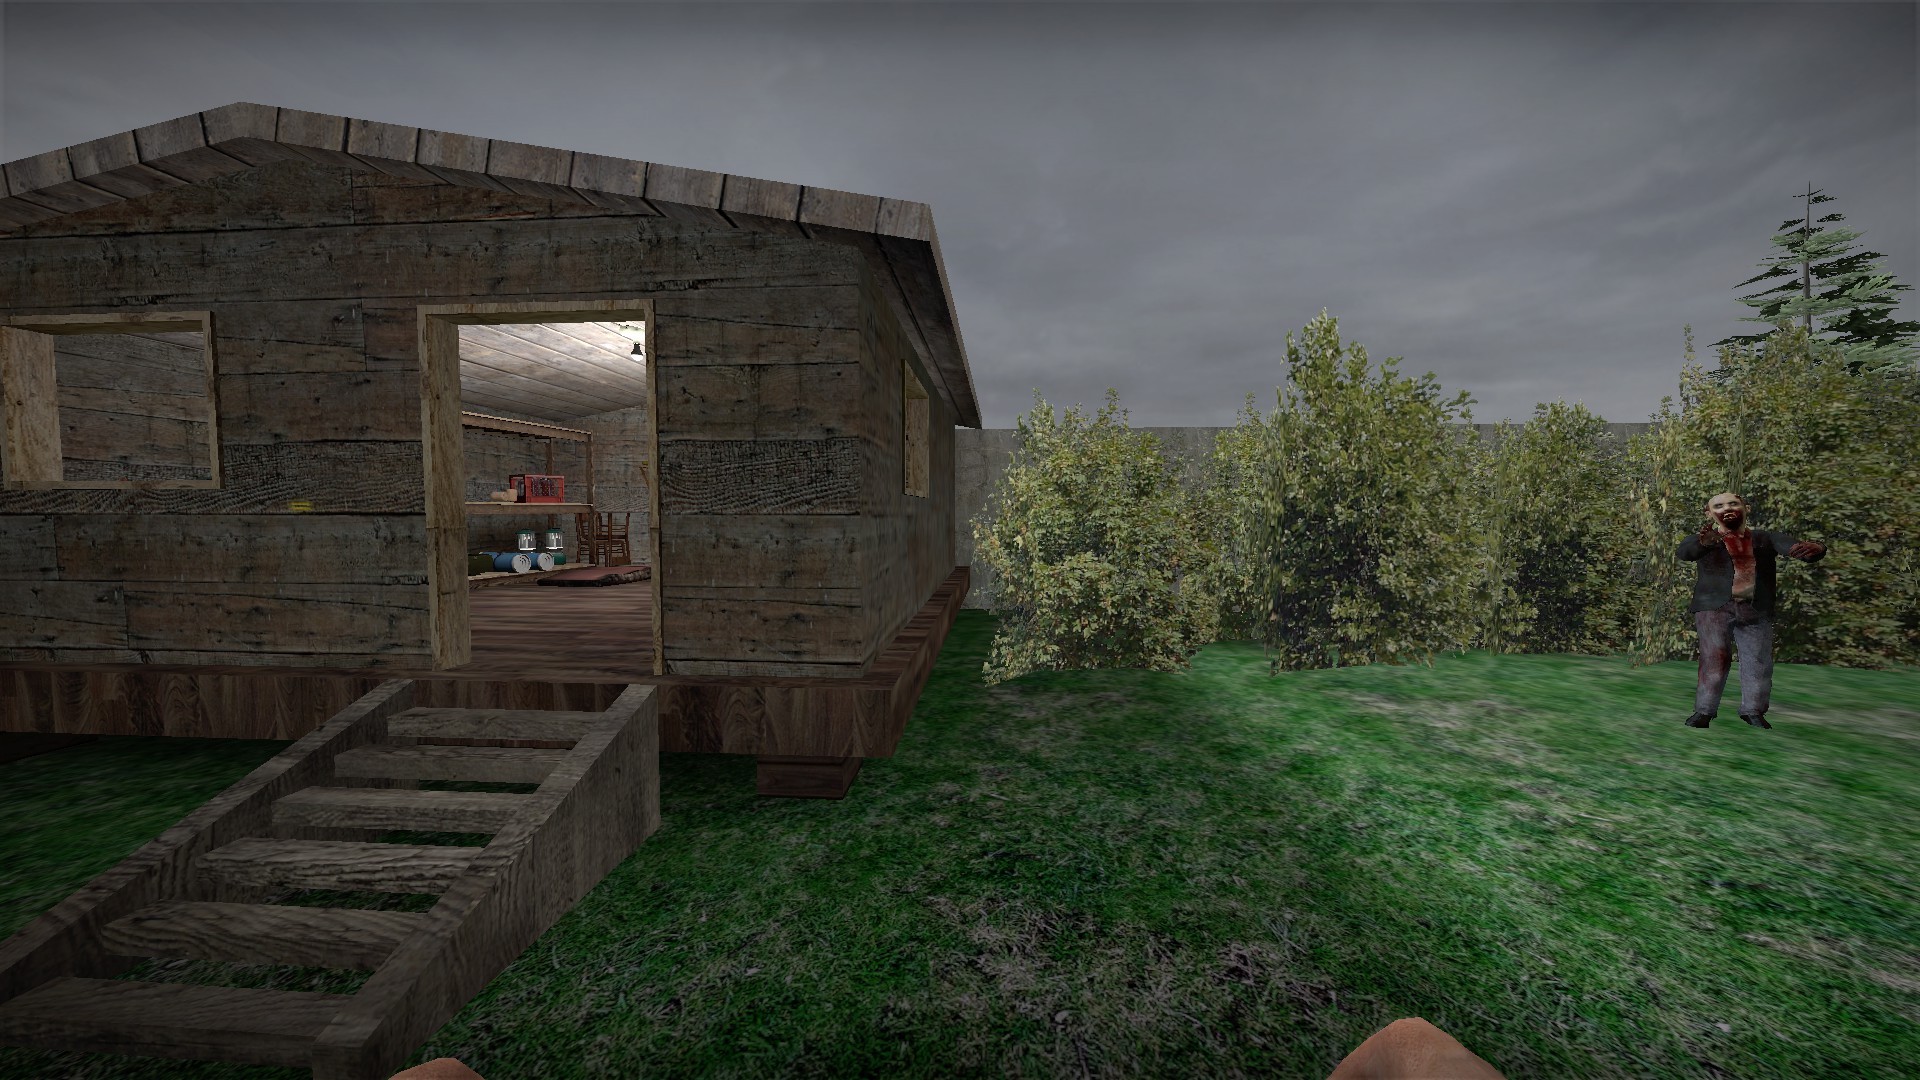
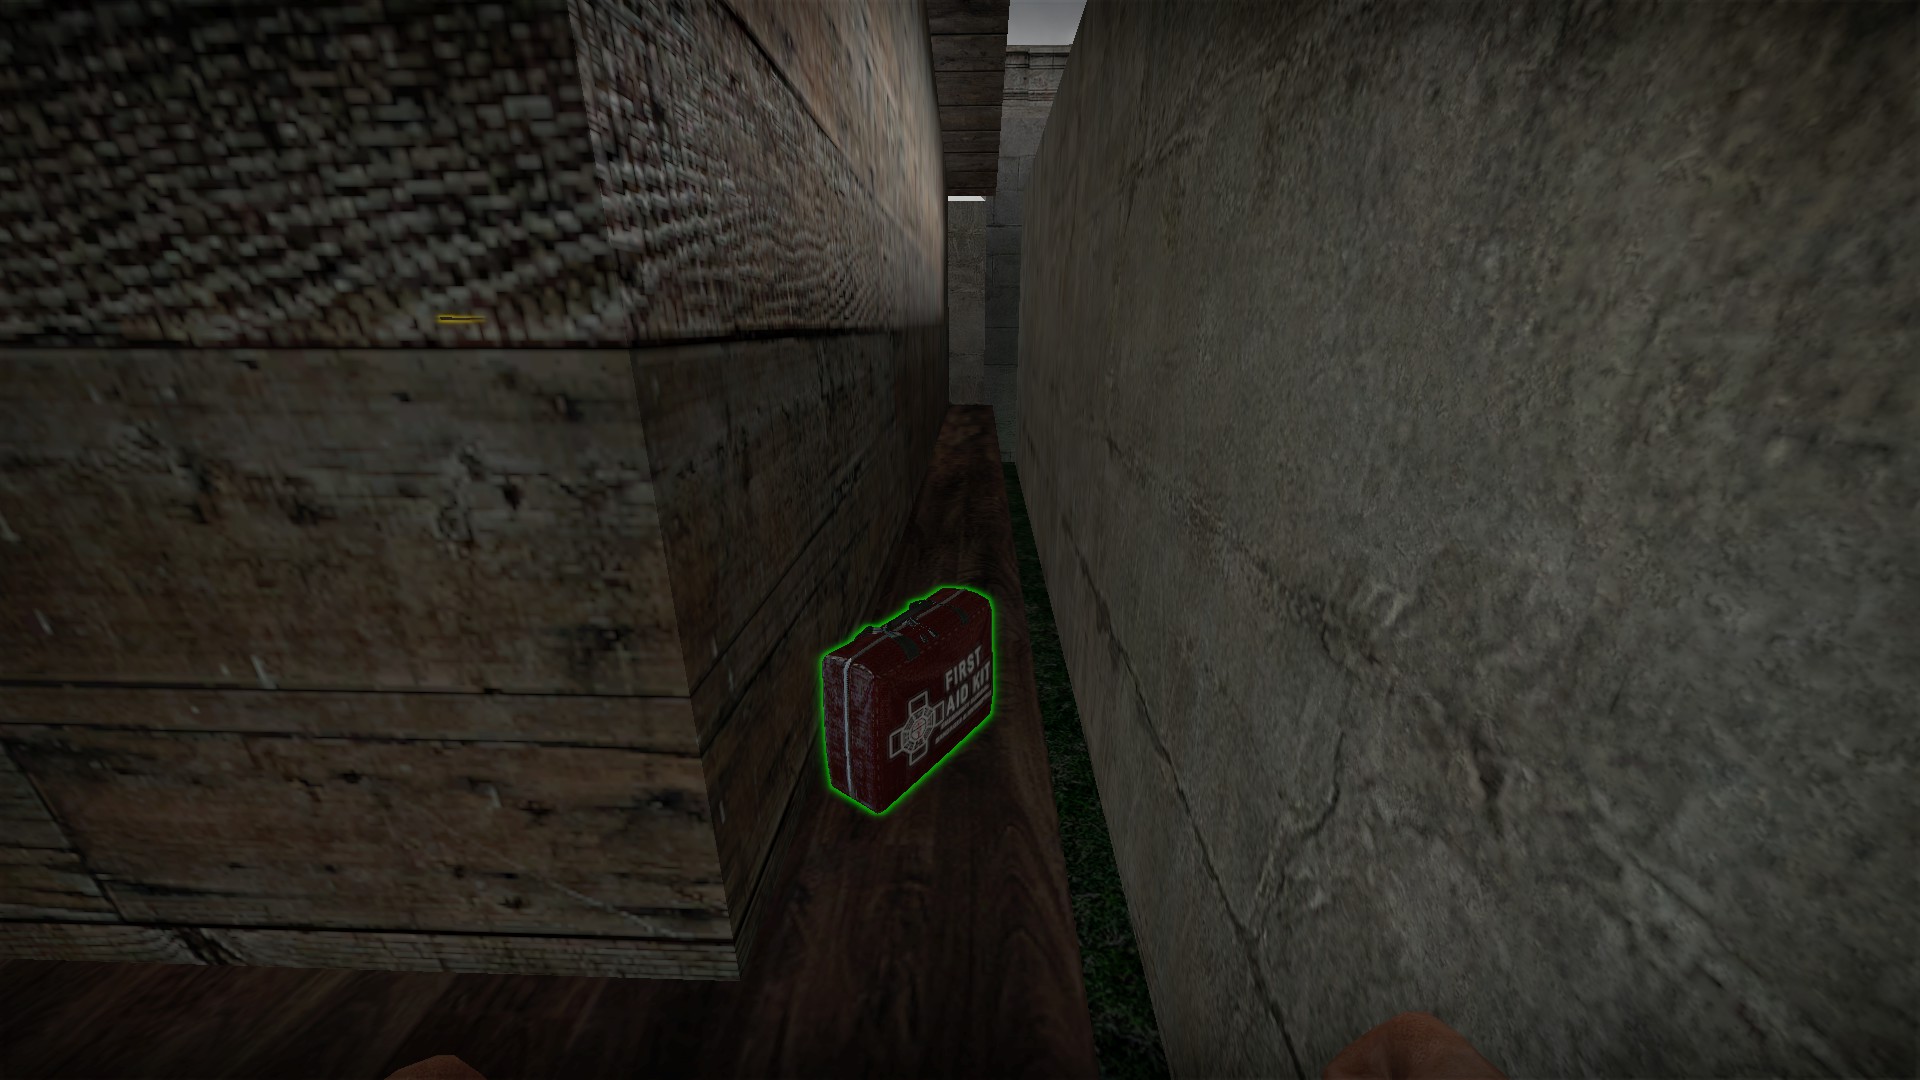
Squeeze between the first shed and the bushes for a medkit behind the shed
Bucket
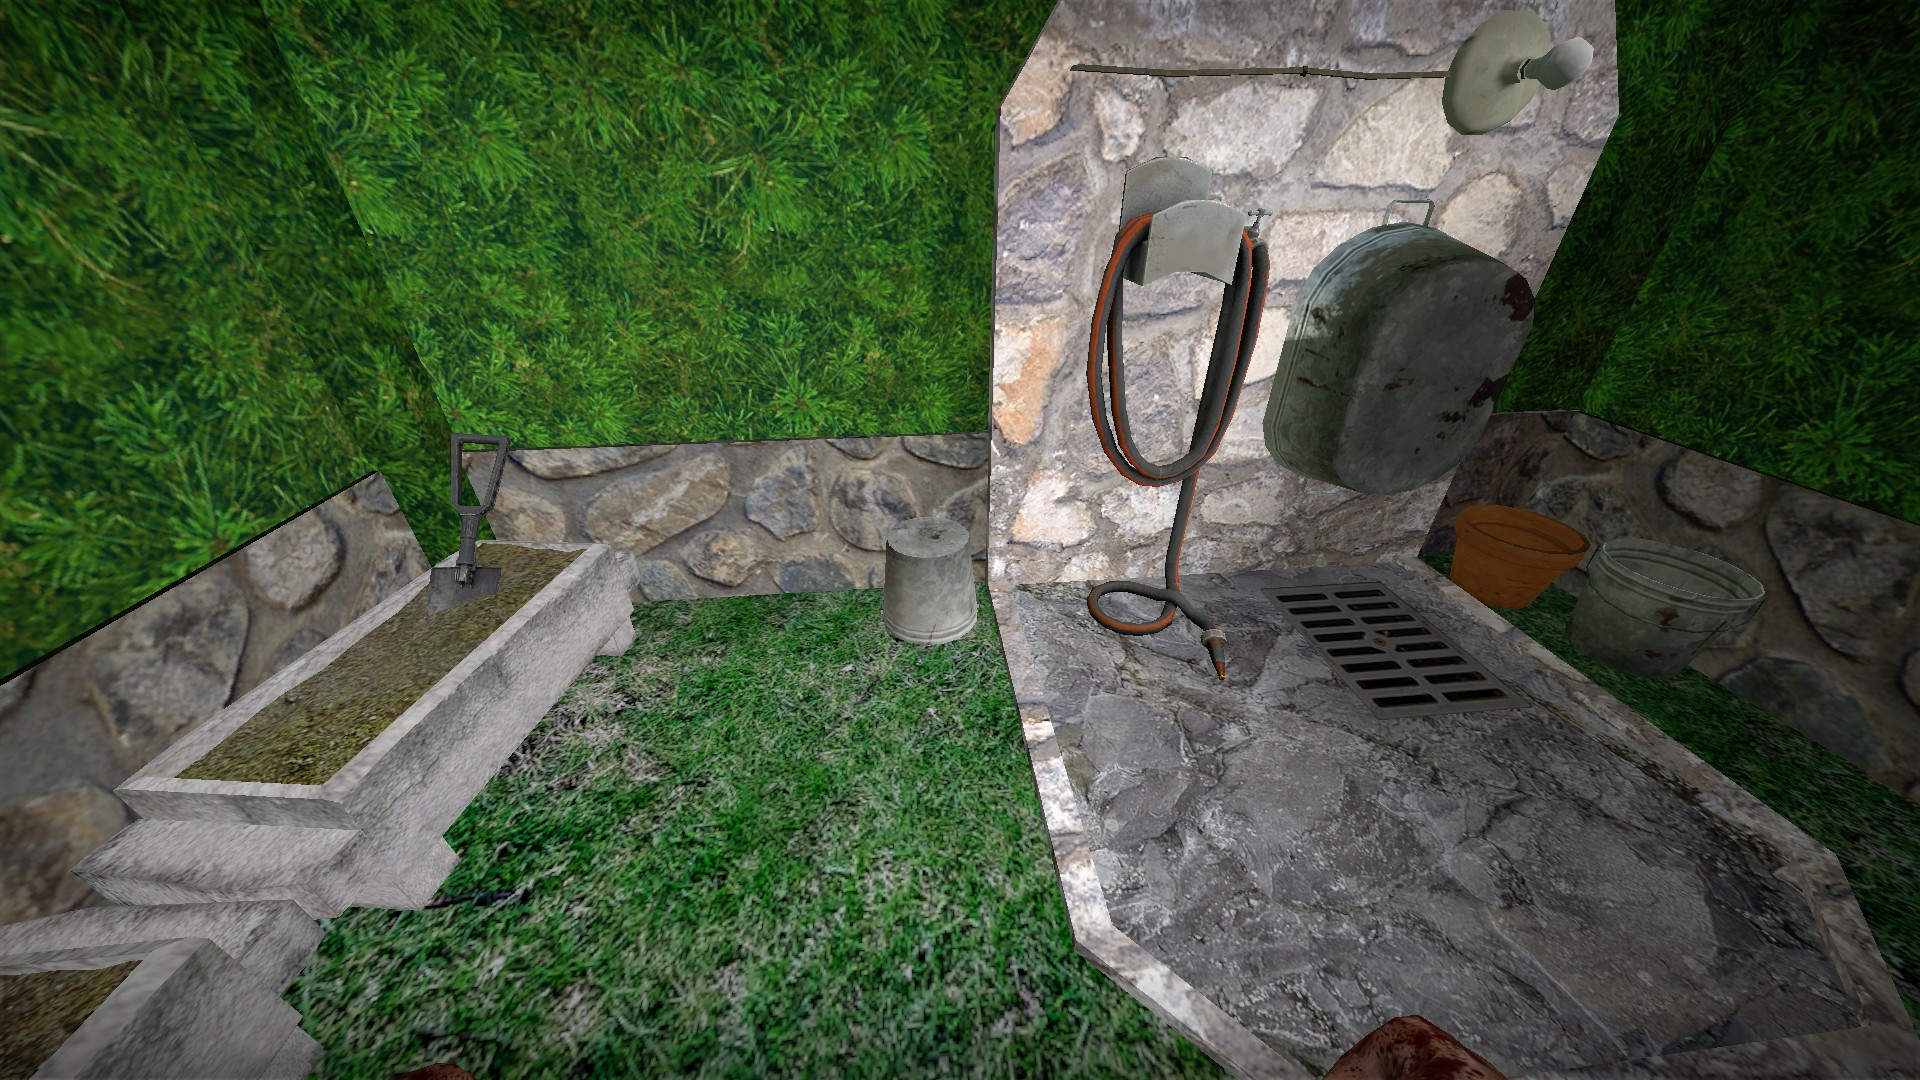
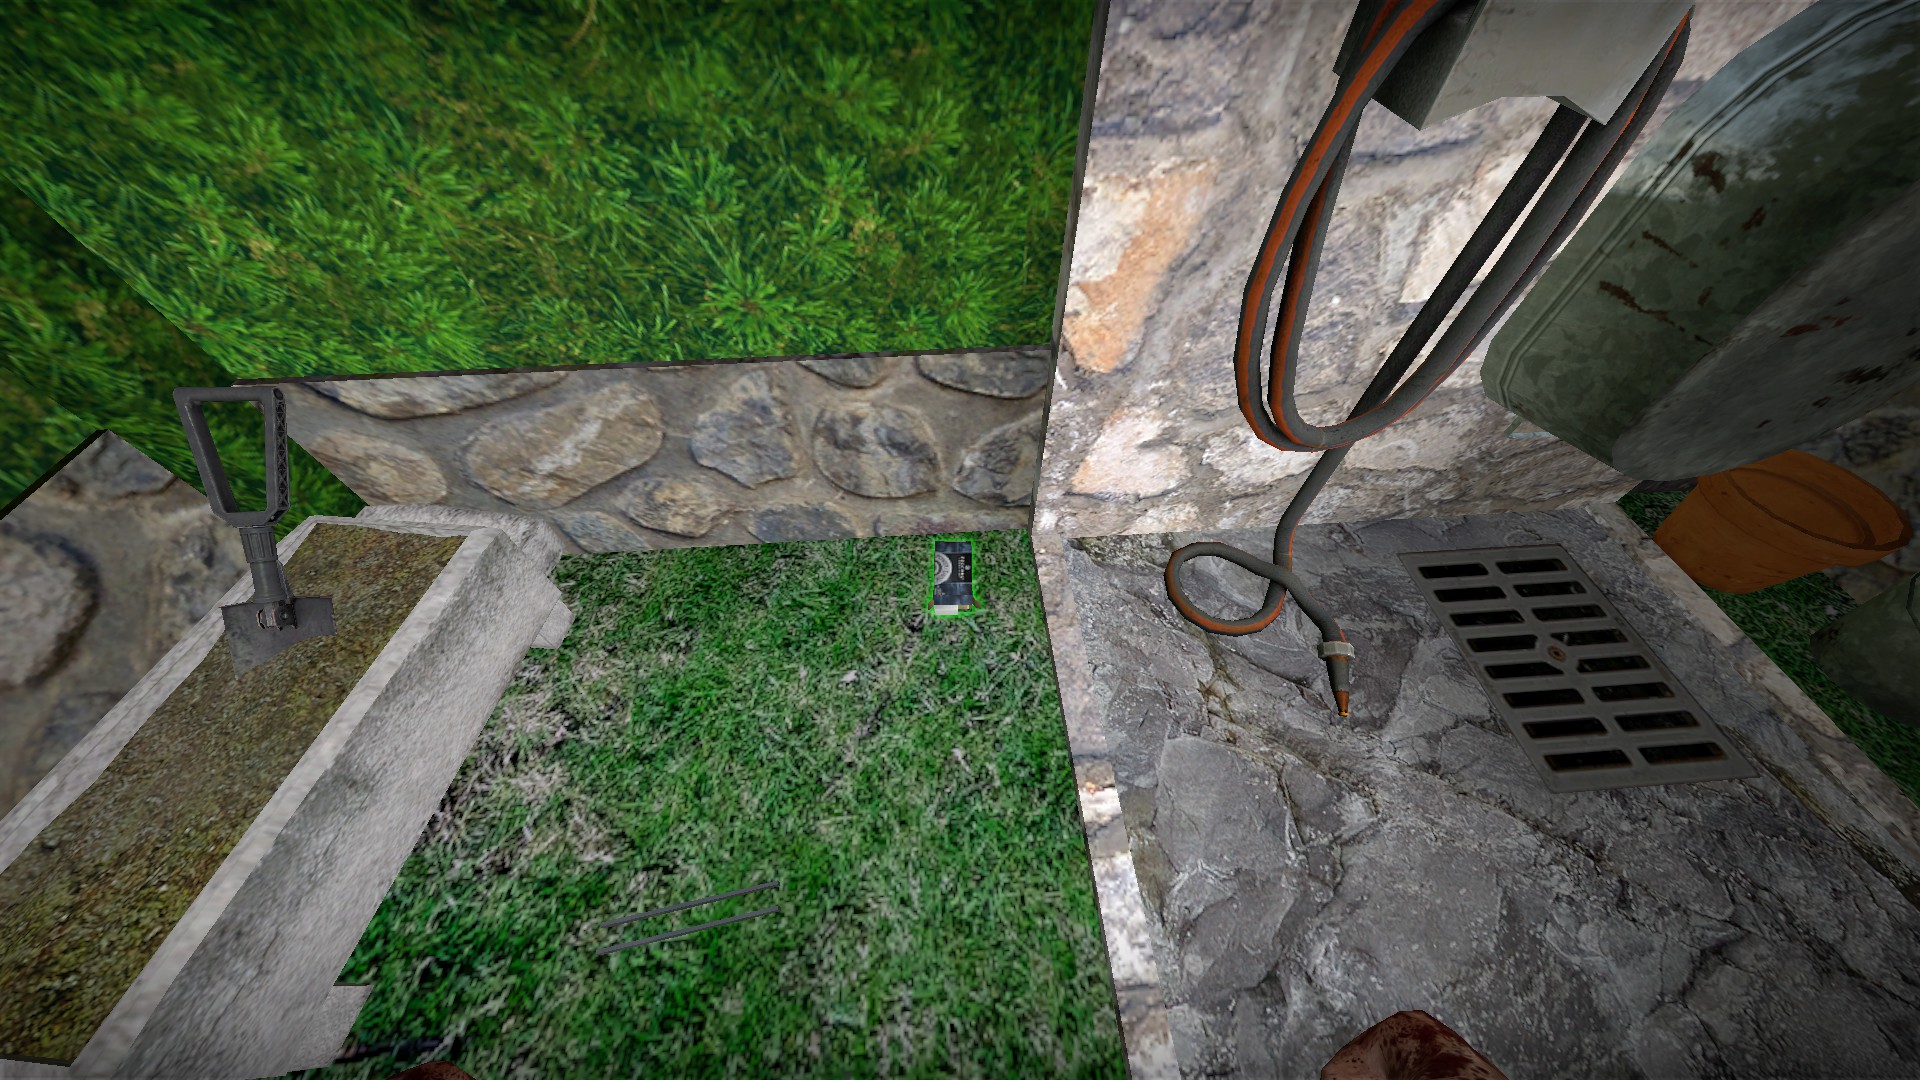
Break the bucket near the hose for some .308 ammo (sometimes)
Sack lunch
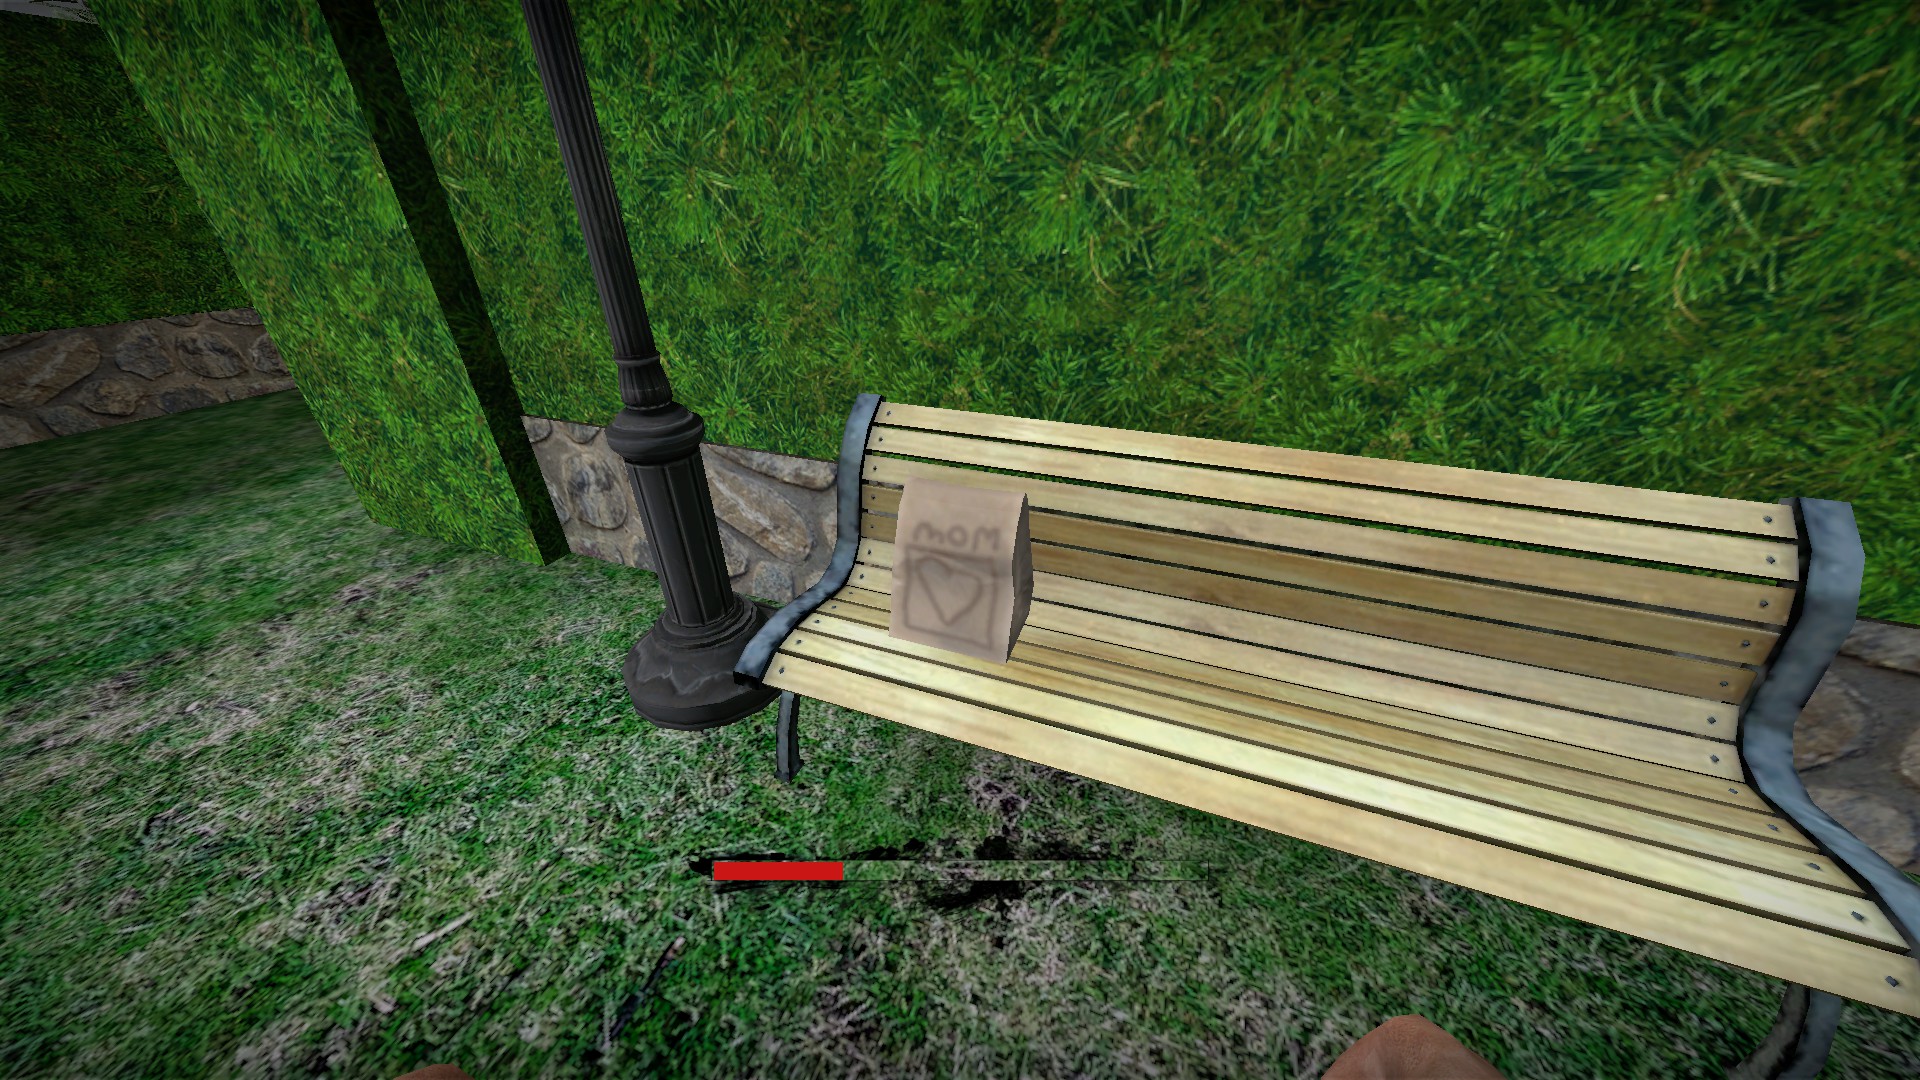
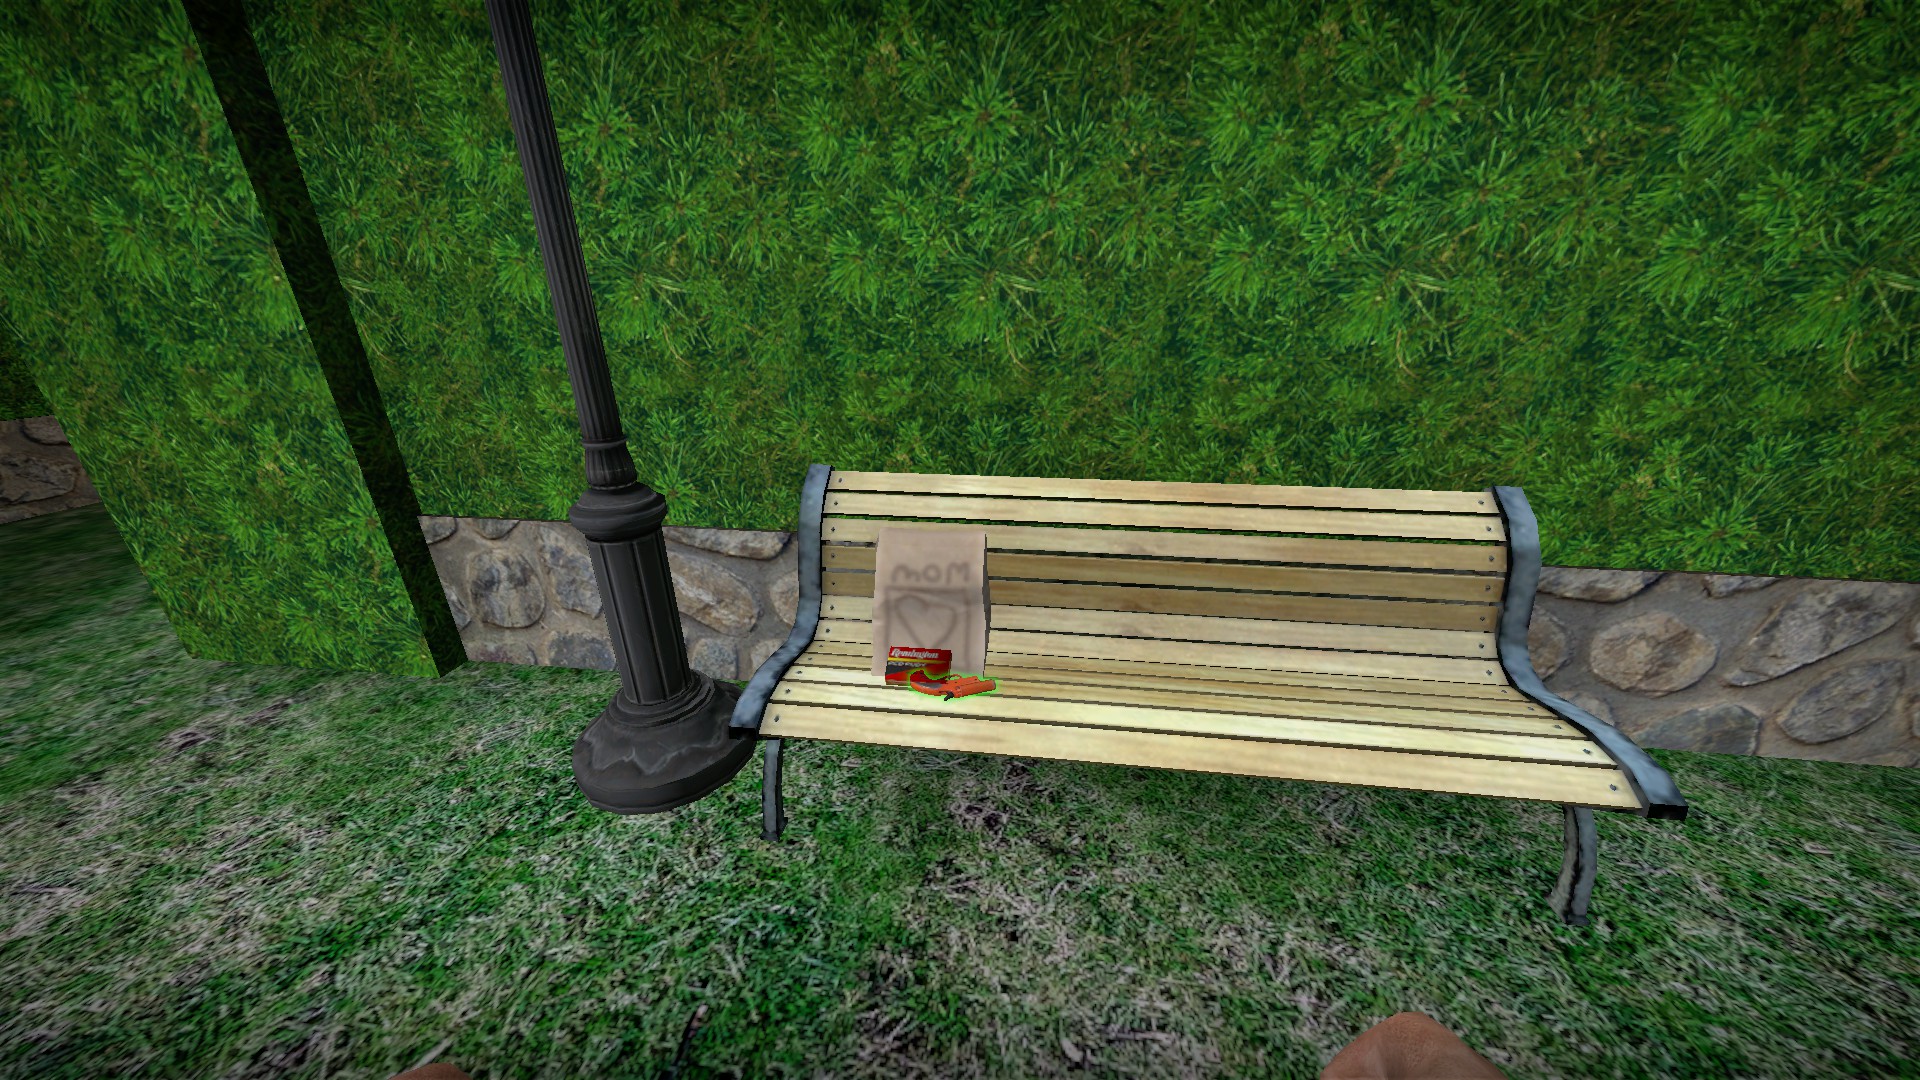
Hold e on the sack lunch for a flare gun and ammo
Hula doll
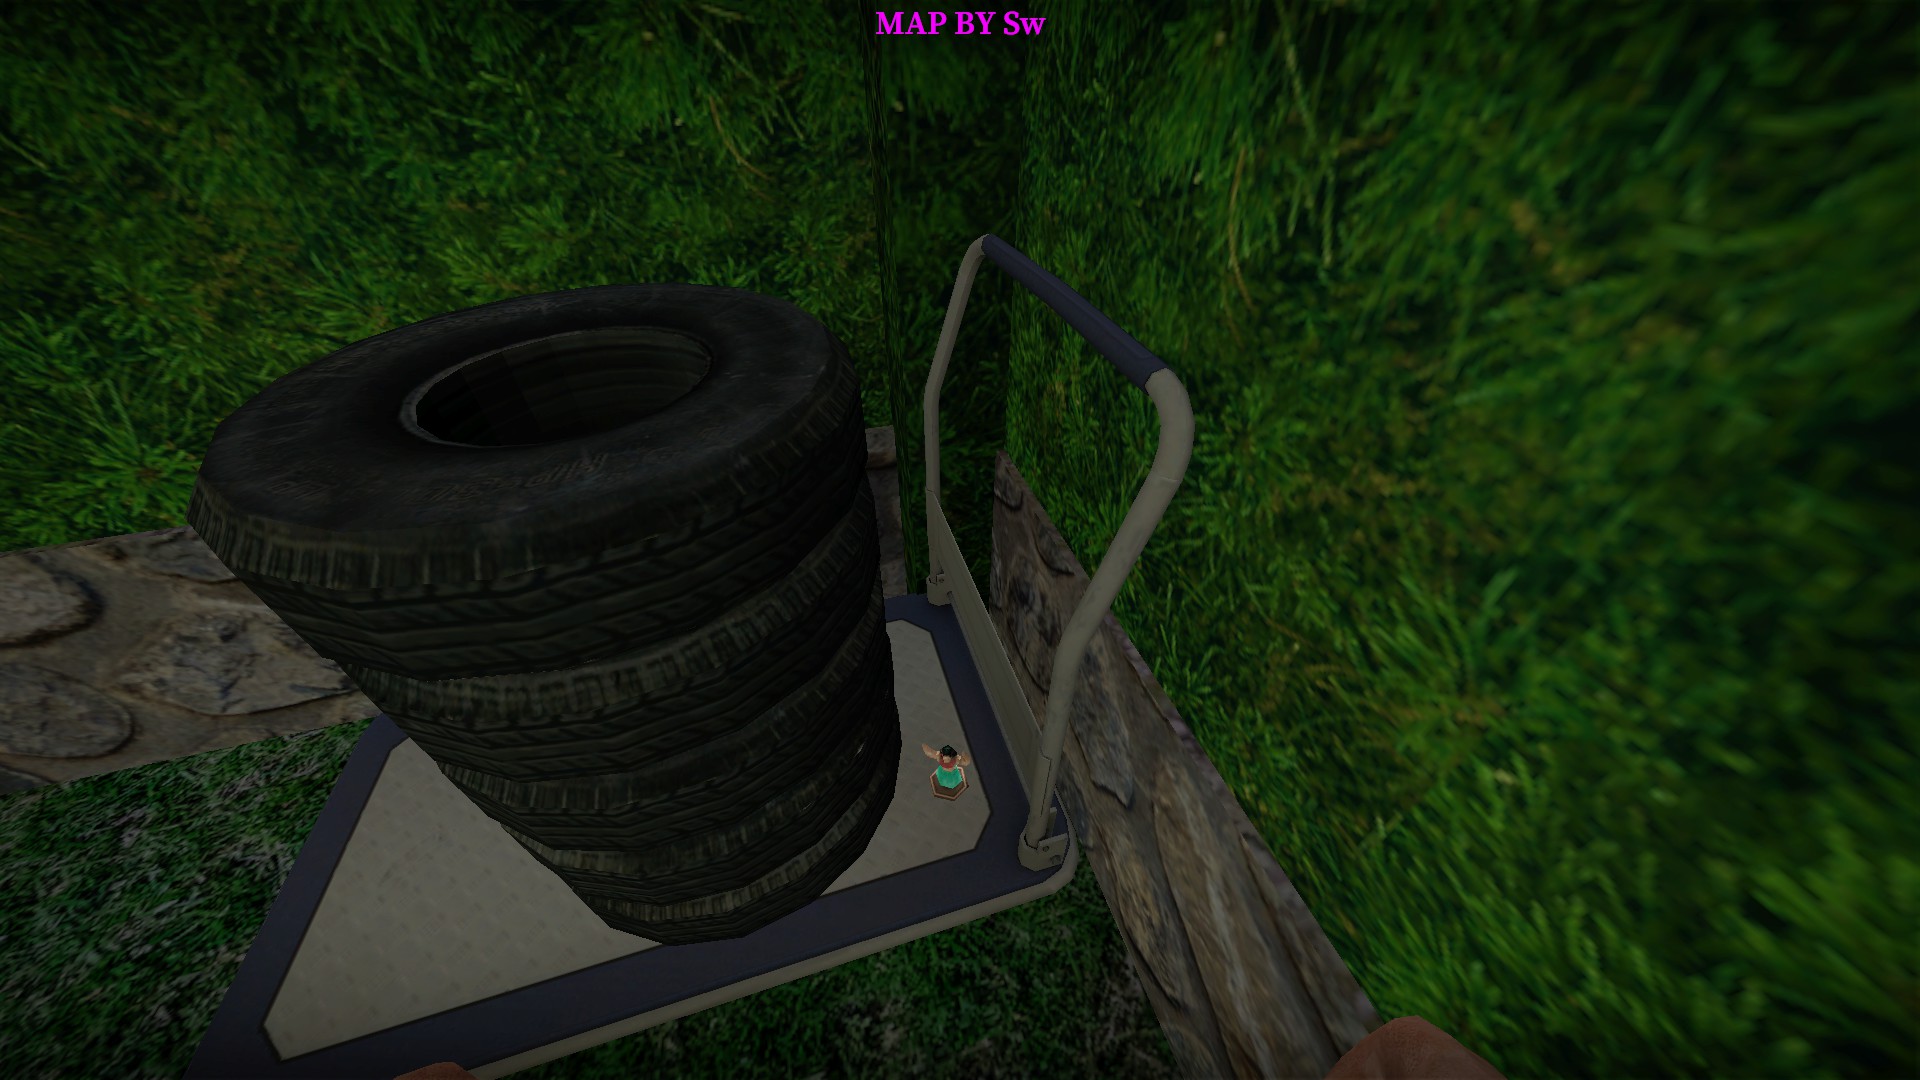
Press e on the hula doll for a quick Easter egg message: Map by Sw
Green key crate in second shed
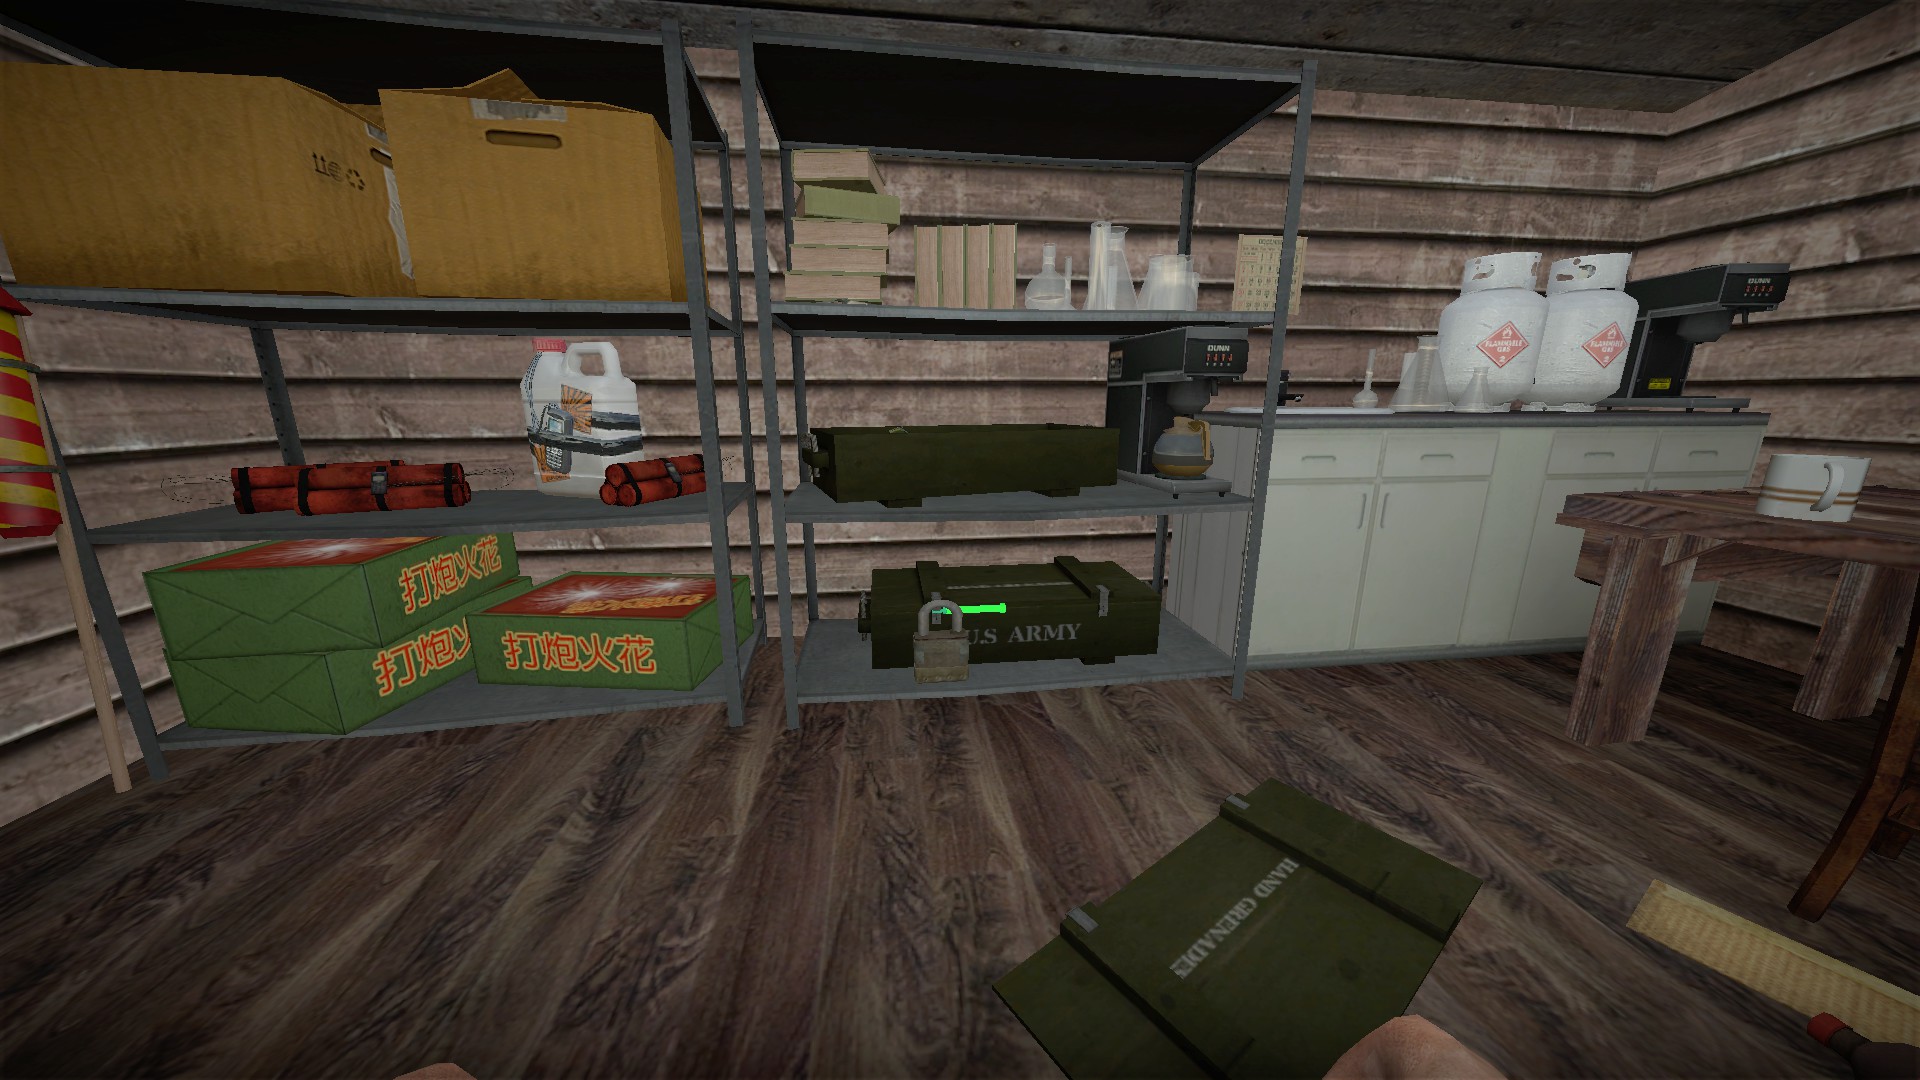
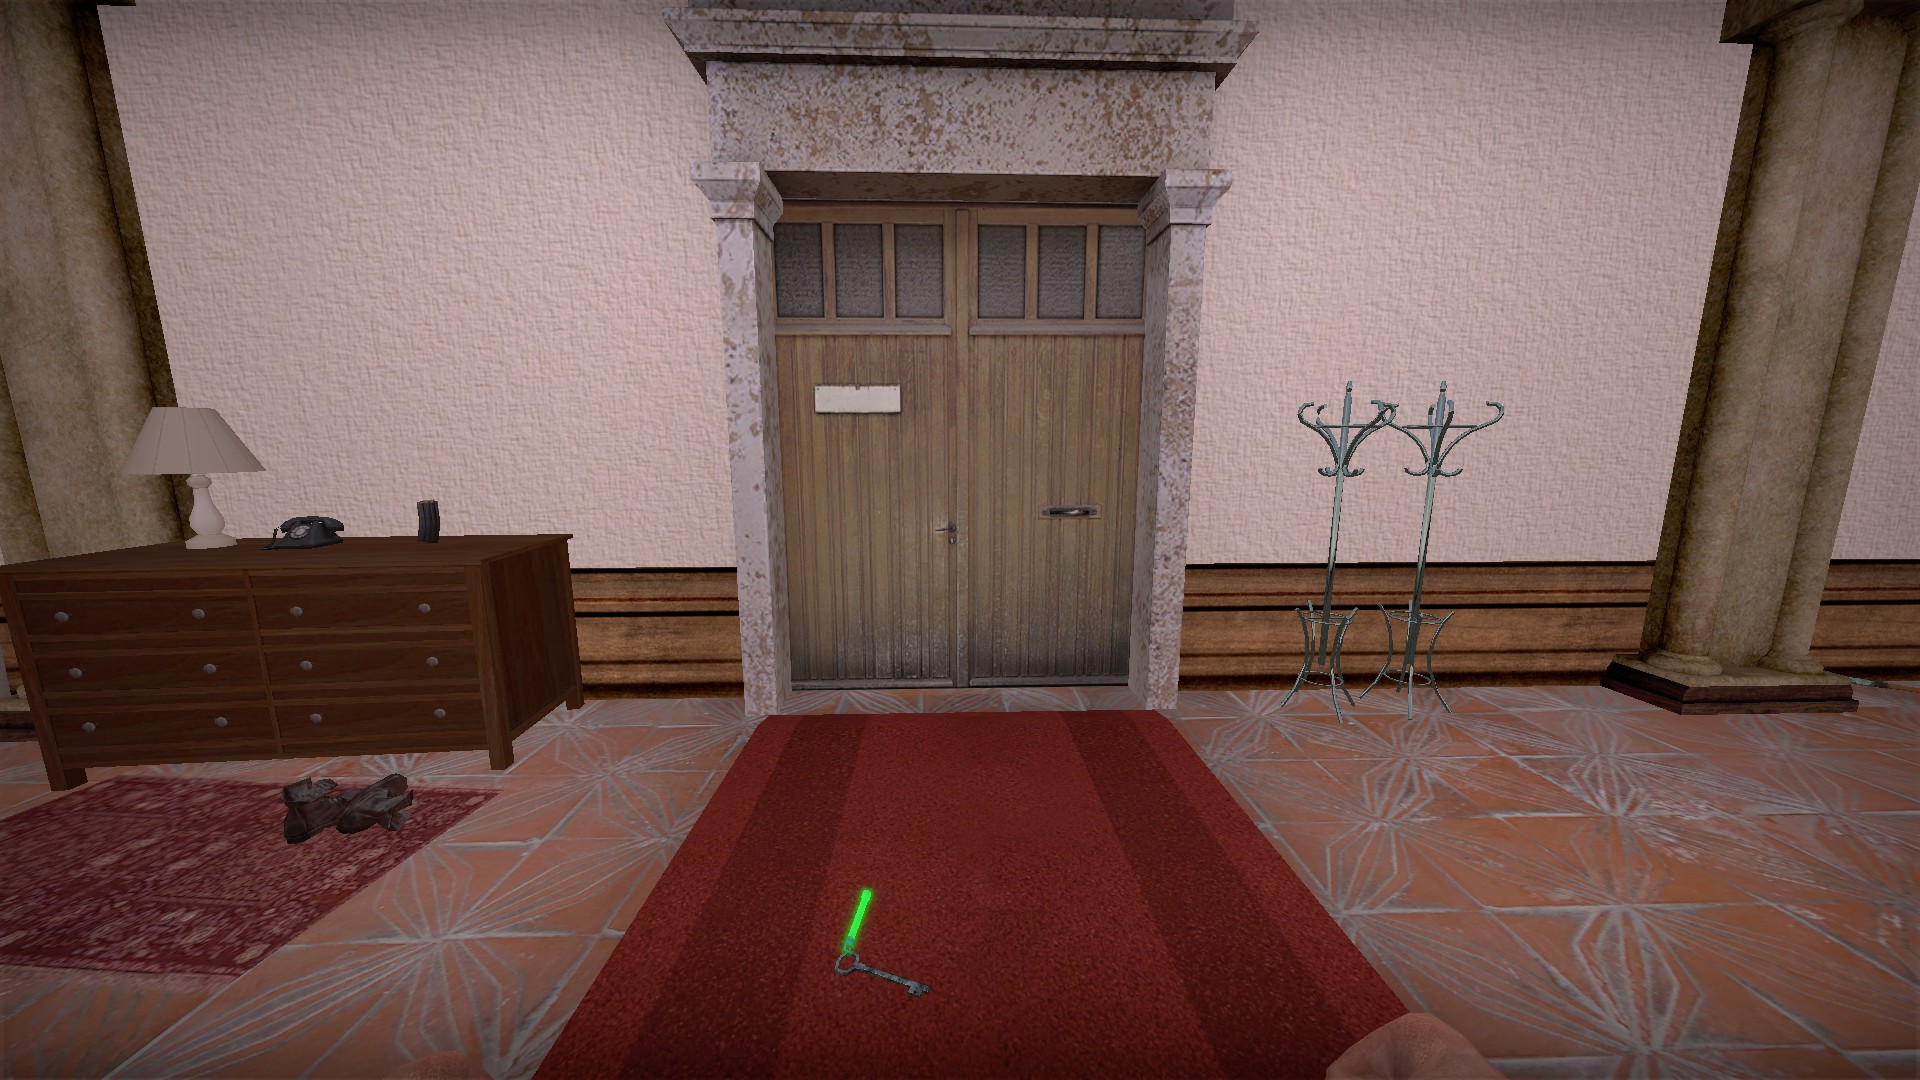
This is just a decoration. The green key cannot be taken back outside
Blue key
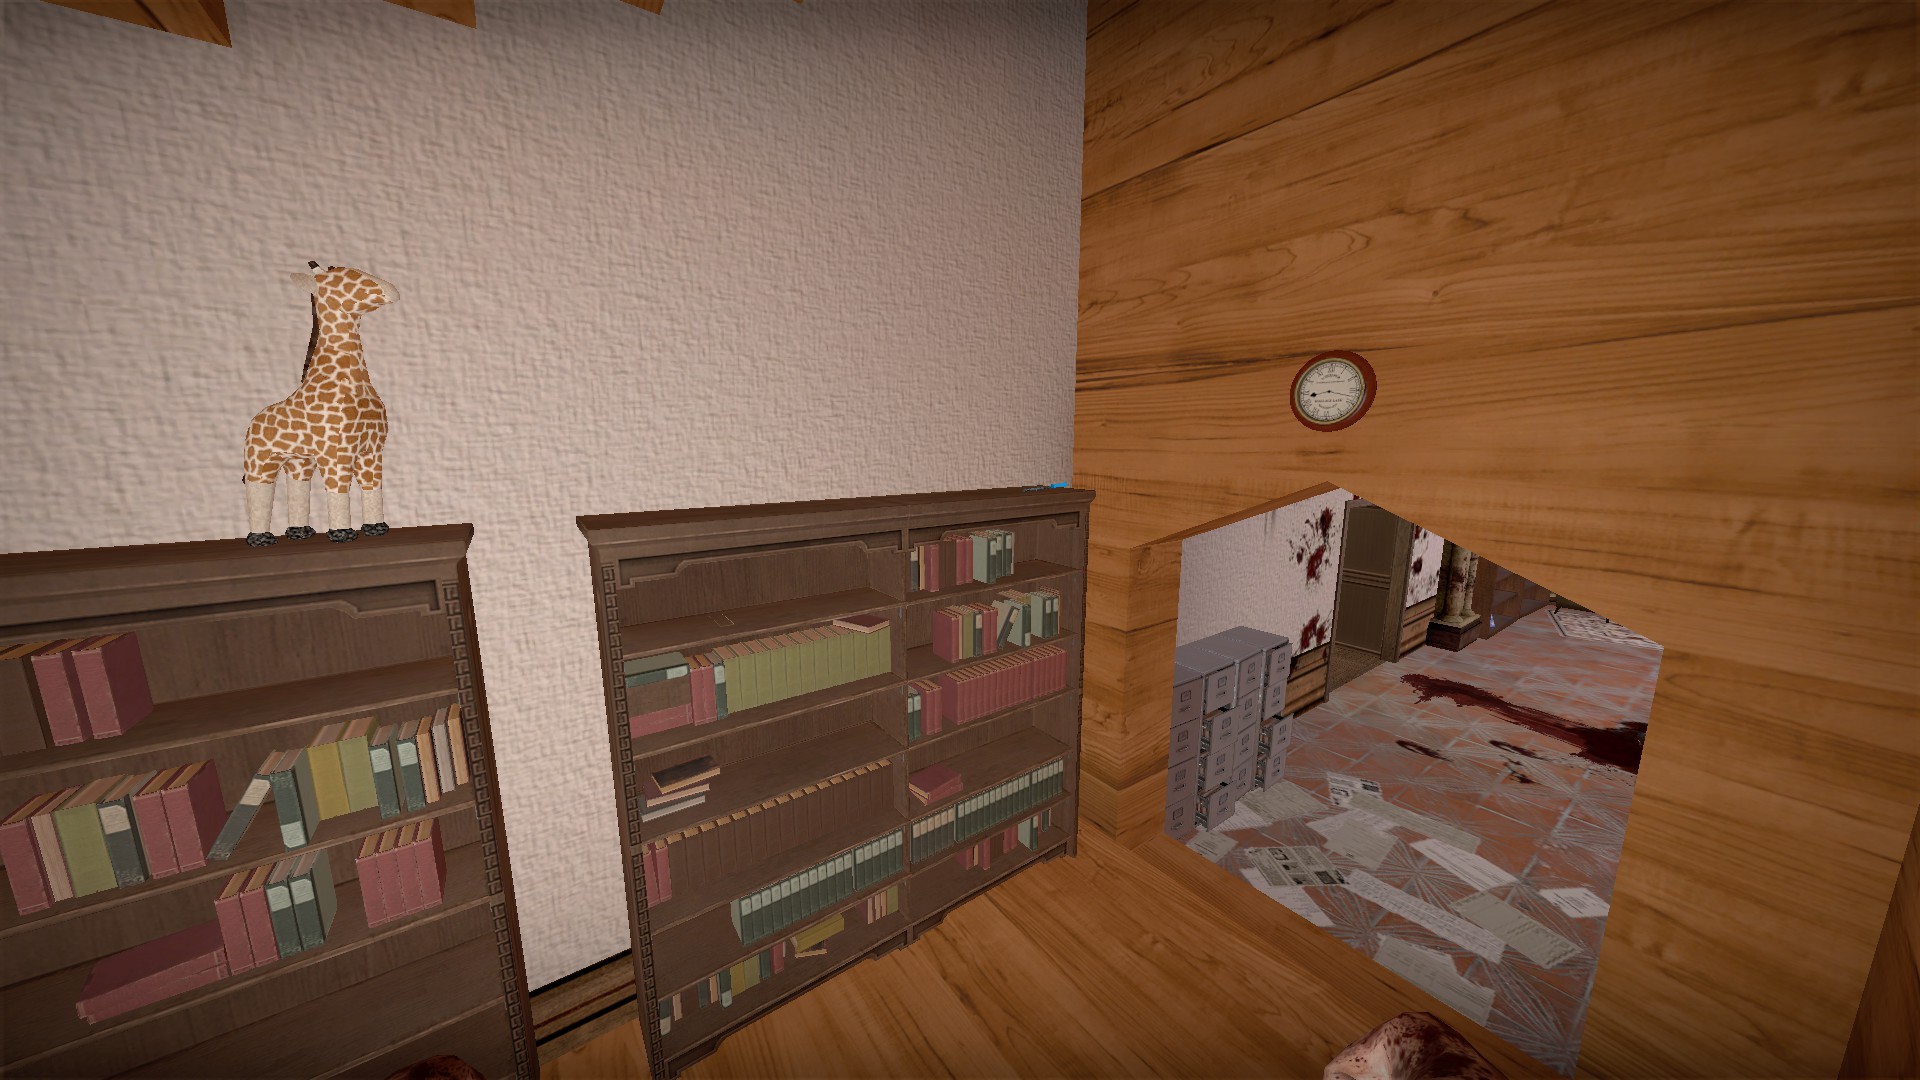
The blue key is on top of a bookcase in the lobby area
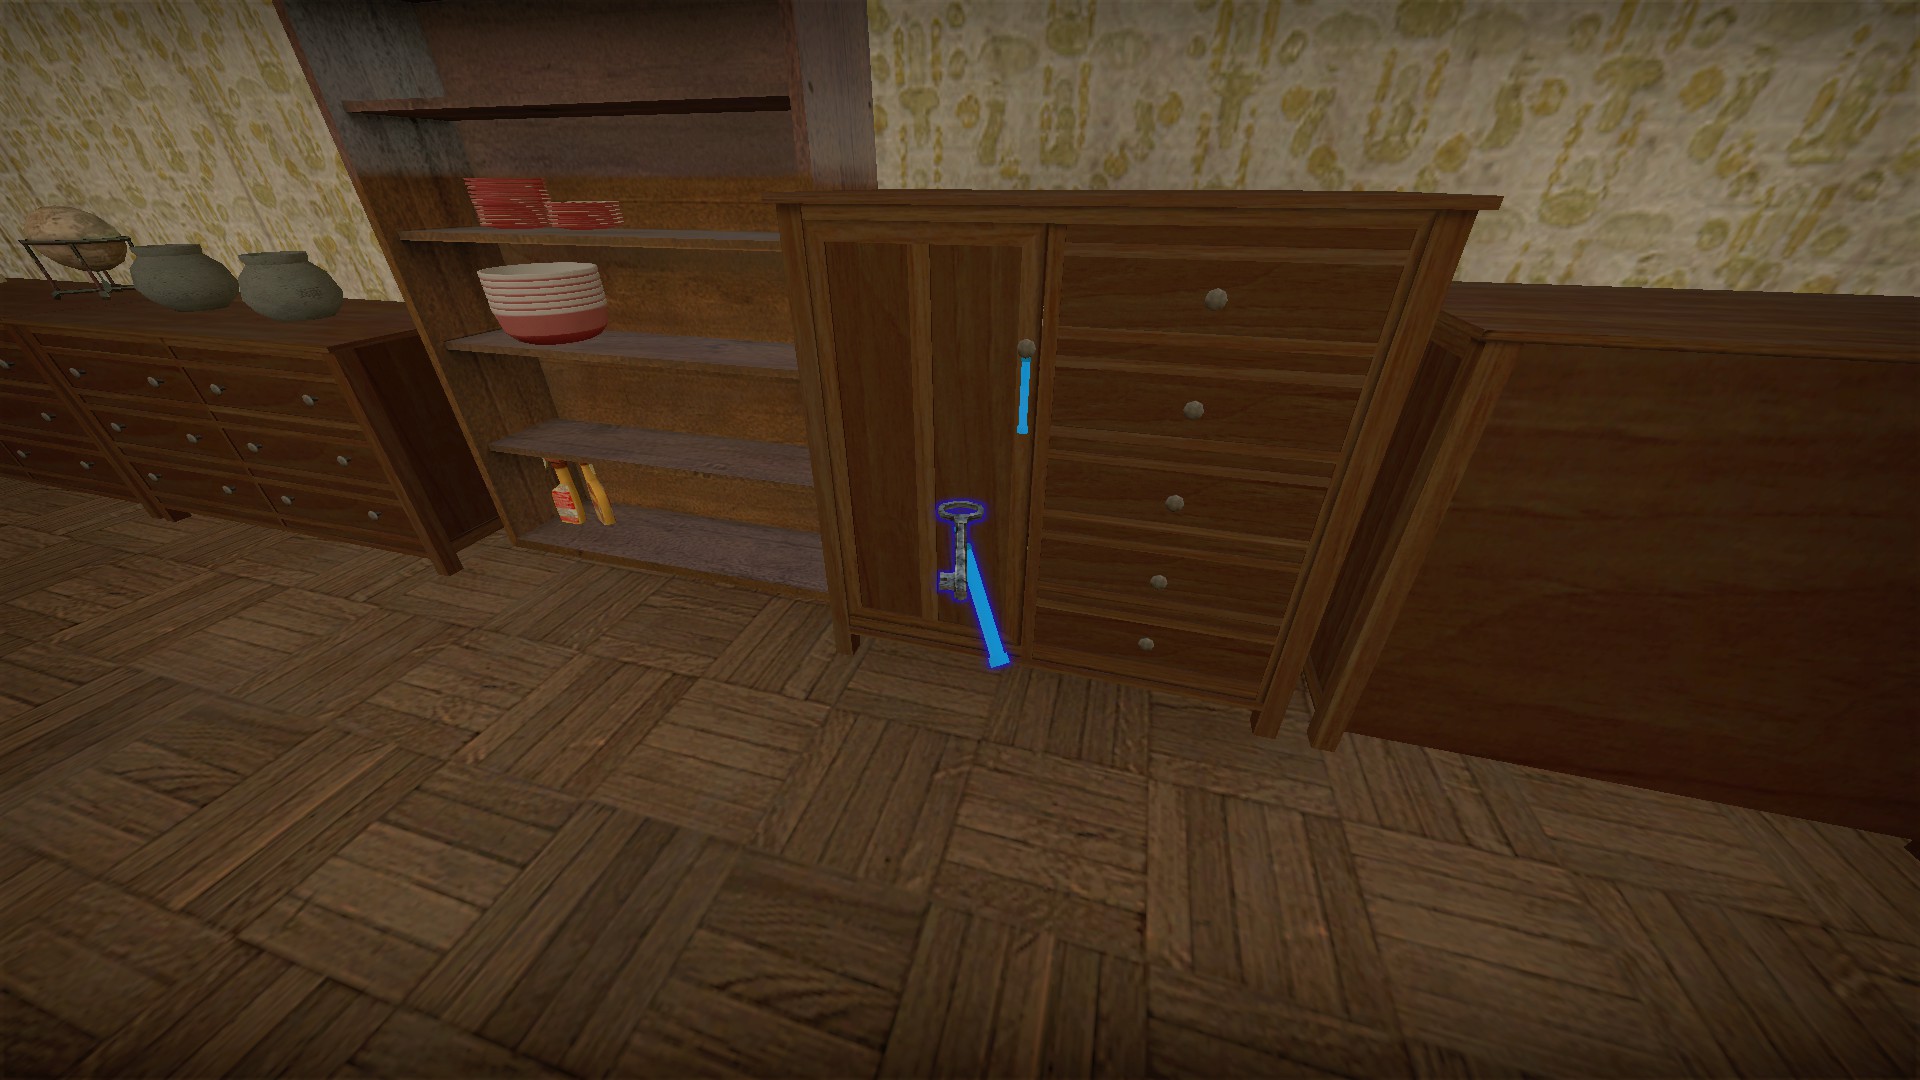
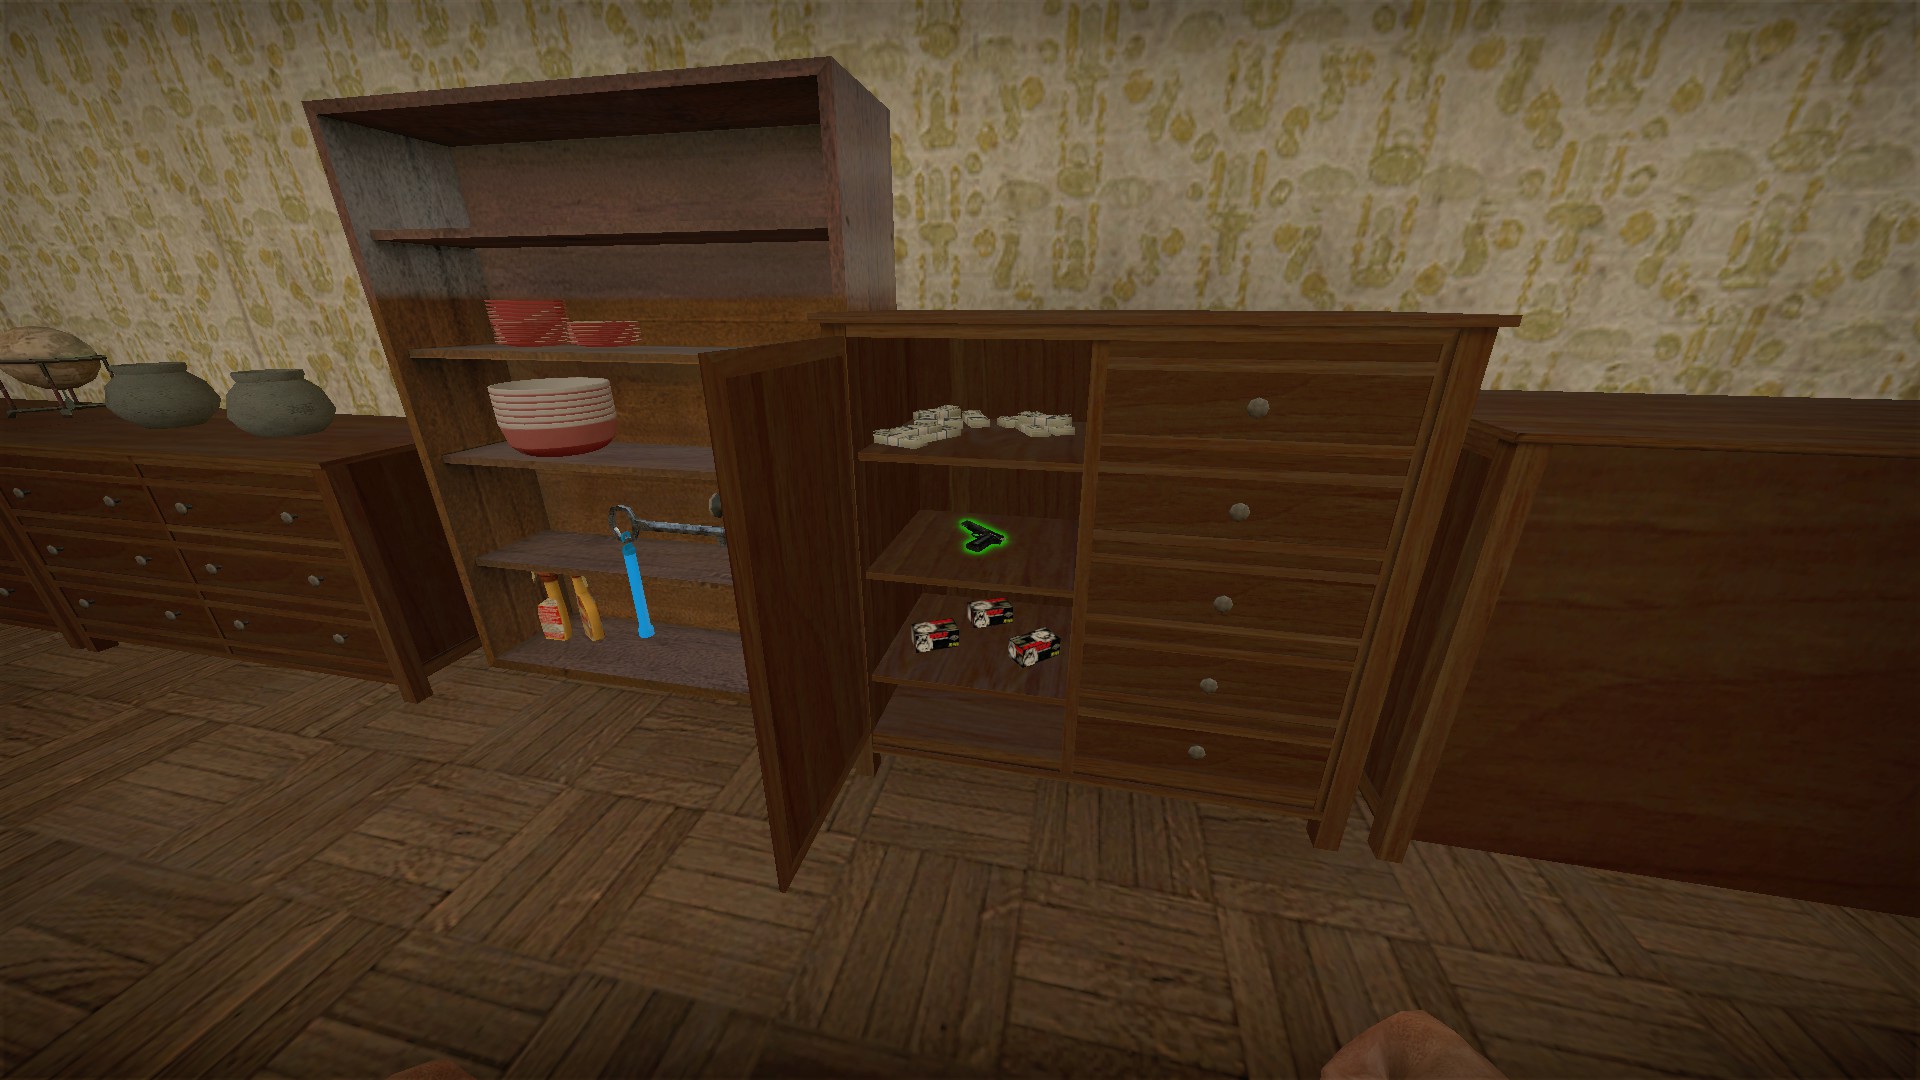
Use the blue key to open a cabinet in the dining room for a Colt and ammo
First code digit
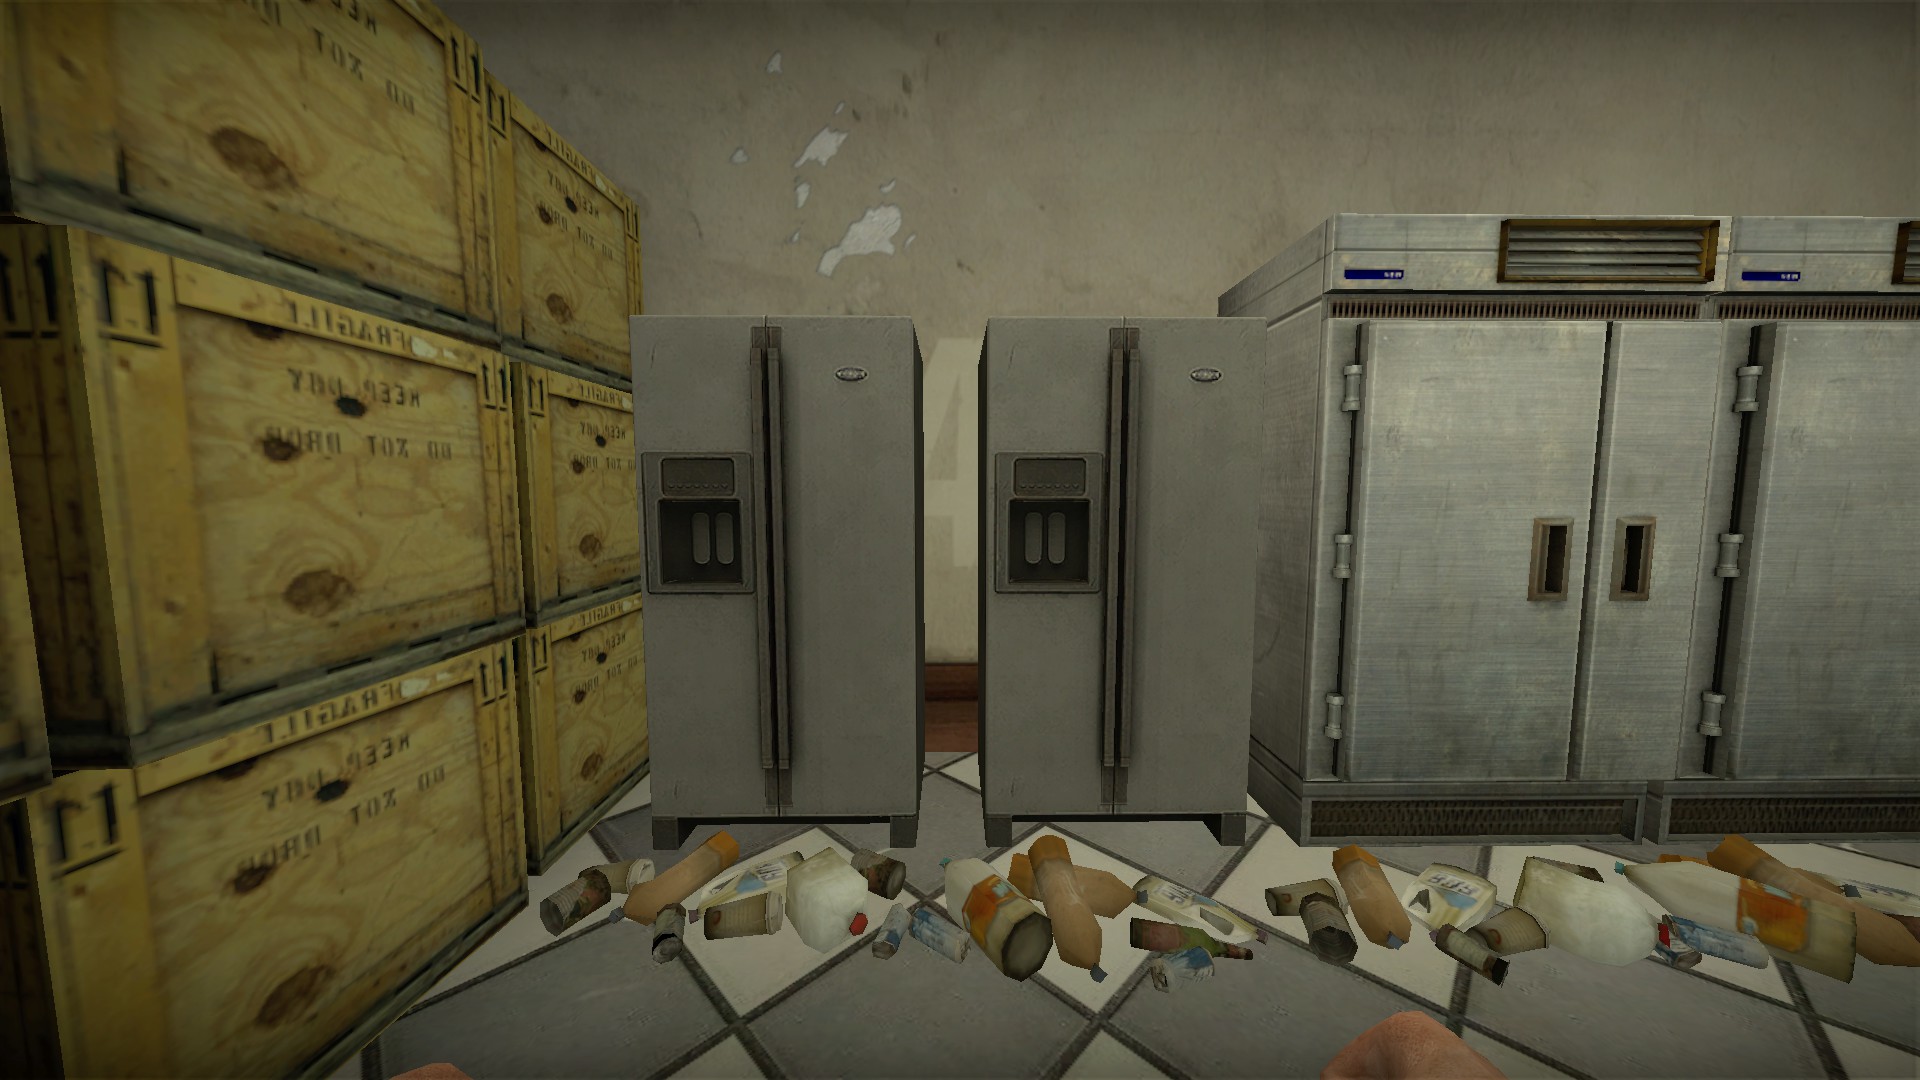
4. Between the two refrigerators. You will use this in a code on the basement level
Kitchen sink
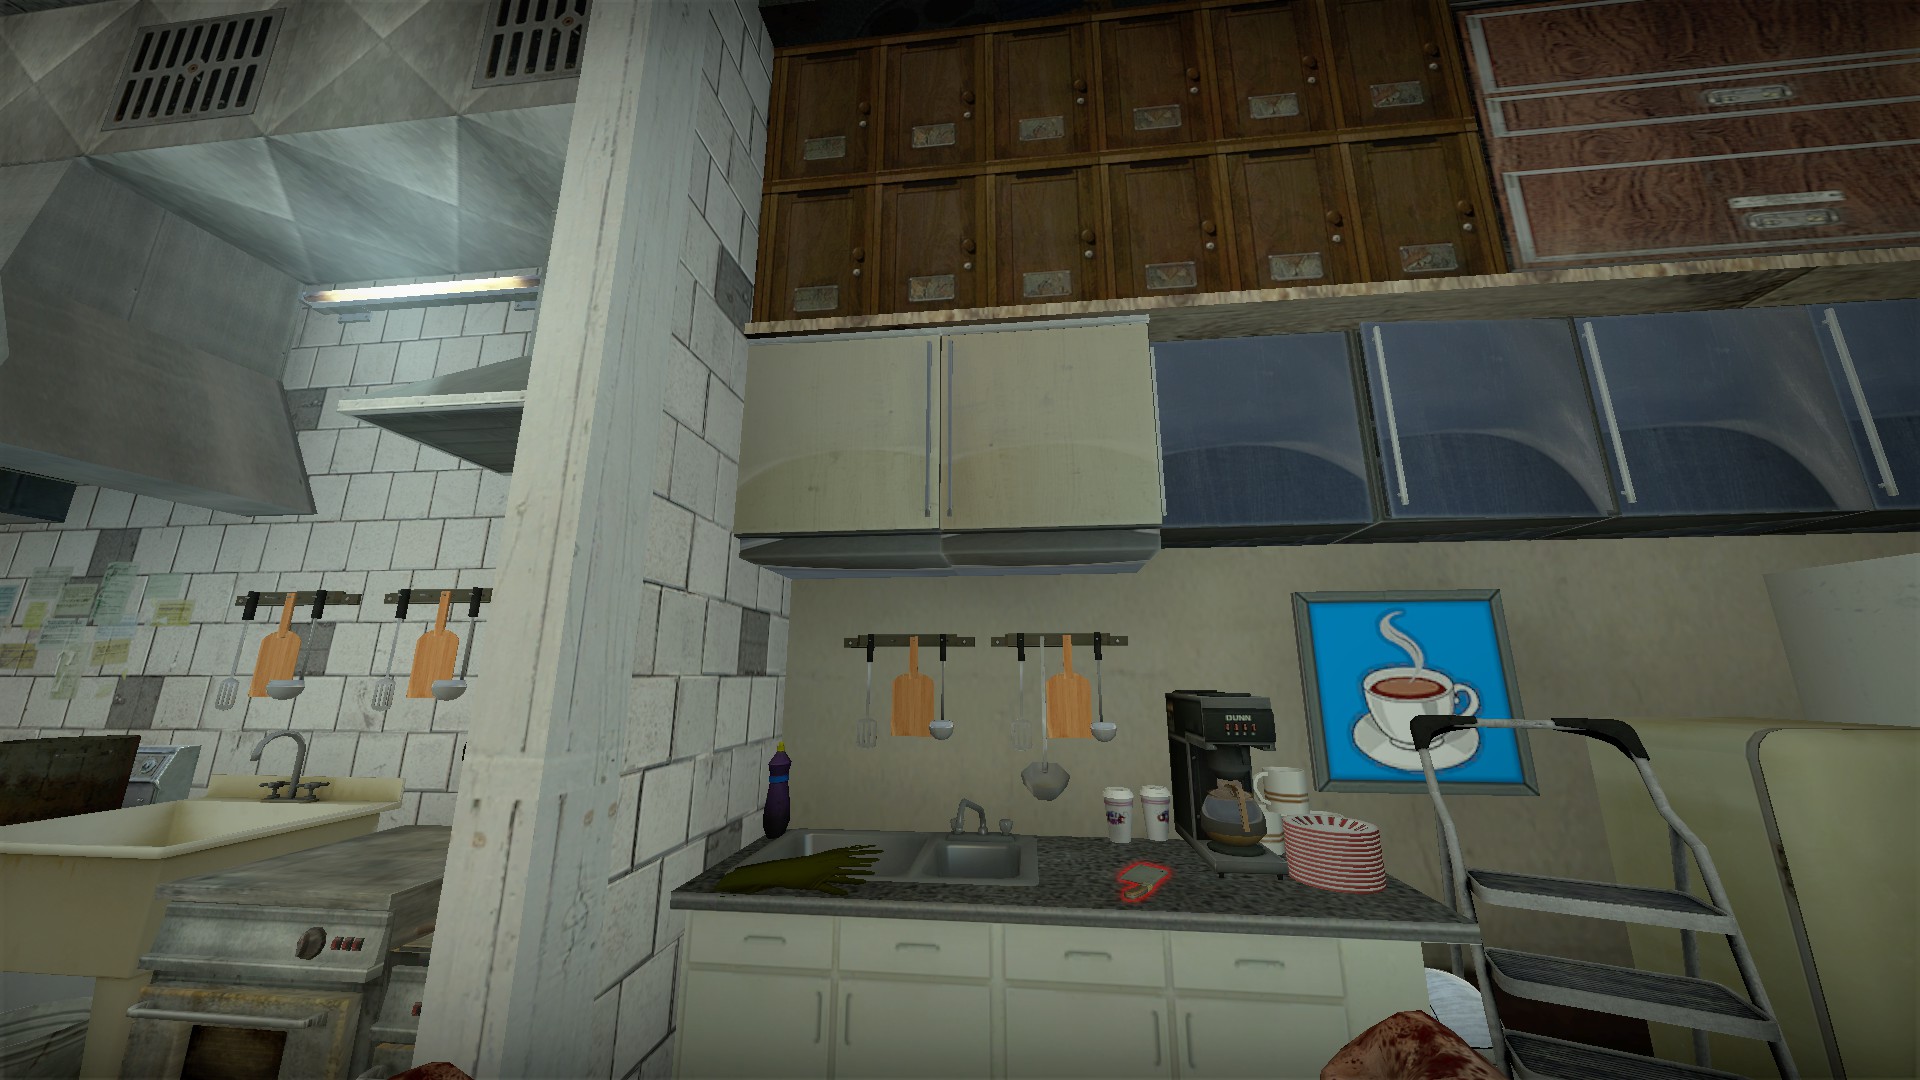
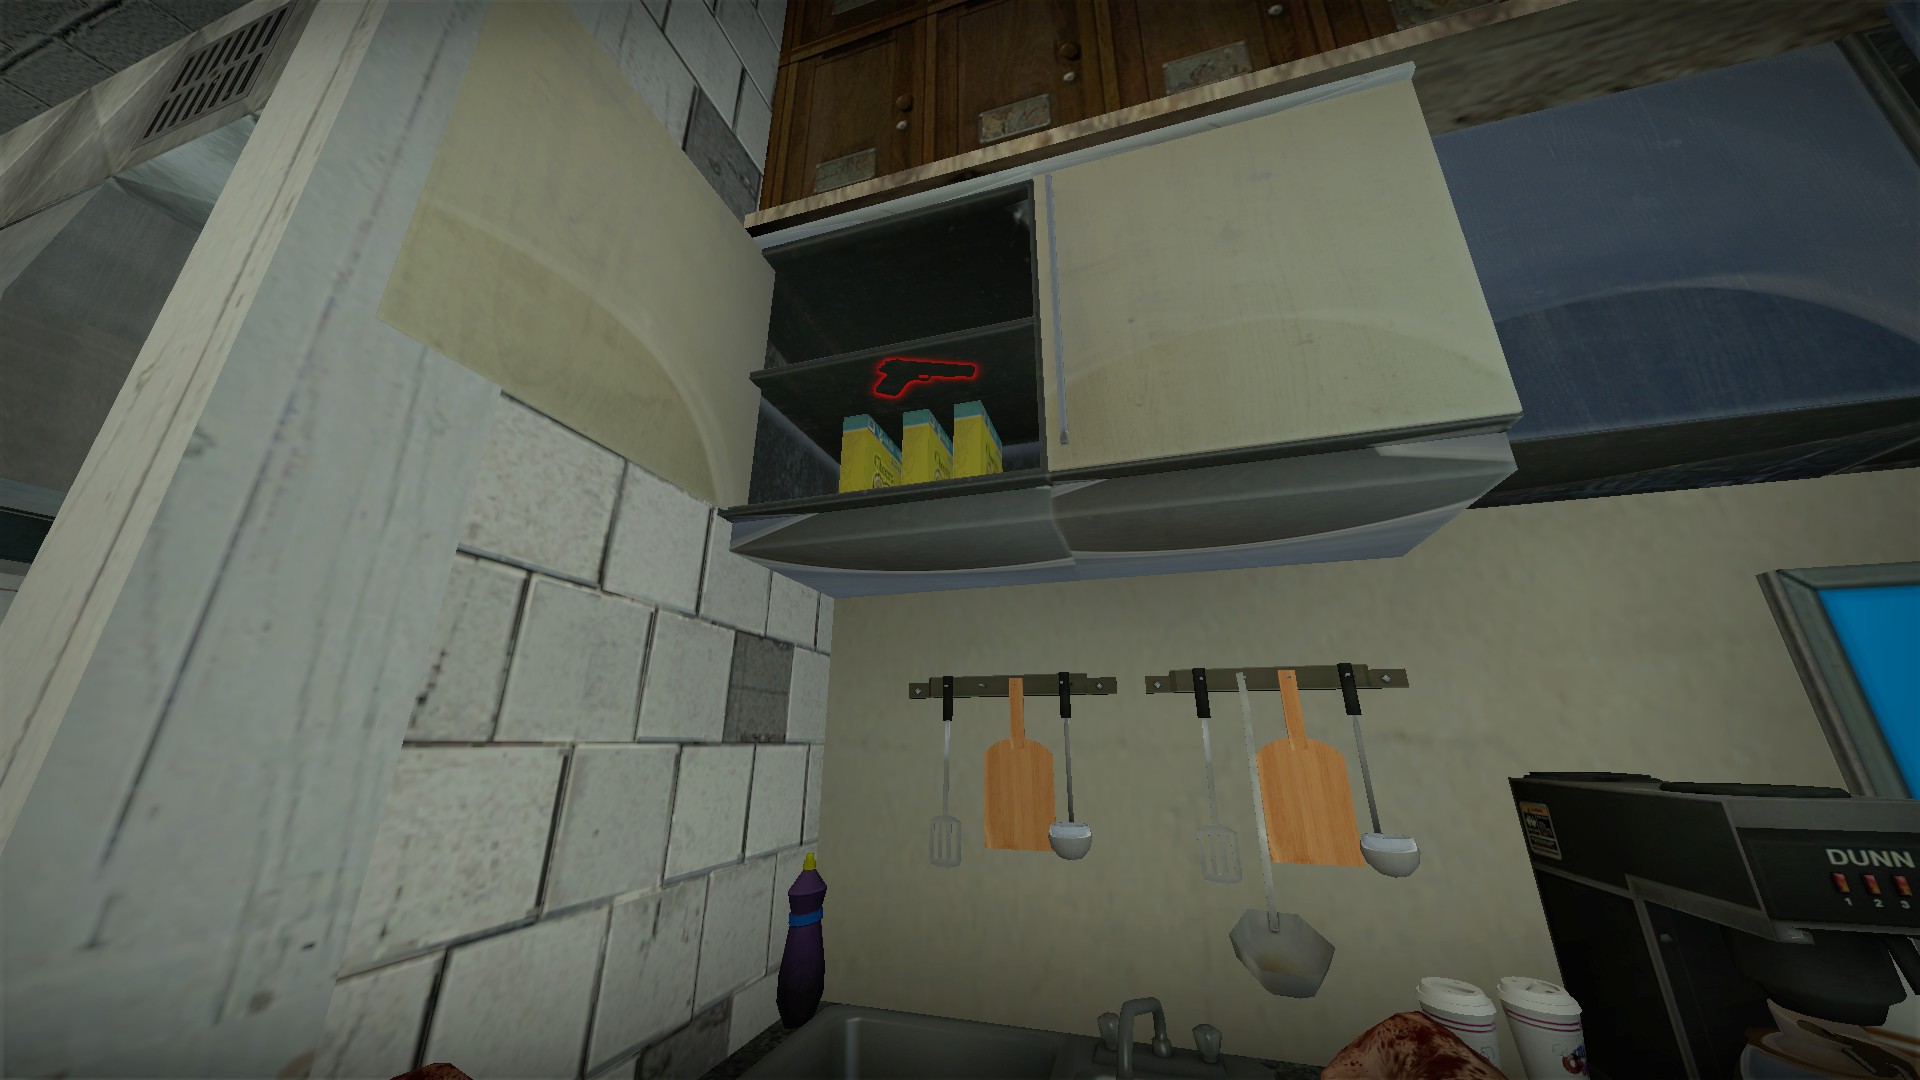
Open the cabinet above the sink for a Colt
Bar bottles
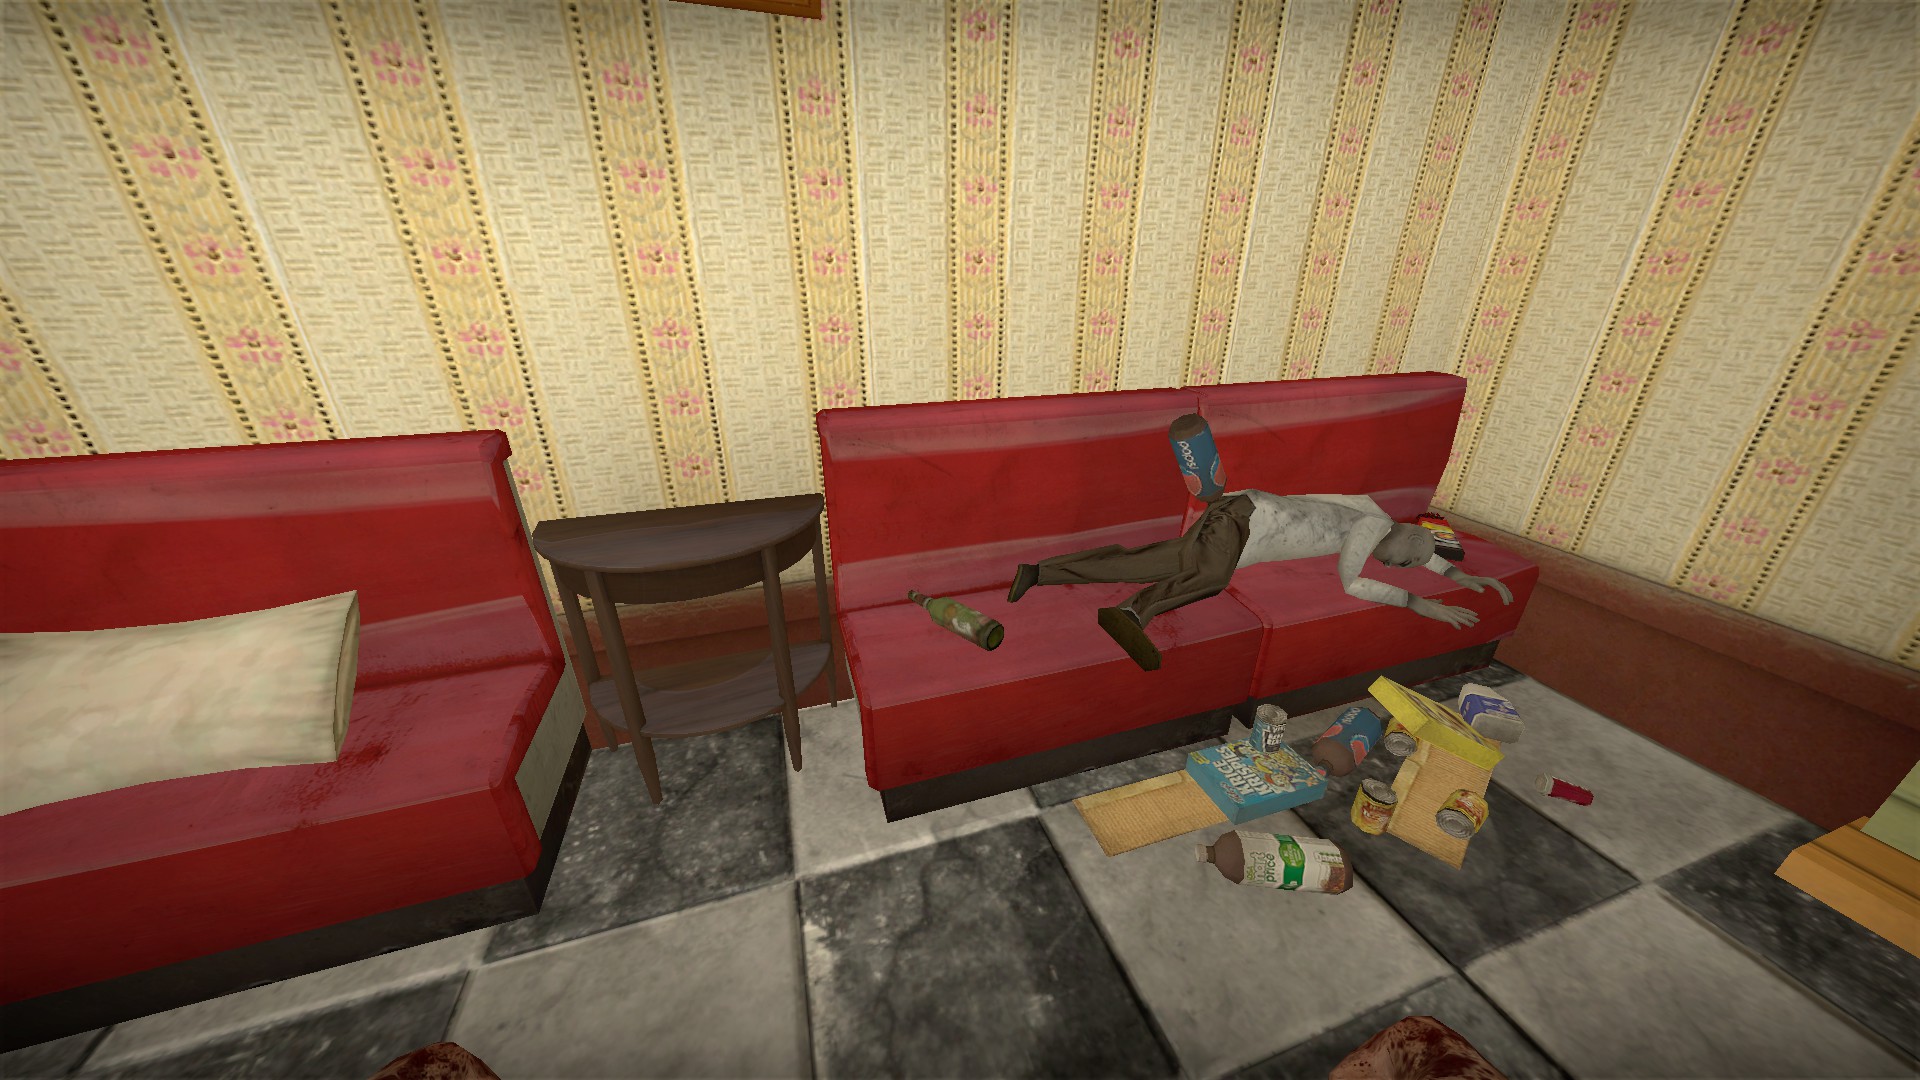
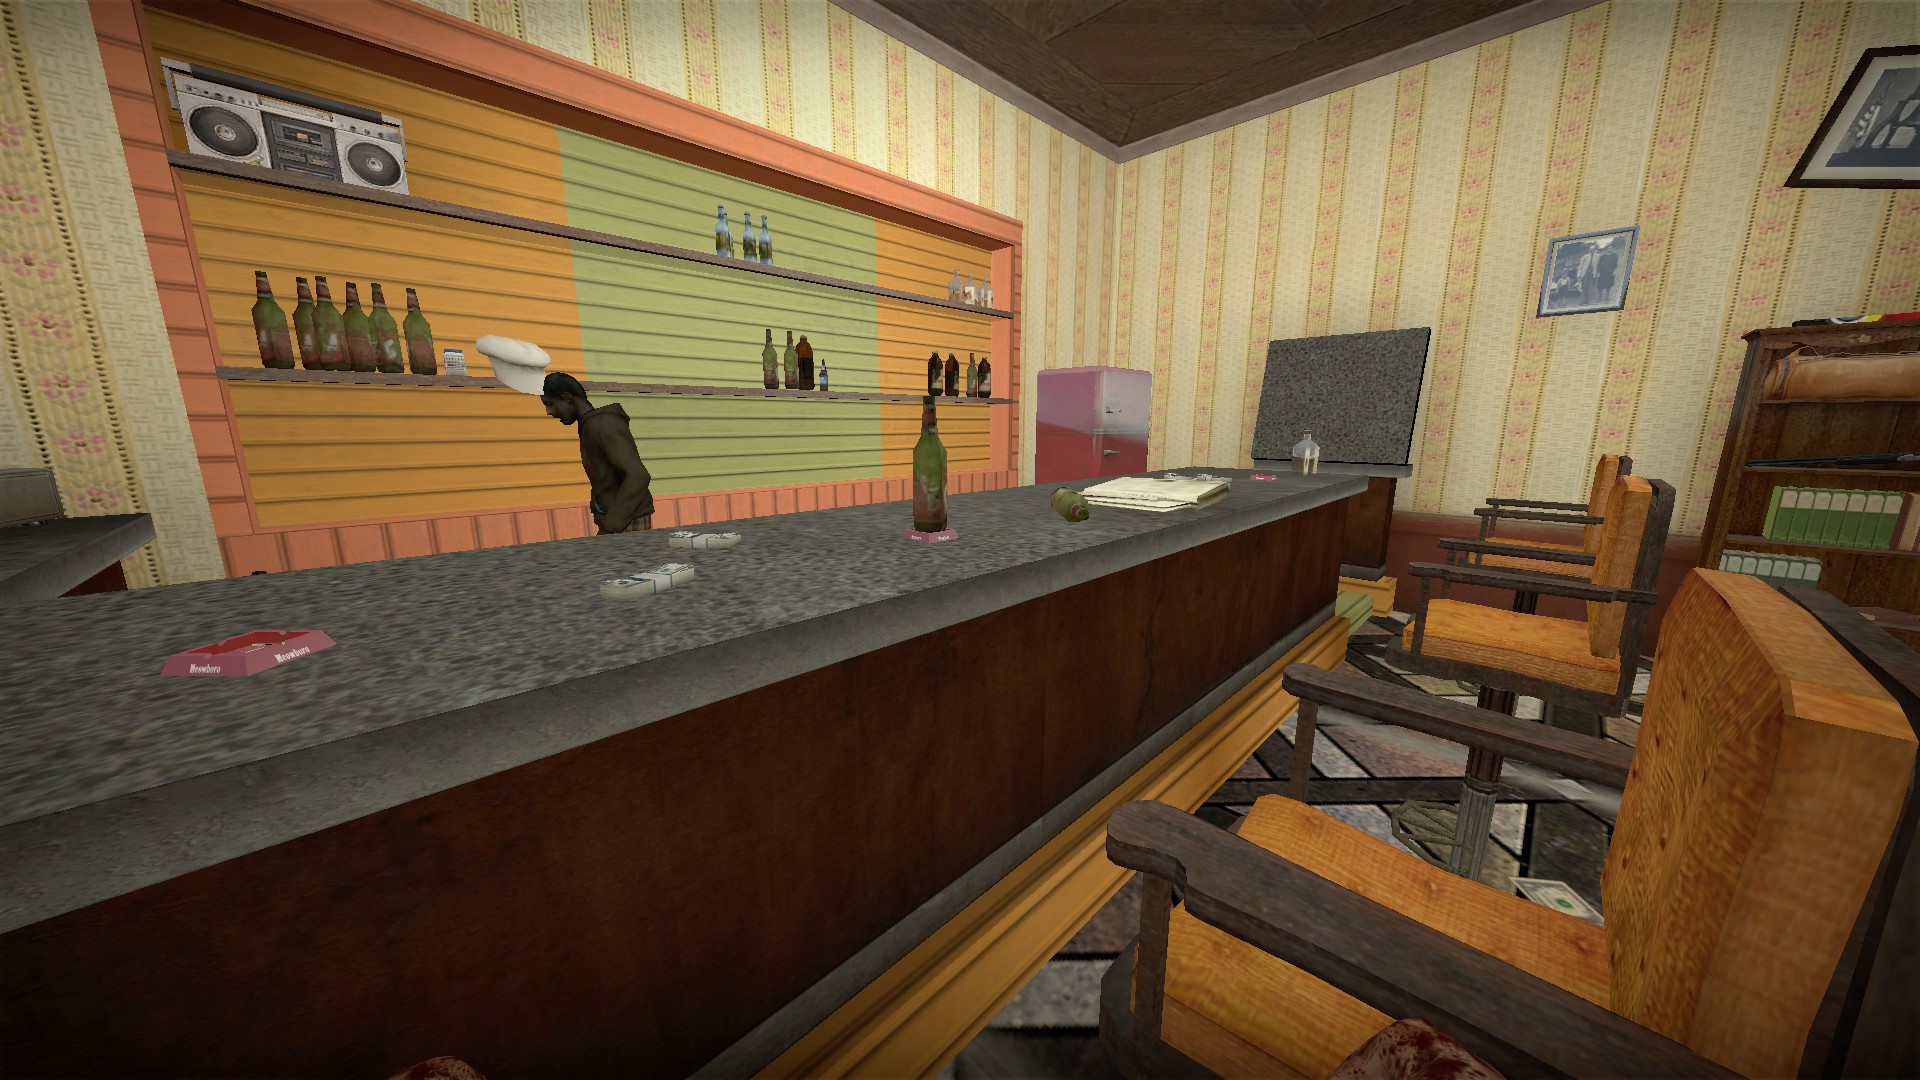
In the bar, the green bottle near the body can be placed on the bar in the middle position
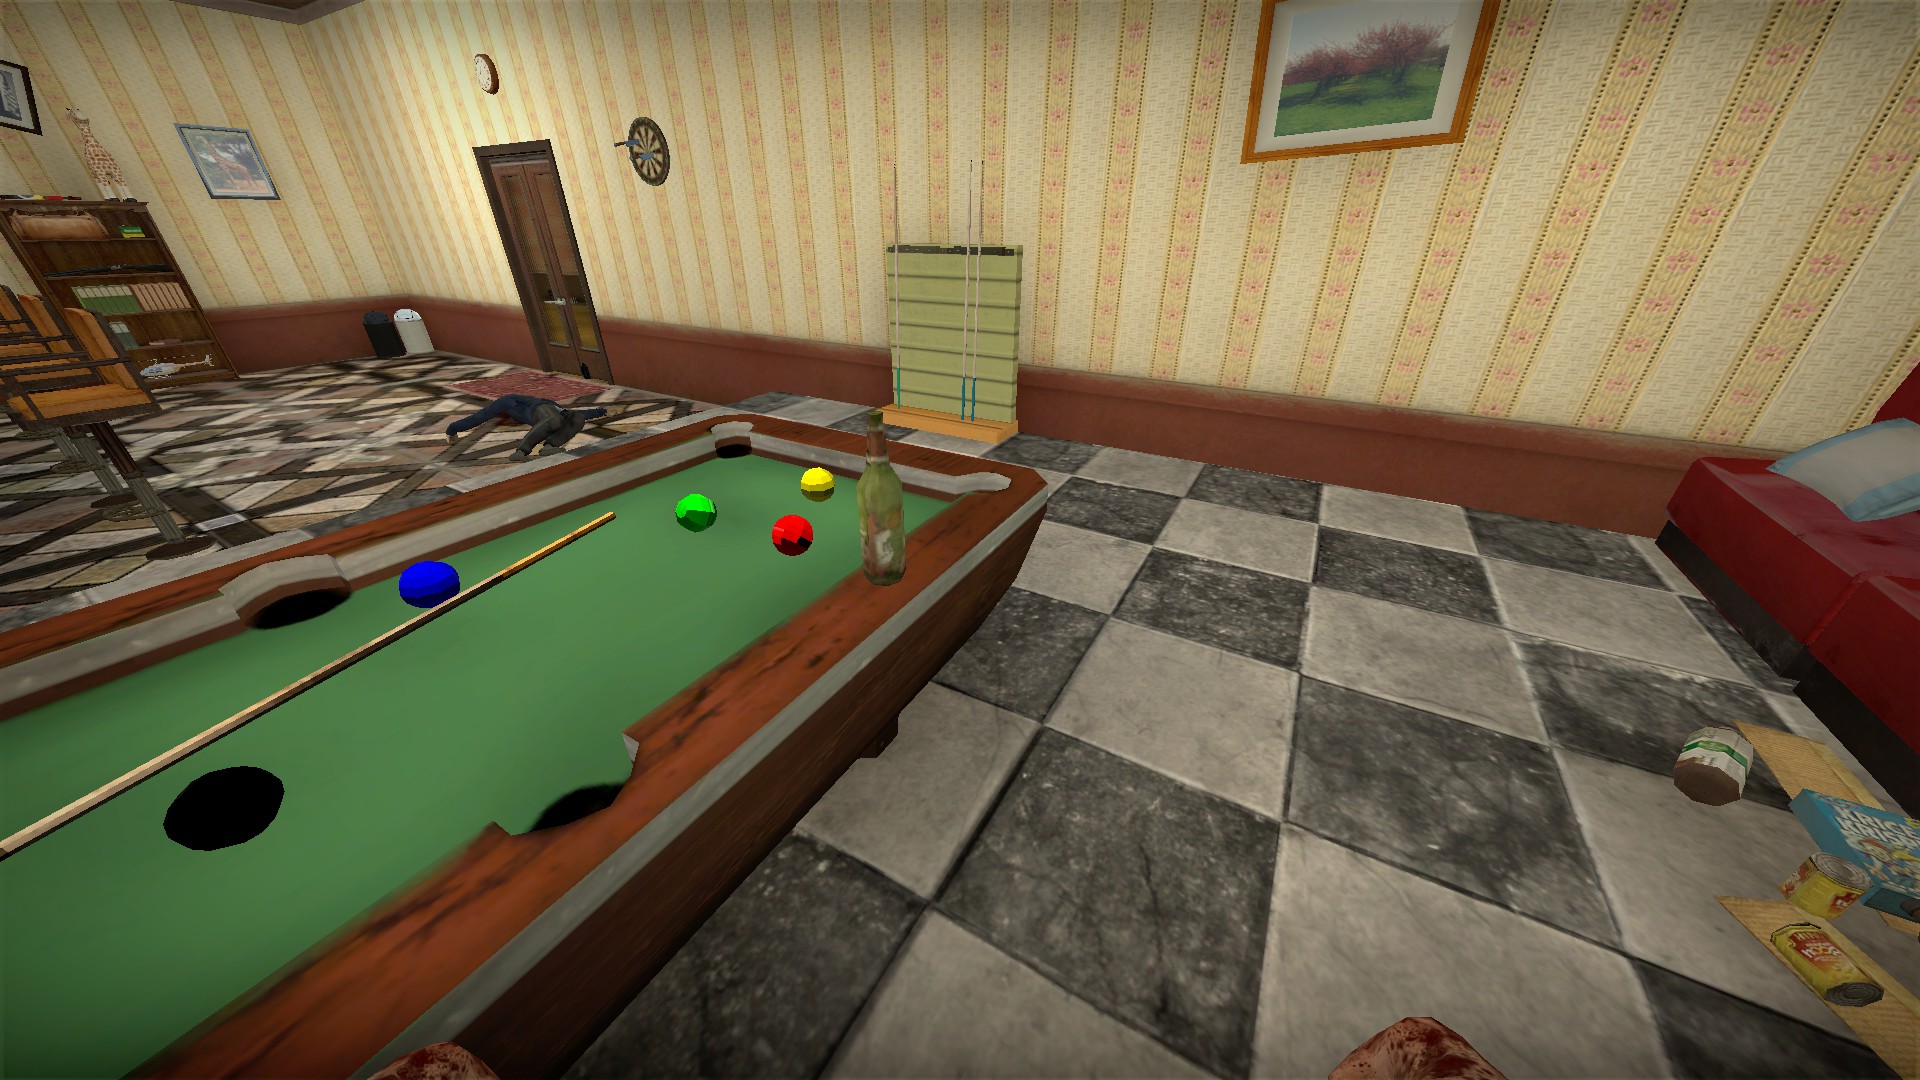
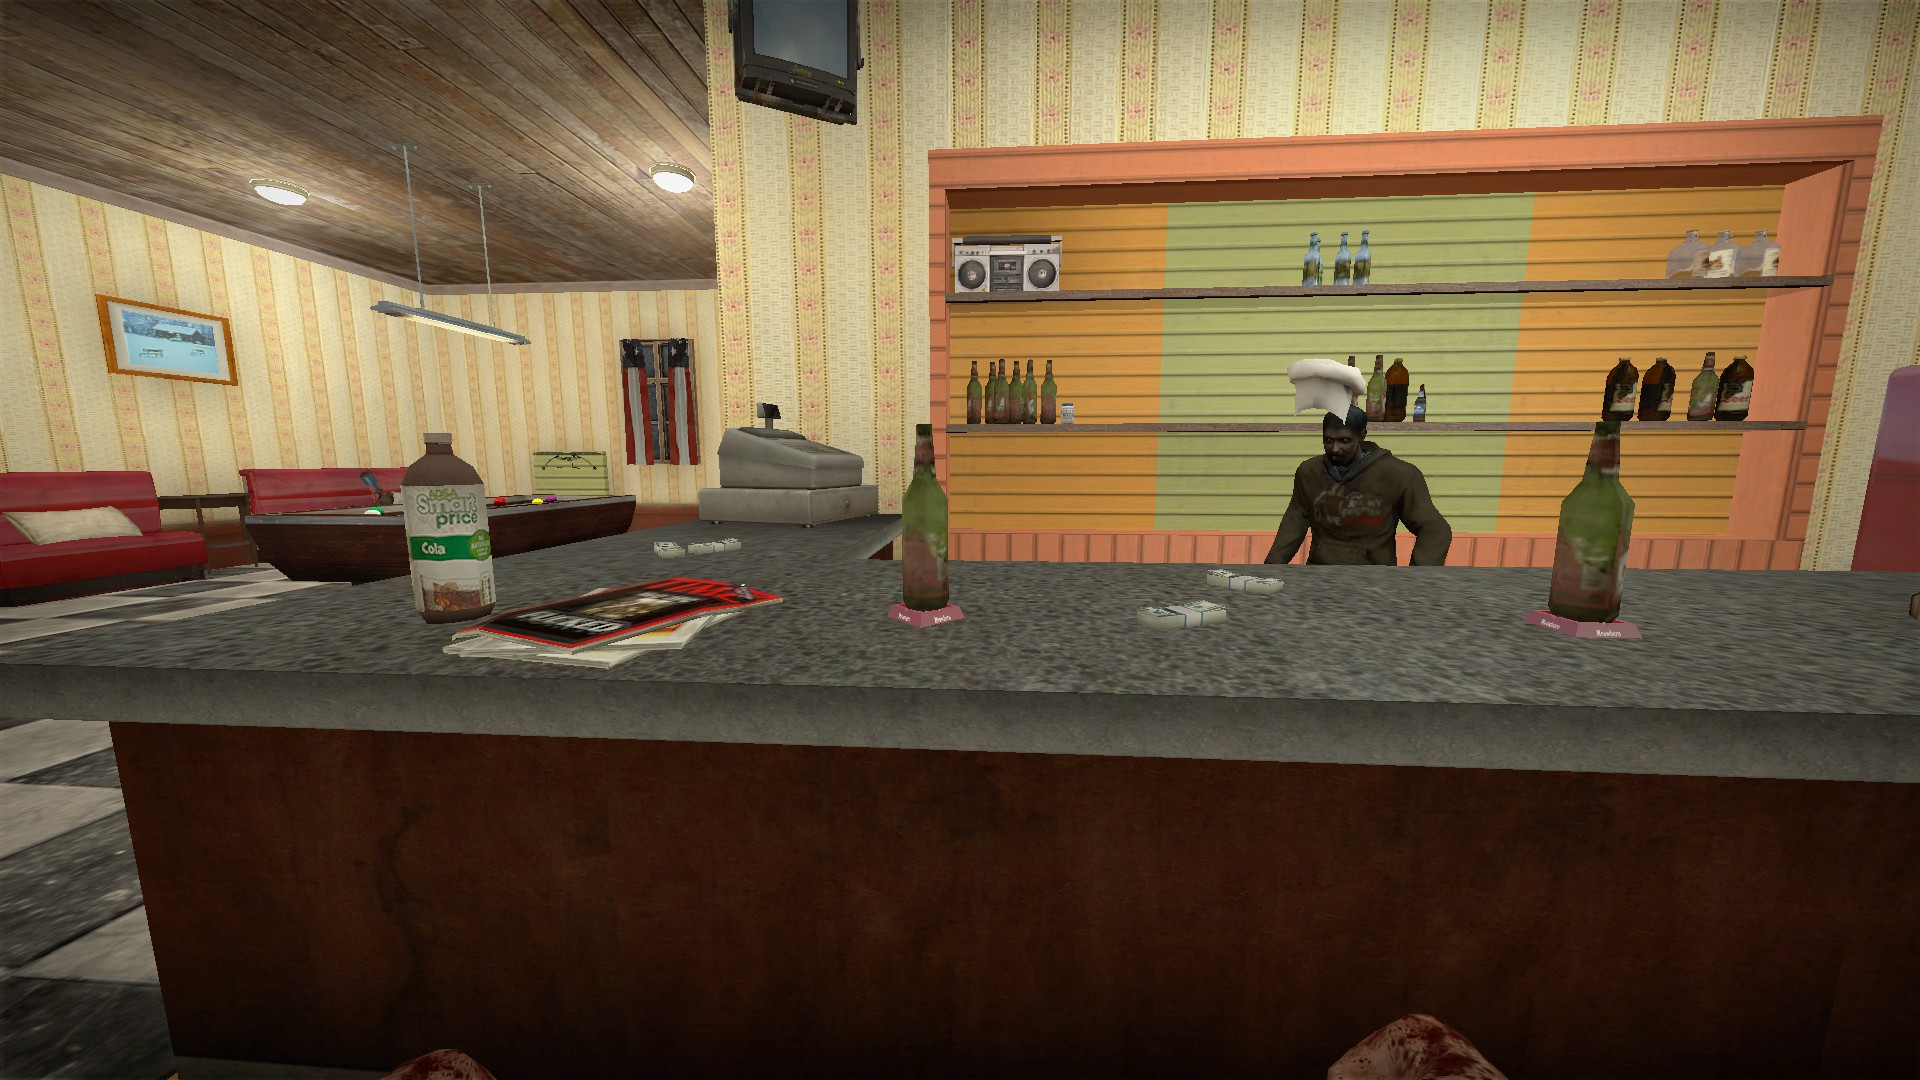
The green bottle on the pool table can be placed in the left position
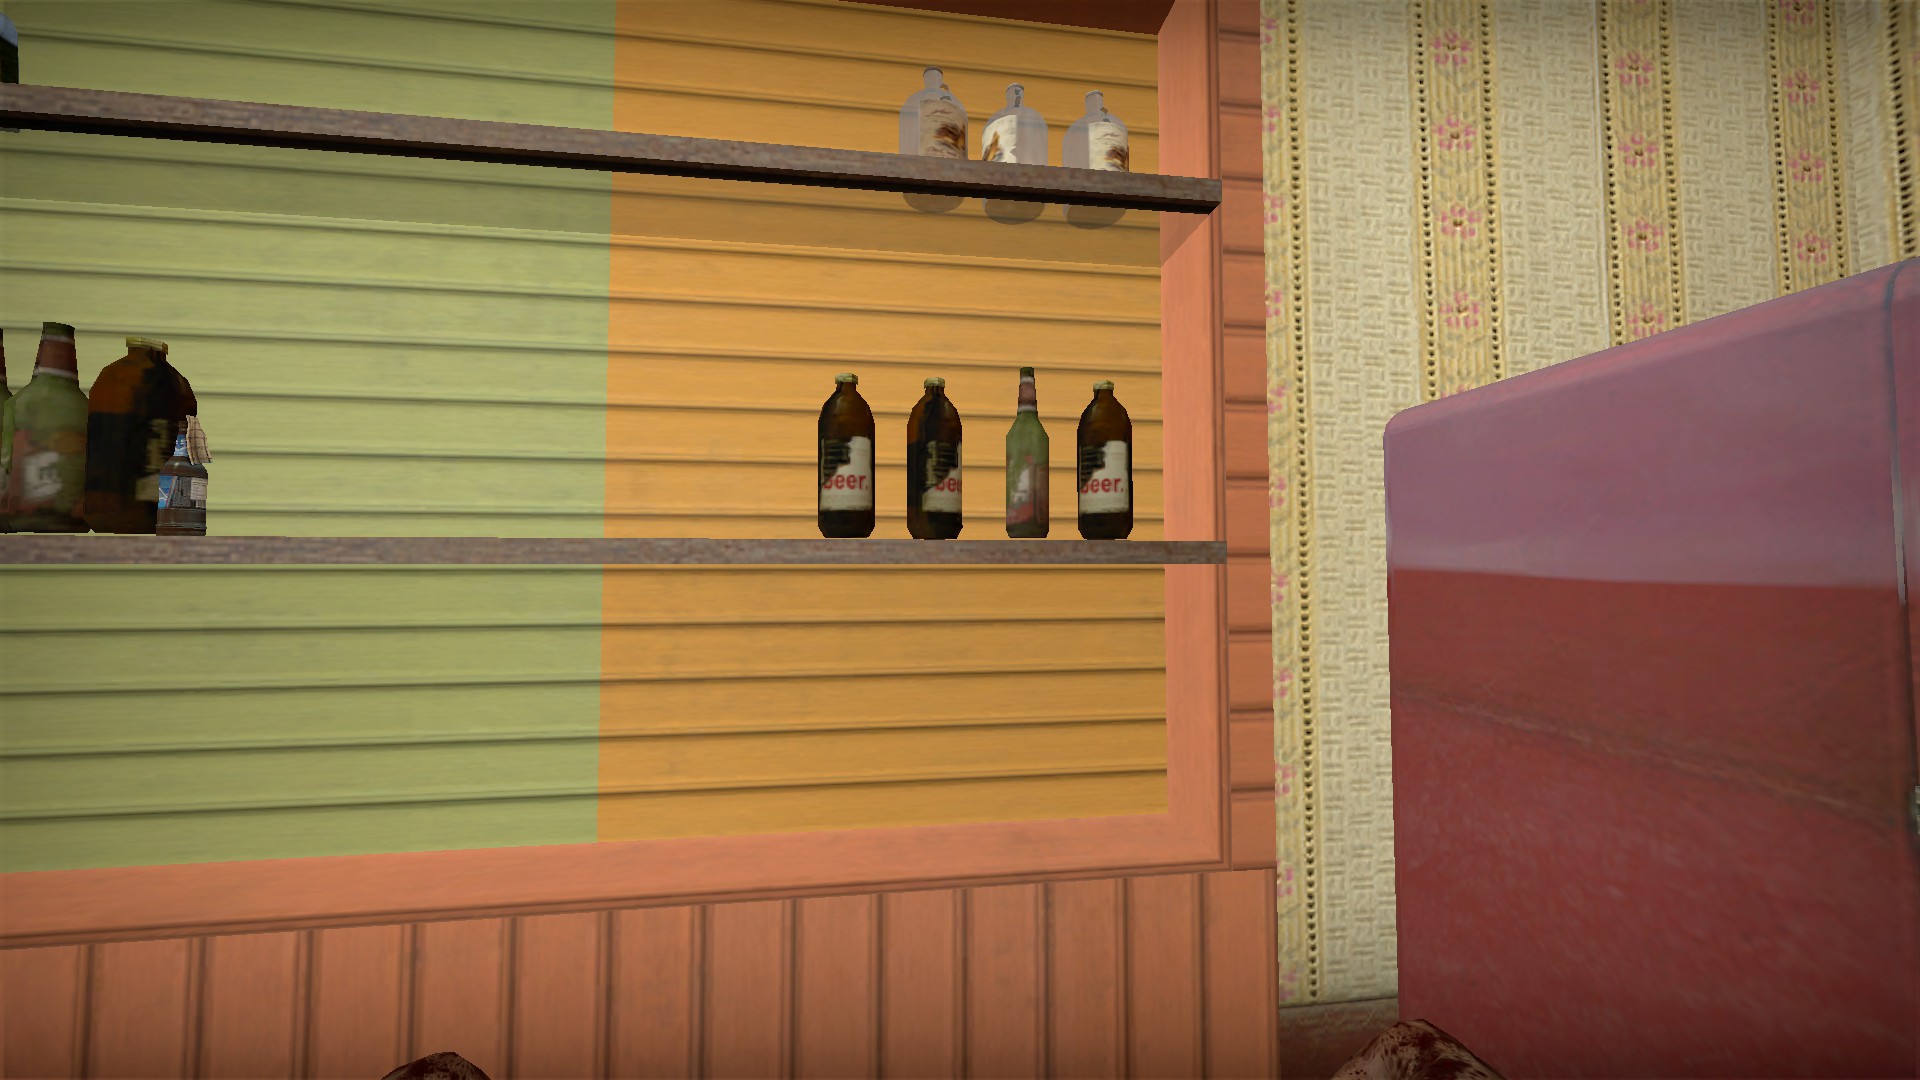
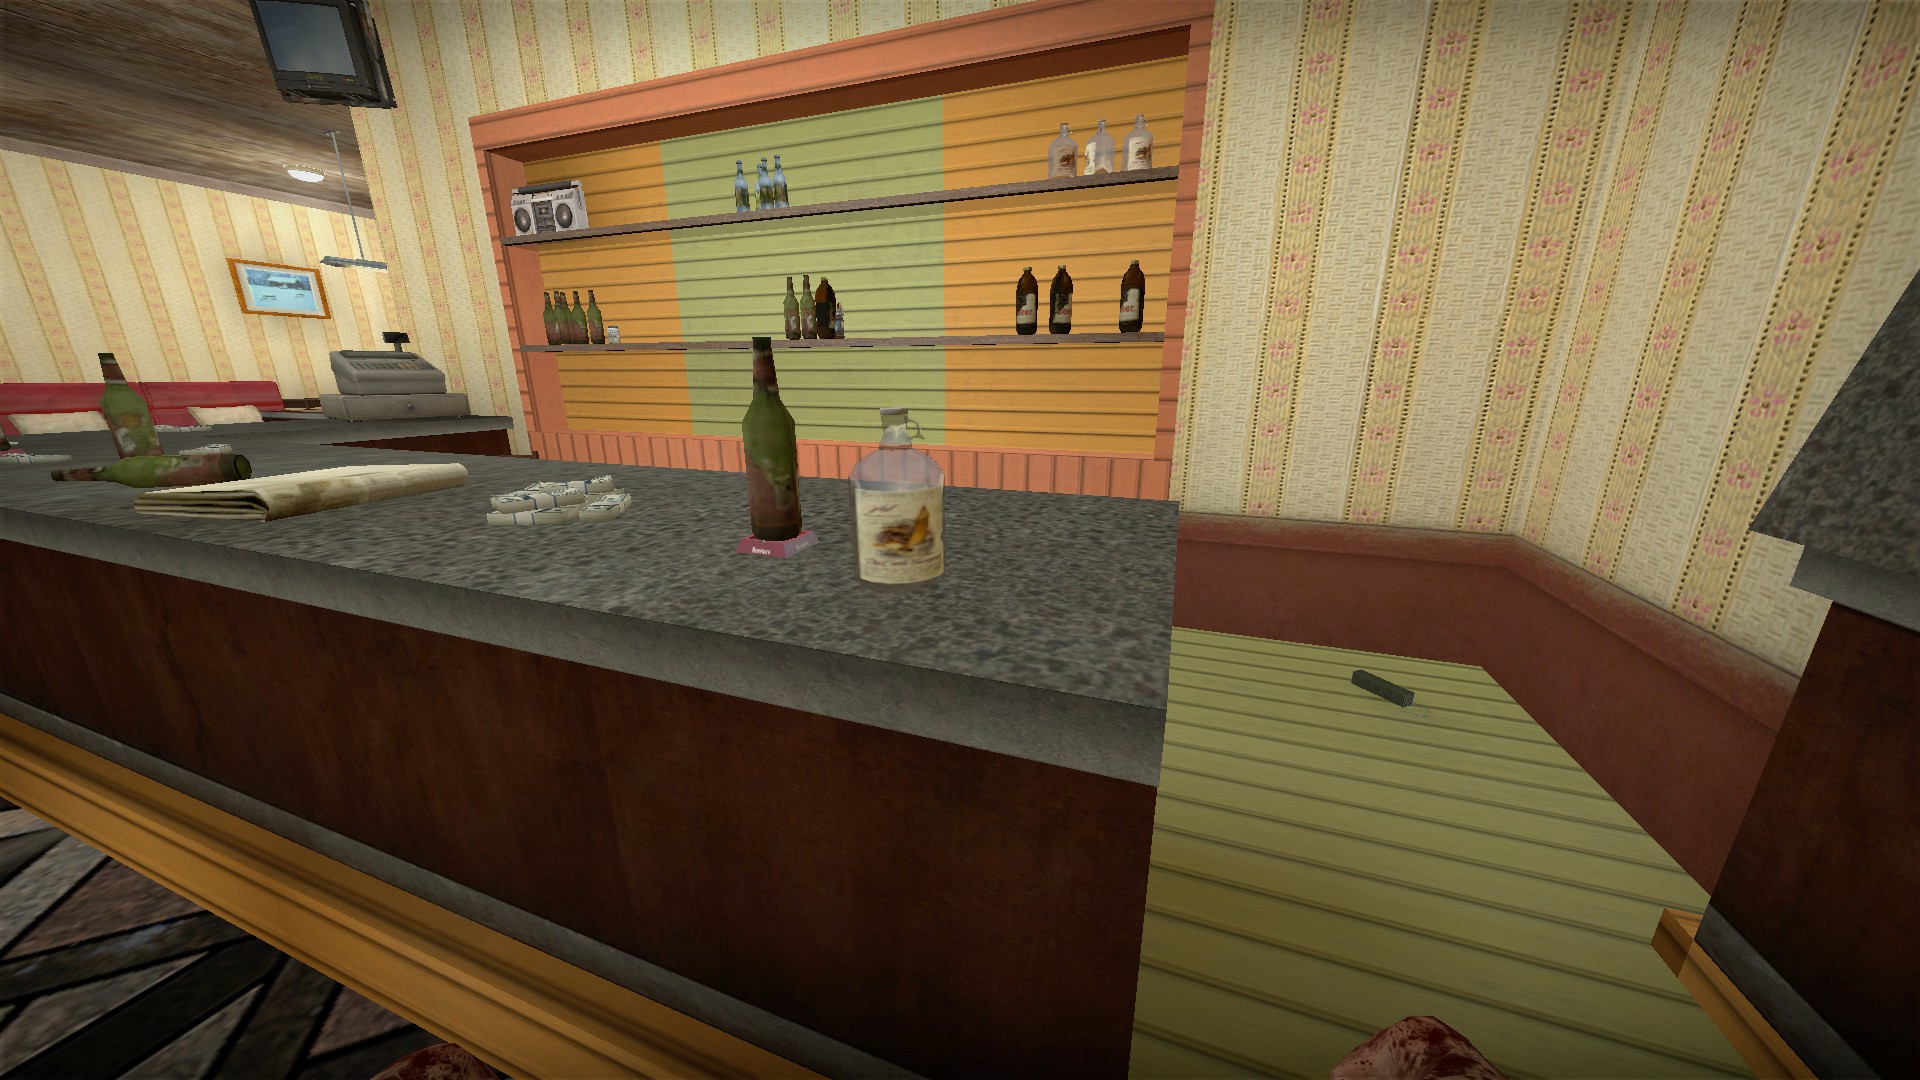
And the green bottle on the shelf next to the beer bottles can be placed in the right position. Only these green bottles can be placed in these positions. When all 3 have been placed, the refrigerator in the corner will break revealing a tnt
Duffle bag in bar
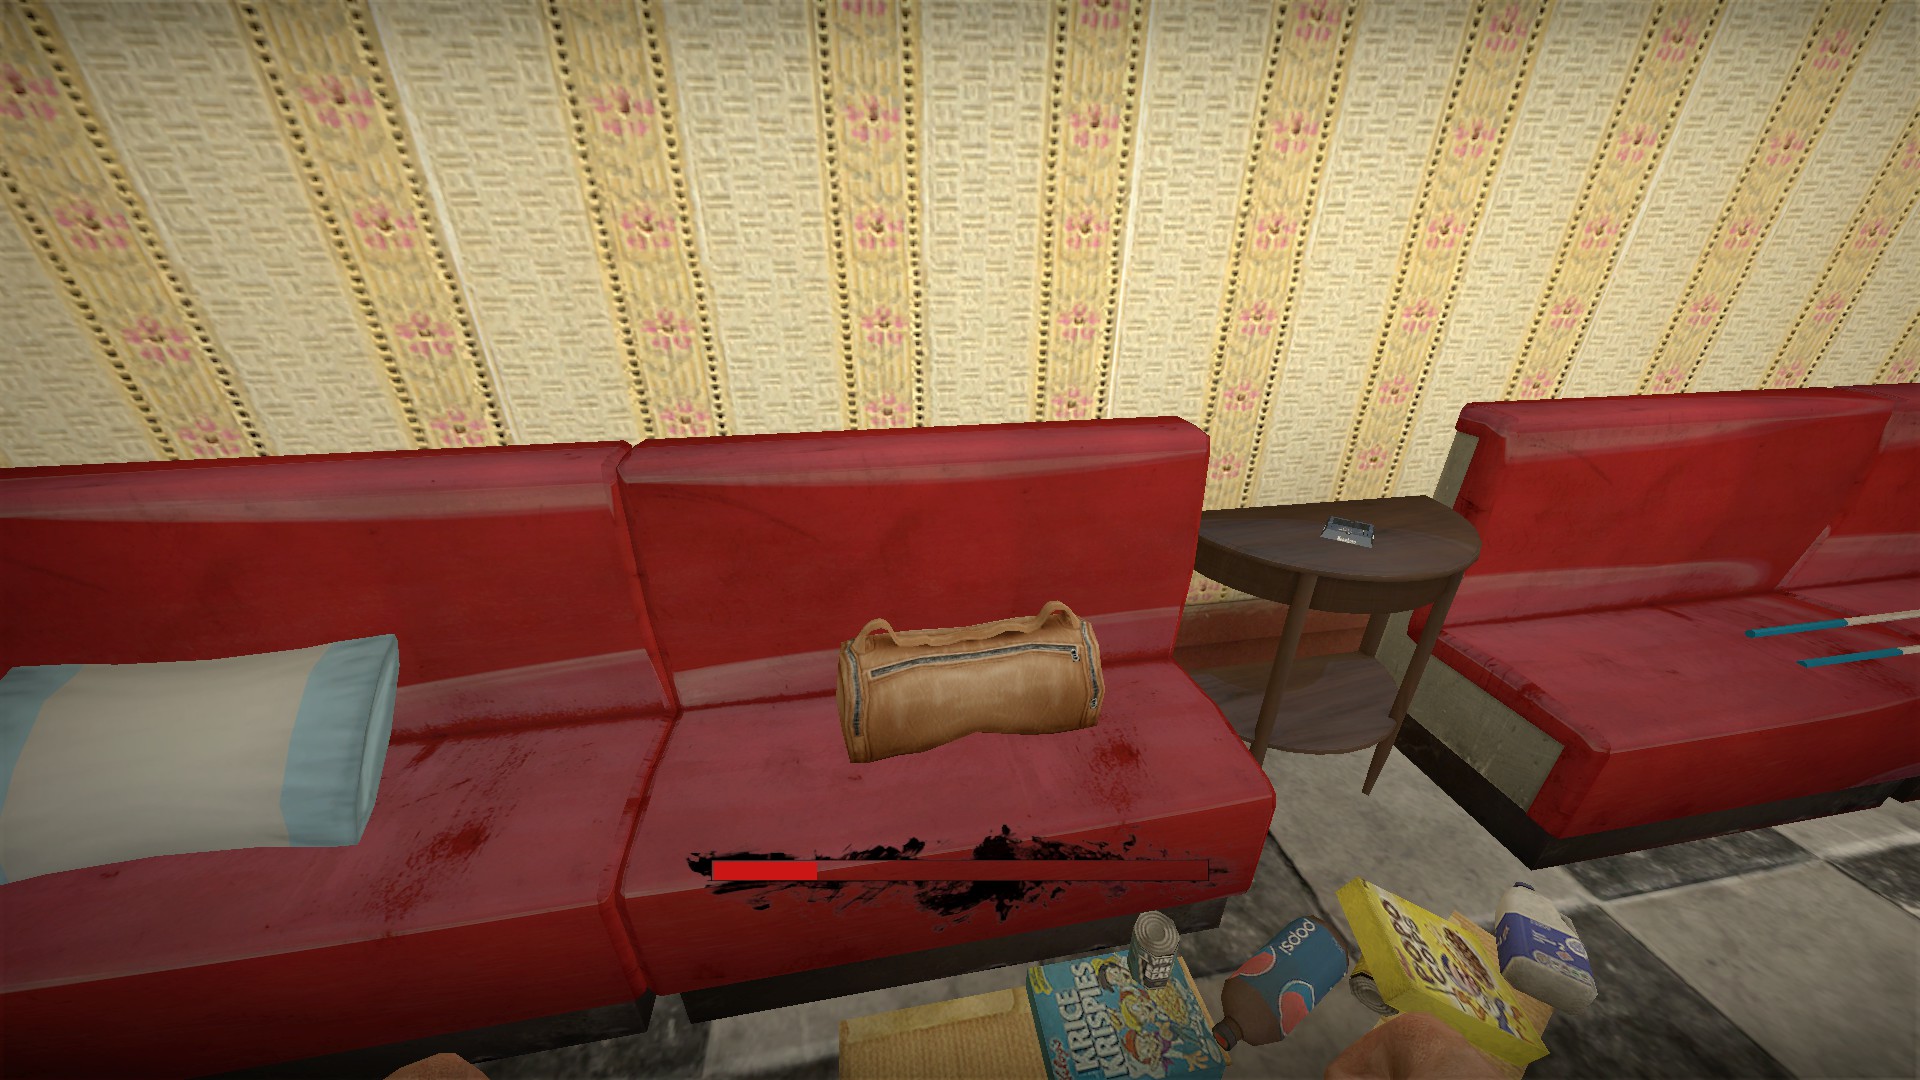
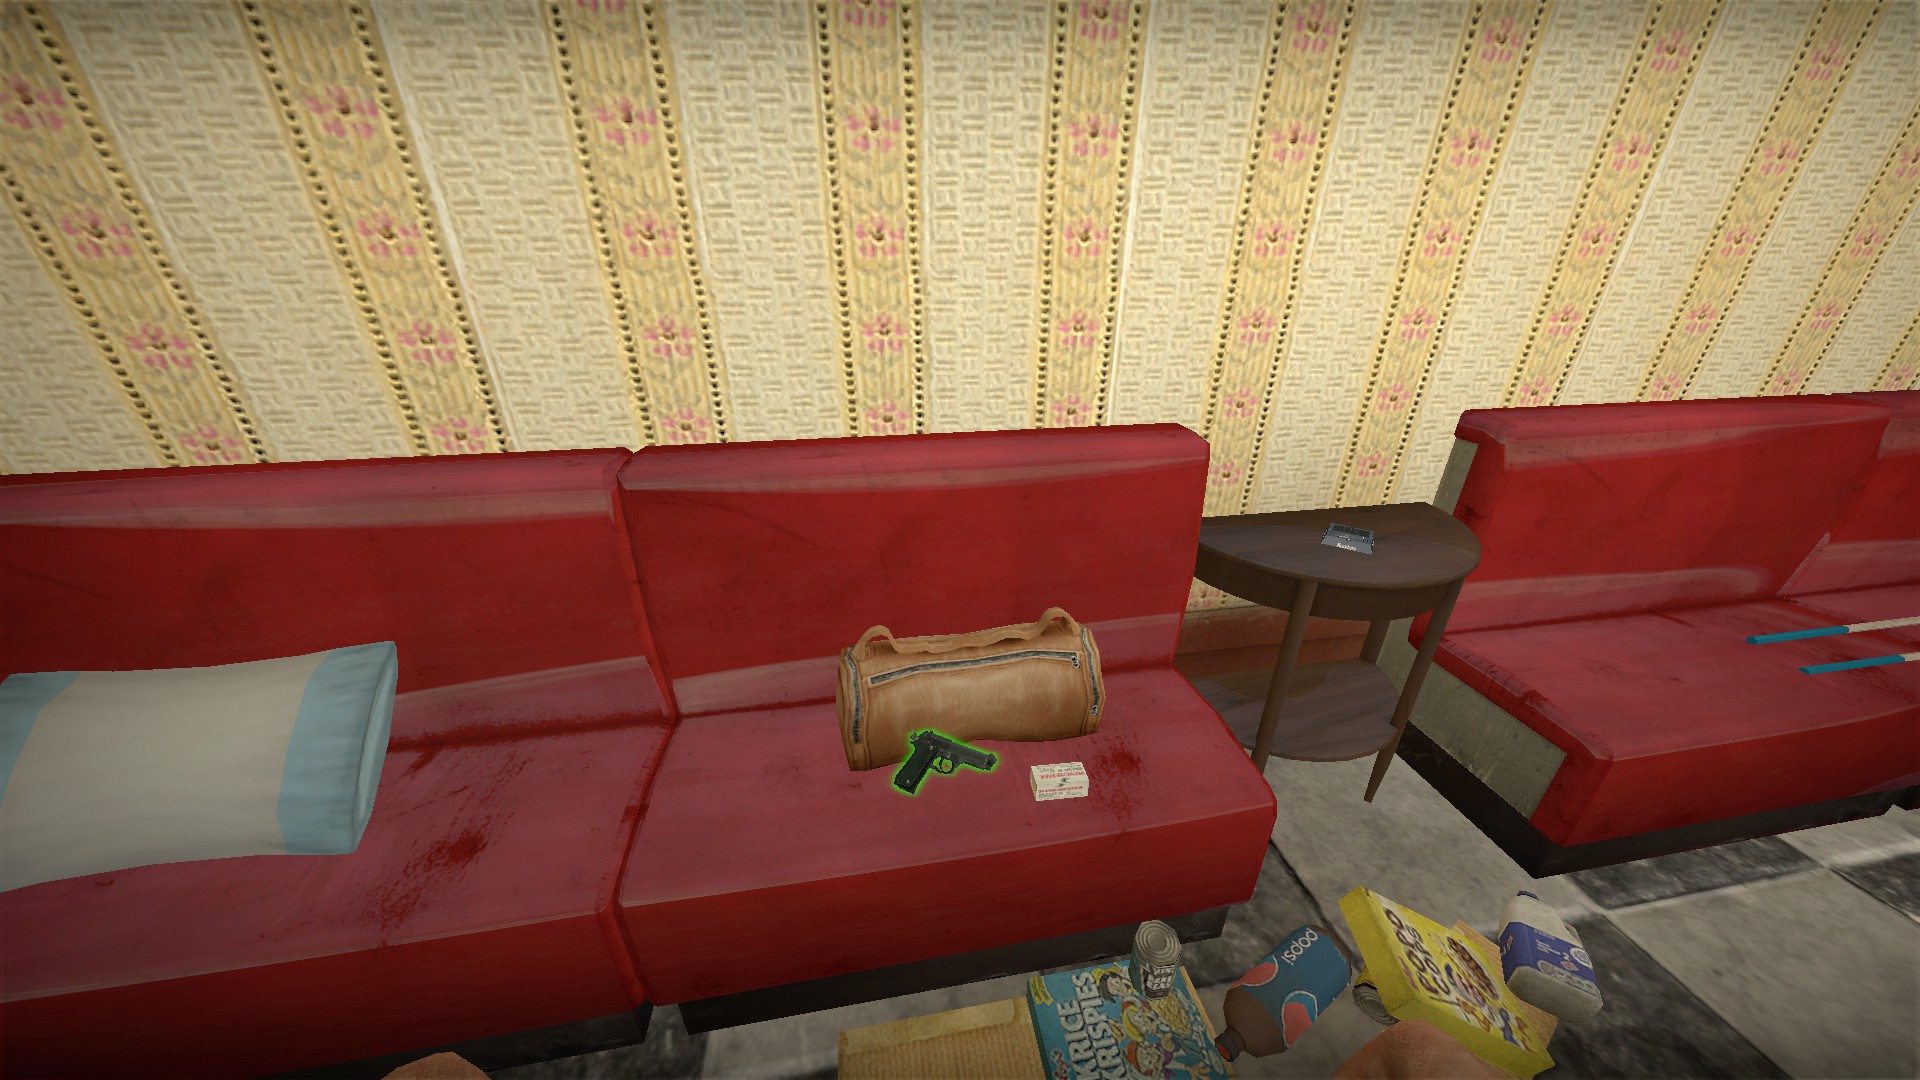
Hold e on the duffle bag in the bar for some random firearms/ammo
Yellow key
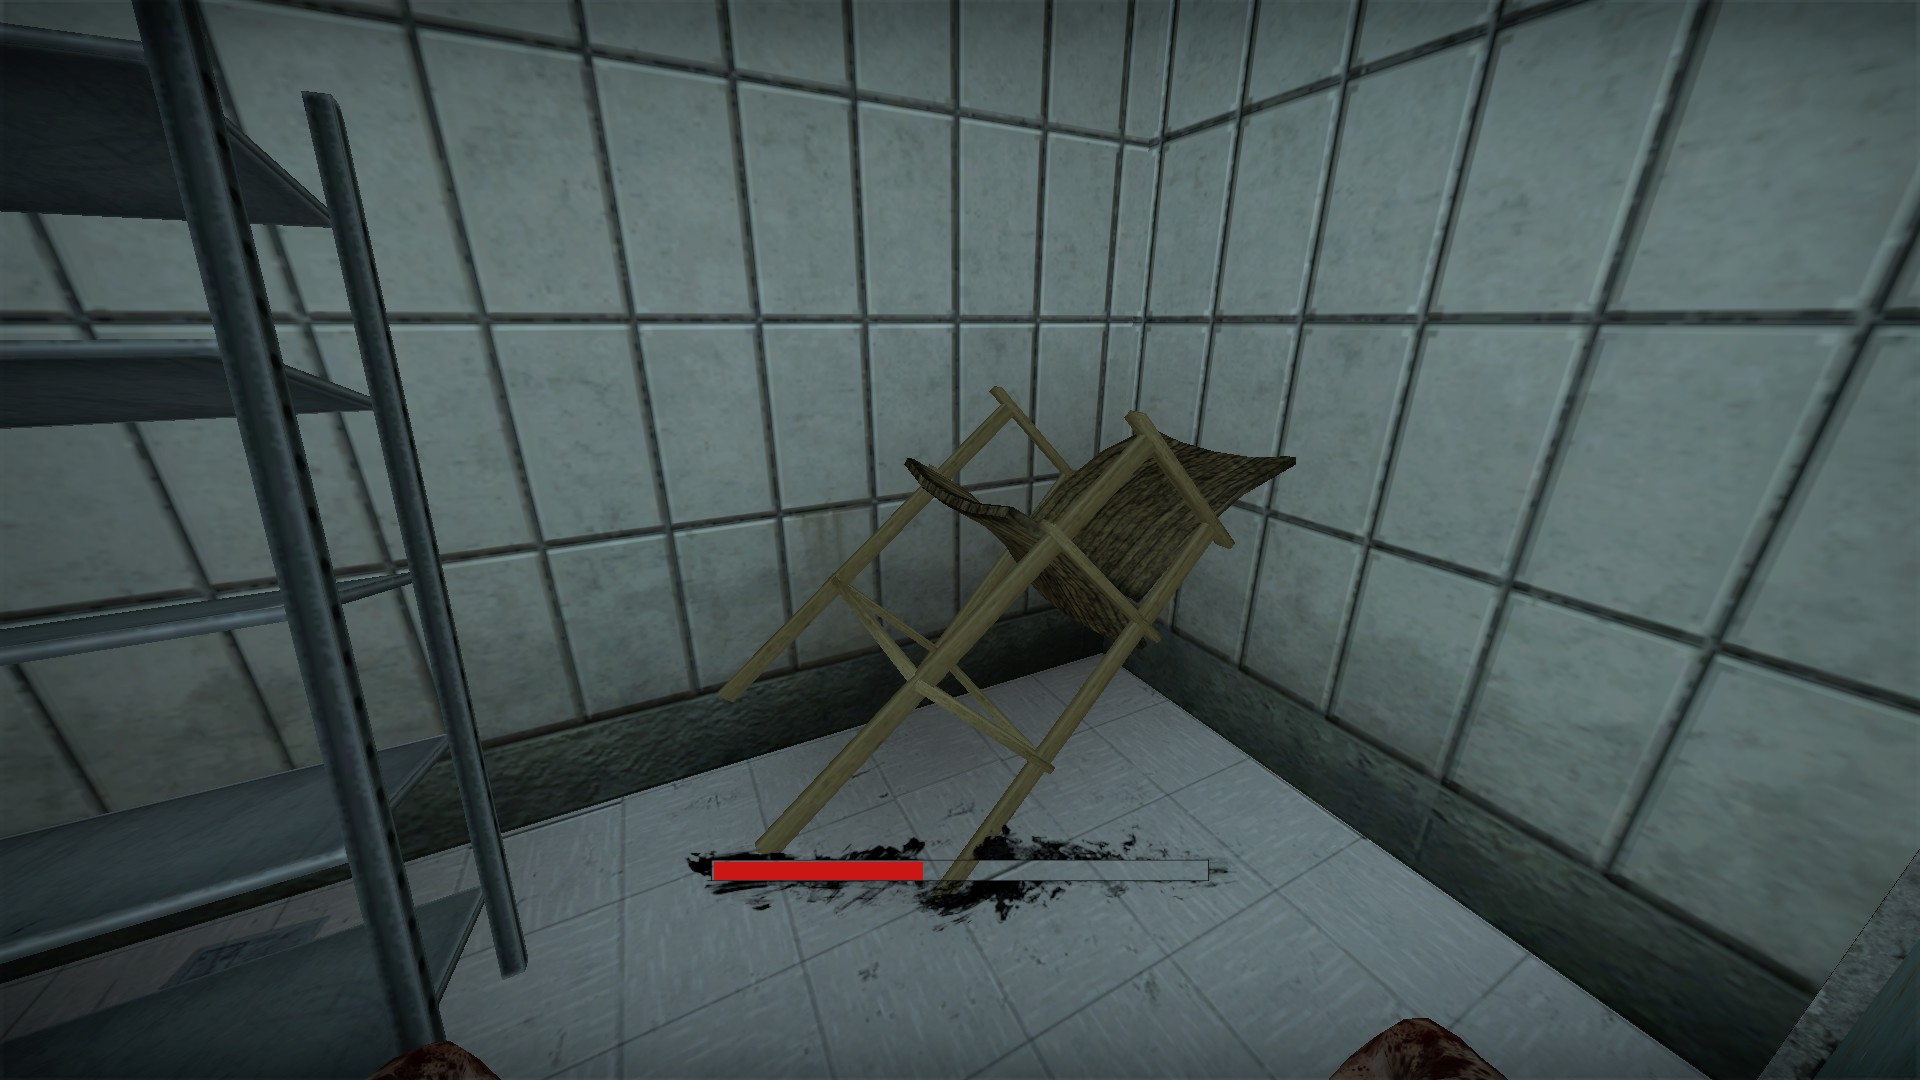
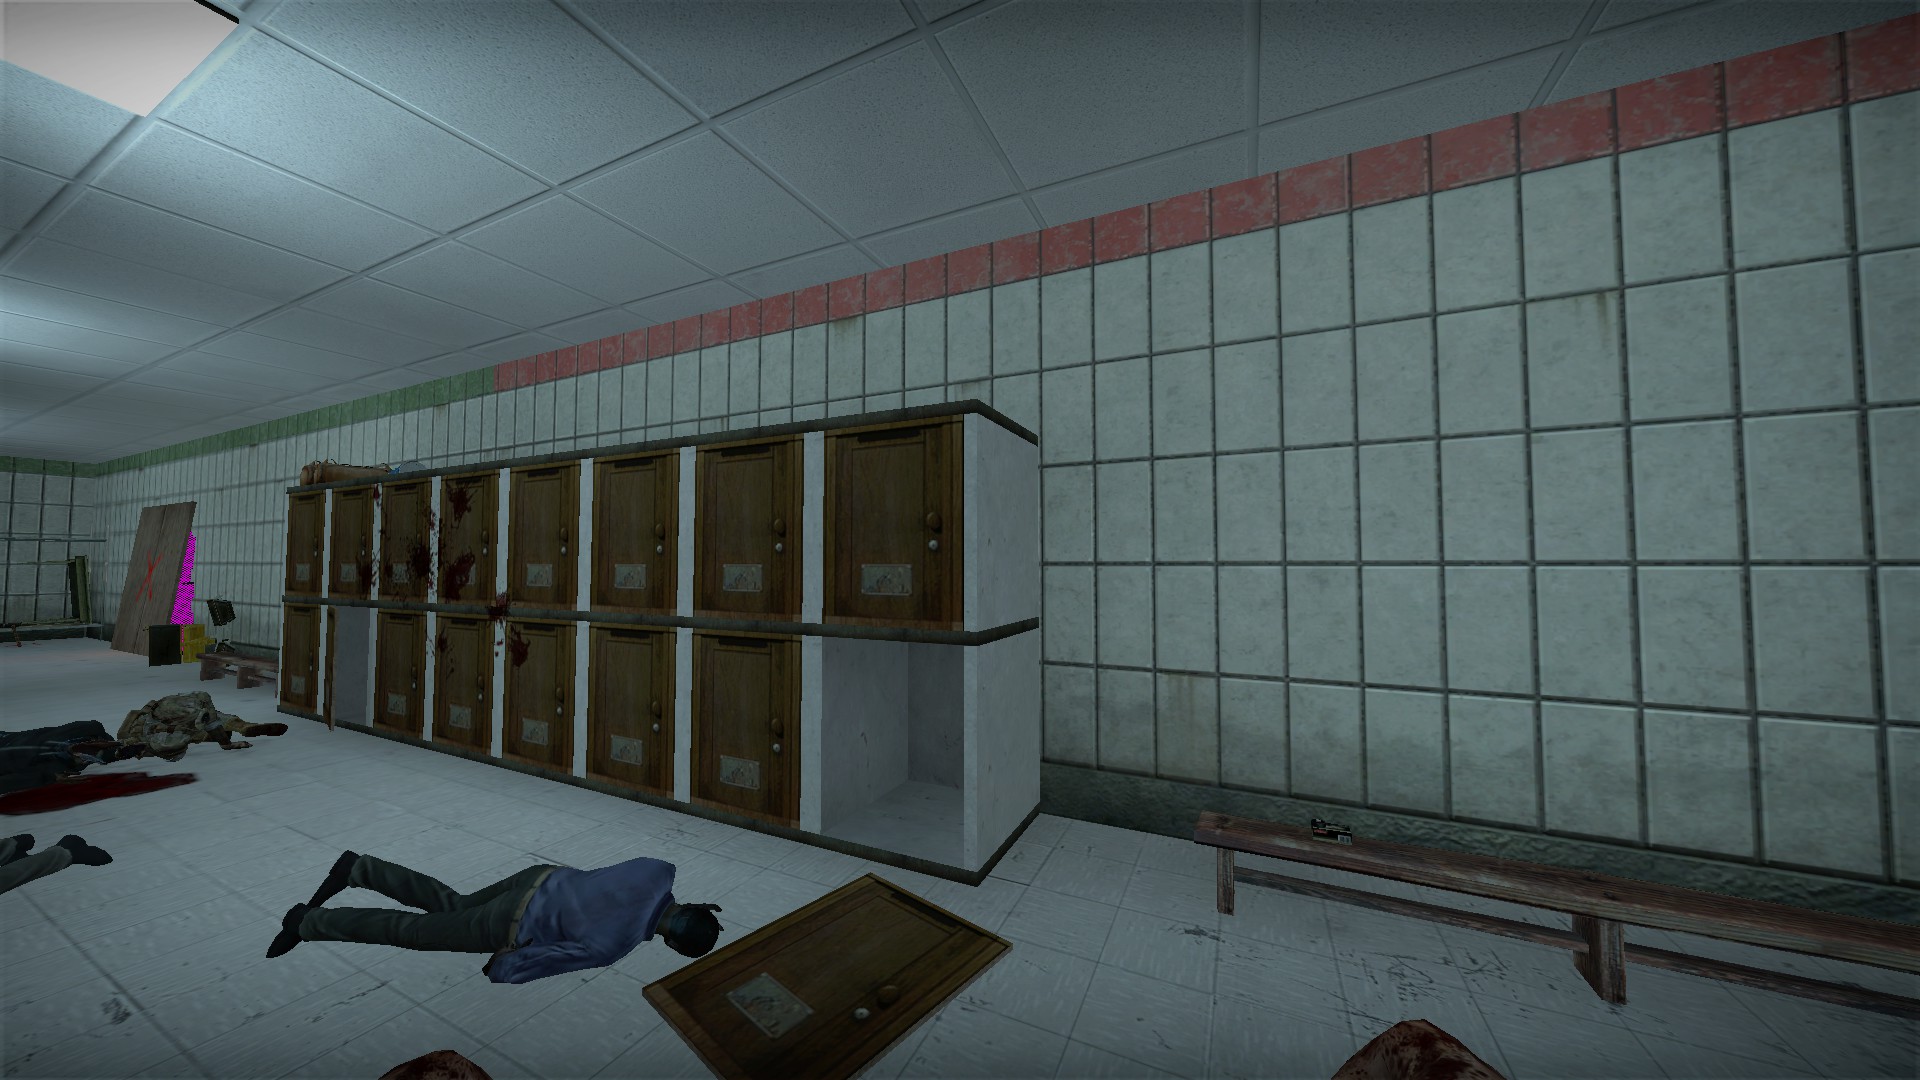
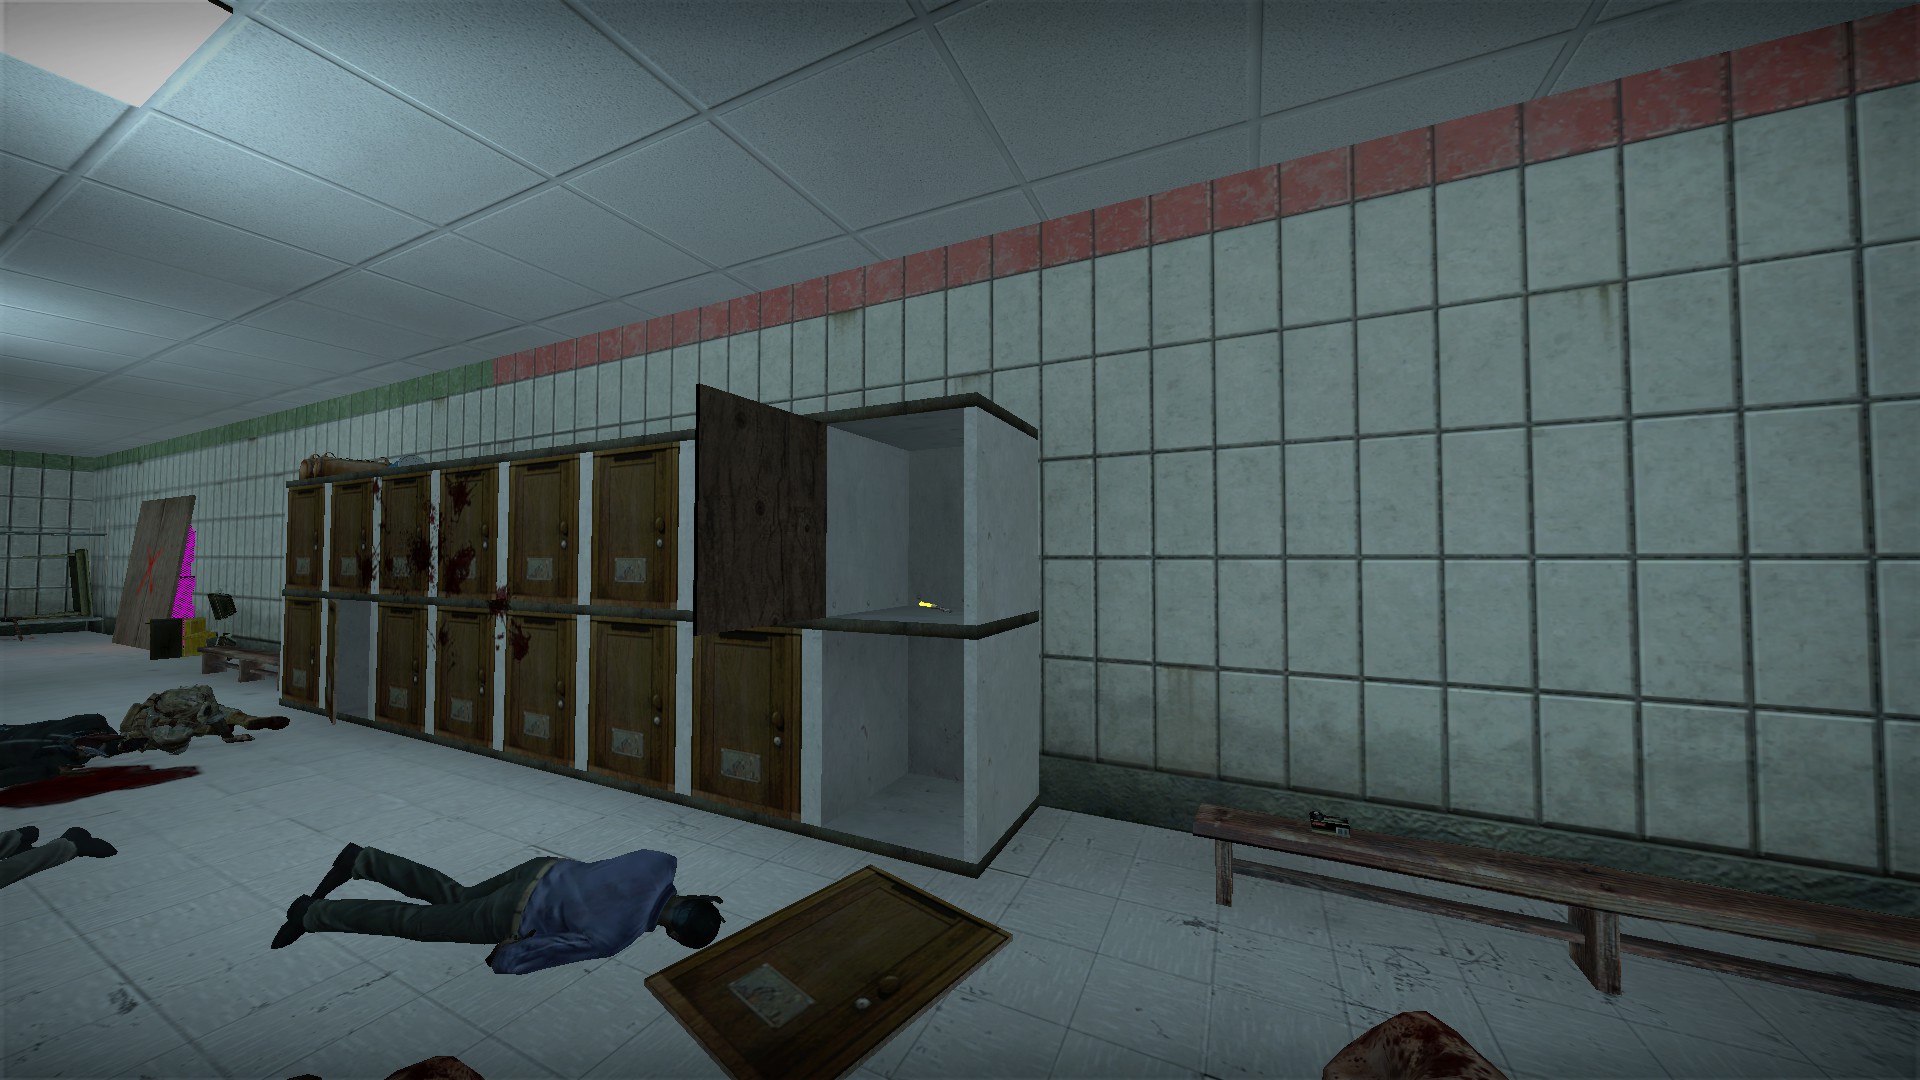
Hold e on the lifeguard chair in the corner, and a nearby locker will open a moment later revealing a yellow key
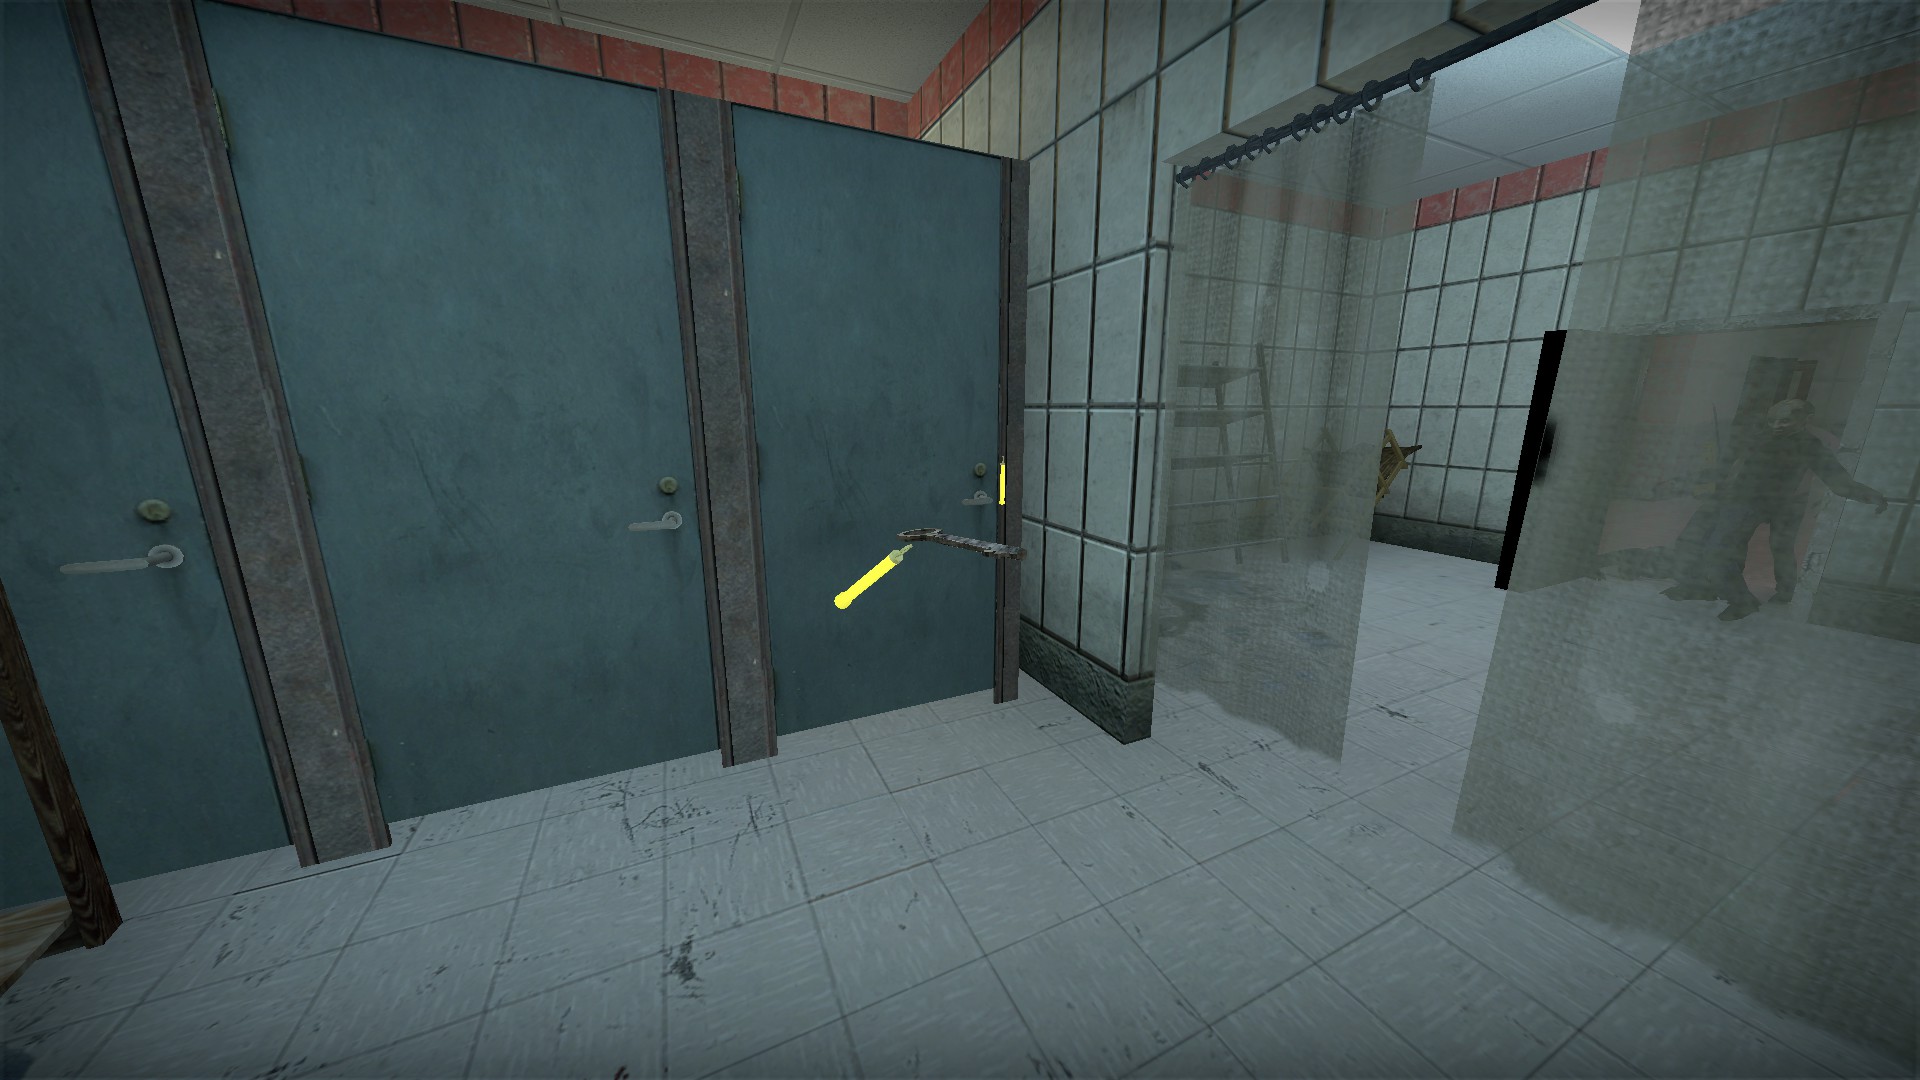
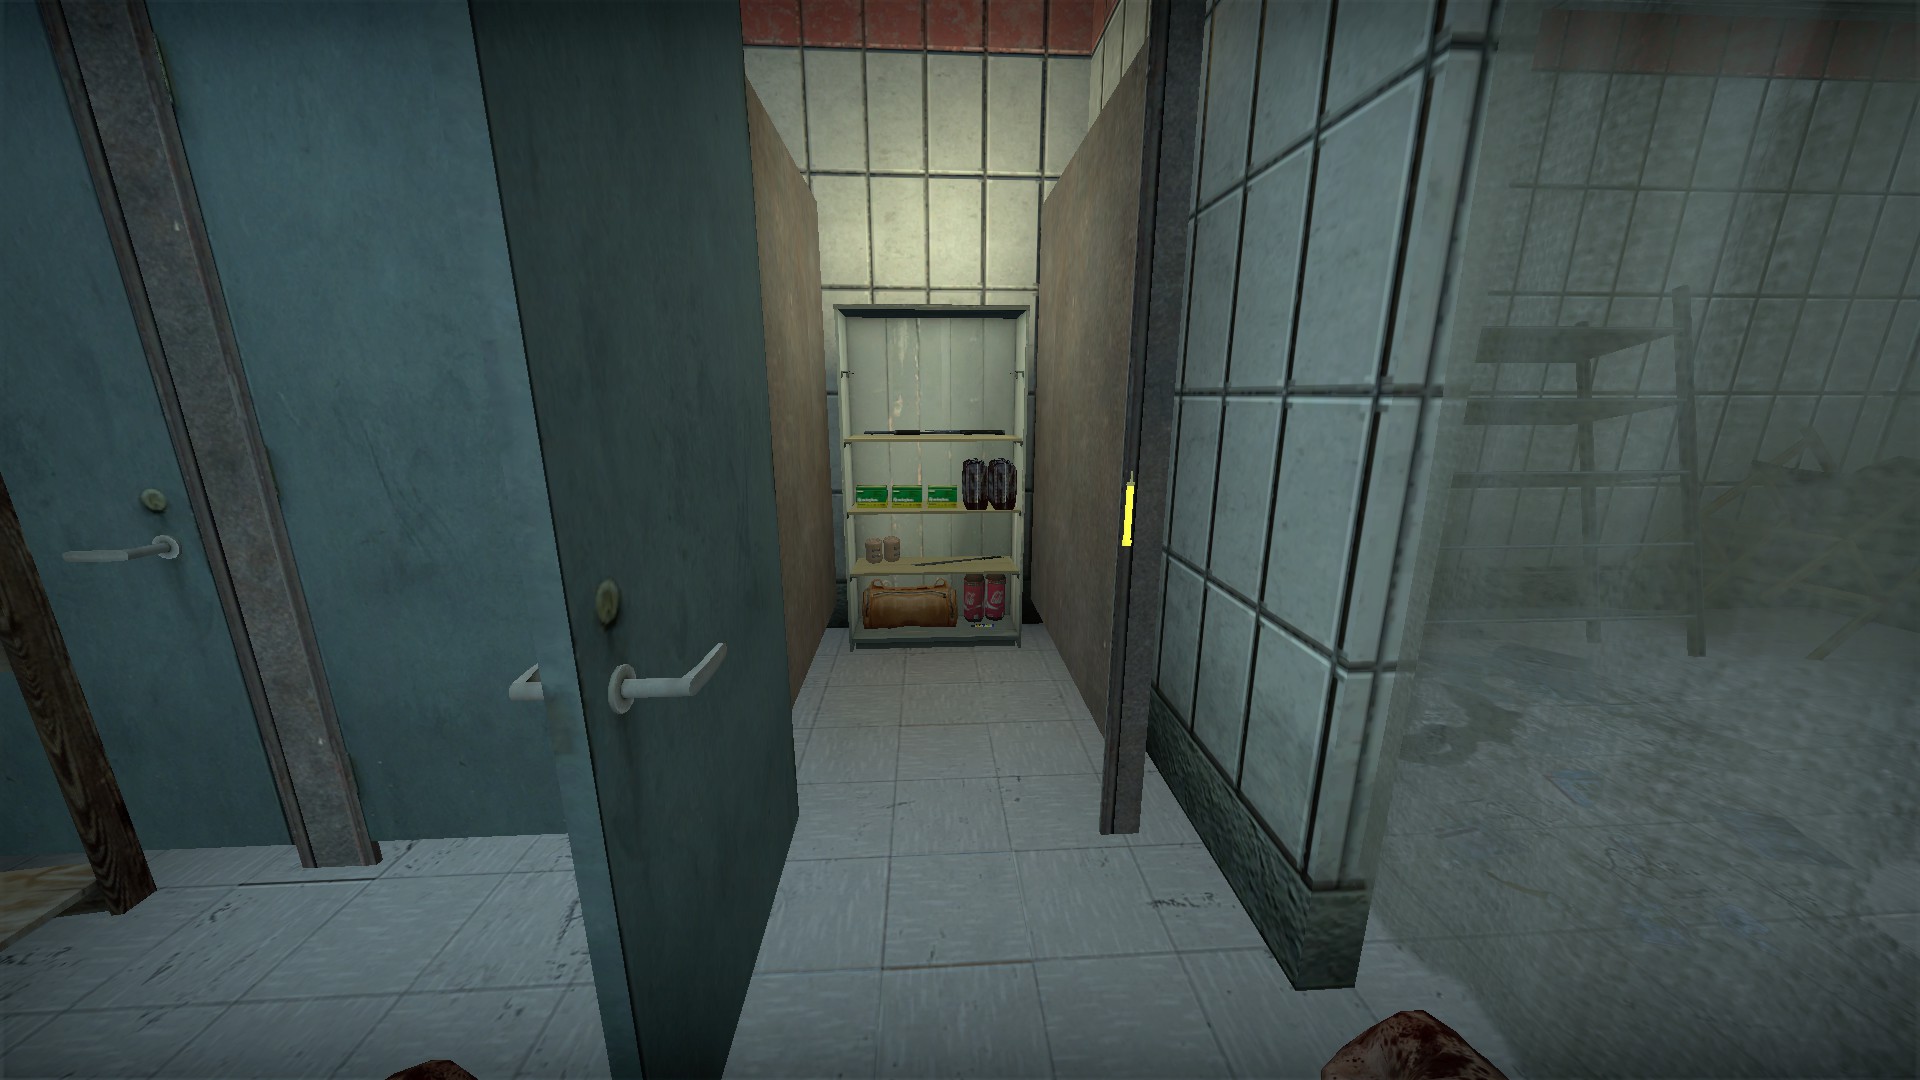
Use this key on a nearby stall for an item stash
Other openable lockers
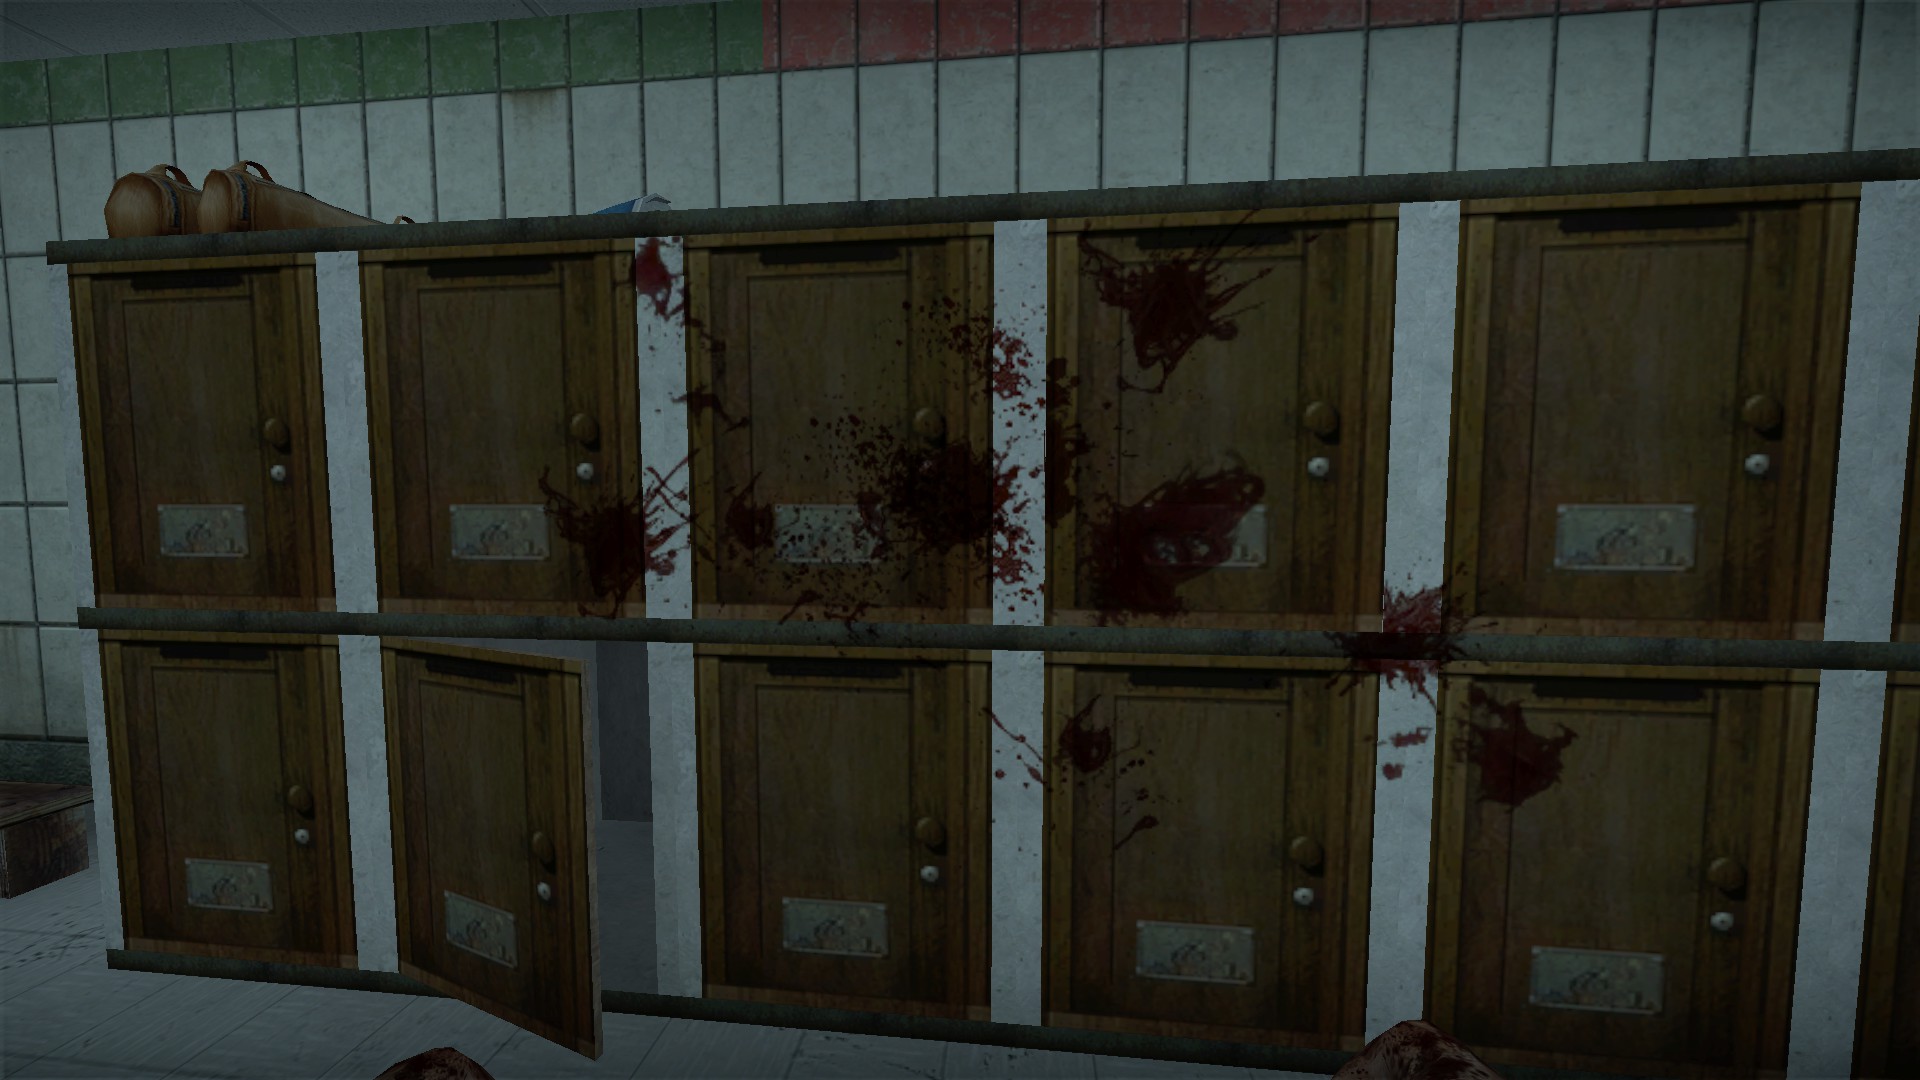
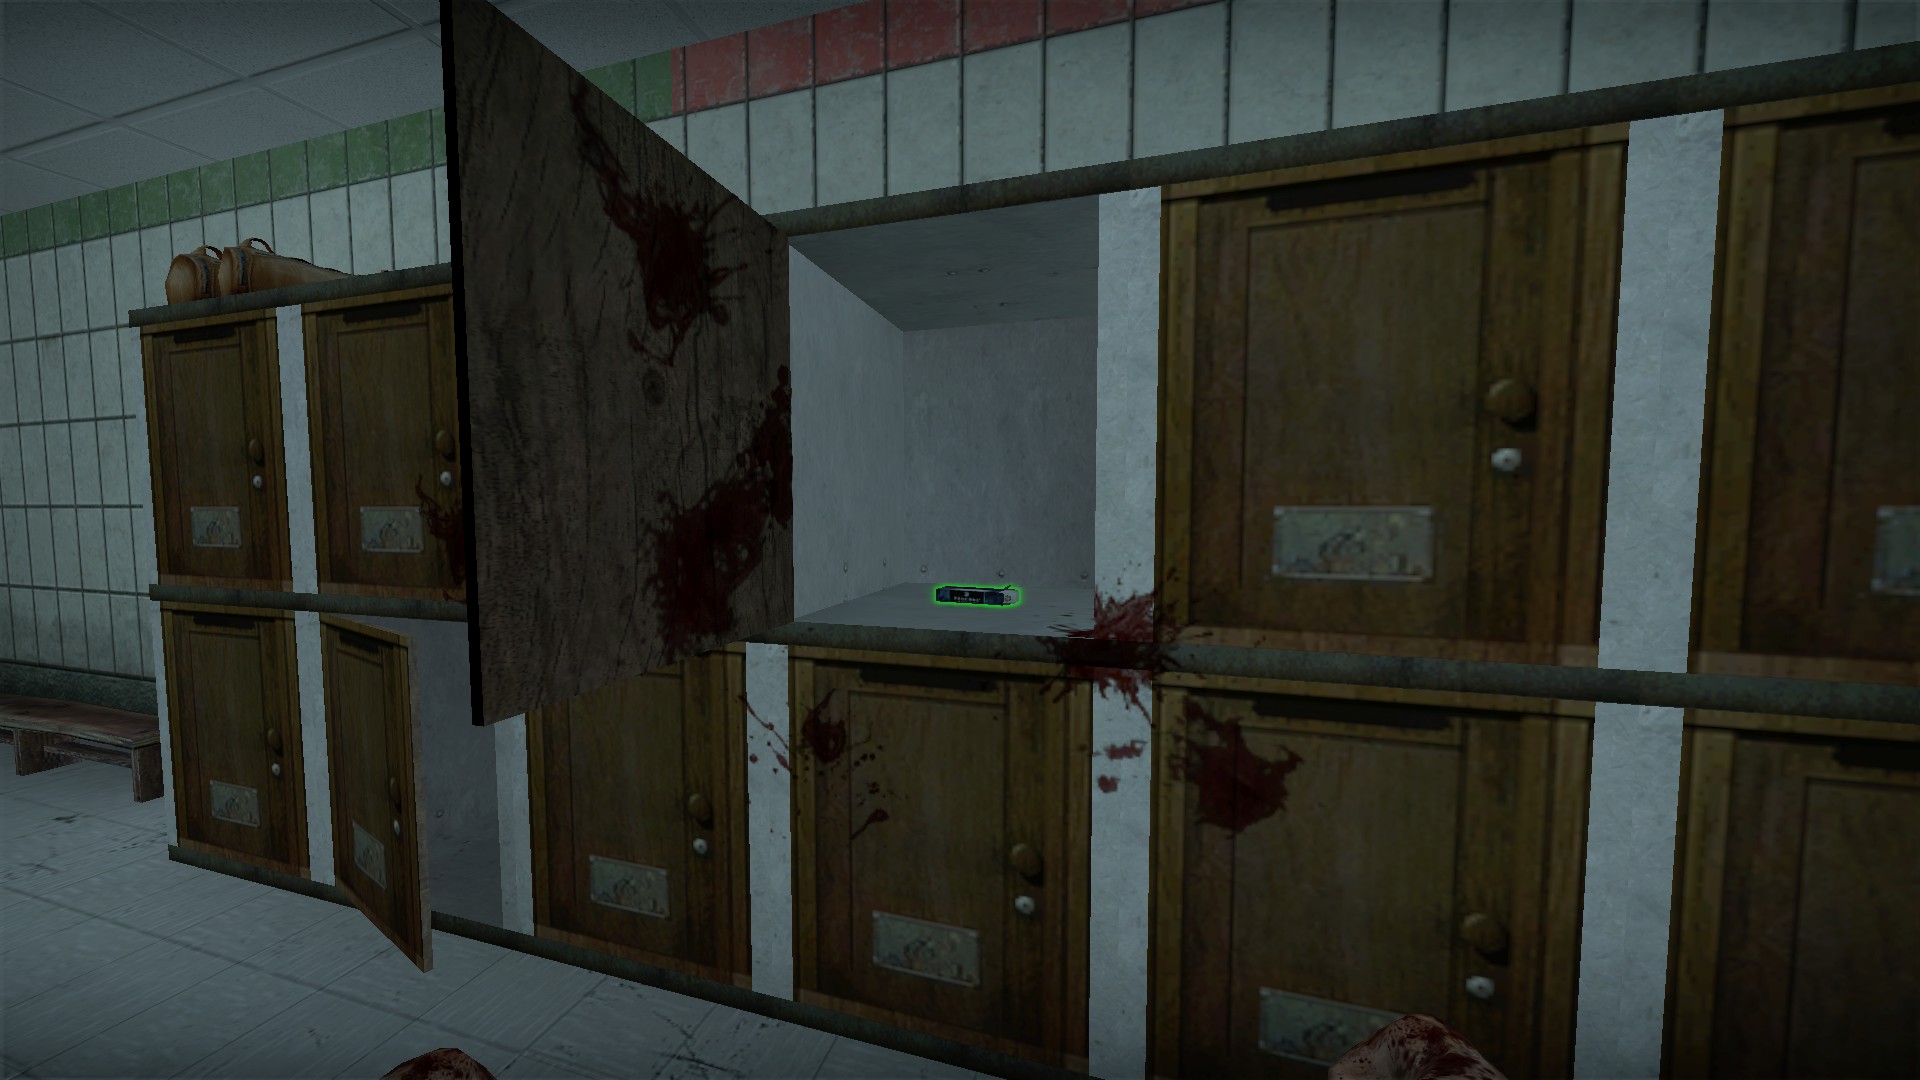
A locker in the same set as the yellow key can be opened for an item
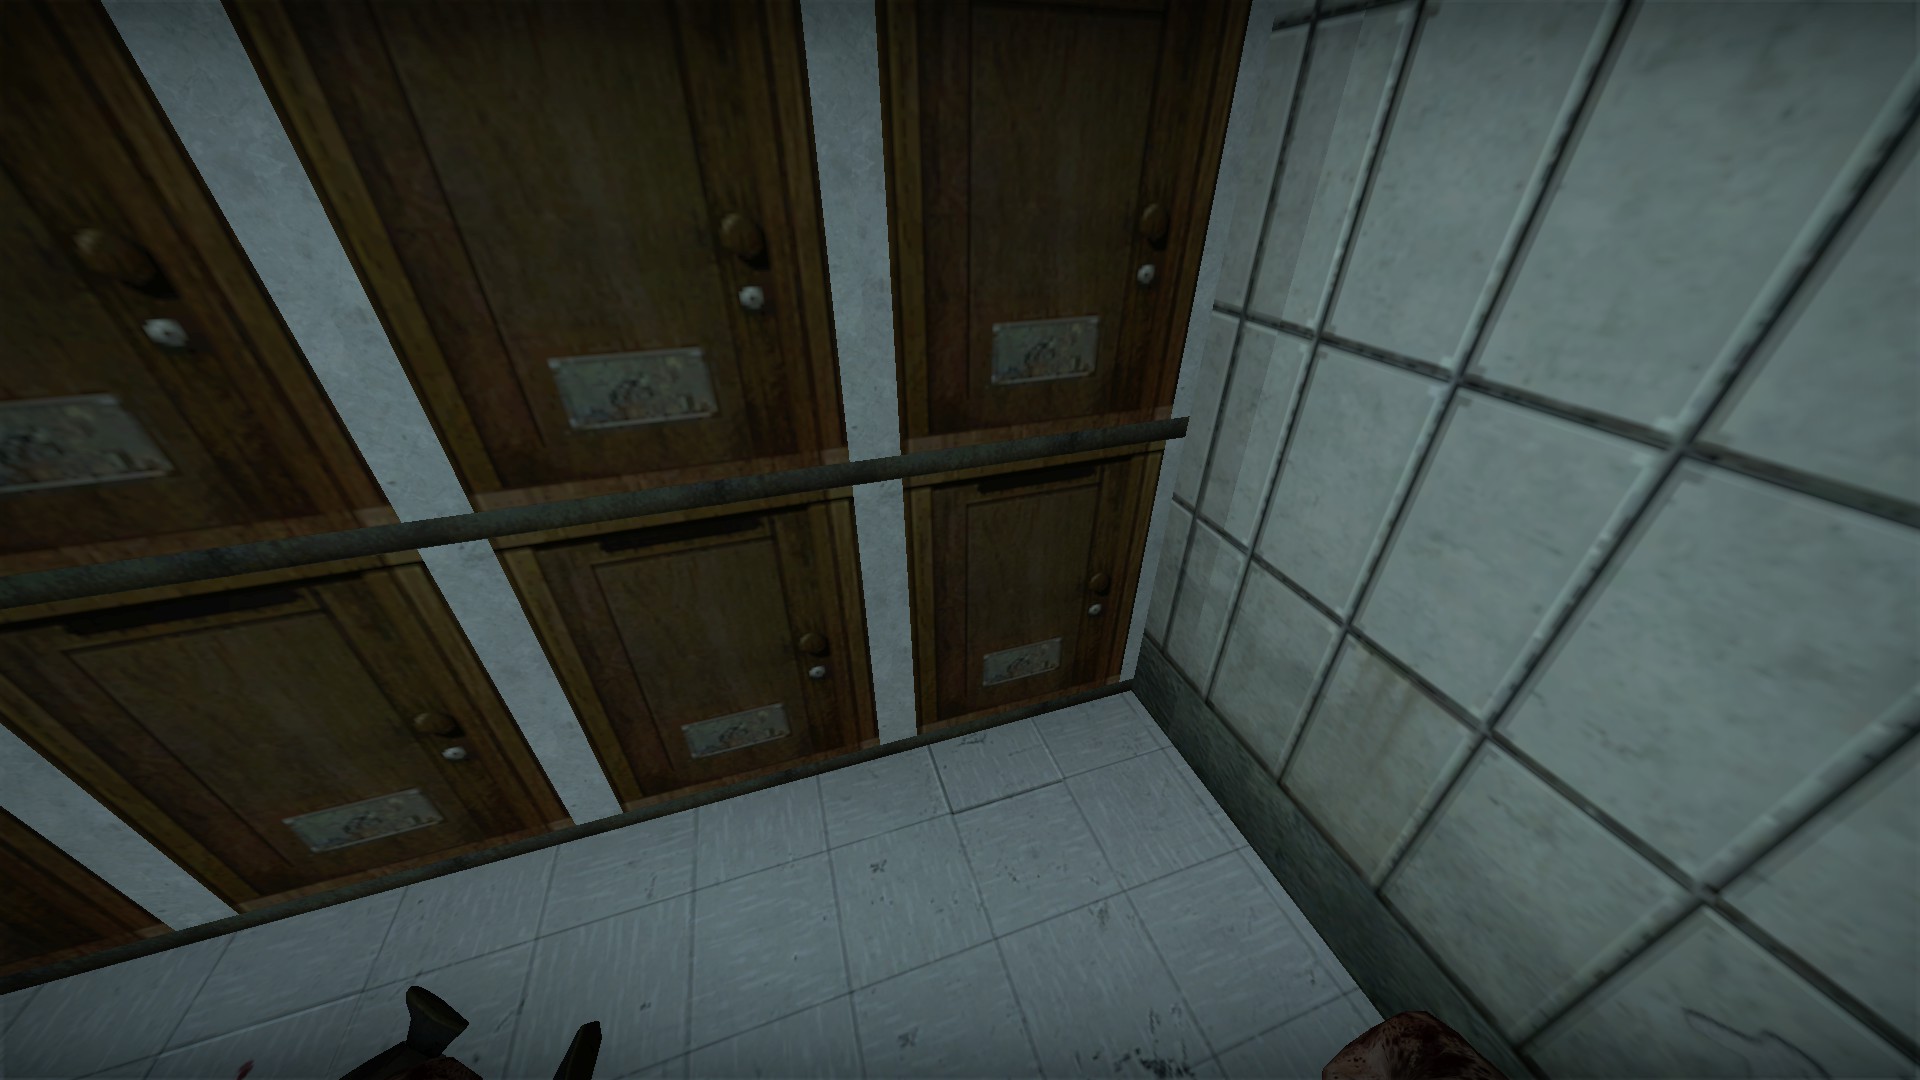
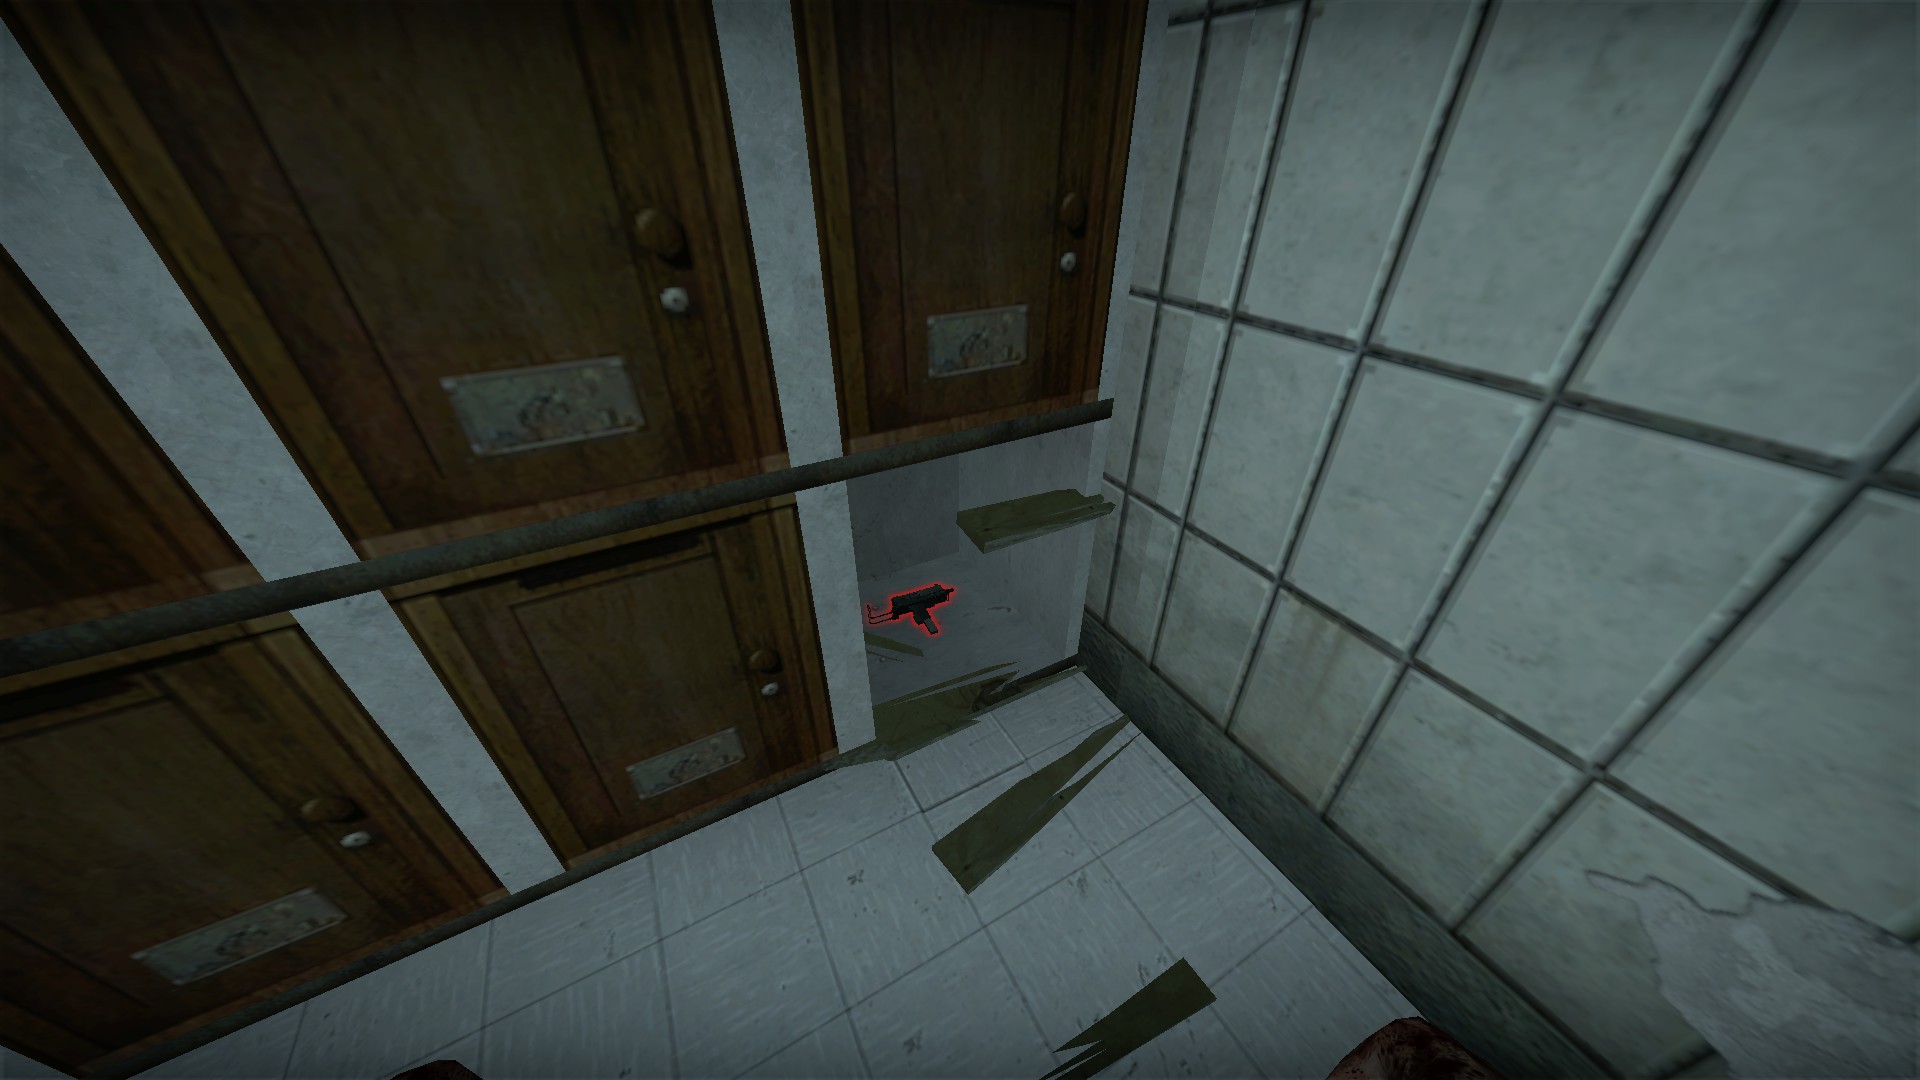
In the other set of lockers in this area, another locker in can be broken for an item
Prop sledgehammer
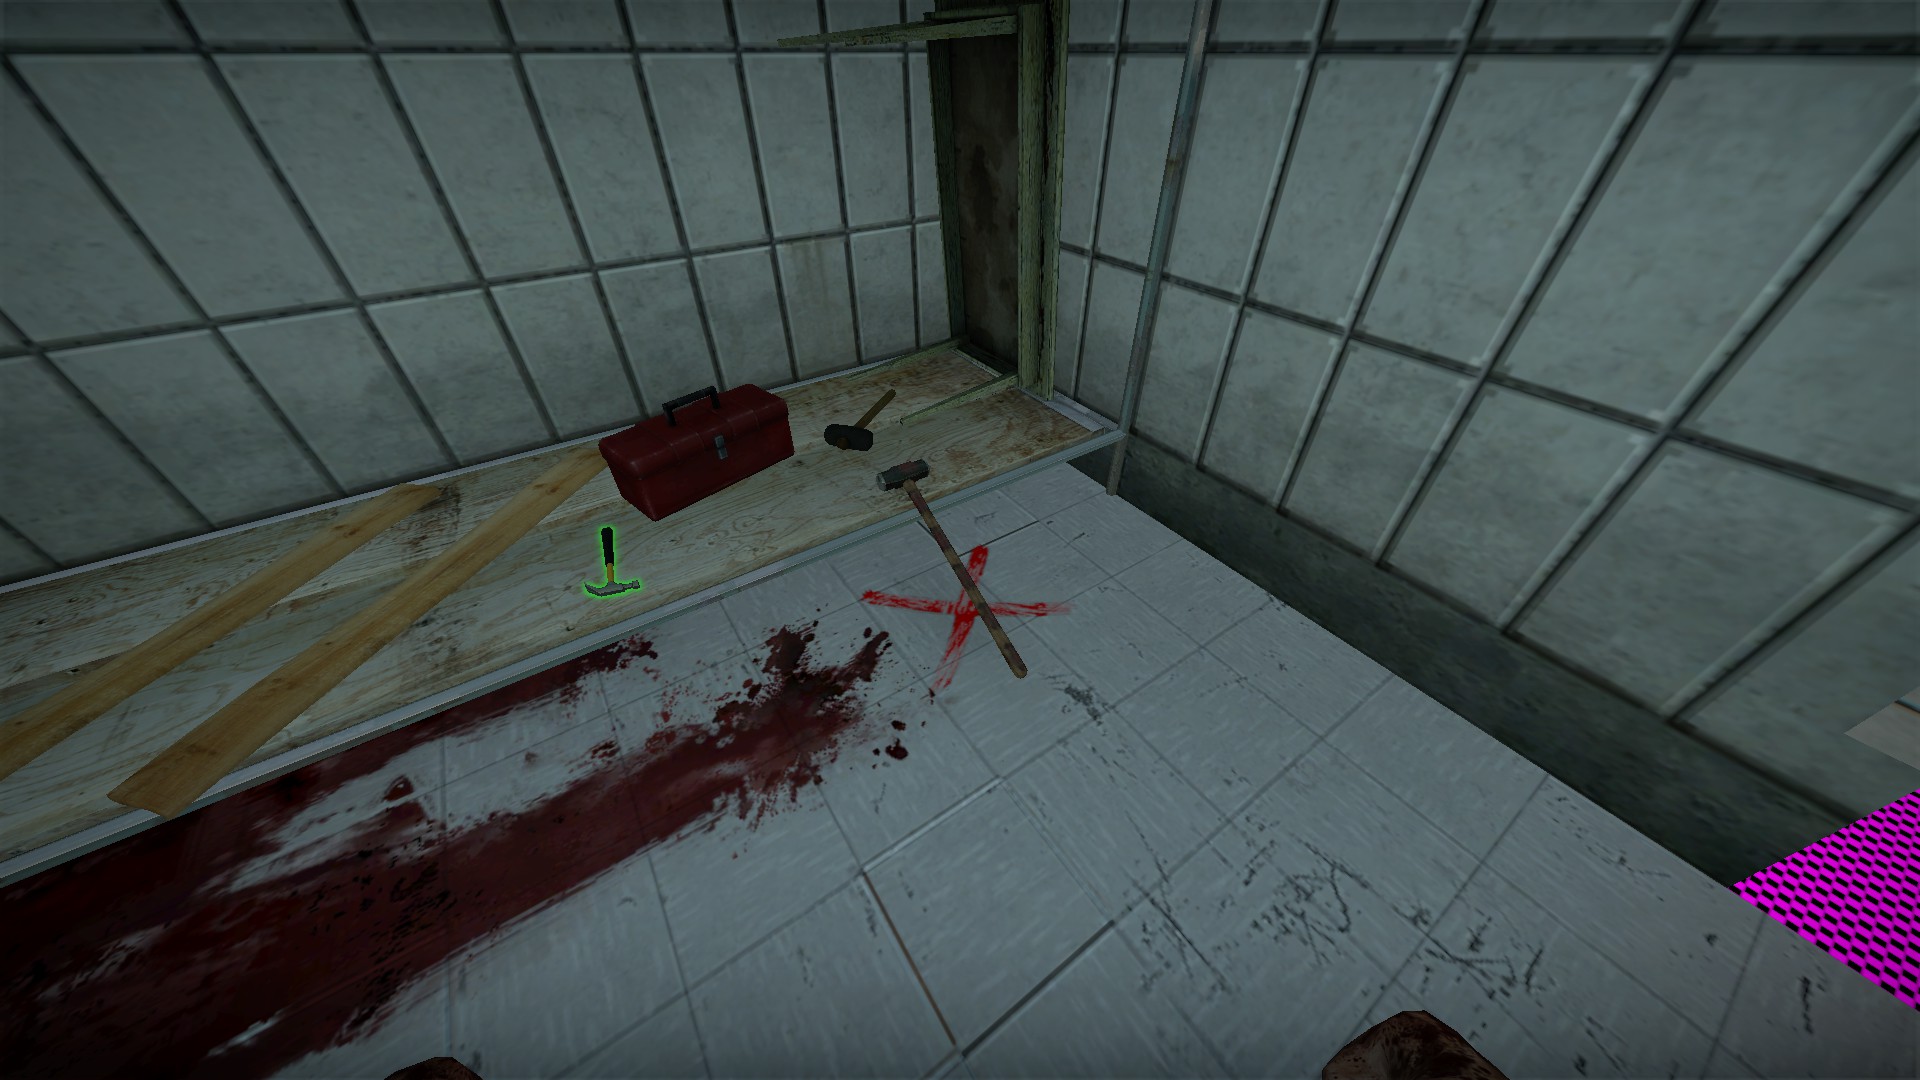
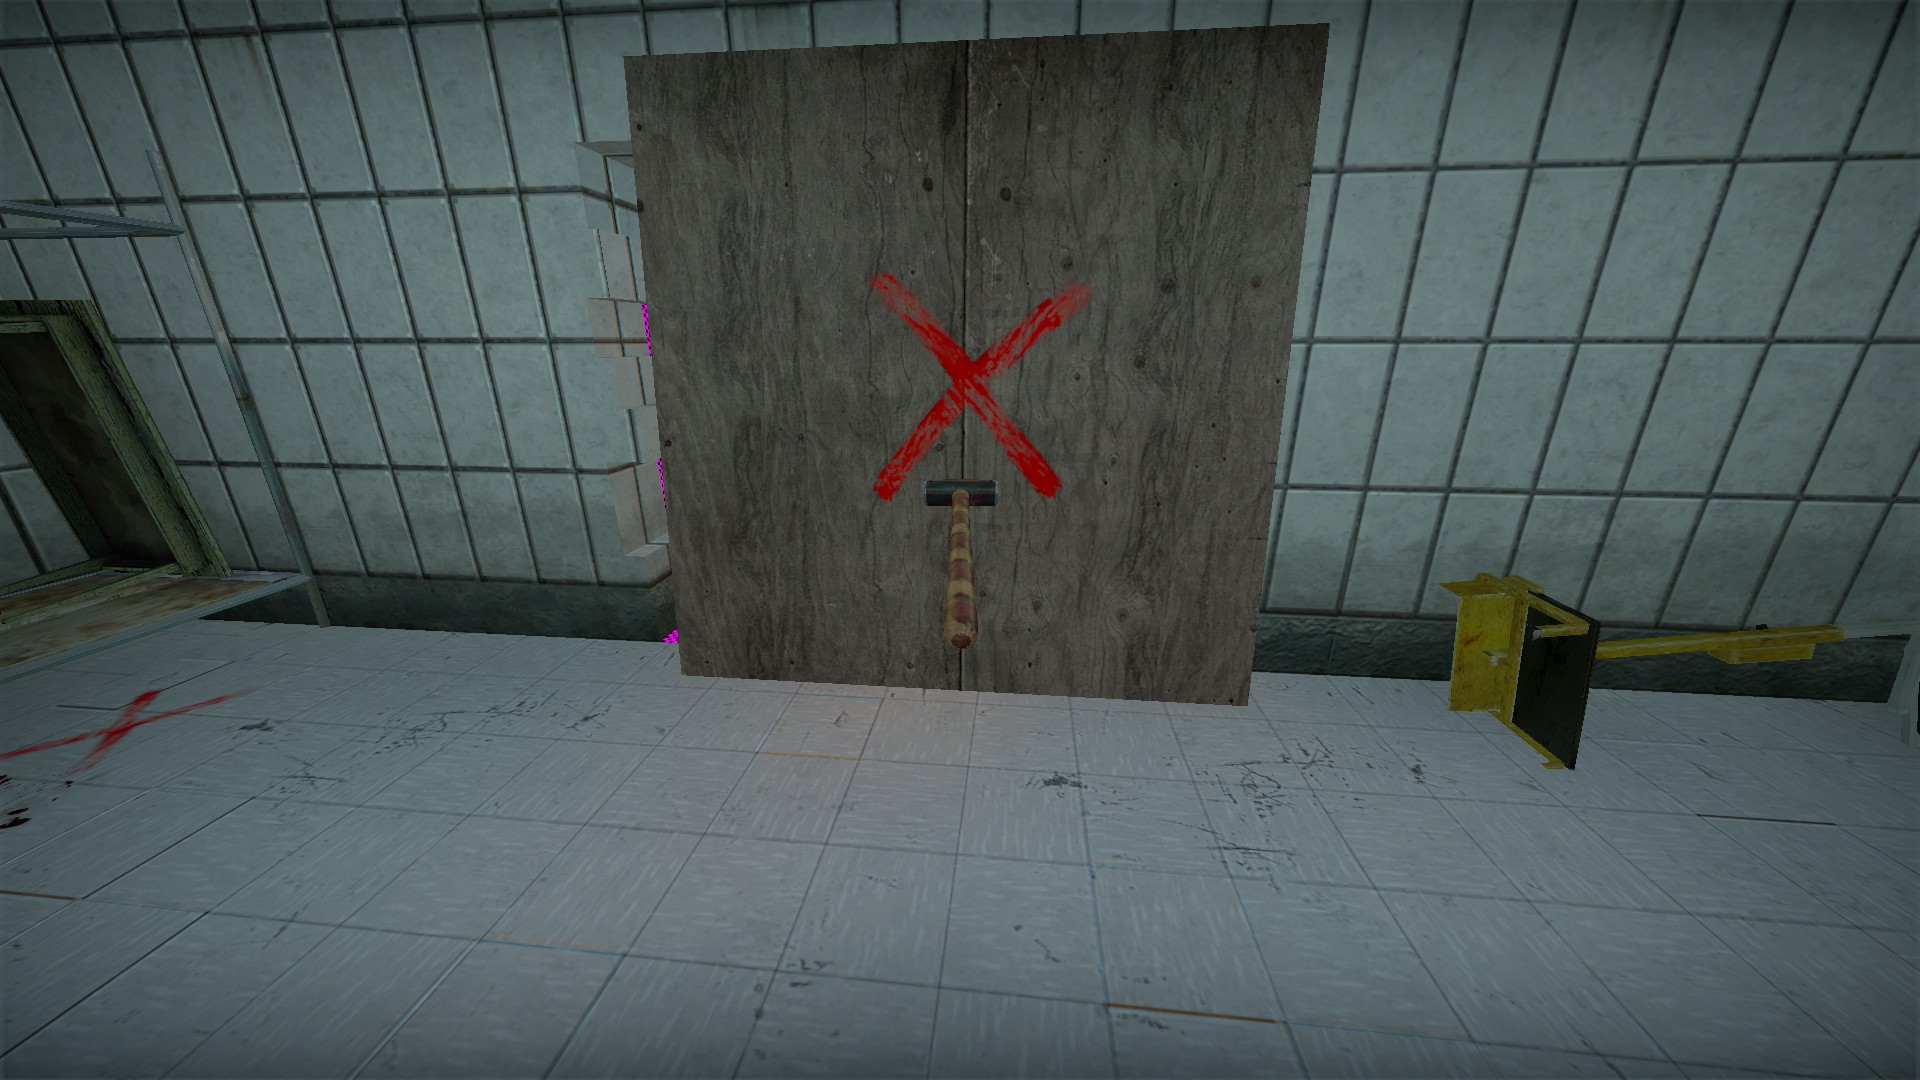
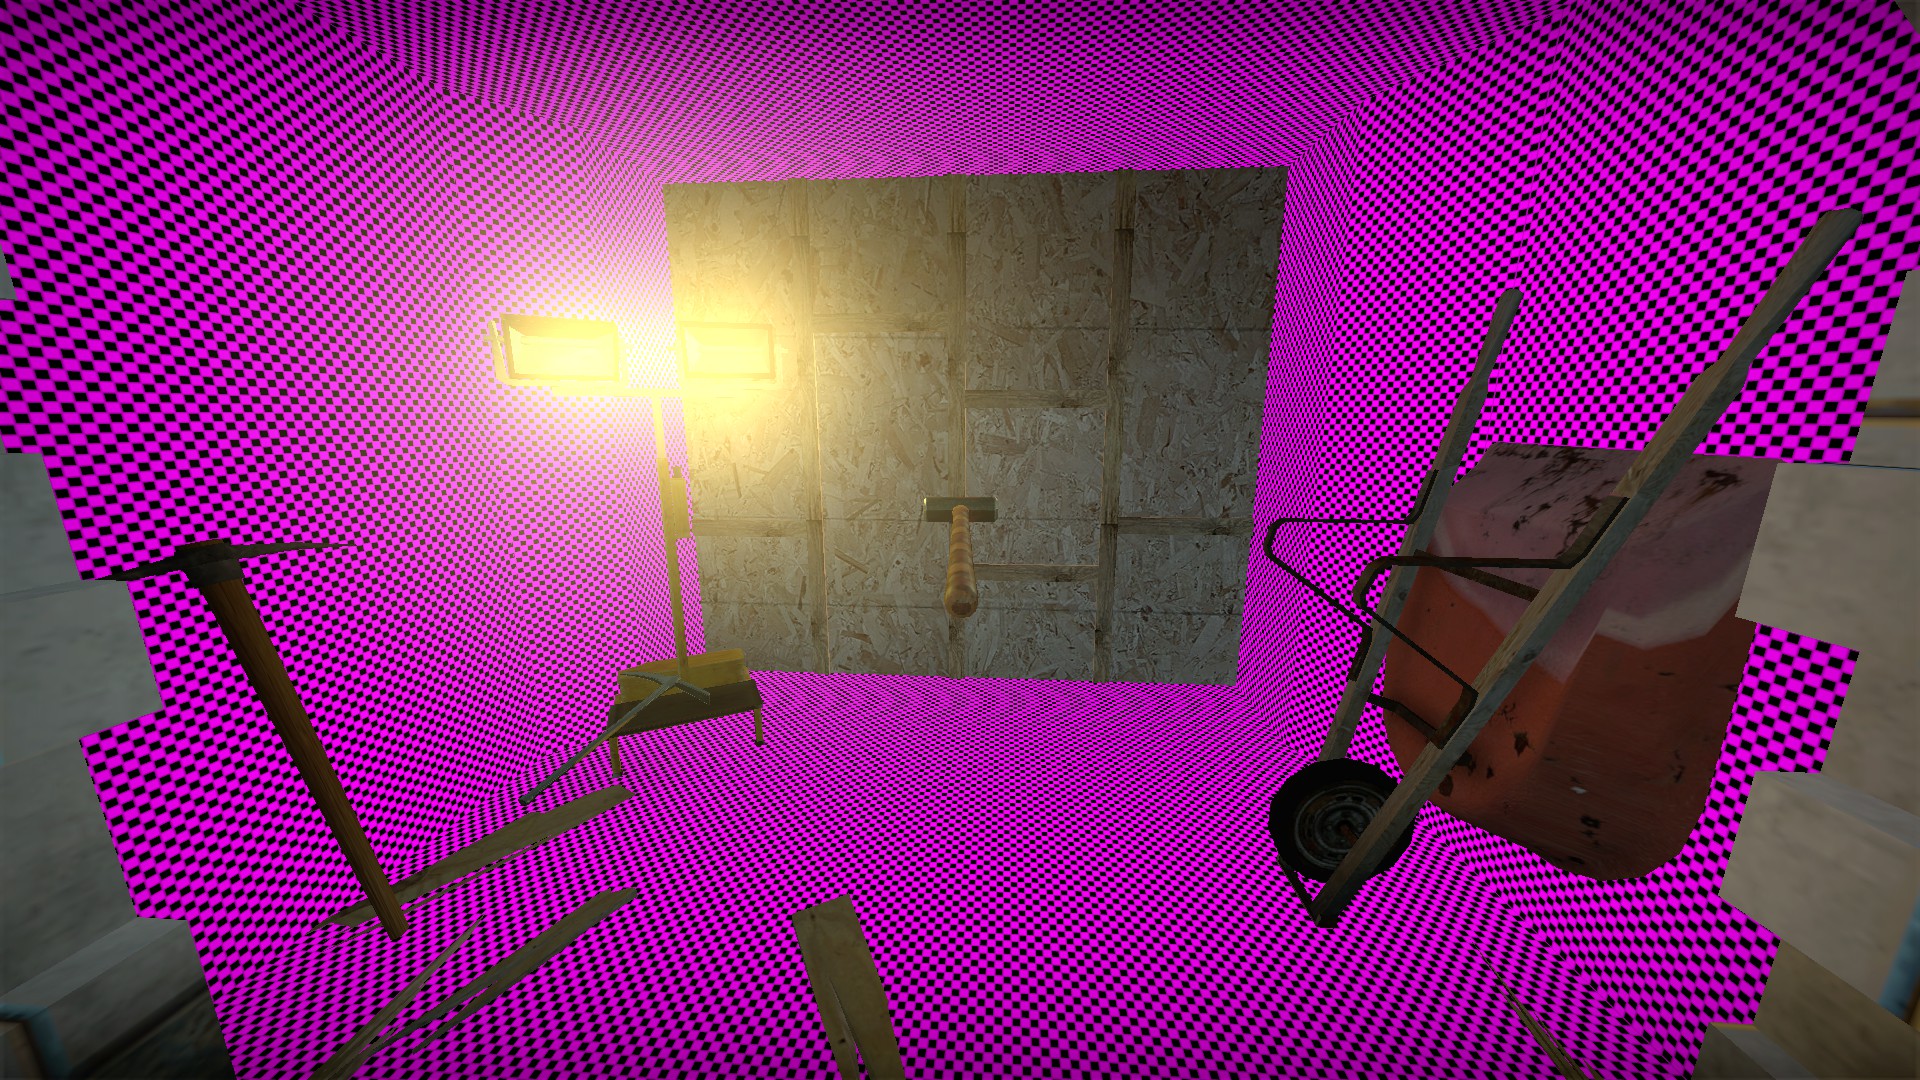
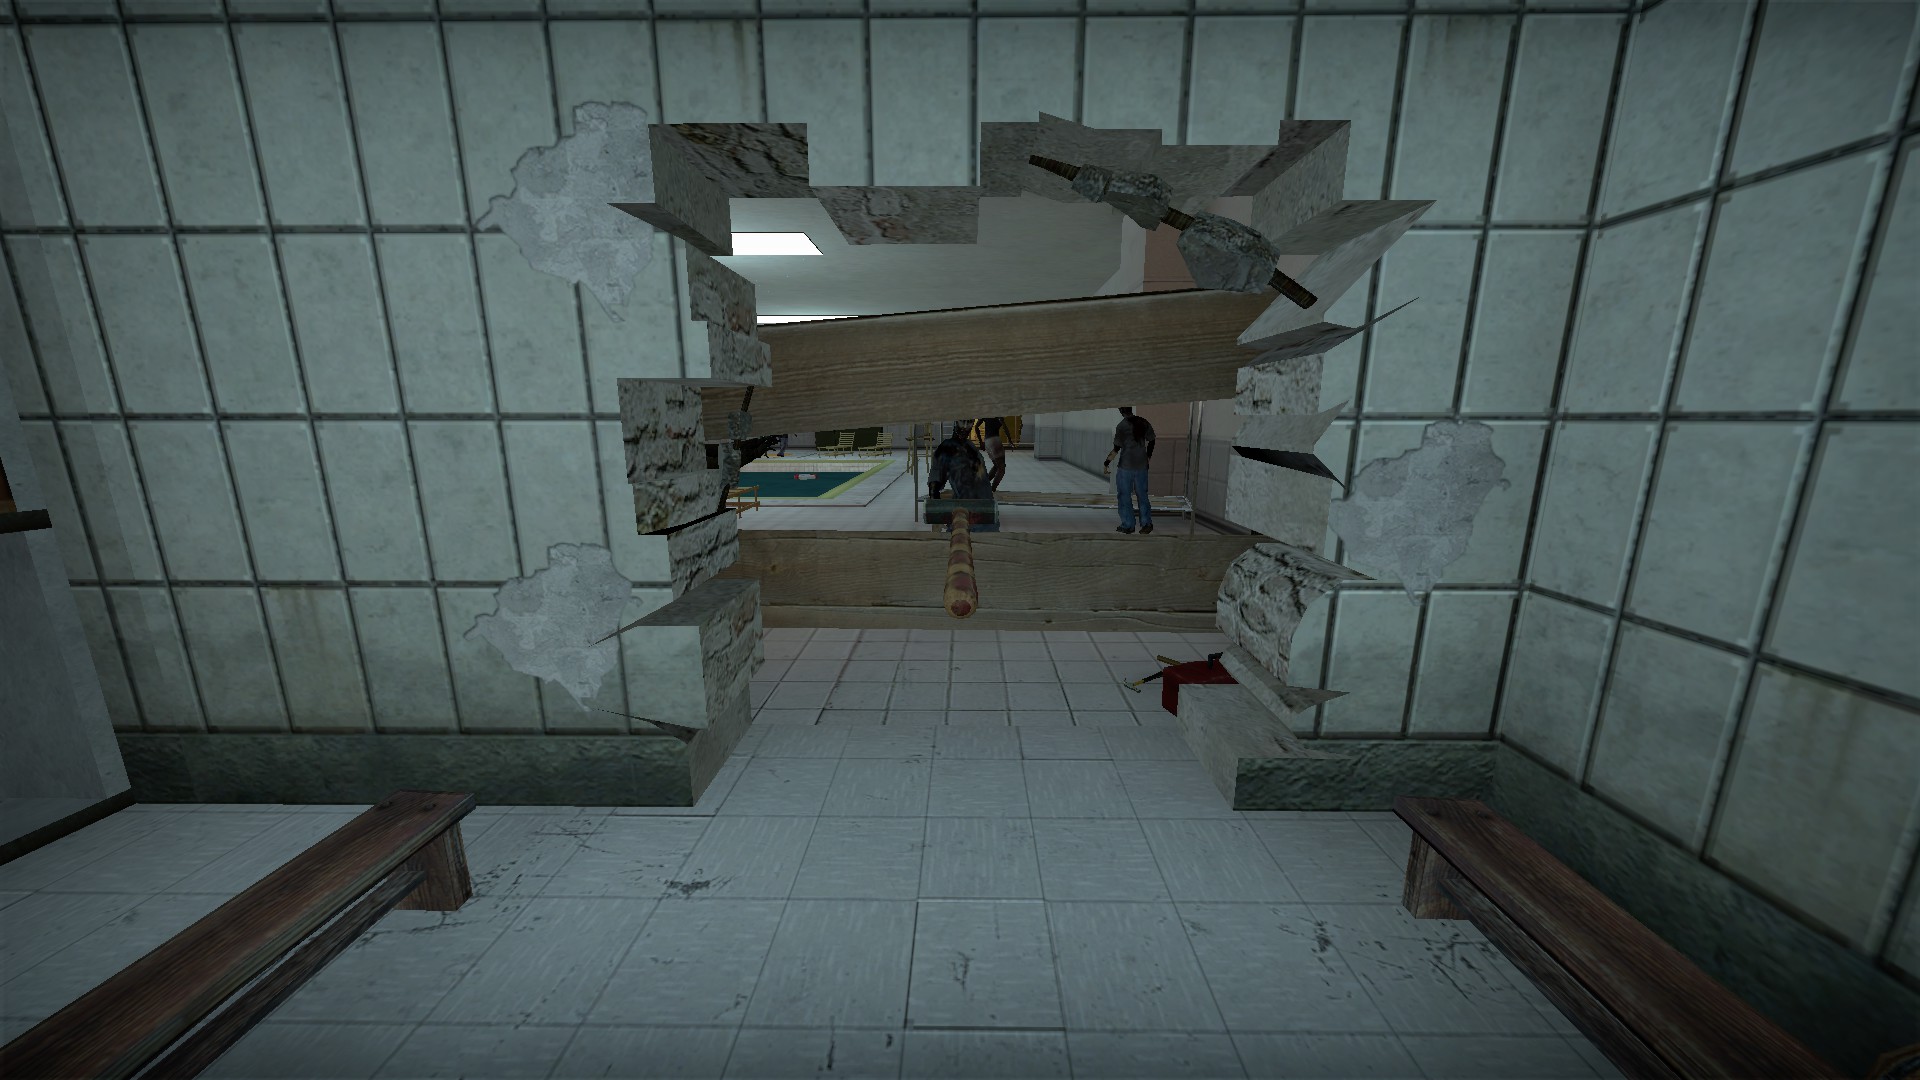
You can use the prop sledgehammer found on the red X to instantly destroy the nearby barricades
Second code digit
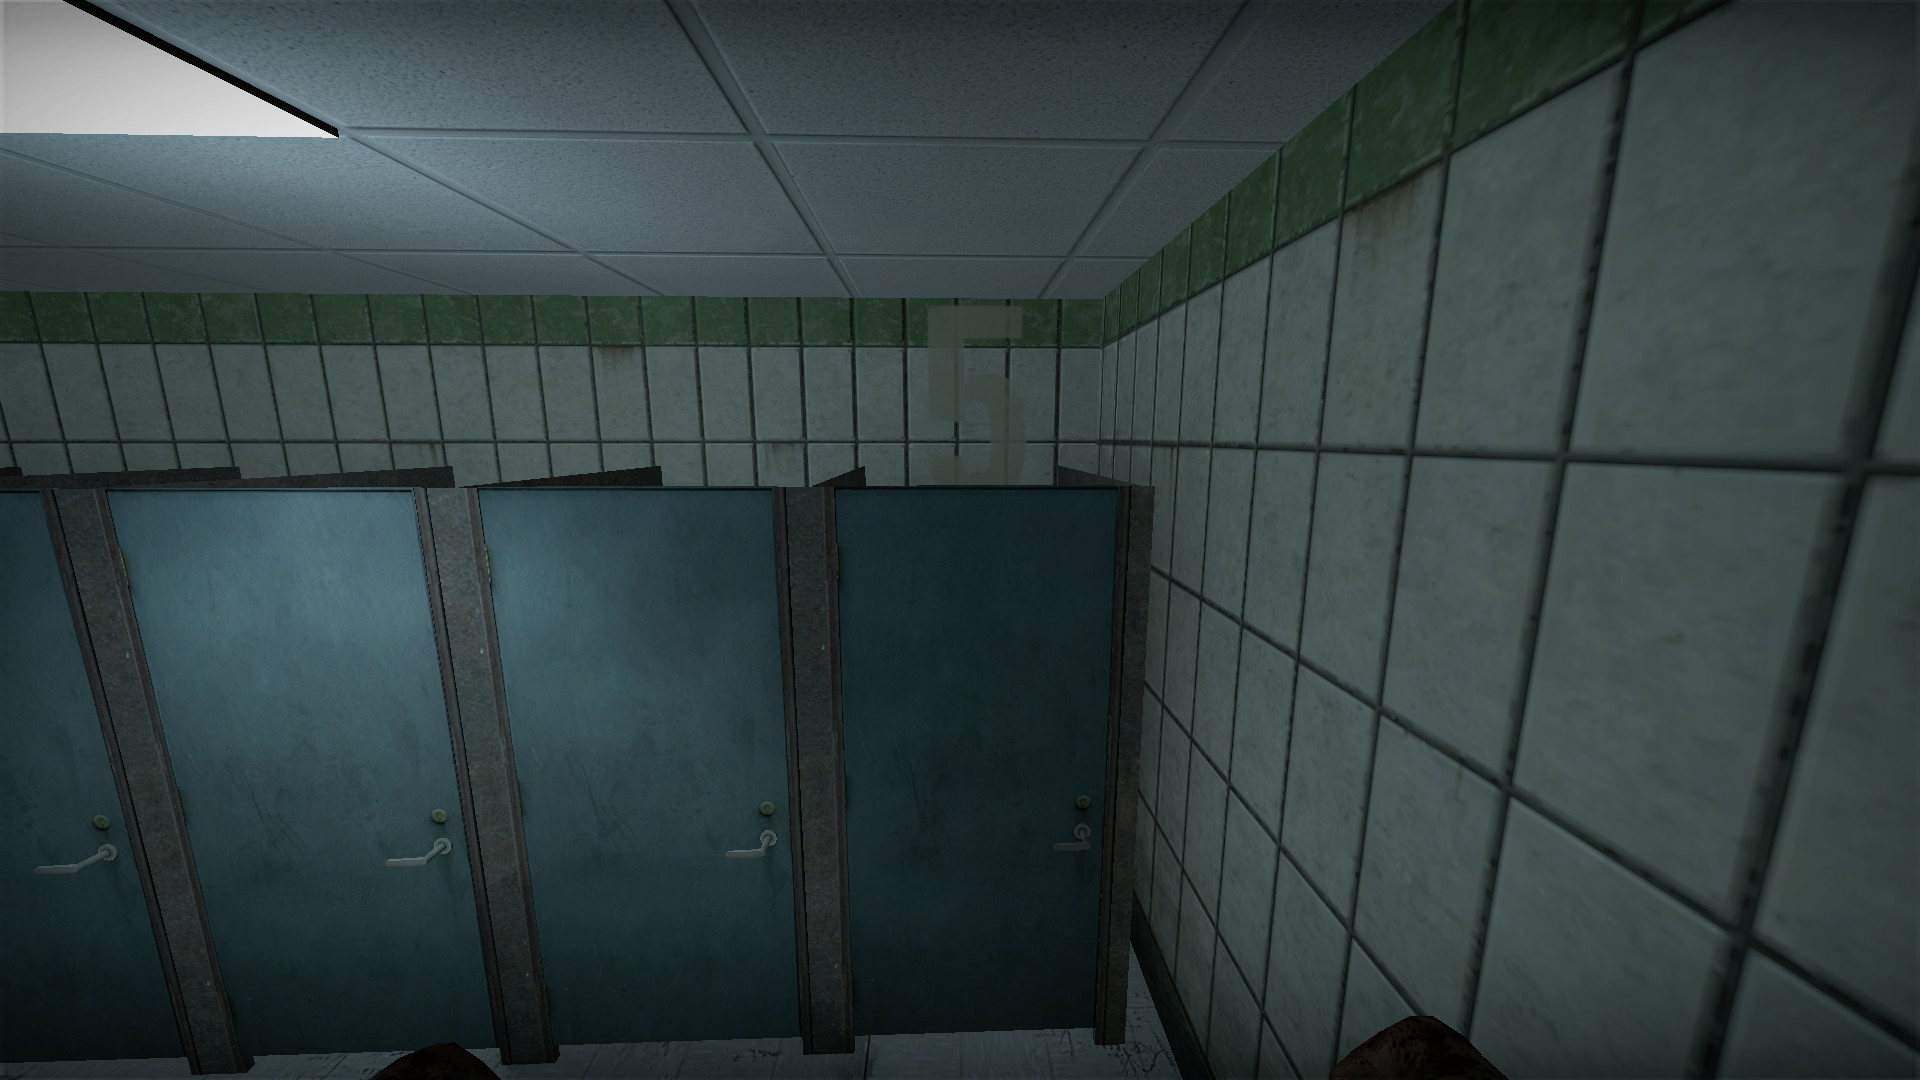
5. Found atop the stalls in the bathroom near the pool lockers
Squeeze between the first shed and the bushes for a medkit behind the shed
Bucket
Break the bucket near the hose for some .308 ammo (sometimes)
Sack lunch
Hold e on the sack lunch for a flare gun and ammo
Hula doll
Press e on the hula doll for a quick Easter egg message: Map by Sw
Green key crate in second shed
This is just a decoration. The green key cannot be taken back outside
Blue key
The blue key is on top of a bookcase in the lobby area
Use the blue key to open a cabinet in the dining room for a Colt and ammo
First code digit
4. Between the two refrigerators. You will use this in a code on the basement level
Kitchen sink
Open the cabinet above the sink for a Colt
Bar bottles
In the bar, the green bottle near the body can be placed on the bar in the middle position
The green bottle on the pool table can be placed in the left position
And the green bottle on the shelf next to the beer bottles can be placed in the right position. Only these green bottles can be placed in these positions. When all 3 have been placed, the refrigerator in the corner will break revealing a tnt
Duffle bag in bar
Hold e on the duffle bag in the bar for some random firearms/ammo
Yellow key
Hold e on the lifeguard chair in the corner, and a nearby locker will open a moment later revealing a yellow key
Use this key on a nearby stall for an item stash
Other openable lockers
A locker in the same set as the yellow key can be opened for an item
In the other set of lockers in this area, another locker in can be broken for an item
Prop sledgehammer
You can use the prop sledgehammer found on the red X to instantly destroy the nearby barricades
Second code digit
5. Found atop the stalls in the bathroom near the pool lockers
nmo_a_map (continued)
Secret room upstairs
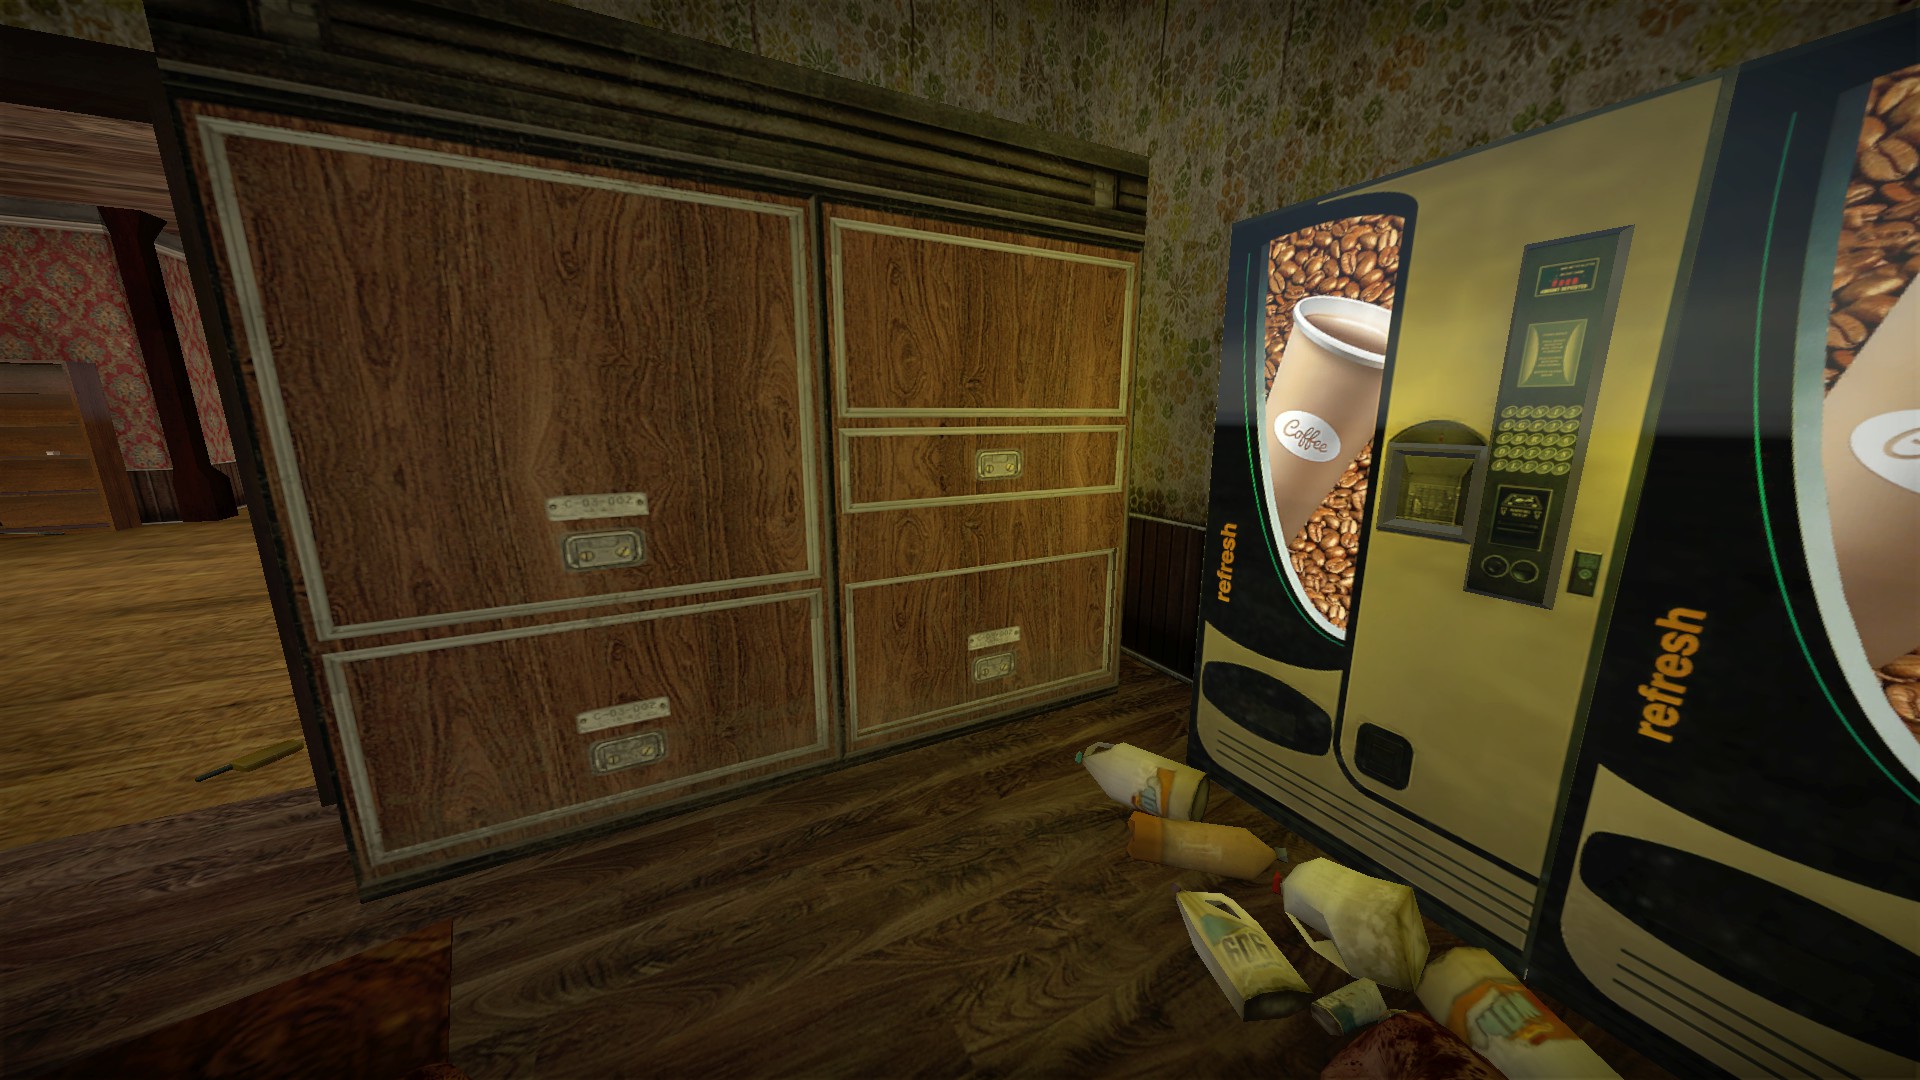
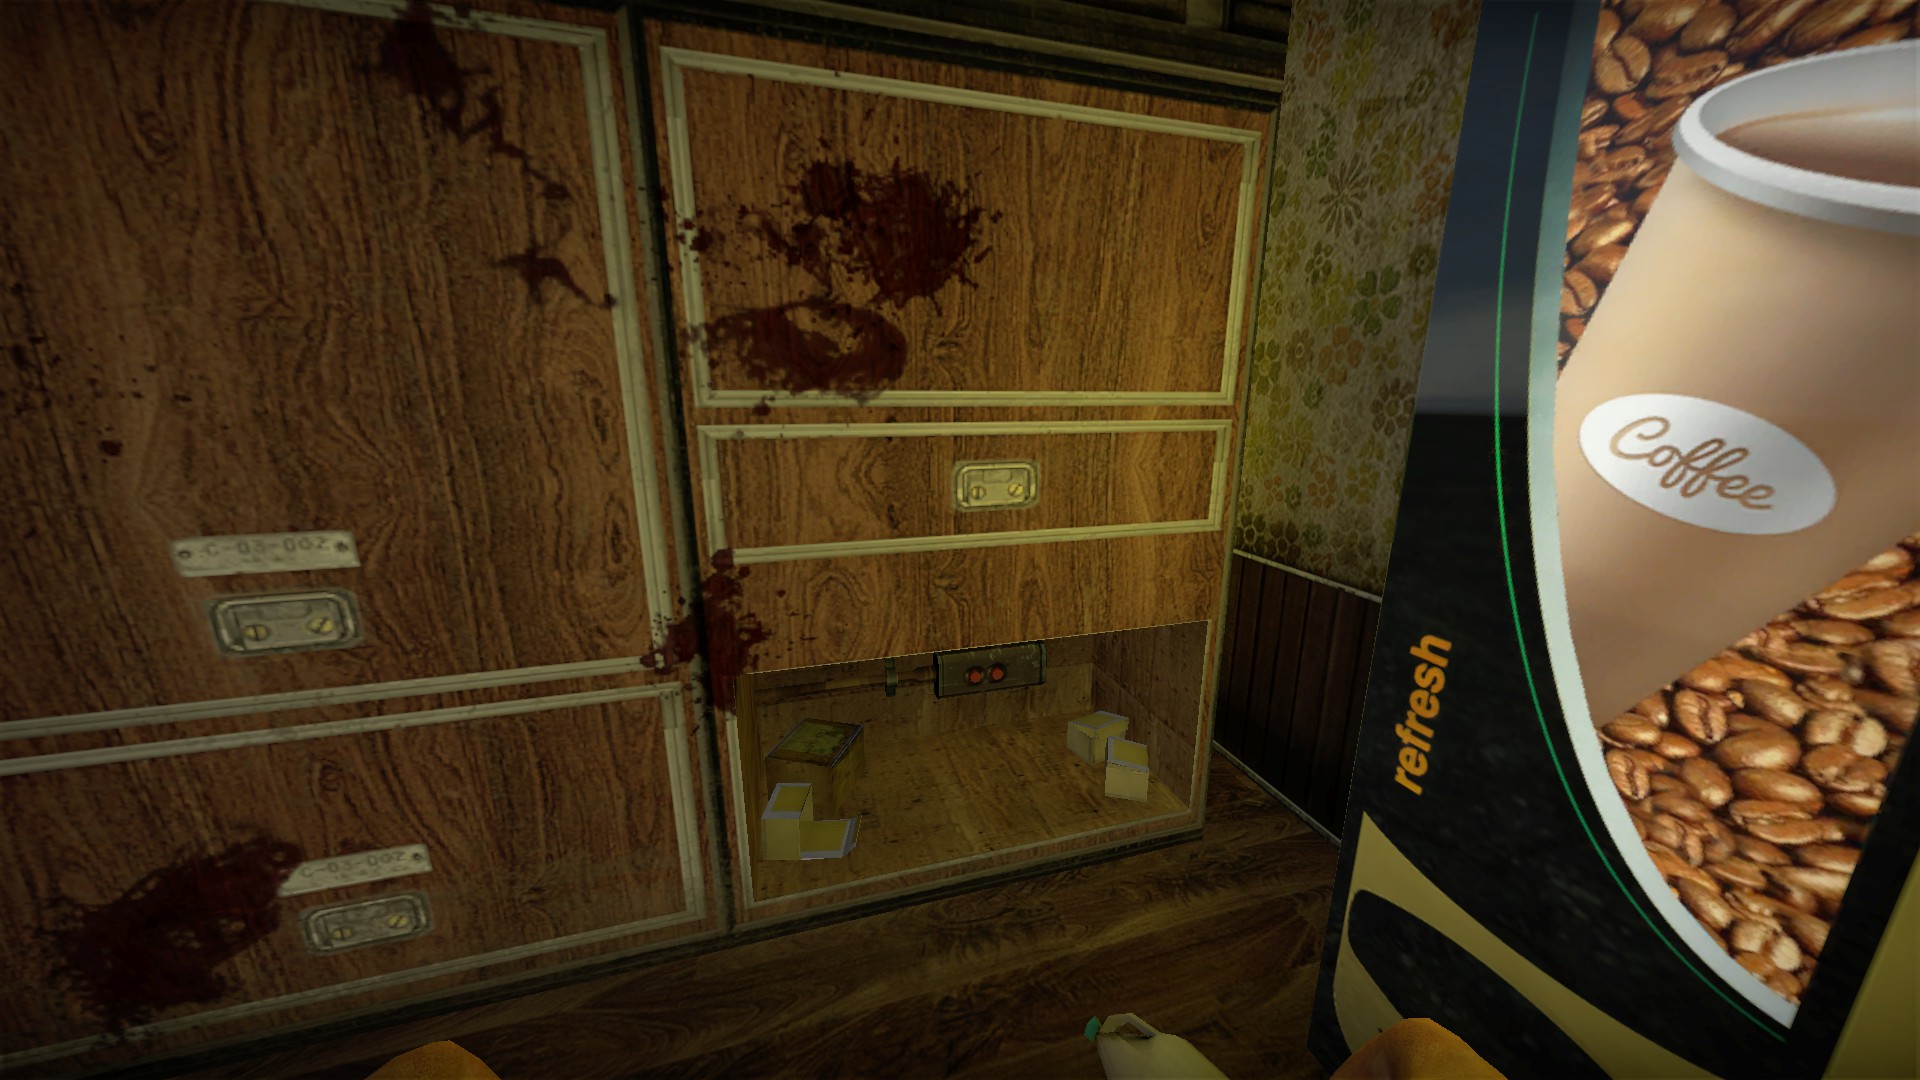
Press e on the cabinet near the coffee machines in one of the upstairs rooms to reveal a button
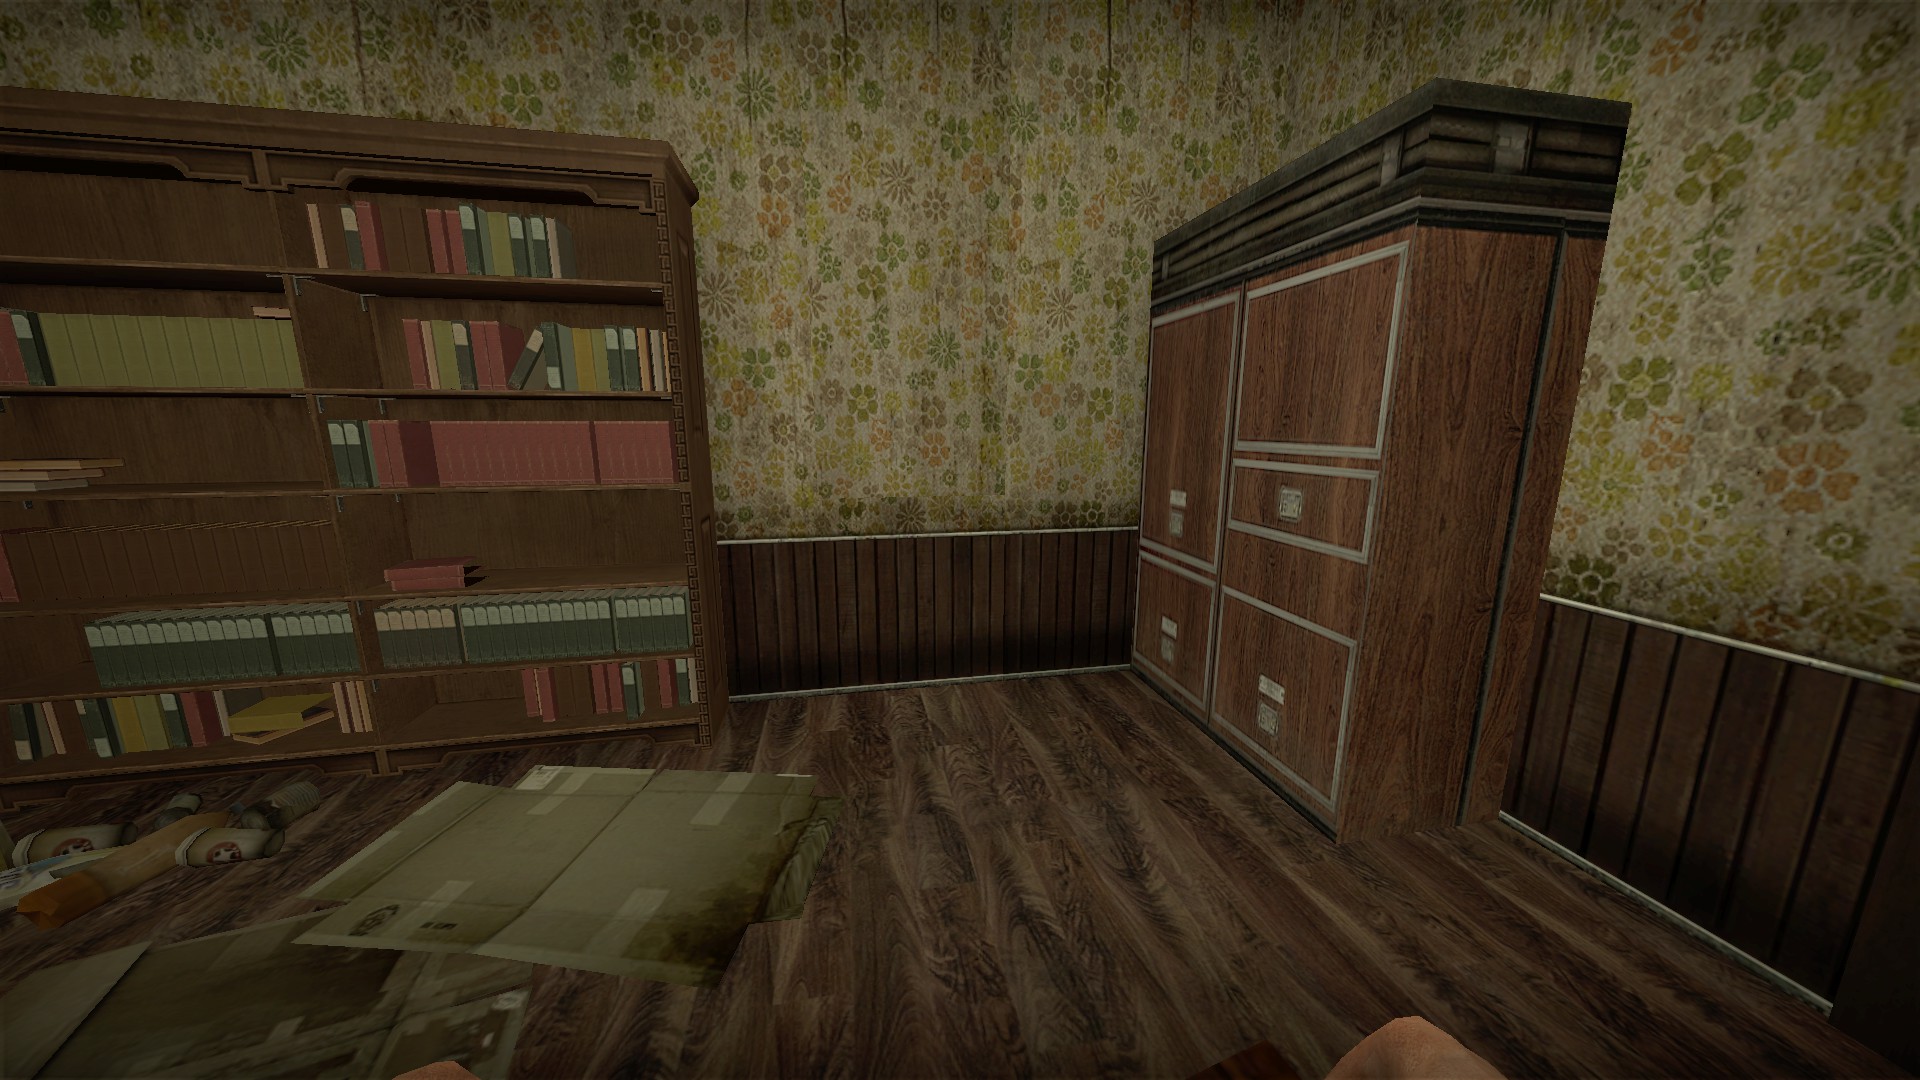
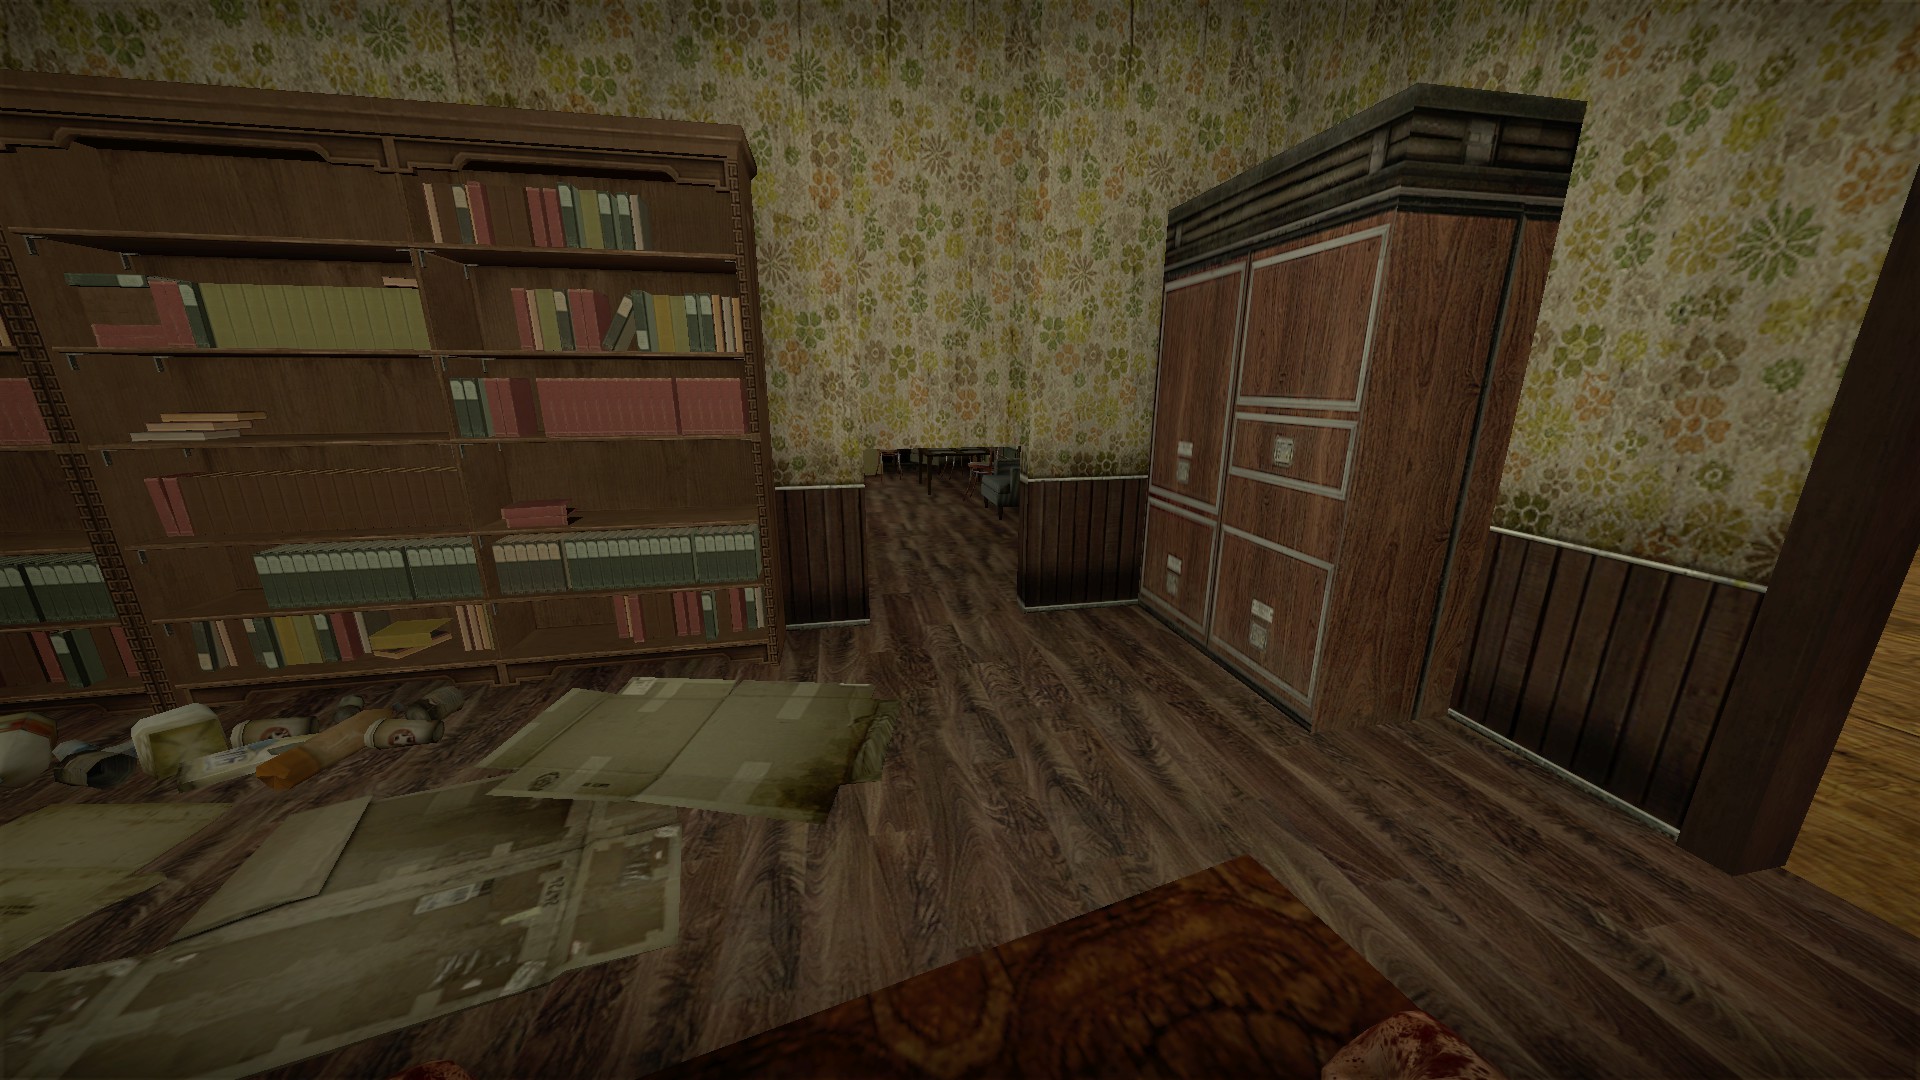
Press this button to open a passage to a secret room
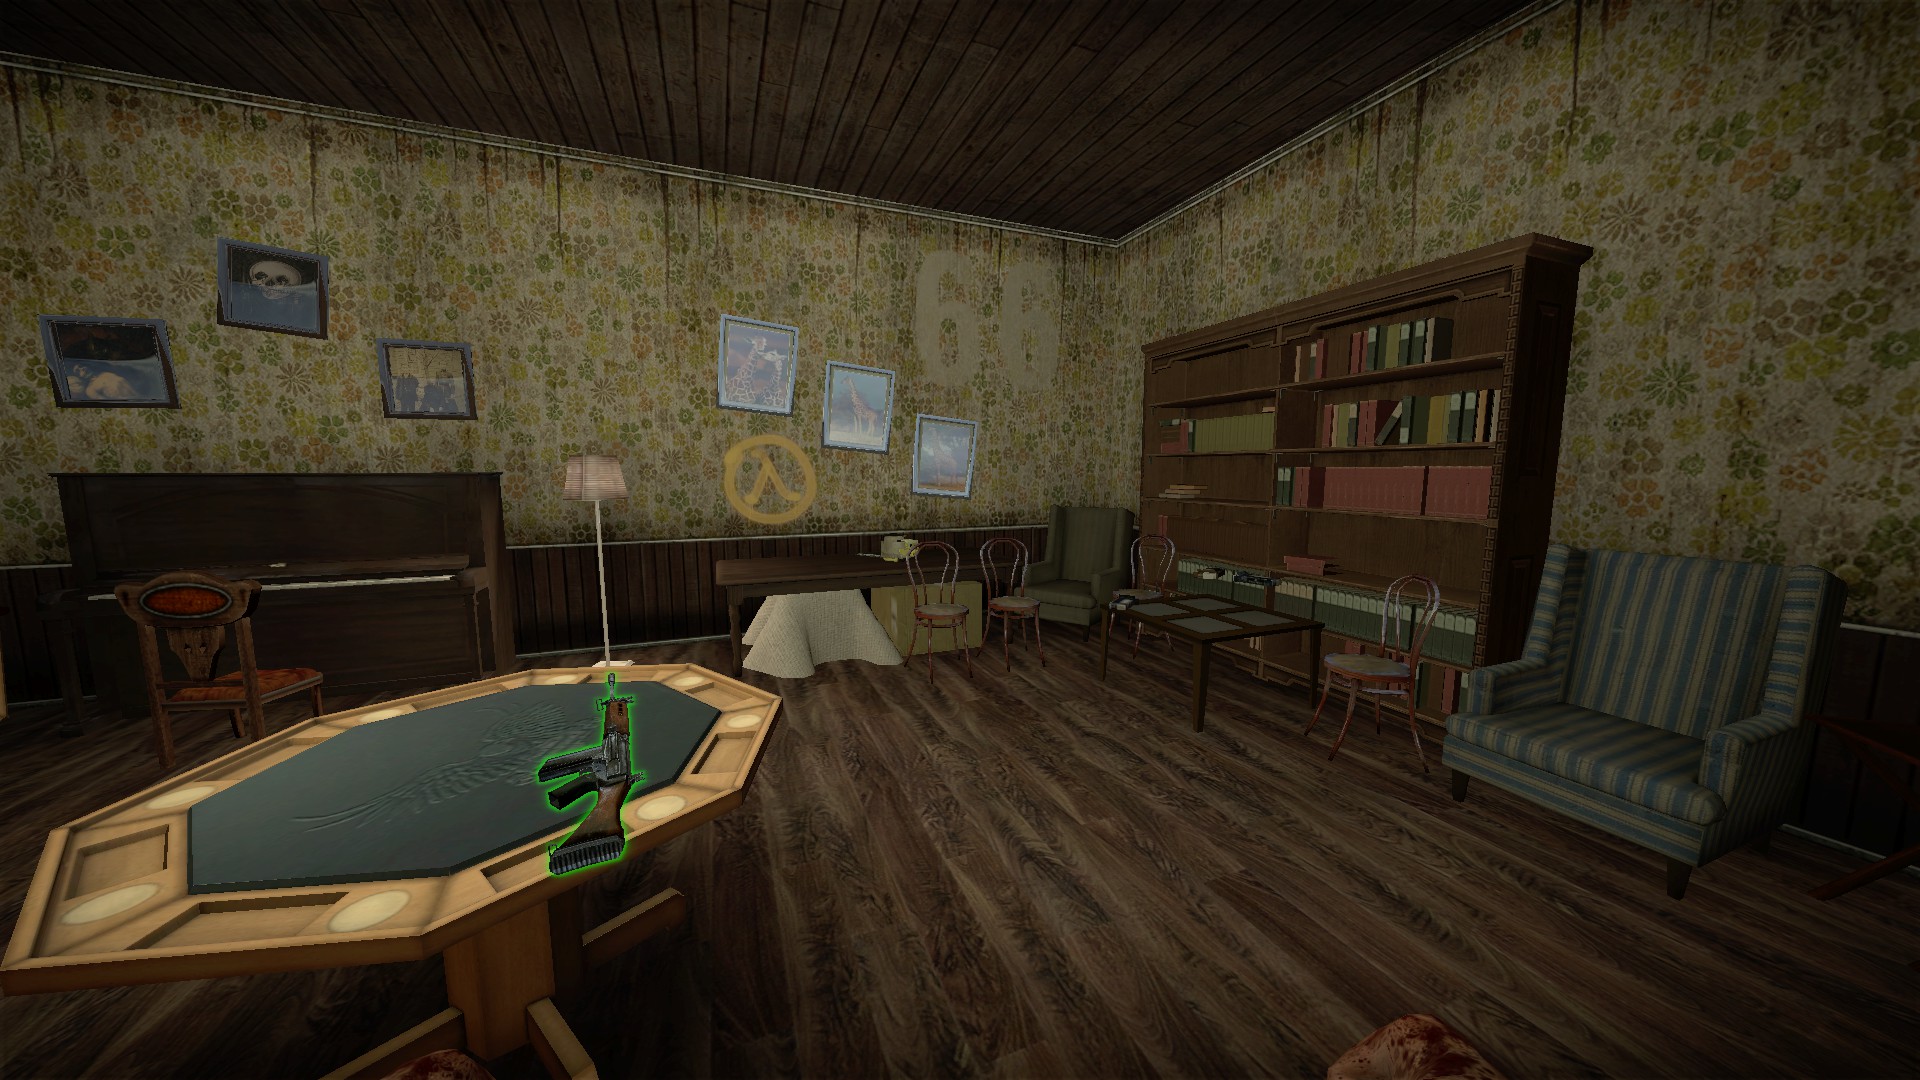
The secret room has a Fal, ammo, a chainsaw, and the last 2 digits of the code: 66
Large cabinet upstairs
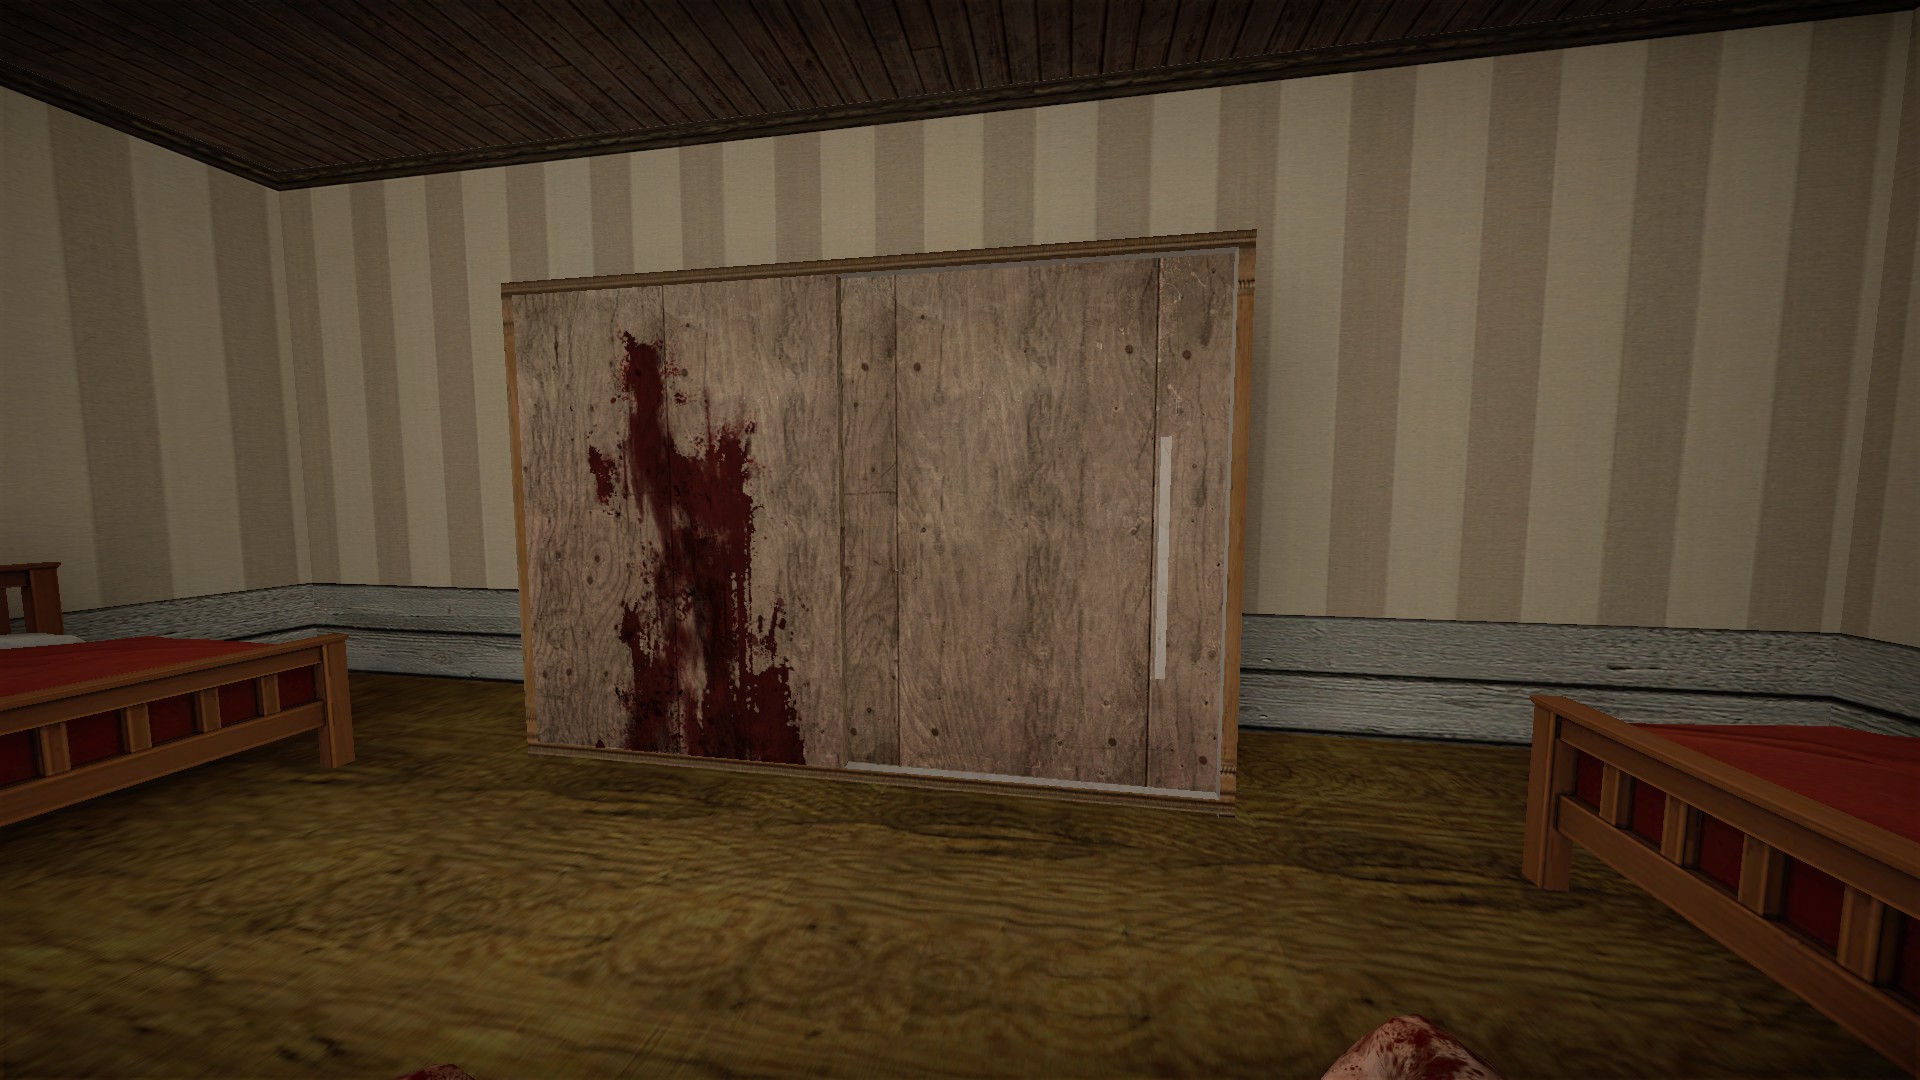
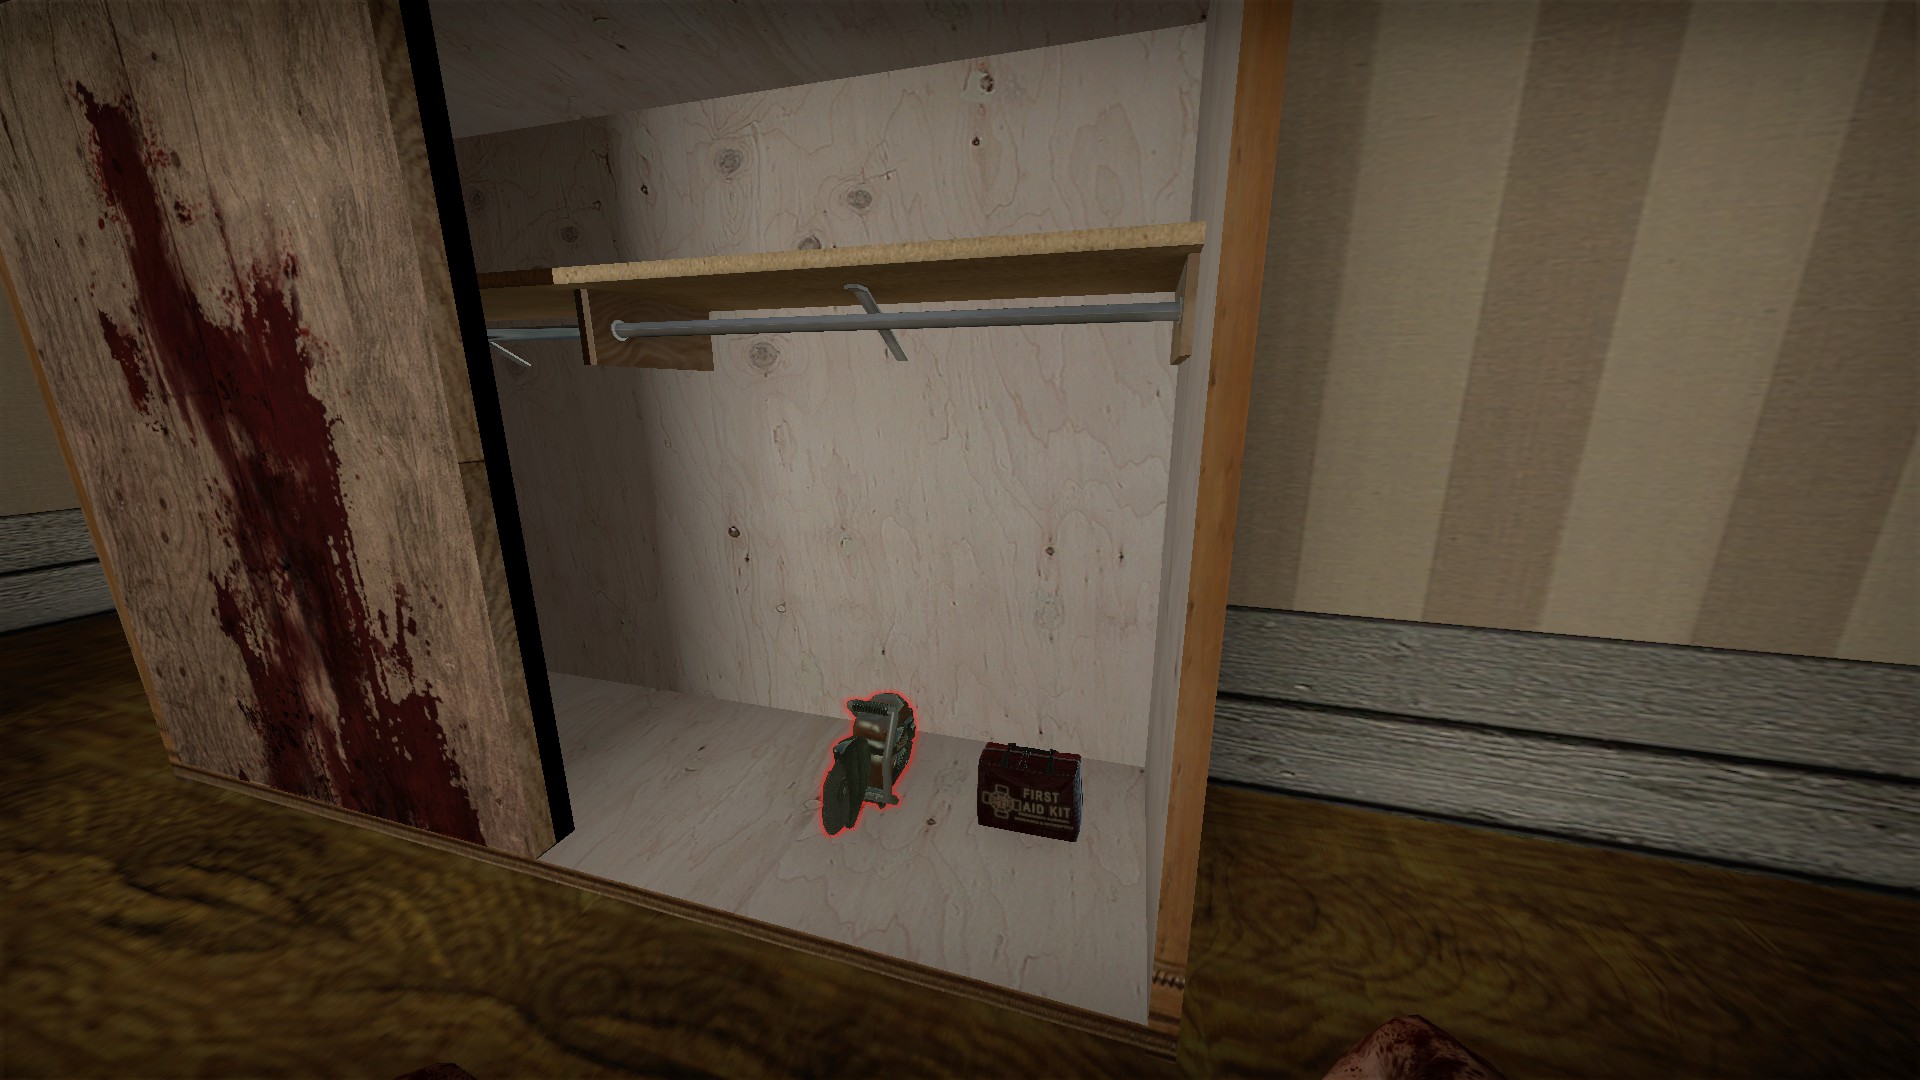
Press e on the handle to open the large cabinet upstairs for an abrasive saw and another item
Green key
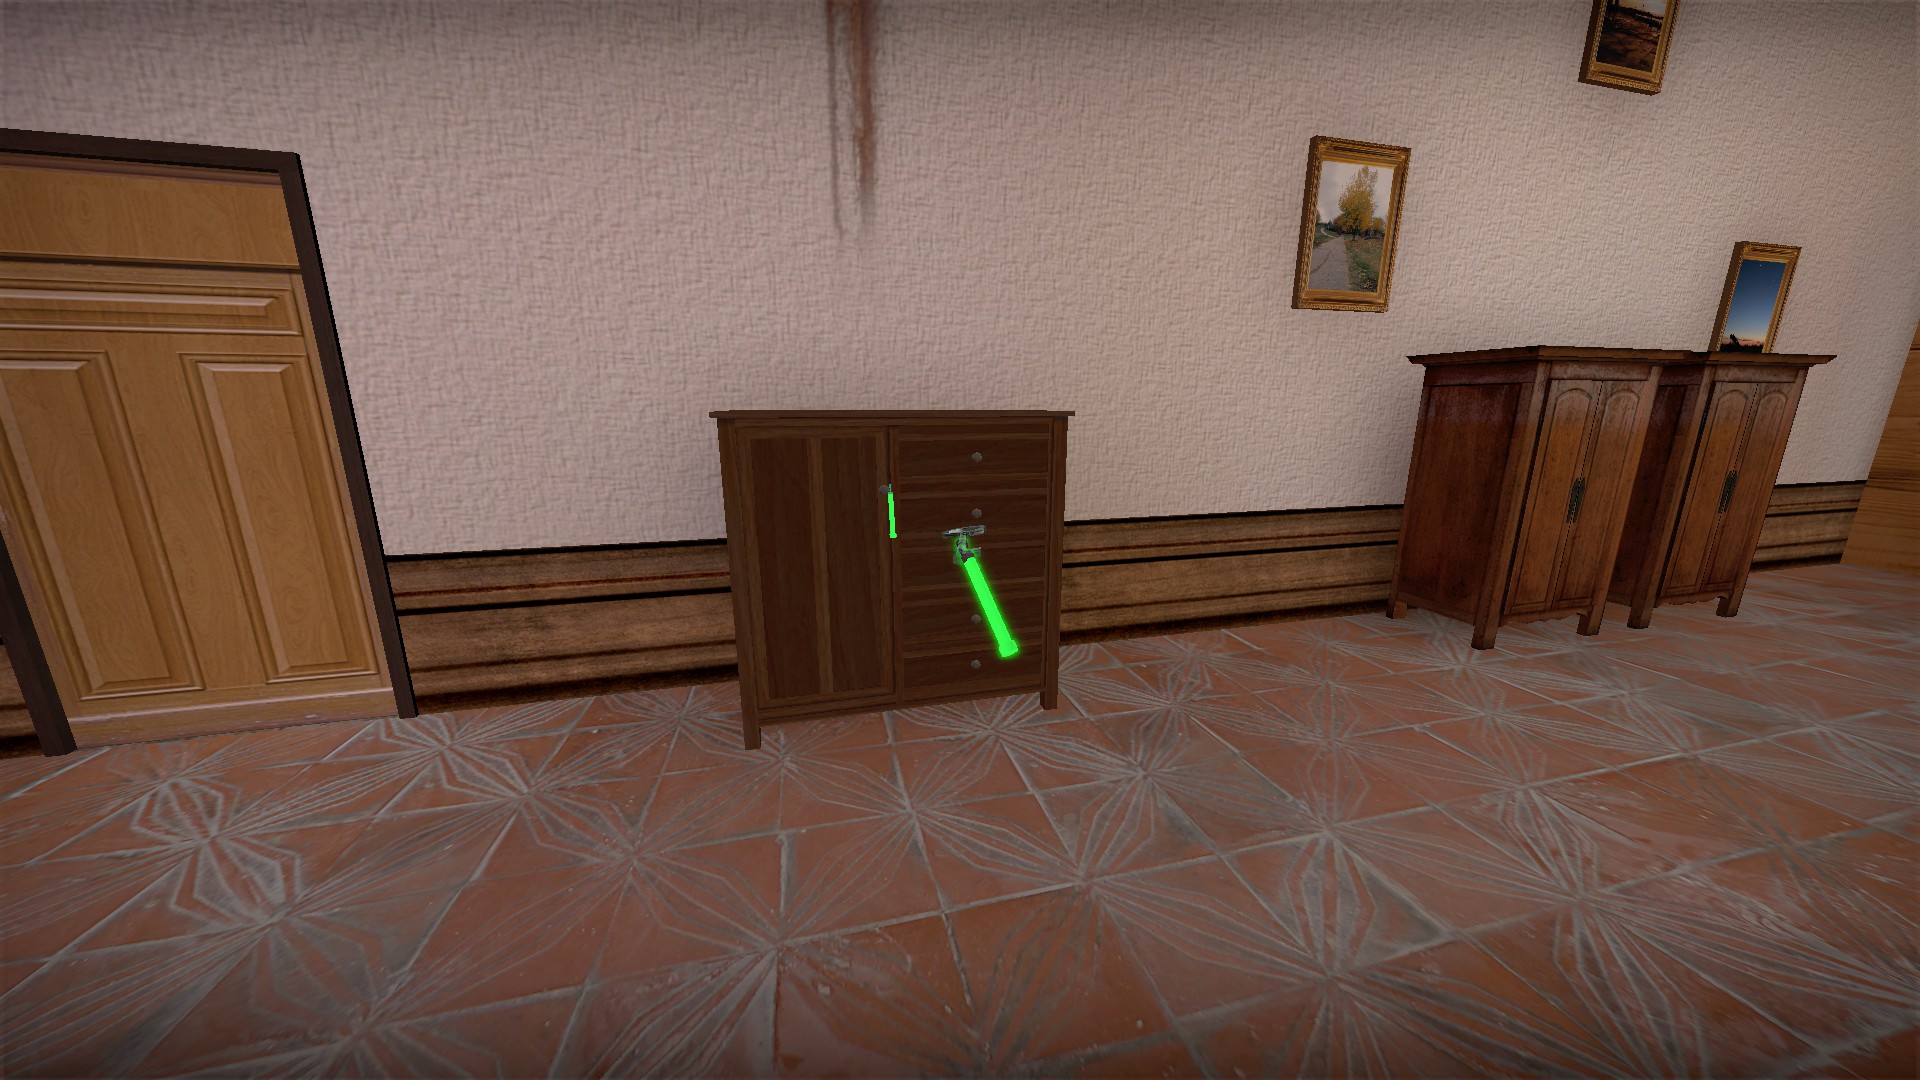
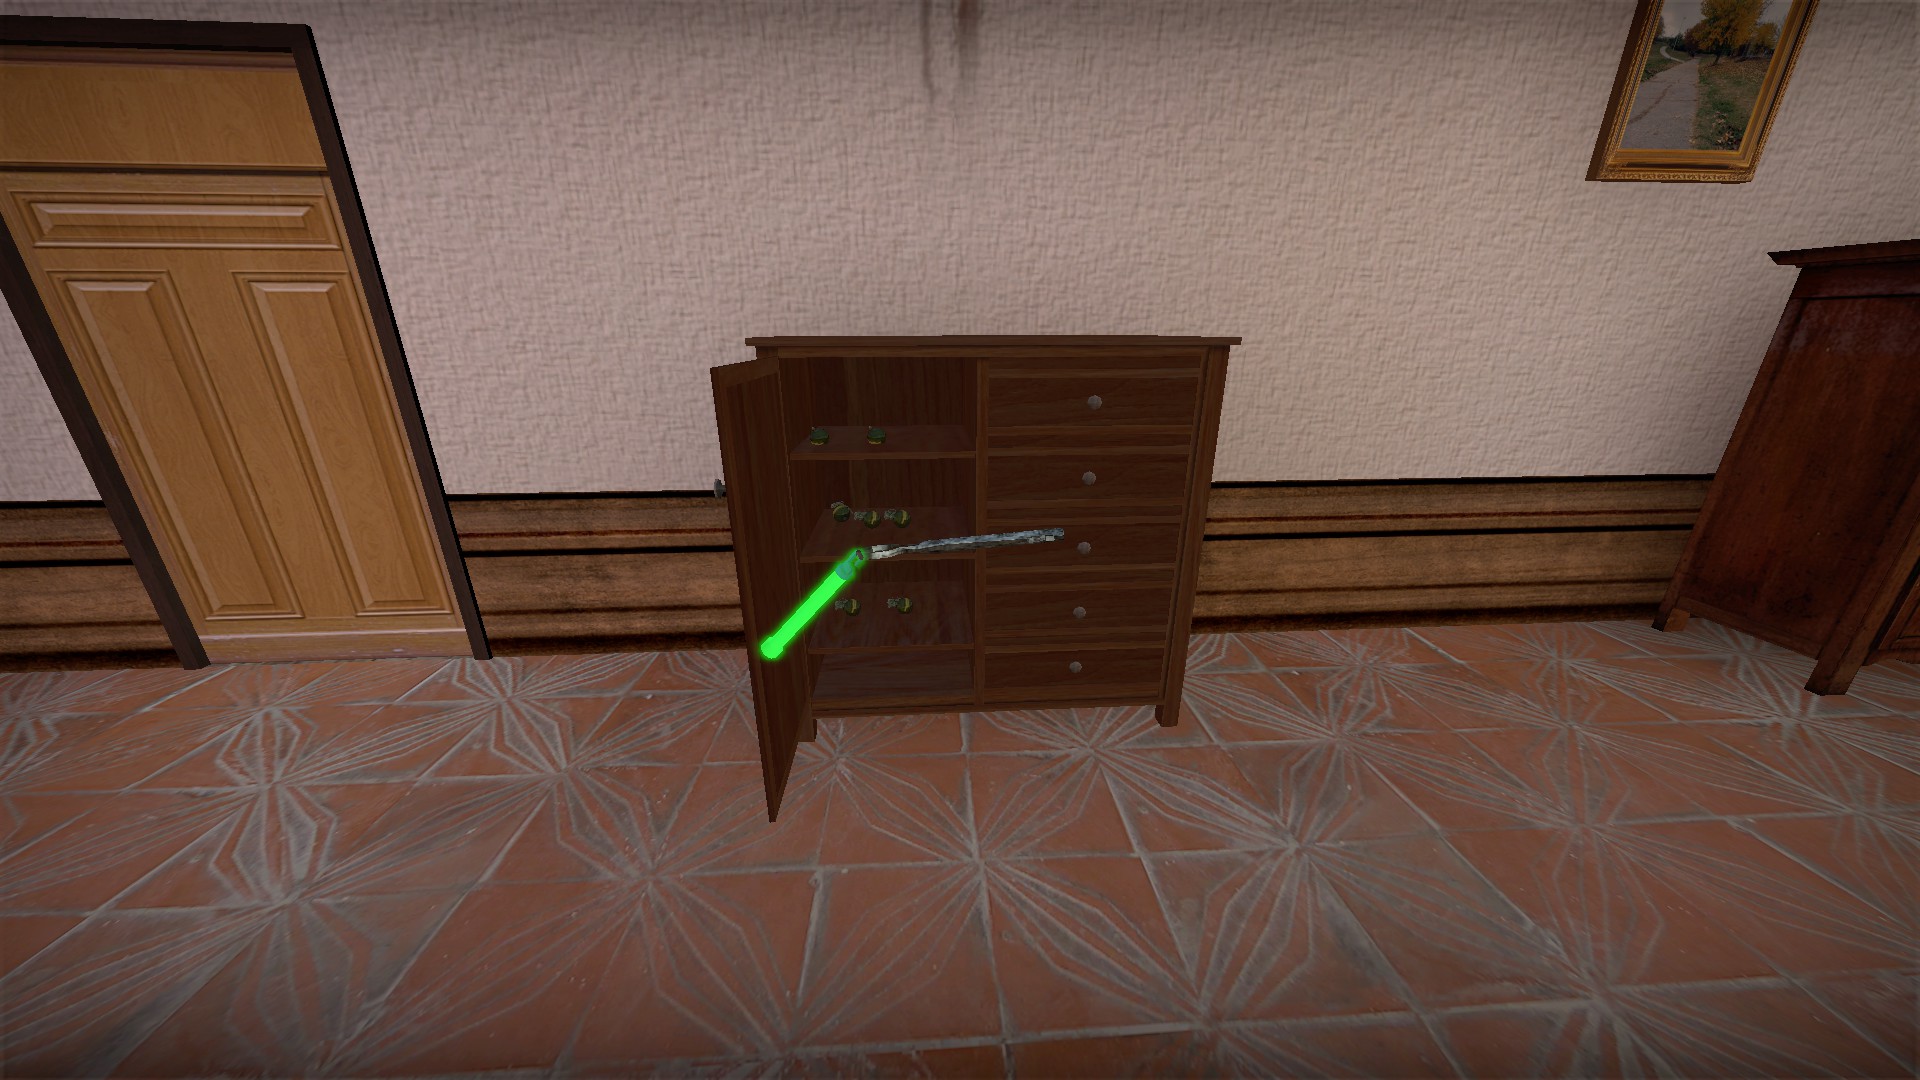
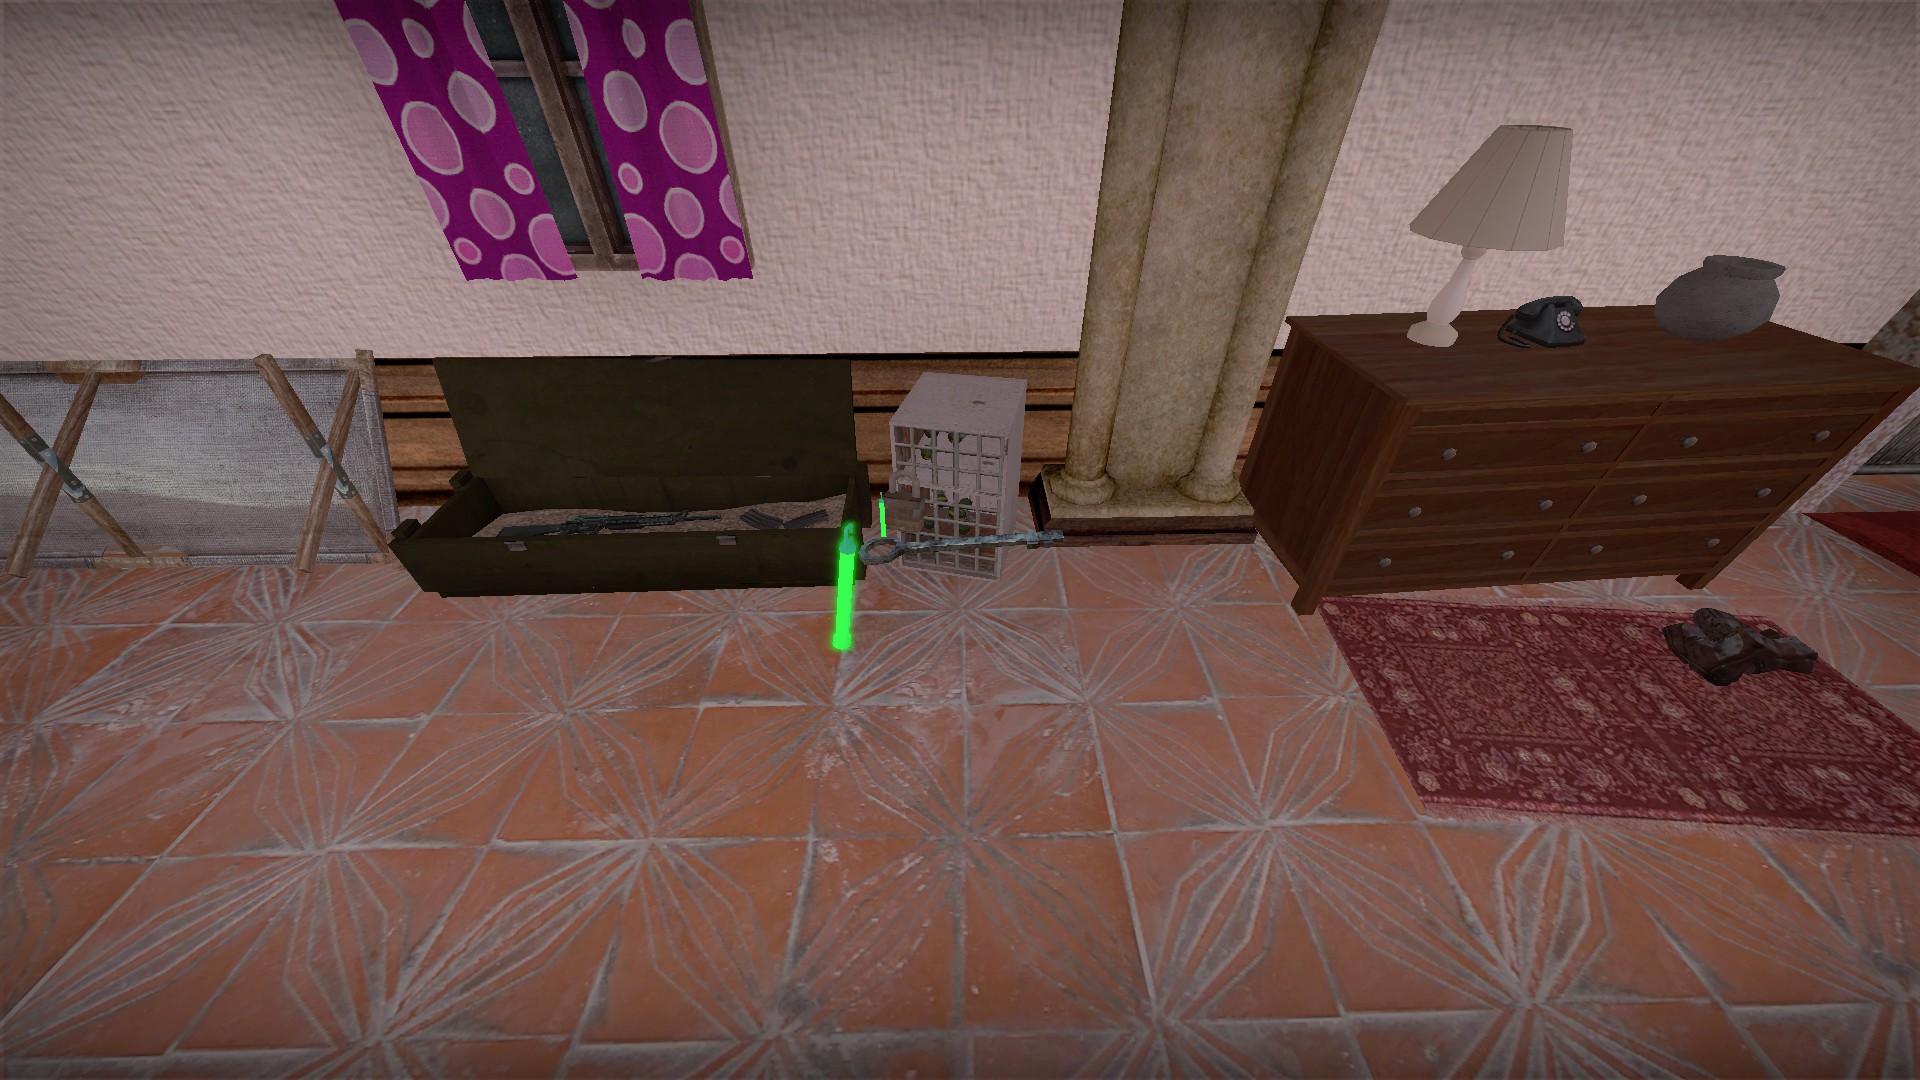
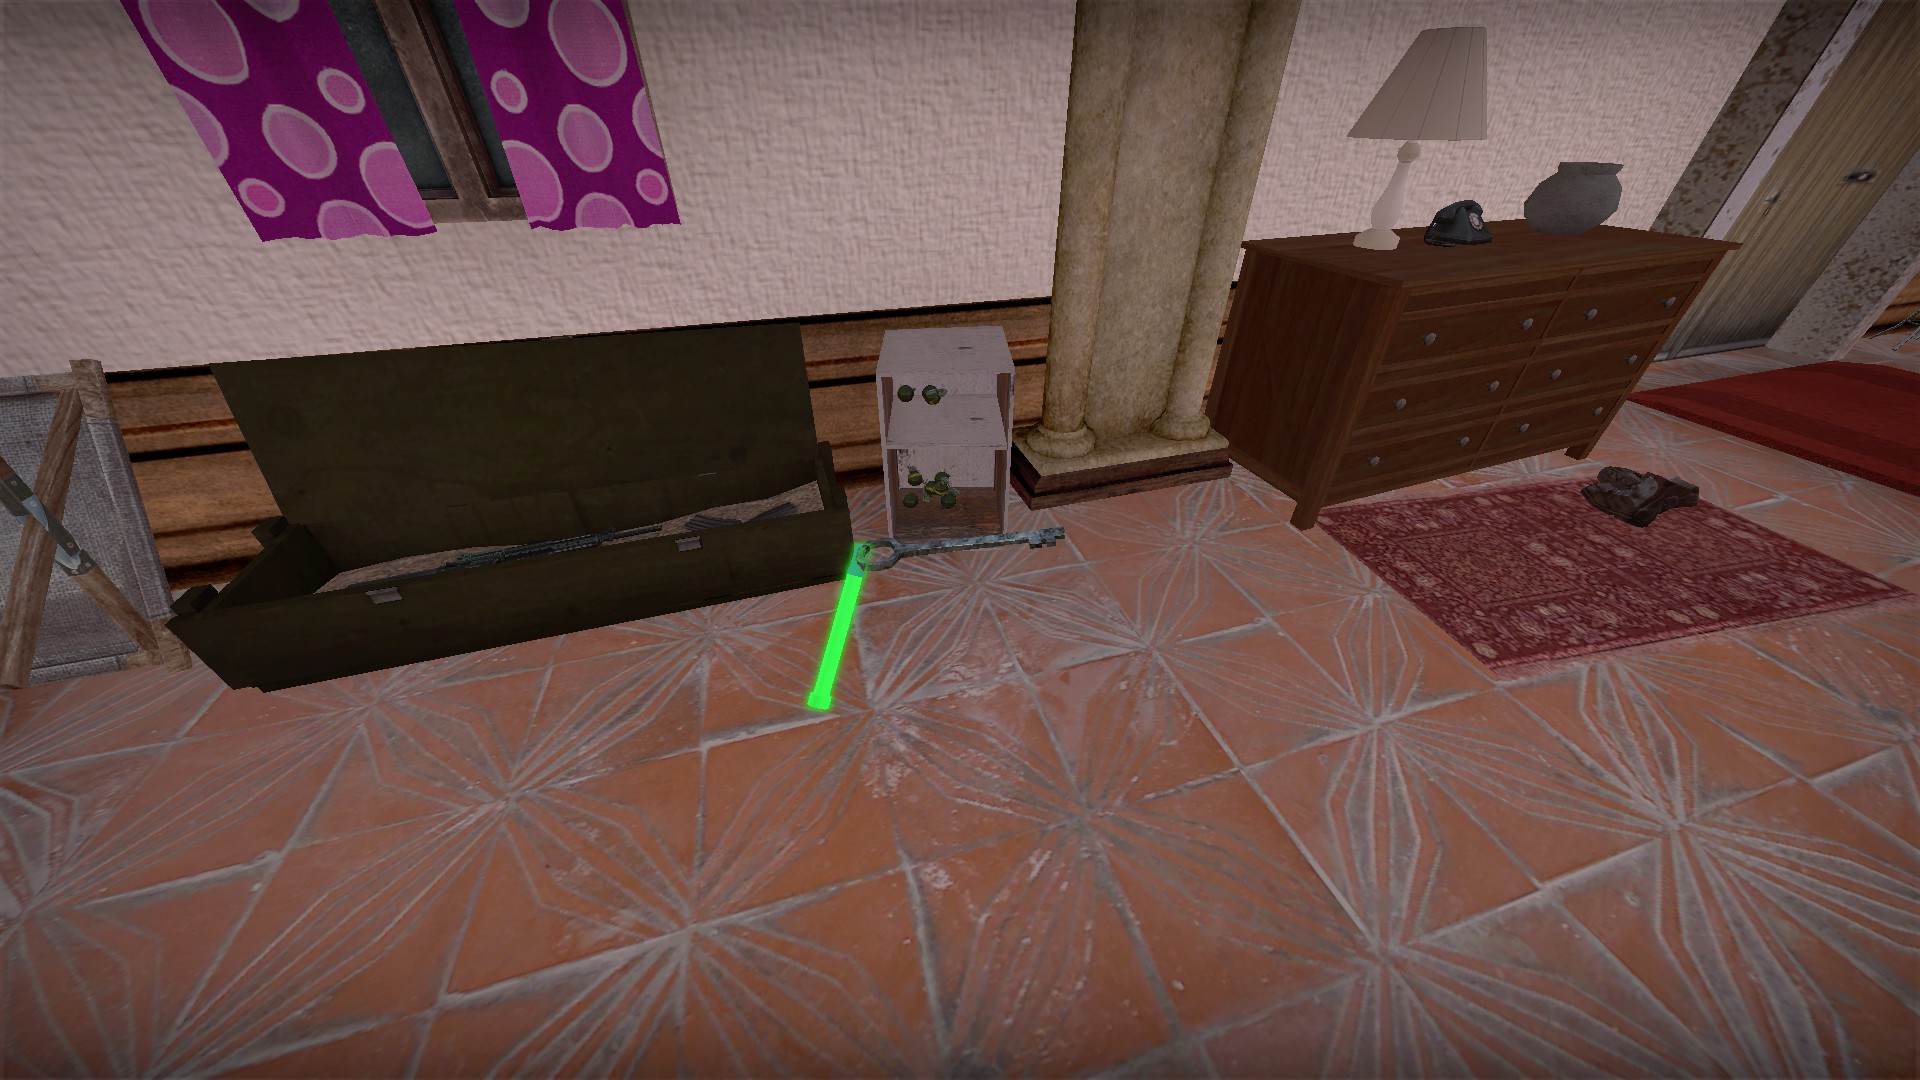
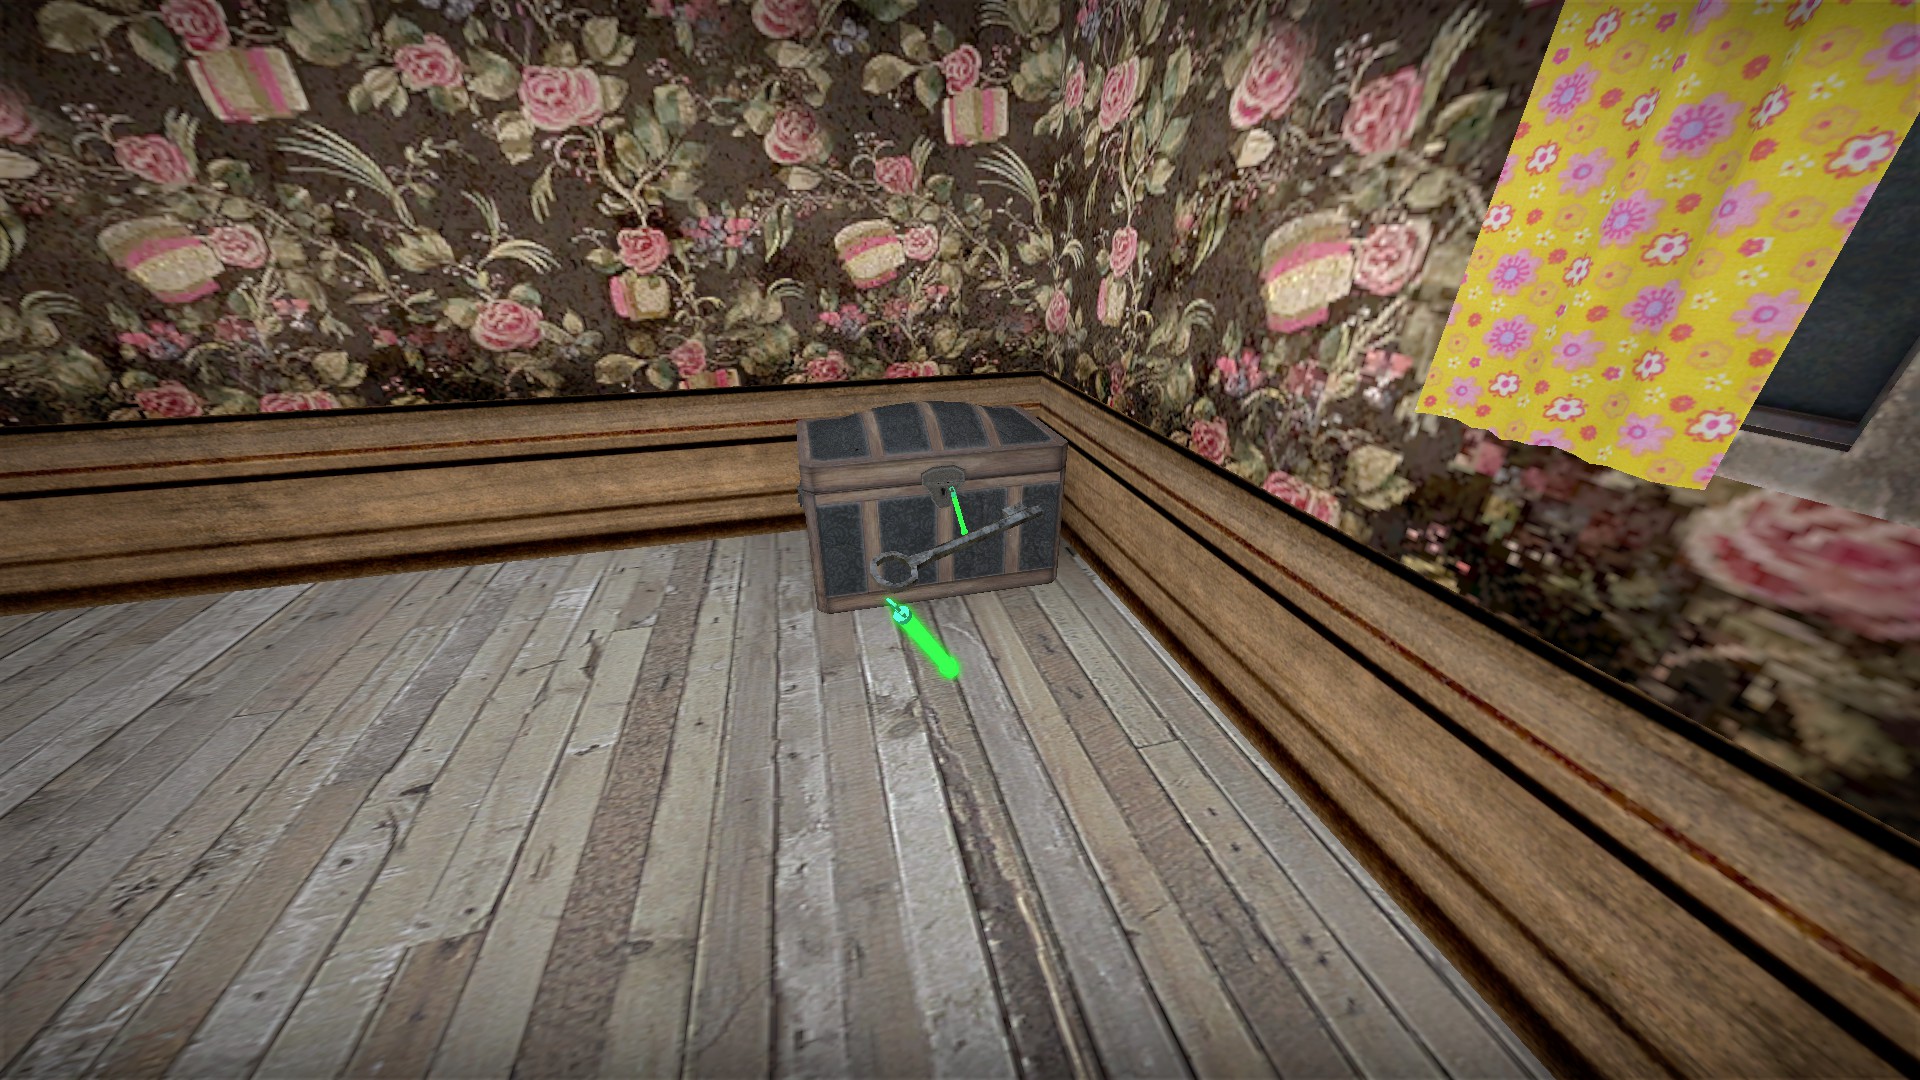
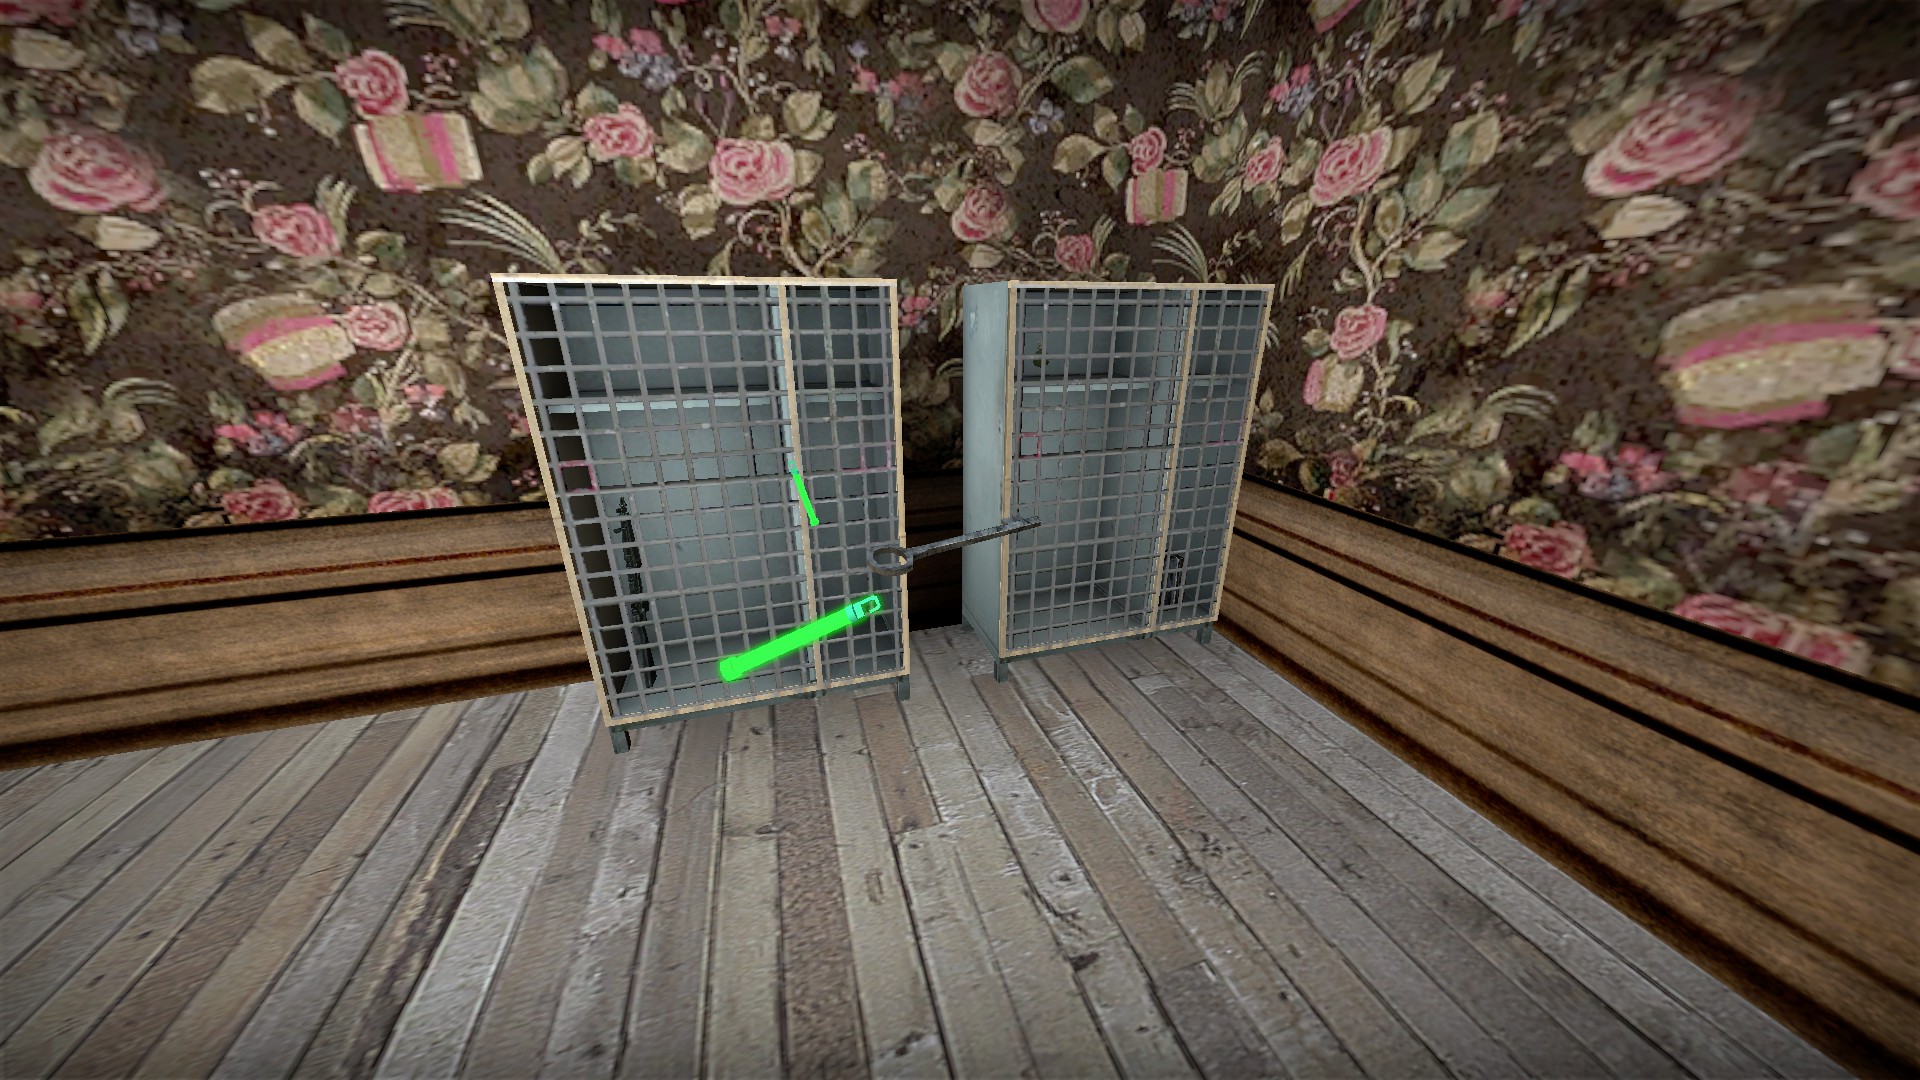
You can use the green key to unlock the two grenade cabinets in the lobby area
 ]
]
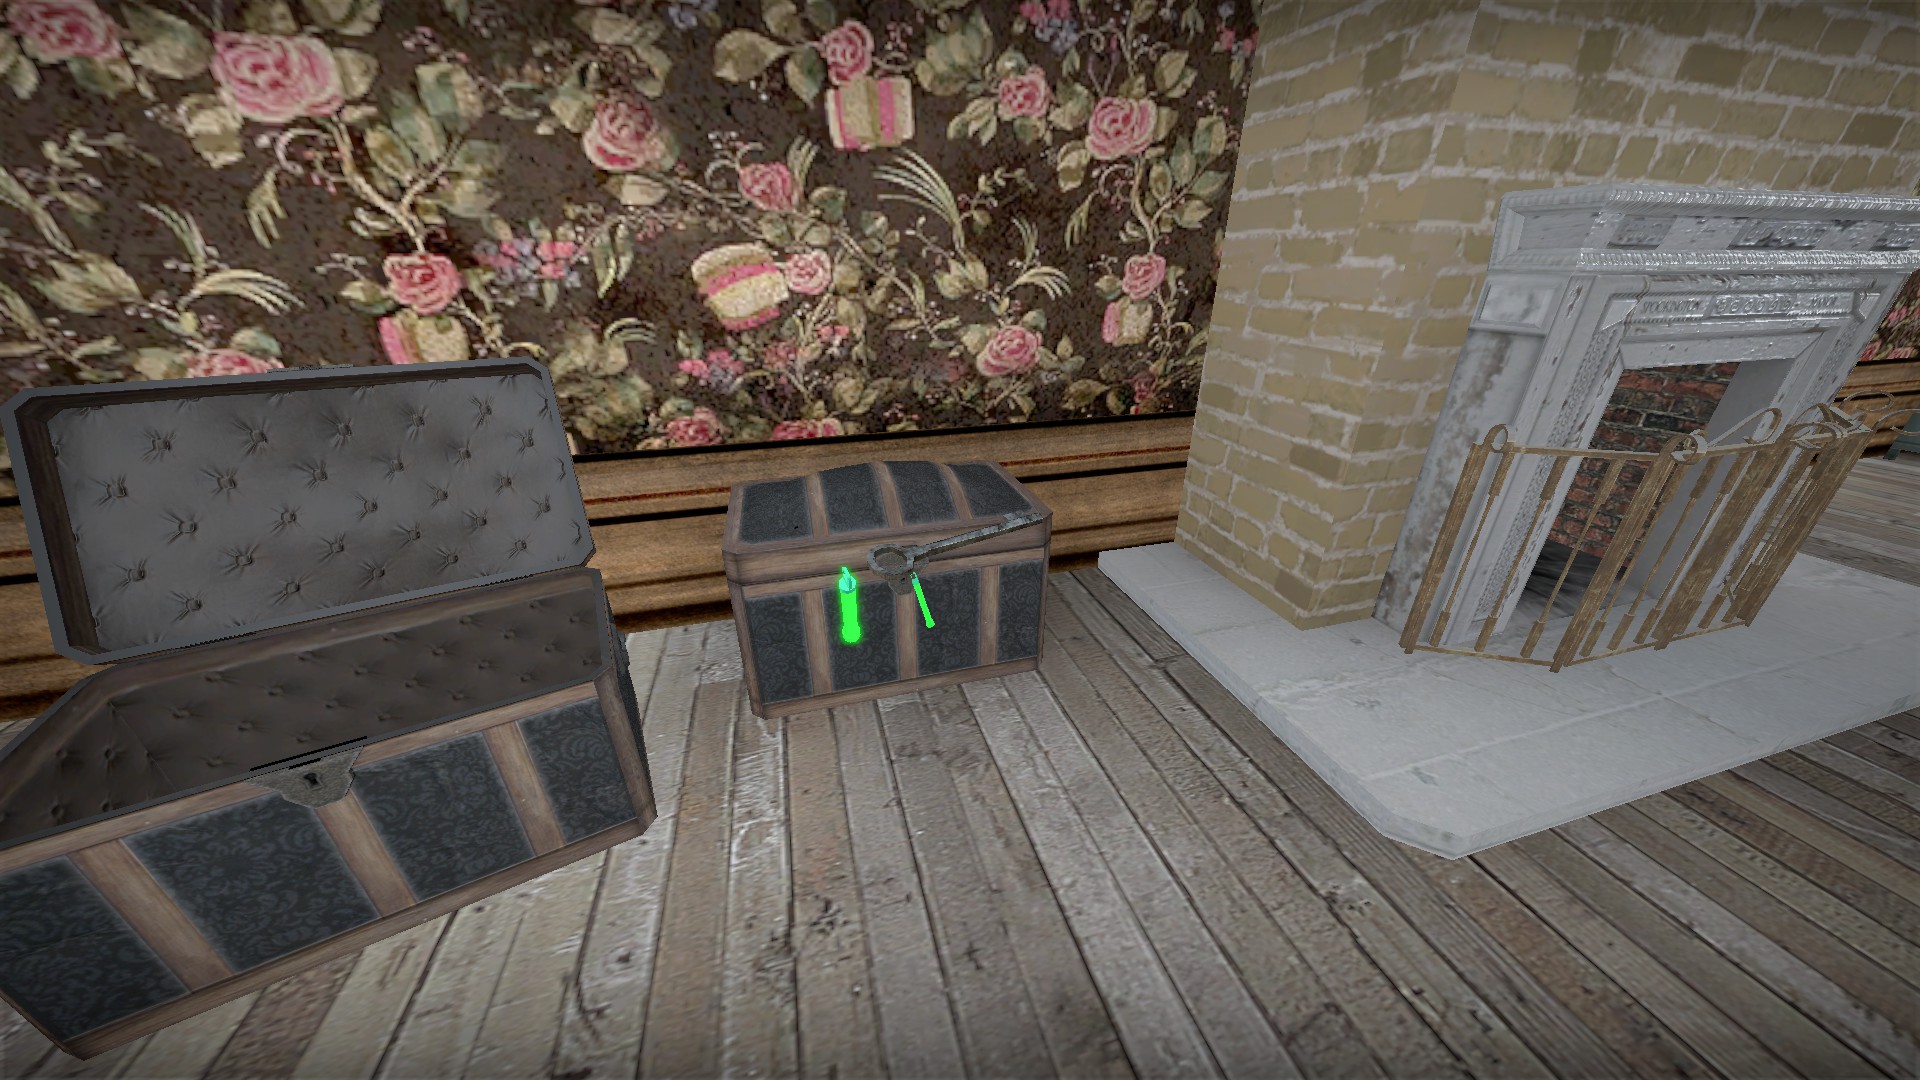
It will also unlock the 2 chests and cabinets in the next room
Welder
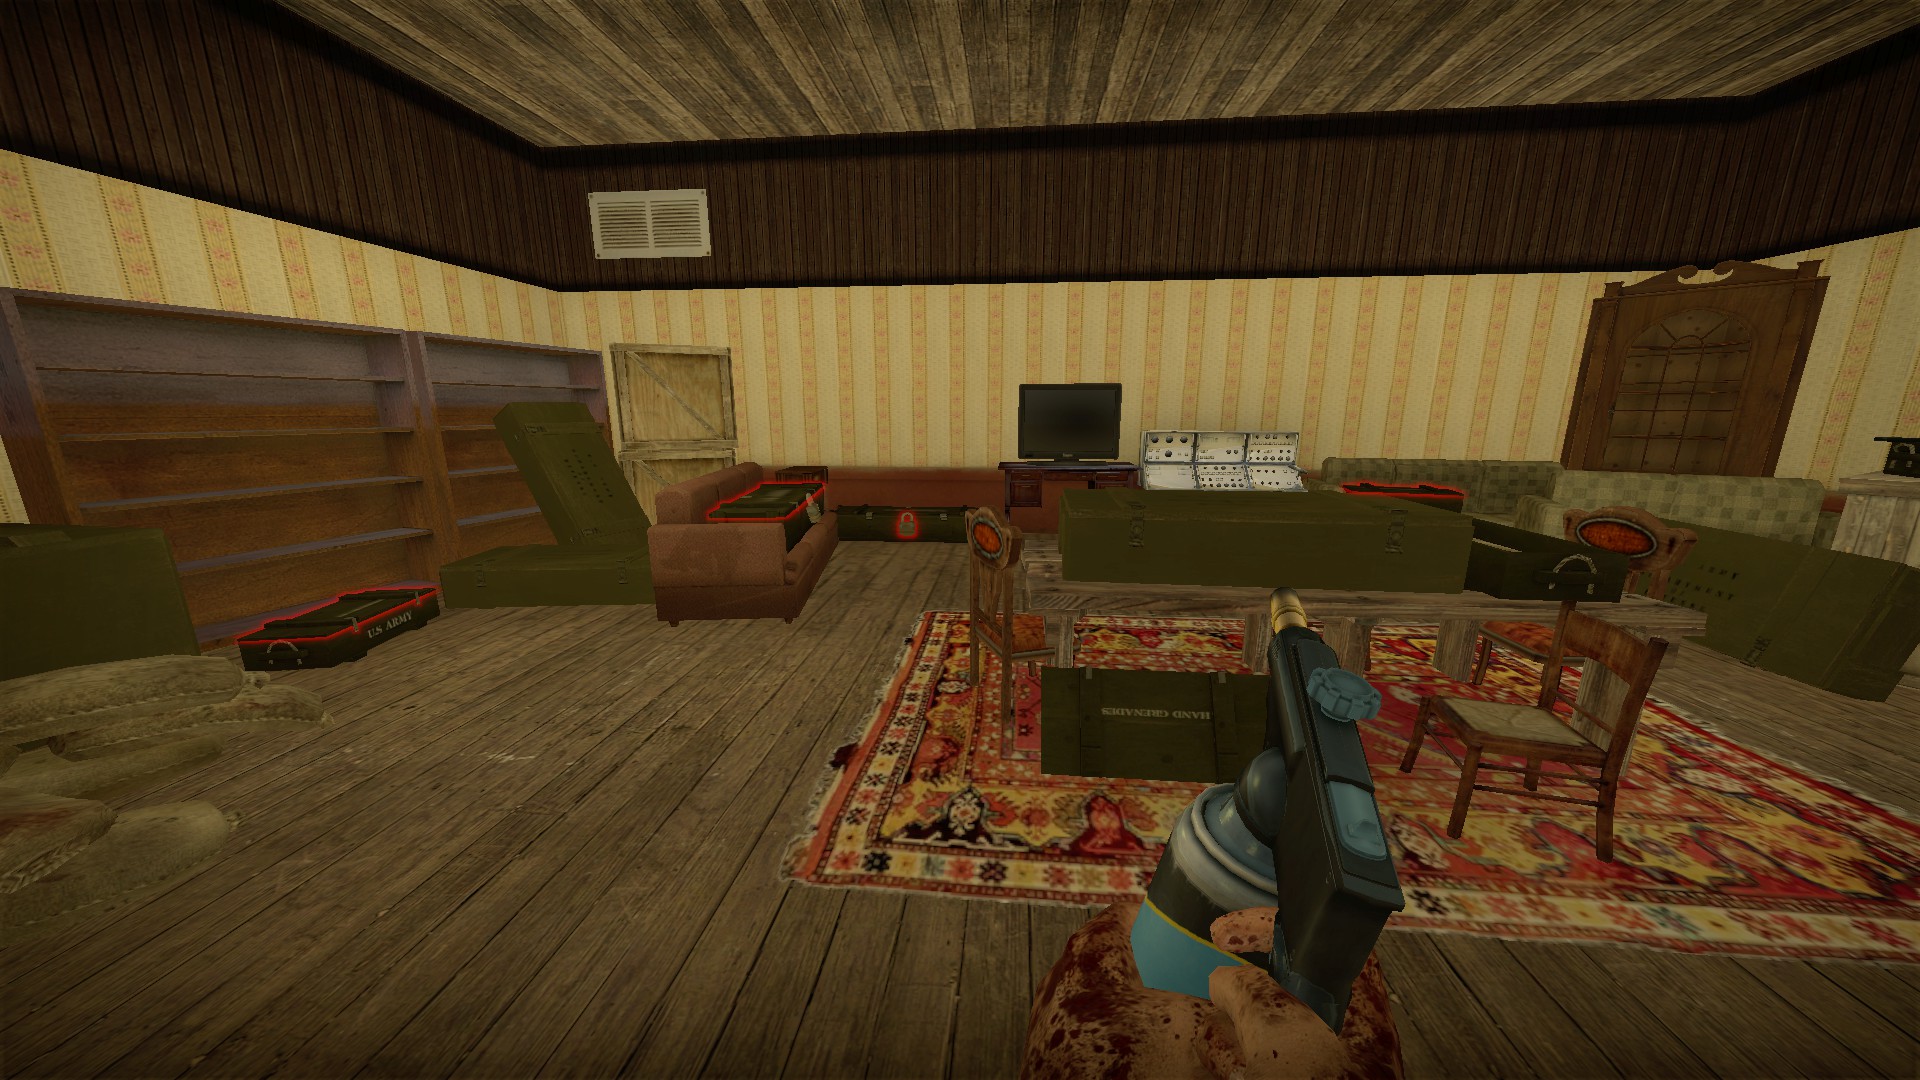
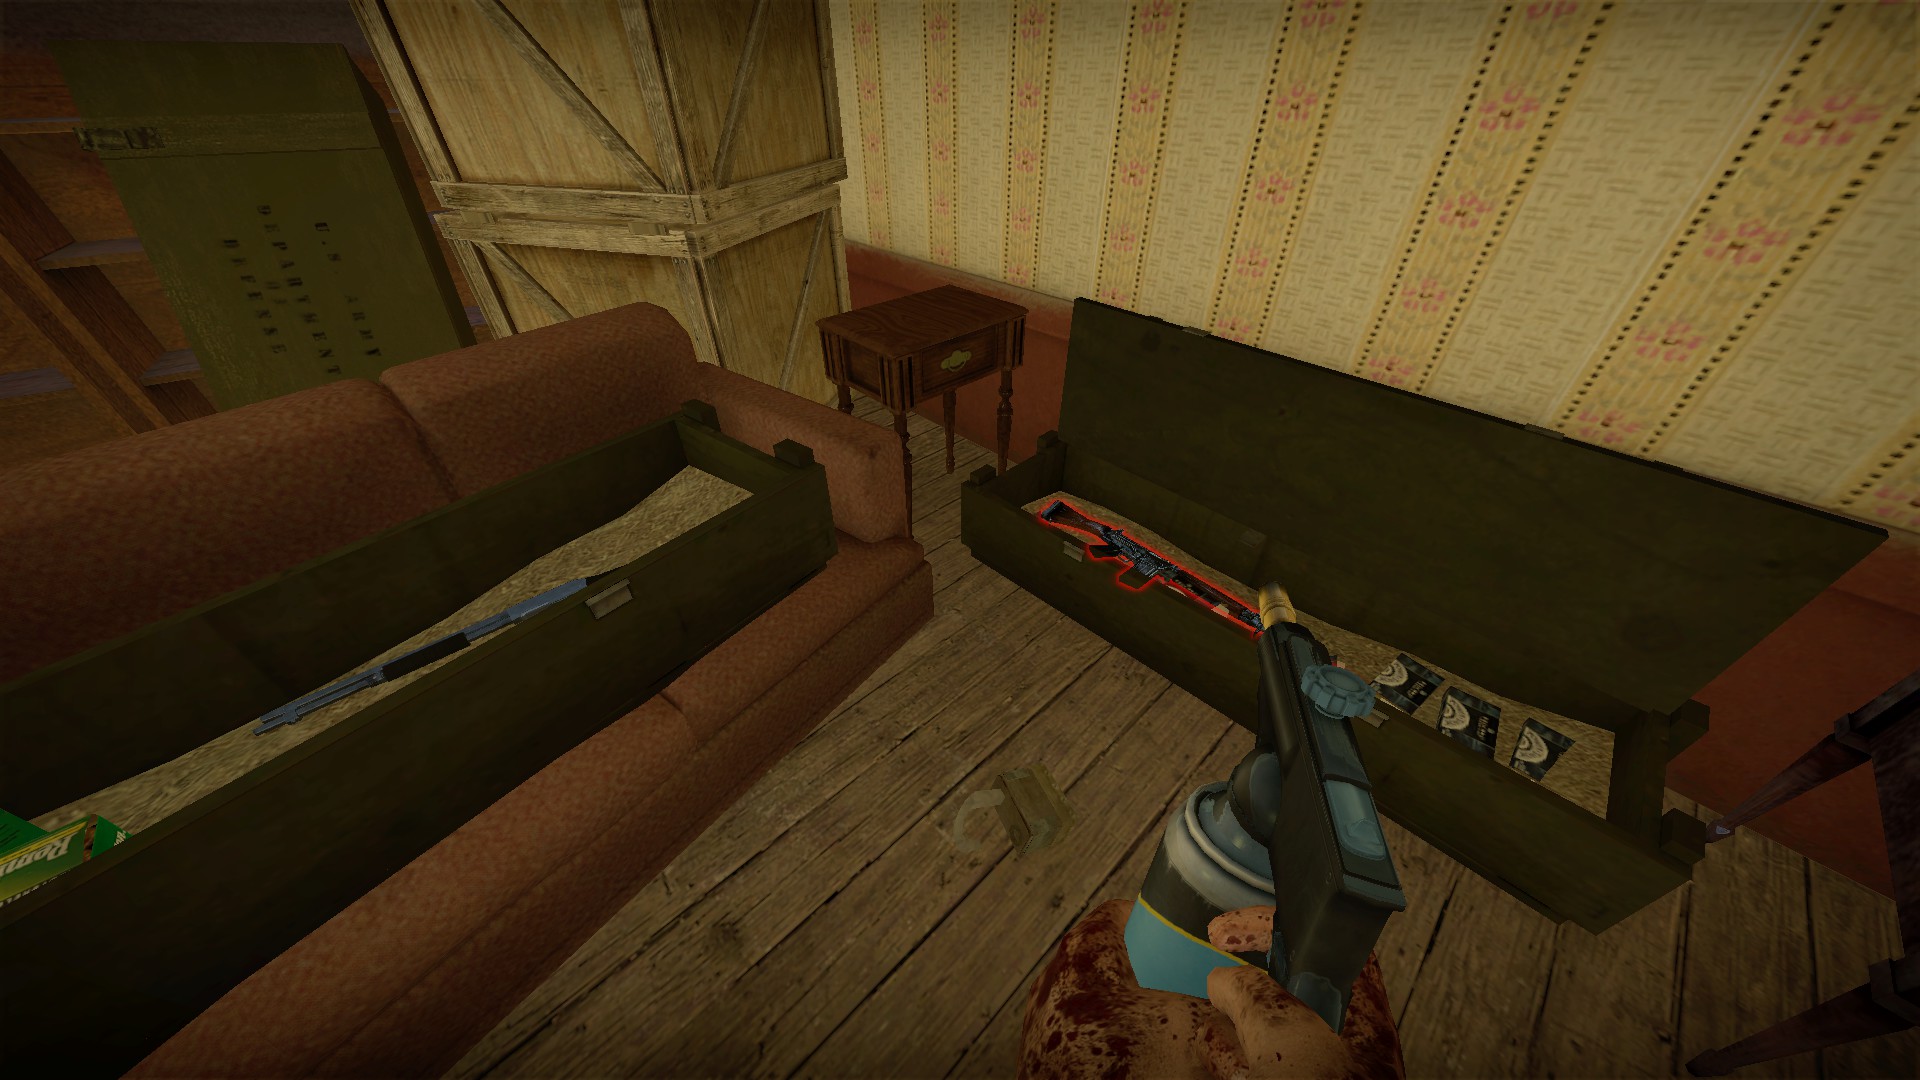
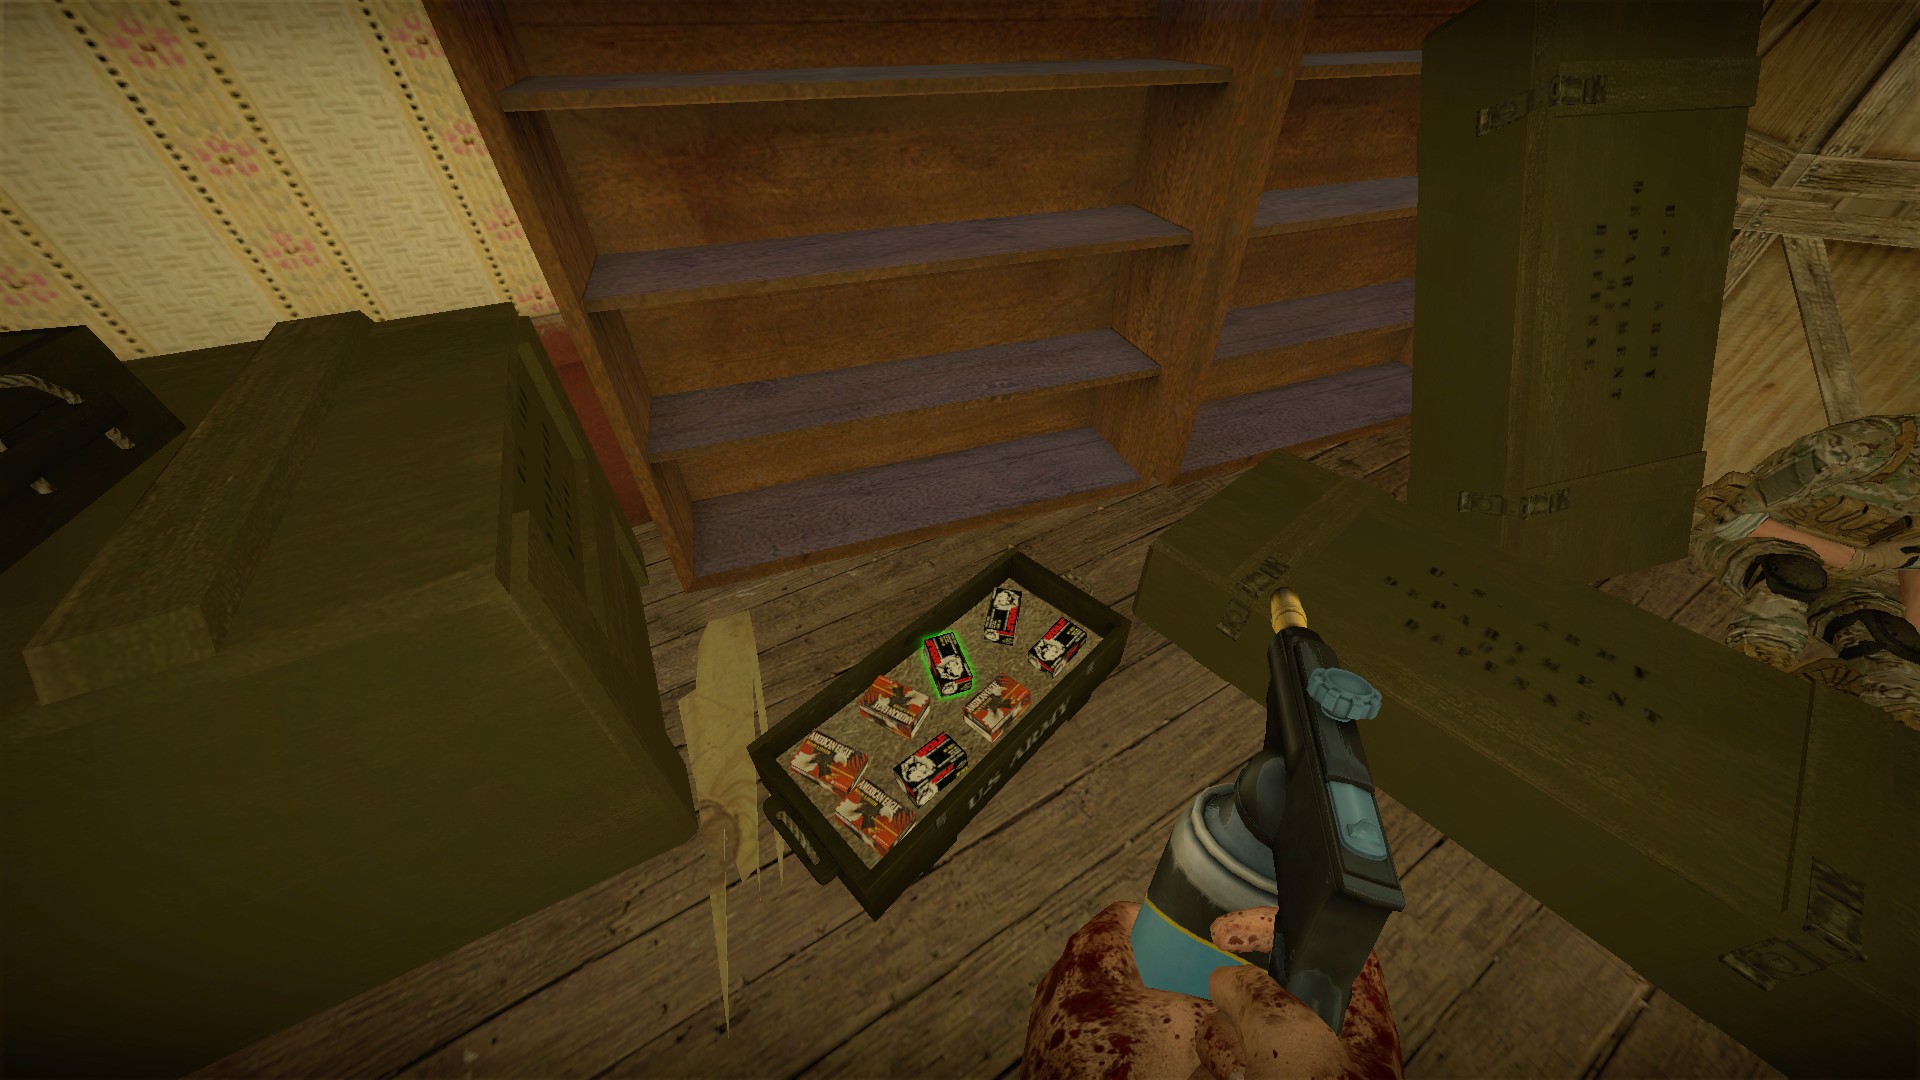
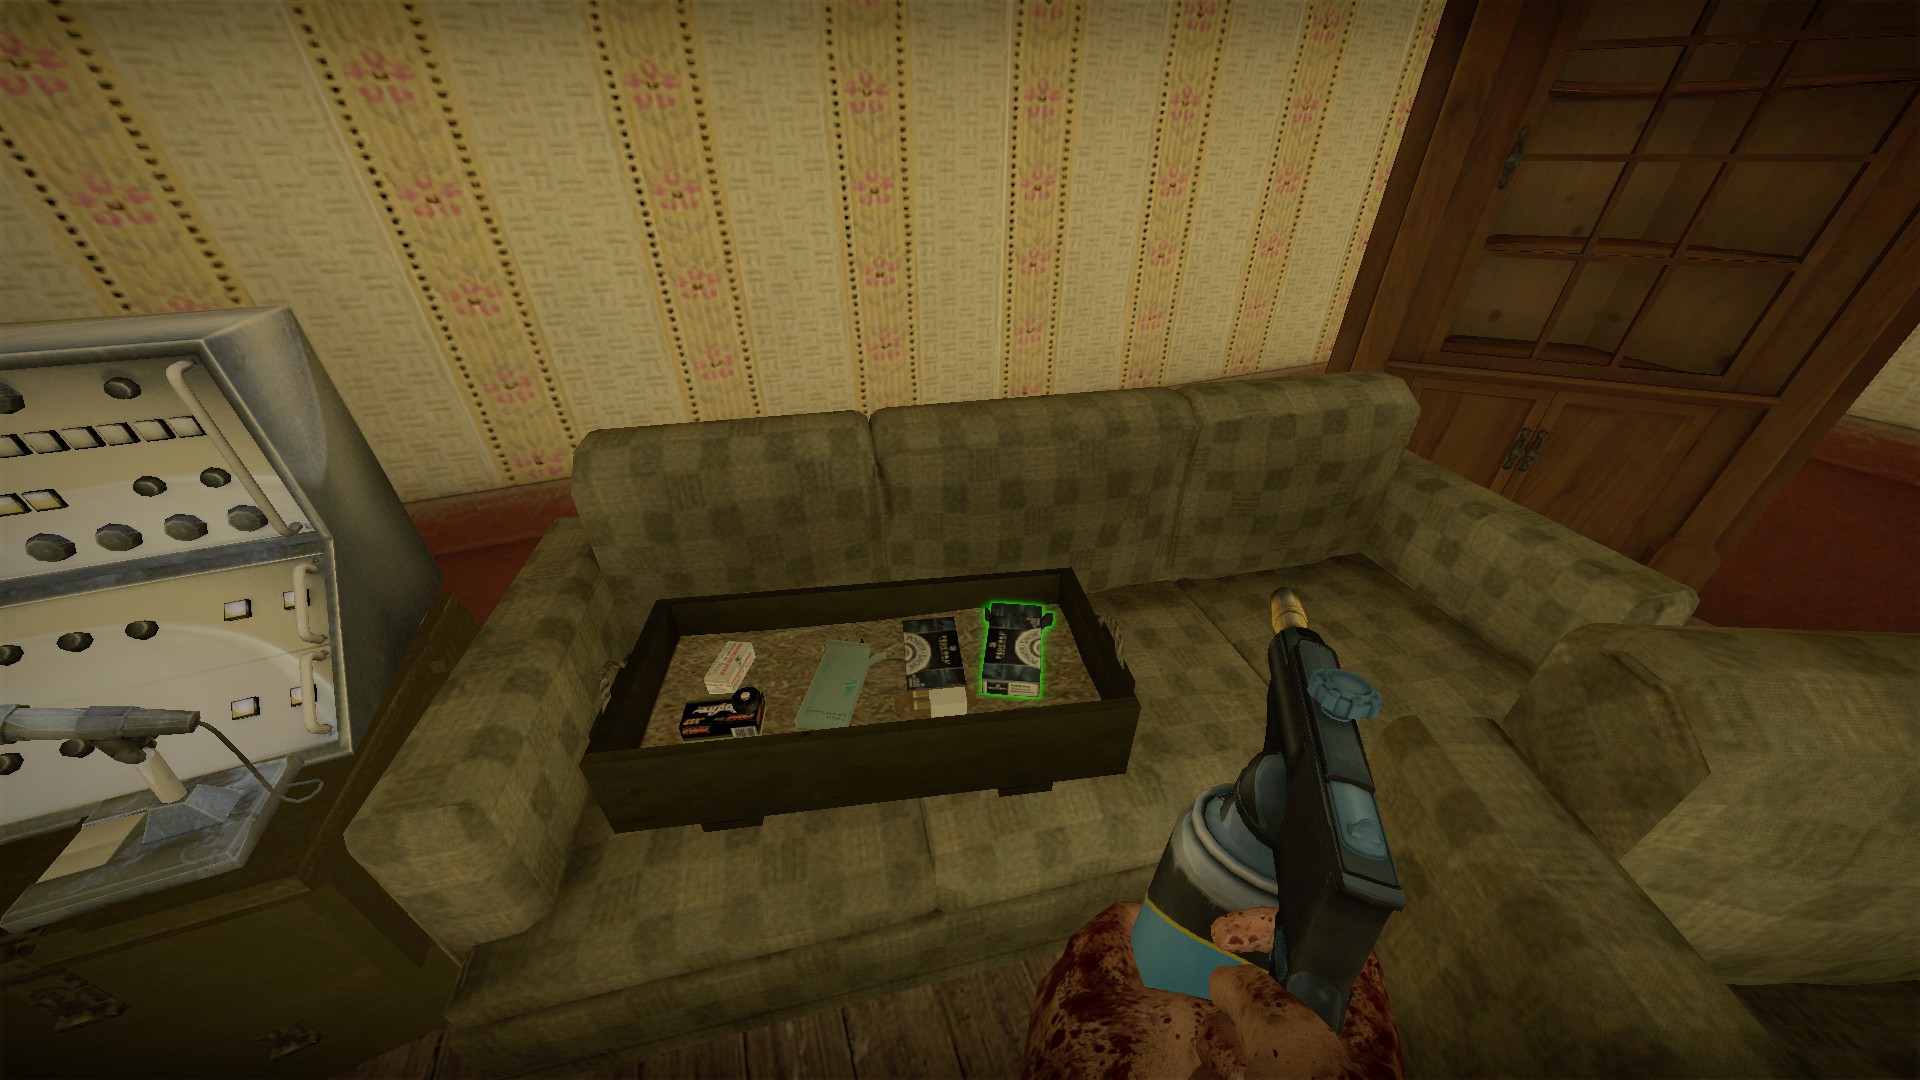
The welder can be used on 4 weapon crates in the military supply area next to the pool
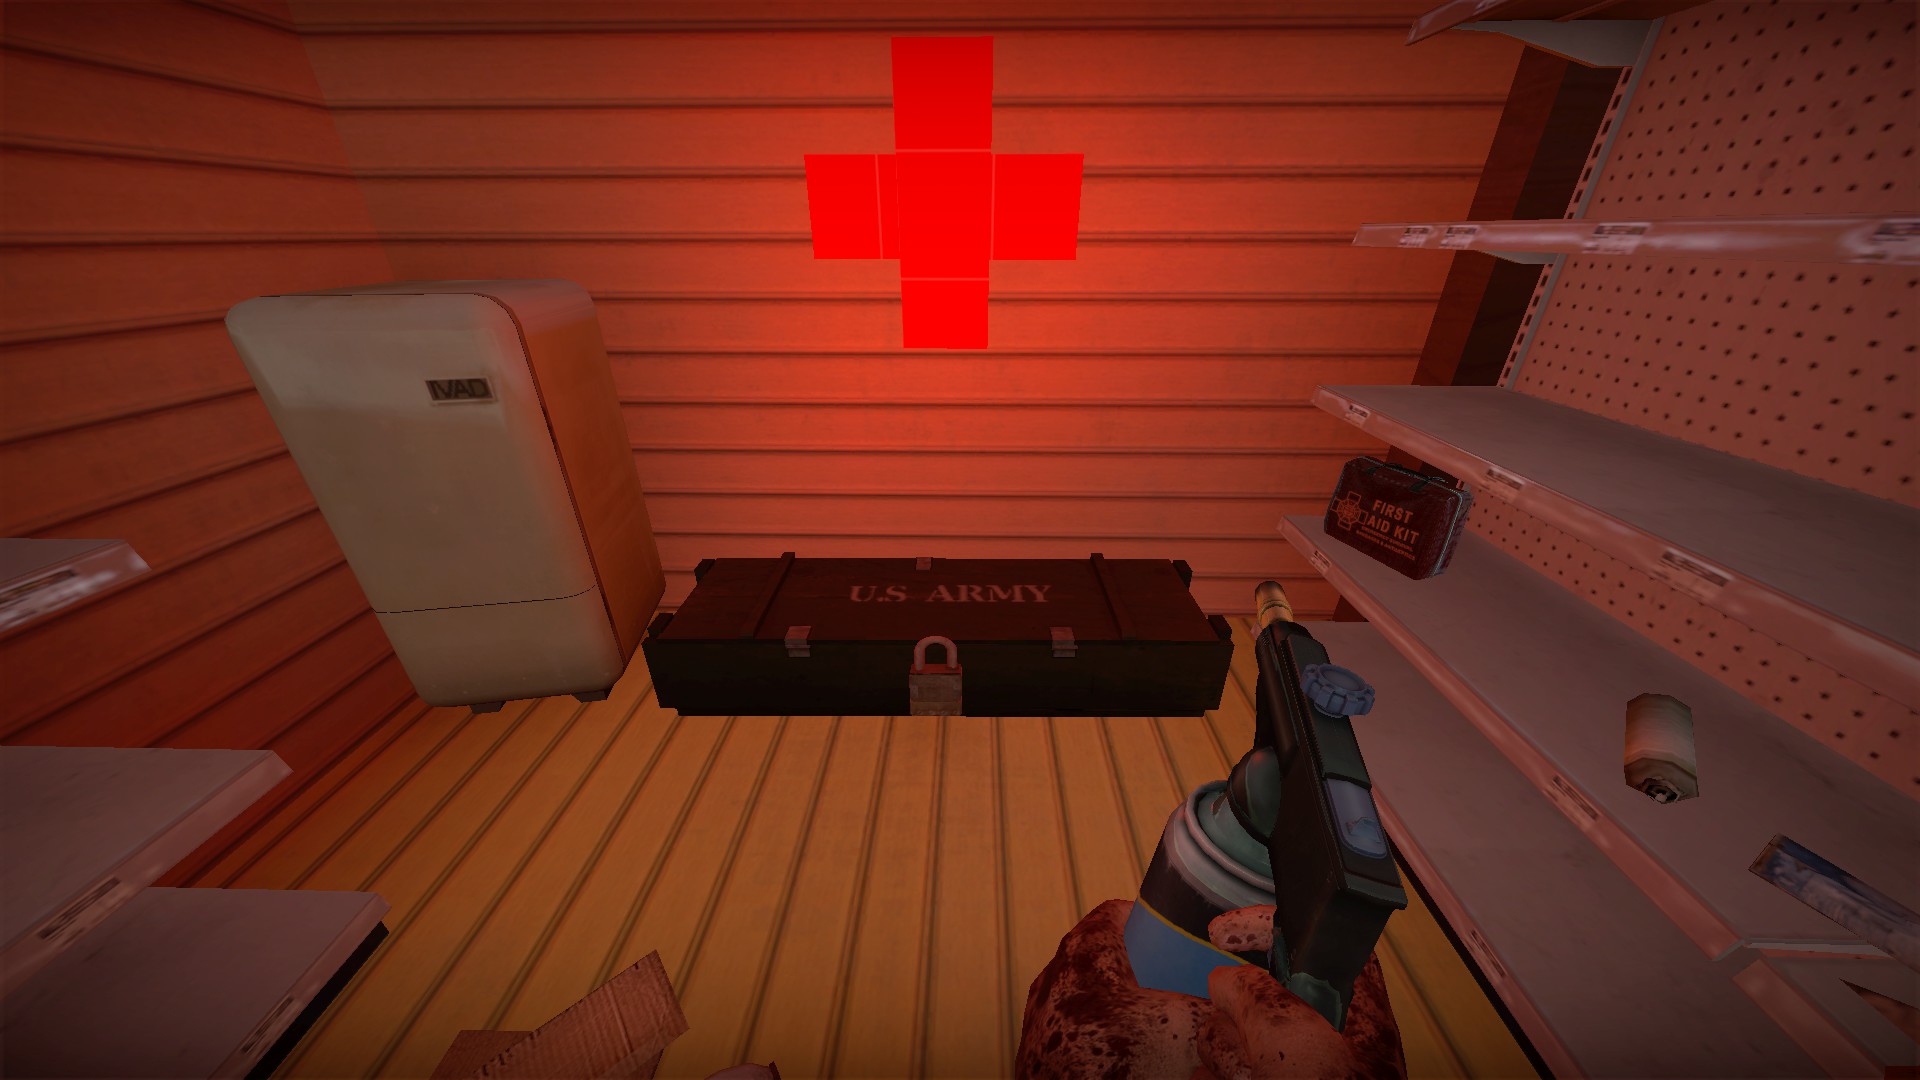
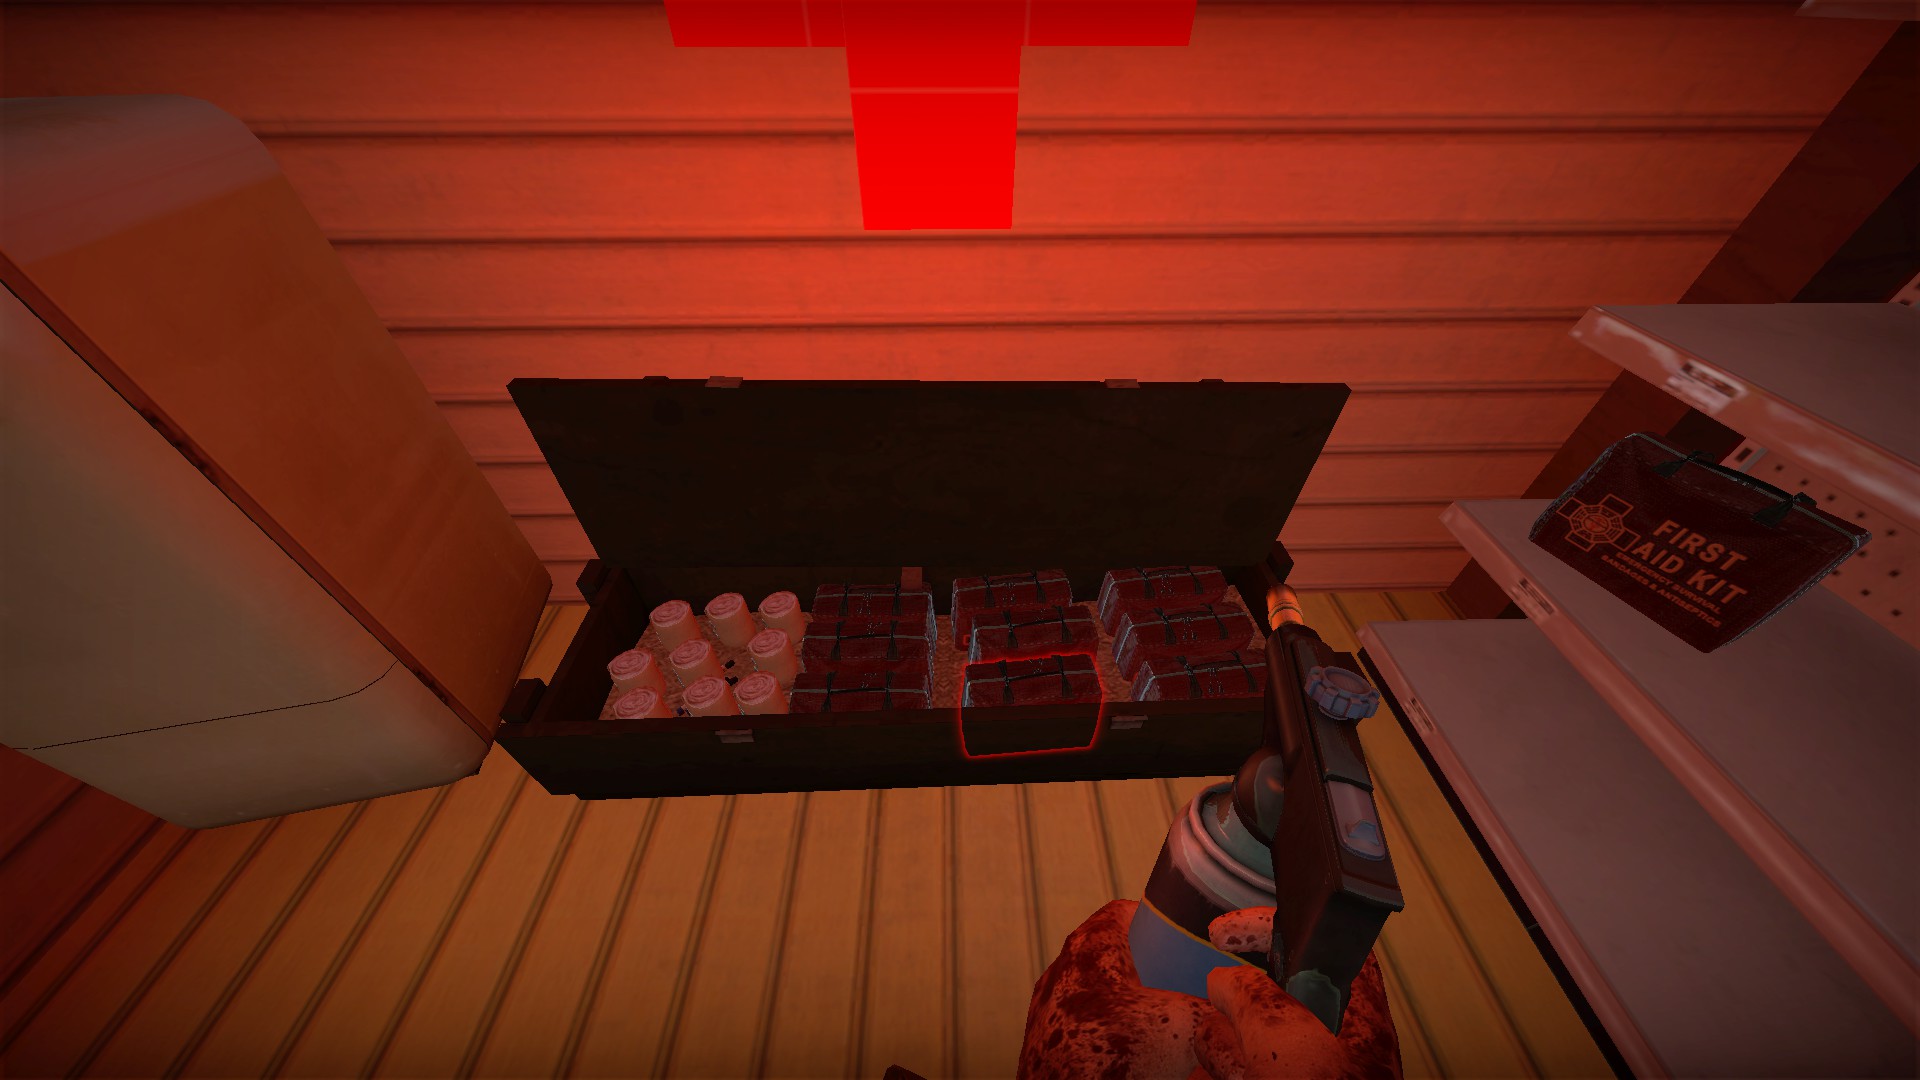
It can also be used on the locker in the store near the pool for a large stash of medical supplies
Basement level bug
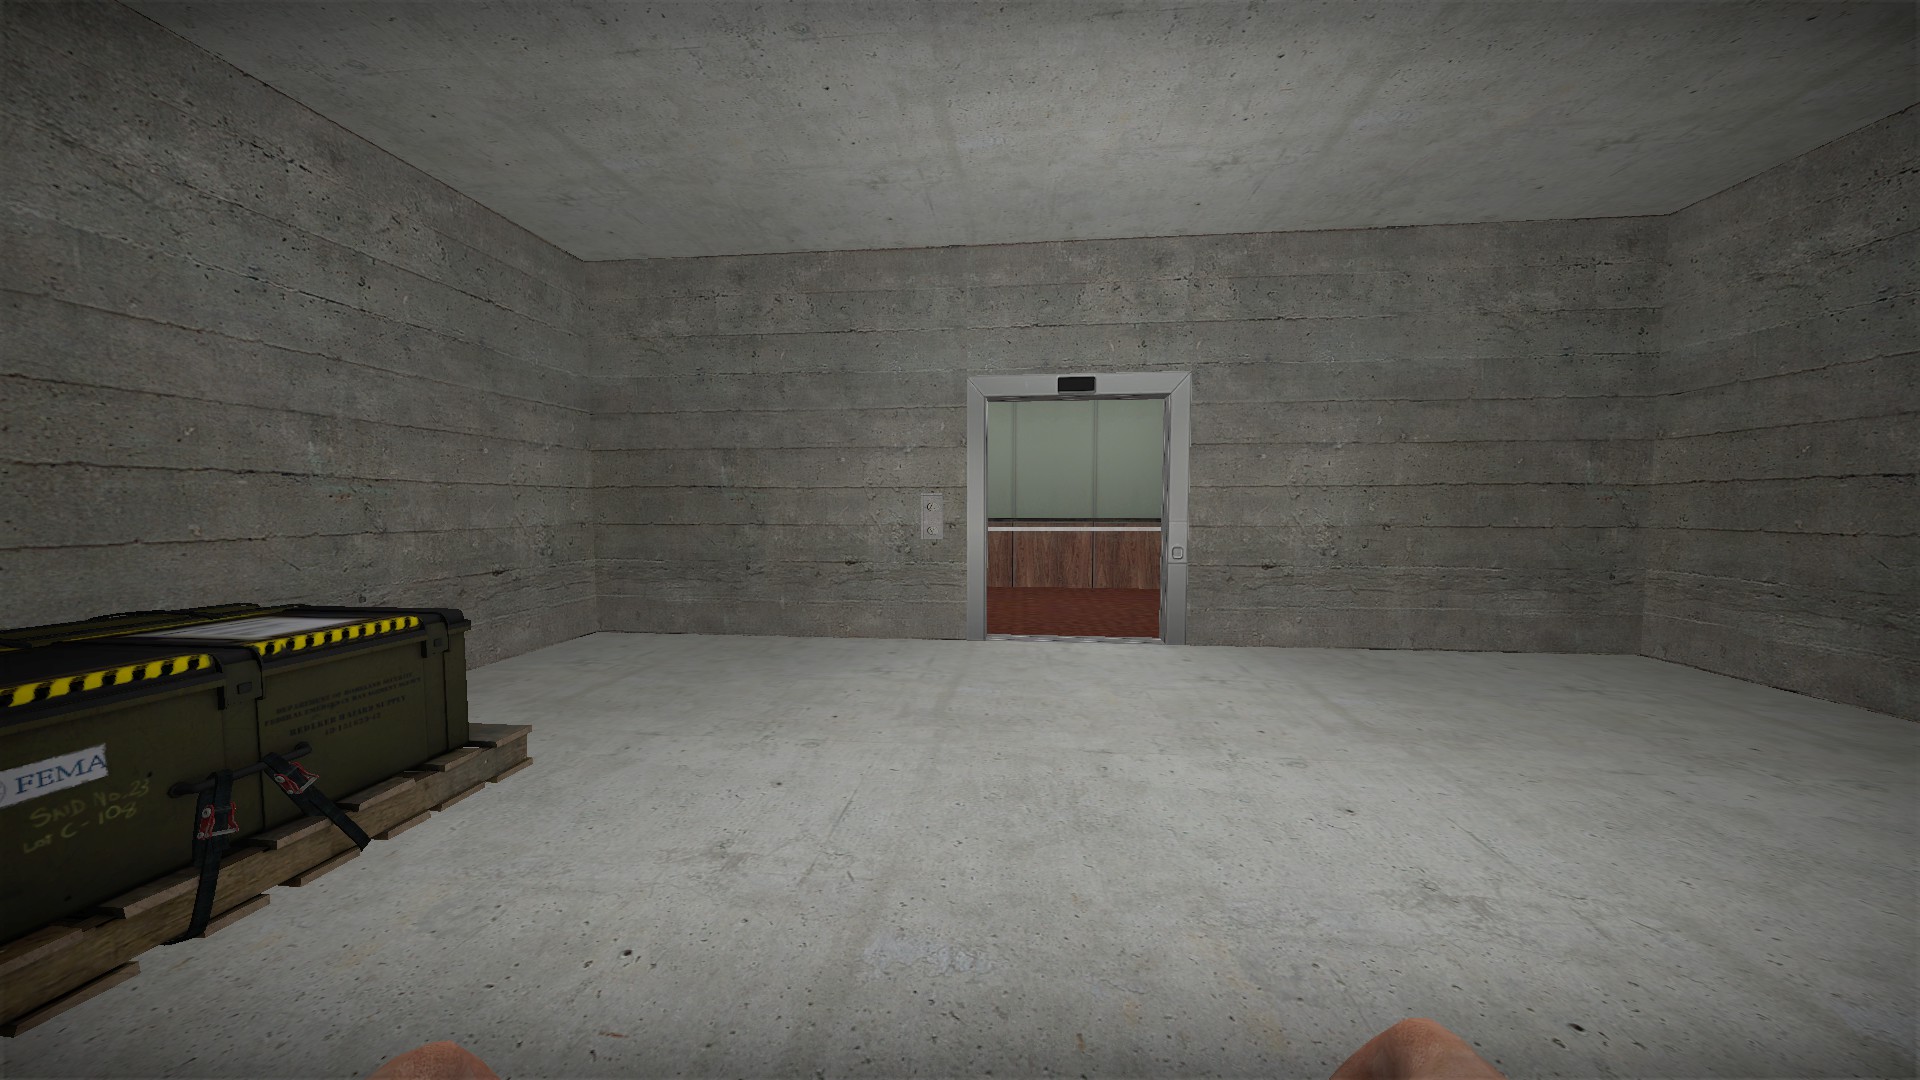
After you leave the elevator, do not get back in - this can re-populate the zombies on this level. The trigger that spawns the zombies can be hit more than once and can crash the map. All of the doors on this level can be opened
Broken respawn room
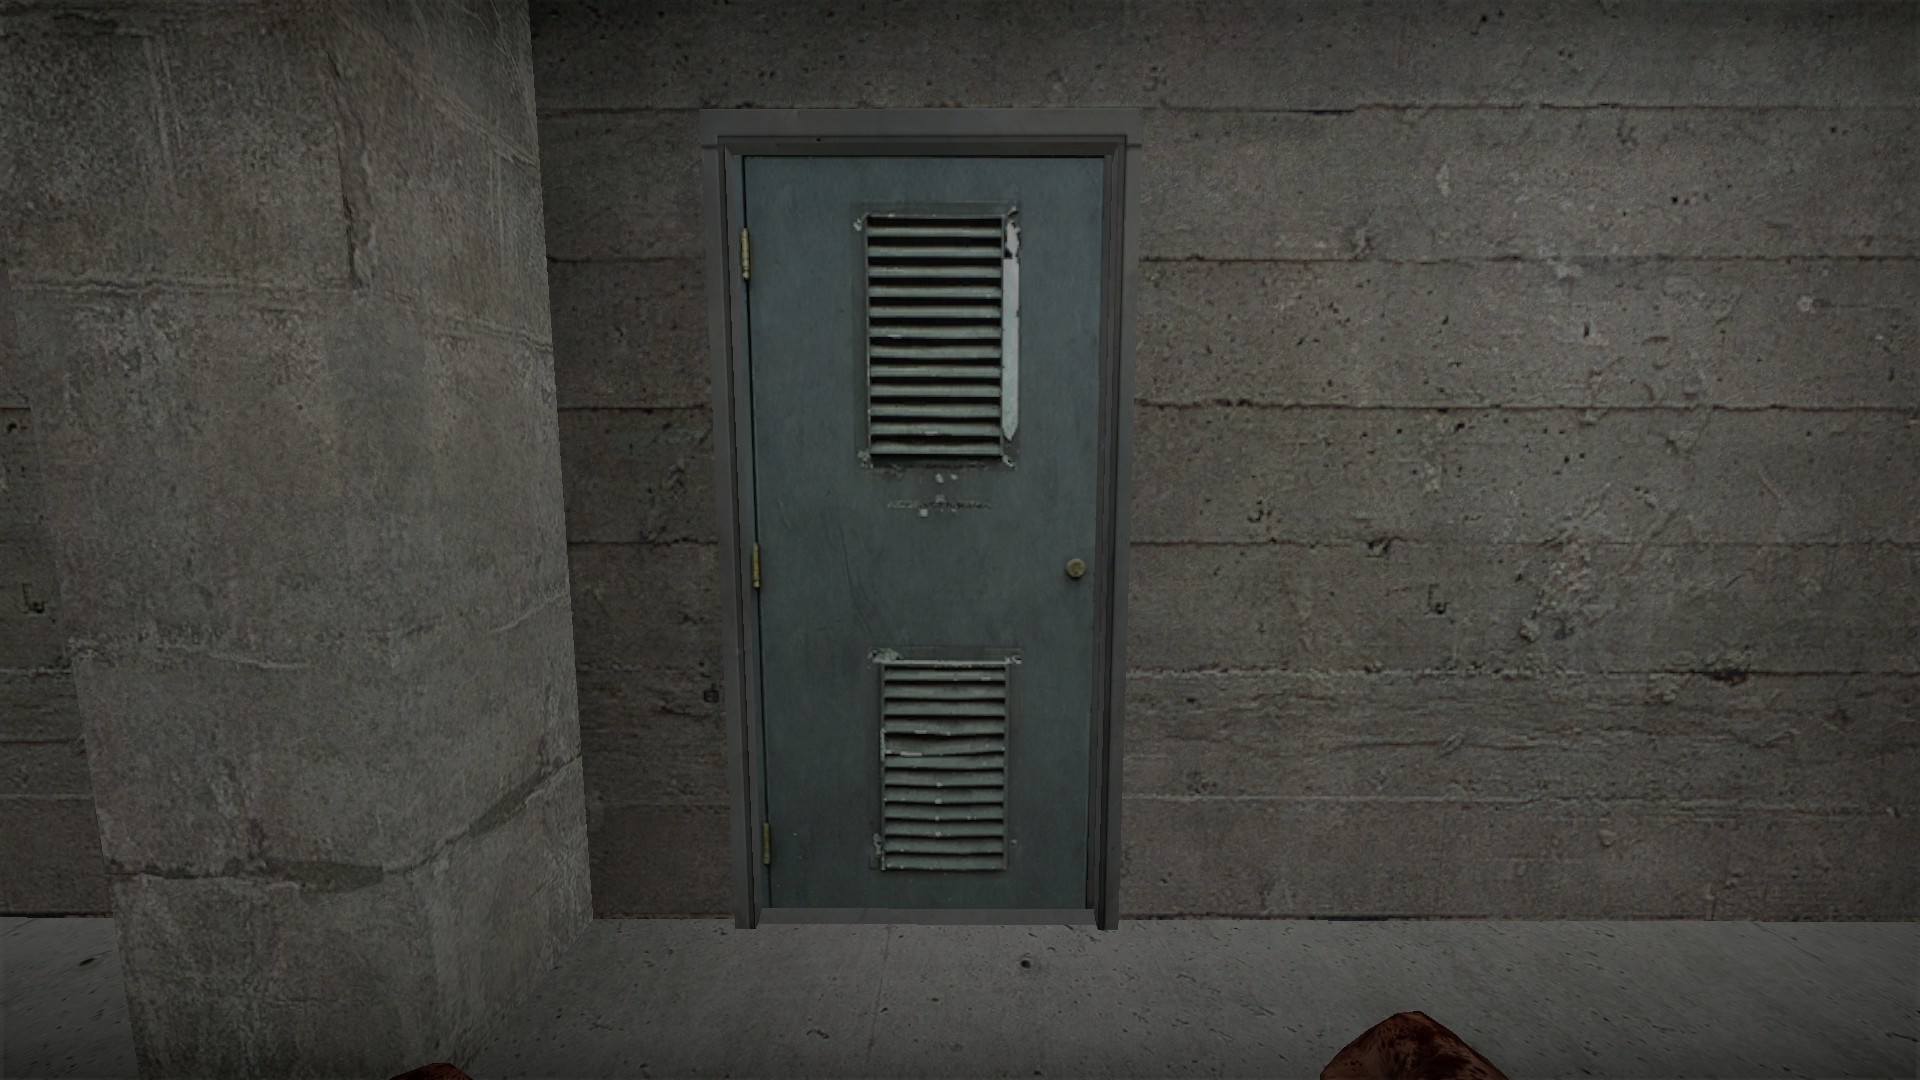
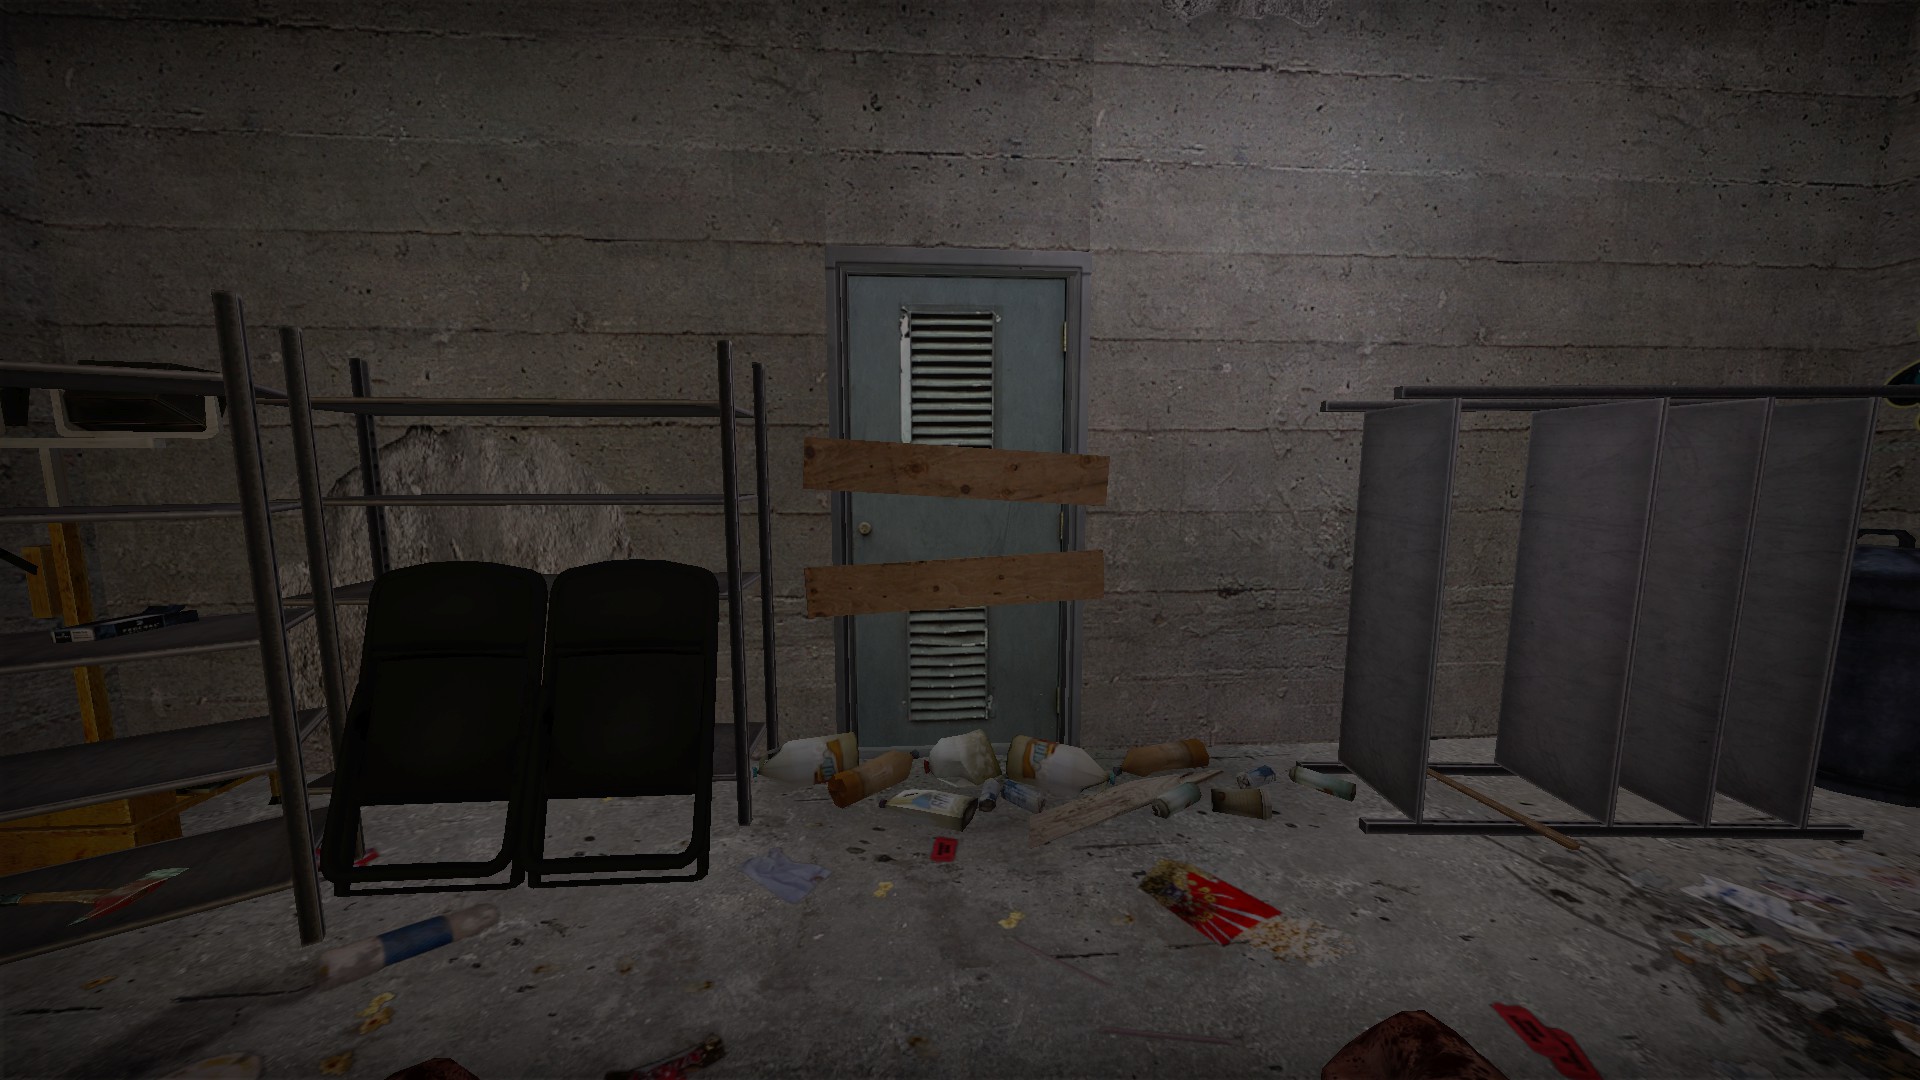
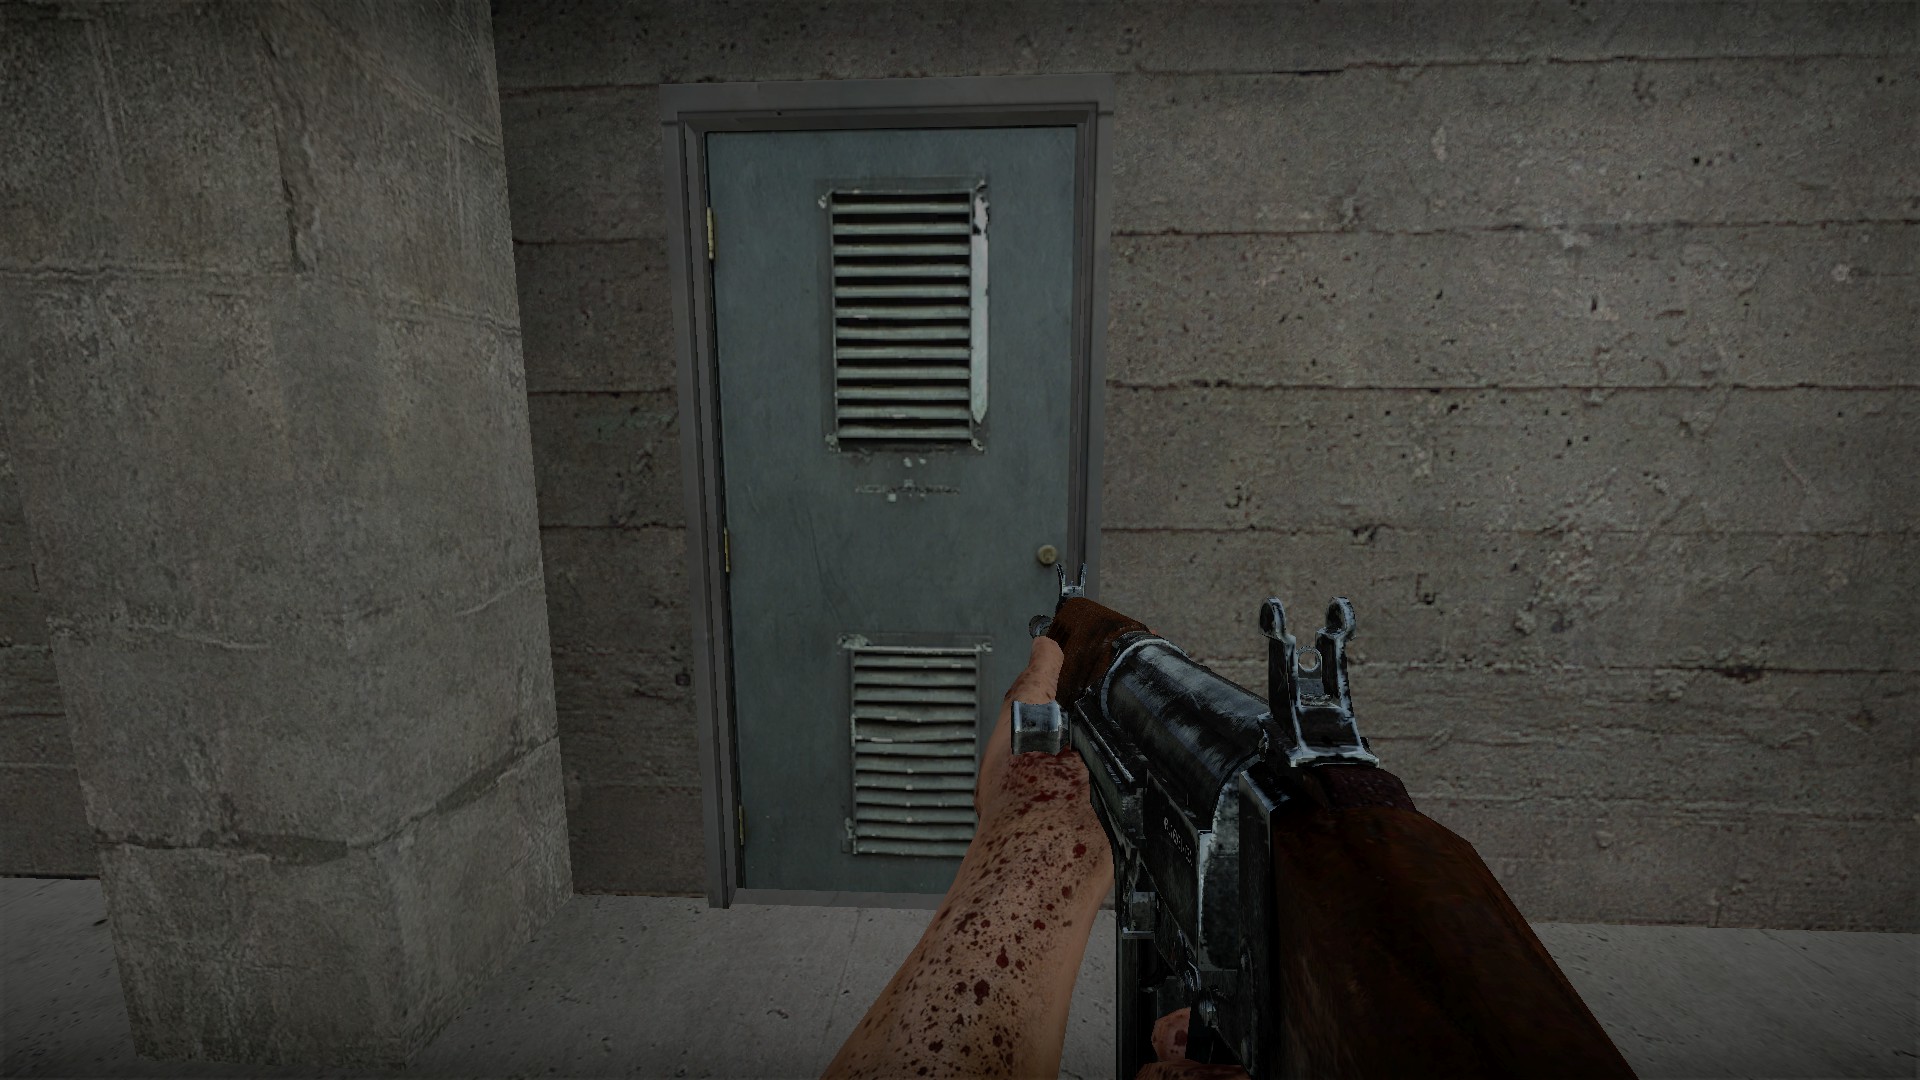
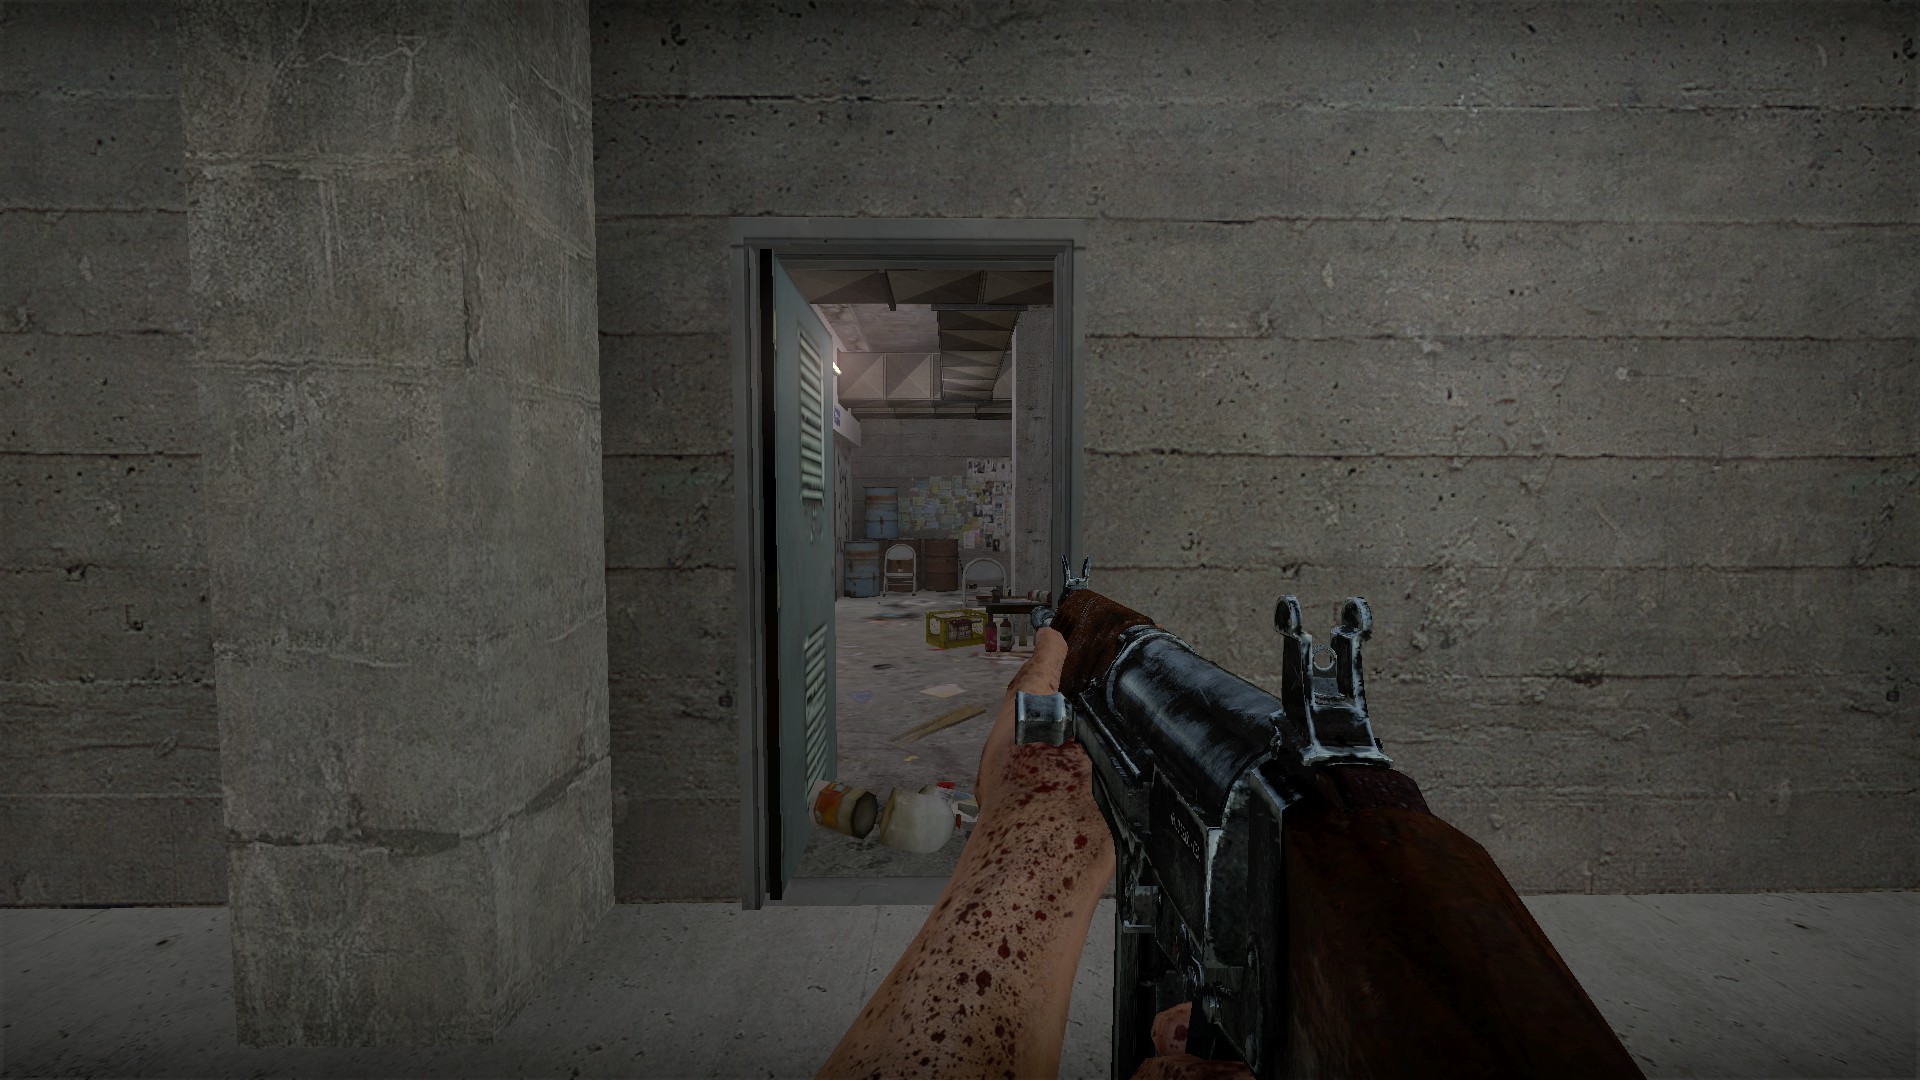
The door just to the right of the elevator can be shot open by using a firearm with bullet penetration such as a .357 or .308. The door will open if you hit either board
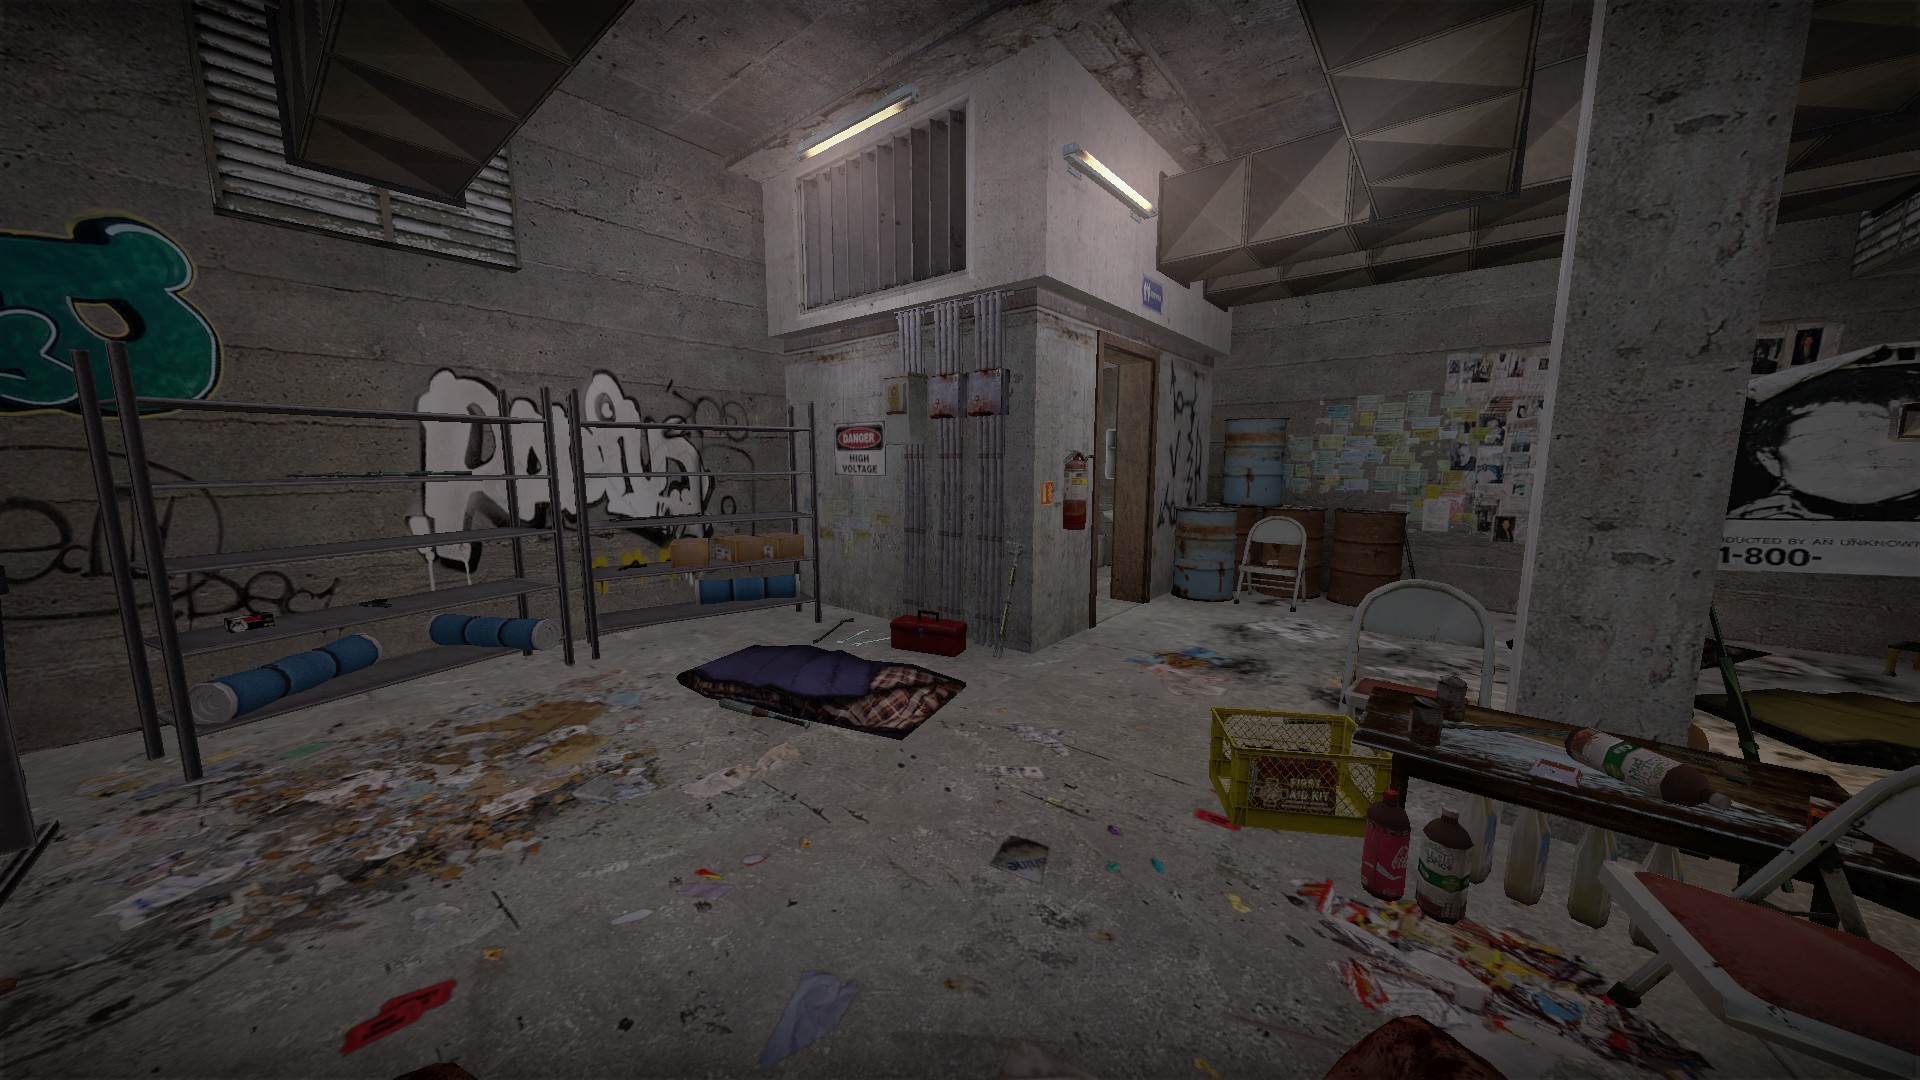
This was intended to be a respawn room and there are a fair number of supplies here. Dead players will currently respawn at the first spawn outside and will be soft-locked there
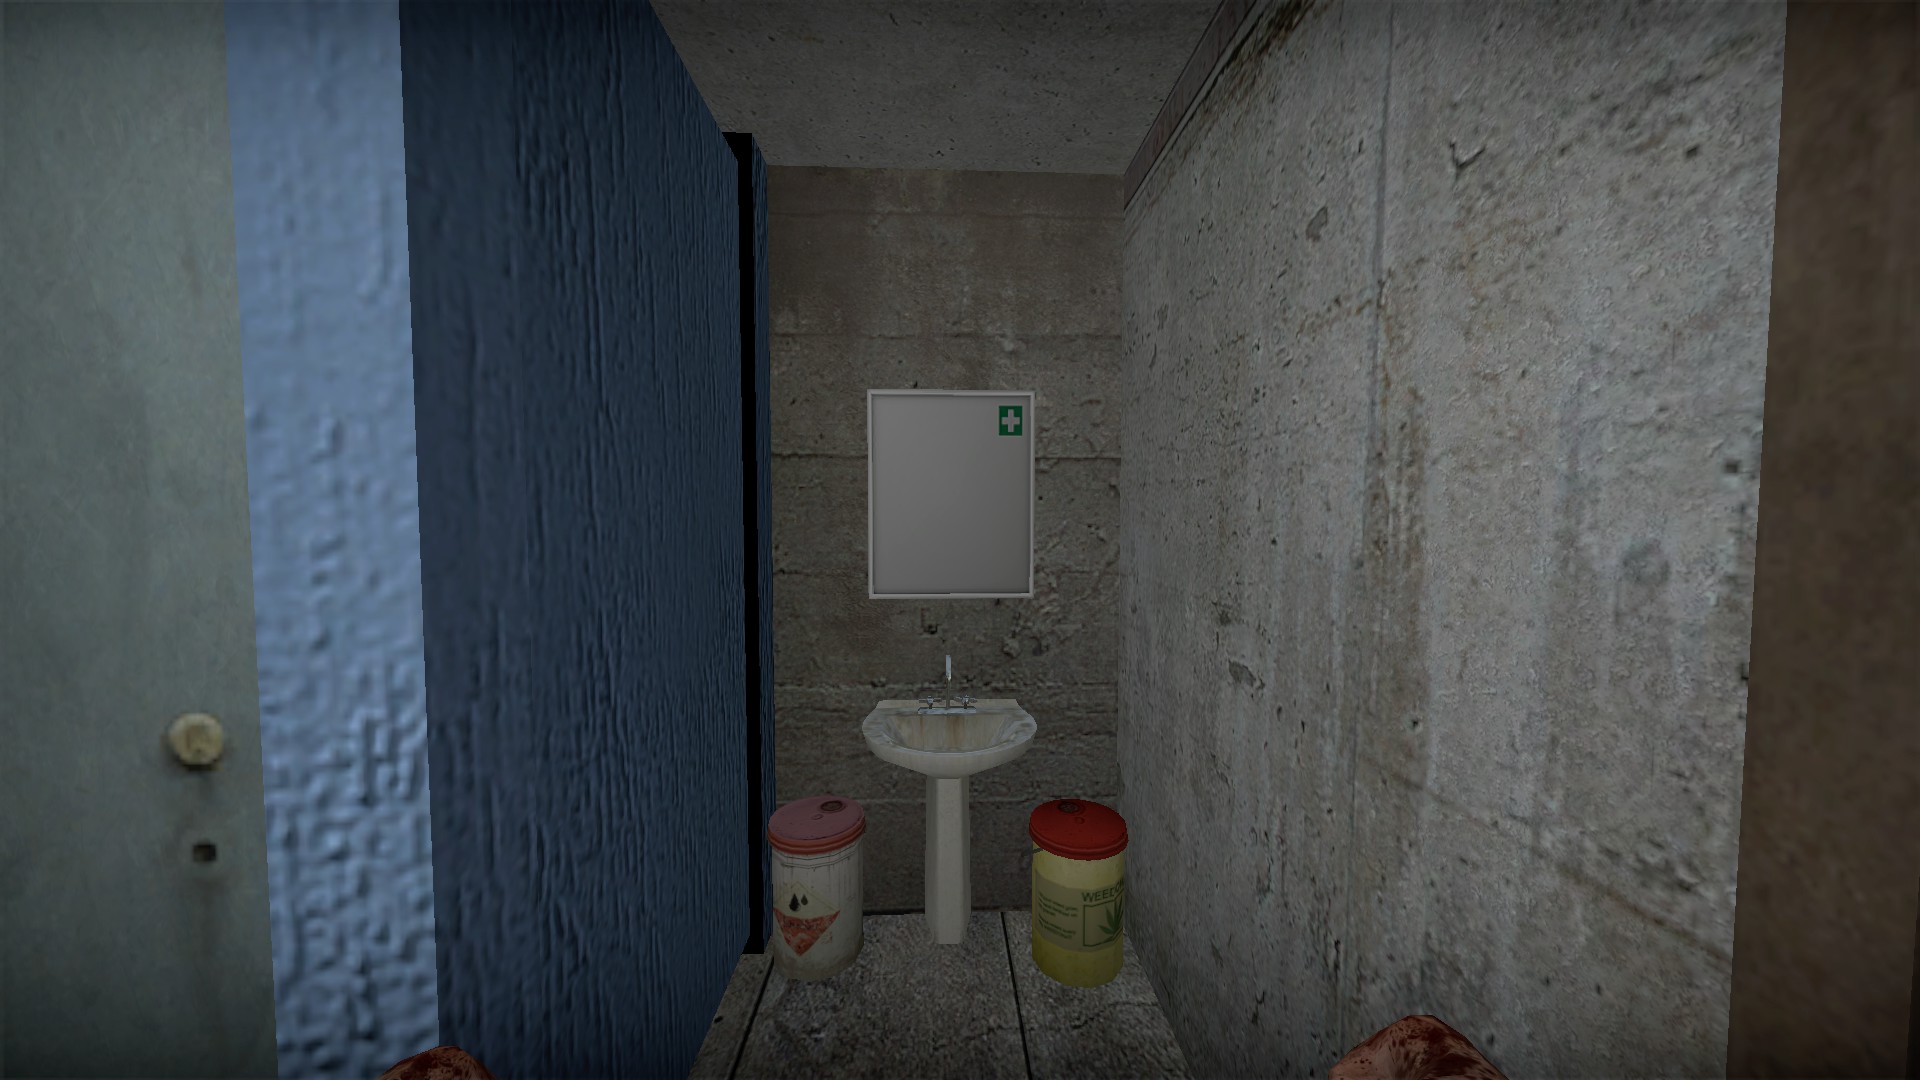
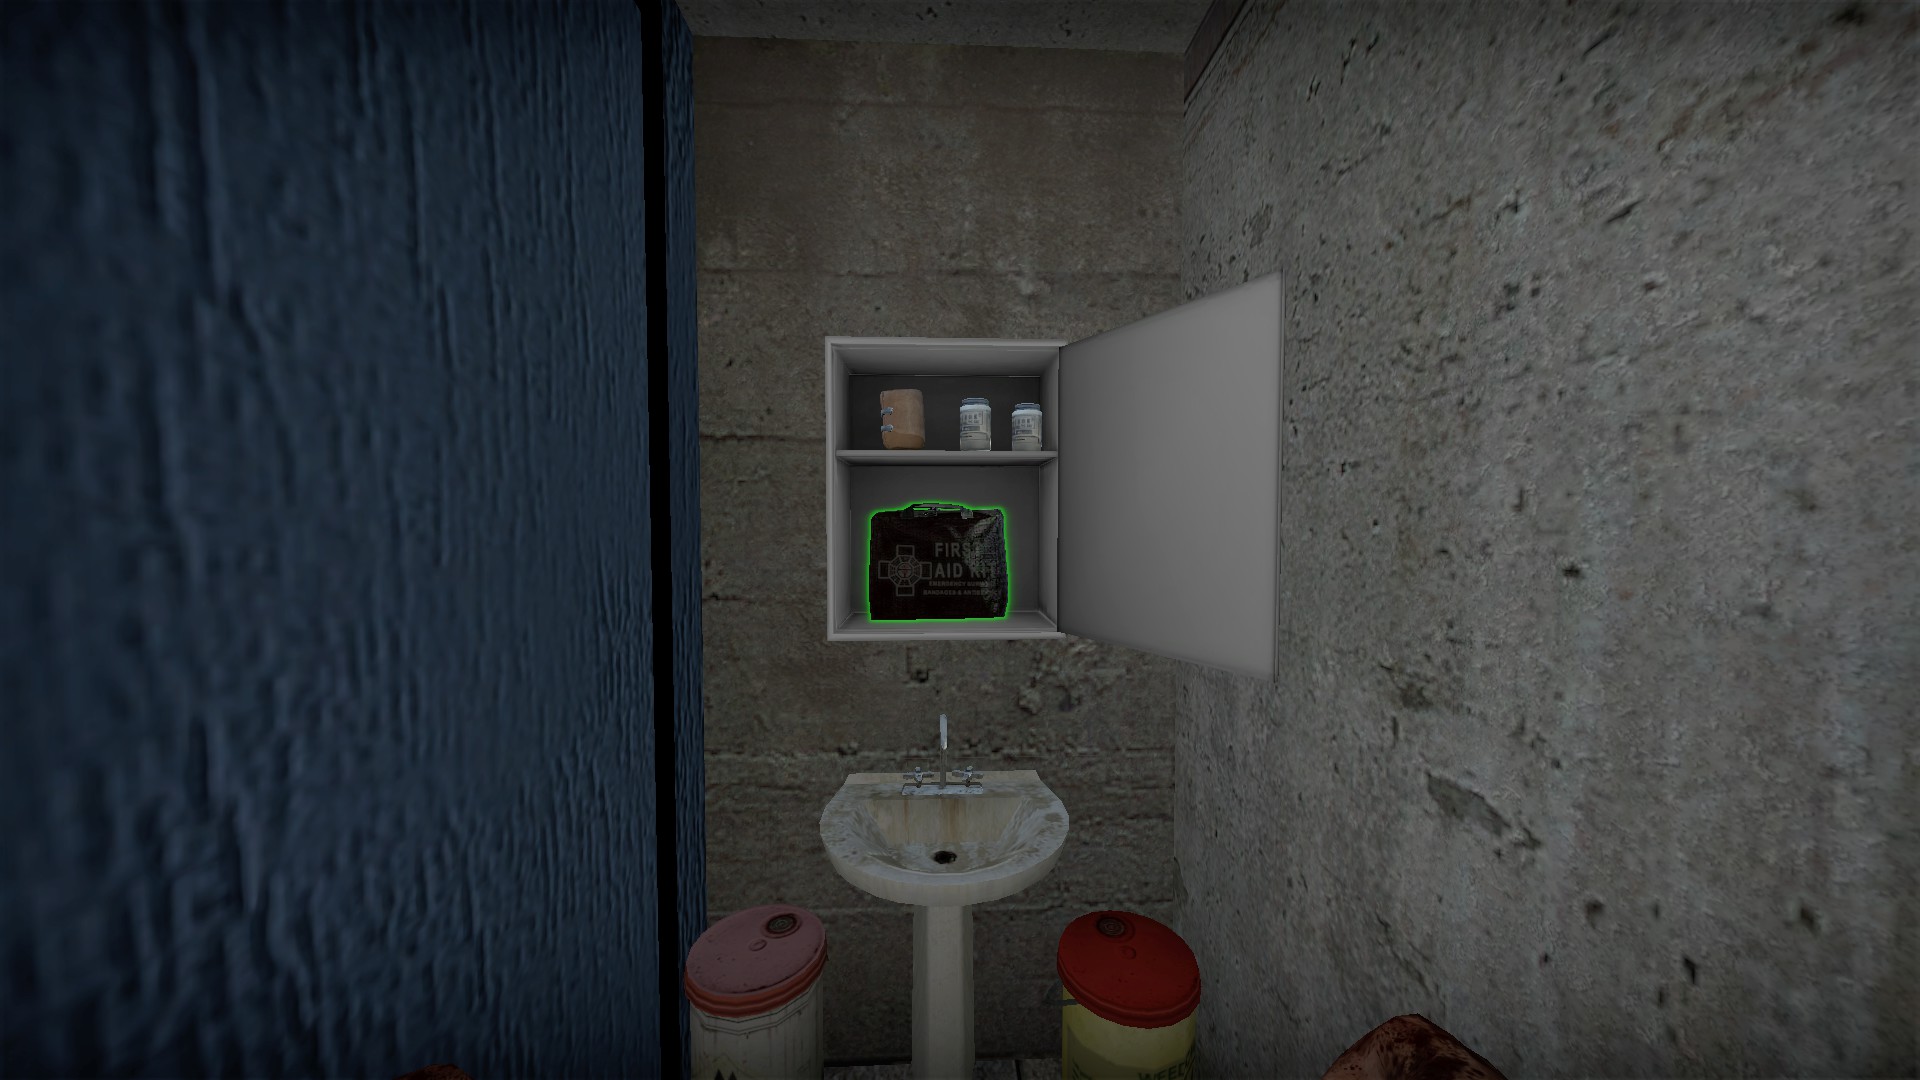
Make sure to open the medicine cabinet in the bathroom for more medical supplies
Crank
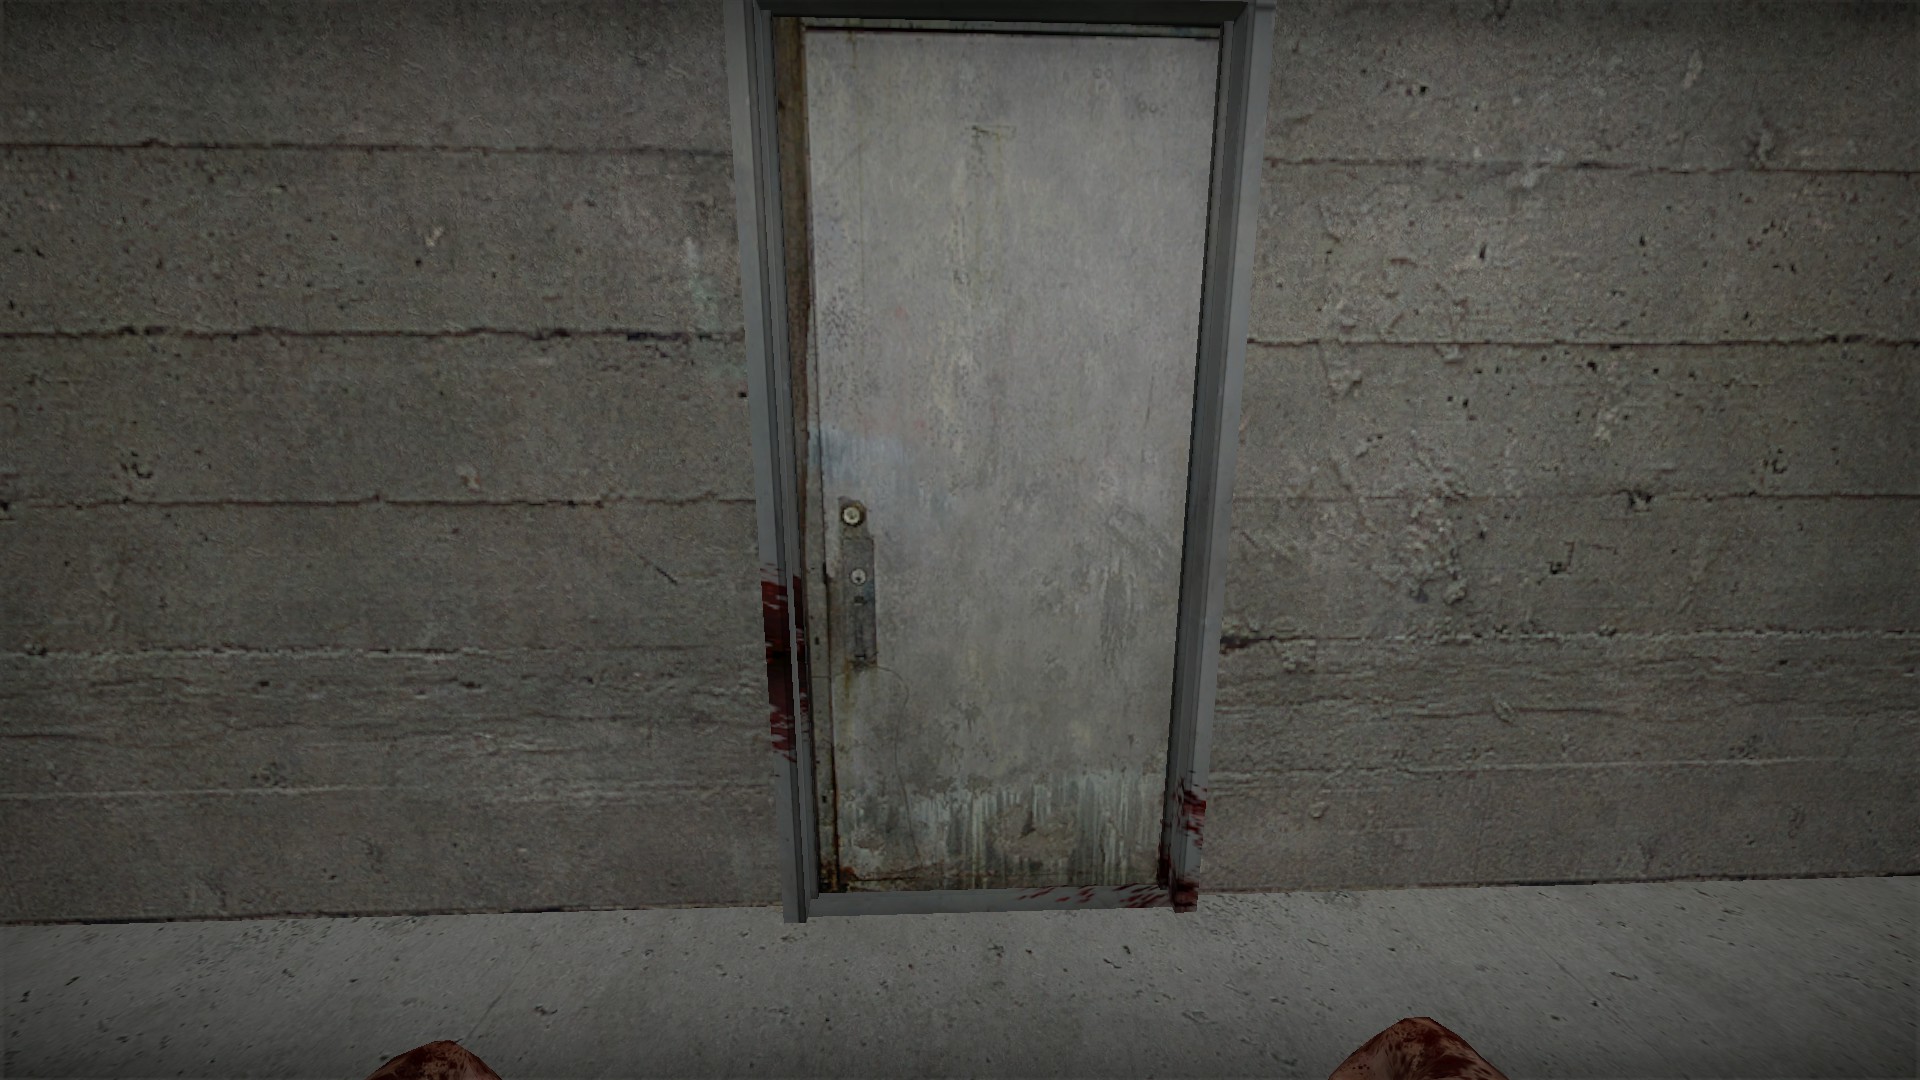
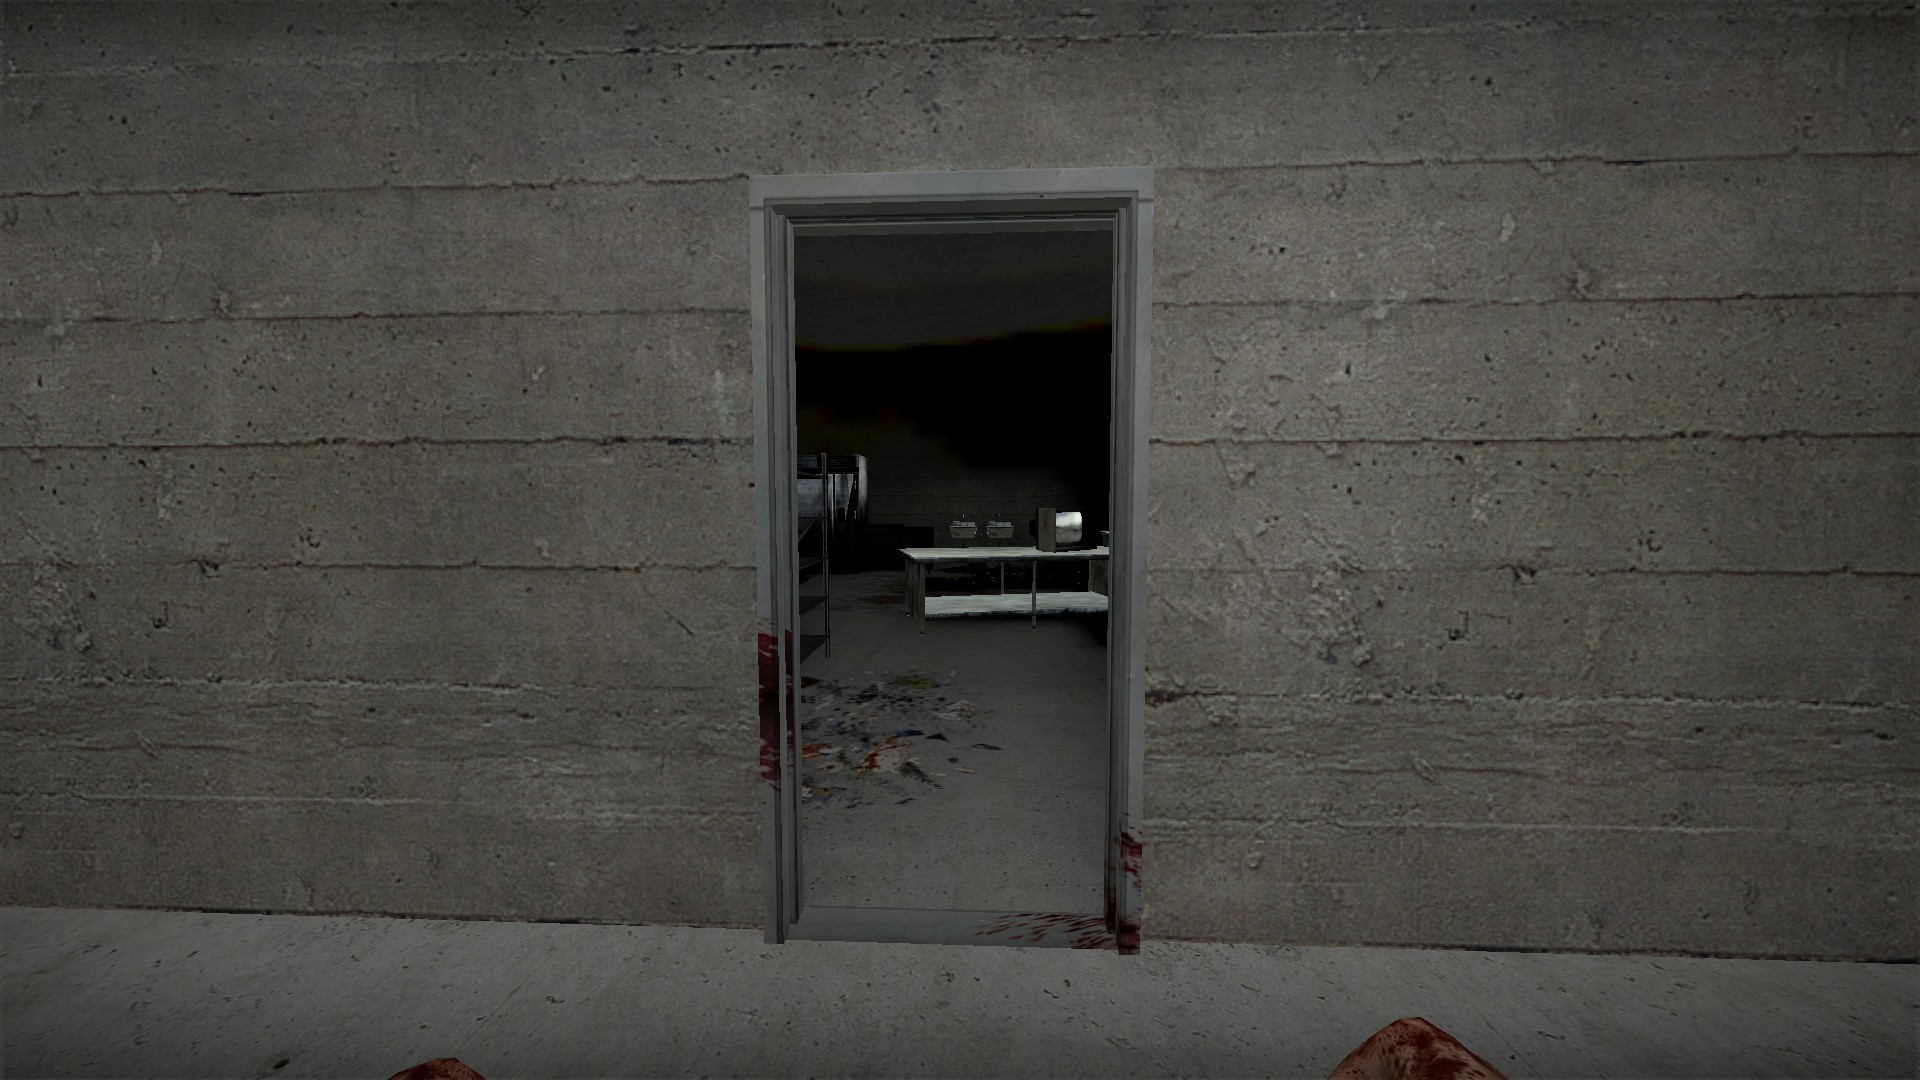
Just opposite the elevator, you will find a metal door that can be broken by any weapon
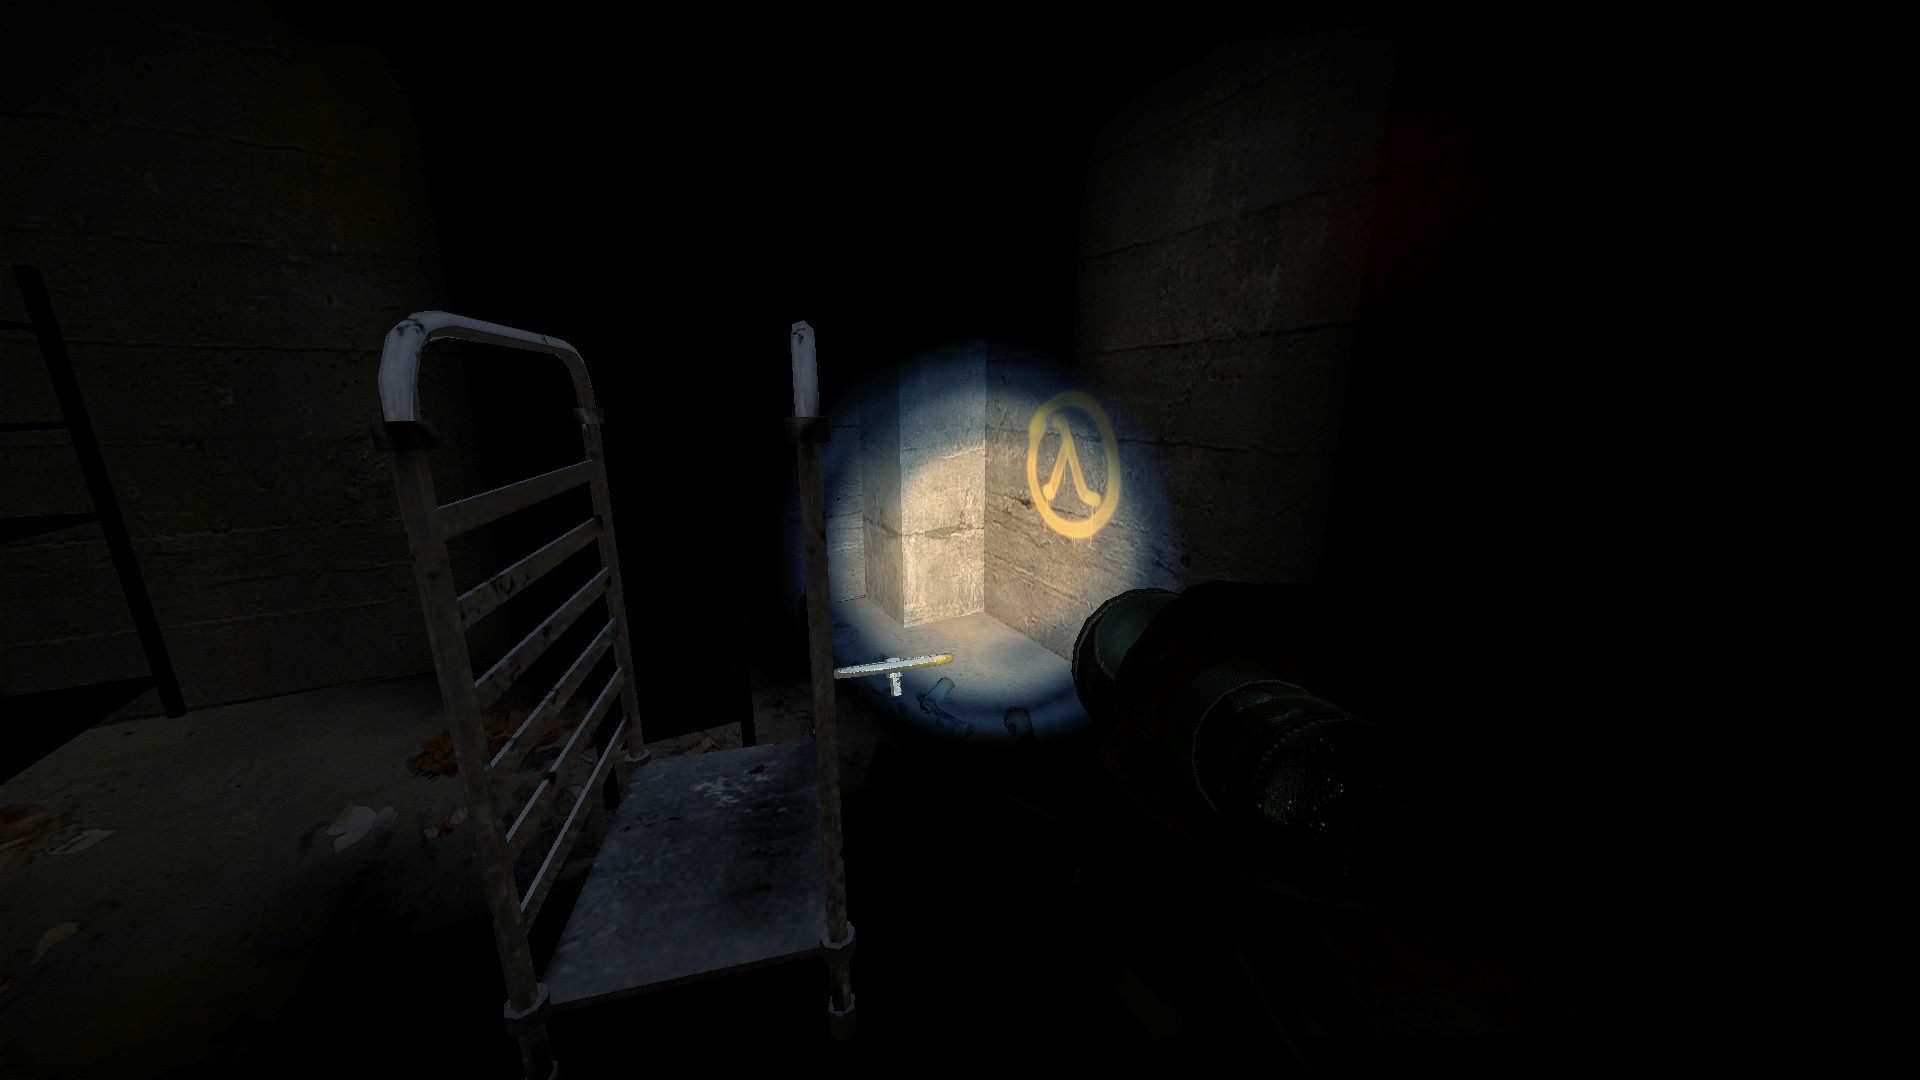
Inside the room behind you will find a crank near a symbol
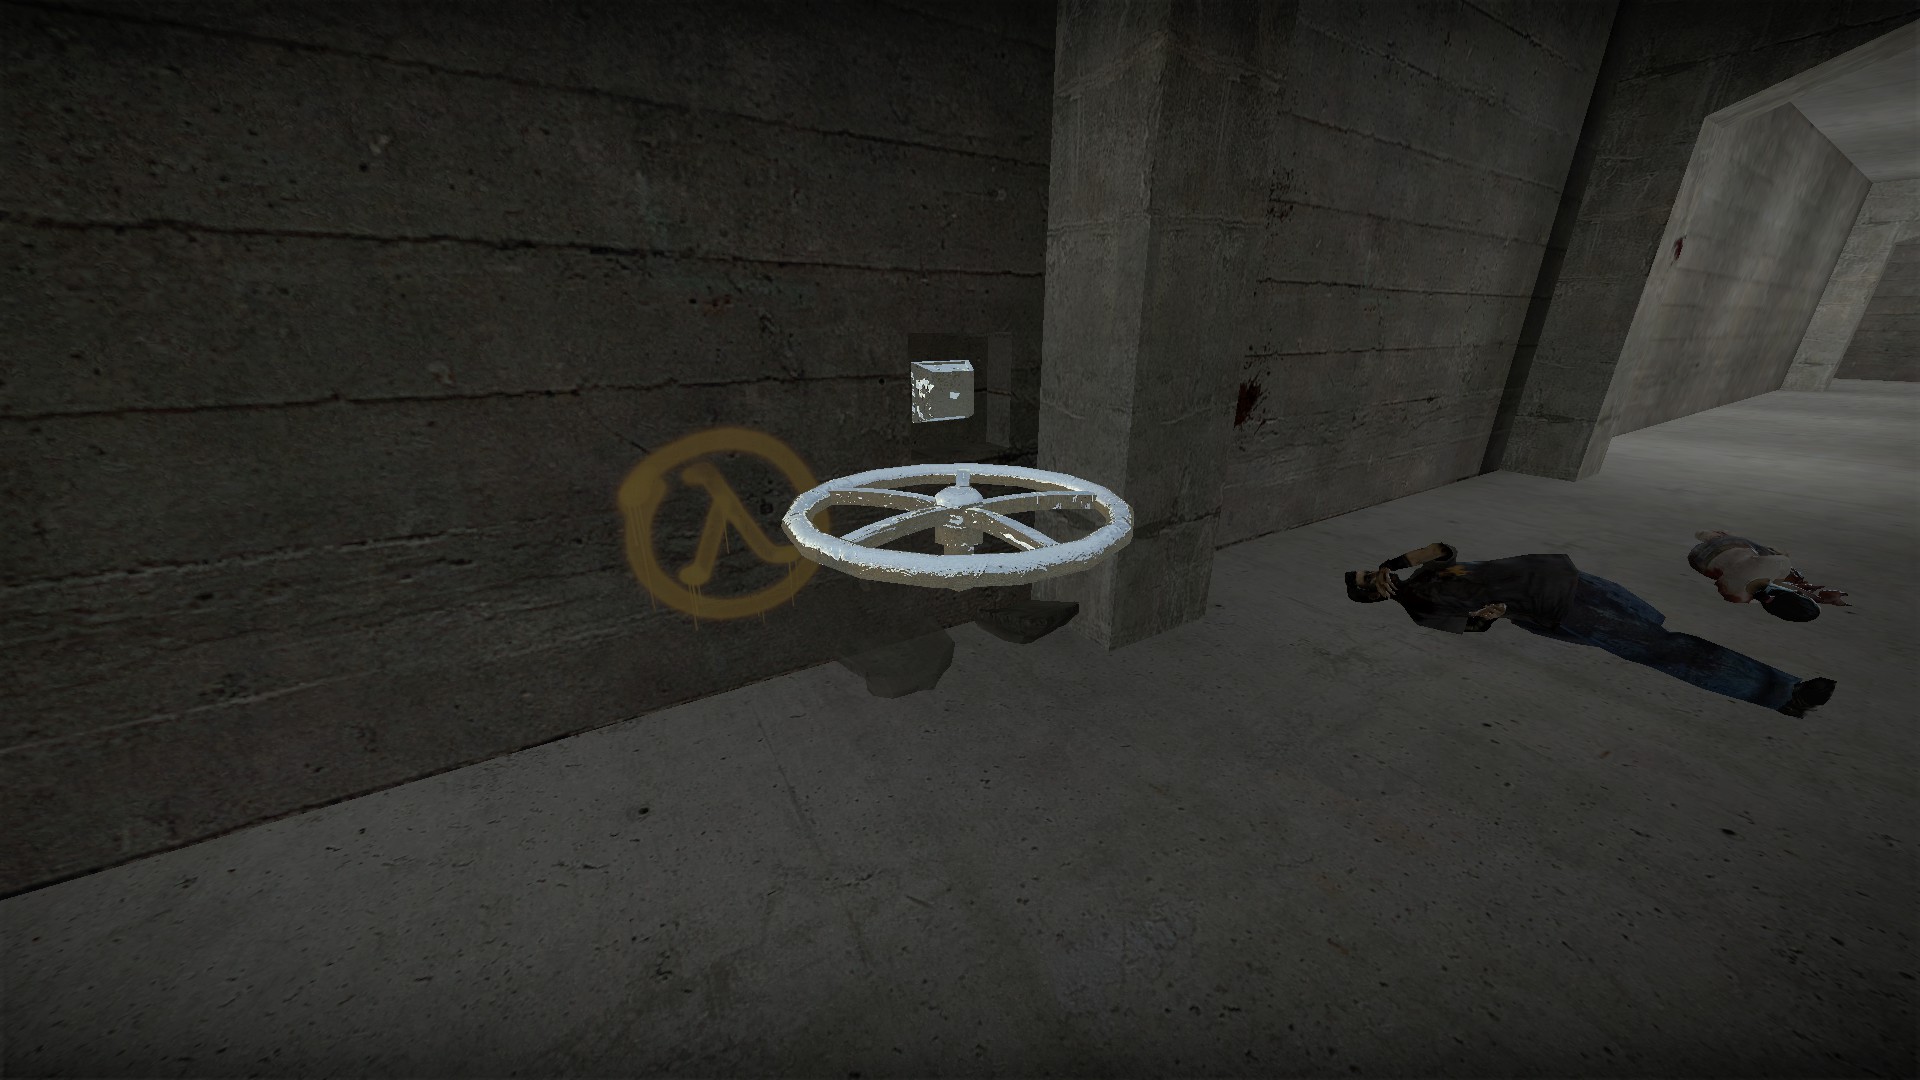
Bring this crank close to a nearby same symbol and the place to use it will be revealed
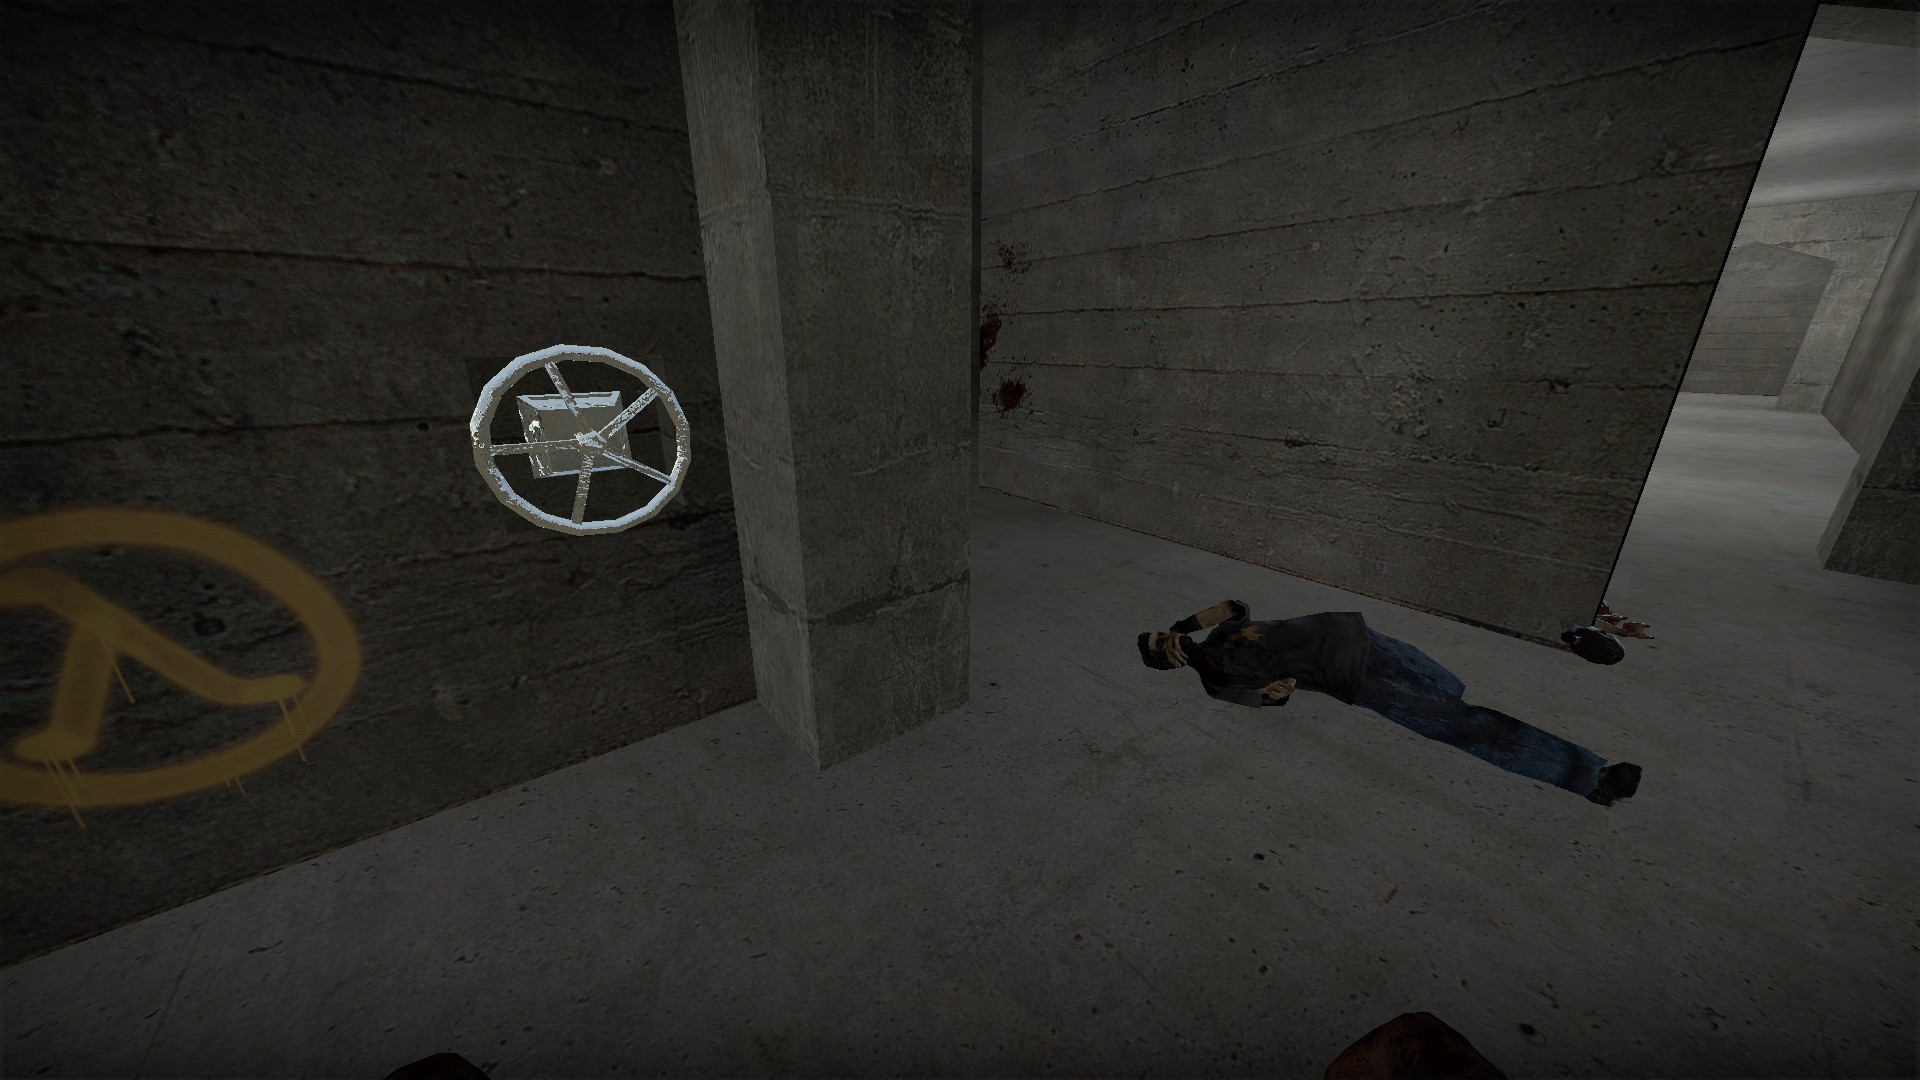
Turn the crank and the nearby wall will move
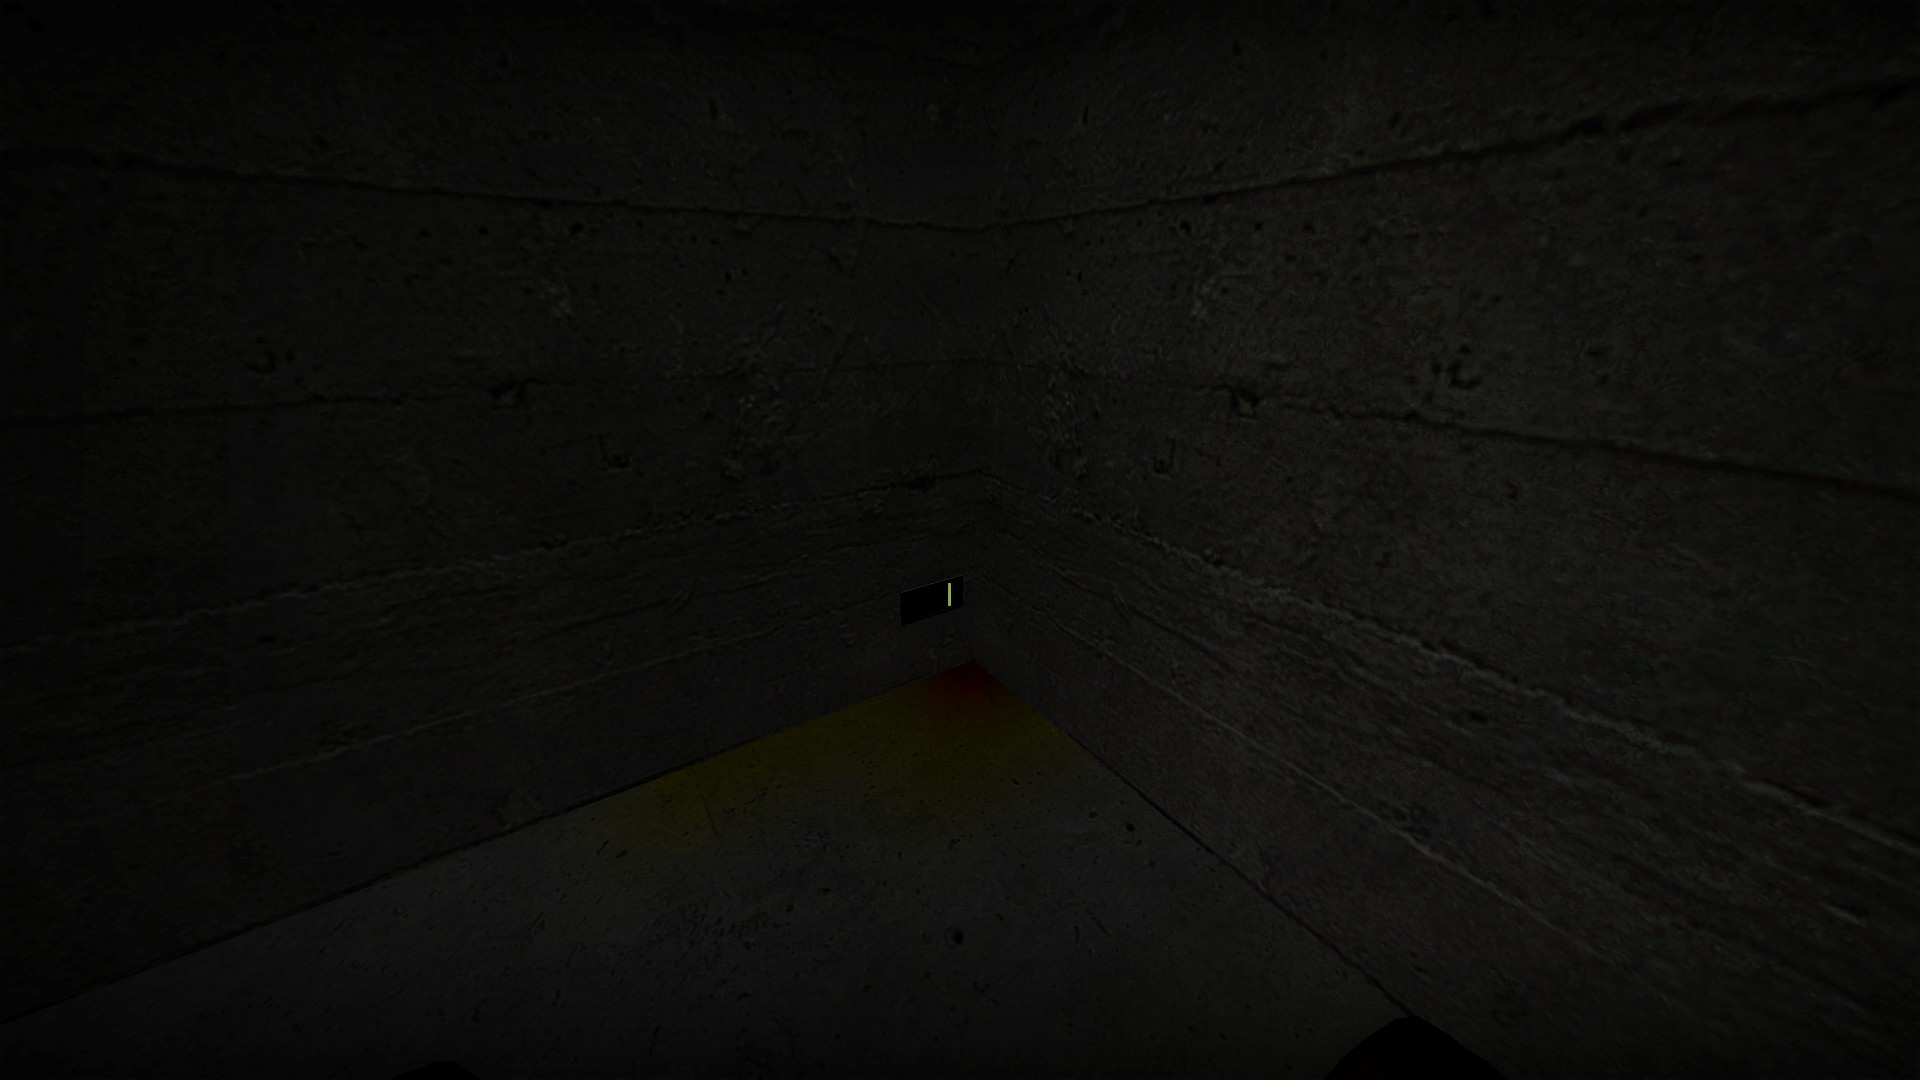
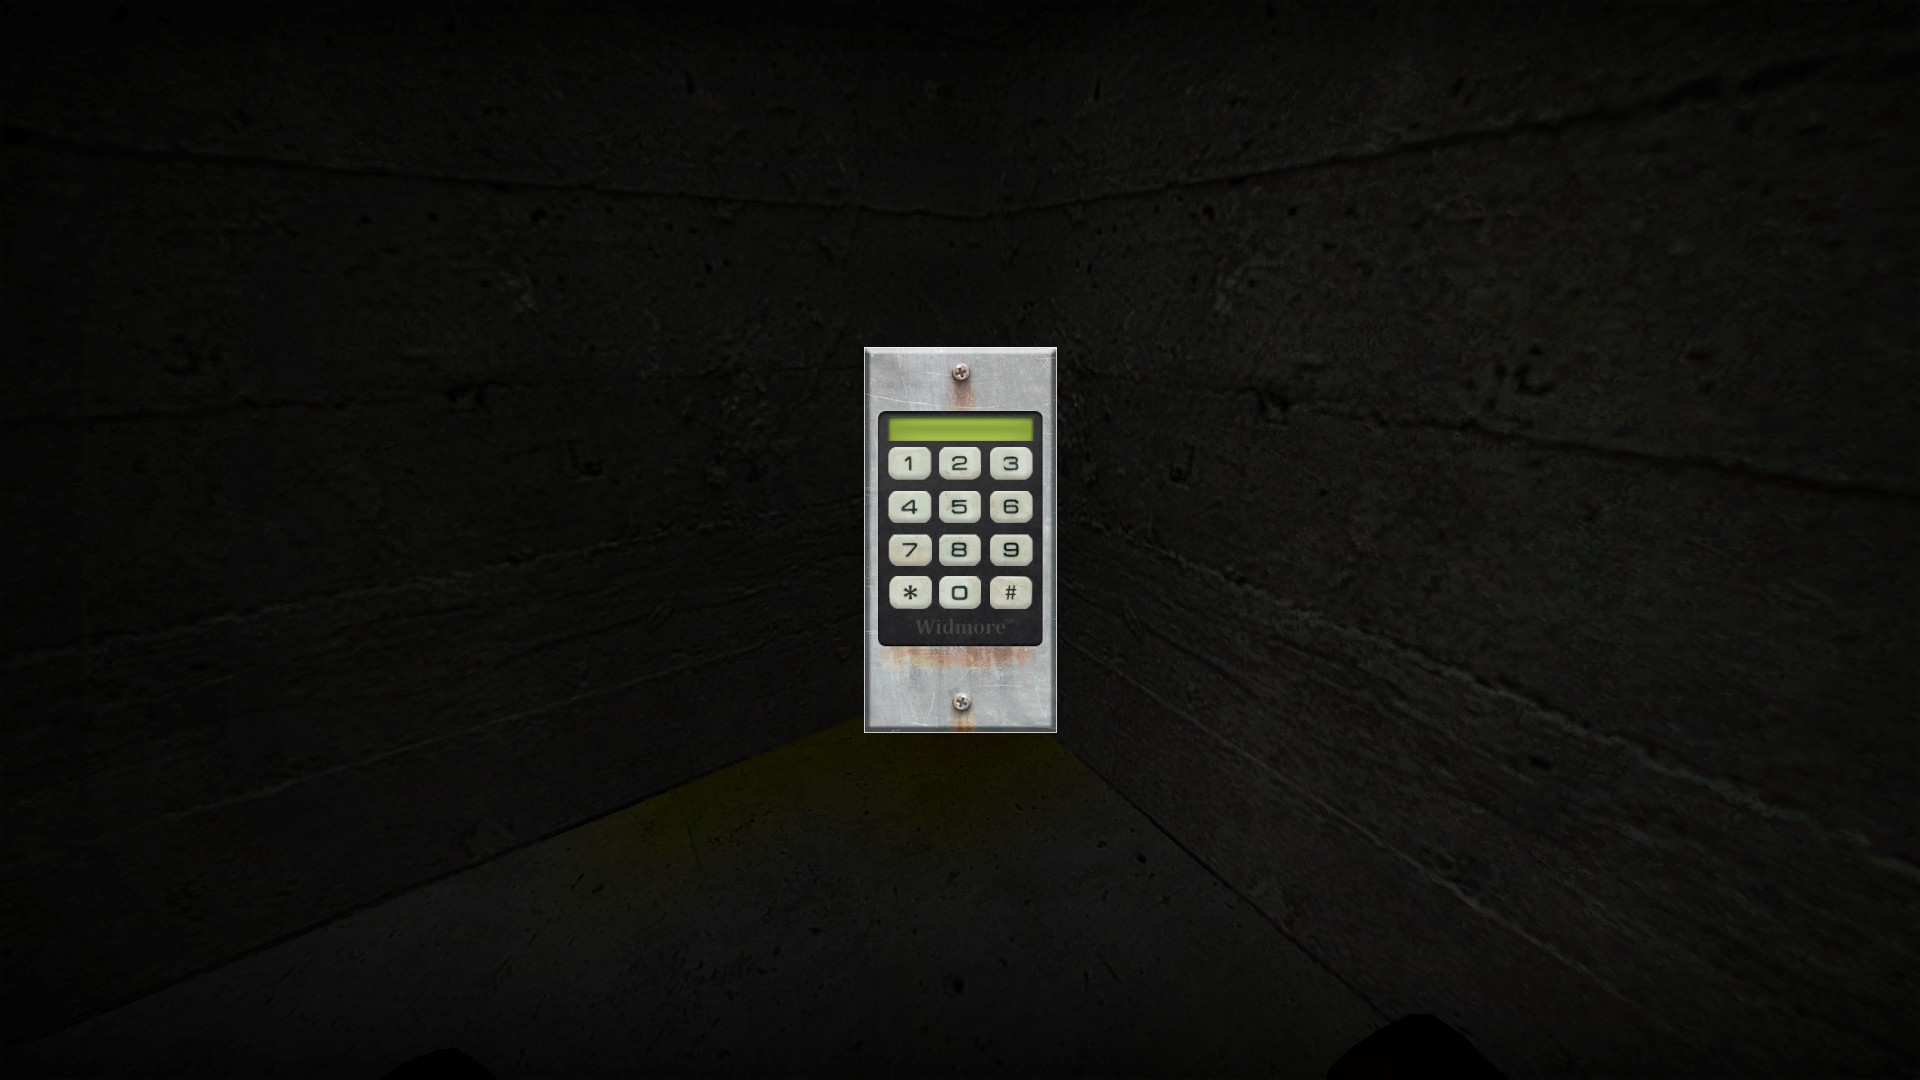
There is a keypad behind. Enter the code 4566 (these are the numbers you found in sequence)
Press e on the cabinet near the coffee machines in one of the upstairs rooms to reveal a button
Press this button to open a passage to a secret room
The secret room has a Fal, ammo, a chainsaw, and the last 2 digits of the code: 66
Large cabinet upstairs
Press e on the handle to open the large cabinet upstairs for an abrasive saw and another item
Green key
You can use the green key to unlock the two grenade cabinets in the lobby area
]It will also unlock the 2 chests and cabinets in the next room
Welder
The welder can be used on 4 weapon crates in the military supply area next to the pool
It can also be used on the locker in the store near the pool for a large stash of medical supplies
Basement level bug
After you leave the elevator, do not get back in - this can re-populate the zombies on this level. The trigger that spawns the zombies can be hit more than once and can crash the map. All of the doors on this level can be opened
Broken respawn room
The door just to the right of the elevator can be shot open by using a firearm with bullet penetration such as a .357 or .308. The door will open if you hit either board
This was intended to be a respawn room and there are a fair number of supplies here. Dead players will currently respawn at the first spawn outside and will be soft-locked there
Make sure to open the medicine cabinet in the bathroom for more medical supplies
Crank
Just opposite the elevator, you will find a metal door that can be broken by any weapon
Inside the room behind you will find a crank near a symbol
Bring this crank close to a nearby same symbol and the place to use it will be revealed
Turn the crank and the nearby wall will move
There is a keypad behind. Enter the code 4566 (these are the numbers you found in sequence)
nmo_a_map (continued 2)
Large Armory
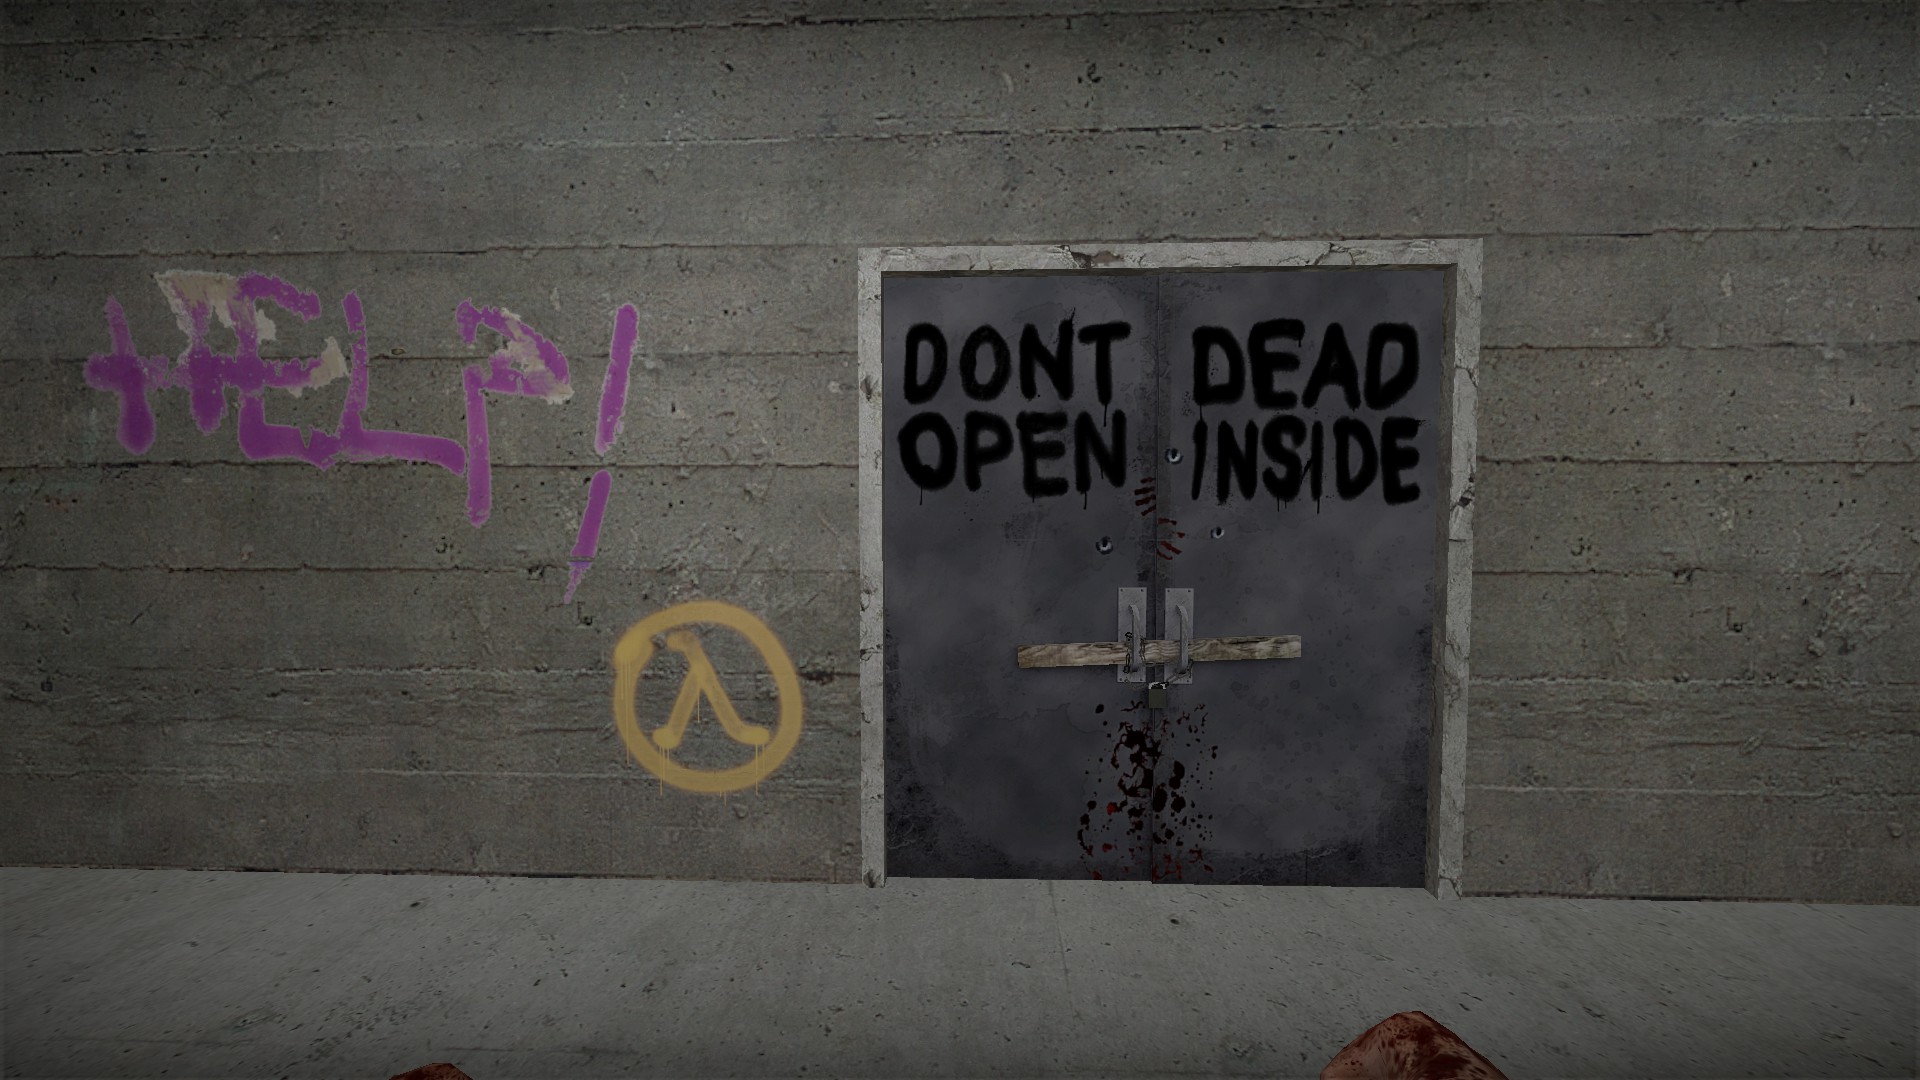
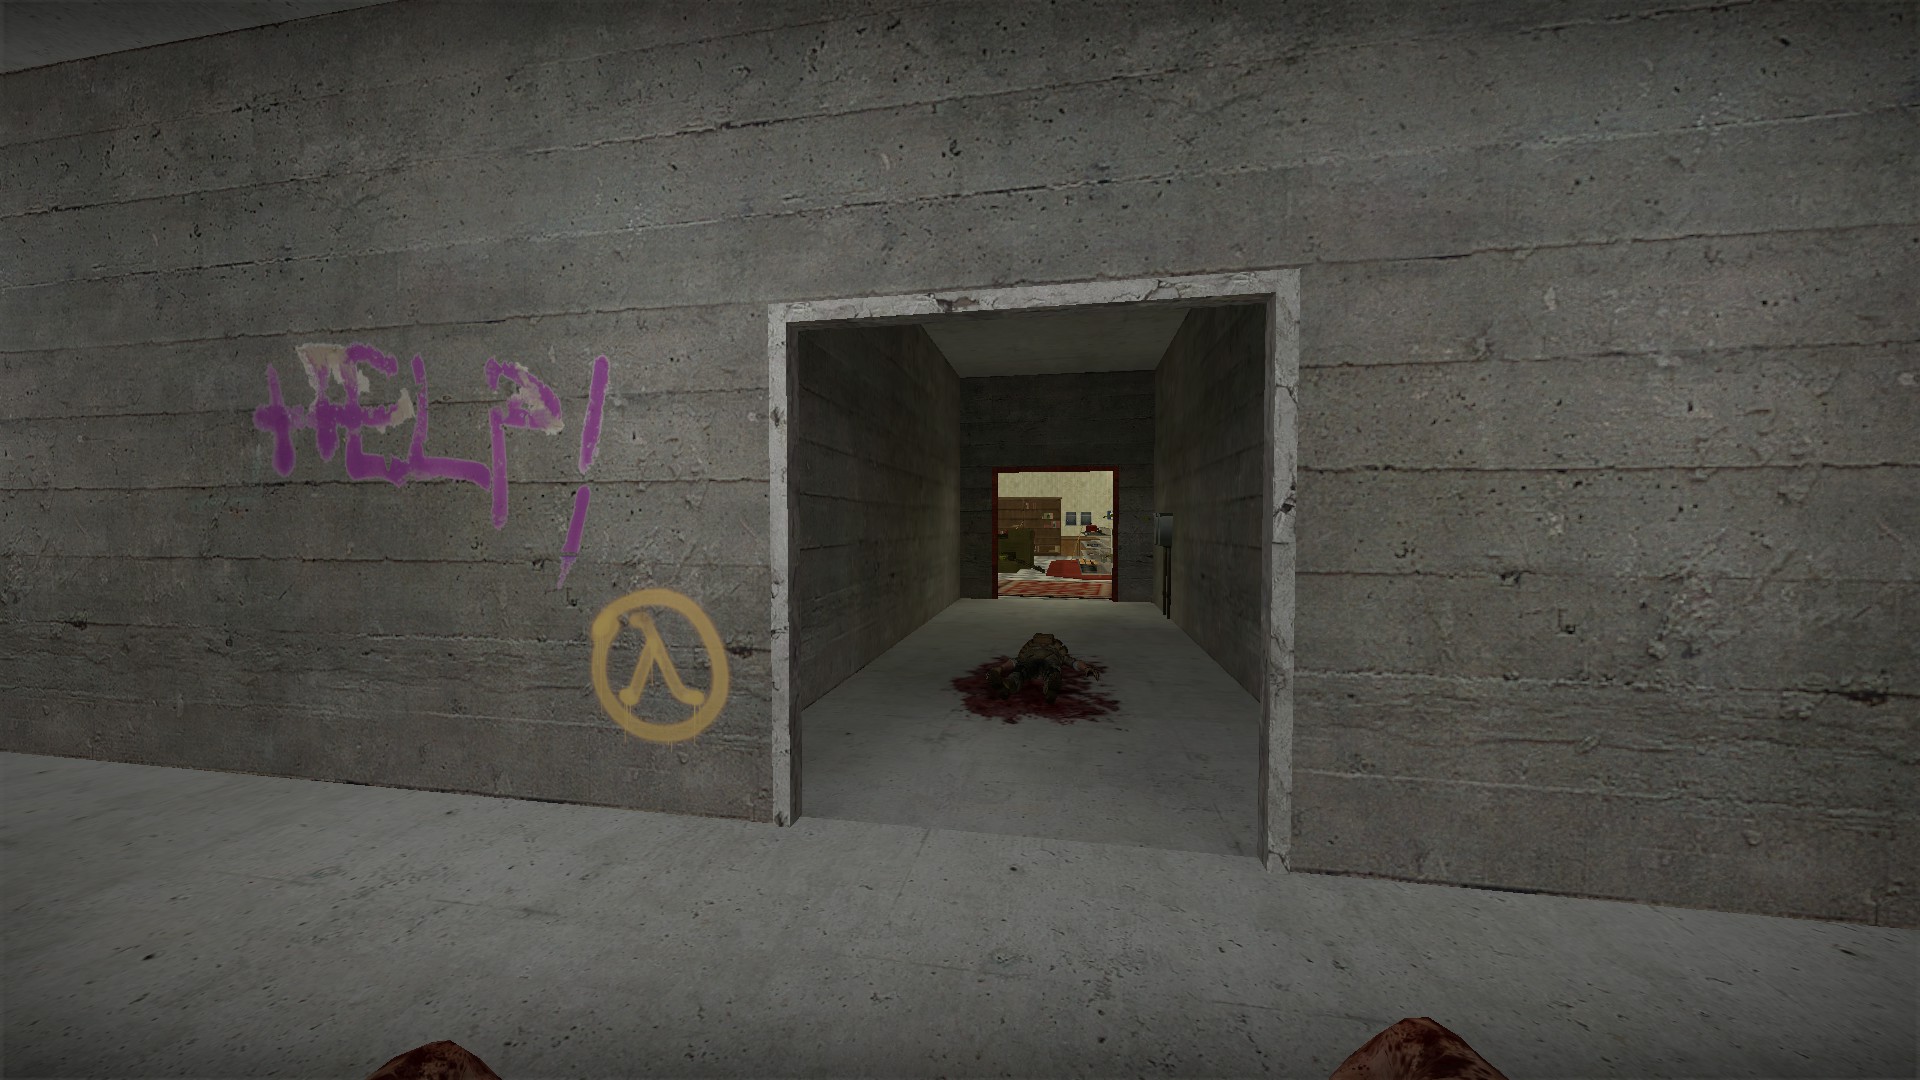
Entering the code will open the last optional door in the basement level
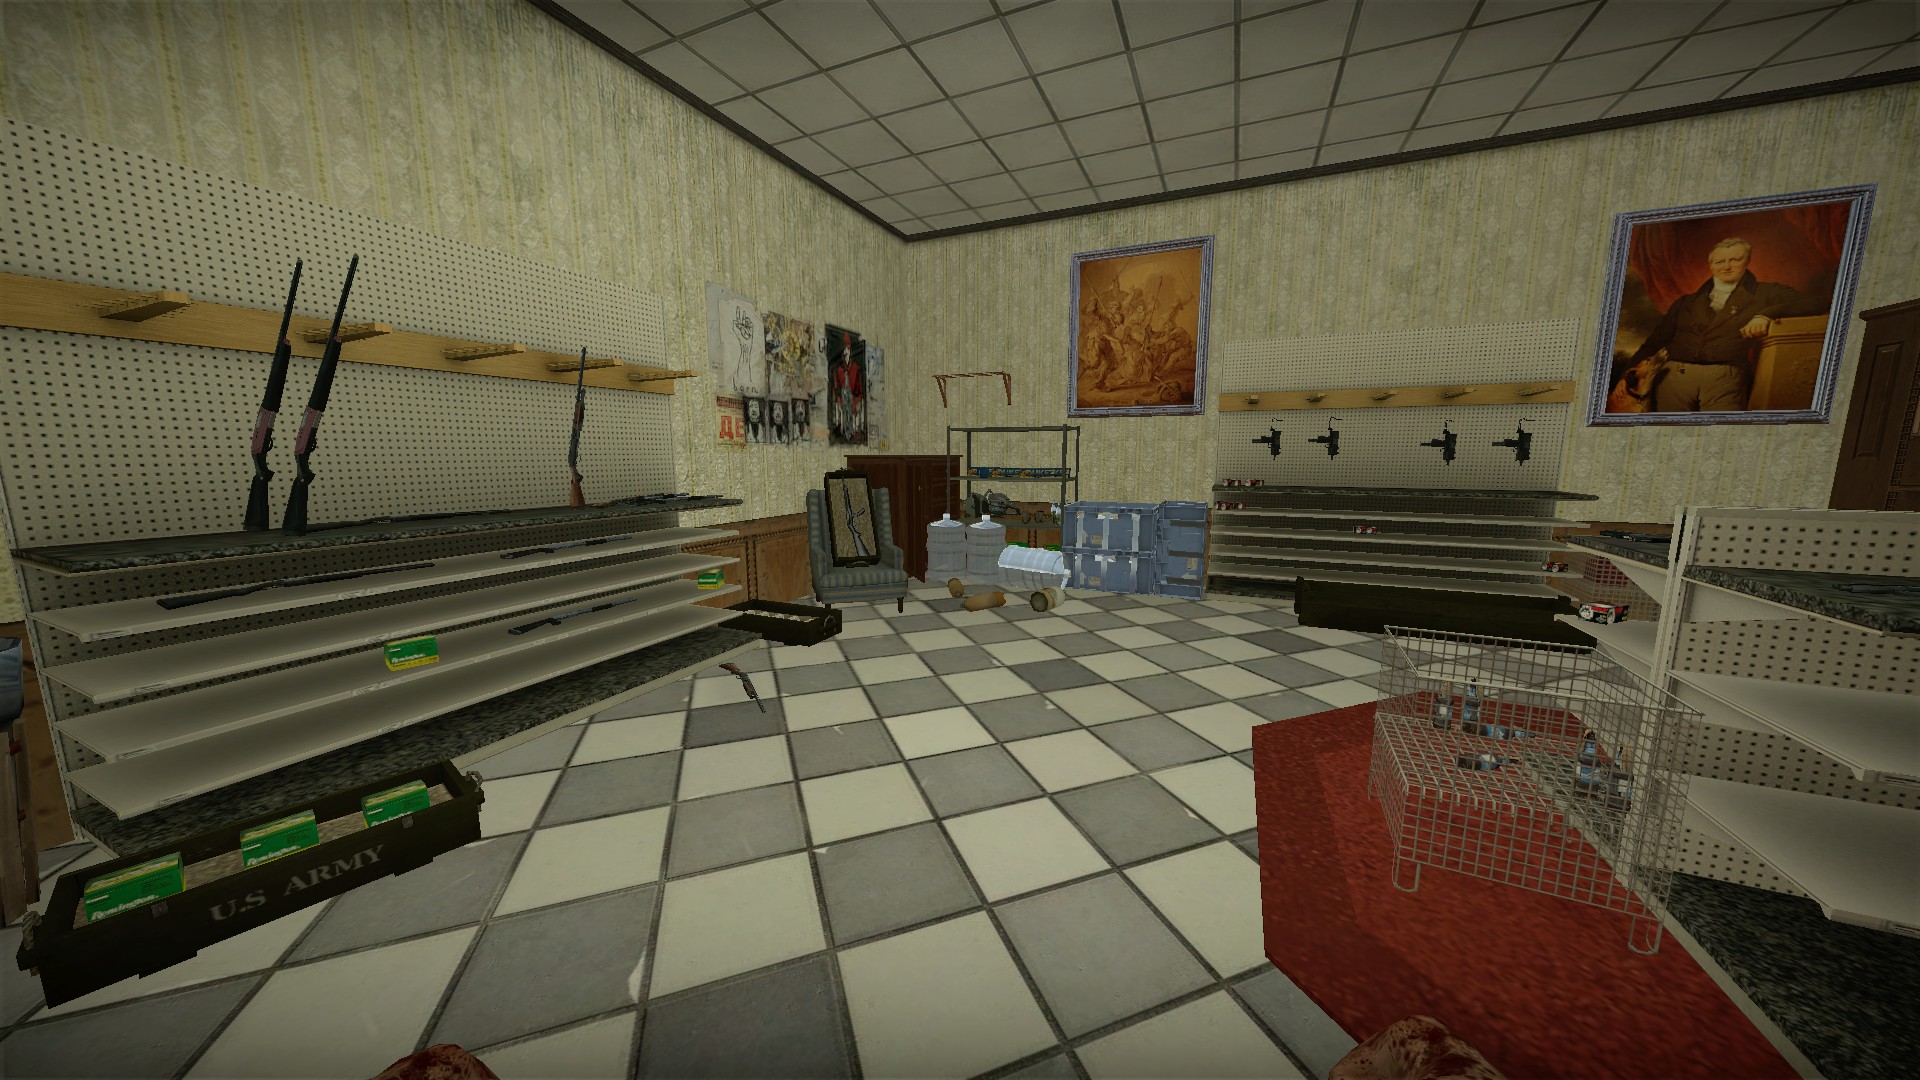
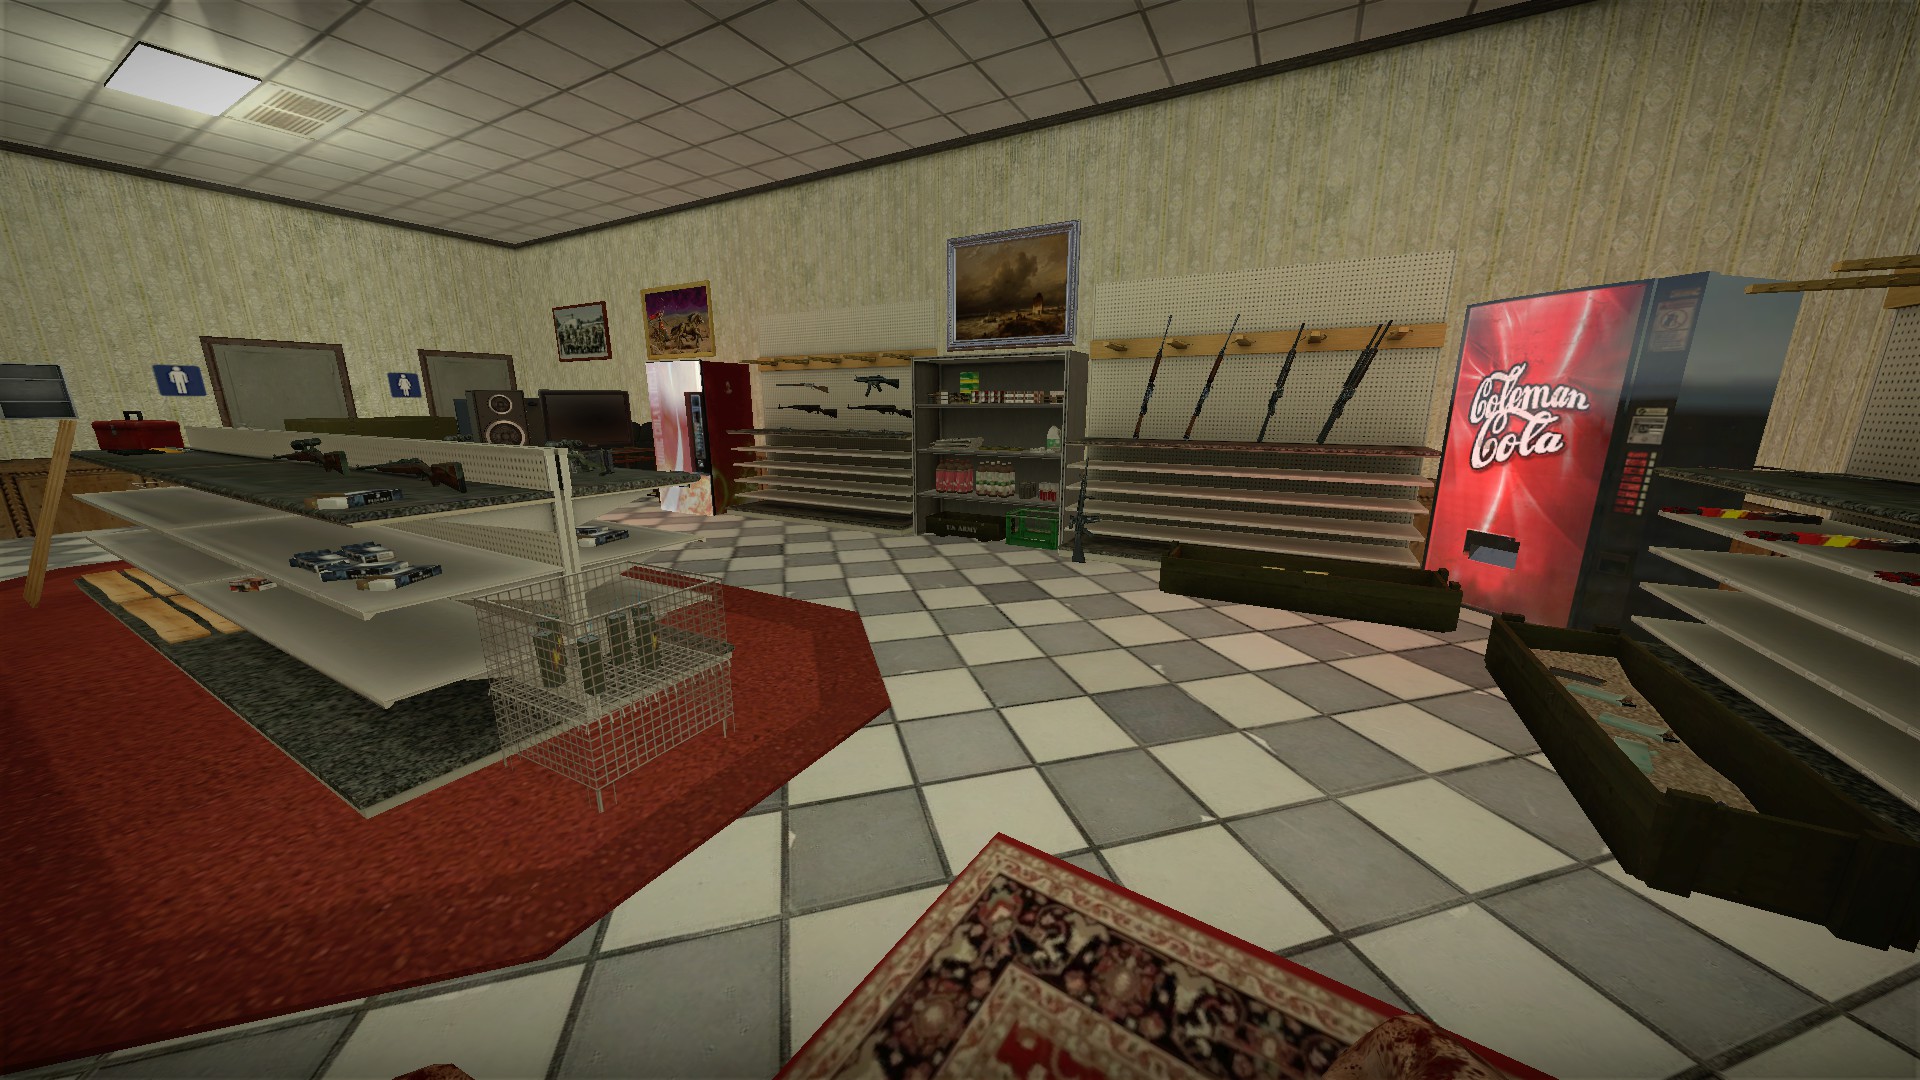
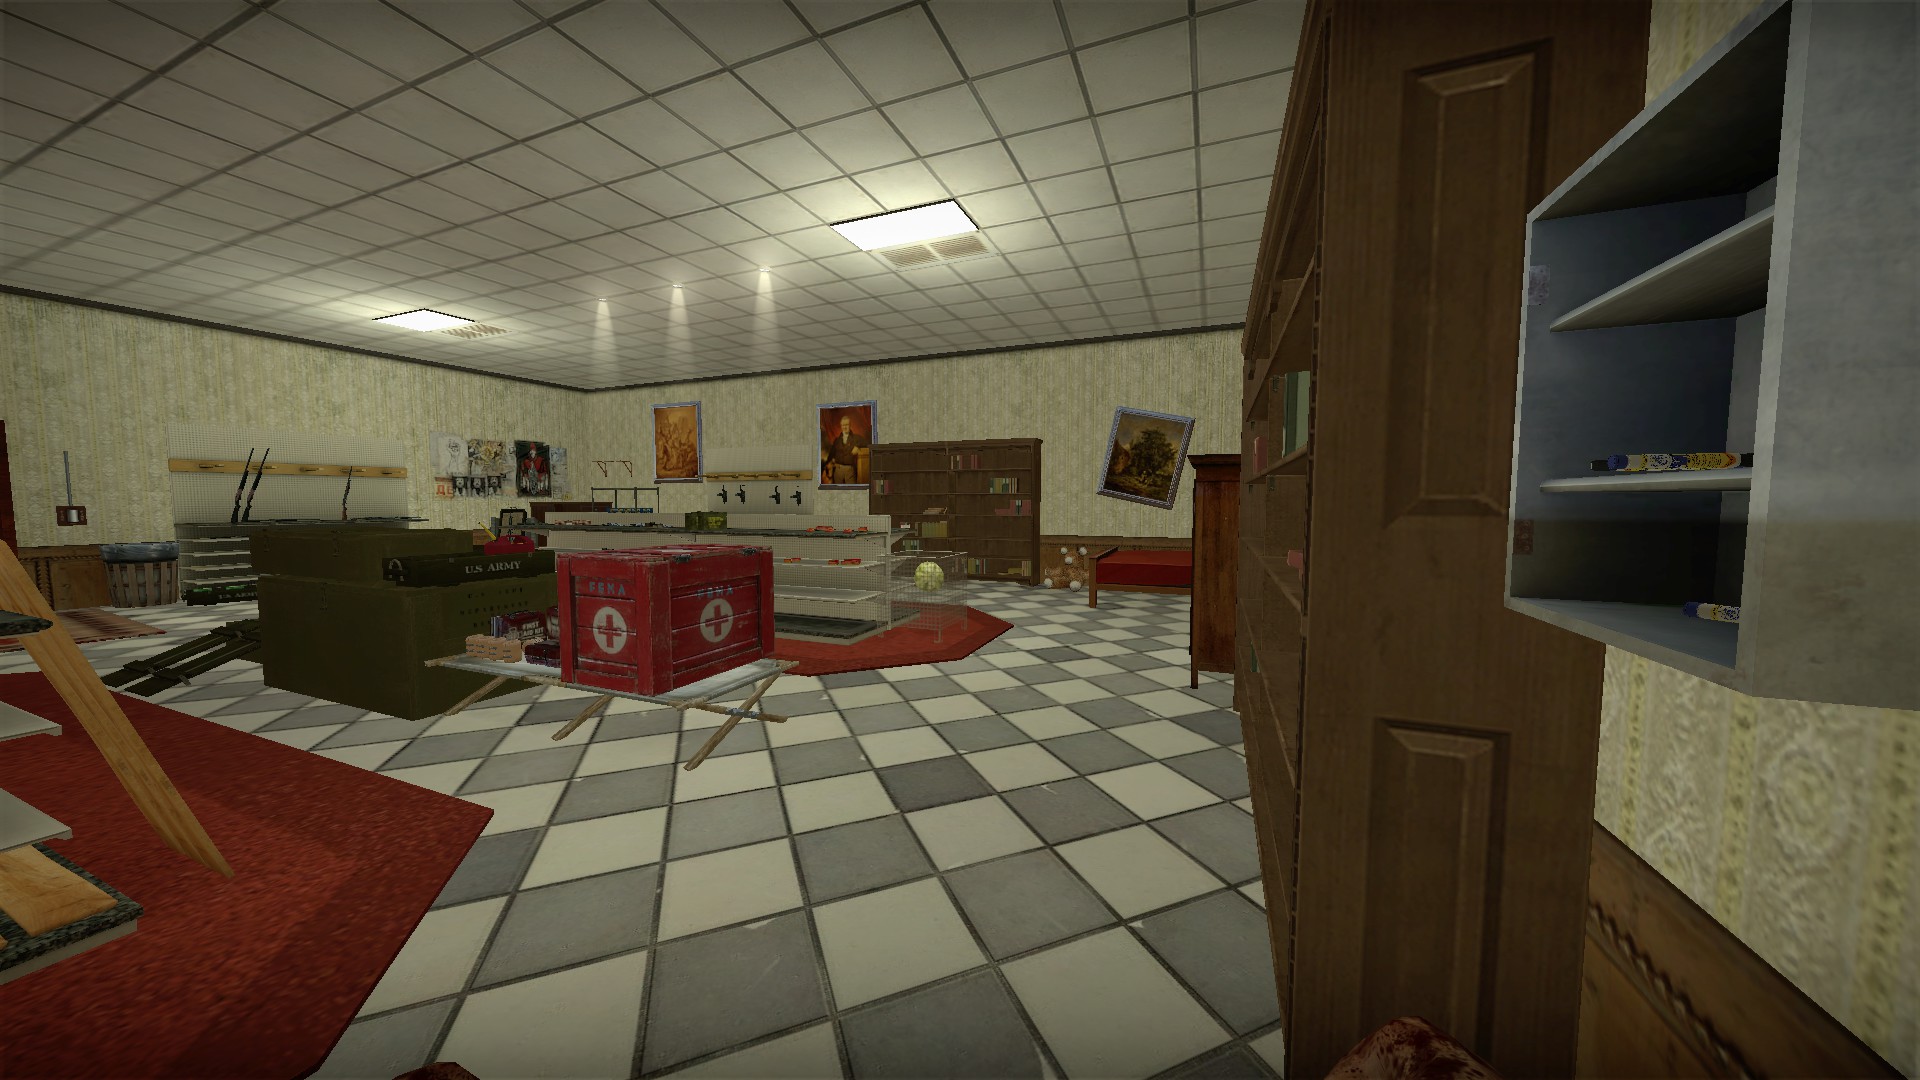
This leads to a very large armory that has most everything, including a med box and watermelon
Ending event
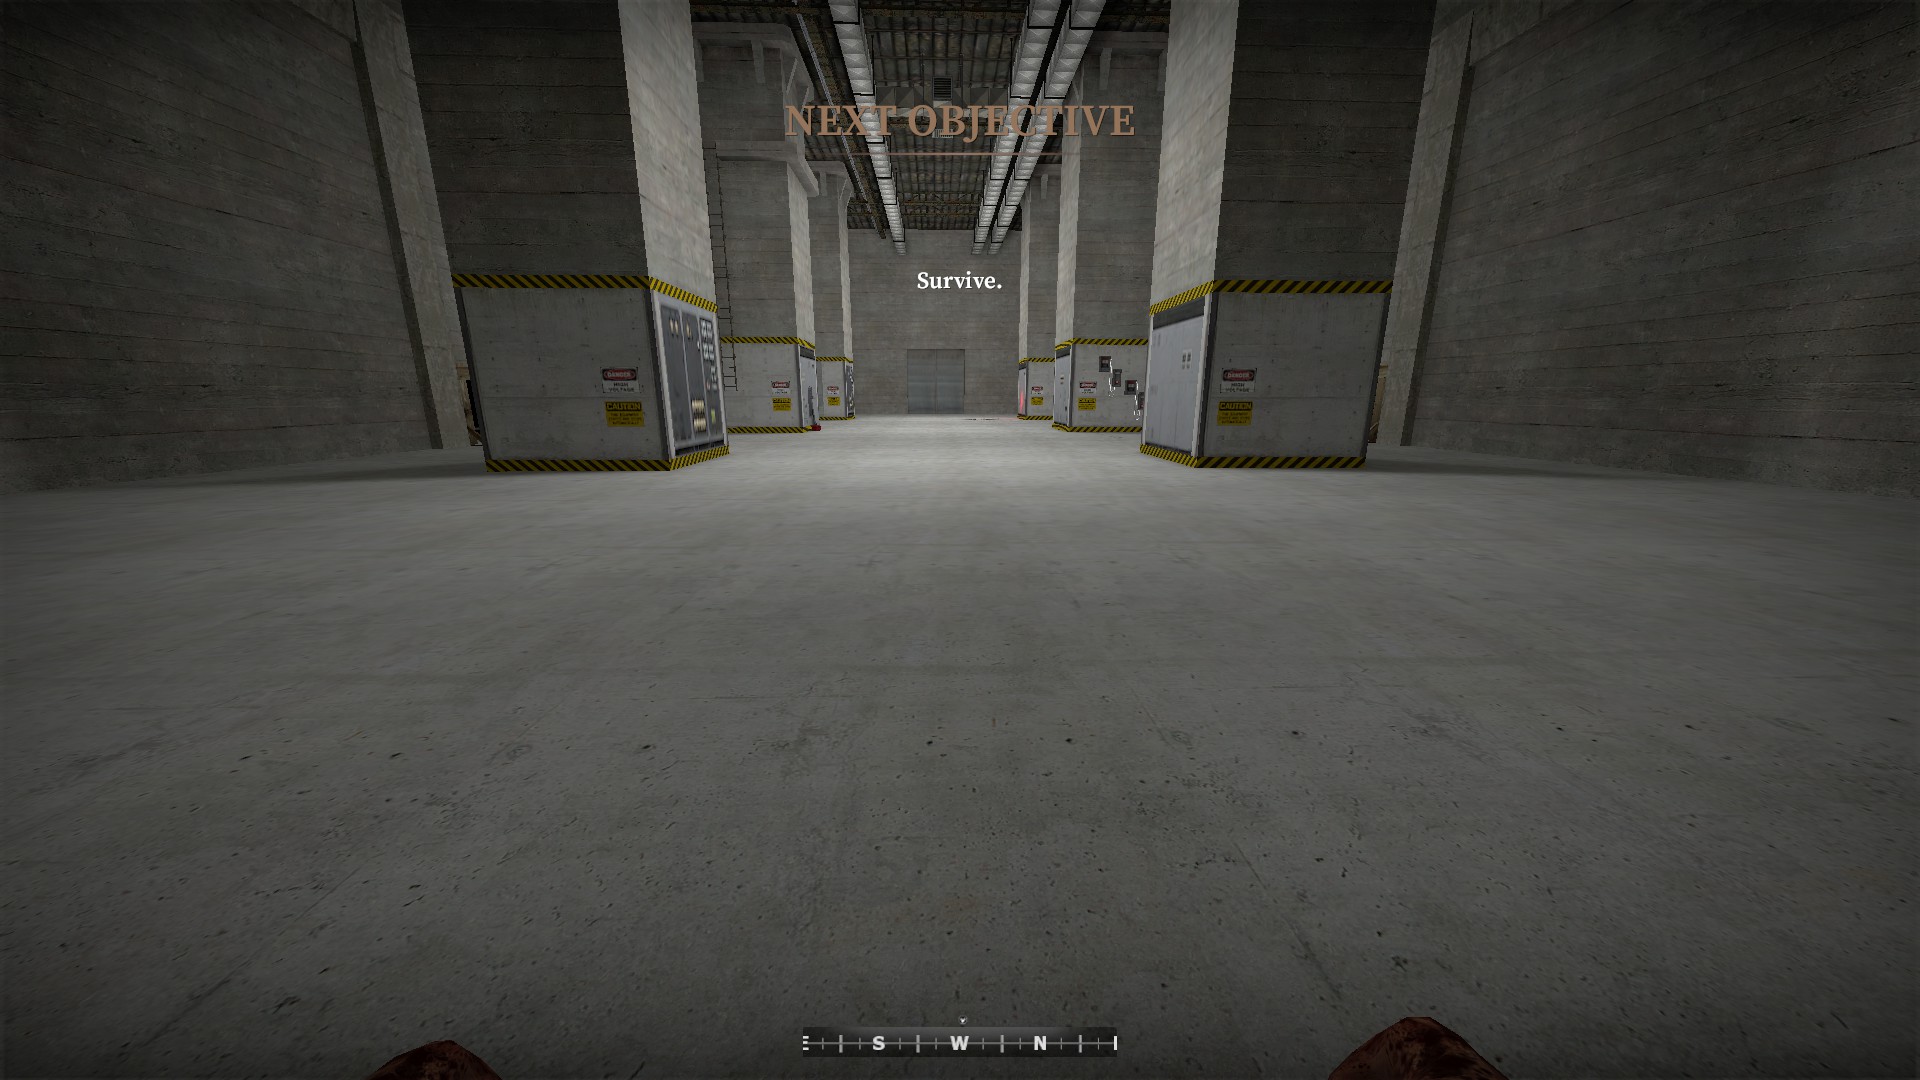
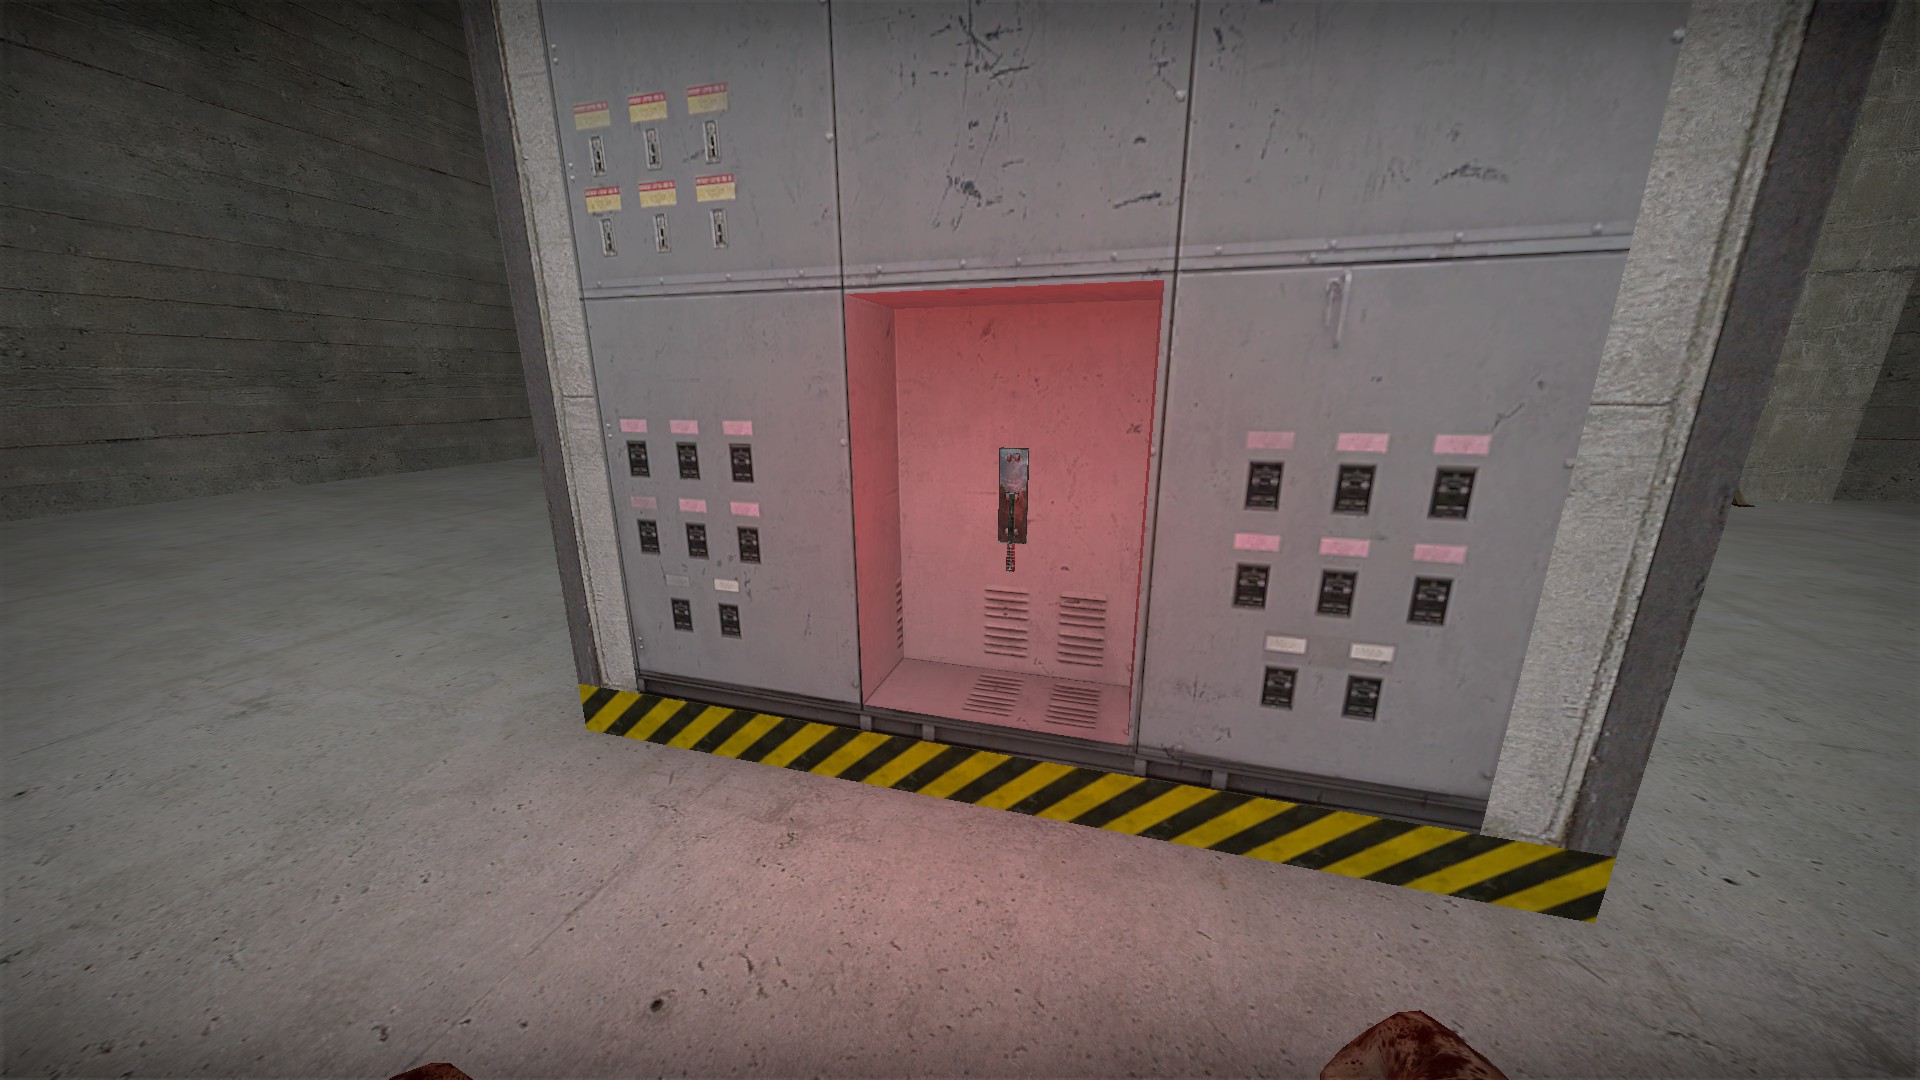
The ending event does not start automatically. Gather near the final pillar to reveal the switch and use it to start the event
Entering the code will open the last optional door in the basement level
This leads to a very large armory that has most everything, including a med box and watermelon
Ending event
The ending event does not start automatically. Gather near the final pillar to reveal the switch and use it to start the event
nmo_abandonment_v2a6
Credit for the v1 secrets on this map goes to Belgrieve, his guide is linked below
Chainsaw Secret


Before going up the stairs at the starting area, break the locked door

You will find a .308 sniper in the room behind


Use it to head shot the drawing on the board in the starting area. This will break the board


Then break the wall behind

Follow the passage to a dark room with a refrigerator. The fridge is a weapon box

Now get on the couch and shove the fridge forward

Then return to the pumpkin on top of boxes. Jump and hold e on this pumpkin

This will open a passage where the fridge was with a ladder down

Take the ladder down to a keypad. The code is 6666

The door will open to a room with difficult parkour

Complete the parkour and there is a fully fueled abrasive saw at the end

The radio at the starting area will play music for awhile before cutting out


You will find another boarded door while looking for the blue key


Shoot the board with the sniper for a small room with a good item stash
The v2a6 update has a new secret:


Before going down to the sewers, backtrack with the welder to the other alley and cut the metal shutter for a secret room


That has lots of supplies to survive the sewers
Chainsaw Secret
Before going up the stairs at the starting area, break the locked door
You will find a .308 sniper in the room behind
Use it to head shot the drawing on the board in the starting area. This will break the board
Then break the wall behind
Follow the passage to a dark room with a refrigerator. The fridge is a weapon box
Now get on the couch and shove the fridge forward
Then return to the pumpkin on top of boxes. Jump and hold e on this pumpkin
This will open a passage where the fridge was with a ladder down
Take the ladder down to a keypad. The code is 6666
The door will open to a room with difficult parkour
Complete the parkour and there is a fully fueled abrasive saw at the end
The radio at the starting area will play music for awhile before cutting out
You will find another boarded door while looking for the blue key
Shoot the board with the sniper for a small room with a good item stash
The v2a6 update has a new secret:
Before going down to the sewers, backtrack with the welder to the other alley and cut the metal shutter for a secret room
That has lots of supplies to survive the sewers
nmo_abducted
Use the battery for an extra medbox
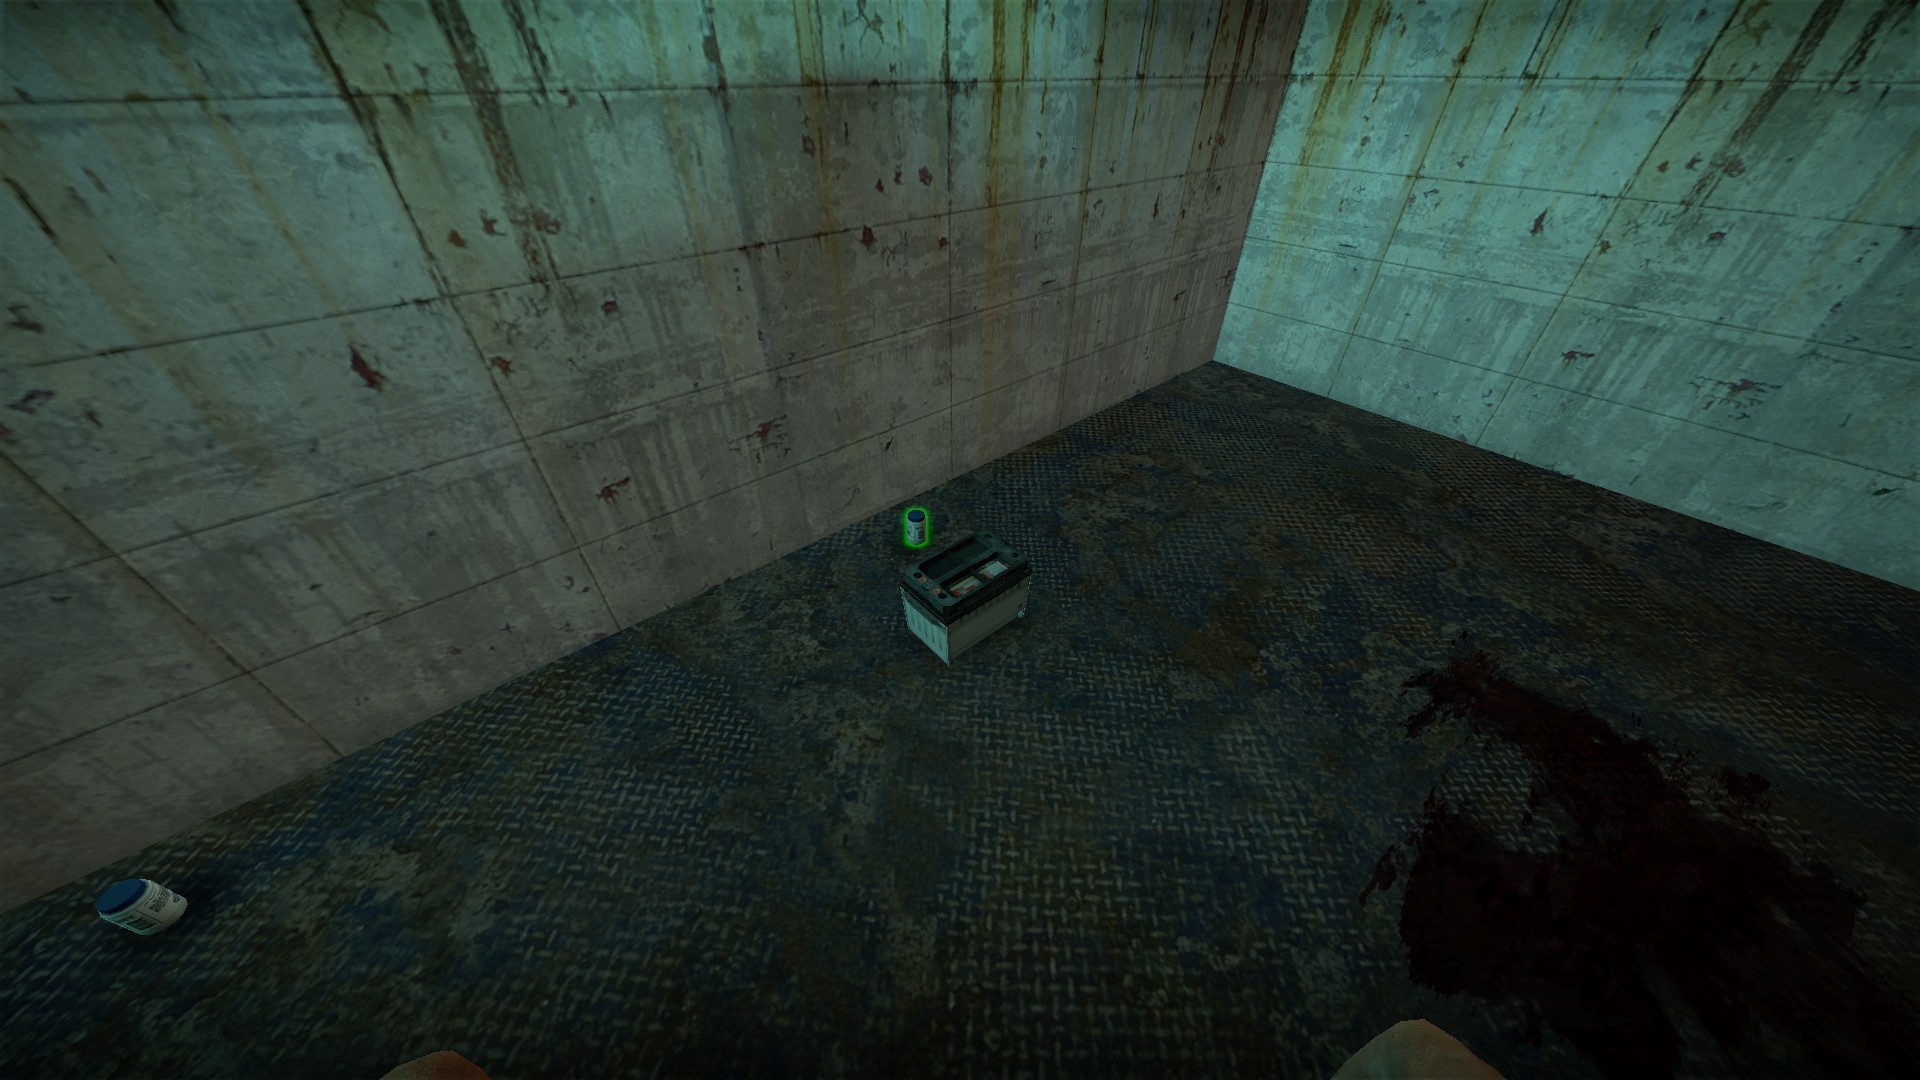
After you have survived the 3 waves and the door has opened, bring the battery from the starting area
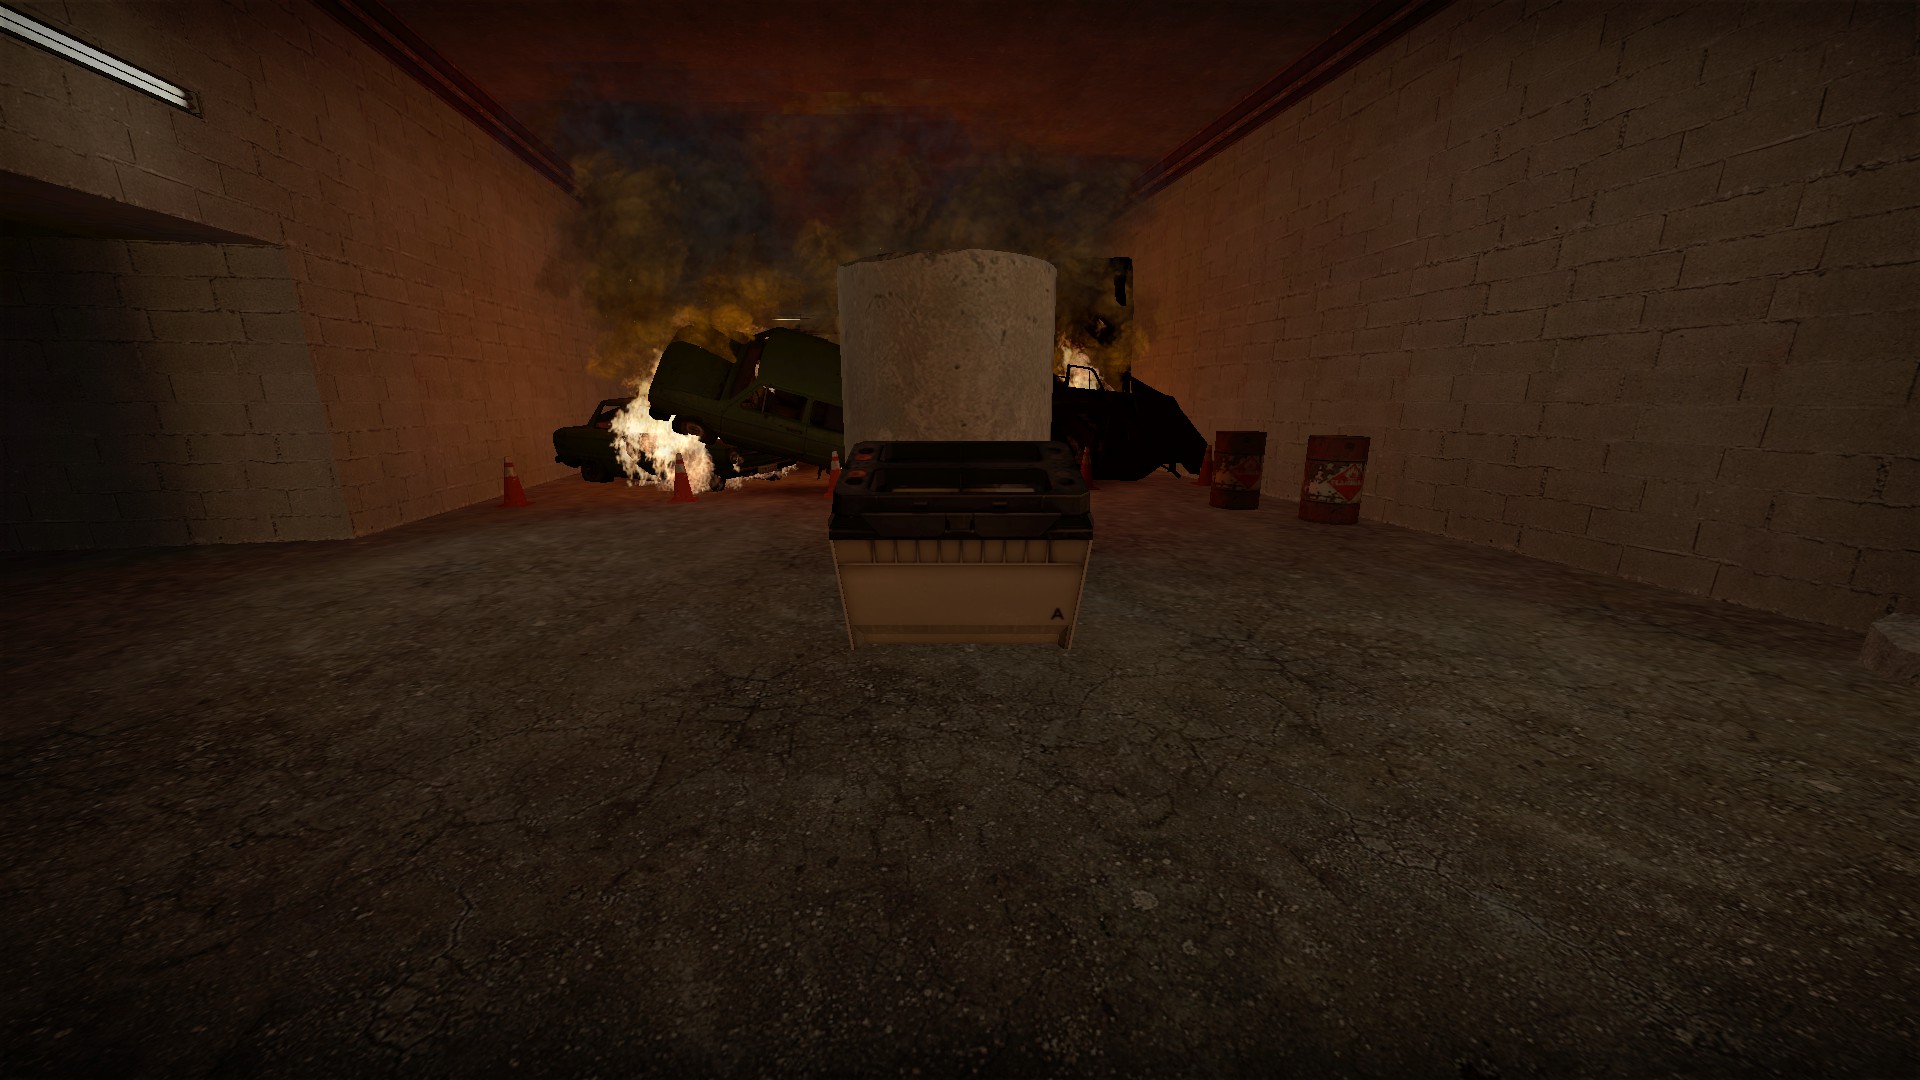
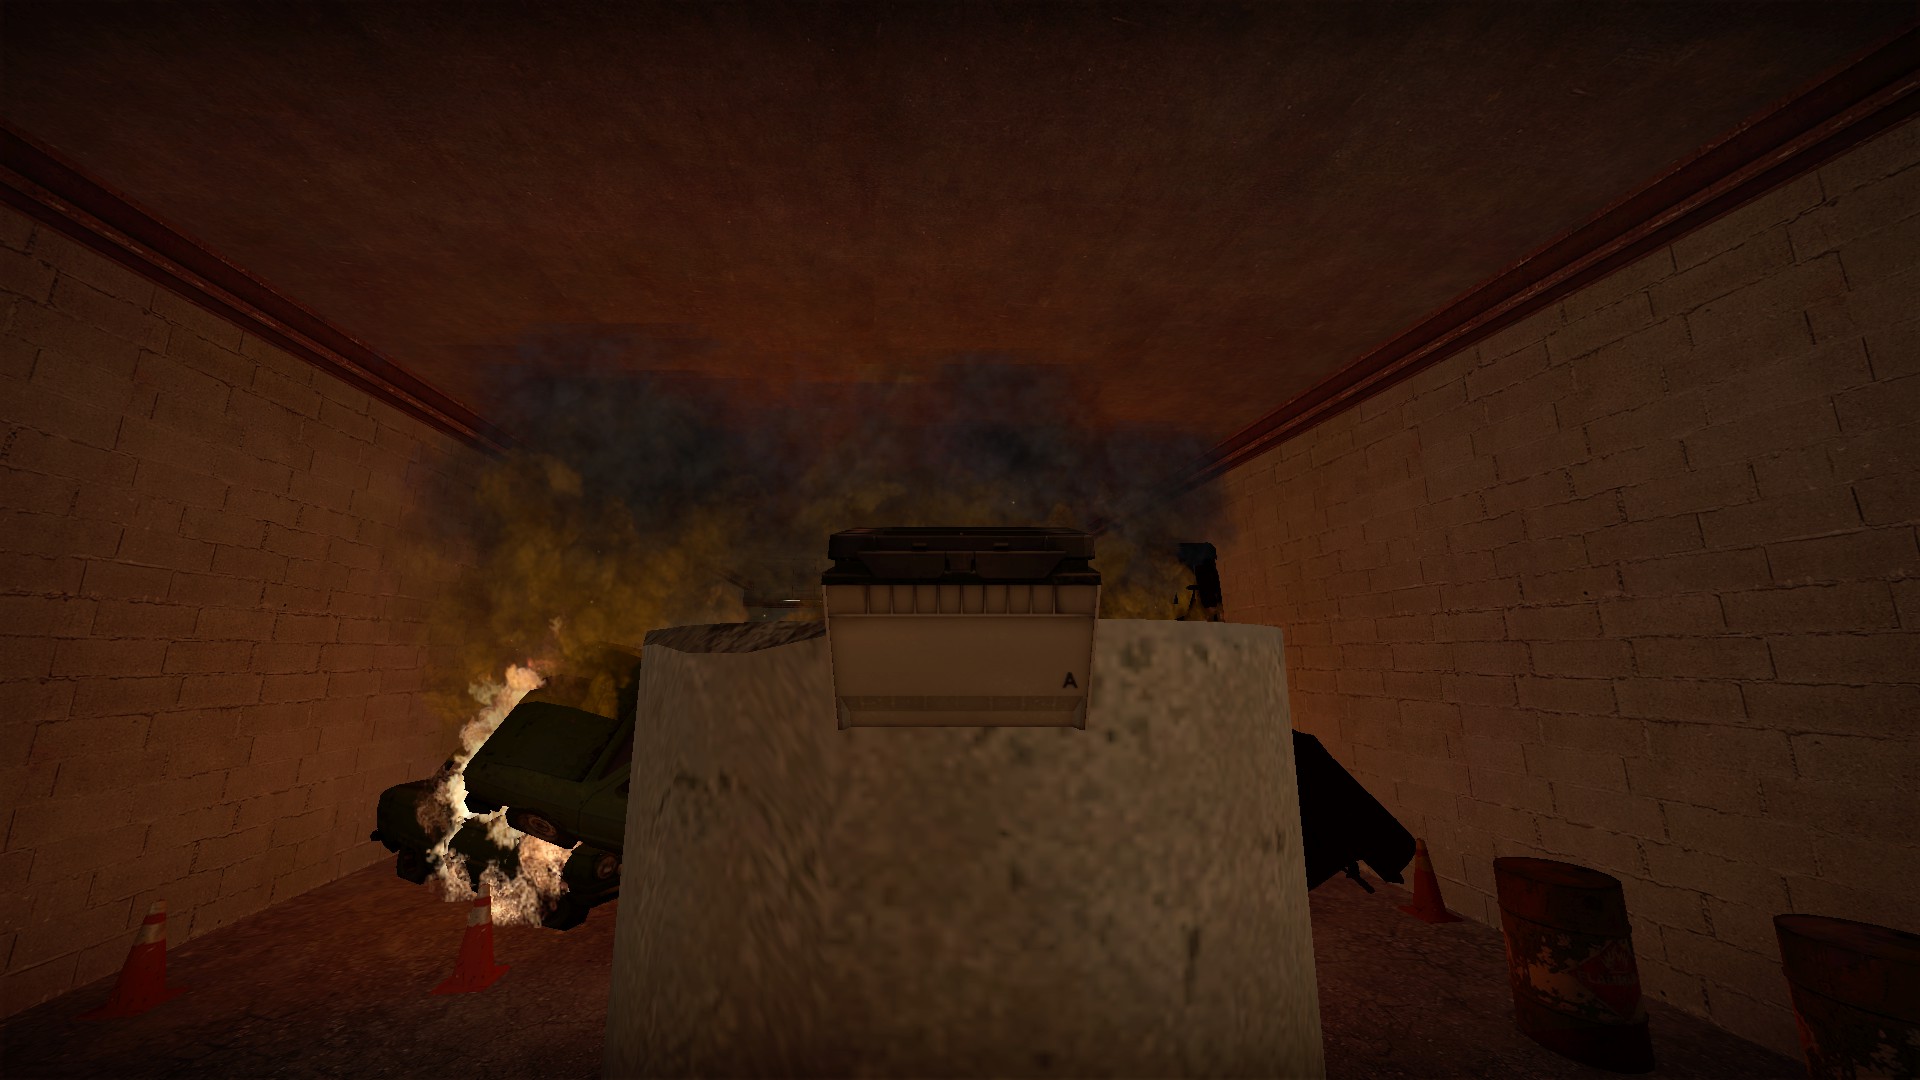
Jump up and drop the battery into the large column just past the door
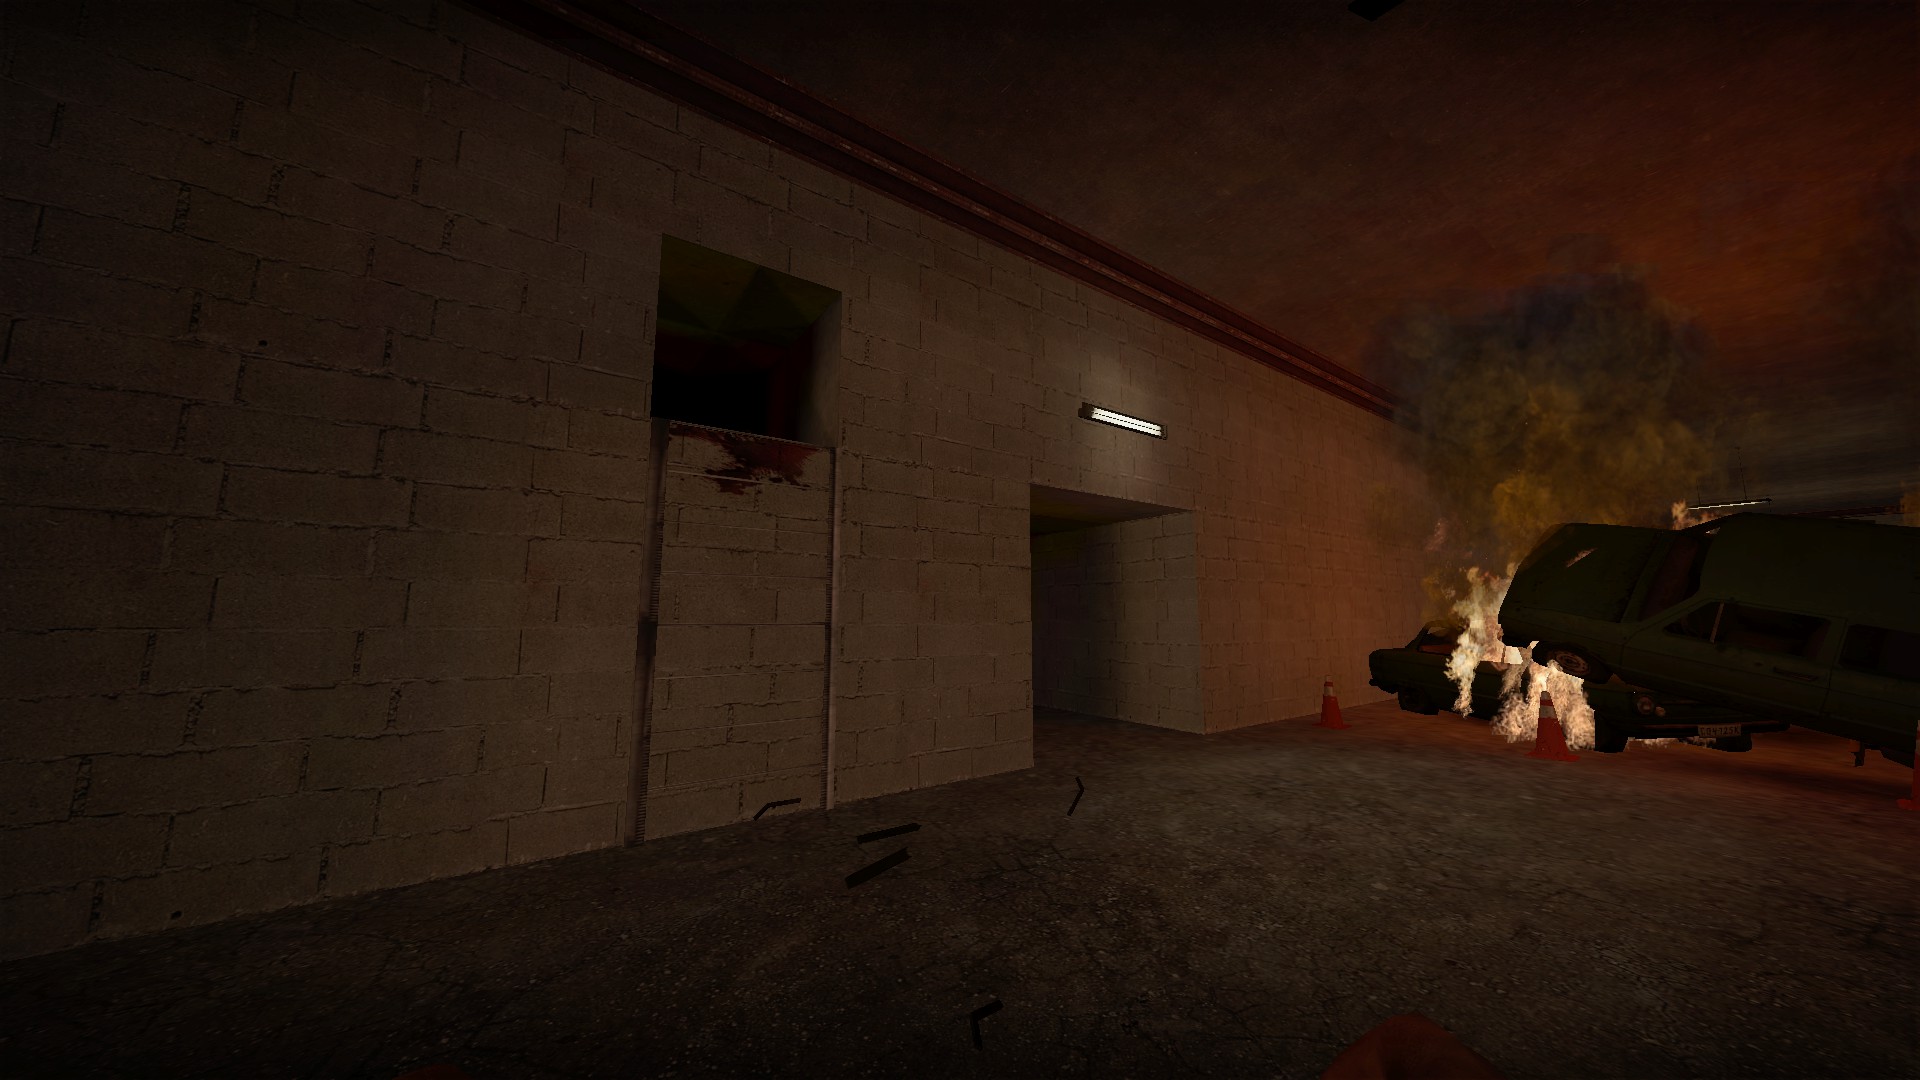
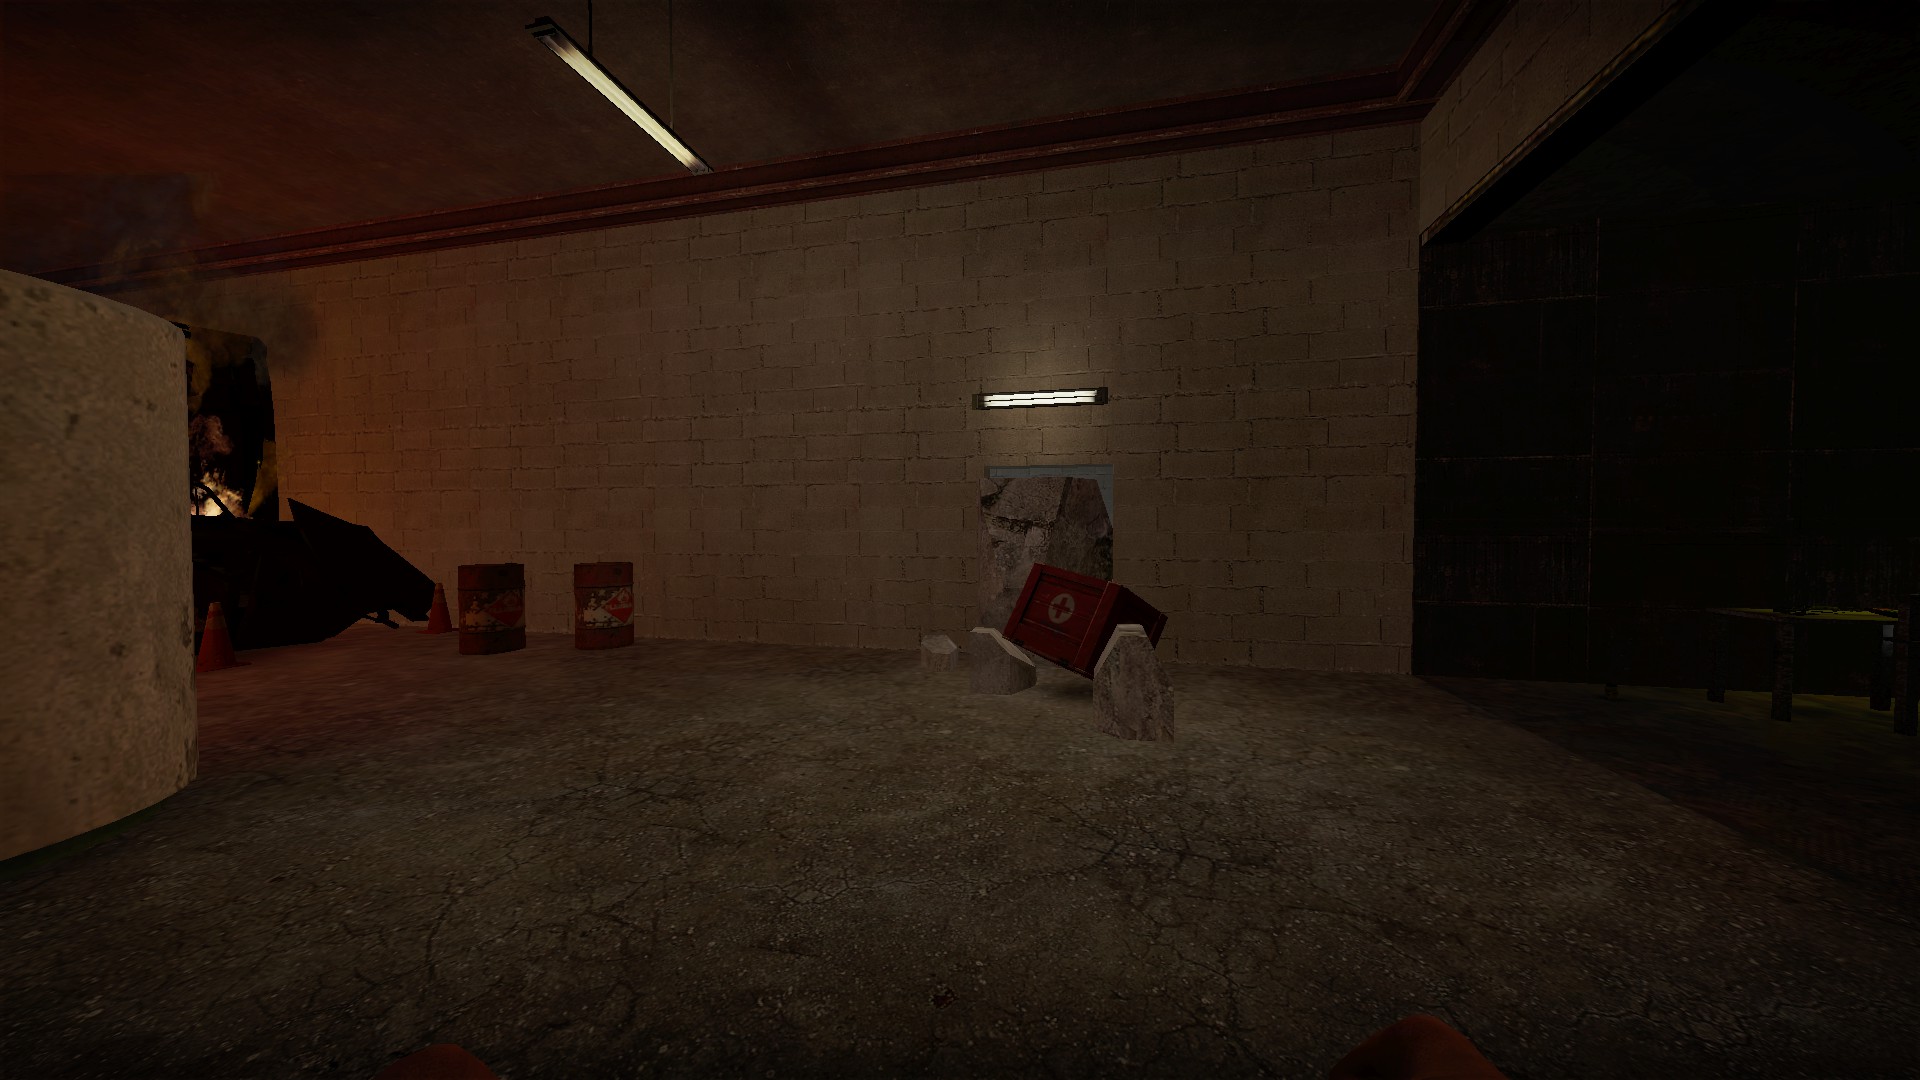
A vent to your left will break and the medbox will fly out
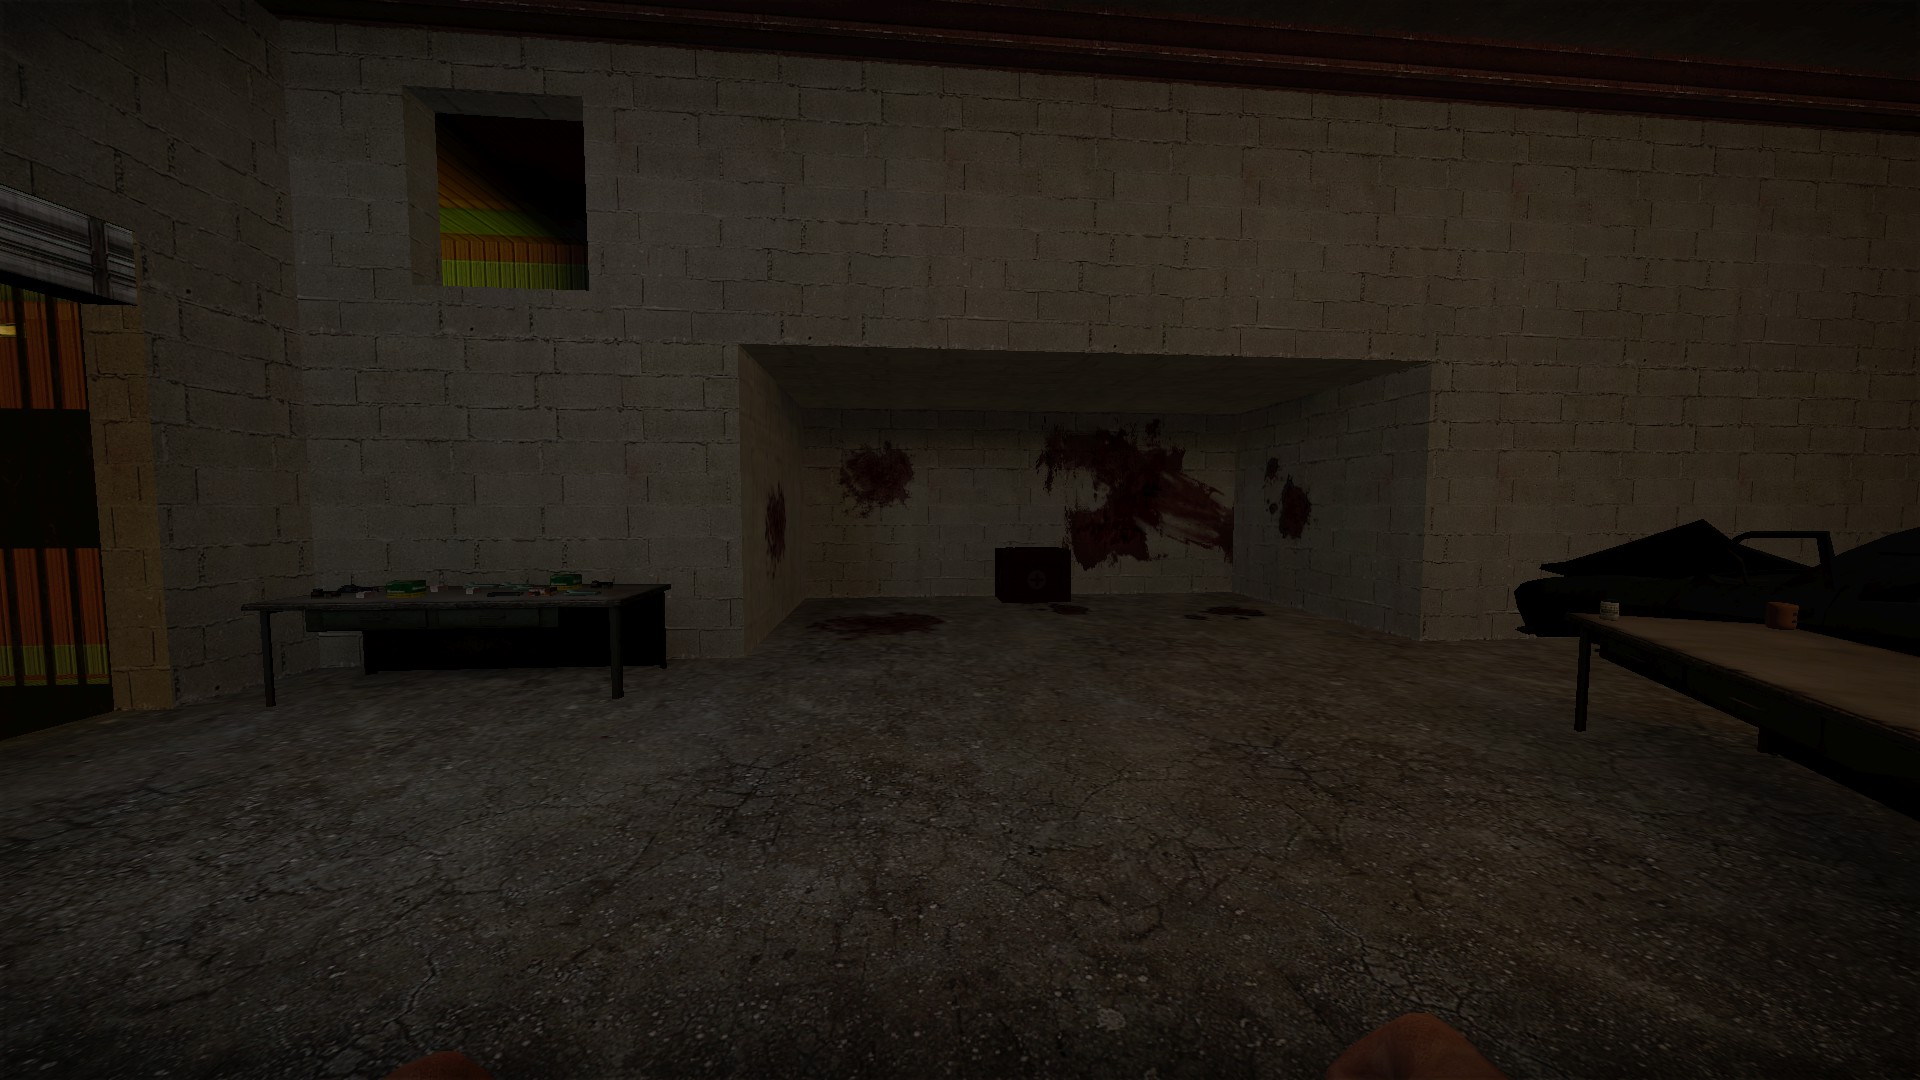
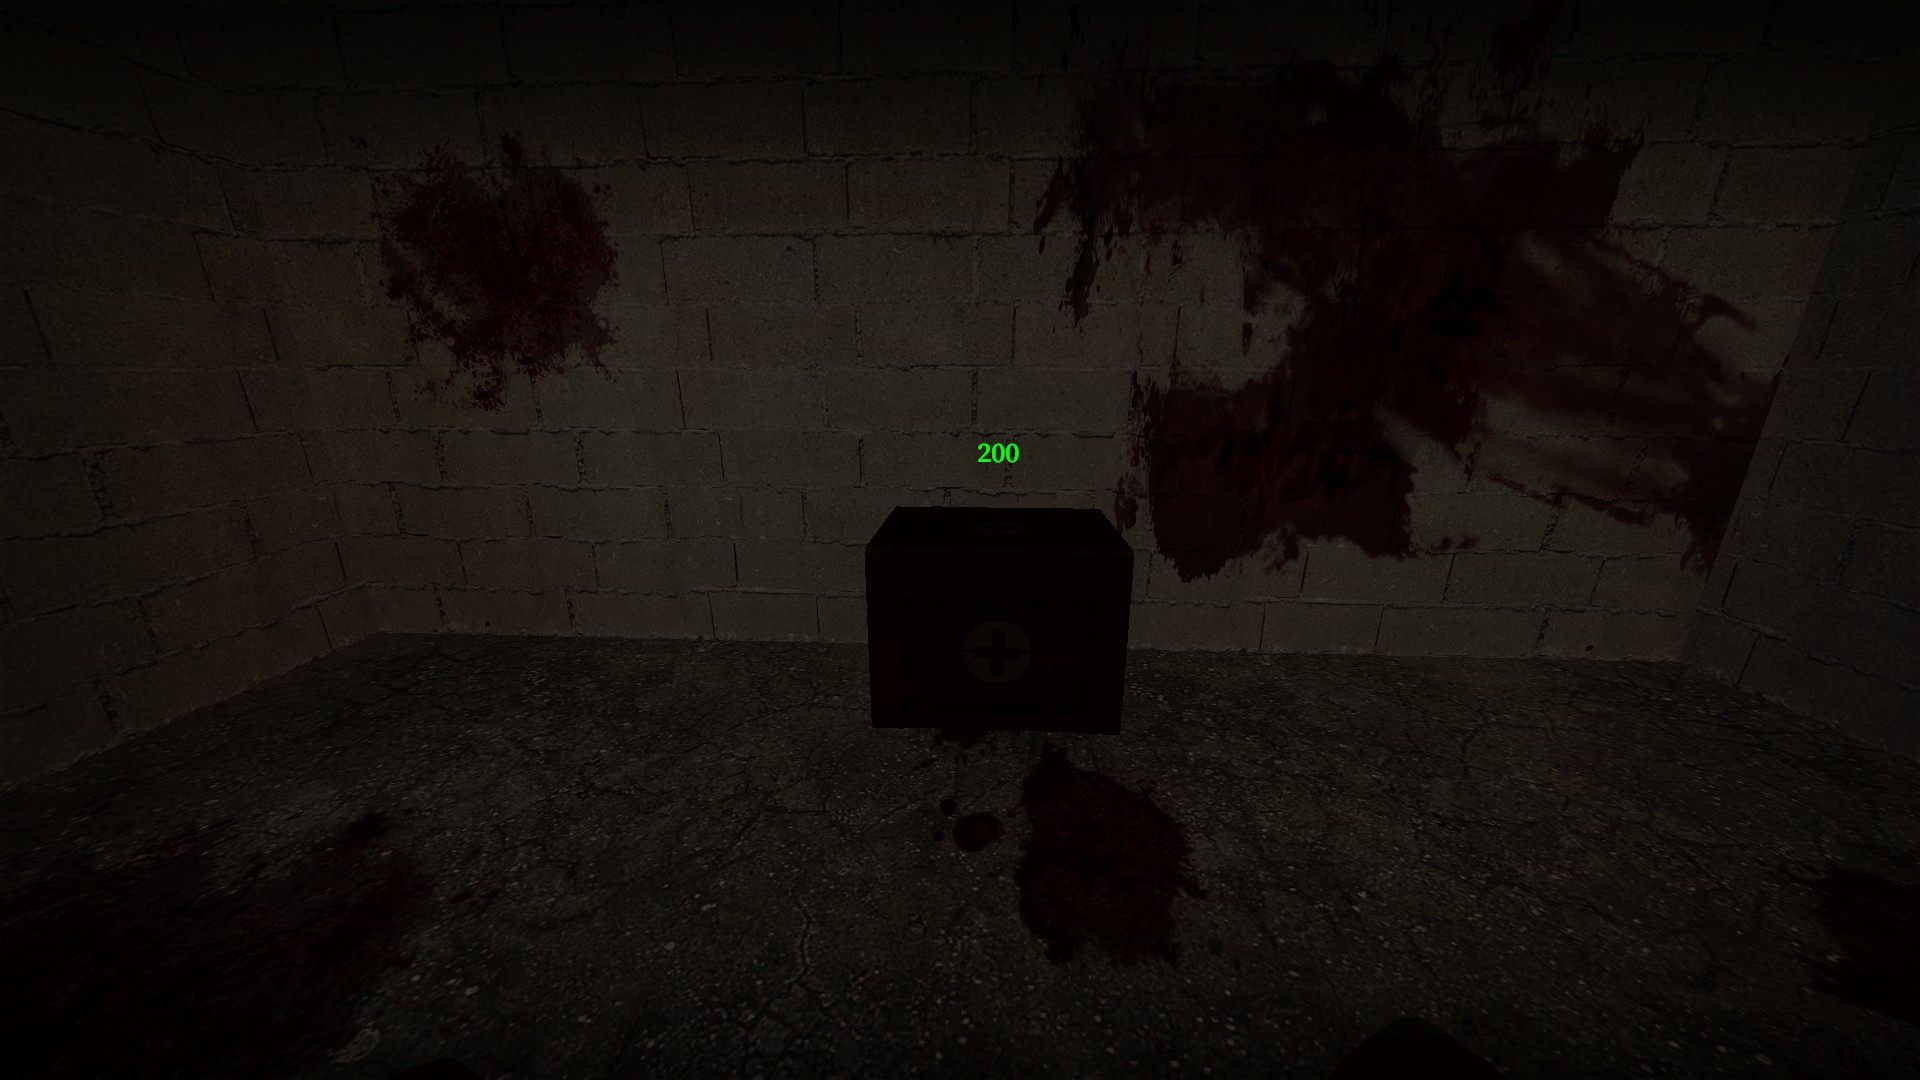
You can place this medbox near the end of the map in the area where the zombies break out during the holdout
Respawn room
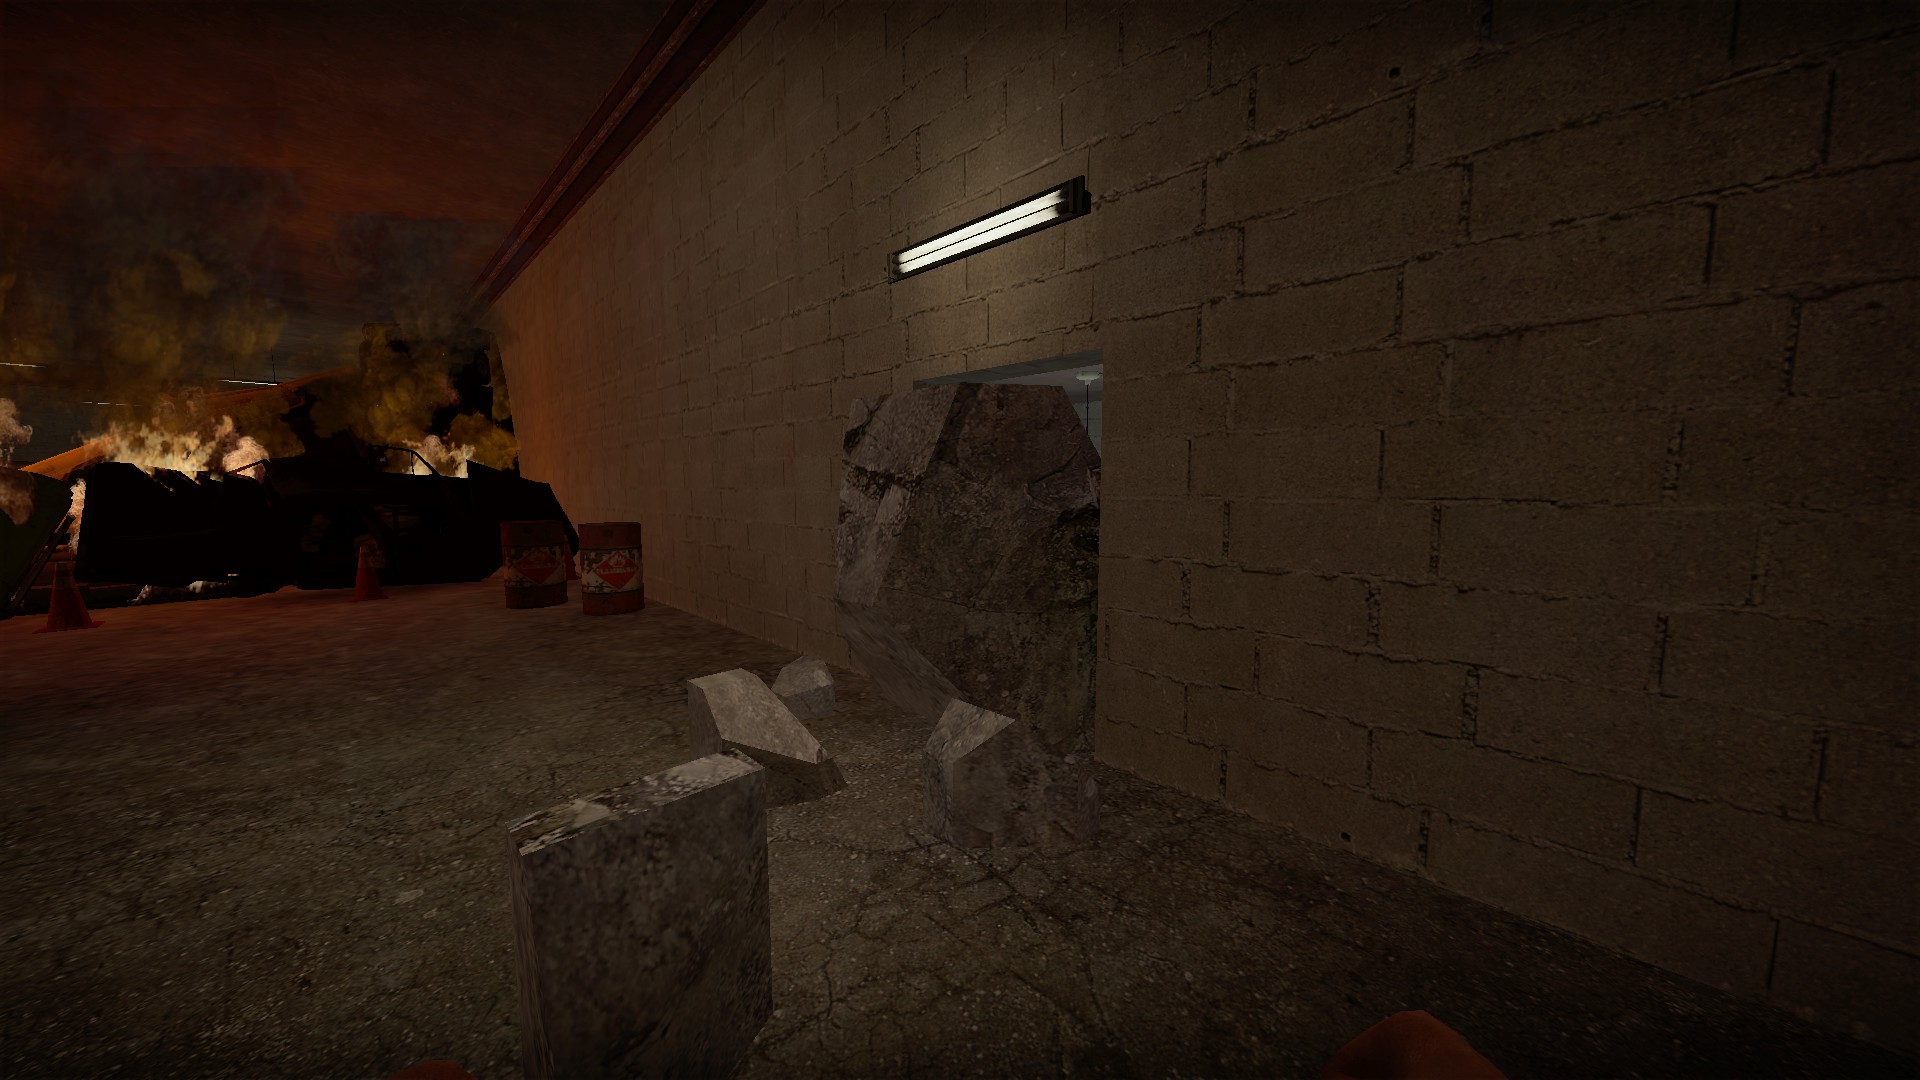
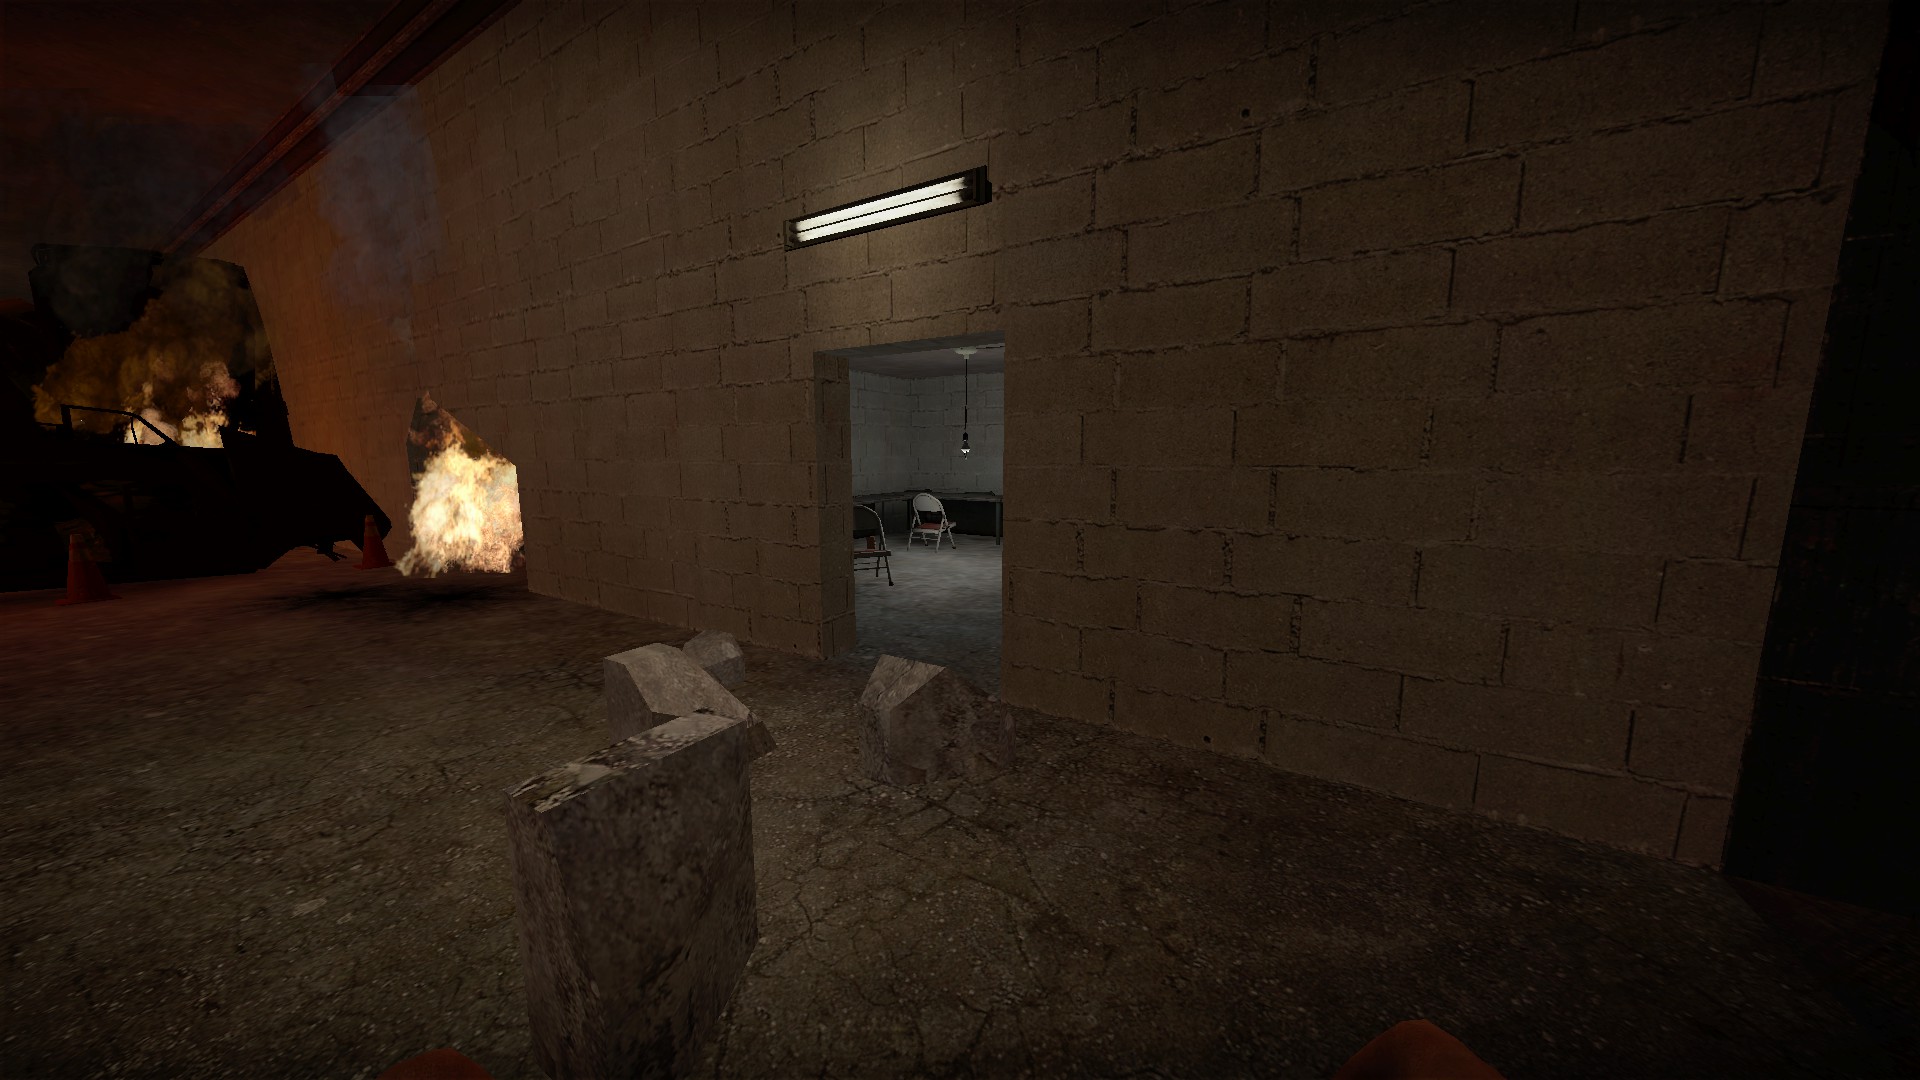
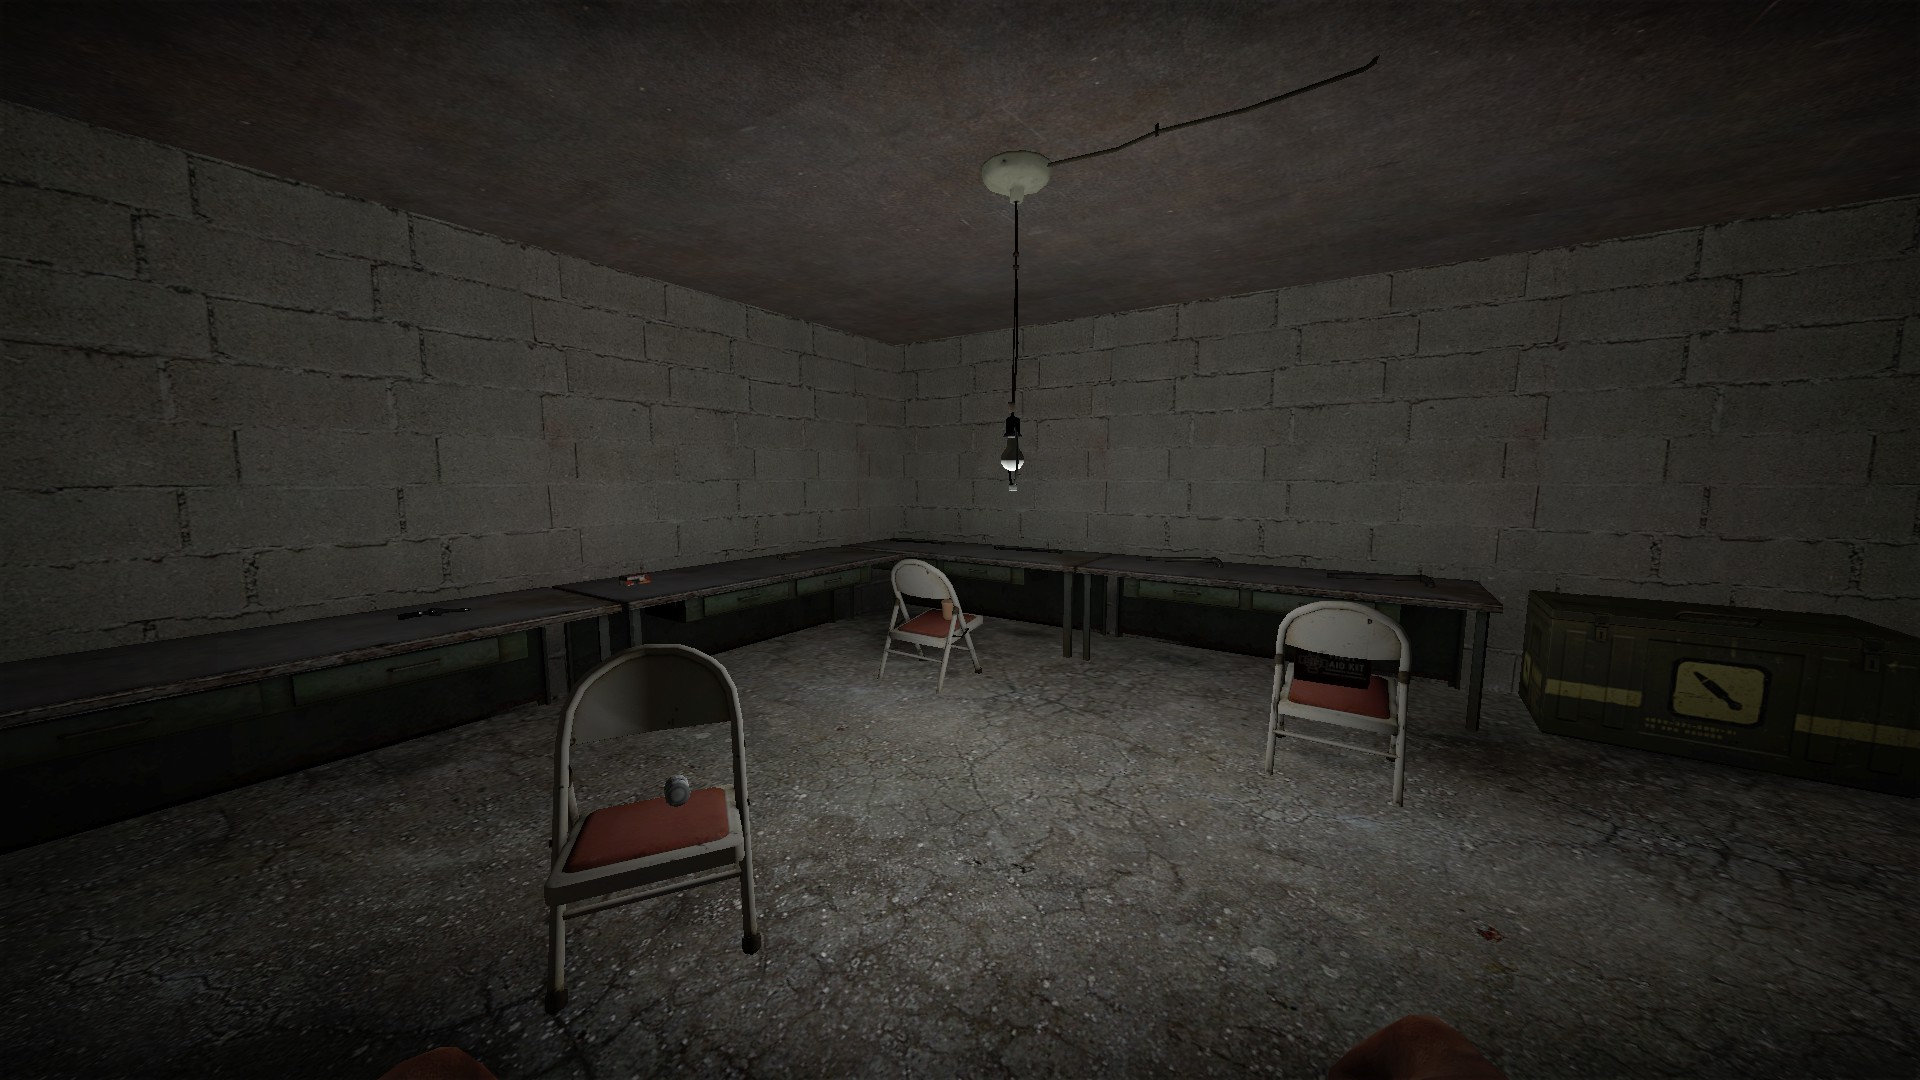
If no one respawns inside the room, you can break the rock to loot it. There are melee, a firearm, ammo, meds, and a weapon box. However, if you do open this room the barrels near it will explode and an endless zombie spawn will open
After you have survived the 3 waves and the door has opened, bring the battery from the starting area
Jump up and drop the battery into the large column just past the door
A vent to your left will break and the medbox will fly out
You can place this medbox near the end of the map in the area where the zombies break out during the holdout
Respawn room
If no one respawns inside the room, you can break the rock to loot it. There are melee, a firearm, ammo, meds, and a weapon box. However, if you do open this room the barrels near it will explode and an endless zombie spawn will open
nmo_abra_boring_v2
Music machete
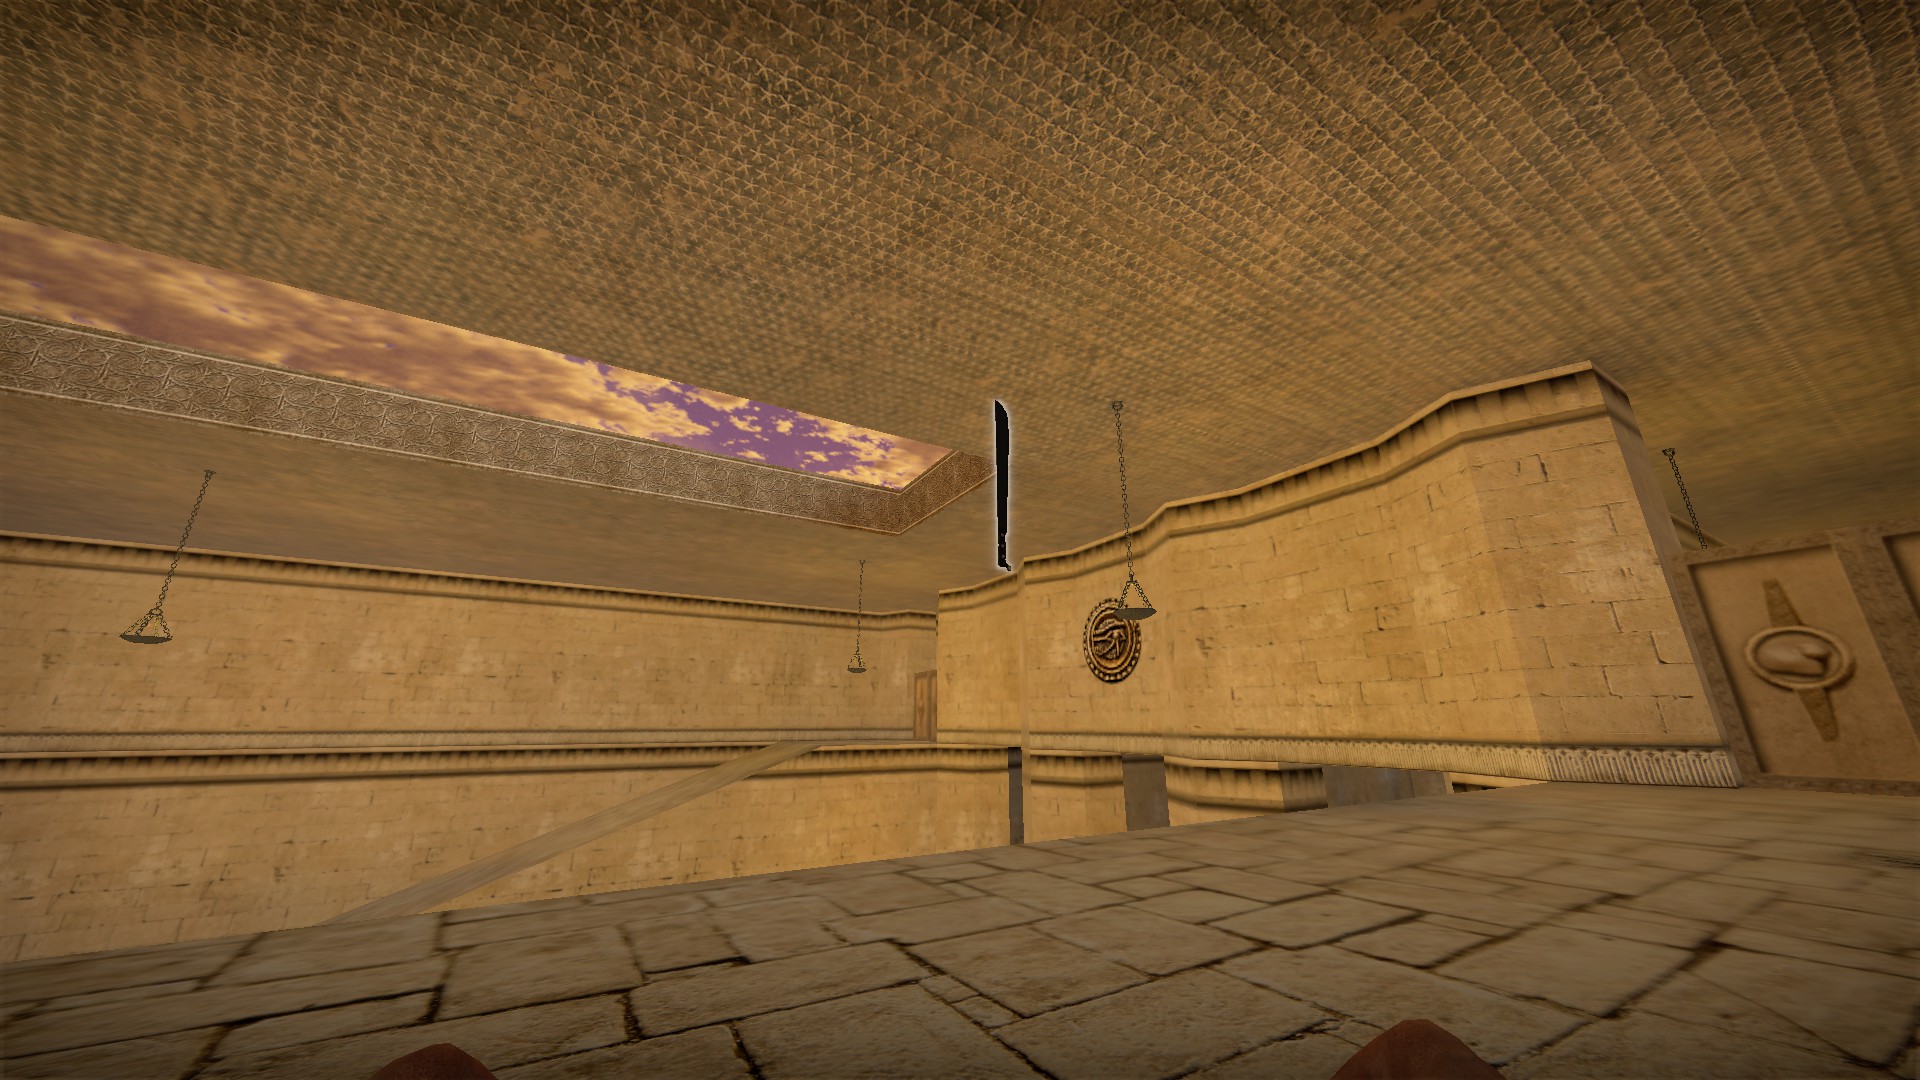
Found at start
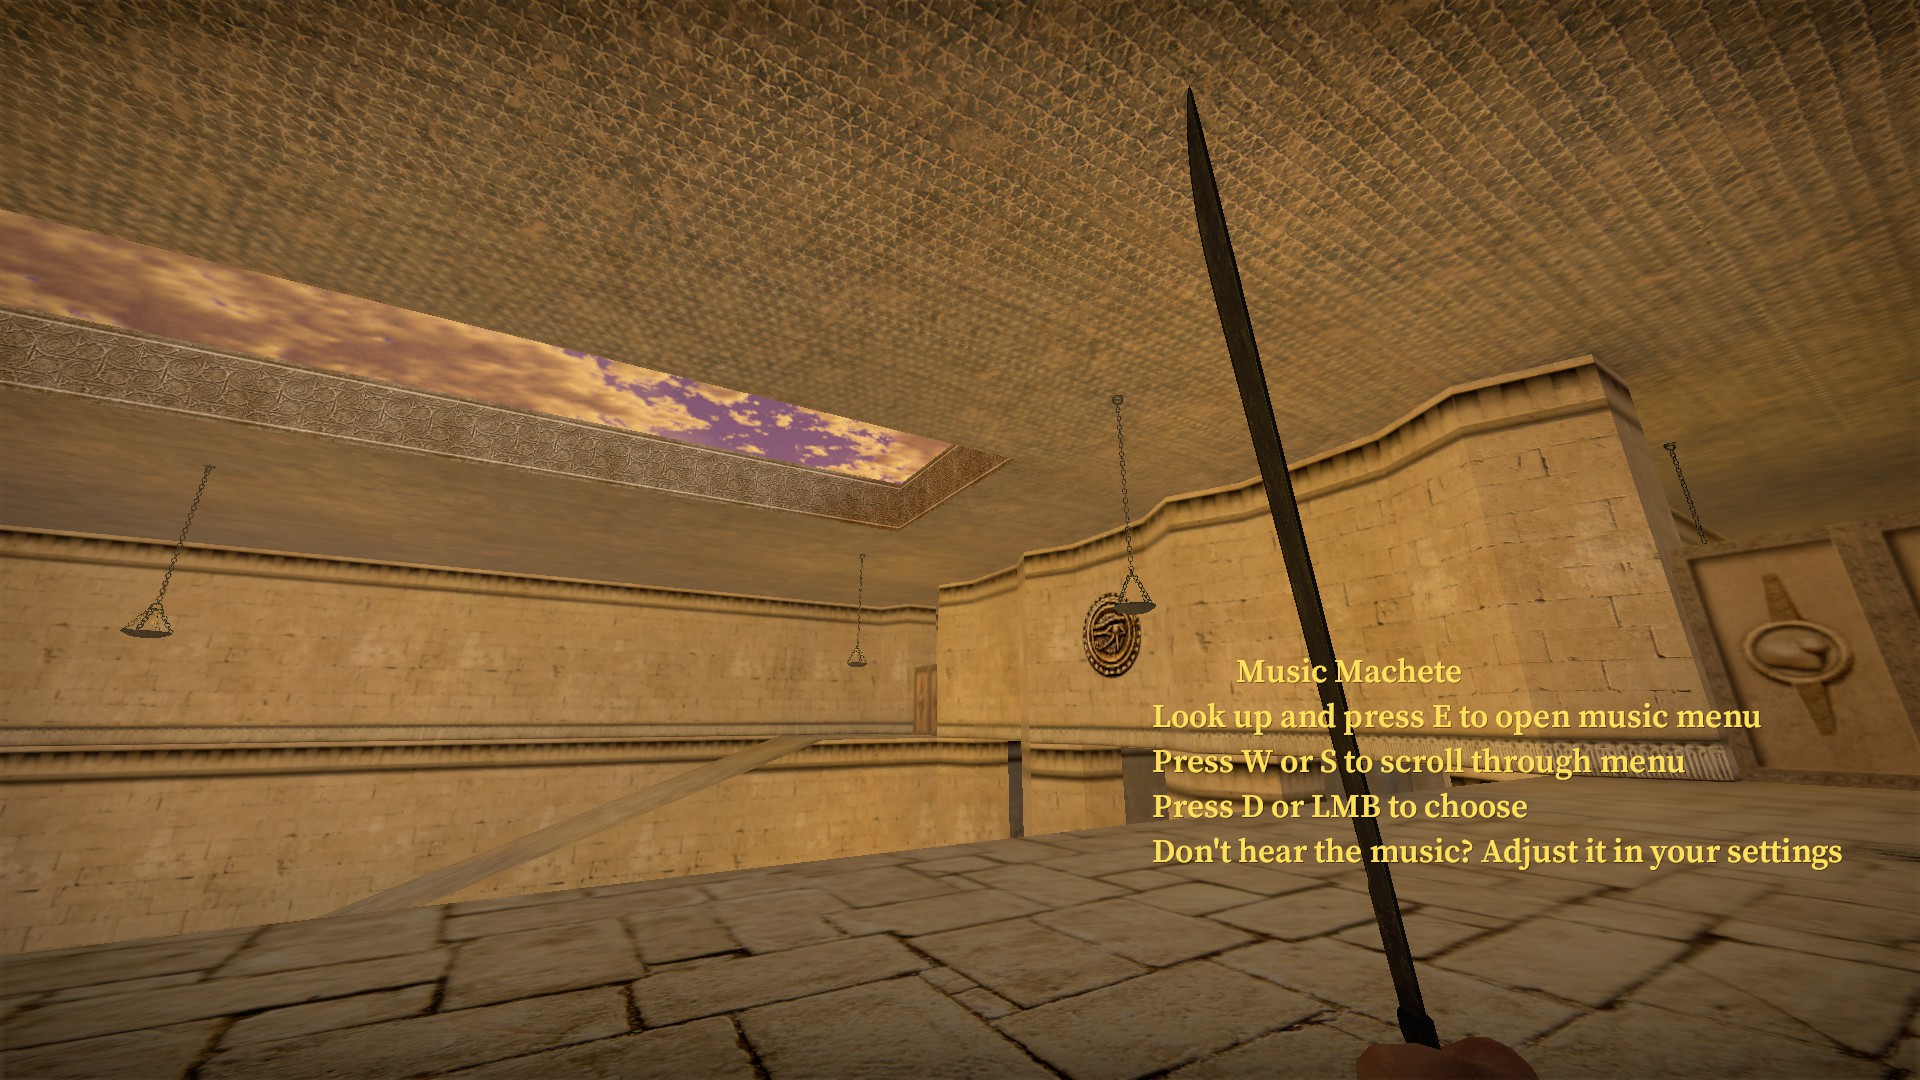
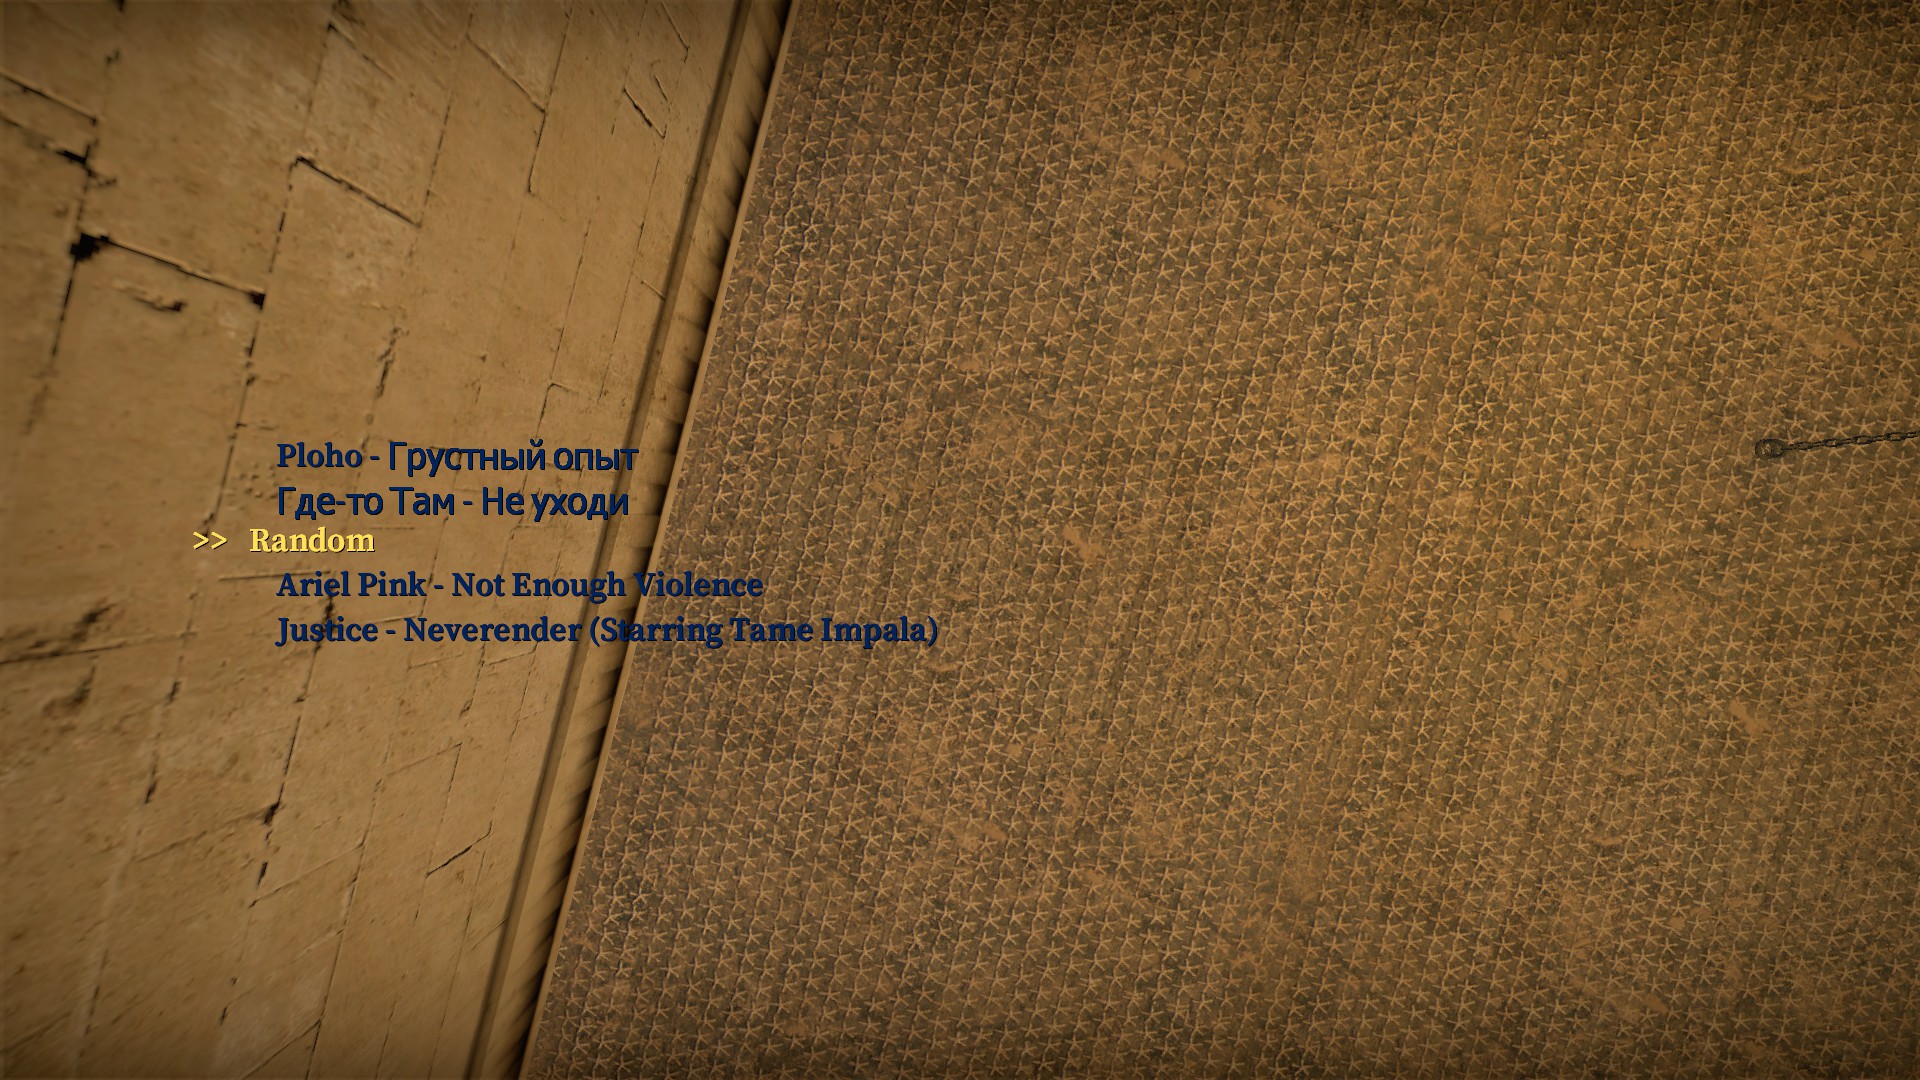
Look up and press e to use. Unlike other custom music that typically plays over the game's normal music, the music machete here replaces it. Turn up your game music through the options menu to hear the music
Grenades
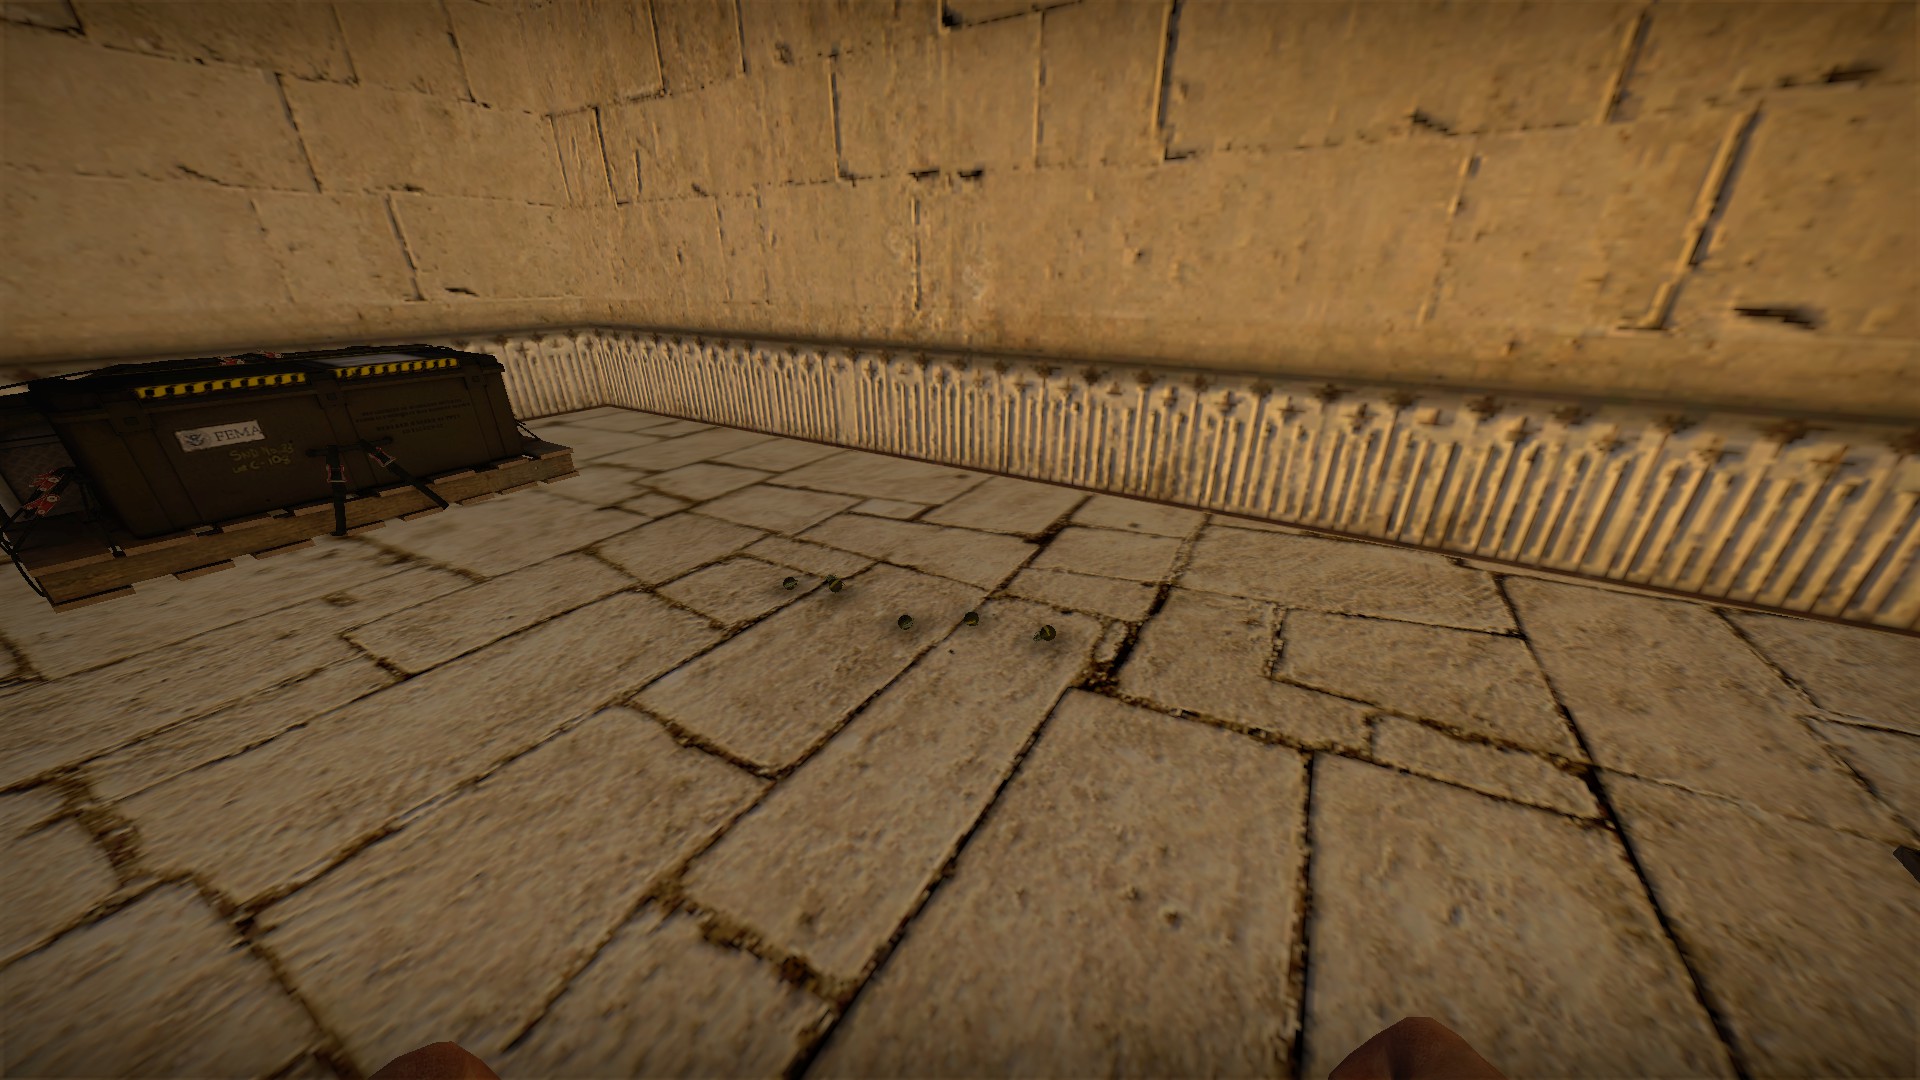
You will need to use explosives to knock down equipment. There is a supply of grenades at start
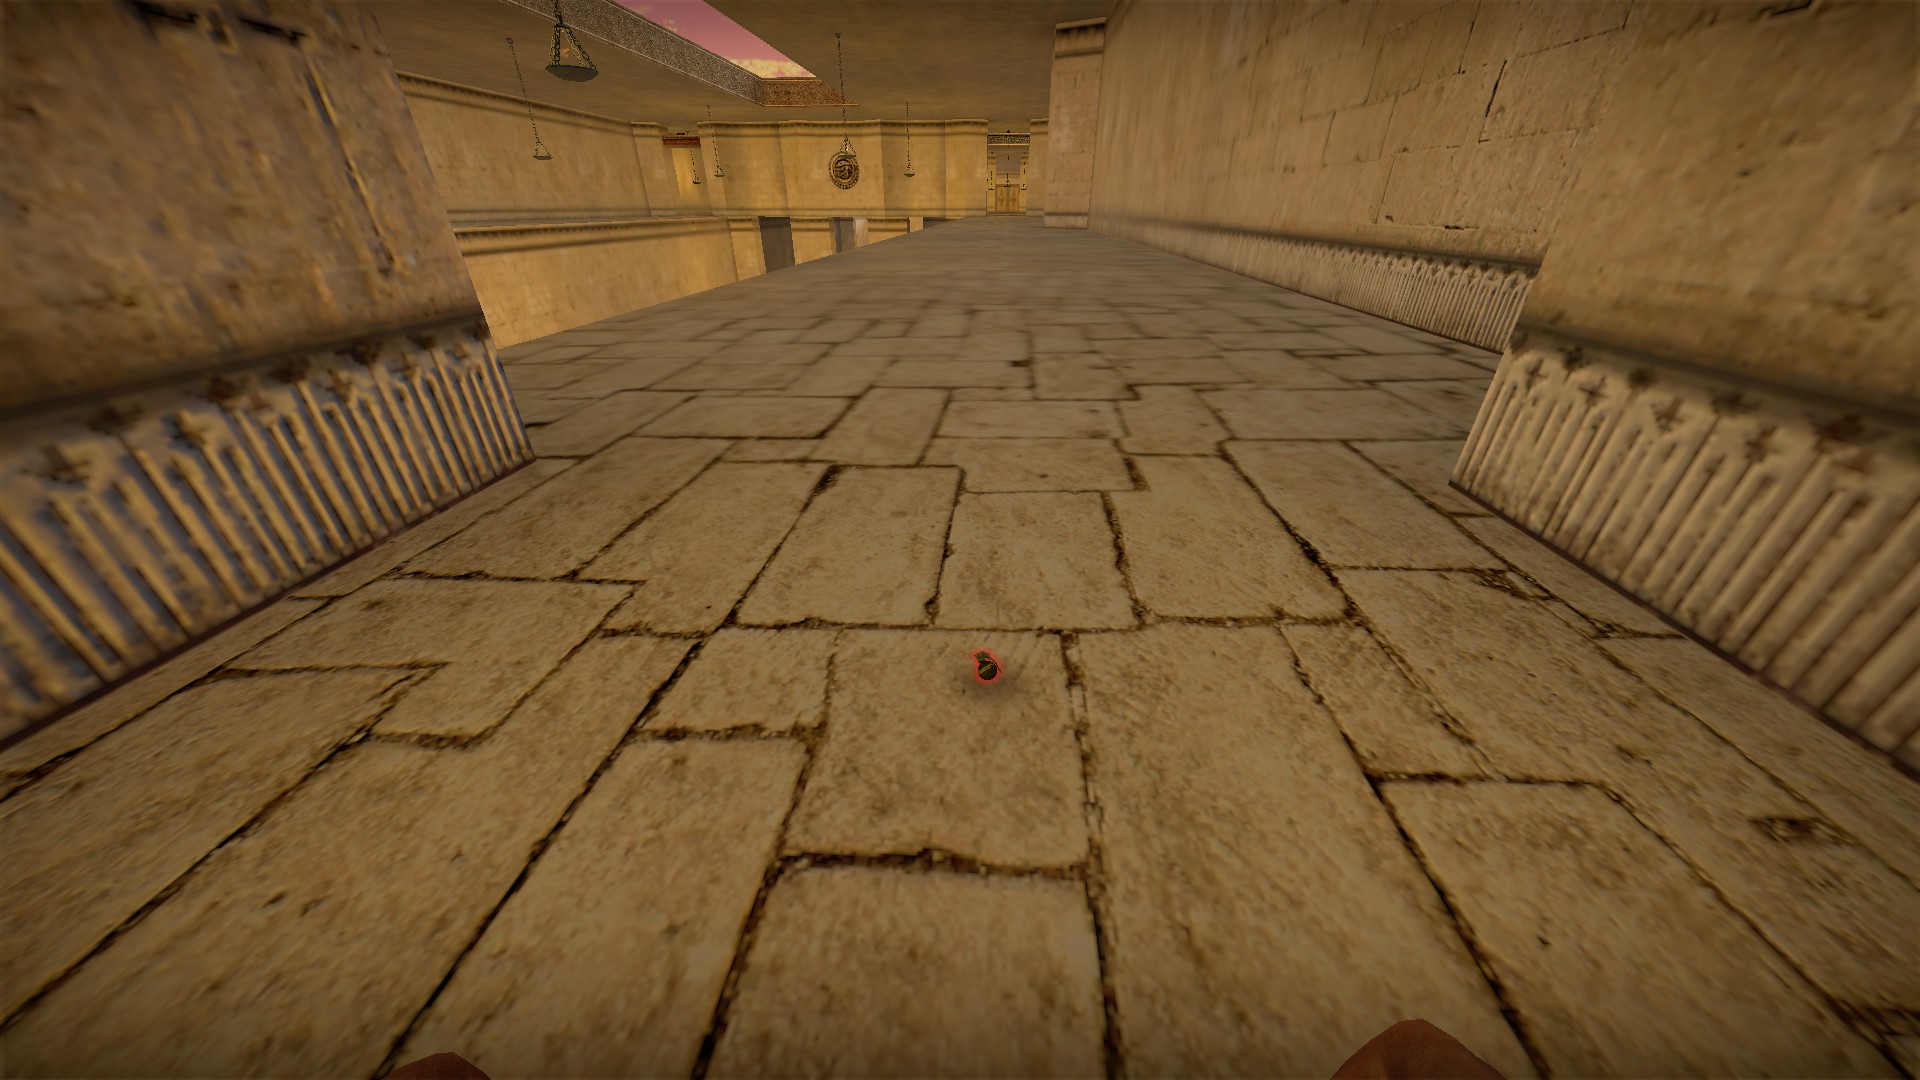
There is one more grenade under the first ledge, but after that there is only what you can scavenge from the zombies
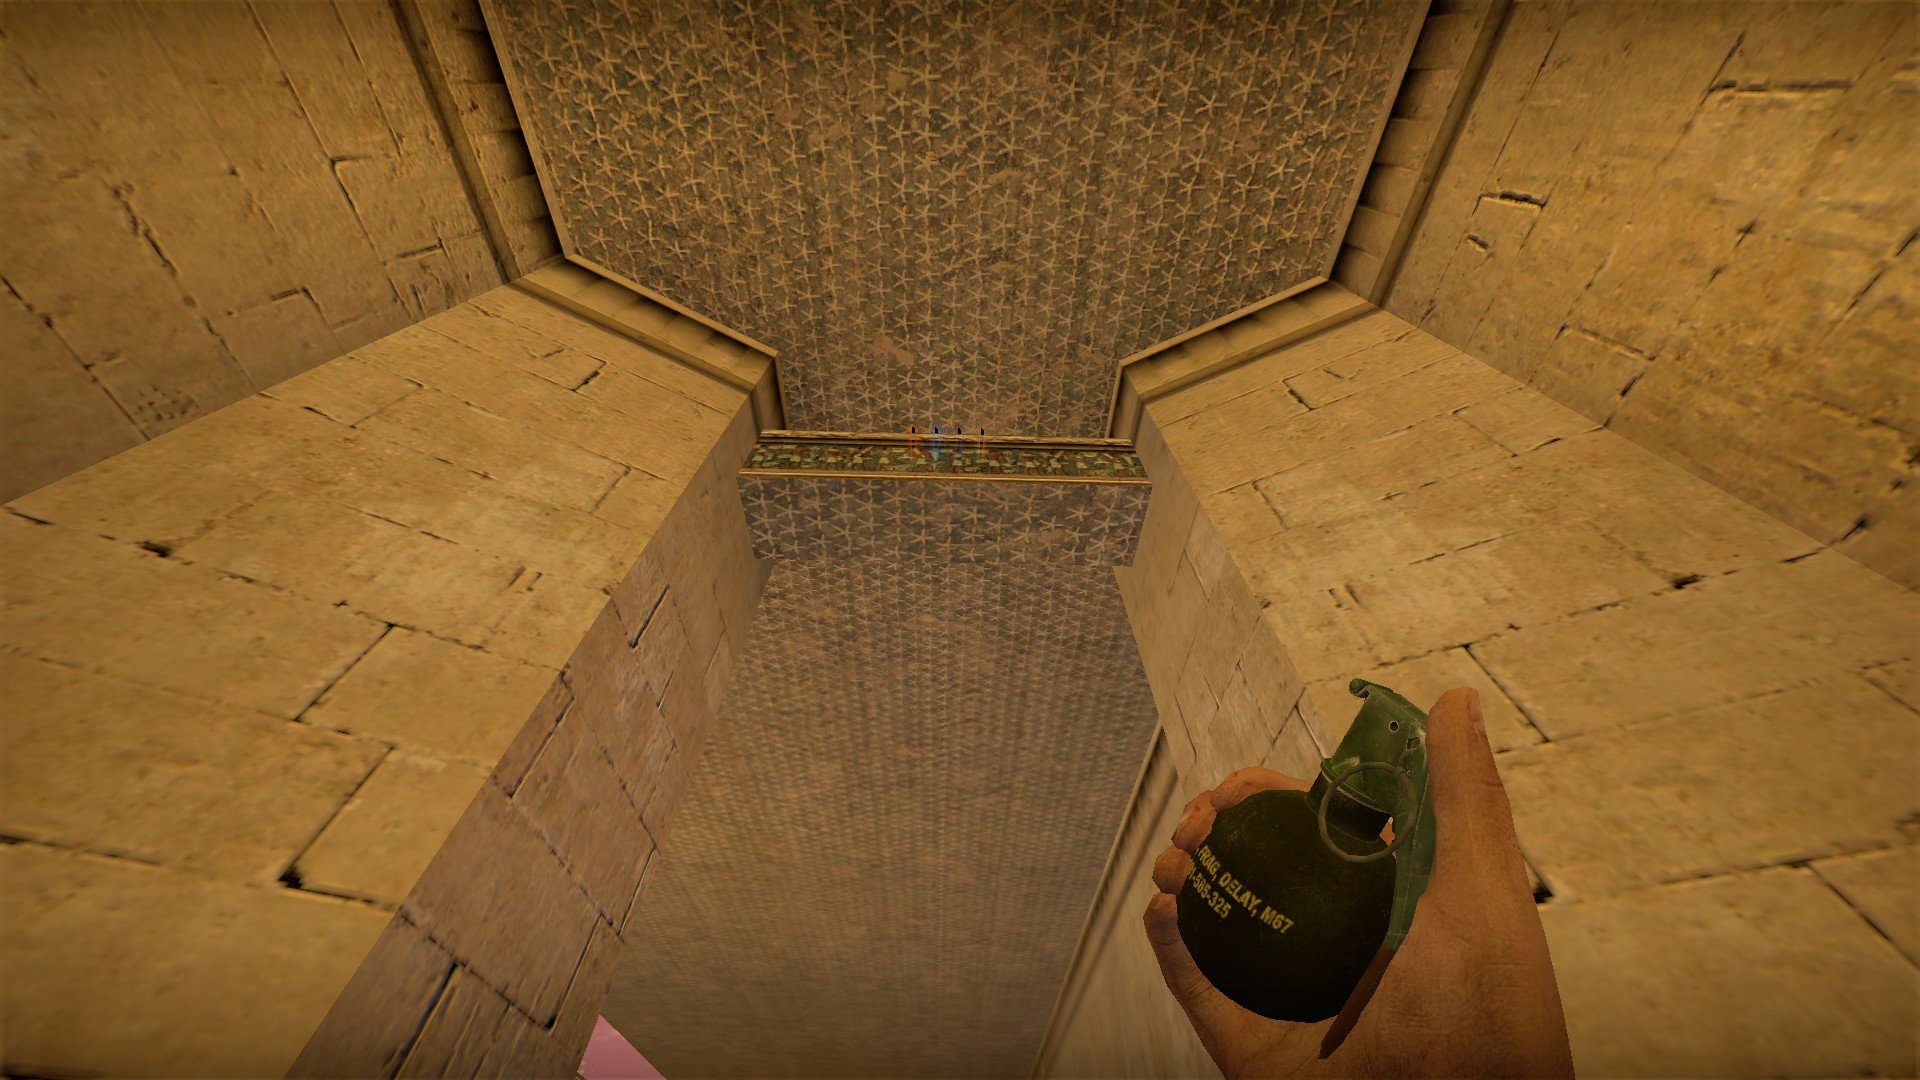
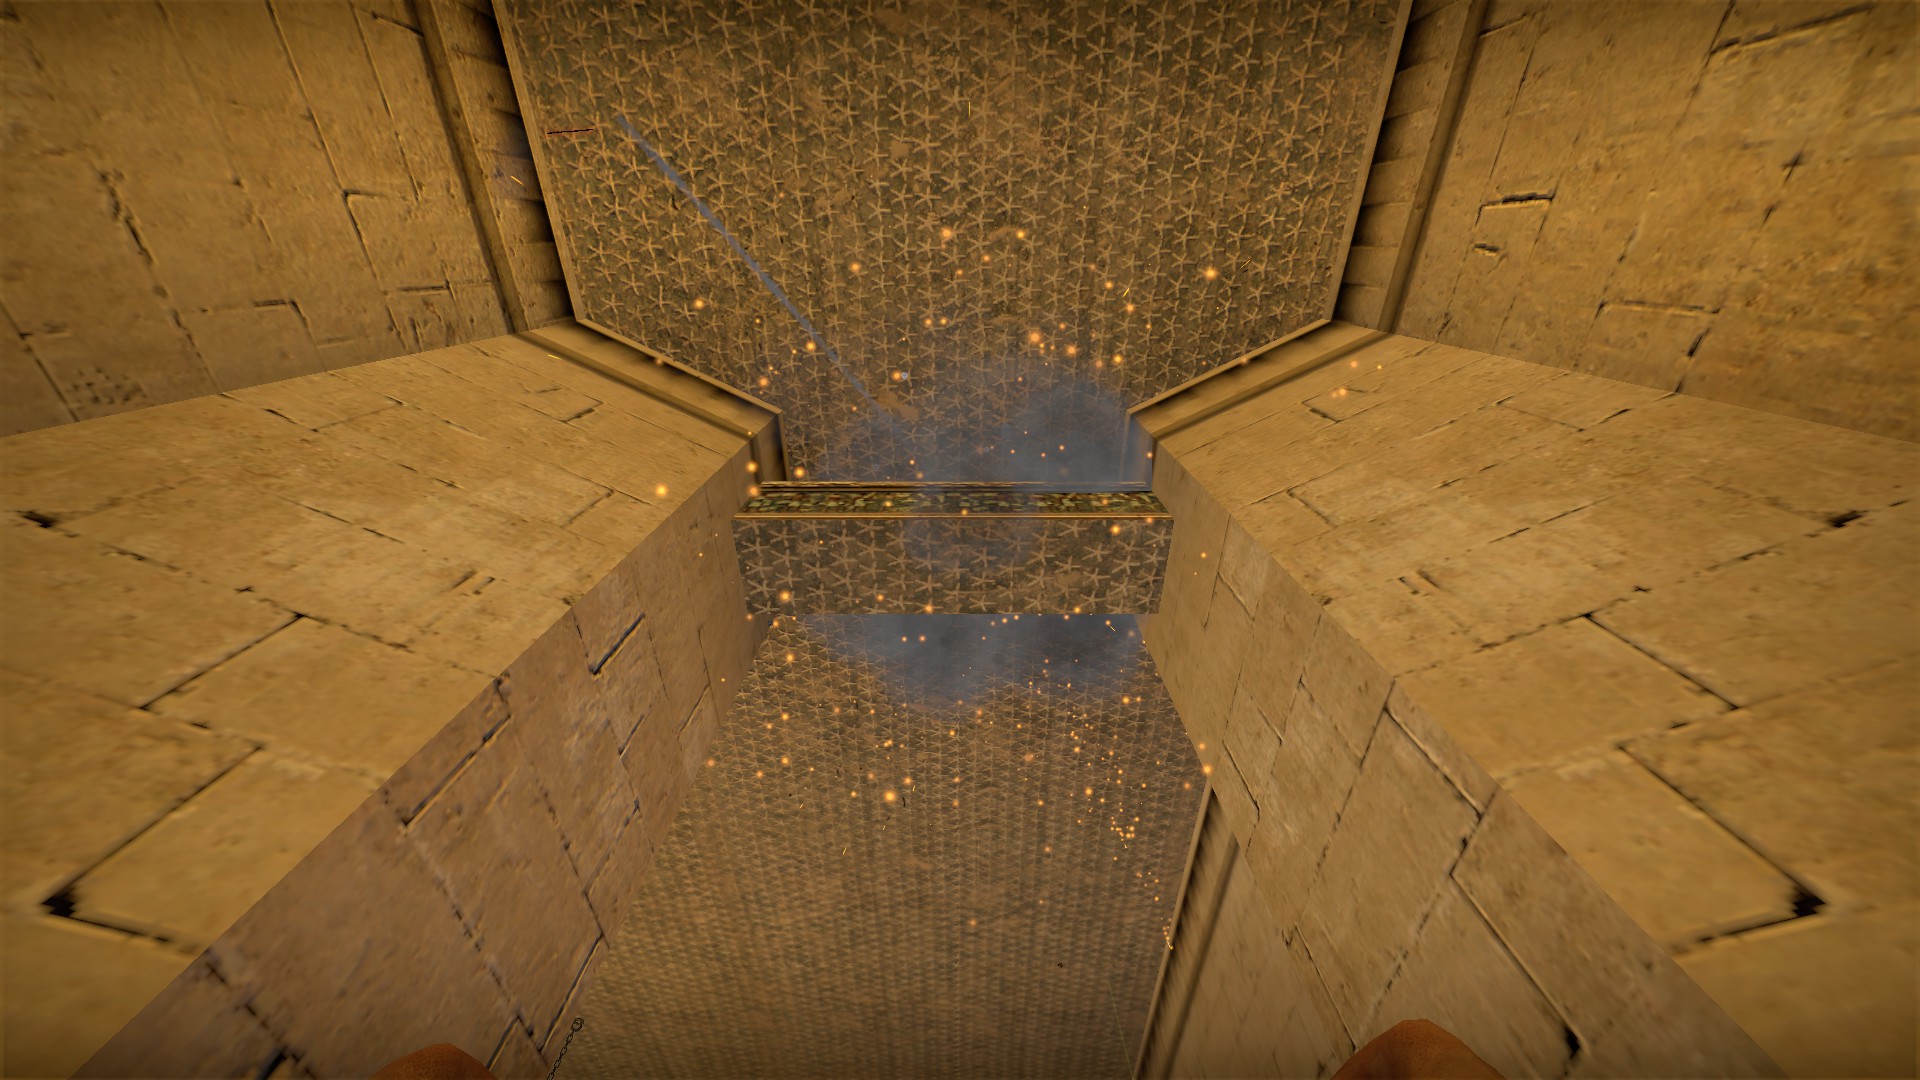
Throw the grenades nearly straight up on the normal ledges to knock equipment down. There are 4 more machetes on the first ledge
Medkits
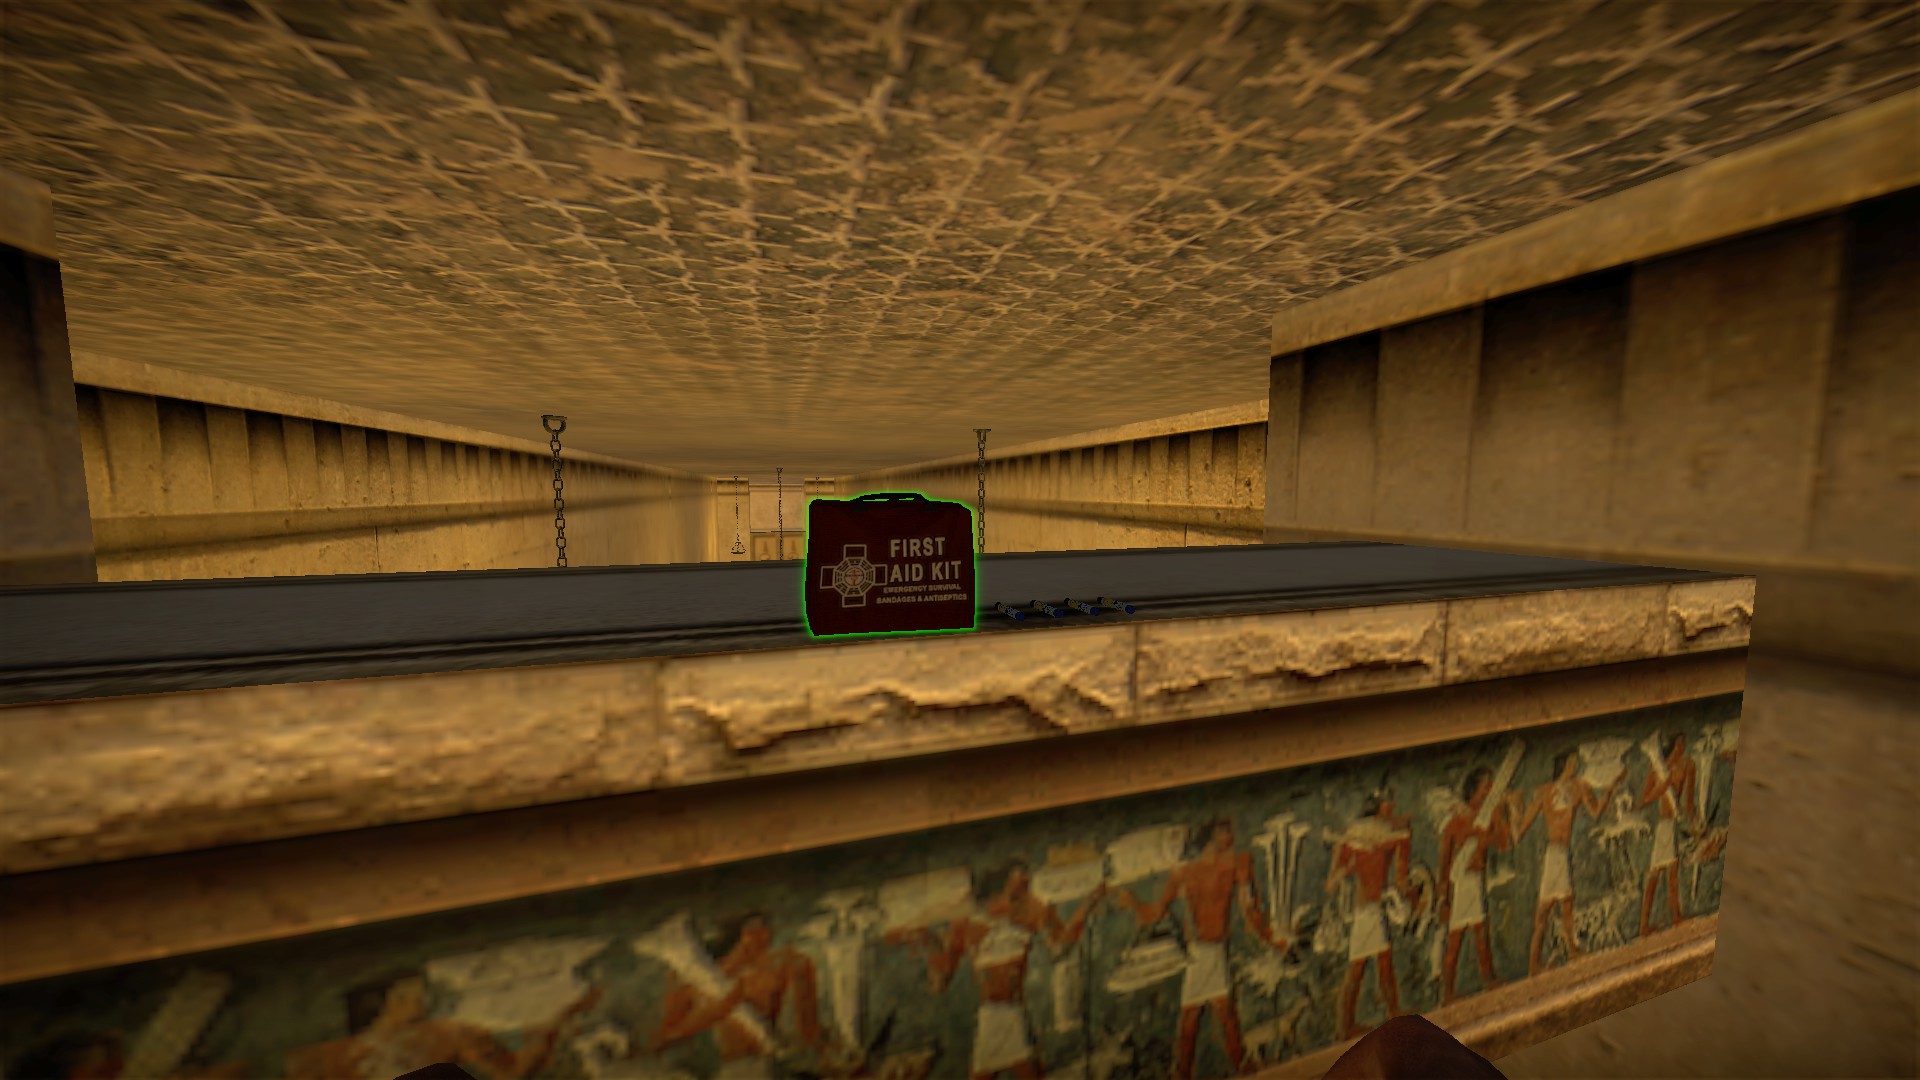
Medkits are on the edge of the ledges. You can use grenades to knock them down. You may want to do that with the first one as it also has 4 shots next to it. But you can also shoot kits down
Don't try to do this from the front, you will just knock the medkit to the middle of the ledge
Go past the medkit then turn around to shoot it
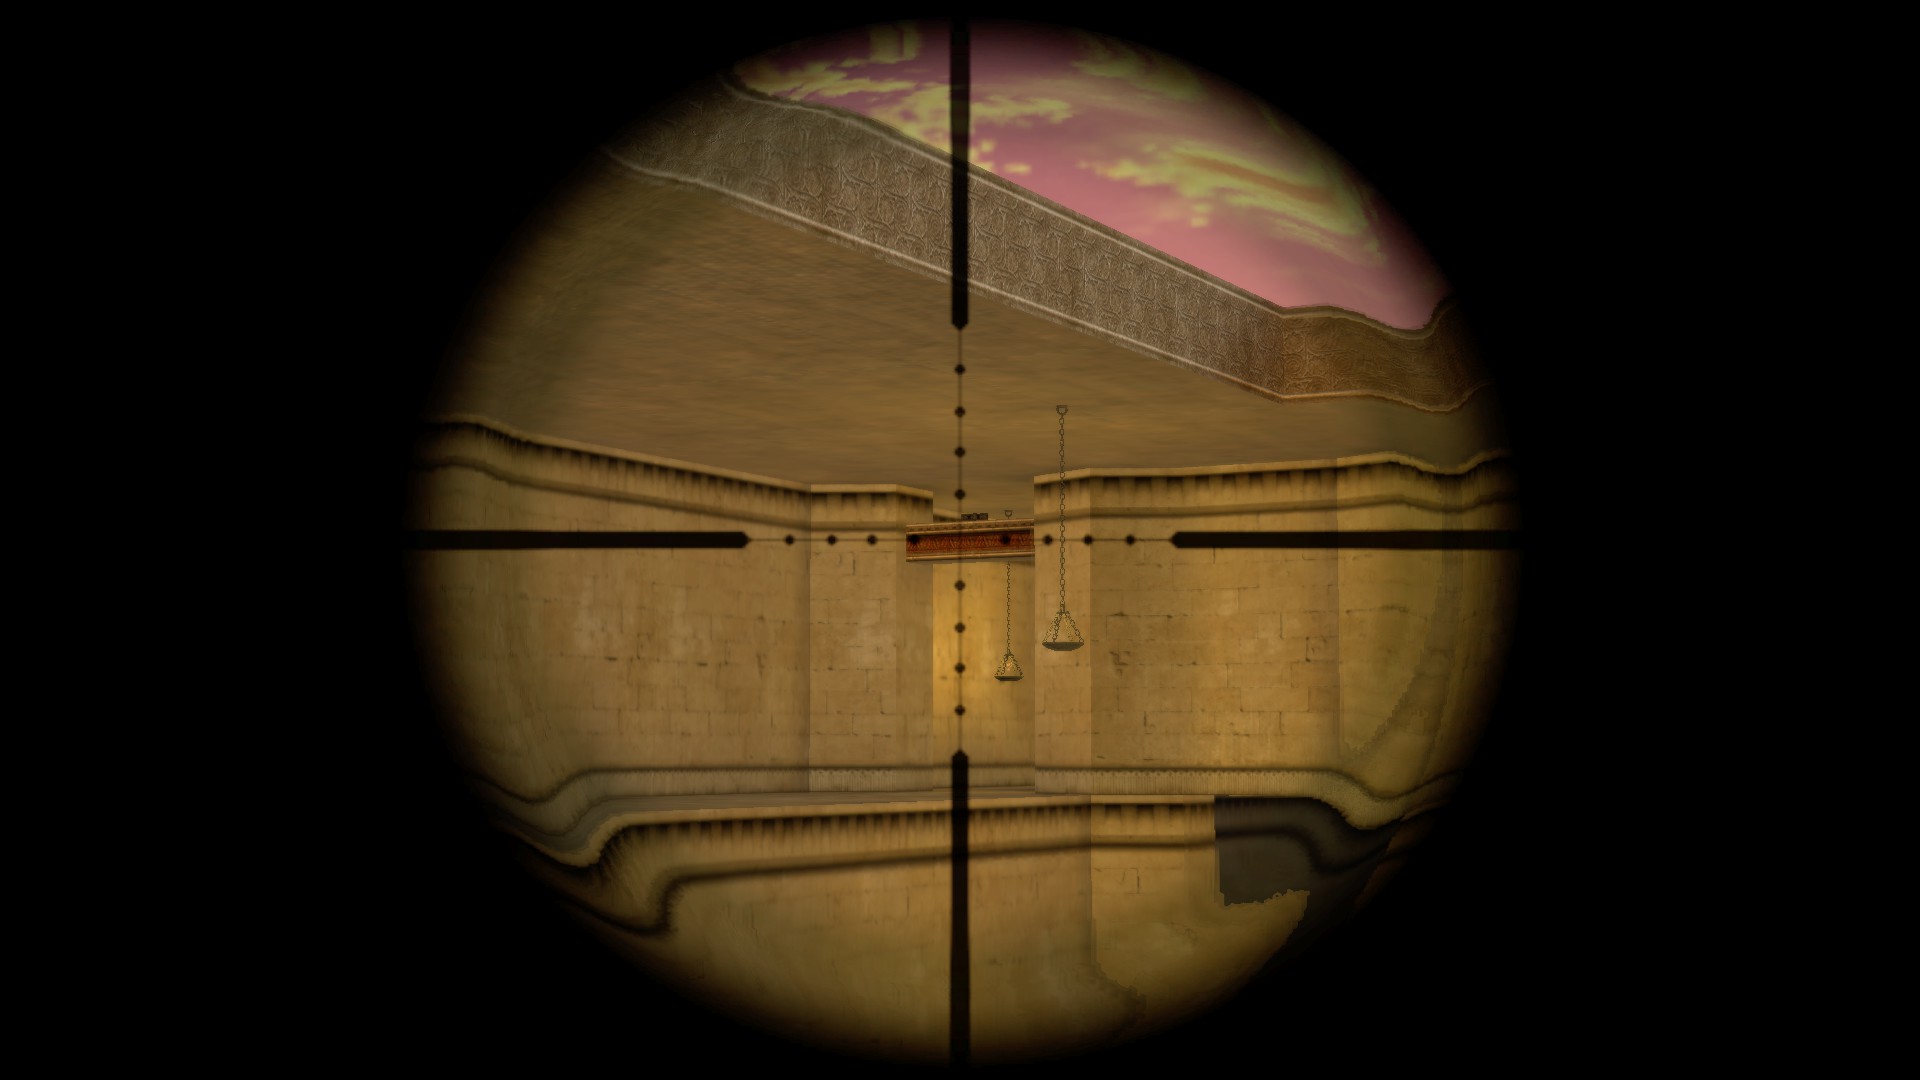
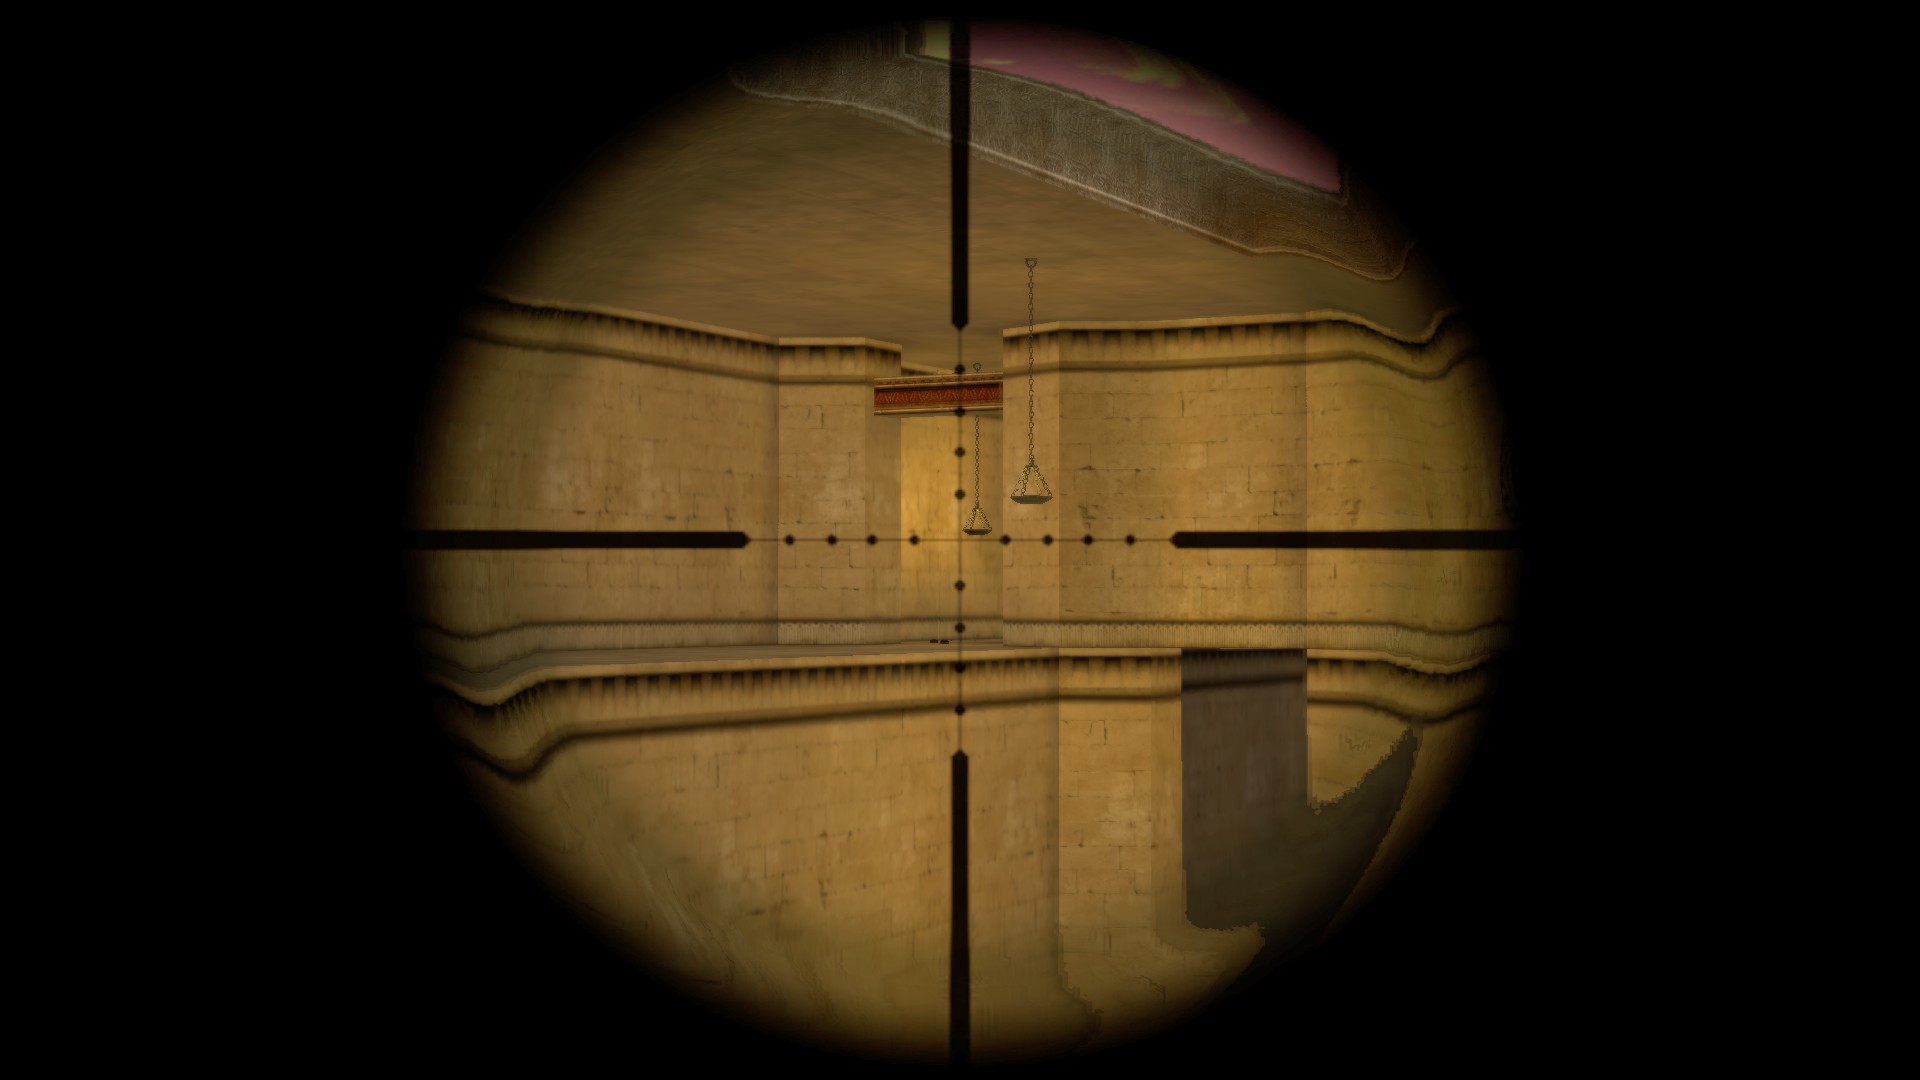
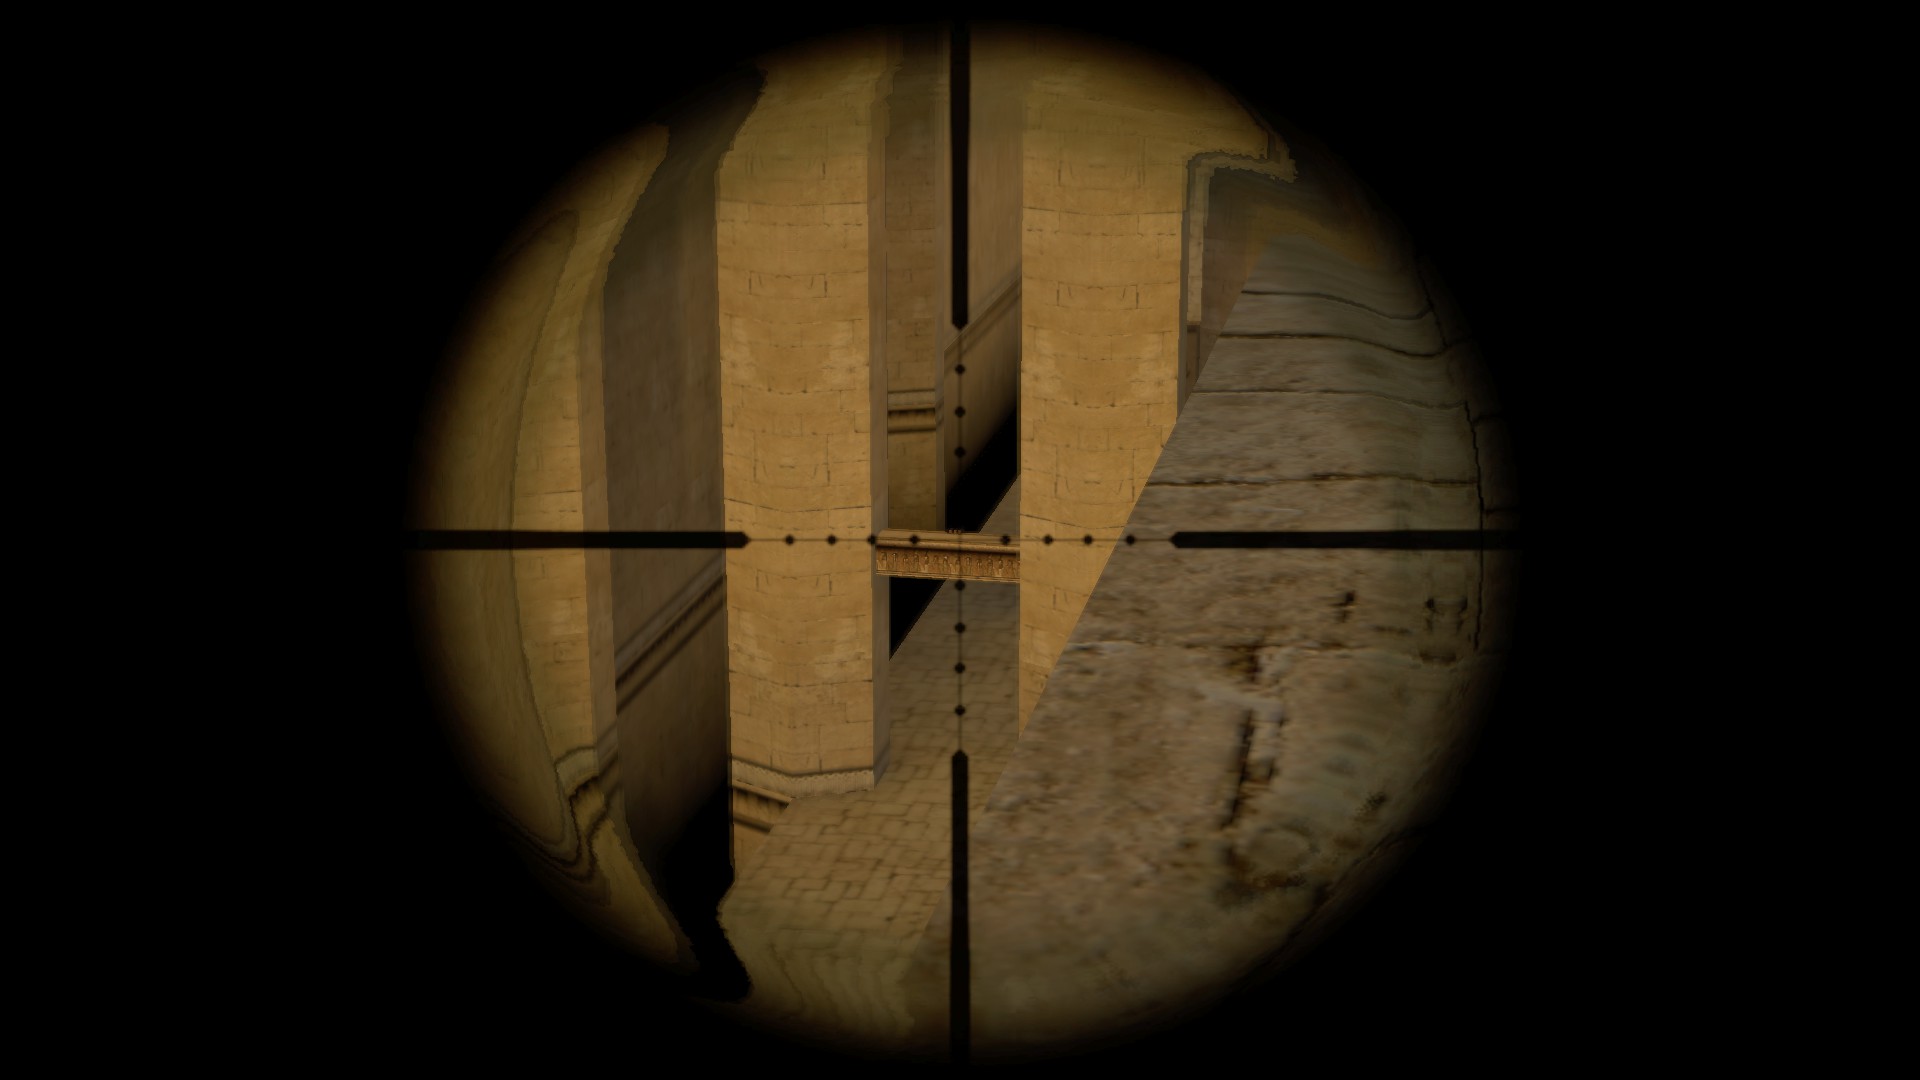
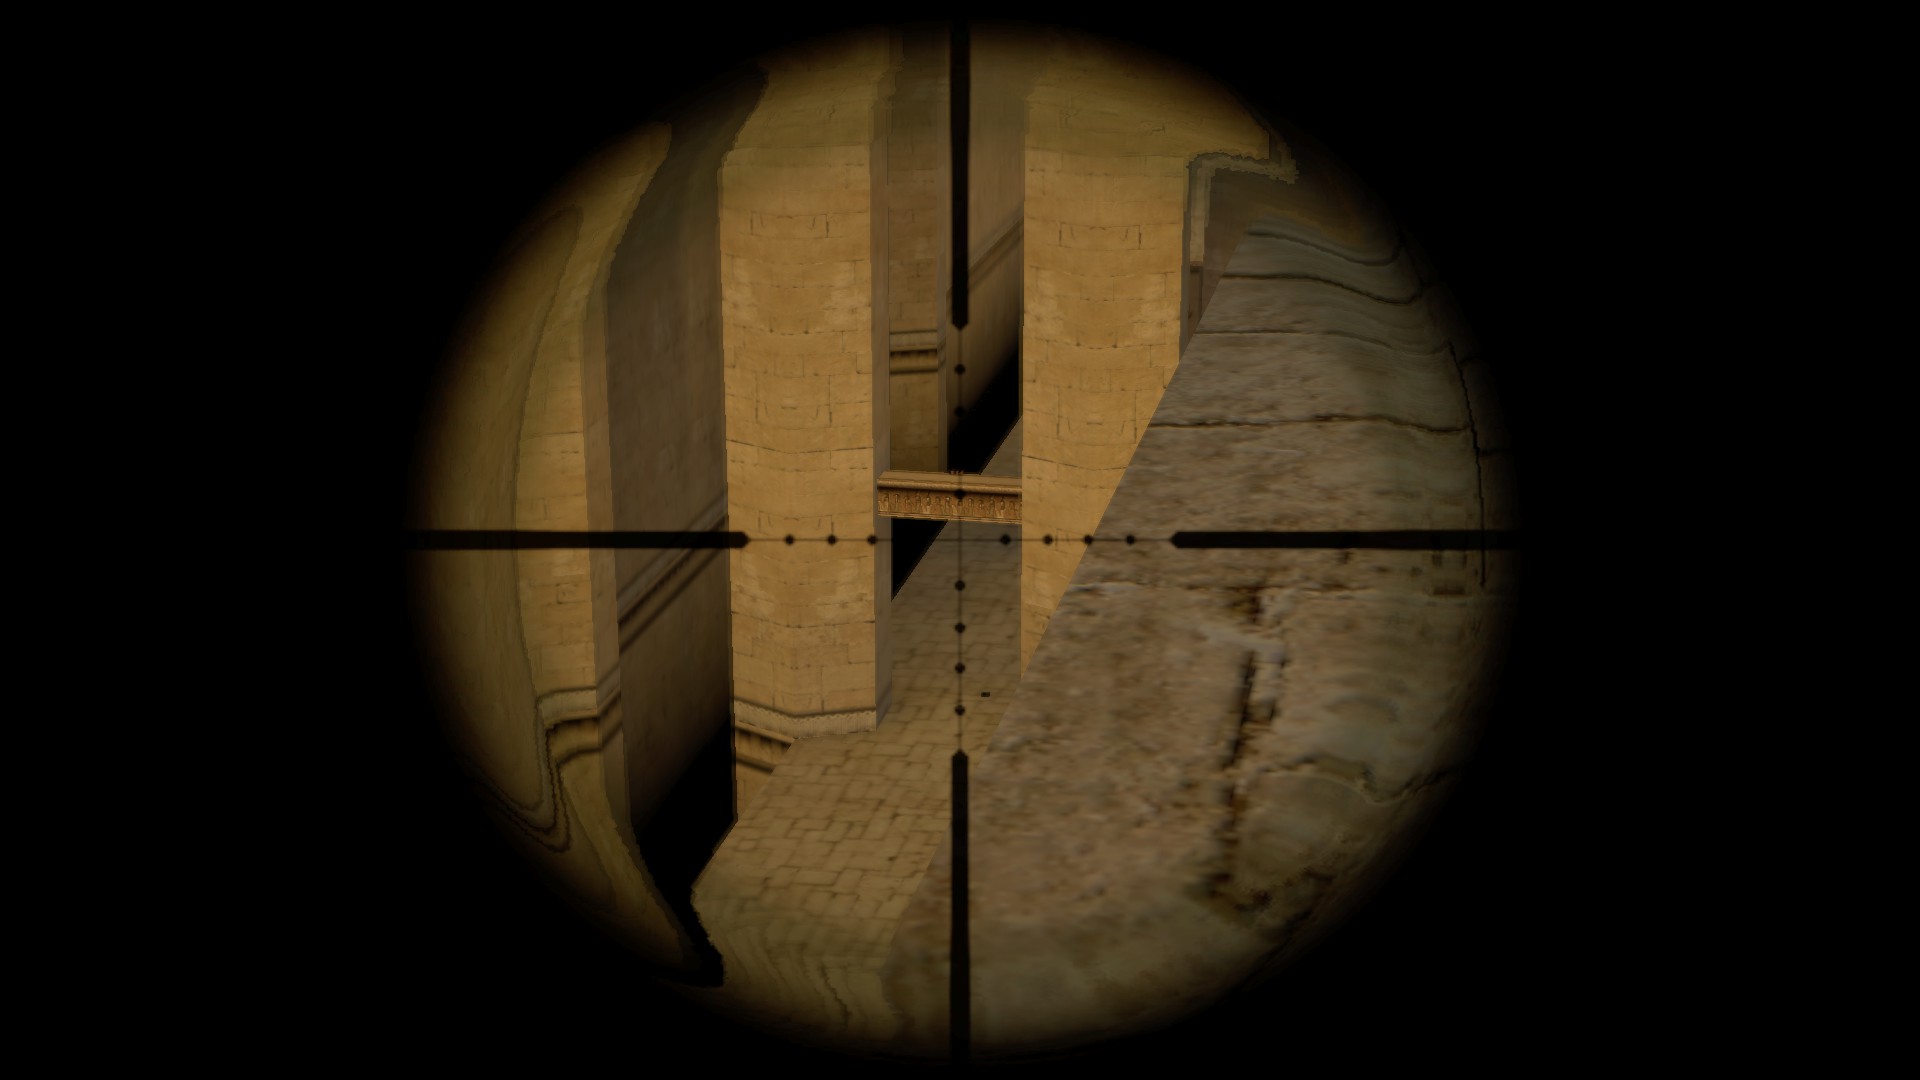
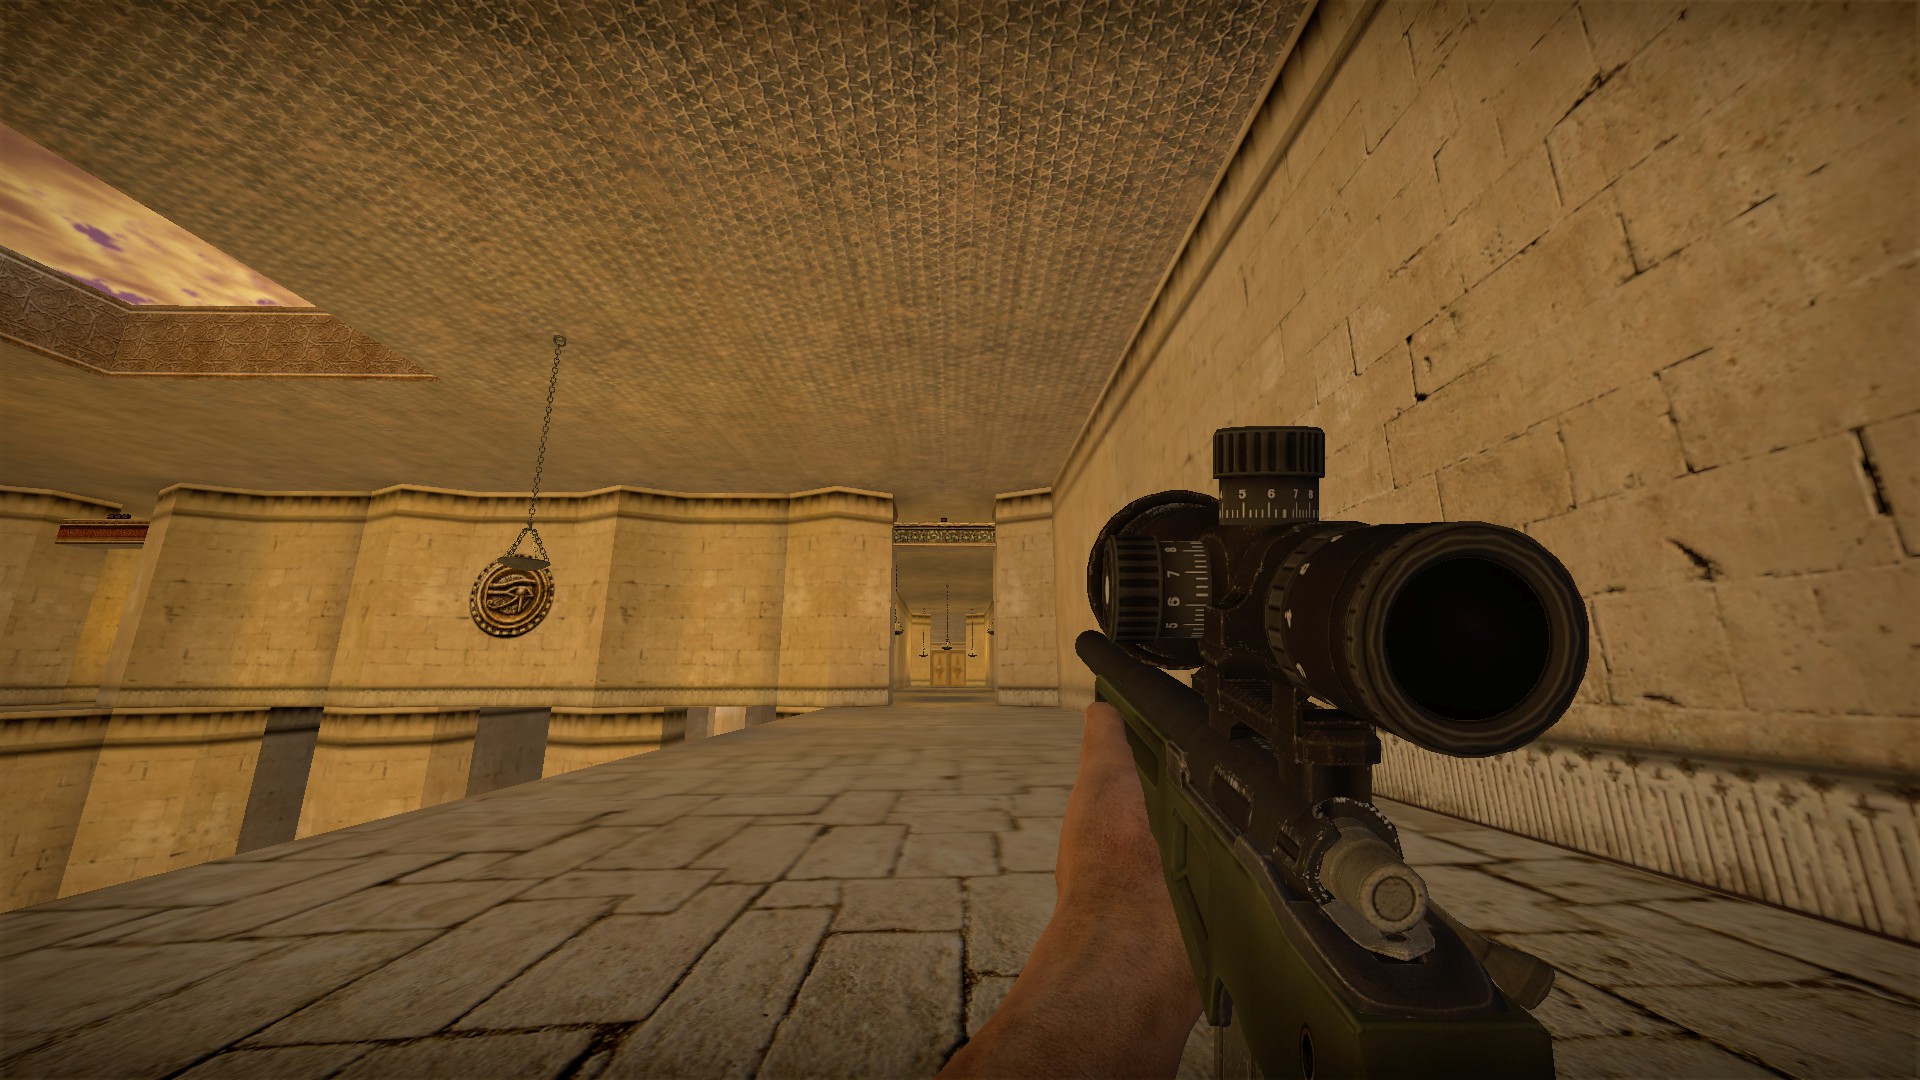
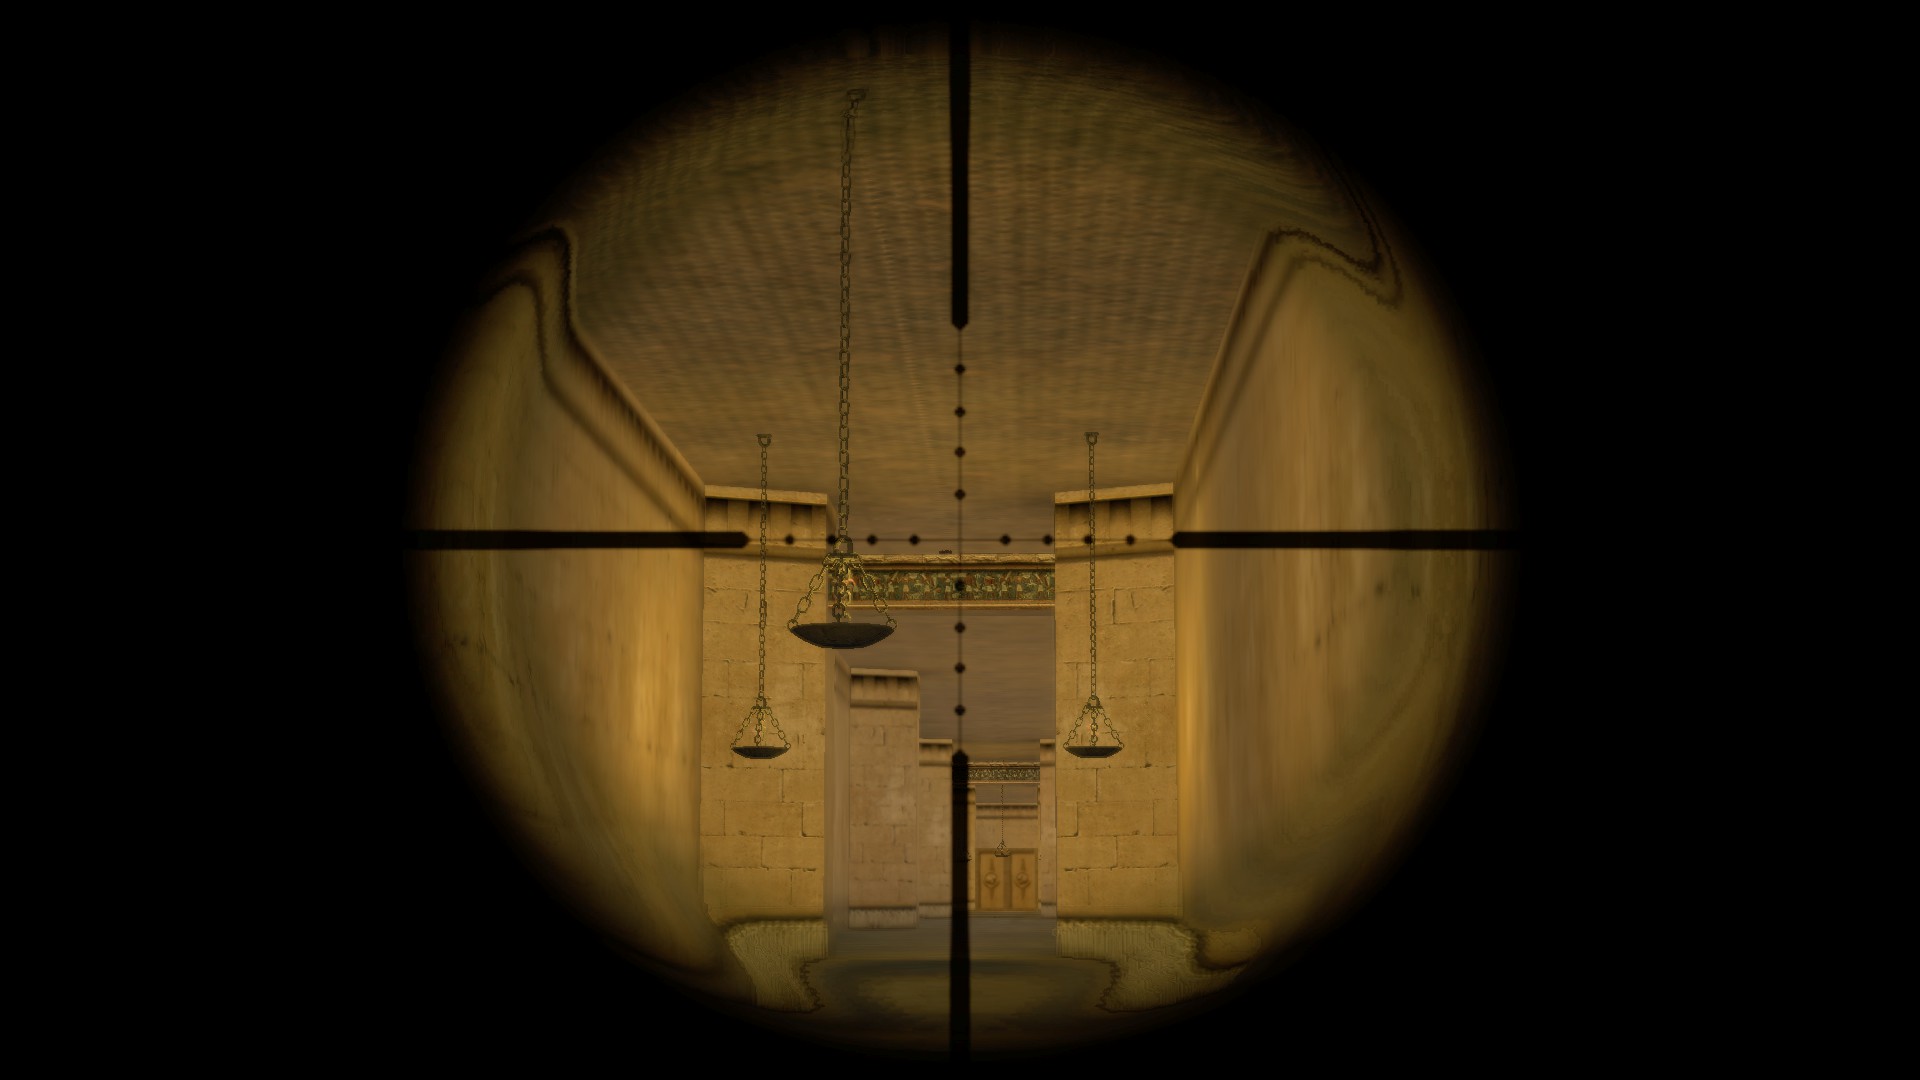
You can also get easy shots on later medkits from the early high ledge
2 Chainsaws
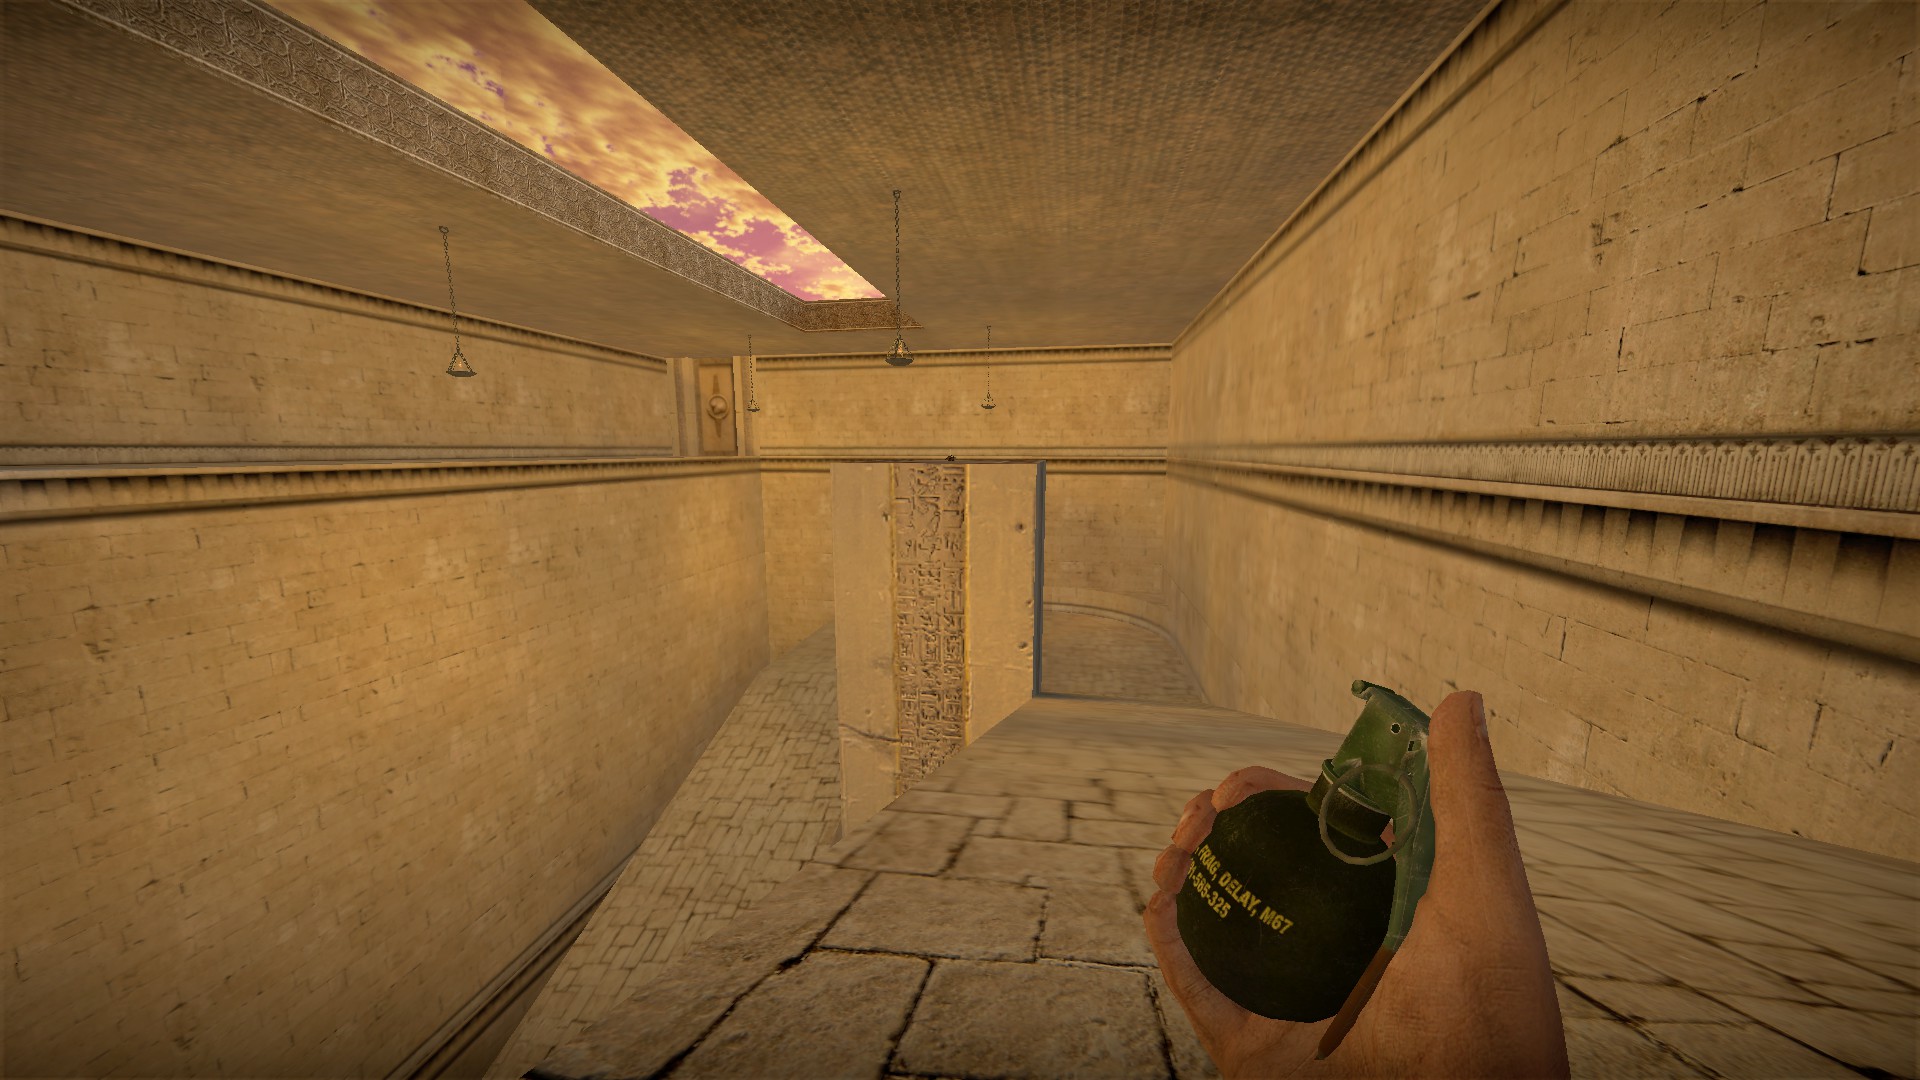
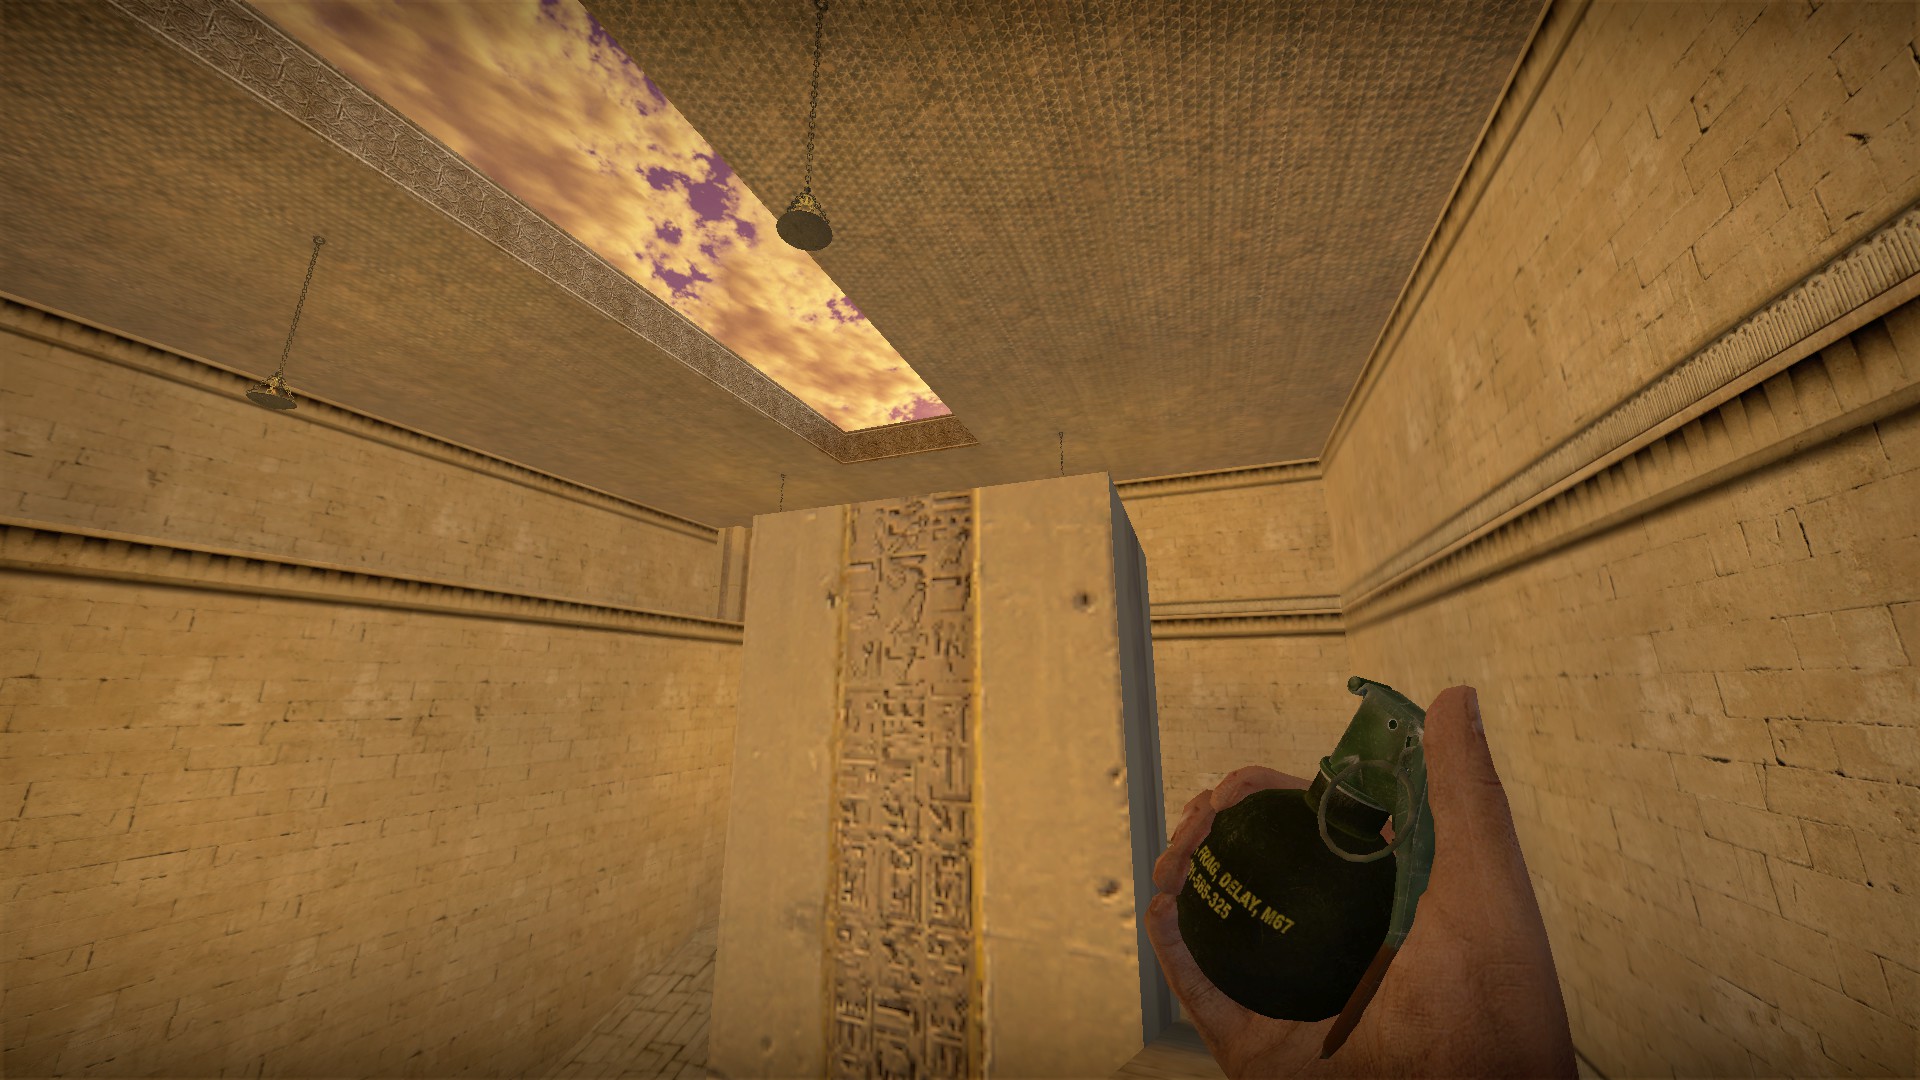
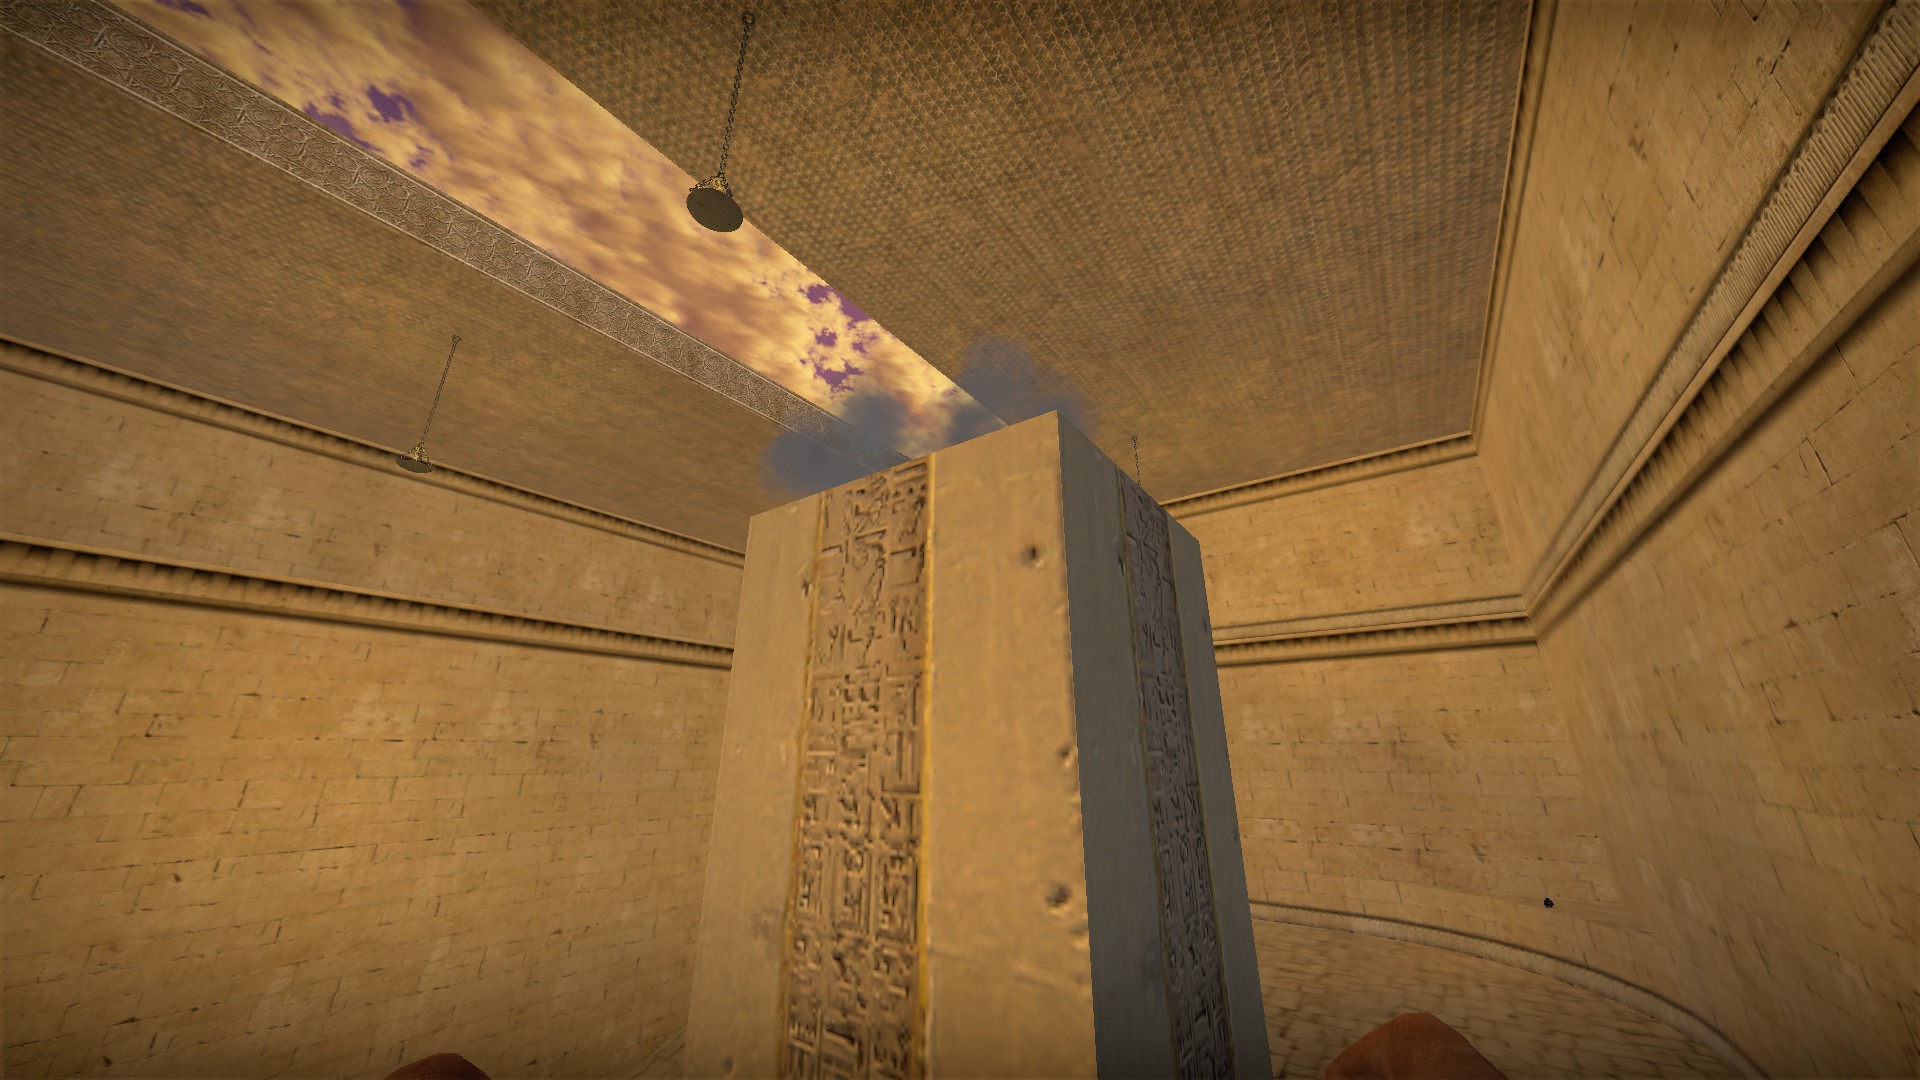
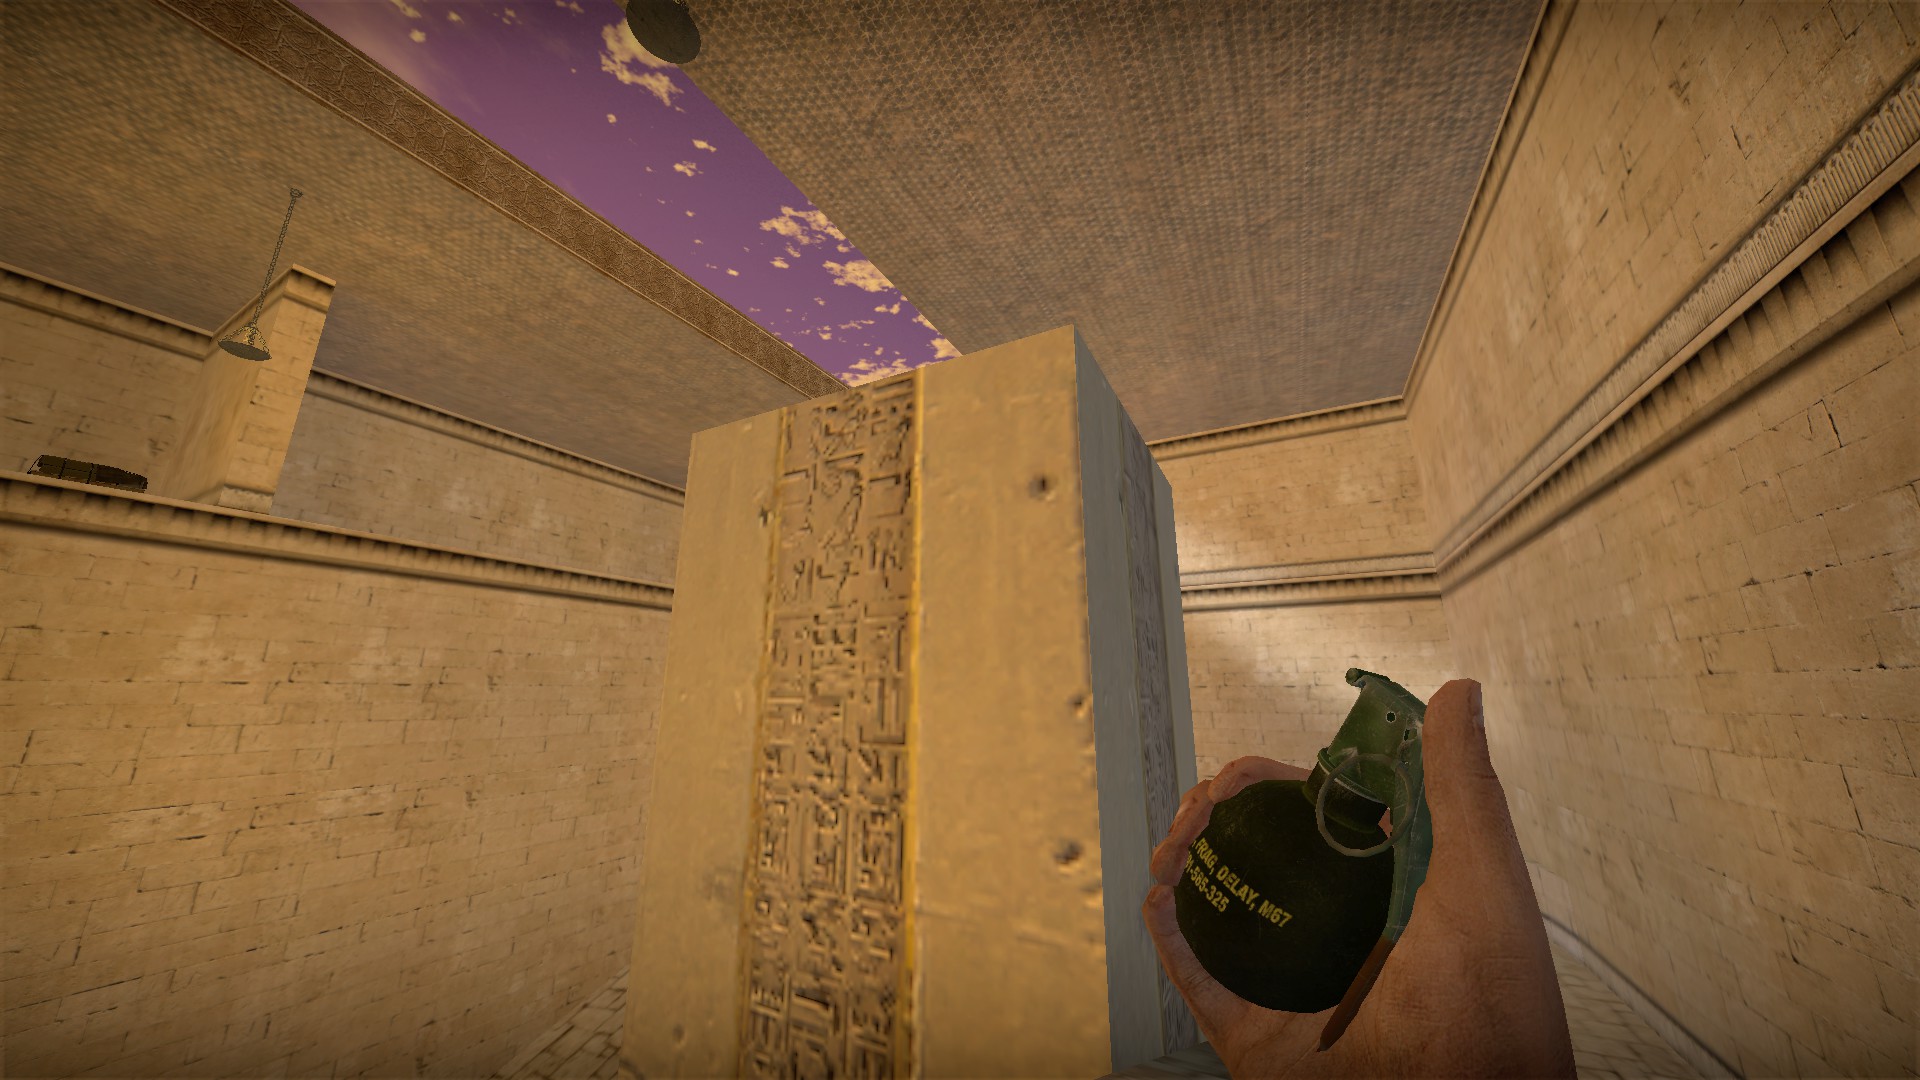
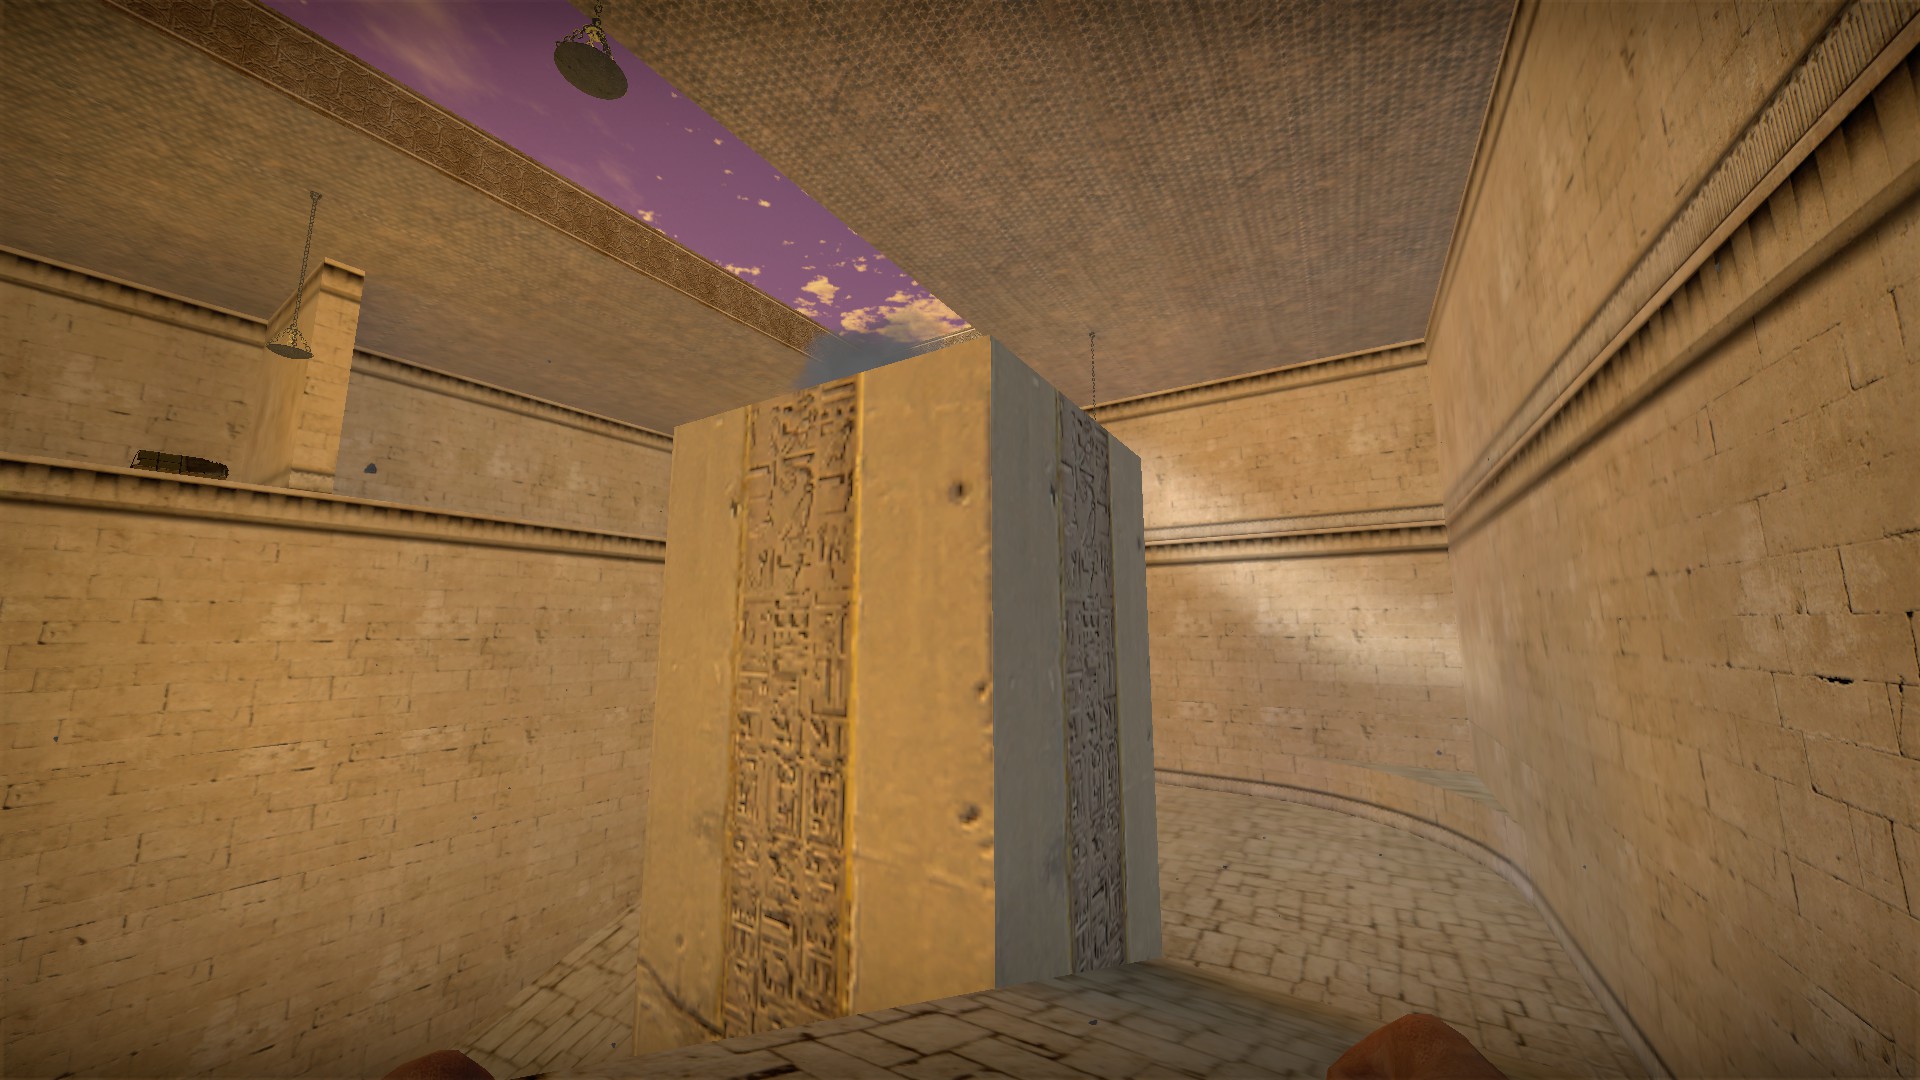
On top of the large pillar at both turns is a chainsaw. You will need to use grenades to knock them down. Throw the grenade a bit to the left to avoid knocking the saw down into the abyss
Found at start
Look up and press e to use. Unlike other custom music that typically plays over the game's normal music, the music machete here replaces it. Turn up your game music through the options menu to hear the music
Grenades
You will need to use explosives to knock down equipment. There is a supply of grenades at start
There is one more grenade under the first ledge, but after that there is only what you can scavenge from the zombies
Throw the grenades nearly straight up on the normal ledges to knock equipment down. There are 4 more machetes on the first ledge
Medkits
Medkits are on the edge of the ledges. You can use grenades to knock them down. You may want to do that with the first one as it also has 4 shots next to it. But you can also shoot kits down
Don't try to do this from the front, you will just knock the medkit to the middle of the ledge
Go past the medkit then turn around to shoot it
You can also get easy shots on later medkits from the early high ledge
2 Chainsaws
On top of the large pillar at both turns is a chainsaw. You will need to use grenades to knock them down. Throw the grenade a bit to the left to avoid knocking the saw down into the abyss
nmo_abra_dungeon_v3

At start, look for a machete underwater. Facing the dungeon, it's just under the second to last boat to the right


At the spinning blades trap, once any member of the team has gone through the trap and crossed into the next room part of the wall before the trap will collapse revealing a dead body with a medkit
nmo_abra_dungeon_v11
The machete is still there, but the spinning blades medpack secret from v3 has been replaced in v11

You need a full team and the whole team needs to vote for Hard on the boats


Just past the first objective, if you look into the spike pit you will notice a glowing yellow ball


Jump into this ball and you will be teleported to a small room with an altar that has a chainsaw and a zombie girl petting Maxwell the cat

Leave through the door and you will be teleported above the water at the start
You need a full team and the whole team needs to vote for Hard on the boats
Just past the first objective, if you look into the spike pit you will notice a glowing yellow ball
Jump into this ball and you will be teleported to a small room with an altar that has a chainsaw and a zombie girl petting Maxwell the cat
Leave through the door and you will be teleported above the water at the start
nmo_aftermath_v2t


There is a secret area in the vents

1337


At this respawn/resupply area, climb up the shelf supports to reach the items on top

Hang on to the welder as there are 4 weapon lockers to open with it, including one in the room where it is found

Look for another weapon locker outside

You can take the coffee pot from the underground area with you for a secret later


Near where you put out the fire (hang on to the extinguisher), break open a door for a secret area

There is another weapon locker in the sewer for the welder to open

And the last one is in the north wing

In the last hall after the arena, hold e on the middle door on the right

You can place the coffee pot here and a hand will grab it. Using the coffee pot will reduce the holdout time in the final area


In the final area, use the extinguisher for a secret room with a chainsaw and fuel
nmo_anxiety
Boss zombie

At the start, bring the stuffed giraffe through the map with you. It is very fragile like a bottle - hitting or dropping it will break it. Keep the welder from the first objective as well


Place the giraffe between the two stuffed bears

This will summon a boss zombie

The boss will drop a weapon box (bag) after it is killed
Traps and shutter

Don't step on the fallen bear in this area, or its squeak will draw a group of runners that will break out of a nearby shutter


Just past the boss area, use the welder on a shutter for another weapon box

Don't shoot or touch this car outside or the alarm will go off and summon runners
Sniper stash


If you go down the street from where the ladder is placed. You can break the fence and go up the ladder behind for a sniper stash

You can only reach this area after the ladder has been placed. Placing the one in the objective will place another ladder here
Pharmacy

At the gun store, take the fire extinguisher with you


You can use the extinguisher to put out the fire in front of the pharmacy. The fire does not always render

The pharmacy has a few med items and a firearm
At the start, bring the stuffed giraffe through the map with you. It is very fragile like a bottle - hitting or dropping it will break it. Keep the welder from the first objective as well
Place the giraffe between the two stuffed bears
This will summon a boss zombie
The boss will drop a weapon box (bag) after it is killed
Traps and shutter
Don't step on the fallen bear in this area, or its squeak will draw a group of runners that will break out of a nearby shutter
Just past the boss area, use the welder on a shutter for another weapon box
Don't shoot or touch this car outside or the alarm will go off and summon runners
Sniper stash
If you go down the street from where the ladder is placed. You can break the fence and go up the ladder behind for a sniper stash
You can only reach this area after the ladder has been placed. Placing the one in the objective will place another ladder here
Pharmacy
At the gun store, take the fire extinguisher with you
You can use the extinguisher to put out the fire in front of the pharmacy. The fire does not always render
The pharmacy has a few med items and a firearm
nmo_anxiety_classic_v1


A door in the starting area won't open because it is blocked by a board on the other side


Use a .357, .308 or molotov to break the board for a weapon box

You can bring the melon at start with you

Press e on the green soda machine and a seagull will appear. Bring him through the map with you


At the respawn, break the wall next to the weapon box for another weapon box


Just before leaving the underground, weld a shutter for another weapon box


As you bring the seagull up the steps to the outside, he will fly away

You will be rewarded with a hovercraft for freeing the seagull

Climb in and press e and wait for your hands to disappear. Lmb will lift the craft and wasd will steer. Don't jump out up high


If you brought the melon you can place it in the restaurant. It does not do anything however


You can reach the sniper stash, but will need to place the ladder first. In anxiety classic, the ladder can place in either spot and a ladder will be placed in both spots

You will find a blue key on the slide in the playground. Bring it with you


Weld the back door of the gun store to access a weapon box in the alley behind the store


Use the blue key just before you reach the hospital for another weapon box


In the parking lot of the hospital, you can jump on top of the dumpster and then through the windows for an easter egg and a random item or two
nmo_aoraitsu_m2
Credit to Kurumi for the secrets of this map
Developer room

Just above the starting area. You will need to noclip here


There are several buttons here but only one works


The button for the ep2 laser challenge works to allow players to practice
Secret healing machete


You can jump into this extra cherry tree on the 3rd stage (ep2). Jump from the corner on the 2f, it is very difficult in single jump

You will be teleported back to the start of that area, just as you will be if you fall, but you will get the message: Something change...?

A green square machete will appear later in the stage

Look up and press e to use. It will heal you and nearby players 80-90 hp over 6 seconds and will make players have a new max hp of 160, which is heal-able

60 second recharge. When the green square returns, the ability can be used again
Health items during laser event


You can pick up health items during the final event. Air cube's (the green arrows) will add 70hp and the red X's will add 50 hp
Developer room
Just above the starting area. You will need to noclip here
There are several buttons here but only one works
The button for the ep2 laser challenge works to allow players to practice
Secret healing machete
You can jump into this extra cherry tree on the 3rd stage (ep2). Jump from the corner on the 2f, it is very difficult in single jump
You will be teleported back to the start of that area, just as you will be if you fall, but you will get the message: Something change...?
A green square machete will appear later in the stage
Look up and press e to use. It will heal you and nearby players 80-90 hp over 6 seconds and will make players have a new max hp of 160, which is heal-able
60 second recharge. When the green square returns, the ability can be used again
Health items during laser event
You can pick up health items during the final event. Air cube's (the green arrows) will add 70hp and the red X's will add 50 hp
nmo_arcana_heart_v6
No fall damage, 150 hp base

Start with 150 hp and it is heal-able
Alternate stage 3's
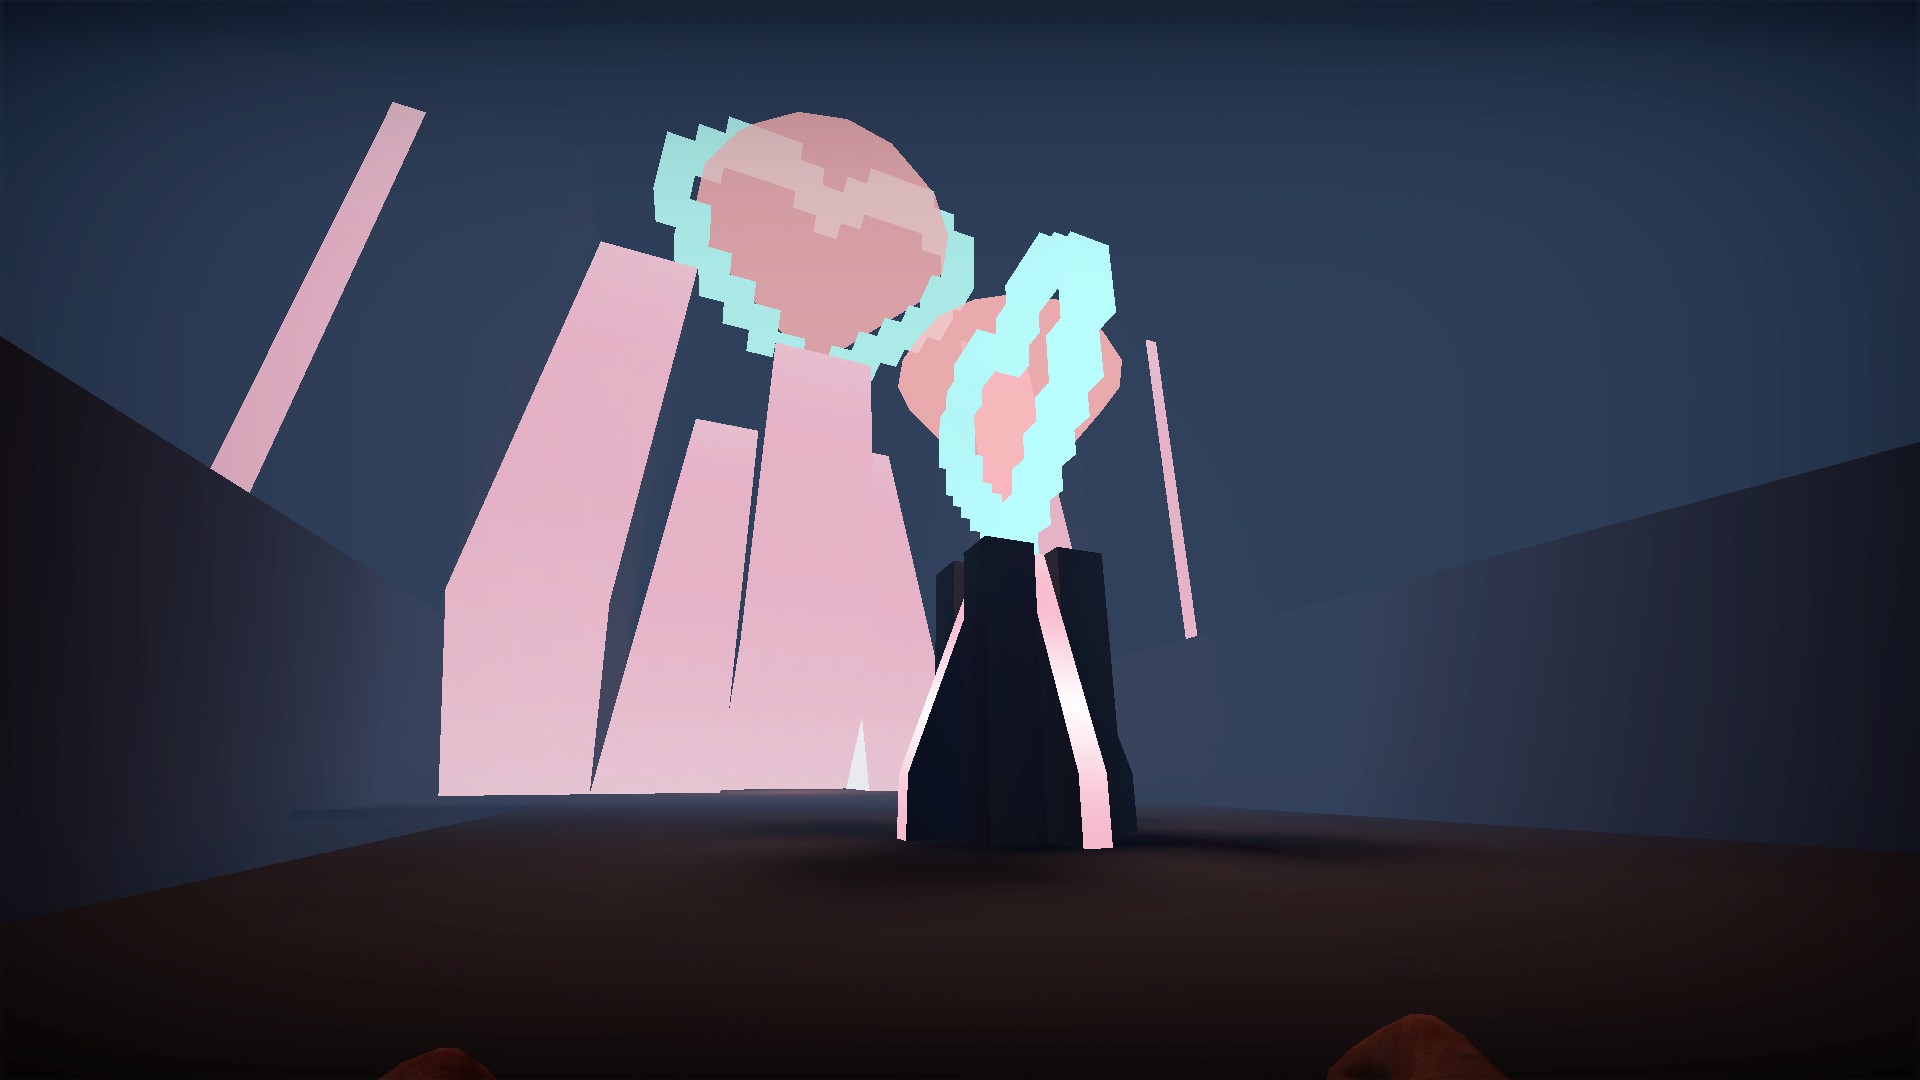
When you get to the end of stage 2, 2 events may happen. If you get a zombie horde, only the door on the top will open. If you need to destroy the crystal, 2 doors will open and you can choose your stage 3
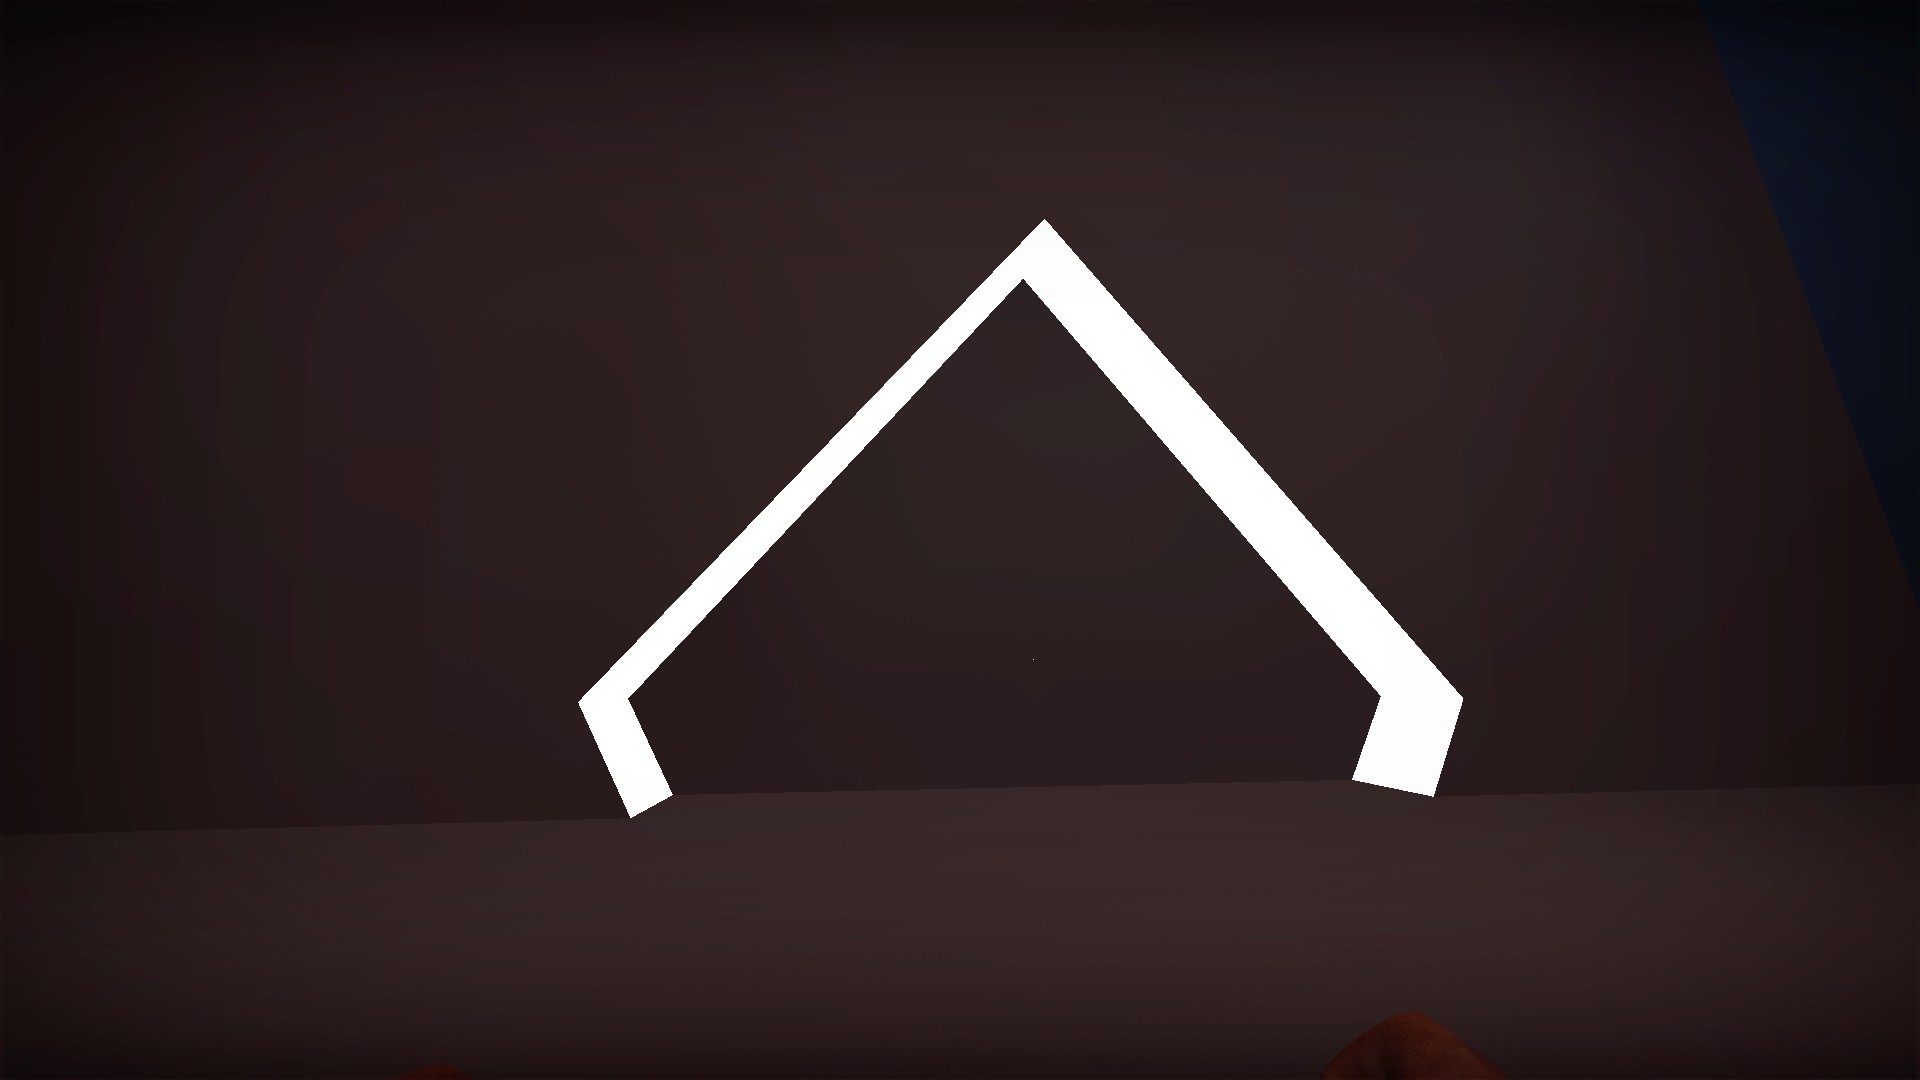
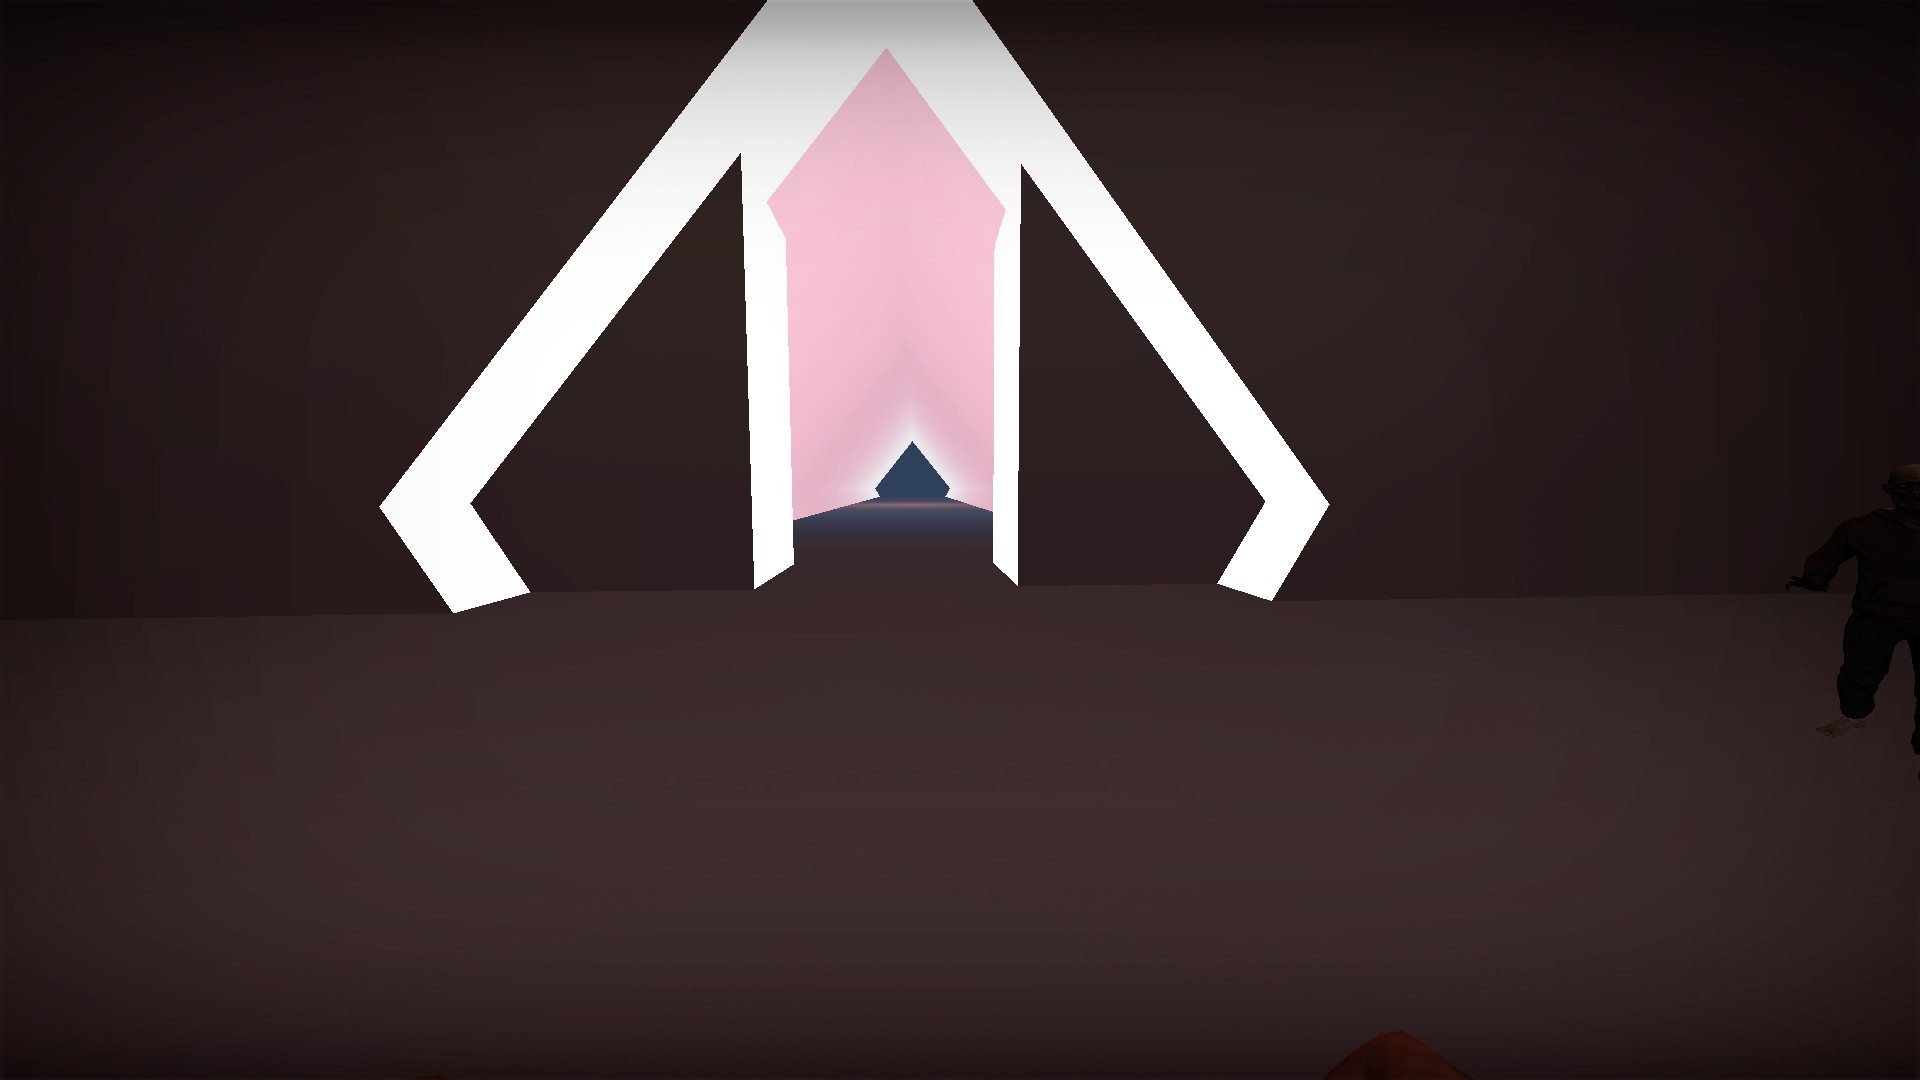
If you drop down and go through the door you passed earlier, you will extract to stage 2-f
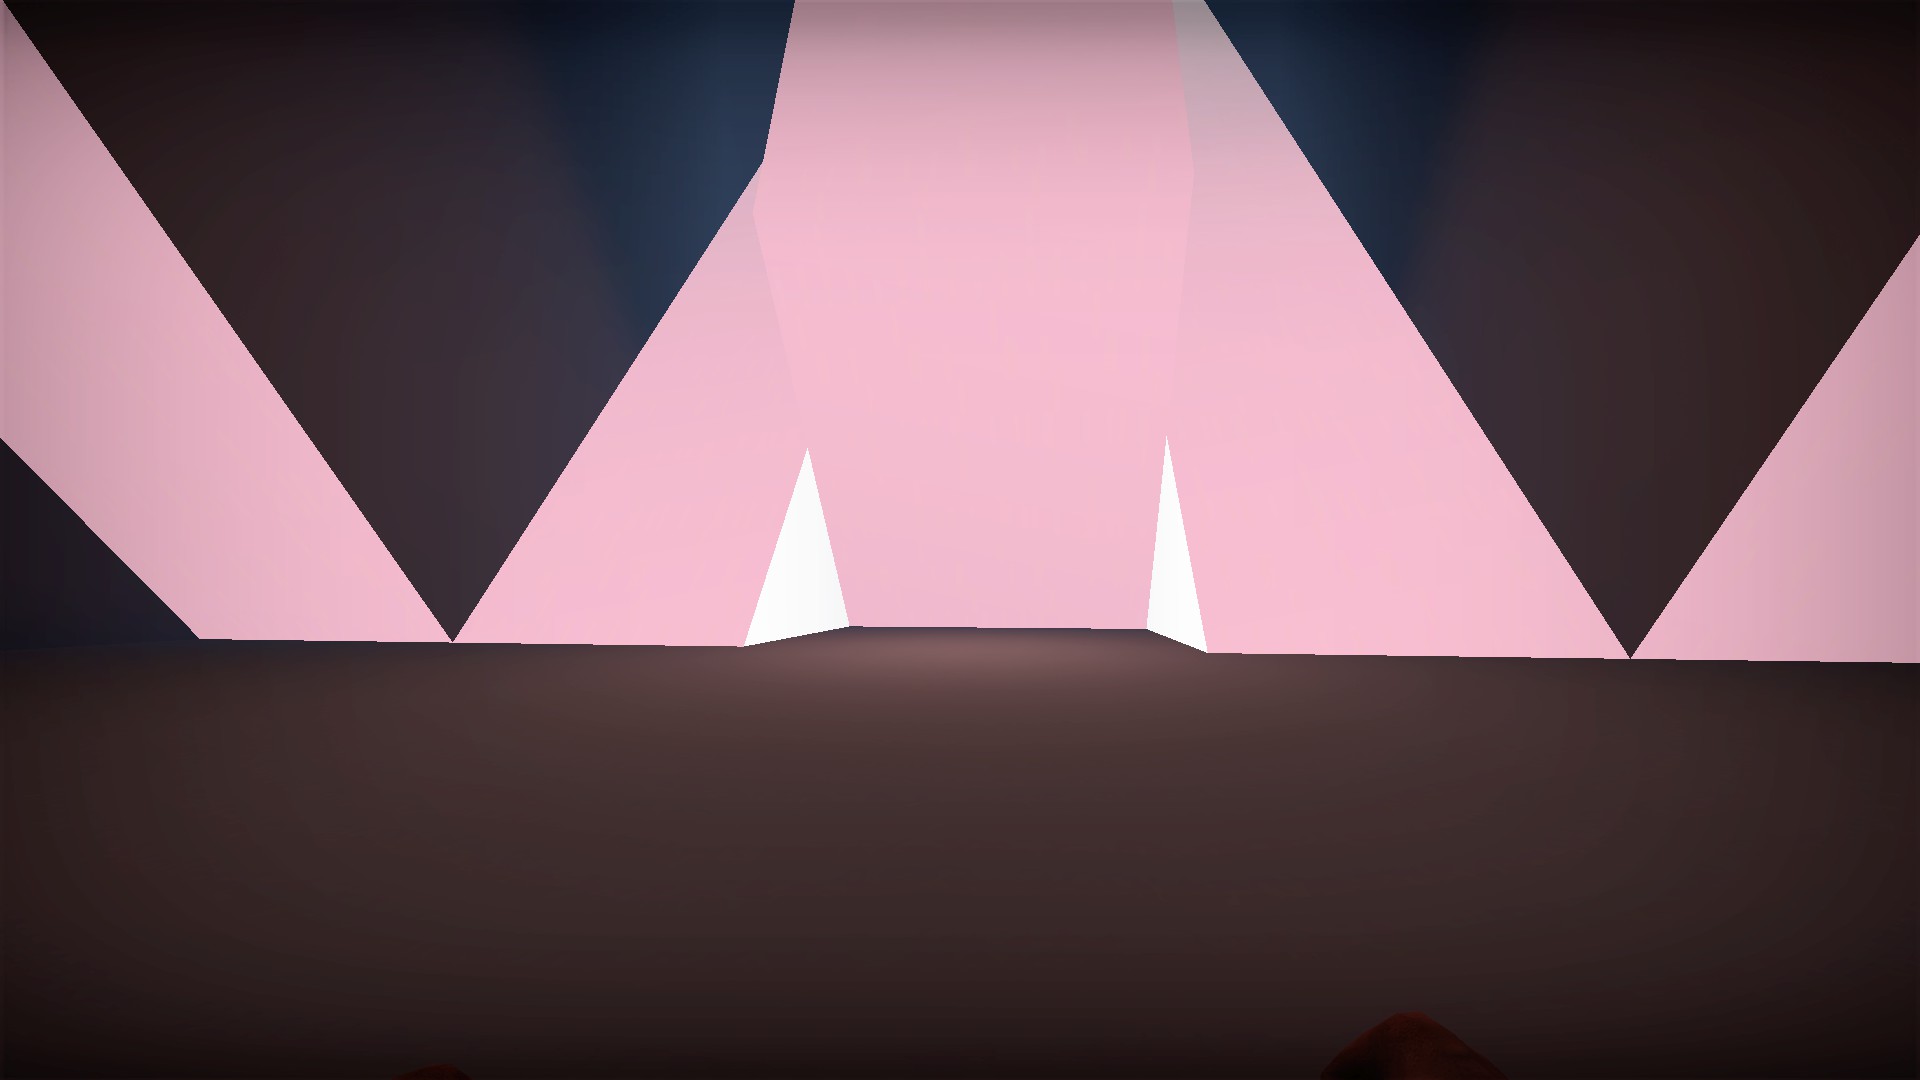
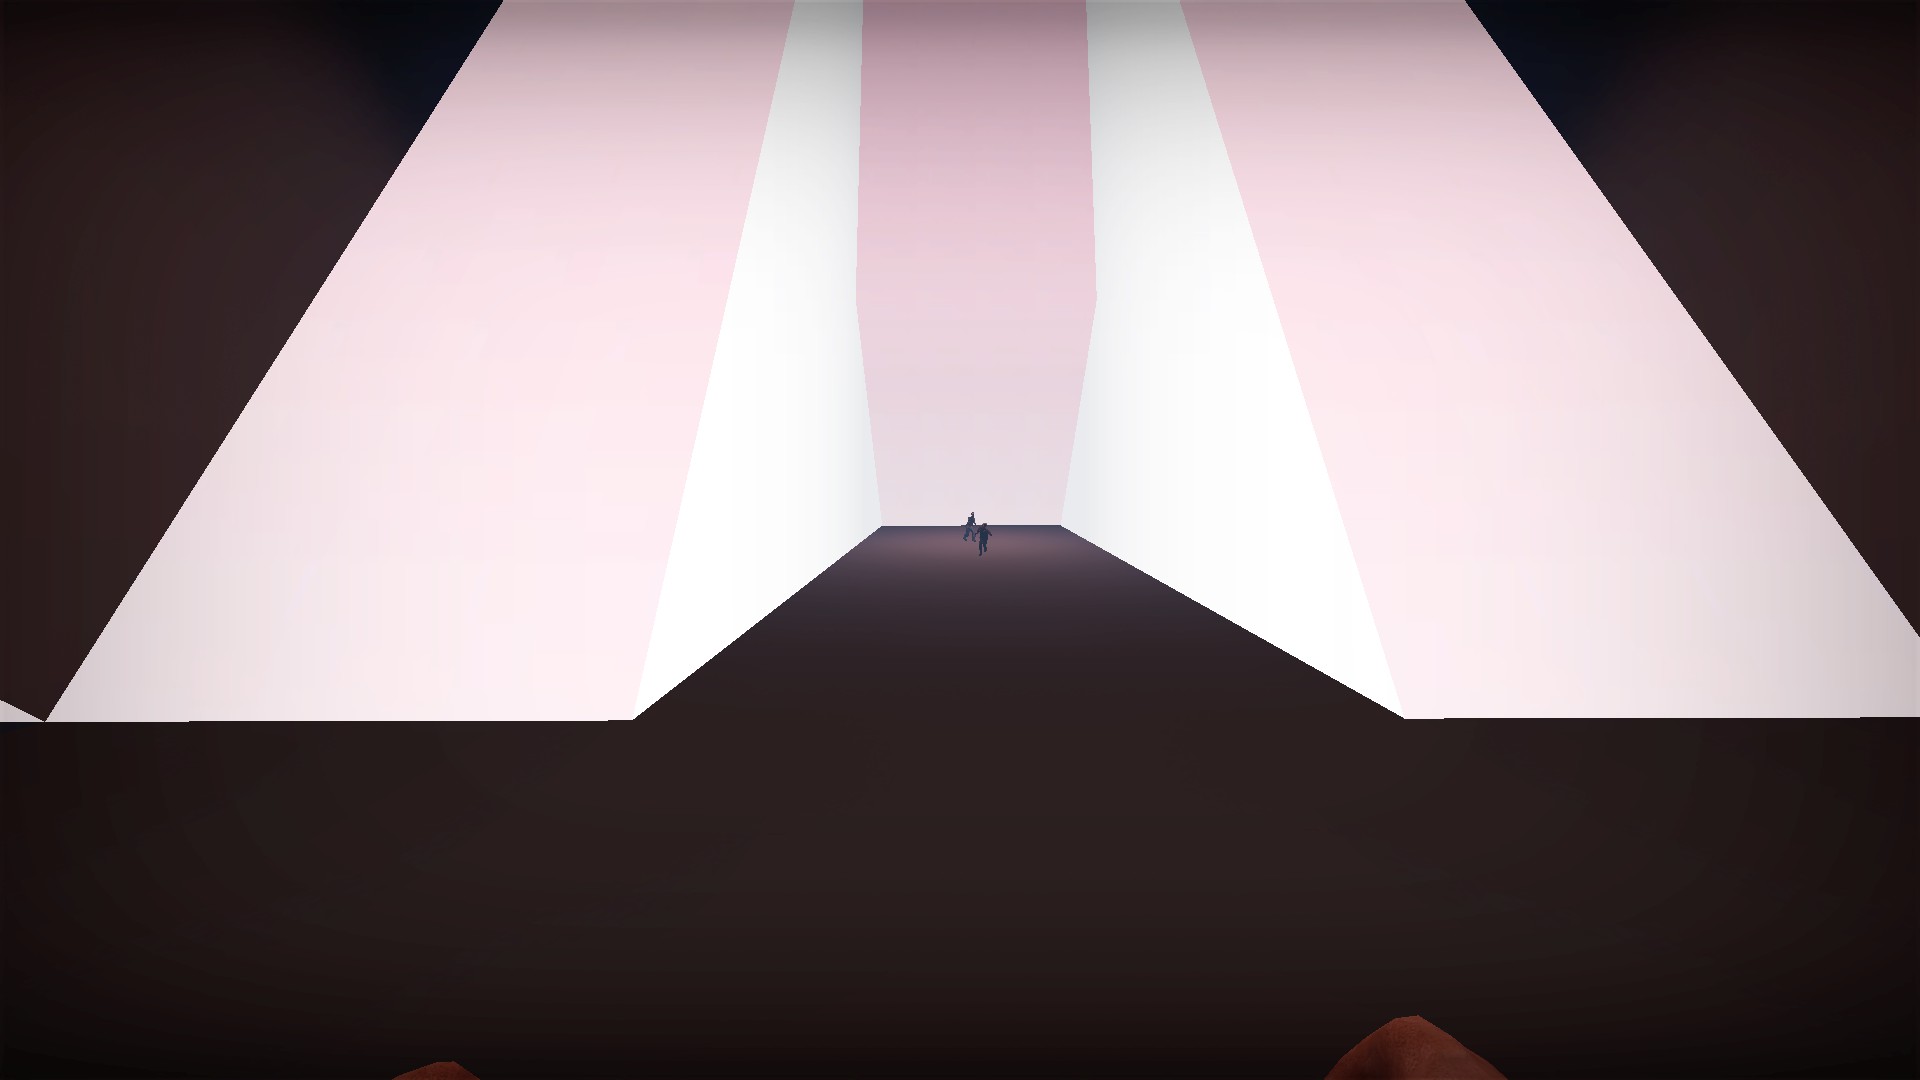
If you stay up top, the entryway there will open and you will extract to stage 2-t
Each alternate stage 3 has its own boss fight and is followed by its own survival stage
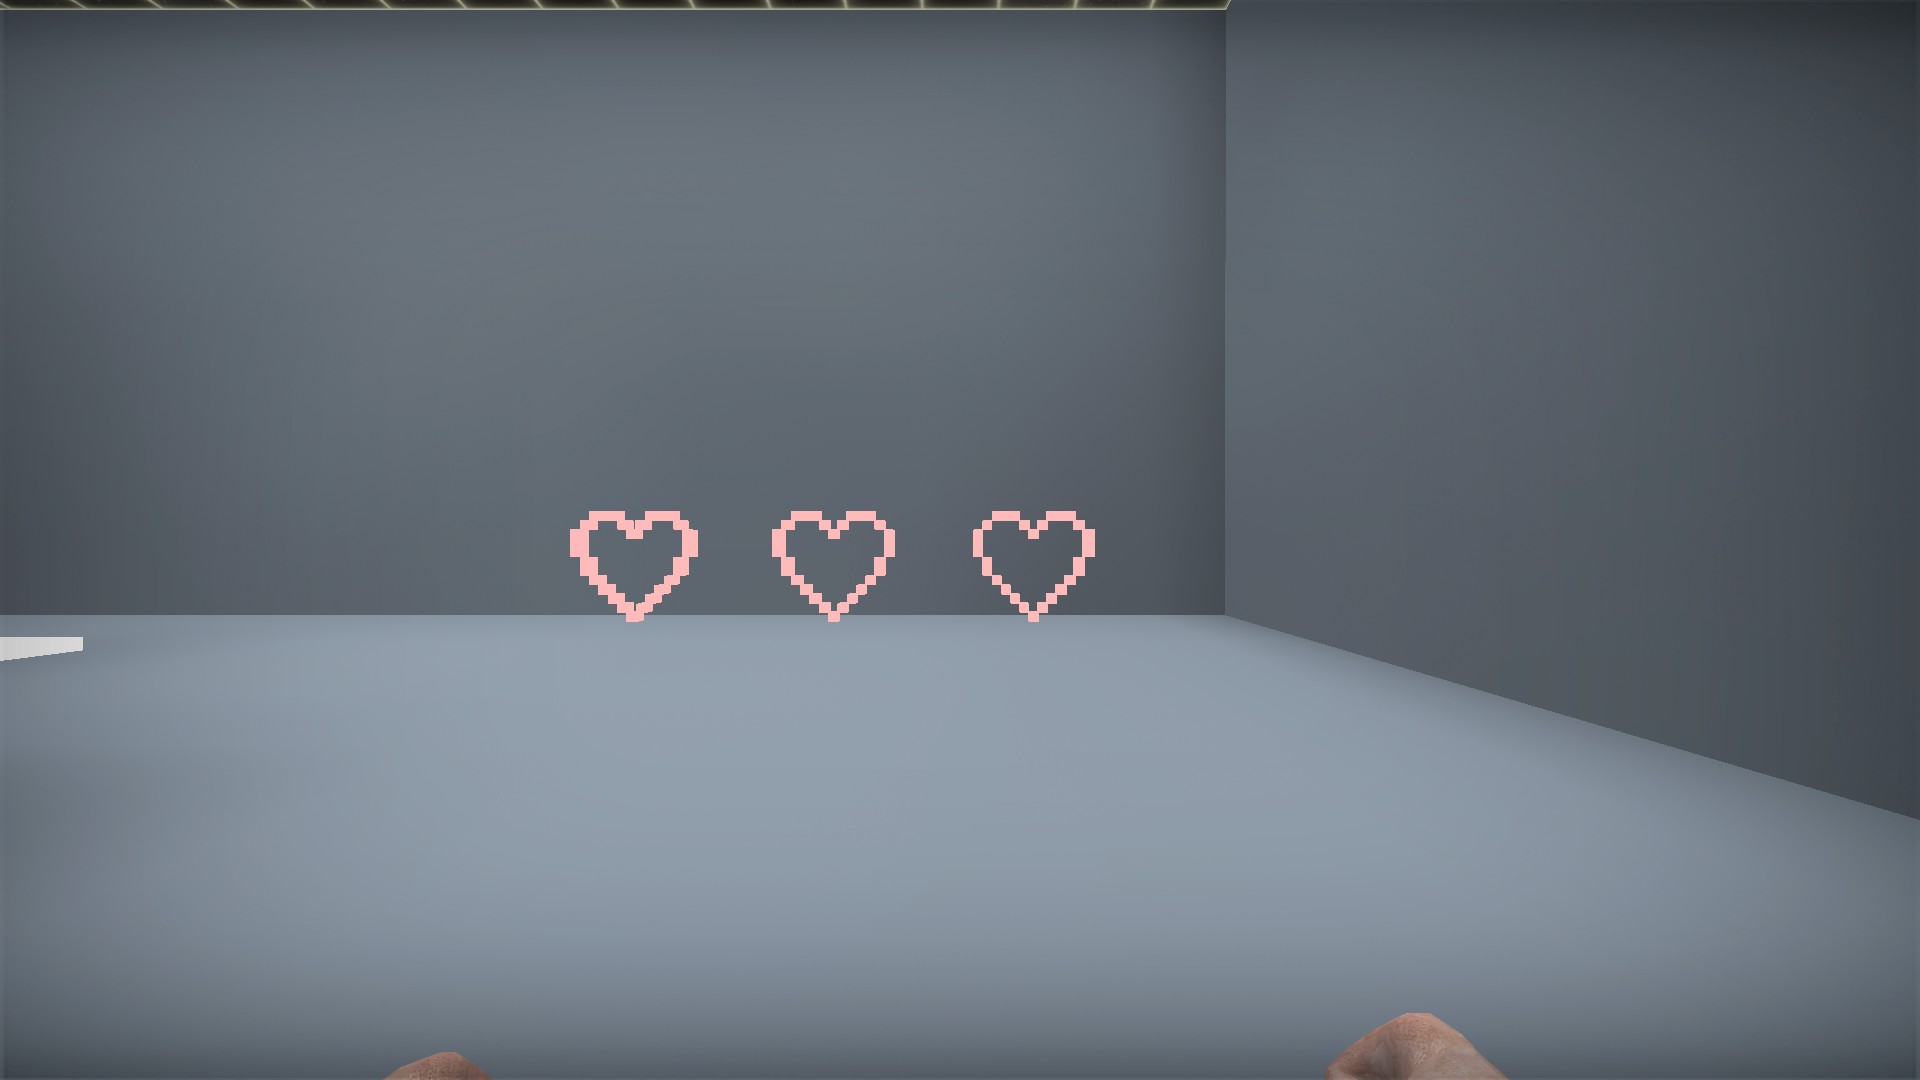
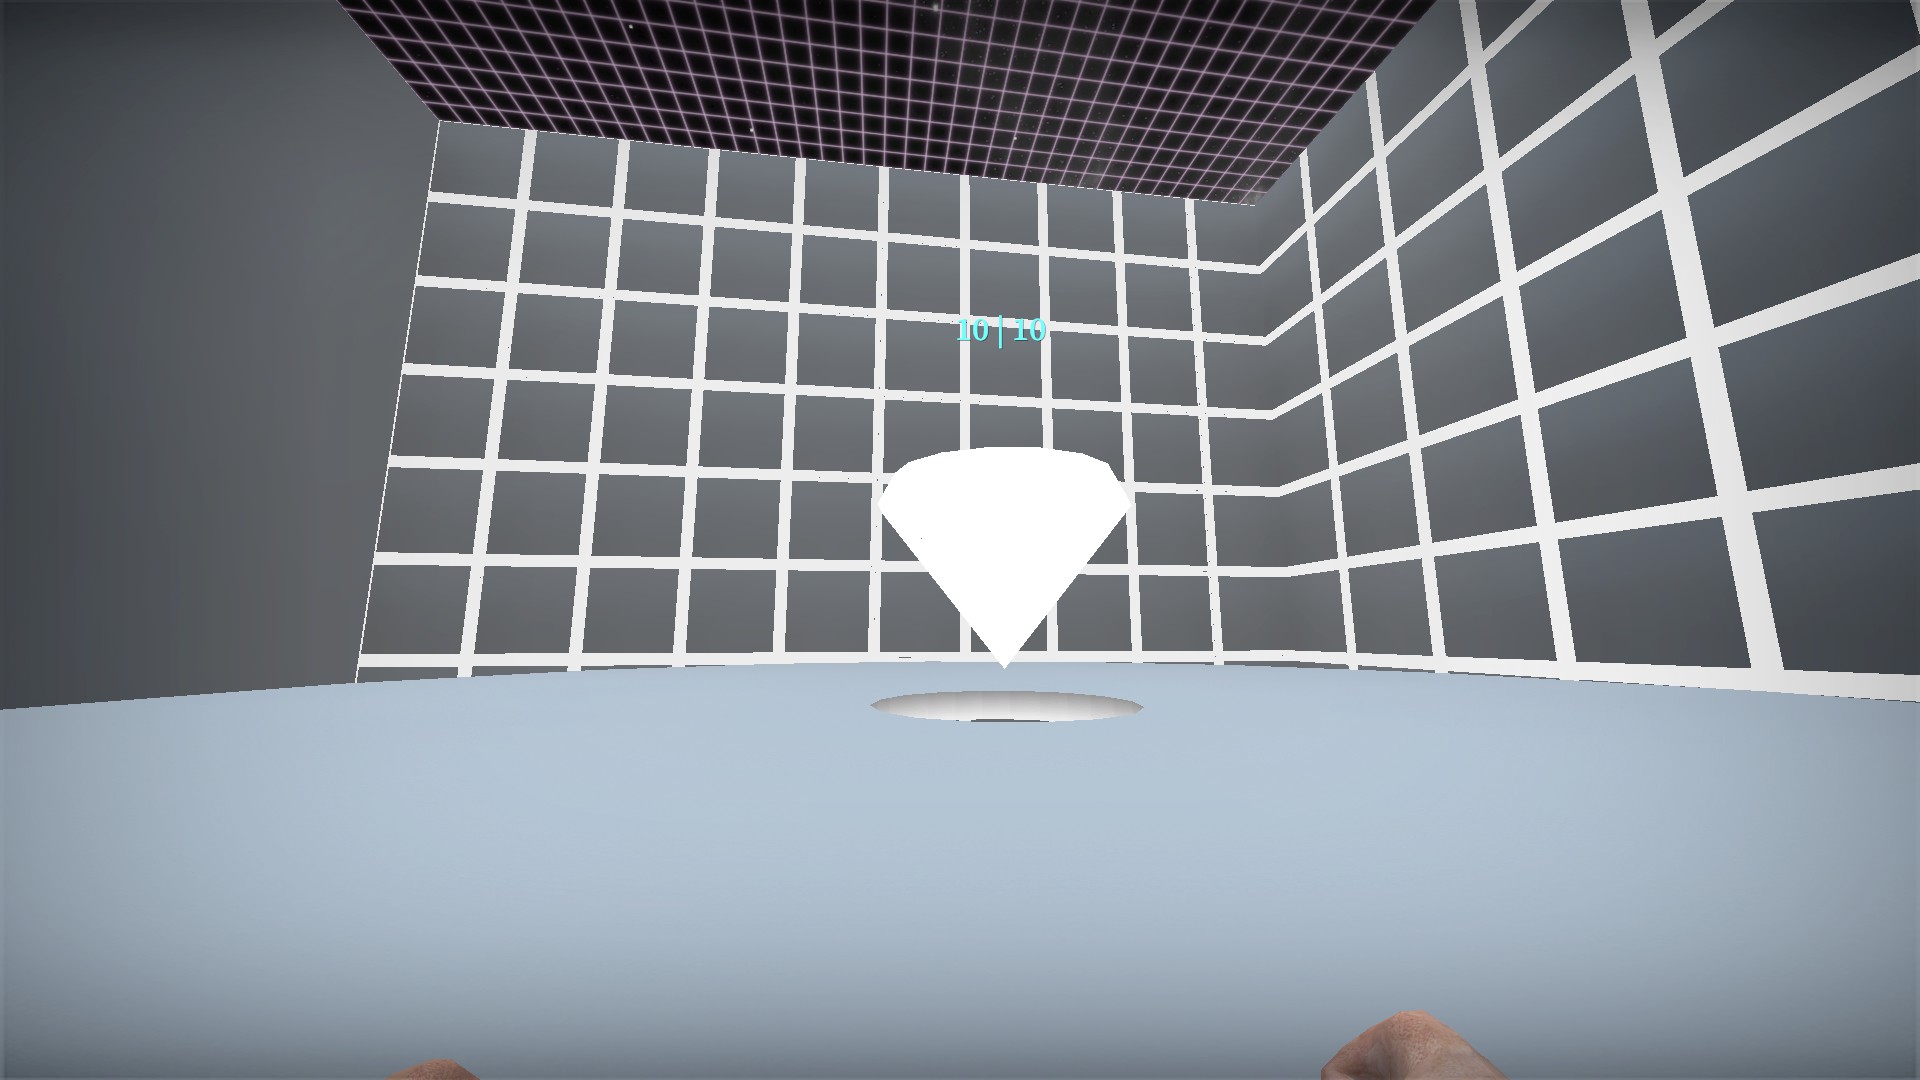
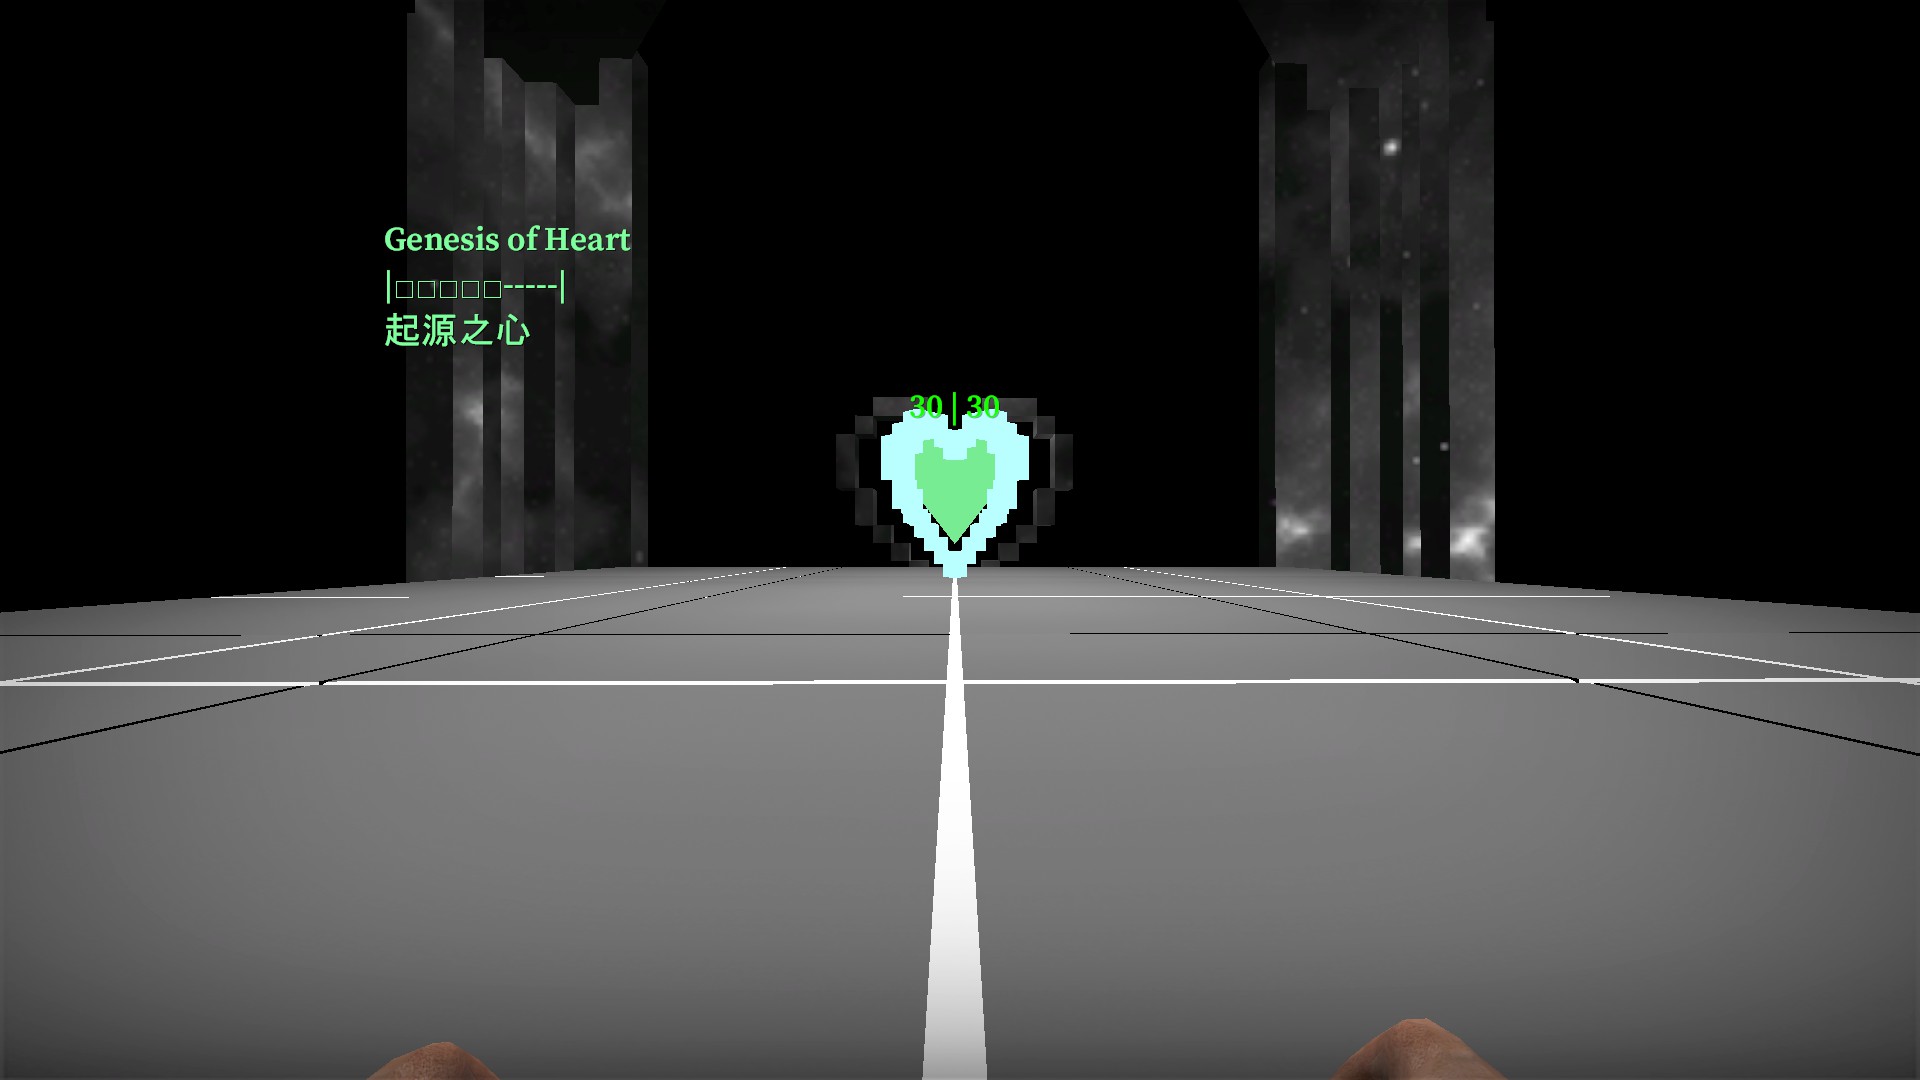
Stage 2-f is gray
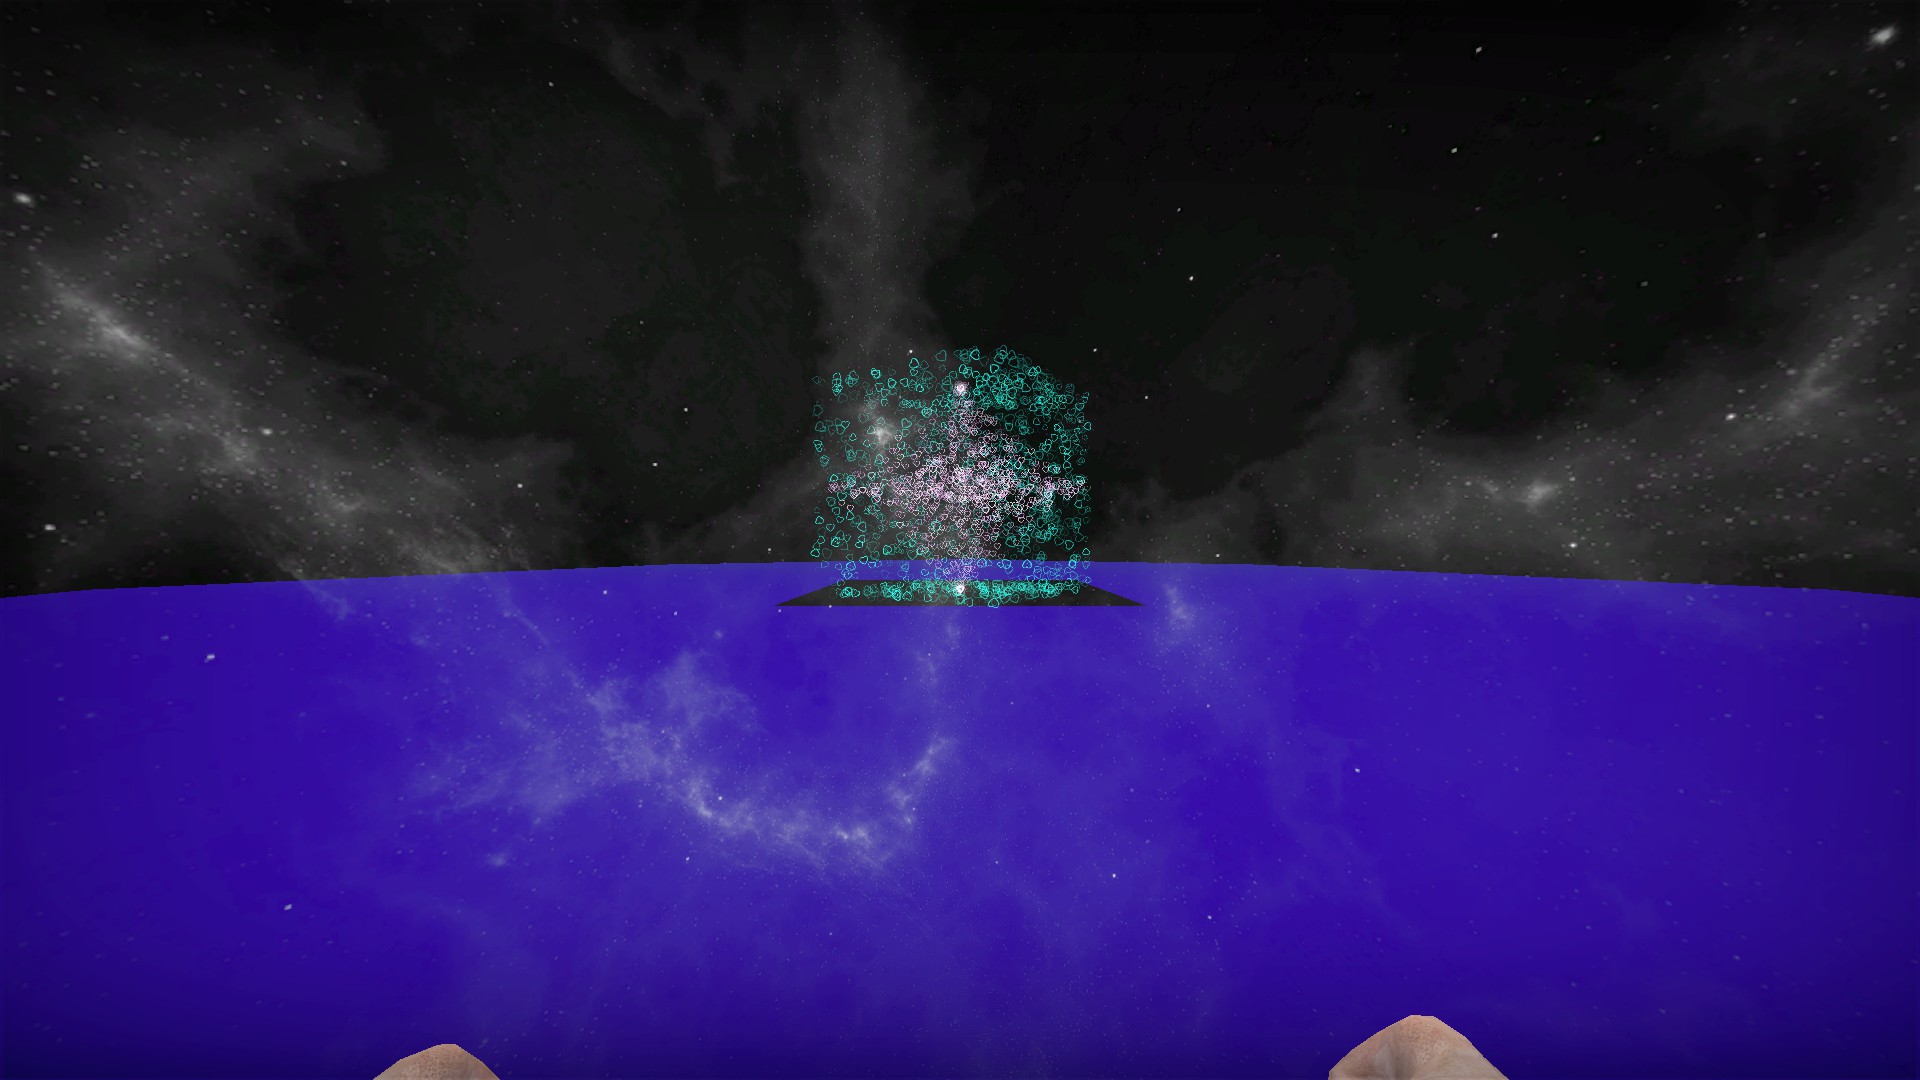
It is followed by survival stage Ex
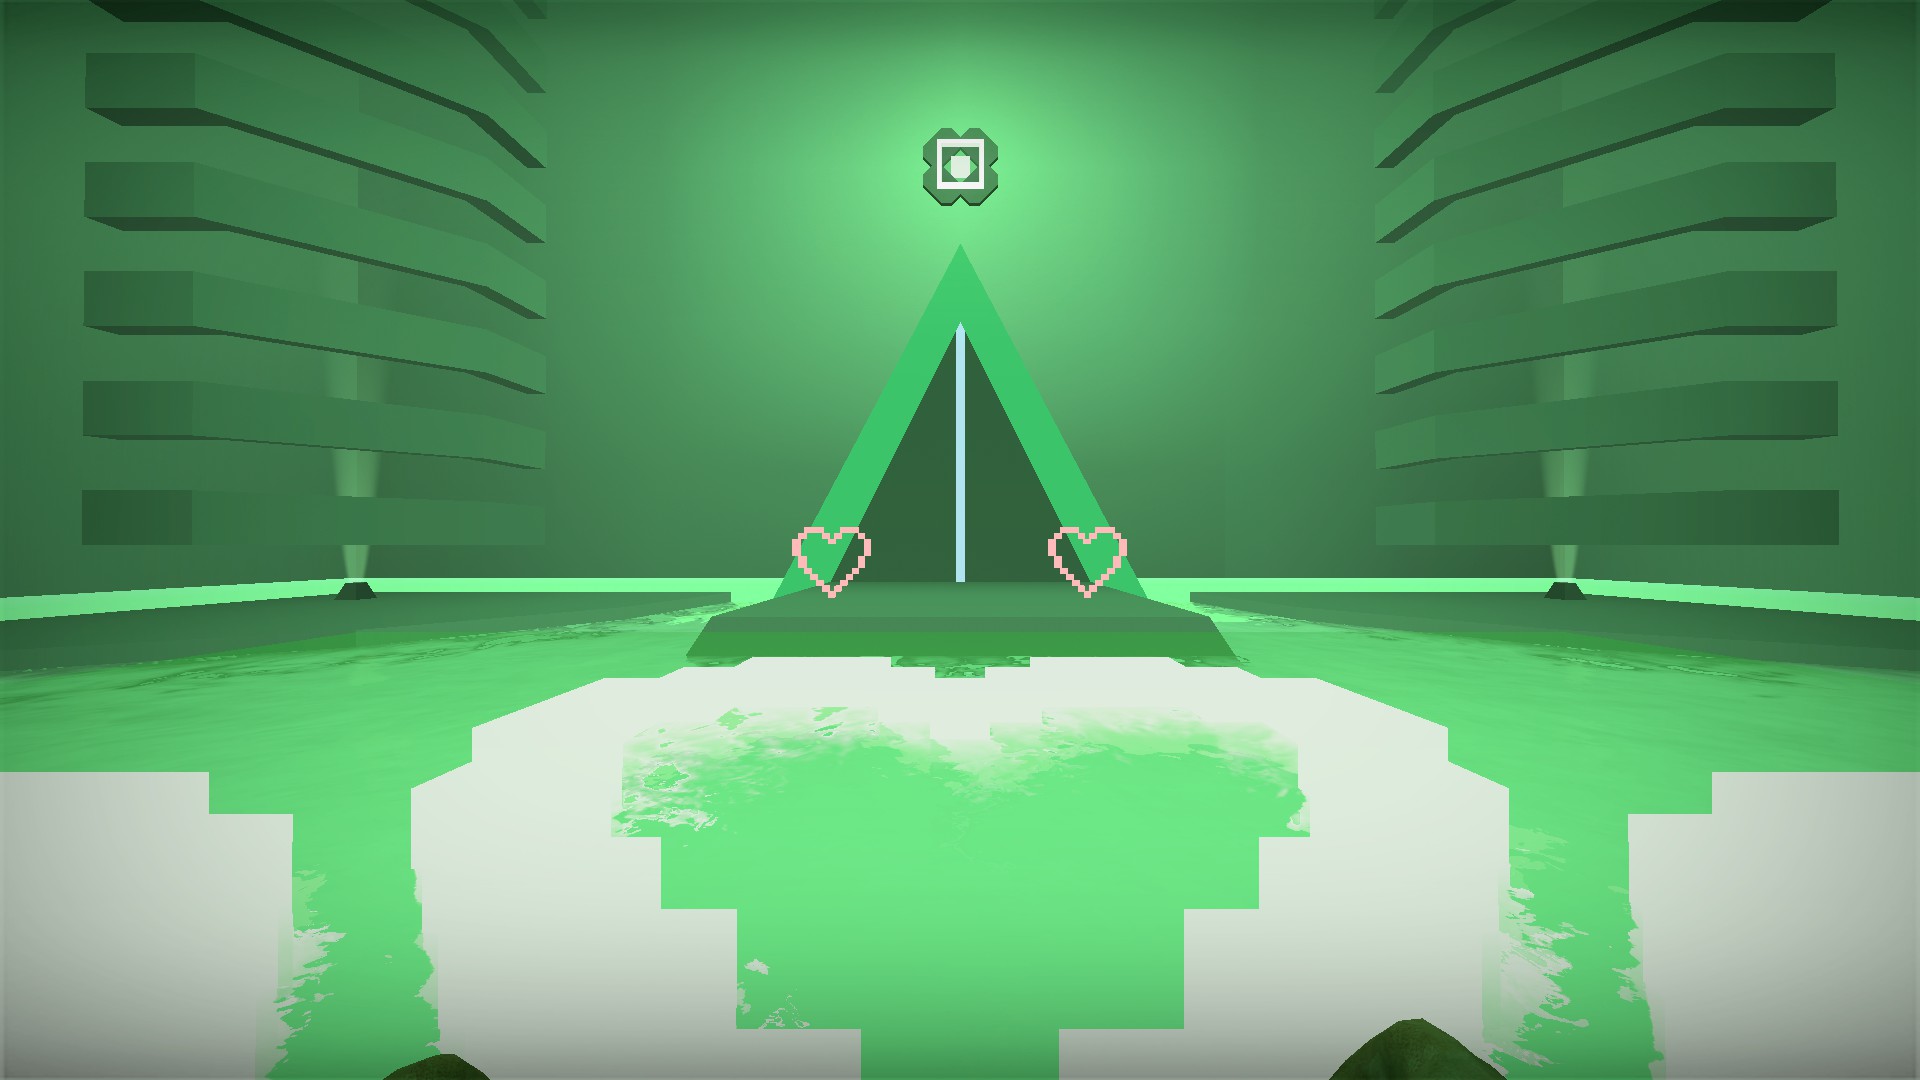
Stage 2-t is green and has a stronger boss
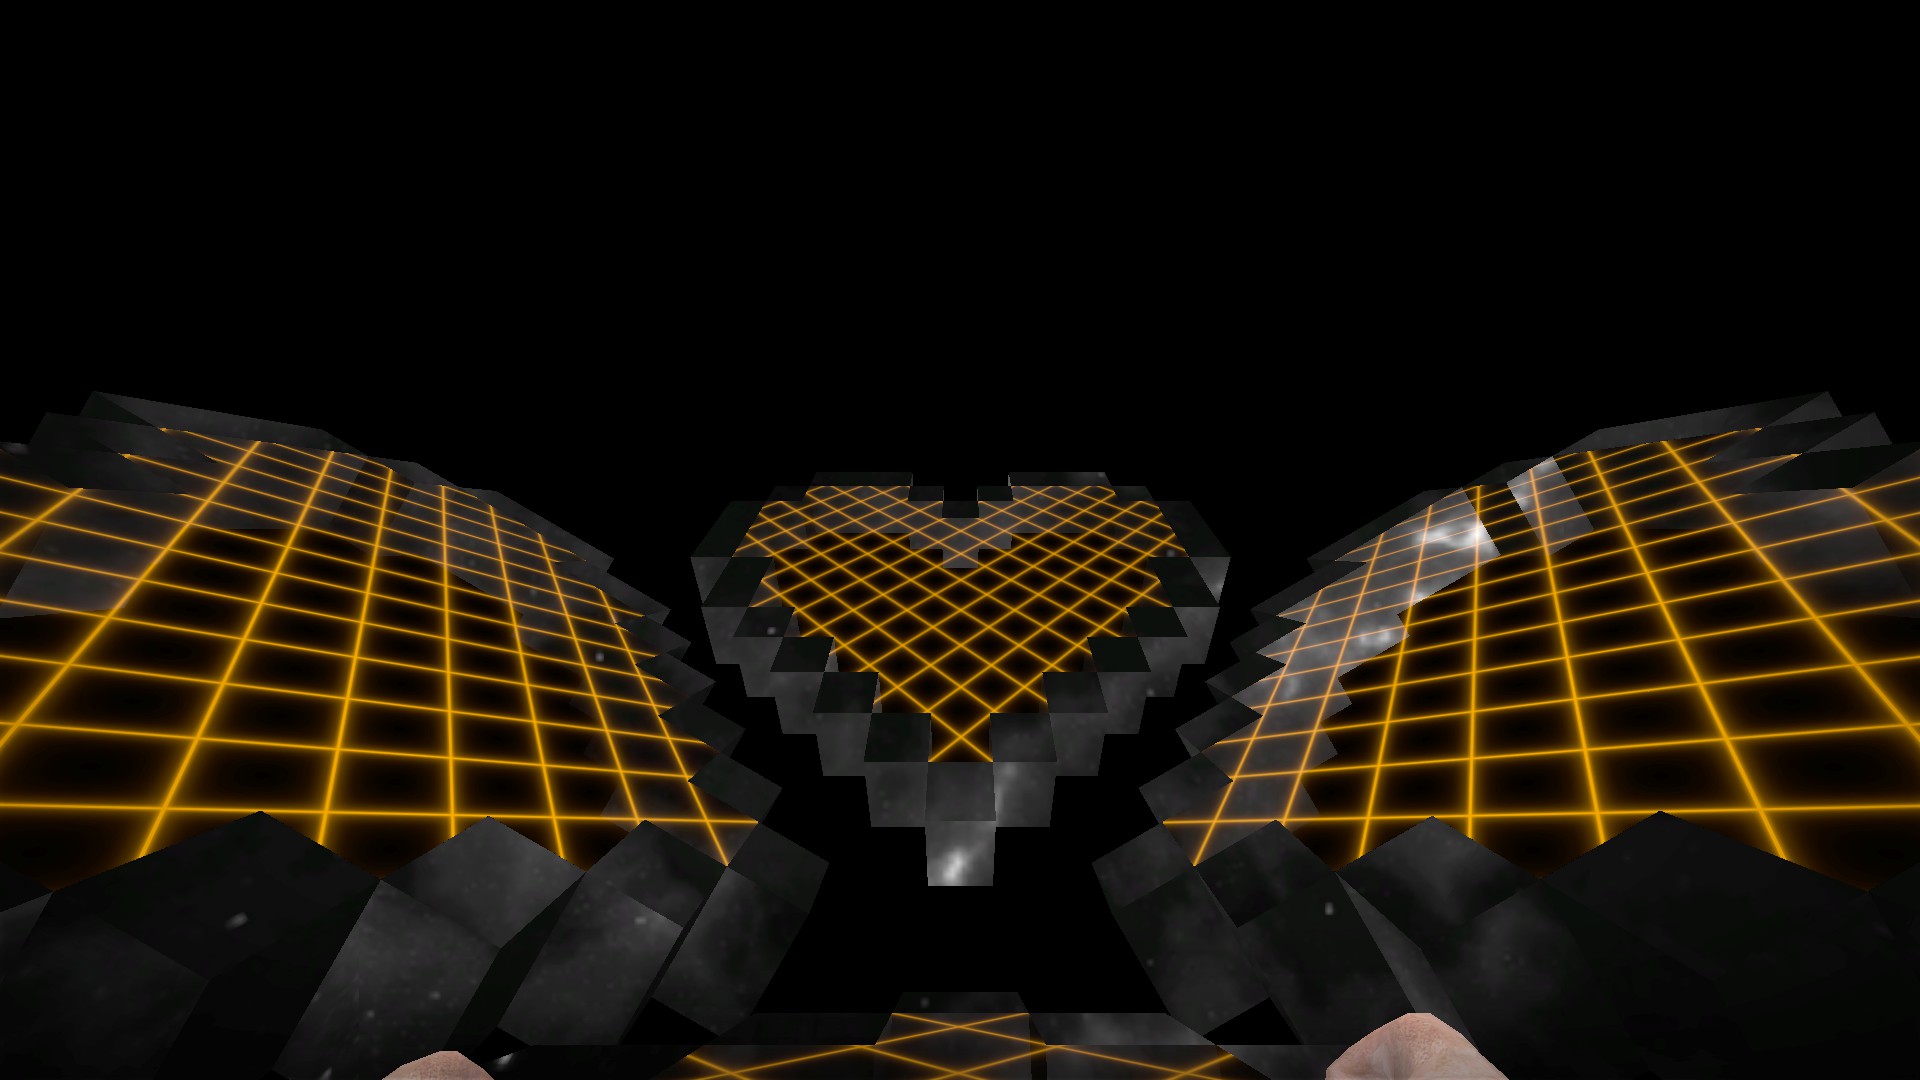
It is followed by the survival stage Ex*
You can switch to the other alternate stages after completing the survival stage
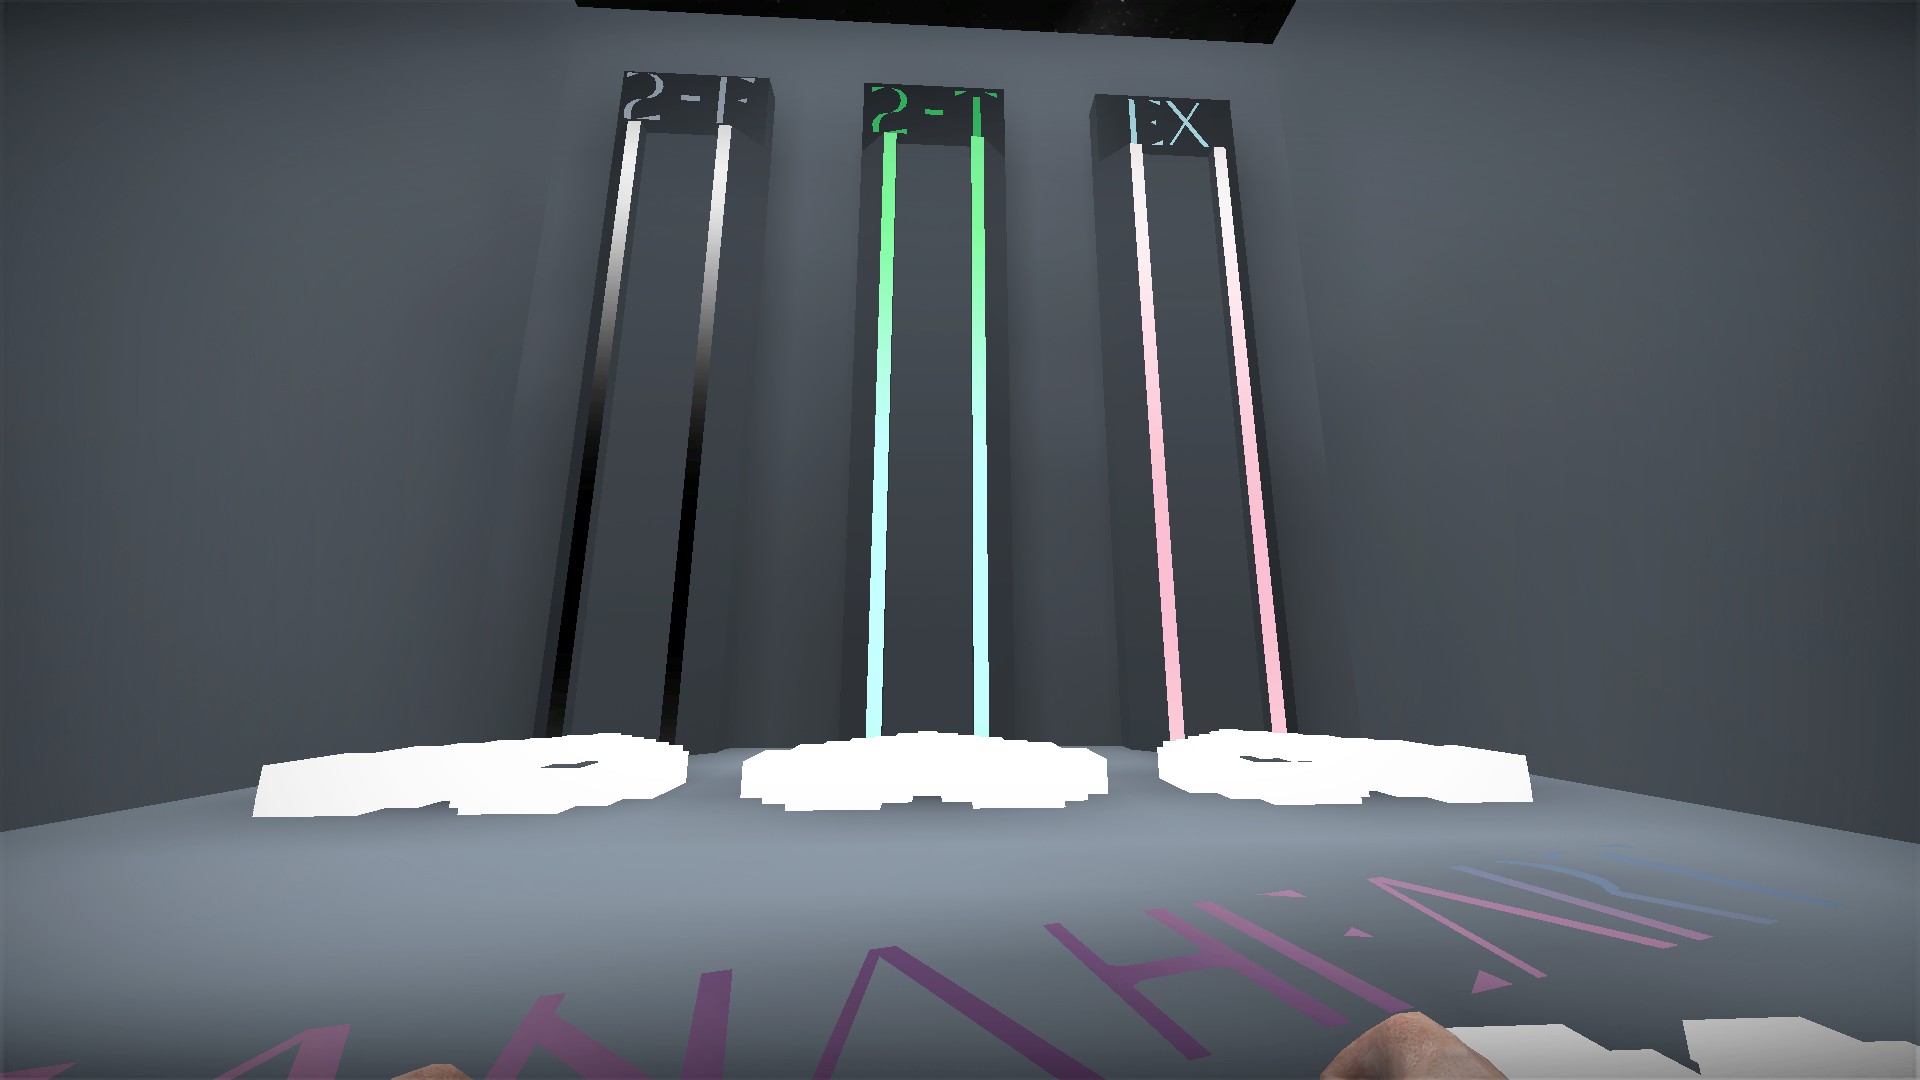
After completing stage Ex once, or Ex* twice, you will be brought to this room. You can change to 2-f, 2-t, or Ex. So you can play all 6 stages in a single run
Developer room
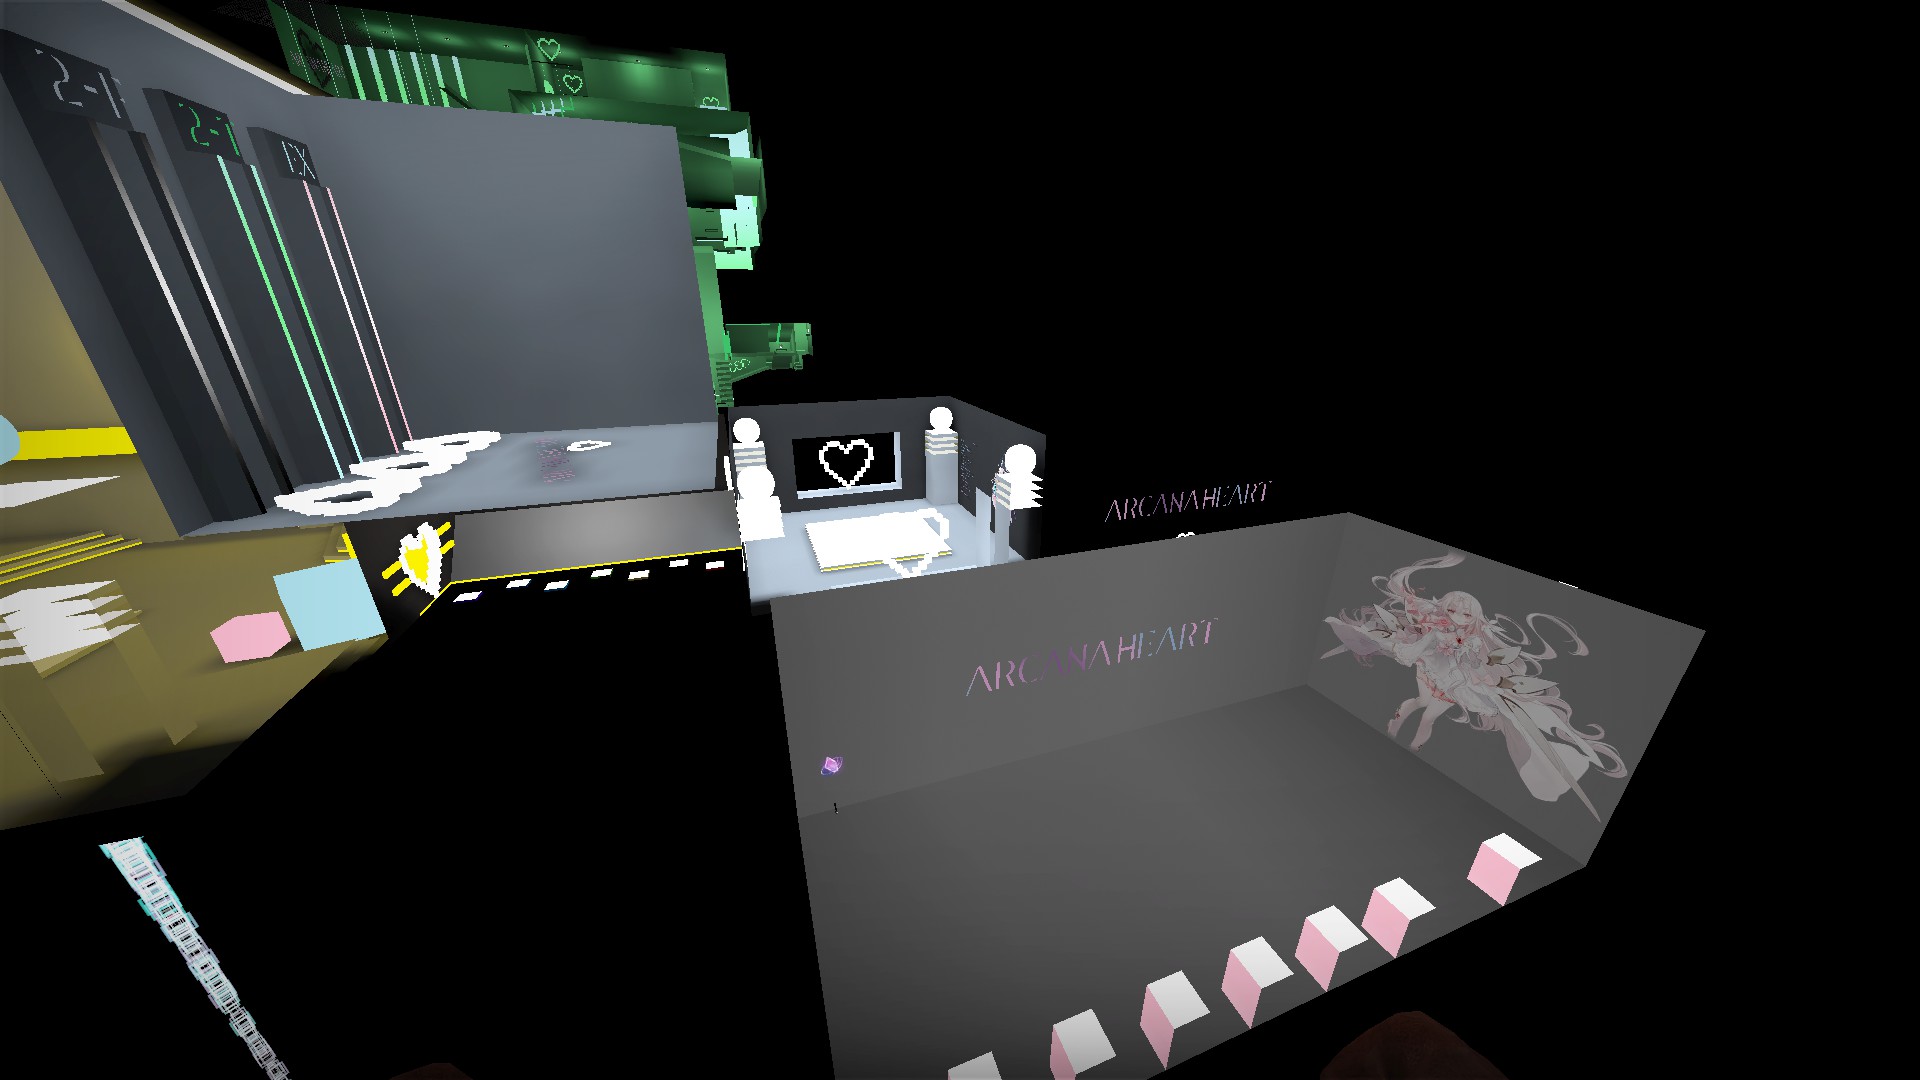
To the left of the starting area. You will need to noclip here
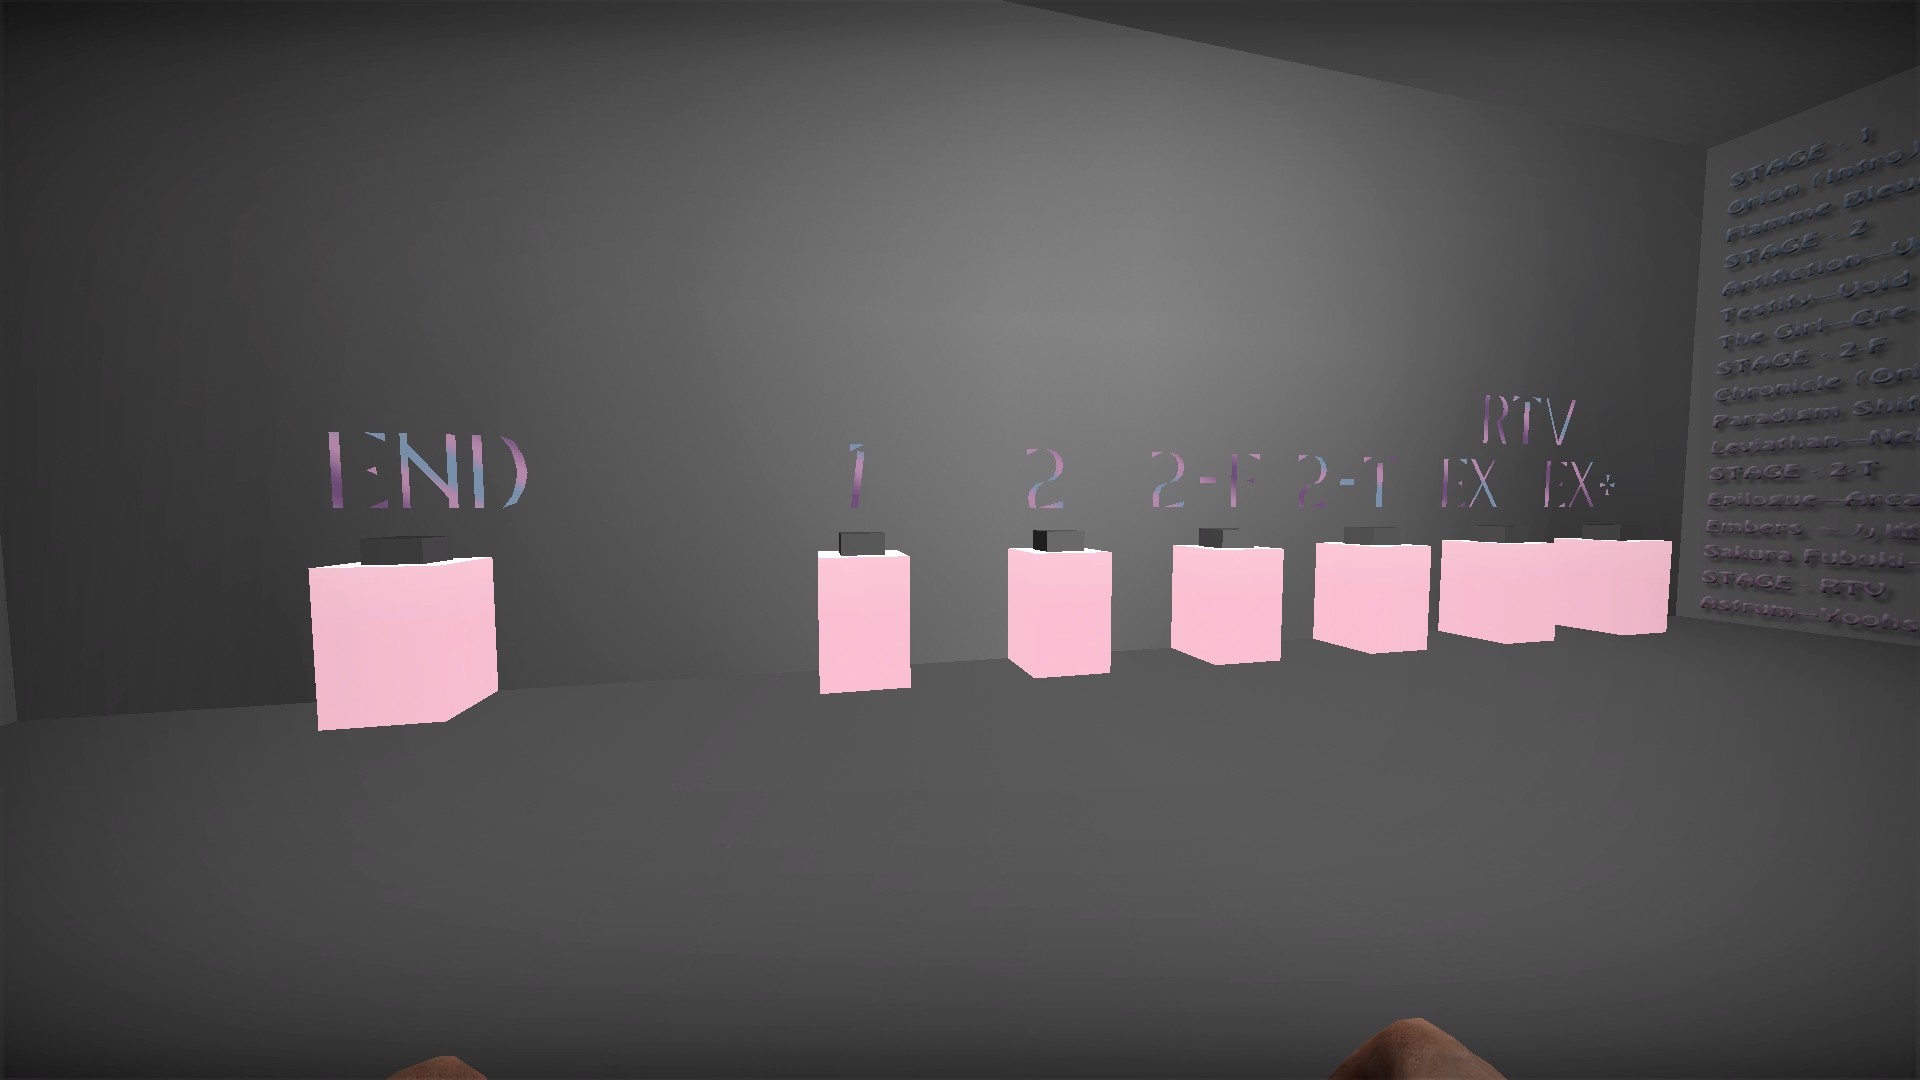
There are 7 buttons against one of the walls. Use these buttons to change stages. Press the button of the stage you want and then the End button to go there (or restart the map)
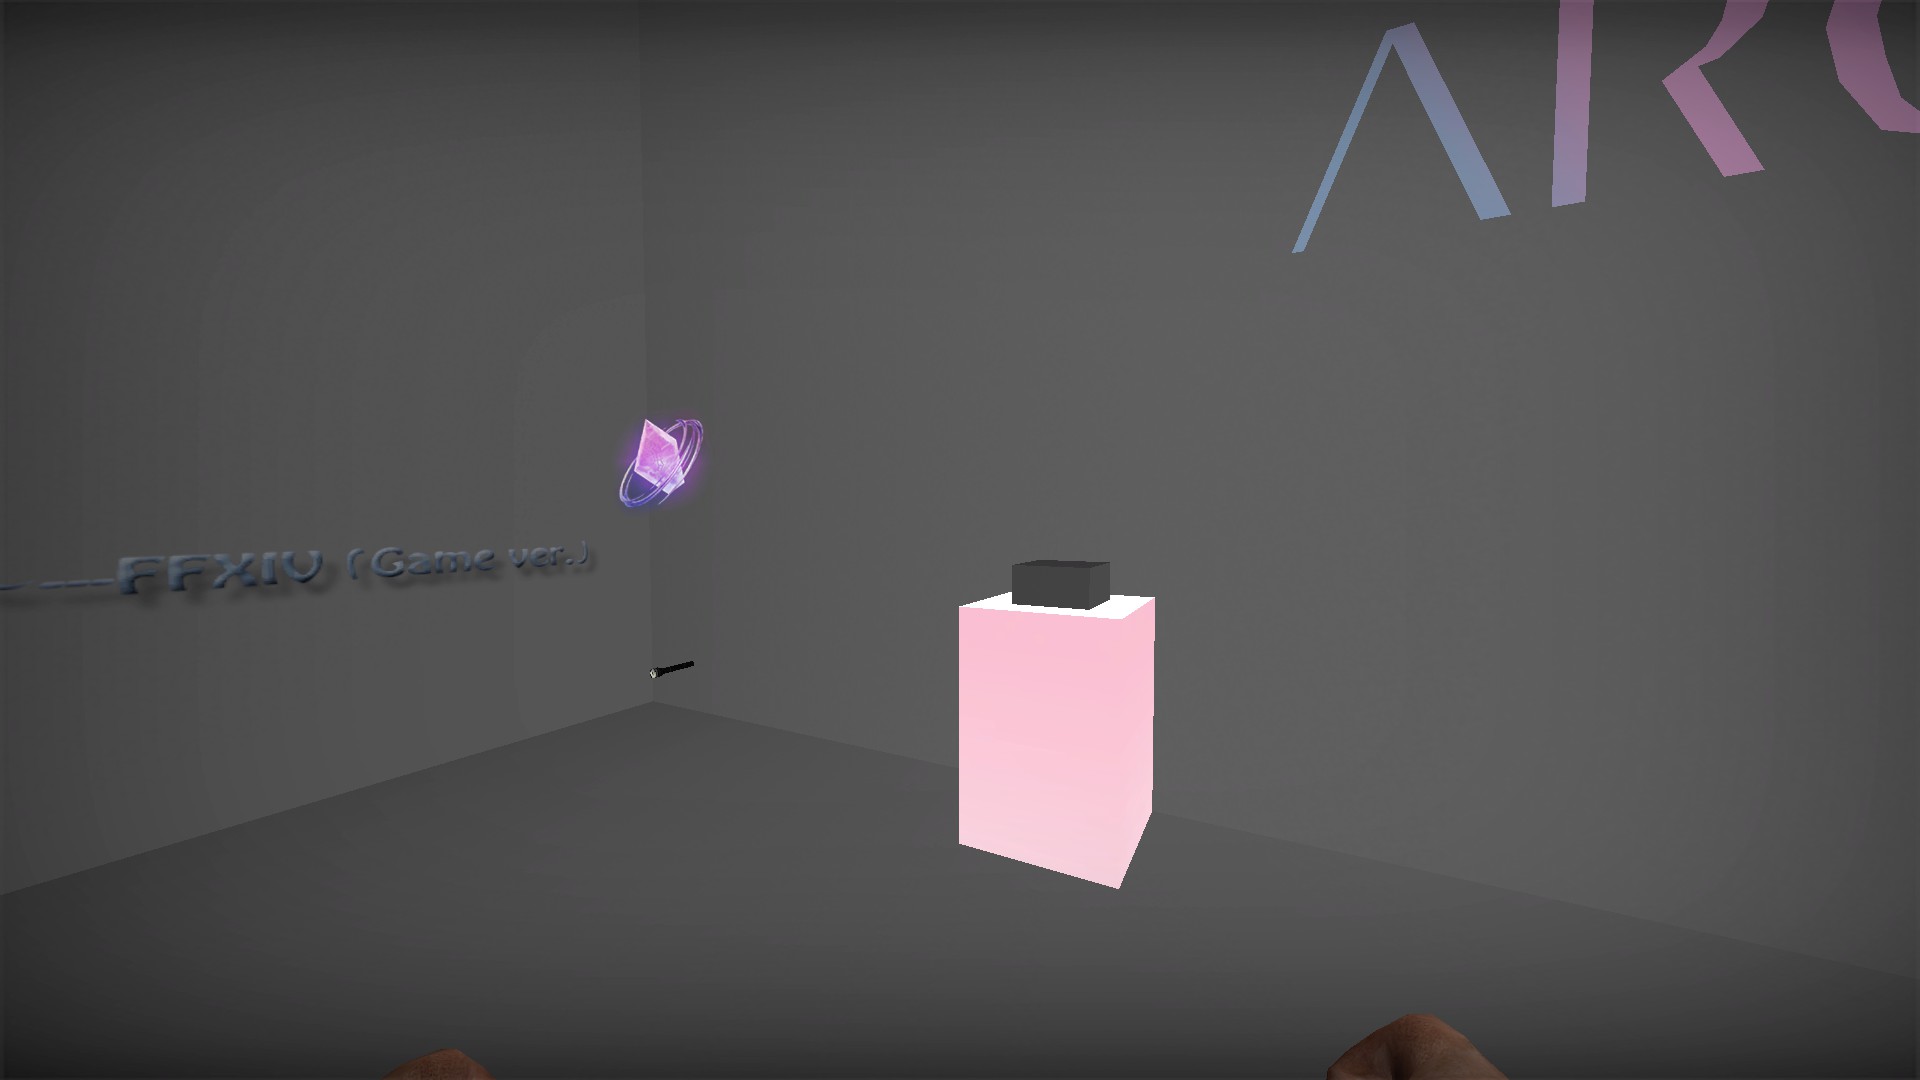
There is a flashlight and another button against the opposite wall
The button will let you practice against the boss in stage 2-t
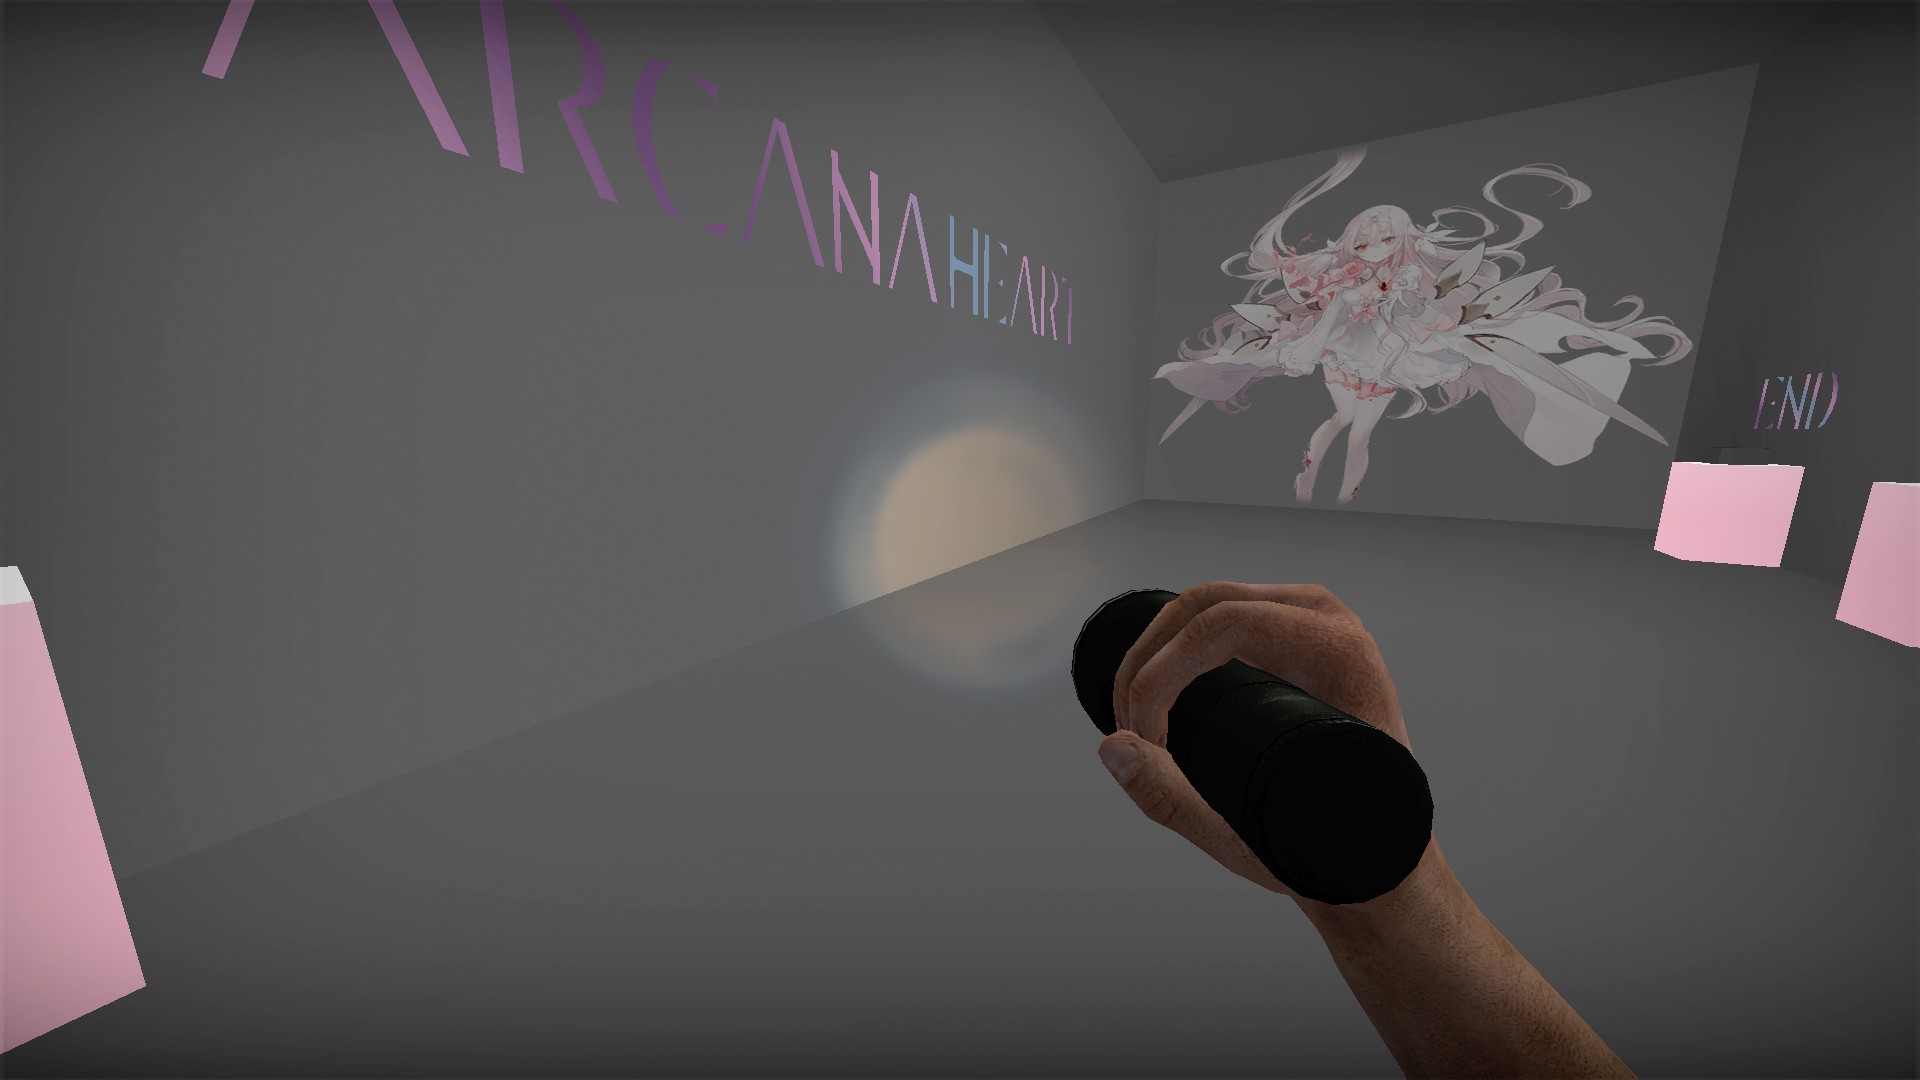
The flashlight talks when turned on and off. It does not seem to do anything else. You can noclip out of the room with it, but it will not stay in your inventory if you change stages
Thrust machete


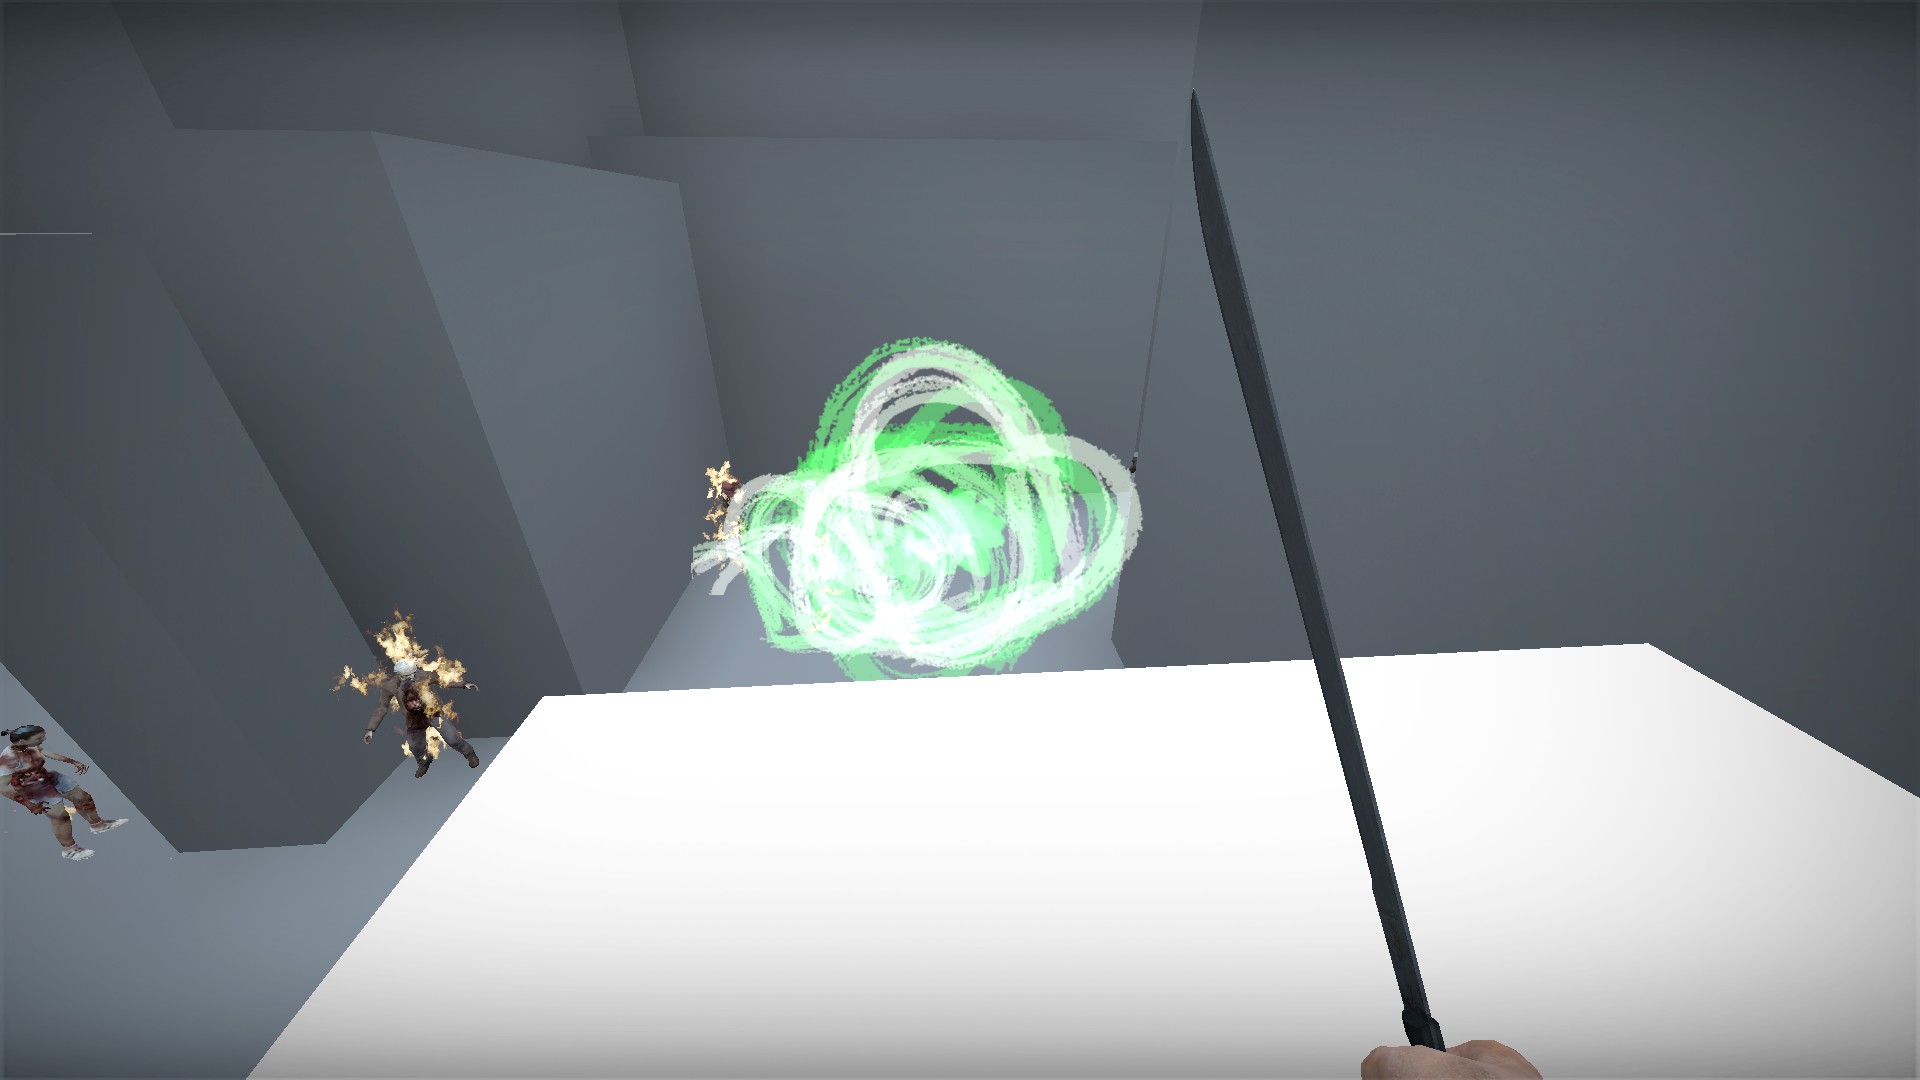
Fires a beam that damages and pushes zombies forward for 6 seconds. 30 seconds to recharge
Shield machete


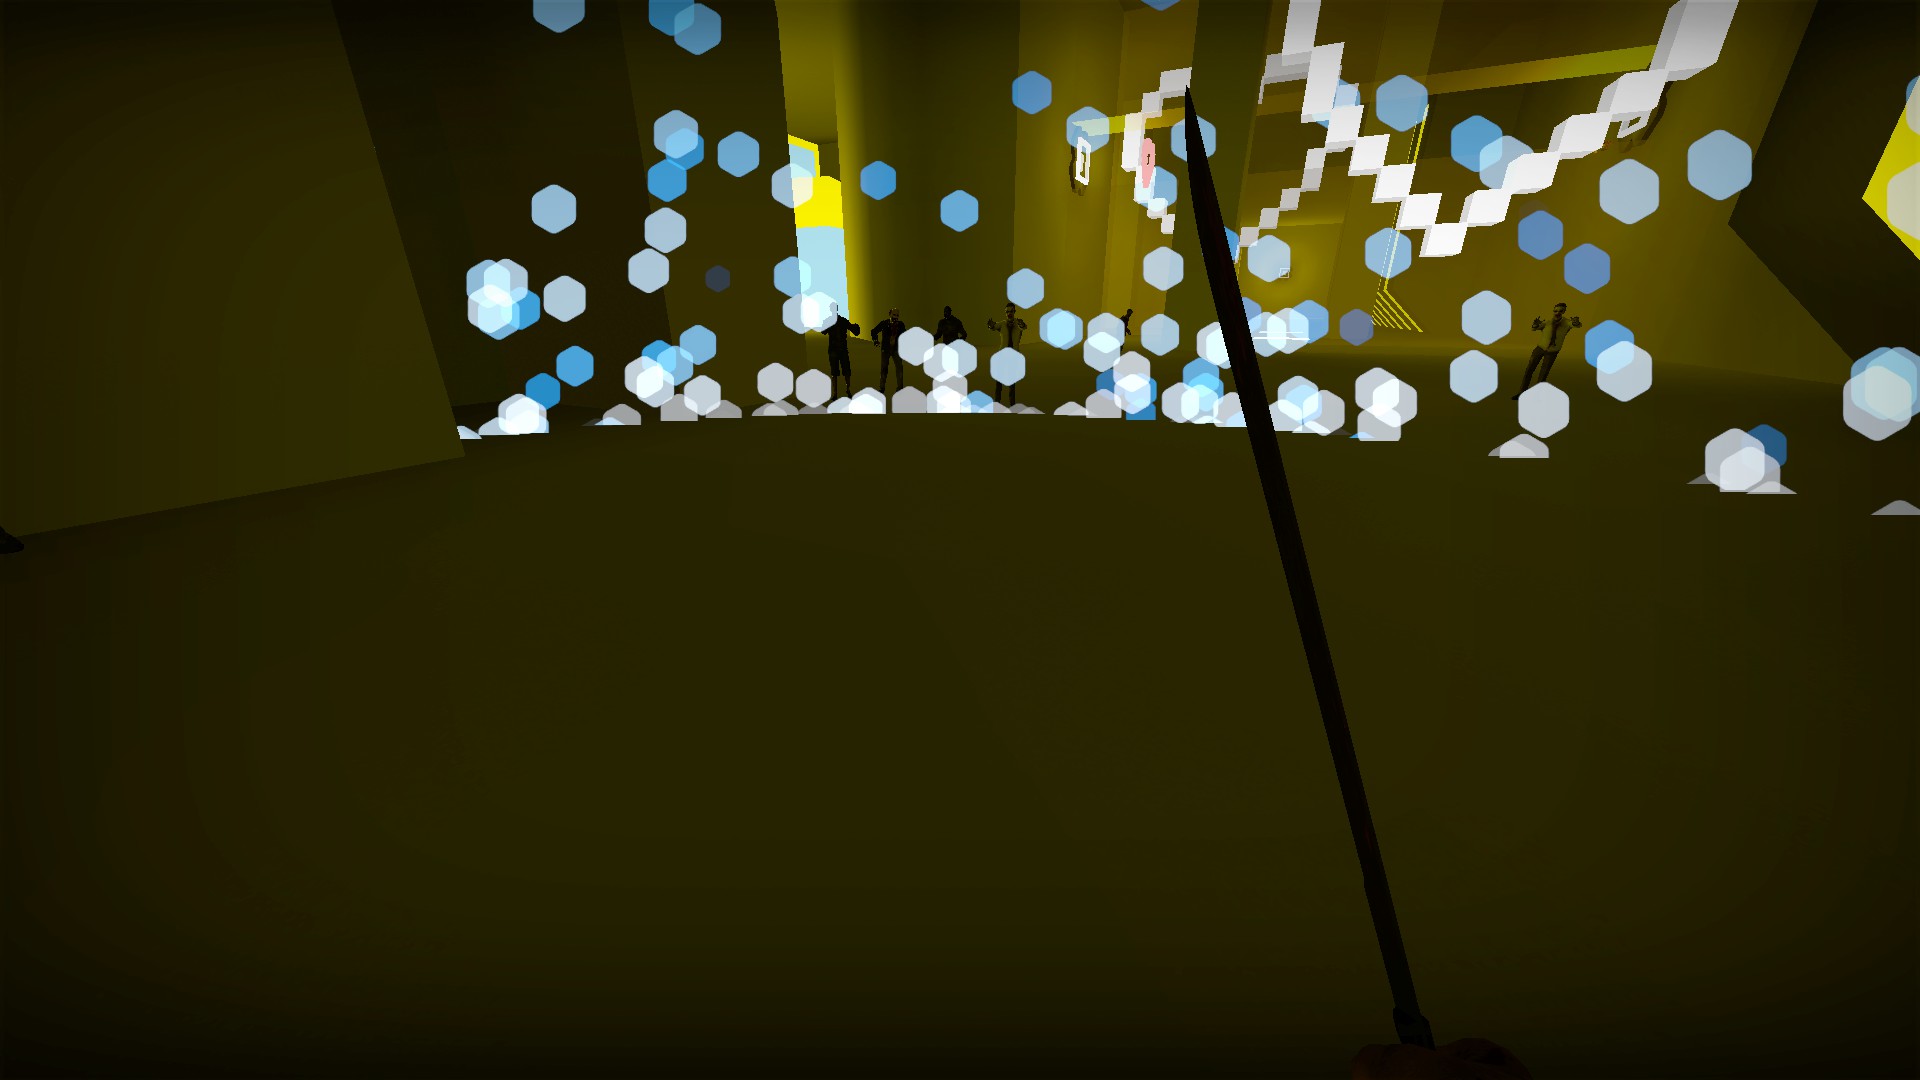
Creates a circular shield in a wide area for 10 seconds. Zombies will be pushed out and cannot enter. 50 seconds to recharge
Gravity machete


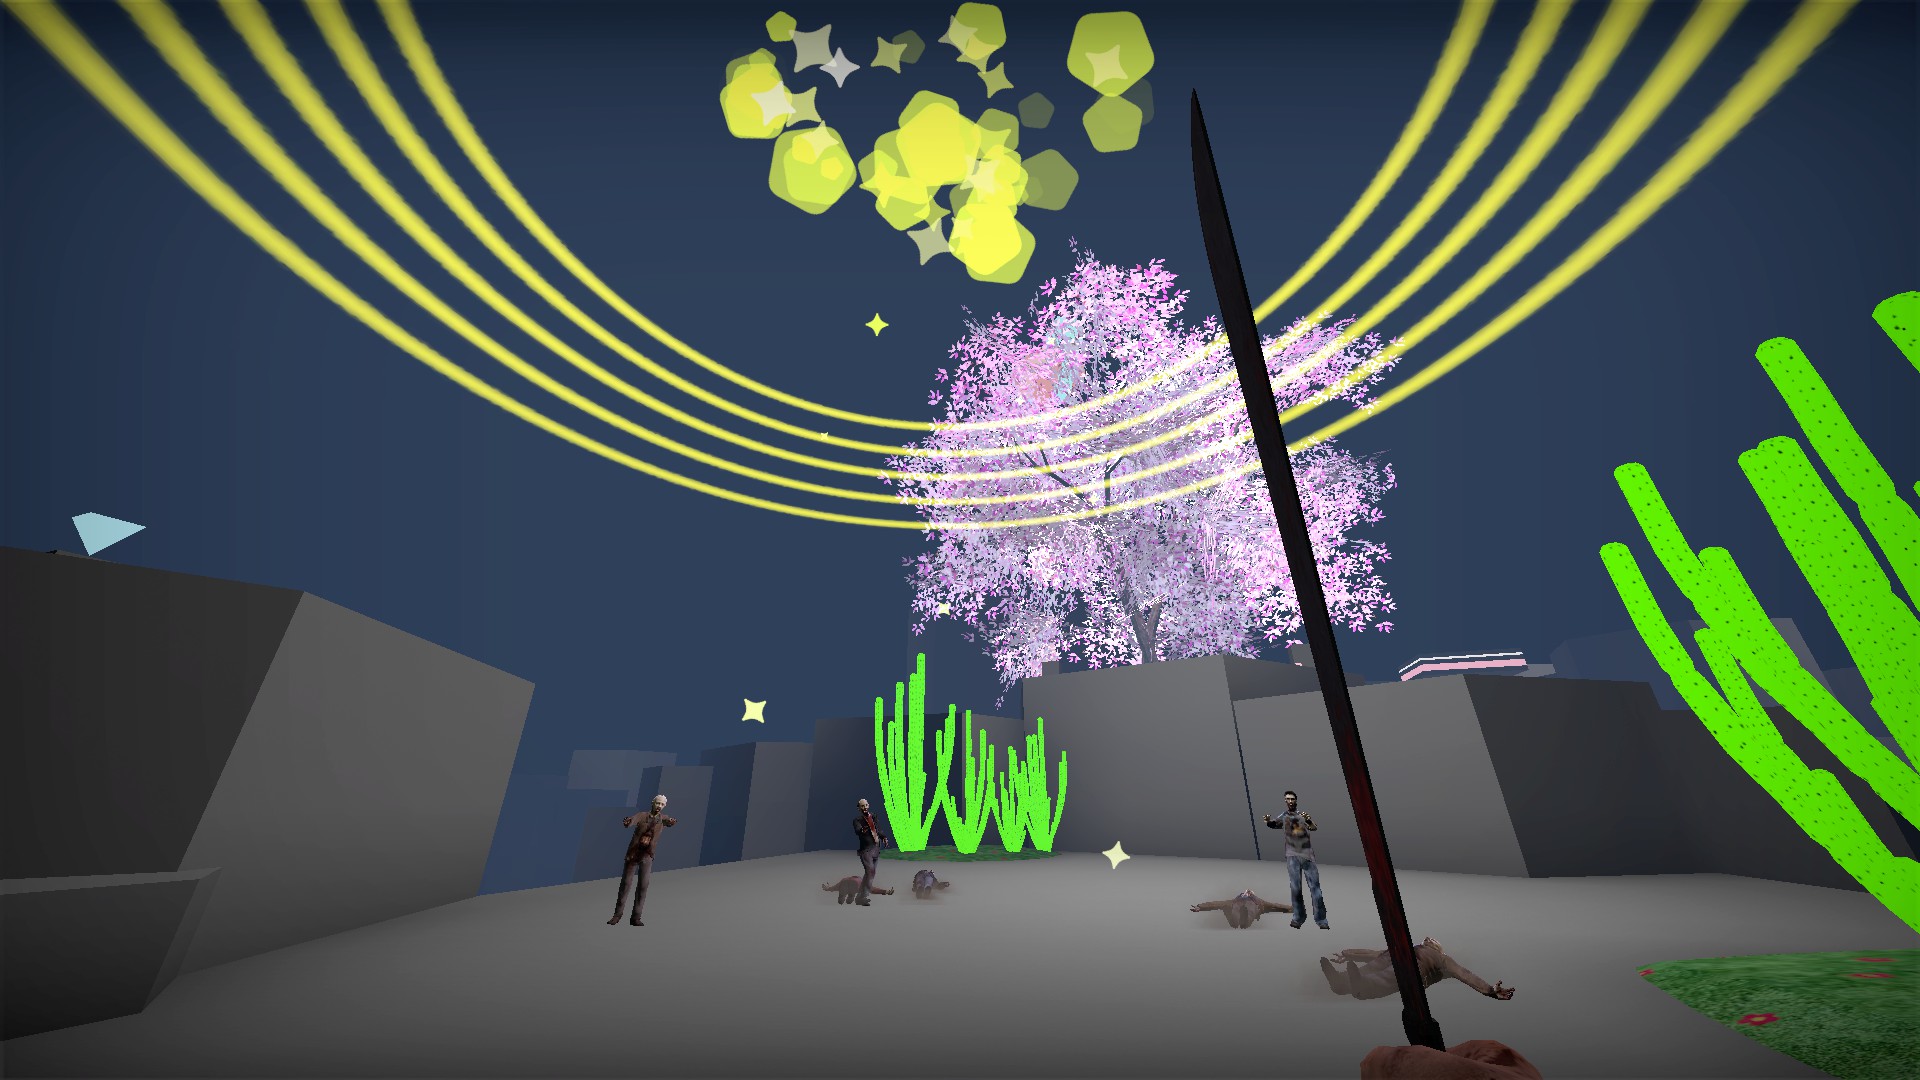
Slows down and injures nearby zombies for 8 seconds. 60 second recharge
Heart machete


Creates a large heart in the air for 20 seconds that heals nearby players. 80 second recharge

In addition, this sword heals 1hp per second if the player is injured
Start with 150 hp and it is heal-able
Alternate stage 3's
When you get to the end of stage 2, 2 events may happen. If you get a zombie horde, only the door on the top will open. If you need to destroy the crystal, 2 doors will open and you can choose your stage 3
If you drop down and go through the door you passed earlier, you will extract to stage 2-f
If you stay up top, the entryway there will open and you will extract to stage 2-t
Each alternate stage 3 has its own boss fight and is followed by its own survival stage
Stage 2-f is gray
It is followed by survival stage Ex
Stage 2-t is green and has a stronger boss
It is followed by the survival stage Ex*
You can switch to the other alternate stages after completing the survival stage
After completing stage Ex once, or Ex* twice, you will be brought to this room. You can change to 2-f, 2-t, or Ex. So you can play all 6 stages in a single run
Developer room
To the left of the starting area. You will need to noclip here
There are 7 buttons against one of the walls. Use these buttons to change stages. Press the button of the stage you want and then the End button to go there (or restart the map)
There is a flashlight and another button against the opposite wall
The button will let you practice against the boss in stage 2-t
The flashlight talks when turned on and off. It does not seem to do anything else. You can noclip out of the room with it, but it will not stay in your inventory if you change stages
Thrust machete
Fires a beam that damages and pushes zombies forward for 6 seconds. 30 seconds to recharge
Shield machete
Creates a circular shield in a wide area for 10 seconds. Zombies will be pushed out and cannot enter. 50 seconds to recharge
Gravity machete
Slows down and injures nearby zombies for 8 seconds. 60 second recharge
Heart machete
Creates a large heart in the air for 20 seconds that heals nearby players. 80 second recharge
In addition, this sword heals 1hp per second if the player is injured
nmo_arcana_heart_v6 (continued)
White special zombie - block
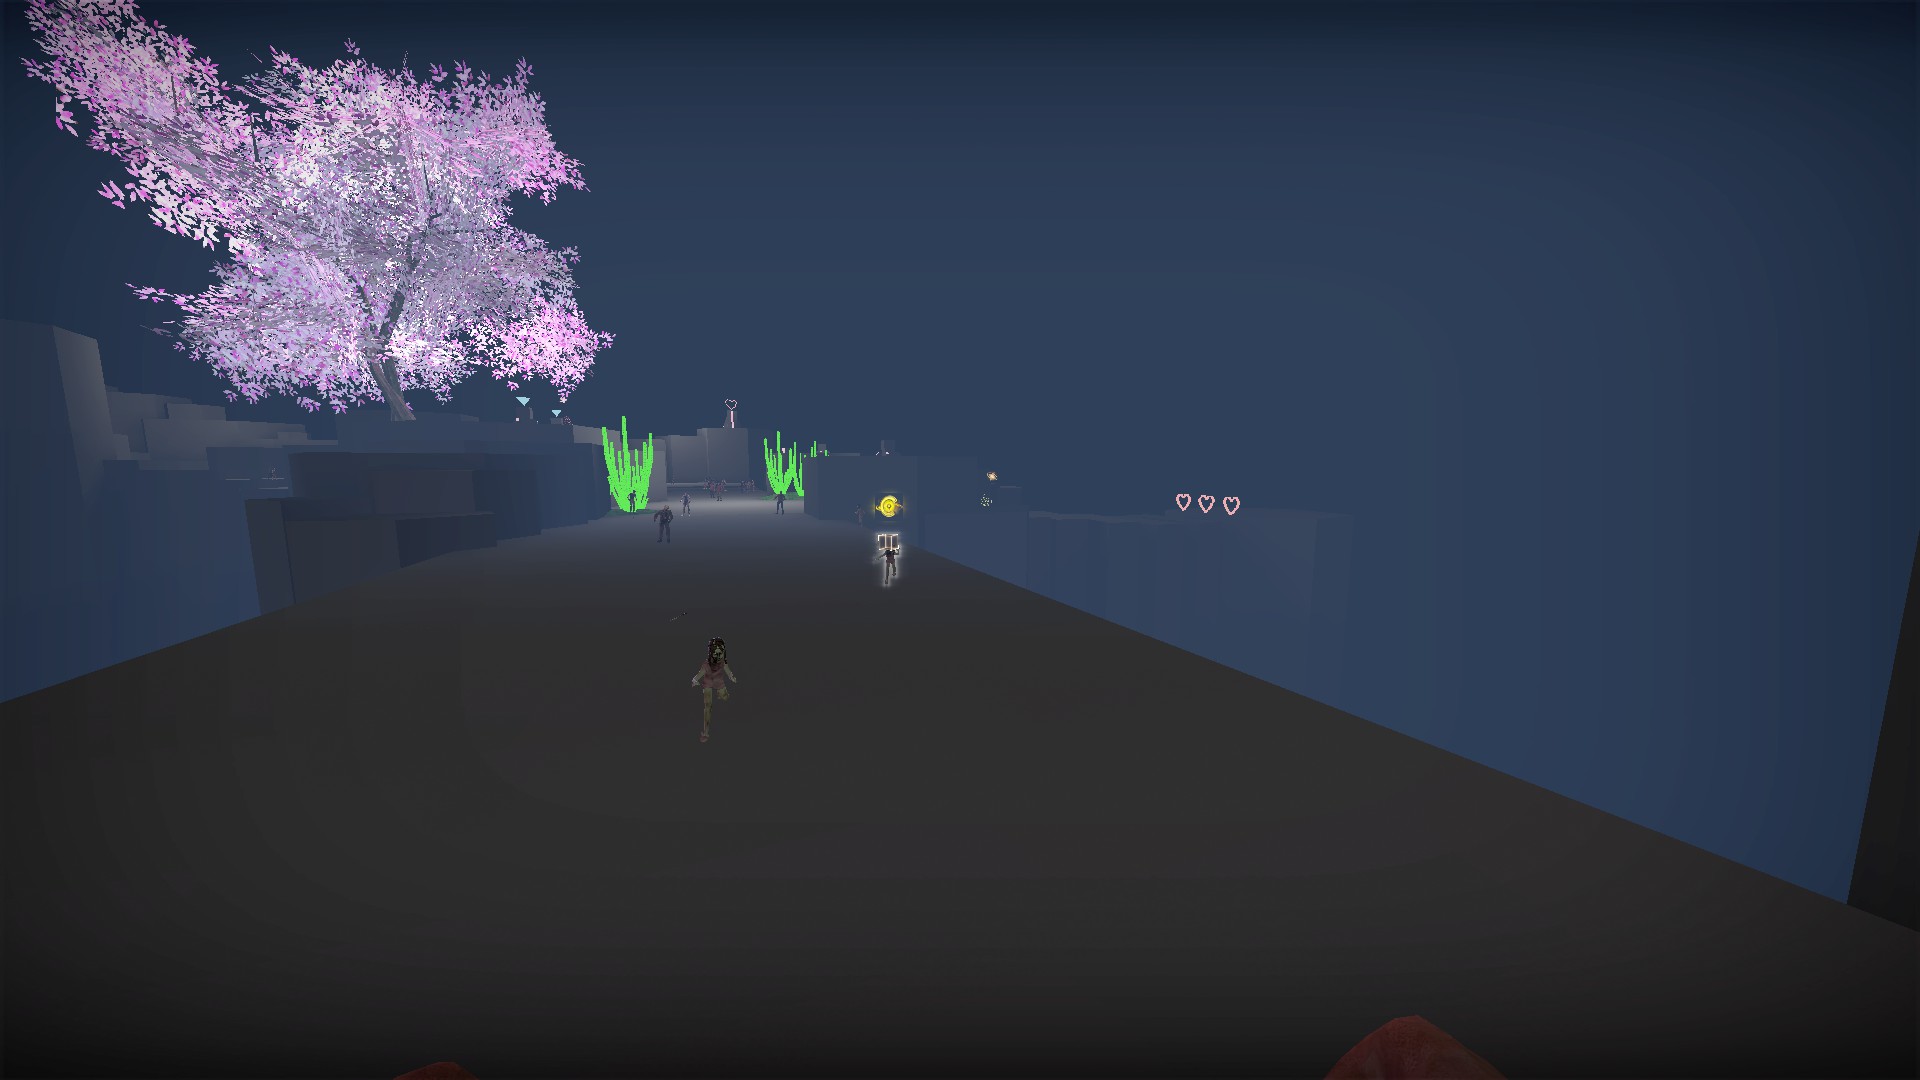


This zombie can create a breakable block that will freeze players inside for 7 seconds. It will recharge this ability in 50 seconds. When its ability is ready, it will have a yellow icon above its head
Blue special zombie - water flow


This zombie can create a tidal wave that will push players. If you are facing the zombie the wave will appear behind you and push you into the zombie. If you are running from it the wave will appear in front of you. It will recharge this ability in 20 seconds. When its ability is ready, it will have a blue icon above its head
Red special zombie - cure


This zombie can heal and increase the upper limit health of nearby zombies in it's radius over 5 seconds. It will recharge this ability in 20 seconds. When its ability is ready, it will have a red icon above its head
Purple special zombie - reverse

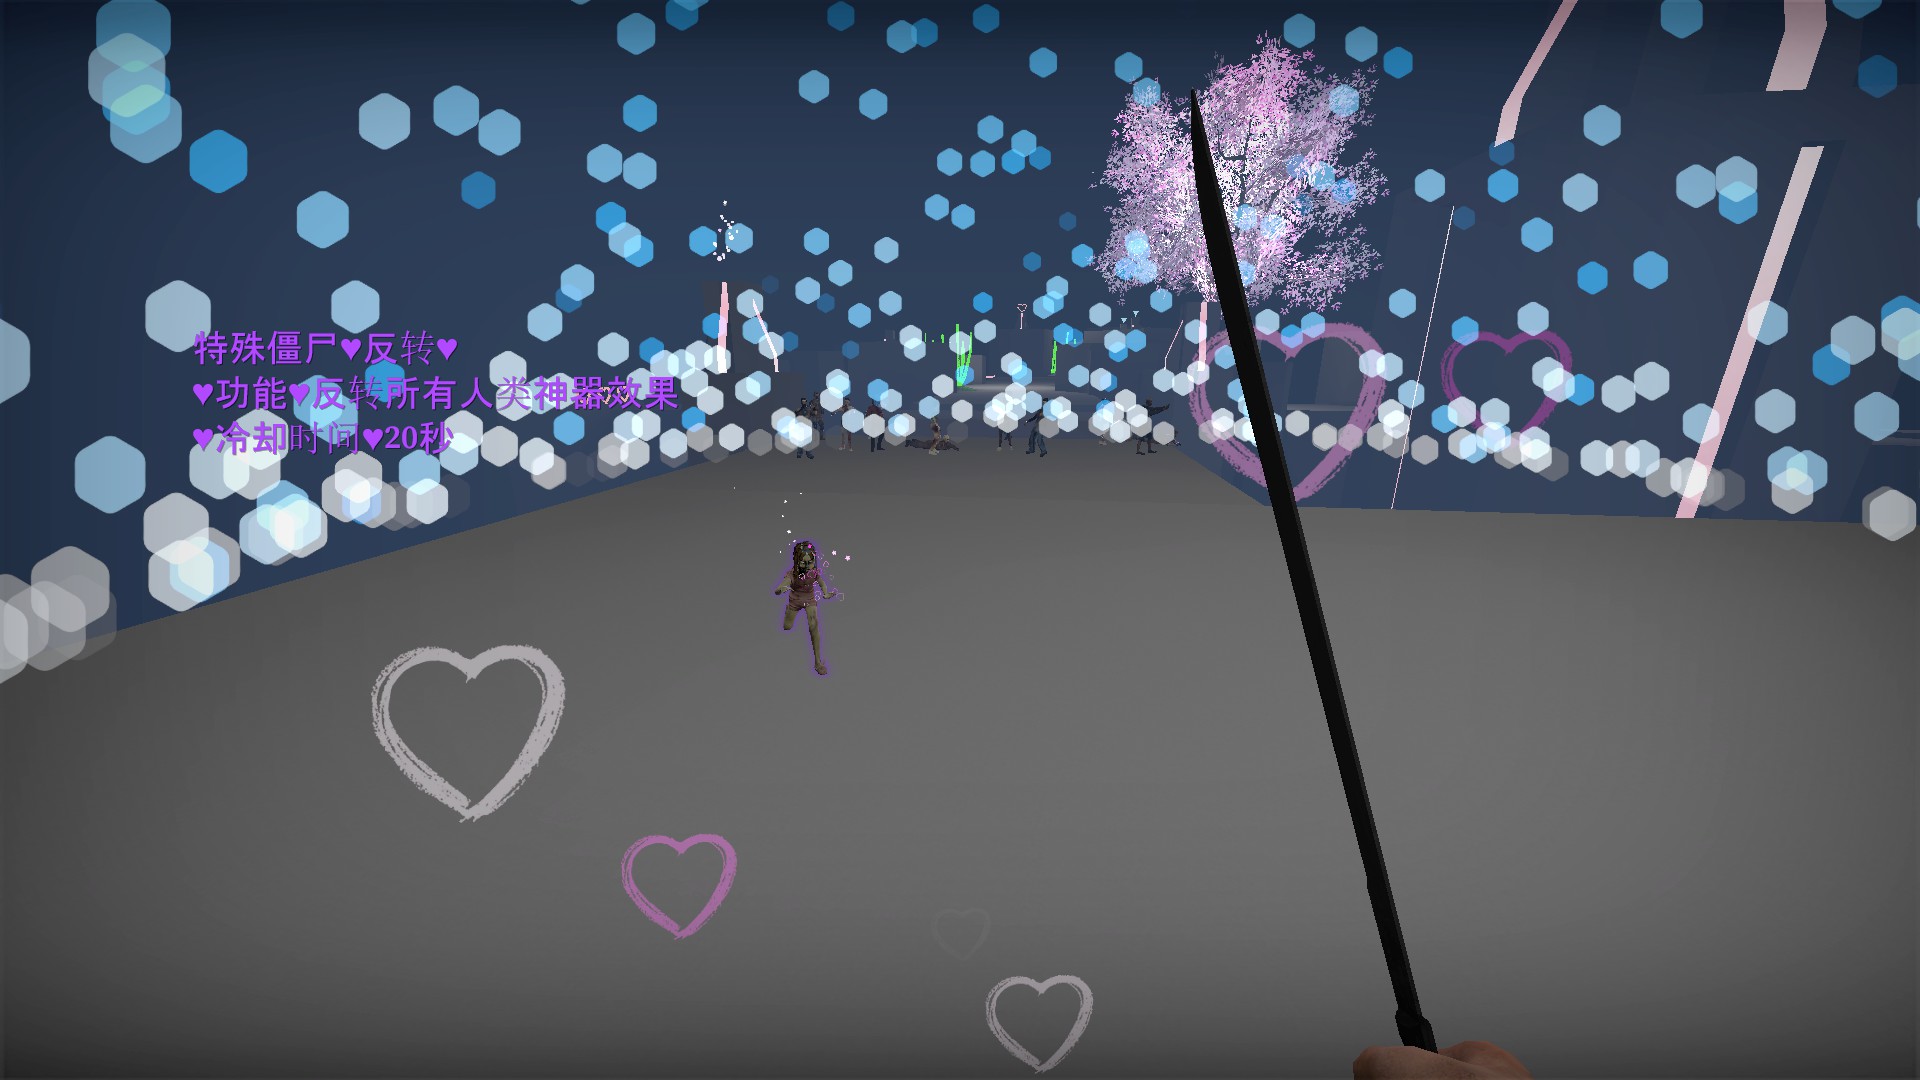
When a special machete is used near this special zombie, the effects of the machete will be reversed, damaging the player. It will recharge this ability in 20 seconds. When its ability is ready, it will have a purple icon above its head
This zombie can create a breakable block that will freeze players inside for 7 seconds. It will recharge this ability in 50 seconds. When its ability is ready, it will have a yellow icon above its head
Blue special zombie - water flow
This zombie can create a tidal wave that will push players. If you are facing the zombie the wave will appear behind you and push you into the zombie. If you are running from it the wave will appear in front of you. It will recharge this ability in 20 seconds. When its ability is ready, it will have a blue icon above its head
Red special zombie - cure
This zombie can heal and increase the upper limit health of nearby zombies in it's radius over 5 seconds. It will recharge this ability in 20 seconds. When its ability is ready, it will have a red icon above its head
Purple special zombie - reverse
When a special machete is used near this special zombie, the effects of the machete will be reversed, damaging the player. It will recharge this ability in 20 seconds. When its ability is ready, it will have a purple icon above its head
nmo_archives_classic
There are two secret areas near the start behind fake walls, press e to raise these walls

One area is behind the desk and has a health kit

The other is near the exit of the offices, has a molotov, and is accessible from both sides
One area is behind the desk and has a health kit
The other is near the exit of the offices, has a molotov, and is accessible from both sides
nmo_area41_v3
To access the Rat office, you will need to pick up 5 rats and bring the pizza
Rat 1


Rat 1 is on the roof where you first drop. He is hiding underneath the electrical boxes near the satellite dish. Press and hold e to pick him up. Rats will make a squeaky noise when picked up
Machete

In the backyard area, above a doorway is a machete. You cannot jump directly over as you will hit the edges of the 2f windows

You will need to jump on top of the windowsills and then draw zombies close to the doorway

Jump slightly to the right and on top of a zombie's head near the doorway, then jump up and grab the machete
Welder


Just after the first door in the underground area, jump up and break the vent to get the welder


Use the welder to open the fenced area for a medkit, some ammo, Rat 2, and the pizza


Make sure to use the welder before breaking the panel for the second door, as the first door will close after. The welder is not used again
Rat 2

If you break the box in the welded area, you can find a rat behind the briefcase

Crouch down and hold e to pick him up. If you did not pick up Rat 1, you cannot pick up Rat 2
Pizza

Bring the pizza through the map with you. it can be used at the rat office, but it will only open the door if all 5 rats are picked up


Be careful moving the pizza as it can fall through the map in some of the elevators. Place it on solid surfaces and not on the grates
Breakable boxes in warehouse


Break the boxes for extra weapons and ammo
Sign


Near the upper warehouse area, jump over the boxes for an Easter egg sign

And some ammo nearby
Container with boxes


The keys for the electronic lock may be at the back of this container with boxes


Be careful breaking them as there are several fuel cans among the boxes. Do not bother with this container if the keys are not there, it only has a crowbar and flashlight otherwise
Rat 3


You will find Rat 3 on your way to the next container. He is on top of the vent next to the walkway. You will have to jump up on the railing to get close enough to pick him up
Rat 1
Rat 1 is on the roof where you first drop. He is hiding underneath the electrical boxes near the satellite dish. Press and hold e to pick him up. Rats will make a squeaky noise when picked up
Machete
In the backyard area, above a doorway is a machete. You cannot jump directly over as you will hit the edges of the 2f windows
You will need to jump on top of the windowsills and then draw zombies close to the doorway
Jump slightly to the right and on top of a zombie's head near the doorway, then jump up and grab the machete
Welder
Just after the first door in the underground area, jump up and break the vent to get the welder
Use the welder to open the fenced area for a medkit, some ammo, Rat 2, and the pizza
Make sure to use the welder before breaking the panel for the second door, as the first door will close after. The welder is not used again
Rat 2
If you break the box in the welded area, you can find a rat behind the briefcase
Crouch down and hold e to pick him up. If you did not pick up Rat 1, you cannot pick up Rat 2
Pizza
Bring the pizza through the map with you. it can be used at the rat office, but it will only open the door if all 5 rats are picked up
Be careful moving the pizza as it can fall through the map in some of the elevators. Place it on solid surfaces and not on the grates
Breakable boxes in warehouse
Break the boxes for extra weapons and ammo
Sign
Near the upper warehouse area, jump over the boxes for an Easter egg sign
And some ammo nearby
Container with boxes
The keys for the electronic lock may be at the back of this container with boxes
Be careful breaking them as there are several fuel cans among the boxes. Do not bother with this container if the keys are not there, it only has a crowbar and flashlight otherwise
Rat 3
You will find Rat 3 on your way to the next container. He is on top of the vent next to the walkway. You will have to jump up on the railing to get close enough to pick him up
nmo_area41_v3 (continued)
Container next to the one with boxes


To get into the adjacent container, walk around to the other side and then drop onto the light. Then crouch jump into the container to avoid hitting your head on the ceiling

There is a shot, auto shotgun, and a carry-able lantern

Bring the lantern with you as it will be helpful in the next dark areas
Body near silo


Before riding down the large elevator, check behind the other silo for a body with a medkit and other items
Rat 4


Rat 4 is in the generator room. Head close to the generator on the left to find the rat under the pile of beams. Crouch and hold e to pick him up
Breakable boxes in generator room


Break the boxes here for extra ammo
Elevator alcoves

As the large elevator descends, you will notice a ladder on the side that can be reached right around the same time as zombies start falling onto the elevator

You can take this ladder down to a small area with a body that has a CZ and ammo. Get back on the elevator before it descends too low

If you cross the elevator you will find another ladder on the opposite side

You can take the ladder down to another small area with a body, a glock and a medkit. Get back onto the elevator again before it gets too low
Rat 5


Rat 5 is well hidden and dangerous to get. It is underwater in the flooded basement. Zombies in the water can attack you, but unless you were fortunate enough to get a chainsaw in the weapon box, you cannot attack them back. Get the rat while the lights are still on and get a flashlight from the respawn room if you don't have one


There are 2 pipes underwater, use your flashlight to find a hole in the farther one about midway

Get some air, return to the spot, poke your head through the hole and hold e to pick up the rat
Rat office


After saving the 5 rats, bring the pizza from the welder area and use it on the door. If all the rats were picked up, the rats will buzz open the door and tell you to get in

The lockers have a shotgun stash


You can use the button under the desk to close the office door, but the zombies can open it. Also note that there are 8 bottles in this office: 3 under the desk, 1 on the desk, 1 on the filing cabinet, and 3 more near the rats eating pizza

Don't break all 8 bottles or the room will explode and kill anyone inside. You will get a -_- message
To get into the adjacent container, walk around to the other side and then drop onto the light. Then crouch jump into the container to avoid hitting your head on the ceiling
There is a shot, auto shotgun, and a carry-able lantern
Bring the lantern with you as it will be helpful in the next dark areas
Body near silo
Before riding down the large elevator, check behind the other silo for a body with a medkit and other items
Rat 4
Rat 4 is in the generator room. Head close to the generator on the left to find the rat under the pile of beams. Crouch and hold e to pick him up
Breakable boxes in generator room
Break the boxes here for extra ammo
Elevator alcoves
As the large elevator descends, you will notice a ladder on the side that can be reached right around the same time as zombies start falling onto the elevator
You can take this ladder down to a small area with a body that has a CZ and ammo. Get back on the elevator before it descends too low
If you cross the elevator you will find another ladder on the opposite side
You can take the ladder down to another small area with a body, a glock and a medkit. Get back onto the elevator again before it gets too low
Rat 5
Rat 5 is well hidden and dangerous to get. It is underwater in the flooded basement. Zombies in the water can attack you, but unless you were fortunate enough to get a chainsaw in the weapon box, you cannot attack them back. Get the rat while the lights are still on and get a flashlight from the respawn room if you don't have one
There are 2 pipes underwater, use your flashlight to find a hole in the farther one about midway
Get some air, return to the spot, poke your head through the hole and hold e to pick up the rat
Rat office
After saving the 5 rats, bring the pizza from the welder area and use it on the door. If all the rats were picked up, the rats will buzz open the door and tell you to get in
The lockers have a shotgun stash
You can use the button under the desk to close the office door, but the zombies can open it. Also note that there are 8 bottles in this office: 3 under the desk, 1 on the desk, 1 on the filing cabinet, and 3 more near the rats eating pizza
Don't break all 8 bottles or the room will explode and kill anyone inside. You will get a -_- message
nmo_area_51_y9v4
Put the soldier out of his misery
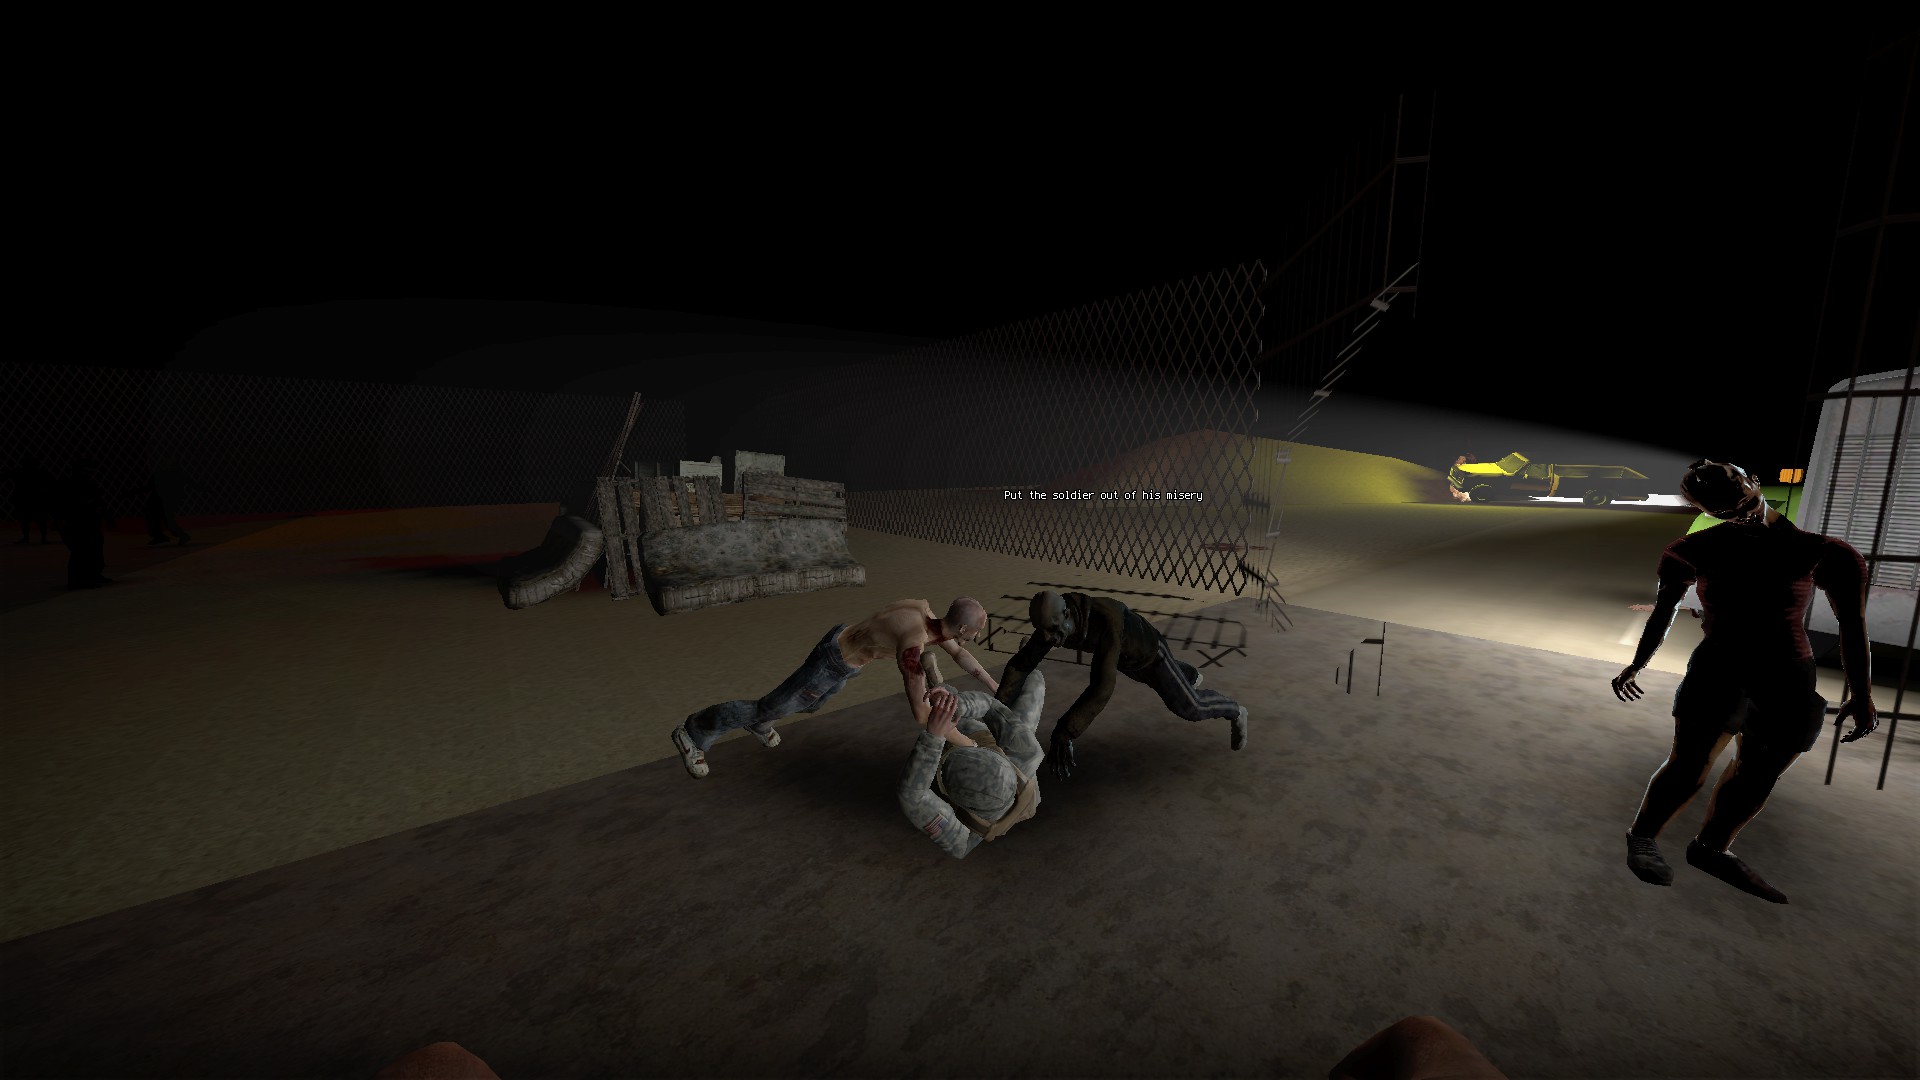
There are 2 soldiers outside being attacked. A message above the one farther from the bunker will say "put the soldier out of his misery"
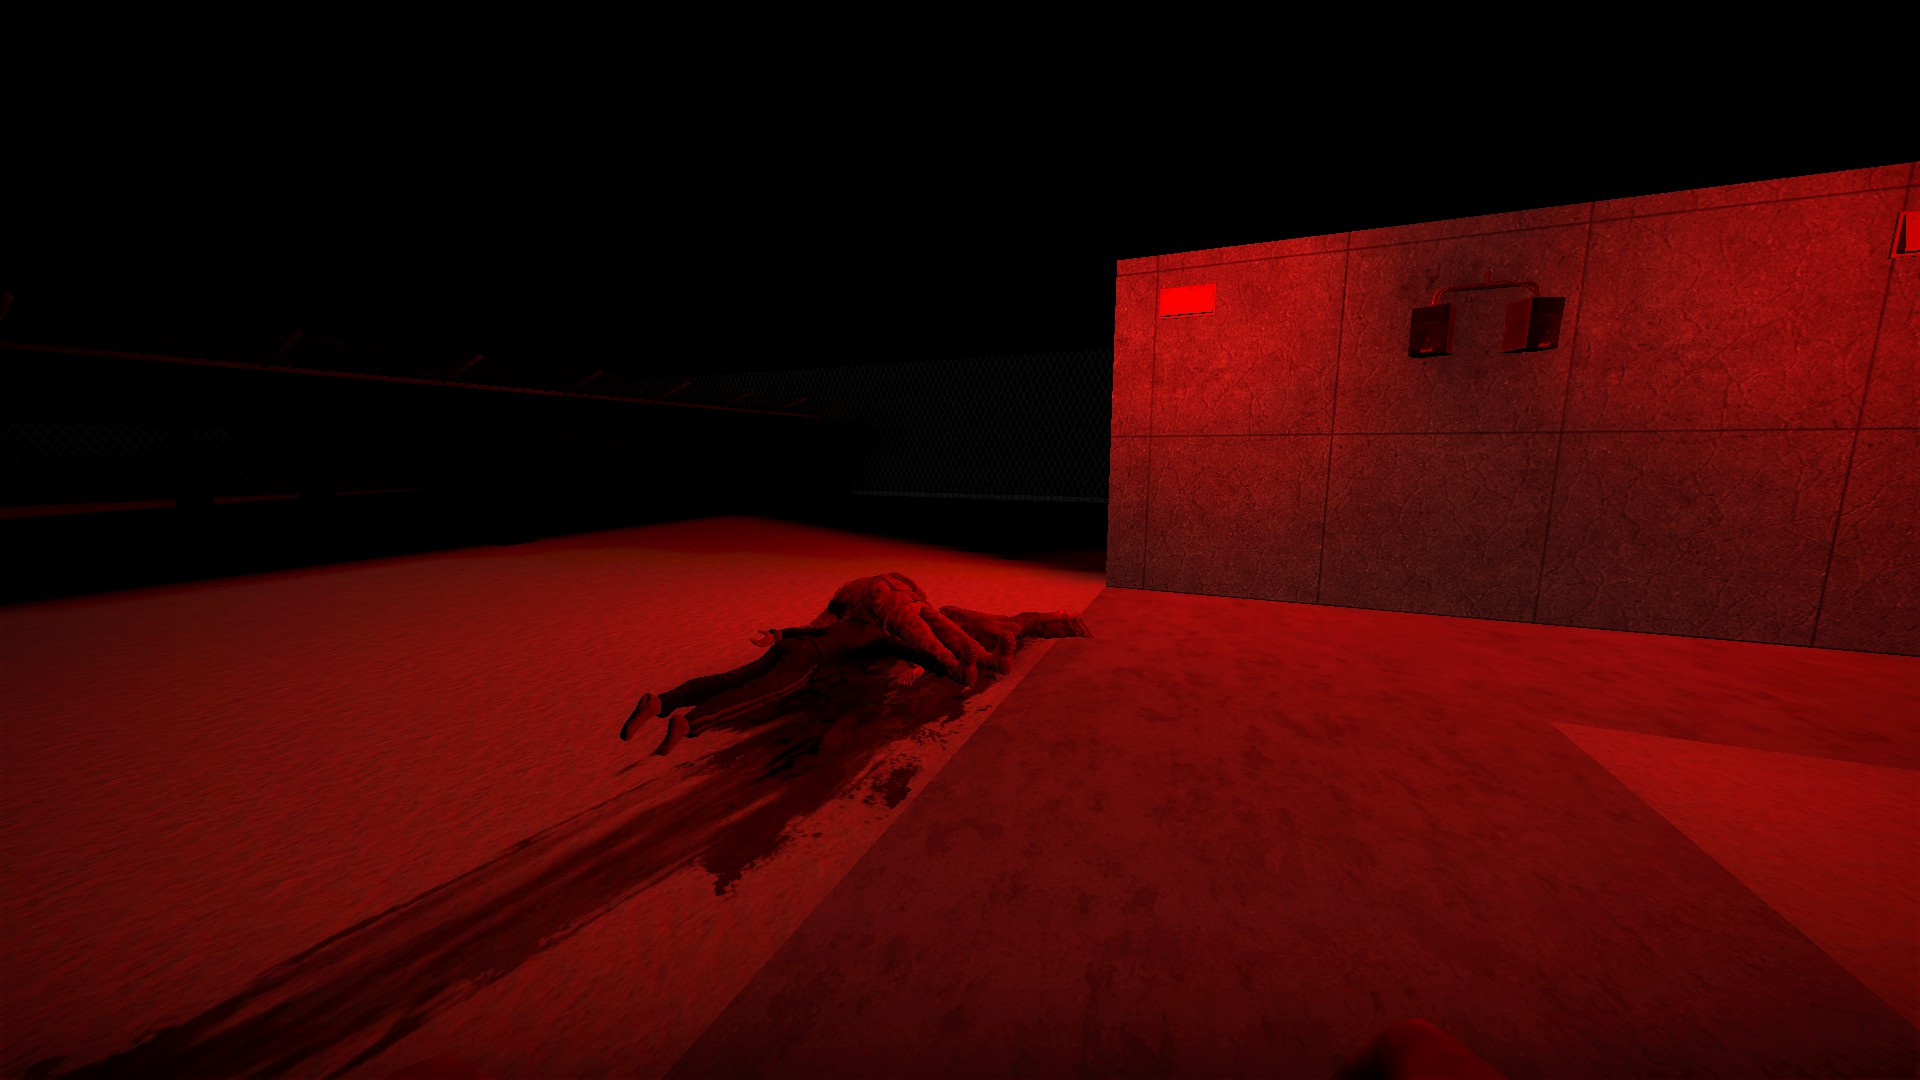
You can shoot the zombies or the soldier, but he is already done for. If you shoot one group the other will die as well. Just an Easter egg
You can board up
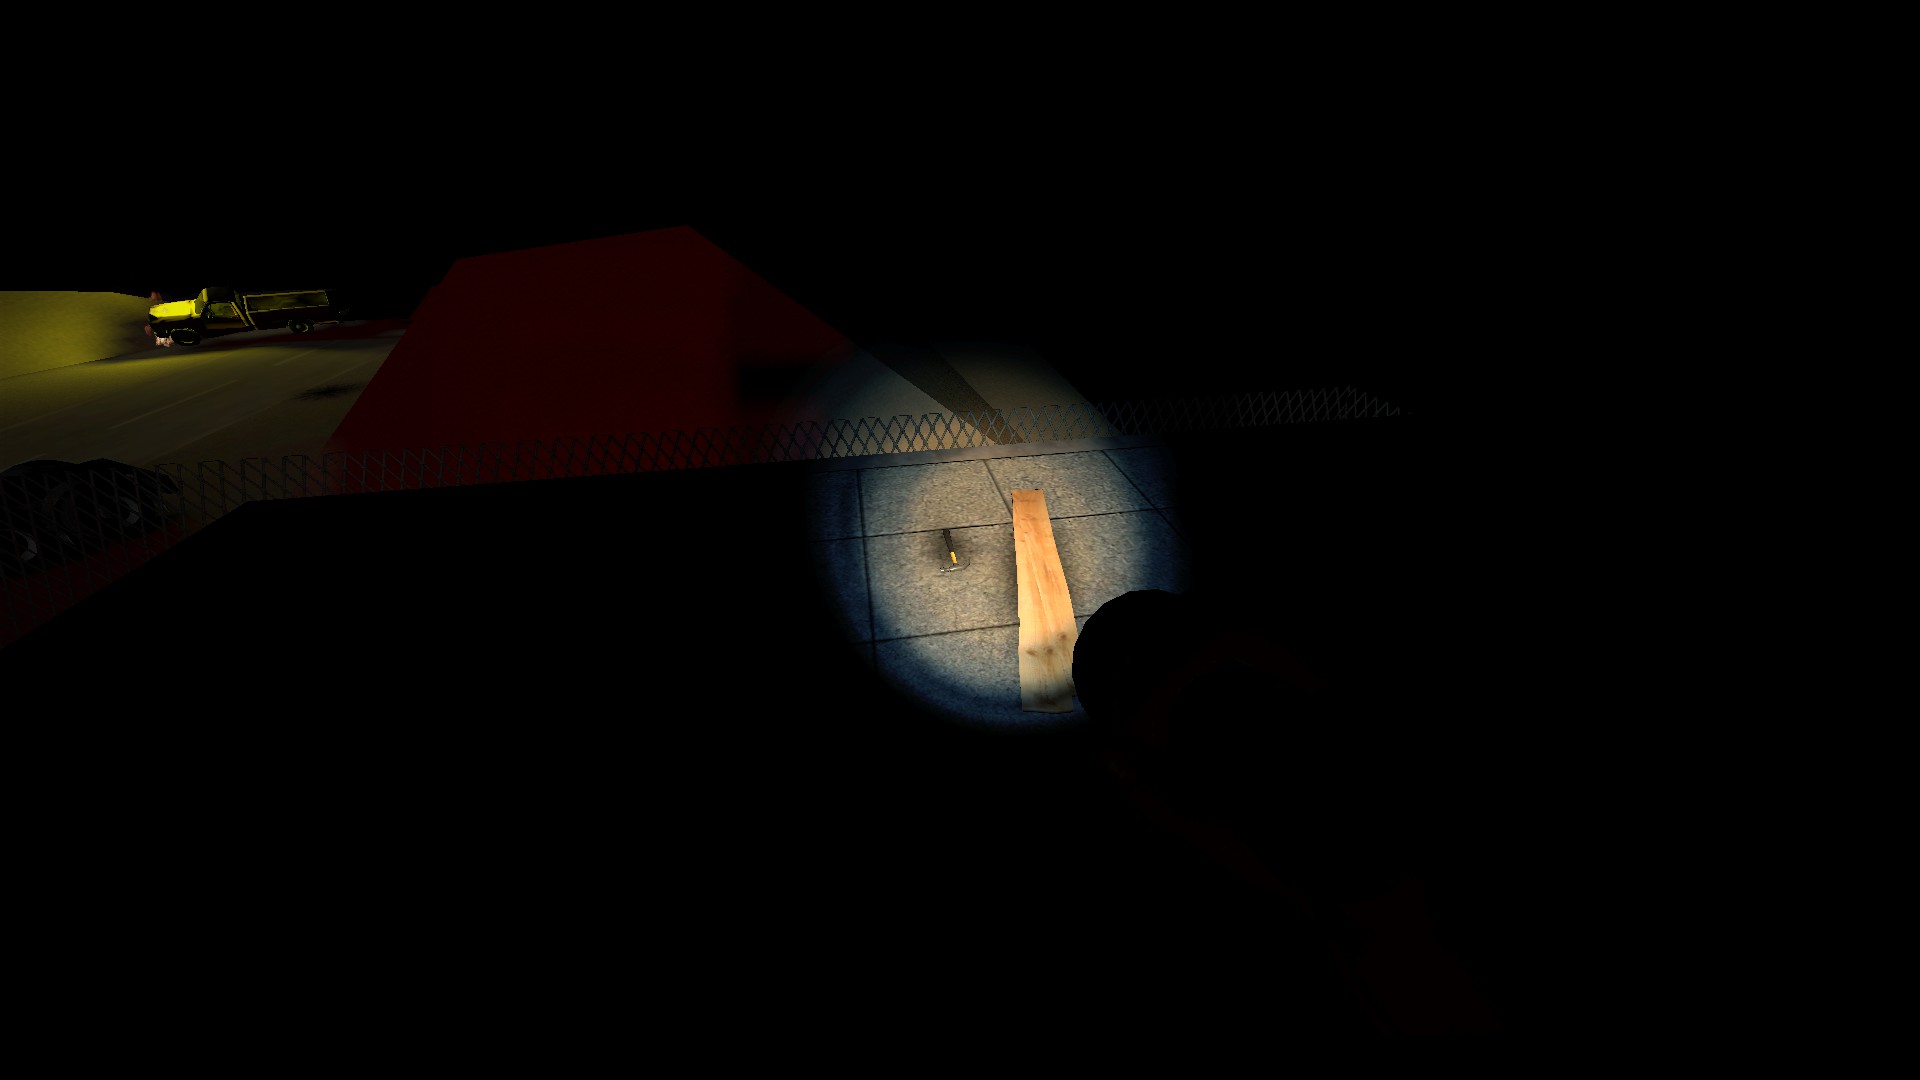
There are several random items out in the darkness, but there is always a hammer and 2 boards on the top of the small building outside
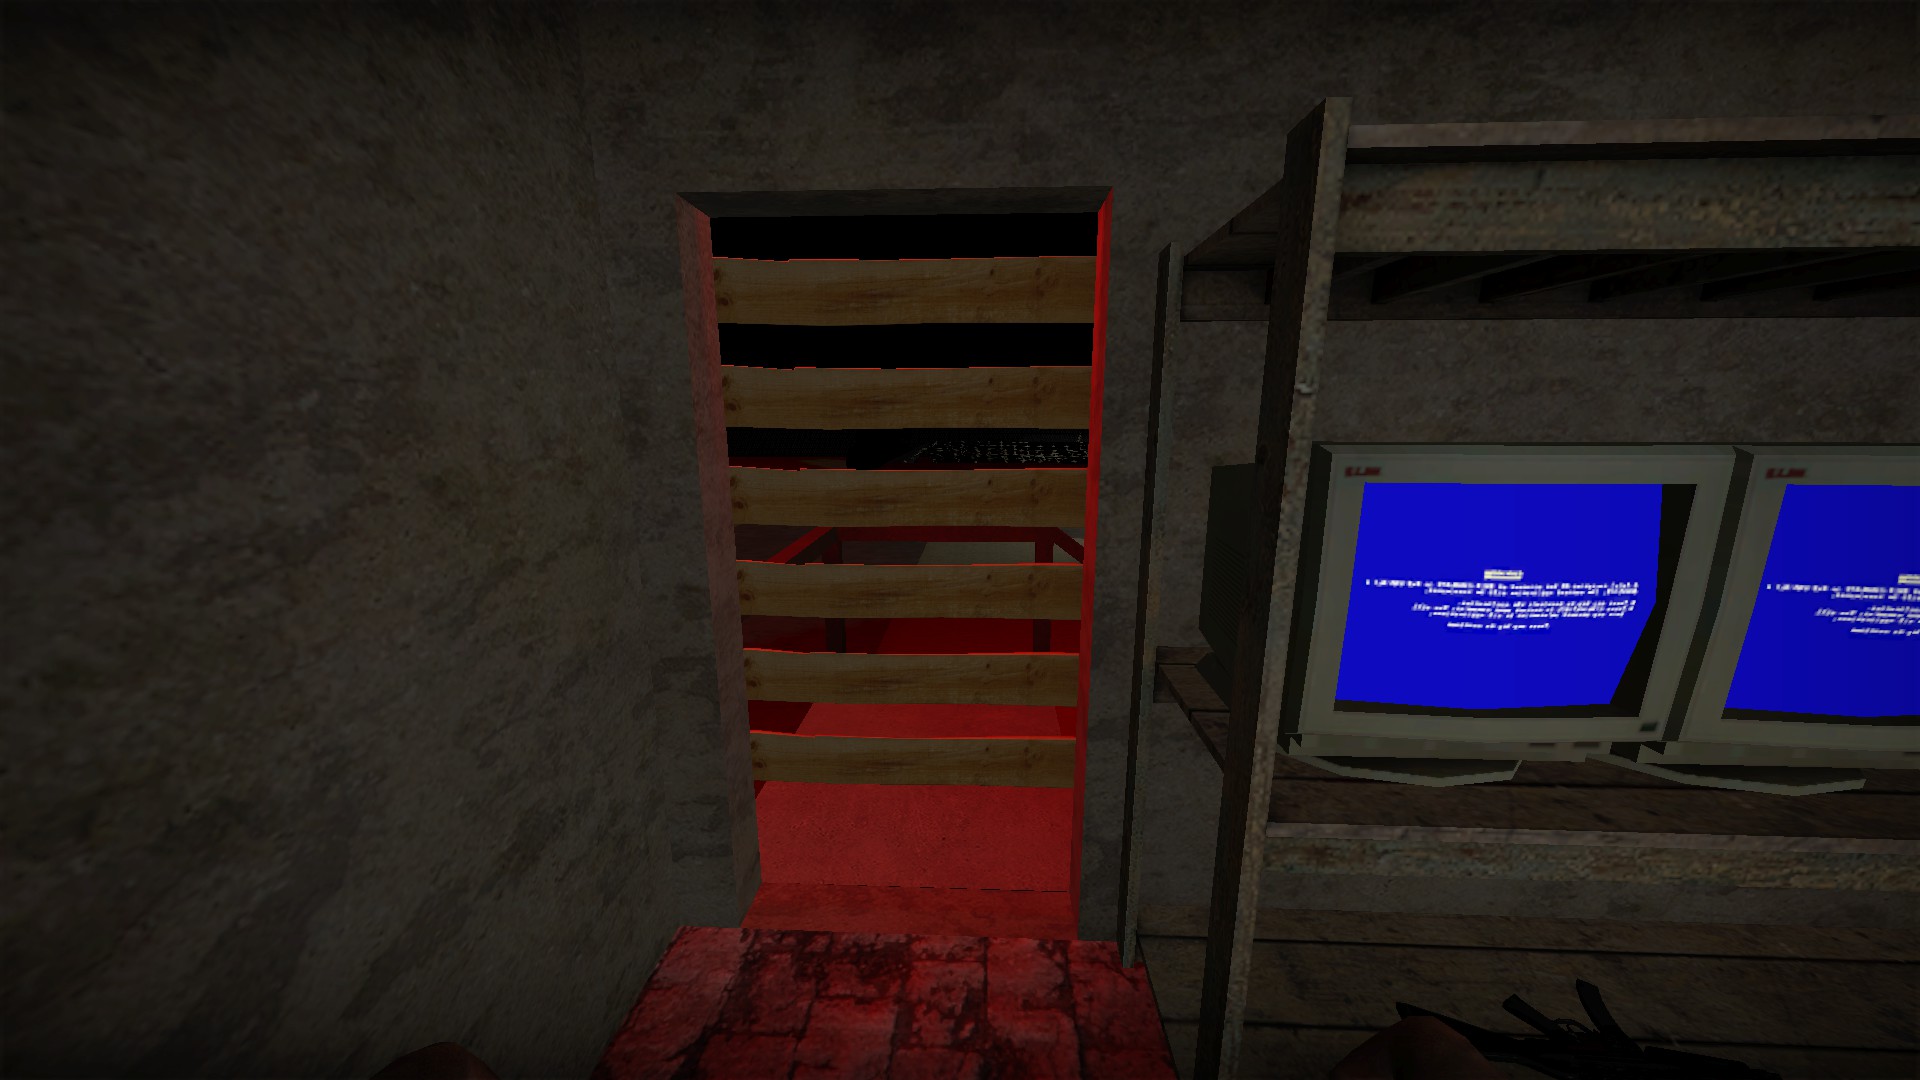
The entrance to the small building can be boarded up (you would need more boards from the bunker to do this fully)
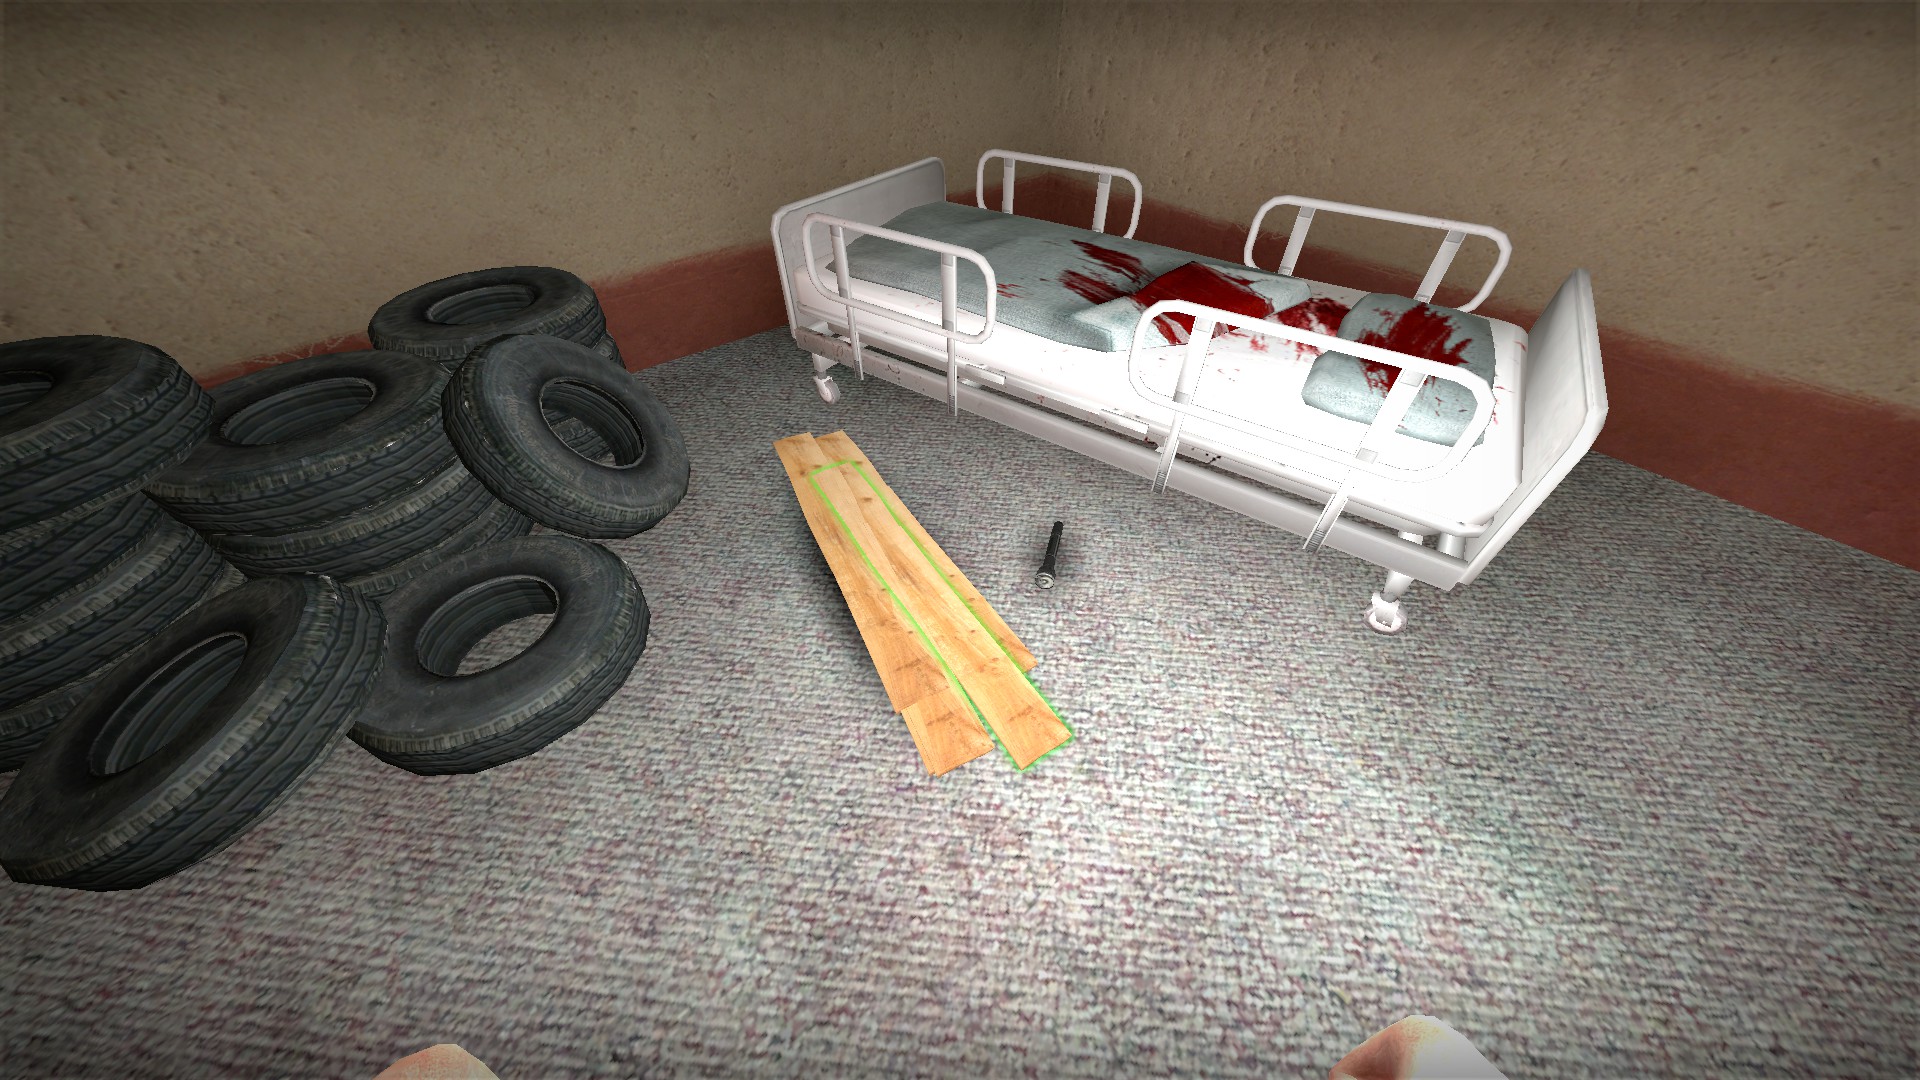
There are 5 more boards in the first room inside the bunker
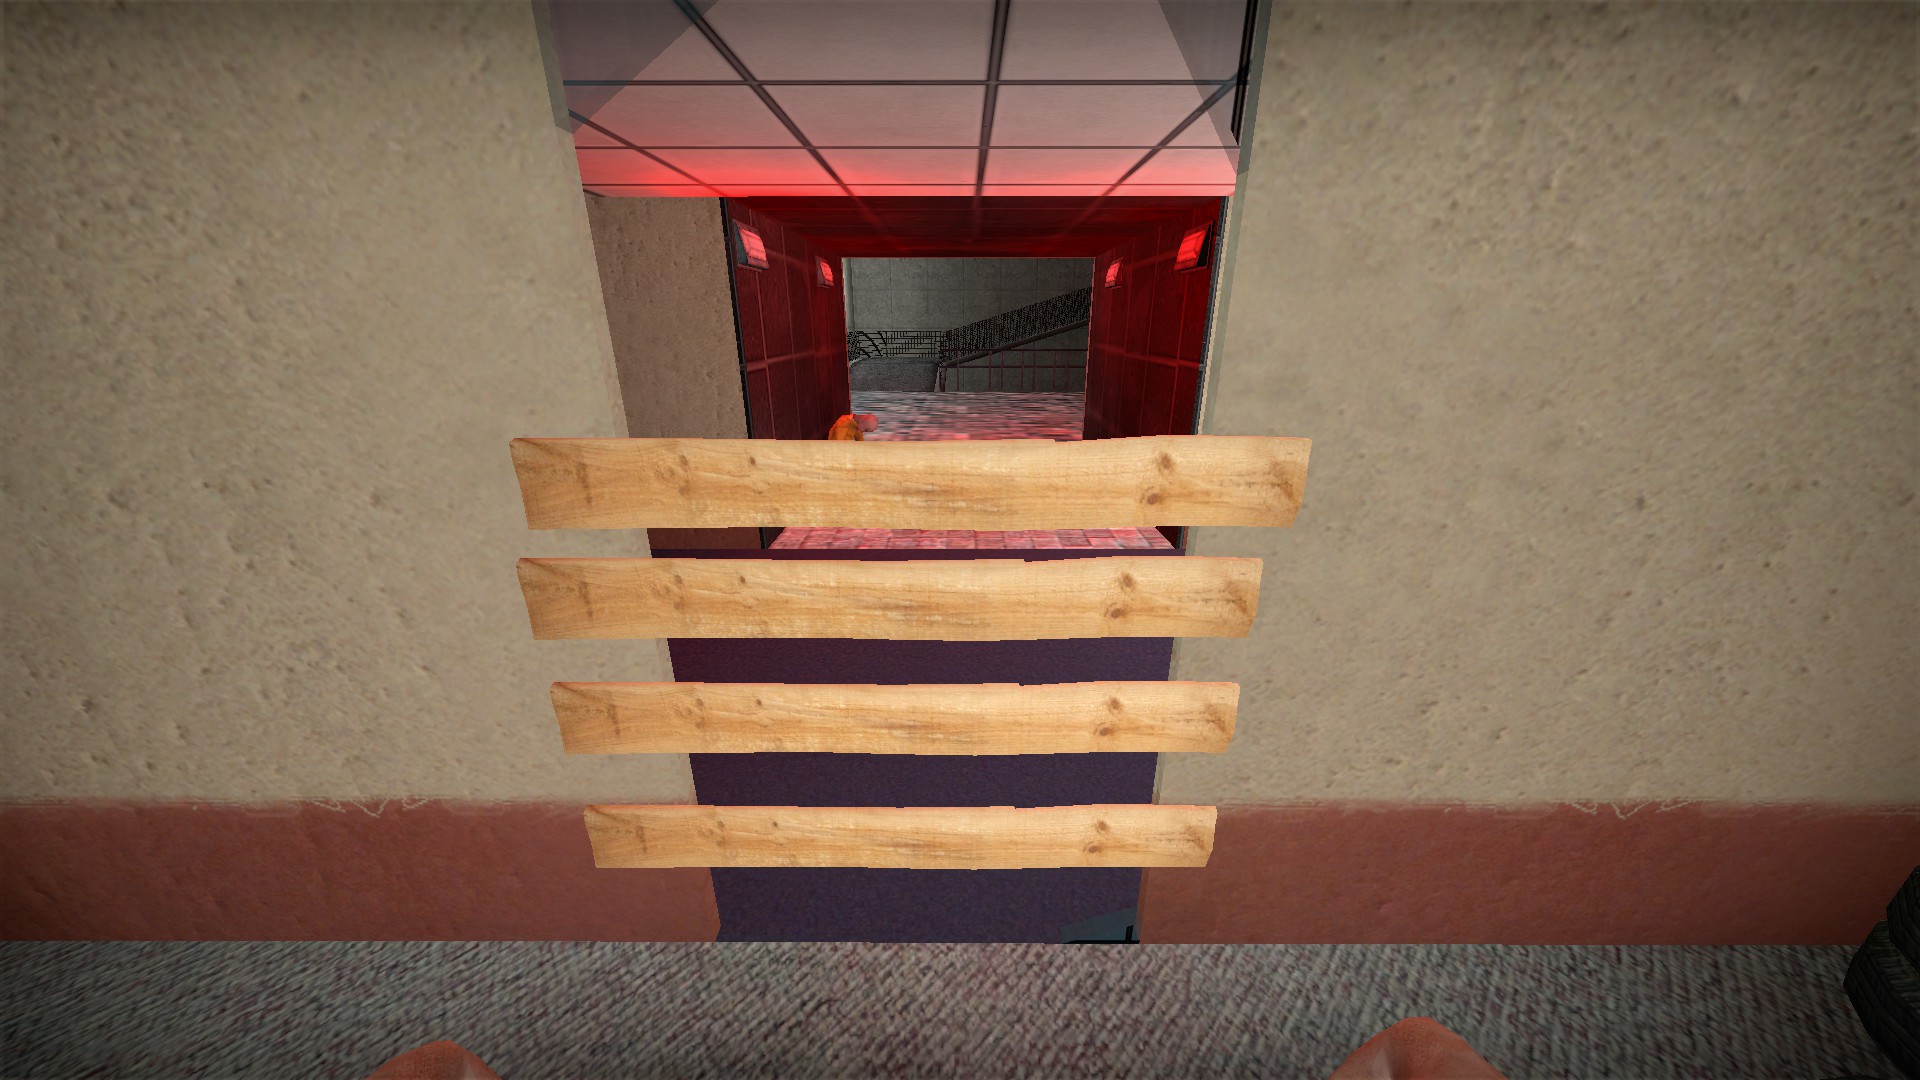
You can board up this room
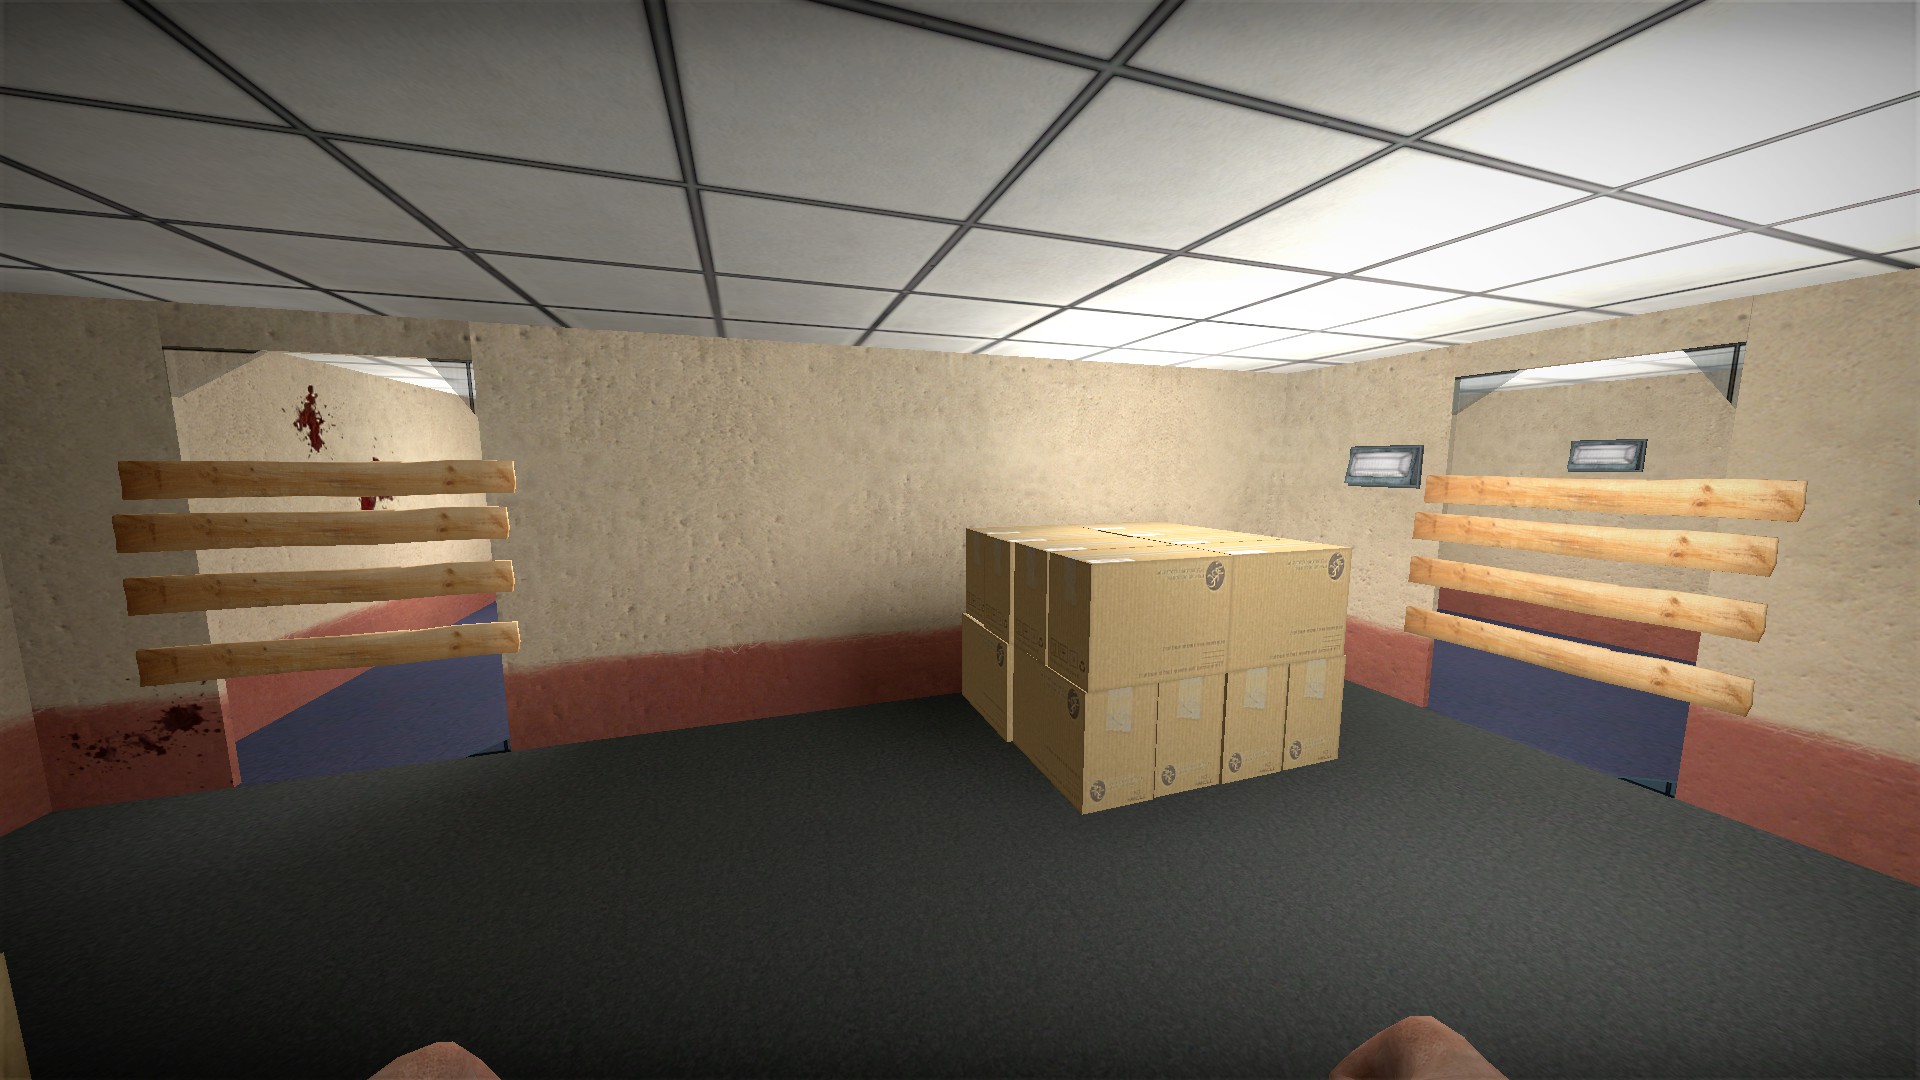
Or both entrances to the armory
Search the bodies inside the bunker for items
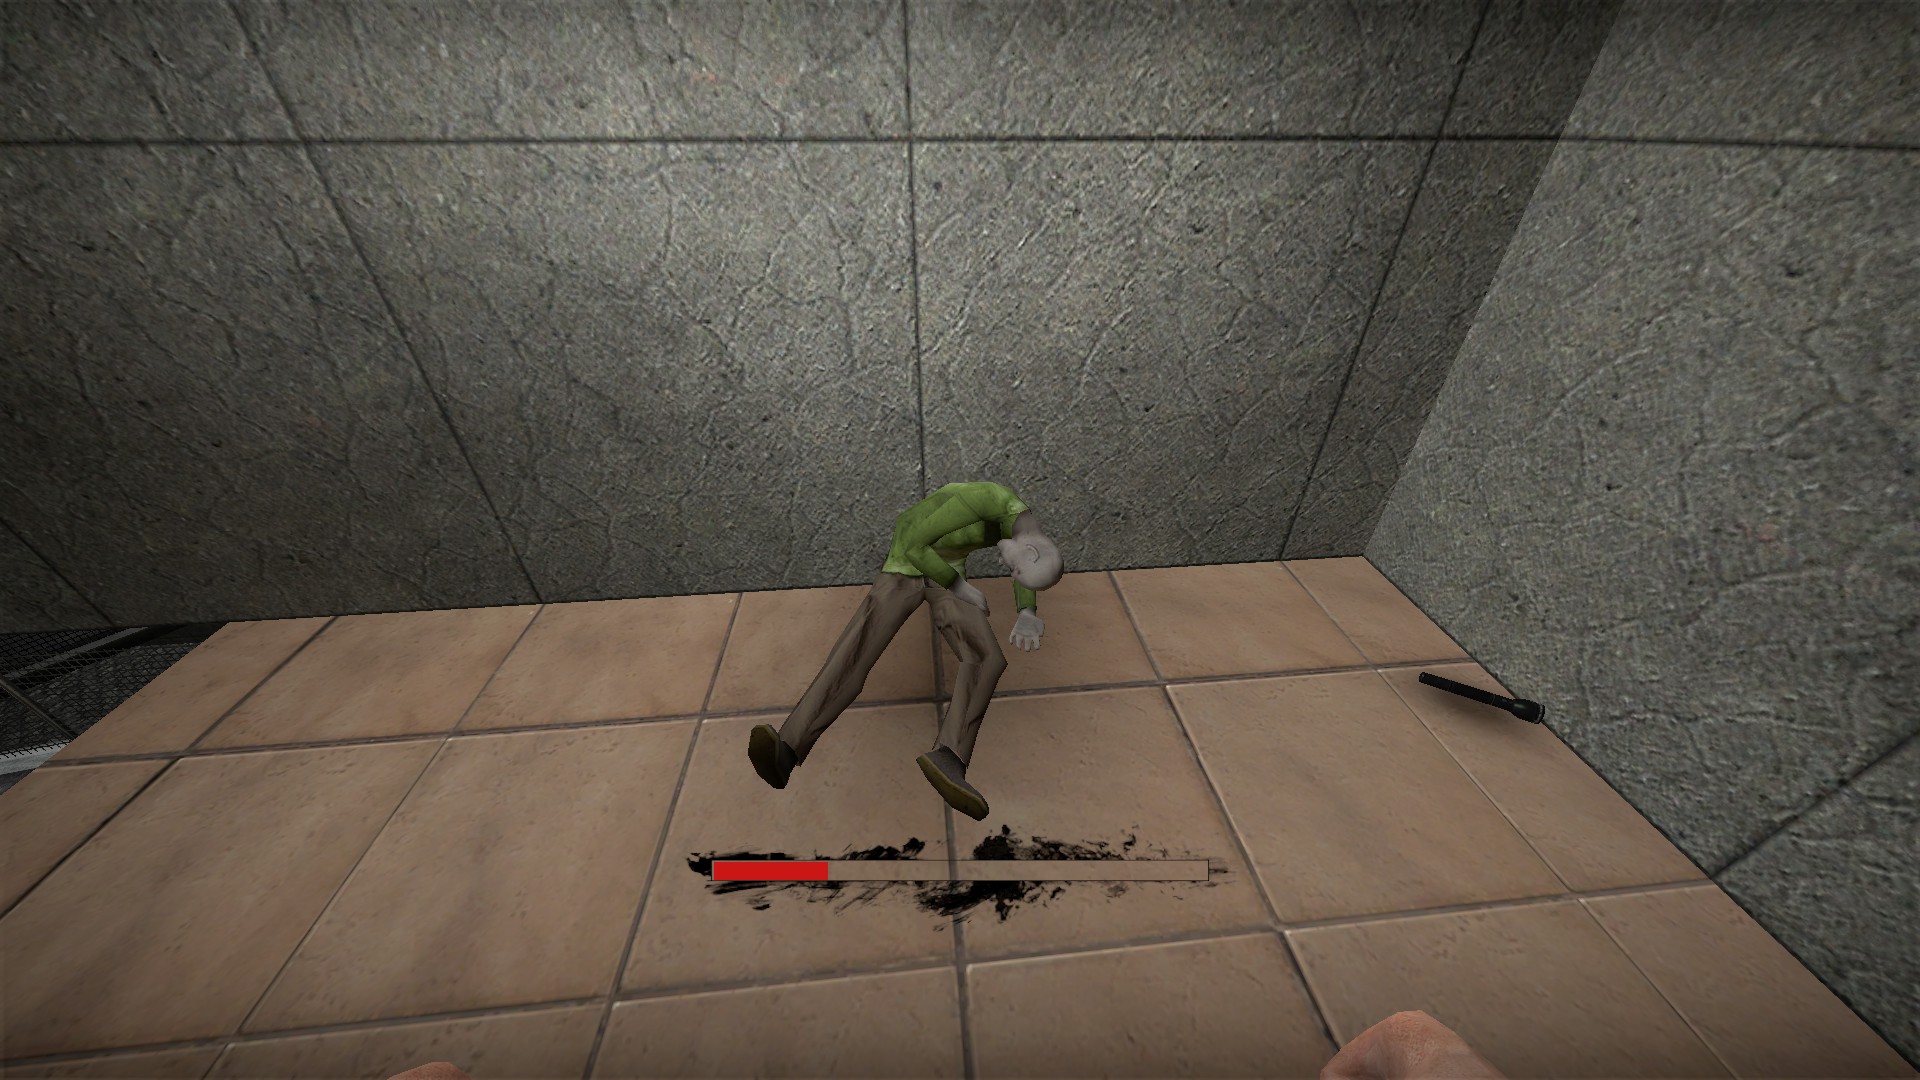
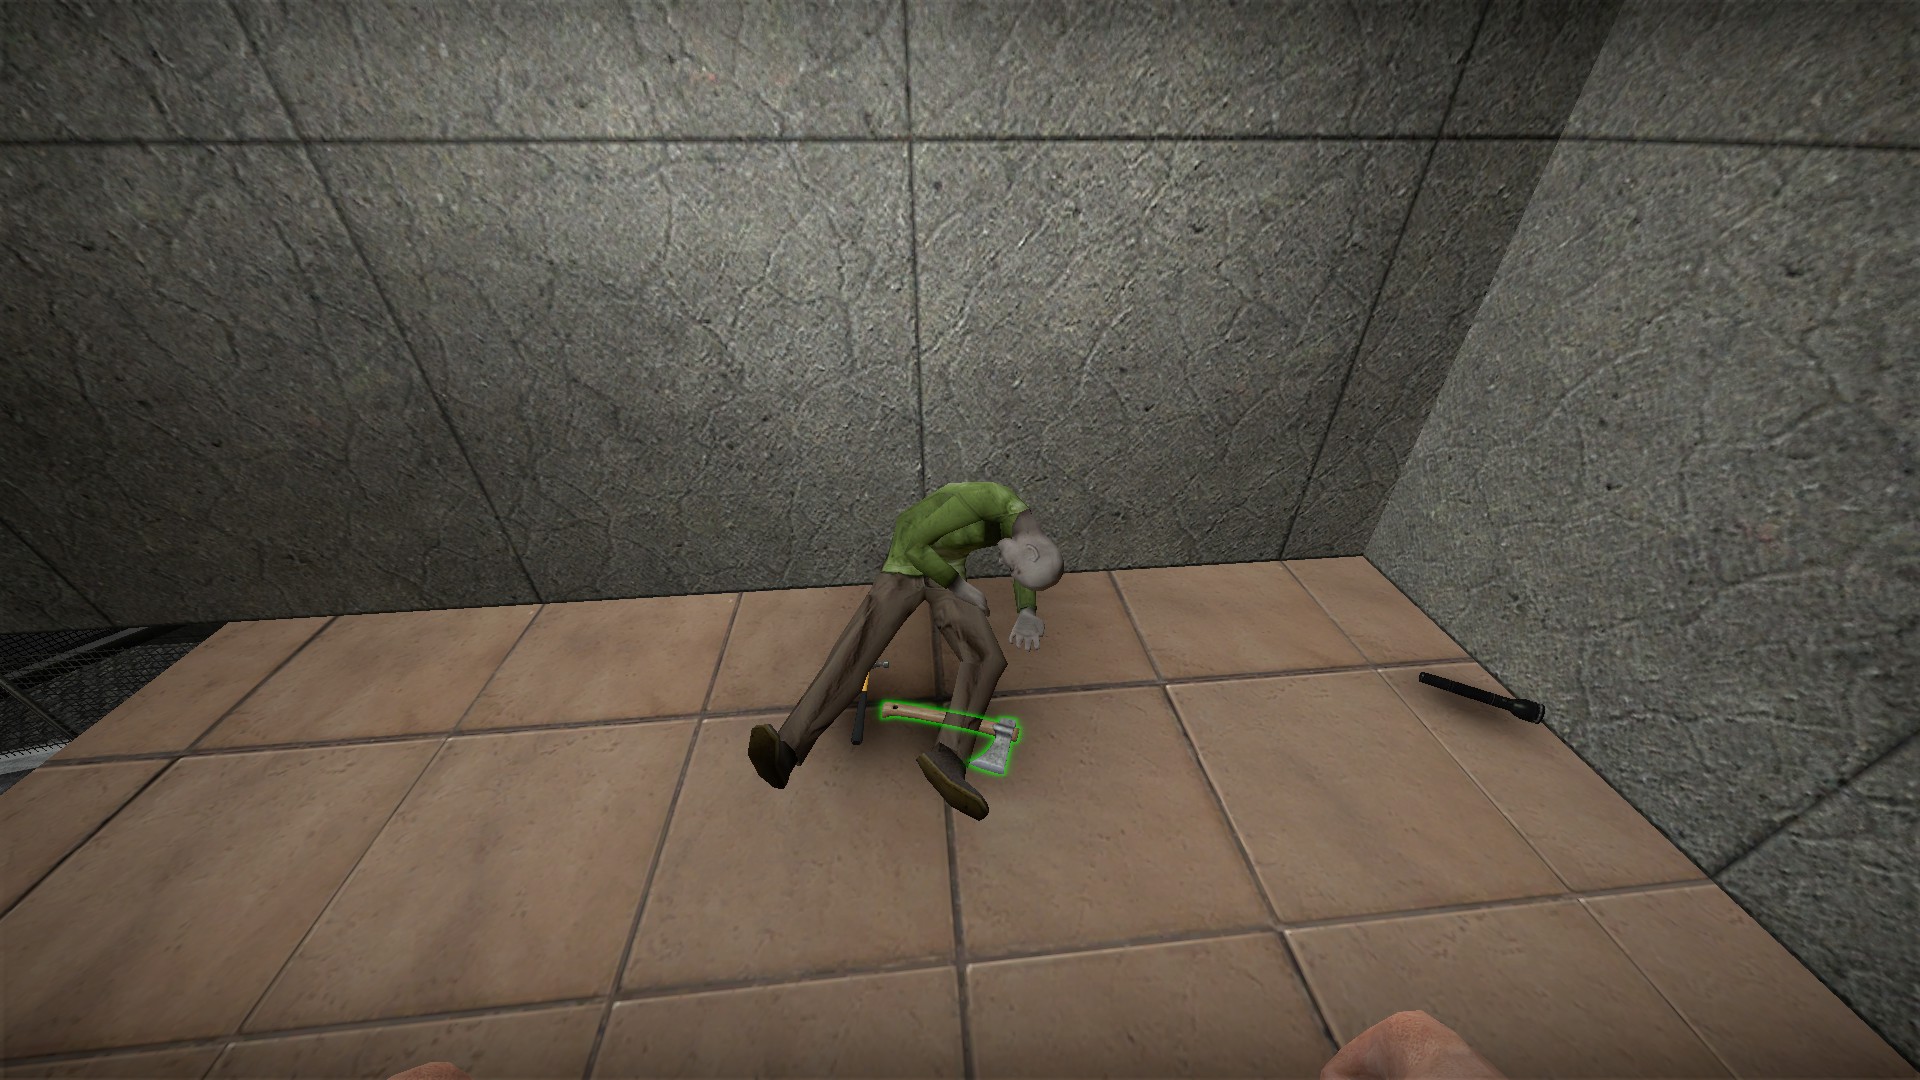
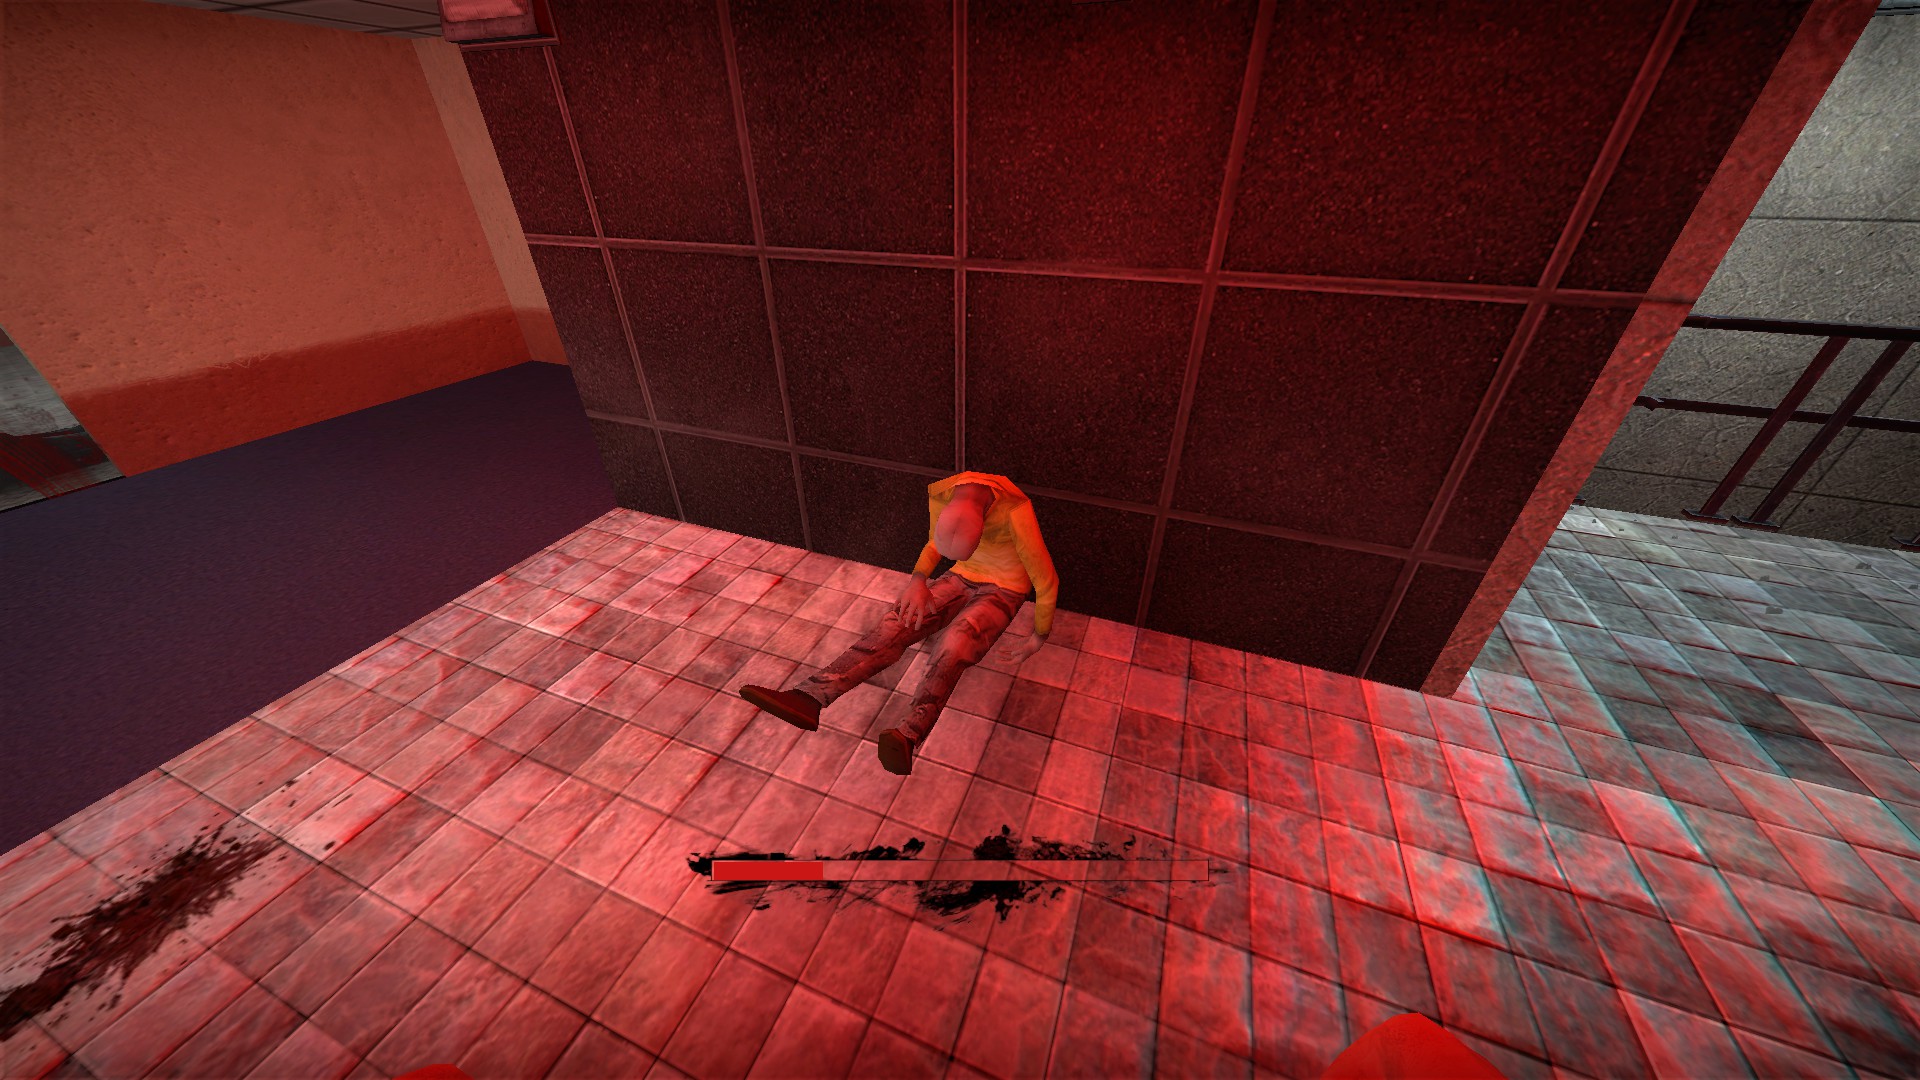
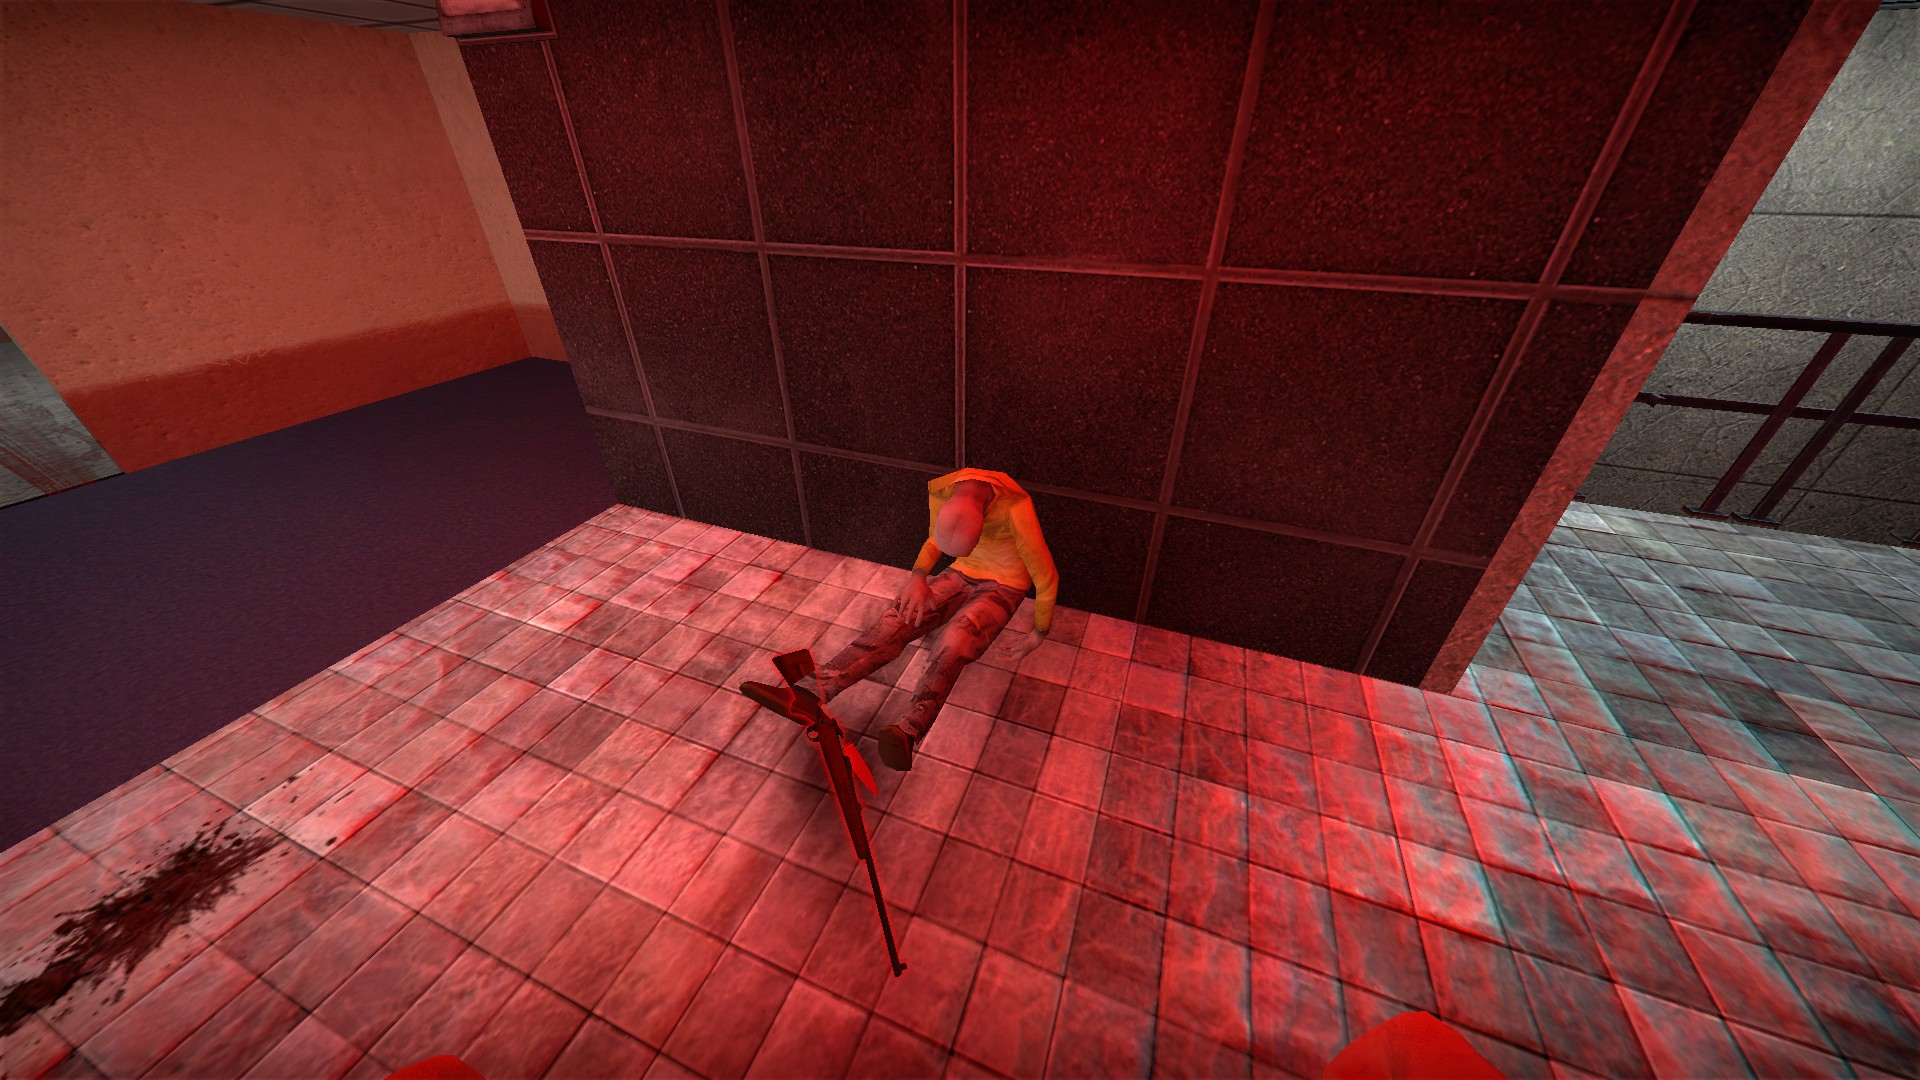
Hold e on the 2 bodies near the bunker entrance and each will give you 2 random items
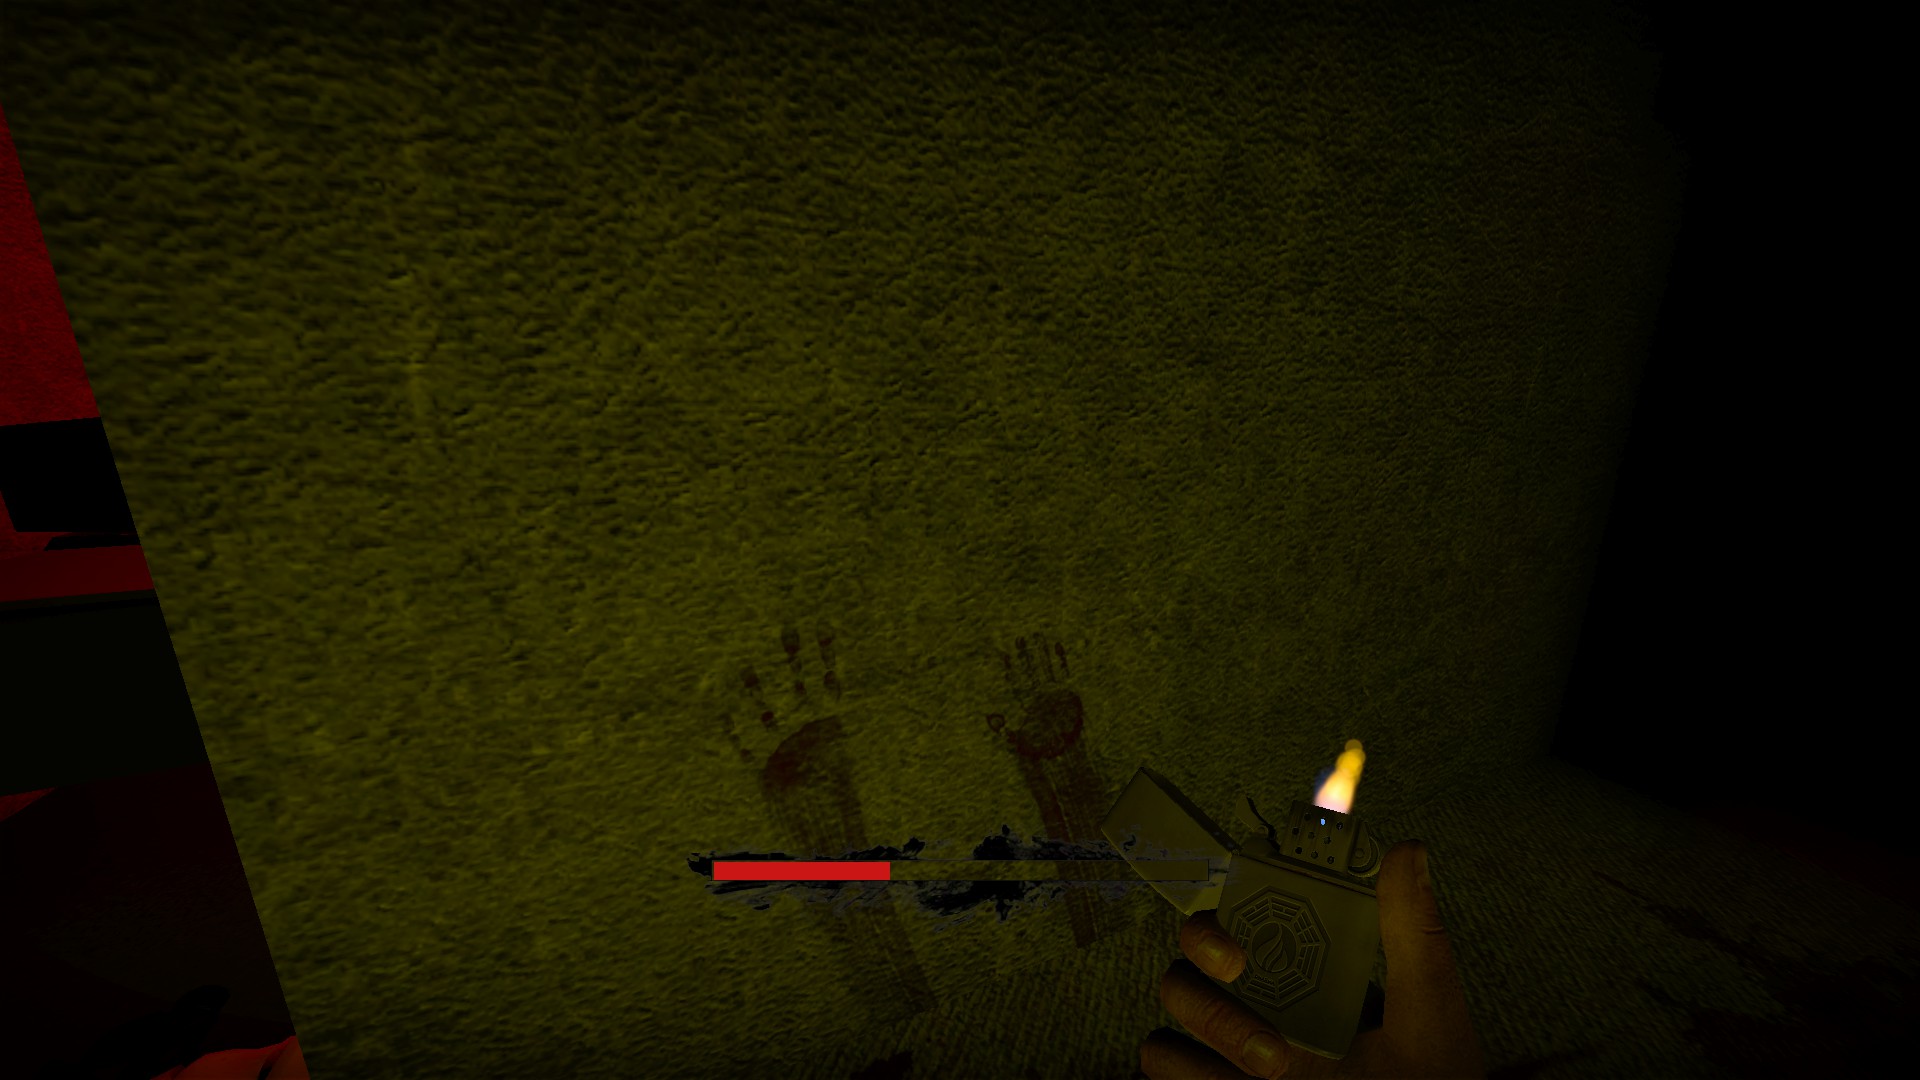
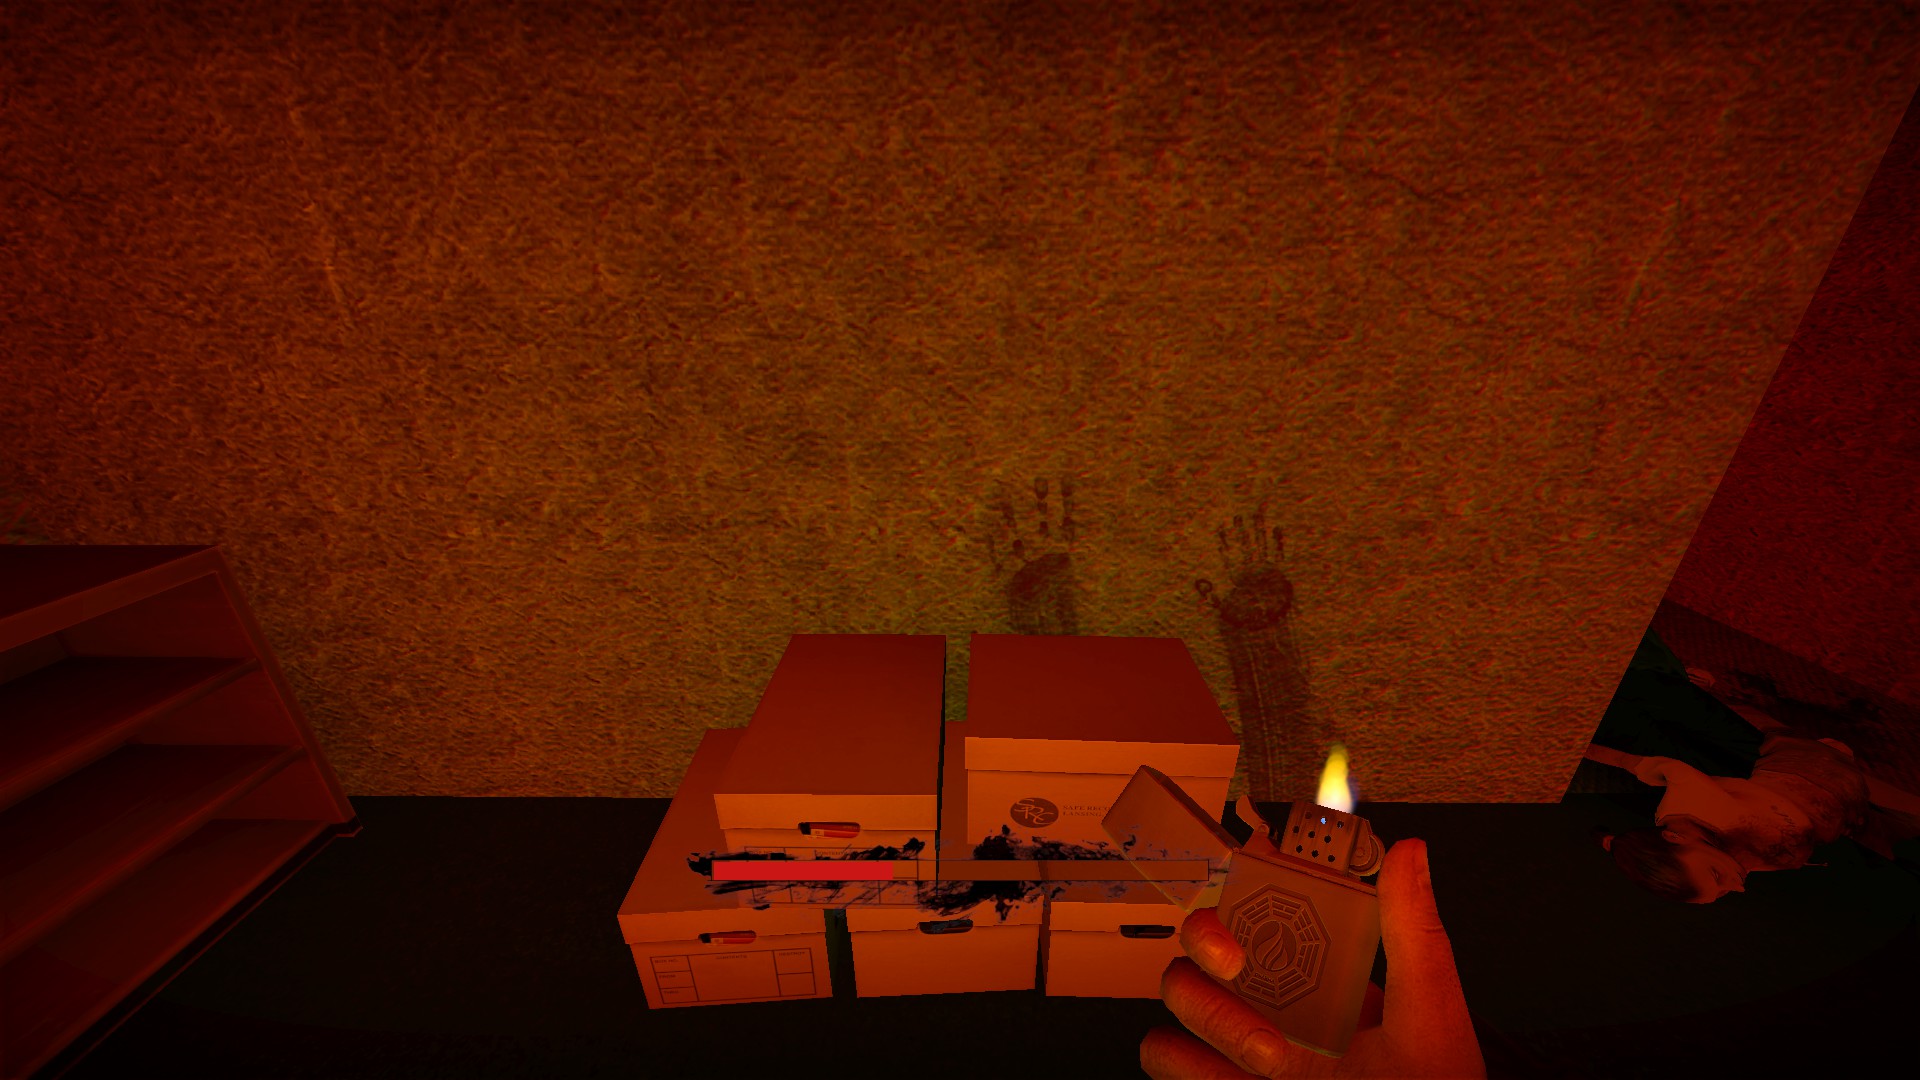
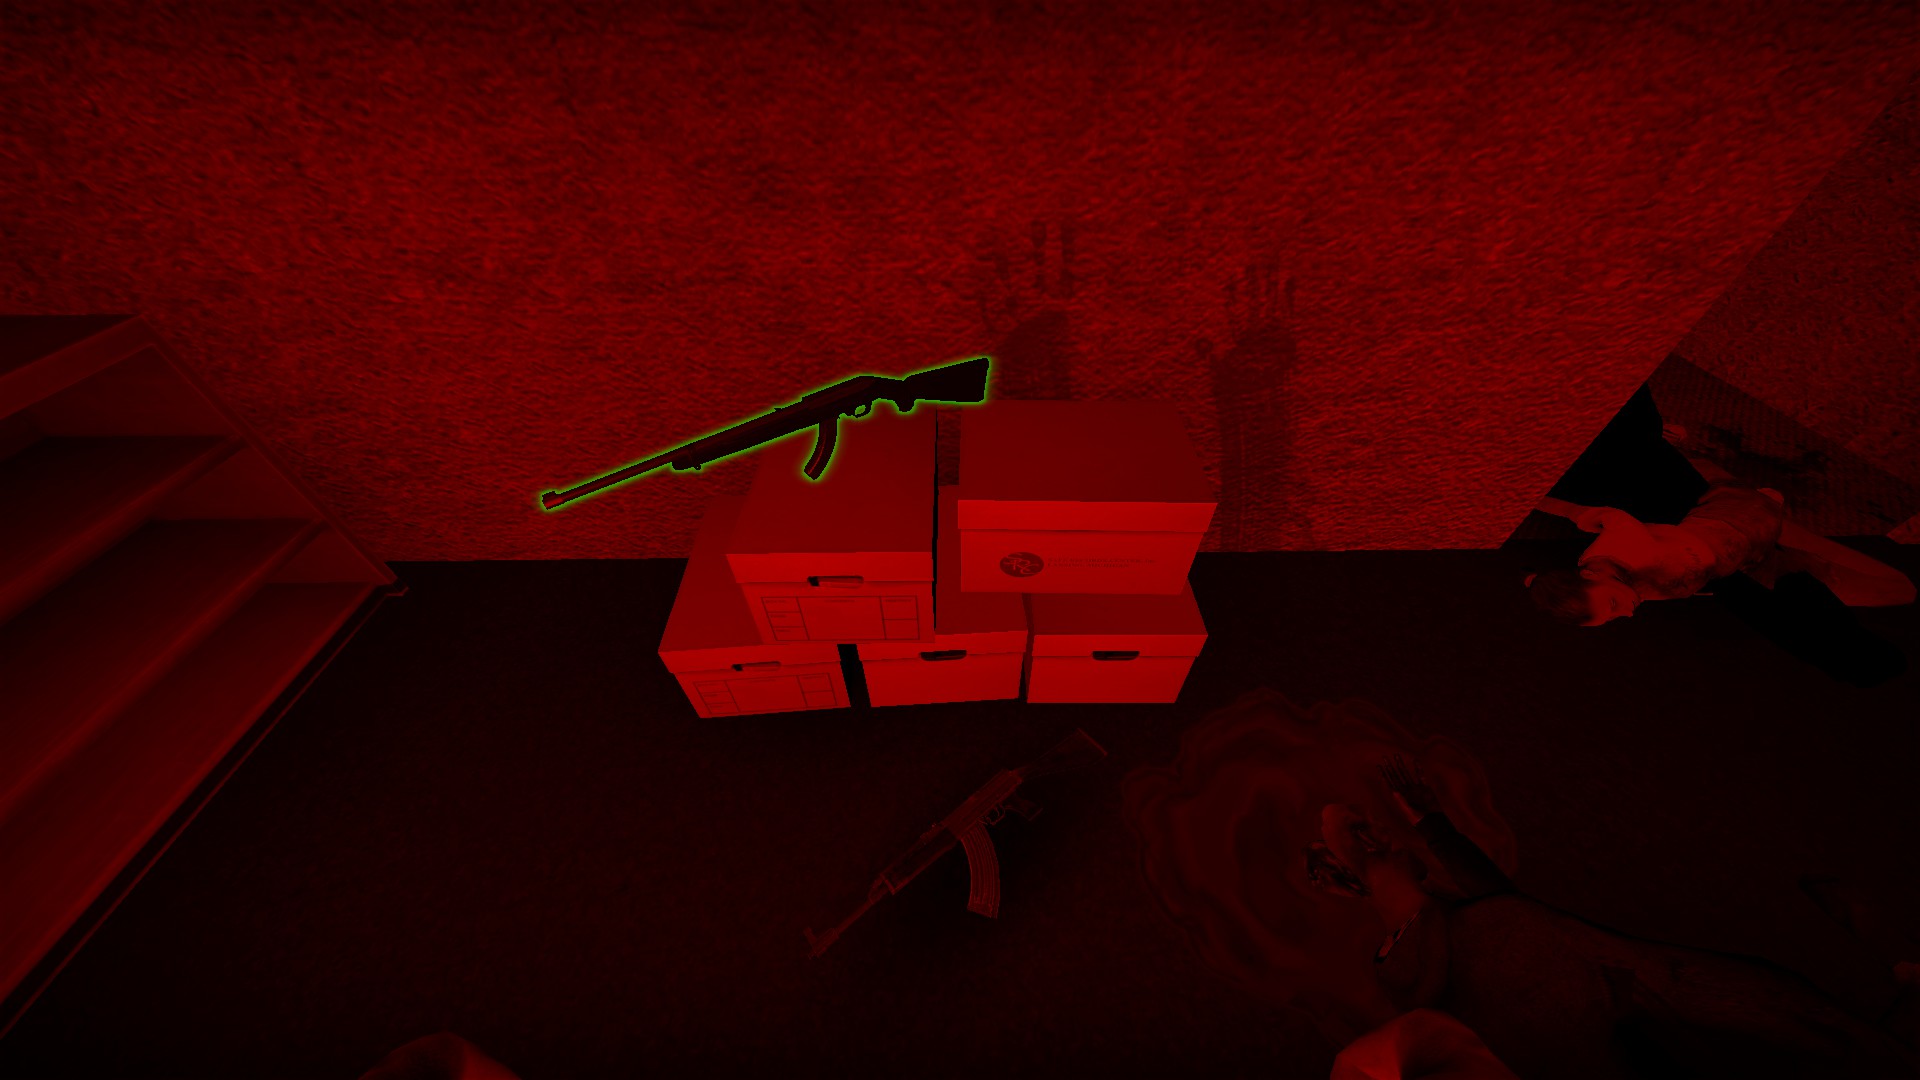
Near General Bongsack, search the bloody handprints on the wall for 2 more random items. You can search from either side of the wall
There are 2 soldiers outside being attacked. A message above the one farther from the bunker will say "put the soldier out of his misery"
You can shoot the zombies or the soldier, but he is already done for. If you shoot one group the other will die as well. Just an Easter egg
You can board up
There are several random items out in the darkness, but there is always a hammer and 2 boards on the top of the small building outside
The entrance to the small building can be boarded up (you would need more boards from the bunker to do this fully)
There are 5 more boards in the first room inside the bunker
You can board up this room
Or both entrances to the armory
Search the bodies inside the bunker for items
Hold e on the 2 bodies near the bunker entrance and each will give you 2 random items
Near General Bongsack, search the bloody handprints on the wall for 2 more random items. You can search from either side of the wall
nmo_arknights_v0/v1
nmo_arknights v0 and v1 have identical secrets. v1 is an easier version with more supplies and different elevators
nmo_arknightsnormal_v6 is a much different map than v0 and v1. It is covered separately in the next section
Globe head boss
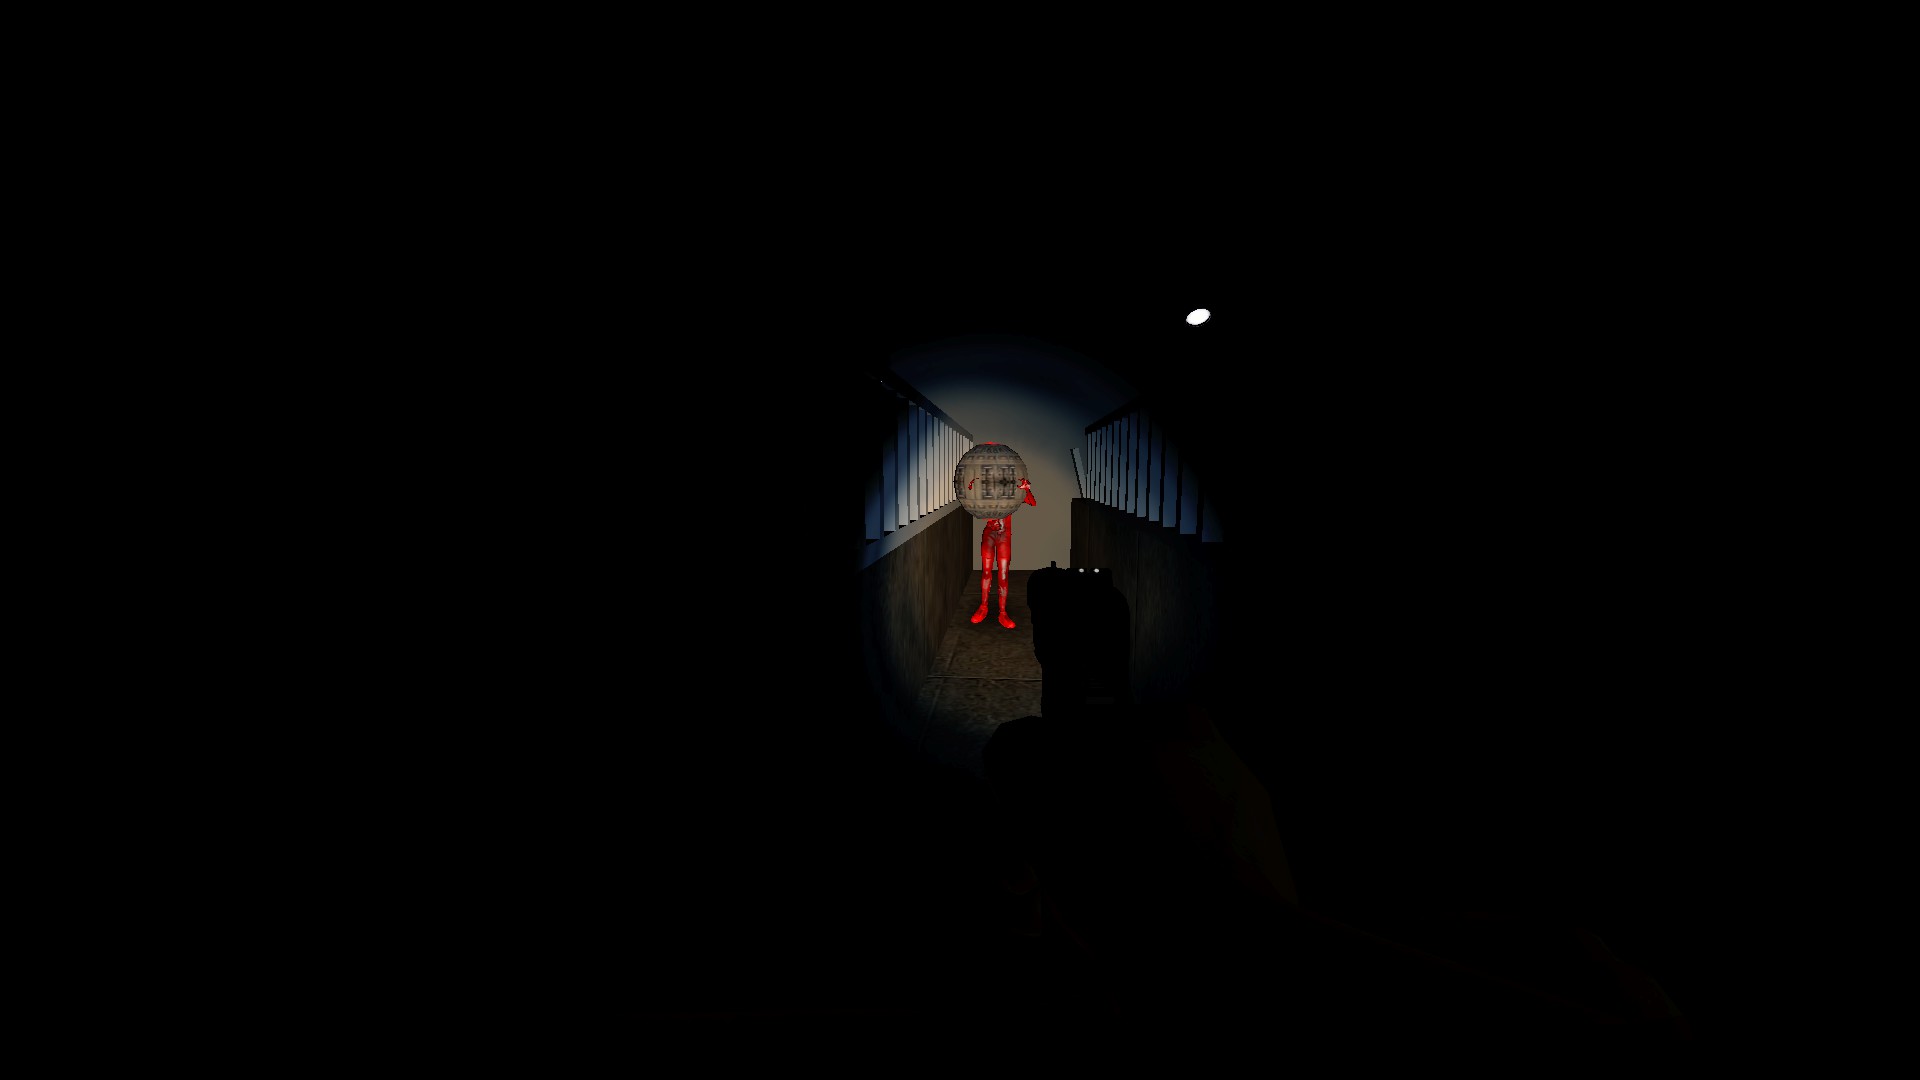
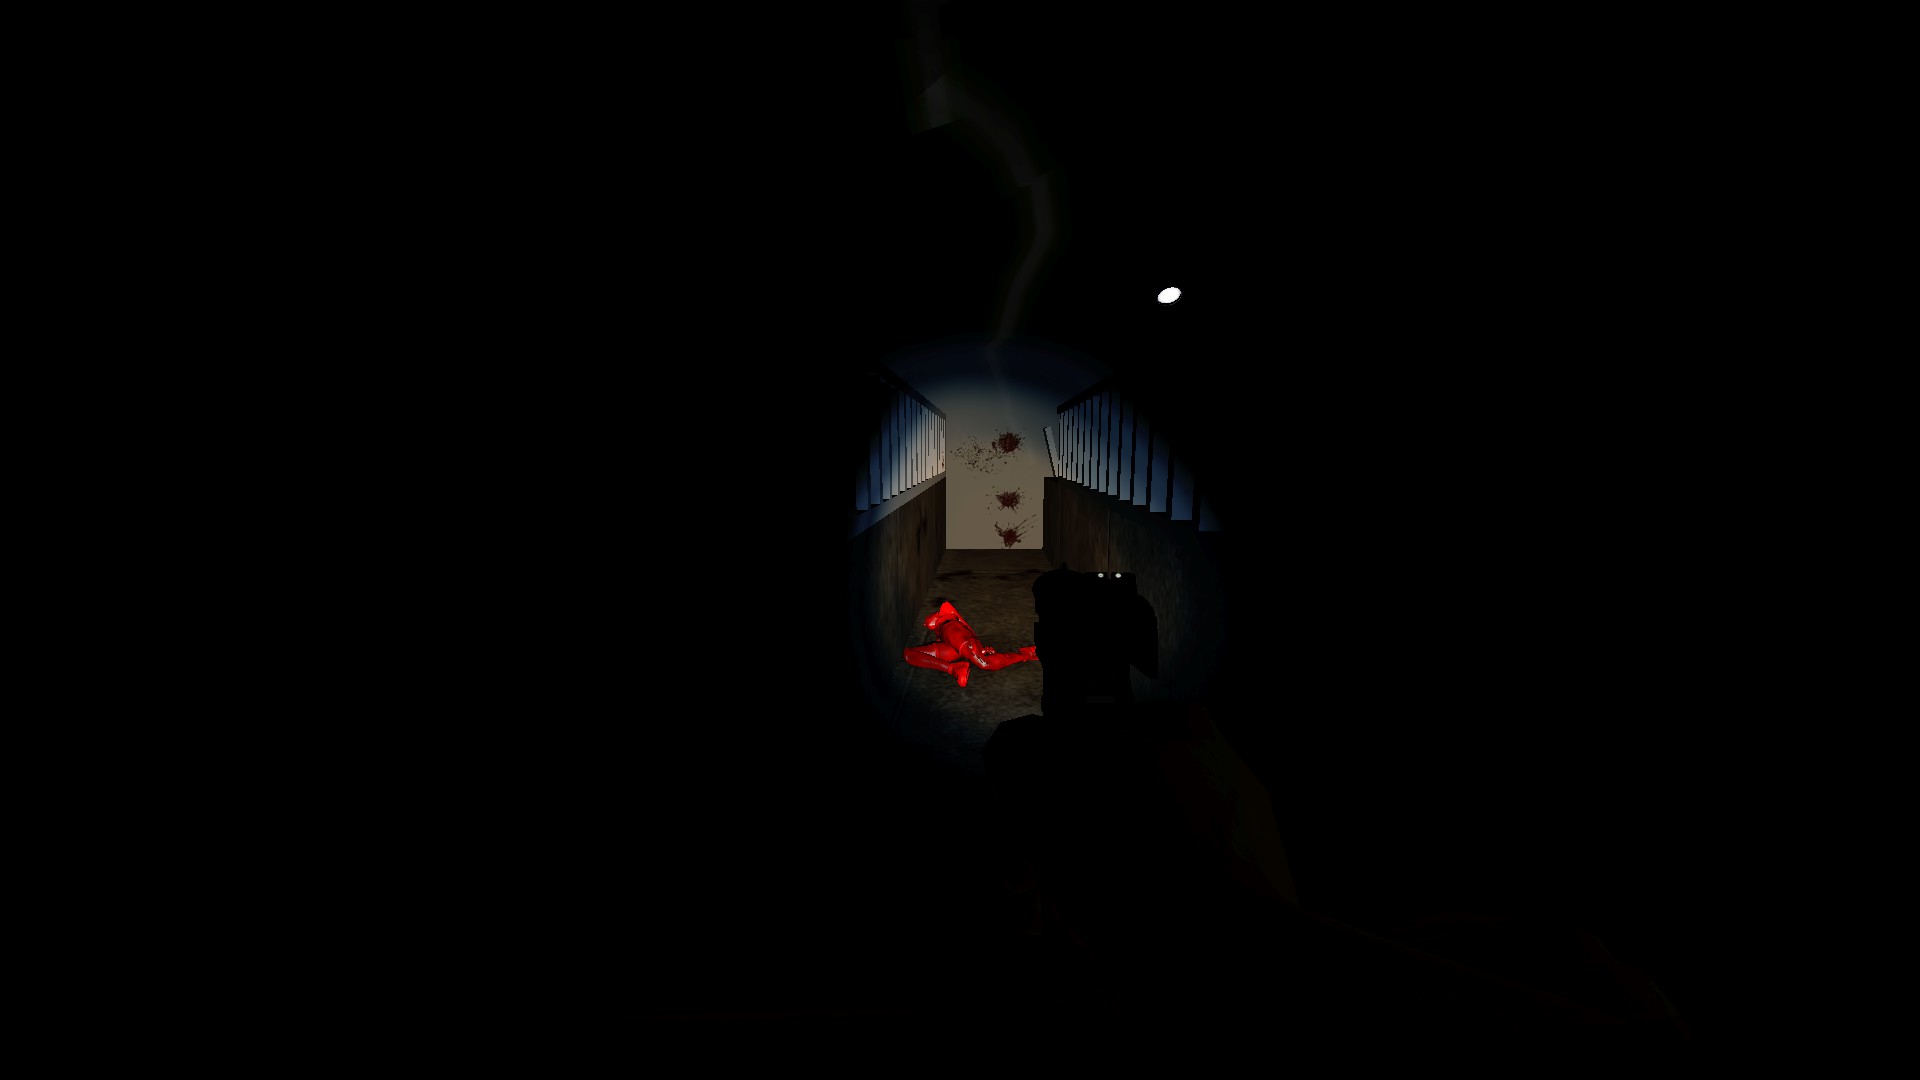
Use the nearby colt and kill the globe head boss with body shots to prevent it from exploding
Secret room
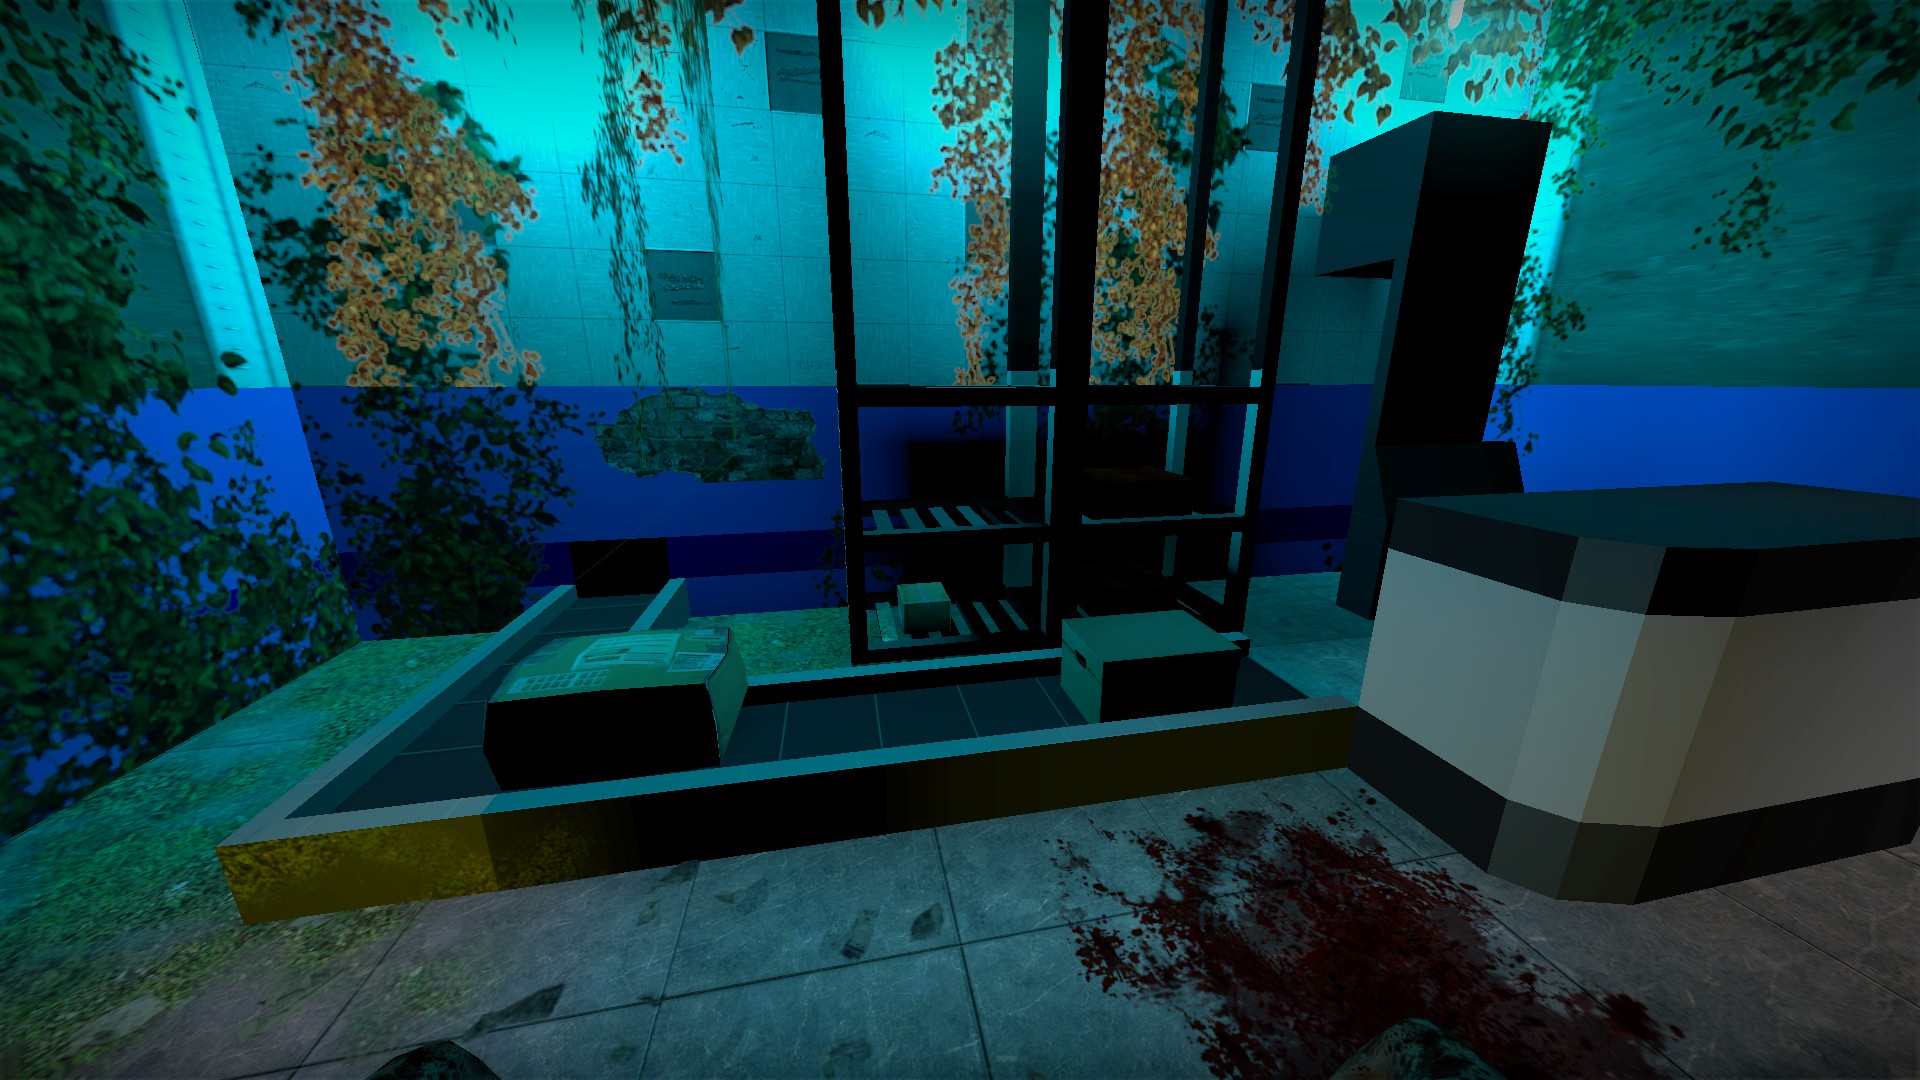
After you have turned on the lights and picked up the welder, you will pass back through this room with a conveyor belt
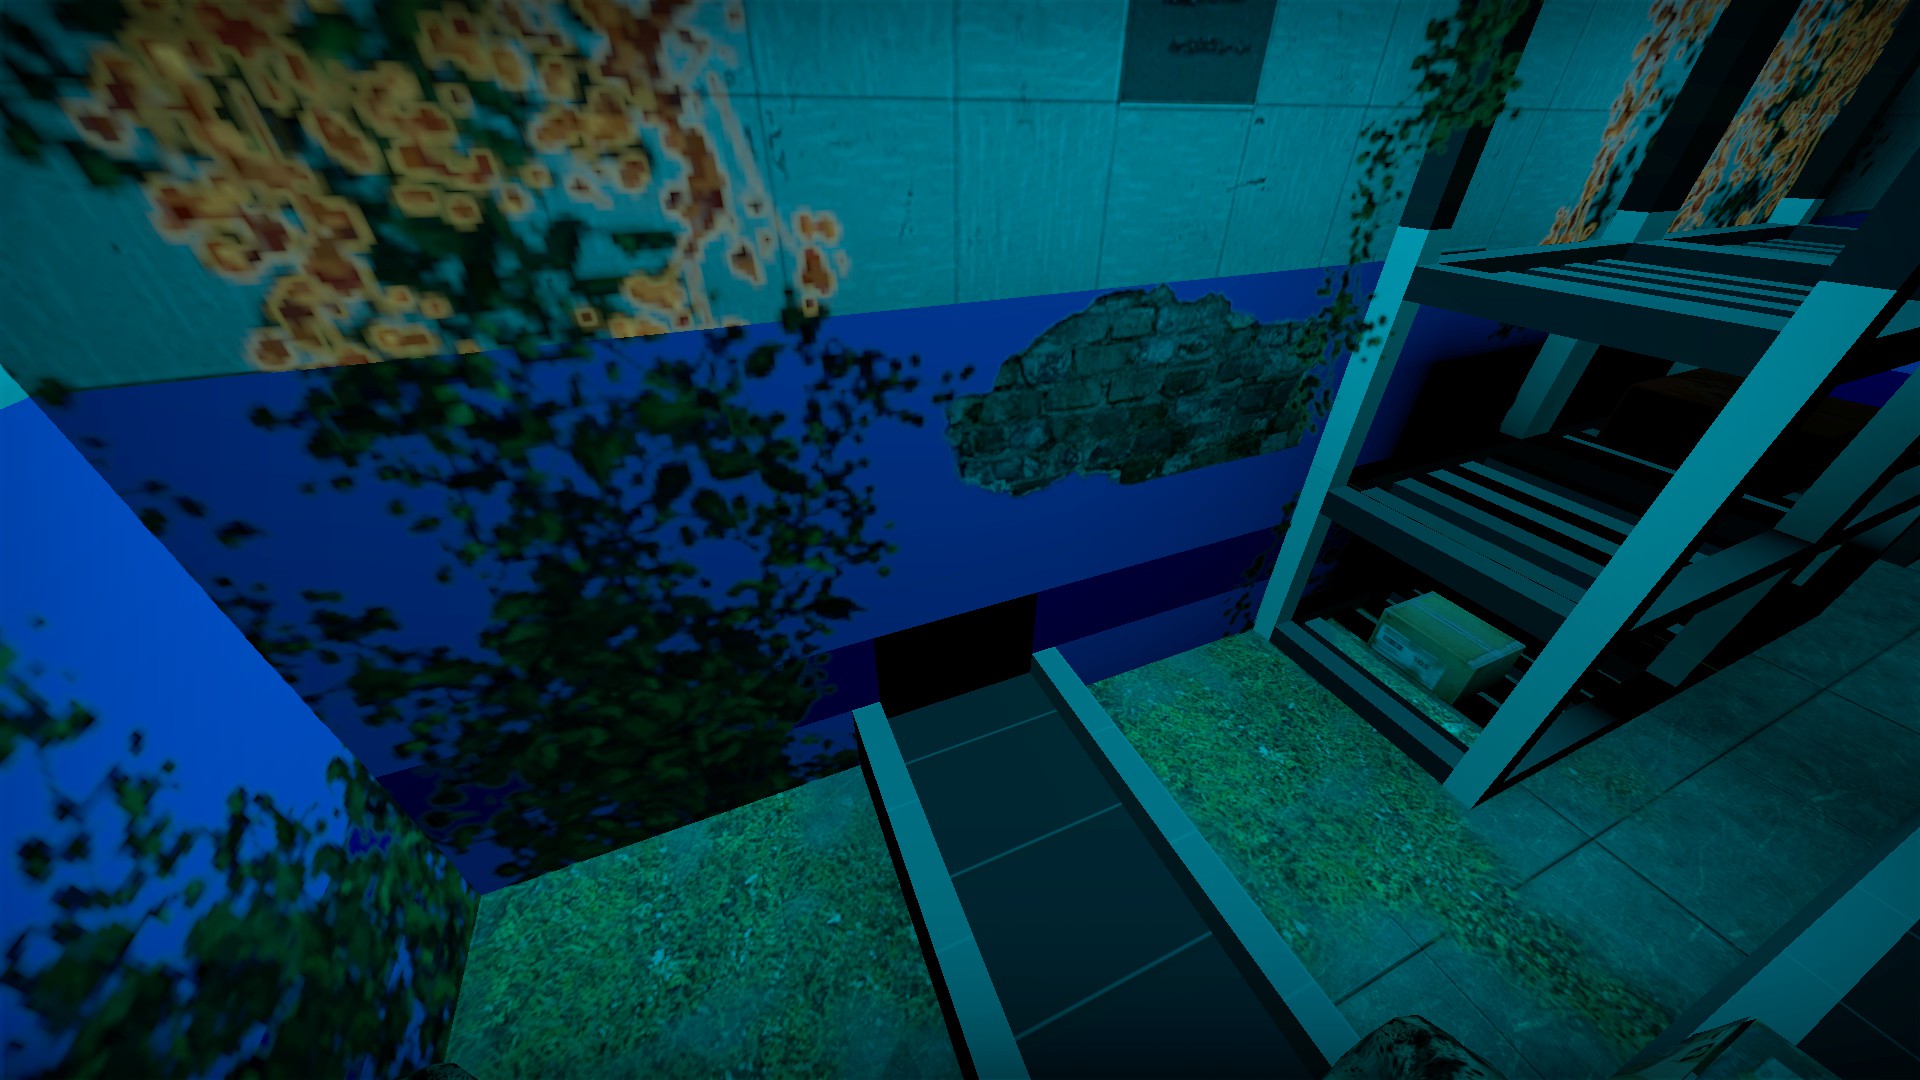
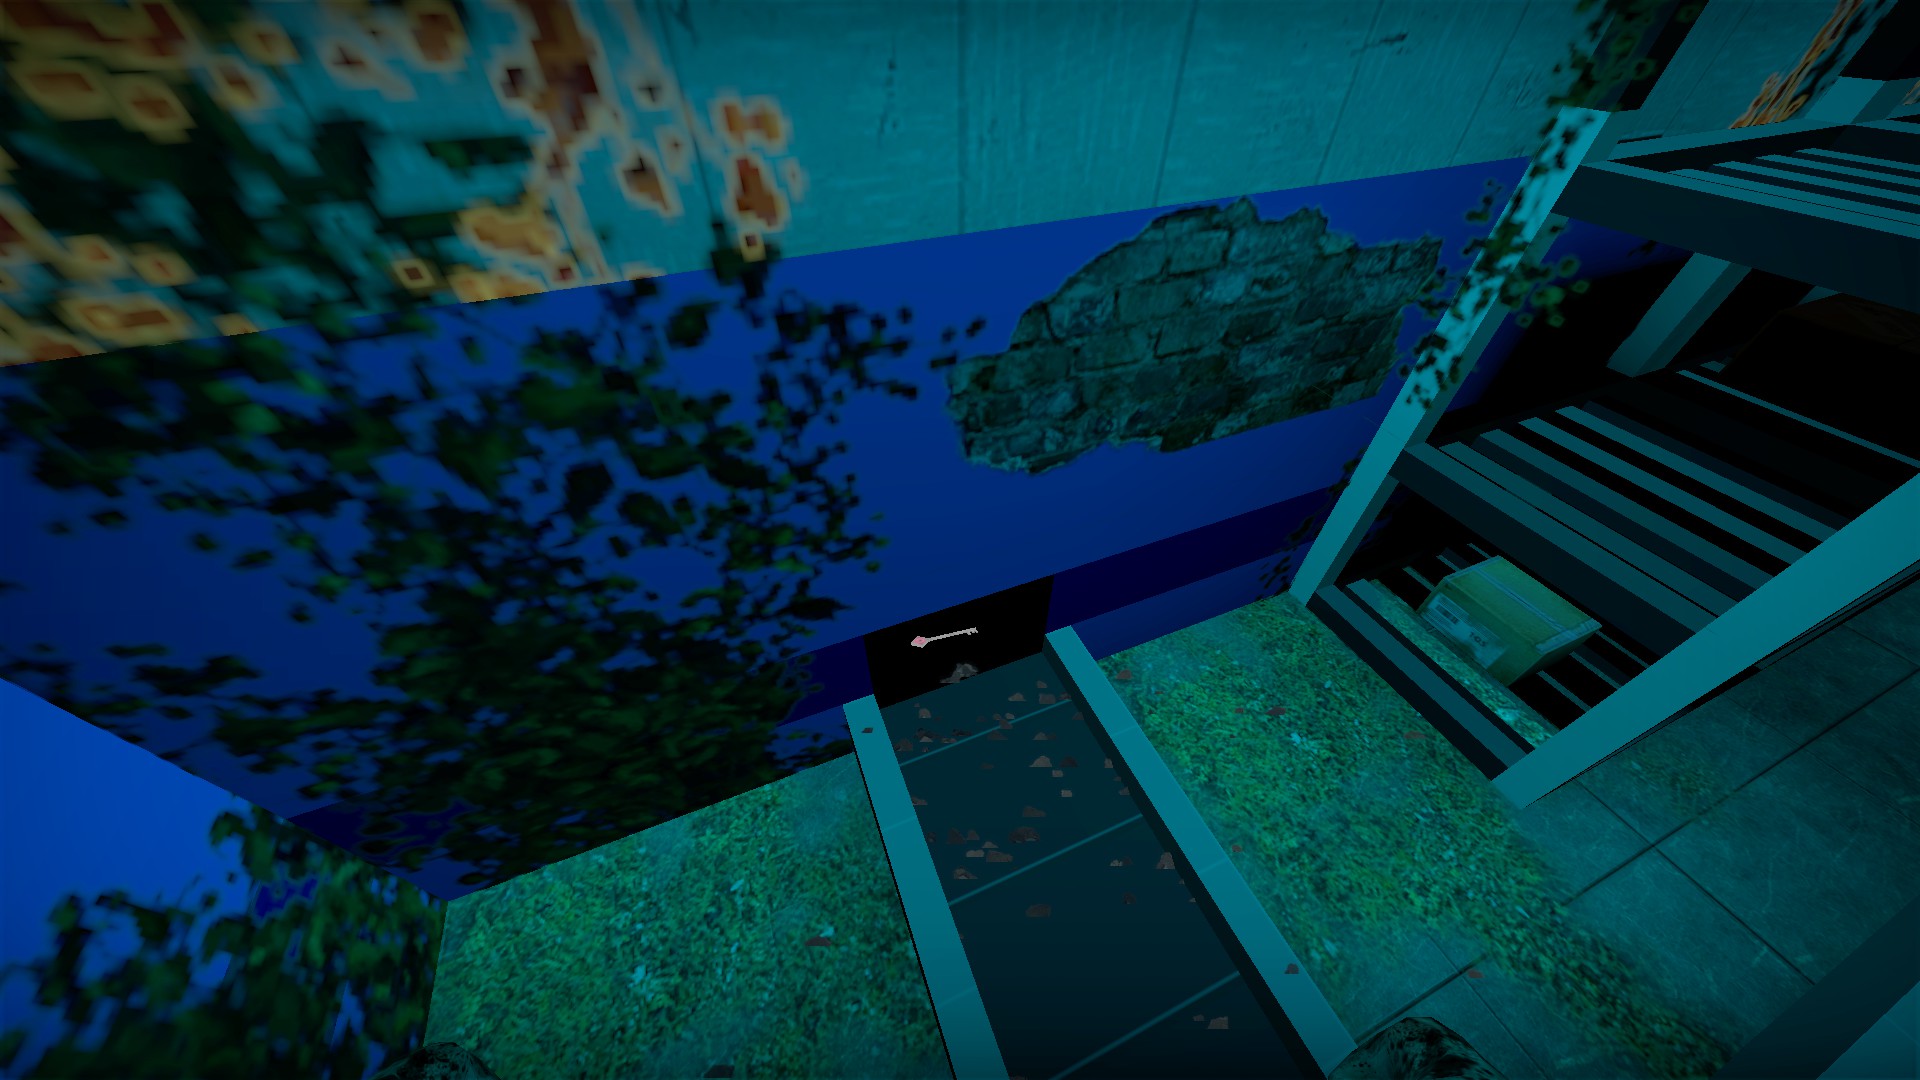
The black box at the end of the conveyor belt is breakable, and you will find a key inside
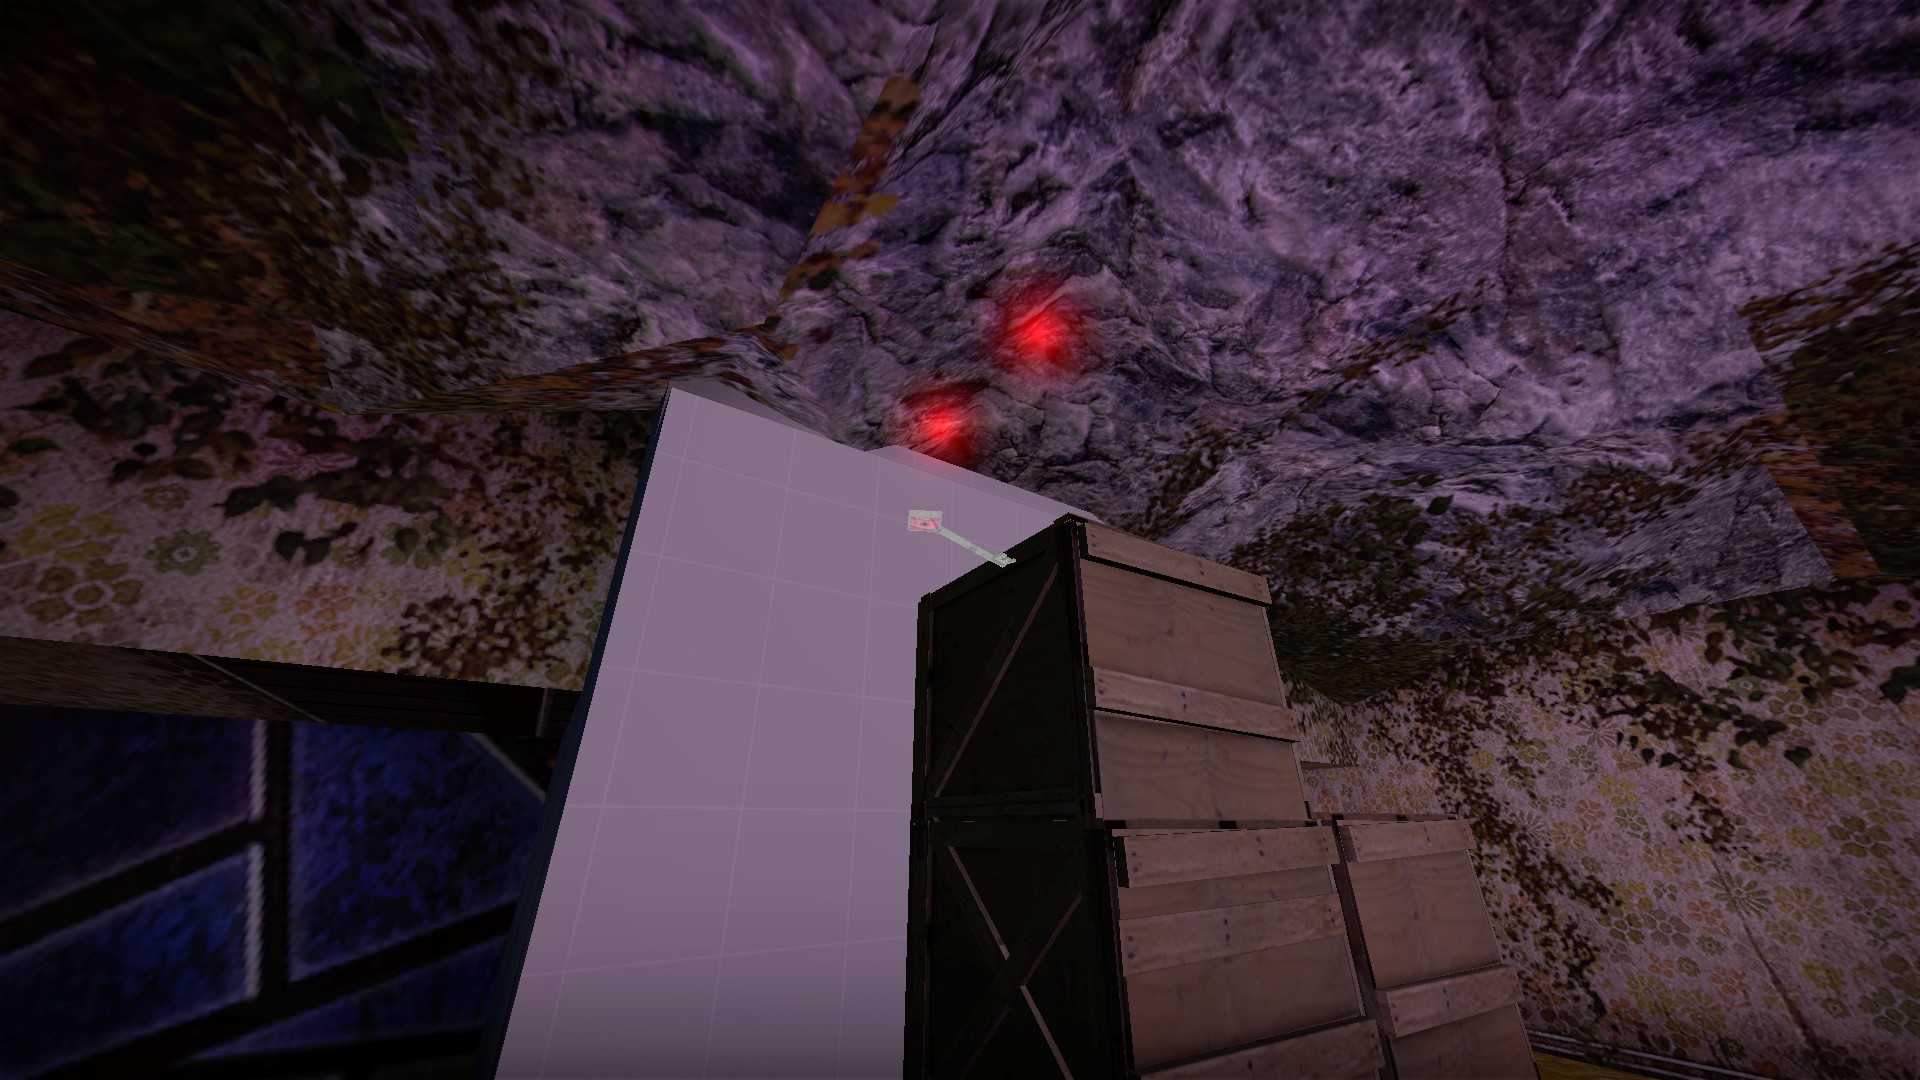
After placing the wooden boxes, you will need to push the key through the teleport to get it to the next area
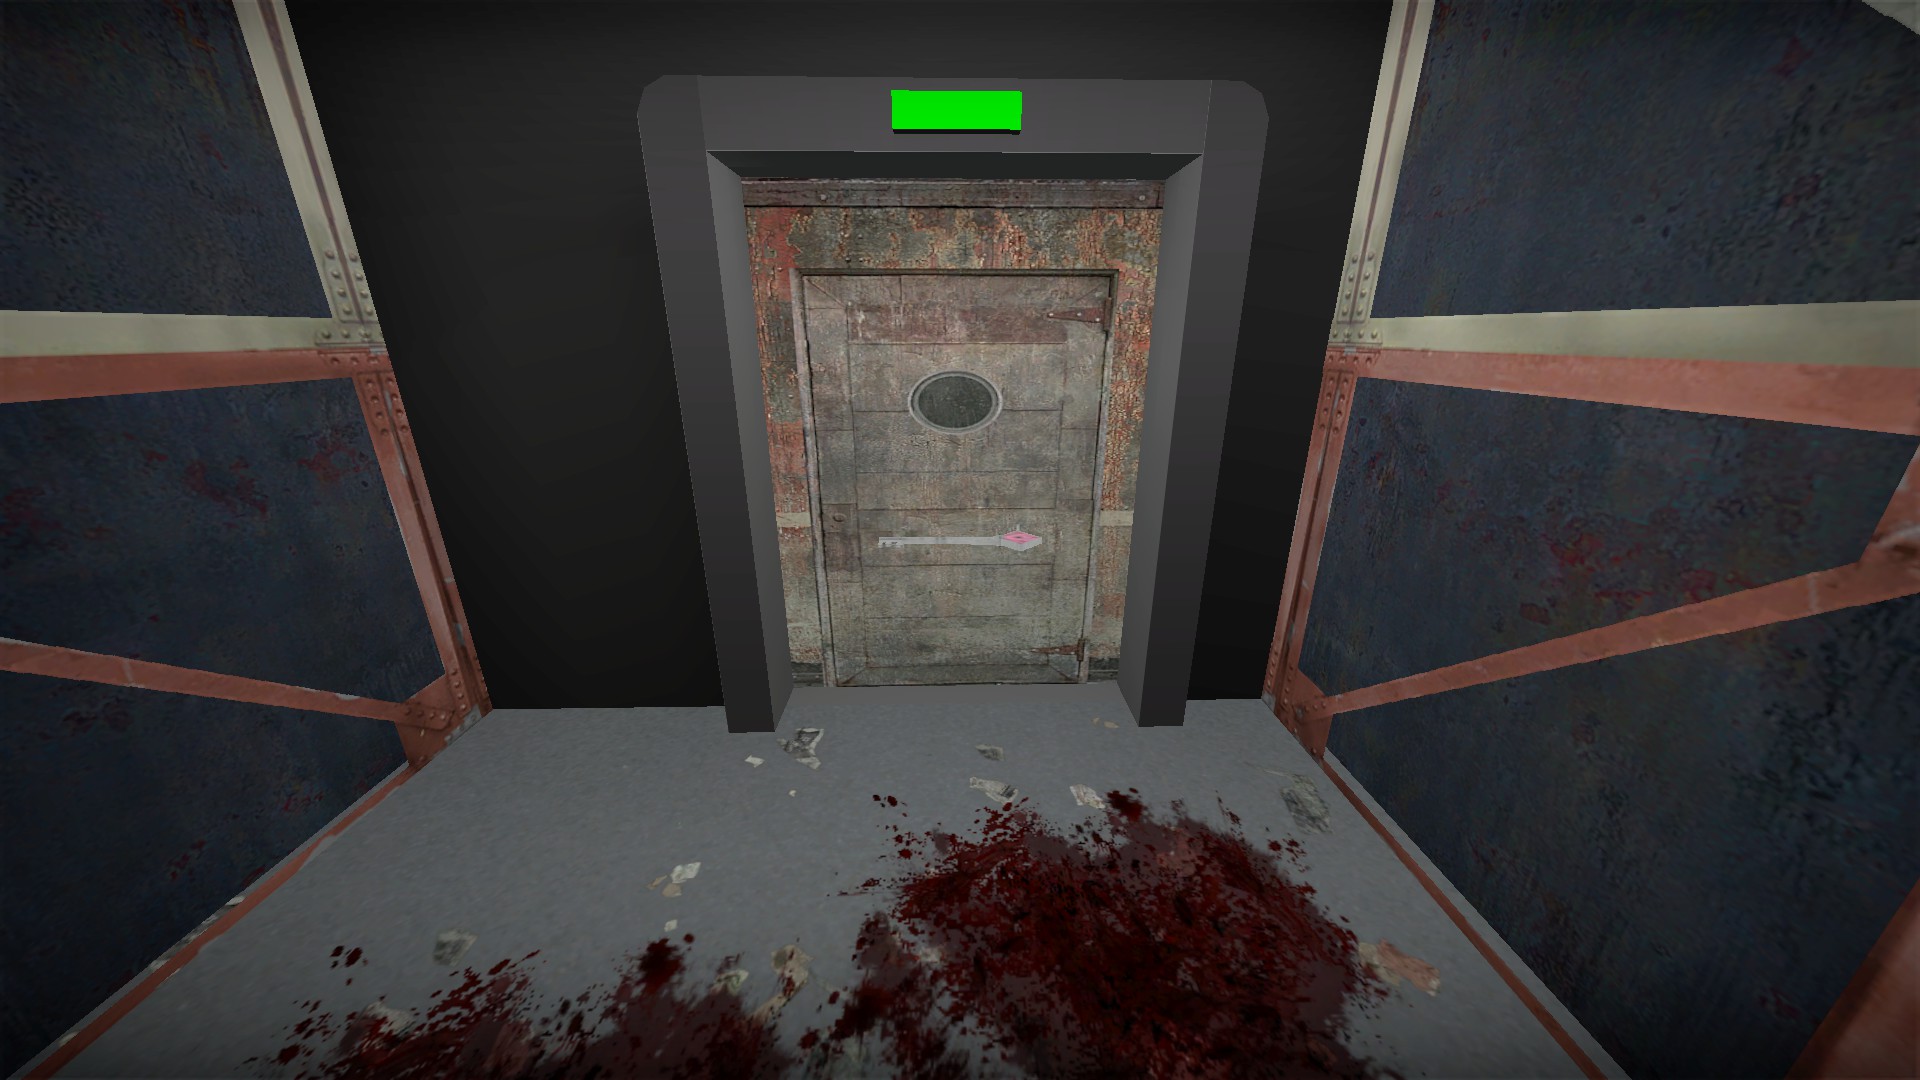
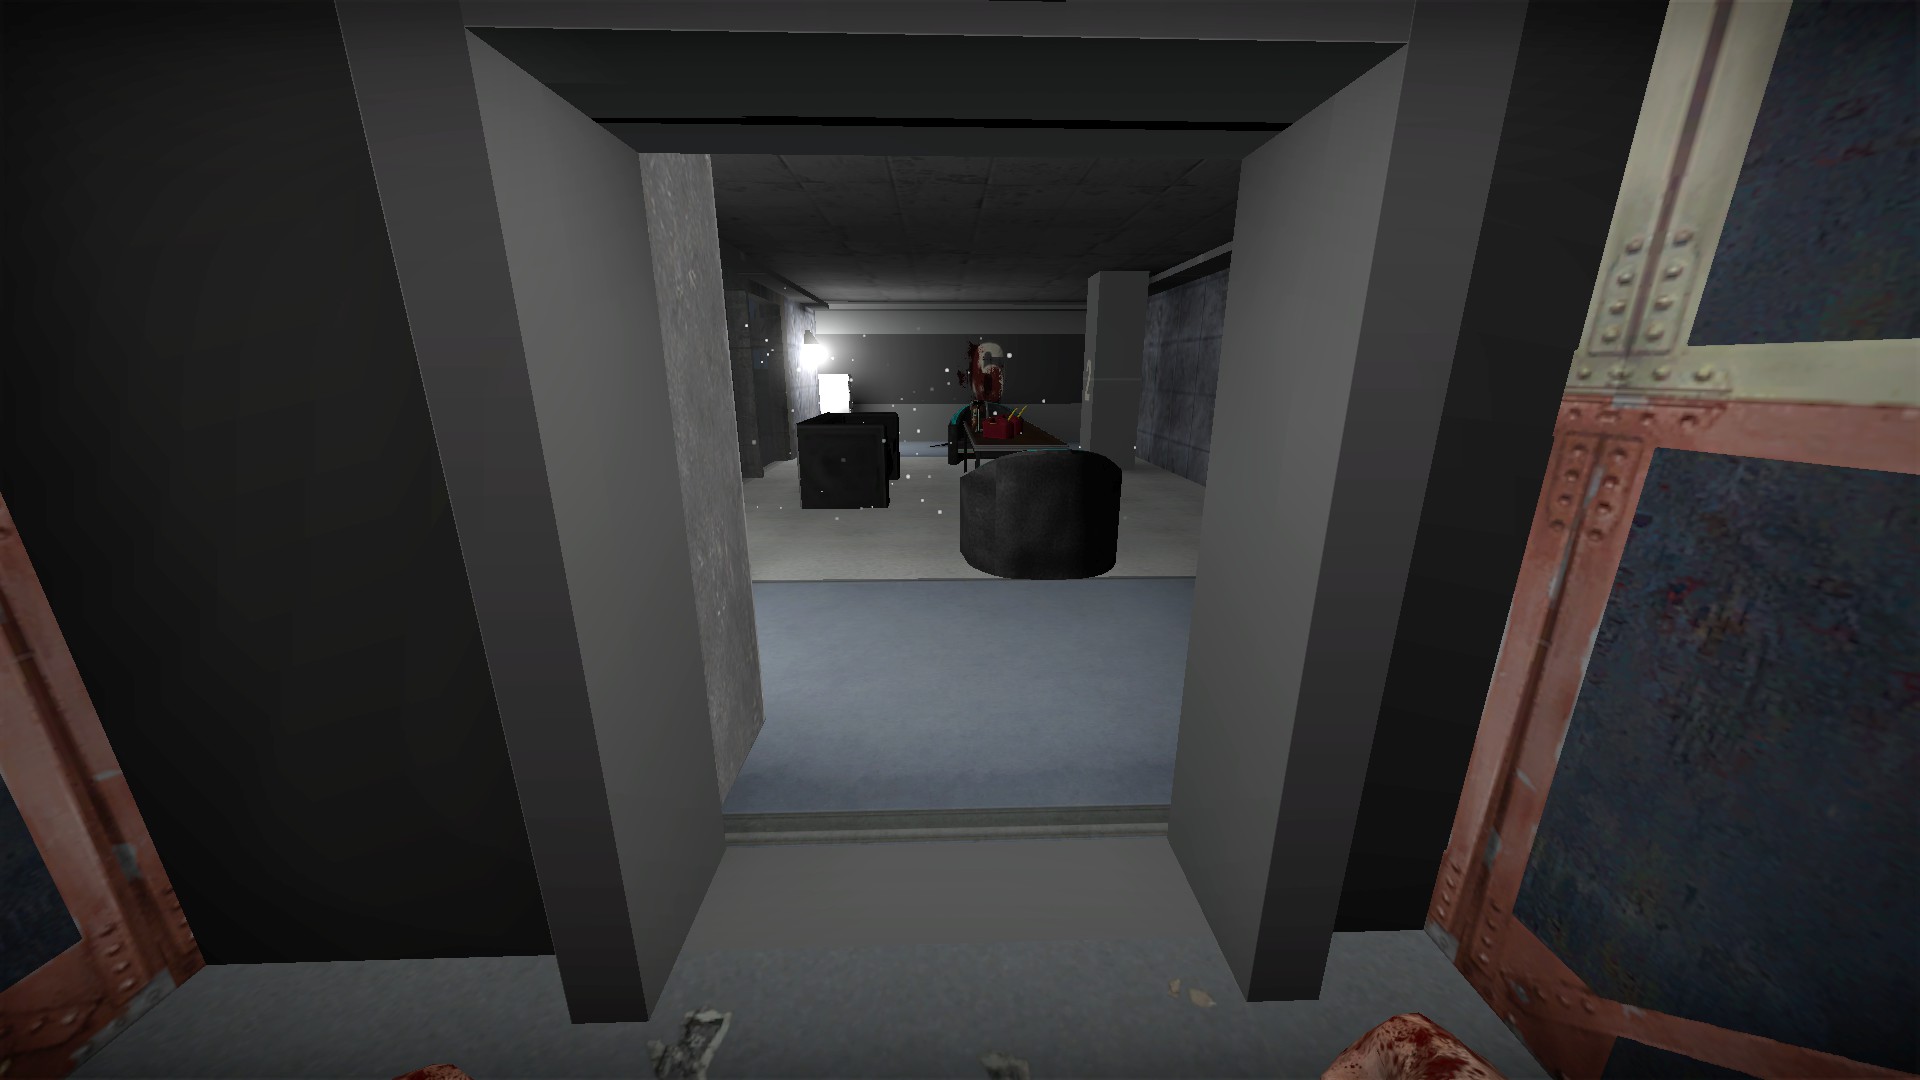
The key will open the door opposite the room where the access card is used
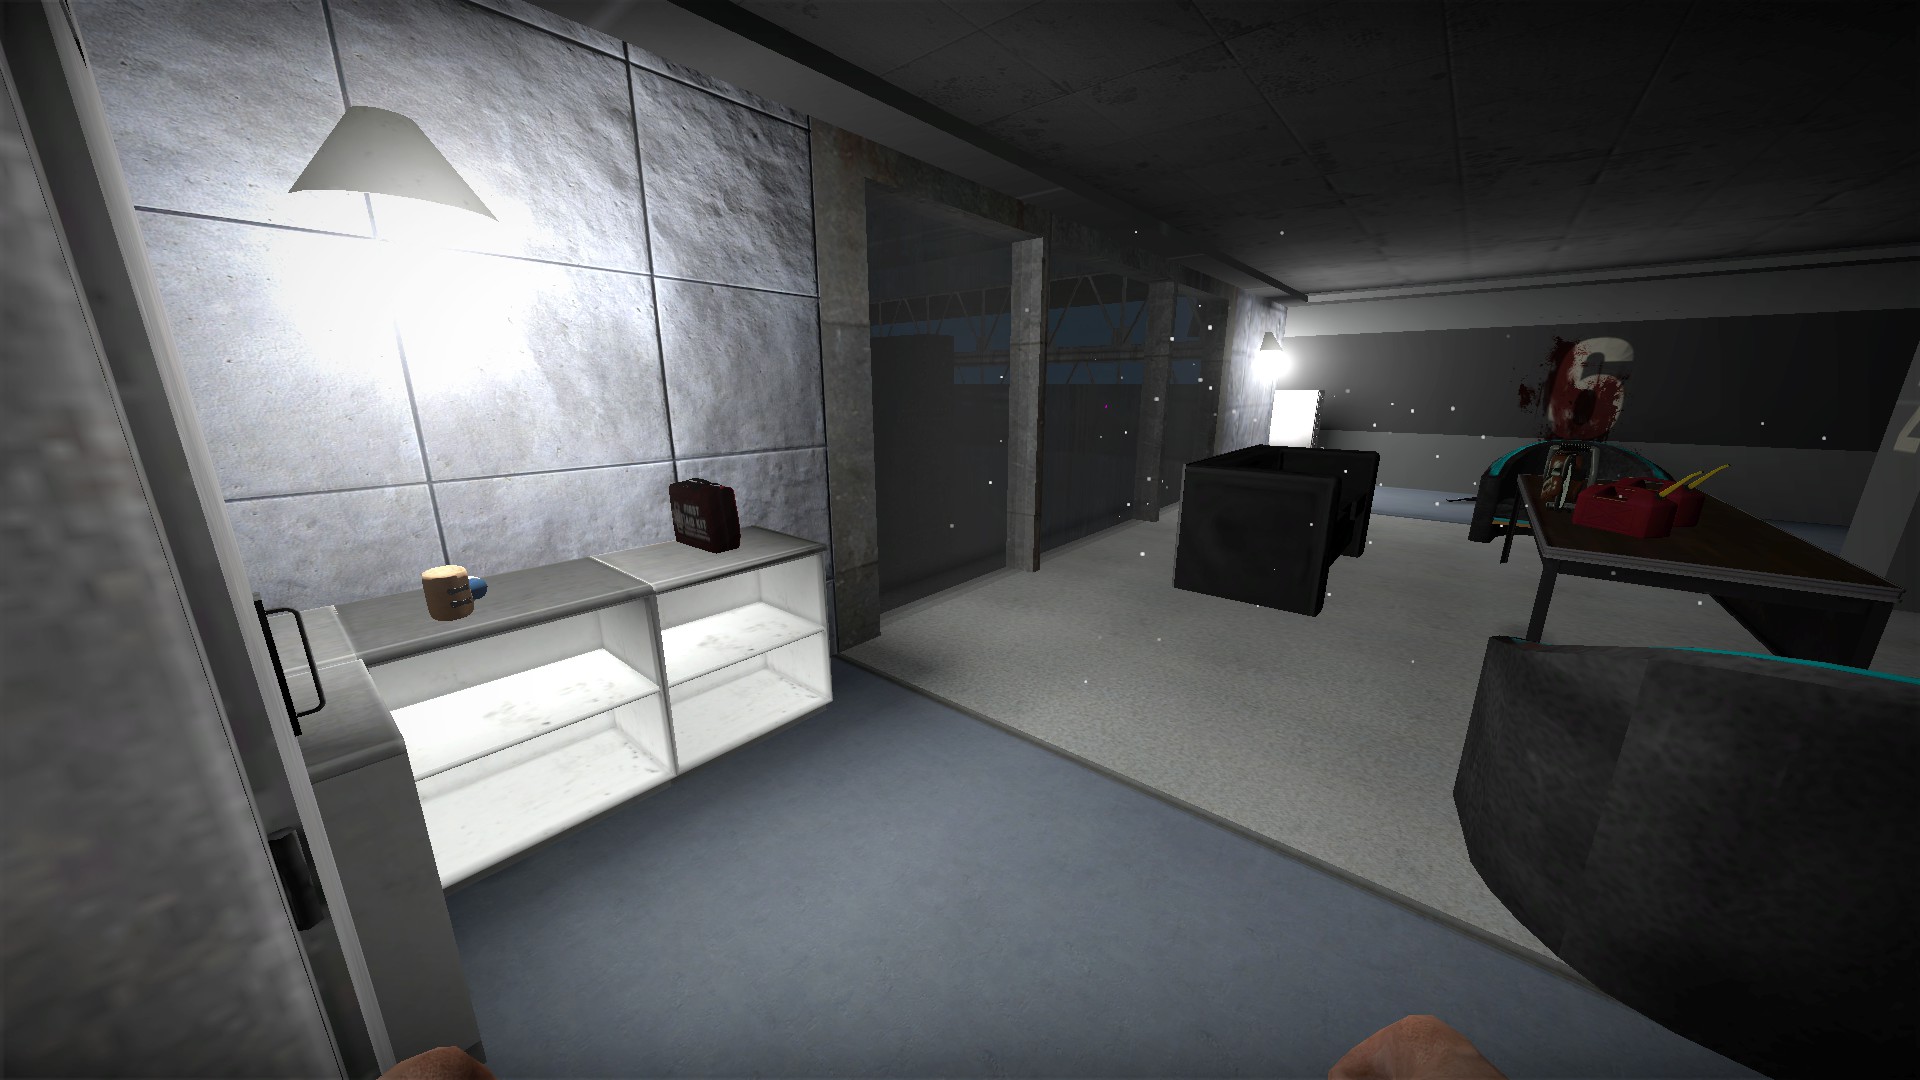
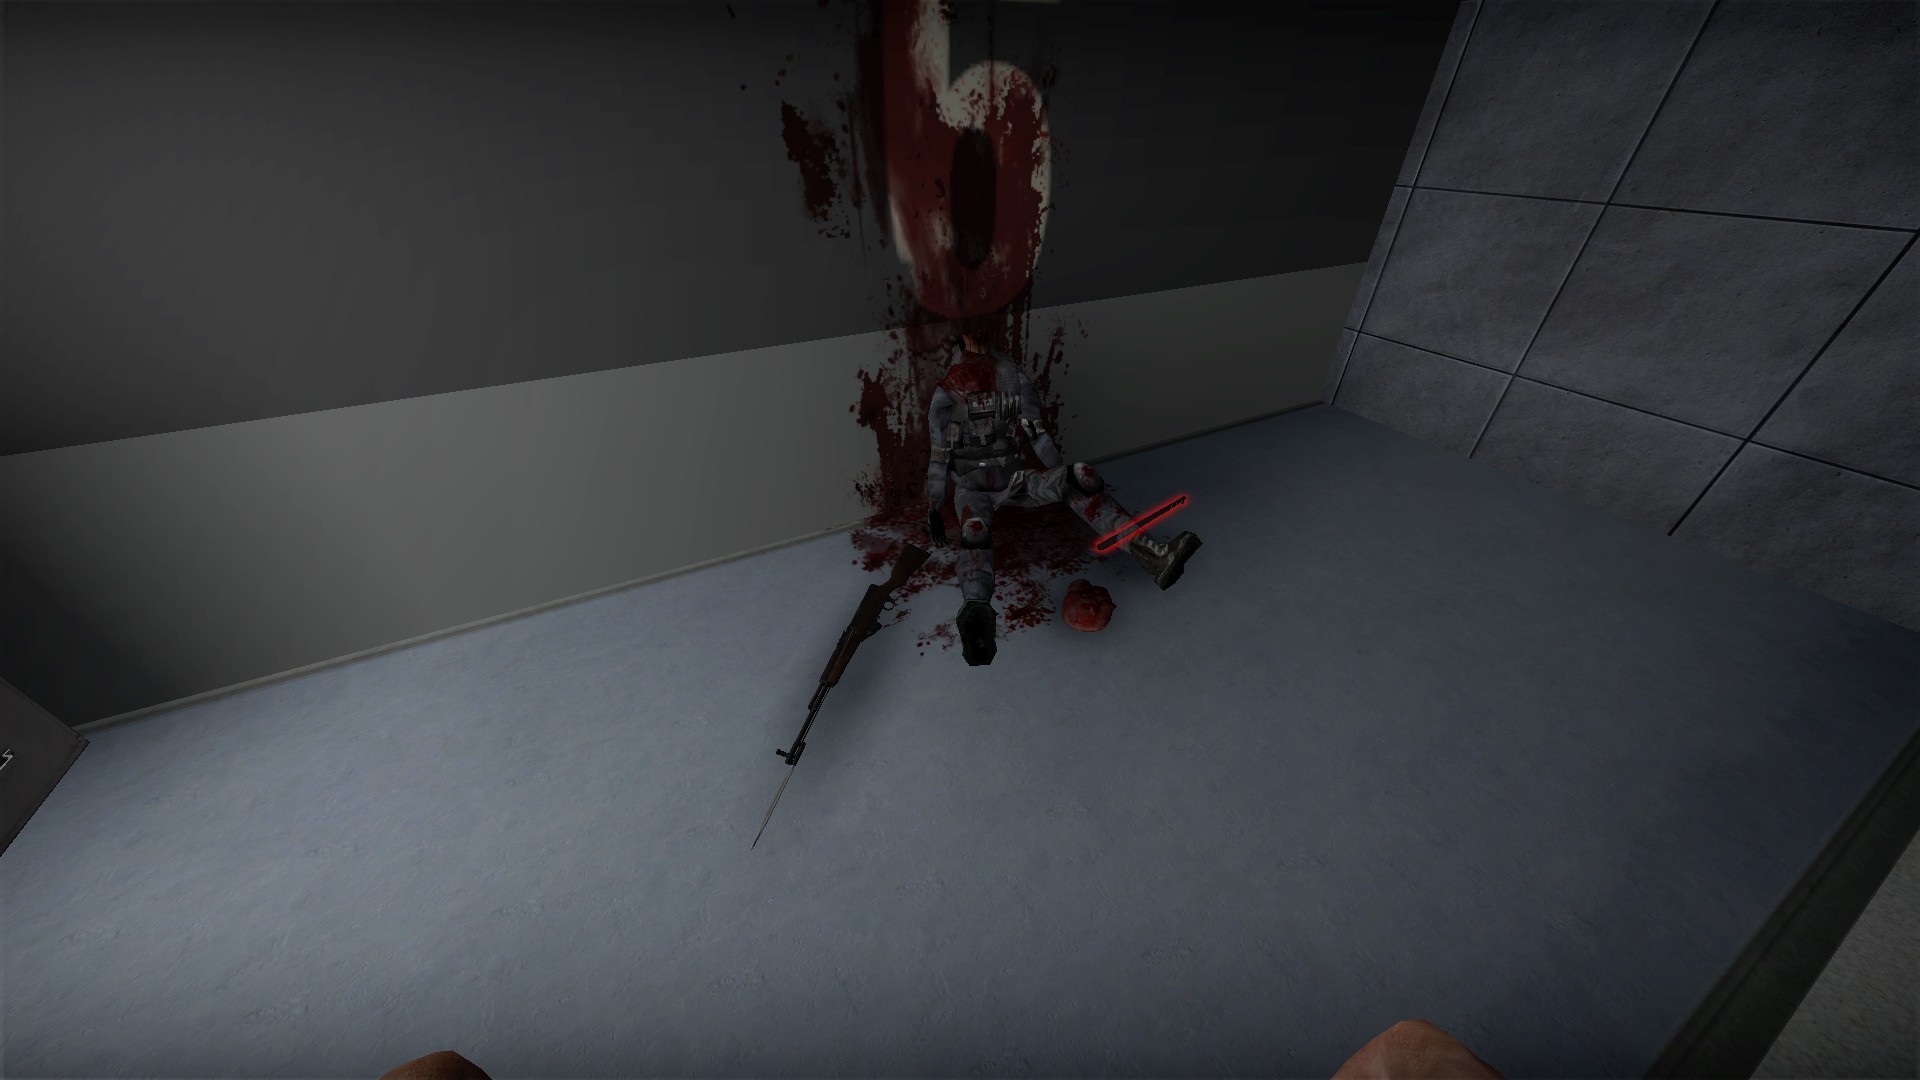
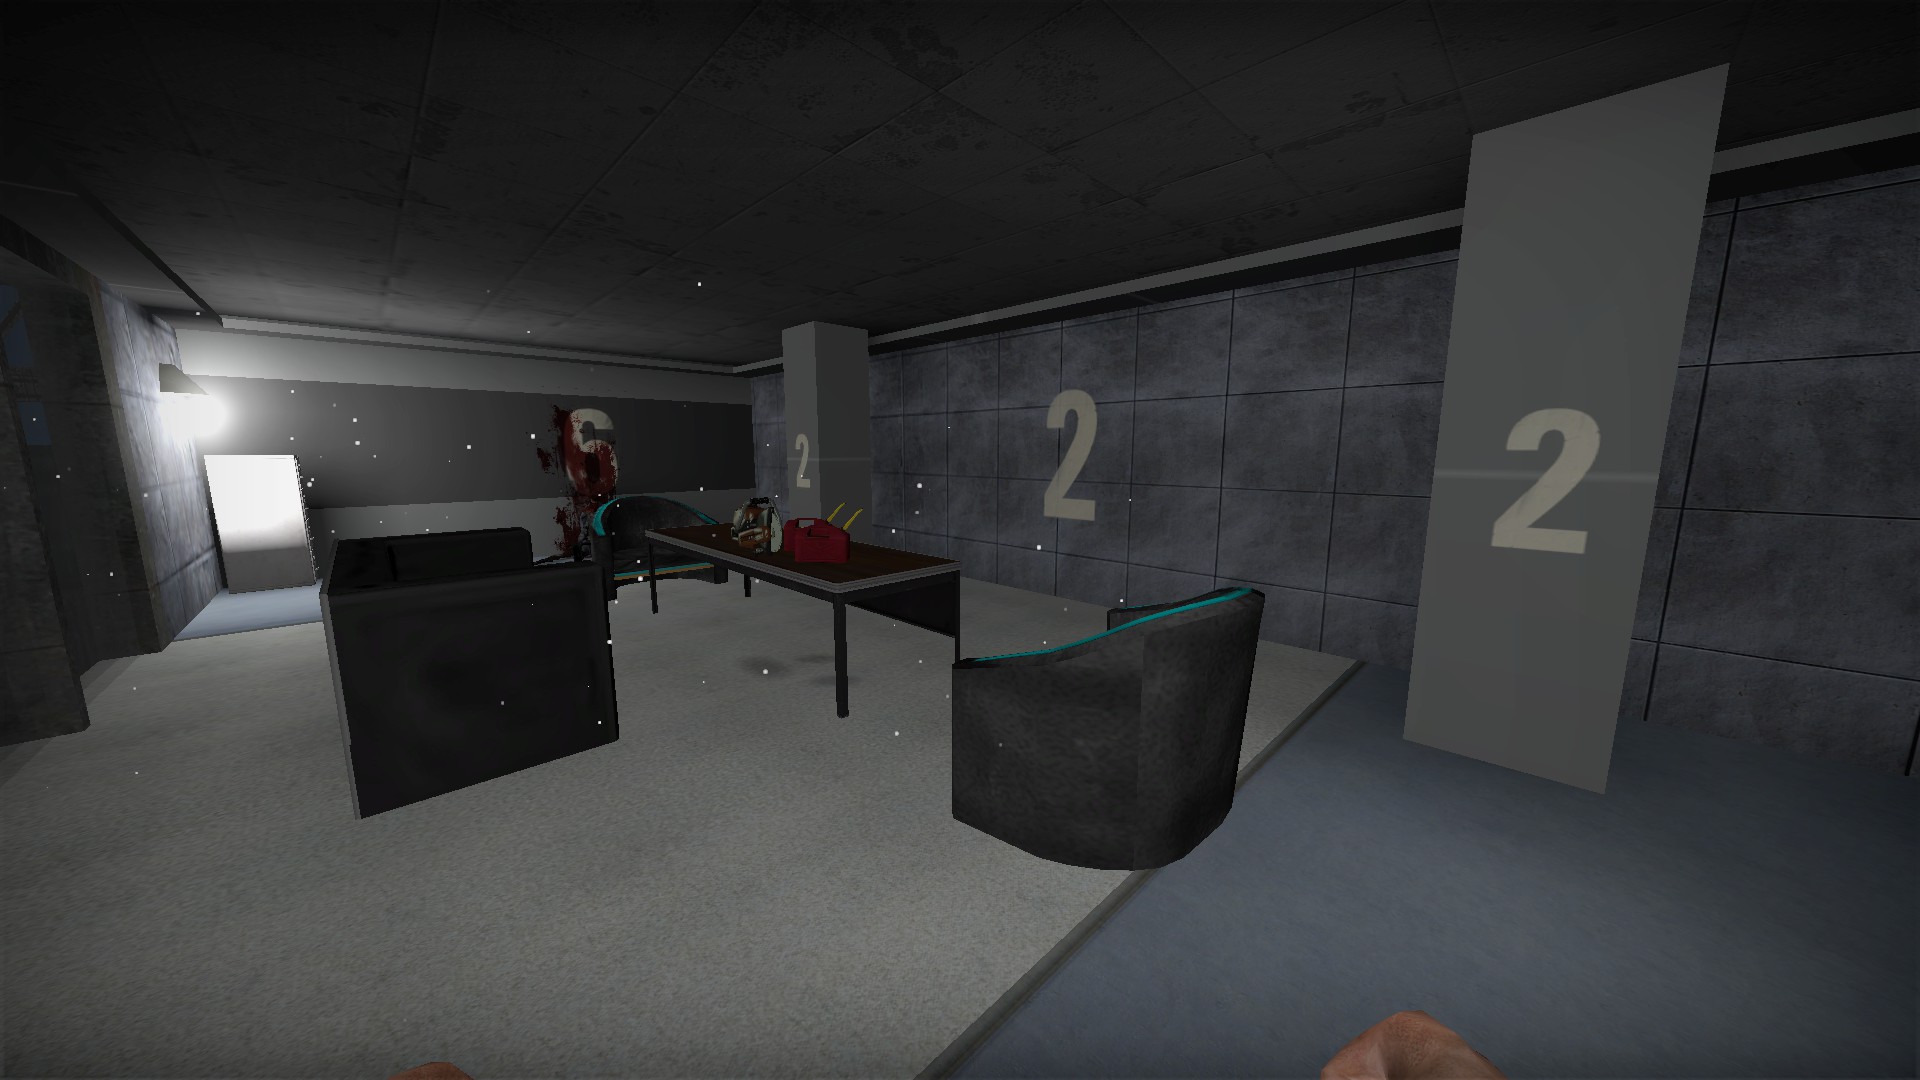
The secret room has a few meds, a machete and firearm, a chainsaw and fuel, and a code 2226 (nearest to farthest). Remember the code as it will open a safe in the final area
Use rubies to build defenses
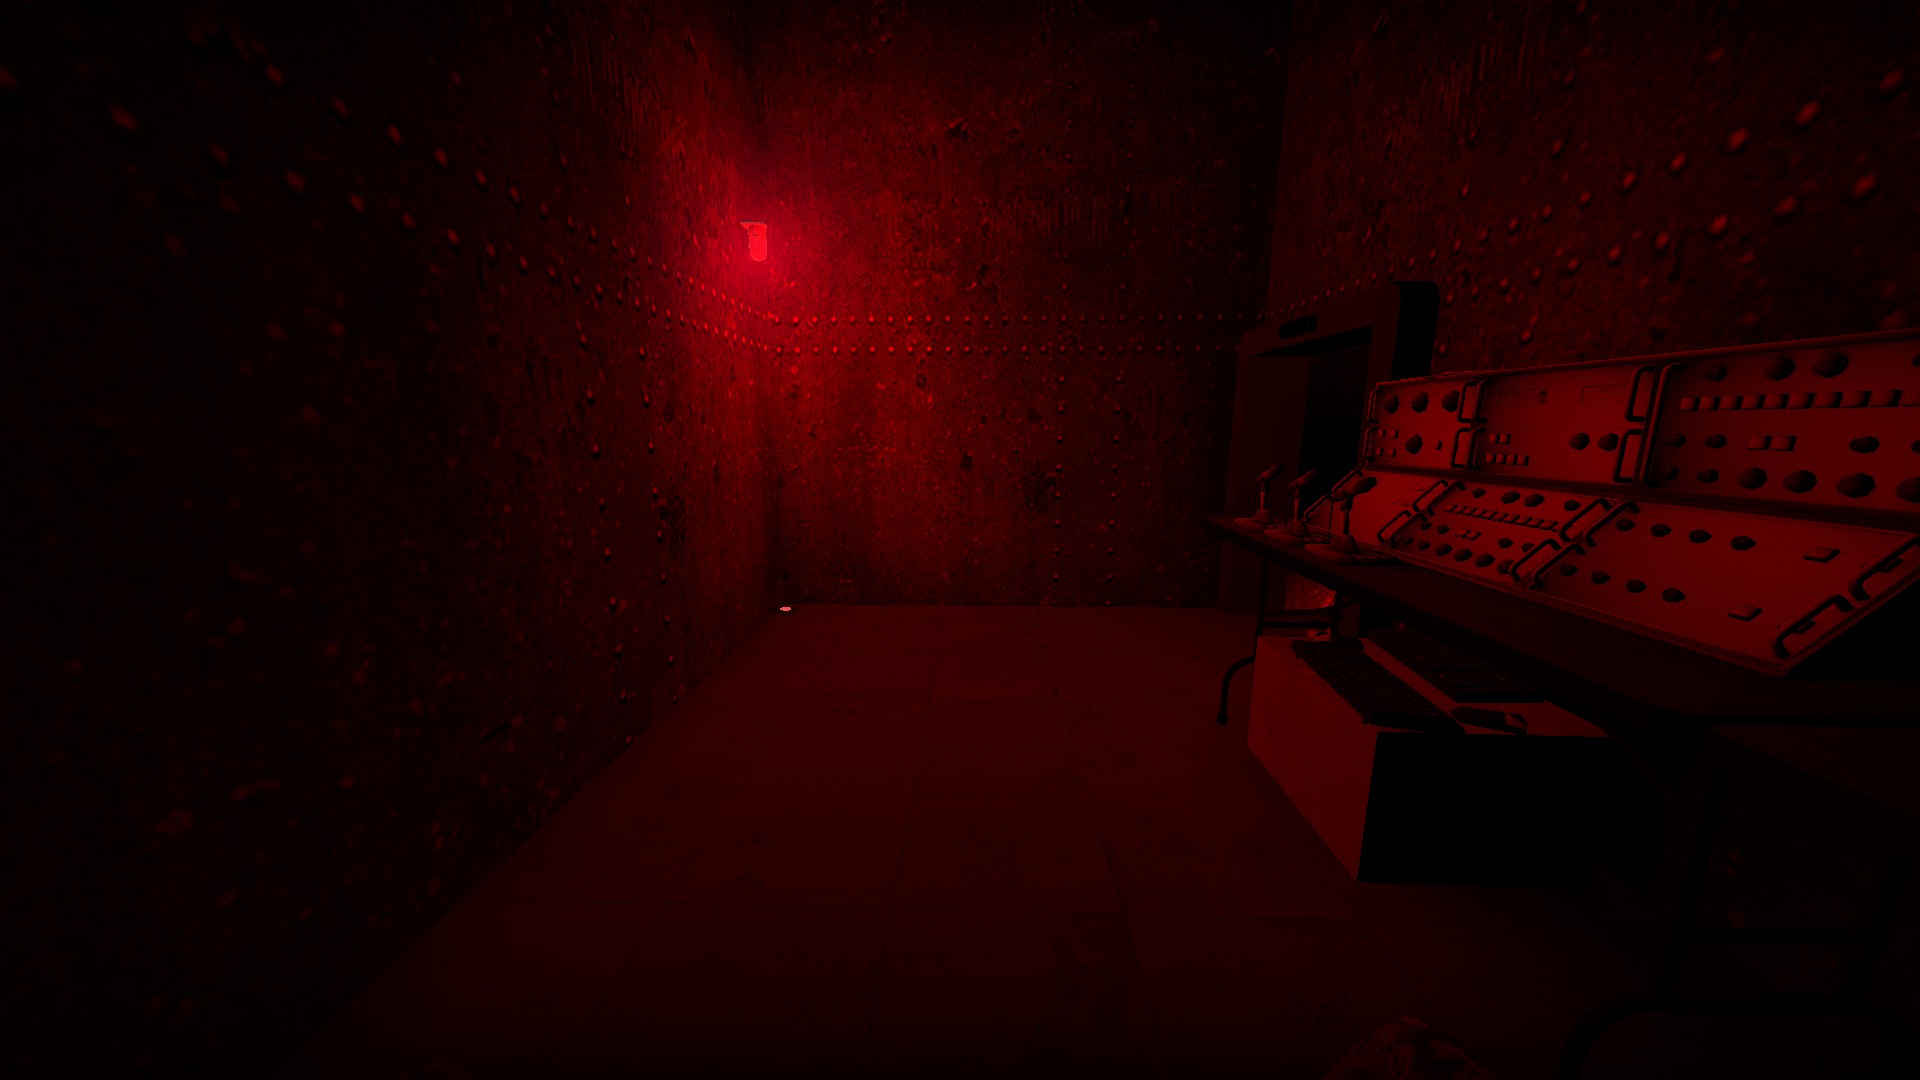
You will find a ruby on your way to fix the panel with the wrench. Leave it for now
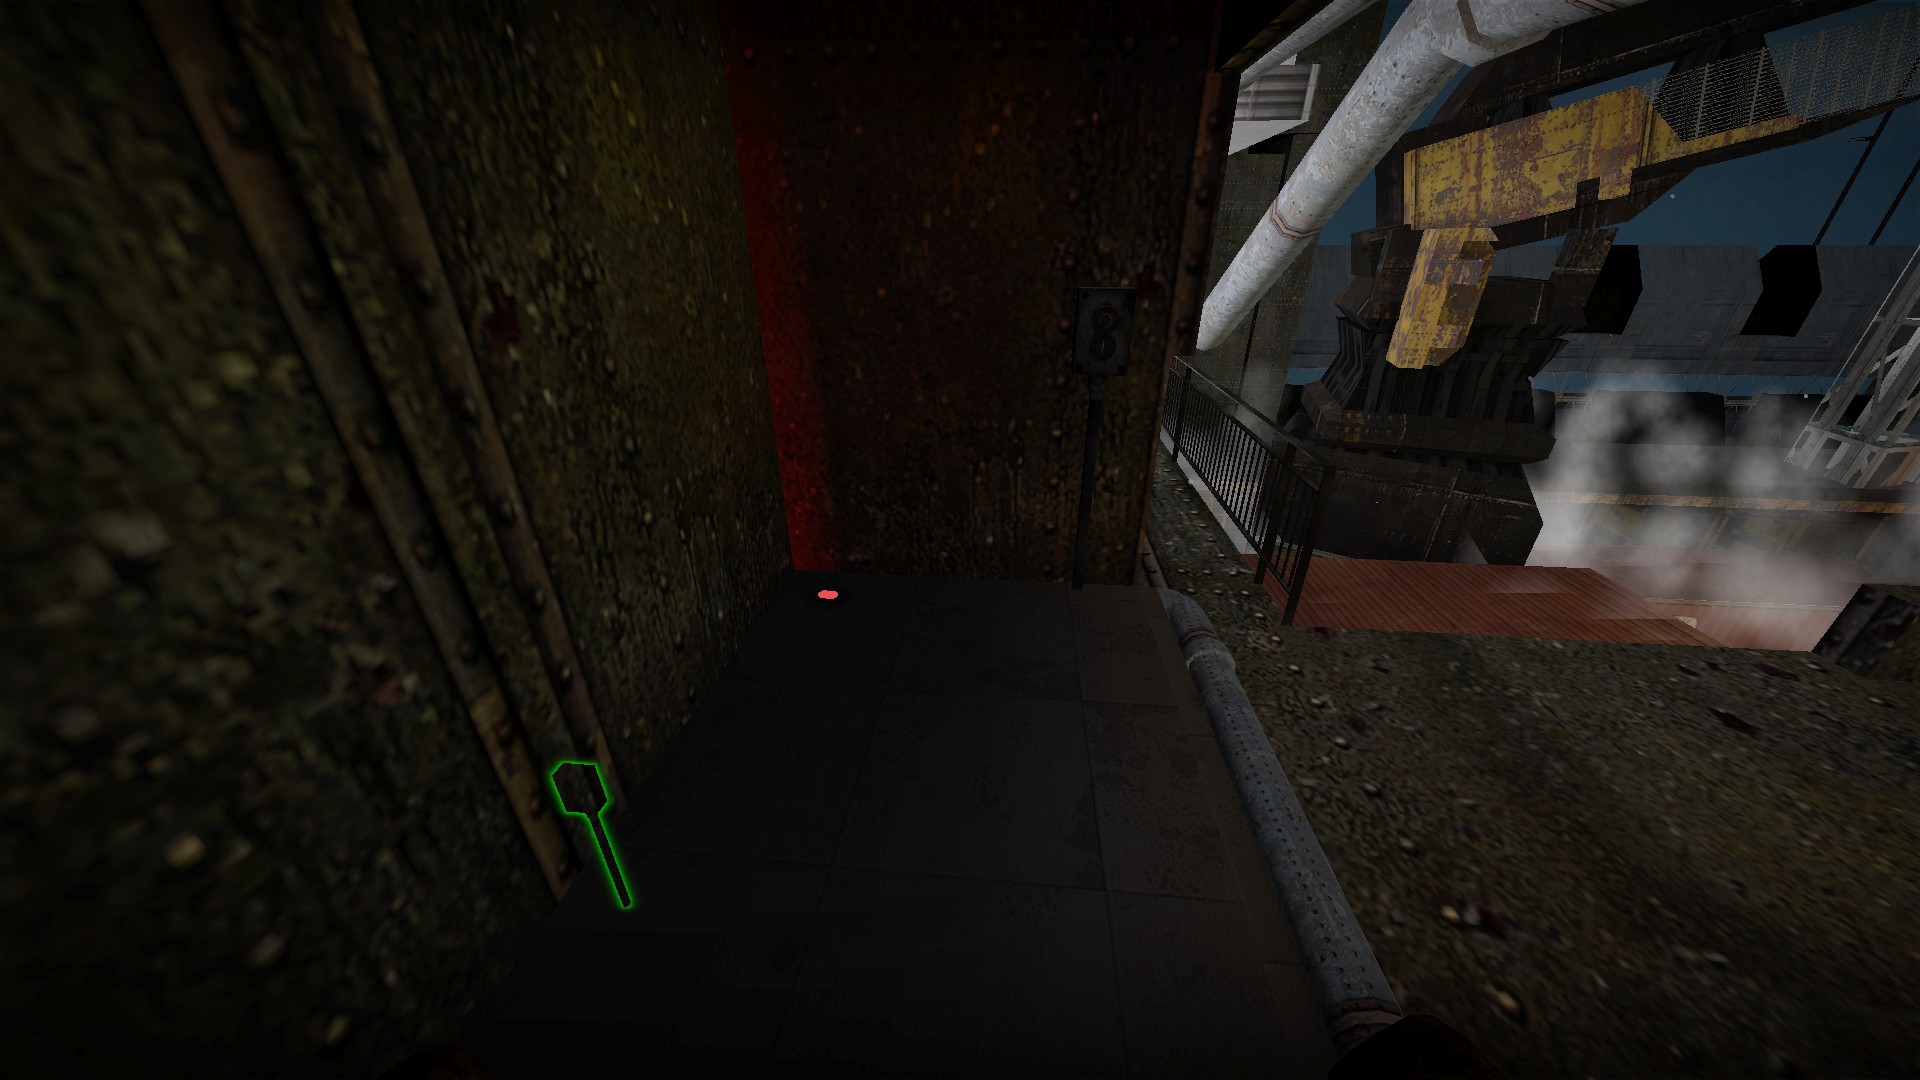
There is another nearby right next to the platform to drop down . Leave it for now as well
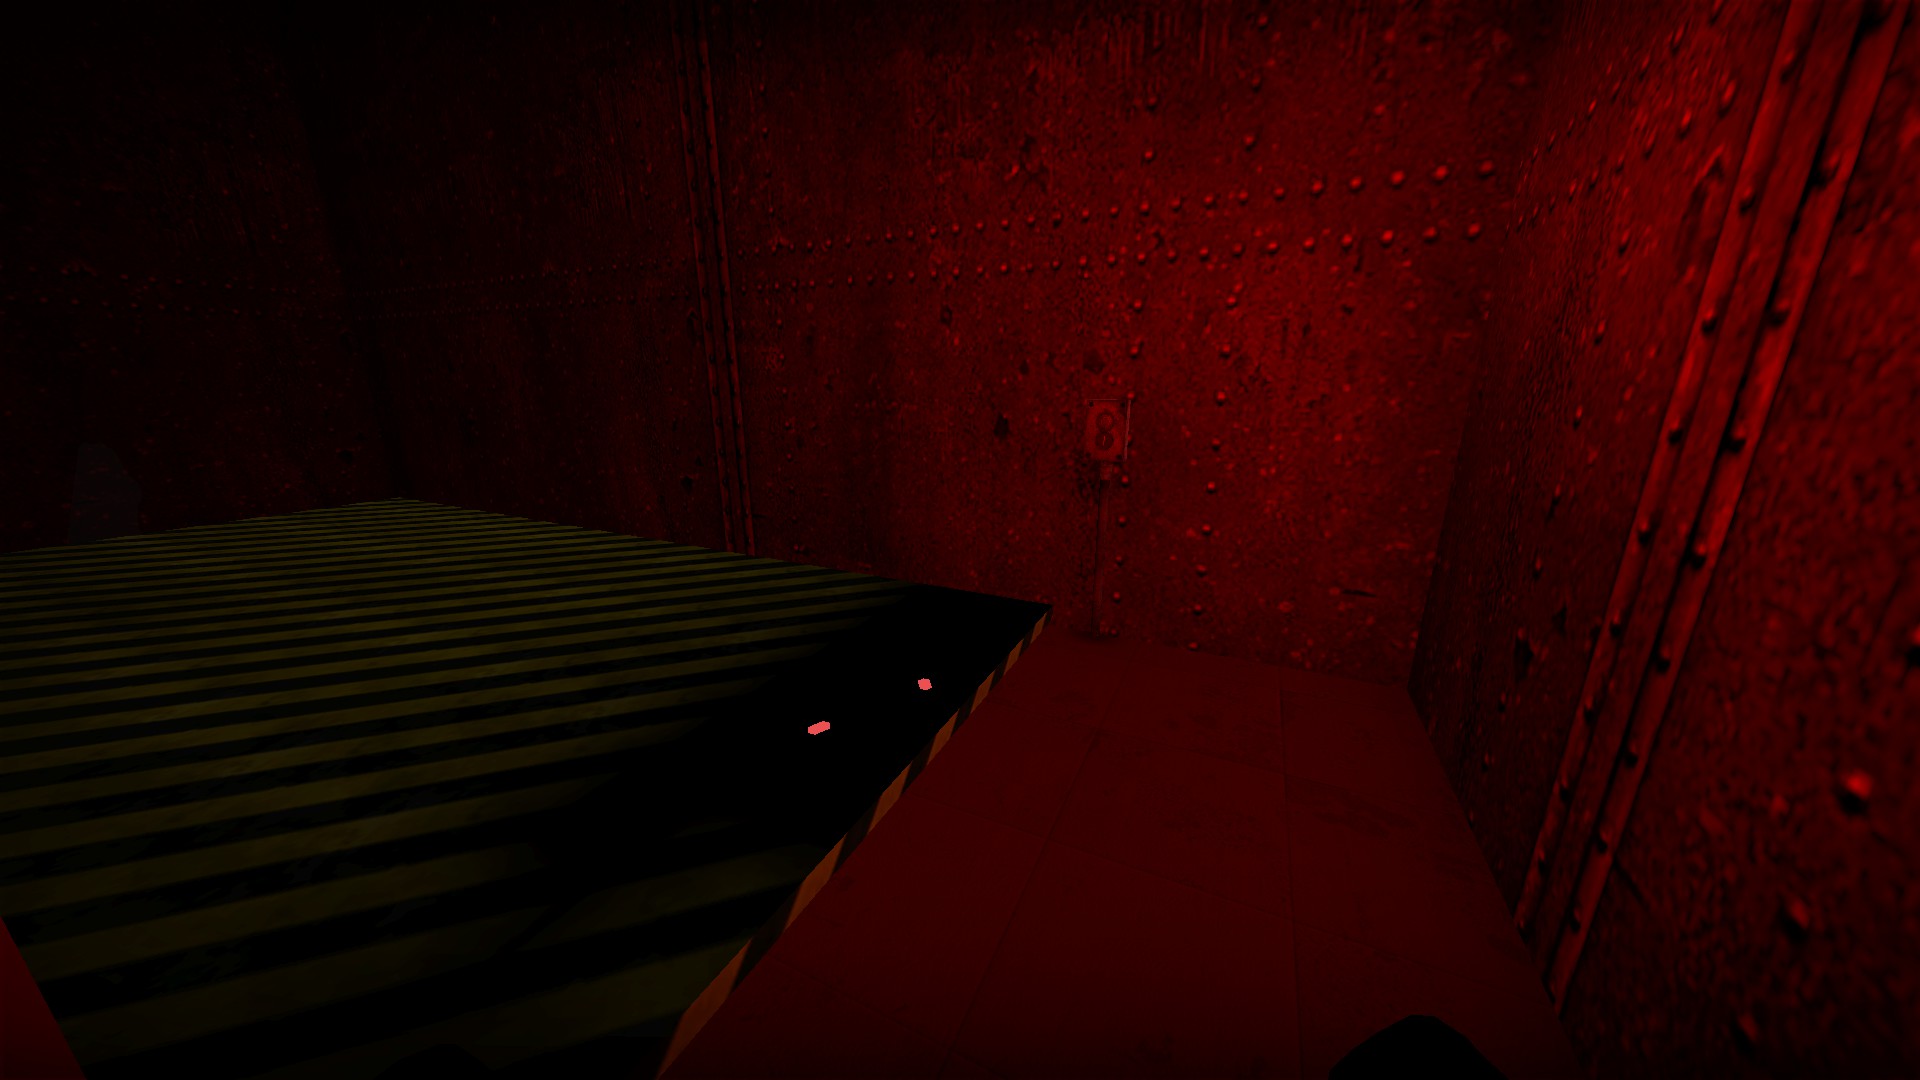
Bring both of these rubies up on the platform with you after you have used the wrench
There is a third ruby above
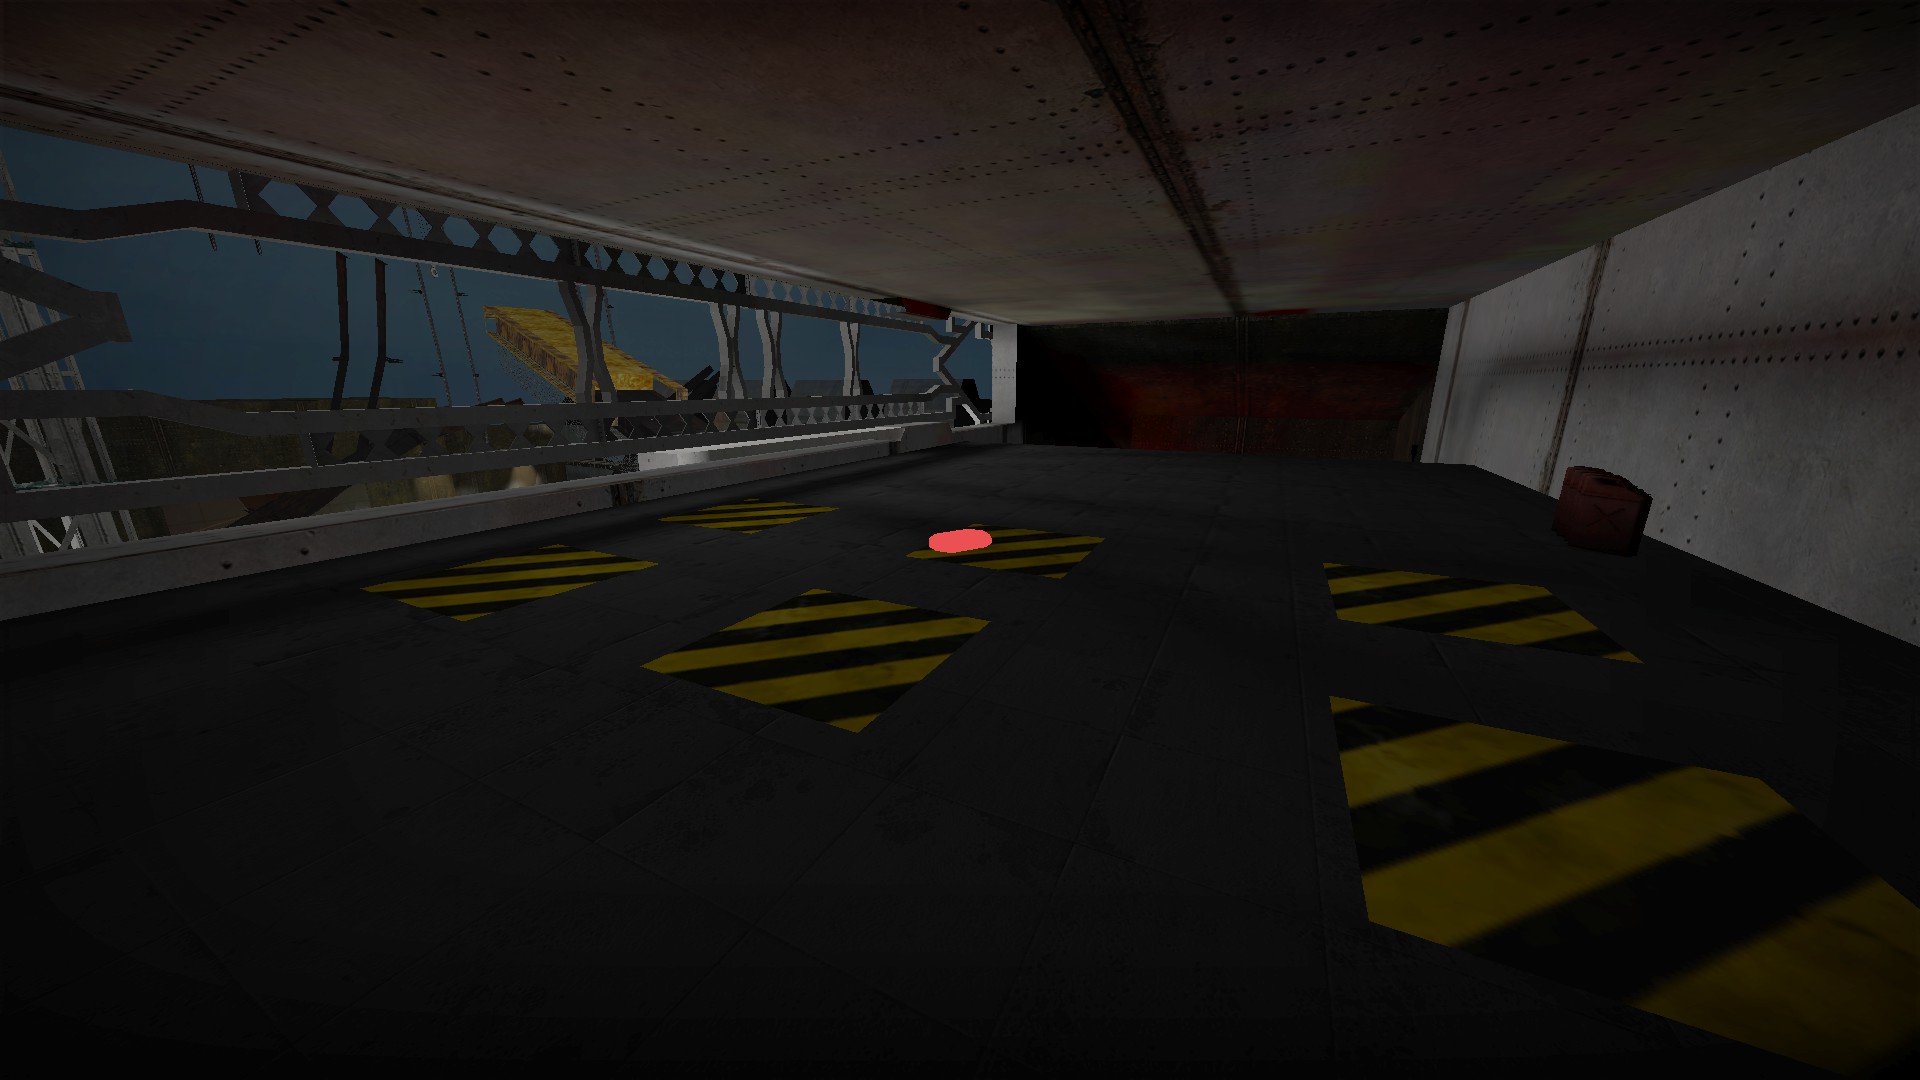
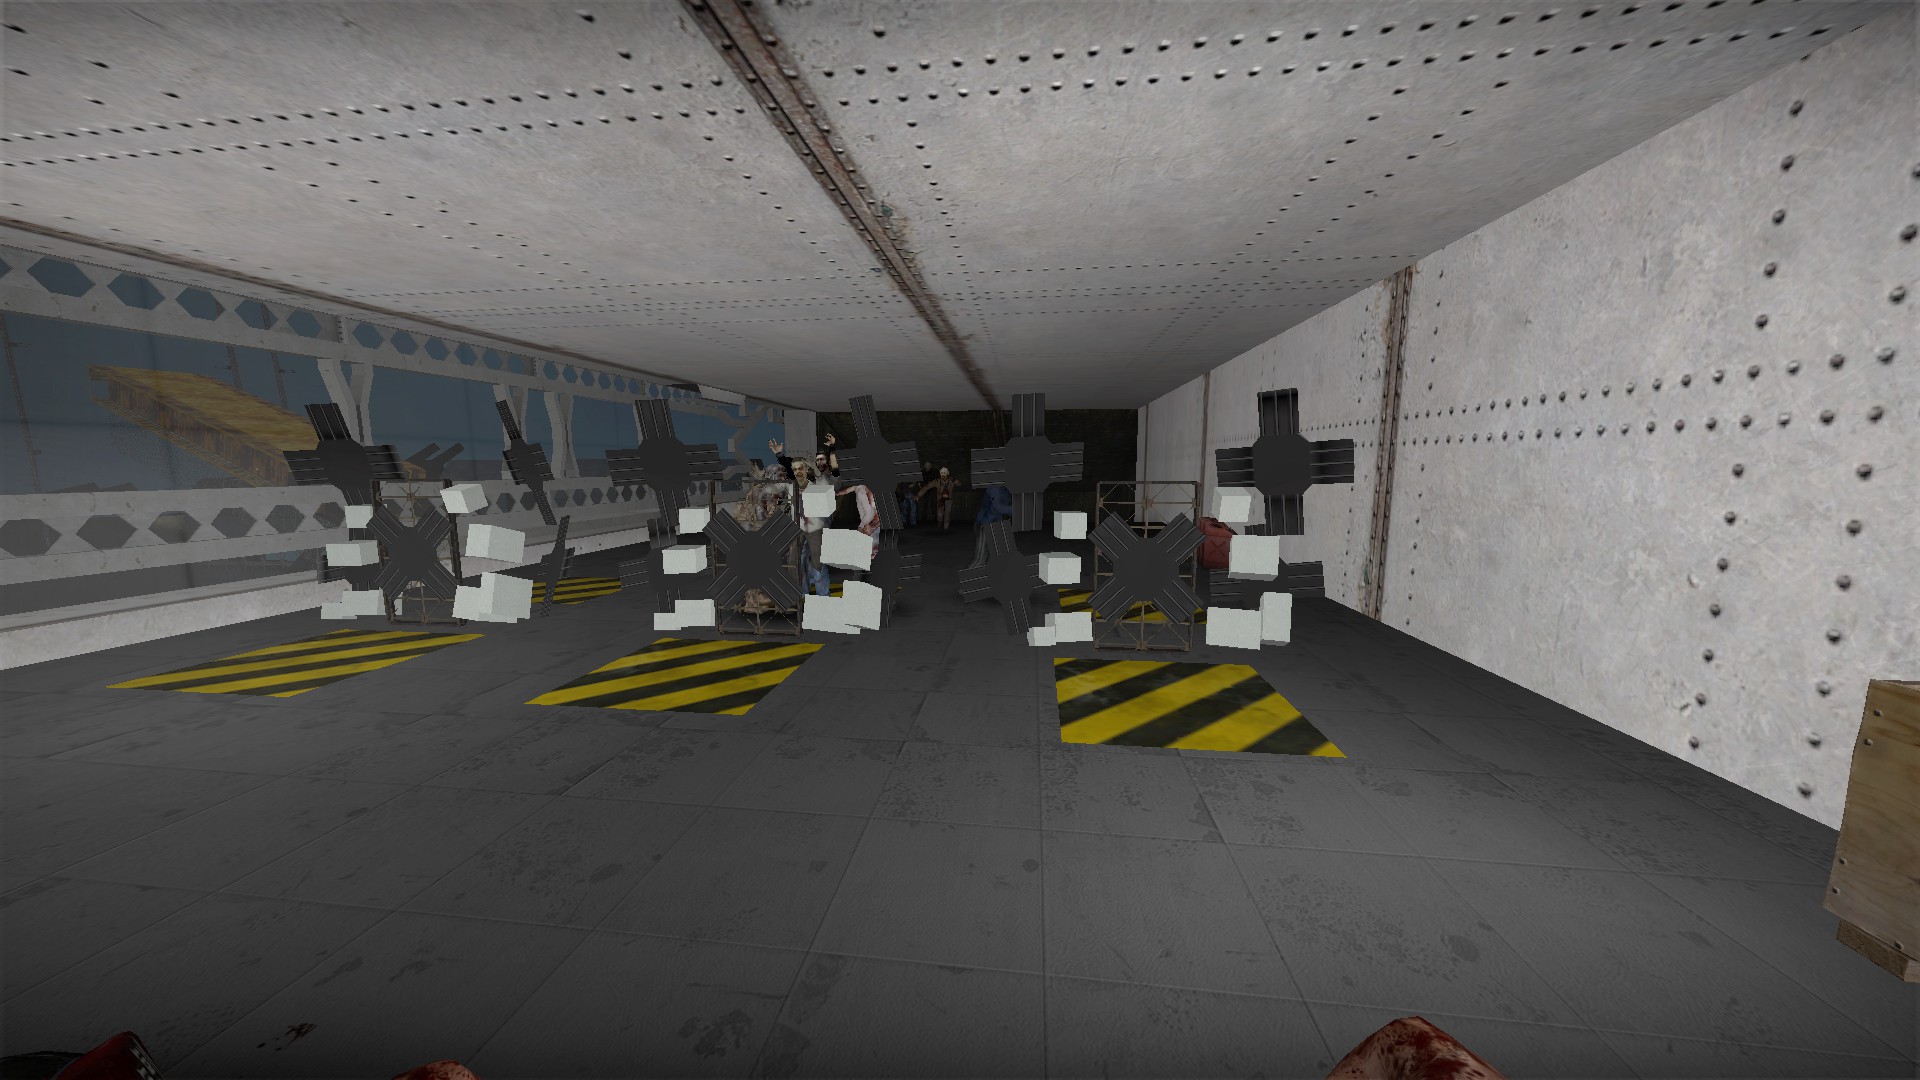
Before using the panel, use the three rubies to build barricades on the three yellow and black areas. These barricades will give you more time to escape the zombies into the factory
Use the rubies at the end to build lures
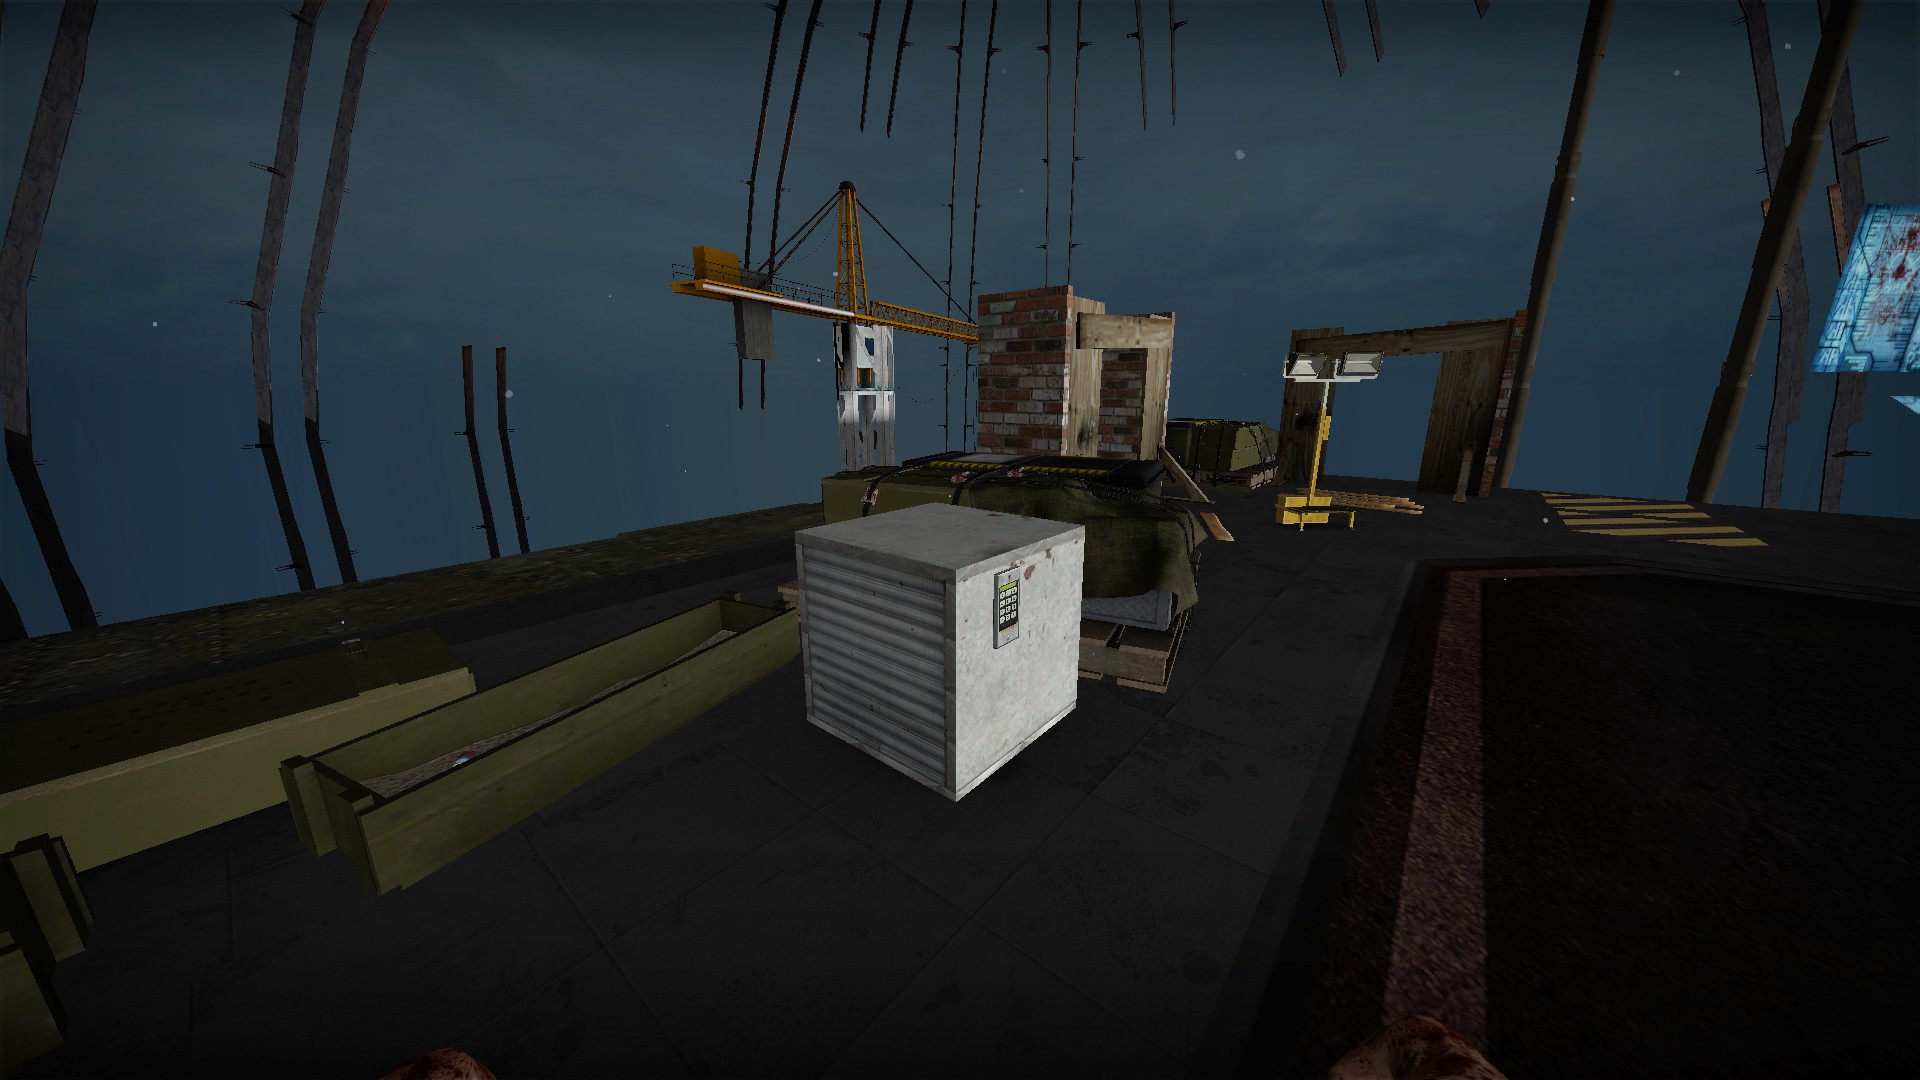
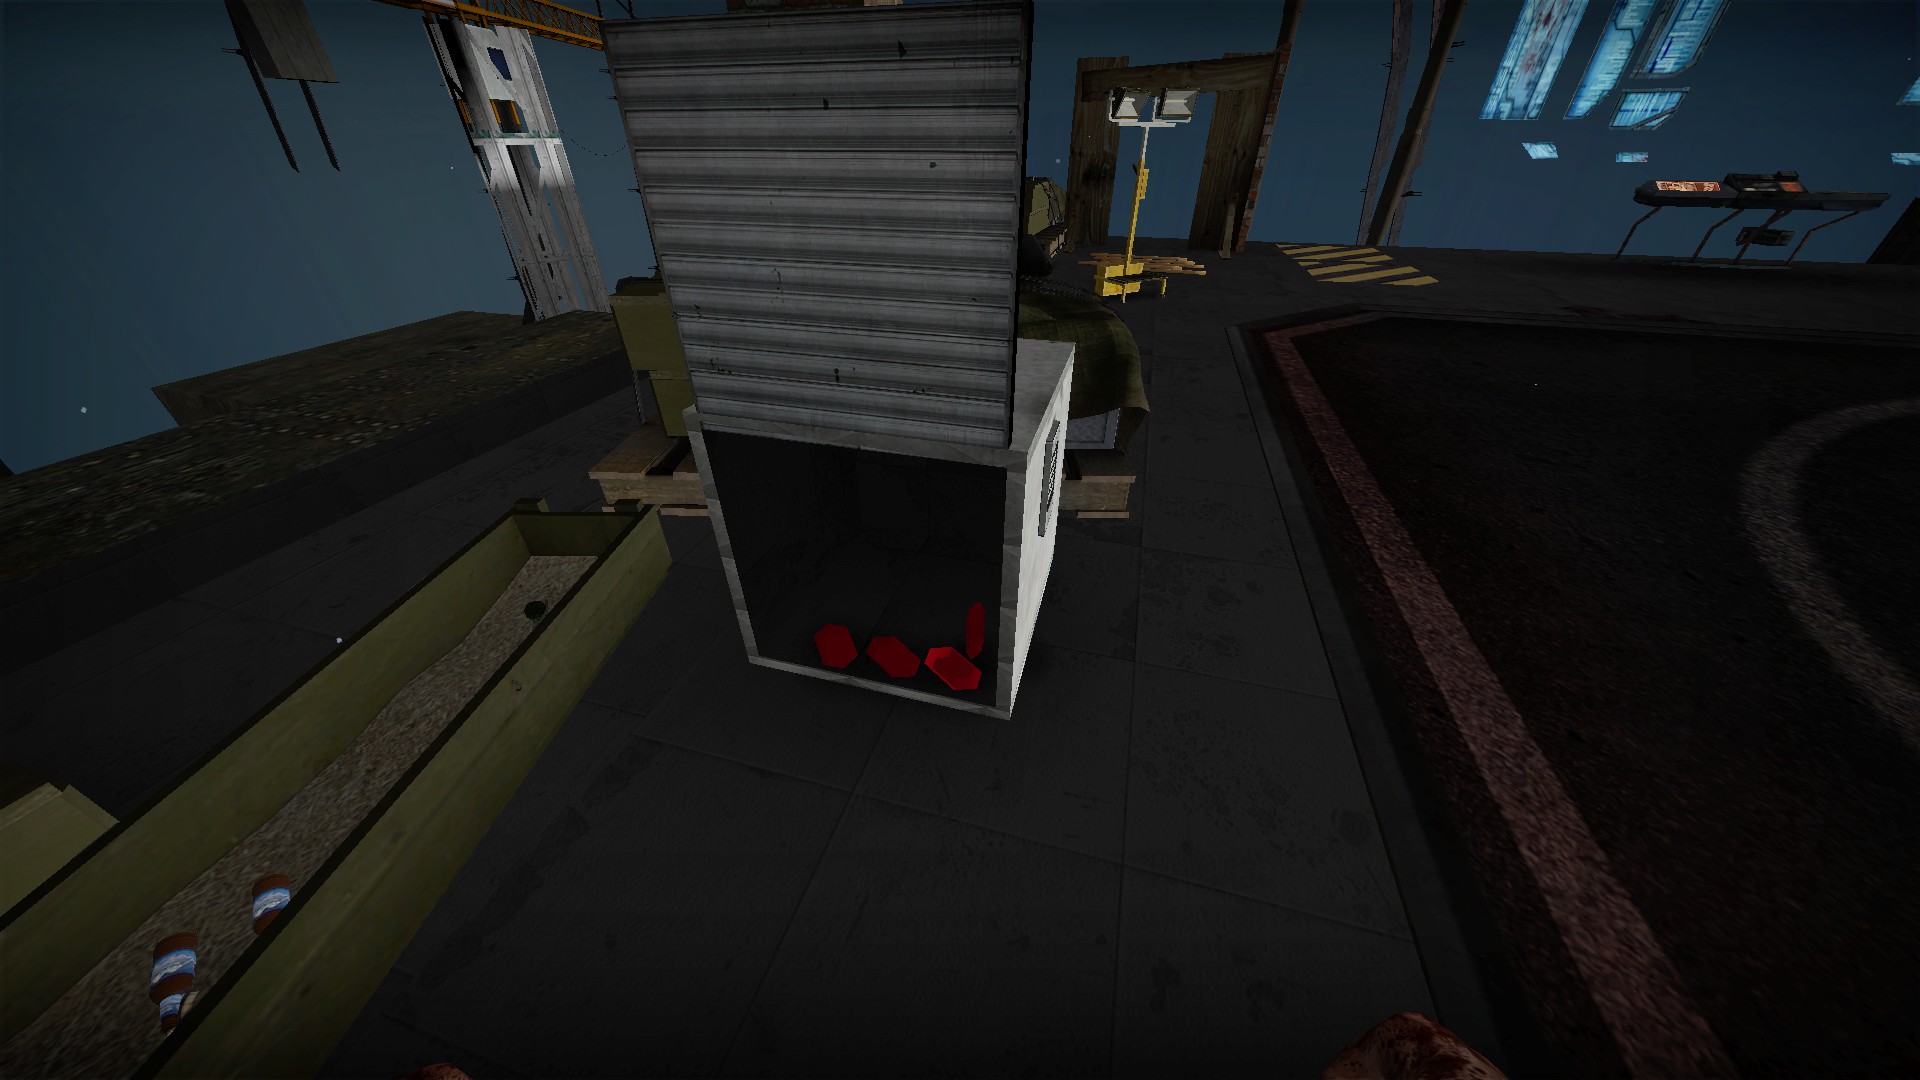
Use the code 2226 from the secret room to open the safe at the ending area. There are 4 rubies inside
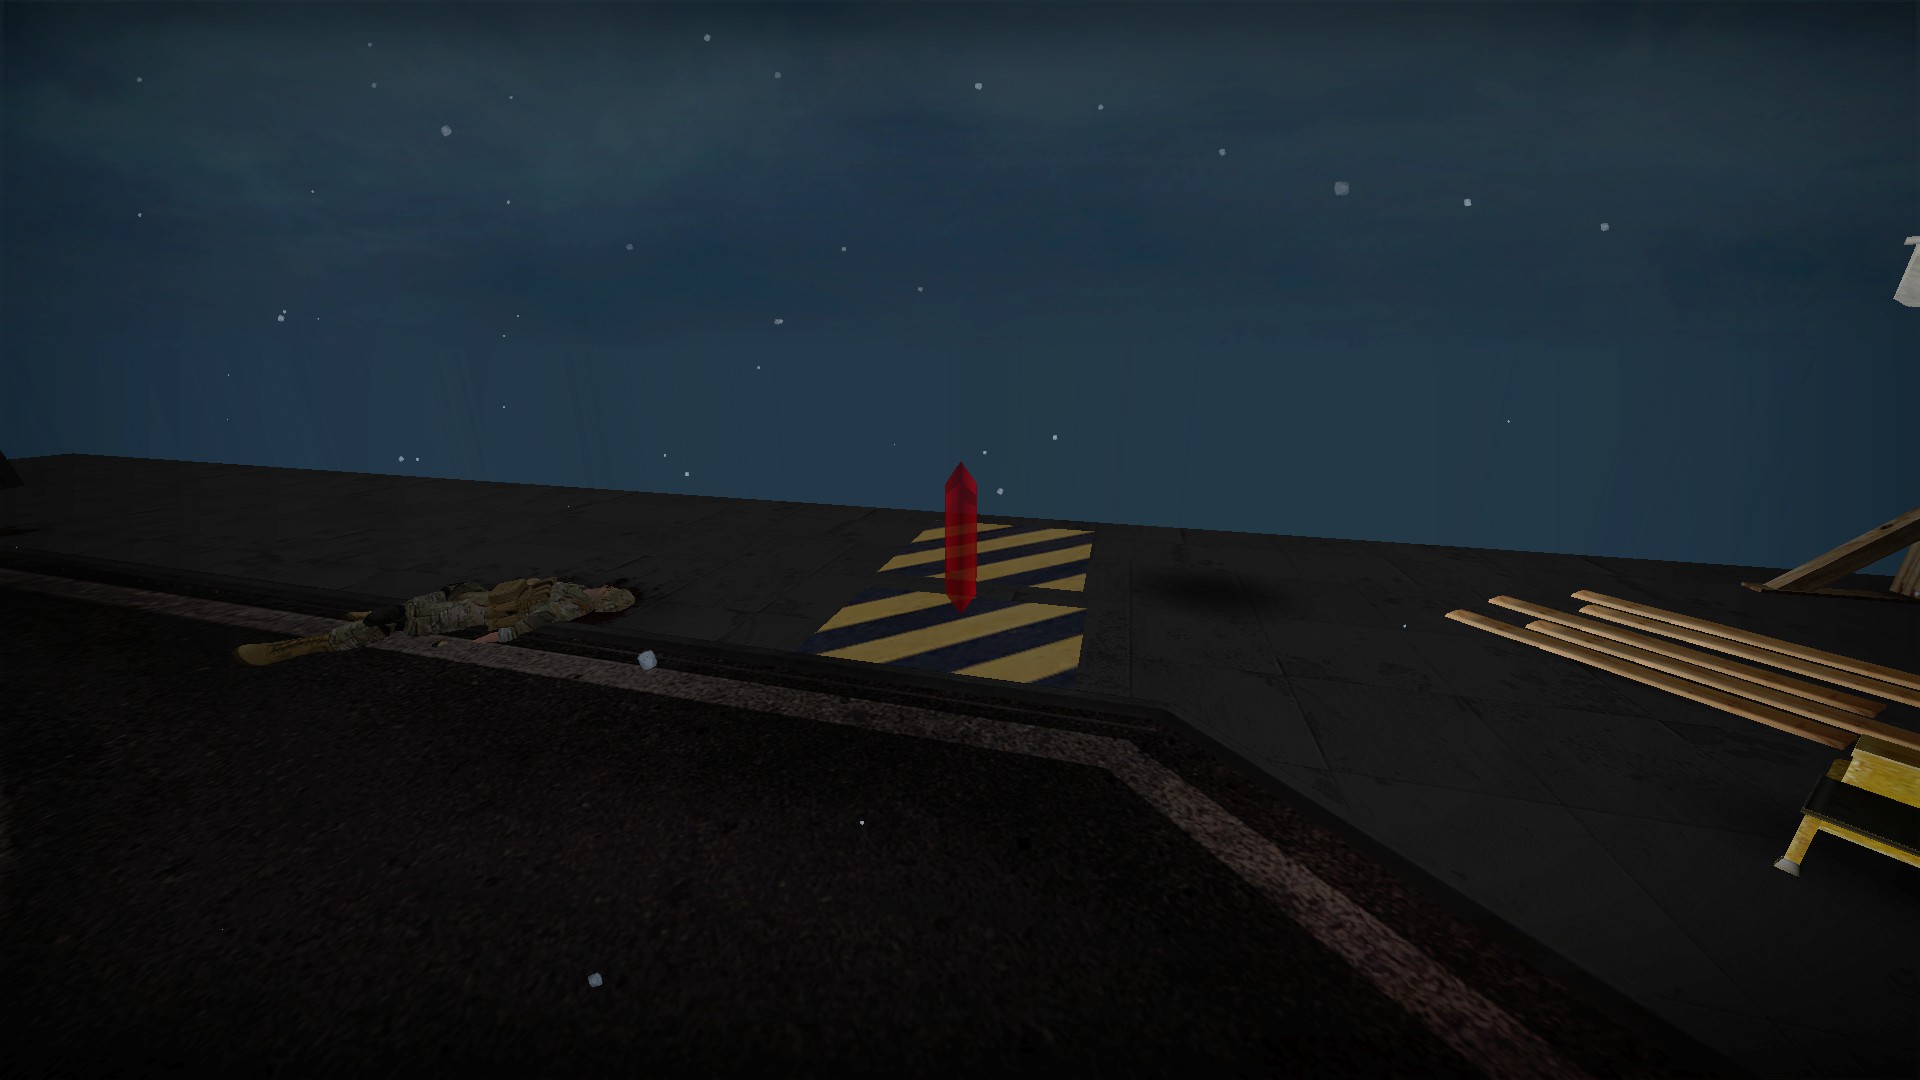
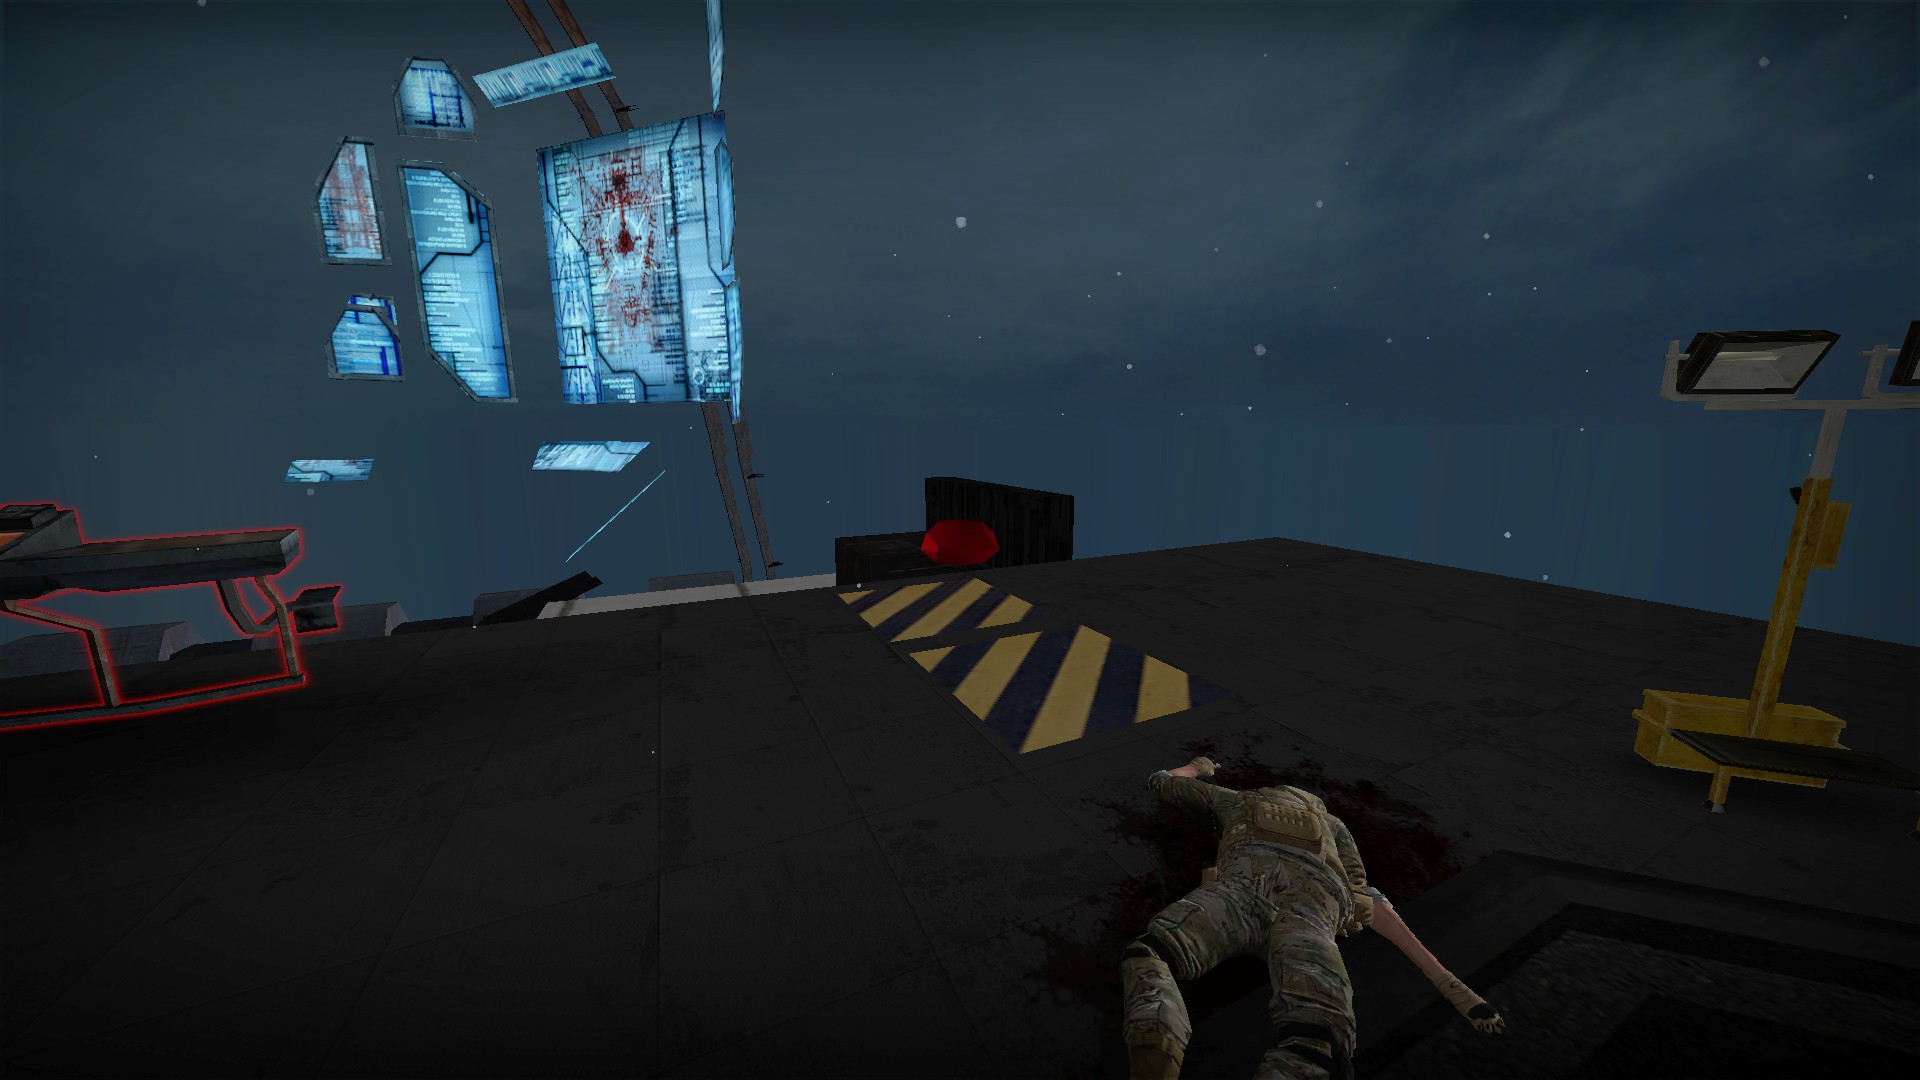
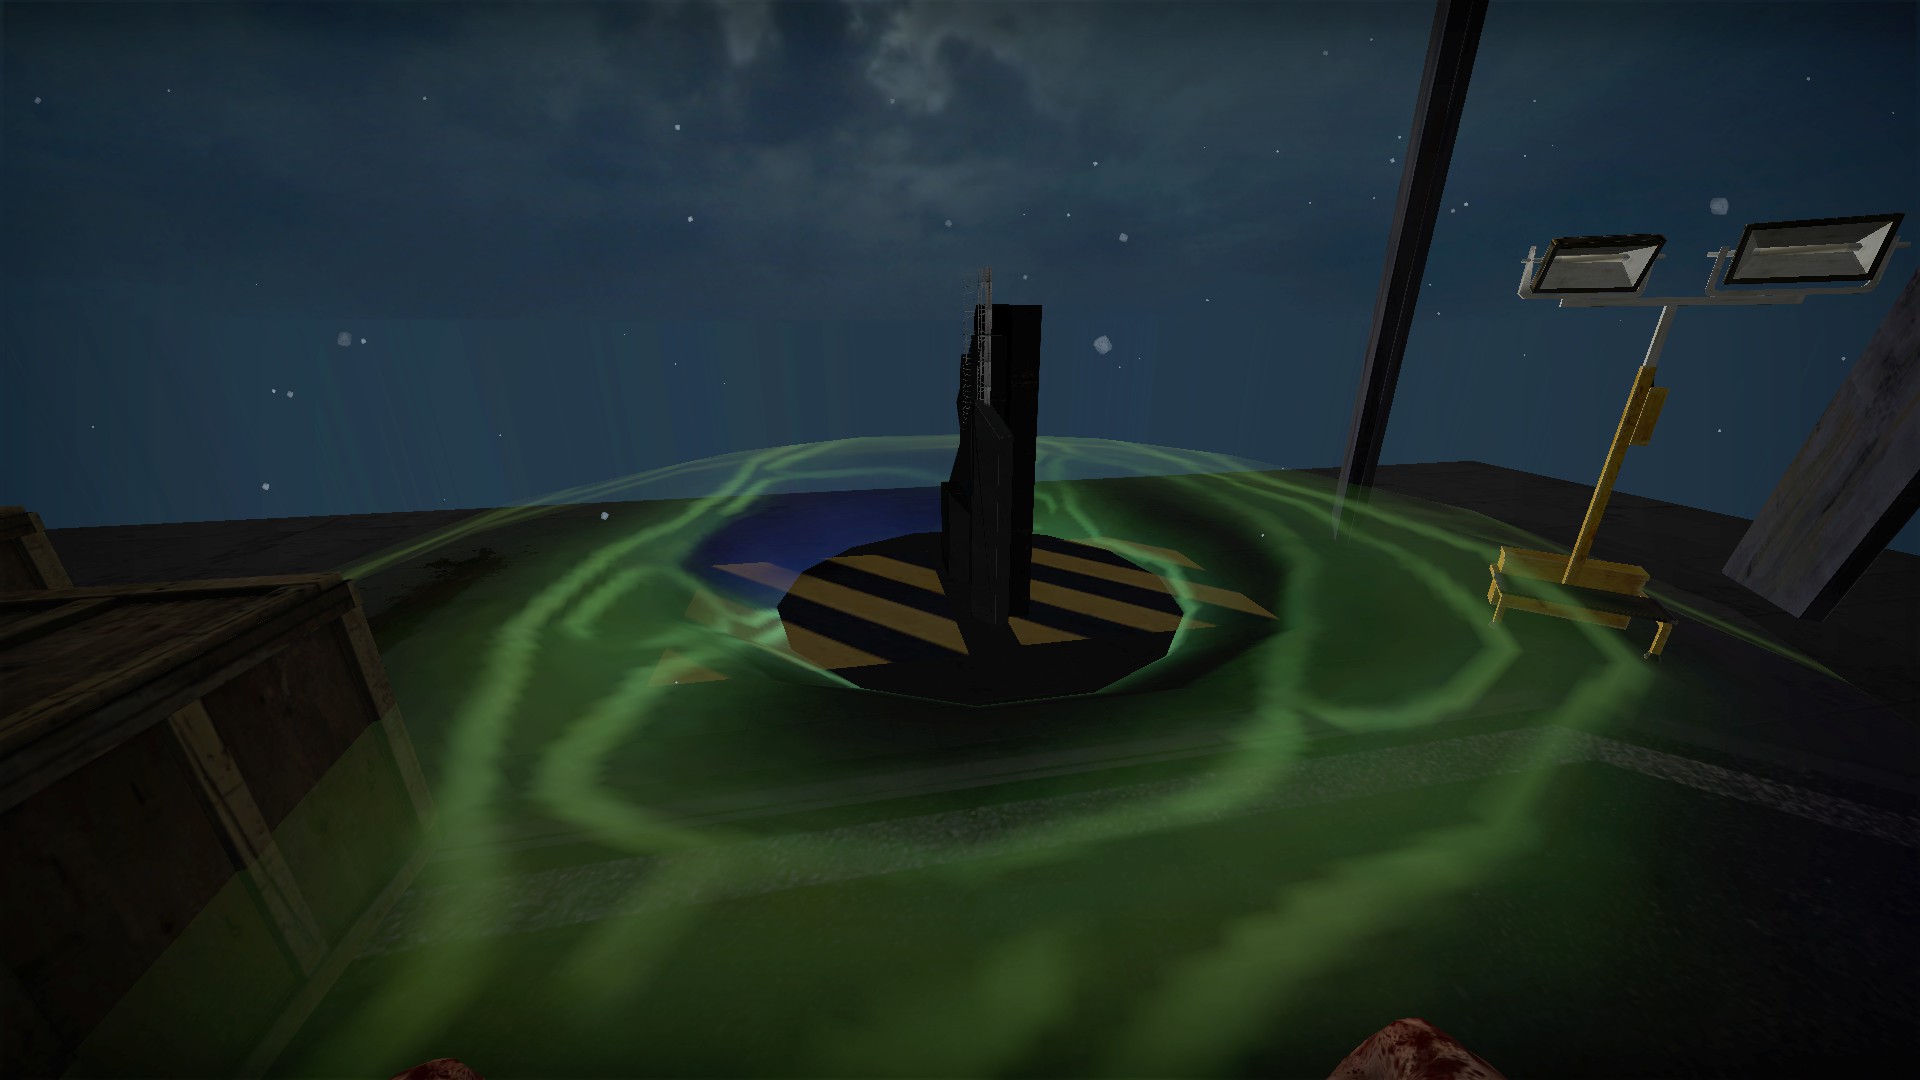
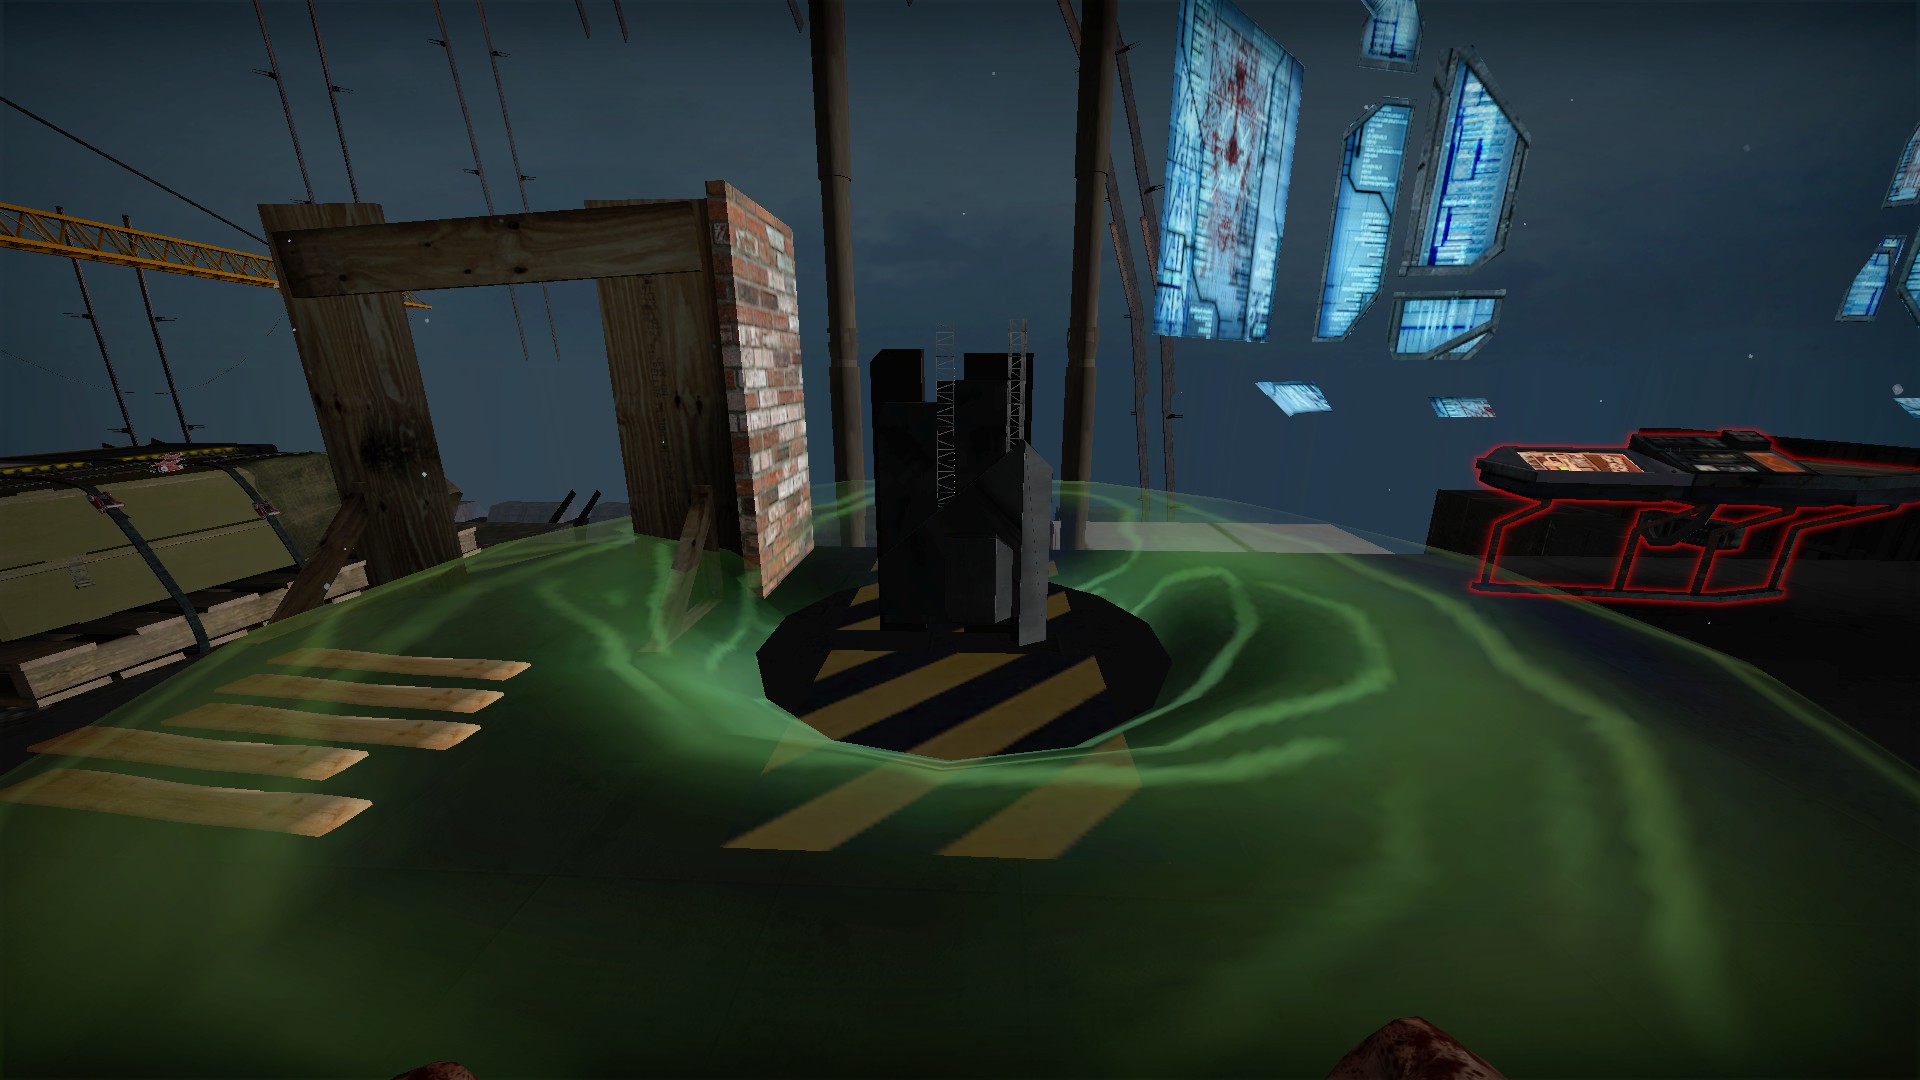
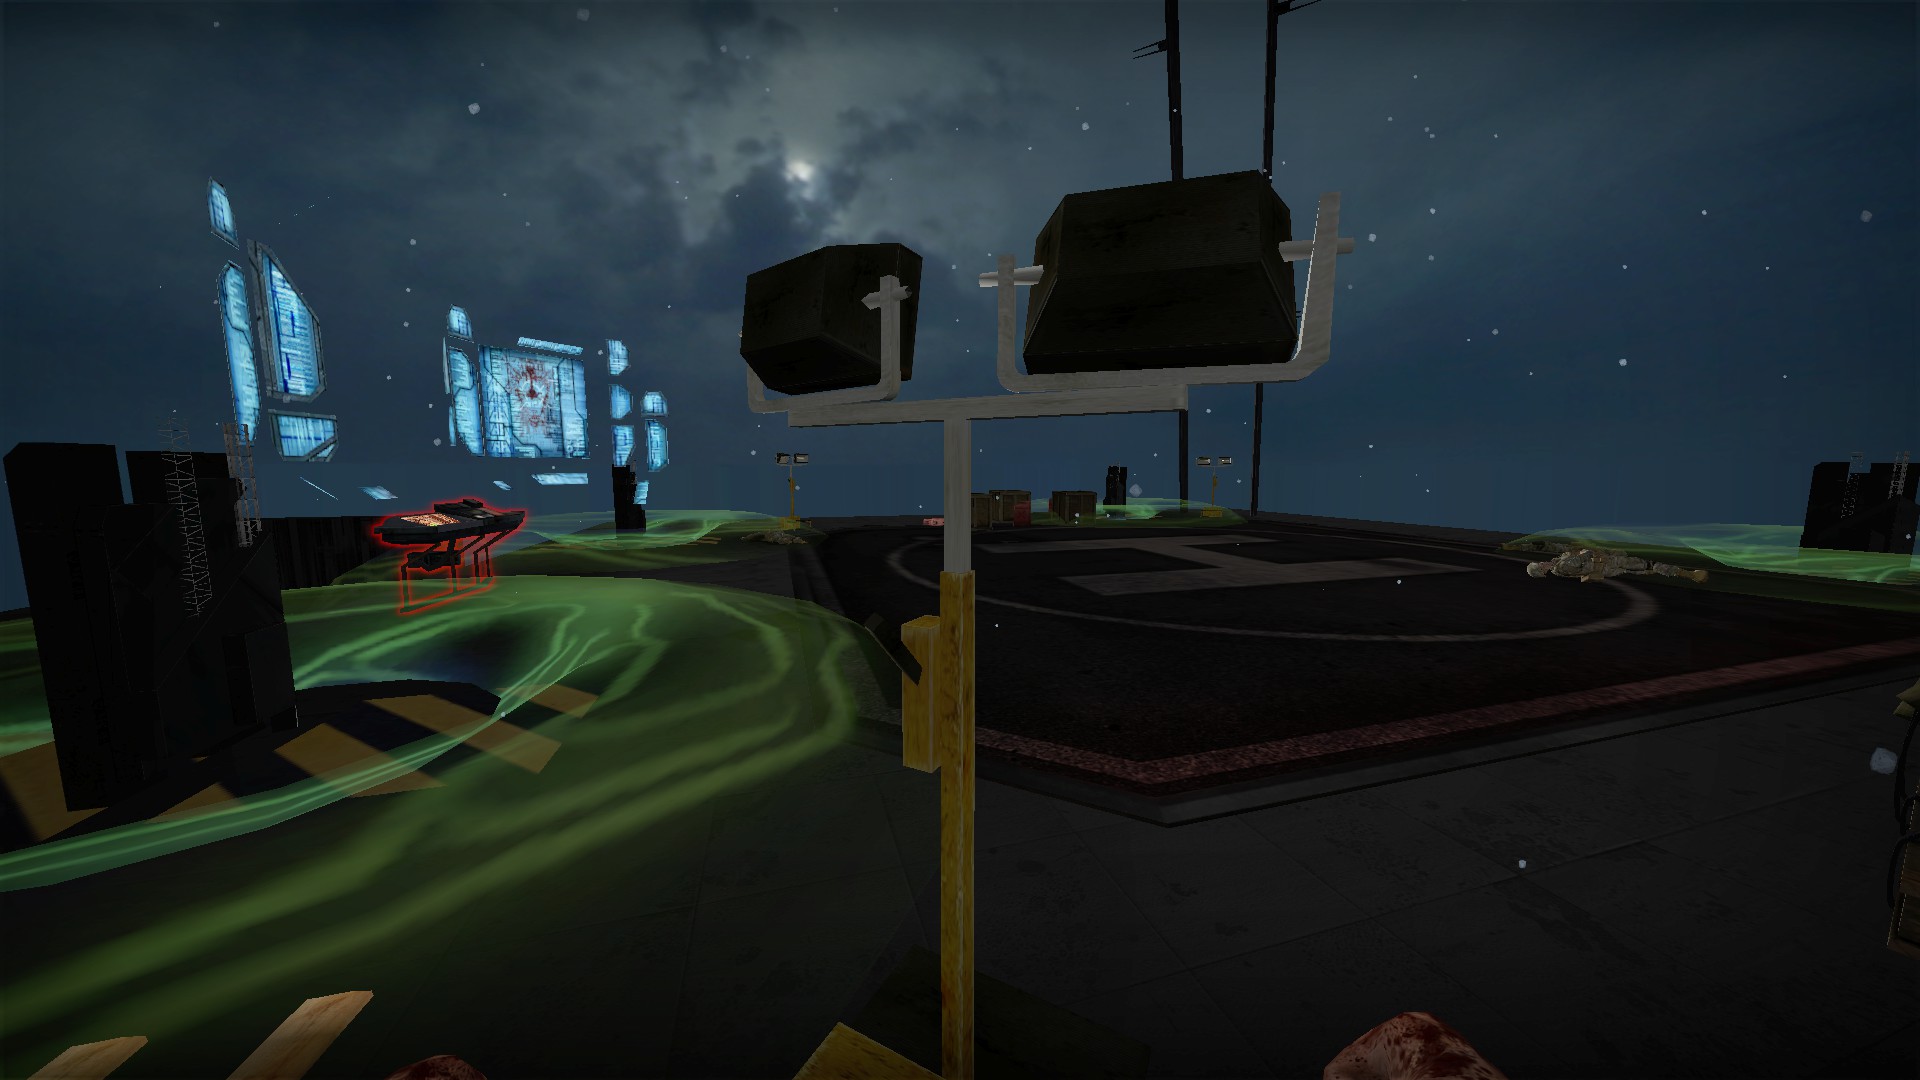
Place these 4 rubies on the 4 yellow and black areas on the roof. They will build structures that the zombies will be drawn away to attack
nmo_arknightsnormal_v6 is a much different map than v0 and v1. It is covered separately in the next section
Globe head boss
Use the nearby colt and kill the globe head boss with body shots to prevent it from exploding
Secret room
After you have turned on the lights and picked up the welder, you will pass back through this room with a conveyor belt
The black box at the end of the conveyor belt is breakable, and you will find a key inside
After placing the wooden boxes, you will need to push the key through the teleport to get it to the next area
The key will open the door opposite the room where the access card is used
The secret room has a few meds, a machete and firearm, a chainsaw and fuel, and a code 2226 (nearest to farthest). Remember the code as it will open a safe in the final area
Use rubies to build defenses
You will find a ruby on your way to fix the panel with the wrench. Leave it for now
There is another nearby right next to the platform to drop down . Leave it for now as well
Bring both of these rubies up on the platform with you after you have used the wrench
There is a third ruby above
Before using the panel, use the three rubies to build barricades on the three yellow and black areas. These barricades will give you more time to escape the zombies into the factory
Use the rubies at the end to build lures
Use the code 2226 from the secret room to open the safe at the ending area. There are 4 rubies inside
Place these 4 rubies on the 4 yellow and black areas on the roof. They will build structures that the zombies will be drawn away to attack
nmo_arknightsnormal_v6
2 buttons in the starting area
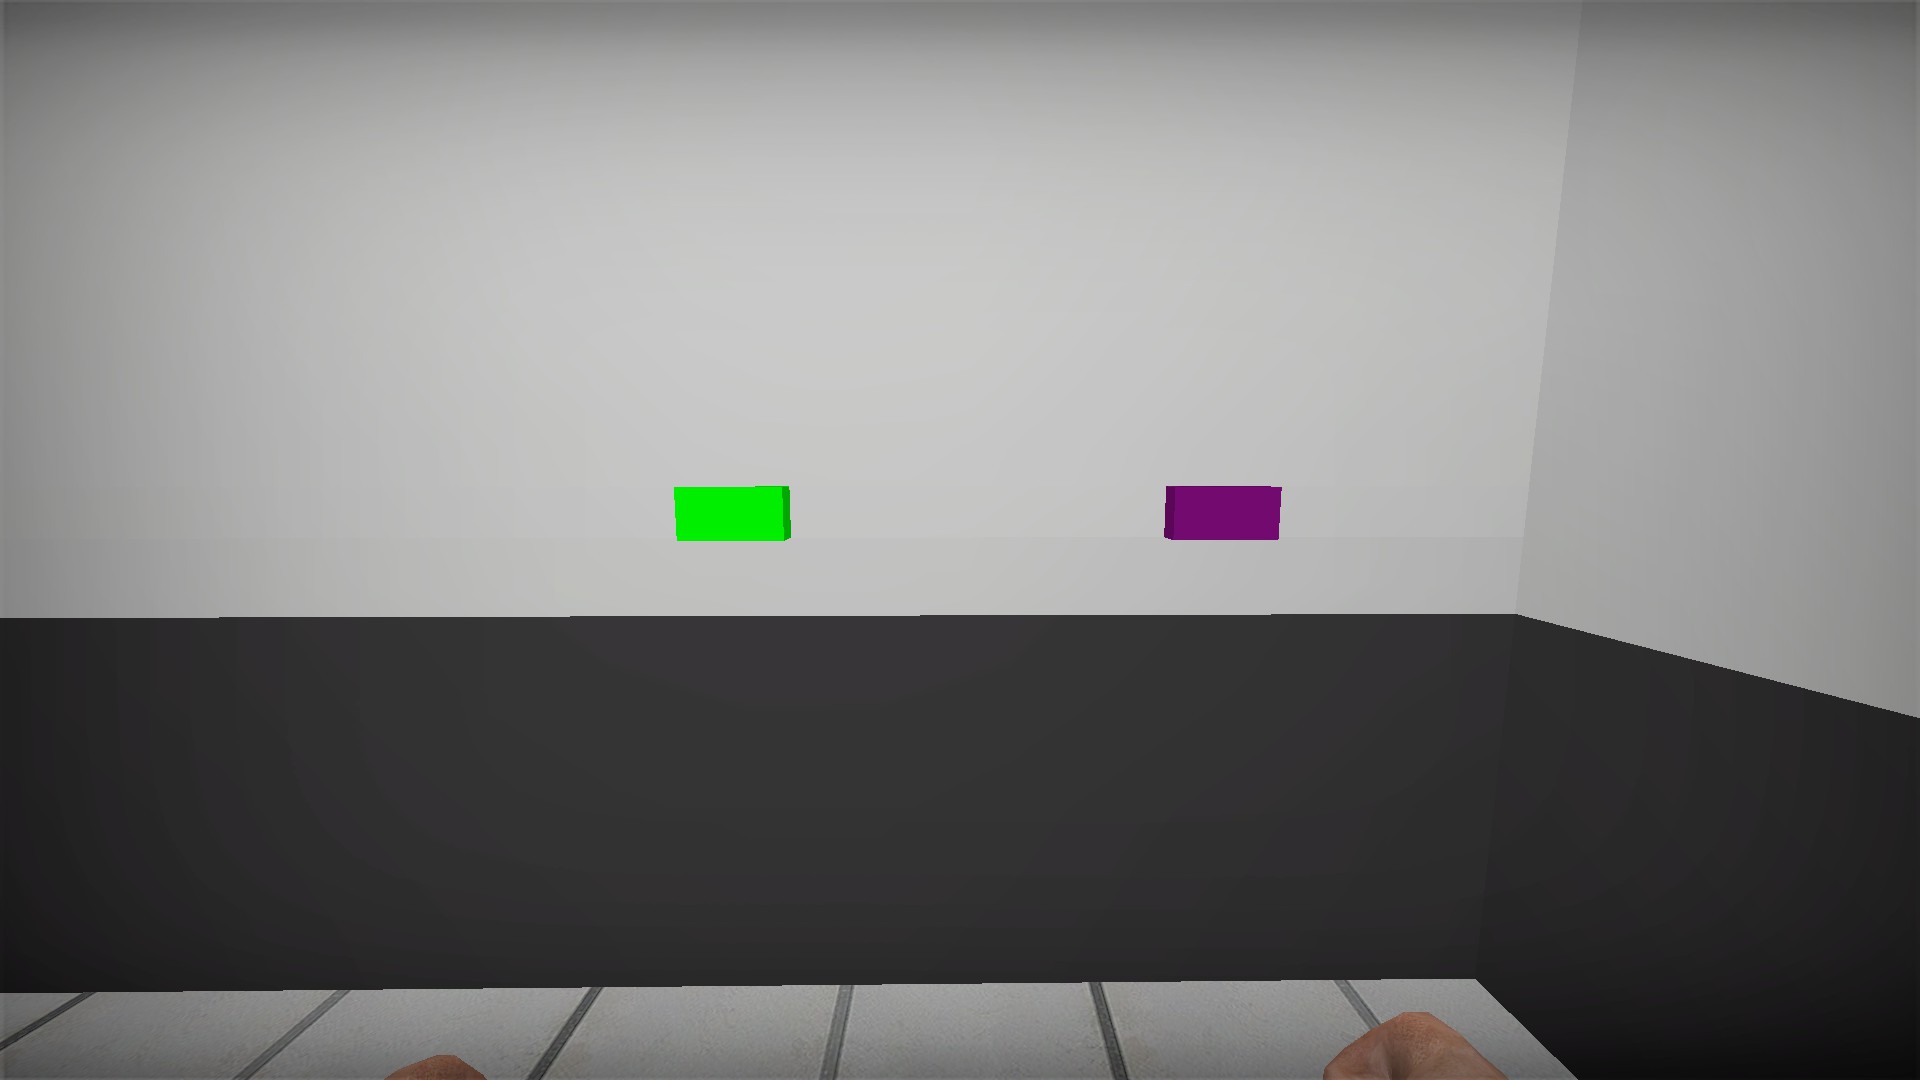
There is a green and a purple button at start
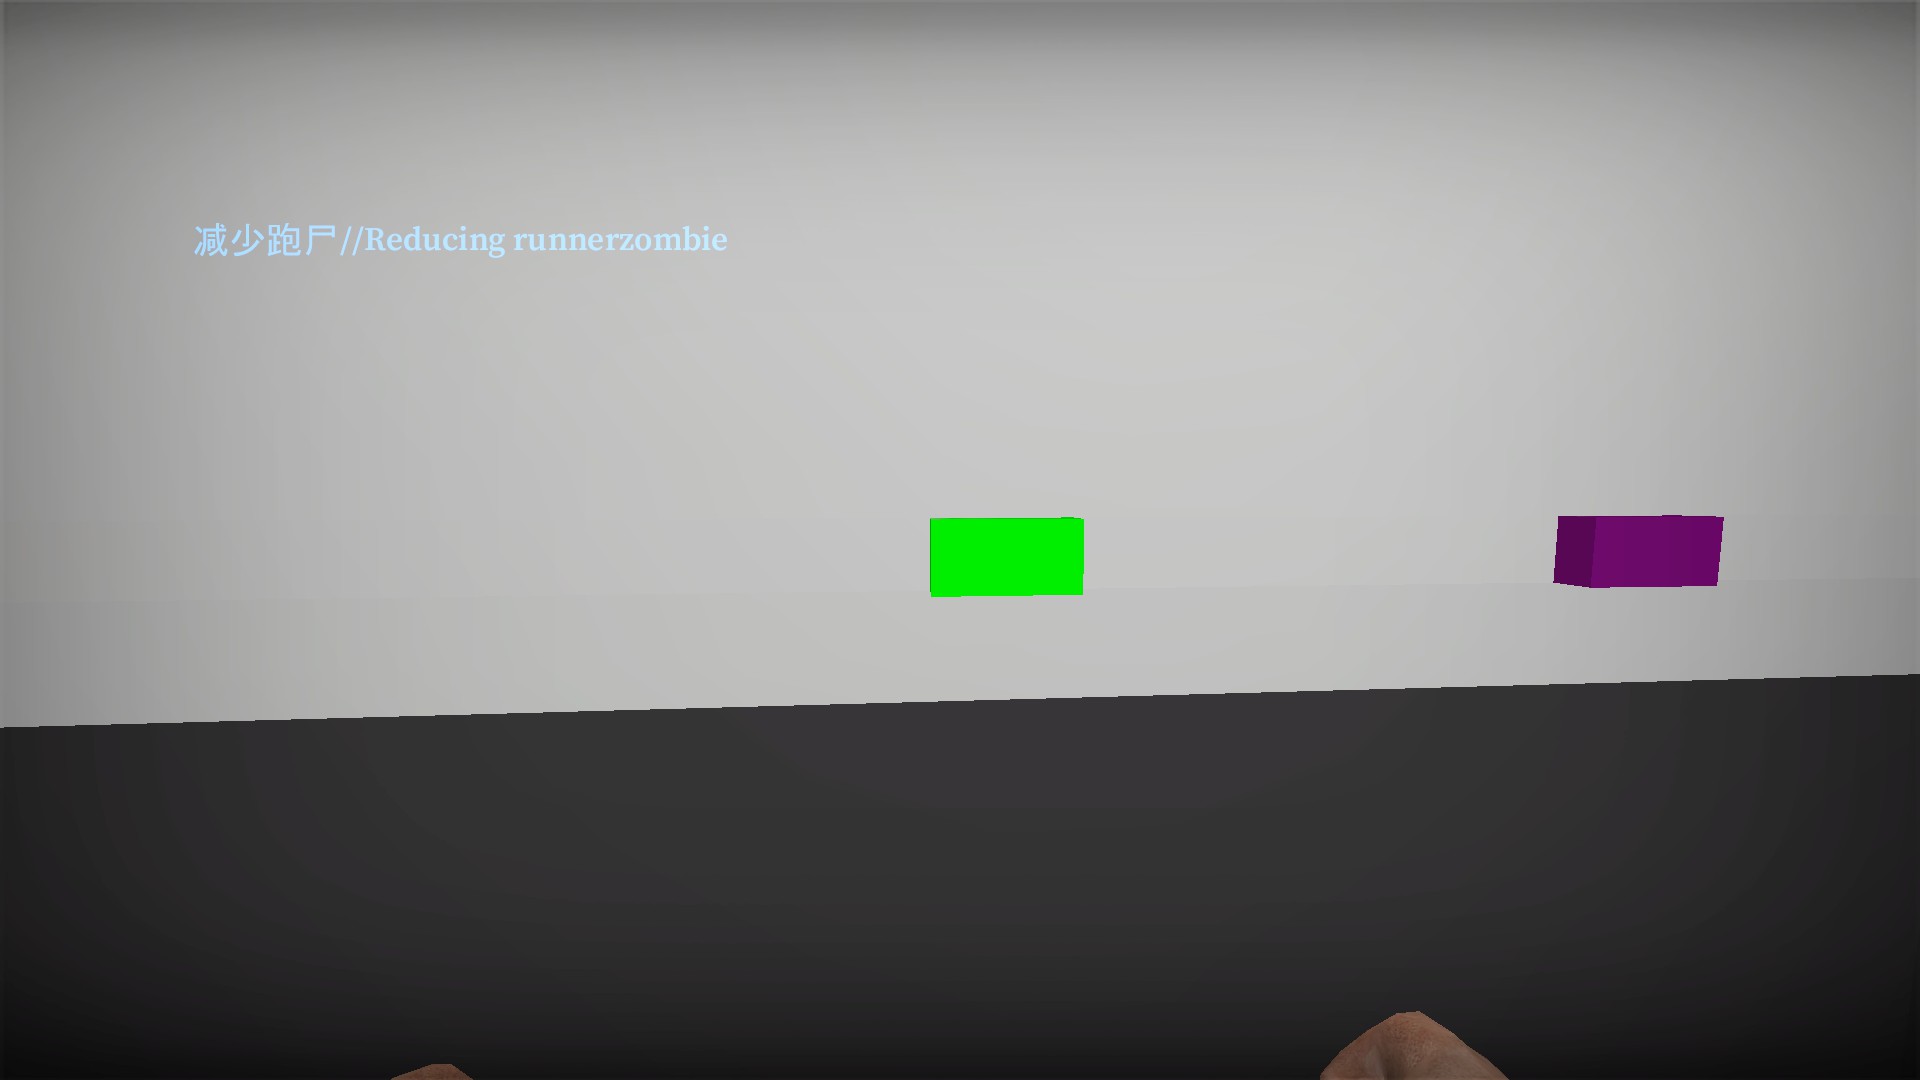
The green button will reduce the number of runners
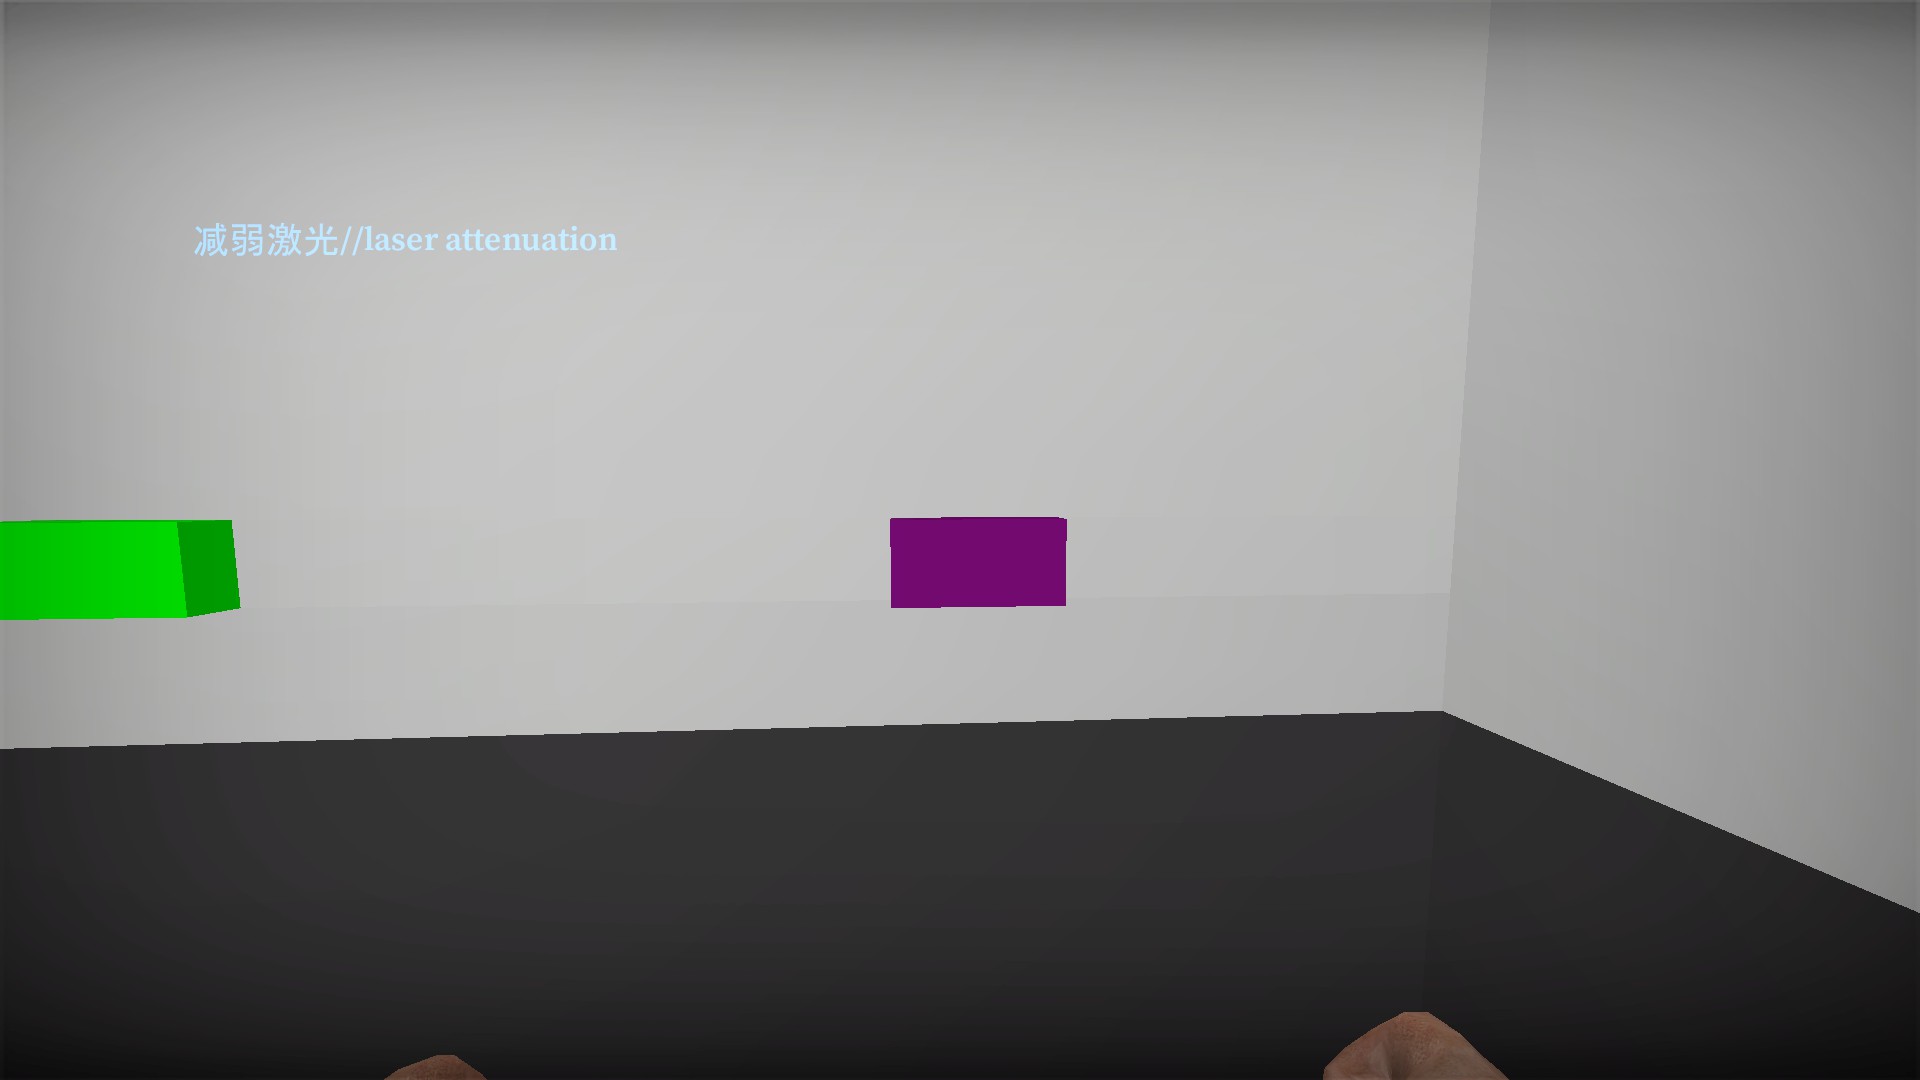
The purple button will reduce lasers
Cabinets are weapon boxes
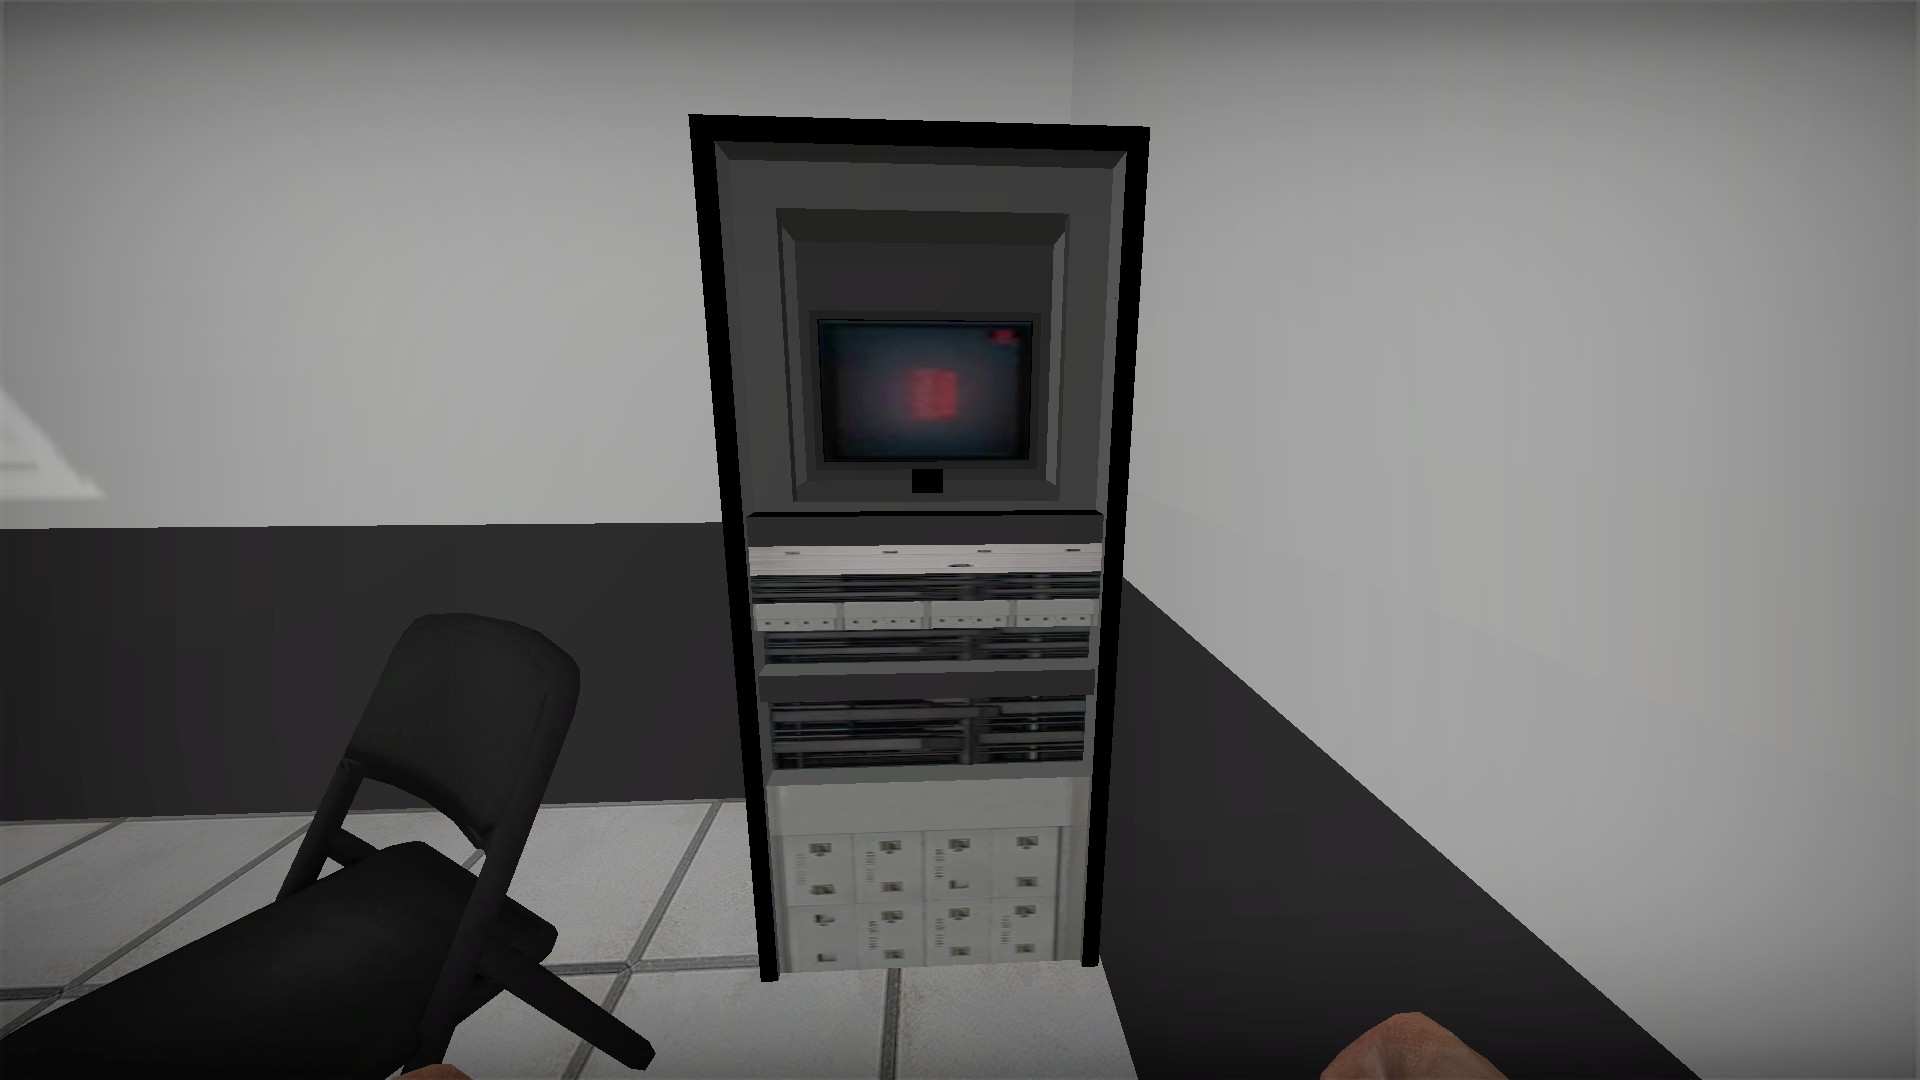
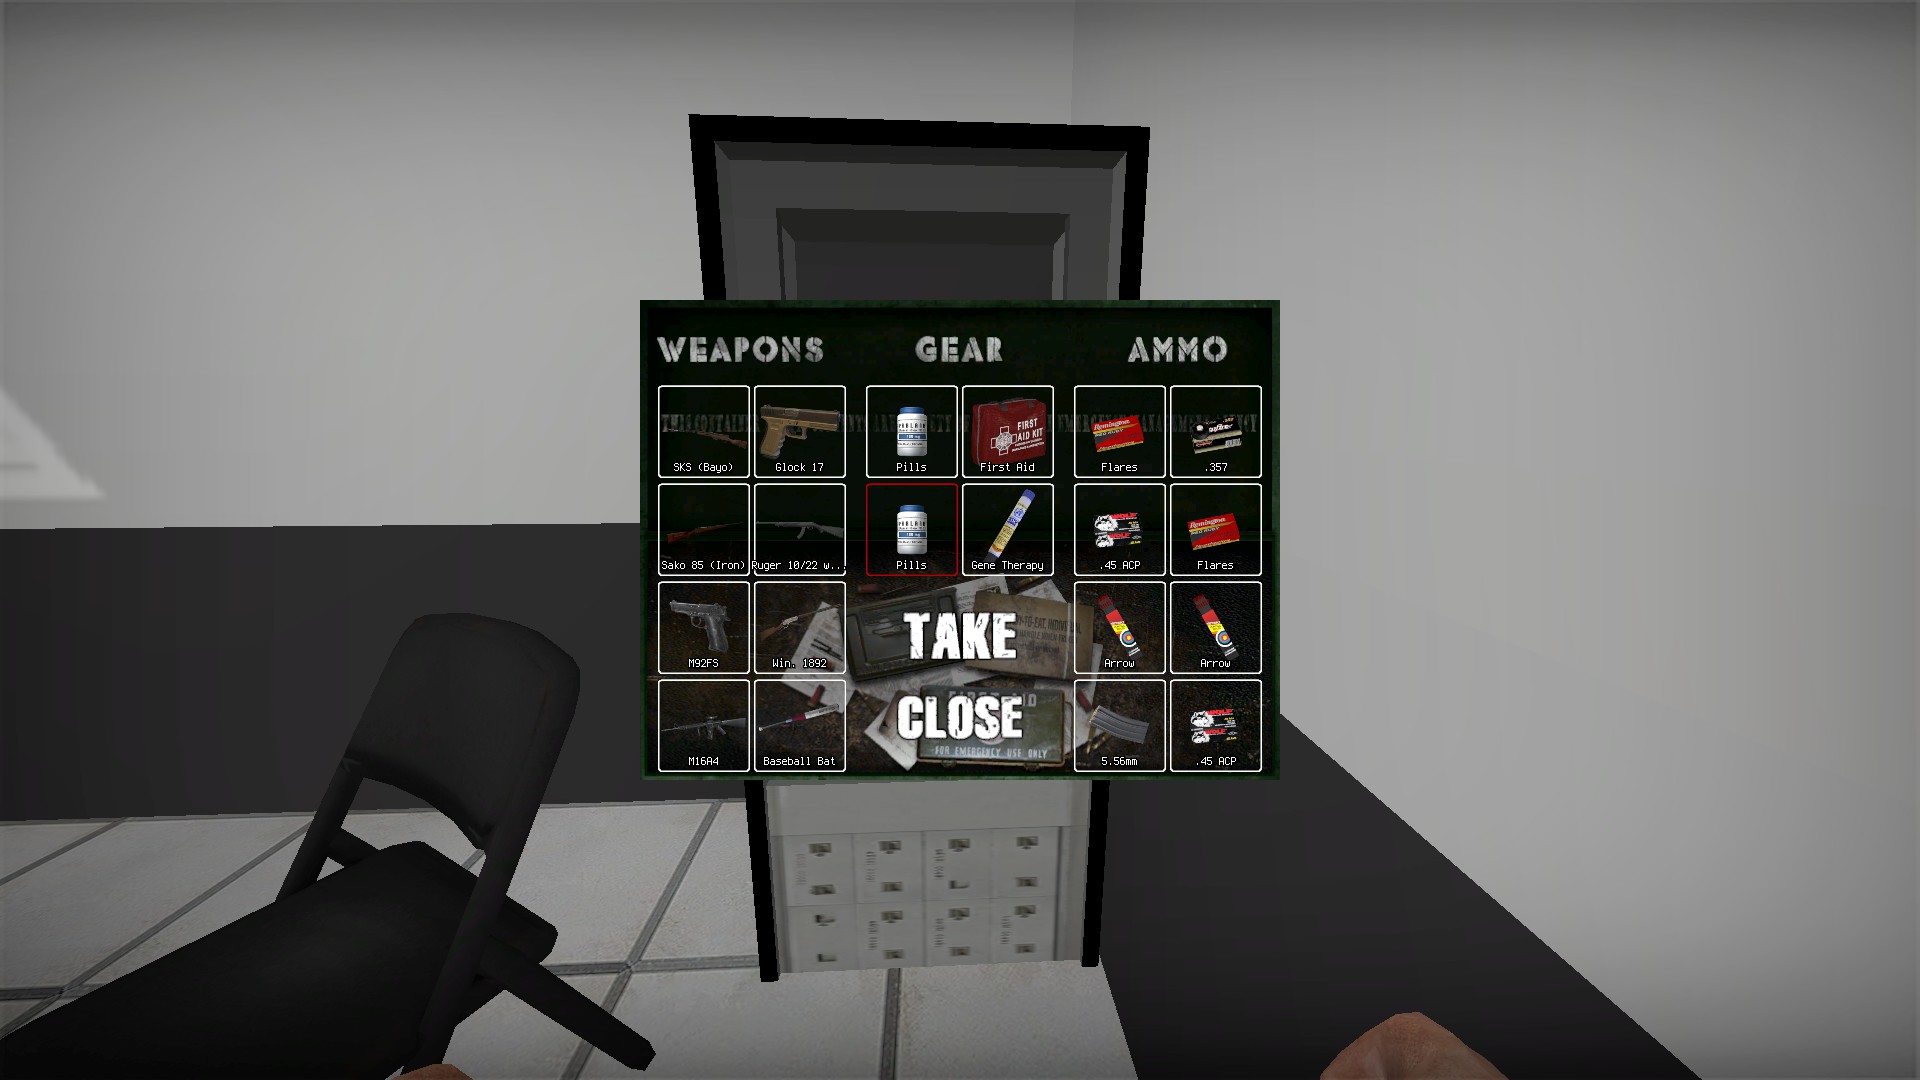
The cabinet in the starting area is a weapon box. Keep an eye out for for cabinets like this one as there are quite a few and all are weapon boxes
Generator
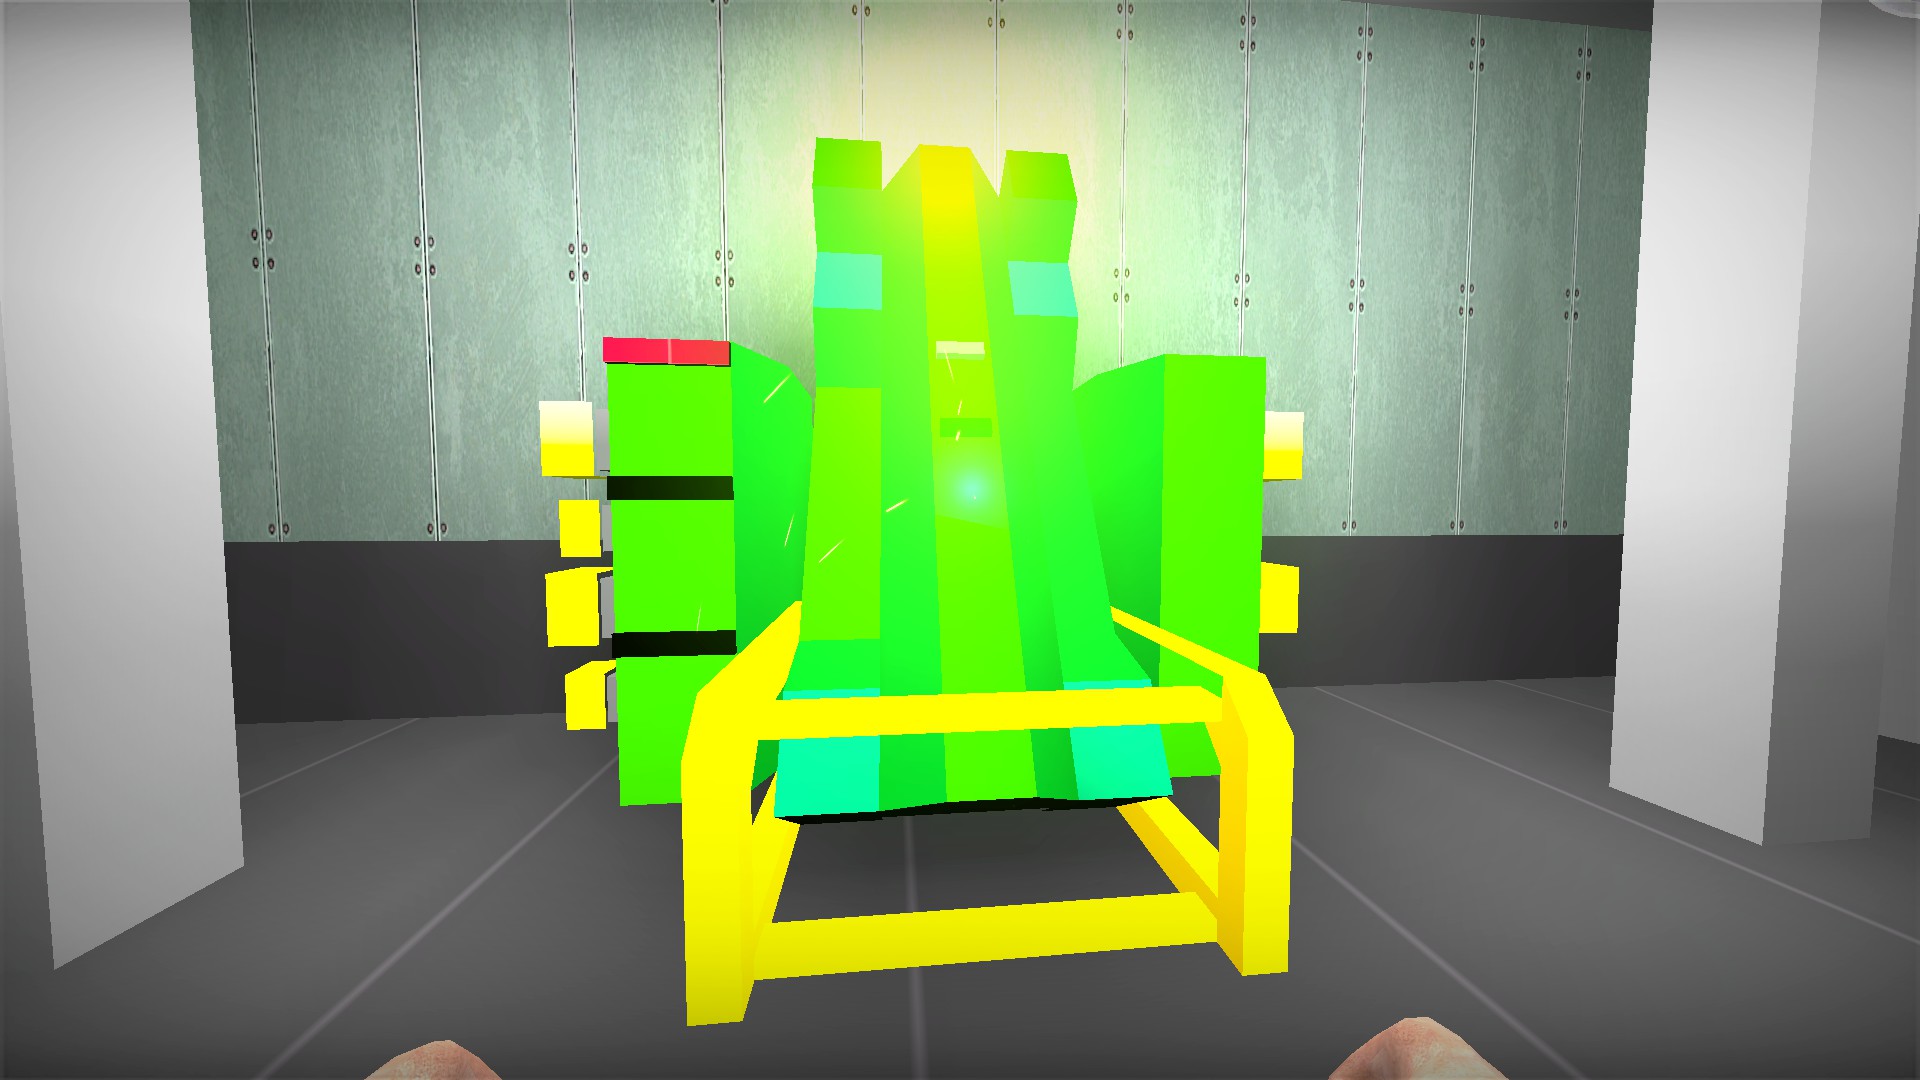
Crouch and press the lowest button on the middle of the generator to open the door. Pressing anywhere else on it will cause it to explode
Same arknights code opens the safe
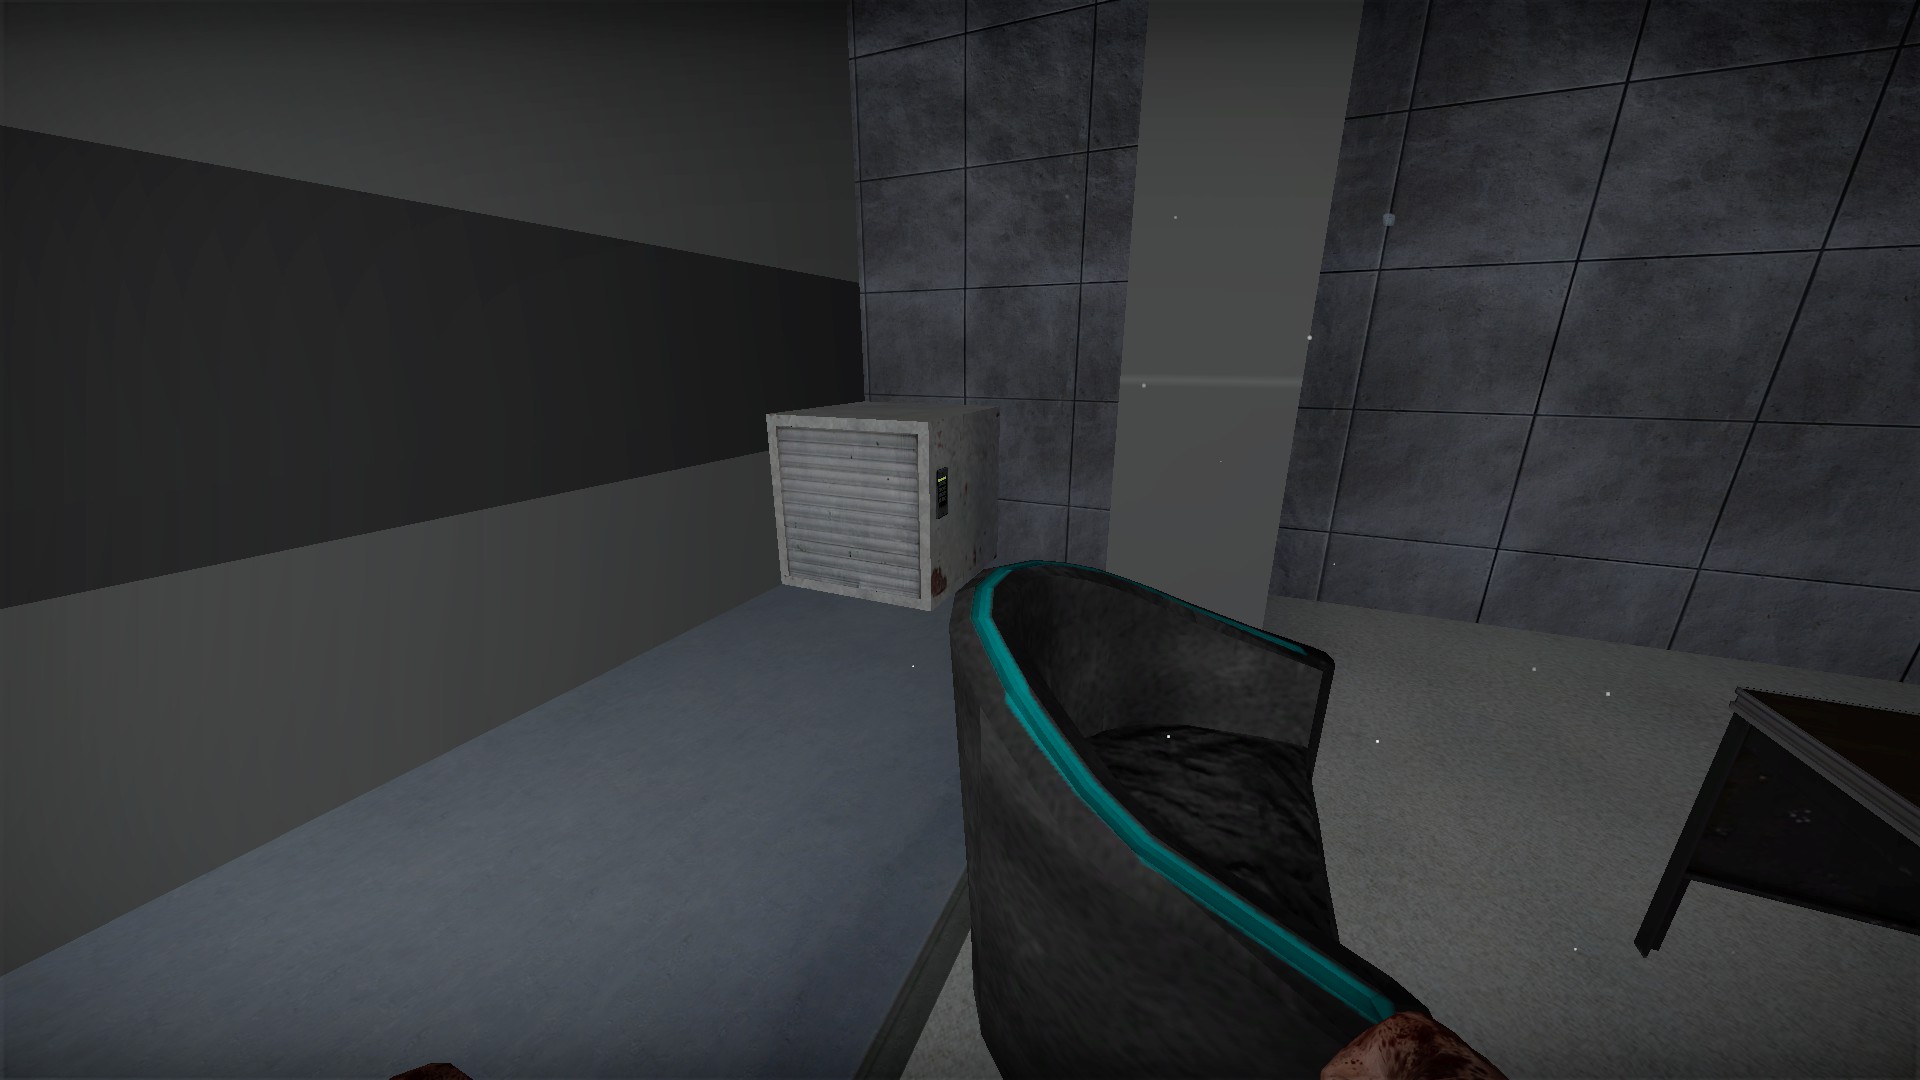
After a boss survival fight, you will be teleported to a room with a safe
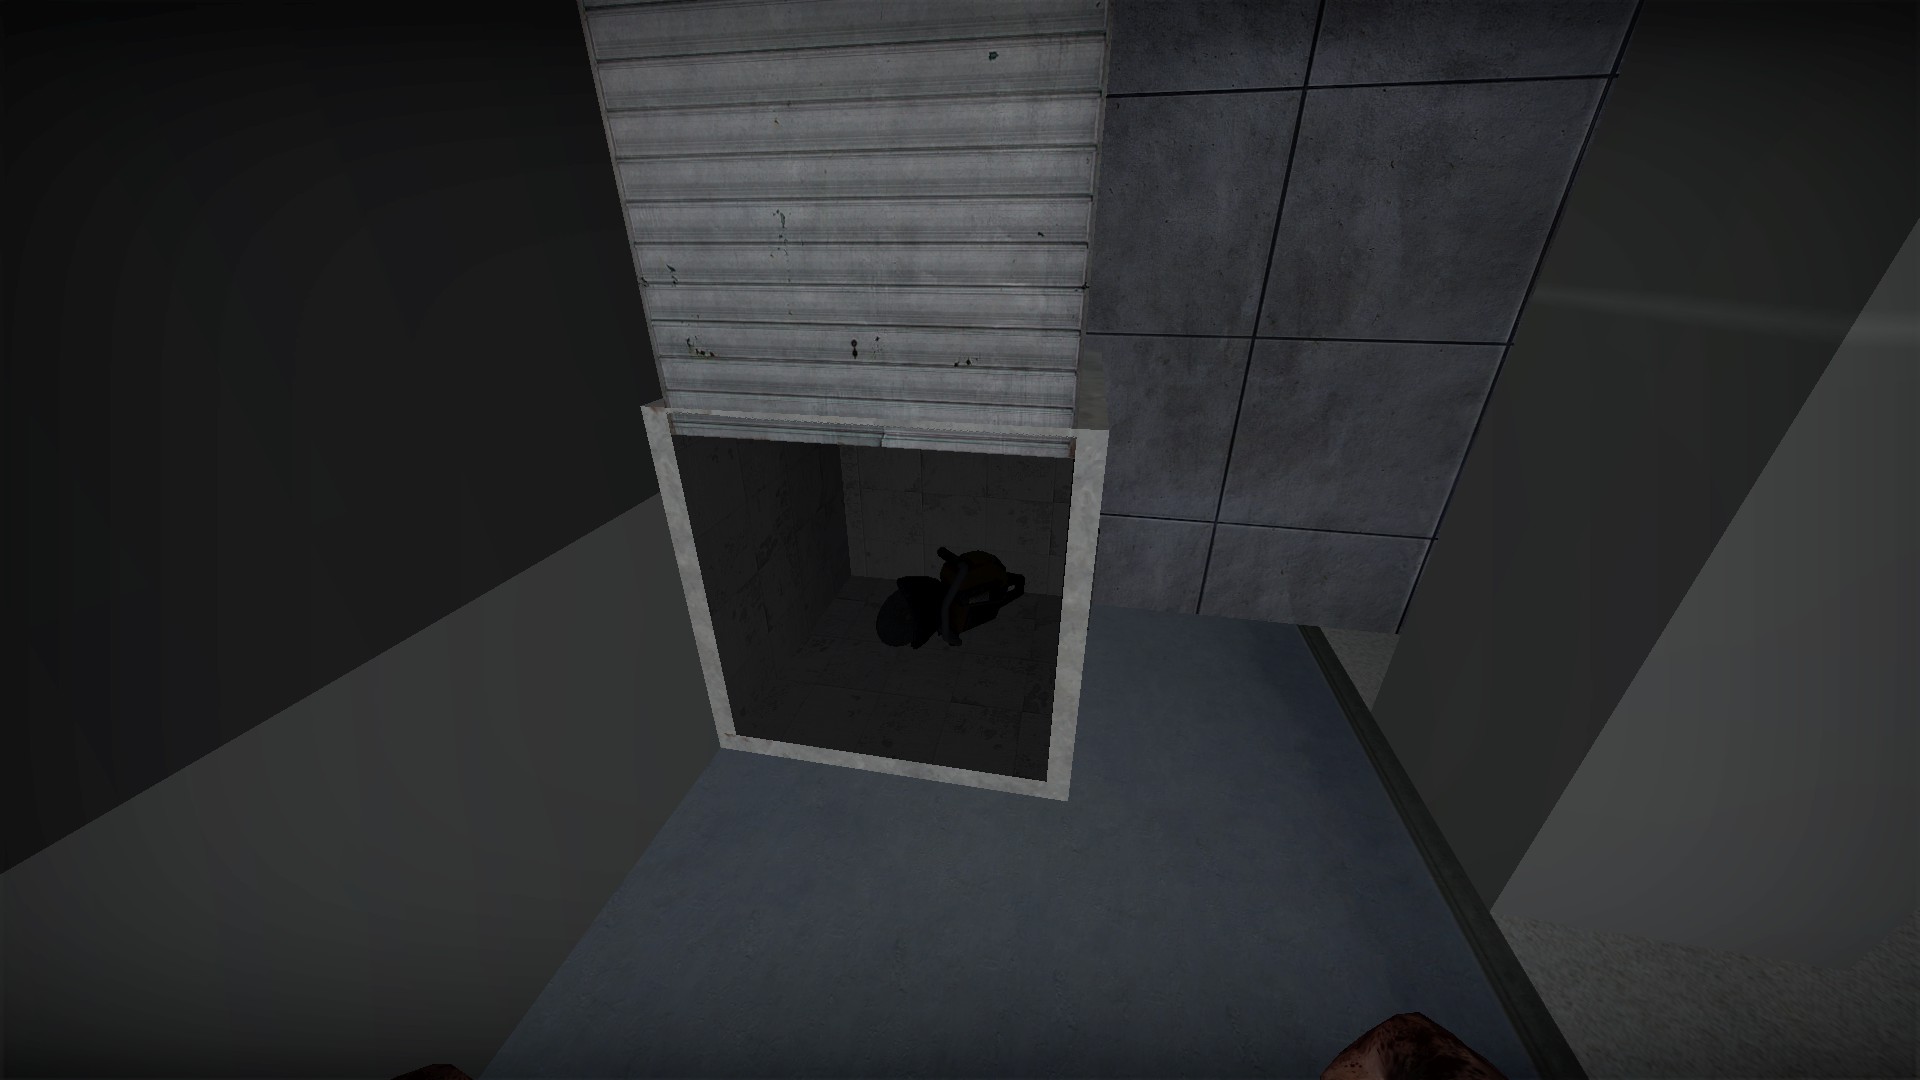
Use the code 2226 to open this safe for a chainsaw. This is the same code found in this (secret) room in the previous arknights maps
Turret has unlimited ammo but can be destroyed
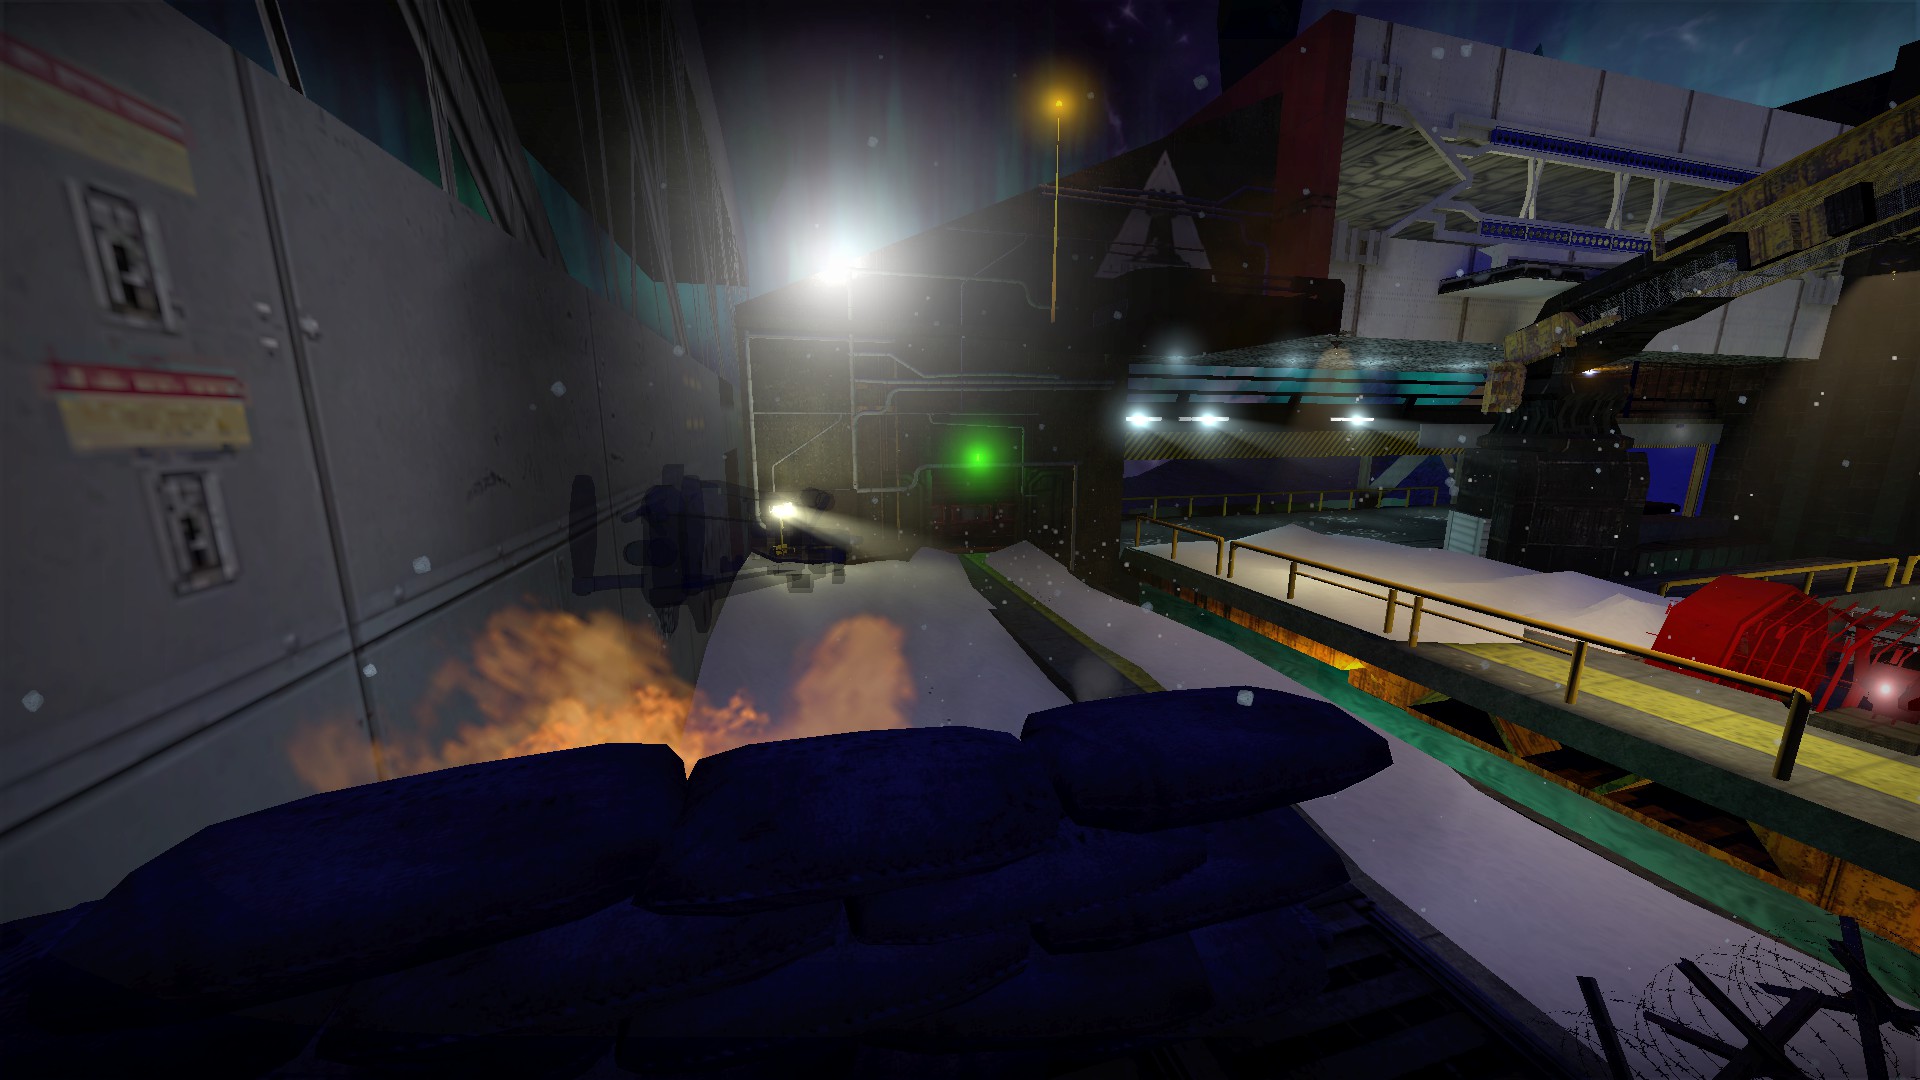
Don't use explosives near the turret tower as they can damage it
Rubies
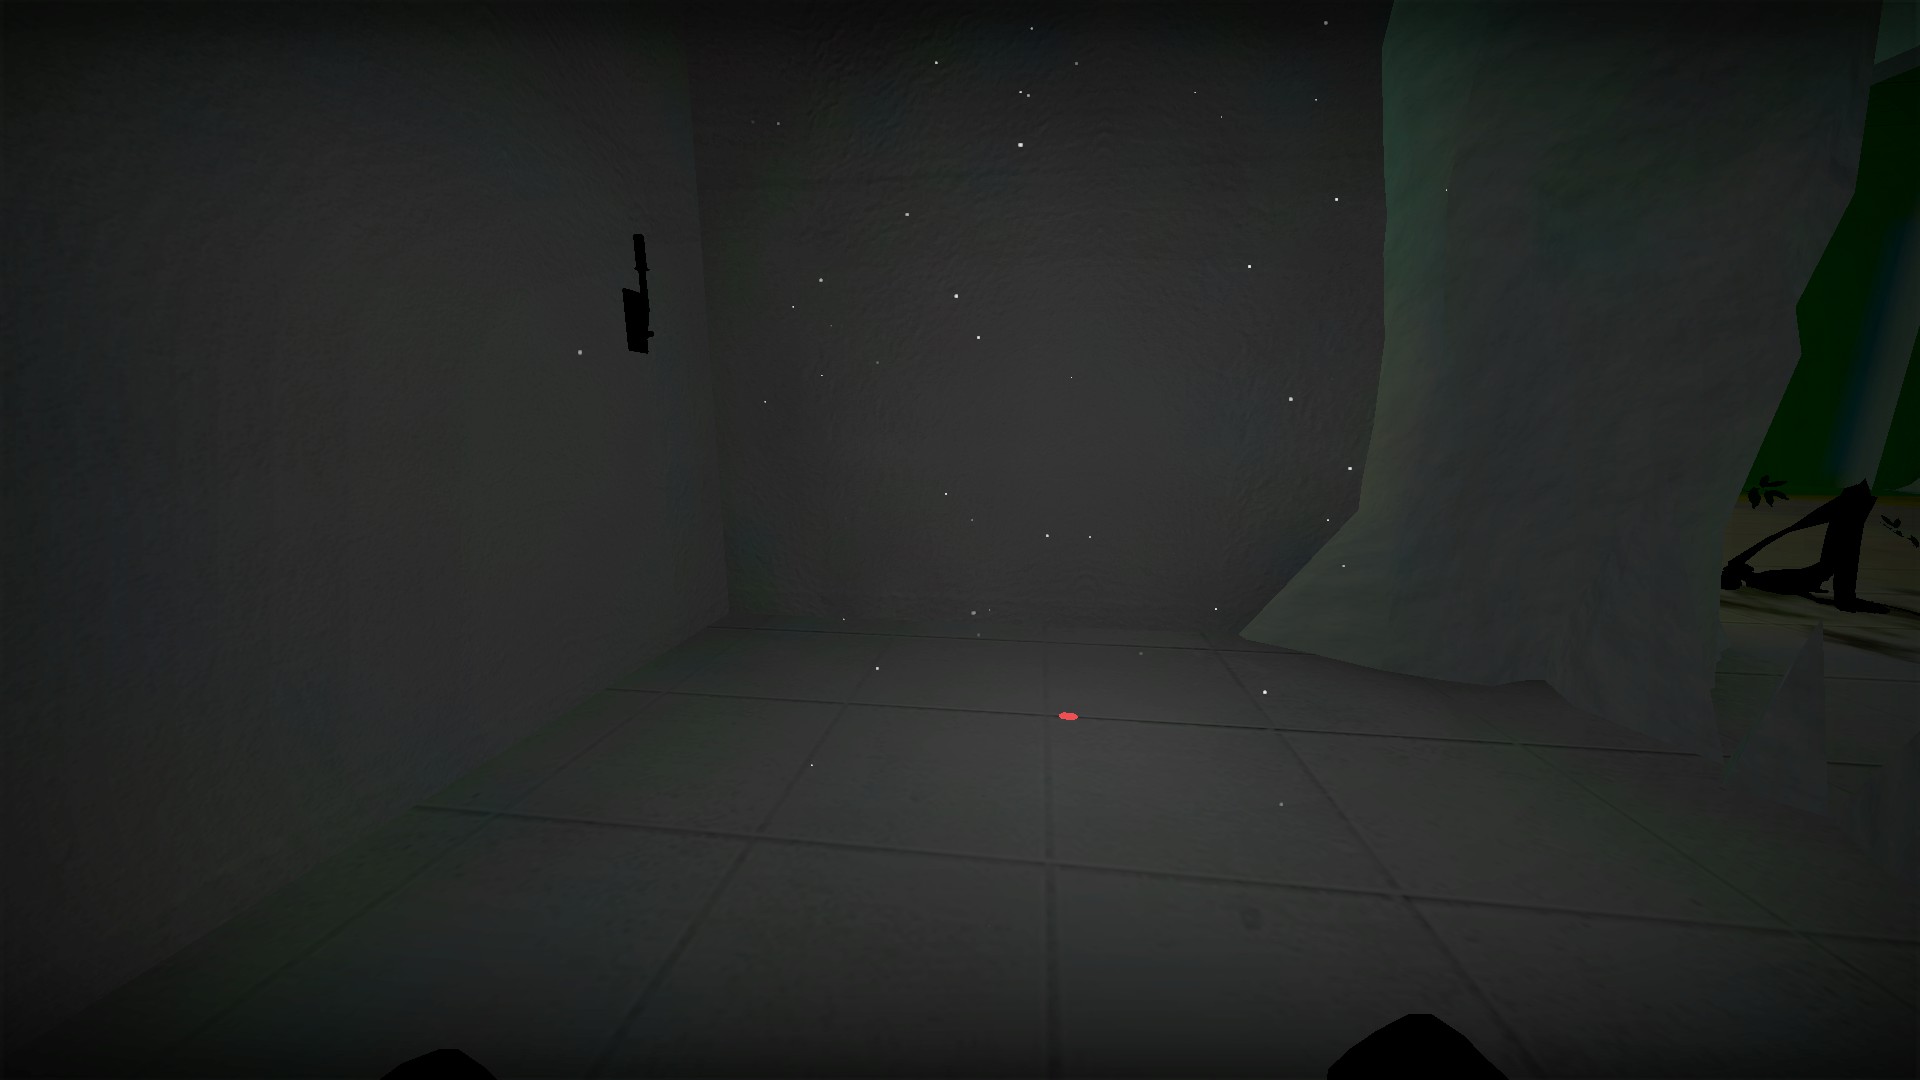
You will find the first near the switch in the ice tunnel
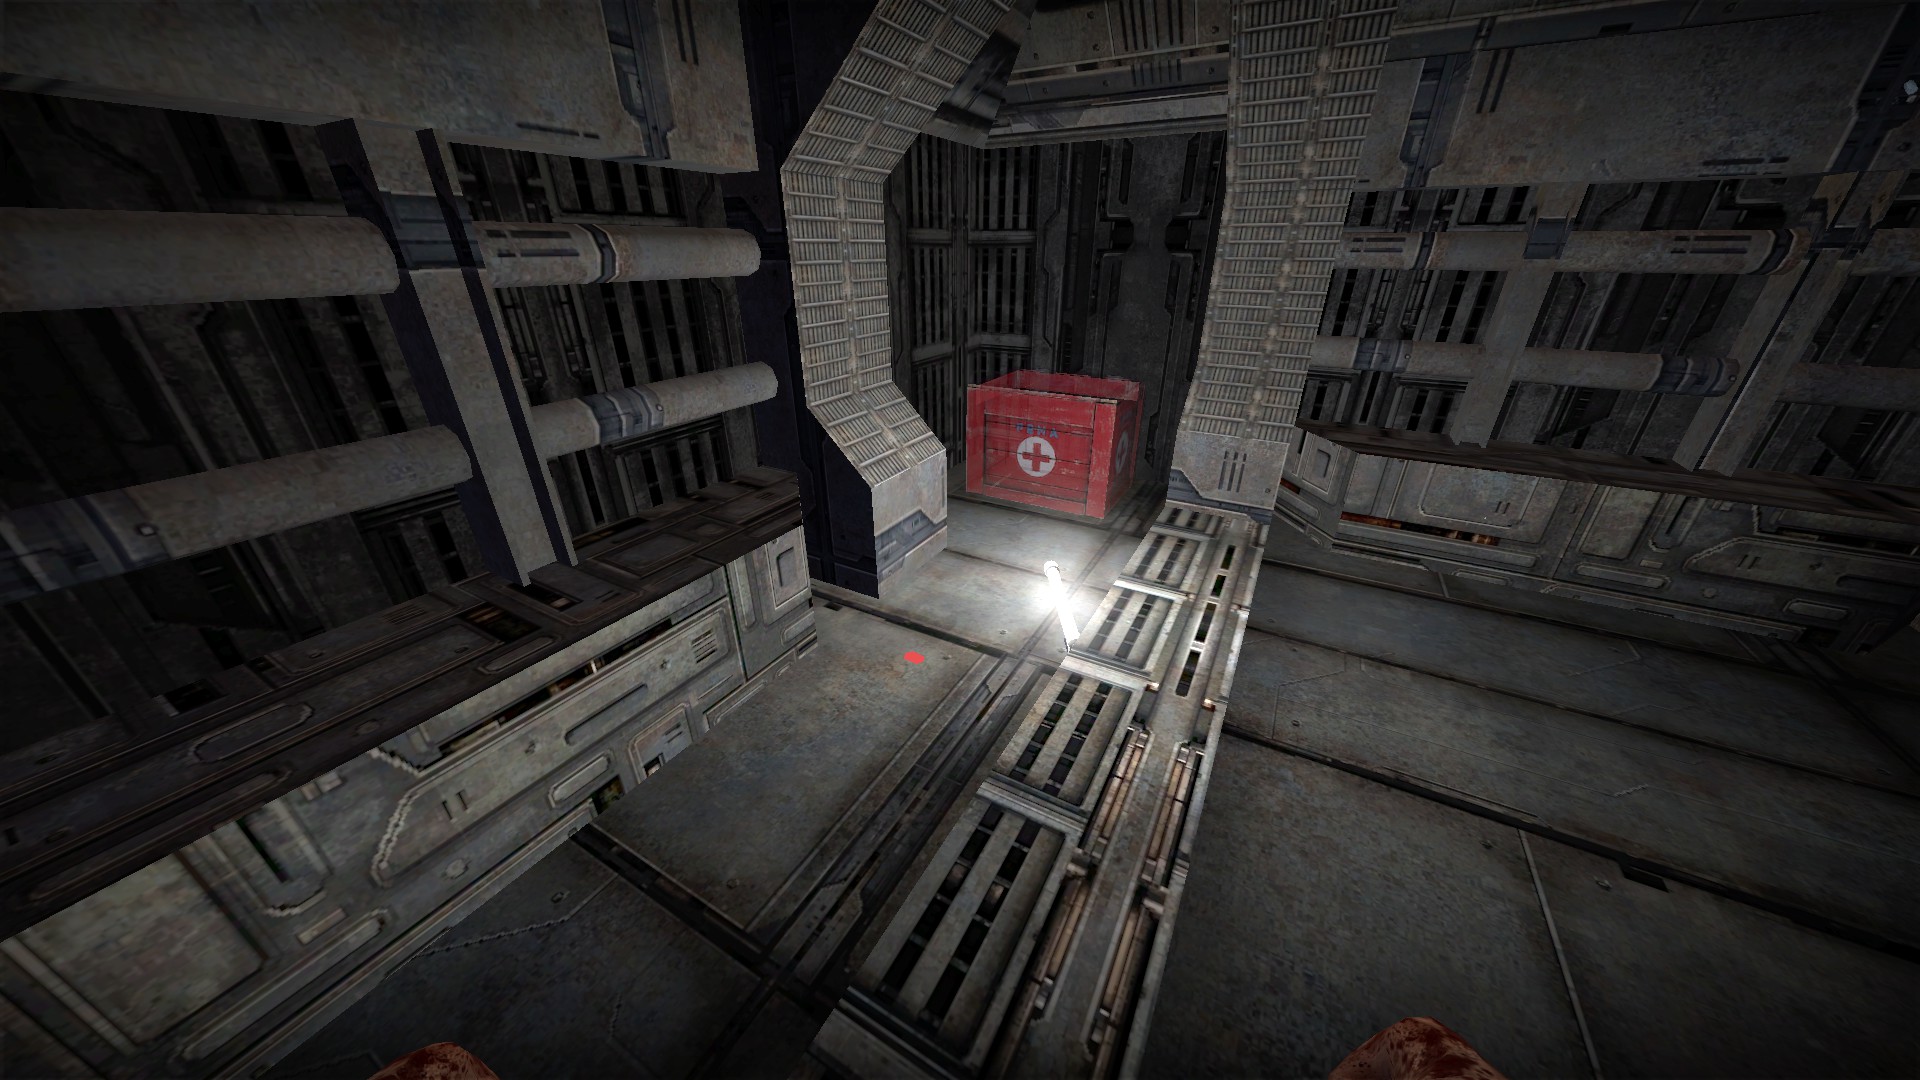
You will find the second near where you place the first med box
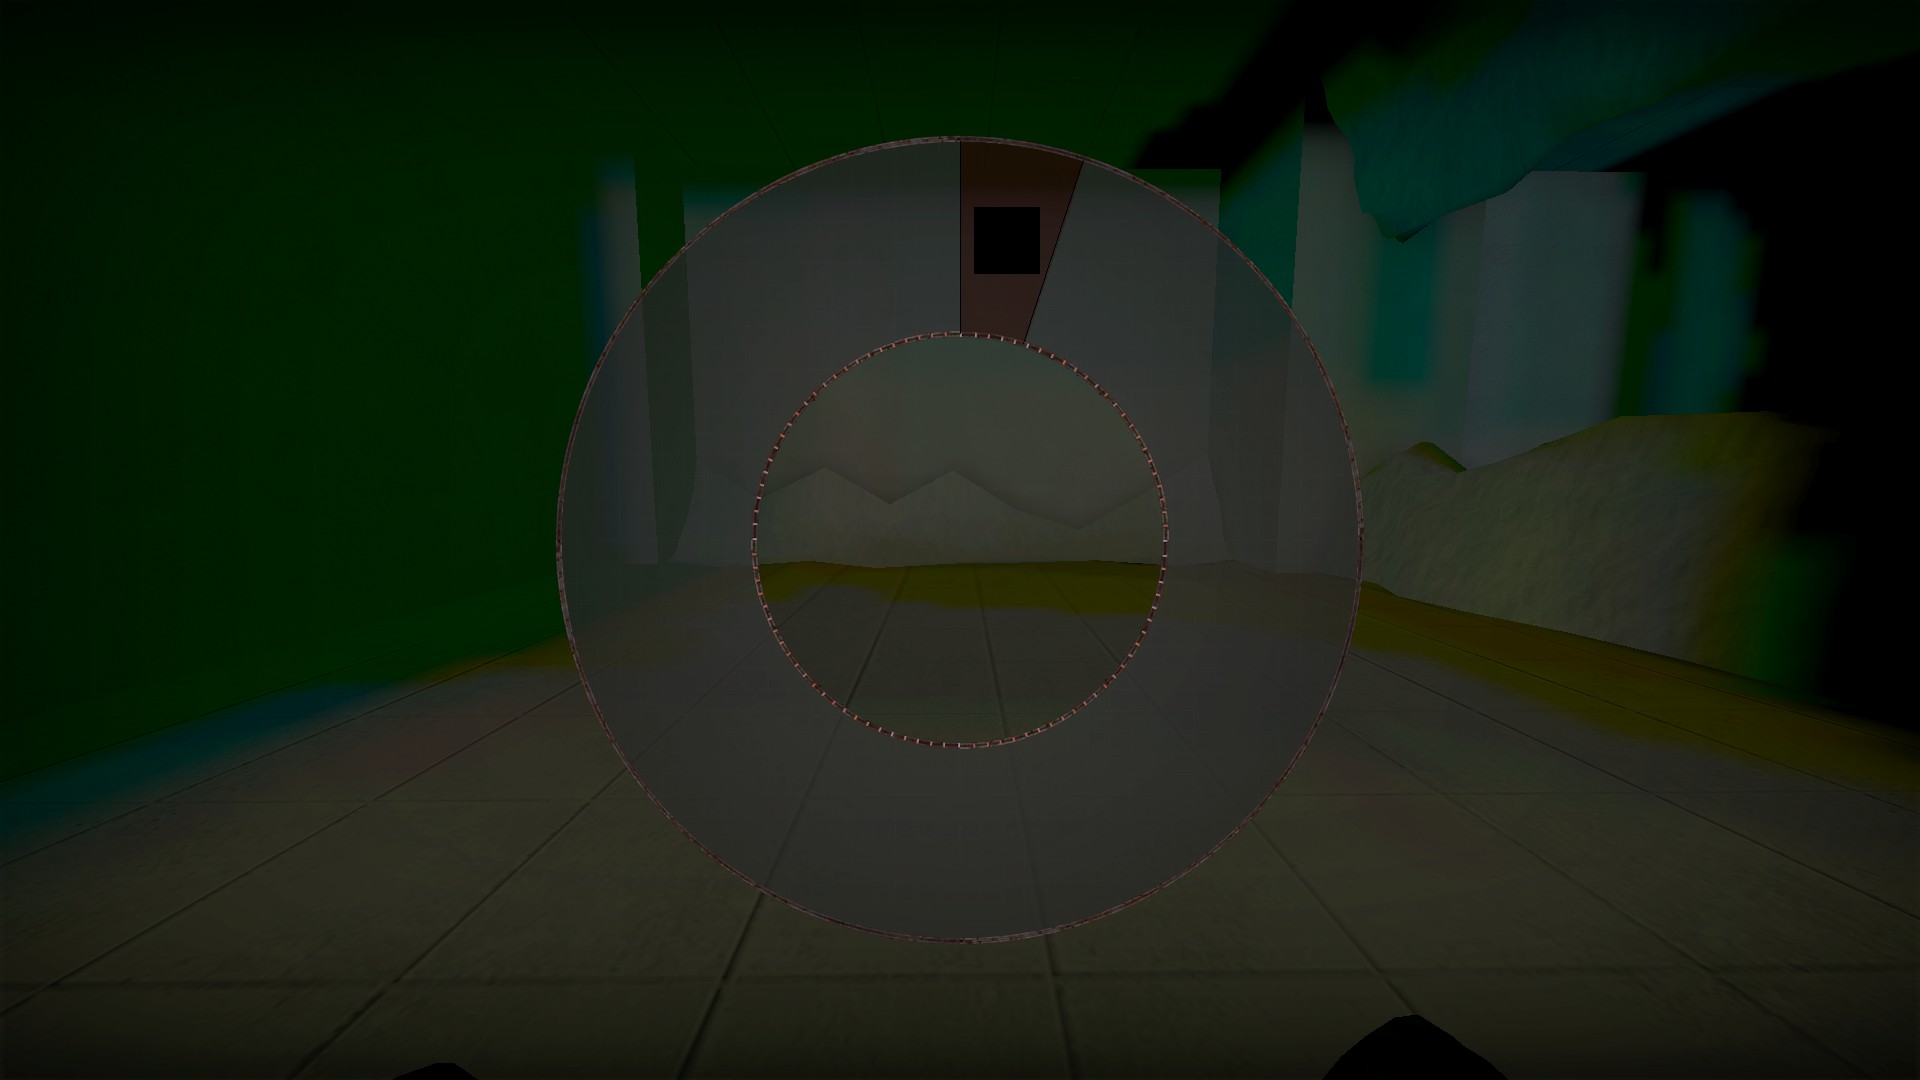
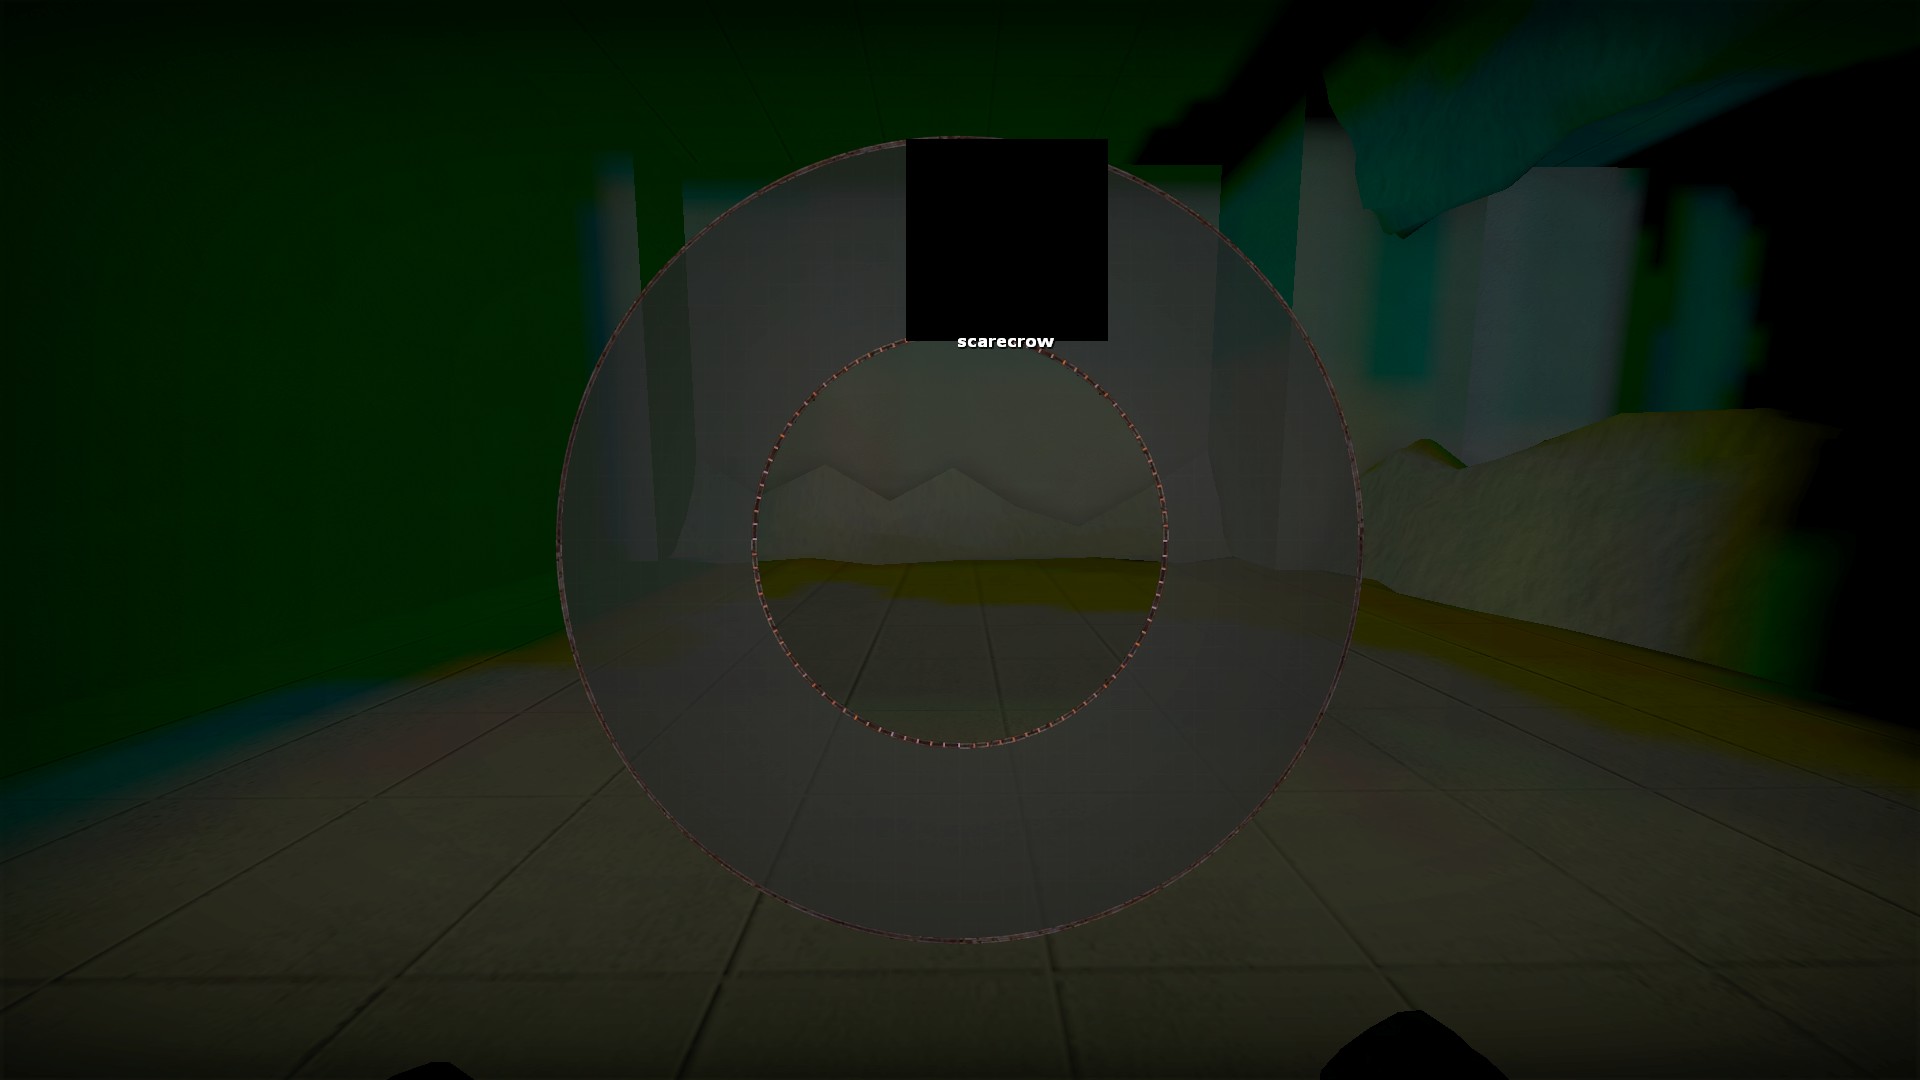
These first 2 rubies you find can be used to summon a scarecrow. Hold 1 to open your inventory after picking it up and you will see it
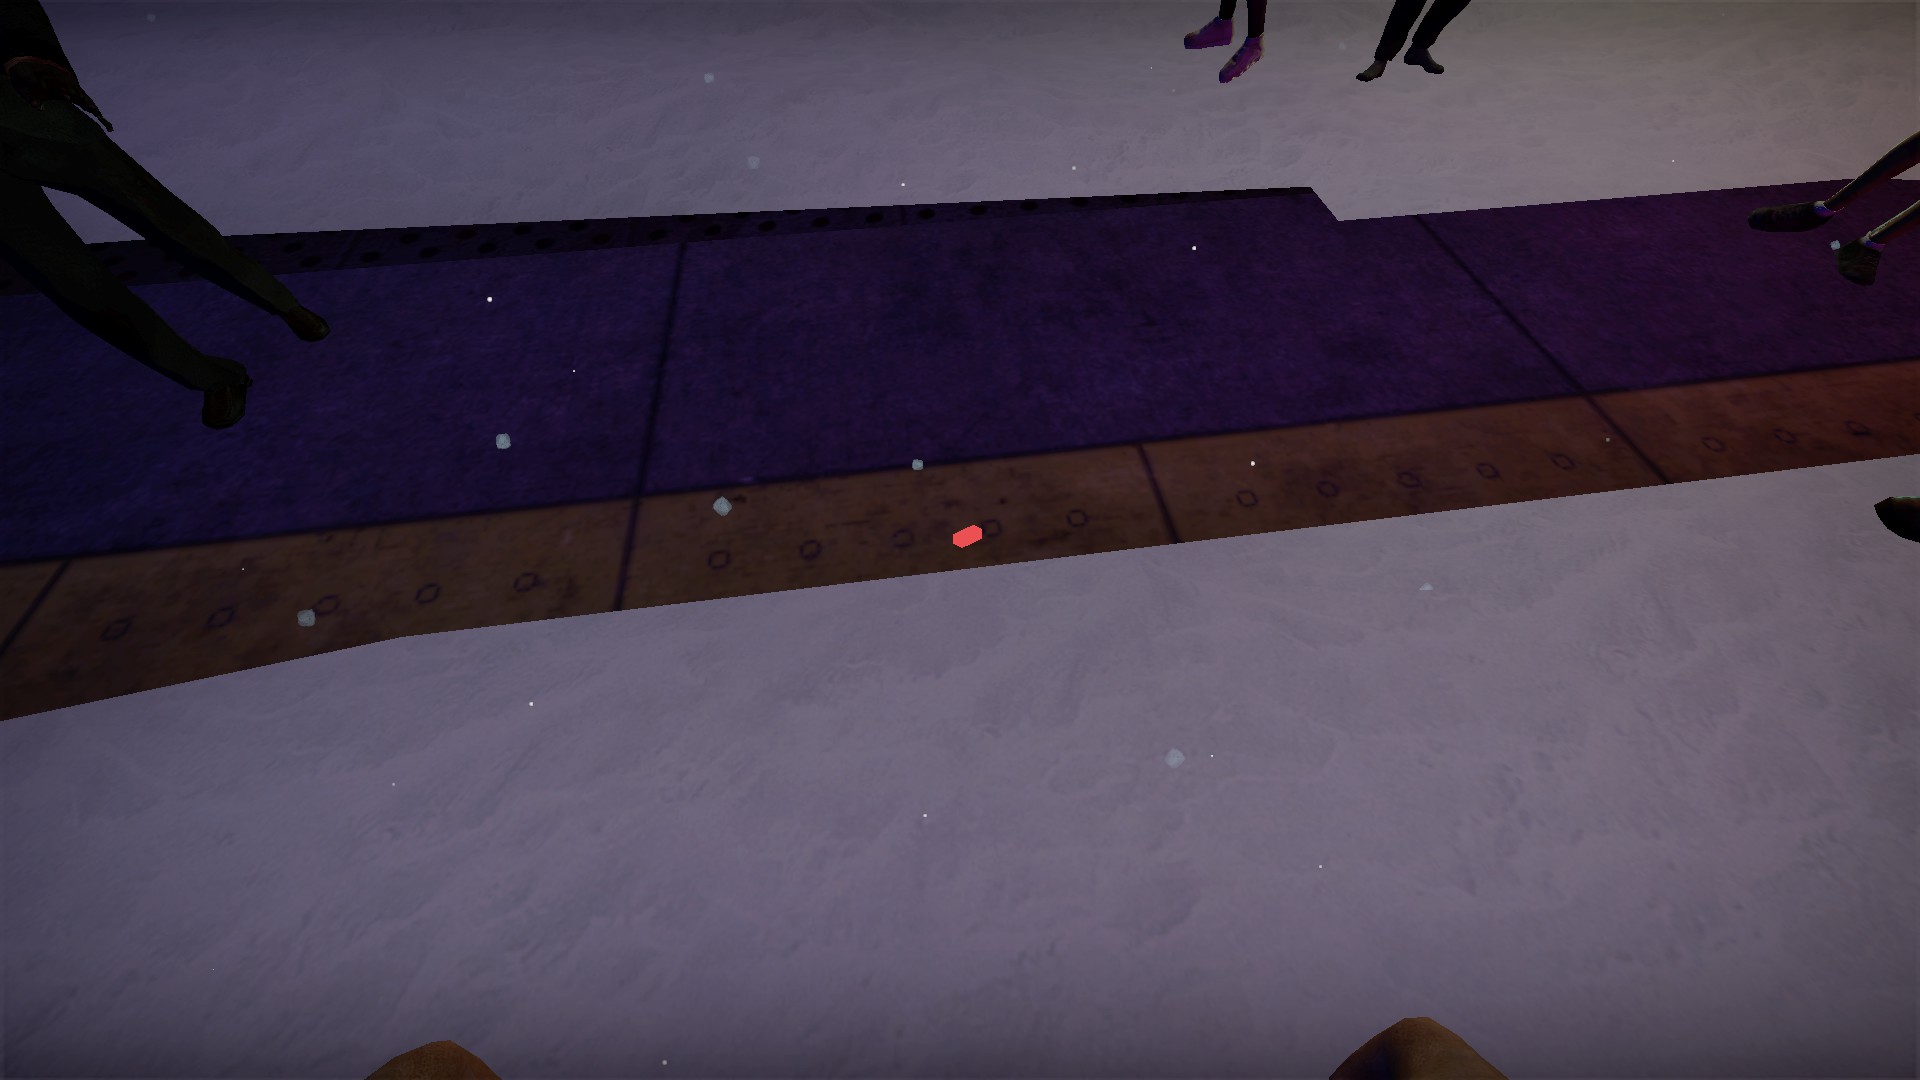
Press rmb on the inventory item to drop the ruby. Once dropped, the ruby cannot be picked back up
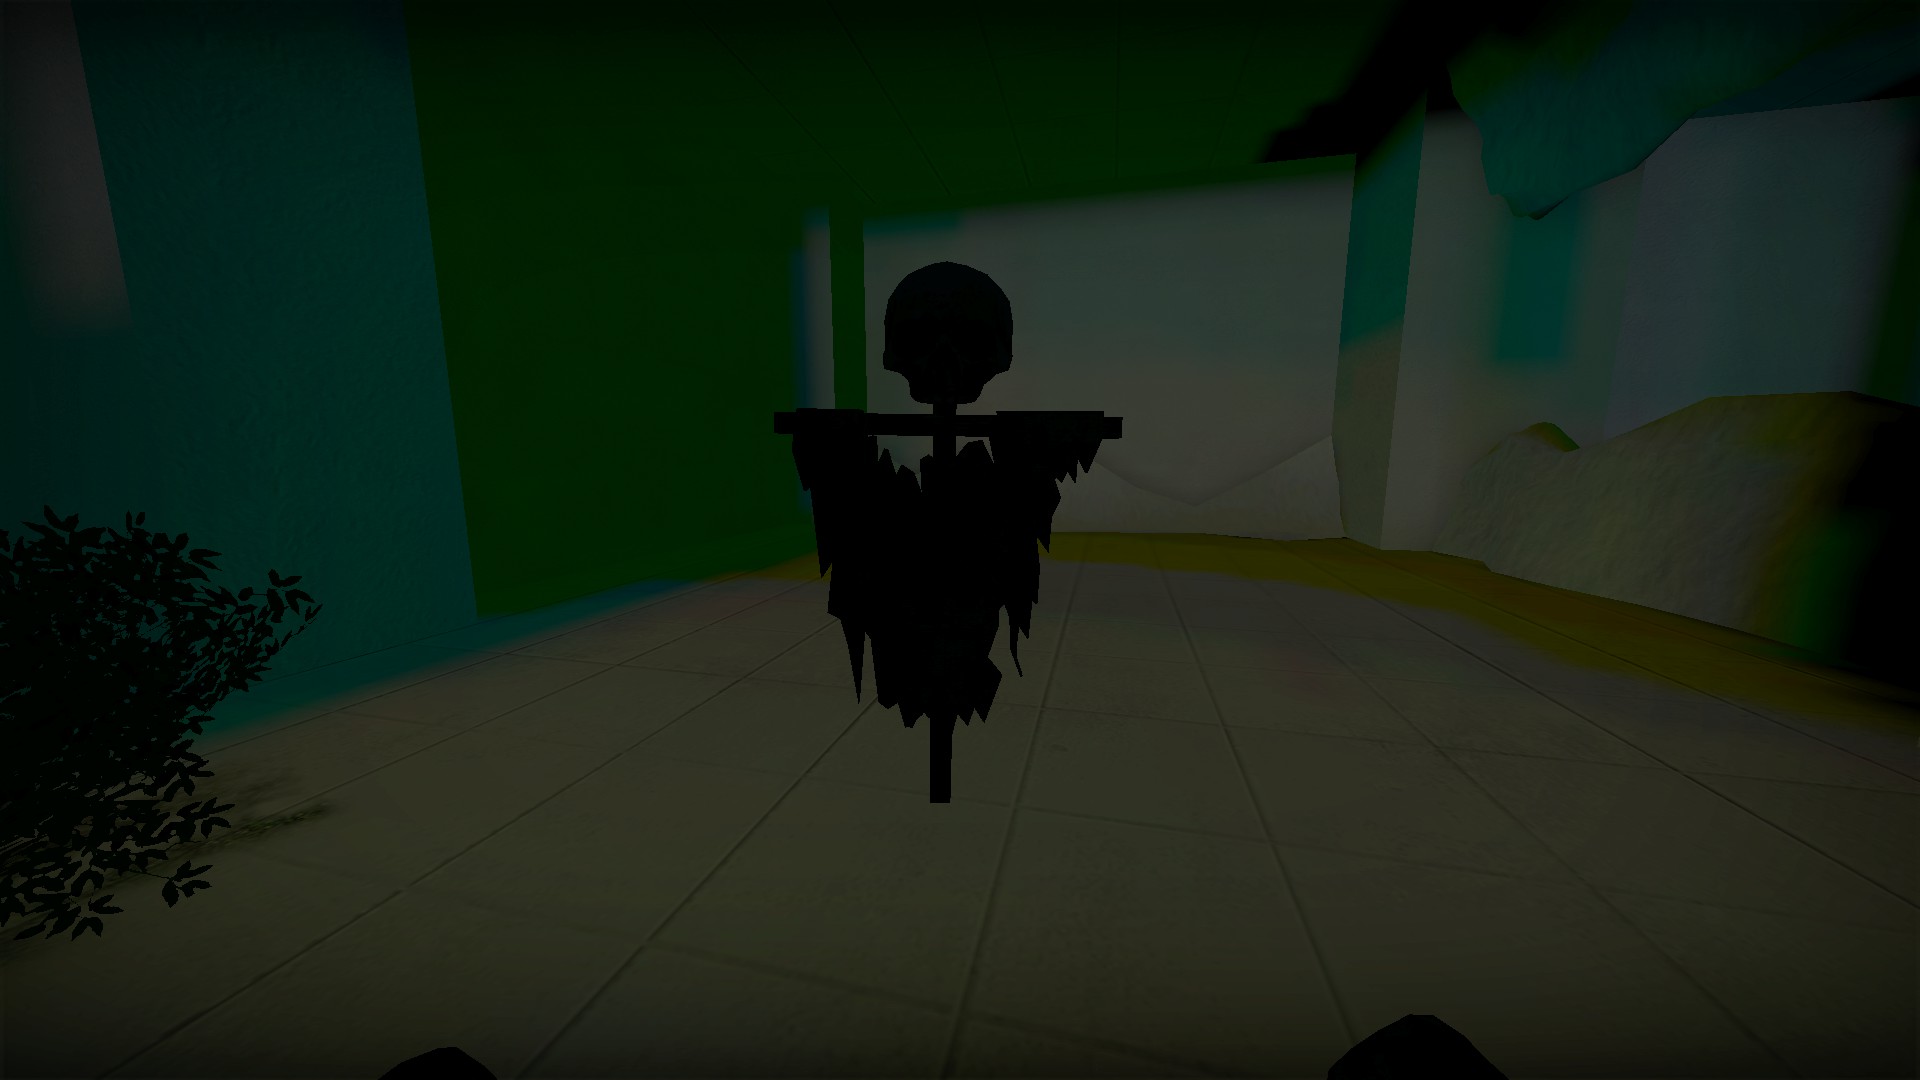
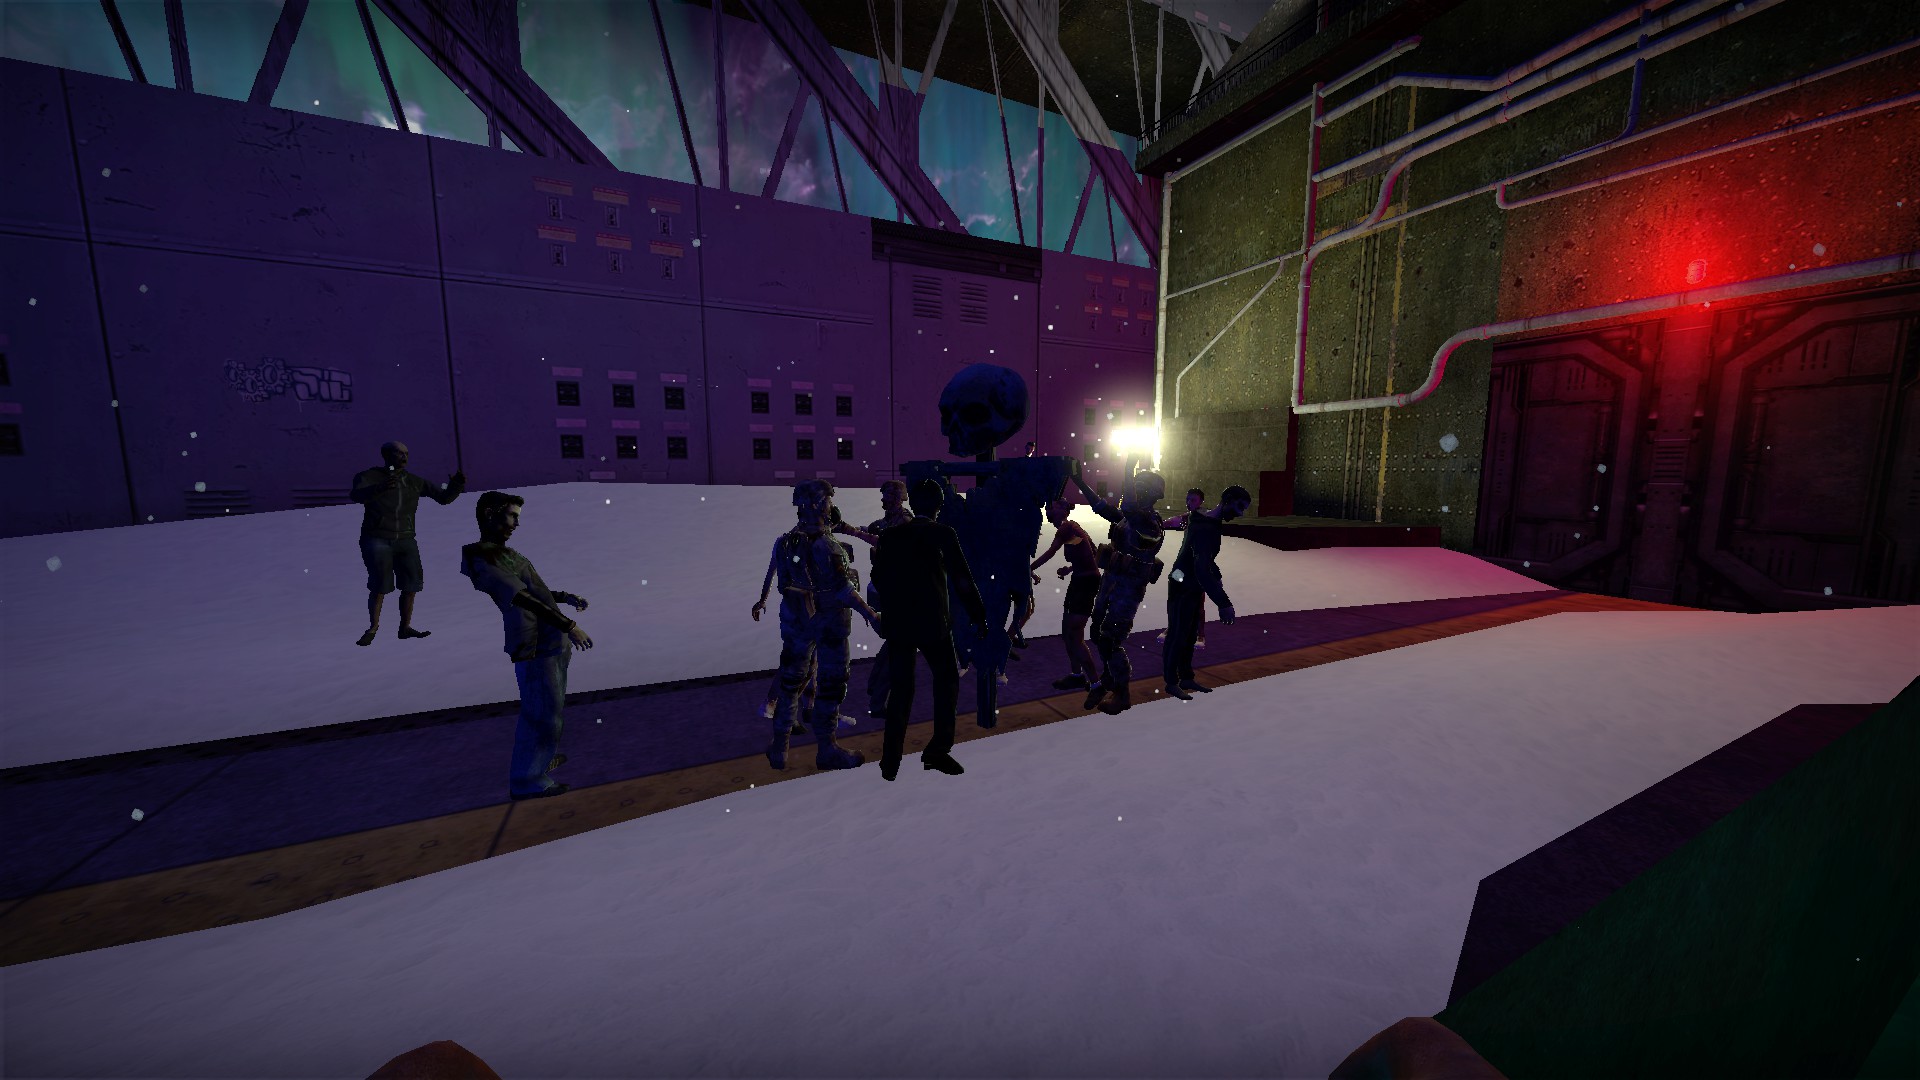
Punch the ruby to break it and summon the scarecrow. The scarecrow will lure zombies who will attack it. The zombies will eventually break it
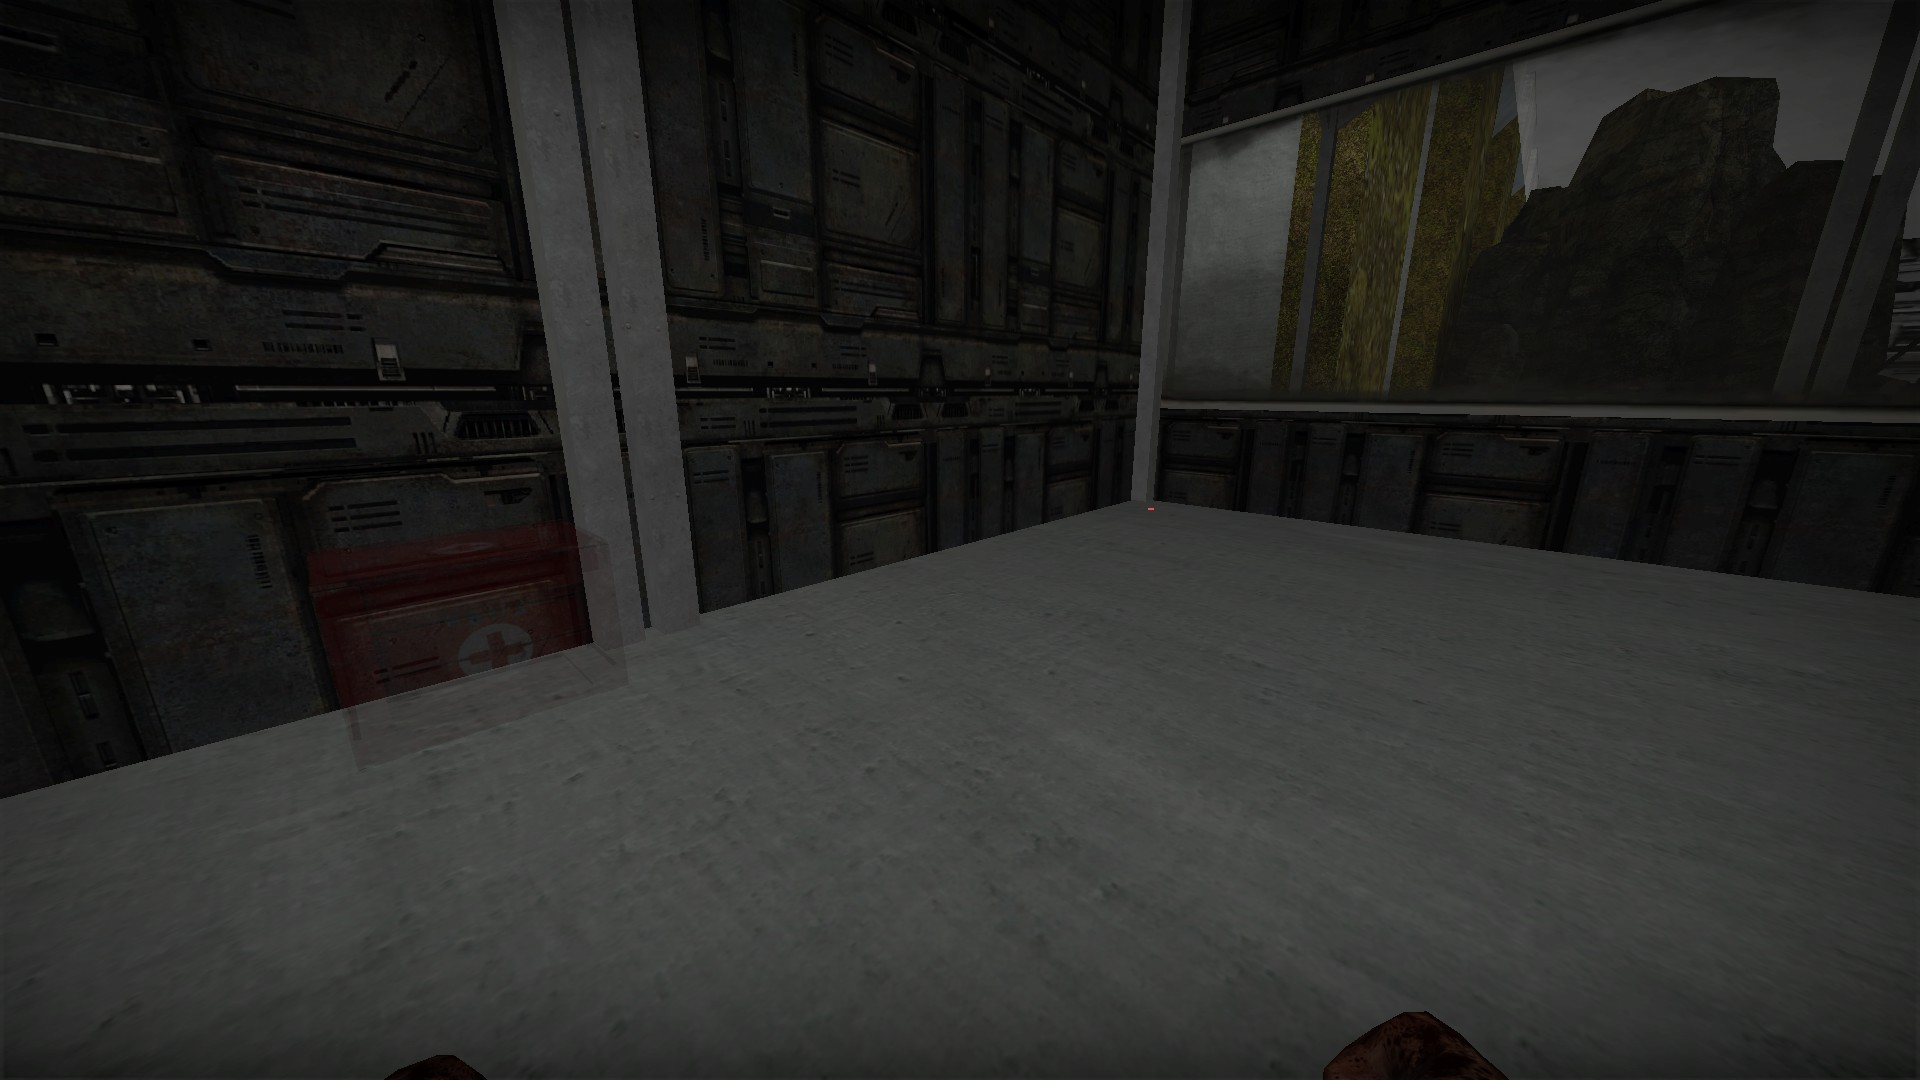
The next ruby you will find is in the main hall near the end. It is in the corner of the room you place the med box in
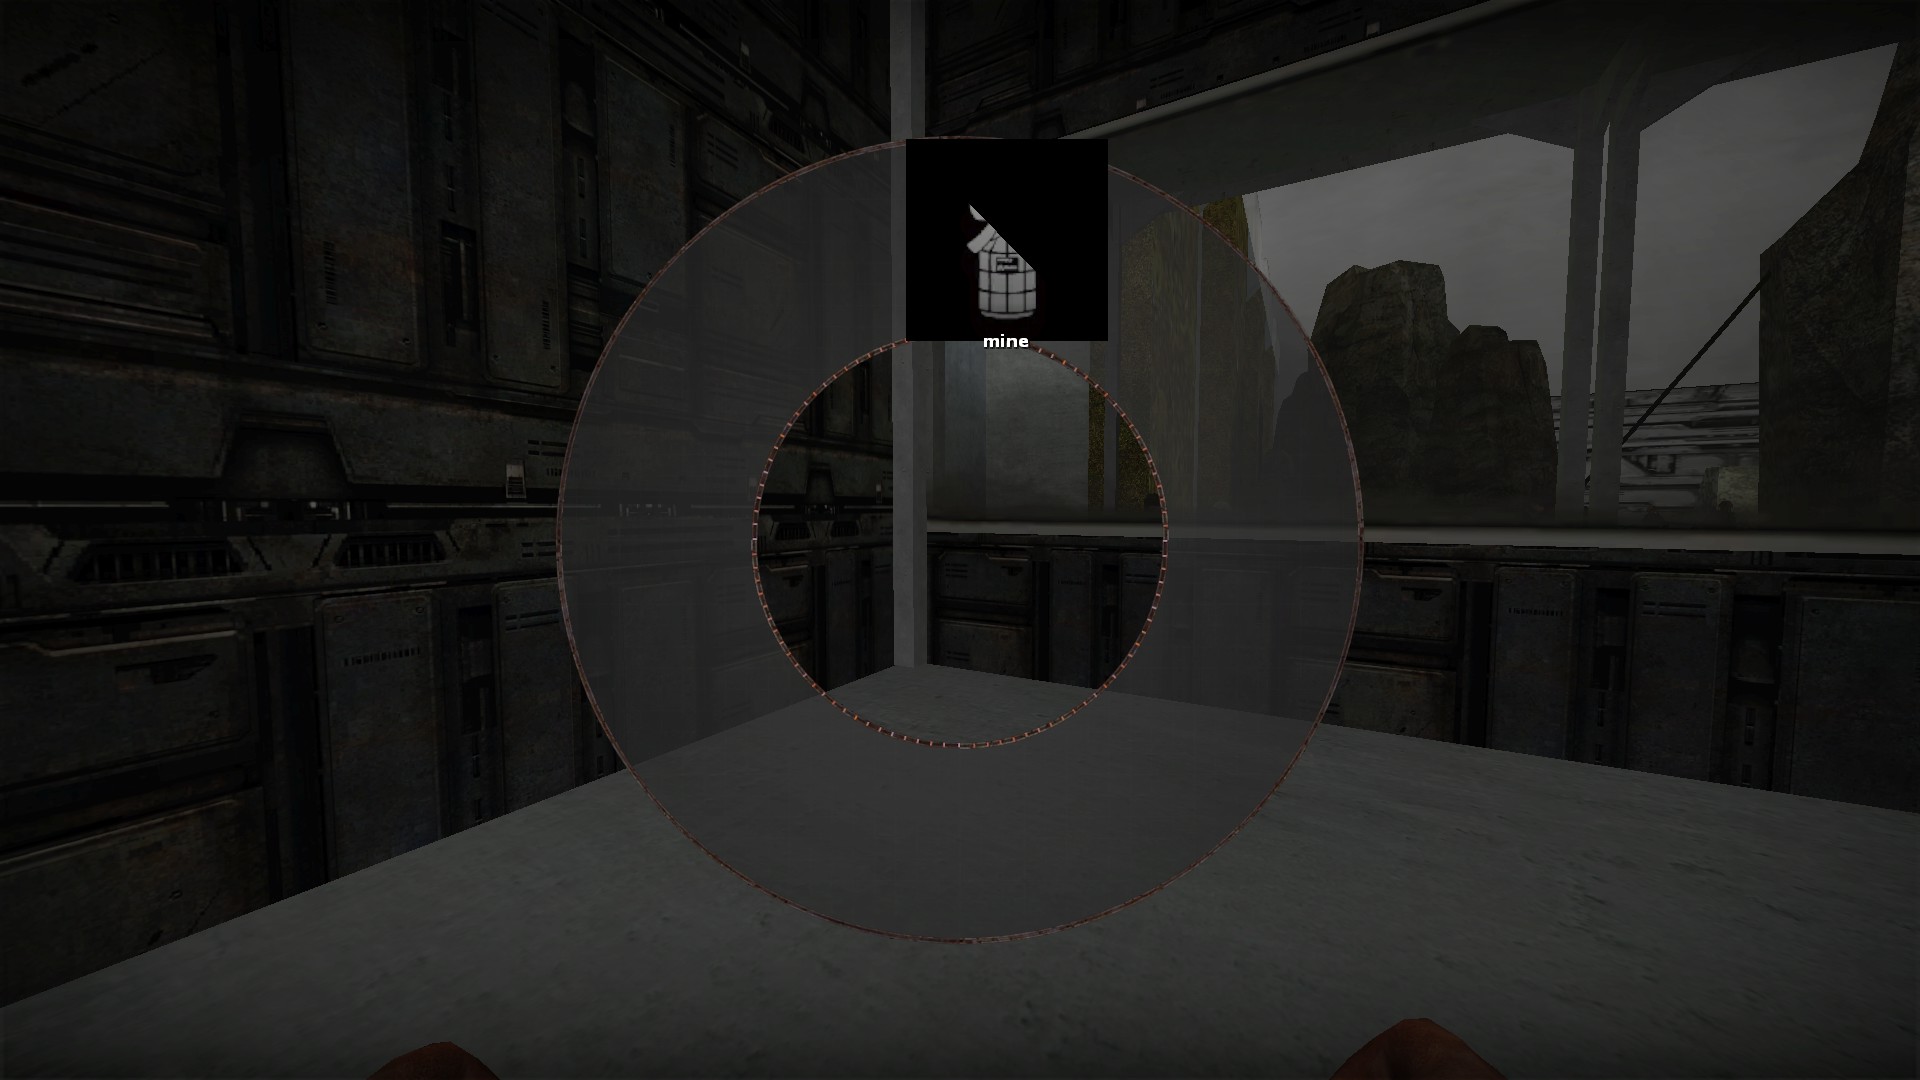
This ruby creates a mine. Use it just like the scarecrow: hold 1 and drop the mine with rmb, then punch the ruby to break it
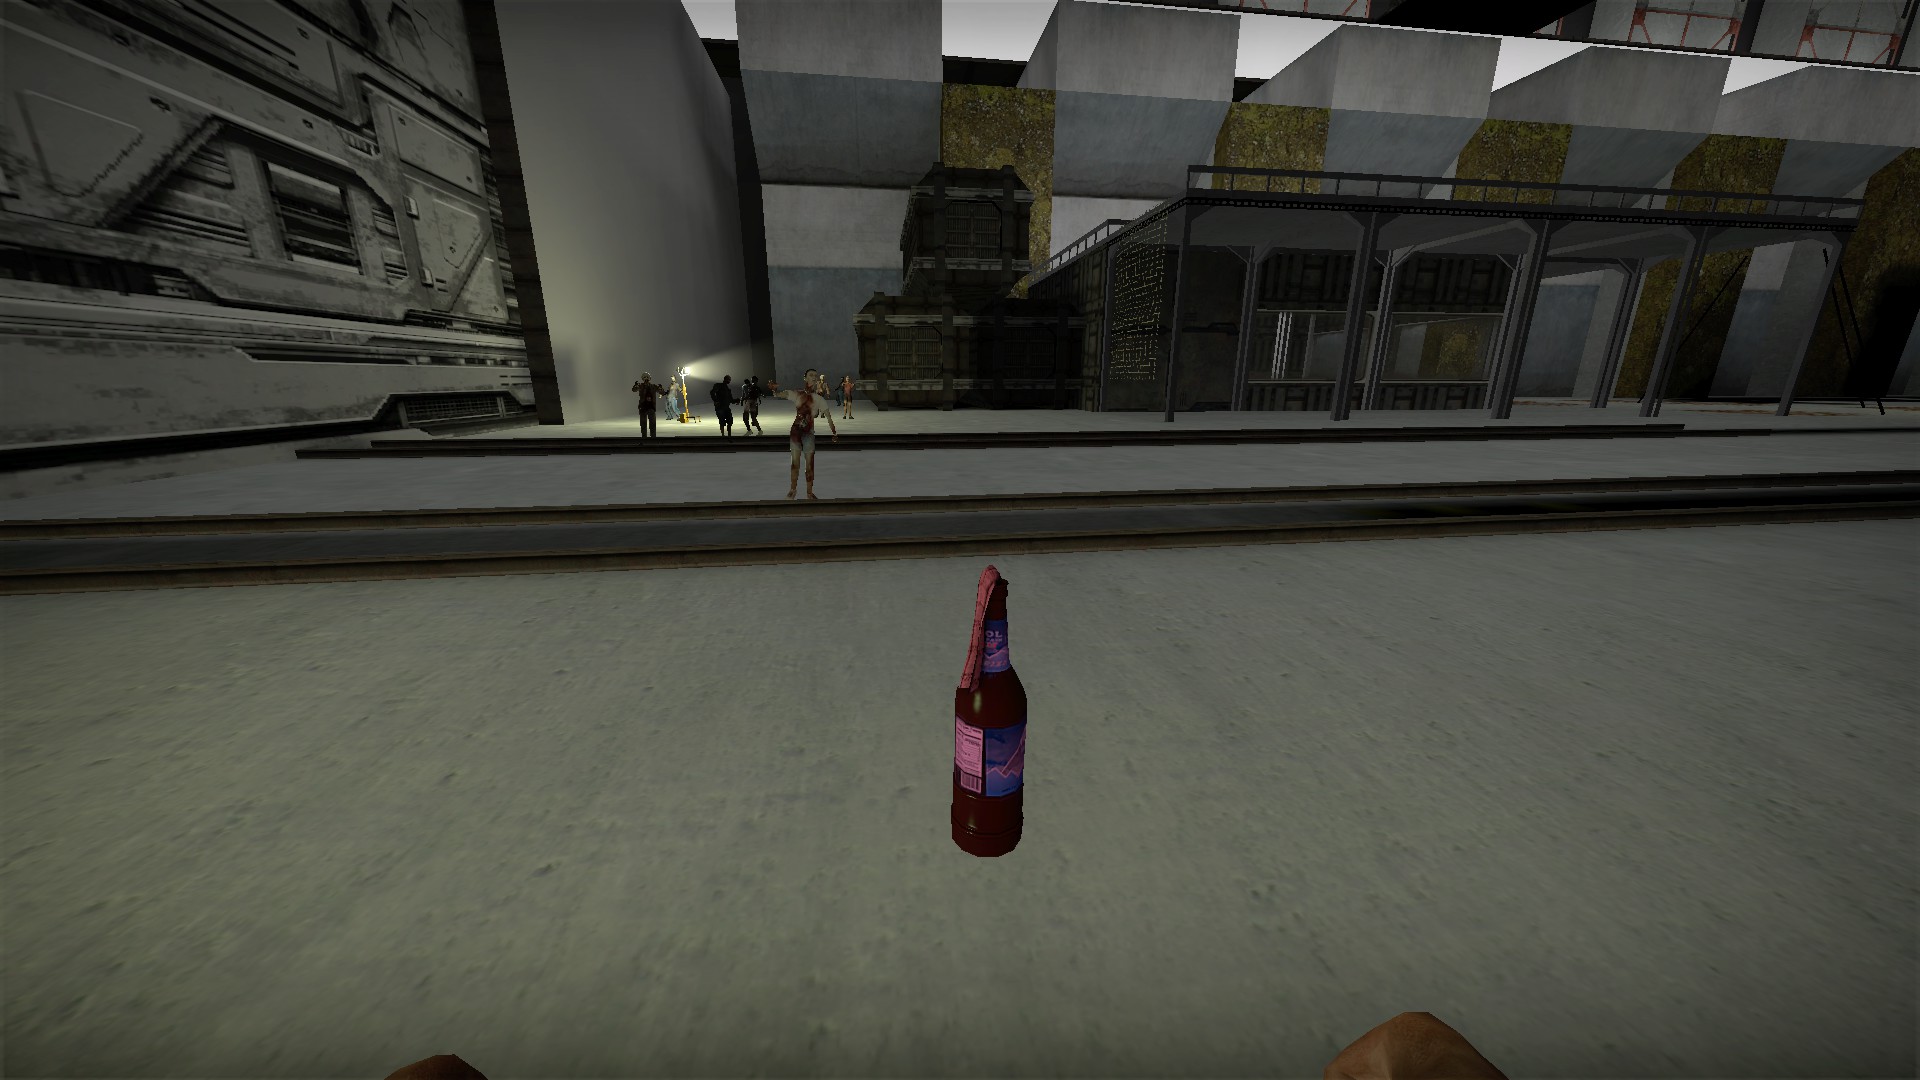
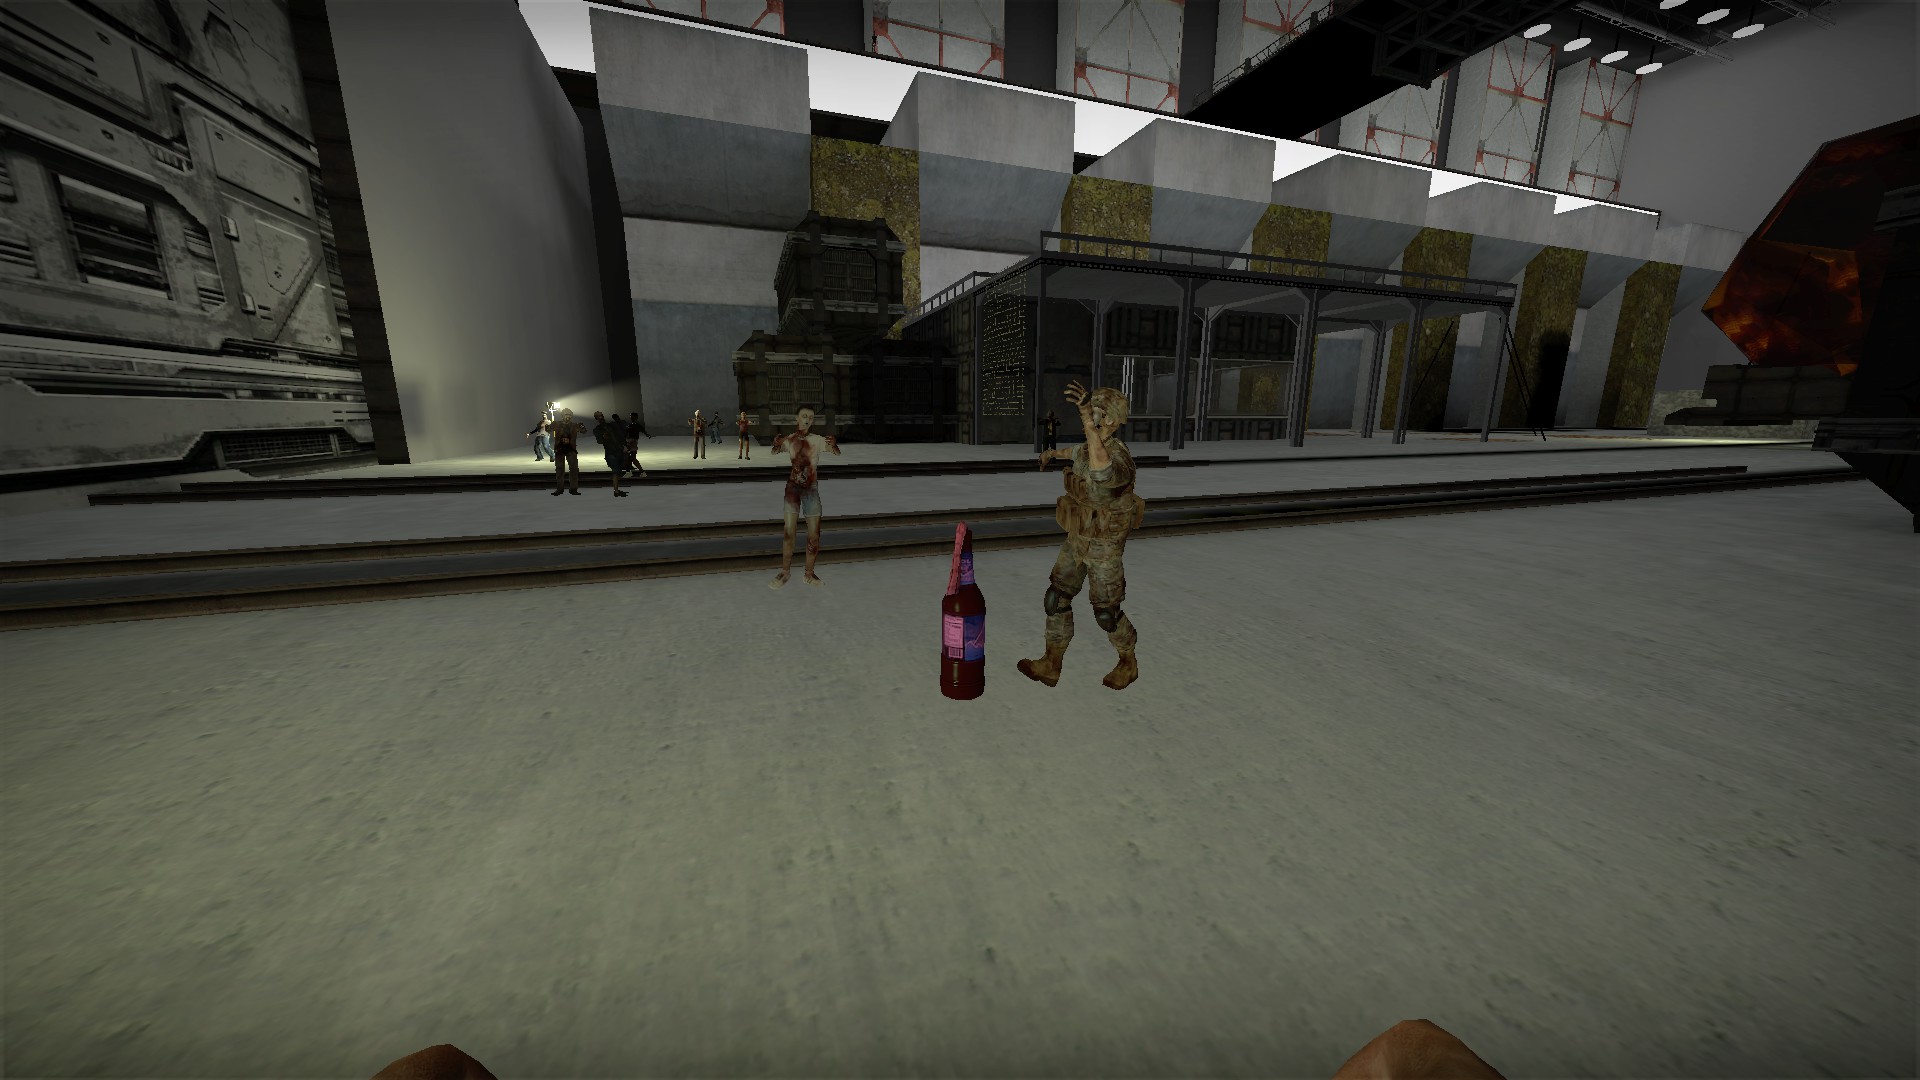
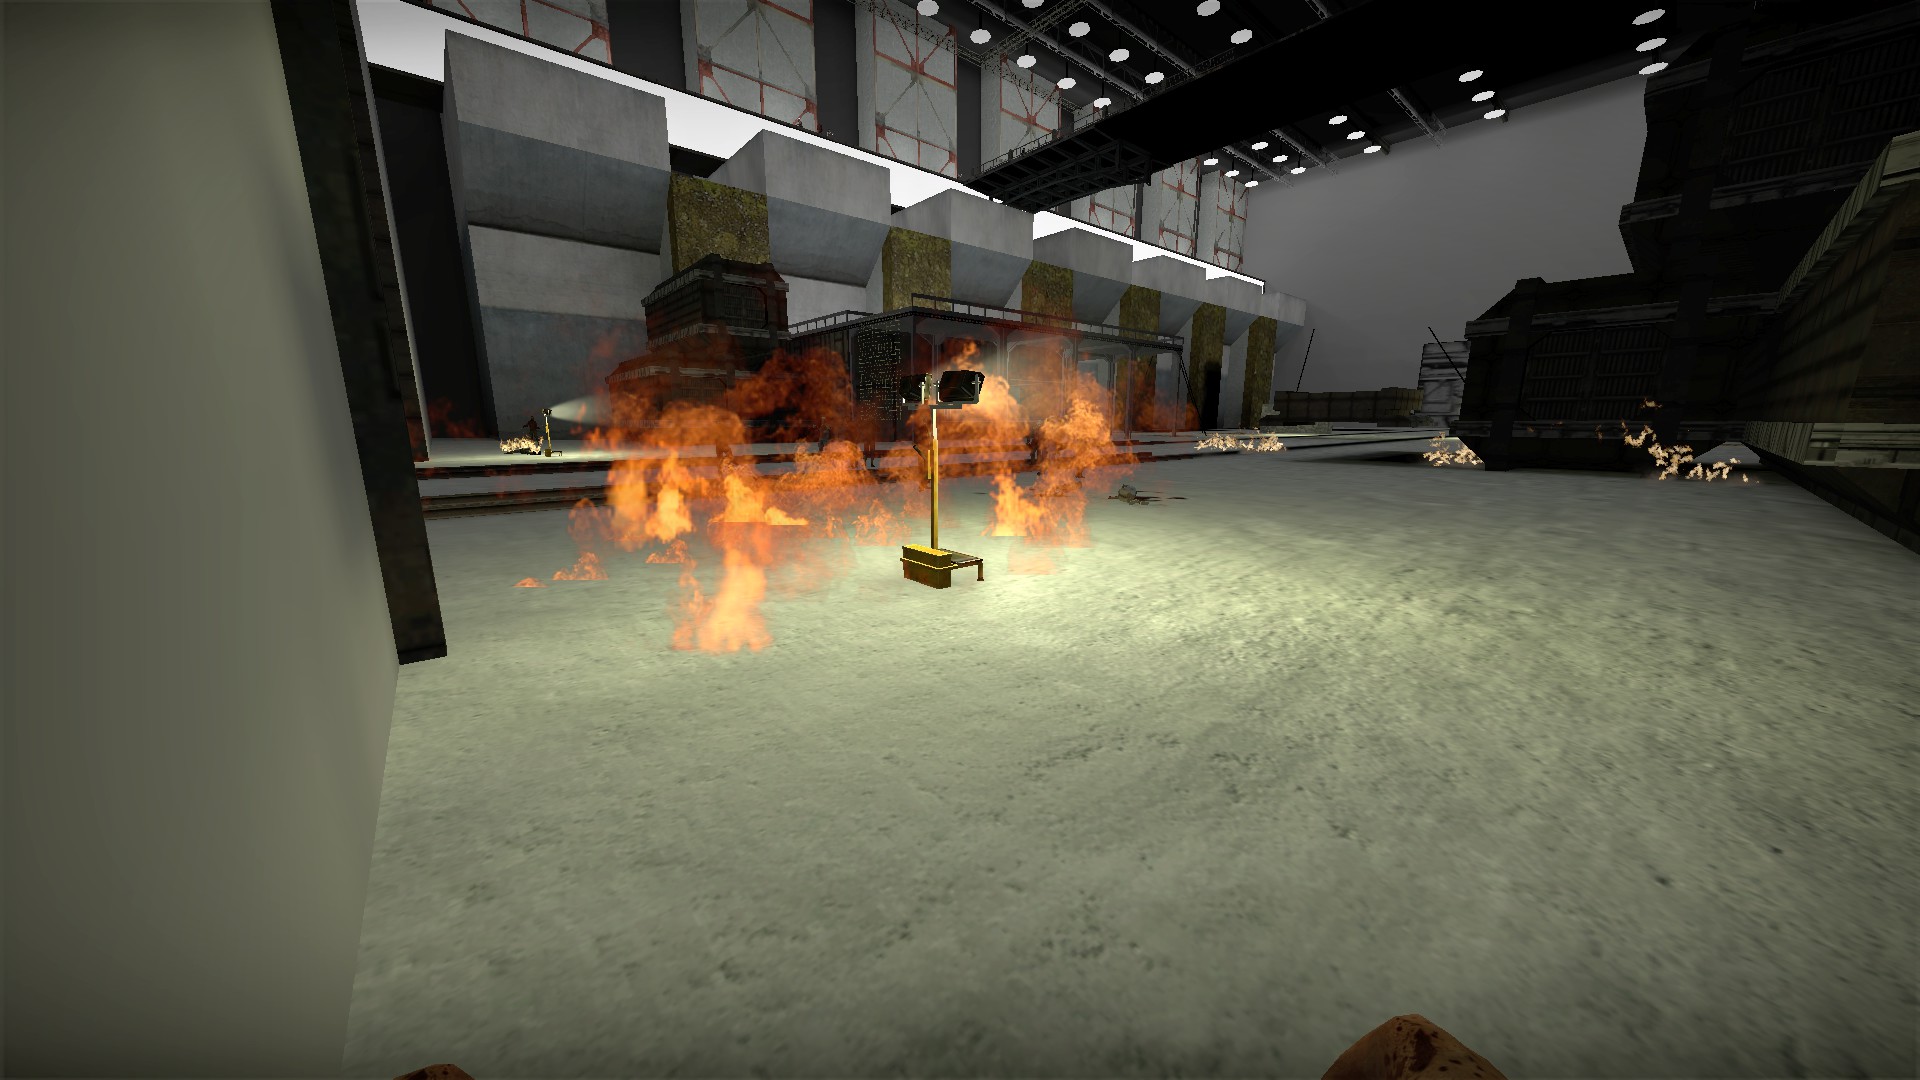
The mine looks like a large molotov. Nearby zombies will attack it for a few seconds until it explodes. It will burn the area for a few seconds after
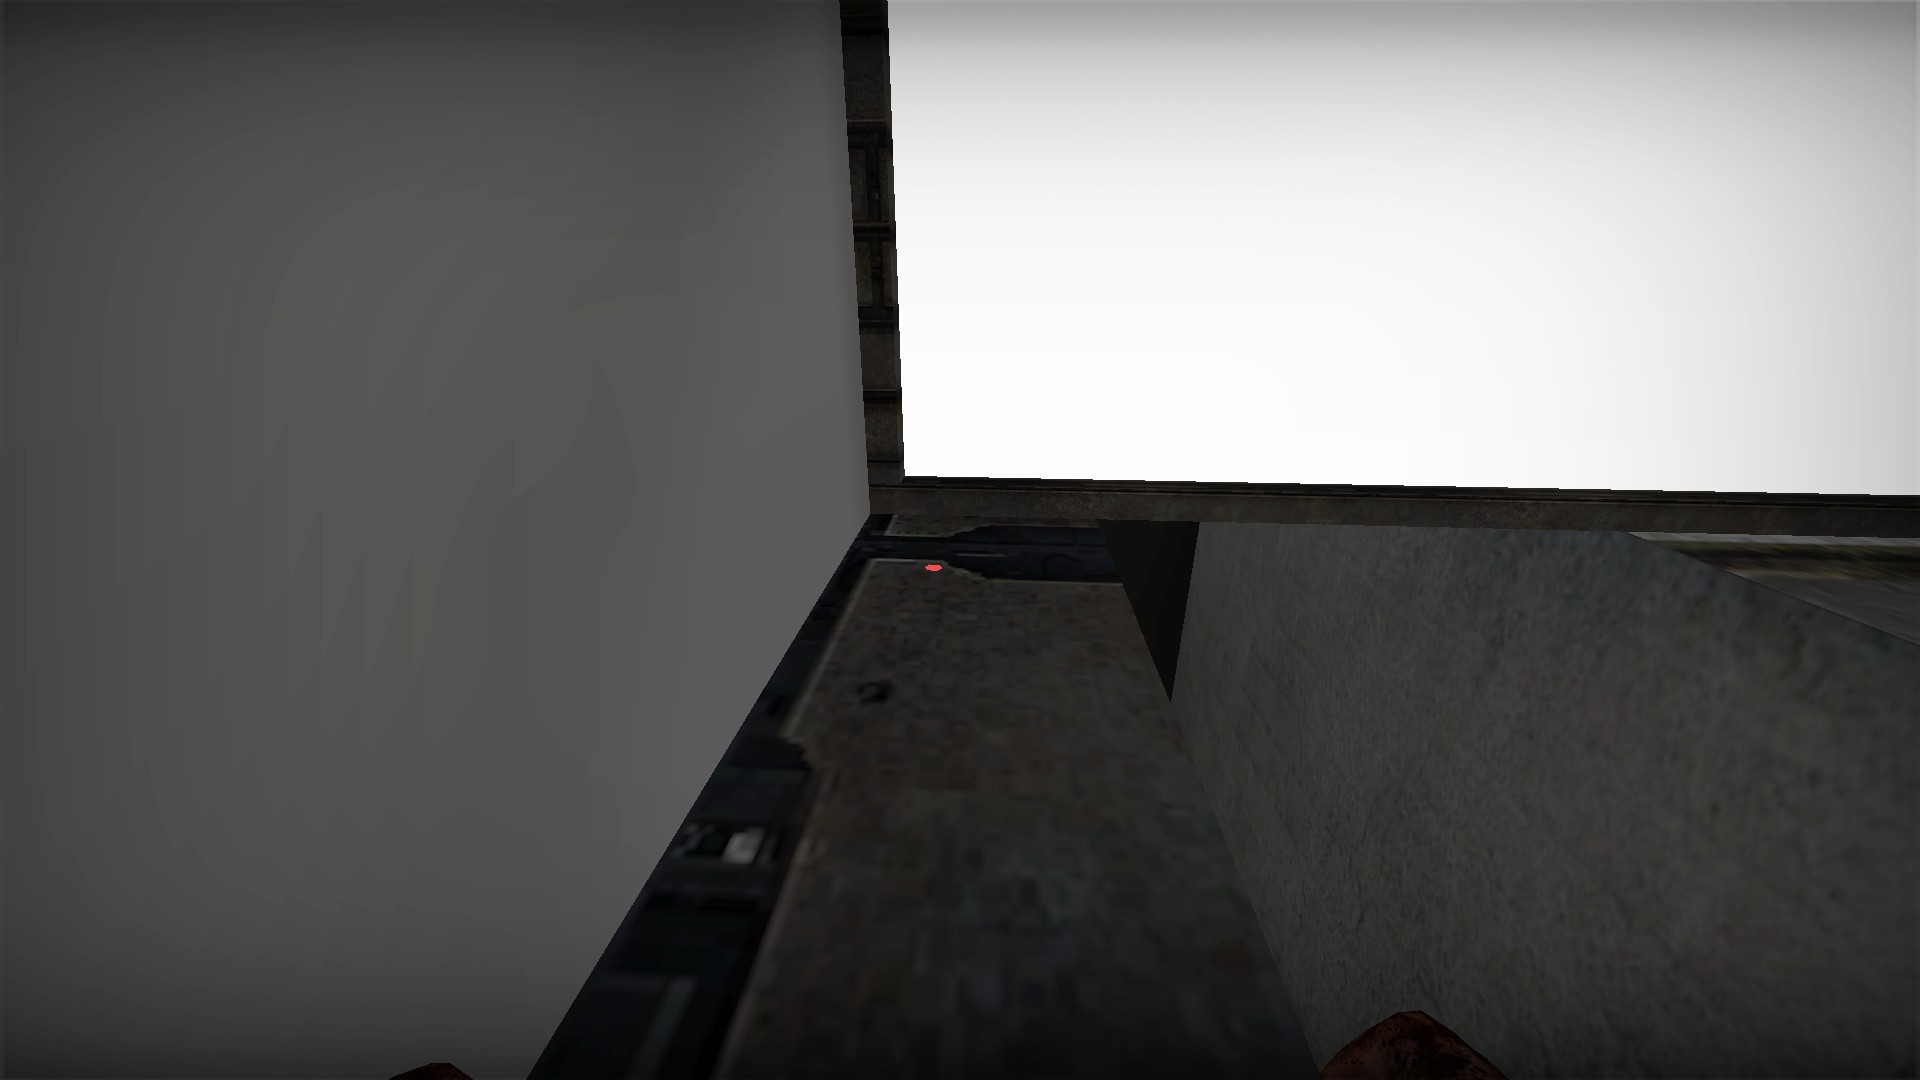
The last ruby you will find is on a ledge in the main hall
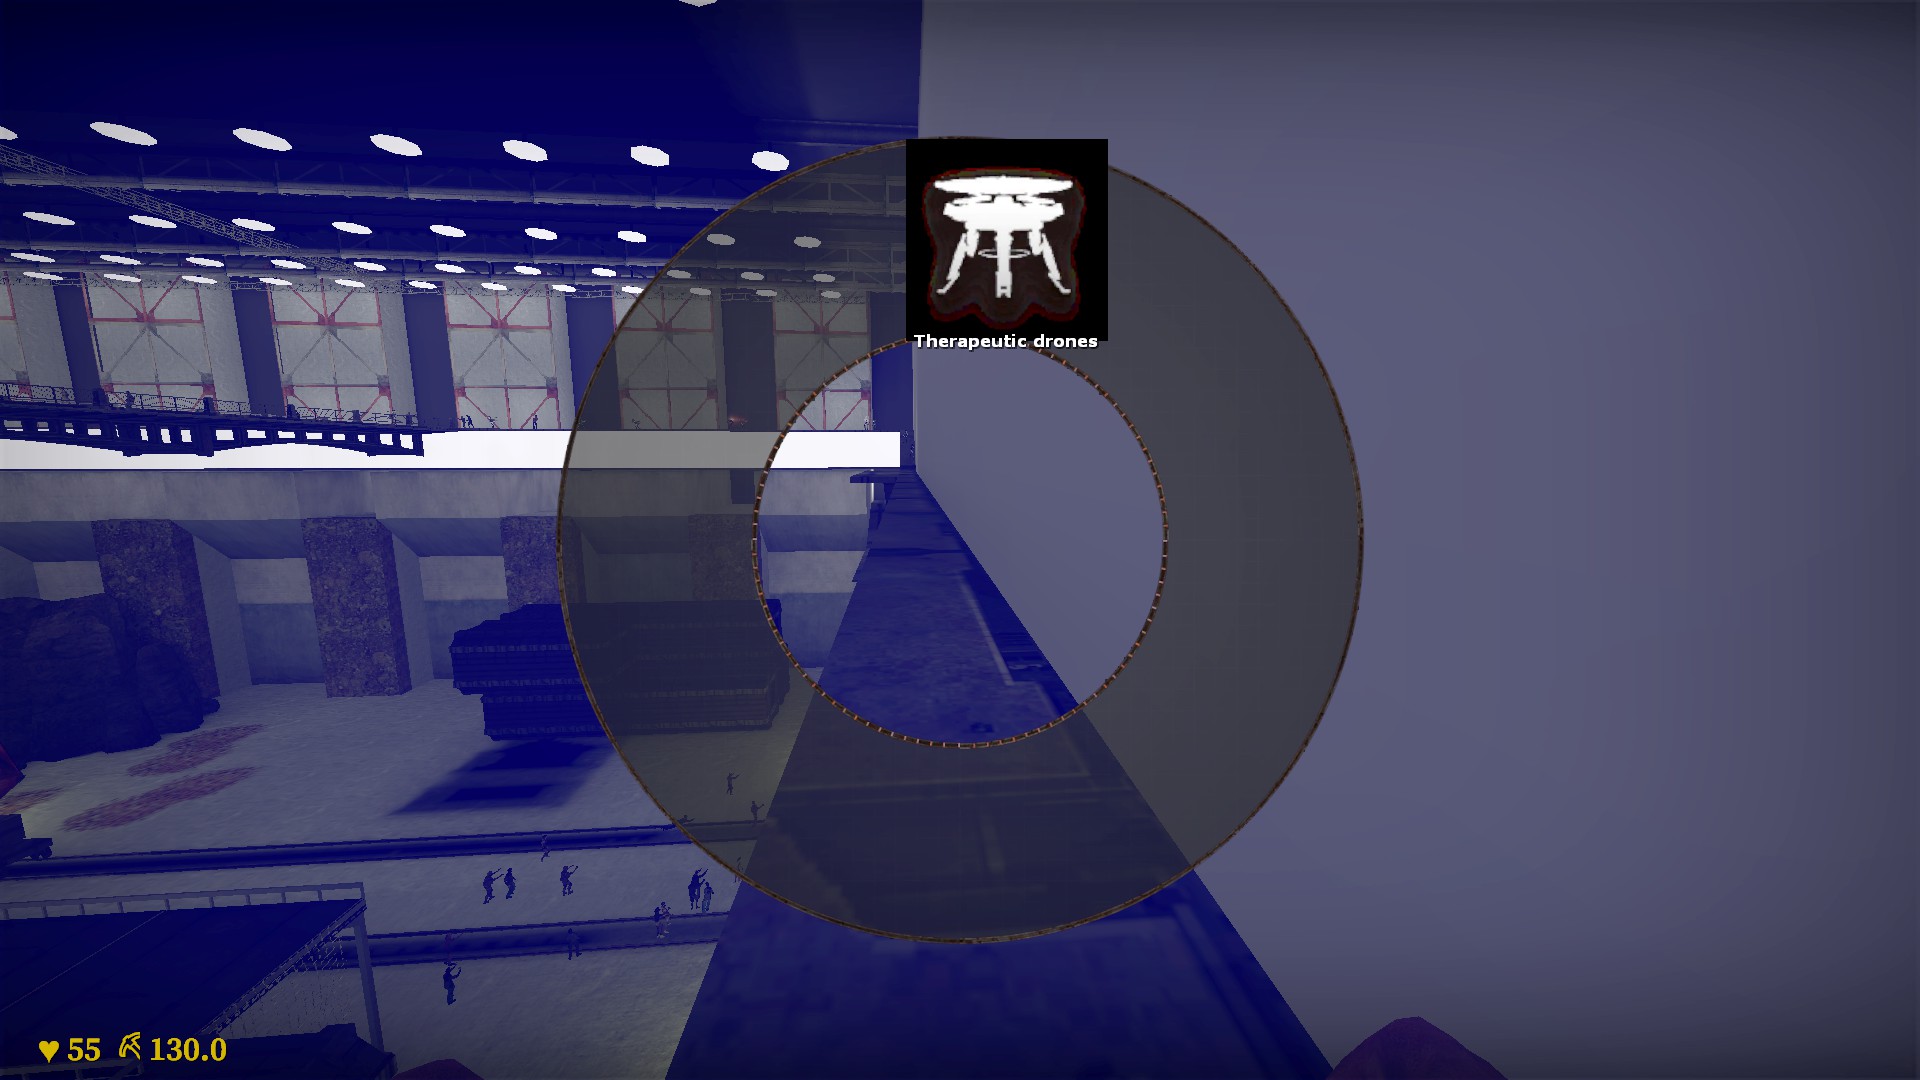
This ruby creates a theraputic drone. Use it just like the others
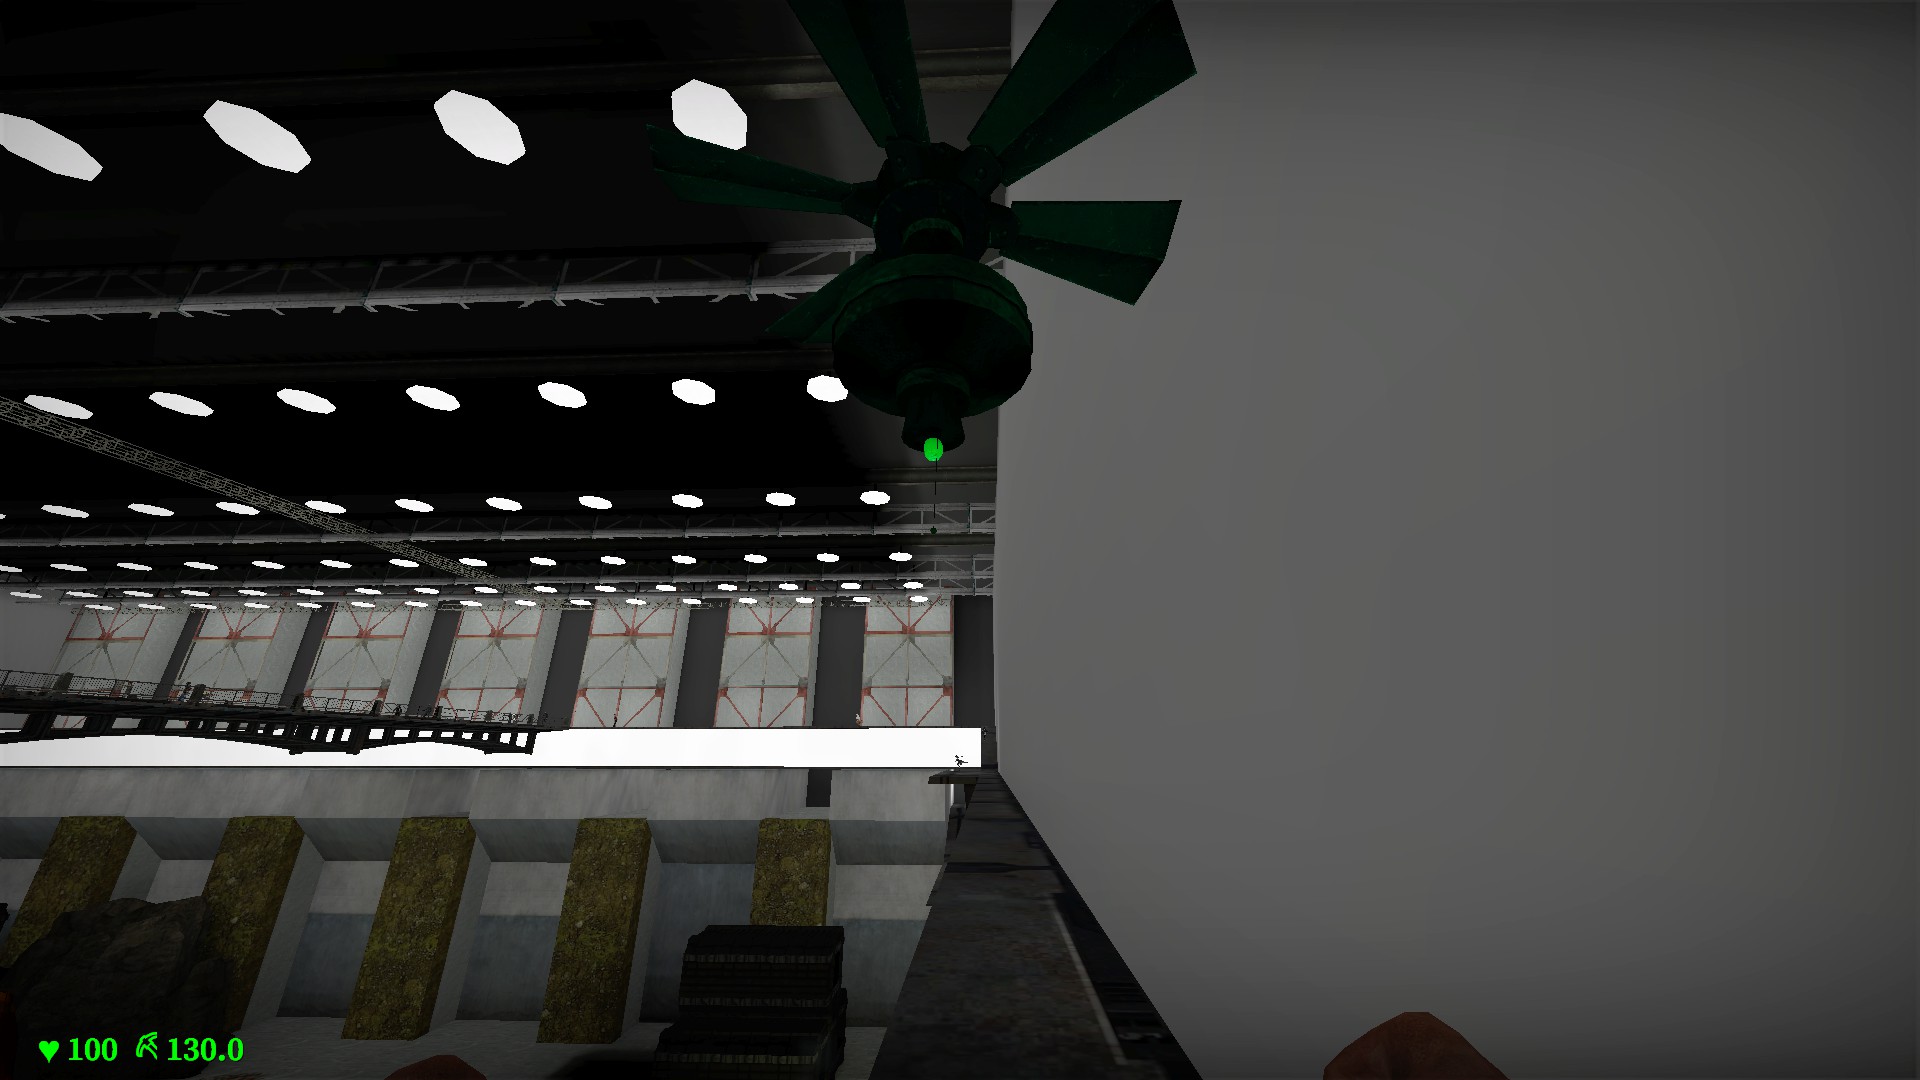
The drone will heal you over time back to 100hp. The drone will disappear in about 20 seconds
There is a green and a purple button at start
The green button will reduce the number of runners
The purple button will reduce lasers
Cabinets are weapon boxes
The cabinet in the starting area is a weapon box. Keep an eye out for for cabinets like this one as there are quite a few and all are weapon boxes
Generator
Crouch and press the lowest button on the middle of the generator to open the door. Pressing anywhere else on it will cause it to explode
Same arknights code opens the safe
After a boss survival fight, you will be teleported to a room with a safe
Use the code 2226 to open this safe for a chainsaw. This is the same code found in this (secret) room in the previous arknights maps
Turret has unlimited ammo but can be destroyed
Don't use explosives near the turret tower as they can damage it
Rubies
You will find the first near the switch in the ice tunnel
You will find the second near where you place the first med box
These first 2 rubies you find can be used to summon a scarecrow. Hold 1 to open your inventory after picking it up and you will see it
Press rmb on the inventory item to drop the ruby. Once dropped, the ruby cannot be picked back up
Punch the ruby to break it and summon the scarecrow. The scarecrow will lure zombies who will attack it. The zombies will eventually break it
The next ruby you will find is in the main hall near the end. It is in the corner of the room you place the med box in
This ruby creates a mine. Use it just like the scarecrow: hold 1 and drop the mine with rmb, then punch the ruby to break it
The mine looks like a large molotov. Nearby zombies will attack it for a few seconds until it explodes. It will burn the area for a few seconds after
The last ruby you will find is on a ledge in the main hall
This ruby creates a theraputic drone. Use it just like the others
The drone will heal you over time back to 100hp. The drone will disappear in about 20 seconds
nmo_ascension_towned_d

On the second floor of a building with floral wallpaper, look for a door opposite a shelf

Punch just above the handle of this door to open a secret room. You will hear a breaking sound and get the message that you found a secret stash

Use the welder to open a shutter here before the trap ascension. Look for a chainsaw in the opposite unlocked room

Near the end of the map, use the welder to open the door here

And the shutter here
nmo_asylum
Weapon lockers


1 - There are 7 weapon lockers on the map. The first is just outside the starting cells. No welder needed, just hold e to open

2 - On the 1f of the main hall

3 - On the 2f of the main hall

4 - In the room between the main hall and the courtyard

5 -Near the end of the map, in the corner of the pool area

6 - Near the end of the map, in a hallway where the head/foot is found

7 - Near the end of the map, at the top of the stairwell near where the hand is found
Medical lockers

1 - There are 5 medical lockers on the map. Hold e to open. The first is behind the curtains in the medical room on the 1f near the main hall. But unlike the weapon lockers, the path may not lead to all of them. This first one may be locked

2 - In the medical room on the 2f of the main hall

3 - In the medical room just behind the last one. You can only get this if the green key spawns here, otherwise the door will be locked. The pumpkin head will turn to look at you when you open the locker

4 - Near the end of the map, in a medical room on the 2f of the asylum, near where you find the head/foot

5 - Near the end of the map, in the hallway of the building where the hand is found
Security locker

If you don't have one already, grab a welder in the supply closet and cut the gate there

Look for a hidden machete just before you drop down to the security office


The locker at the security station can be welded open for a shotgun stash. You can come this way even if you don't get the shutter objective for the security office. The shutter closing off this area will break once you break the box to leave the office
Phone

The is a dark passage off the main hall that leads to a phone. Press e on the phone. It will start to ring as you head back into the main hall. Answer the phone for a special message
Locked Chest 1


The first locked chest can only be found if you get the explore the attic objective


Climb up the box and shelves to reach the rafters. Cross the rafters on the right side to get to the key. Do not try to cross on the left side or the board will break above the pool and you will die from the fall

The chest will have a stash of .357 and tnt
Attic radio

If you get the explore the attic objective, look for a radio in the corner, just down from the locked chest, that can be played for a special message
1 - There are 7 weapon lockers on the map. The first is just outside the starting cells. No welder needed, just hold e to open
2 - On the 1f of the main hall
3 - On the 2f of the main hall
4 - In the room between the main hall and the courtyard
5 -Near the end of the map, in the corner of the pool area
6 - Near the end of the map, in a hallway where the head/foot is found
7 - Near the end of the map, at the top of the stairwell near where the hand is found
Medical lockers
1 - There are 5 medical lockers on the map. Hold e to open. The first is behind the curtains in the medical room on the 1f near the main hall. But unlike the weapon lockers, the path may not lead to all of them. This first one may be locked
2 - In the medical room on the 2f of the main hall
3 - In the medical room just behind the last one. You can only get this if the green key spawns here, otherwise the door will be locked. The pumpkin head will turn to look at you when you open the locker
4 - Near the end of the map, in a medical room on the 2f of the asylum, near where you find the head/foot
5 - Near the end of the map, in the hallway of the building where the hand is found
Security locker
If you don't have one already, grab a welder in the supply closet and cut the gate there
Look for a hidden machete just before you drop down to the security office
The locker at the security station can be welded open for a shotgun stash. You can come this way even if you don't get the shutter objective for the security office. The shutter closing off this area will break once you break the box to leave the office
Phone
The is a dark passage off the main hall that leads to a phone. Press e on the phone. It will start to ring as you head back into the main hall. Answer the phone for a special message
Locked Chest 1
The first locked chest can only be found if you get the explore the attic objective
Climb up the box and shelves to reach the rafters. Cross the rafters on the right side to get to the key. Do not try to cross on the left side or the board will break above the pool and you will die from the fall
The chest will have a stash of .357 and tnt
Attic radio
If you get the explore the attic objective, look for a radio in the corner, just down from the locked chest, that can be played for a special message
nmo_asylum (continued)
Locked Chest 2

You will find this chest near the end of the map where the hand is found

To get the key, bring a slow zombie along and go up the nearby staircase to the weapon locker

Jump on the zombie's head just after it crosses the doorway and then jump onto the top of the light

The key will be on the ledge in front of you

The box will have supplies and a baby prop. I have not found a use for the baby
DJ Booth

The DJ booth in the swimming pool area can be played and has a light show
Secret room at end

1276 will unlock the freezer room in the kitchen
You will find this chest near the end of the map where the hand is found
To get the key, bring a slow zombie along and go up the nearby staircase to the weapon locker
Jump on the zombie's head just after it crosses the doorway and then jump onto the top of the light
The key will be on the ledge in front of you
The box will have supplies and a baby prop. I have not found a use for the baby
DJ Booth
The DJ booth in the swimming pool area can be played and has a light show
Secret room at end
1276 will unlock the freezer room in the kitchen
nmo_babel_v10
Fal secret

When starting the room with the spiked ceiling, look to the right to see platforms leading down to a tiny ledge on the wall

If you hug the wall closely, you can follow the ledge around to a button on the wall (this is quite dangerous, you may want to just drop to the ledge from above and take some damage).

Press this button for a secret corridor

The room at the end has a fal, ammo, and a med item. Use the switch in the room to get out
Eye offering secret

Head to the little room at the blow dart trap area

Inside is a large red eye

Picking it up gives the message: Perhaps this could be an offering...

Now go the the large eye after the turning spike trap

Since you have the offering, when the eye focuses on you it will reward you with items instead of killing you
Ending

Stay away from the monster and the cultists, getting too close kills instantly

use a scoped rifle to head shot all 4 cultists, this will lower the shield around the monster

find and use the nearby welder to repair the tank

When the tank is repaired, hold e at the white circle to enter

Inside the tank you'll be blind, fire with the square on the left, aim with the controls on the right. Fire 3 well-placed shots, or 5 that aren't, to kill the monster. Tilt the barrel up, and see if your teammates can help aim

When the monster is dead, hold e on the back hatch of the tank to get out

Make sure to take the white pill sample the monster left behind, then gtfo to the choppa
When starting the room with the spiked ceiling, look to the right to see platforms leading down to a tiny ledge on the wall
If you hug the wall closely, you can follow the ledge around to a button on the wall (this is quite dangerous, you may want to just drop to the ledge from above and take some damage).
Press this button for a secret corridor
The room at the end has a fal, ammo, and a med item. Use the switch in the room to get out
Eye offering secret
Head to the little room at the blow dart trap area
Inside is a large red eye
Picking it up gives the message: Perhaps this could be an offering...
Now go the the large eye after the turning spike trap
Since you have the offering, when the eye focuses on you it will reward you with items instead of killing you
Ending
Stay away from the monster and the cultists, getting too close kills instantly
use a scoped rifle to head shot all 4 cultists, this will lower the shield around the monster
find and use the nearby welder to repair the tank
When the tank is repaired, hold e at the white circle to enter
Inside the tank you'll be blind, fire with the square on the left, aim with the controls on the right. Fire 3 well-placed shots, or 5 that aren't, to kill the monster. Tilt the barrel up, and see if your teammates can help aim
When the monster is dead, hold e on the back hatch of the tank to get out
Make sure to take the white pill sample the monster left behind, then gtfo to the choppa
nmo_backrooms_deathbed_t1_7
Special items explained


Blue Almond Water heals 15, cures infection and will dim vision for a few seconds - take more than one and you will black out about 10 secs then have reduced vision for about 30 more
Red Almond Water heals 30 hp - 15 and 15 more over 15 secs and also cures bleeding - take more than one and you will get infected
Green Almond Water heals 20 - take more than one and you will have a massive slow in movement for a minute
Gray Water heals 15 with no side effects
The greater time between using the same color, the less side effects will be
Taking a third bottle of Blue, Red, or Green will only have minor side effects


Cans heal between 1-25 hp
Damaged Cans heal between 1-25 hp, and may have no side effects or one of a variety: may blind player with white light for a few seconds, may cause bleeding, may cause infection, may cause full health, may cause disorientation
Object 16 will heal 20, but unlike Water or Cans, it can increase hp over 100


This effect does stack if you find and use more than one
Red dream practice mode

There is a practice mode for the red bhop ending of this map. Enable developer console, create your own server and enter the commands sv_cheats 1 and noclip

There is a small room just behind the starting area

Noclip over and press the button inside

The next text will tell you to gather (Need all players to gather). Just noclip to where the arrow points. You may or may not be teleported there

Turn off your noclip in the console so you can practice this nightmare
At the end of practice you will be returned to the starting area. This really isn't a secret, you won't benefit in any way other than practice
Blue Almond Water heals 15, cures infection and will dim vision for a few seconds - take more than one and you will black out about 10 secs then have reduced vision for about 30 more
Red Almond Water heals 30 hp - 15 and 15 more over 15 secs and also cures bleeding - take more than one and you will get infected
Green Almond Water heals 20 - take more than one and you will have a massive slow in movement for a minute
Gray Water heals 15 with no side effects
The greater time between using the same color, the less side effects will be
Taking a third bottle of Blue, Red, or Green will only have minor side effects
Cans heal between 1-25 hp
Damaged Cans heal between 1-25 hp, and may have no side effects or one of a variety: may blind player with white light for a few seconds, may cause bleeding, may cause infection, may cause full health, may cause disorientation
Object 16 will heal 20, but unlike Water or Cans, it can increase hp over 100
This effect does stack if you find and use more than one
Red dream practice mode
There is a practice mode for the red bhop ending of this map. Enable developer console, create your own server and enter the commands sv_cheats 1 and noclip
There is a small room just behind the starting area
Noclip over and press the button inside
The next text will tell you to gather (Need all players to gather). Just noclip to where the arrow points. You may or may not be teleported there
Turn off your noclip in the console so you can practice this nightmare
At the end of practice you will be returned to the starting area. This really isn't a secret, you won't benefit in any way other than practice
nmo_bad_gas_3009


Bring the welder from the start to open this shed, and be sure to check behind the door

Near the end of the barn turn left and you will see a barely visible ladder

Take this ladder up and walk around the top of the barn for a CZ
nmo_bad_gas_b1
The b1 upgrade is still a linear loop, but the map may now start from either side of the loop - so these secrets may be found in reverse order. Also, you will find 2 med boxes on this map but only one can be placed at the halfway farm house, as the other one is for the alternate path
Weapons in rafters

The first room in the lodge that can be entered has a med box and bow in the rafters

Jump onto the table and then jump onto the bunk bed behind it

Then jump up and grab the bow on your way down

The next room has a flare gun in the rafters

Jump up the sink and fridge

From the top of the fridge, jump across and grab the flare gun on the way down
Shed

Use the welder from start on the shed as in previous version. Check behind the door
CZ in barn

Jump up these to get to the barn's top floor

Then circle around to get the CZ
Break room - Survivor Easter Egg


In the break room, knock in all the pool balls to discover a guy behind the bookcase

If interacted with, he will run around the room and cry for help. He can be killed
Break room - Locker


Open the green locker in the break room for a shotgun and shells
Break room - Body Armor

There are two vests of body armor that can be taken

The vest does not heal you but it will reduce the damage you take by 1/2 or more - an 8hp damage zombie child strike will only do 4hp, a 15hp zombie adult strike will only do 7hp (game rounds down)

The vest will also reduce the damage taken when bleeding. You will still be slowed, but the 1hp/second drain on health will not happen

This damage reduction effect does not stack, but each vest will only reduce between 55-60hp before it stops working, and this effect does stack - taking two will reduce 110-120hp (you will need to heal yourself, but the vest will continue to reduce damage). Leave the other vest for a teammate if you have one but take both if solo
Weapons in rafters
The first room in the lodge that can be entered has a med box and bow in the rafters
Jump onto the table and then jump onto the bunk bed behind it
Then jump up and grab the bow on your way down
The next room has a flare gun in the rafters
Jump up the sink and fridge
From the top of the fridge, jump across and grab the flare gun on the way down
Shed
Use the welder from start on the shed as in previous version. Check behind the door
CZ in barn
Jump up these to get to the barn's top floor
Then circle around to get the CZ
Break room - Survivor Easter Egg
In the break room, knock in all the pool balls to discover a guy behind the bookcase
If interacted with, he will run around the room and cry for help. He can be killed
Break room - Locker
Open the green locker in the break room for a shotgun and shells
Break room - Body Armor
There are two vests of body armor that can be taken
The vest does not heal you but it will reduce the damage you take by 1/2 or more - an 8hp damage zombie child strike will only do 4hp, a 15hp zombie adult strike will only do 7hp (game rounds down)
The vest will also reduce the damage taken when bleeding. You will still be slowed, but the 1hp/second drain on health will not happen
This damage reduction effect does not stack, but each vest will only reduce between 55-60hp before it stops working, and this effect does stack - taking two will reduce 110-120hp (you will need to heal yourself, but the vest will continue to reduce damage). Leave the other vest for a teammate if you have one but take both if solo
nmo_bad_gas_b13
Bubble wrap


Found in the RV at start. It appears as a star in your inventory. Press lmb on the star to pop the bubbles. Just an Easter egg
Gas can and refueling events

You will need to bring one of the gas cans with you throughout the map. Do not bring the other one, only one is needed and there are many other items to carry

There are 2 ways to bring the can, it can be carried like any other item


But it can also be equipped. It will take up nearly all of your inventory, but it can be used as a melee weapon

The gas can will need to be equipped for the three refueling events. With the can equipped, just walk up to the gas can that says to siphon there


This will start a mini event. Press a and d to move the can until all the gas is siphoned. You will be vulnerable during these events, so press rmb if you need to quickly exit
Alternate paths
This map is a loop with a farmhouse at the halfway point. The map will randomly start at one of the 2 sides of the loop. On the way to the farmhouse, you will pass through and refuel the gas can at either the cabins area or the underground area. Each path will have it's own set of lockpicks, an extra box of M60 ammo for the turret at the farmhouse, a fema reinforcement box, and a med box to place at the farmhouse
Cabins path - items in rafters


Grab the med box by jumping on the table and then jumping on top of the bed to the right. You can grab the box by pressing e from there

Grab the bow by jumping on the table and then the bed behind it. It's behind where the med box was. Work your way to the edge of the corner then jump up and grab the bow as you fall


Grab the flare gun by jumping up onto the sink and then fridge, jump across and grab the flare gun as you fall
Underground path

On this path, head forward after reaching the underground area and you will find an area with friendly humans

In the lockers here you will find a police vest with a set of lockpicks

And another police vest with M60 ammo

Police vests must be equipped in inventory to be used. Hold 1 to open your inventory and press lmb on it to equip the vest. Police vests reduce damage taken by 1/2 up to a certain limit, and this limit can be extended by using more than one vest. Share the vests with your team, but equip both if solo


There are other supplies here too. Be sure to open the small green locker for another shotgun and shells
Found in the RV at start. It appears as a star in your inventory. Press lmb on the star to pop the bubbles. Just an Easter egg
Gas can and refueling events
You will need to bring one of the gas cans with you throughout the map. Do not bring the other one, only one is needed and there are many other items to carry
There are 2 ways to bring the can, it can be carried like any other item
But it can also be equipped. It will take up nearly all of your inventory, but it can be used as a melee weapon
The gas can will need to be equipped for the three refueling events. With the can equipped, just walk up to the gas can that says to siphon there
This will start a mini event. Press a and d to move the can until all the gas is siphoned. You will be vulnerable during these events, so press rmb if you need to quickly exit
Alternate paths
This map is a loop with a farmhouse at the halfway point. The map will randomly start at one of the 2 sides of the loop. On the way to the farmhouse, you will pass through and refuel the gas can at either the cabins area or the underground area. Each path will have it's own set of lockpicks, an extra box of M60 ammo for the turret at the farmhouse, a fema reinforcement box, and a med box to place at the farmhouse
Cabins path - items in rafters
Grab the med box by jumping on the table and then jumping on top of the bed to the right. You can grab the box by pressing e from there
Grab the bow by jumping on the table and then the bed behind it. It's behind where the med box was. Work your way to the edge of the corner then jump up and grab the bow as you fall
Grab the flare gun by jumping up onto the sink and then fridge, jump across and grab the flare gun as you fall
Underground path
On this path, head forward after reaching the underground area and you will find an area with friendly humans
In the lockers here you will find a police vest with a set of lockpicks
And another police vest with M60 ammo
Police vests must be equipped in inventory to be used. Hold 1 to open your inventory and press lmb on it to equip the vest. Police vests reduce damage taken by 1/2 up to a certain limit, and this limit can be extended by using more than one vest. Share the vests with your team, but equip both if solo
There are other supplies here too. Be sure to open the small green locker for another shotgun and shells
nmo_bad_gas_b13 (continued)
Lockpicks
You will find 2 sets of lockpicks - 1 for each path. The lockpicks are used to open the shed near the cornfield

On the cabins path, the lockpick is on the table just below the med box
On the underground path, the lockpicks are in the friendly area, under a police vest

The lockpicks will appear as a key lock in your inventory


With the lockpick in inventory, just press e on the lock of the shed to be taken to an event screen similar to the gas refueling event. Align the lockpick and press lmb to open the lock. Just like refueling, you will be completely vulnerable during this so press rmb if you need to quickly exit


The shed has several items and the cabinet is a weapon box

After opening the shed, you will need to discard the lockpicks. Press rmb on them in inventory to drop

You will also find a grenade near a body behind the shed
M60 ammo
You will find an extra box of M60 ammo on either path

On the cabins path, the M60 ammo box will be on the table next to the sink
On the underground path, the M60 ammo box will be under a police vest


There are 3 more boxes of M60 ammo in the farmhouse

Load the M60 by either pressing rmb on the ammo box in your inventory when the turret is empty

Or if your inventory cannot hold the ammo box, pick it up and push it into the empty turret

You can have more than one ammo box in your inventory, and you can carry all 4
Fema reinforcement boxes
You will find a box on either path. Each can be used for 3 duffel bags. Each bag will add +25% to the farmhouse during the siege just like in survival


On the cabins path, the box is in the outside area near the weapon box


On the underground area path, the box is in the underground area just across from the med box
Farmhouse area


Climb the wire spool and the cabinet to reach the 2f of the barn for a CZ


In the living room of the farmhouse break the cabinet for a gene therapy behind it

Playable piano. Just an Easter egg
Farmhouse defense

Make sure to prepare before using the radio at the farmhouse

Board up doorways and windows

Use the ammo pile by holding a gun over it and pressing e. Try to get ammo for the best guns

Bring fema reinforcement bags up to the roof. Use the bags by putting them through the windows after the event starts

Be ready for a tough defense! If the zombies push you back to the roof, the M60 can turn 360 degrees
You will find 2 sets of lockpicks - 1 for each path. The lockpicks are used to open the shed near the cornfield
On the cabins path, the lockpick is on the table just below the med box
On the underground path, the lockpicks are in the friendly area, under a police vest
The lockpicks will appear as a key lock in your inventory
With the lockpick in inventory, just press e on the lock of the shed to be taken to an event screen similar to the gas refueling event. Align the lockpick and press lmb to open the lock. Just like refueling, you will be completely vulnerable during this so press rmb if you need to quickly exit
The shed has several items and the cabinet is a weapon box
After opening the shed, you will need to discard the lockpicks. Press rmb on them in inventory to drop
You will also find a grenade near a body behind the shed
M60 ammo
You will find an extra box of M60 ammo on either path
On the cabins path, the M60 ammo box will be on the table next to the sink
On the underground path, the M60 ammo box will be under a police vest
There are 3 more boxes of M60 ammo in the farmhouse
Load the M60 by either pressing rmb on the ammo box in your inventory when the turret is empty
Or if your inventory cannot hold the ammo box, pick it up and push it into the empty turret
You can have more than one ammo box in your inventory, and you can carry all 4
Fema reinforcement boxes
You will find a box on either path. Each can be used for 3 duffel bags. Each bag will add +25% to the farmhouse during the siege just like in survival
On the cabins path, the box is in the outside area near the weapon box
On the underground area path, the box is in the underground area just across from the med box
Farmhouse area
Climb the wire spool and the cabinet to reach the 2f of the barn for a CZ
In the living room of the farmhouse break the cabinet for a gene therapy behind it
Playable piano. Just an Easter egg
Farmhouse defense
Make sure to prepare before using the radio at the farmhouse
Board up doorways and windows
Use the ammo pile by holding a gun over it and pressing e. Try to get ammo for the best guns
Bring fema reinforcement bags up to the roof. Use the bags by putting them through the windows after the event starts
Be ready for a tough defense! If the zombies push you back to the roof, the M60 can turn 360 degrees
nmo_barren_town_v5
Board up the garage before getting the welder
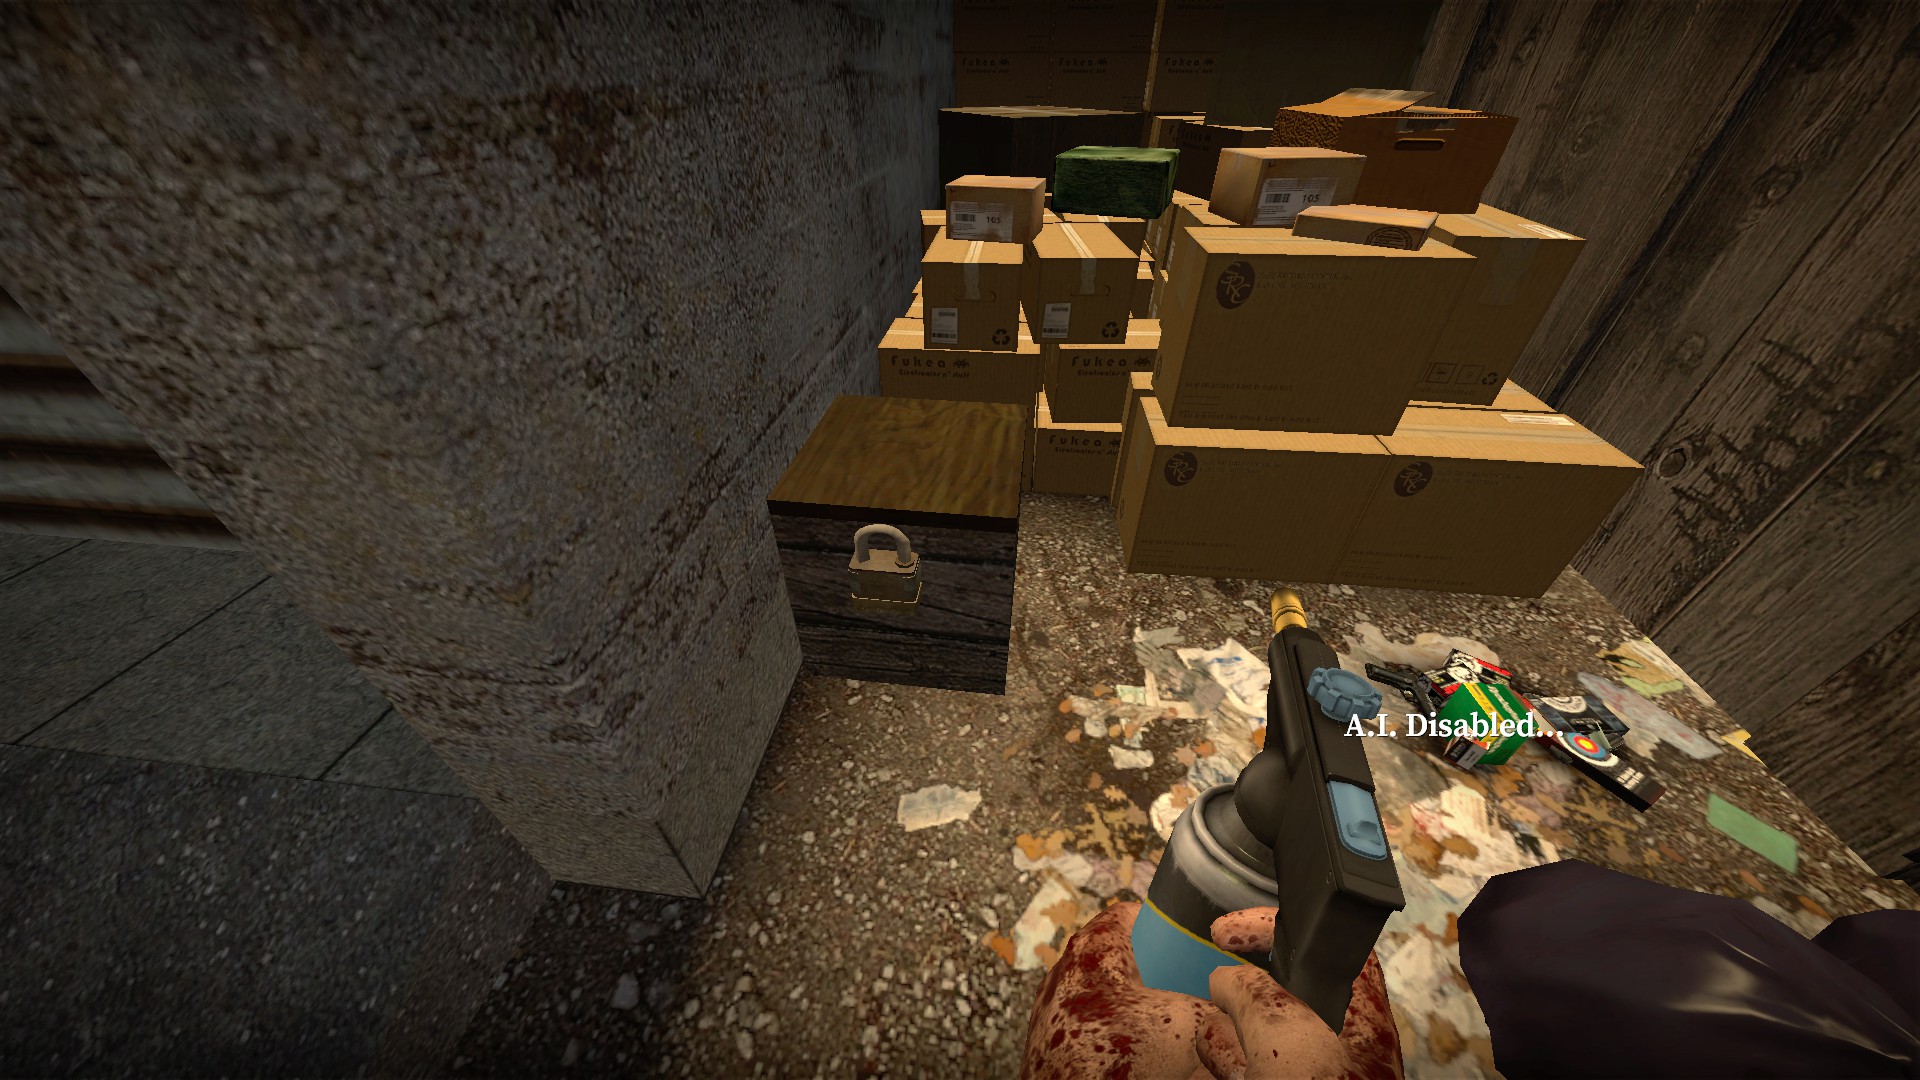
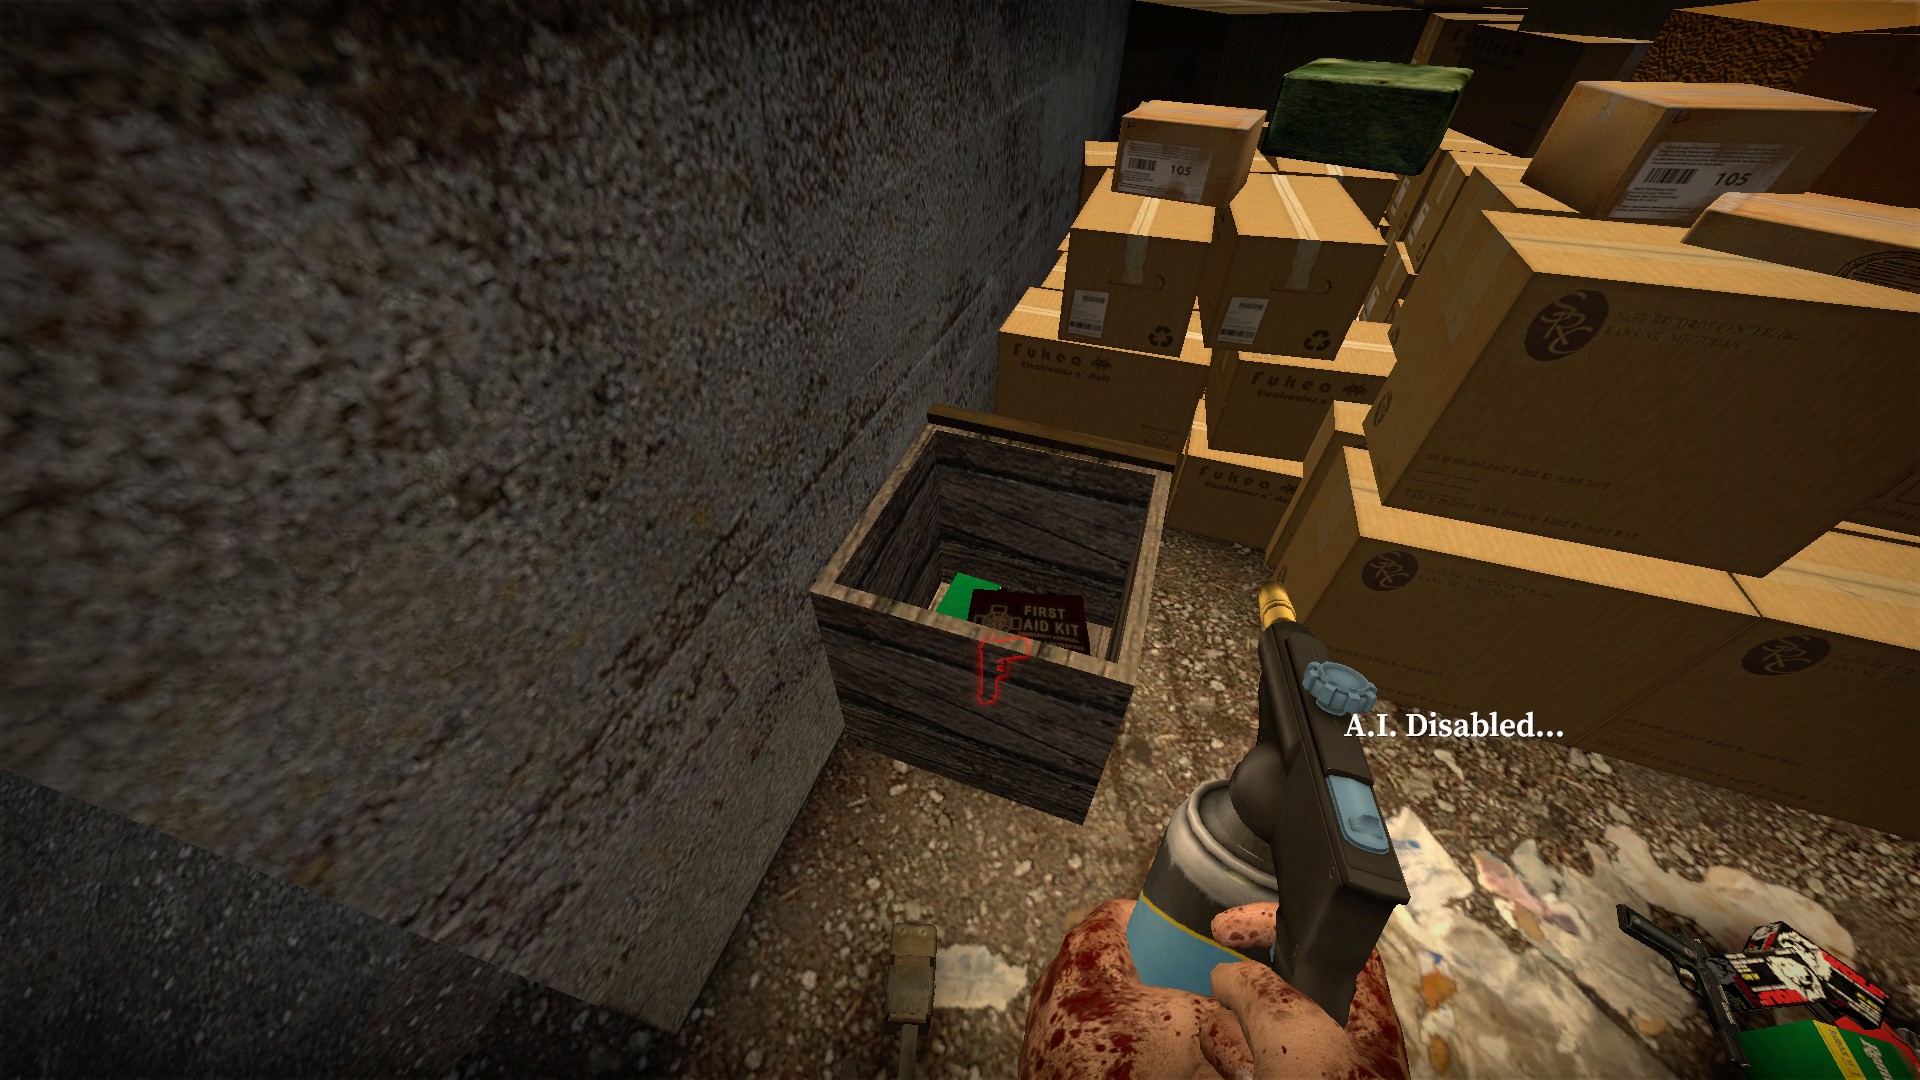
Use the welder to open a box of supplies just outside the house

In the garage where you find the welder, you can find a flash drive behind the toolbox

Use the drive on the error keypad and the door next to it will blow off

This secret room has a gene, and over 100+ pills and bandages. Now you have enough for the many, many times you will die here
nmo_base_tunnel_v2_3

You can use the fire extinguisher a 2nd time for a secret area in the ice tunnels

You can use the welder a 2nd time for a secret room in the pins area

When you start the pins area, throw the switch that's off the middle corridor

The switch opens this green door

Inside this room are items and a key

The key opens the door that has two arrows pointing to it
nmo_base_v1
Much different map before it was voltroned into nmo_base_v2_2


Take the access card from the first room and unlock the first armory. Take the scoped rifle and ammo

Use the code 0501 to unlock the second armory

Shoot the 4 close targets in the red circle, each will give a perfect!!!!! message, all 4 will give an award! message

The award is a medkit that will spawn

Use the scoped rifle to shoot the red circles in the far targets, each will give a perfect!!!!! message, all 3 will give an award! message

The award is a gene that spawns next to the medkit

Finally, shoot 4 bottles on the upper area

The award is 2 boxes of .308

In this area, use the barricade hammer and boards to build defensive barricades to protect you during the long door timer

Pick up the bright yellow key from the body

Use it to open the armory later


At this spot, press e to slide back the gate then hold e on the doors to access a secret area
Take the access card from the first room and unlock the first armory. Take the scoped rifle and ammo
Use the code 0501 to unlock the second armory
Shoot the 4 close targets in the red circle, each will give a perfect!!!!! message, all 4 will give an award! message
The award is a medkit that will spawn
Use the scoped rifle to shoot the red circles in the far targets, each will give a perfect!!!!! message, all 3 will give an award! message
The award is a gene that spawns next to the medkit
Finally, shoot 4 bottles on the upper area
The award is 2 boxes of .308
In this area, use the barricade hammer and boards to build defensive barricades to protect you during the long door timer
Pick up the bright yellow key from the body
Use it to open the armory later
At this spot, press e to slide back the gate then hold e on the doors to access a secret area
nmo_base_v2_4

Instead of taking the last ladder in the air shaft, drop down to a body with a duffel bag. The bag is a weapon box

Turn around from the body and crouch and press e on the rope to drop it

The rope will take you to the bottom of the air shaft

If no one respawns in the respawn room opposite the fire extinguisher, it can be shot open with a .308 or .357 and looted

Shoot in the center of the door to break the metal X behind

Where you use the ID card, notice a locked door with a yellow marker

After ending the lockdown by placing the arm, you can return and open this door for a stash of supplies

Feel free to drop the first fire extinguisher after the objective, there is a second one much closer to the 2nd fire
Use either fire extinguisher for a secret area in the ice tunnels

Likewise, feel free to drop the welder after using it in the objective, there is a much closer one in a supply room nearby the 2nd welder spot
Use the welder to open a large armory in the area where you search for the pins

Just down from the supply room with the welder is another respawn room that can be shot open if no one spawns there

Break the board that is even with the handle

In the area next to where you place the pins, press e on the panel that's off the middle corridor
The panel opens this green door
Inside this room are items and a key
The key opens the door that has two arrows pointing to it

This room has a good stash of items and also a placed health box

In the cafeteria, look for an access card between 2 vending machines

Use this card to unlock an armory in the rooms opposite the shooting range


At the shooting range, use a scoped rifle to headshot the targets at the back

You will hear a noise after each successful shot, the third shot will give you an award message

The award will be a medical item that appears at the nearby table


Take the red toolbox at the shooting range and use it to fix the sparking fuse box on the warehouse 2f

Now use the nearby elevator button to lower a weapon box

Take the yellow key at the end of the warehouse, make sure to get it out of the warehouse as you will be locked out of this area

The key is used near the end of the map, just before you drop down


The room has a good stash of weapons and a placed health box

The final area also has a respawn room that can be shot open if no one spawns inside

Shoot between the handle and the dots to break the board
nmo_bathroom_v2
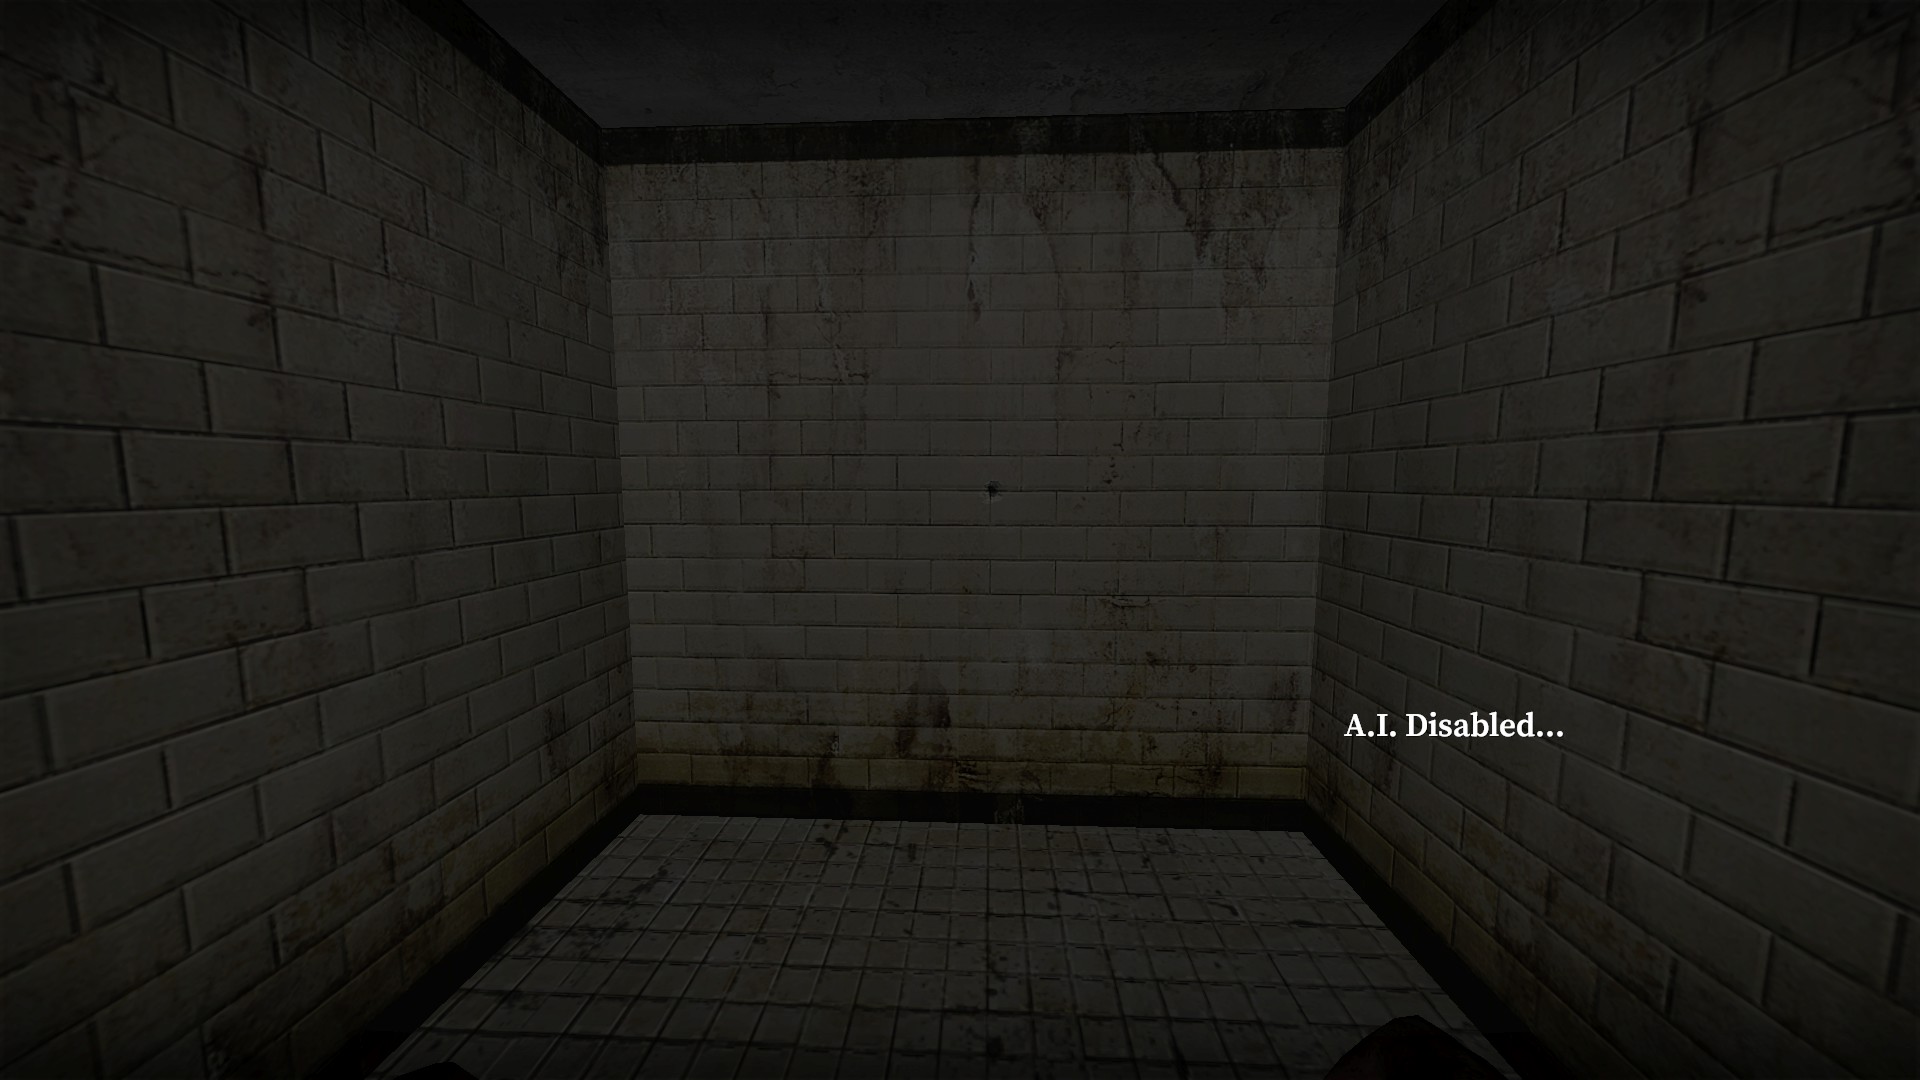
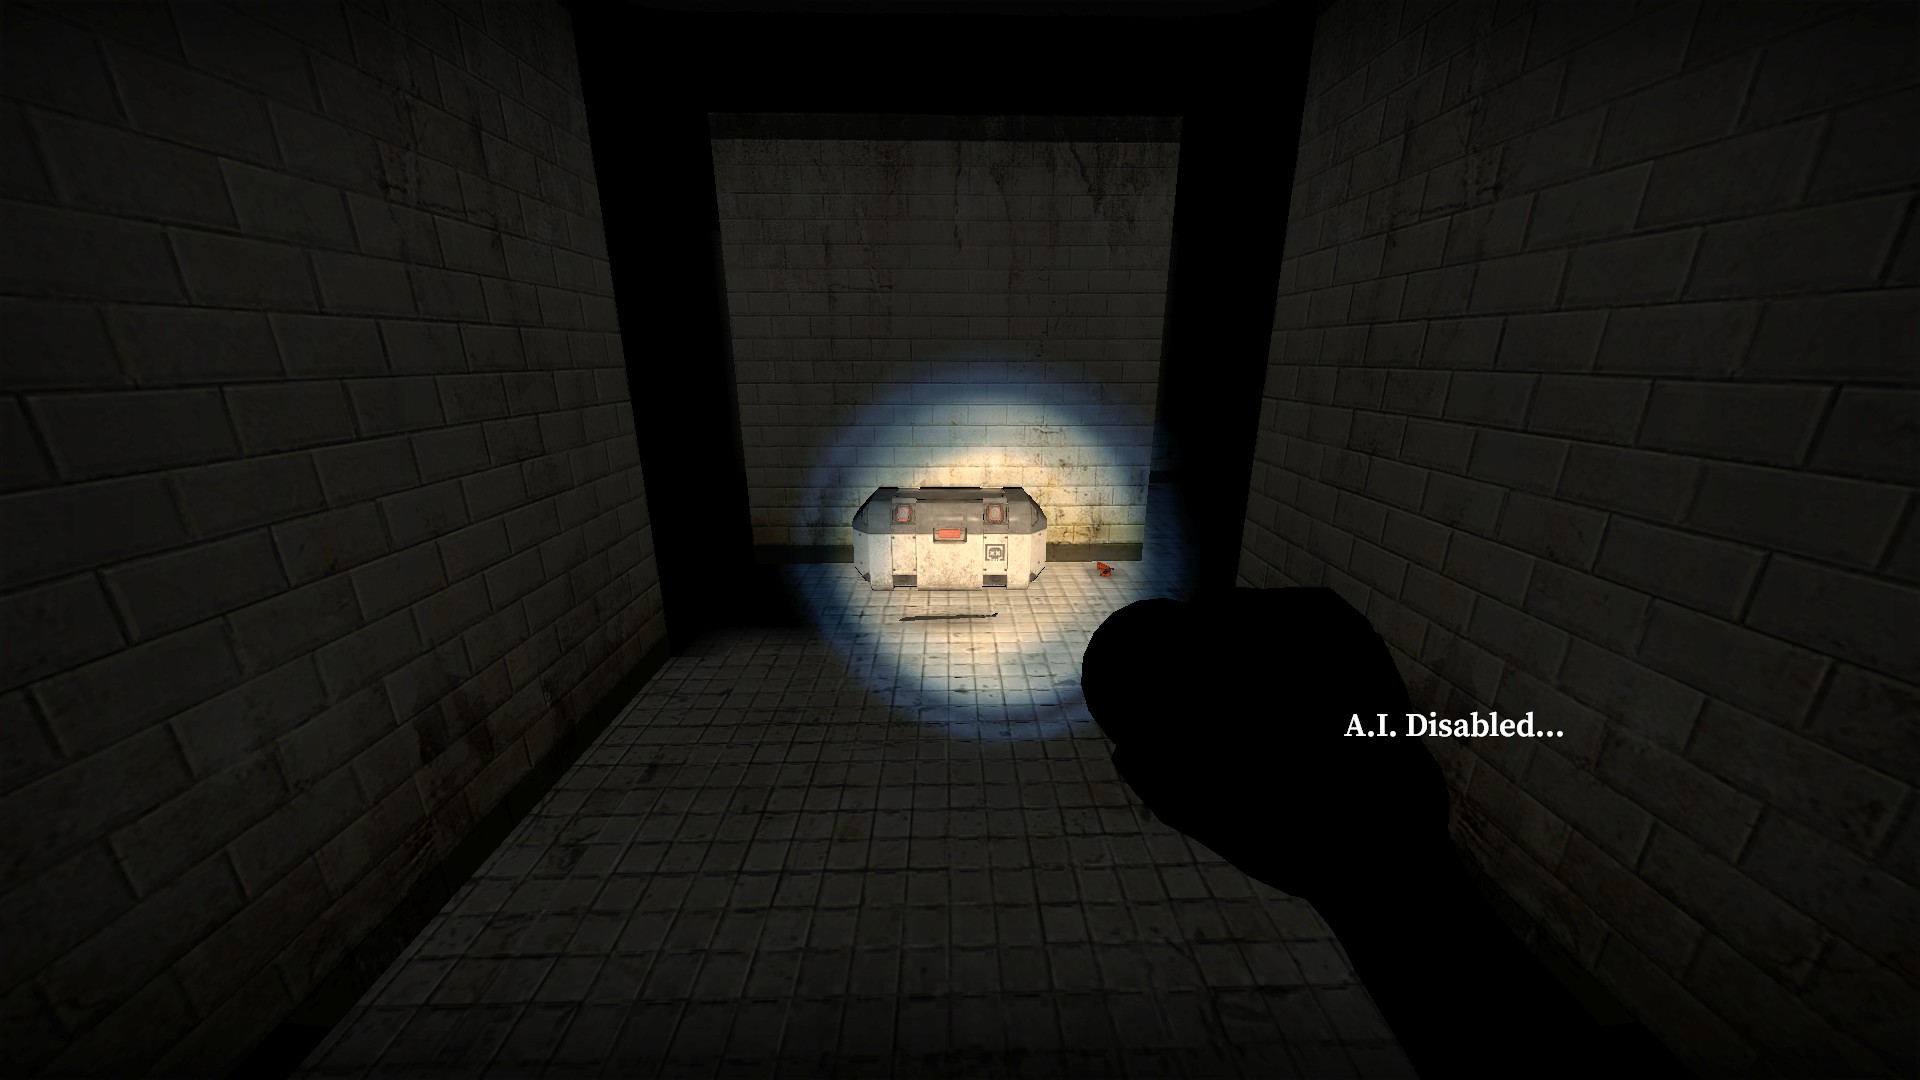
When you reach the 2f, break the wall at the end of the first right opening. You will find a weapon box, machete, flare gun, and 2 pills
There are 2 more machetes nearby. You will be teleported before you can pick them up, but you can use a well placed explosive to push them into reach
The respawn room will also open when you reach the 2f. There is a weapon box for players who spawn there


If you spectate this map on the 2f farther down, you'll see a character model with a large turd for a head. Just an Easter egg
nmo_best_korea_b1_degaped
Developer room

There is a developer room on this map, but it can only be reached by no clipping to it. It is high above the first stage

This room was meant to be accessed by the Patreon signs at the start of each stage, but these signs no longer work


The room has a developer side and player side

None of the buttons on the player side do anything

The kill all players and reset map buttons still work, but the health buff does not

The stage select still works. Press e on the stage number and then press e on the yellow button to the right. Use this room if you are playing by yourself or with friends and want to skip forward on this very long map
Bouncy Castle


There are 6 pieces to the Bouncy Castle, jump through them to pick them up


Climb up the ropes on both sides to pick up the other 3 peices


Each piece will add to the construction, when all pieces are picked up the castle is complete


Bouncing on the castle will destroy all of the nearby gravestones
There is a developer room on this map, but it can only be reached by no clipping to it. It is high above the first stage
This room was meant to be accessed by the Patreon signs at the start of each stage, but these signs no longer work
The room has a developer side and player side
None of the buttons on the player side do anything
The kill all players and reset map buttons still work, but the health buff does not
The stage select still works. Press e on the stage number and then press e on the yellow button to the right. Use this room if you are playing by yourself or with friends and want to skip forward on this very long map
Bouncy Castle
There are 6 pieces to the Bouncy Castle, jump through them to pick them up
Climb up the ropes on both sides to pick up the other 3 peices
Each piece will add to the construction, when all pieces are picked up the castle is complete
Bouncing on the castle will destroy all of the nearby gravestones
nmo_binary_m4
Developer room
Just below the starting area. You will need to noclip here. It is the smaller of the black rooms
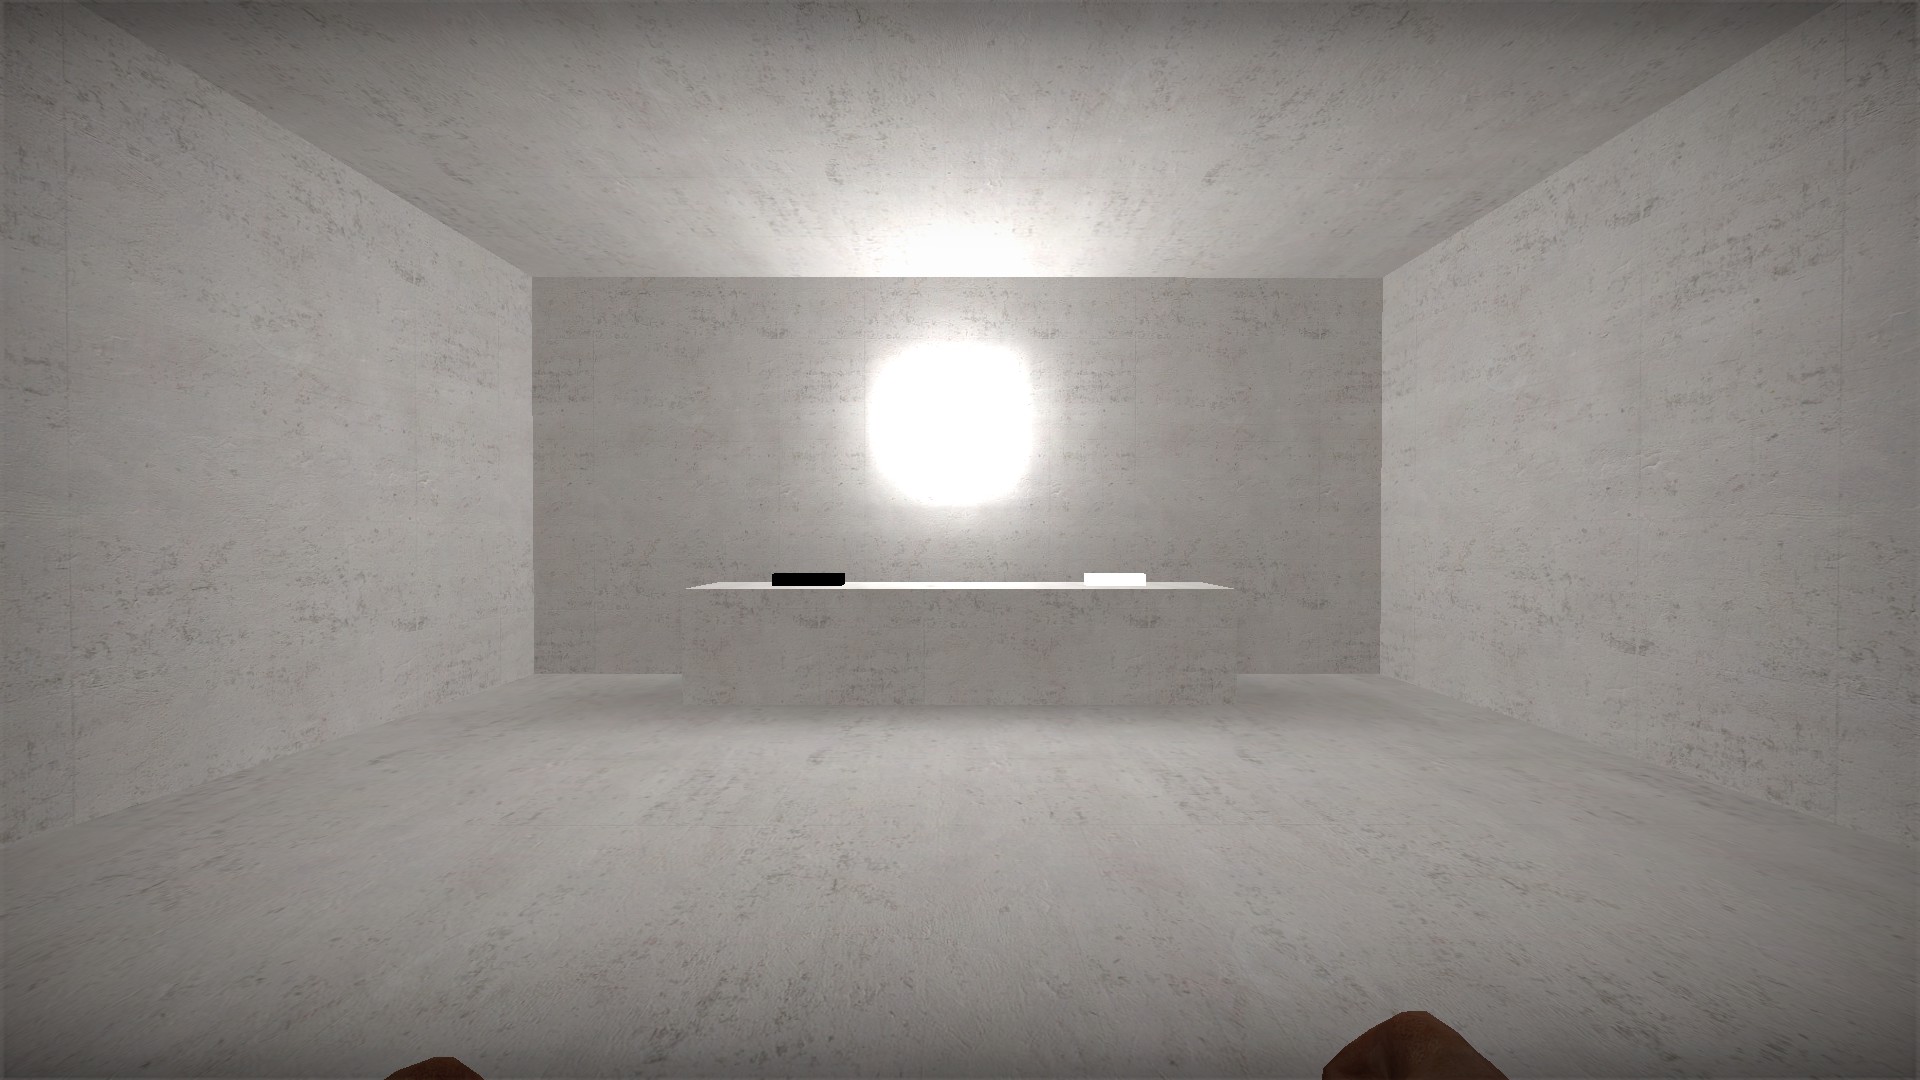
The room has a black button and a white one. The black button will return you to the start of the map. The white button will take you to the boss fight
Hidden items at start
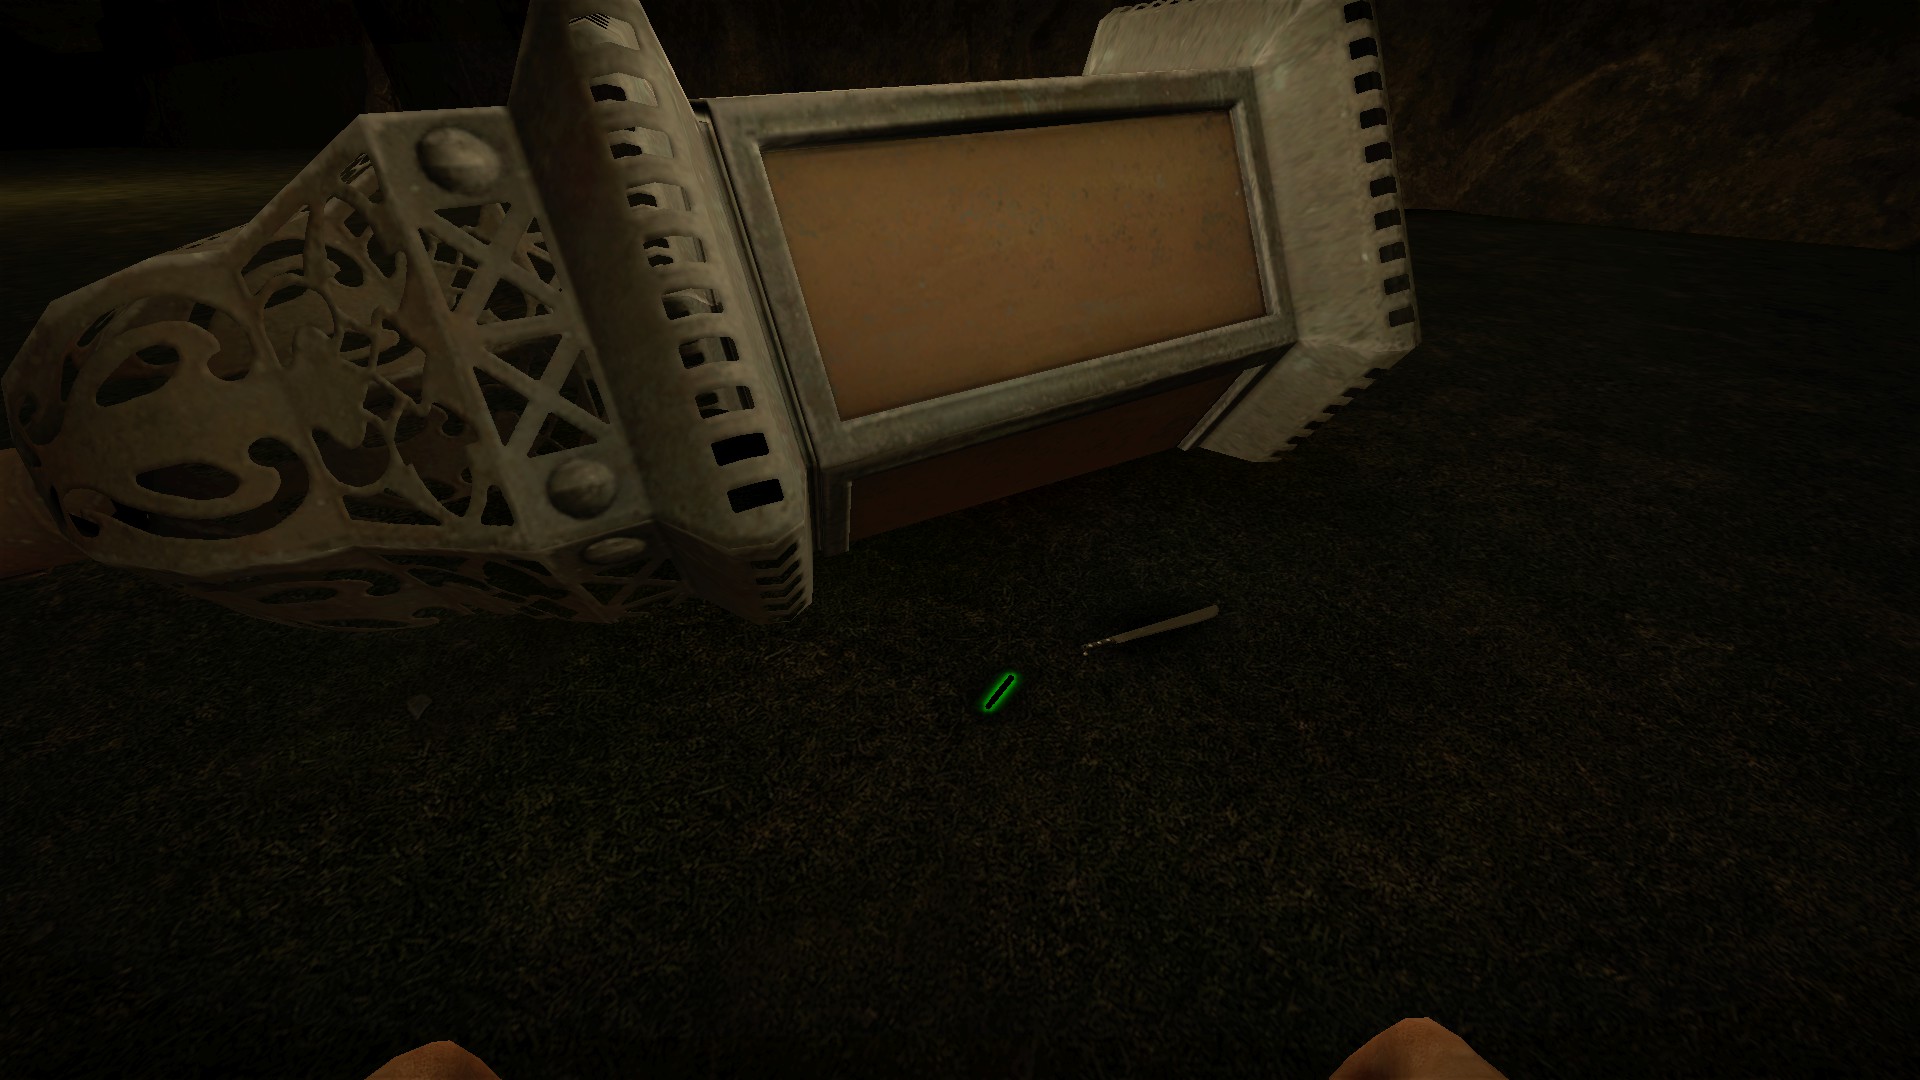
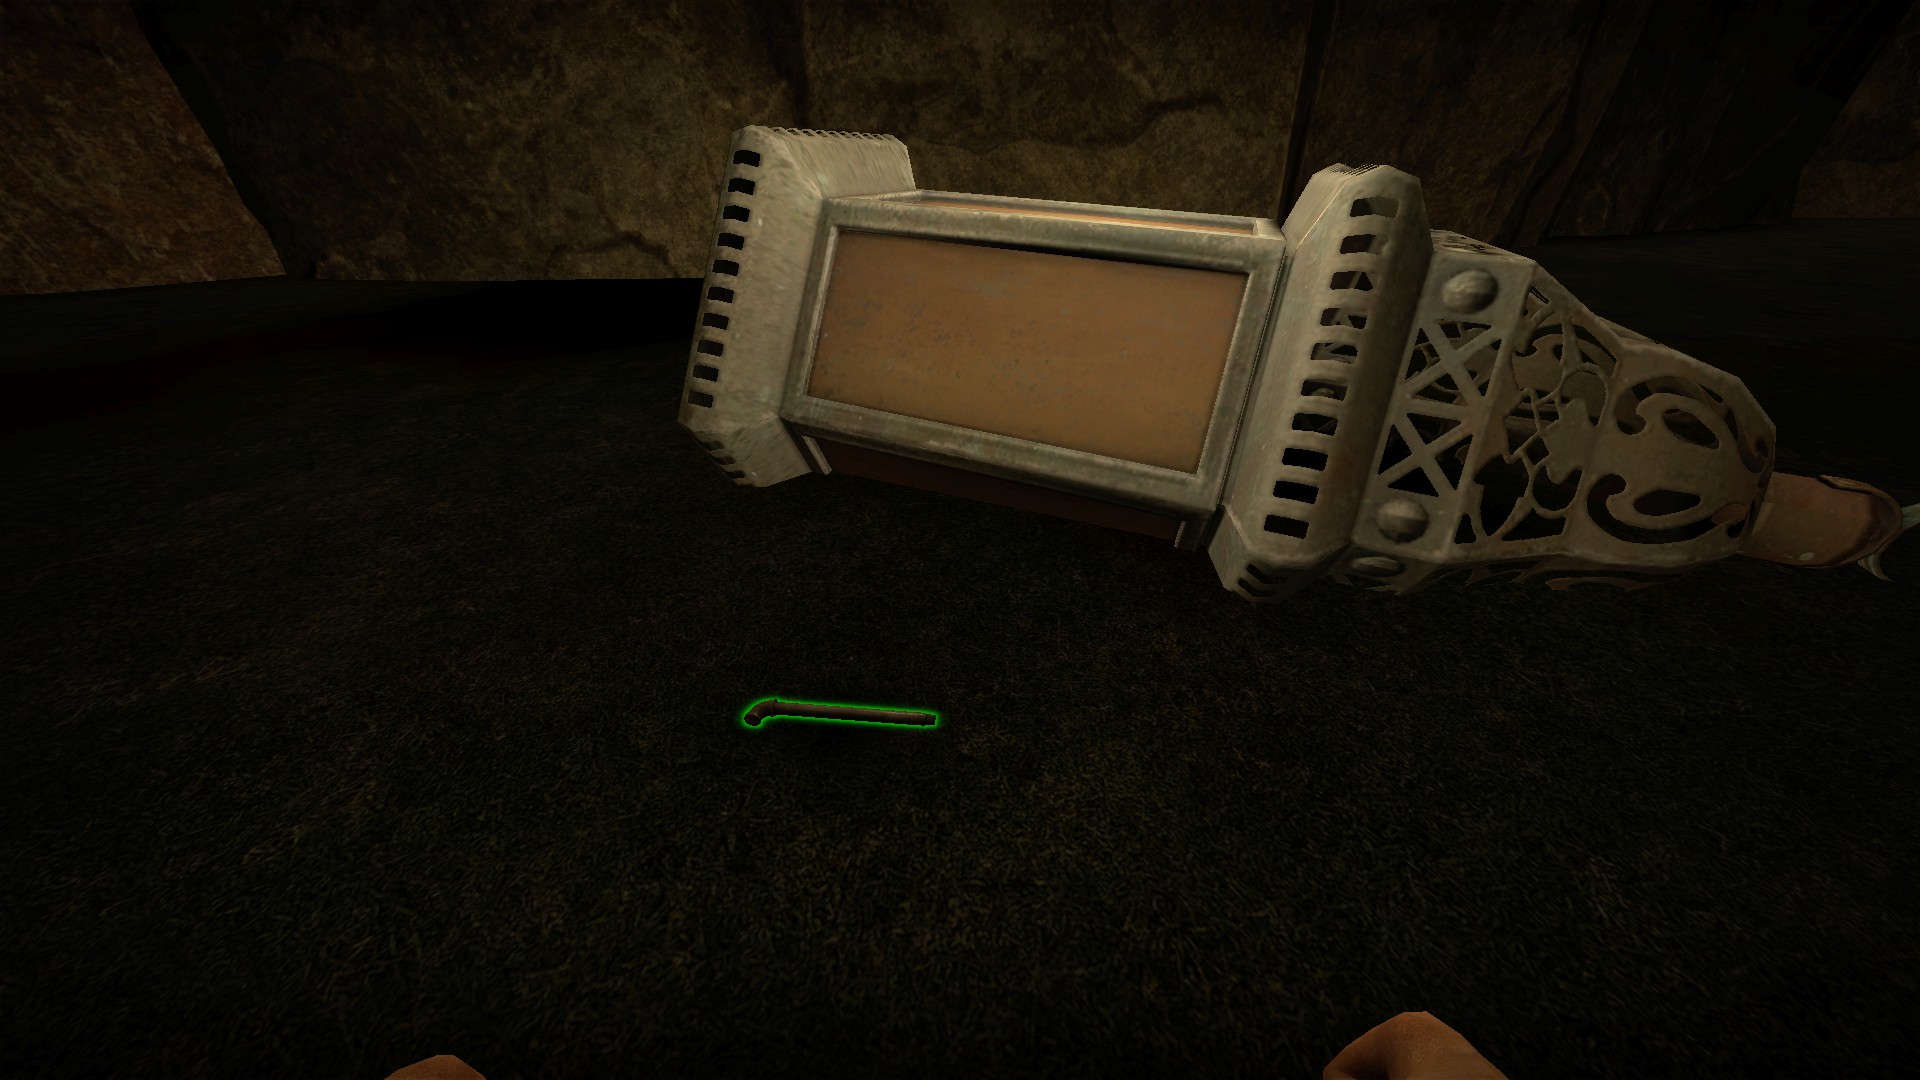
Be sure to check behind the 2 fallen objects at the starting area. You will find melee weapons and may find a machete and shot
How to survive the ending
After the boss fight, you will be teleported to the final area
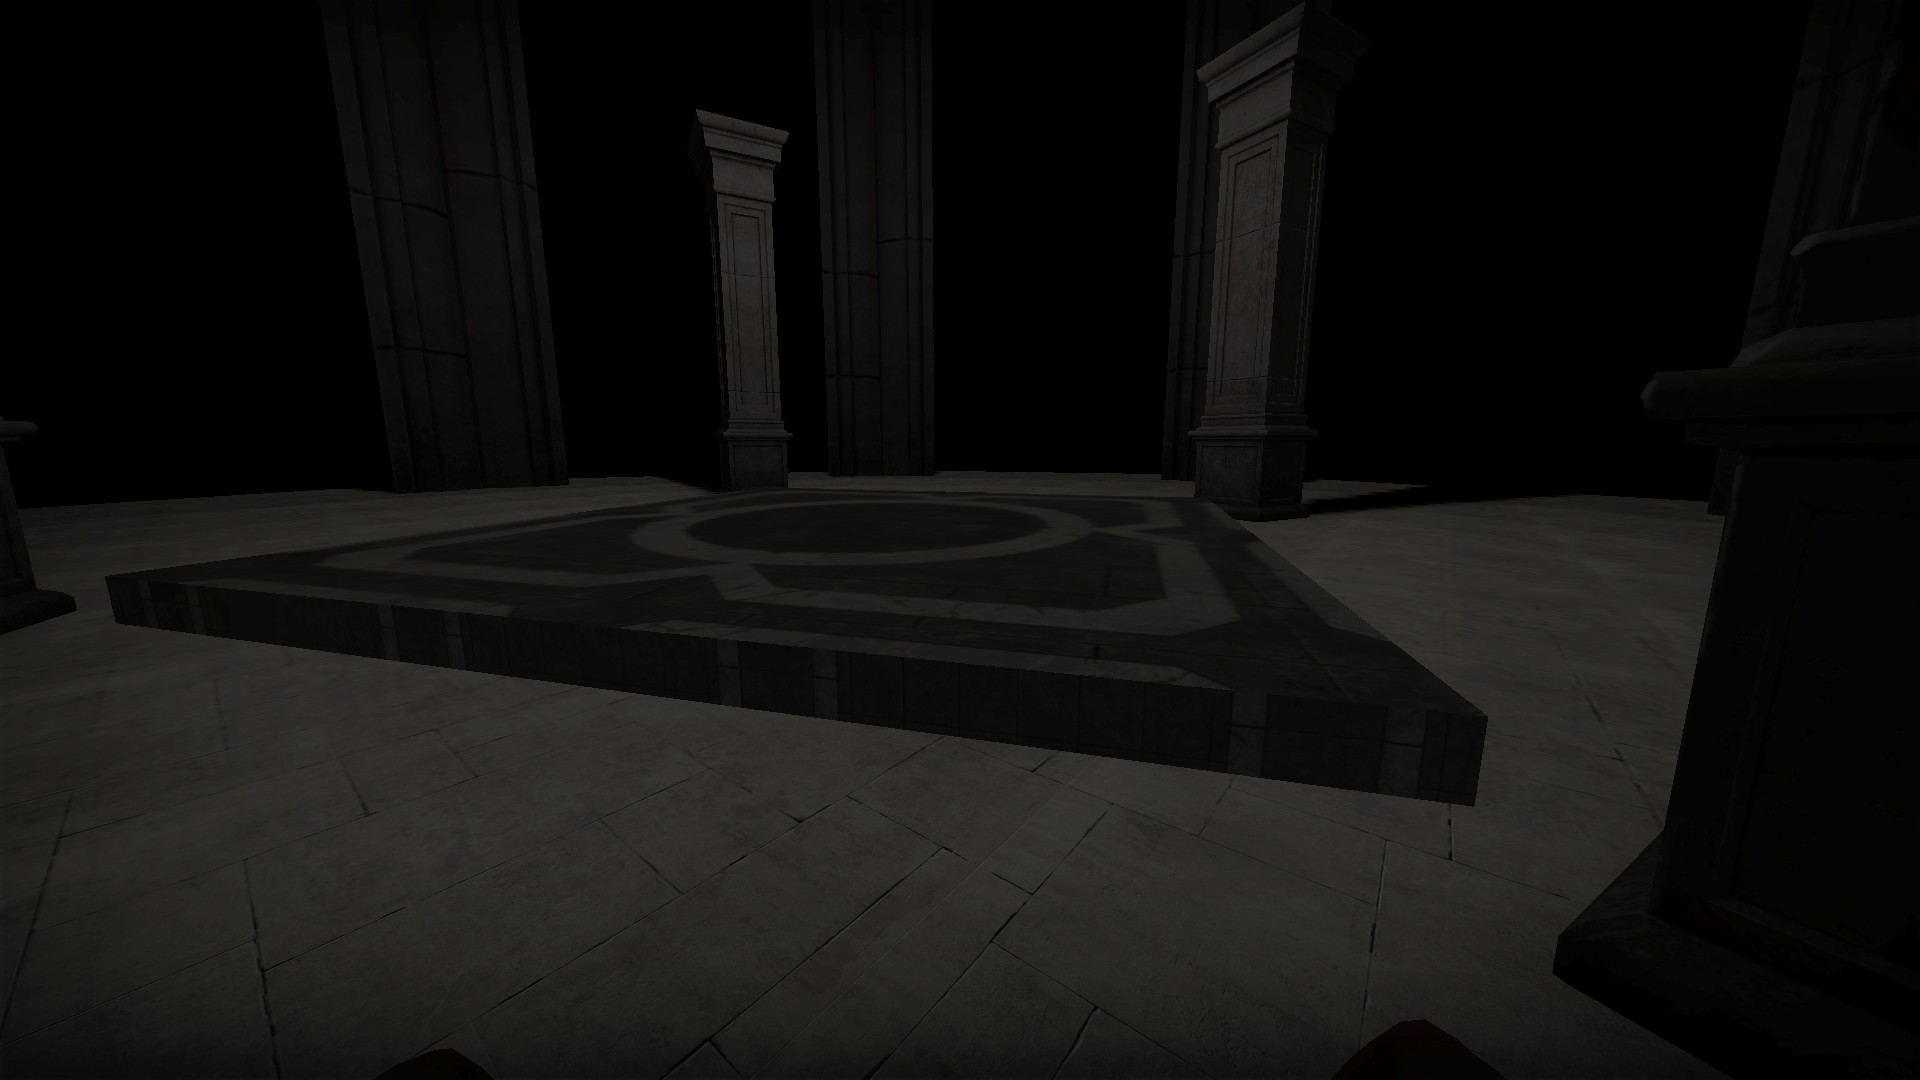
The map does not tell you this but you need to reach the platform at the end of this area before it raises in about 1 minute. There is a swarm of zombies. If the zombies slow you down or if you stop to engage them, you will not make it to the platform in time. Players who are not on the platform when it raises are then outside of the playable area - and will die
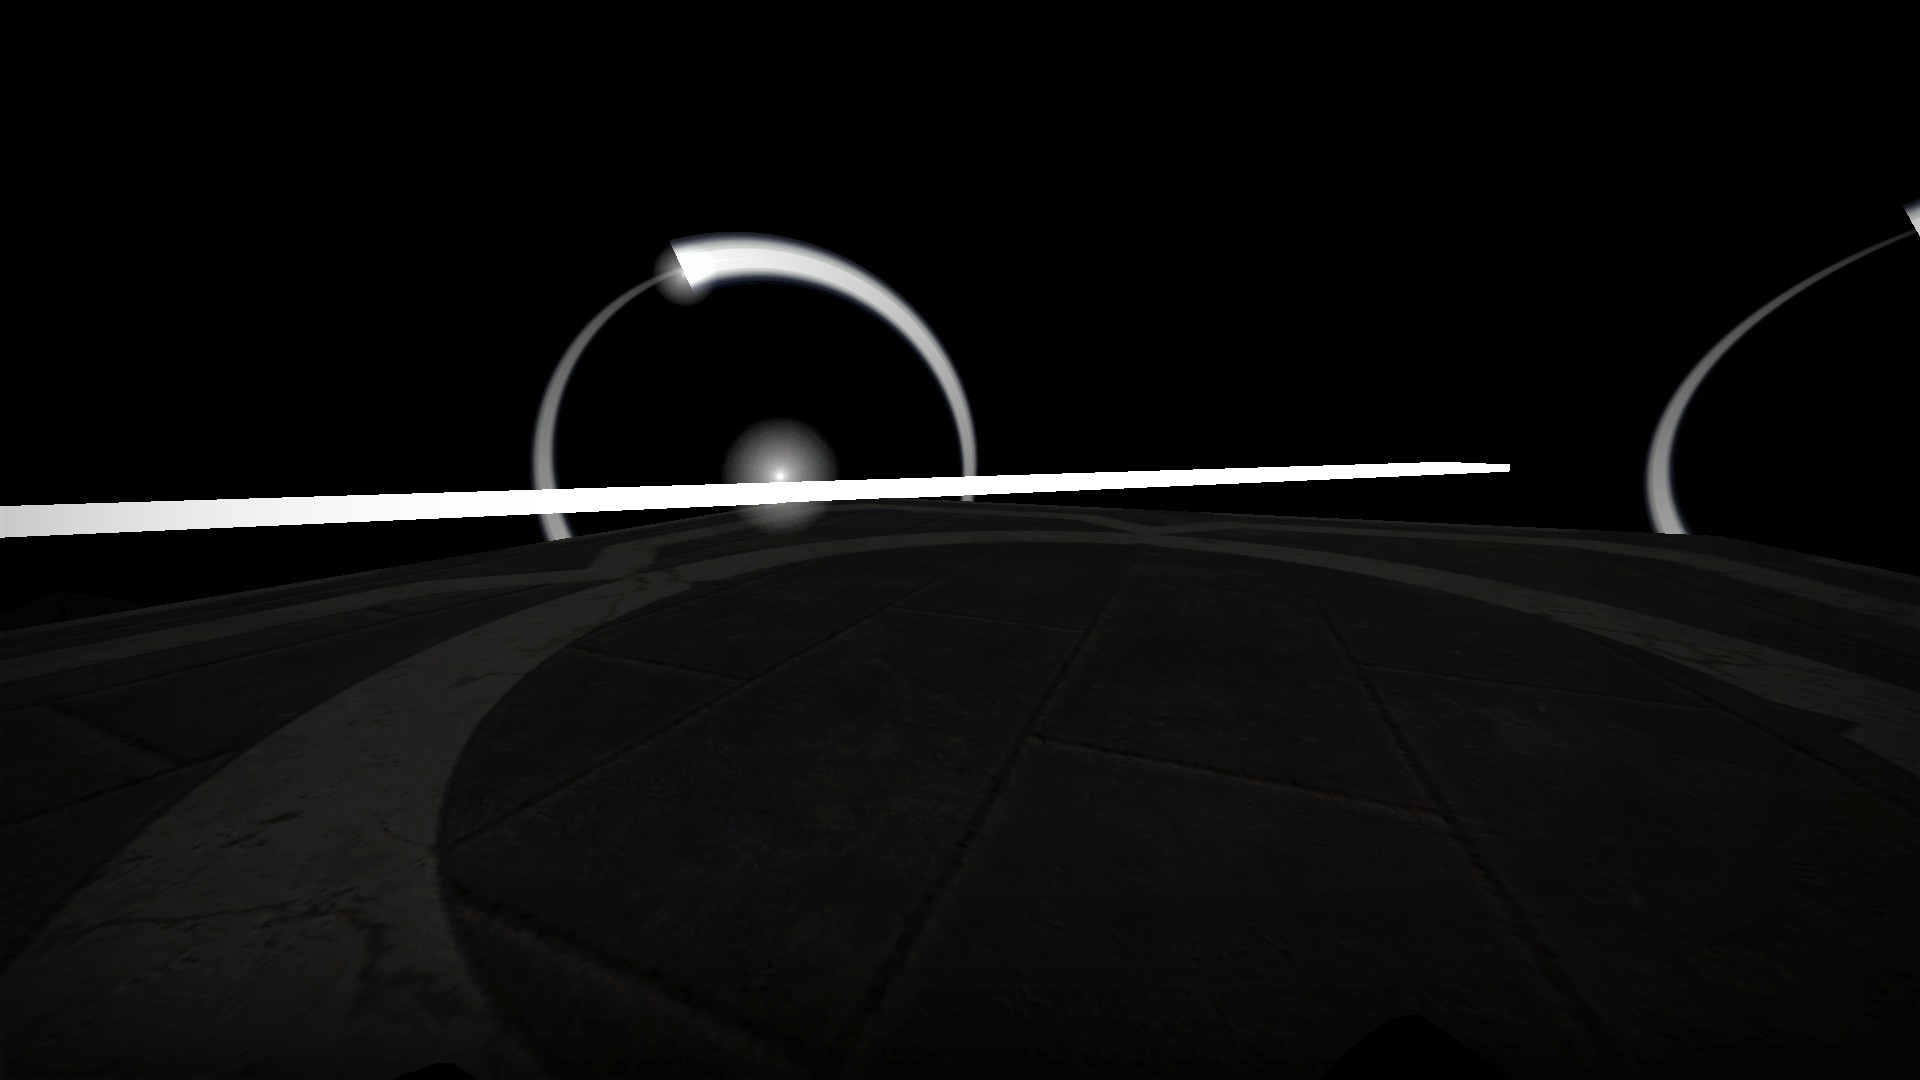
After the platform has raised, there is a short laser event before extraction
Just below the starting area. You will need to noclip here. It is the smaller of the black rooms
The room has a black button and a white one. The black button will return you to the start of the map. The white button will take you to the boss fight
Hidden items at start
Be sure to check behind the 2 fallen objects at the starting area. You will find melee weapons and may find a machete and shot
How to survive the ending
After the boss fight, you will be teleported to the final area
The map does not tell you this but you need to reach the platform at the end of this area before it raises in about 1 minute. There is a swarm of zombies. If the zombies slow you down or if you stop to engage them, you will not make it to the platform in time. Players who are not on the platform when it raises are then outside of the playable area - and will die
After the platform has raised, there is a short laser event before extraction
nmo_biohazard_v3fix

After throwing the switch downstairs and opening the electronic locks, go to the opened morgue first

Pick up the key in the corner of the morgue

Use the key on the card reader to open a secret room for a weapon box
nmo_biotec_v2
First courtyard sniper stash

Break a window in the blue hall that leads to the big hall to get into the first courtyard


Climb the pole to the top and get out on the ledge and you can jump over

As you walk along the ledge here, you will run out of room and be dropped down halfway. You will need to jump over about 1/4 of the way while you still have space. Push right as you jump

Its not an easy jump, and its a fair amount of damage if you fall, but you can make it to the sniper stash in single jump

A radio in a dark 2f office above the big hall will play music
Second courtyard weapon box


Just behind the big hall, break the windows on either the first or second floor to reach the second courtyard


The lockers in the courtyard is a weapon box

Leave the courtyard from the first floor or climb either pipe to reach the second floor
Break a window in the blue hall that leads to the big hall to get into the first courtyard
Climb the pole to the top and get out on the ledge and you can jump over
As you walk along the ledge here, you will run out of room and be dropped down halfway. You will need to jump over about 1/4 of the way while you still have space. Push right as you jump
Its not an easy jump, and its a fair amount of damage if you fall, but you can make it to the sniper stash in single jump
A radio in a dark 2f office above the big hall will play music
Second courtyard weapon box
Just behind the big hall, break the windows on either the first or second floor to reach the second courtyard
The lockers in the courtyard is a weapon box
Leave the courtyard from the first floor or climb either pipe to reach the second floor
nmo_biotec_alt_v3
WD40 locations
Keep an eye out for this item as it will make your escape much easier

1 - On a table in the storeroom just behind the entrance lobby desk

2 - On the shelf with the fuse

3 - in the basement next to the ladder


4 - After using the ladder, weld the lock on the next ladder and go down

5 - On the shelf before you enter the vent

6 - On top of the toolbox just after leaving the security office

7 - In a locker in the lab
Medical lockers
Each has a medkit and one or more pills

1 - in the cafeteria kitchen

2 - in the security office next to the computer

3 - at the entrance to the lab

4 - in the rooftop armory
Arcade escape


Push the zombie slug game cabinet out of the way if you get trapped in the arcade
Weld in elevator shaft


Just after using the ladder in the basement, weld the grate in the elevator shaft. There will be a medkit, the toolbox will have more supplies, and there may be WD40 here
Cat in vent

When passing through the next vent, look left to see the cat and hear a short message. It's just an Easter egg
Giraffe

The giraffe is behind some pipes just after you drop down

Don't carry the giraffe through the whole map, leave him at the entrance to the helipad. Grab him again on the way to the helipad
Security office lockers


Open all the lockers in the security office for 2 police vests, several firearms, and ammo. Police vests must be equipped in inventory to be used. Hold 1 to open your inventory and press lmb on it to equip the vest. Police vests reduce damage taken by 1/2 up to a certain limit, and this limit can be extended by using more than one vest. Share the vests with your team, but equip both if solo
Courtyard 2 and sticky vent
Break the windows opposite the helipad entrance to access courtyard 2
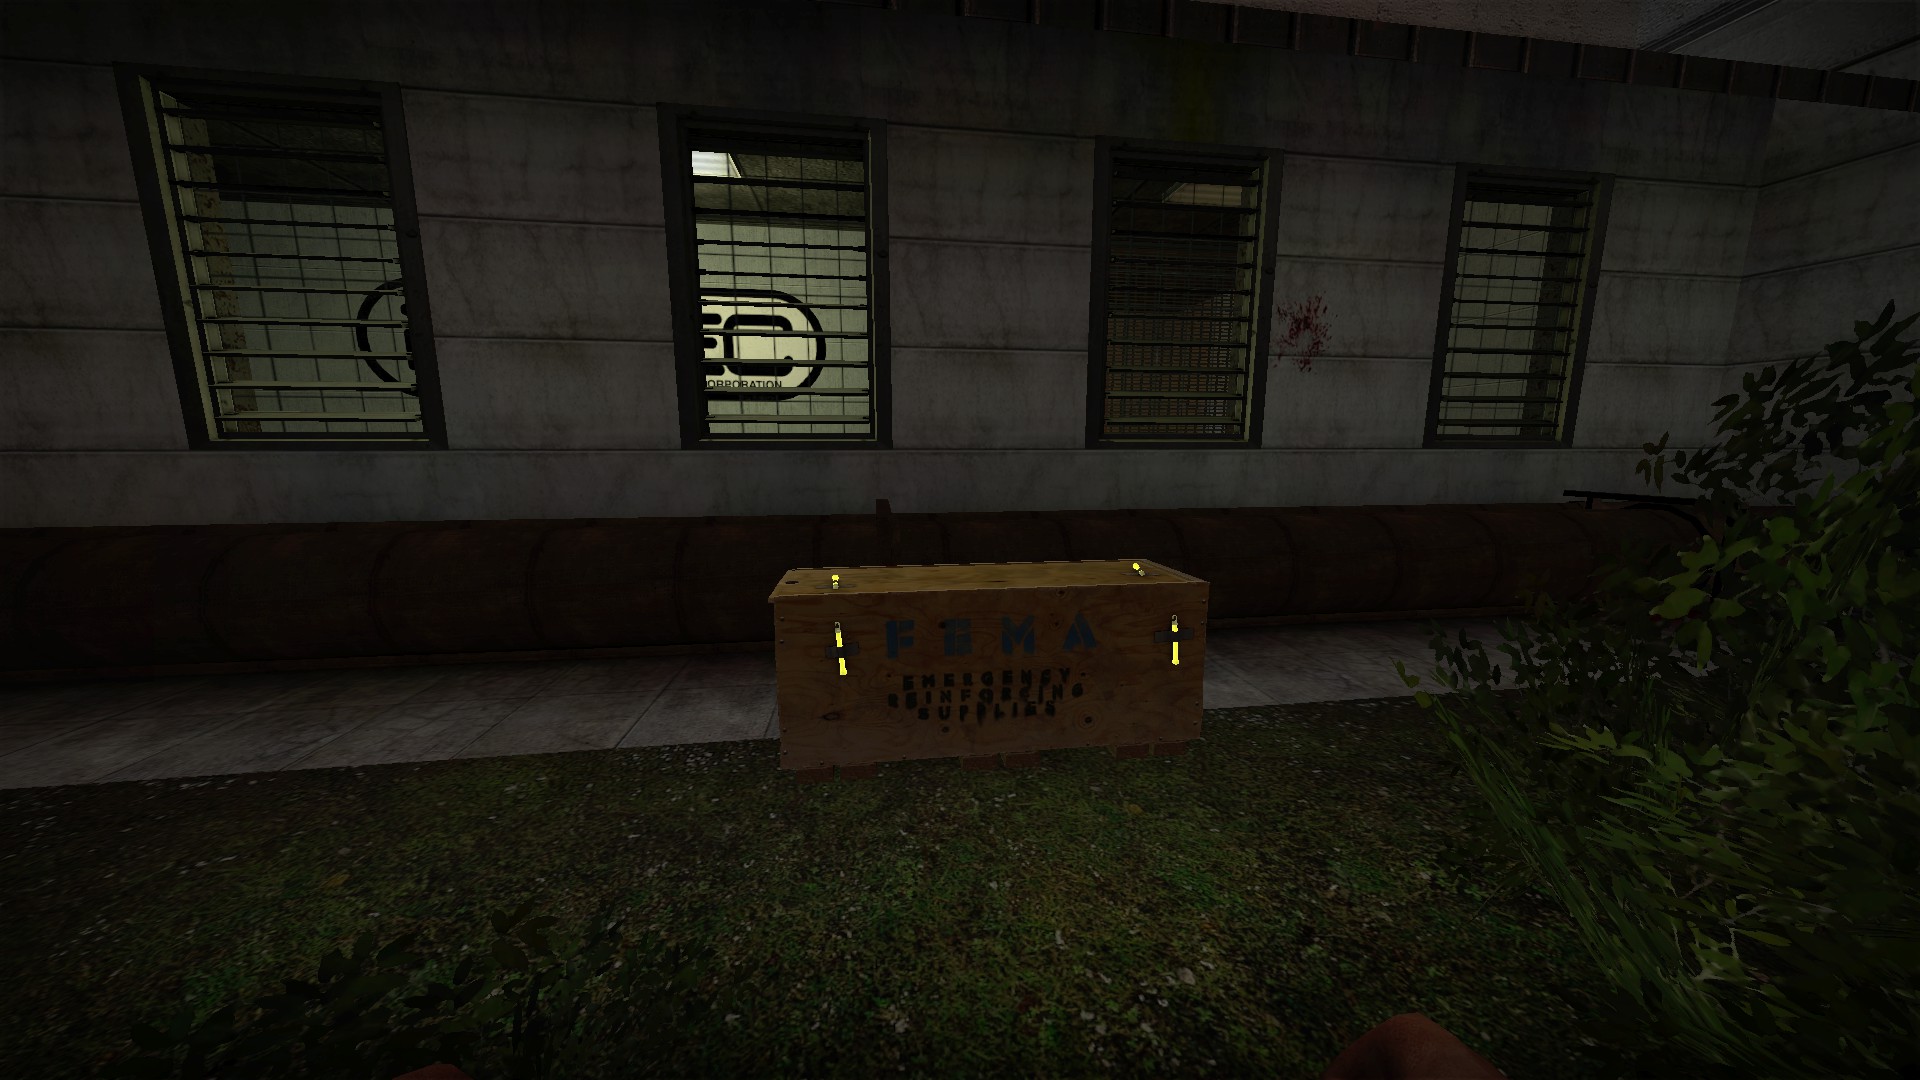
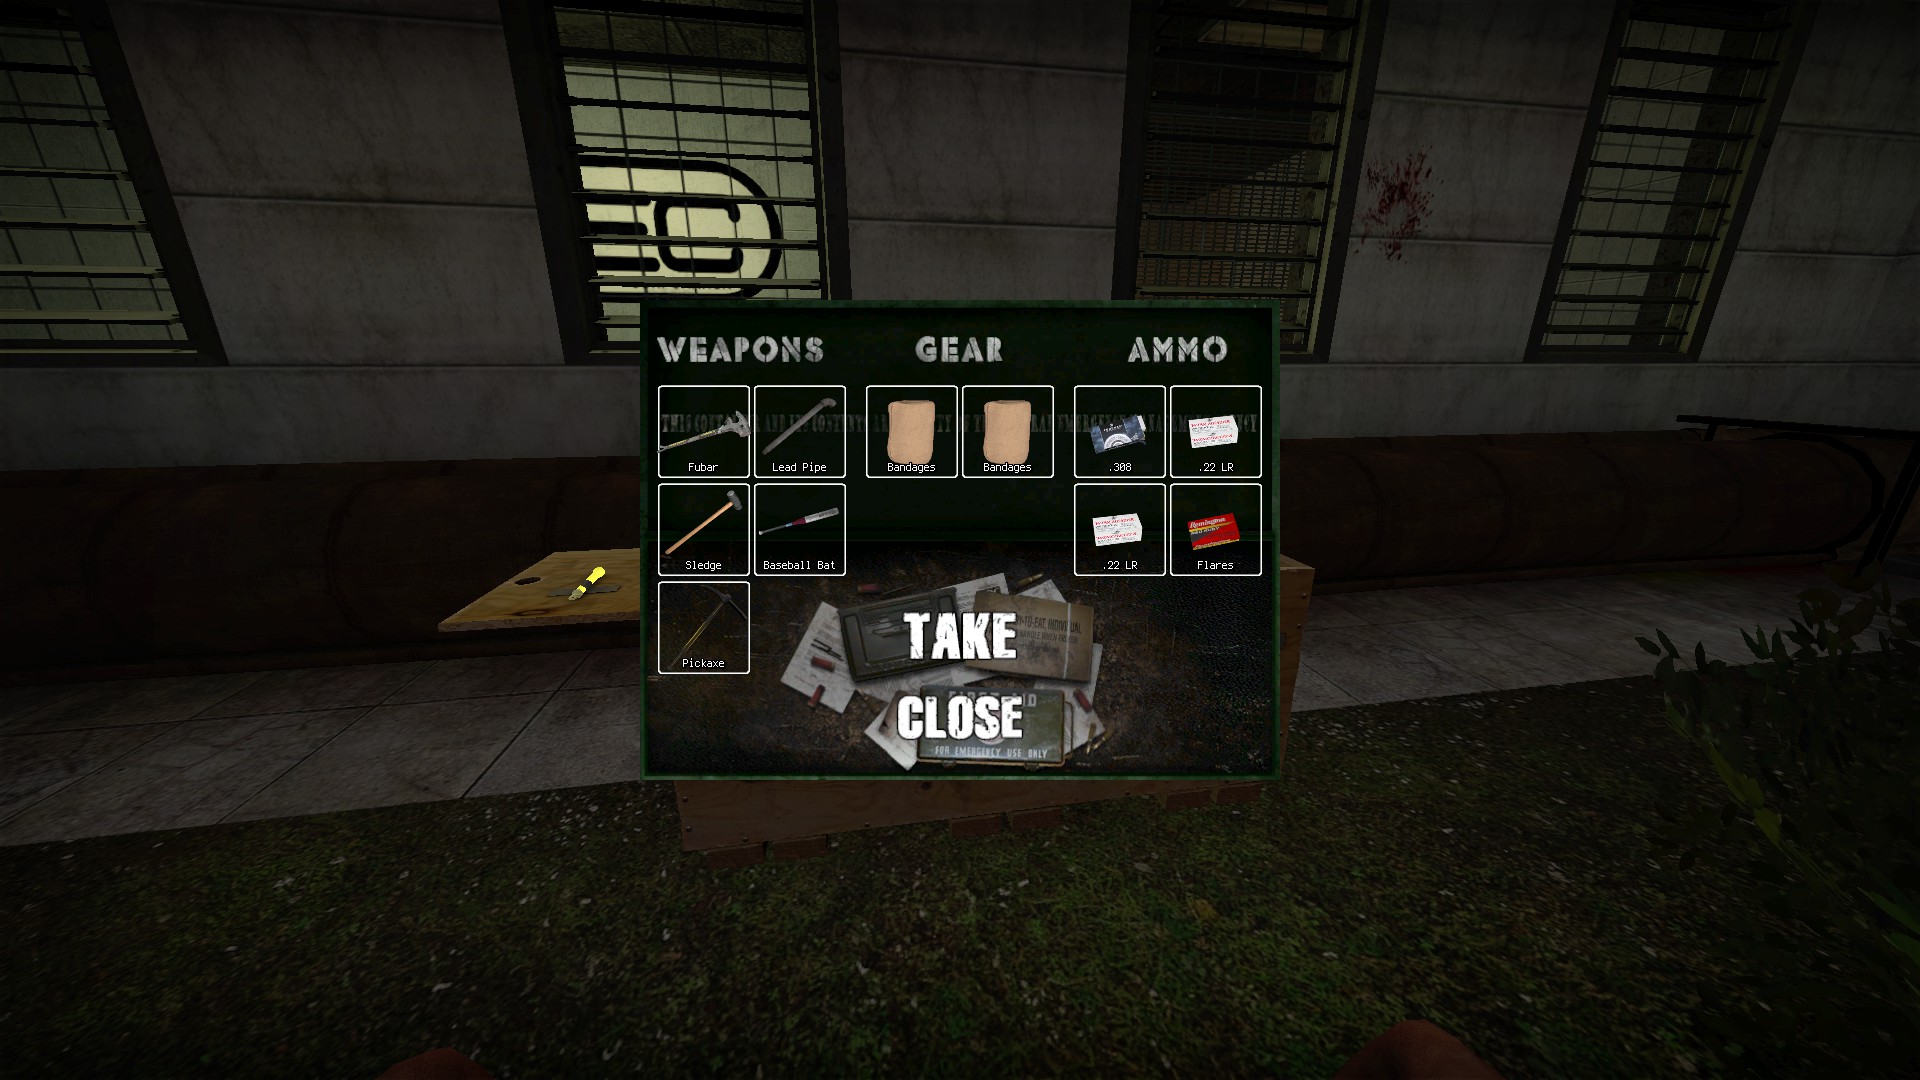
The box in the courtyard will be about half full with random supplies
There is also tnt between the pipes
If you press e on the question mark, the message "ew, this vent is sticky" will appear
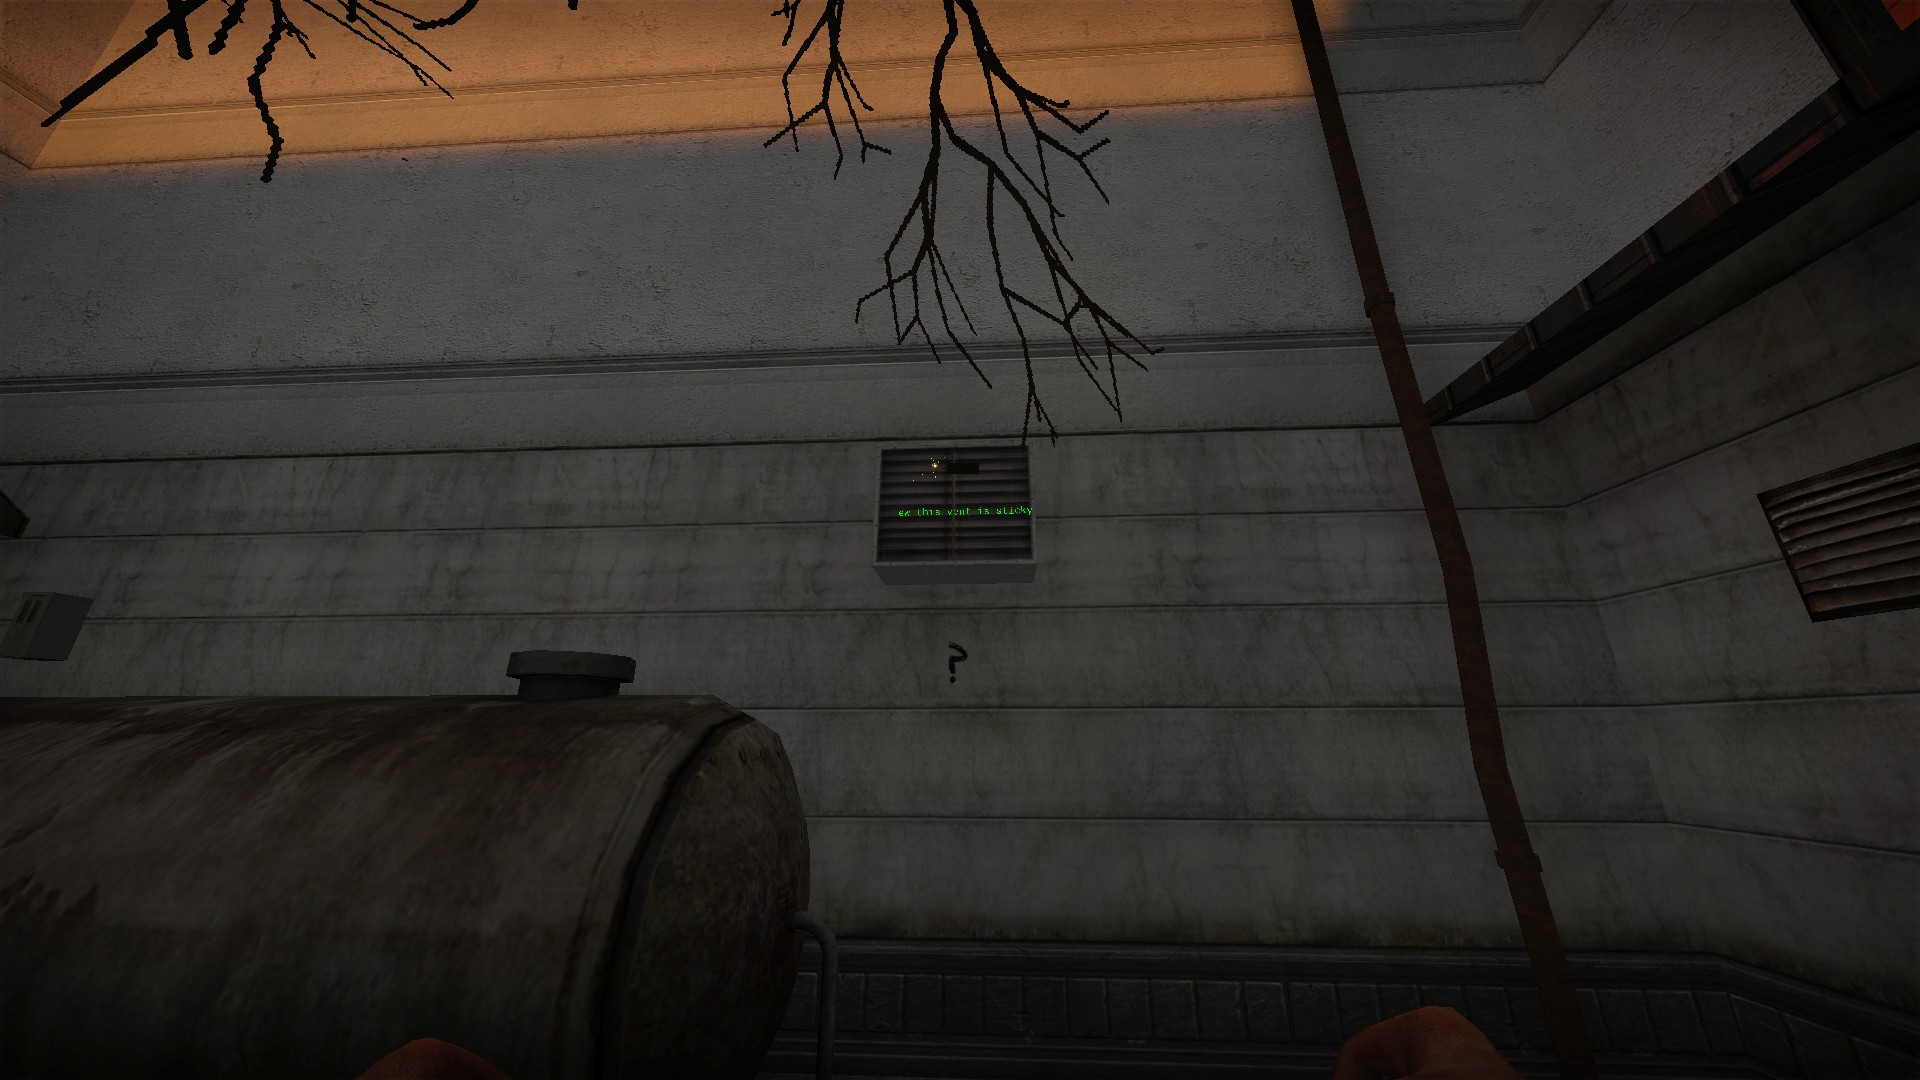
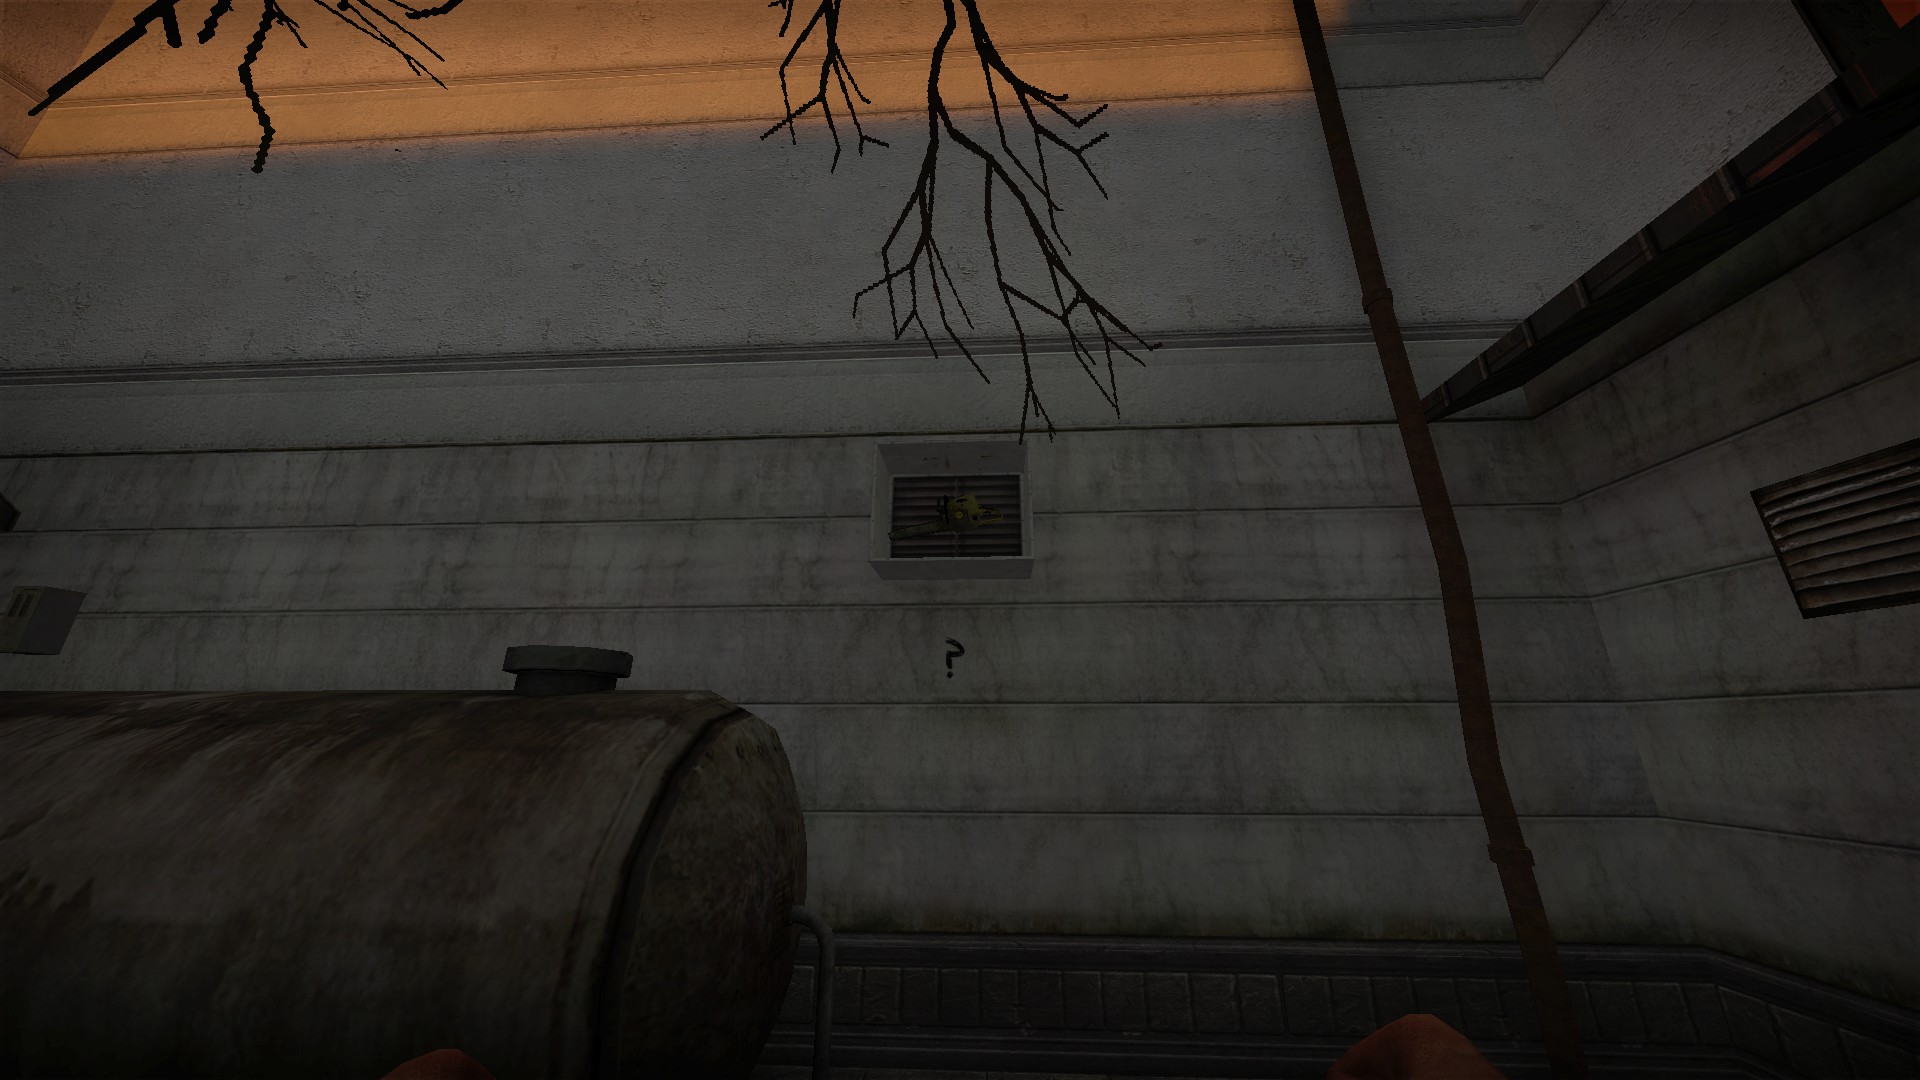
The vent can be opened by throwing the tnt onto the front of the vent. It will stick there and blow the vent open. Grenades will not work. A chainsaw is inside
Machete
Near a light in the ceiling of the cubicles area. Jump up or climb on top of the cart to get it
Keep an eye out for this item as it will make your escape much easier
1 - On a table in the storeroom just behind the entrance lobby desk
2 - On the shelf with the fuse
3 - in the basement next to the ladder
4 - After using the ladder, weld the lock on the next ladder and go down
5 - On the shelf before you enter the vent
6 - On top of the toolbox just after leaving the security office
7 - In a locker in the lab
Medical lockers
Each has a medkit and one or more pills
1 - in the cafeteria kitchen
2 - in the security office next to the computer
3 - at the entrance to the lab
4 - in the rooftop armory
Arcade escape
Push the zombie slug game cabinet out of the way if you get trapped in the arcade
Weld in elevator shaft
Just after using the ladder in the basement, weld the grate in the elevator shaft. There will be a medkit, the toolbox will have more supplies, and there may be WD40 here
Cat in vent
When passing through the next vent, look left to see the cat and hear a short message. It's just an Easter egg
Giraffe
The giraffe is behind some pipes just after you drop down
Don't carry the giraffe through the whole map, leave him at the entrance to the helipad. Grab him again on the way to the helipad
Security office lockers
Open all the lockers in the security office for 2 police vests, several firearms, and ammo. Police vests must be equipped in inventory to be used. Hold 1 to open your inventory and press lmb on it to equip the vest. Police vests reduce damage taken by 1/2 up to a certain limit, and this limit can be extended by using more than one vest. Share the vests with your team, but equip both if solo
Courtyard 2 and sticky vent
Break the windows opposite the helipad entrance to access courtyard 2
The box in the courtyard will be about half full with random supplies
There is also tnt between the pipes
If you press e on the question mark, the message "ew, this vent is sticky" will appear
The vent can be opened by throwing the tnt onto the front of the vent. It will stick there and blow the vent open. Grenades will not work. A chainsaw is inside
Machete
Near a light in the ceiling of the cubicles area. Jump up or climb on top of the cart to get it
nmo_biotec_alt_v3 (continued)
Dragon key


1 - Inside the copy paper box in the meeting room above the lab


2 - On the shelf of the fountain in the atrium before the lab entrance. Stand on the side of the fountain and jump up to grab it
3 - On the first desk in the cubicles area
4 - In the box of copy paper in the middle of the cubicles area. You will only see the tiny red dragon, the key is under the paper
5 - On a desk at the lab entrance
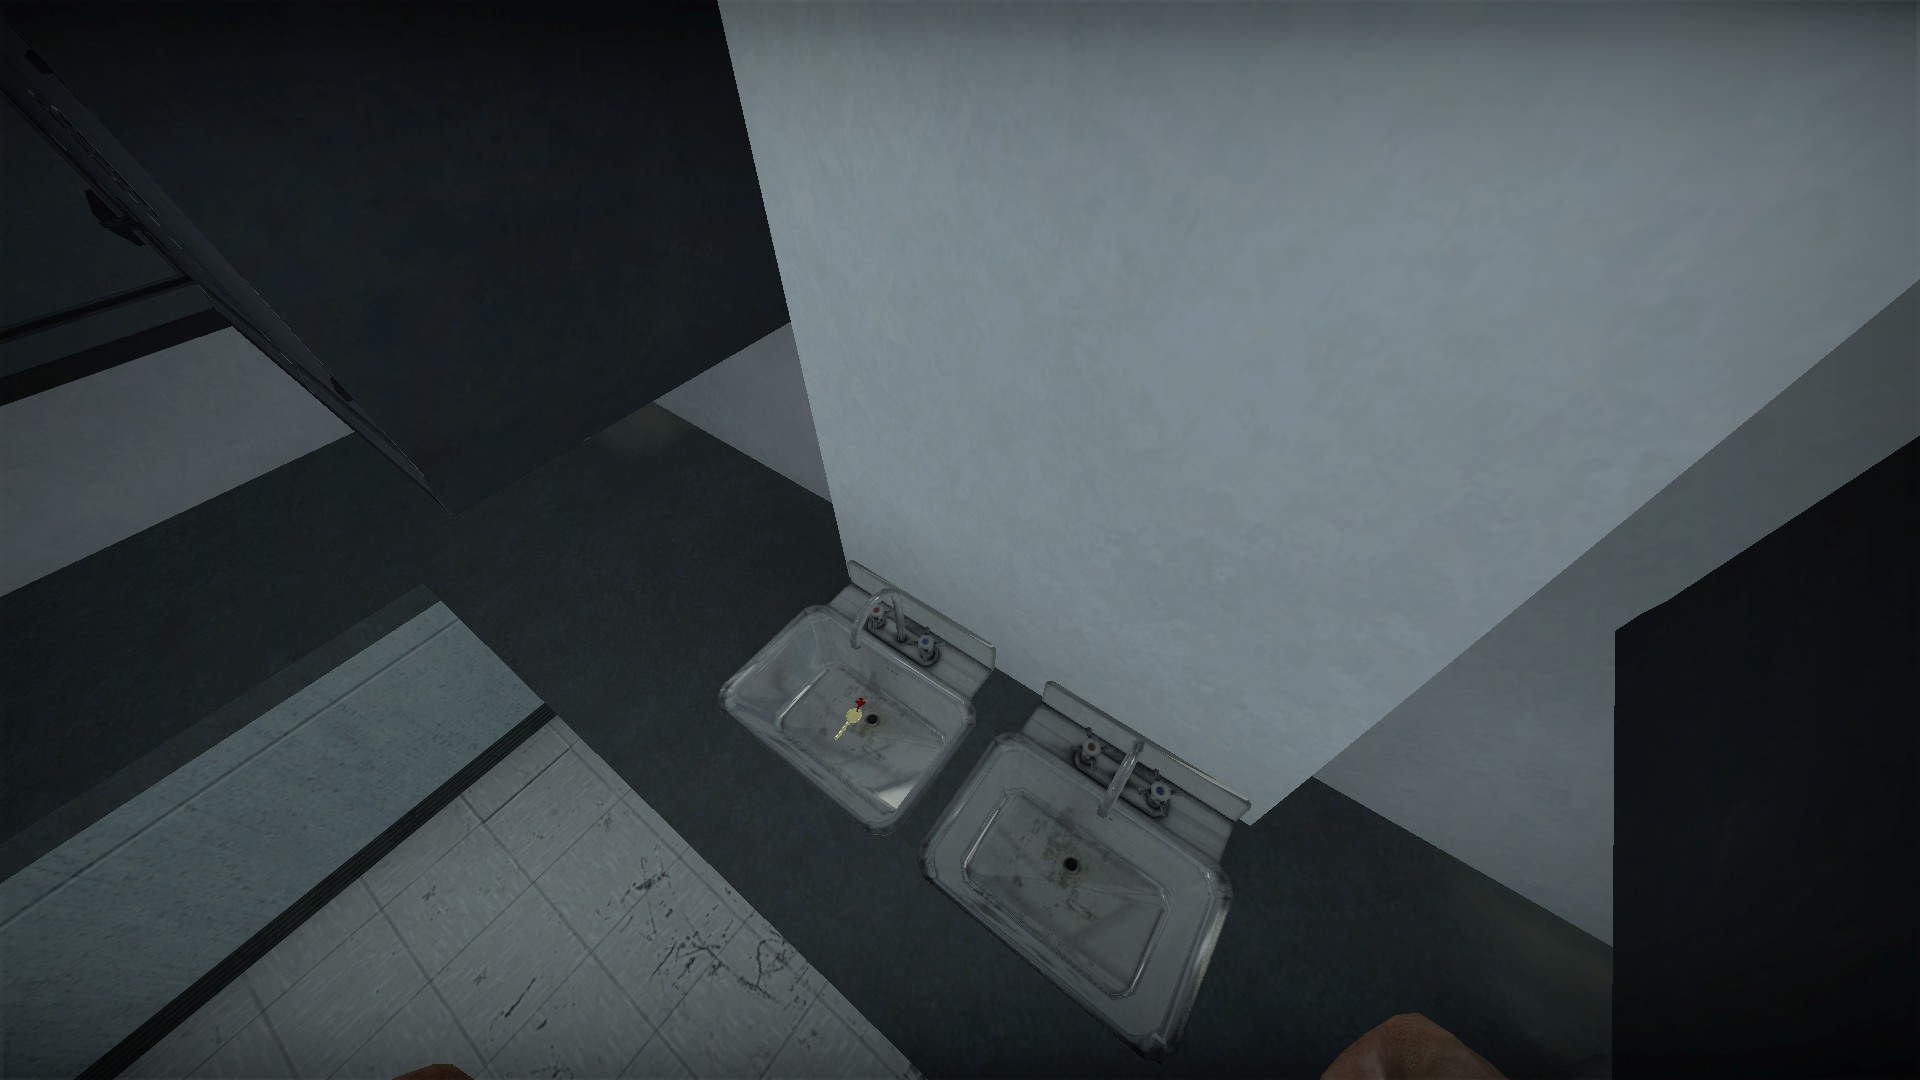
6 - In the lab. Inside the sink in the room with beds. Jump onto the counter to get it
Welsh dragon


Use the key to unlock the Welsh dragon in the laboratory locker area. Bring him with you
Respawn room above courtyard 2


You can only reach this room after you have brought the vaccine from the lab. Before that, the windows to the respawn room cannot be broken (it's not activated yet). After the vaccine has been recovered, the windows can be broken and the room can be raided


The room has melee weapons, a few firearms and a partially full weapon bag

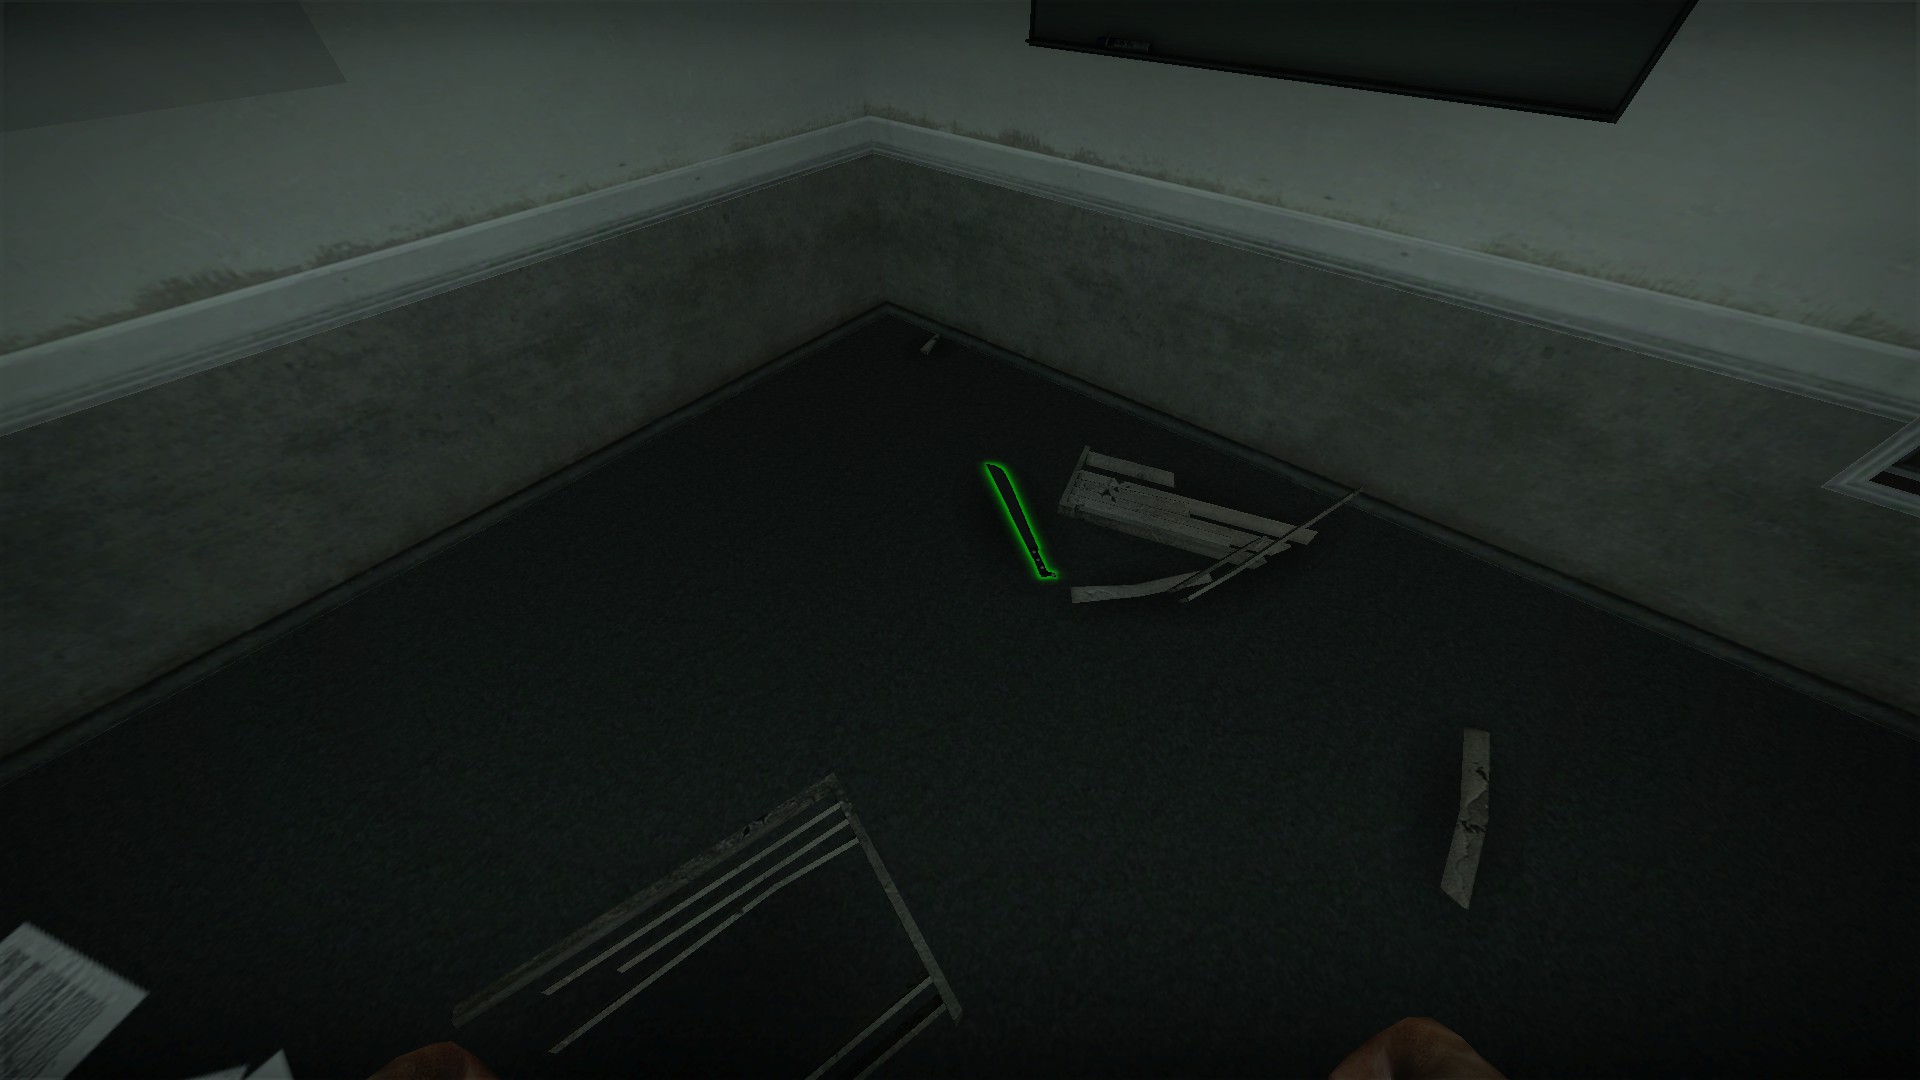
Break the grate above for a machete
Using the WD40


Use the WD40 on the valve on the roof to get it to turn faster. To use it, open your inventory when near the valve by holding 1, then press lmb on the WD40 in your inventory. You will hear a spraying sound and the inventory space around the canister will turn from red to empty. Press rmb on the canister to discard it once empty
Fire Canister


Bring the Welsh dragon to the helipad and place him on top of the red barrel to unlock the fire canister


The fire canister can be placed at either steel shutter door


Hold e on the canister to start the fire. It will burn for about a minute
Rooftop armory


Bring the giraffe up to the radio room and use it to unlock the armory


The armory has 2 more police vests, a half full weapon bag, a medical locker, and other supplies
Holdout

If you're solo or with a small team, you can just defend the radio room/armory until these doors in front of it shut. When these doors have shut the 2 steel shutters to the roof area have also shut. You can then take your time with blocking the last 2 entrances to the heliport
Giraffe and dragon escape

If the giraffe and the dragon have been placed, they will automatically be loaded onto the helicopter and will escape with you
1 - Inside the copy paper box in the meeting room above the lab
2 - On the shelf of the fountain in the atrium before the lab entrance. Stand on the side of the fountain and jump up to grab it
3 - On the first desk in the cubicles area
4 - In the box of copy paper in the middle of the cubicles area. You will only see the tiny red dragon, the key is under the paper
5 - On a desk at the lab entrance
6 - In the lab. Inside the sink in the room with beds. Jump onto the counter to get it
Welsh dragon
Use the key to unlock the Welsh dragon in the laboratory locker area. Bring him with you
Respawn room above courtyard 2
You can only reach this room after you have brought the vaccine from the lab. Before that, the windows to the respawn room cannot be broken (it's not activated yet). After the vaccine has been recovered, the windows can be broken and the room can be raided
The room has melee weapons, a few firearms and a partially full weapon bag
Break the grate above for a machete
Using the WD40
Use the WD40 on the valve on the roof to get it to turn faster. To use it, open your inventory when near the valve by holding 1, then press lmb on the WD40 in your inventory. You will hear a spraying sound and the inventory space around the canister will turn from red to empty. Press rmb on the canister to discard it once empty
Fire Canister
Bring the Welsh dragon to the helipad and place him on top of the red barrel to unlock the fire canister
The fire canister can be placed at either steel shutter door
Hold e on the canister to start the fire. It will burn for about a minute
Rooftop armory
Bring the giraffe up to the radio room and use it to unlock the armory
The armory has 2 more police vests, a half full weapon bag, a medical locker, and other supplies
Holdout
If you're solo or with a small team, you can just defend the radio room/armory until these doors in front of it shut. When these doors have shut the 2 steel shutters to the roof area have also shut. You can then take your time with blocking the last 2 entrances to the heliport
Giraffe and dragon escape
If the giraffe and the dragon have been placed, they will automatically be loaded onto the helicopter and will escape with you
nmo_blizzard
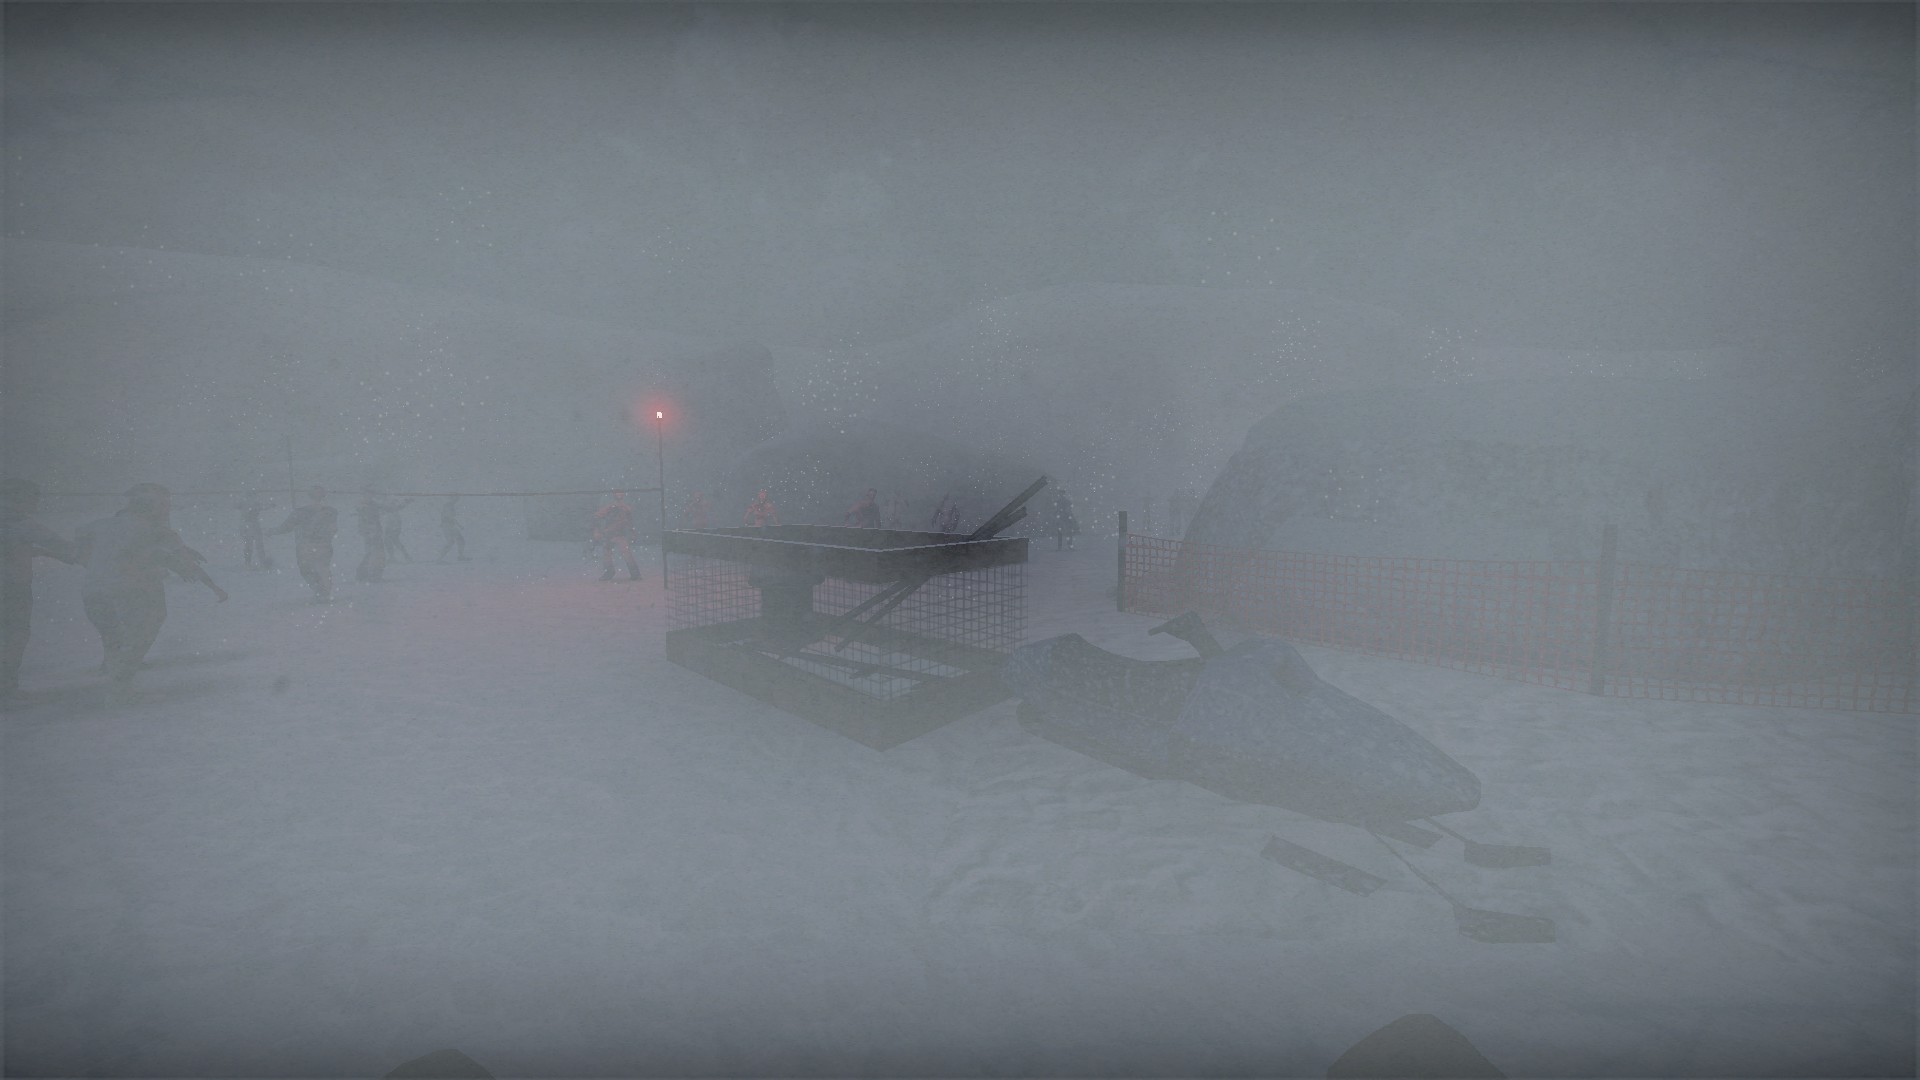
When you reach the first snowmobile, search the rocks to the right to find another snowmobile behind them. A box near that snowmobile has a shotgun and shells


Break the board to open the fence near the crane for a stash of supplies in the container
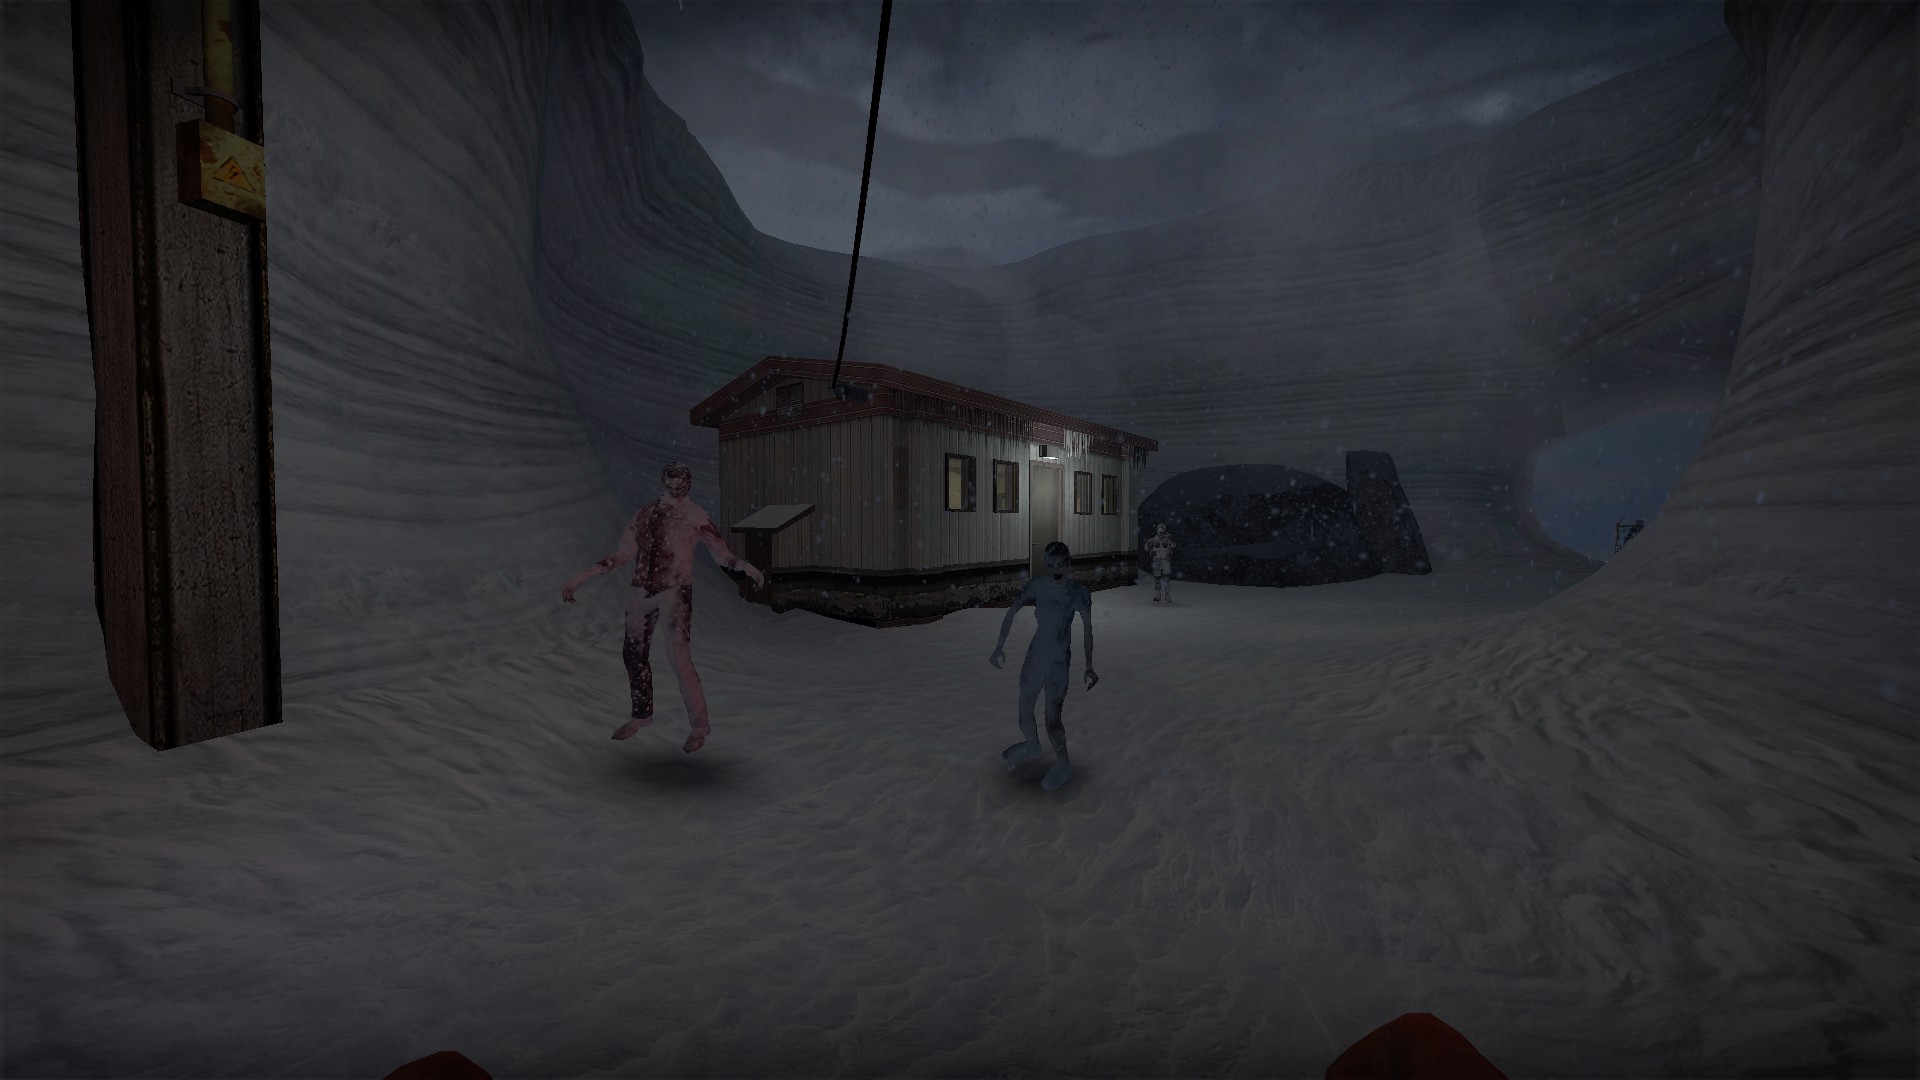
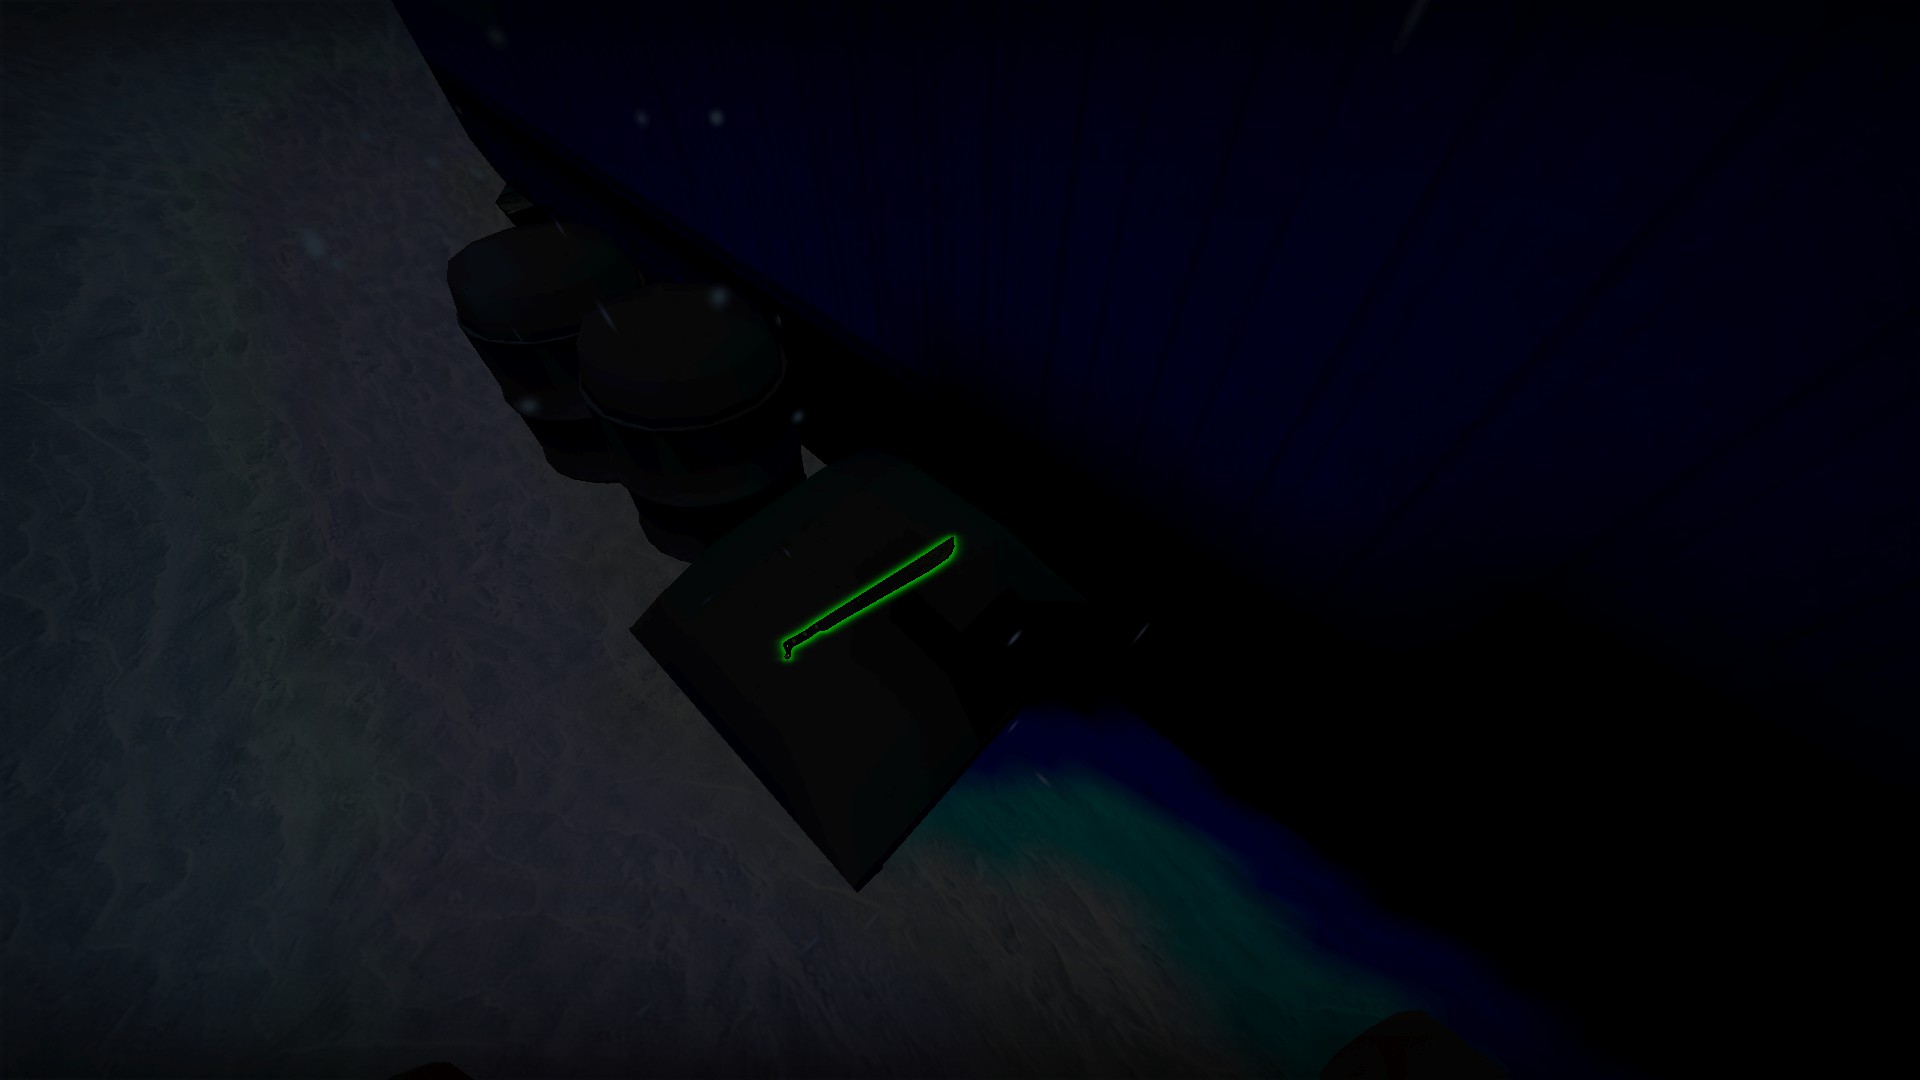
Just after the crane, search behind the shack for a melee weapon. There is a fair chance that it is a machete


Break the grate behind the generator for a stash of supplies


There is a molotov behind Opa's grave (a character mentioned in an Easter egg on nmo_extra)
nmo_blocktown_night_v1


At the Baltic cafe, use the watermelon to unlock the nearby door then open it


Crouch under the shutter to an area with friendly soldiers and 3 accessible buildings with 2 weapon boxes, machetes, and med items
nmo_bluevelvet_v3

You can break the vent here

Stack the nearby boxes to get up and take the molotov

There is a picture here too
nmo_boardwalk


If you get the path behind the stores, you can break the wall for an item stash. Credit to Belgrieve for this


If you get the path through the stores, you can use my advanced trick to get the boards off the hammers in the hardware store. Equip a barricade hammer, hold 1 for inventory and press e to unload the board, then press rmb on the hammer in your inventory to drop it. You should keep the board but drop the hammer. This does not work if you try to press u then g


If you get the turret path instead of the under the boardwalk path, there are 3 boxes of ammo for the .50 caliber turret. One is by the Humvee, another is behind the turret and the third is on a table nearby. Use one in the turret and feel free to use 2. You can bring the extras to the other turret at the map's end


There are 2 Chainsaws near the bar

You will need the Fire Extinguisher in the bar for a later secret


You can also climb up the ladder and cross the planks above to a shotgun

Hold e to open the locker and get the blue key


Before using the blue key on the red door, backtrack with the key through the bar past the pool table and down the stairs where you can use it to open the do not drink Phil Collins room


In the radio holdout room, jump up and punch the plank to break it for an Sks. Credit to Belgrieve for this

Hold e to open the weapon locker here

And board up before starting the event

There is a hammer and 3 boards here, but if you used my trick in the hardware store you can board up all 3 doorways and have 4 extra boards as replacements

There is another weapon locker before placing the dynamite

And another just behind where the dynamite blows up

And another before the welder


Just past the first welder is a dark passage that leads to a room with many supplies and a .50 caliber that can be carried

Near where you find the welder, use it on the leaked oil from this lantern

This will cause an explosion that you can now put out with the Extinguisher

Then you can access the room behind that has a gene and medkit. Credit to Belgrieve for this

After using the gas can, there is a final locker just in front of the turret

Where the carryable .50 caliber can be placed

If you brought along the extra ammo from earlier, you may have quite a lot for the turret
nmo_boatescape999_v5_8
14 endings
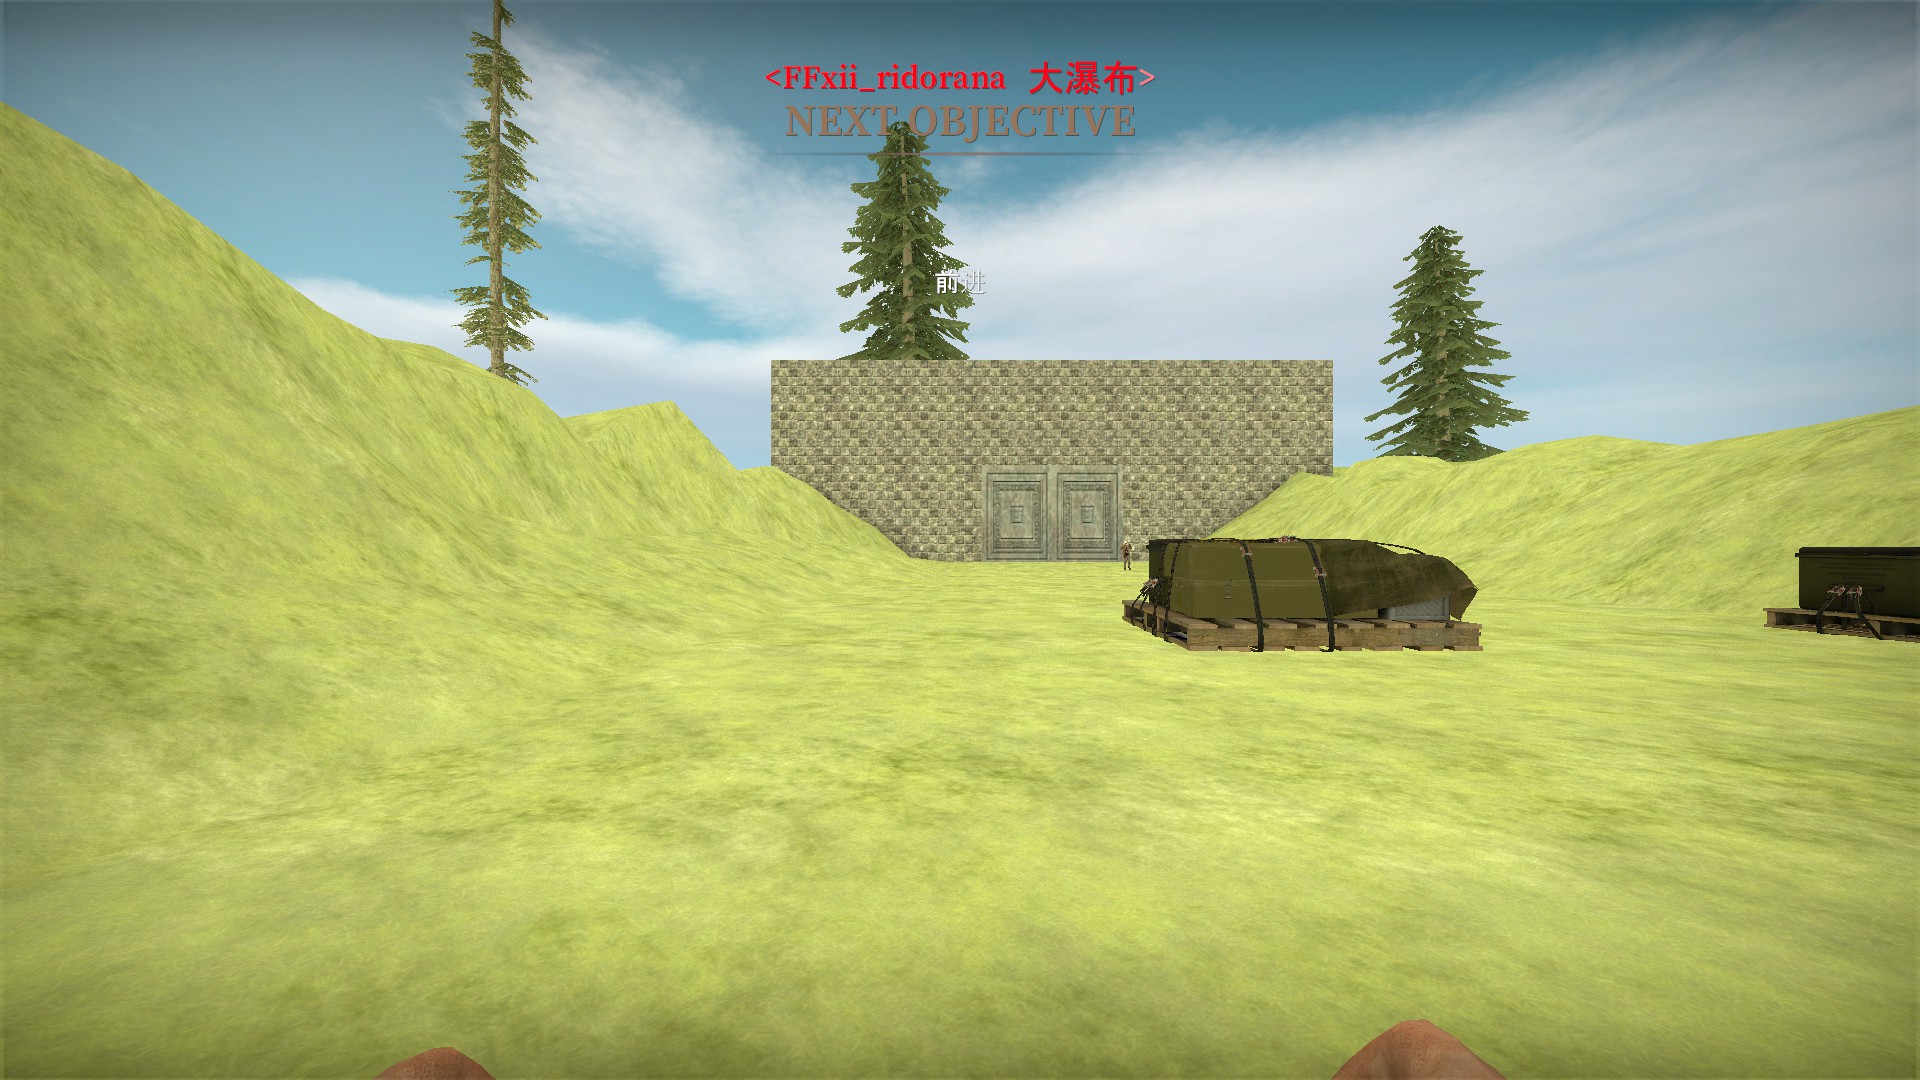
This short map has 14 different endings. The red text at the start will let you know what ending you will receive. There are 7 boss fight endings (ff/laser) - chaos, gabranth, genesis, 3 sephiroth versions, and zodiark. And there are 7 survival endings - Danmaku, Hsc, Project Codex, R_W_B, Rien, Super Run, and Tilex Laser. The Tilex Laser ending takes place at the same area as the boss fights. The other survival events have their own areas. The Super Run event will start automatically
Bahamut
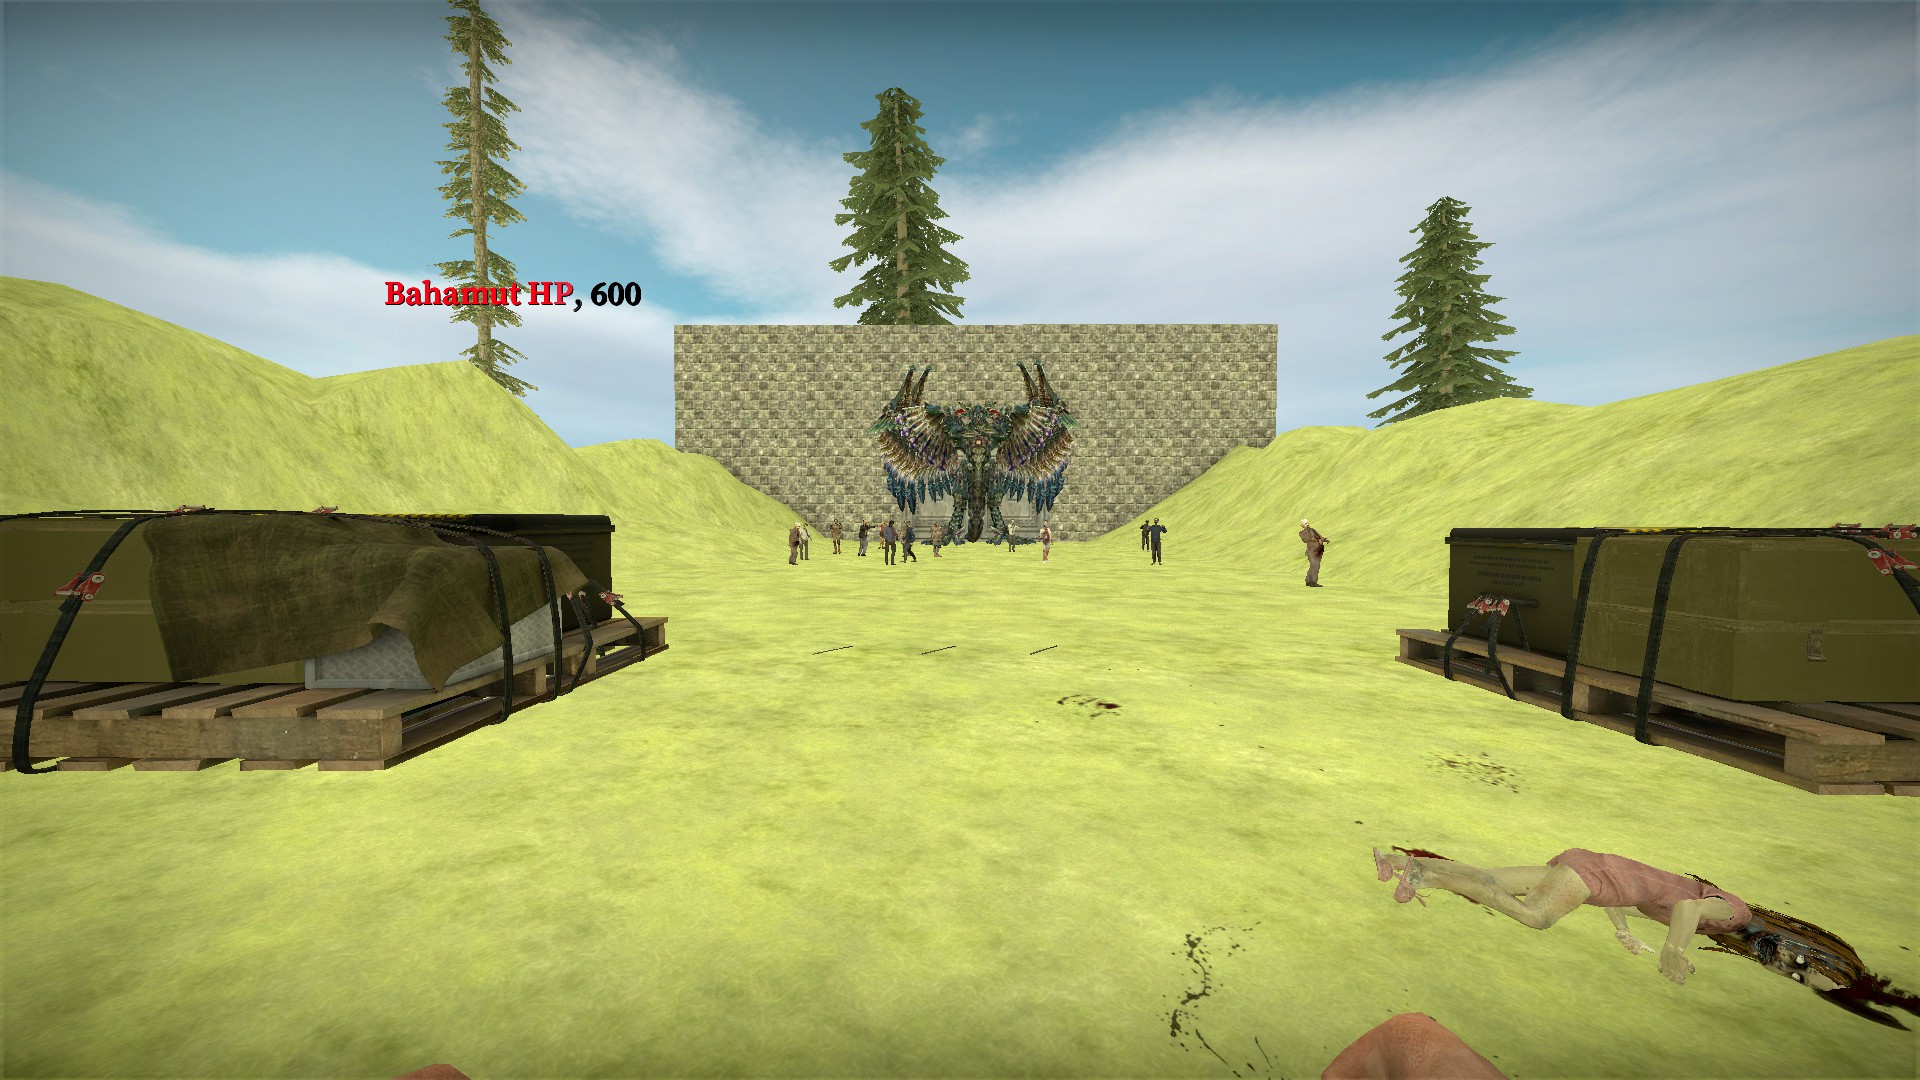
The first door on this map may be blocked by the mini-boss Bahamut. He appears randomly and has 600hp
Developer area
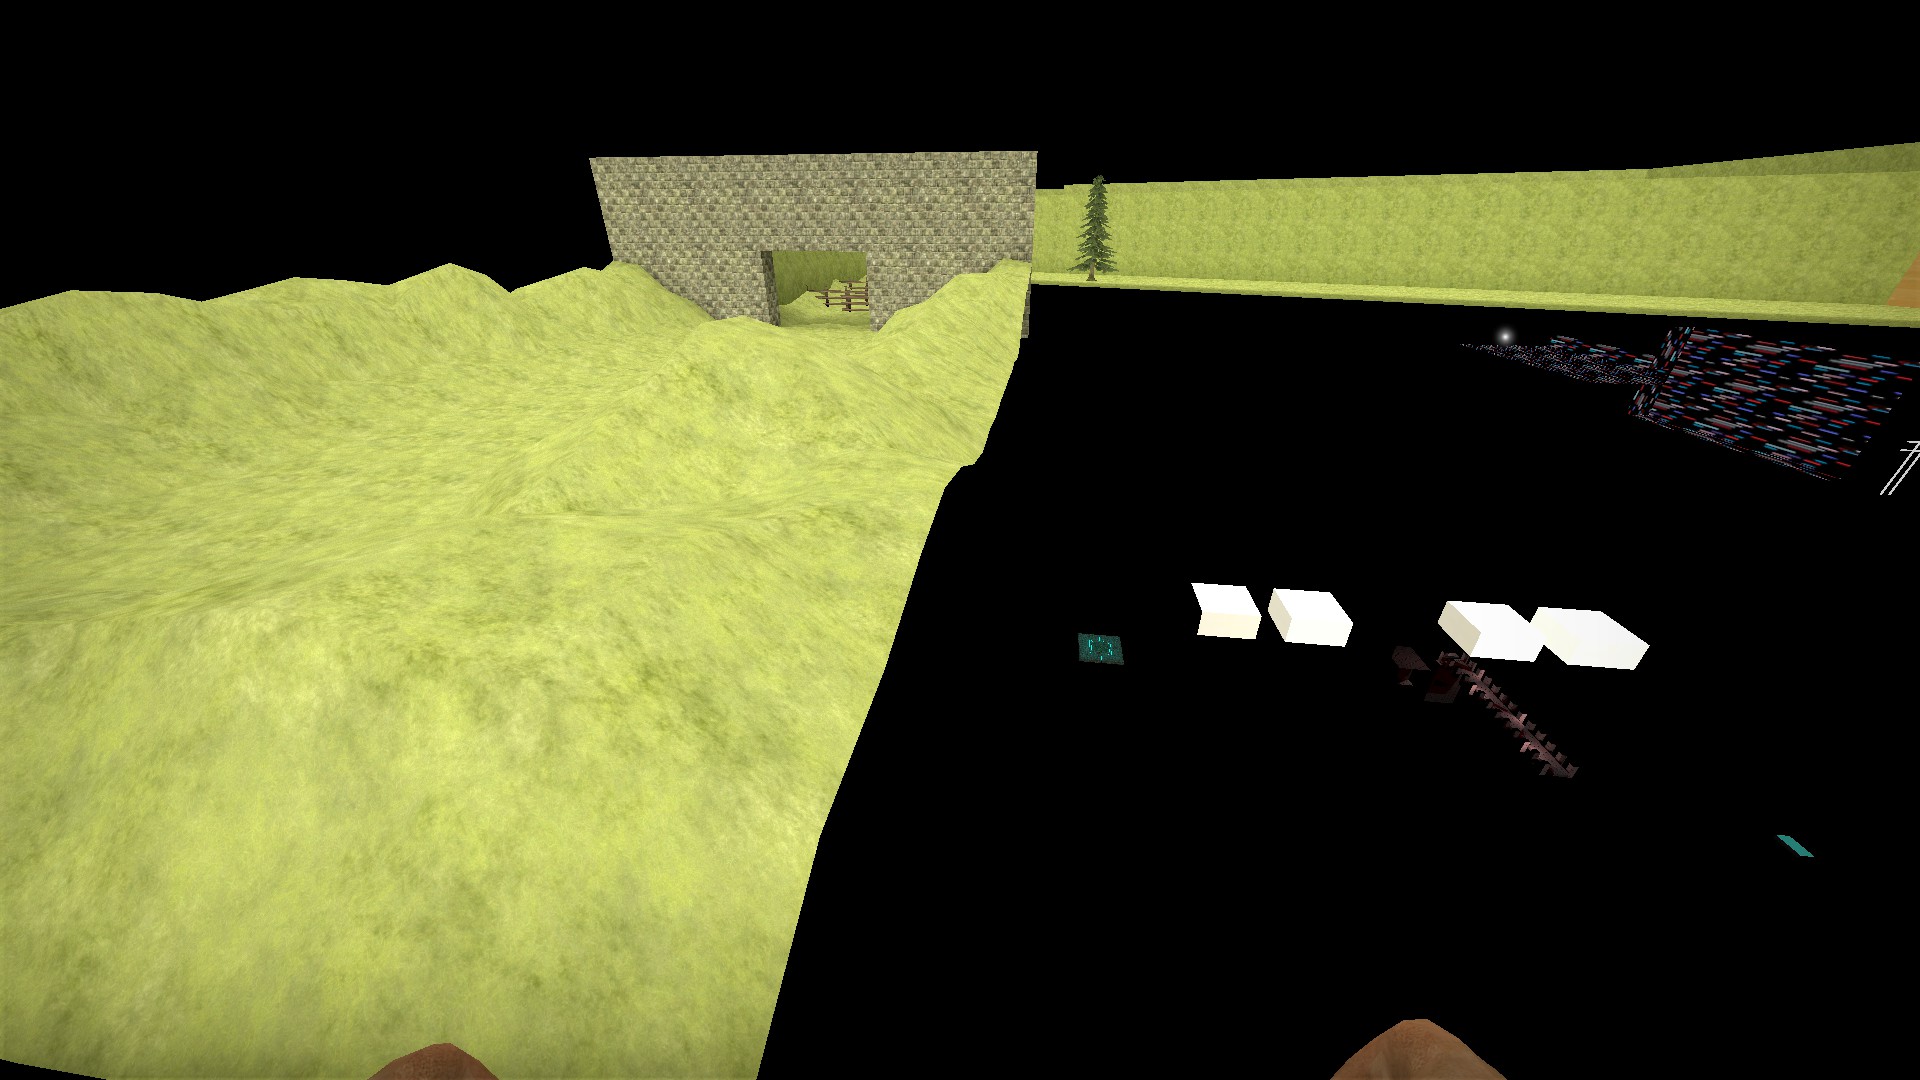
Just to the right of the starting area. You will need to noclip here
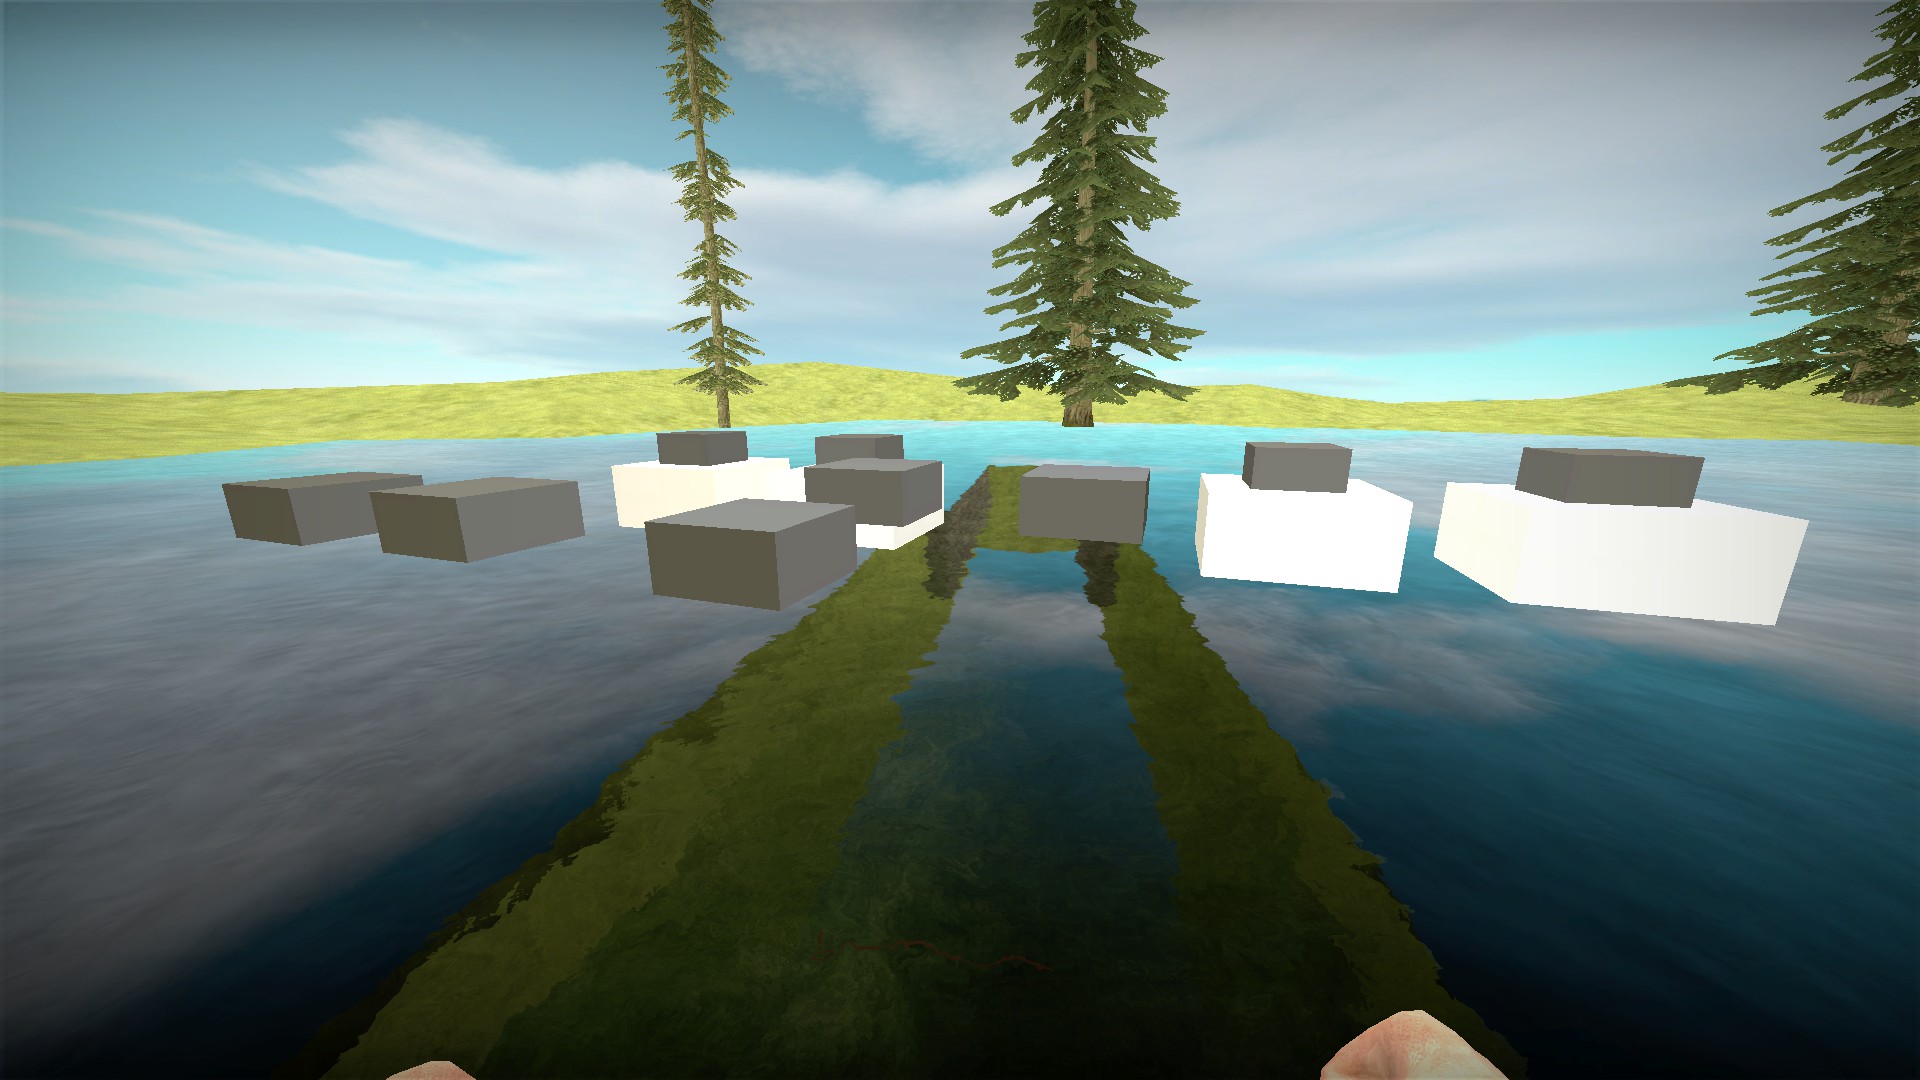
This area has nine buttons
The five buttons not on a white stand will take you directly to the survival endings (left to right) Hsc, Danmaku, R_W_B (top), Rien (bottom), and Project Codex
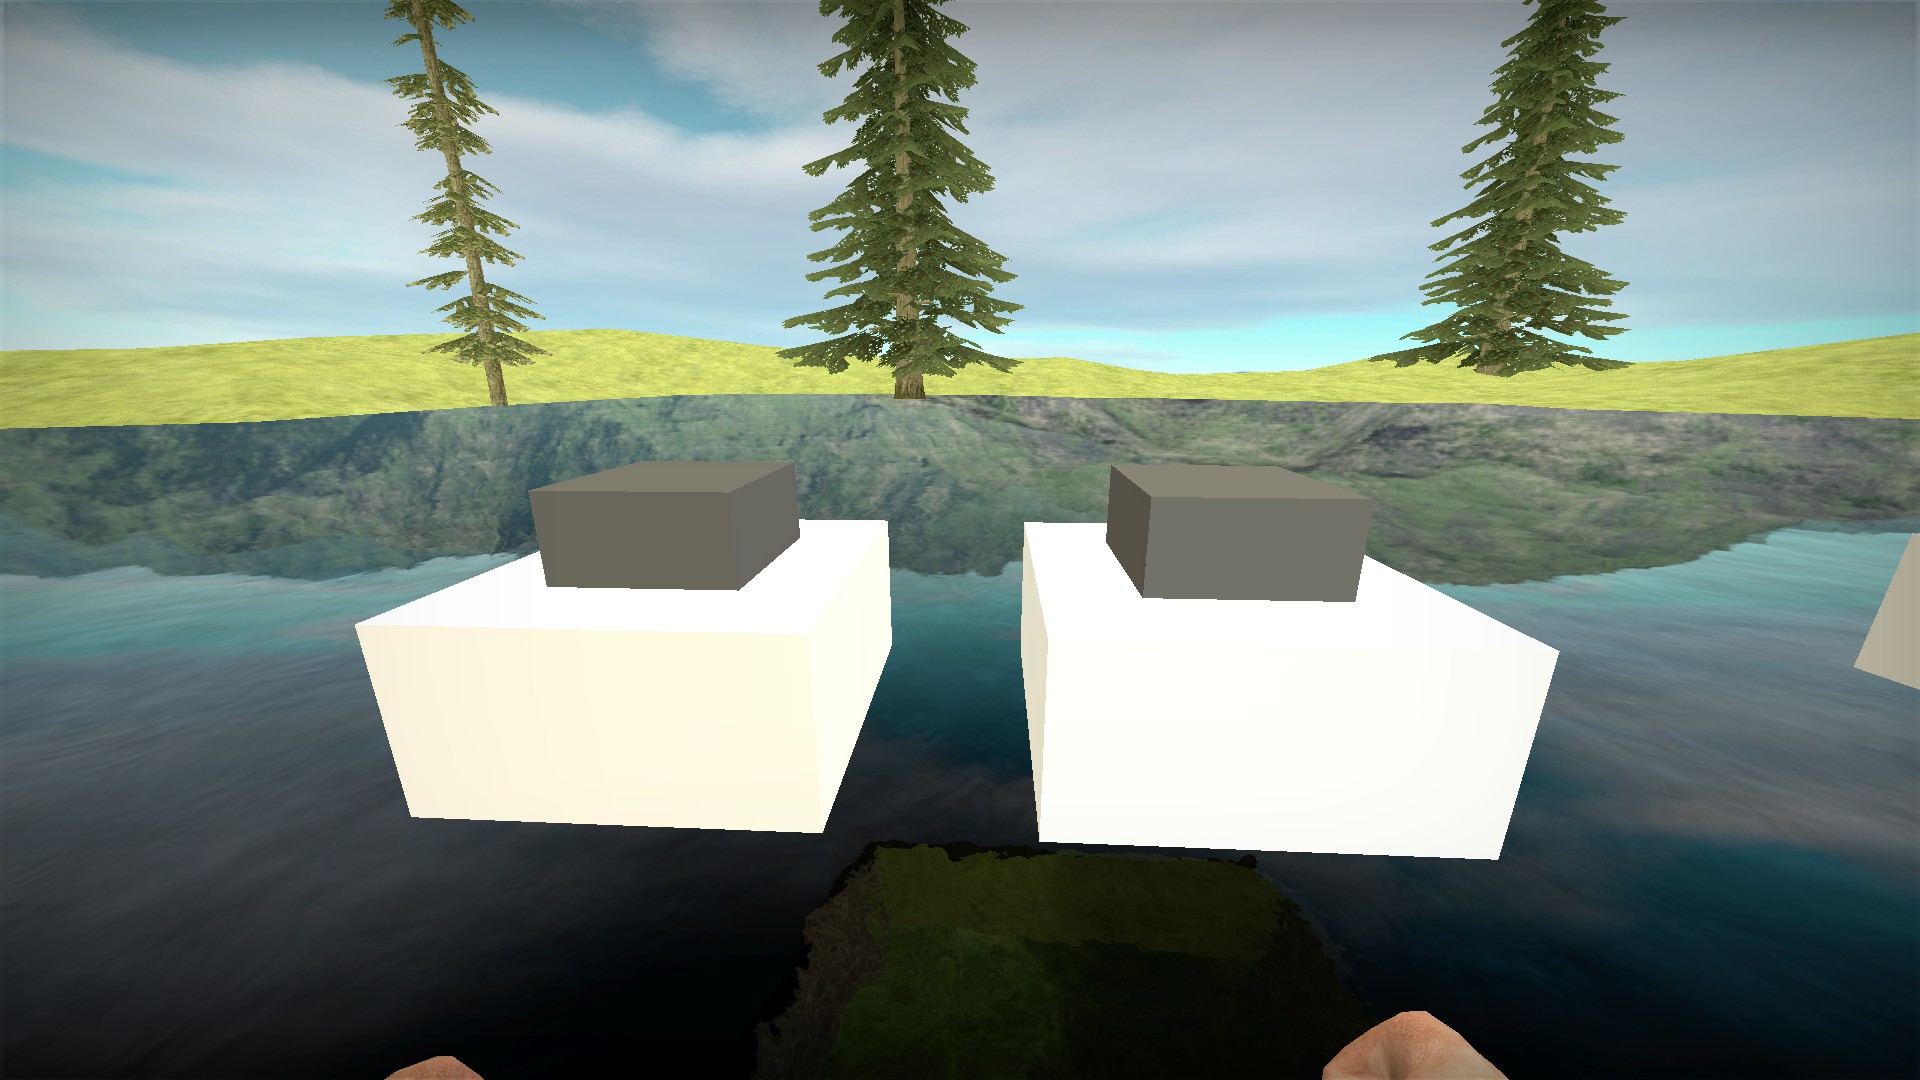
Behind these buttons are 4 more on white stands. The 2 buttons on the left: pressing the button on the left will choose a random survival event to replace your current ending. Pressing the button on the right will start the Super Run event
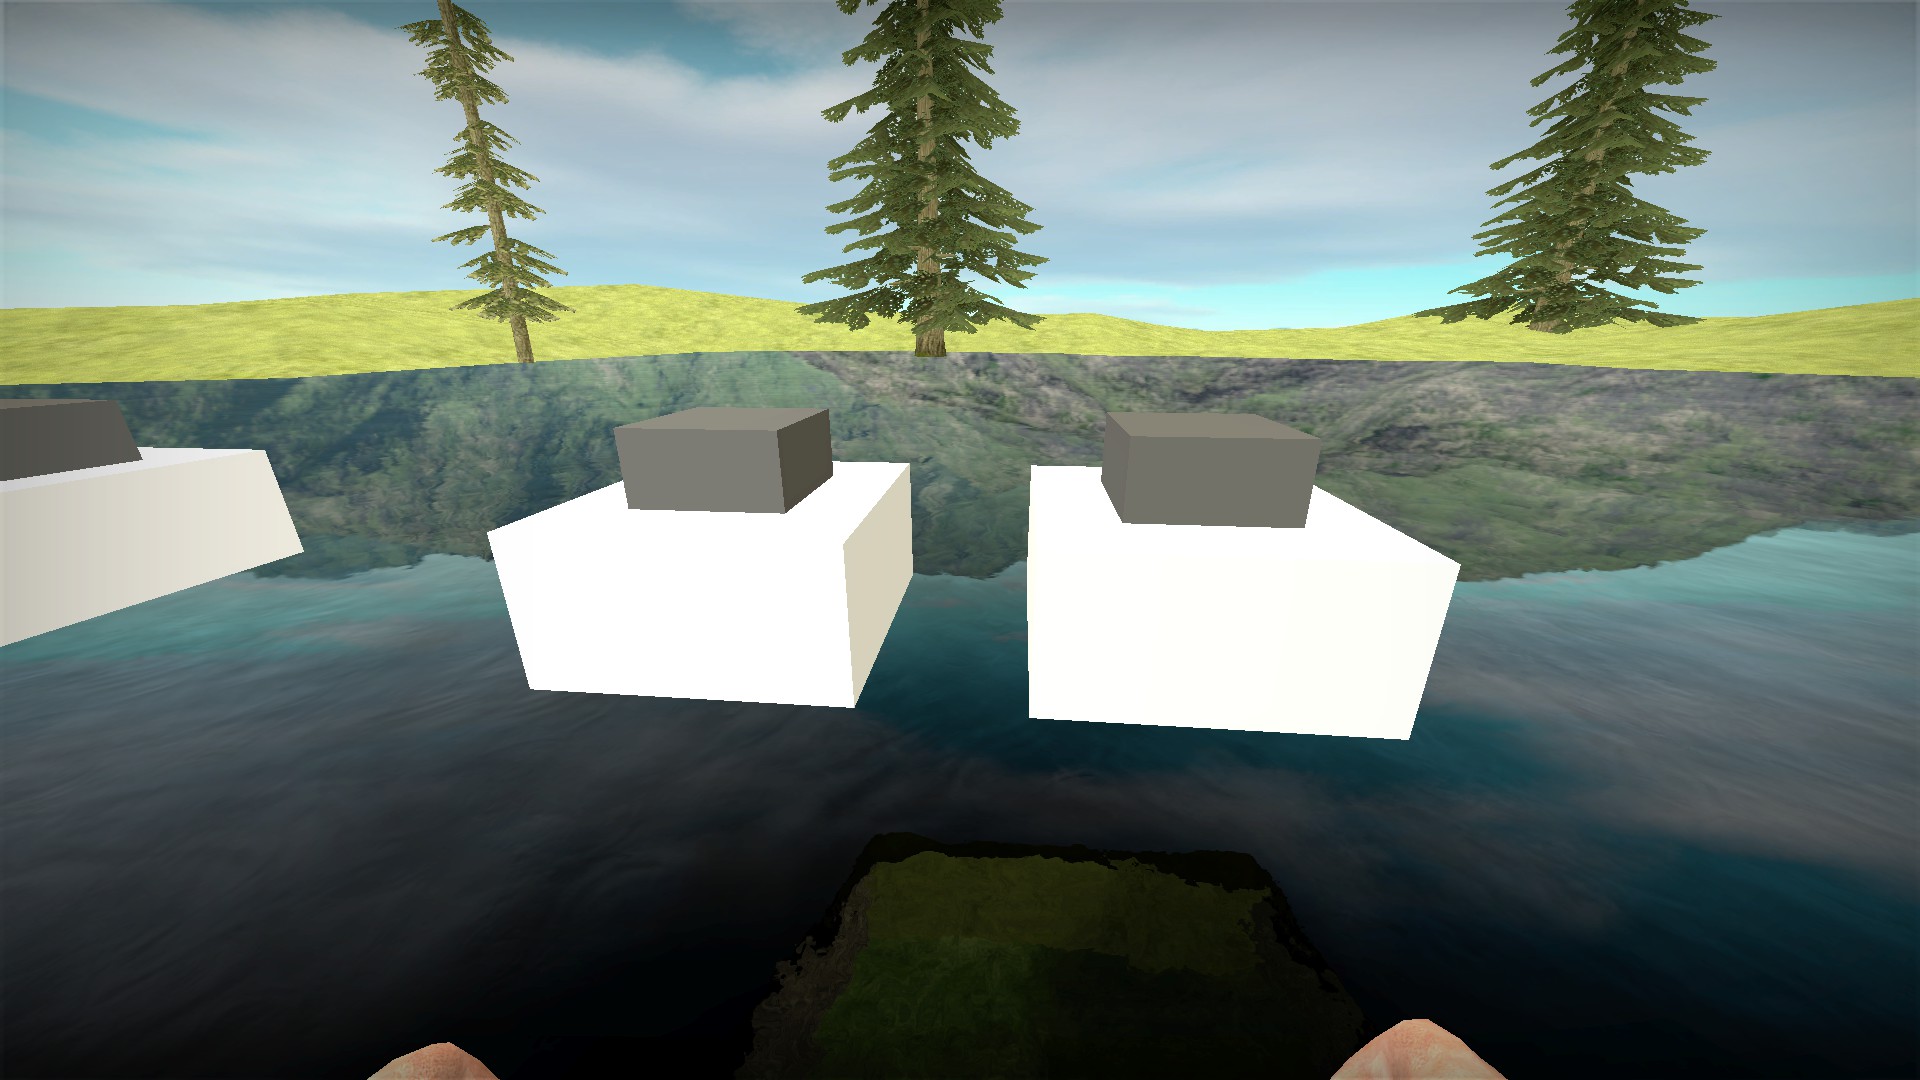
There are 2 more buttons on white stands on the right
Pressing the button on the left will take you directly to the area before the boss fights. You can use this button to shortcut the map to your ending. If you selected a random survival event with the left side button in the other set, you will be taken to that event after pressing this button
Finally, pressing the button all the way on the right will summon a 500hp Bahamut
This short map has 14 different endings. The red text at the start will let you know what ending you will receive. There are 7 boss fight endings (ff/laser) - chaos, gabranth, genesis, 3 sephiroth versions, and zodiark. And there are 7 survival endings - Danmaku, Hsc, Project Codex, R_W_B, Rien, Super Run, and Tilex Laser. The Tilex Laser ending takes place at the same area as the boss fights. The other survival events have their own areas. The Super Run event will start automatically
Bahamut
The first door on this map may be blocked by the mini-boss Bahamut. He appears randomly and has 600hp
Developer area
Just to the right of the starting area. You will need to noclip here
This area has nine buttons
The five buttons not on a white stand will take you directly to the survival endings (left to right) Hsc, Danmaku, R_W_B (top), Rien (bottom), and Project Codex
Behind these buttons are 4 more on white stands. The 2 buttons on the left: pressing the button on the left will choose a random survival event to replace your current ending. Pressing the button on the right will start the Super Run event
There are 2 more buttons on white stands on the right
Pressing the button on the left will take you directly to the area before the boss fights. You can use this button to shortcut the map to your ending. If you selected a random survival event with the left side button in the other set, you will be taken to that event after pressing this button
Finally, pressing the button all the way on the right will summon a 500hp Bahamut
nmo_boowalk_2018
Boowalk is a Halloween re-skin of a previous version of the official boardwalk map. It has some of that map's secrets and a few of its own
Patched hole secret stash


If you get the alley path, break open the patched hole in the wall for a stash of supplies
Do not drink Phil Collins room

Get the blue key from the coffin in the courtyard after the bar


Before using the key in the objective, bring it back through the bar to the passage and it will open the locked door there

This room is inverted in boowalk
Hidden weapons in bar rafters


Climb up the tables and break the board or climb the stacked chairs (careful the top one will fall) to reach the rafters for a sledgehammer and possible firearm/ammo
Coffins on bridge

There are 3 coffins on the bridge that can be opened for supplies. They replace the weapon lockers. Just hold e to open. There is one after the party house

Another is available after using the tnt

And the last one is in the final area after using the fuel
Fright events


These are random events, such as the phone ringing, the TV coming on, screams, or a banging at a nearby door
Blood Bank fright event


In the official boardwalk map, this is a secret area opened by using the welder and extinguisher. In boowalk, this area is a random fright event. It will open by itself (rarely) - the lantern will spark as you come around the corner creating an explosion that will open the Blood Bank. You will usually get this fright event if you get the one with the TV coming on in the bar rafters. If you don't get this fright event, you cannot open this area


There is a medkit and shot inside the Blood Bank. This is the only fright event that has a reward
Patched hole secret stash
If you get the alley path, break open the patched hole in the wall for a stash of supplies
Do not drink Phil Collins room
Get the blue key from the coffin in the courtyard after the bar
Before using the key in the objective, bring it back through the bar to the passage and it will open the locked door there
This room is inverted in boowalk
Hidden weapons in bar rafters
Climb up the tables and break the board or climb the stacked chairs (careful the top one will fall) to reach the rafters for a sledgehammer and possible firearm/ammo
Coffins on bridge
There are 3 coffins on the bridge that can be opened for supplies. They replace the weapon lockers. Just hold e to open. There is one after the party house
Another is available after using the tnt
And the last one is in the final area after using the fuel
Fright events
These are random events, such as the phone ringing, the TV coming on, screams, or a banging at a nearby door
Blood Bank fright event
In the official boardwalk map, this is a secret area opened by using the welder and extinguisher. In boowalk, this area is a random fright event. It will open by itself (rarely) - the lantern will spark as you come around the corner creating an explosion that will open the Blood Bank. You will usually get this fright event if you get the one with the TV coming on in the bar rafters. If you don't get this fright event, you cannot open this area
There is a medkit and shot inside the Blood Bank. This is the only fright event that has a reward
nmo_boowalk_2018 (continued)
Gargoyles alternate extraction

There are 5 gargoyles that can be shot and one that cannot. Killing one will play a sound effect.
There is always a maglite in the kitchen of the bar that can make them easier to see

The first gargoyle is just above the .357 wall secret at the start


It is easy to shoot from the alley path but tough from the storefront path

The second gargoyle is on top of the chimney of the bar

It can be shot from the courtyard where you get the blue key

The third gargoyle is hard to see, it is on top of a bus that is visible behind the horde after the party has started

Clear the horde to make this long shot

The fourth gargoyle is off shore on top of a pile of rocks near the graveyard


The fifth gargoyle is on top of the bus in the water near the extraction


Each gargoyle shot lights another candle to open the portal. Once all 5 have been killed, the portal just needs a sacrifice

There is a sixth gargoyle on the ship but it is purely decoration. Save your ammo, it cannot be hit

The sacrifice is the smiley face bucket in the pool table room. It is right next to a chainsaw


After using the fuel, bring the bucket to the circle and place it there


This will open the portal. Walk into the circle for the alternate extraction
There are 5 gargoyles that can be shot and one that cannot. Killing one will play a sound effect.
There is always a maglite in the kitchen of the bar that can make them easier to see
The first gargoyle is just above the .357 wall secret at the start
It is easy to shoot from the alley path but tough from the storefront path
The second gargoyle is on top of the chimney of the bar
It can be shot from the courtyard where you get the blue key
The third gargoyle is hard to see, it is on top of a bus that is visible behind the horde after the party has started
Clear the horde to make this long shot
The fourth gargoyle is off shore on top of a pile of rocks near the graveyard
The fifth gargoyle is on top of the bus in the water near the extraction
Each gargoyle shot lights another candle to open the portal. Once all 5 have been killed, the portal just needs a sacrifice
There is a sixth gargoyle on the ship but it is purely decoration. Save your ammo, it cannot be hit
The sacrifice is the smiley face bucket in the pool table room. It is right next to a chainsaw
After using the fuel, bring the bucket to the circle and place it there
This will open the portal. Walk into the circle for the alternate extraction
Links to other guides
nmo_abandonment_v1:
https://steamcommunity.com/sharedfiles/filedetails/?id=2155155335&searchtext=secret
Belgrieve's Map Secrets: Official NMO Maps
https://steamcommunity.com/sharedfiles/filedetails/?id=2167003980
nmo maps breakpoint_v2-c
https://steamcommunity.com/sharedfiles/filedetails/?id=3537669219
Follow this guide in-game by using the steam overlay (shift+tab), this and more tips here:
https://steamcommunity.com/sharedfiles/filedetails/?id=3294874237
https://steamcommunity.com/sharedfiles/filedetails/?id=2155155335&searchtext=secret
Belgrieve's Map Secrets: Official NMO Maps
https://steamcommunity.com/sharedfiles/filedetails/?id=2167003980
nmo maps breakpoint_v2-c
https://steamcommunity.com/sharedfiles/filedetails/?id=3537669219
Follow this guide in-game by using the steam overlay (shift+tab), this and more tips here:
https://steamcommunity.com/sharedfiles/filedetails/?id=3294874237
Thanks
Thank you to all map creators and their contributors!
Thank you to Porkchops4lunch, Kevin, and many others for hosting great modded servers!
Hope this guide brings some love to some old and new maps!
If you liked this guide, give it an upvote (thumbs up) above. Add it to your favorites and it's easier to find in the guides section
Found other secrets for these maps? Let me know in the comments and I'm happy to give credit
Thank you to Porkchops4lunch, Kevin, and many others for hosting great modded servers!
Hope this guide brings some love to some old and new maps!
If you liked this guide, give it an upvote (thumbs up) above. Add it to your favorites and it's easier to find in the guides section
Found other secrets for these maps? Let me know in the comments and I'm happy to give credit
More No More Room in Hell guides
- No More Room in Hell Official Manual★ 5 (2.8k)569k views2.1k ♥29 minUpdated Apr 22, 2019
- NMRiH Community Hosting Guides★ 5 (526)351k views653 ♥1 minUpdated Aug 10, 2022
- A Complete Guide to NMRiH (v1.14.2)★ 5 (996)253k views1.3k ♥280 minUpdated Jun 2
- How to play with friends★ 4 (187)69k views428 ♥2 minUpdated Jun 26, 2023
- How to Create a "Listen" Server★ 5 (453)41k views702 ♥4 minUpdated Sep 27, 2022
- Большое Руководство [RUS]★ 5 (650)22k views609 ♥27 minRussianUpdated May 9, 2016





This guide was created by its original author on the Steam Community. Are you the author and want it removed? Request removal.