Map Secrets Part 8: T-Z
Intro
To provide a single and complete guide of secrets, I have included all nmo maps from previous secrets guides, credited the original authors and linked their works. I have removed references to deleted guides
For better loading and scrolling, guide parts increased from 4 to 8. All guide parts have a links section that has the previous and/or next part
If you like this guide, give it an upvote (thumbs up) above. Add it your favorites and it's easier to find in the guides section
For better loading and scrolling, guide parts increased from 4 to 8. All guide parts have a links section that has the previous and/or next part
If you like this guide, give it an upvote (thumbs up) above. Add it your favorites and it's easier to find in the guides section
nmo_taiyuancity
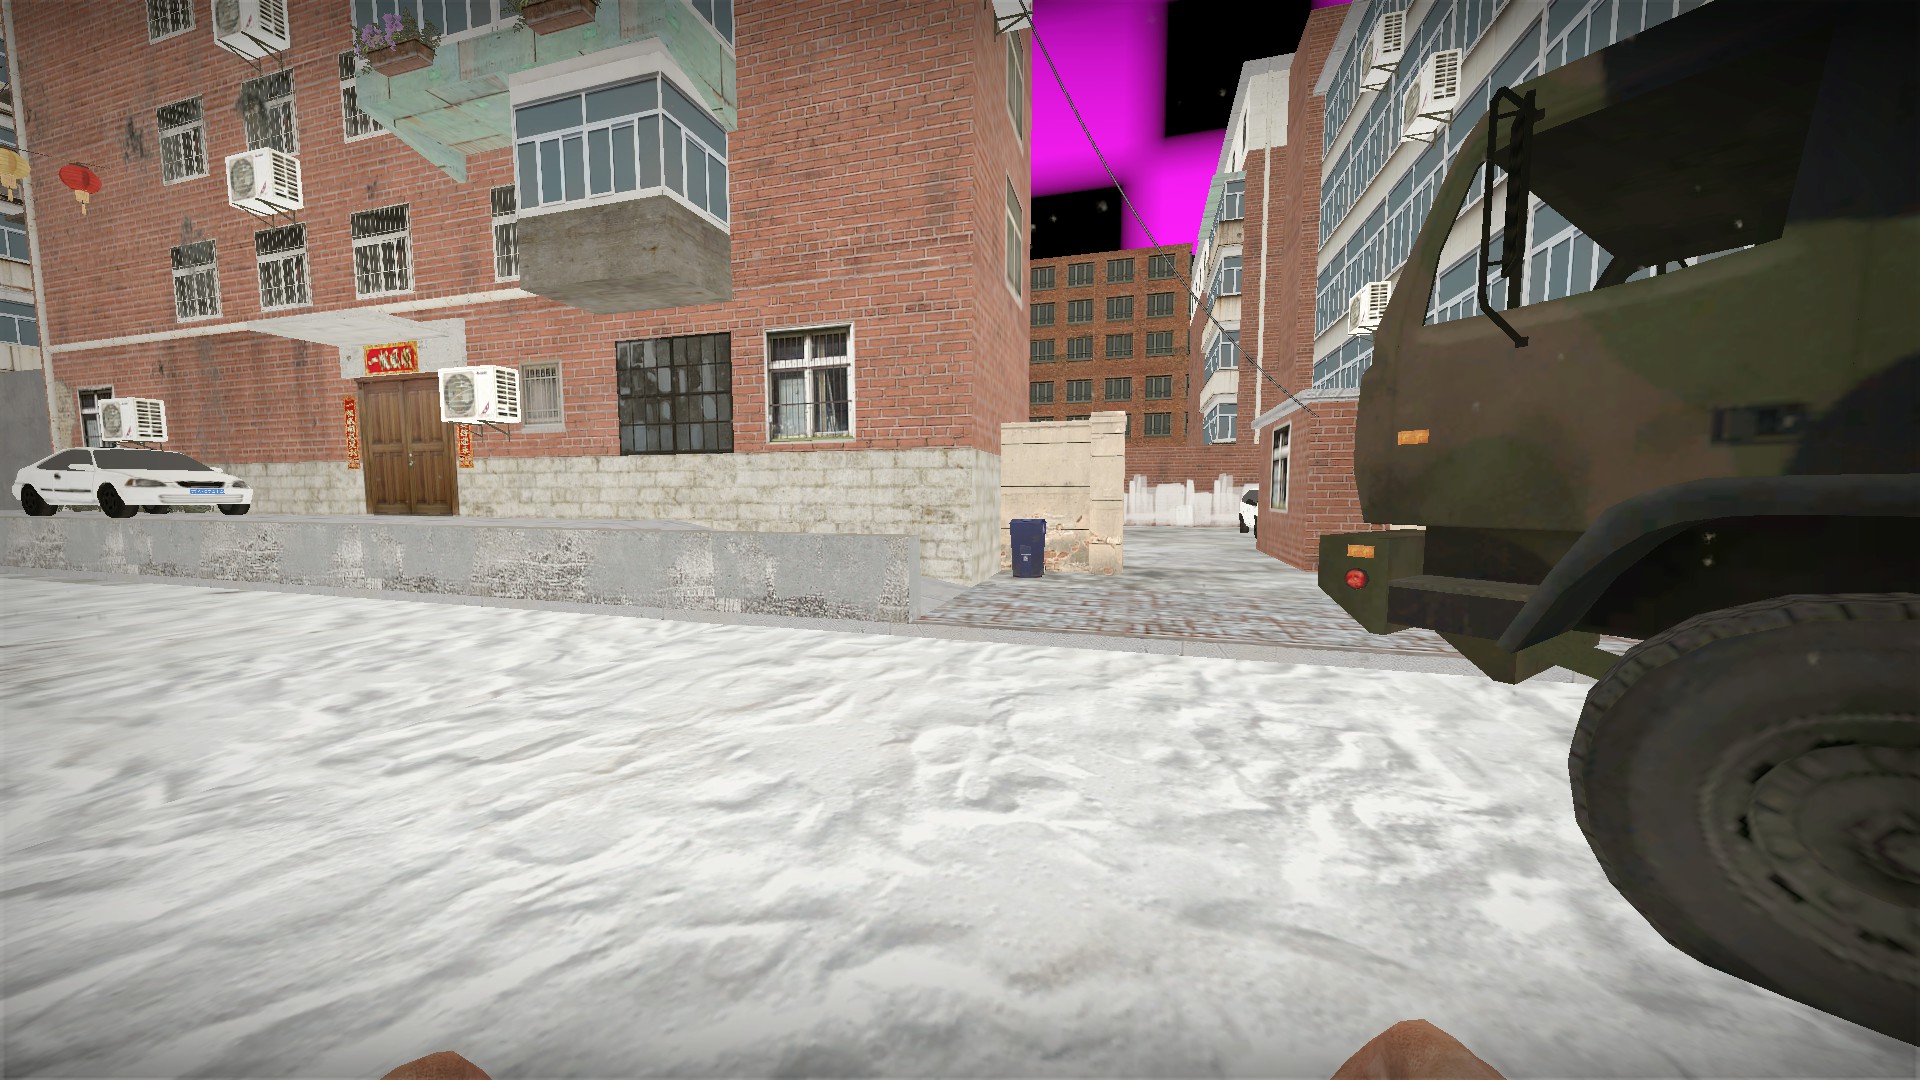
As you come around 2 large military trucks, head into the alley on your right
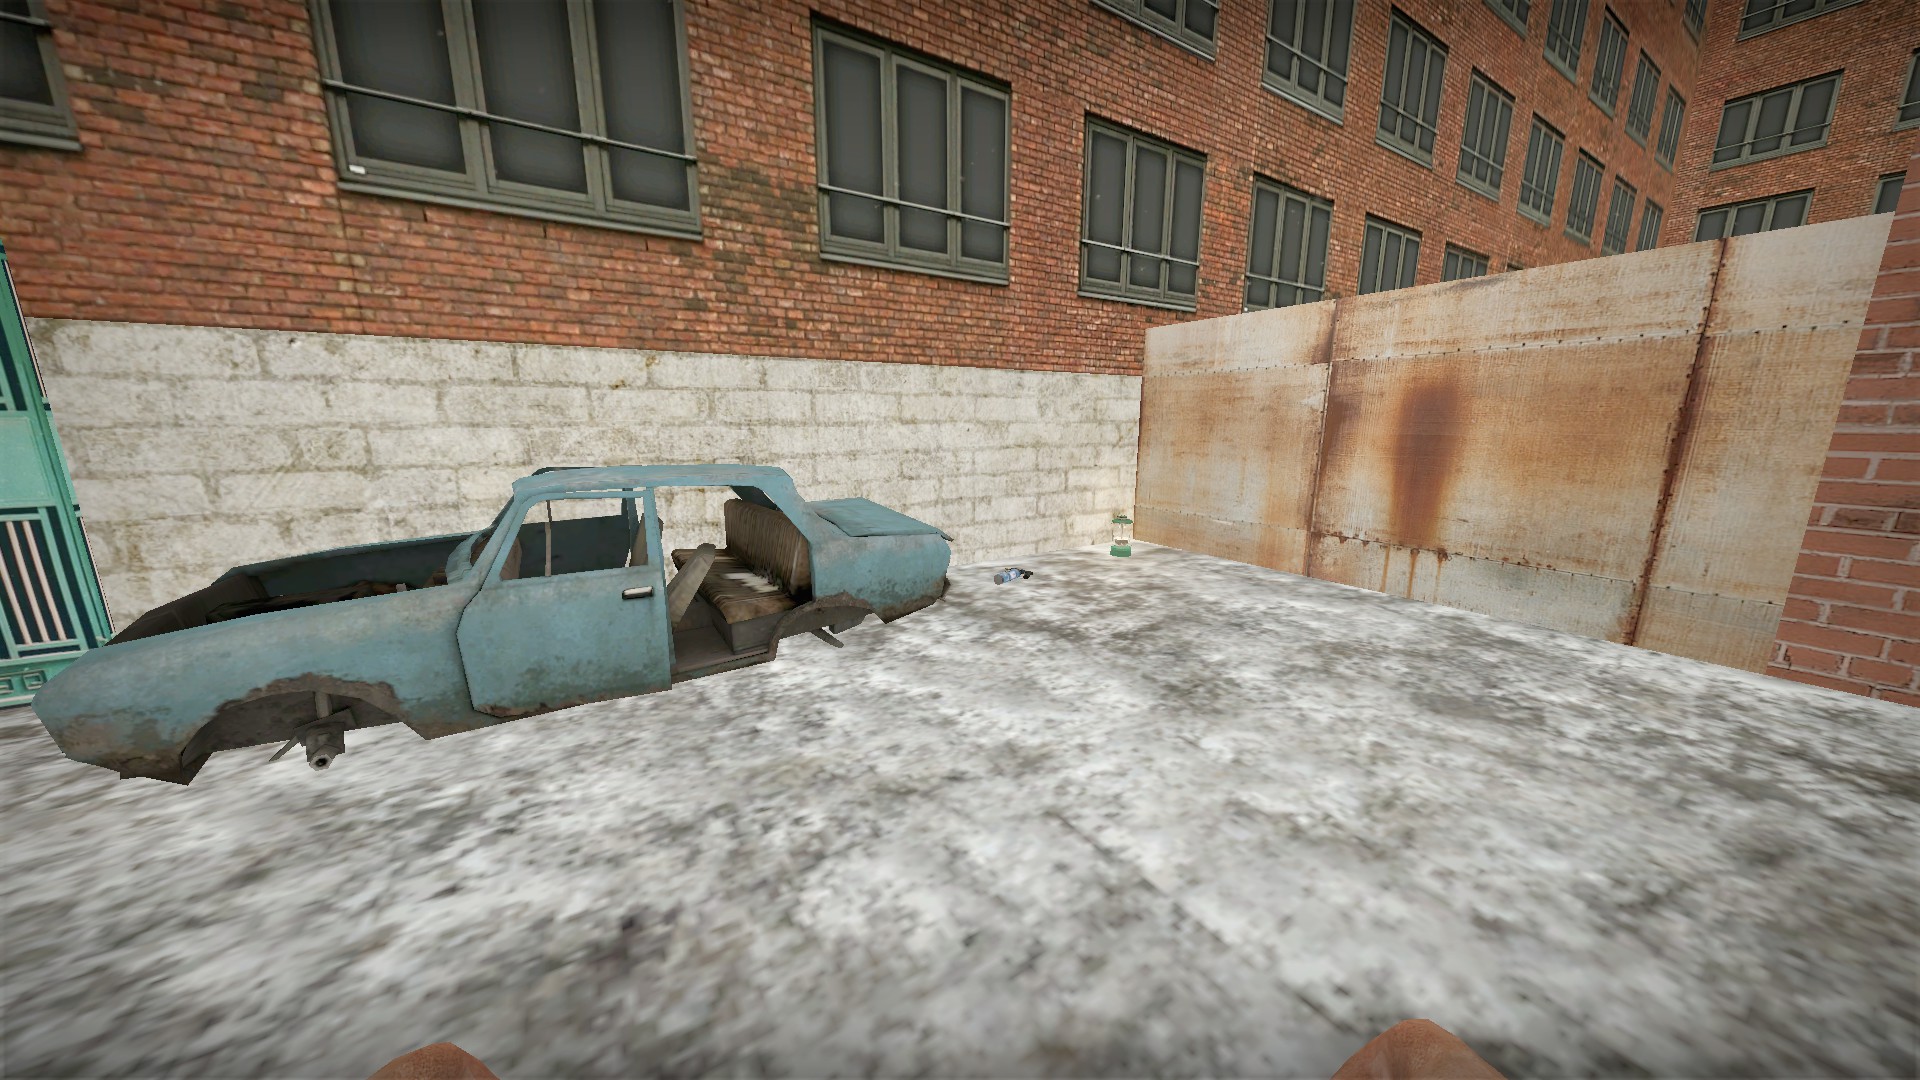
At the back of this alley you will find a welder behind a destroyed car
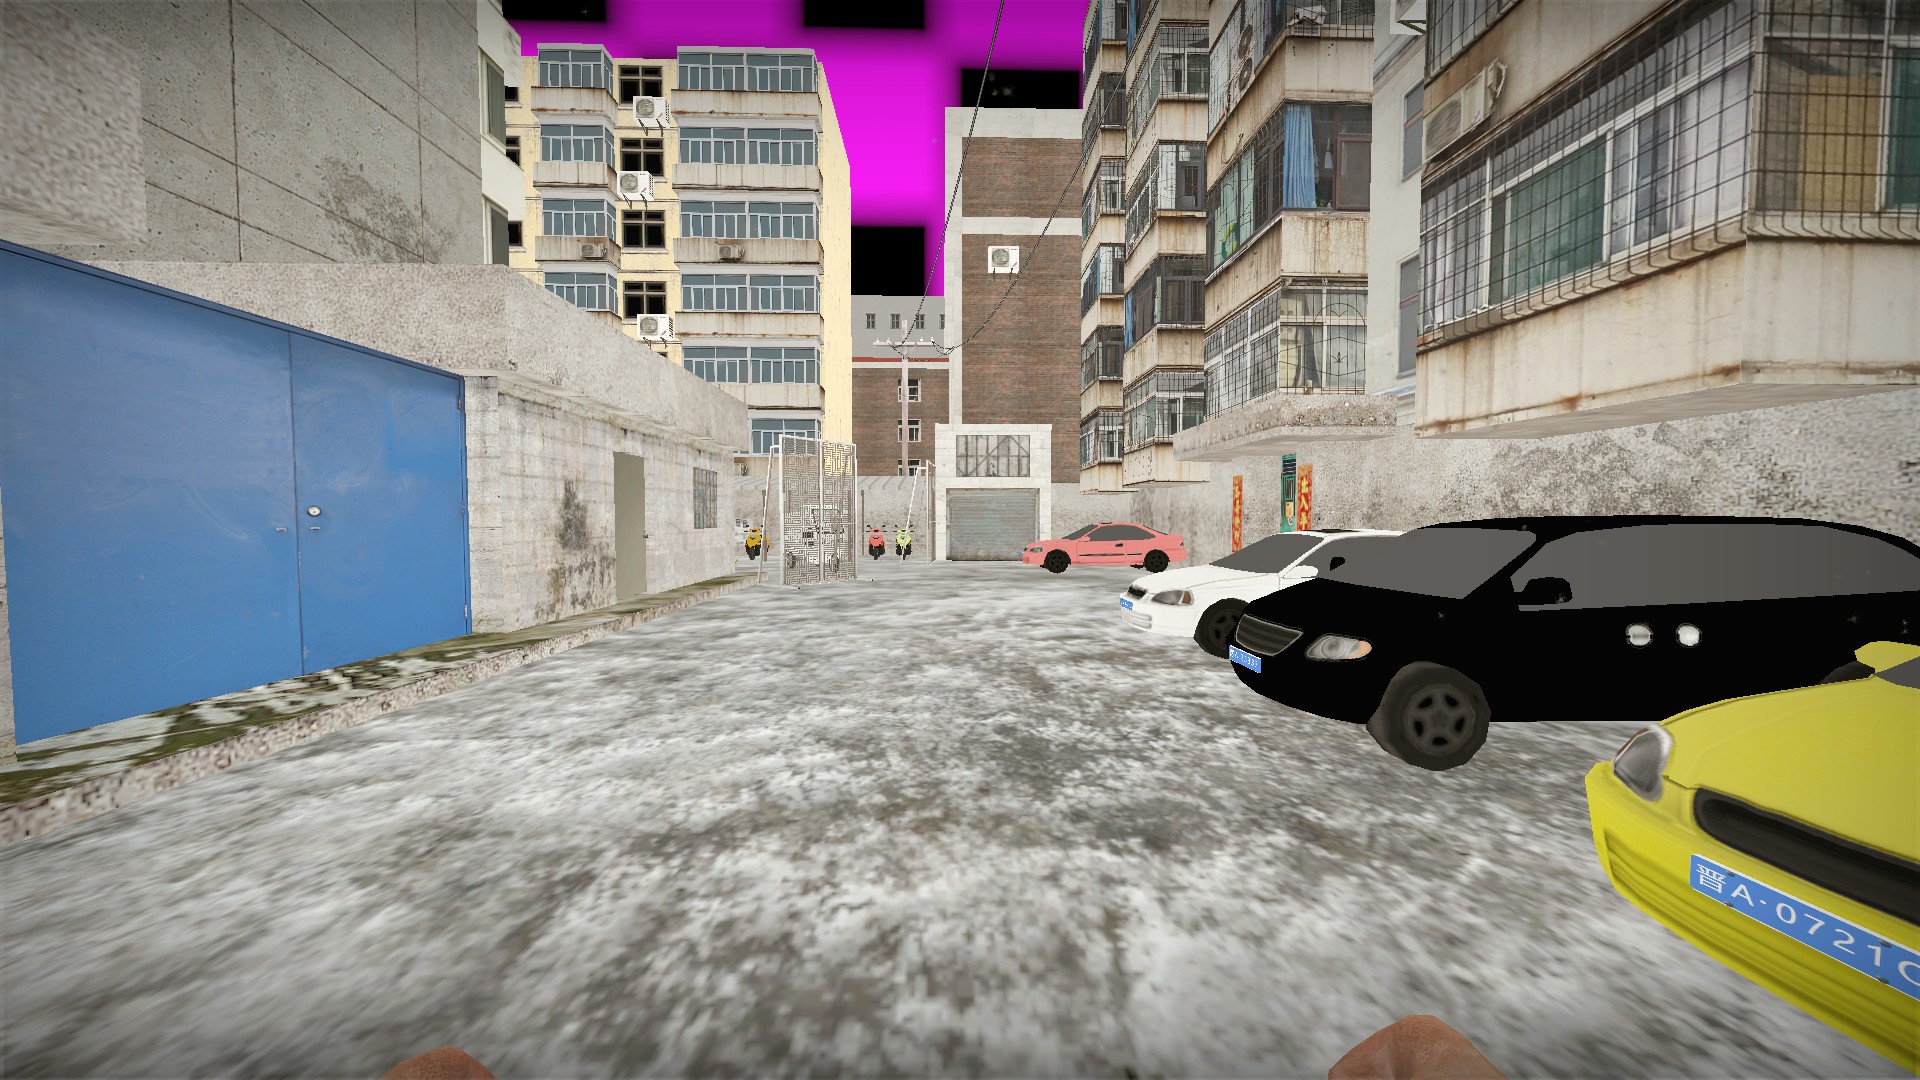
Just a bit farther down the path you will find a small garage in a parking lot
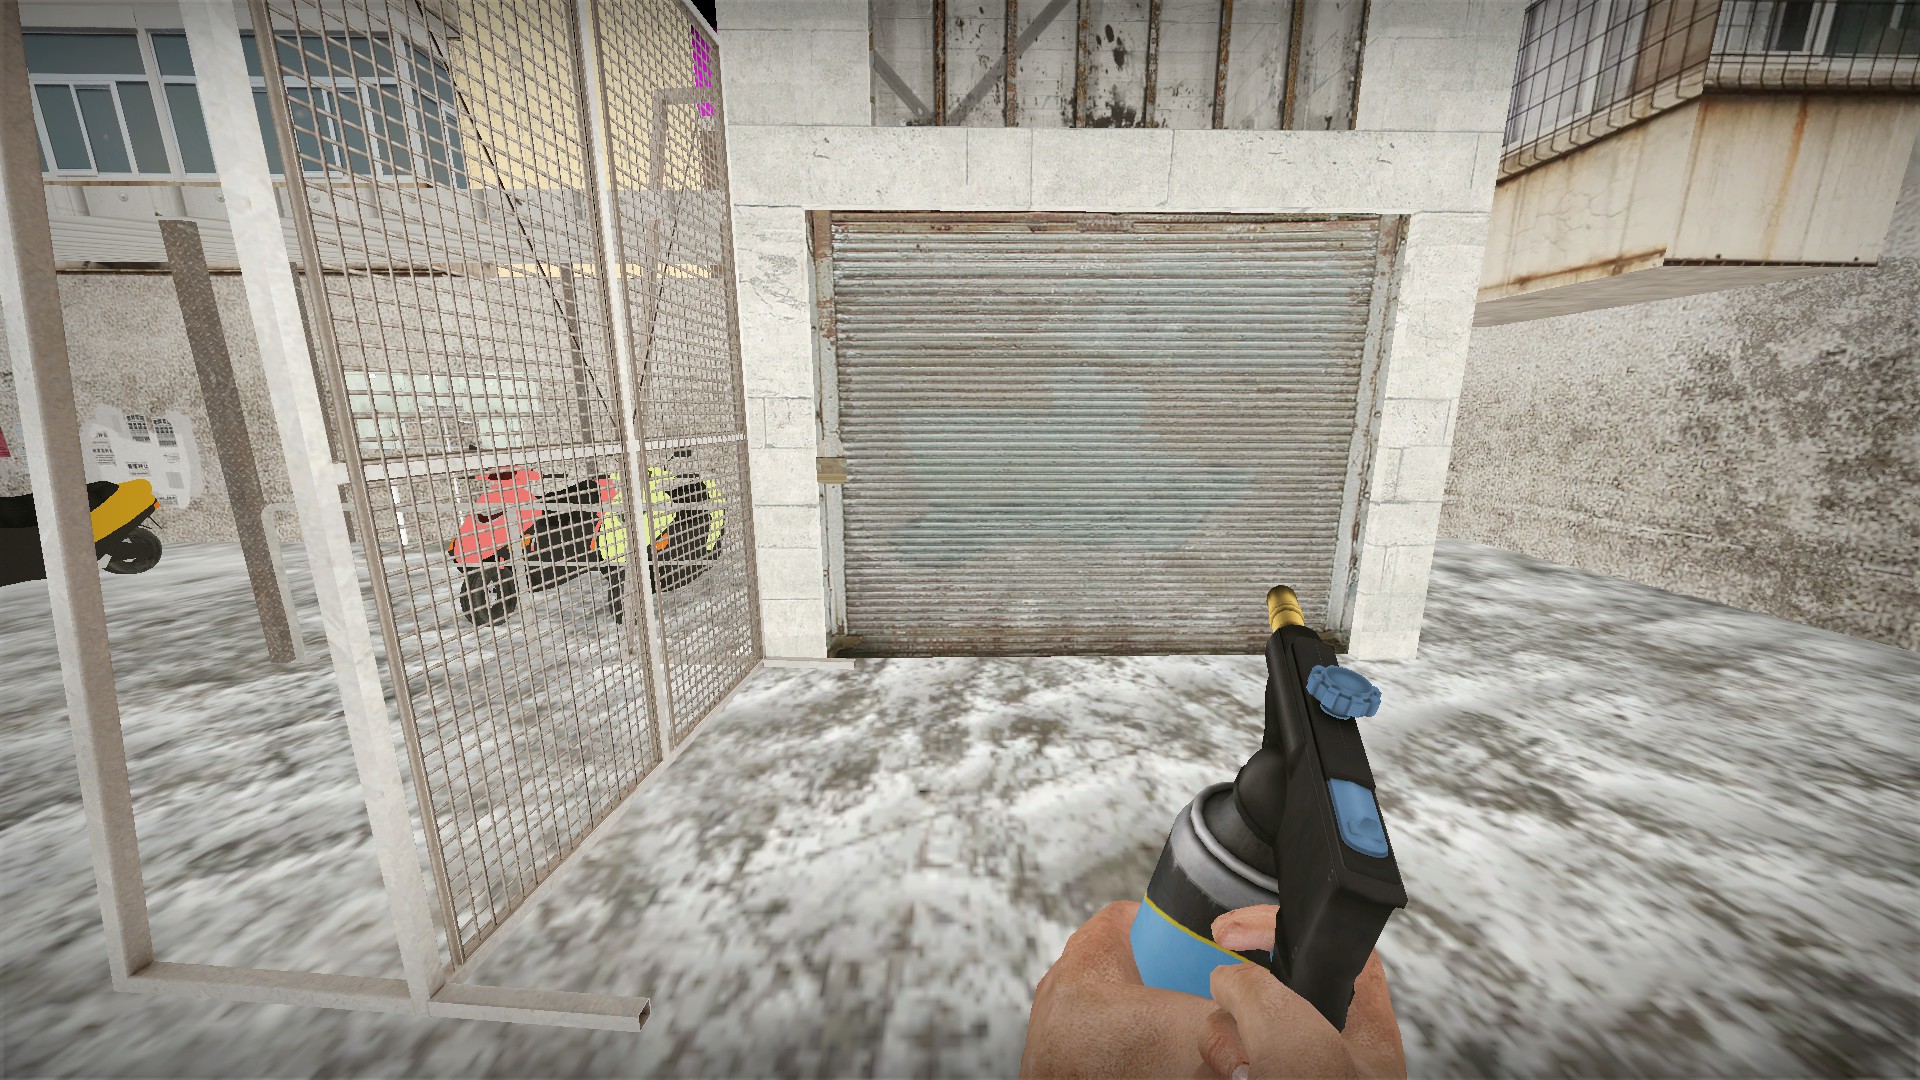
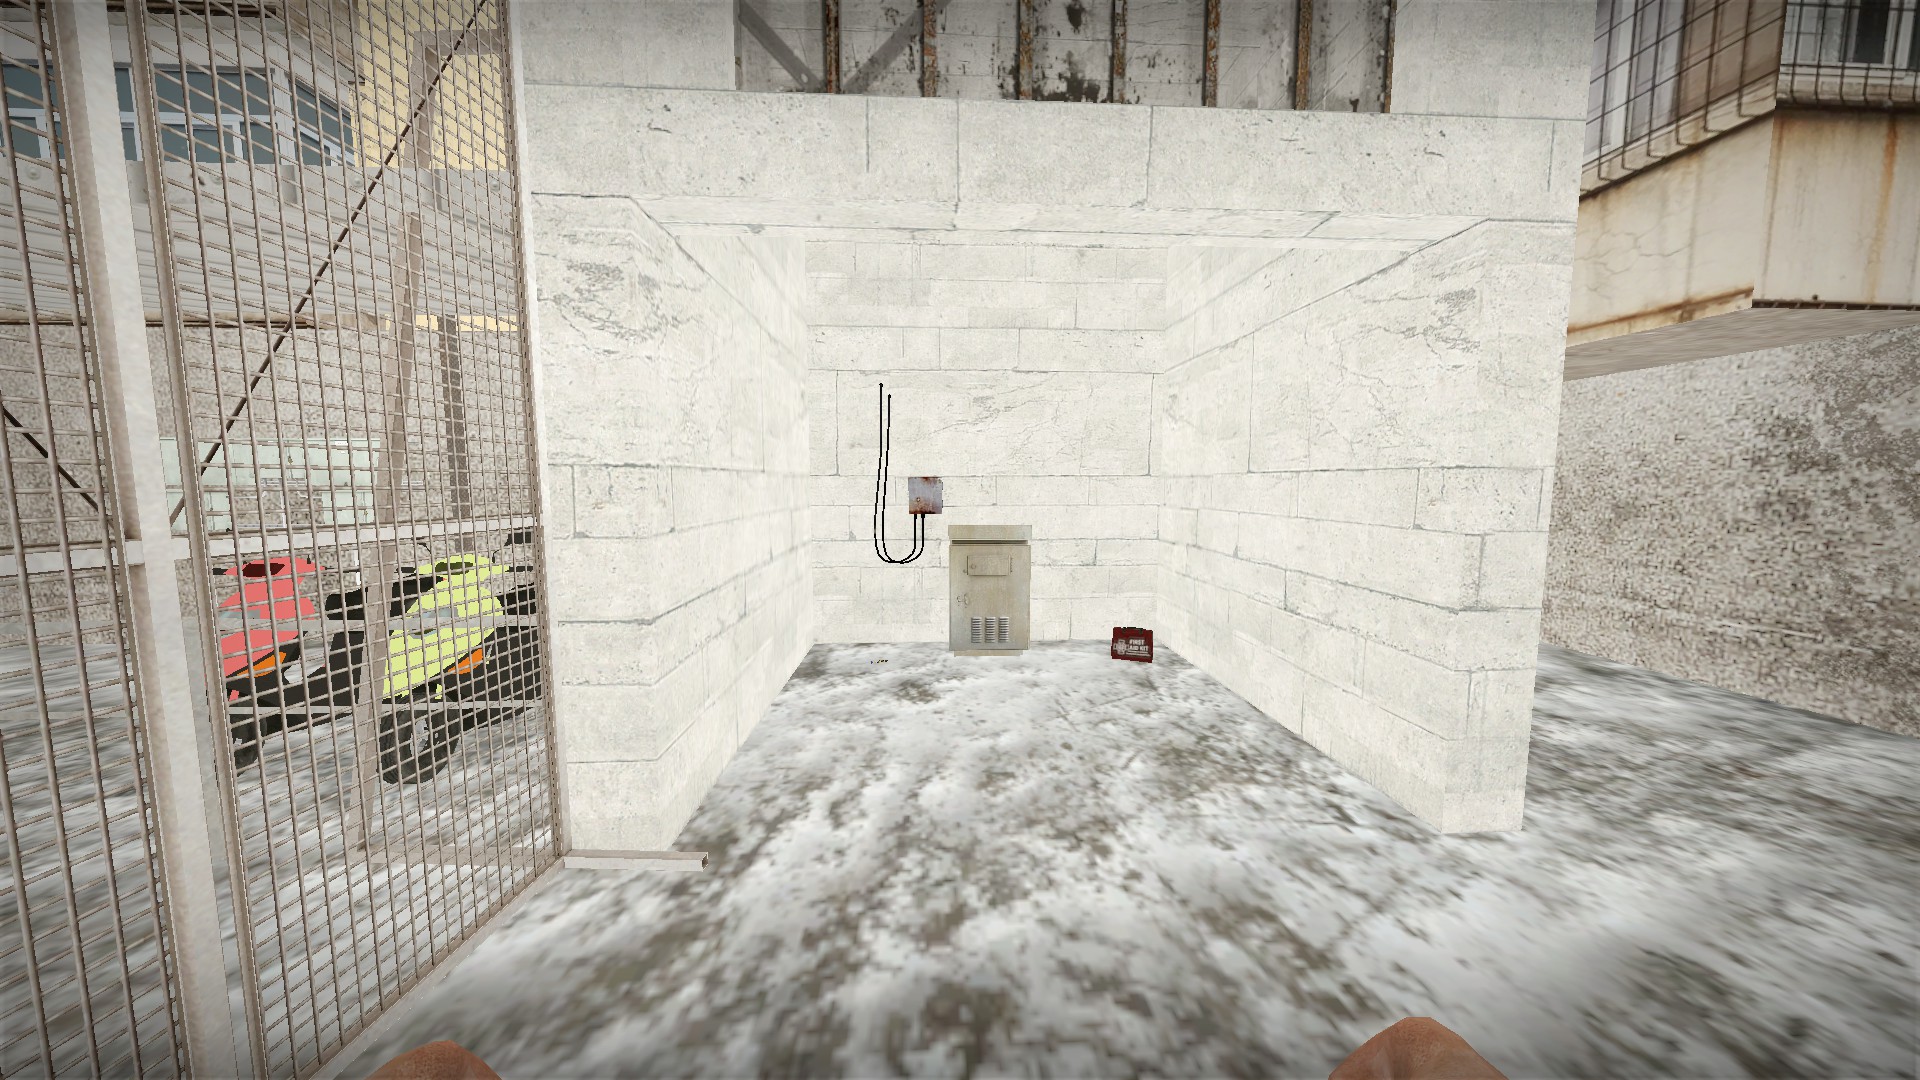
Weld the lock on this garage for a medkit
nmo_takfactory_a2
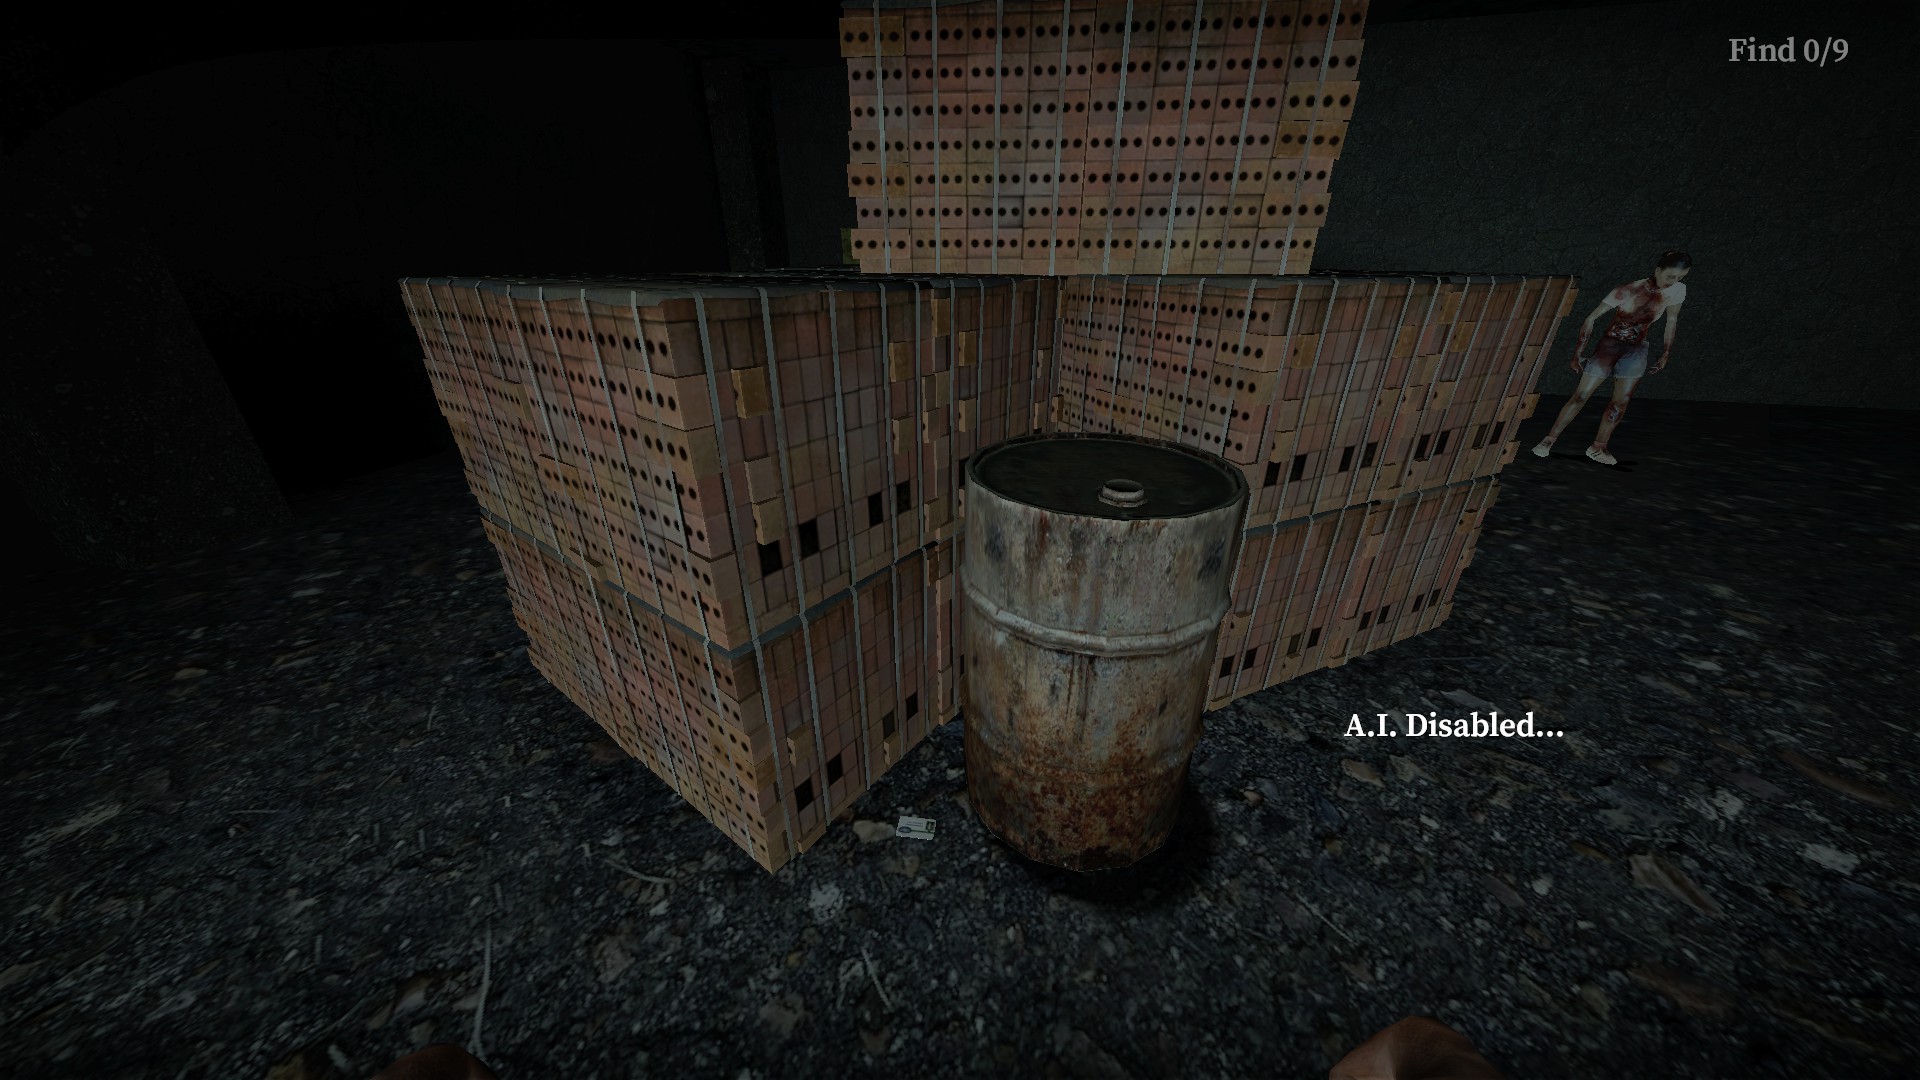
In the last area, look for an access card near a barrel. The access card in the objective will not work for this secret
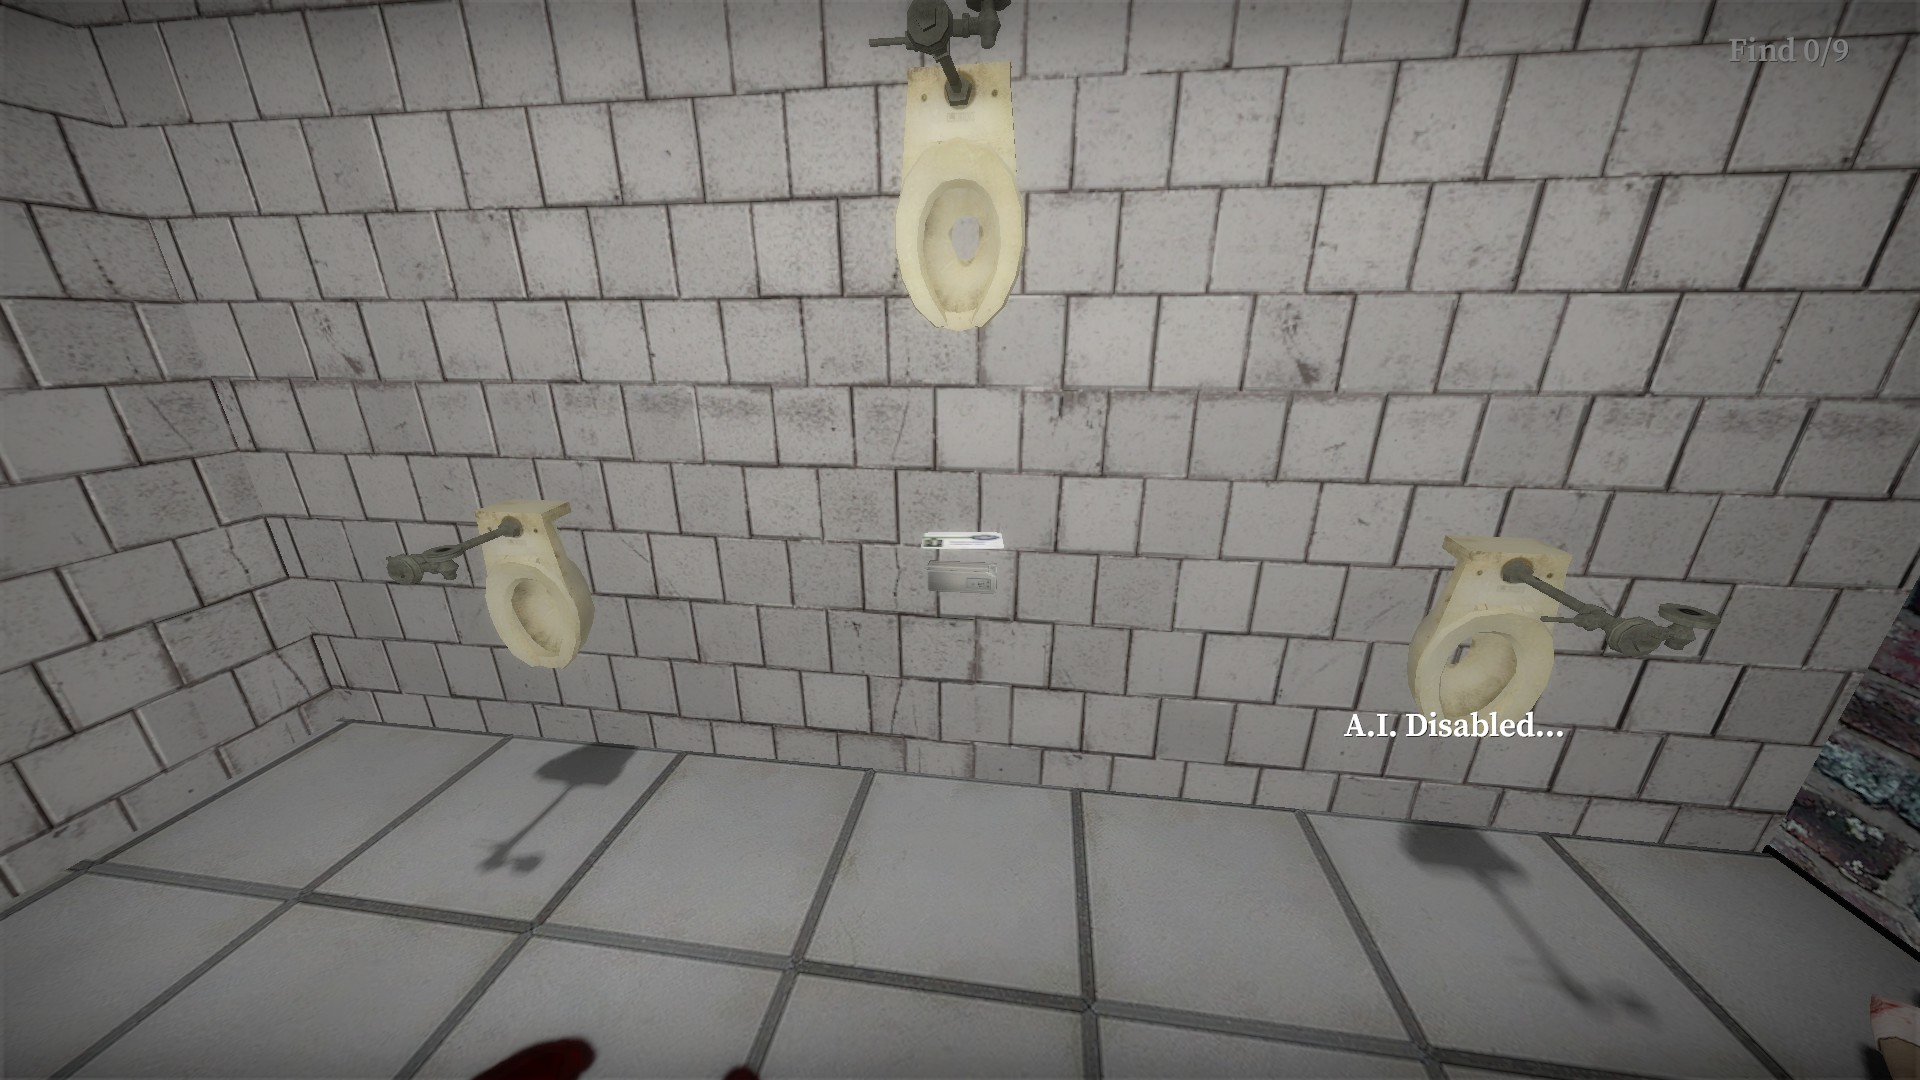
Bring the card to the bathroom area, press e on the top of the middle toilet seat and it will slide upward revealing a card slot
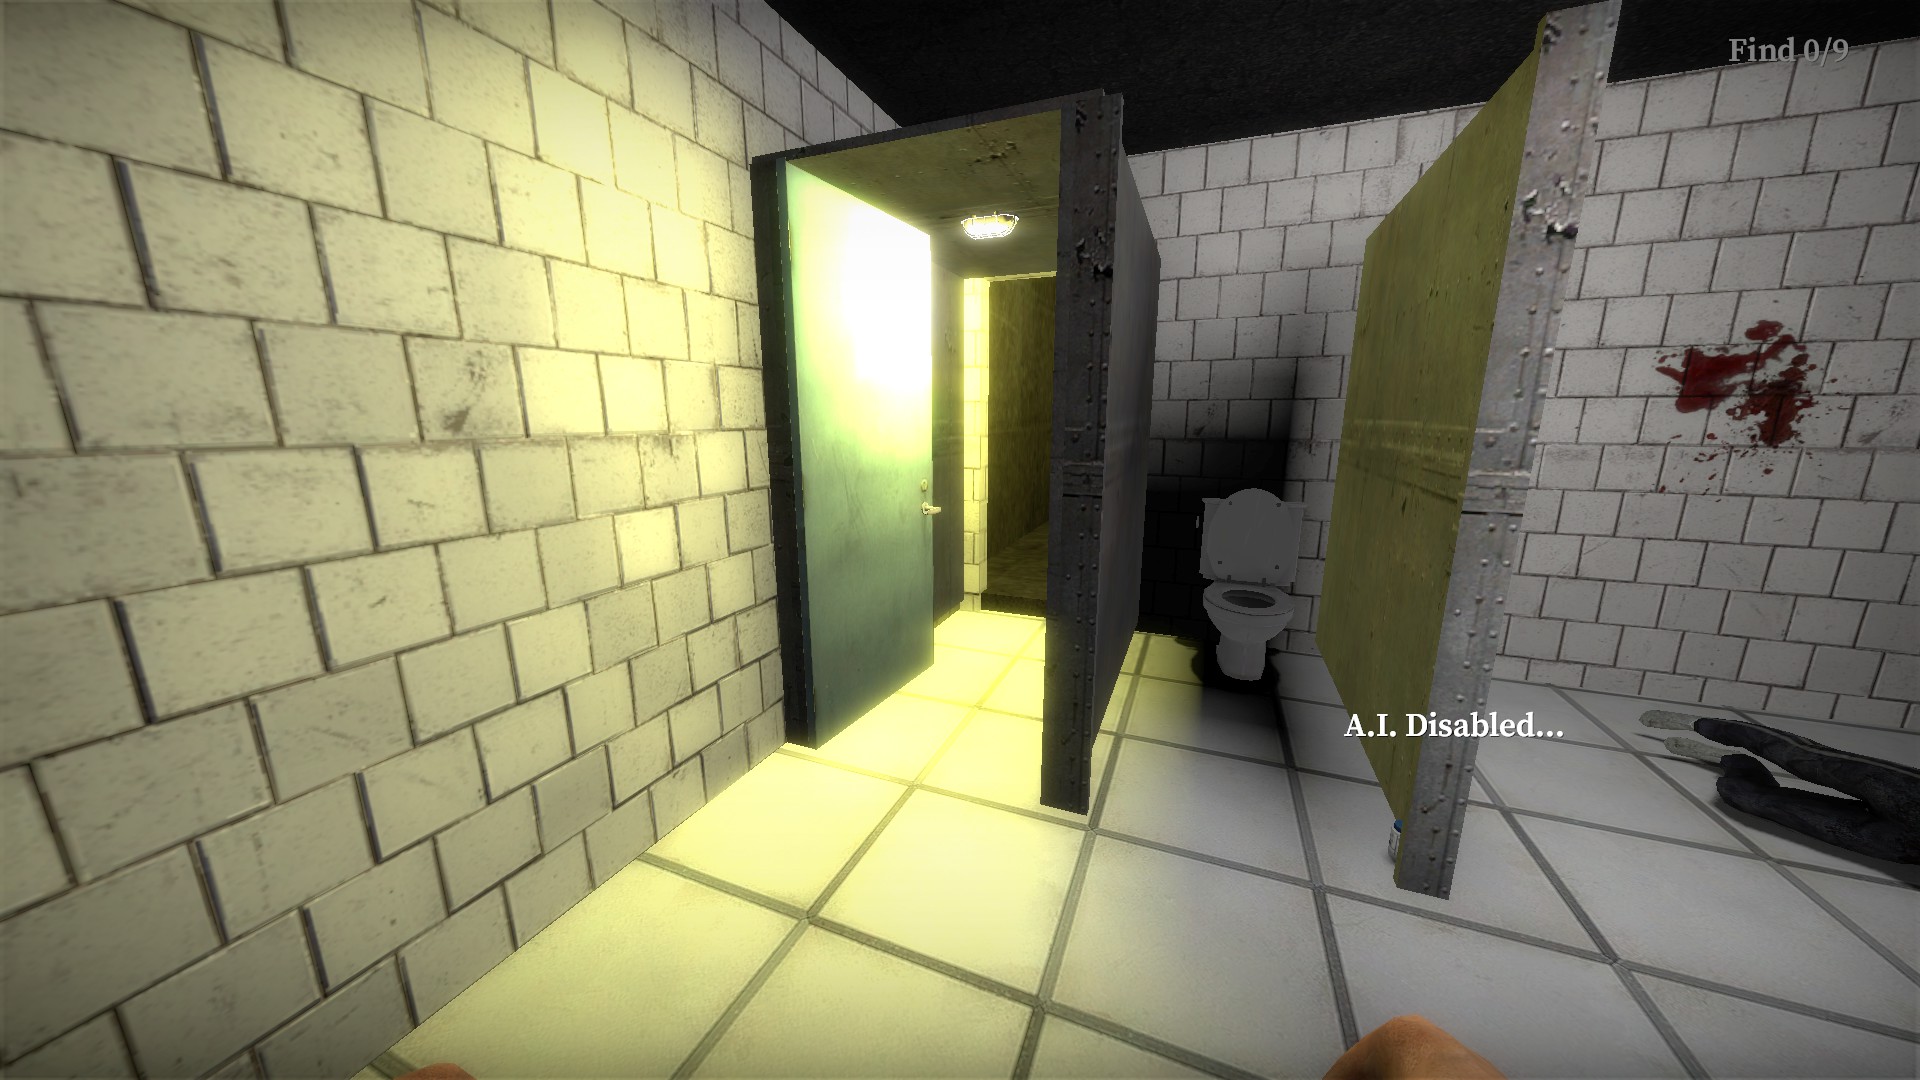
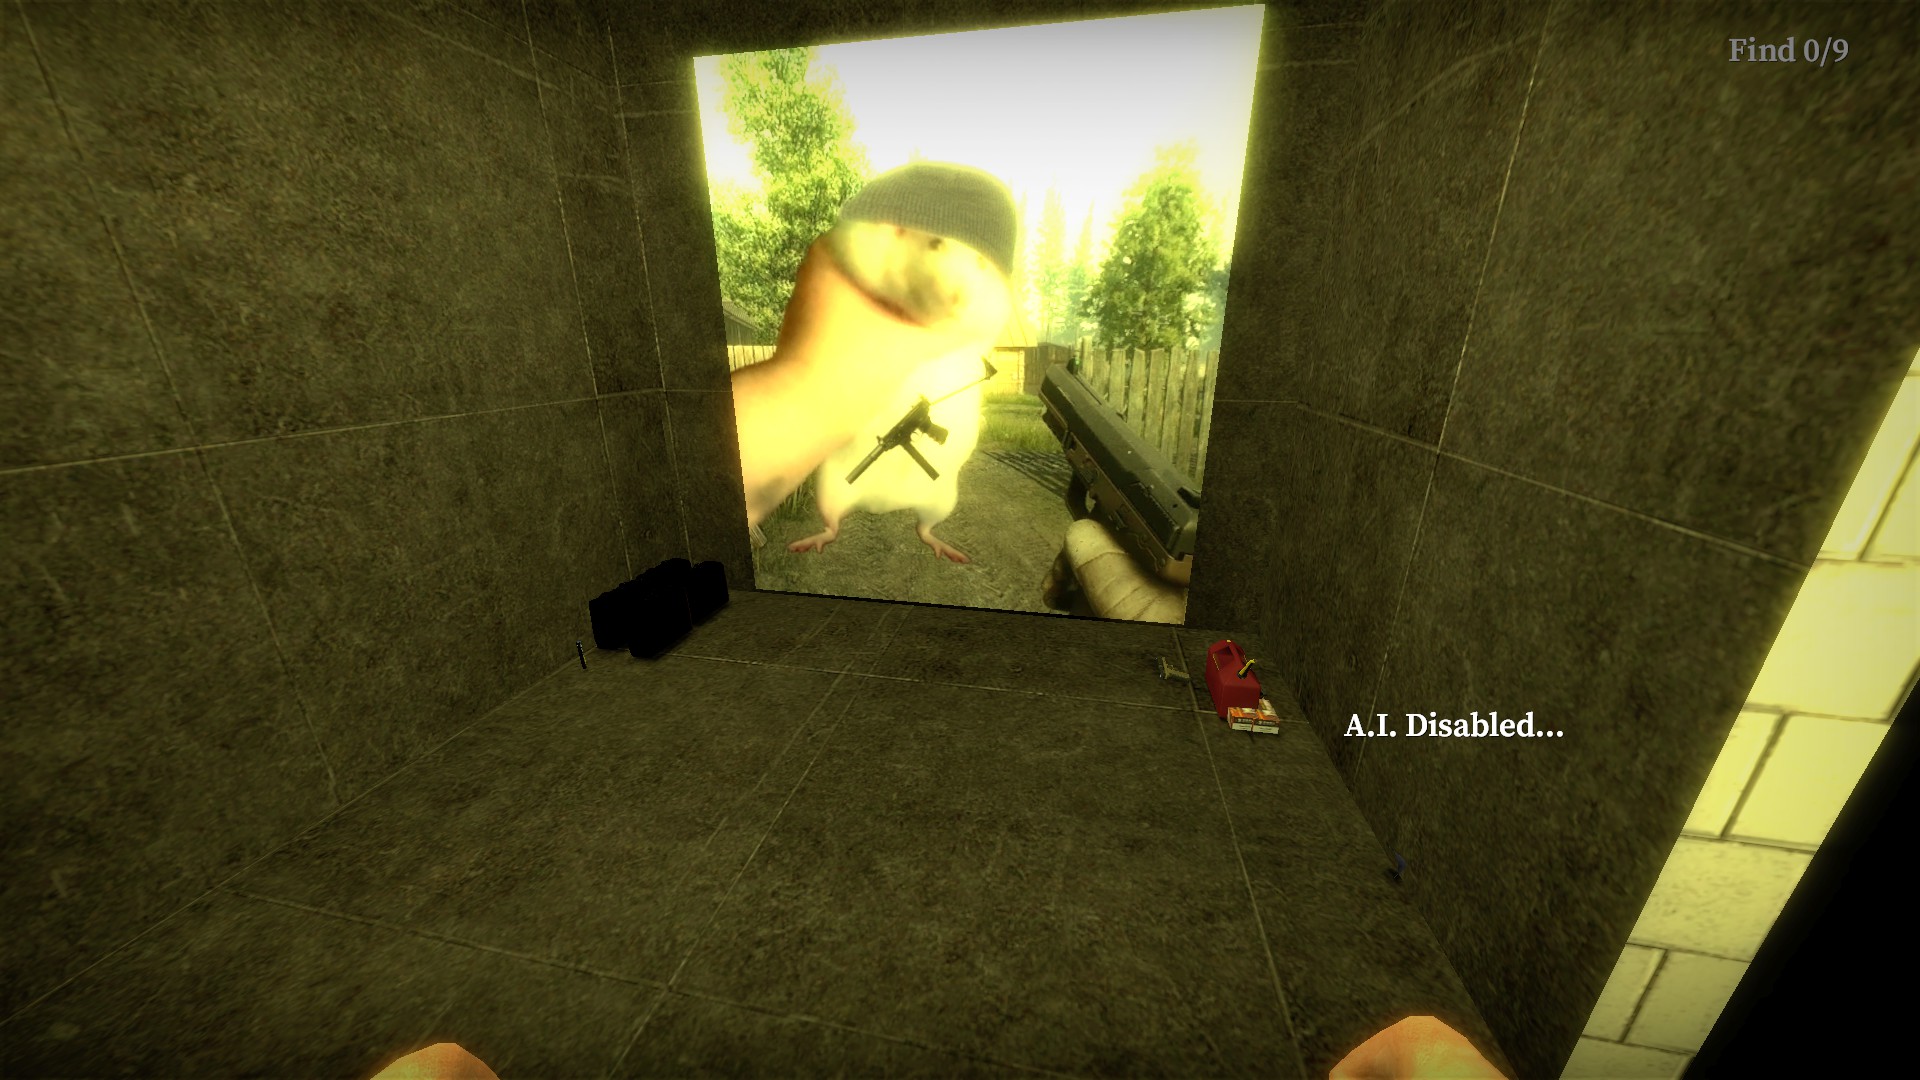
Use the card in the slot and it will open the locked stall for a secret room with a poster and lots of supplies
nmo_tenkinoko_welkin_t1_3
Background music
This map has music tracks that will begin as new areas are reached. I recommend turning the base game music off so you don't have two tracks playing simultaneously. If the map music is too much, type snd_restart in your console and it will stop all current sounds
Developer room
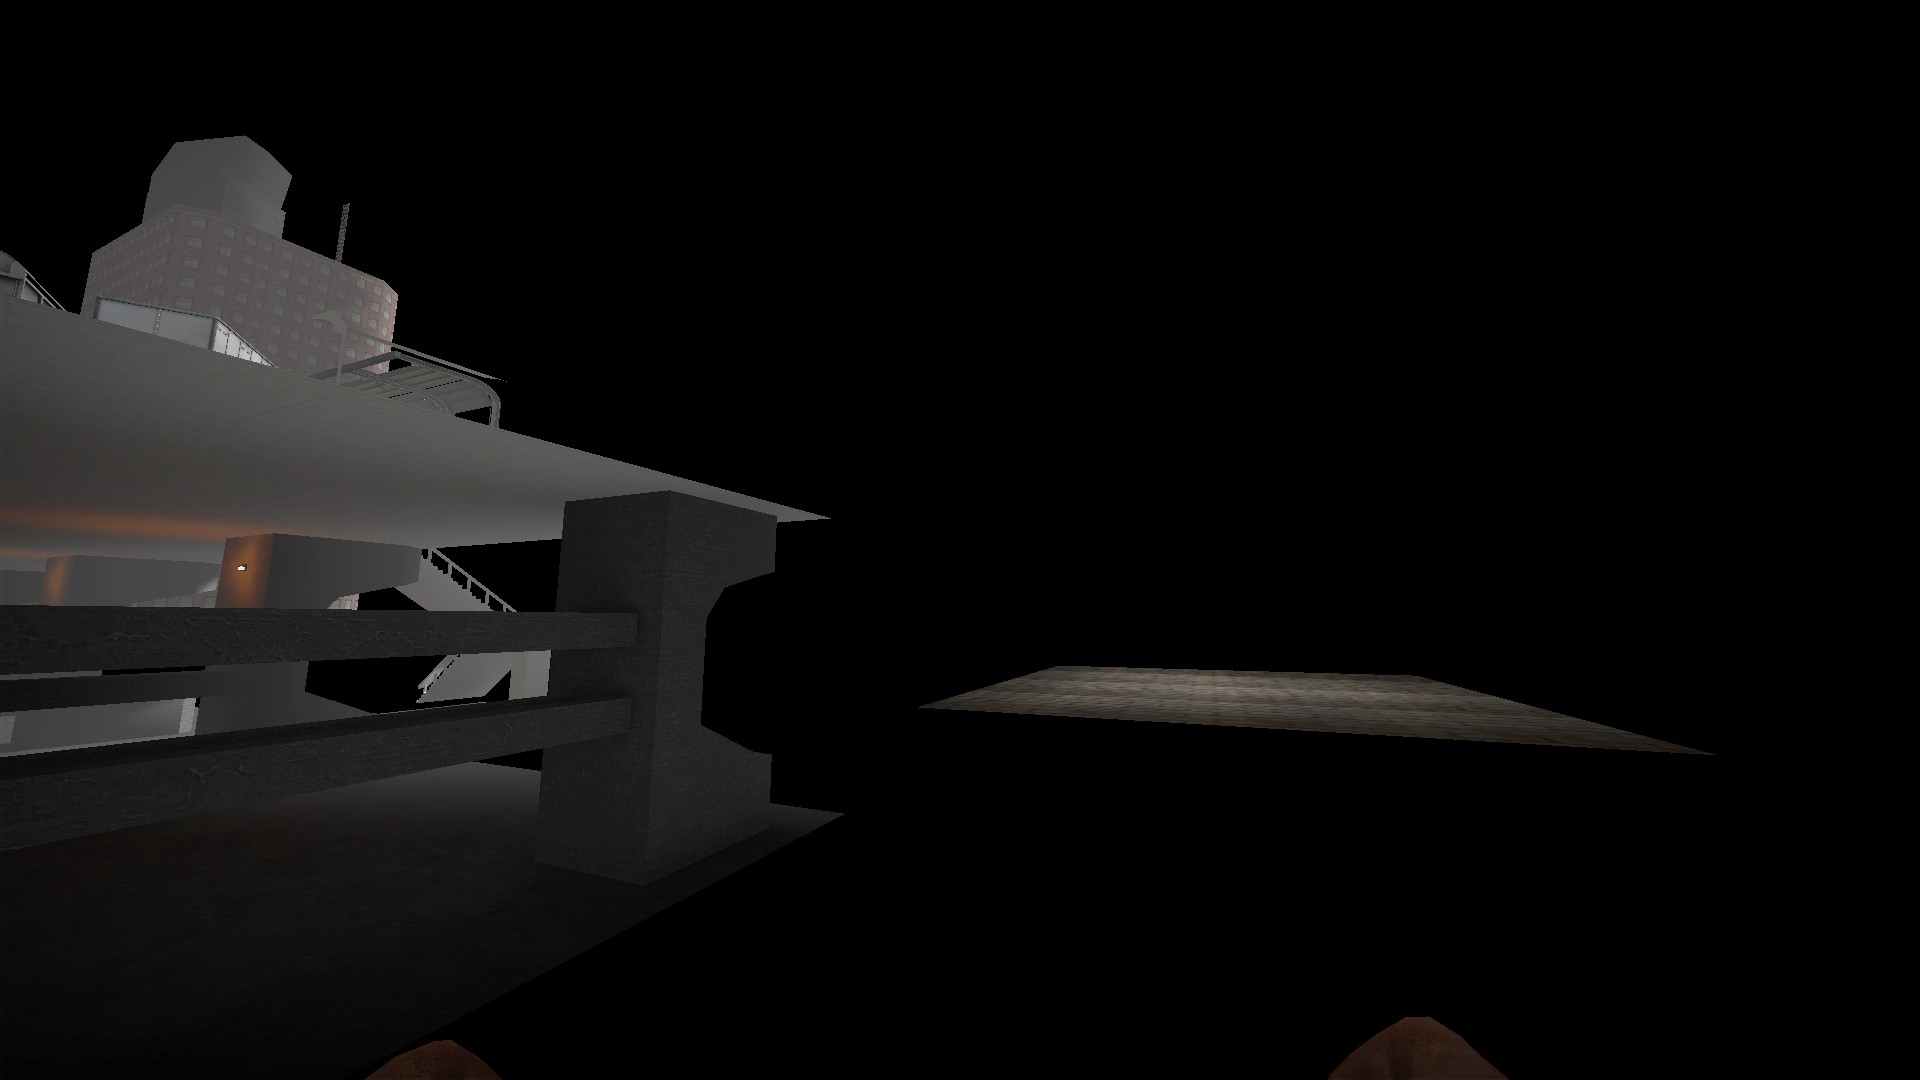
Just to the left of the starting area. You can noclip here
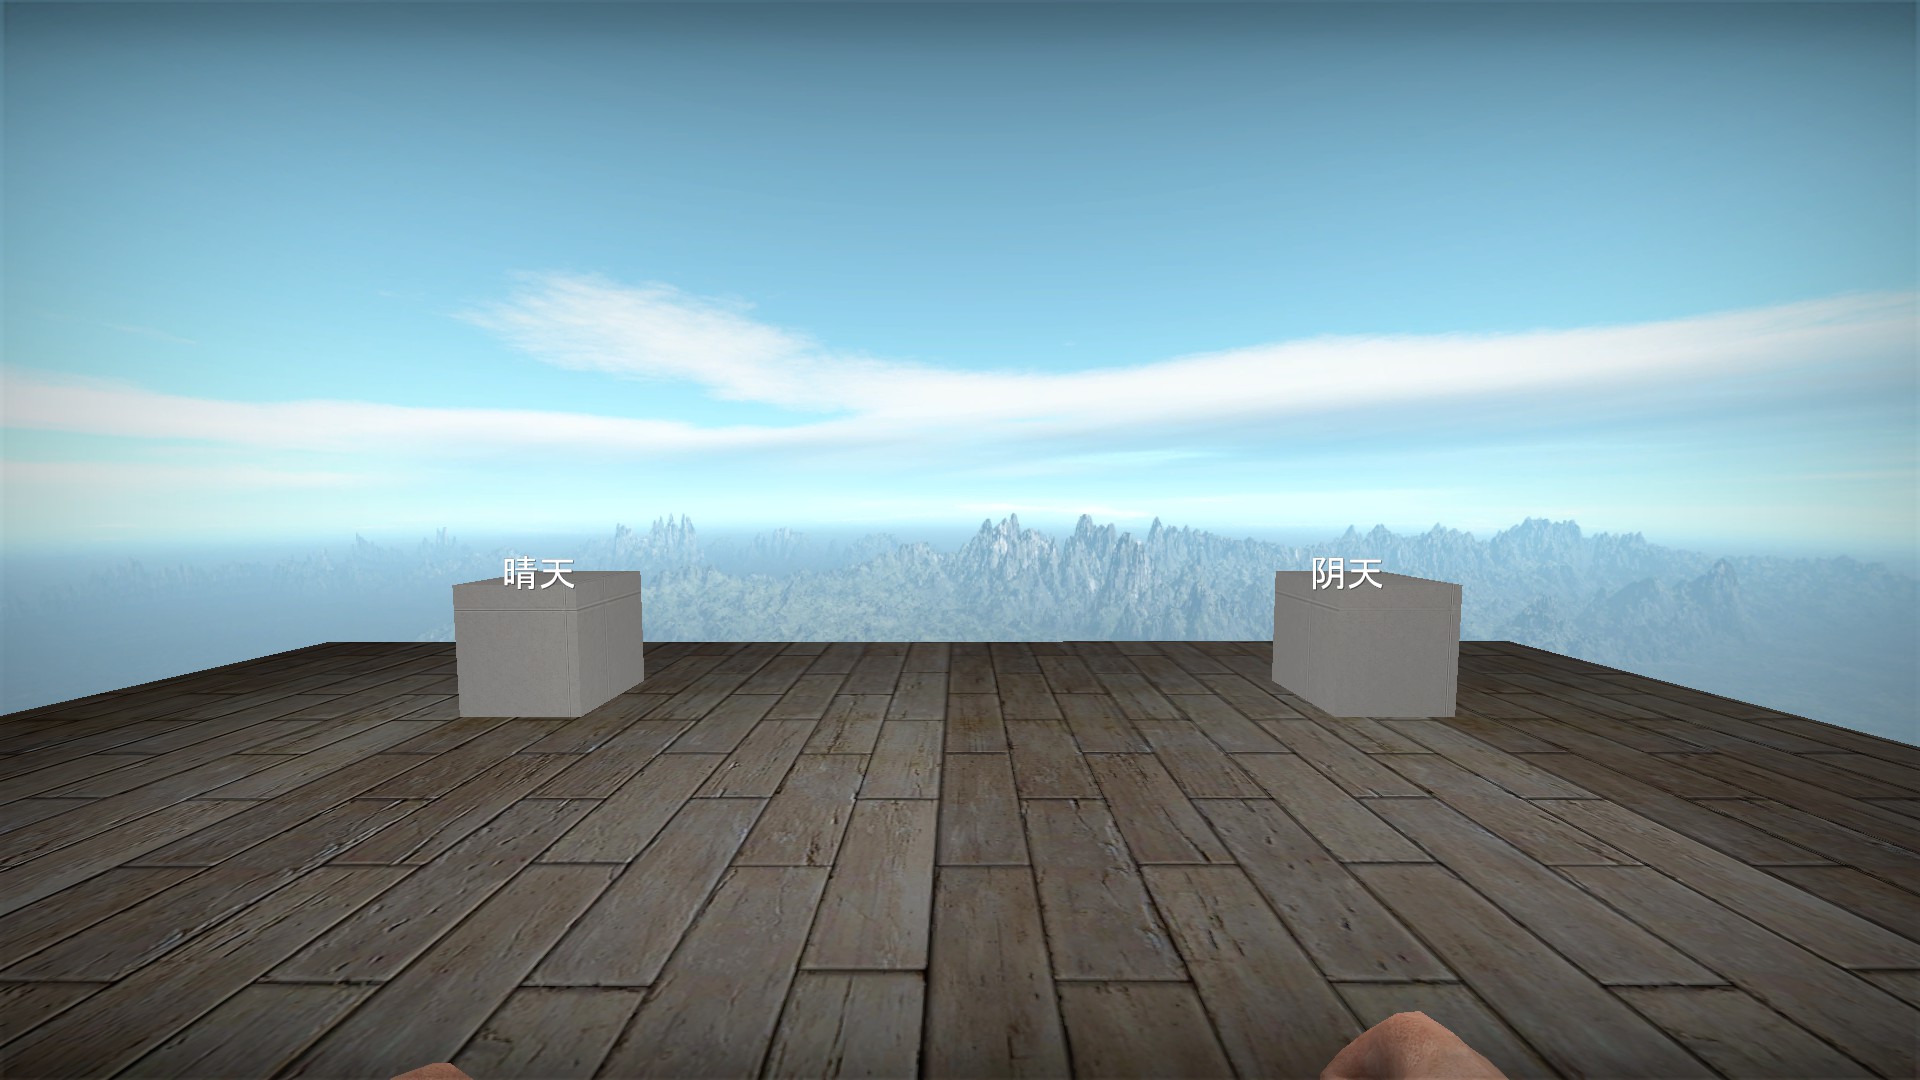
The two buttons close to each other will restart the map on that stage. The left button is for stage 1 - Sunny day, and the right button is for stage 2 - Cloudy day
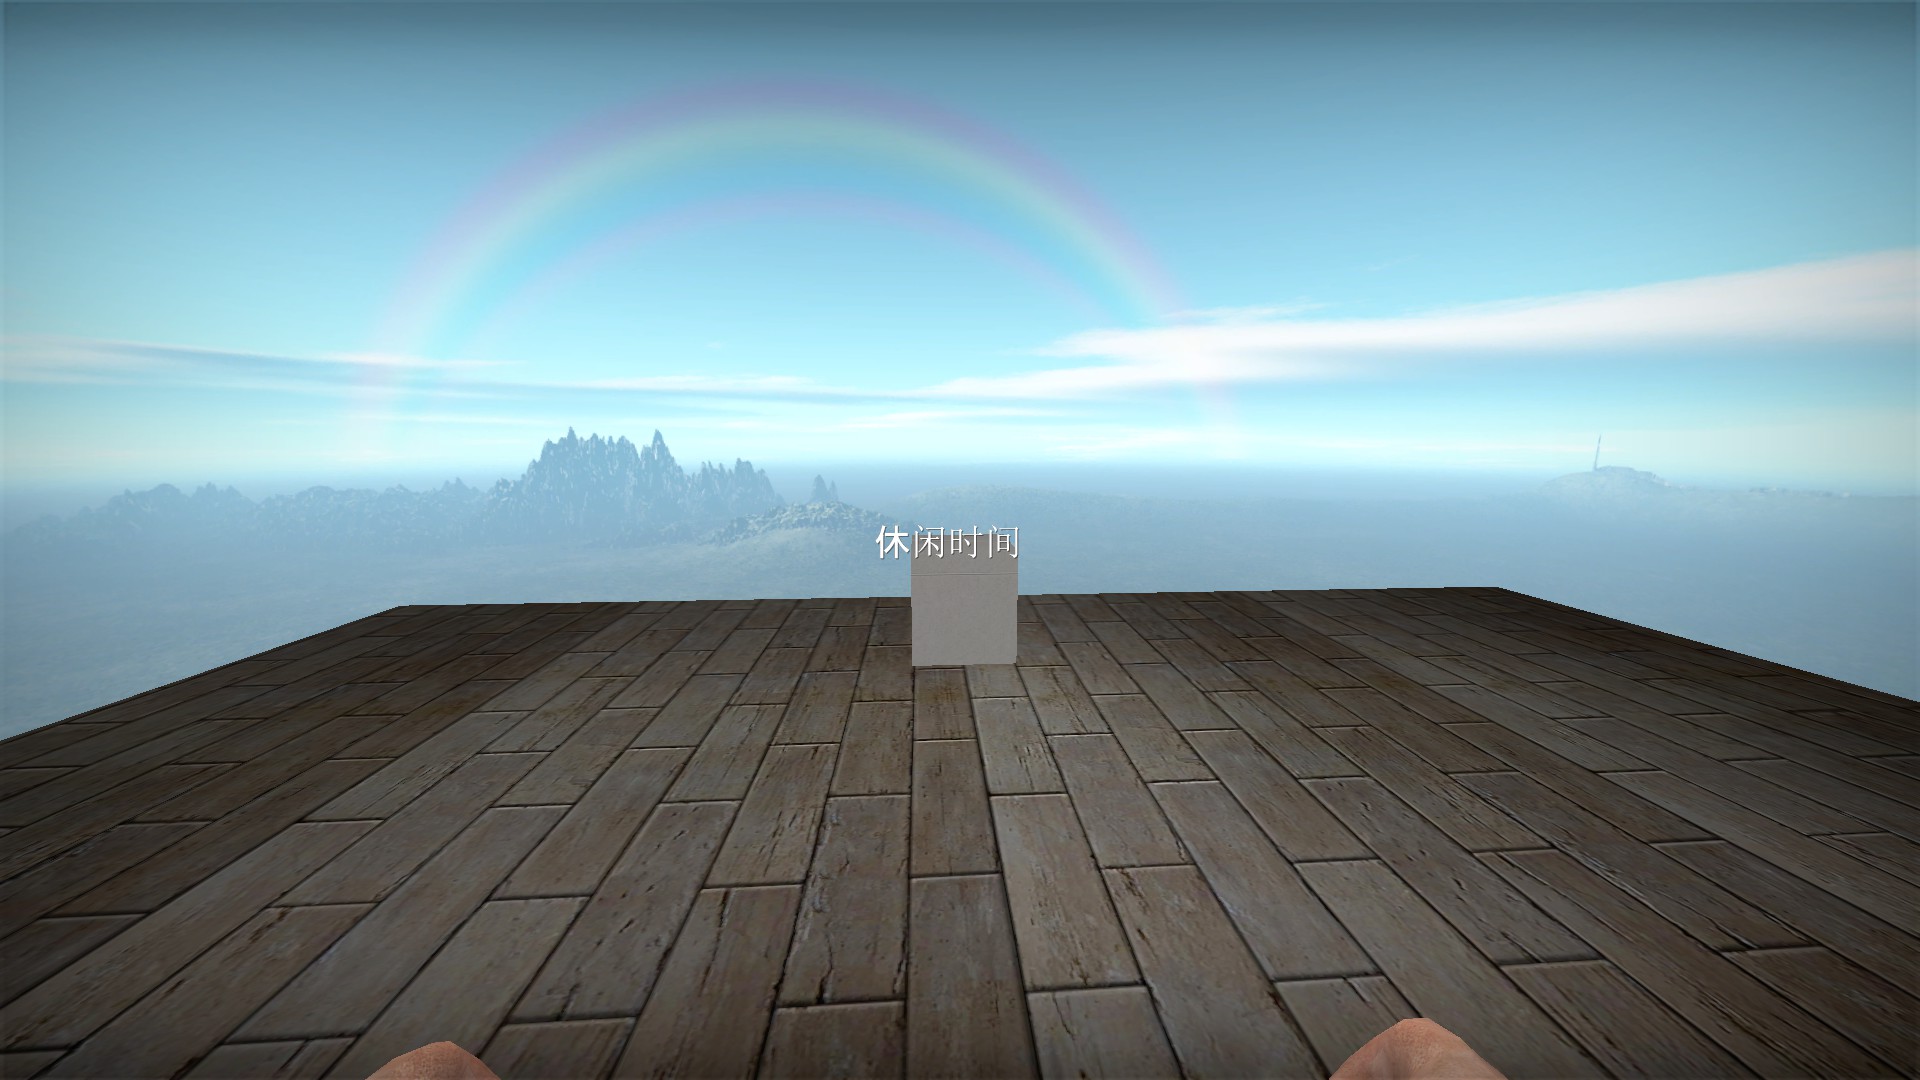
The third button here will take you to the Leisure time testing stage (see below)
Stage 2
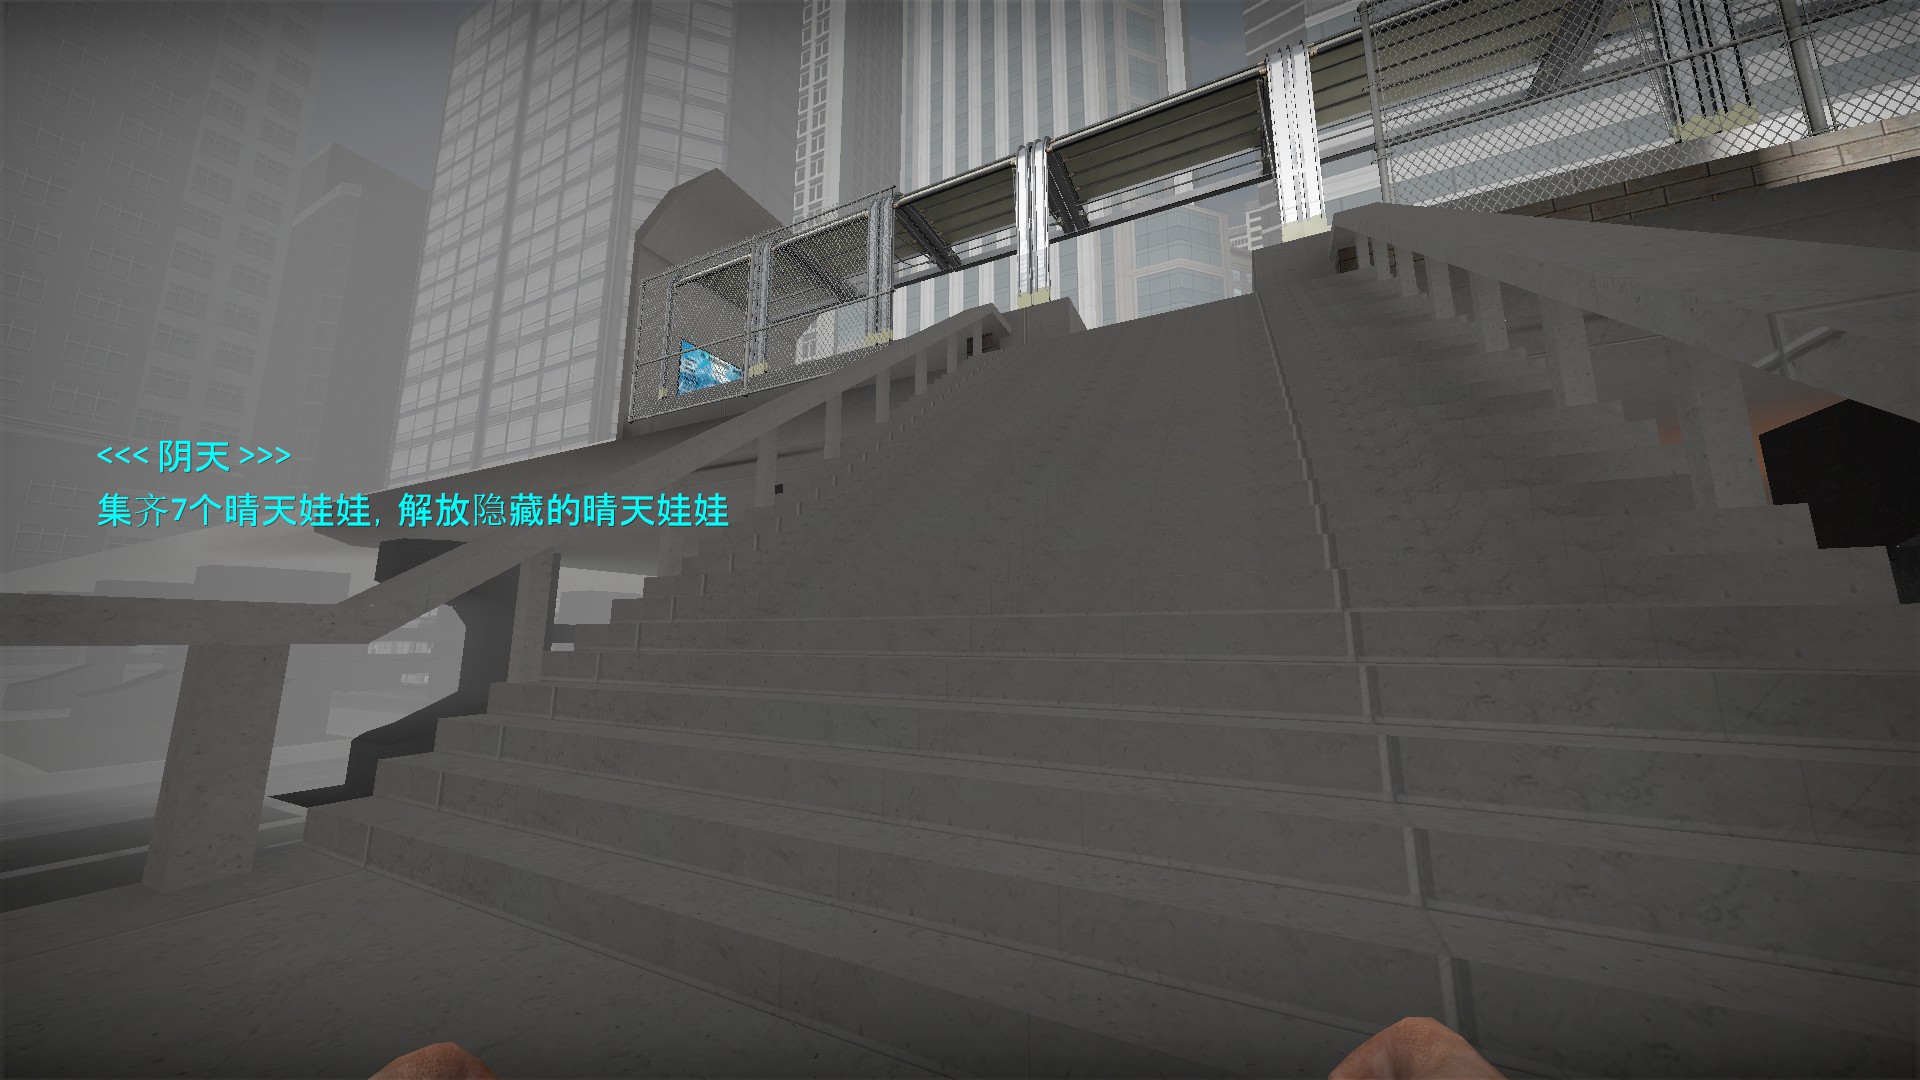
Because stage 1 has an extraction message and stage 2 starts in the same place, tenkinoko is often rtv voted. Communicate with your team if you want to play the second half of the map. Stage 2 also has special zombies and special weapons - there is a lot of text explaining these, but it is not translated (it is translated on the workshop page)
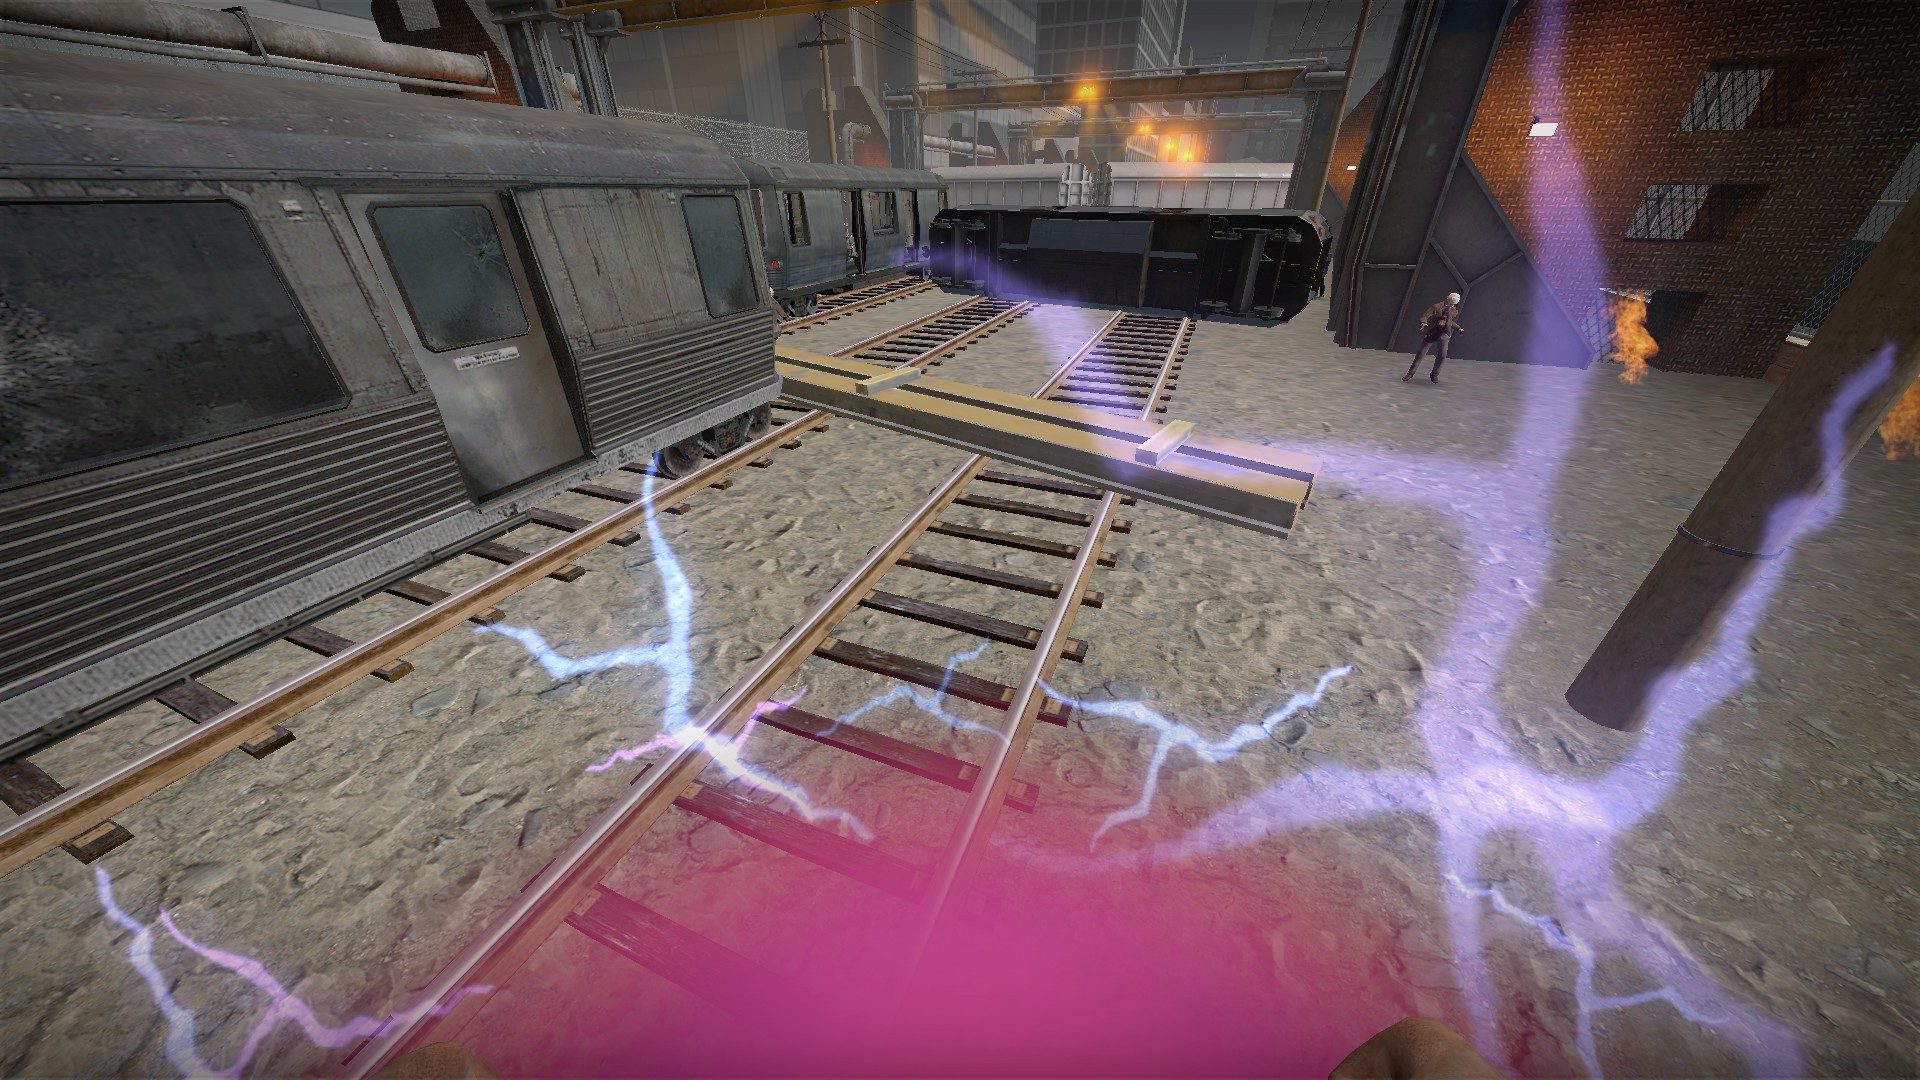
Players will be periodically attacked by lightning whenever they are outside in stage 2. Move when you see the strike start to form and don't stay still
Stage 2 Special weapons (human artifacts)
Look up and press e to use a special weapon. The machete does not need to be equipped. All special weapons can be used 2 times. Special weapons need a 2 minute recharge between uses
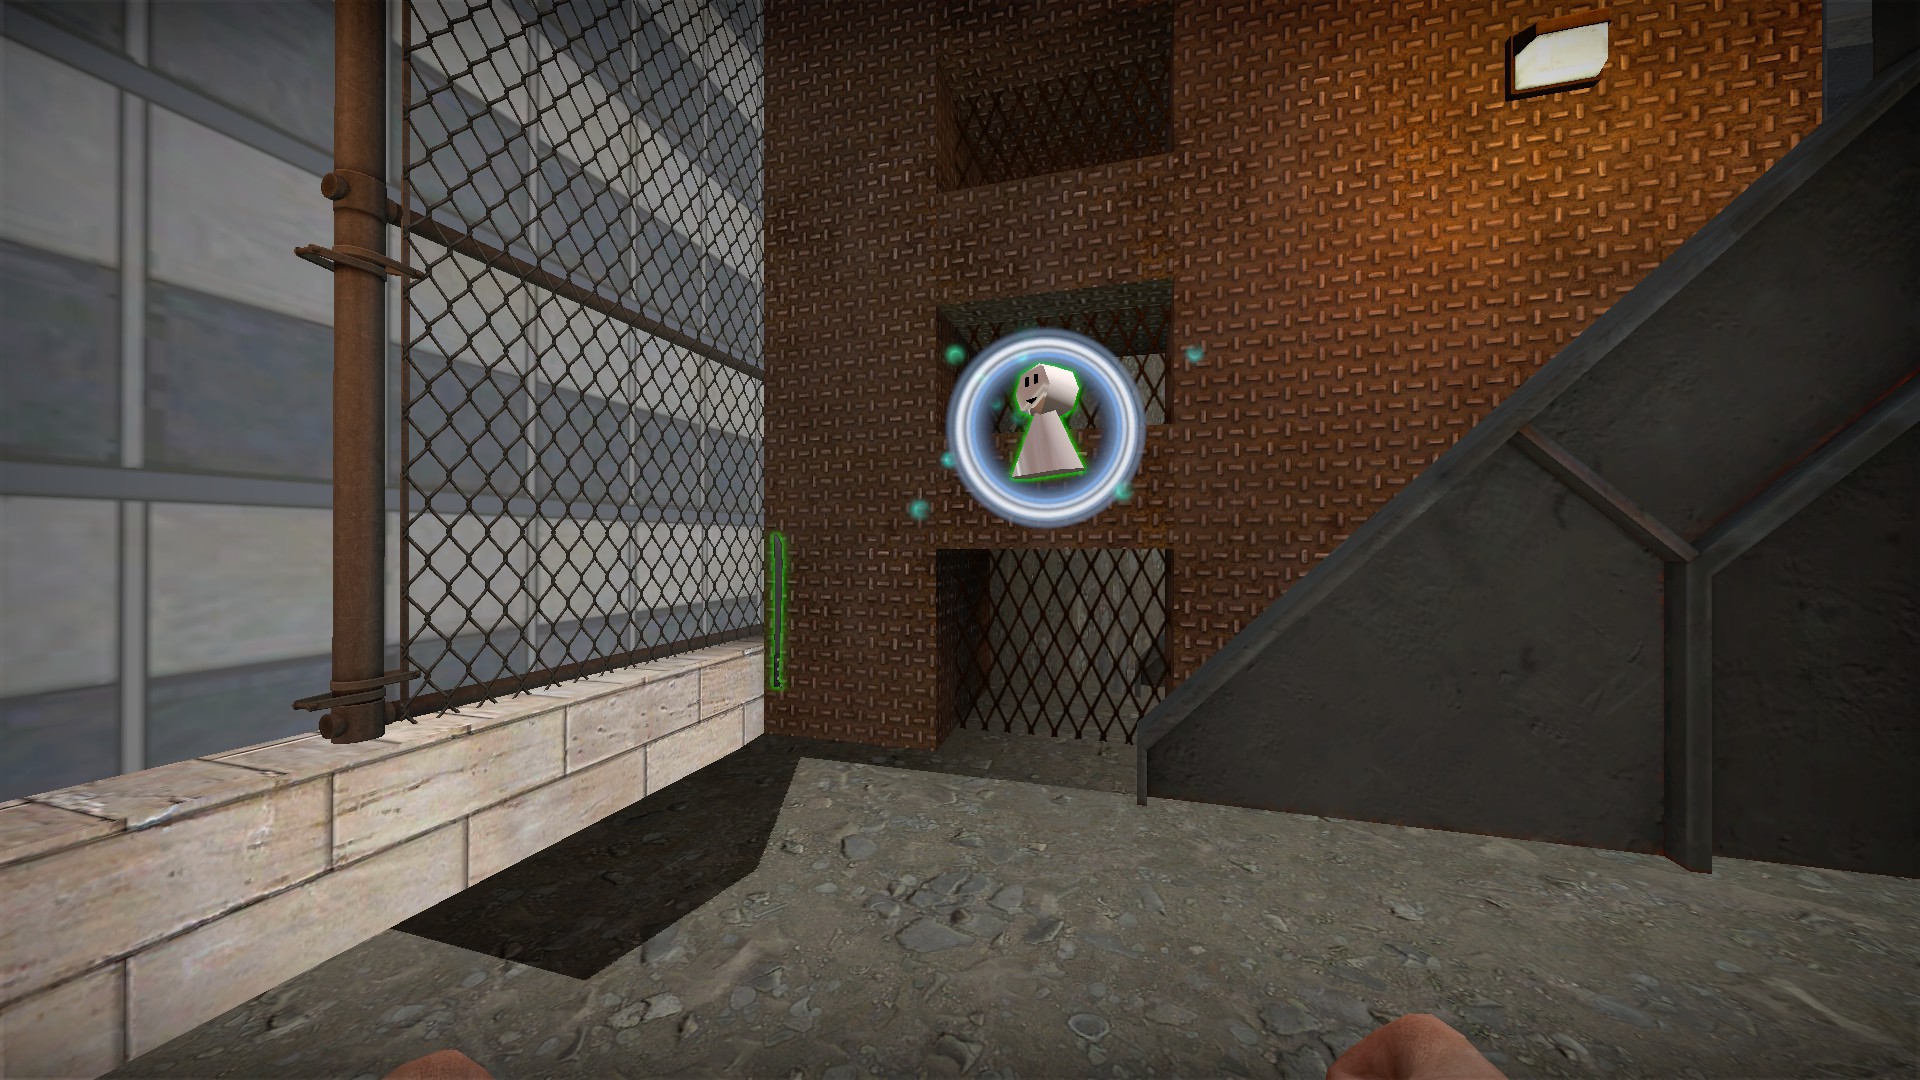
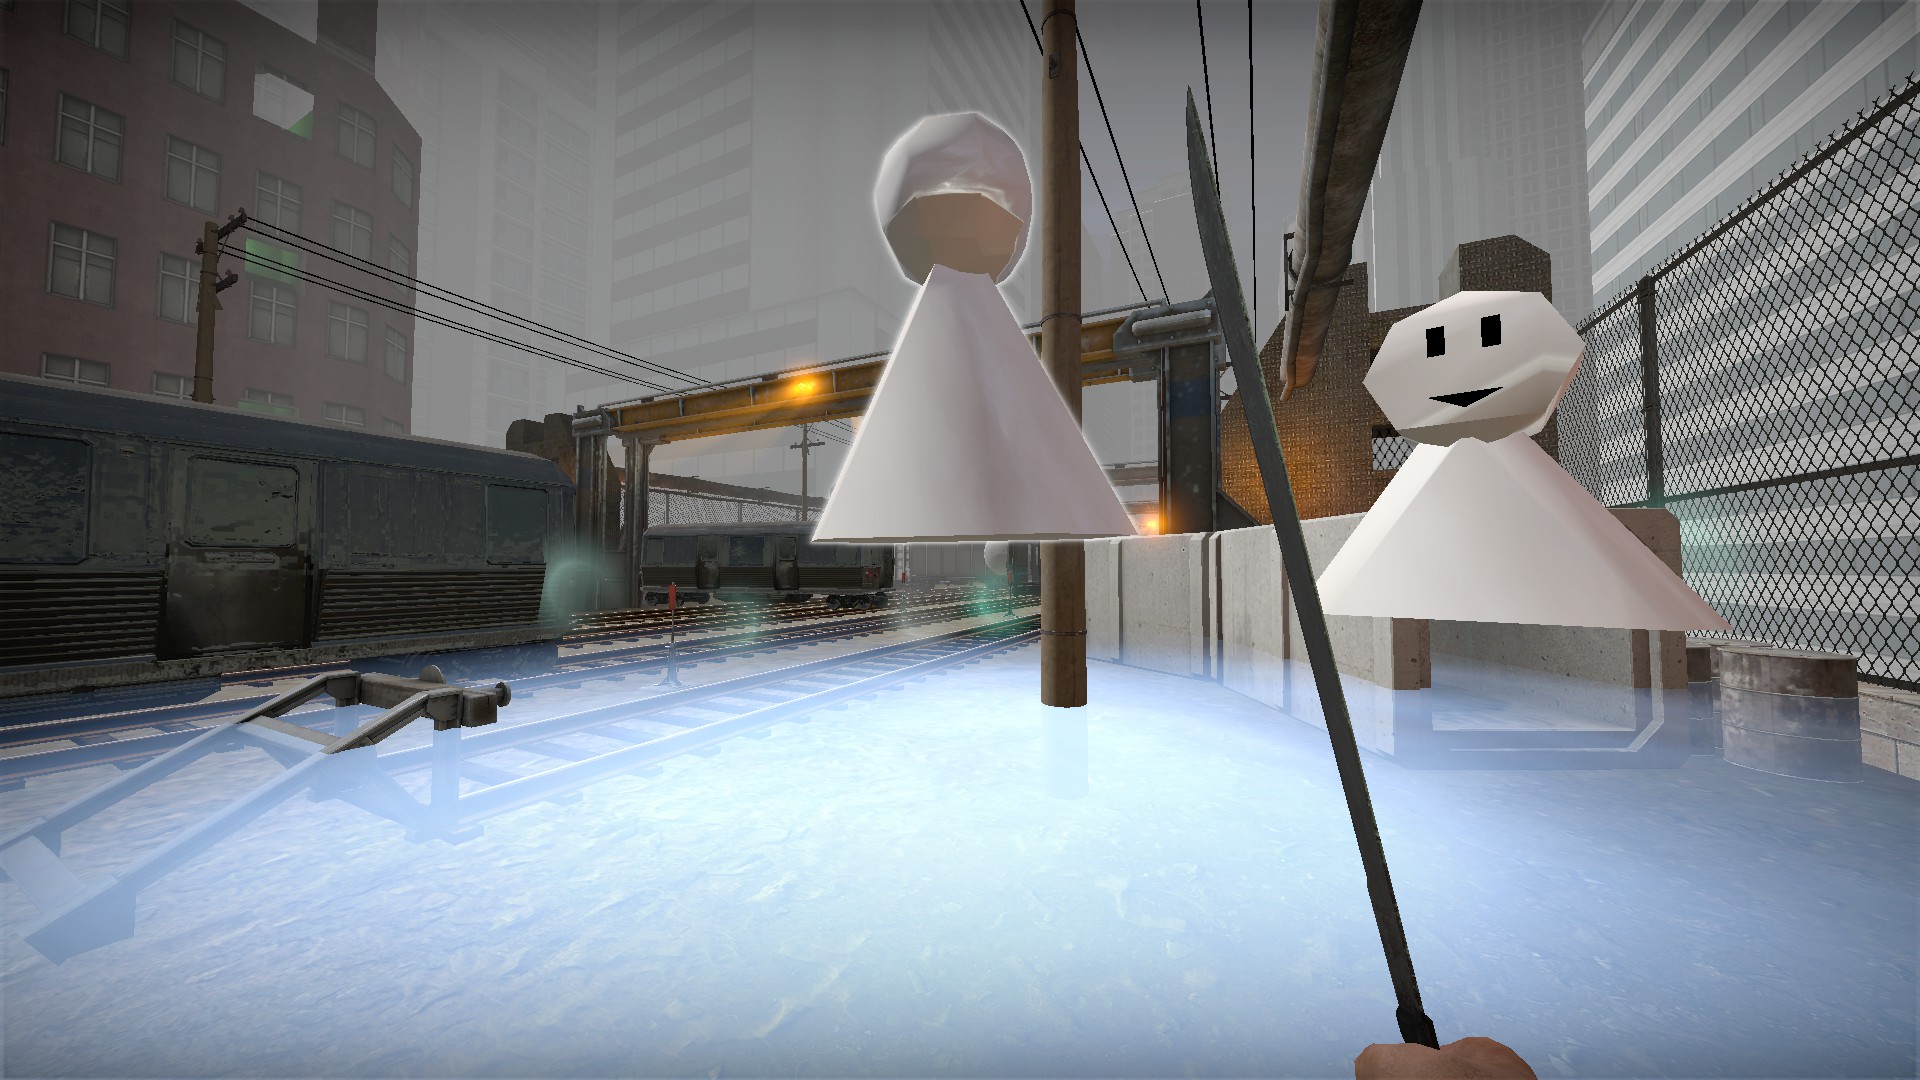
1 - Sunny doll machete. Summon a doll that will heal nearby players
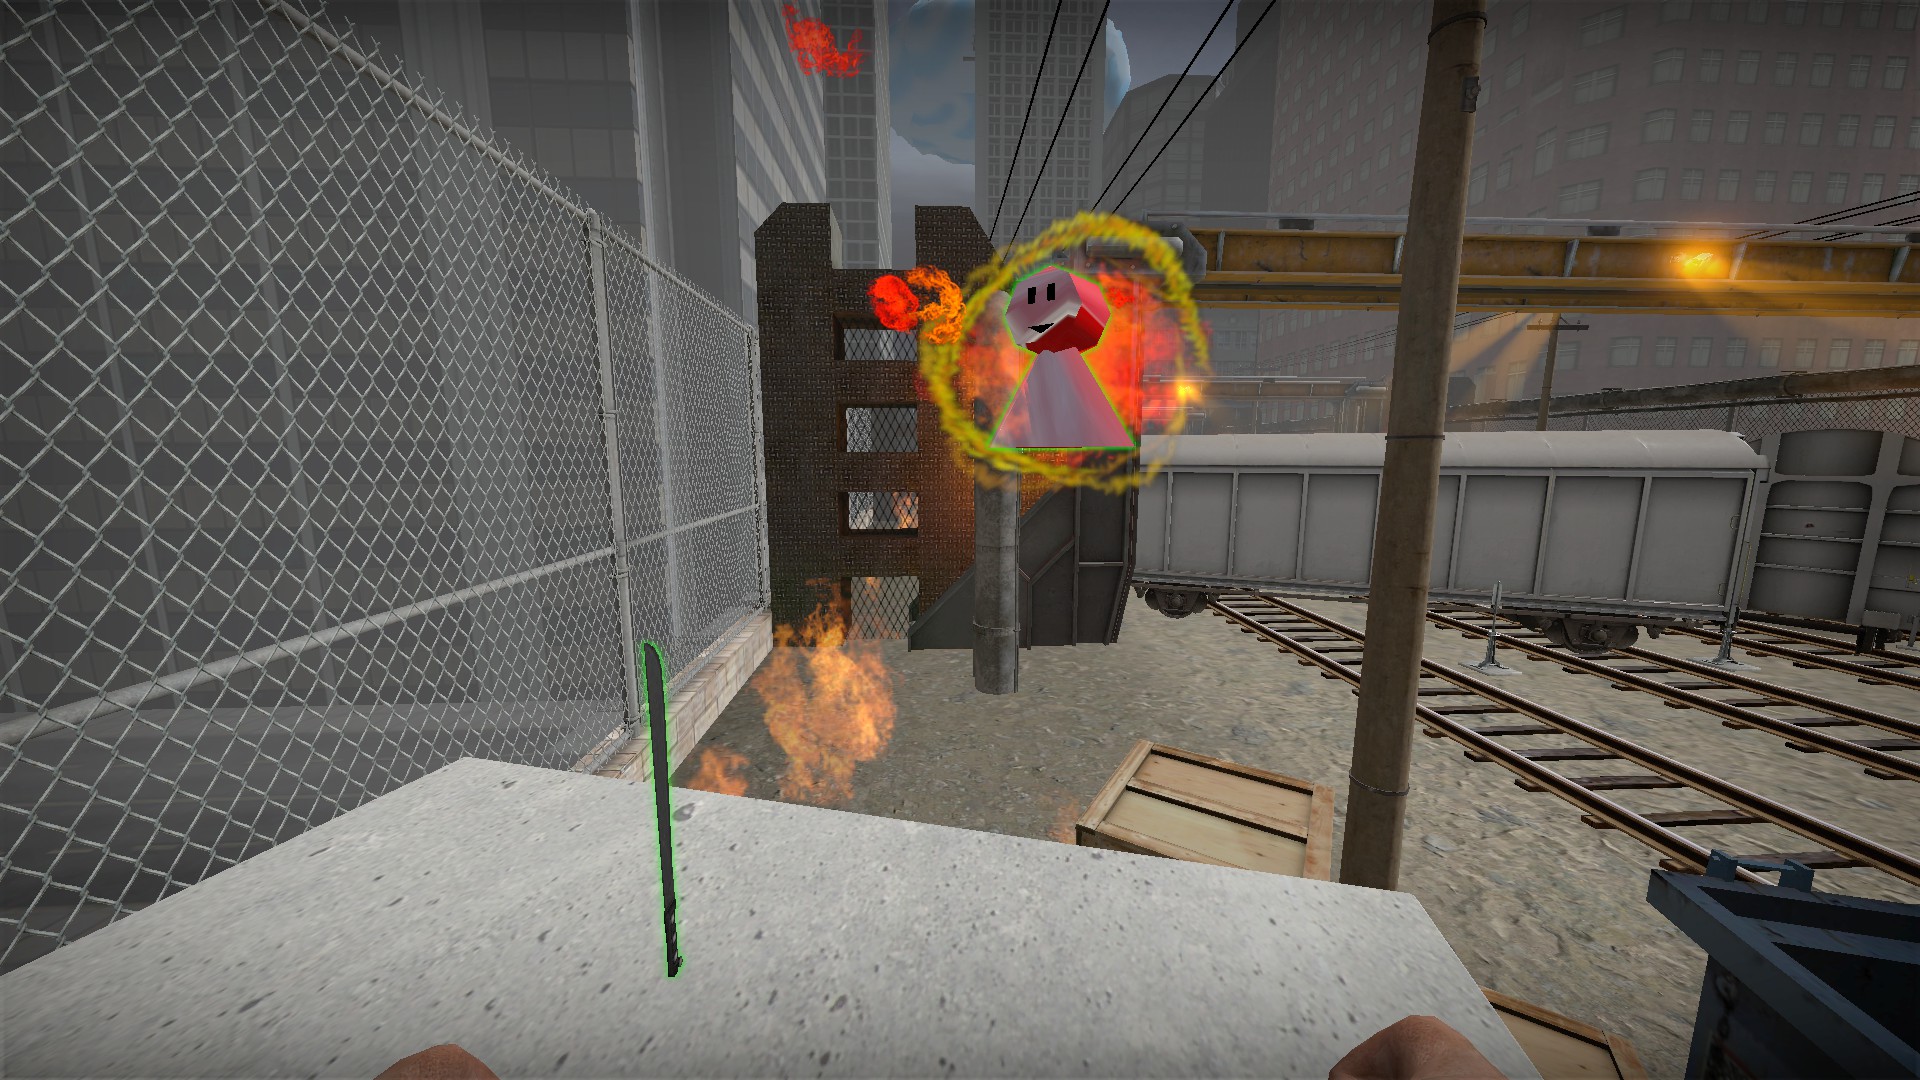
2 - Fire doll machete. Ignite nearby zombies for 12 seconds
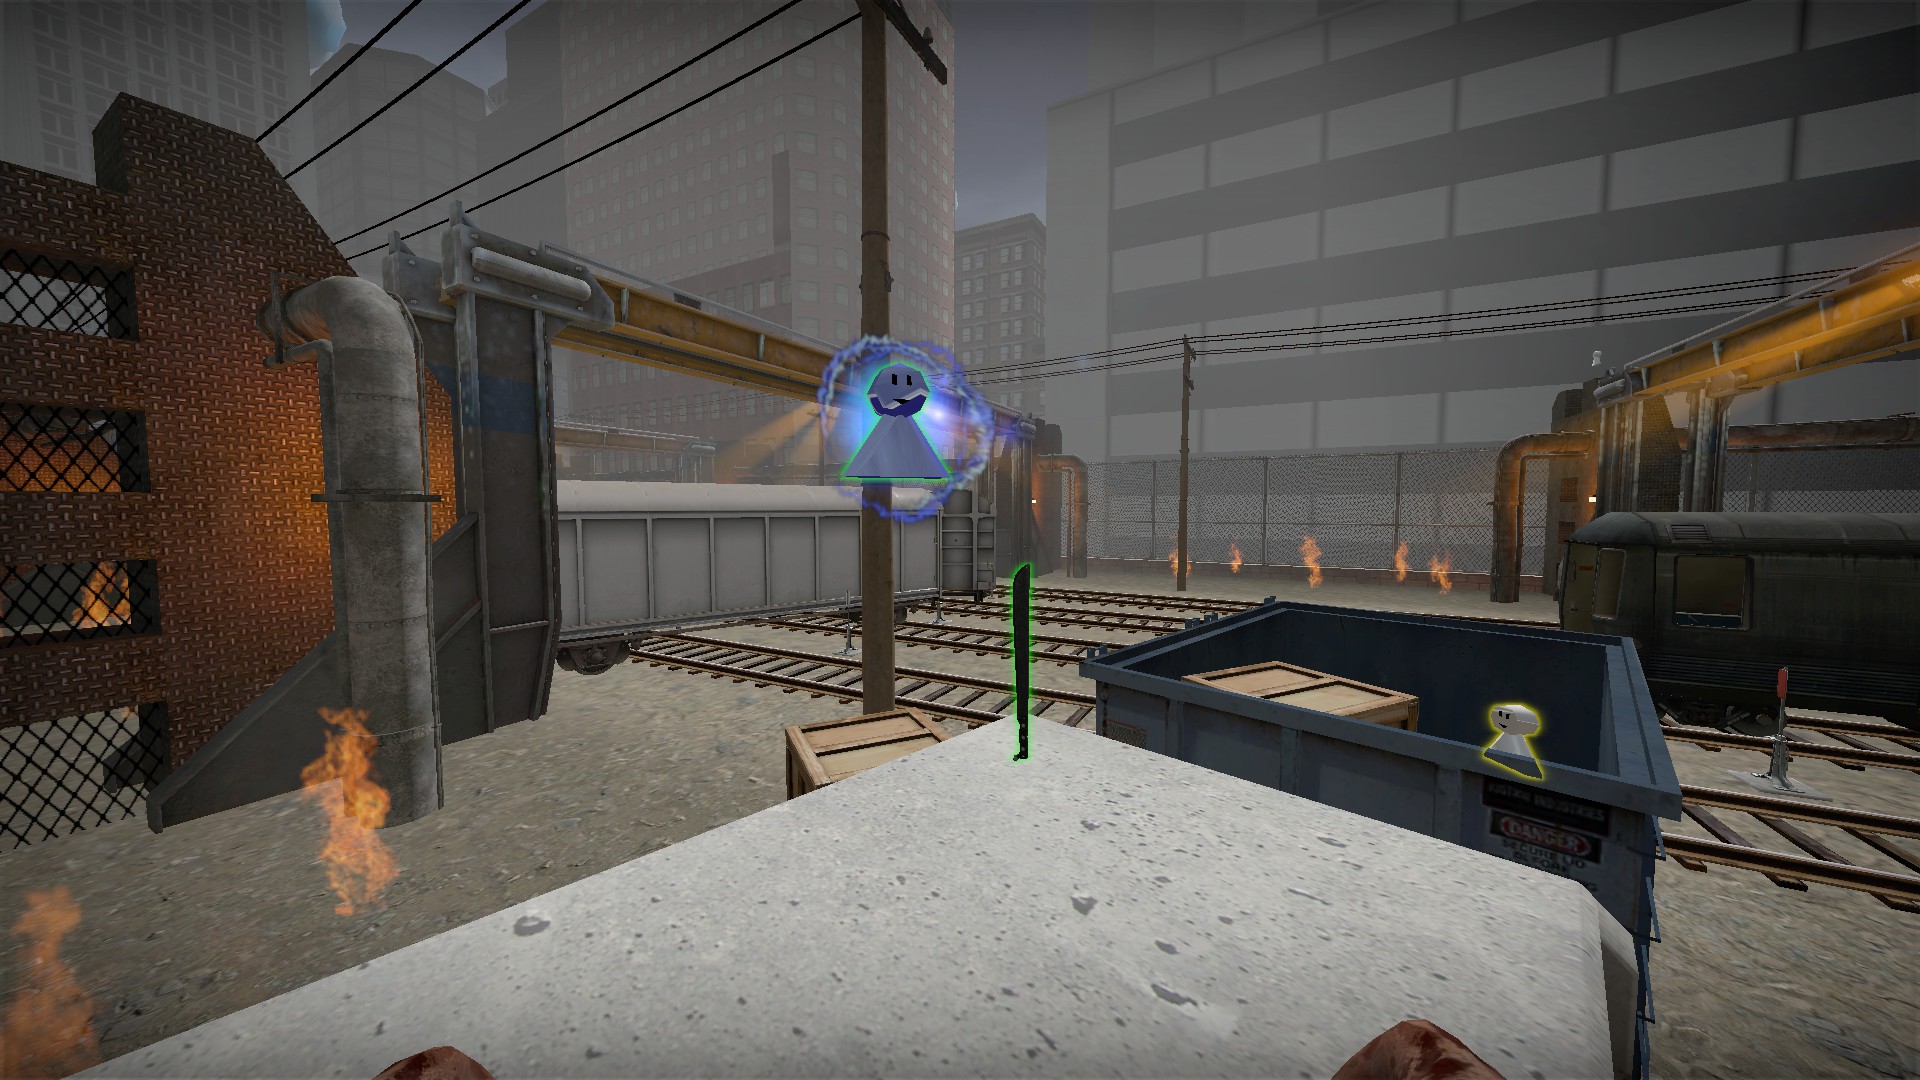
3 - Ice doll machete. Damages nearby zombies and freezes ones farther away
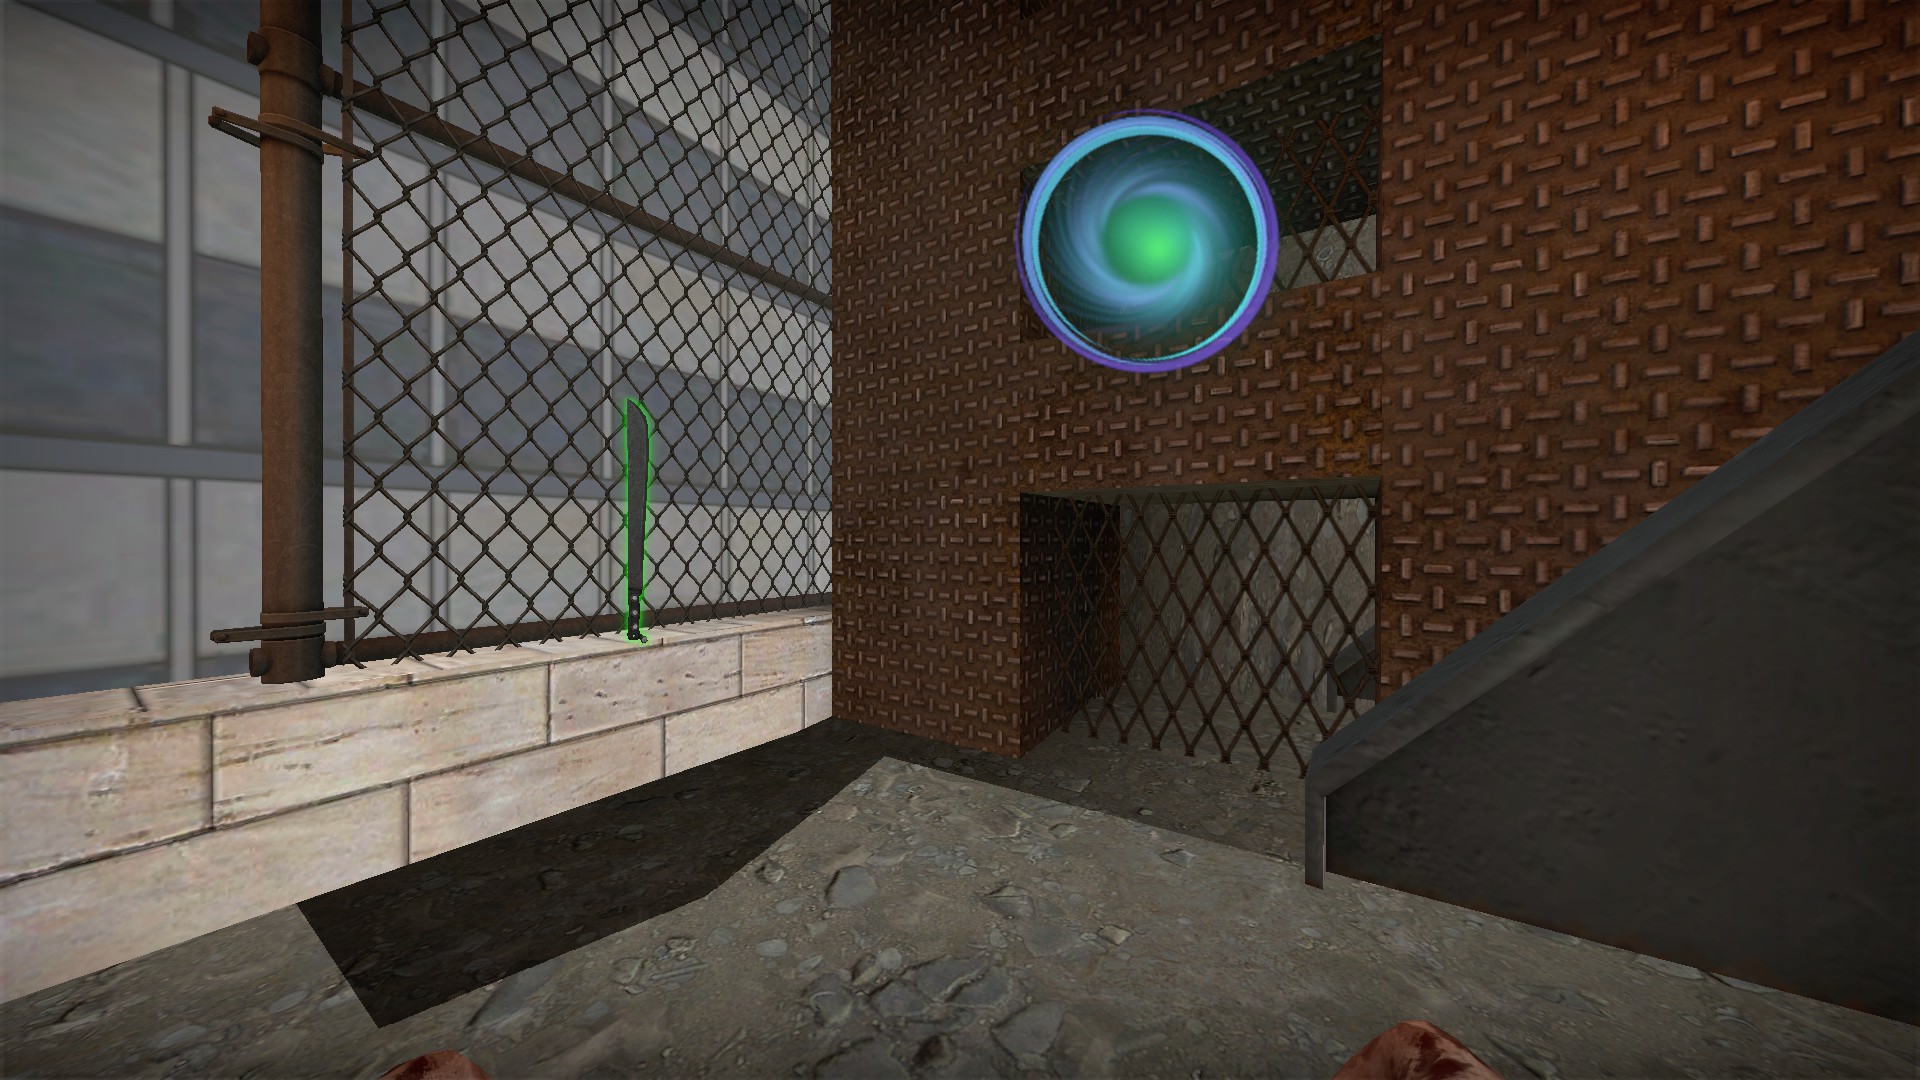
4 - Wind machete. Pushes nearby zombies back
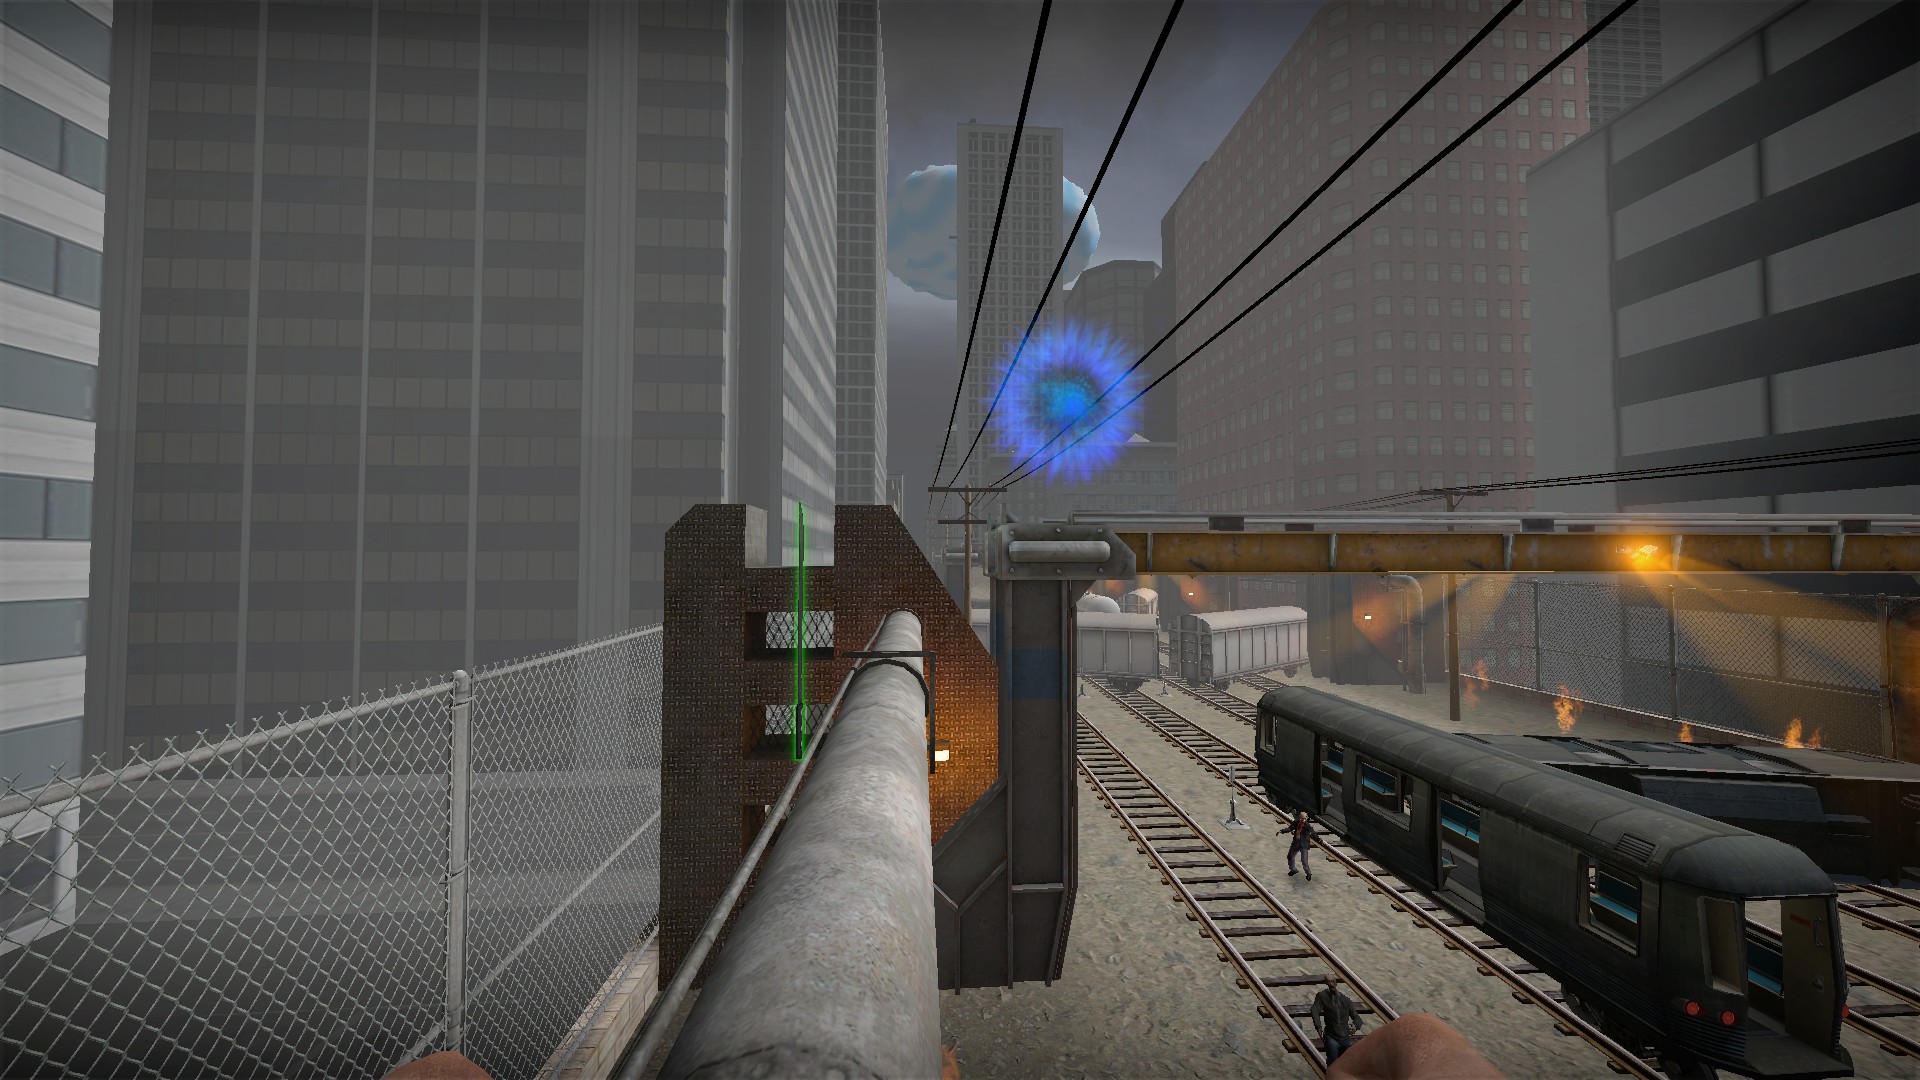
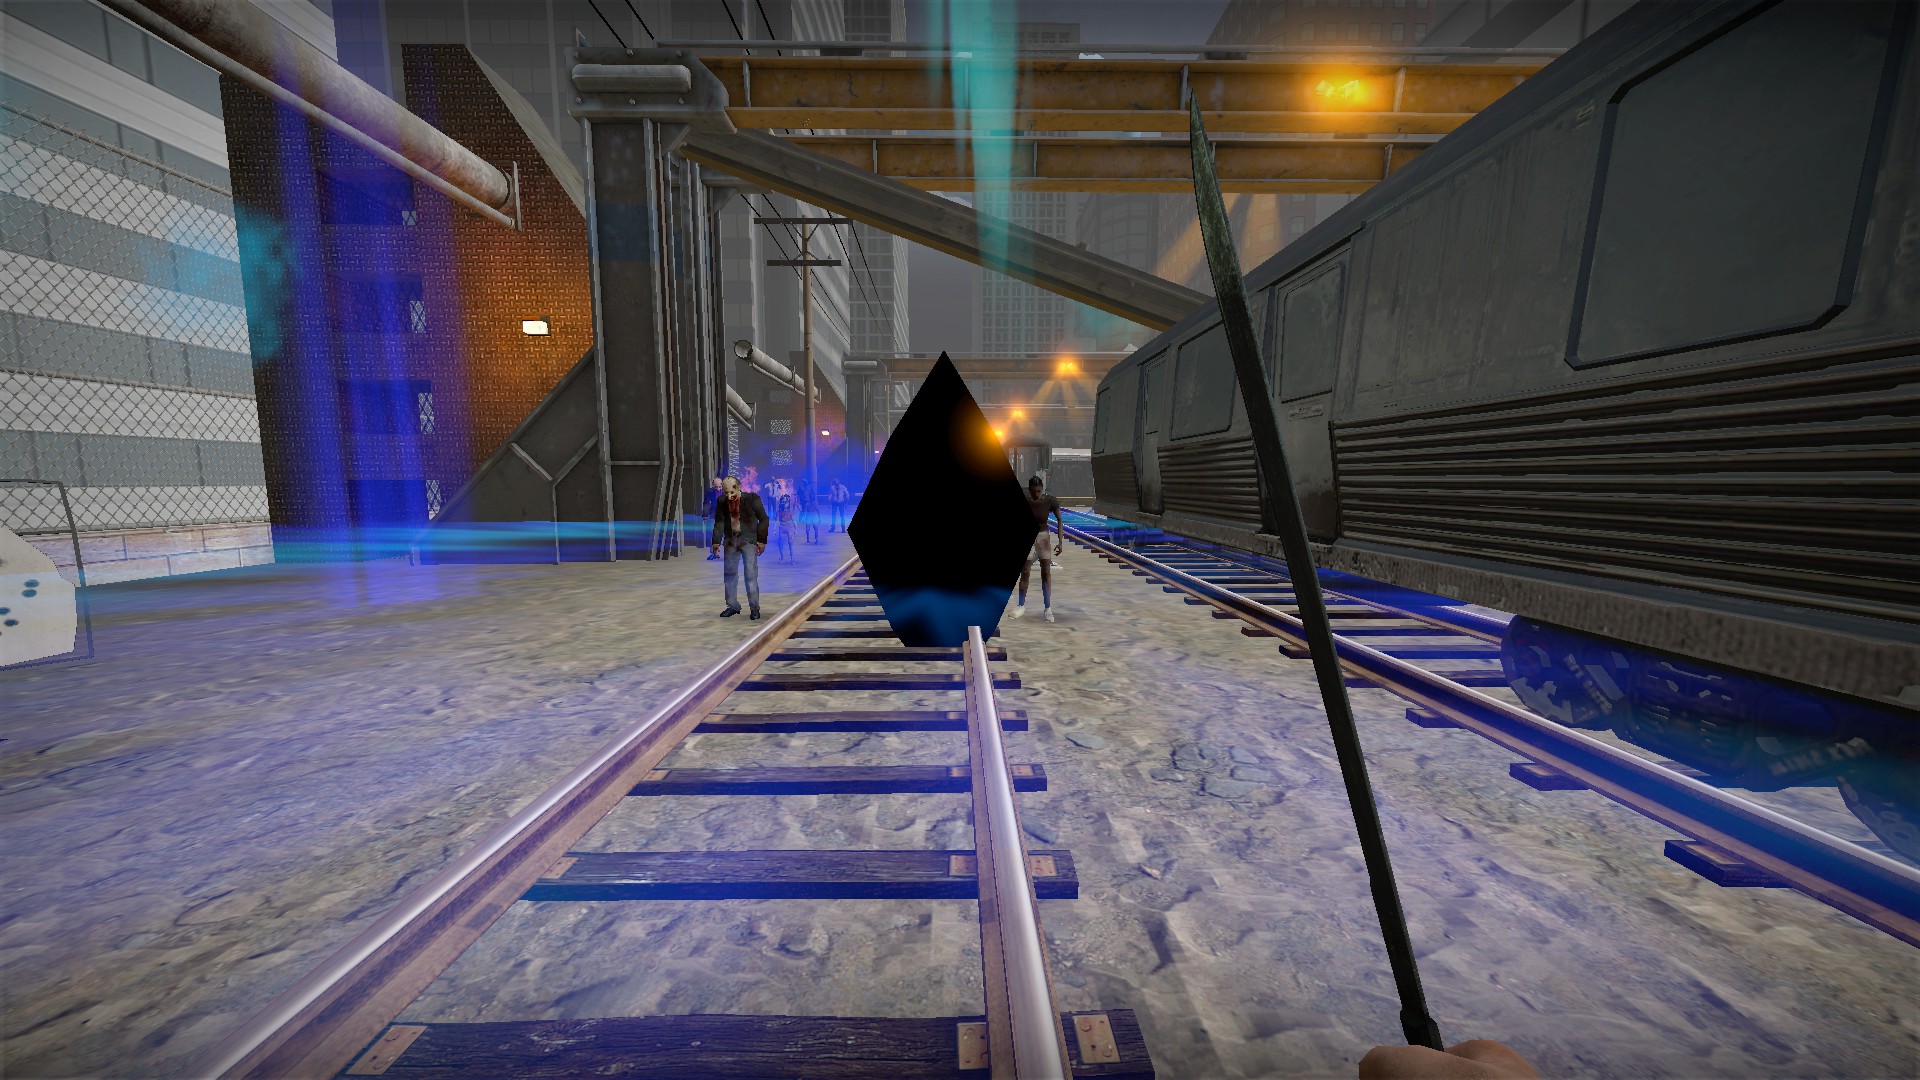
5 - Freeze machete. Shoots an ice ball straight ahead. If the ball hits a zombie, it will make a structure that will freeze nearby zombies
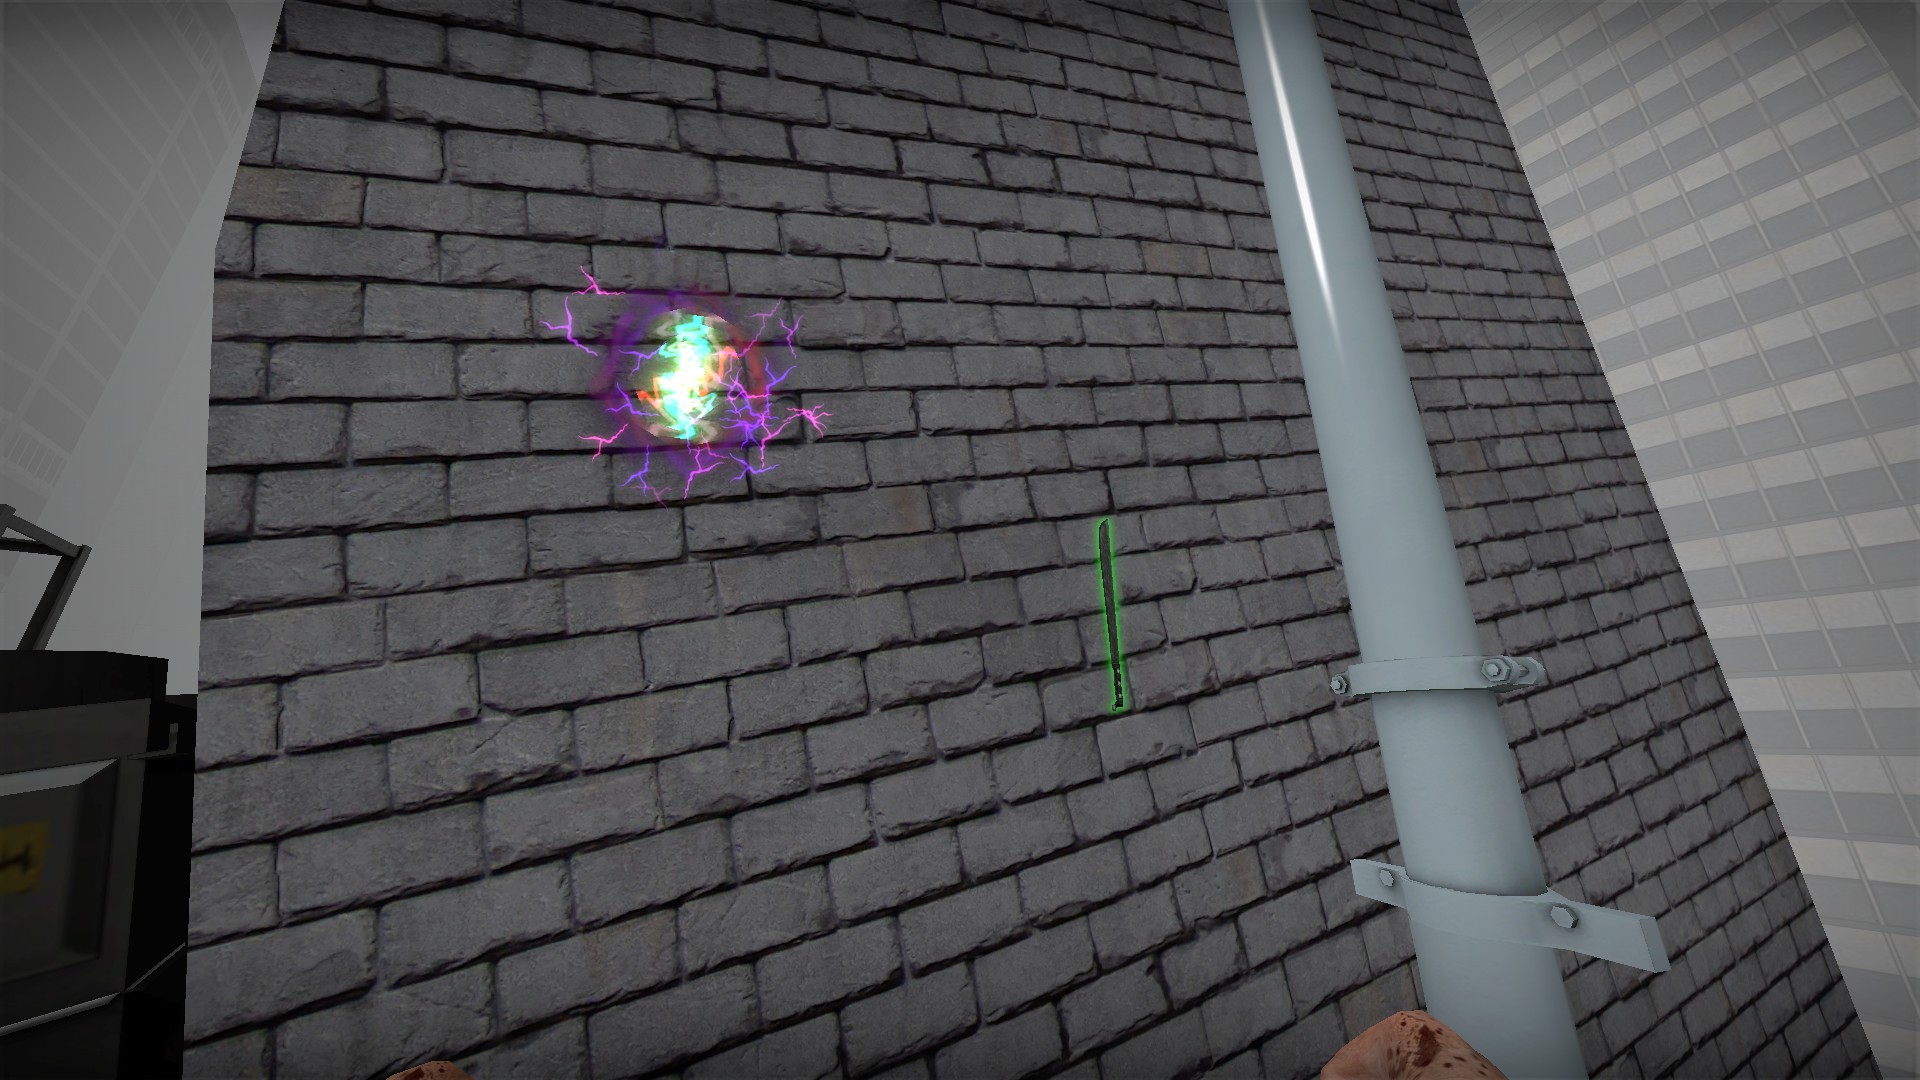
6 - Thunder machete. This will kill zombies with a lightning attack in a large area but only after 20 seconds
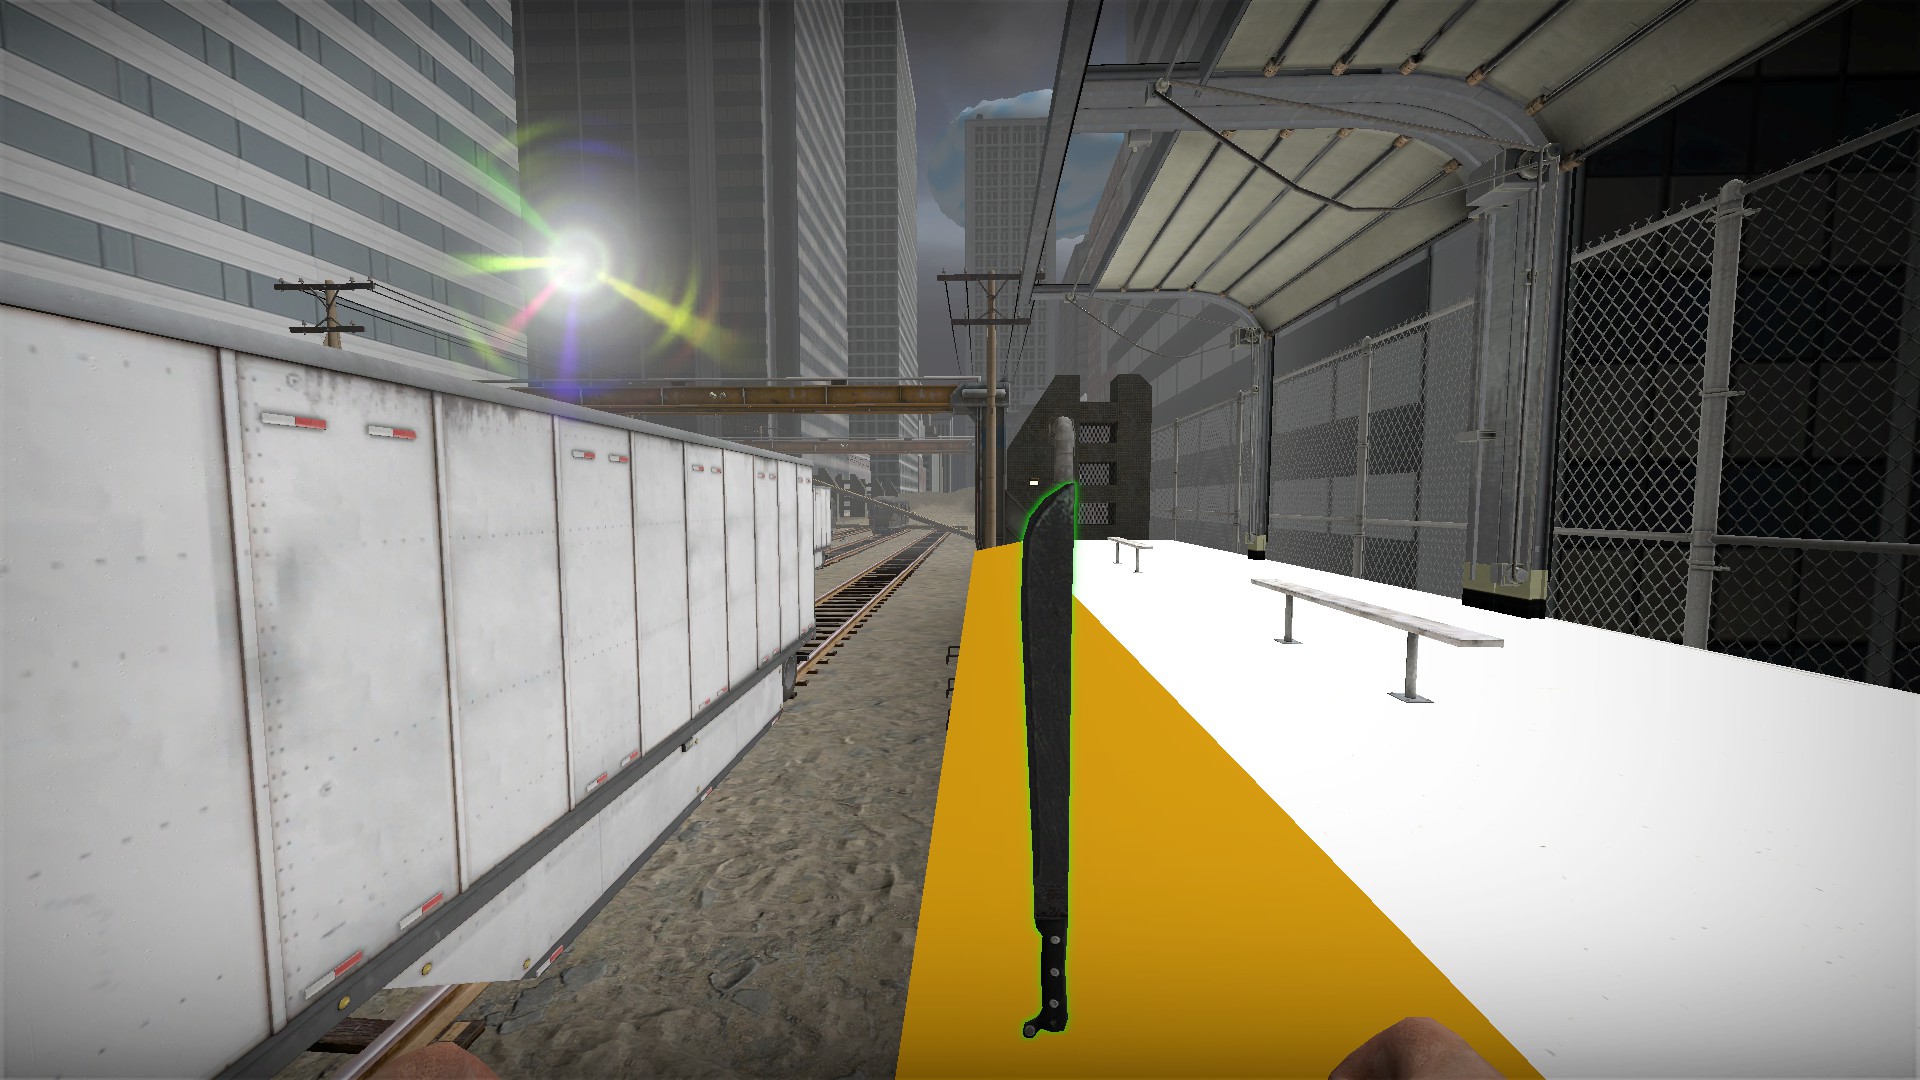
7 - Rainbow machete. This will restore health to you and nearby players
Stage 2 Special zombies
Special zombies are immune to damage caused by special weapons and are also immune to fire damage. Special zombies have a lot more hp than regular zombies and also have special abilities. These special abilities recharge in 2 minutes like the special weapons, but the zombies can use these abilities as many times as they want. There are 2 types of special zombies: ones with small area effects, and ones with large area effects. Do not try to beat them toe to toe - use firearms and grenades/tnt from afar
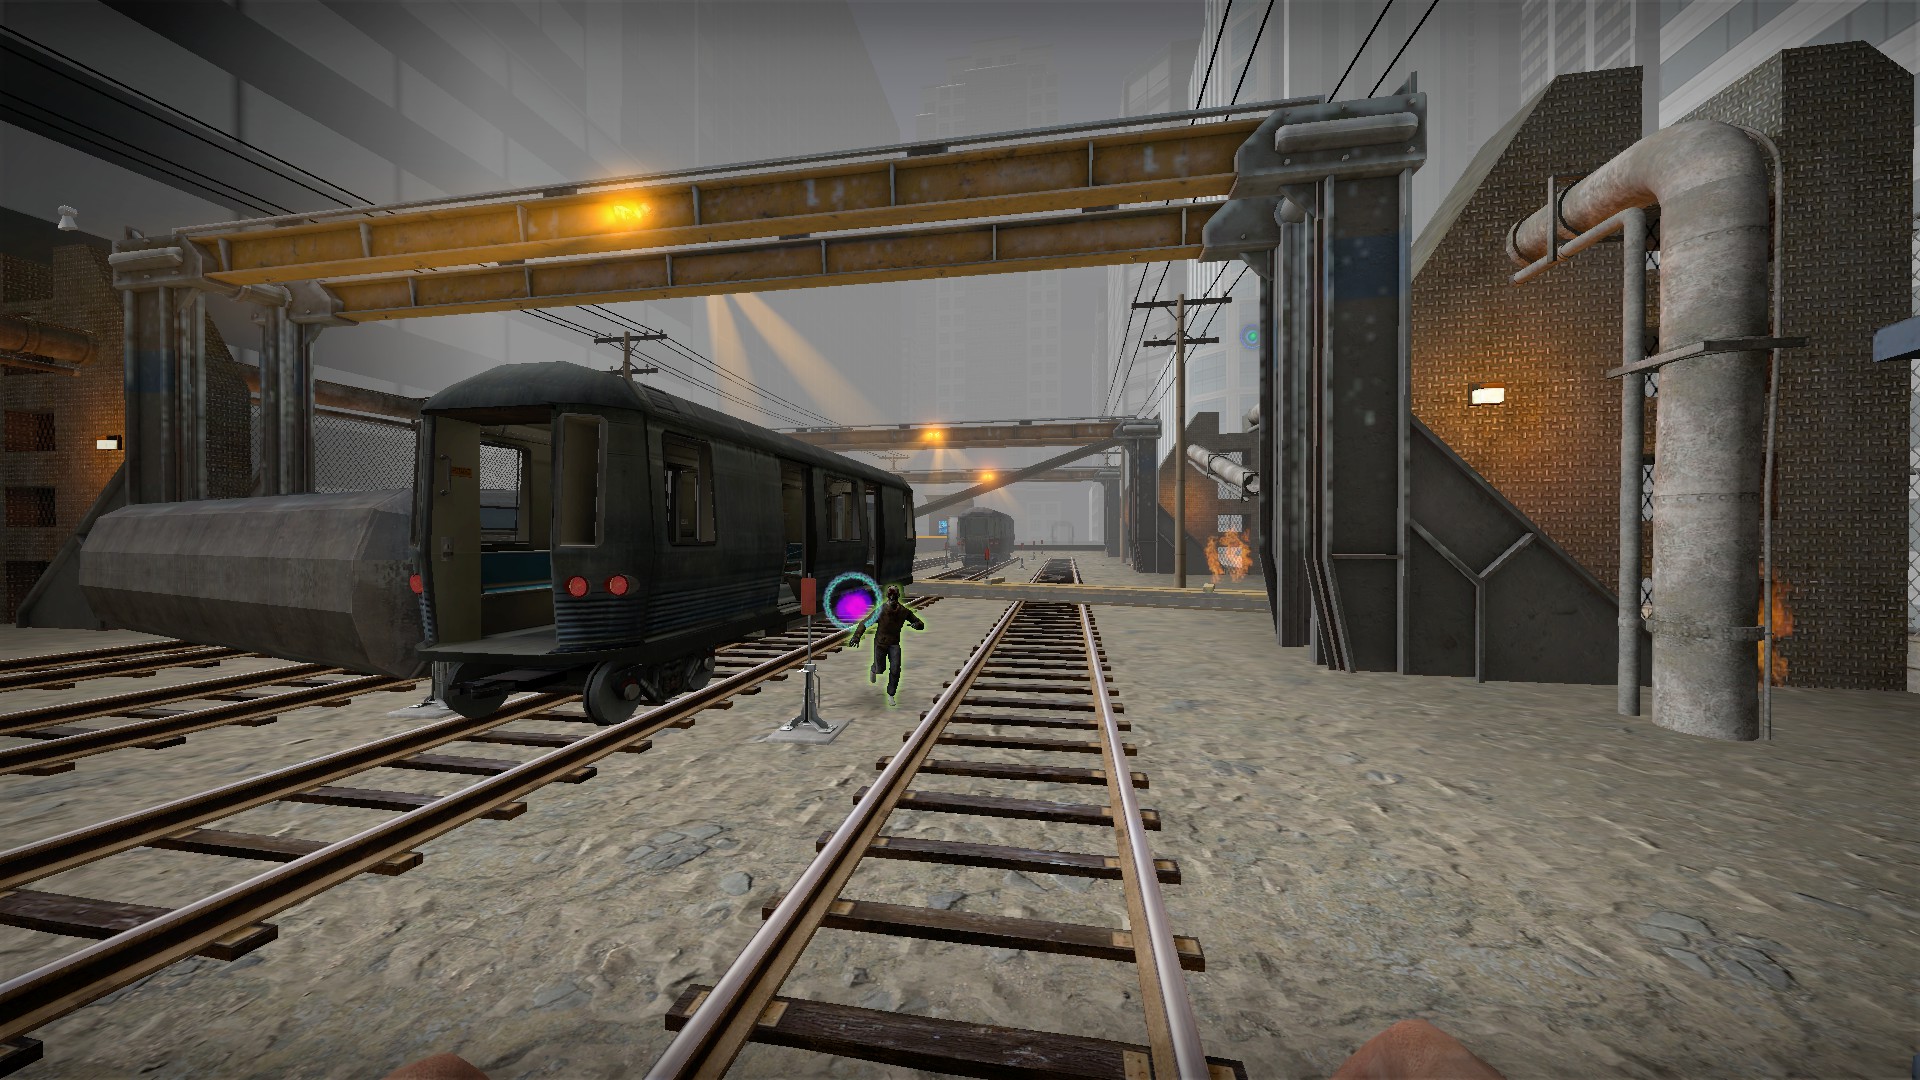
1 - Fog zombie, damages nearby players with a small area fog cloud effect. Will be highlighted green
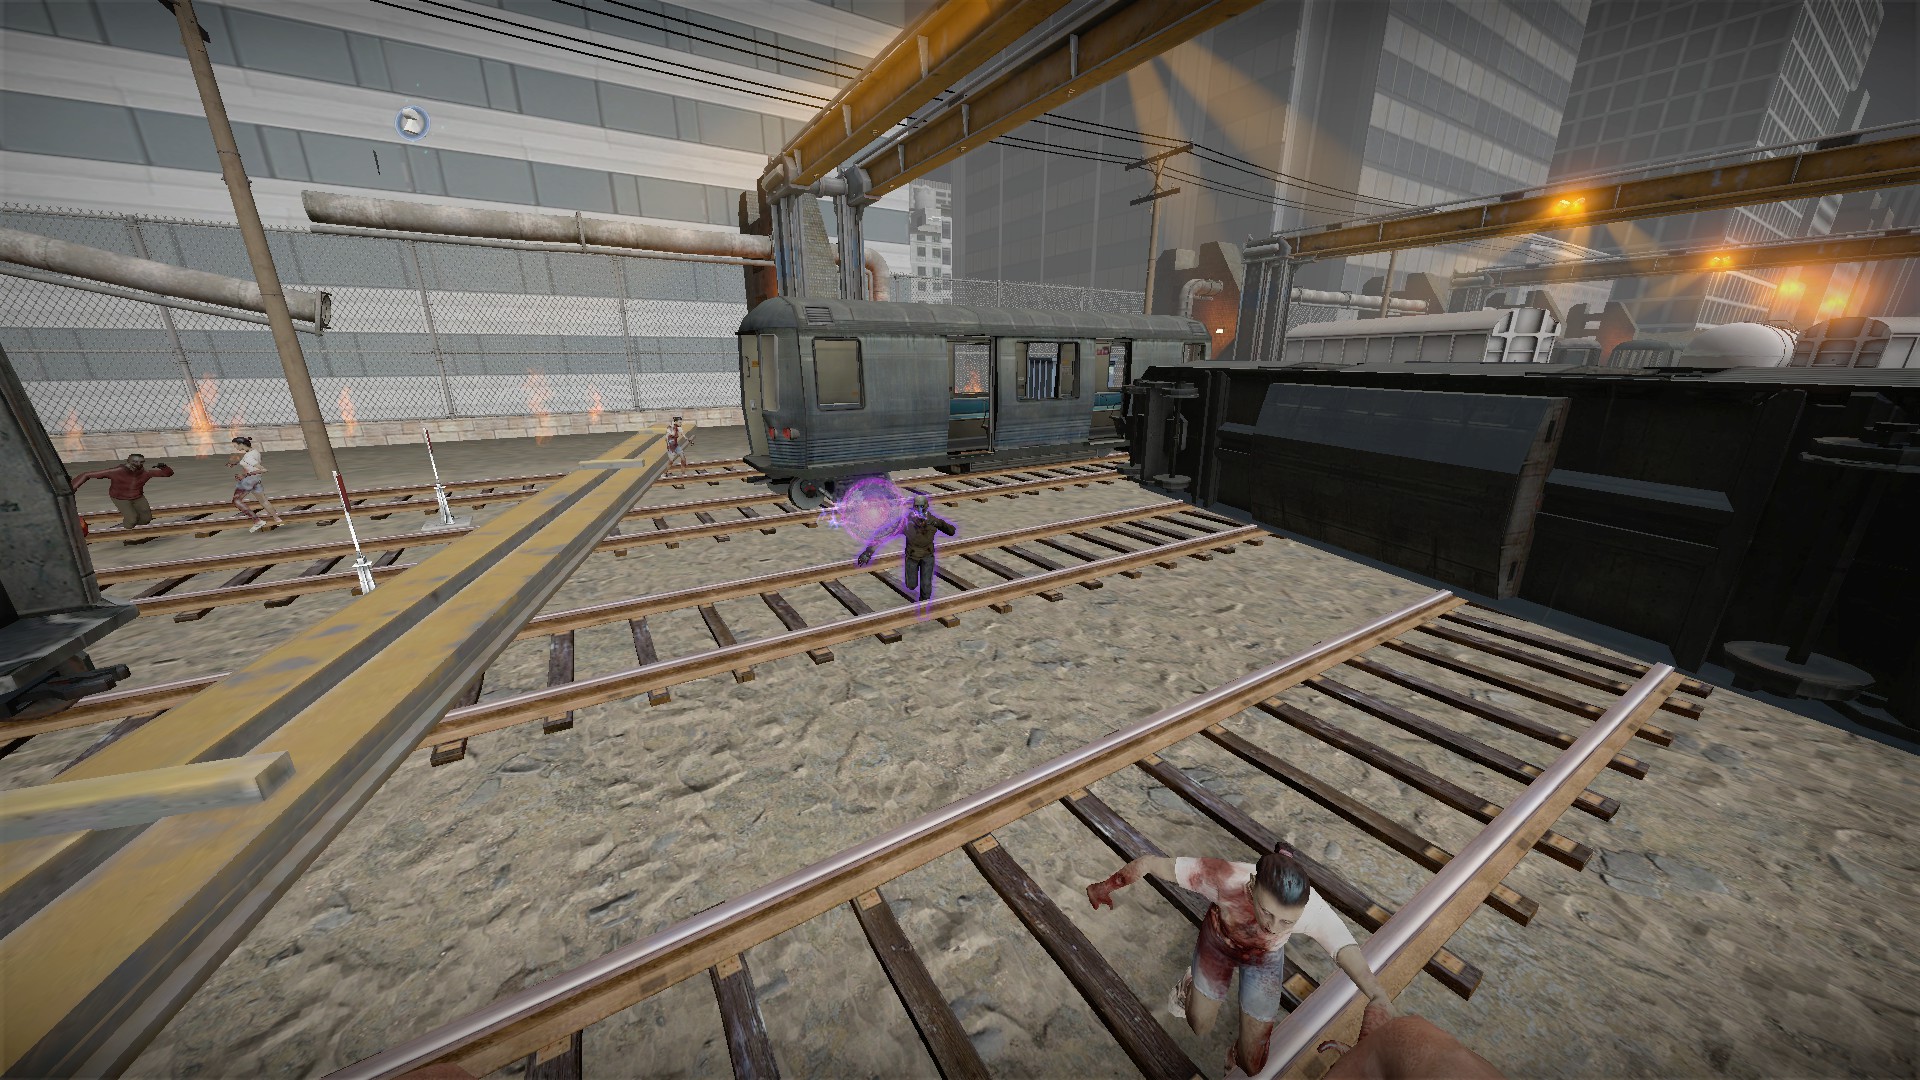
2 - Lightning zombie, damages nearby players with a powerful and immediate lightning strike. Unlike the other special zombies, it will not recharge this ability. Will be highlighted purple
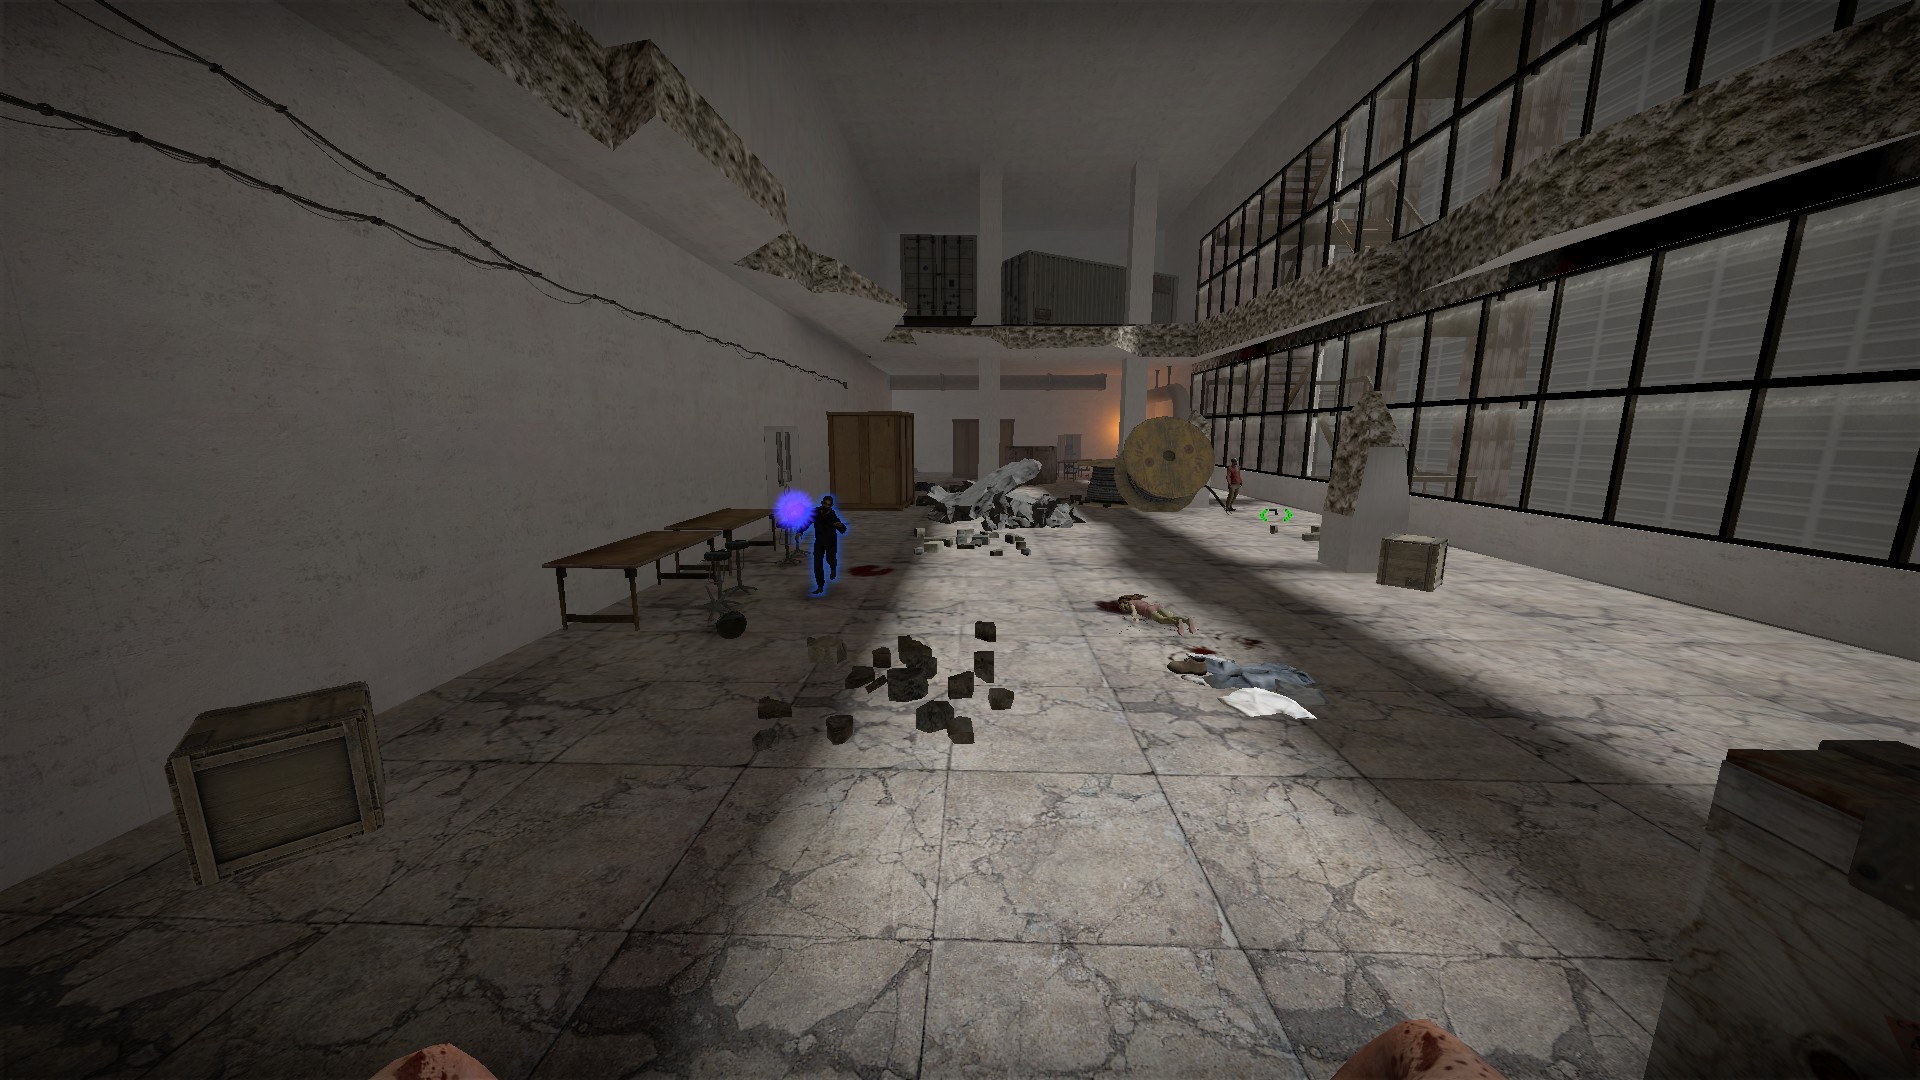
3 - Frozen zombie, will freeze nearby players with a small area effect. Will be highlighted blue
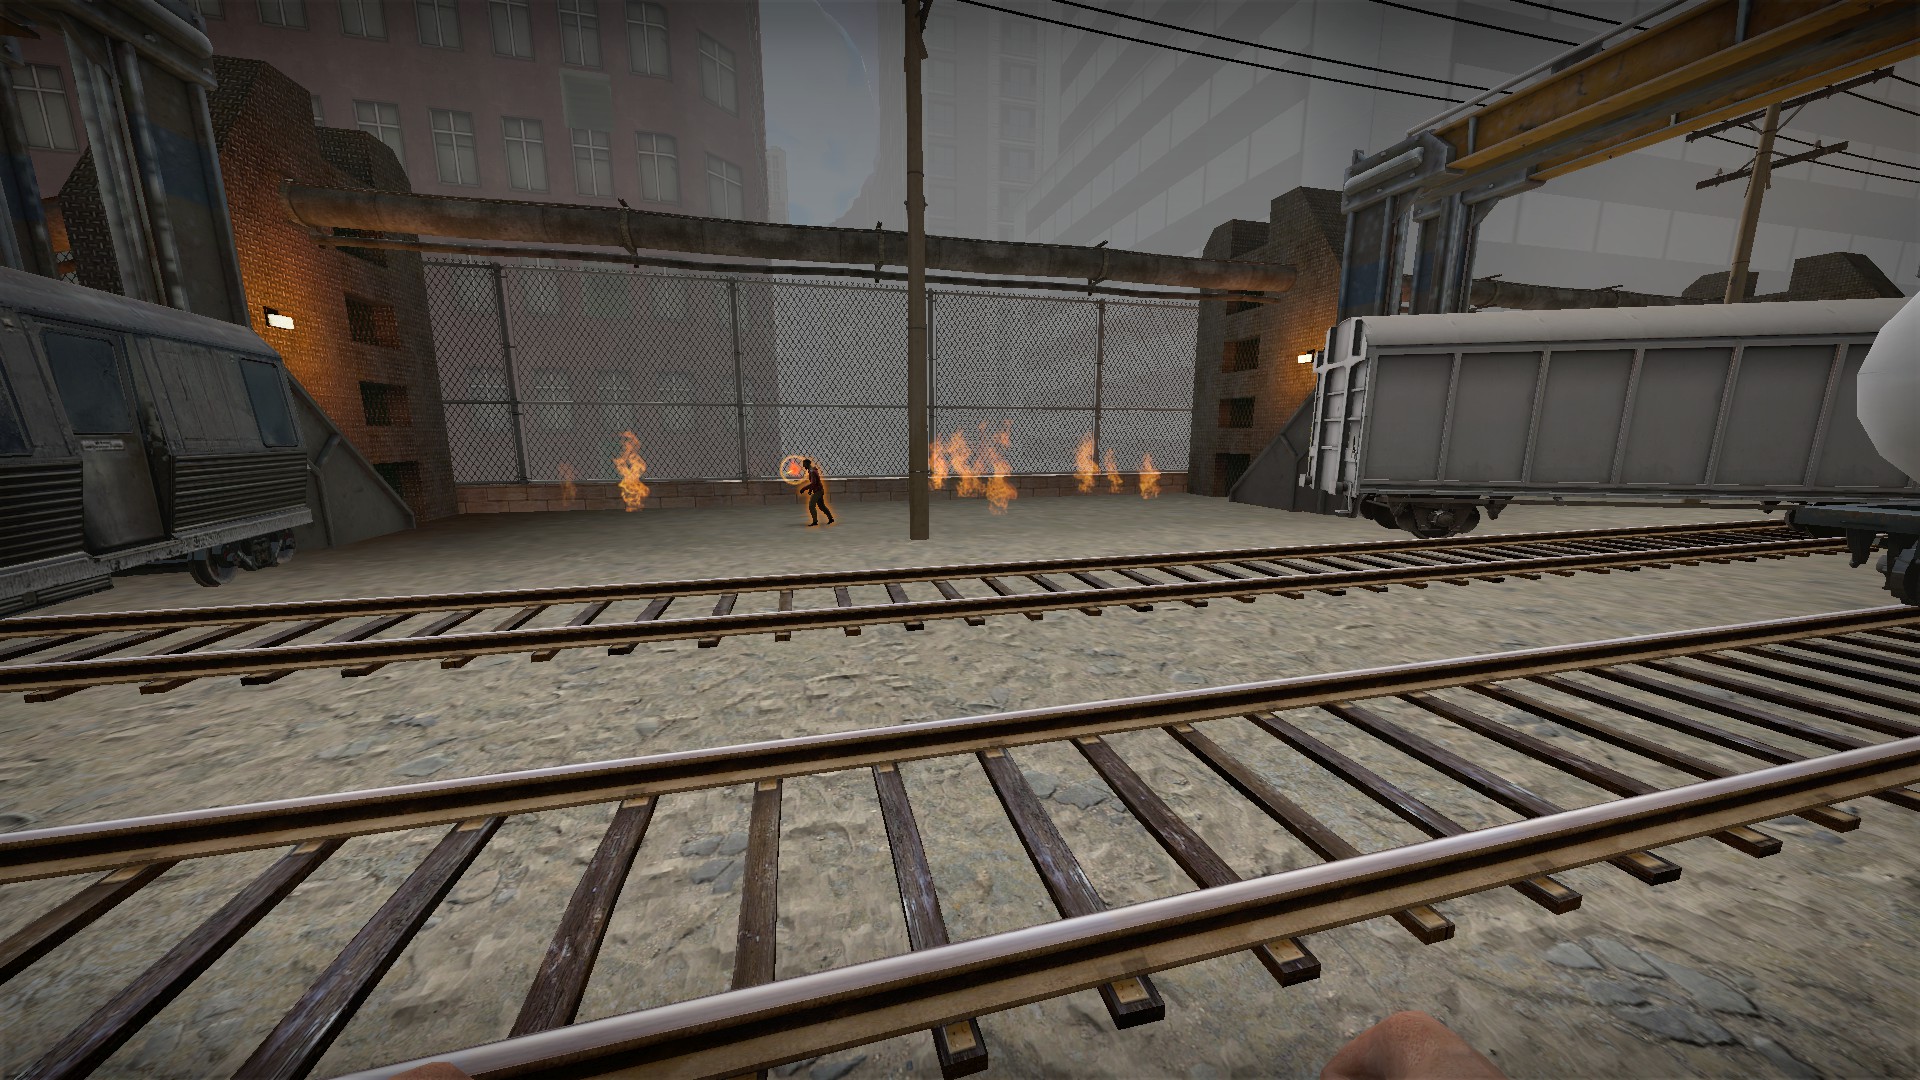
4 - Flame zombie, damages nearby players with a small area fire effect. Will be highlighted orange
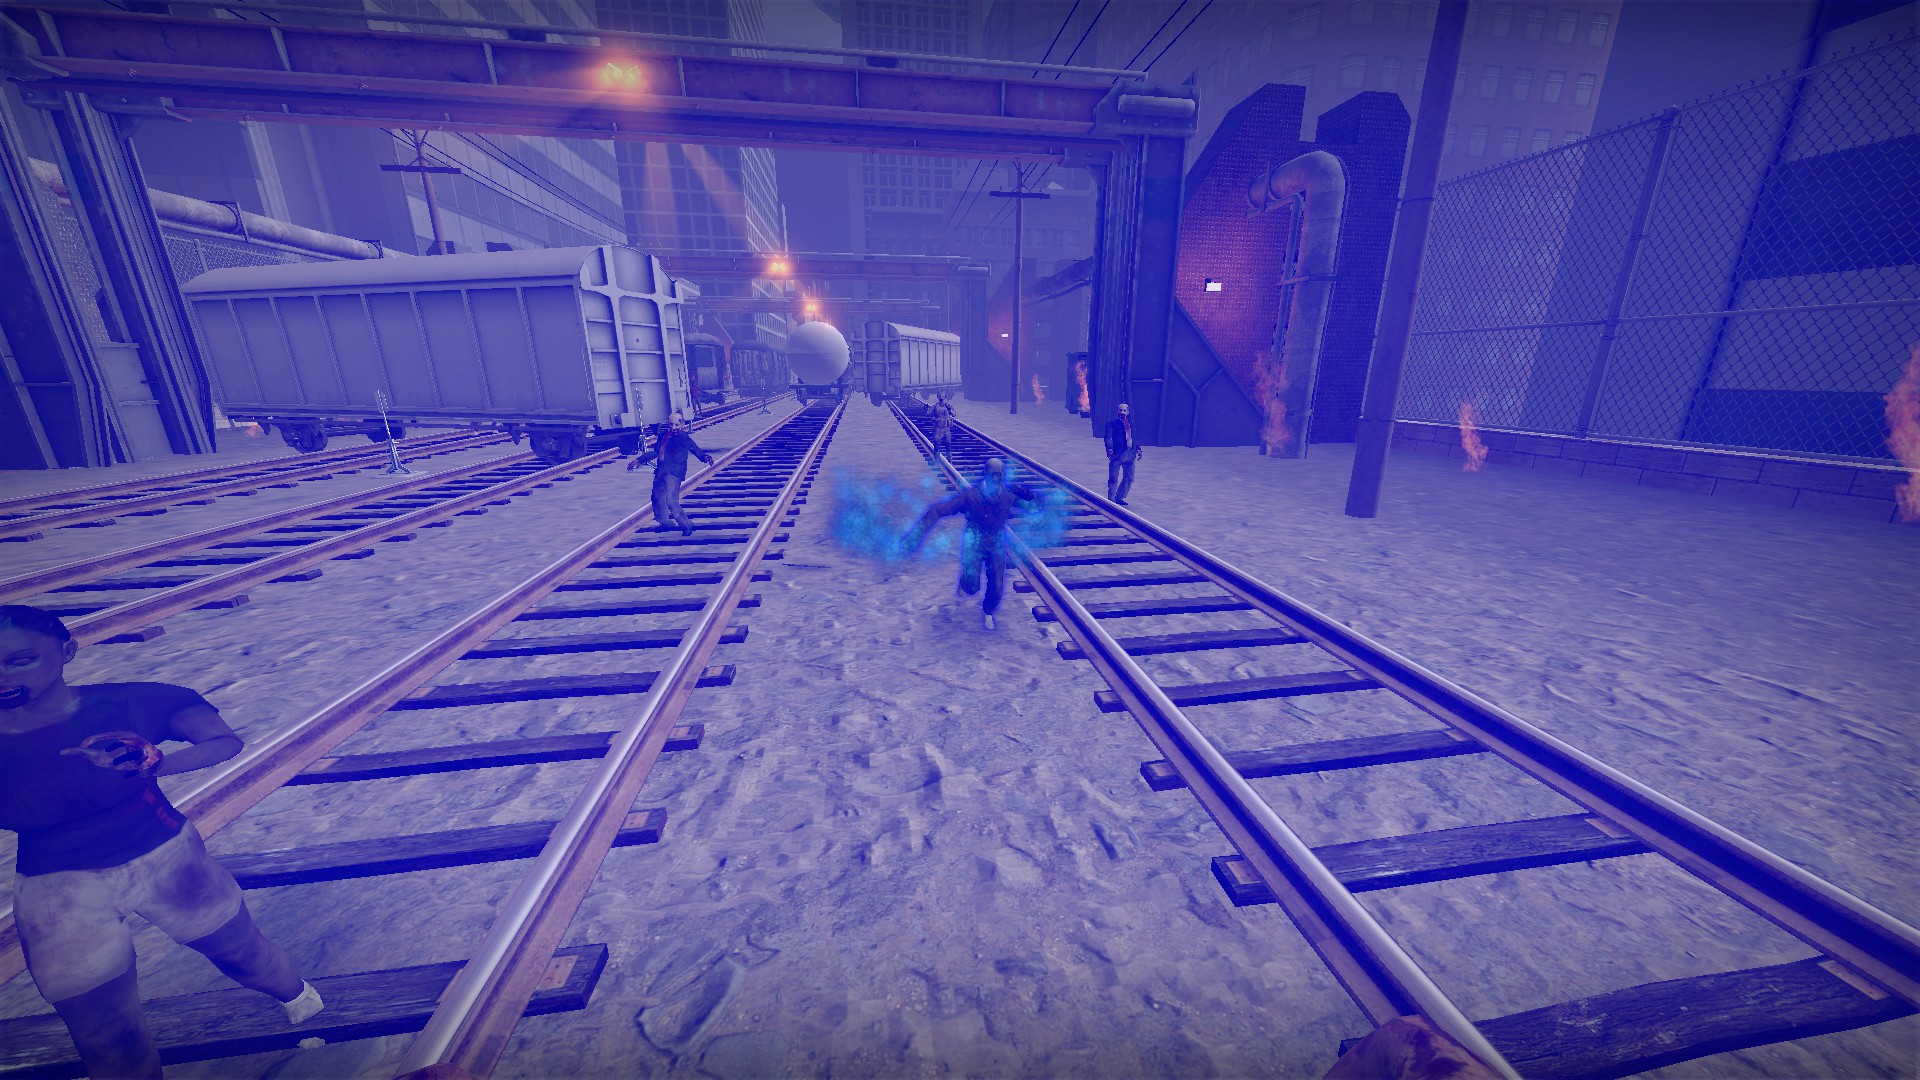
5 - Ice zombie. Large area of effect. Slows down players across the entire map until it is killed. Zombie will have a blue field effect around it and the map will be blue until it is killed
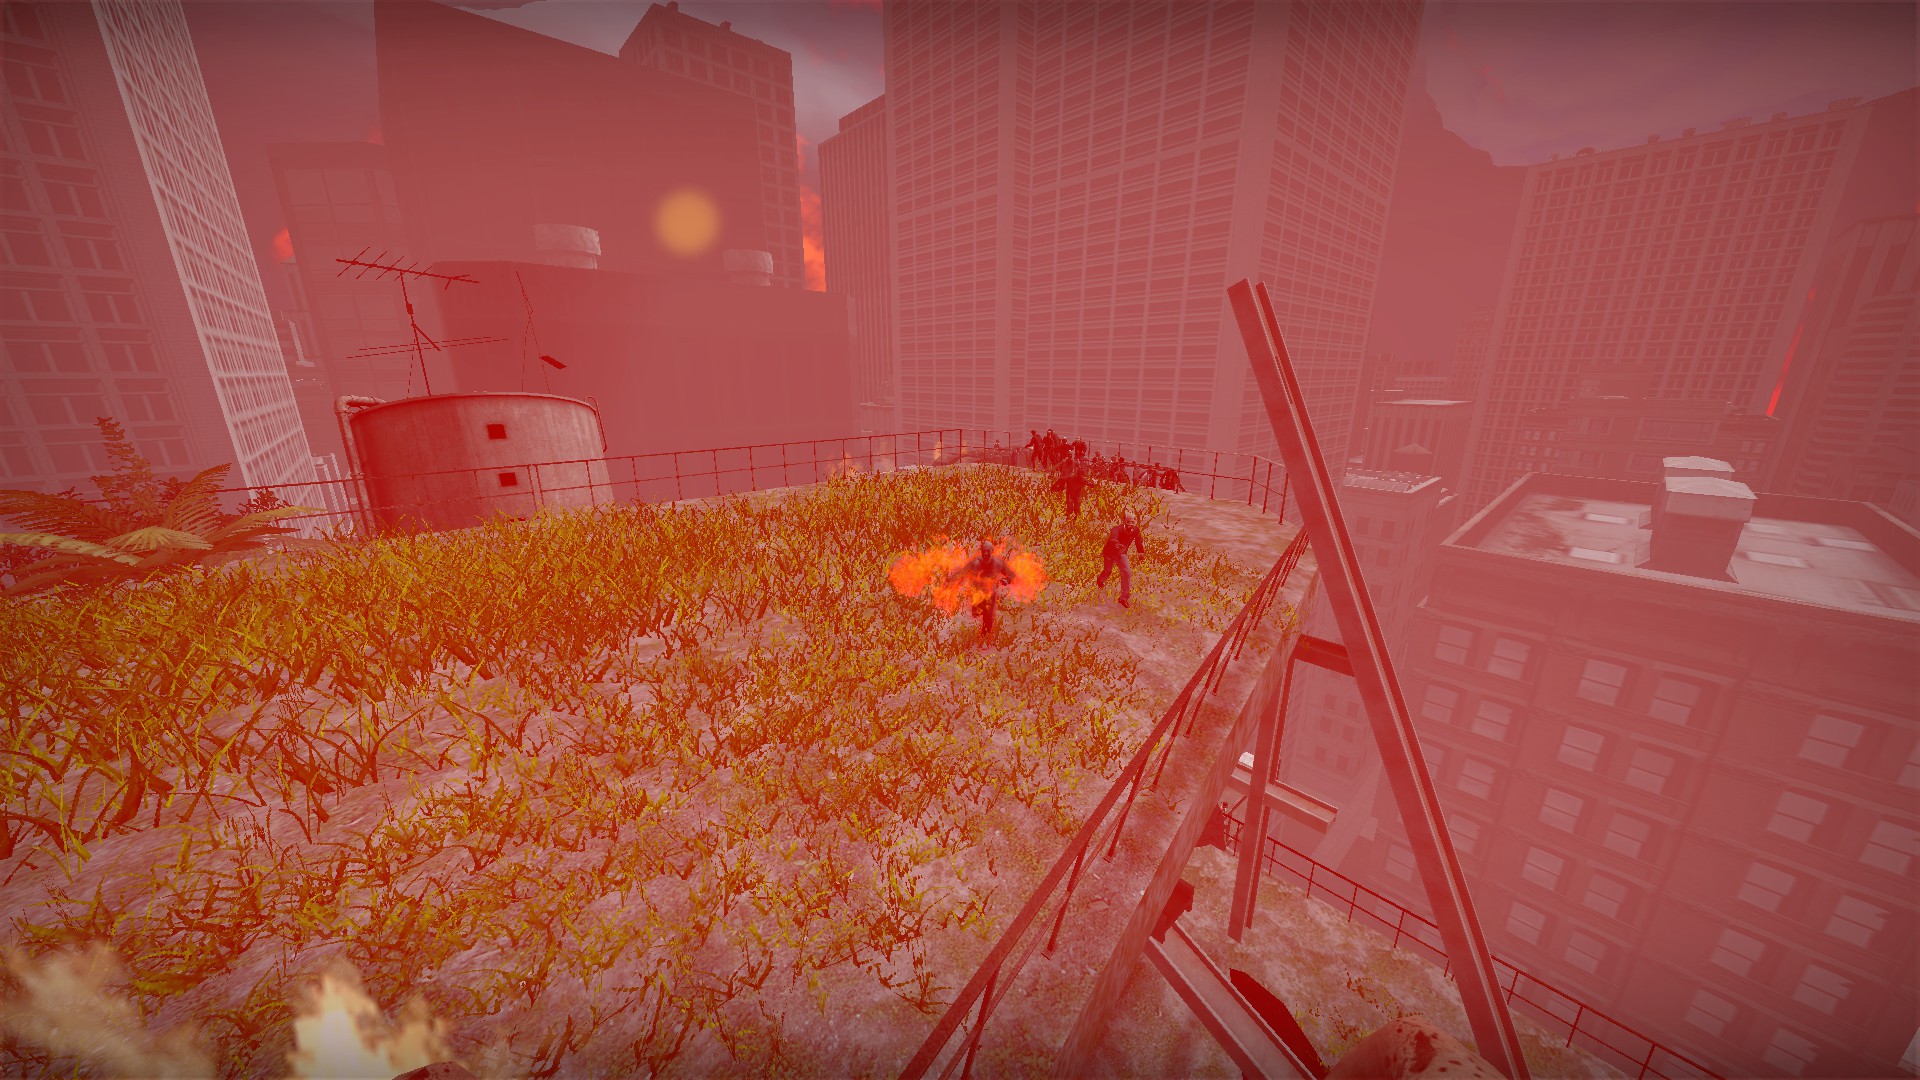
6 - Fire zombie. Large area of effect. Burns players across the entire map until it is killed. Zombie will have a red field effect around it and the map will be red until it is killed
This map has music tracks that will begin as new areas are reached. I recommend turning the base game music off so you don't have two tracks playing simultaneously. If the map music is too much, type snd_restart in your console and it will stop all current sounds
Developer room
Just to the left of the starting area. You can noclip here
The two buttons close to each other will restart the map on that stage. The left button is for stage 1 - Sunny day, and the right button is for stage 2 - Cloudy day
The third button here will take you to the Leisure time testing stage (see below)
Stage 2
Because stage 1 has an extraction message and stage 2 starts in the same place, tenkinoko is often rtv voted. Communicate with your team if you want to play the second half of the map. Stage 2 also has special zombies and special weapons - there is a lot of text explaining these, but it is not translated (it is translated on the workshop page)
Players will be periodically attacked by lightning whenever they are outside in stage 2. Move when you see the strike start to form and don't stay still
Stage 2 Special weapons (human artifacts)
Look up and press e to use a special weapon. The machete does not need to be equipped. All special weapons can be used 2 times. Special weapons need a 2 minute recharge between uses
1 - Sunny doll machete. Summon a doll that will heal nearby players
2 - Fire doll machete. Ignite nearby zombies for 12 seconds
3 - Ice doll machete. Damages nearby zombies and freezes ones farther away
4 - Wind machete. Pushes nearby zombies back
5 - Freeze machete. Shoots an ice ball straight ahead. If the ball hits a zombie, it will make a structure that will freeze nearby zombies
6 - Thunder machete. This will kill zombies with a lightning attack in a large area but only after 20 seconds
7 - Rainbow machete. This will restore health to you and nearby players
Stage 2 Special zombies
Special zombies are immune to damage caused by special weapons and are also immune to fire damage. Special zombies have a lot more hp than regular zombies and also have special abilities. These special abilities recharge in 2 minutes like the special weapons, but the zombies can use these abilities as many times as they want. There are 2 types of special zombies: ones with small area effects, and ones with large area effects. Do not try to beat them toe to toe - use firearms and grenades/tnt from afar
1 - Fog zombie, damages nearby players with a small area fog cloud effect. Will be highlighted green
2 - Lightning zombie, damages nearby players with a powerful and immediate lightning strike. Unlike the other special zombies, it will not recharge this ability. Will be highlighted purple
3 - Frozen zombie, will freeze nearby players with a small area effect. Will be highlighted blue
4 - Flame zombie, damages nearby players with a small area fire effect. Will be highlighted orange
5 - Ice zombie. Large area of effect. Slows down players across the entire map until it is killed. Zombie will have a blue field effect around it and the map will be blue until it is killed
6 - Fire zombie. Large area of effect. Burns players across the entire map until it is killed. Zombie will have a red field effect around it and the map will be red until it is killed
nmo_tenkinoko_welkin_t1_3 (continued)
Weapon Box secret on stage 2
If you take an item from every weapon box on this map, an extra one will appear. You will need to take an item from all 7 weapon boxes on stage 2 to unlock the secret
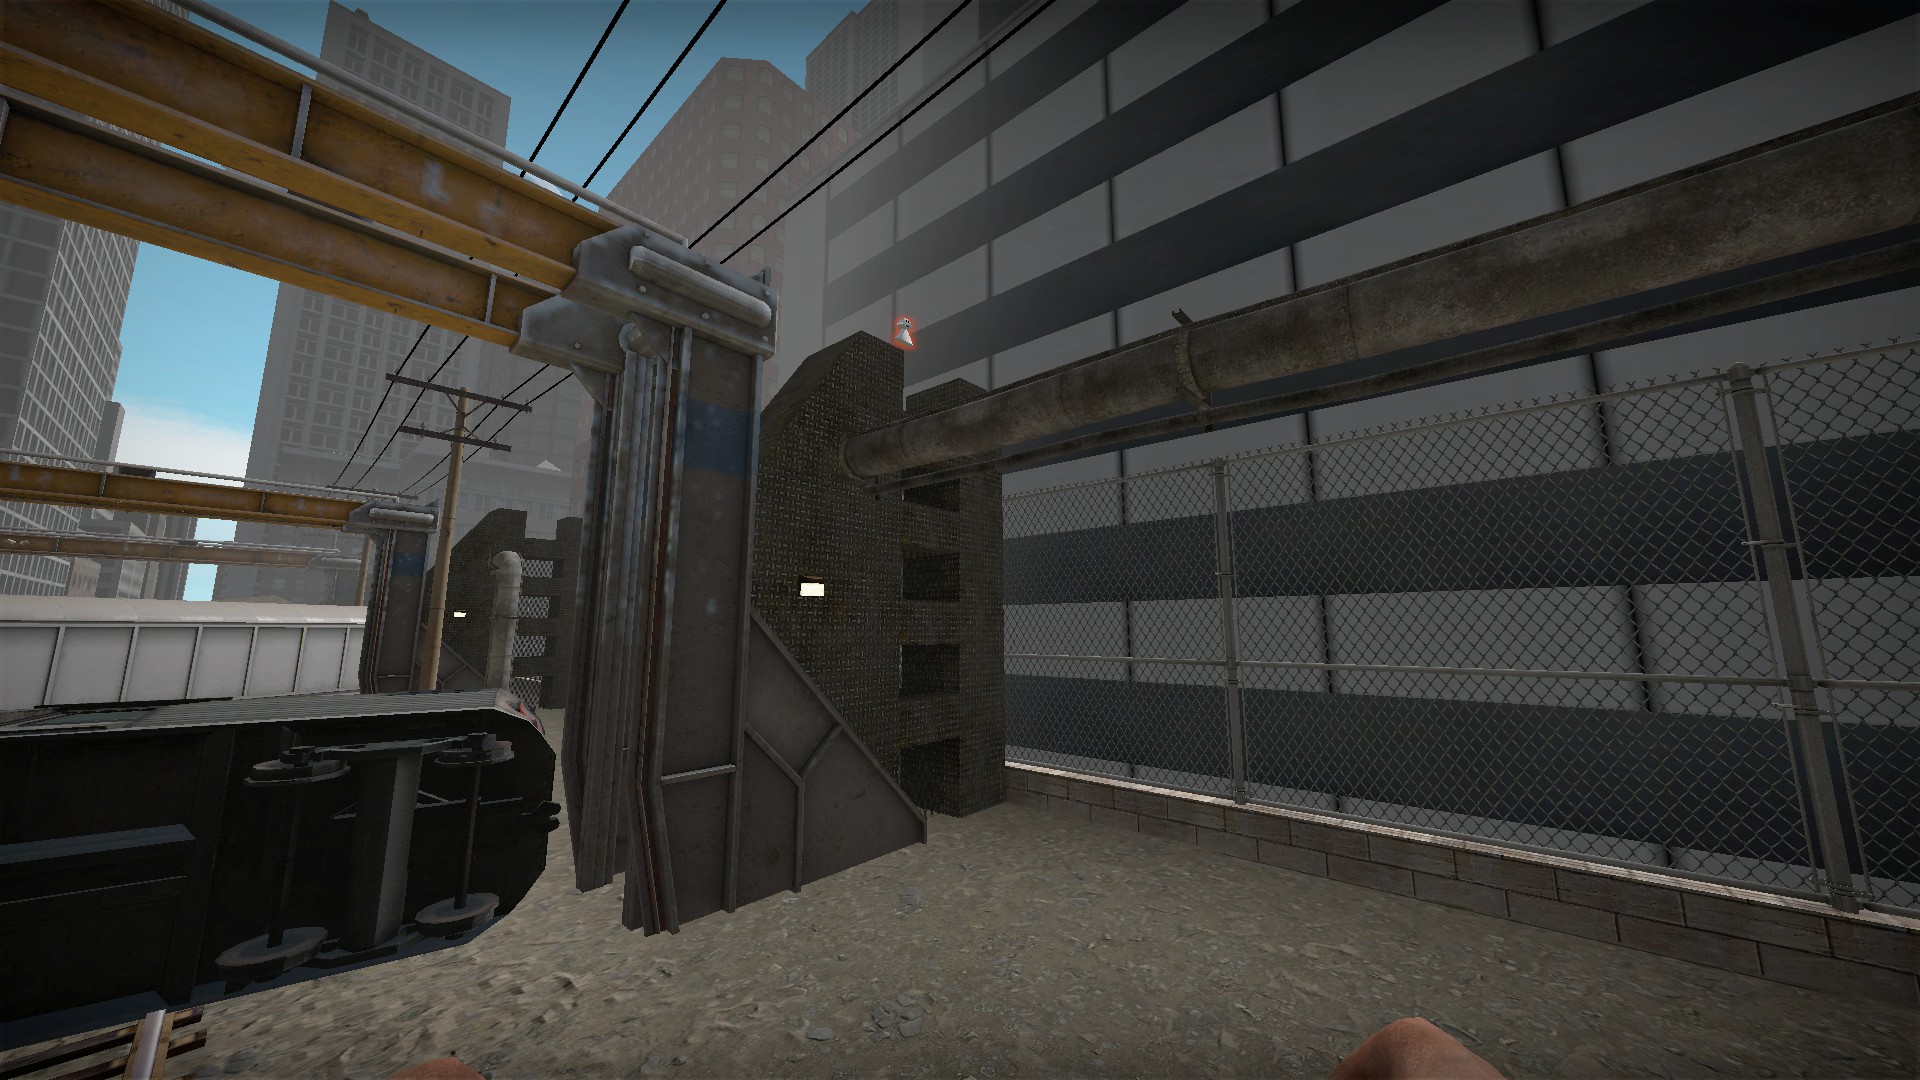
You will see weapon box 1 up high as you are heading through the starting train yard area
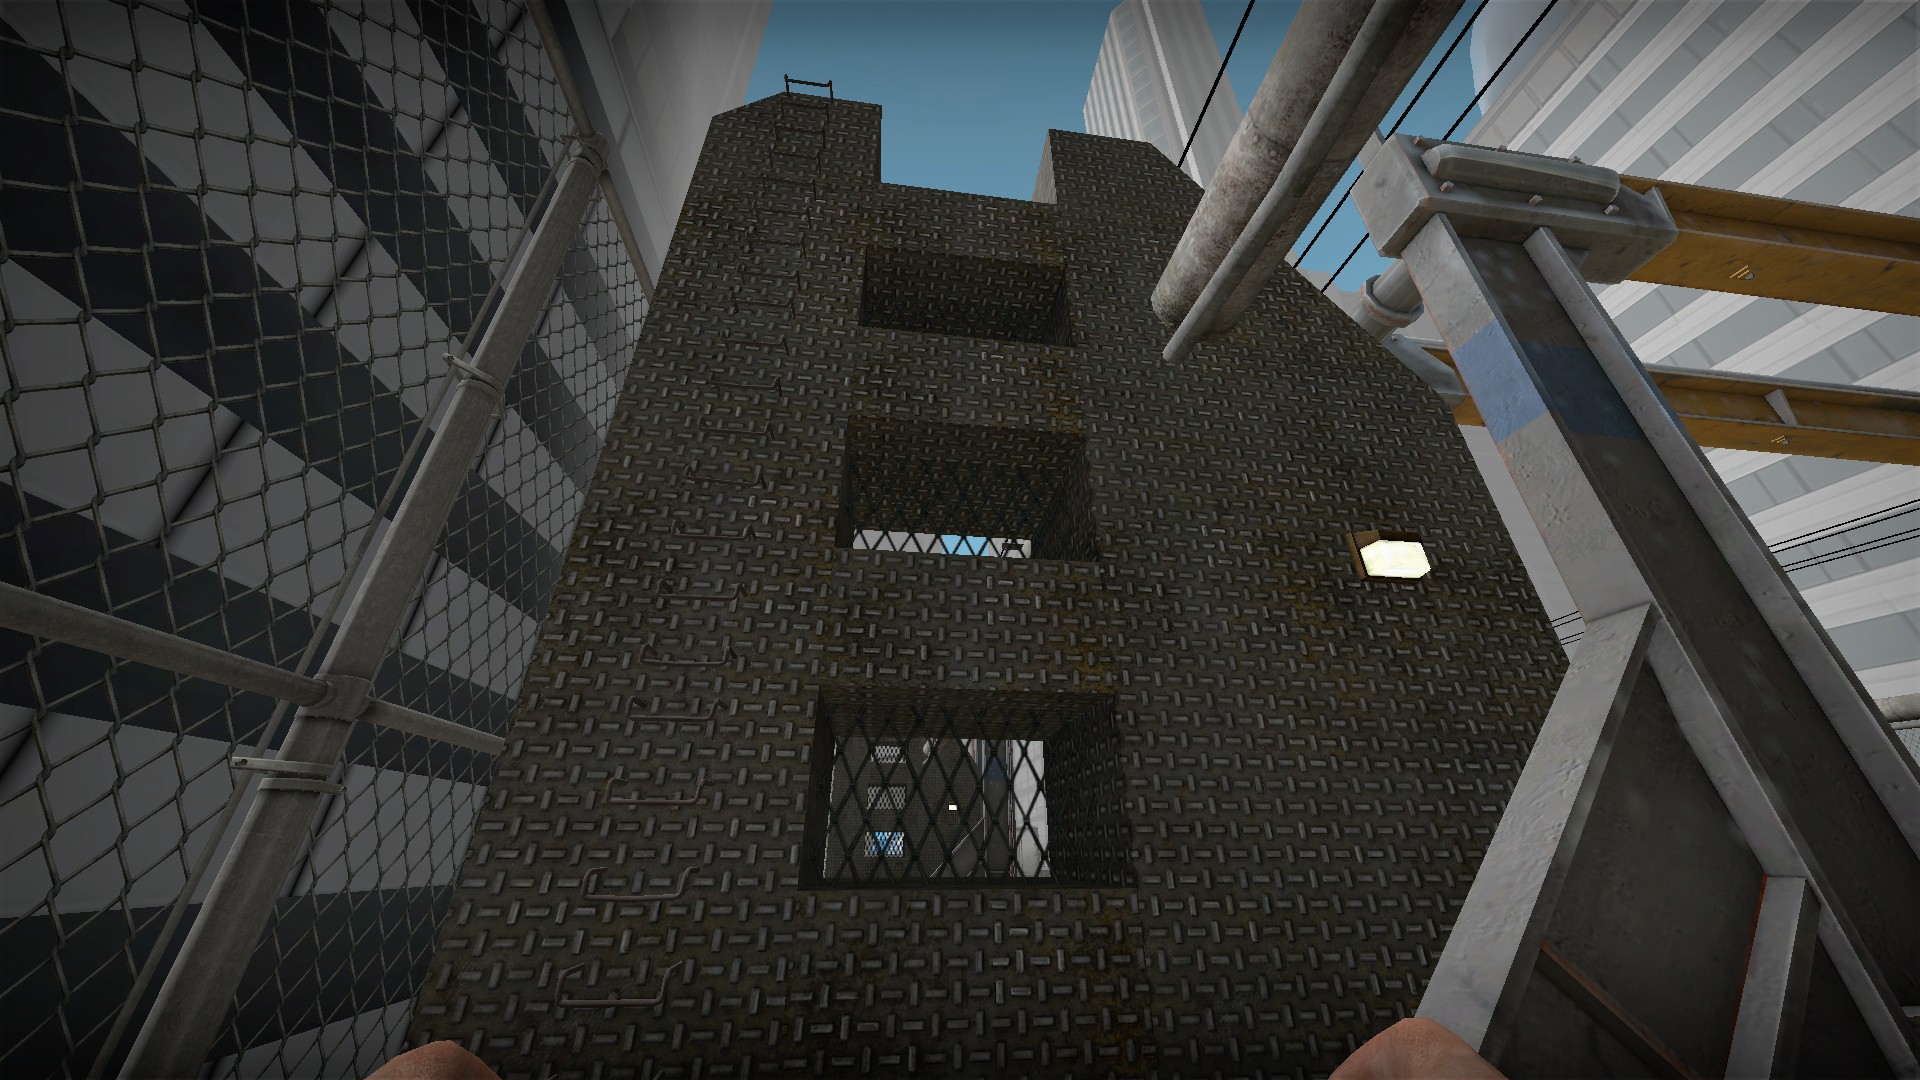
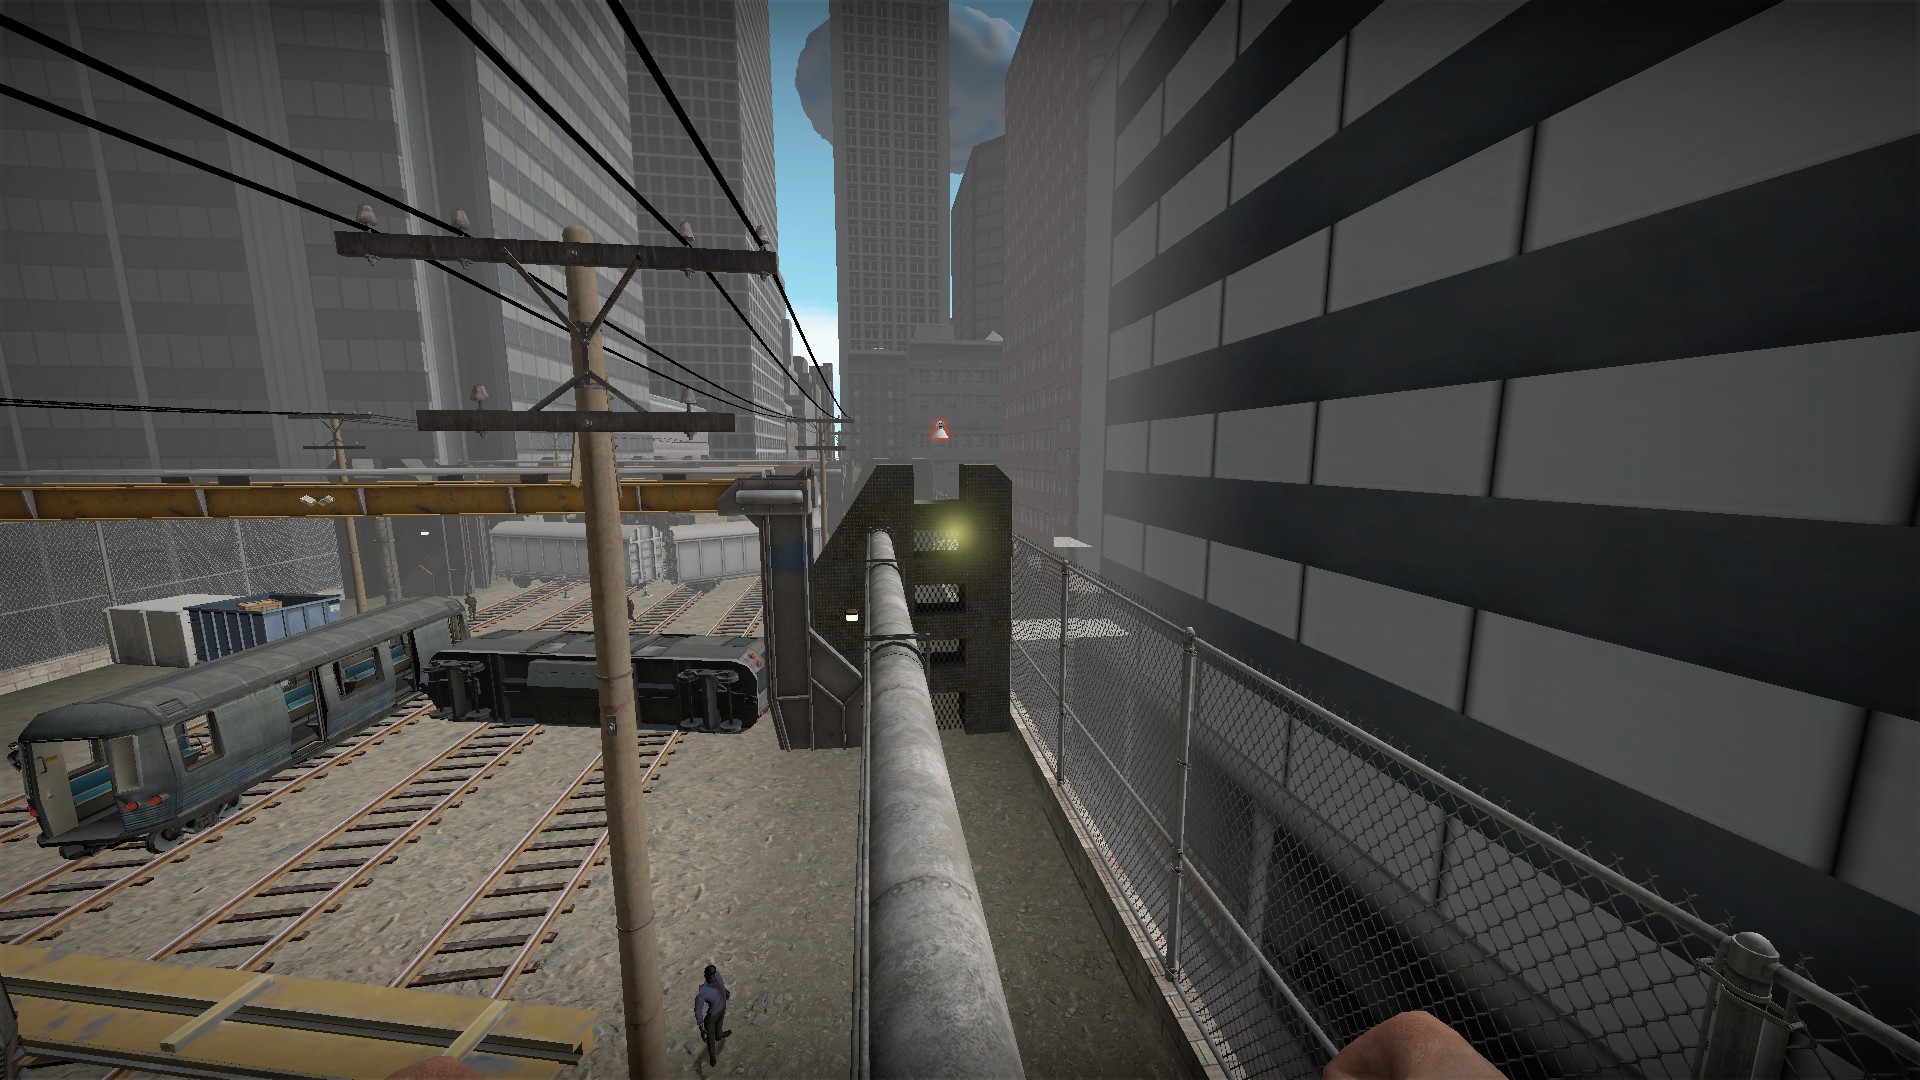
Head up a ladder on the opposite wall and across the pipe to get it
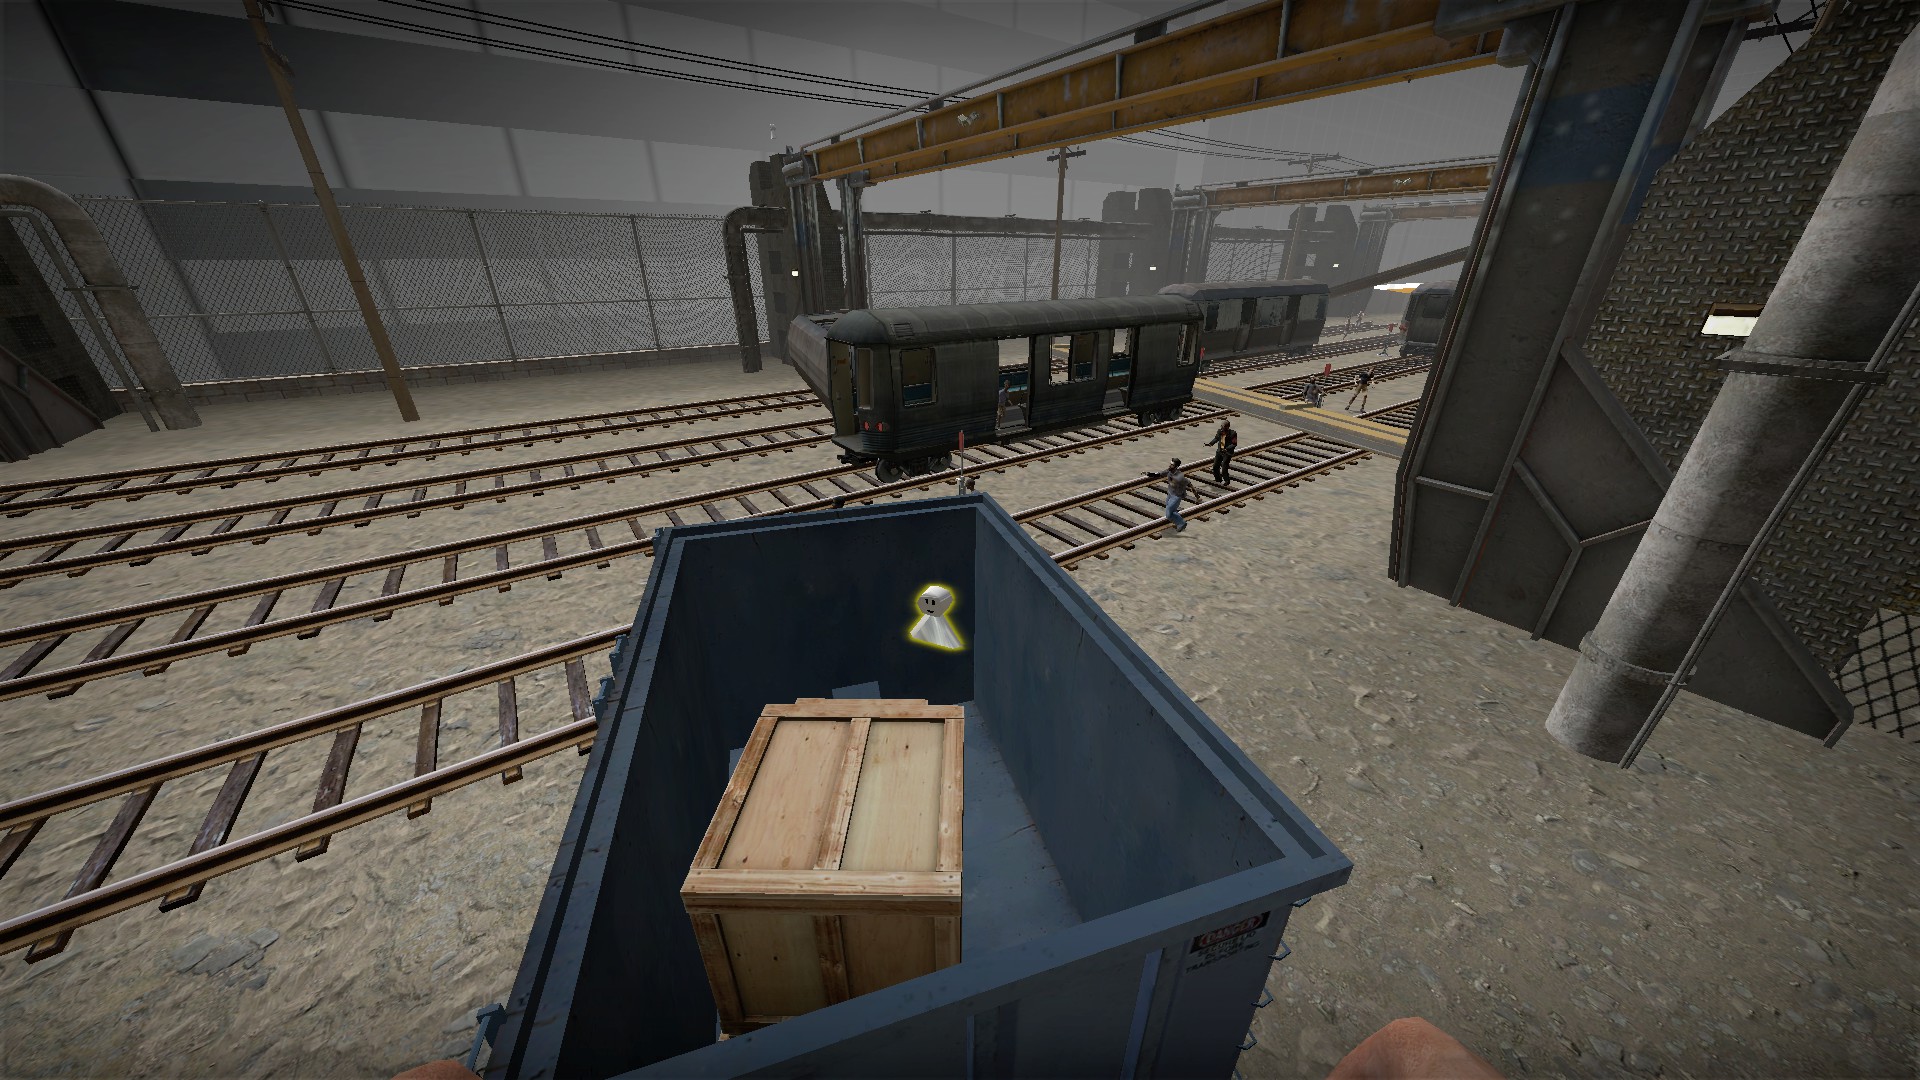
Weapon box 2 is inside a container in the train yard area
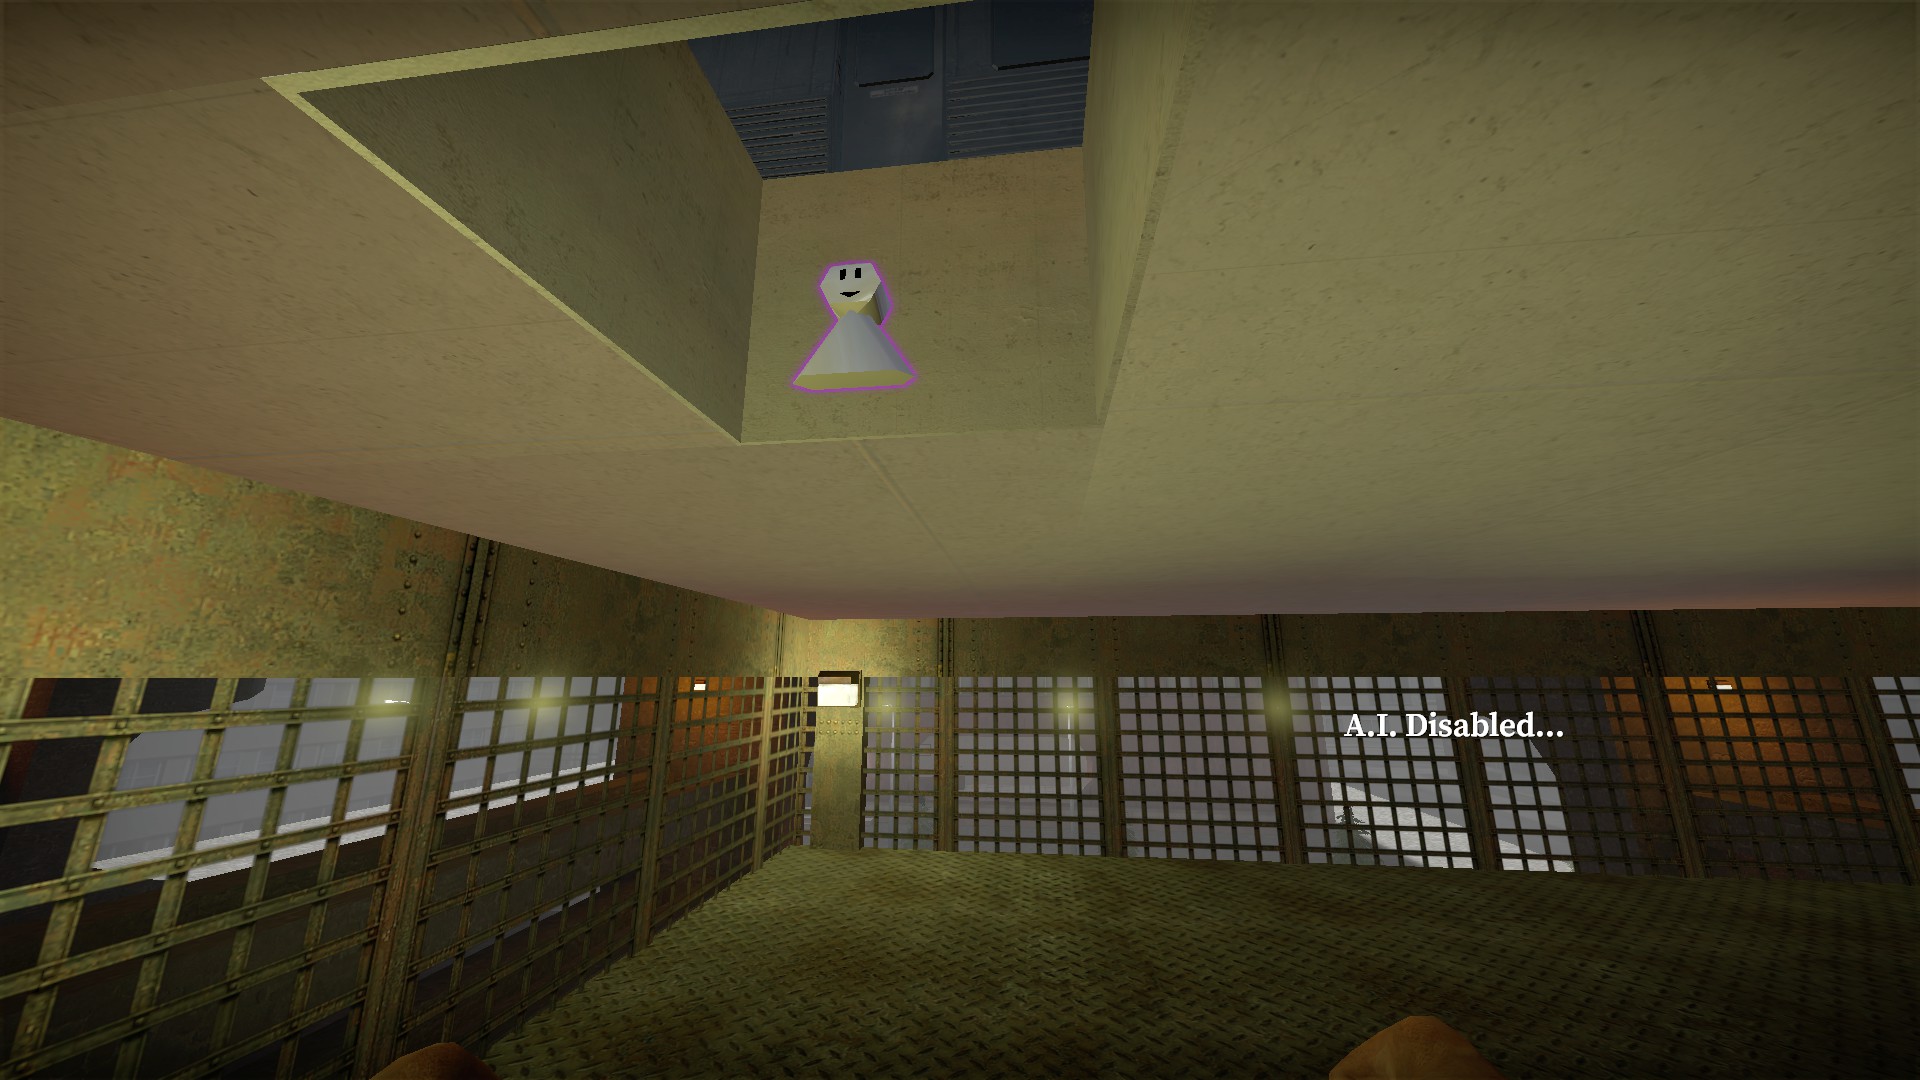
Weapon box 3 can only be accessed on part 2. The elevator will stop on the floor below instead of going all the way to the bottom. The weapon box is just past a few boxes
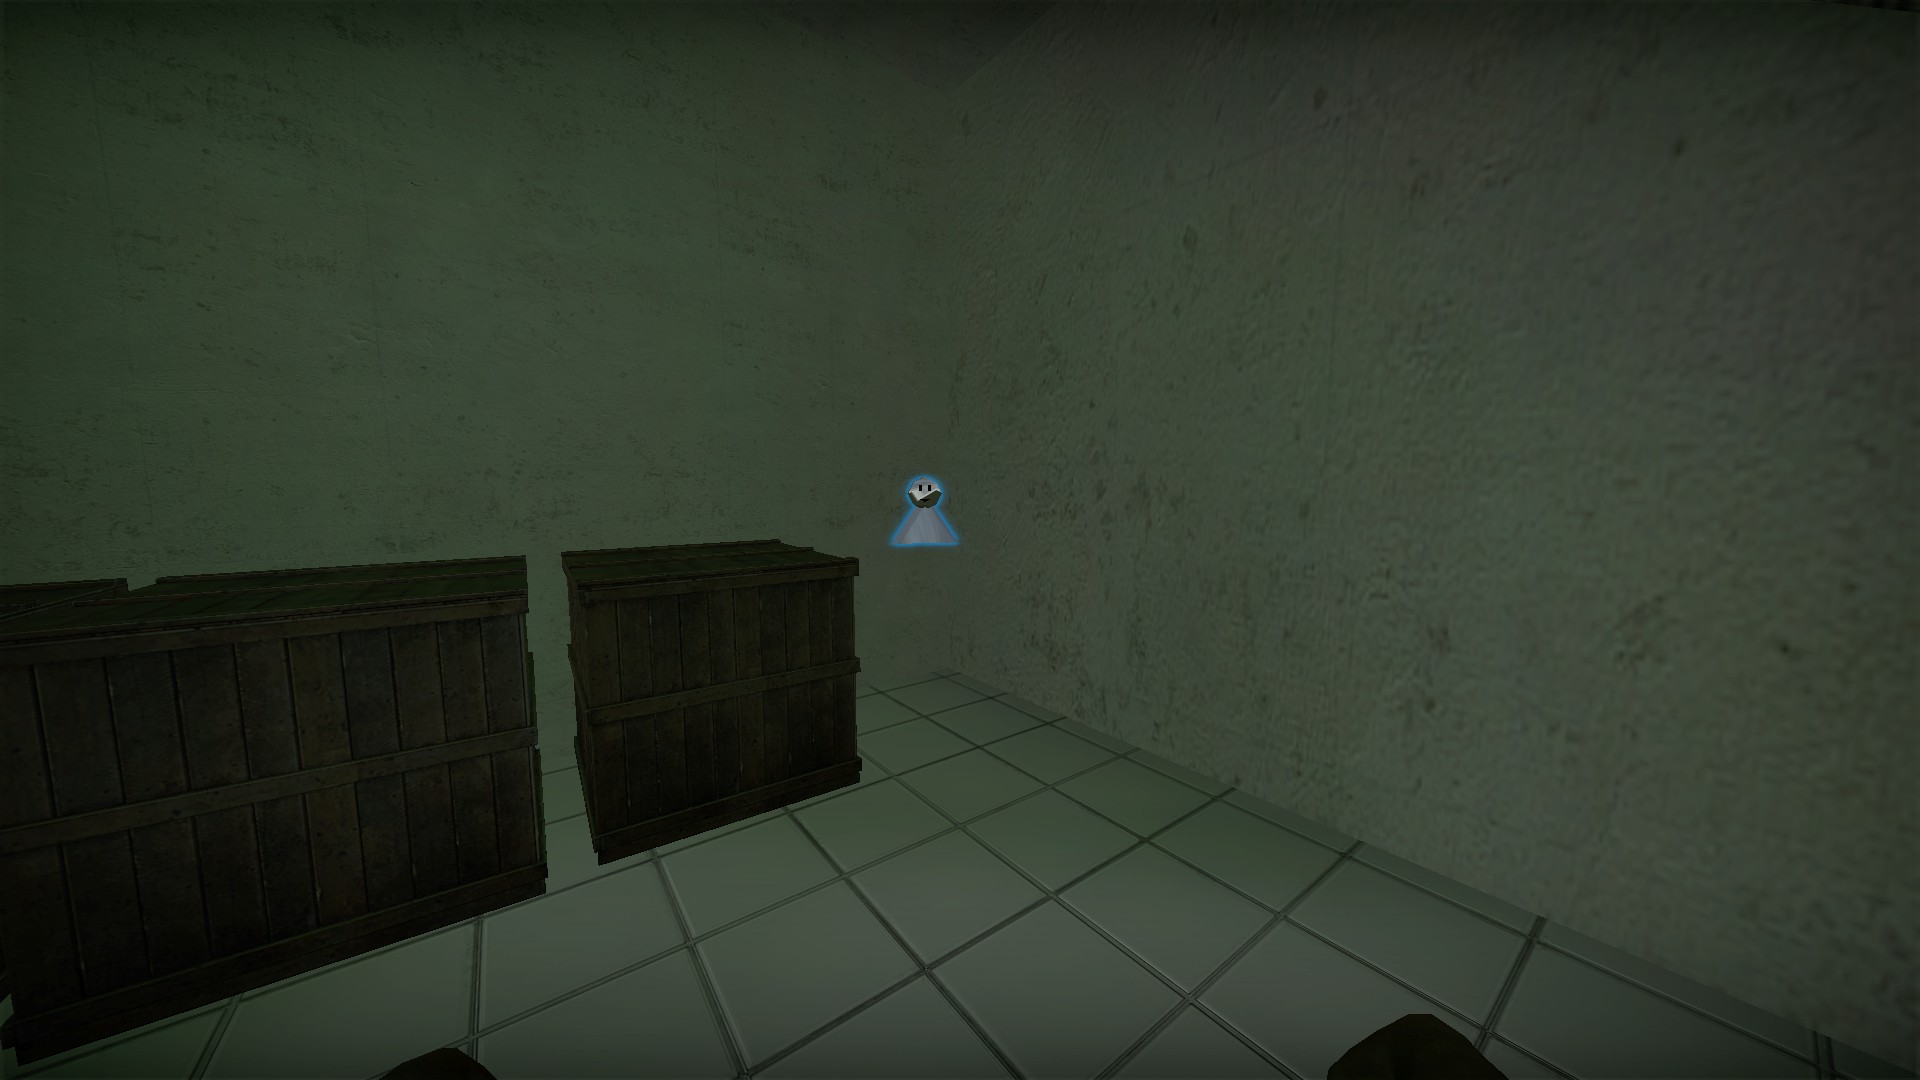
After going down the elevator and opening the doors of the building, you will find the weapon box 4 in the corner
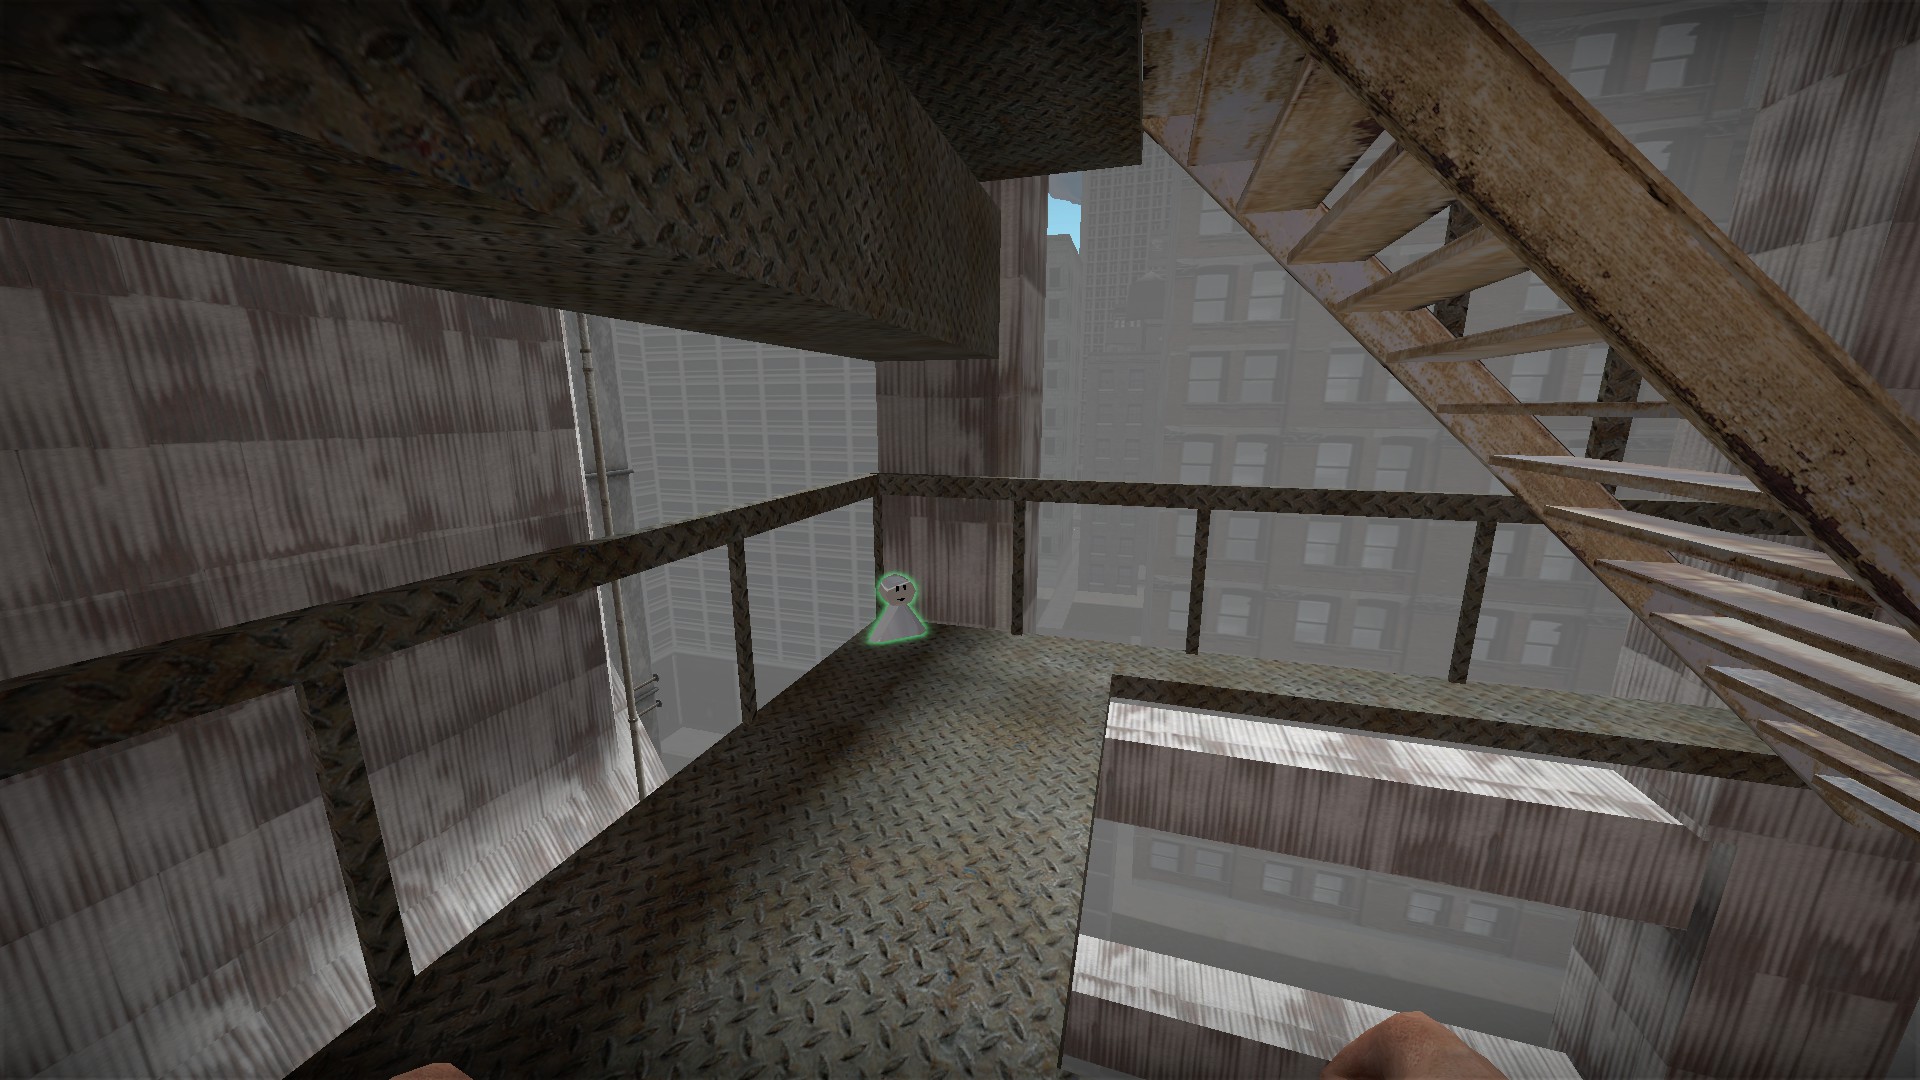
When you get to the fire escape stairs, head down for weapon box 5
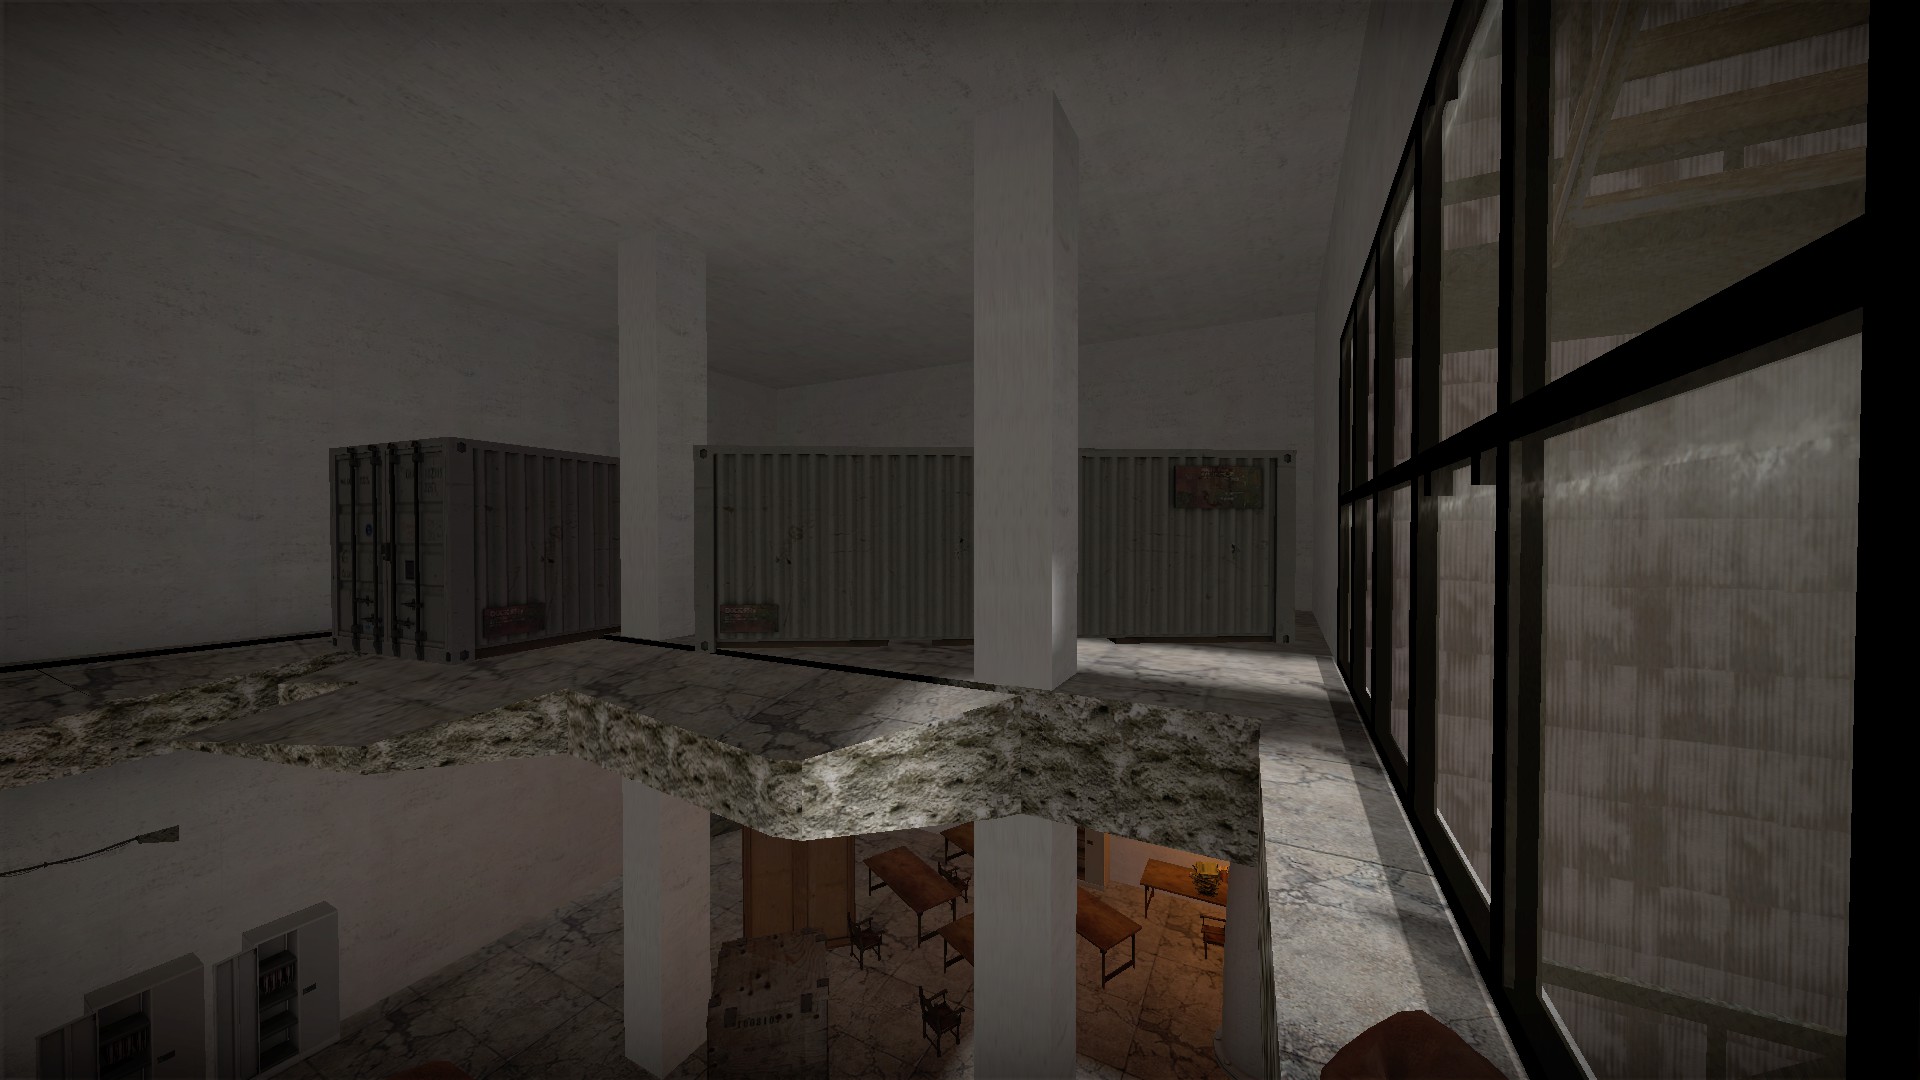
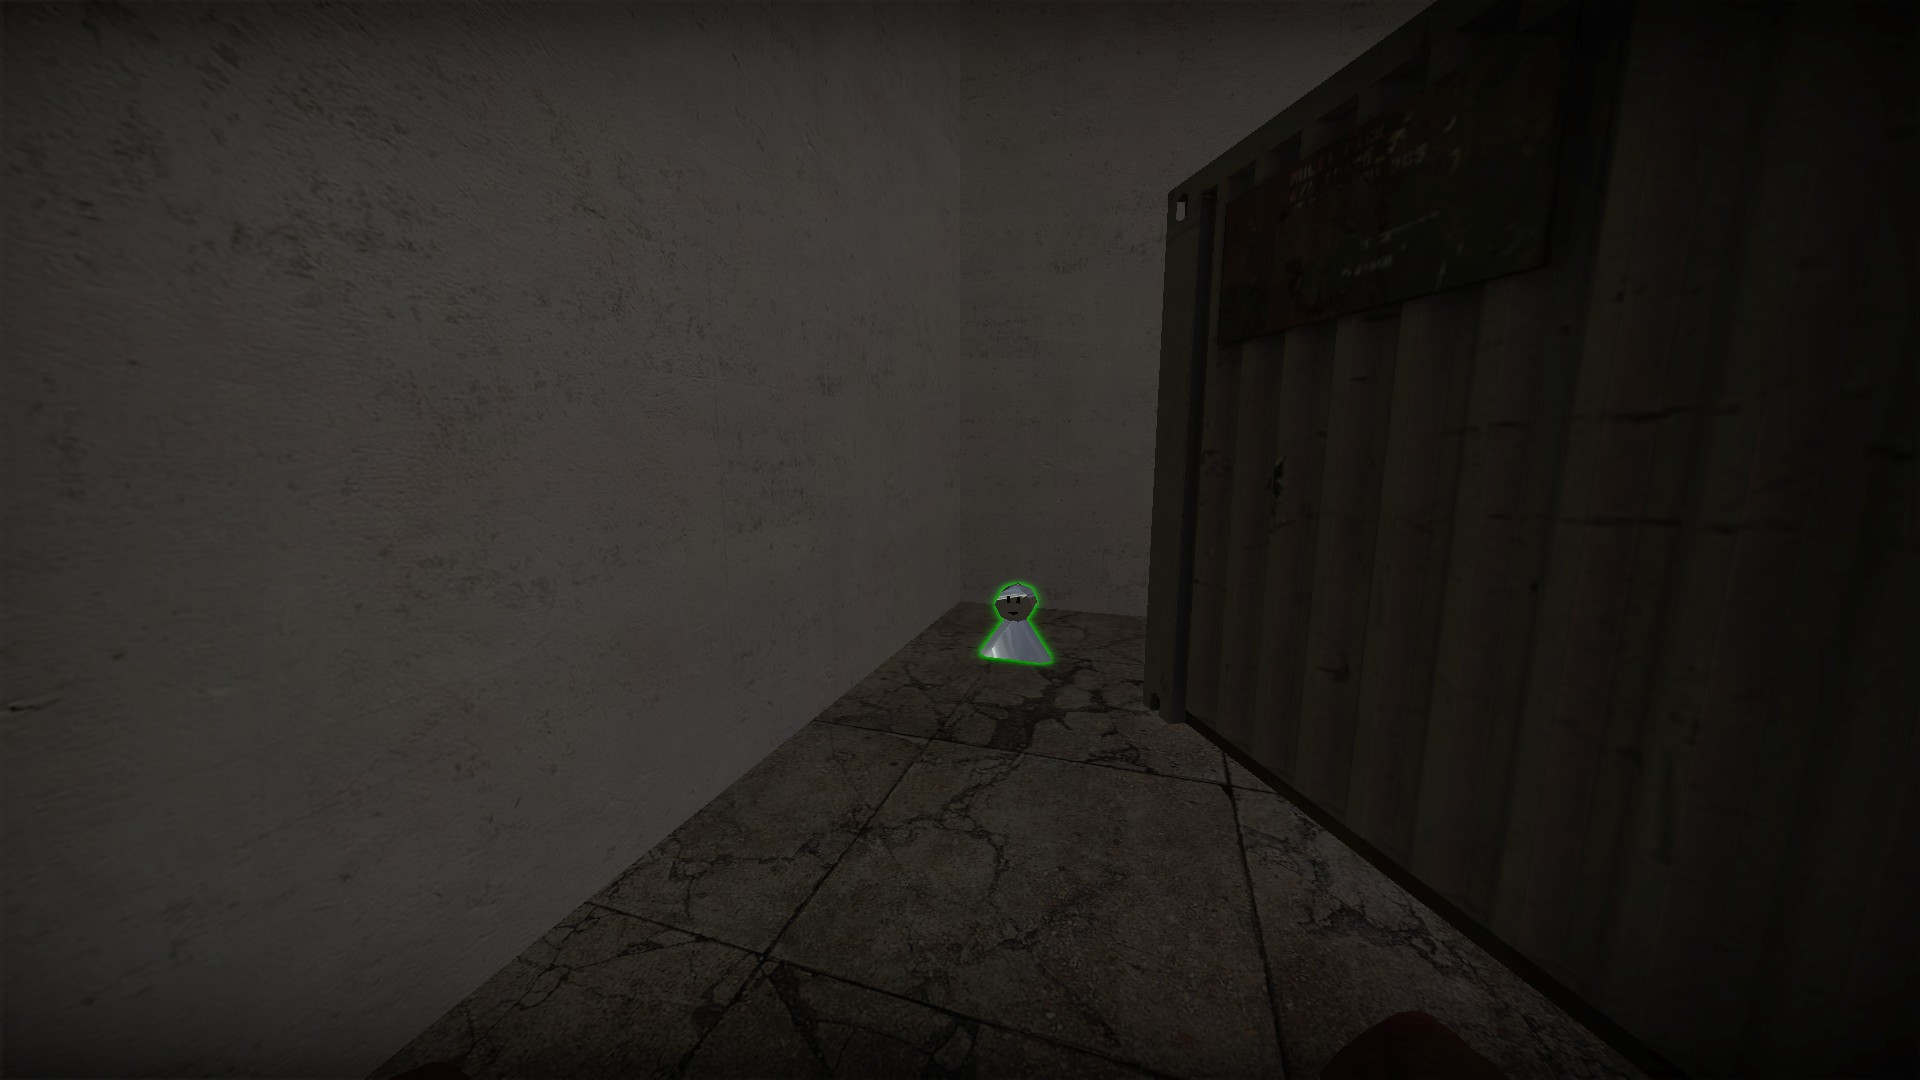
Then go up the stairs to the second floor, break the glass and go around the containers for weapon box 6
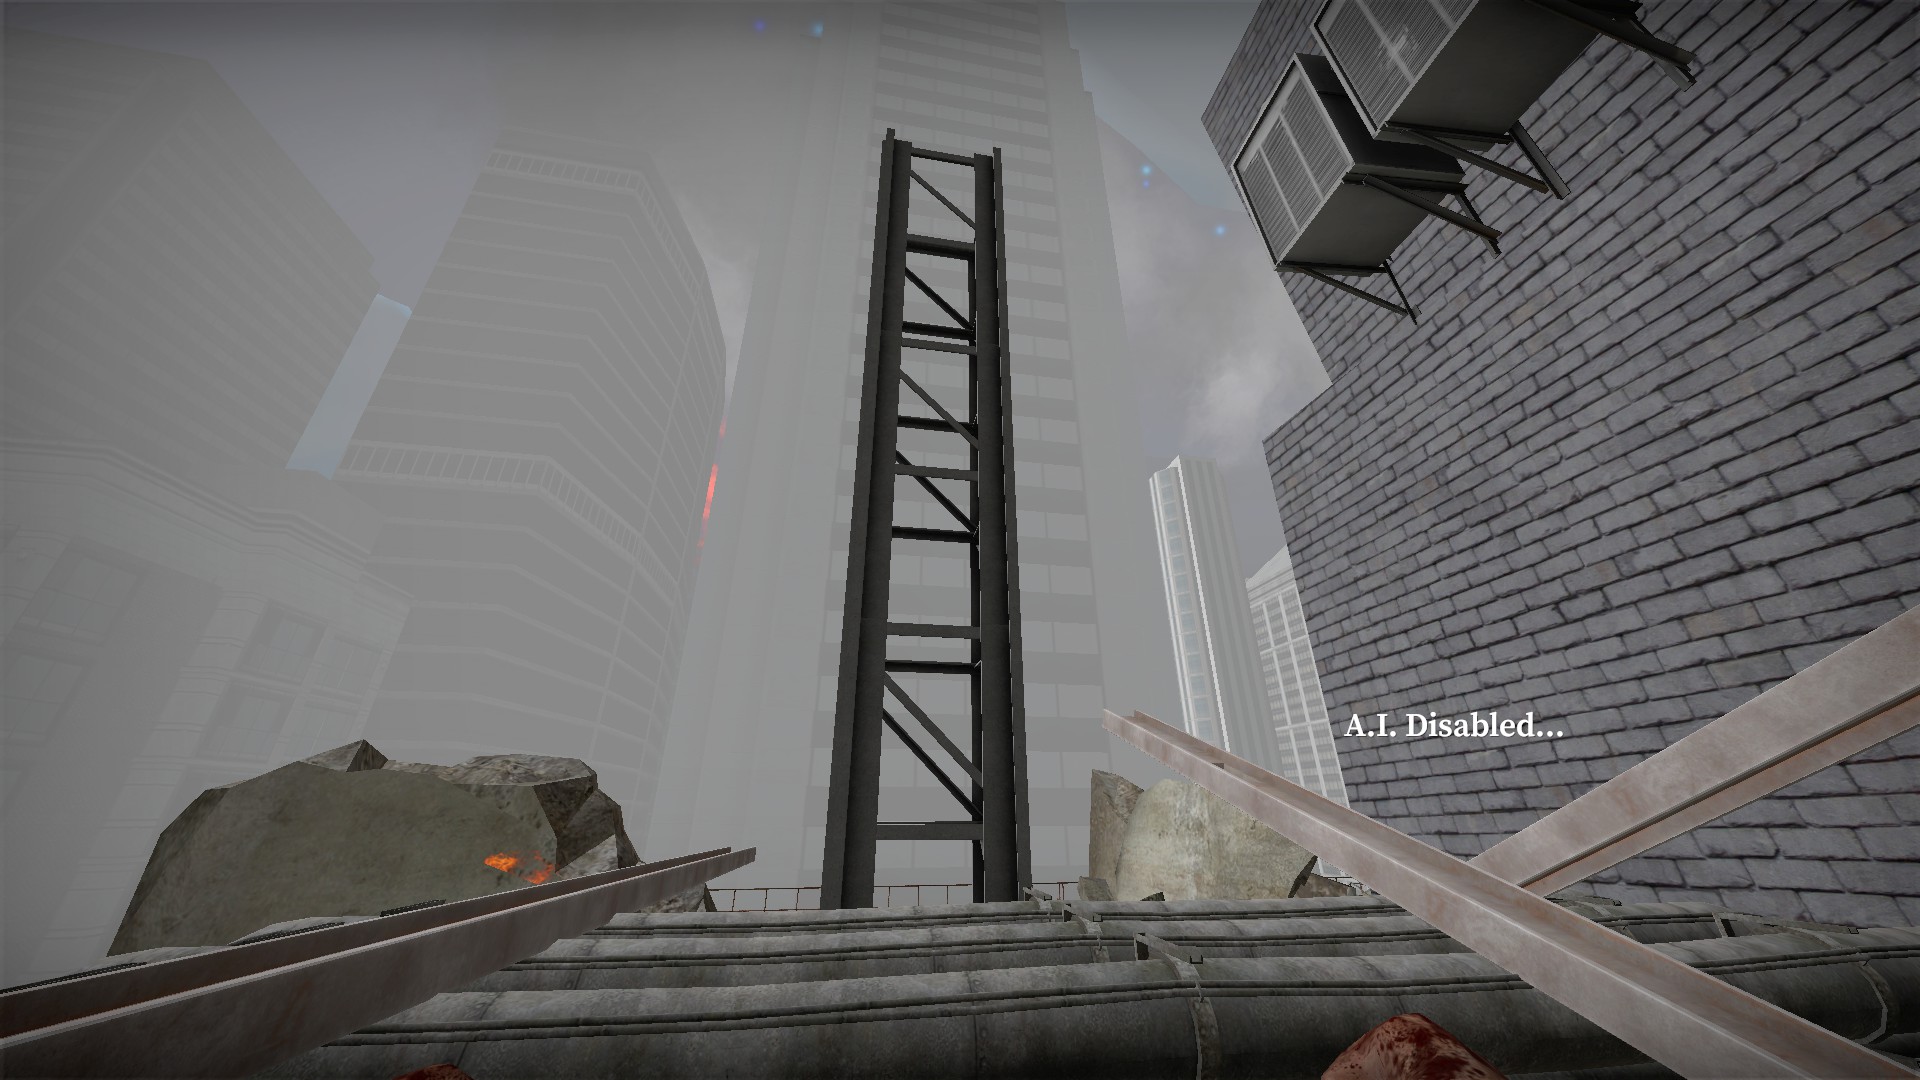
The barrier around the ladder at the top of the Yoyogi building will break in part 2, allowing access to the 7th box
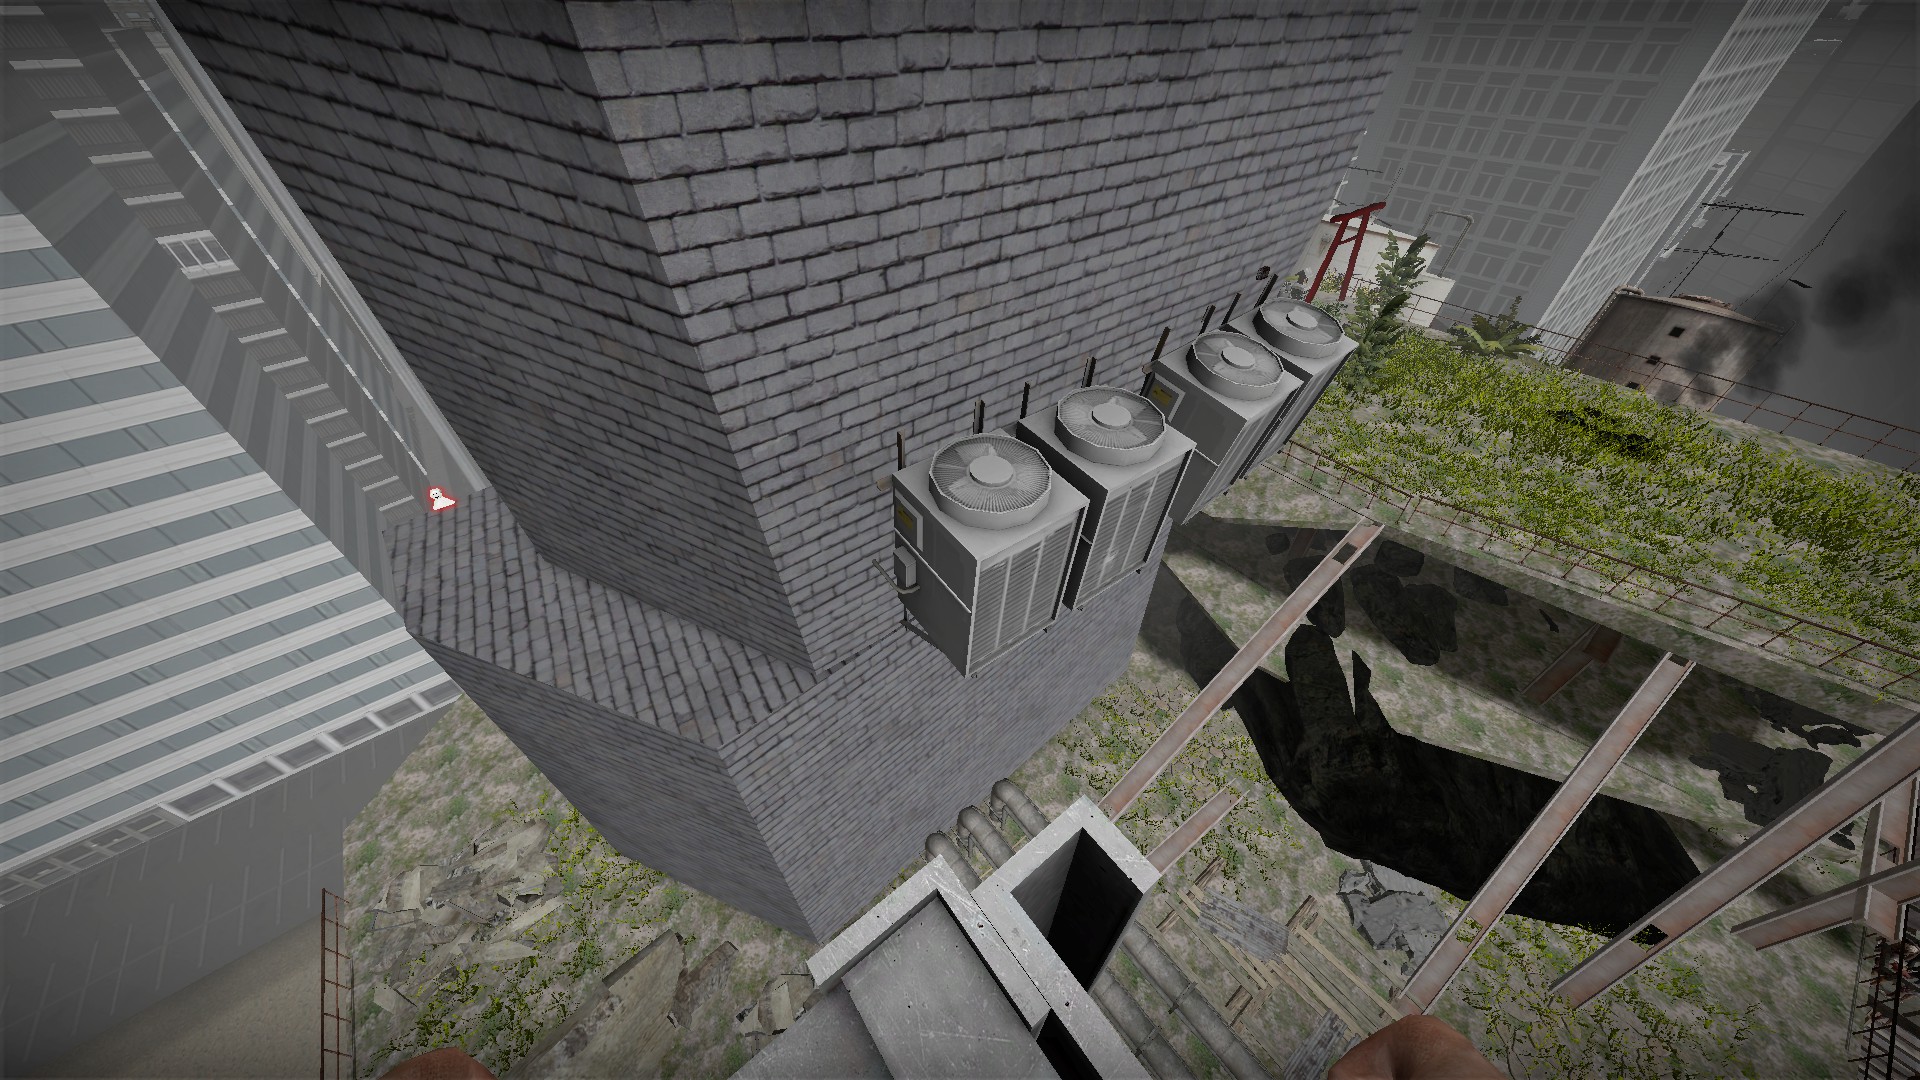
Climb to the top of this structure and you can jump across to the a/c units
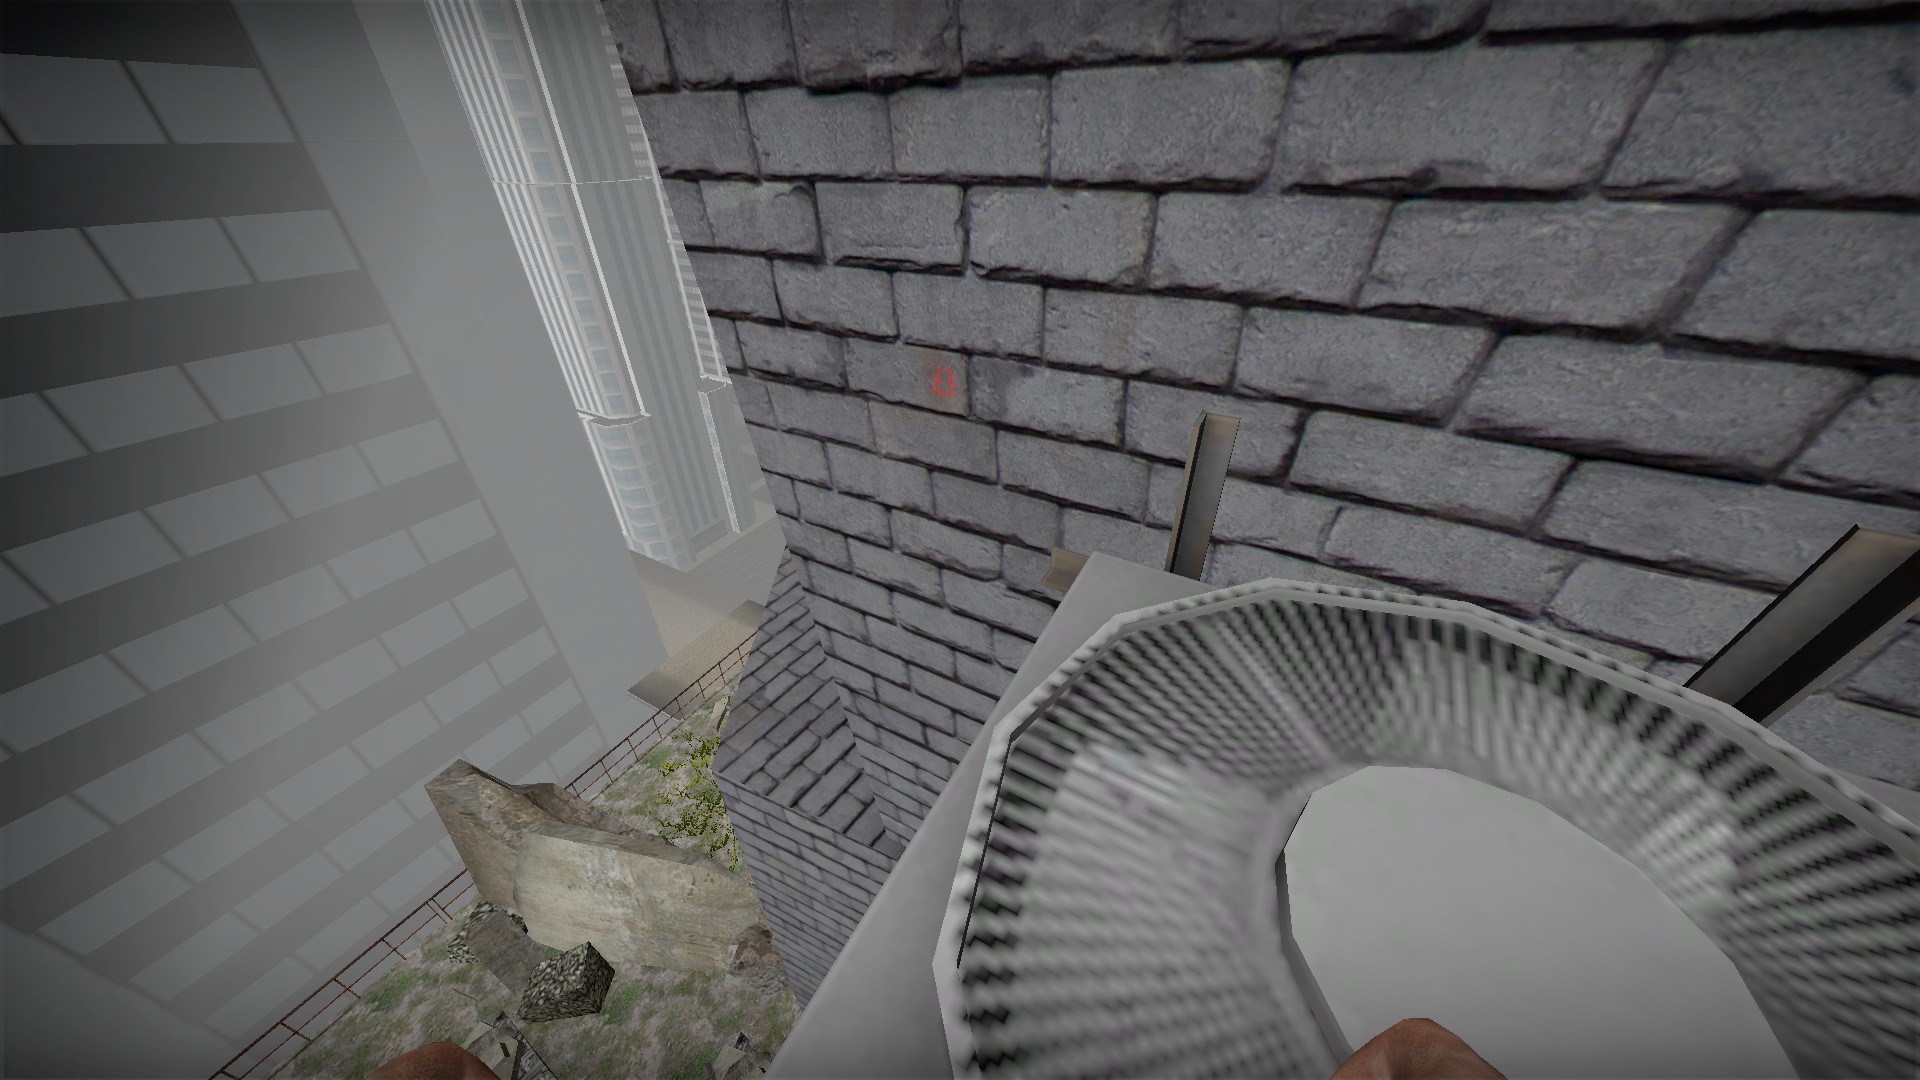
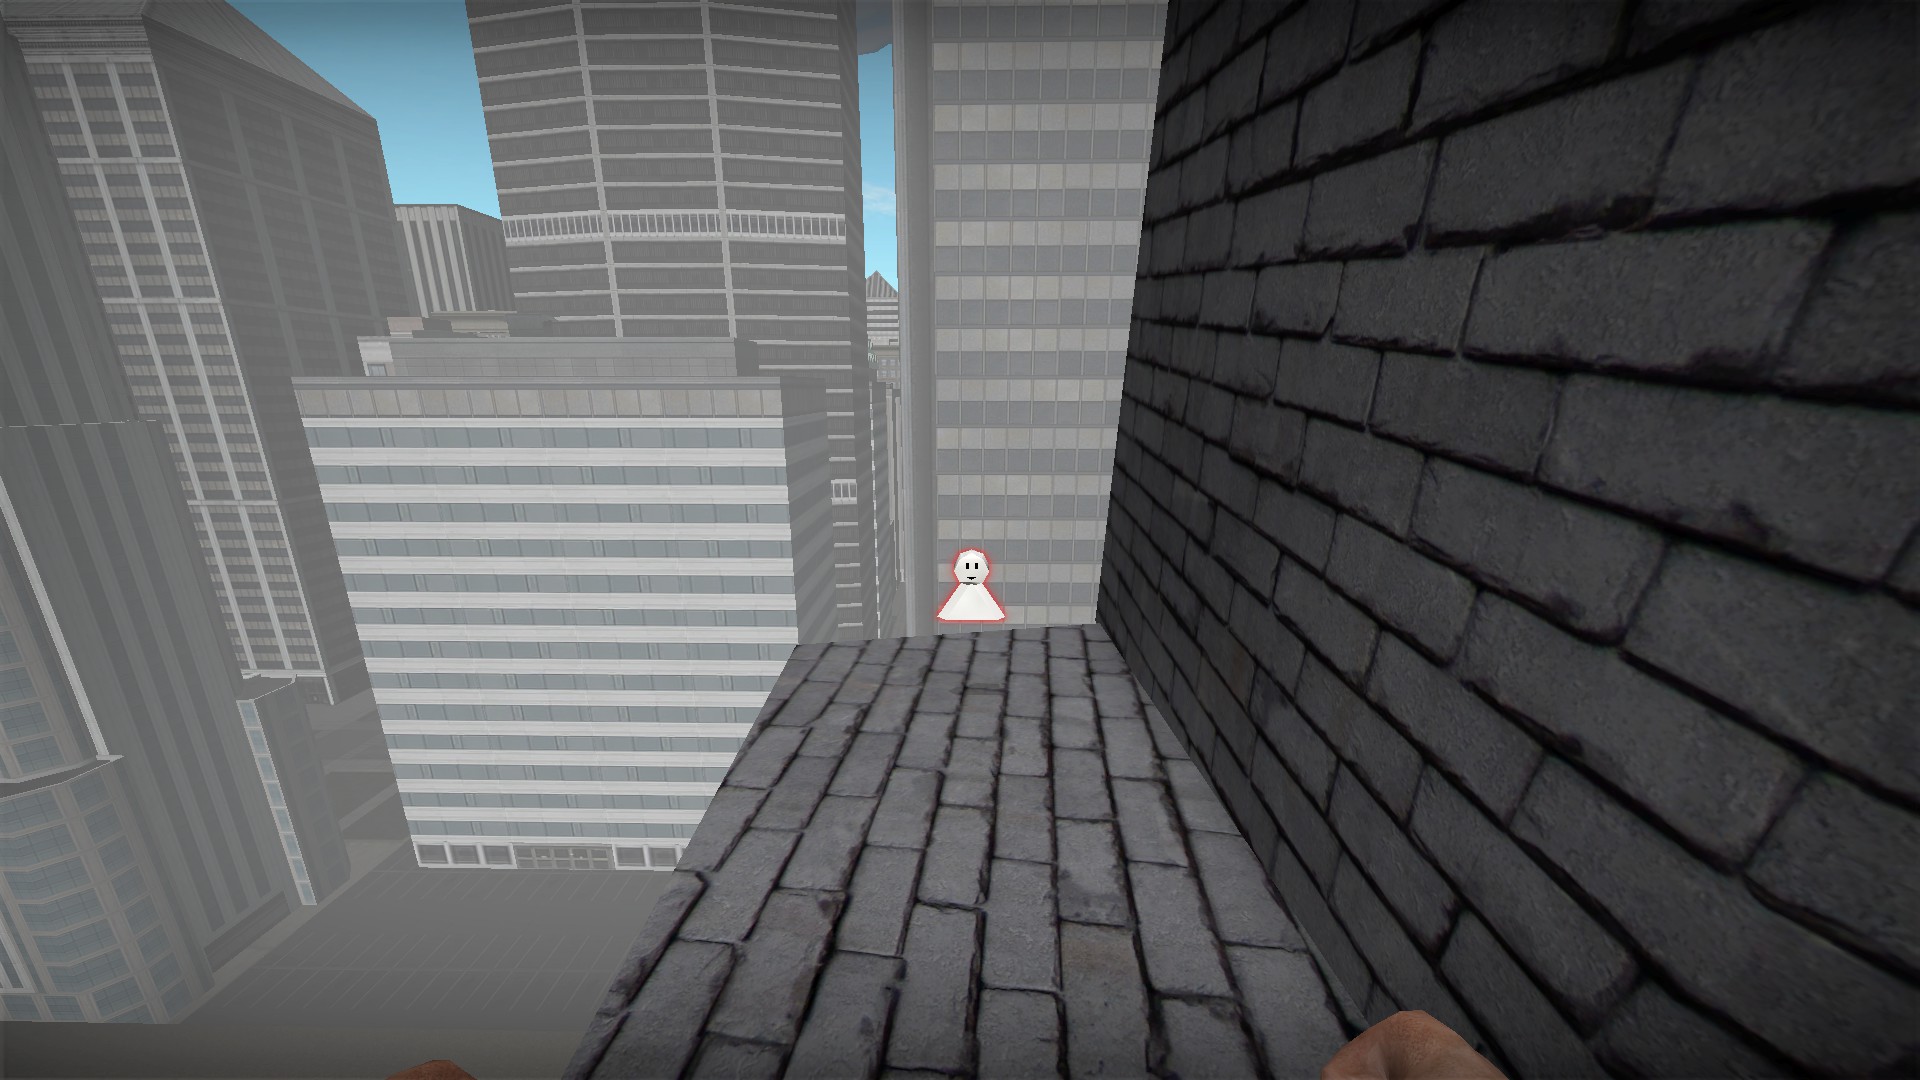
Drop down from the units to the seventh weapon box
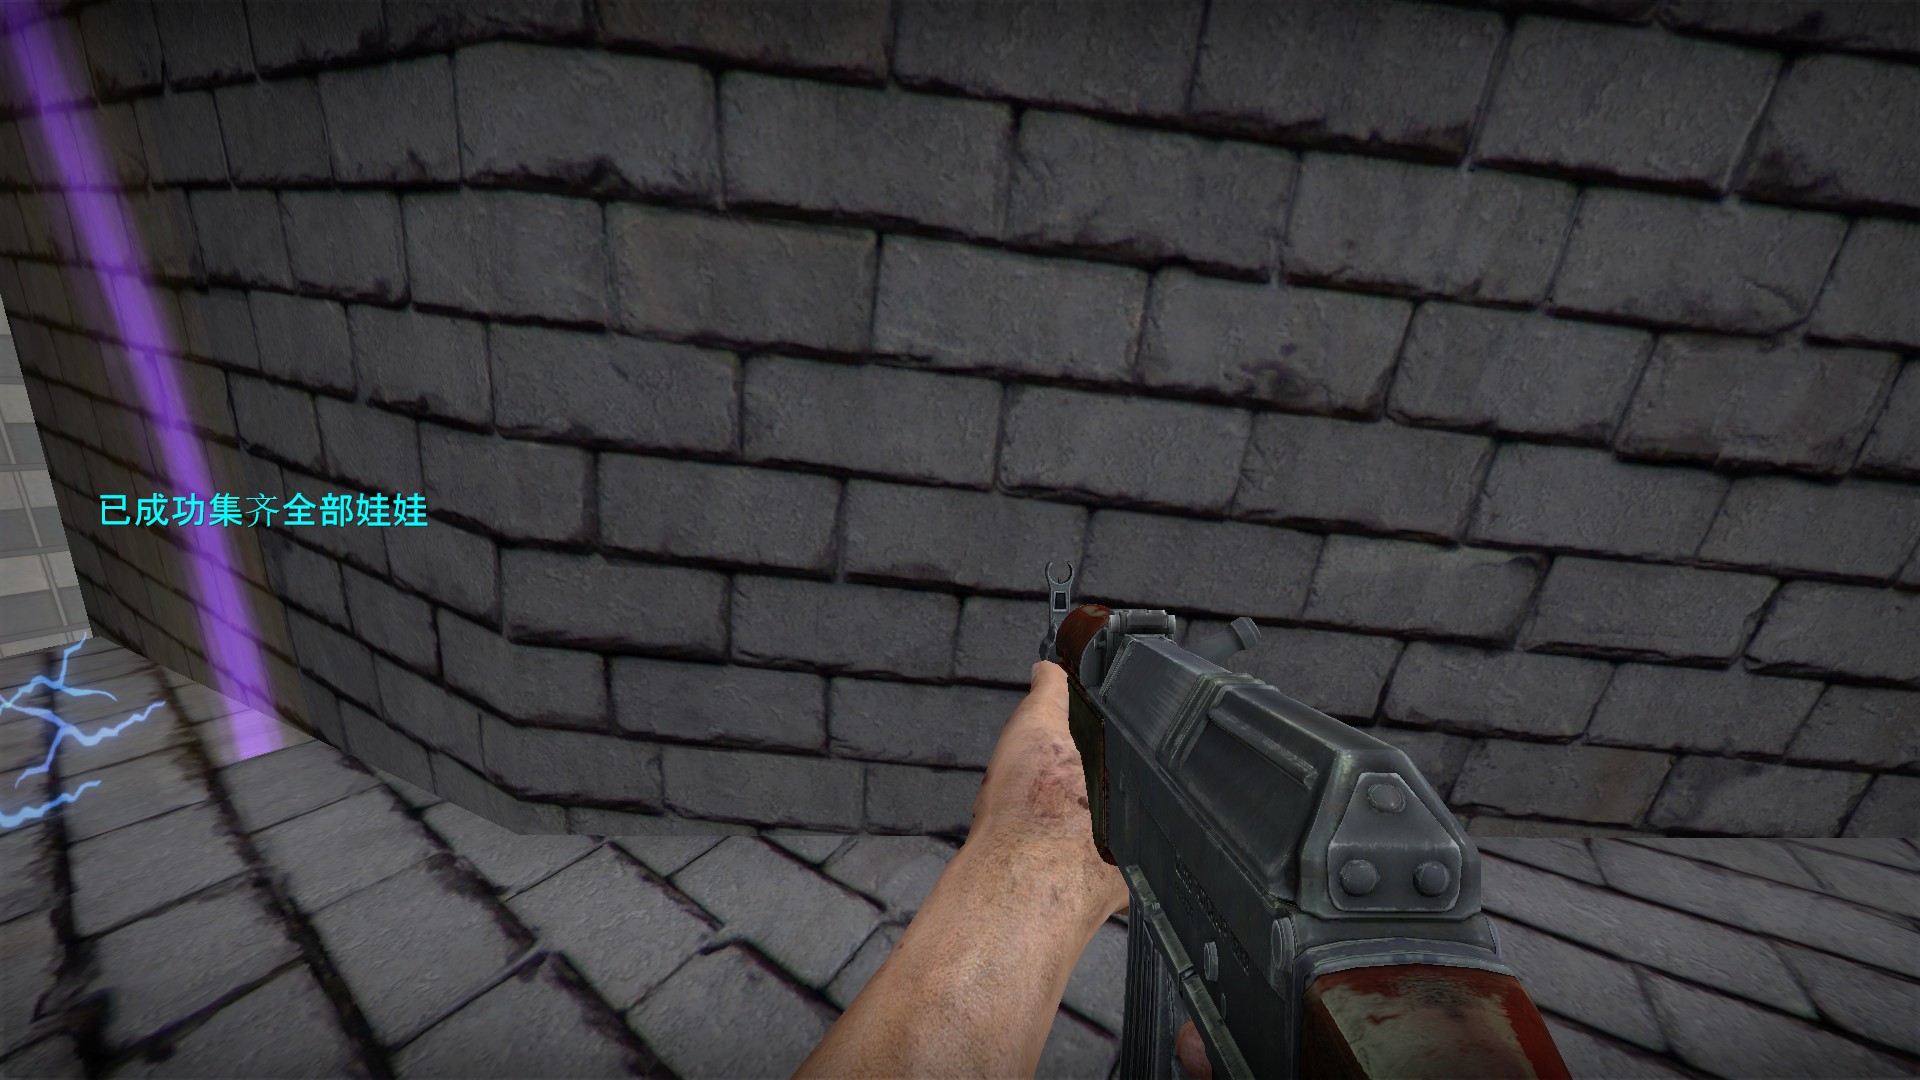
After taking an item from the 7th box, you will receive a message that the secret has been unlocked
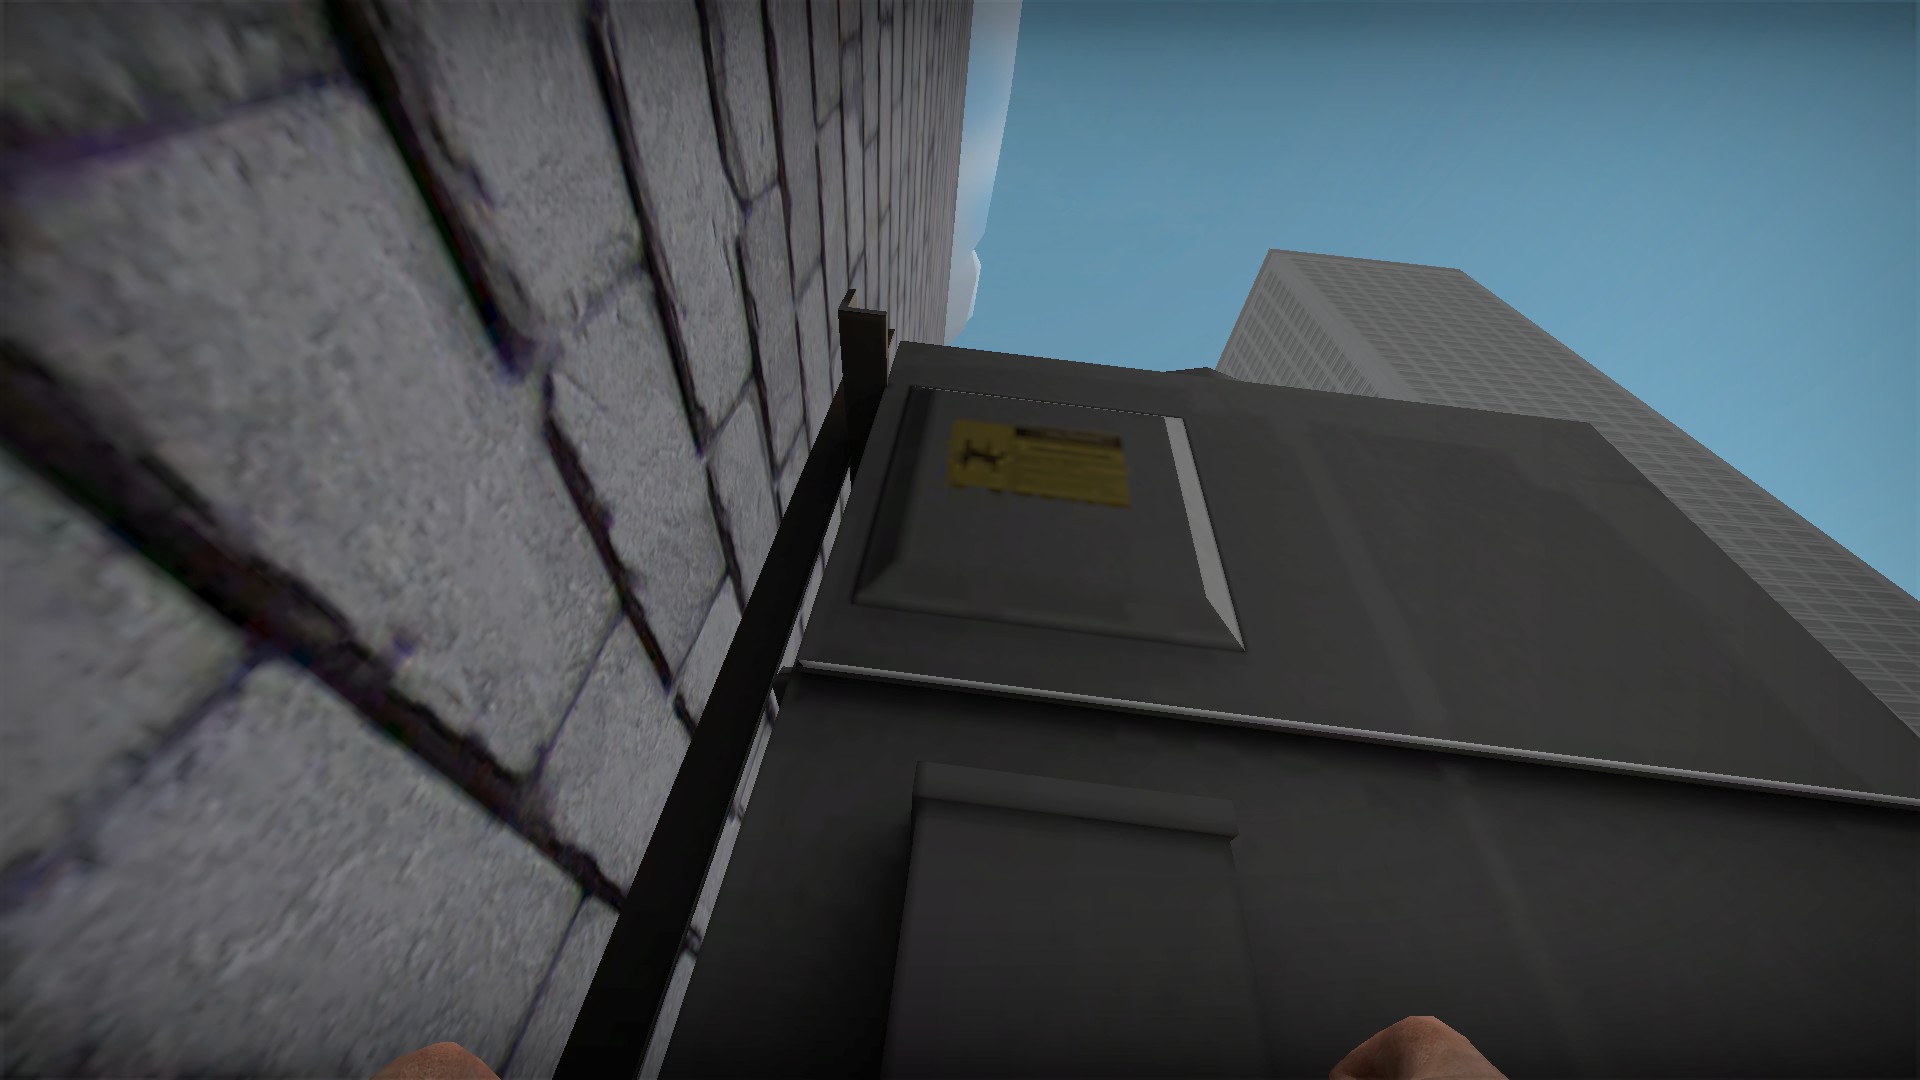
Jump on and climb the a/c unit
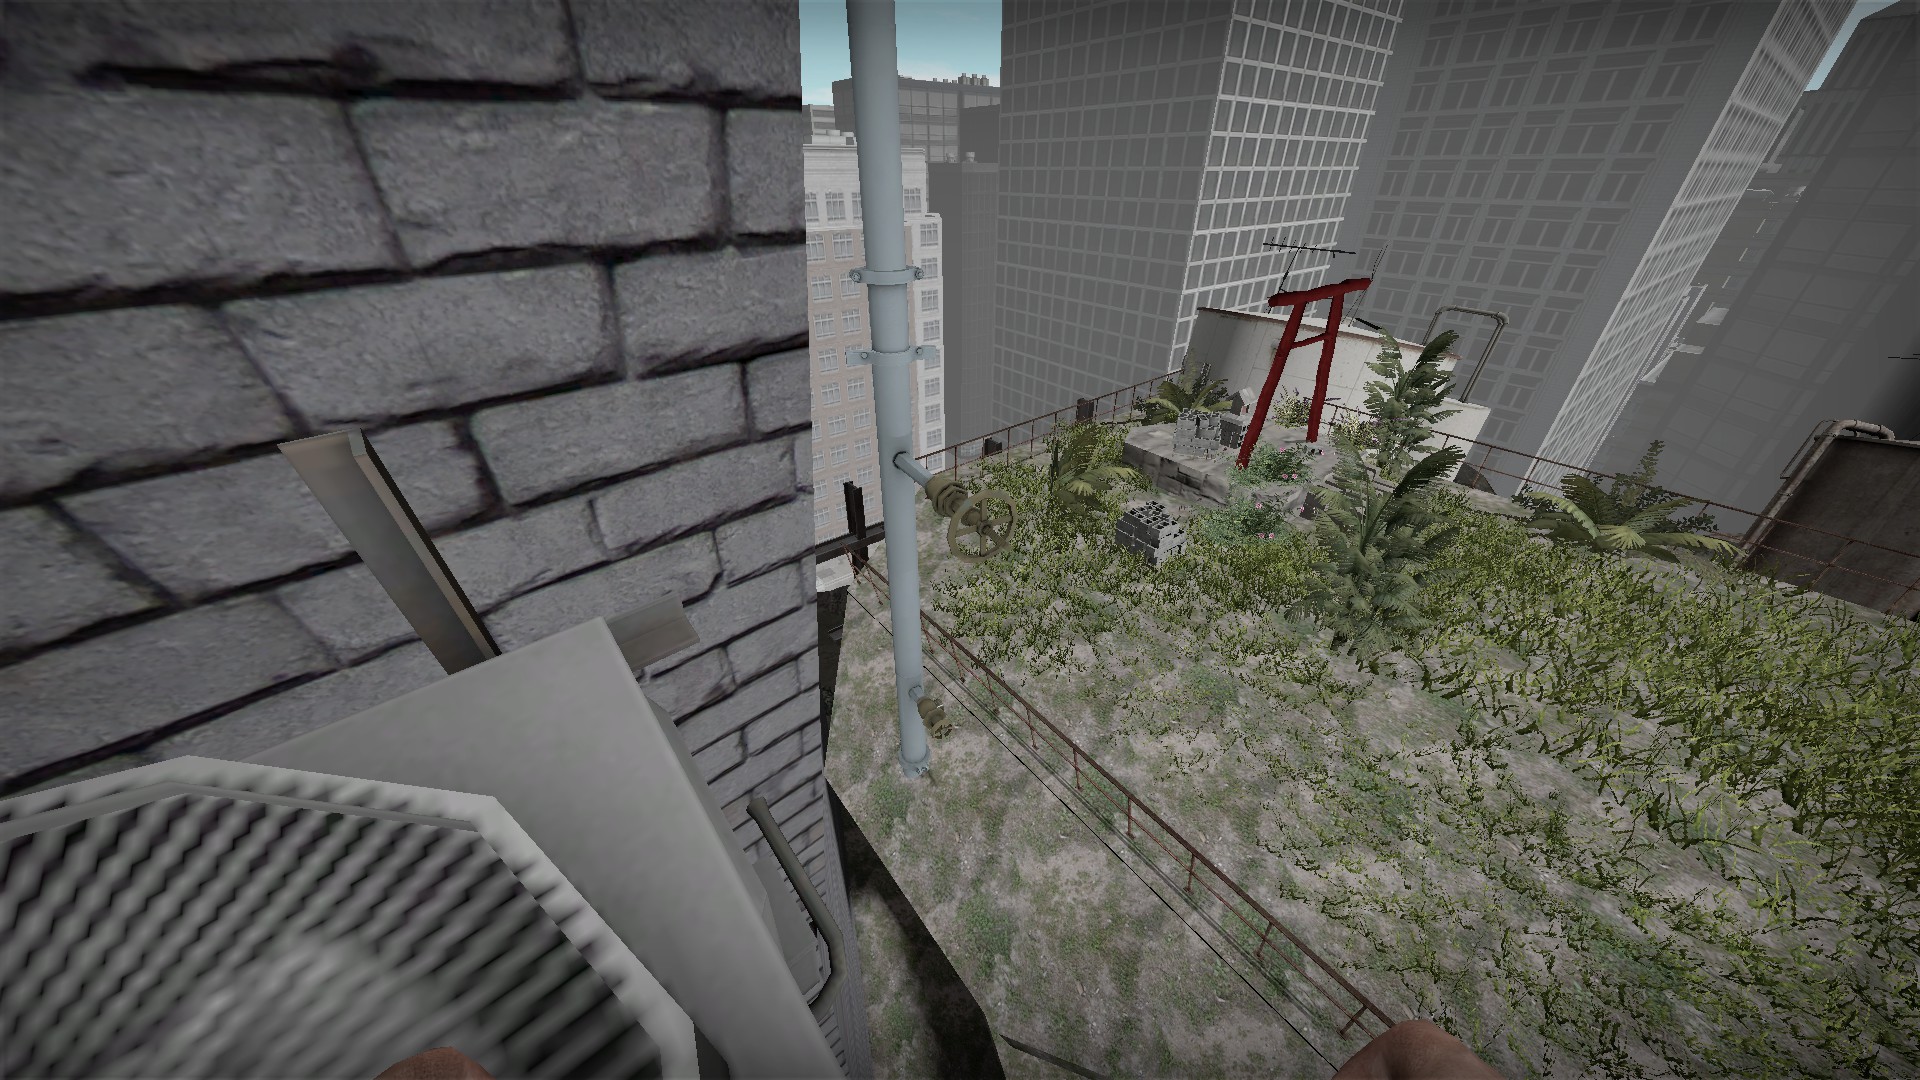
It is a very difficult jump to the valve. You need to jump from the corner of the a/c unit or you will bounce off the wall and die
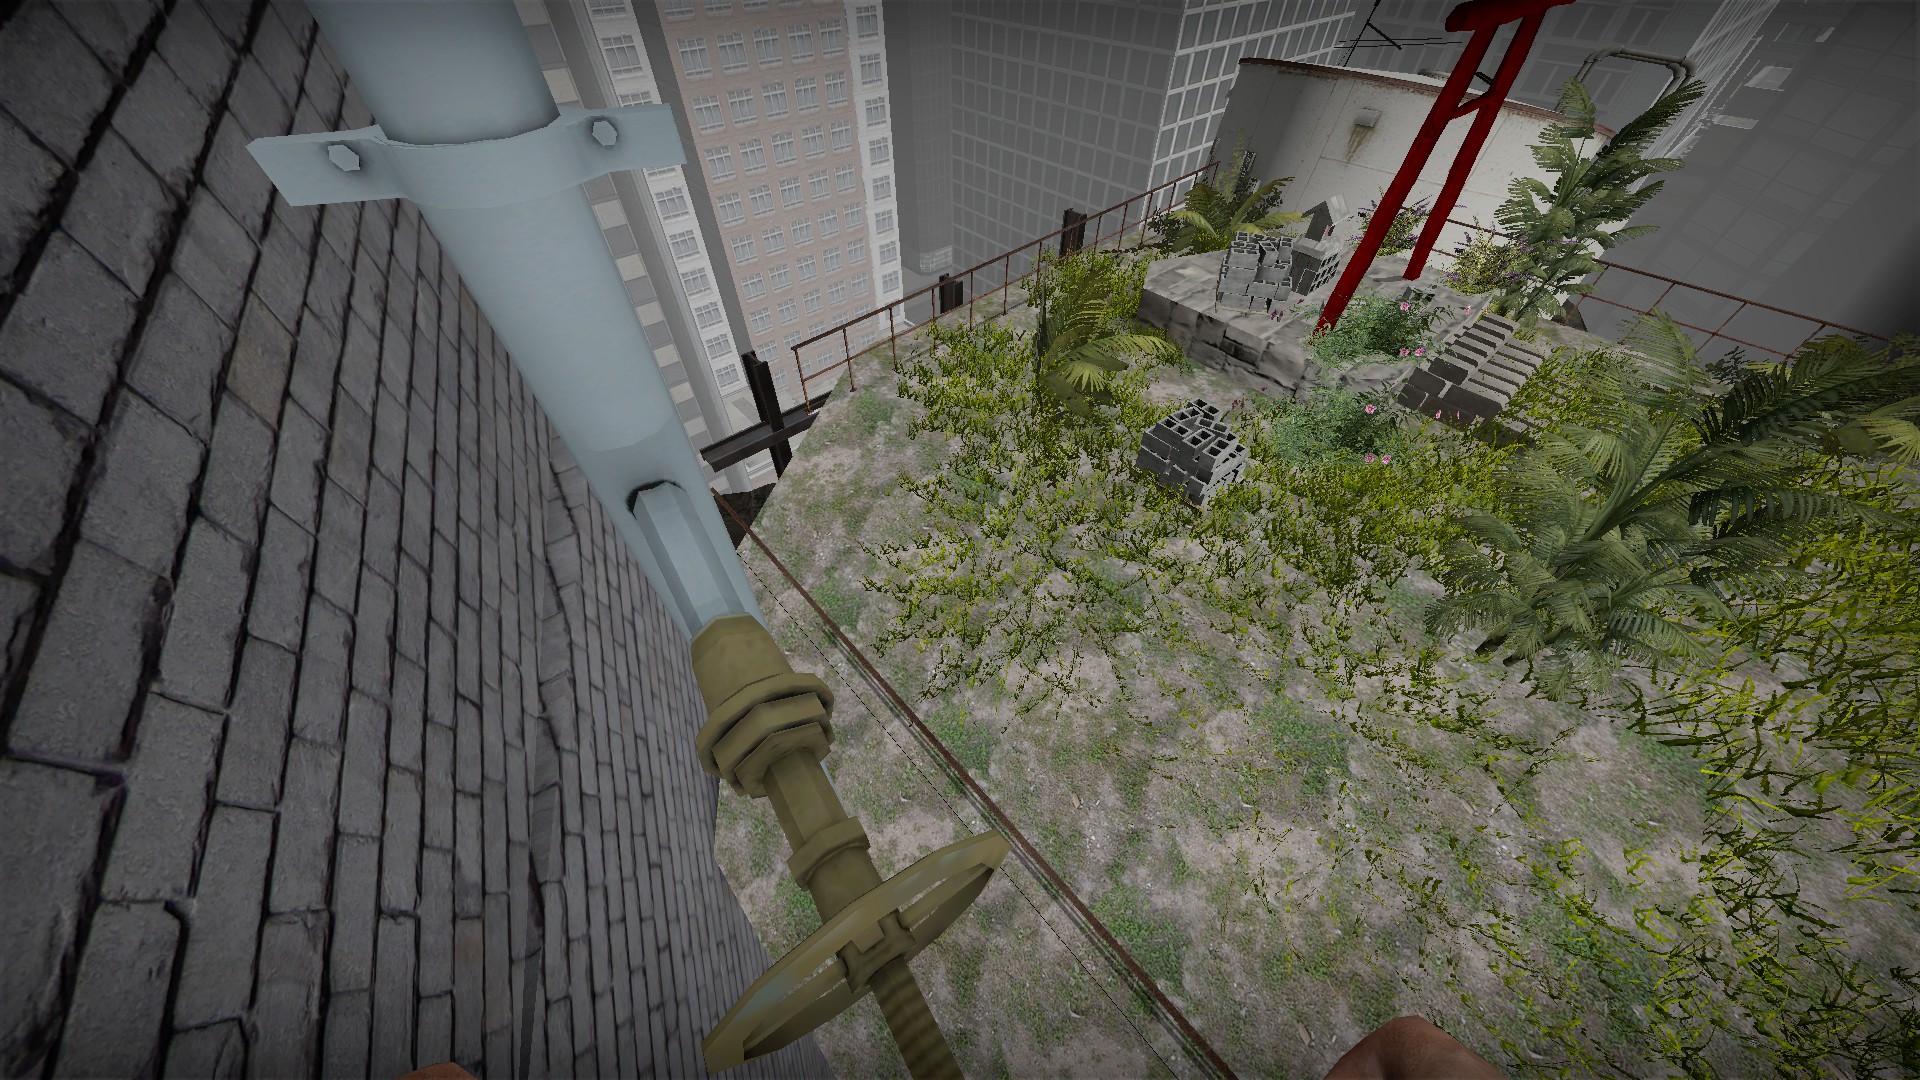
On the valve, run off to the right side, don't drop down
Reward
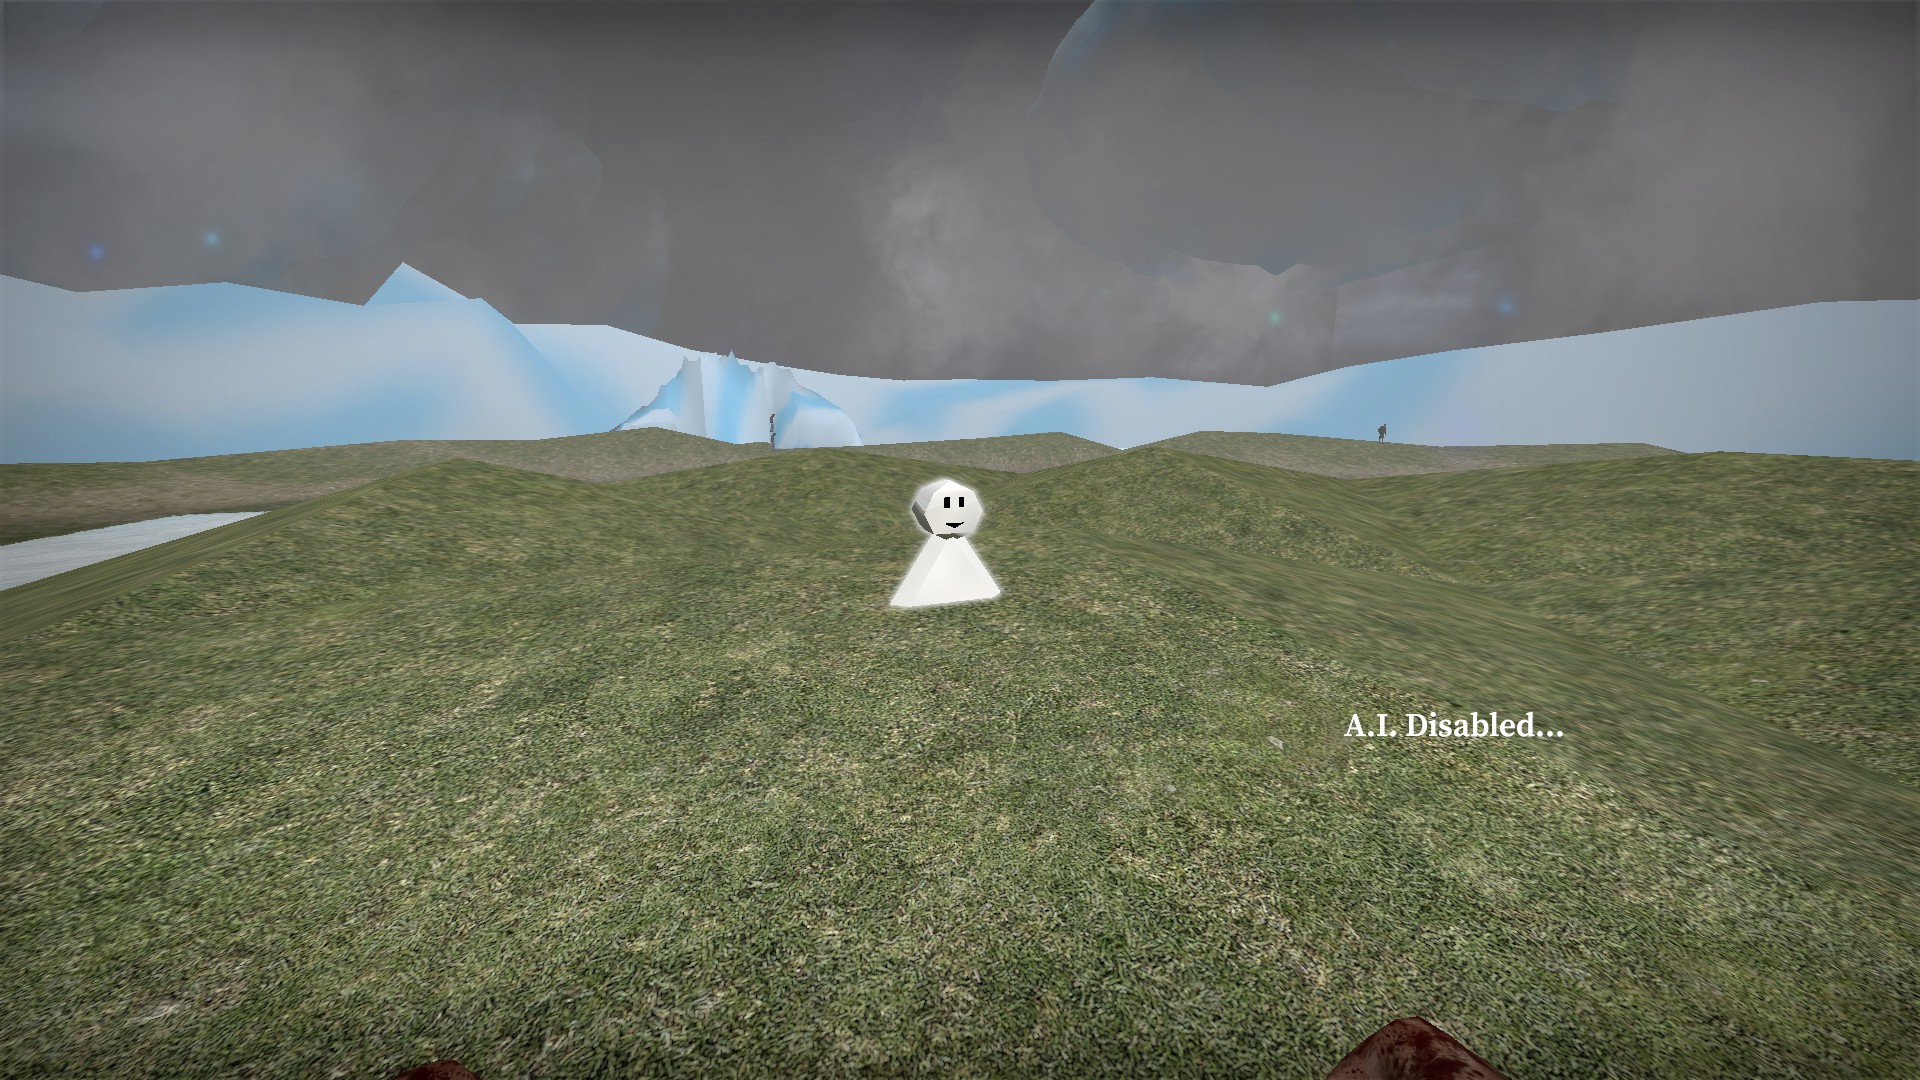
If you picked up at least one item from all 7 weapon boxes in part 2, there will be a bonus weapon box at the start of the clouds area
Leisure time testing stage
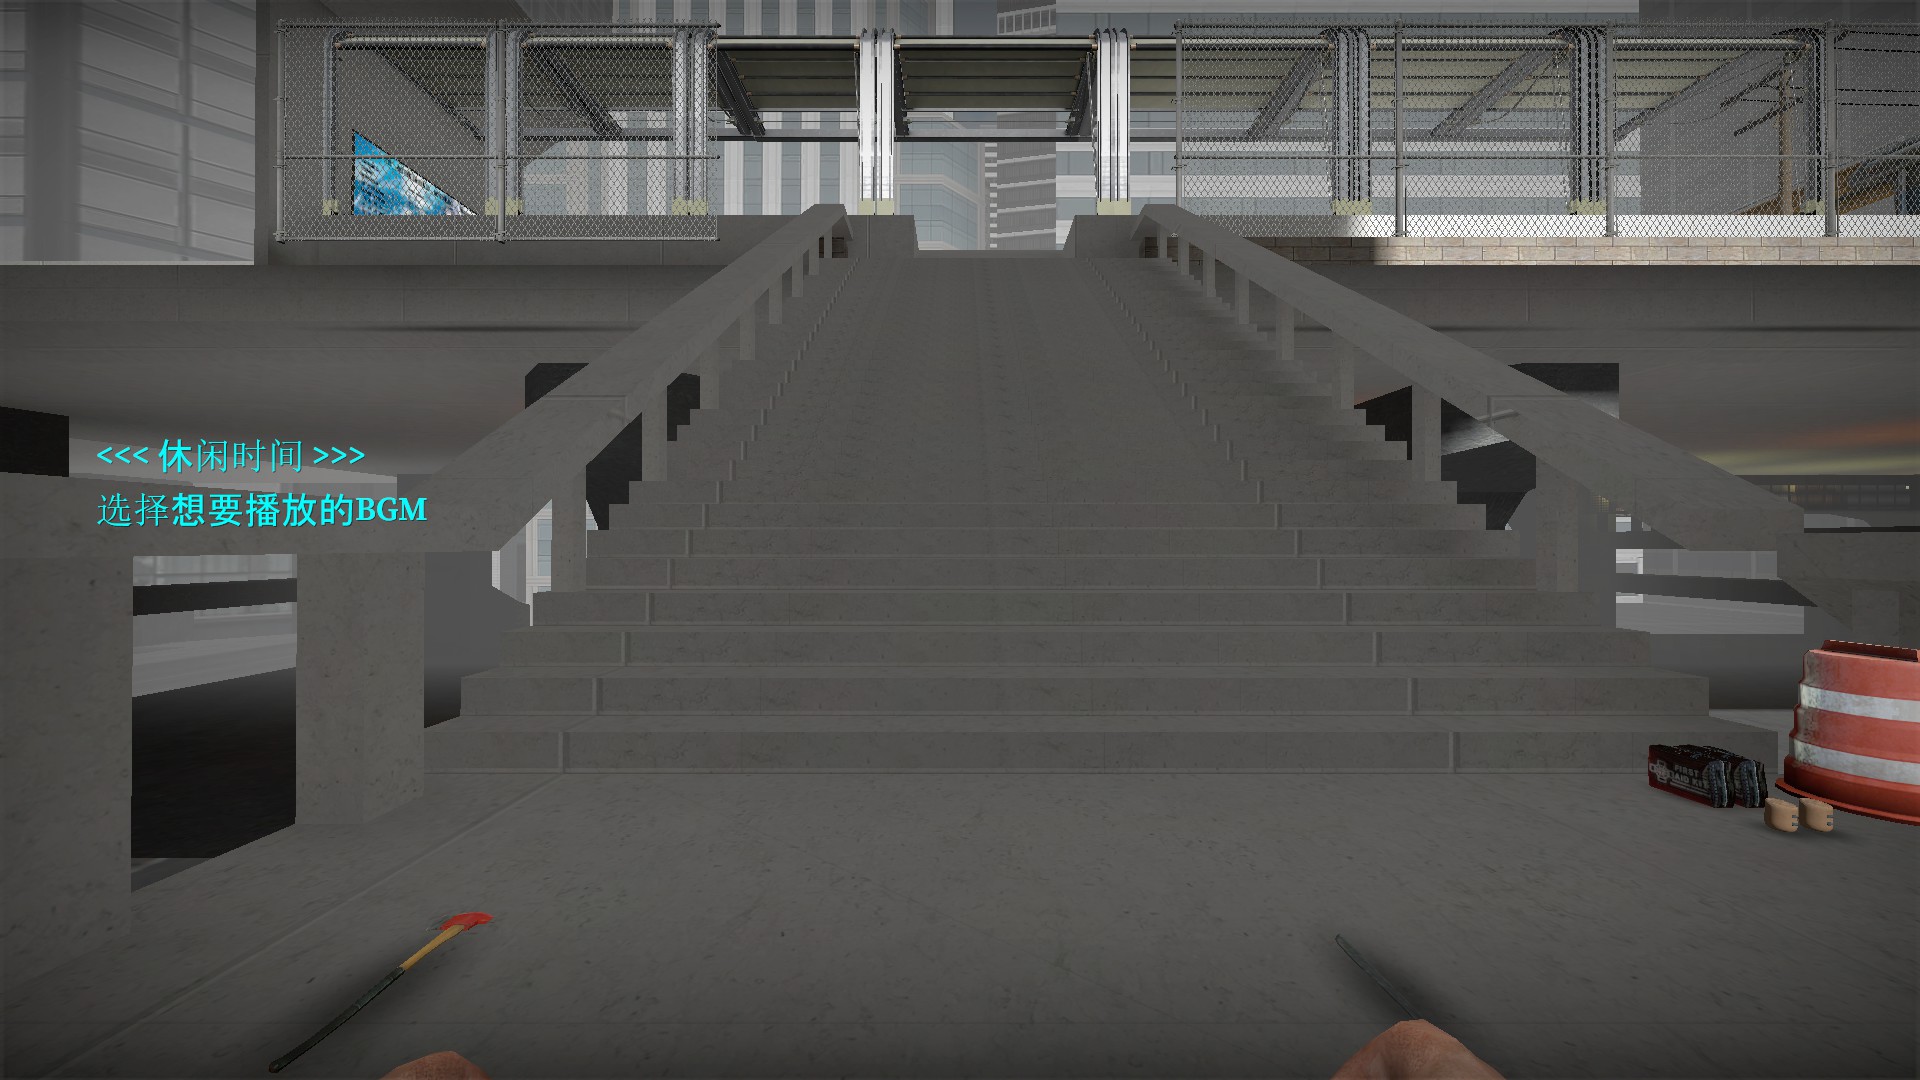
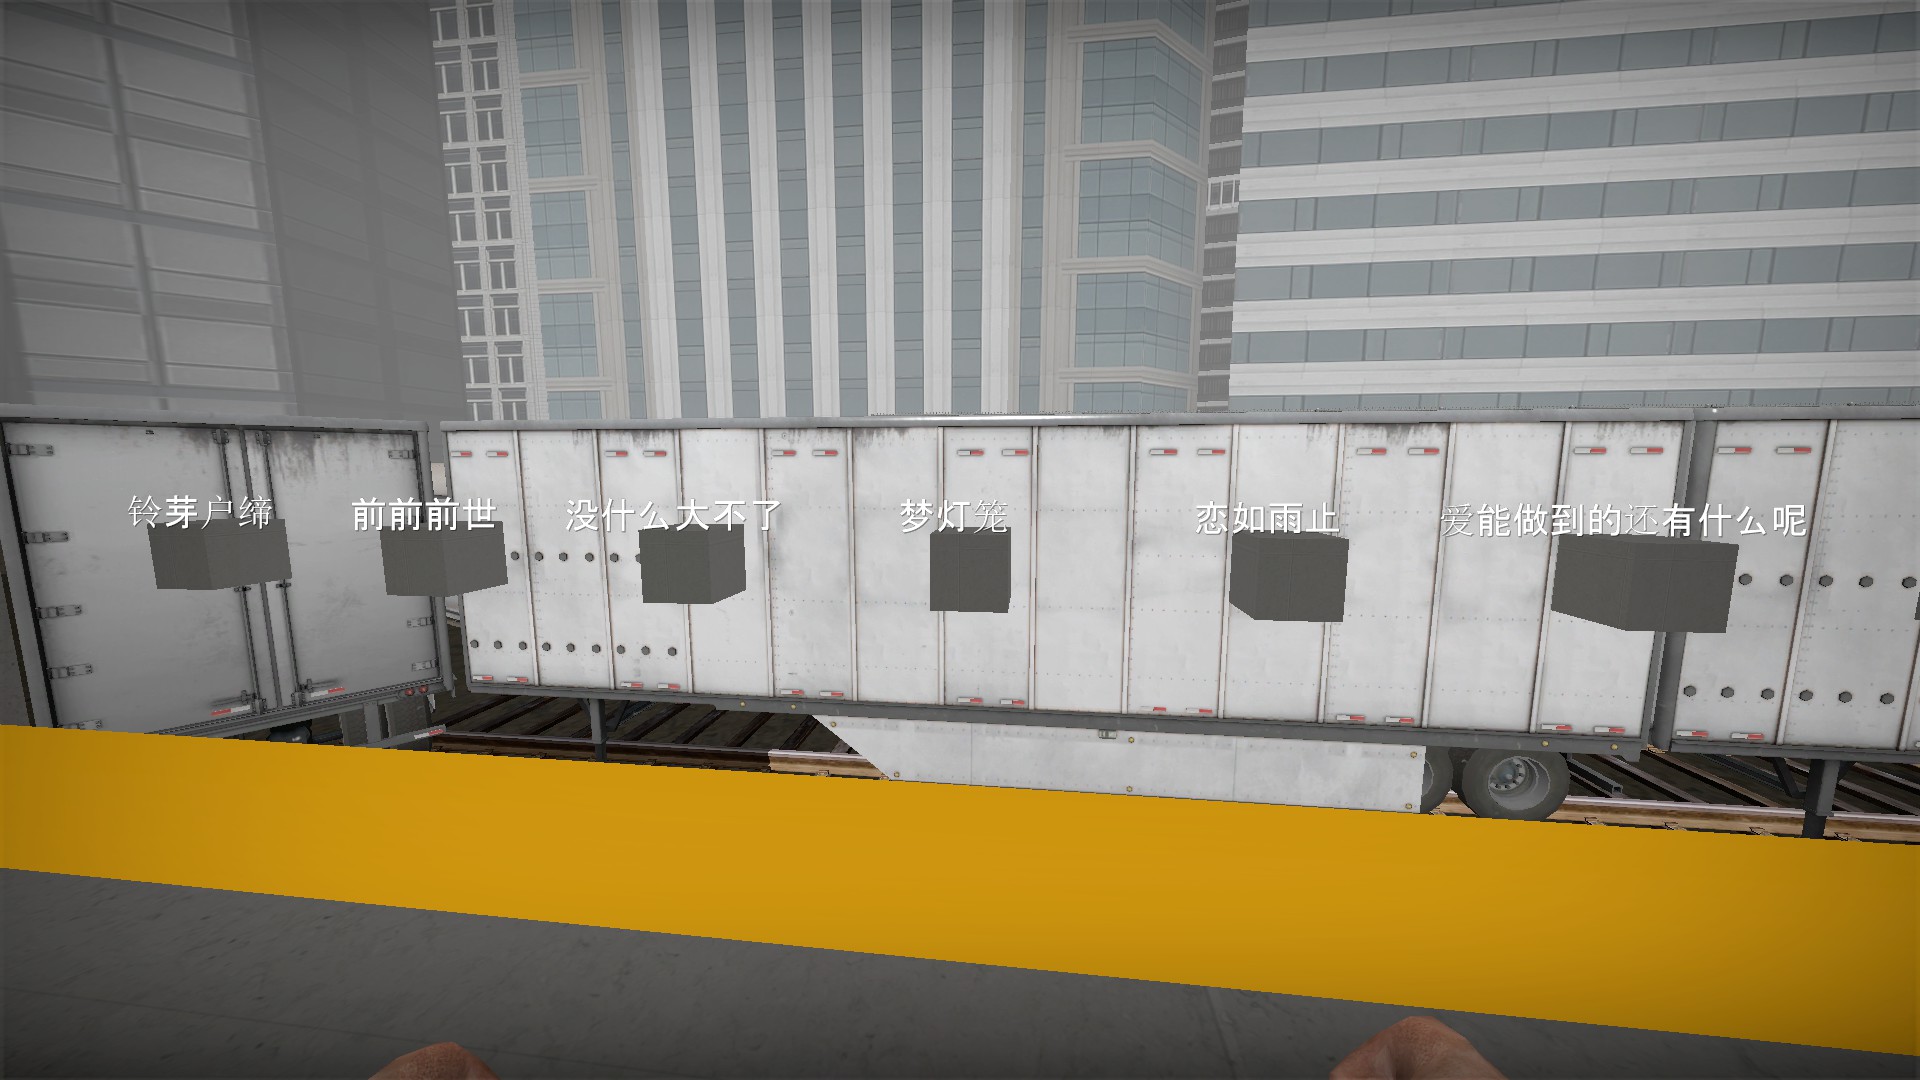
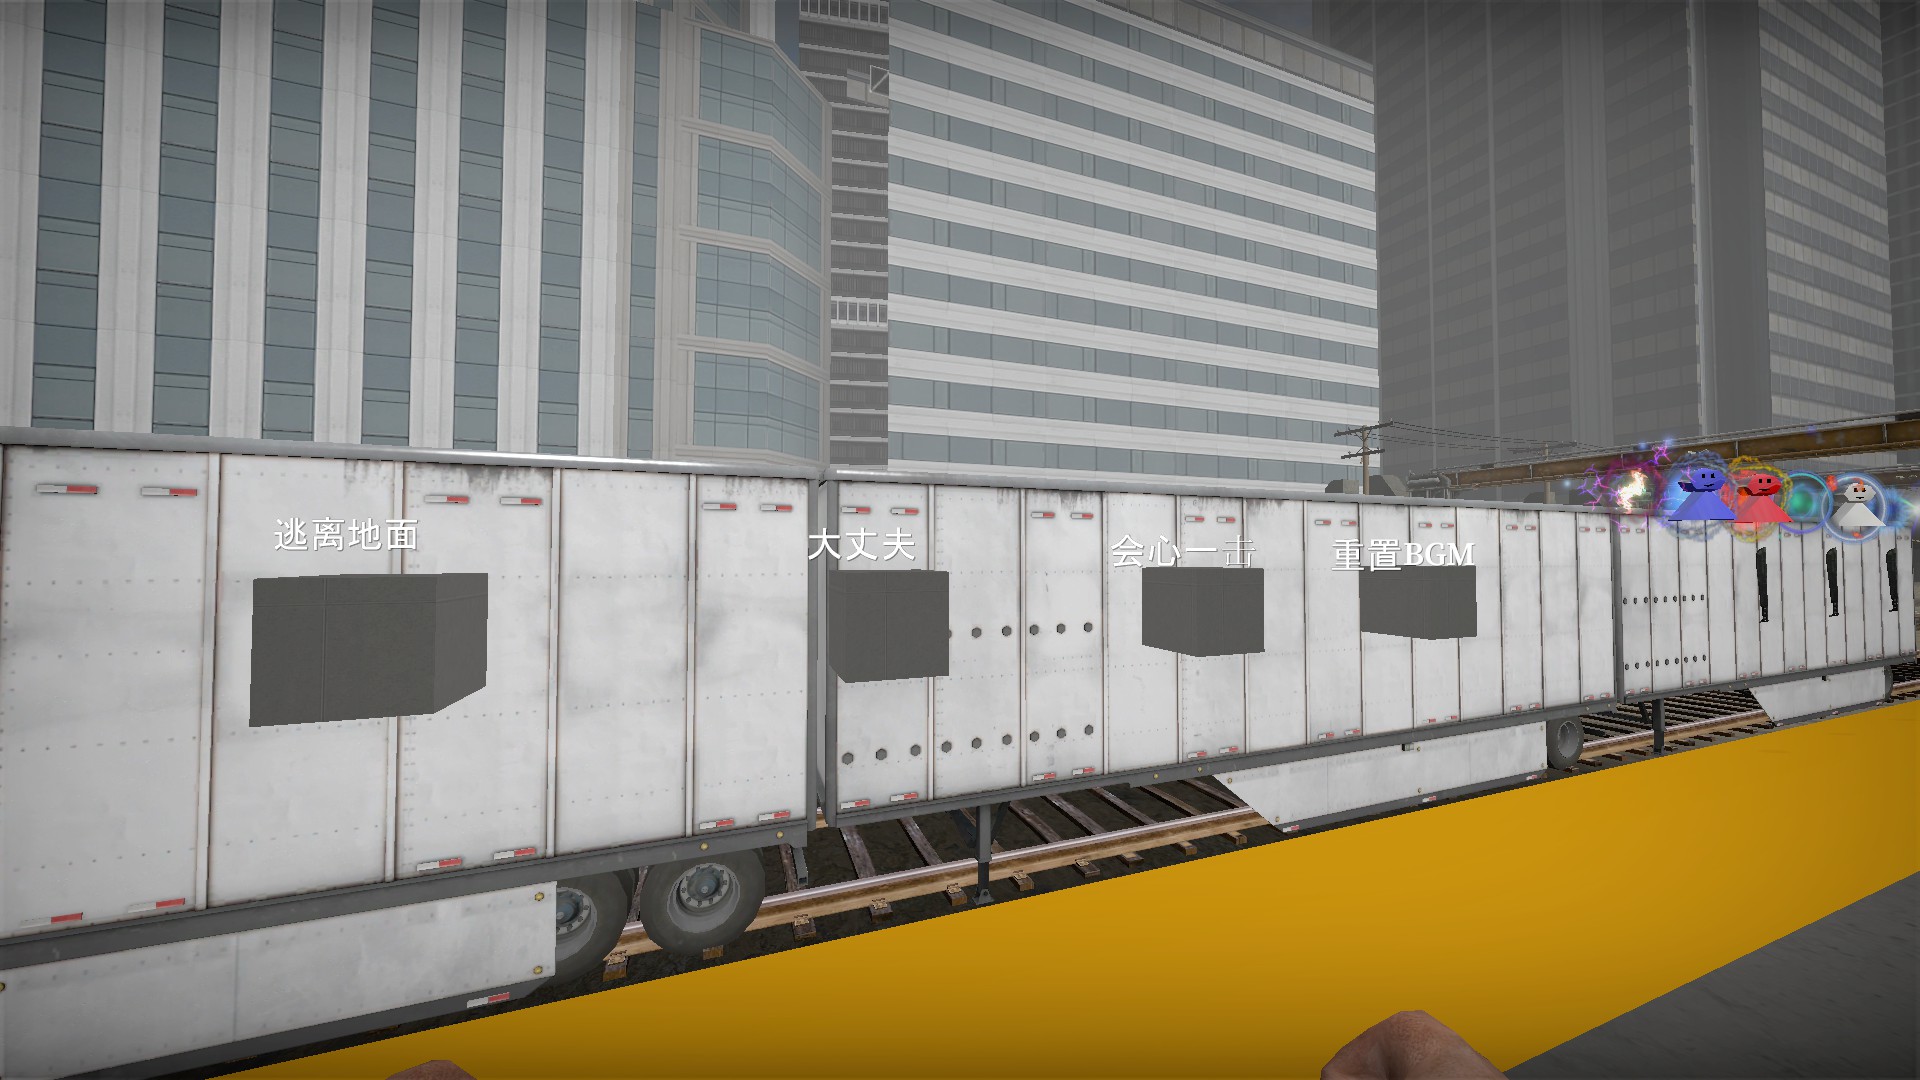
Head up the stairs and a set of 10 buttons will let you play any of the 9 background music tracks. The last button on the right will reset the music
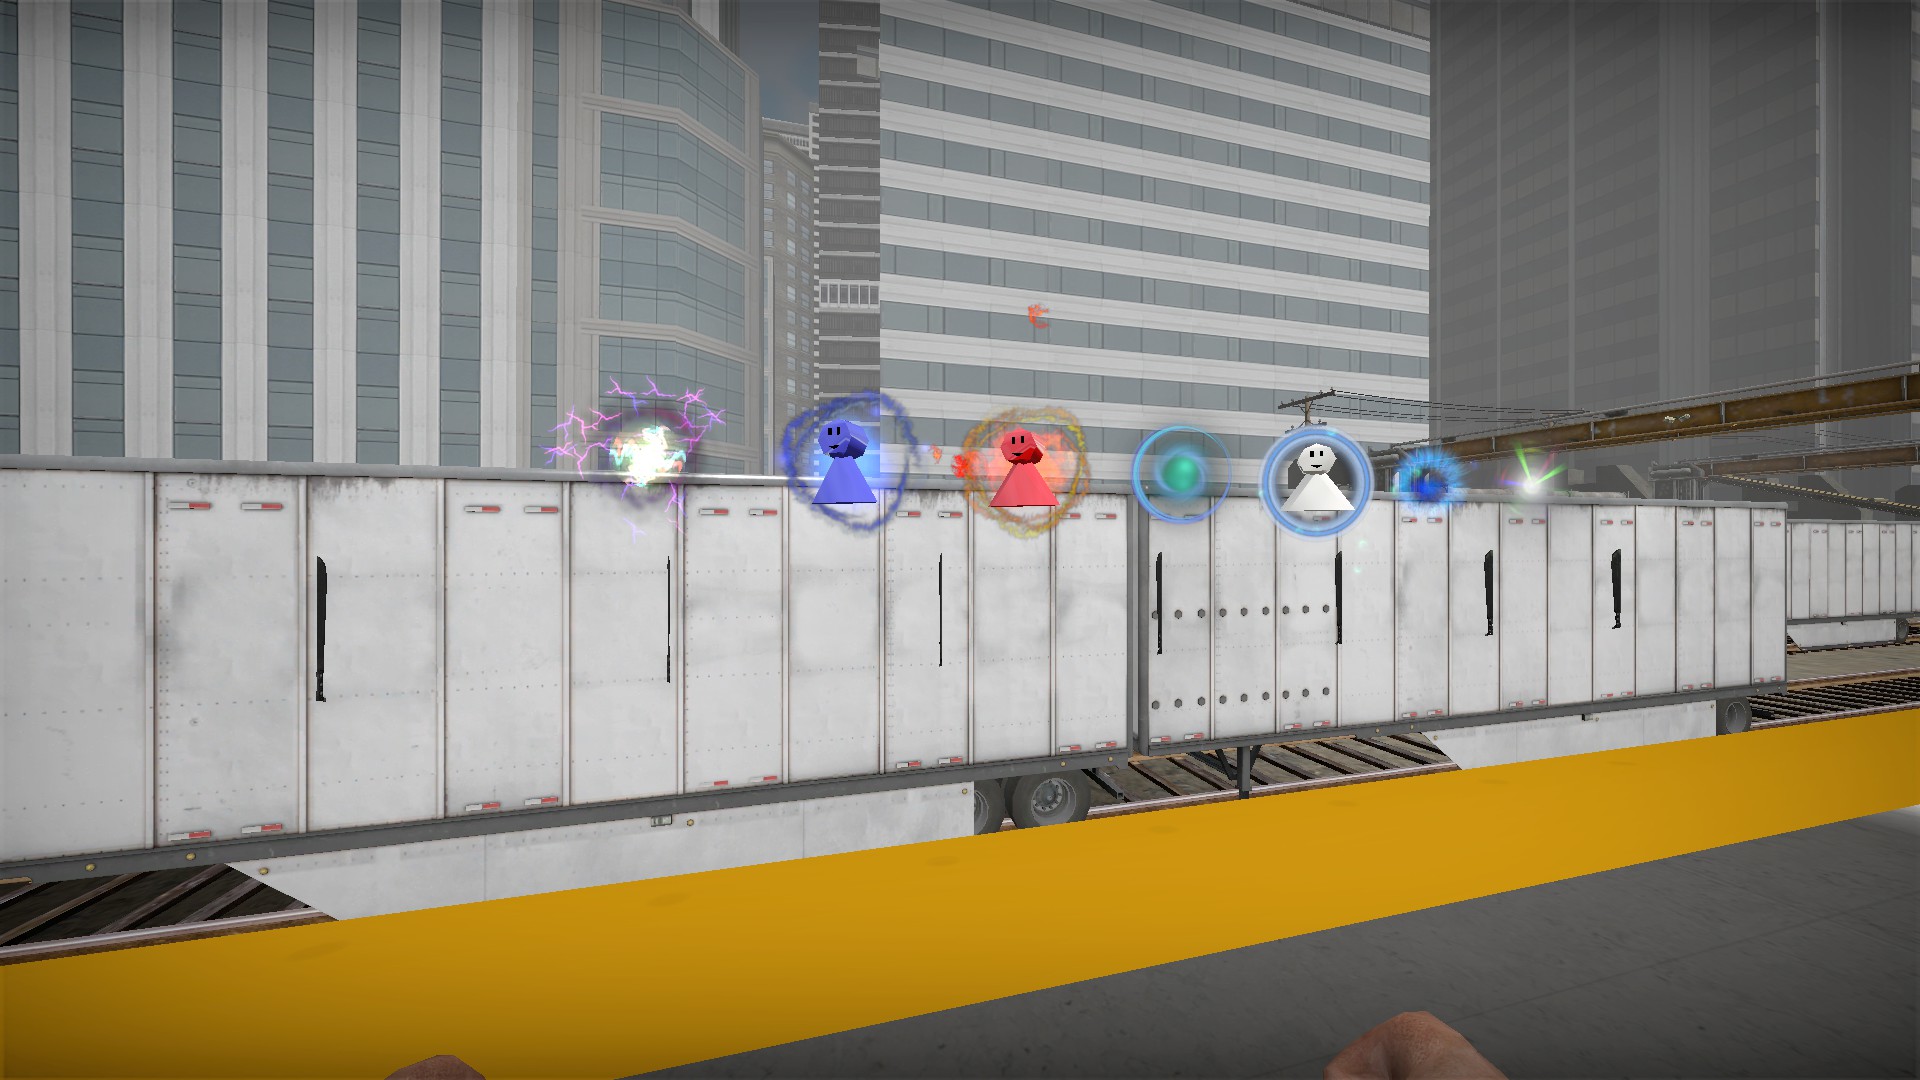
You can also practice with all 7 of the special weapons/human artifacts, but each can only be used once and there are no zombies to use them against
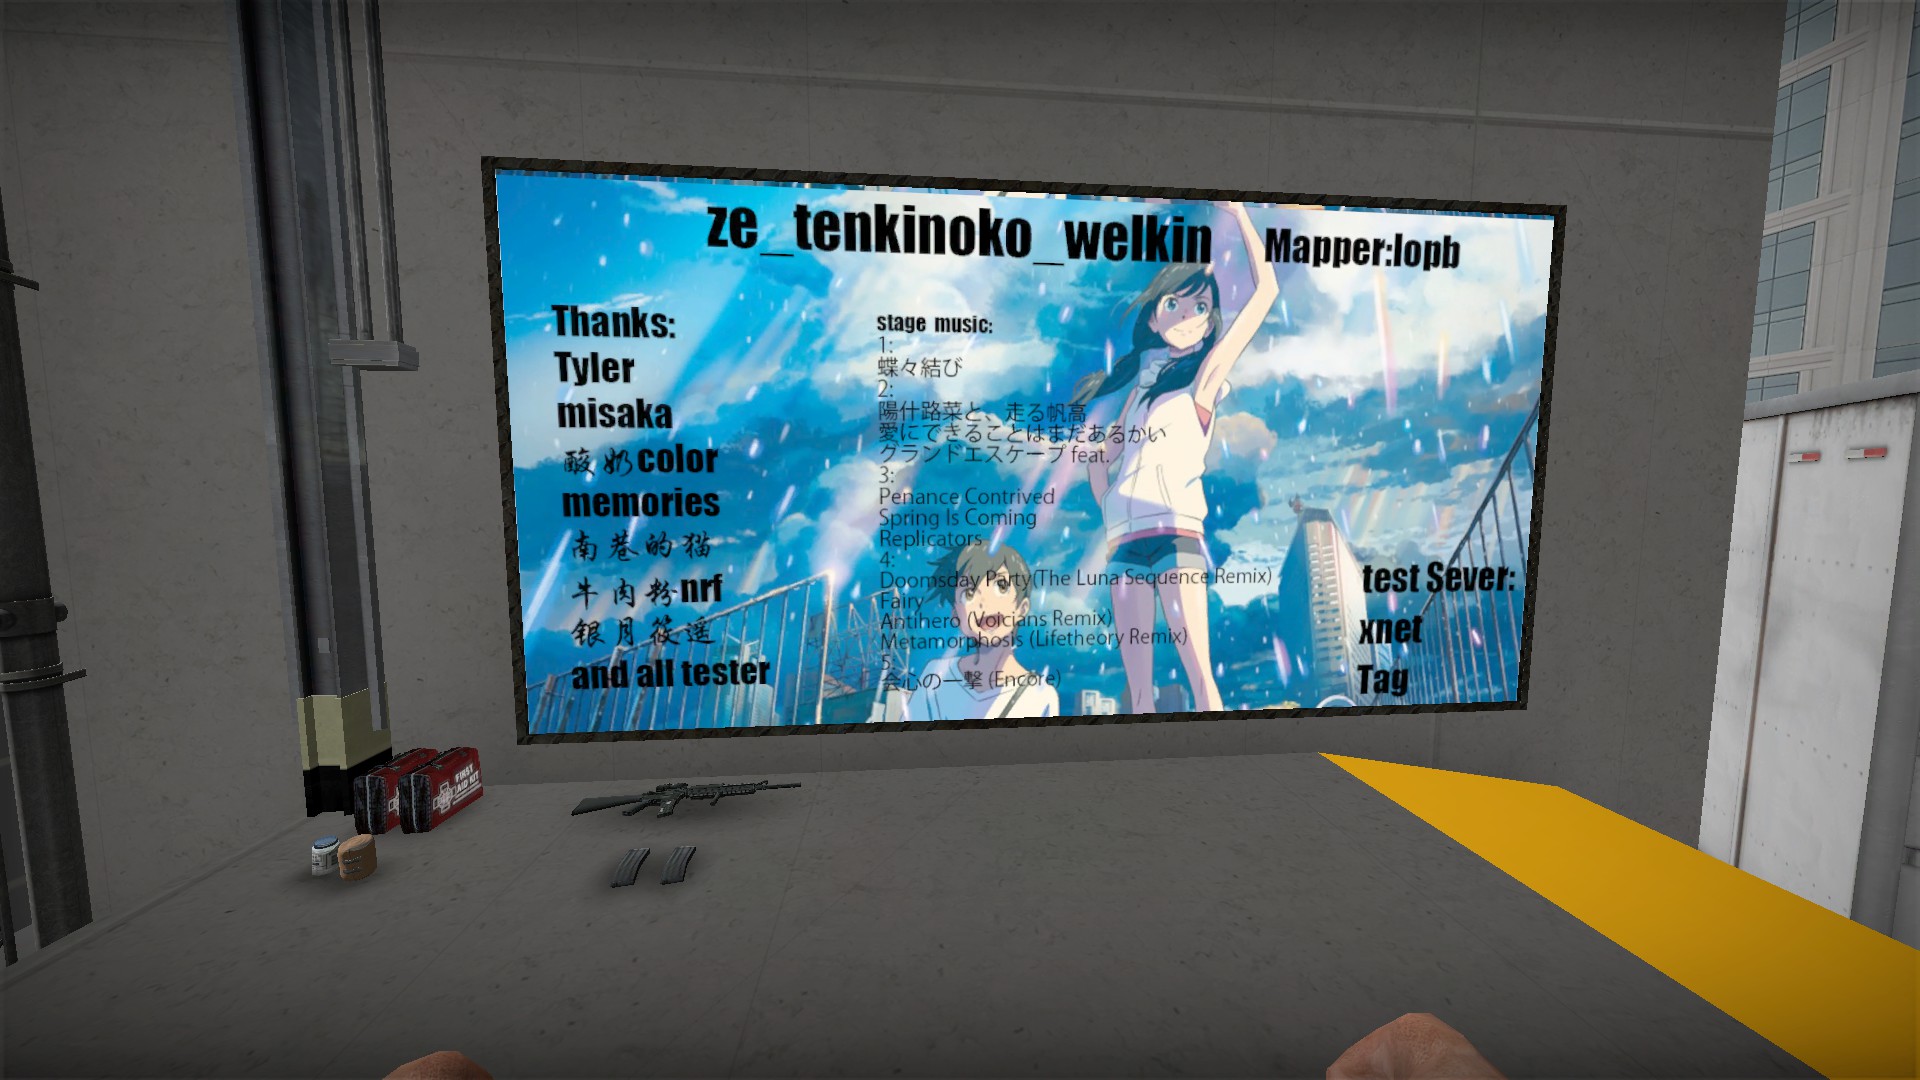
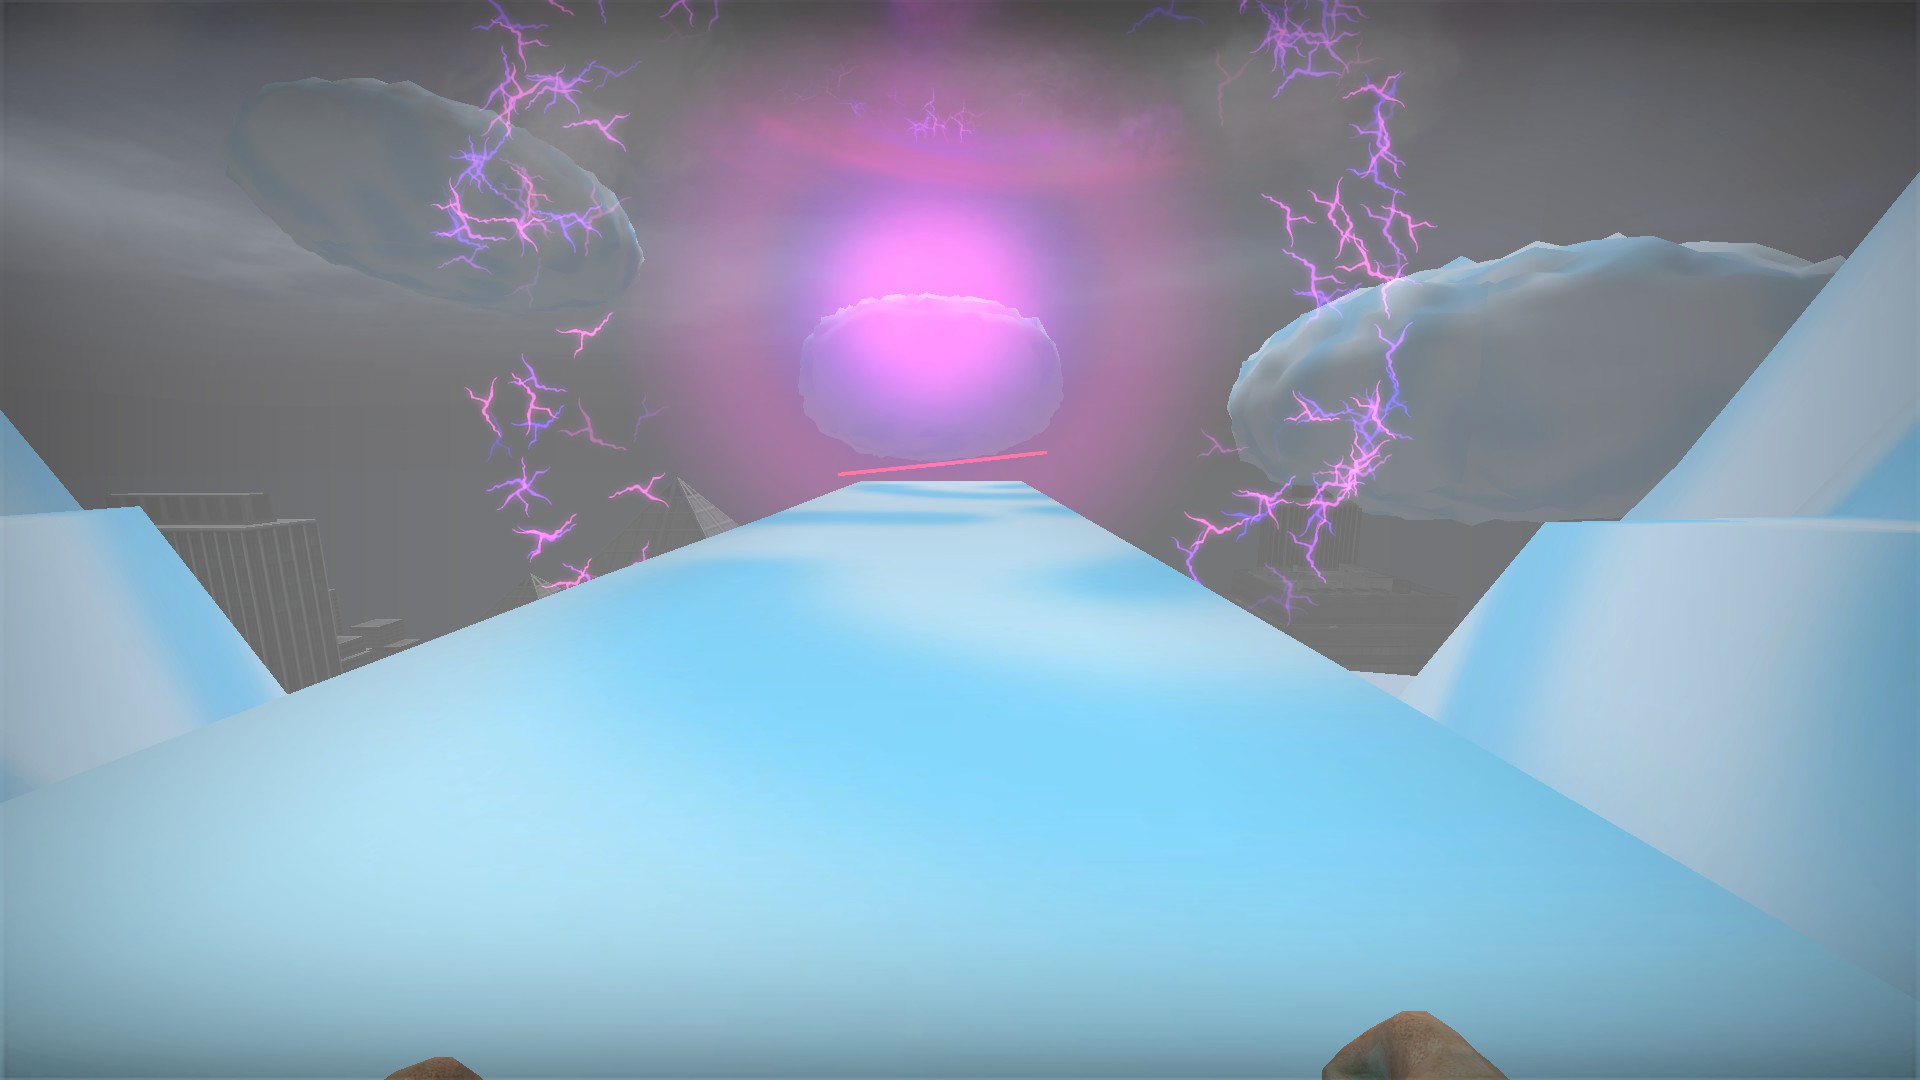
If you run through the poster, you will be teleported to the end of the map where you can practice the ending blades event. If you dodge 100 blades, the practice will end, and jumping off the end of the map will take you back to the developer room
If you take an item from every weapon box on this map, an extra one will appear. You will need to take an item from all 7 weapon boxes on stage 2 to unlock the secret
You will see weapon box 1 up high as you are heading through the starting train yard area
Head up a ladder on the opposite wall and across the pipe to get it
Weapon box 2 is inside a container in the train yard area
Weapon box 3 can only be accessed on part 2. The elevator will stop on the floor below instead of going all the way to the bottom. The weapon box is just past a few boxes
After going down the elevator and opening the doors of the building, you will find the weapon box 4 in the corner
When you get to the fire escape stairs, head down for weapon box 5
Then go up the stairs to the second floor, break the glass and go around the containers for weapon box 6
The barrier around the ladder at the top of the Yoyogi building will break in part 2, allowing access to the 7th box
Climb to the top of this structure and you can jump across to the a/c units
Drop down from the units to the seventh weapon box
After taking an item from the 7th box, you will receive a message that the secret has been unlocked
Jump on and climb the a/c unit
It is a very difficult jump to the valve. You need to jump from the corner of the a/c unit or you will bounce off the wall and die
On the valve, run off to the right side, don't drop down
Reward
If you picked up at least one item from all 7 weapon boxes in part 2, there will be a bonus weapon box at the start of the clouds area
Leisure time testing stage
Head up the stairs and a set of 10 buttons will let you play any of the 9 background music tracks. The last button on the right will reset the music
You can also practice with all 7 of the special weapons/human artifacts, but each can only be used once and there are no zombies to use them against
If you run through the poster, you will be teleported to the end of the map where you can practice the ending blades event. If you dodge 100 blades, the practice will end, and jumping off the end of the map will take you back to the developer room
nmo_thedam_v1_8
0 door
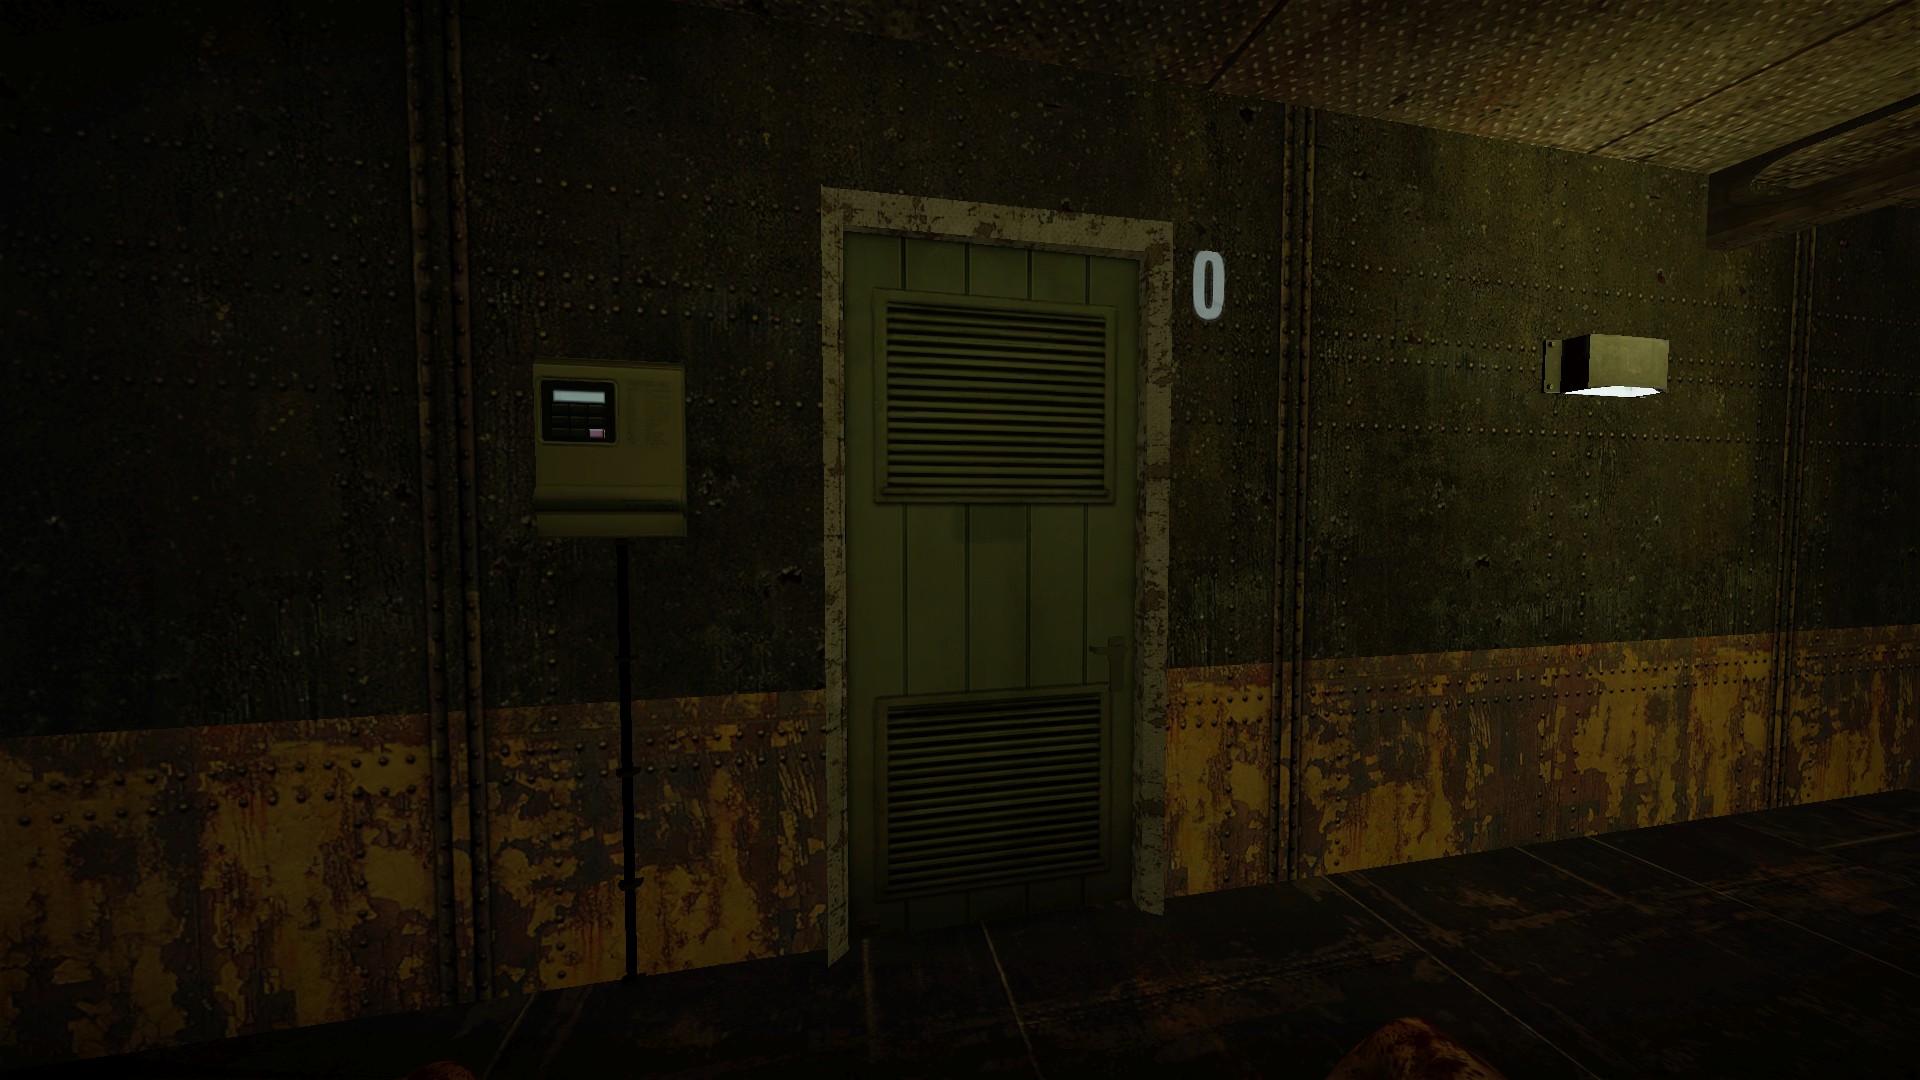
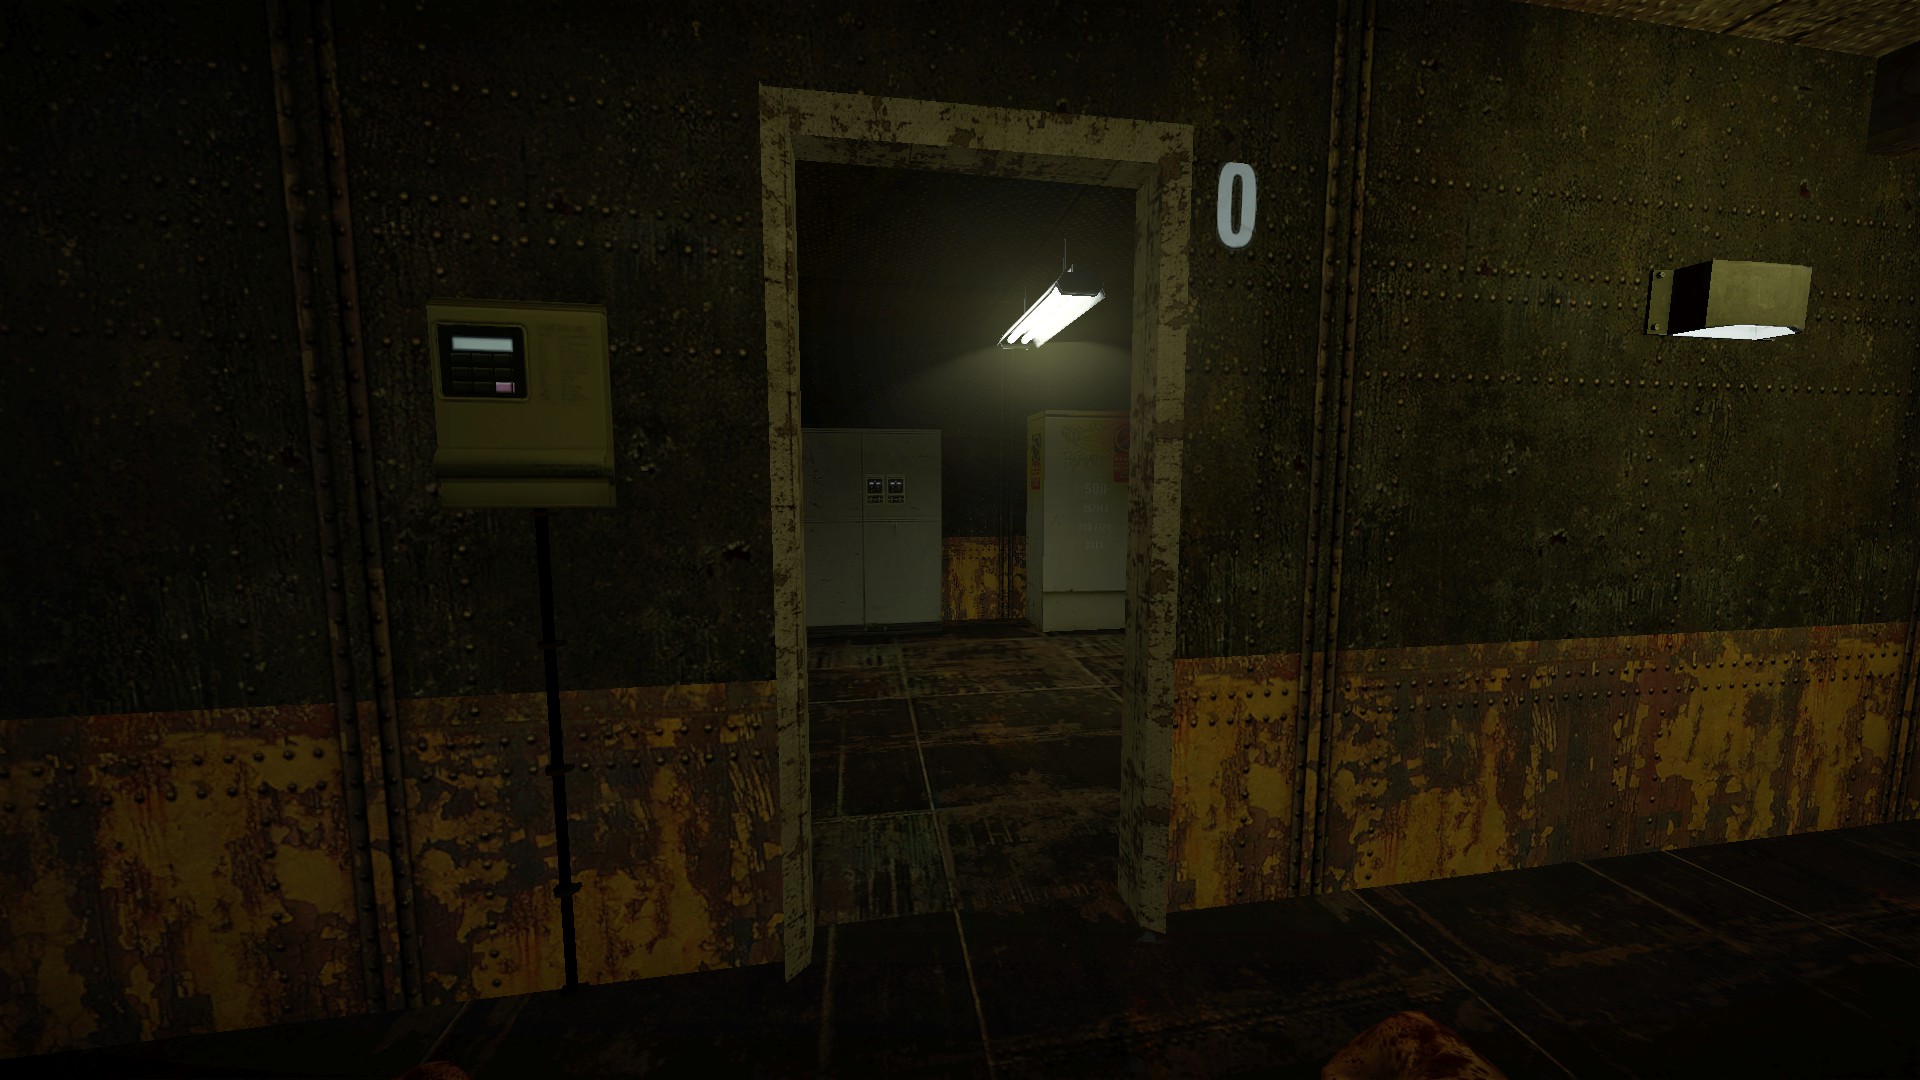
The door with a 0 next to it can be broken
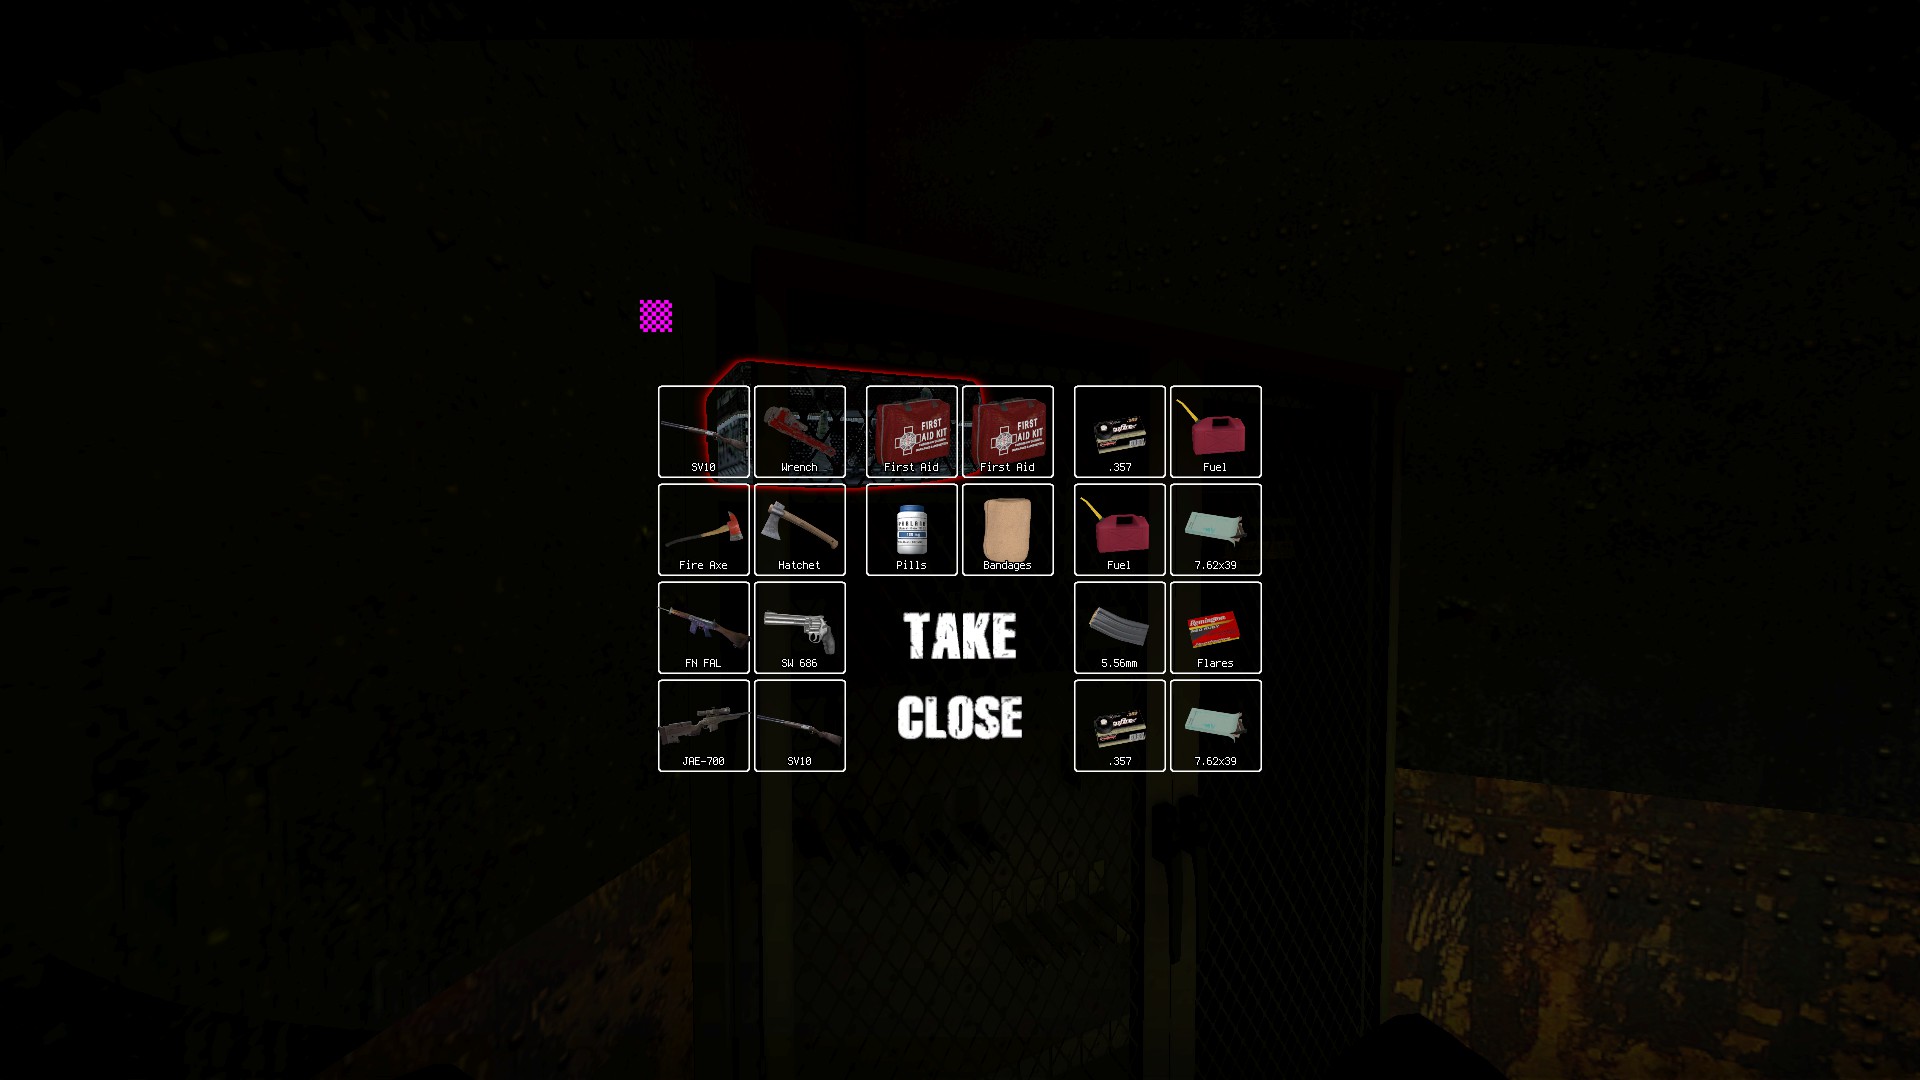
The cabinet inside is a weapon box
The door with a 0 next to it can be broken
The cabinet inside is a weapon box
nmo_the_longdreams_c1_final/remake
First secret area
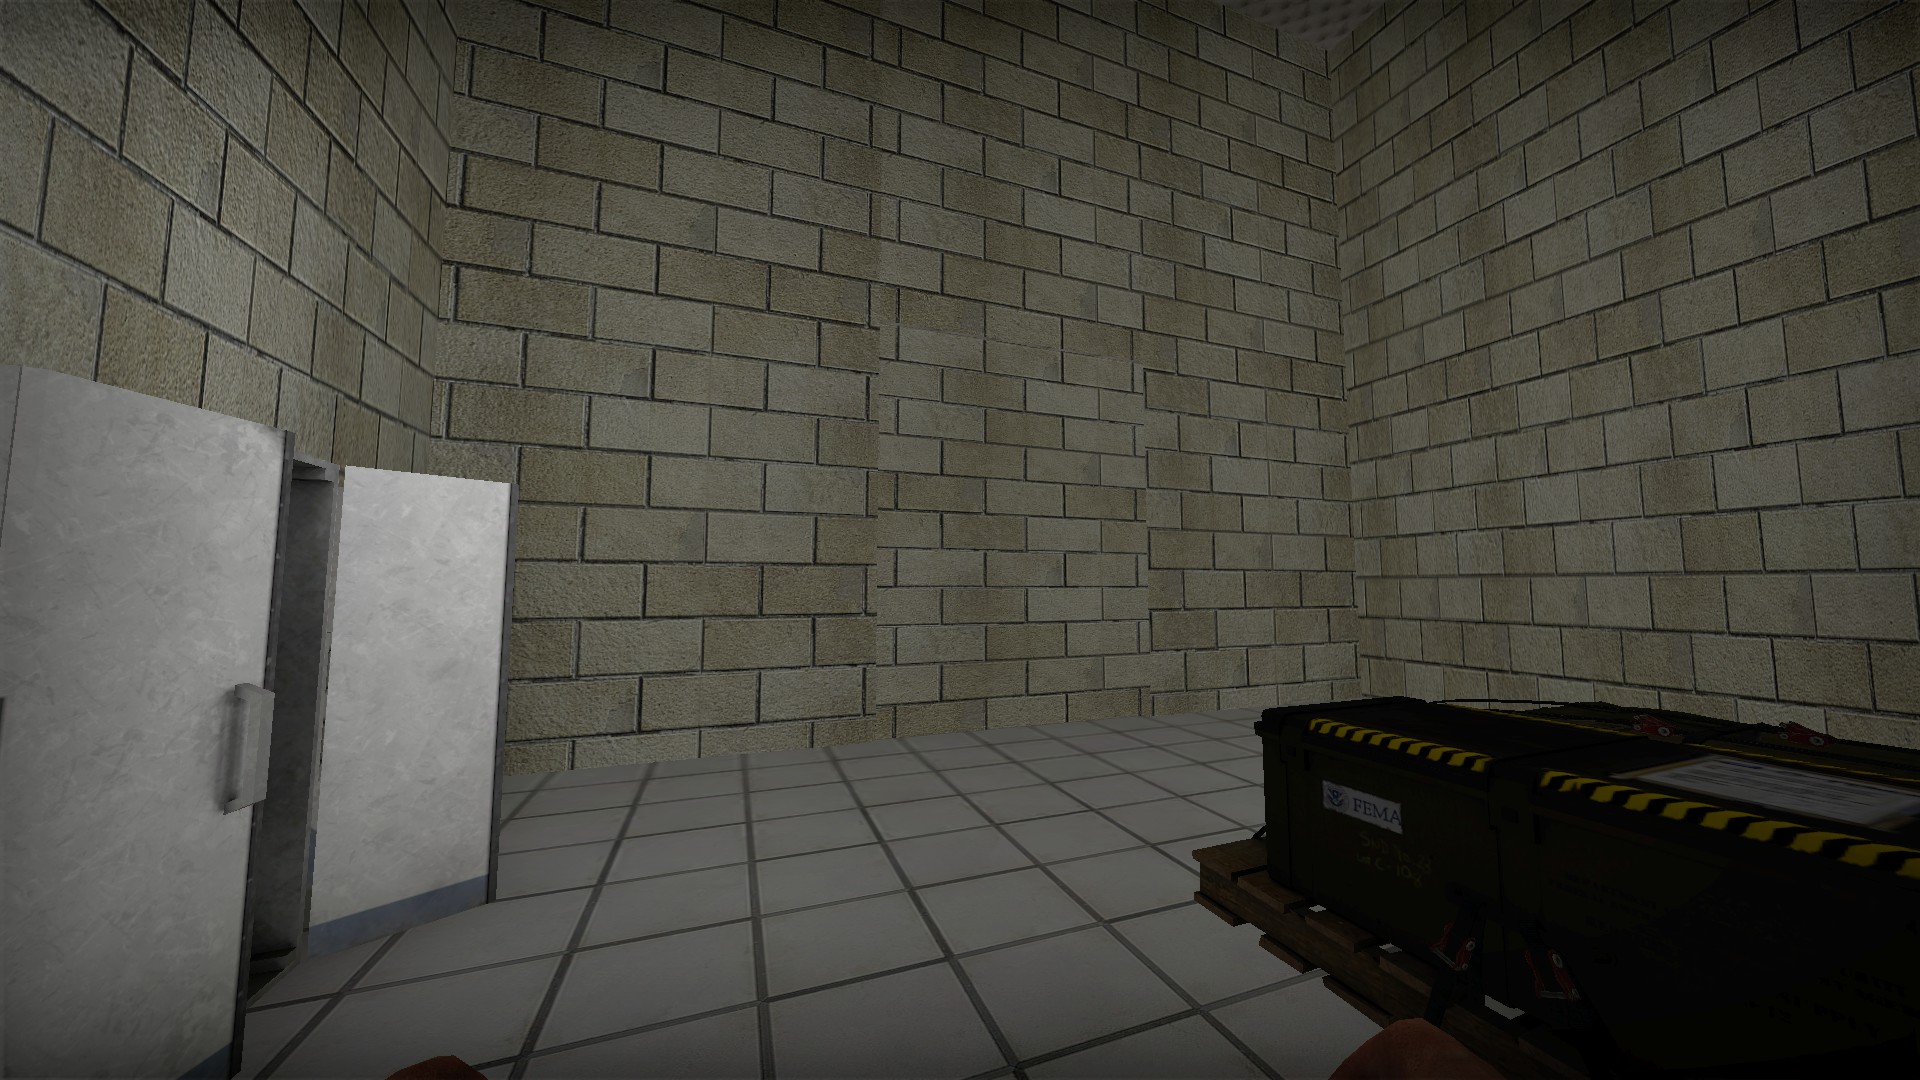
In the room with the 2 weapon boxes at start, you will notice that the stone textures are off
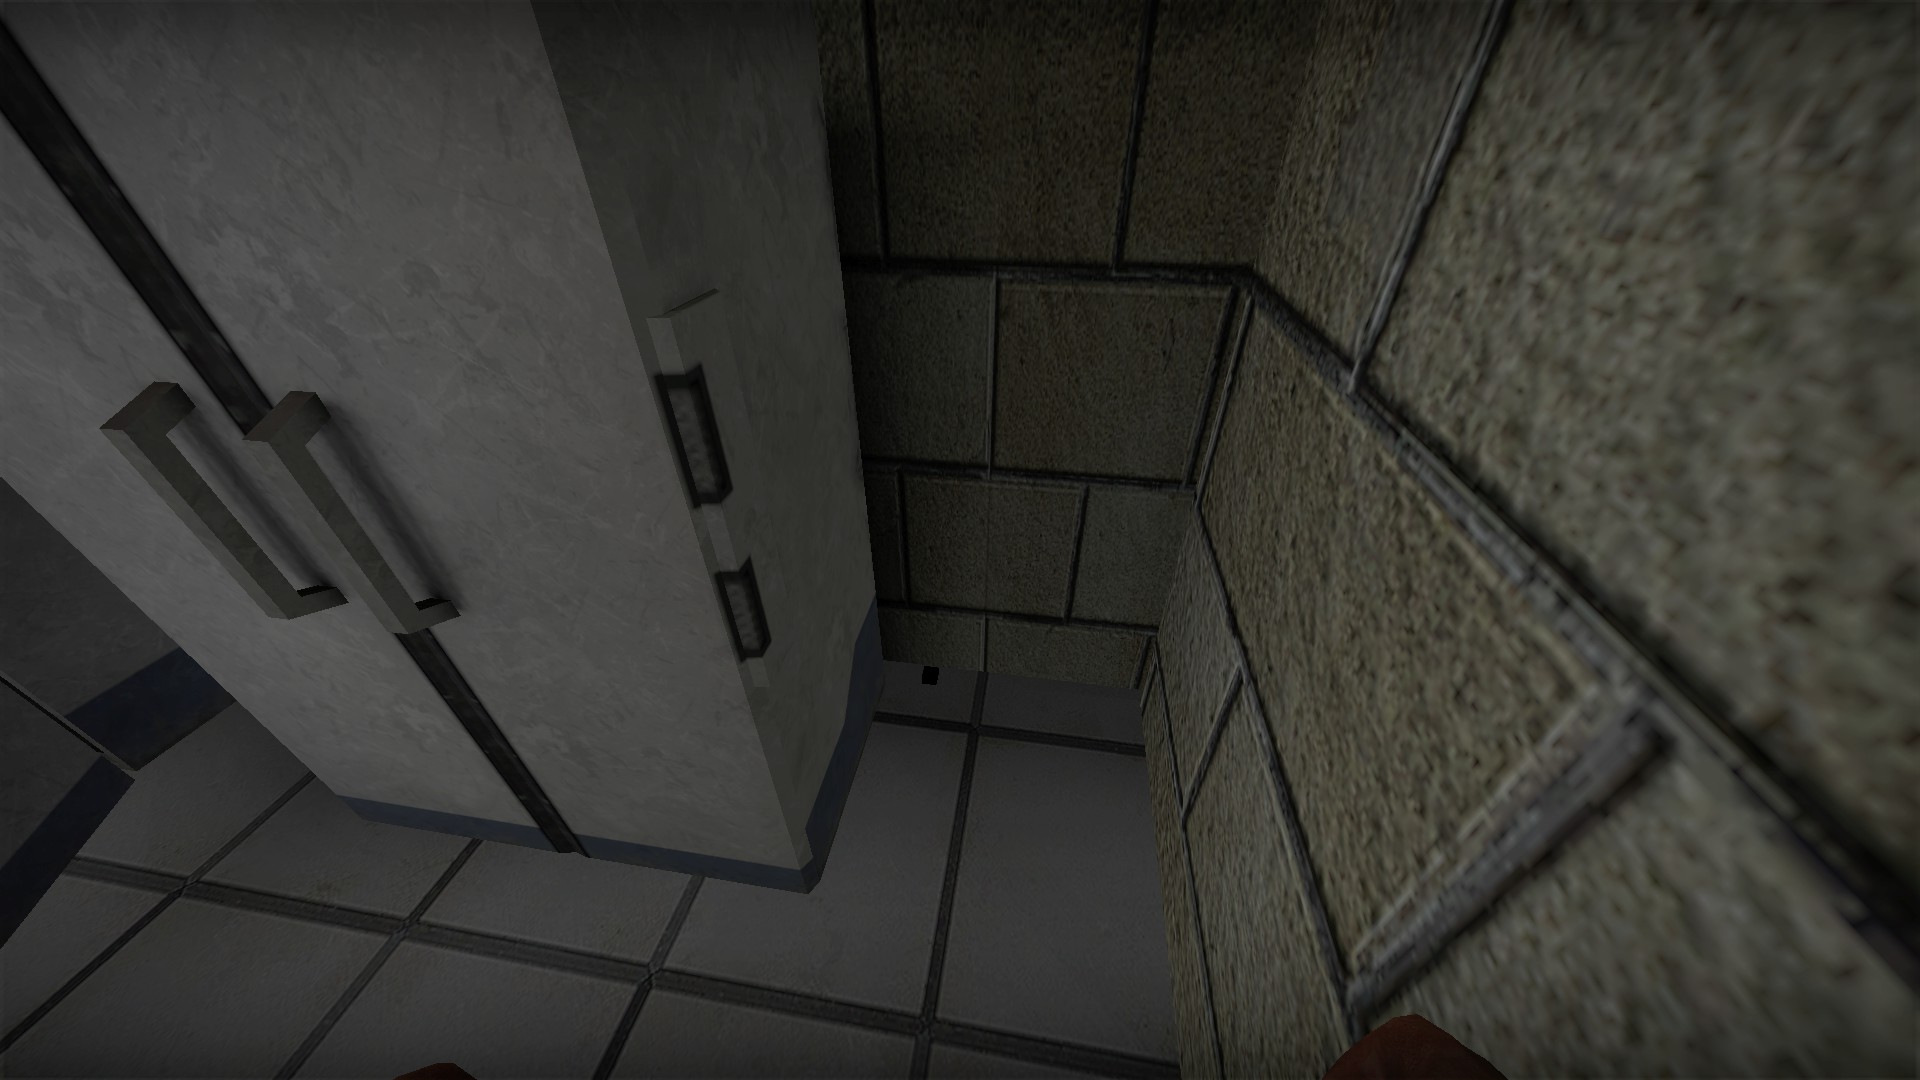
A small black button in the corner will open this door
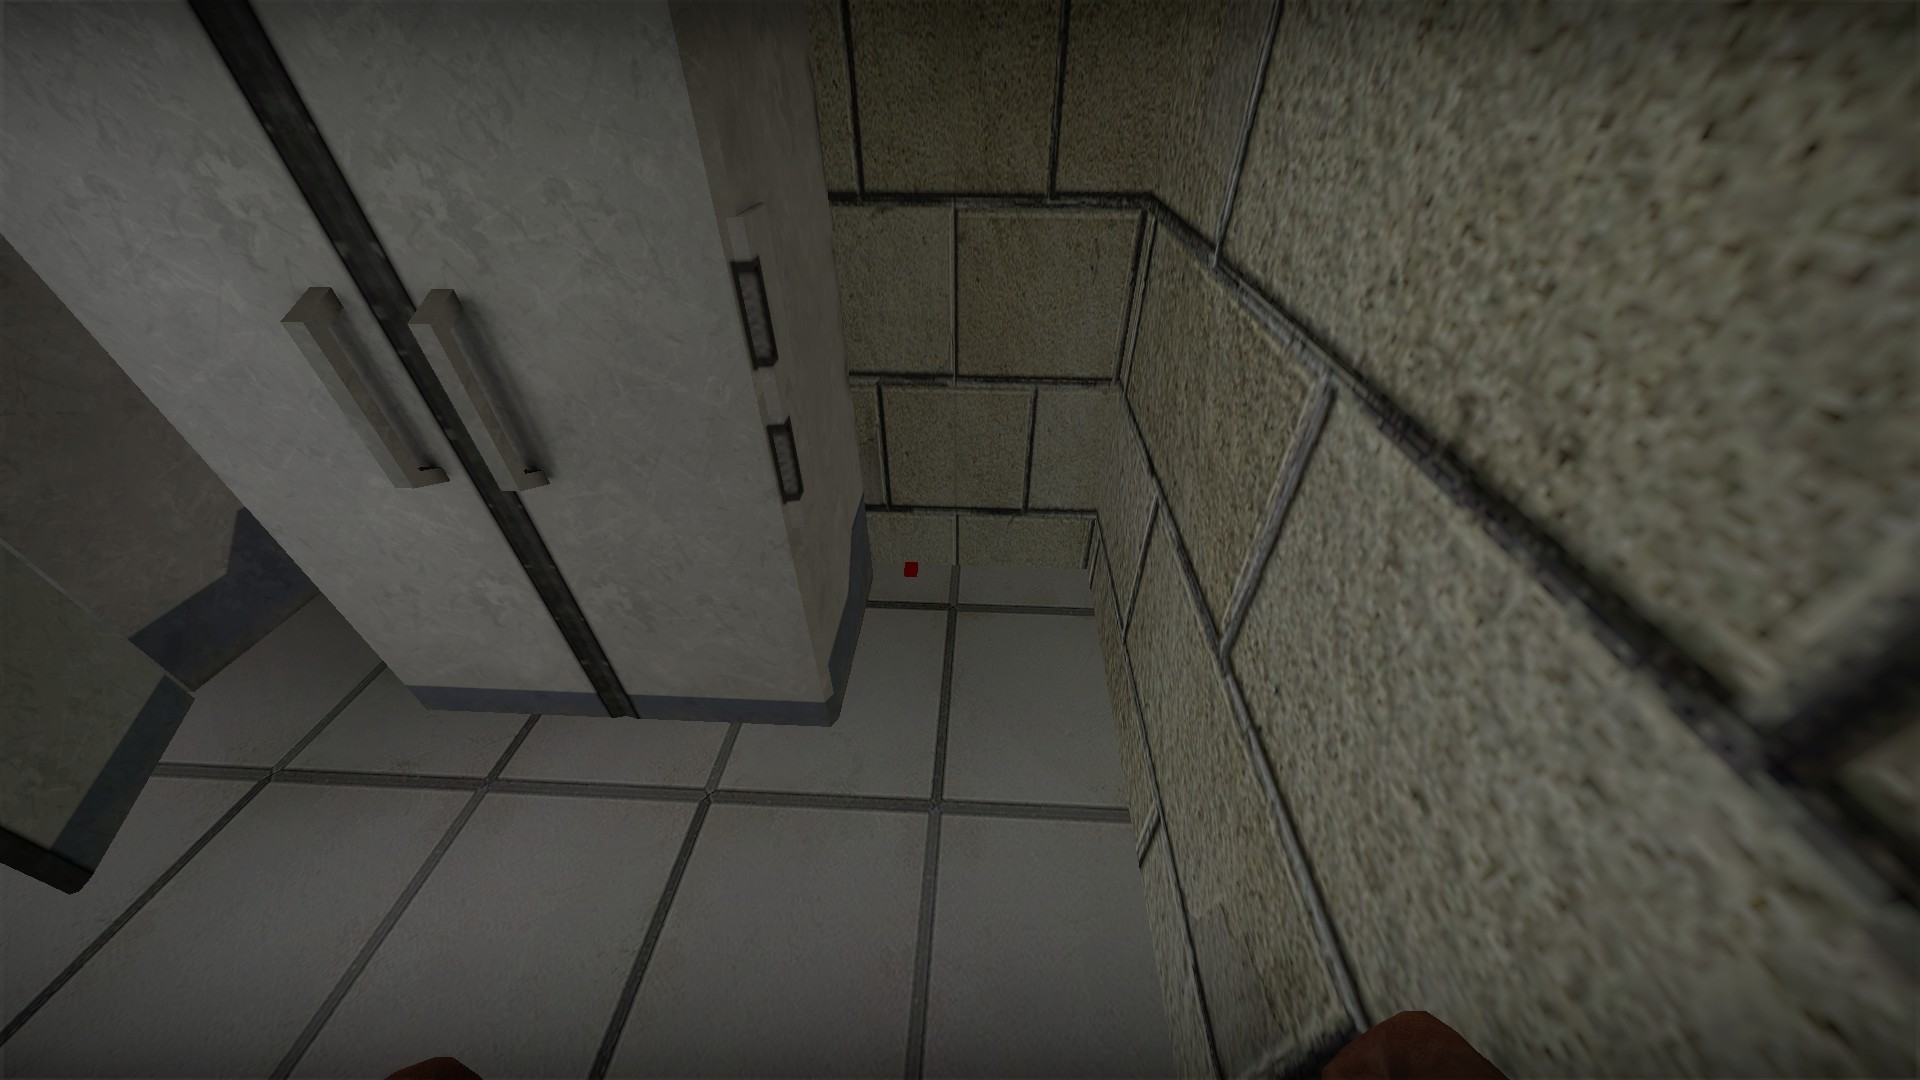
This button is red in the remake
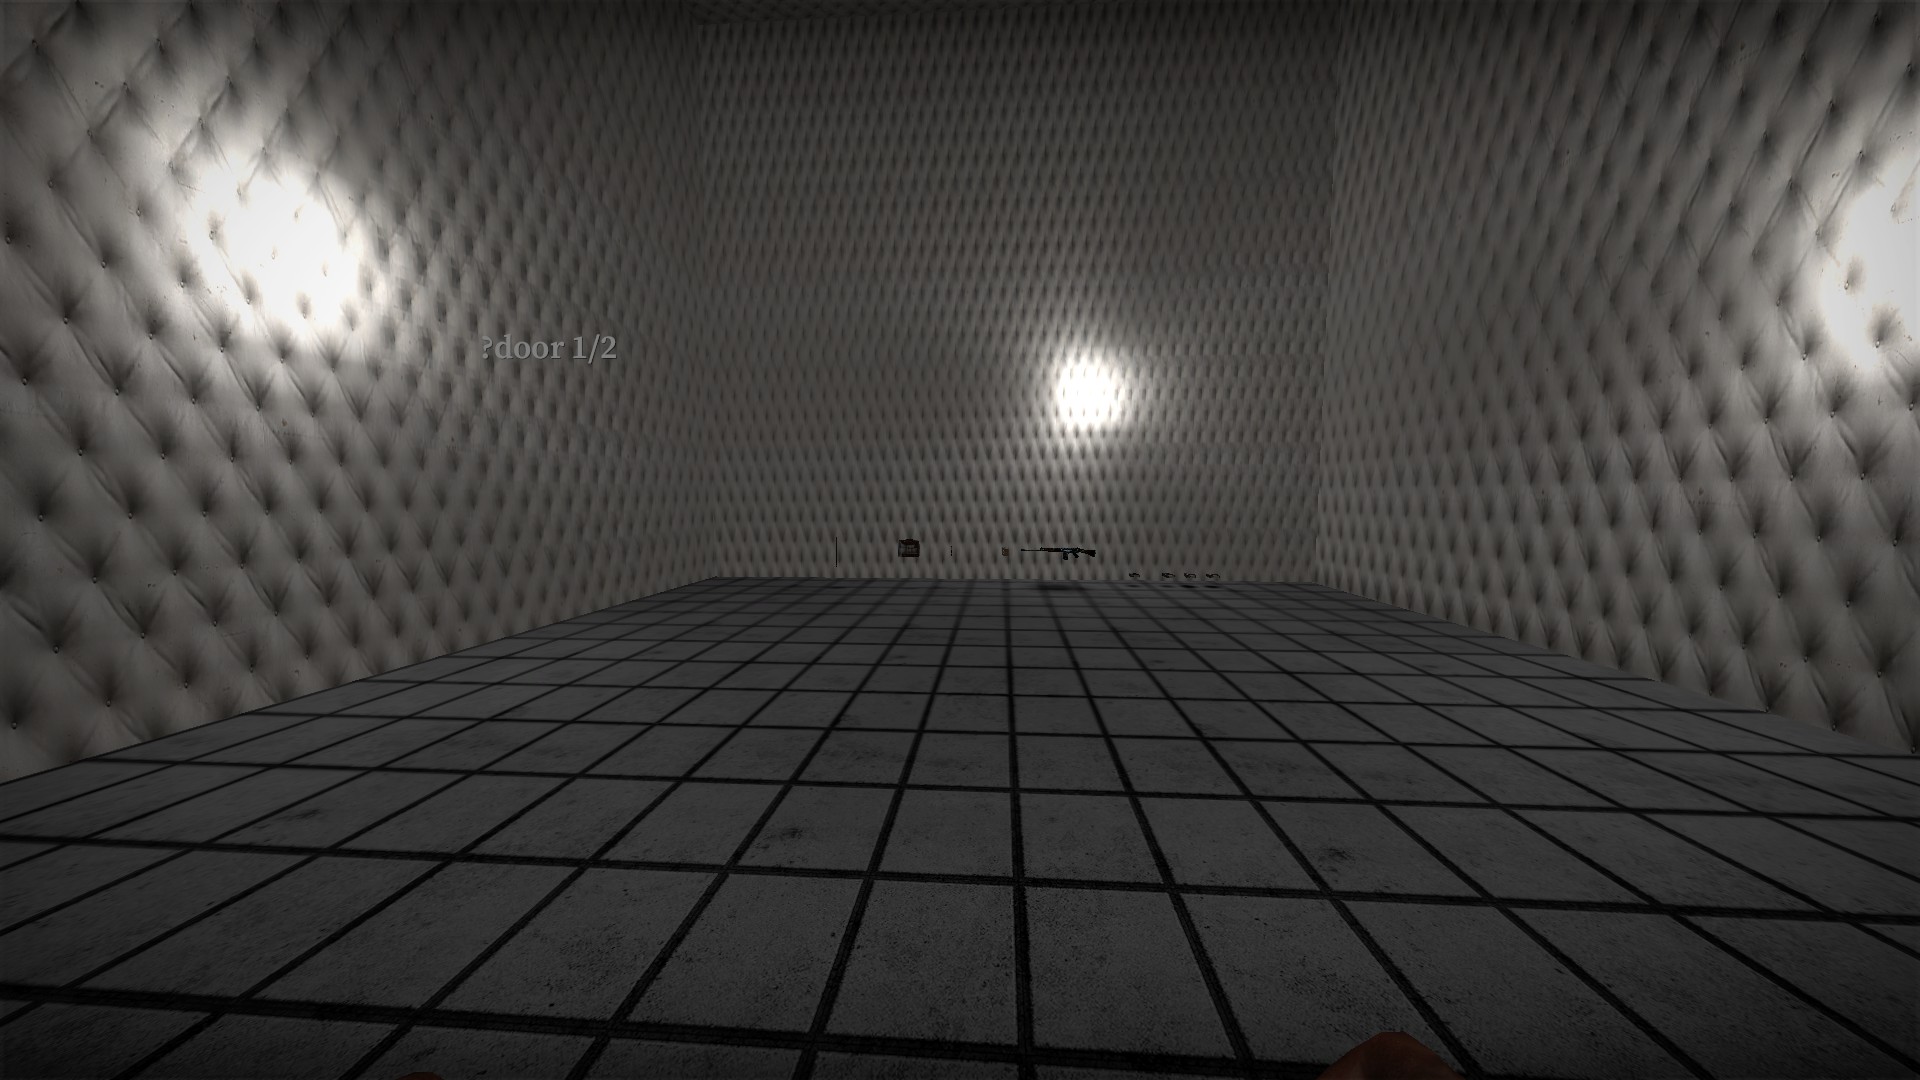
In the final version, there will be a message: ?door 1/2 and the stash here will include a fn fal and ammo
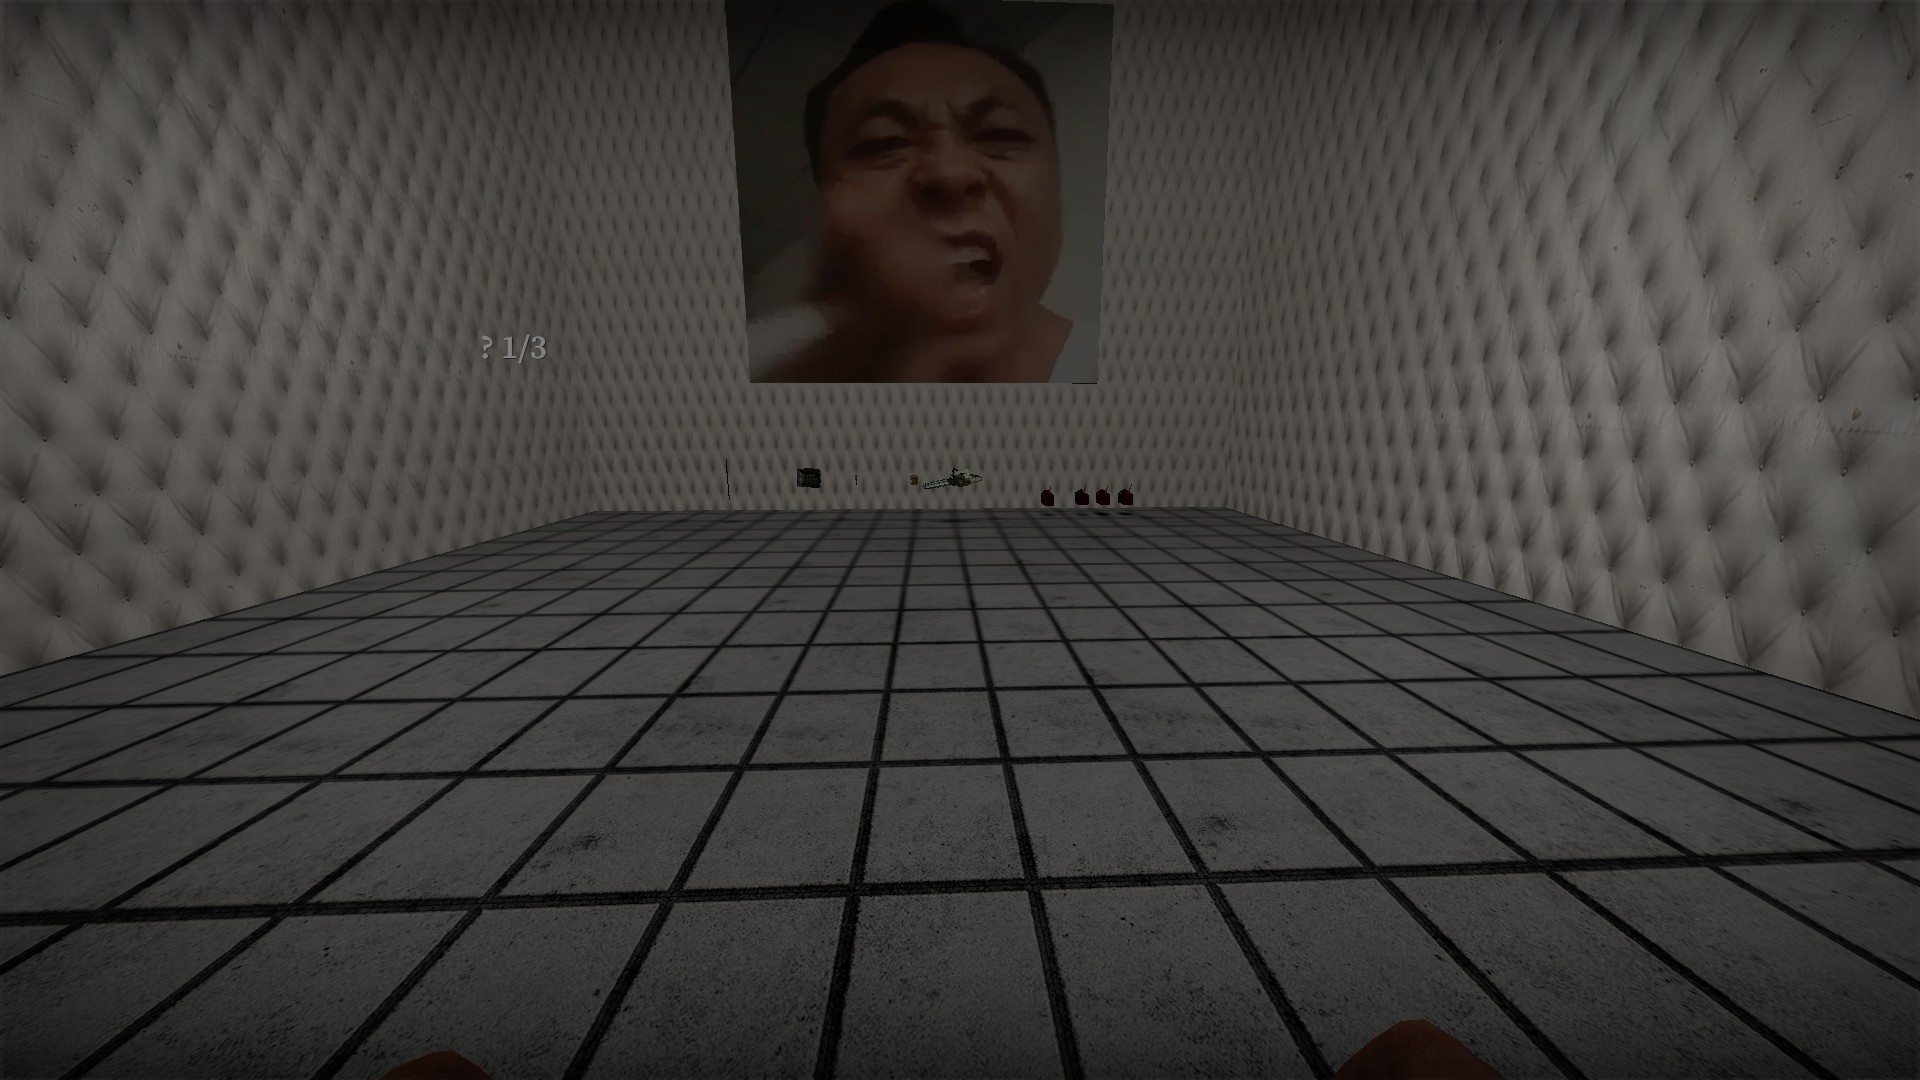
In the remake, there will be a message ?1/3 and the stash will include a chainsaw and fuel
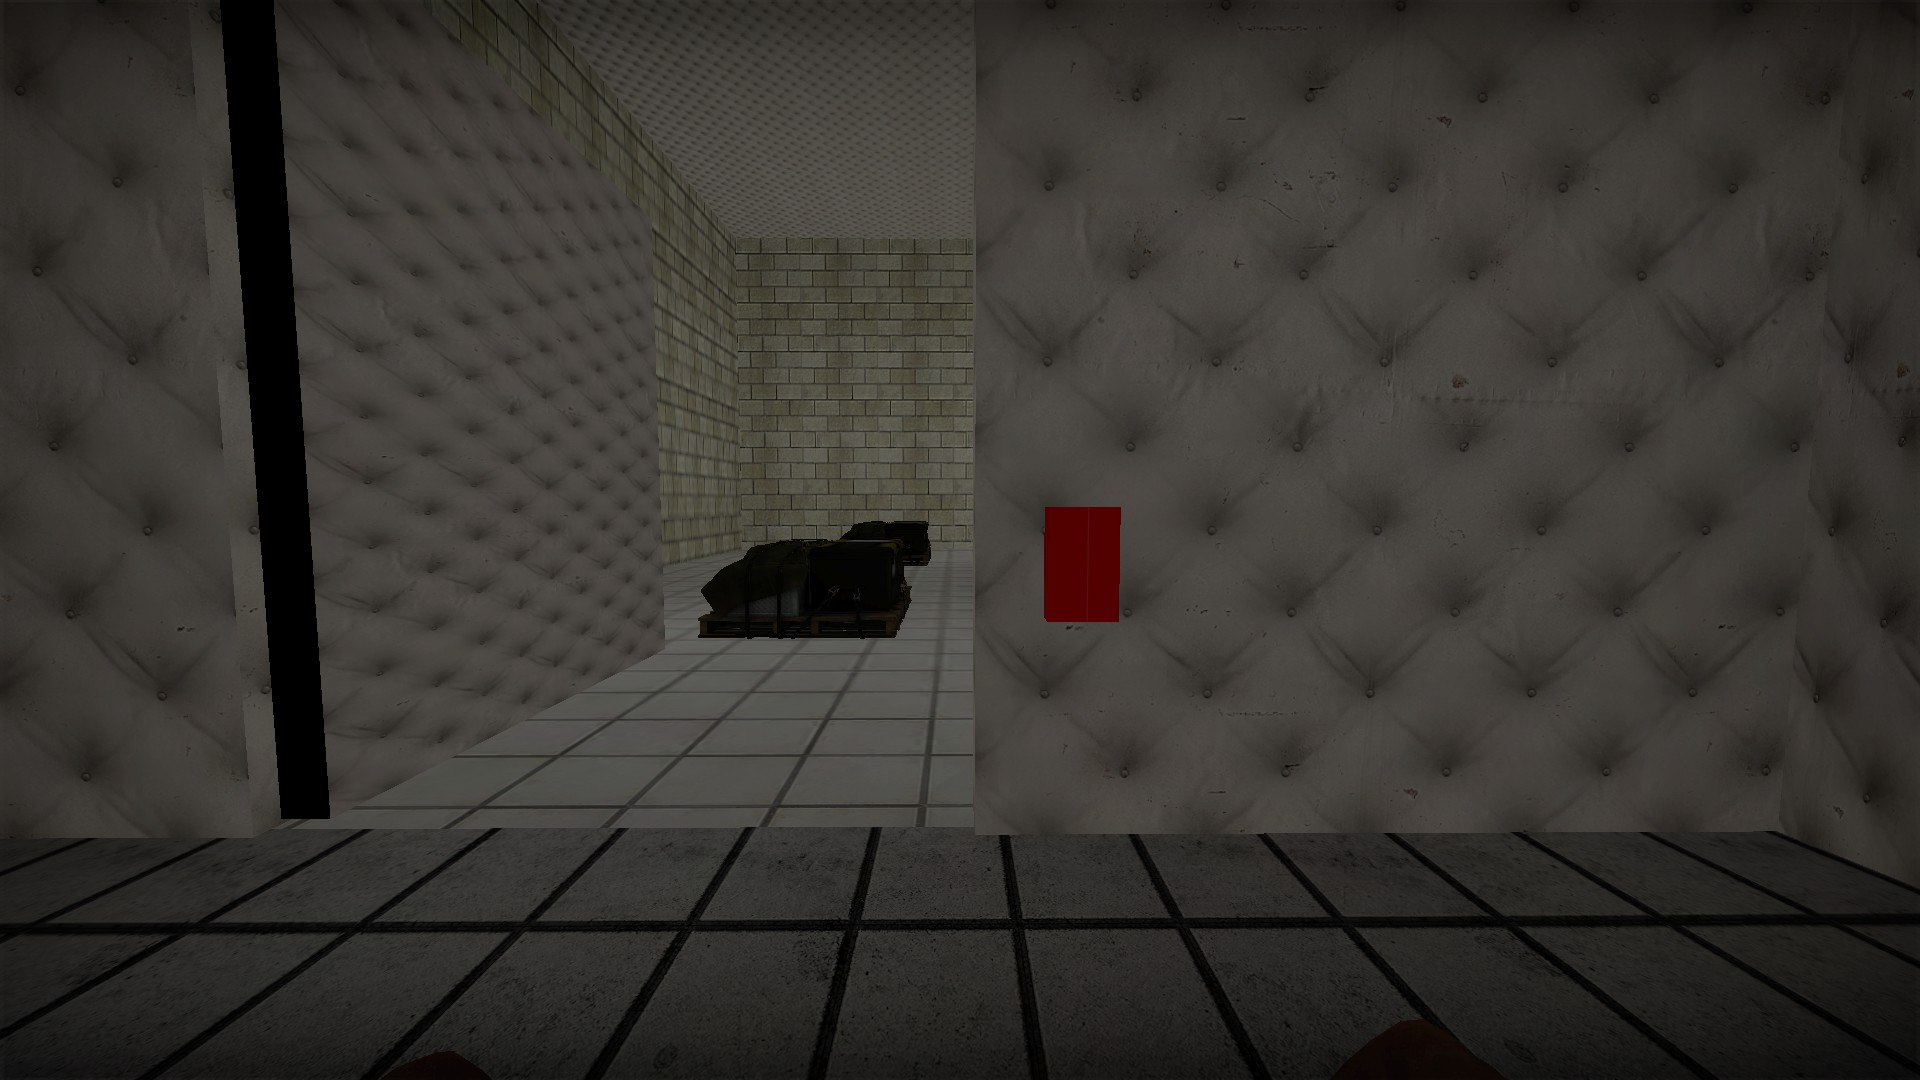
Press the large red button to get back out
Second secret area
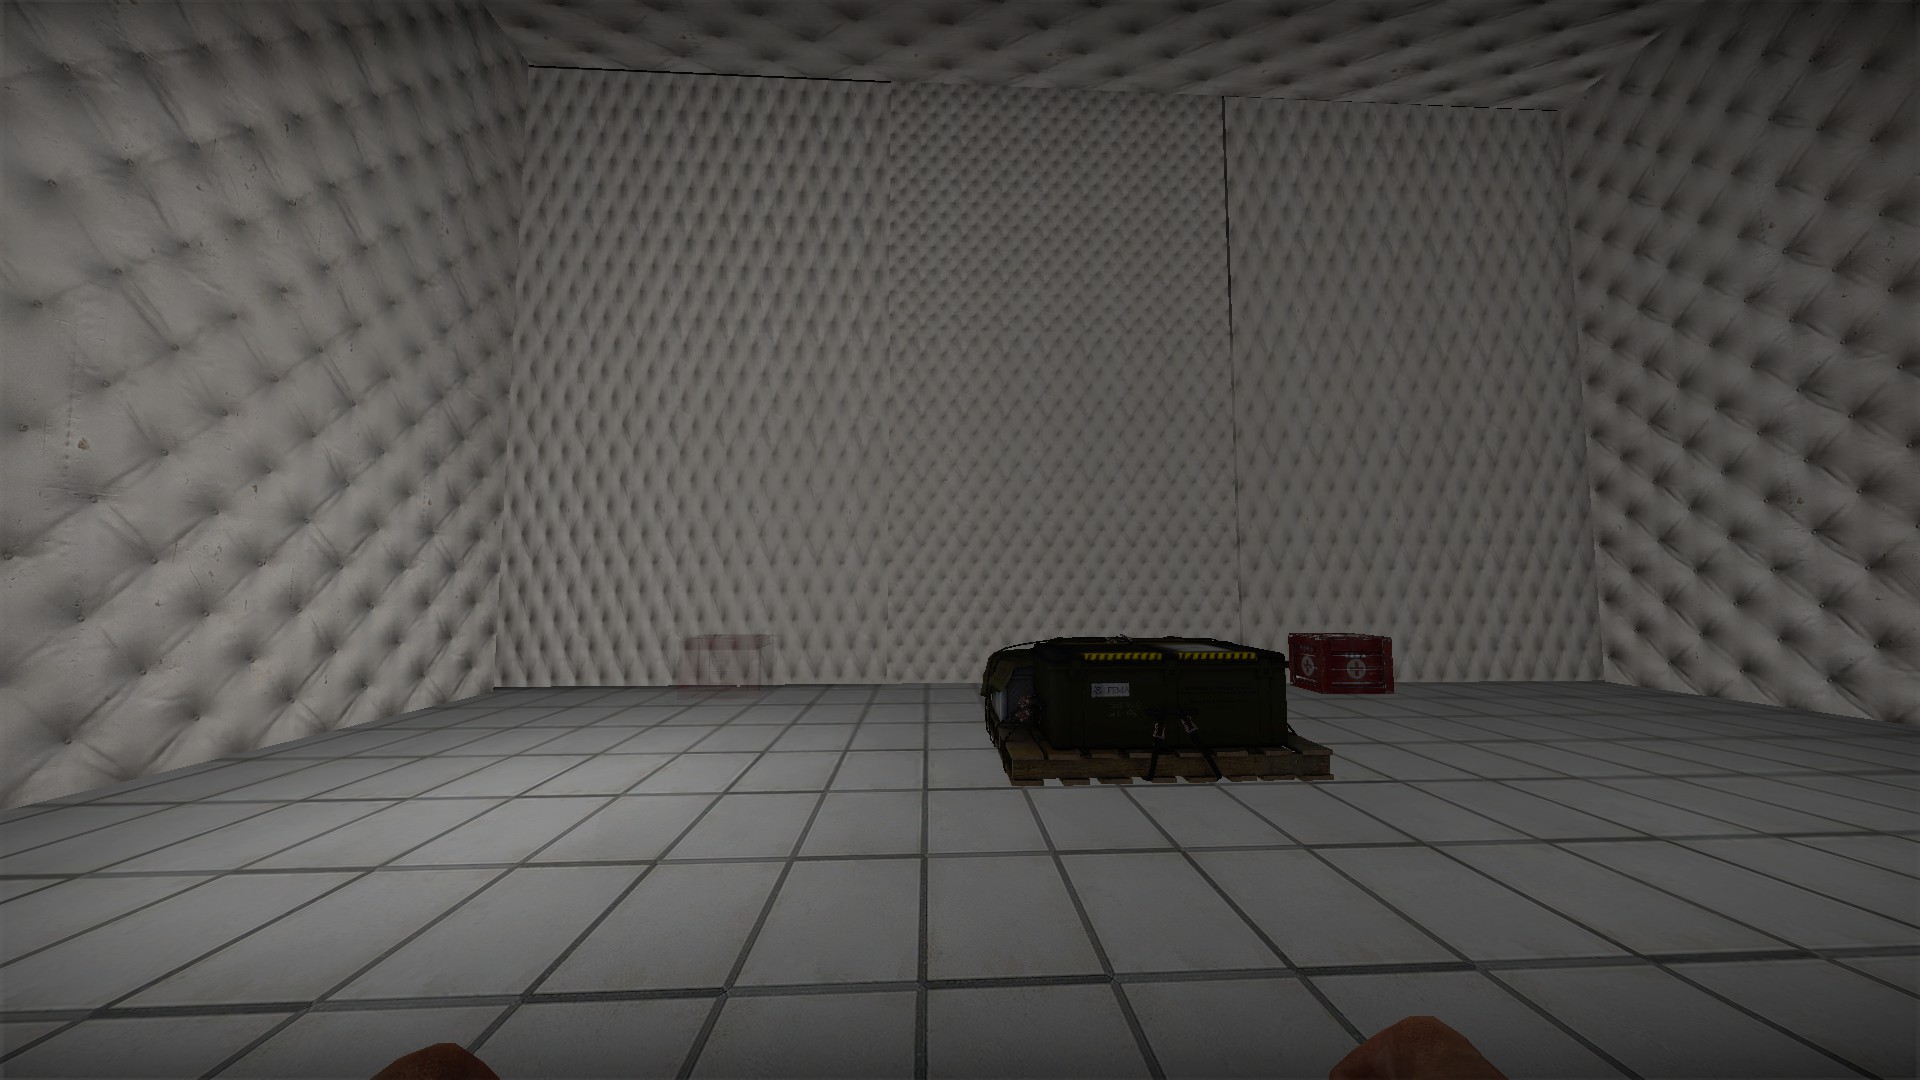
When you get to this area, wait to move the med box
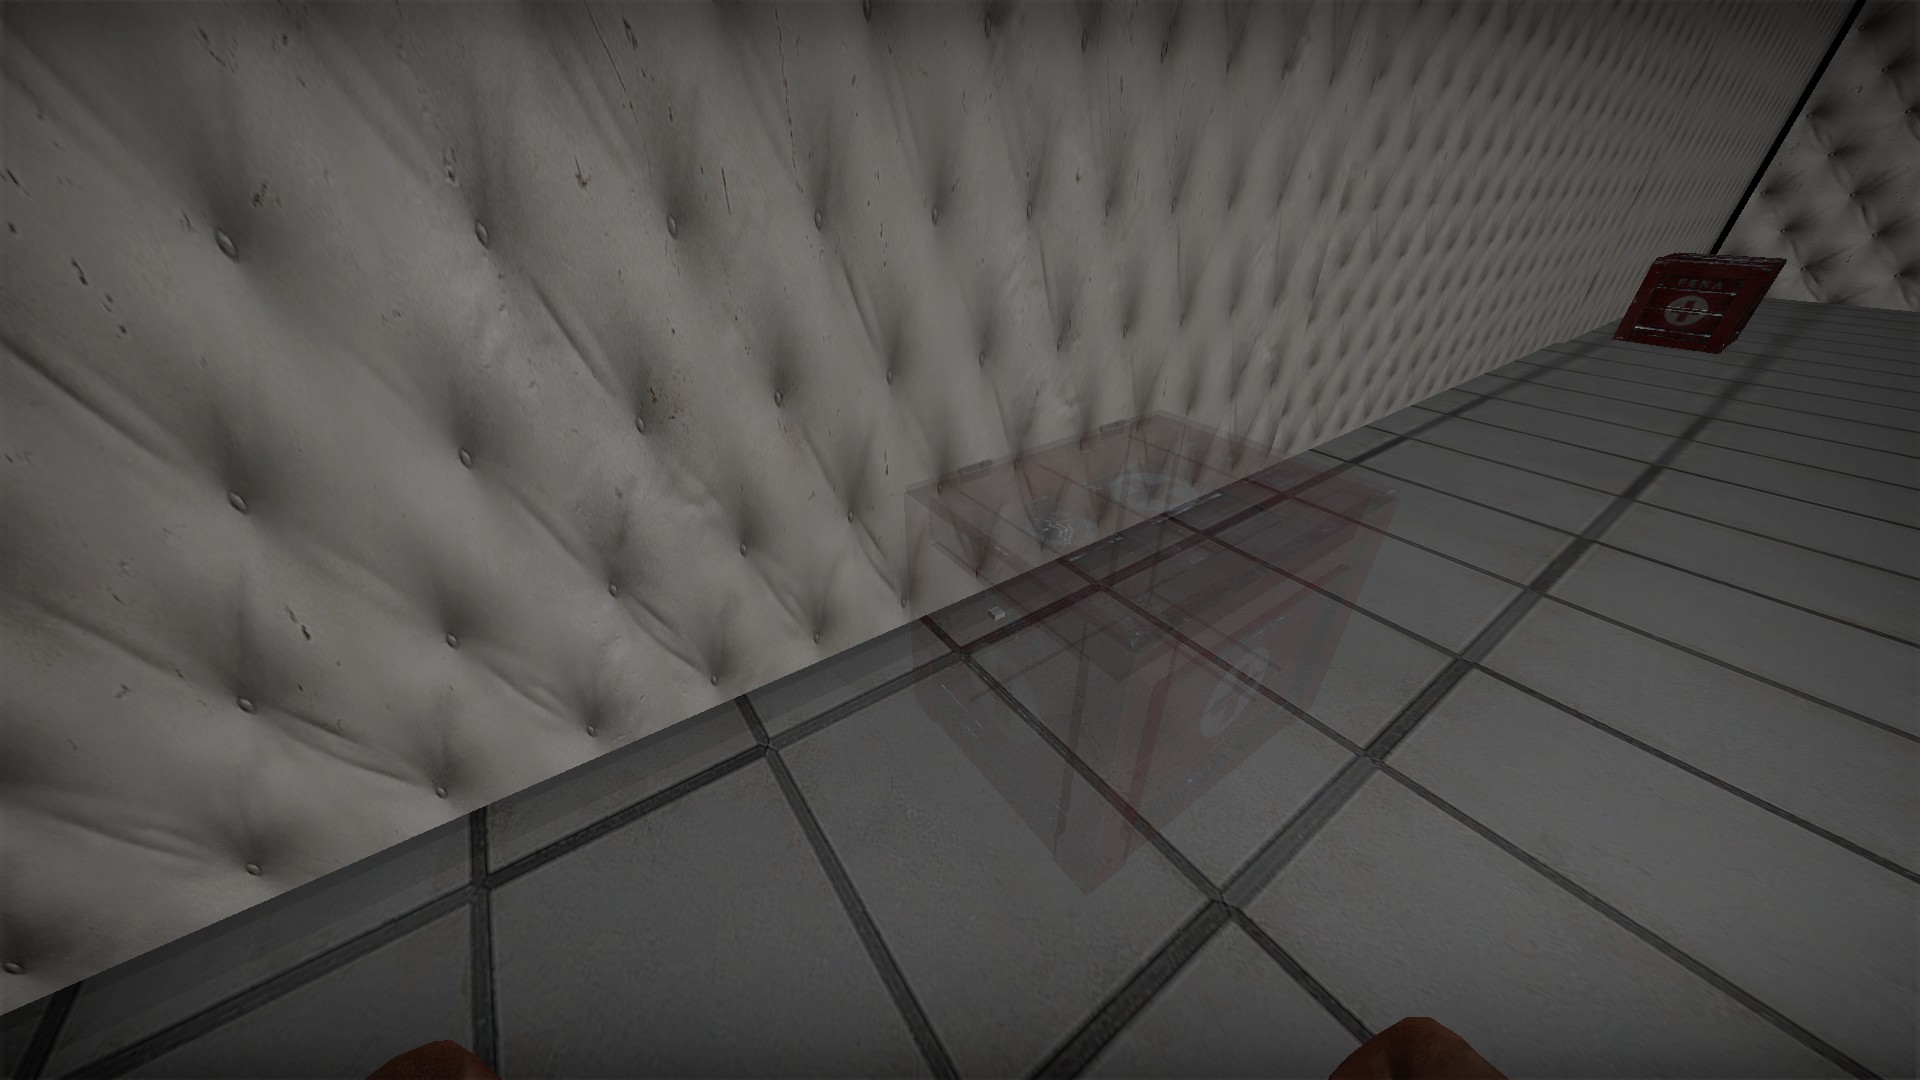
You will find the button for the door just behind the med box placement area
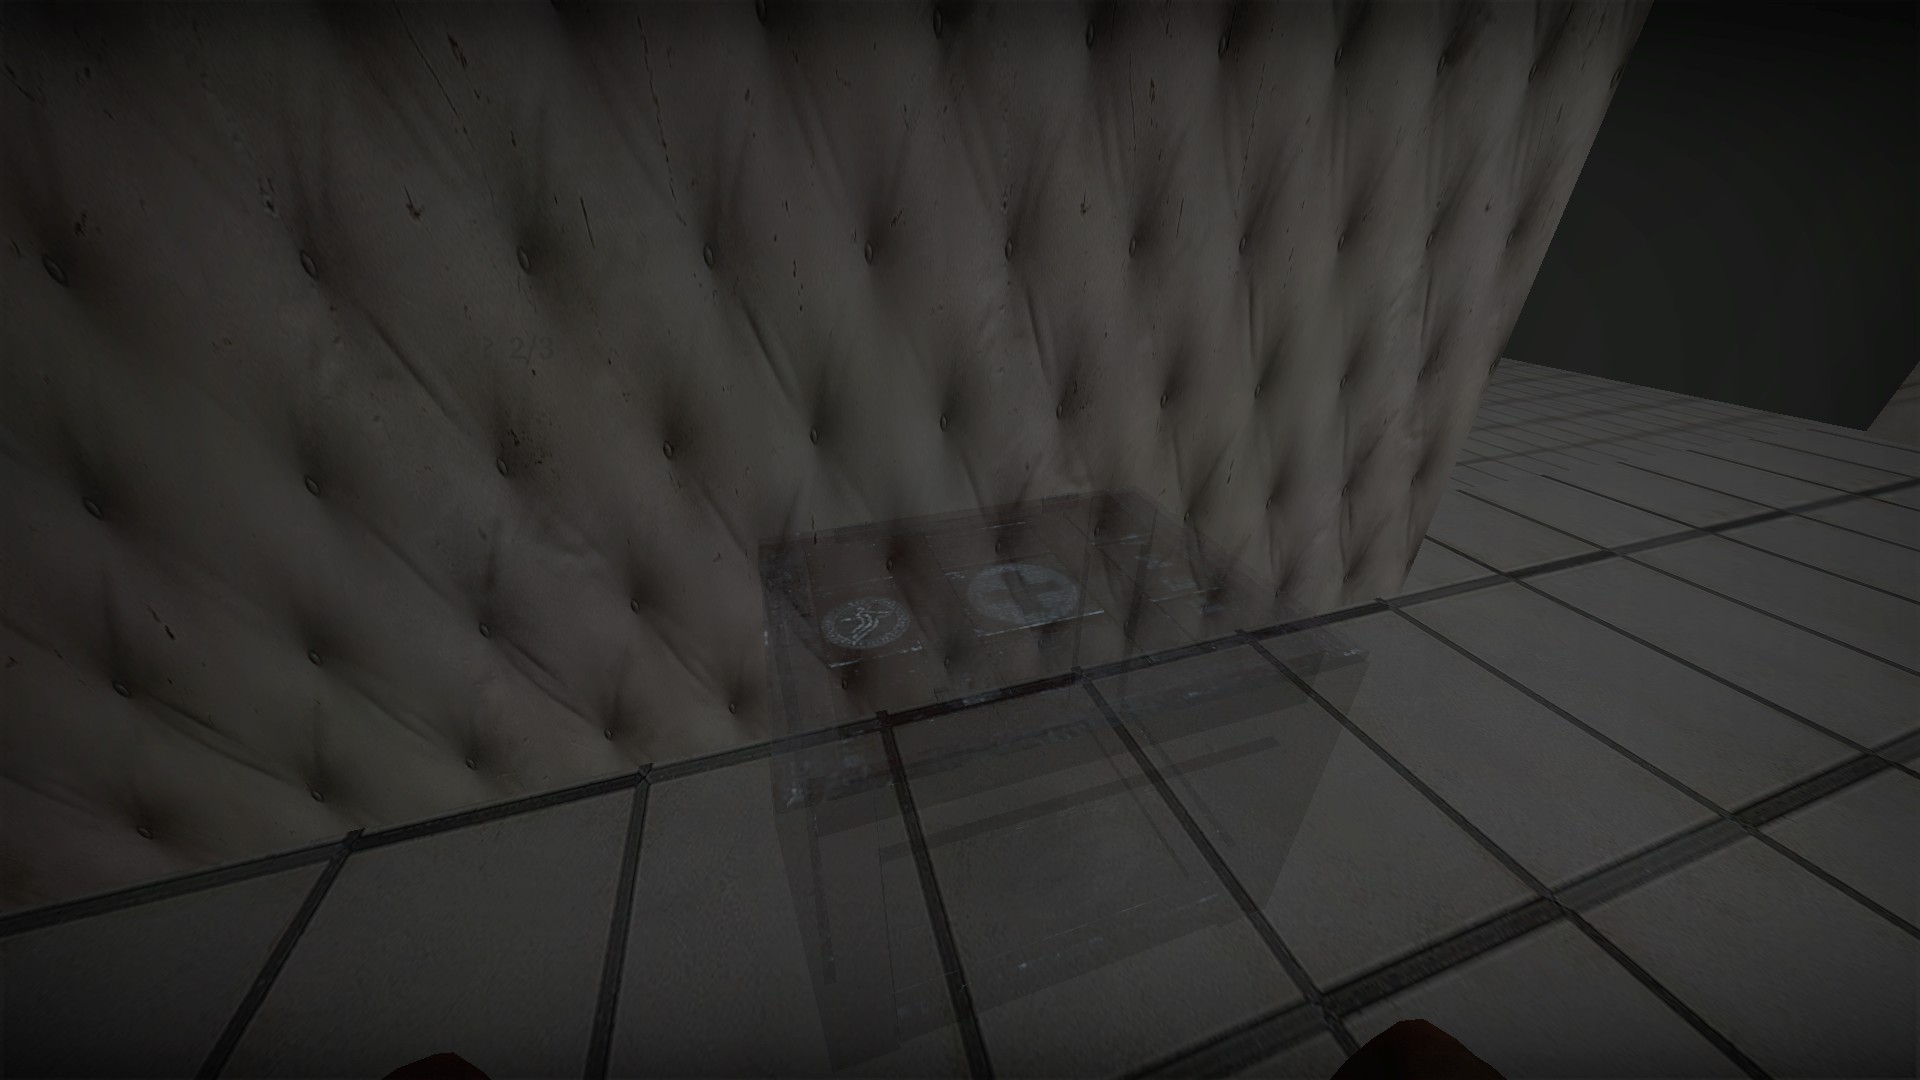
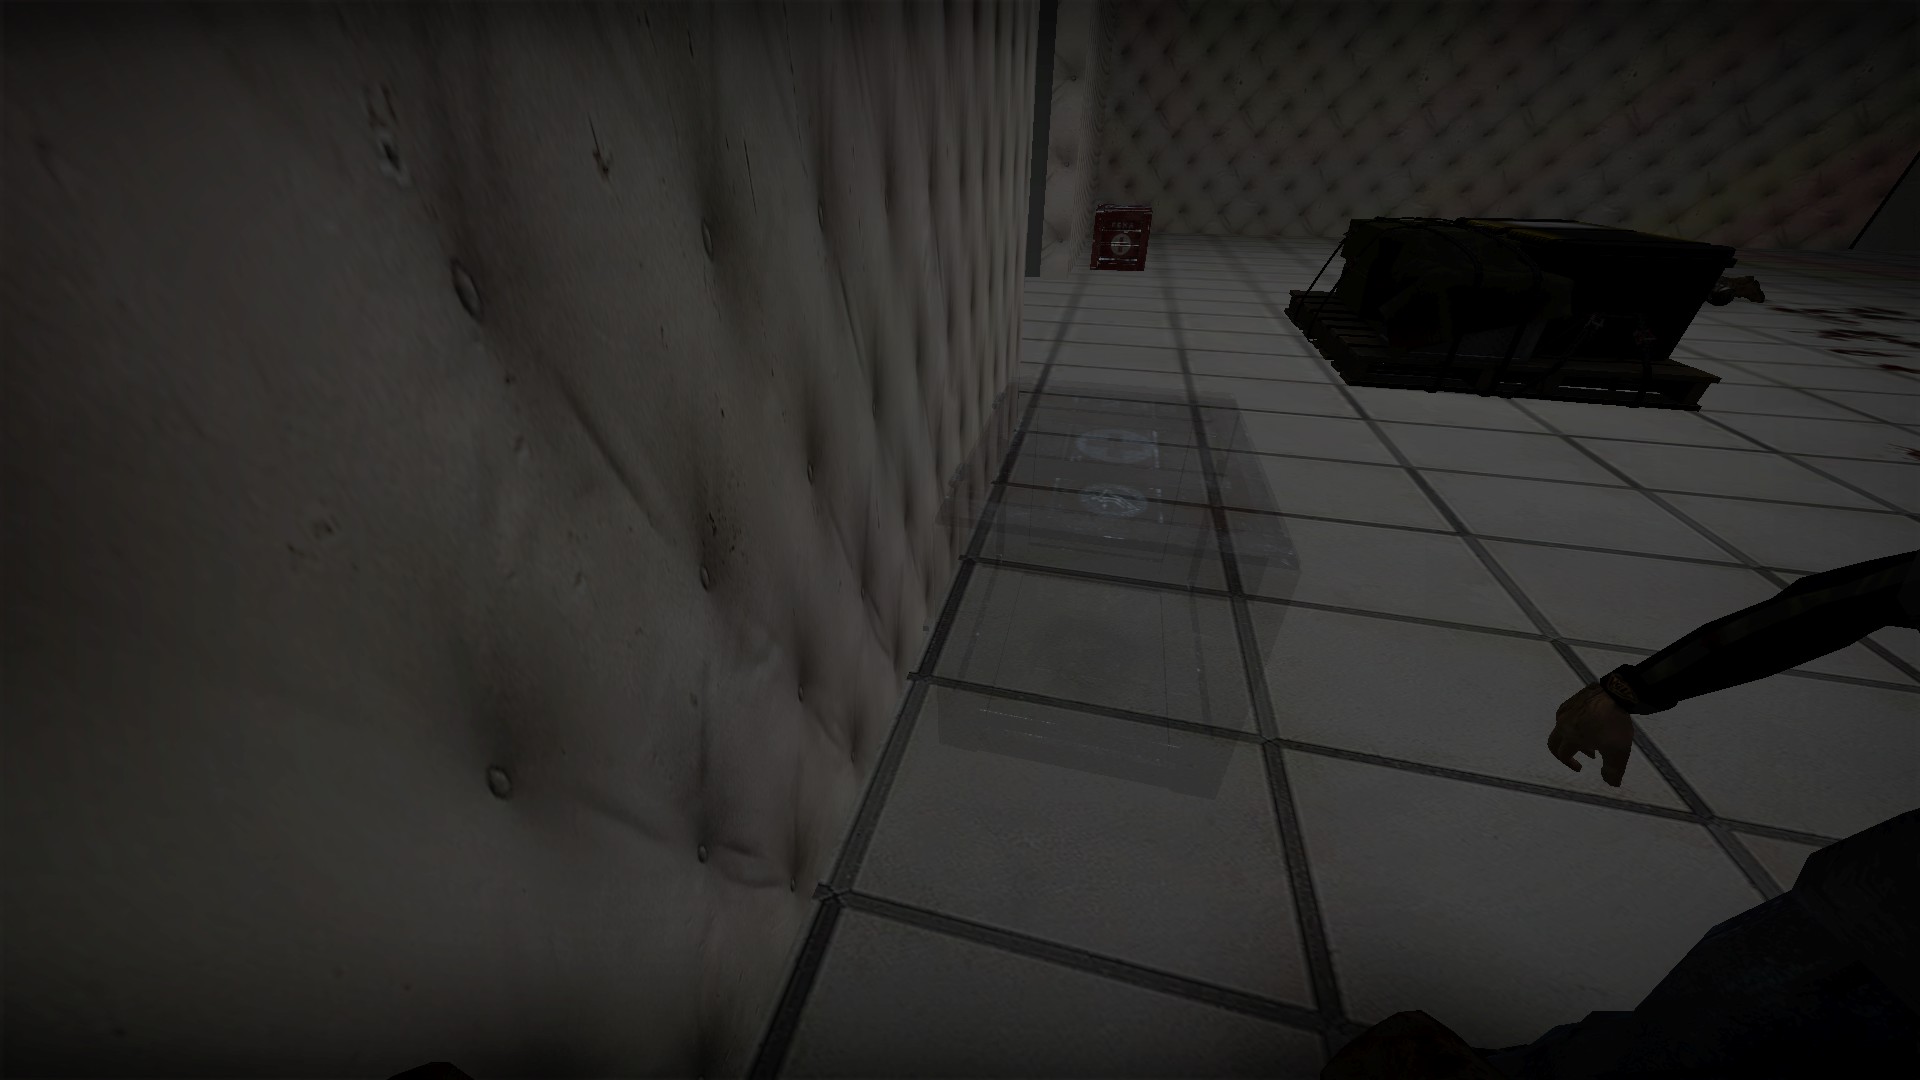
In the remake, the button is still in the same place but it is much harder to see - it barely sticks out of the wall rather than being on the floor
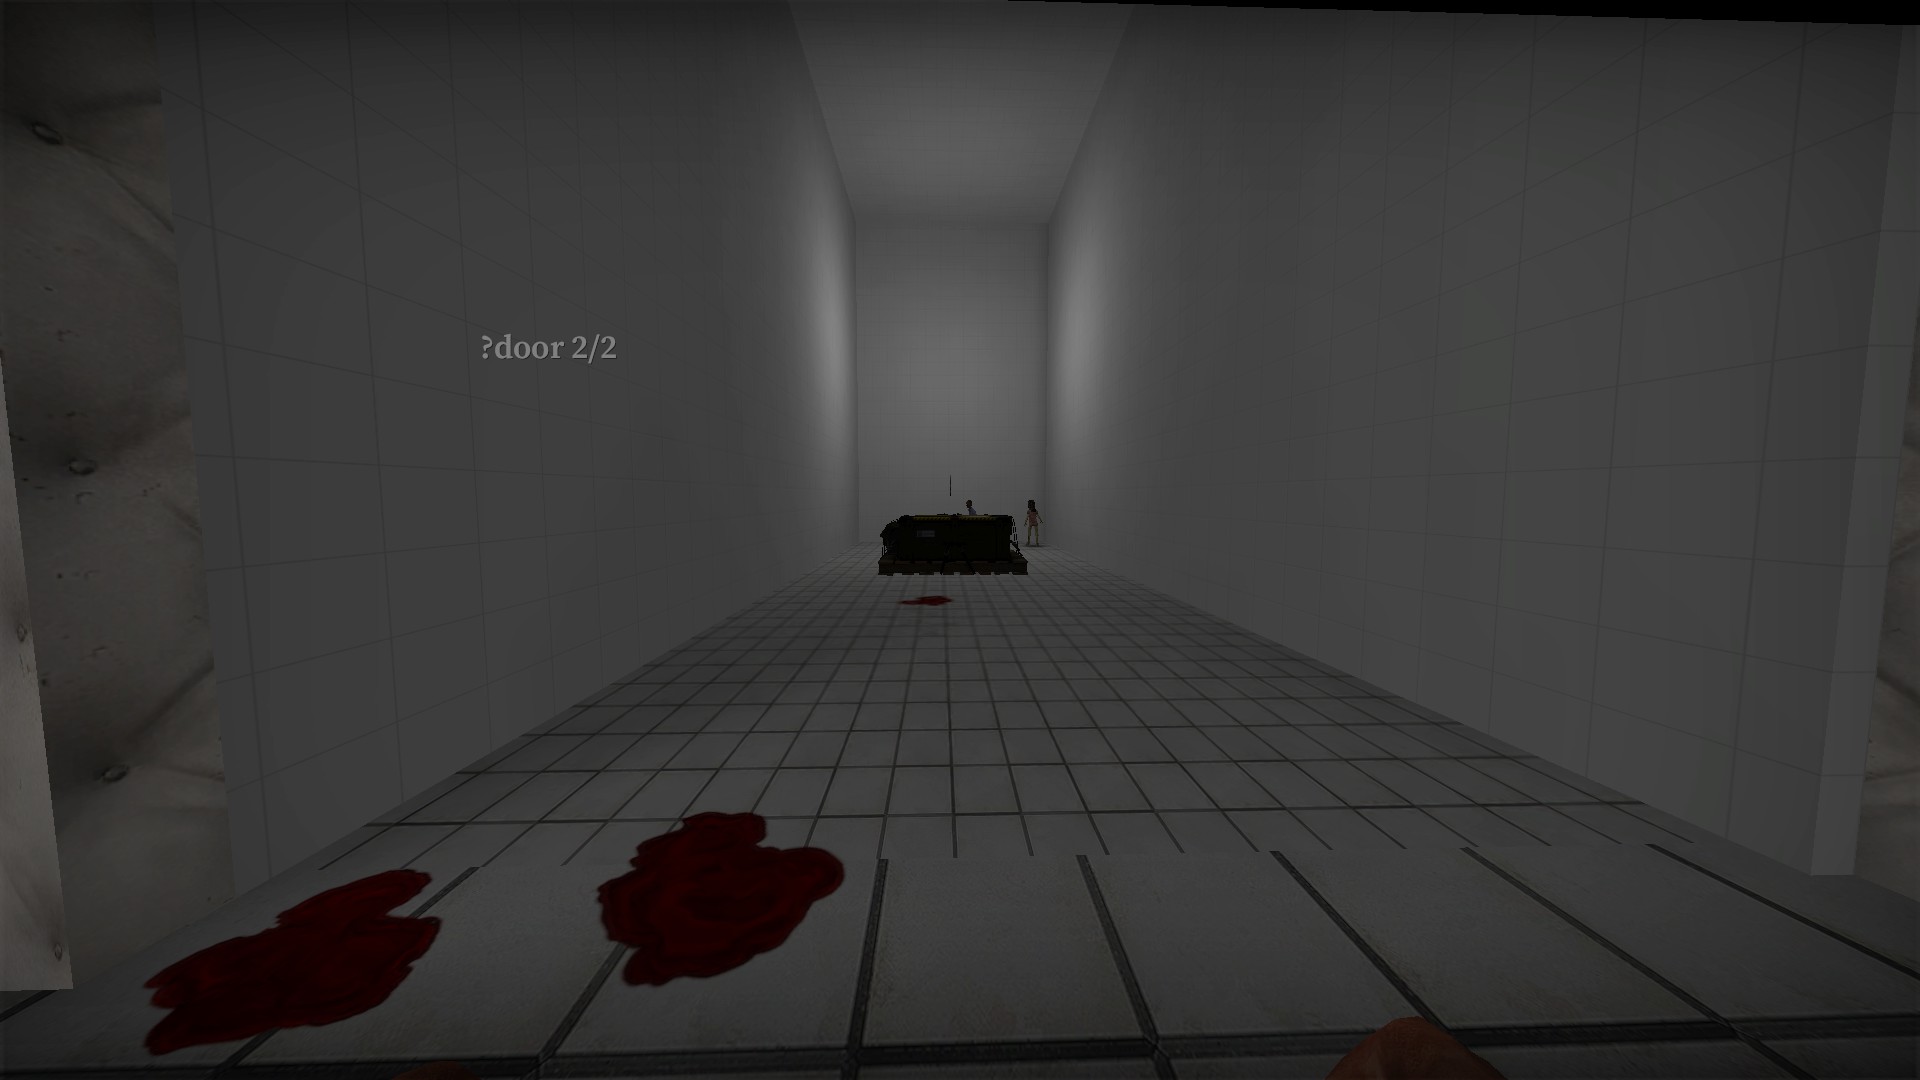
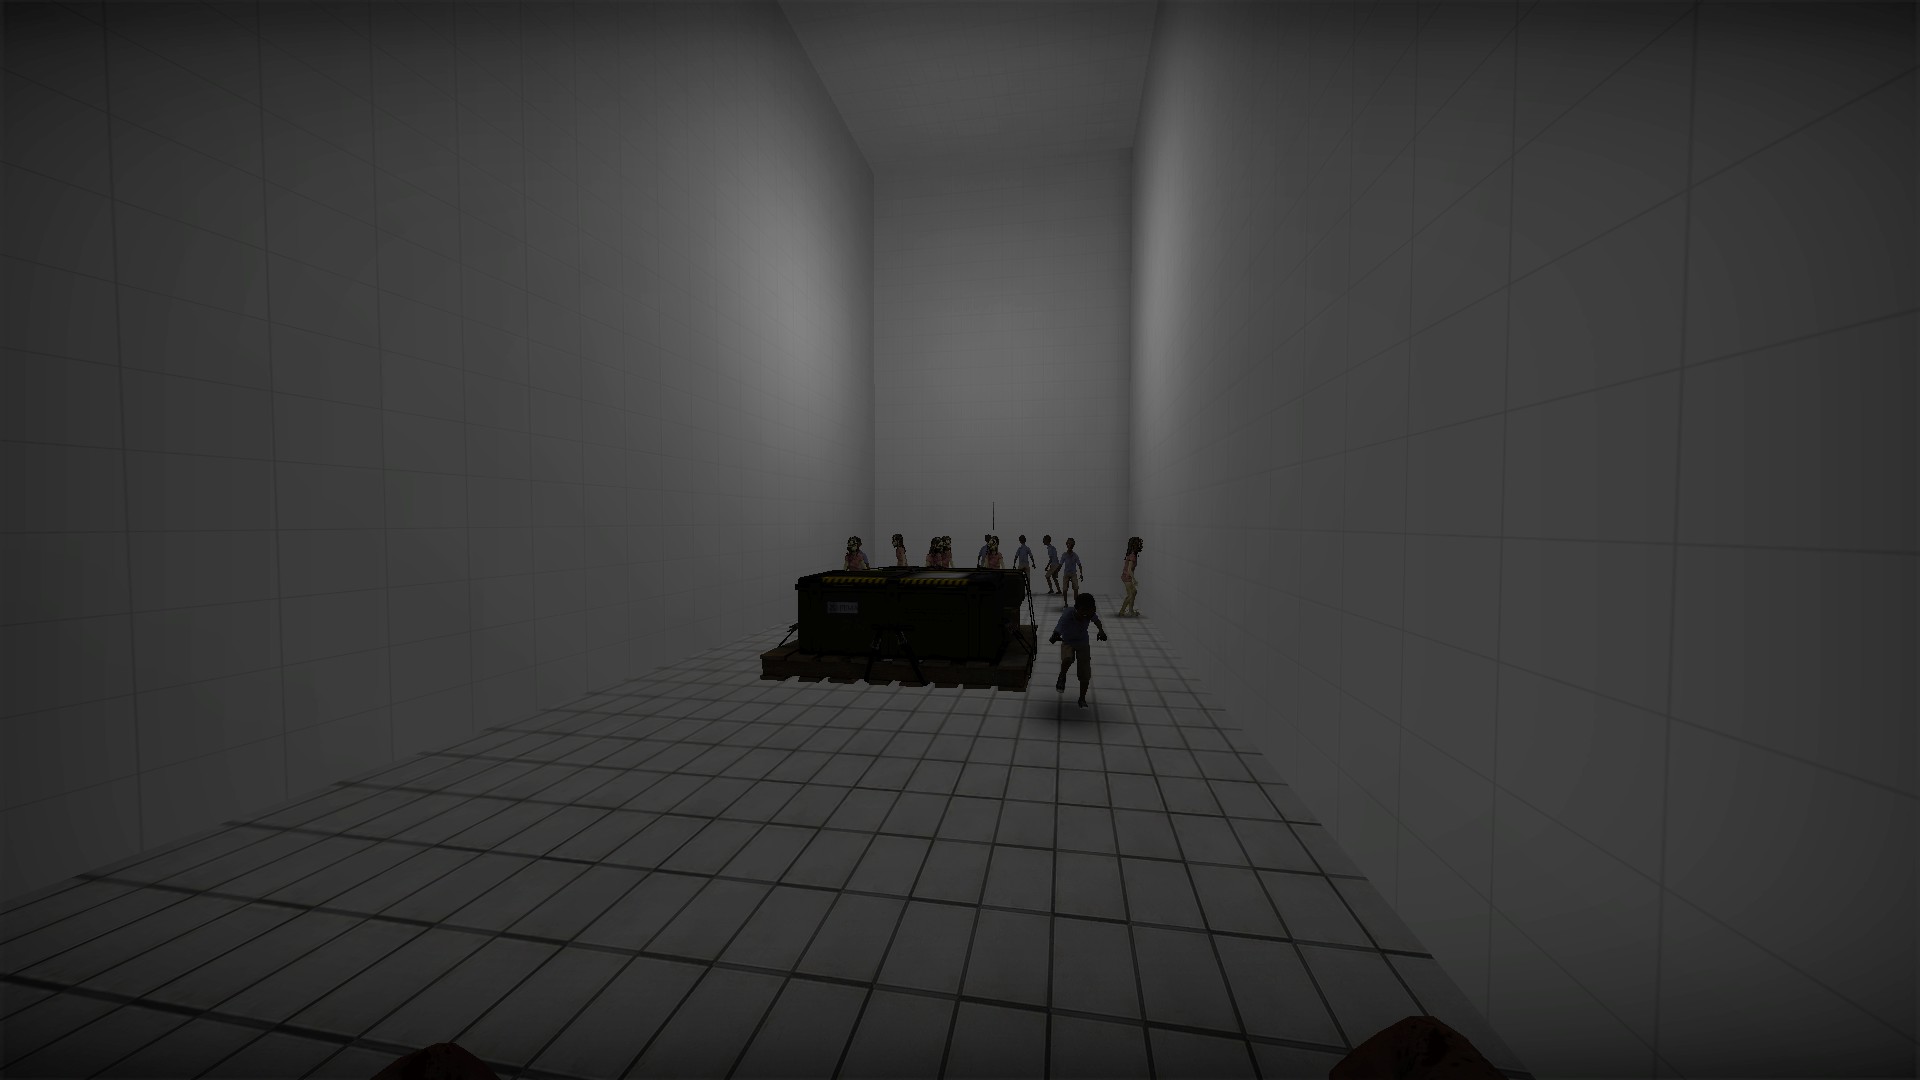
In the final version, you will get the message: ?door 2/2 and there will be a machete and weapon box here. More children will spawn as you get closer in
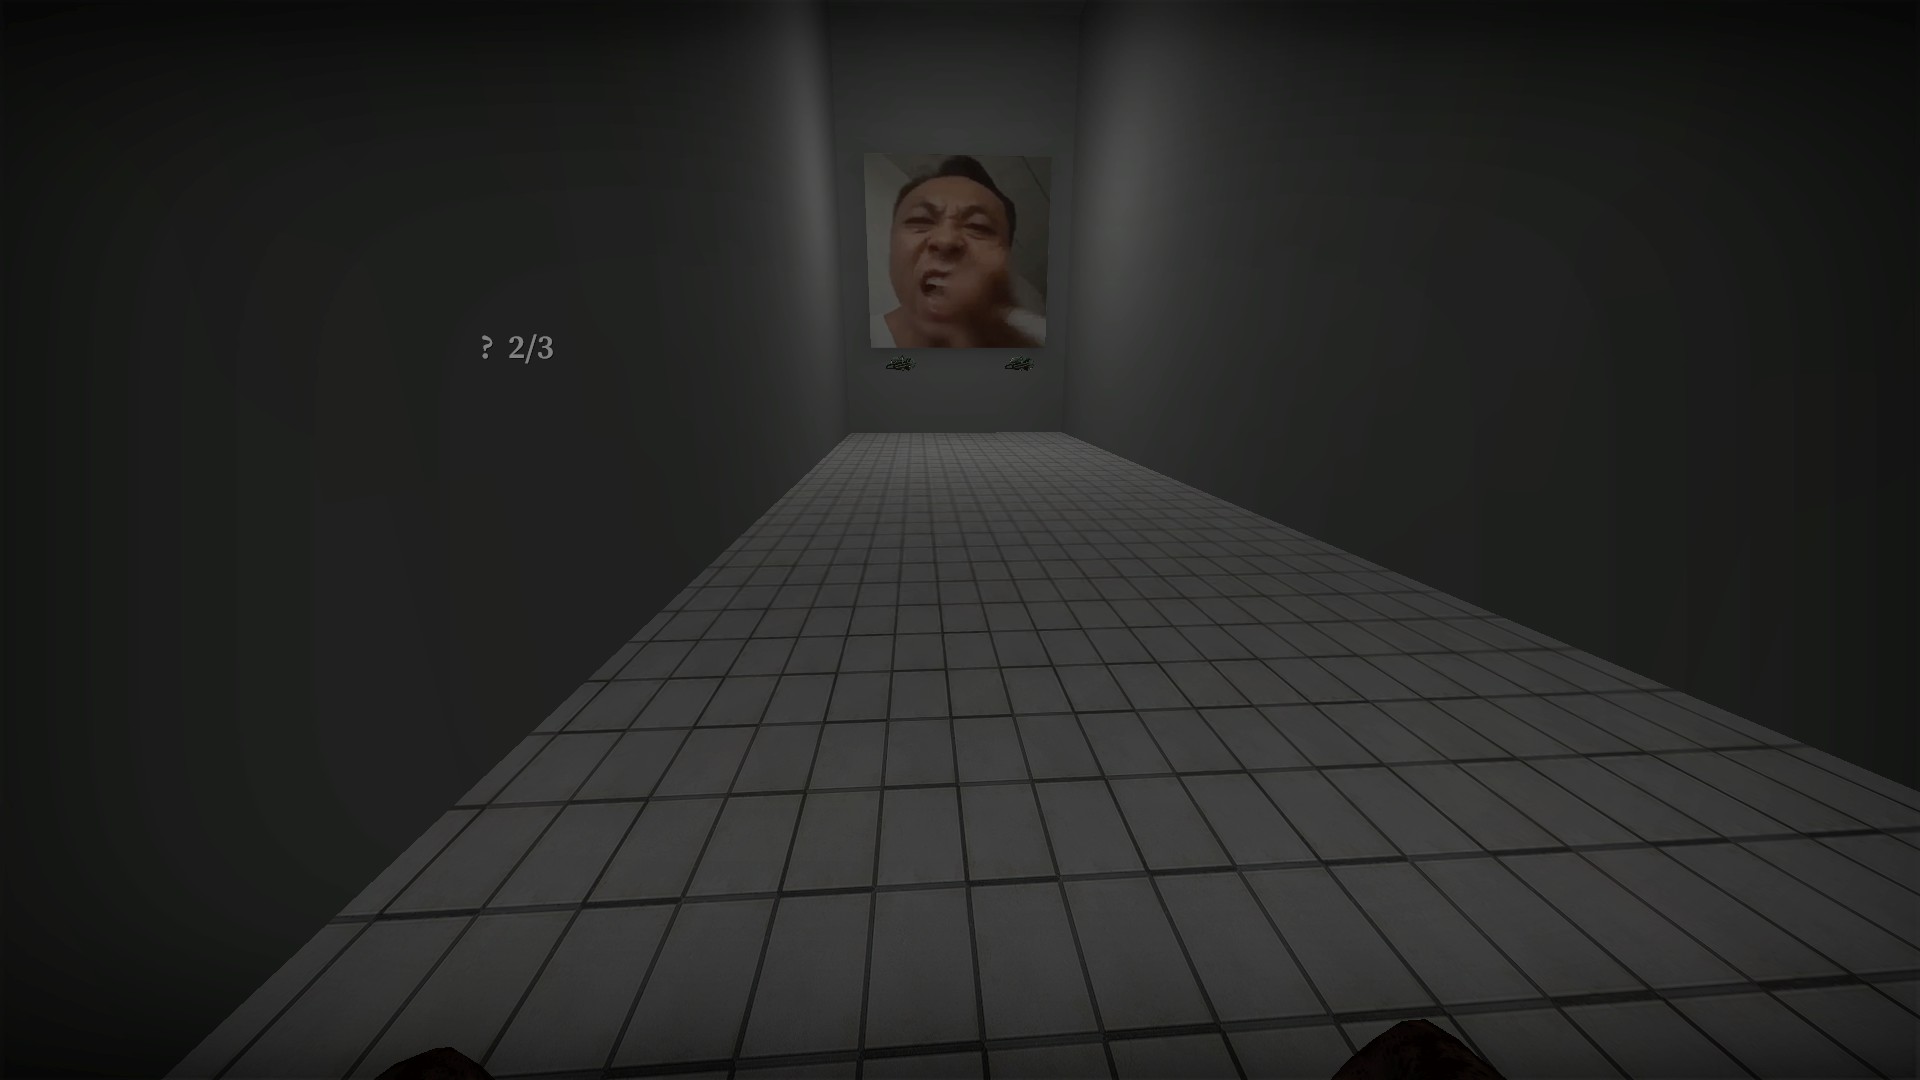
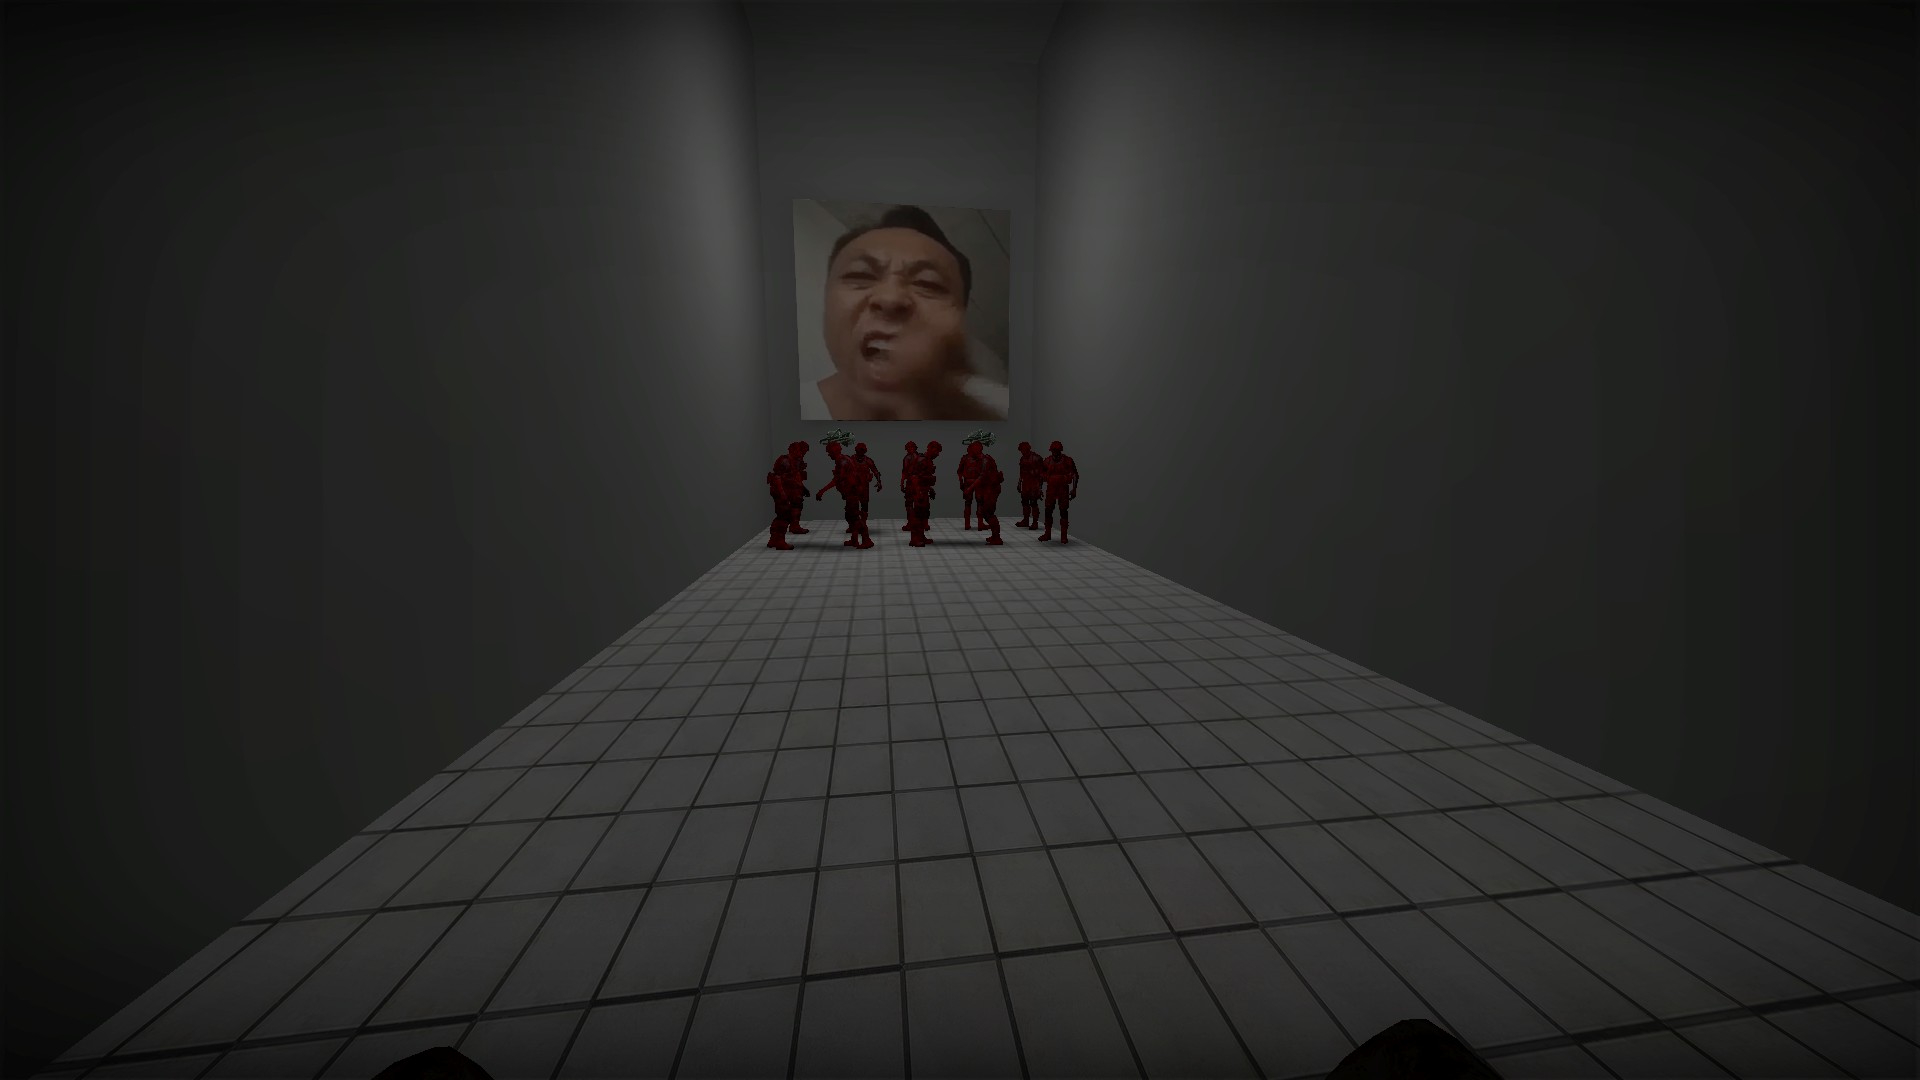
In the remake, you will get the message ?2/3 and there will be 2 abrasive saws here. A group of red soldier zombies will spawn as you get farther in. These zombies have much greater than normal health
Third secret (remake only)
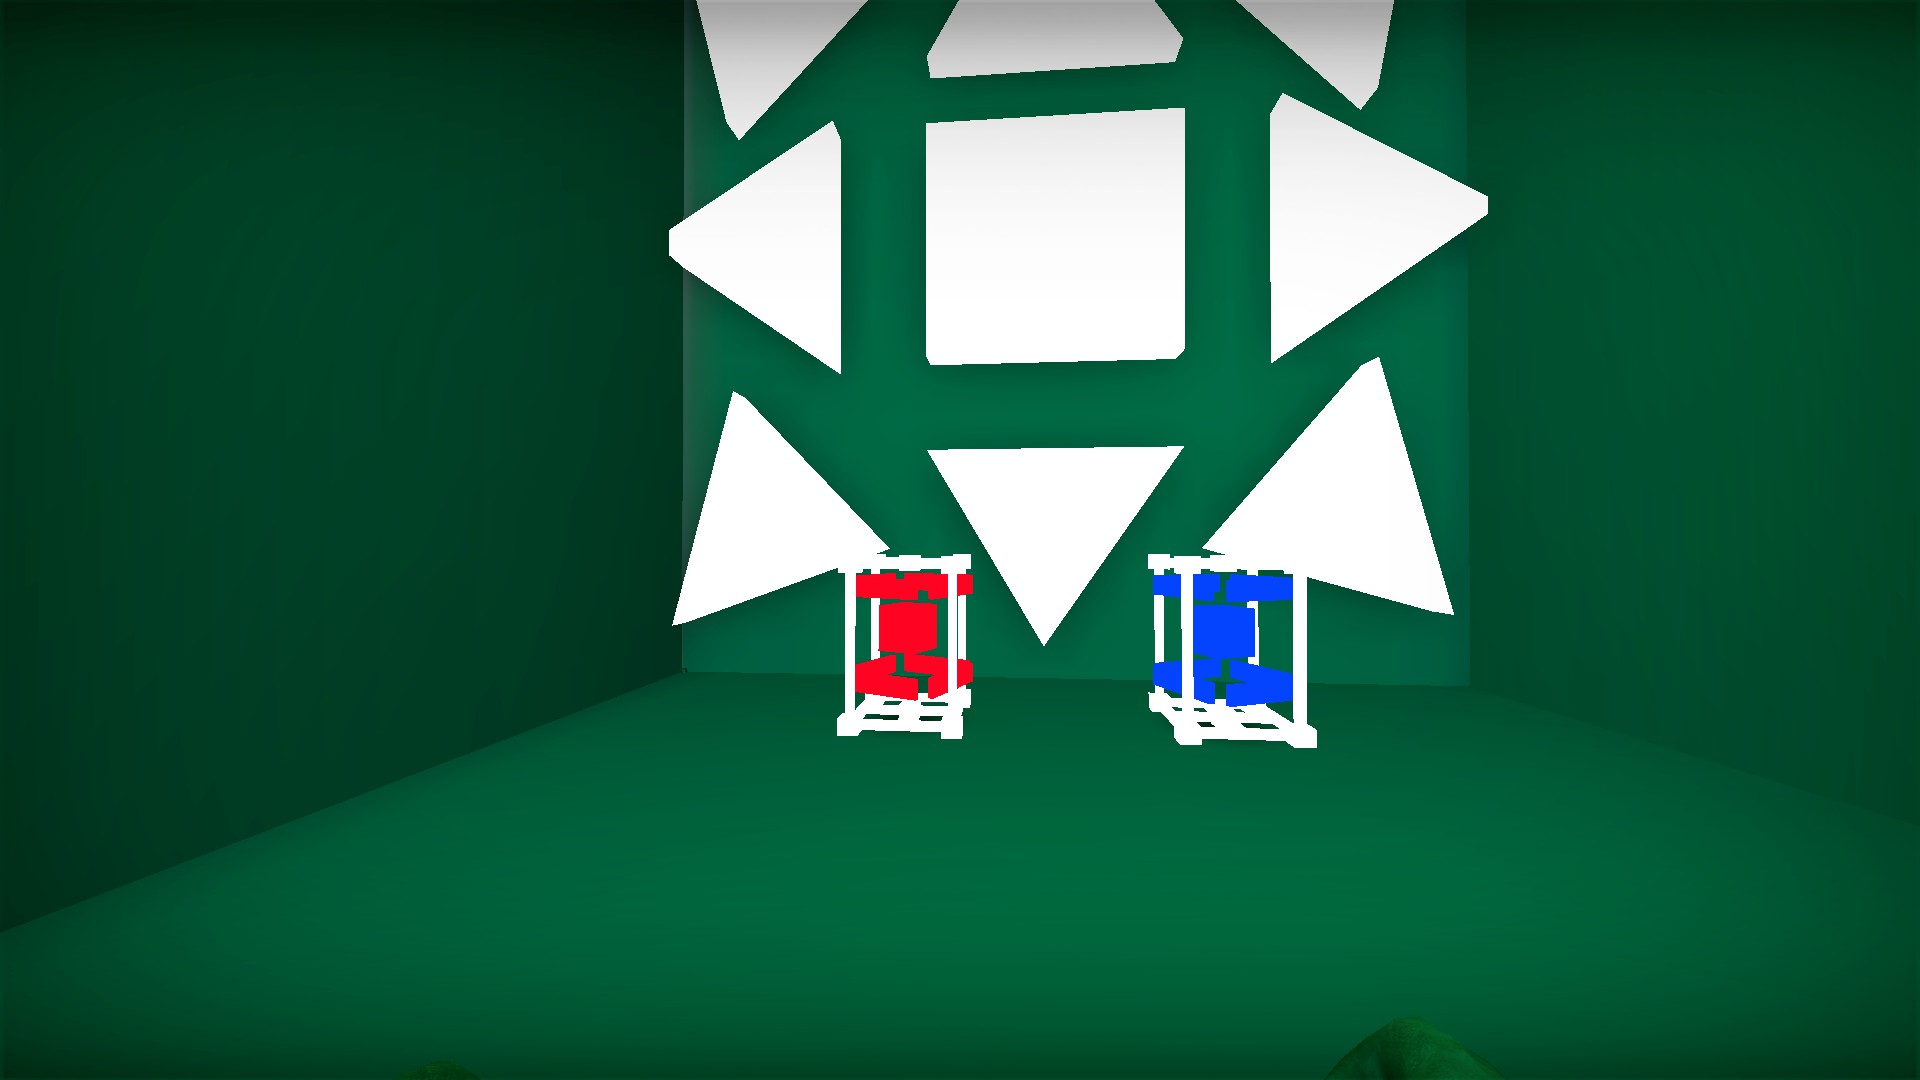

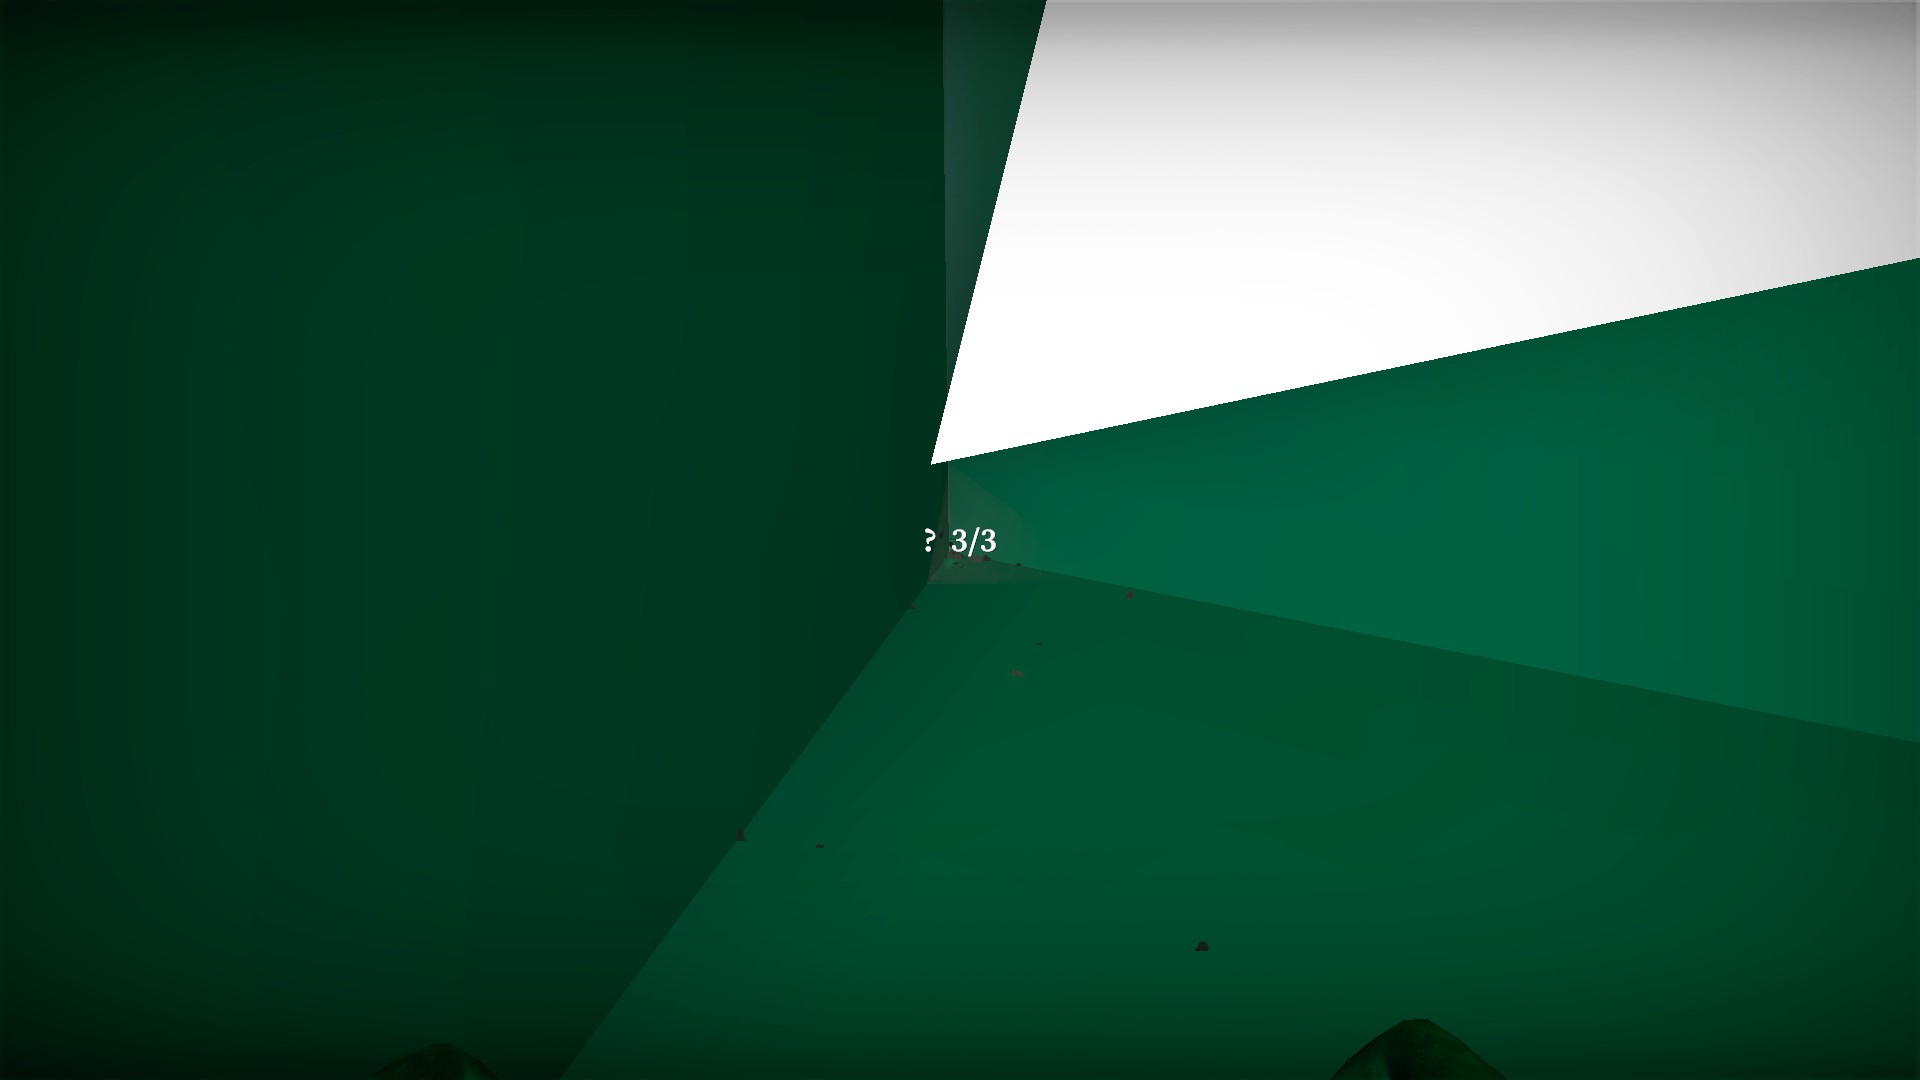
In this room with 2 weapon boxes, look for a small block in the corner. Break the block and you will get the message: ?3/3. May just be an Easter egg, I'm not sure what reward this gives
In the room with the 2 weapon boxes at start, you will notice that the stone textures are off
A small black button in the corner will open this door
This button is red in the remake
In the final version, there will be a message: ?door 1/2 and the stash here will include a fn fal and ammo
In the remake, there will be a message ?1/3 and the stash will include a chainsaw and fuel
Press the large red button to get back out
Second secret area
When you get to this area, wait to move the med box
You will find the button for the door just behind the med box placement area
In the remake, the button is still in the same place but it is much harder to see - it barely sticks out of the wall rather than being on the floor
In the final version, you will get the message: ?door 2/2 and there will be a machete and weapon box here. More children will spawn as you get closer in
In the remake, you will get the message ?2/3 and there will be 2 abrasive saws here. A group of red soldier zombies will spawn as you get farther in. These zombies have much greater than normal health
Third secret (remake only)
In this room with 2 weapon boxes, look for a small block in the corner. Break the block and you will get the message: ?3/3. May just be an Easter egg, I'm not sure what reward this gives
nmo_throwback
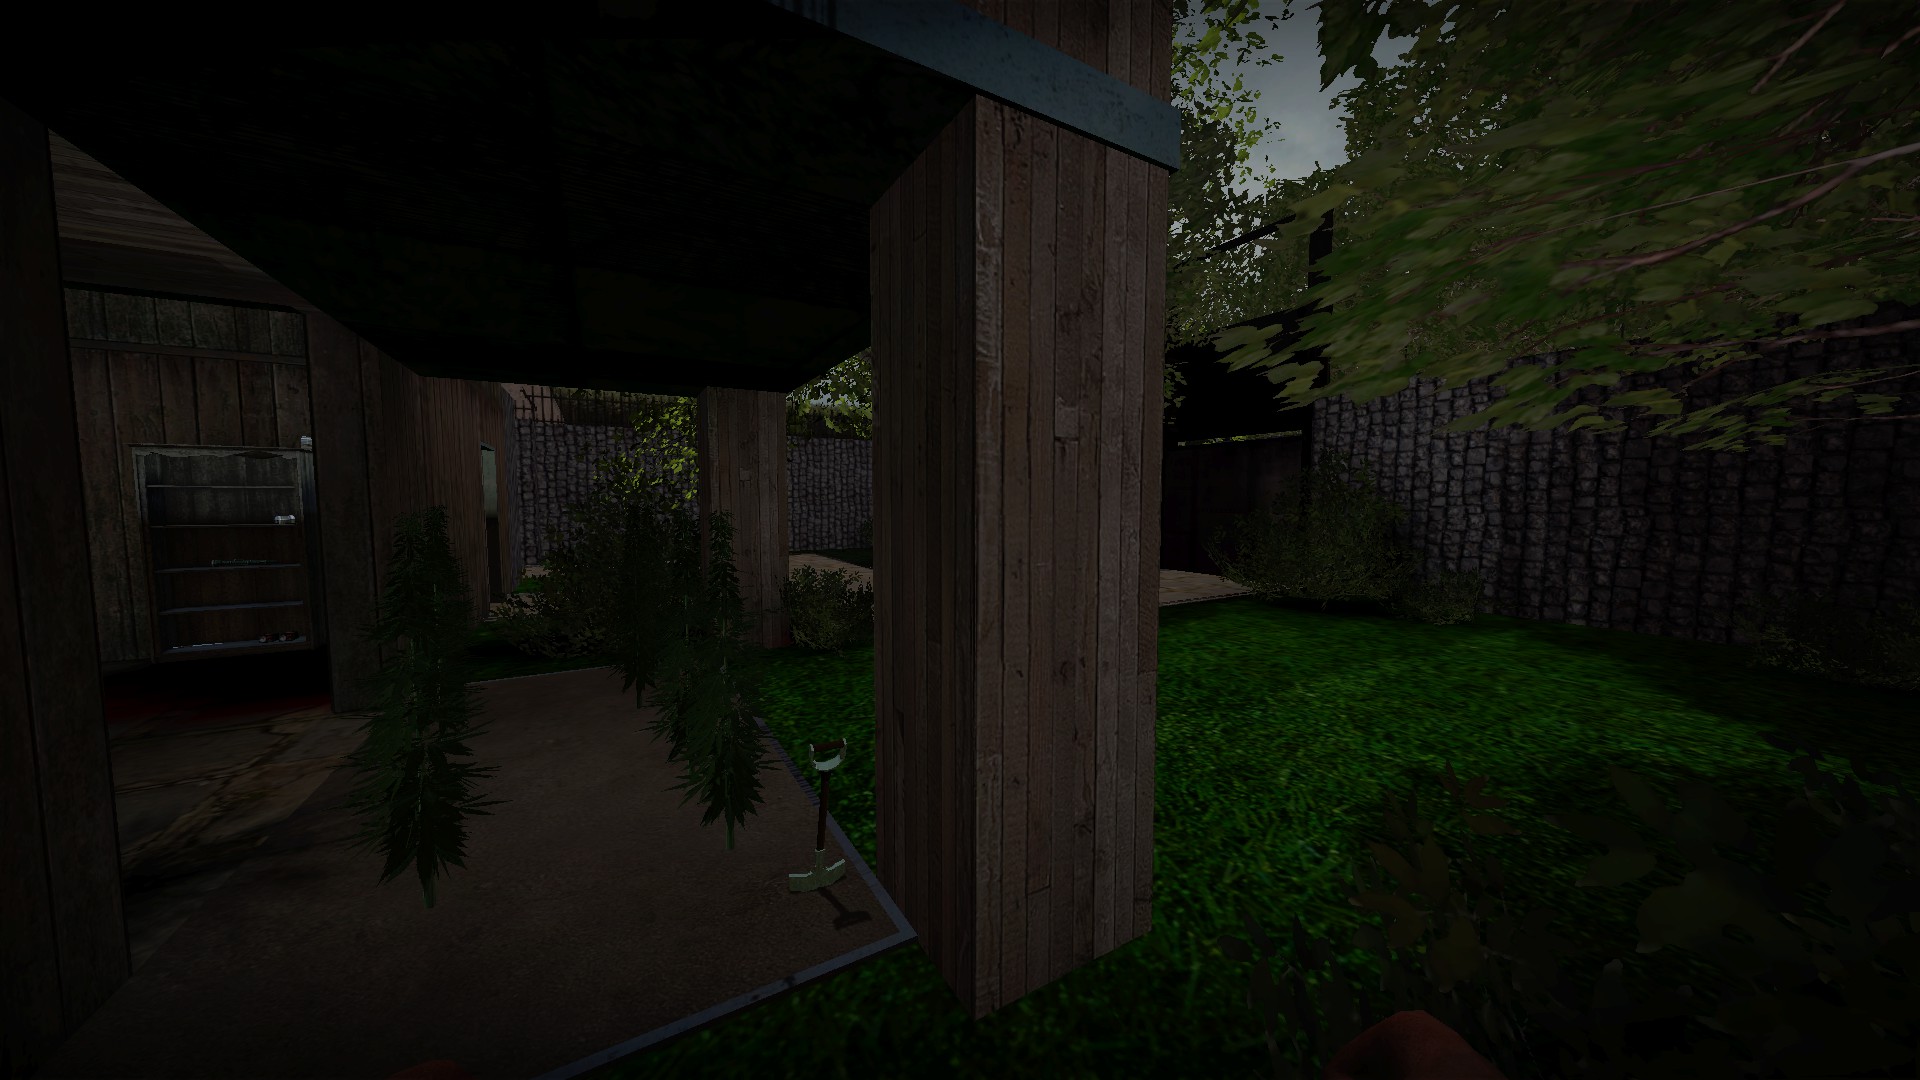
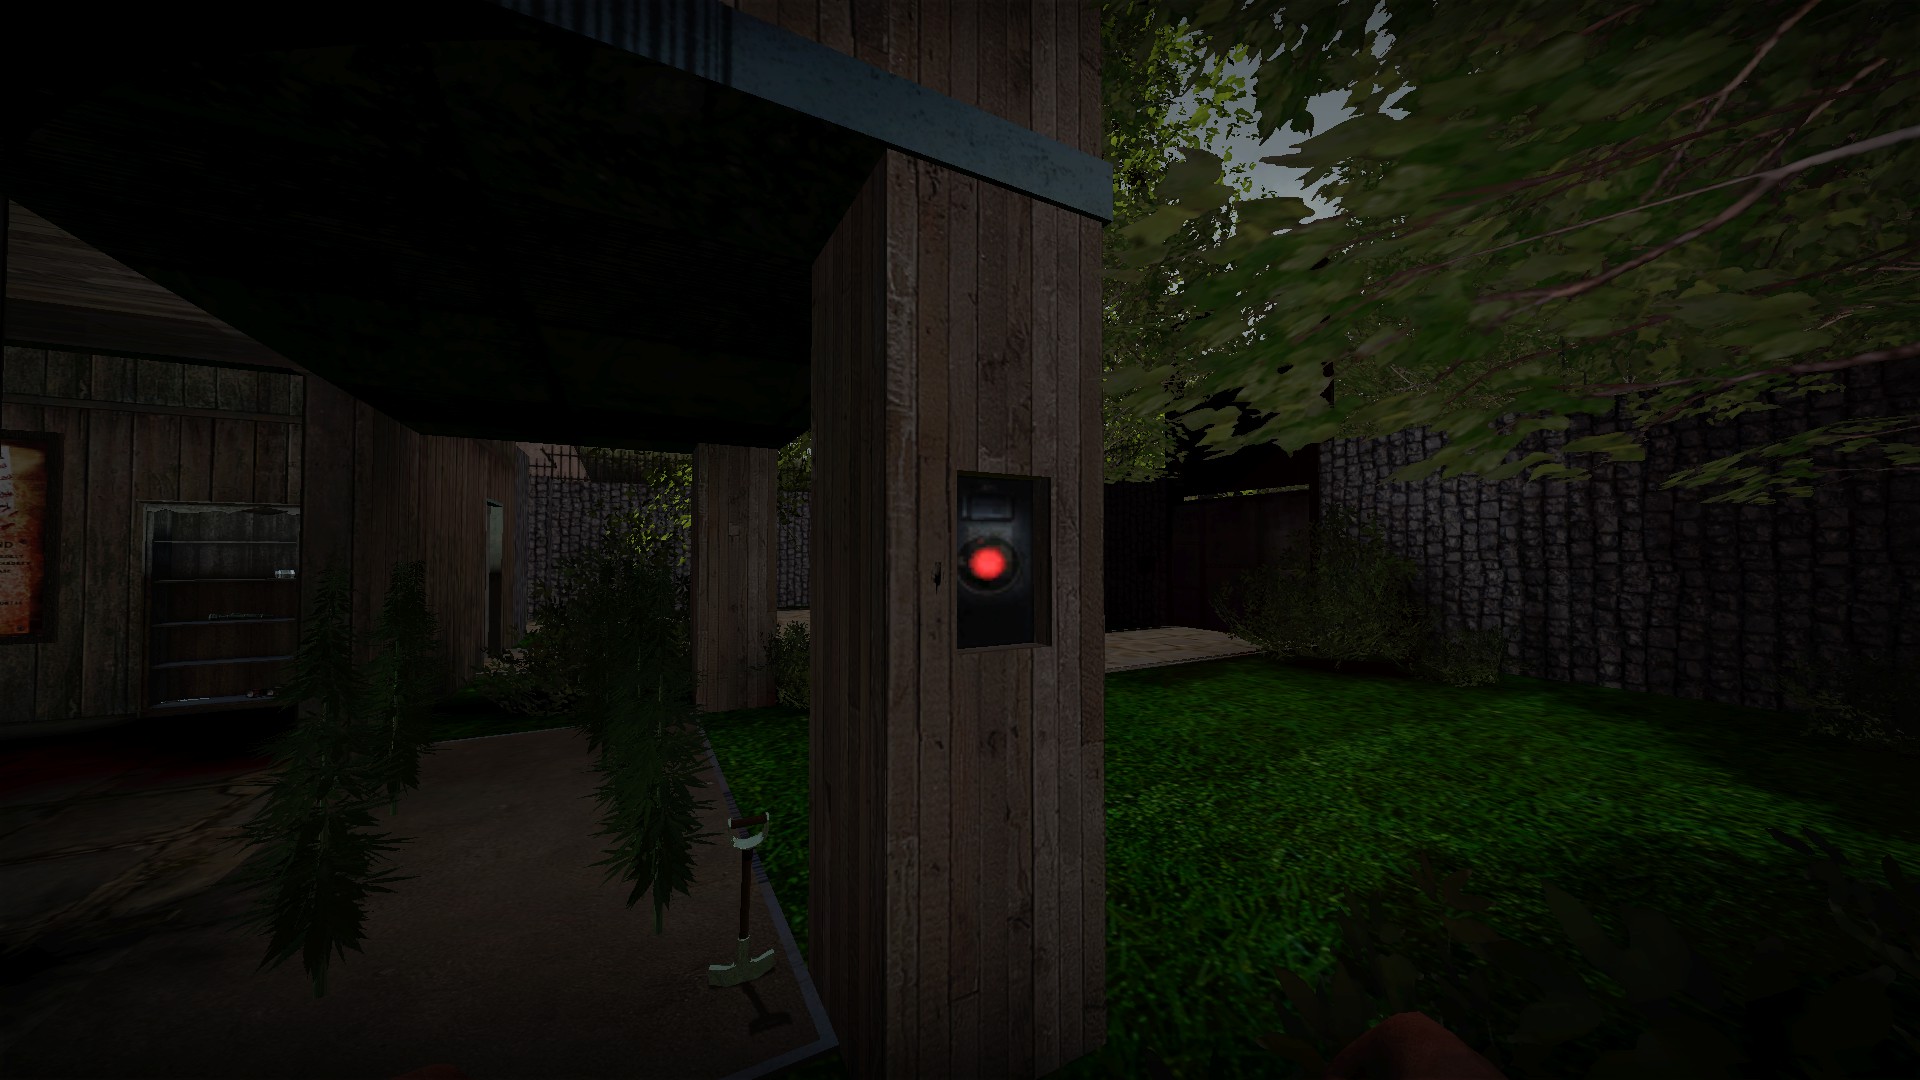
Break the boards on the pillar for a secret button
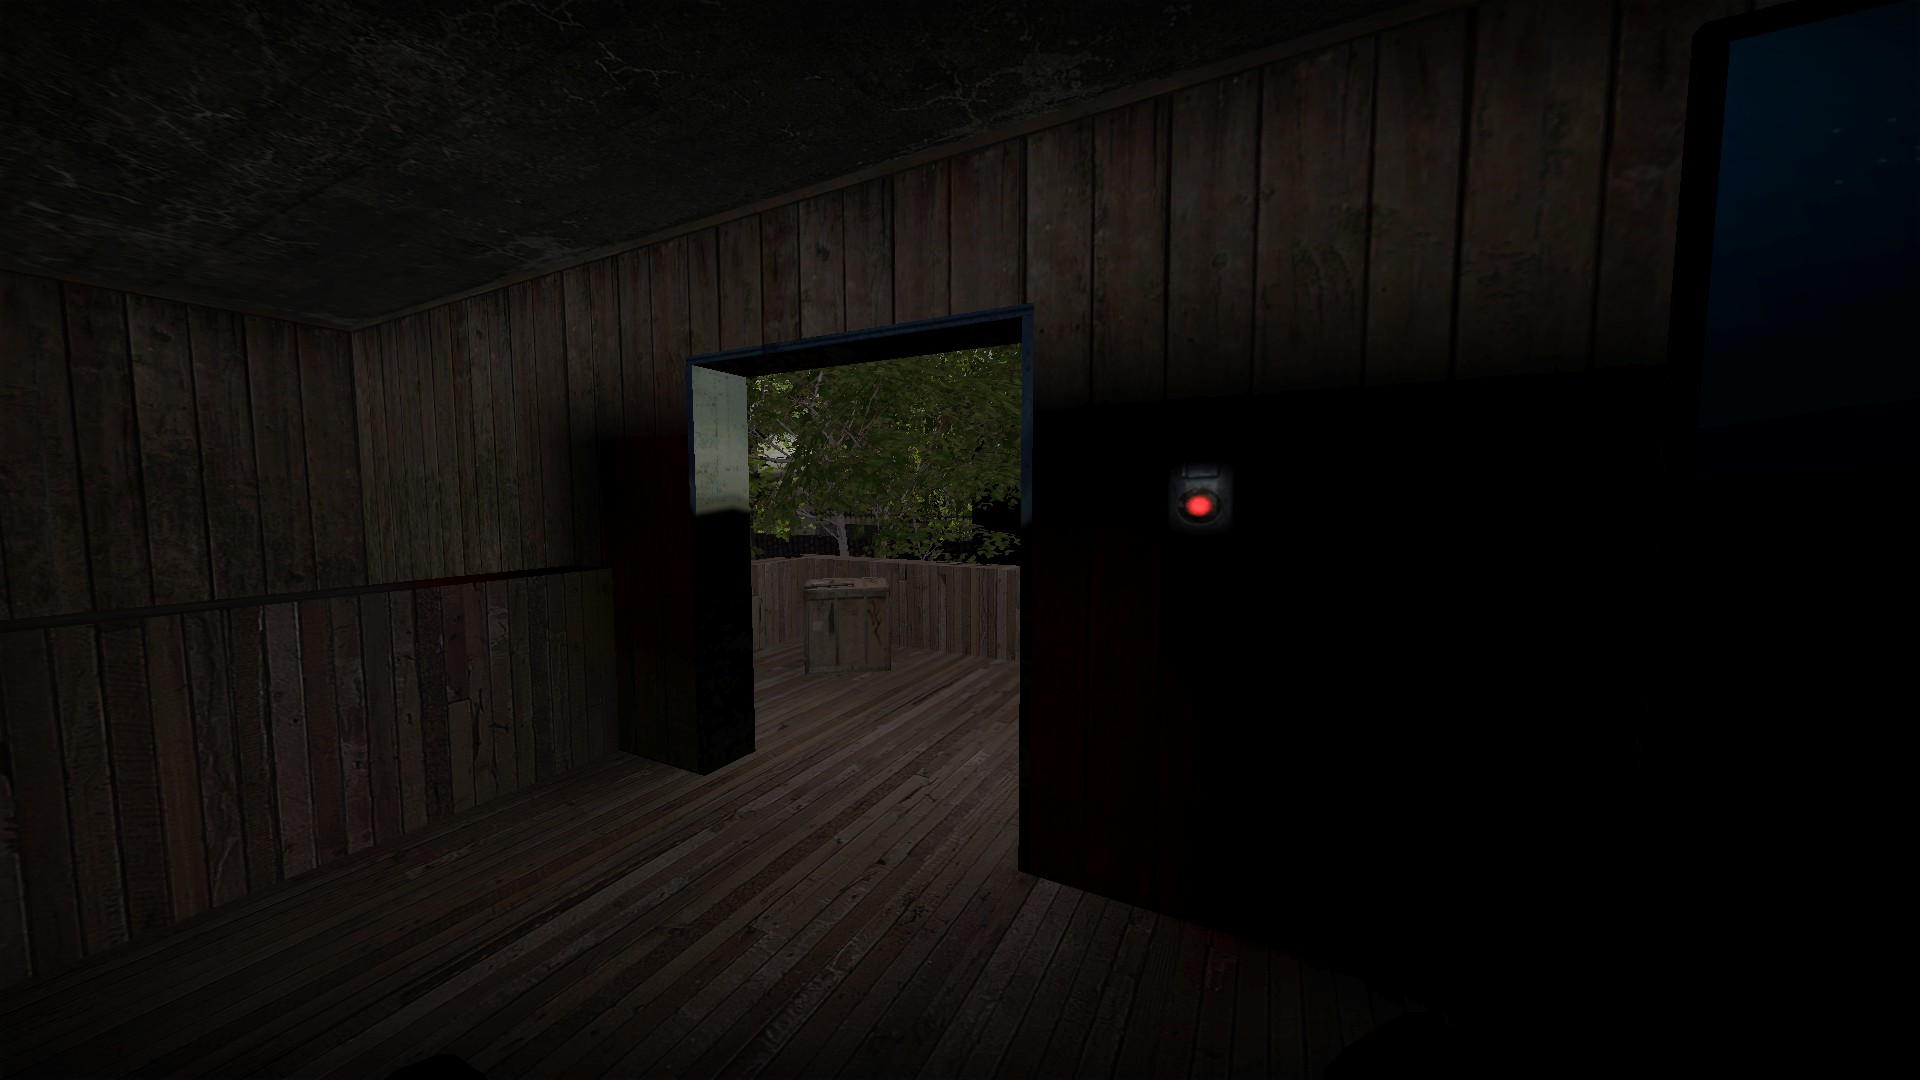
Press the button twice to open the area above
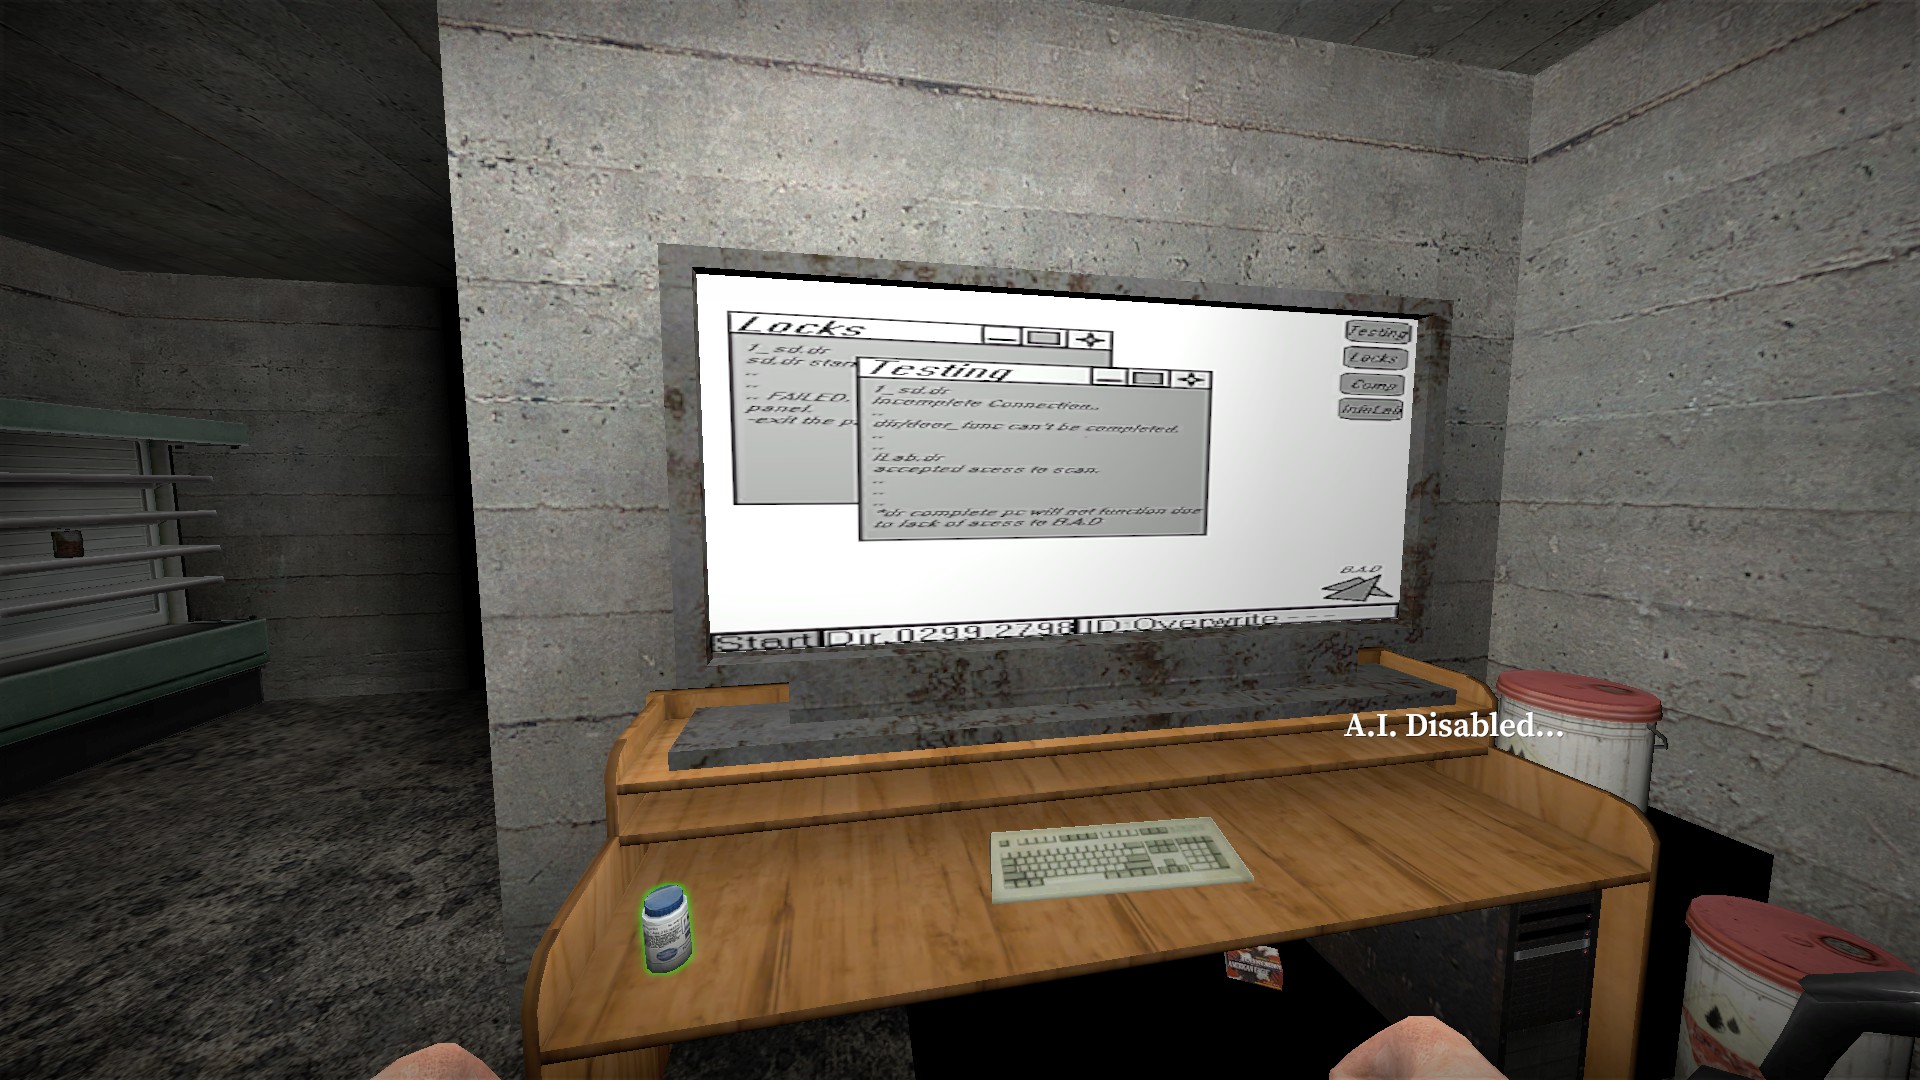
Interact with the computer for the code 0299 2798
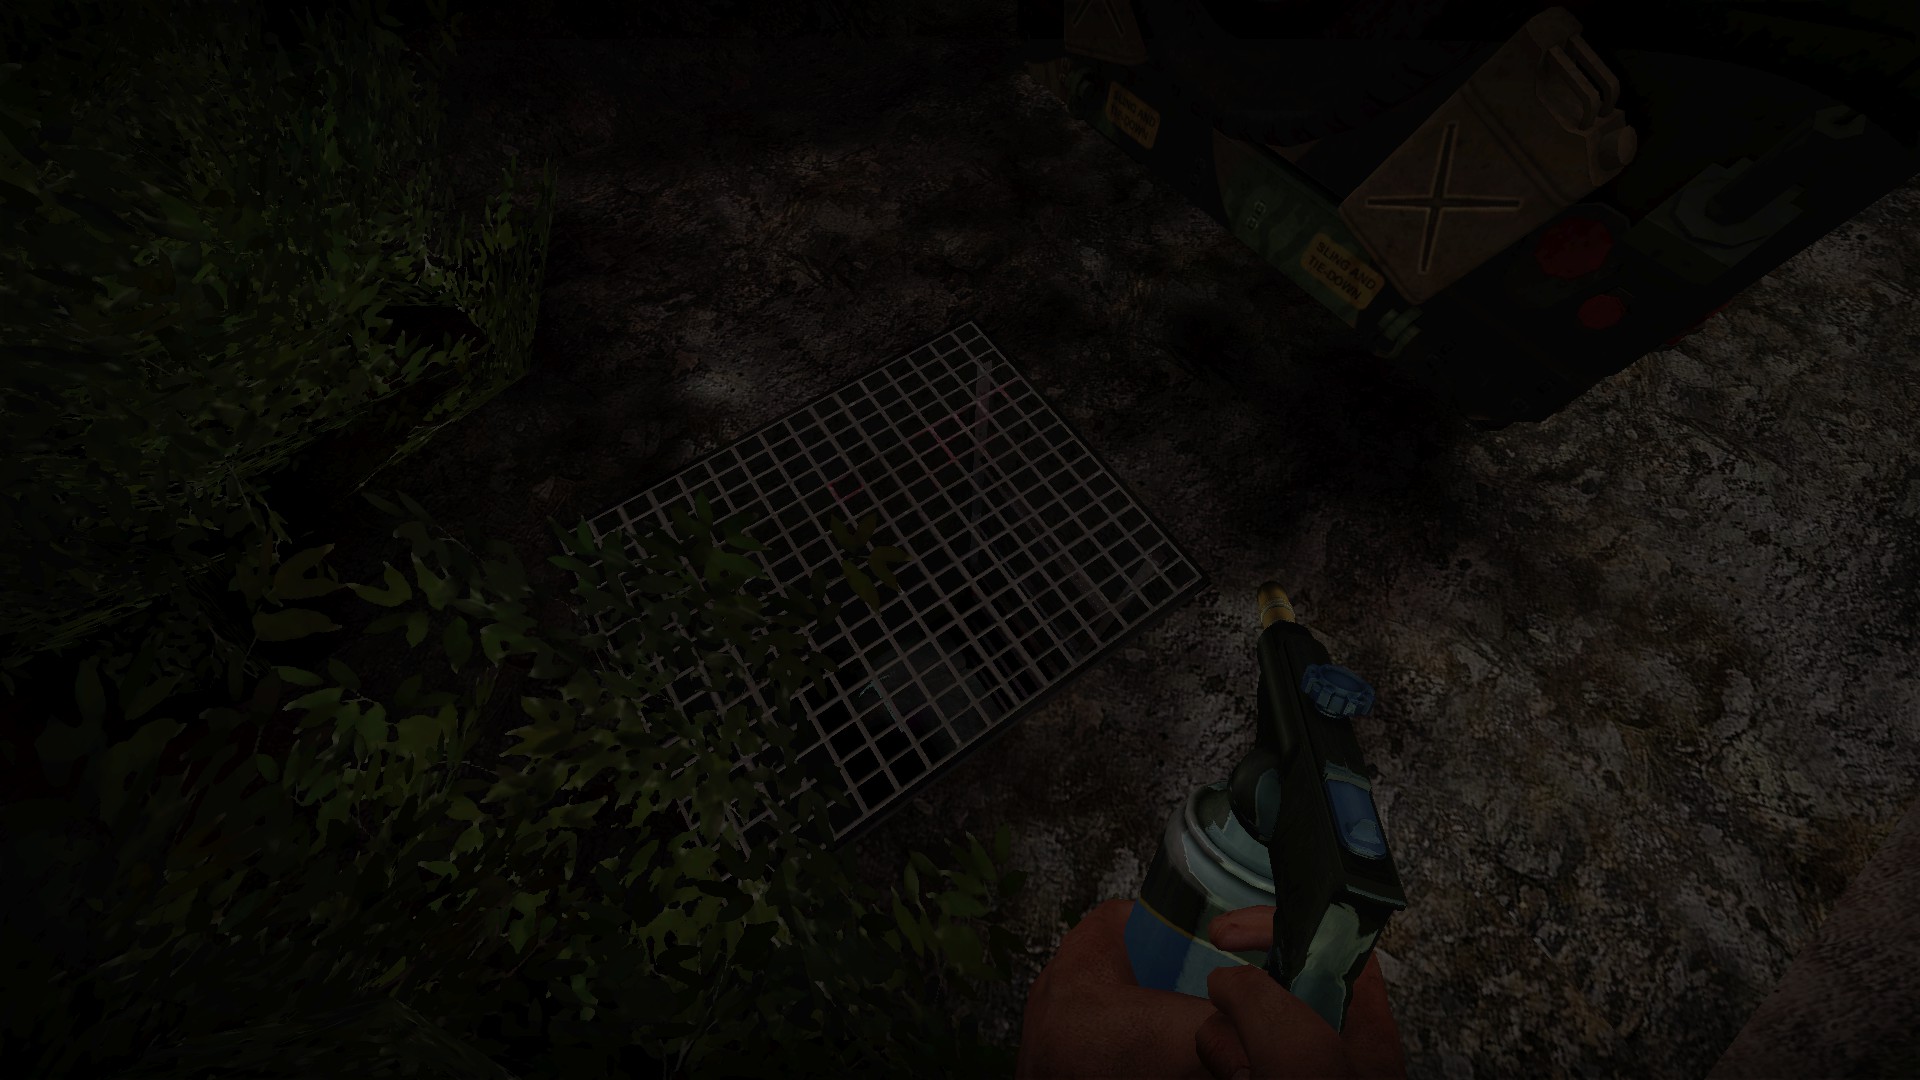
Use the welder to access the tunnel
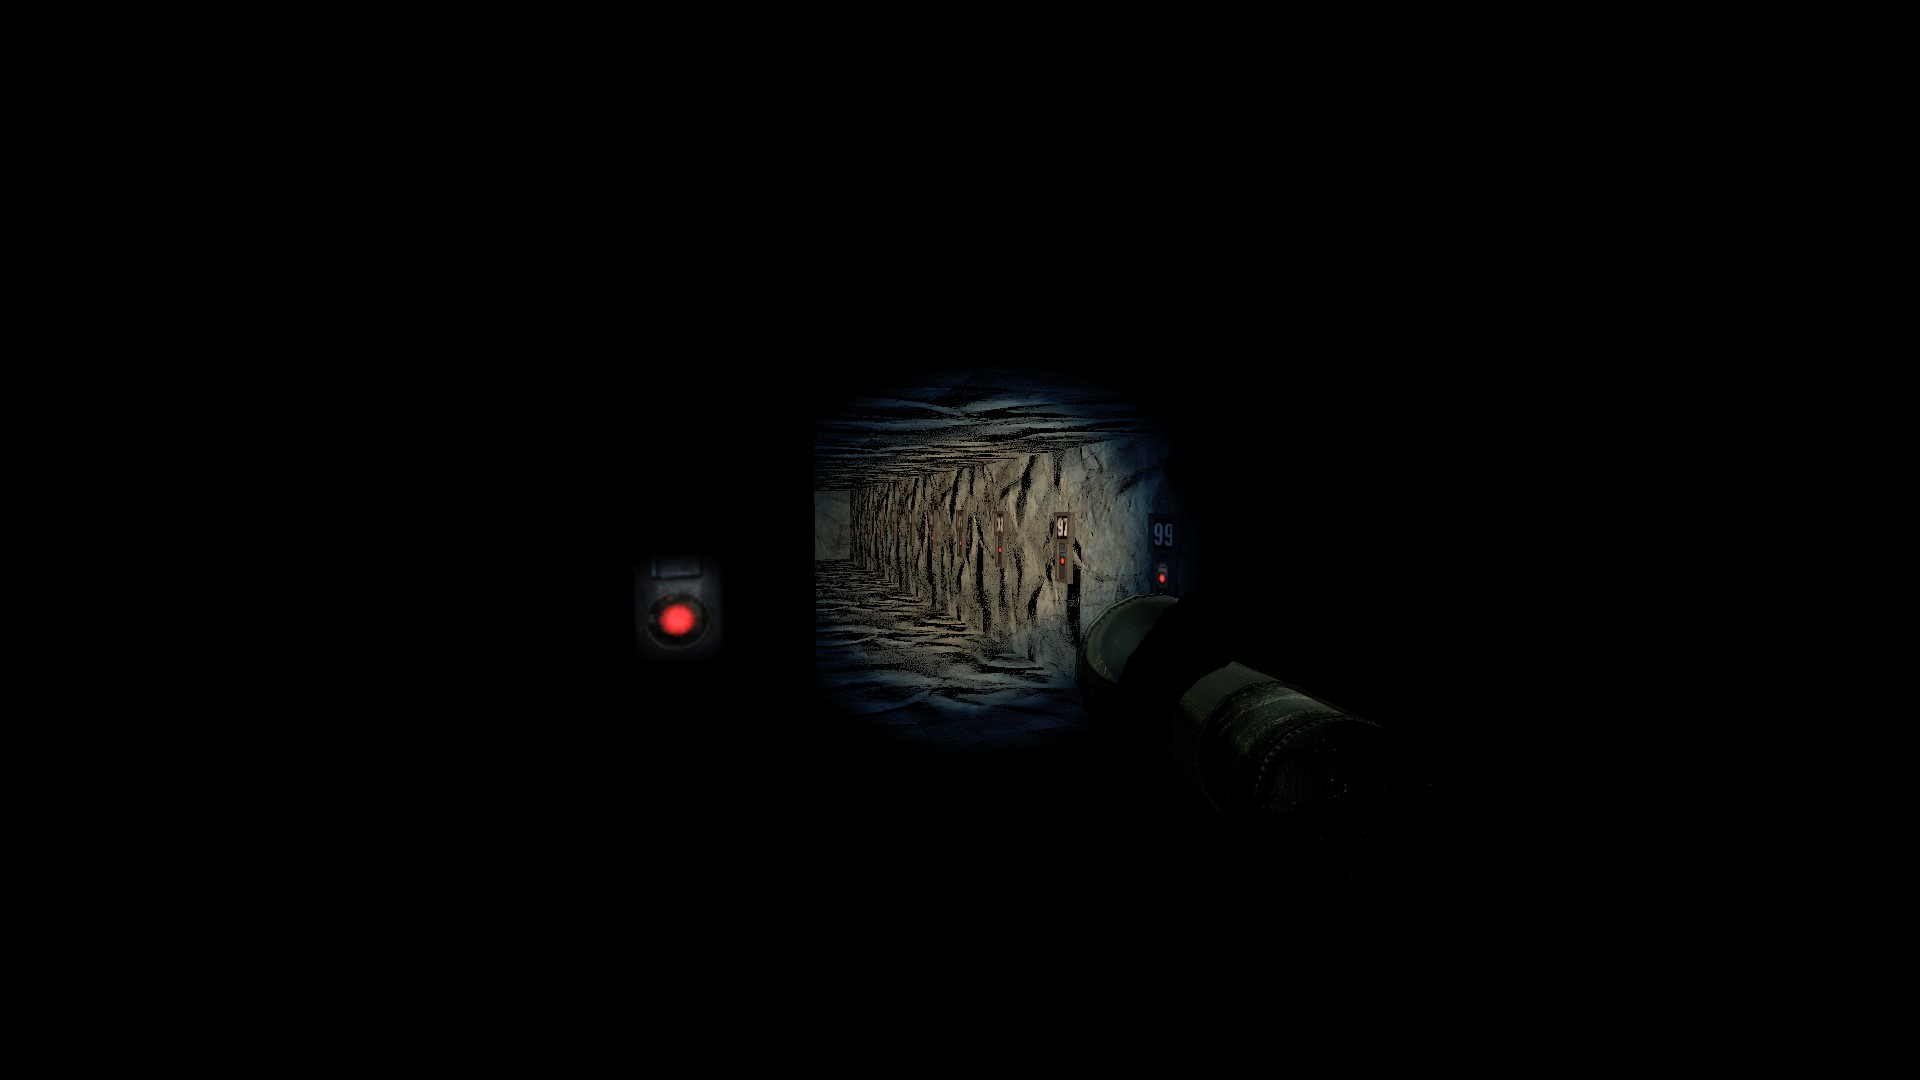
The tunnel has a row of numbers
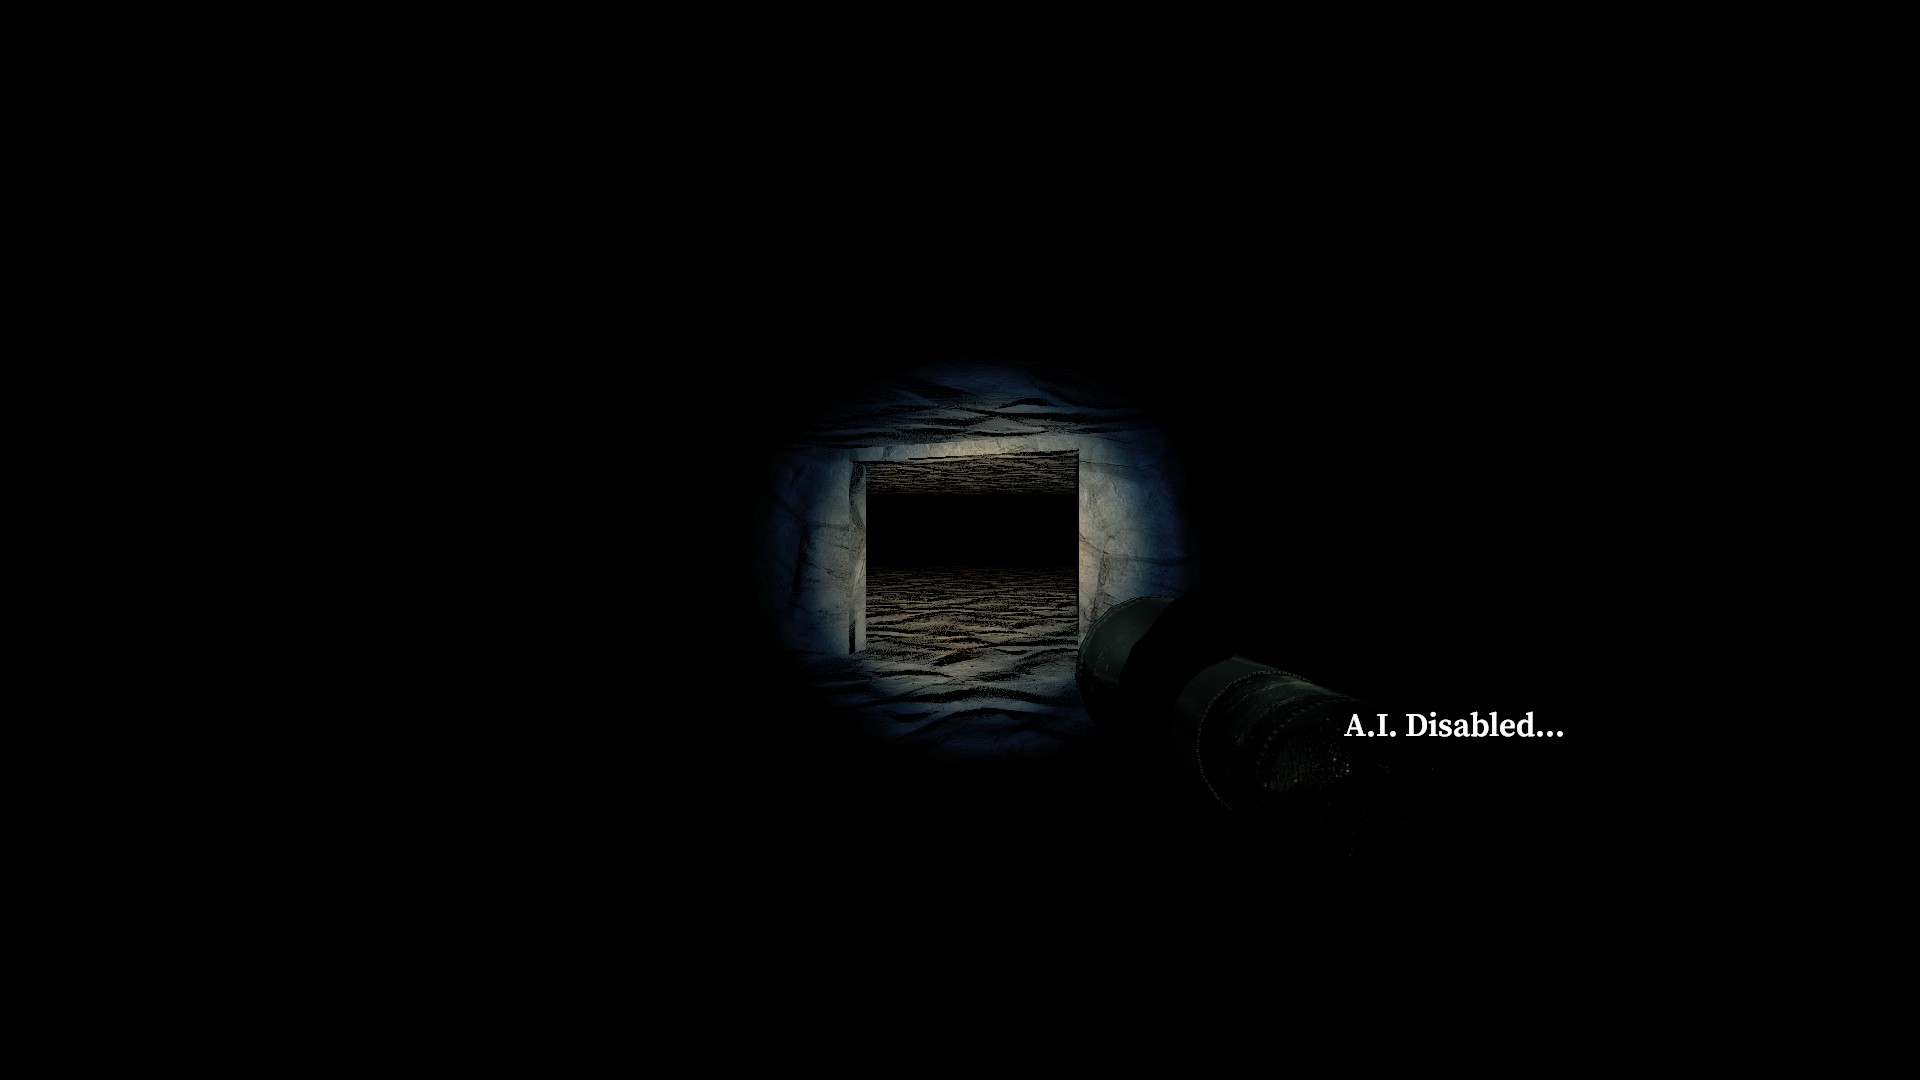
Input the code and a door will open on the opposite side
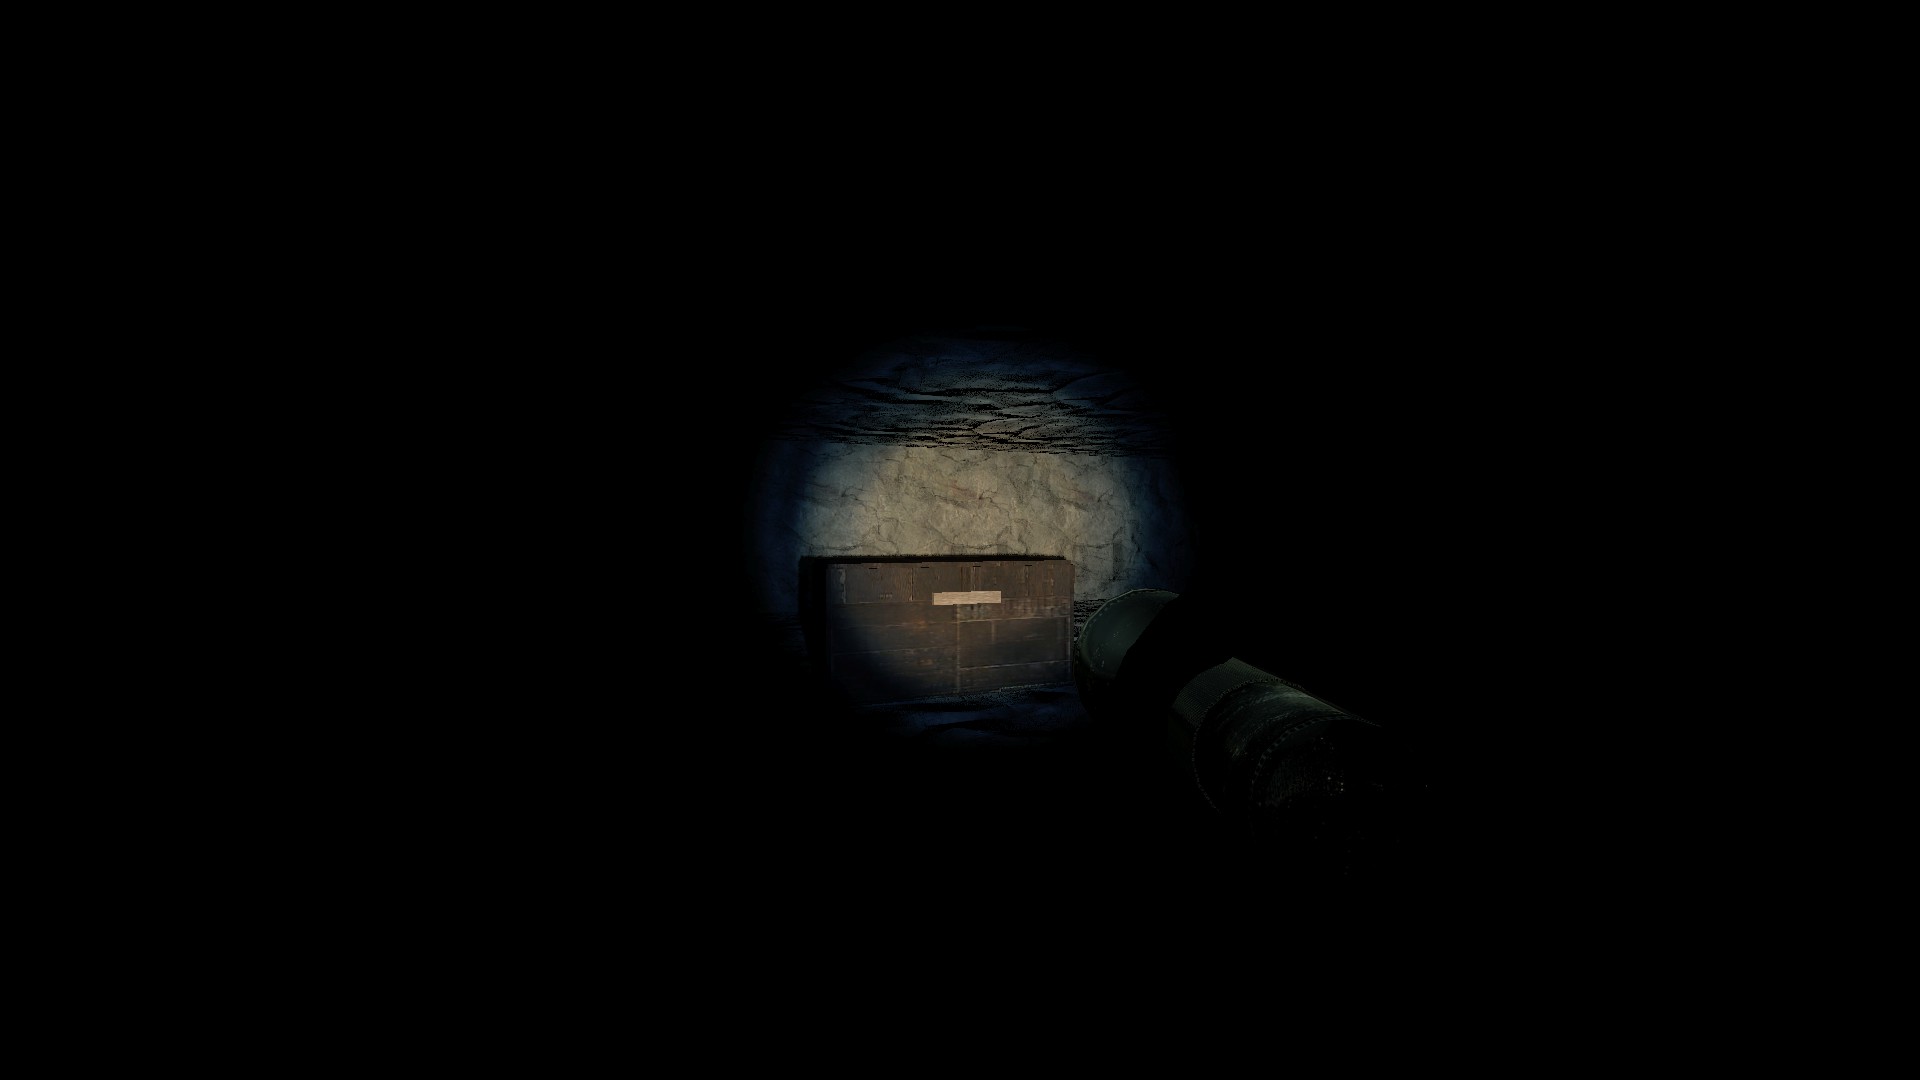
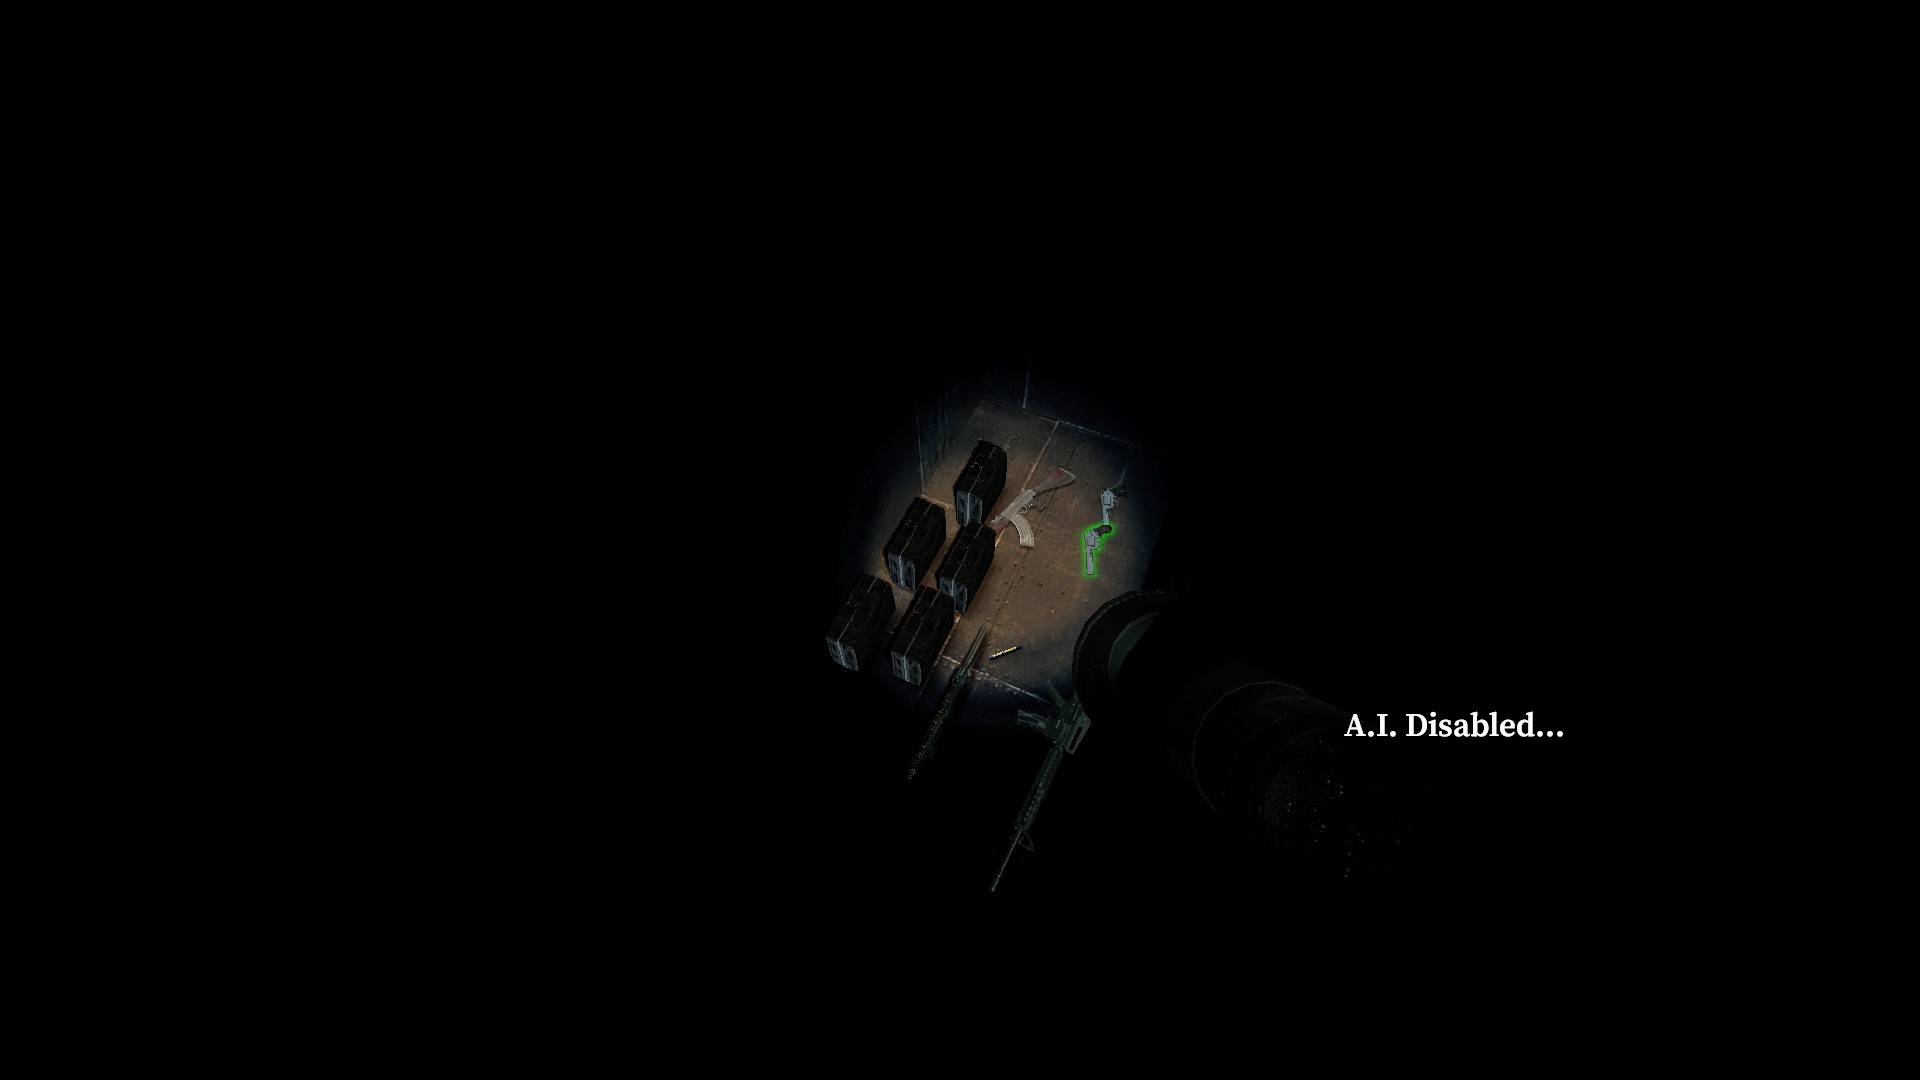
The area has a box that can be opened for many supplies
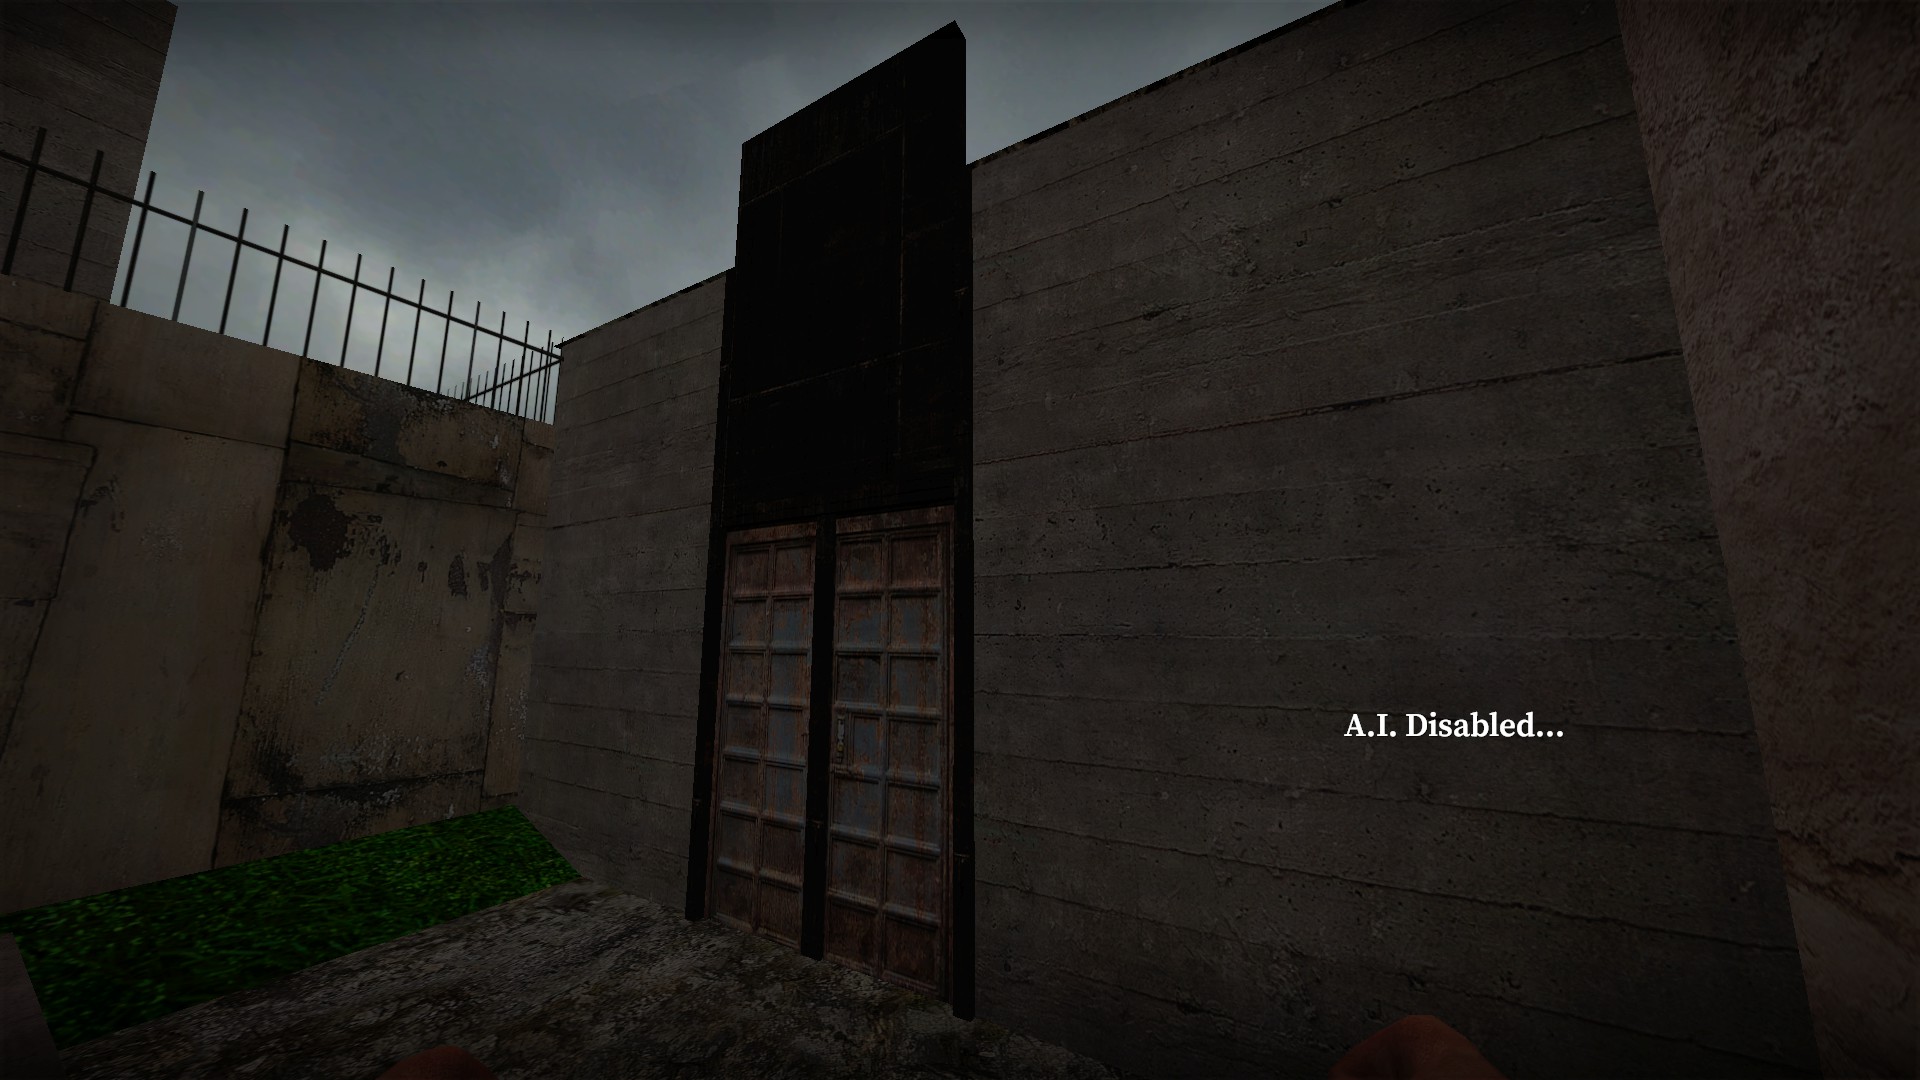
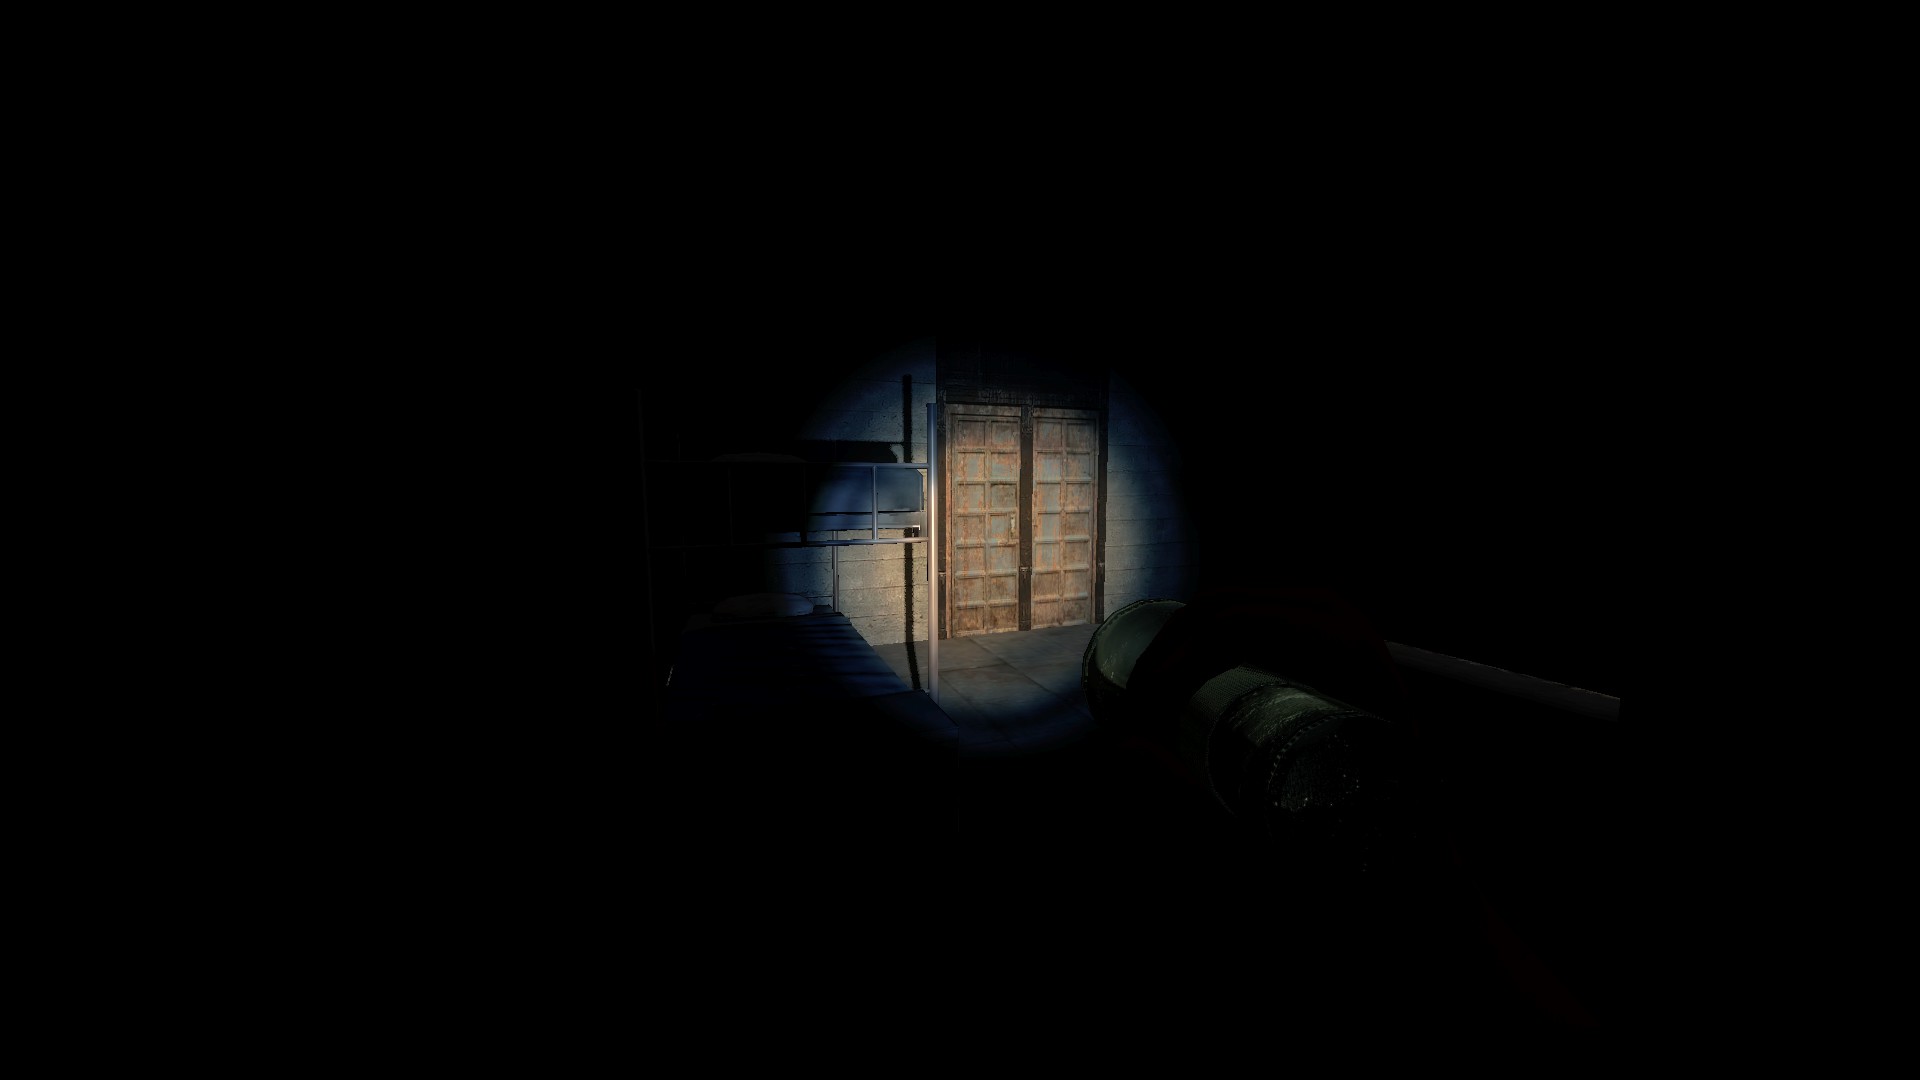
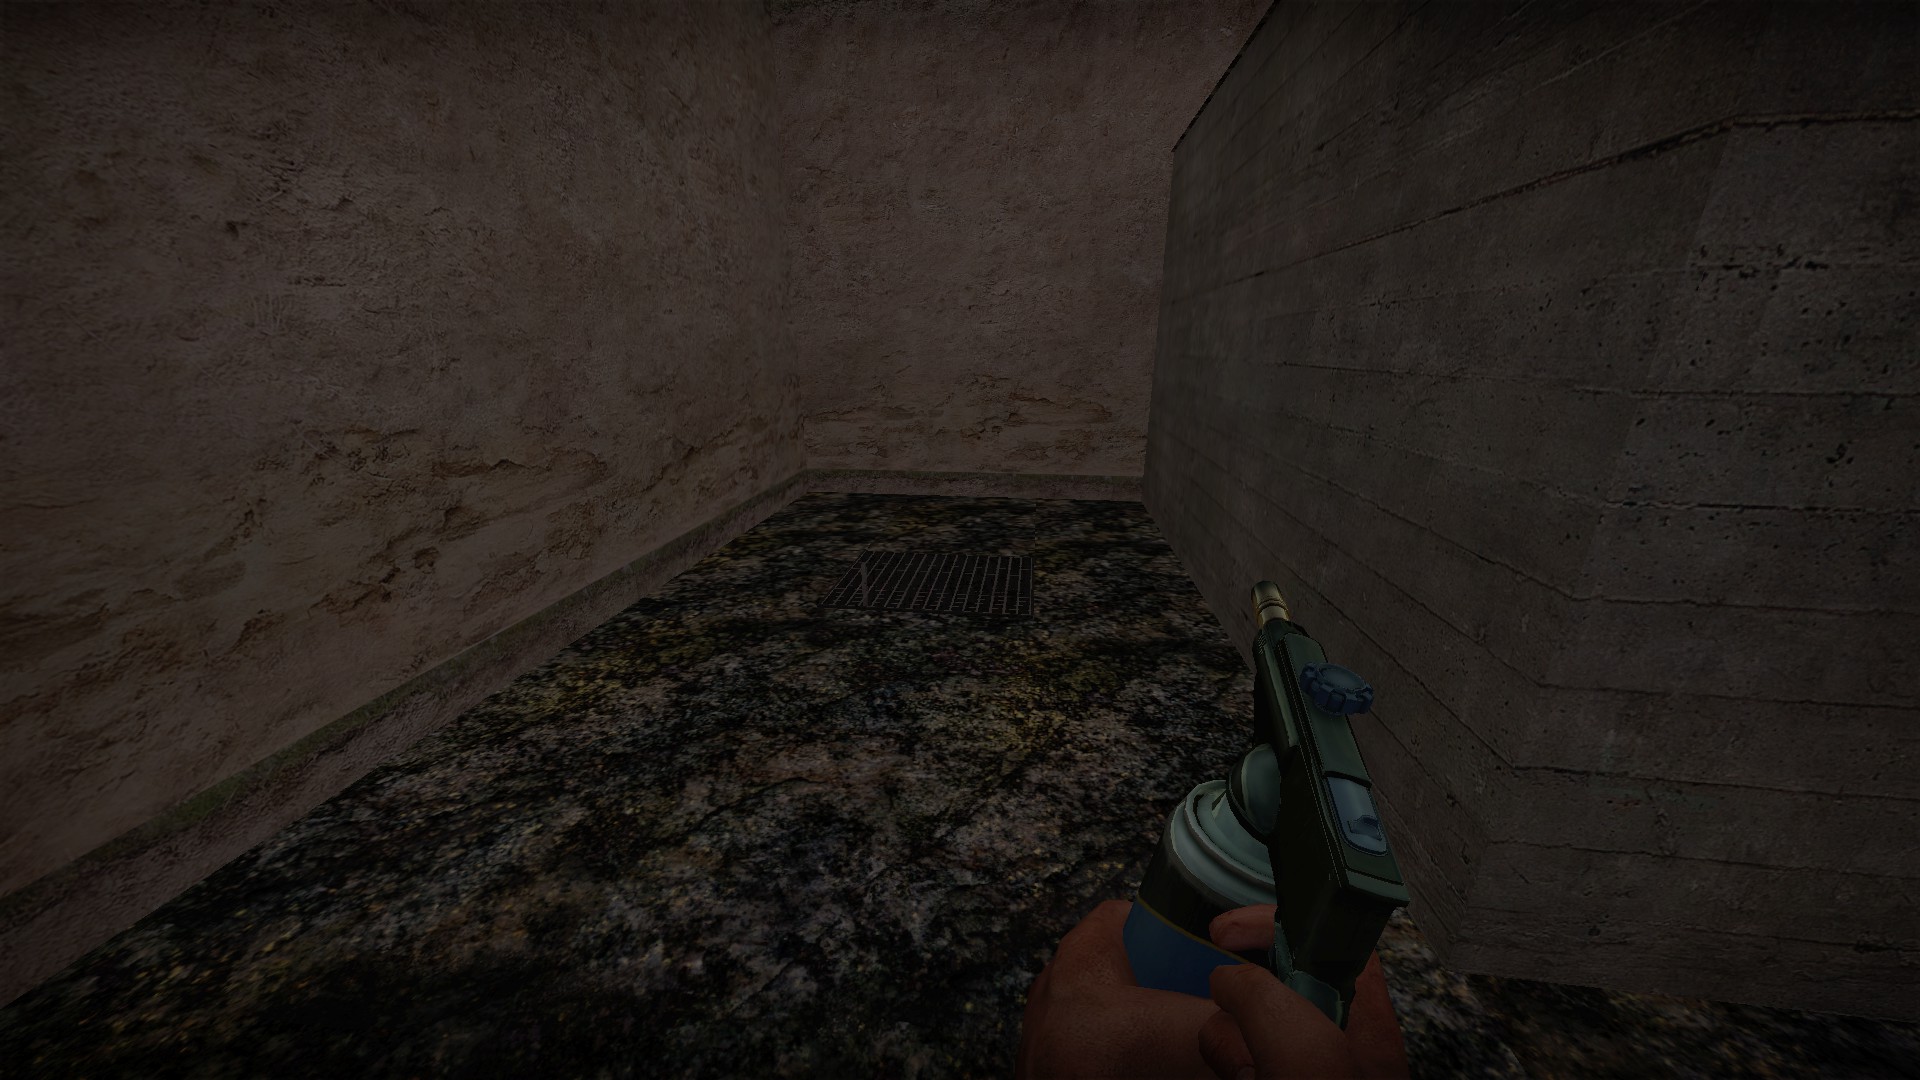
The map author states that there are 3 secret areas. I'm pretty sure the last one is supposed to be this house behind the radio. It's rendered on the inside and has a weldable grate outside to an underground area. However, these areas are completely barren. I don't think the map available on the workshop is the final version anymore, which is why this last secret area is unfinished
nmo_town
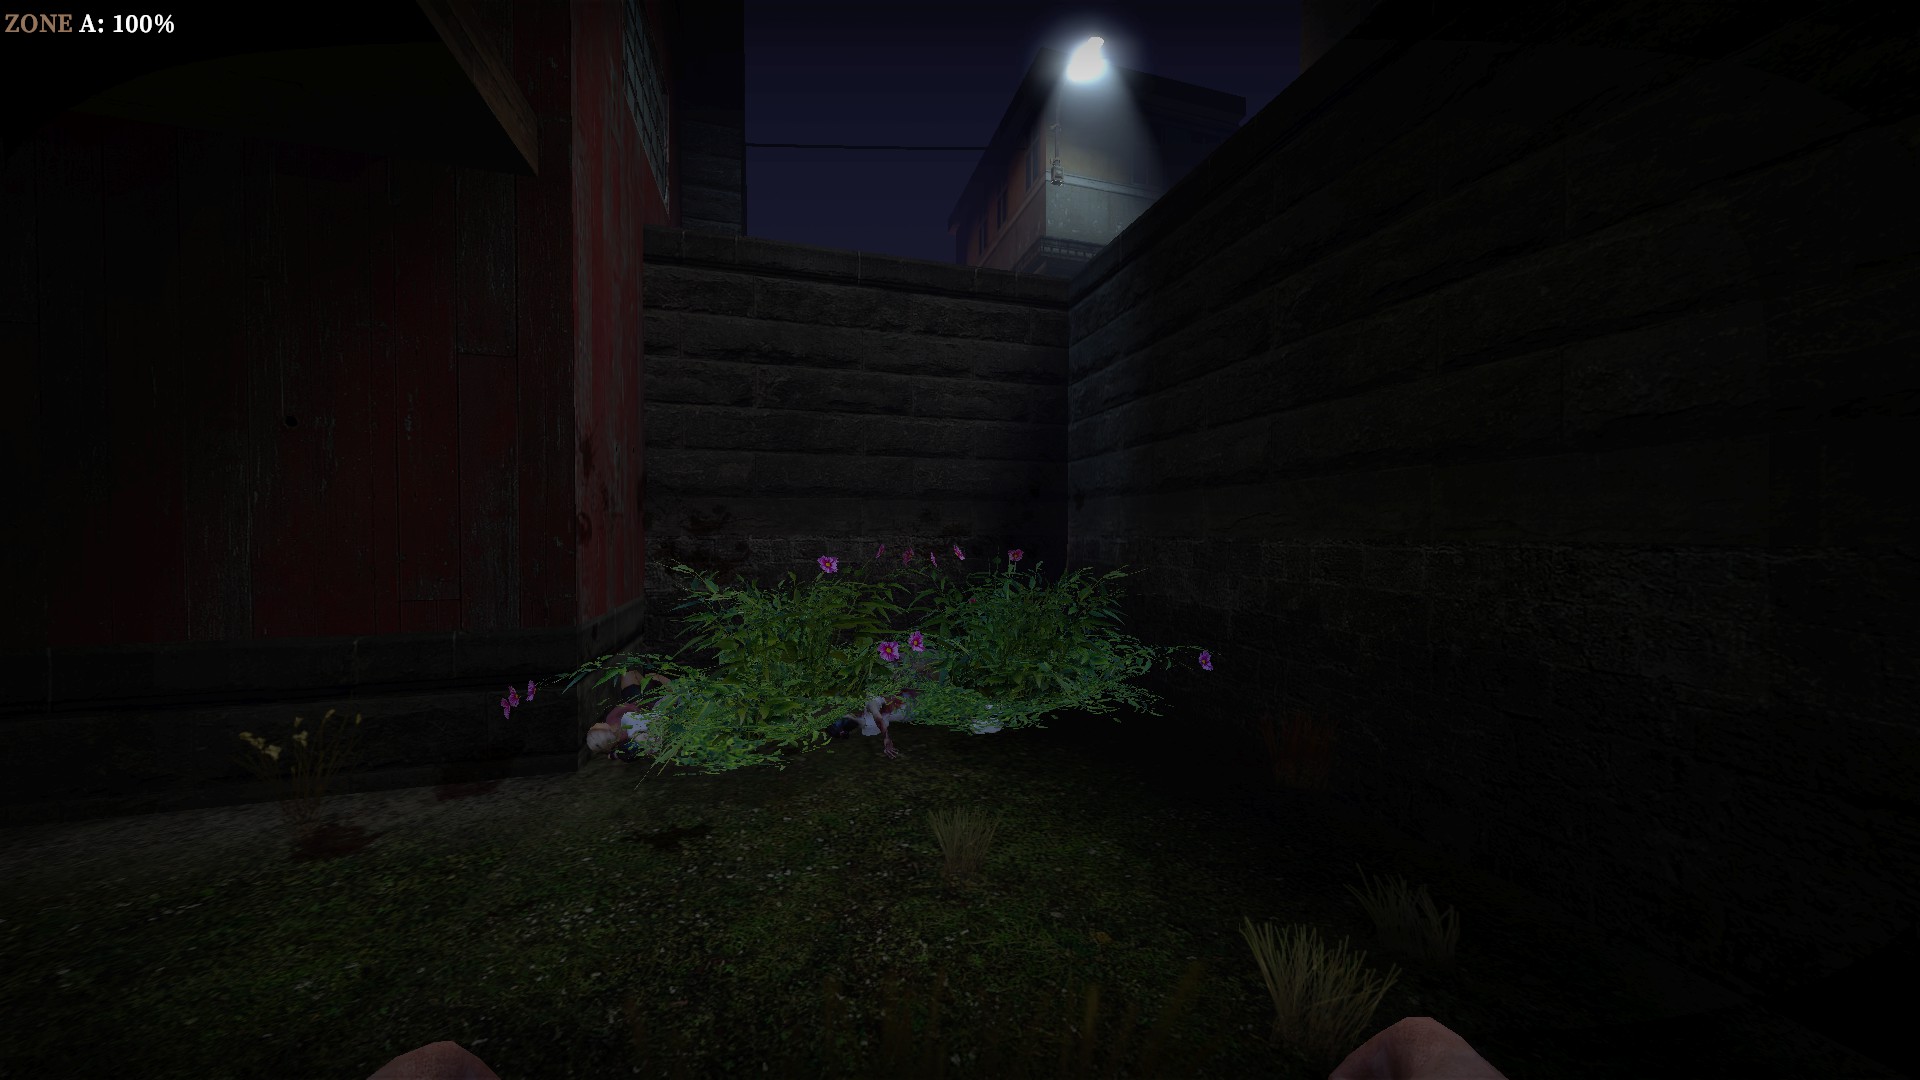
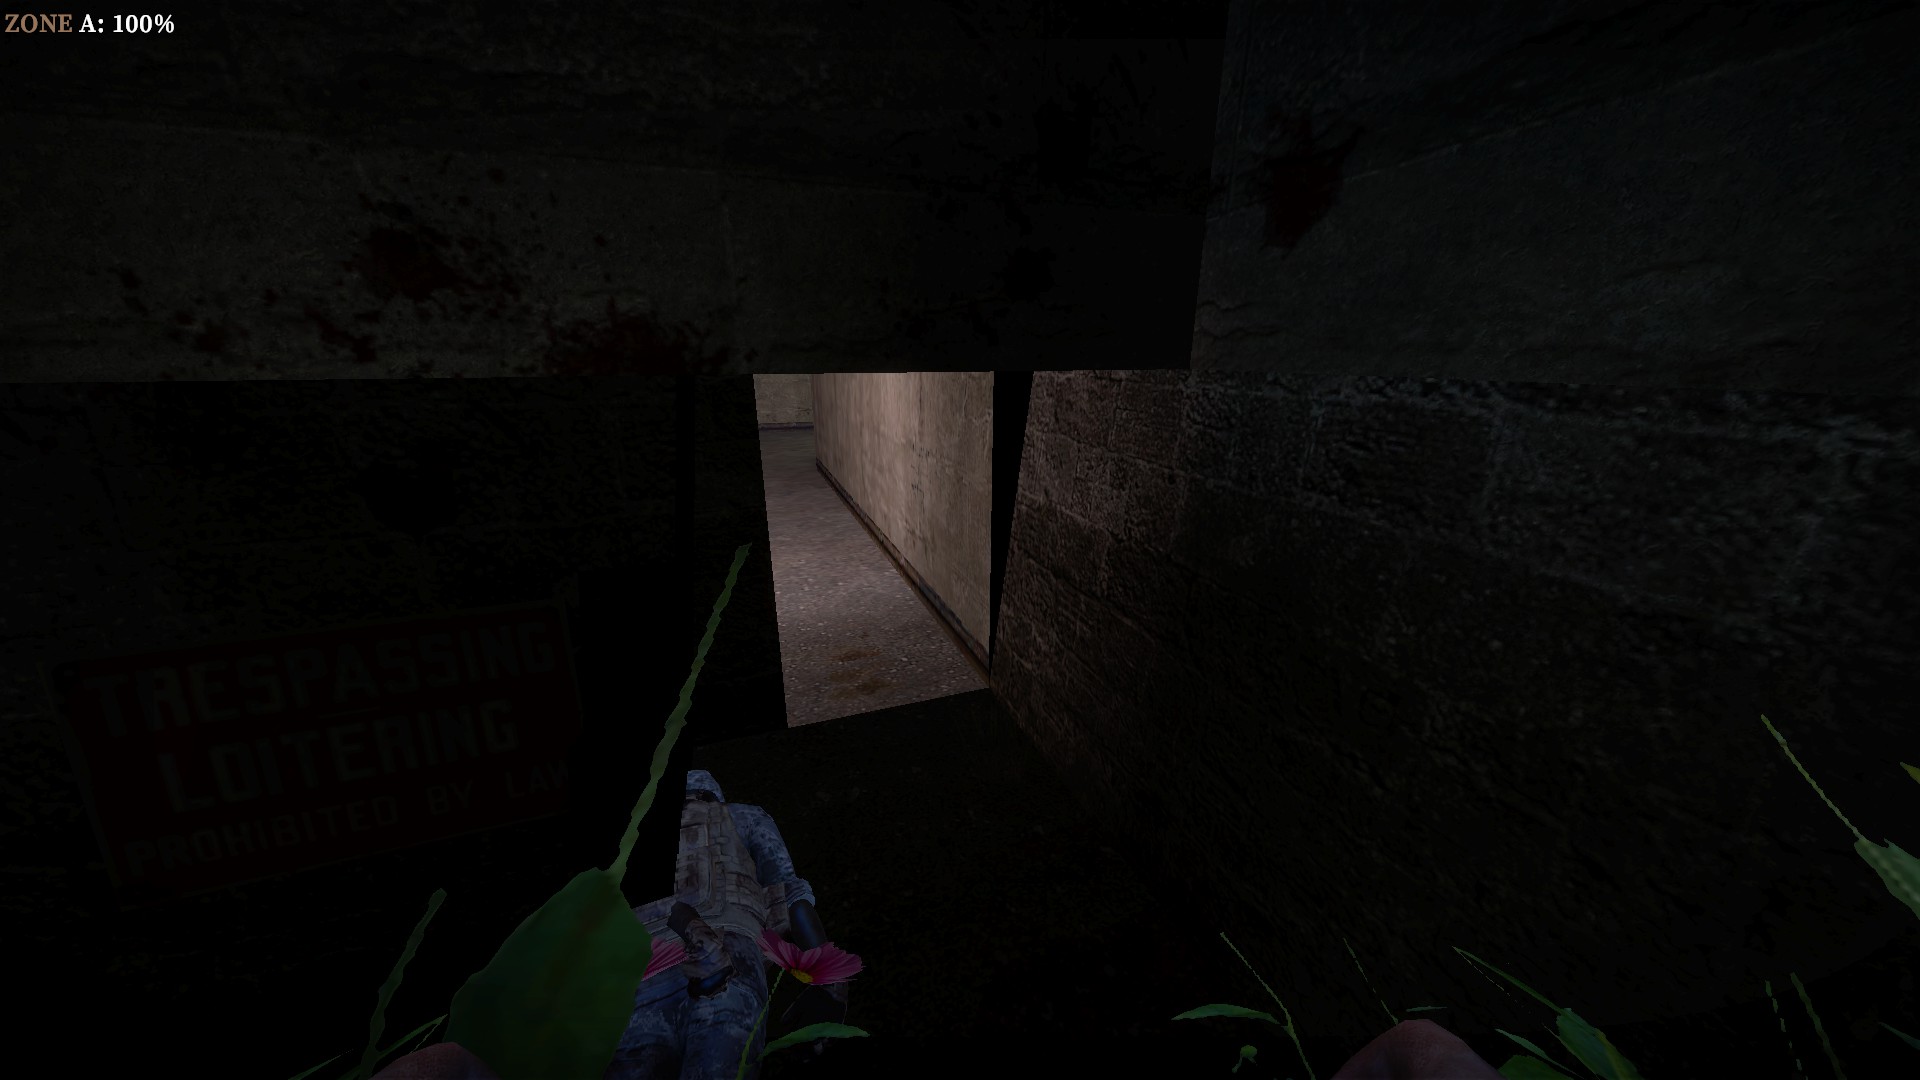
Press e behind these plants at the start for a secret passage
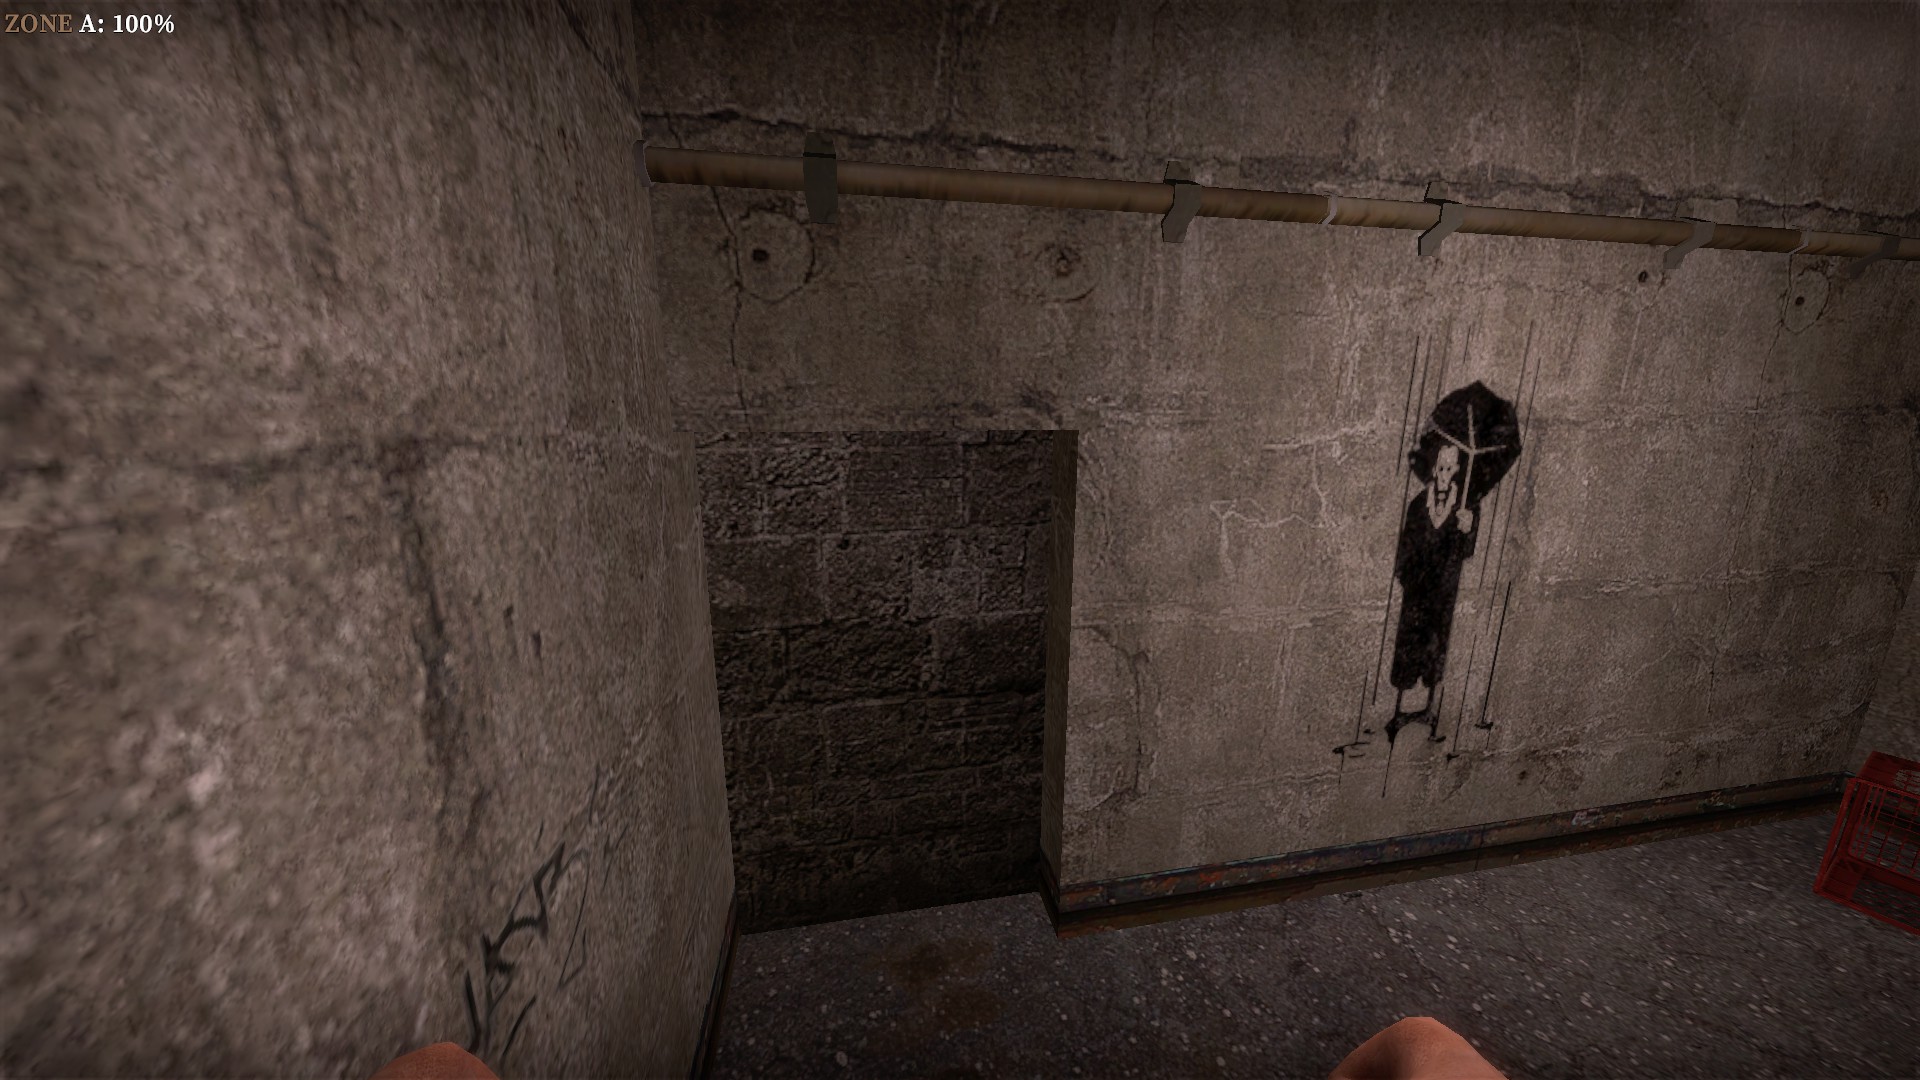
Get through fast and don't have anyone follow, this opening closes quickly
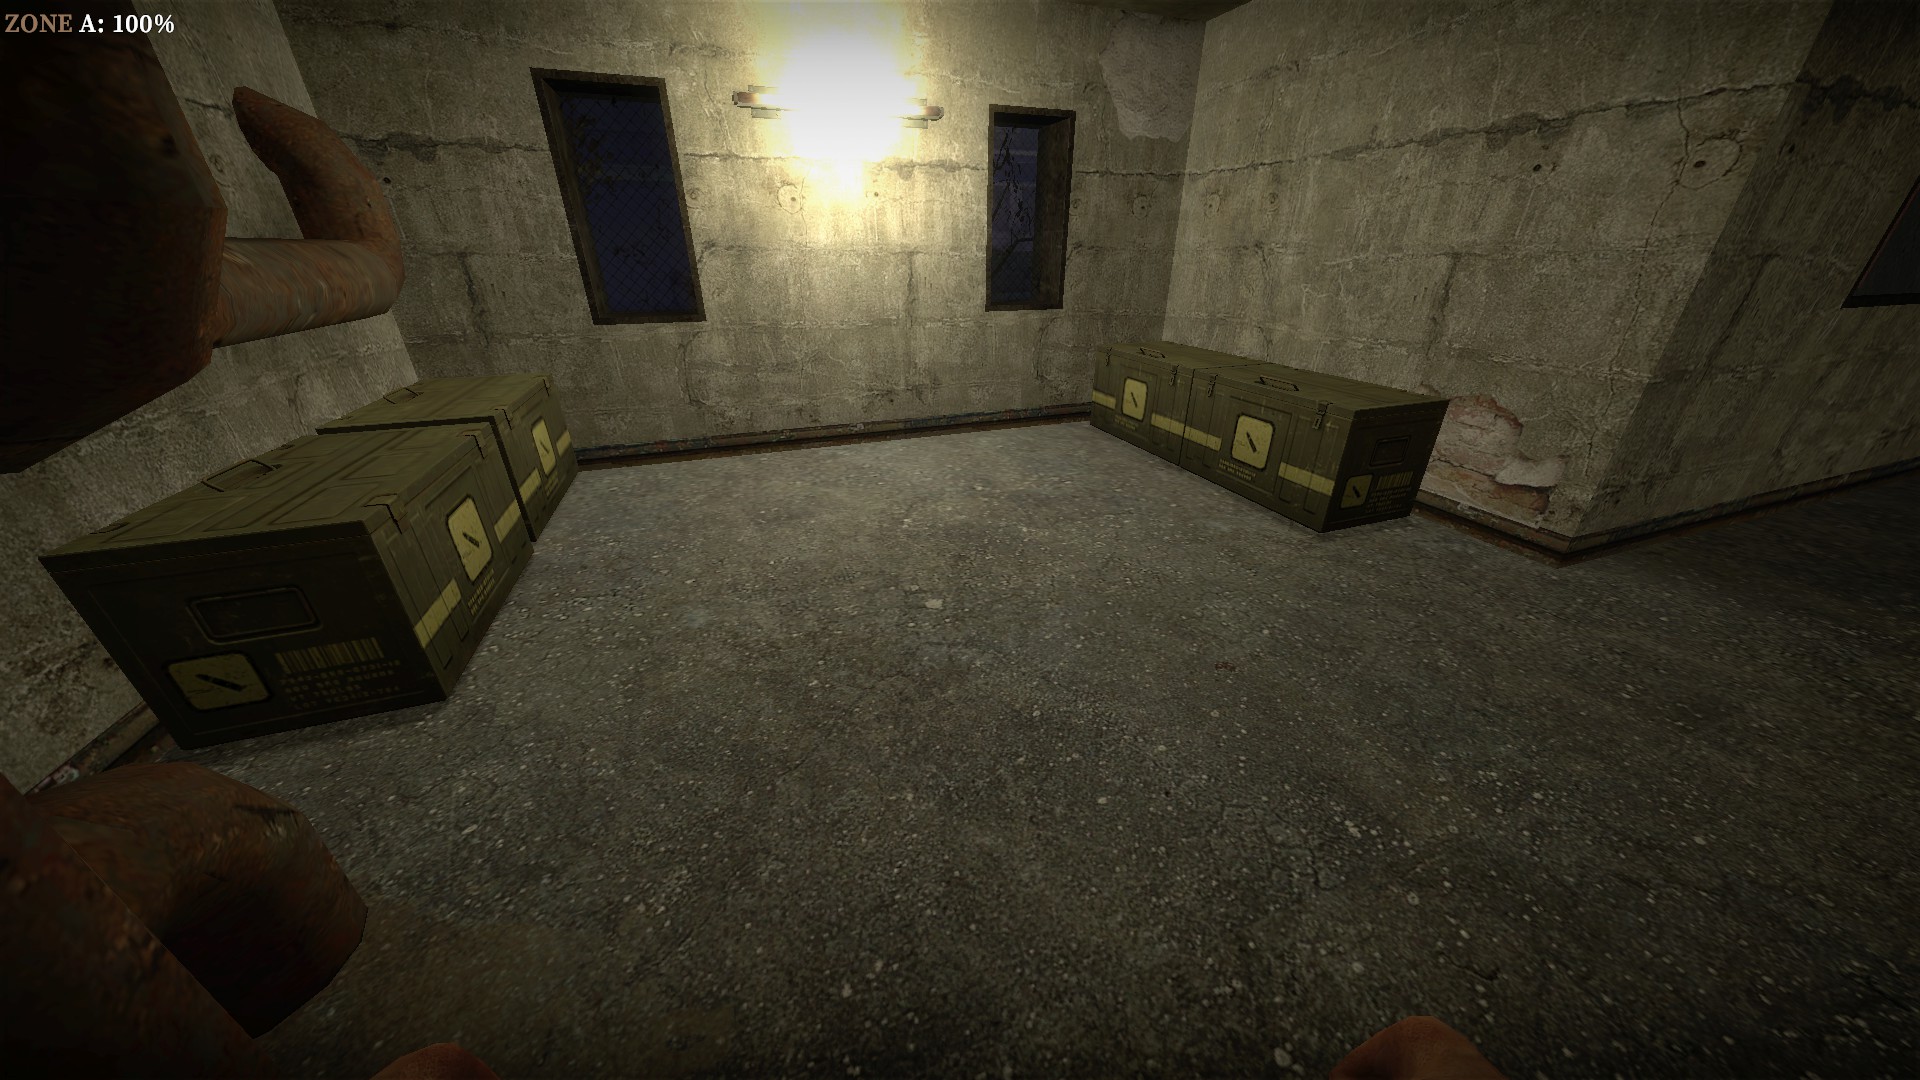
4 weapon boxes
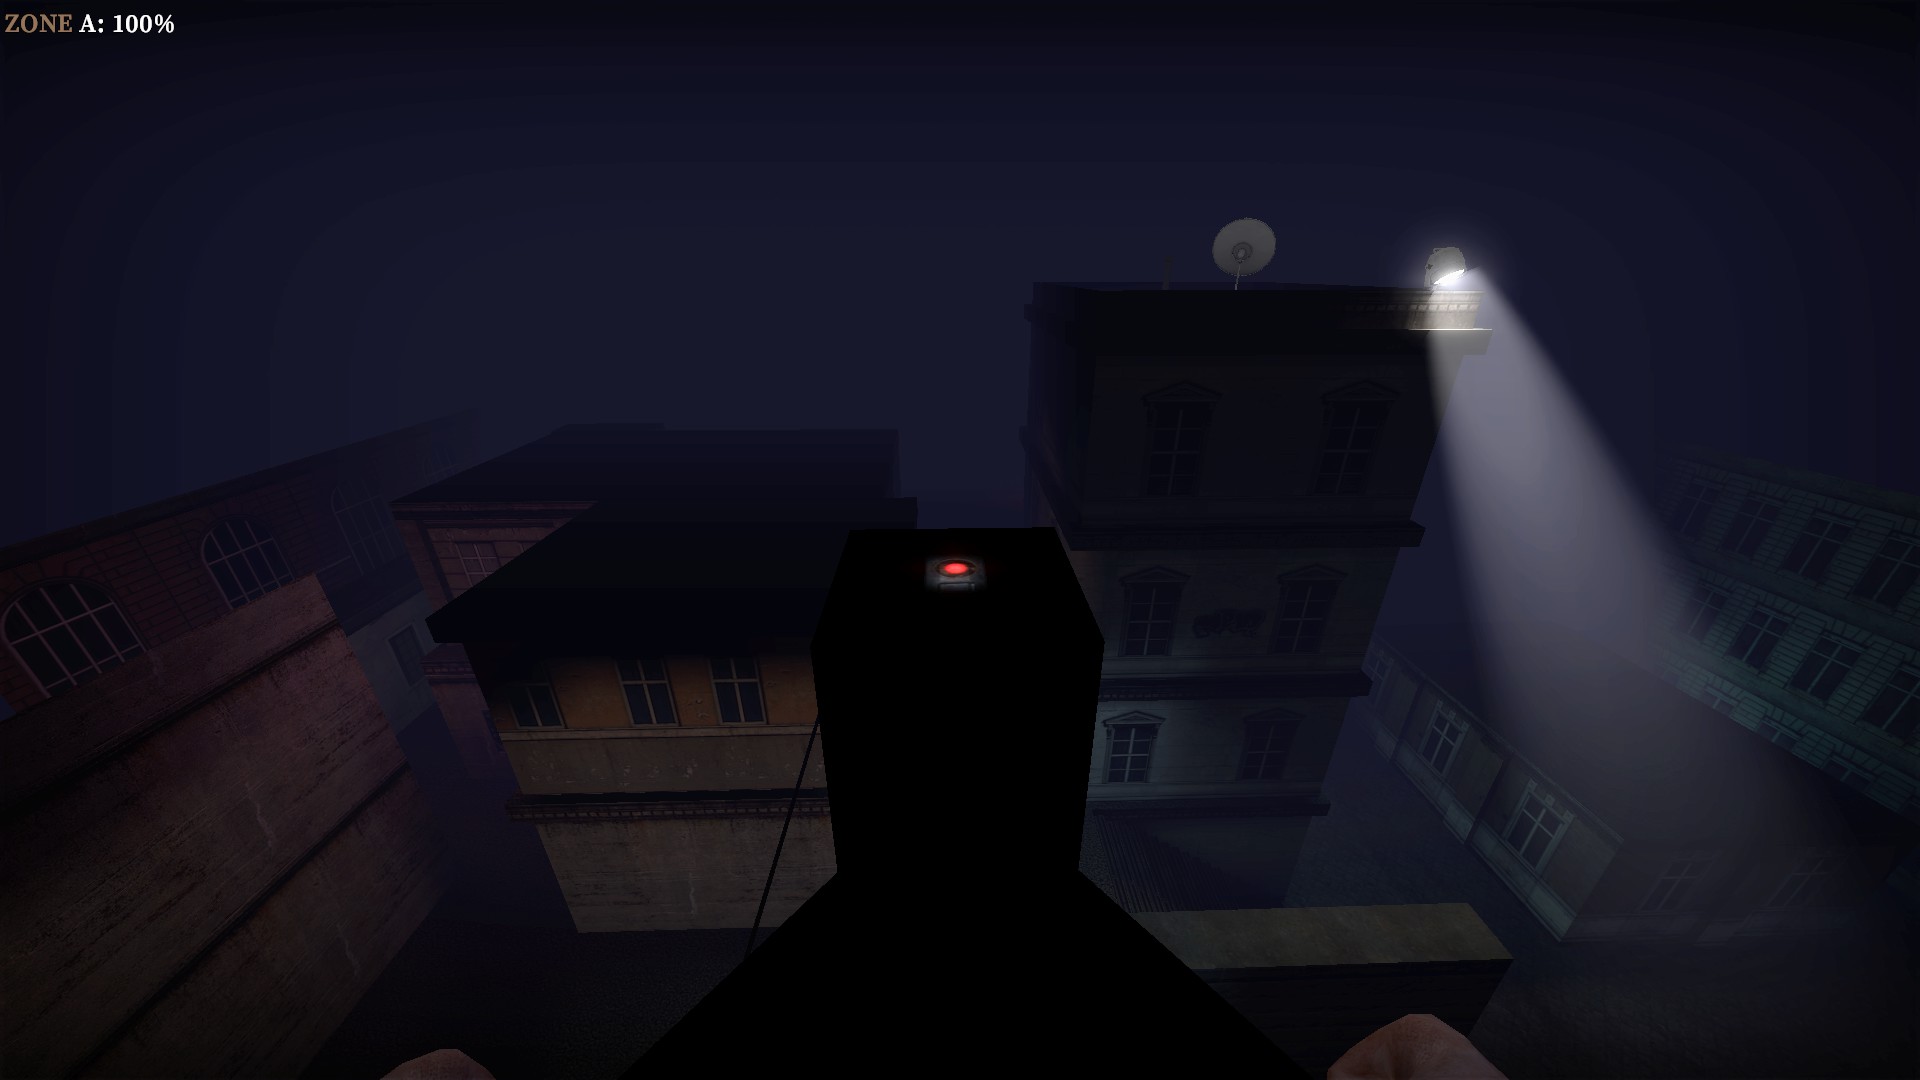
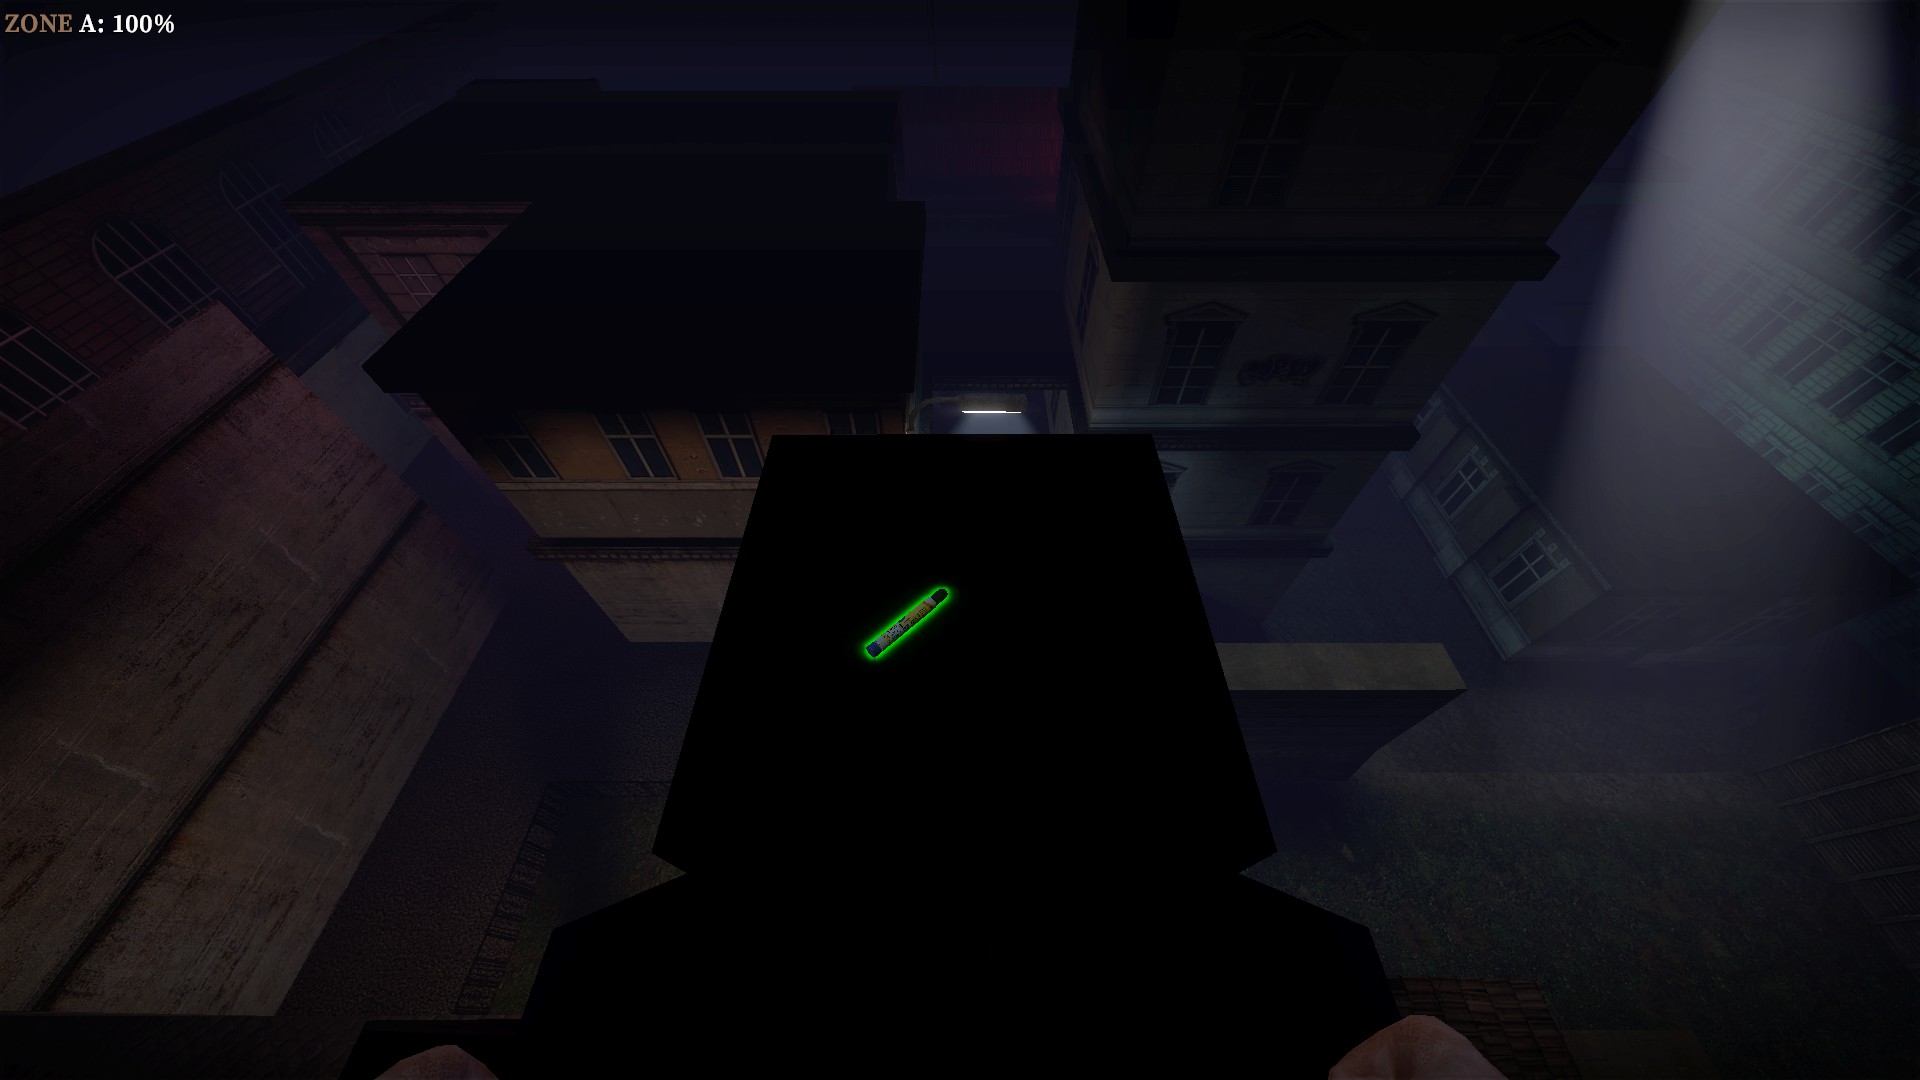
A button on top of the roof will turn into a gene, but you need to gravity cheat up here
nmo_toxicbase
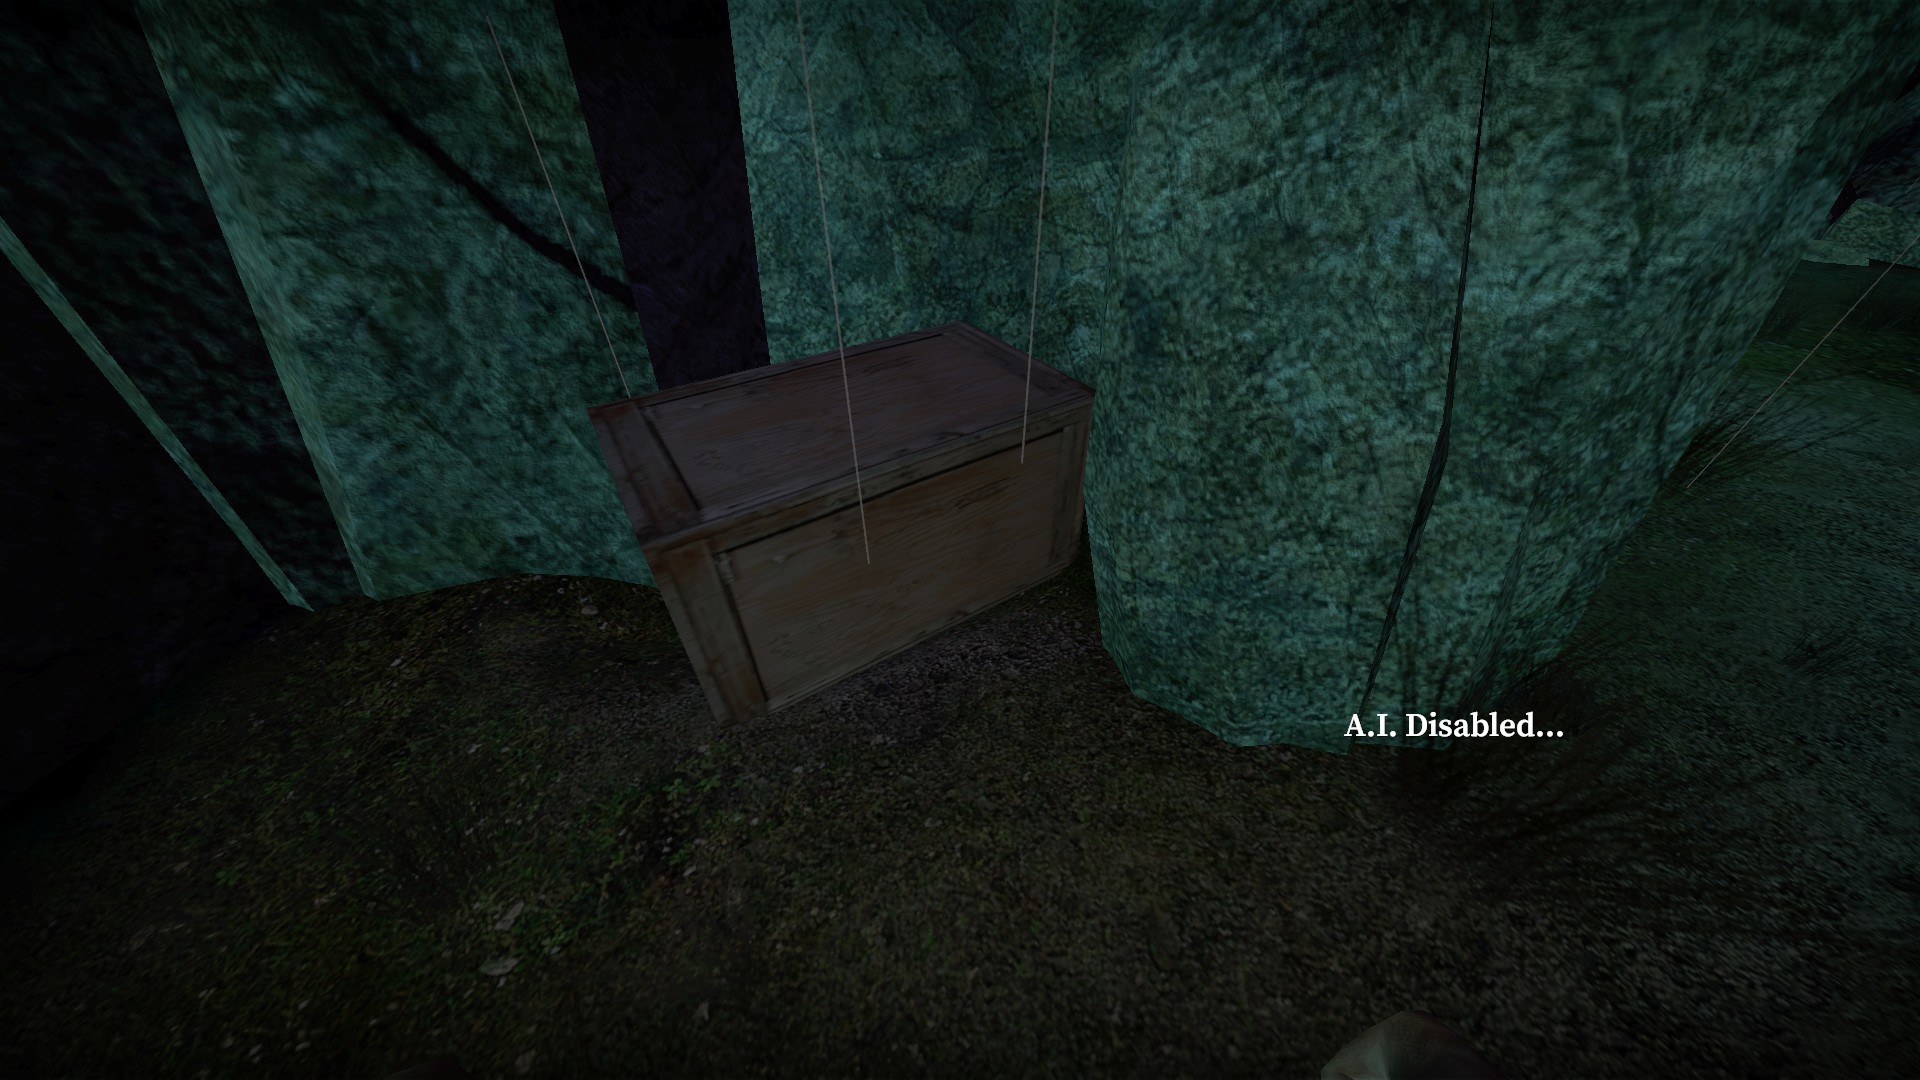
Break the boxes in the starting area for melee weapons
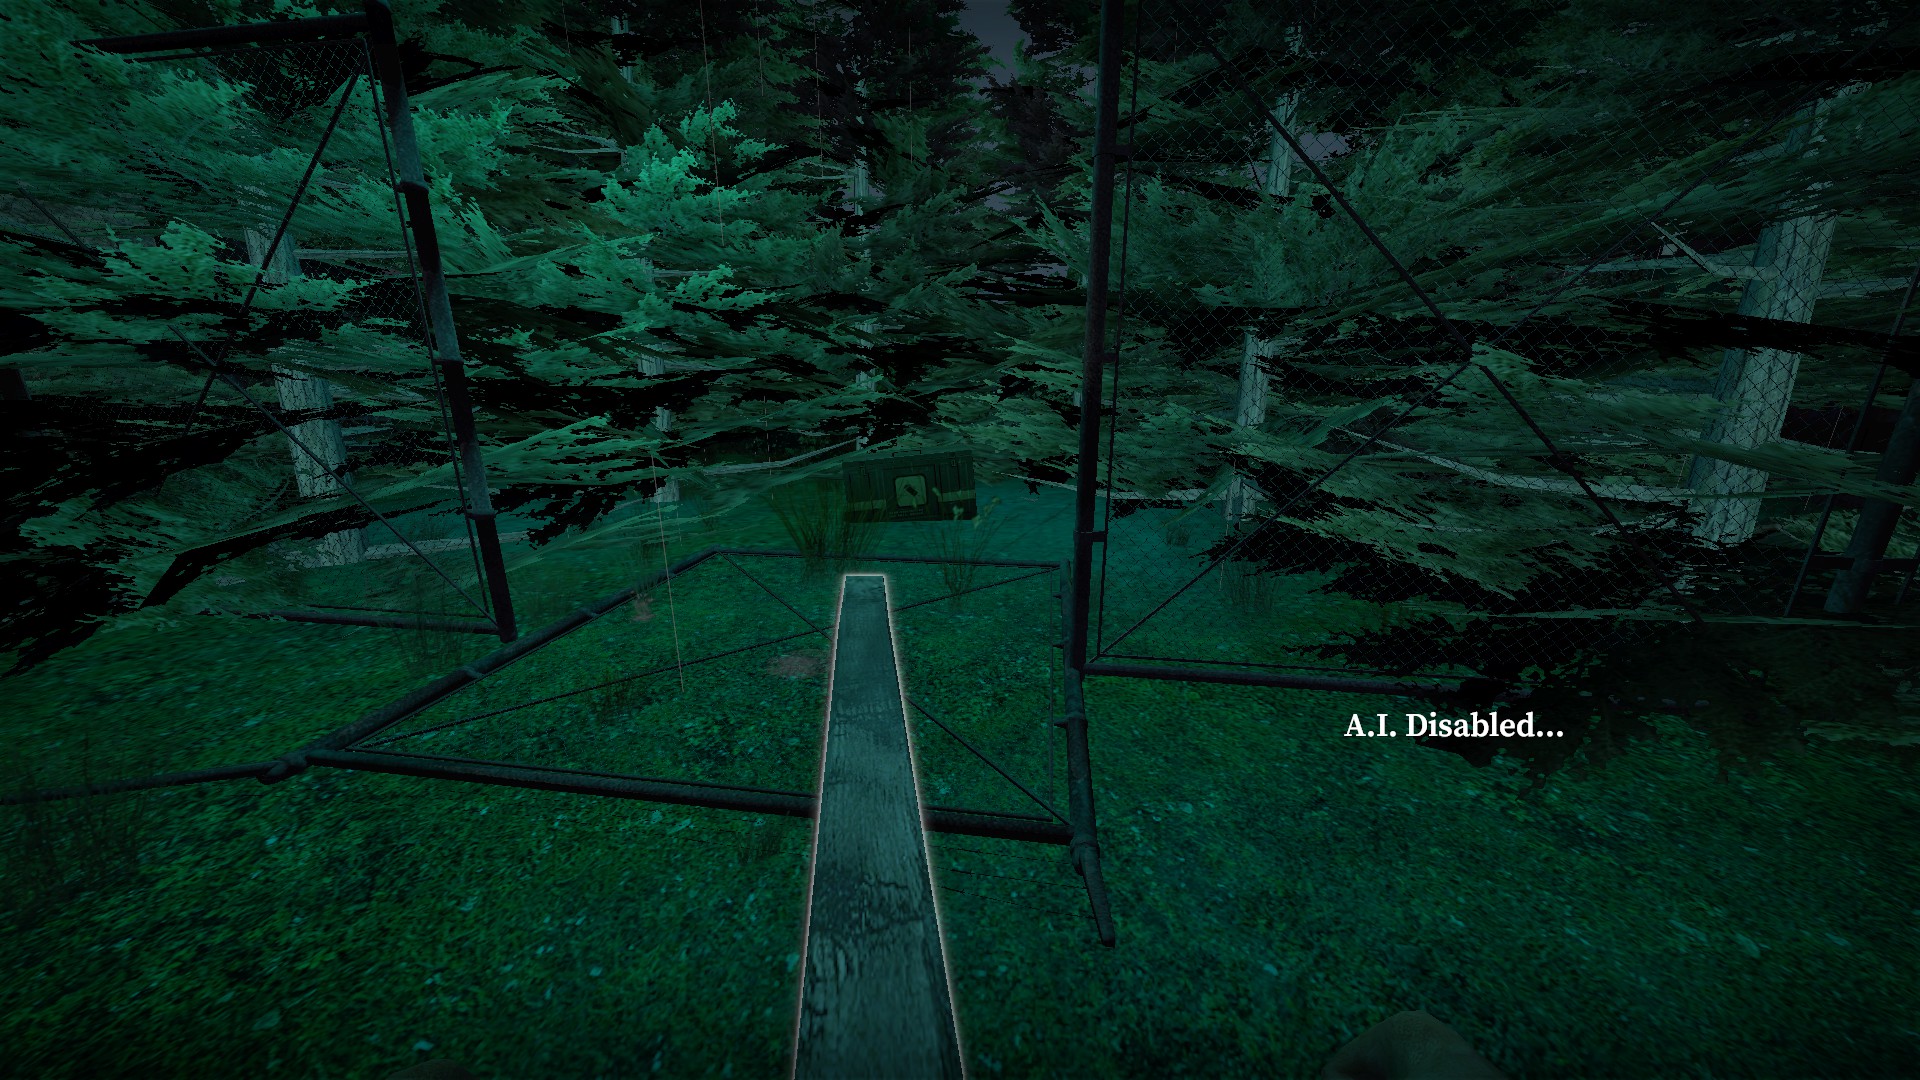
Use the plank as a bridge over the electrified fence to get to the weapon box for a melee
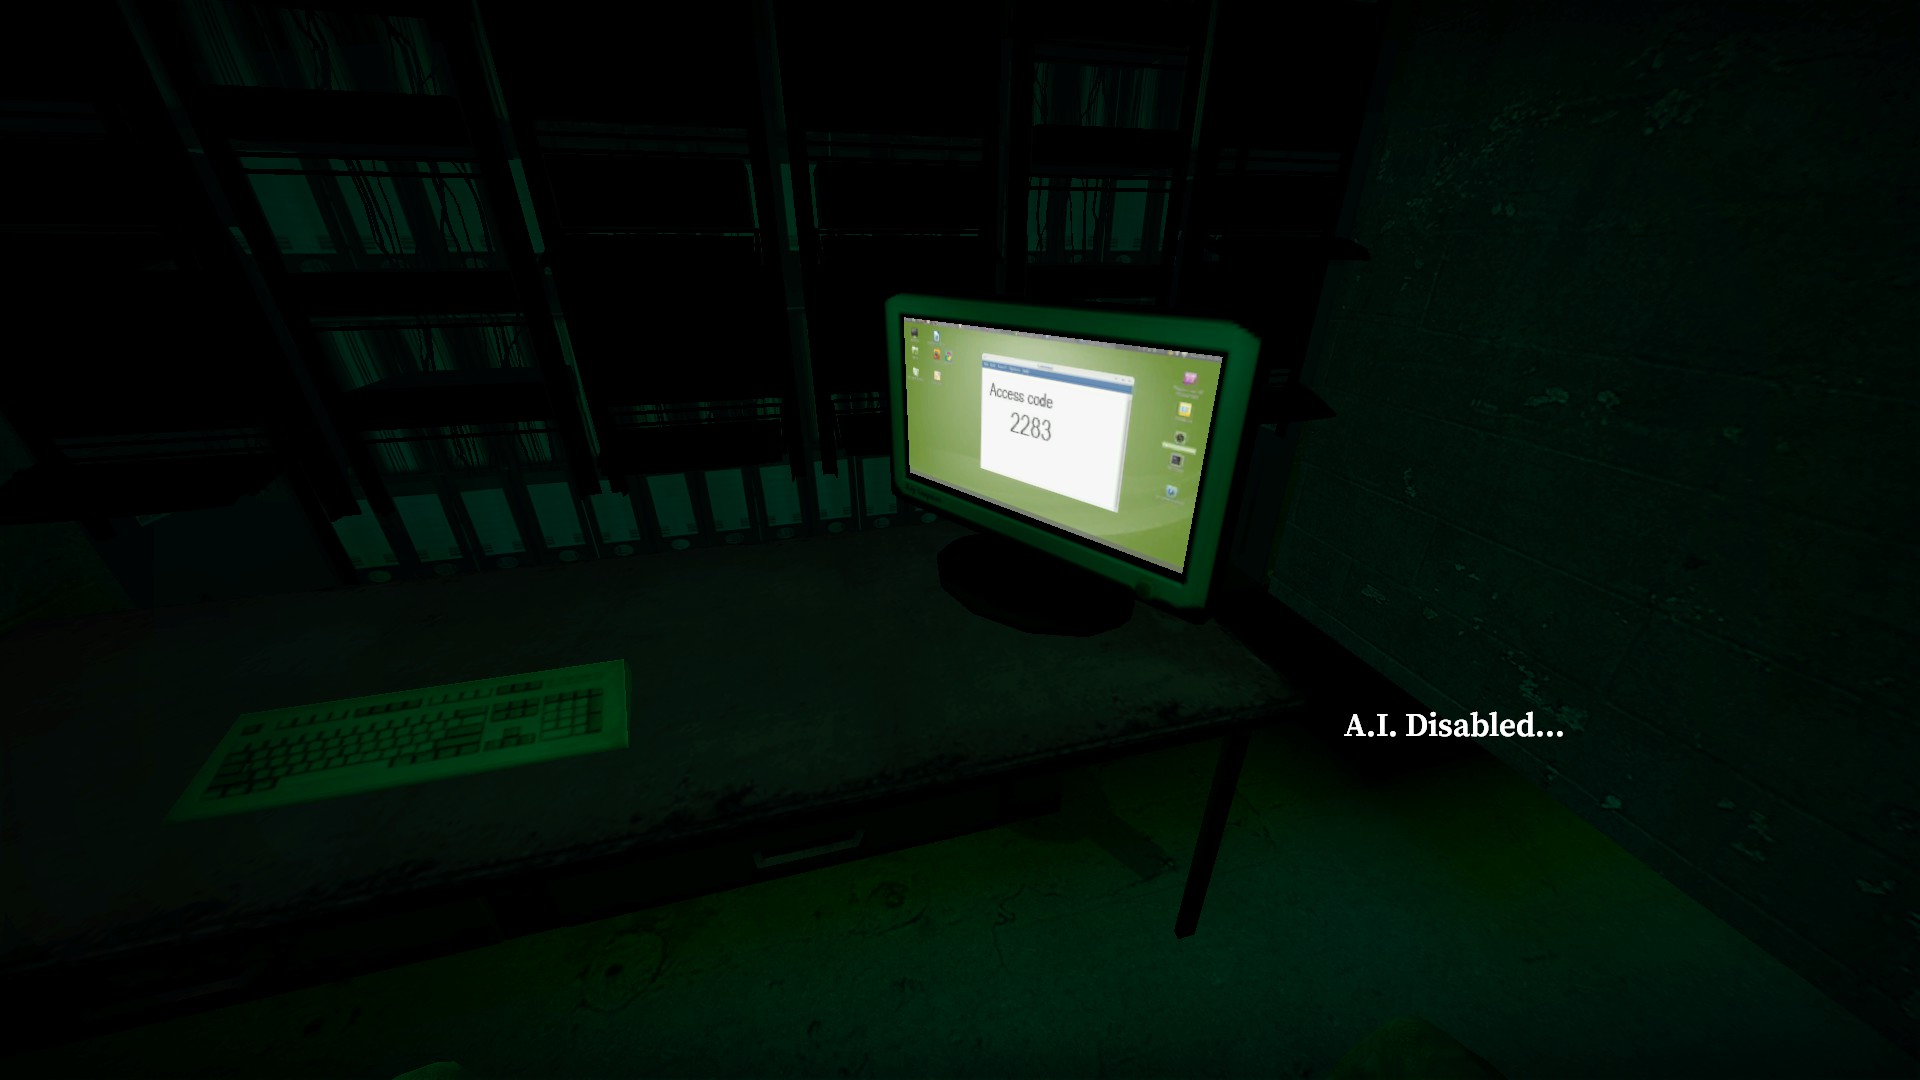
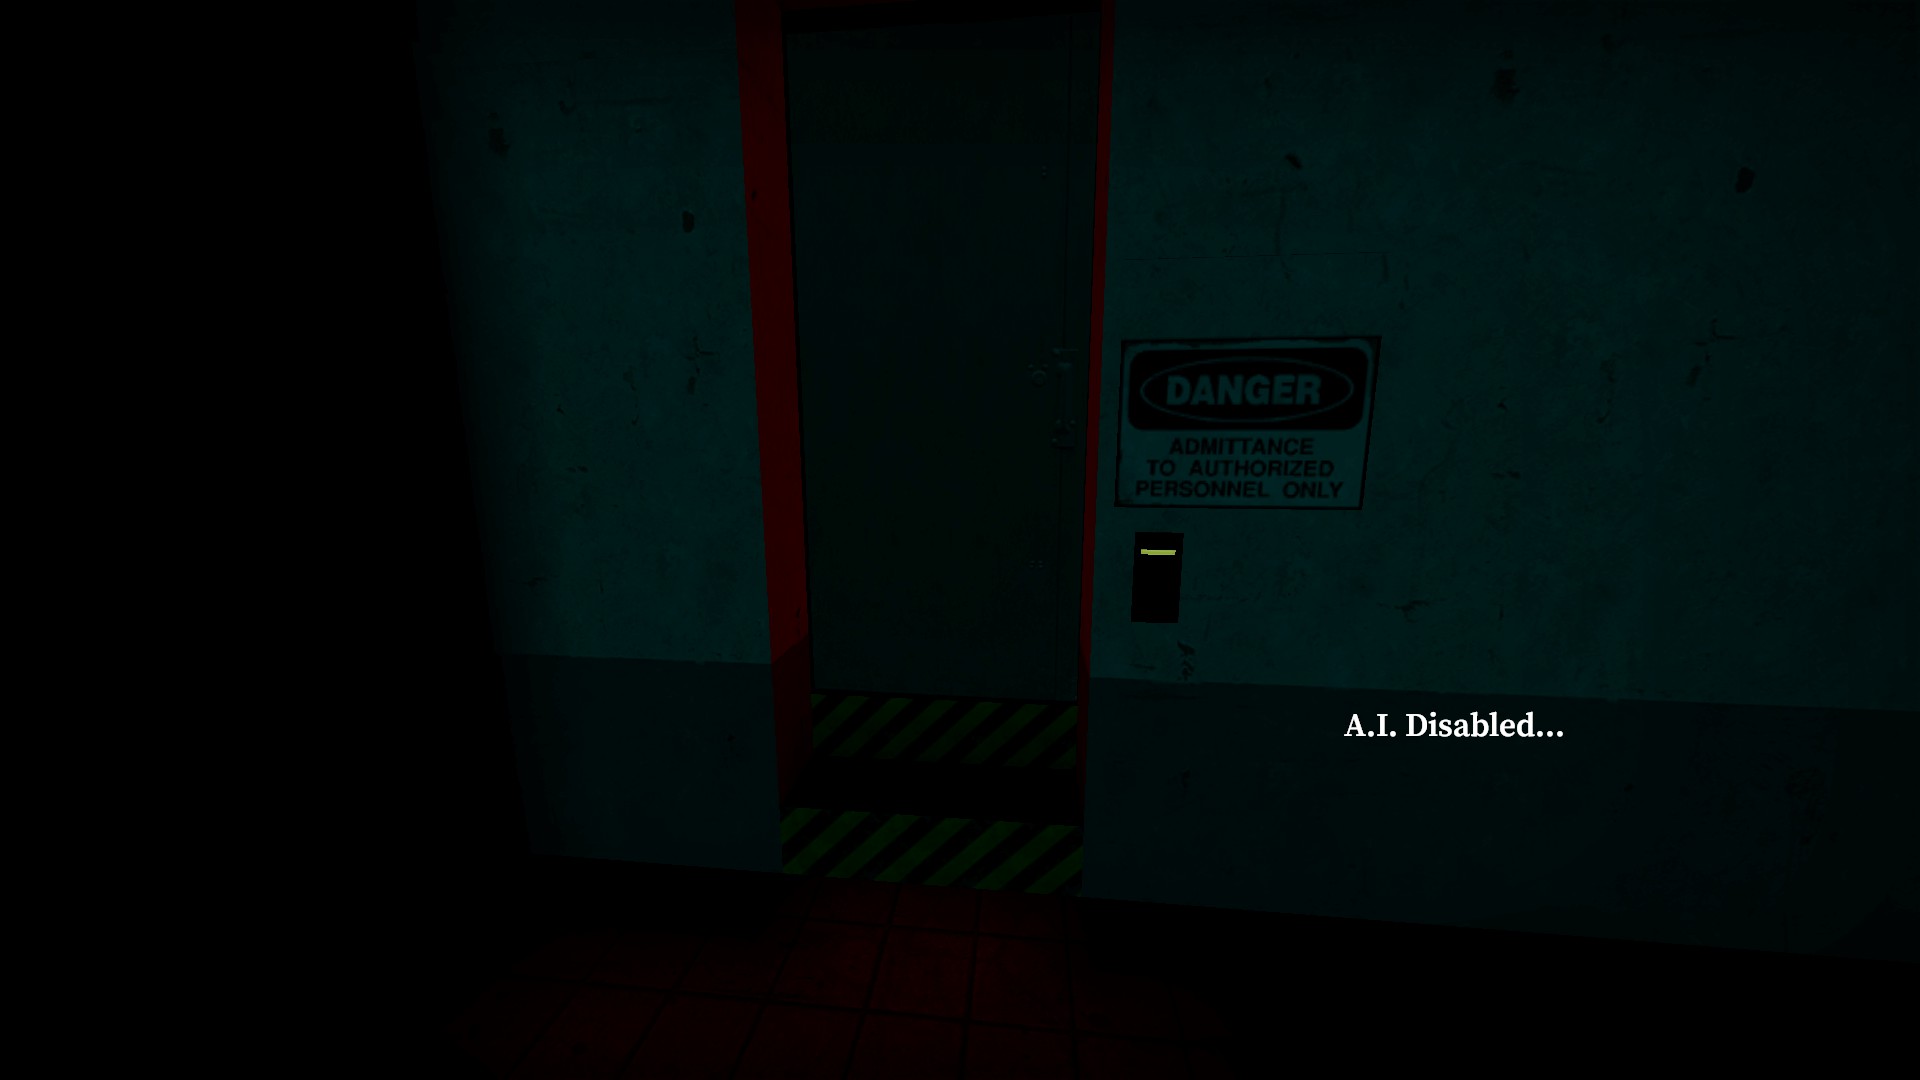
After dropping down to use a card, get a code form the computer to use on a door for an item stash
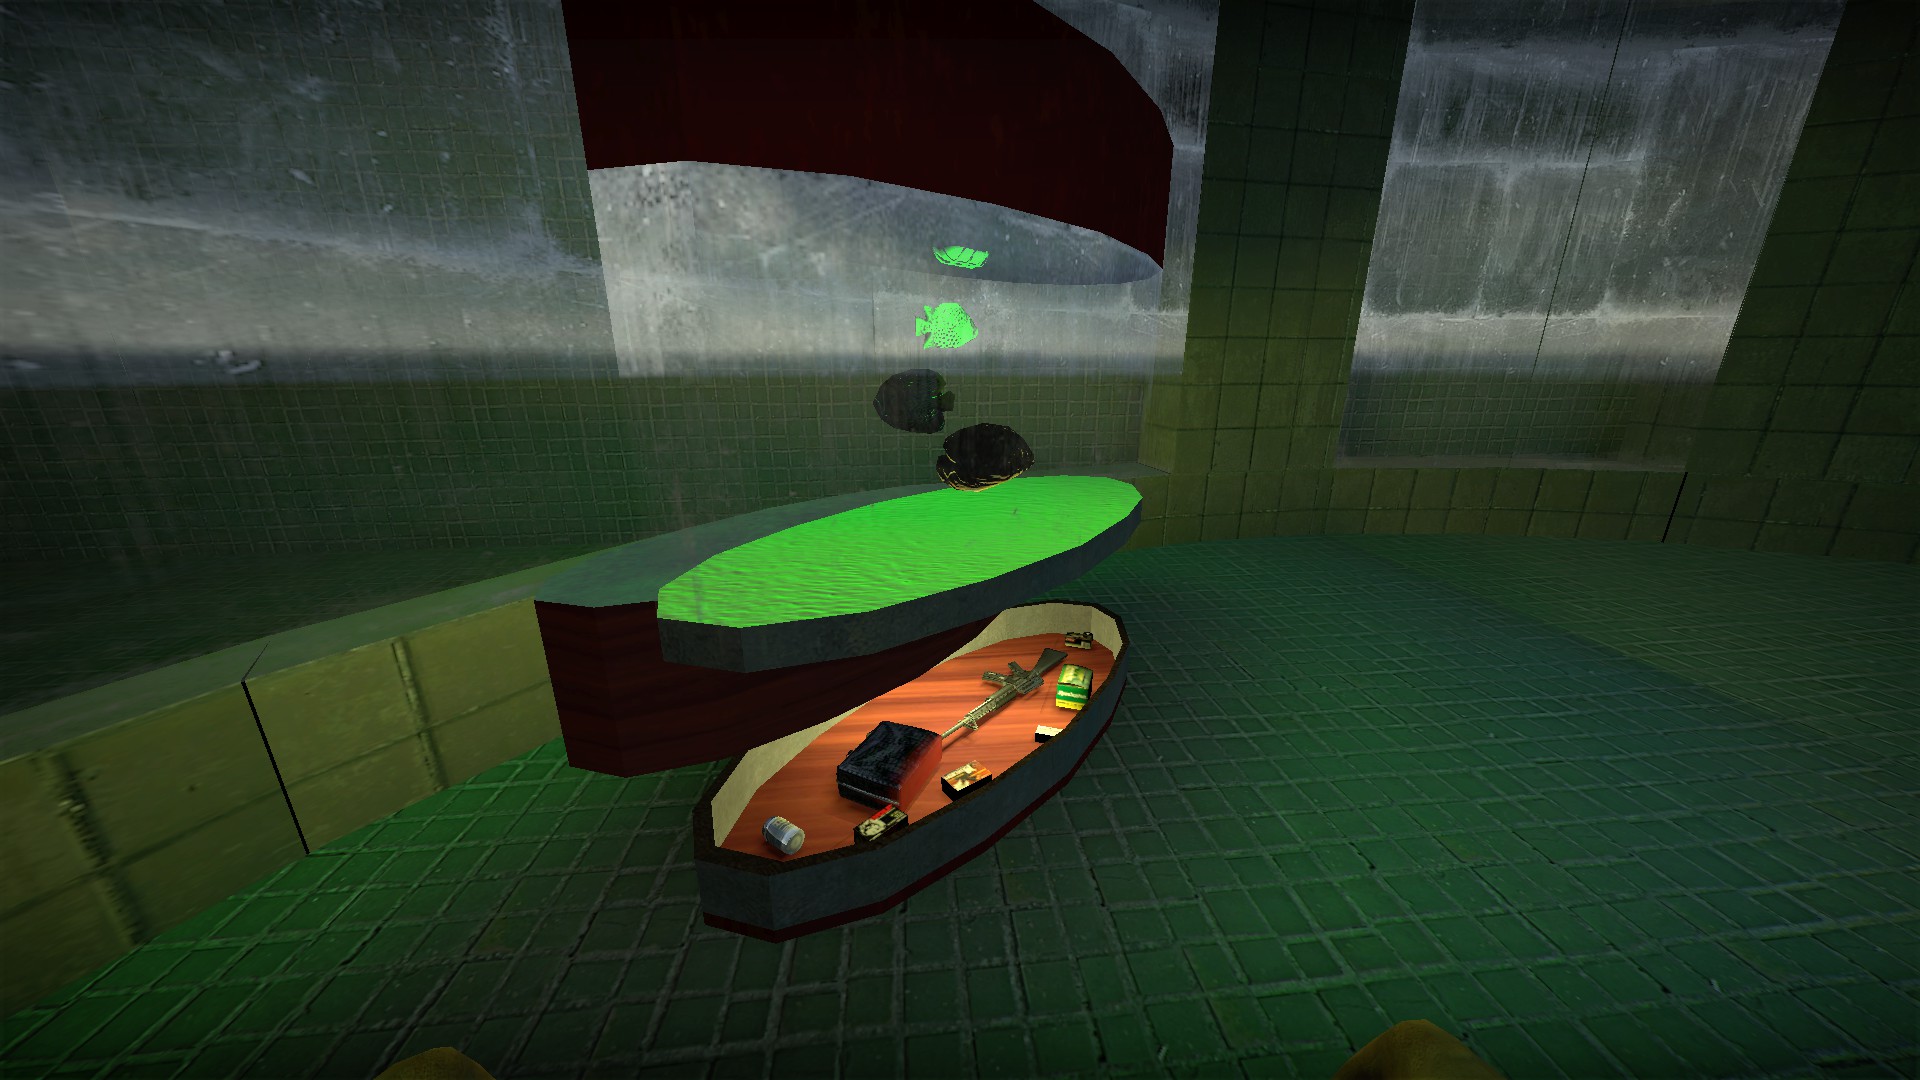
Press e on the fish tank for a hidden stash
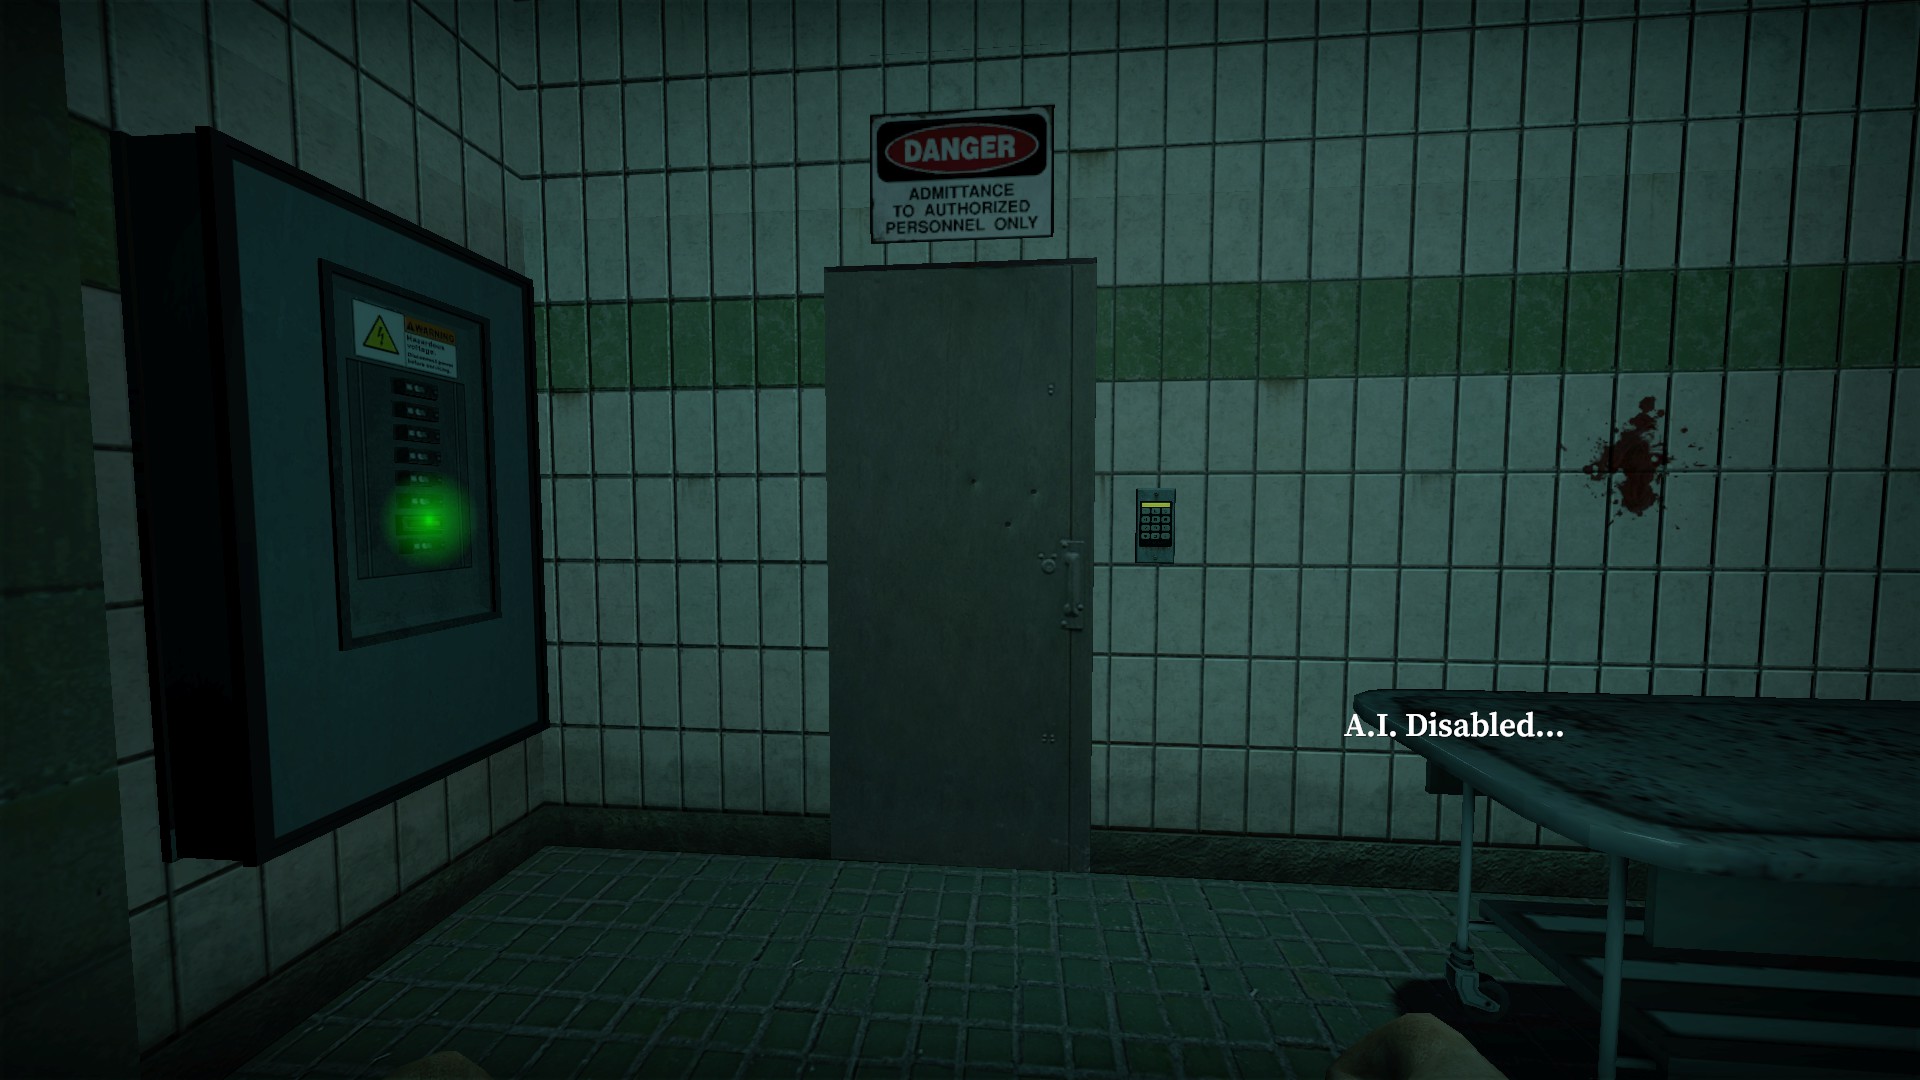
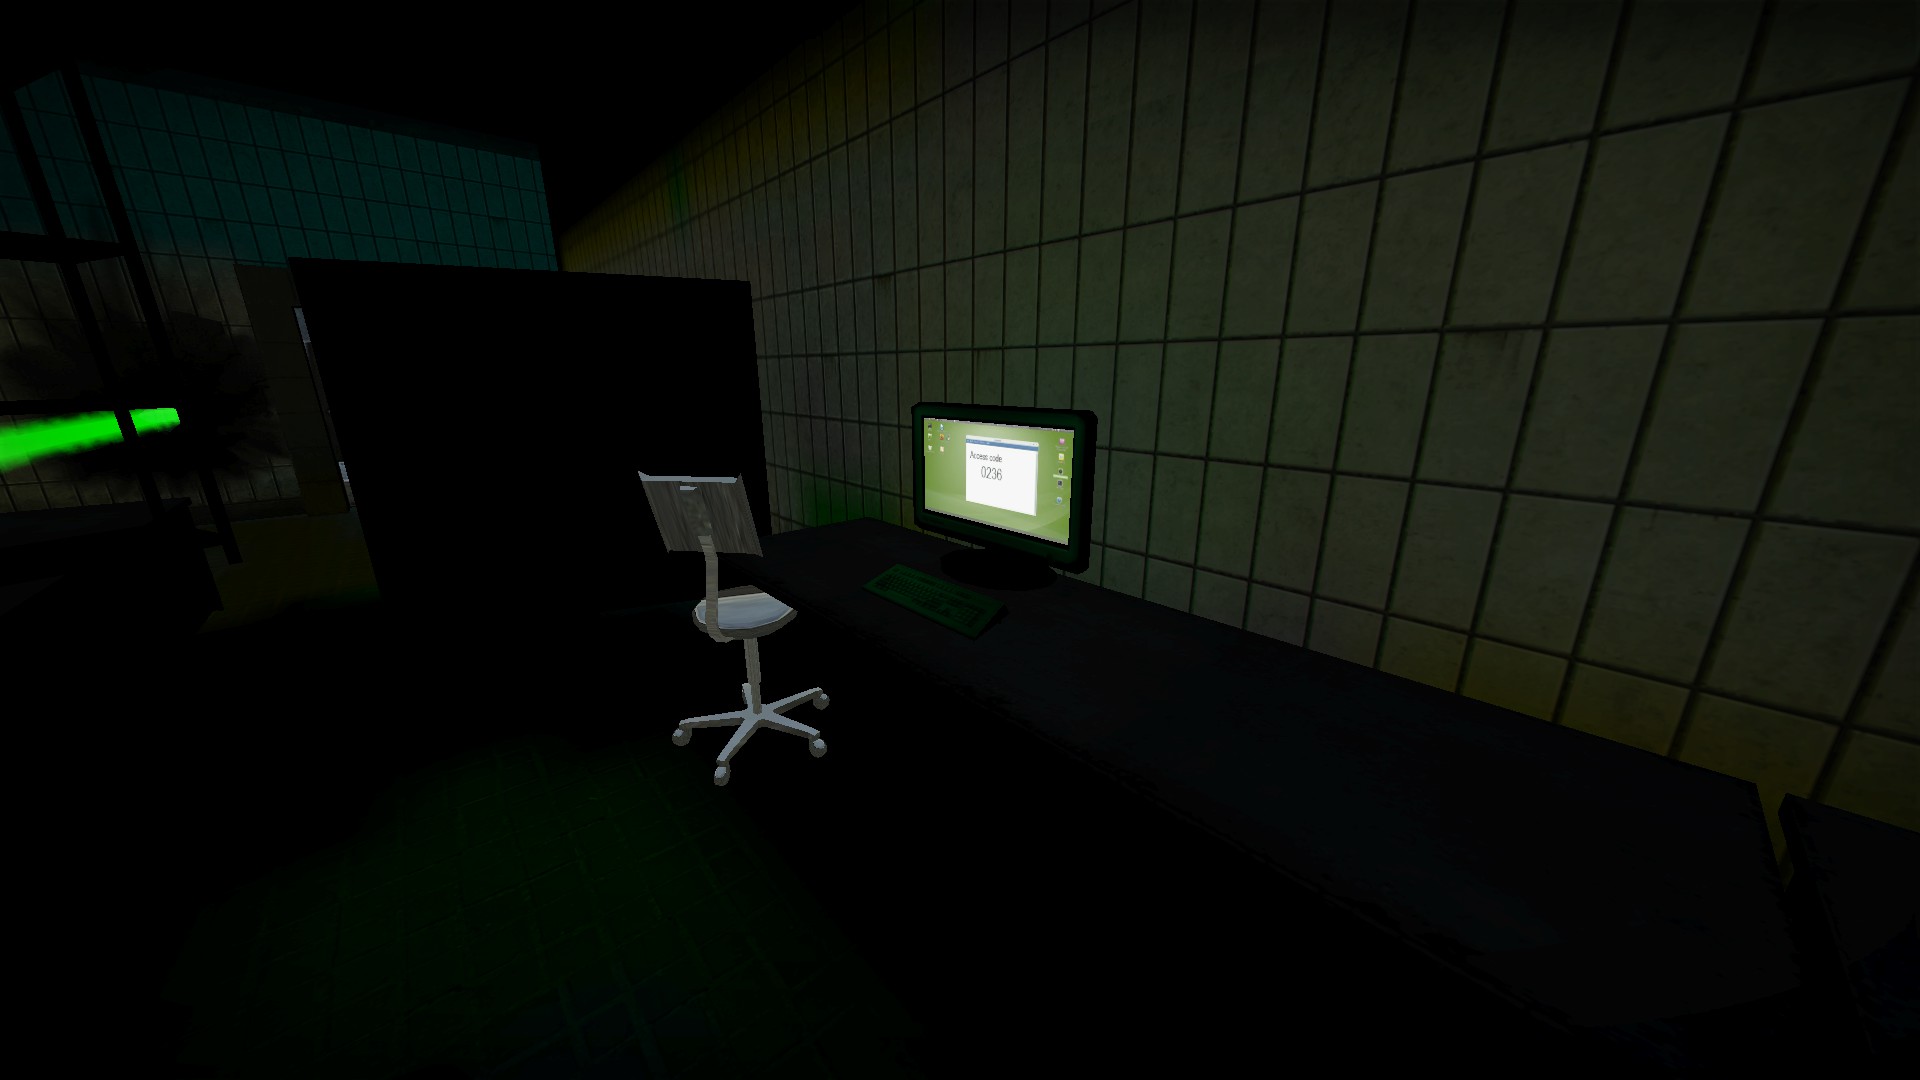
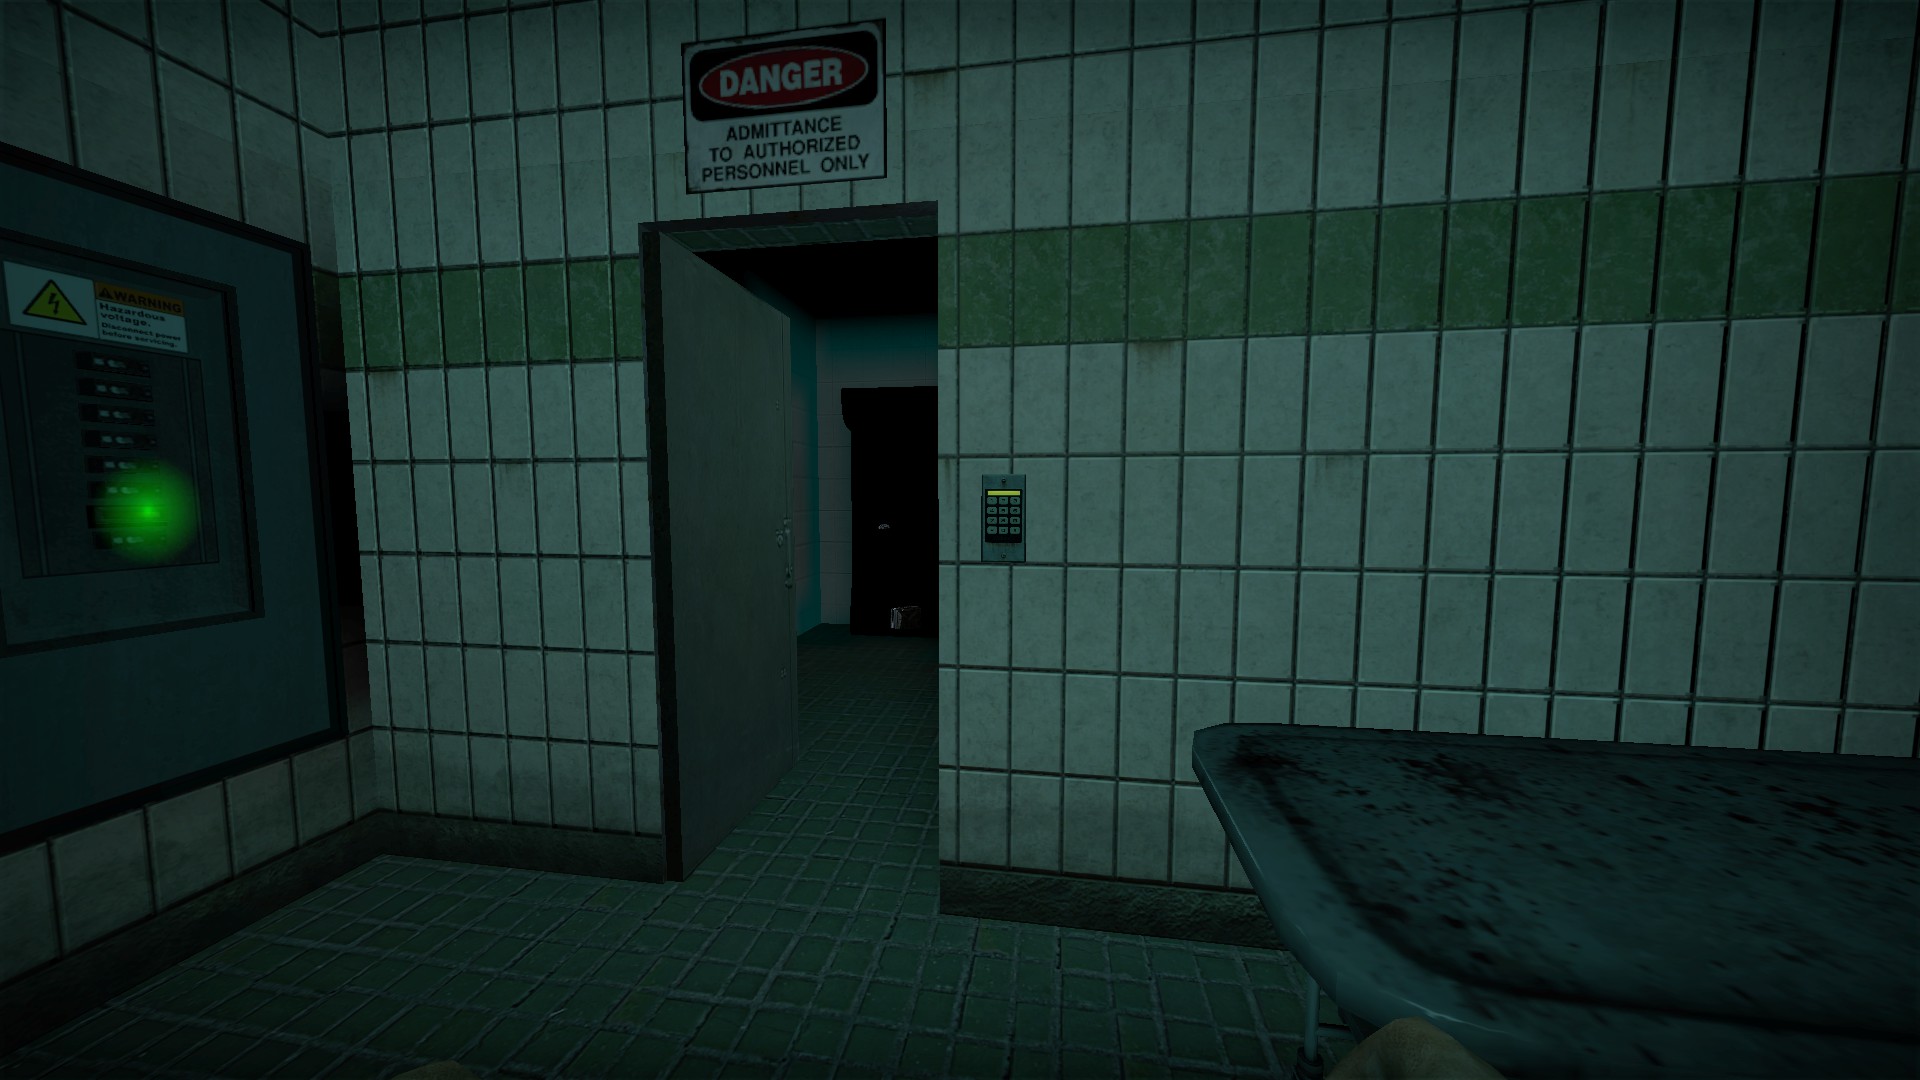
Interact with the nearby computer to get the code for this door
nmo_toxteth
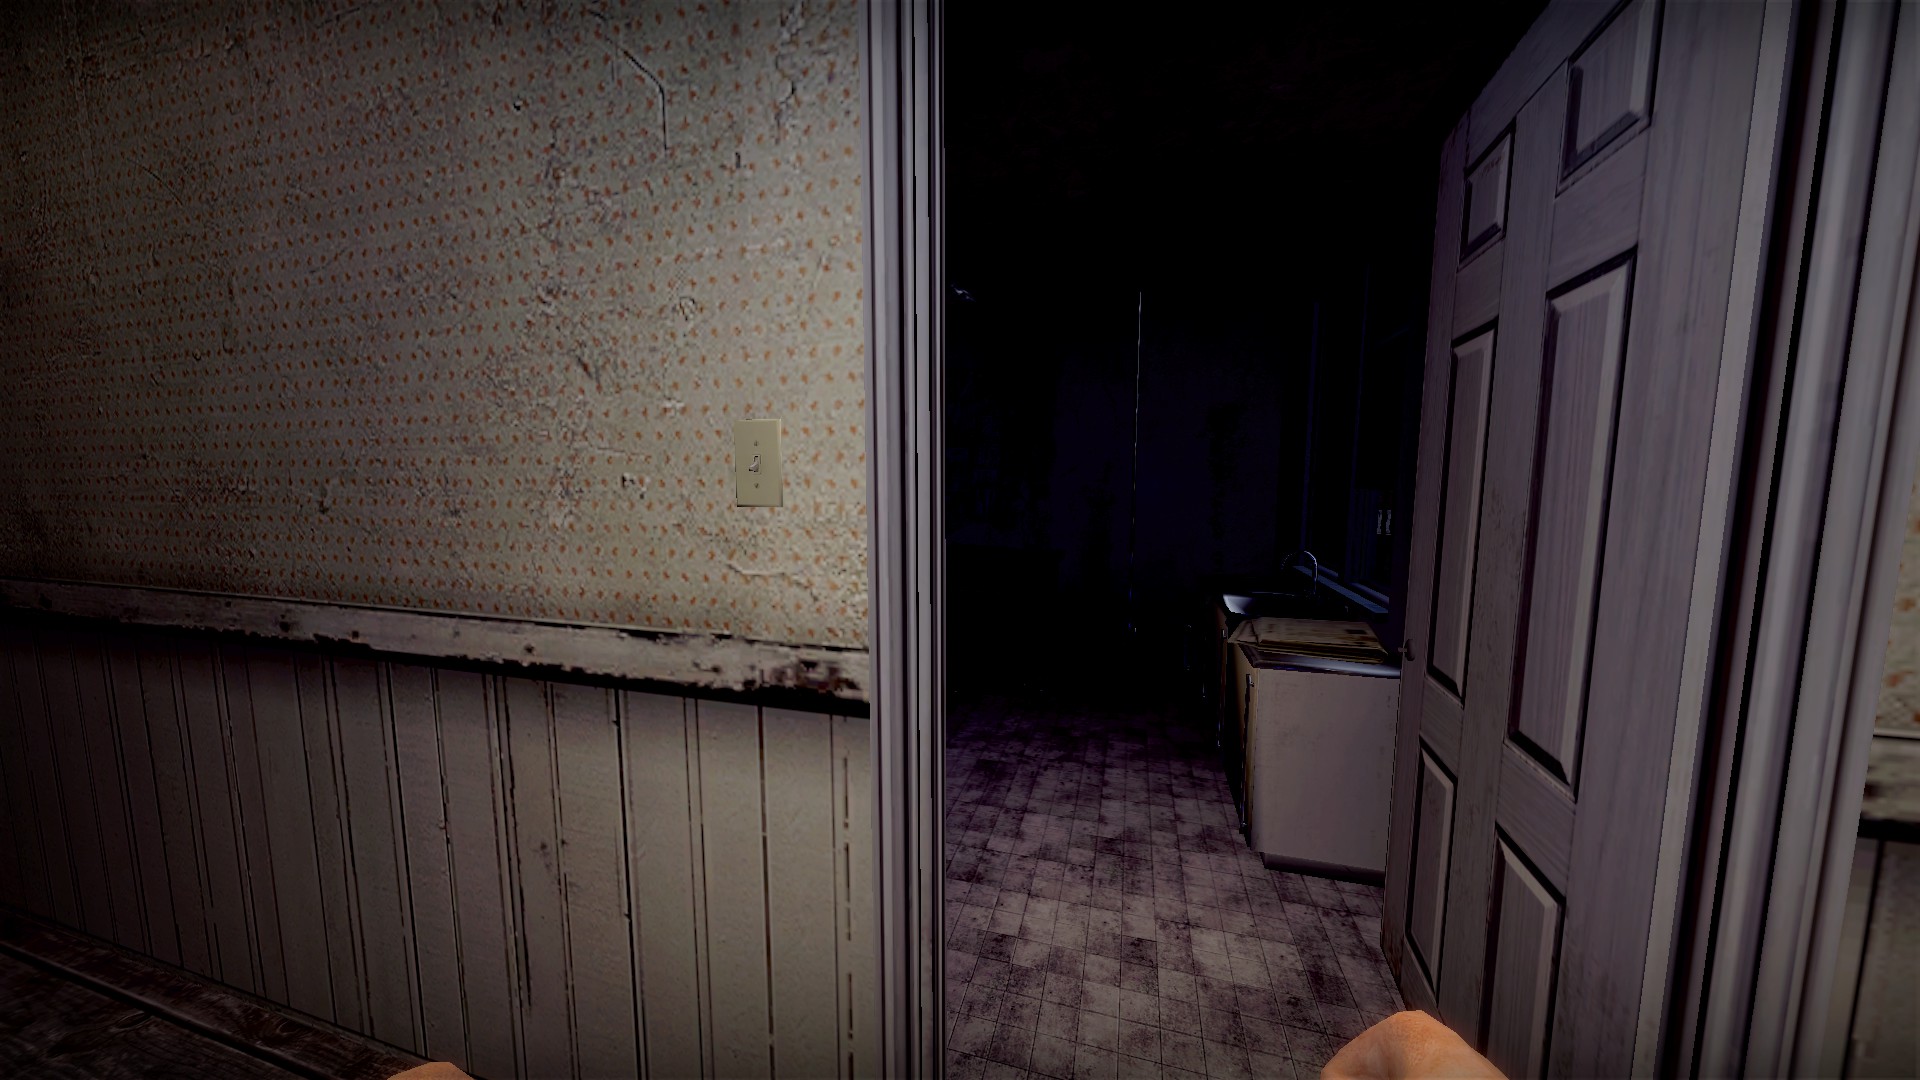
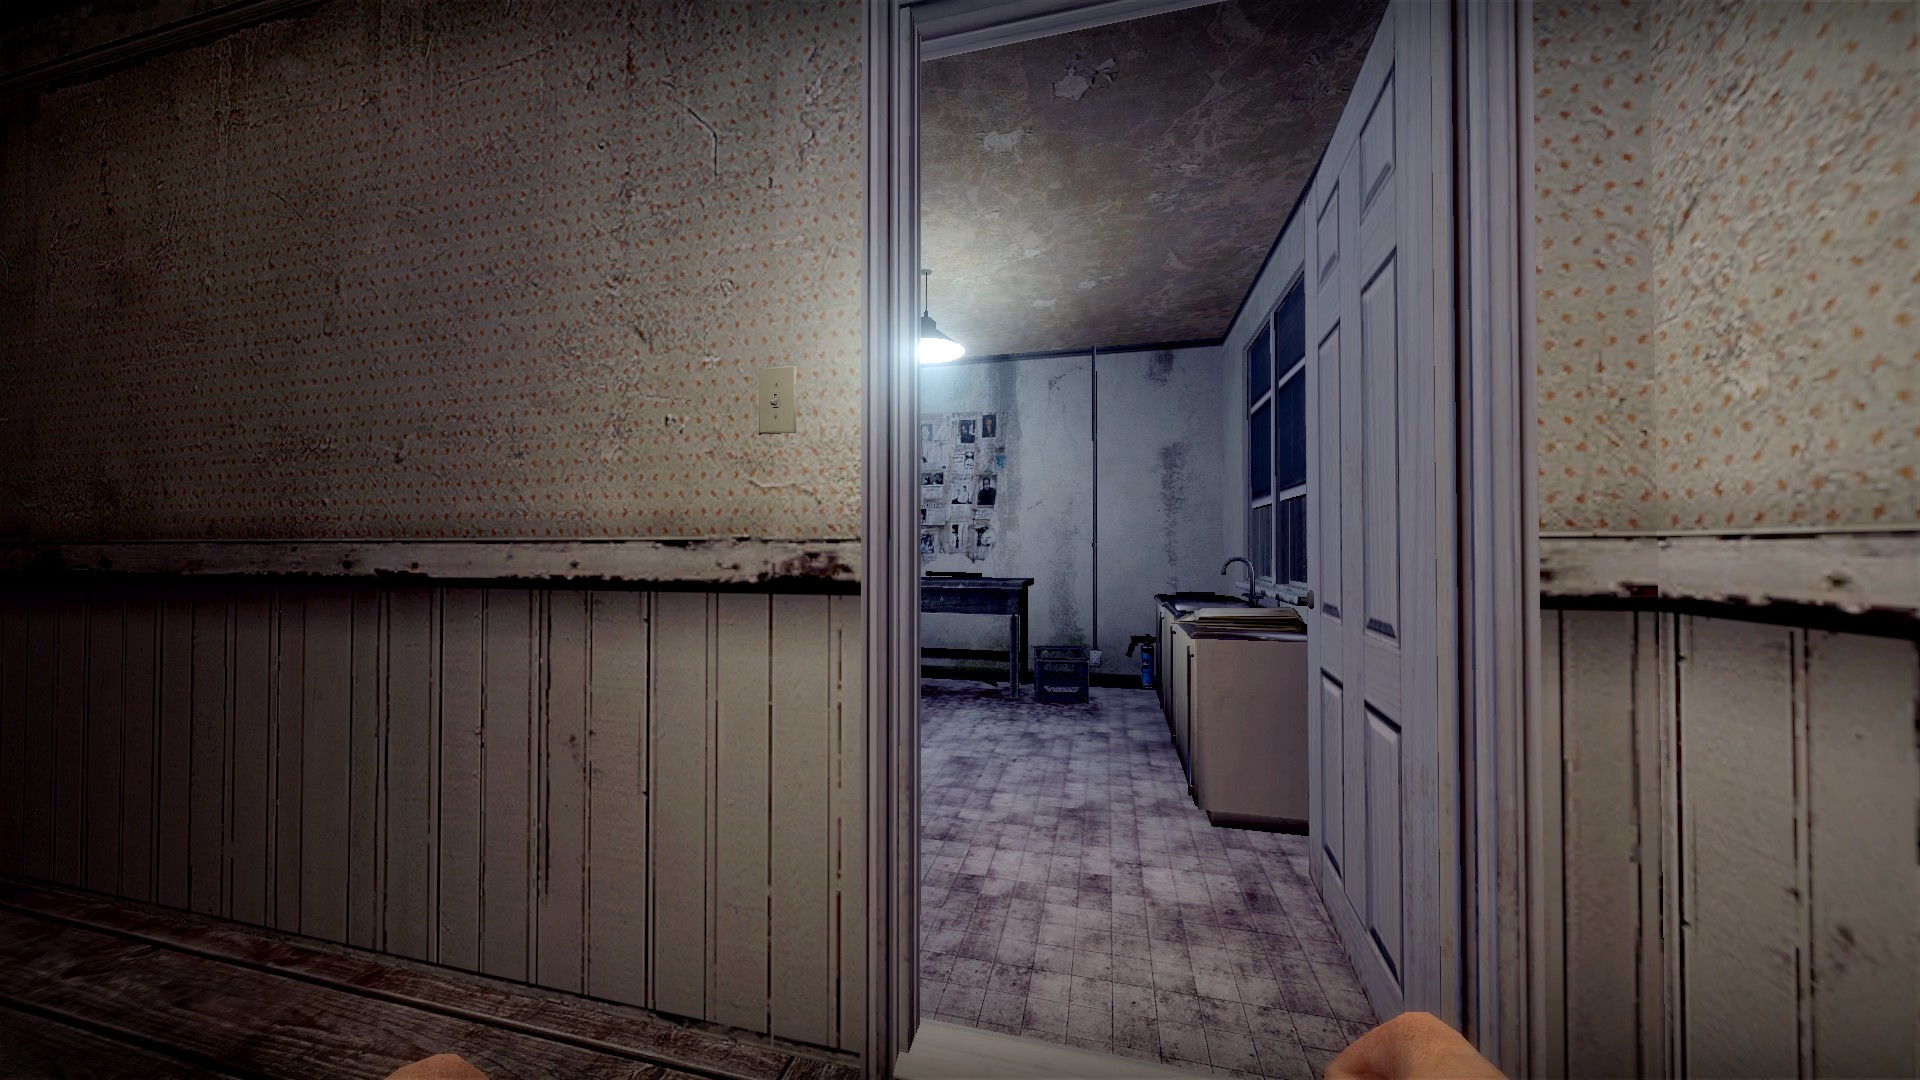
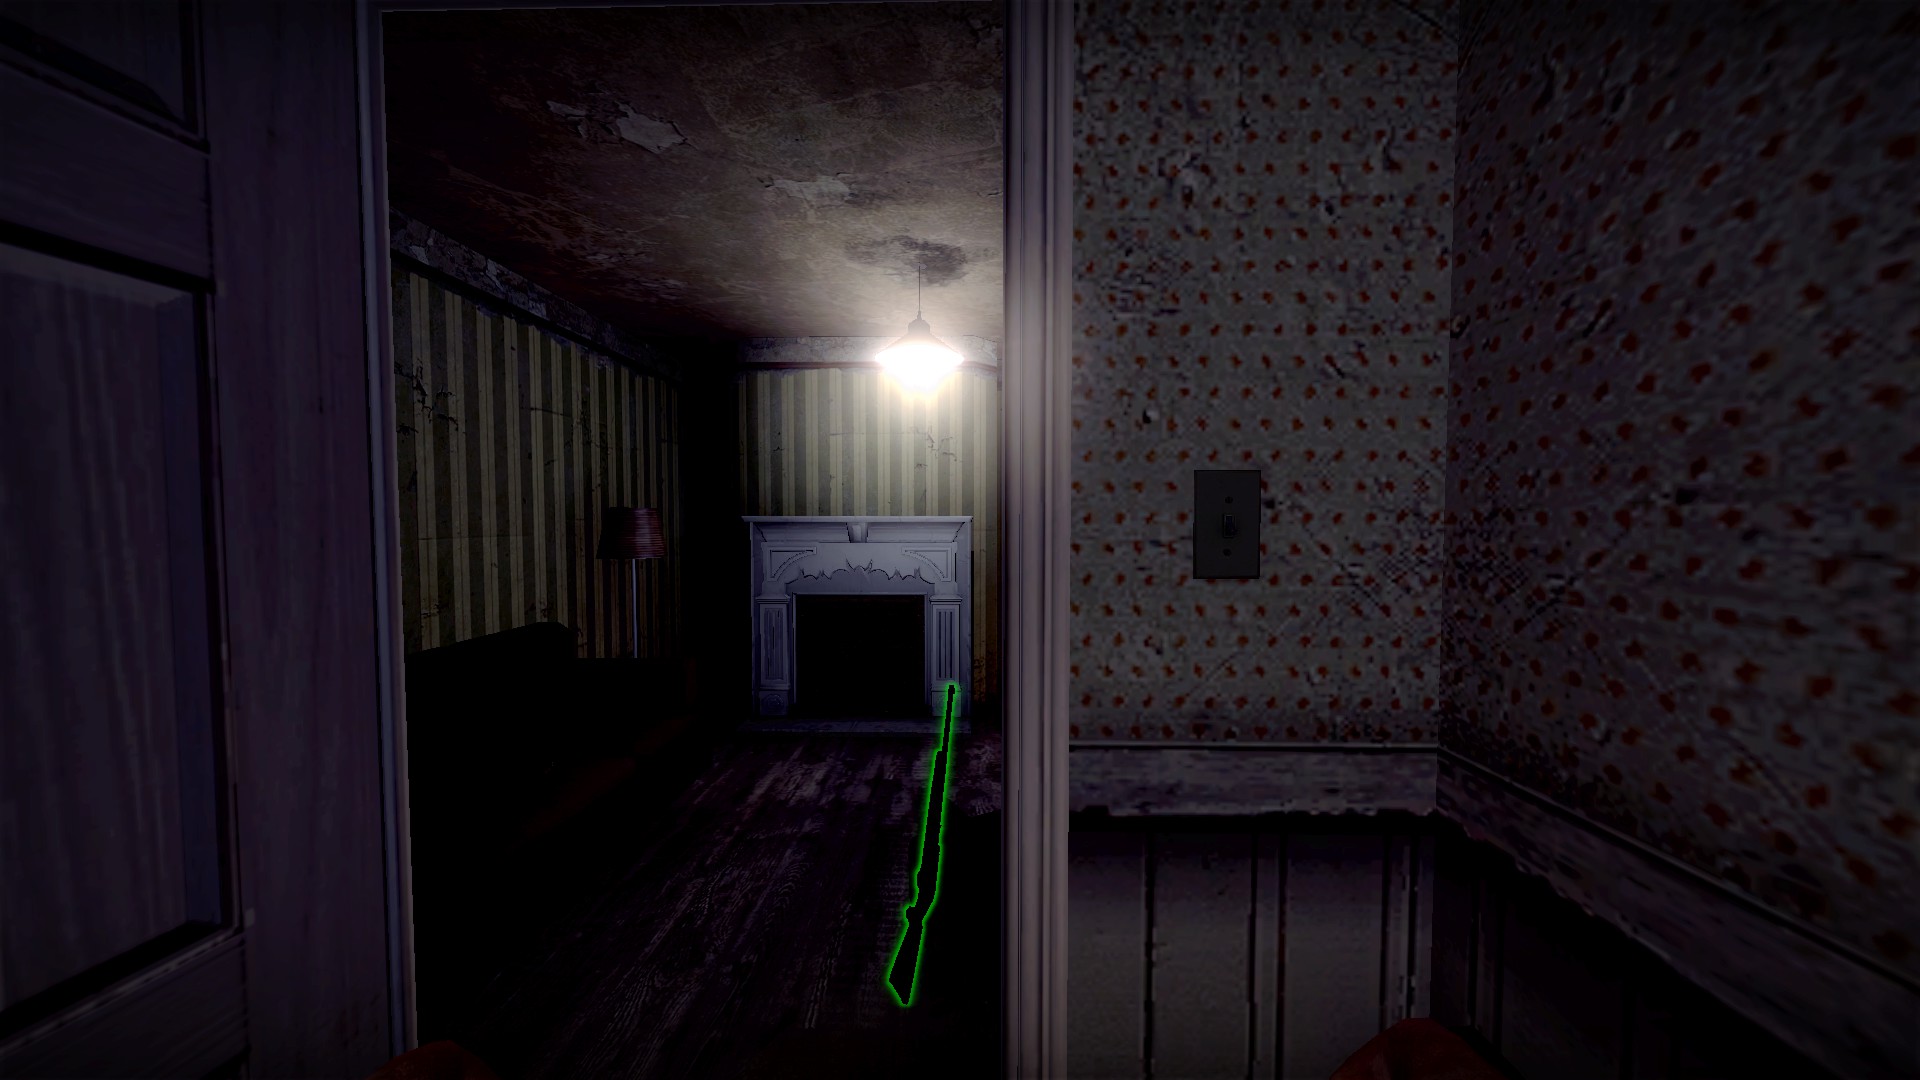
Use the light switches to see in dark rooms of the houses
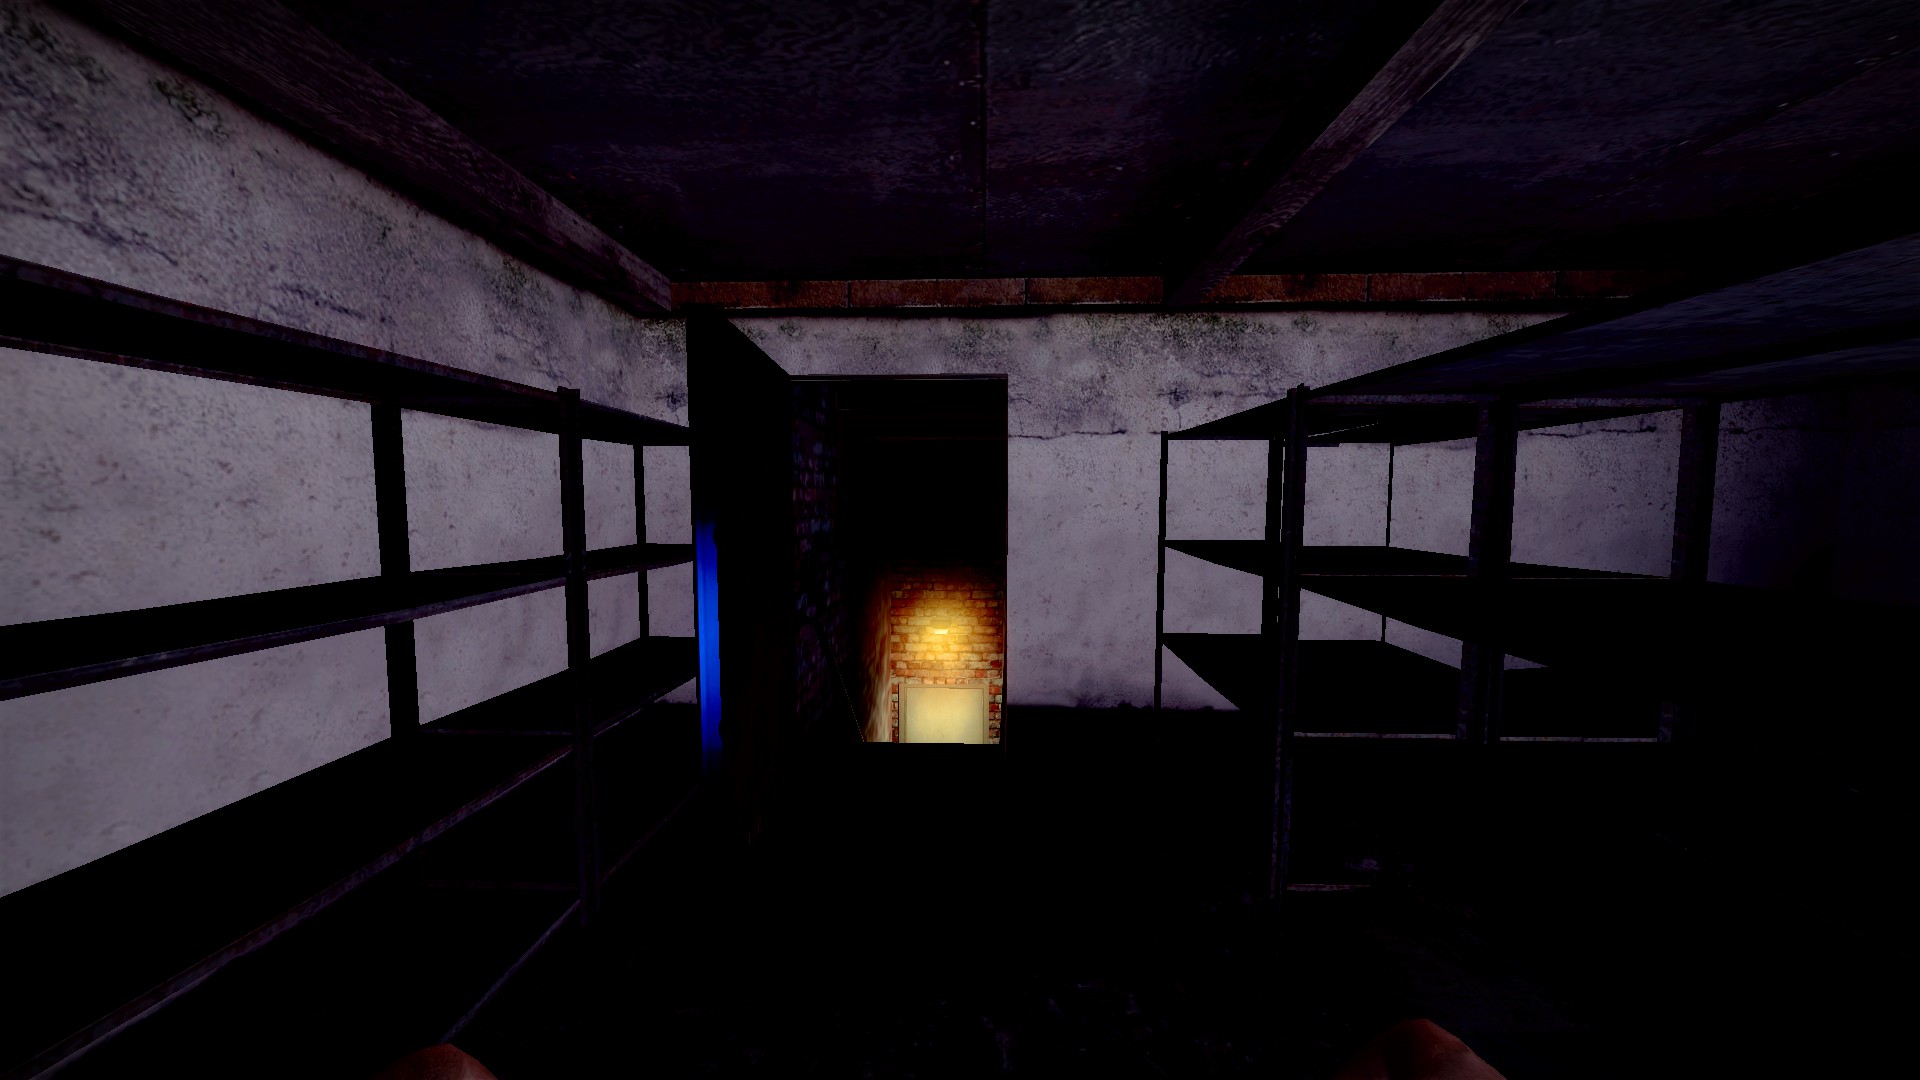
In the basement of the eastern house, a door will occasionally open. If it's locked there is no way to open it
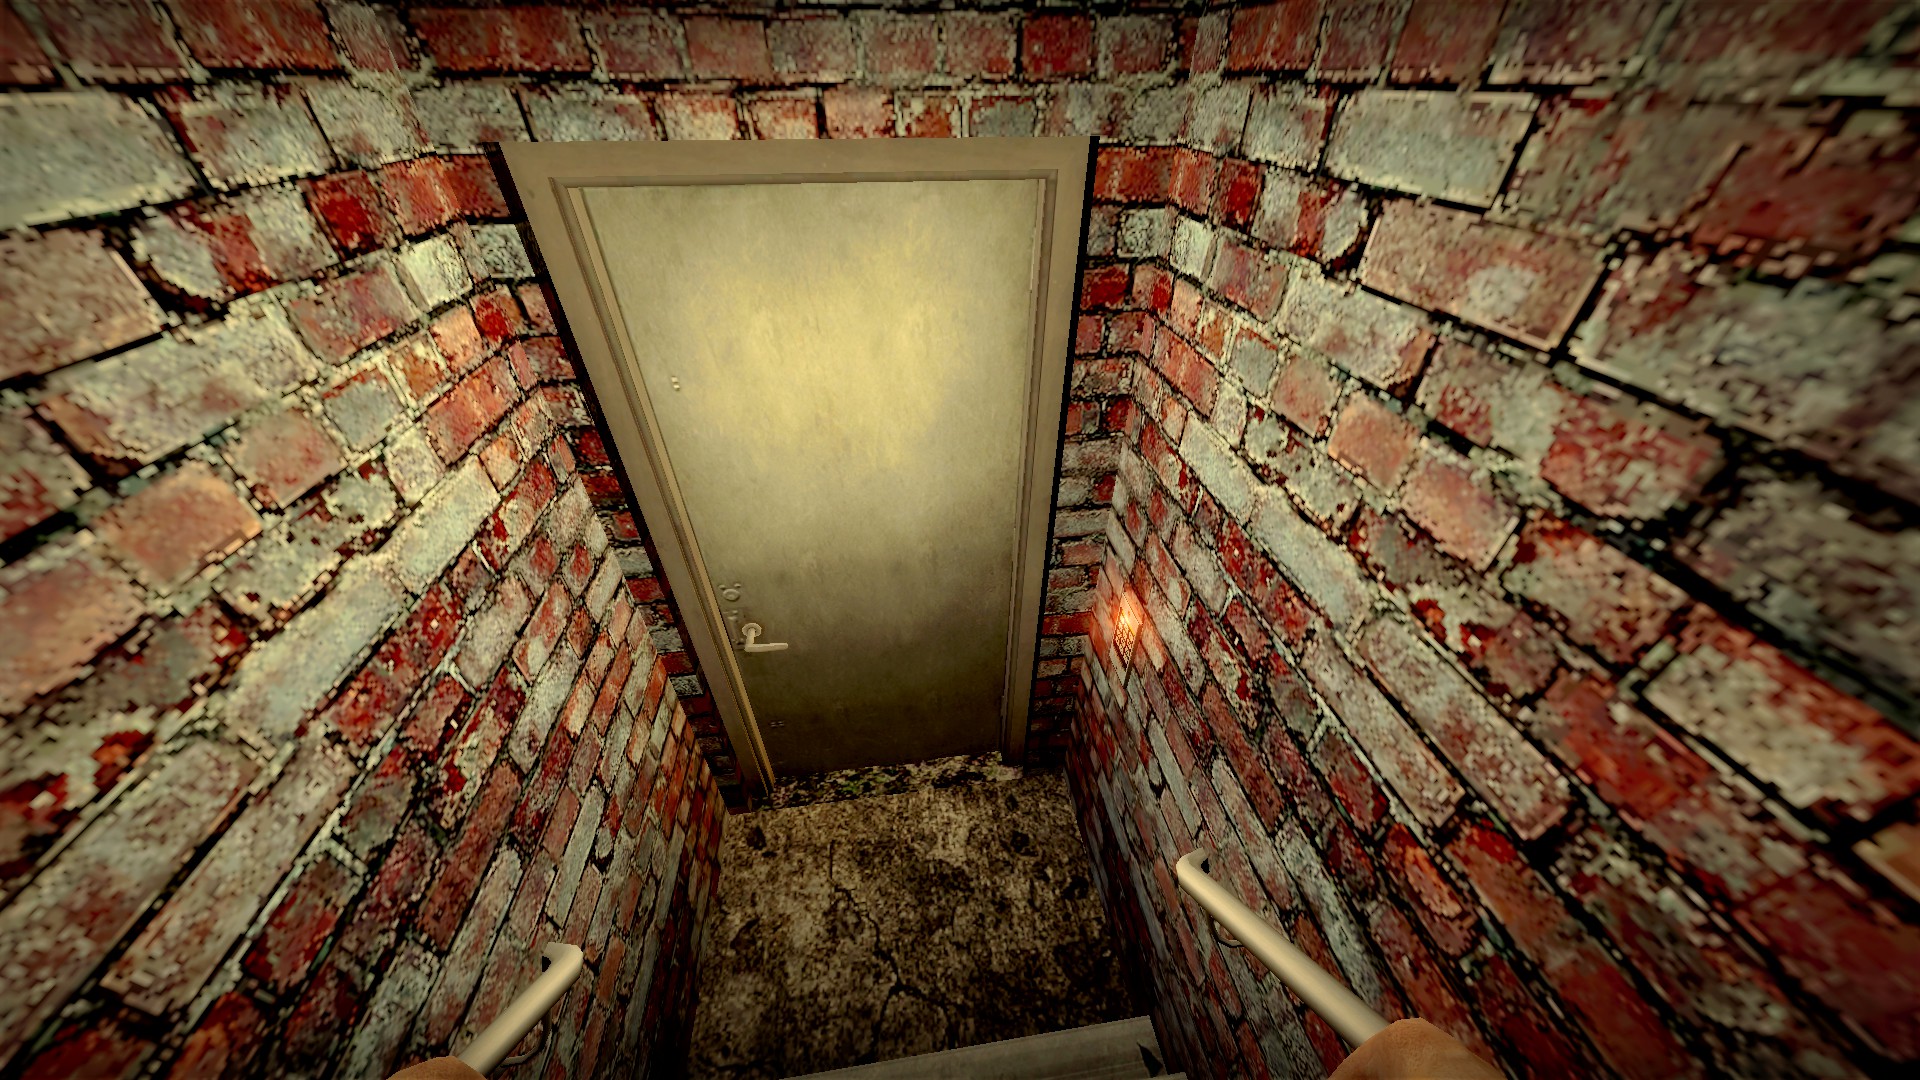
Behind that door is another door with a keypad
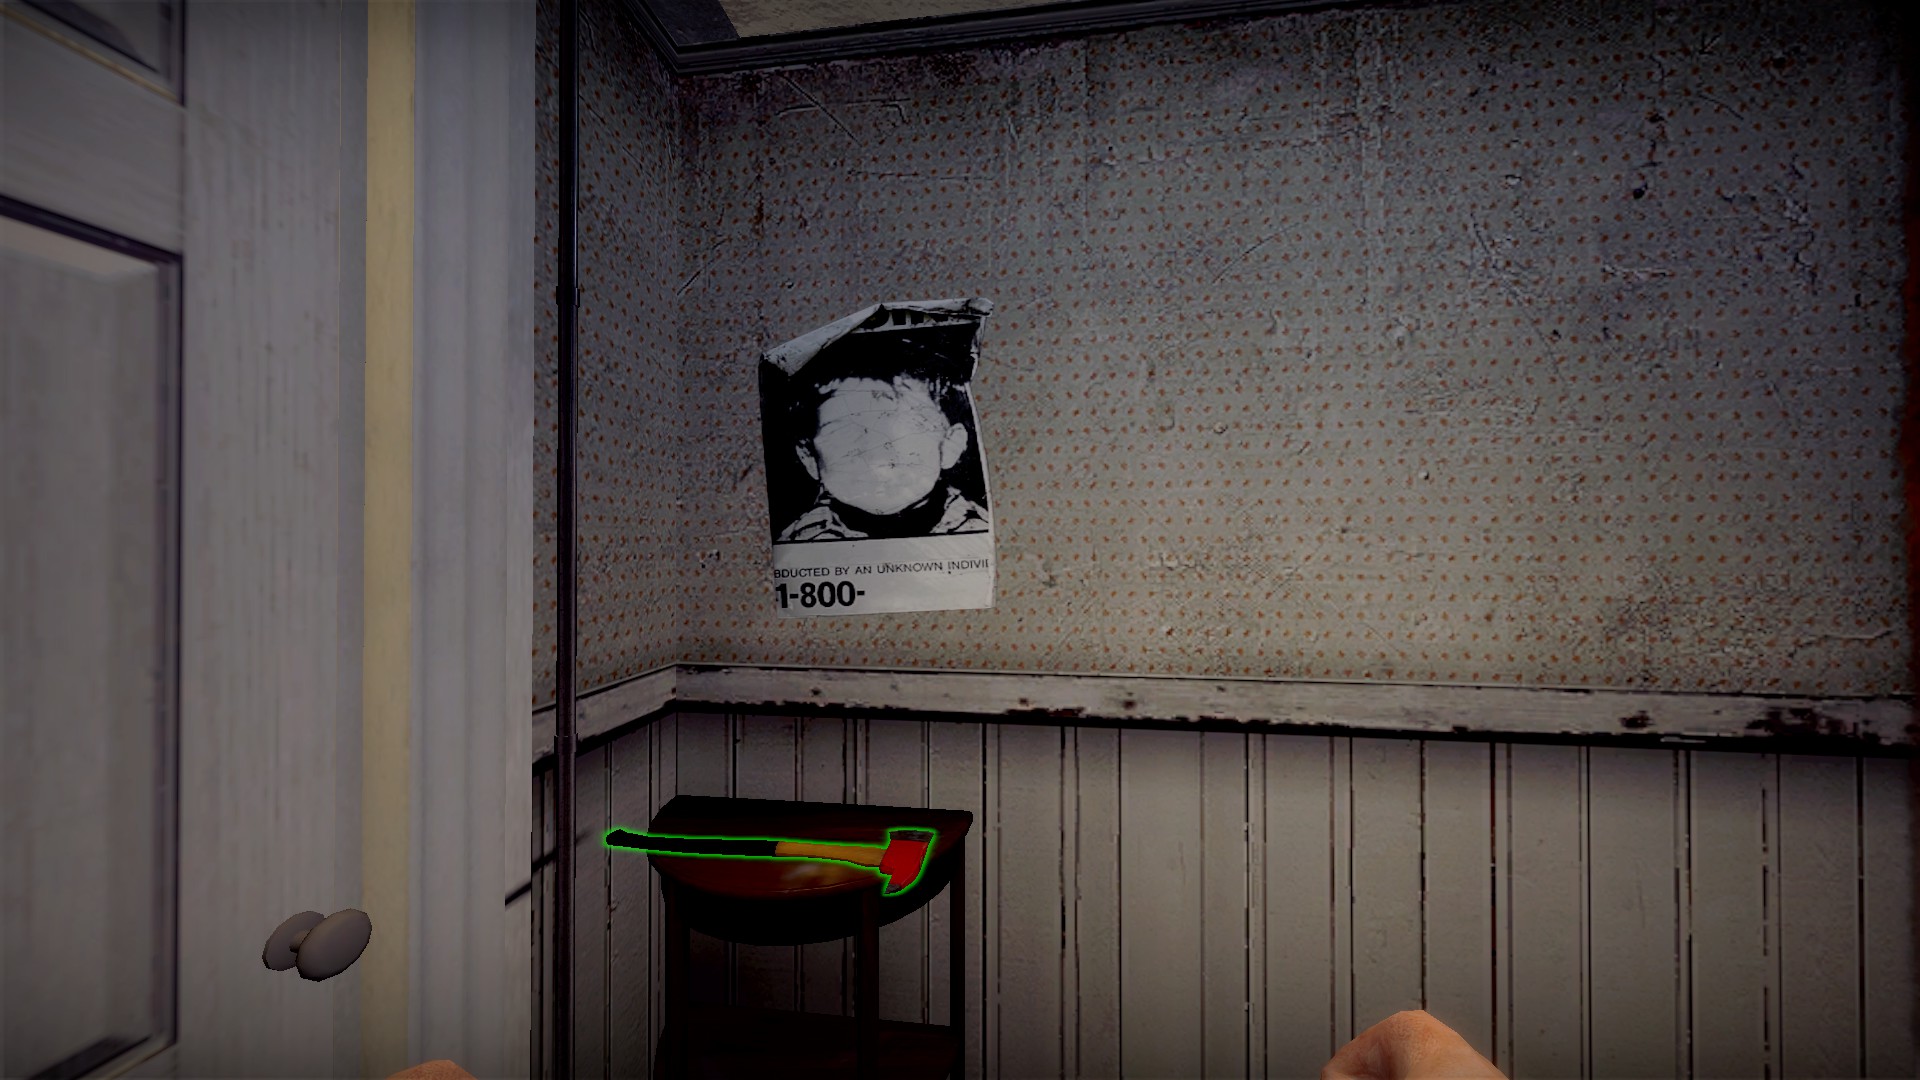
The code 1800 is on a poster in the house
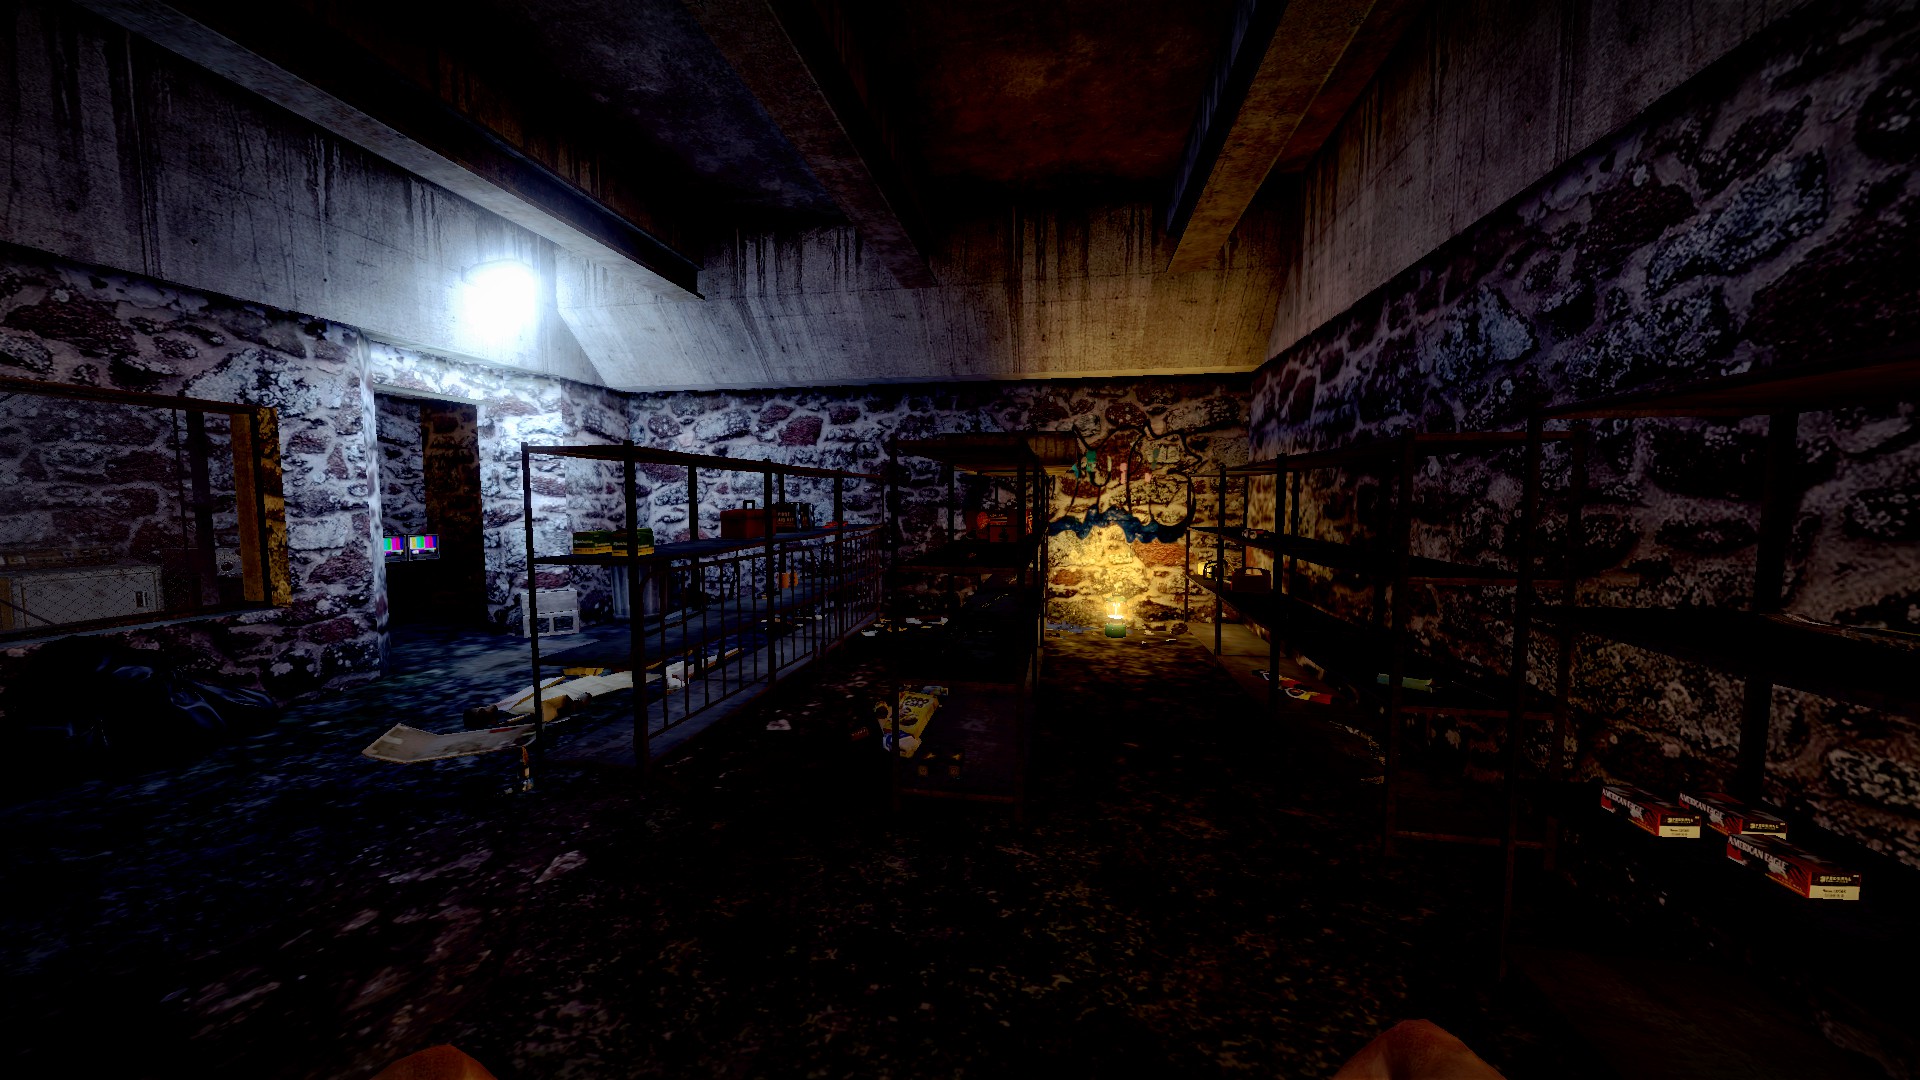
Behind is a large armory. Credit to Belgrieve for this
nmo_traak_v2
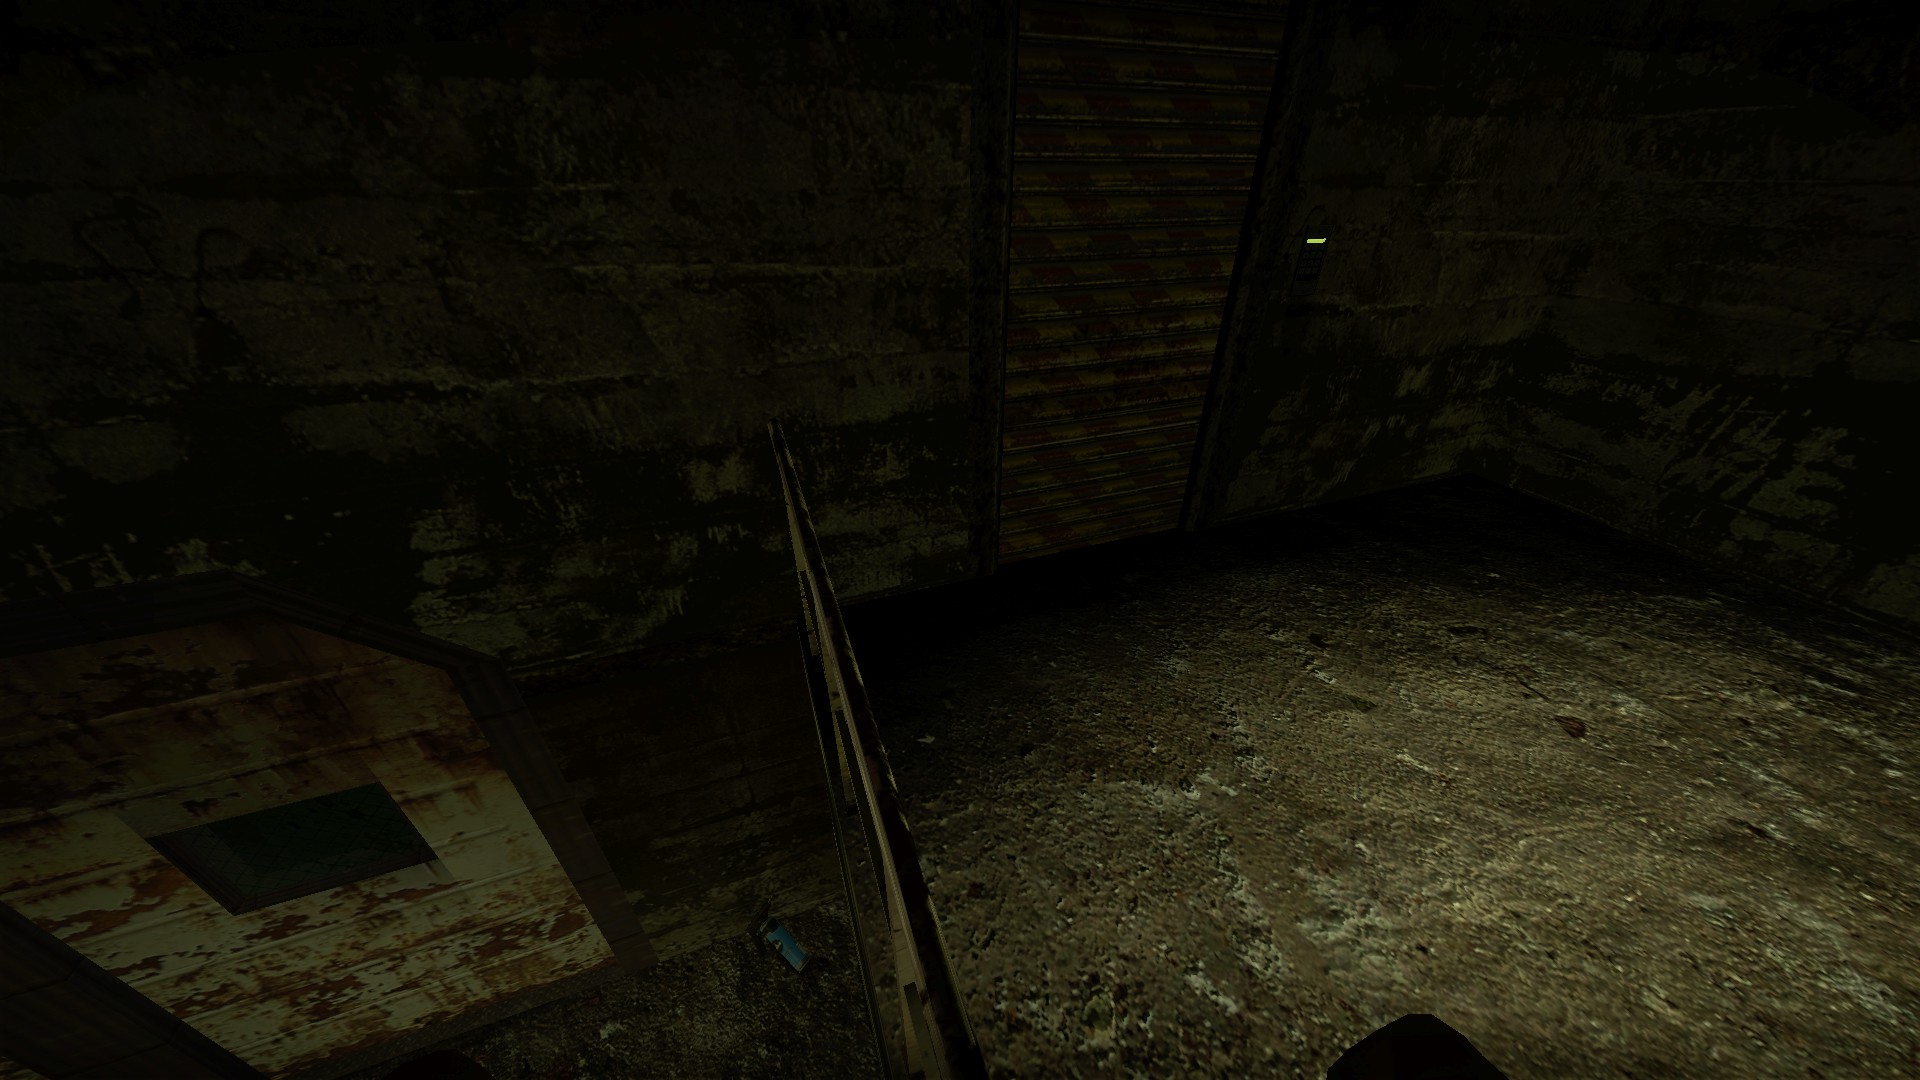
Where you find the welder, climb up the fences to a keypad door
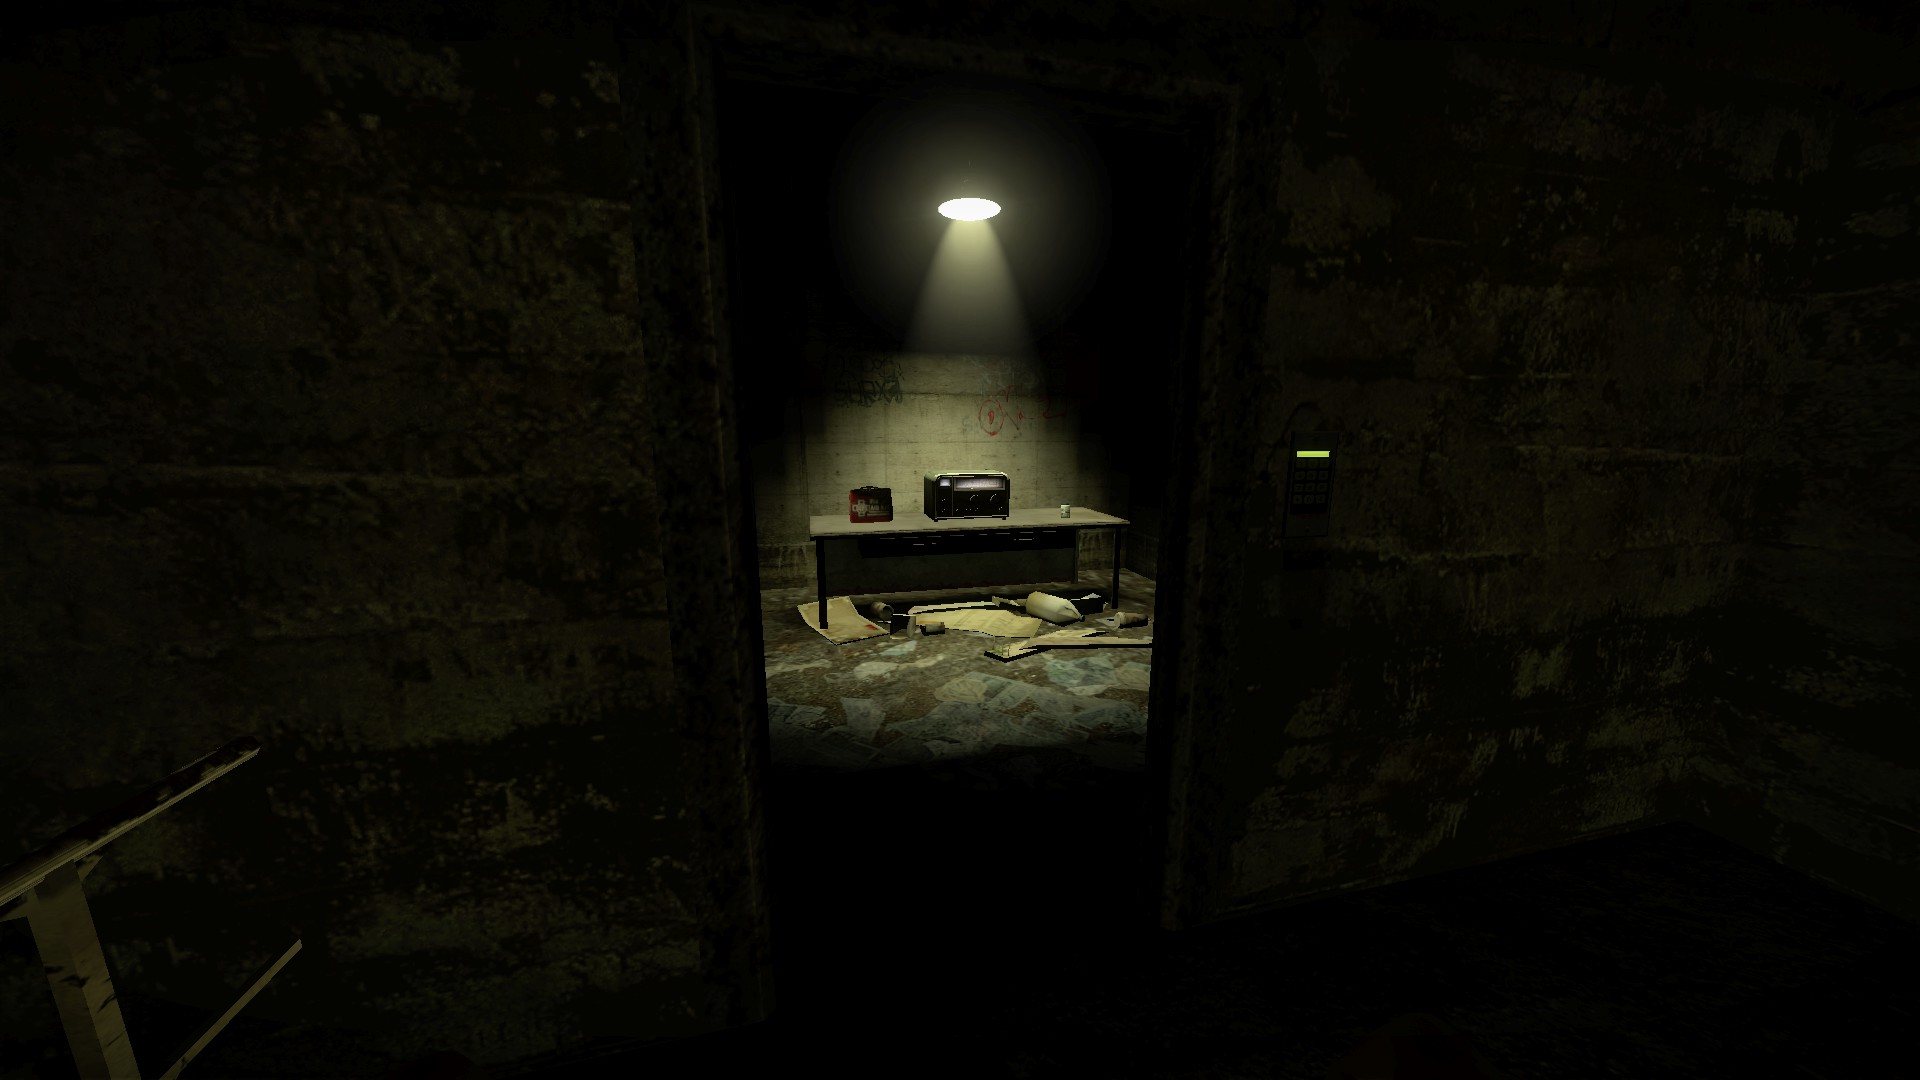
The code is 1234. The room behind has a medkit, pills, and the radio can be played for a secret message
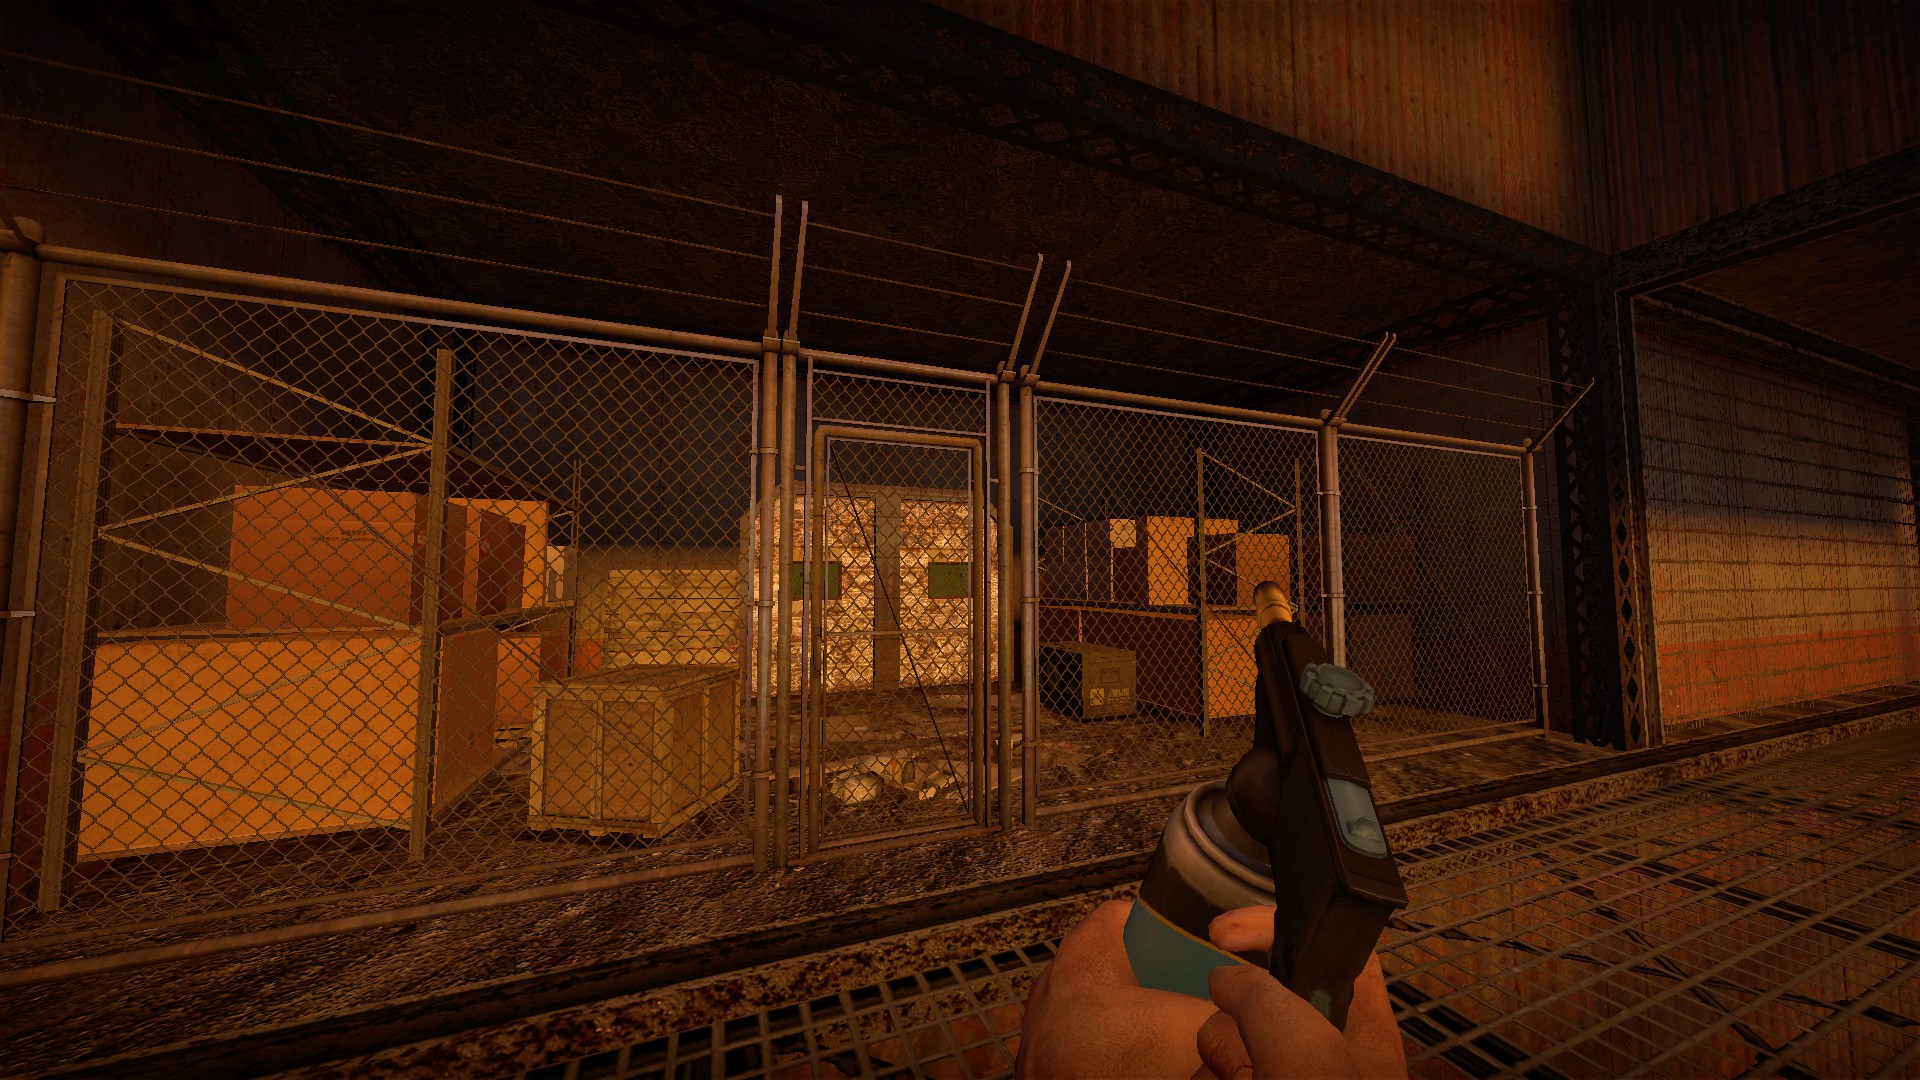
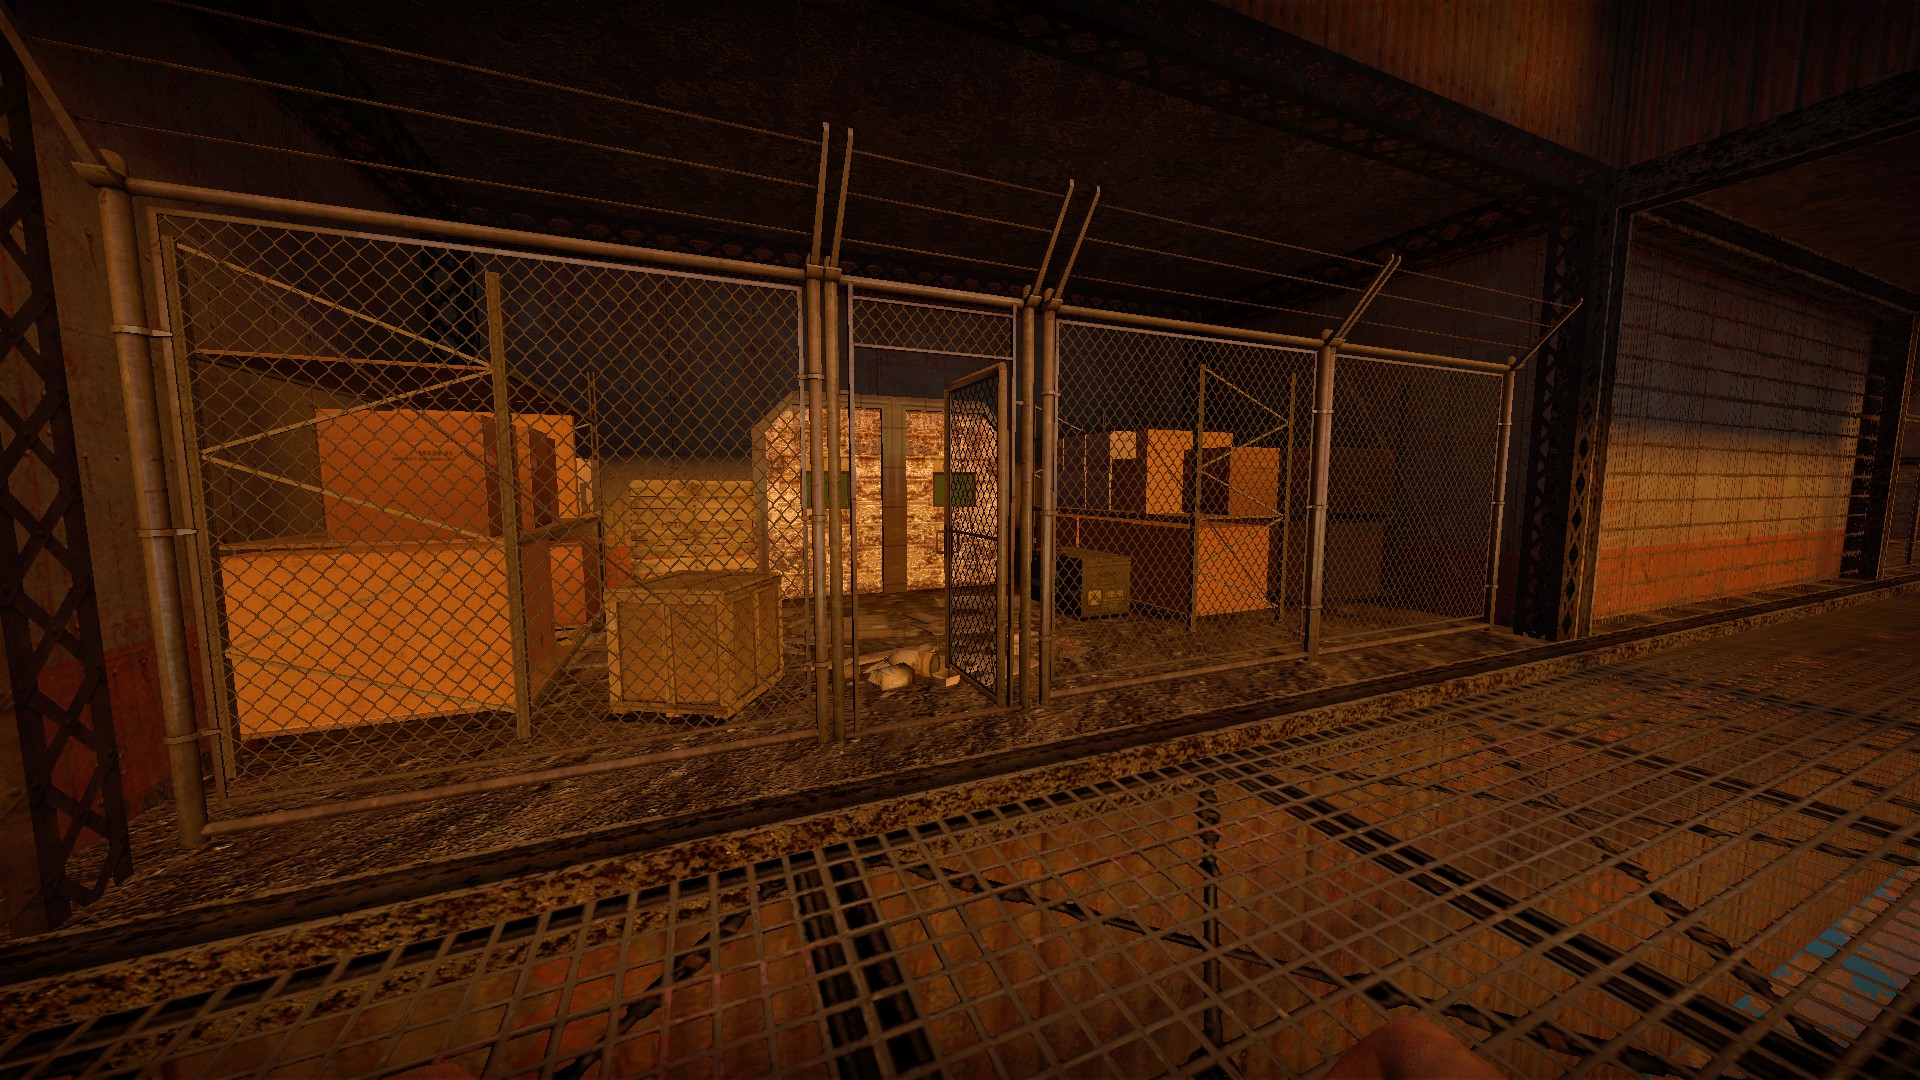
Use the welder on a fence when you first reach the docks for a supply box
nmo_trapclub_v1_5
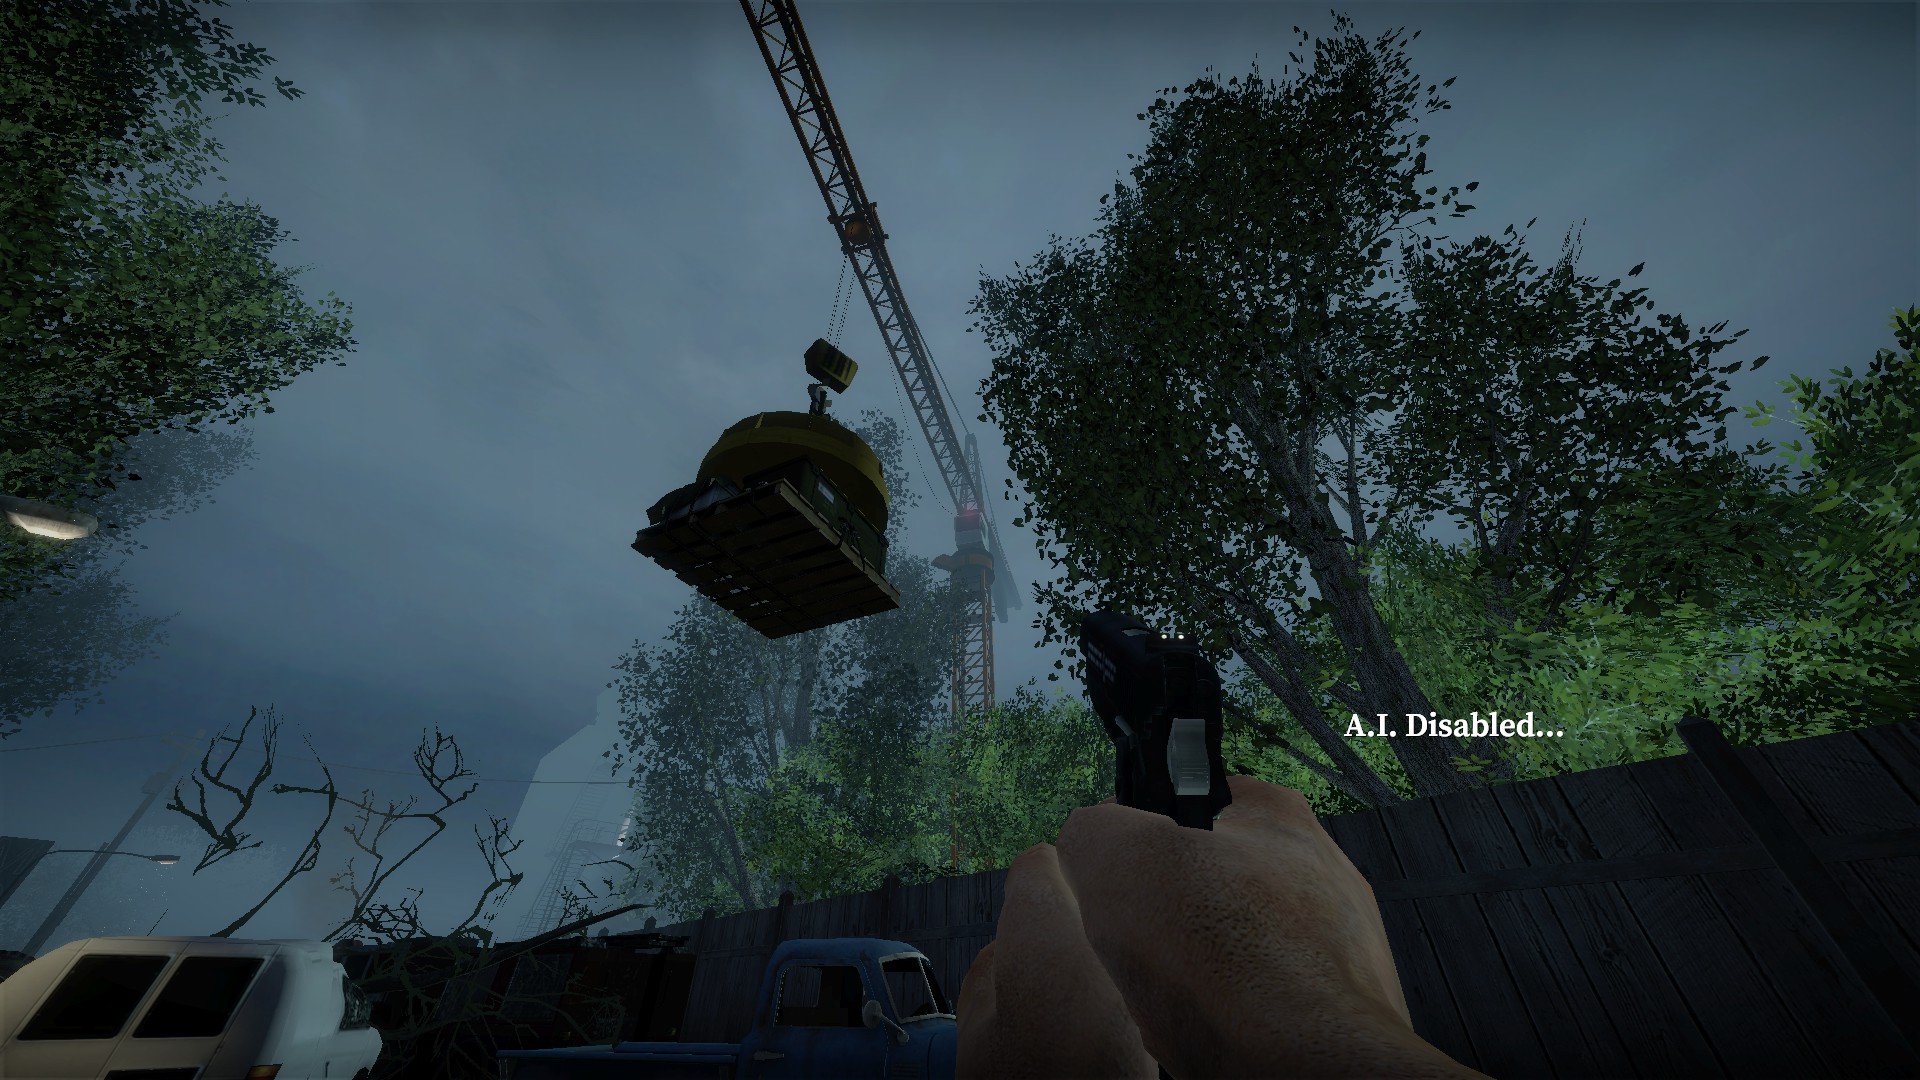
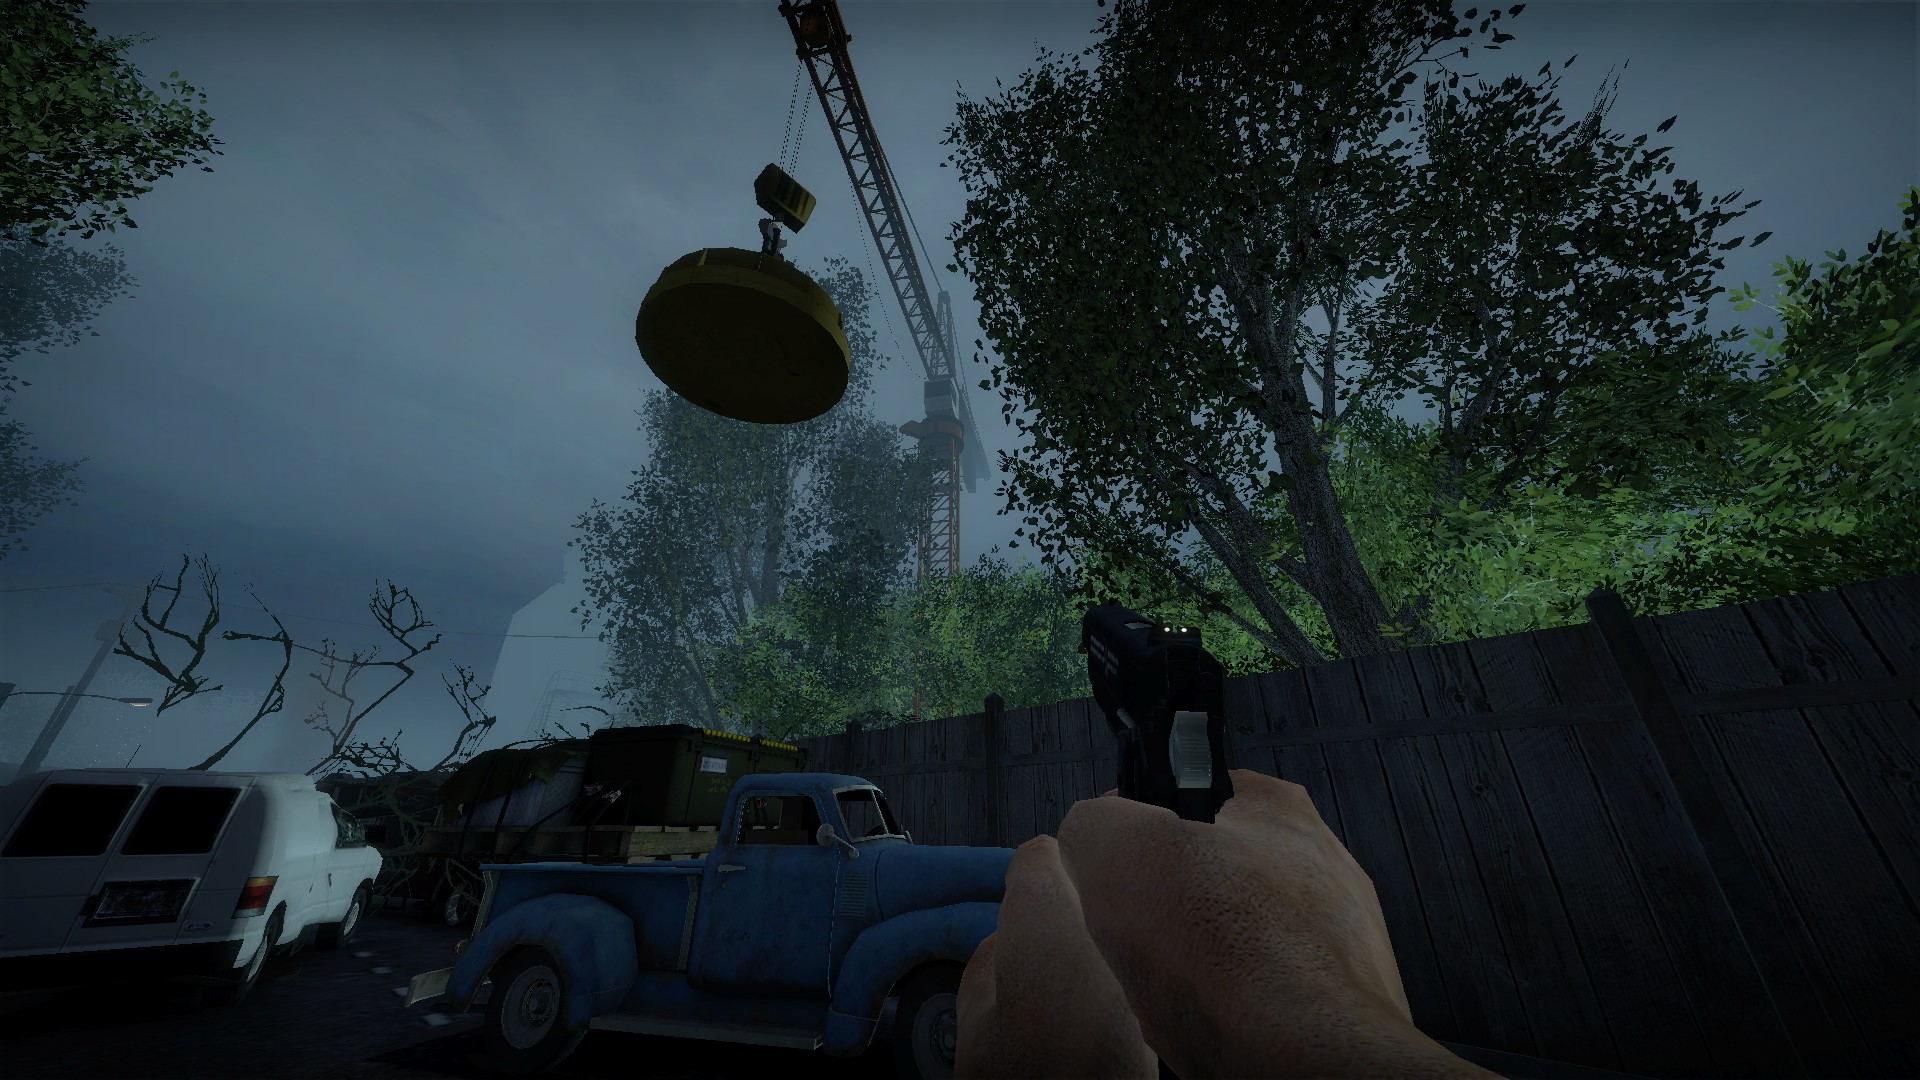
Shoot the glass of the crane operators room to drop the weapon box, there is a red light above it
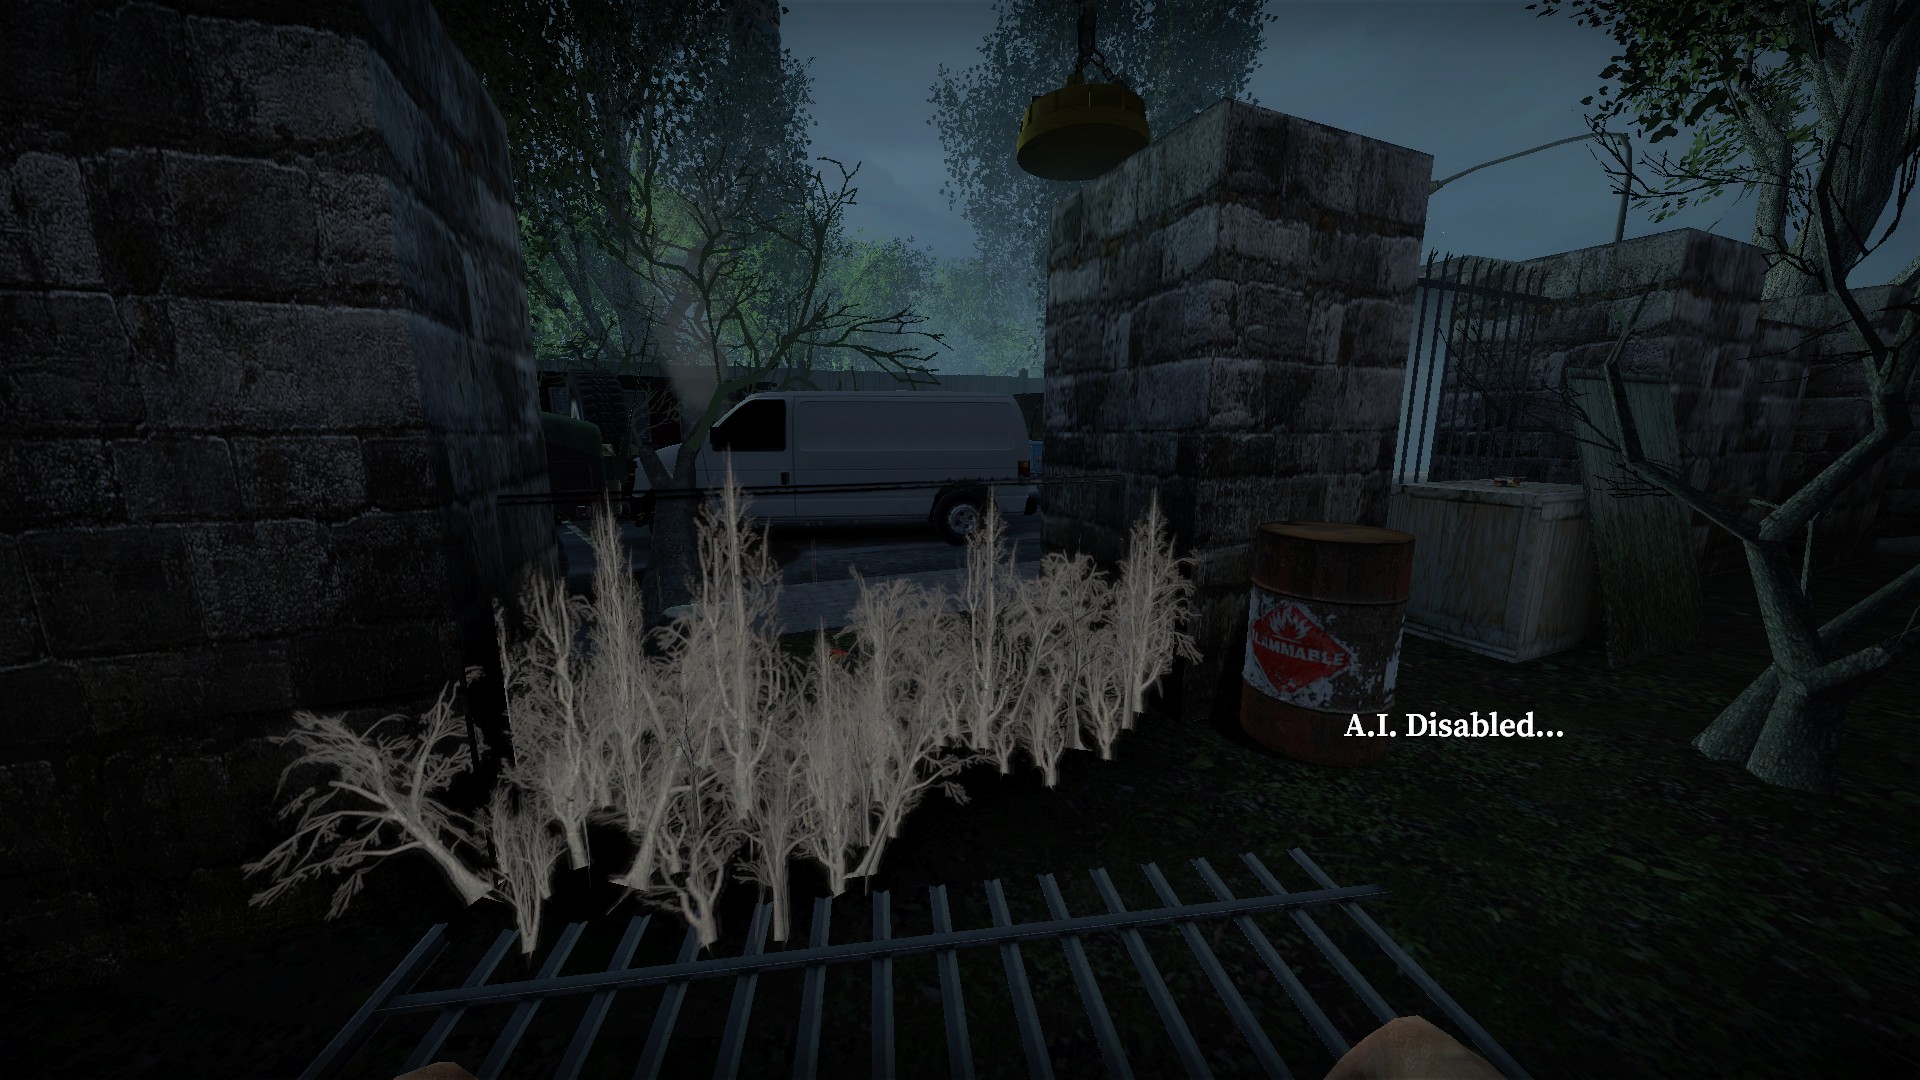
Some traps can be avoided by ducking under the tripwires
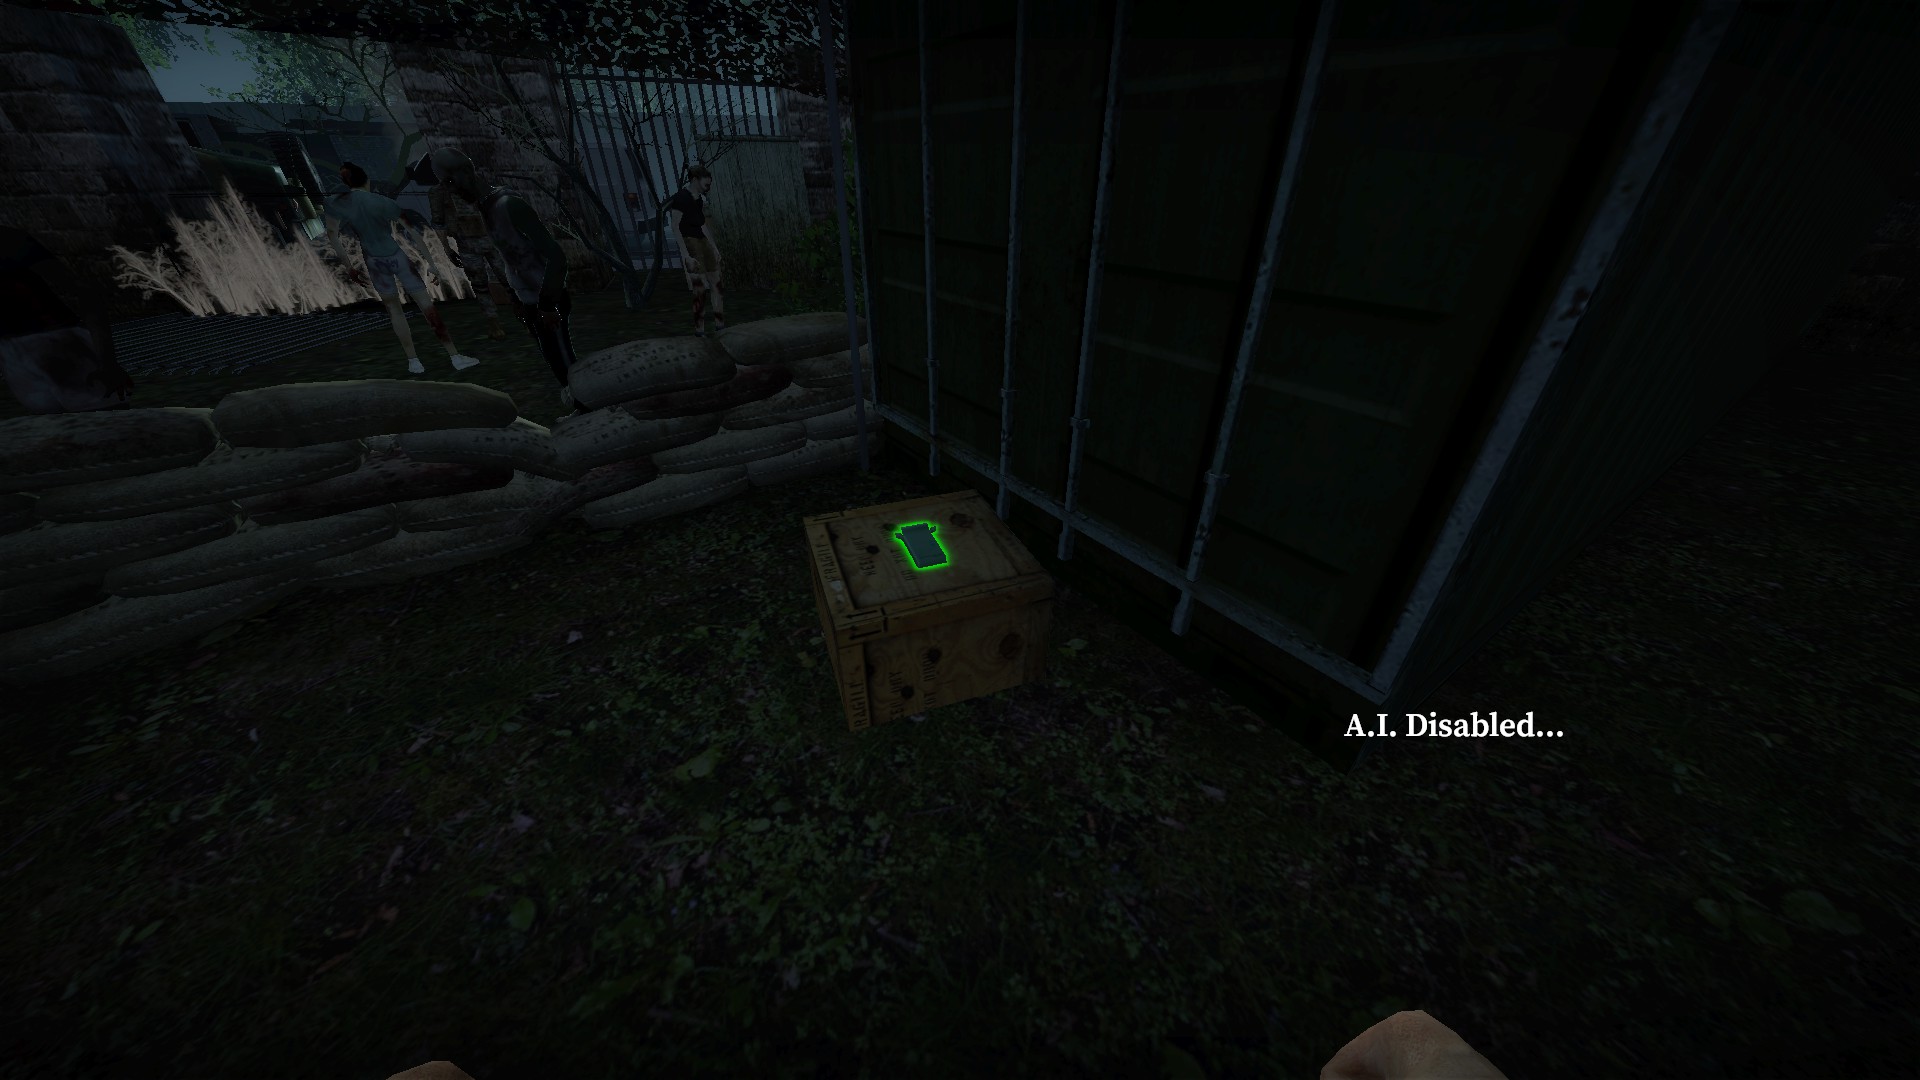
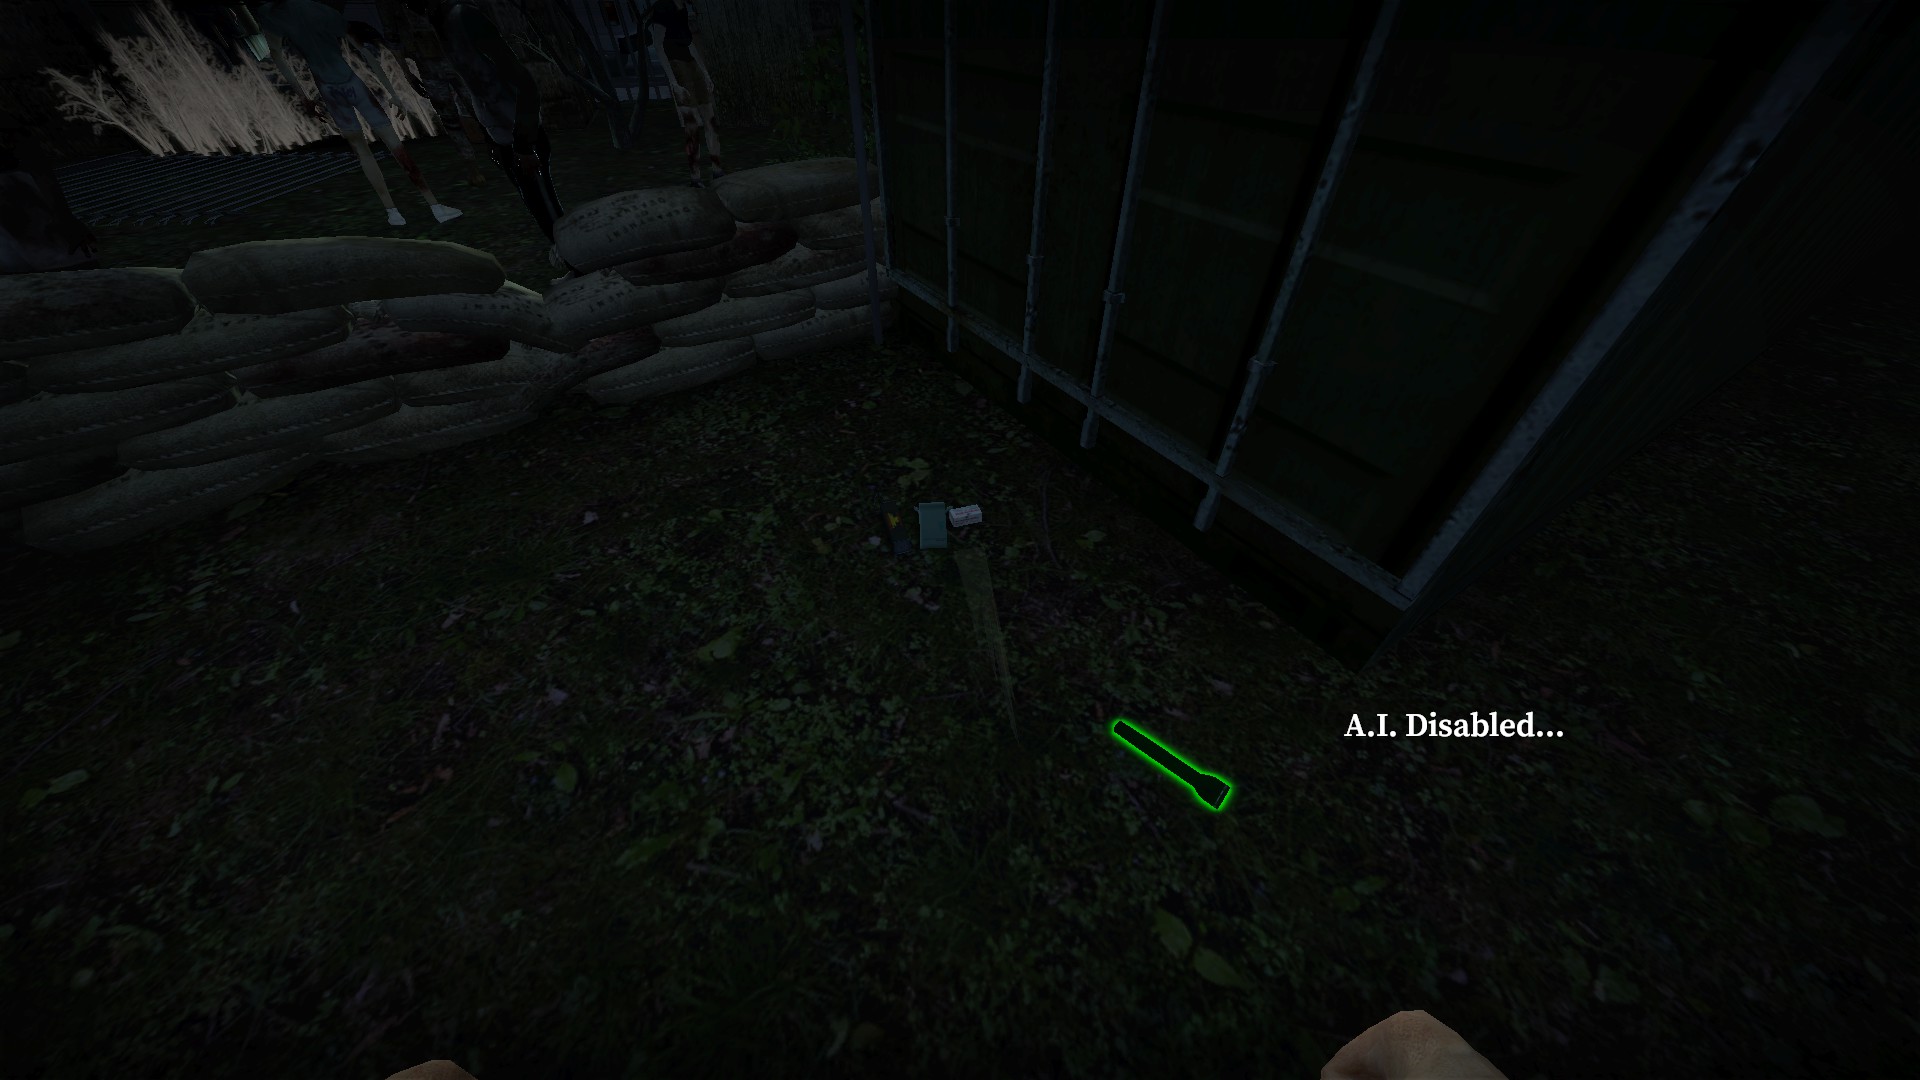
Many small boxes on this map can be broken for items
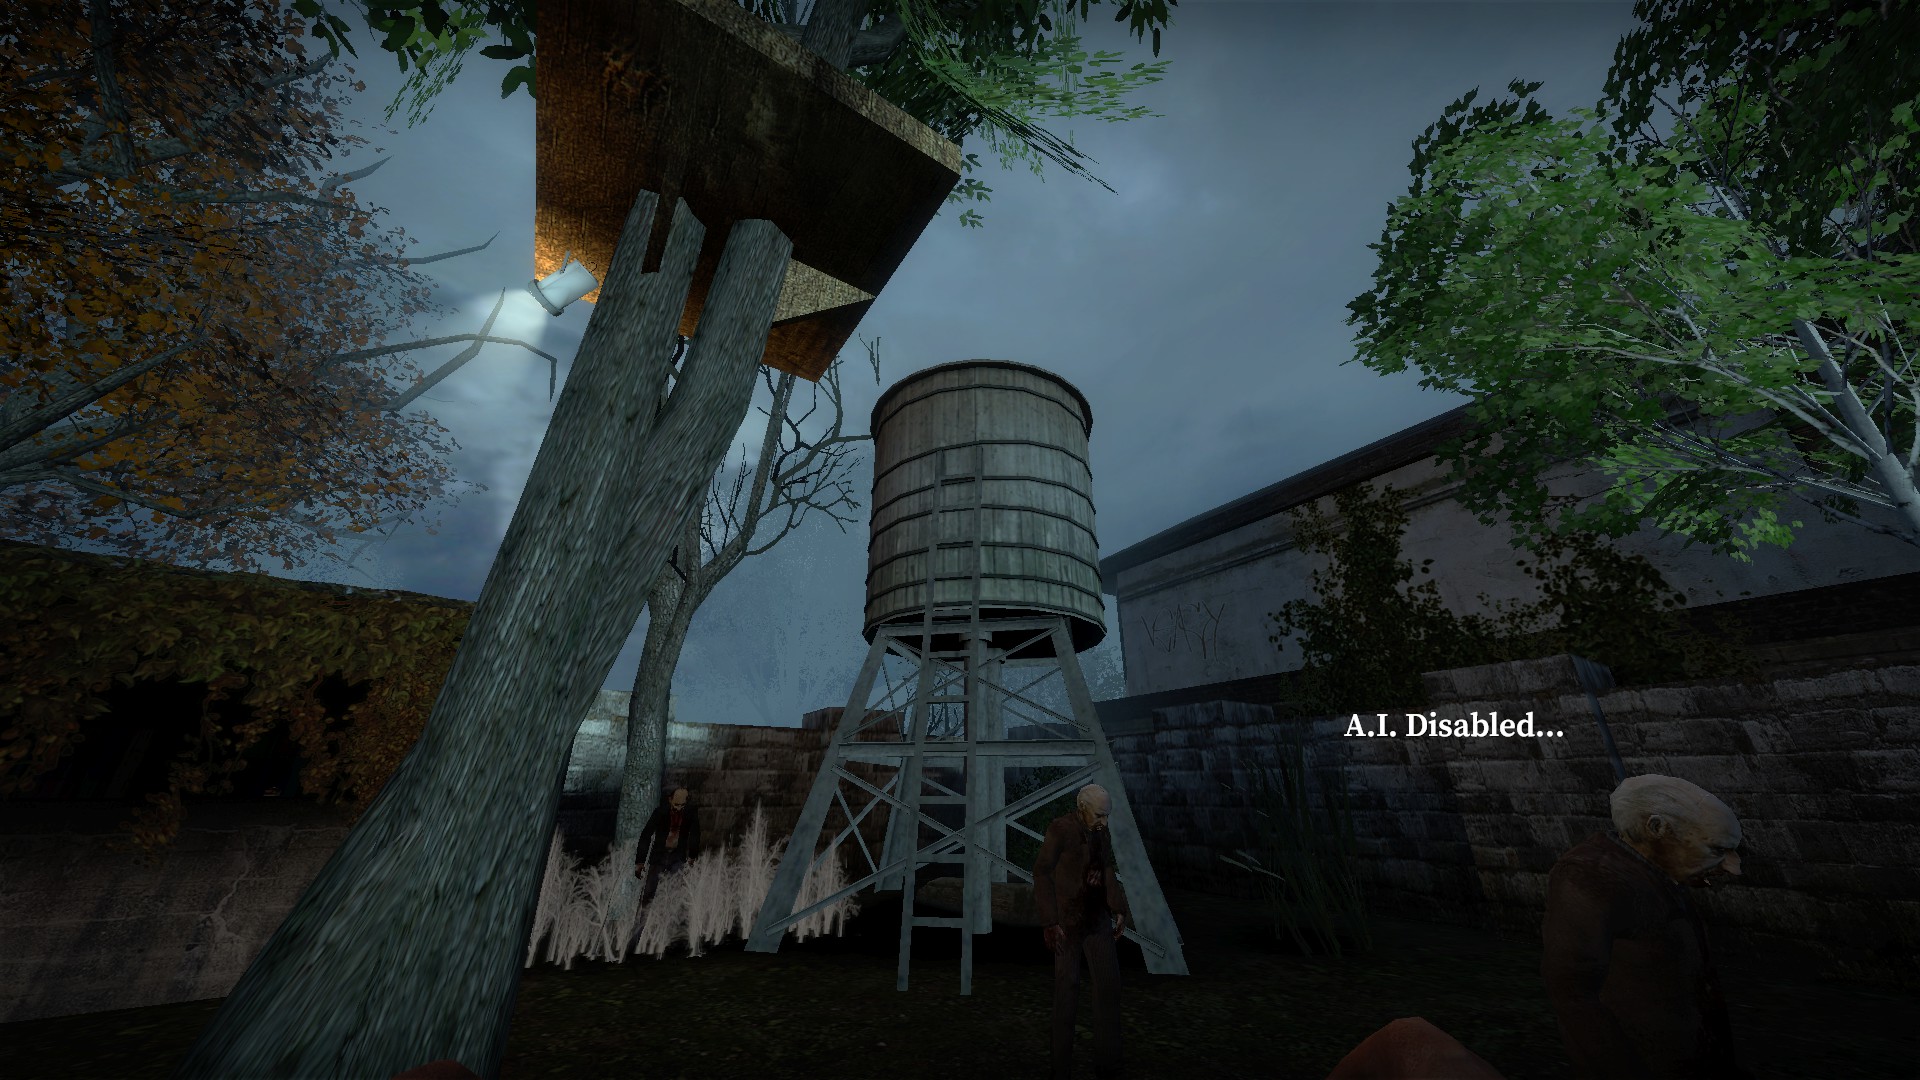
If you climb up the ladder on the water tank,
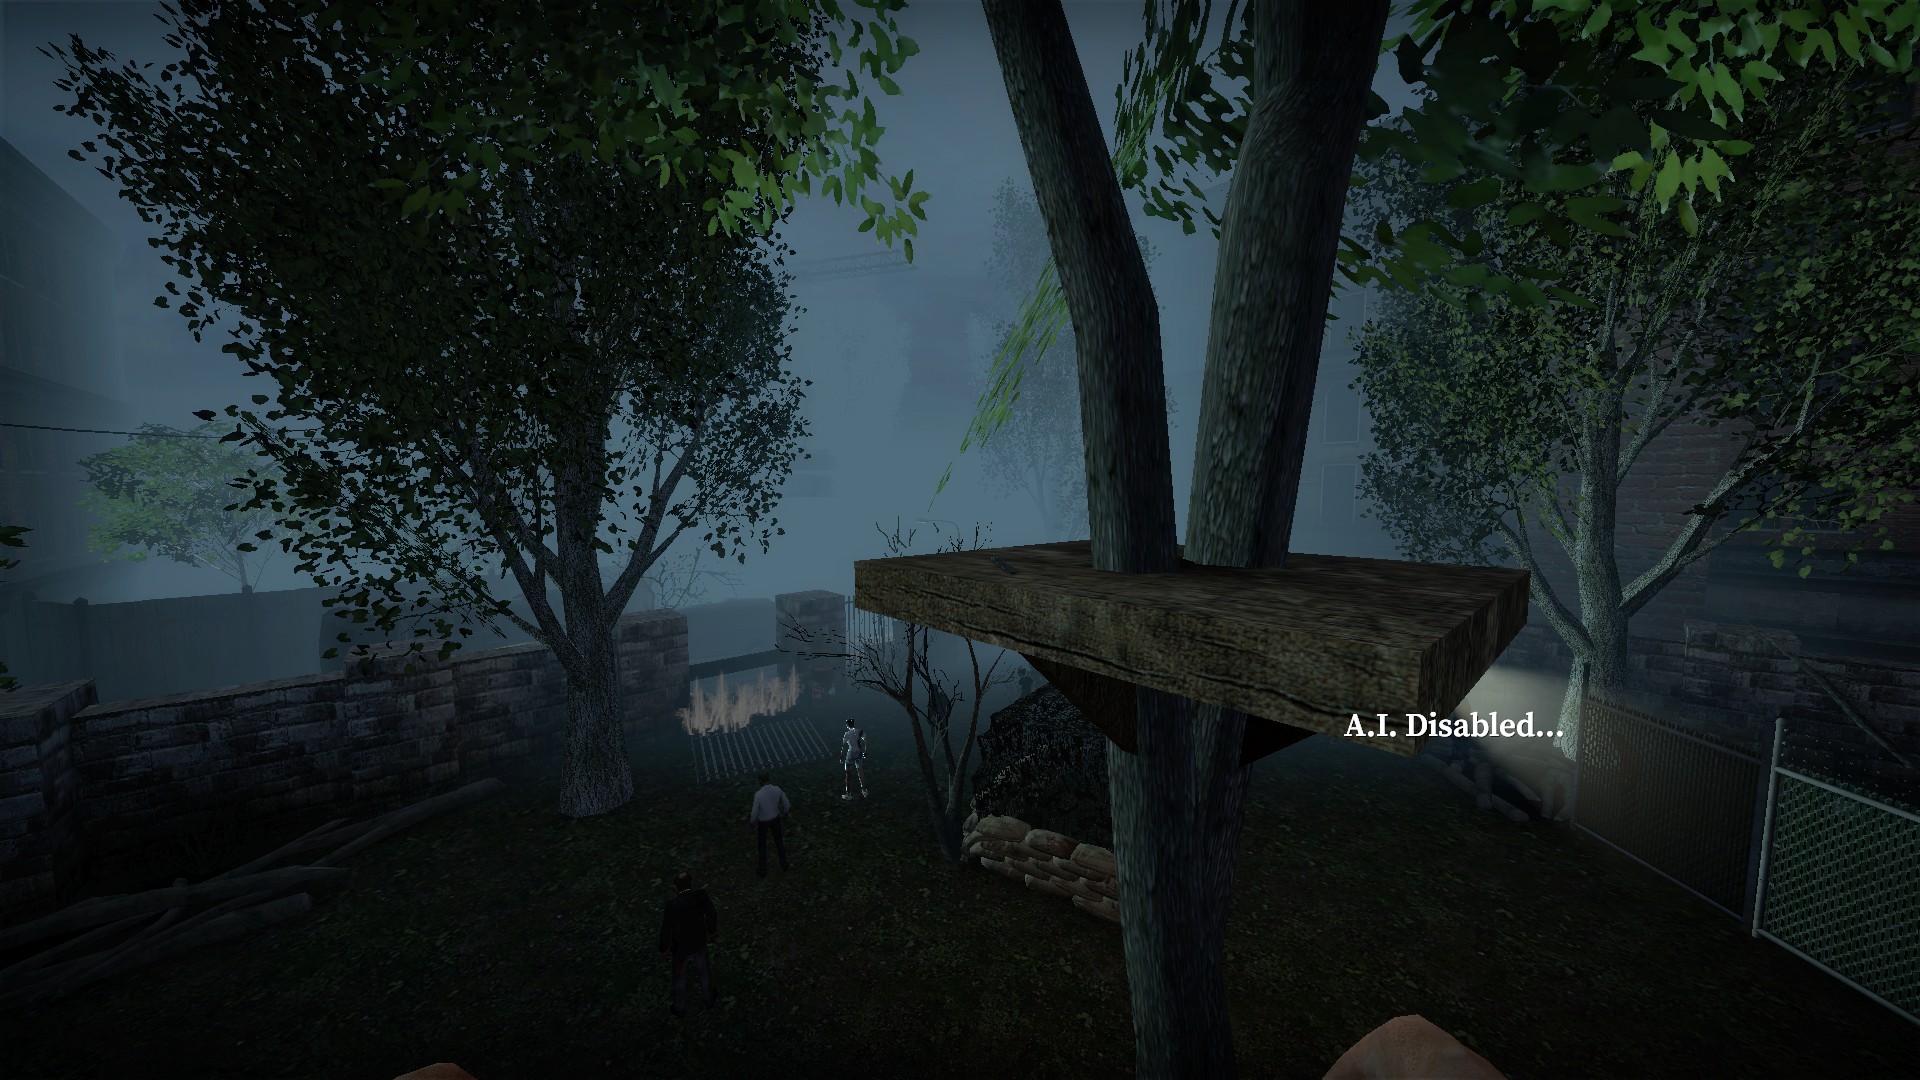
You can jump across and grab a machete, but be sure to drop onto a zombie's head to avoid fall damage
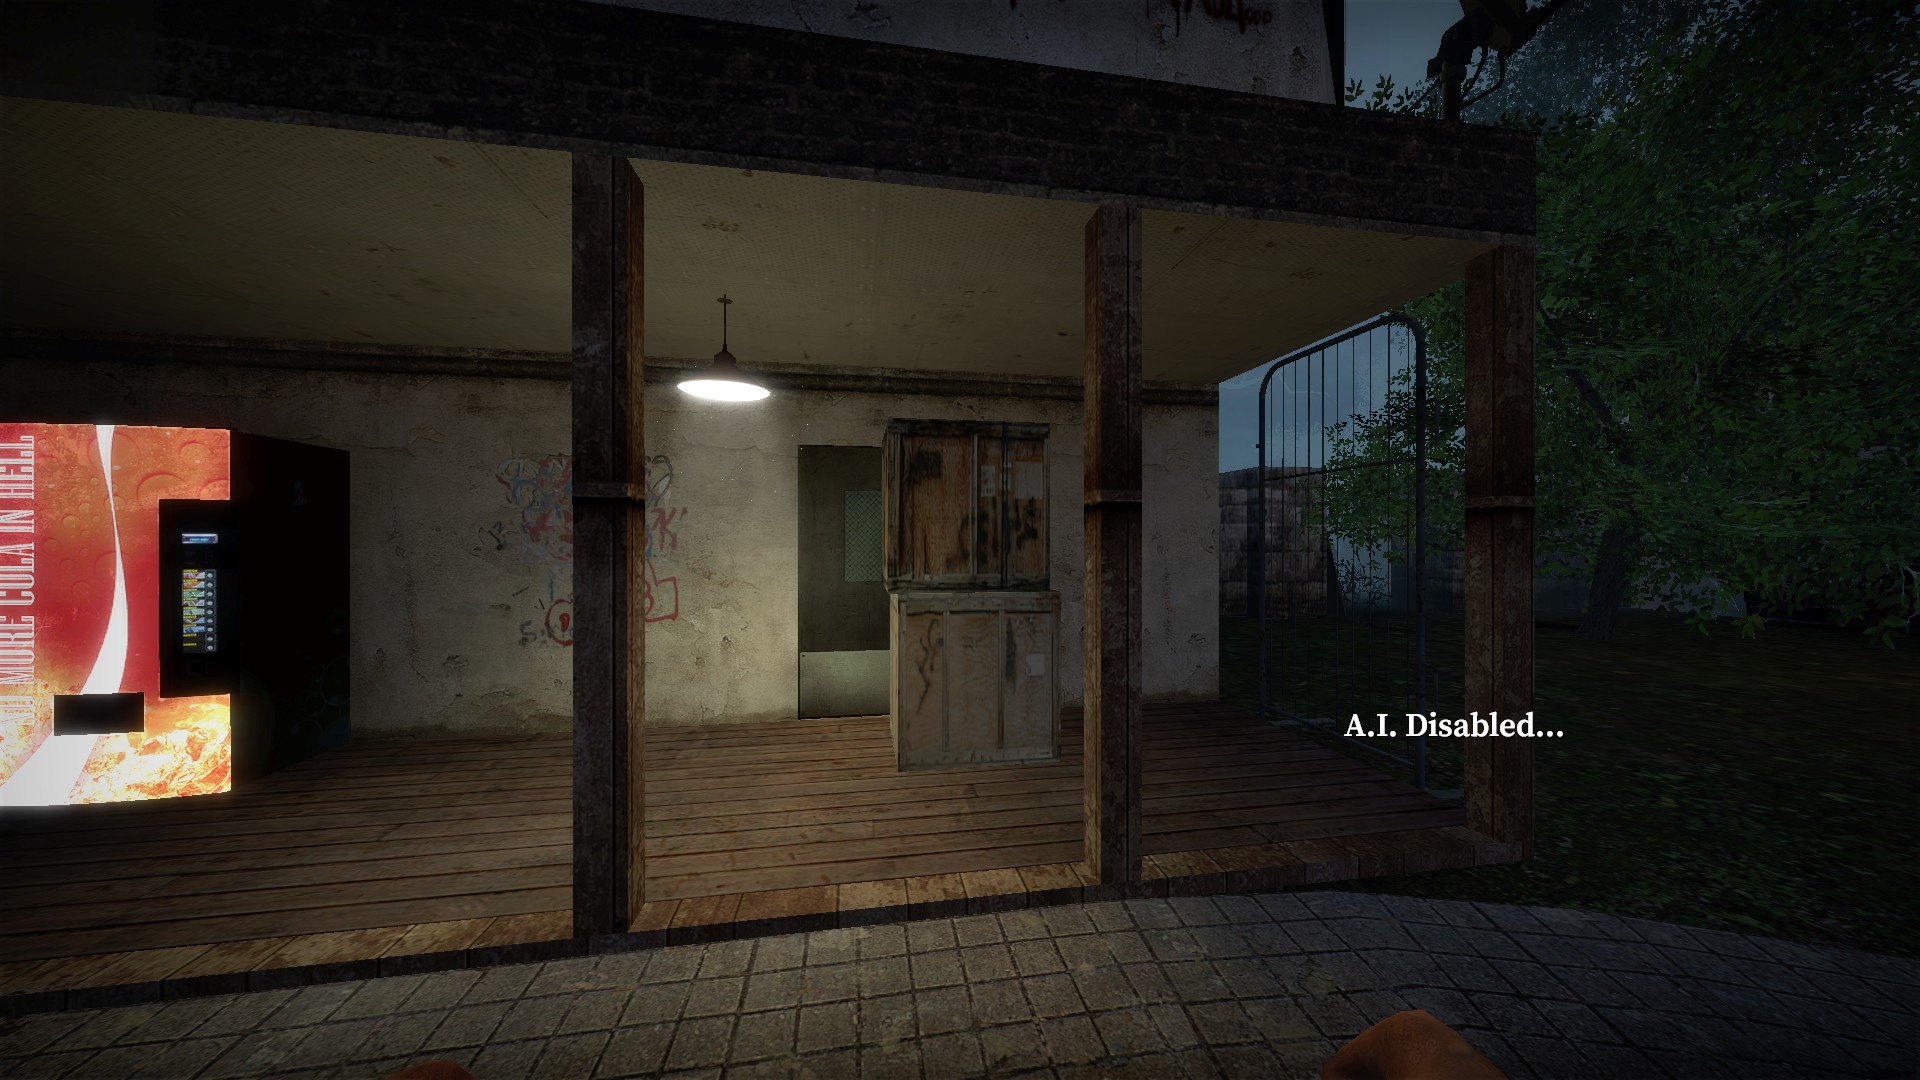
When you reach the motel, break these boxes and kill the children behind
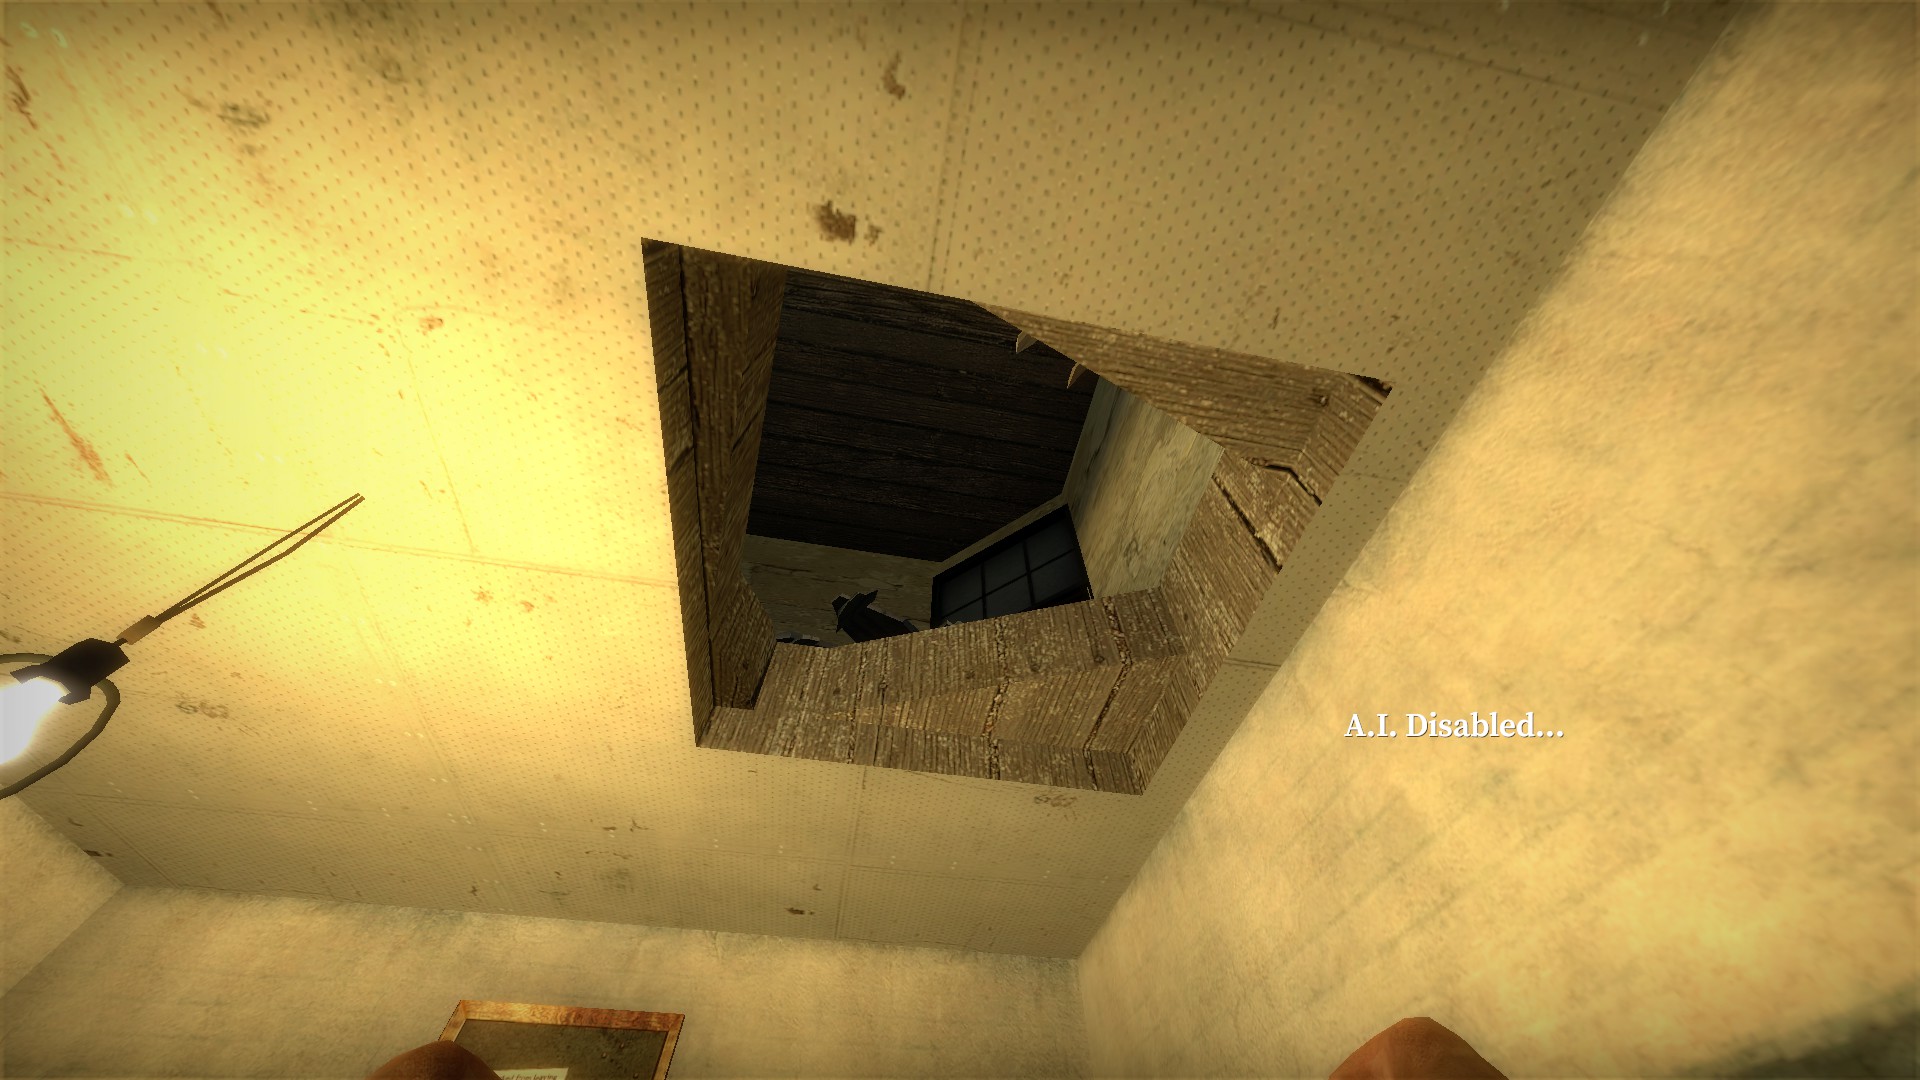
Then break the boards and box above
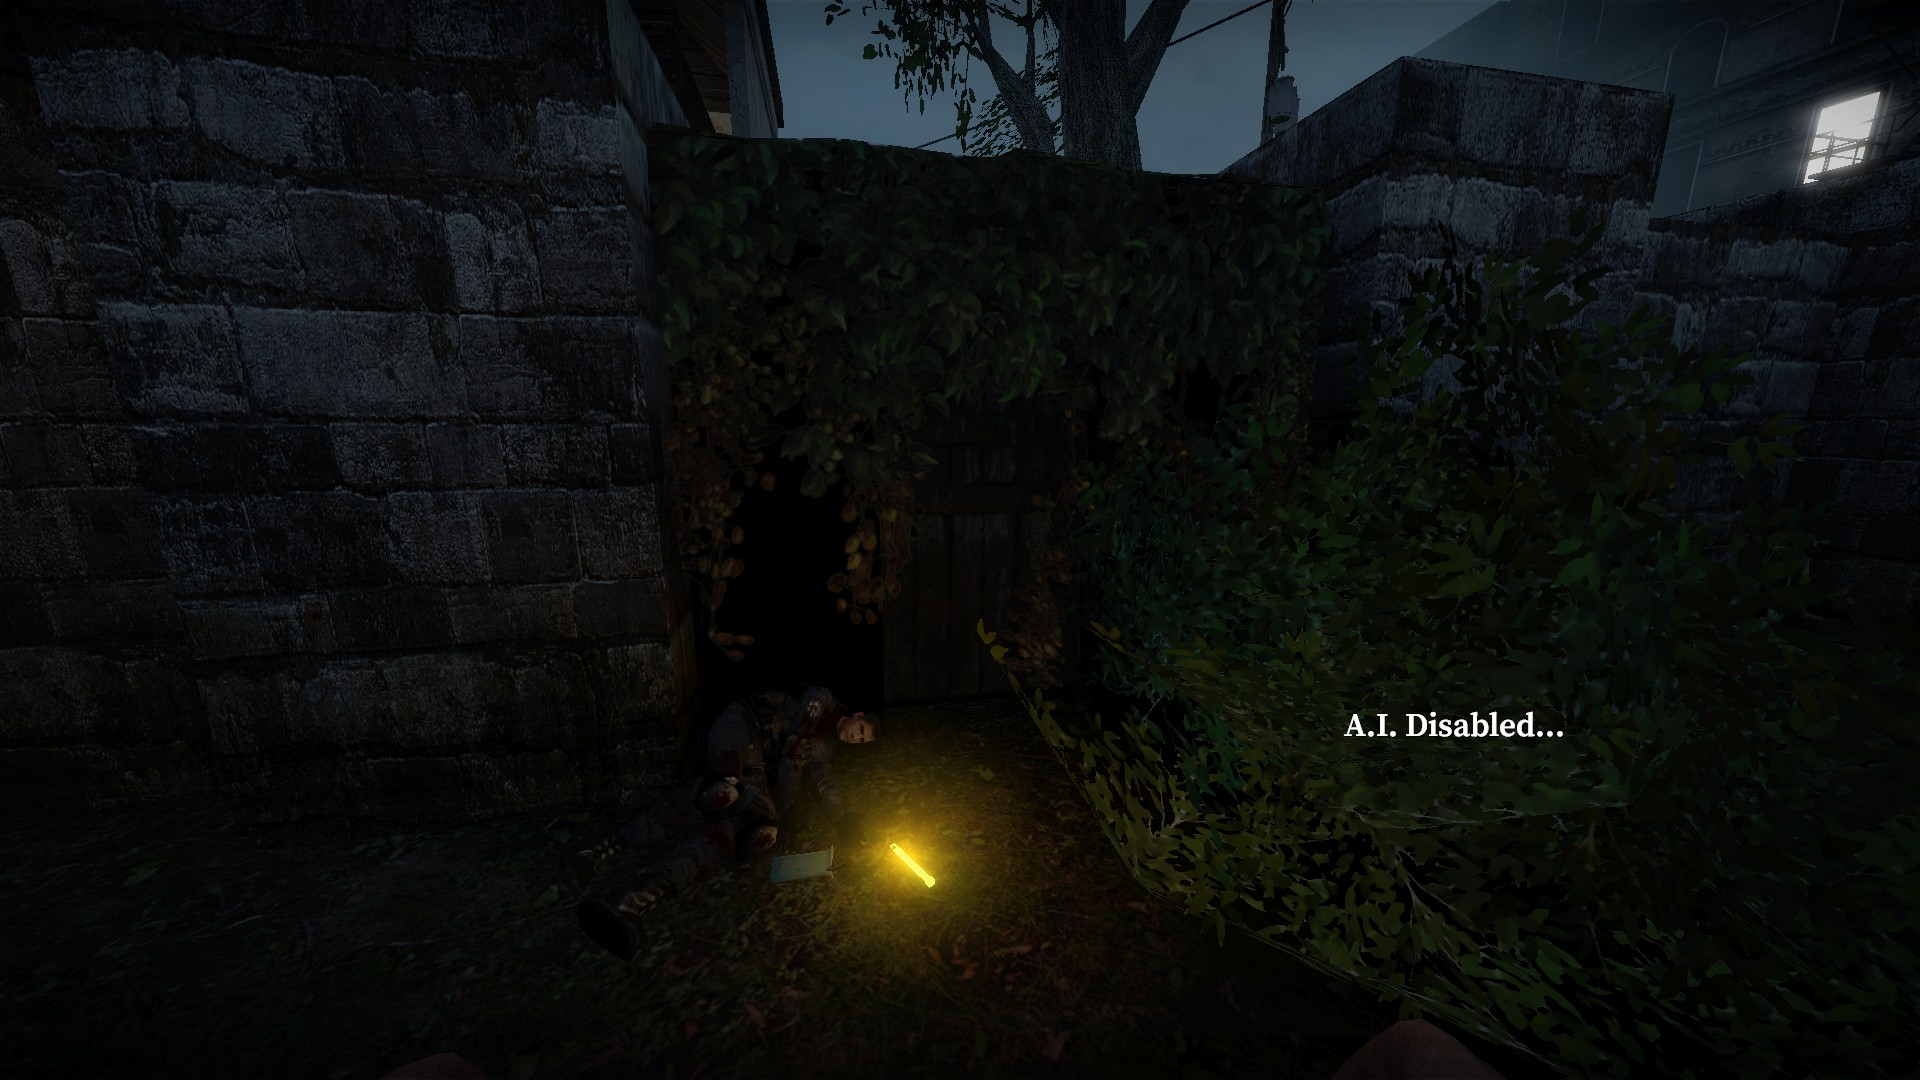
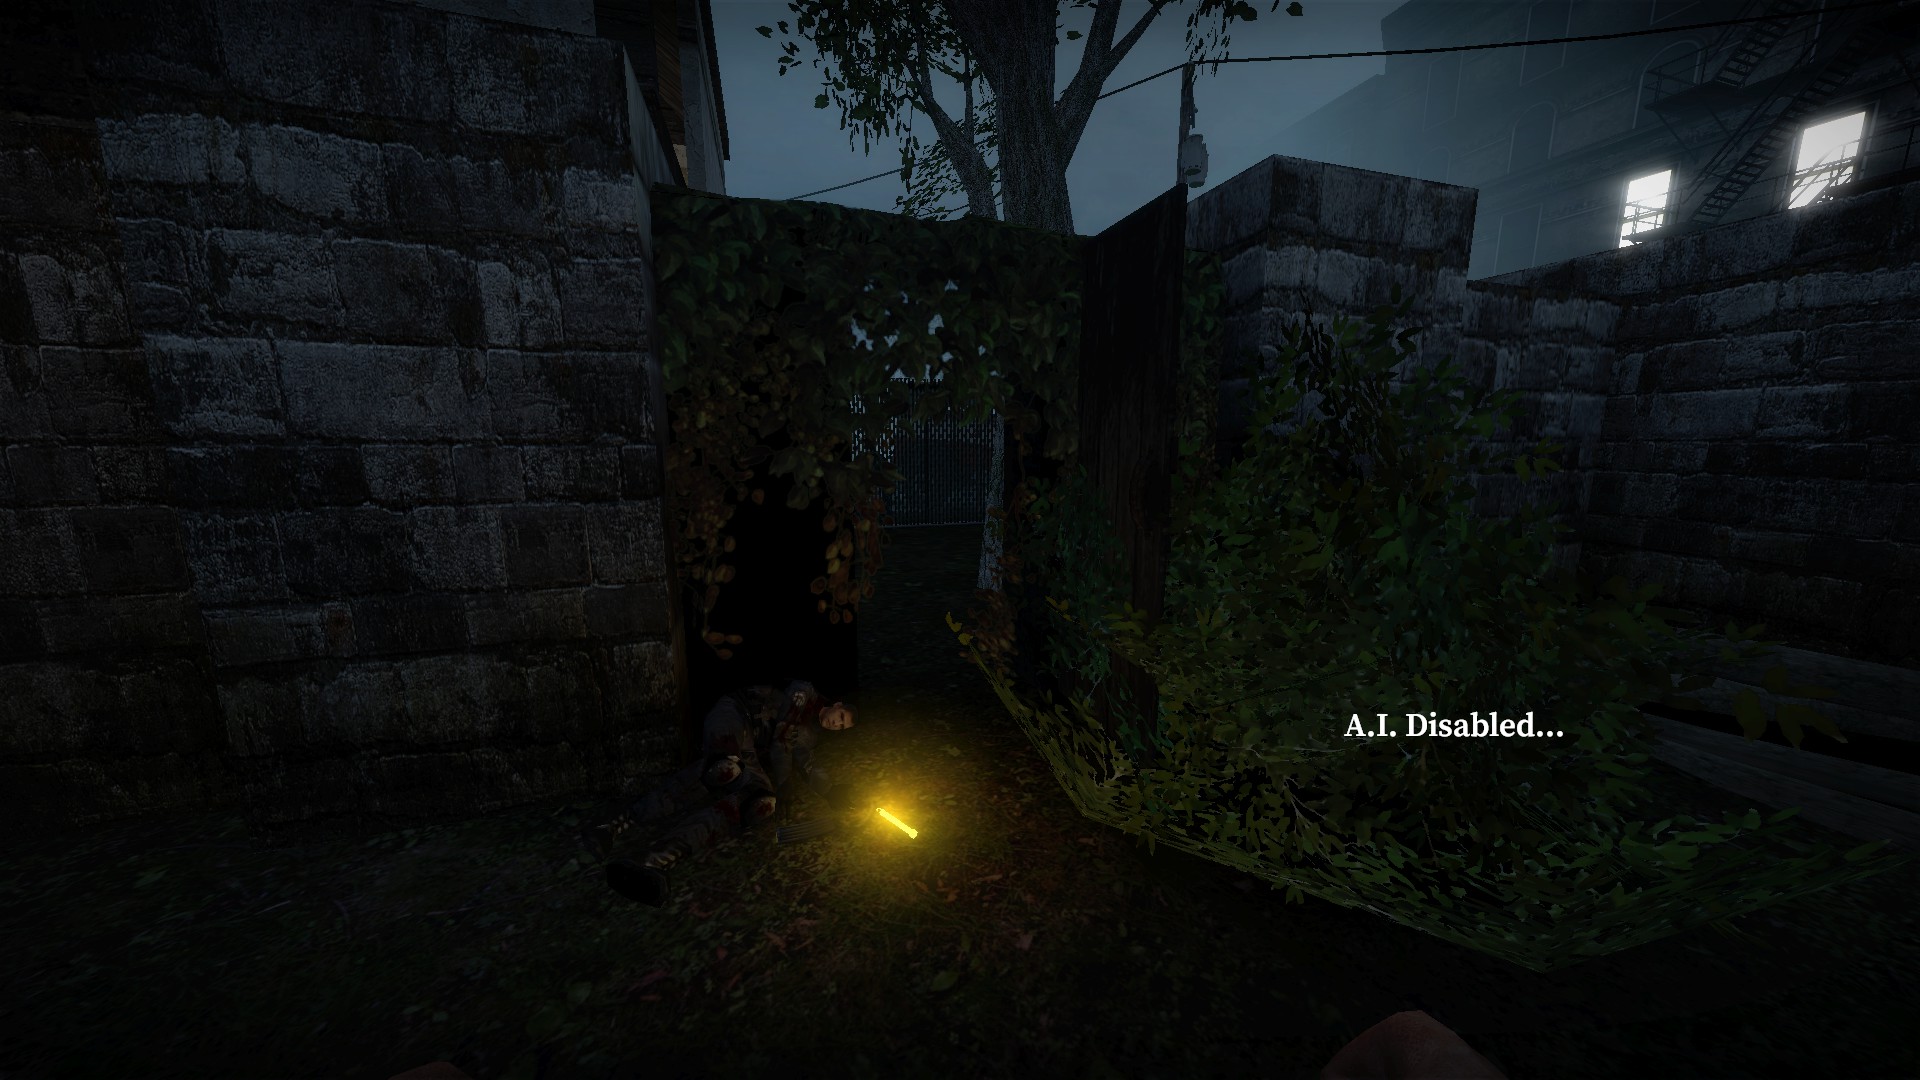
Backtrack to the first trap, there is a hidden door in the greenery near it, just press e to open it
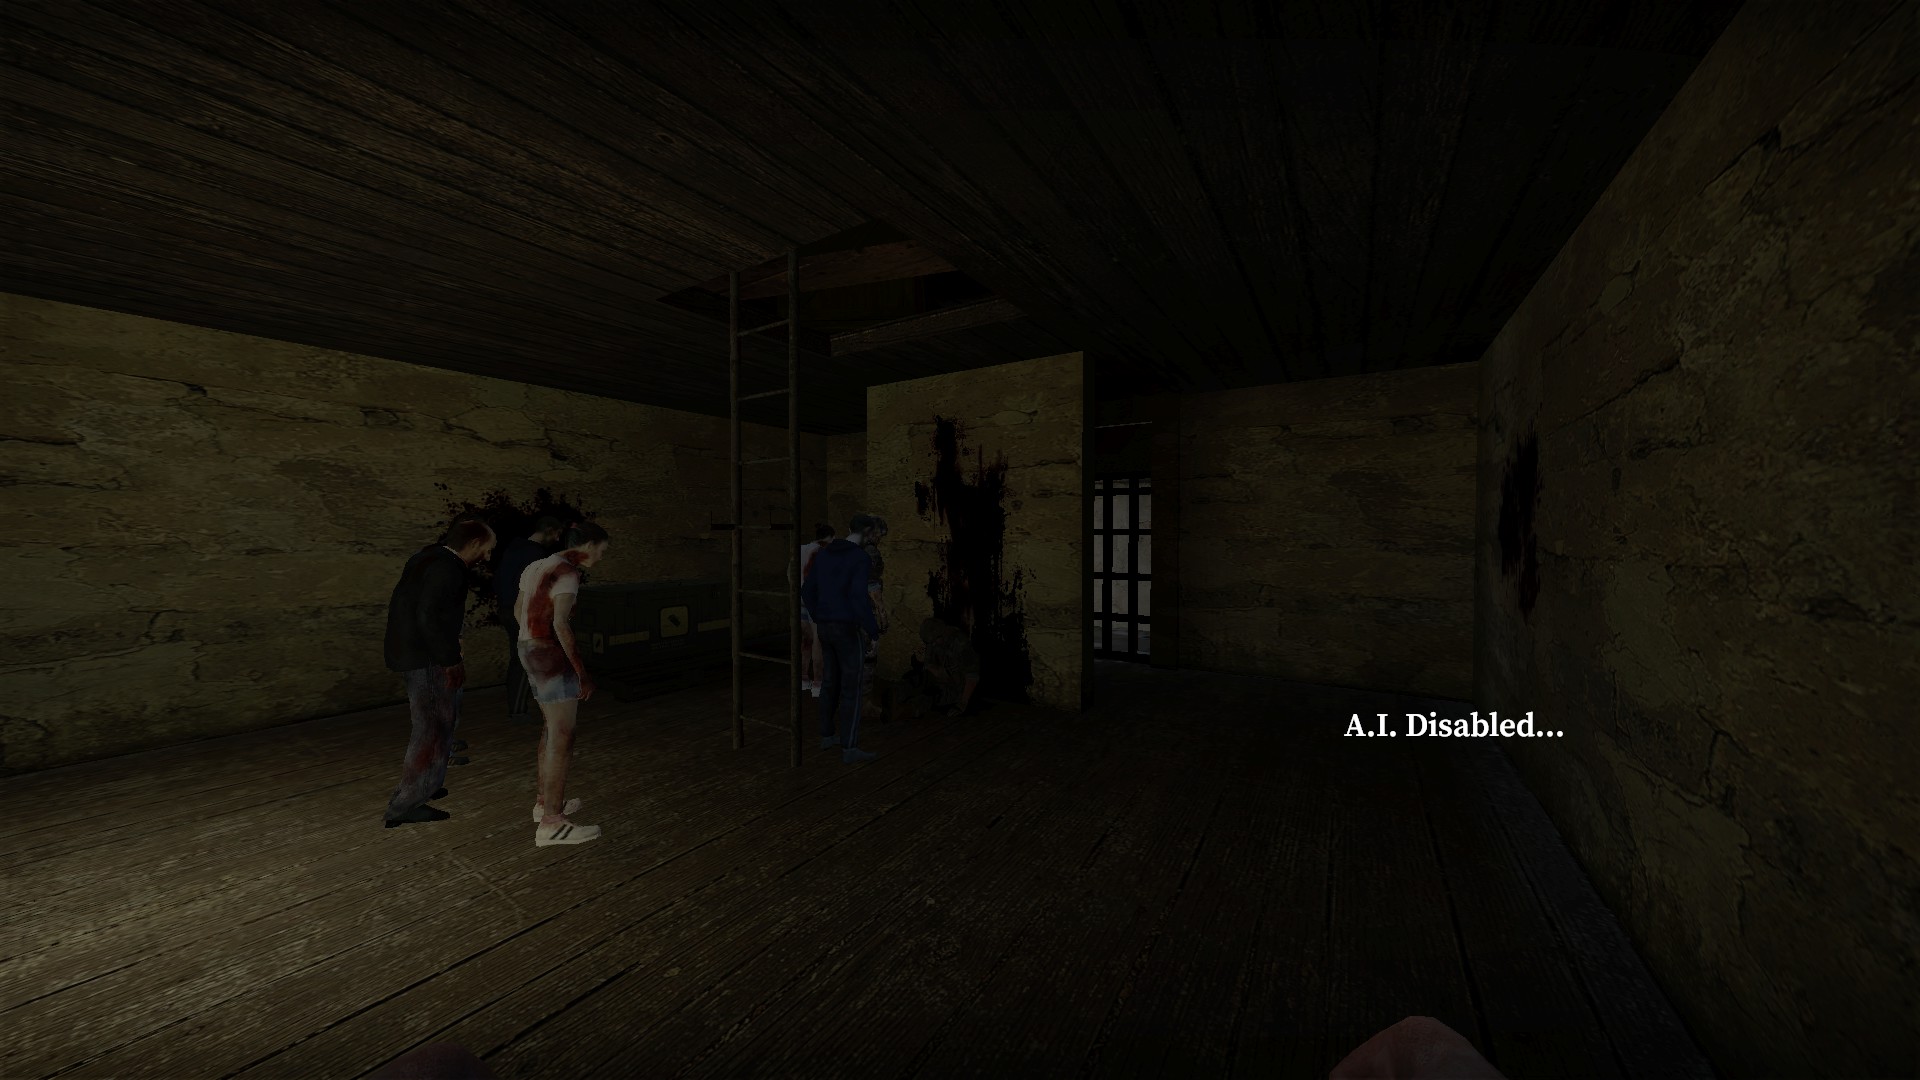
Be careful as this is also a trap. When you are far enough in the room, the wooden wall will break with runners behind it and a gate will shut off the way in
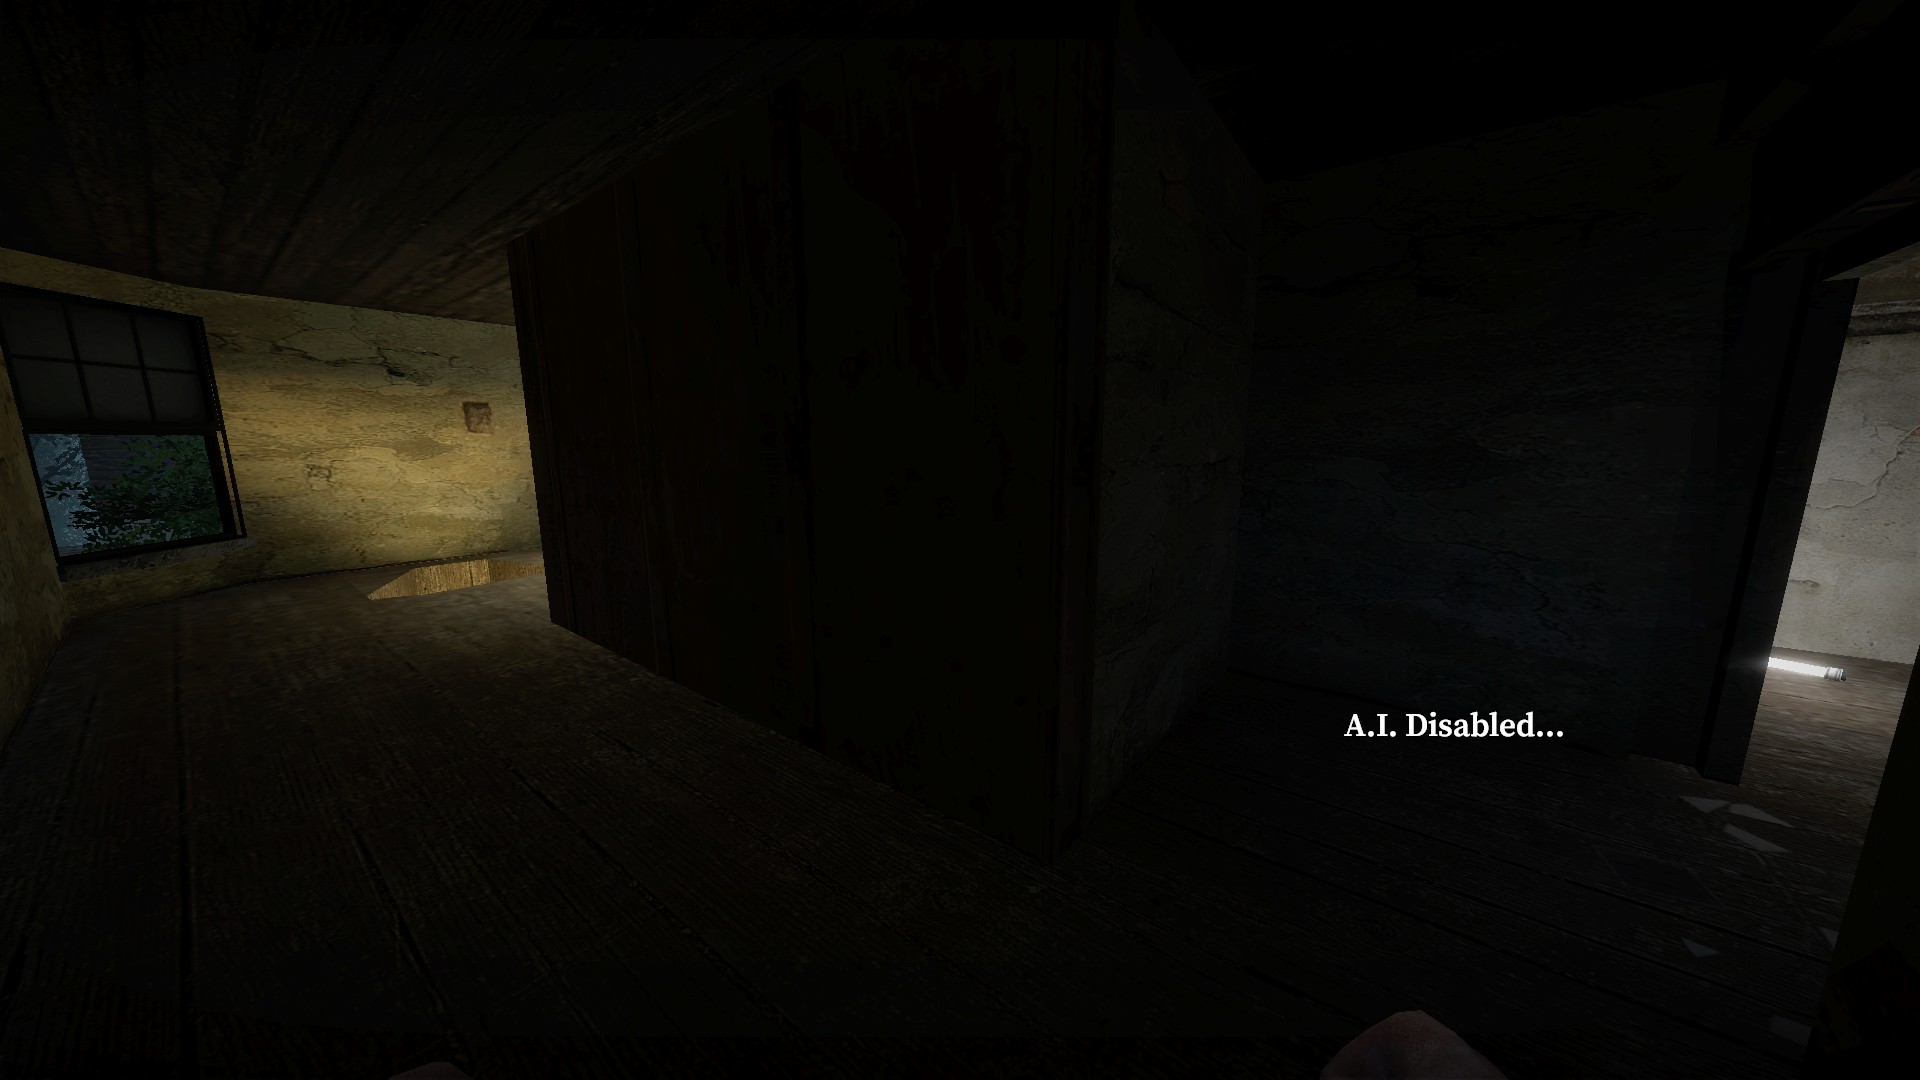
So to avoid being mauled by the runners at close distance, run straight for the hole you've just made
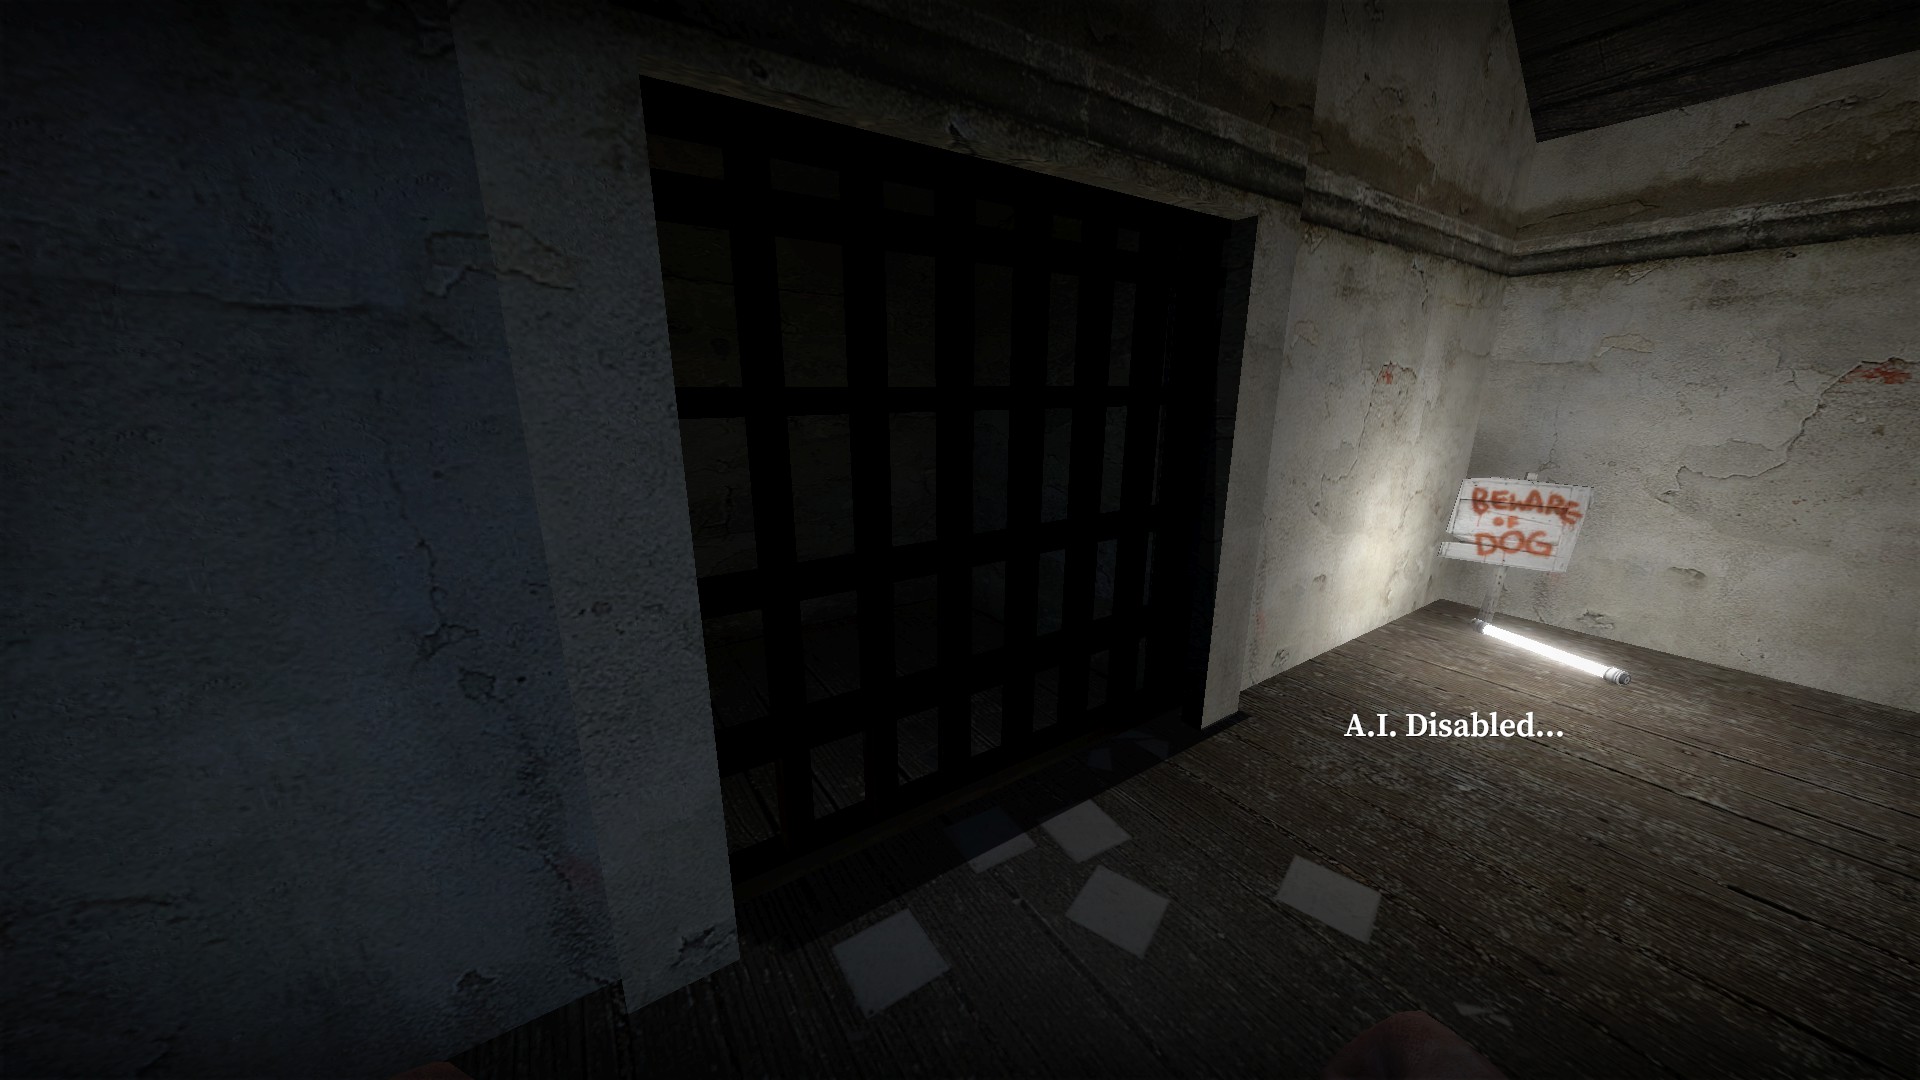
Return and you can break the grate and more easily kill the runners
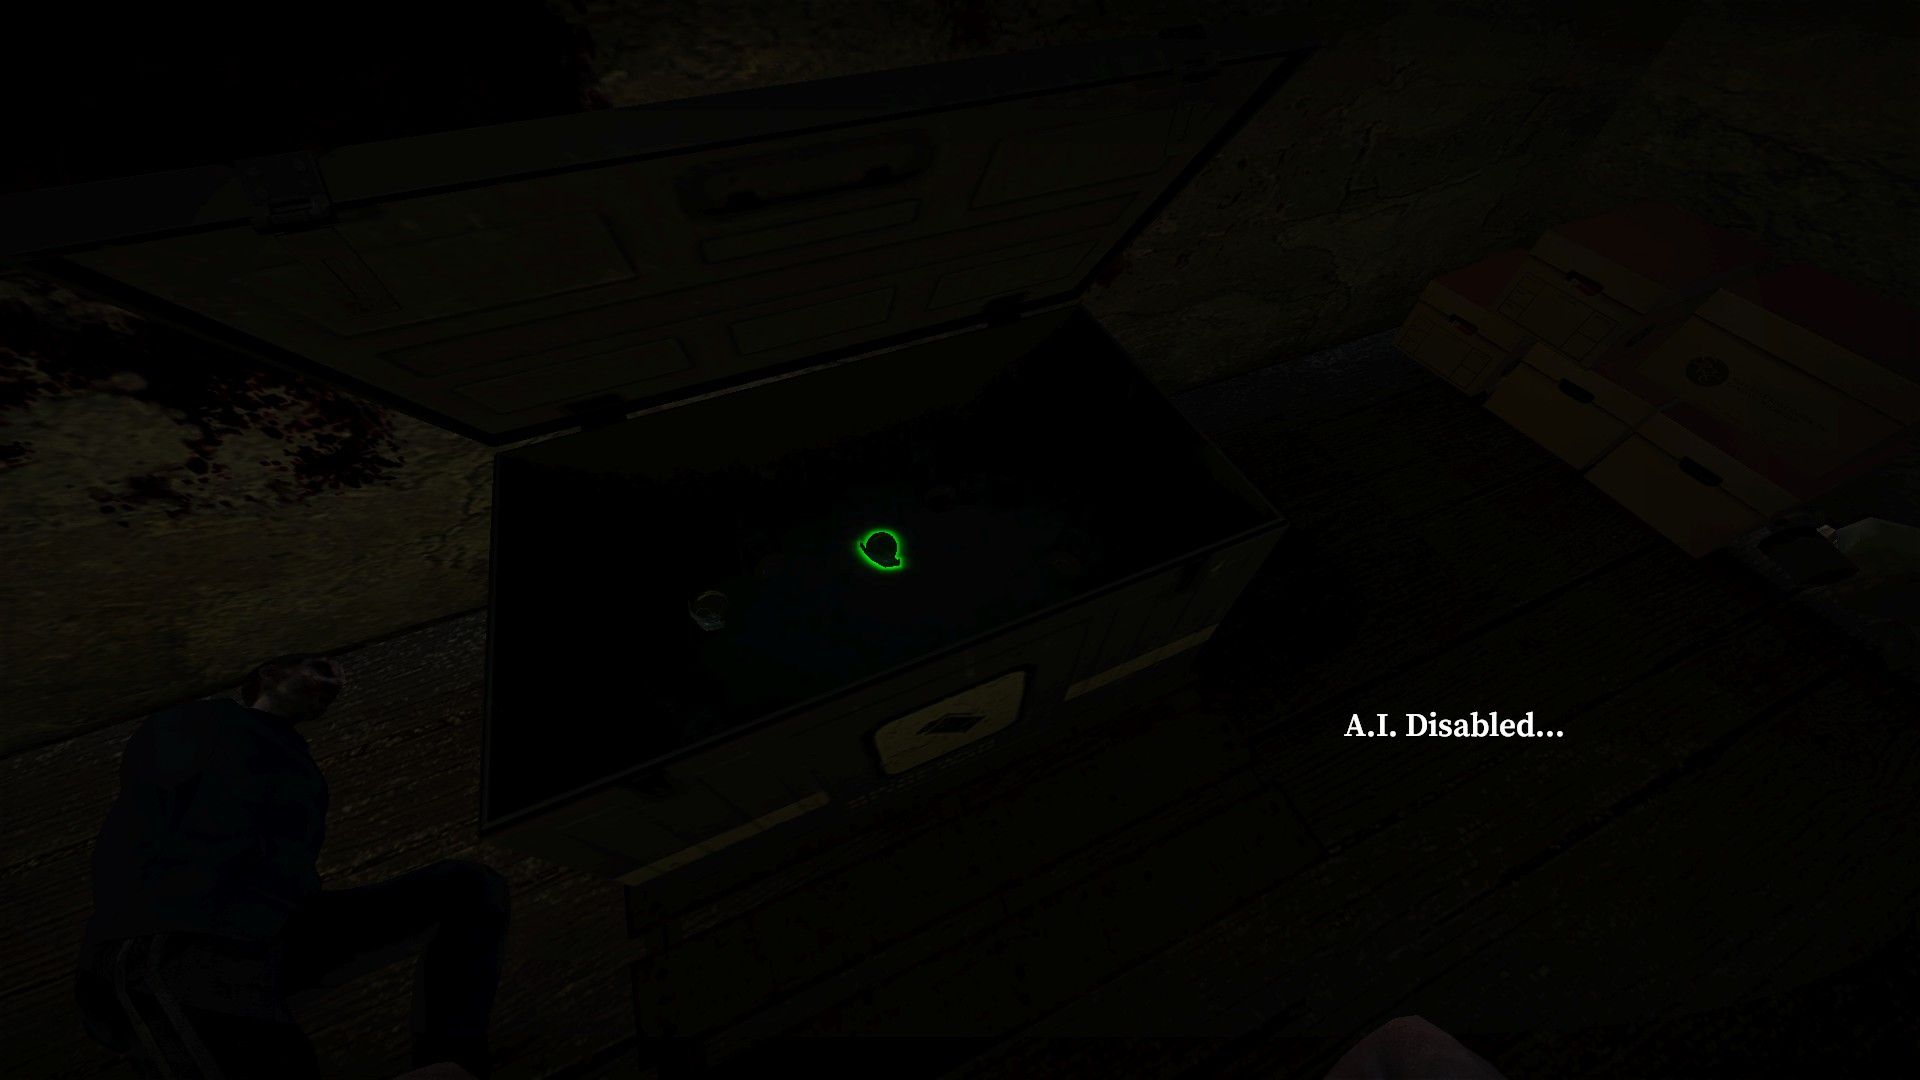
The box will have a pair of grenades
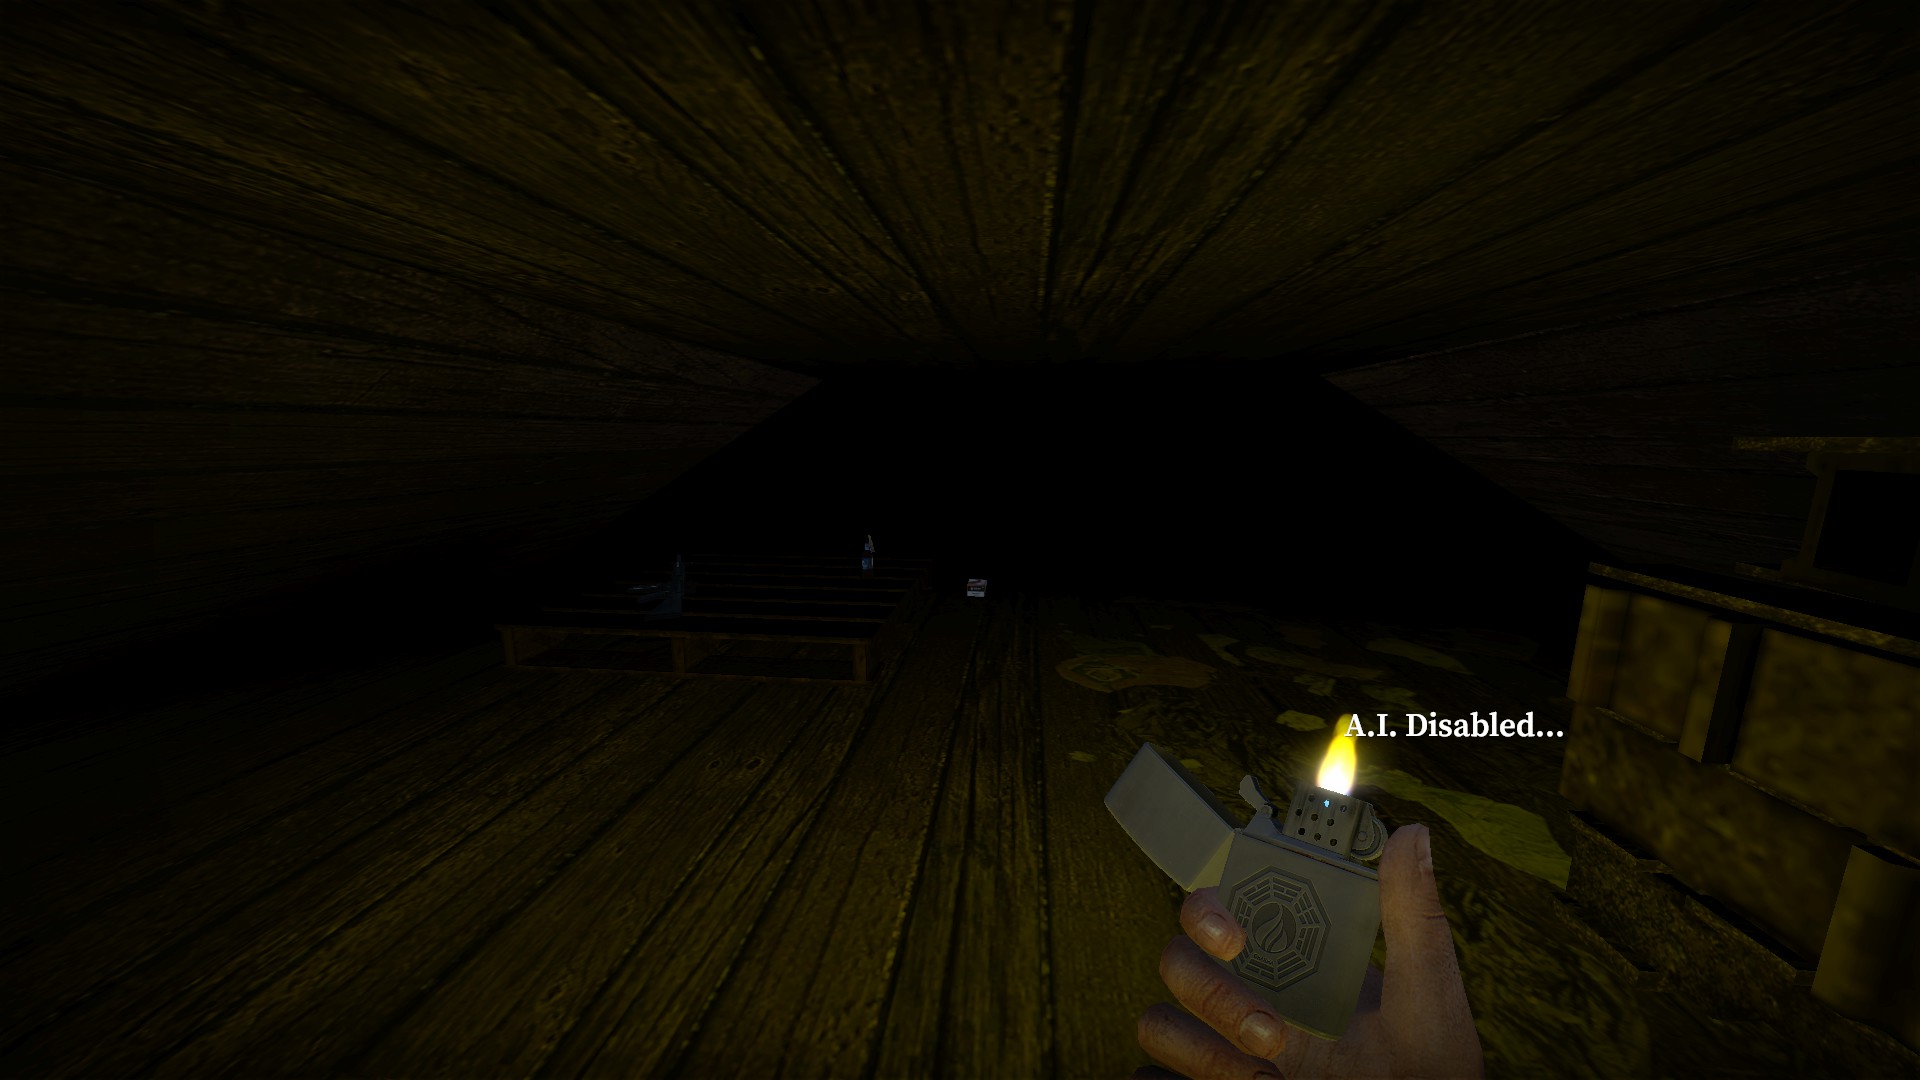
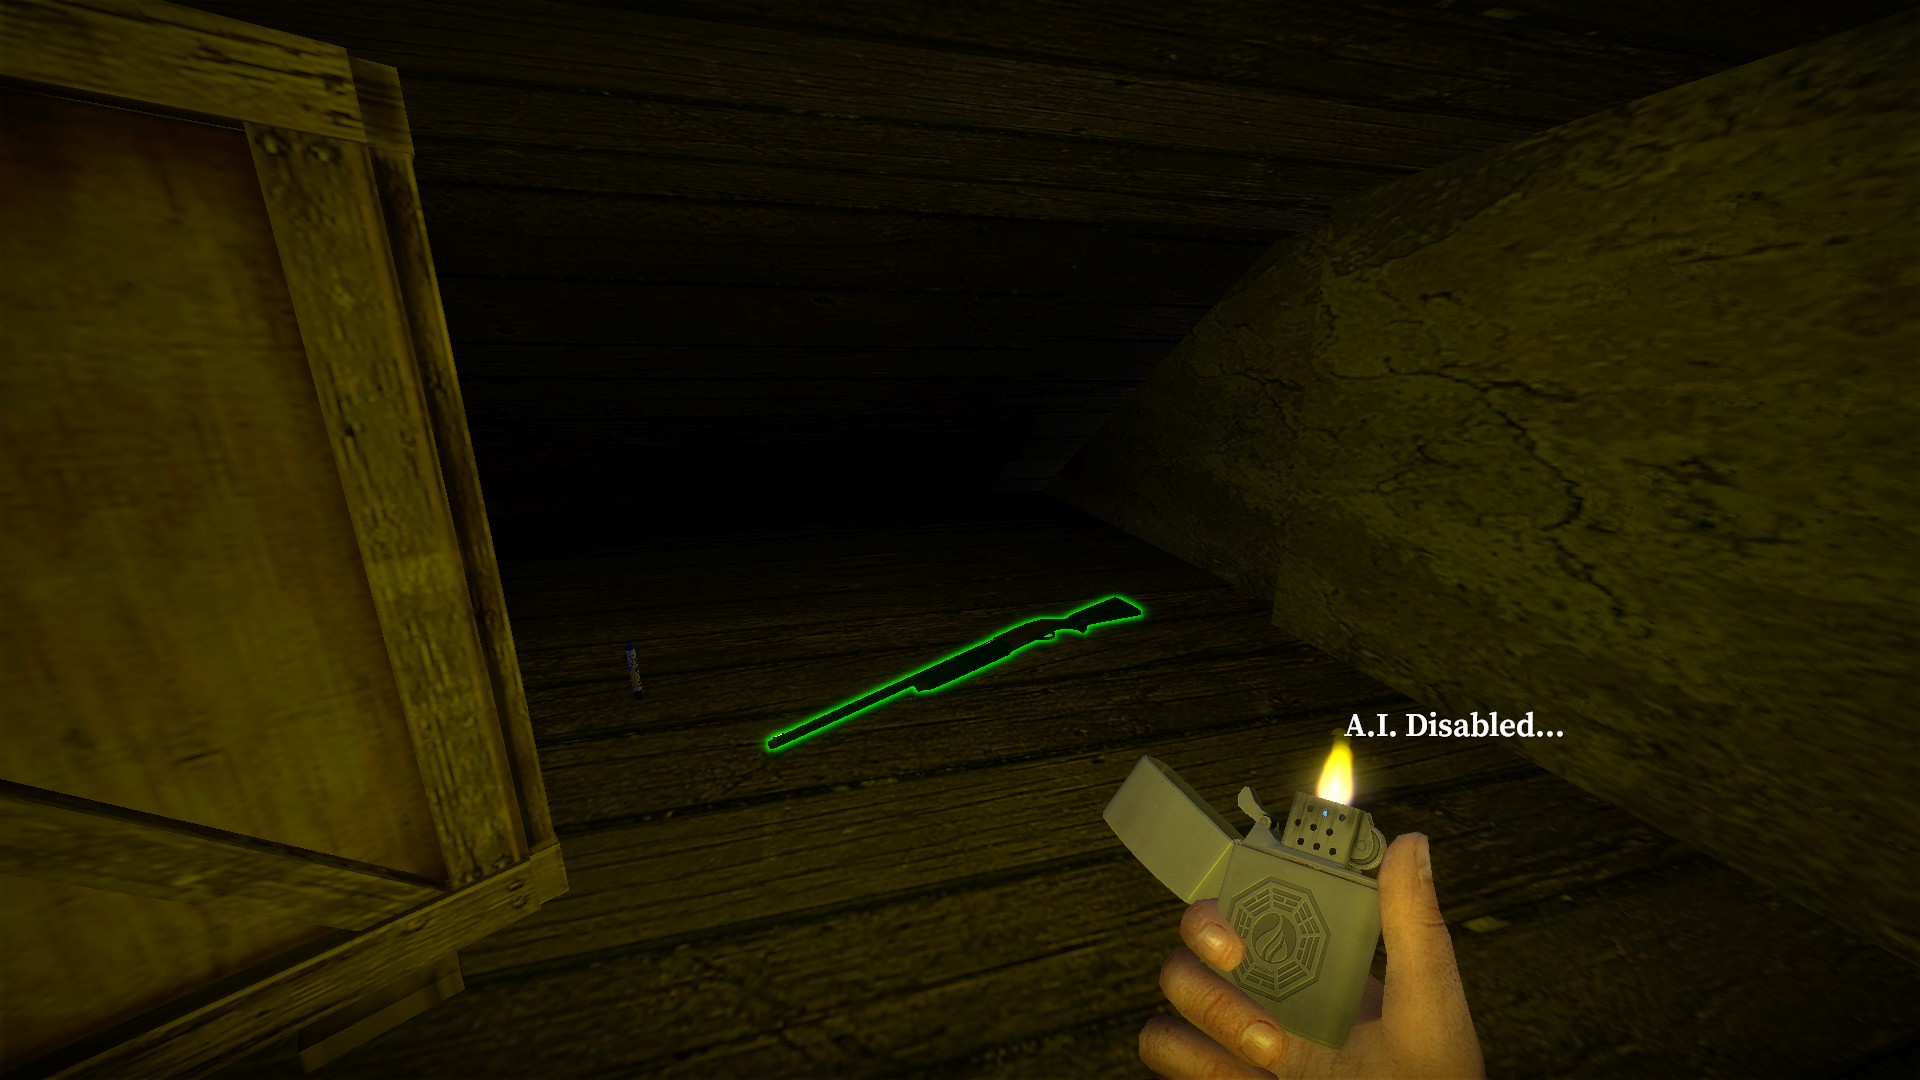
Then go up the ladder and crawl around the attic for supplies
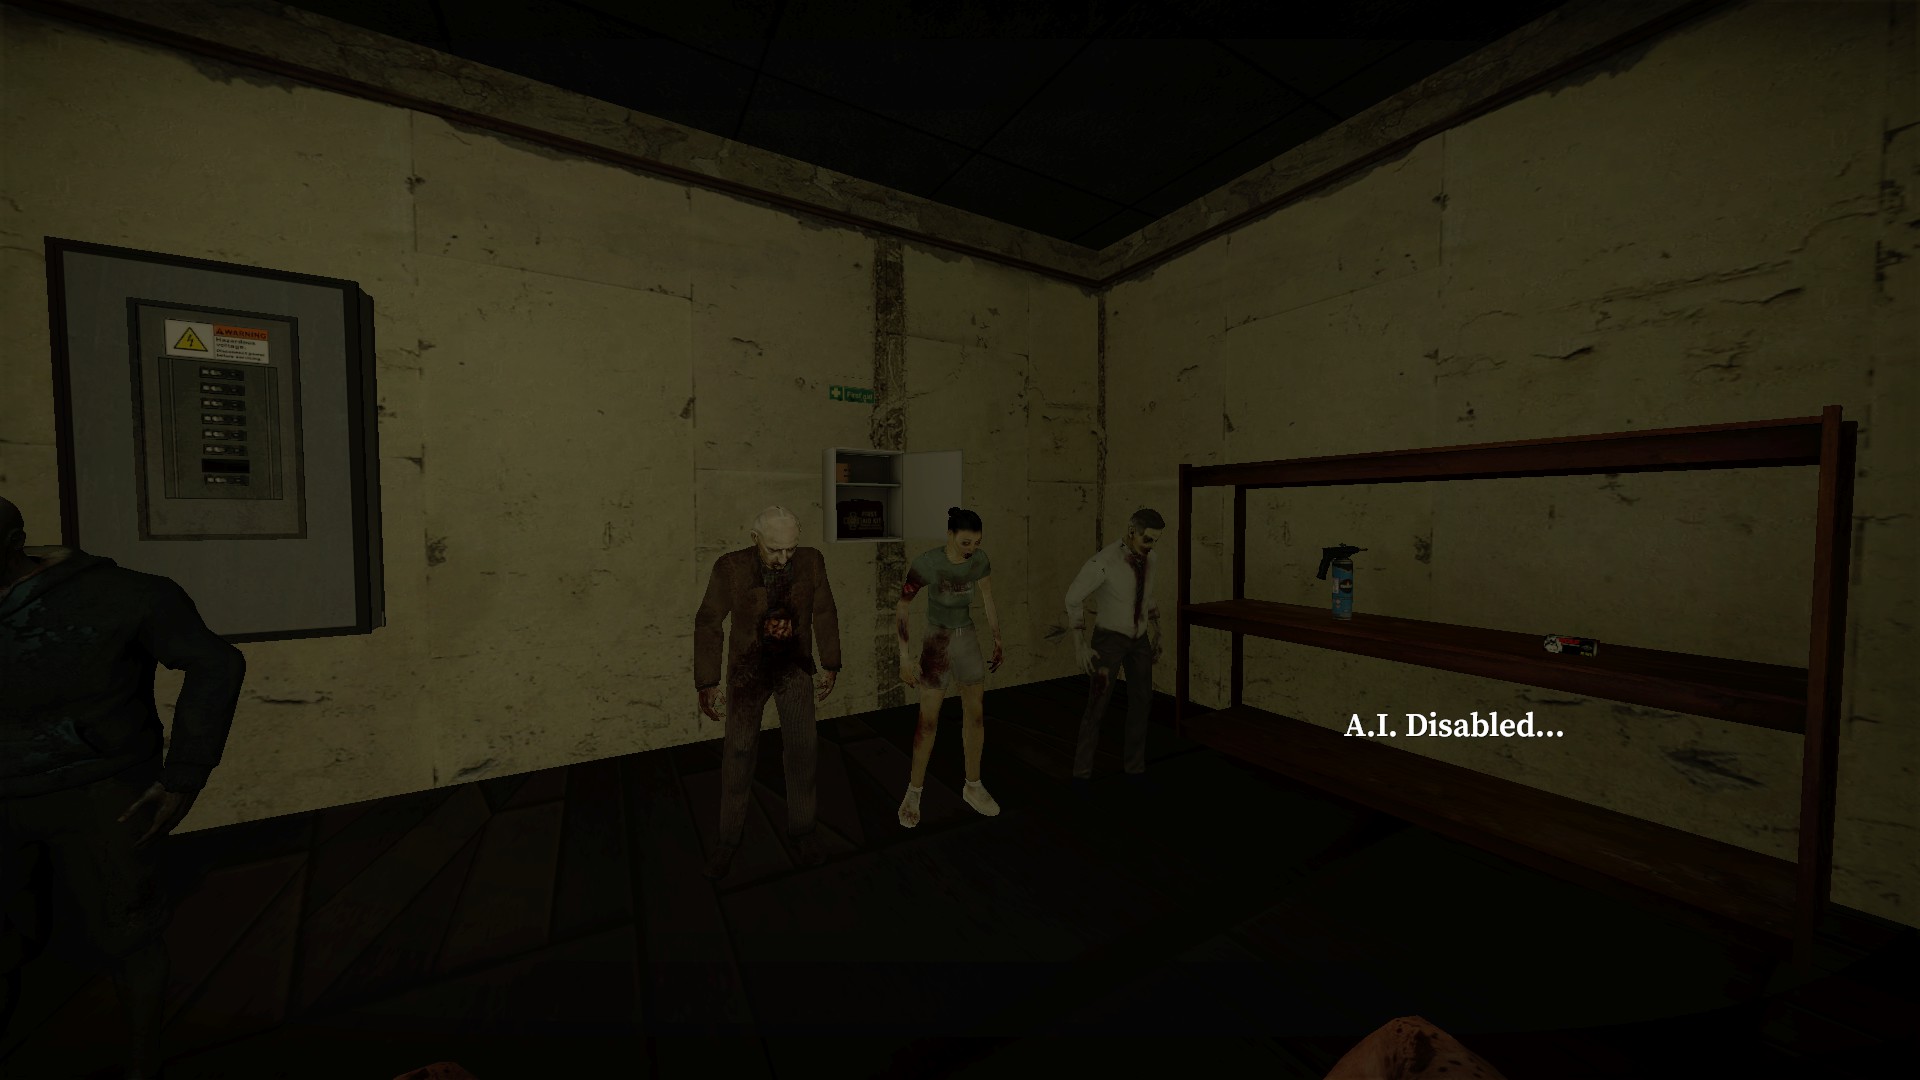
You will find welders near where you turn the club power on
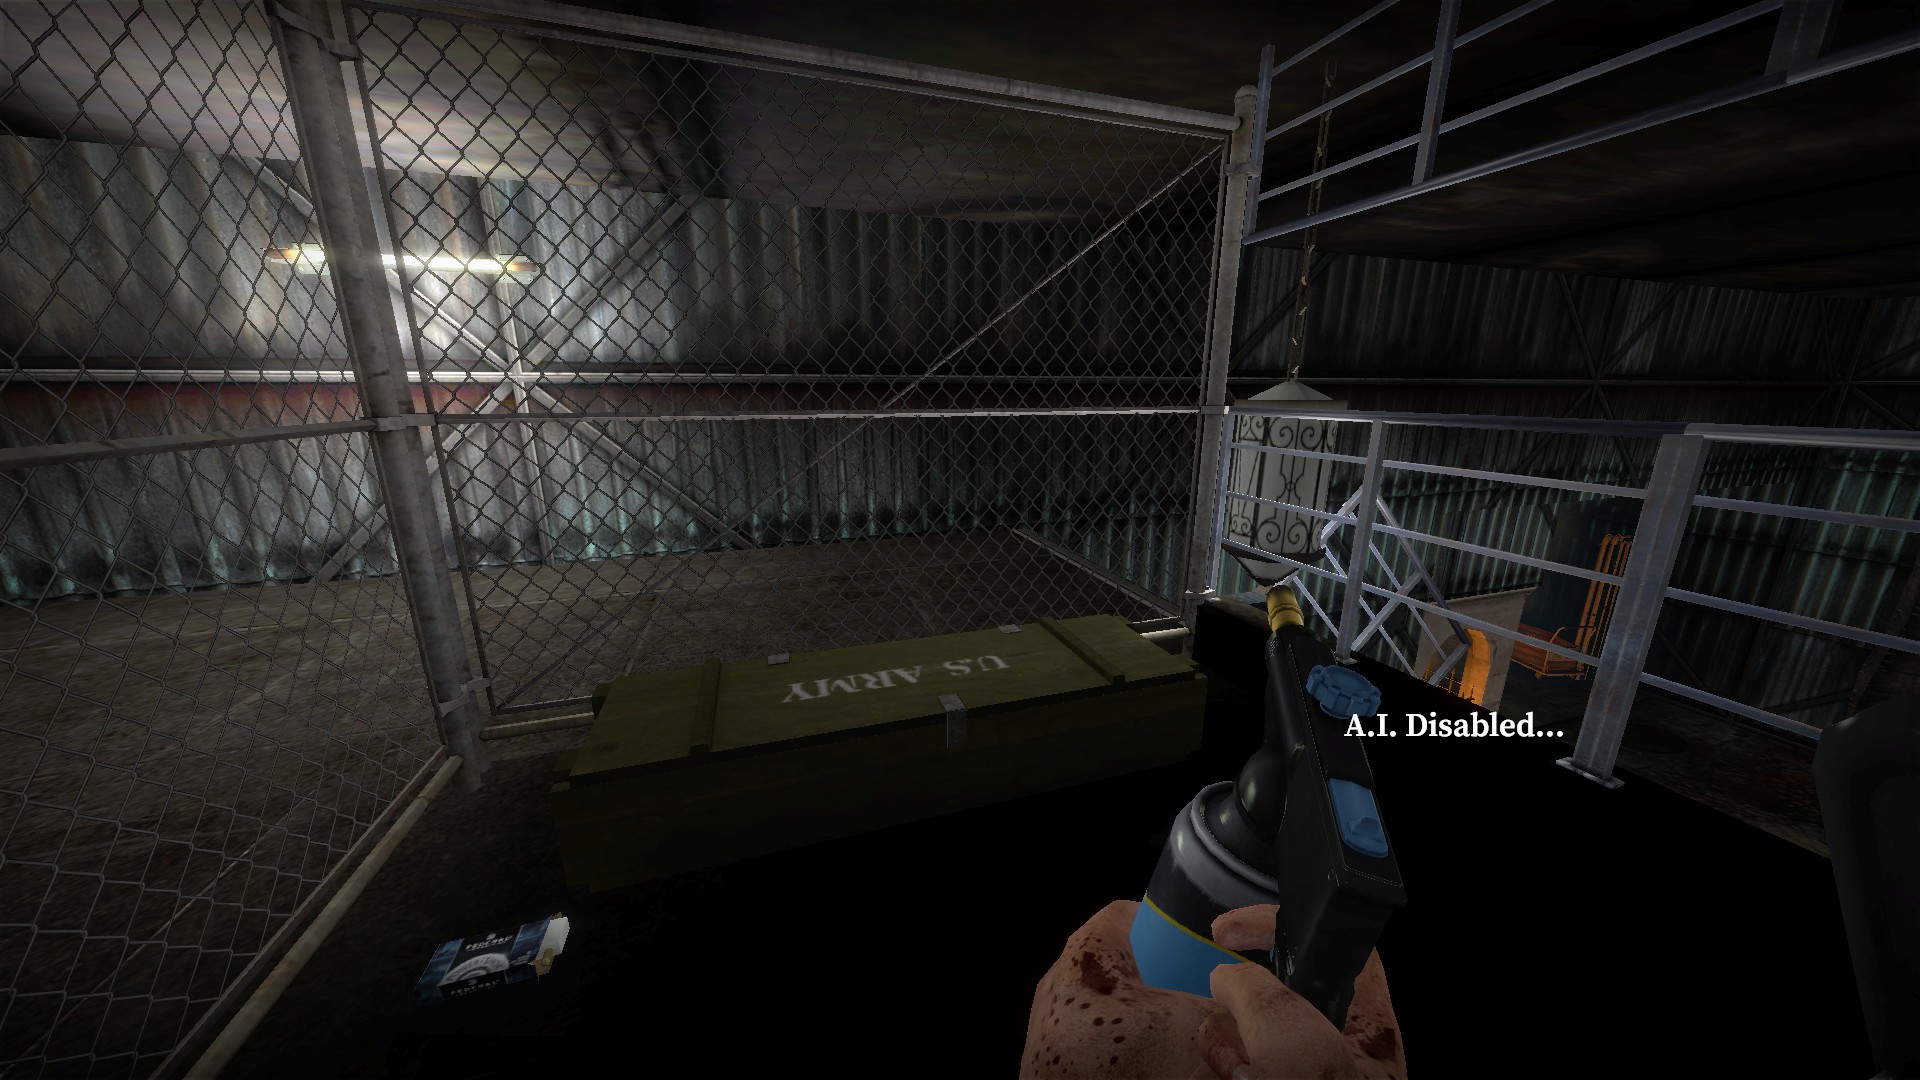
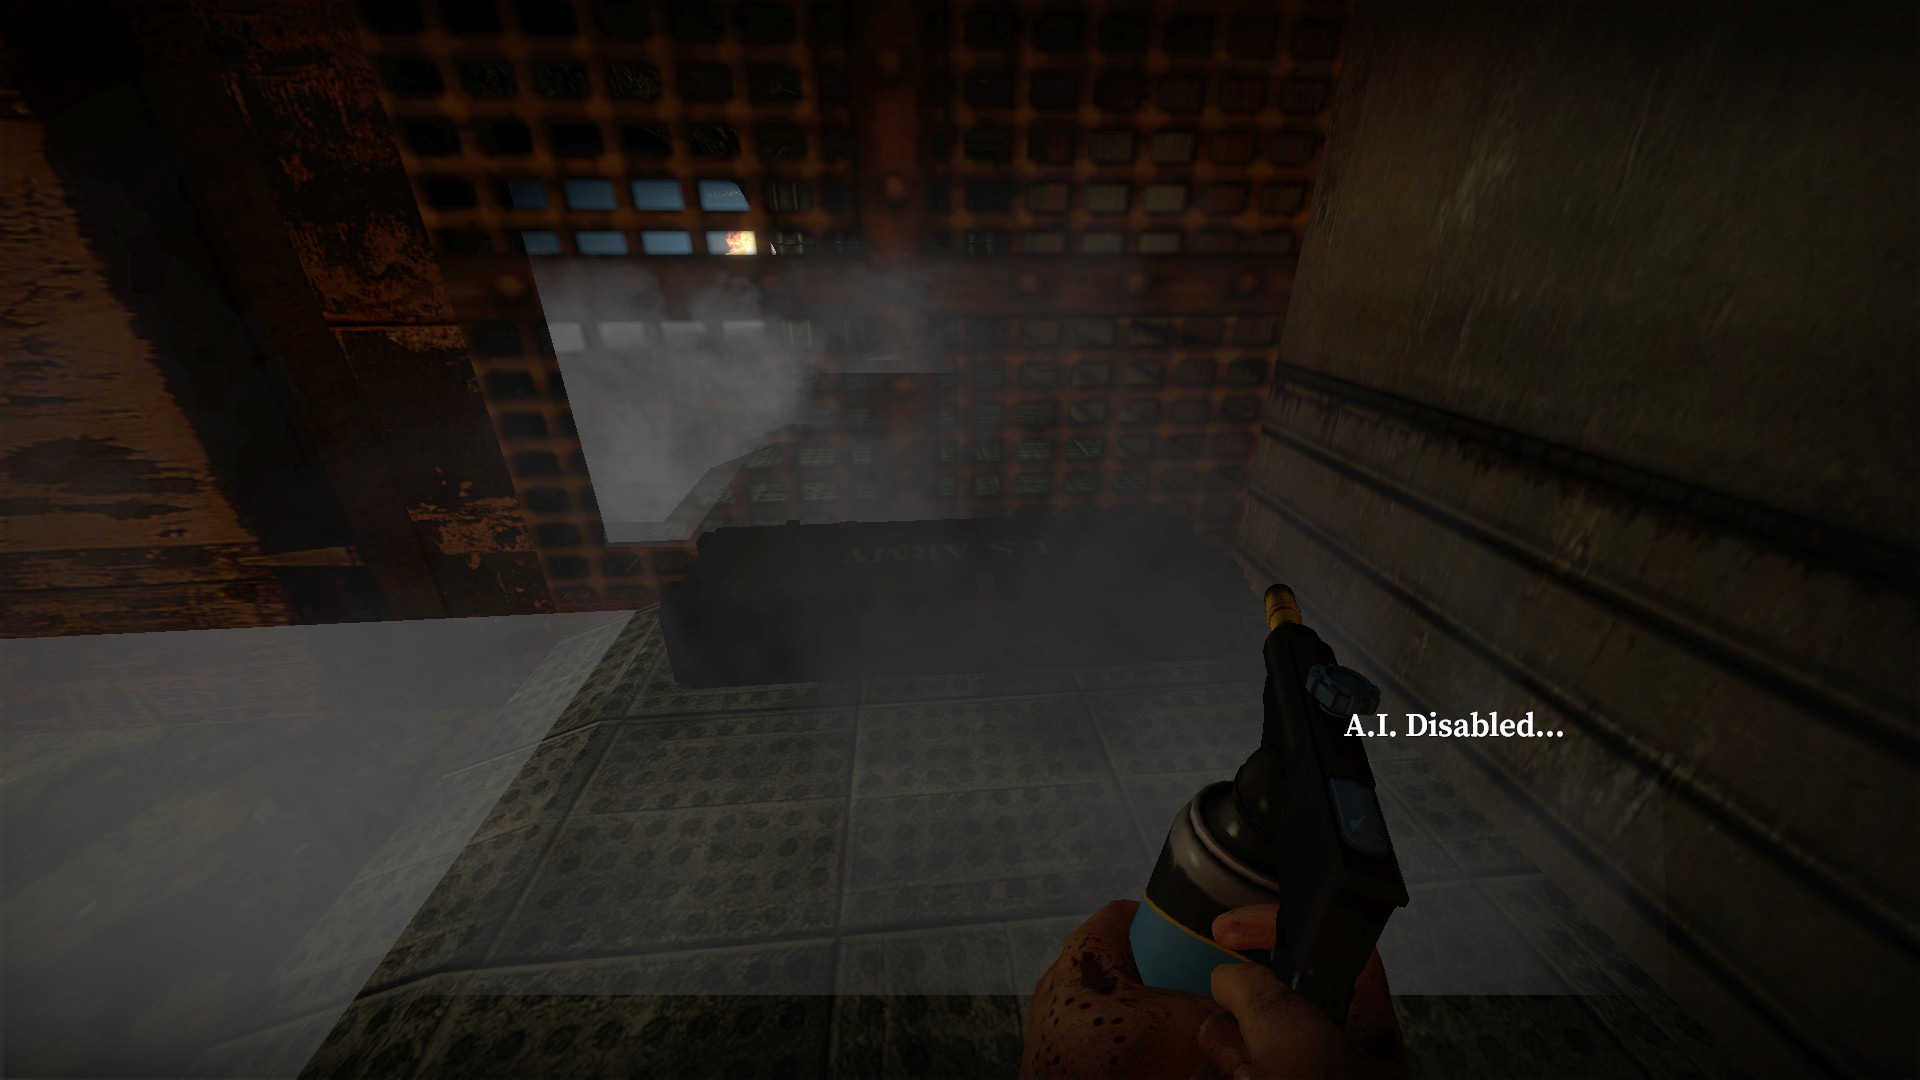
Use to open a locker just after getting the red key
And another locker at the gate for Sector B
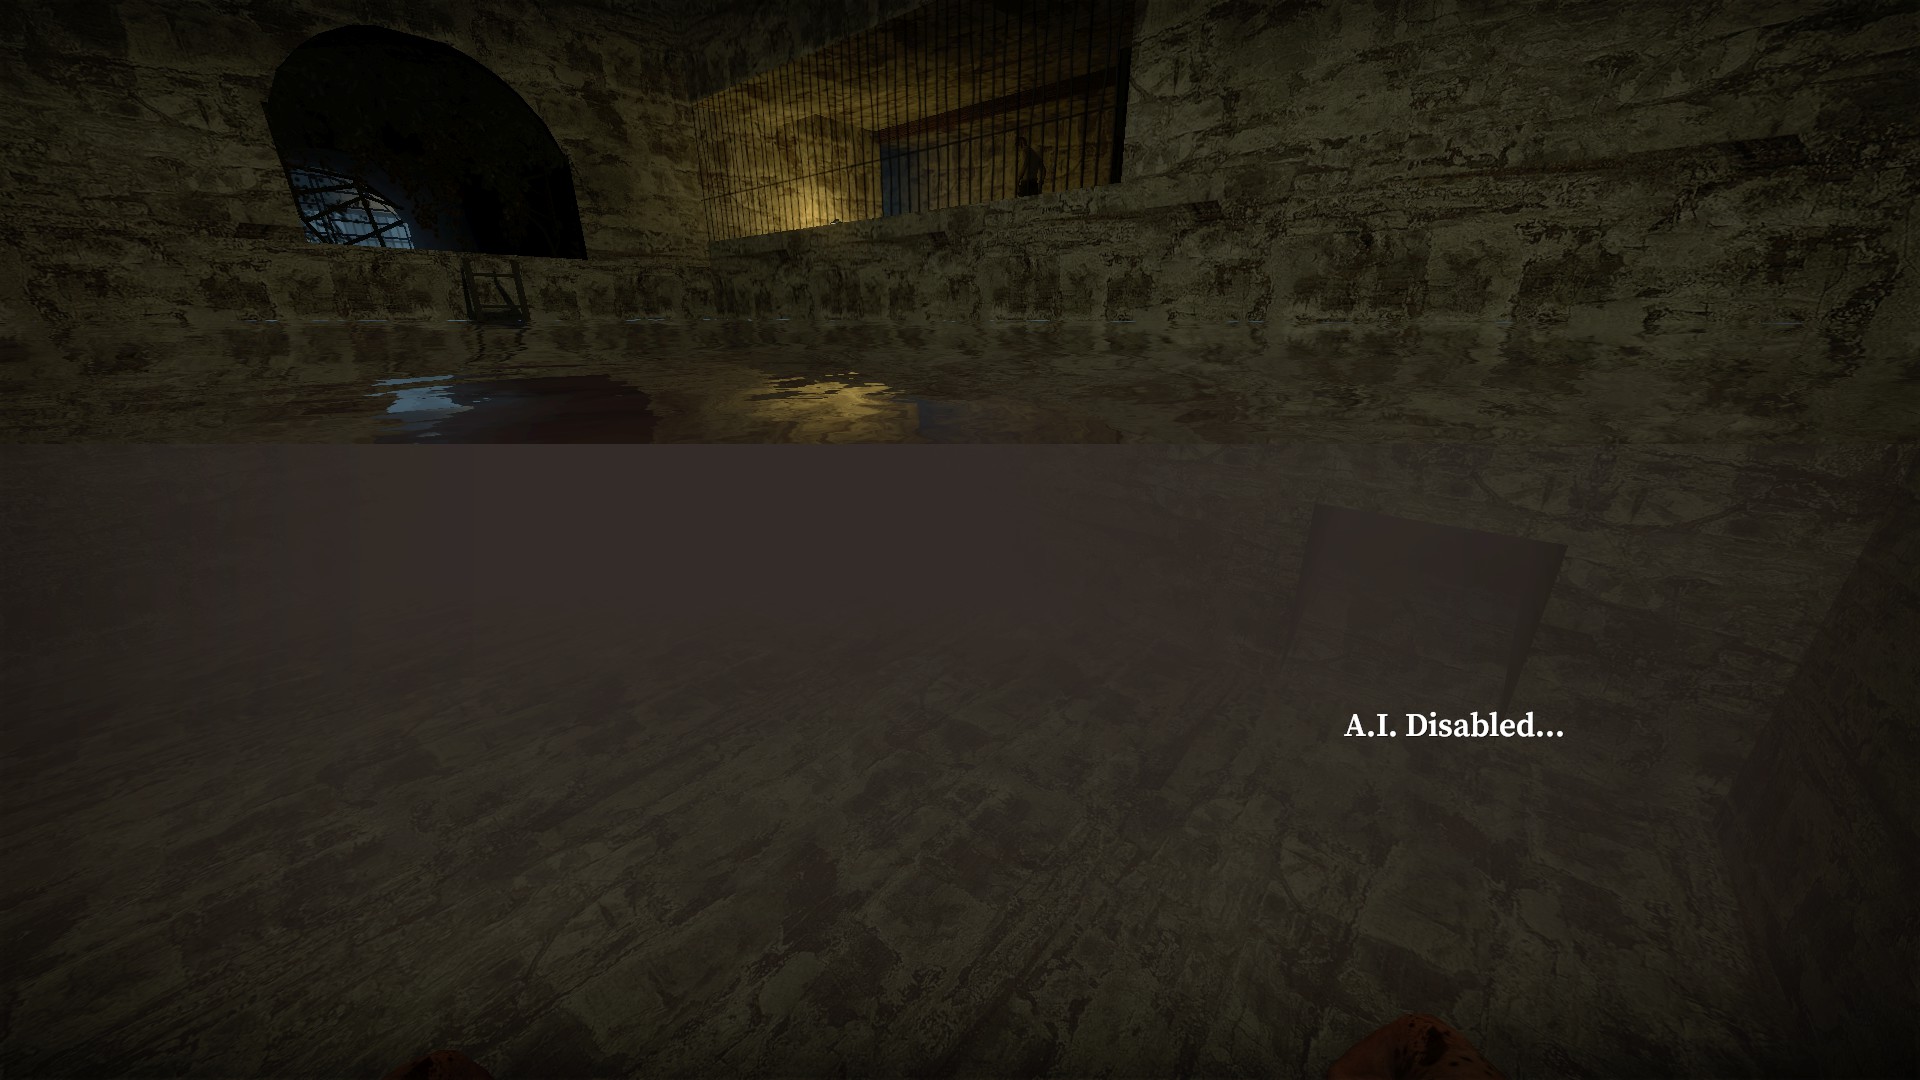
Where you drop into the water, there is a tunnel under the water to your right
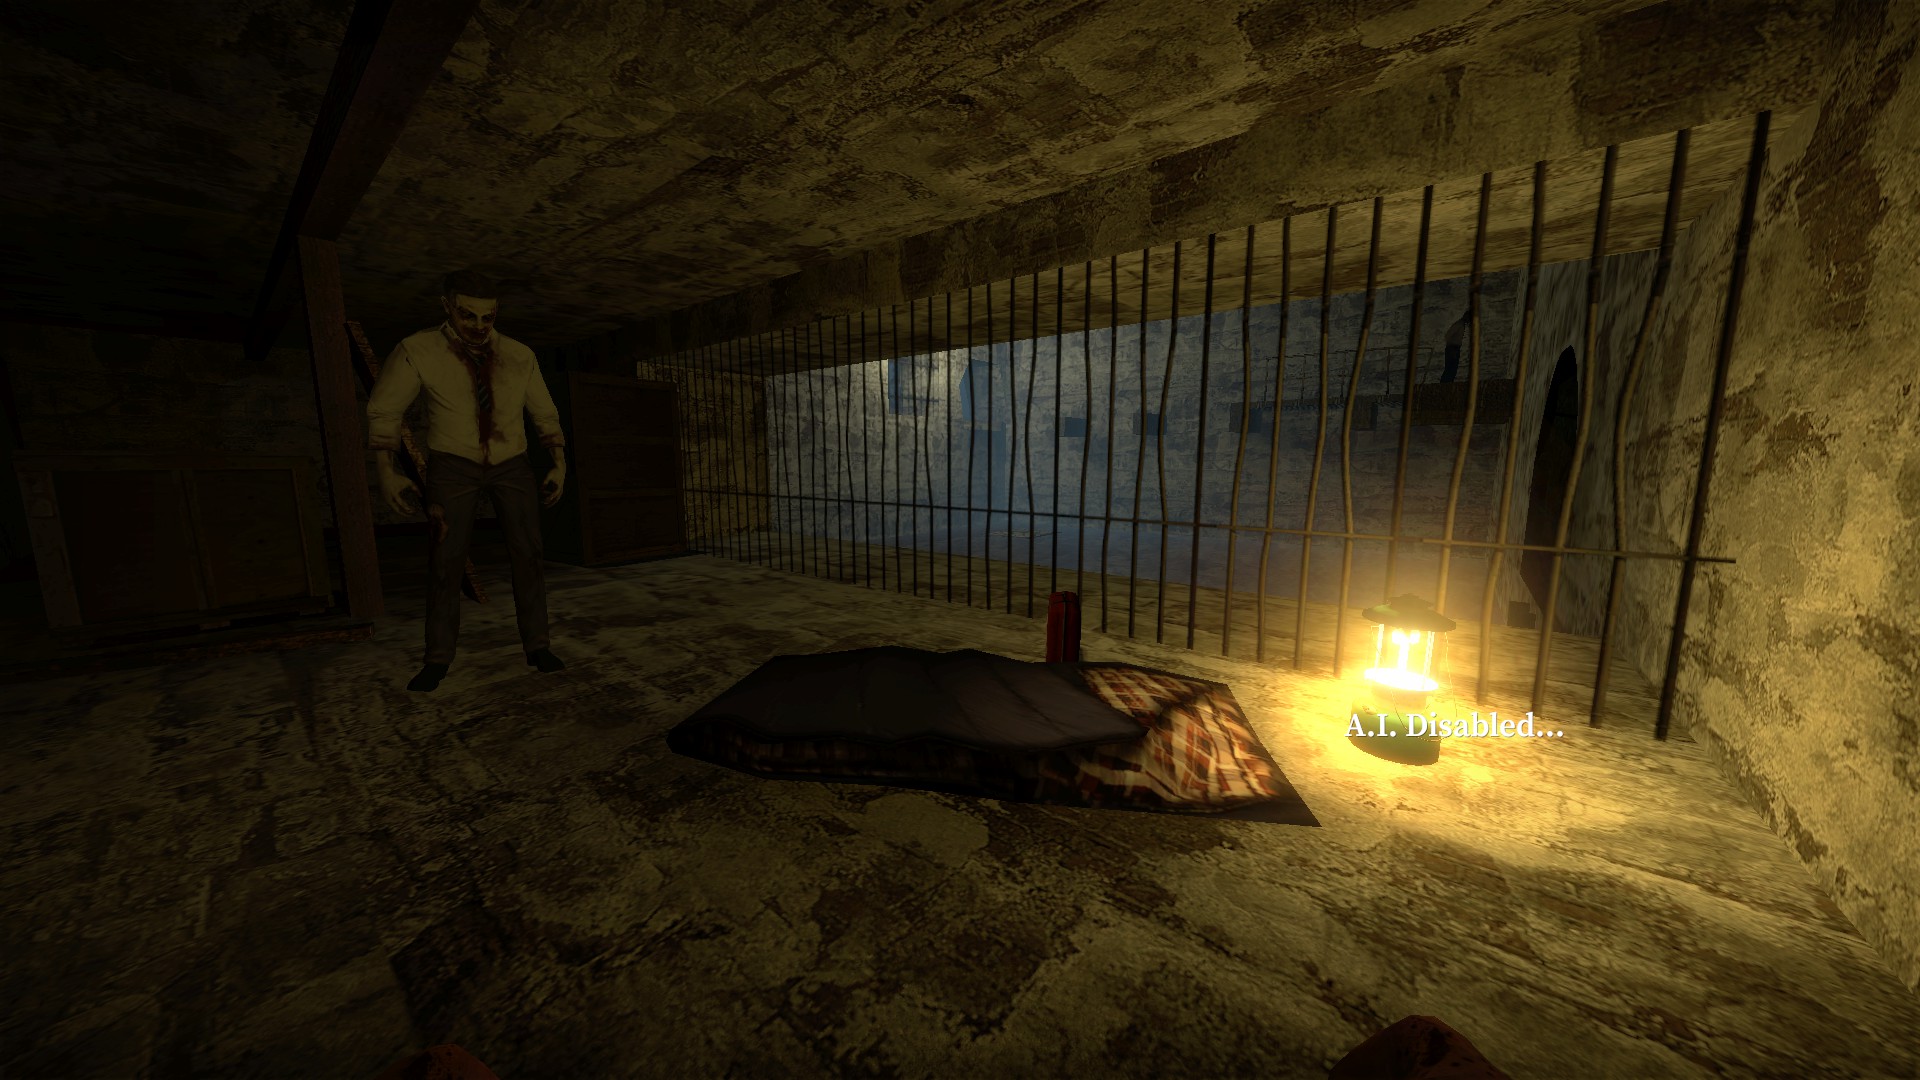
Follow this tunnel to get to the area behind the bars
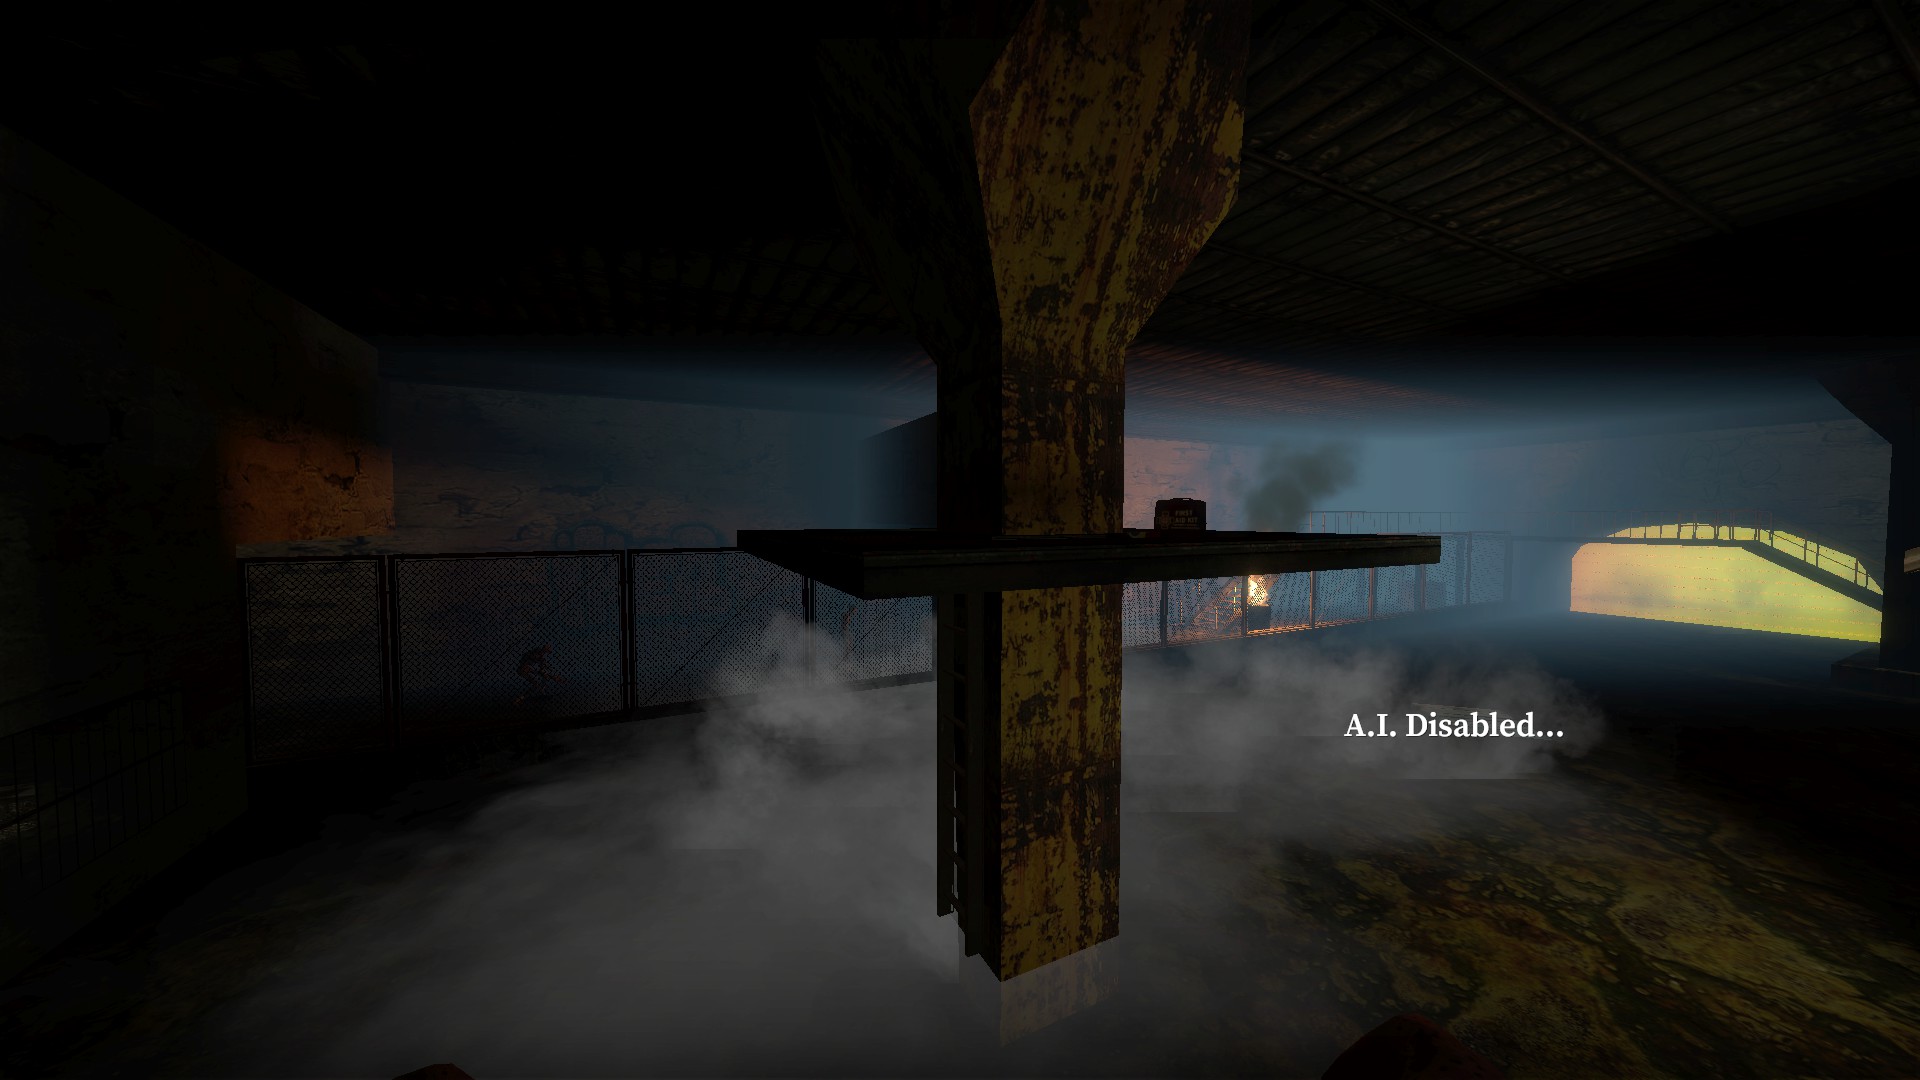
When you first get the boat, you can stop and climb the ladder for supplies
nmo_traphouse_v1_4_5
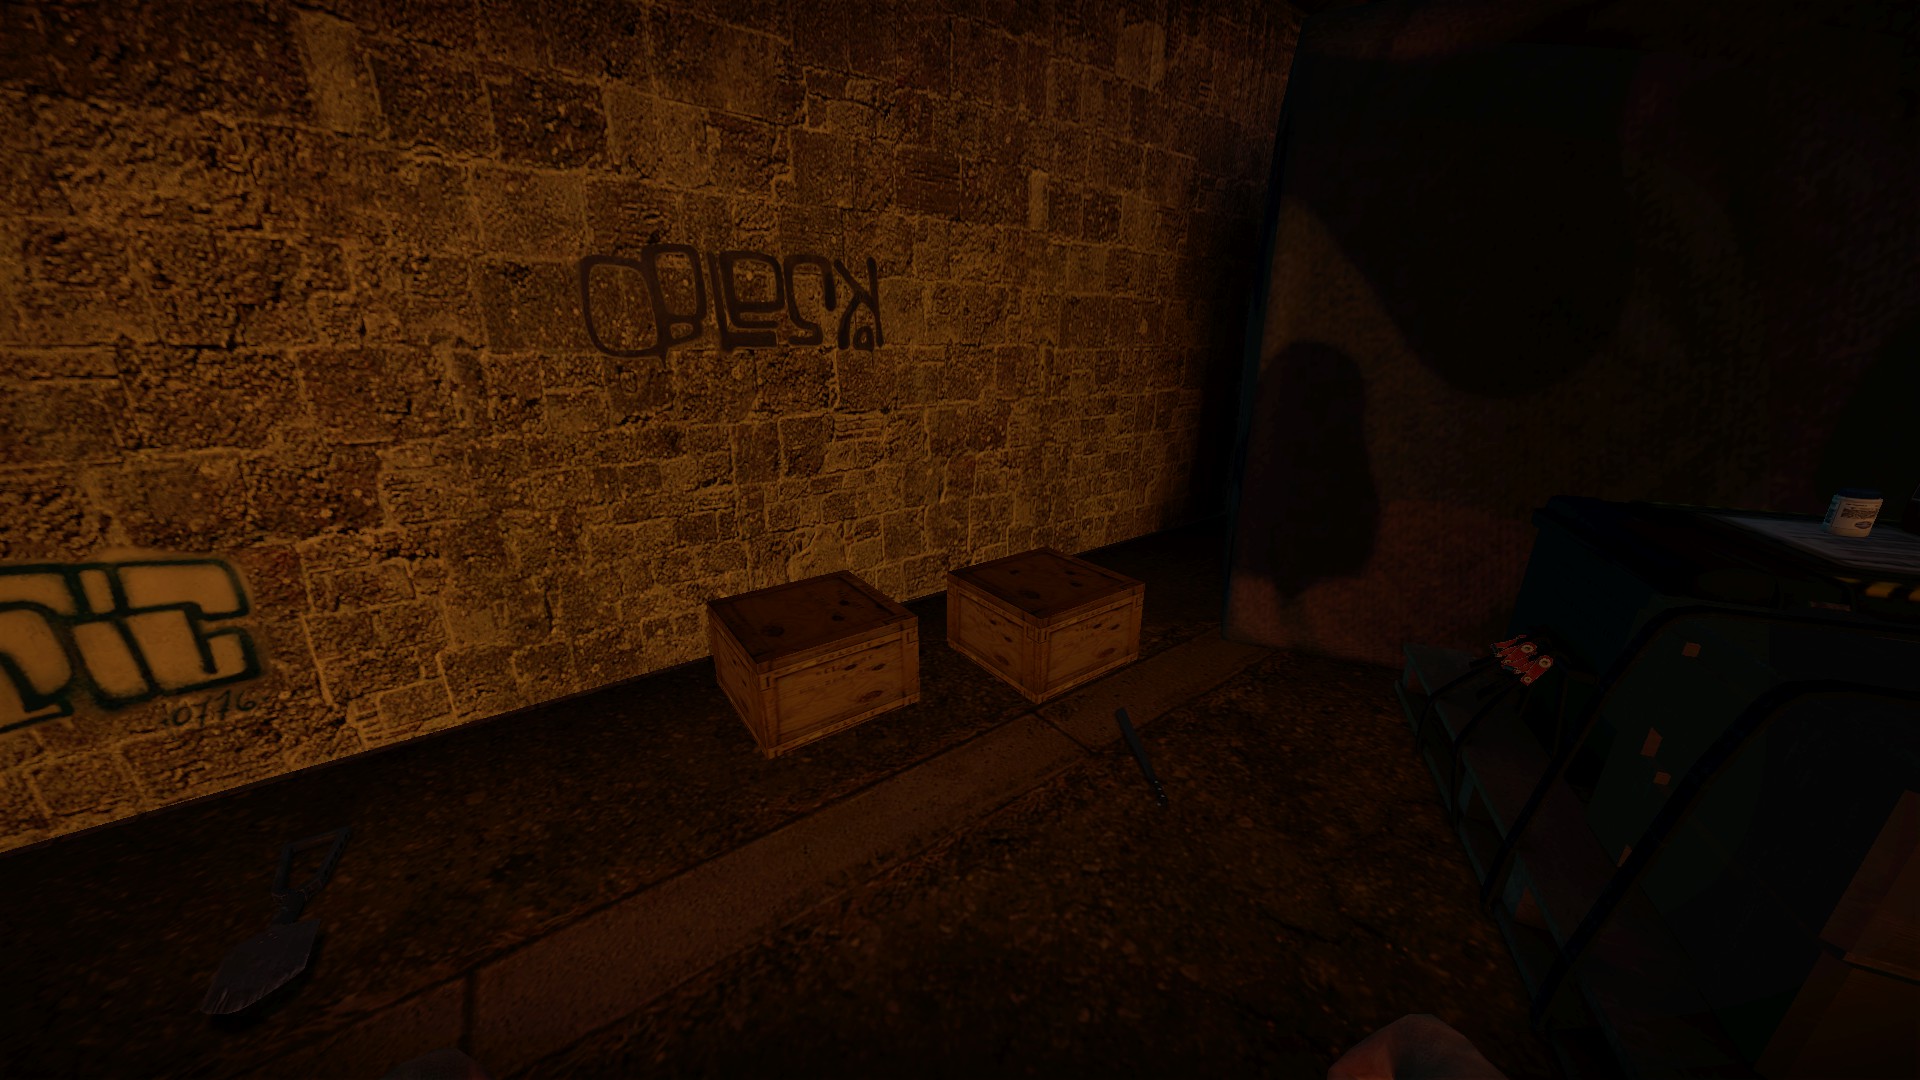
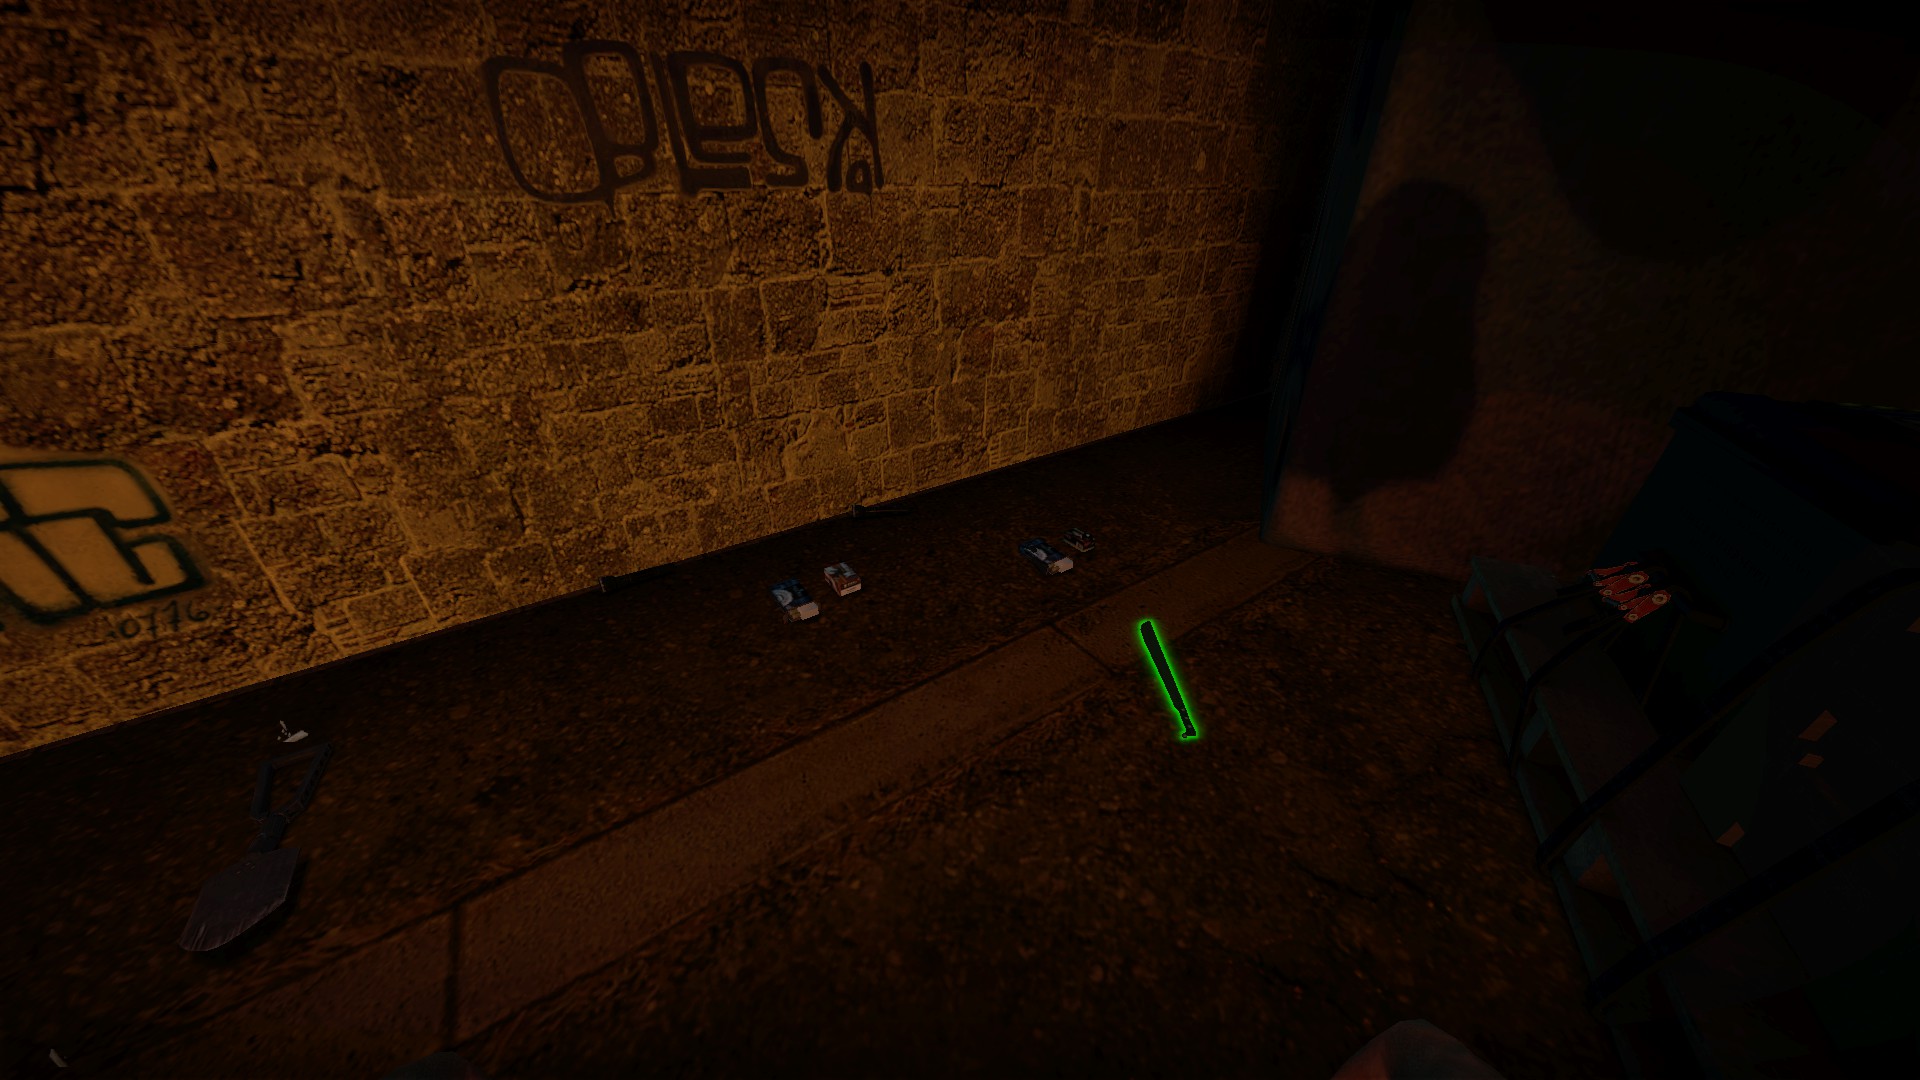
Break small boxes on this map for supplies
Search bodies on this map for supplies, there are 16 searchable bodies
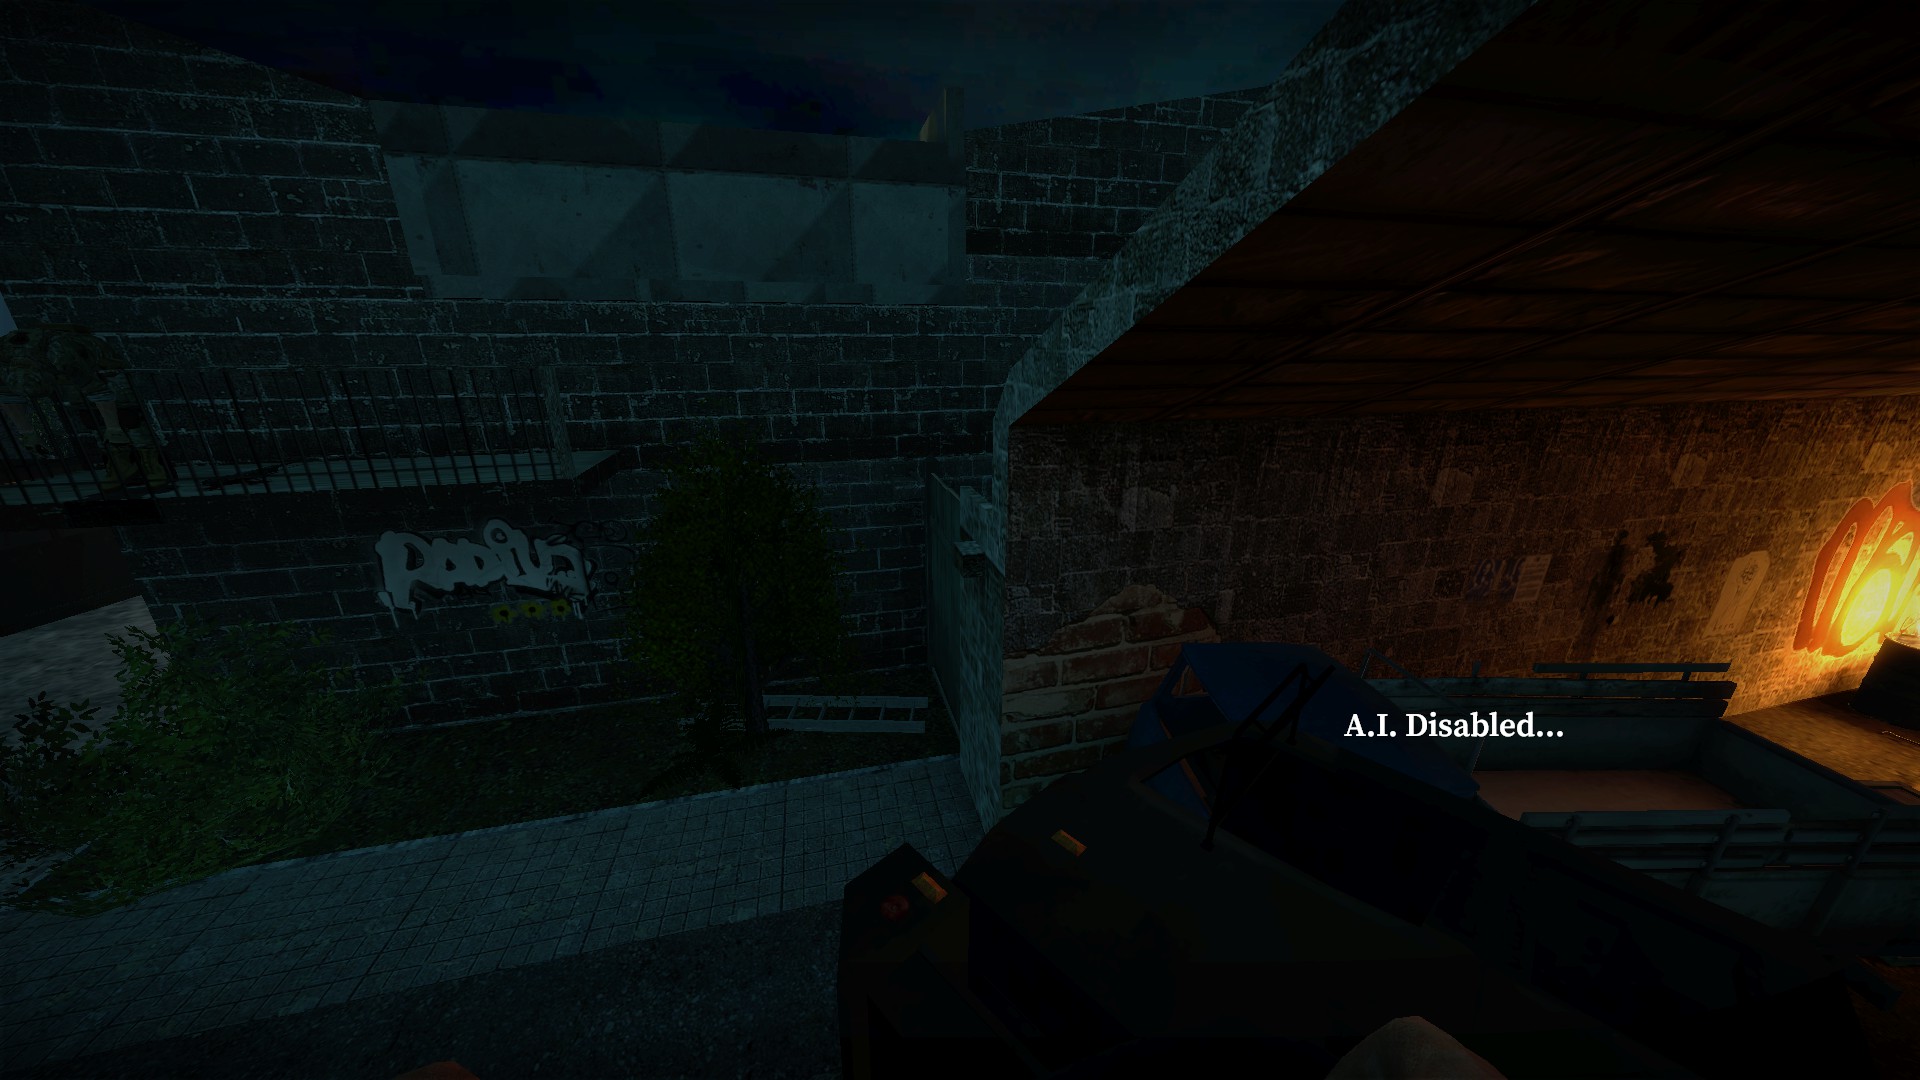
The first body is the hardest to get. At the map start, jump from the truck to the tiny brick ledge
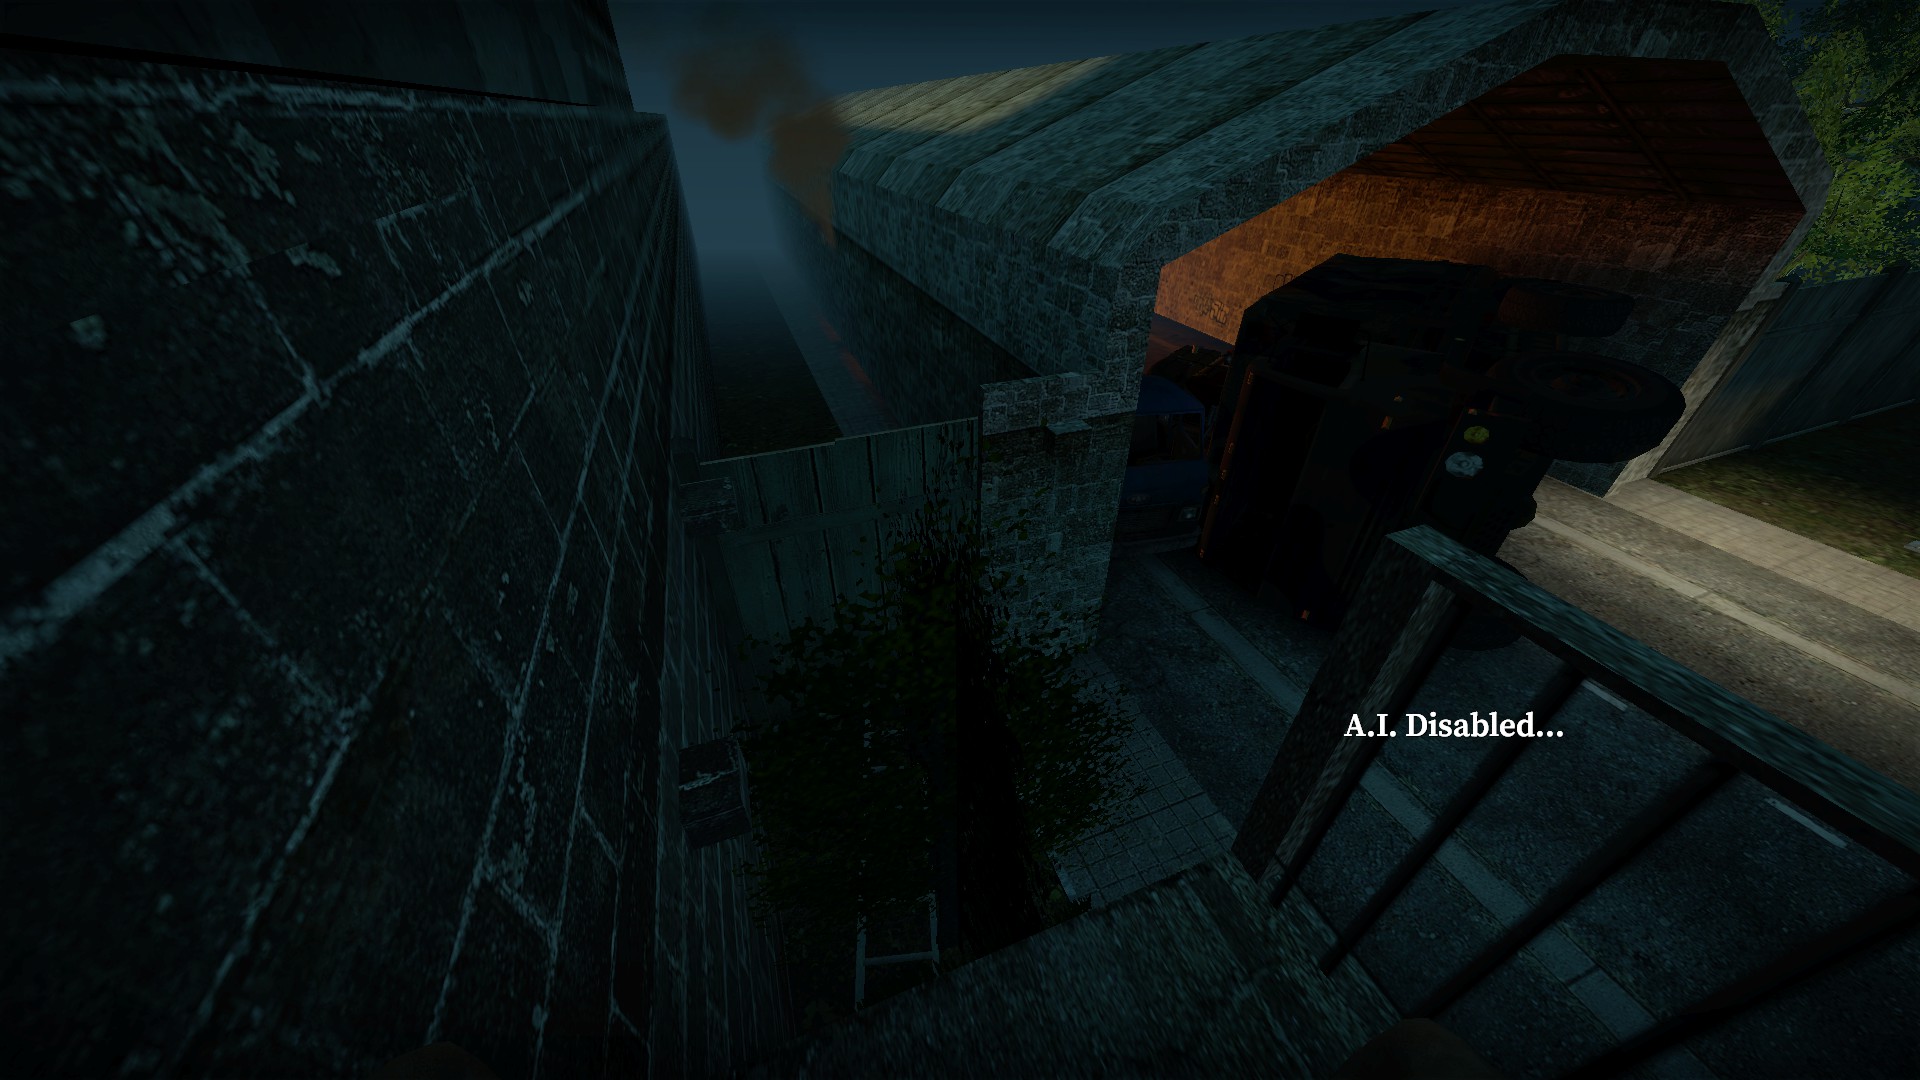
Then parkour to another tiny brick ledge, then up to the balcony
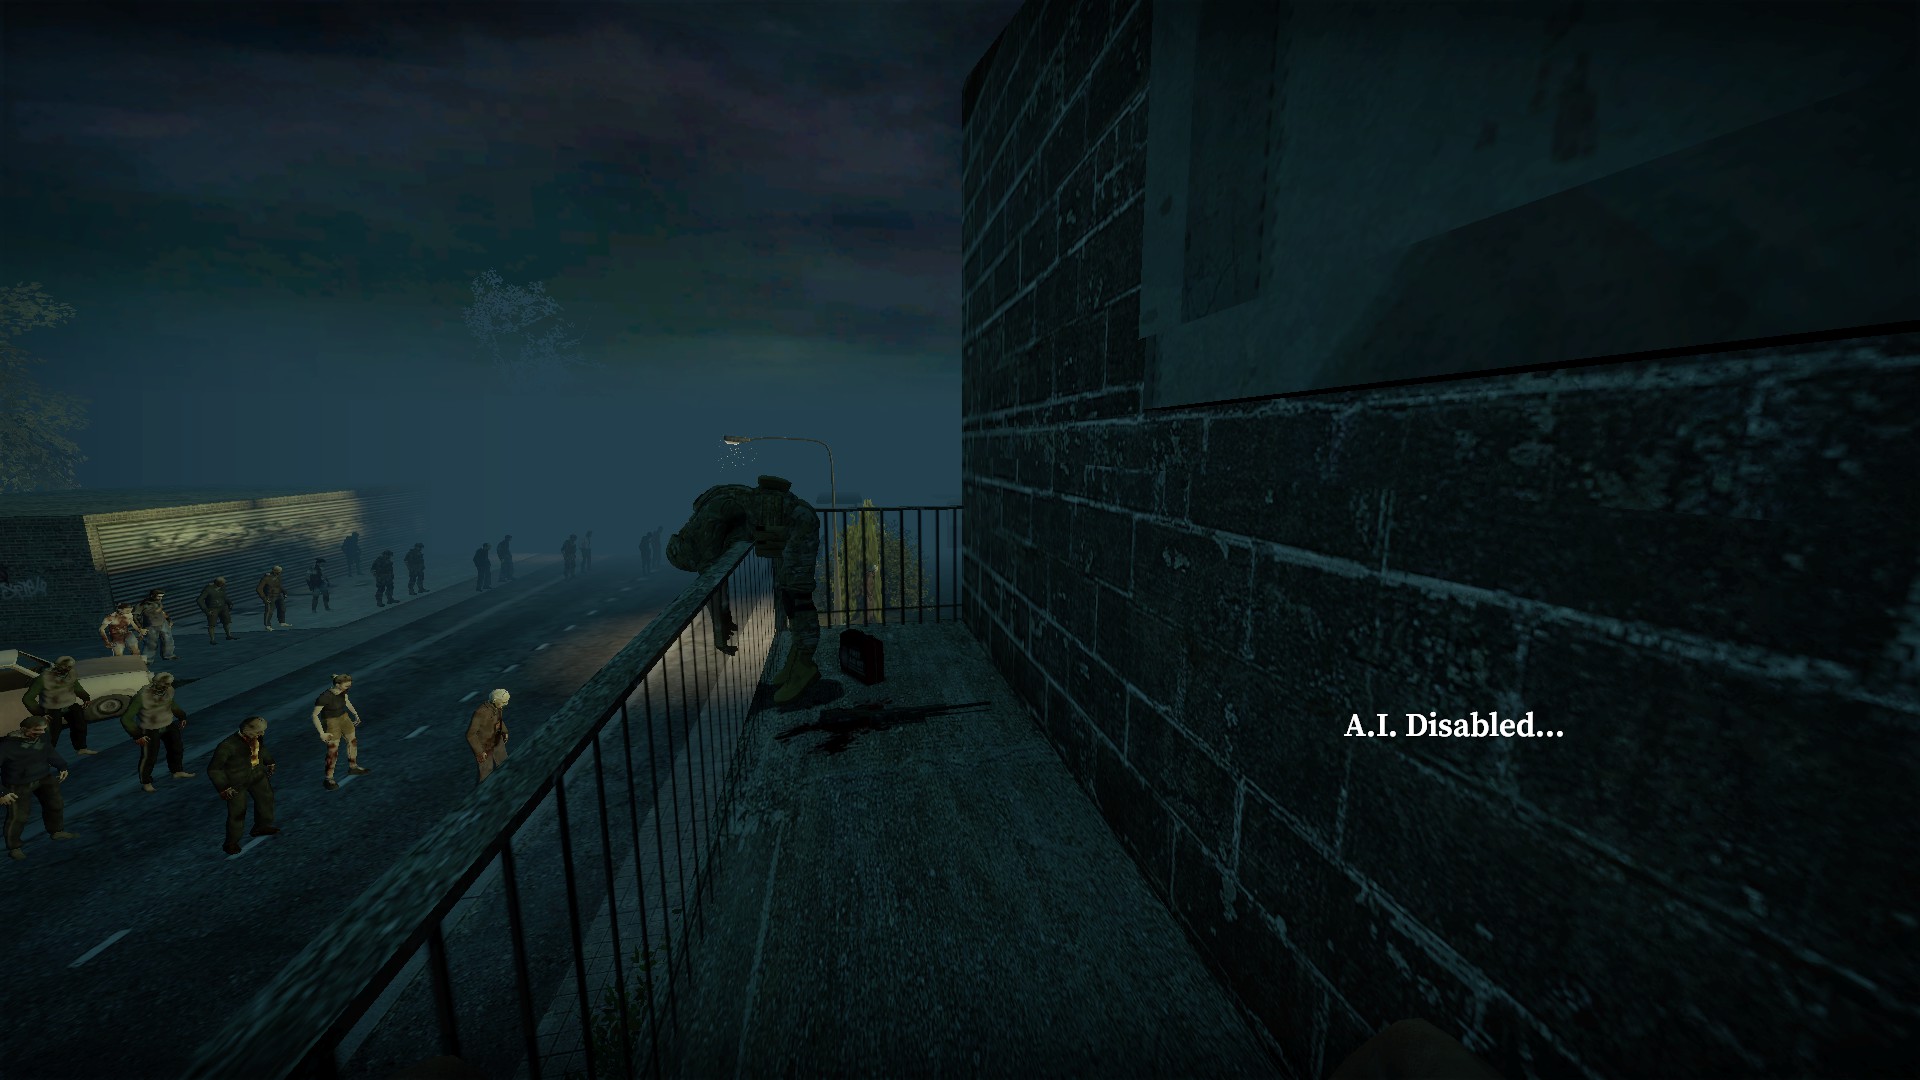
There is a sniper rifle, medkit, and the body can be searched for ammo
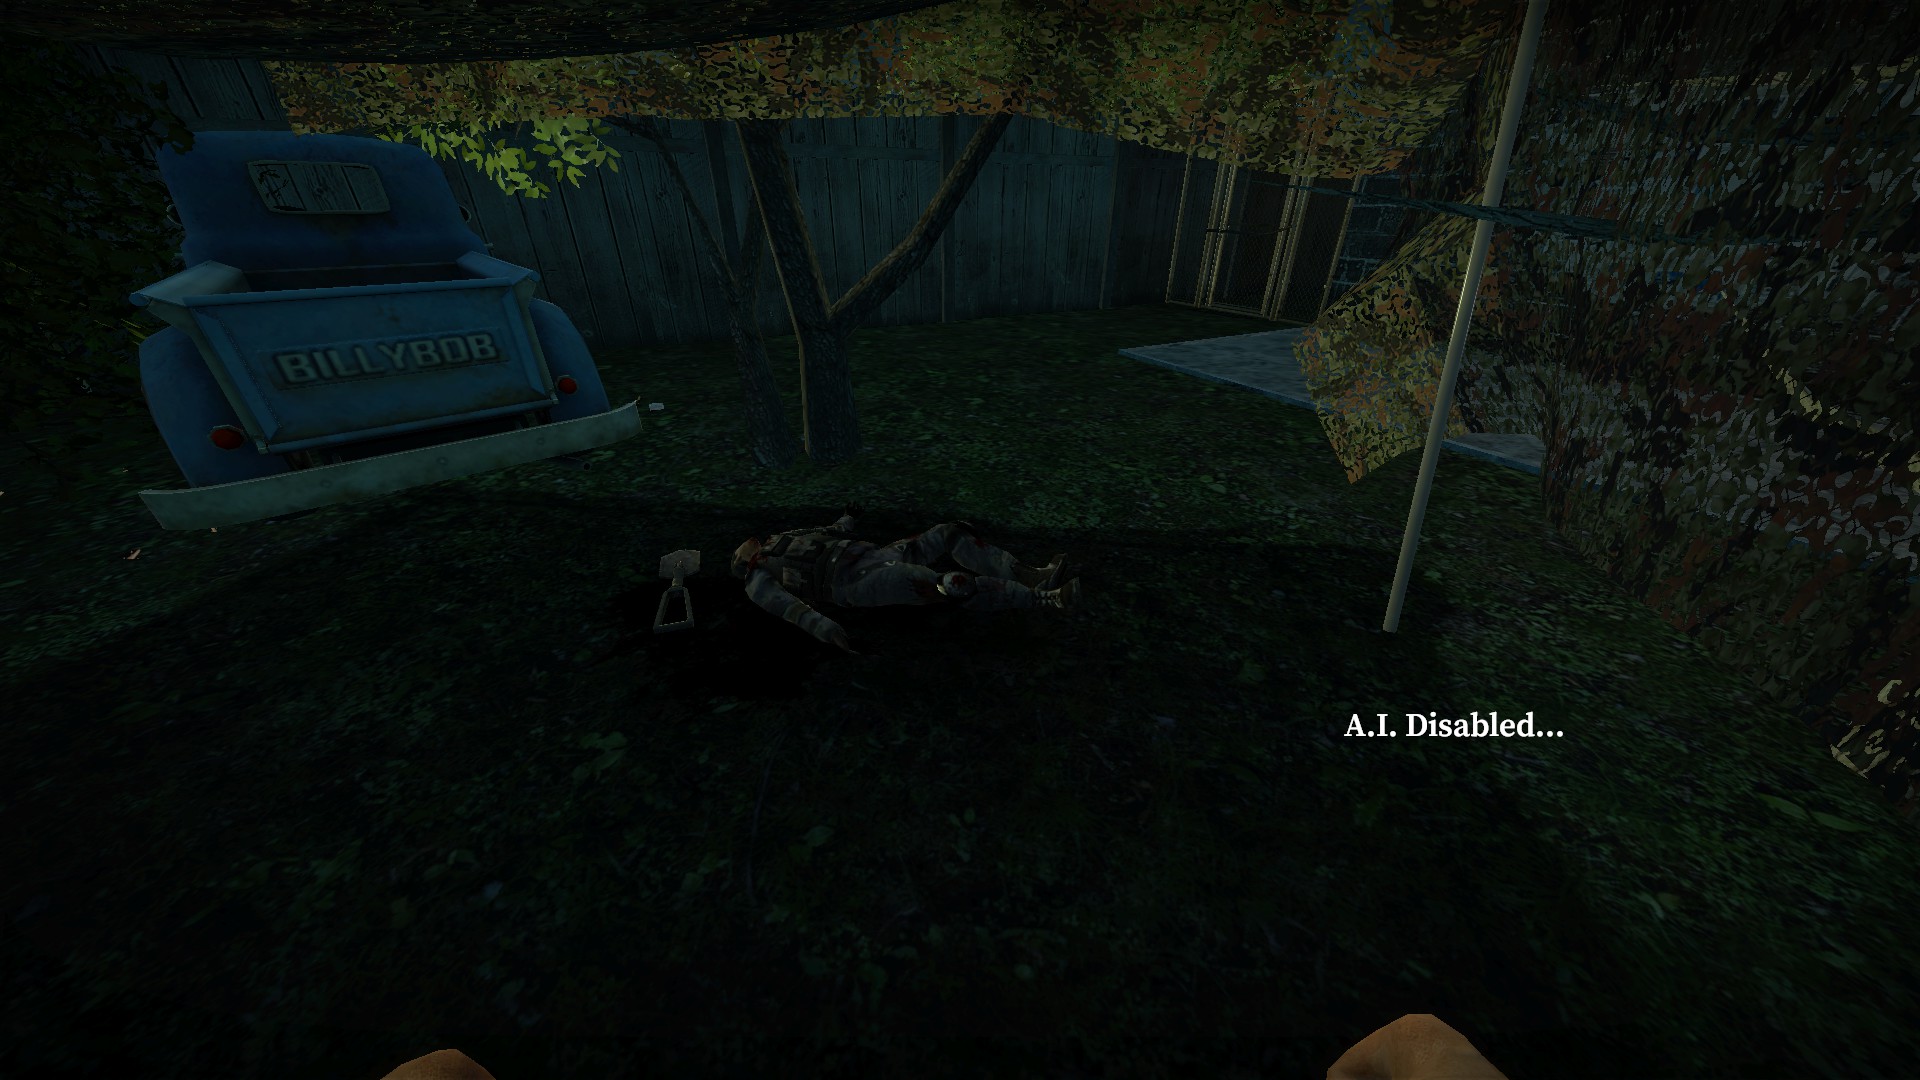
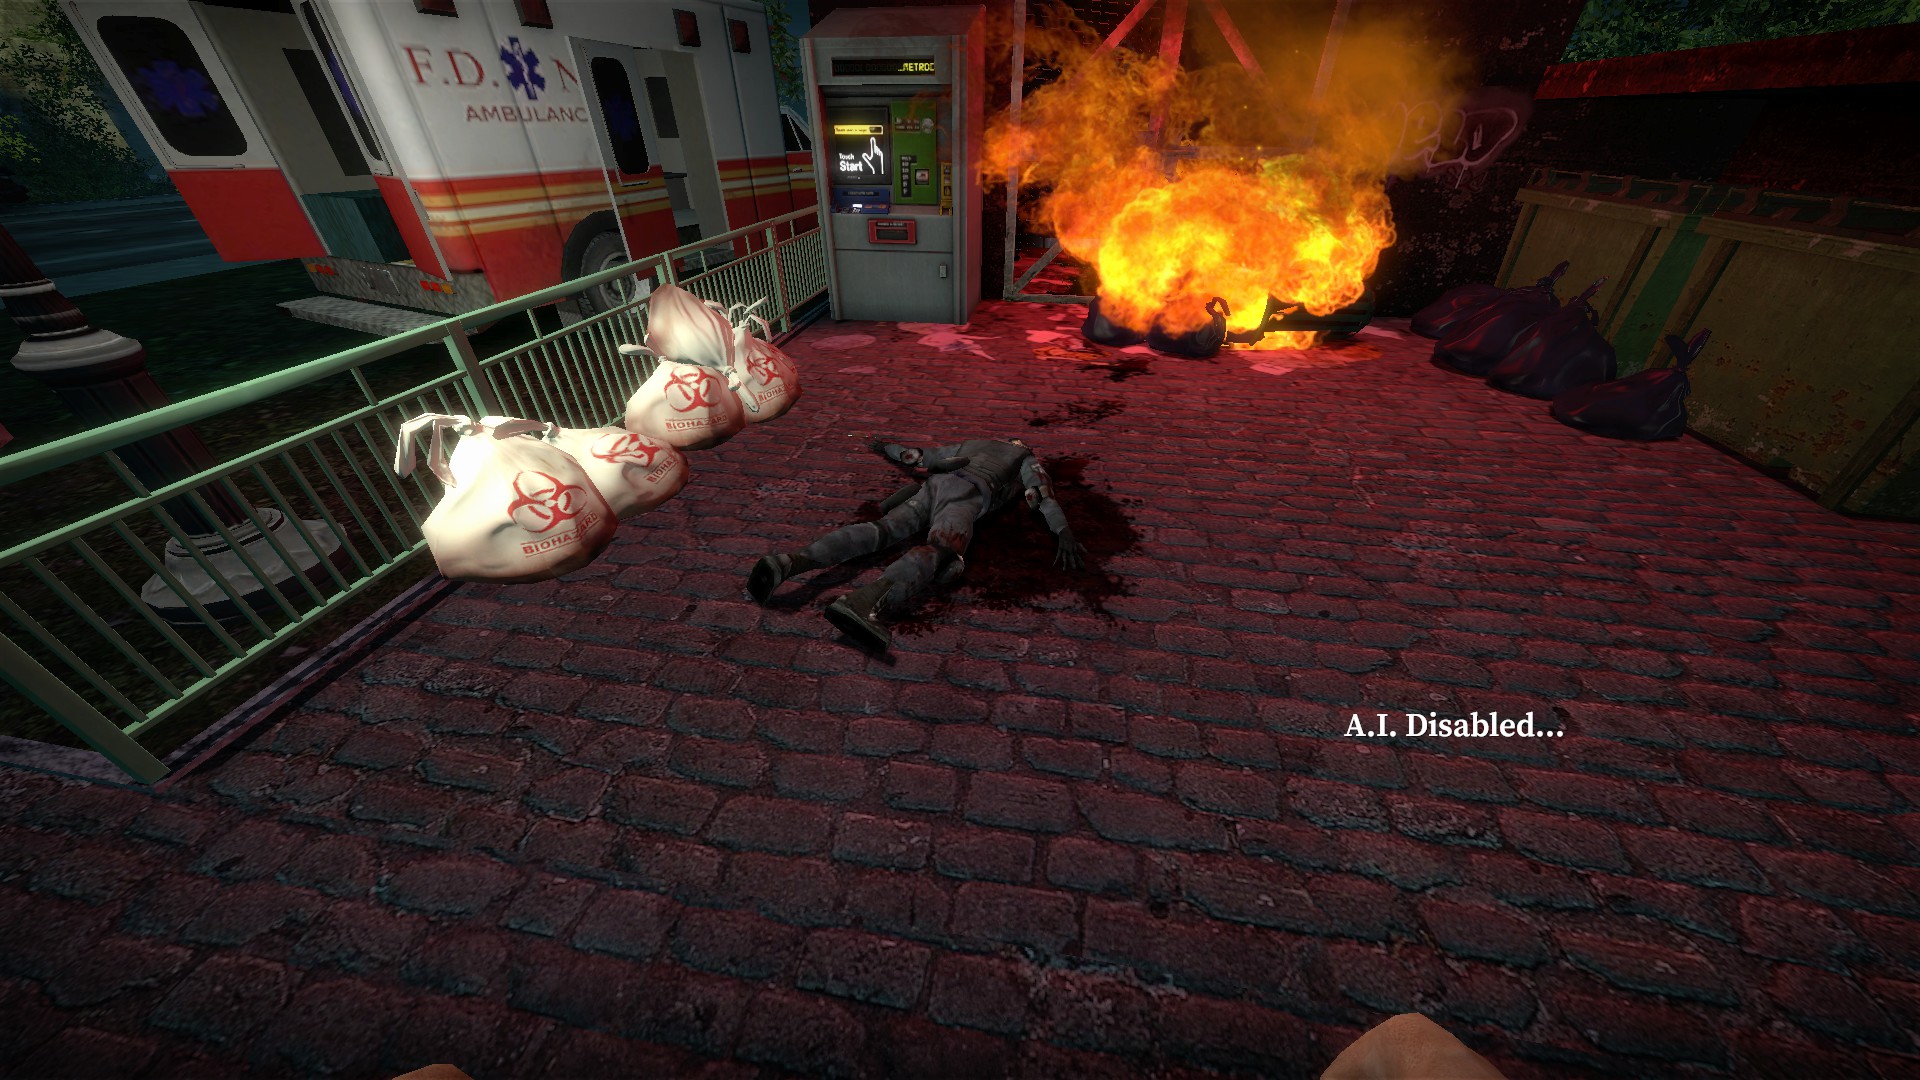
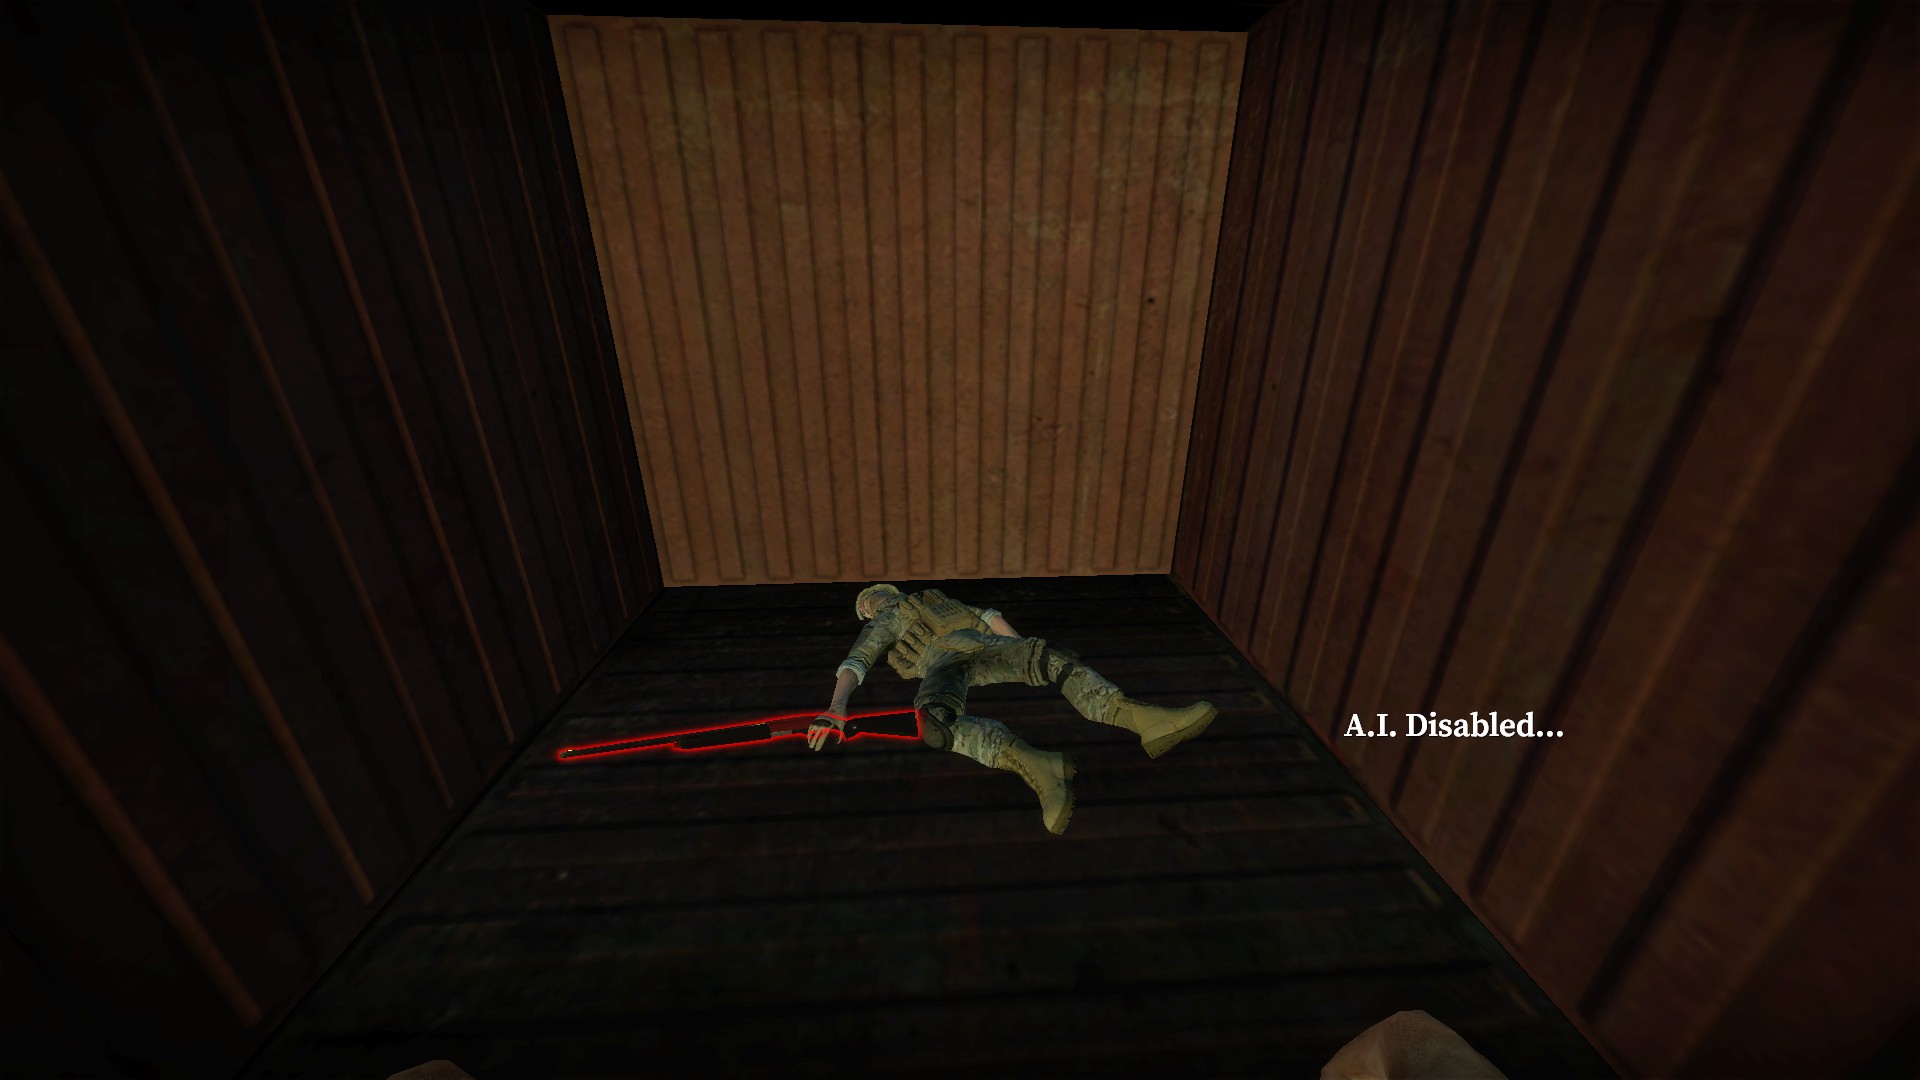
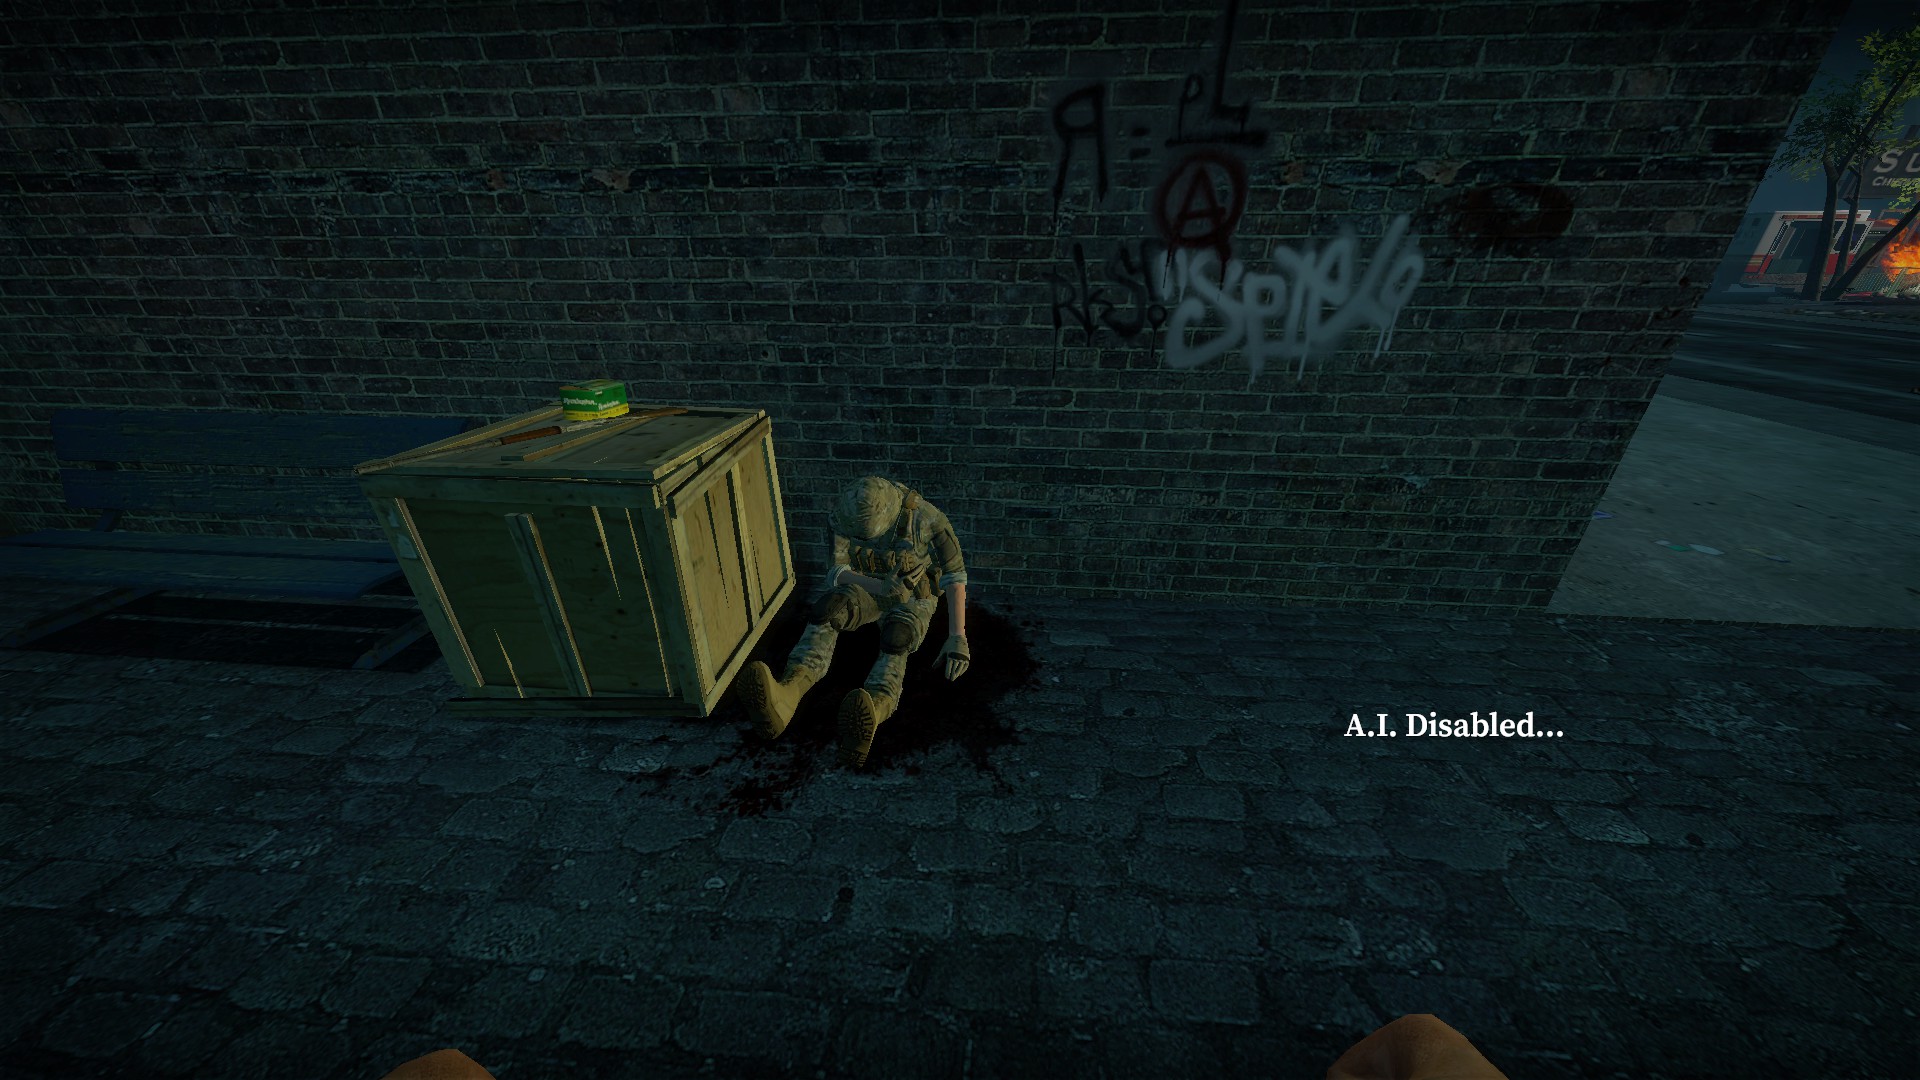
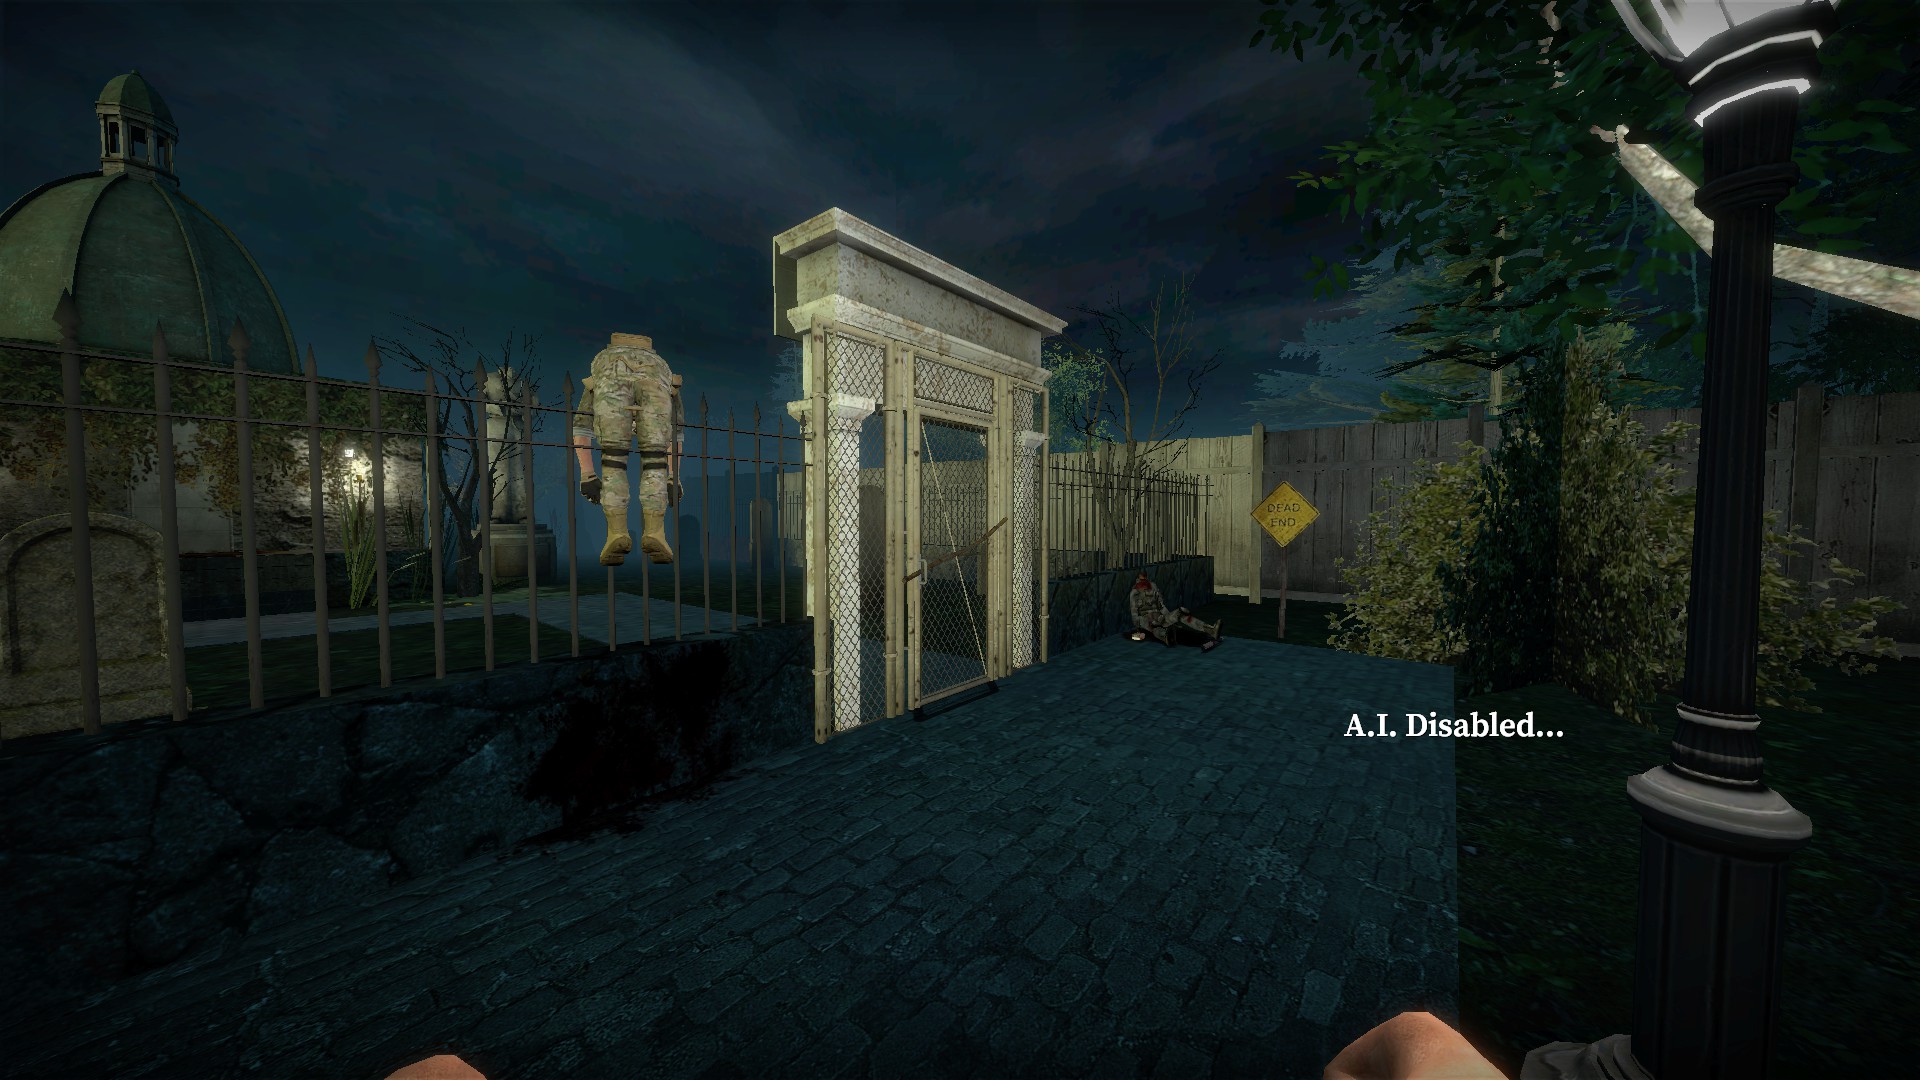
There are 6 more bodies in the outside area
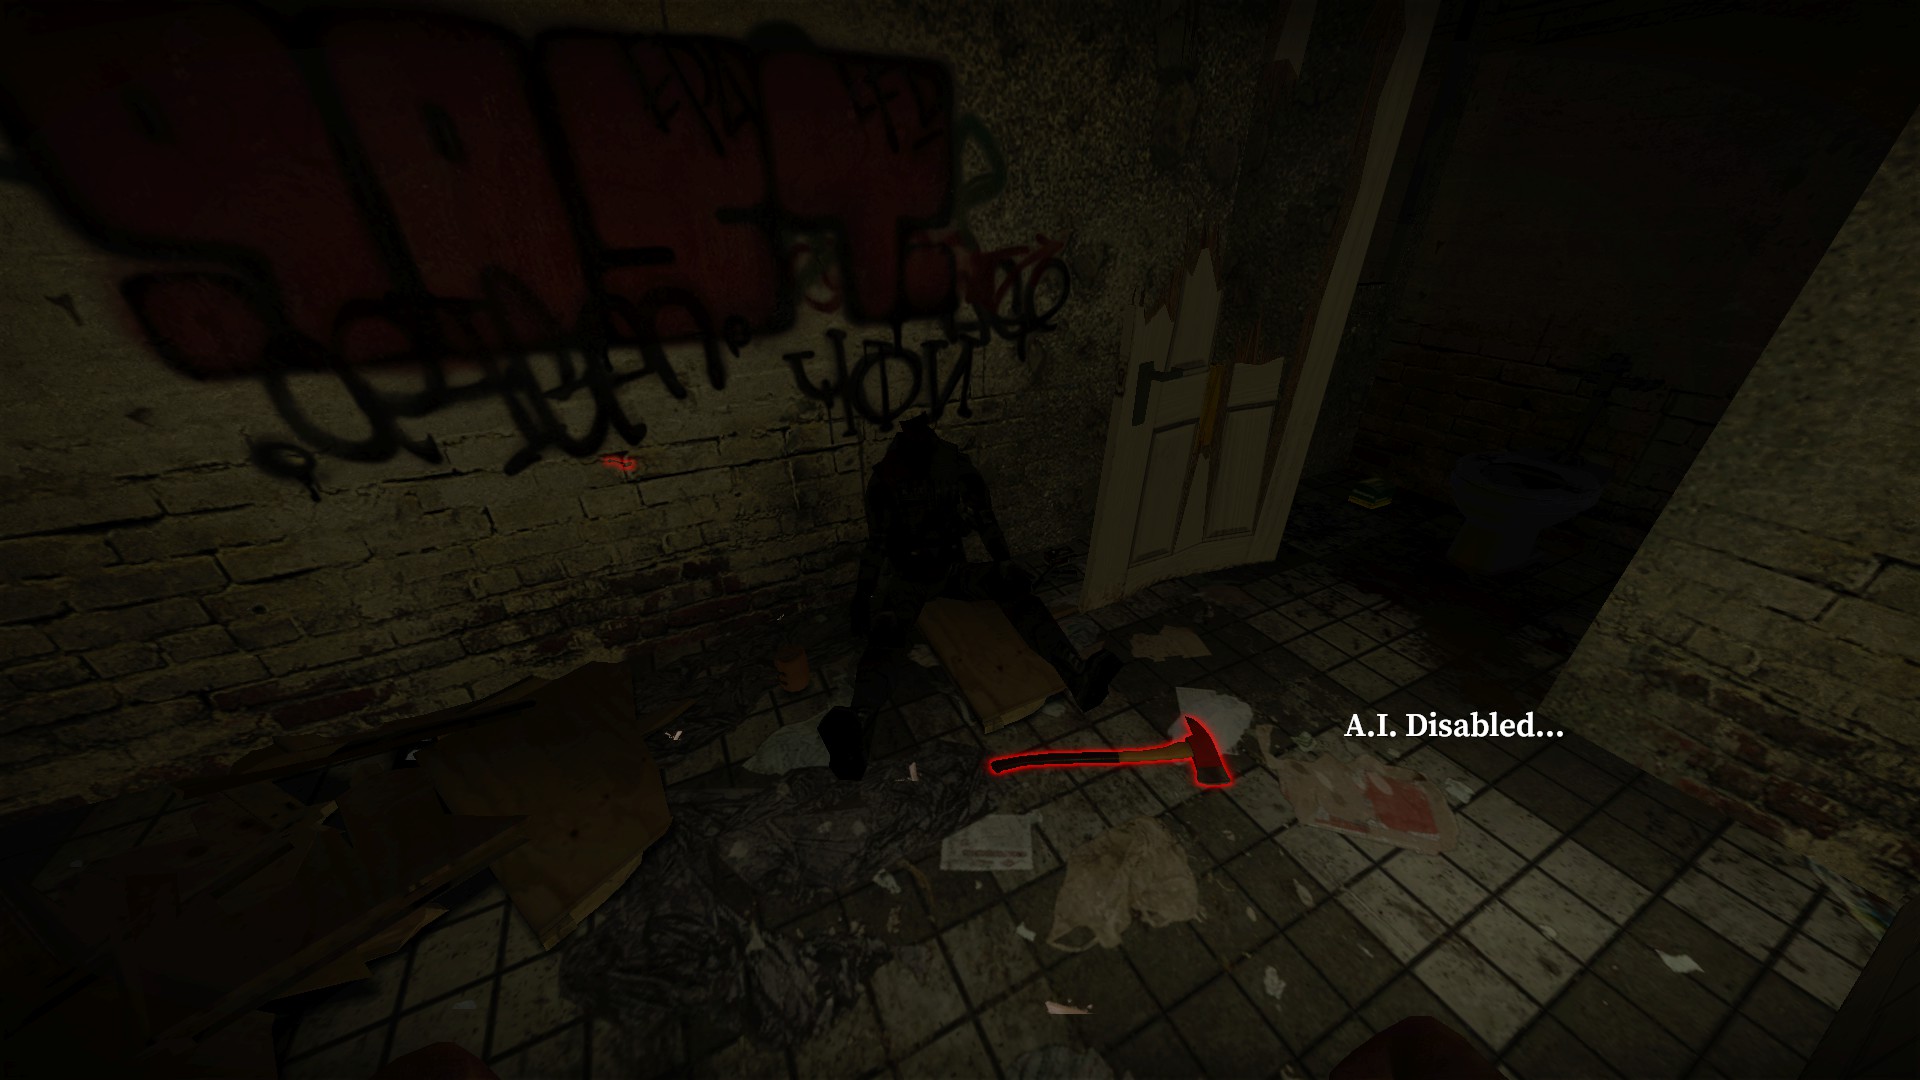
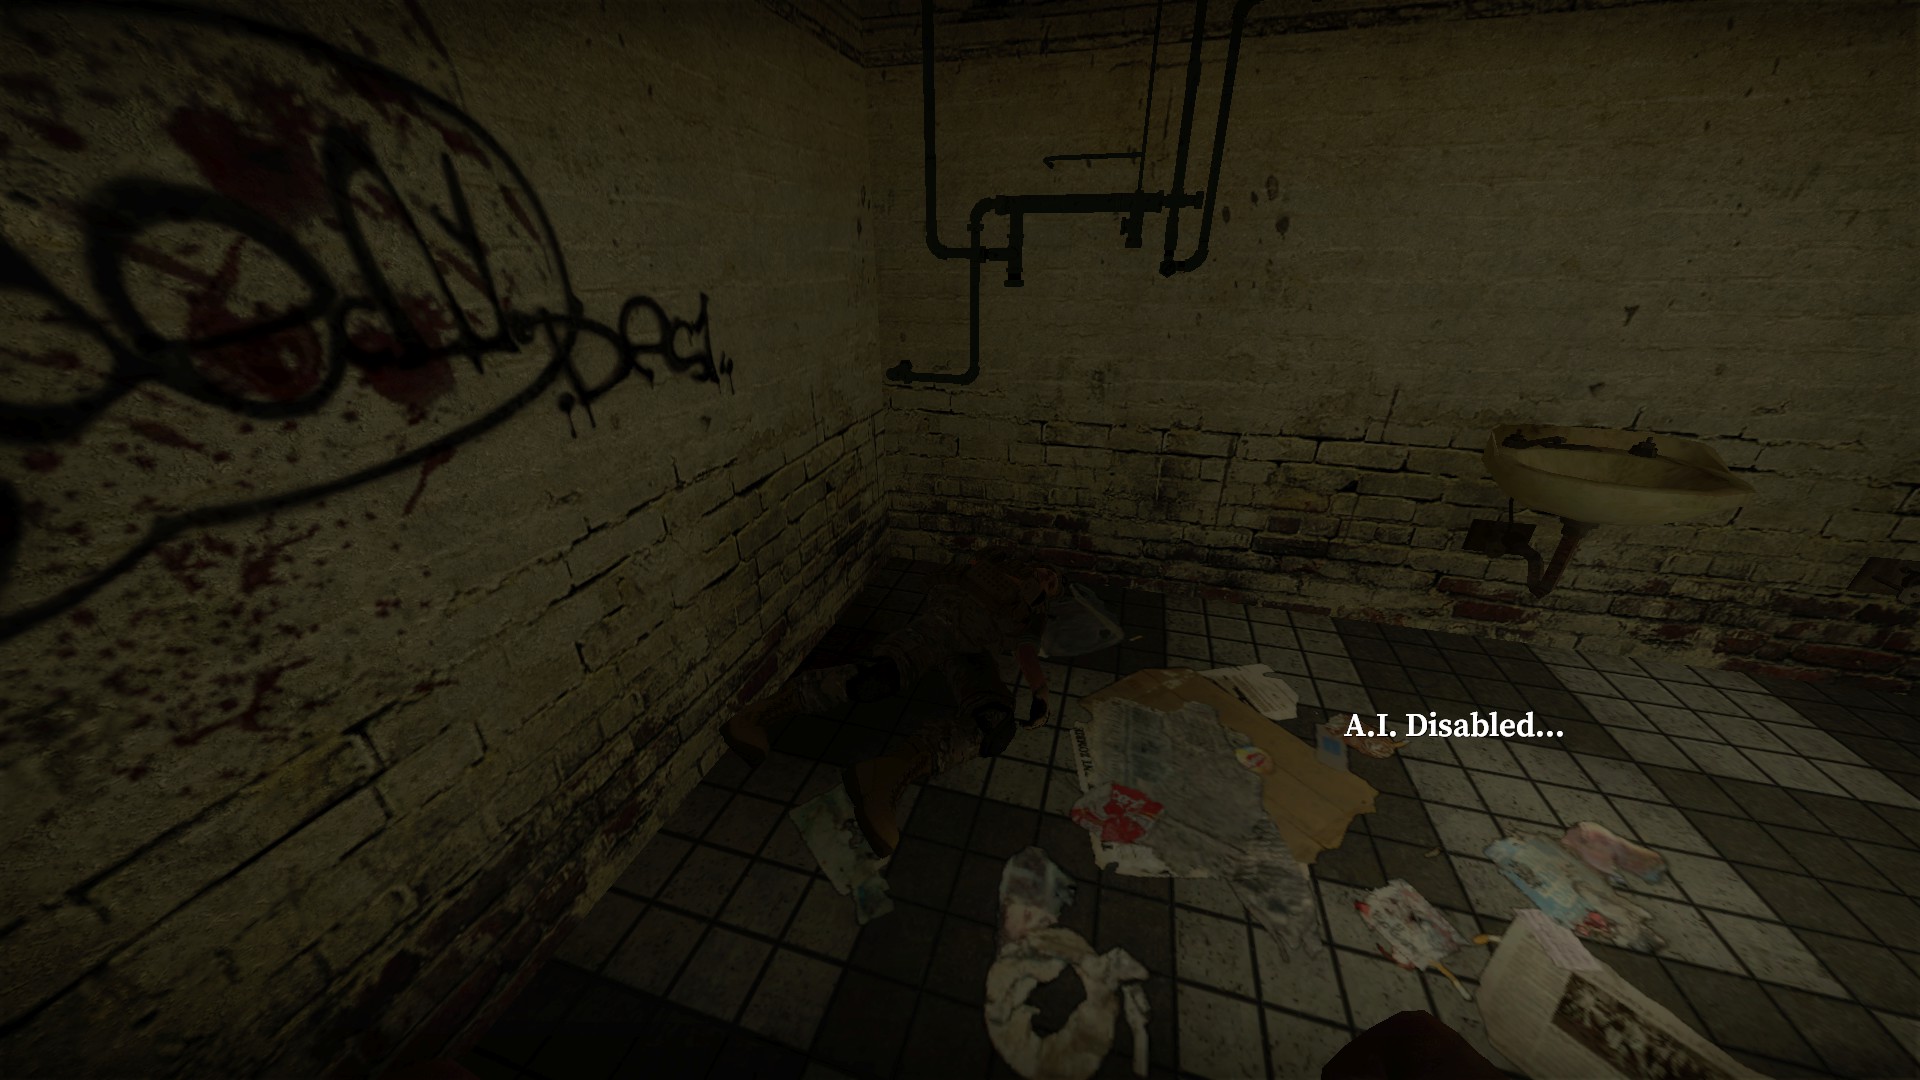
2 more in the bathrooms
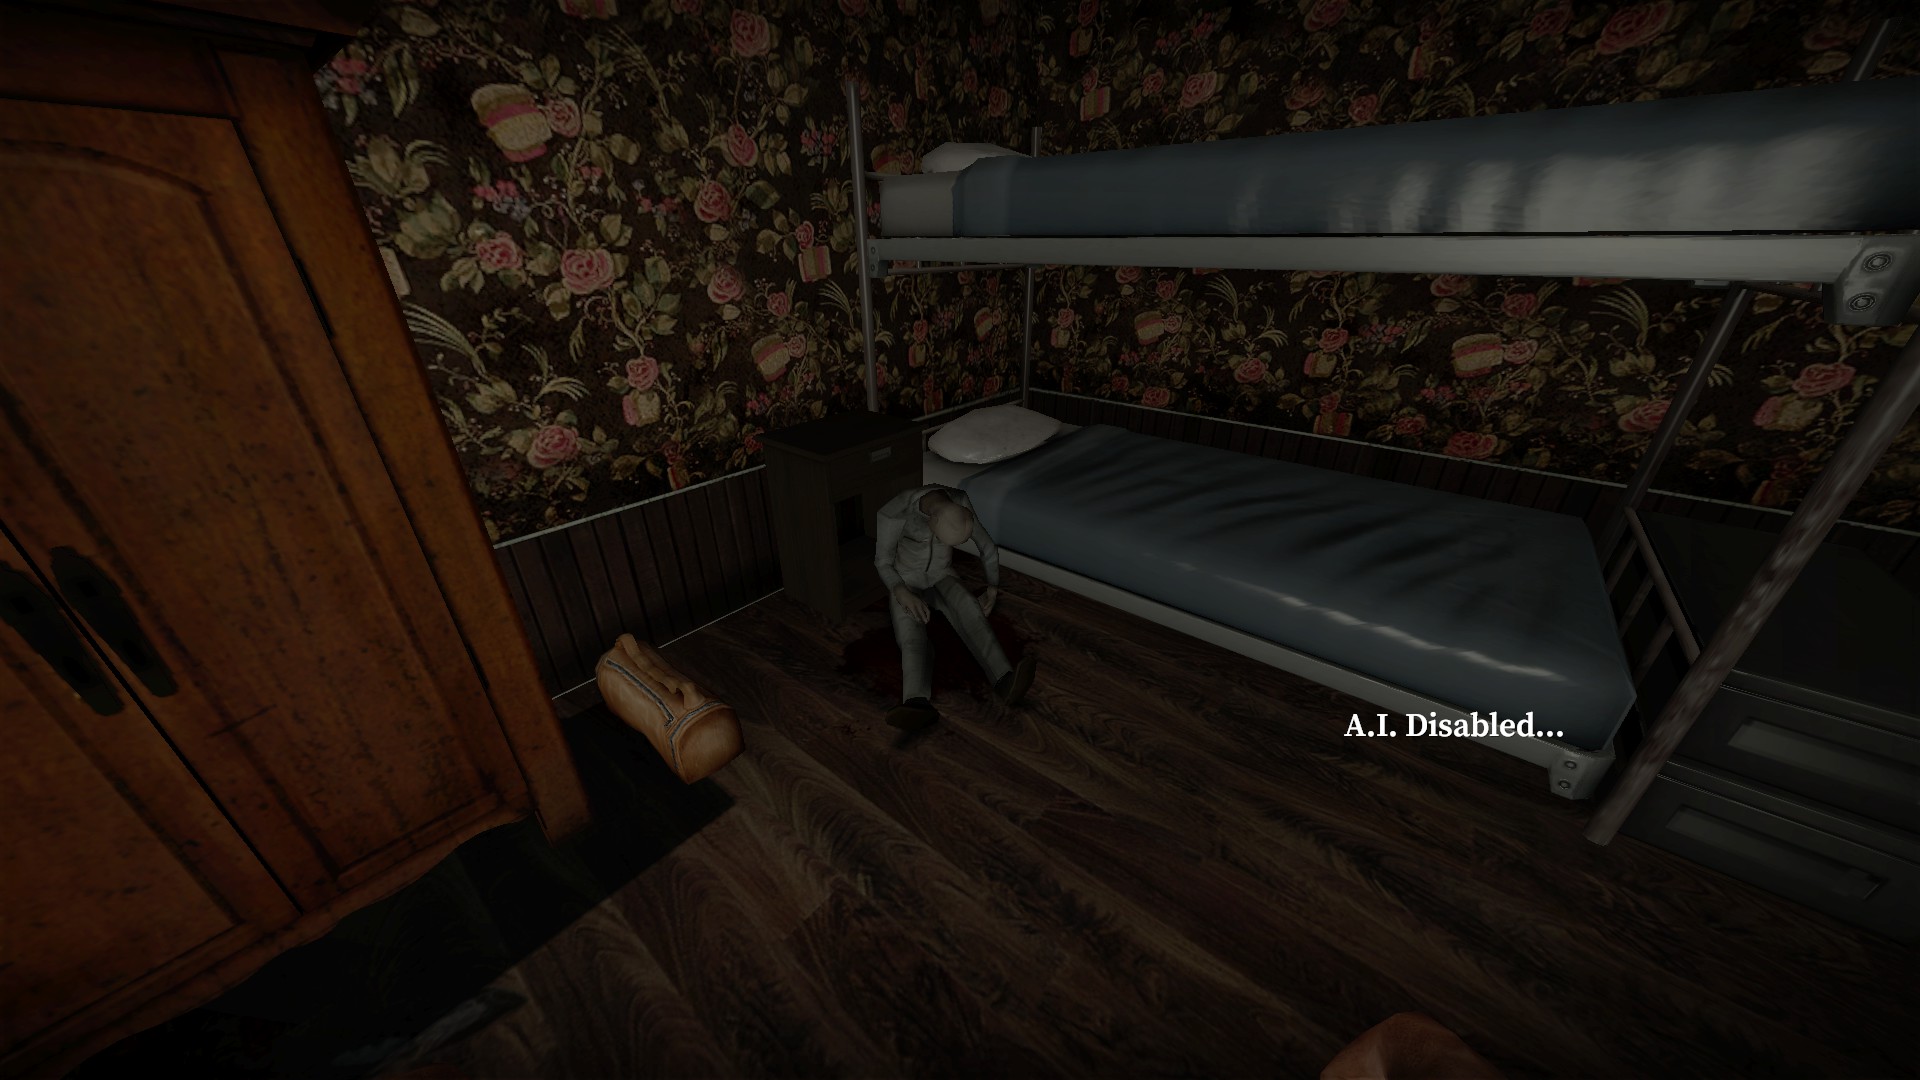
4 more in the red key building, one on the 2f
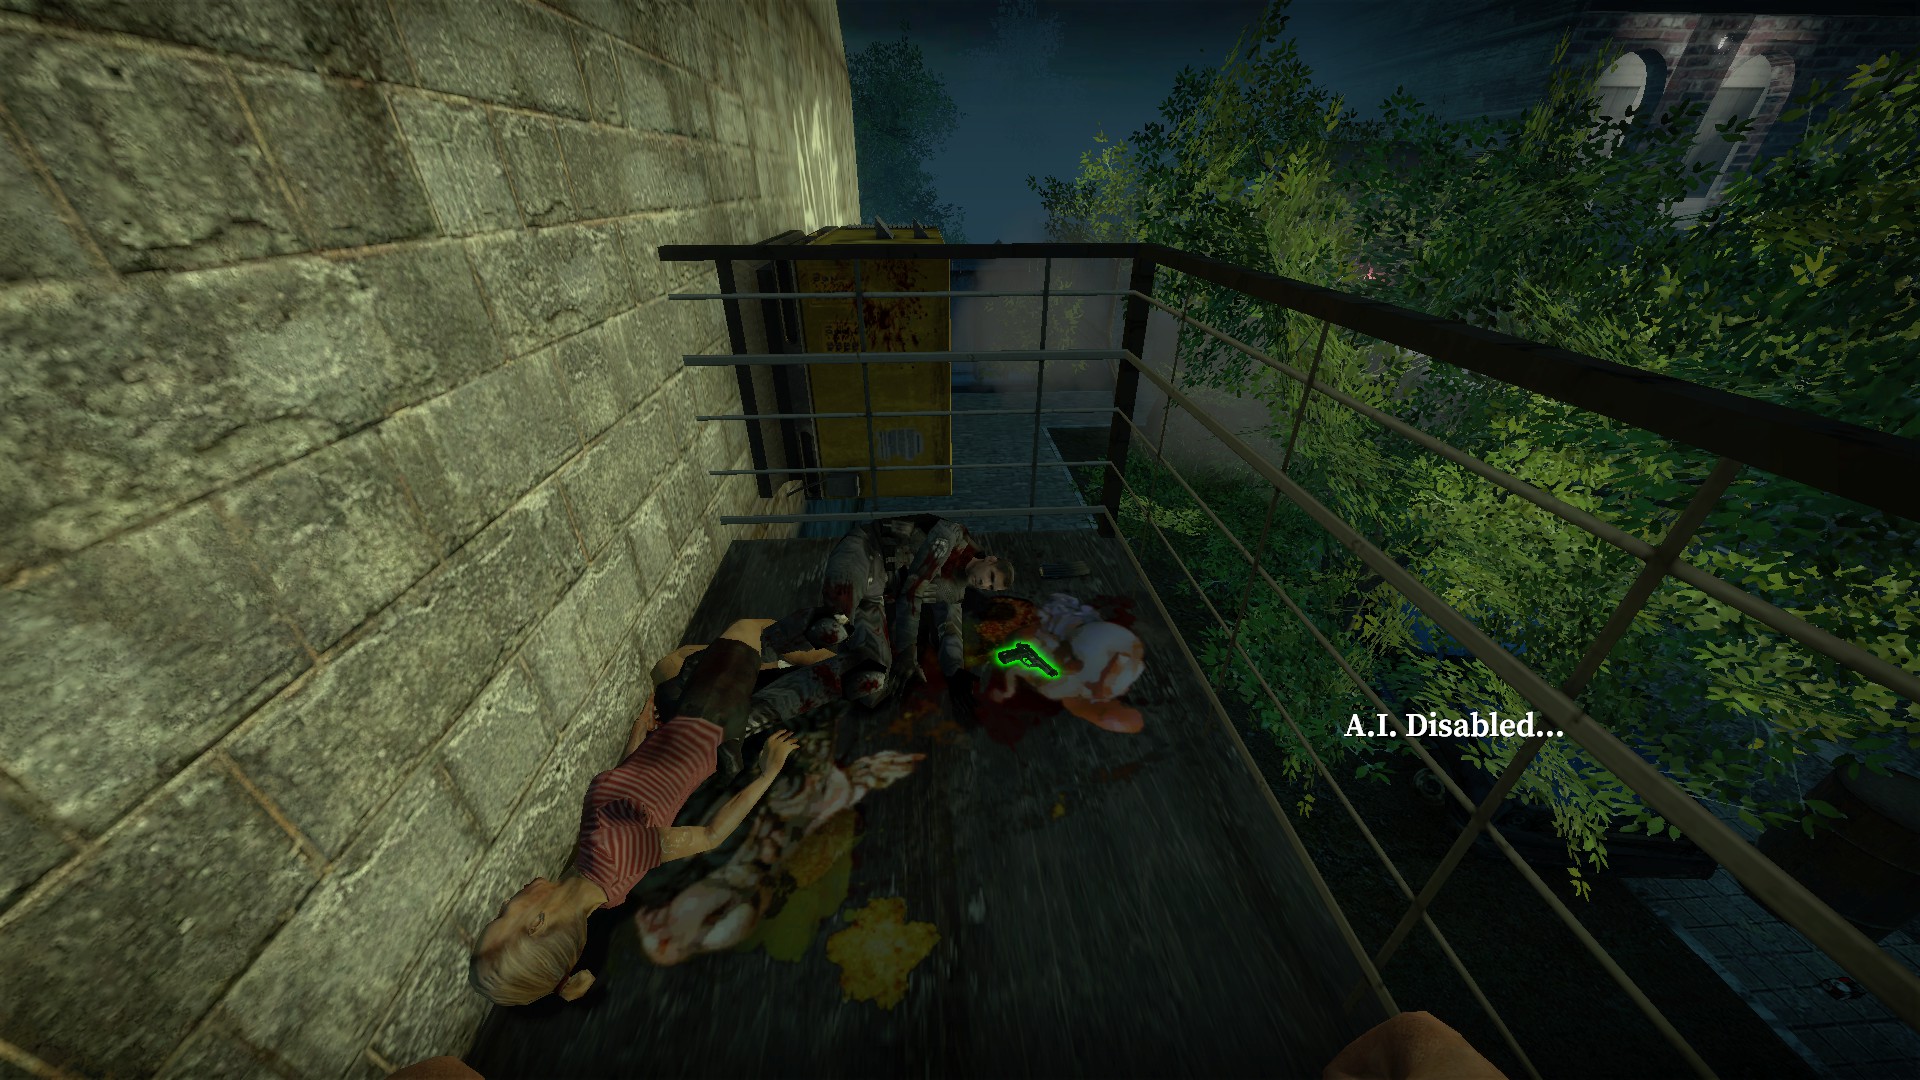
Another one on the balcony
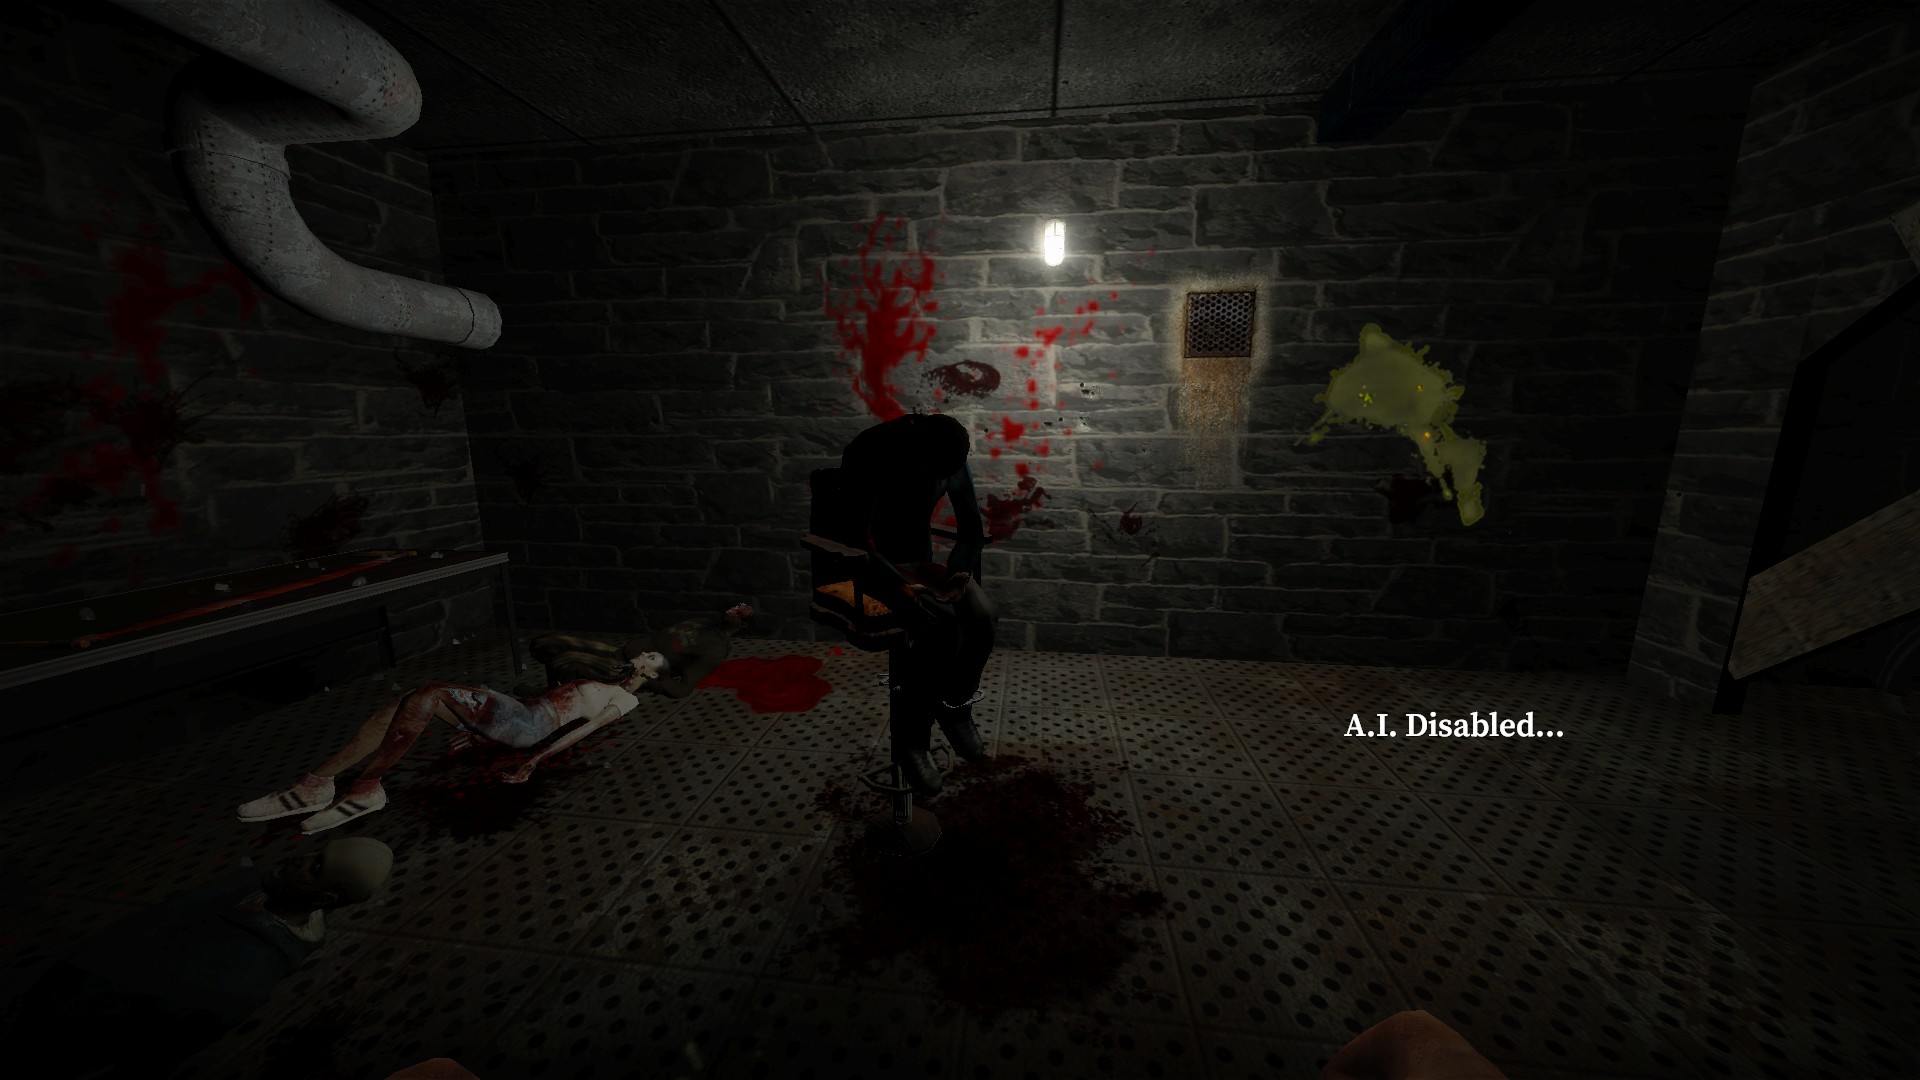
One in the basement
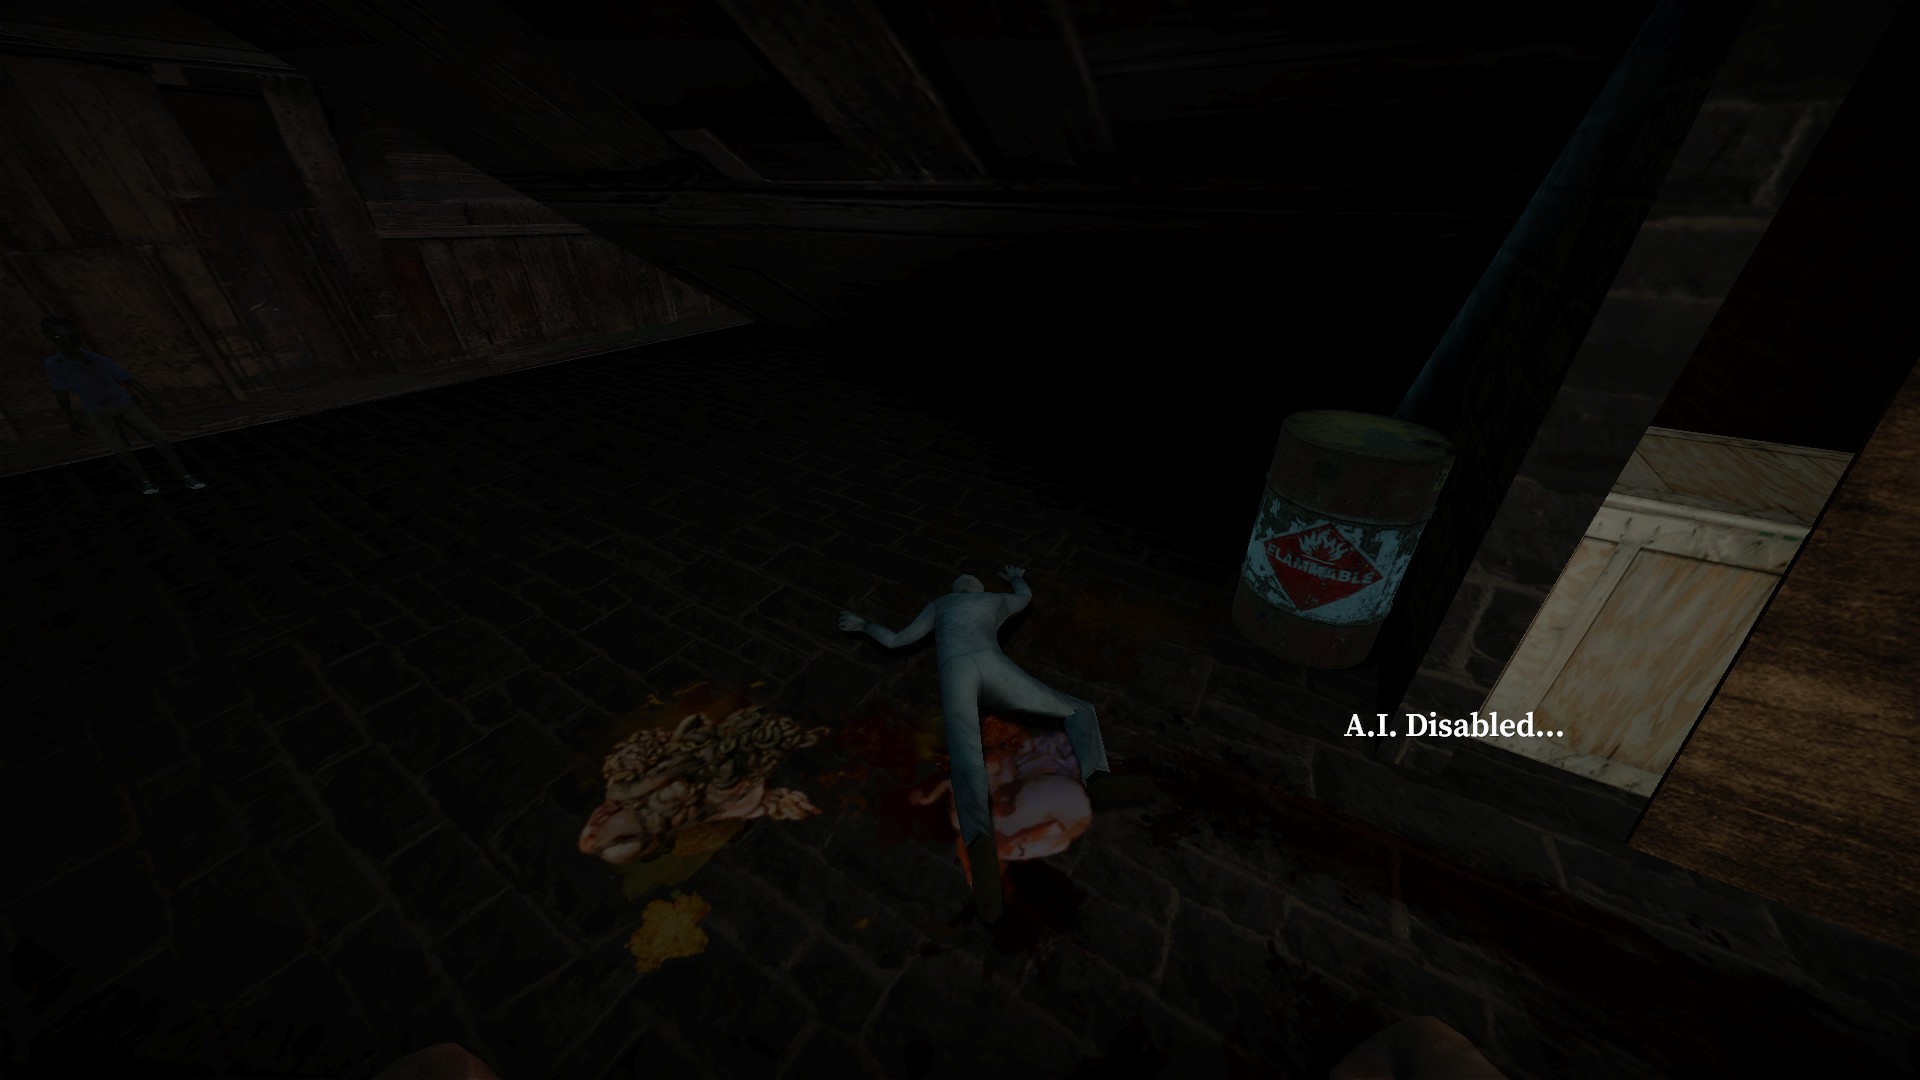
And the fourth in the roof area
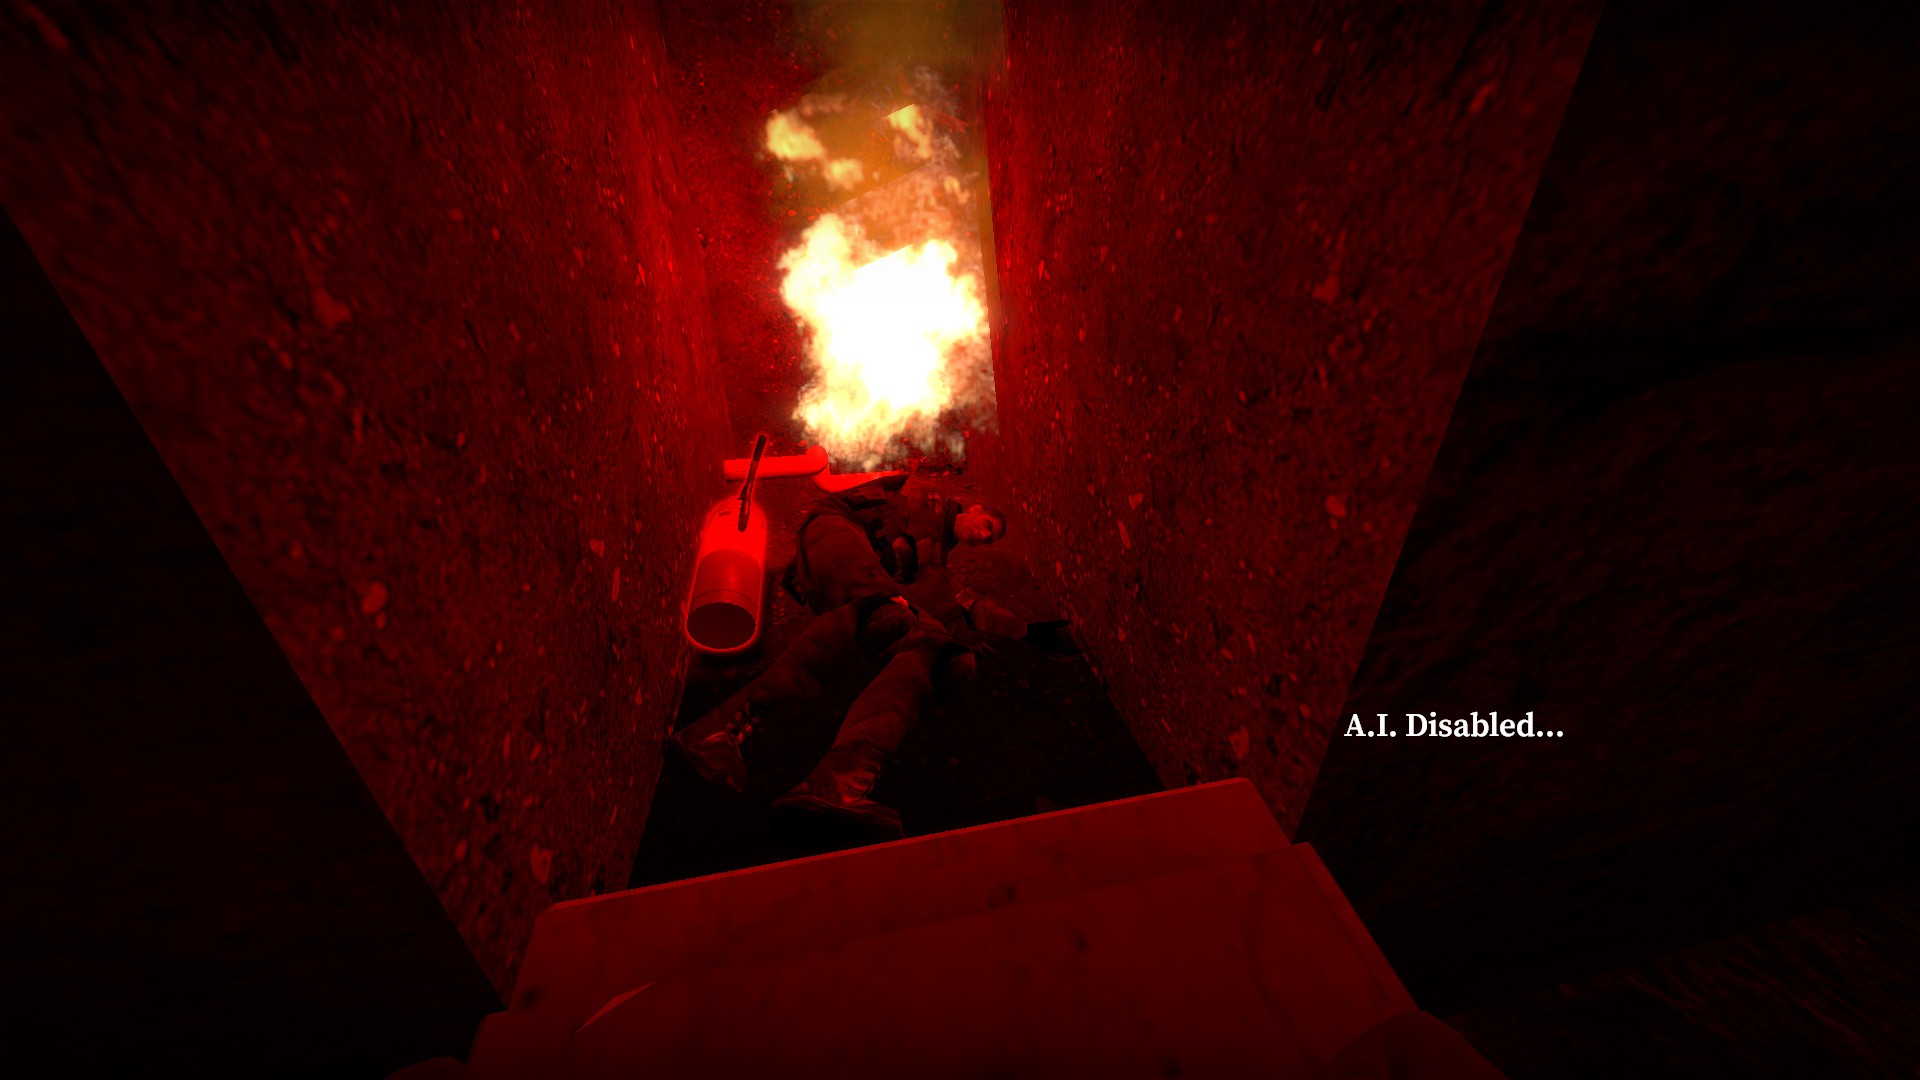
Another body is in the mausoleum
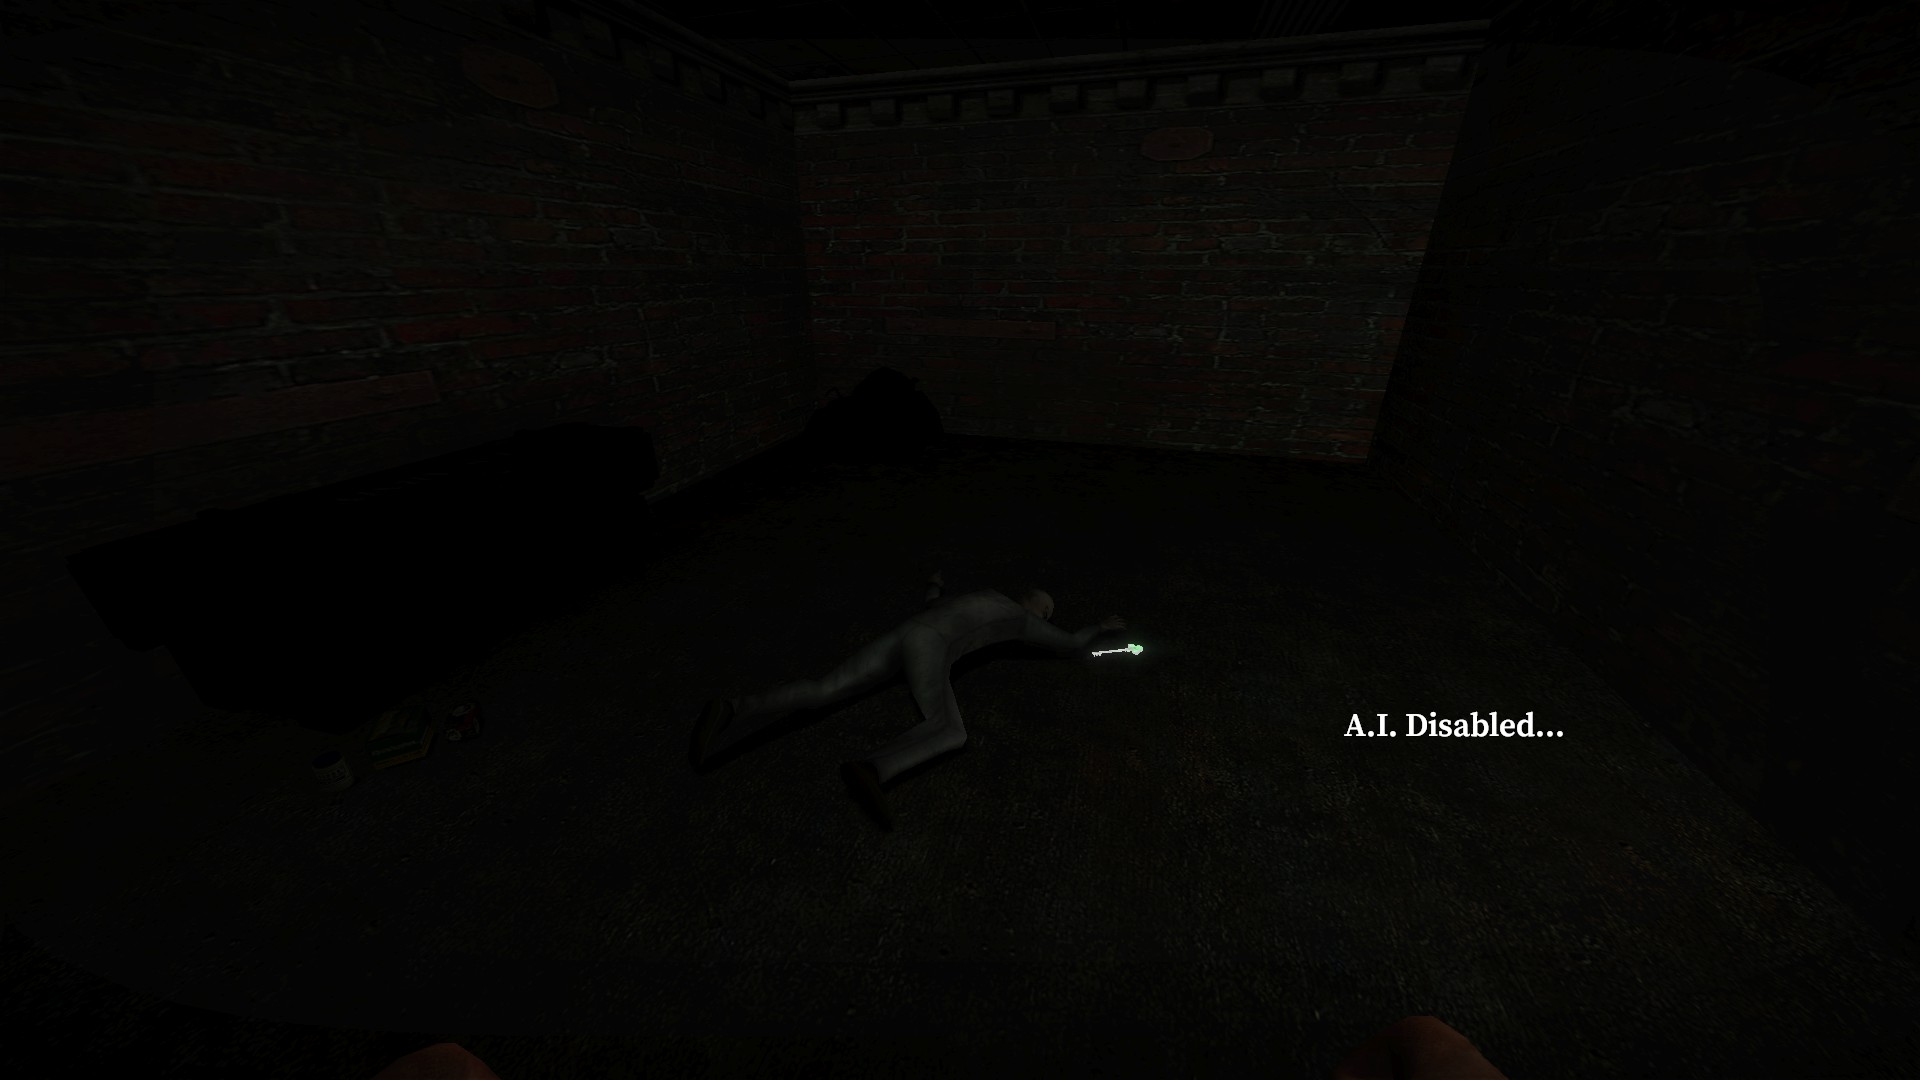
Another is in the subway next to the key
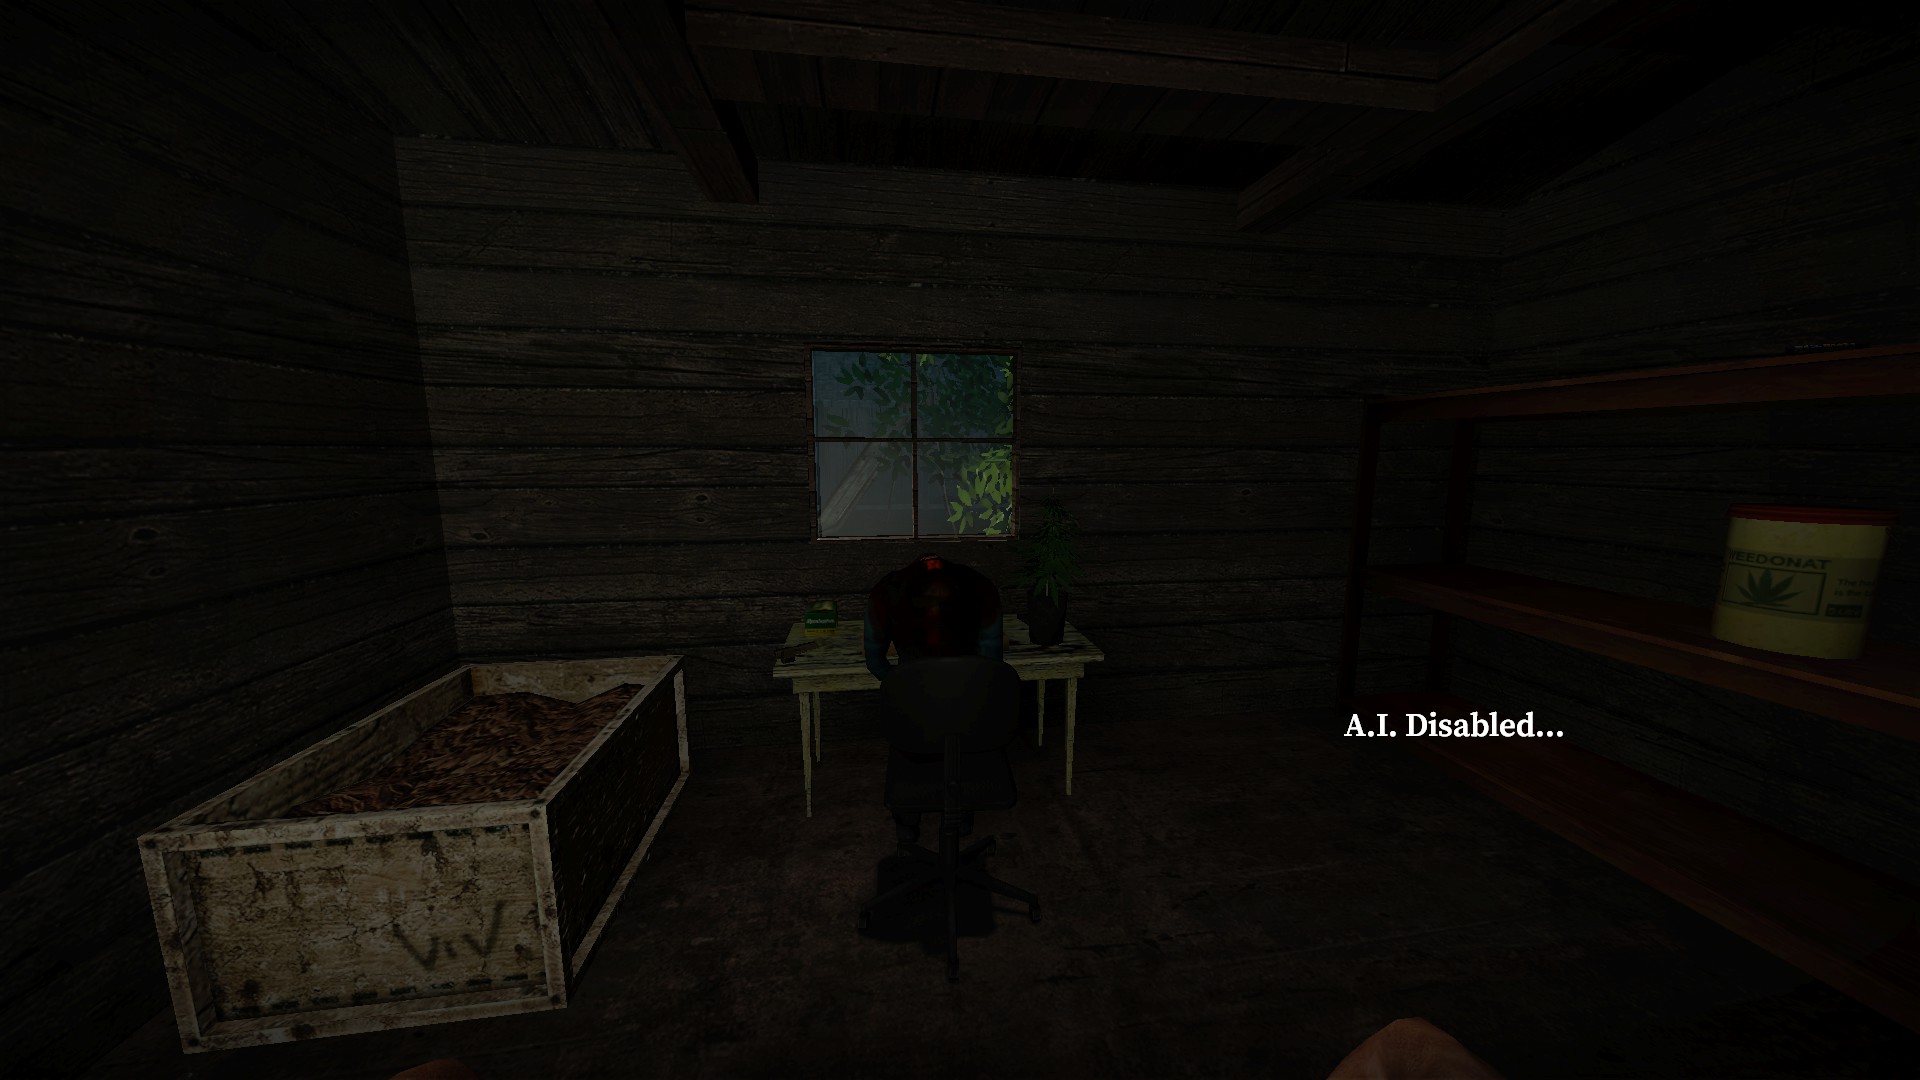
And another is in the shed
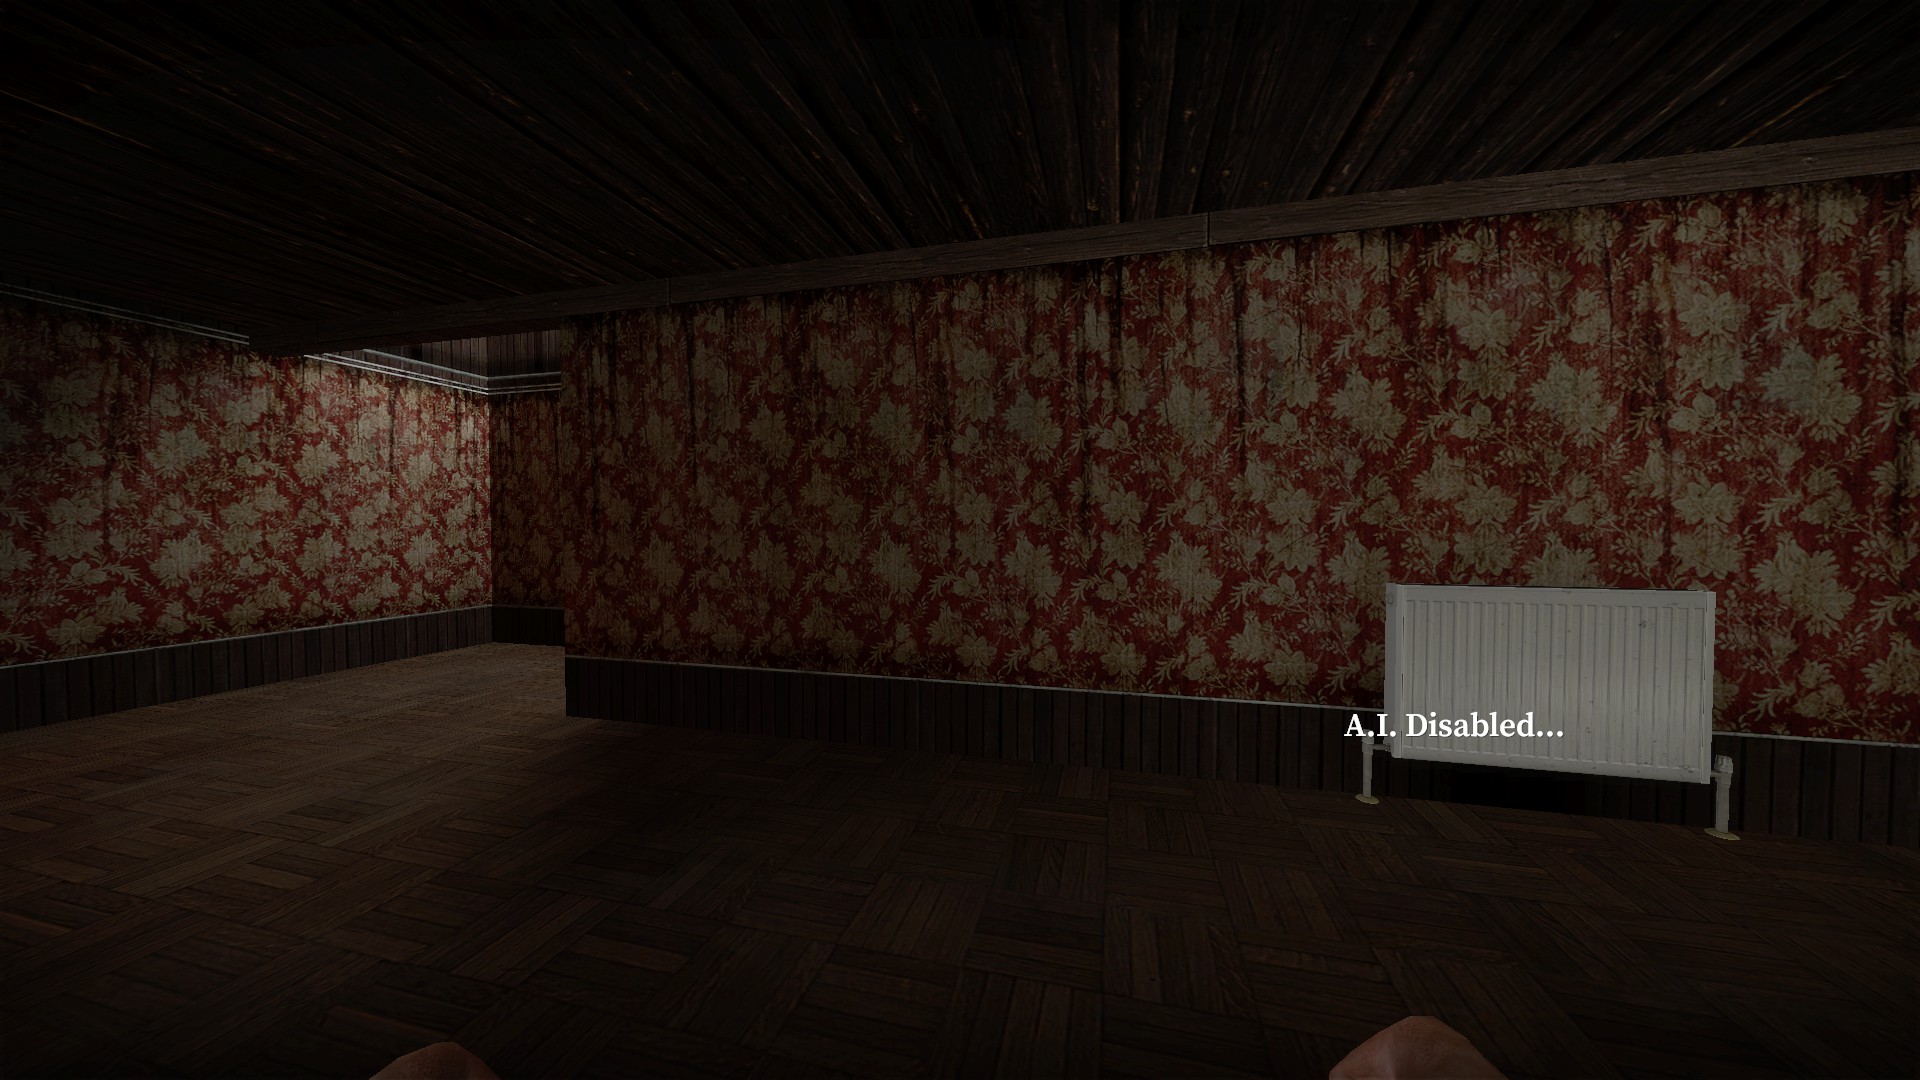
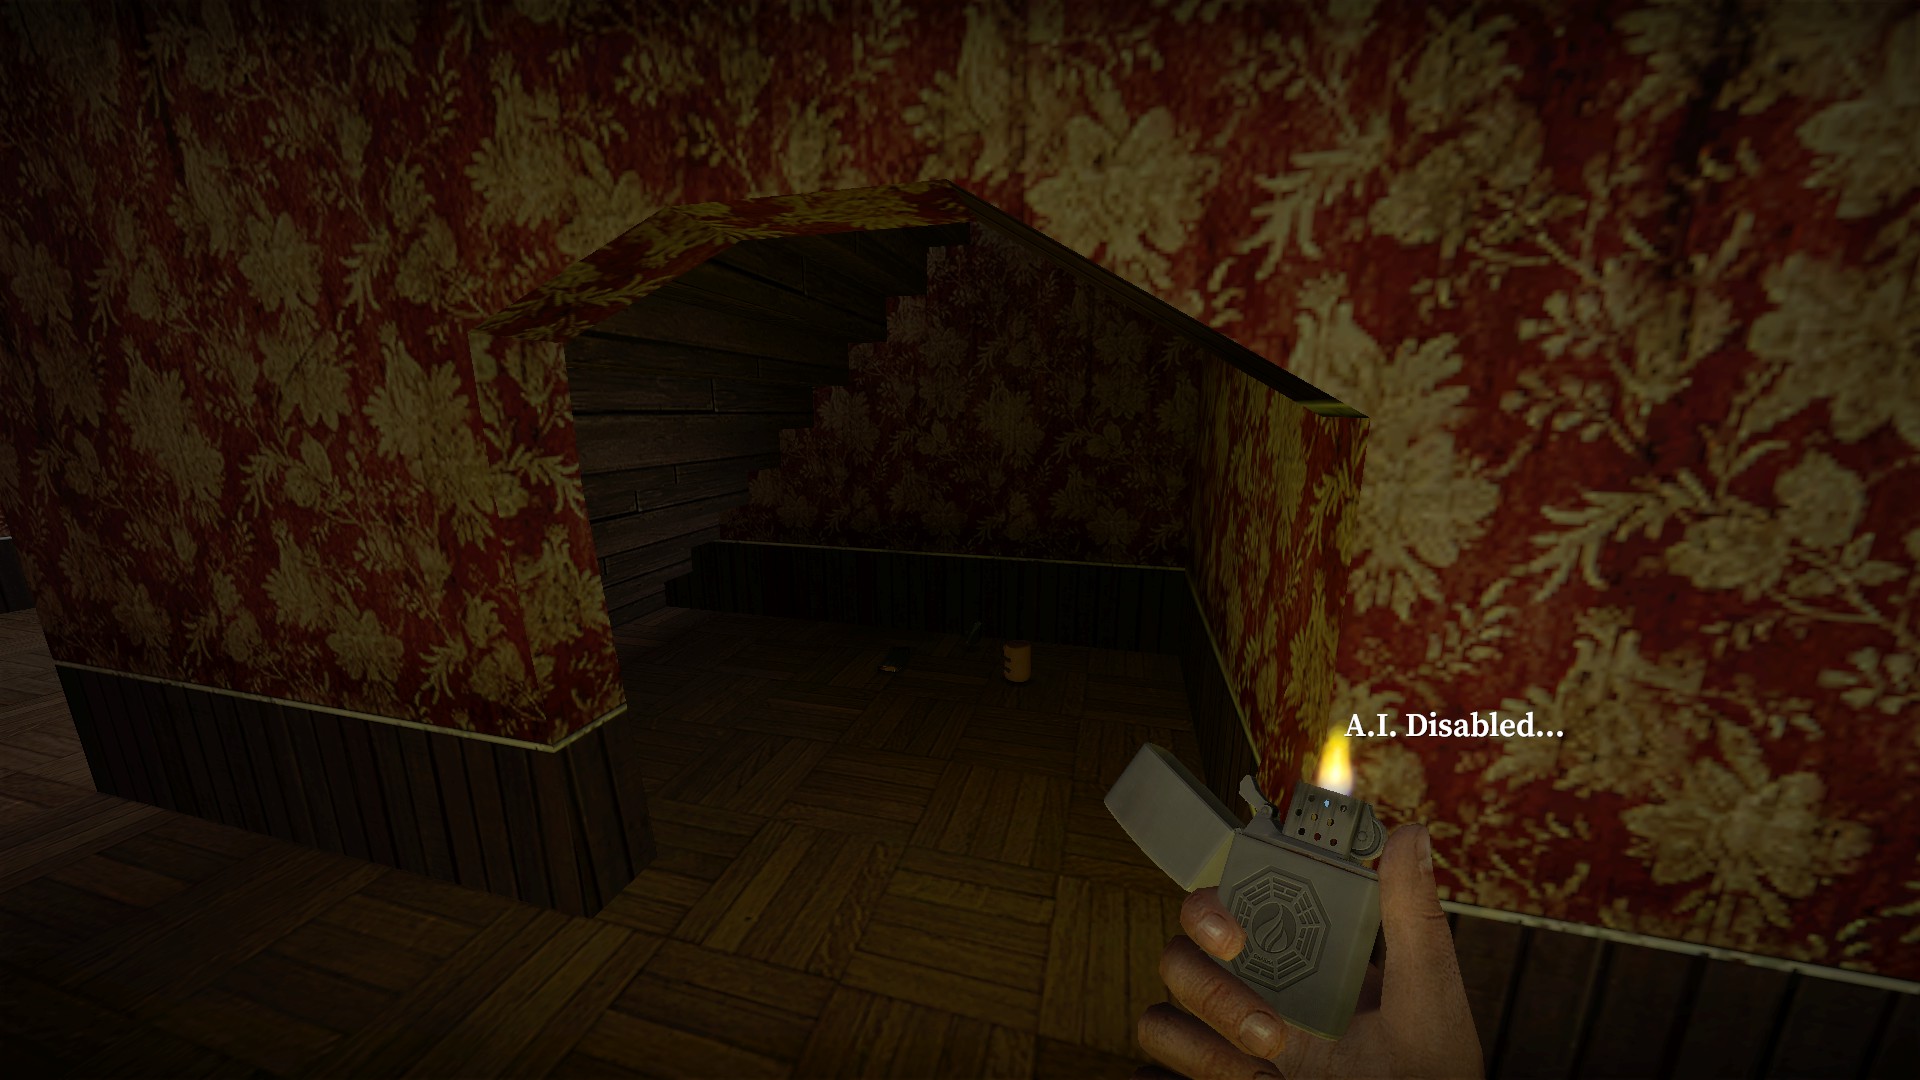
In the house 1f, break the wall next to the stairs for a few items
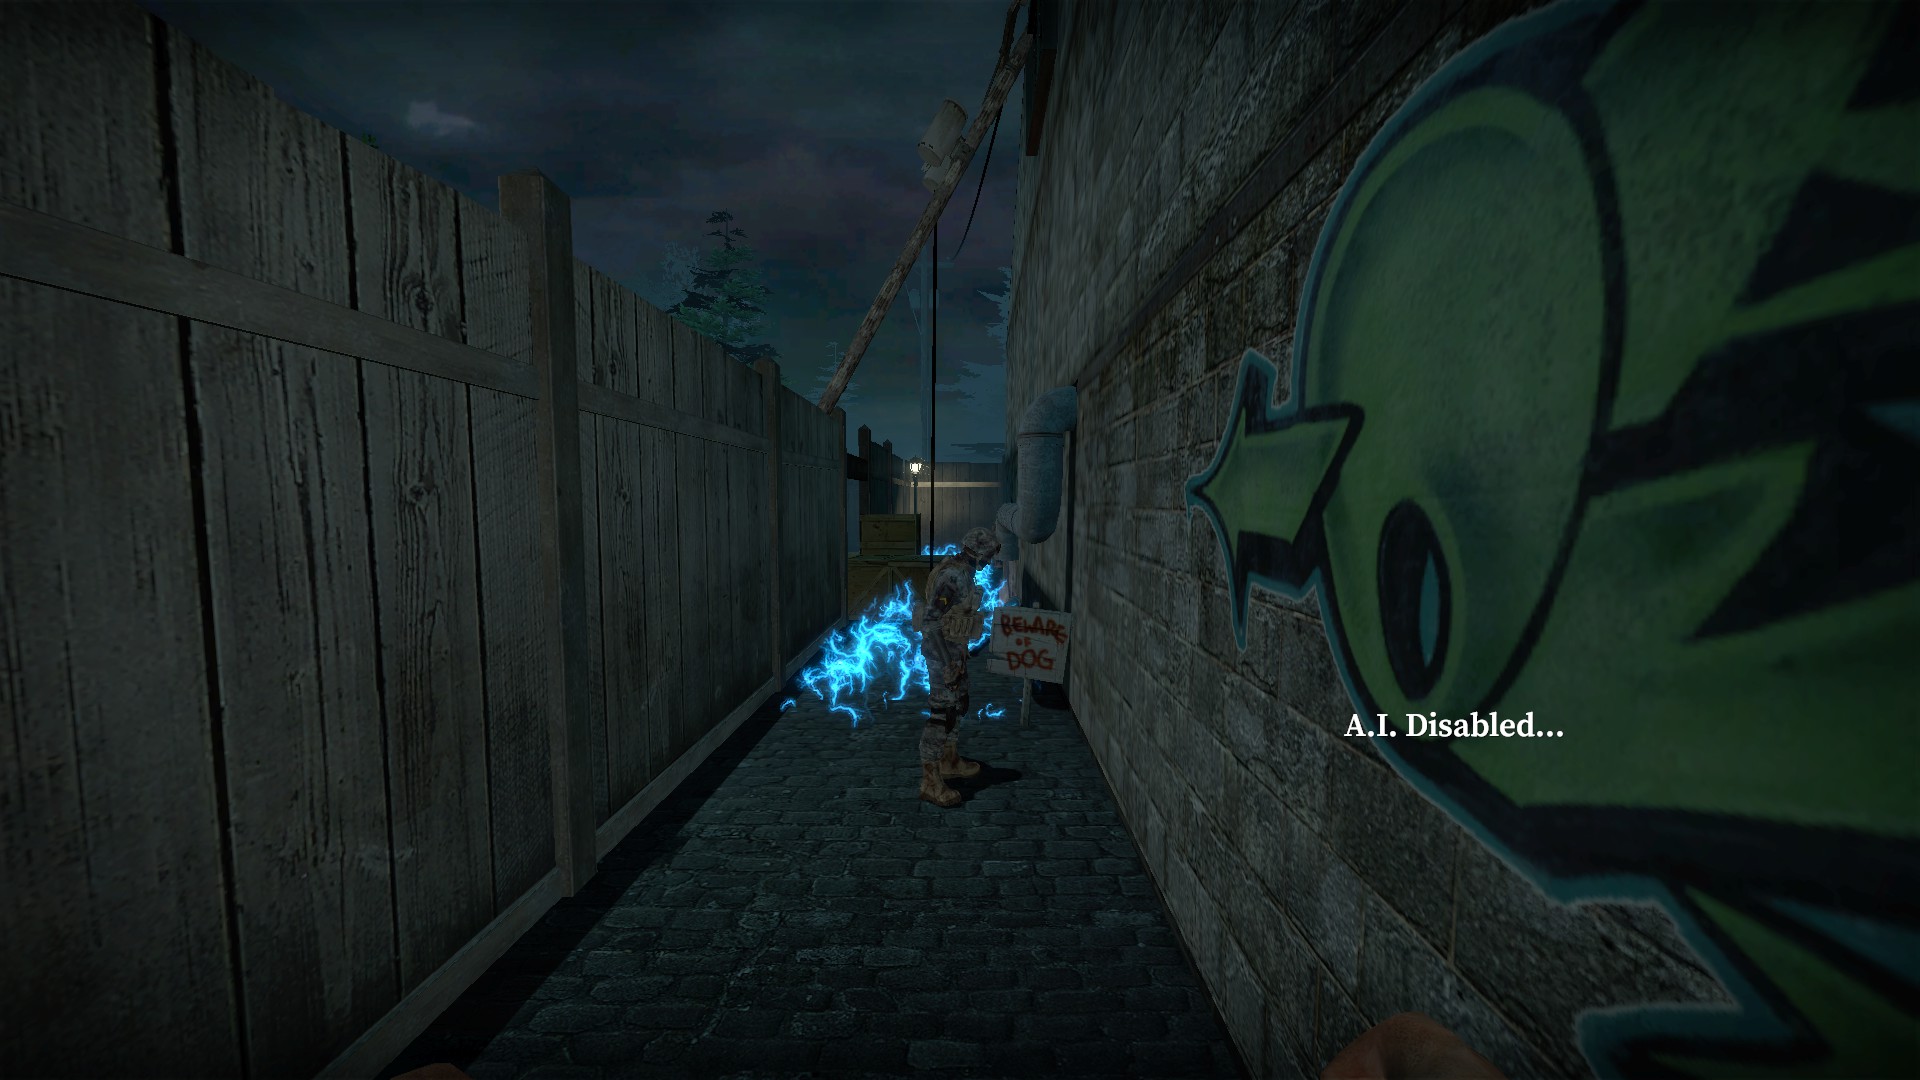
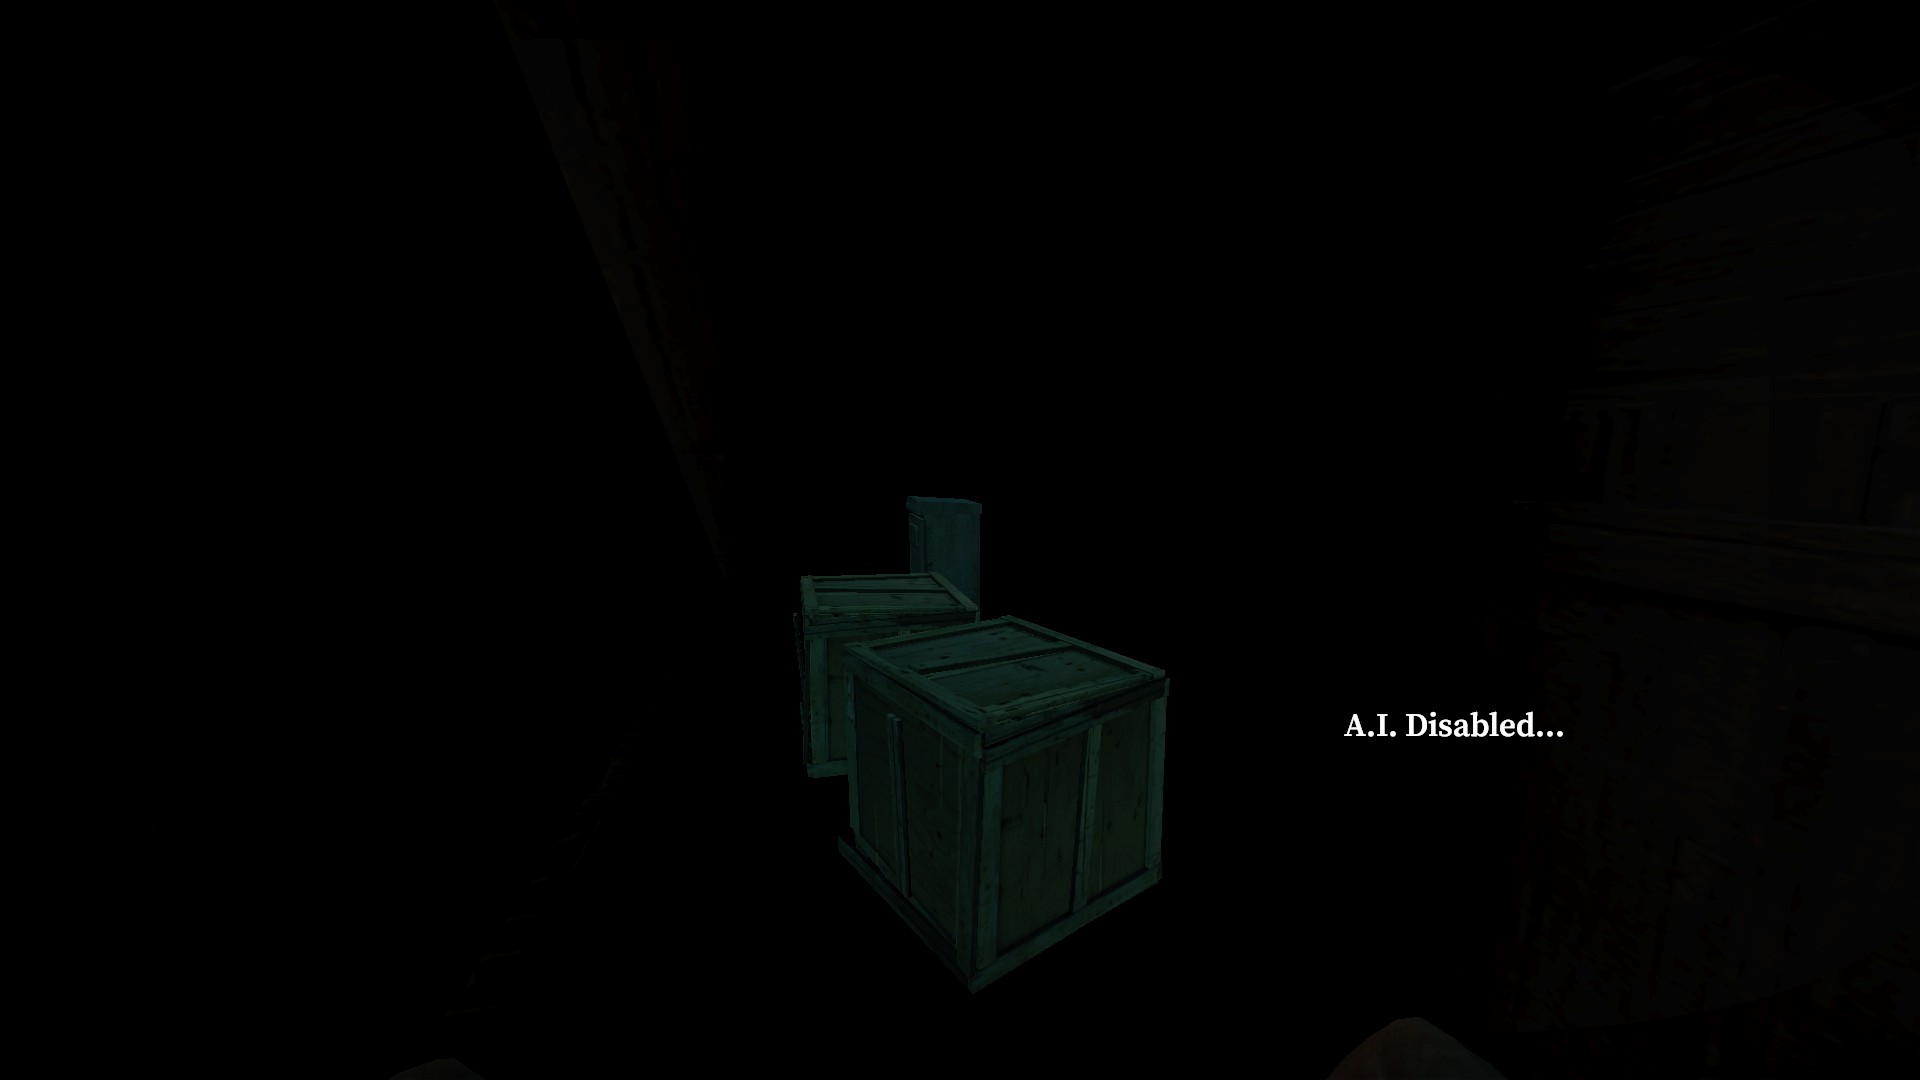
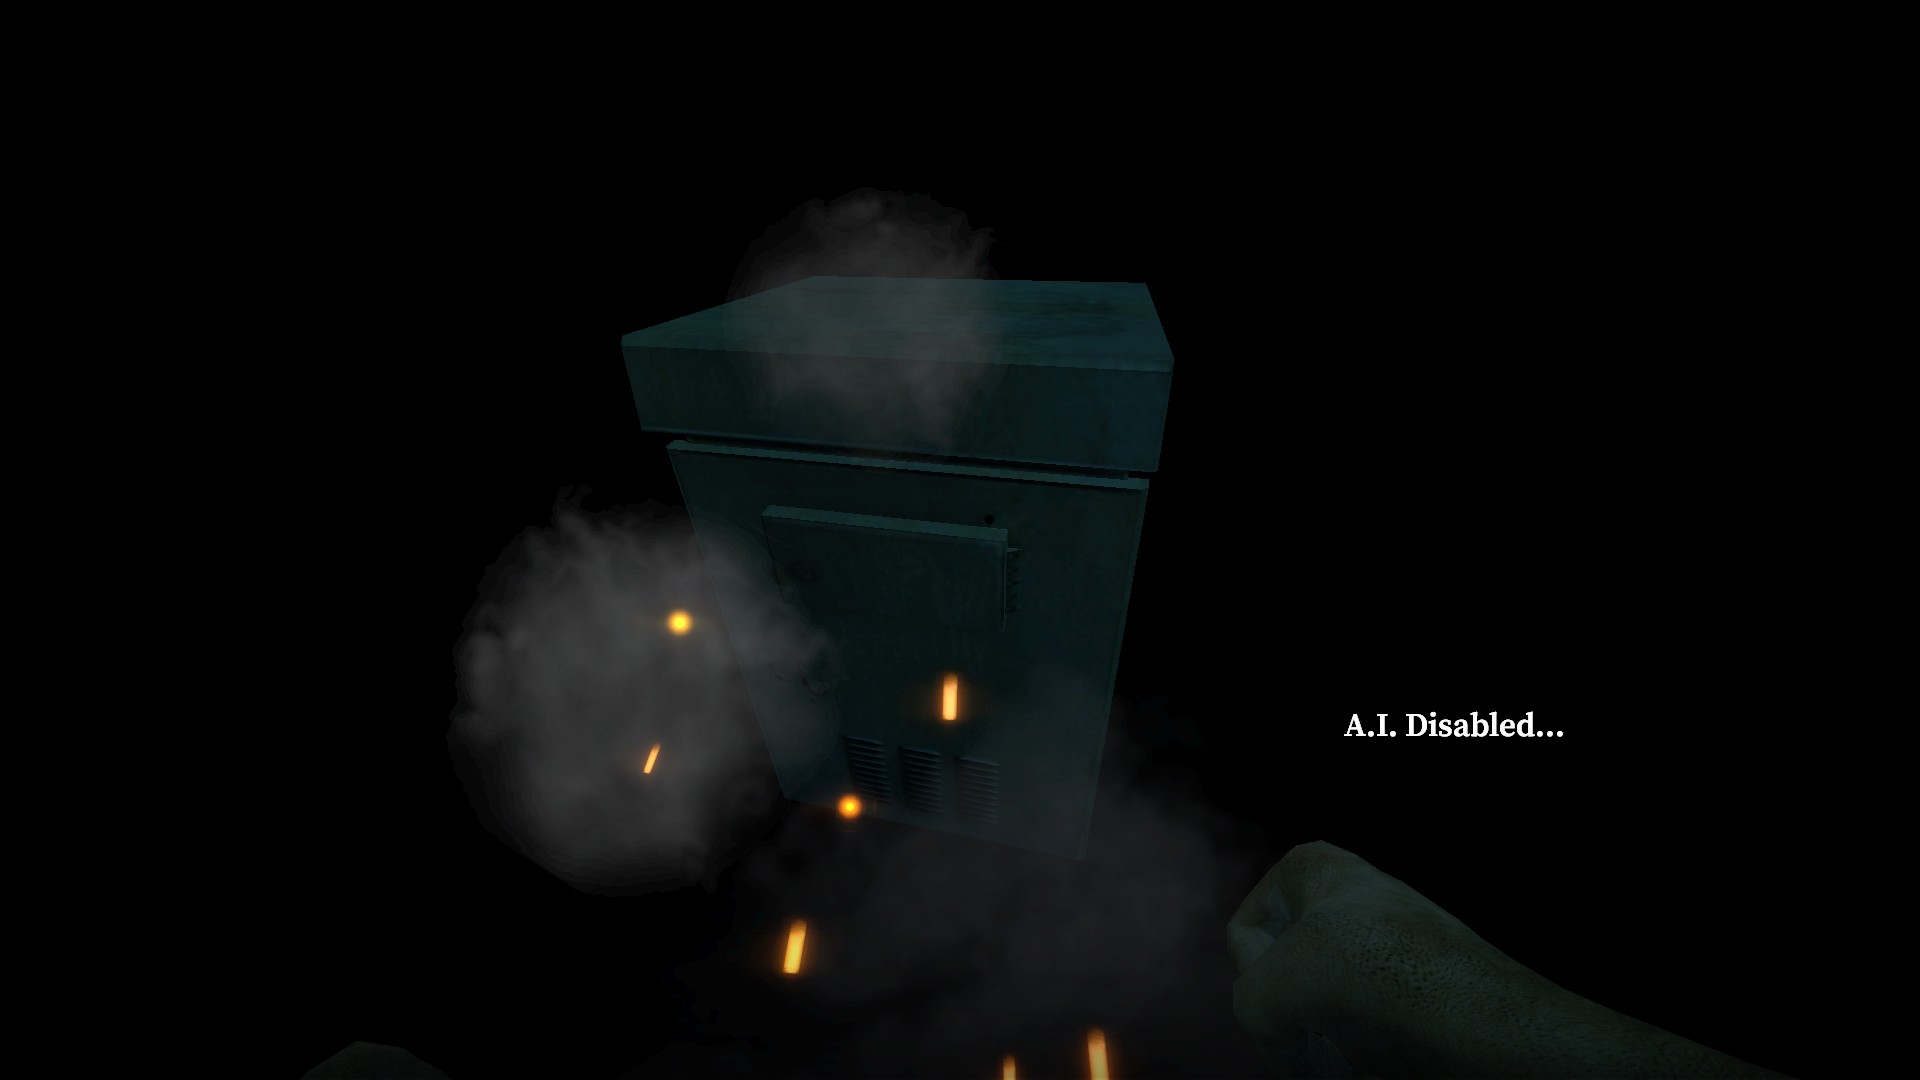
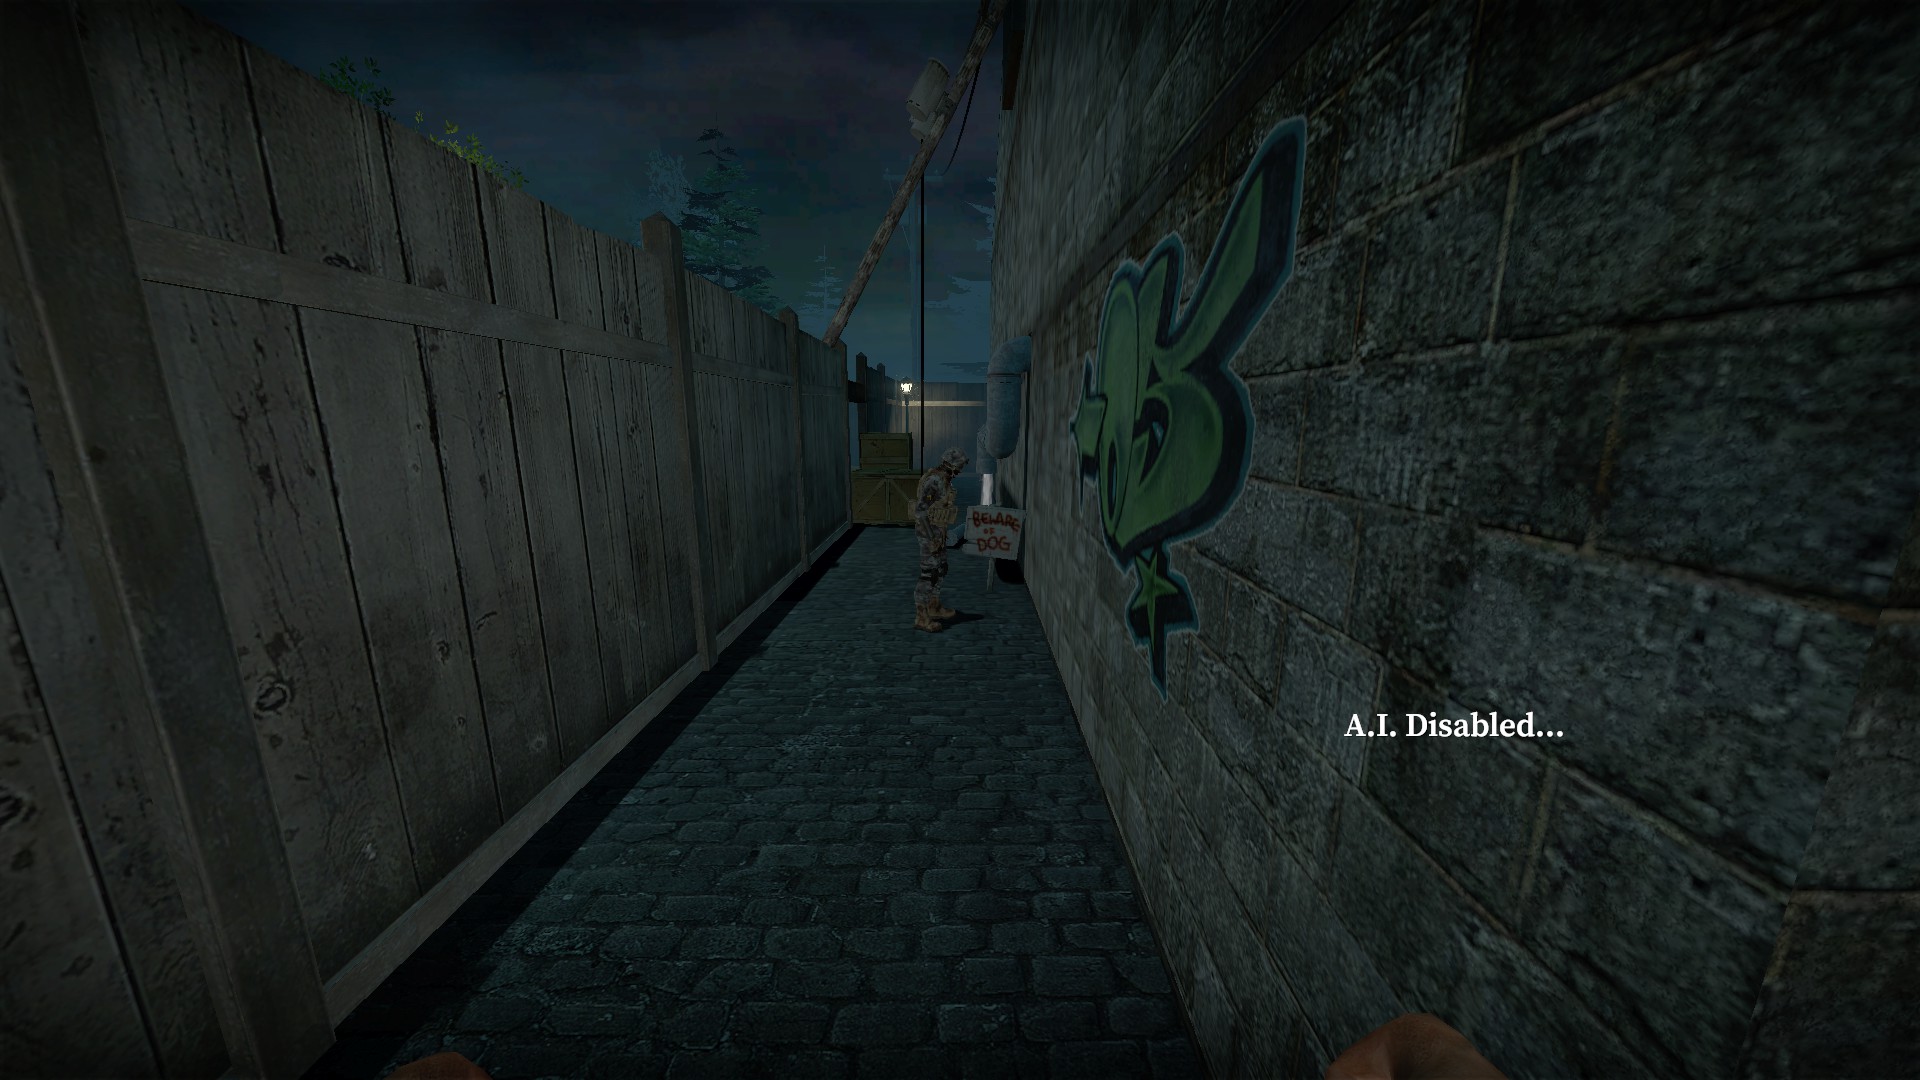
Hit the electrical box in the attic to disable the electricity outside
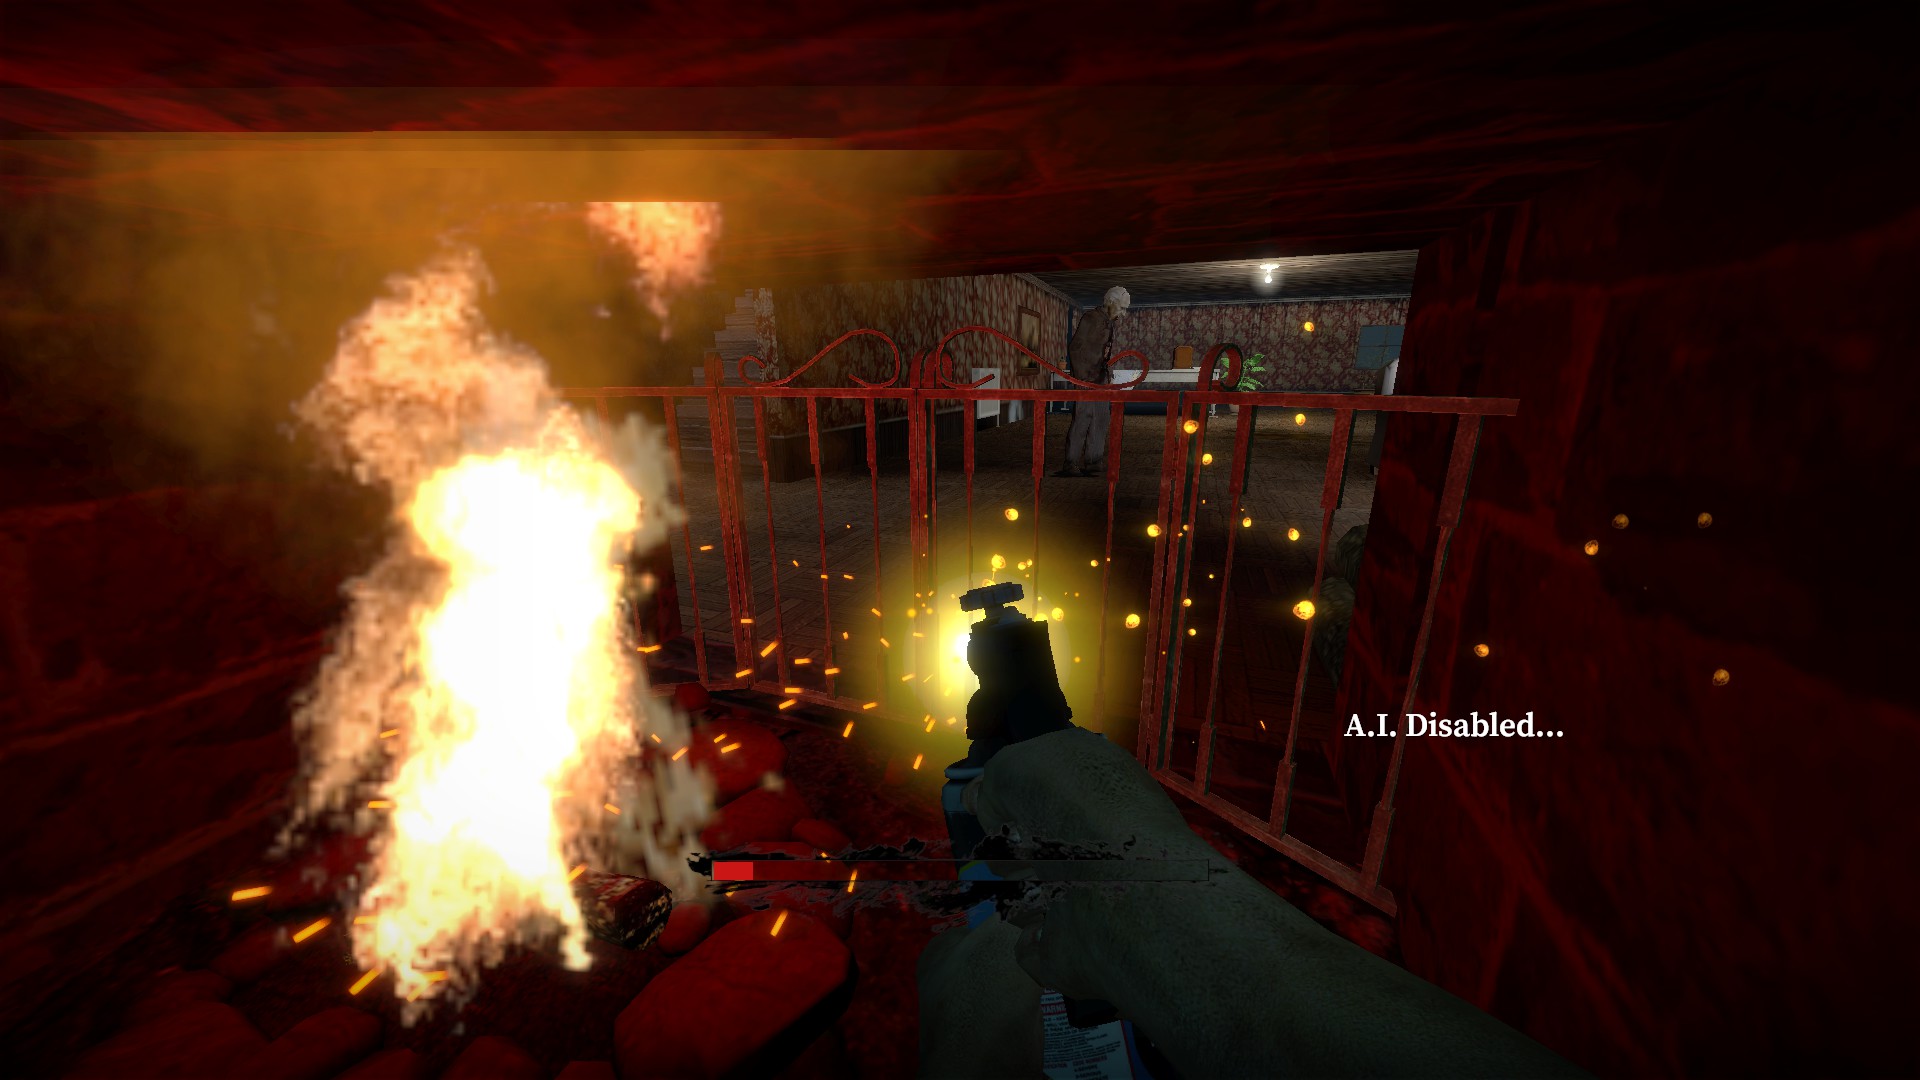
After getting the welder, use it on the grate in the fireplace for an easier way out
Keep the welder for objectives and weapon lockers
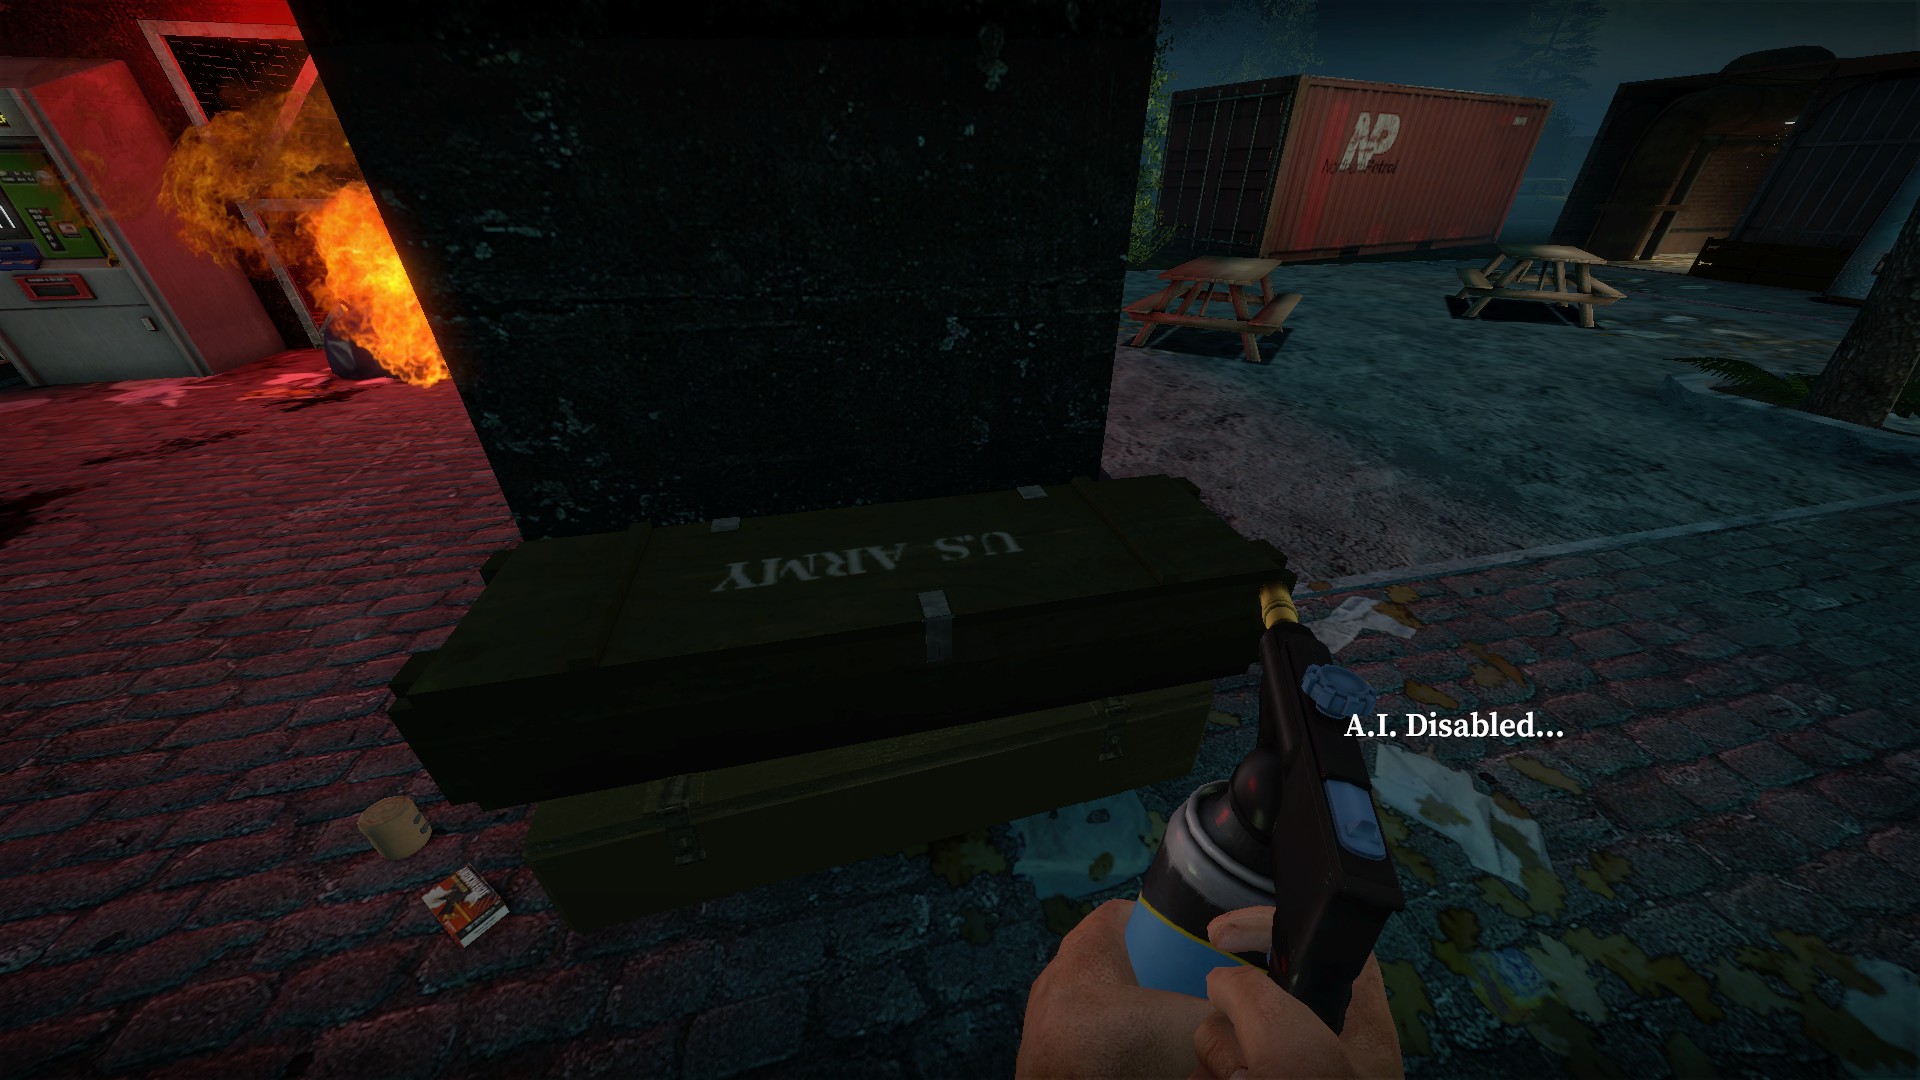
Locker in front of the subway
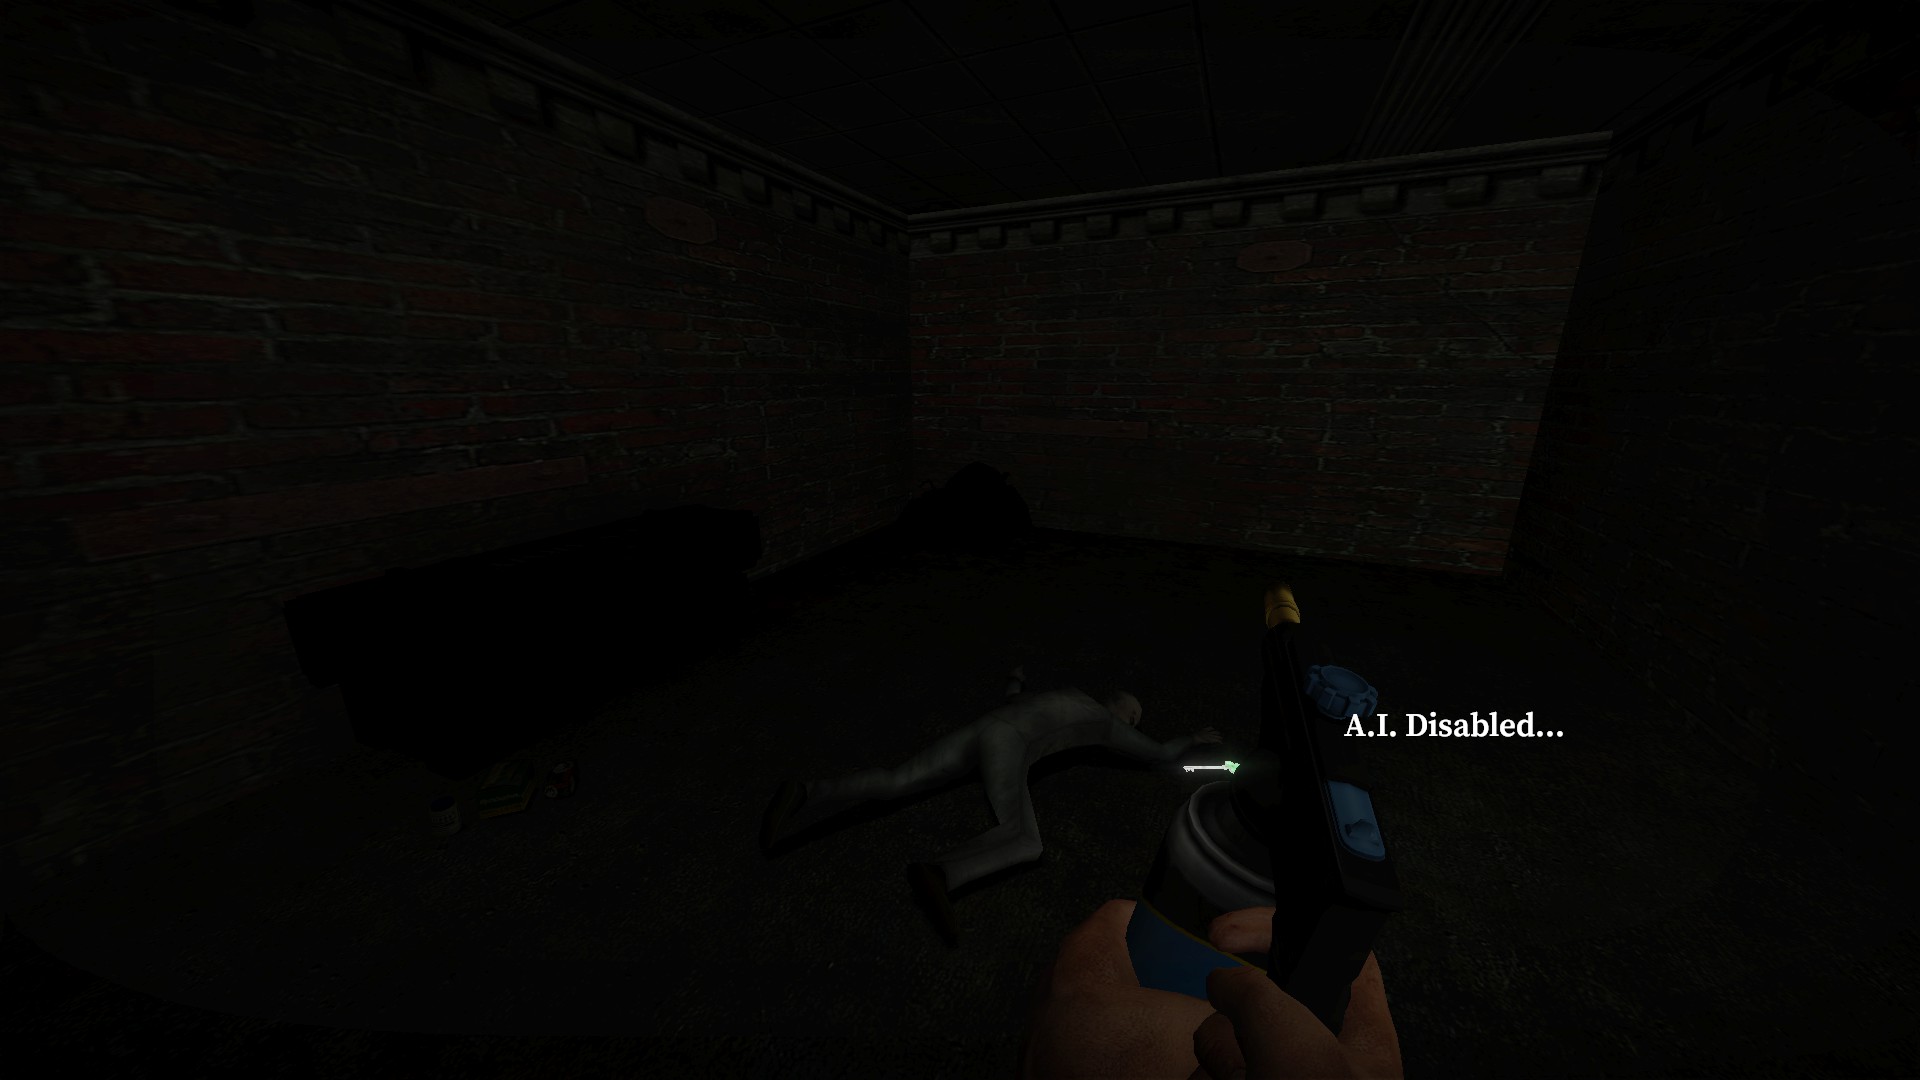
Also a locker where you get the subway key
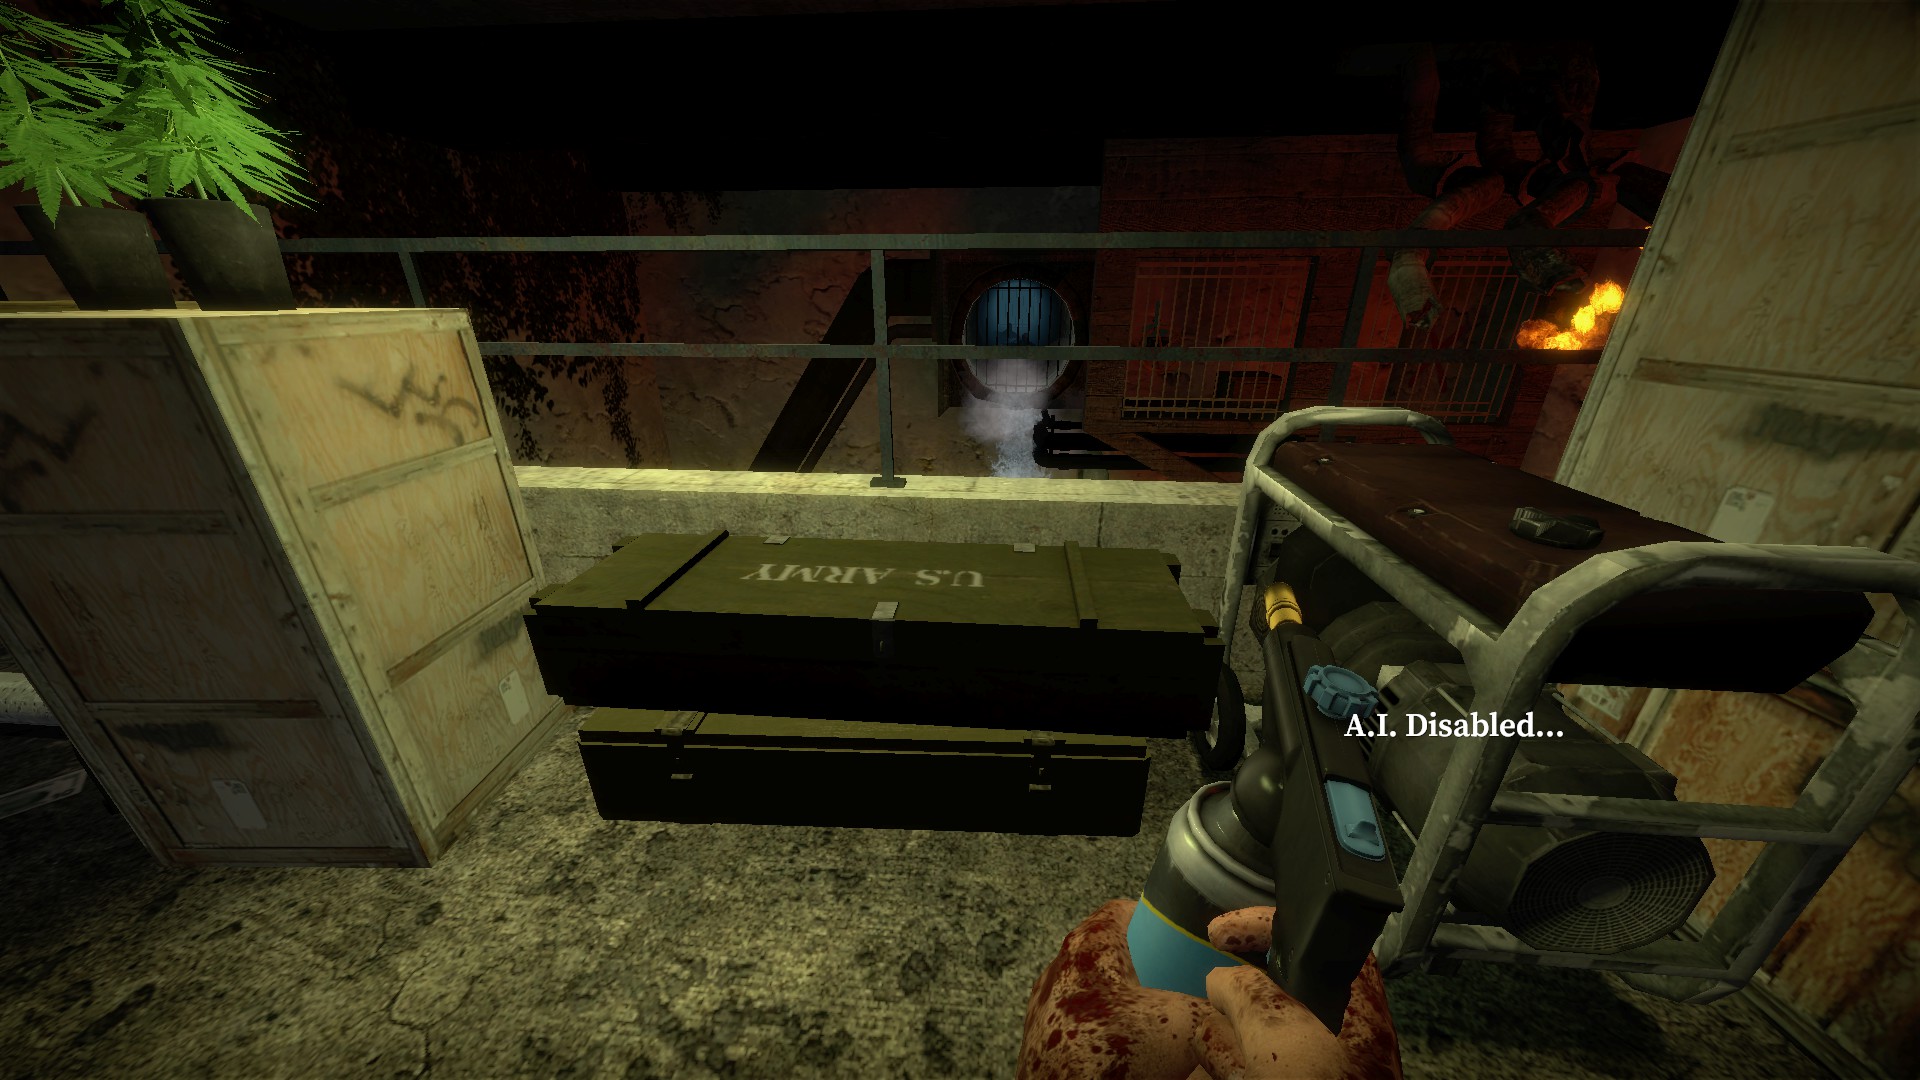
And a locker at the start of the sewers
nmo_tricell01_v1_5
Duffel bag
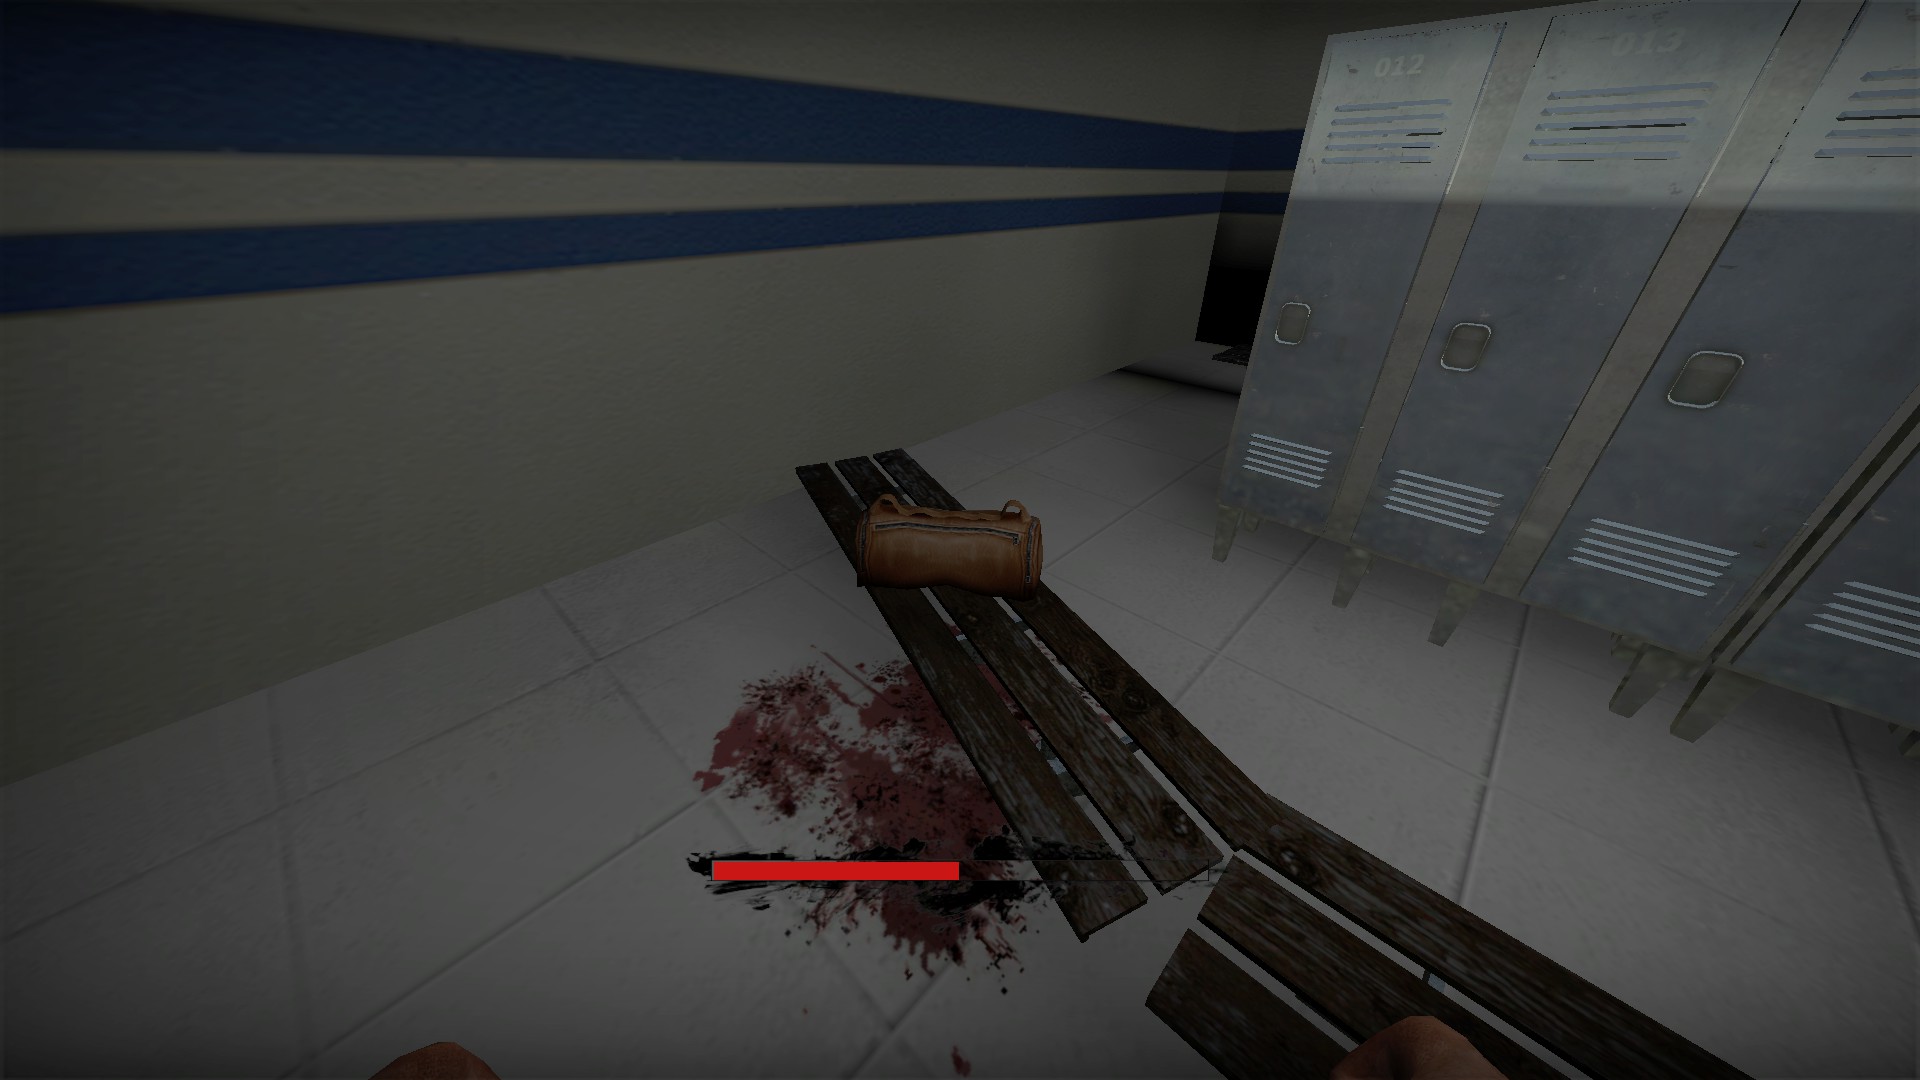
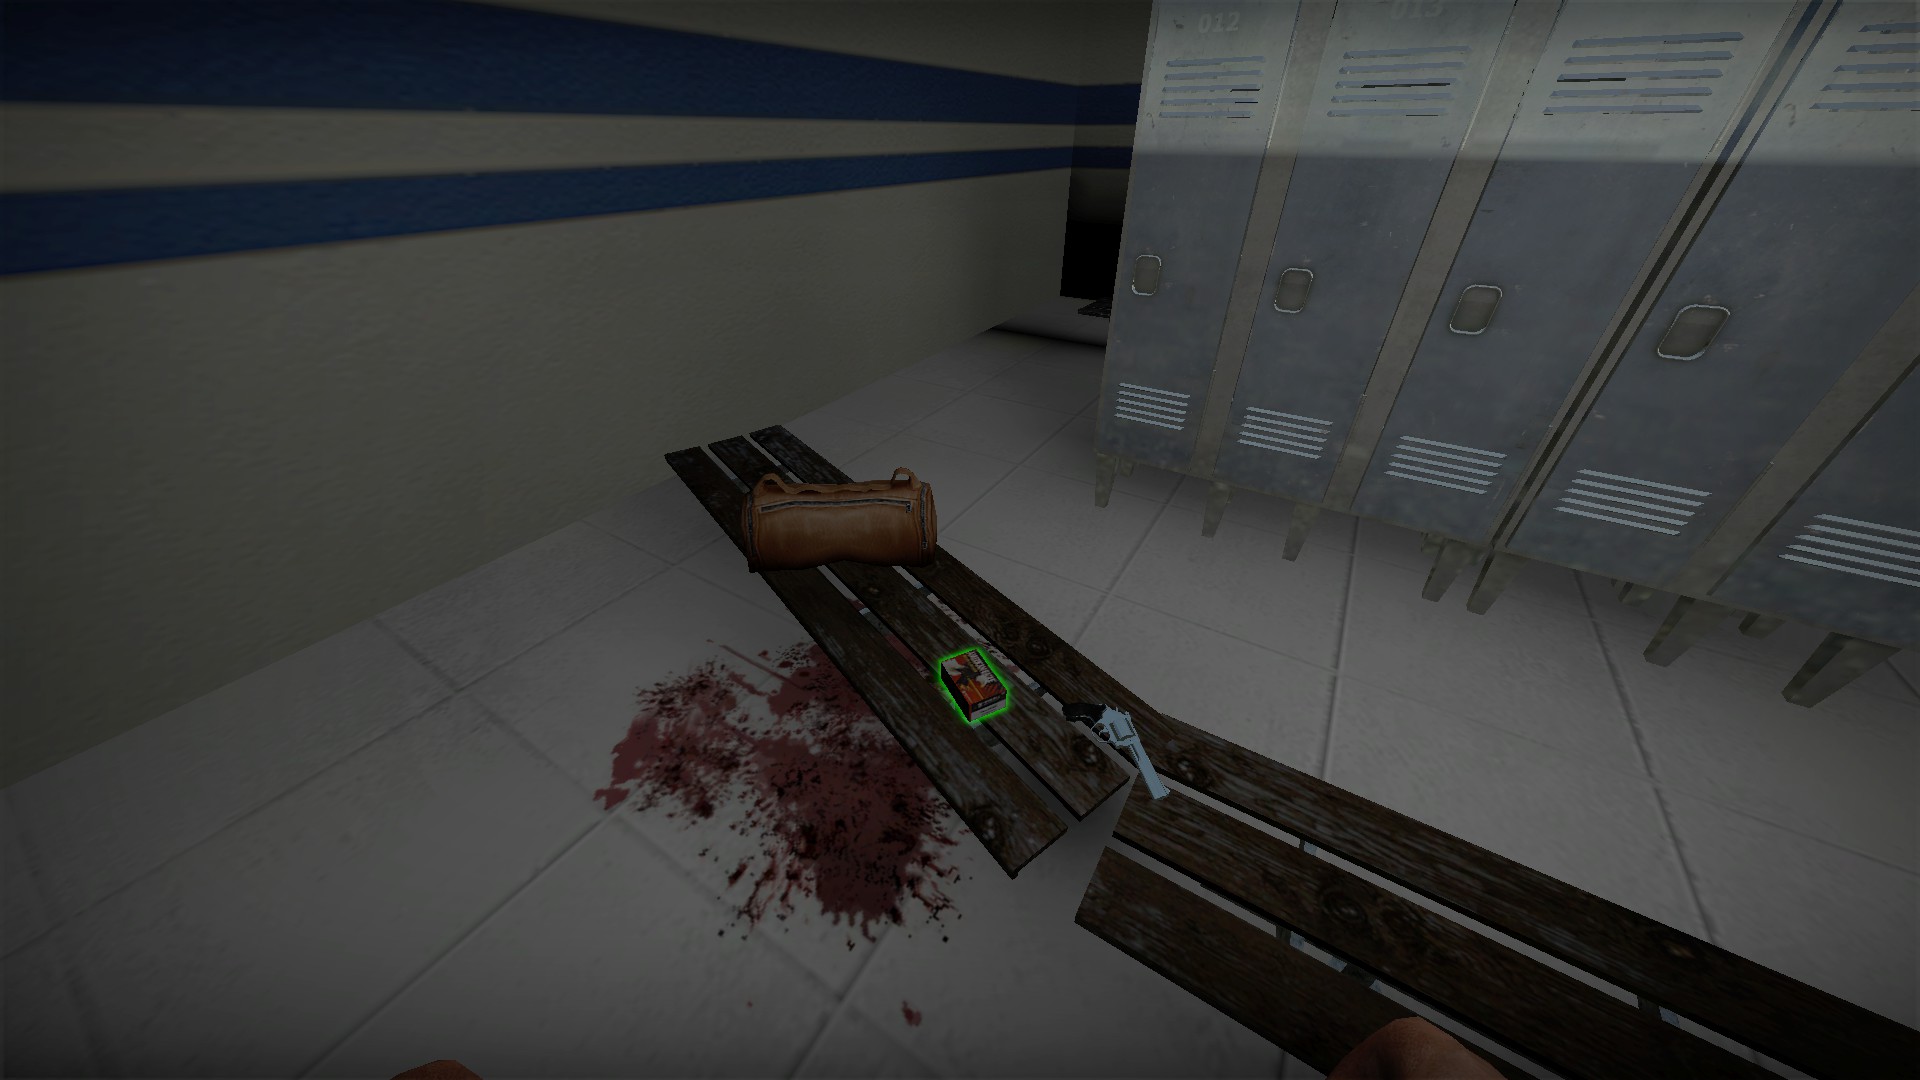
In the locker room on the R+D floor, hold e on the duffel bag in the middle of the room for a firearm and ammo
In the locker room on the R+D floor, hold e on the duffel bag in the middle of the room for a firearm and ammo
nmo_tunnels
Baby
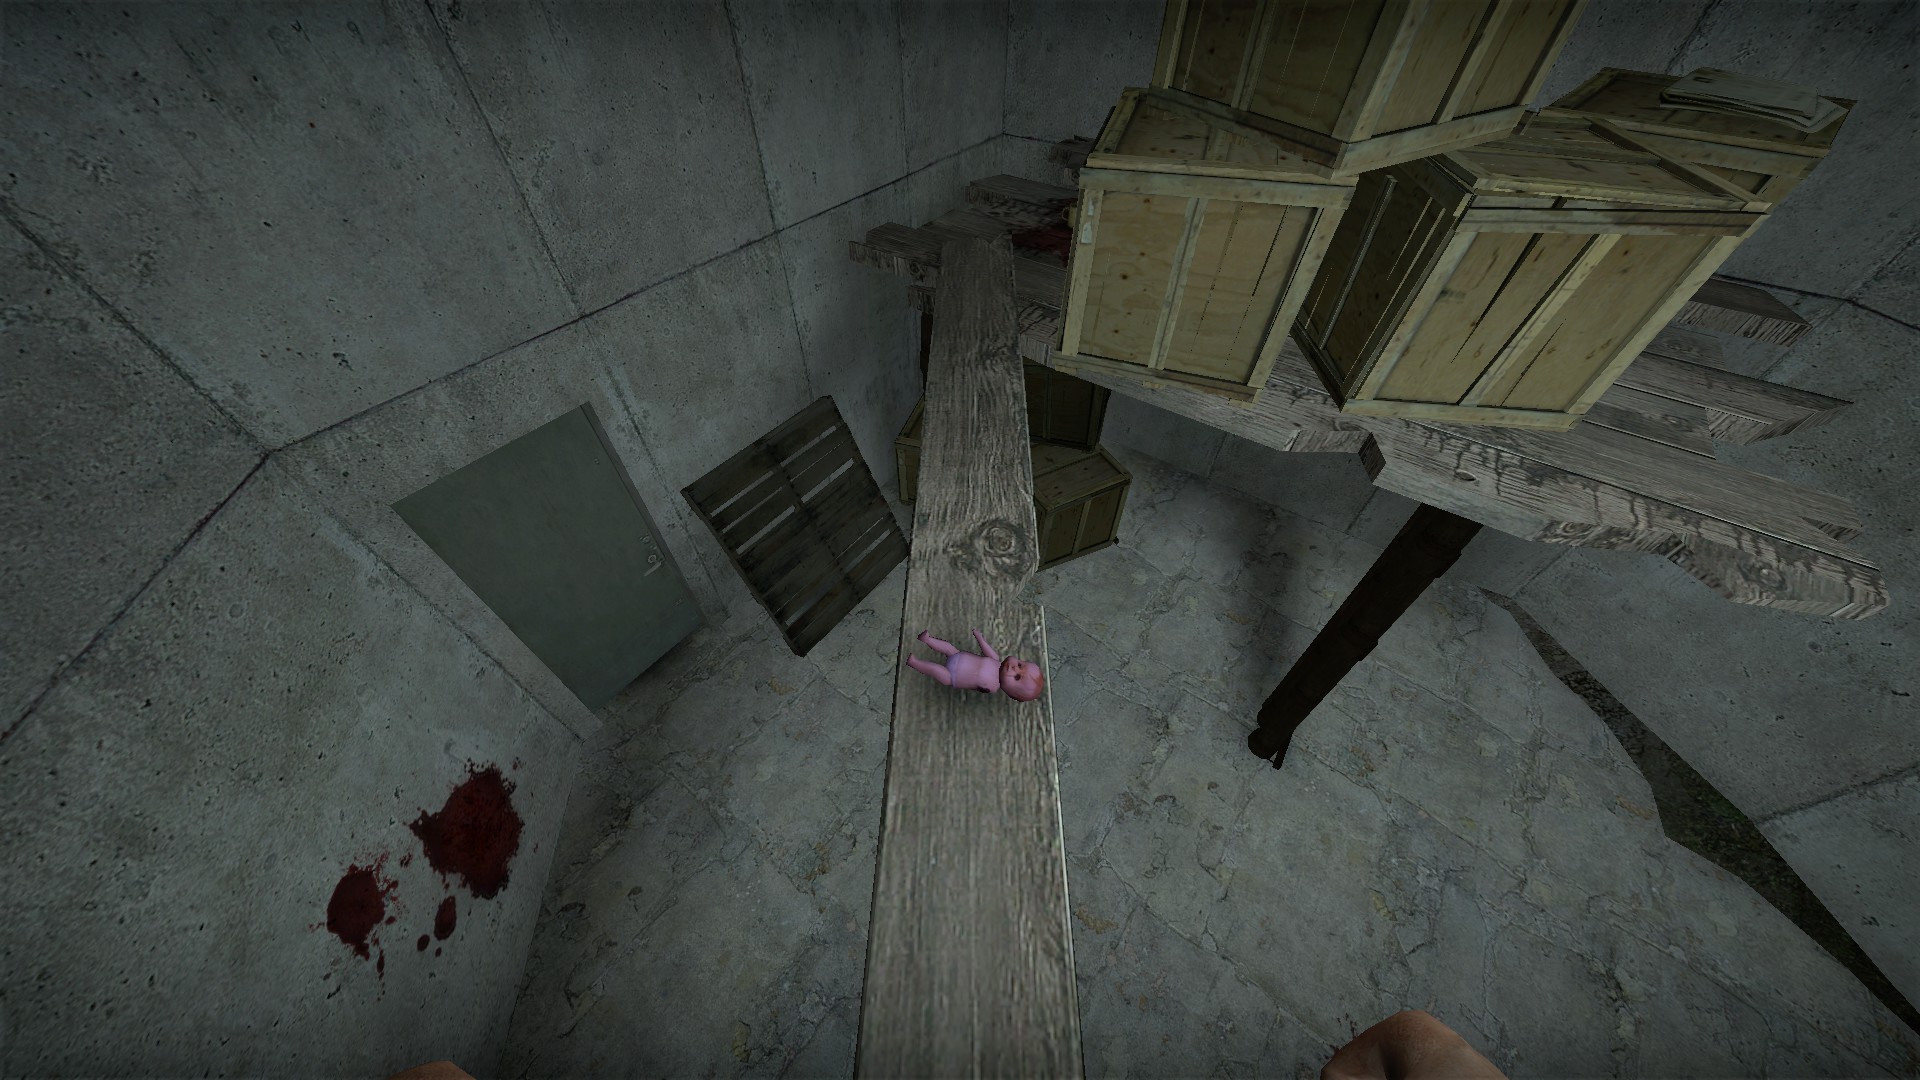
Bring the baby doll through the map with you. It is used for a secret later
4 vents
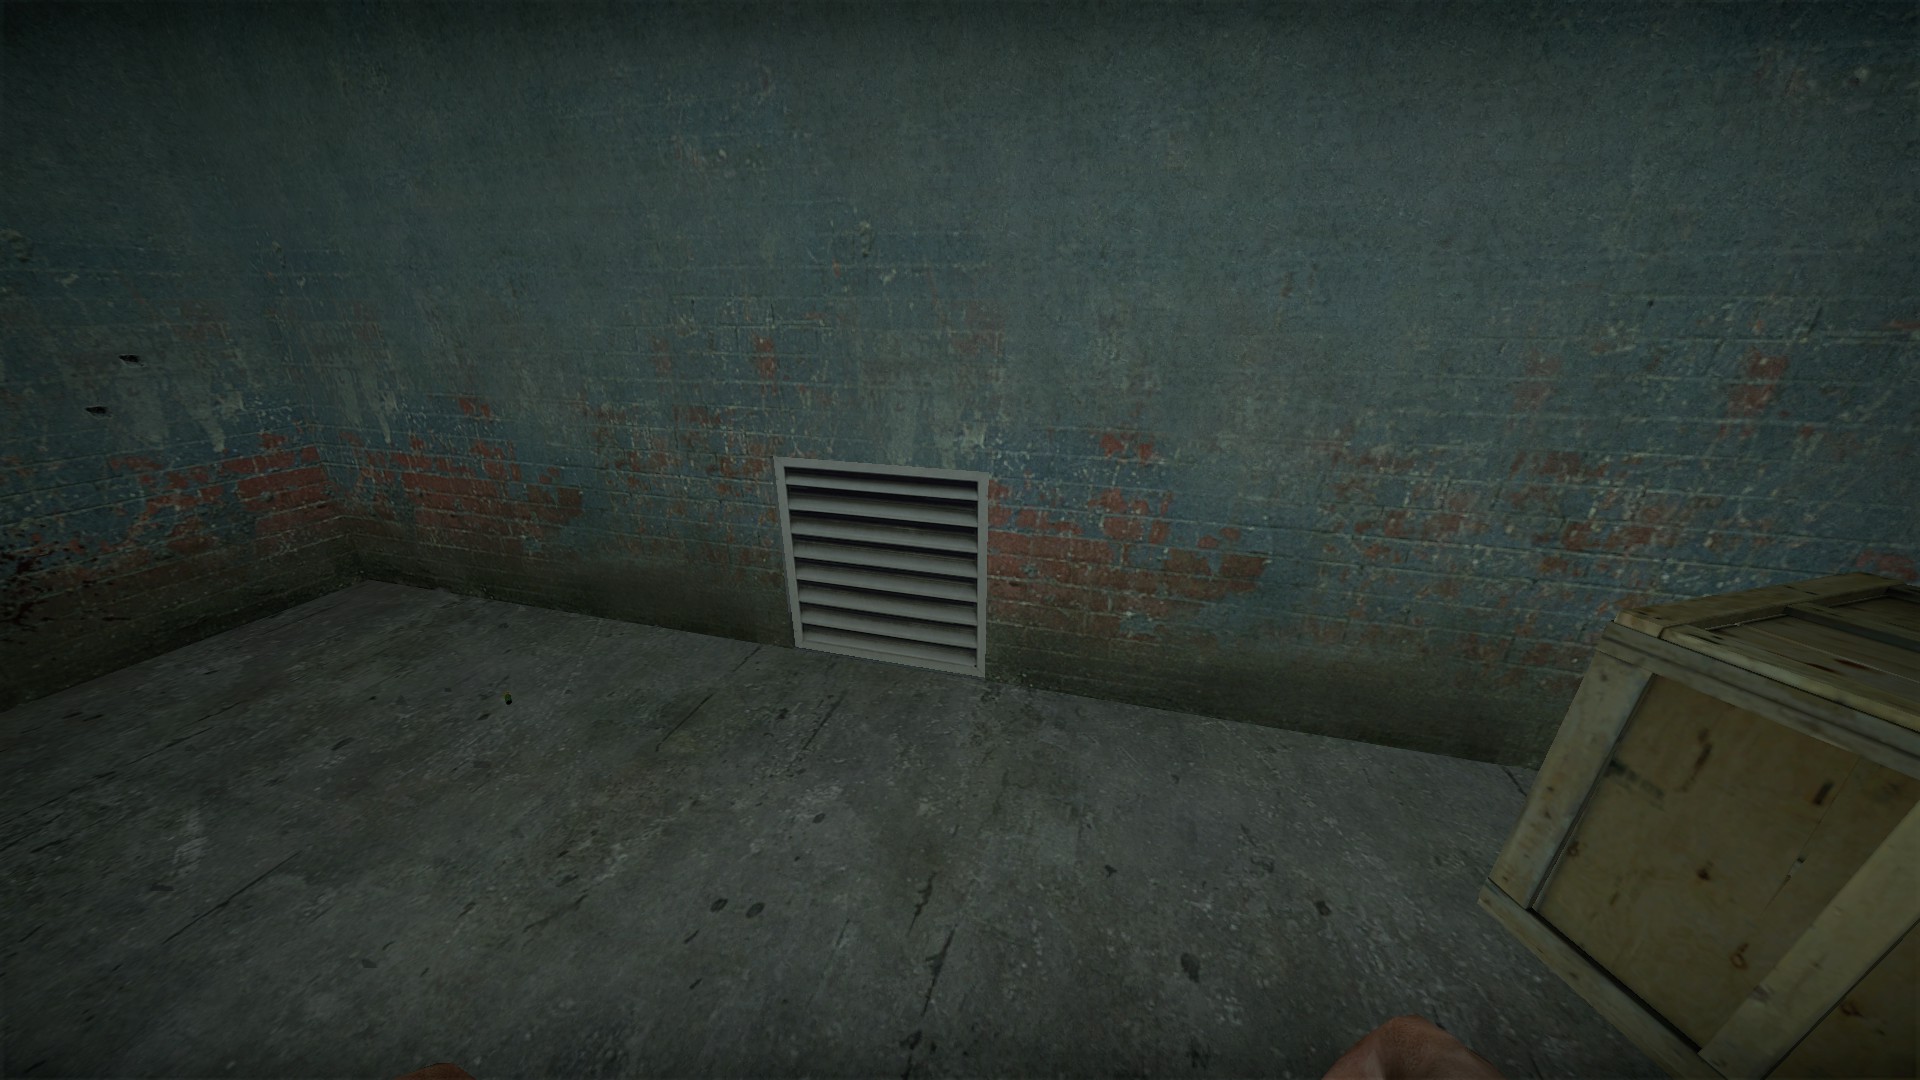
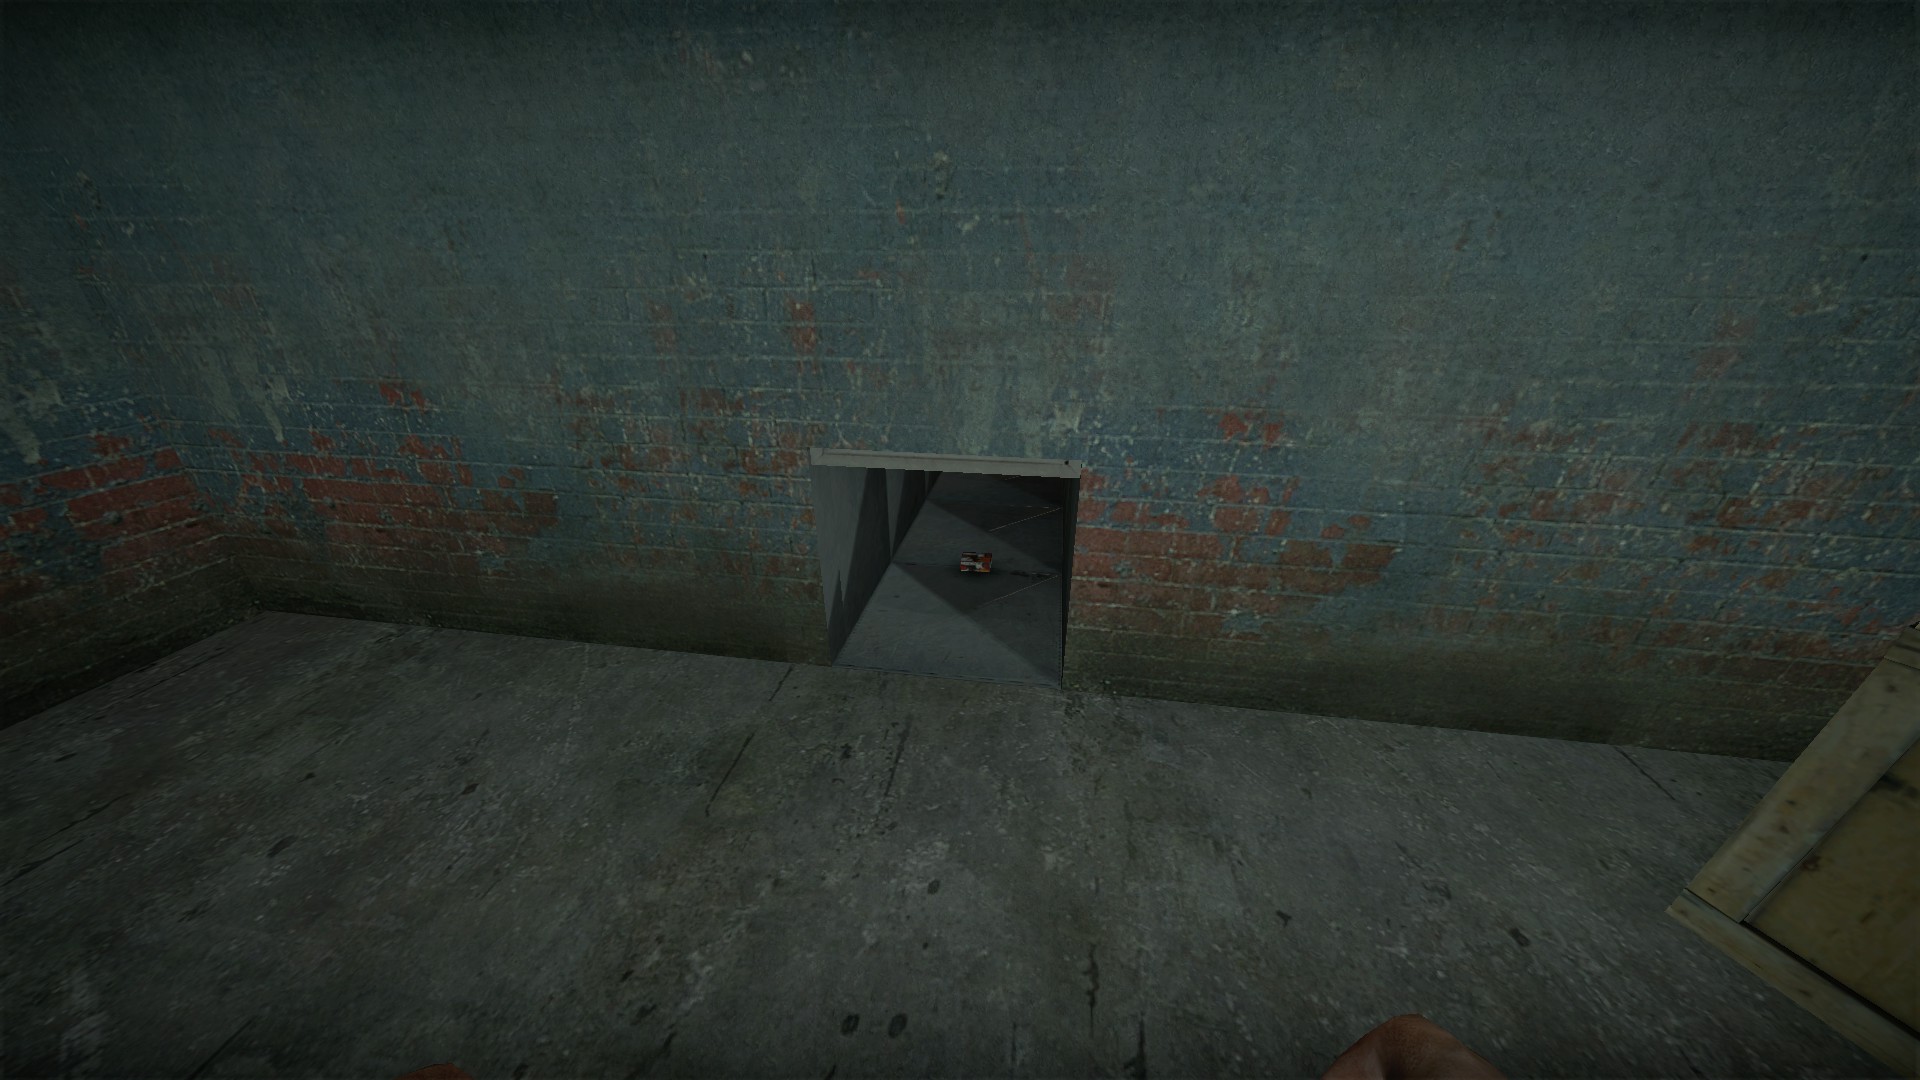
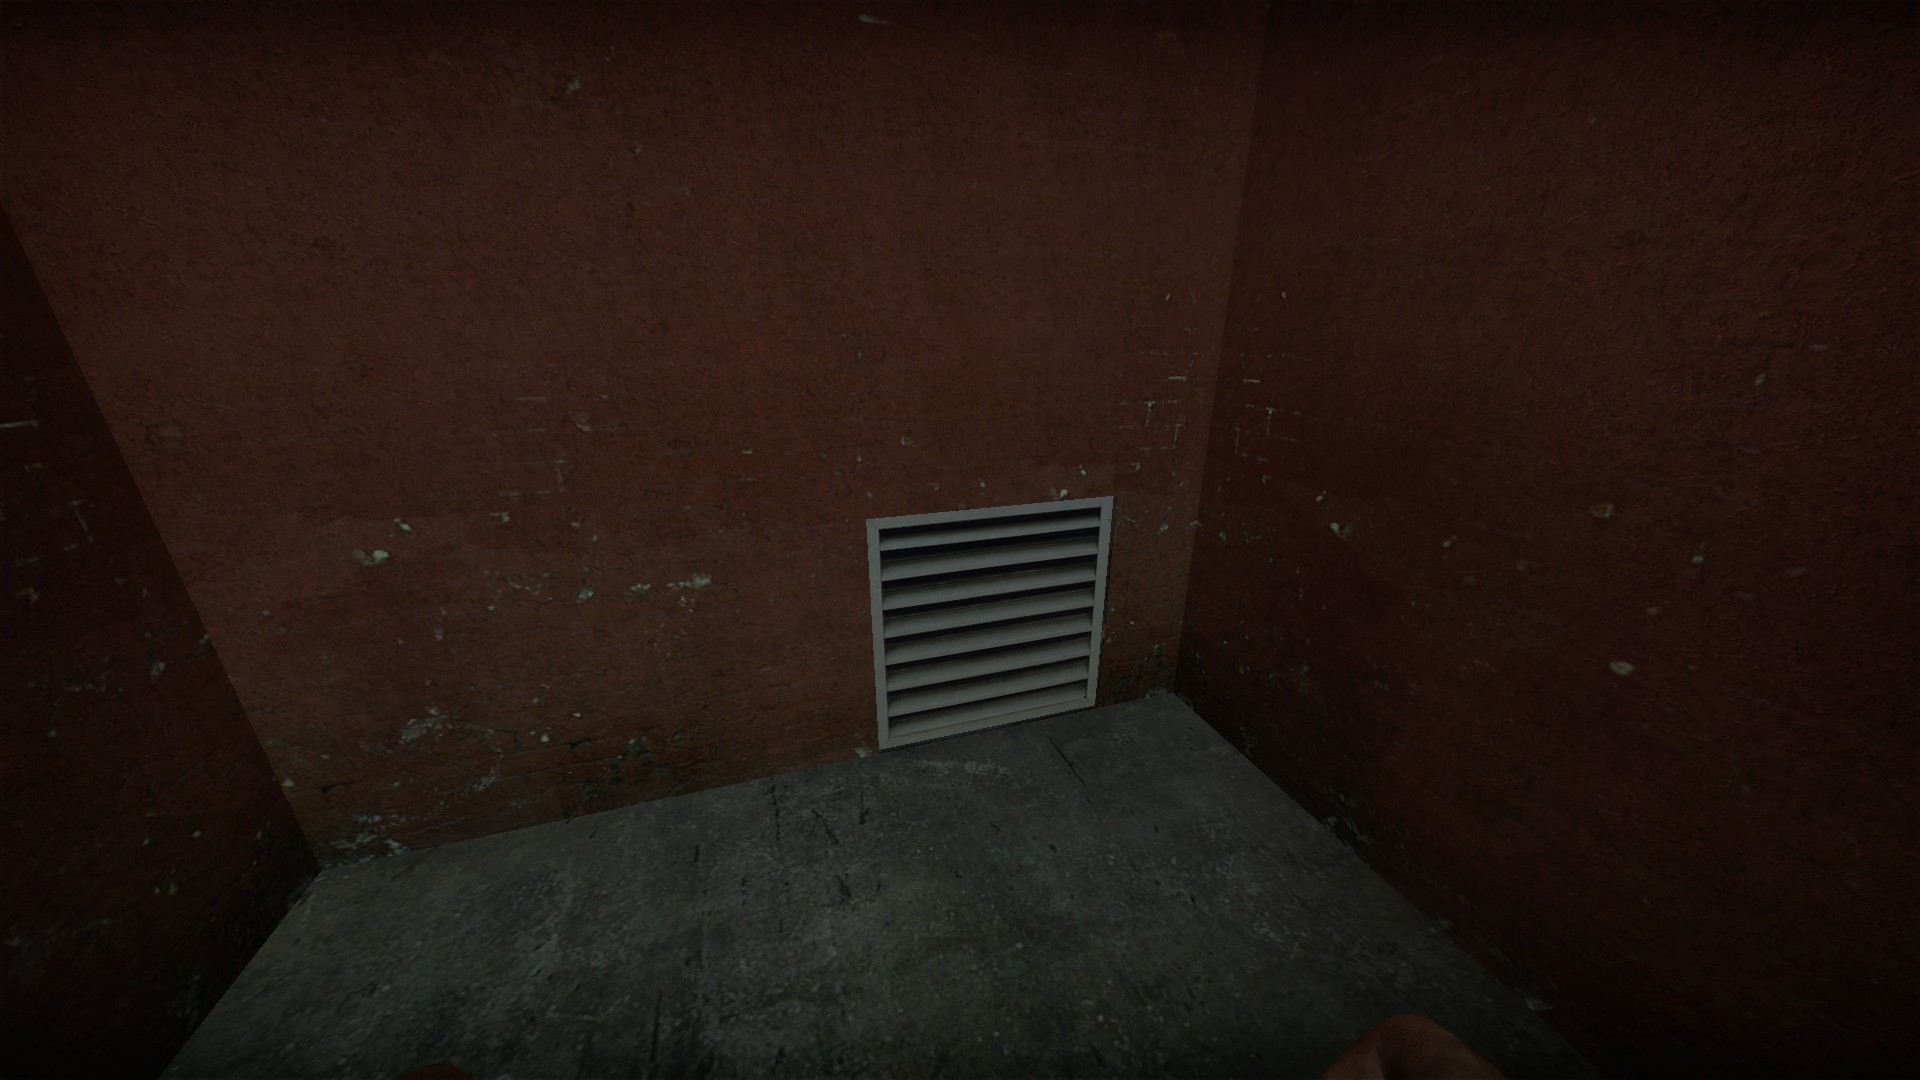
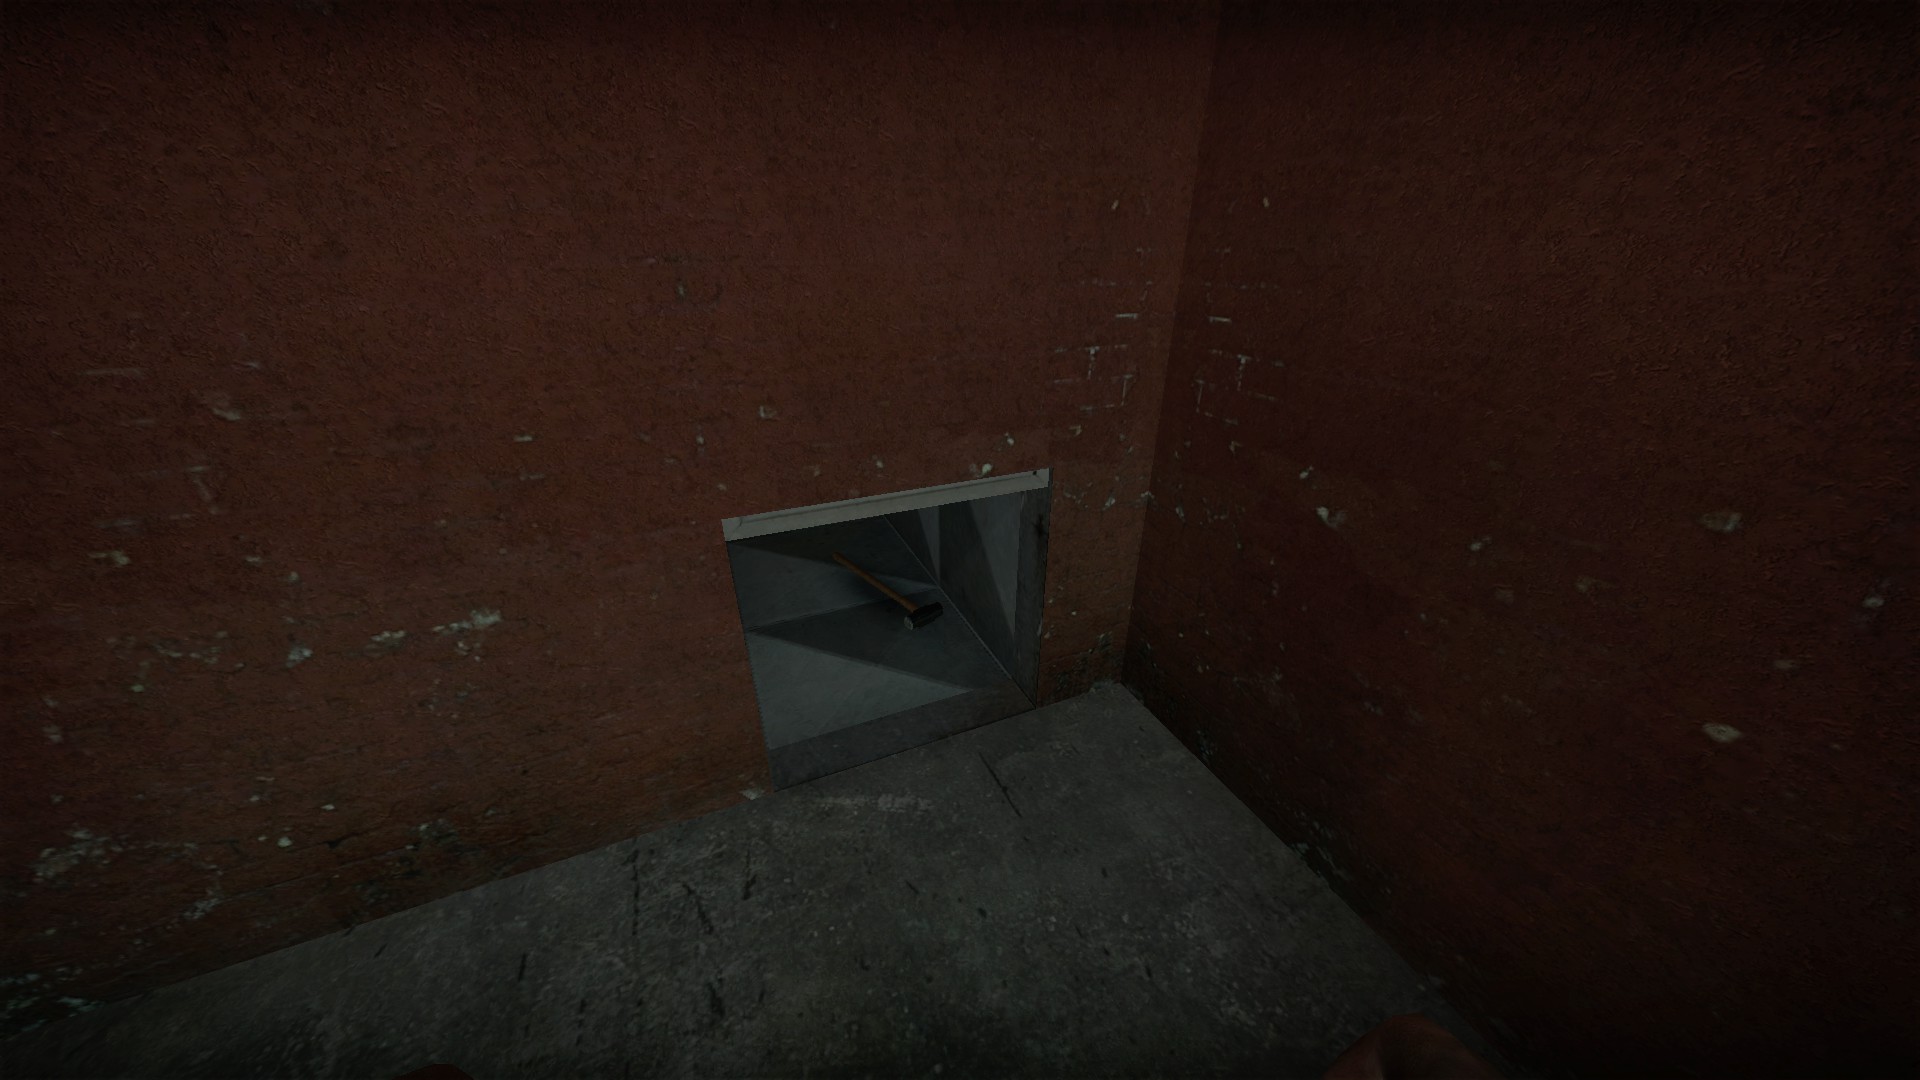
Some of the vent covers on this map are a bit unusual for nmrih. They are opened by pressing e. You cannot get into the vent behind, but each one may have a random item inside. You will pass these first two on your way to the blue key
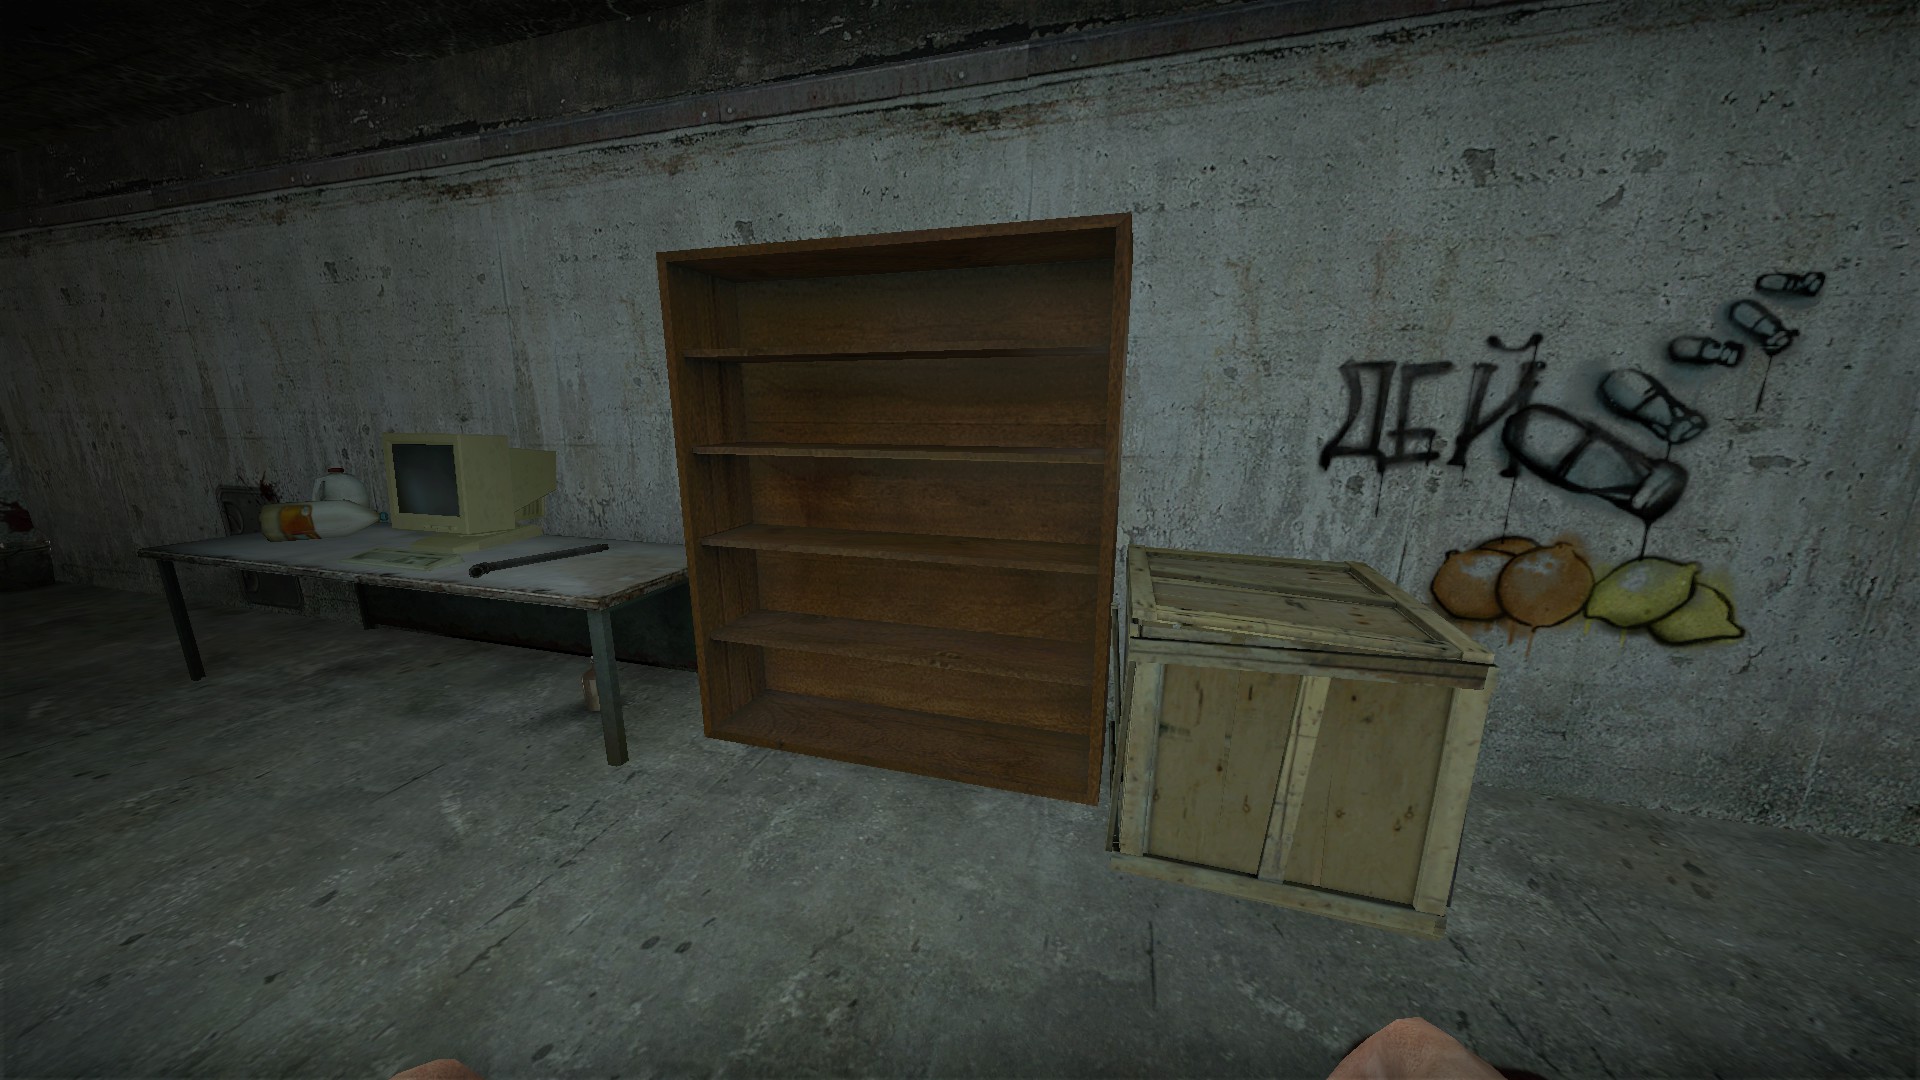
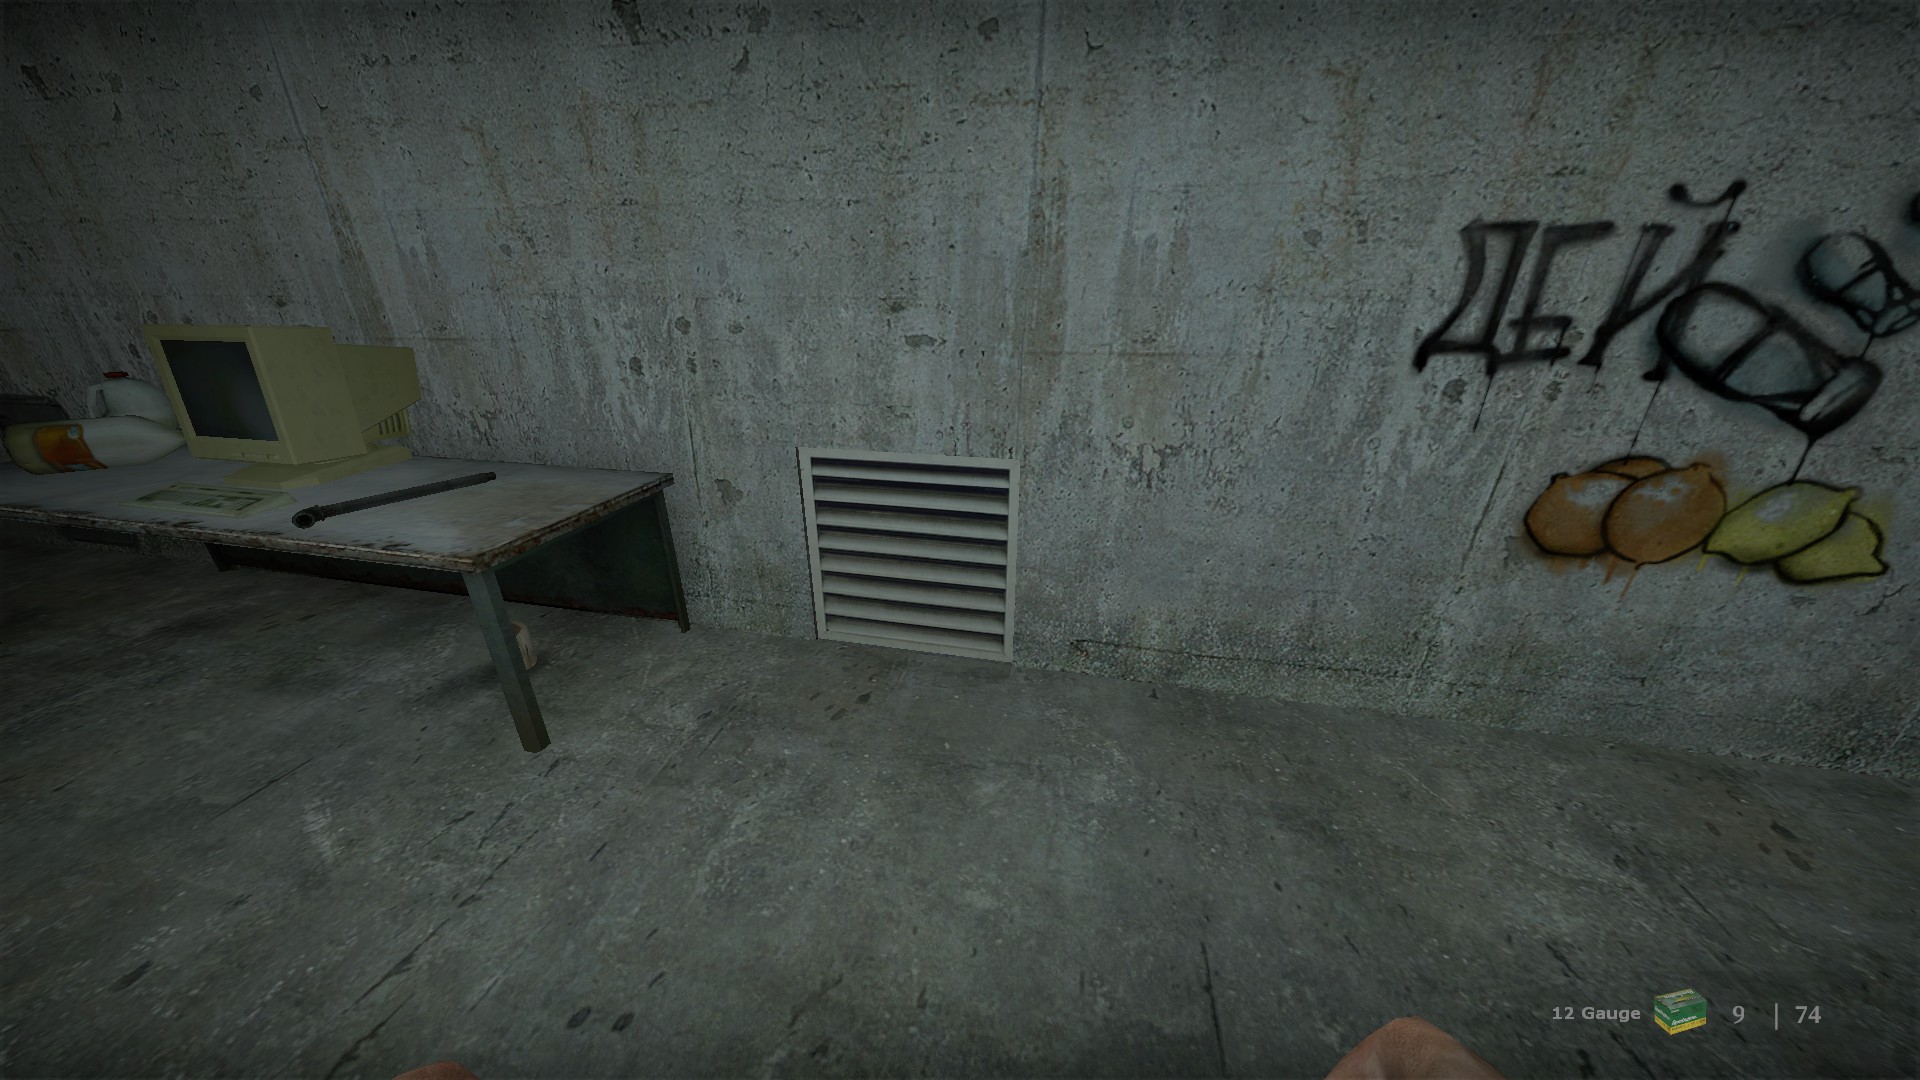
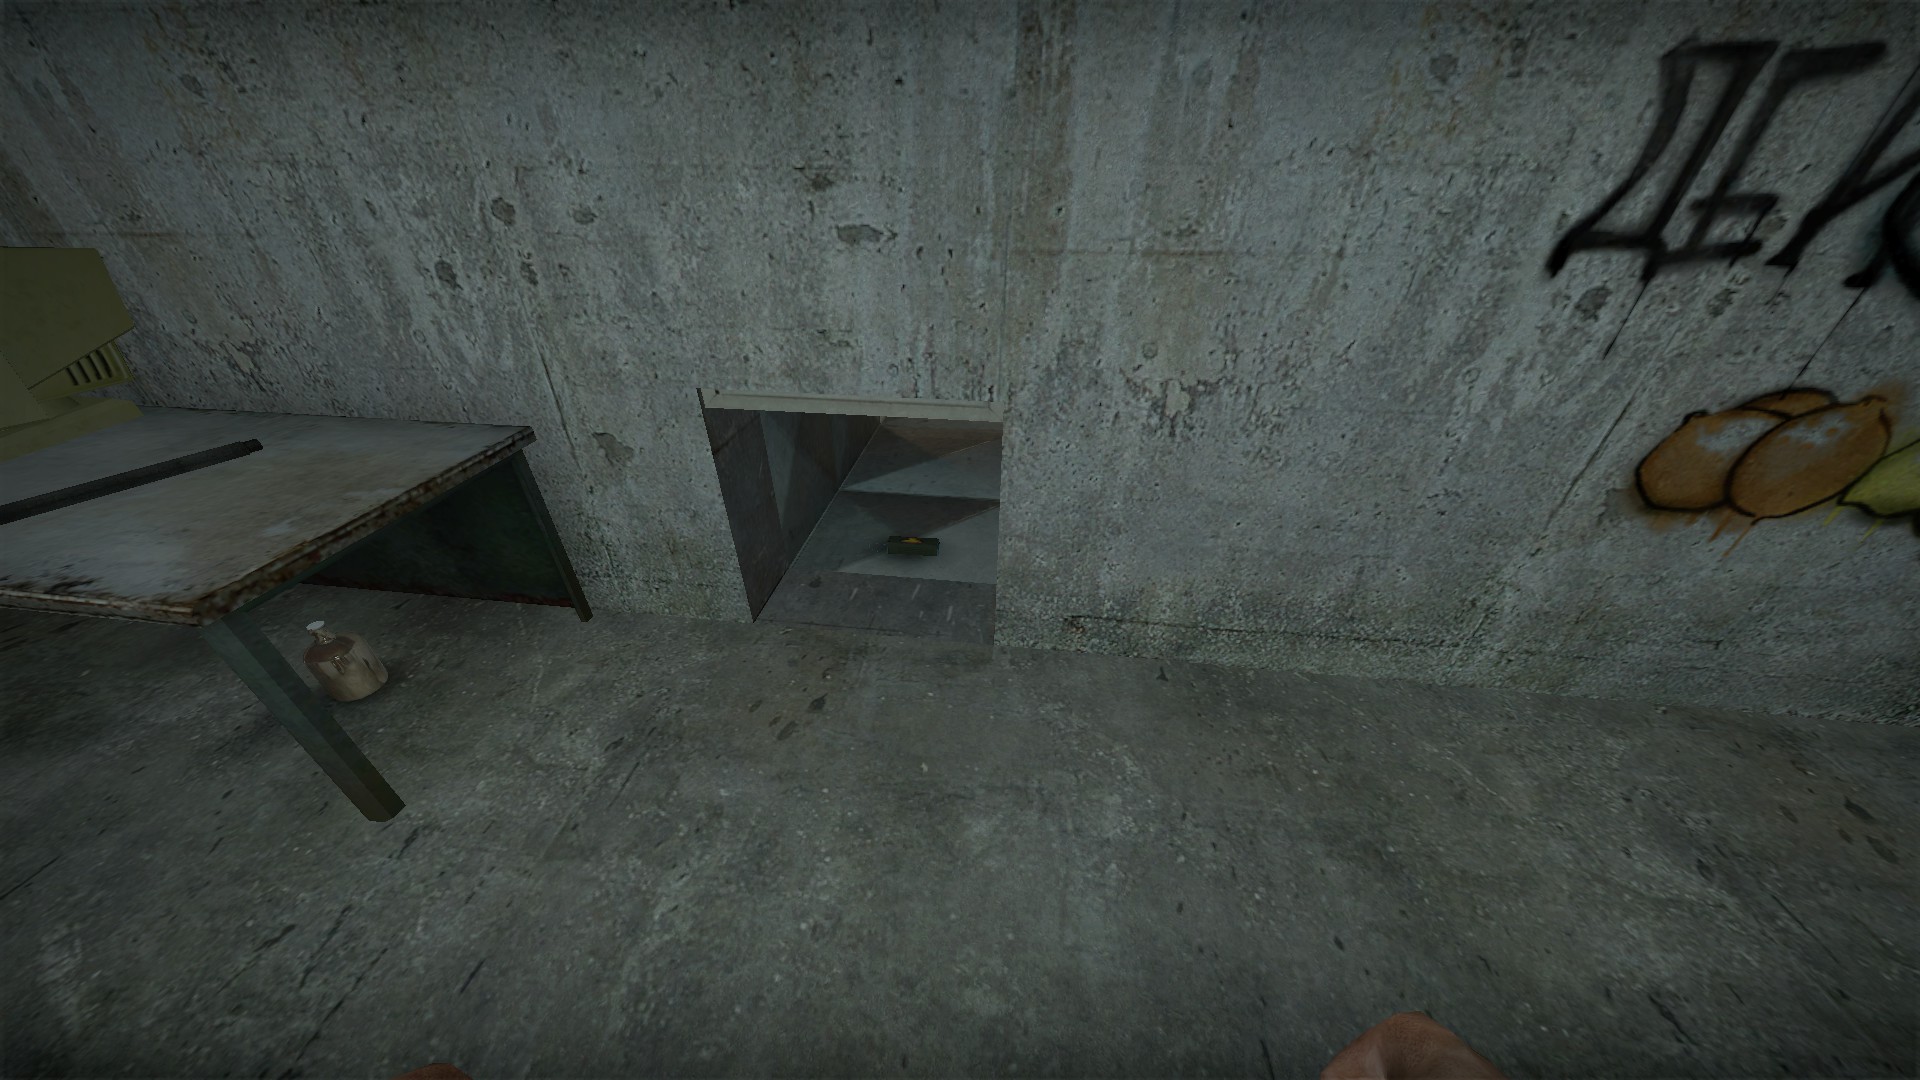
You will find the third vent after using the blue key. Break the bookcase to open the vent behind
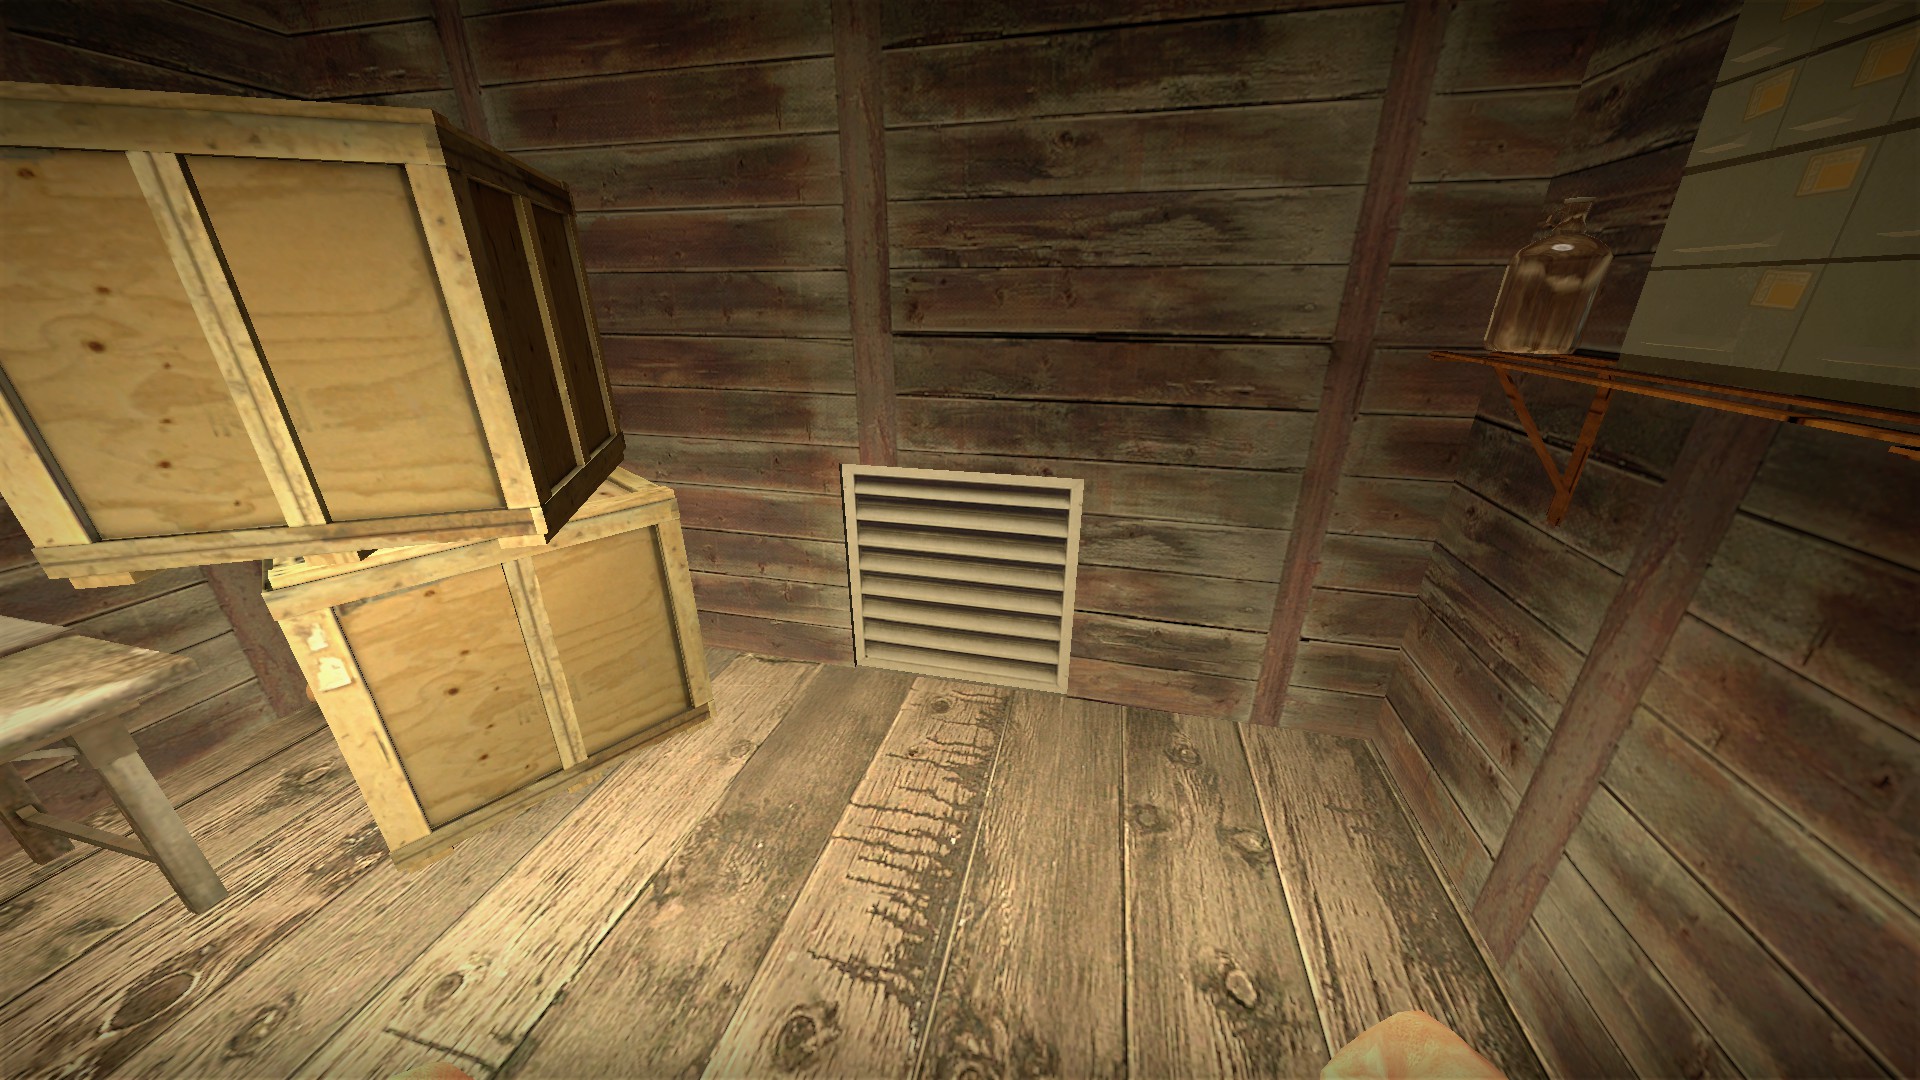
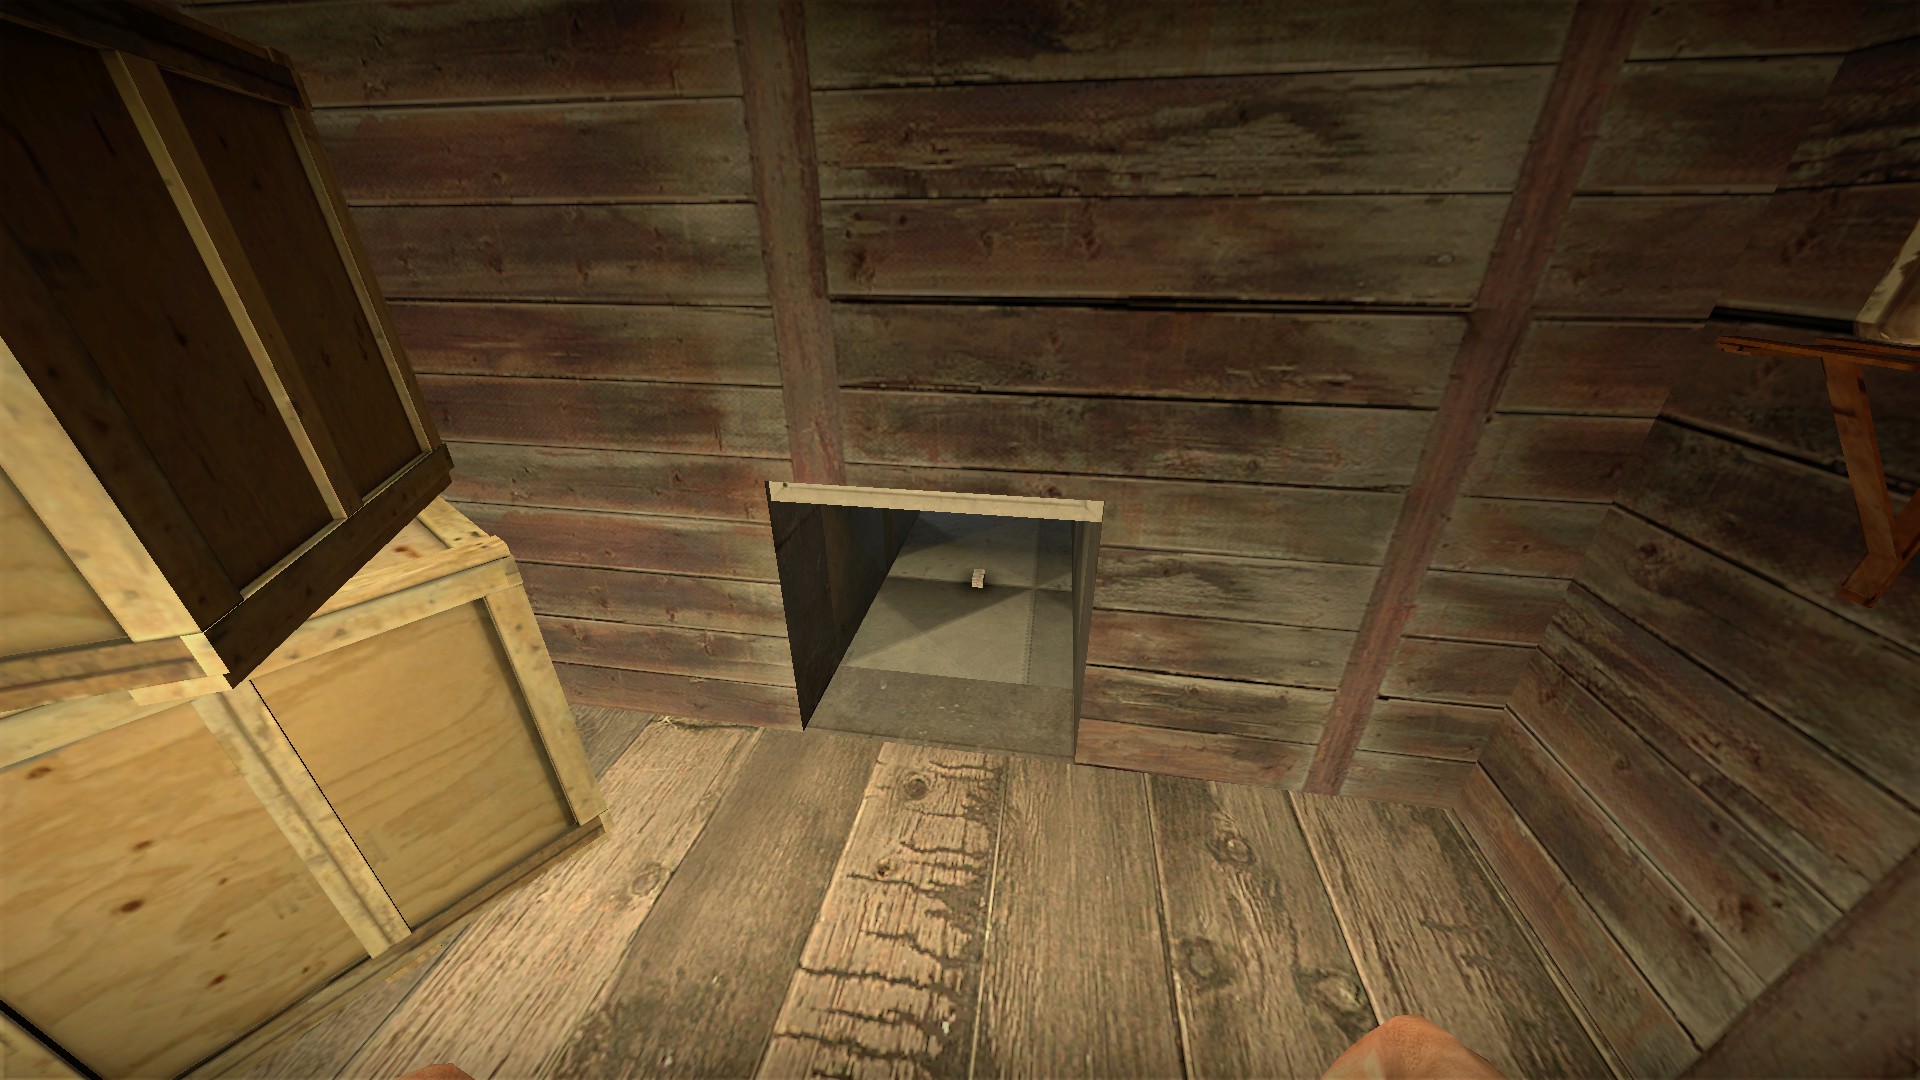
The last vent is in a nearby room
4 tnt's
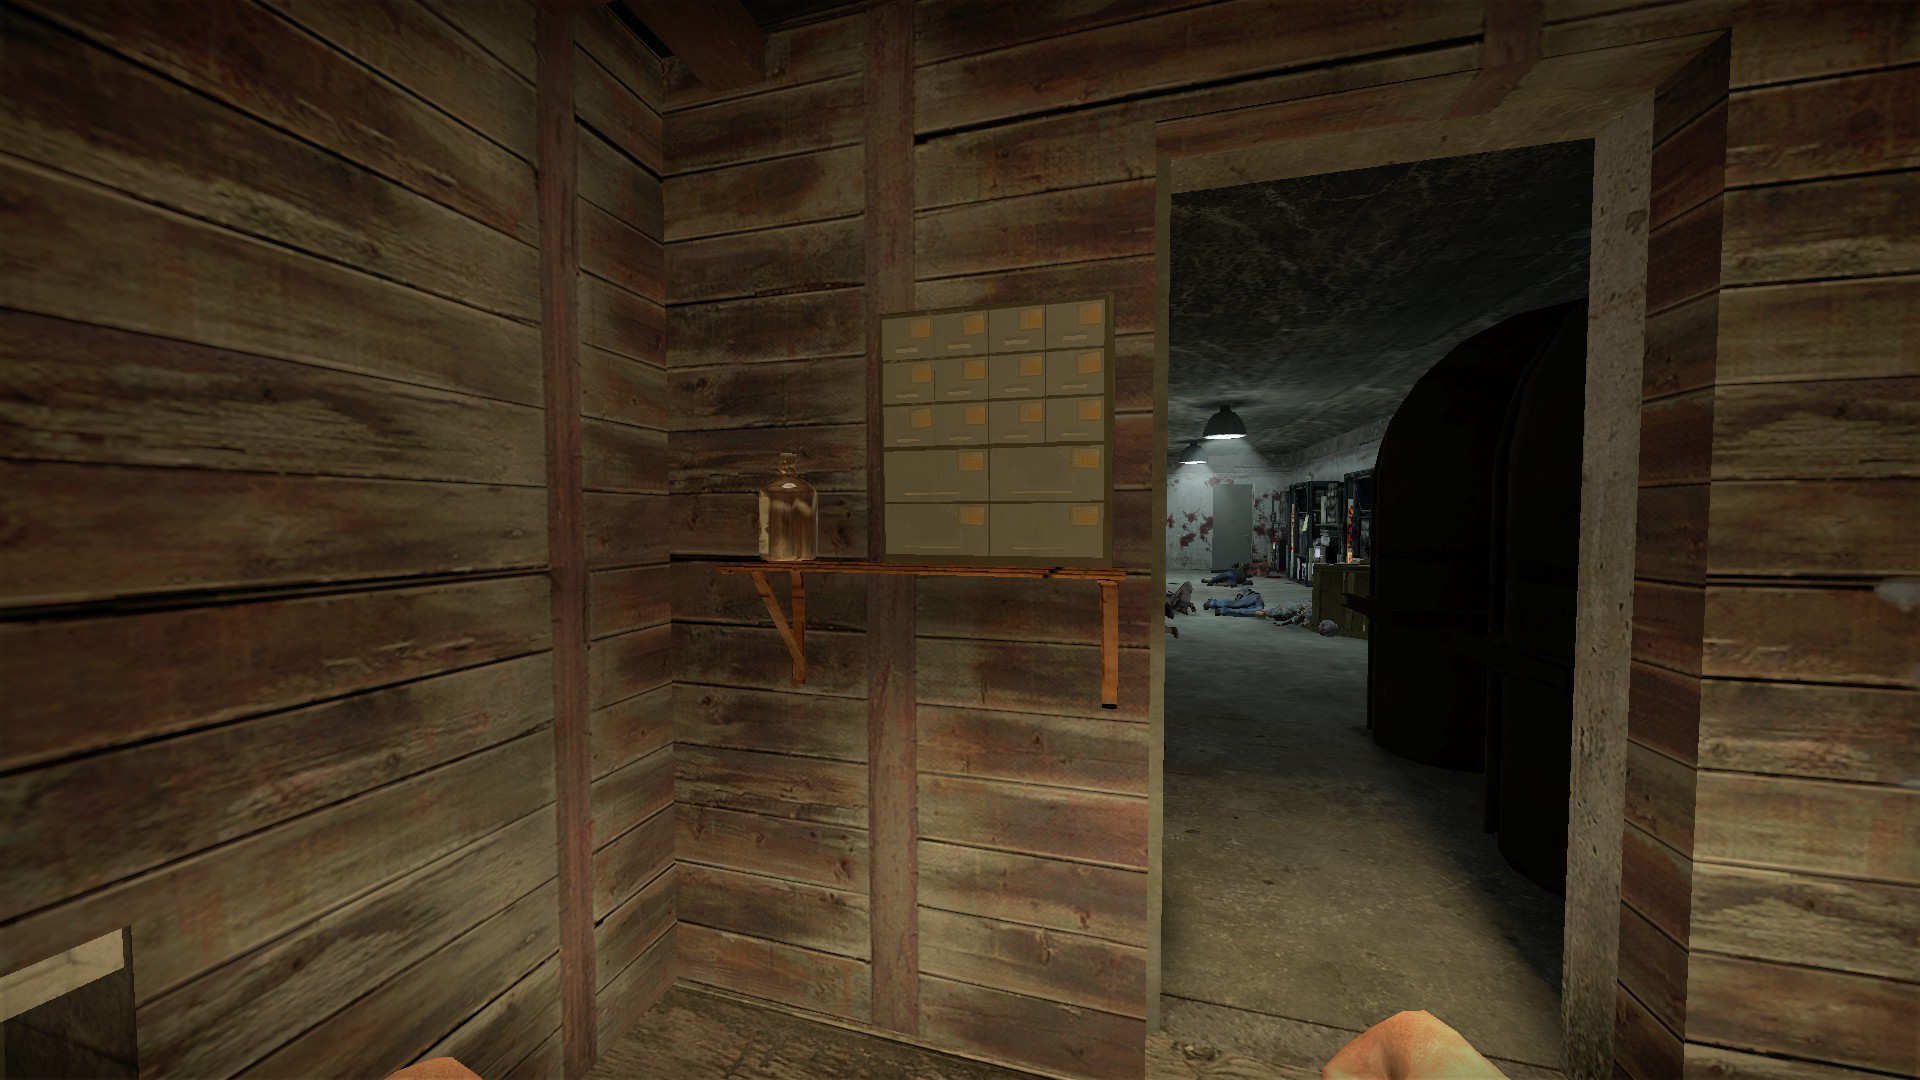
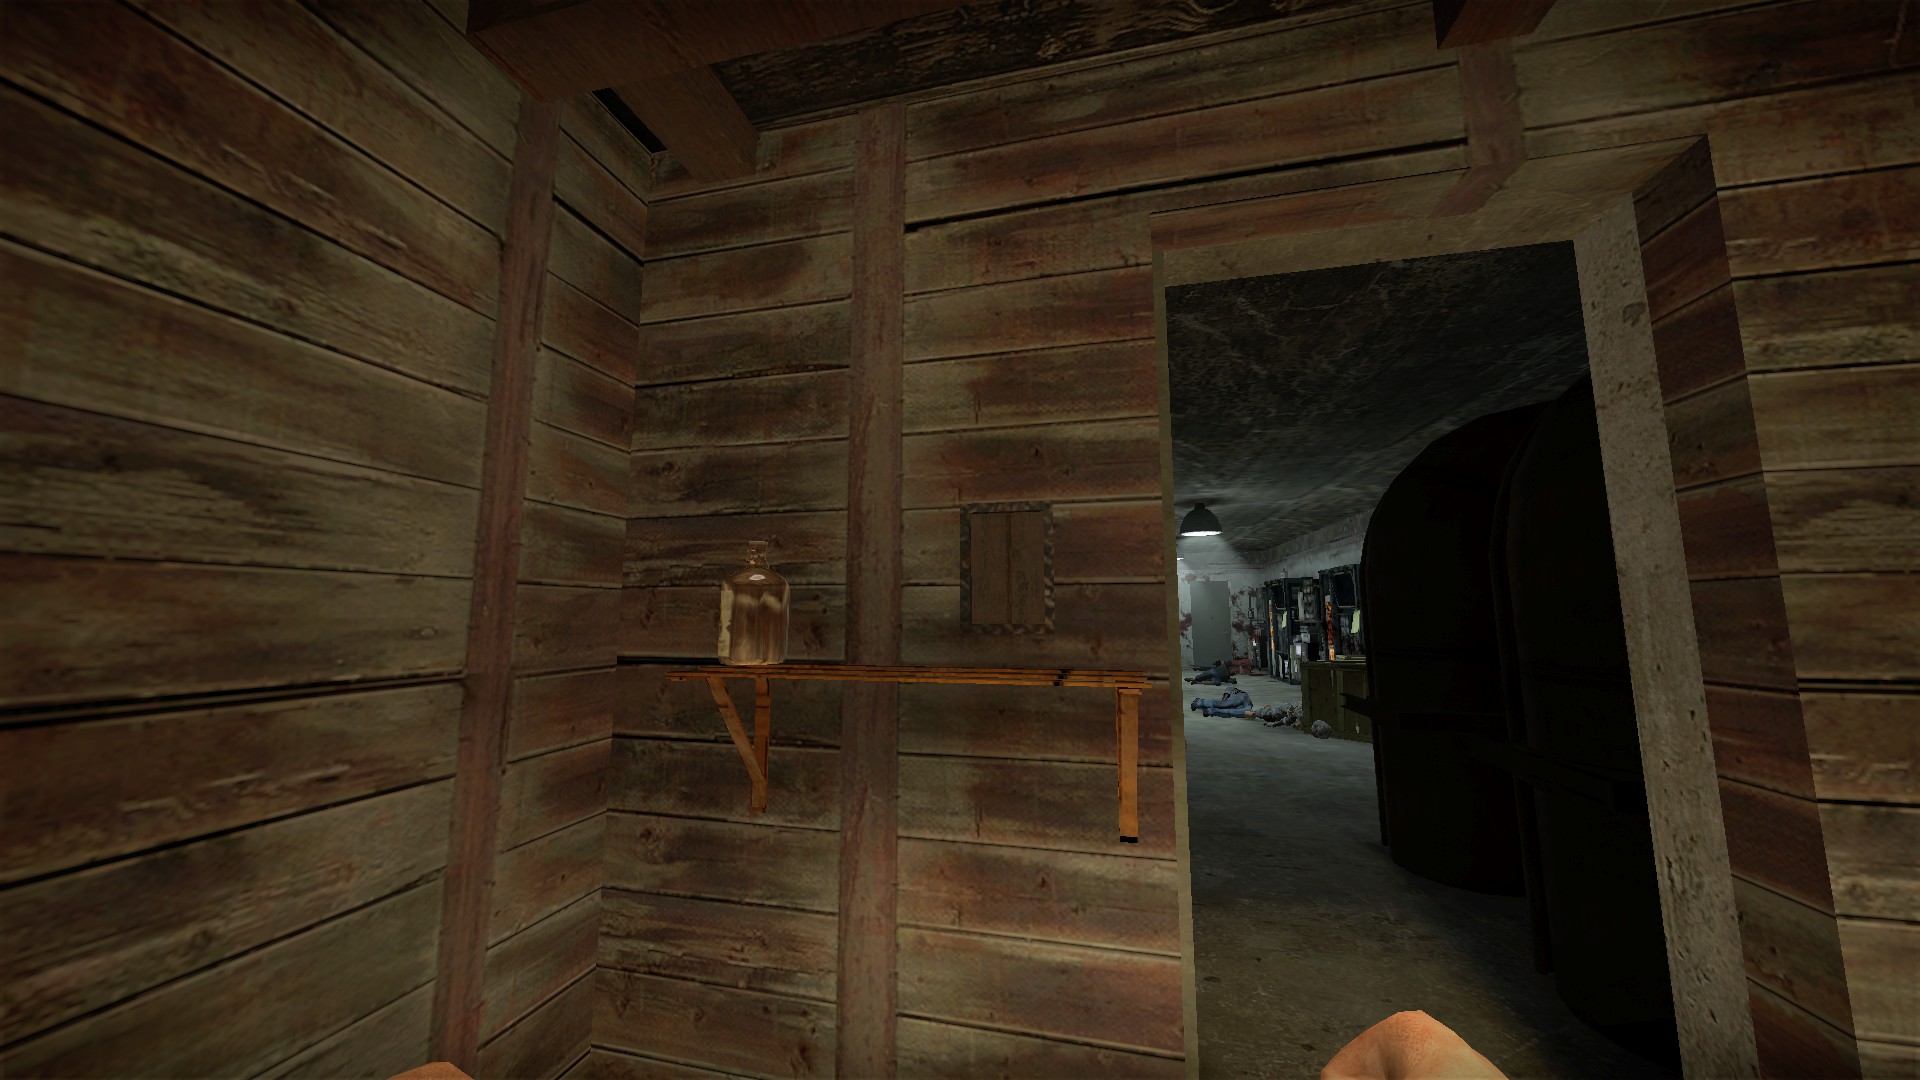
In the same room as the last vent, move the hardware box and you will find a panel behind it
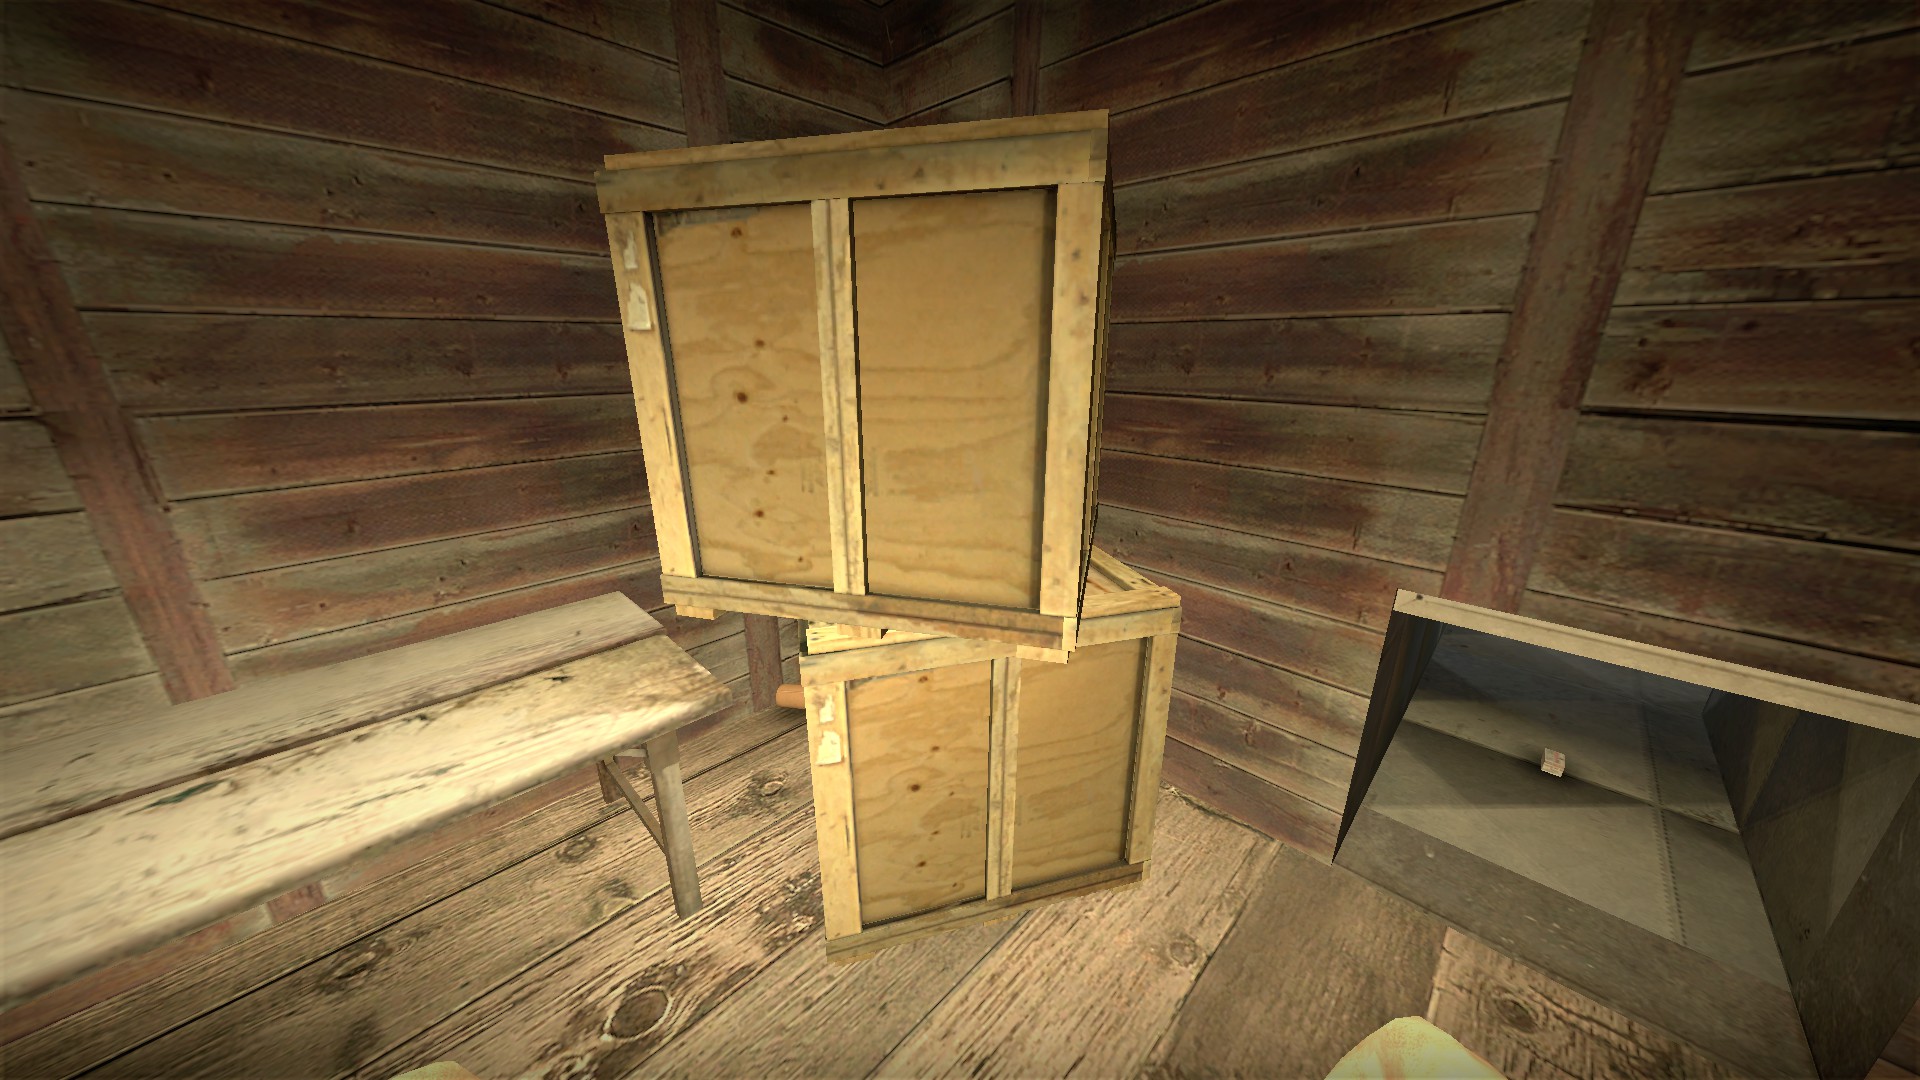
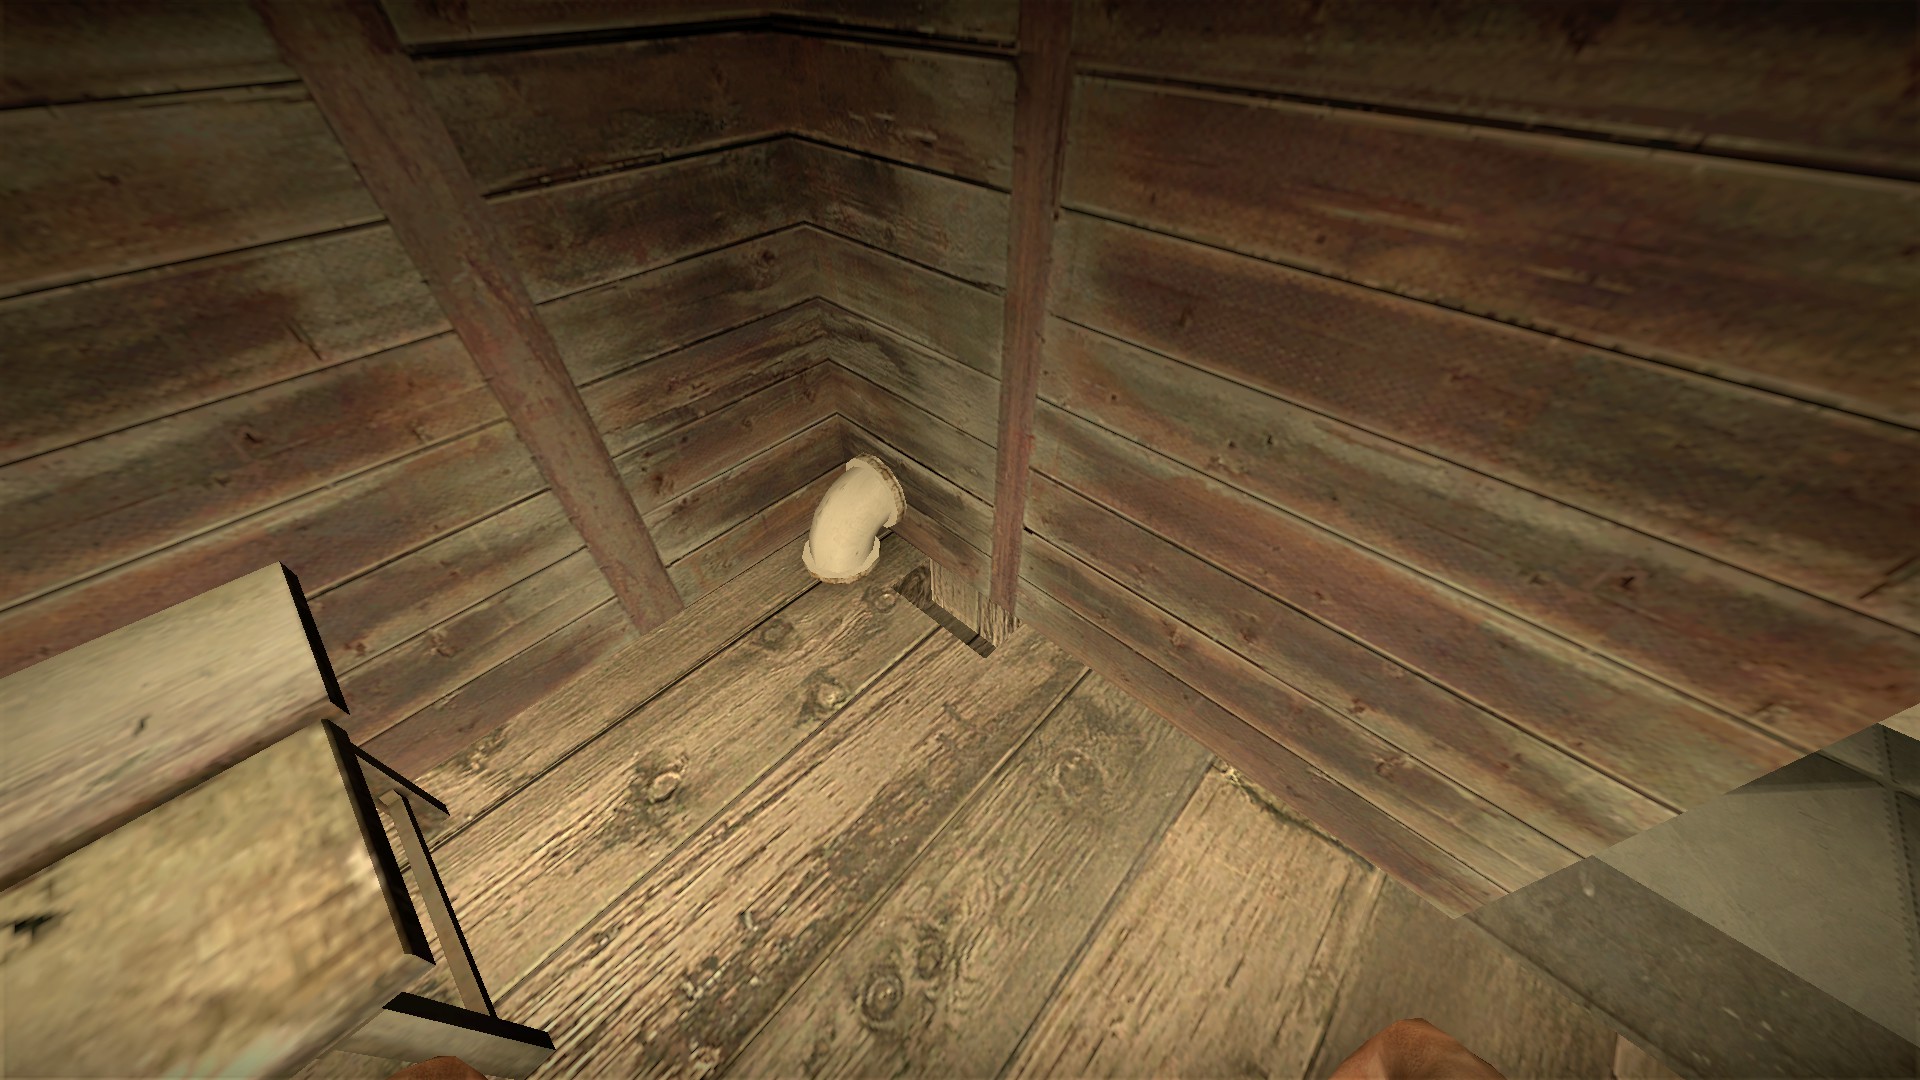
Break the boxes here and you will find a hole in the floor
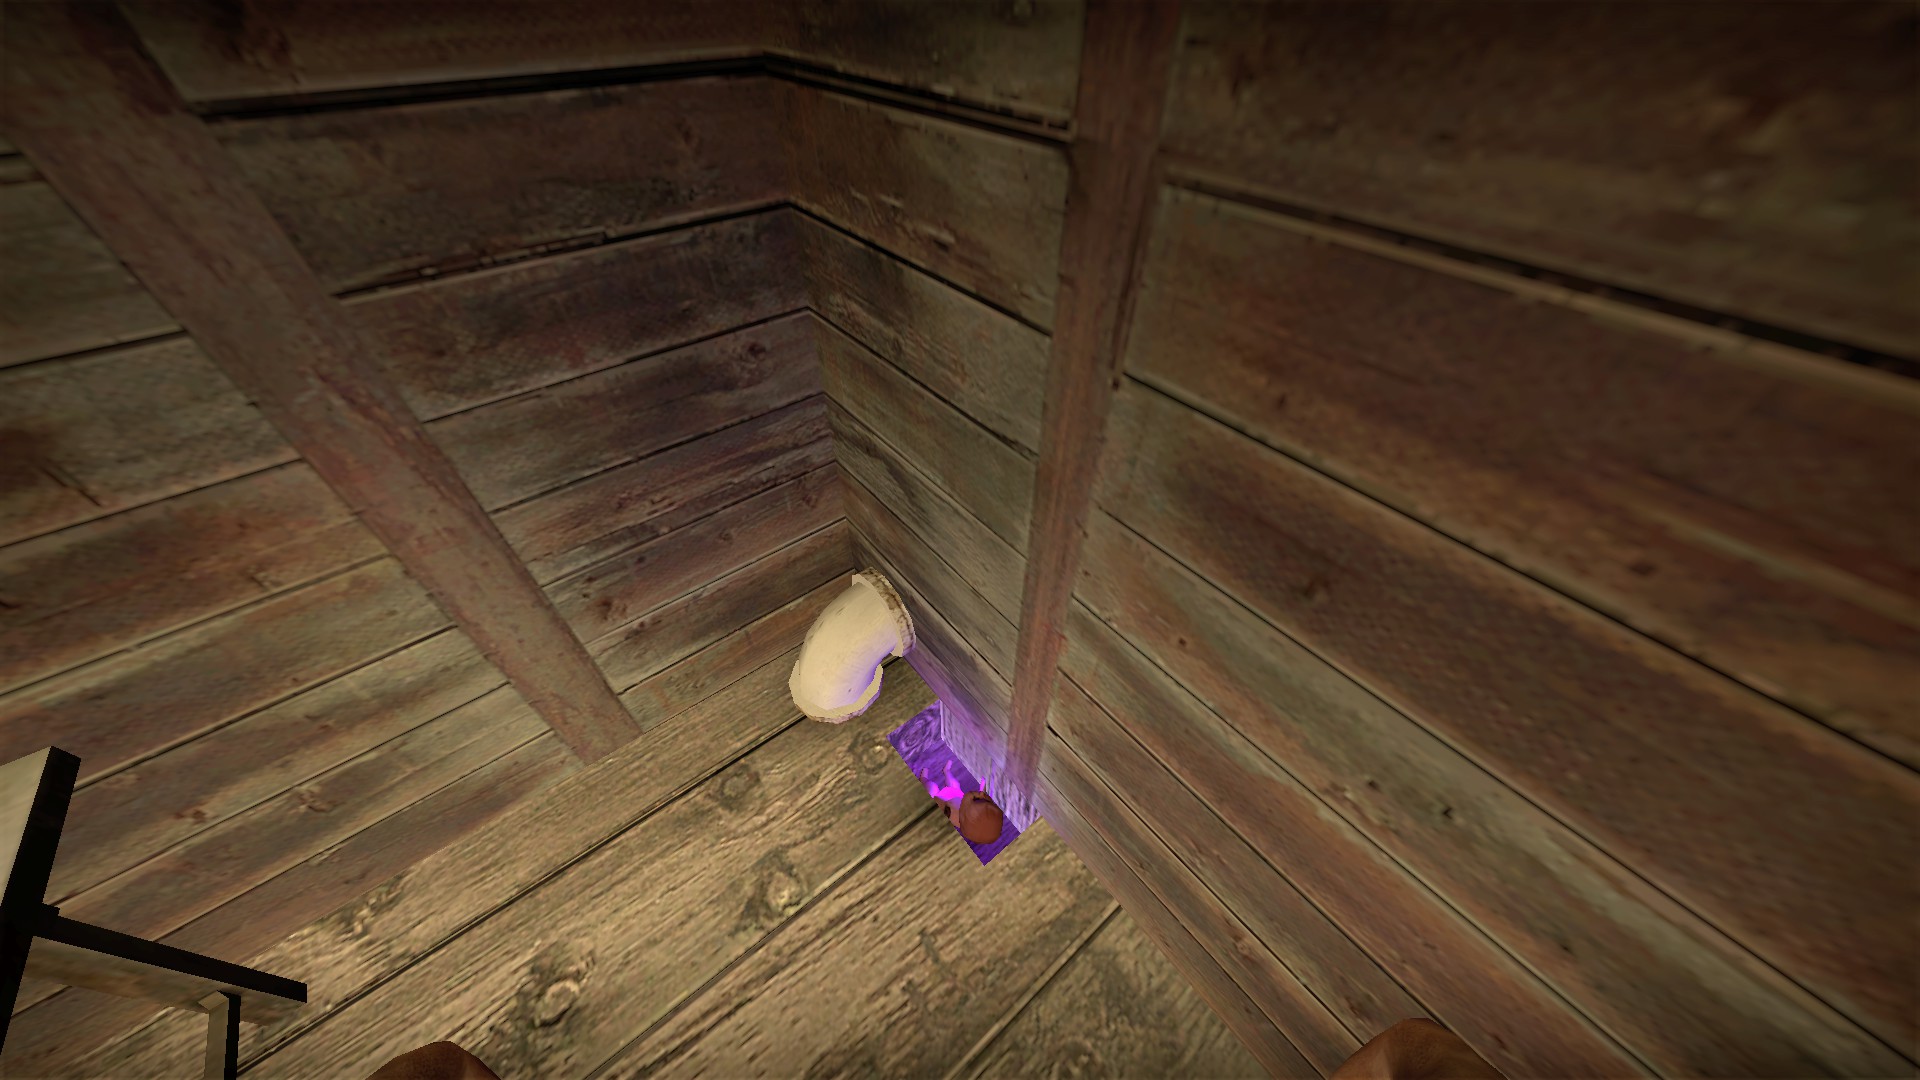
Place the baby doll in the hole and it will glow purple
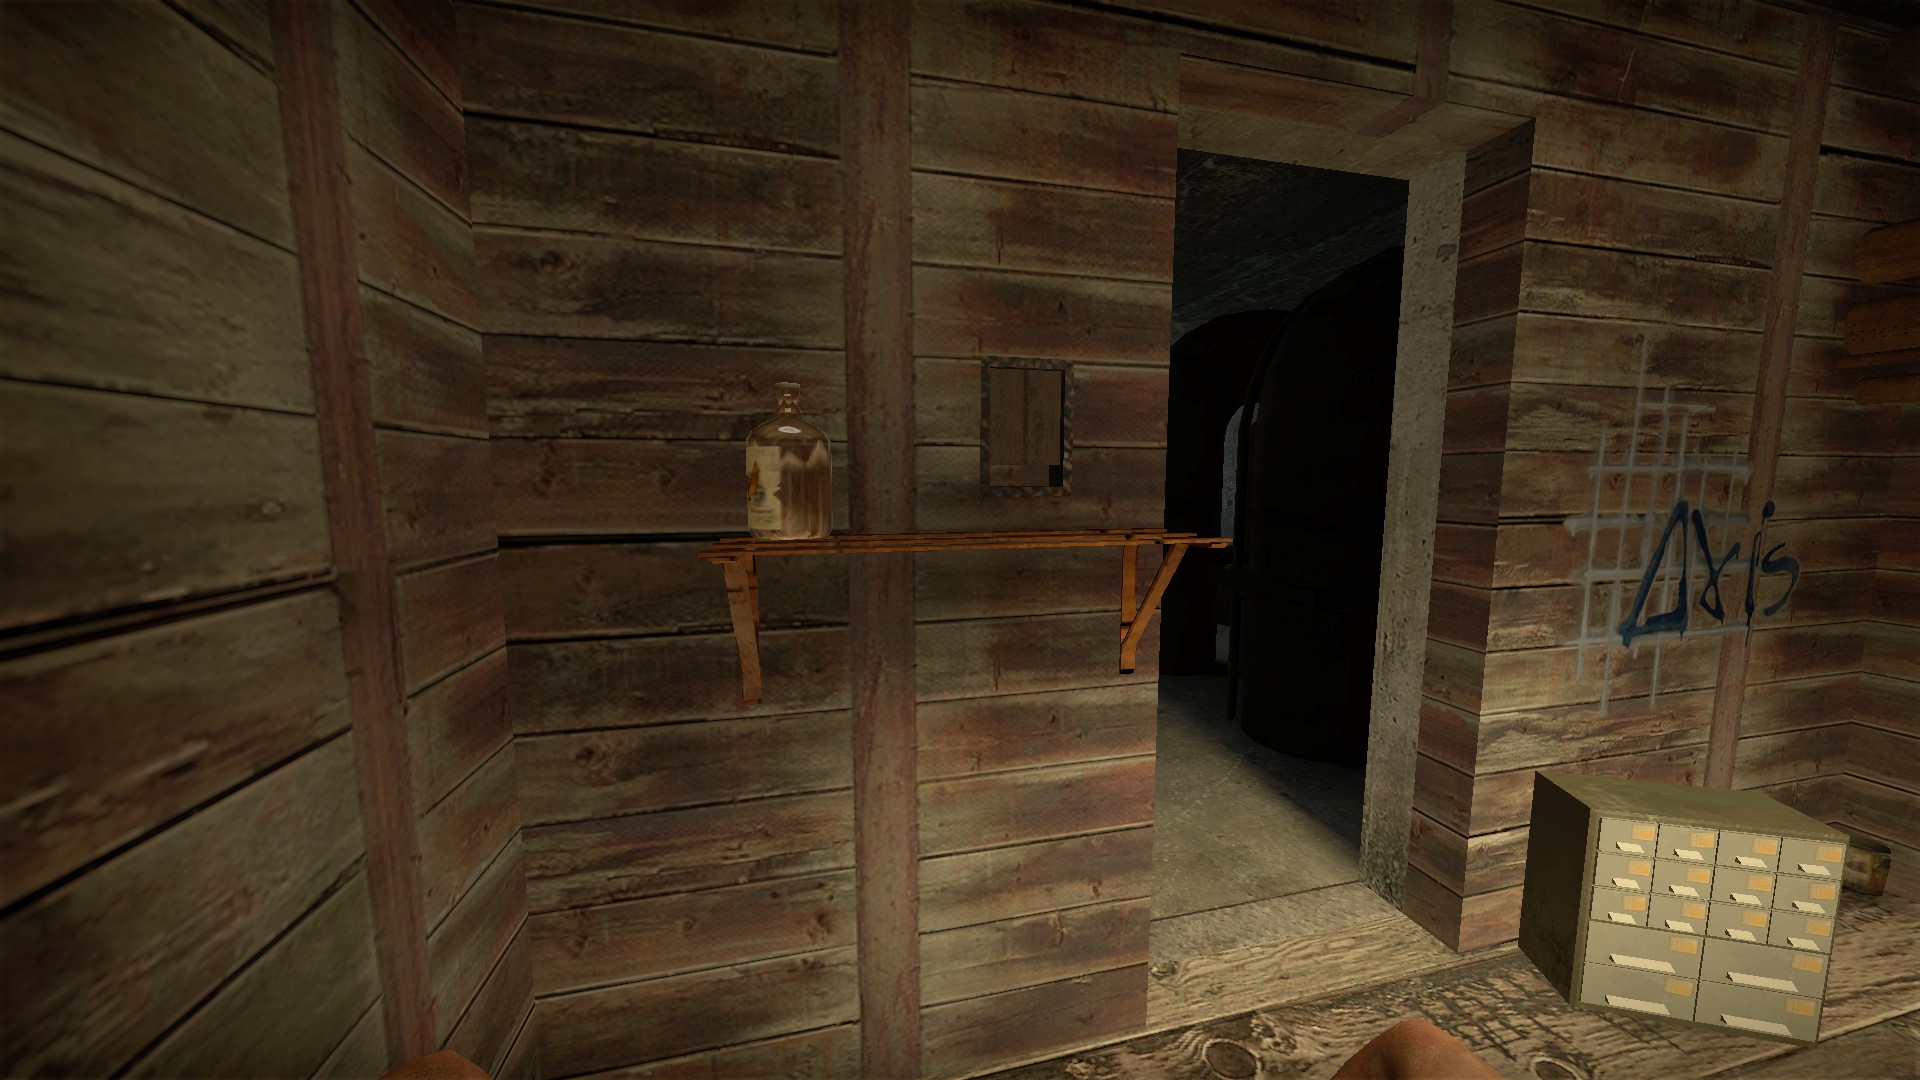
While the glow is active the panel will open
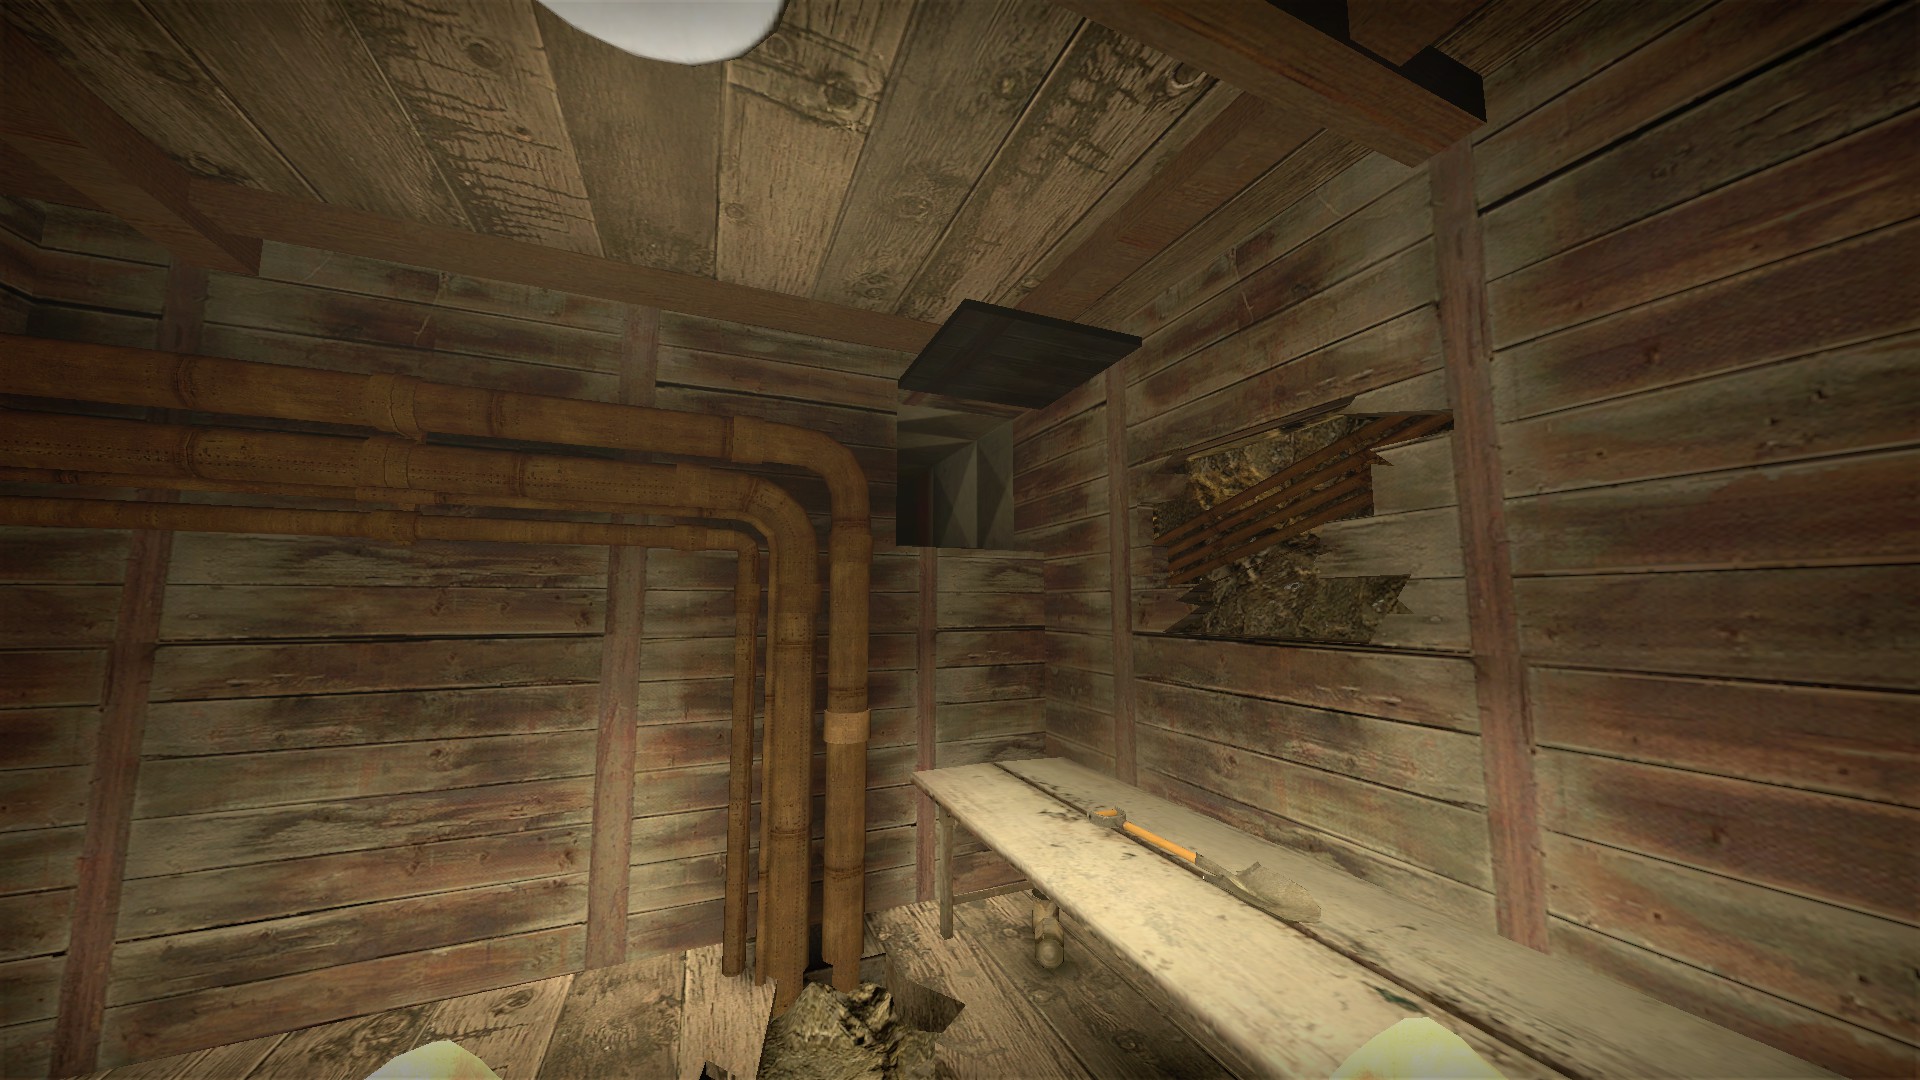
Press e on the wall behind the panel while it is open and a trapdoor will open in the room
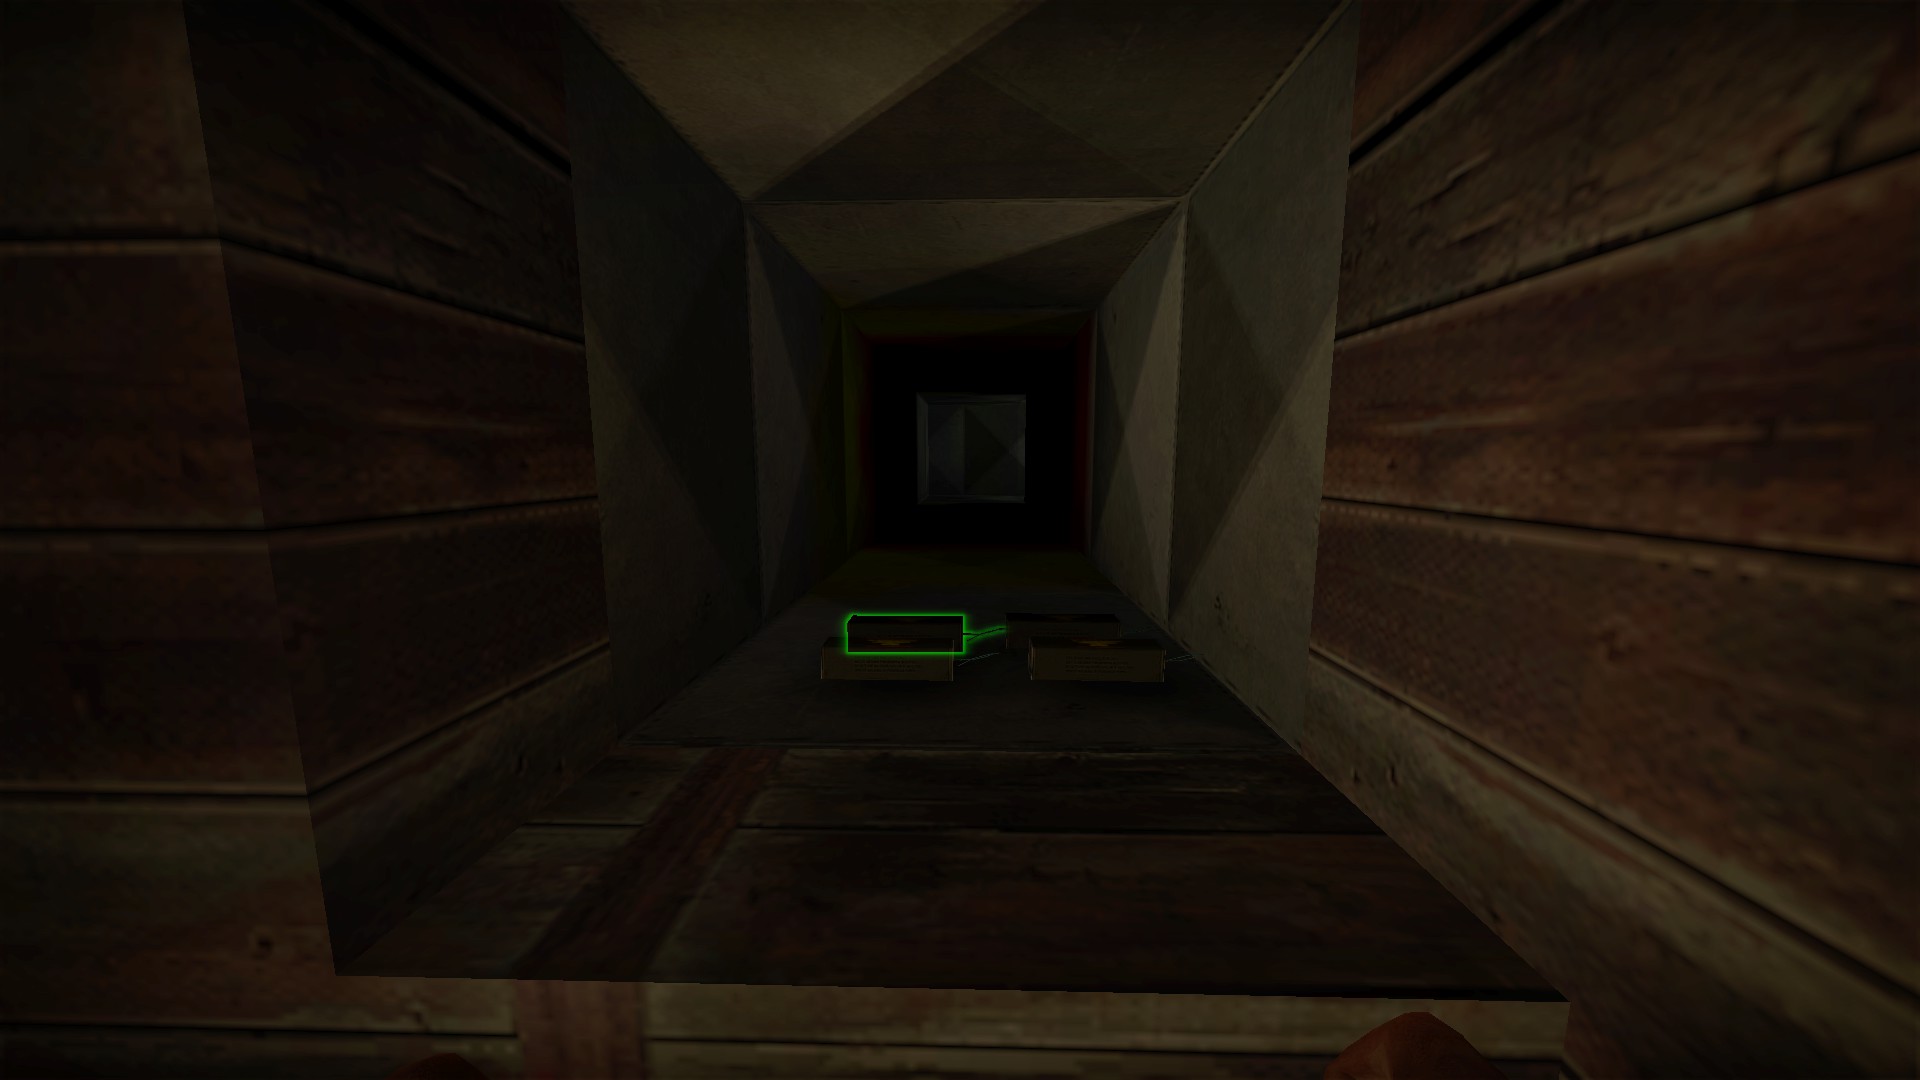
The vent behind has 4 tnt inside
Bring the baby doll through the map with you. It is used for a secret later
4 vents
Some of the vent covers on this map are a bit unusual for nmrih. They are opened by pressing e. You cannot get into the vent behind, but each one may have a random item inside. You will pass these first two on your way to the blue key
You will find the third vent after using the blue key. Break the bookcase to open the vent behind
The last vent is in a nearby room
4 tnt's
In the same room as the last vent, move the hardware box and you will find a panel behind it
Break the boxes here and you will find a hole in the floor
Place the baby doll in the hole and it will glow purple
While the glow is active the panel will open
Press e on the wall behind the panel while it is open and a trapdoor will open in the room
The vent behind has 4 tnt inside
nmo_uchiha_legacy_t3_6
Developer room
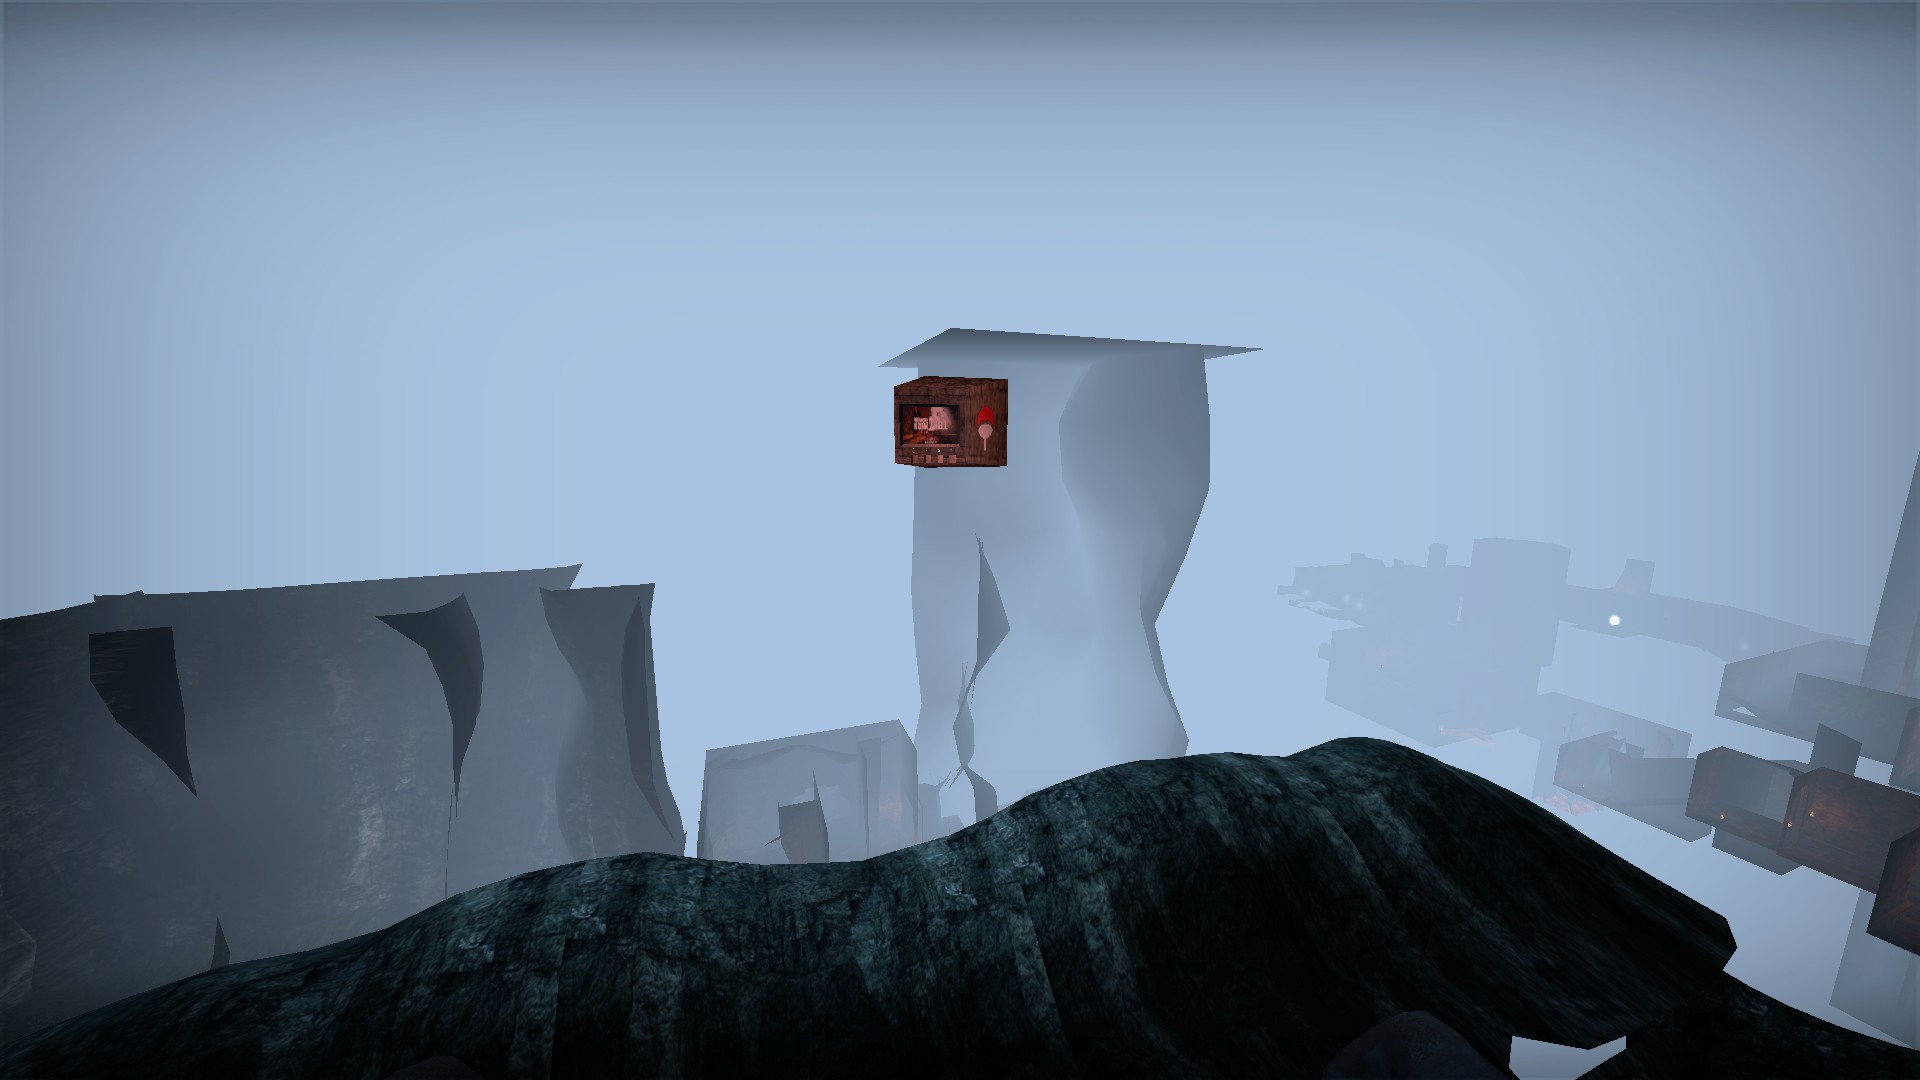
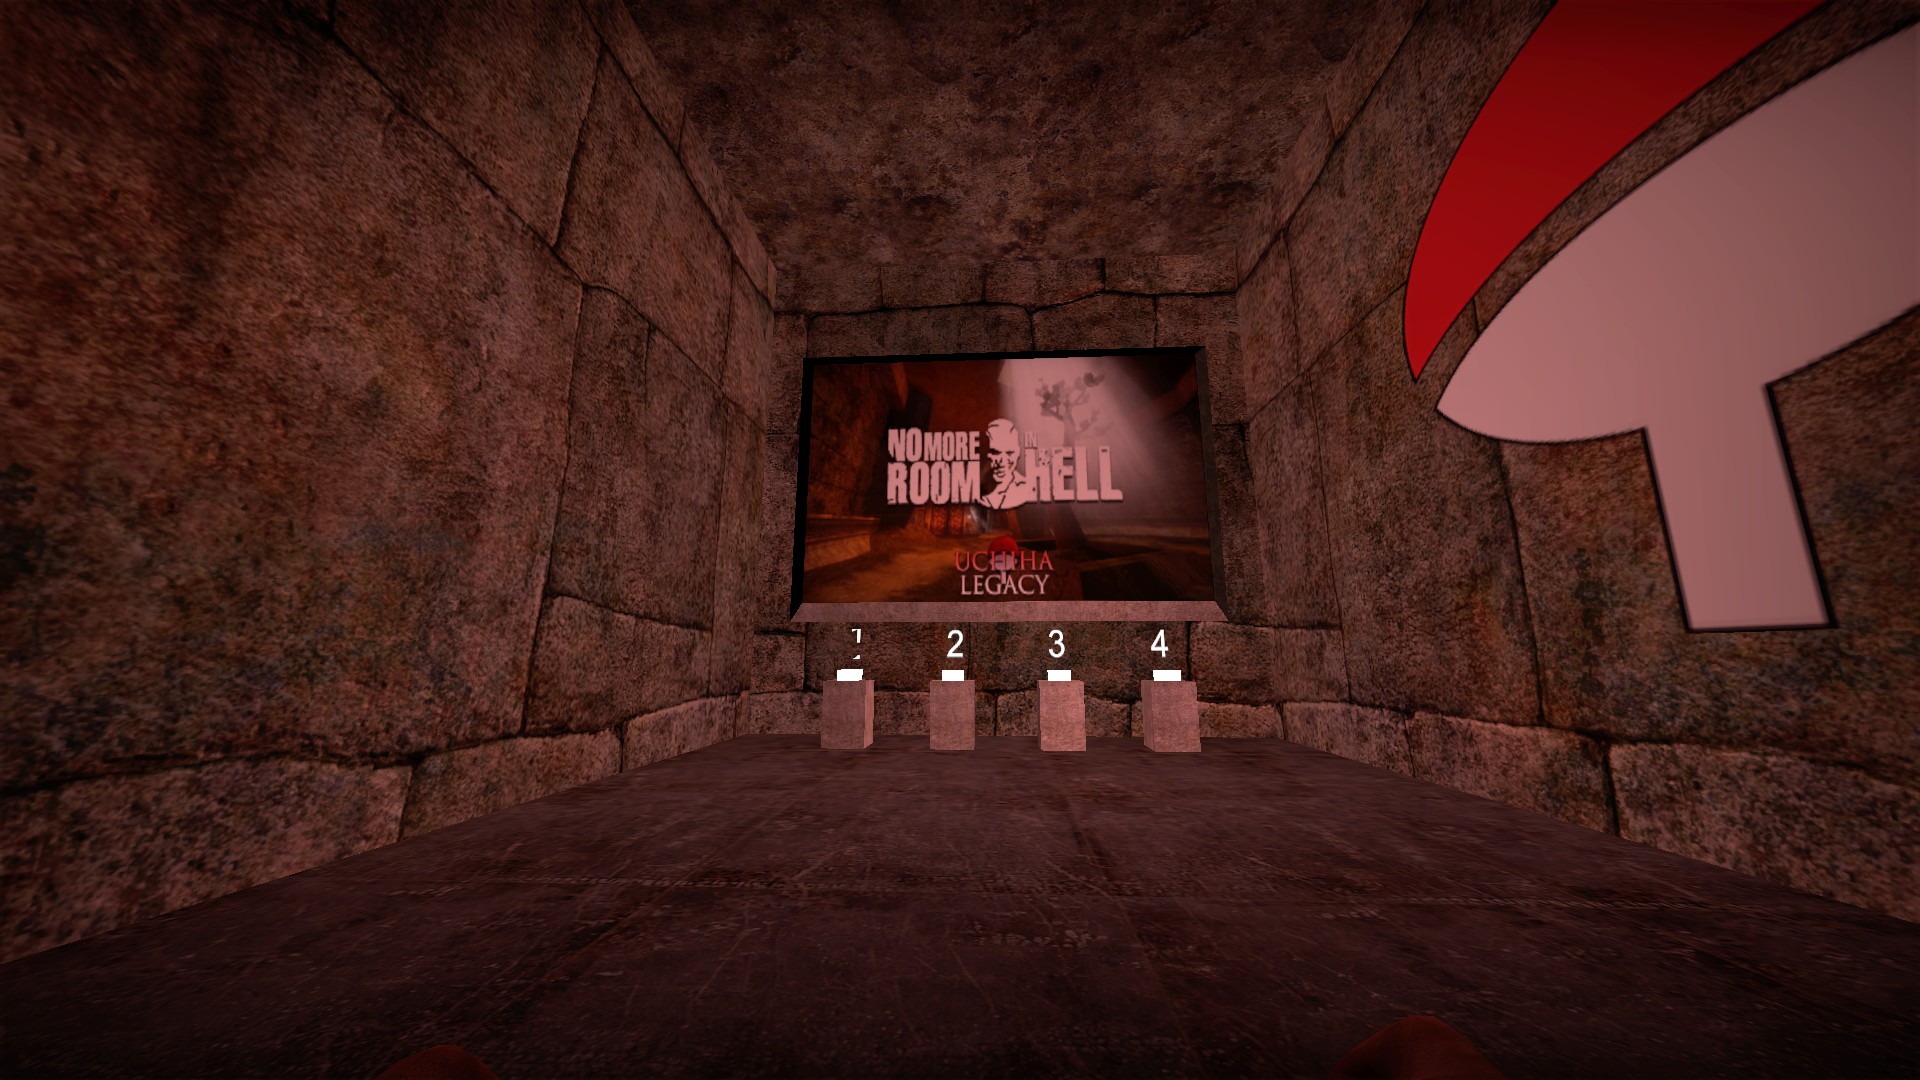
Just above and to the left of the starting area. You will need to noclip here. The four buttons will restart the map on that stage
Divine weapons descriptions
Look up and press e on the colors above to use the extinguishers. They do not need to be equipped. Most effects will recharge in 2-3 minutes (cure takes longer). There is no limit to number of uses. They will damage the special zombies, but will not damage the bosses
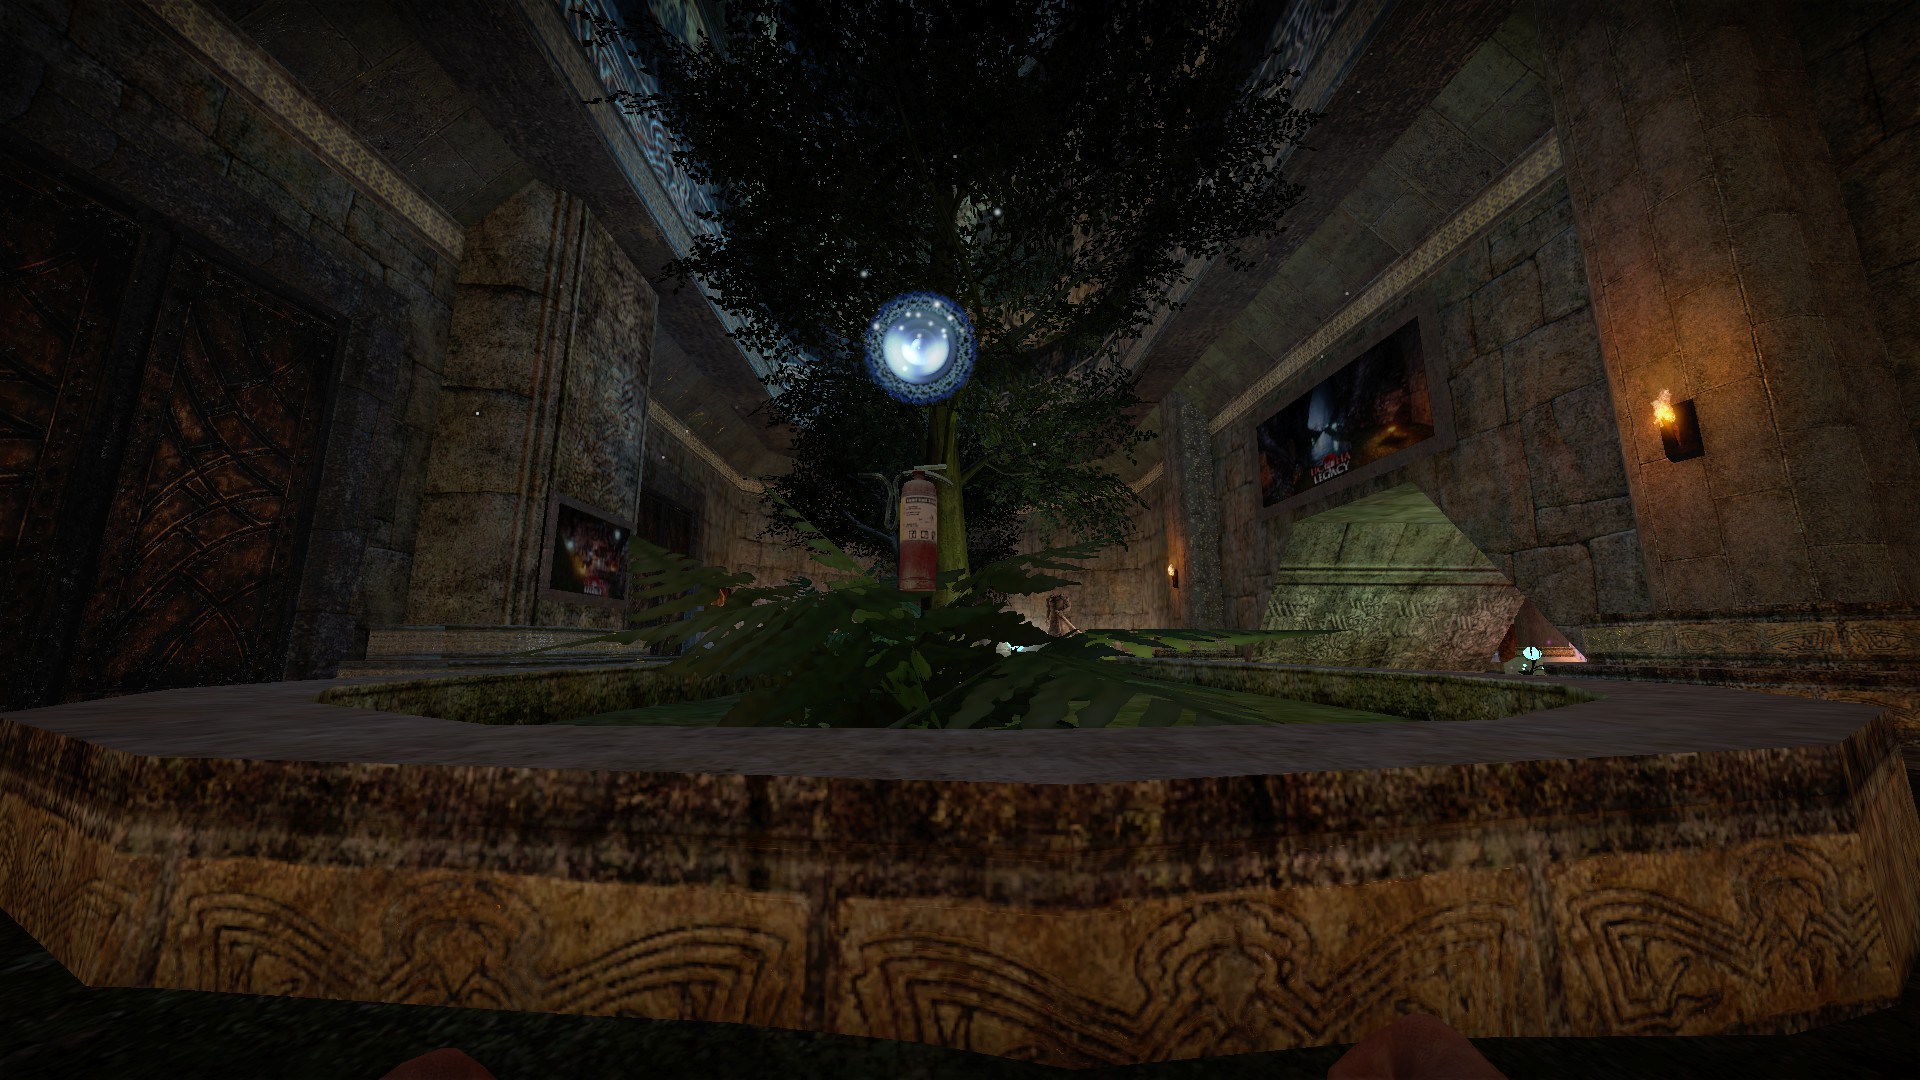
1) Water - It will freeze nearby zombies. Ones that are close will be killed, and farther zombies will stay frozen for a few seconds after the effect
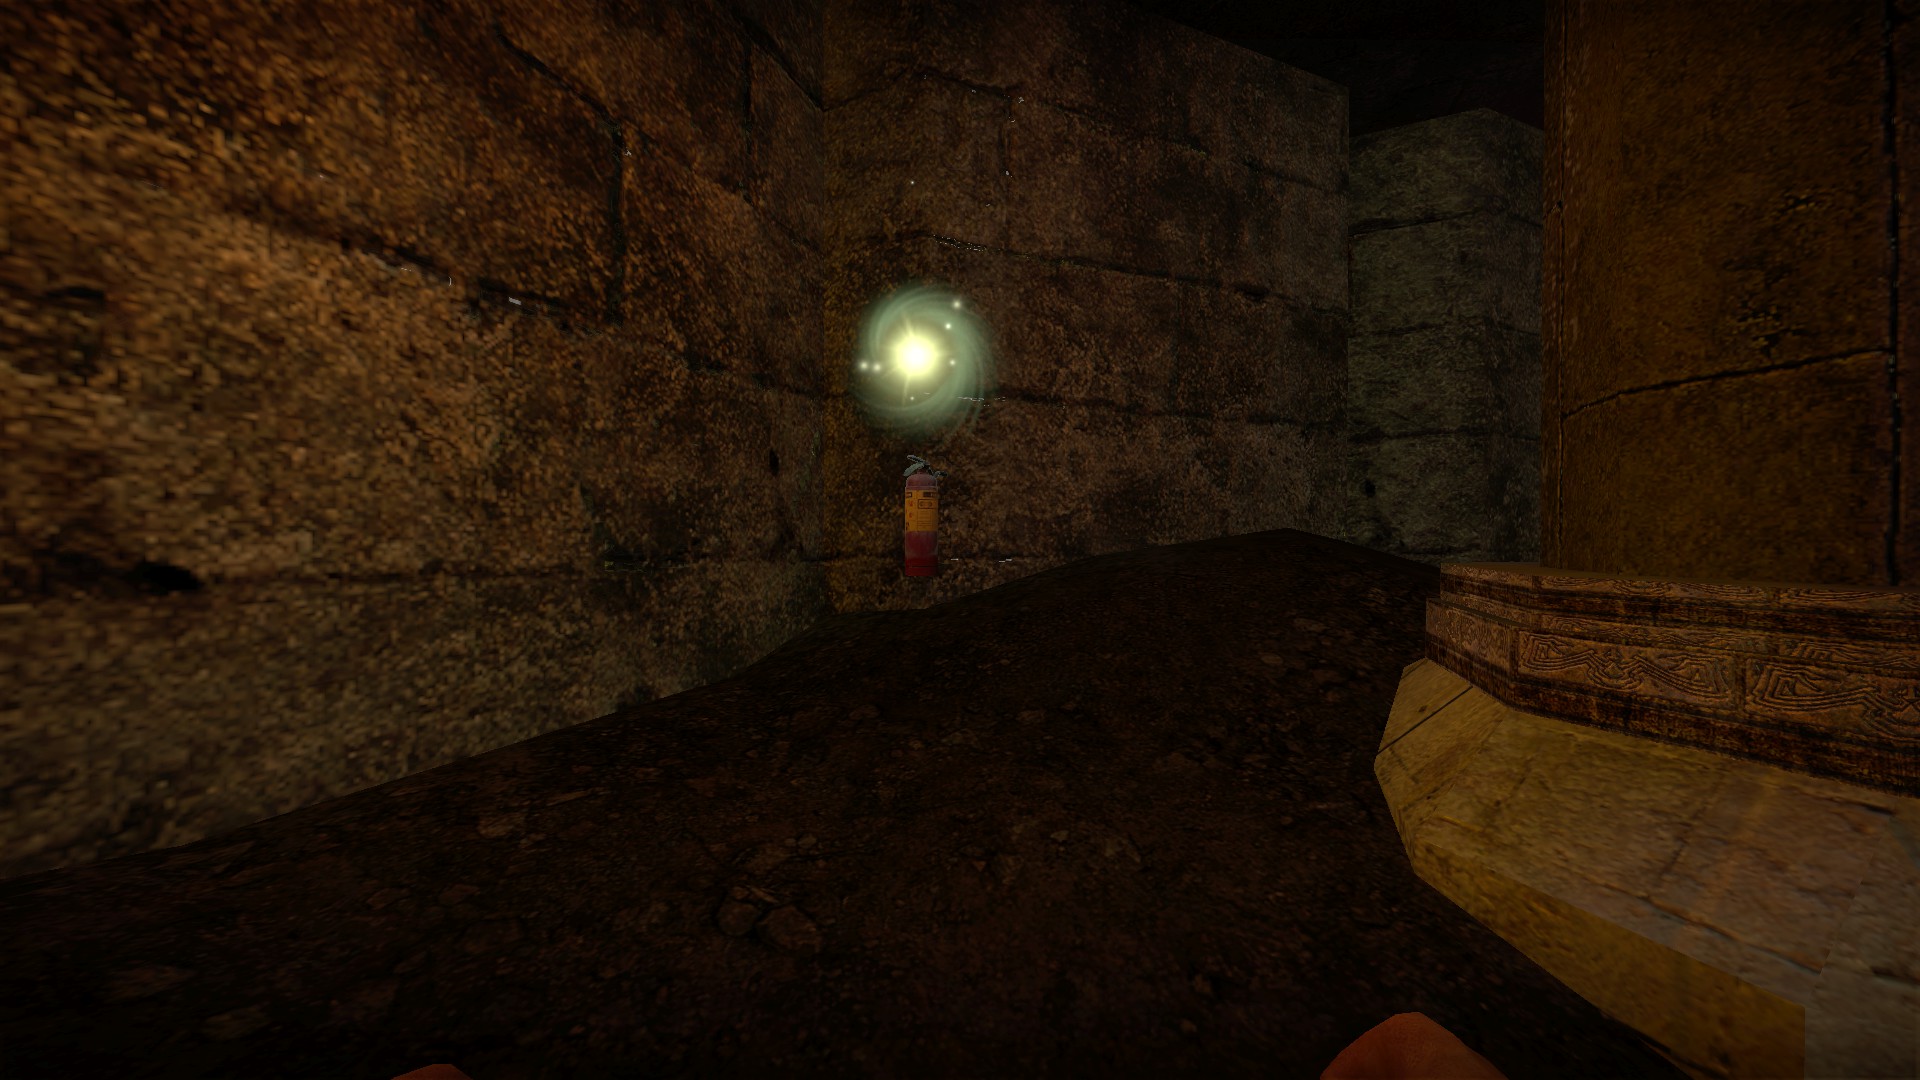
2) Wind - Creates a wind wall that will push back and burn zombies
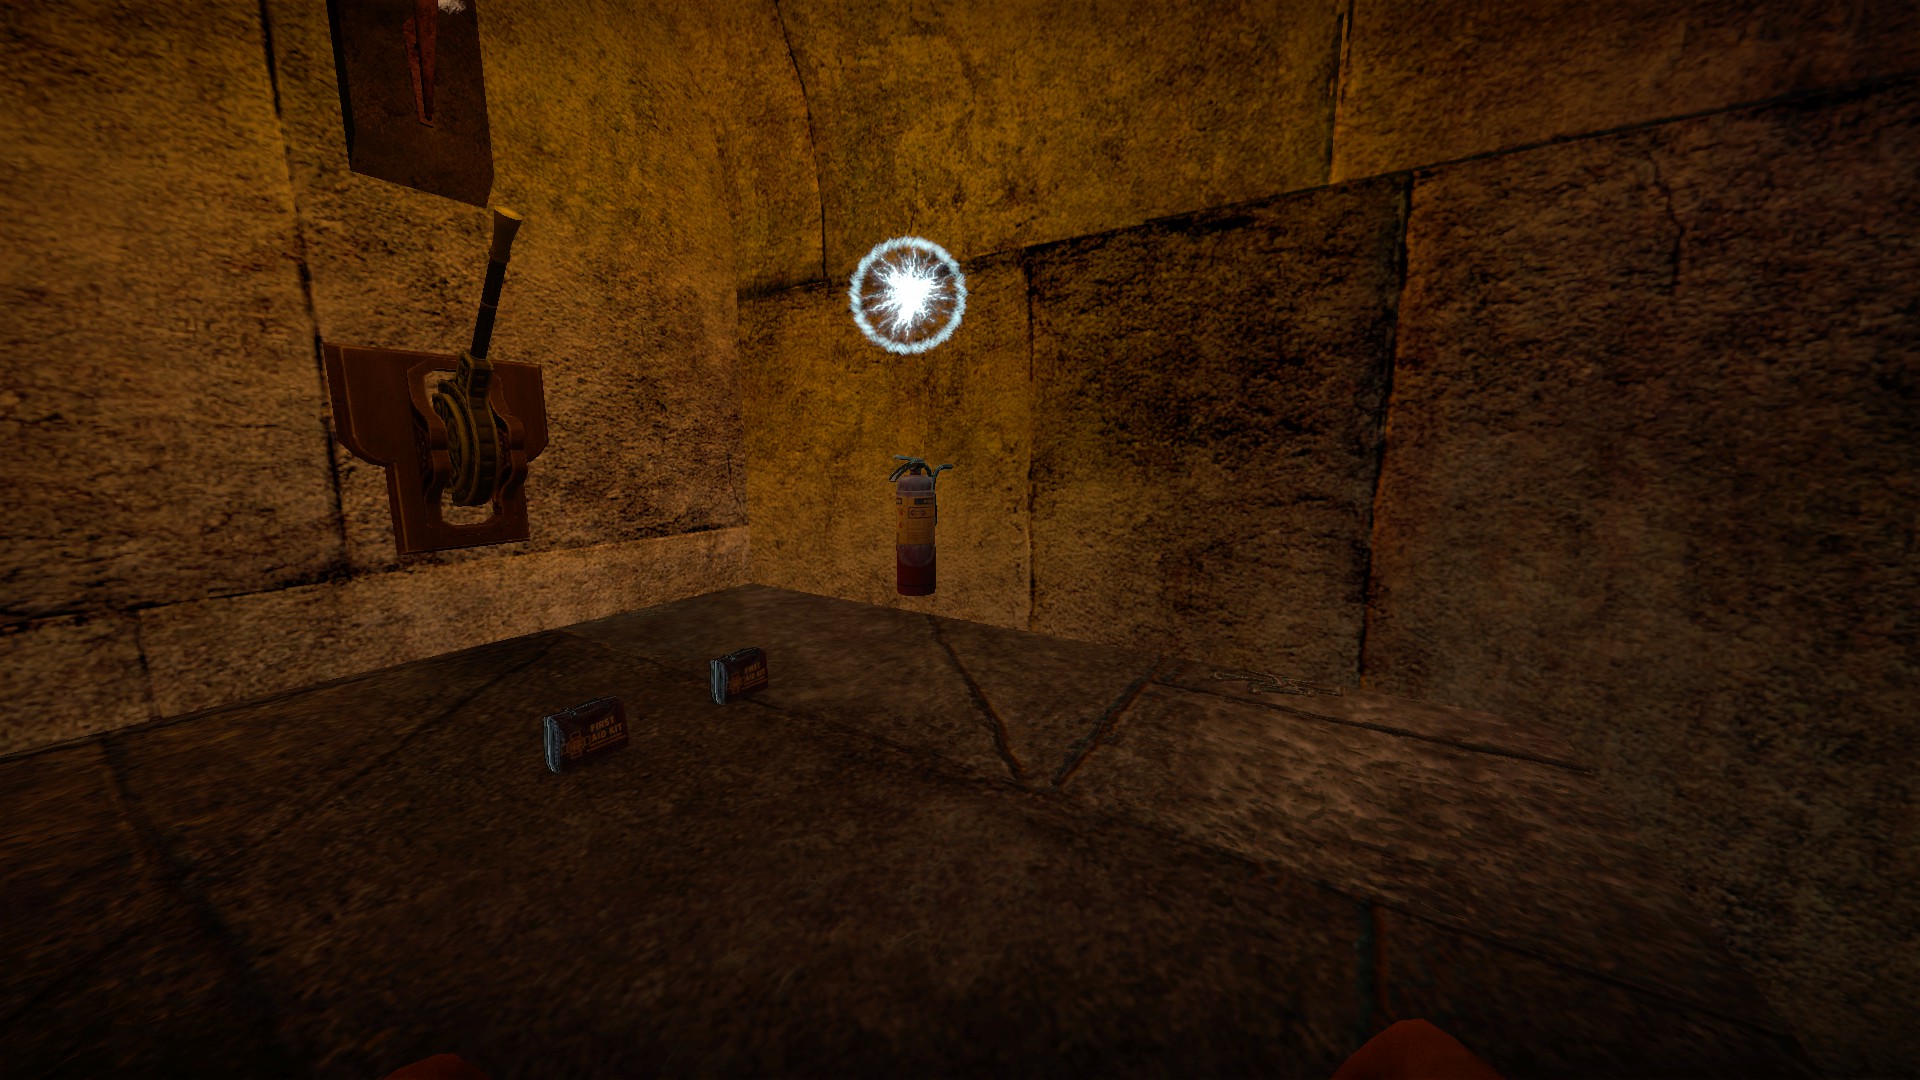
3) Lightning - Creates a lightning effect that will kill zombies
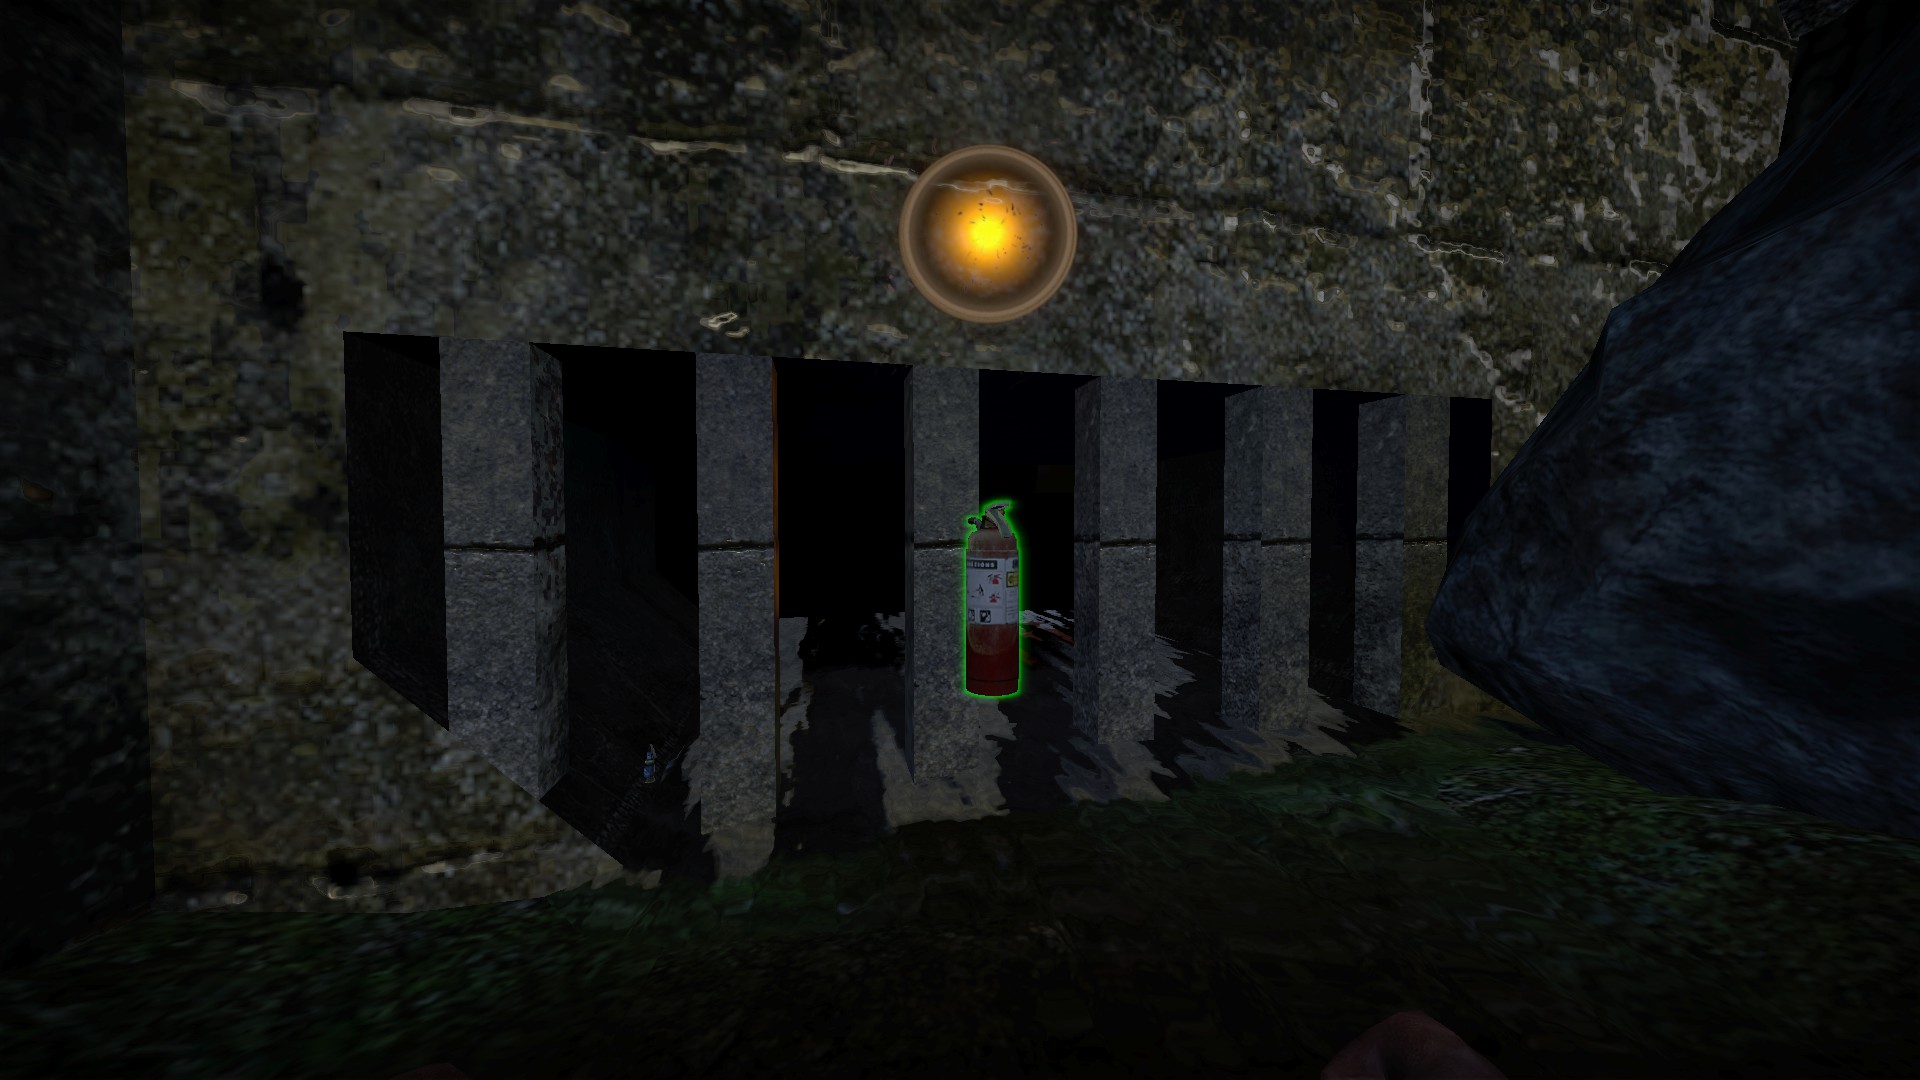
4) Earthworks - Creates a temporary mountain a short distance in front of you. It will flatten the zombies there and any that spawn there for a few seconds
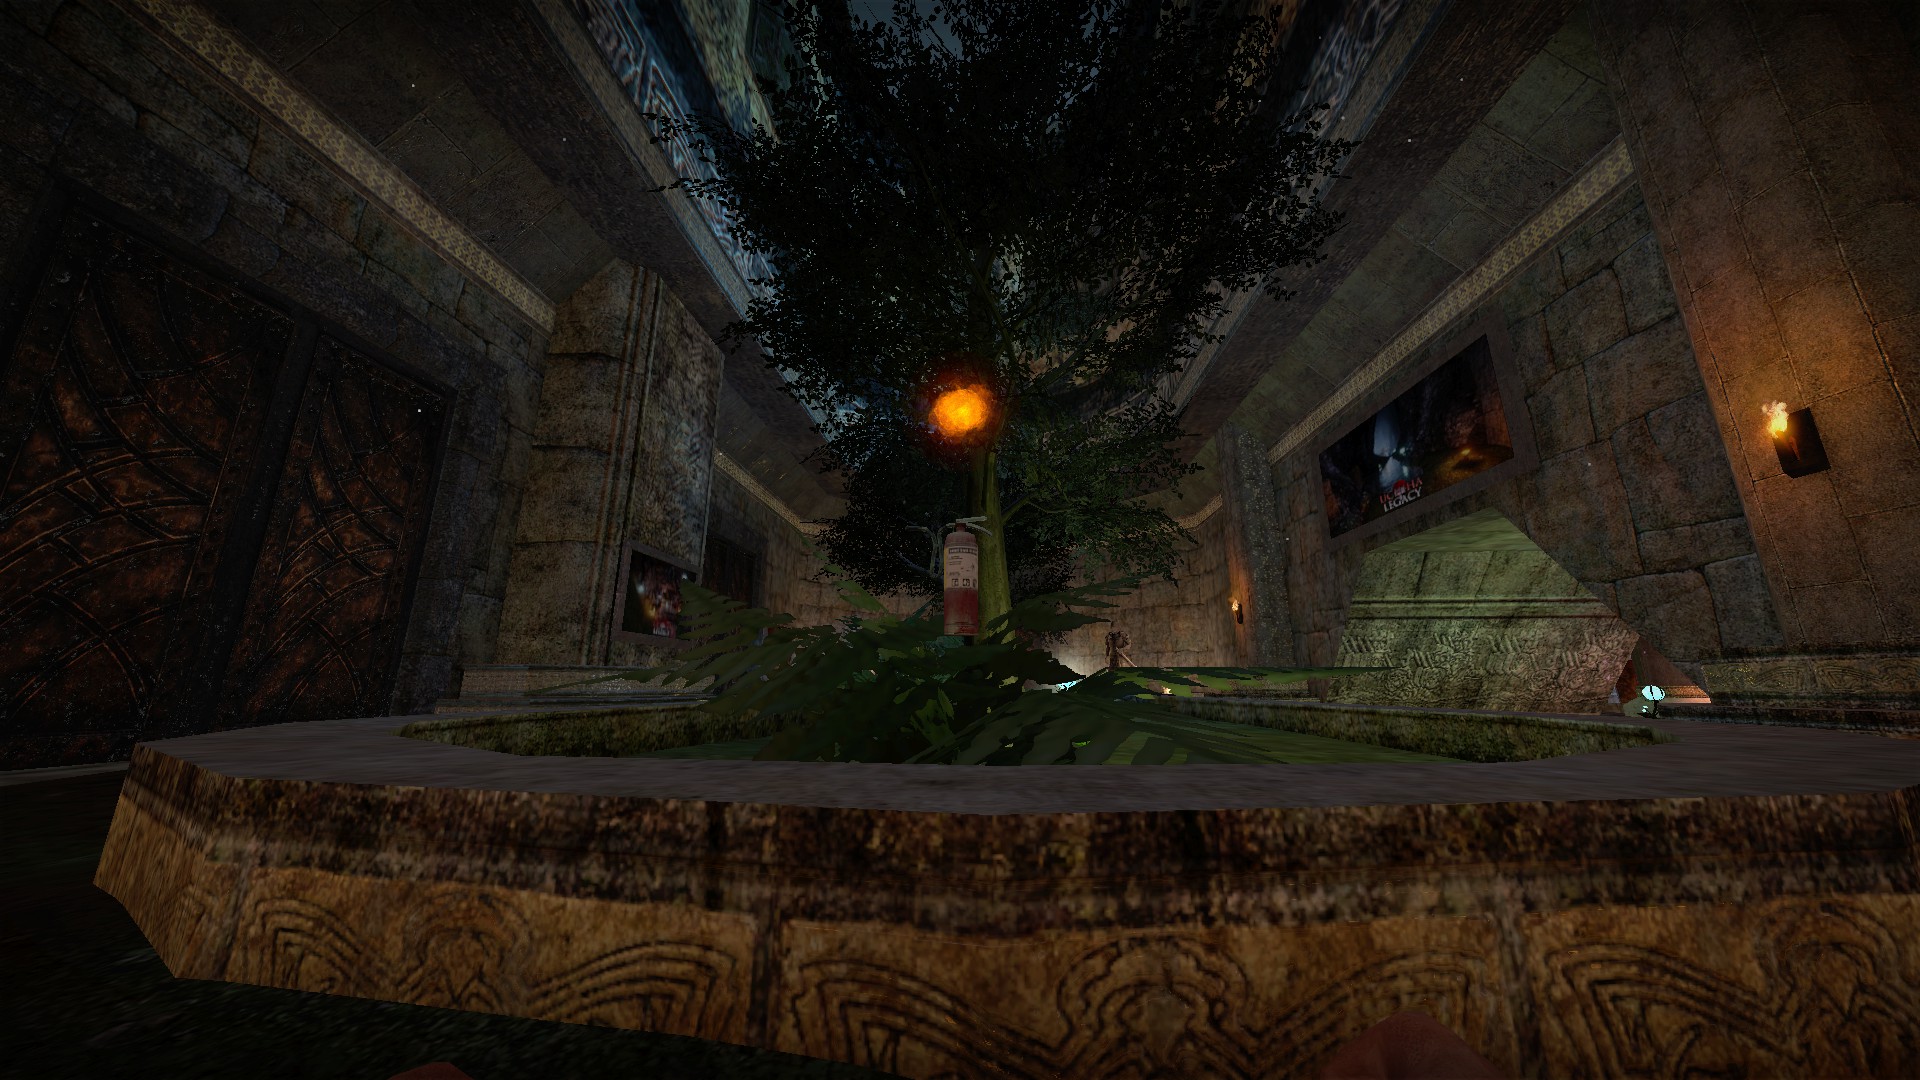
5) Fire - Creates a fire effect that will kill zombies
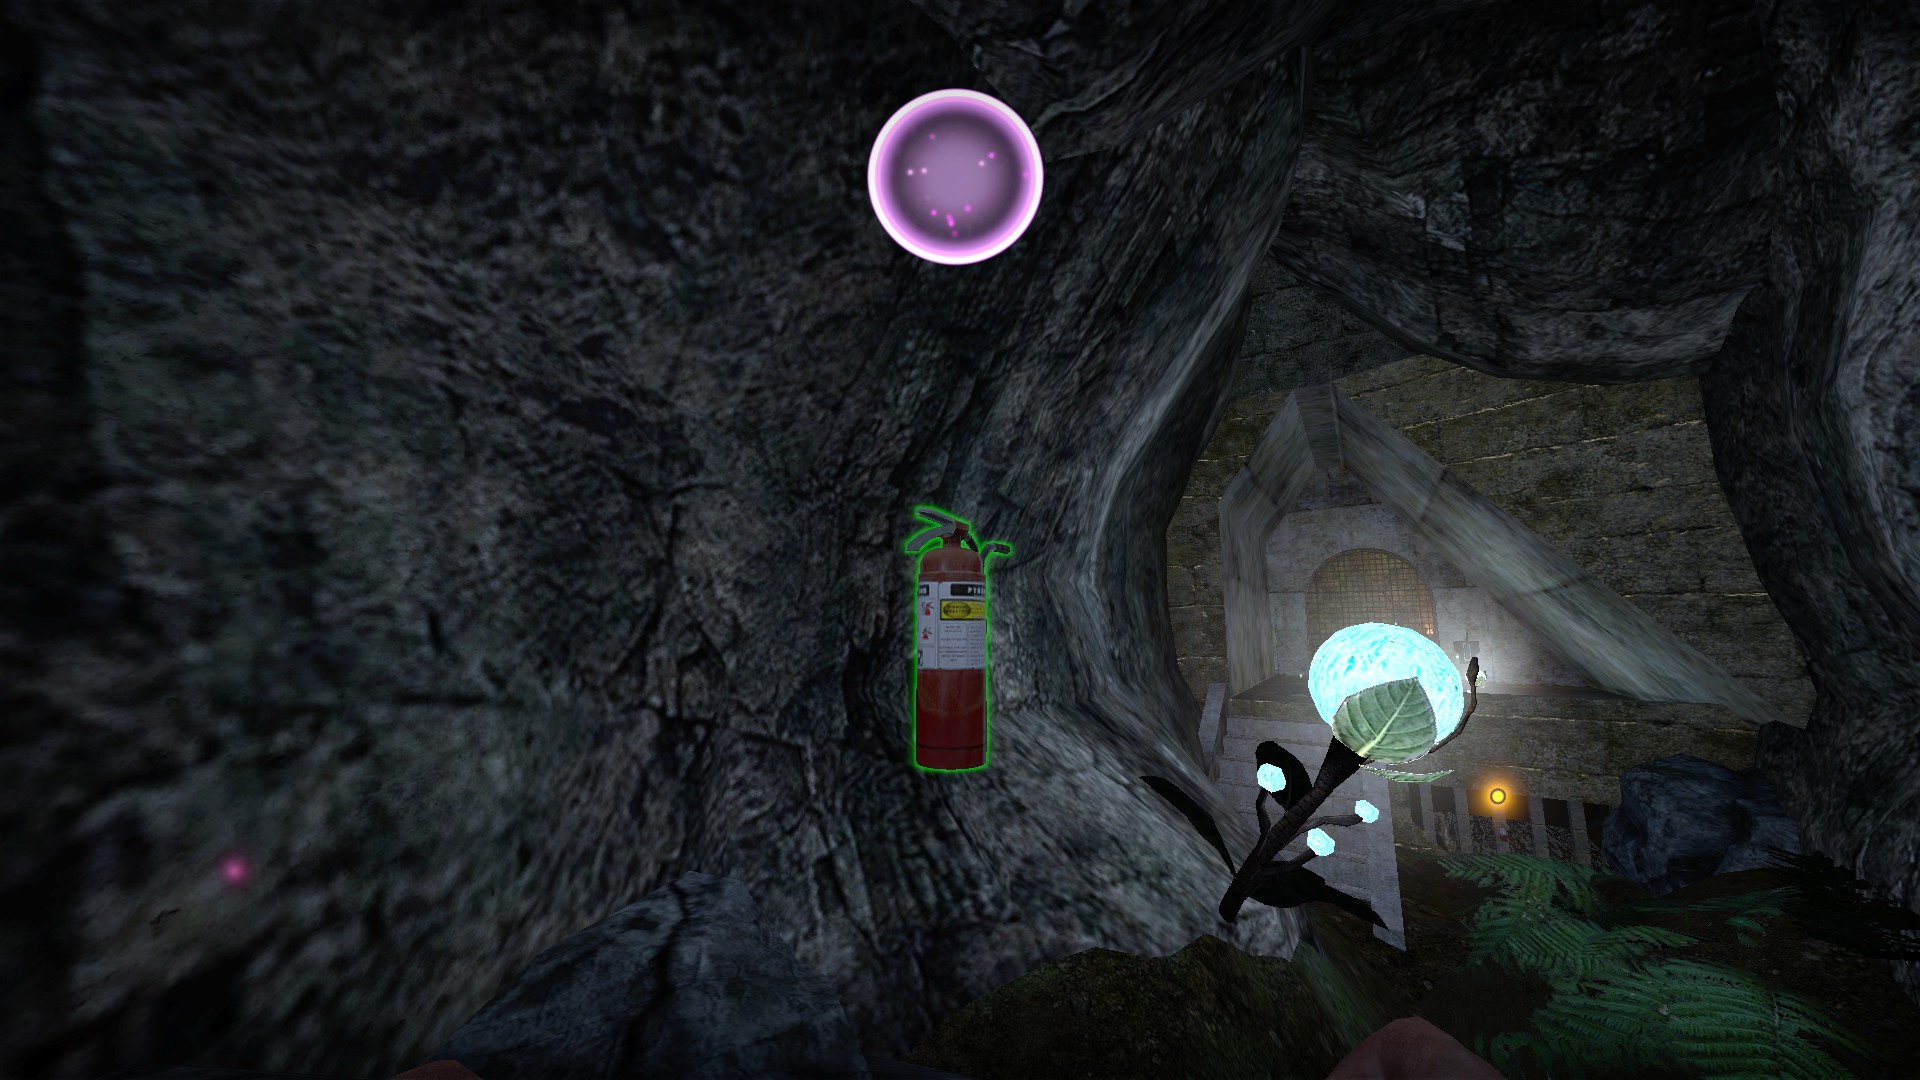
6) Cure - Ranged healing for players. Needs double the recharge time, 5-6 minutes
Just above and to the left of the starting area. You will need to noclip here. The four buttons will restart the map on that stage
Divine weapons descriptions
Look up and press e on the colors above to use the extinguishers. They do not need to be equipped. Most effects will recharge in 2-3 minutes (cure takes longer). There is no limit to number of uses. They will damage the special zombies, but will not damage the bosses
1) Water - It will freeze nearby zombies. Ones that are close will be killed, and farther zombies will stay frozen for a few seconds after the effect
2) Wind - Creates a wind wall that will push back and burn zombies
3) Lightning - Creates a lightning effect that will kill zombies
4) Earthworks - Creates a temporary mountain a short distance in front of you. It will flatten the zombies there and any that spawn there for a few seconds
5) Fire - Creates a fire effect that will kill zombies
6) Cure - Ranged healing for players. Needs double the recharge time, 5-6 minutes
nmo_ug_lab_v2
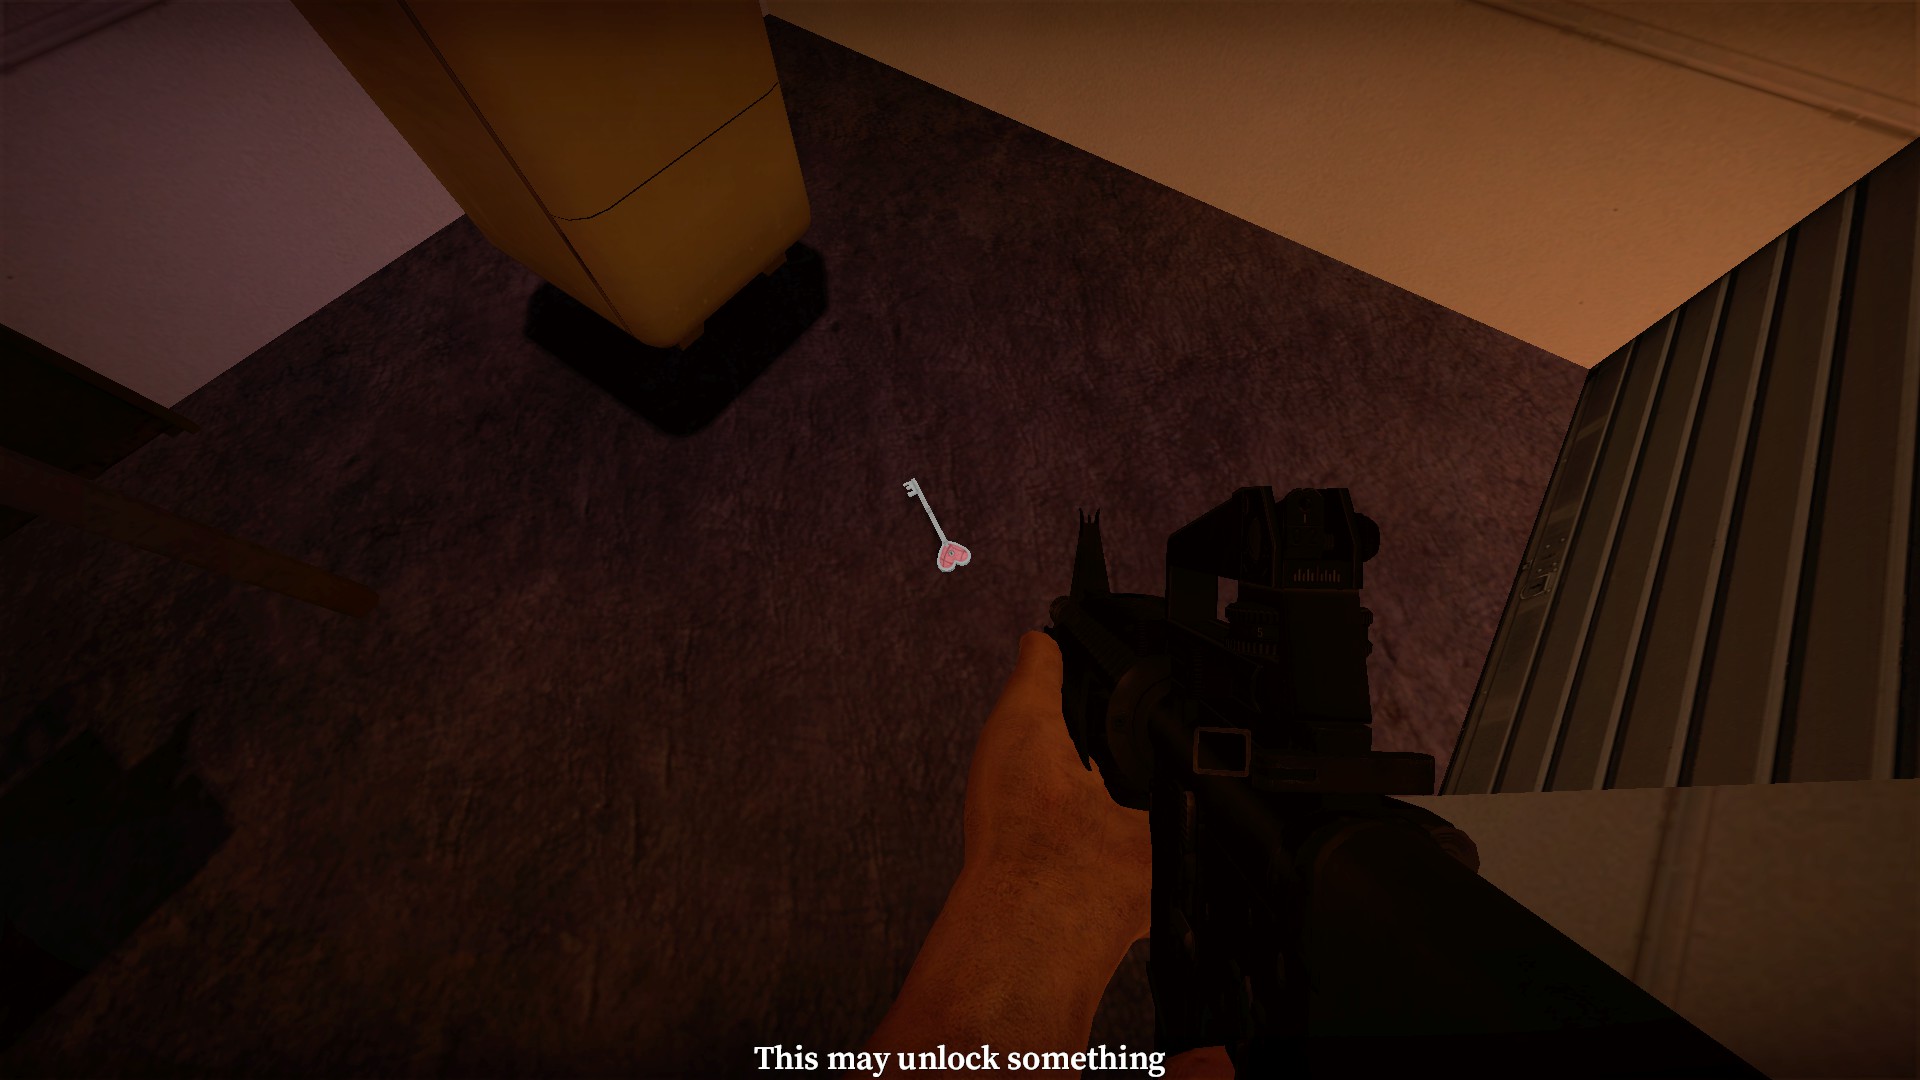
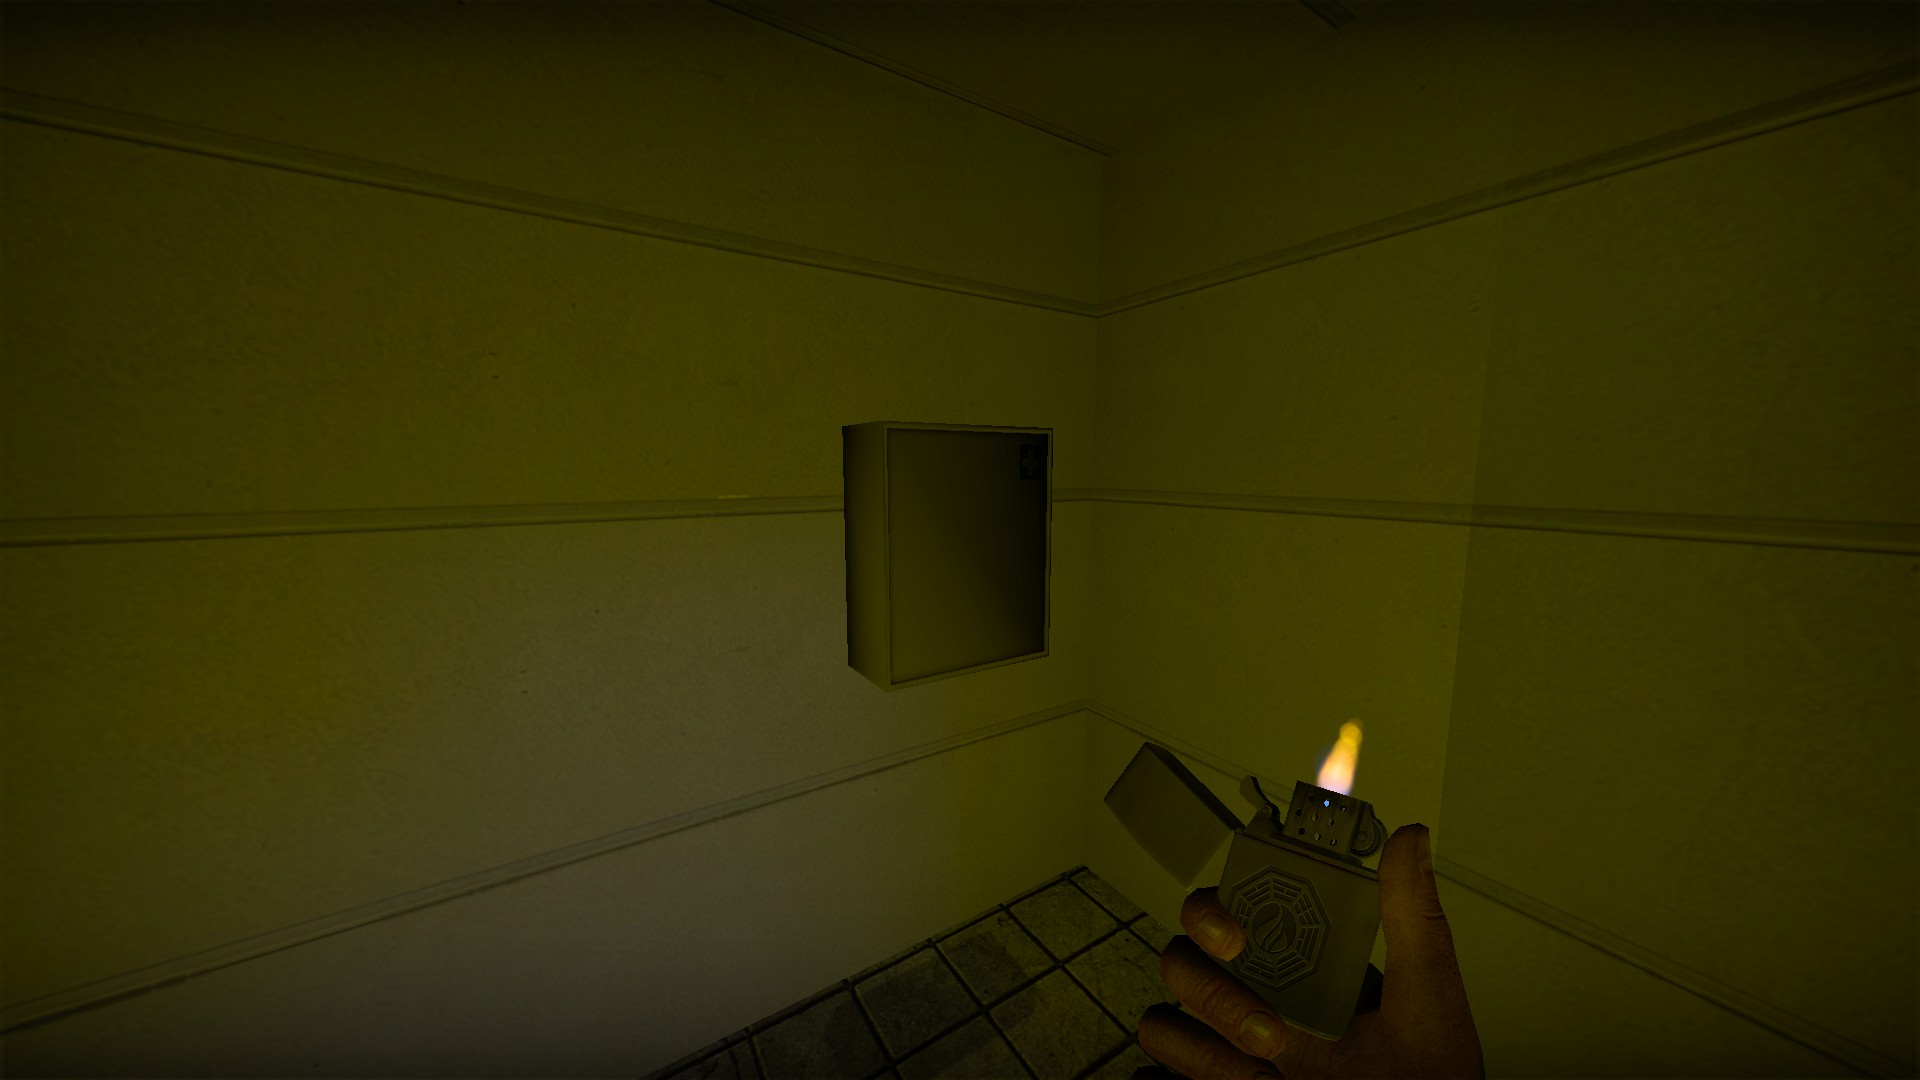
The key from the security office can unlock a medical box in the next area
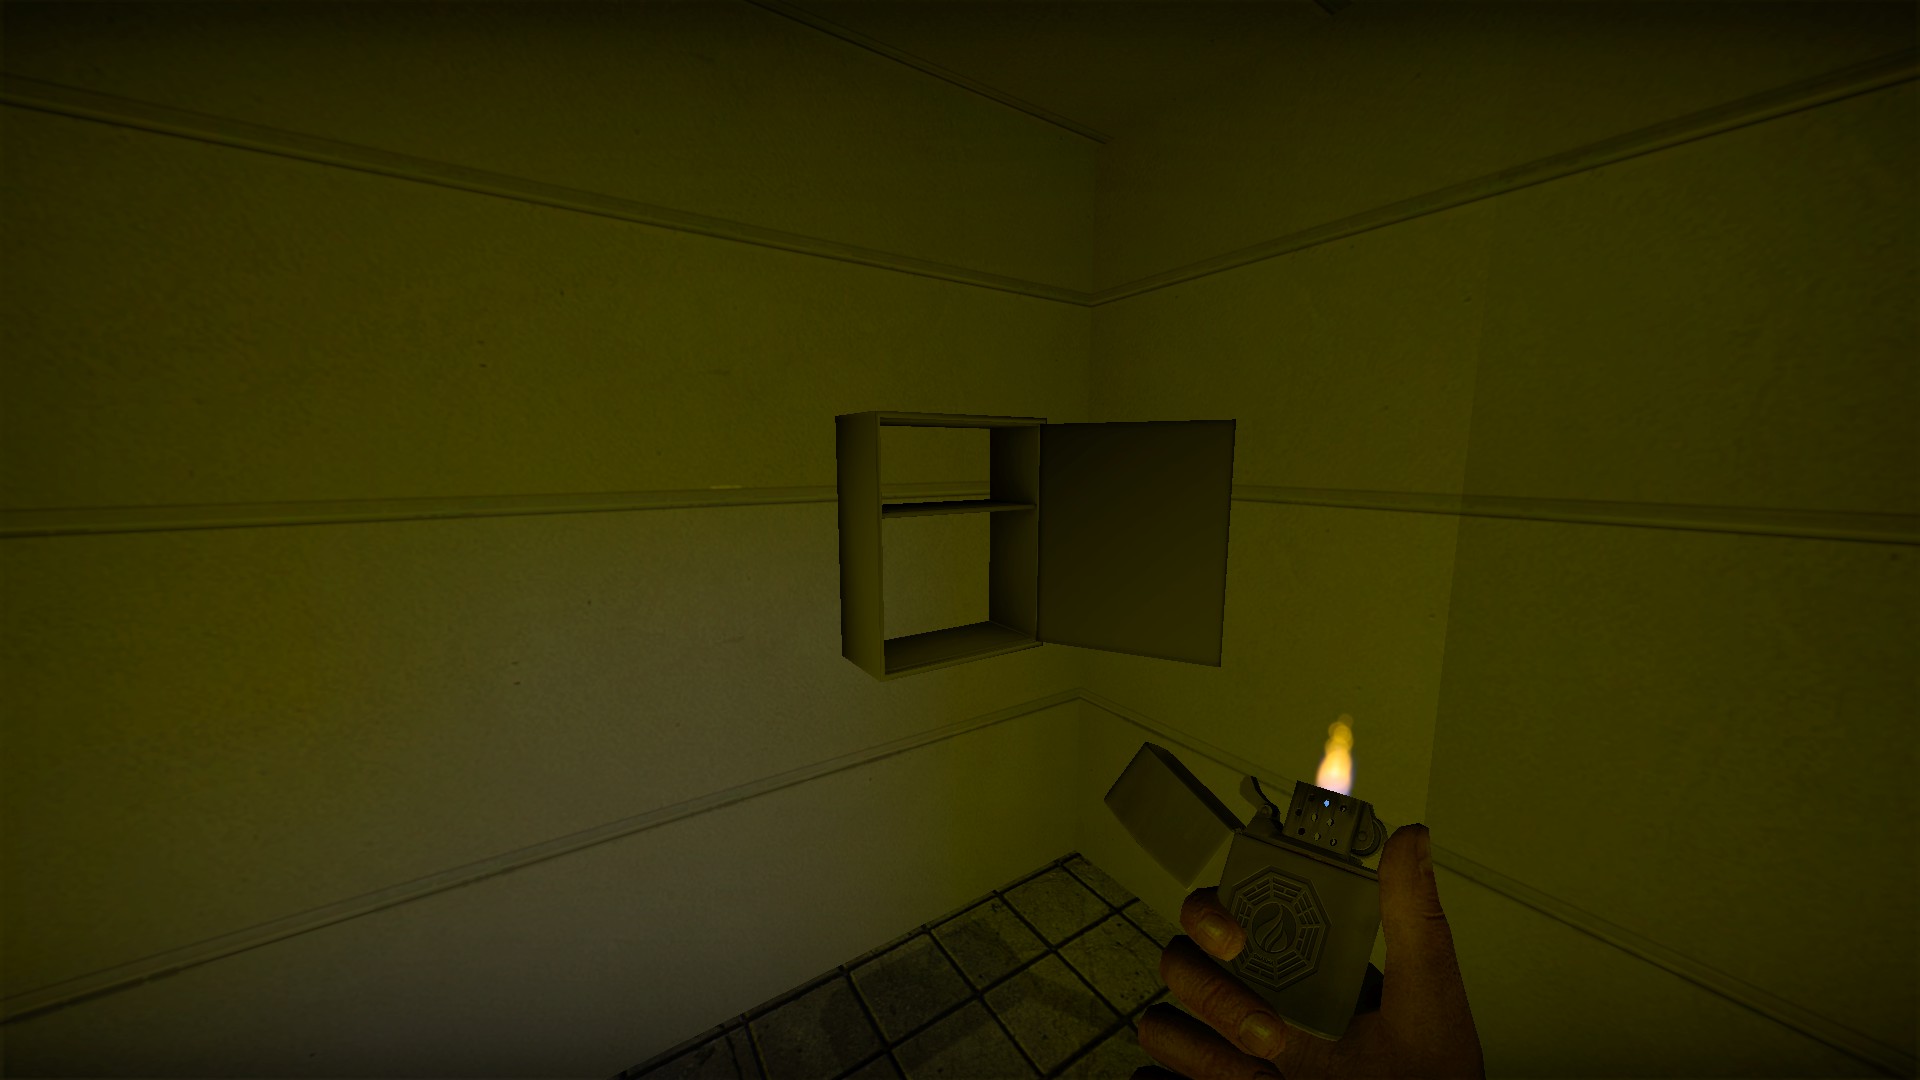
There is nothing inside
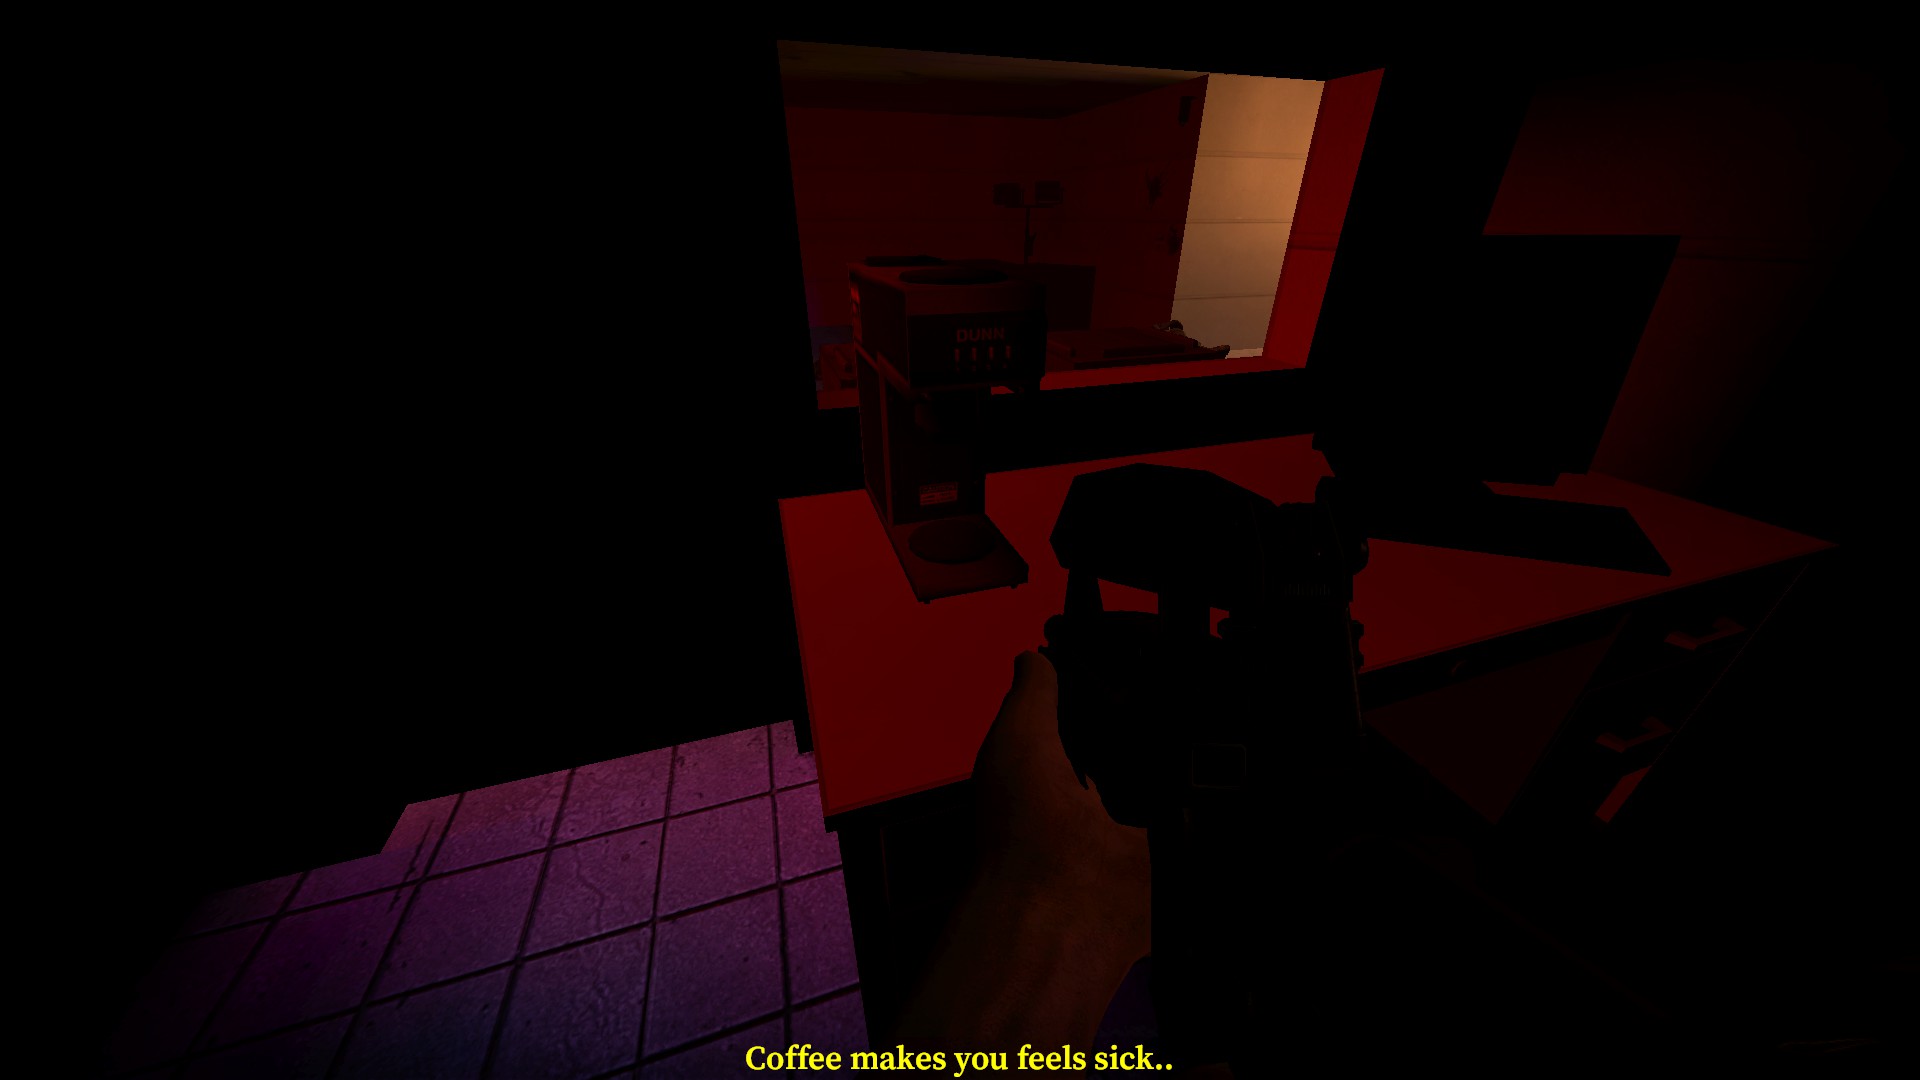
You can also drink coffee ... which will make you sick
nmo_uncletons_pizzeria_v3
This is the hardest map in Nmrih. It has 16 rounds. I don't think I have ever made it past 6
Debug buttons
These aren't secrets, these are buttons left behind by the developer to test the map. They are fun to play around with and will help you learn the map, You will need to noclip to them. You can do this by creating a server and then entering sv_cheats 1 and noclip into the console
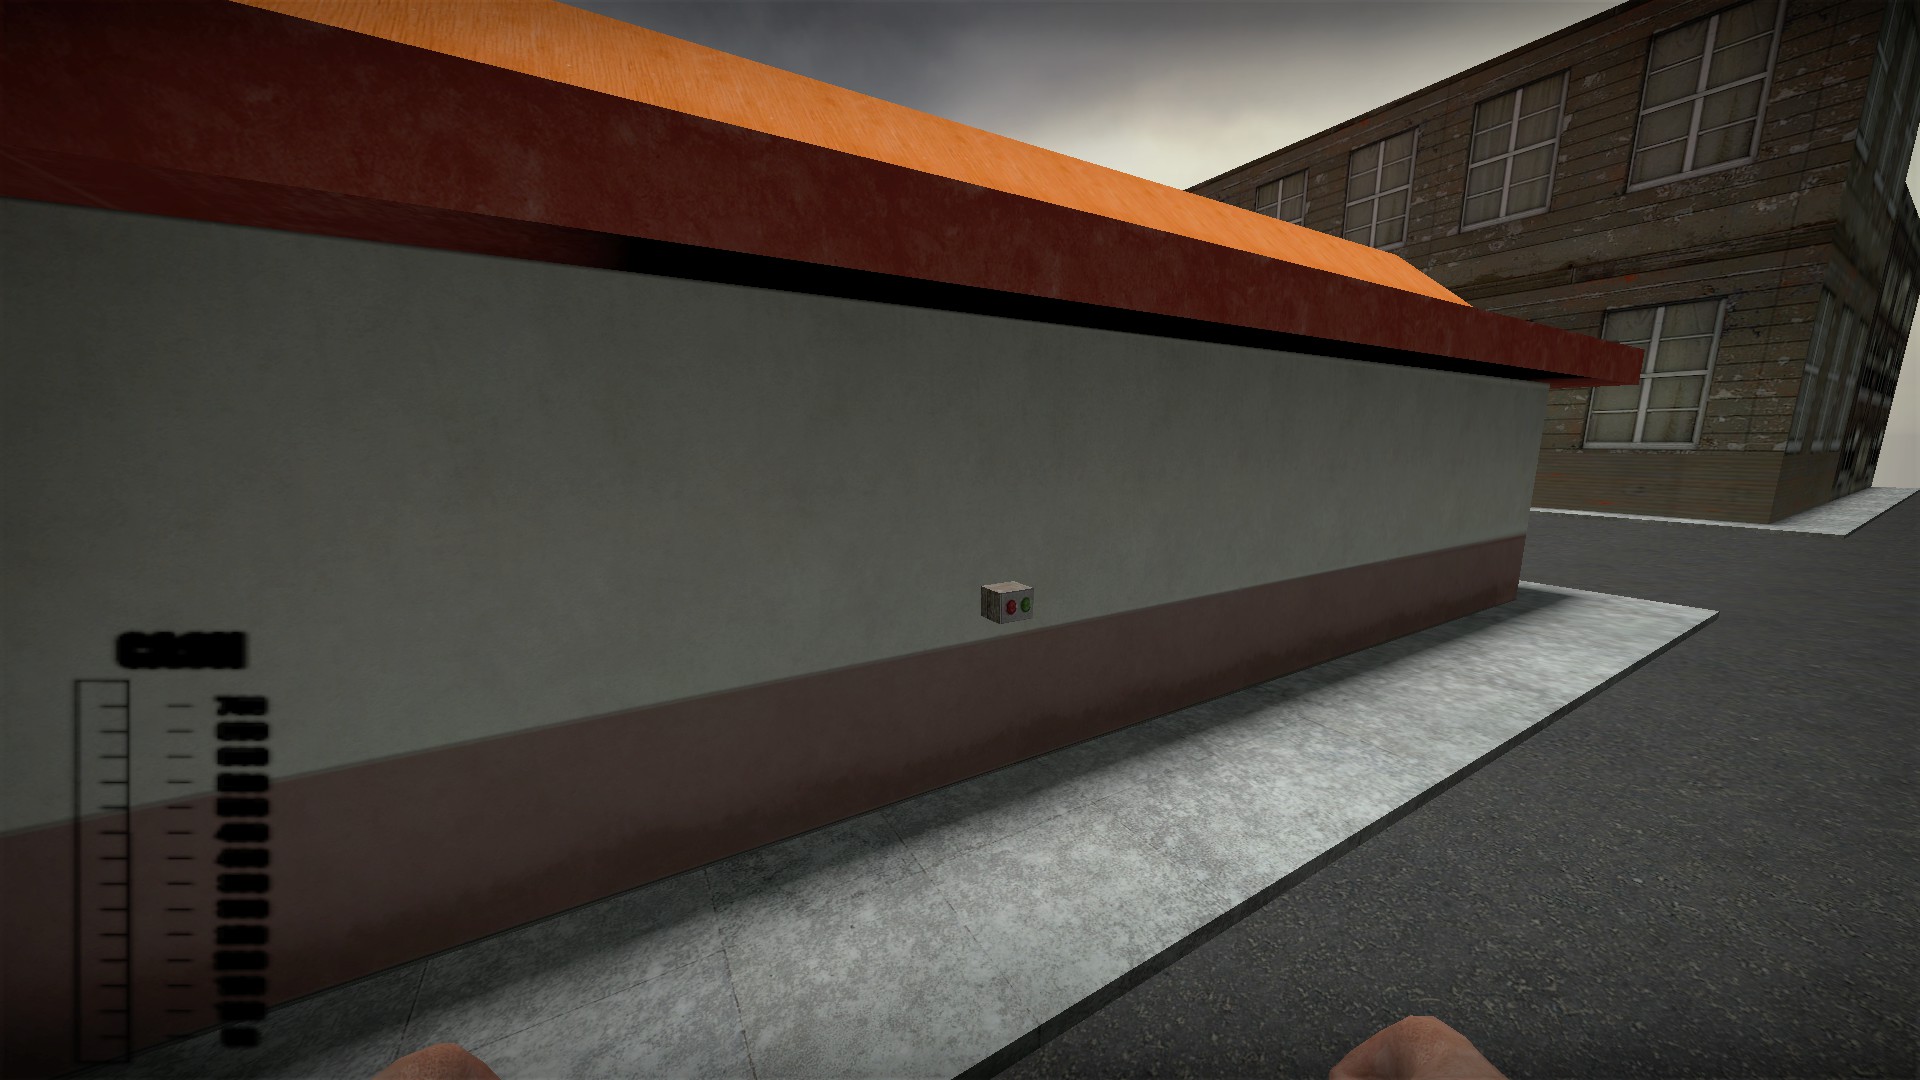
There is one behind the restaurant that will start the ending event when pressed
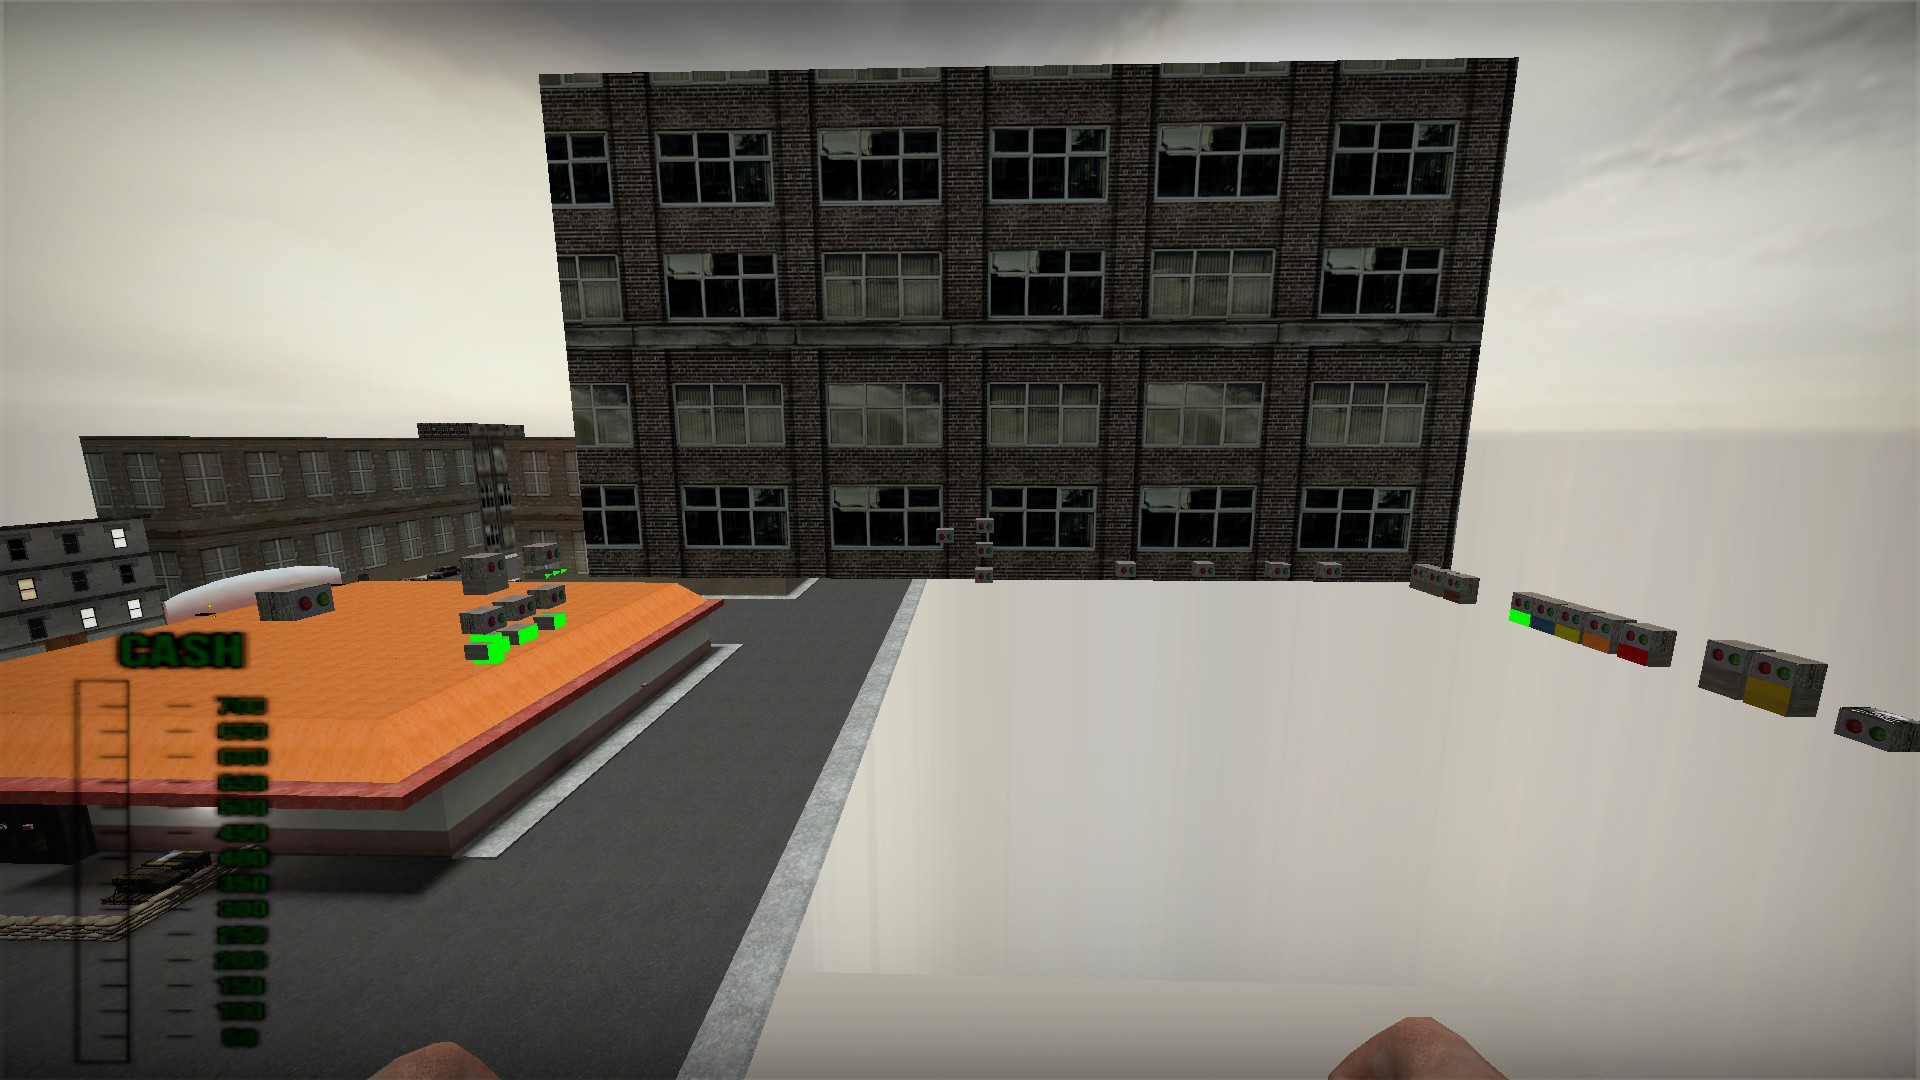
And there are a bunch more on a nearby roof
I don't know what 5 of these buttons do, let me know in the comments if you find out
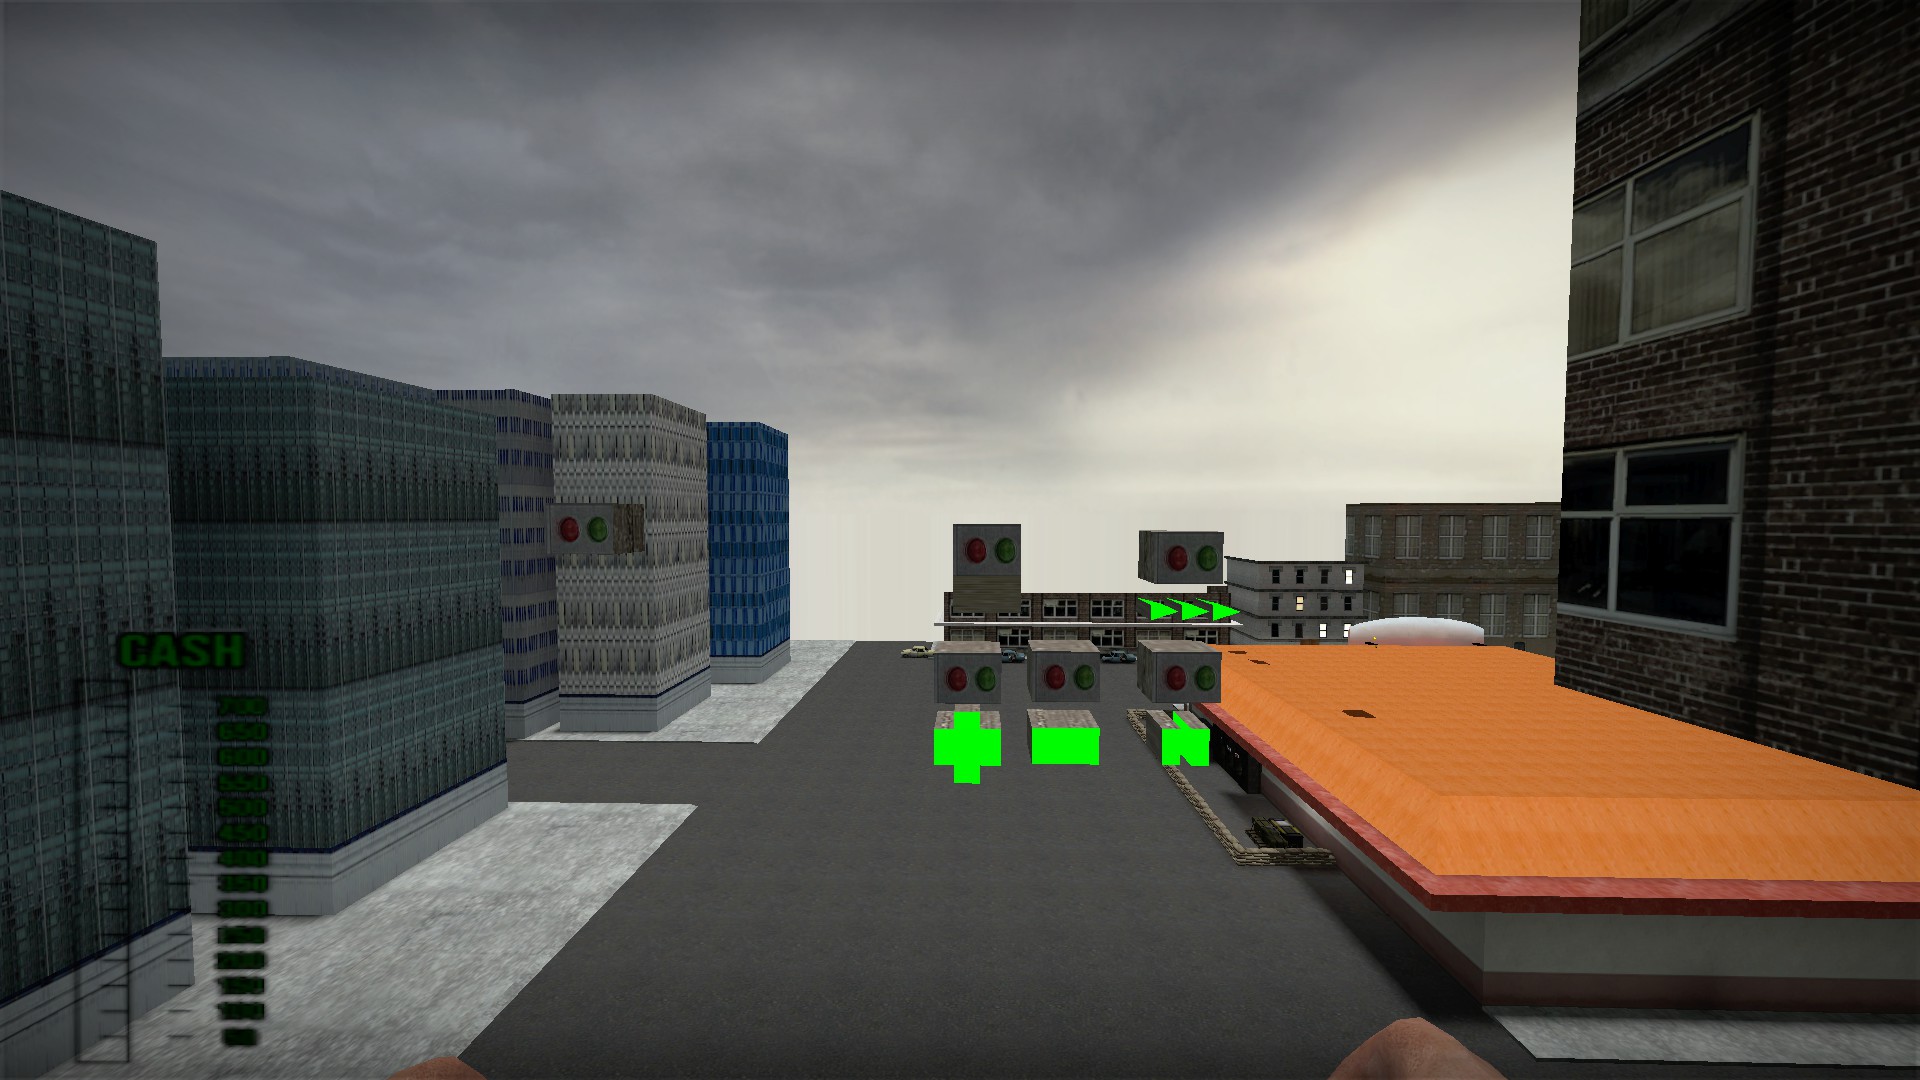
The button all by itself on the left will spawn the rat
Top left button will end the round and reset reputation (I think). Can only be used once. Use the other button on the right side to advance round by round
Top right button (fast forward): fast forward the round - customers appear more quickly and wait for less time
Bottom button (plus): increase reputation
Bottom button (minus) decrease reputation
Bottom button (pause): pauses the customers - customers will wait endlessly and no new ones will arrive. Other events like the rat, boiler, electric bill, drive-by shootings, or filth will not be paused
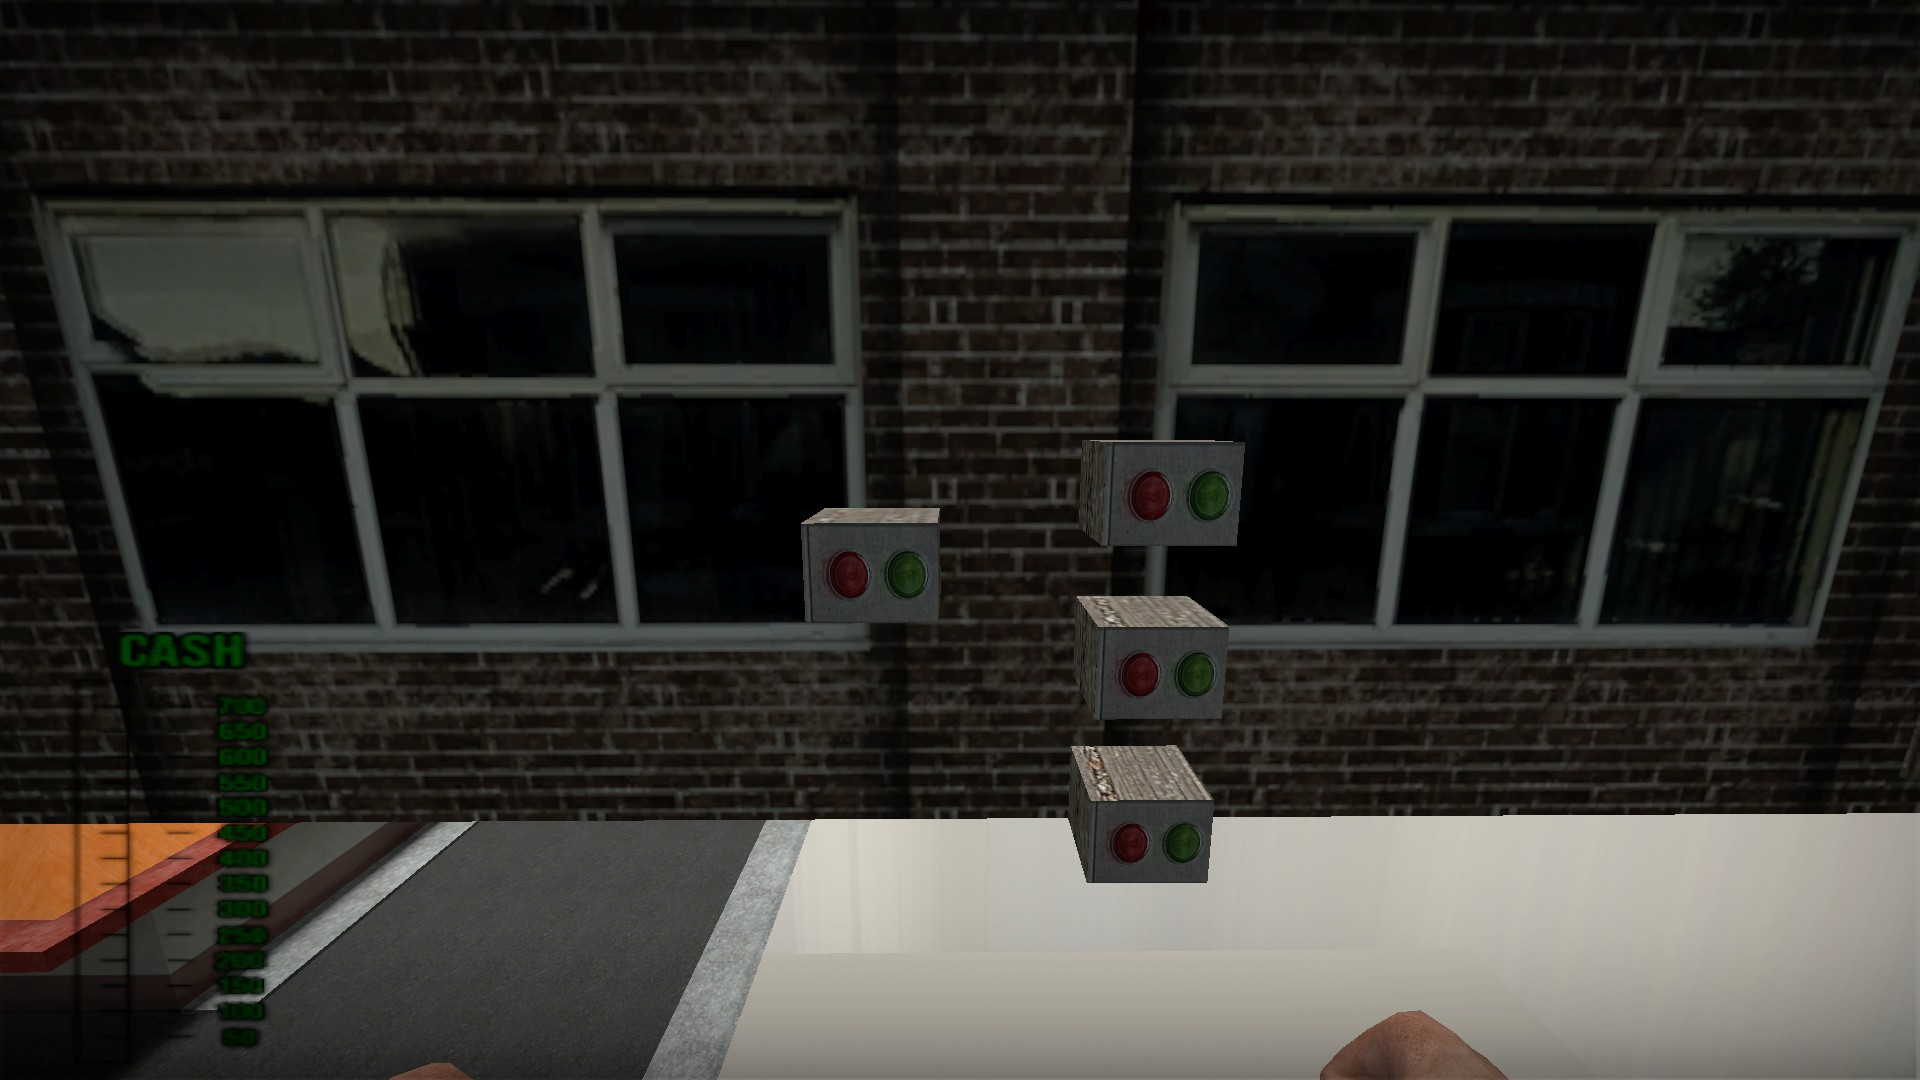
The left button will spawn uncle ton without the cutscene
The top button will spawn a zombie horde
The middle button will spawn a zombie kid pizza
The bottom button will break holes in the top of the restaurant (like uncle ton does)
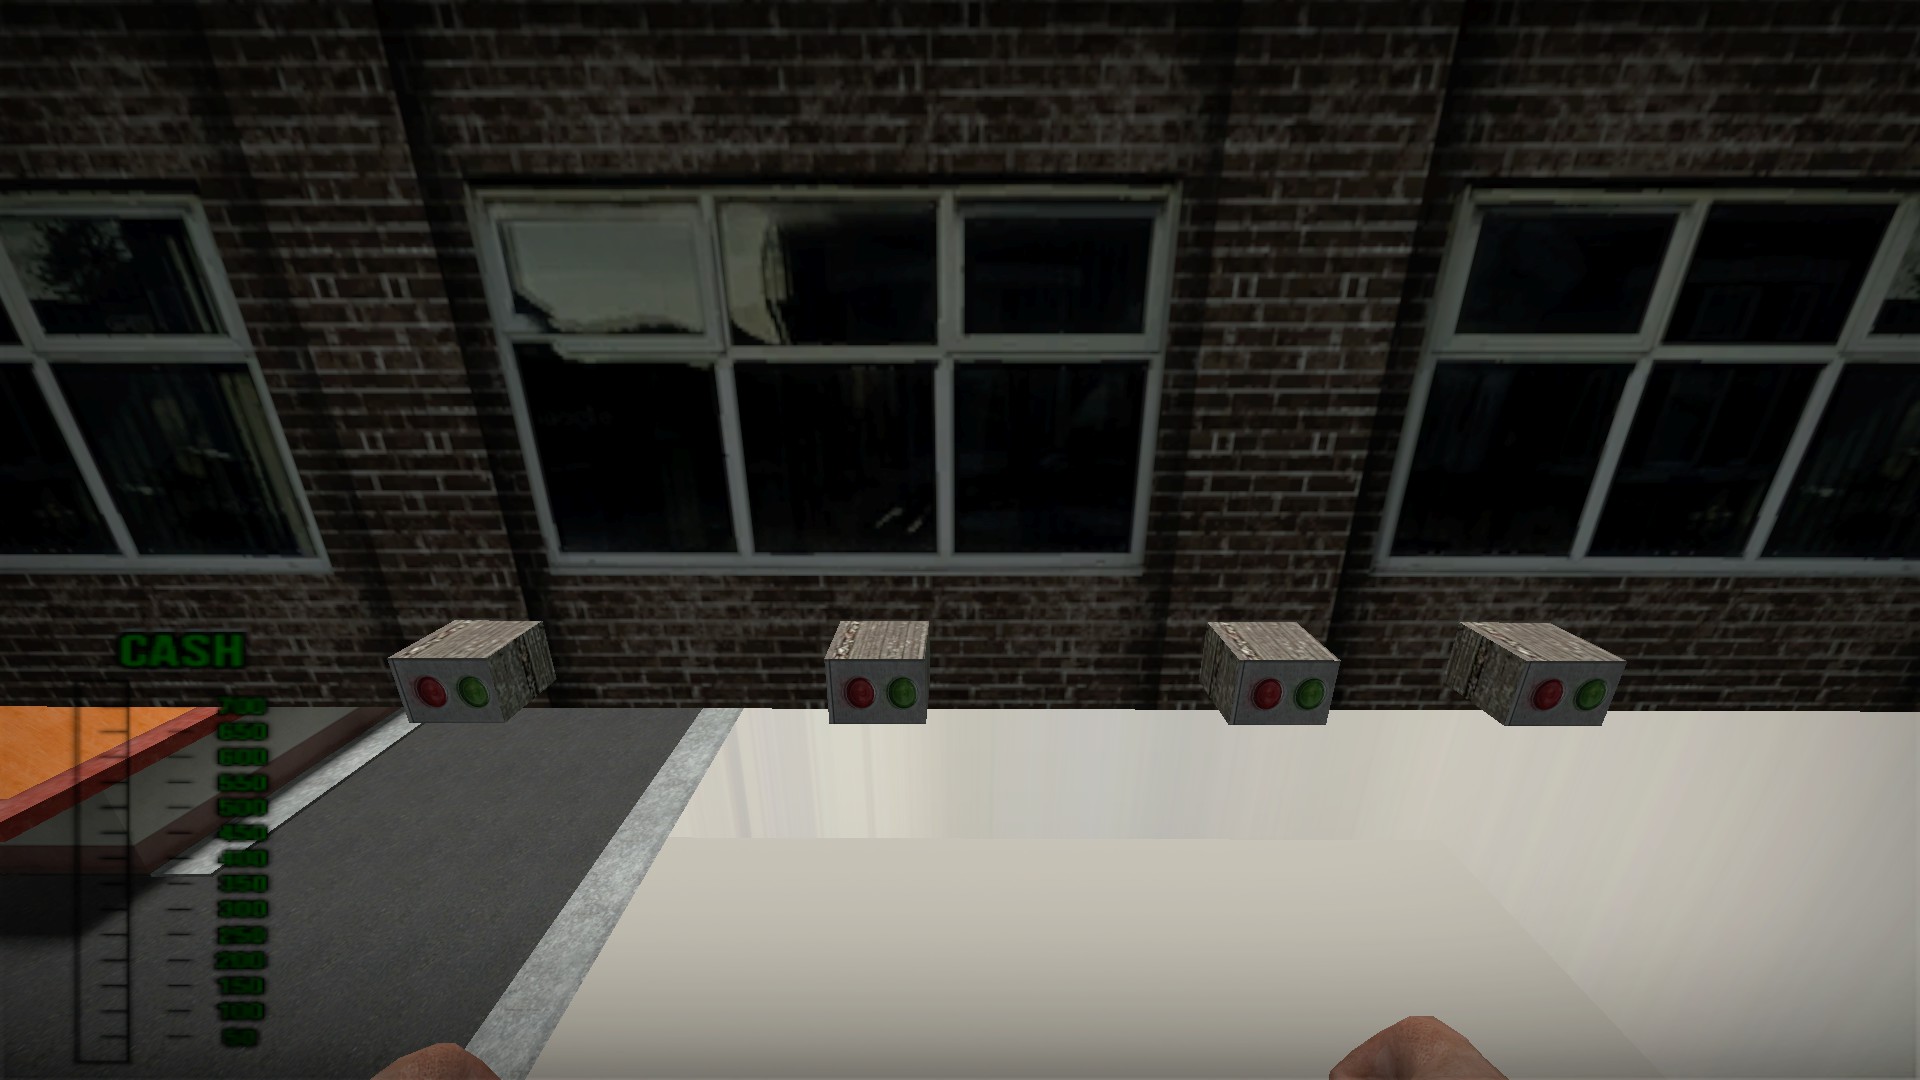
1: idk
2: idk
3: idk
4: idk
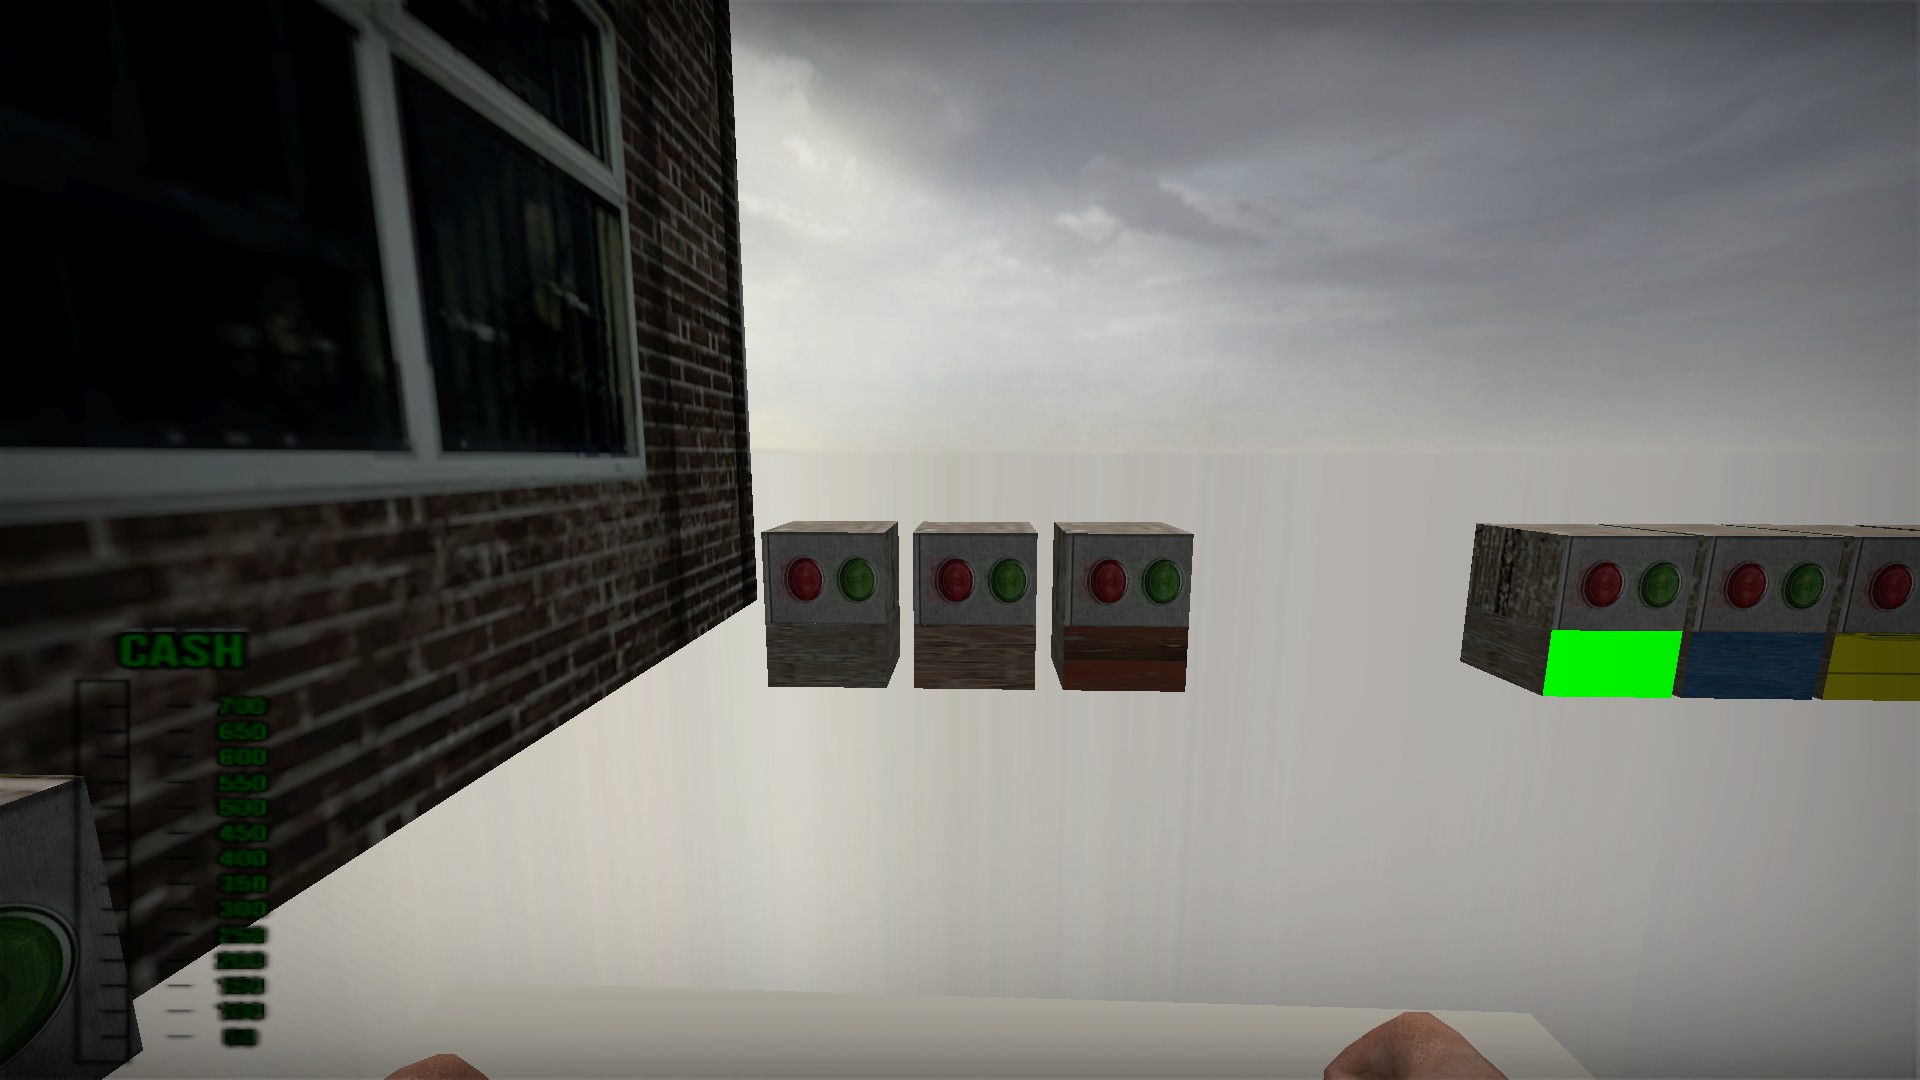
The left button will spawn one customer each time it is pressed
The middle button will clear all customers and end the round. Use it to move round to round
The right button idk
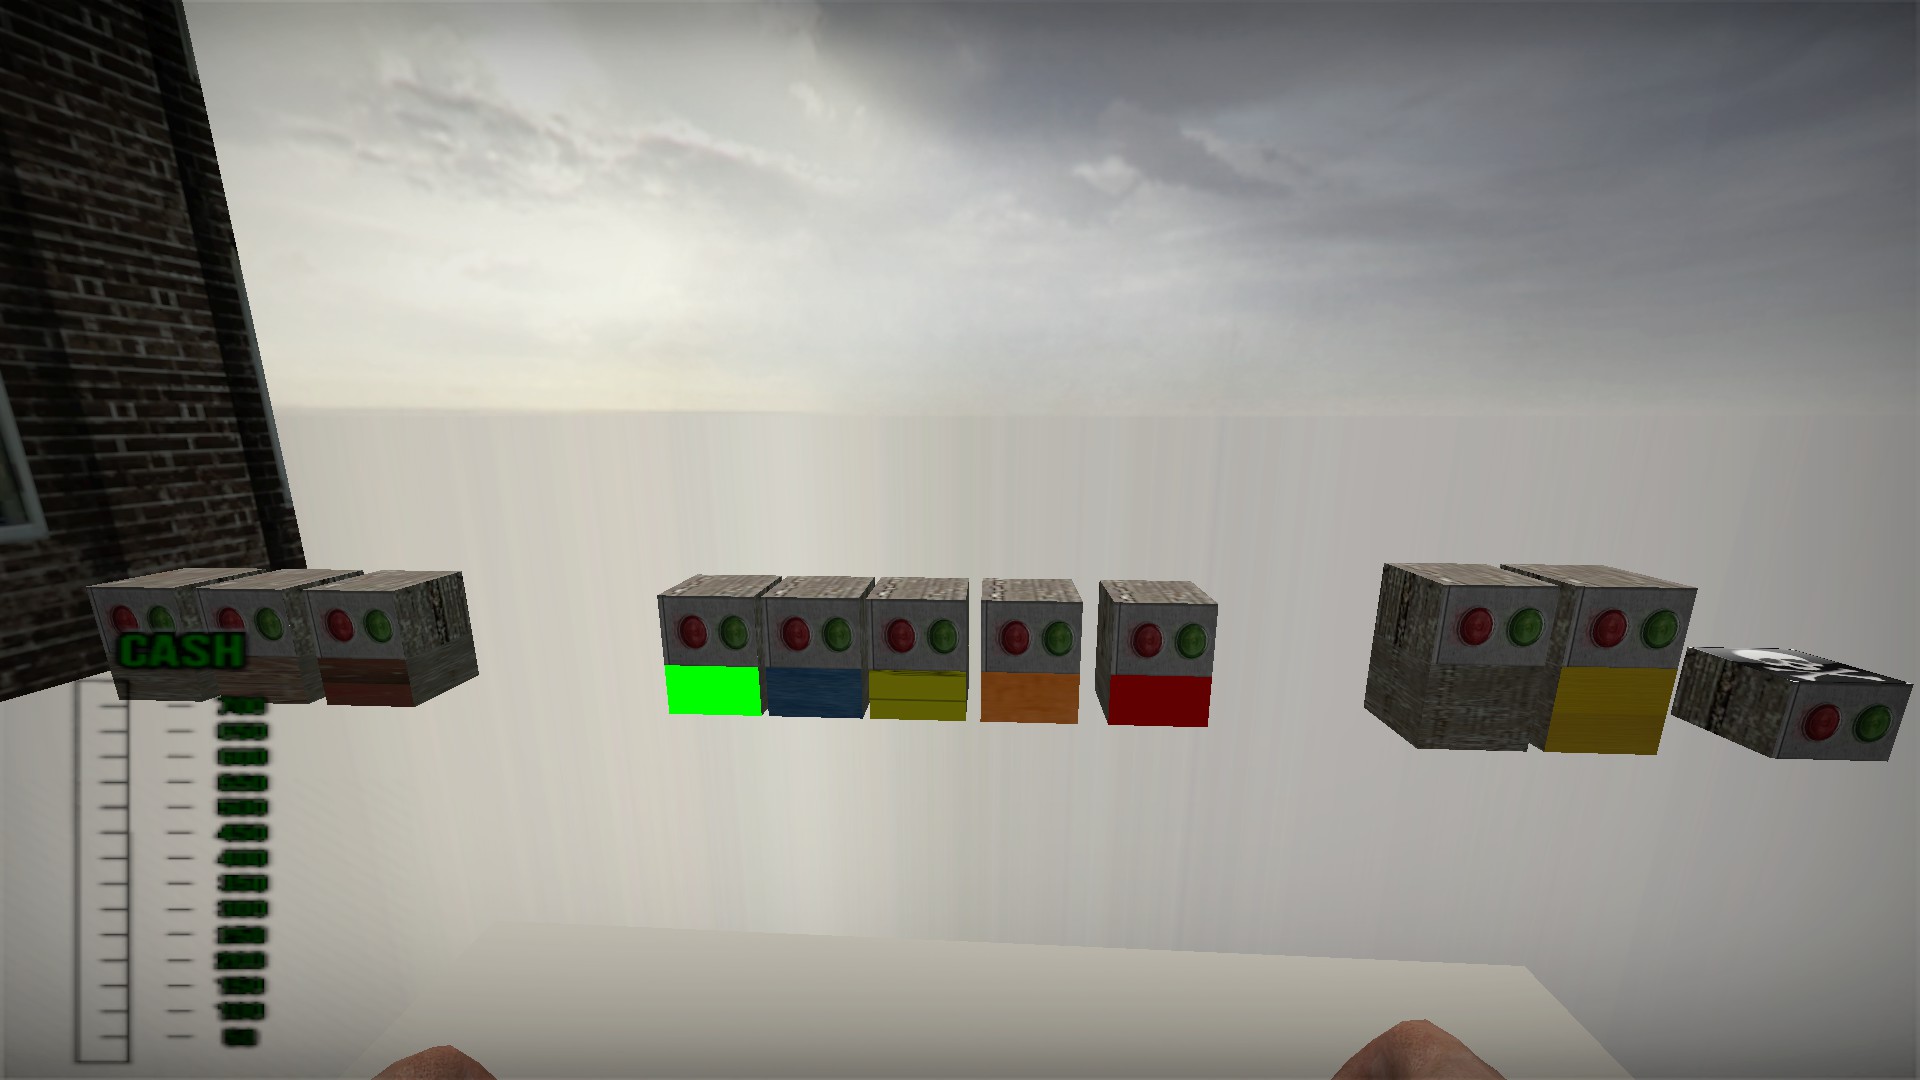
This cluster of five buttons will take you to different rounds of the map
Green - round 3
Blue - round 6
Yellow - round 9
Orange - round 12
Red - round 16 (ending). Use the button behind the restaurant instead of this one to cut to the ending event, the cutscene bugs with this button
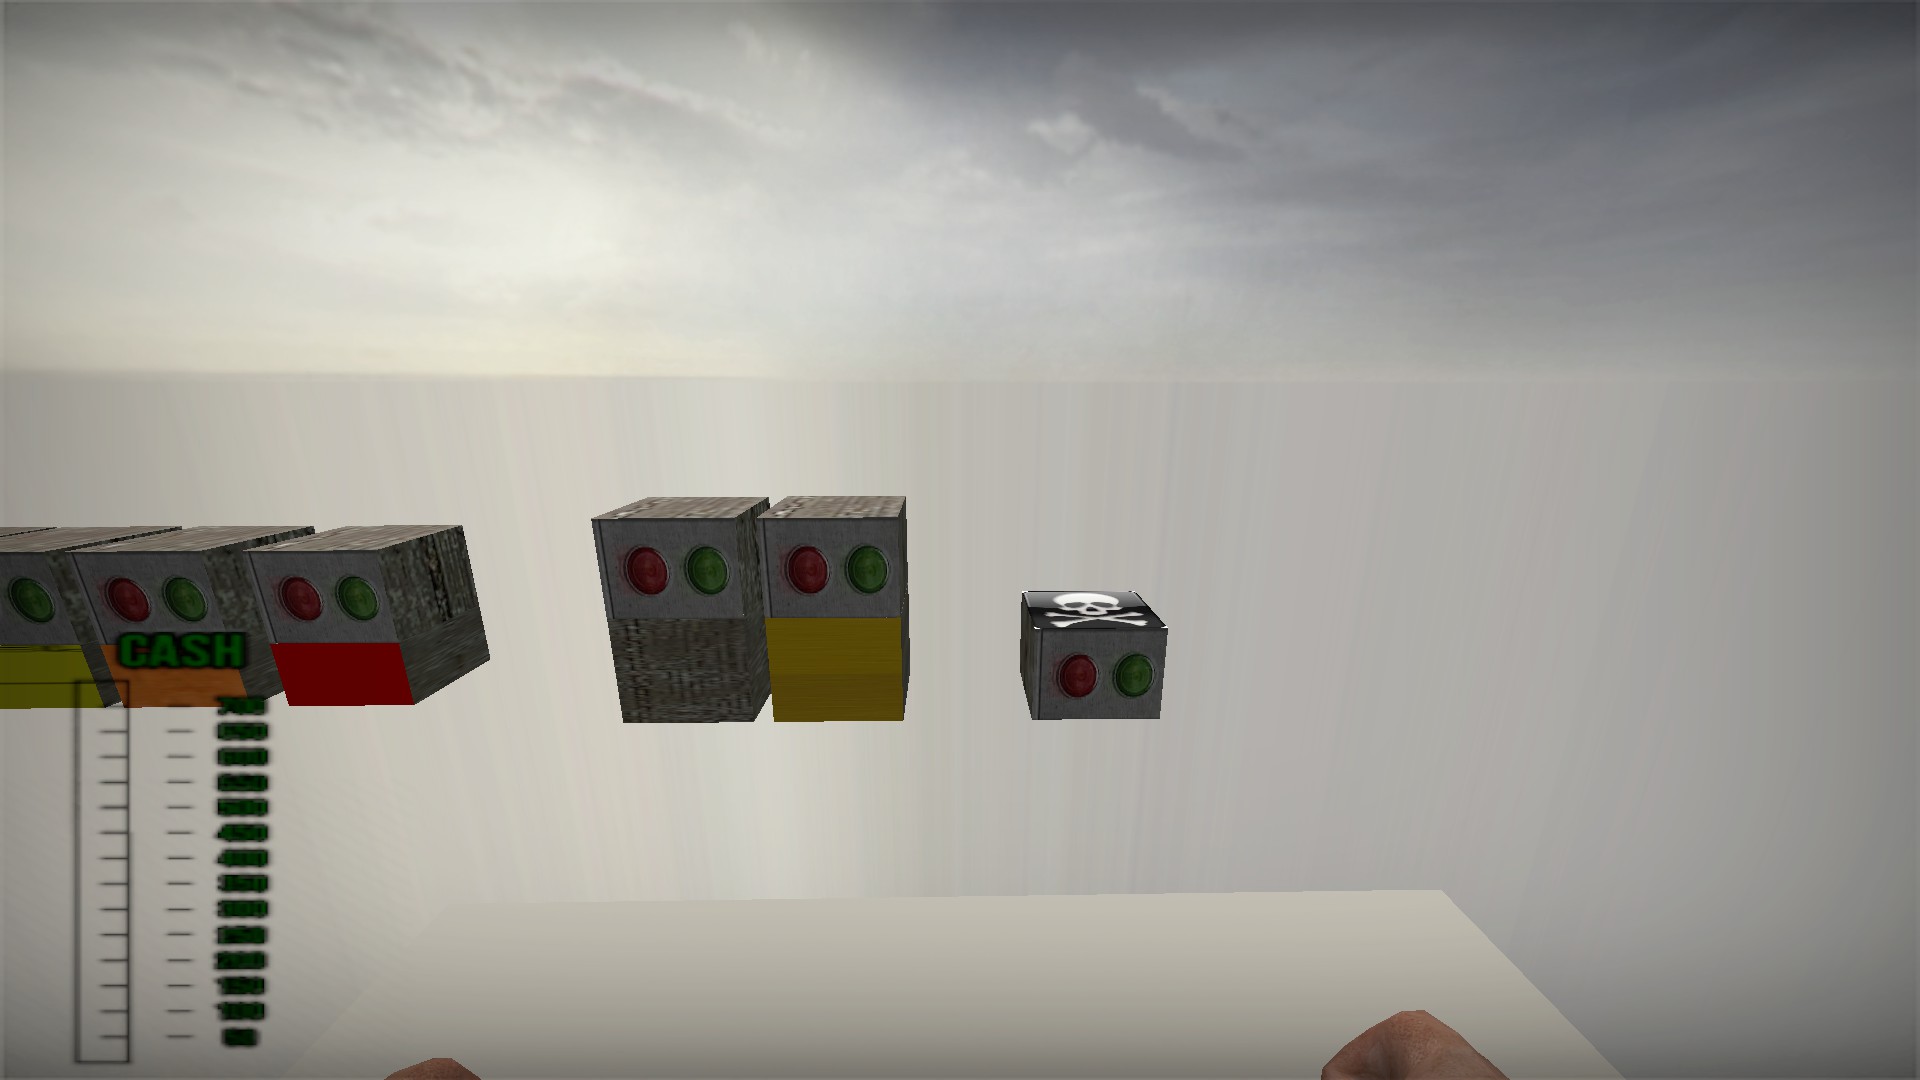
This cluster of 3 buttons are for food and cash
The button on the left over the brick will spawn one of every type of burger, side, pizza, drink, and ice cream. It will spawn more if you keep pressing it
The button in the middle will give you full cash ($700)
The button on the right with the skull and crossbones will destroy all food in the restaurant
Purchasable items
Don't run out of cash completely as you may need some to pay electric bills
Mop O Matic
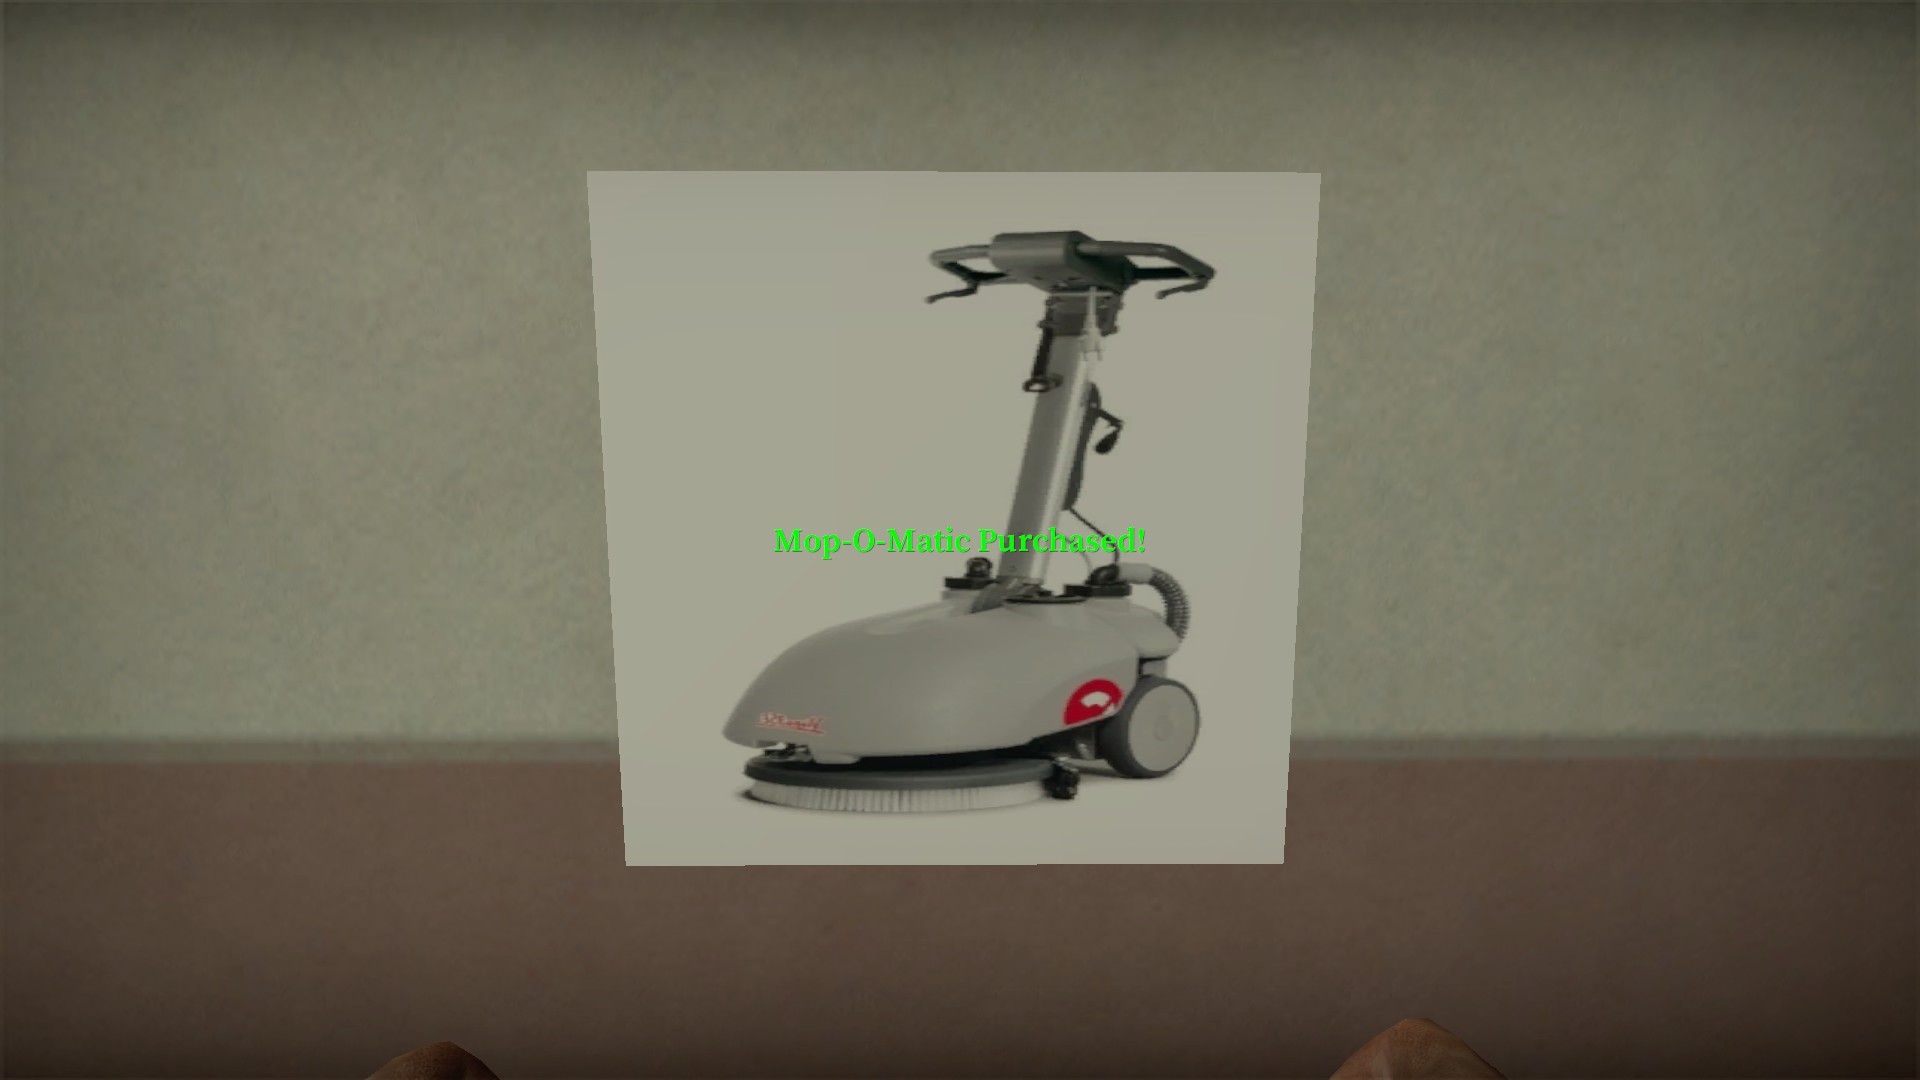
Mop O Matic costs $150. It will halve the mop time from 10 seconds per spot to 5
Rat Destroyer
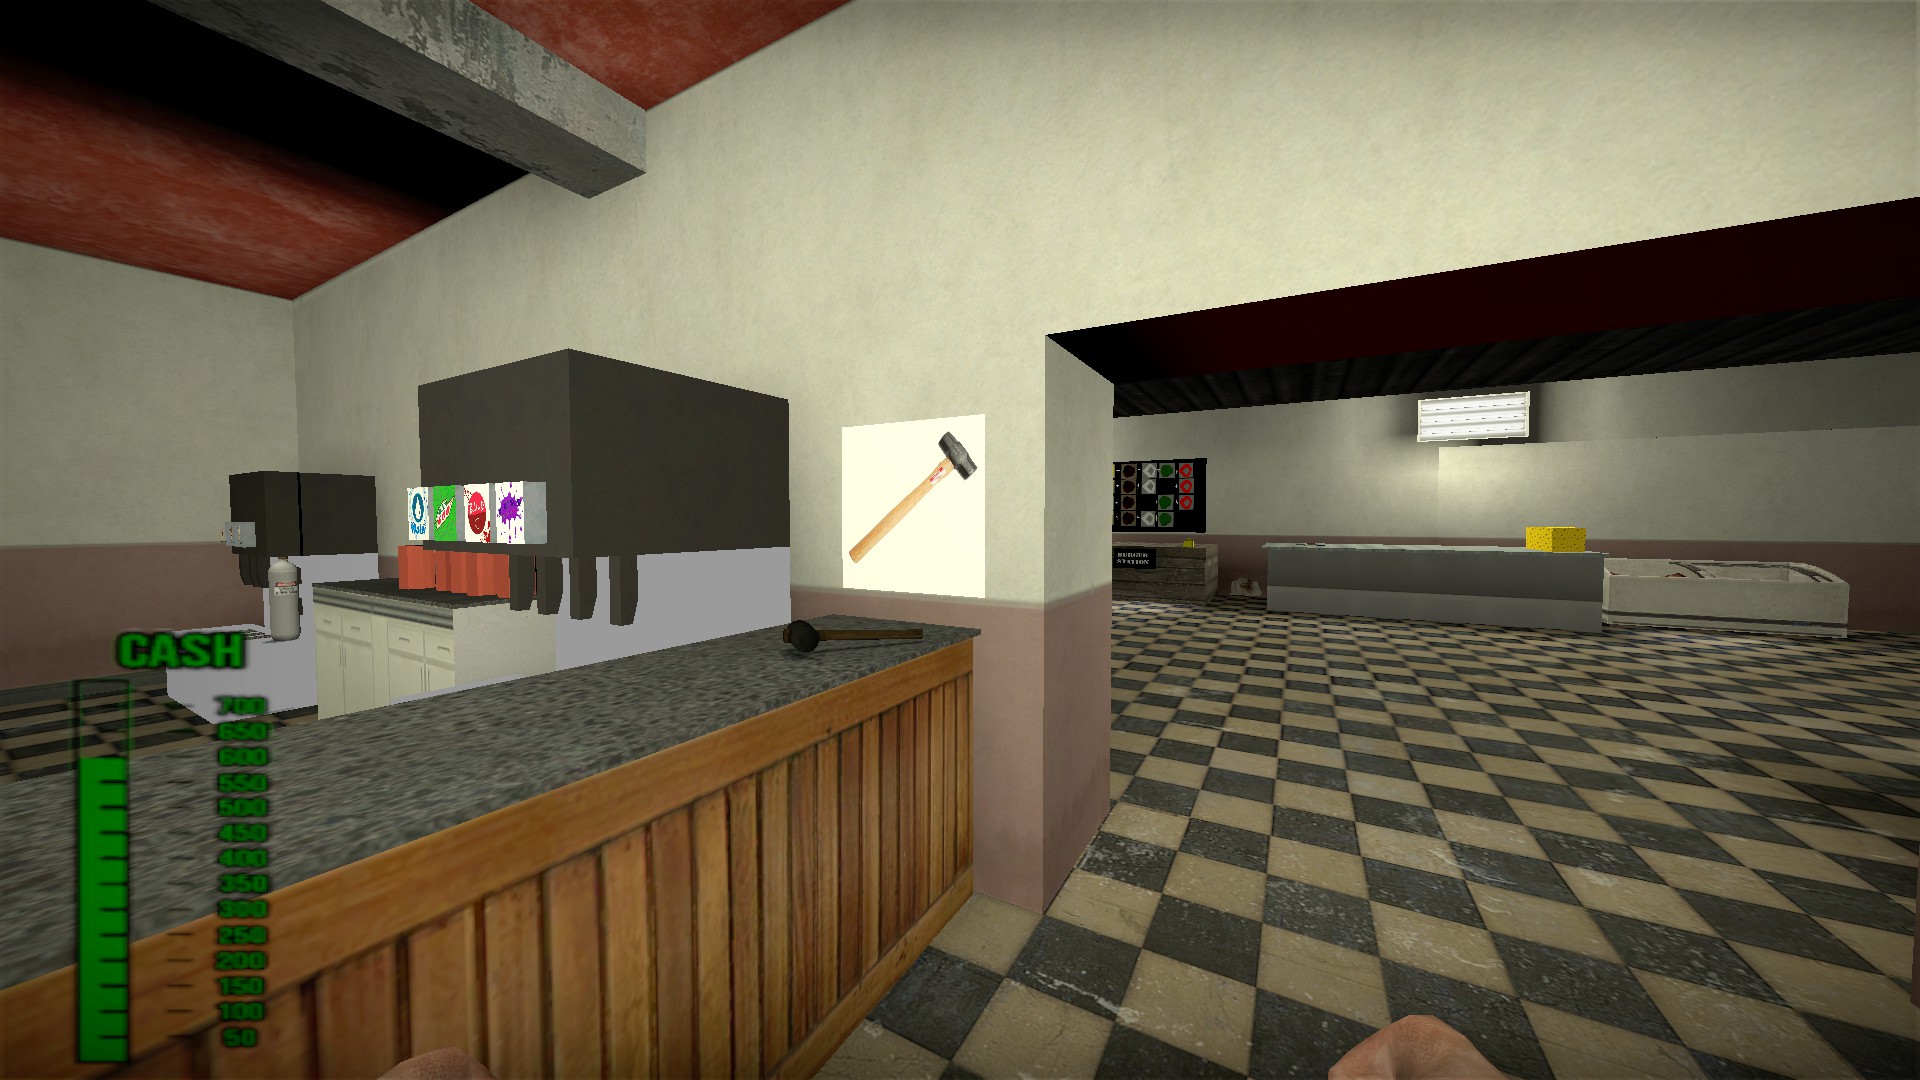
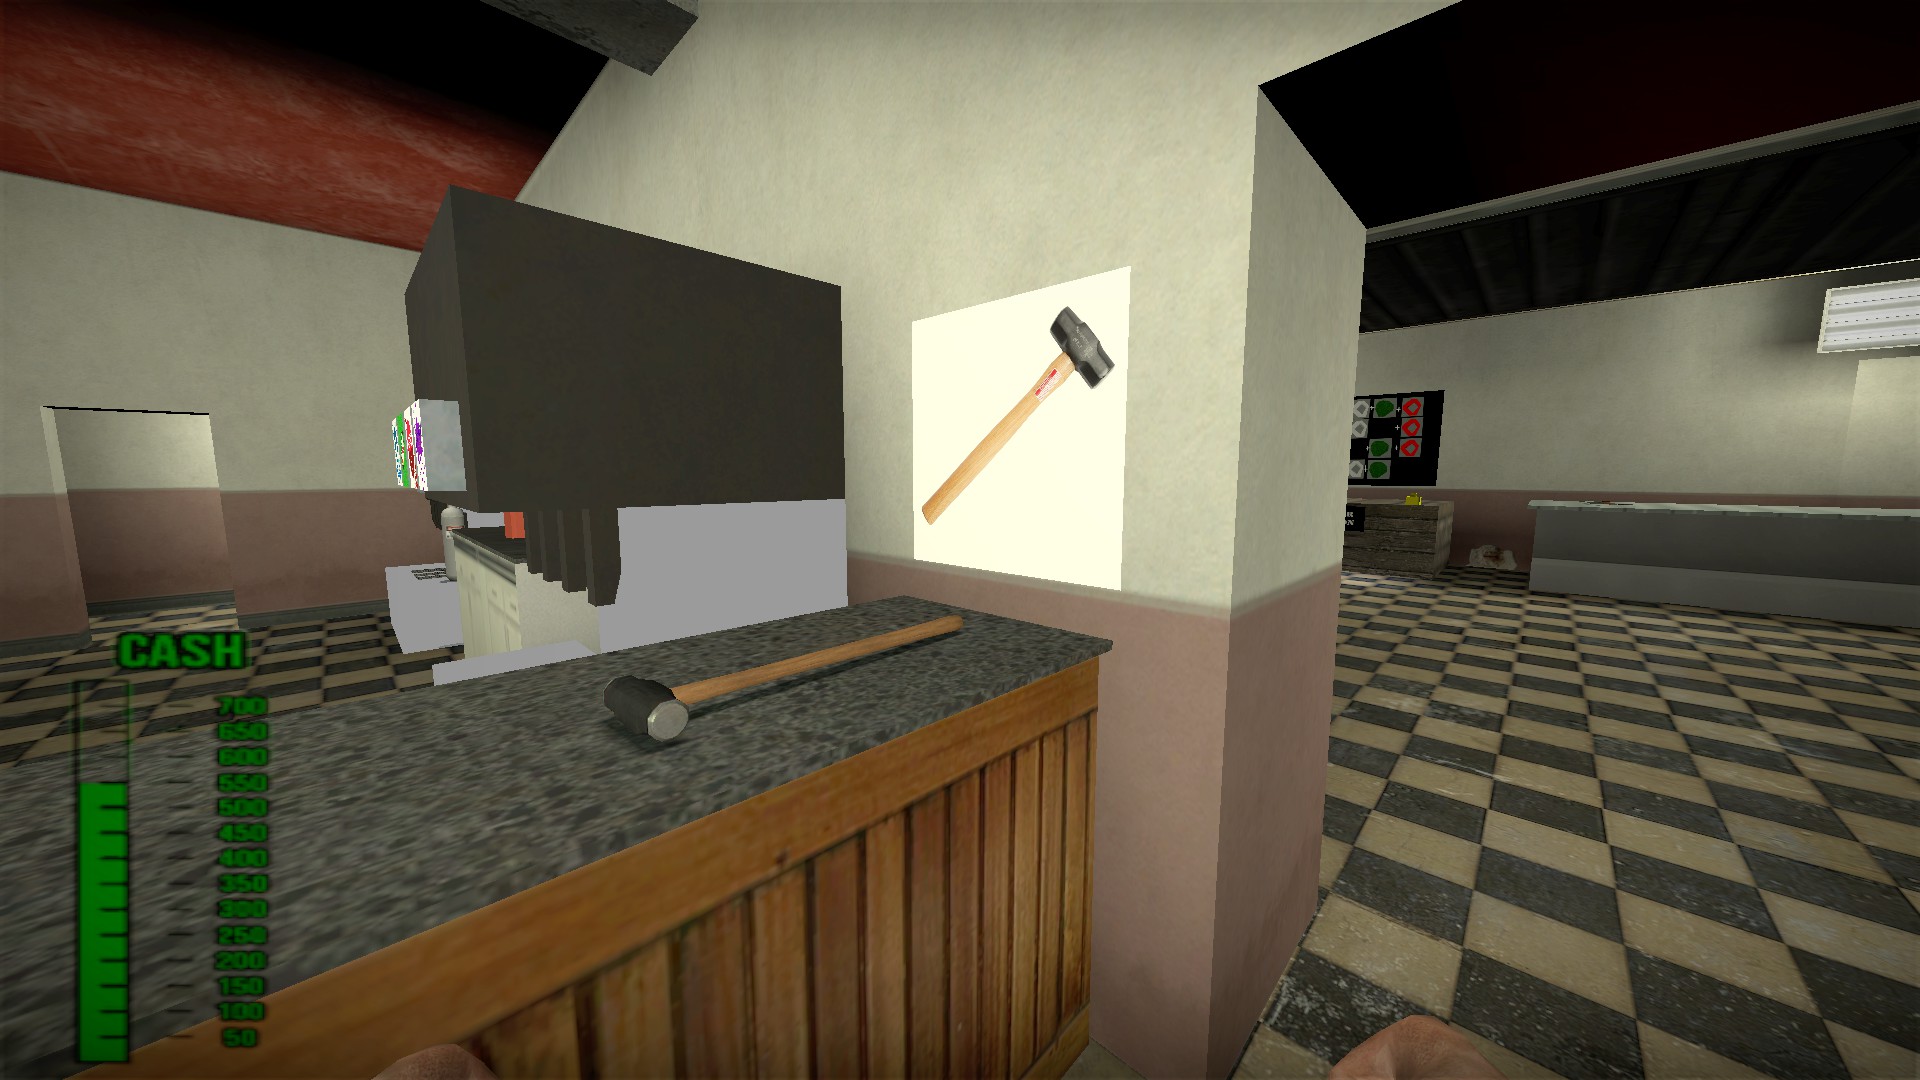
The rat destroyer costs $200. It is larger than the mallet at start and does x2 damage to the rat. Kill rats quickly, in addition to eating food, every moment that it is on the floor it adds to the filth level
Shoes
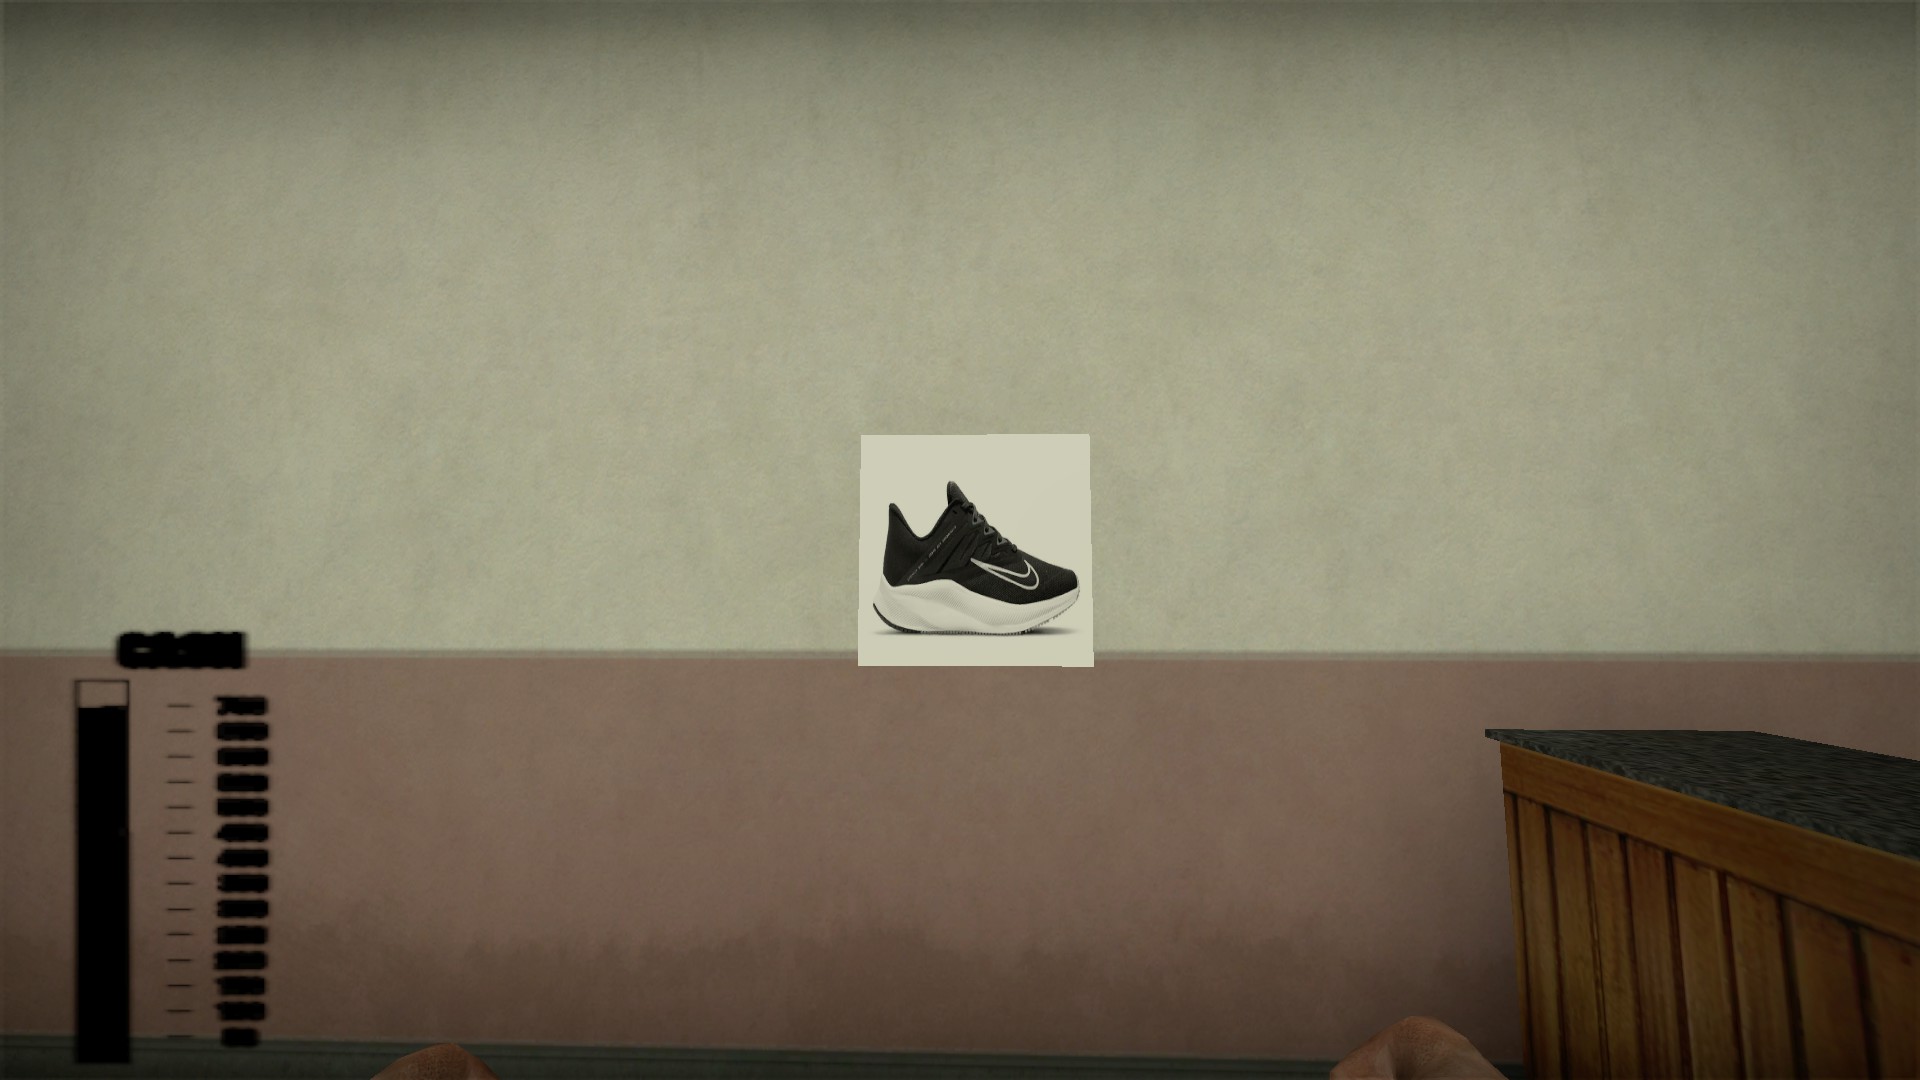
Buying shoes will make the team faster, the first pair will cost $150
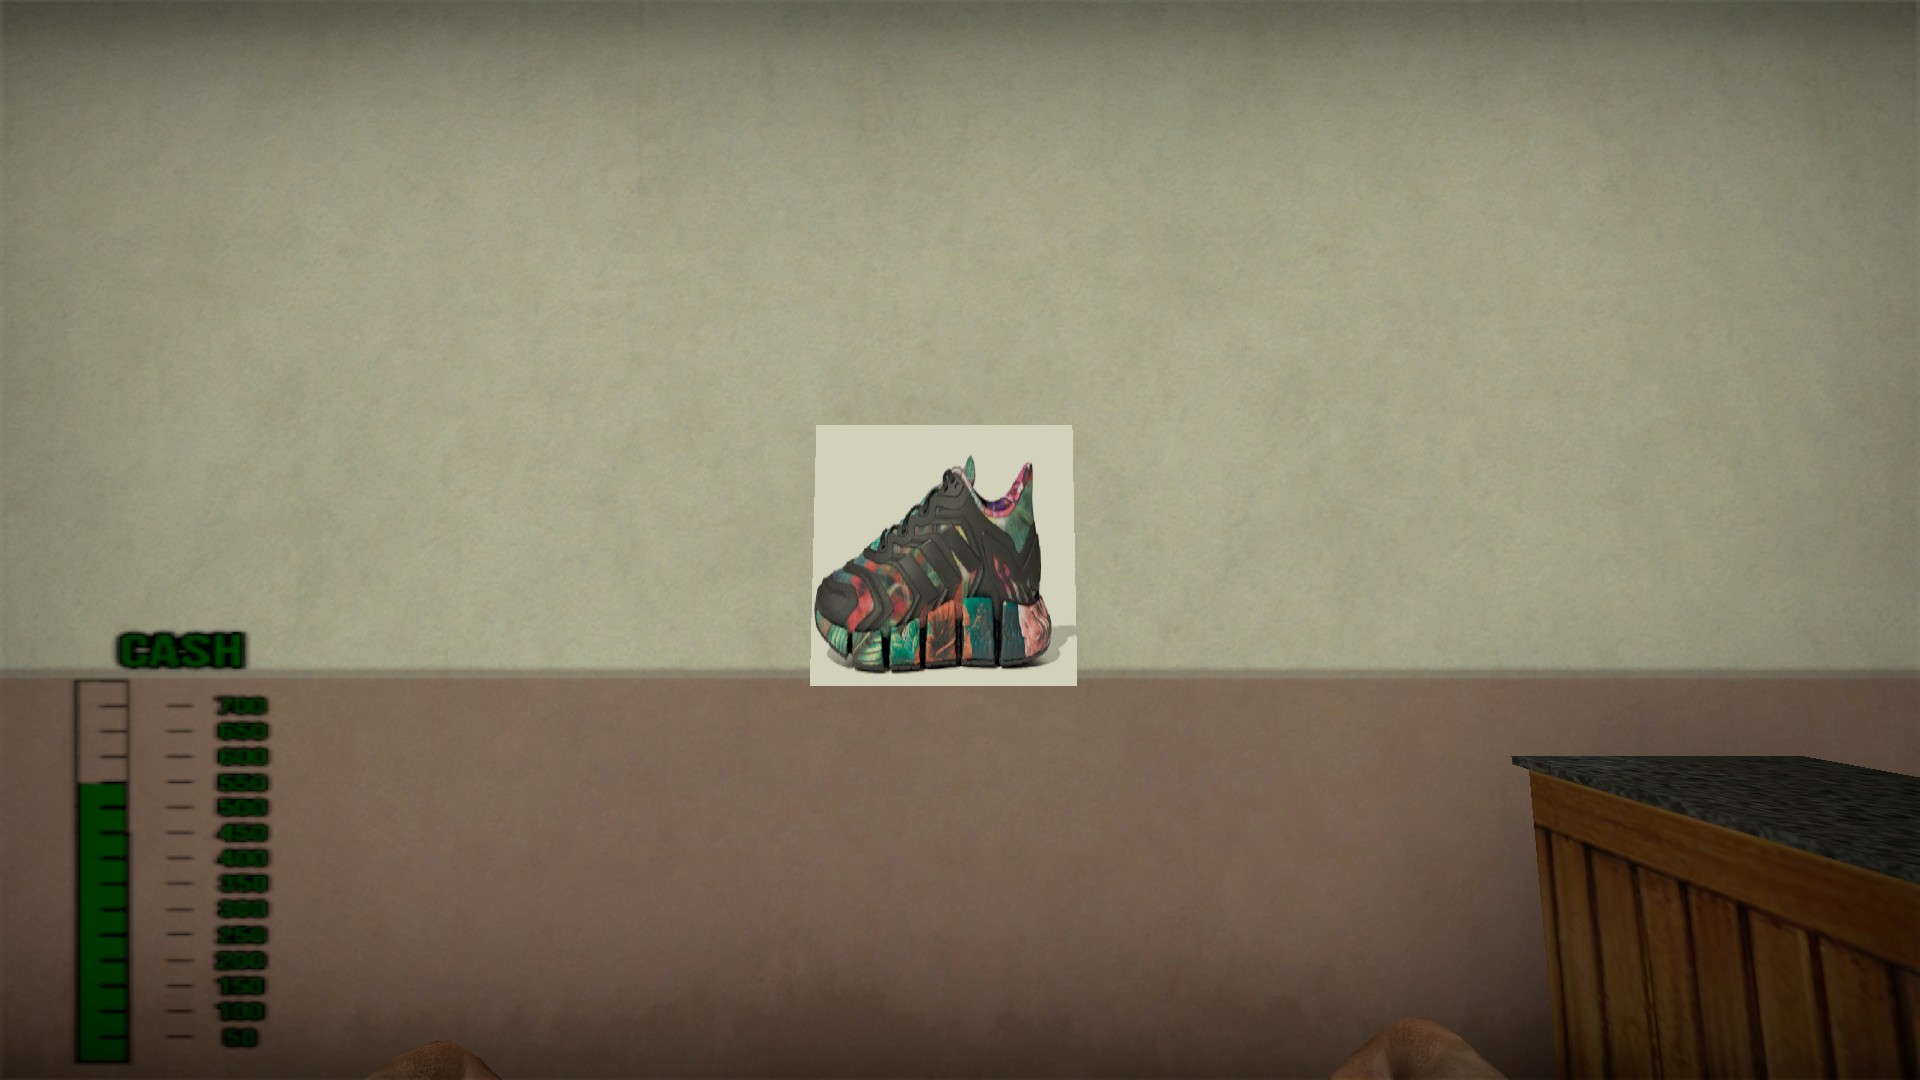
The second pair also costs $150 and will increase speed
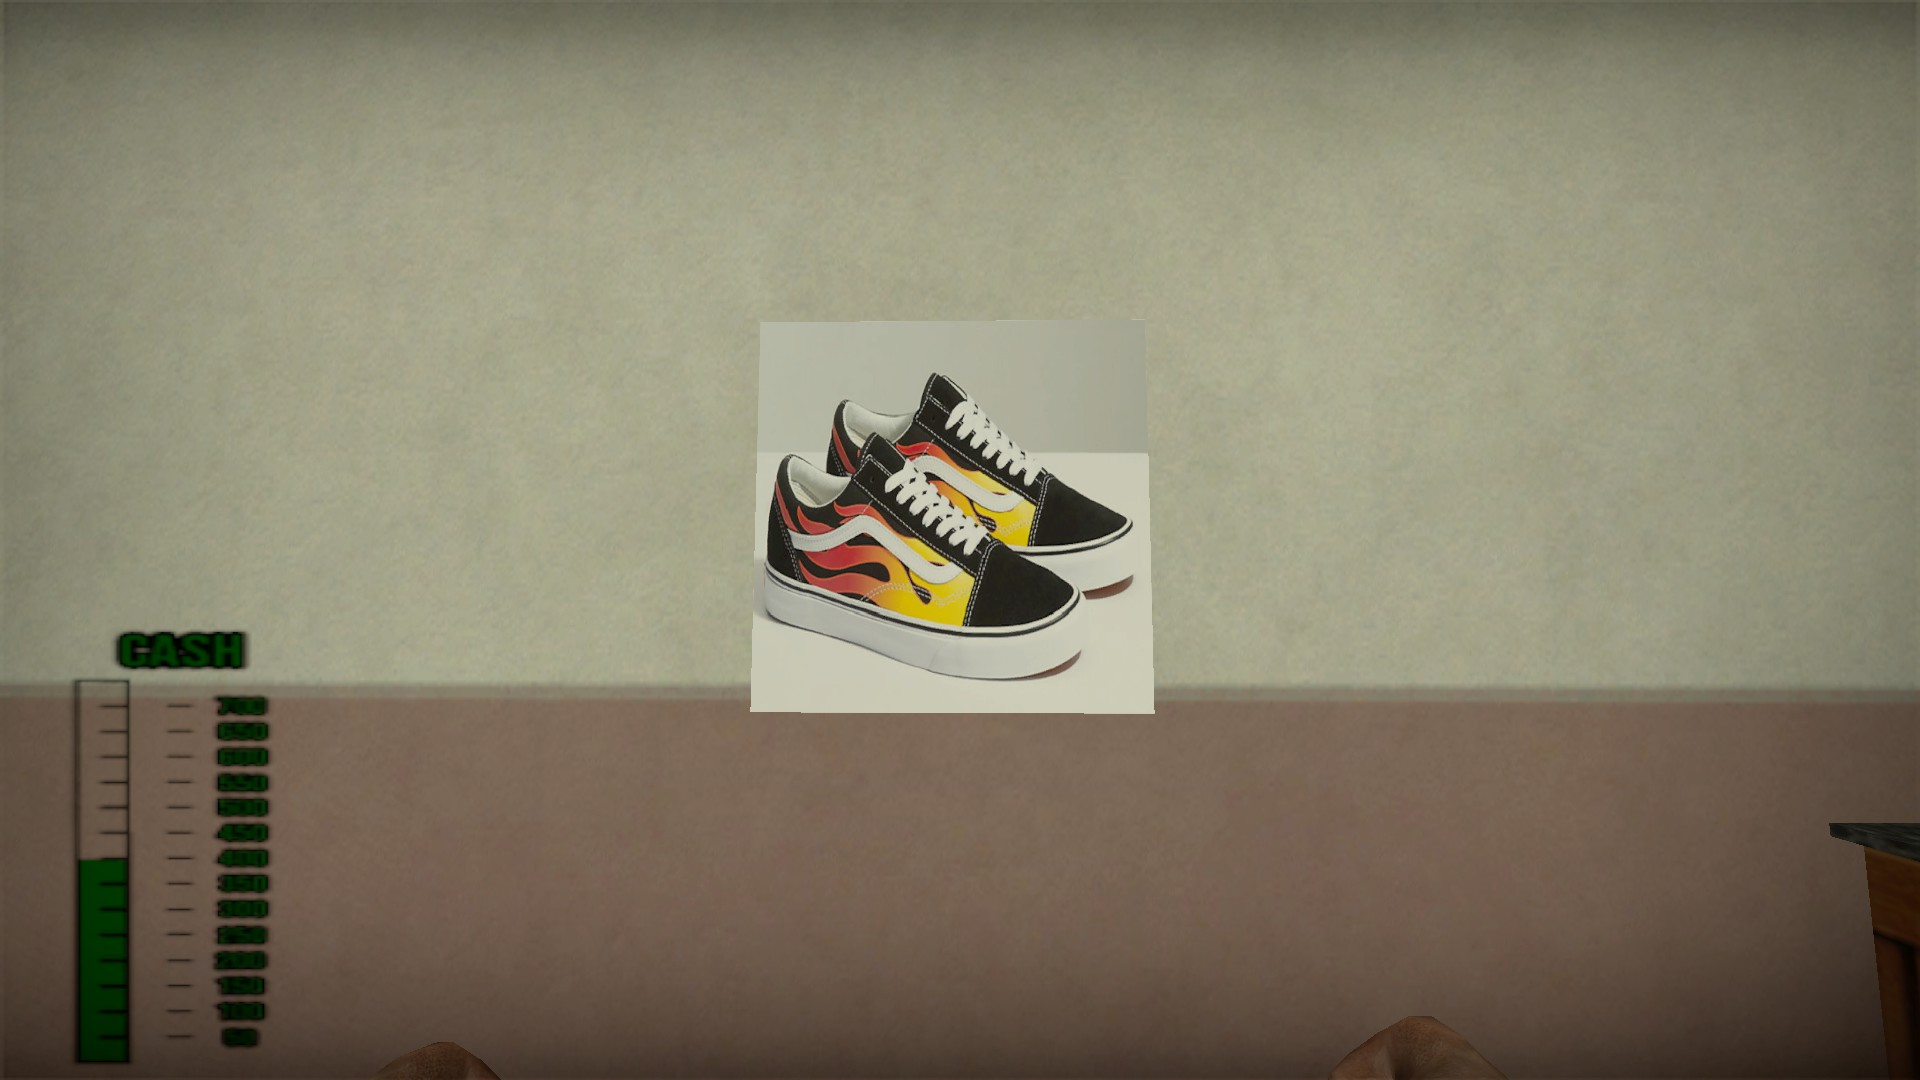
The third pair costs $200 and will make the team much faster
Podium
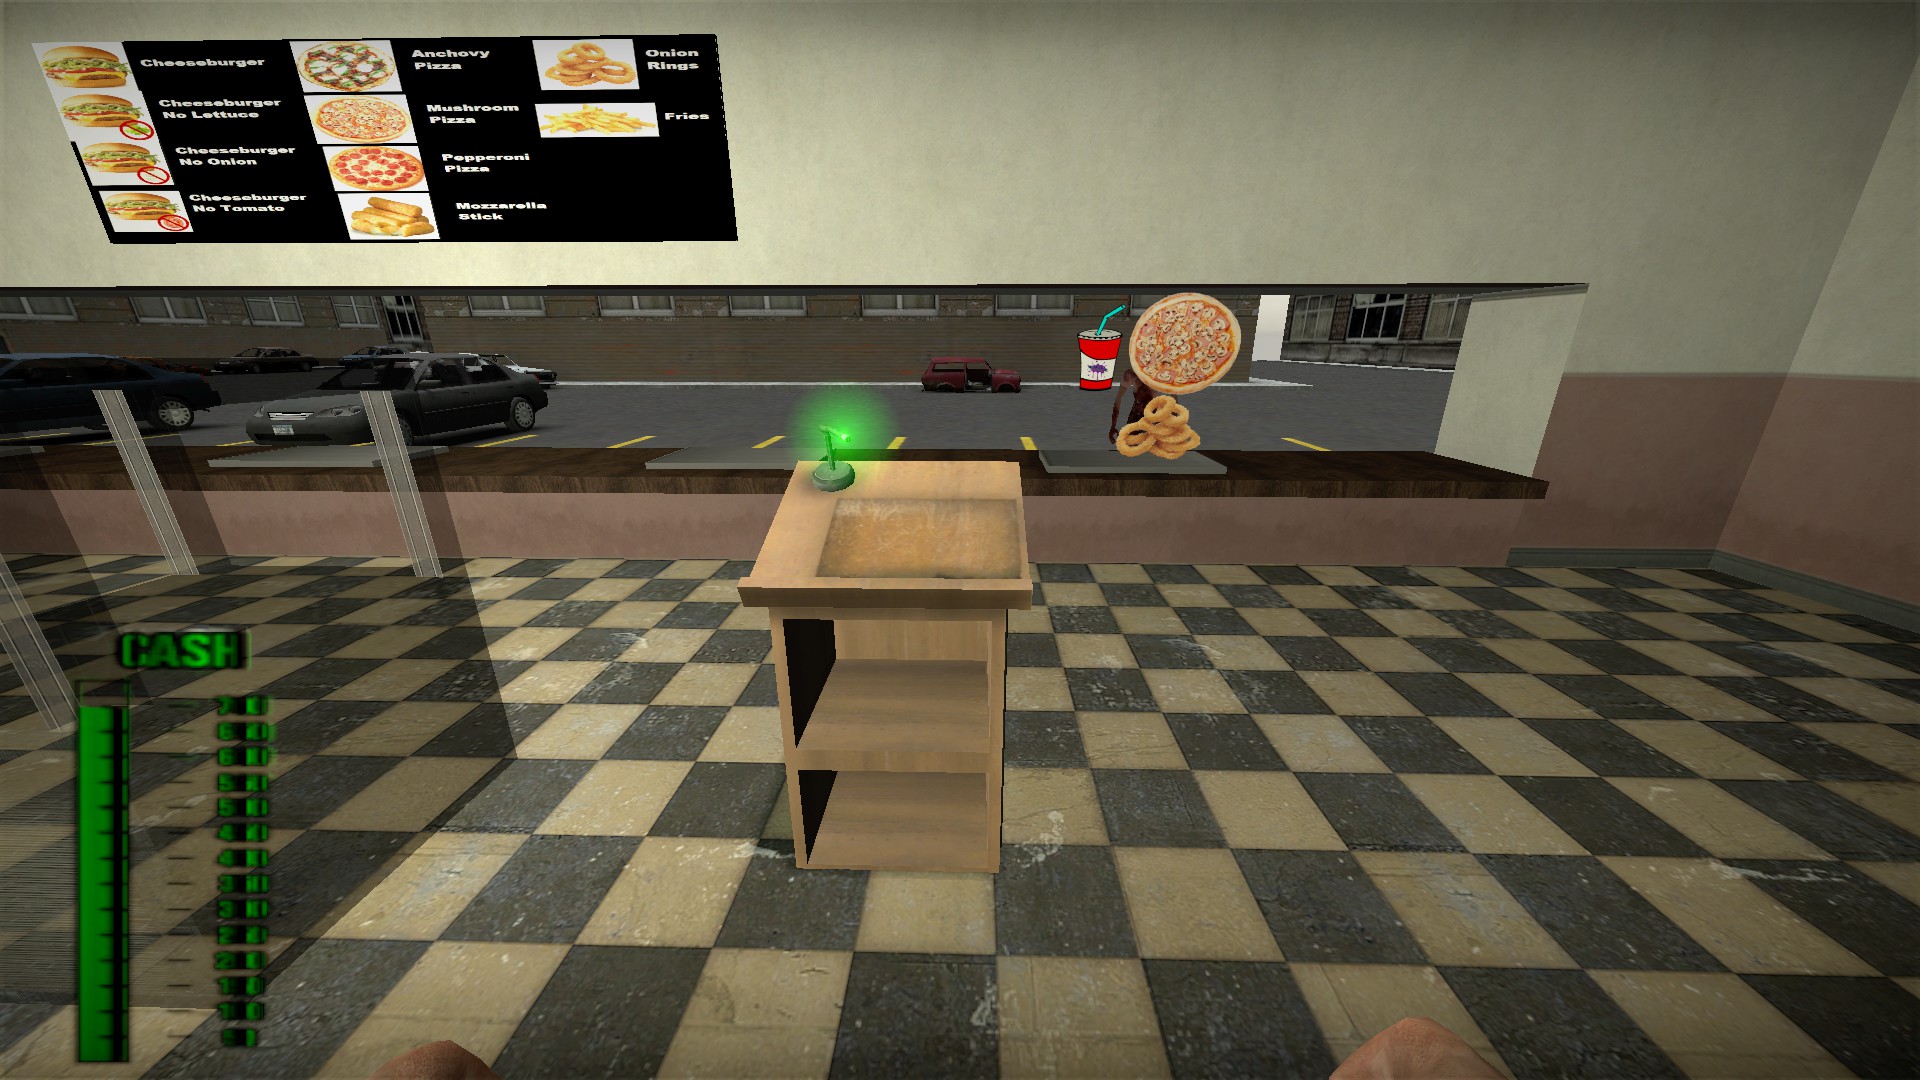
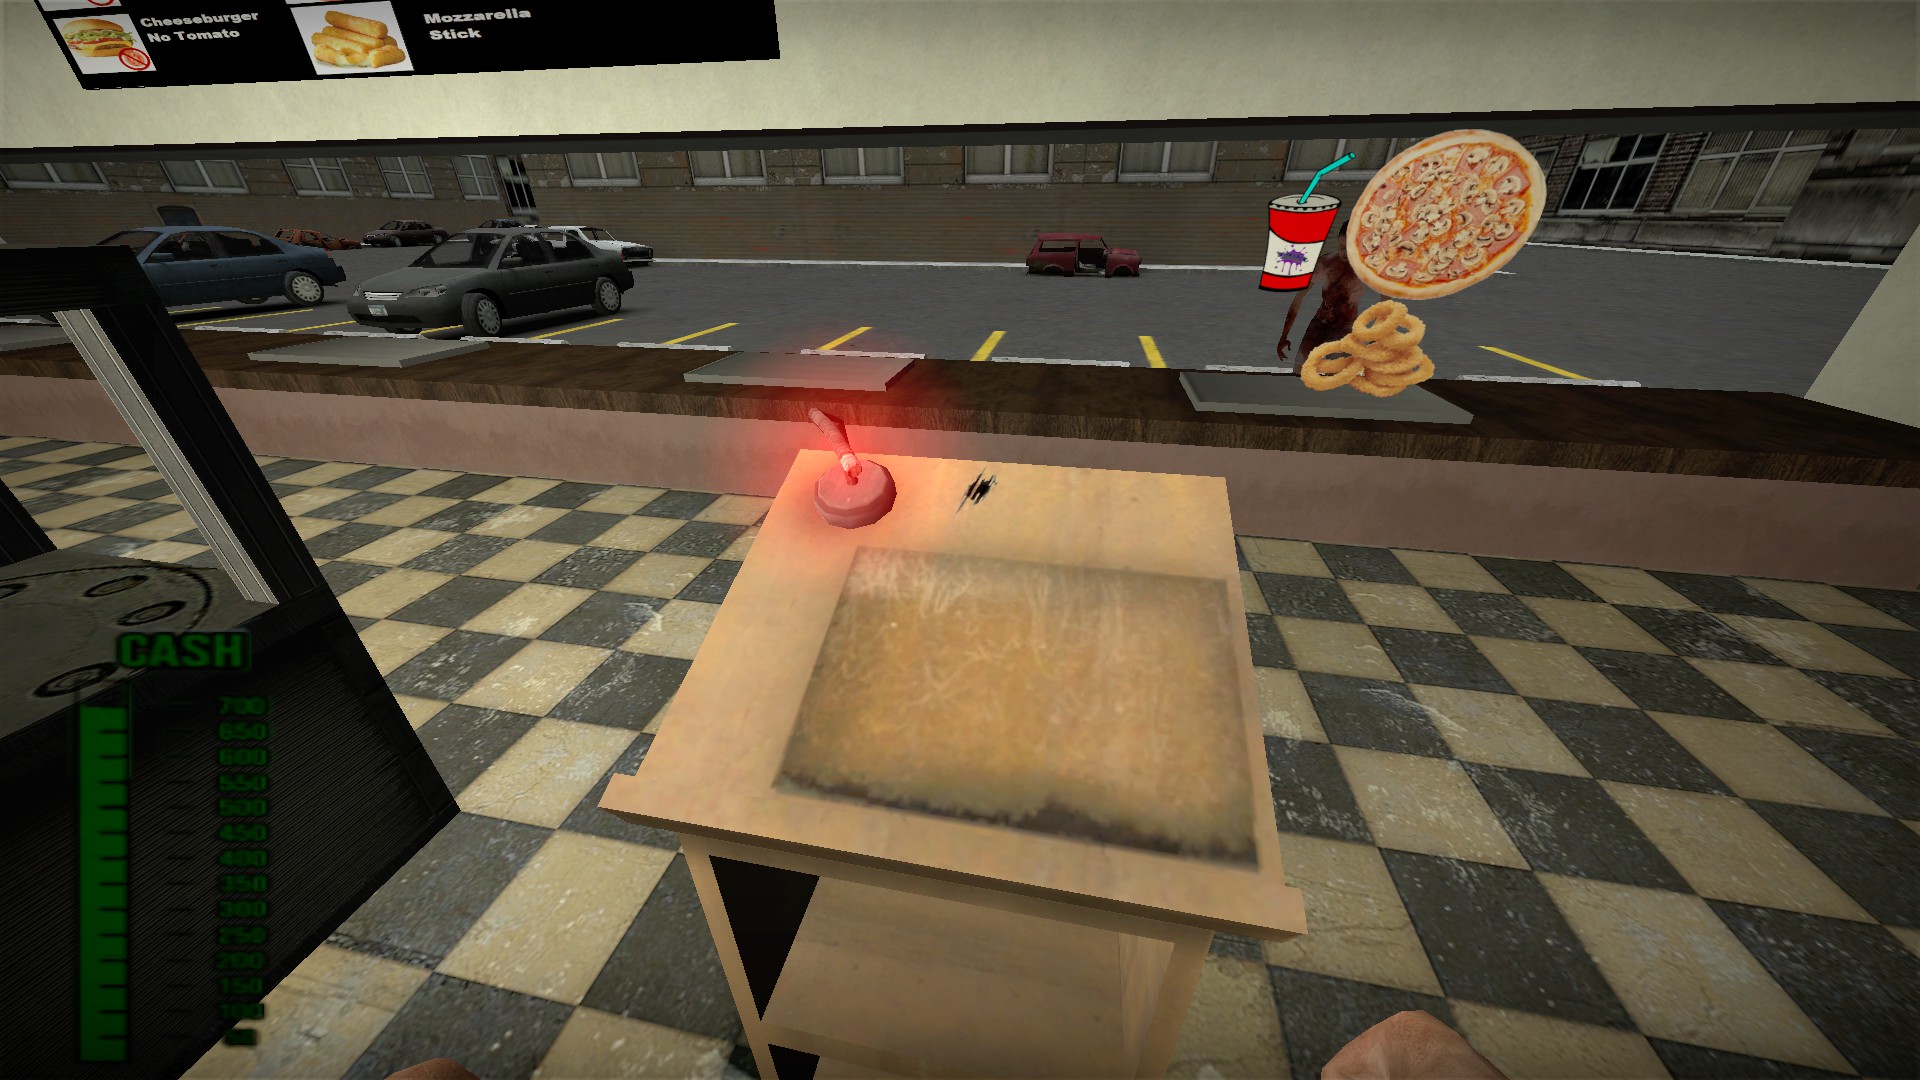
The podium costs $300. Basically a walkie talkie. Once per customer you can approach the podium and hold your center mouse button to use it (it will turn red)
TV
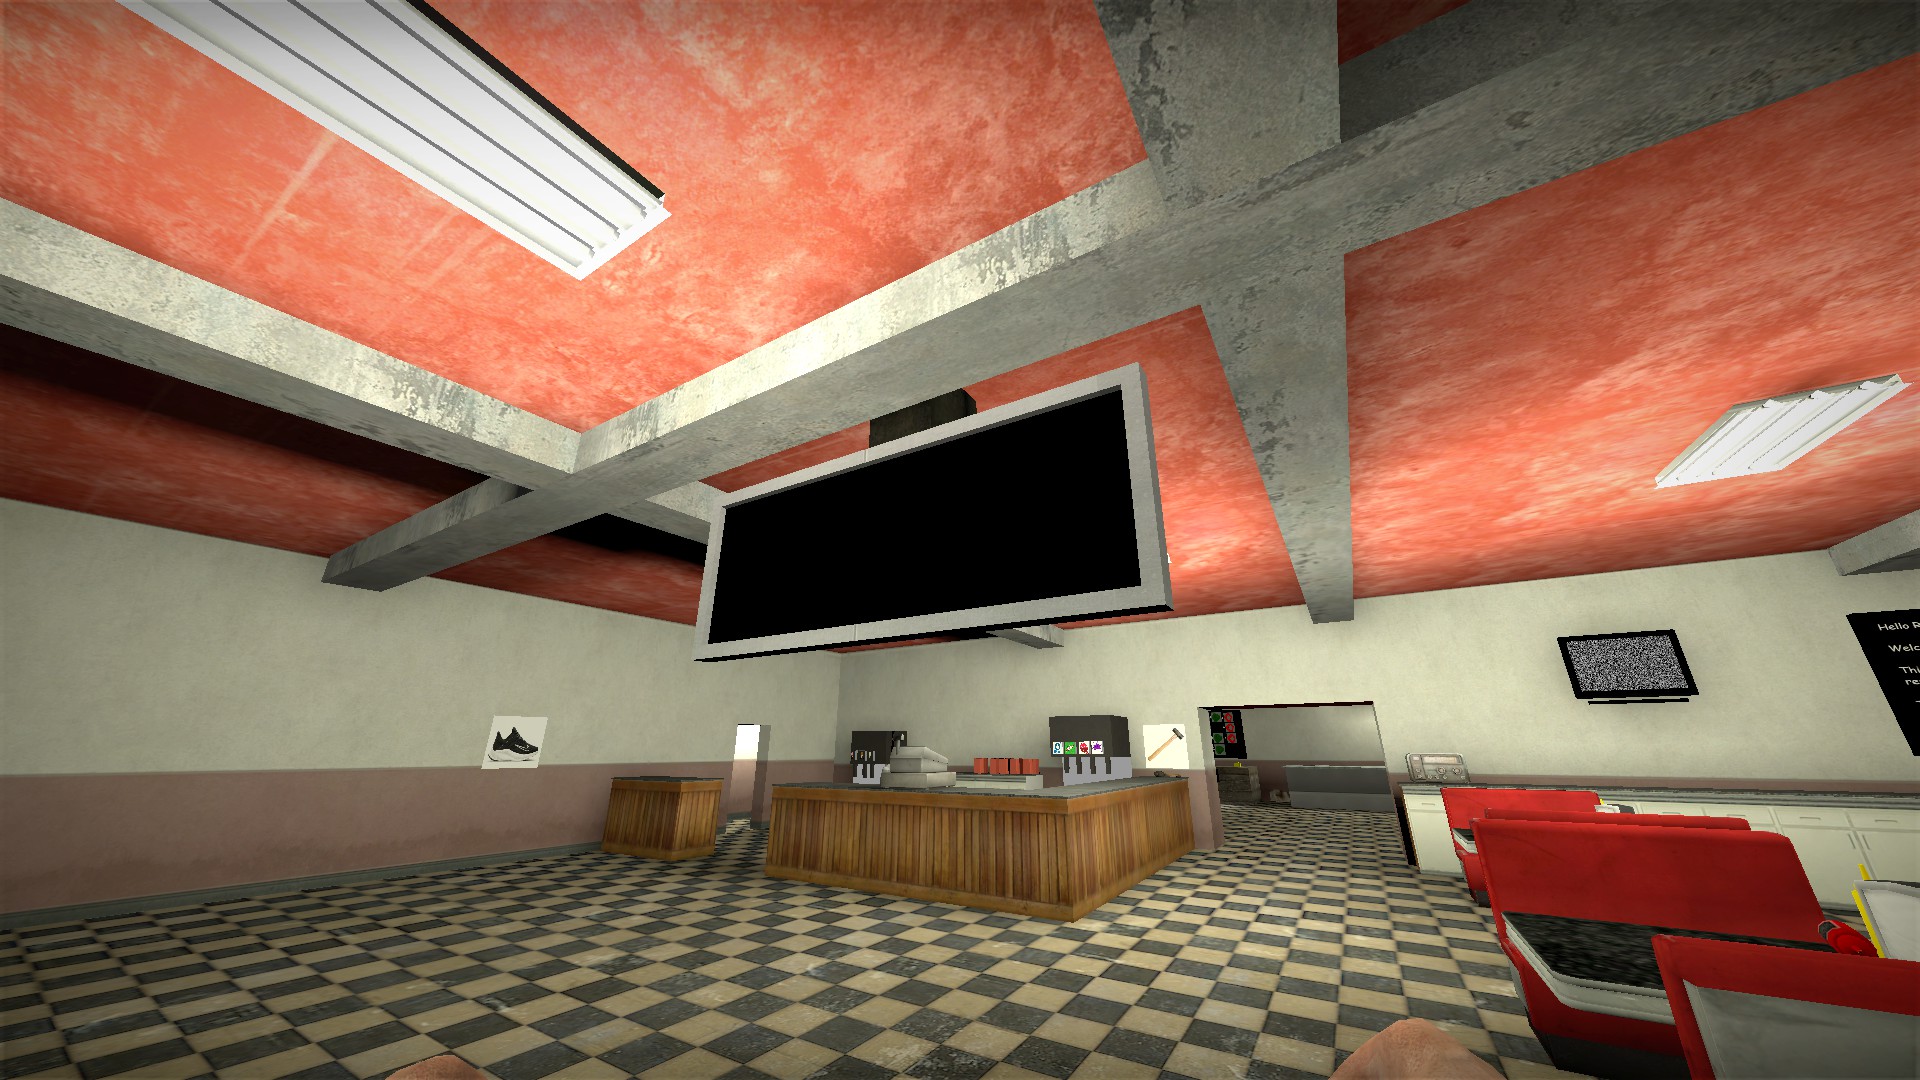
TV costs $500. It will increase how long the customers will wait for orders
Shovel
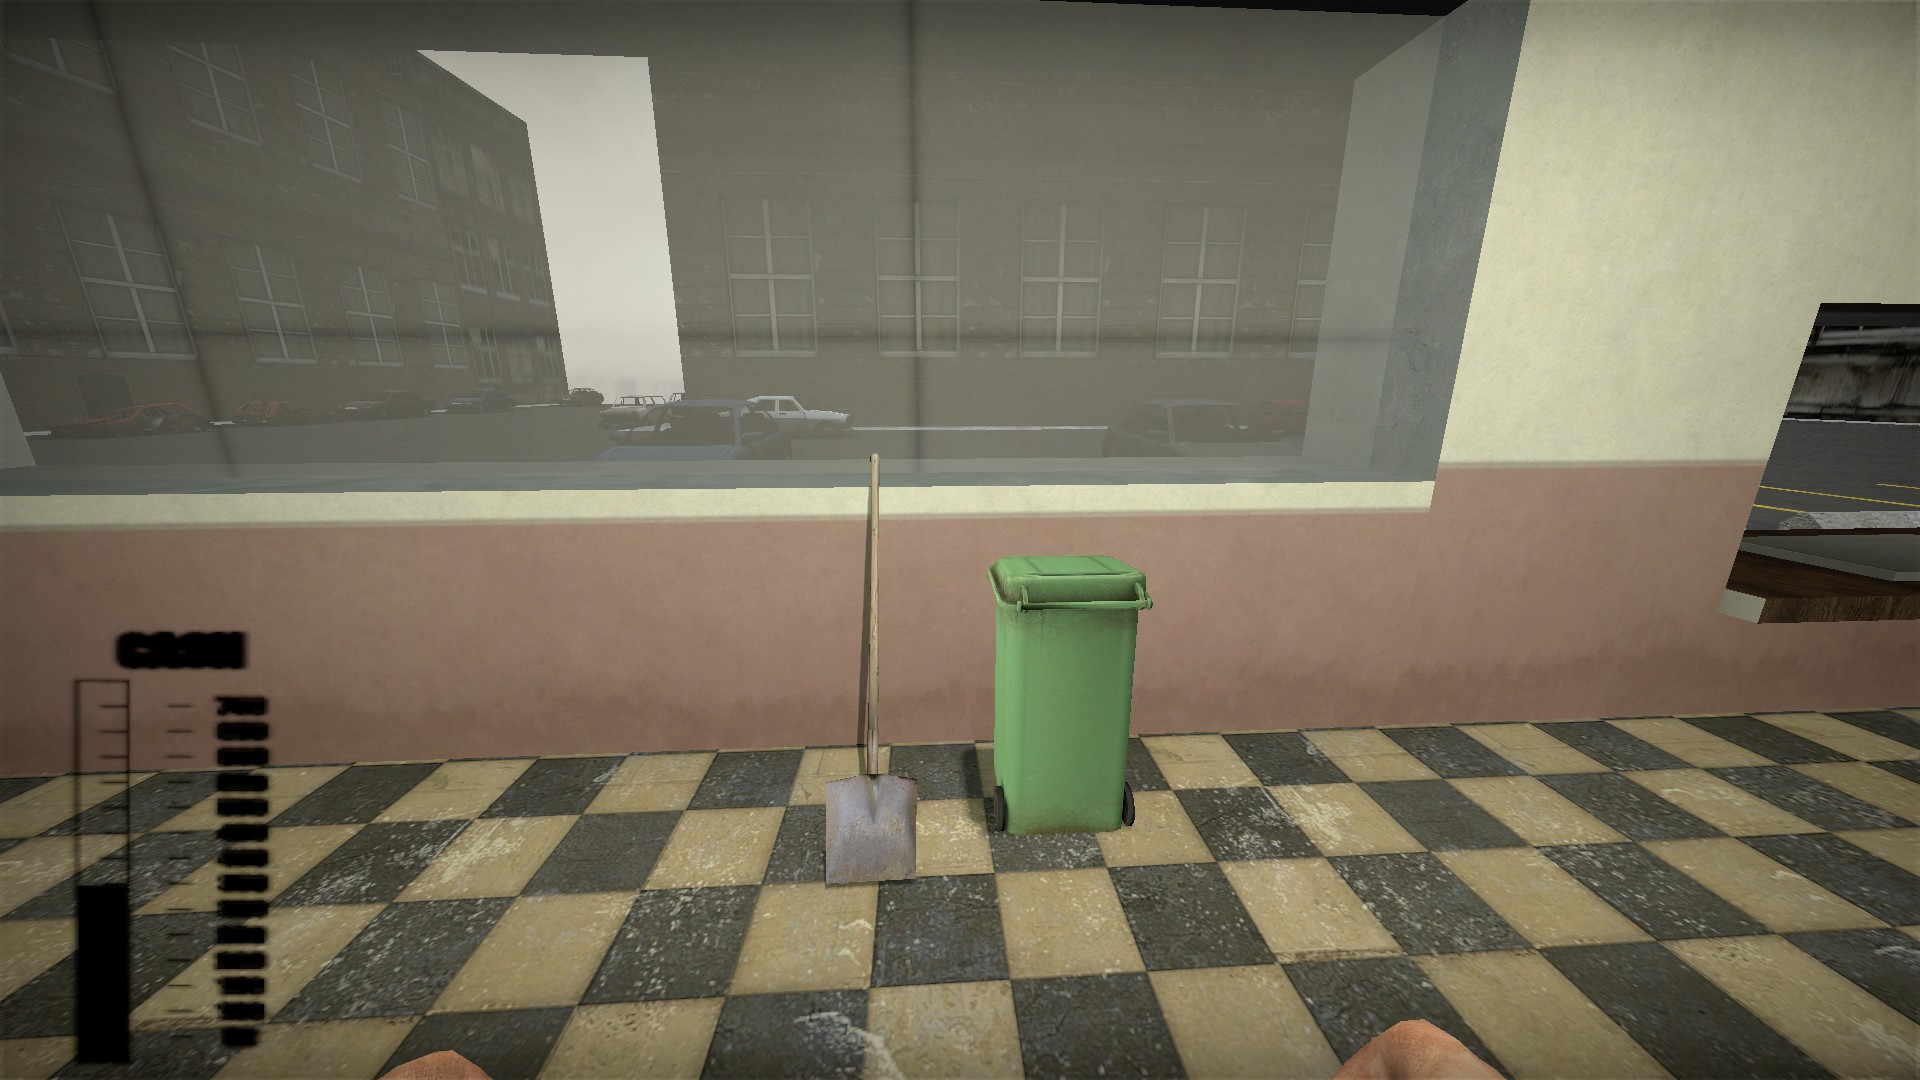
Shovel costs $400. I don't know what it does
Teleporter
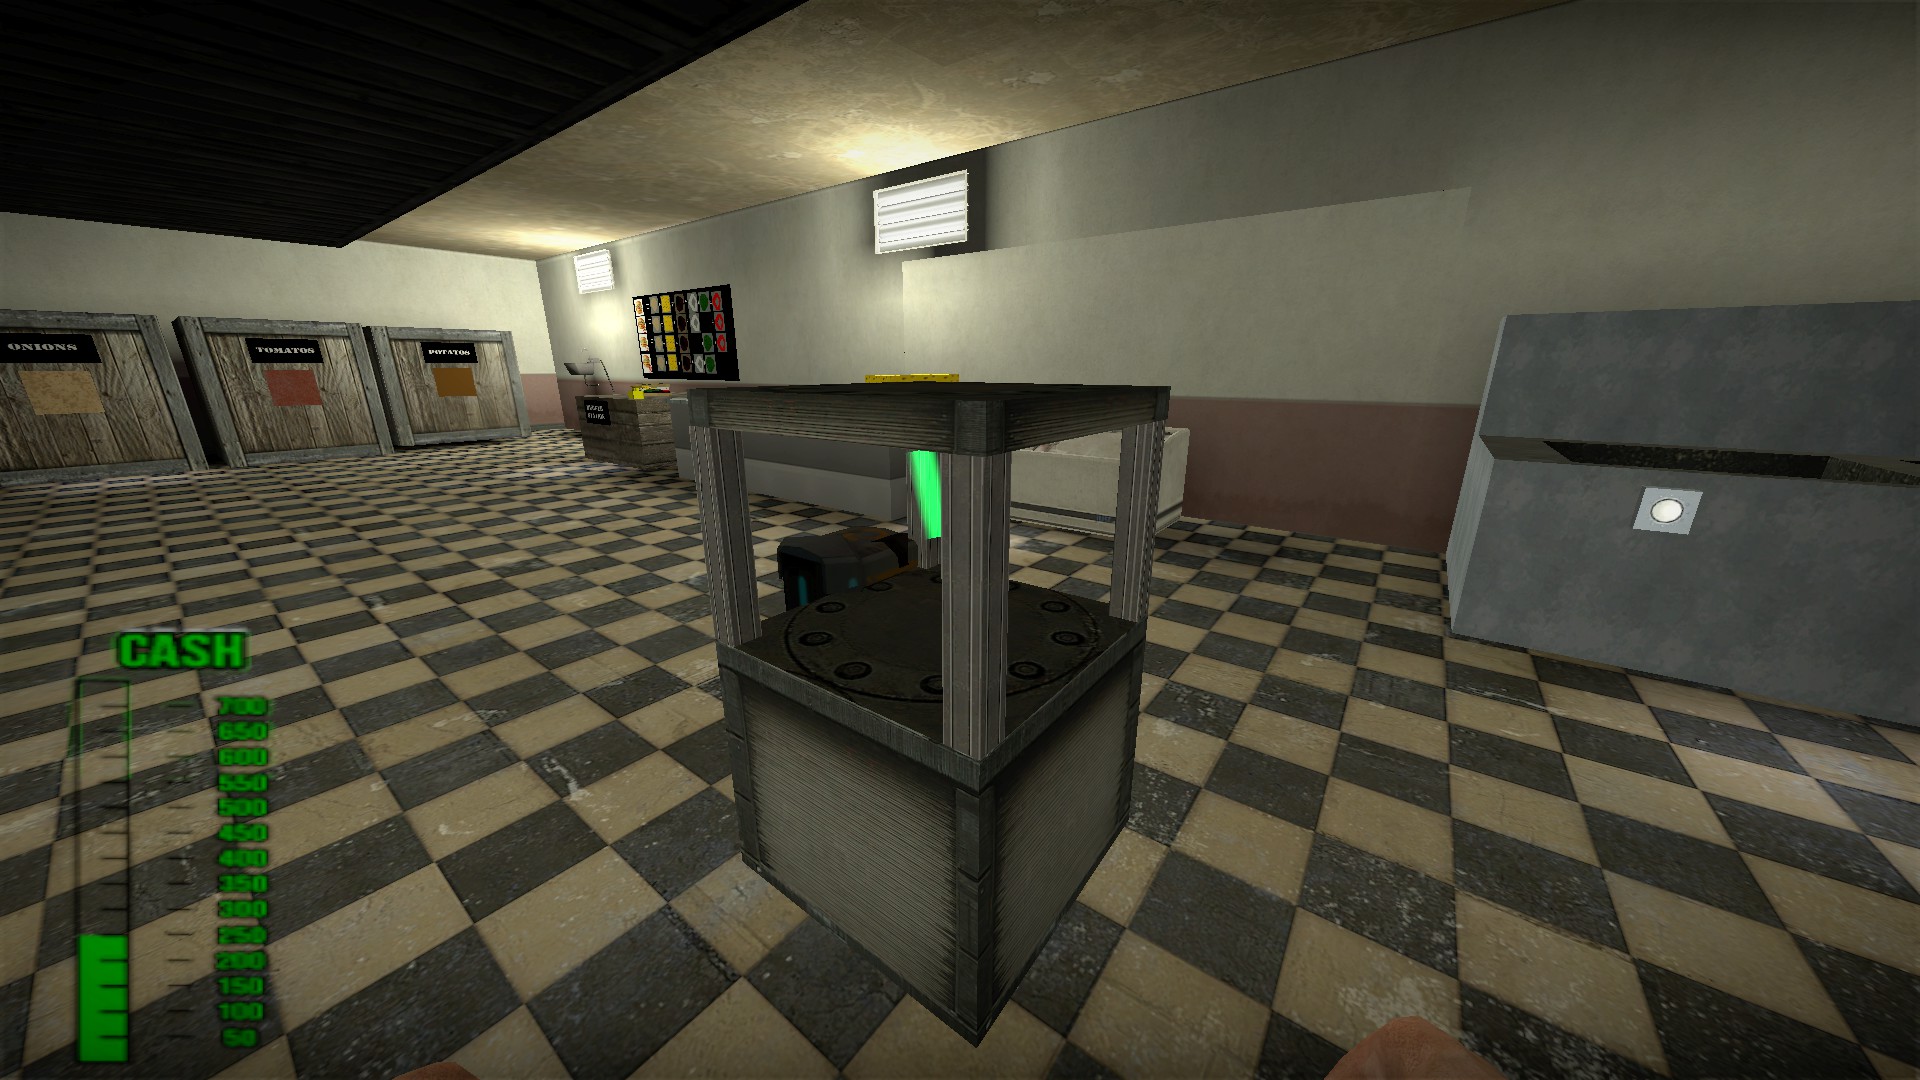
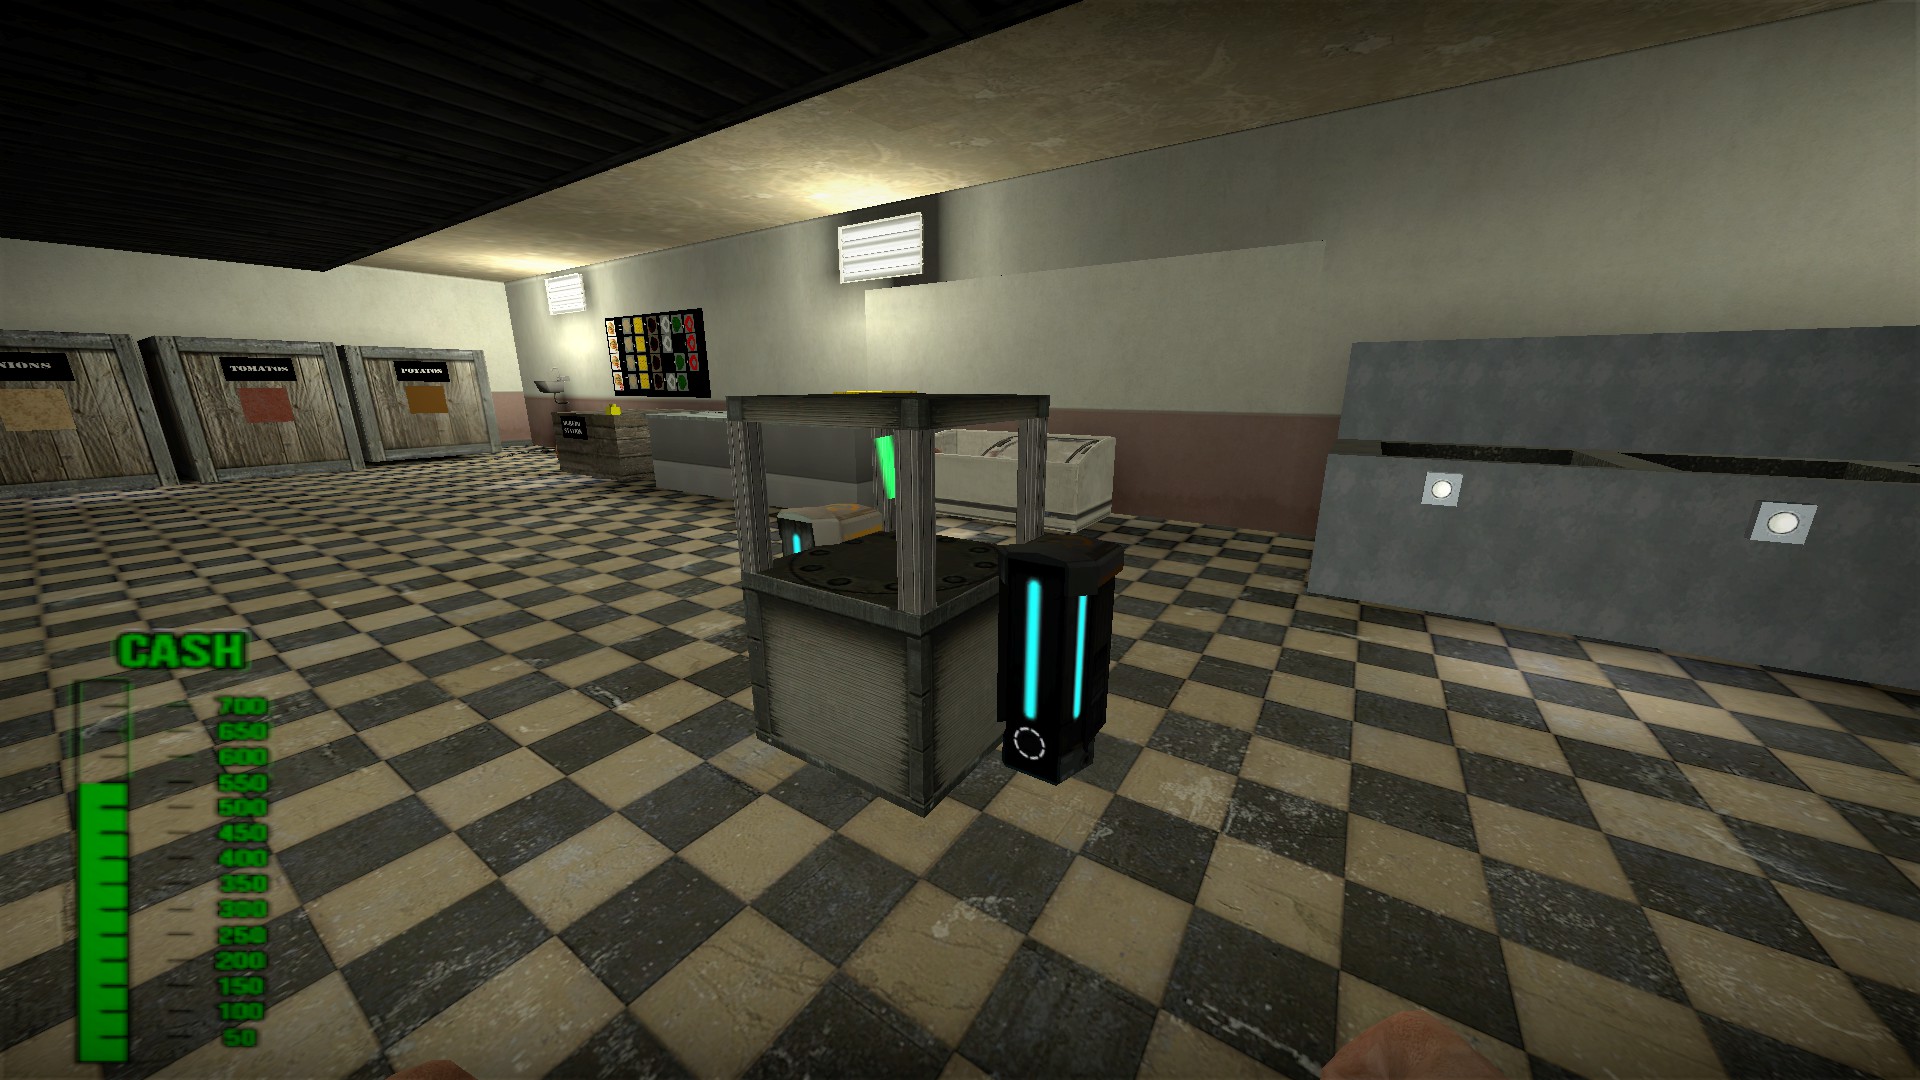
Teleporter costs $700. You can purchase 2 battery upgrades for it too. Can be used to teleport food and the mop
Debug buttons
These aren't secrets, these are buttons left behind by the developer to test the map. They are fun to play around with and will help you learn the map, You will need to noclip to them. You can do this by creating a server and then entering sv_cheats 1 and noclip into the console
There is one behind the restaurant that will start the ending event when pressed
And there are a bunch more on a nearby roof
I don't know what 5 of these buttons do, let me know in the comments if you find out
The button all by itself on the left will spawn the rat
Top left button will end the round and reset reputation (I think). Can only be used once. Use the other button on the right side to advance round by round
Top right button (fast forward): fast forward the round - customers appear more quickly and wait for less time
Bottom button (plus): increase reputation
Bottom button (minus) decrease reputation
Bottom button (pause): pauses the customers - customers will wait endlessly and no new ones will arrive. Other events like the rat, boiler, electric bill, drive-by shootings, or filth will not be paused
The left button will spawn uncle ton without the cutscene
The top button will spawn a zombie horde
The middle button will spawn a zombie kid pizza
The bottom button will break holes in the top of the restaurant (like uncle ton does)
1: idk
2: idk
3: idk
4: idk
The left button will spawn one customer each time it is pressed
The middle button will clear all customers and end the round. Use it to move round to round
The right button idk
This cluster of five buttons will take you to different rounds of the map
Green - round 3
Blue - round 6
Yellow - round 9
Orange - round 12
Red - round 16 (ending). Use the button behind the restaurant instead of this one to cut to the ending event, the cutscene bugs with this button
This cluster of 3 buttons are for food and cash
The button on the left over the brick will spawn one of every type of burger, side, pizza, drink, and ice cream. It will spawn more if you keep pressing it
The button in the middle will give you full cash ($700)
The button on the right with the skull and crossbones will destroy all food in the restaurant
Purchasable items
Don't run out of cash completely as you may need some to pay electric bills
Mop O Matic
Mop O Matic costs $150. It will halve the mop time from 10 seconds per spot to 5
Rat Destroyer
The rat destroyer costs $200. It is larger than the mallet at start and does x2 damage to the rat. Kill rats quickly, in addition to eating food, every moment that it is on the floor it adds to the filth level
Shoes
Buying shoes will make the team faster, the first pair will cost $150
The second pair also costs $150 and will increase speed
The third pair costs $200 and will make the team much faster
Podium
The podium costs $300. Basically a walkie talkie. Once per customer you can approach the podium and hold your center mouse button to use it (it will turn red)
TV
TV costs $500. It will increase how long the customers will wait for orders
Shovel
Shovel costs $400. I don't know what it does
Teleporter
Teleporter costs $700. You can purchase 2 battery upgrades for it too. Can be used to teleport food and the mop
nmo_uncletons_pizzeria_v3 (continued)
Underneath this near impossible map is an even harder ending
Uncle Tonzilla
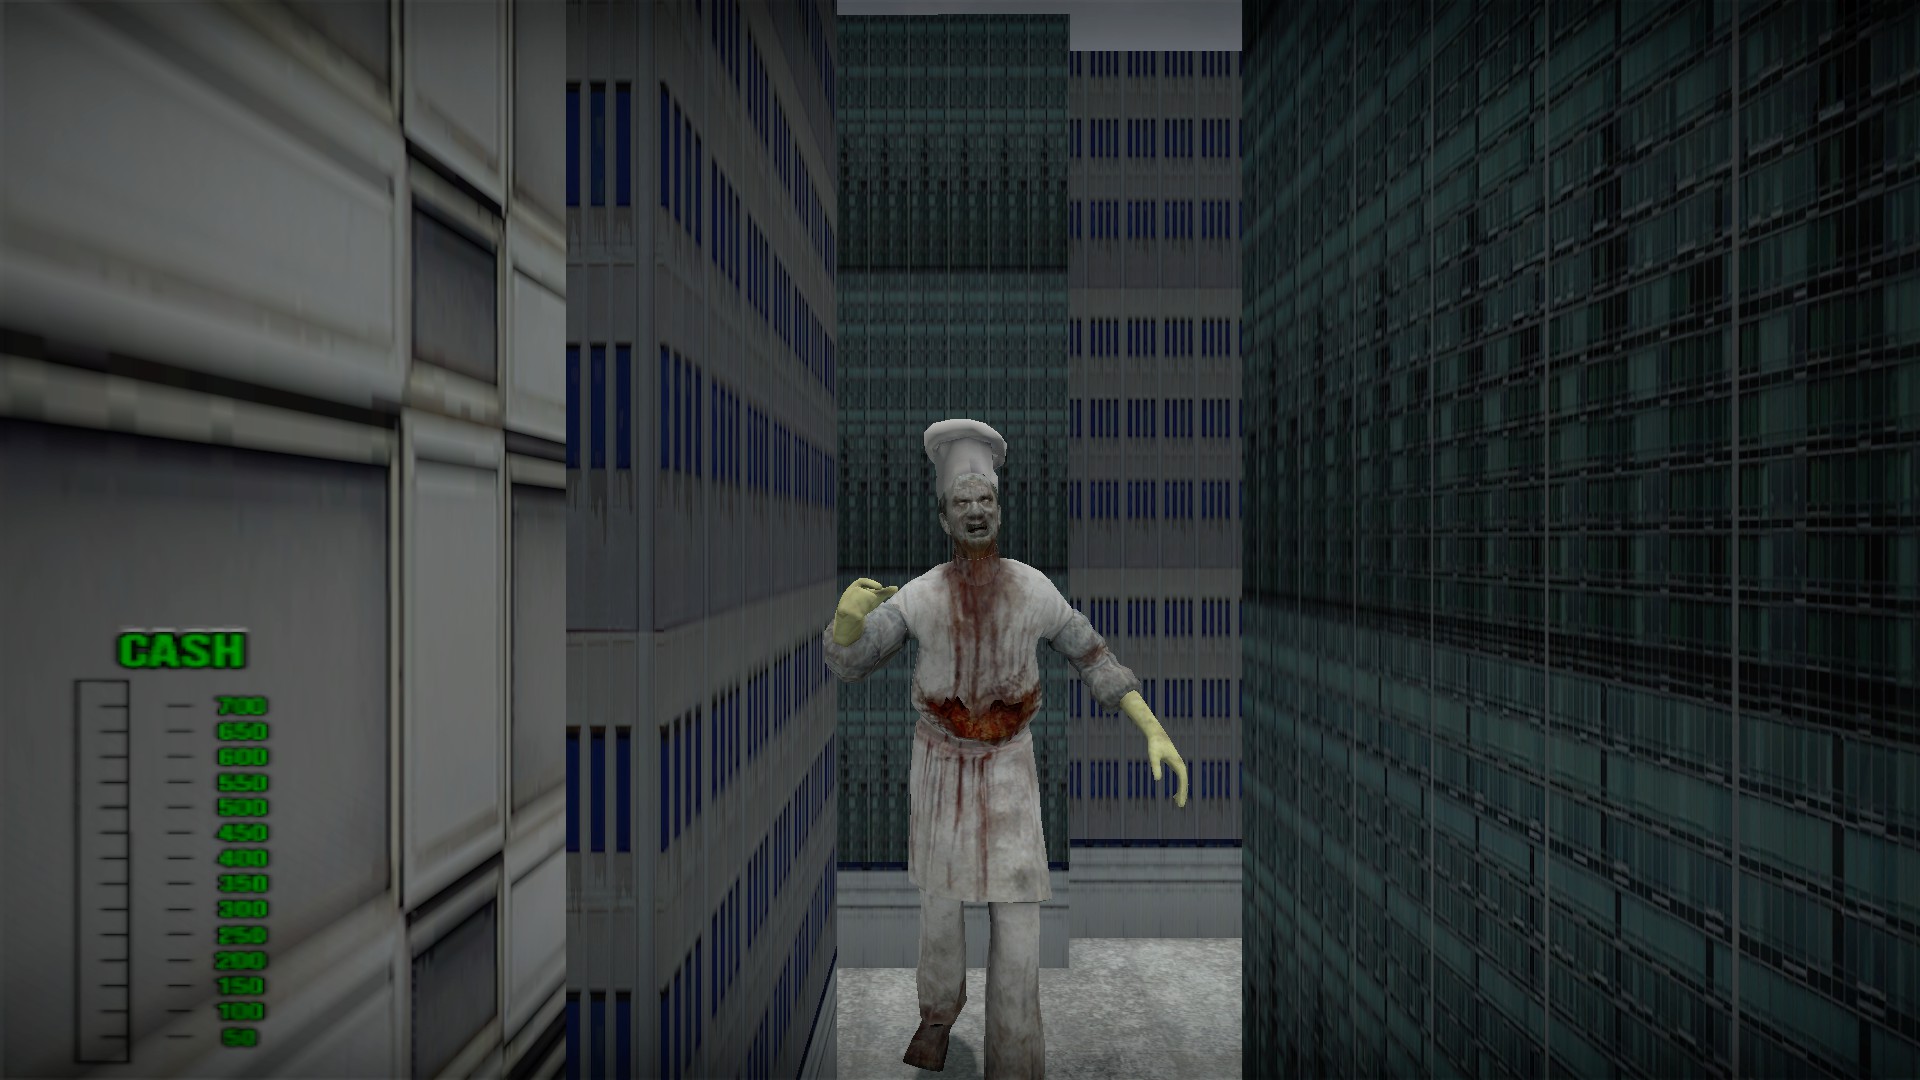
If you somehow make it to the 16th round of this map, or press the debug button behind the restaurant, there will be a cutscene showing that uncle ton has returned in titan form
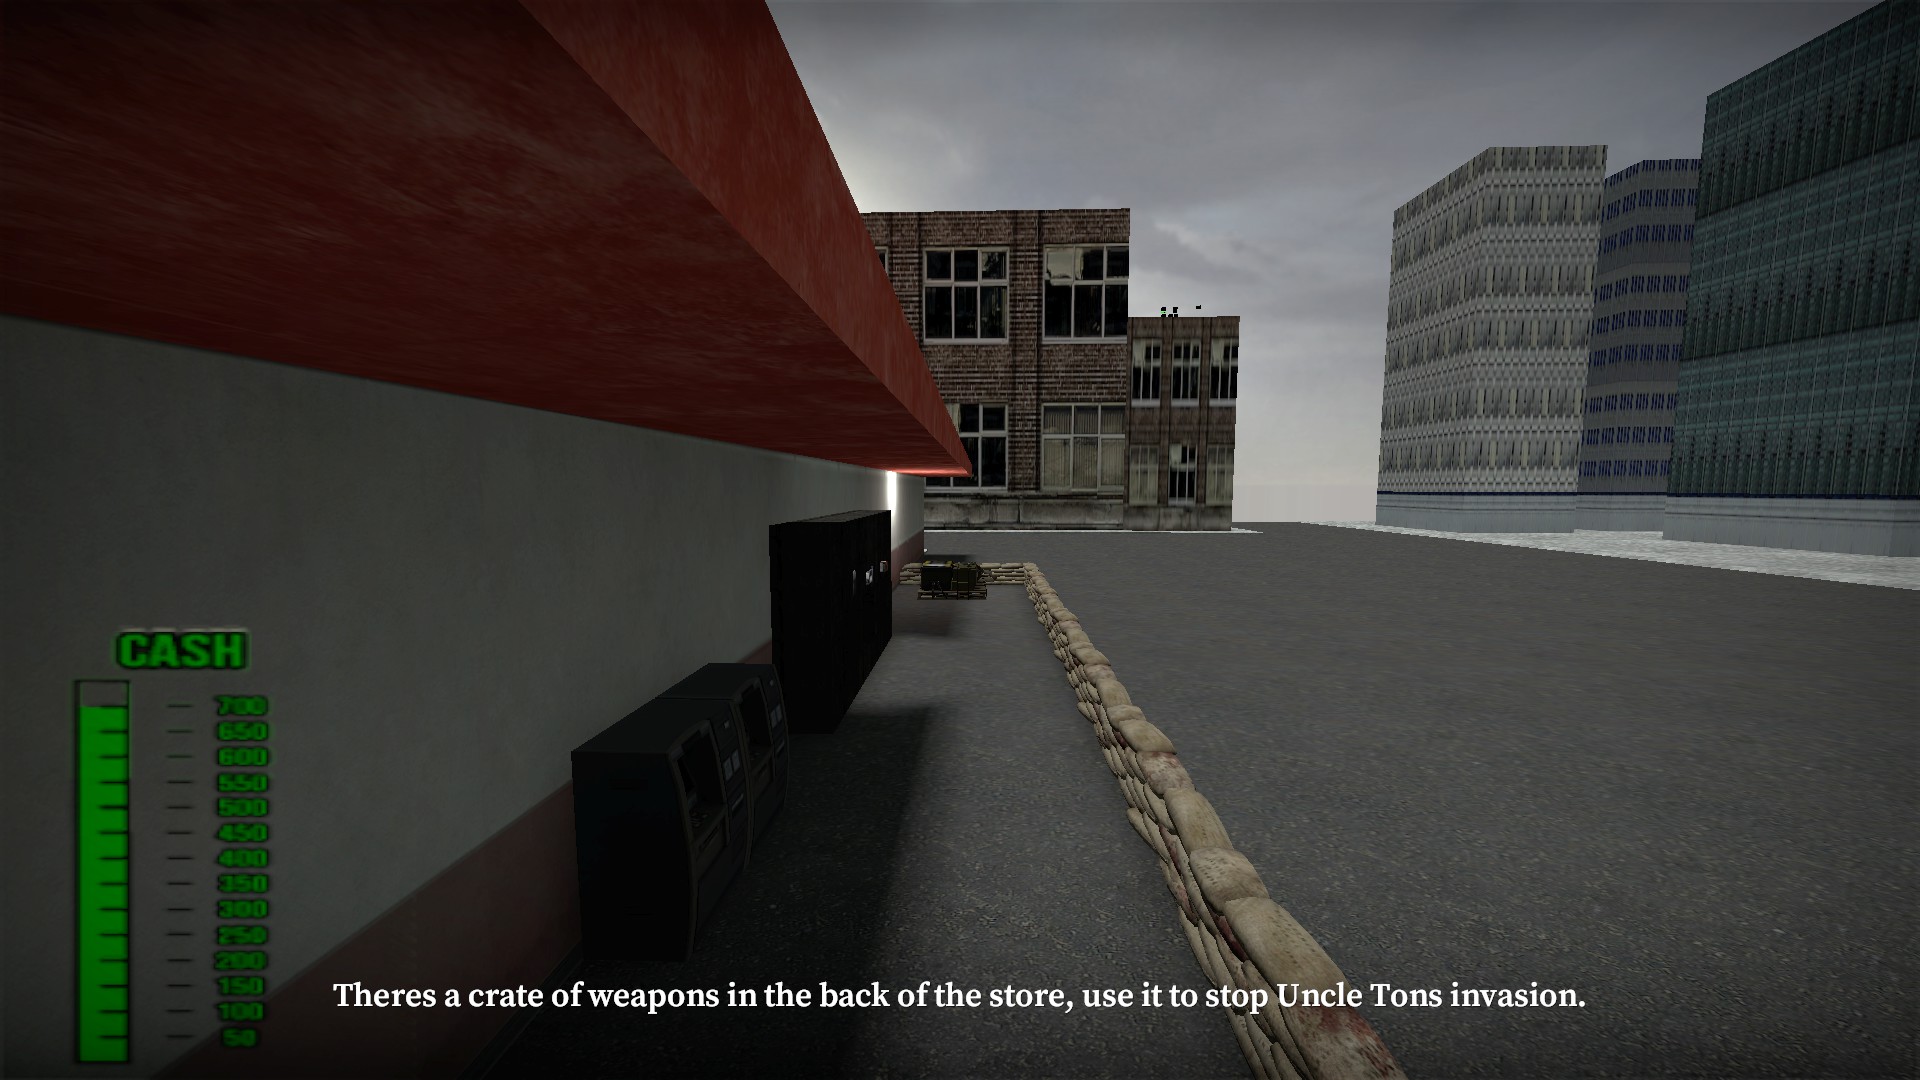
There is a box of firearms outside
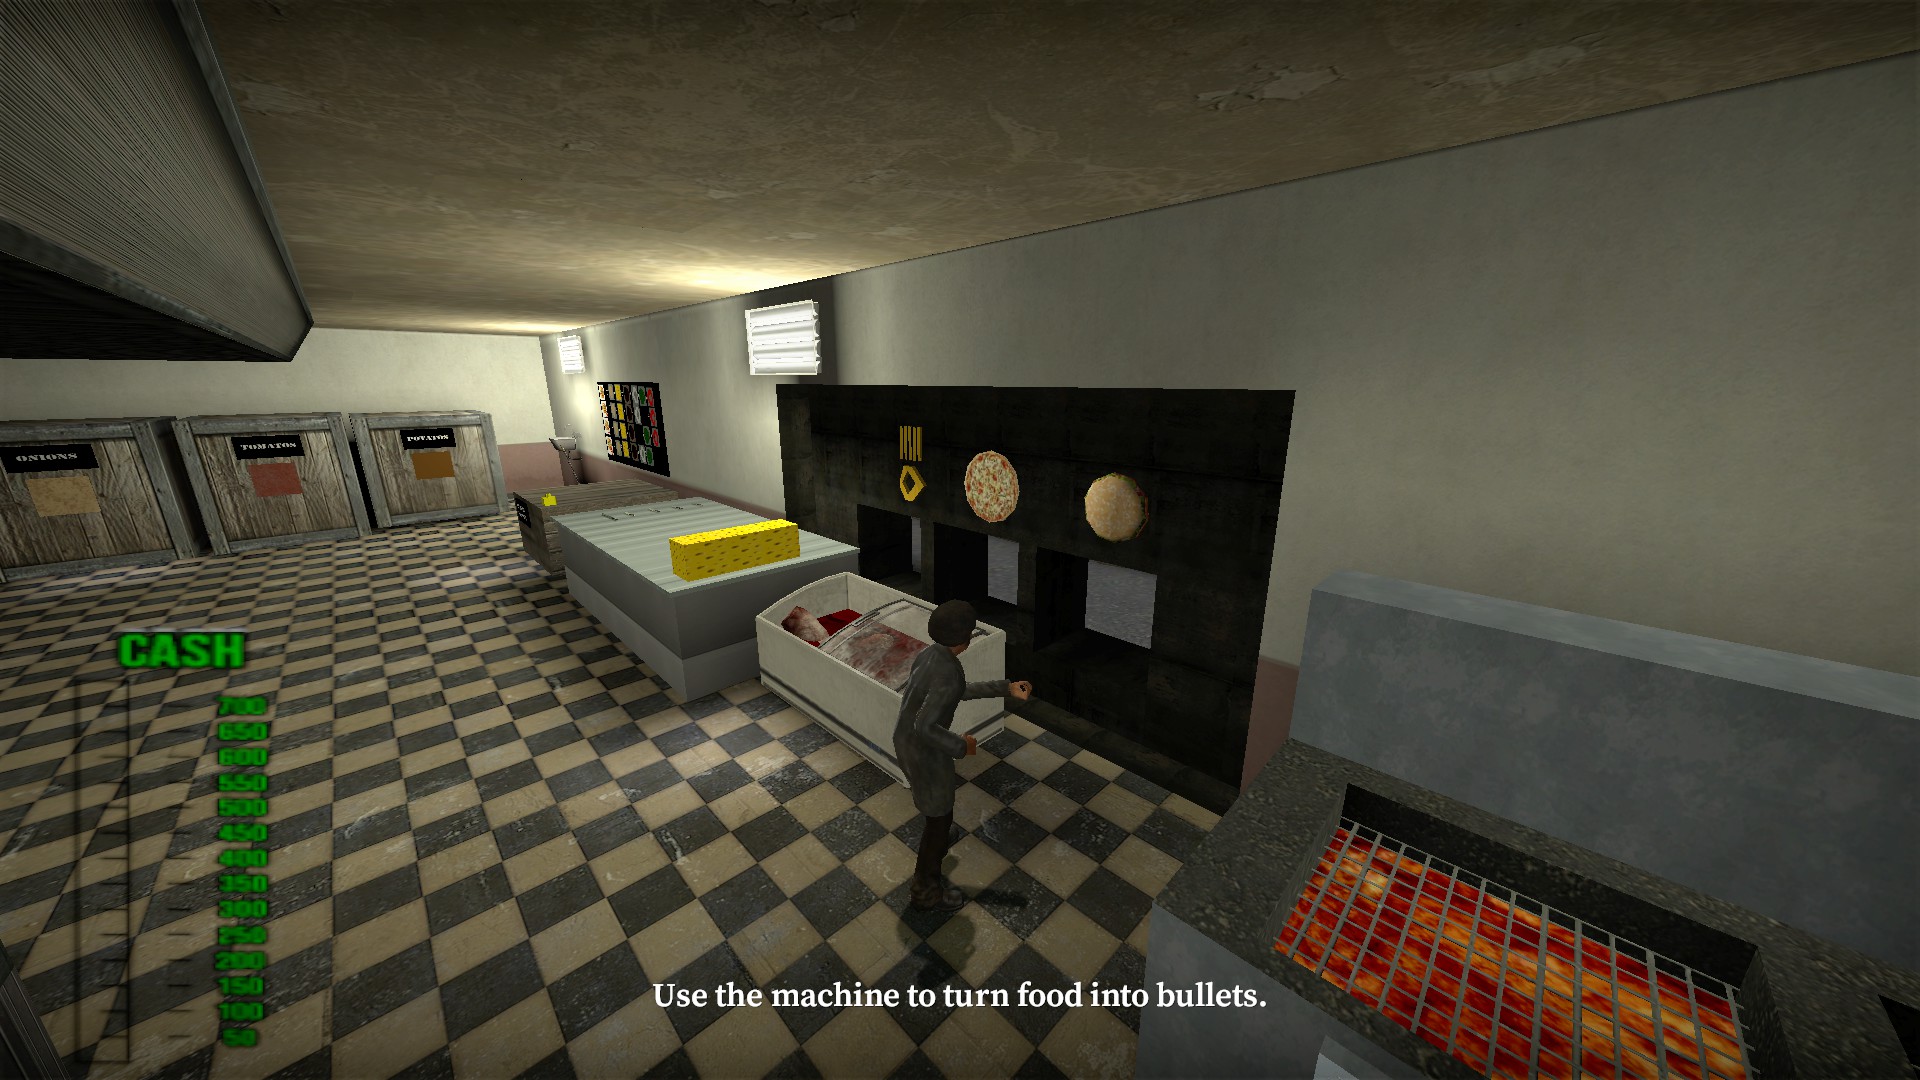
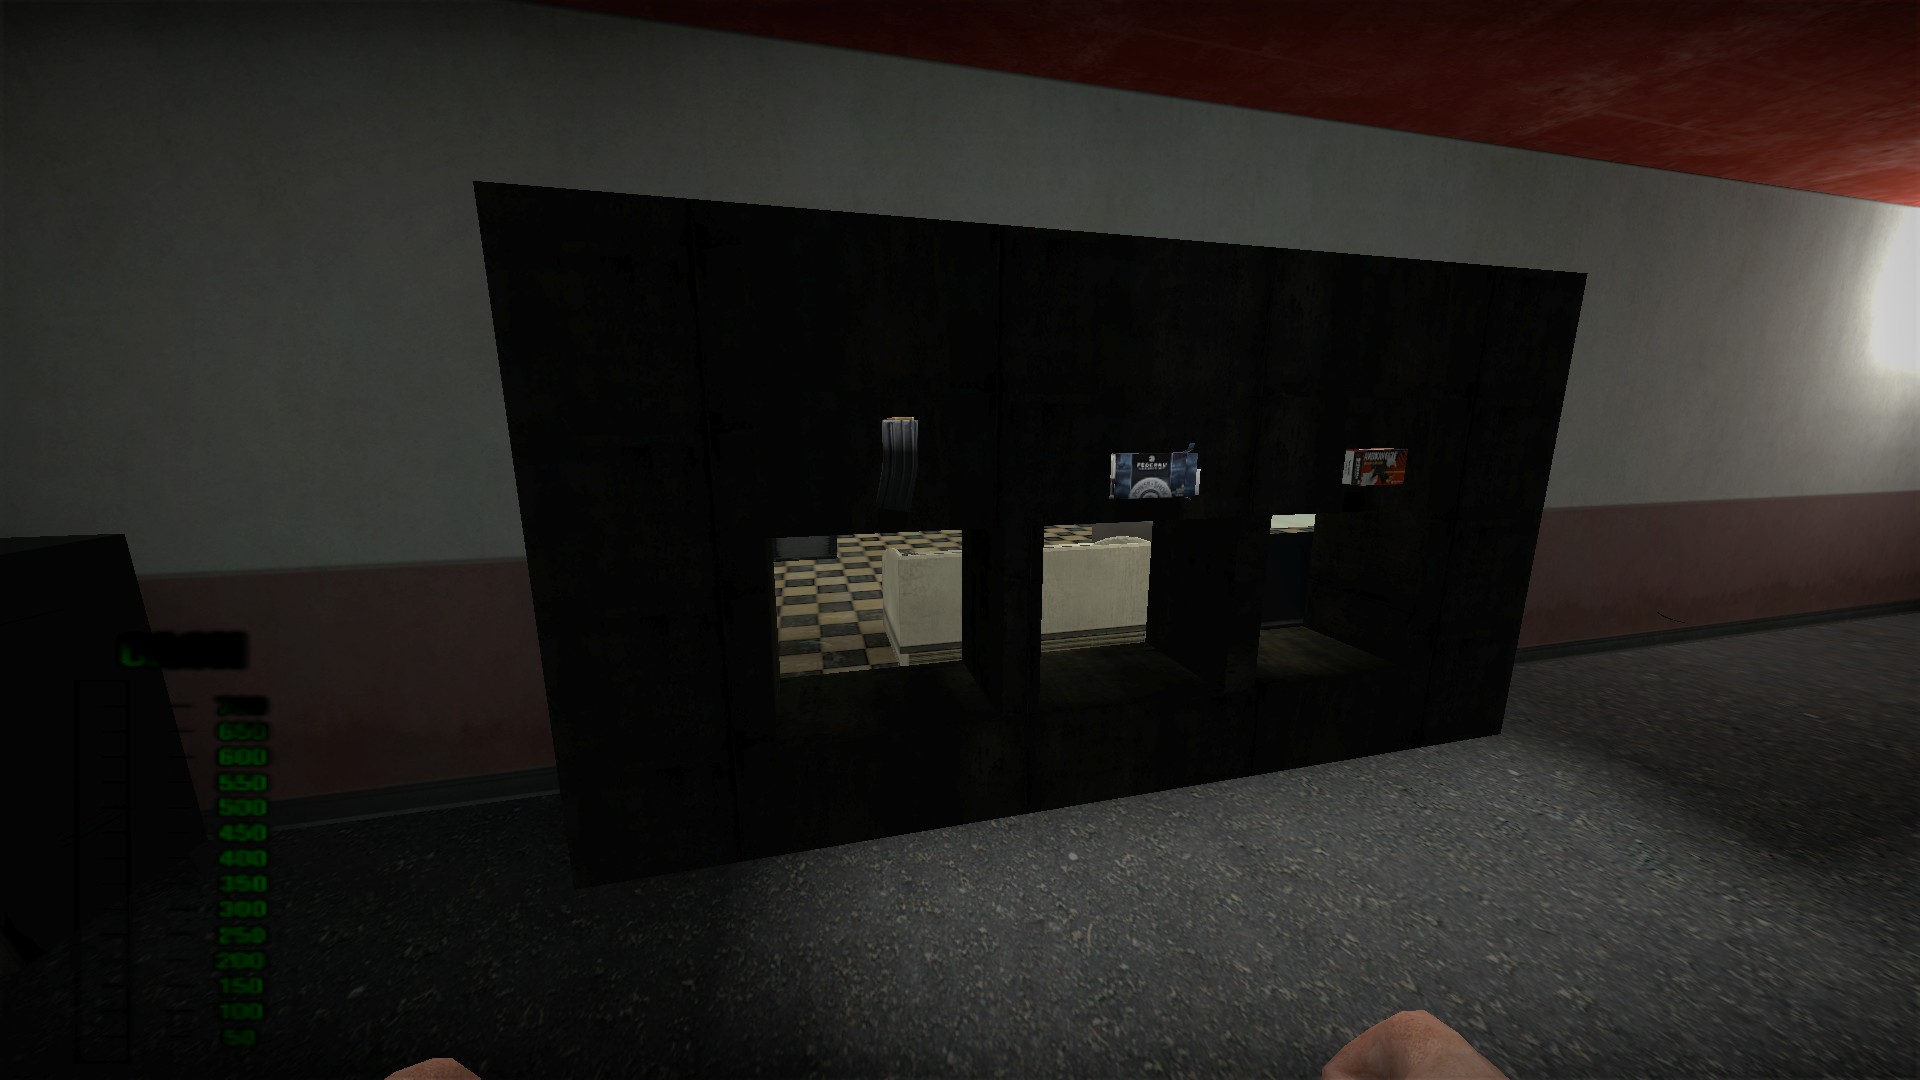
You will need food to turn into more ammo at the back of the restaurant. Burger for .556, pizza for .308, sides for 9mm
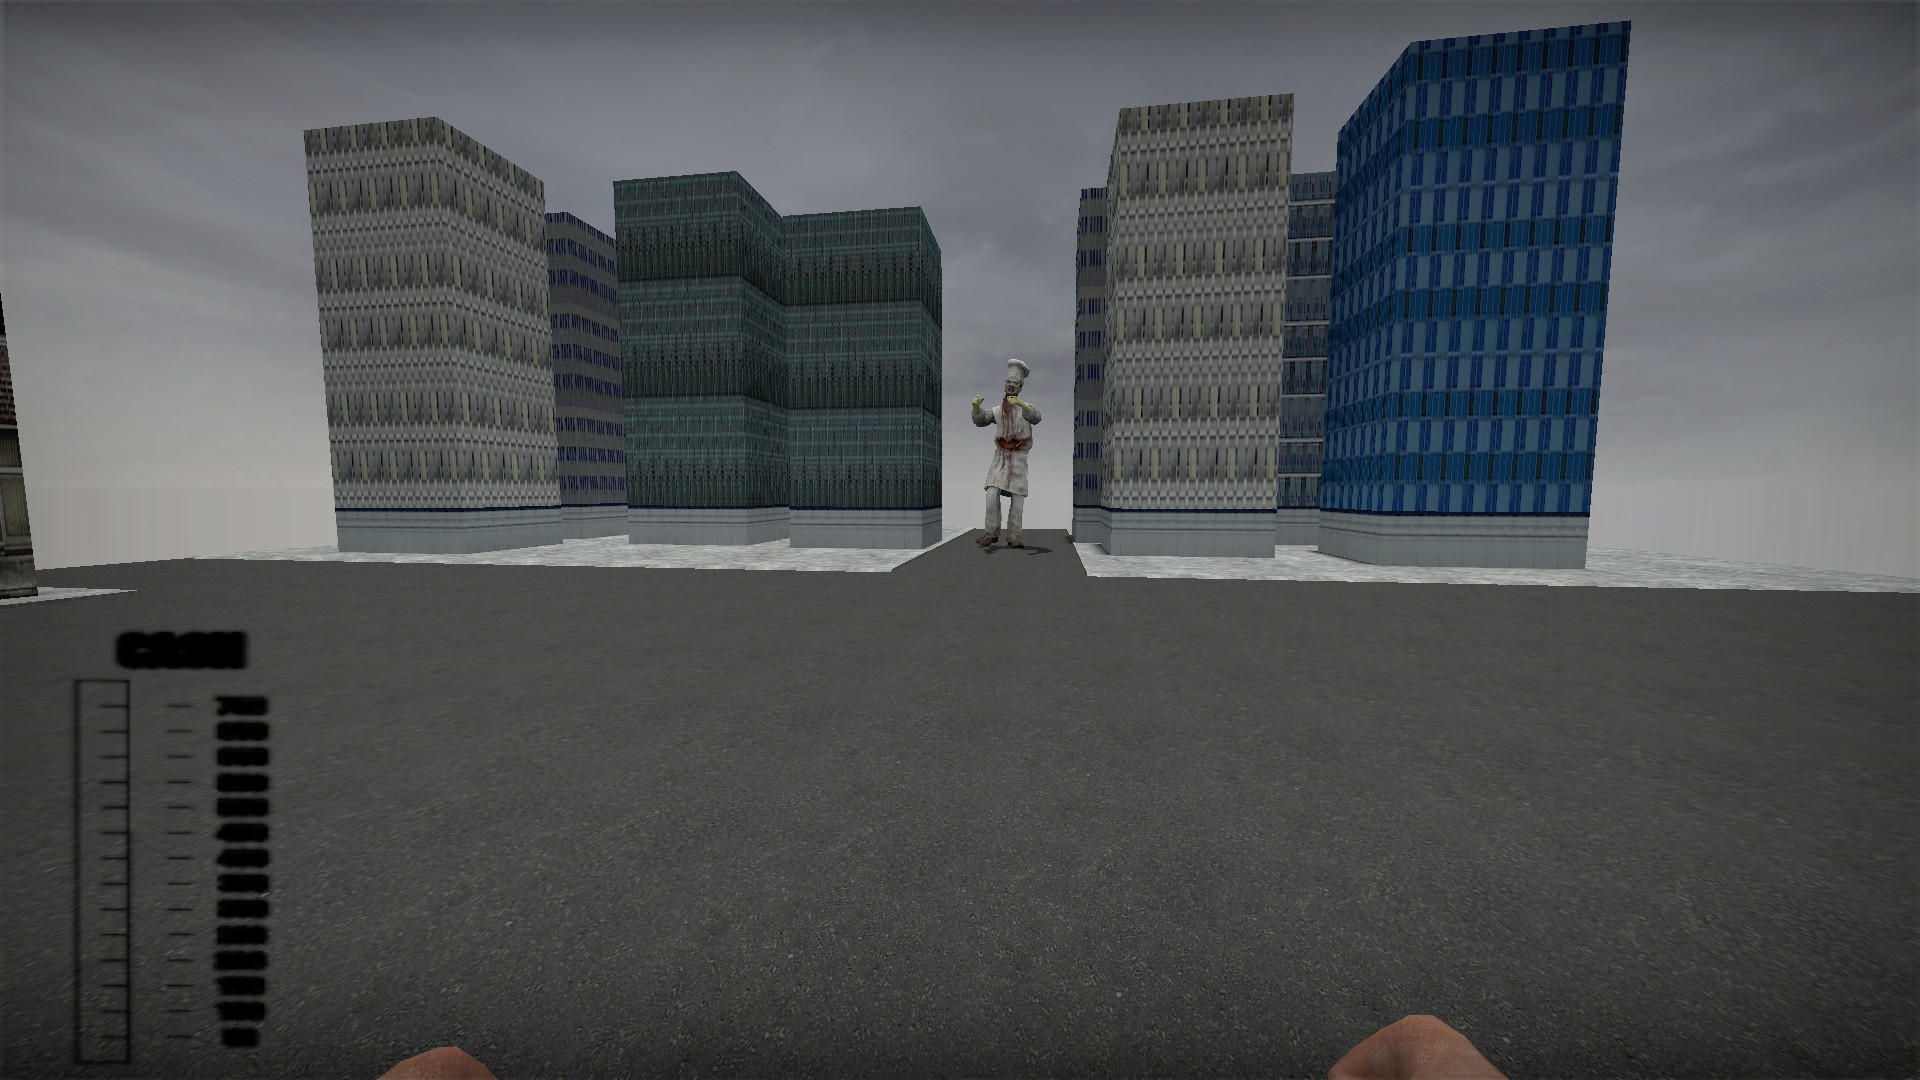
Tonzilla will appear opposite from the weapon box
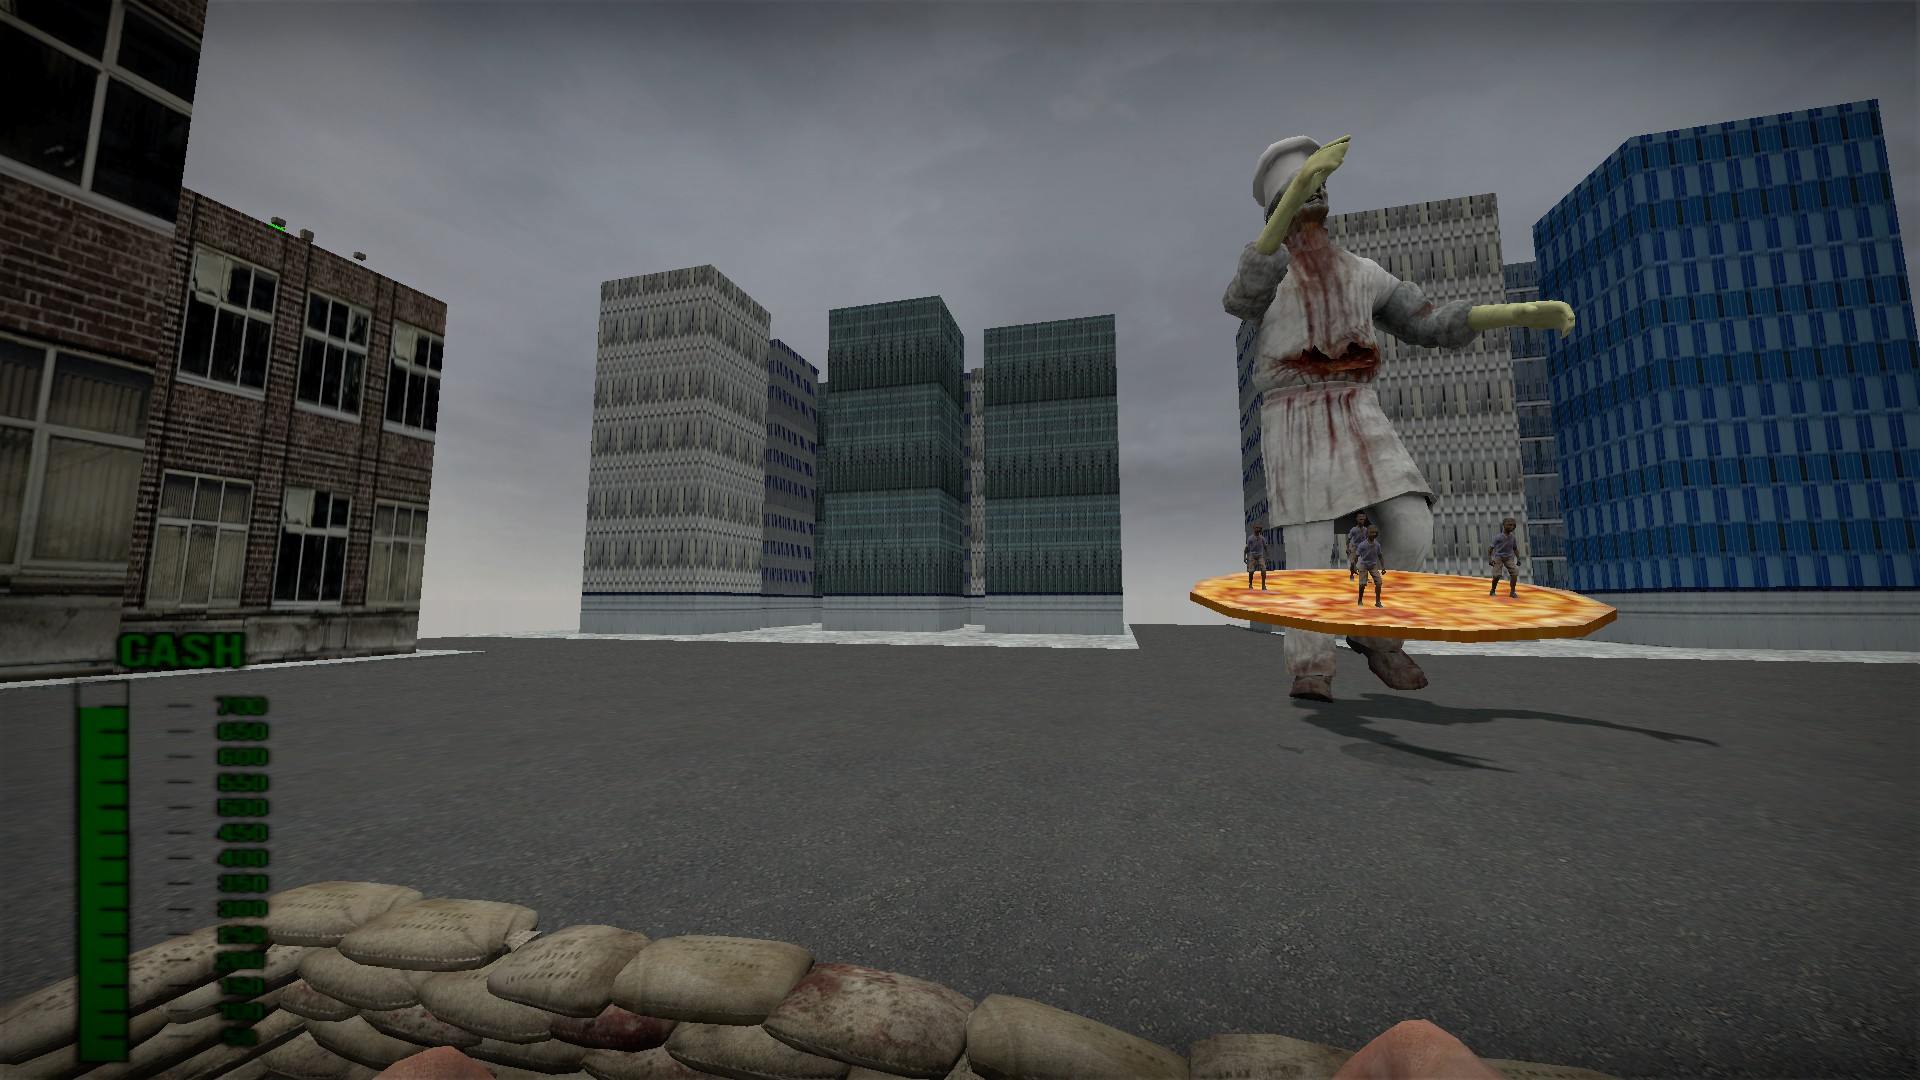
He will be accompanied by pizzas topped with zombie children
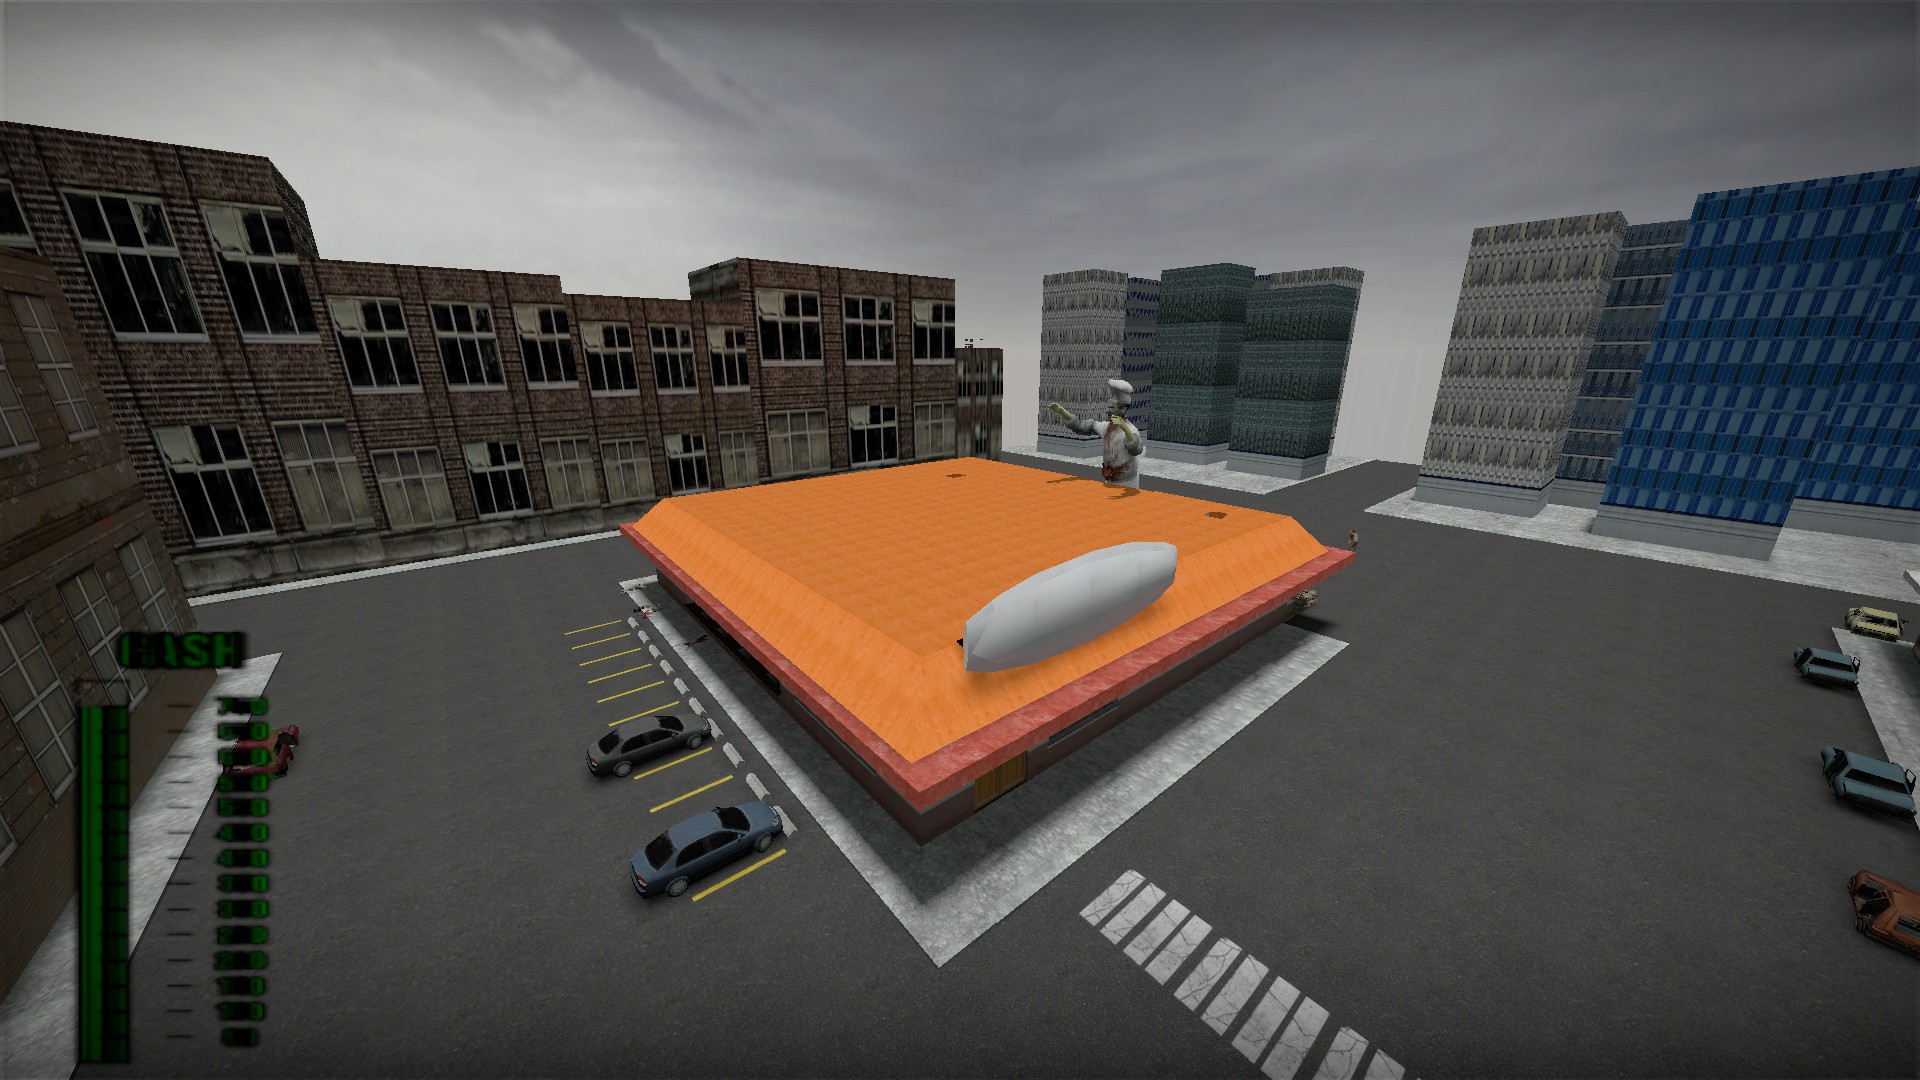
If left alone, Tonzilla will get to and destroy the restaurant in 45 seconds. The whole team will have to move extremely fast. It takes a lot to bring Tonzilla down. I have not beaten him without cheating. Good luck!
Uncle Tonzilla
If you somehow make it to the 16th round of this map, or press the debug button behind the restaurant, there will be a cutscene showing that uncle ton has returned in titan form
There is a box of firearms outside
You will need food to turn into more ammo at the back of the restaurant. Burger for .556, pizza for .308, sides for 9mm
Tonzilla will appear opposite from the weapon box
He will be accompanied by pizzas topped with zombie children
If left alone, Tonzilla will get to and destroy the restaurant in 45 seconds. The whole team will have to move extremely fast. It takes a lot to bring Tonzilla down. I have not beaten him without cheating. Good luck!
nmo_underground
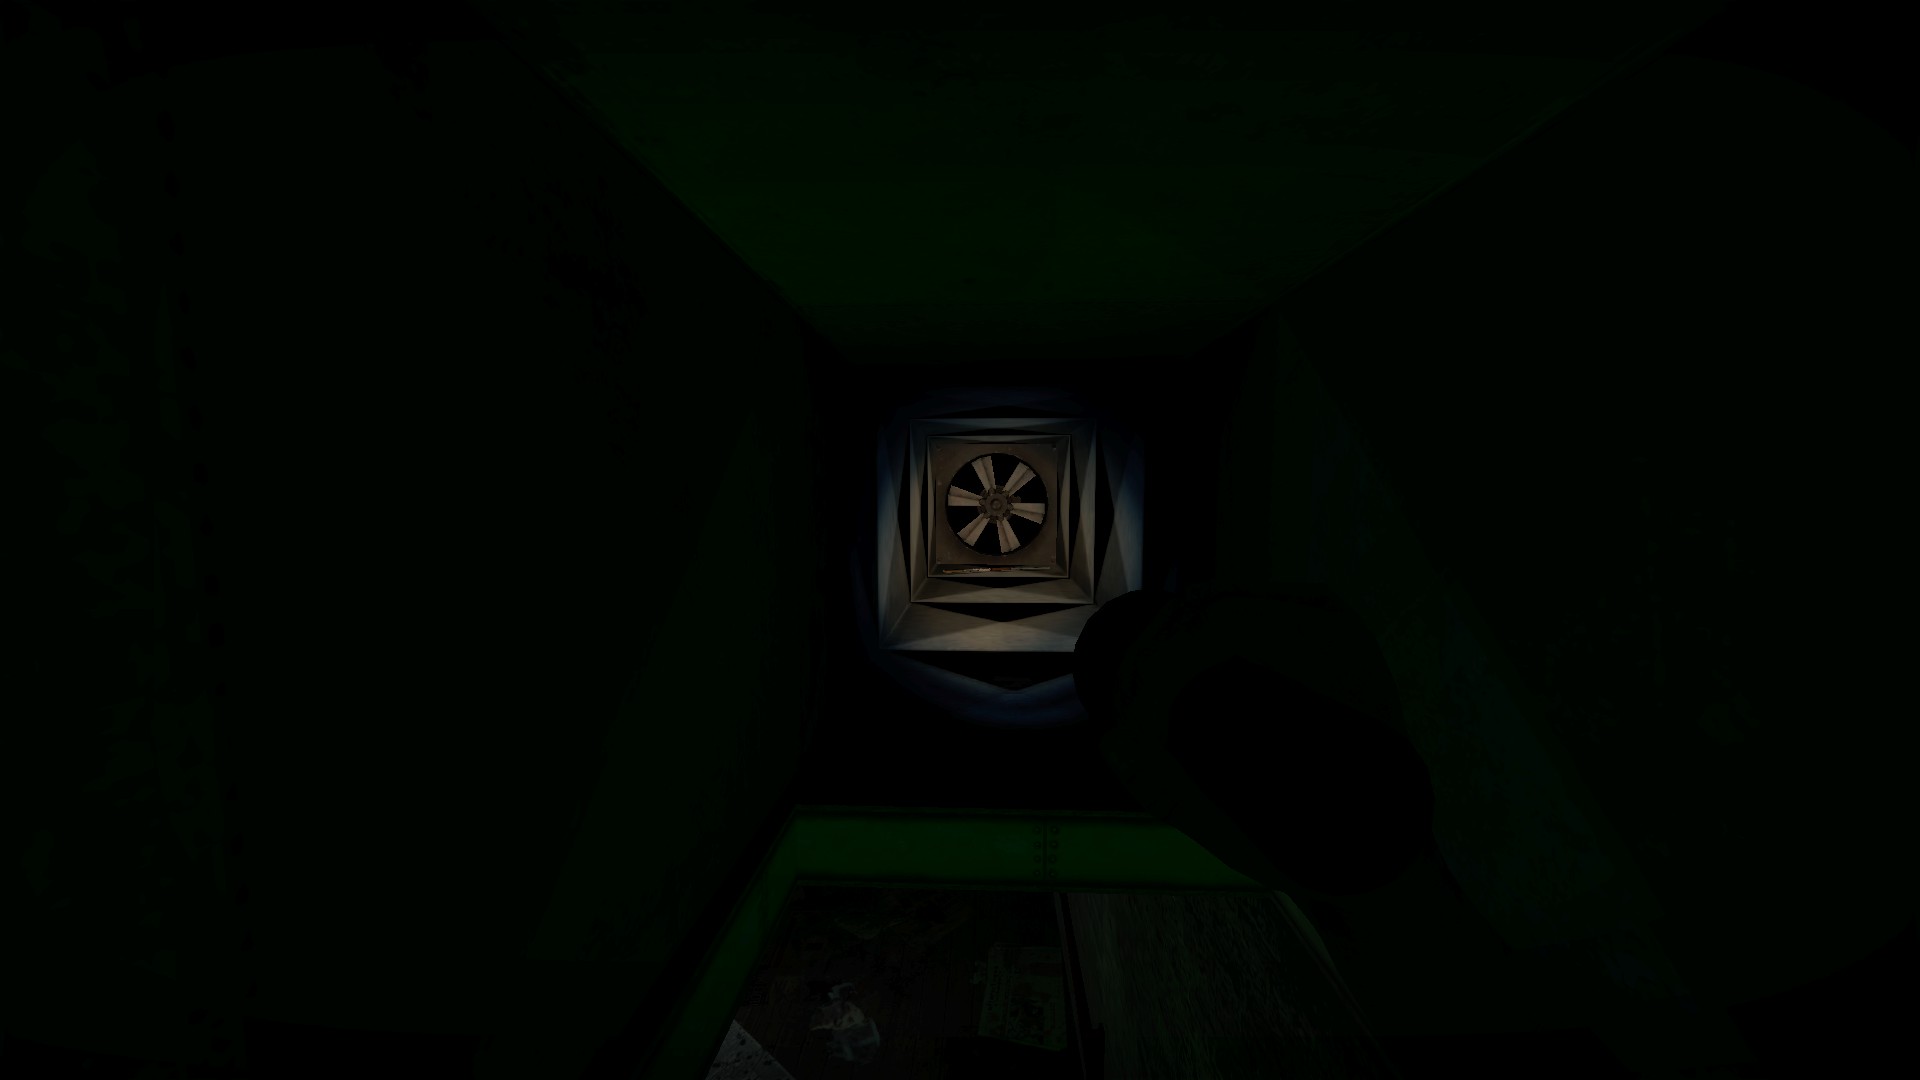
There are very many hidden weapons stashes here, but an early one that is often missed is that if you turn around after getting in the first vent and go back over the opening to the side there is a Winchester rifle at the end of the vent
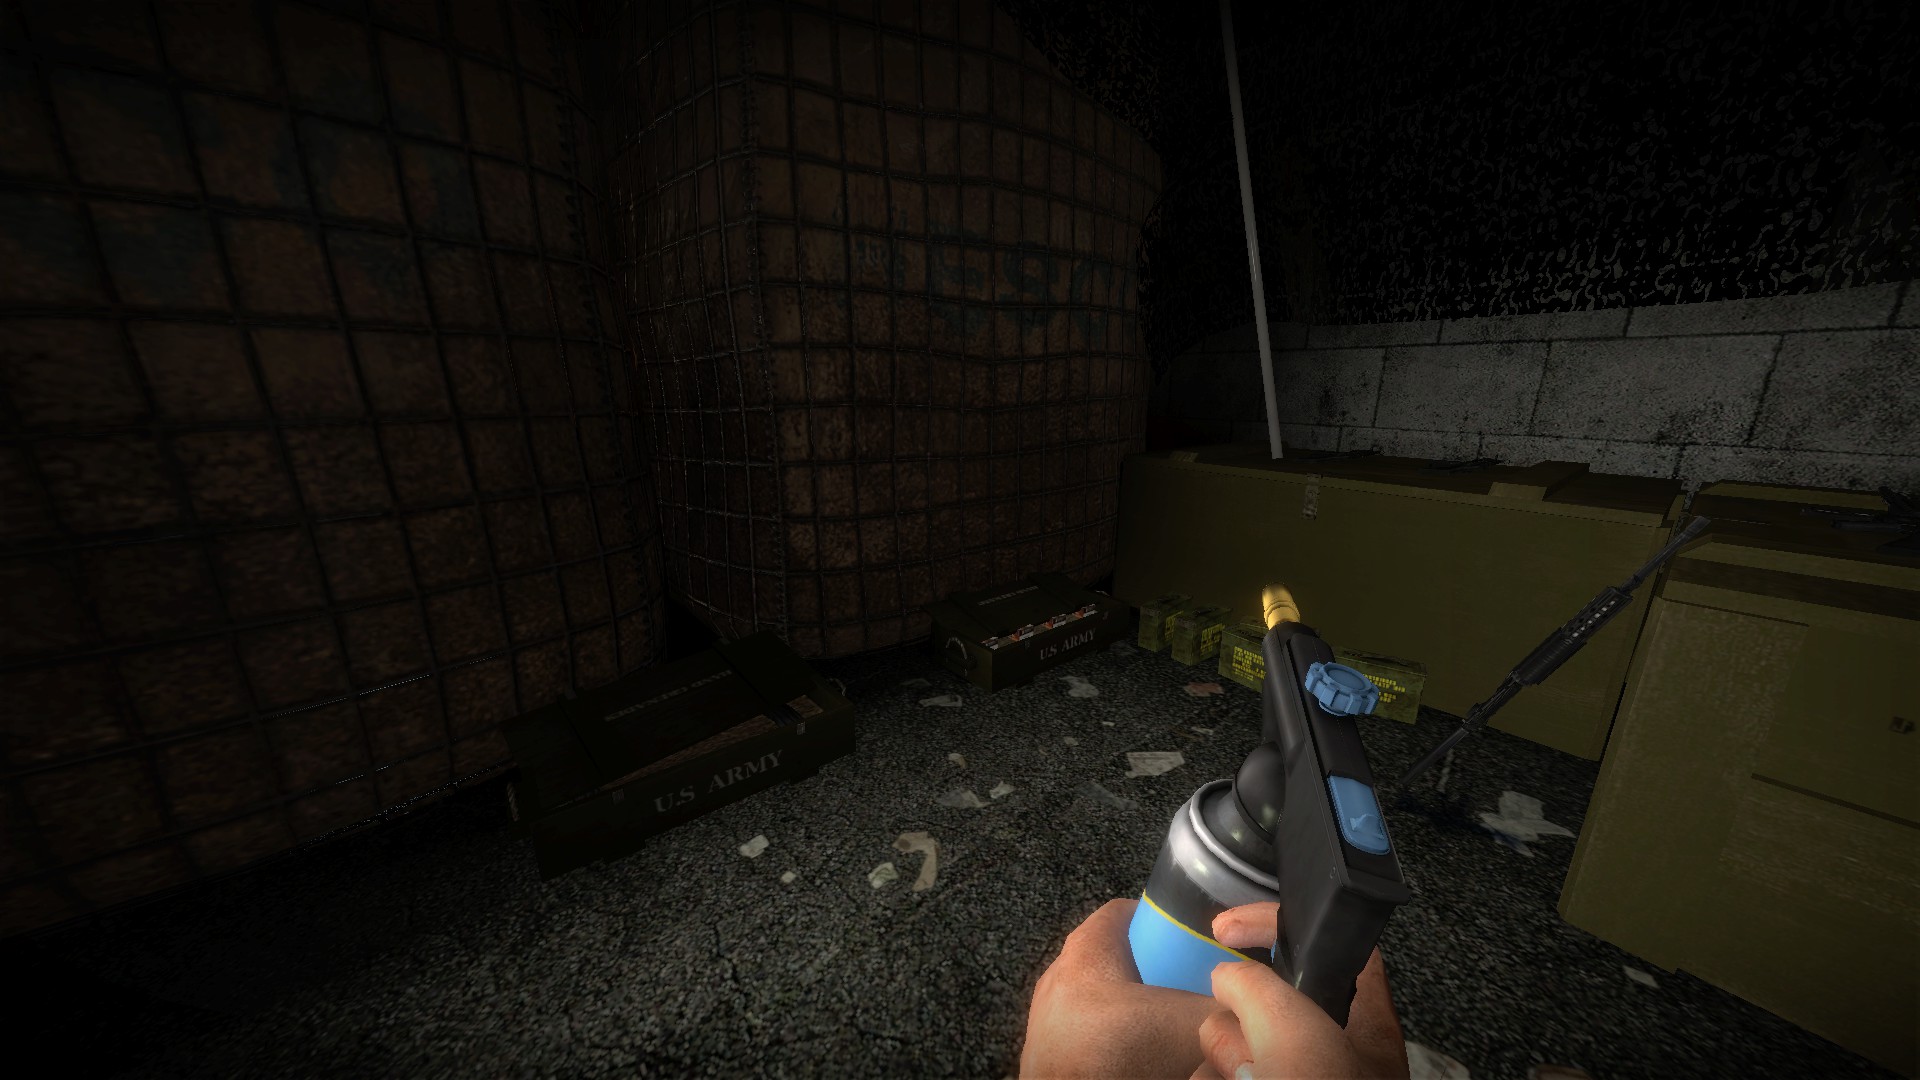
Use the welder to open the ammo boxes
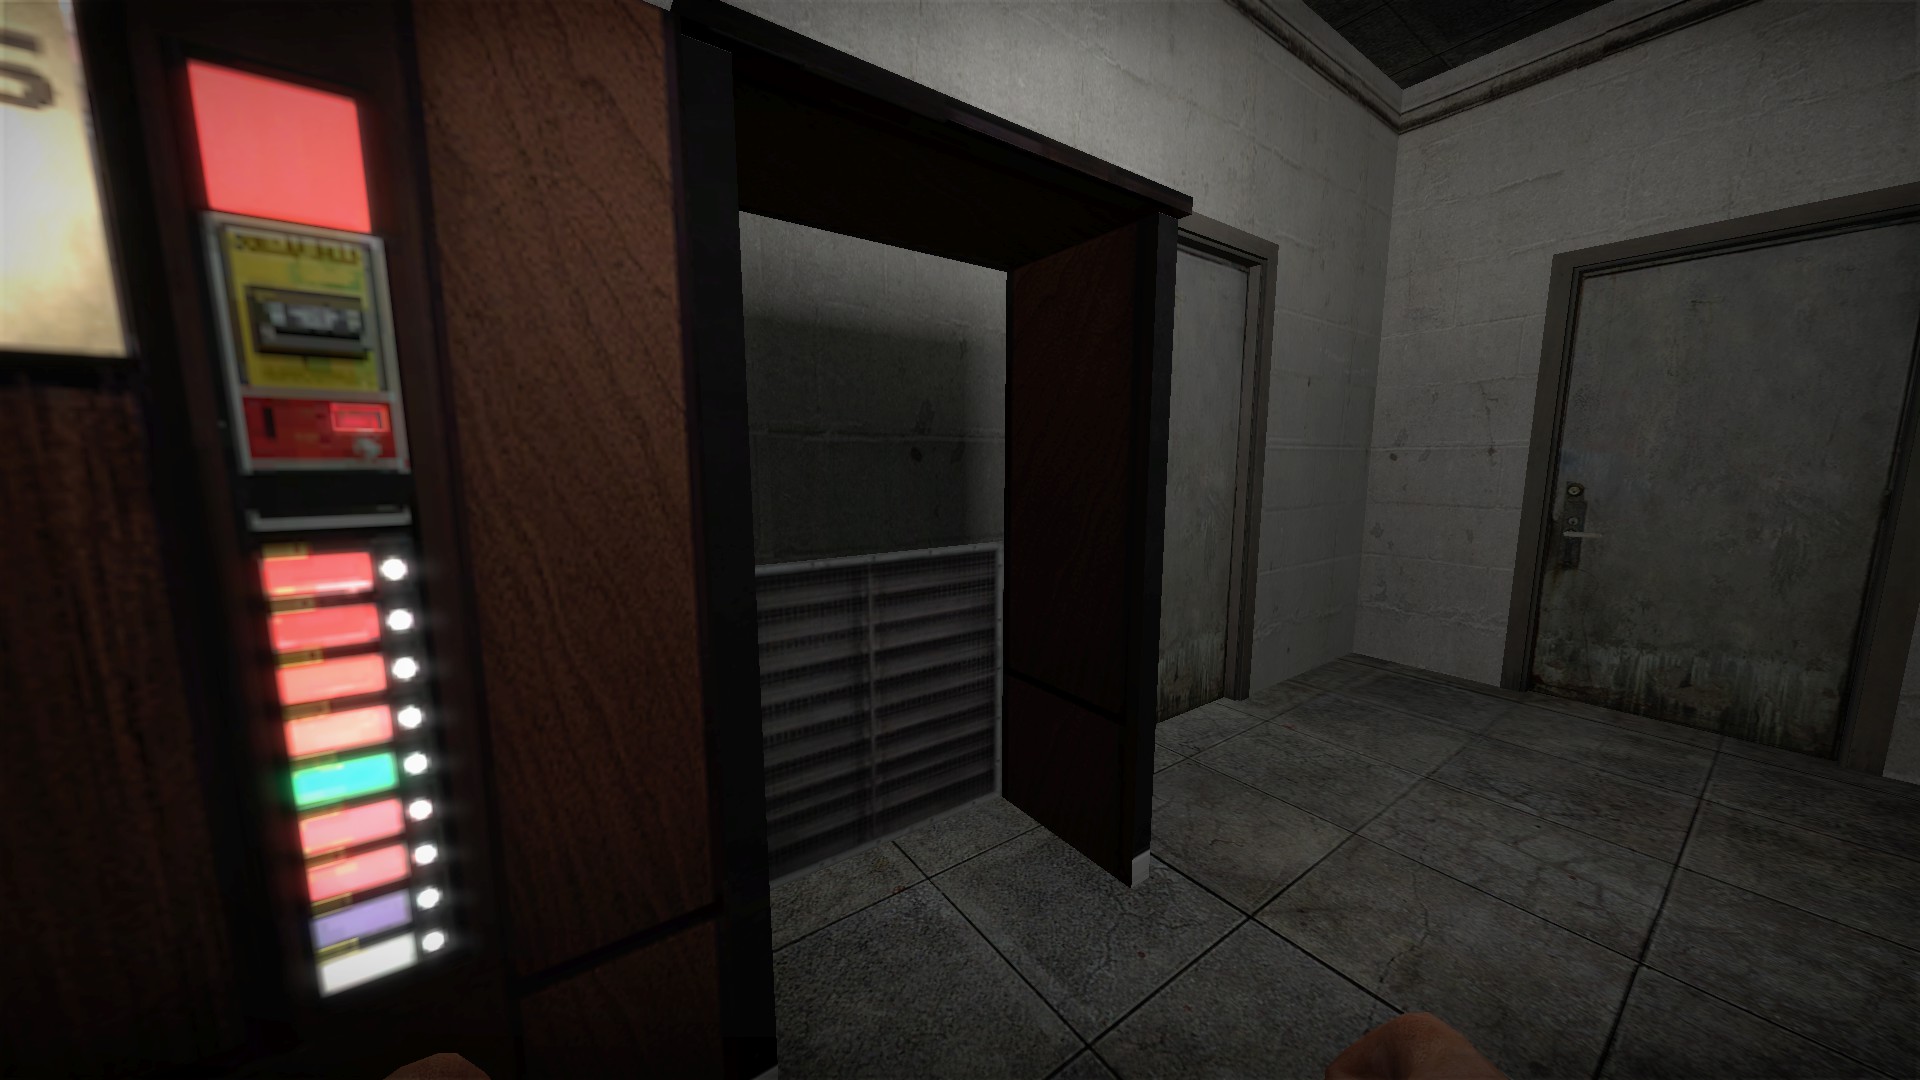
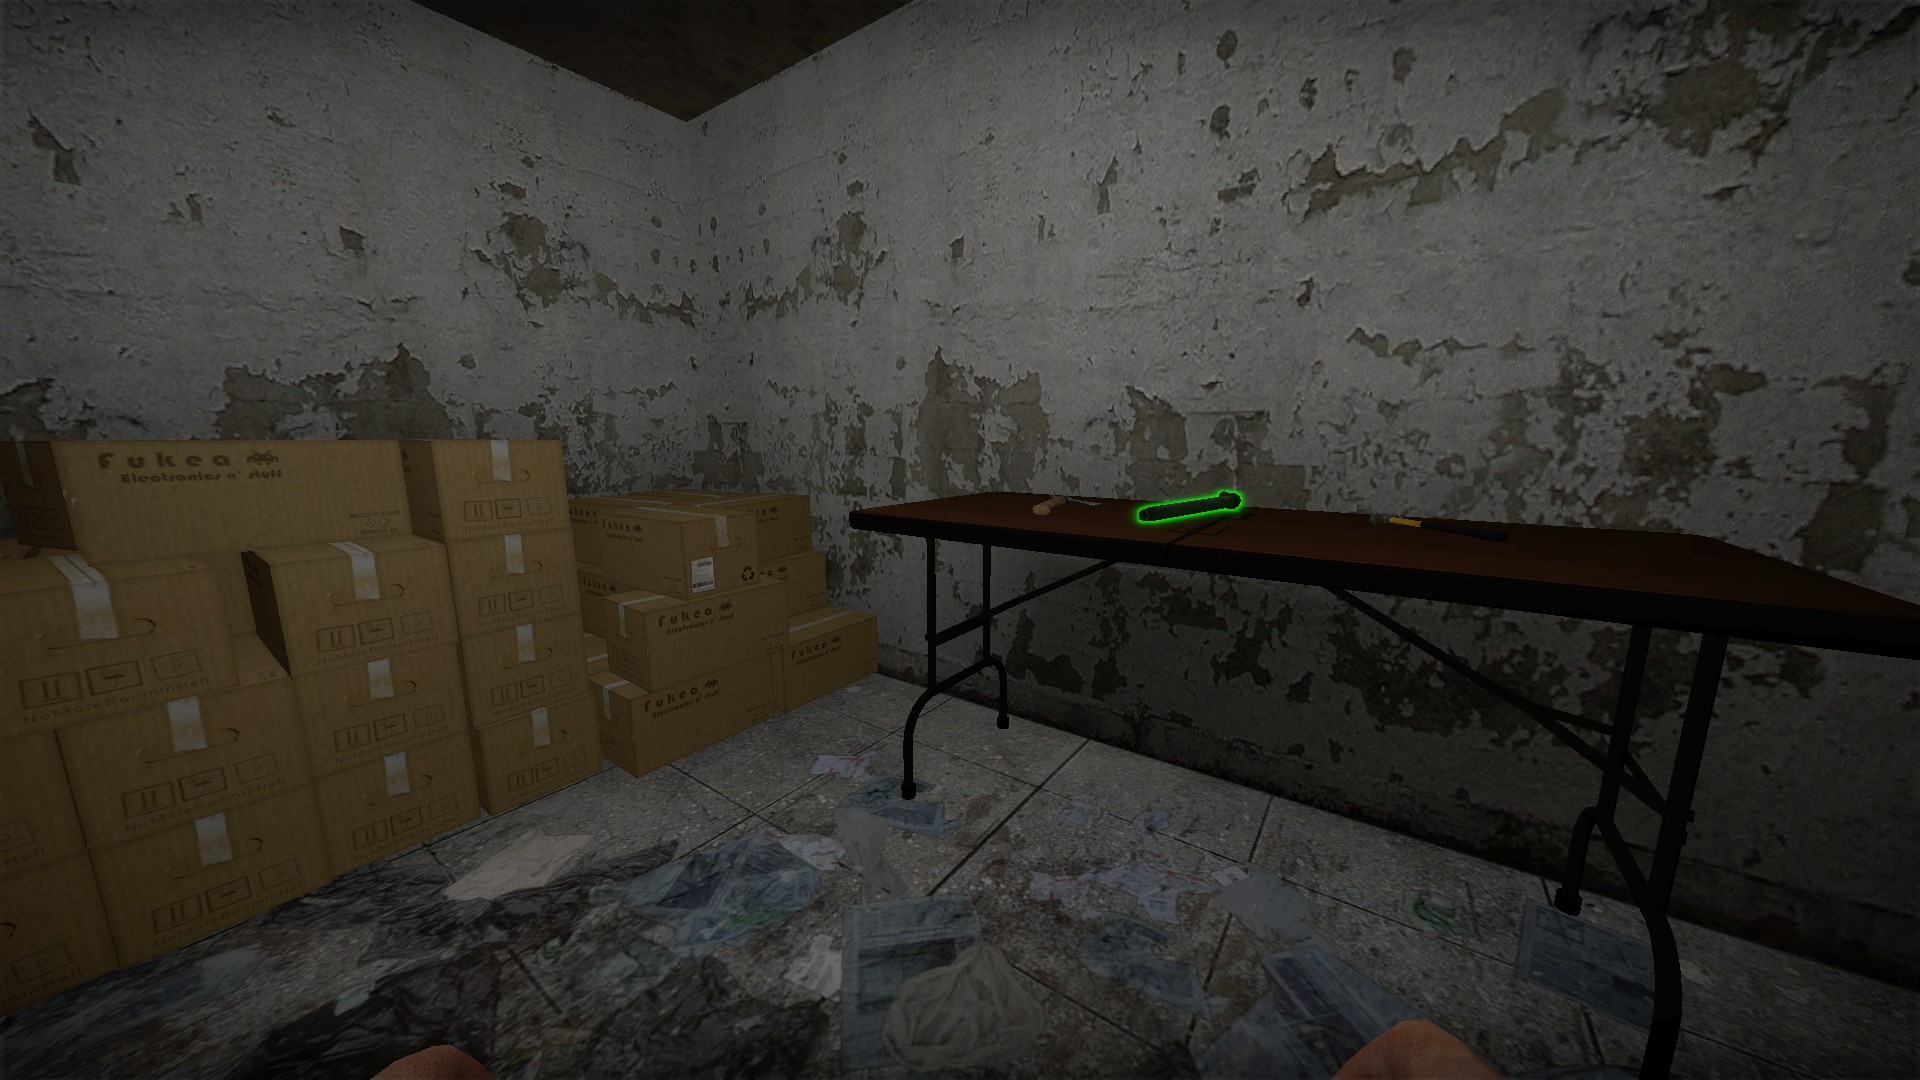
After the welding objective, open the nearby vending machine for a room with a few melees. Credit to Belgrieve for this
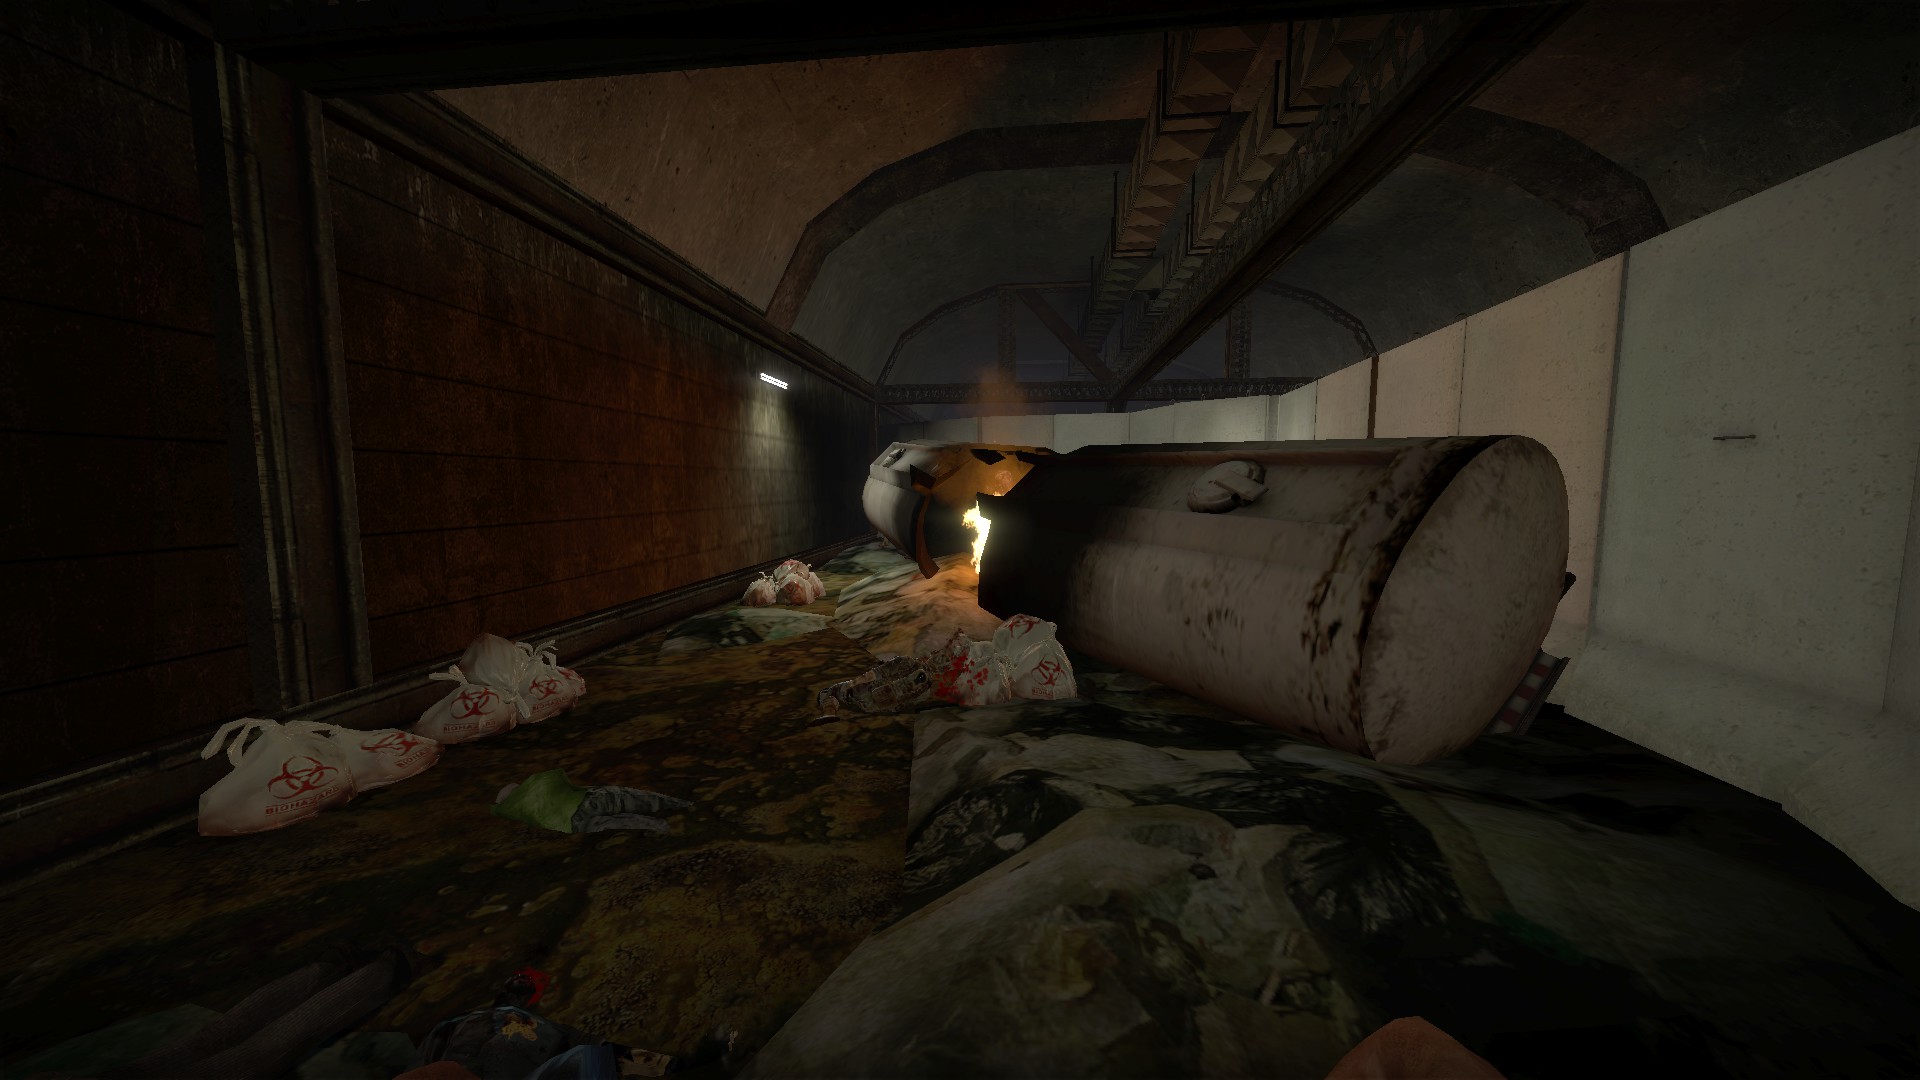
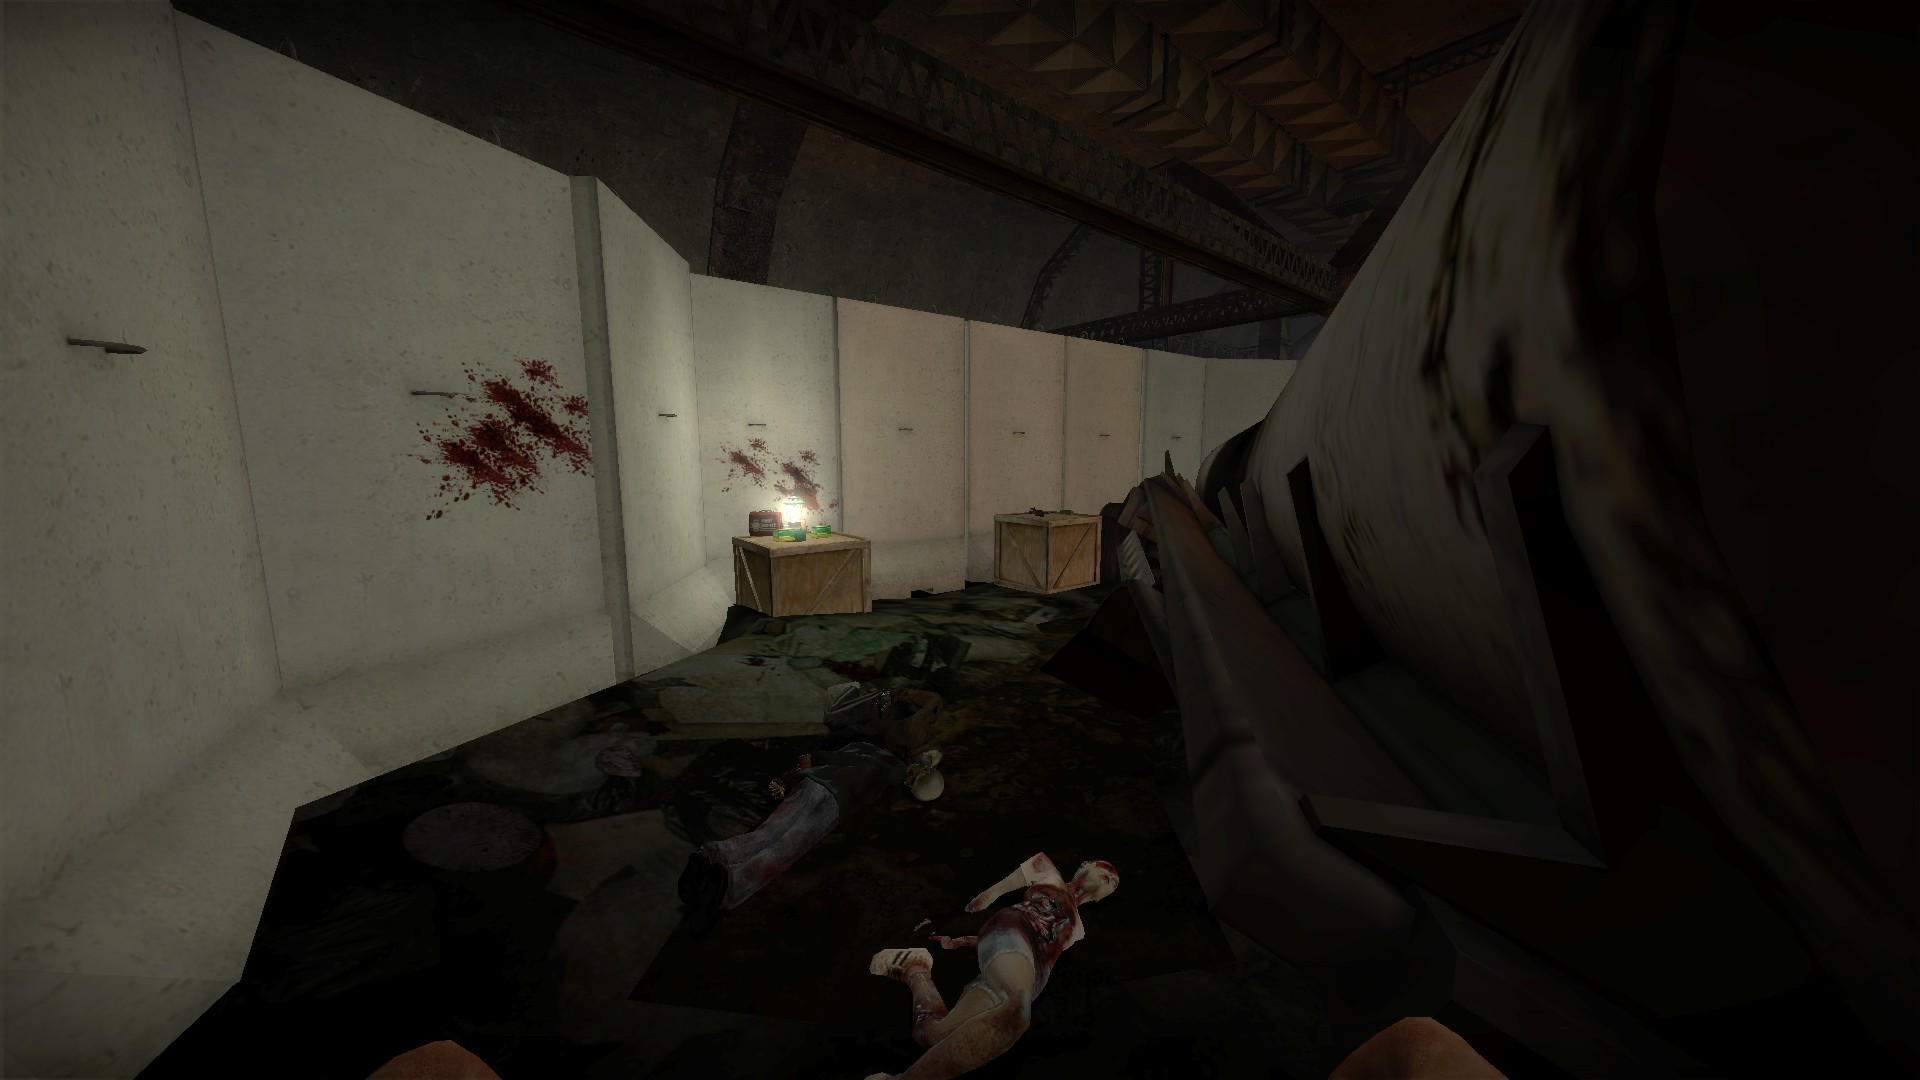
Jump around the toxic waste to get behind the truck for a stash of items
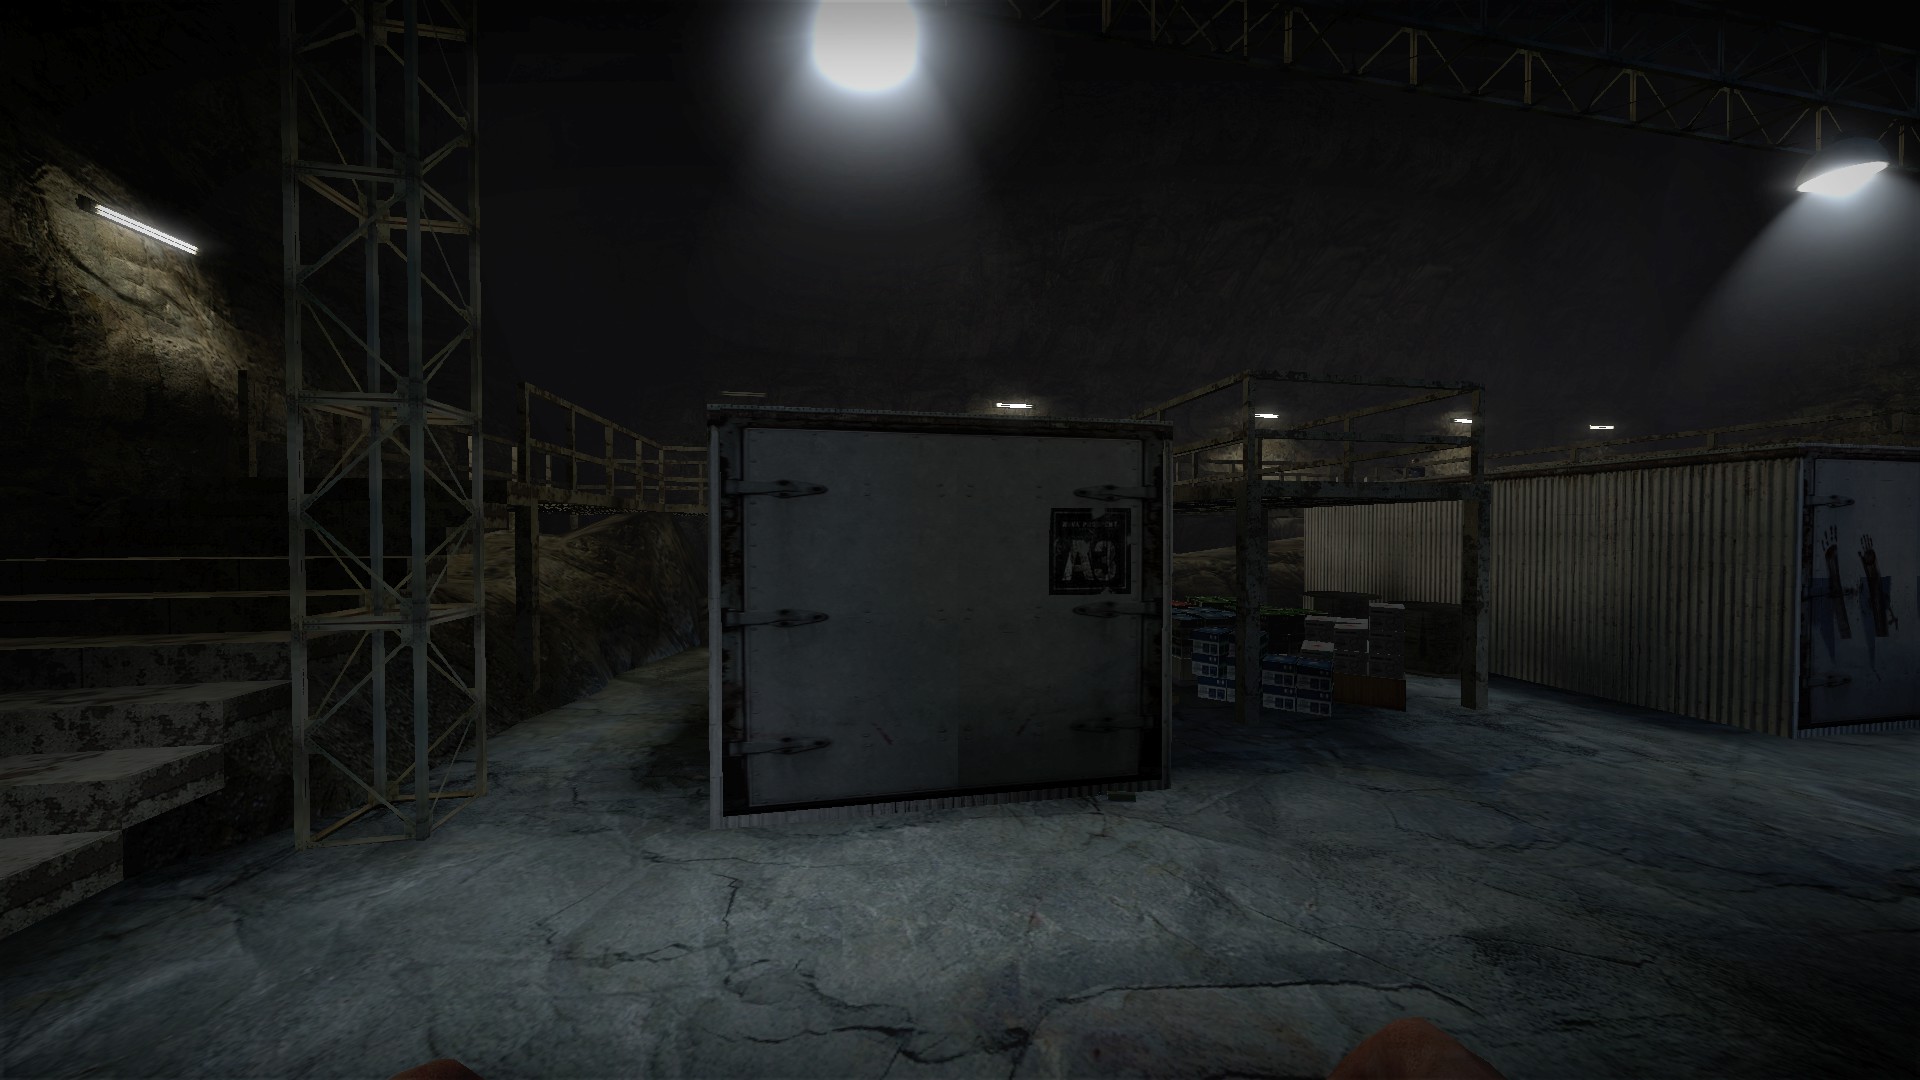
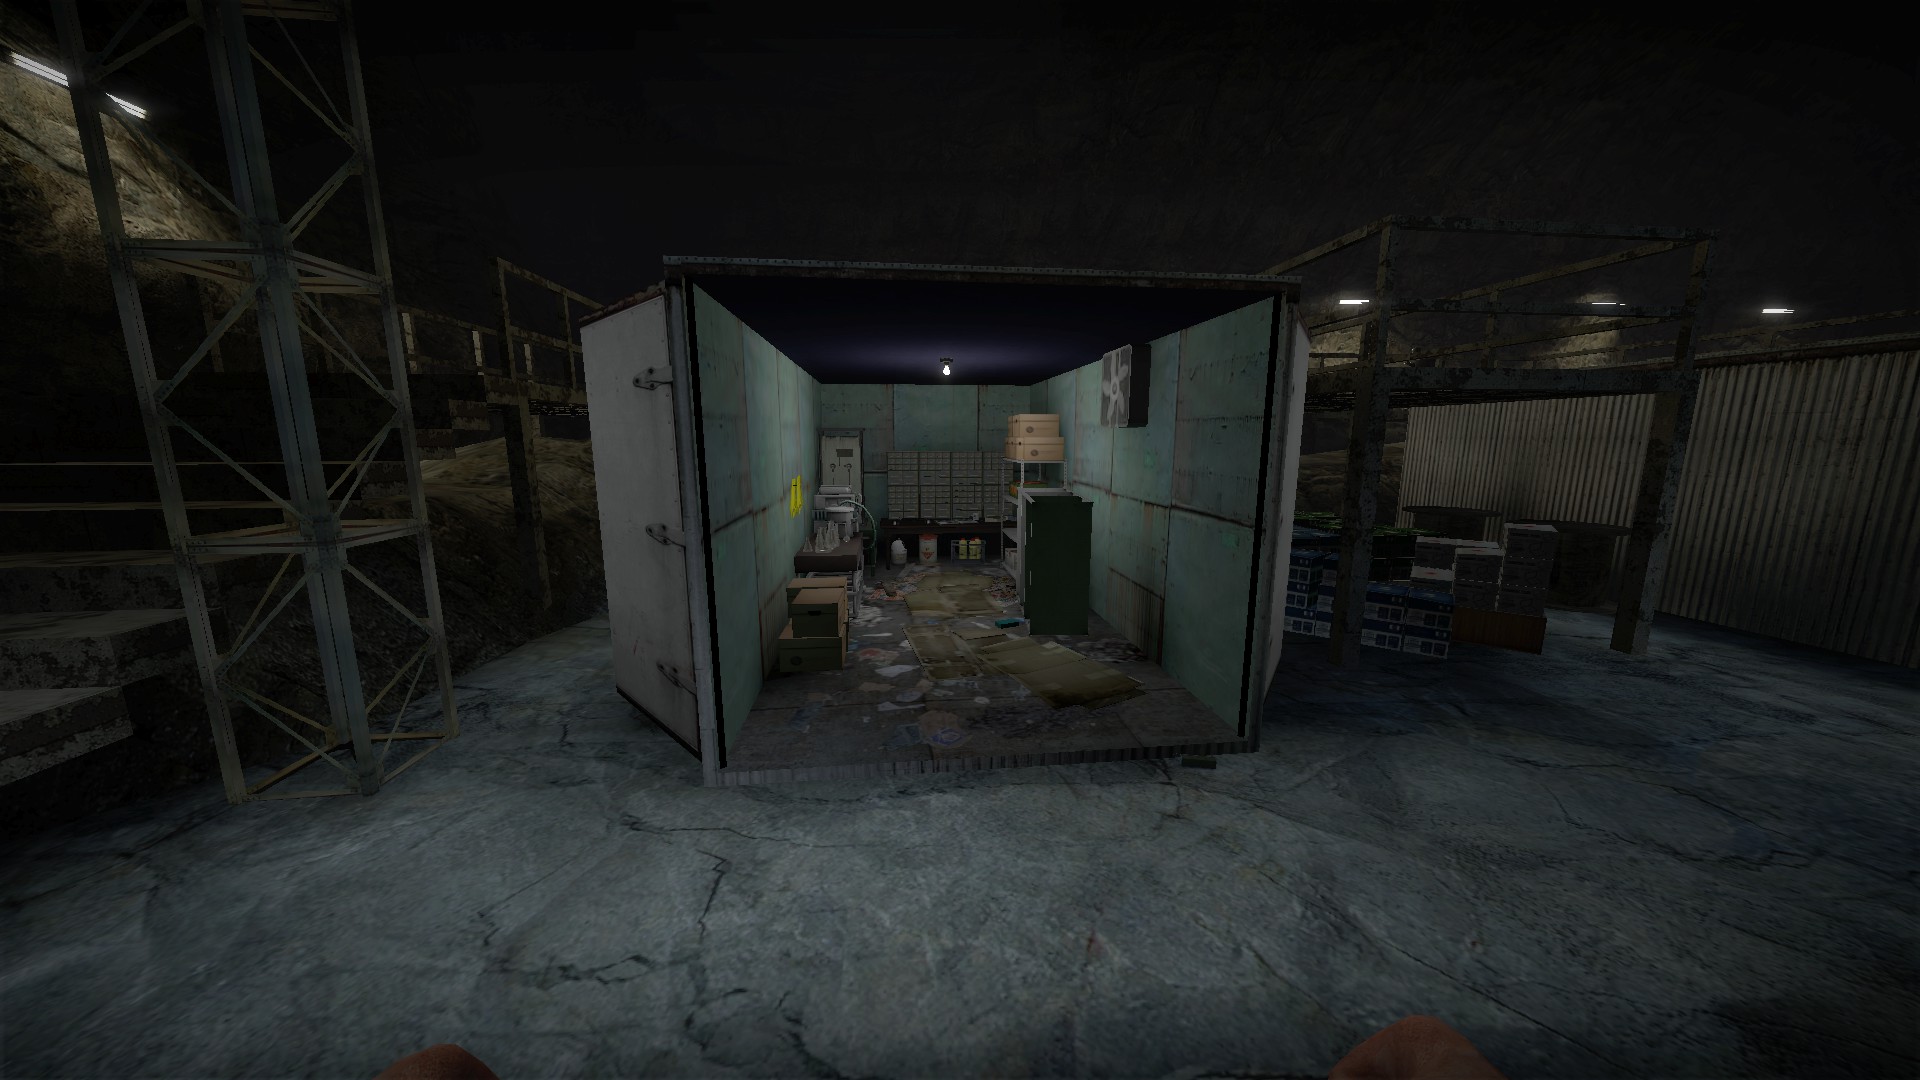
Open the A3 container for another stash of items
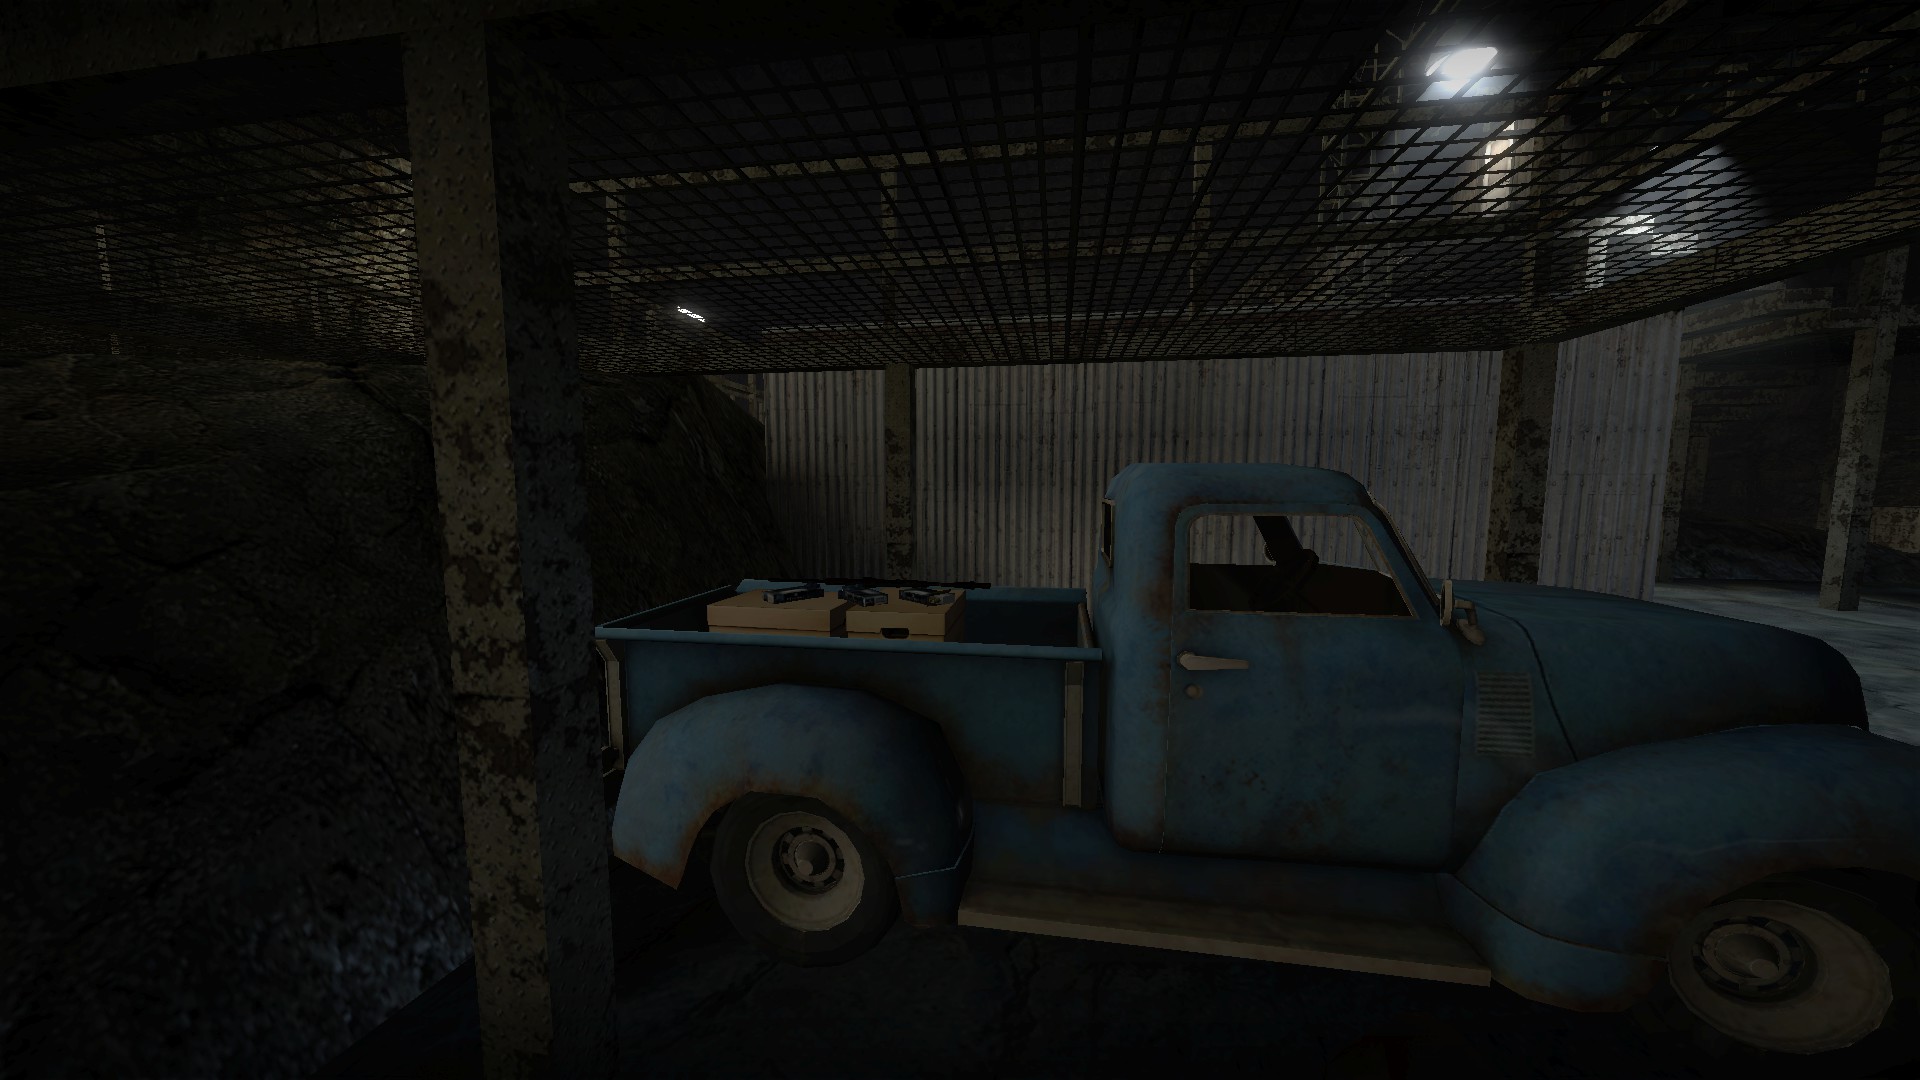
Use the sniper stash and nearby gas cans to deal with the runners while they are still in containers
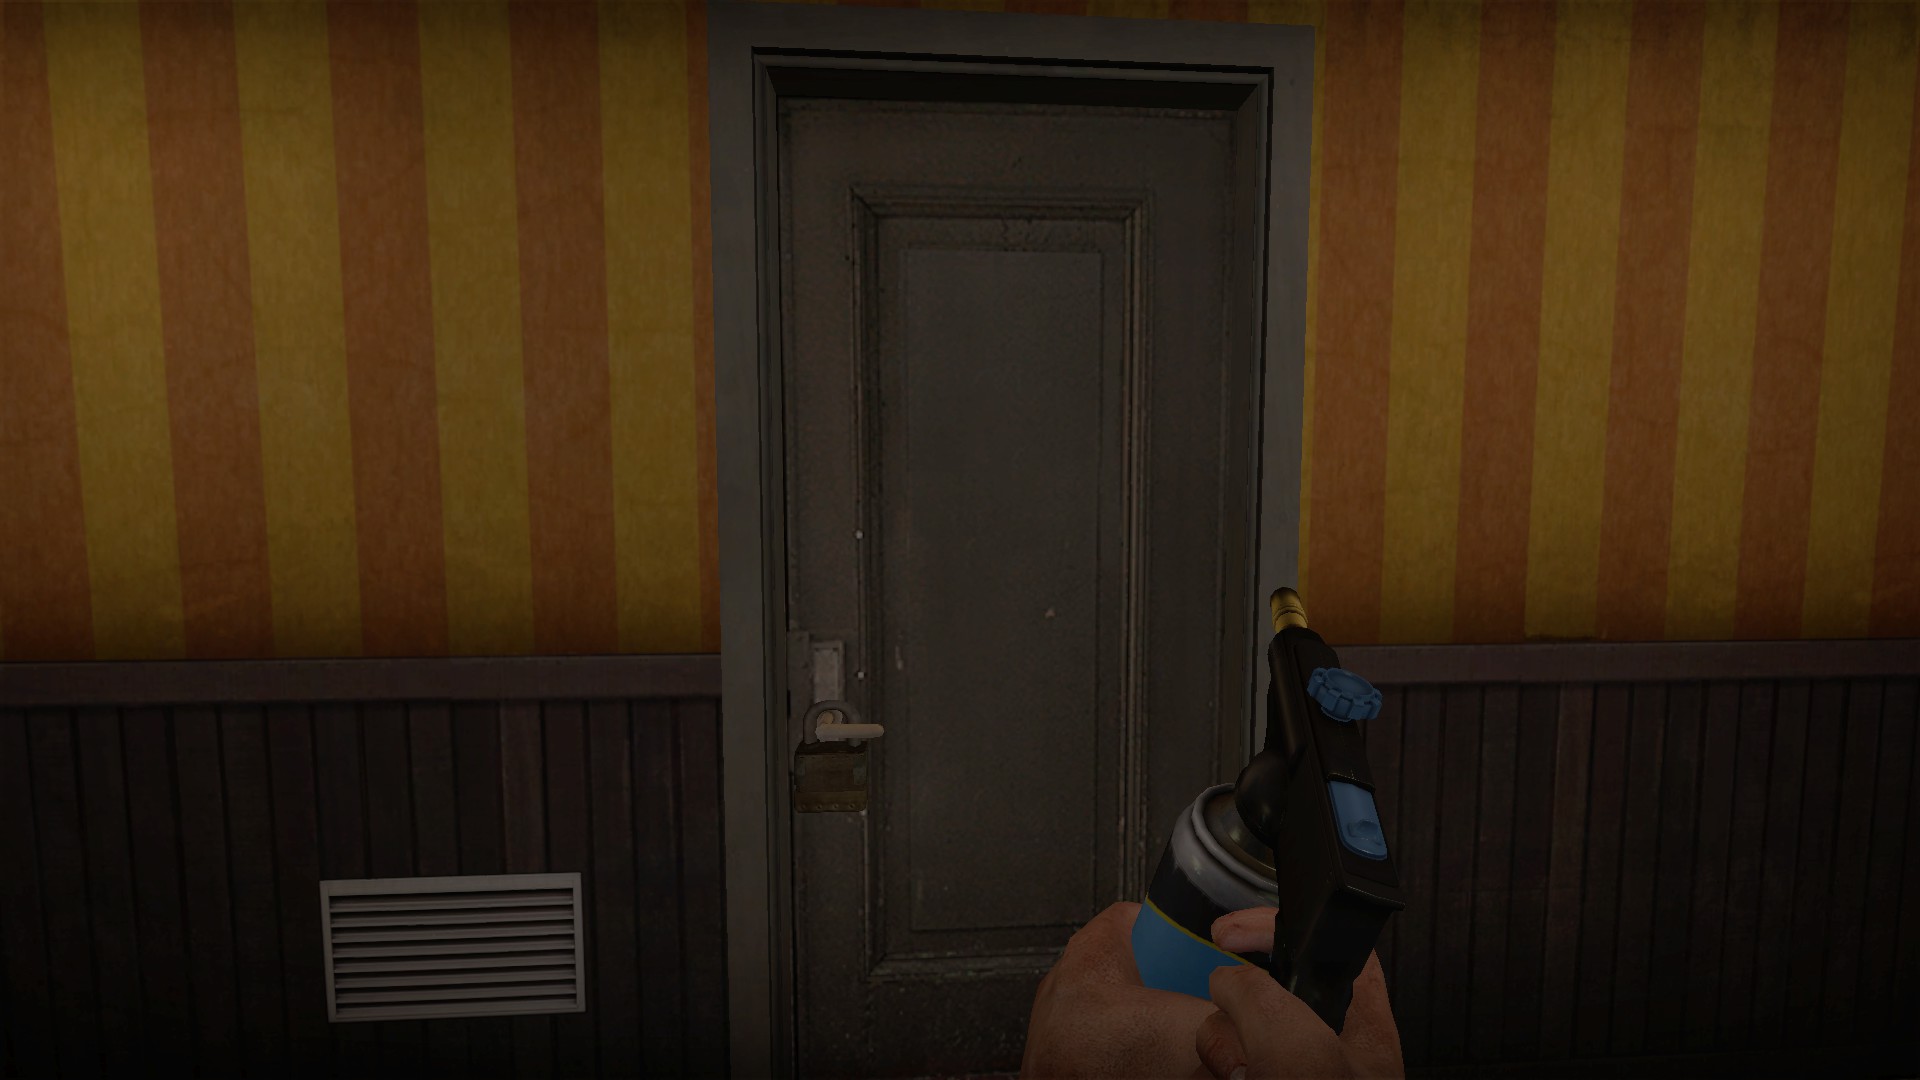
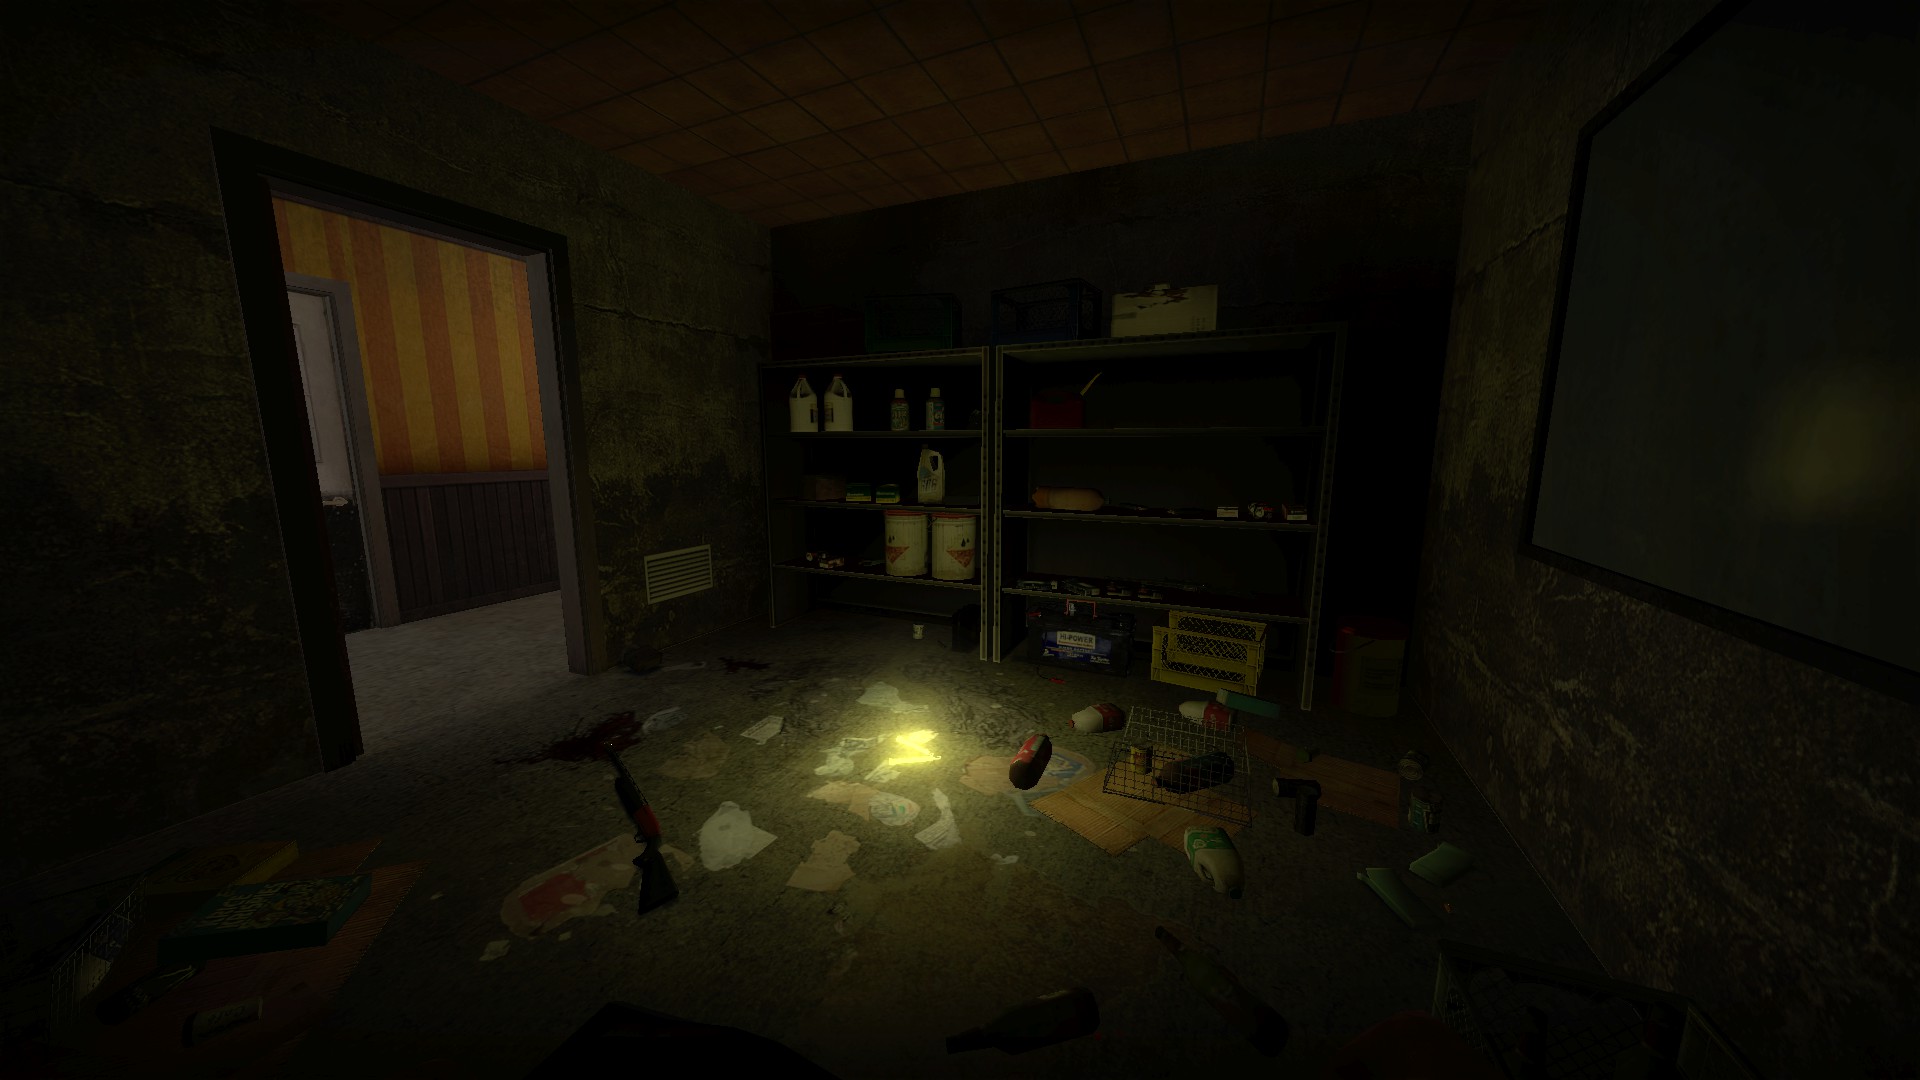
Use the welder in the hotel for a large stash of items, including a gene
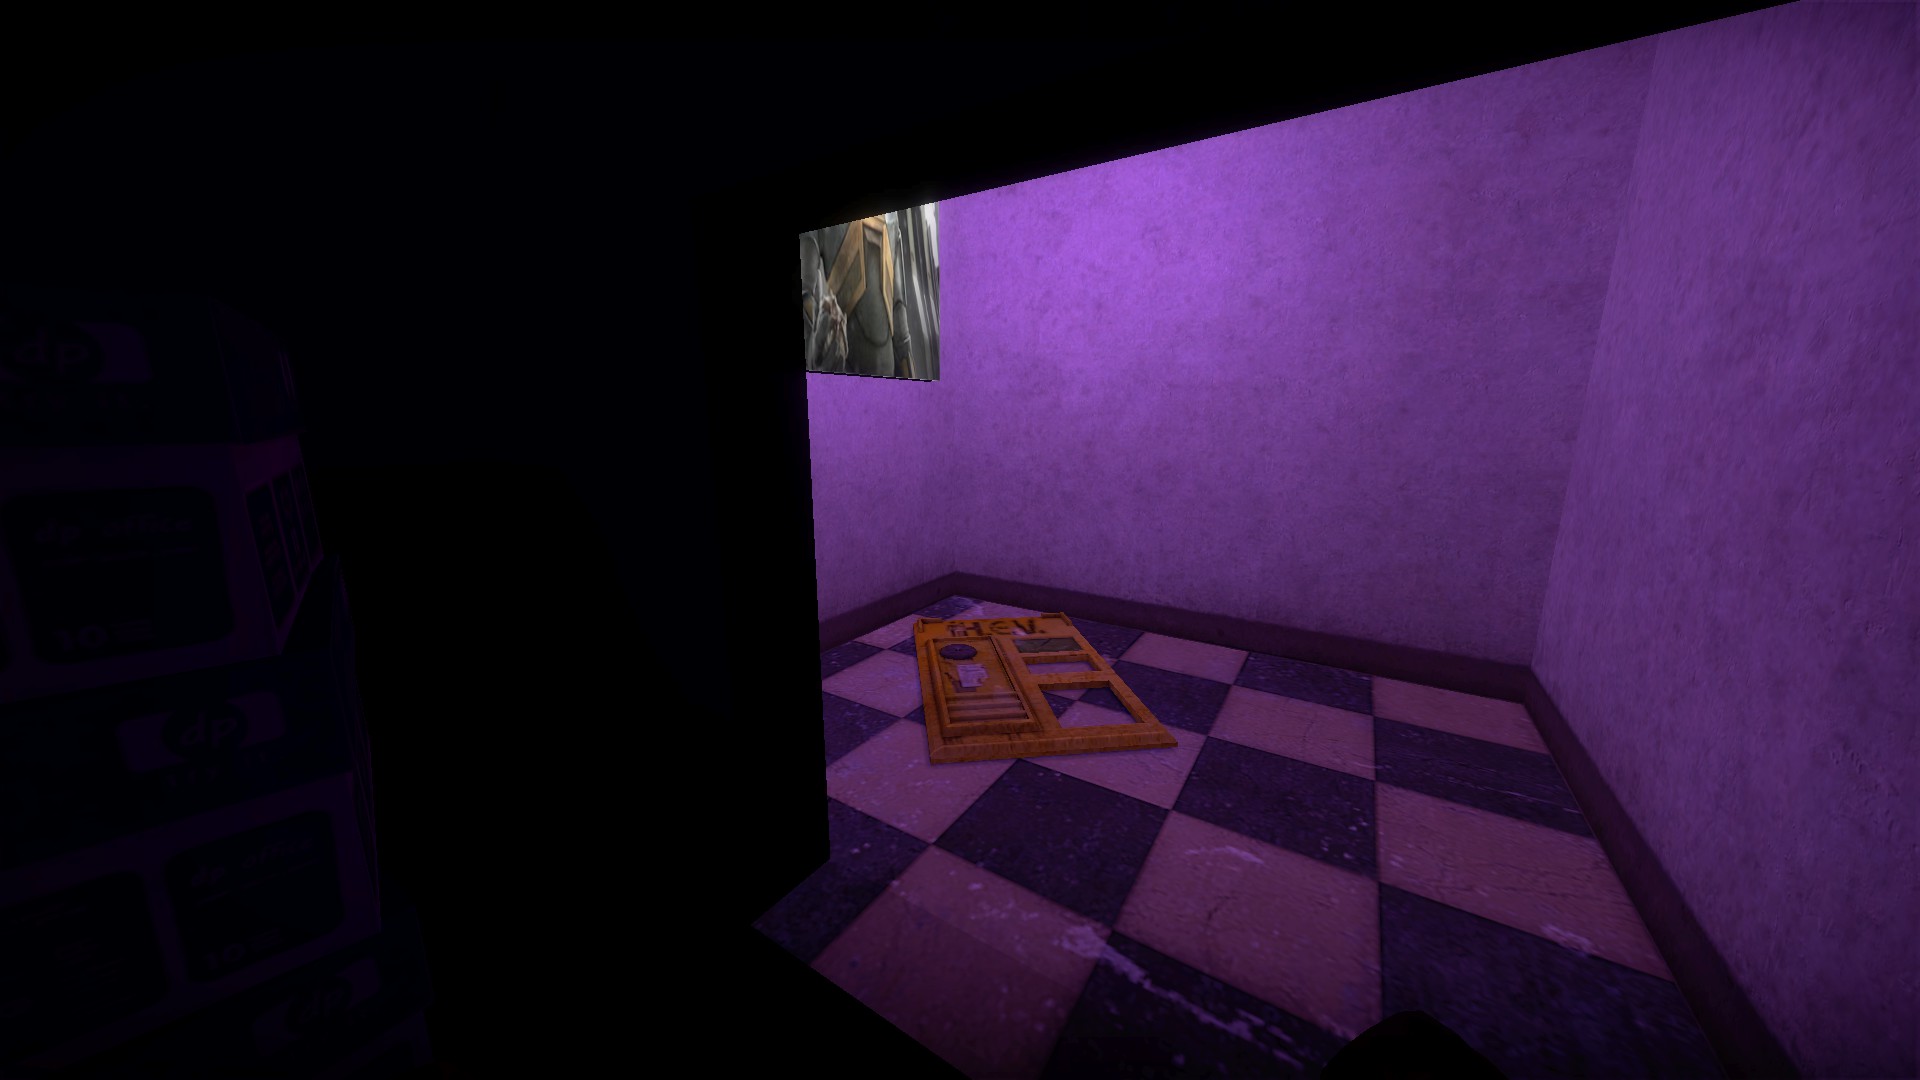
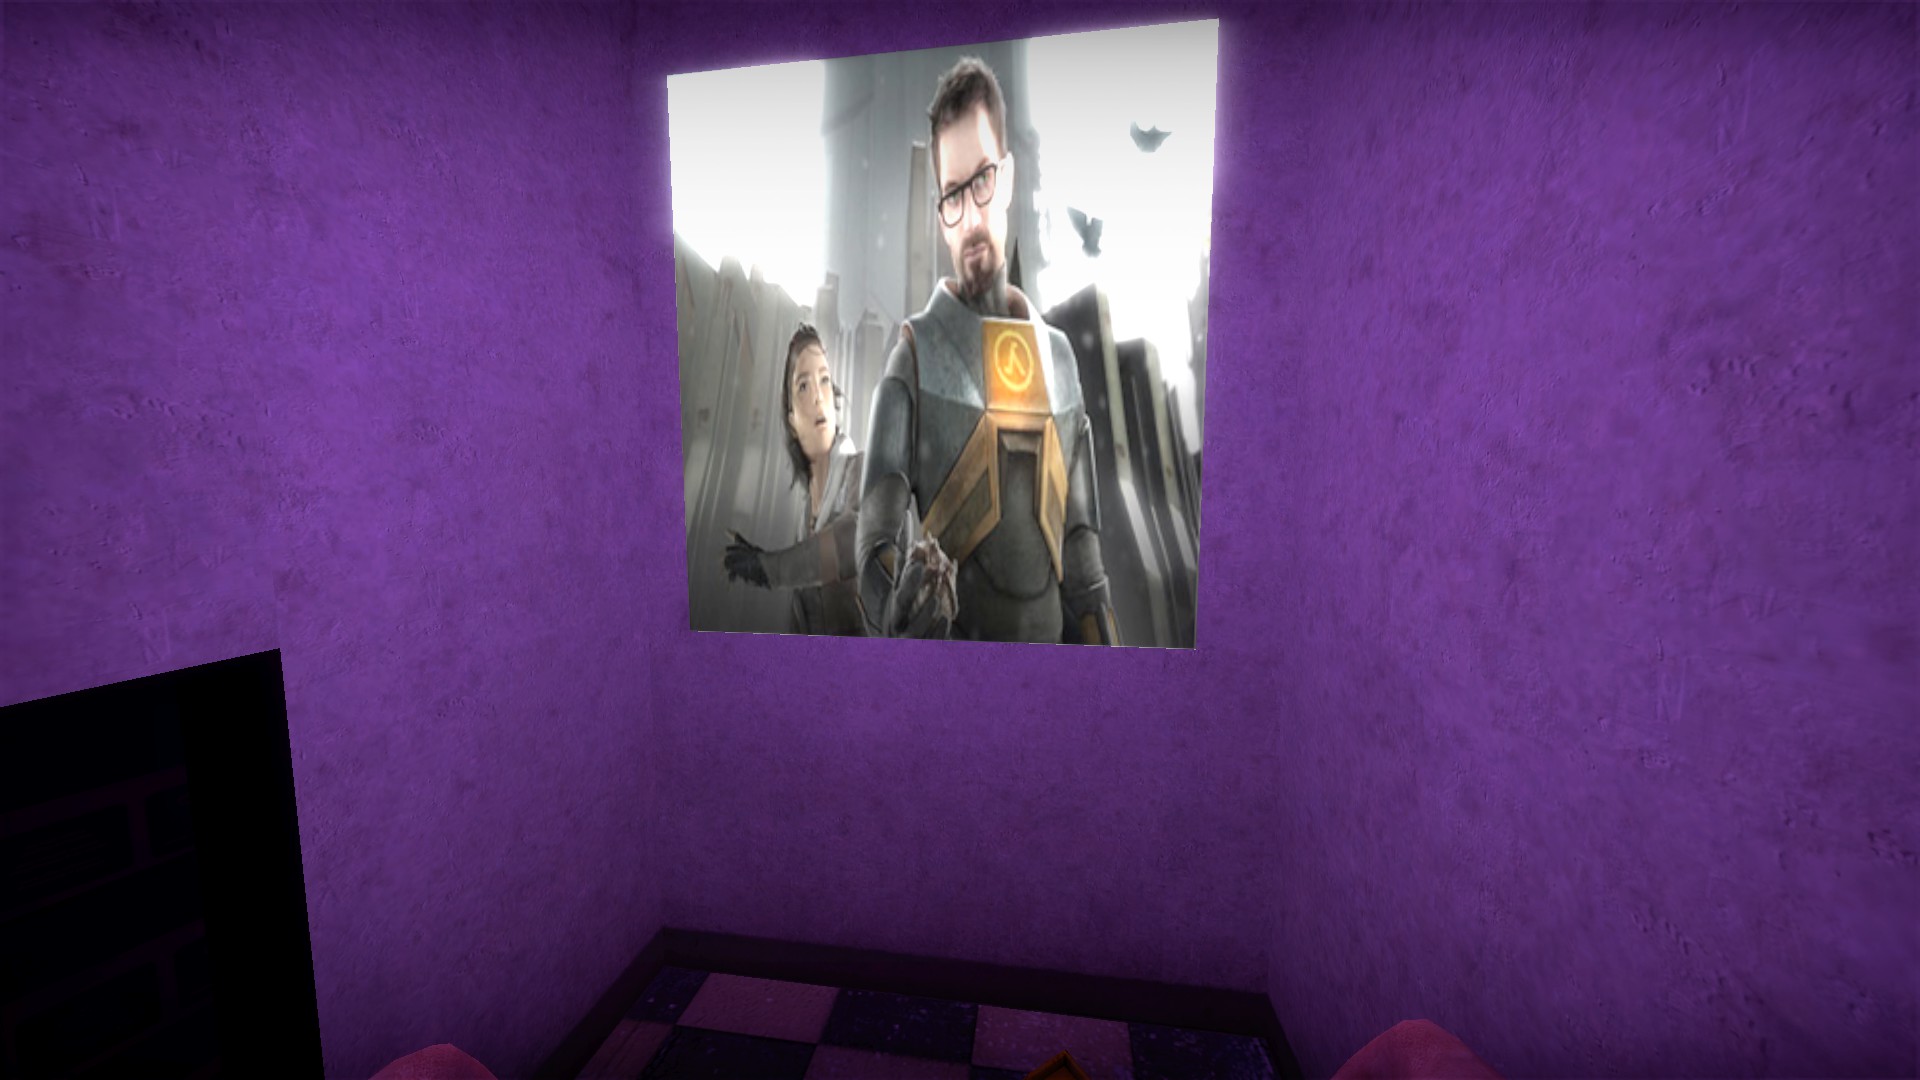
You can break a wall in the offices for a hidden room with a Gordon Freeman poster
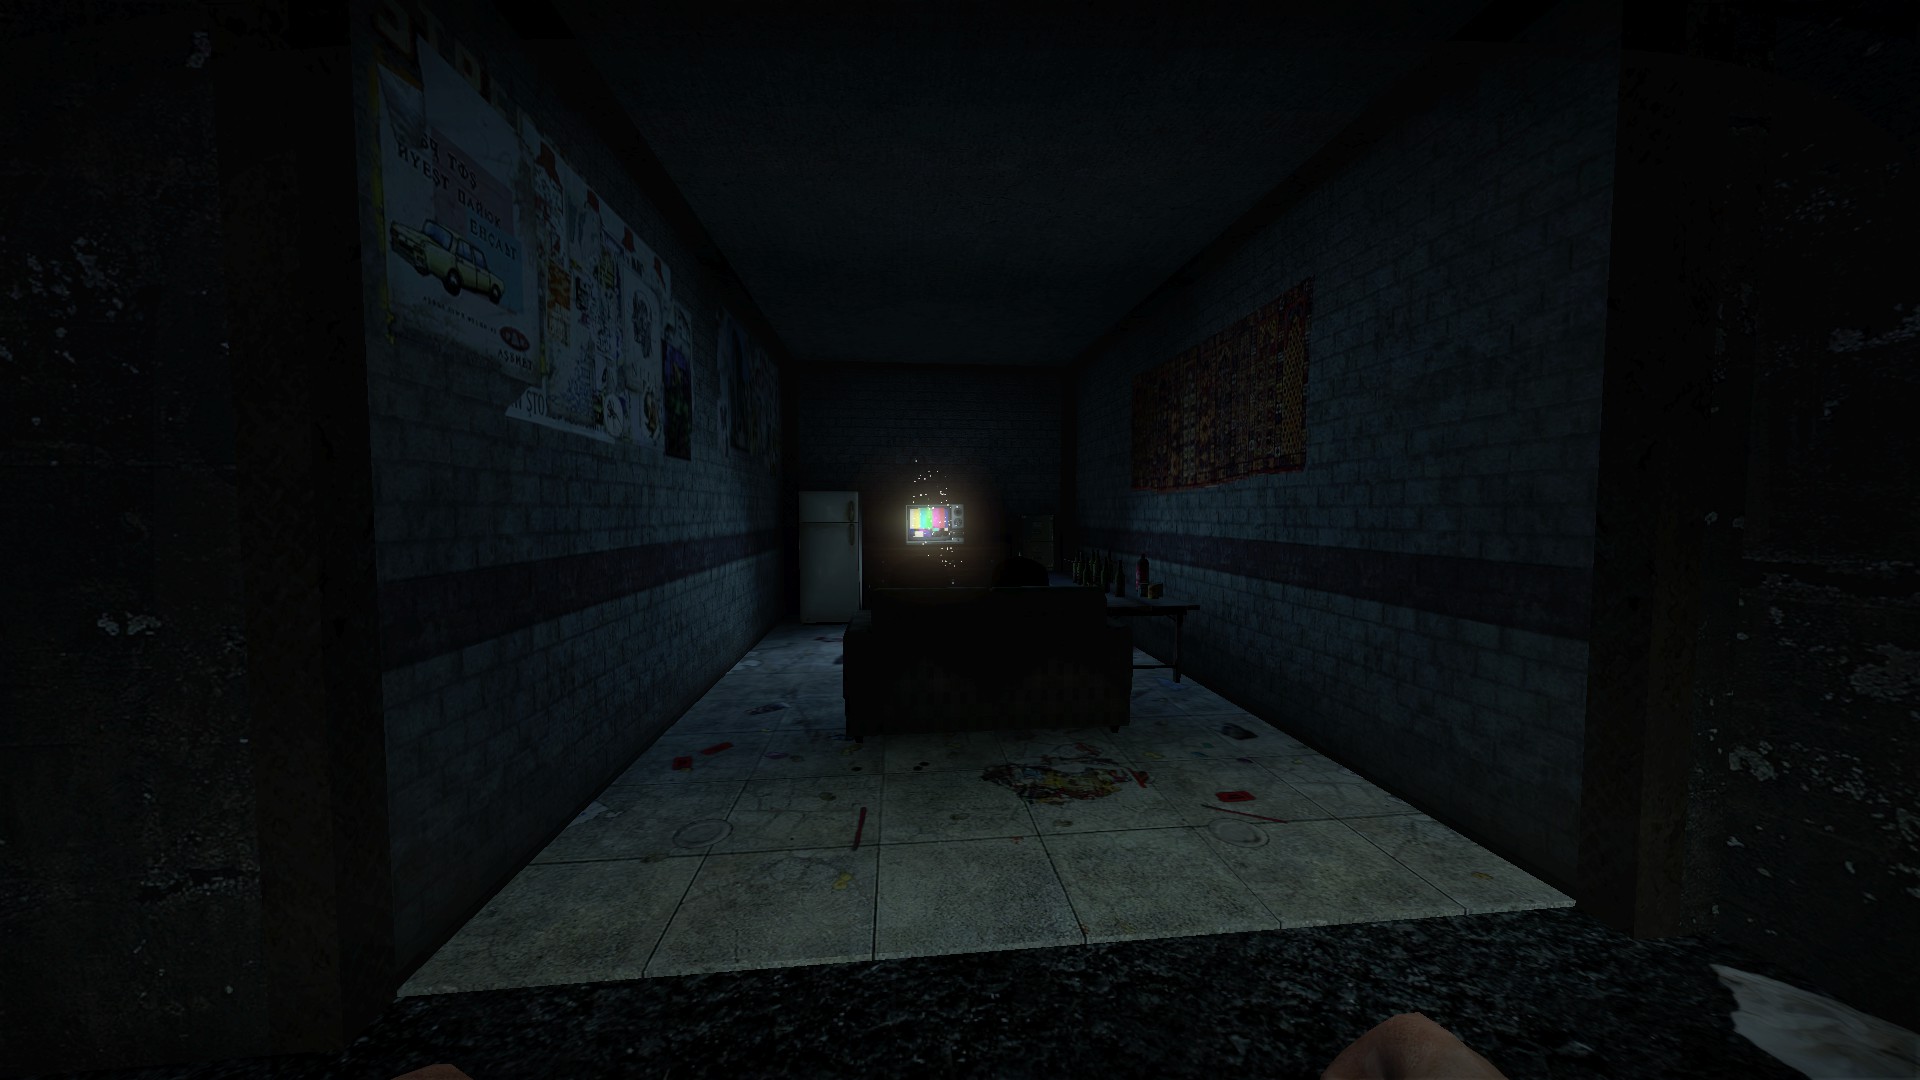
Near the building with the paint can, the middle garage can be opened
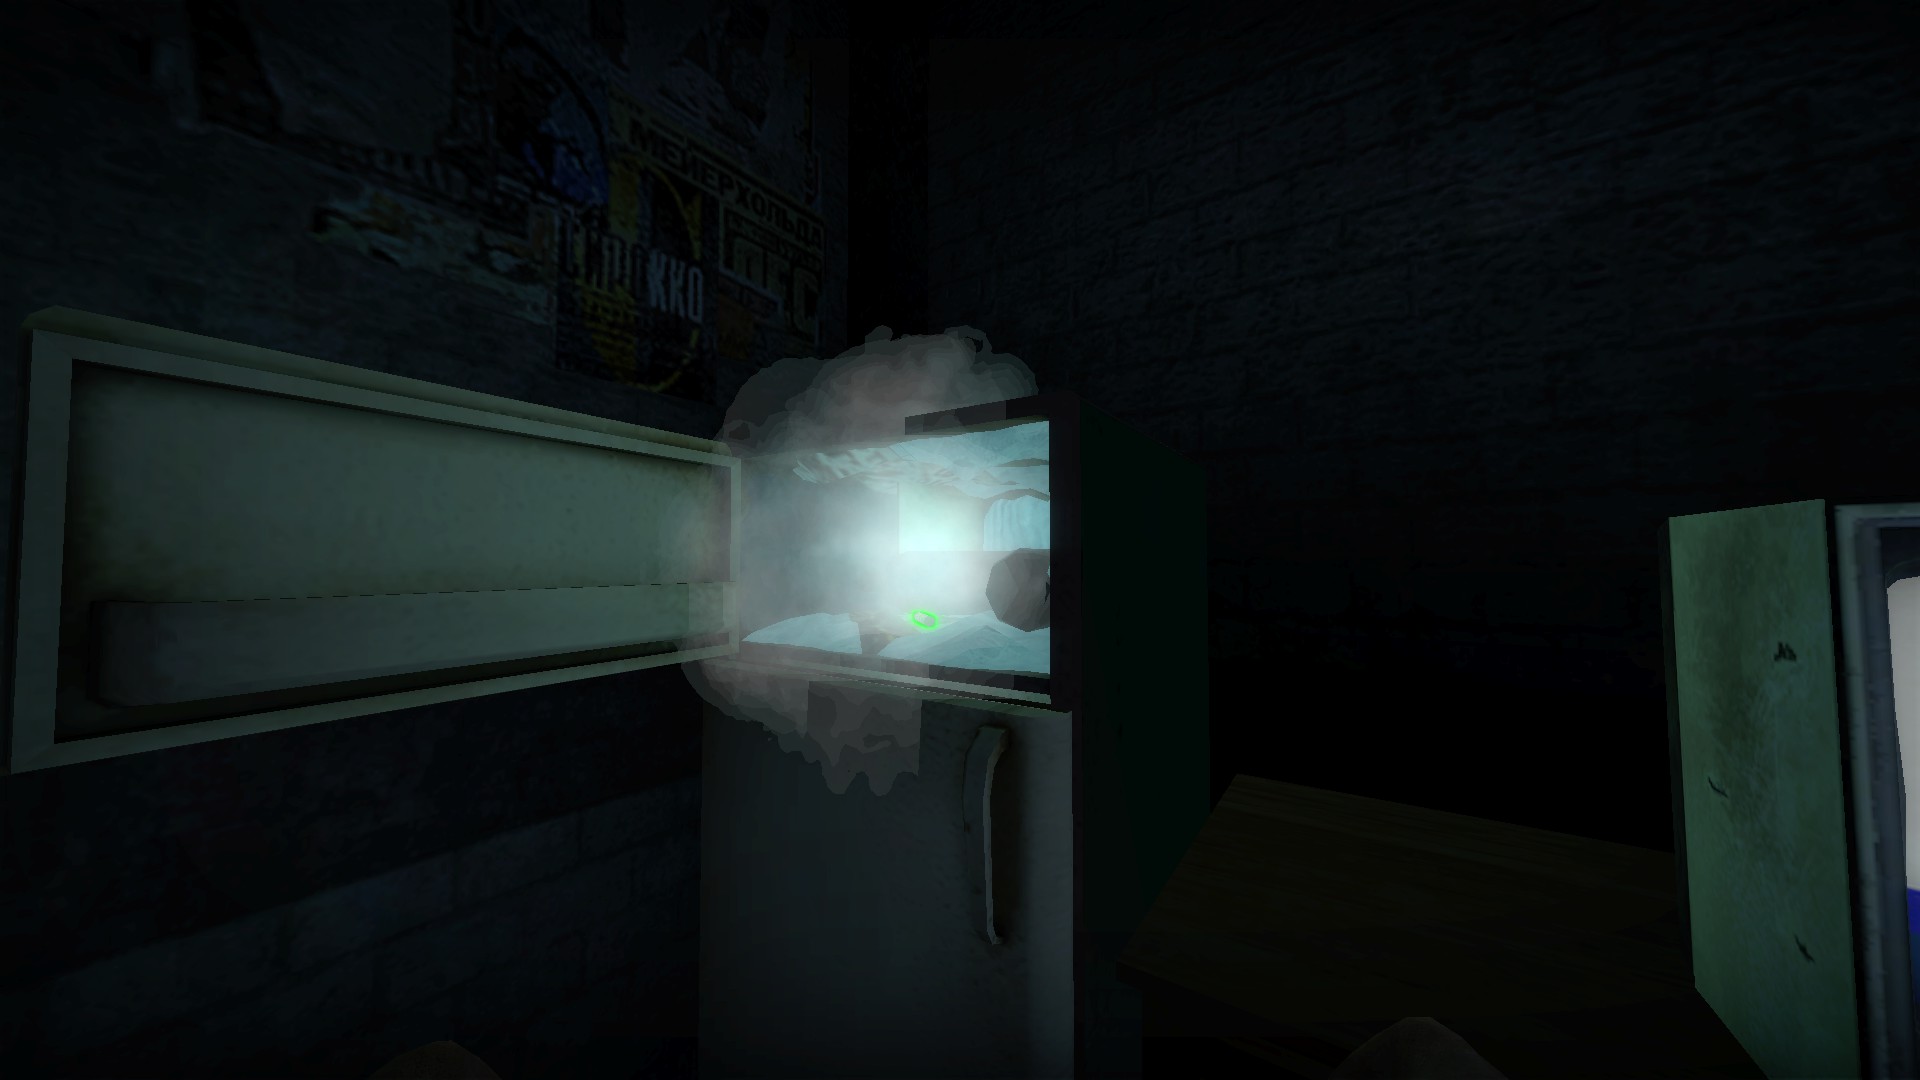
The freezer inside may have a gene, pills, or nothing. Credit to Belgrieve for this
nmo_underground_challenge_v2
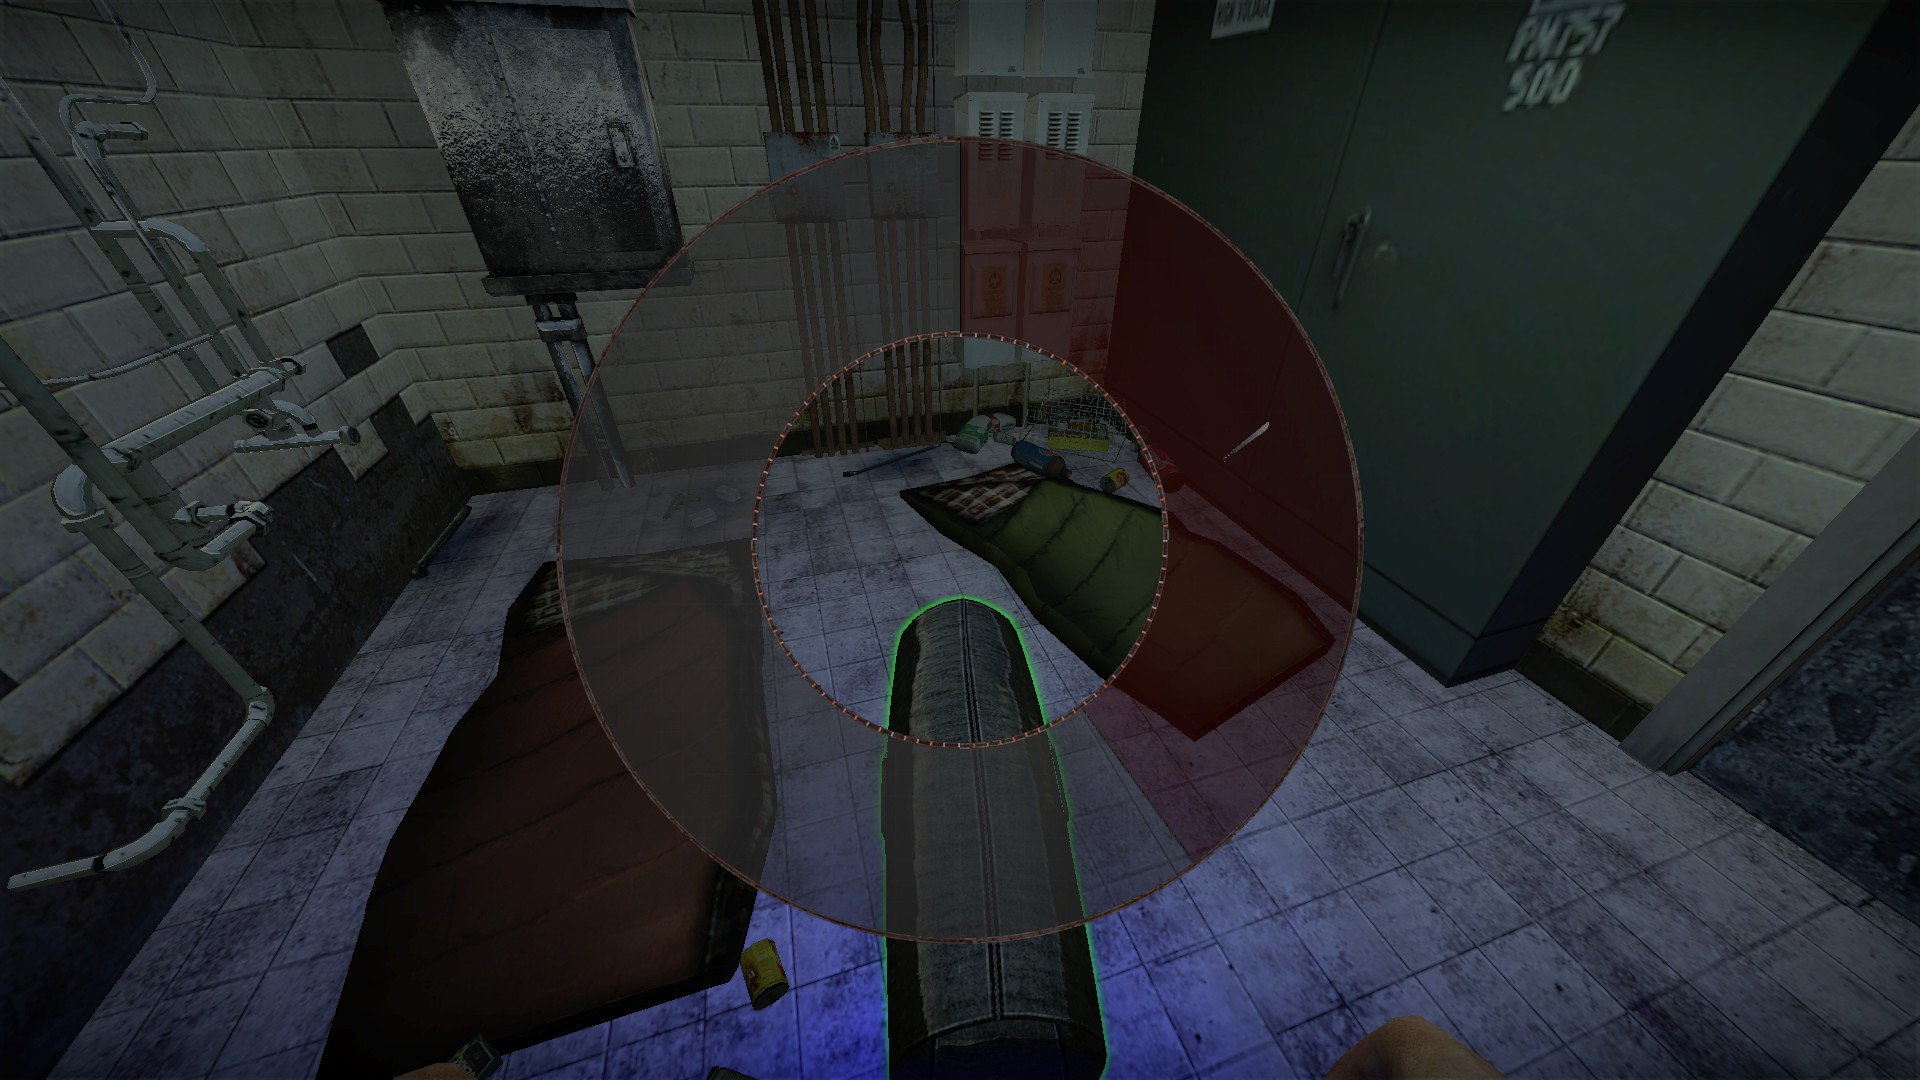
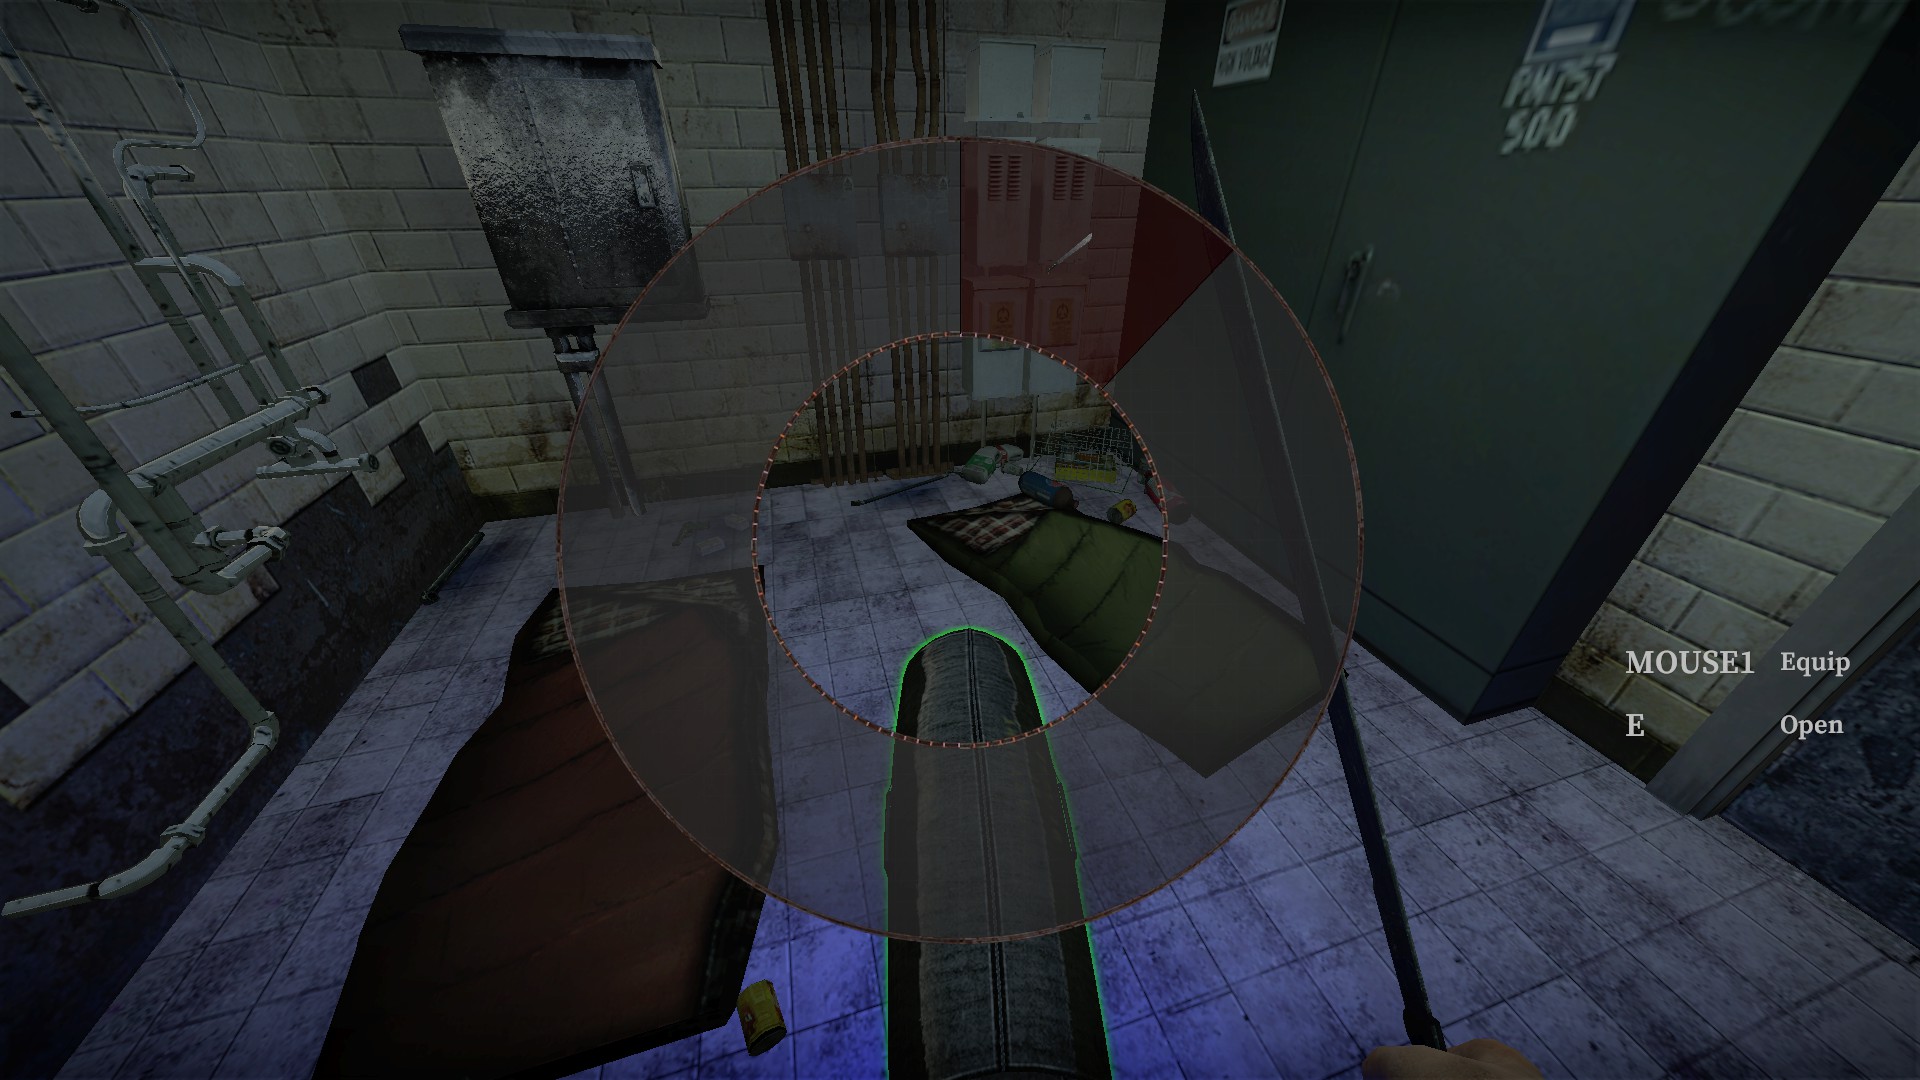
Some of the machetes you will find on this map take up much greater inventory space than normal. If you have access to a backpack, drop the machete in and take it out again and it will return to normal weight
nmo_underground_tunnels
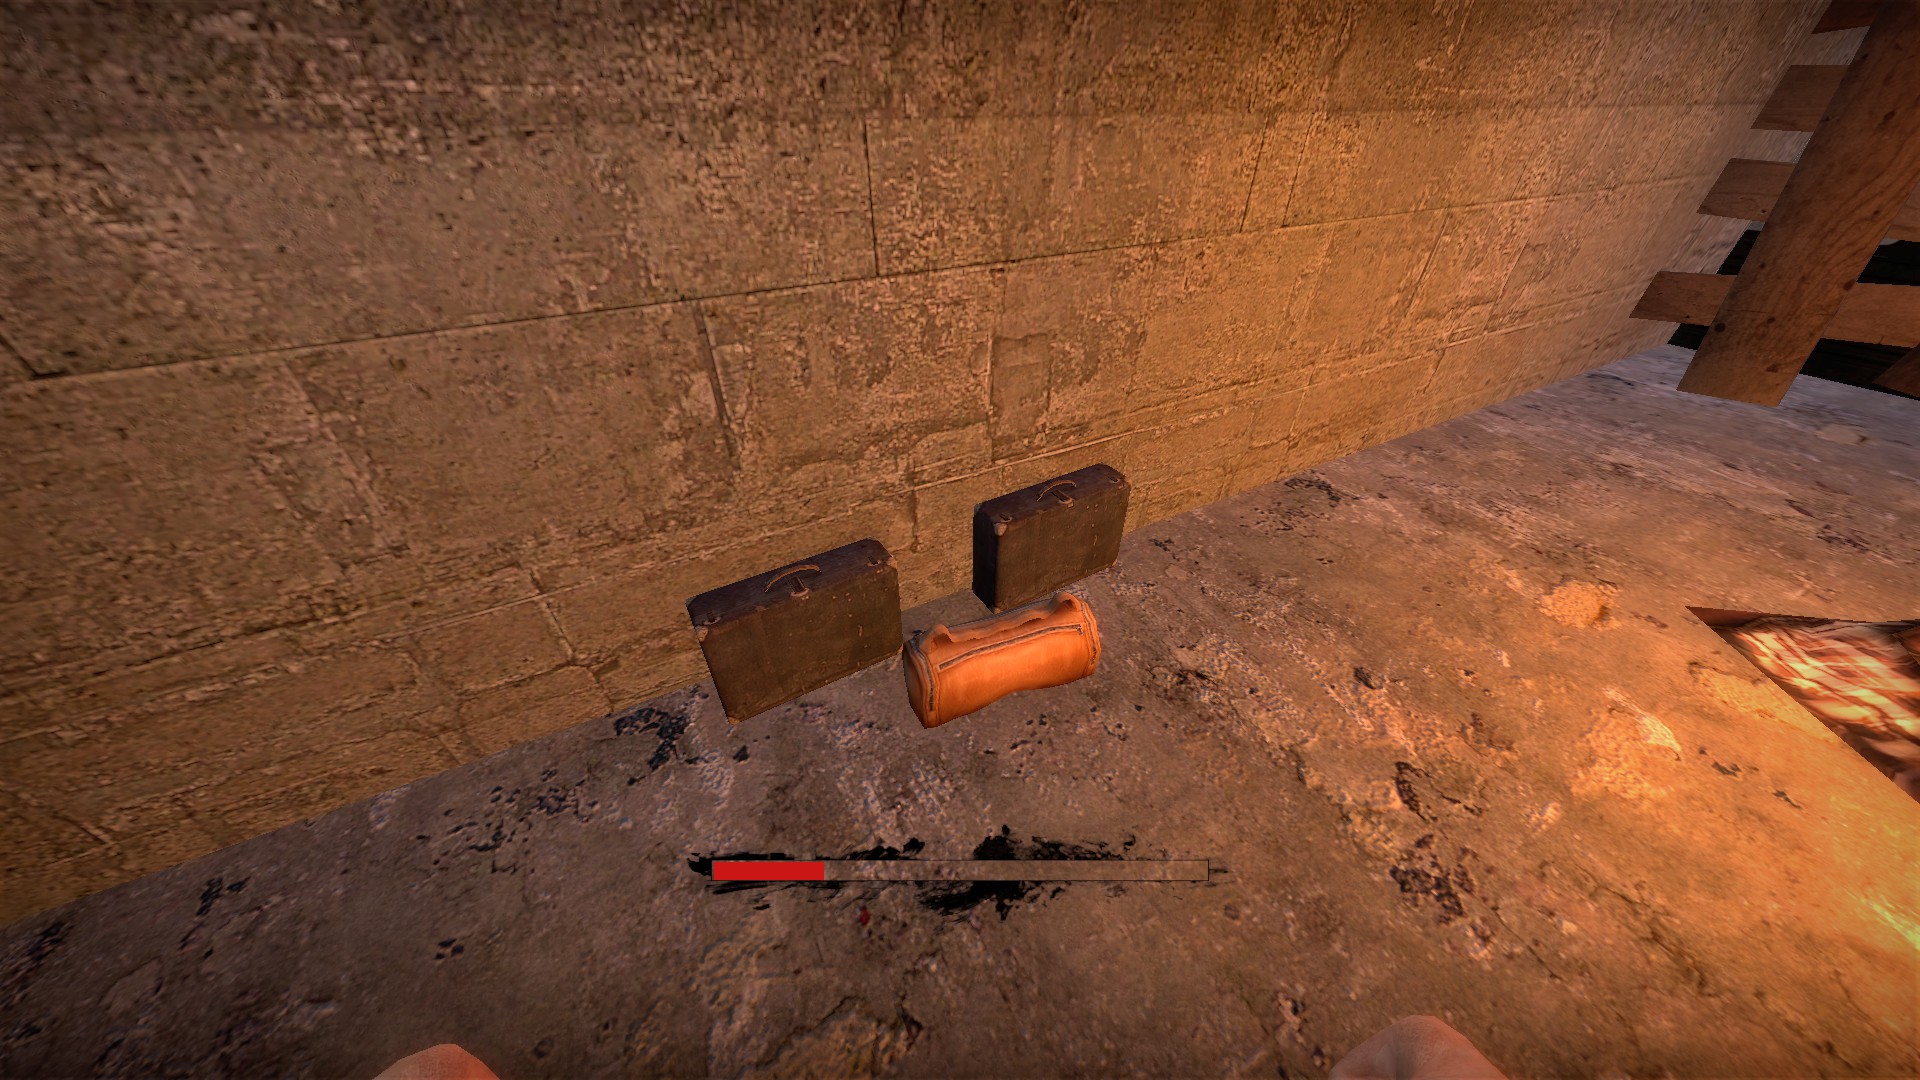
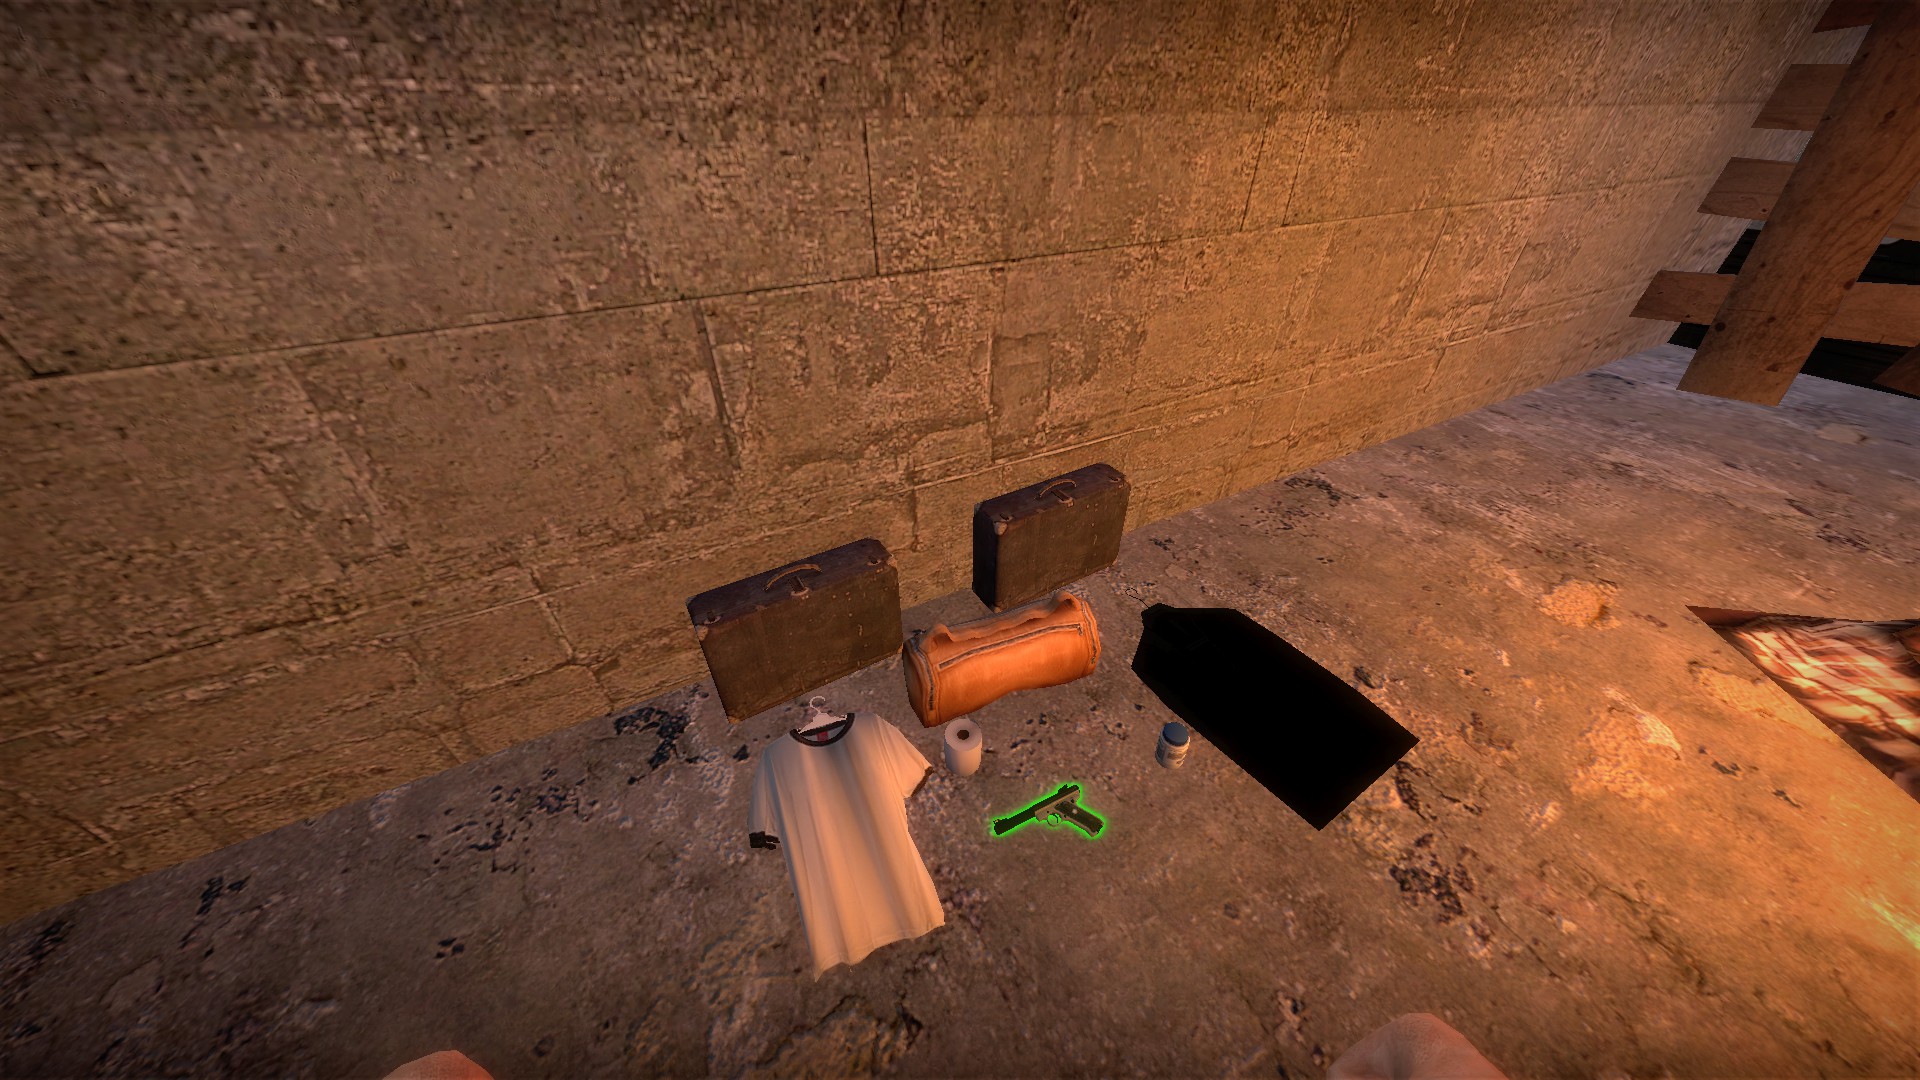
Hold e on the bag at start for a .22 and some clothes
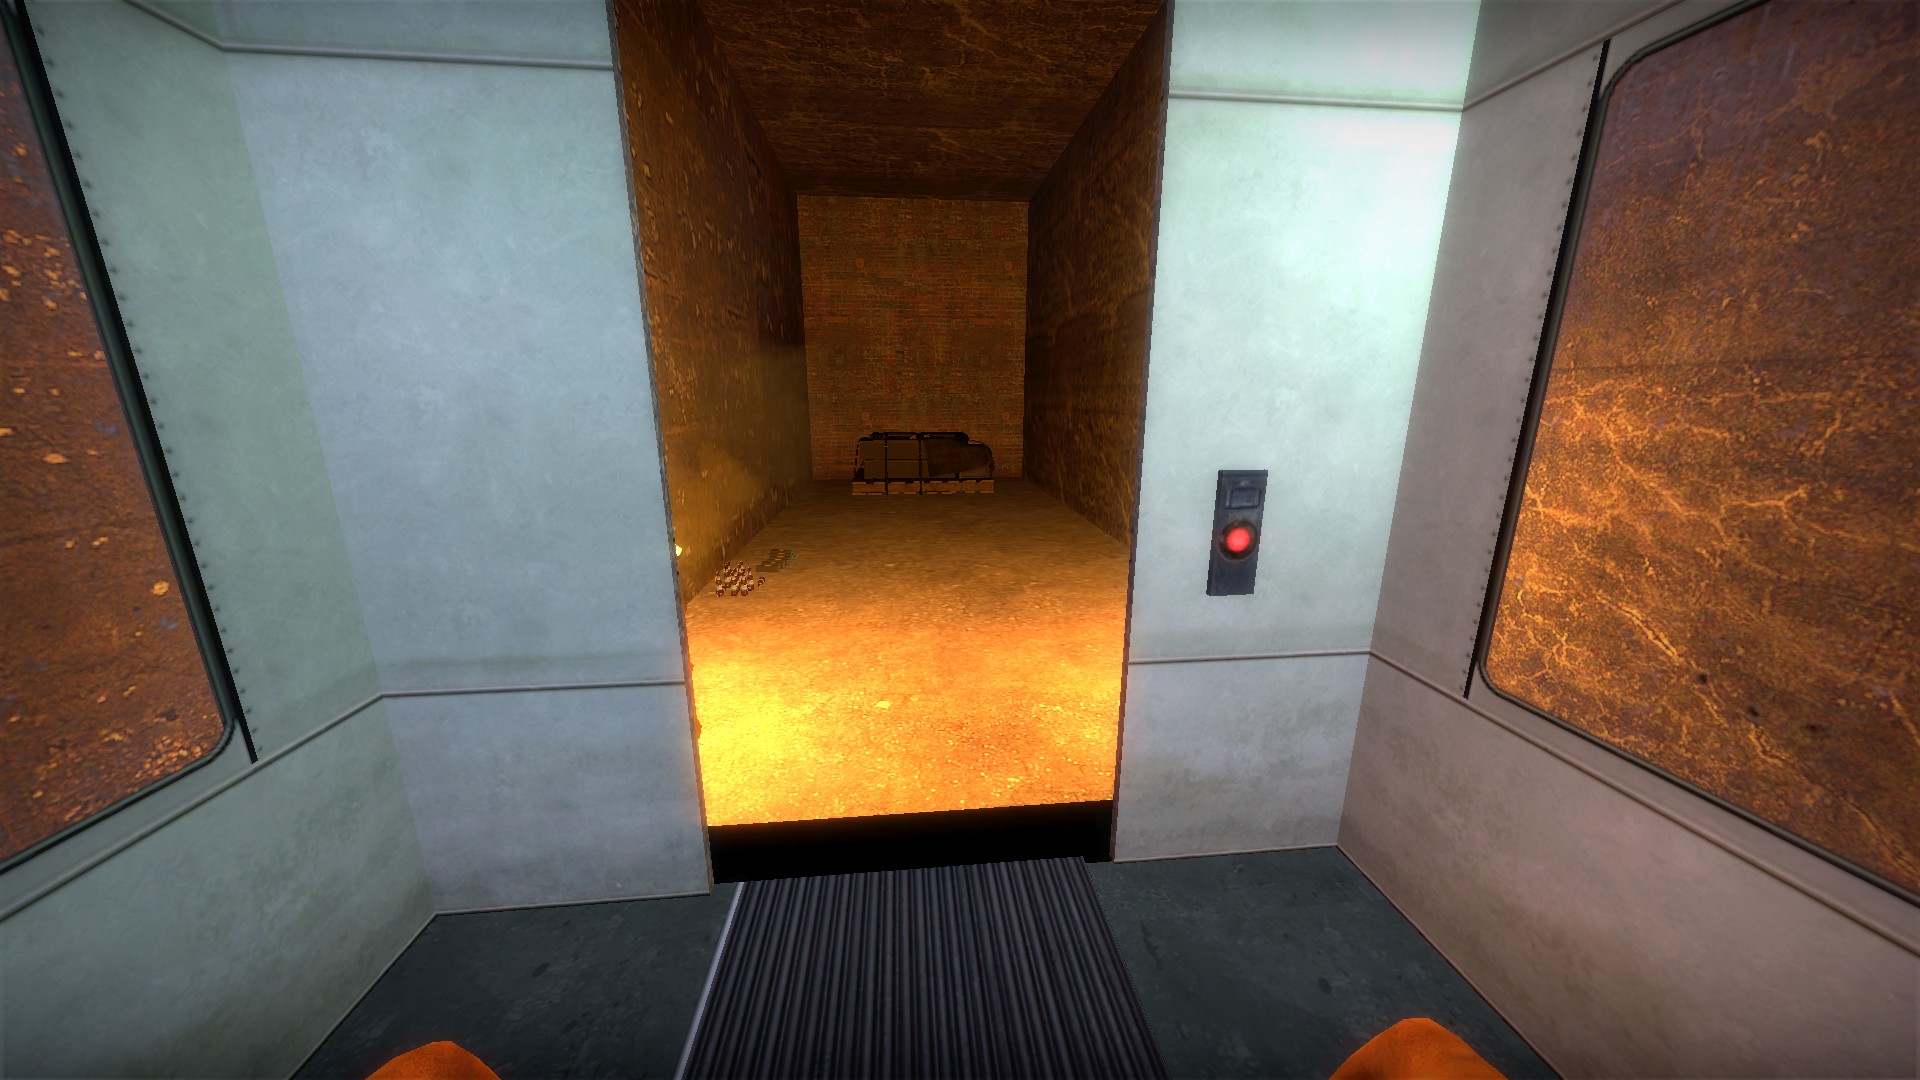
Before starting the rest of the map, be sure to ride the train car all the way to the end of the line for a weapon box and lots of explosives
nmo_urban_chaos_v3_3
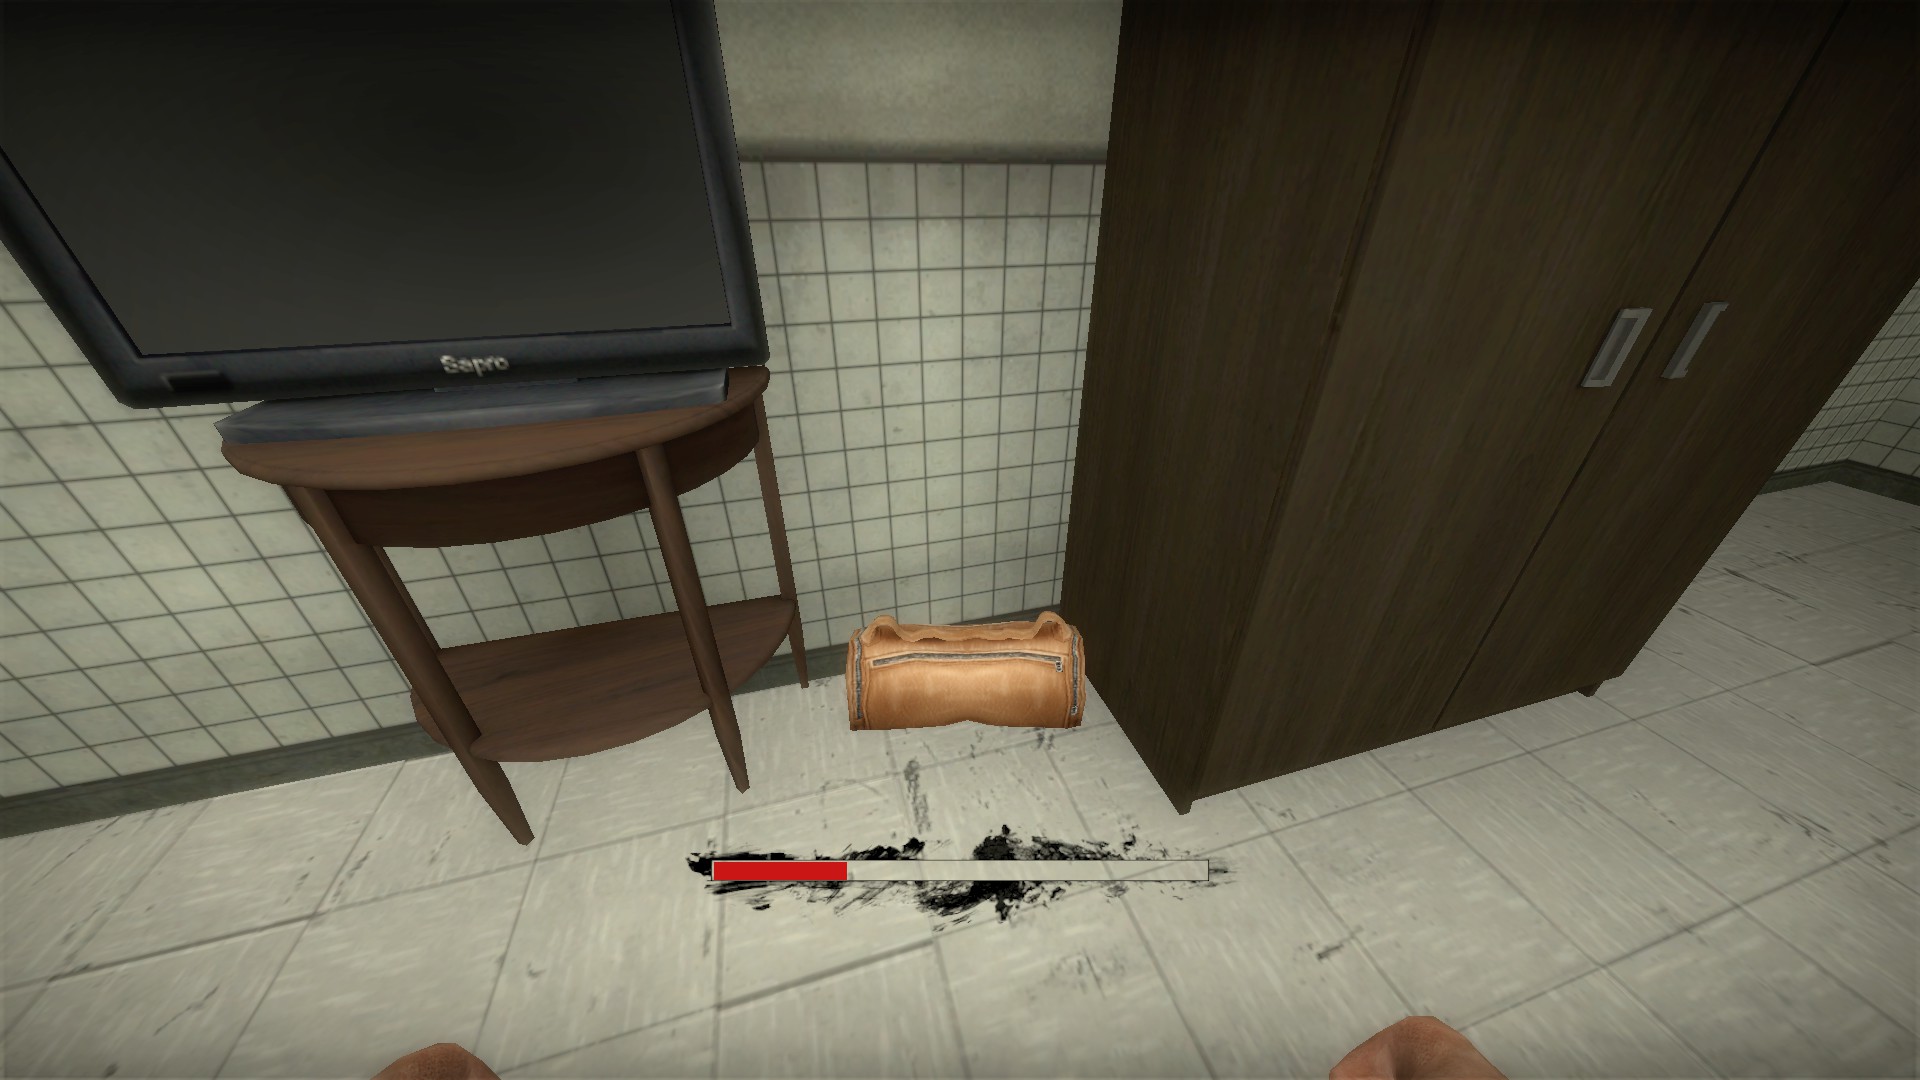
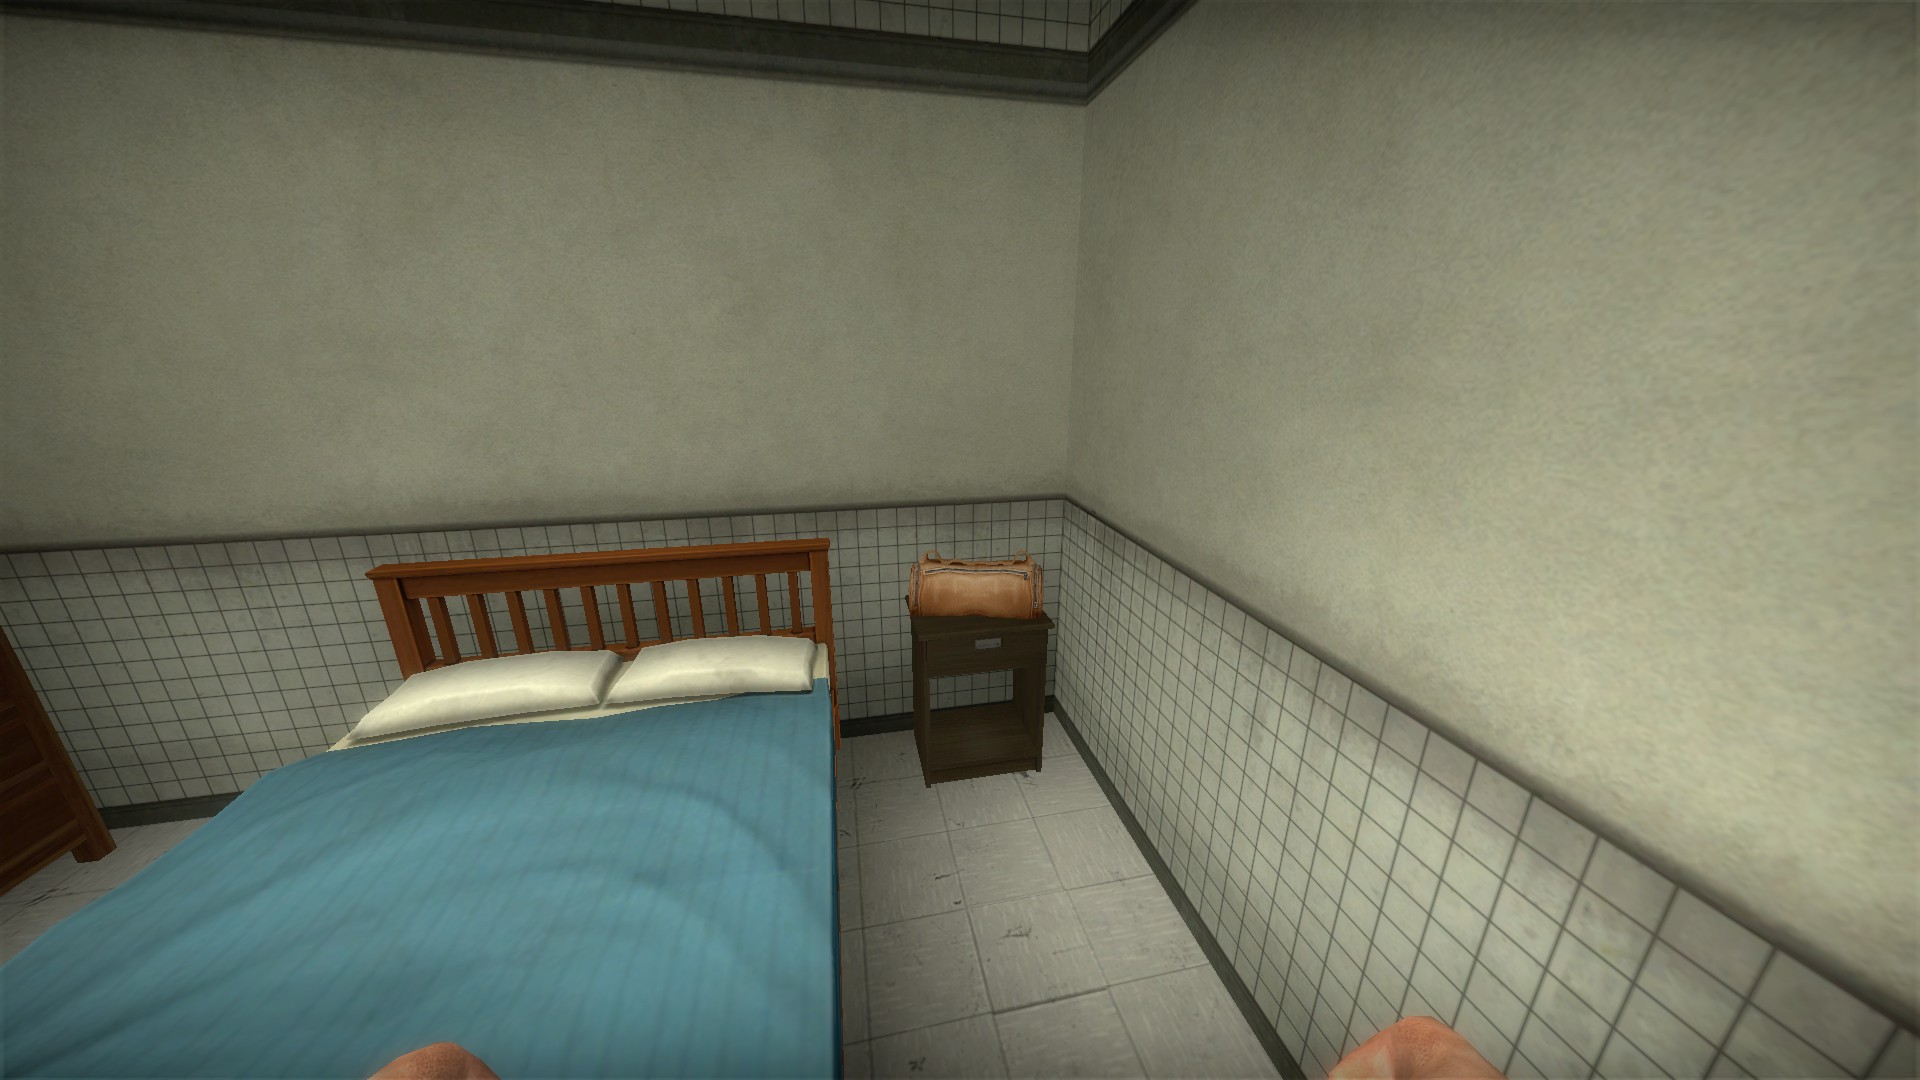
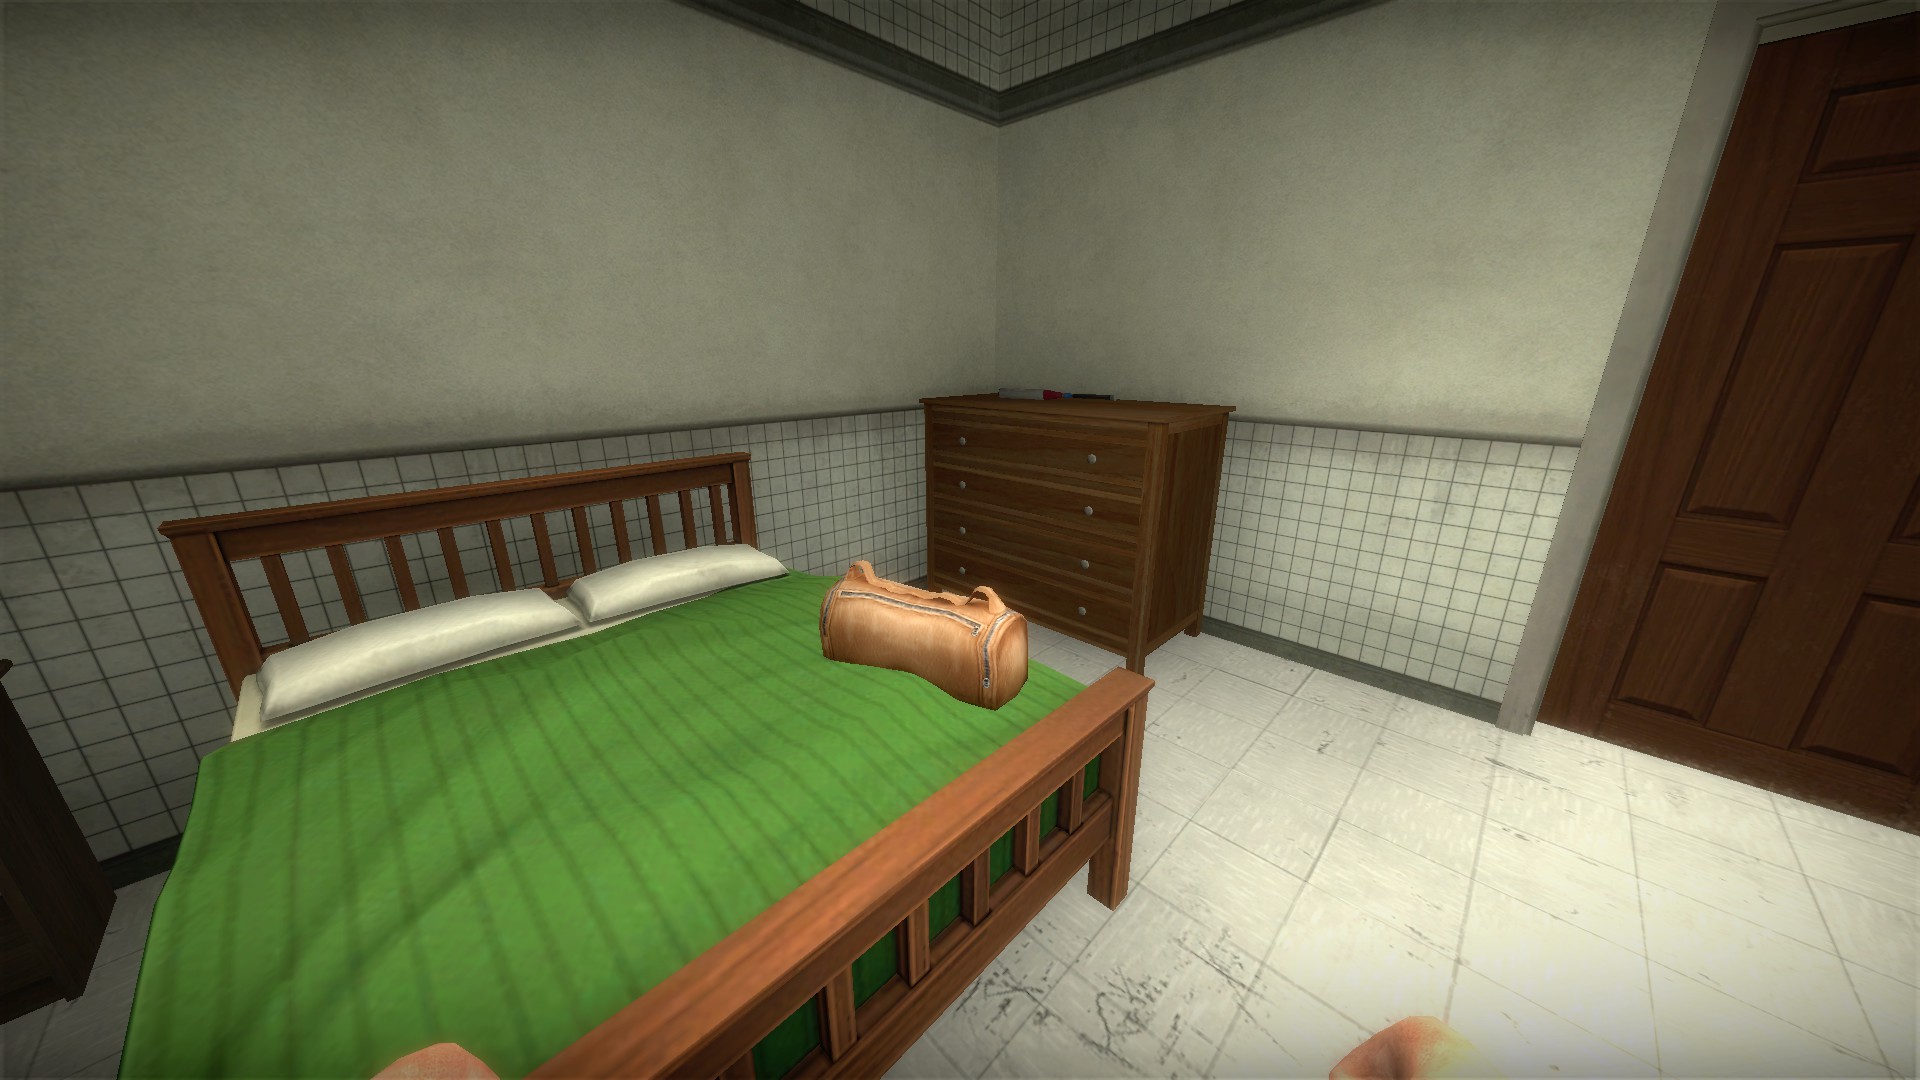
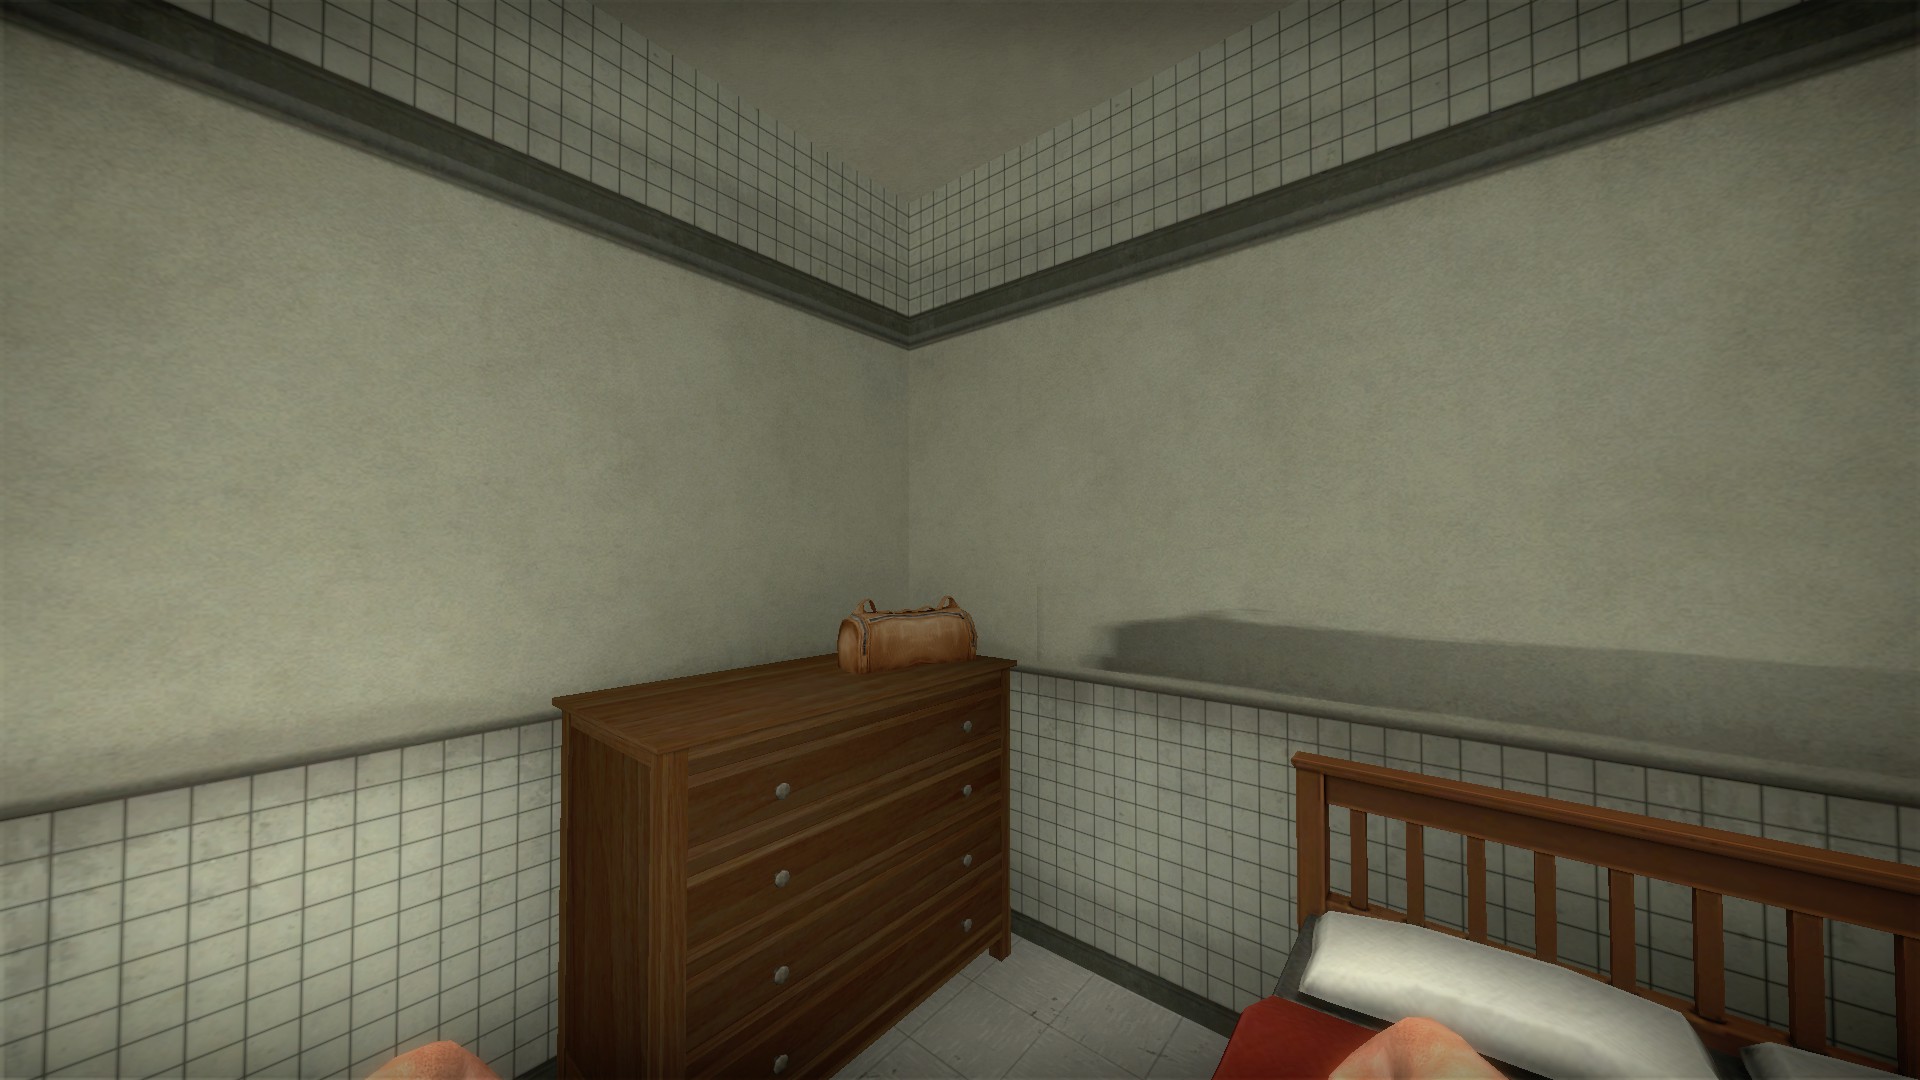
you start on the fourth floor of an apartment building. There are 4 dufflebags on this floor with items
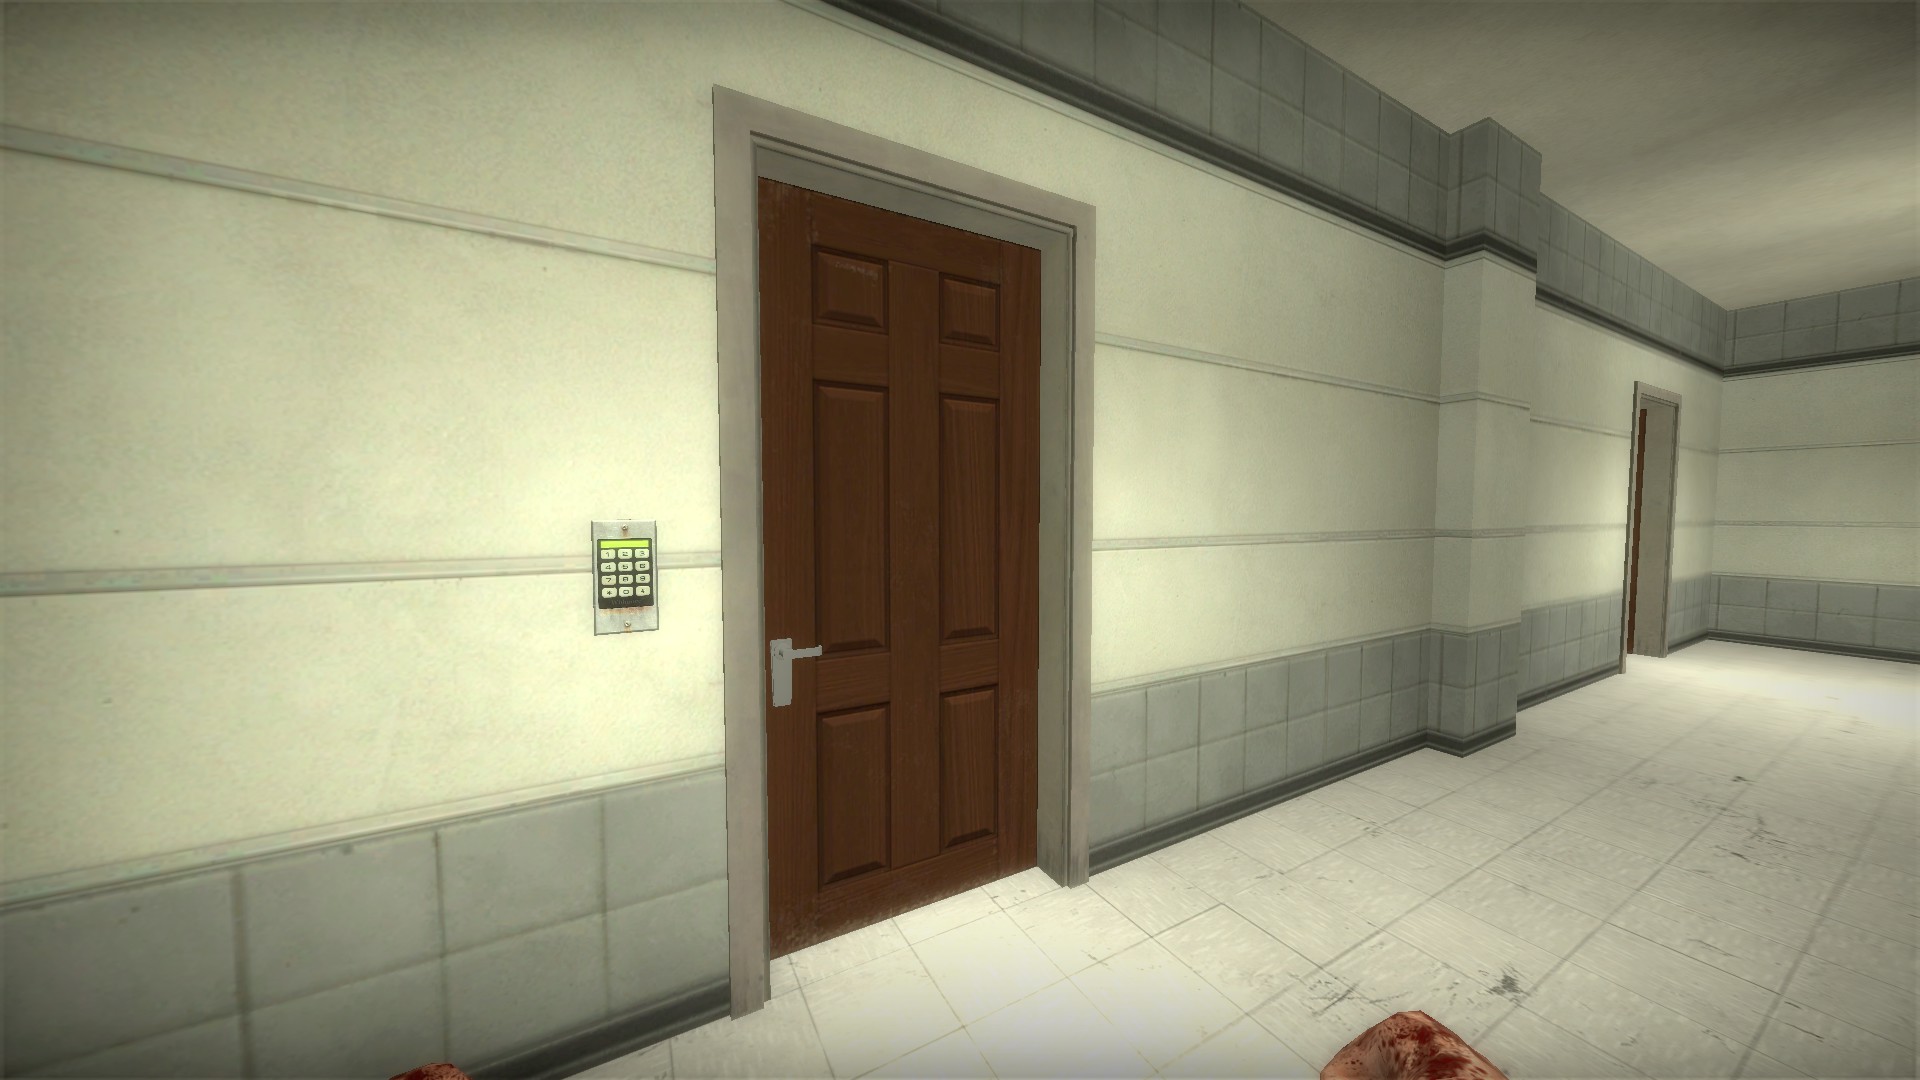
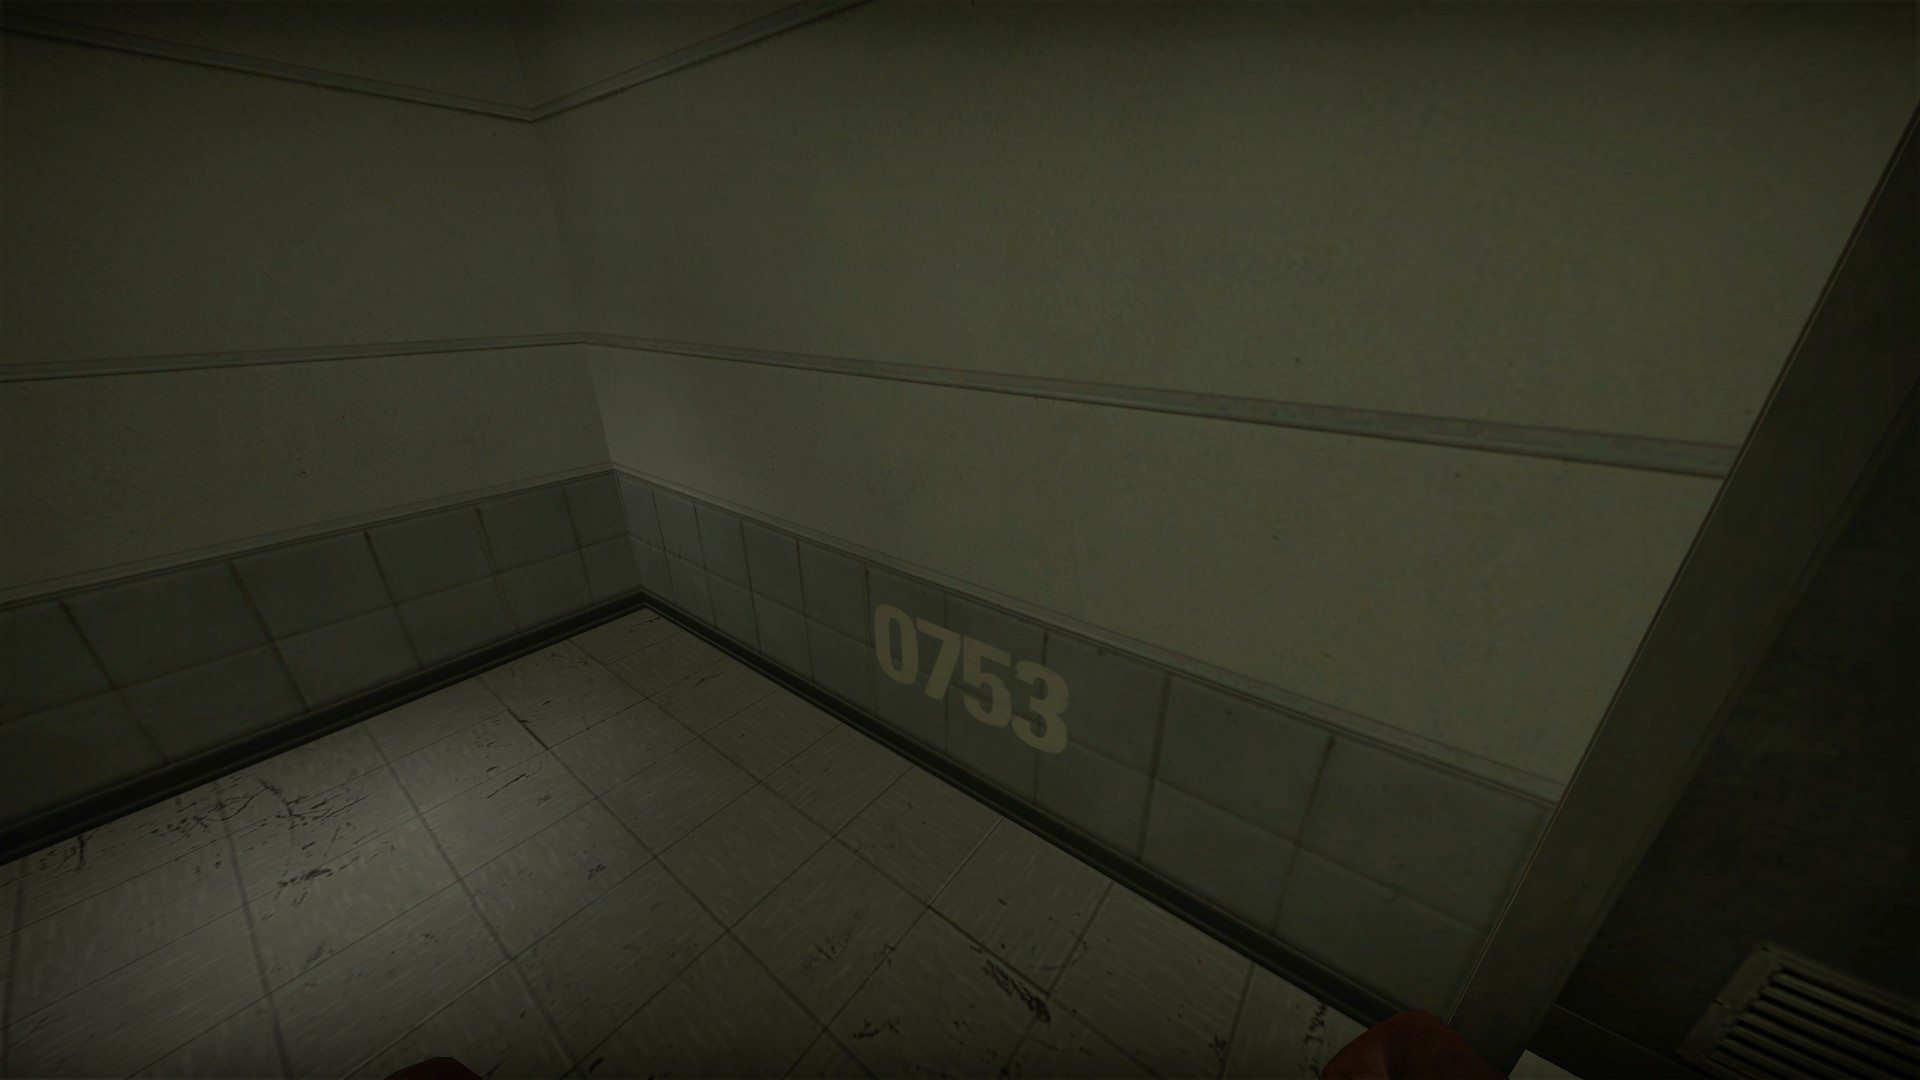
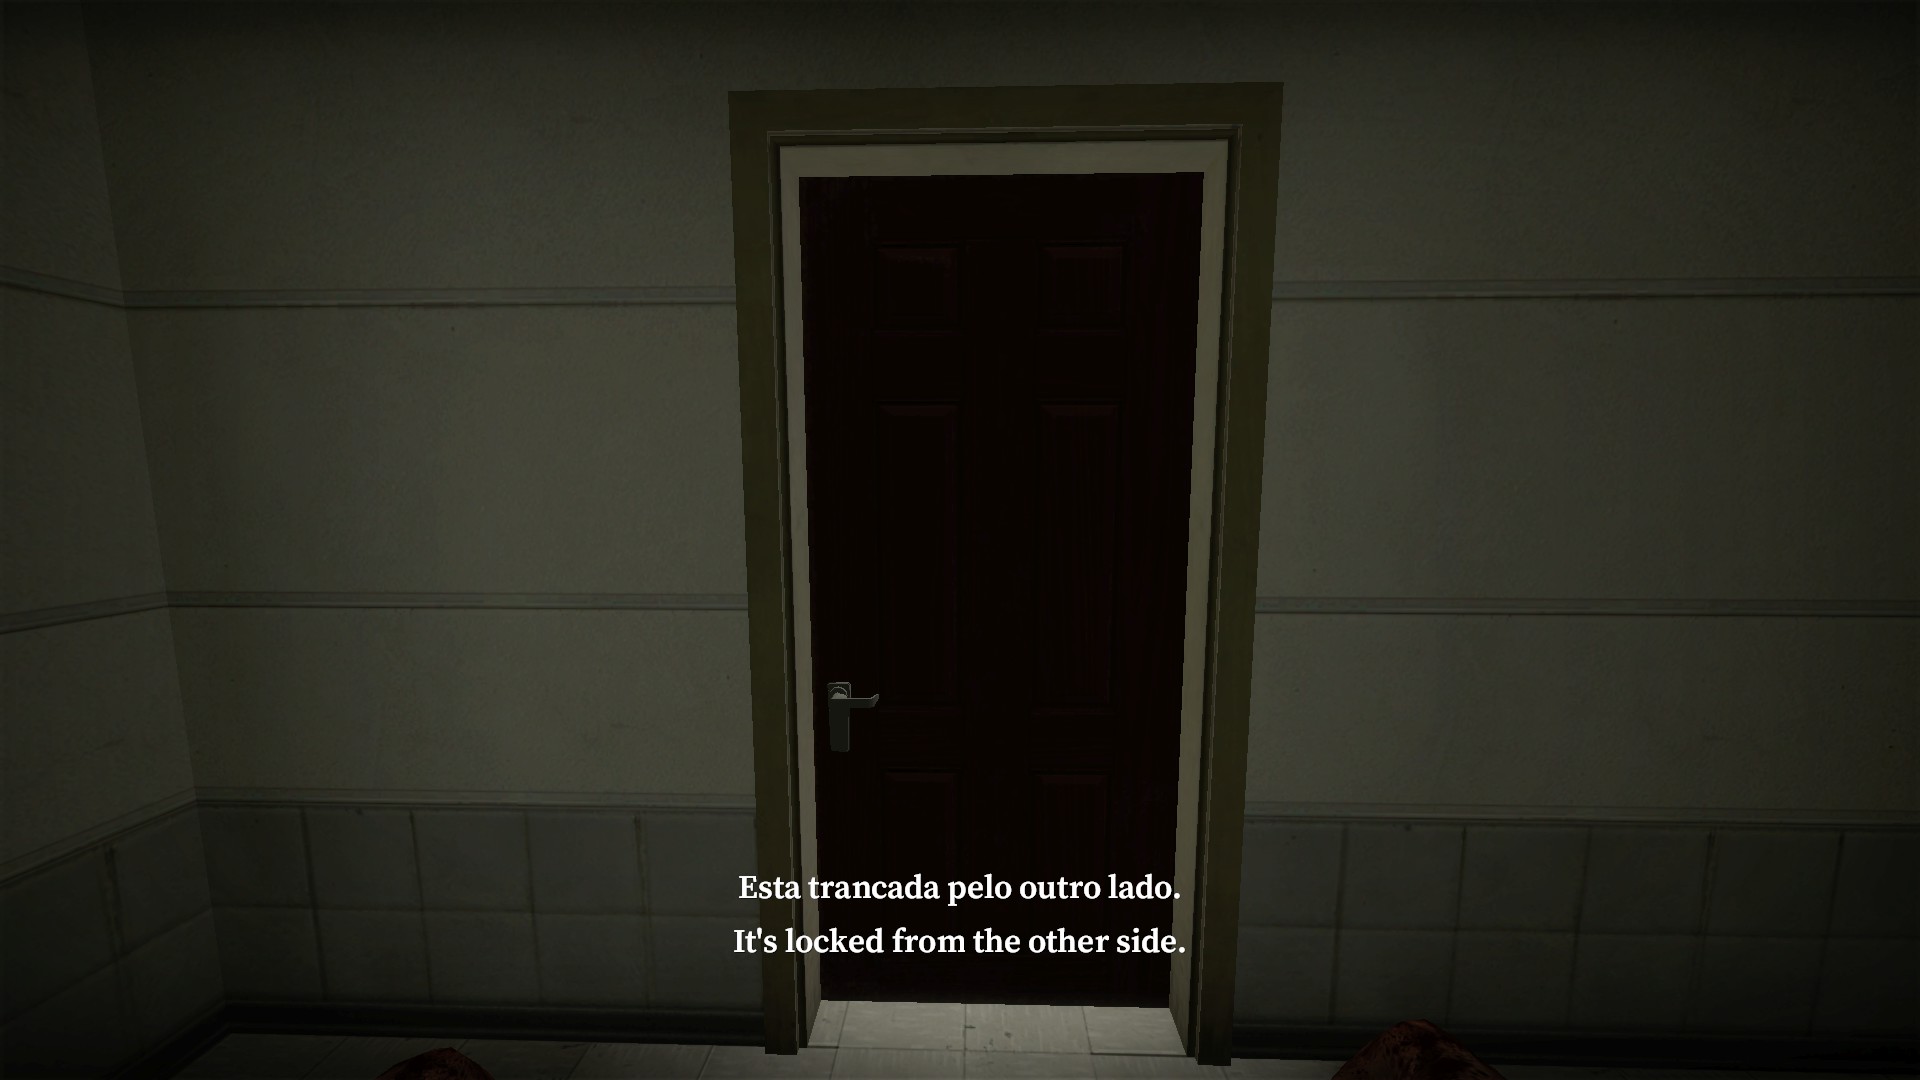
The third floor has a door locked with a keypad. 4425, 2807, 1617, or 0753. The codes are on the first floor of the building
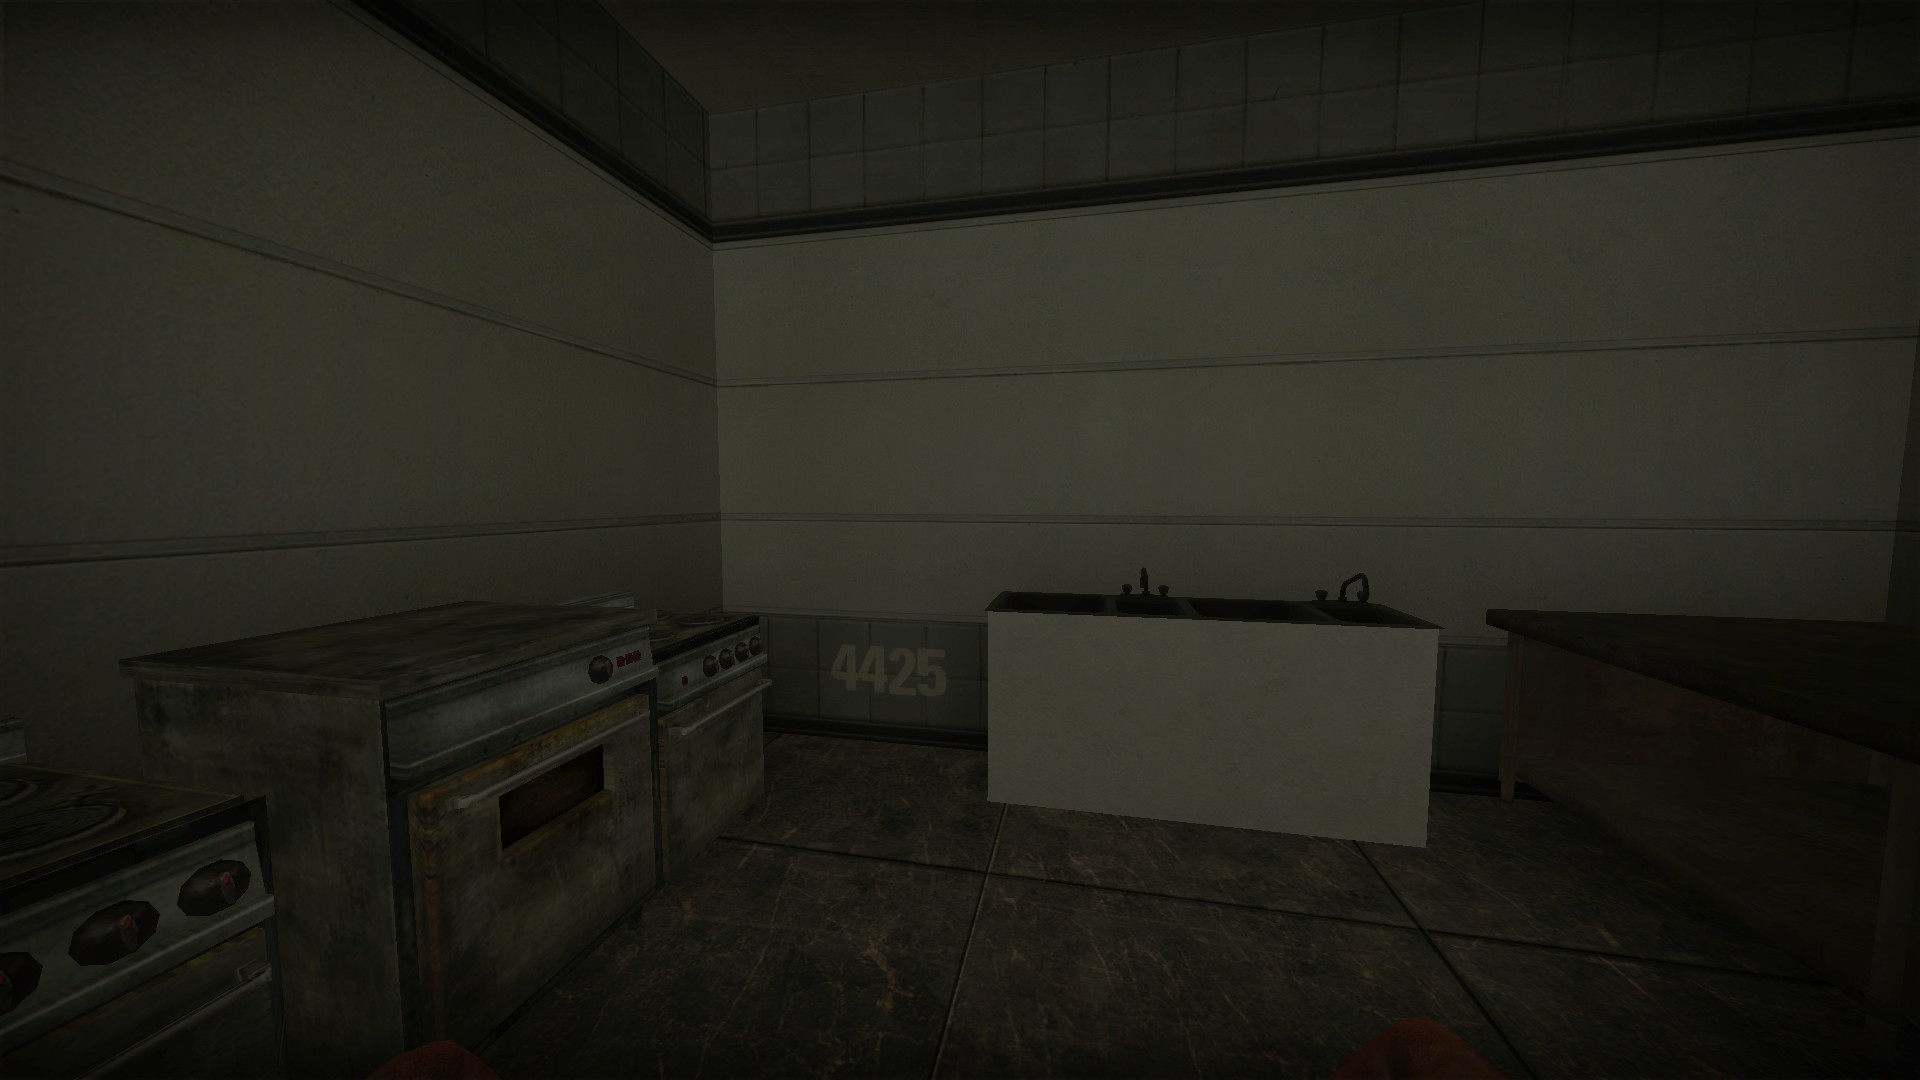
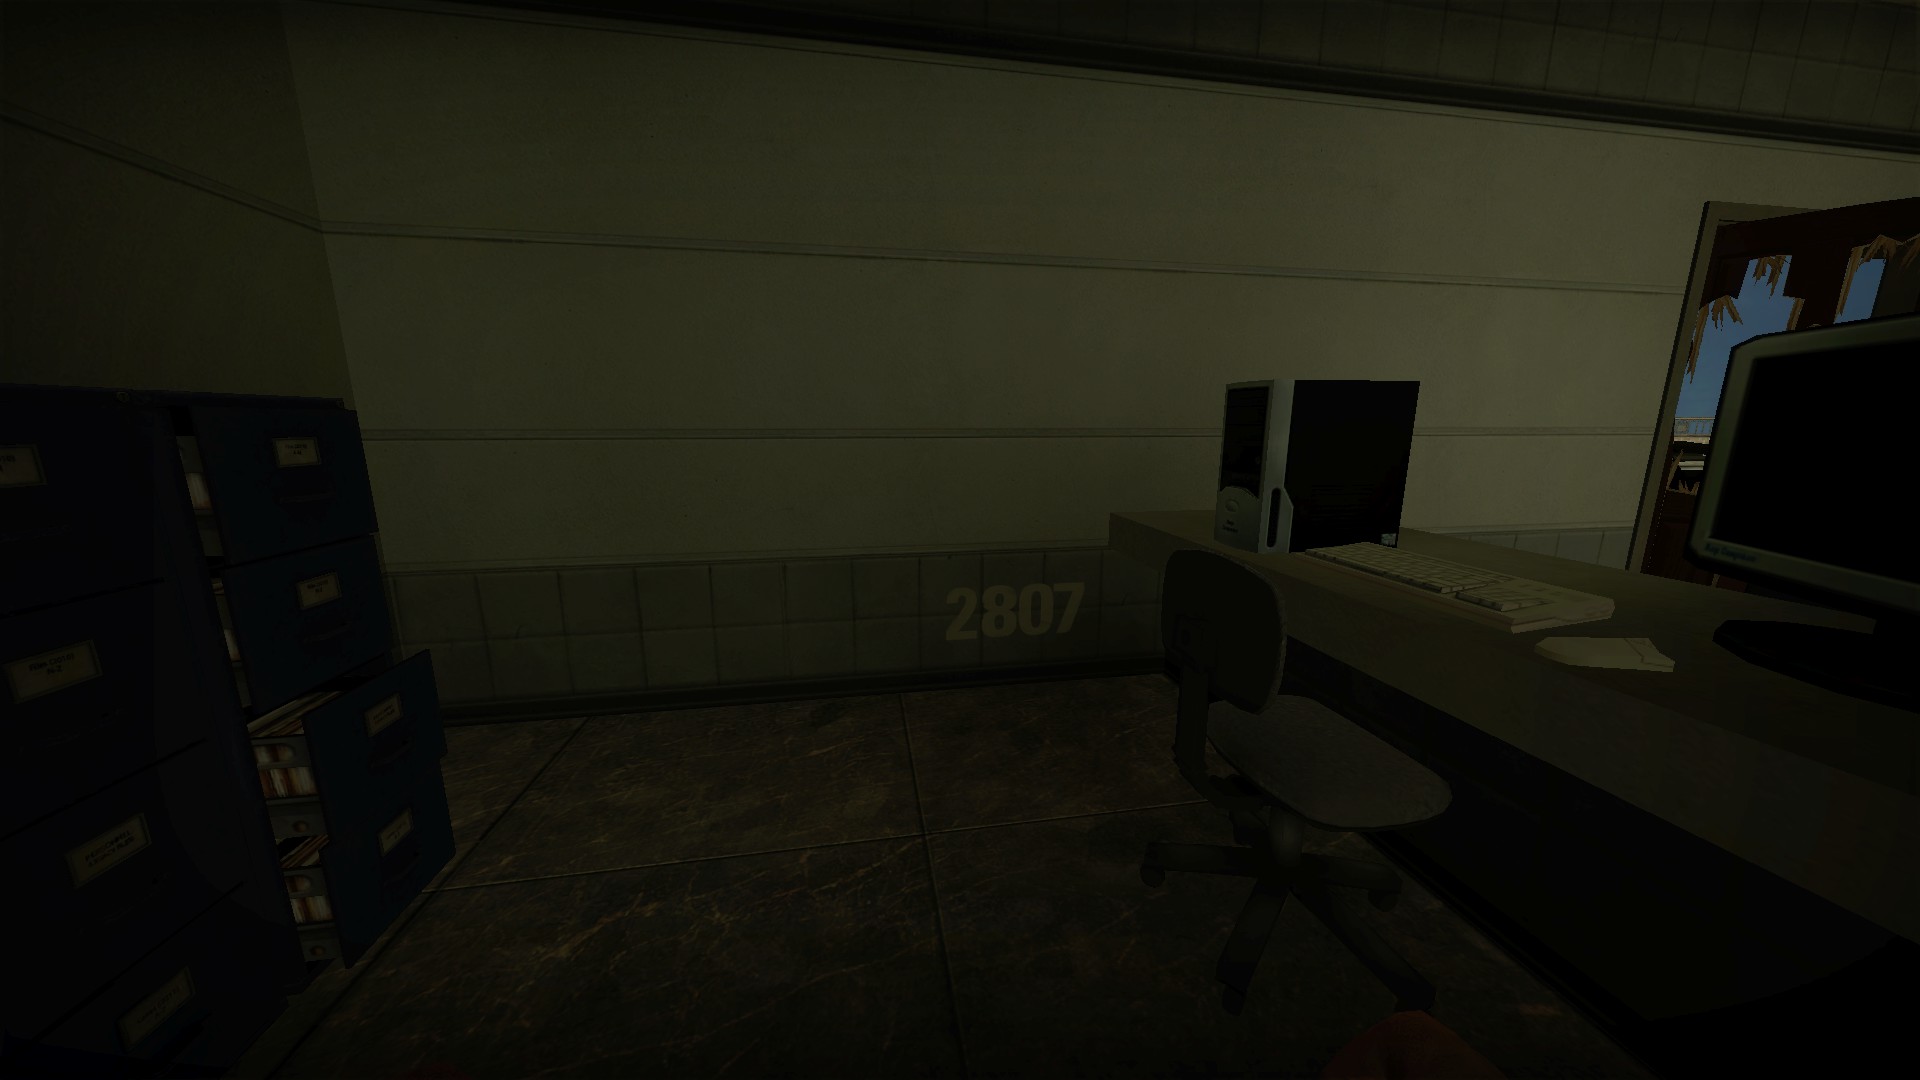
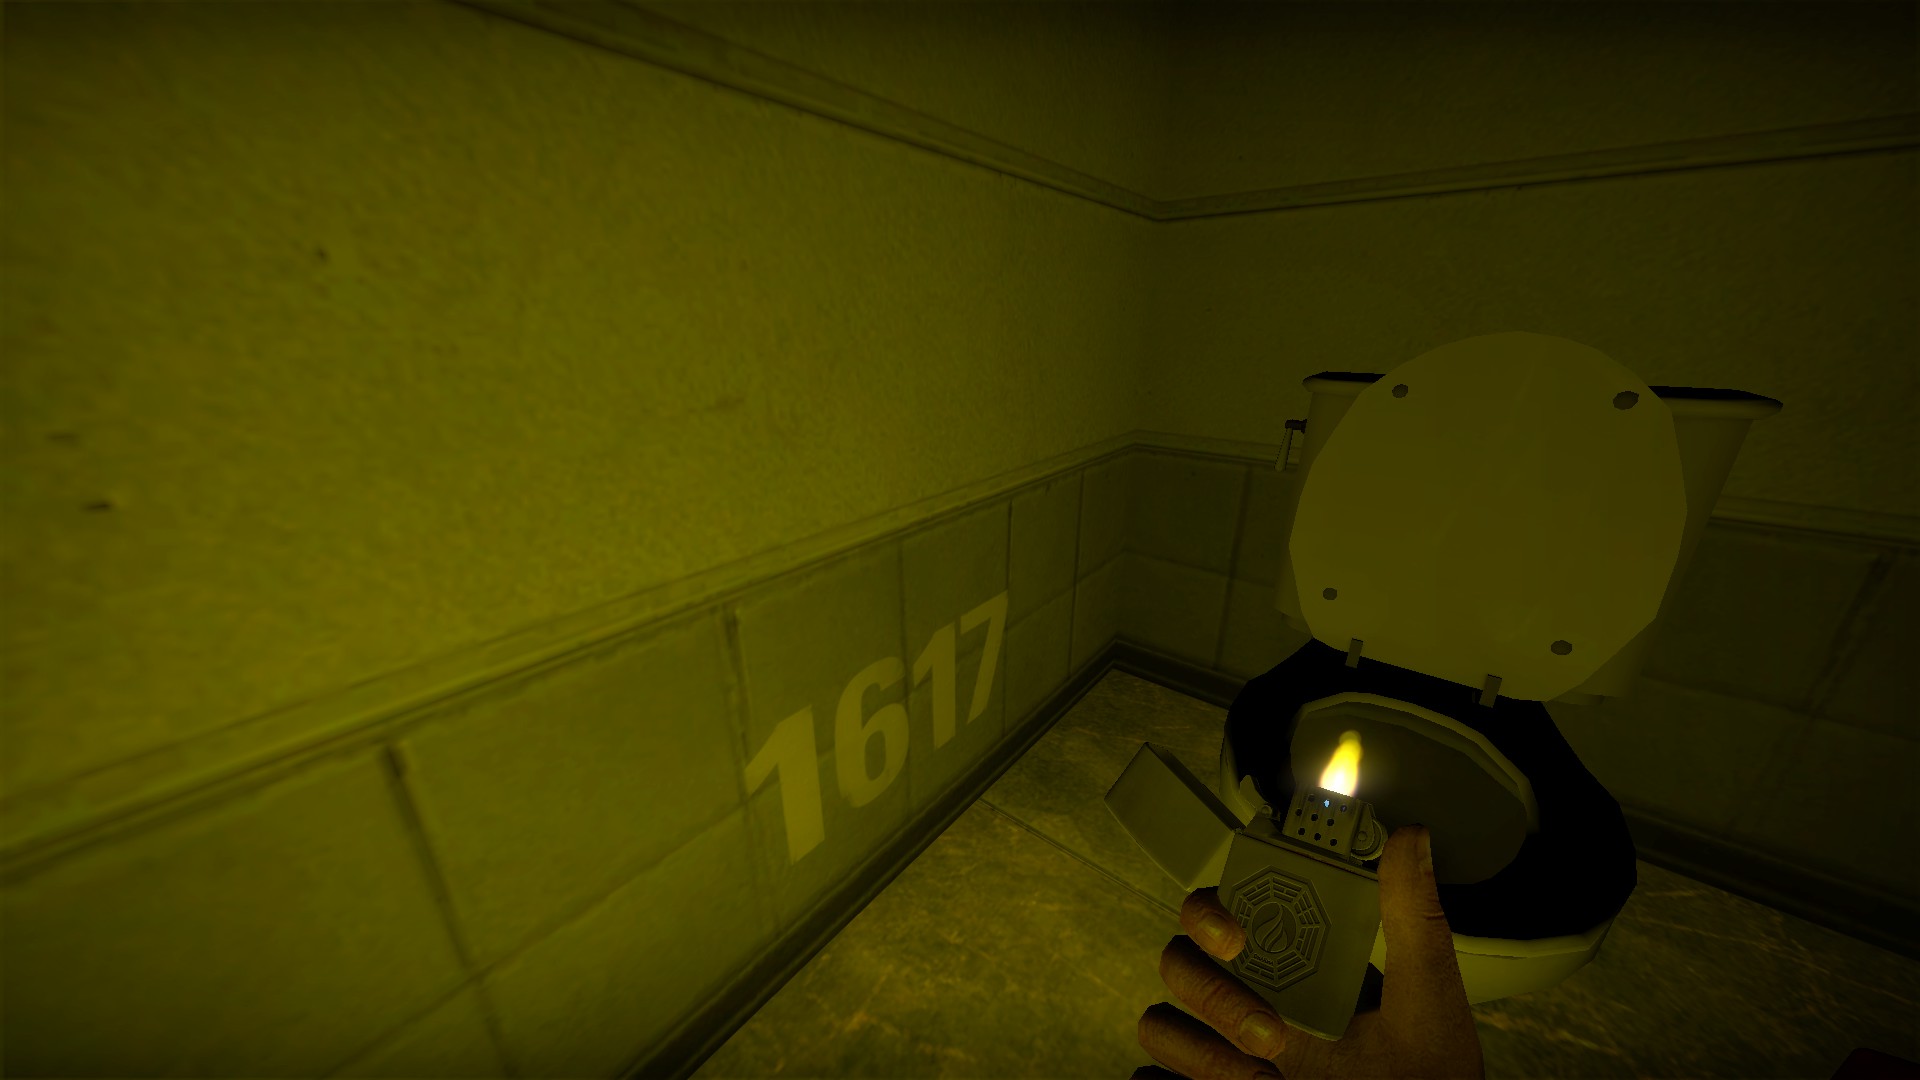
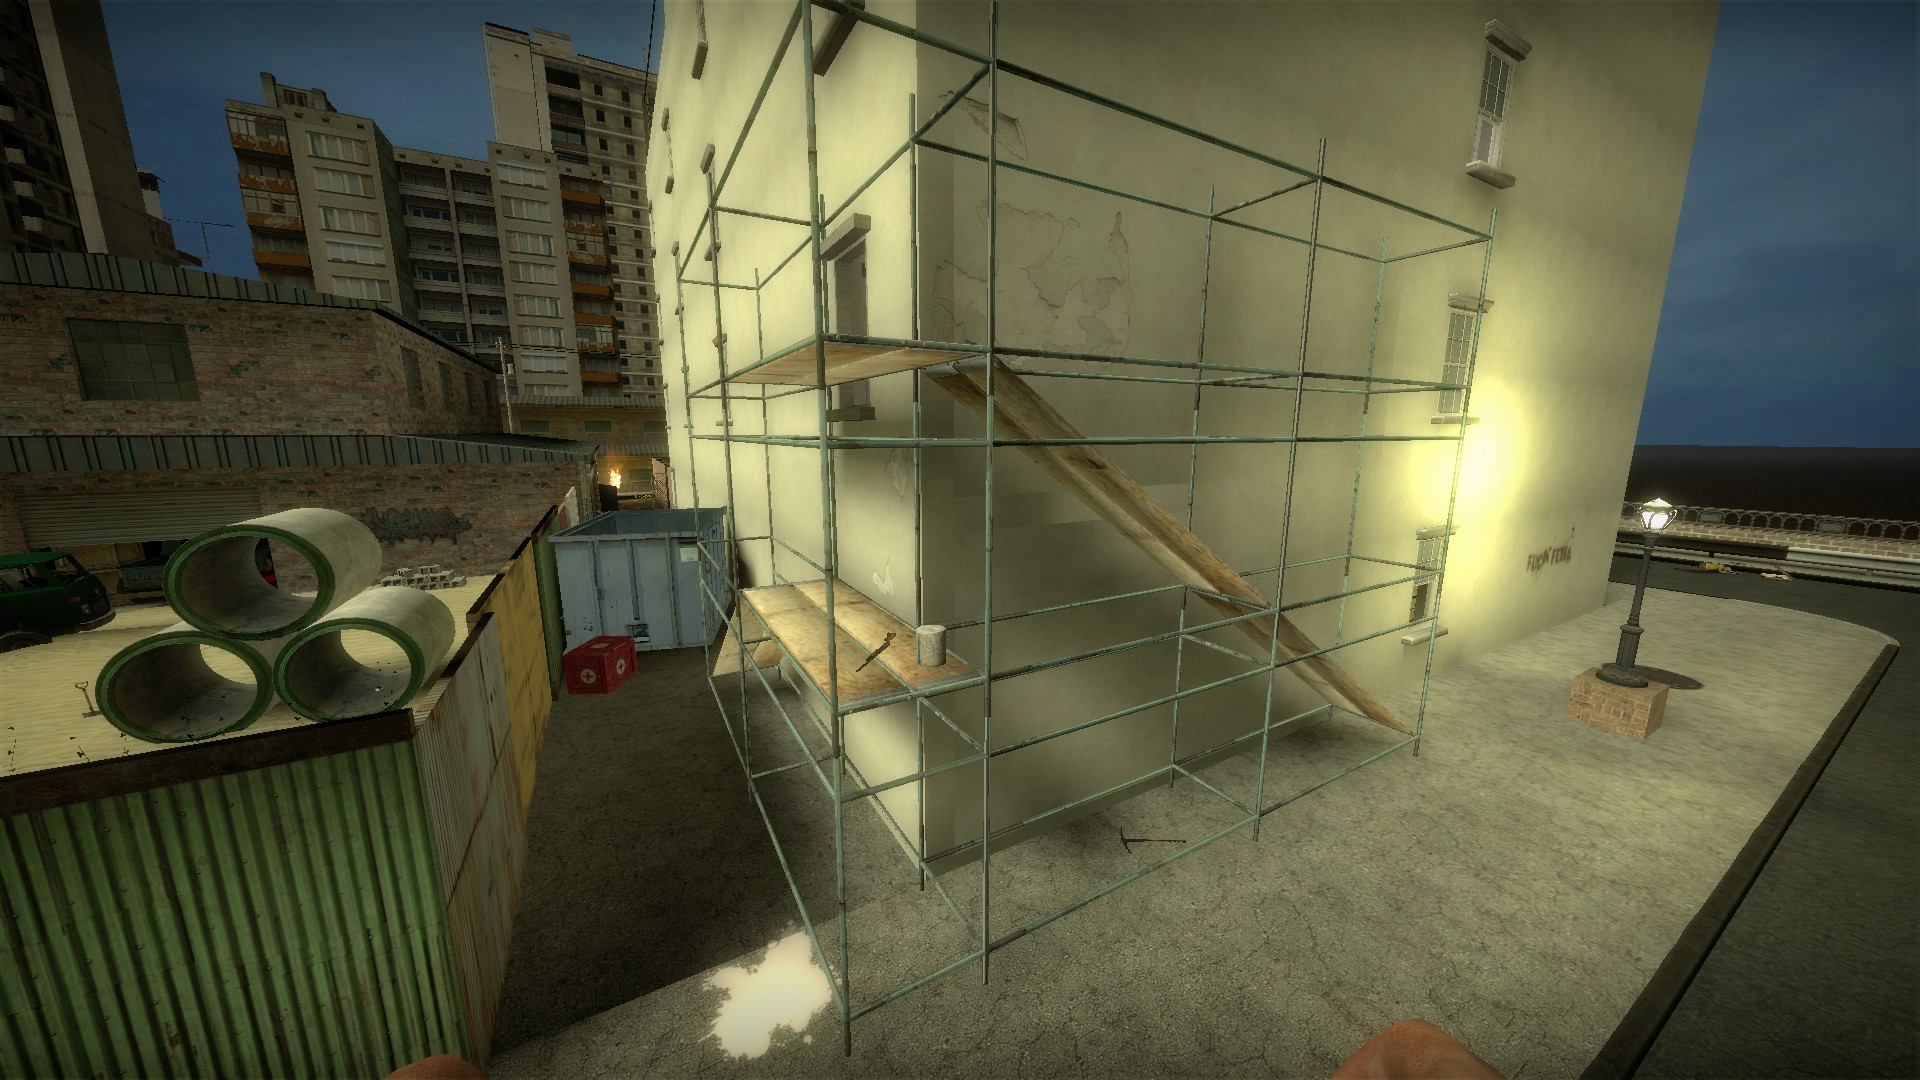
You can access the locked room on the second floor by using the ramps on the street
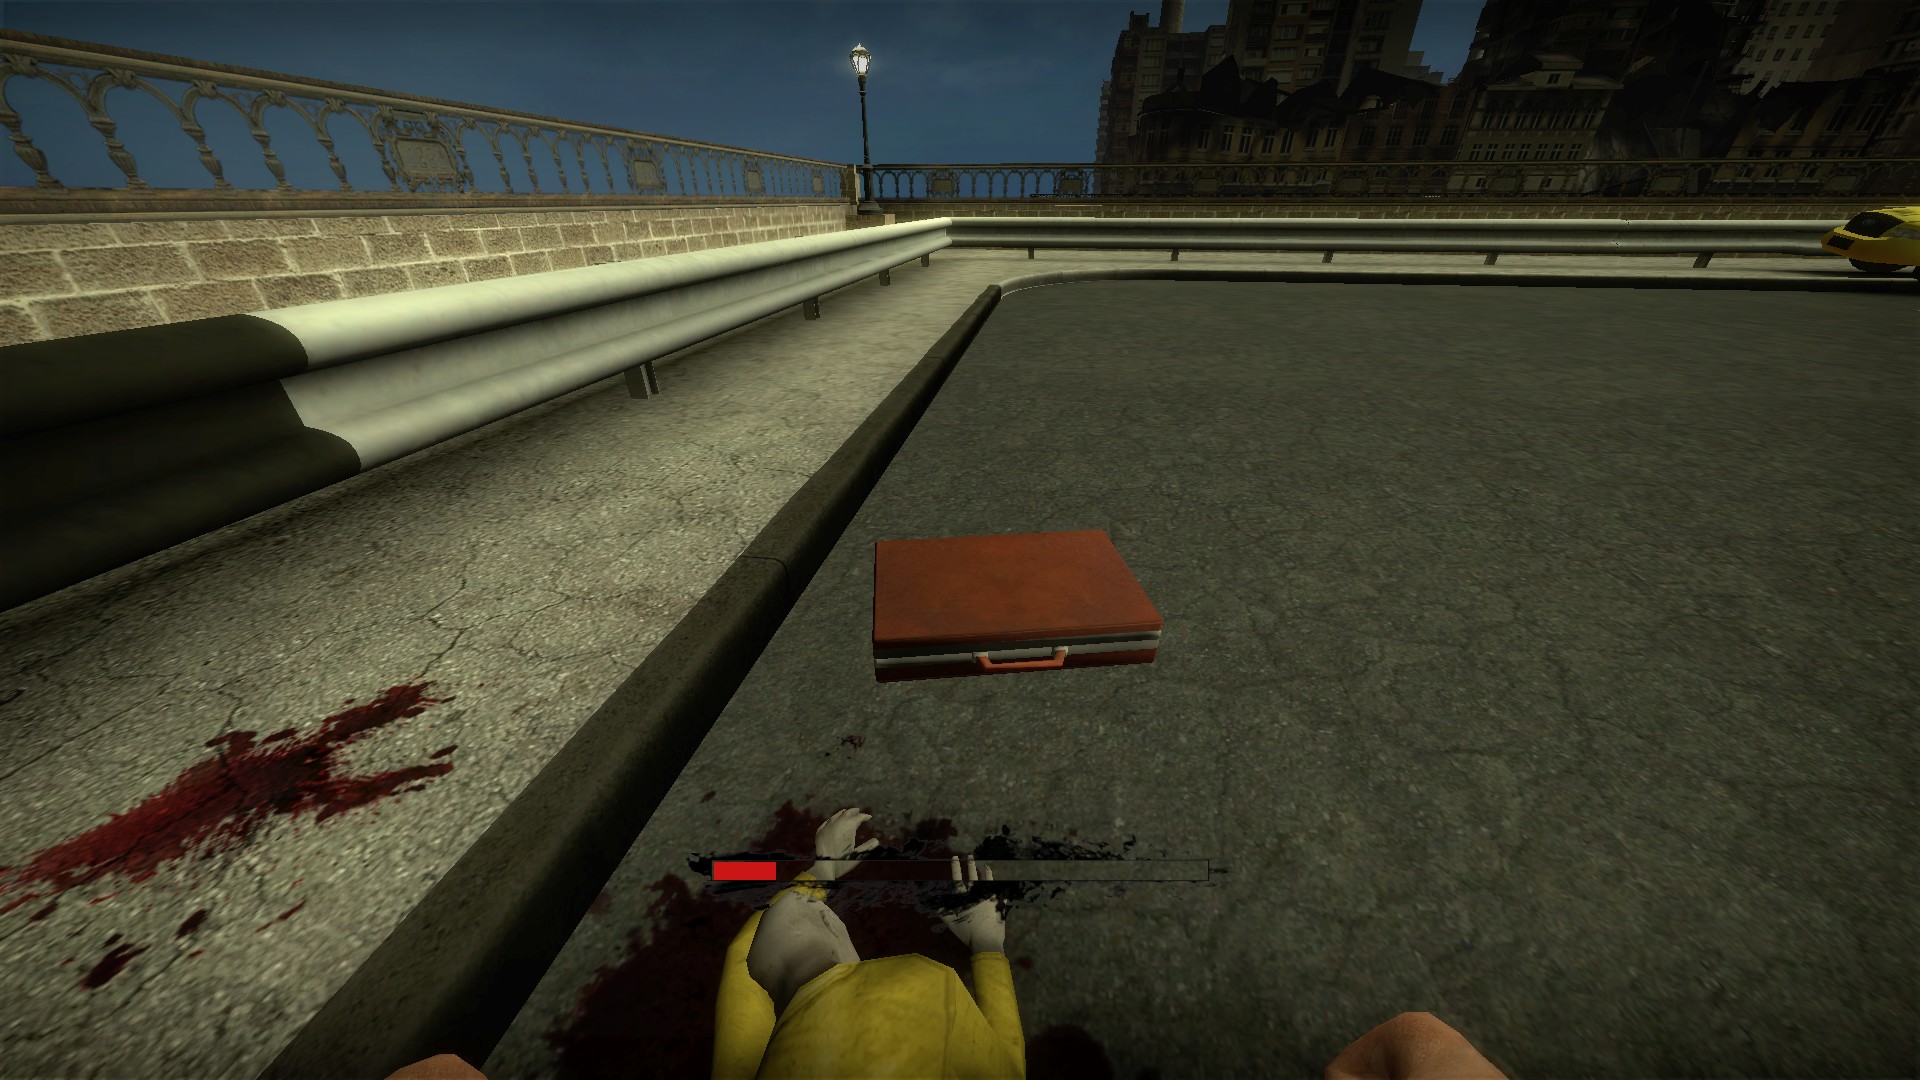
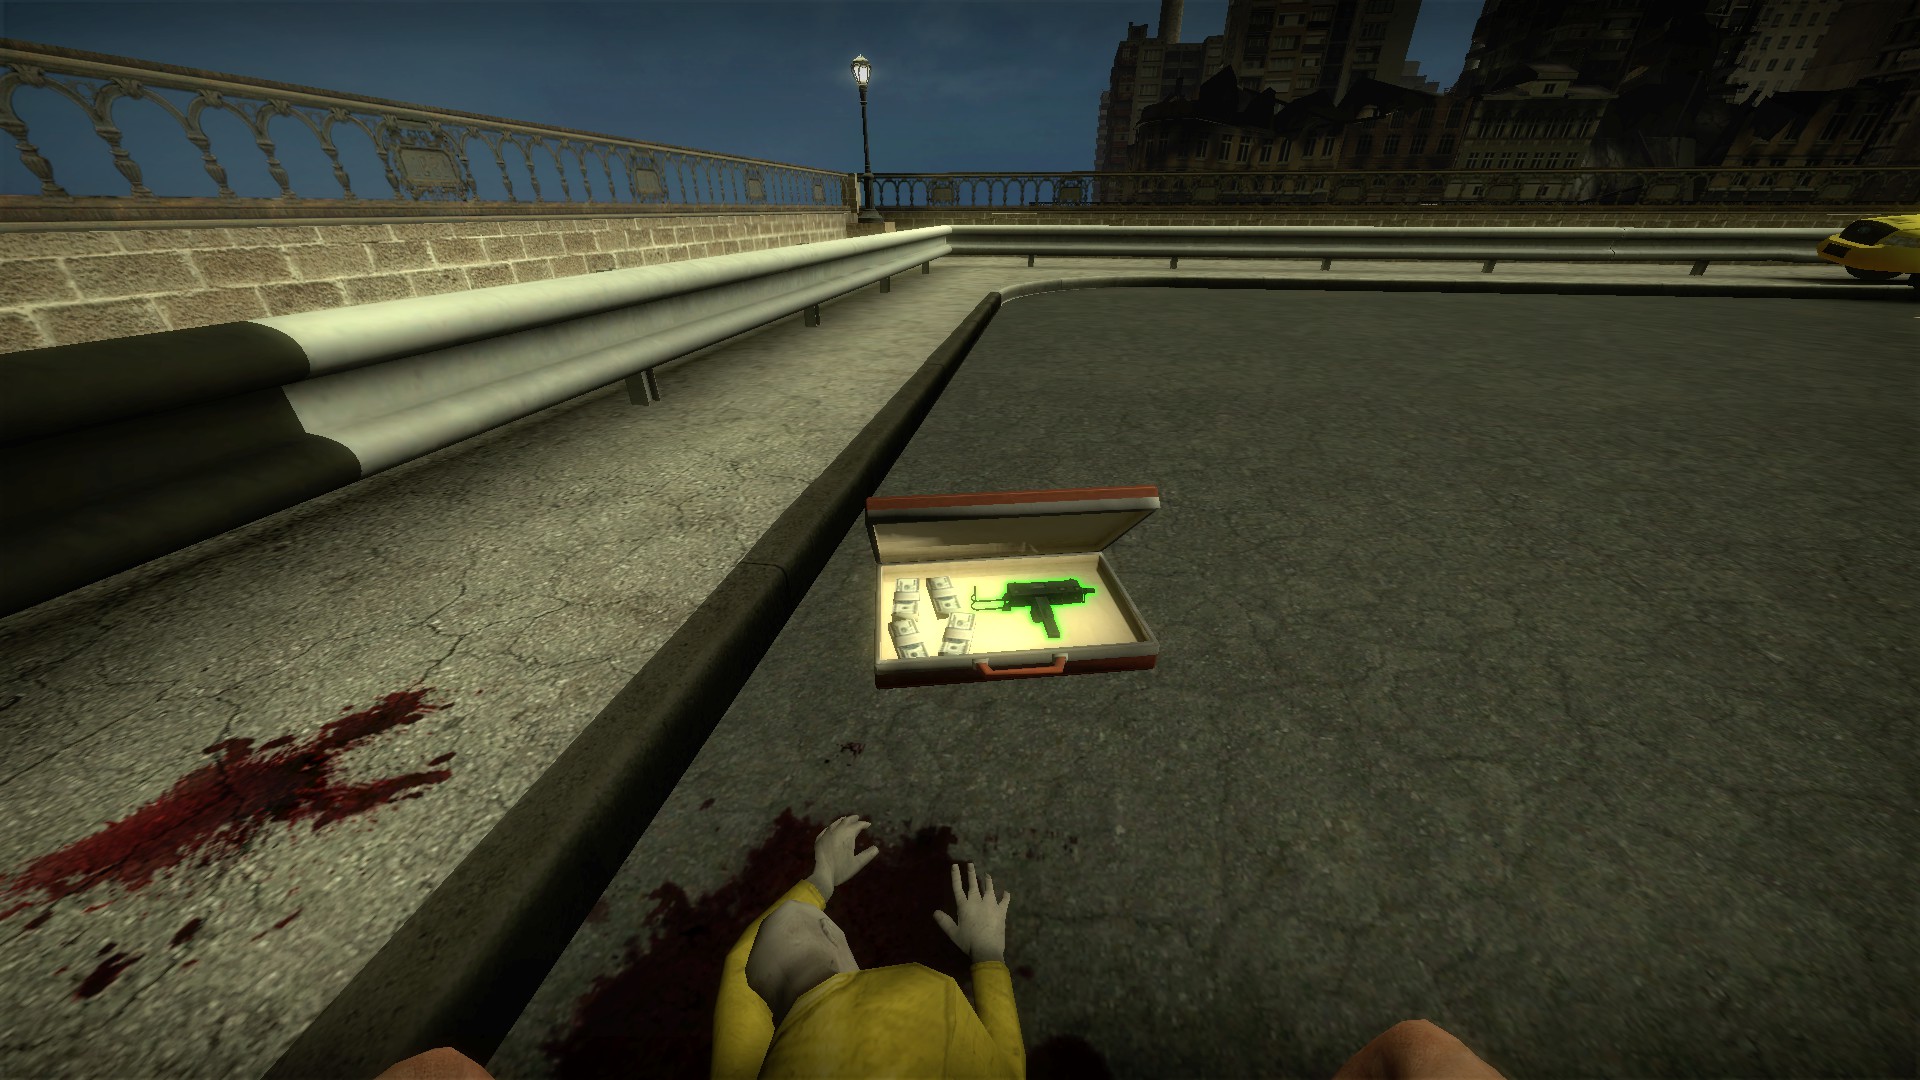
Hold e to open the briefcase on the street
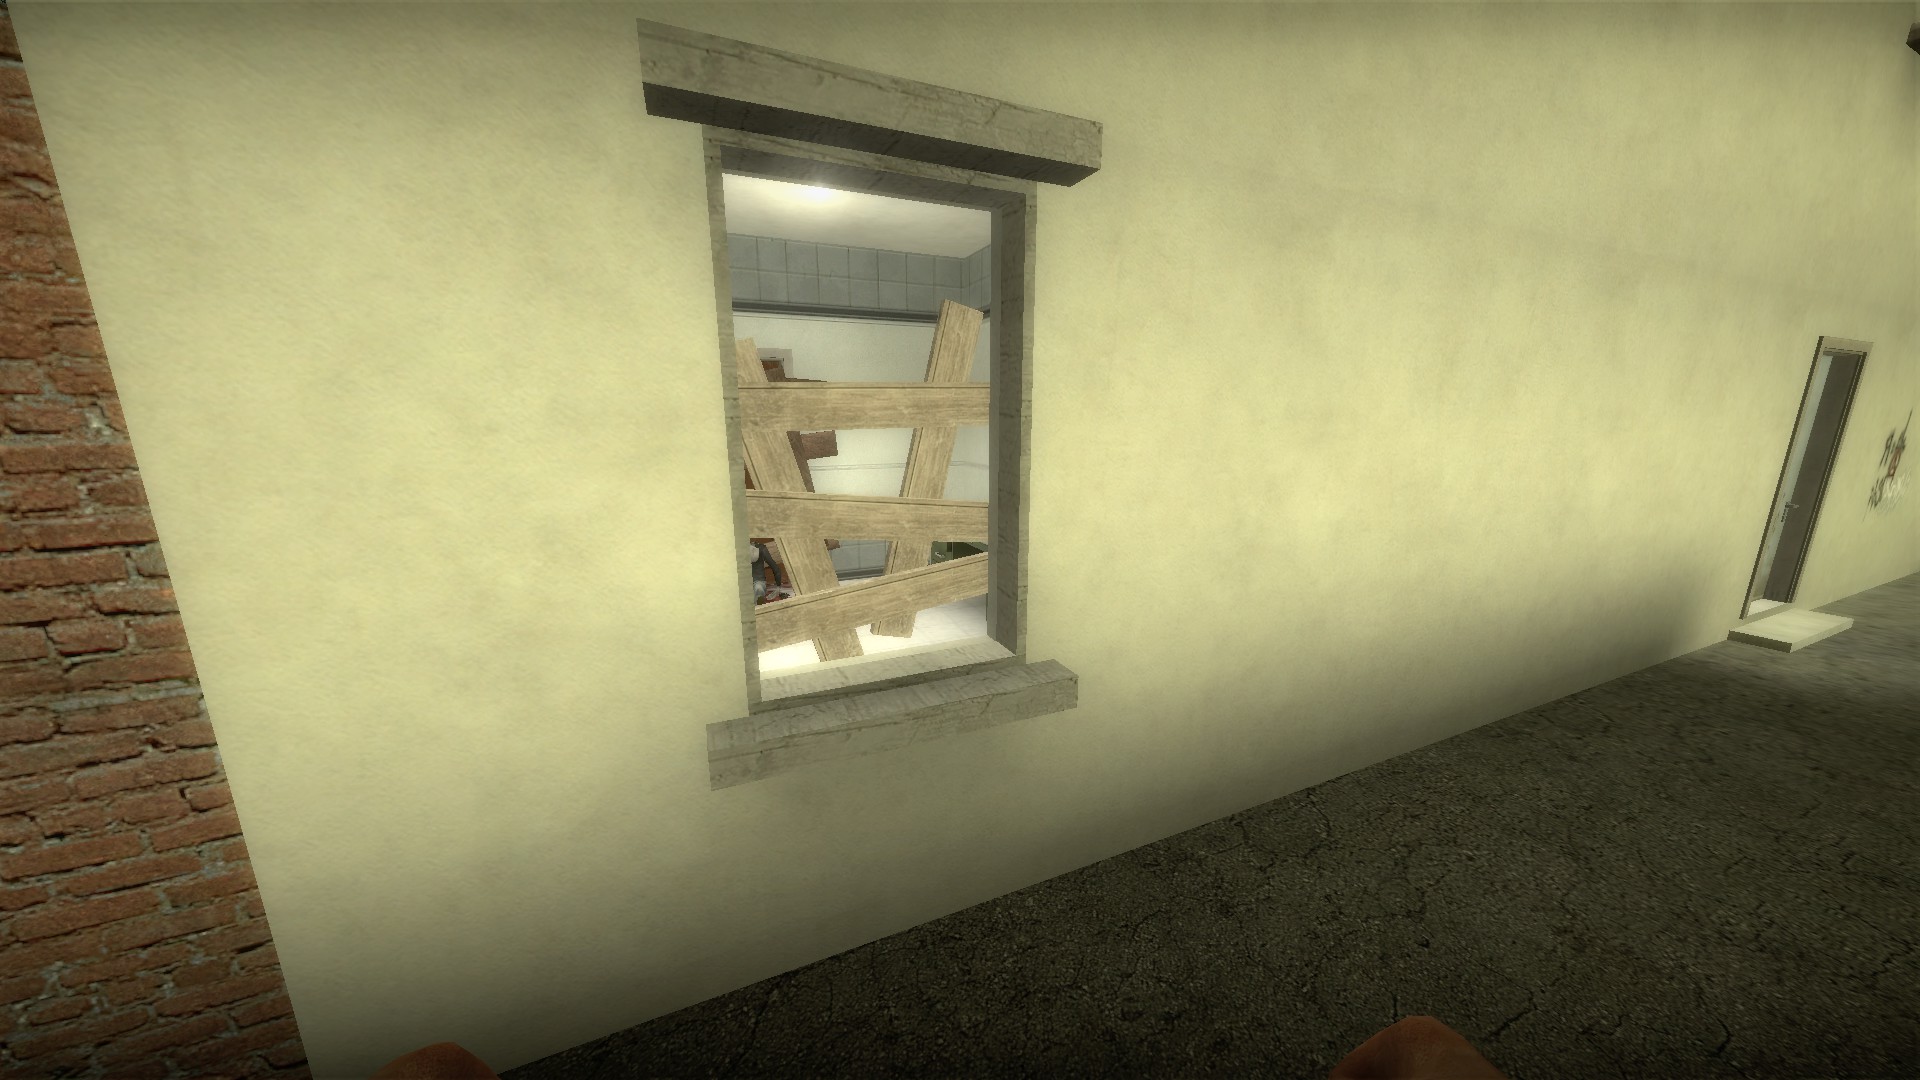
Break the boards to access the room
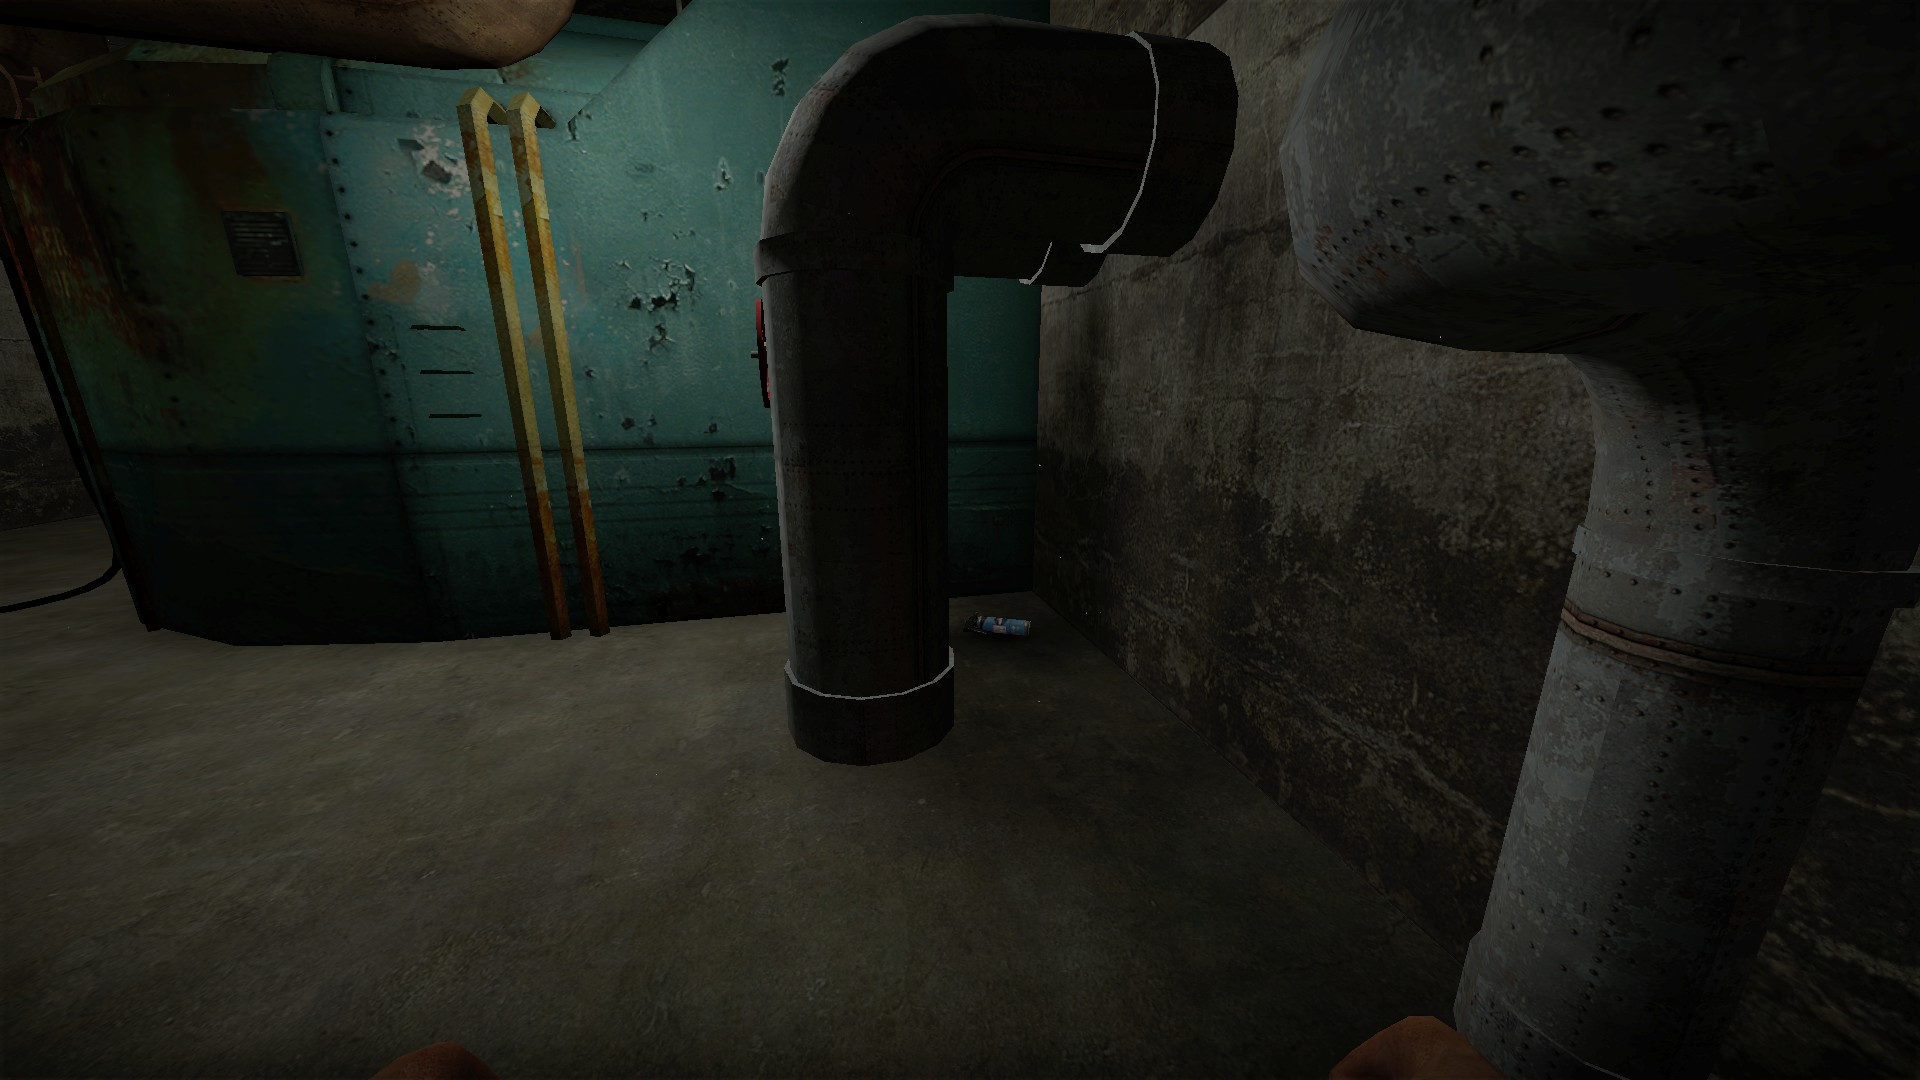
You will find a welder in the generator room. Pick it up as it is used in later secrets. There are more in the basement of the fire house
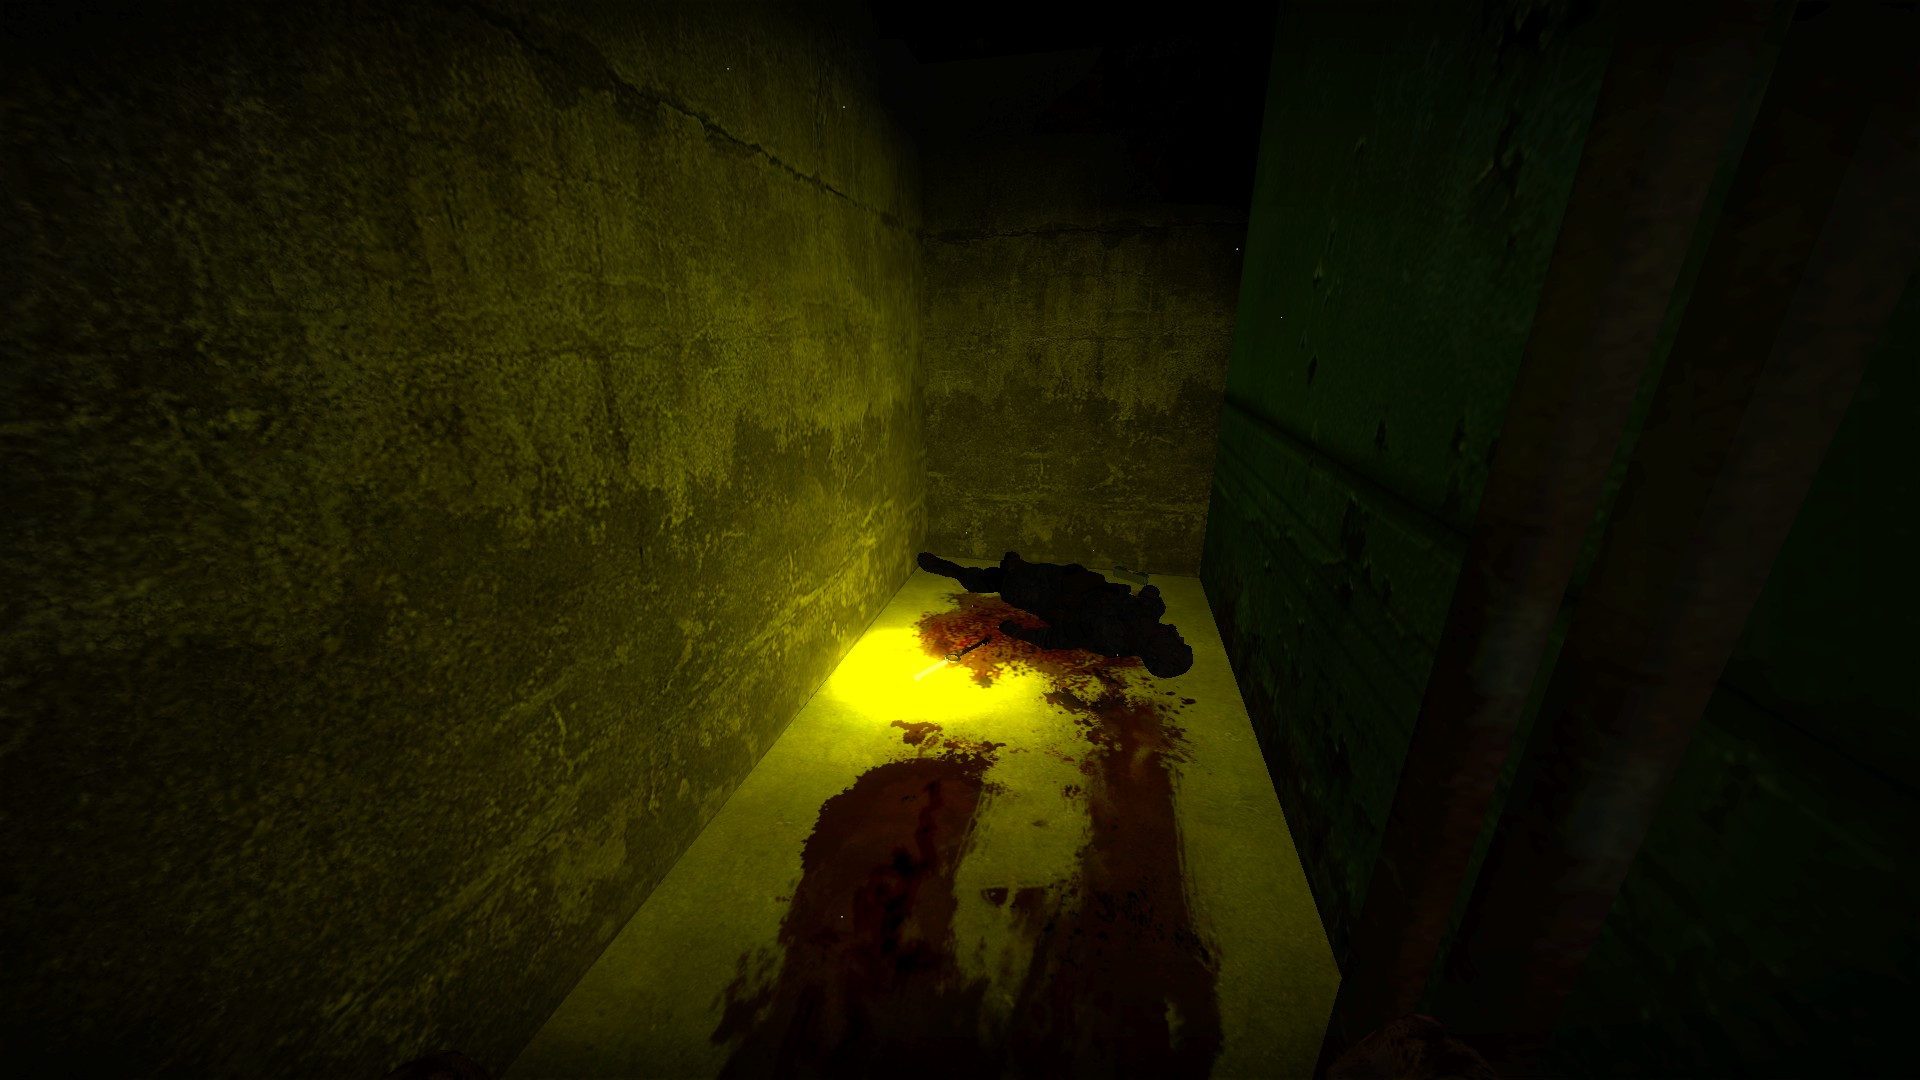
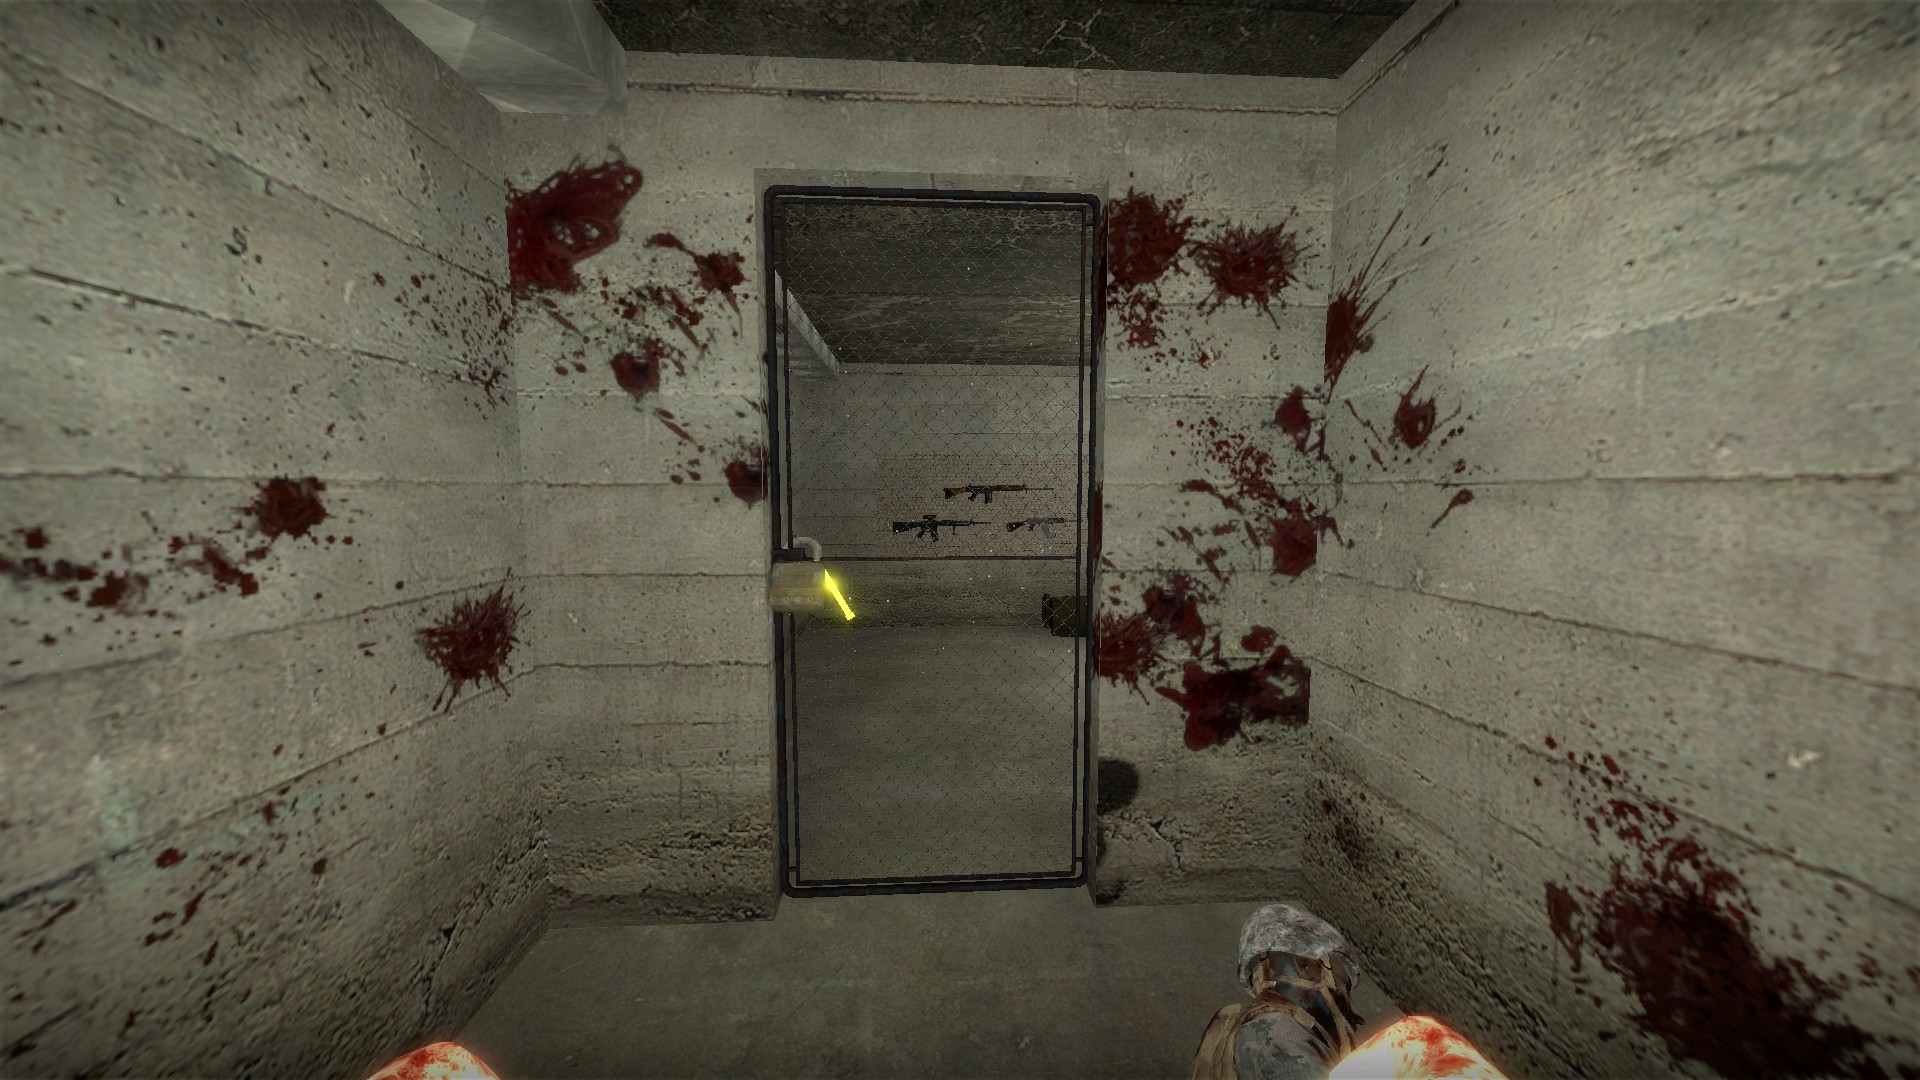
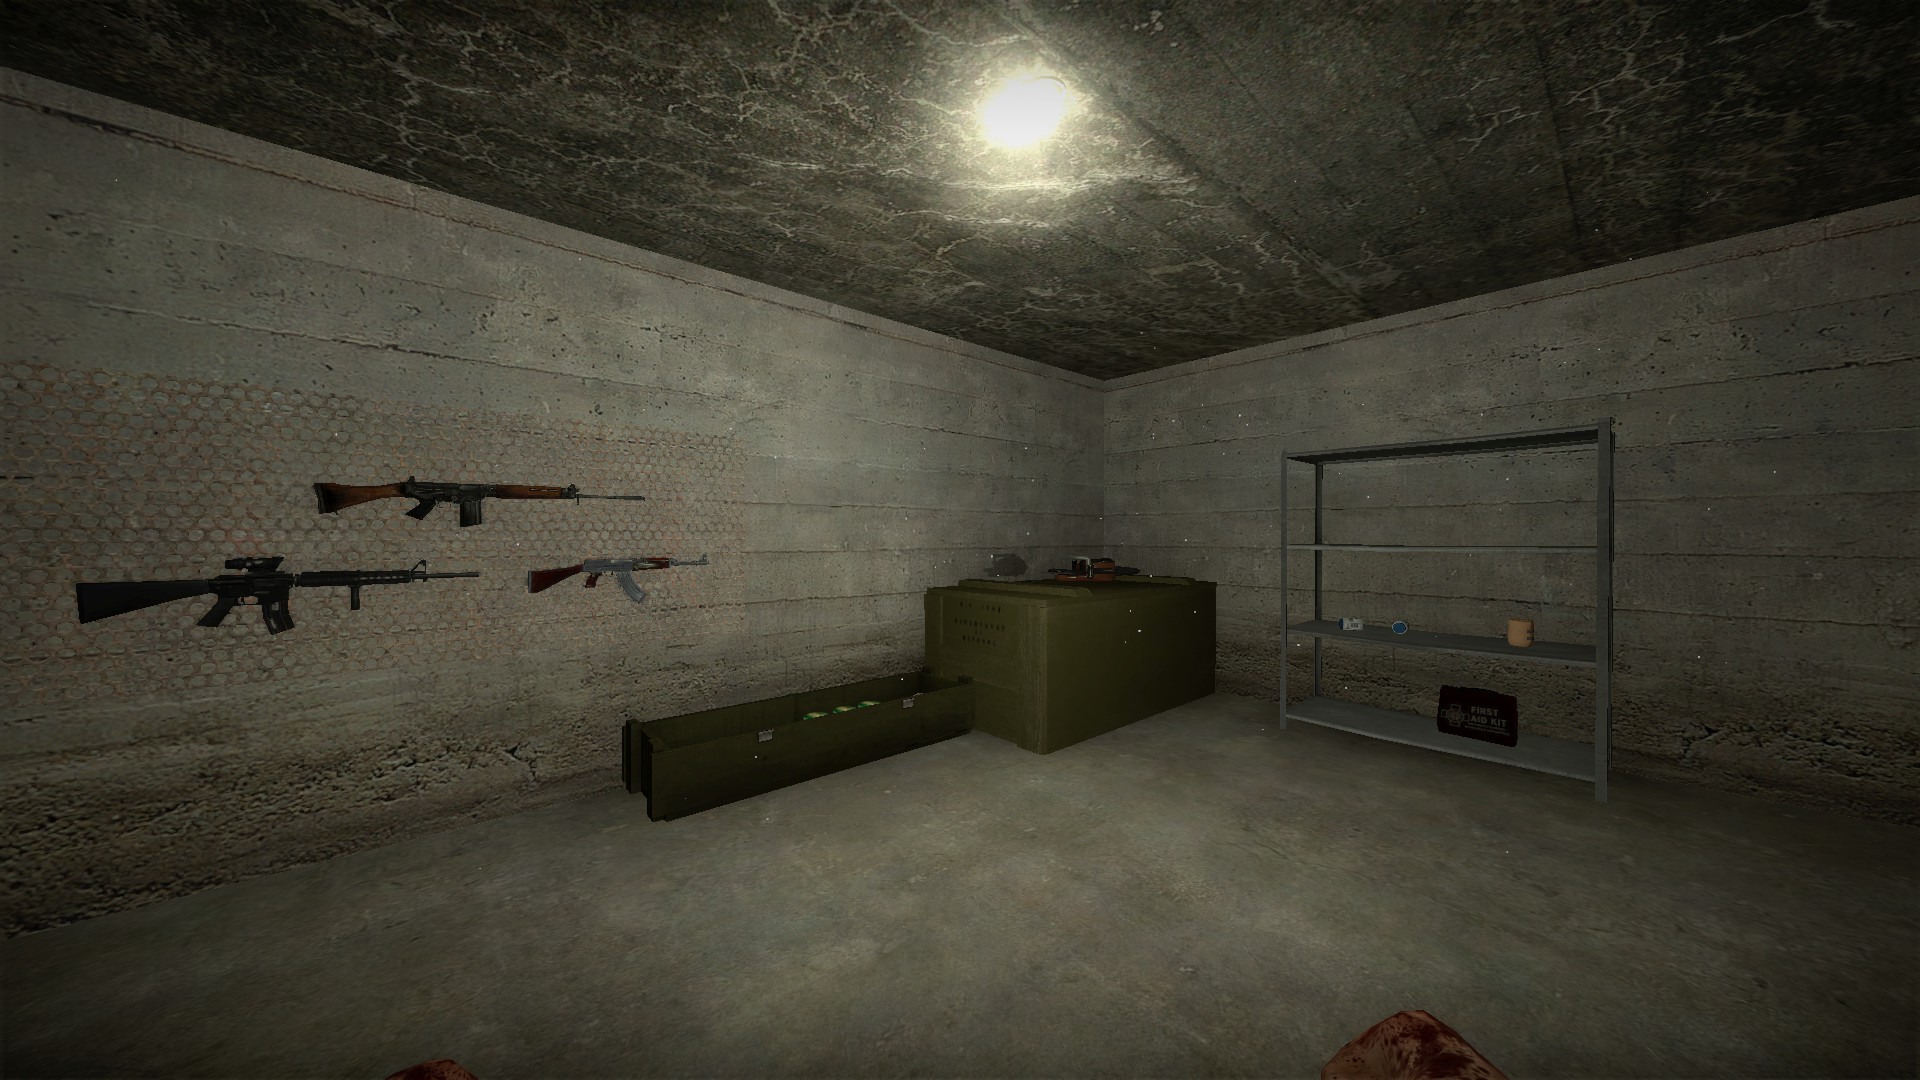
Get the yellow key from behind the generator and use it to open the armory
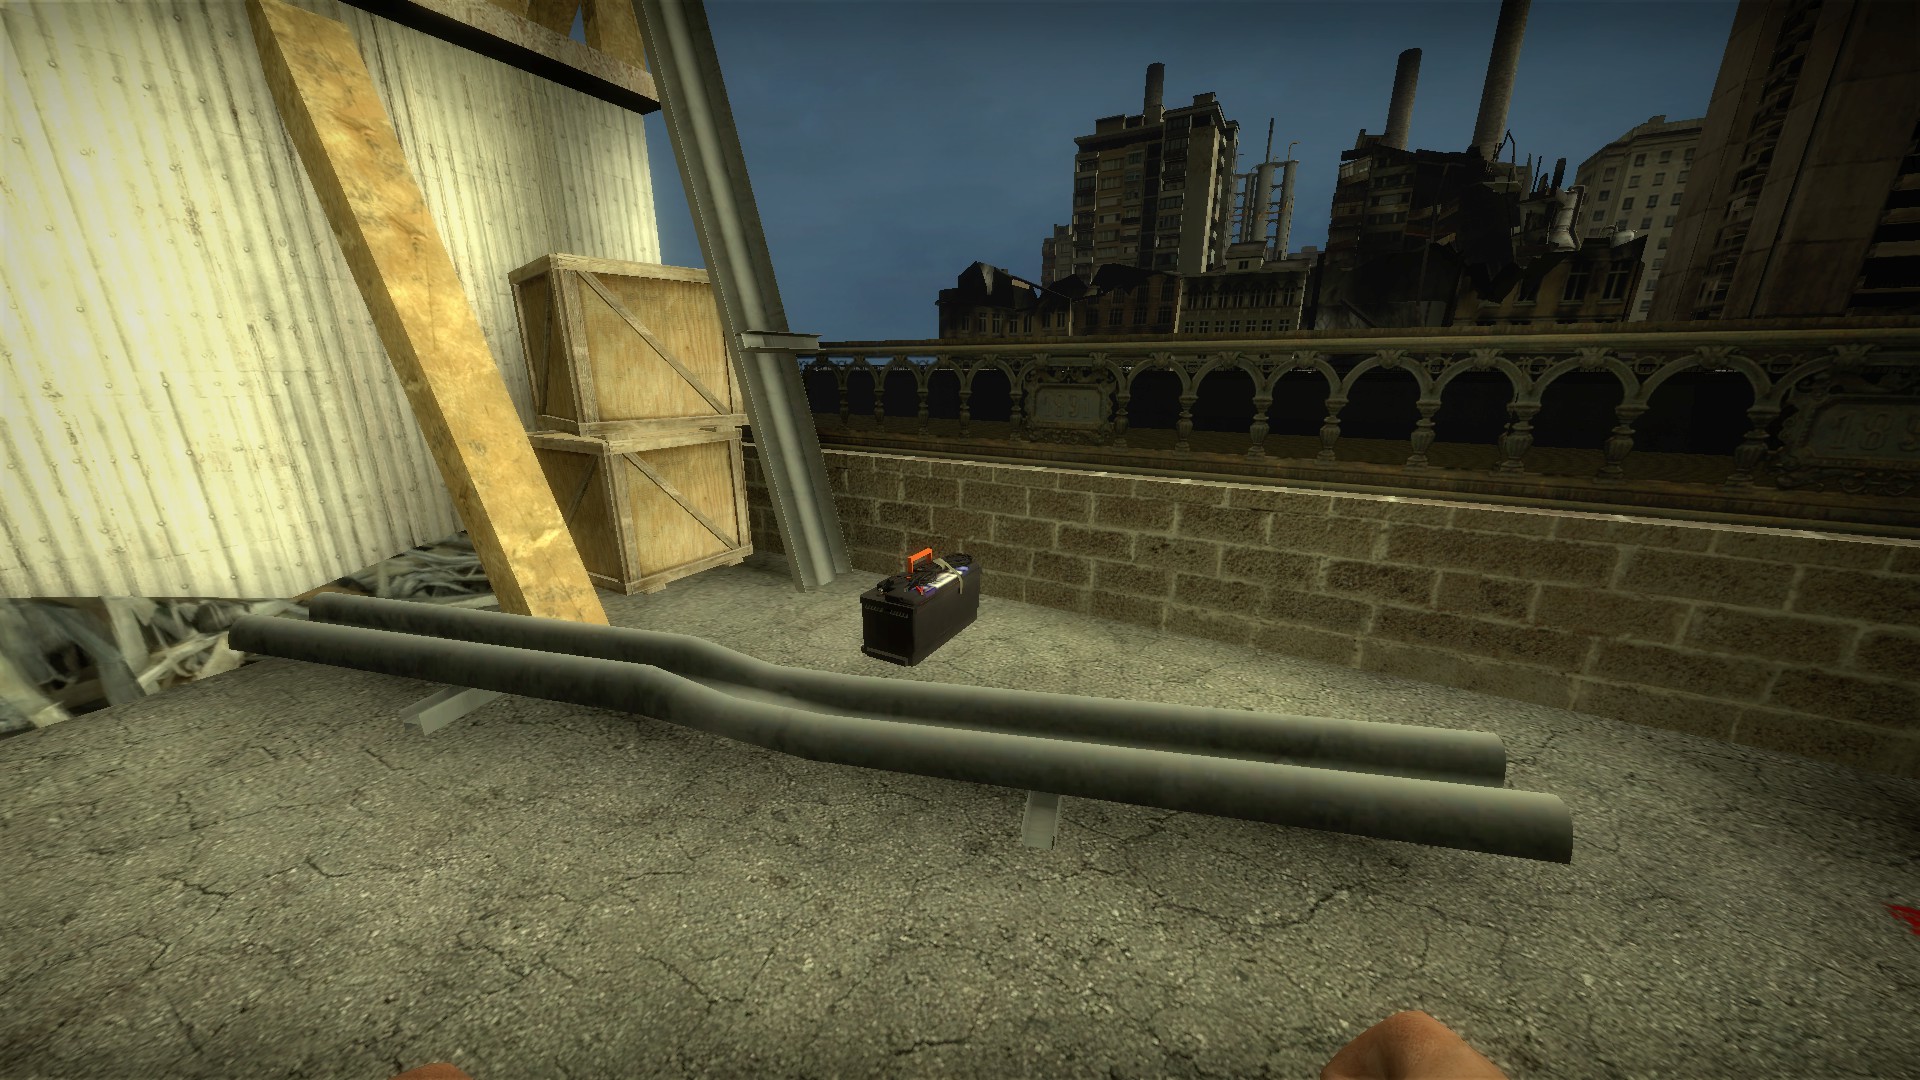
Find the battery before lowering the bridge. It will be somewhere between the crane and bridge, some locations below:
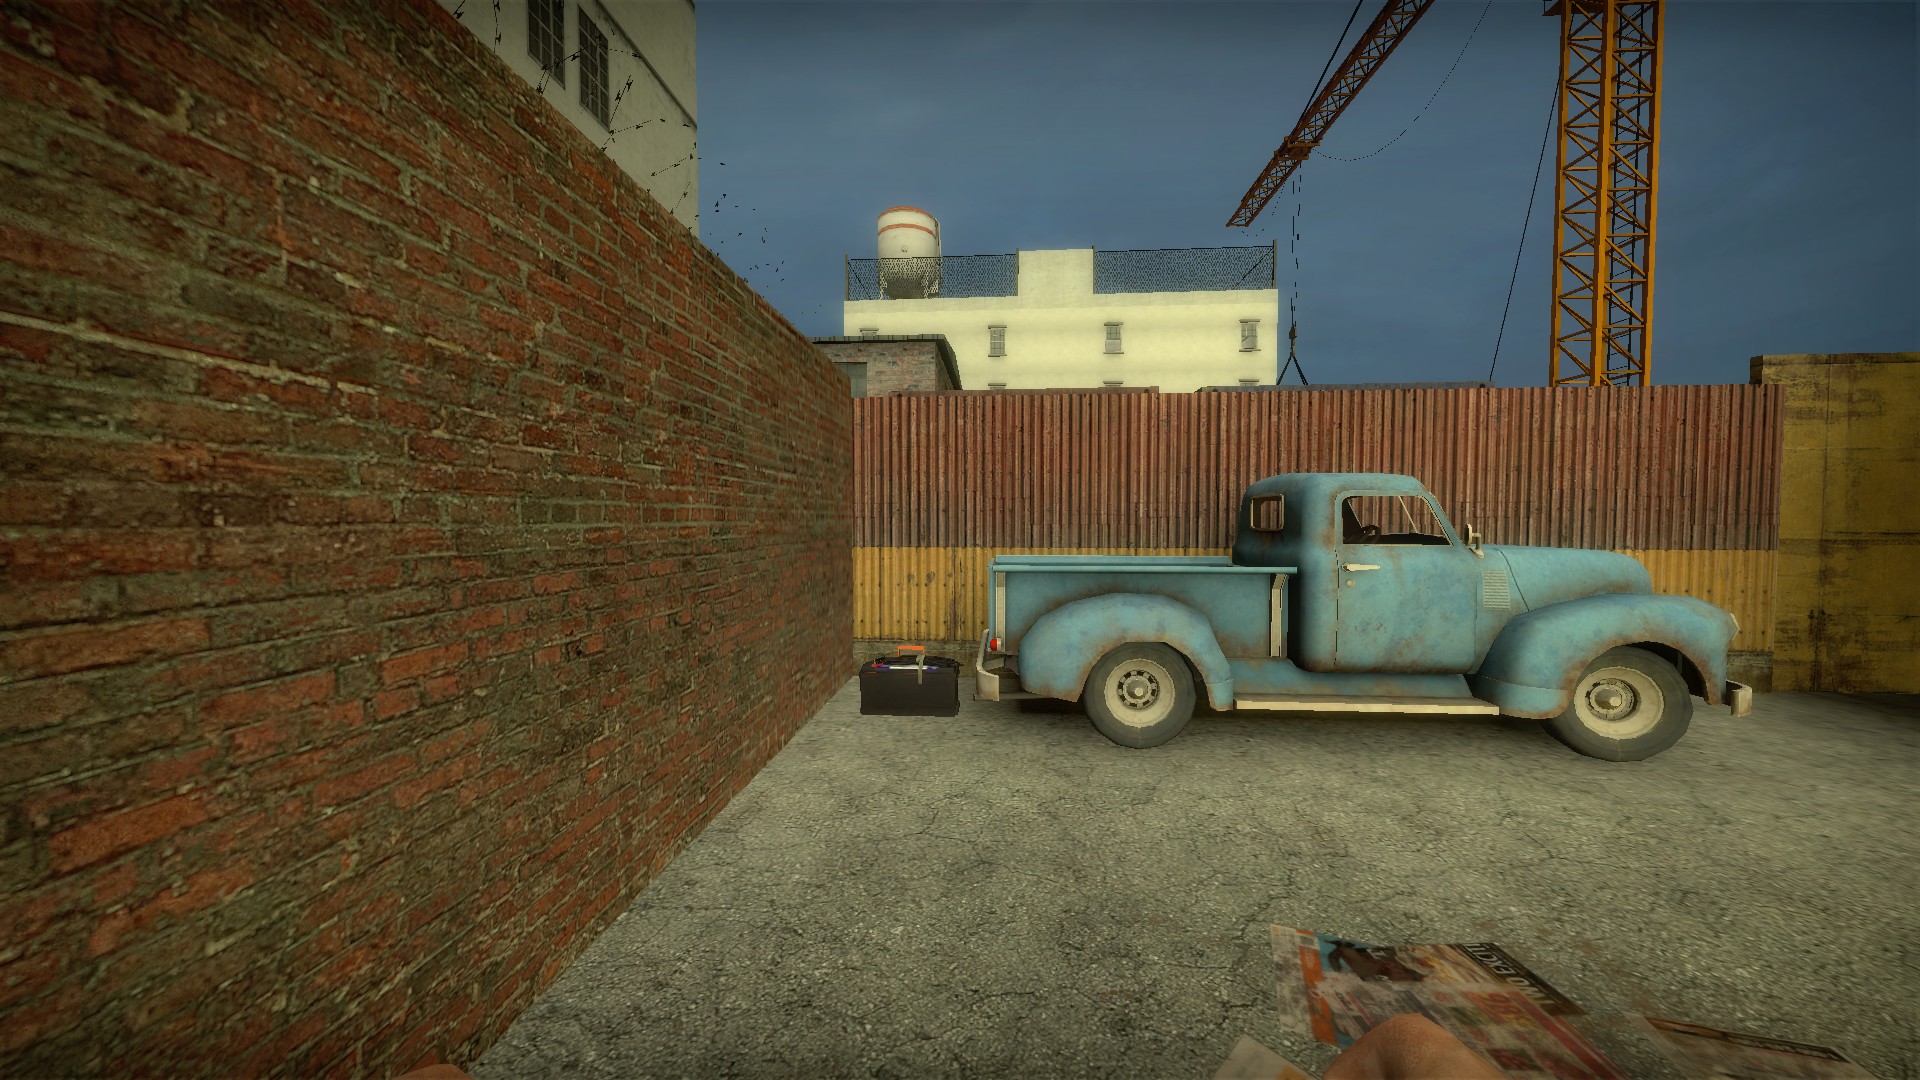
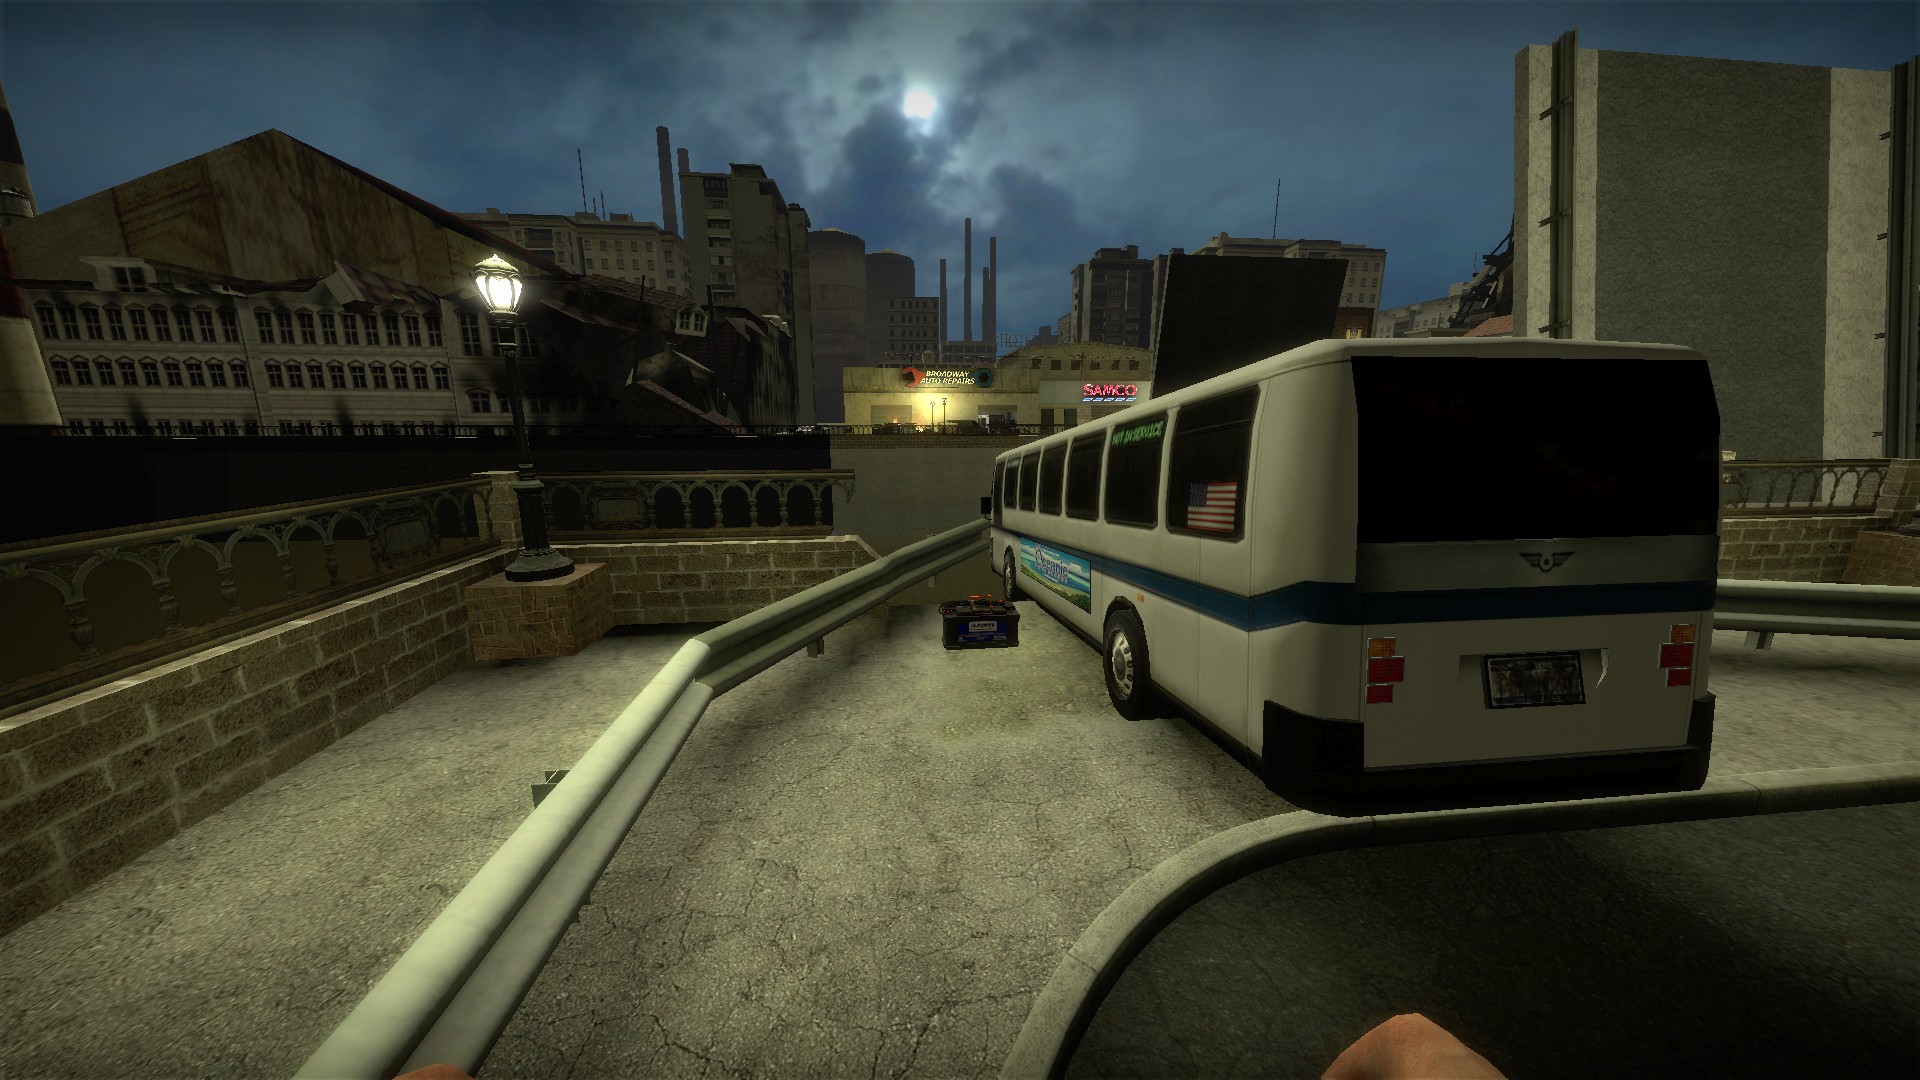
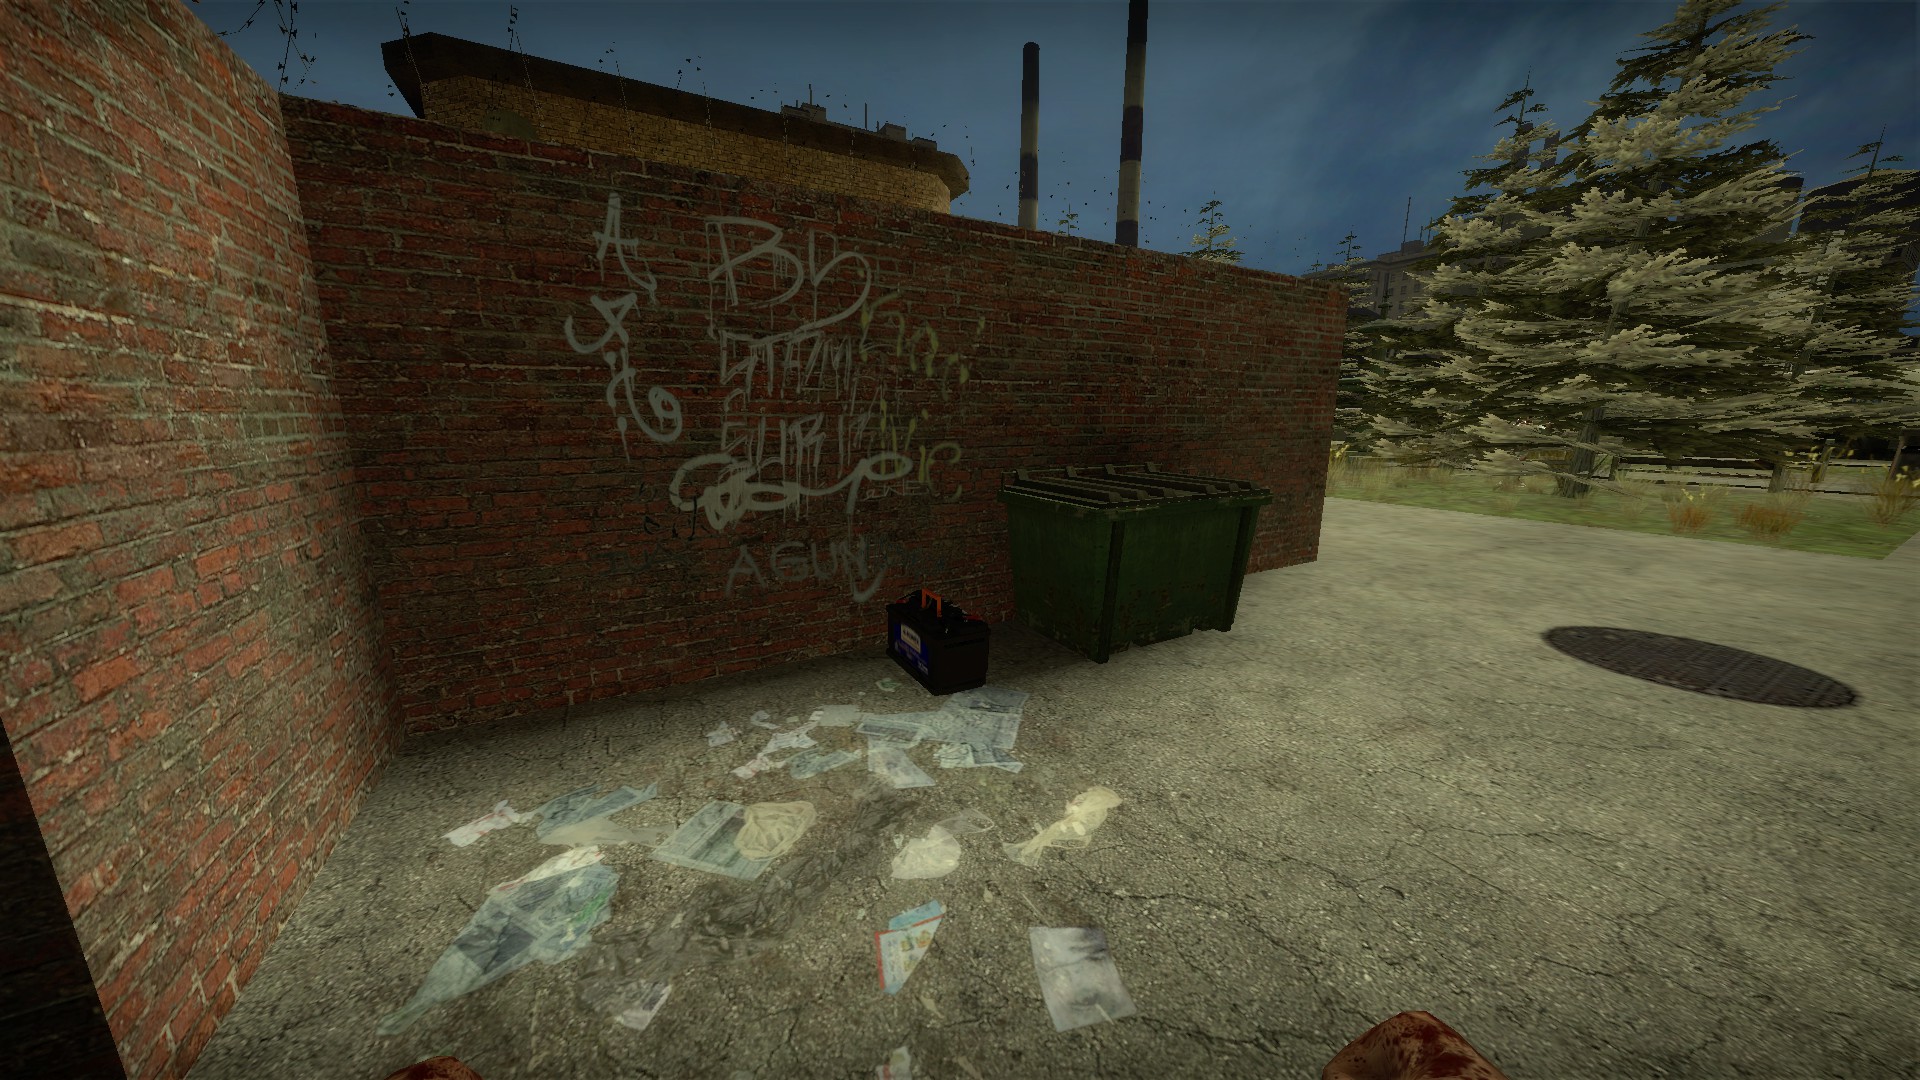
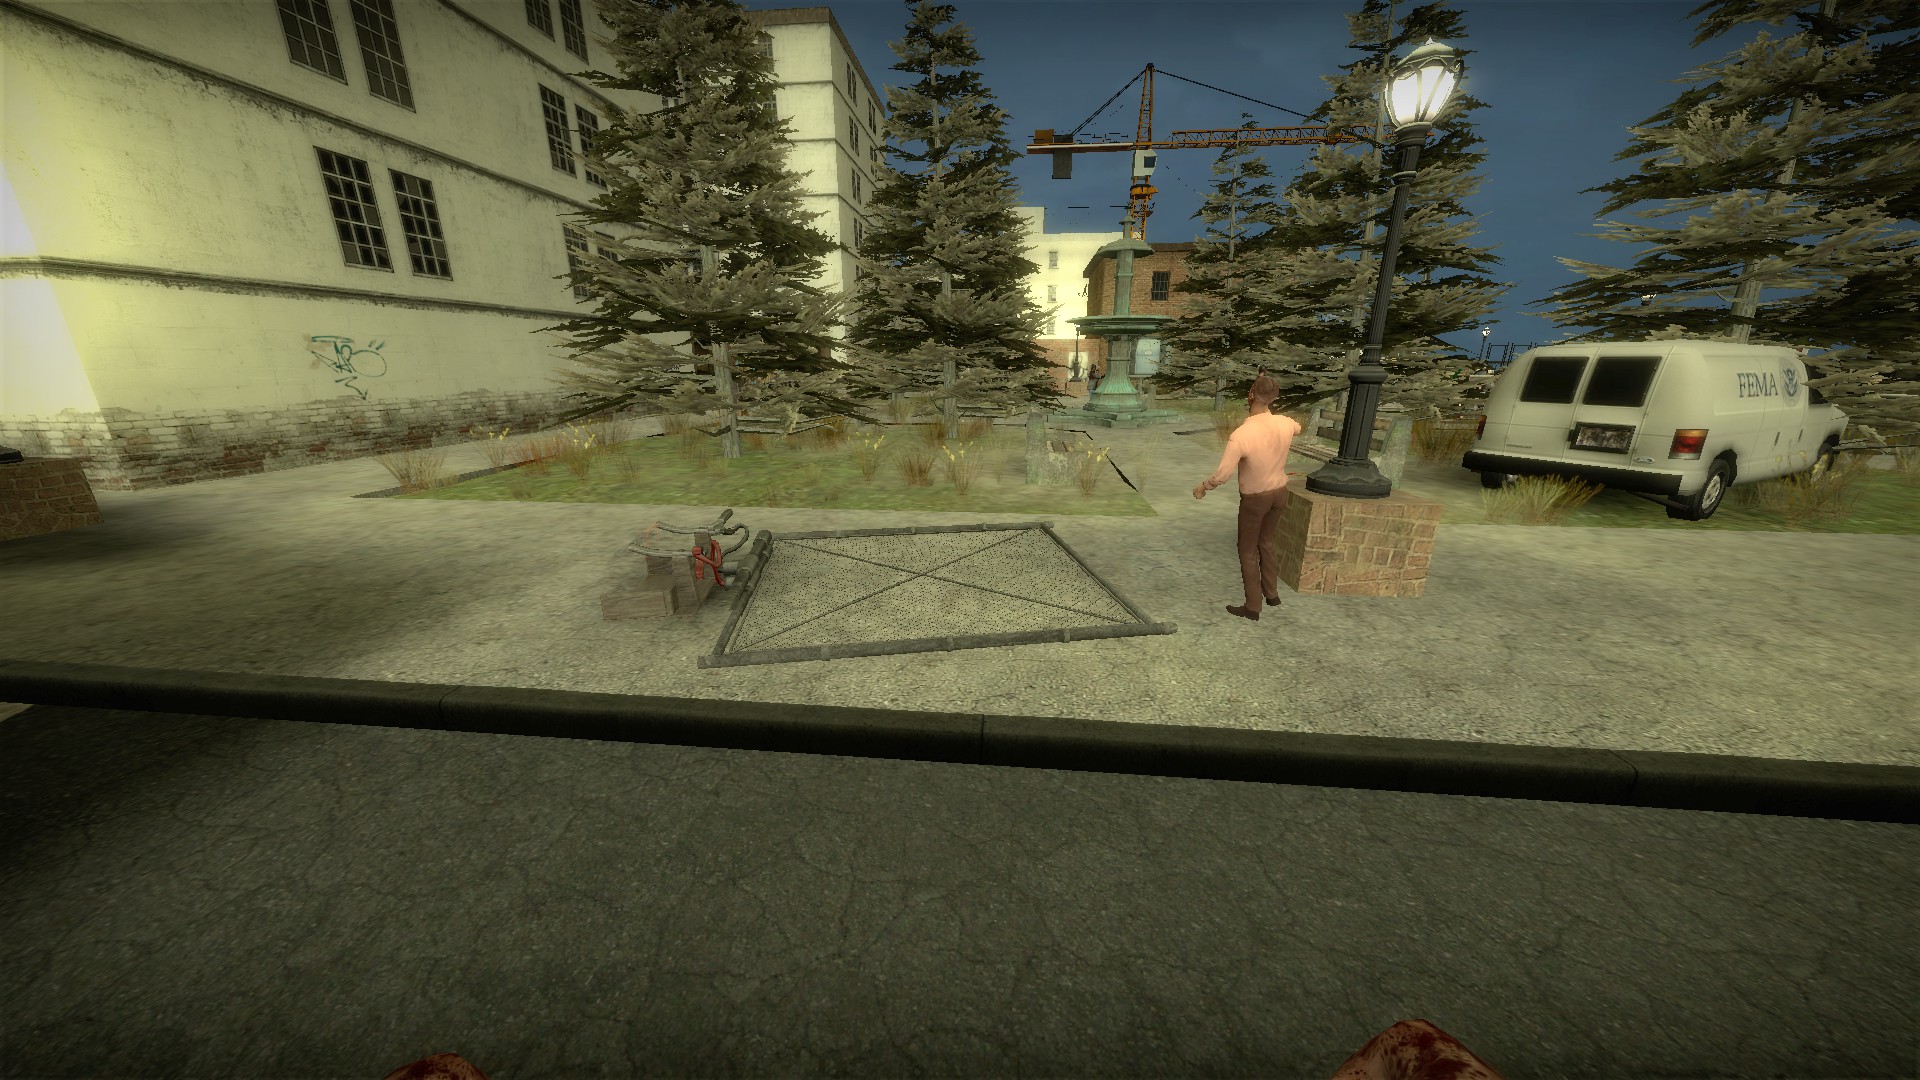
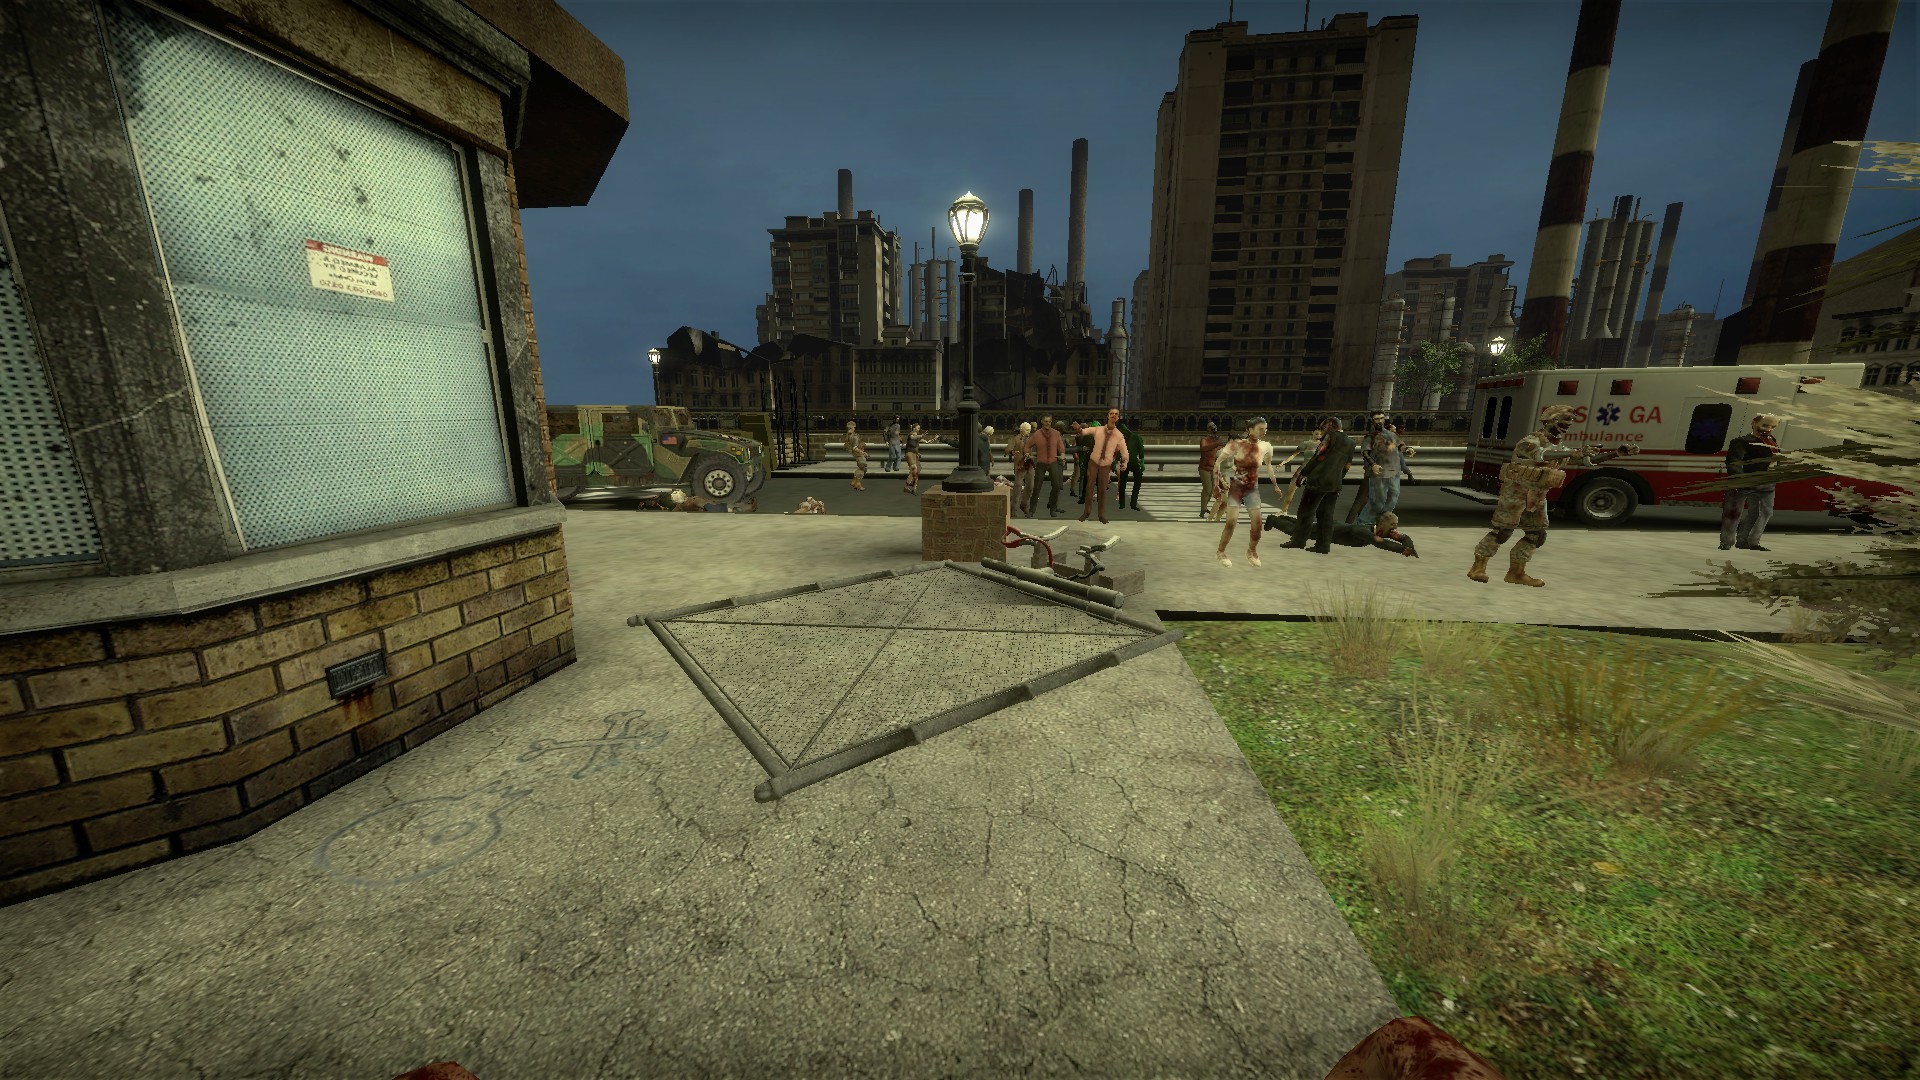
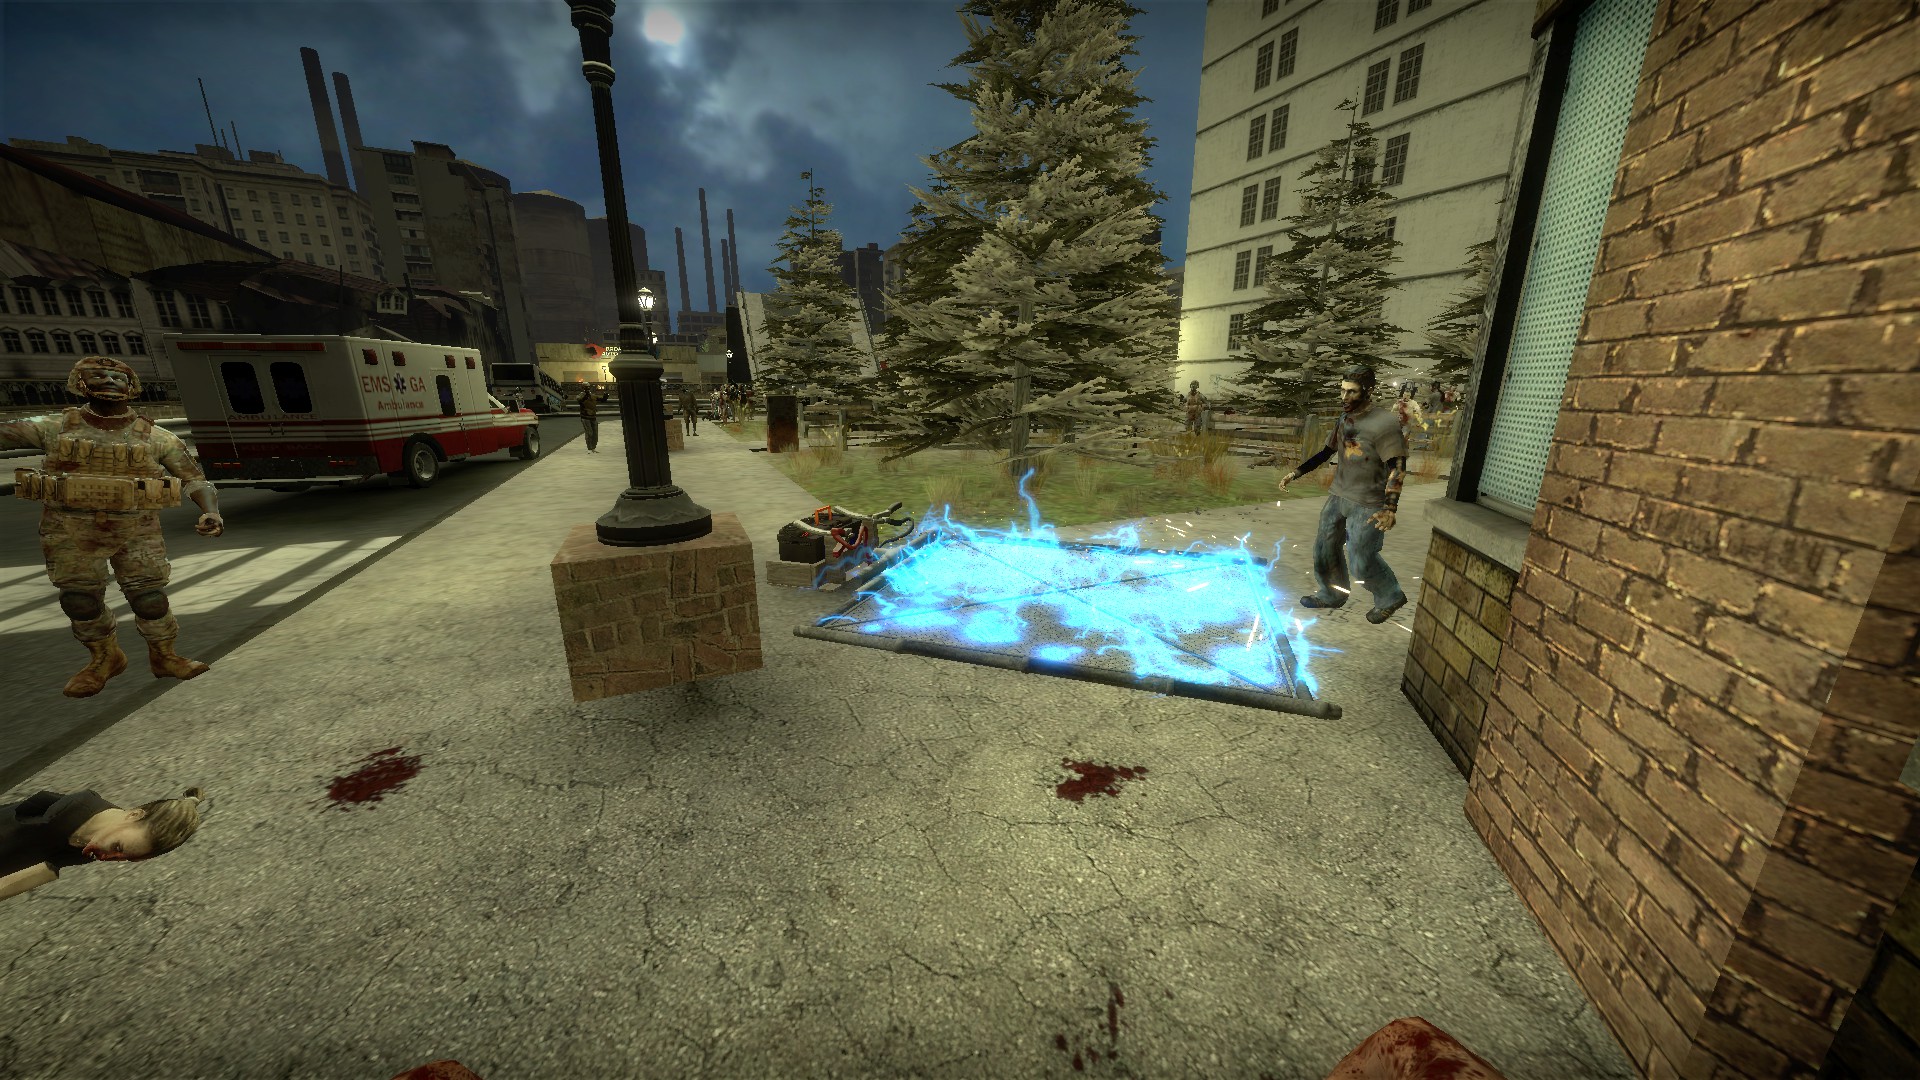
Bring the battery to either of the downed fences and camp near it during the zombie wave
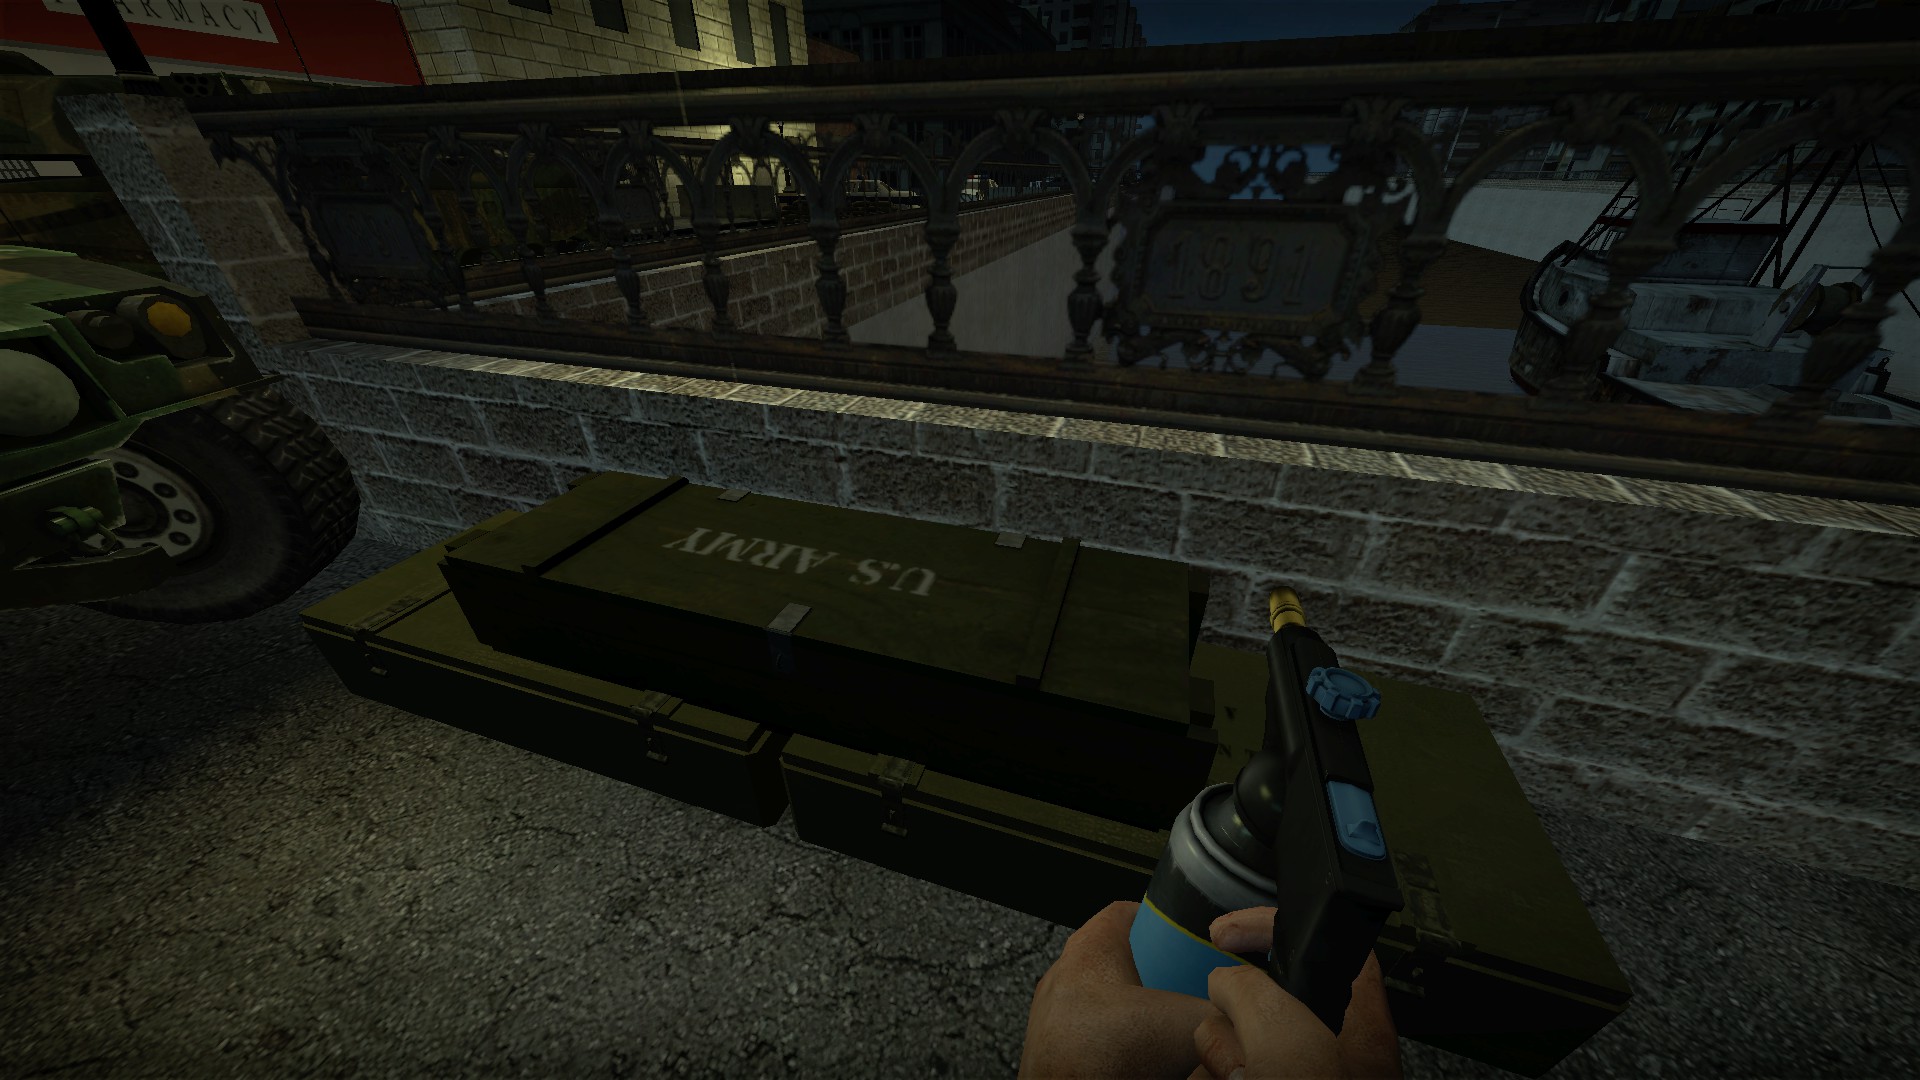
Use the welder to open a locker at the end of the bridge for a sniper stash
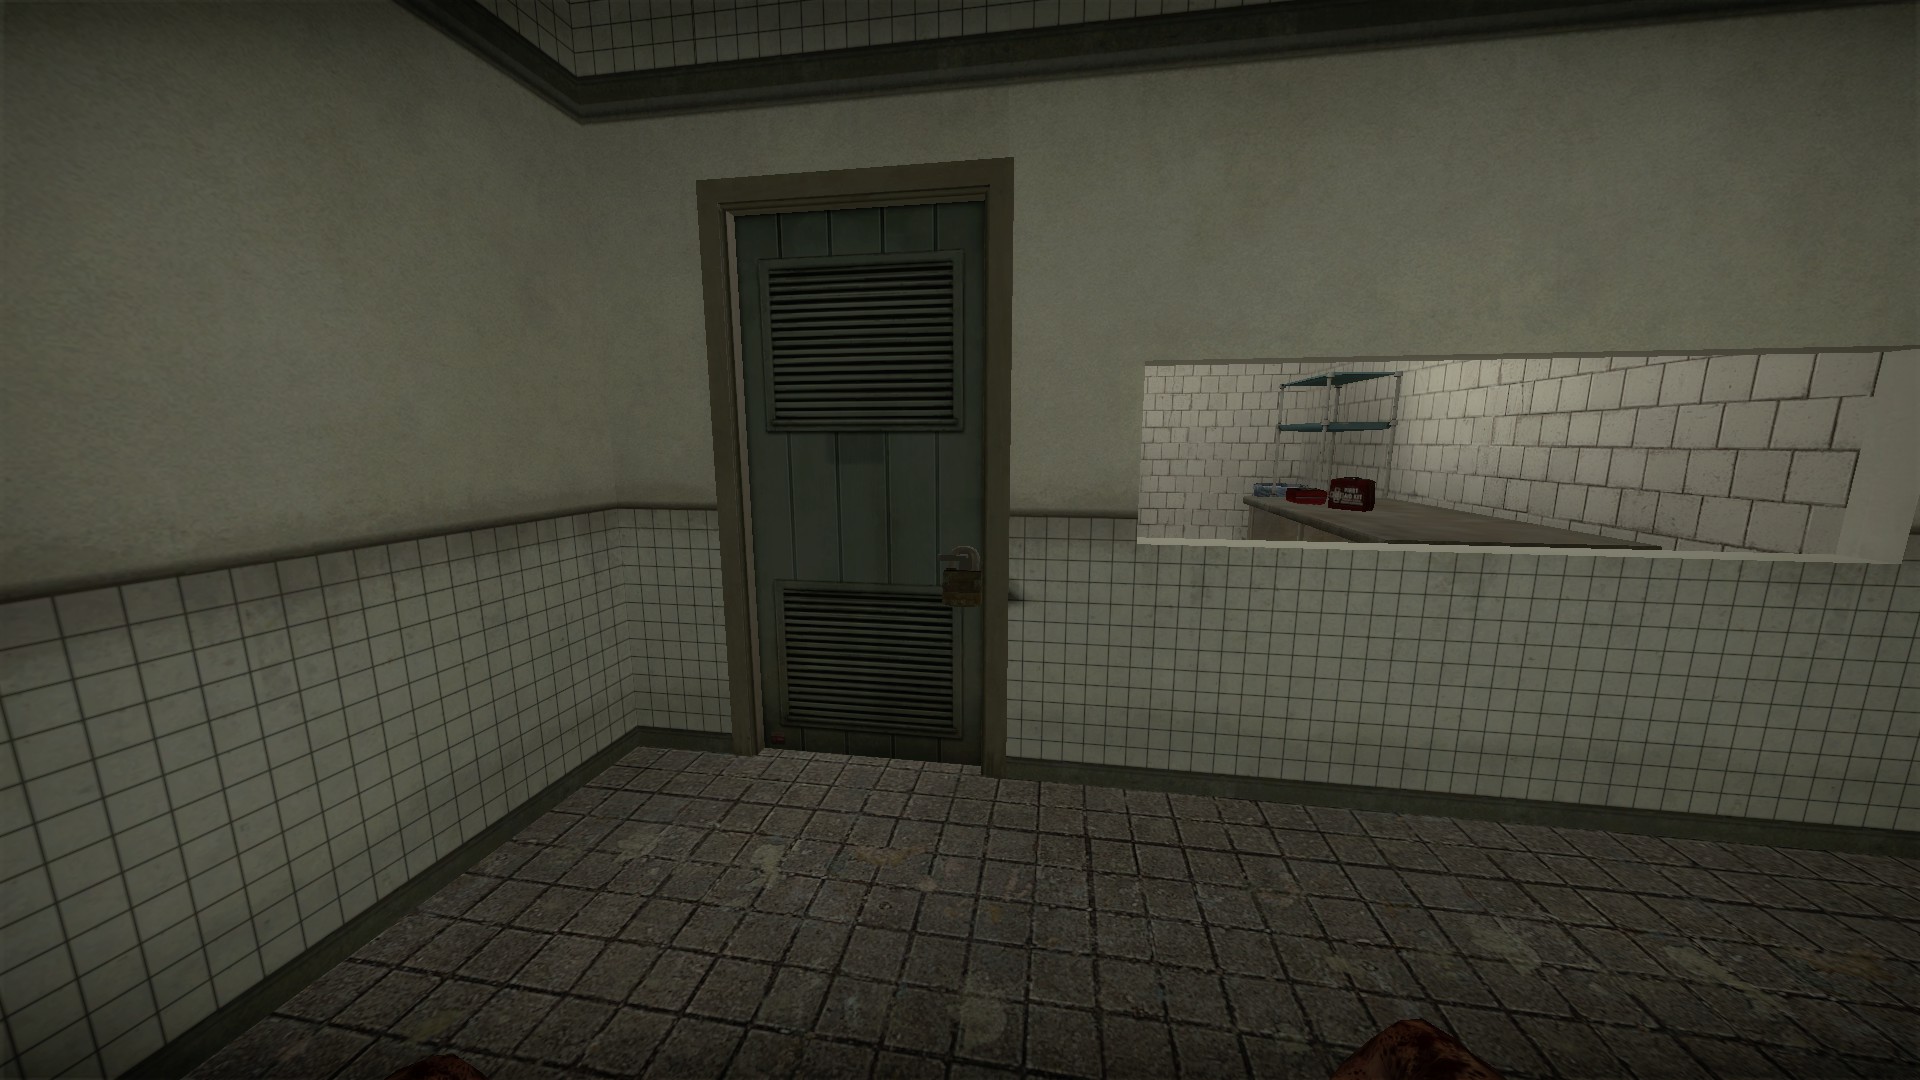
You can also use the welder to open a room in the firehouse
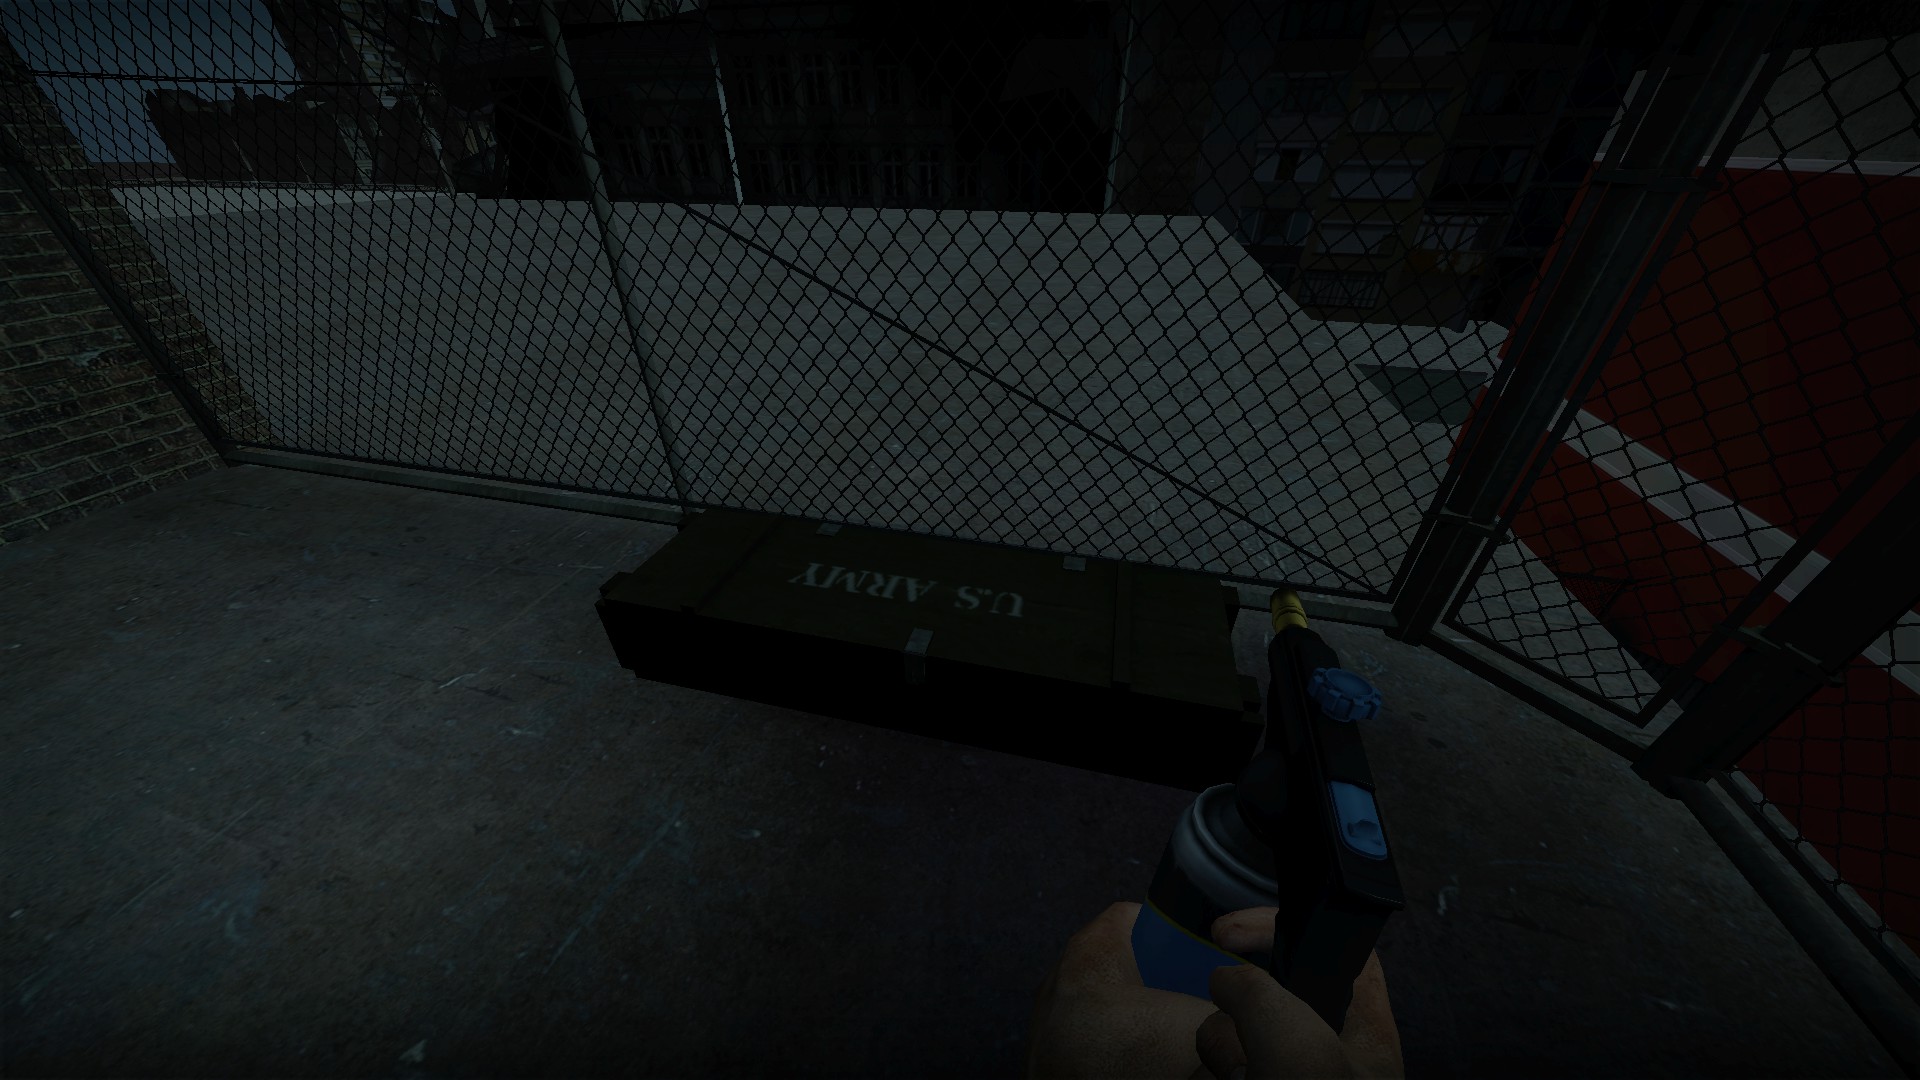
And another locker on the roof of the warehouse
nmo_urbanhazard_v5
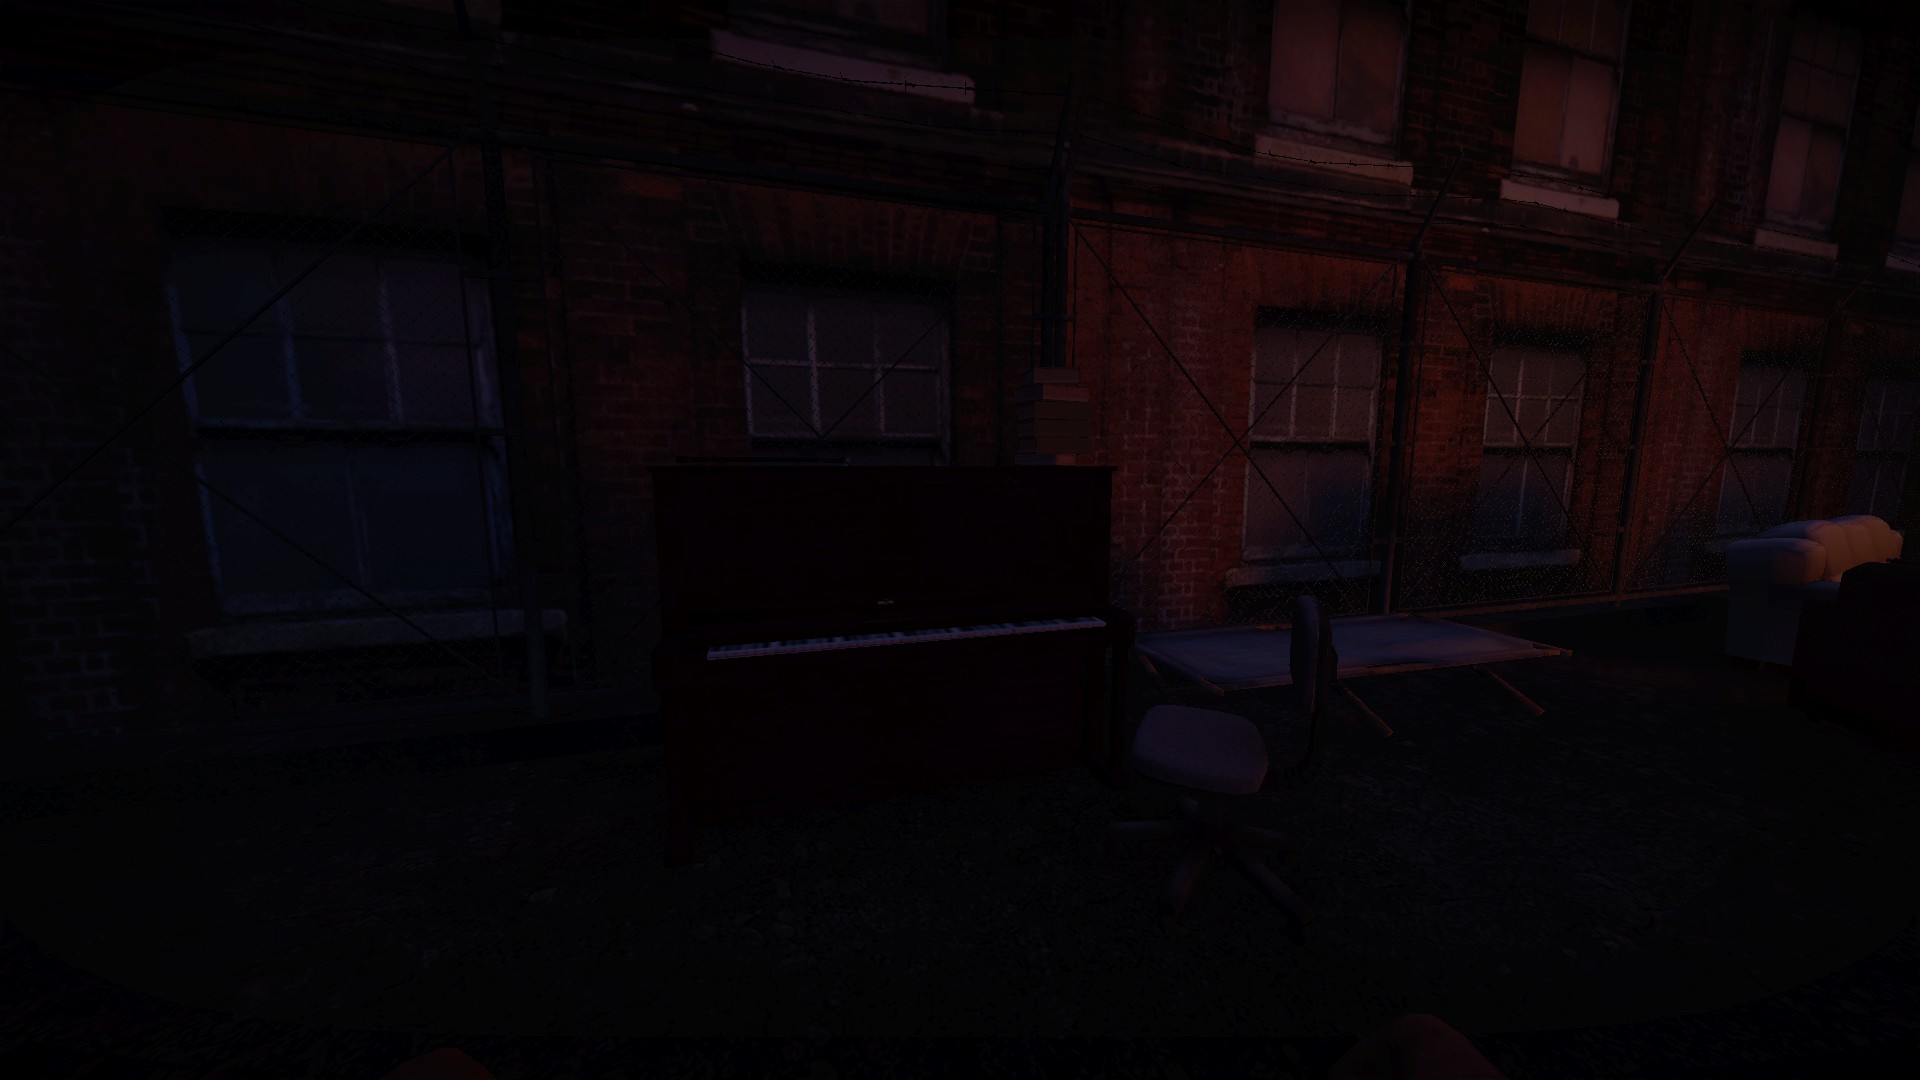
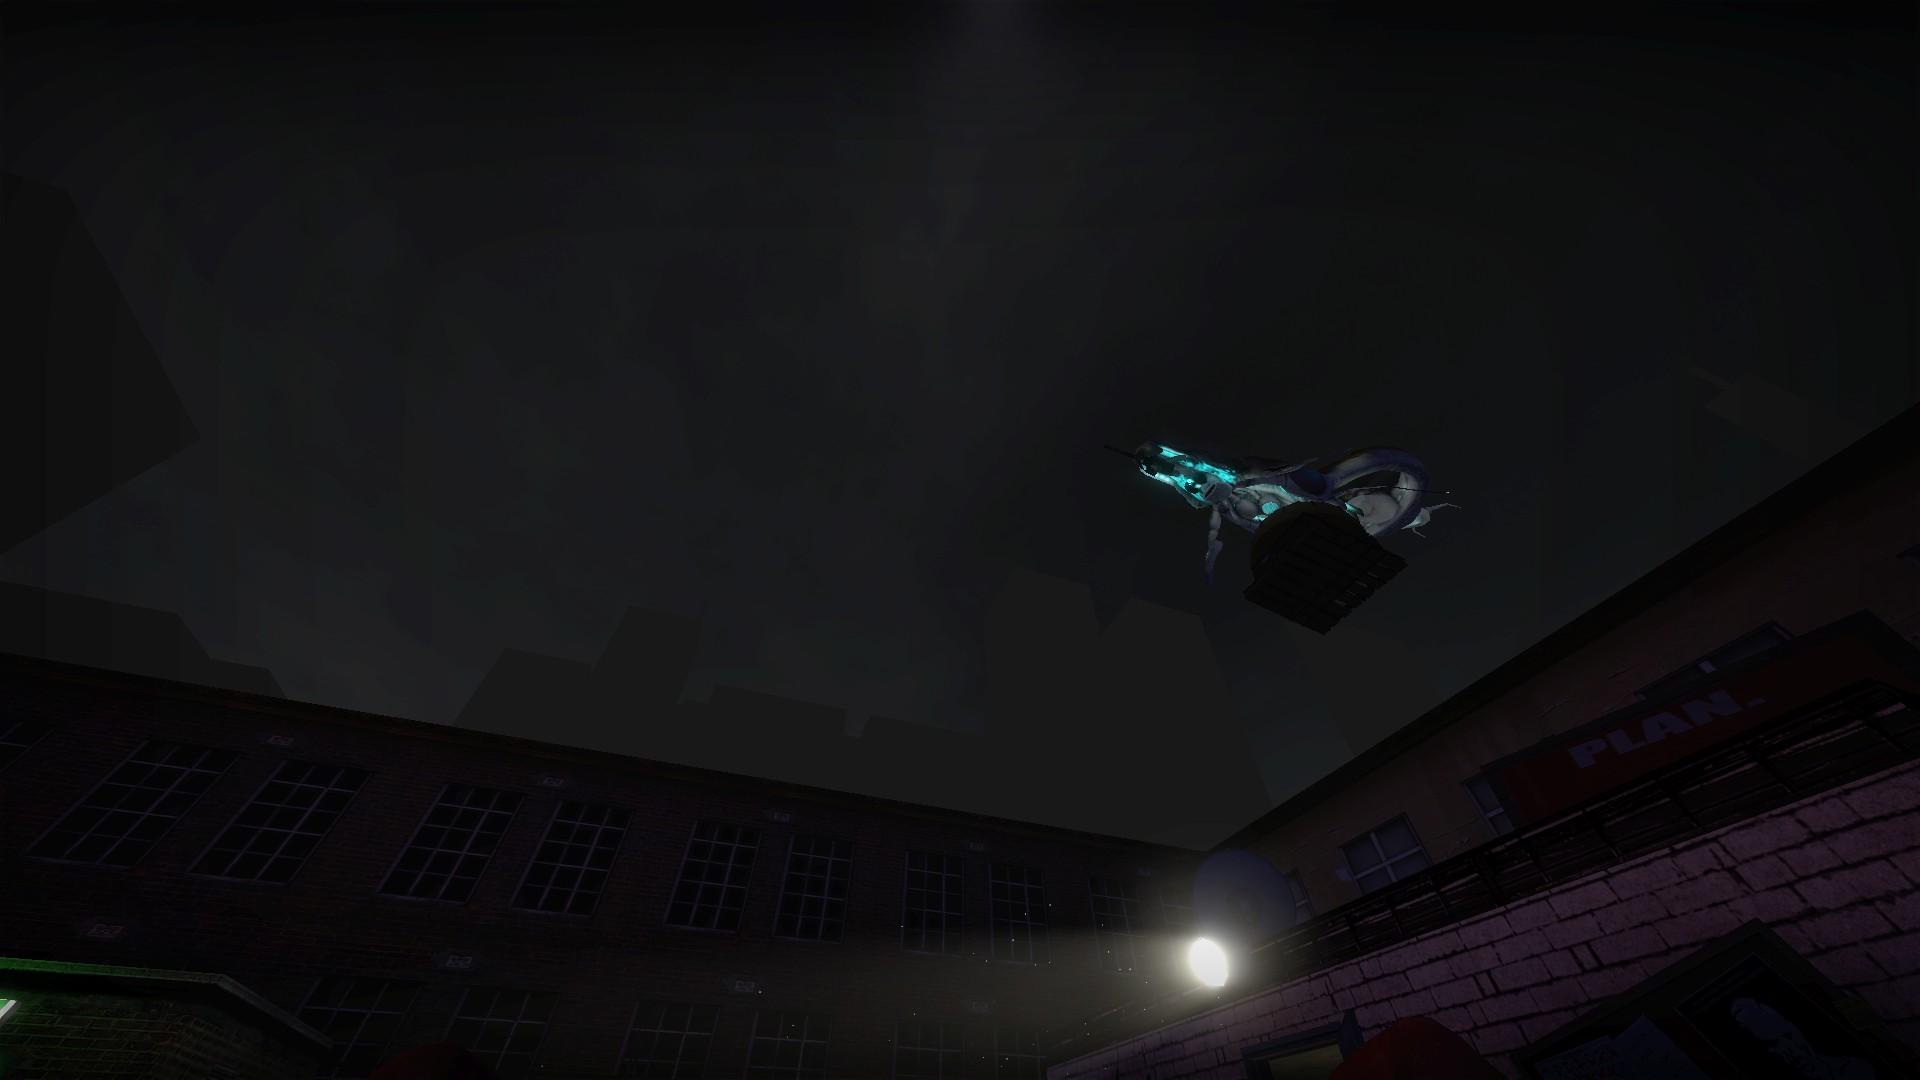
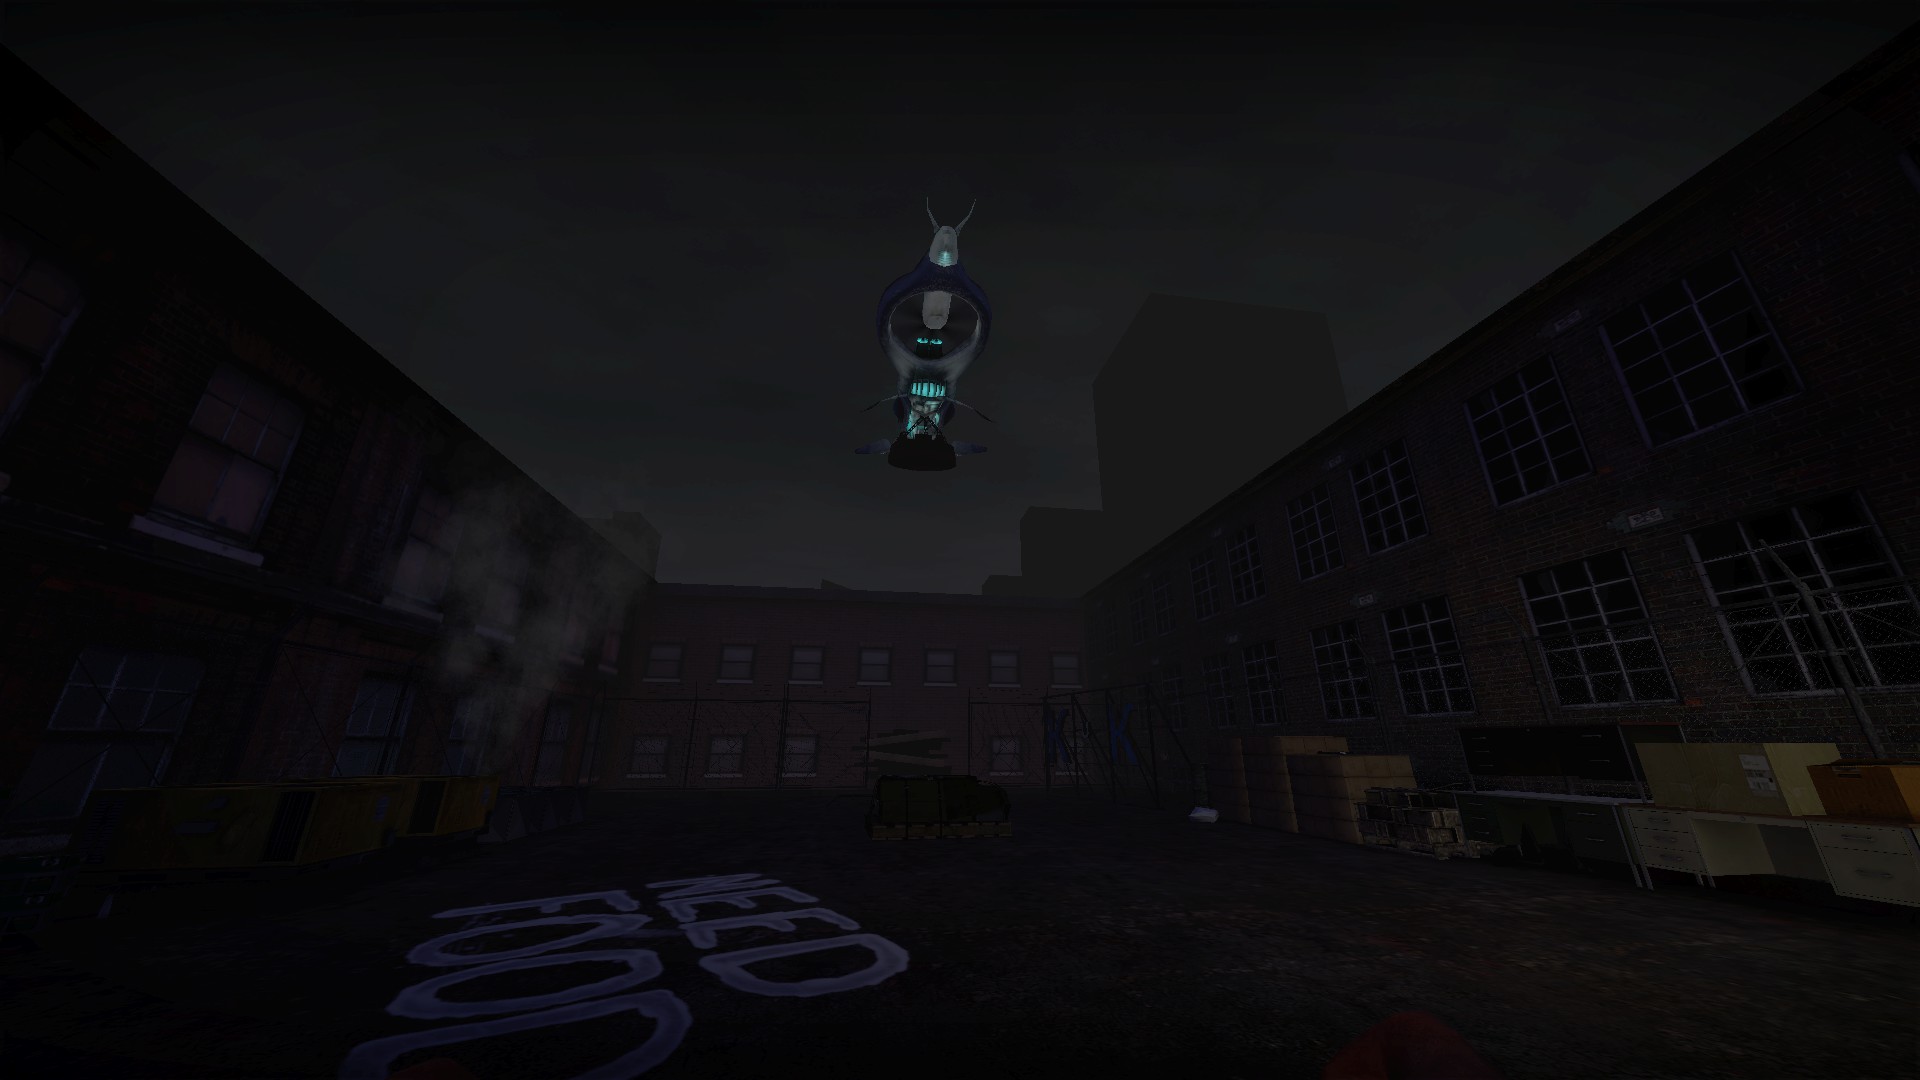
At the start, play the entire maple leaf rag on the piano and a ship will appear and drop a weapon box
Welder locations
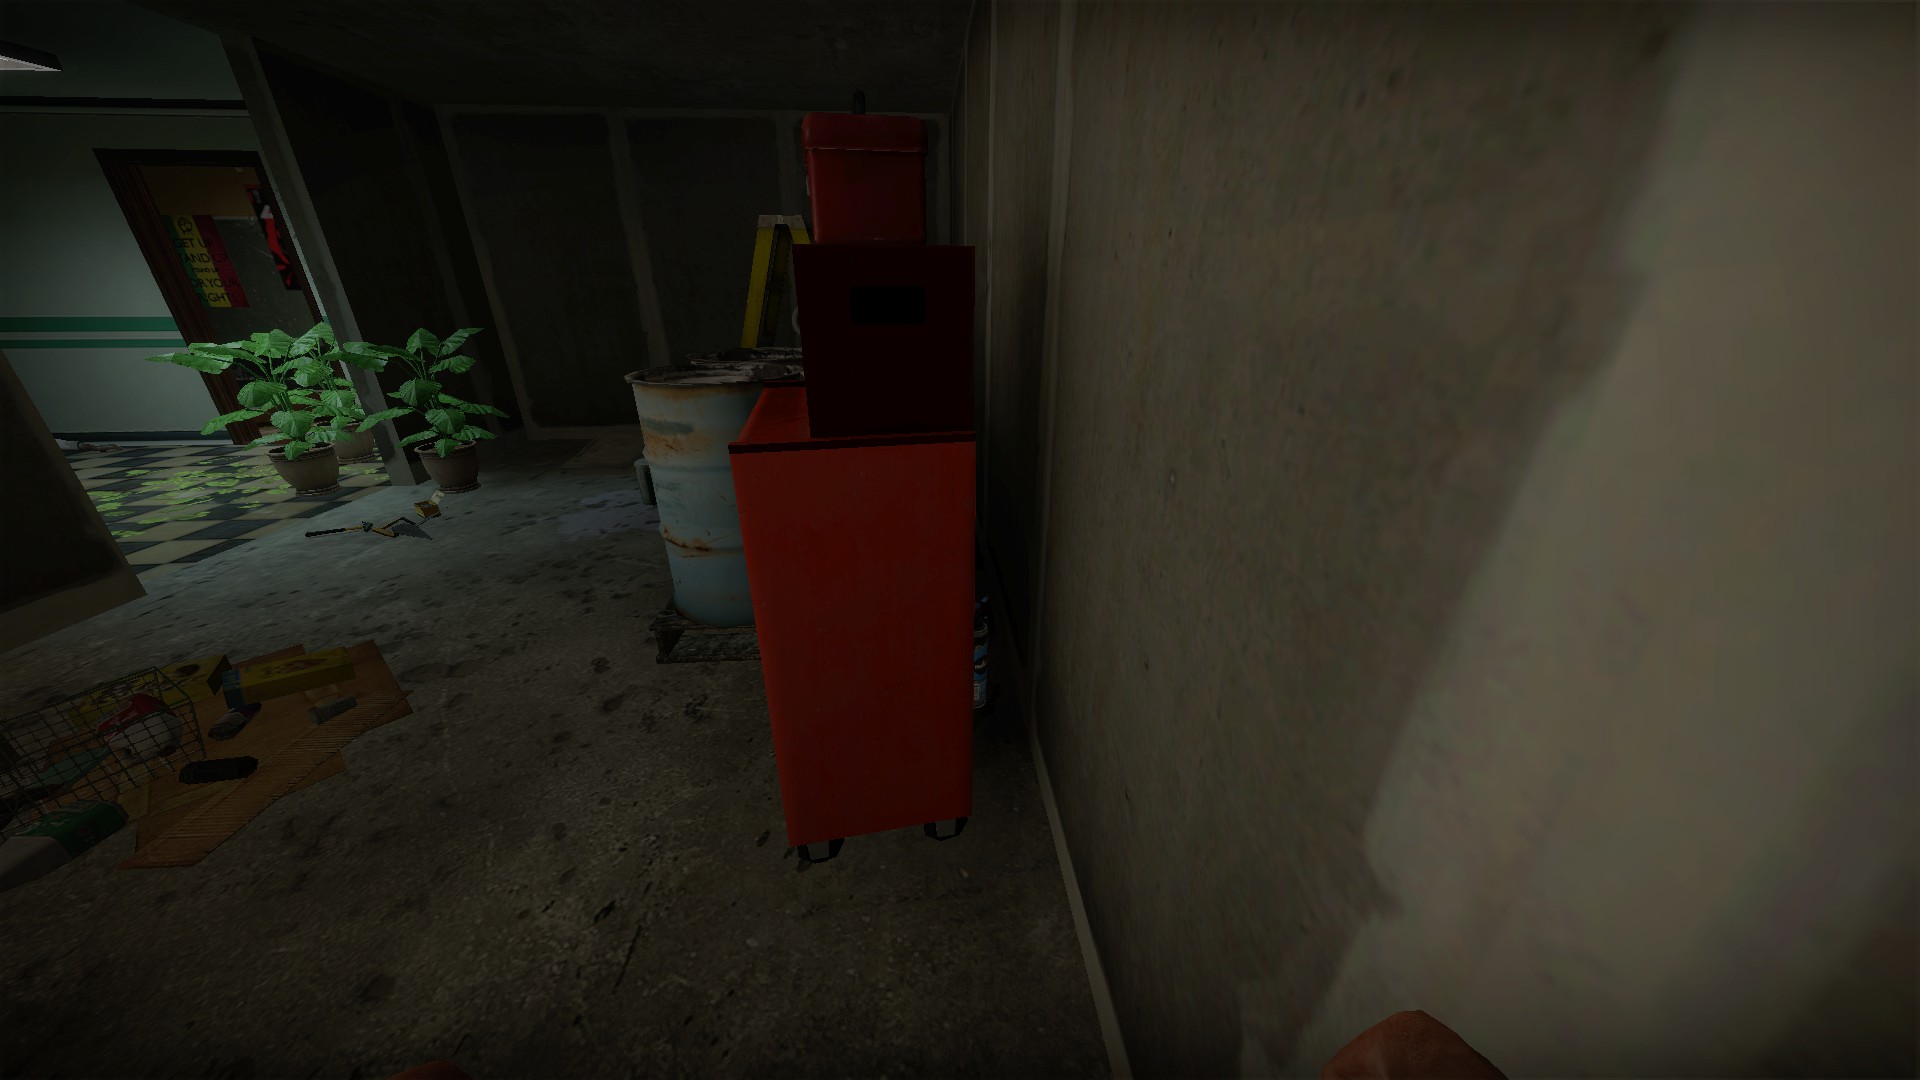
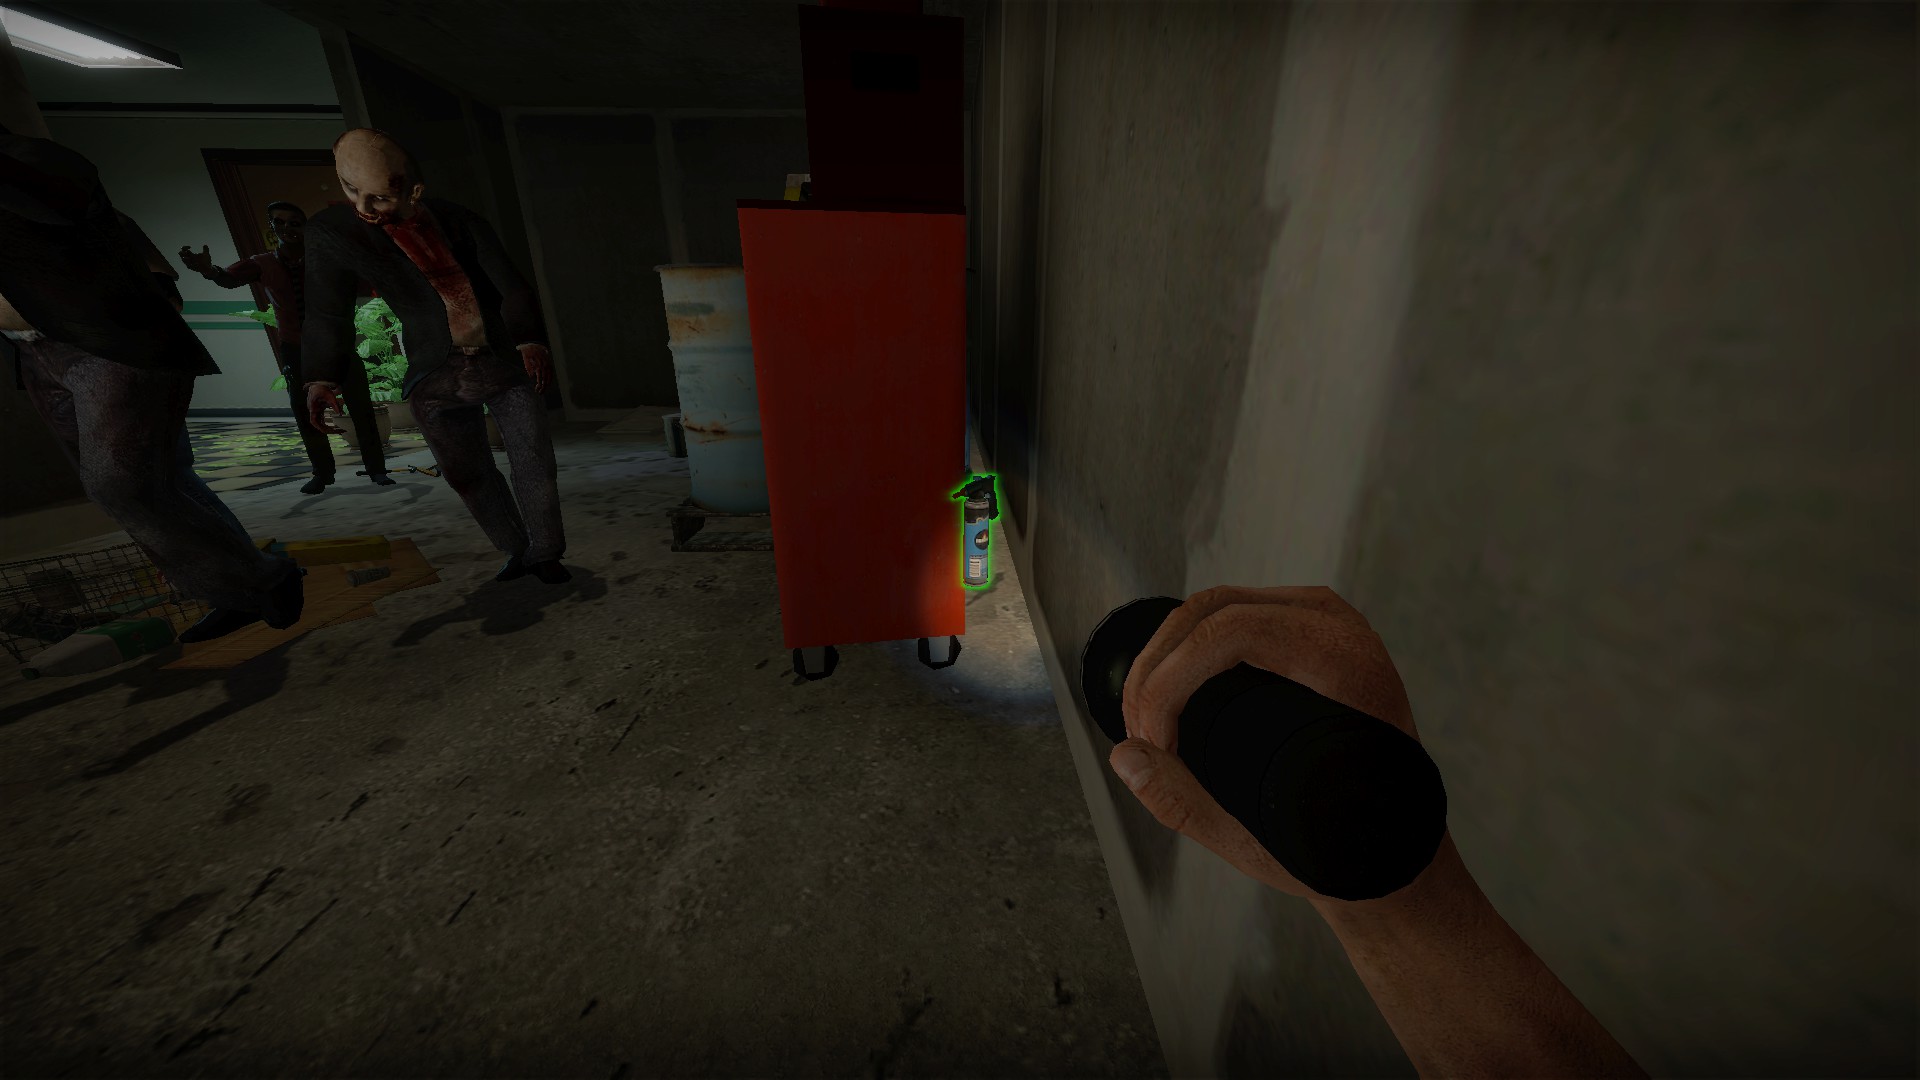
The hardest to find, its barely visible behind the toolbox before the window. Get on the barrels to fish it out
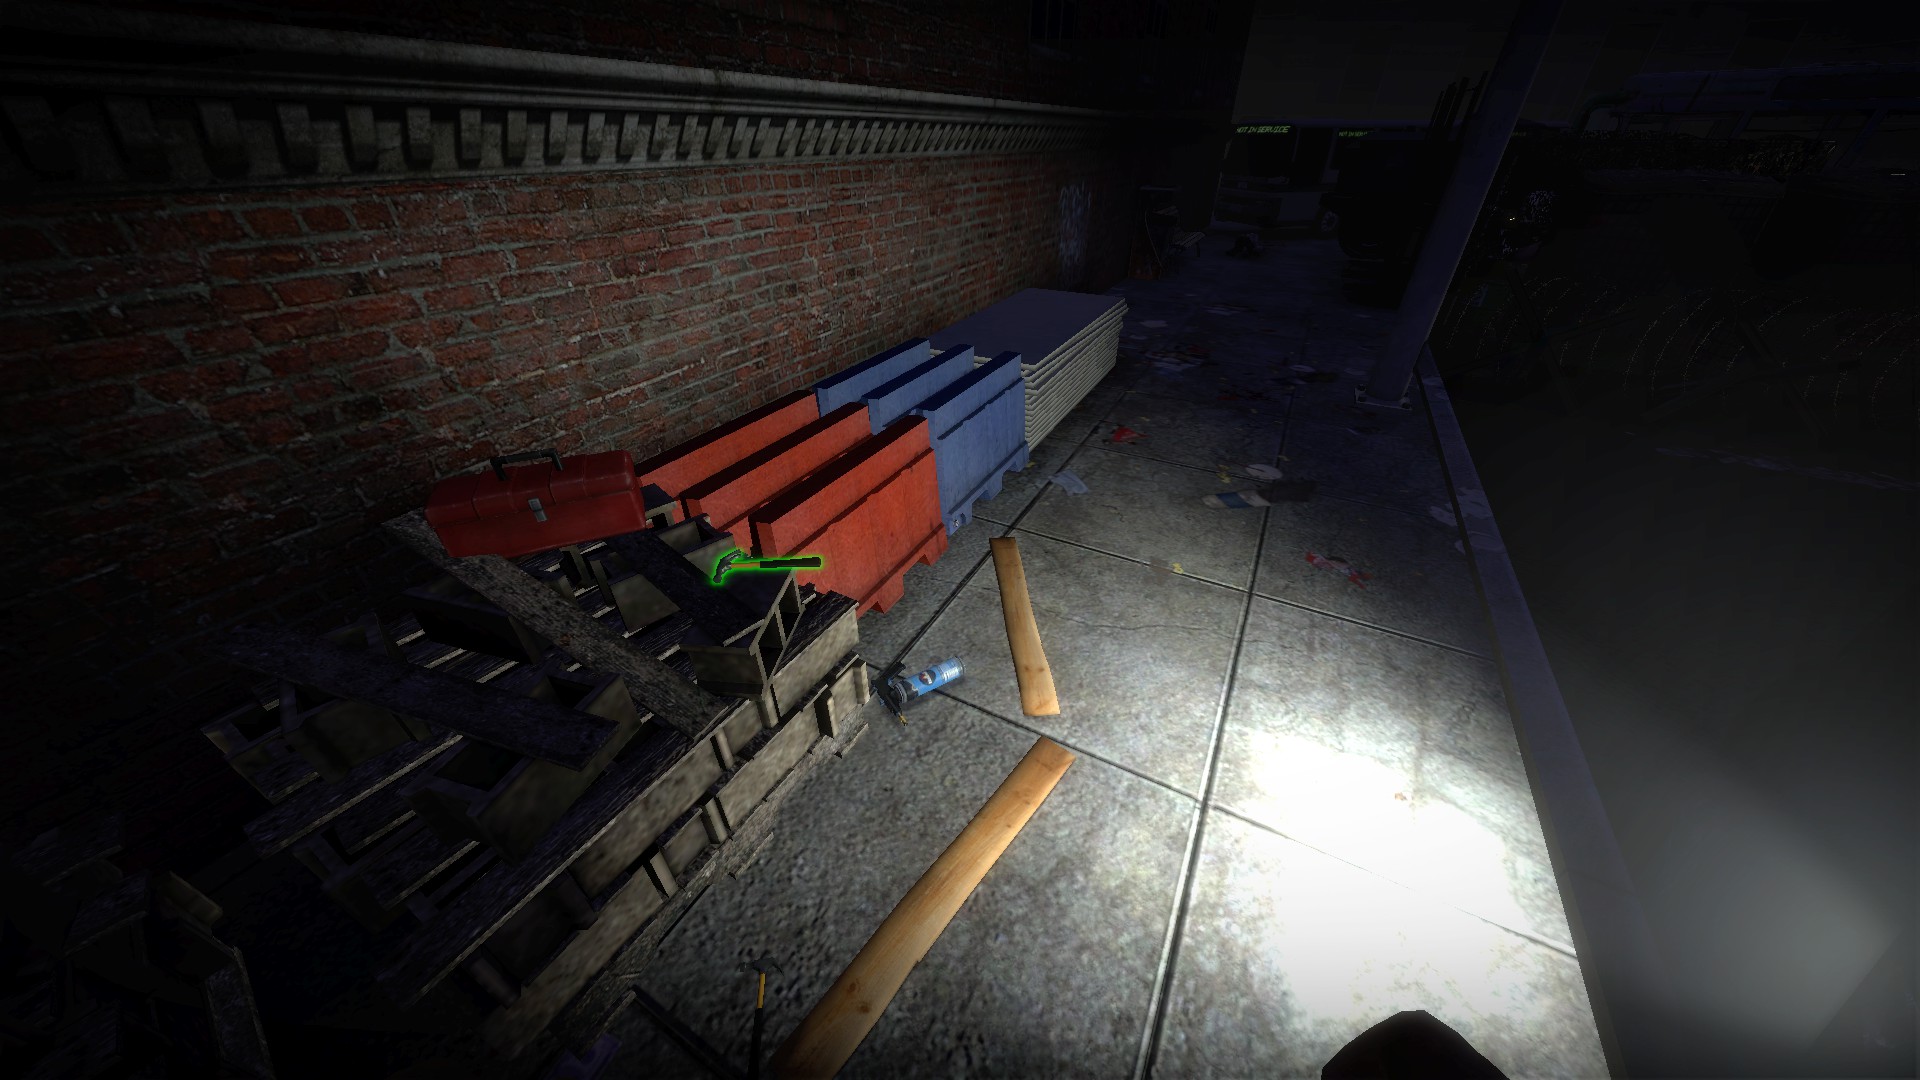
In the main street by the boards near the crash site
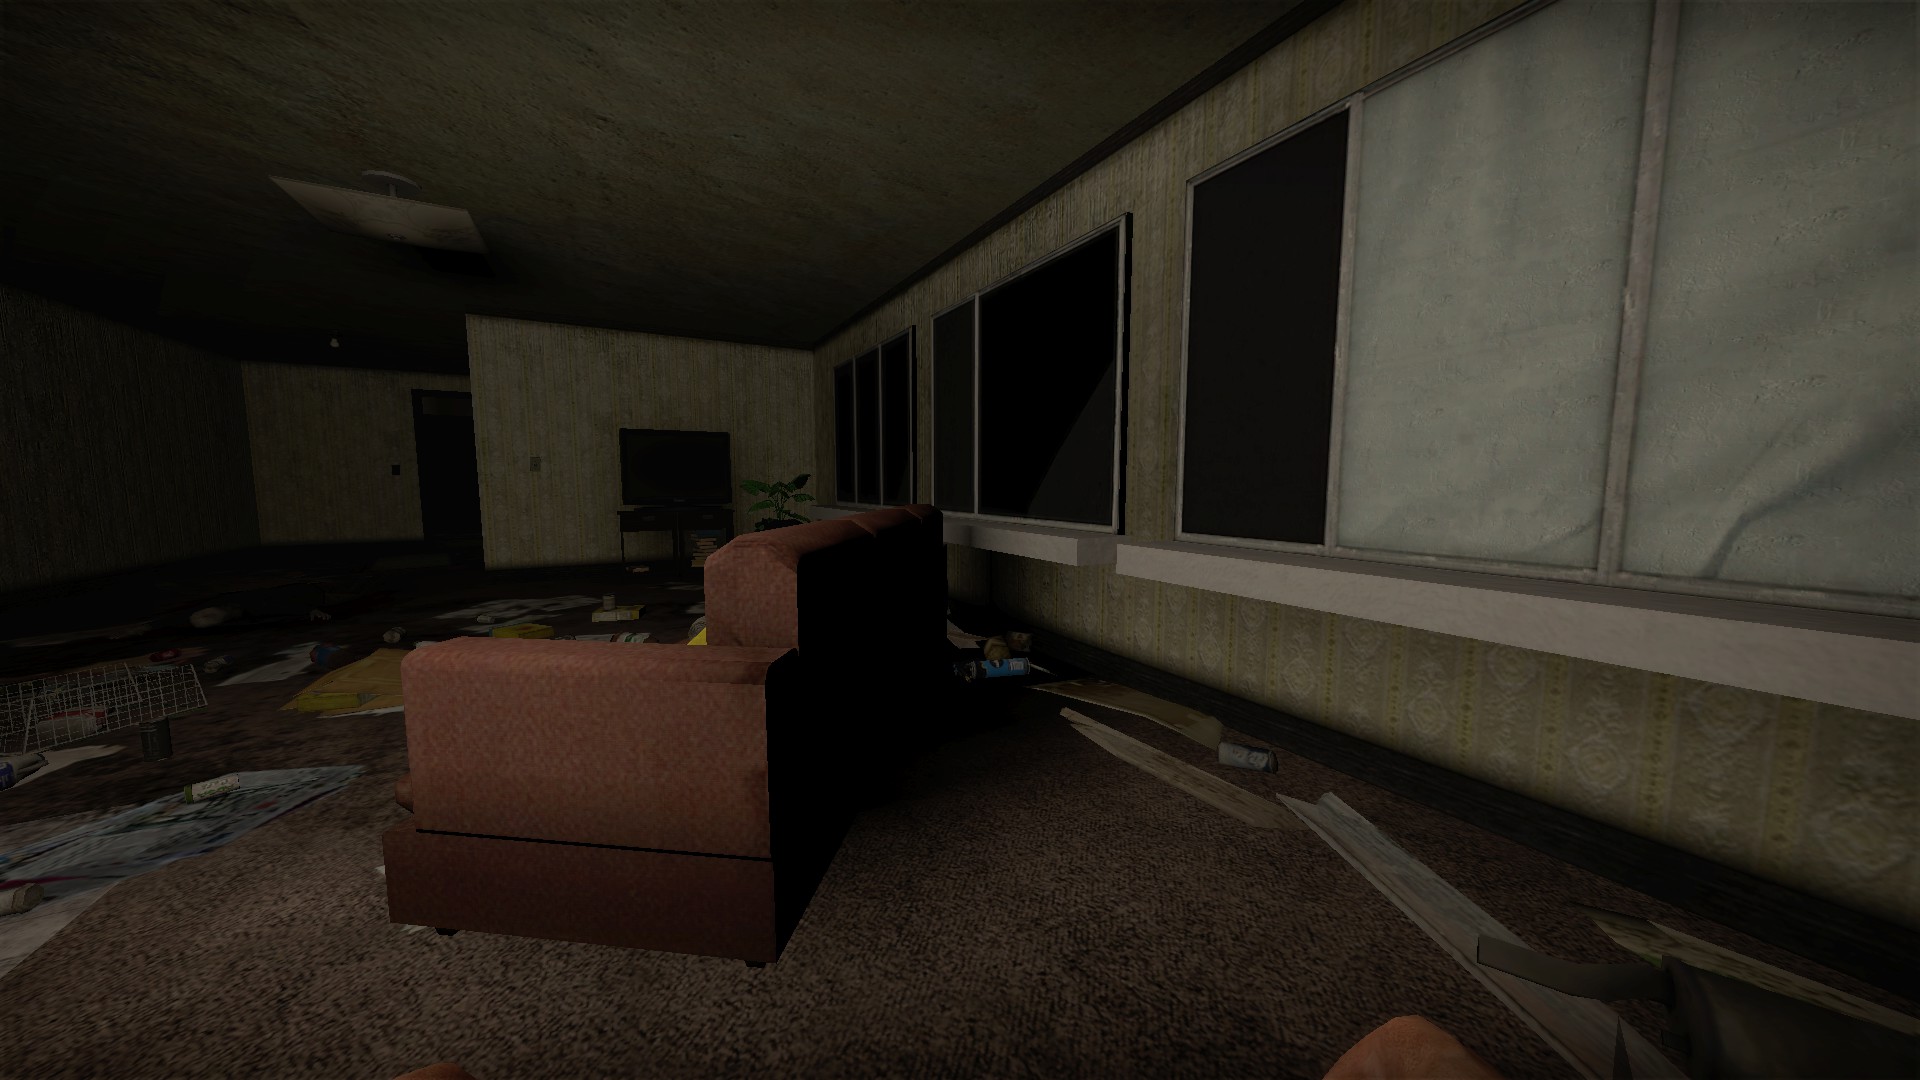
Behind a couch in the building where you search for codes. You will need to get this branching path to get it
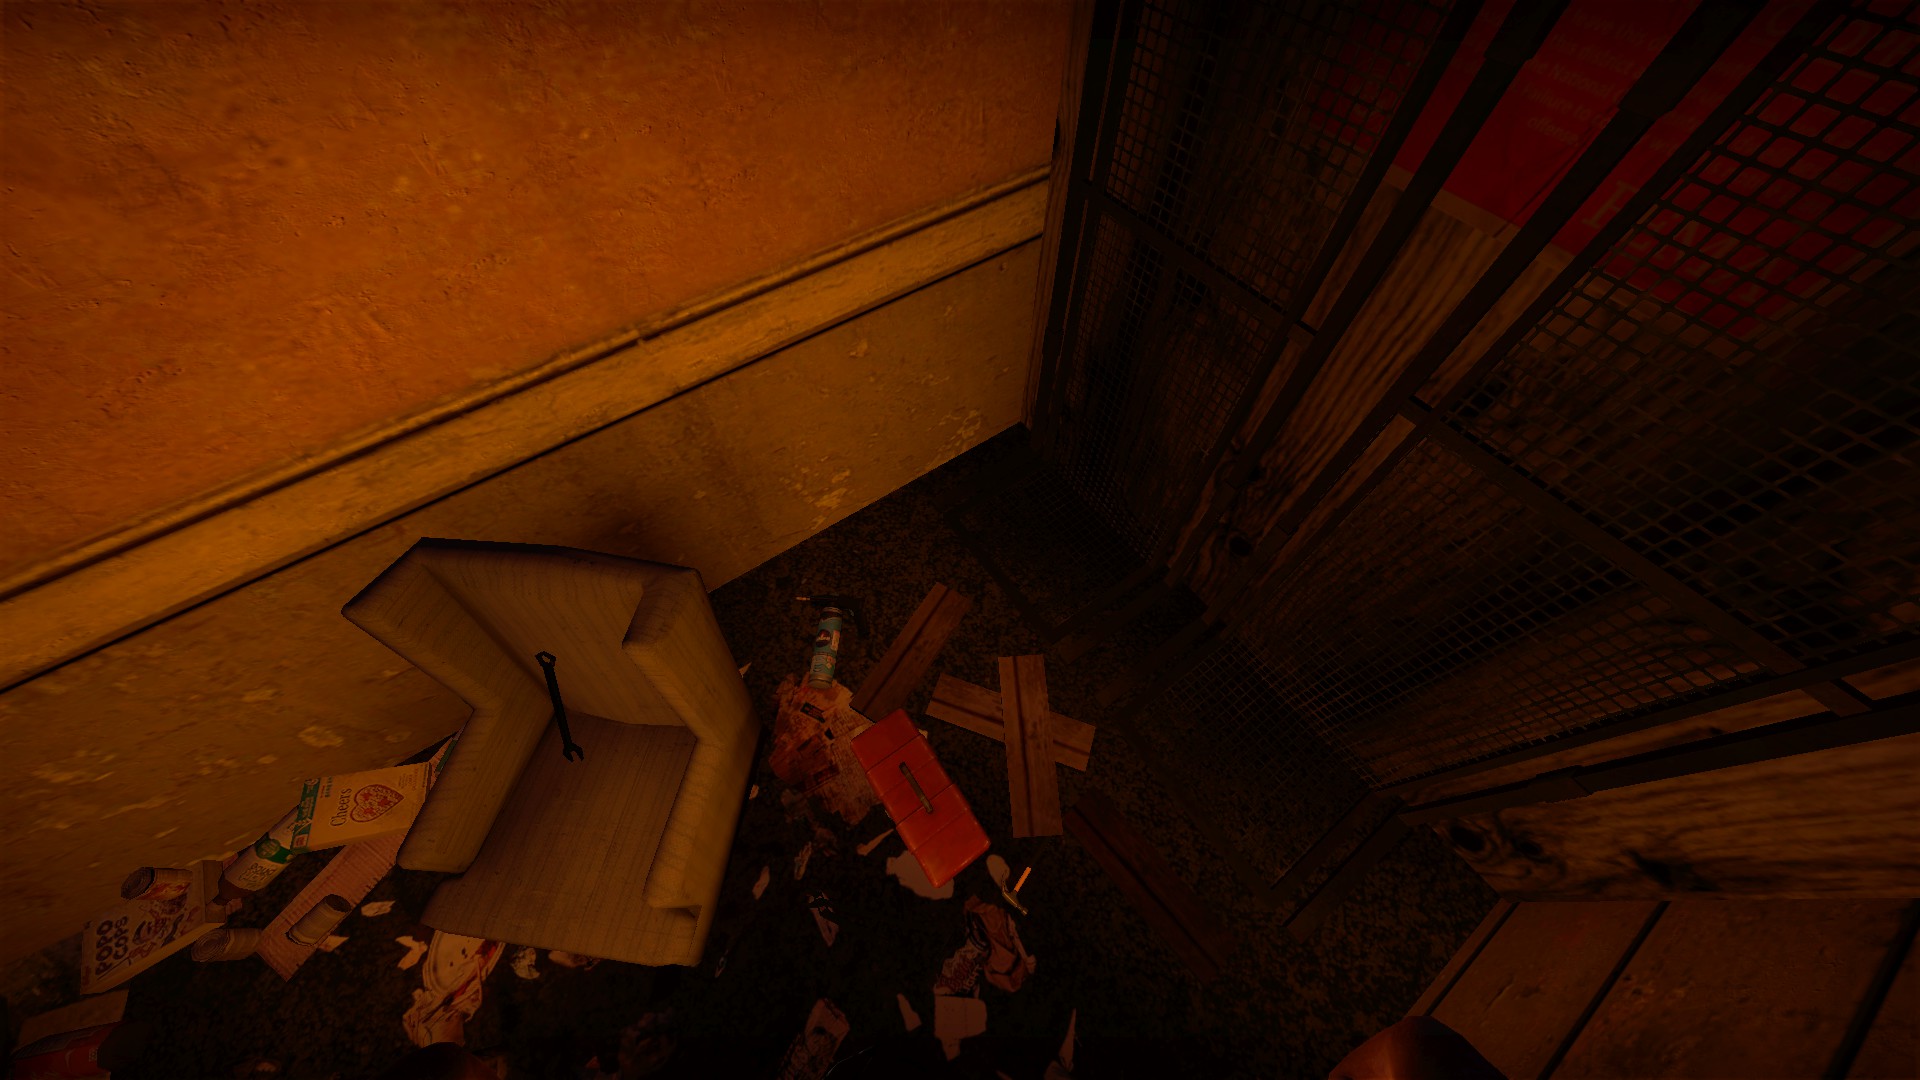
Behind the chair at the end of the narrow alley where you find the radio part. You will need to get this branching path to get it
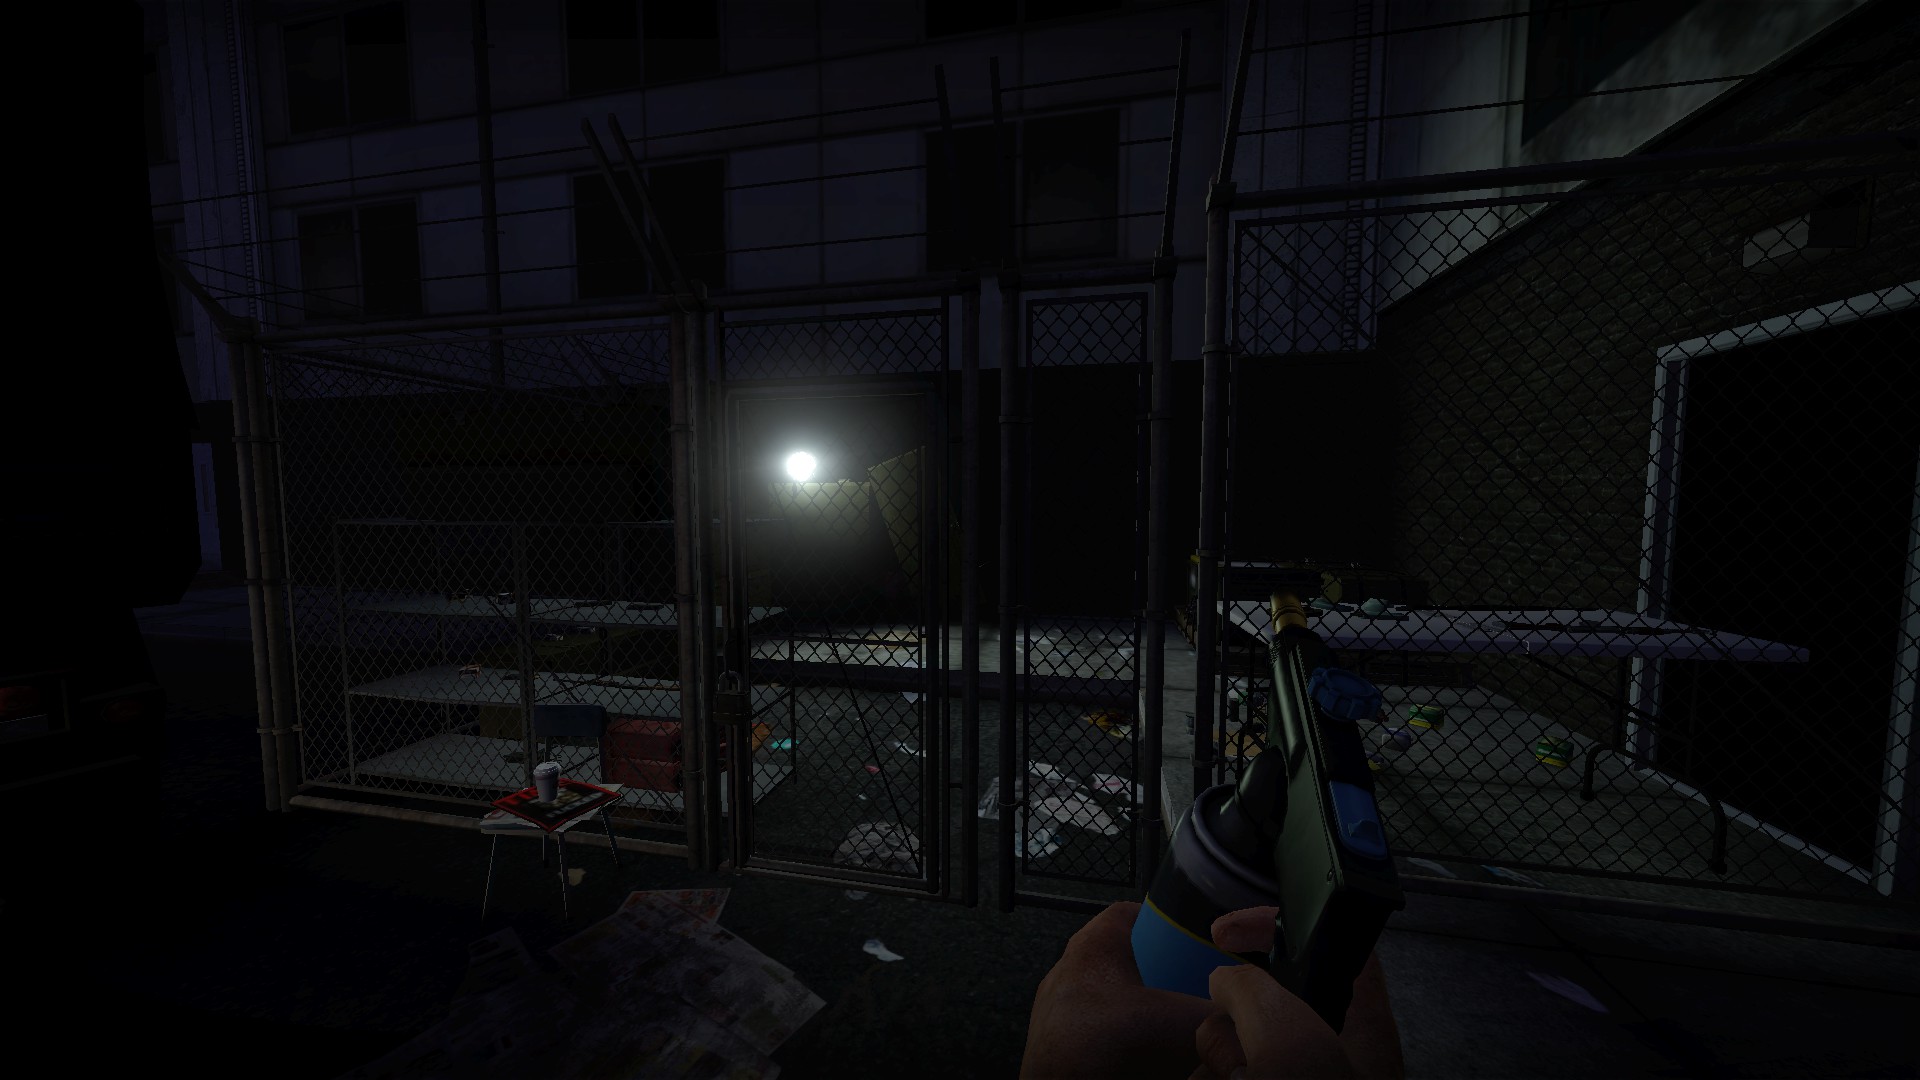
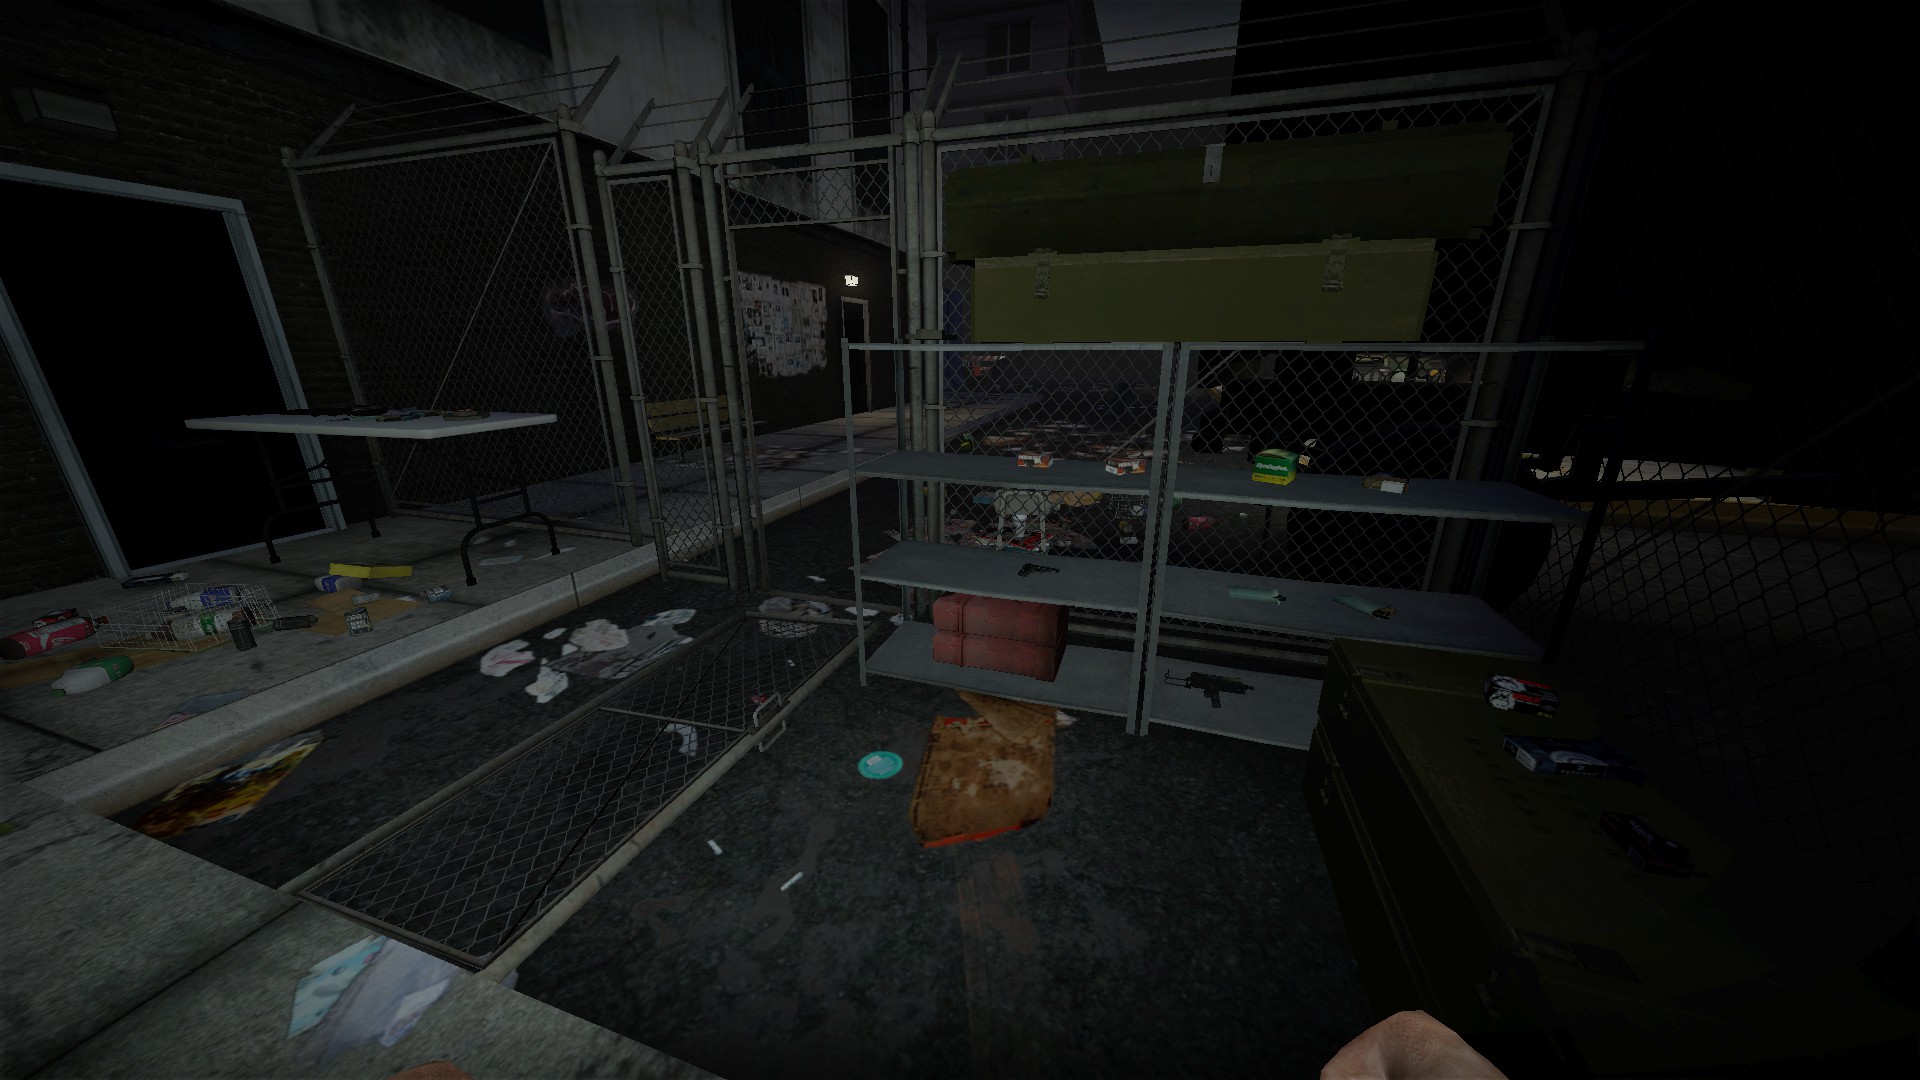
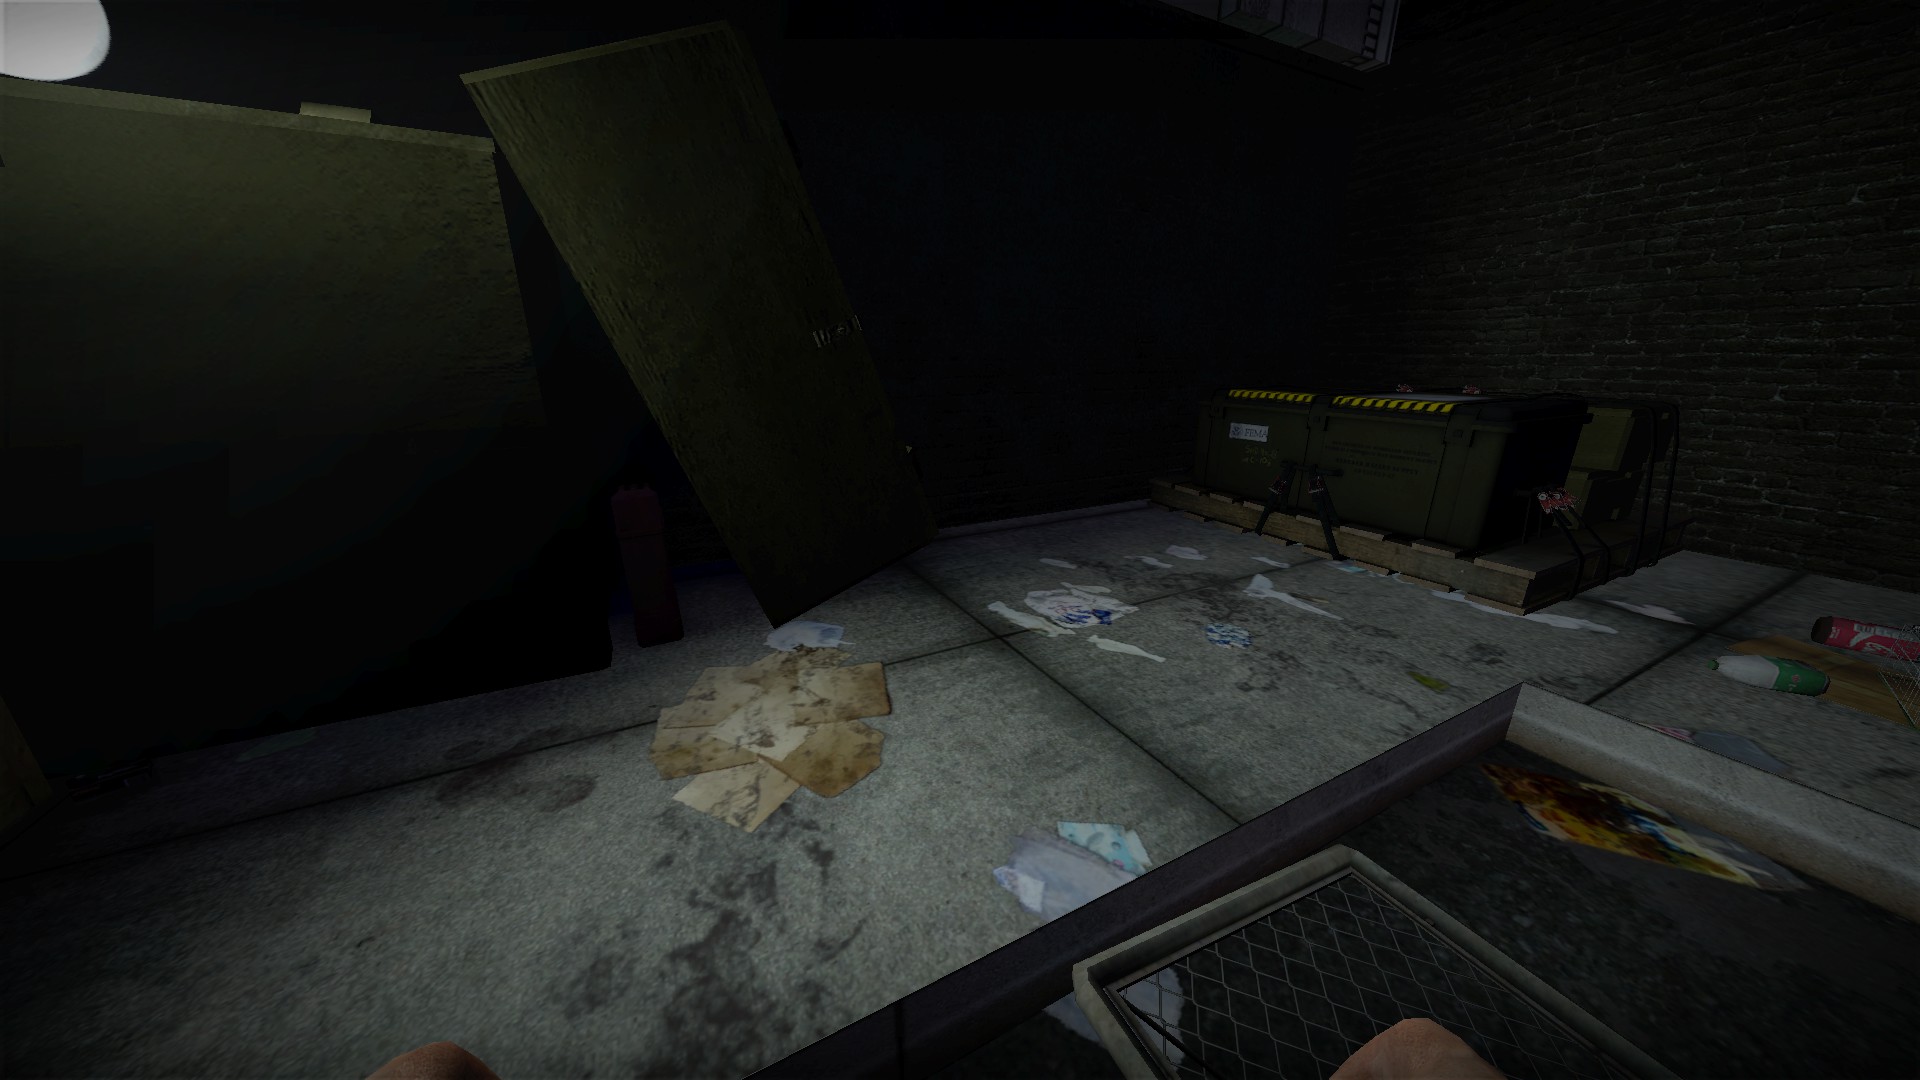
The welder area has a weapon box, 2 landmines, 3 gas cans, and lots of guns and ammo
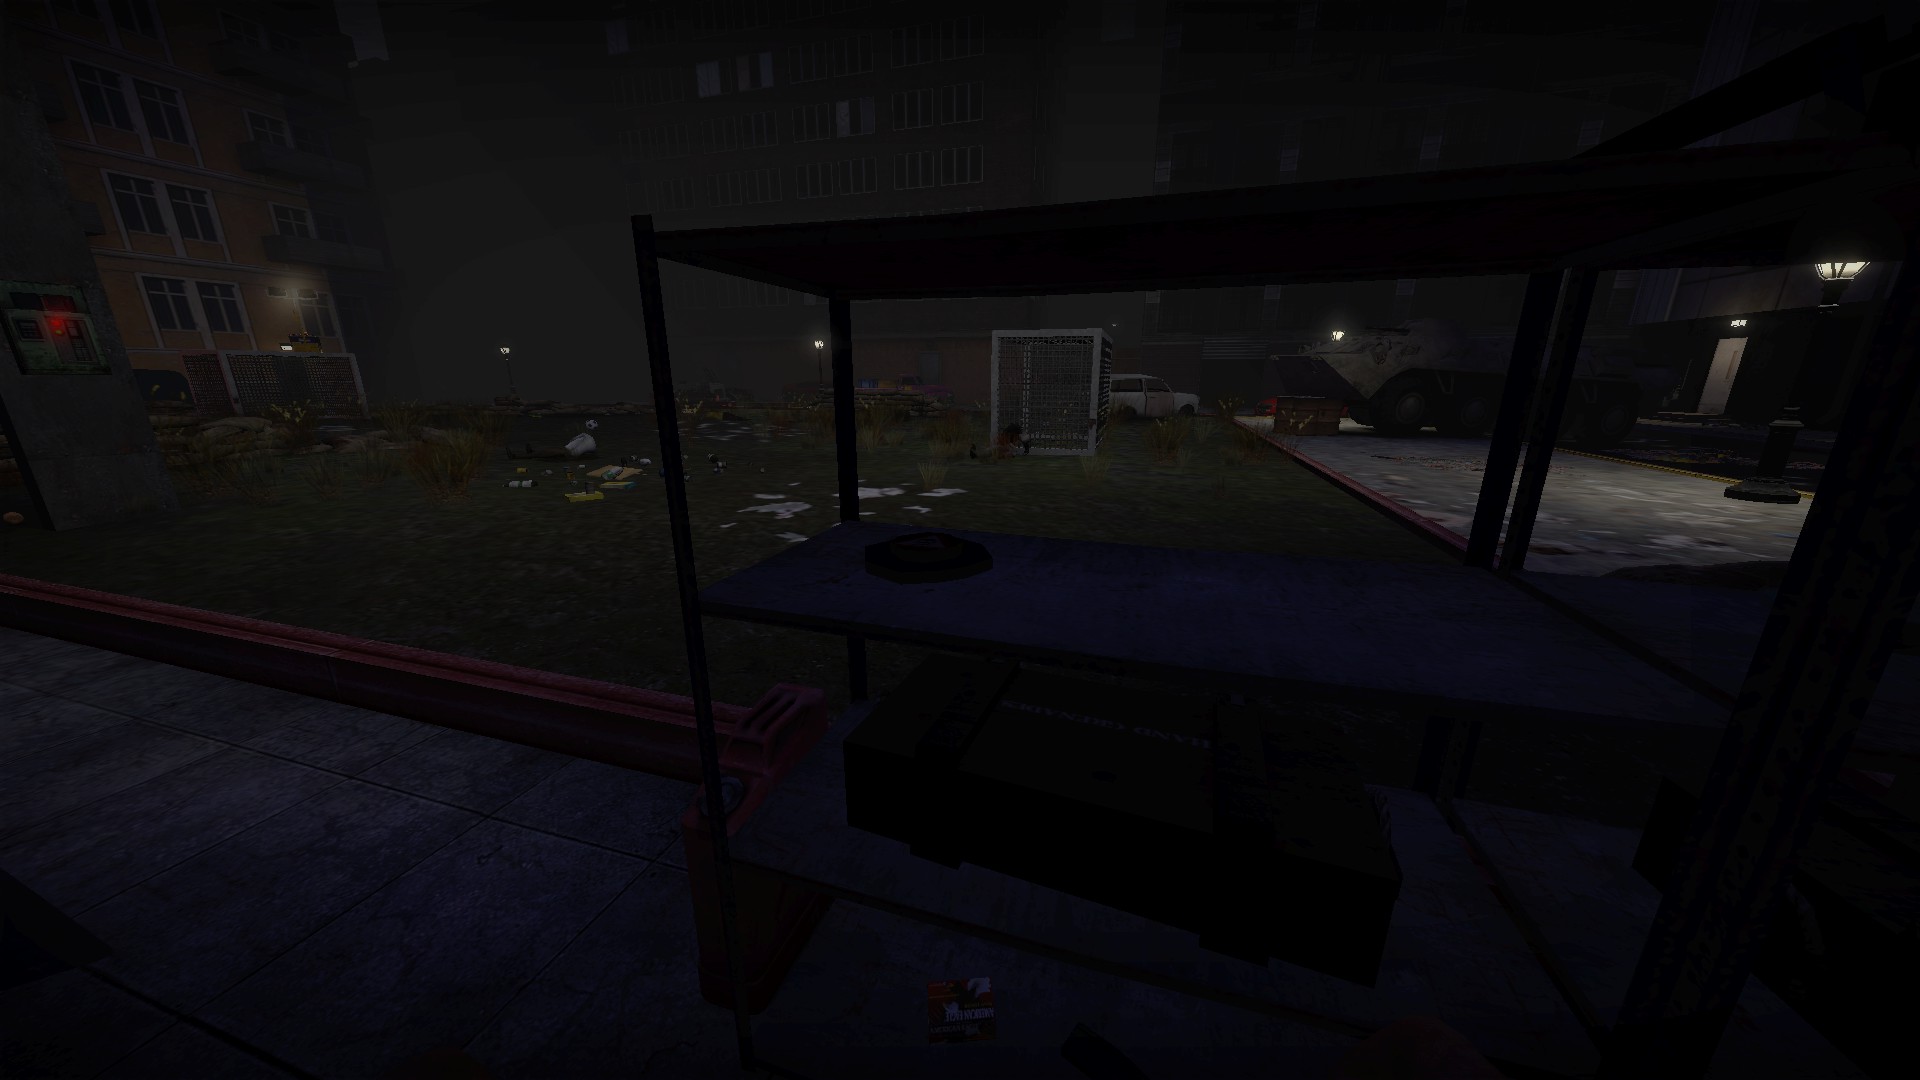
There is another landmine by the radio, be sure to place them - they'll get a few
nmo_vertigo_v13
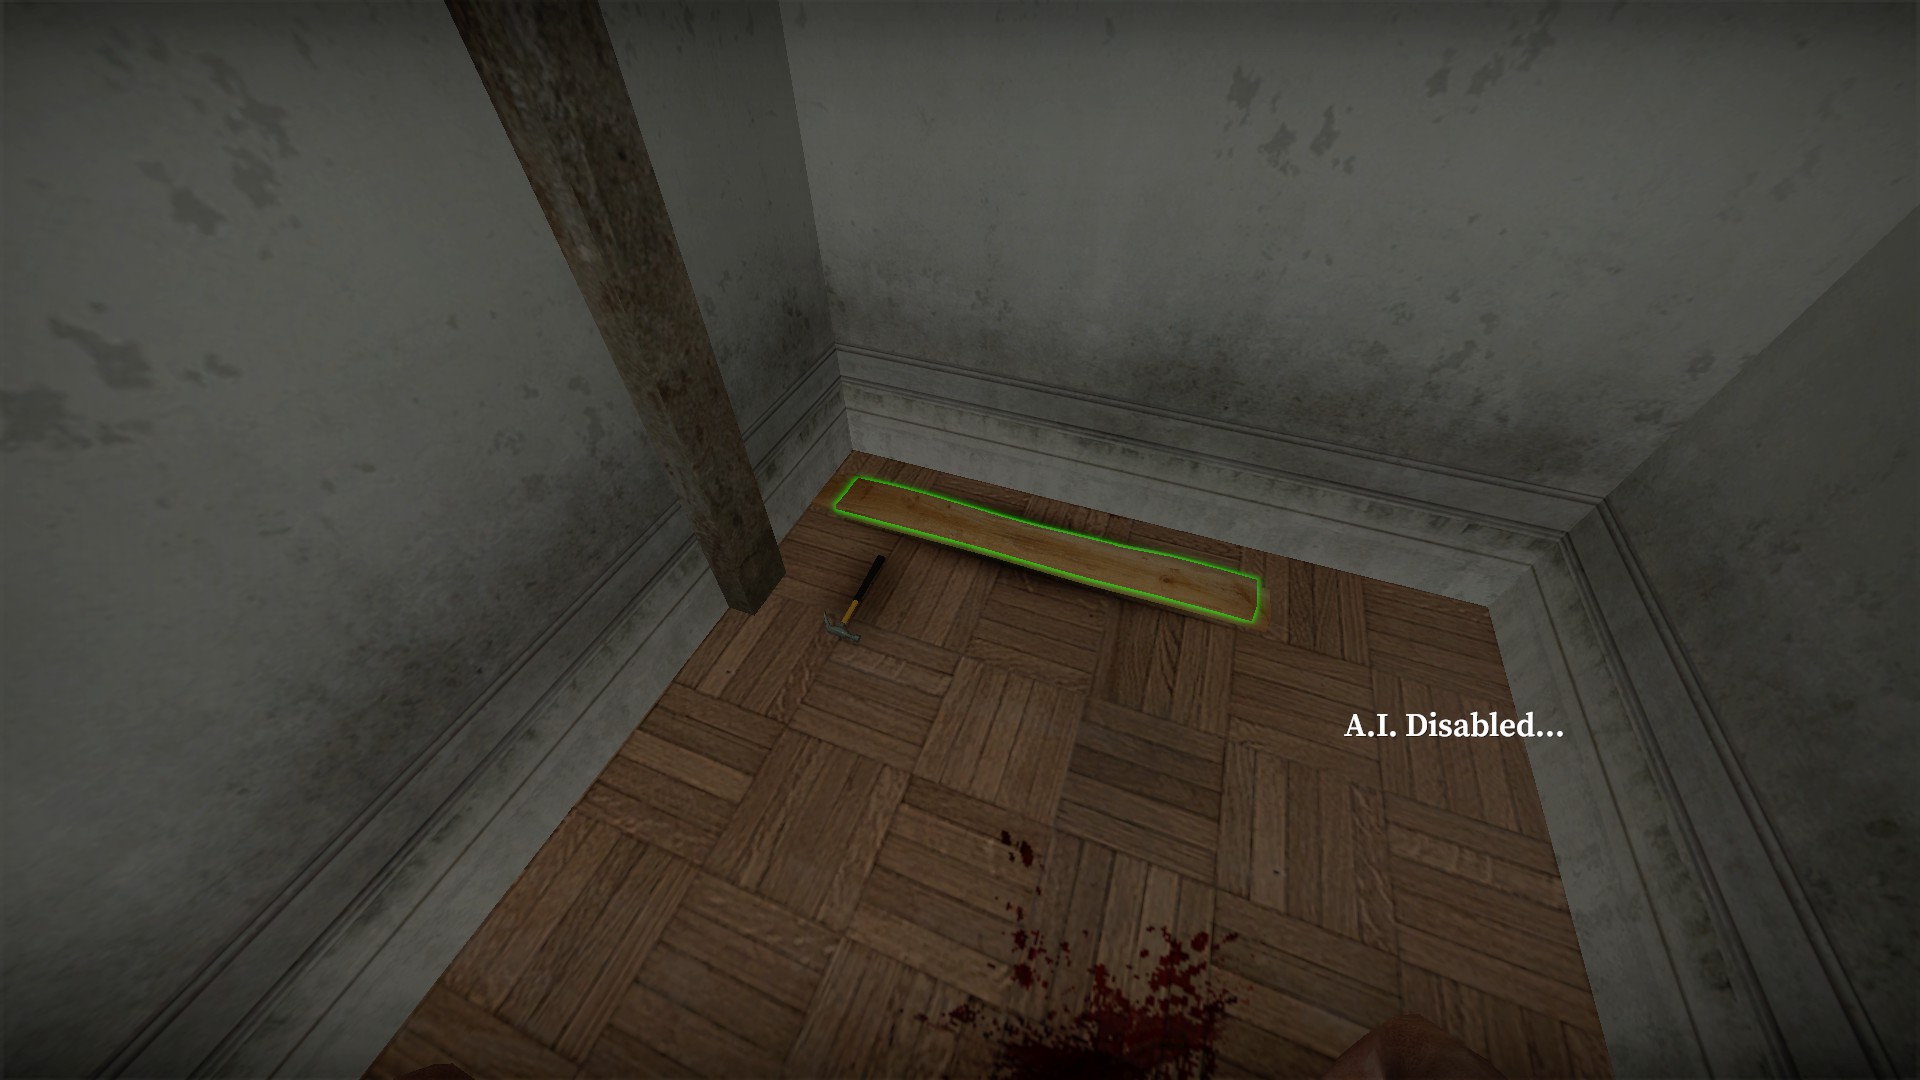
Just past the first parkour area, you will find a hammer and boards
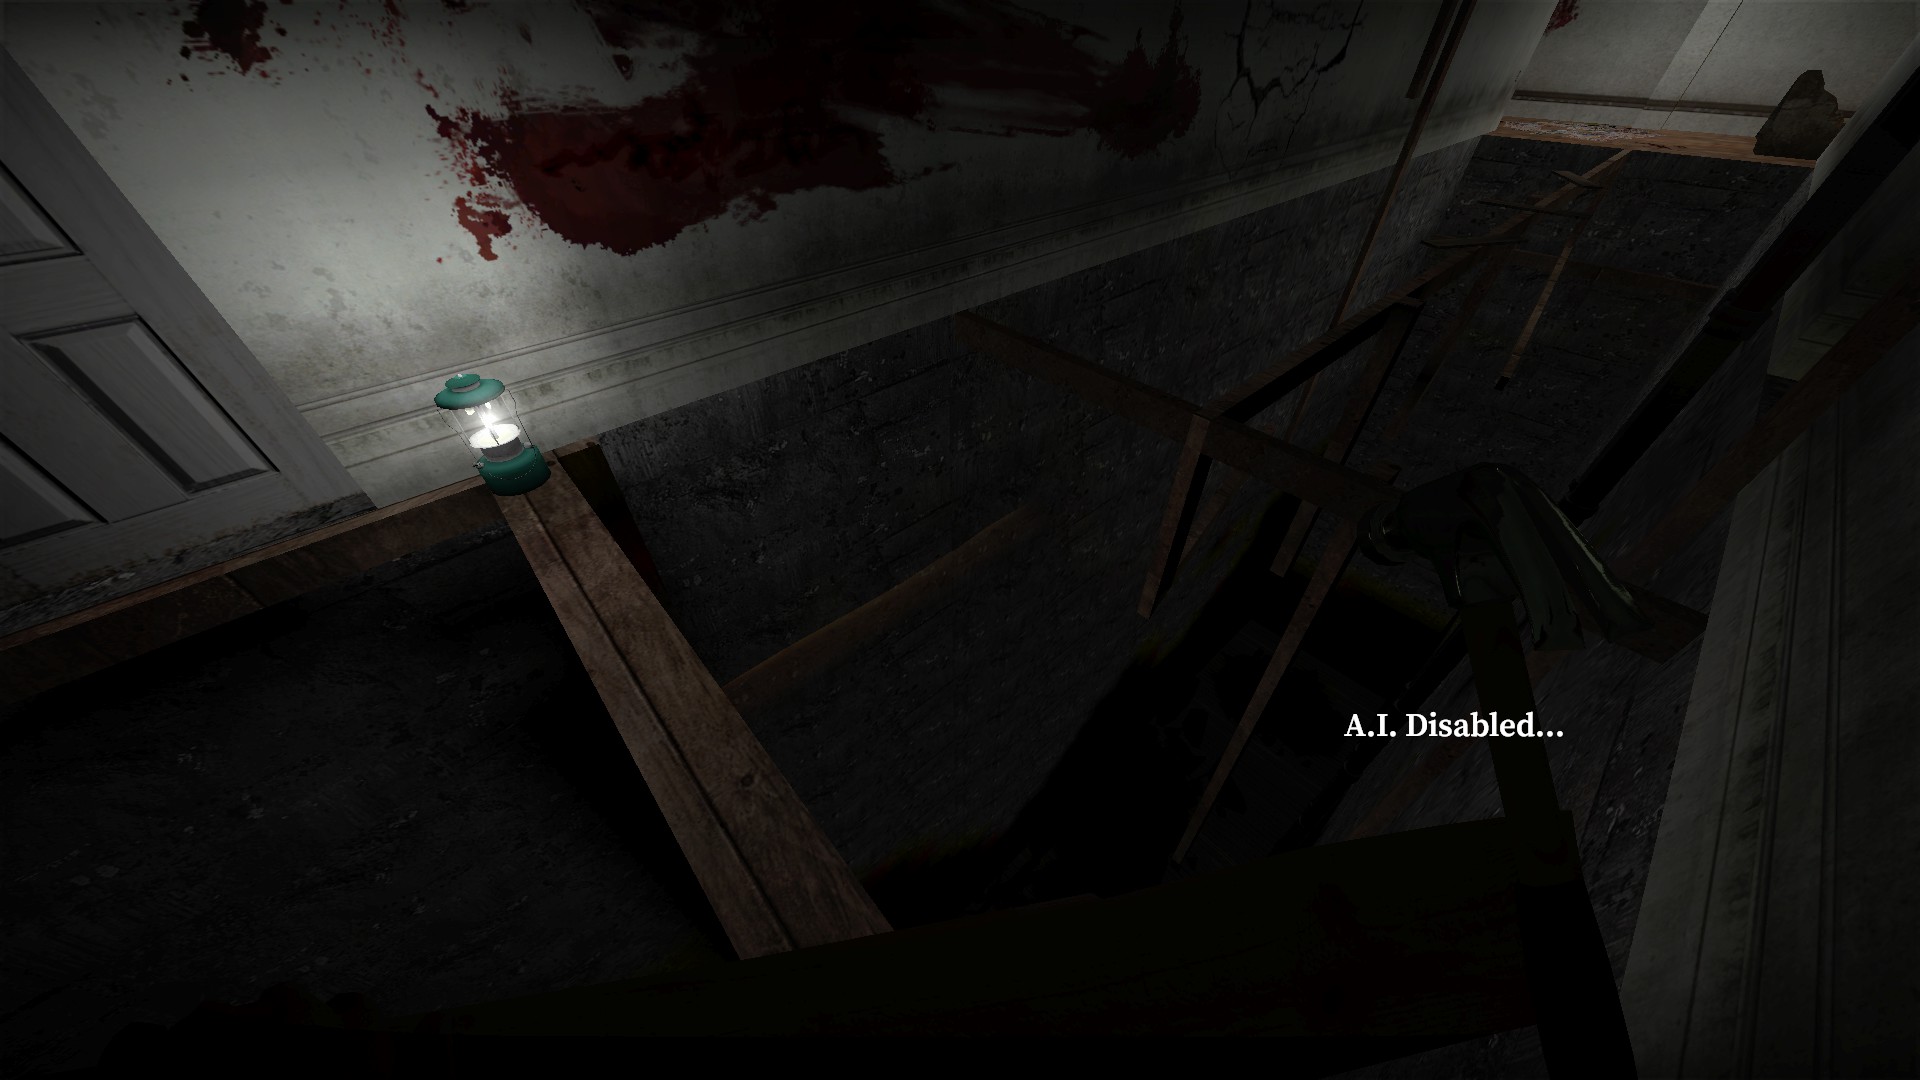
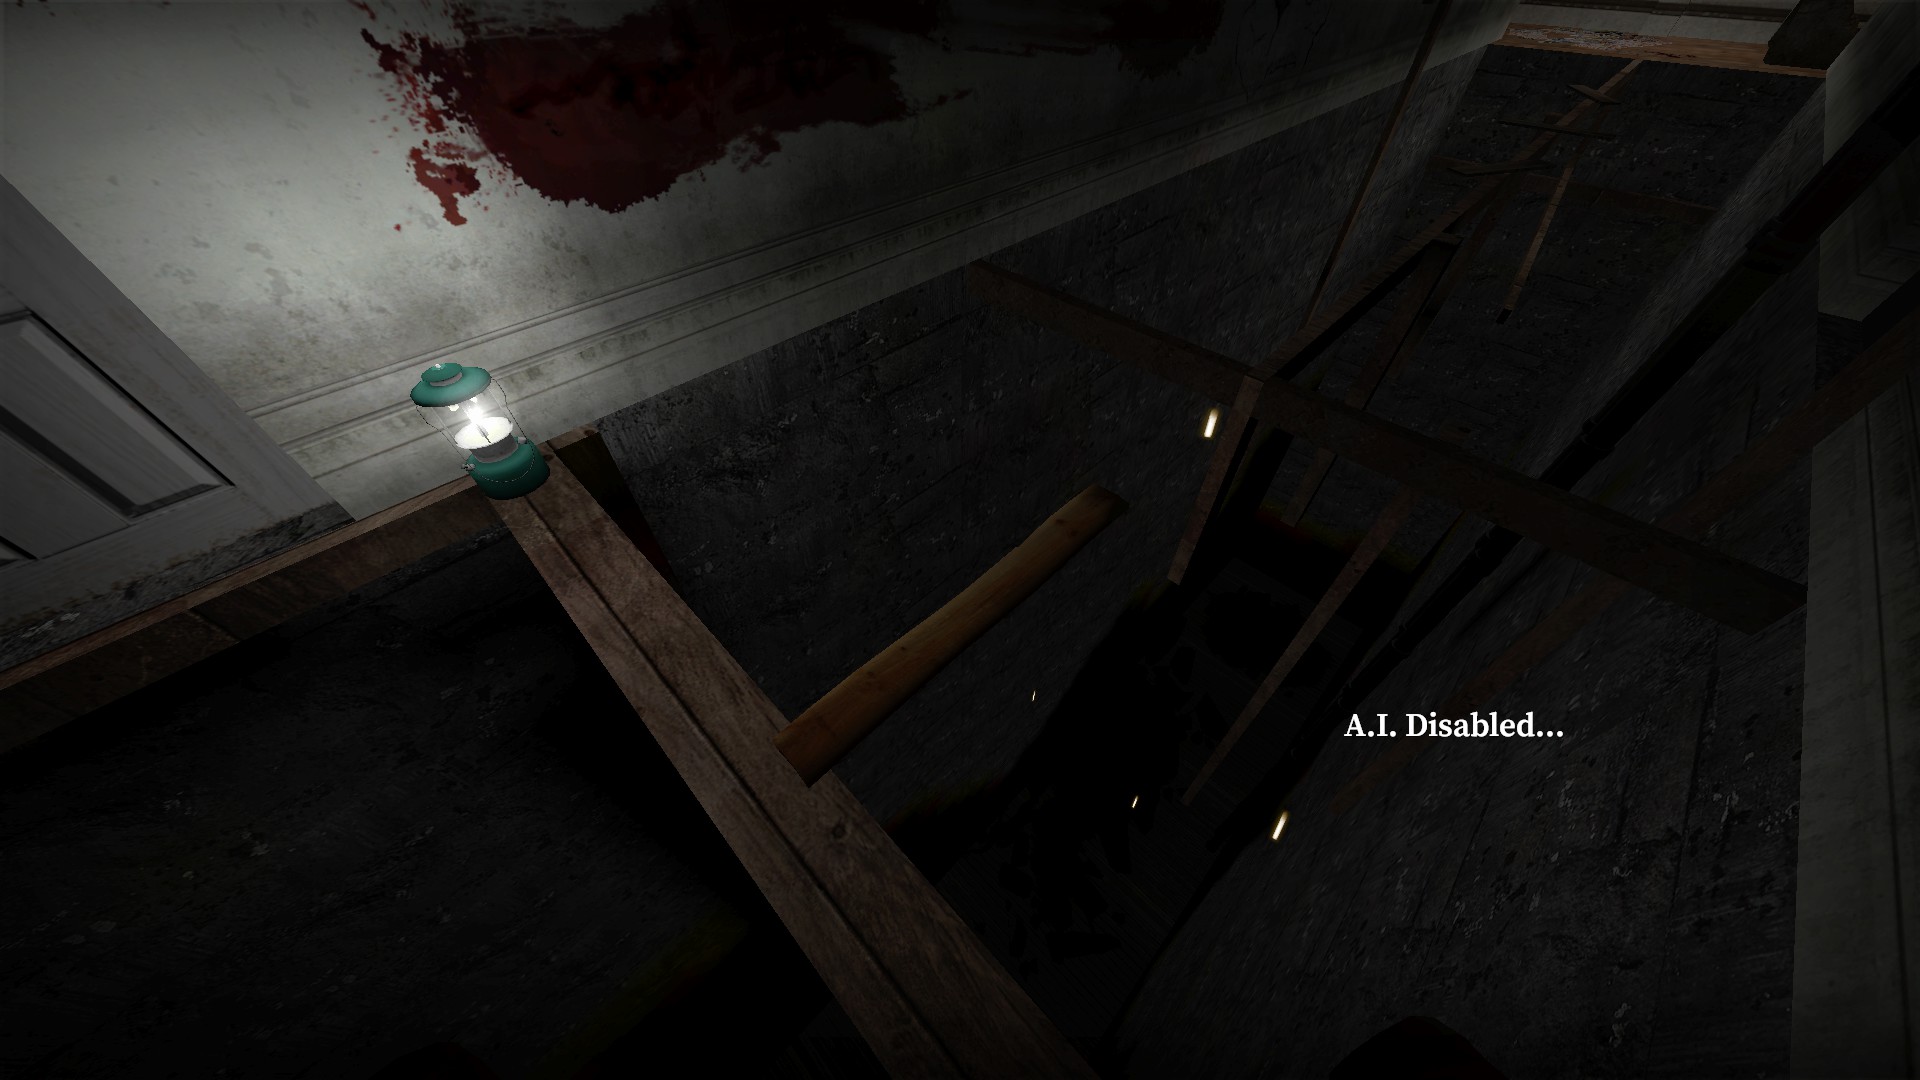
If you backtrack to the first parkour area, you can place a board there to make the jump easier for your teammates
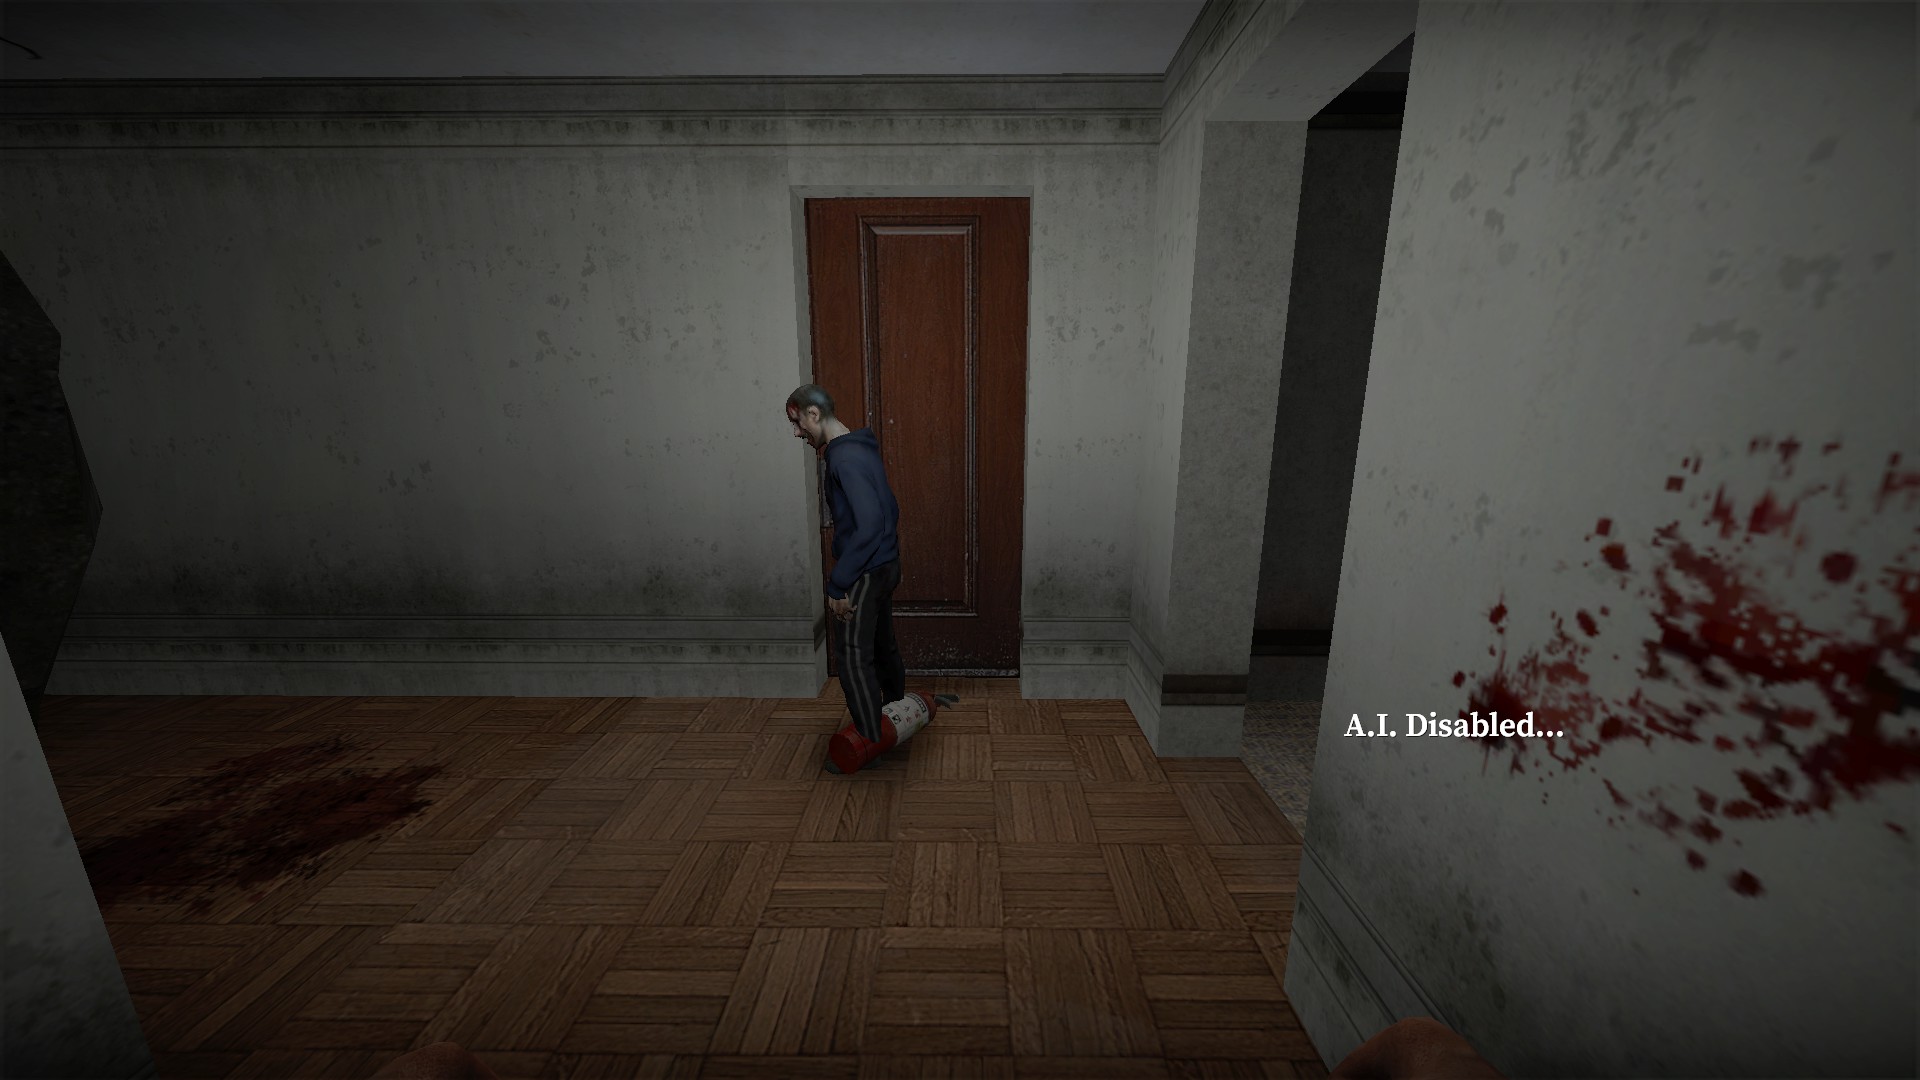
Only one player needs to go through the last 2 parkour areas. Leave teammates and heavy items in front of the door just past the second parkour area
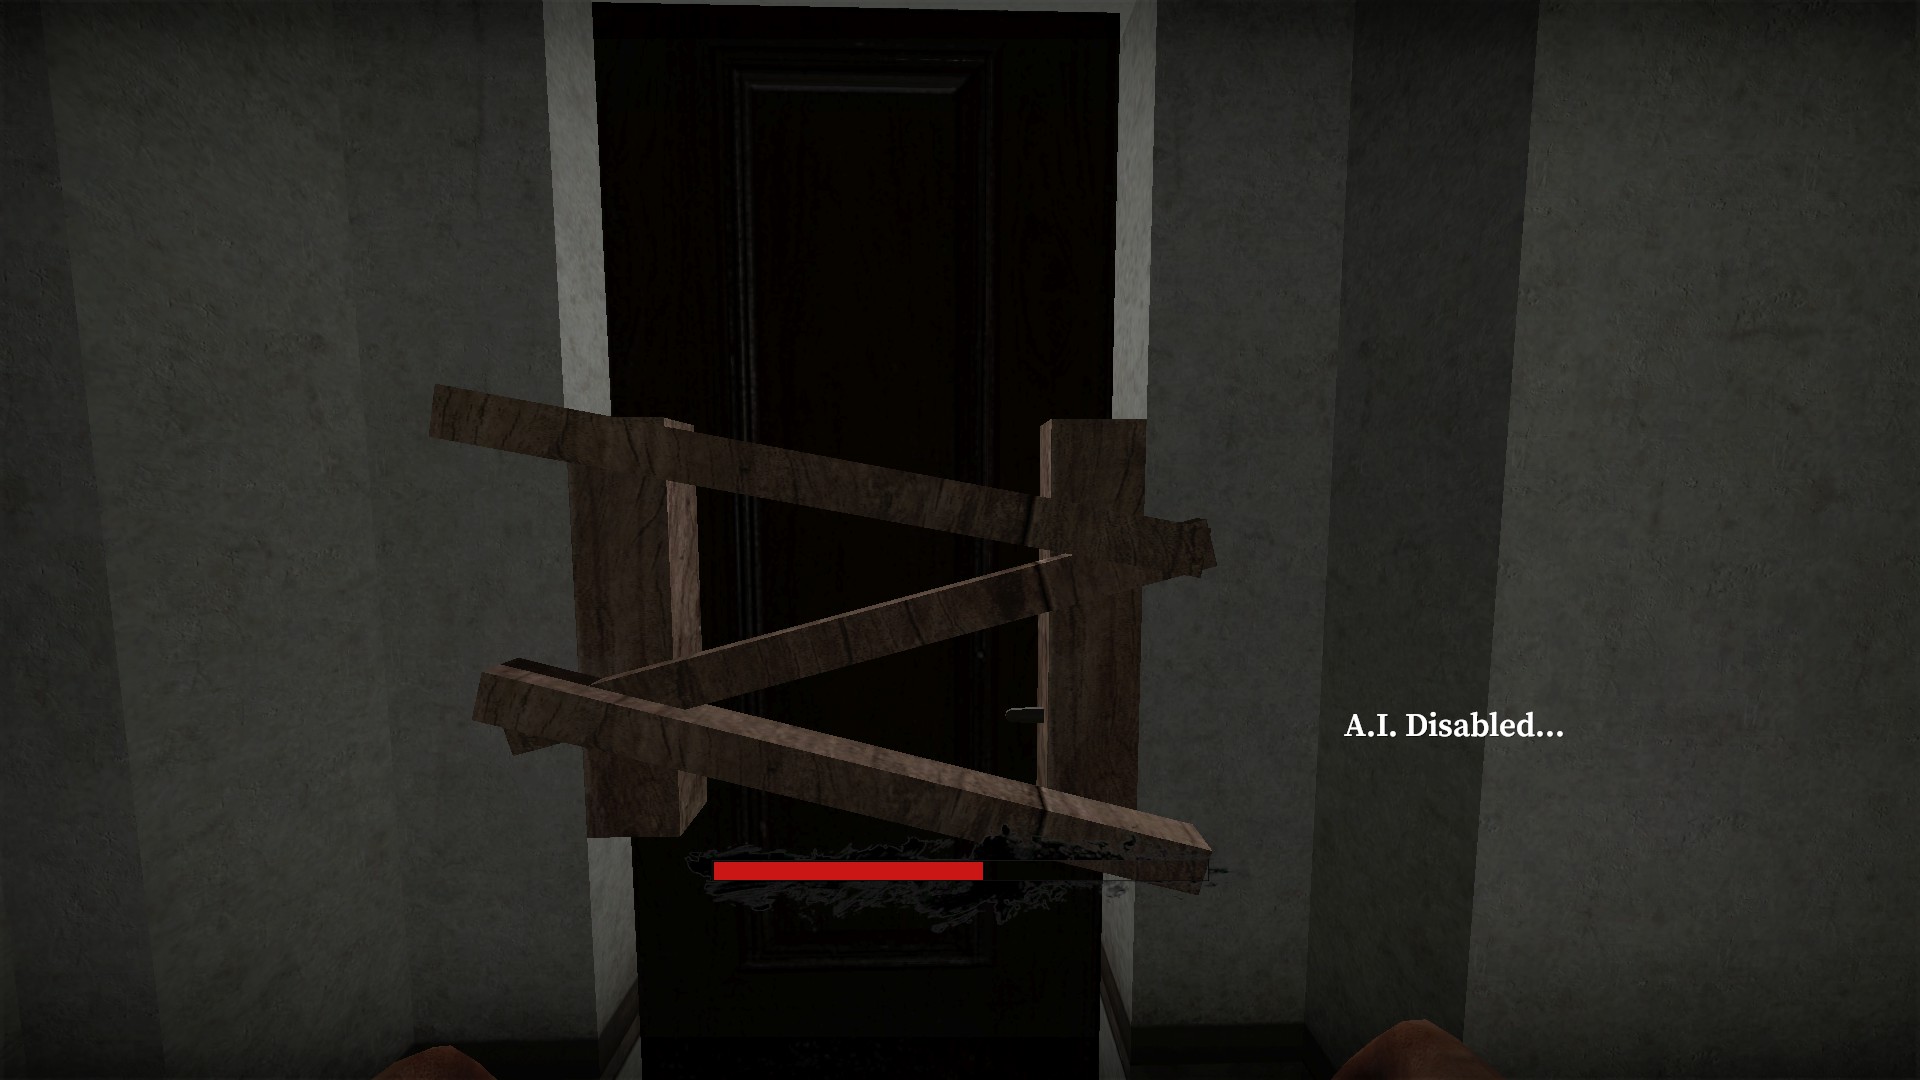
After getting through, hold e on the barricade to open the door
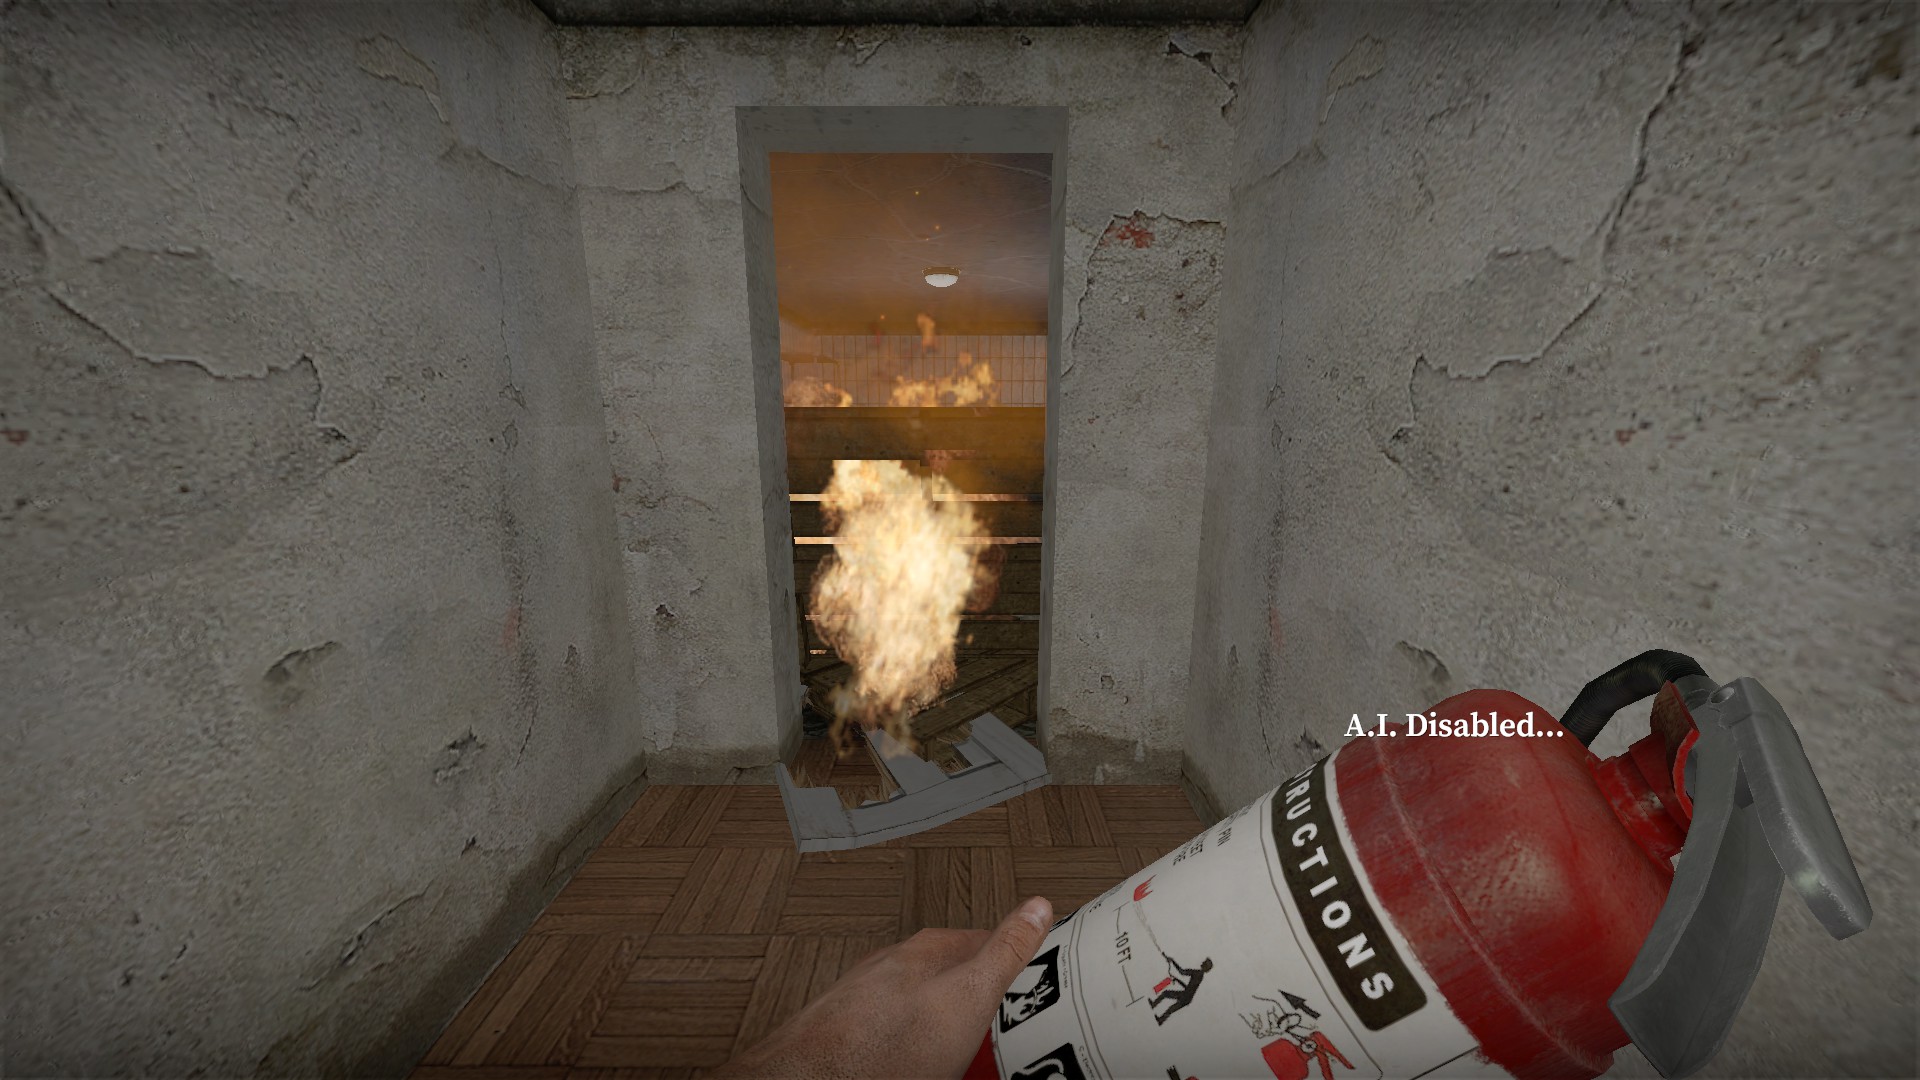
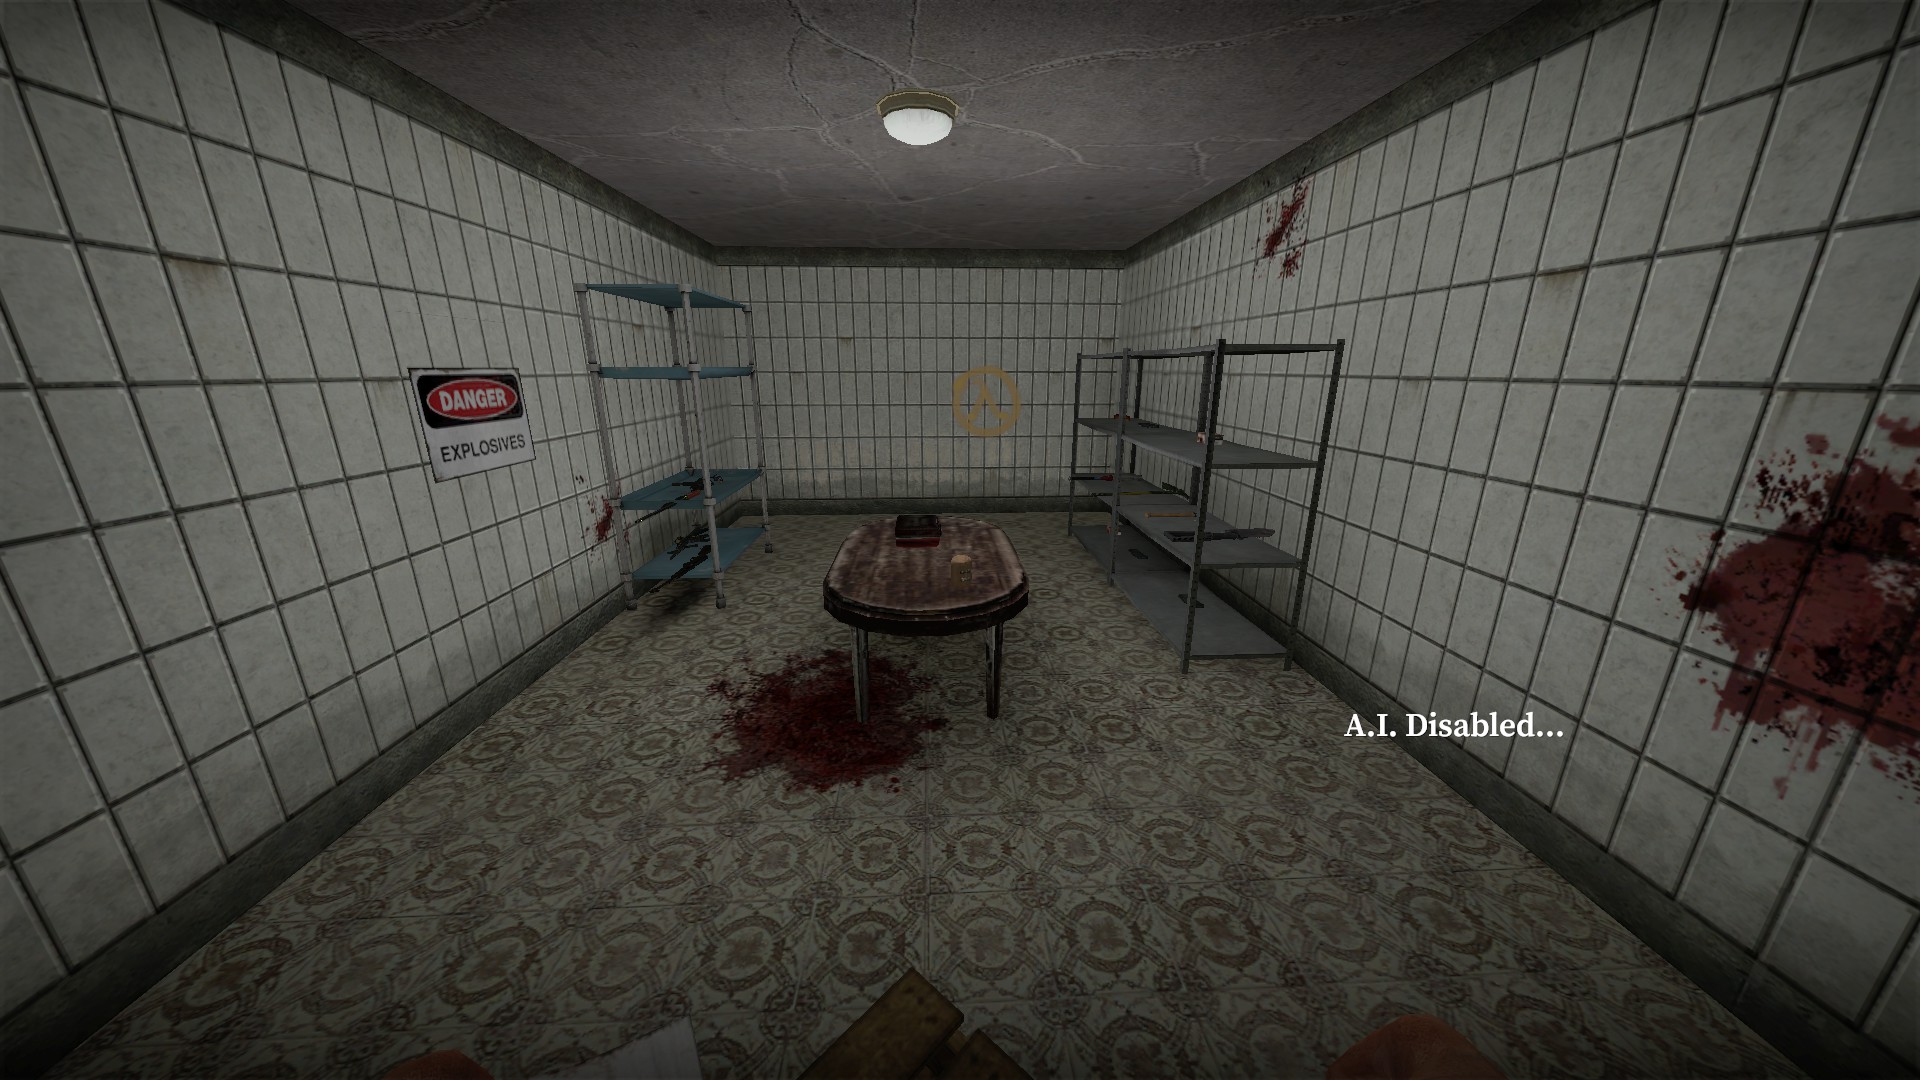
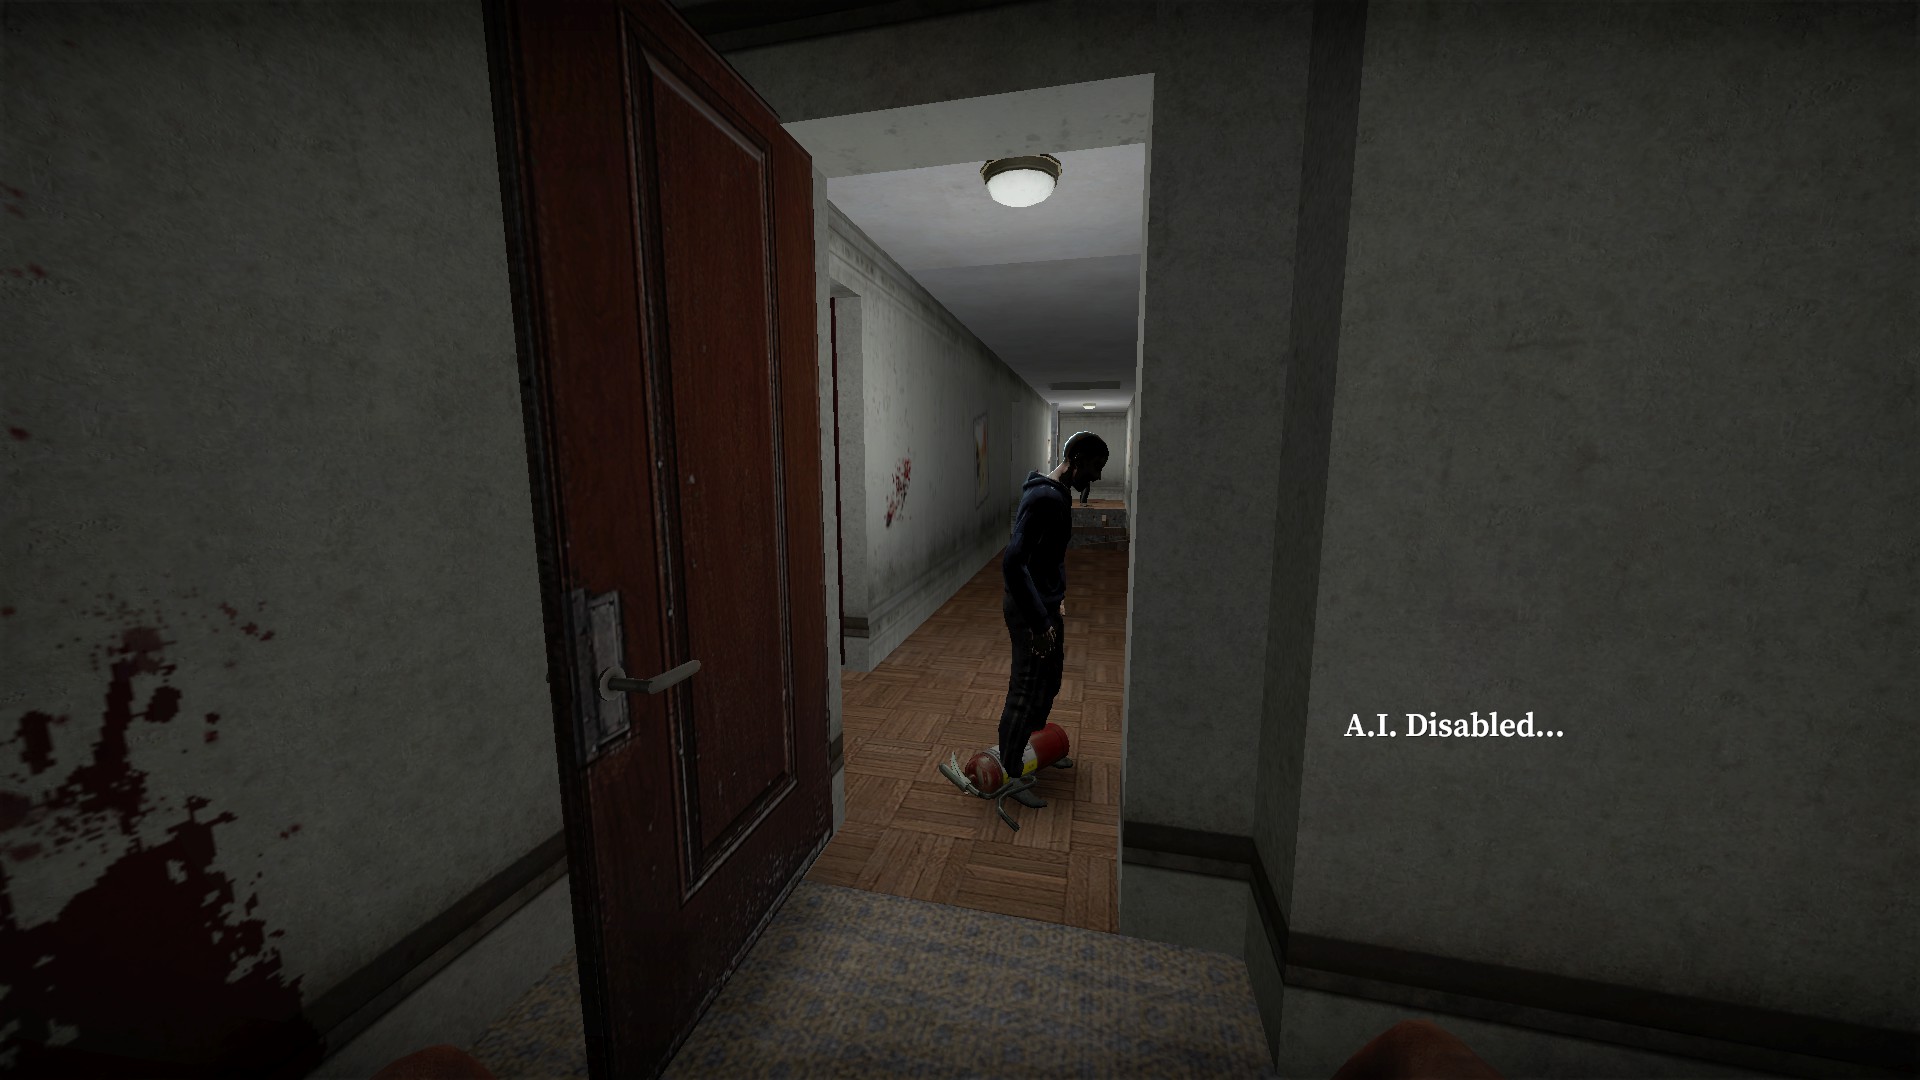
Hang on to the fire extinguisher from the objective as it is used near the end of the map to access a supply room
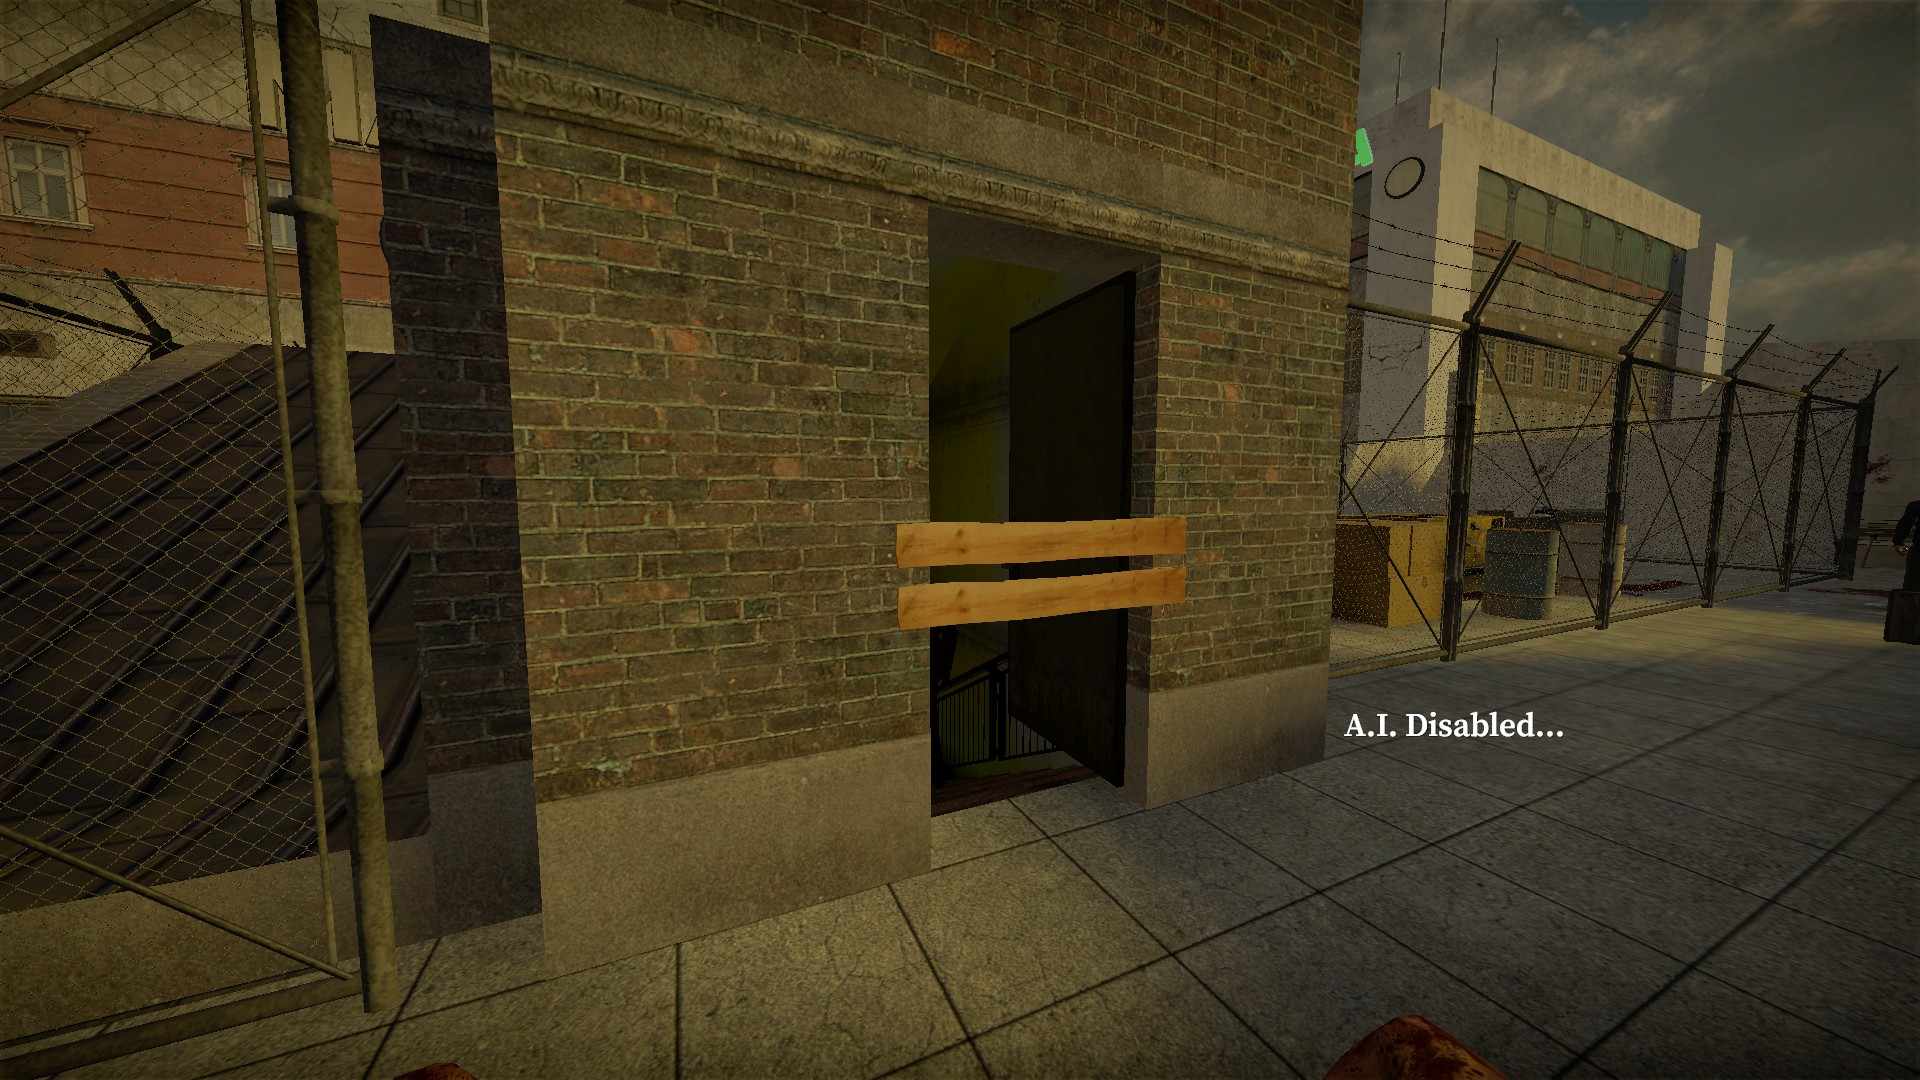
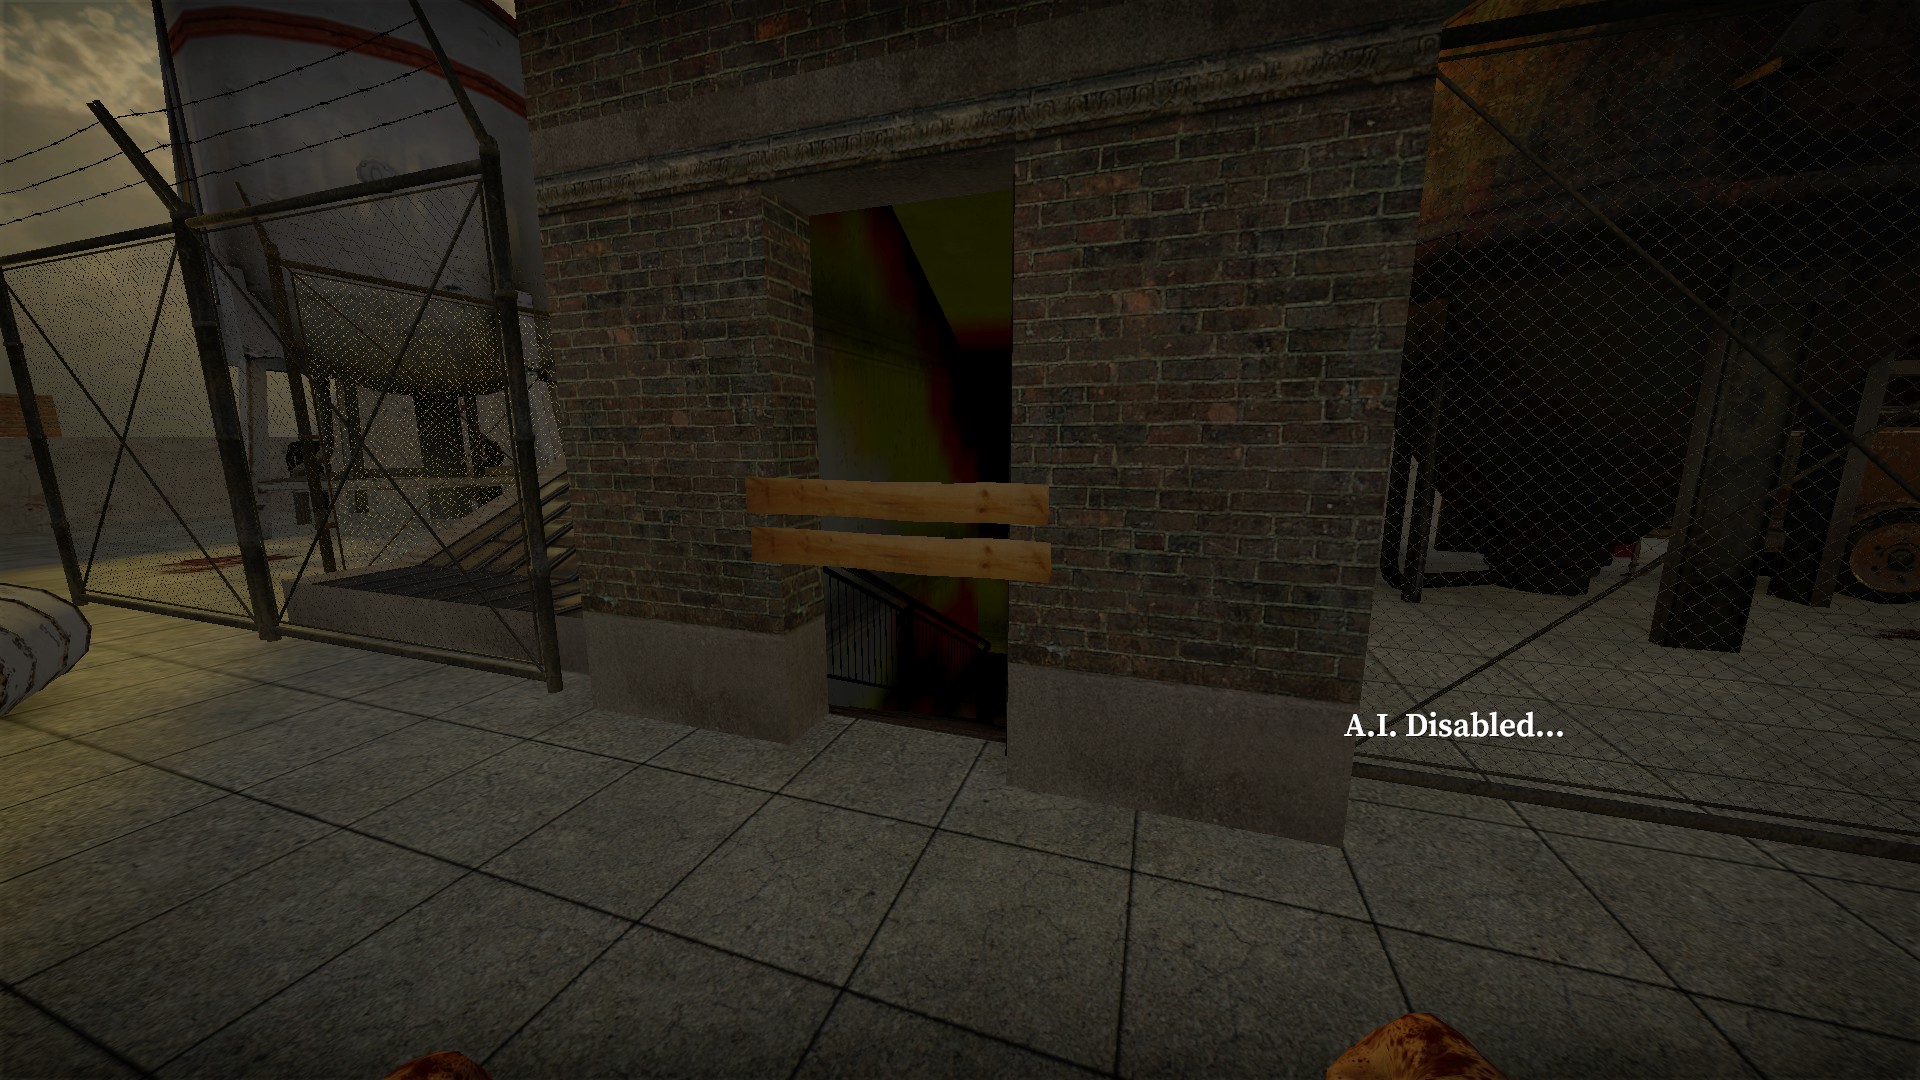
On the roof, you can board up both of the stairwells that the runners come out of
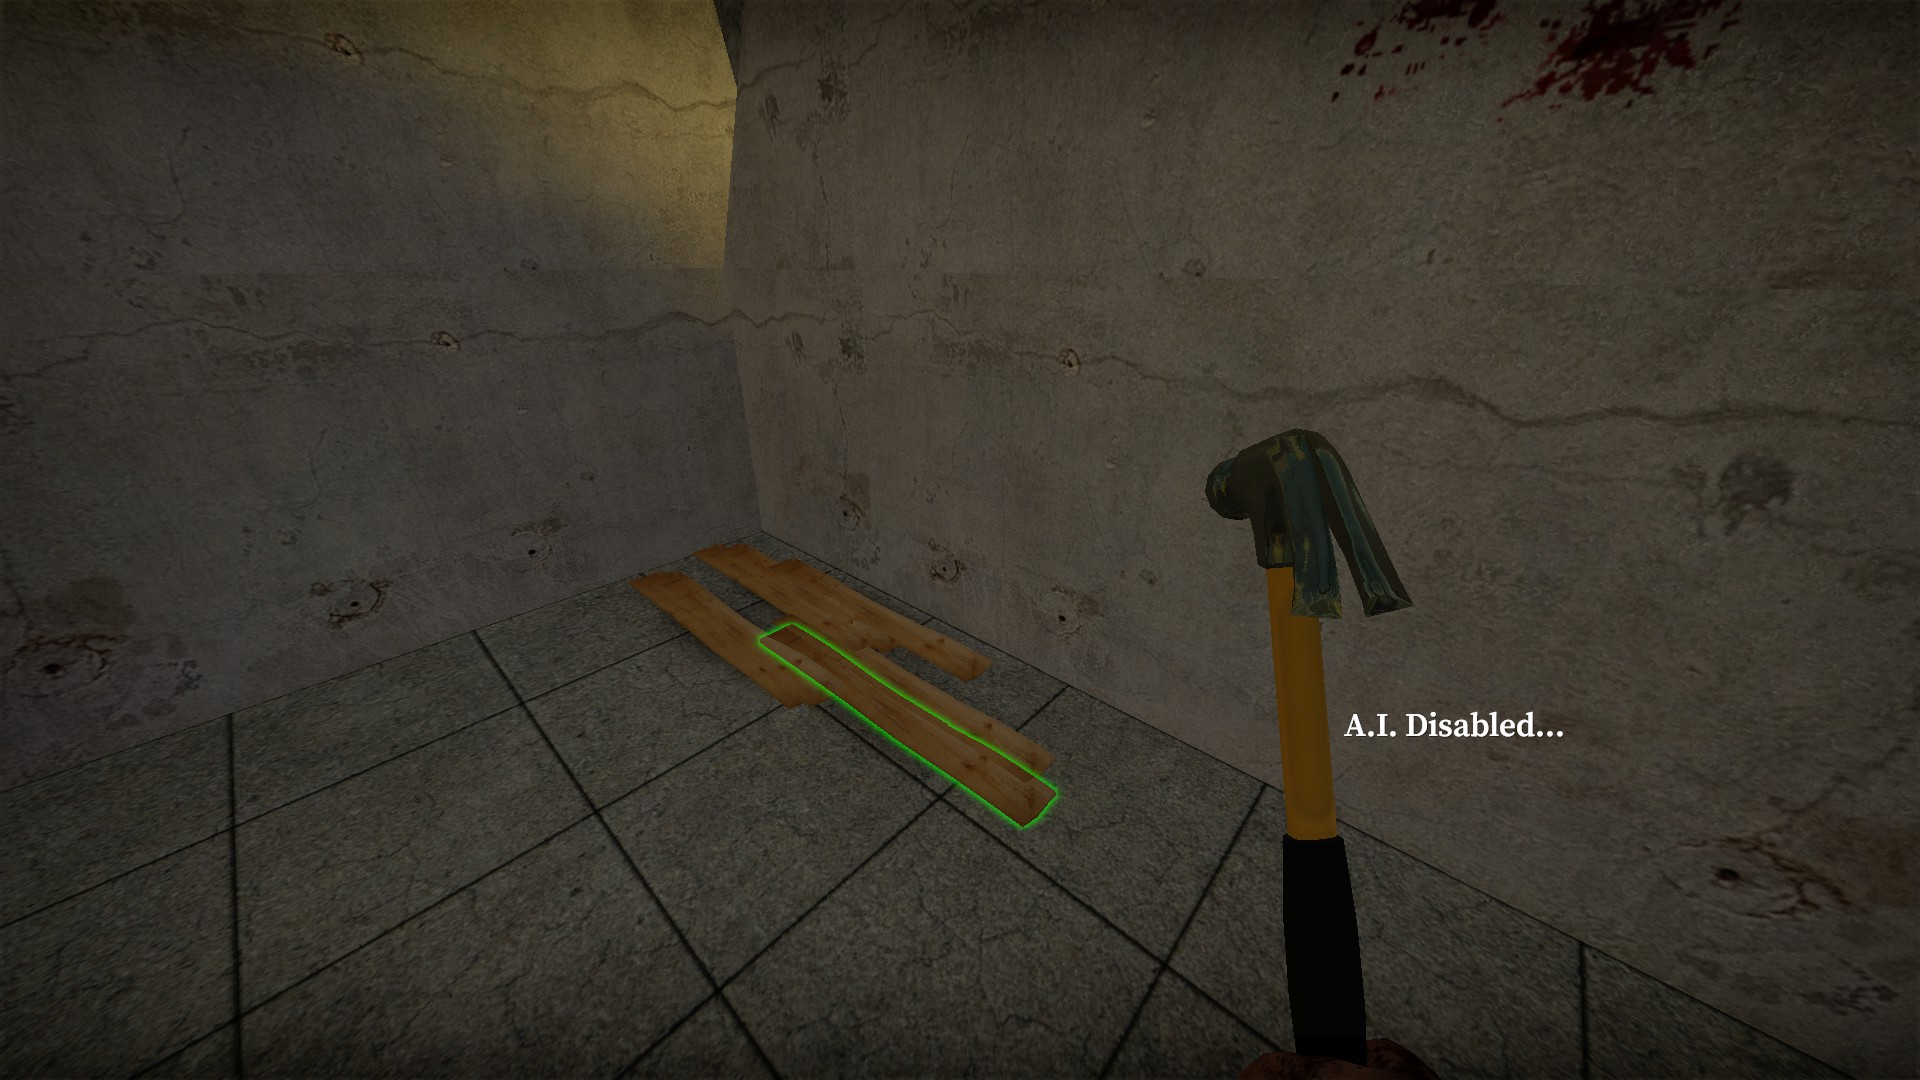
There are more boards at the back corner of the roof
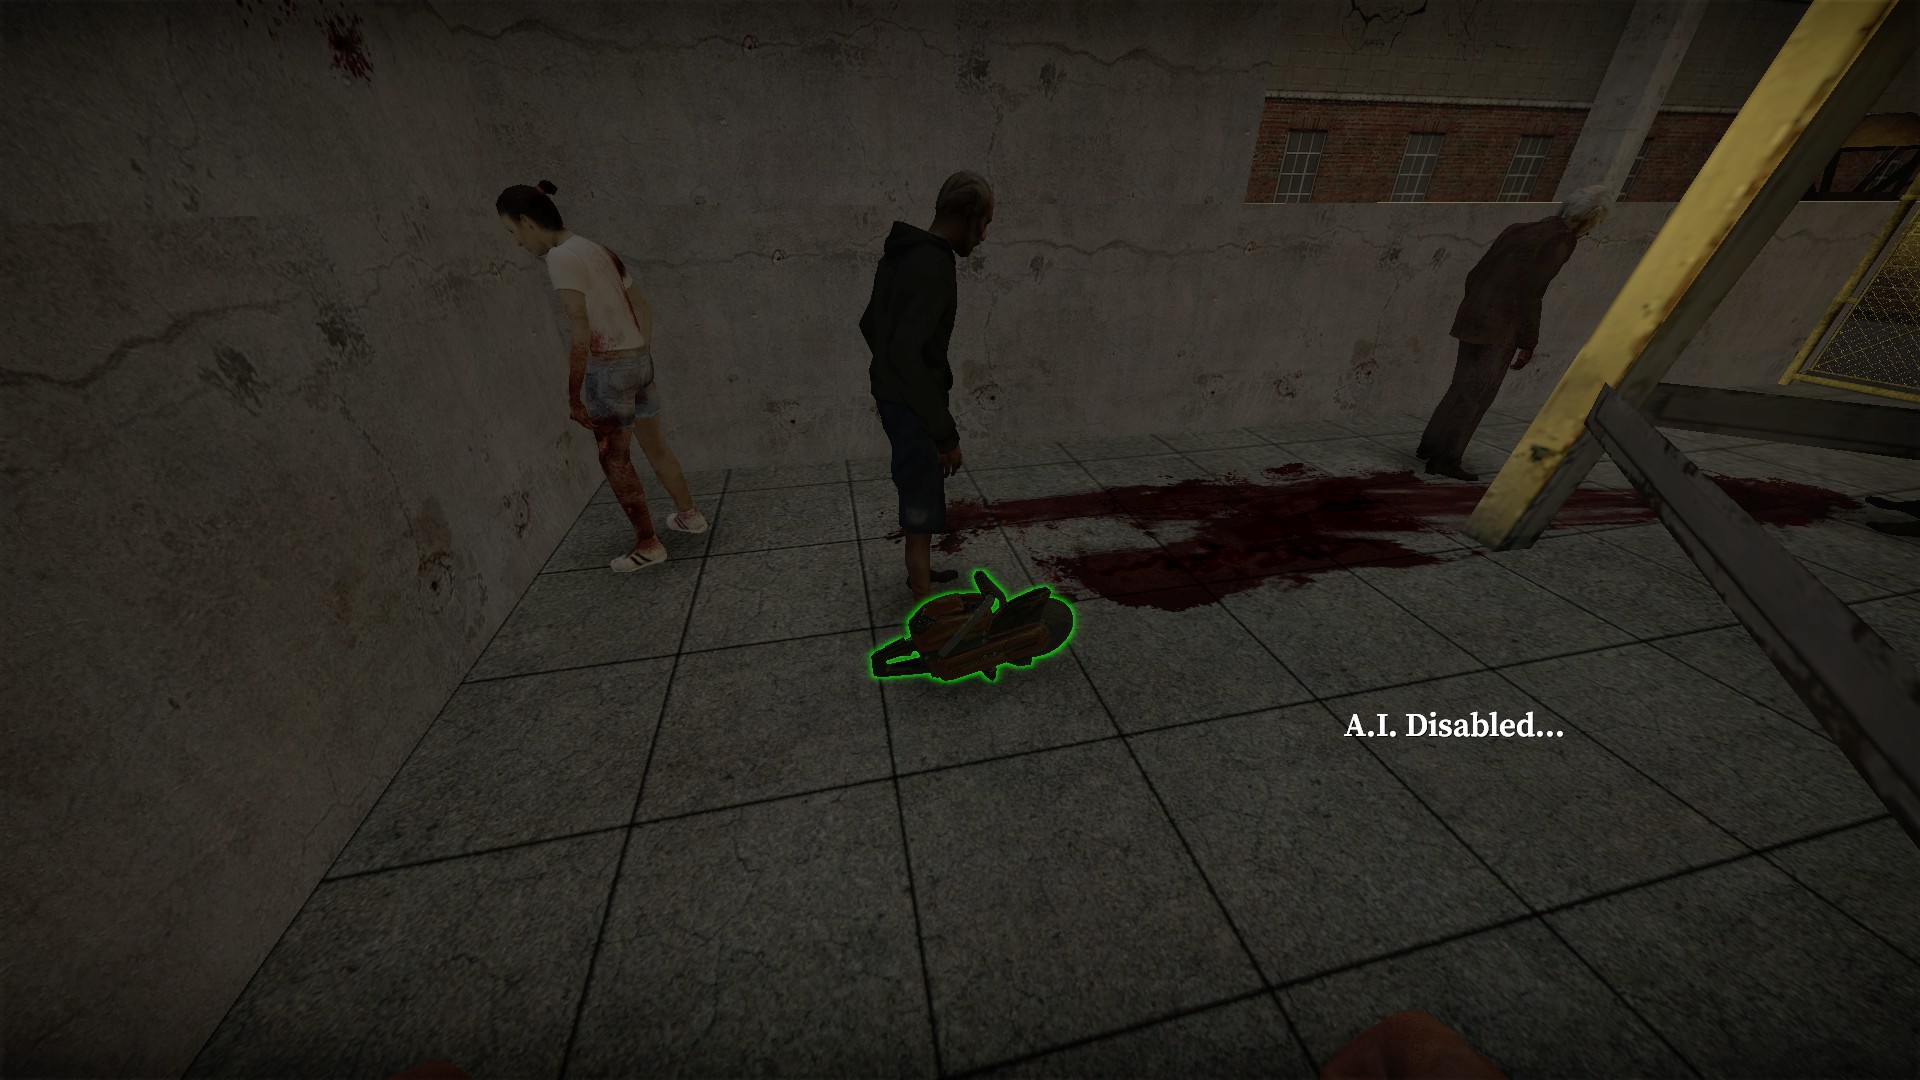
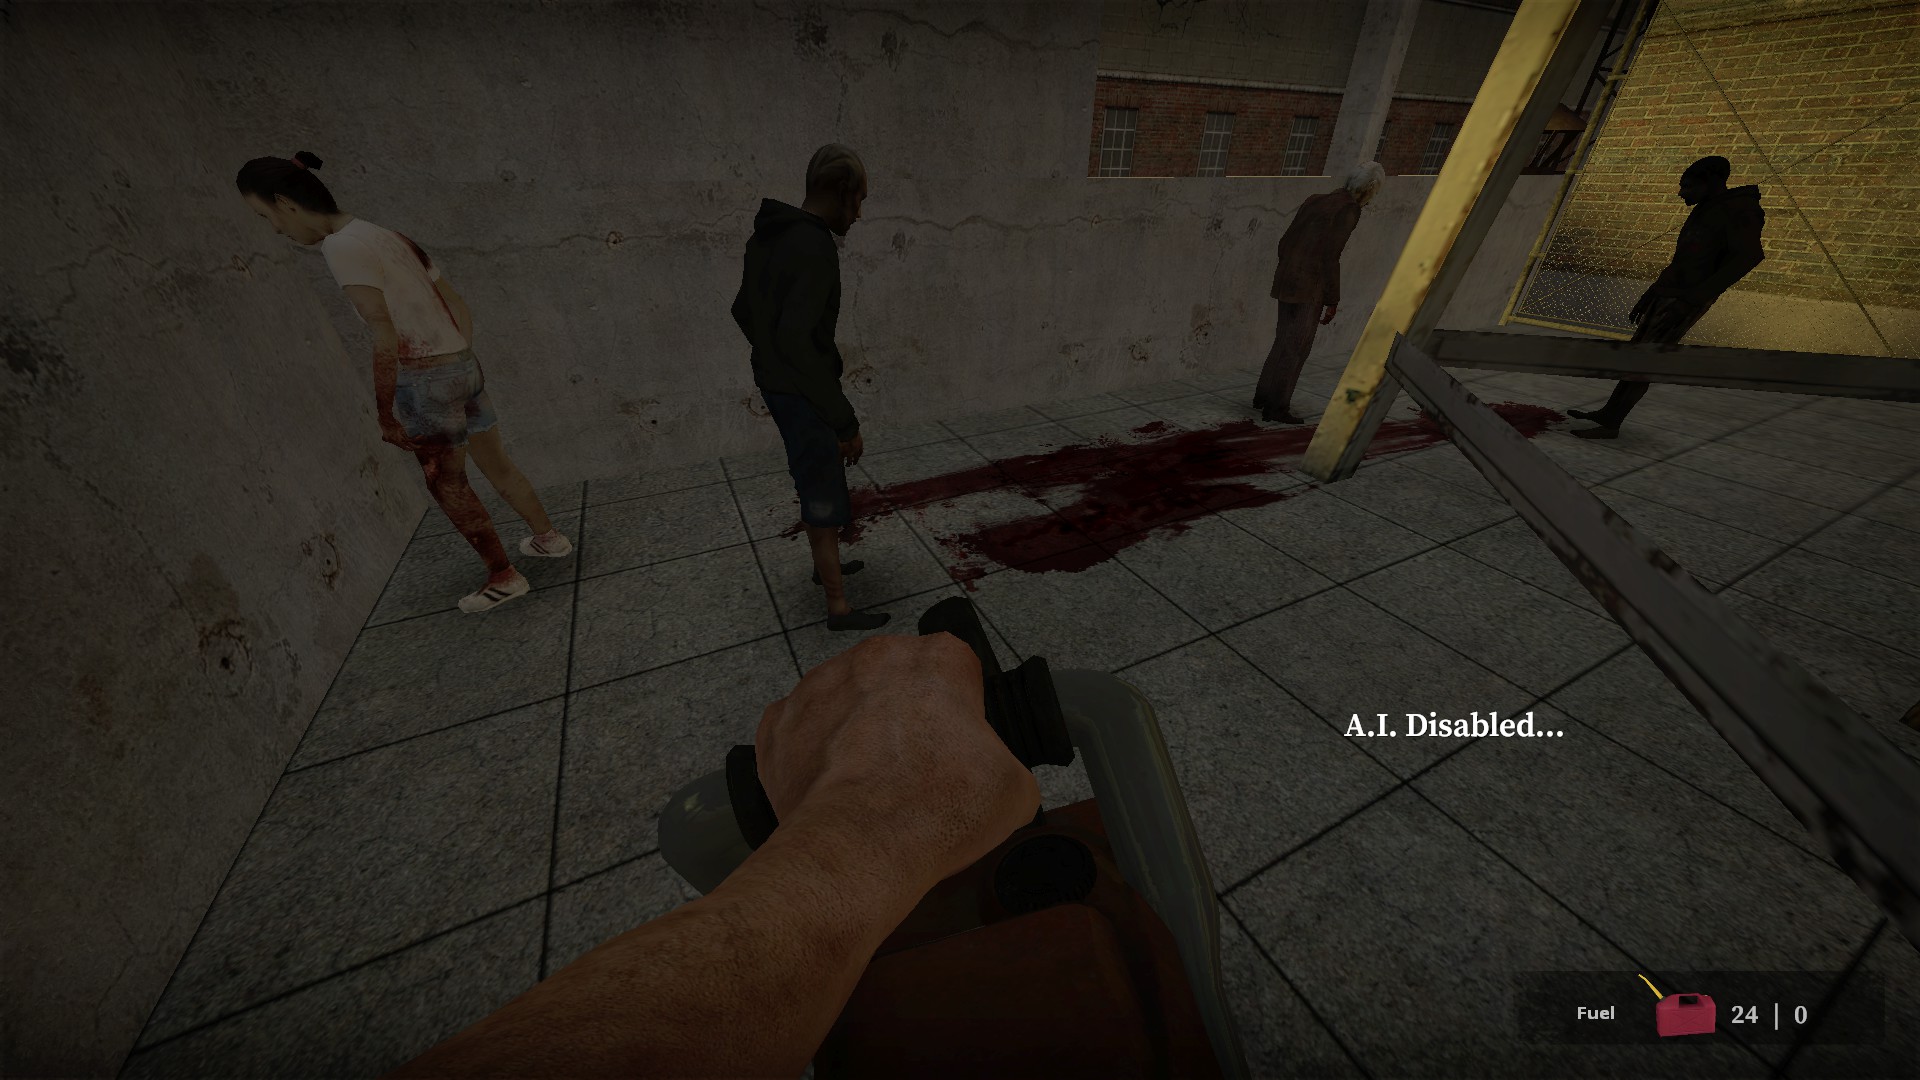
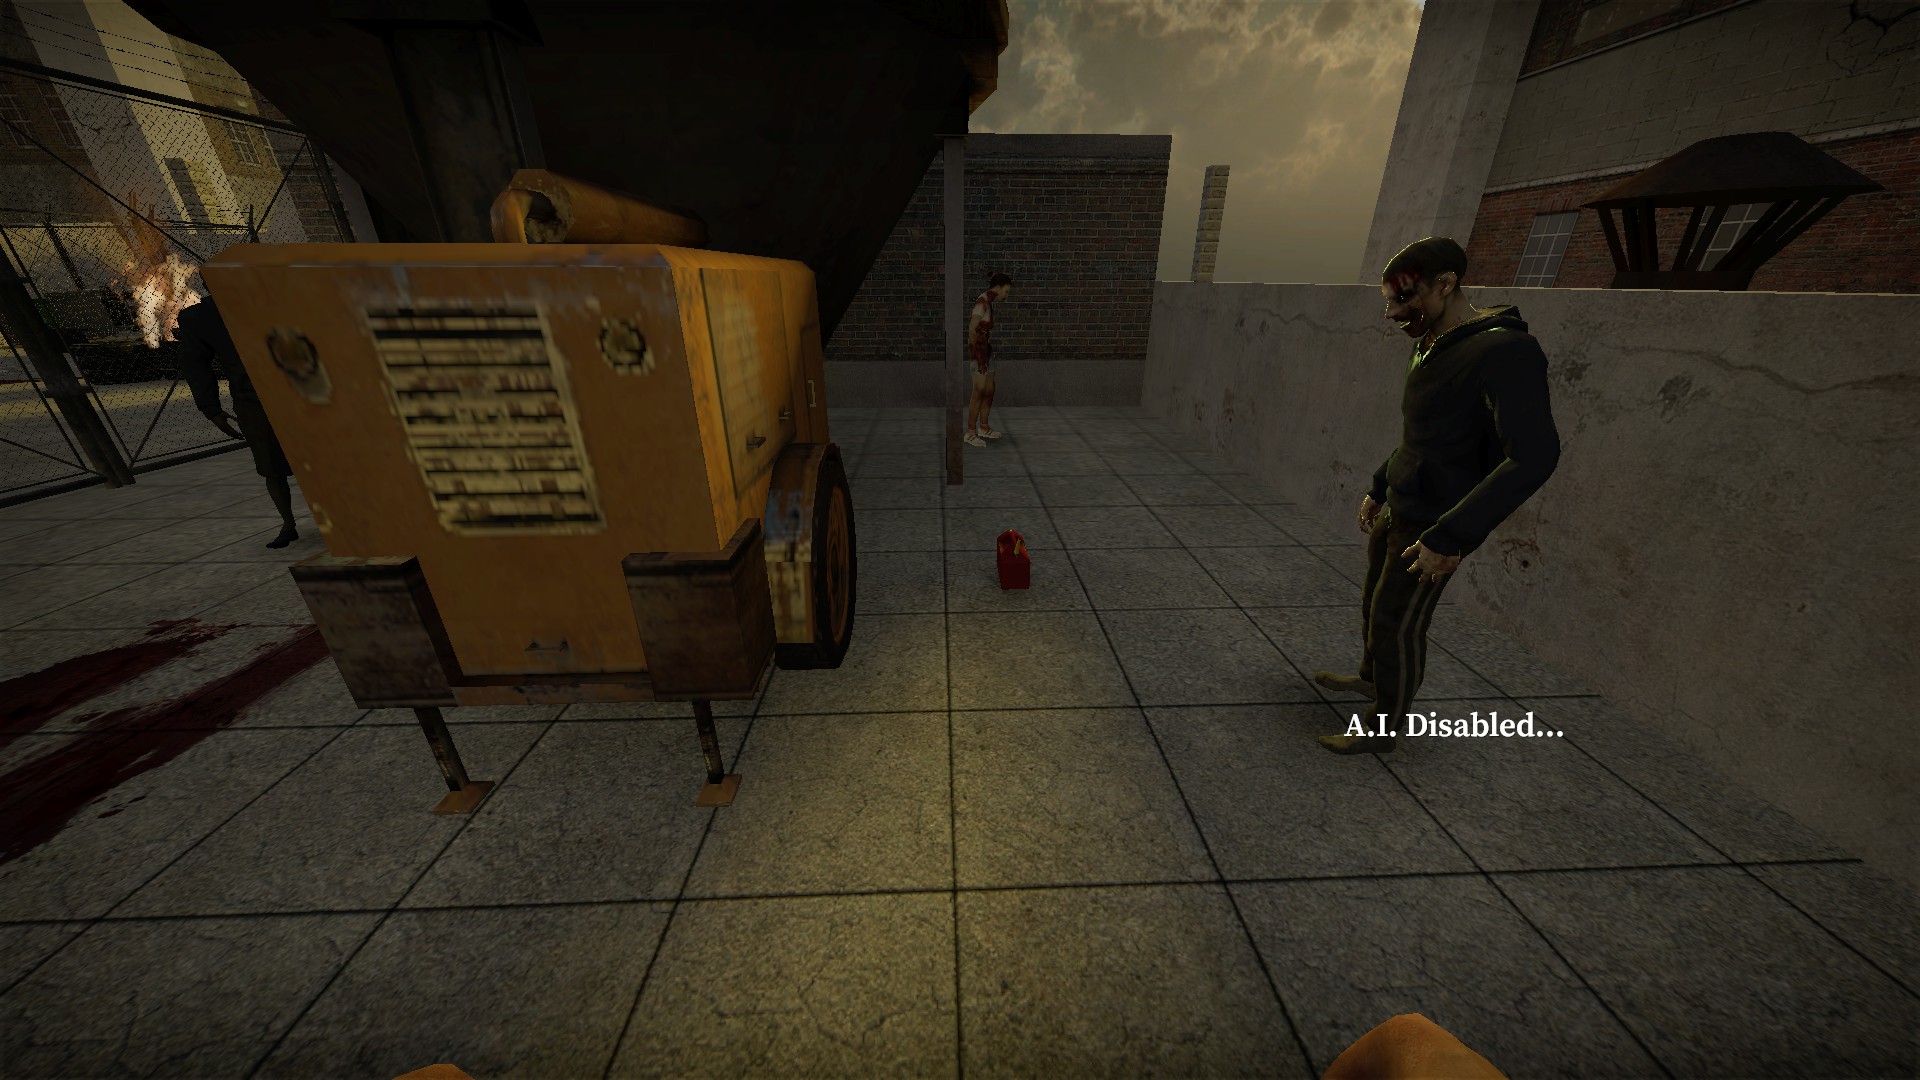
There is an abrasive saw in the other corner of the roof but it is less than 1/3 full. There is a little more fuel behind the generator (20), so try to bring some fuel up to the roof from earlier in the map
nmo_visualizer_v2
No fall damage
Developer room
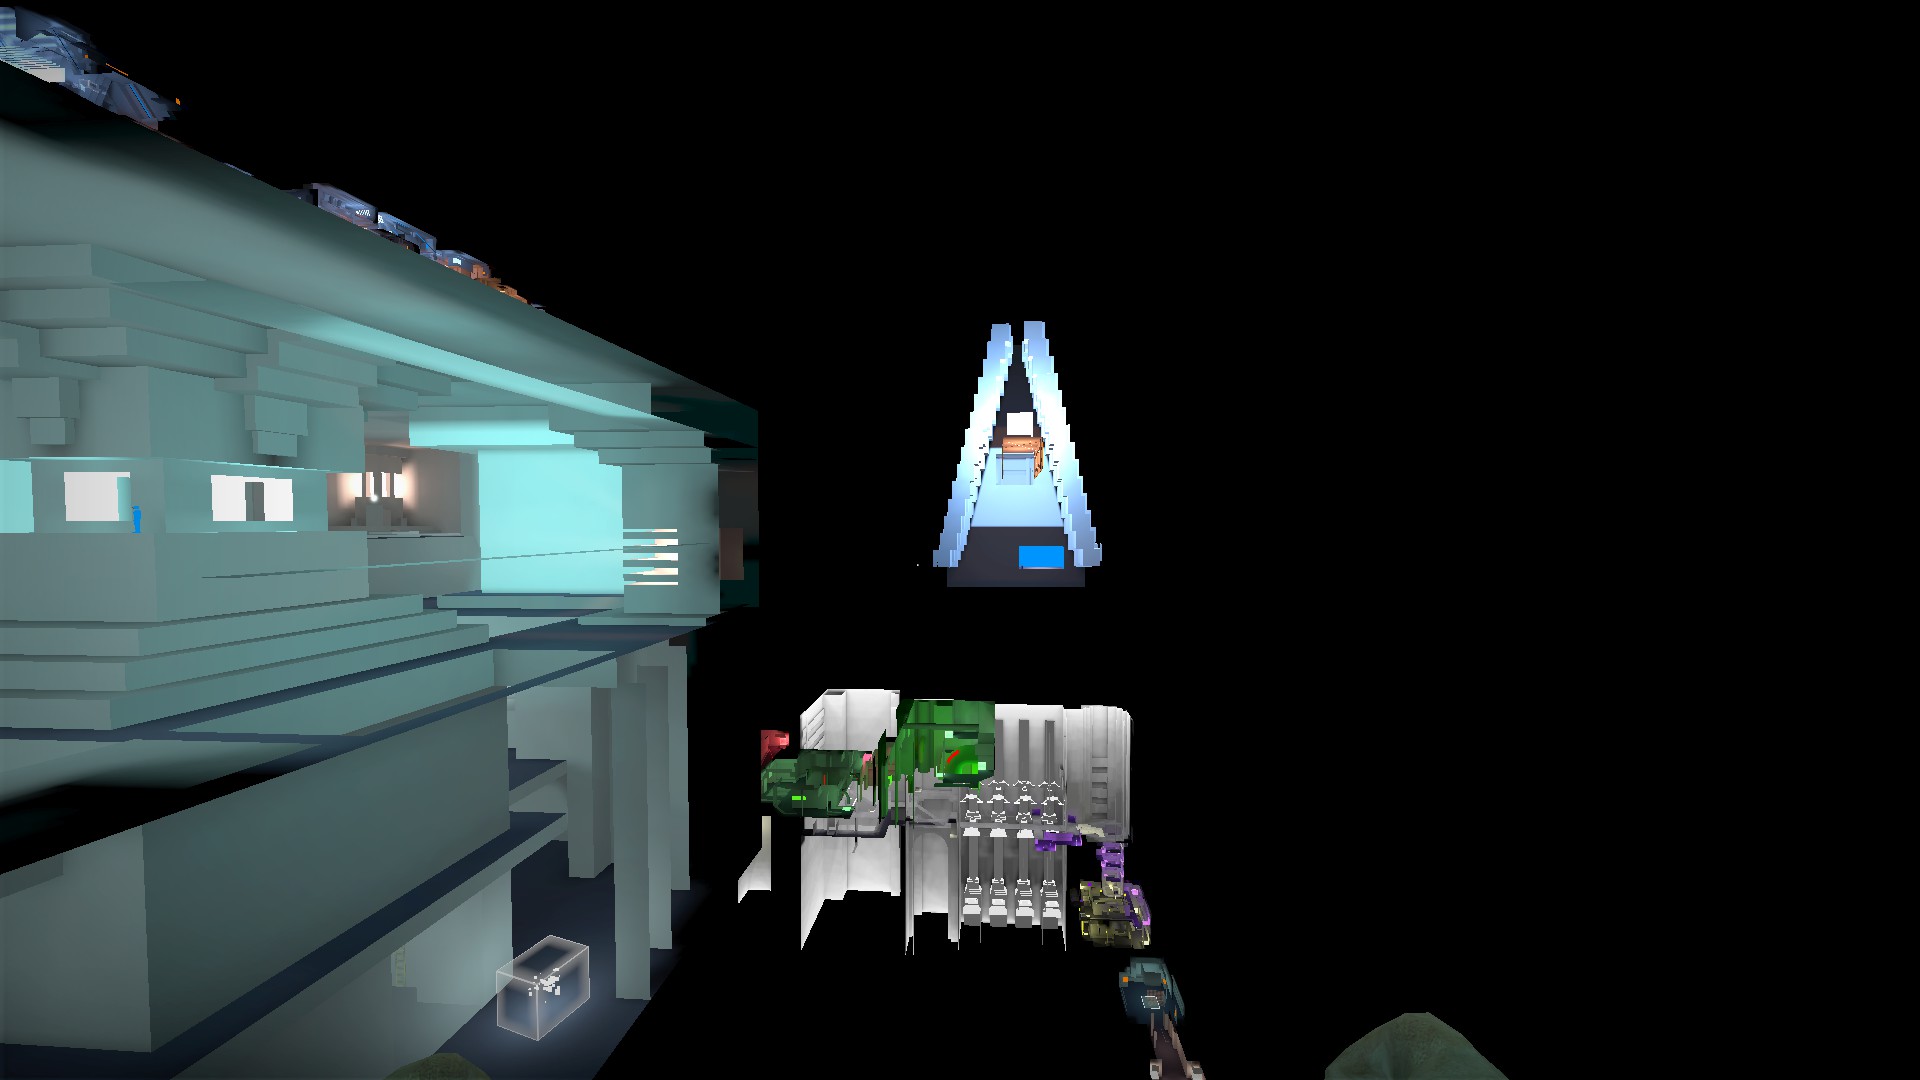
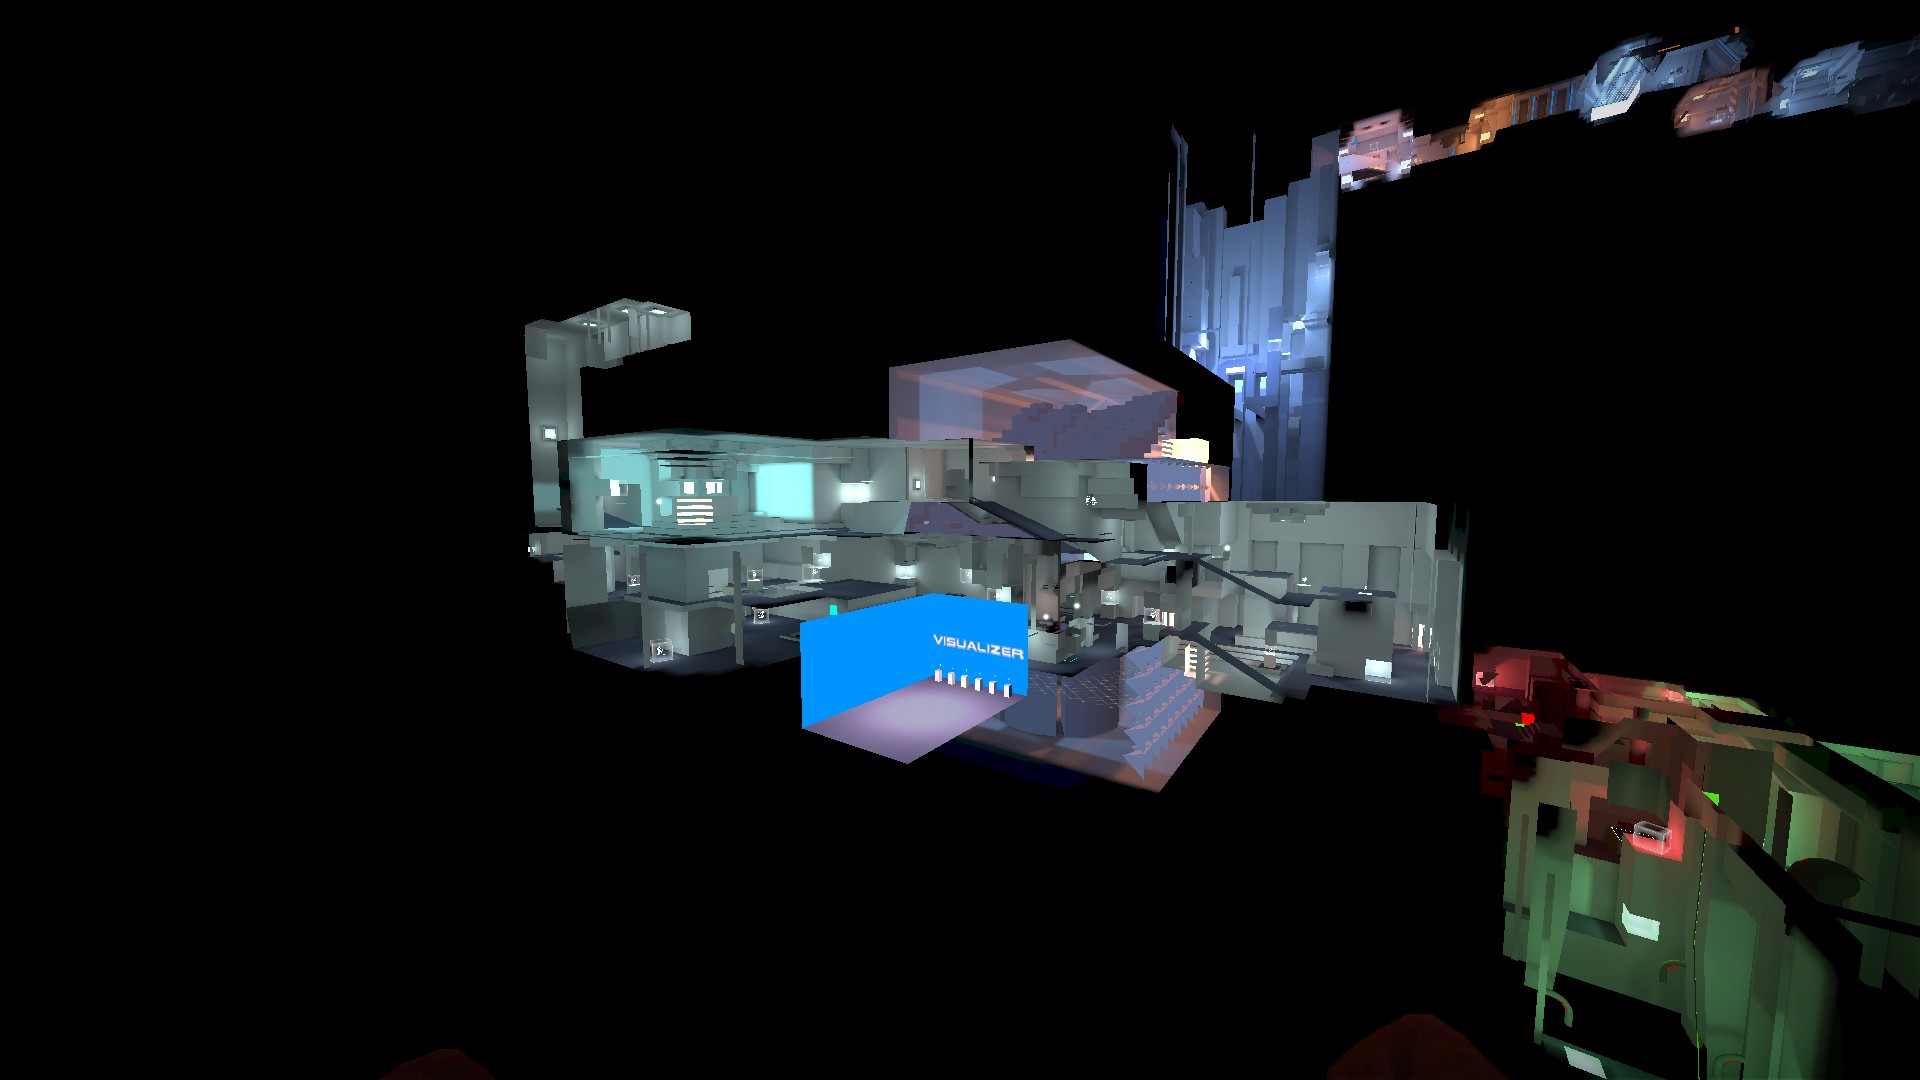
You will need to noclip here. It is a fair distance from the starting area, to the right and forward from the first stage
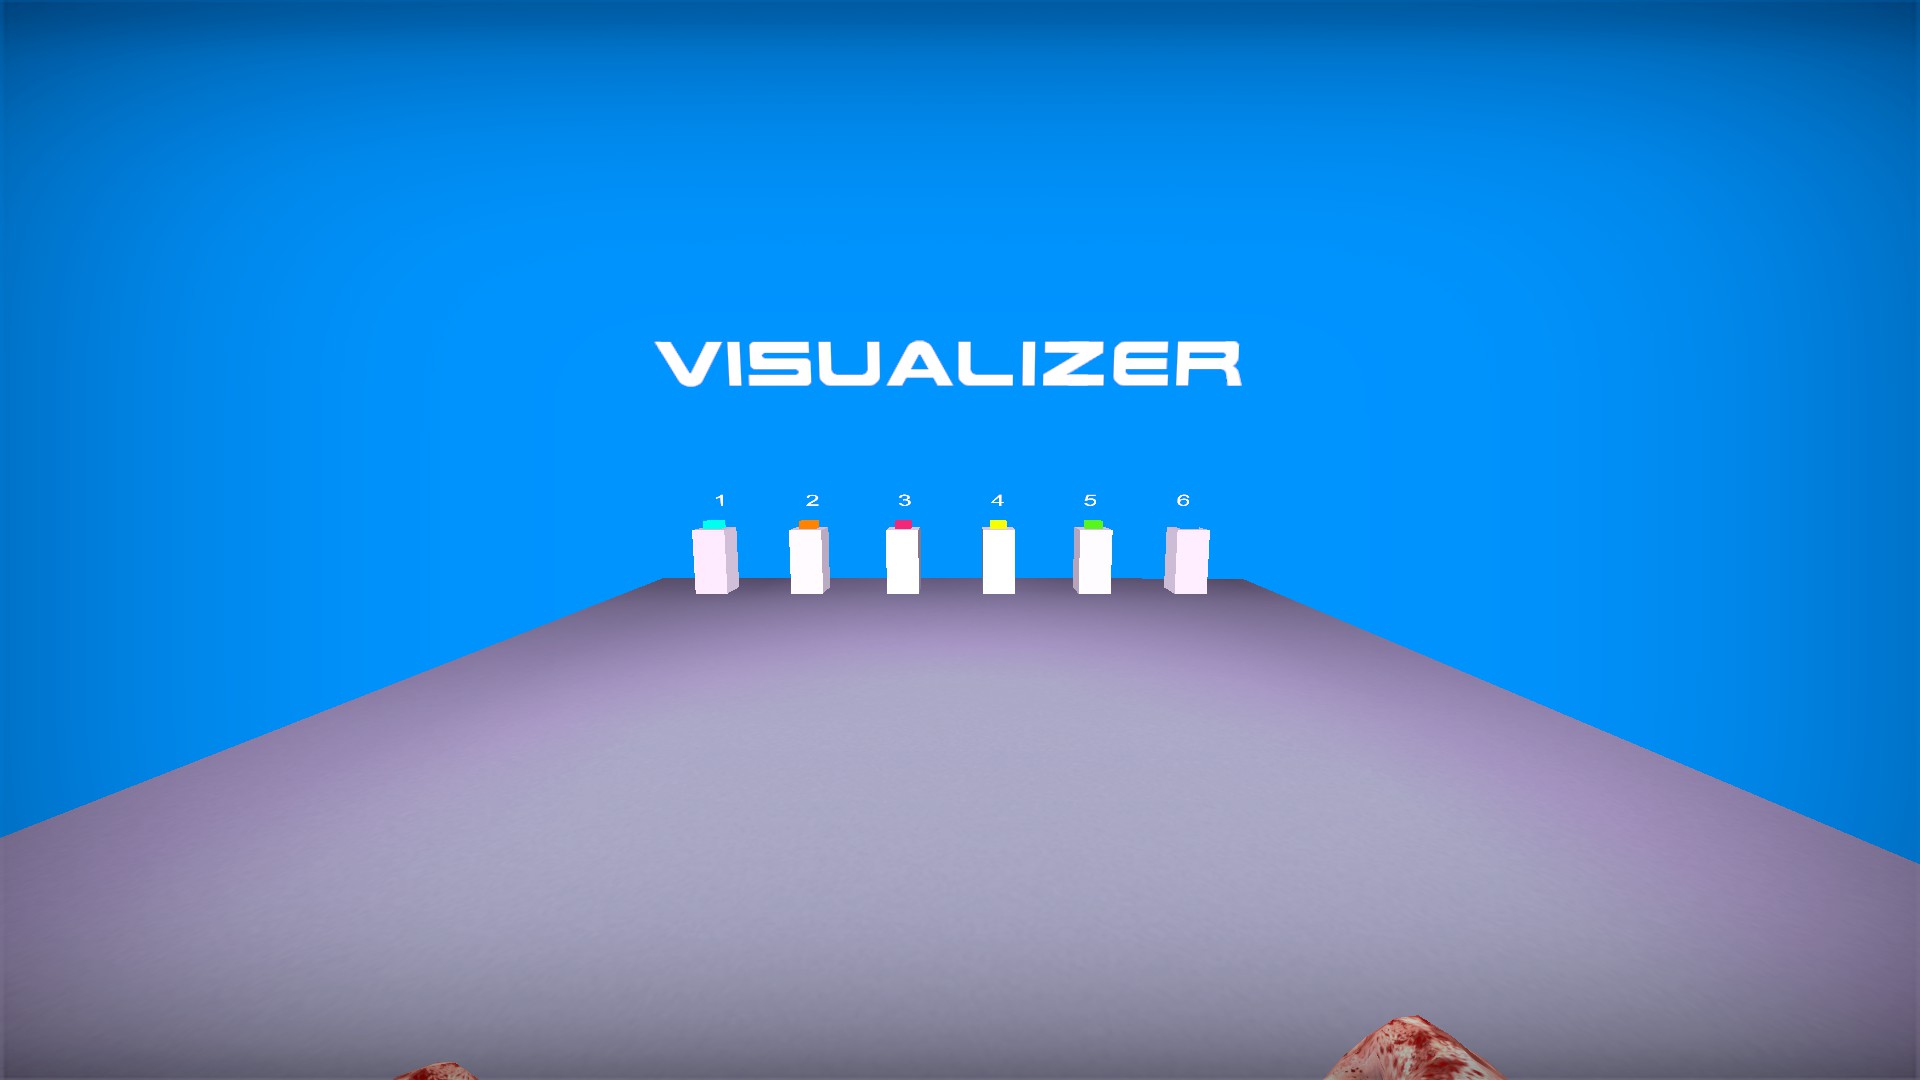
Use the buttons to move between the map's 6 stages
Blue energy machete
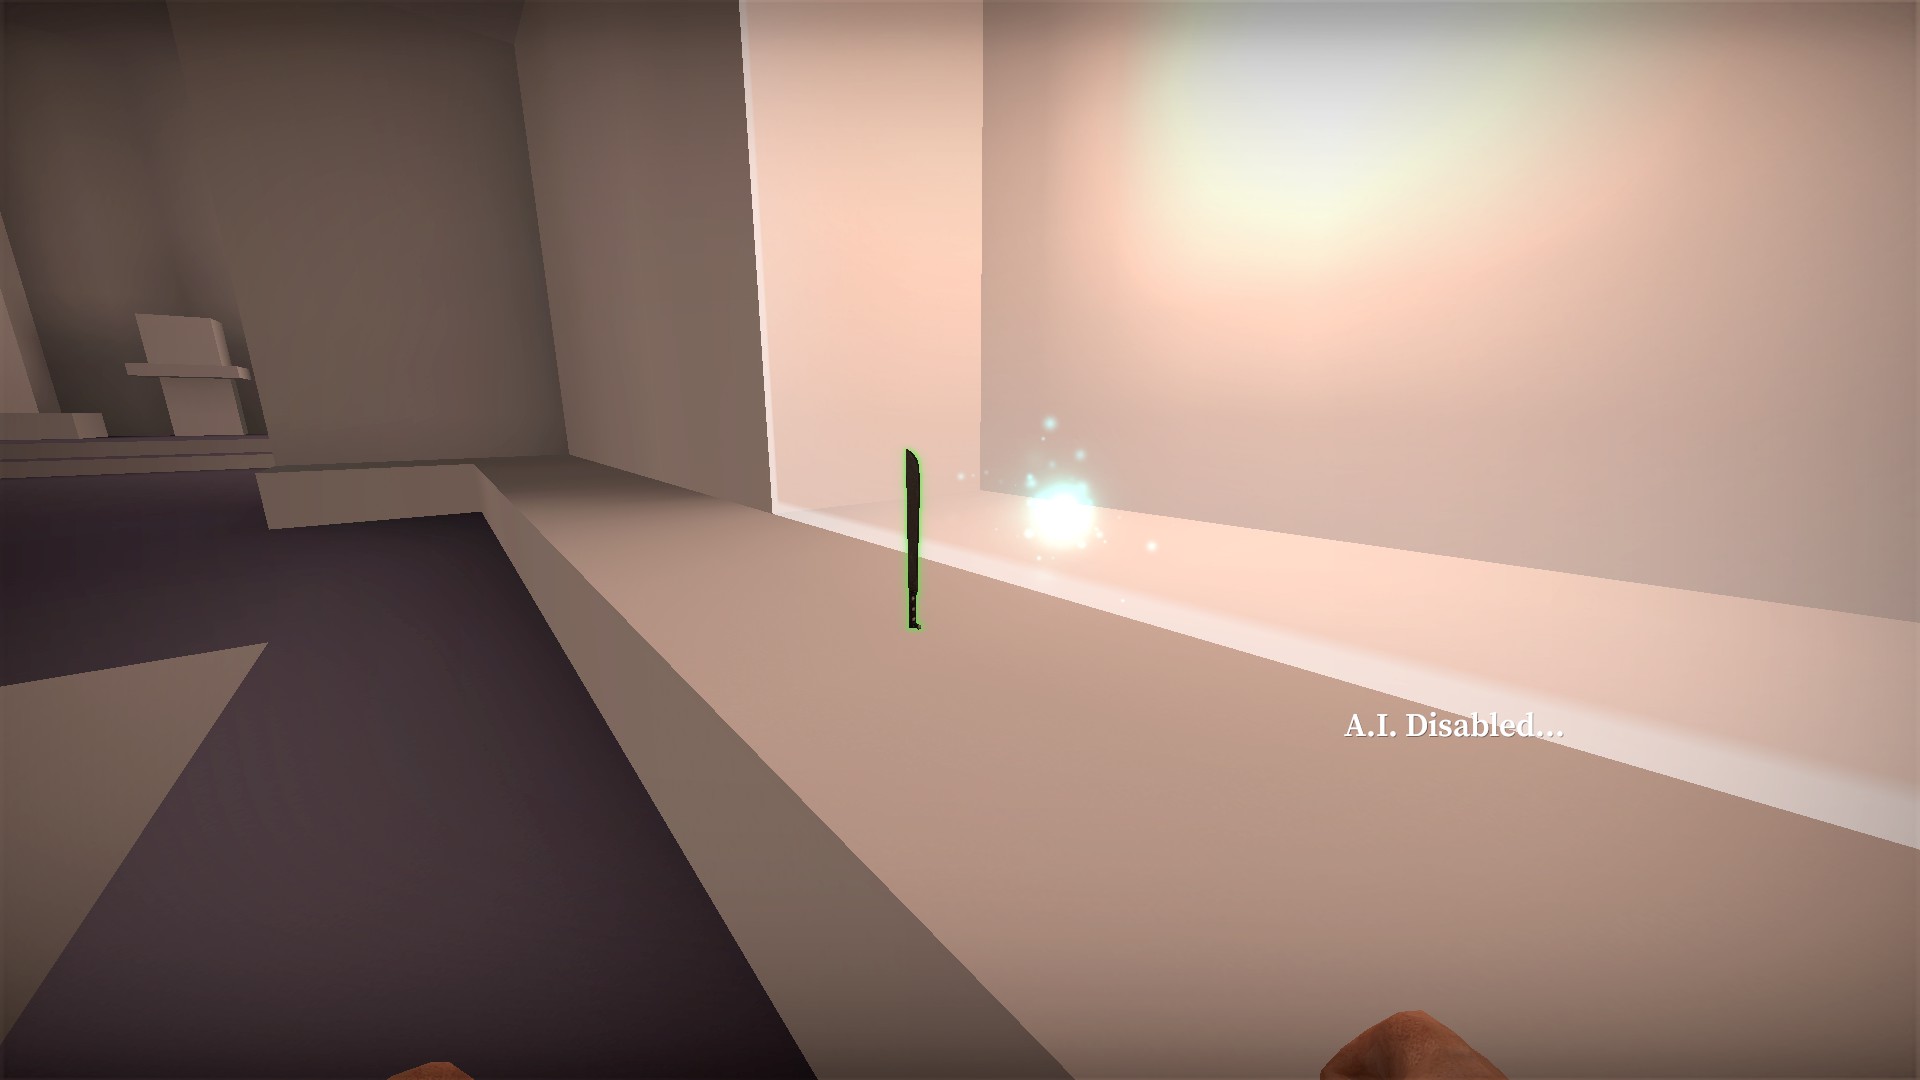
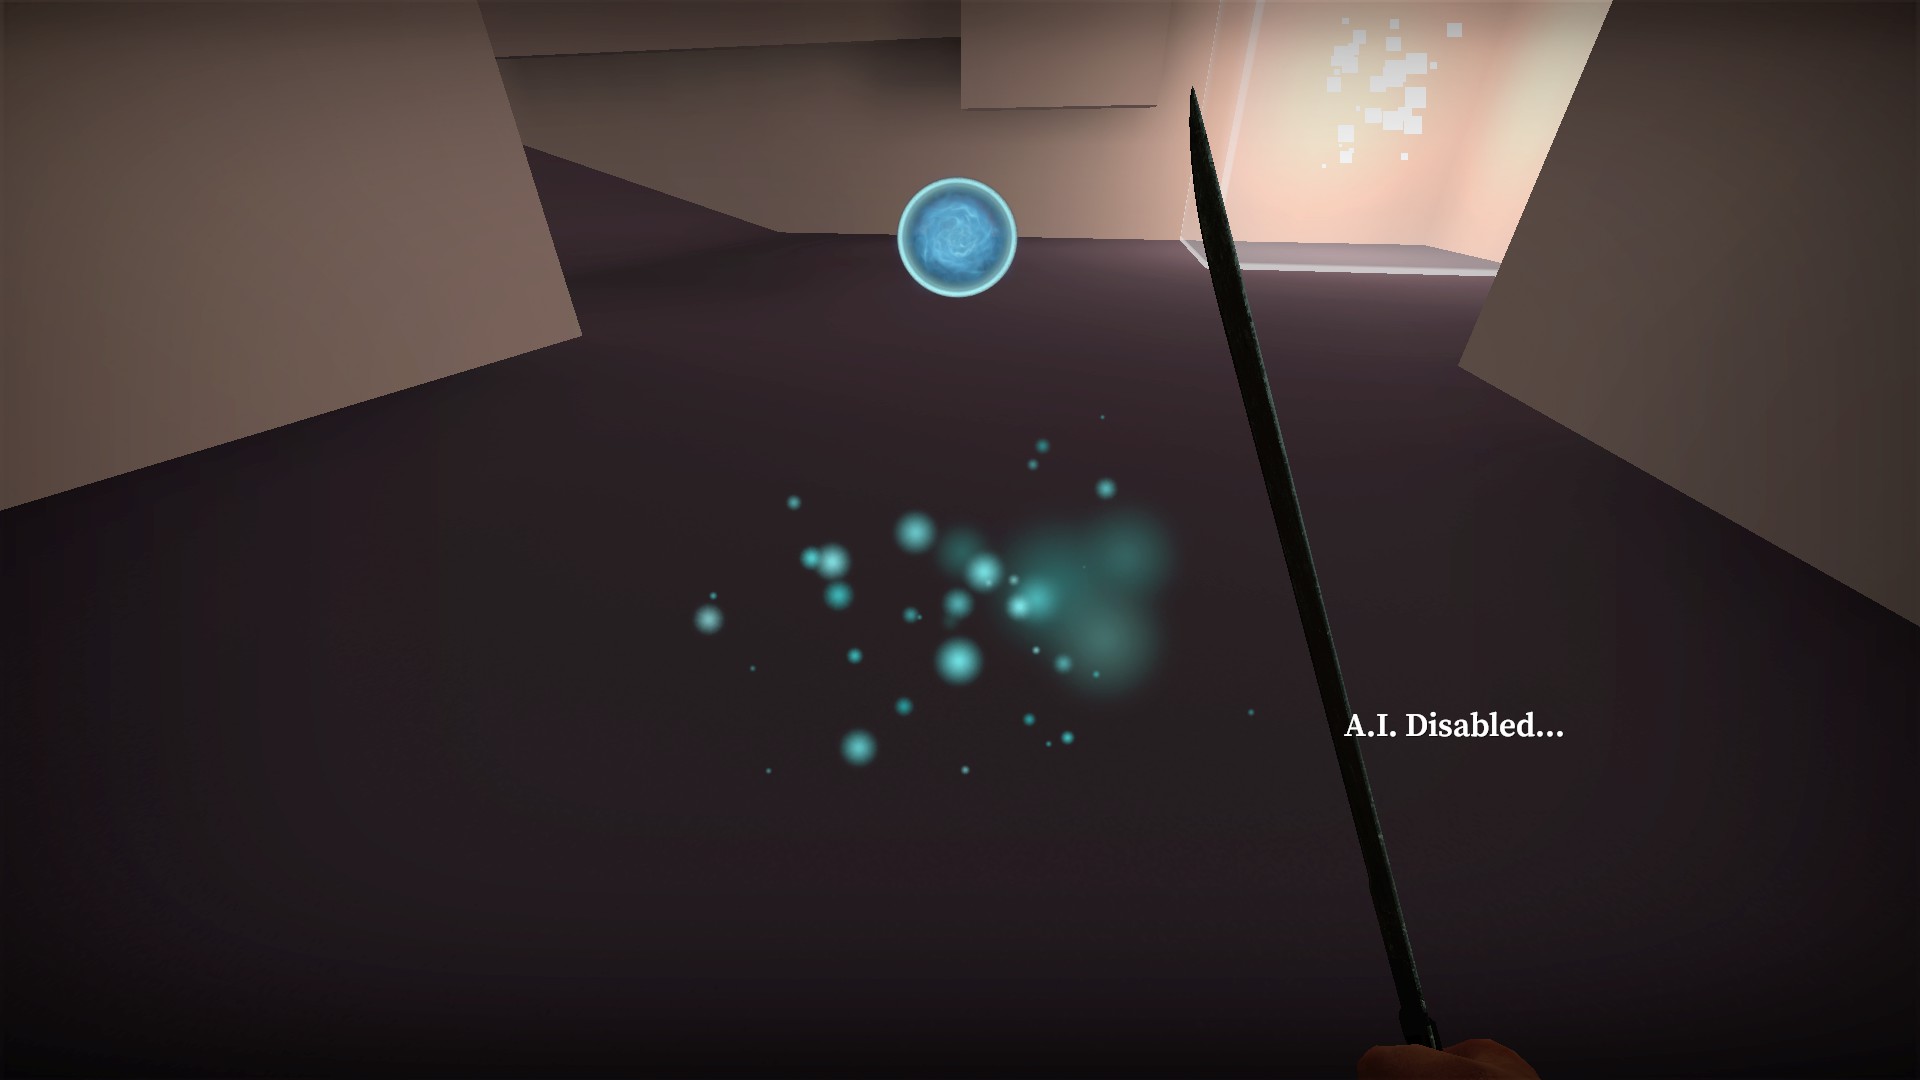
Press e to fire a blue orb forward that kills zombies
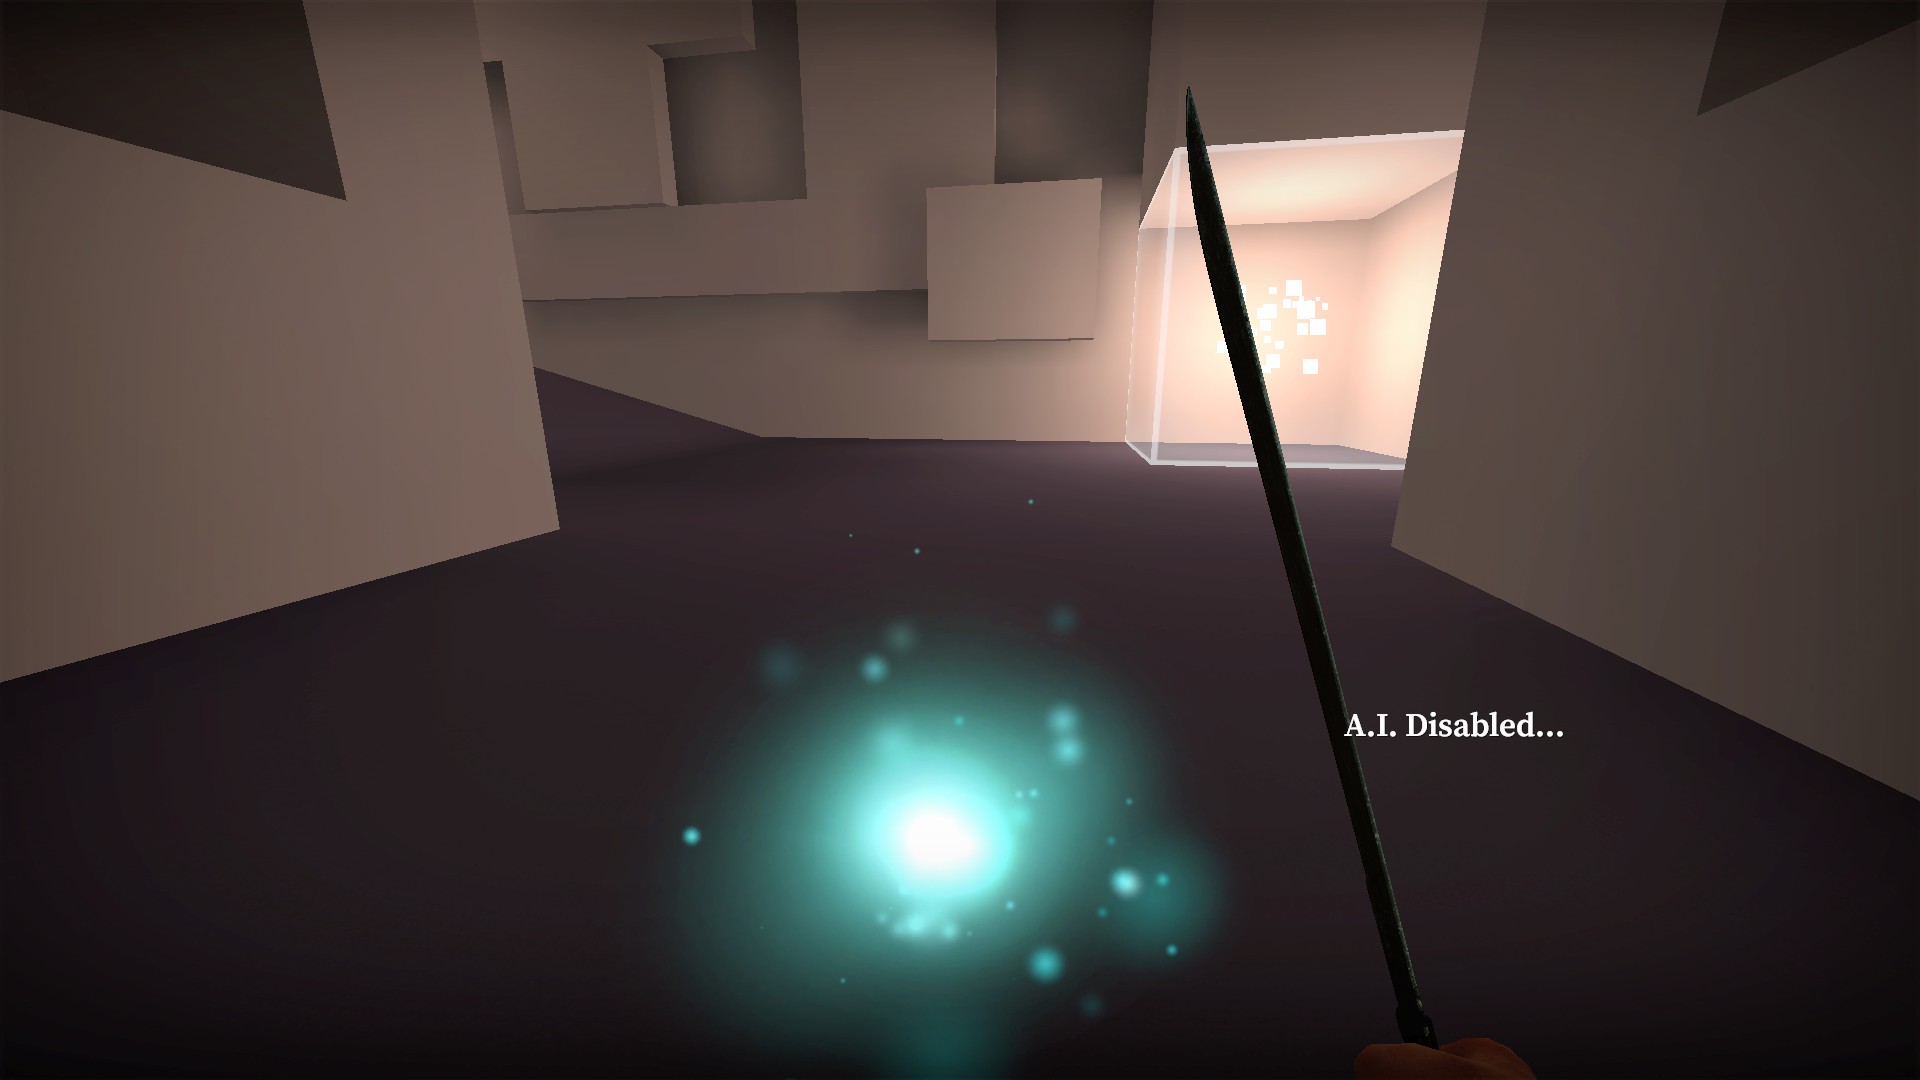
60 second recharge. When the blue energy has returned, it is ready to be used again
Green energy machete
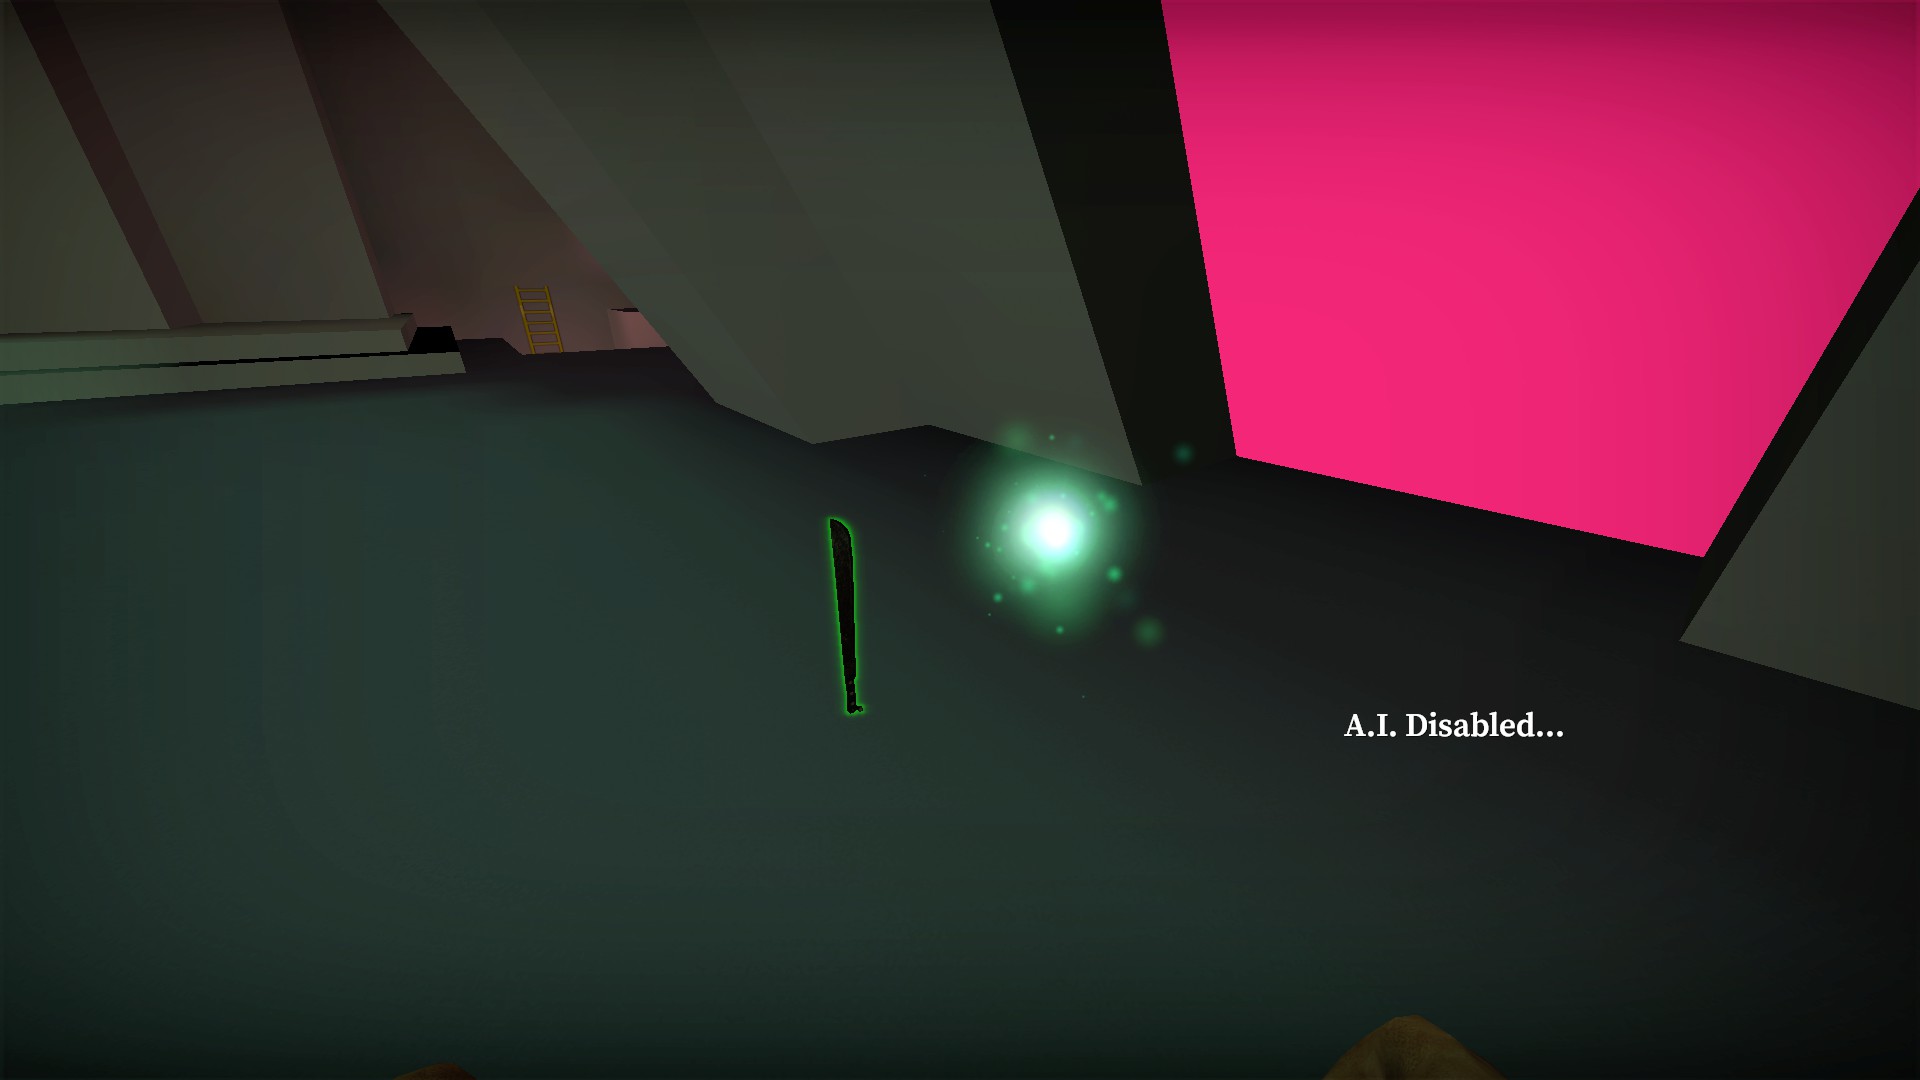
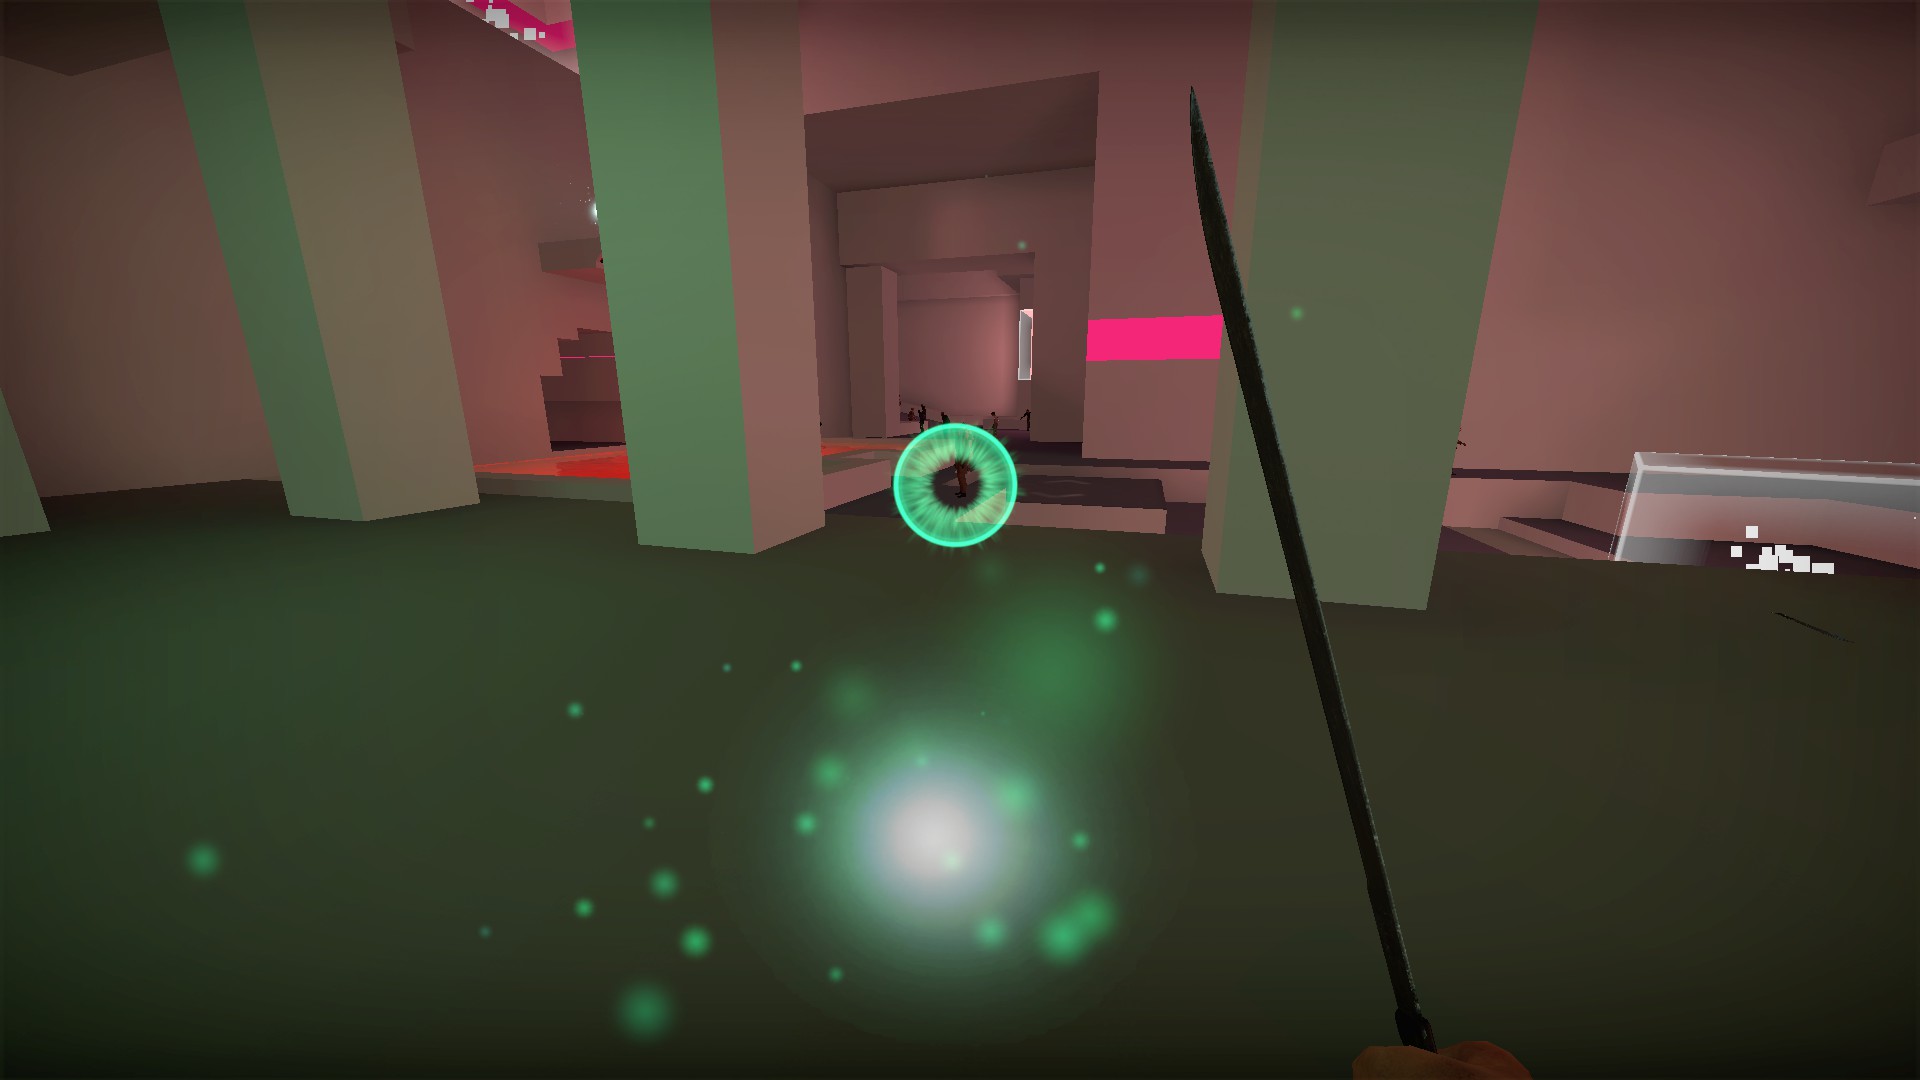
Fires a green orb forward that damages zombies
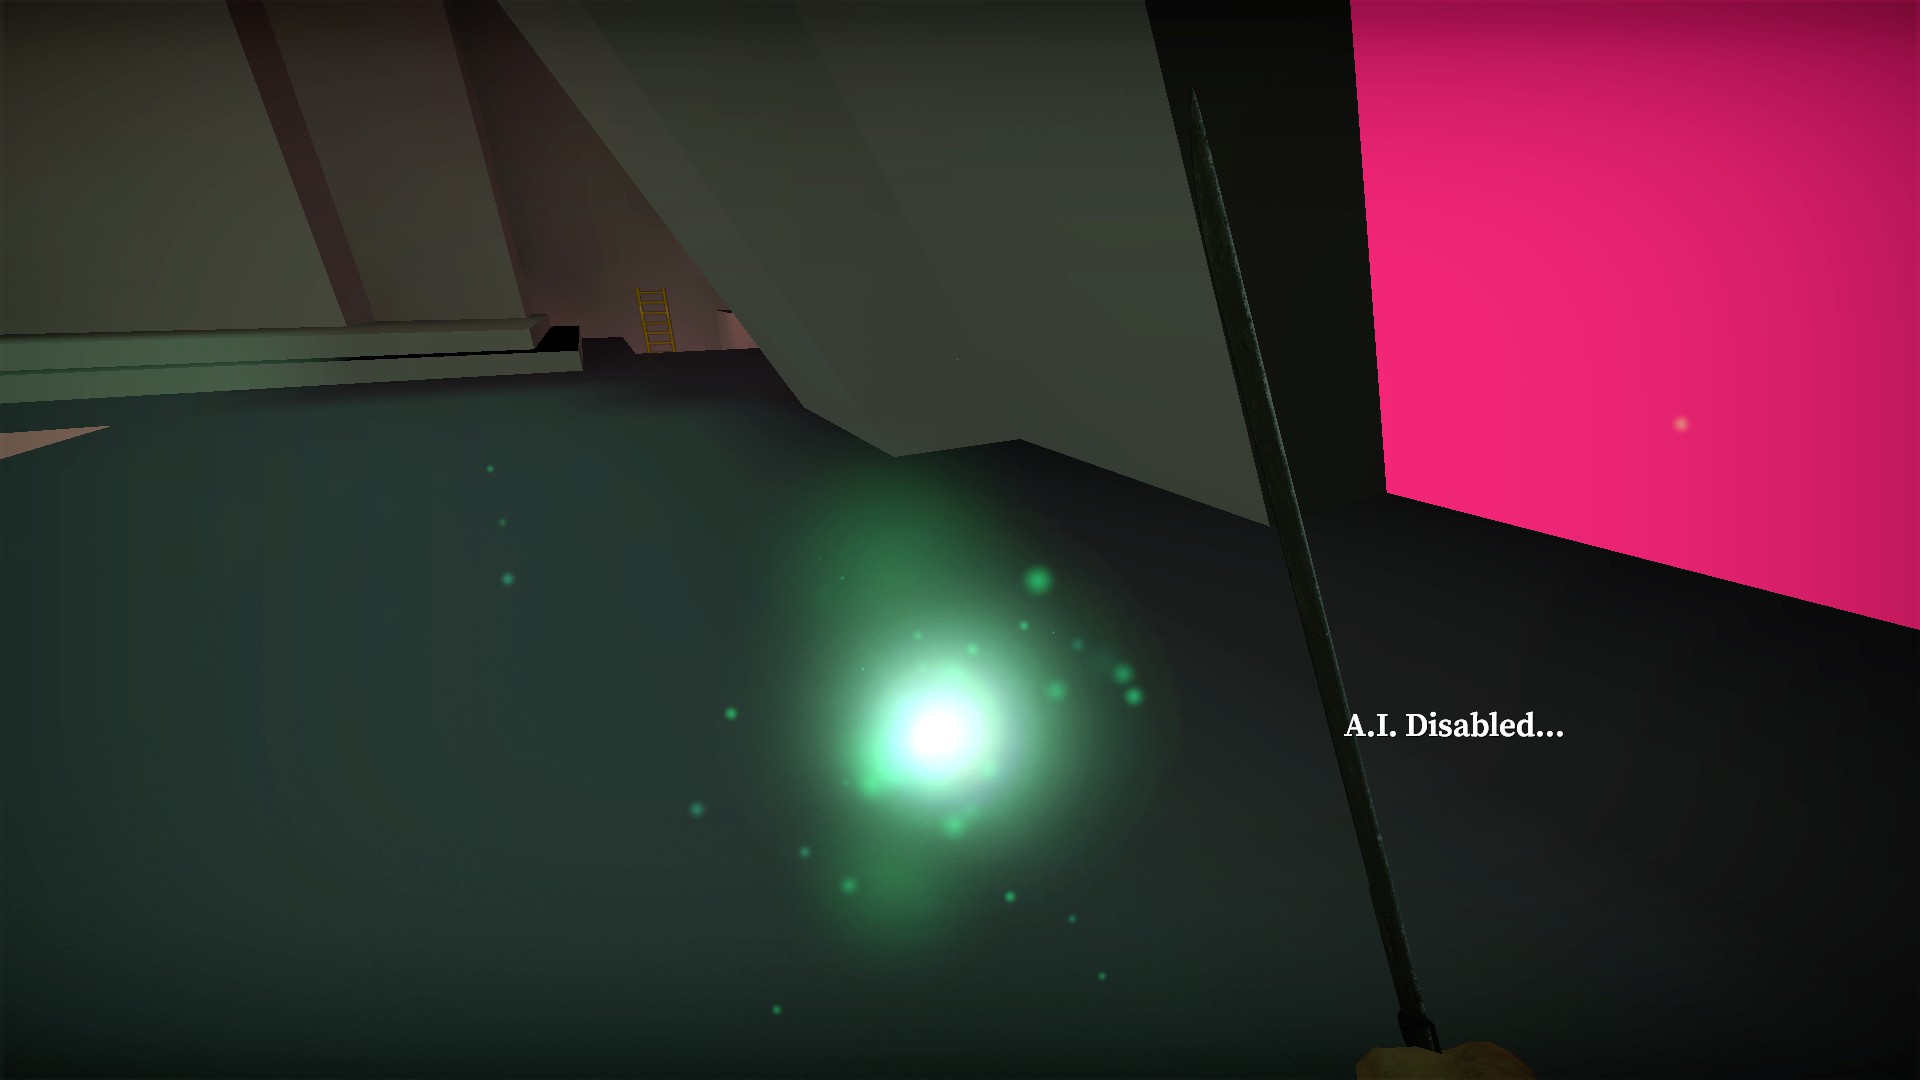
3 second recharge. When the green energy has returned, it is ready to be used again
Purple energy machete
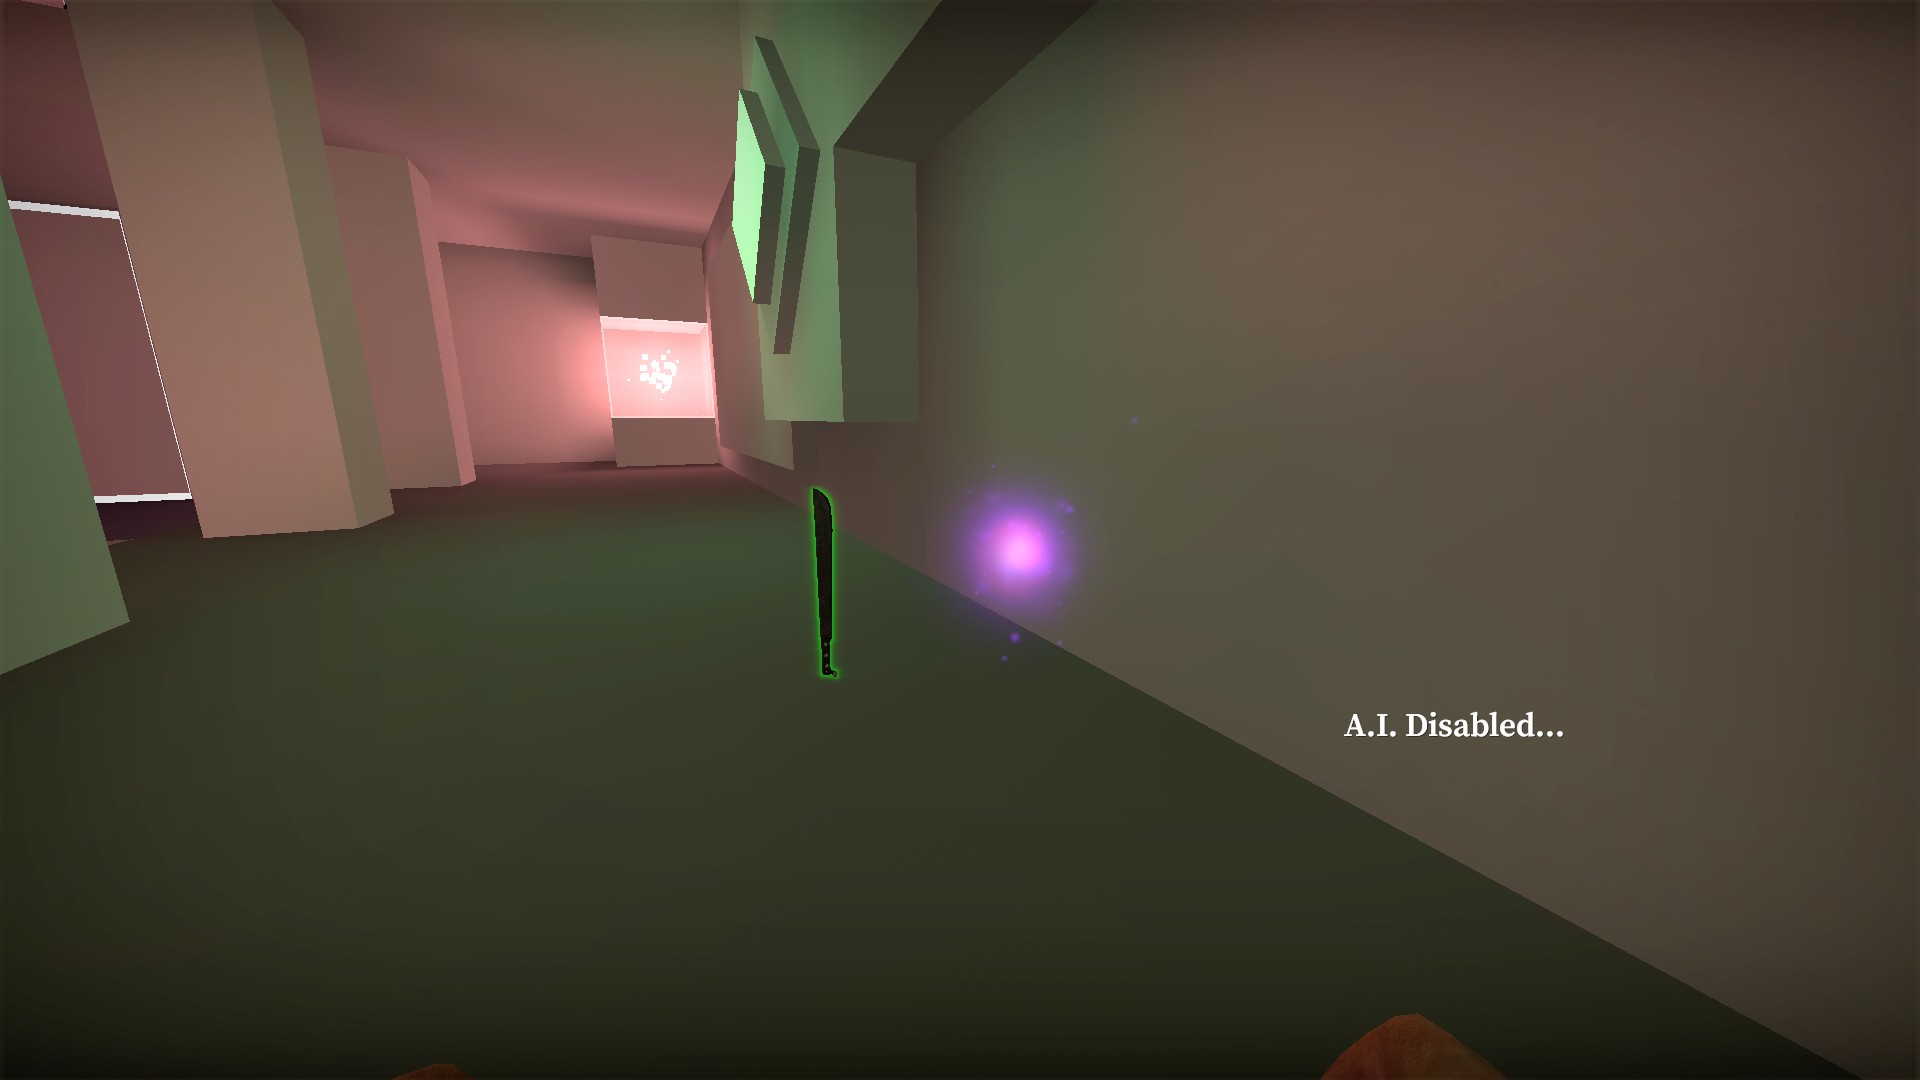
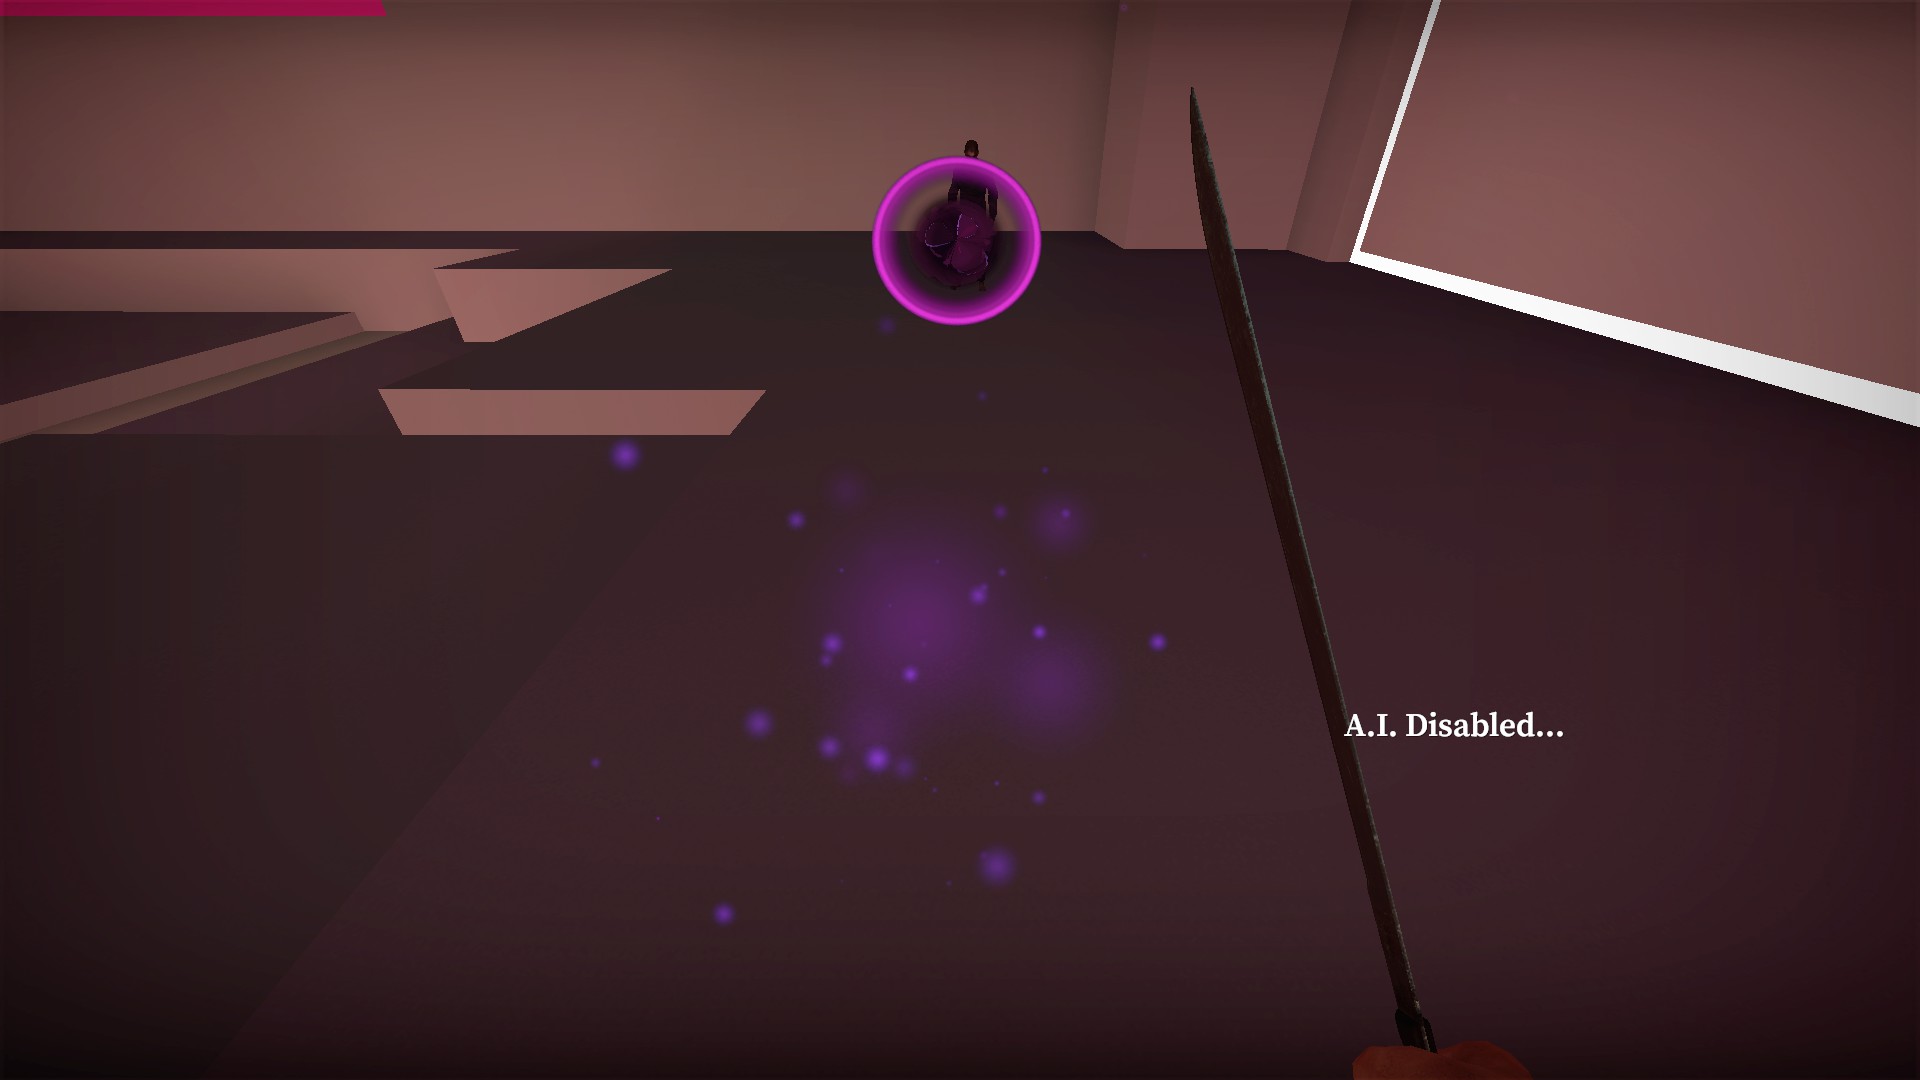
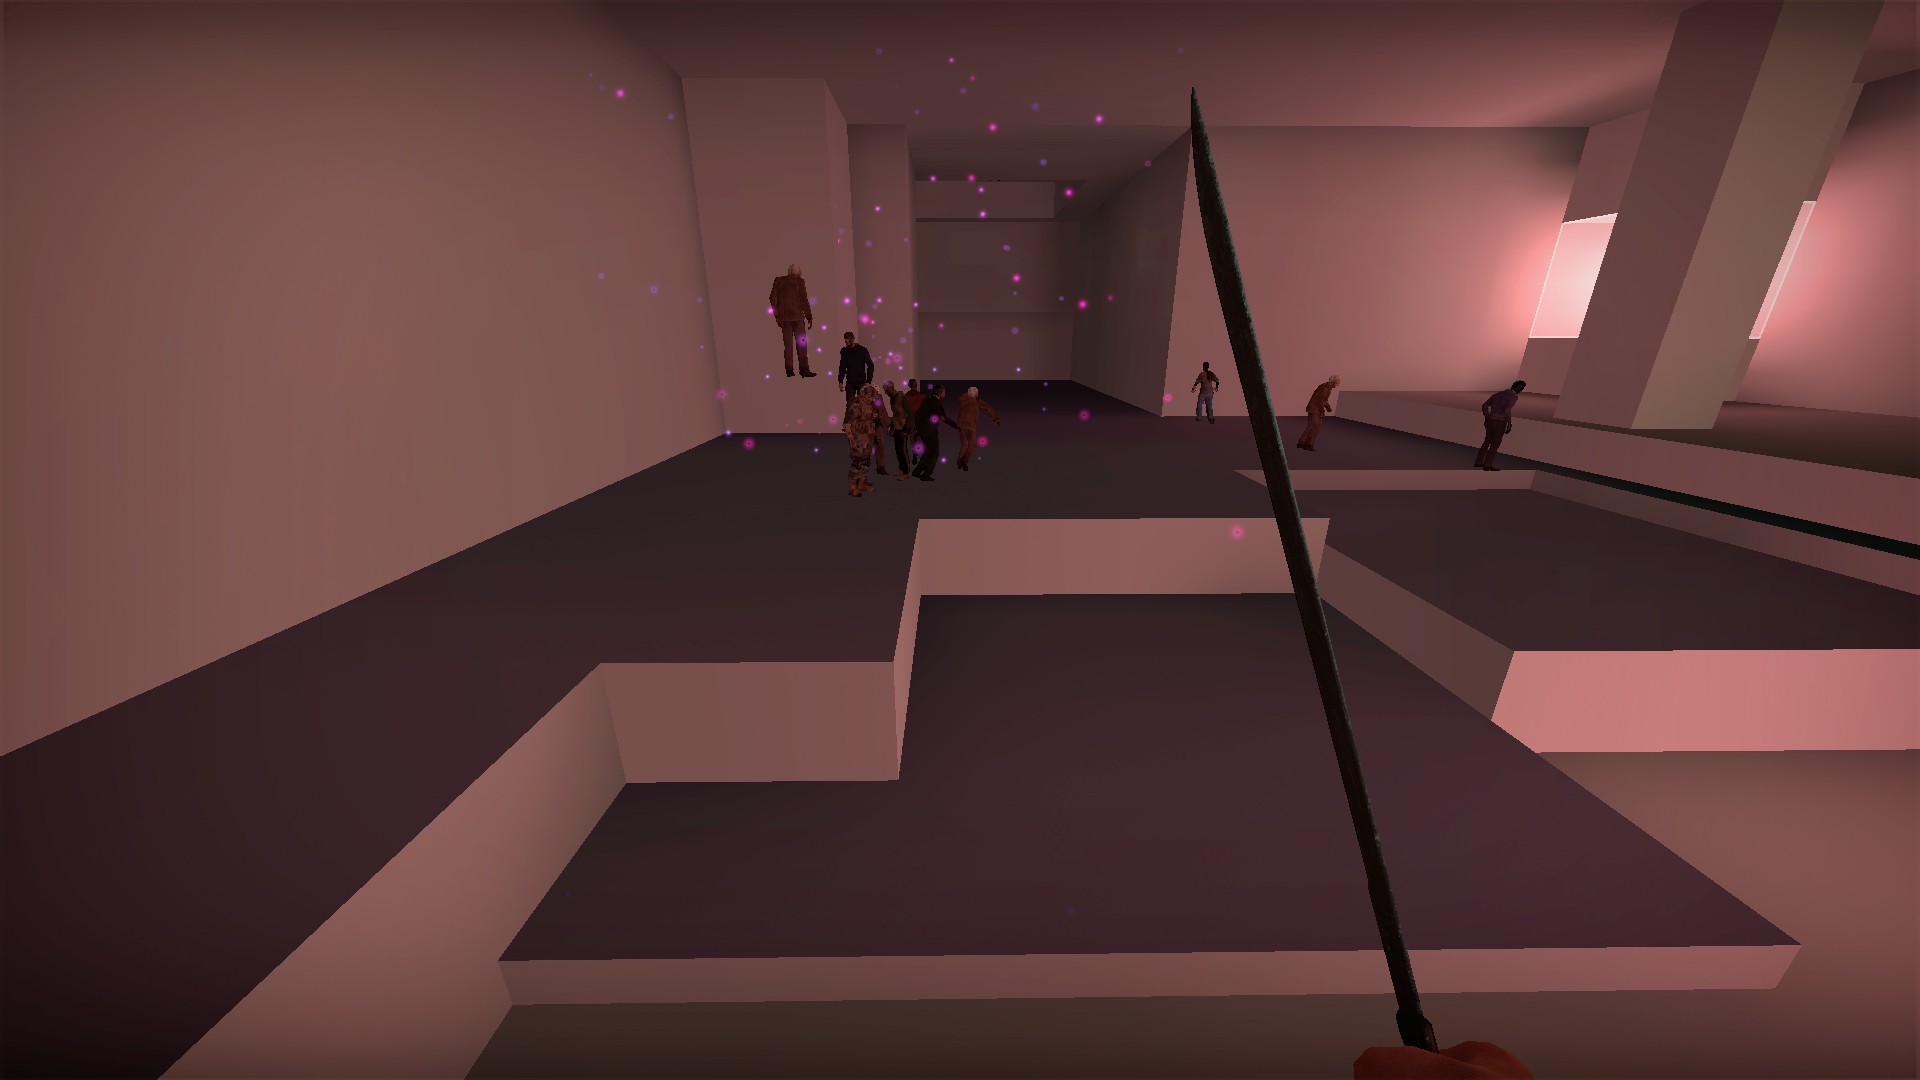
Fires a purple orb forward. The orb does not damage zombies but will create a gravity vortex when it hits that will pull in nearby zombies for 6 seconds
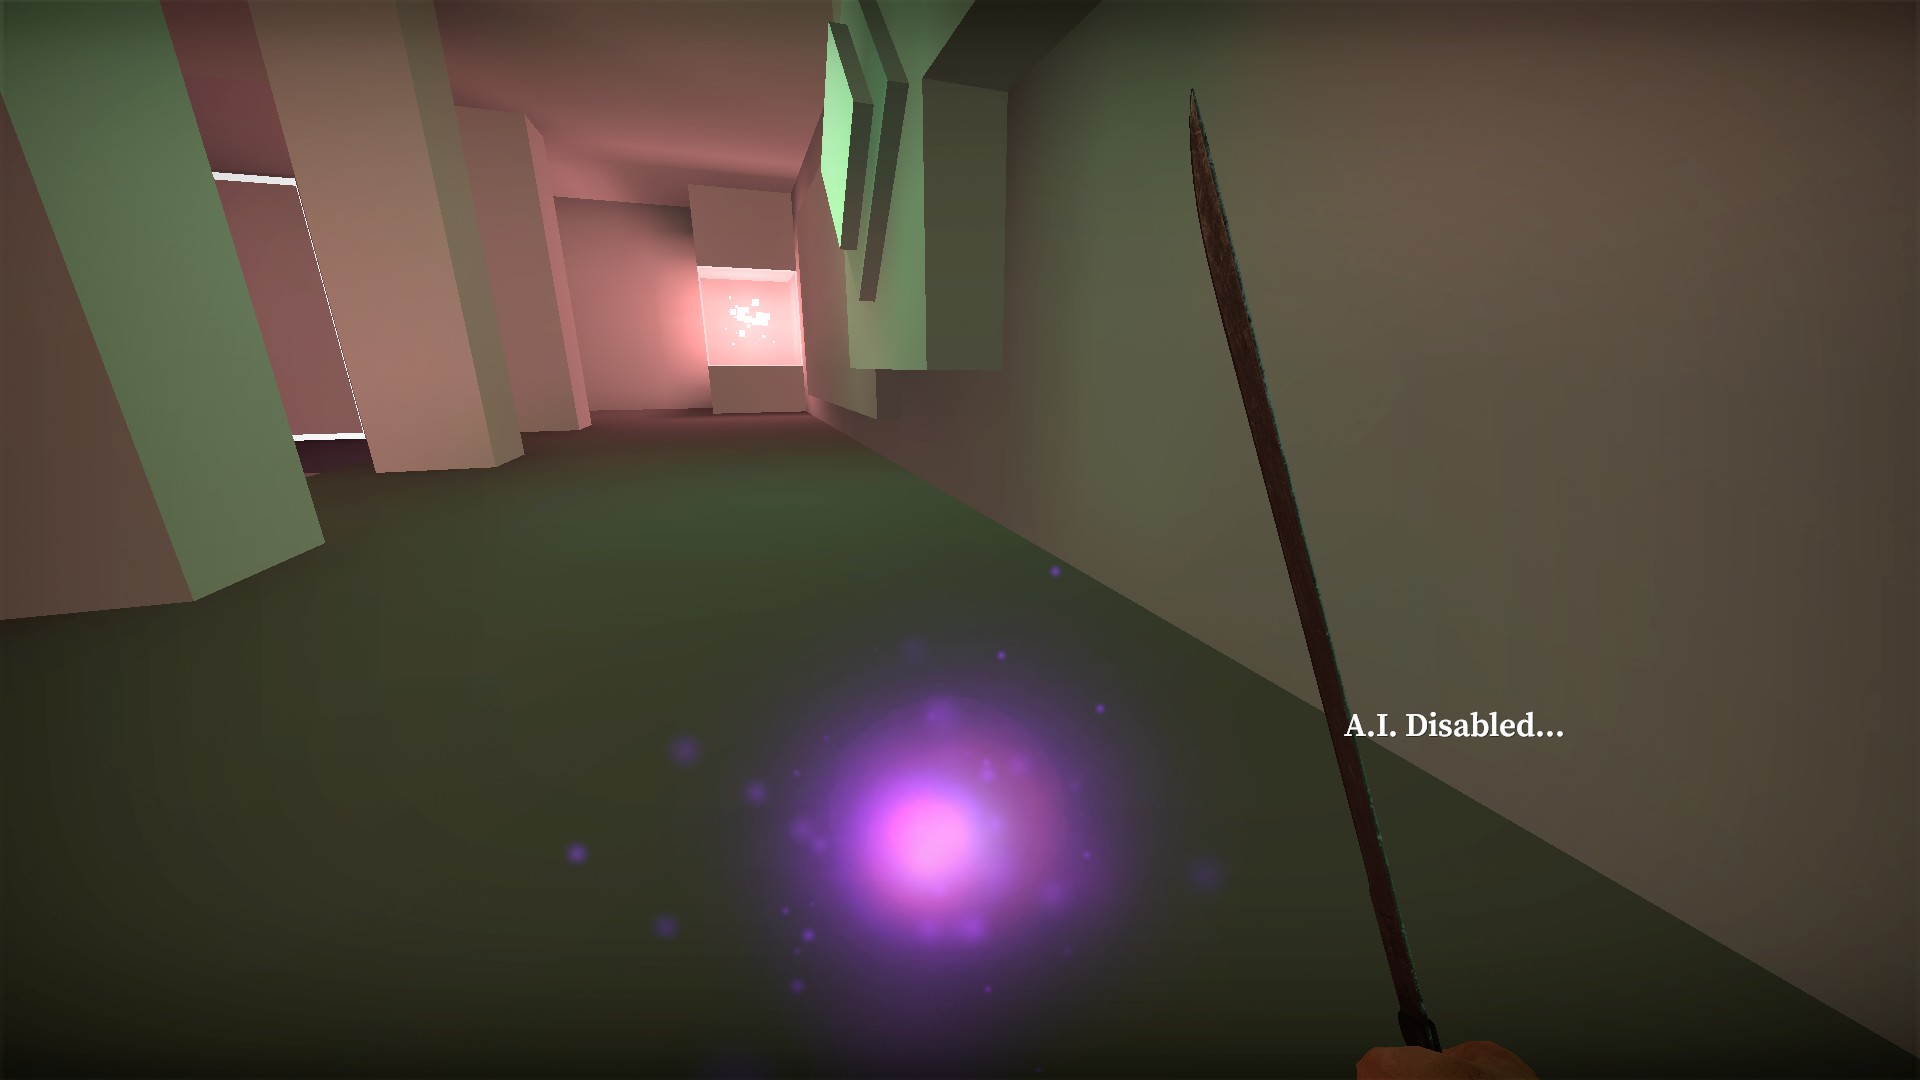
60 second recharge. When the purple energy has returned, it is ready to be used again
Circle machete
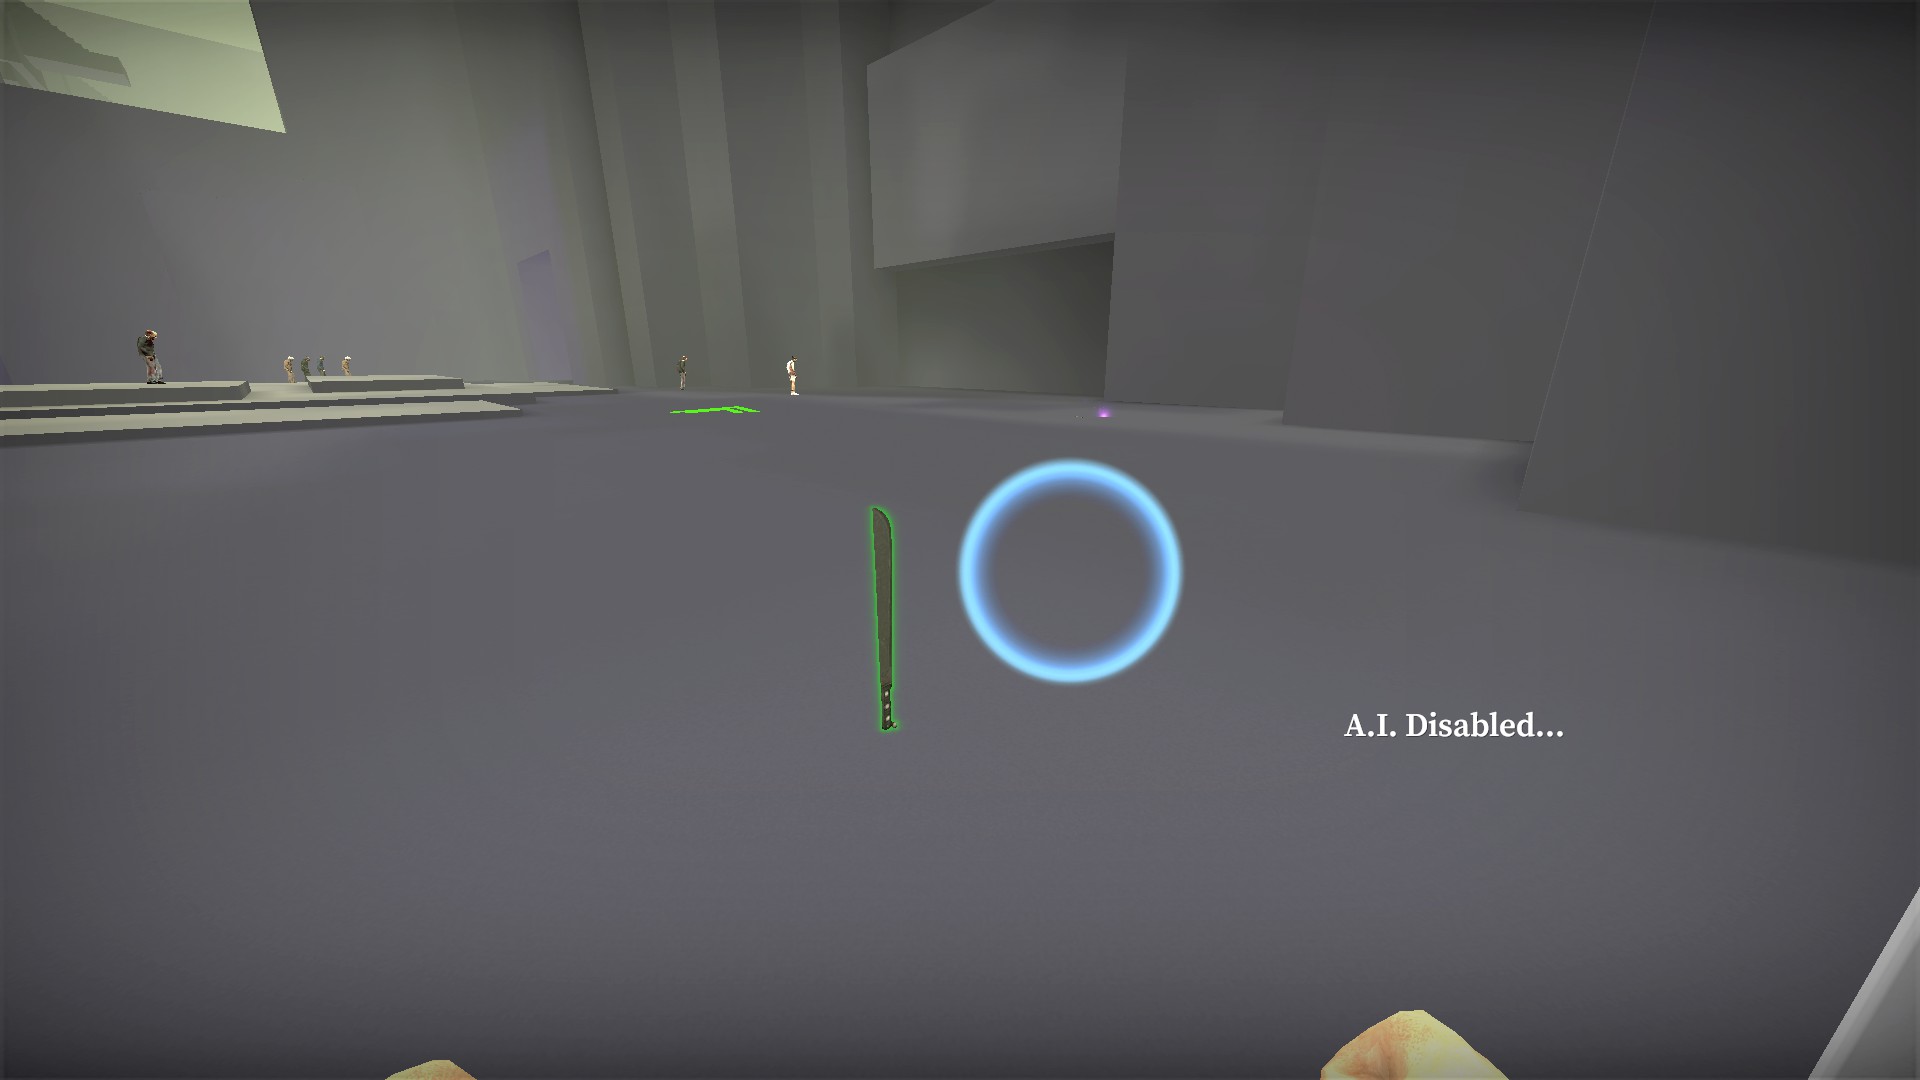
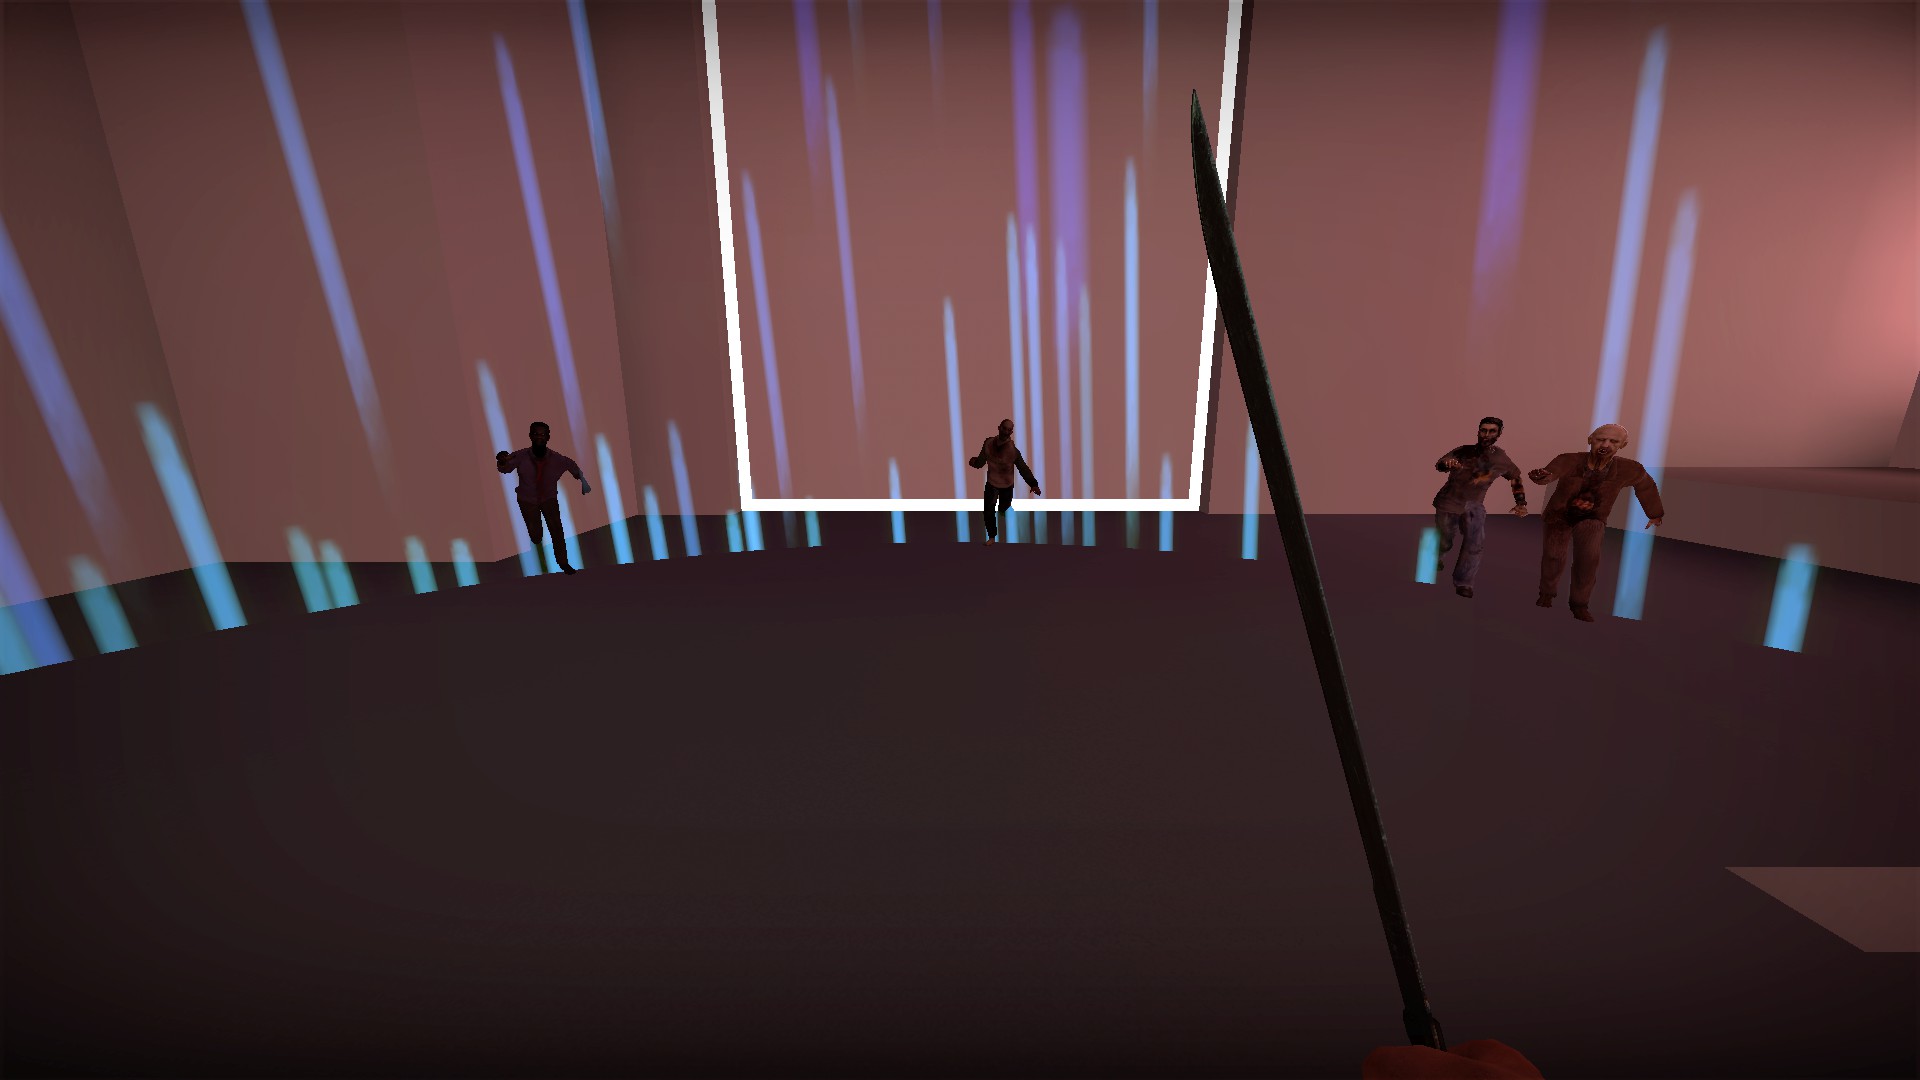
Creates a circle around you and will push all zombies outside that circle and keep them there for 6 seconds
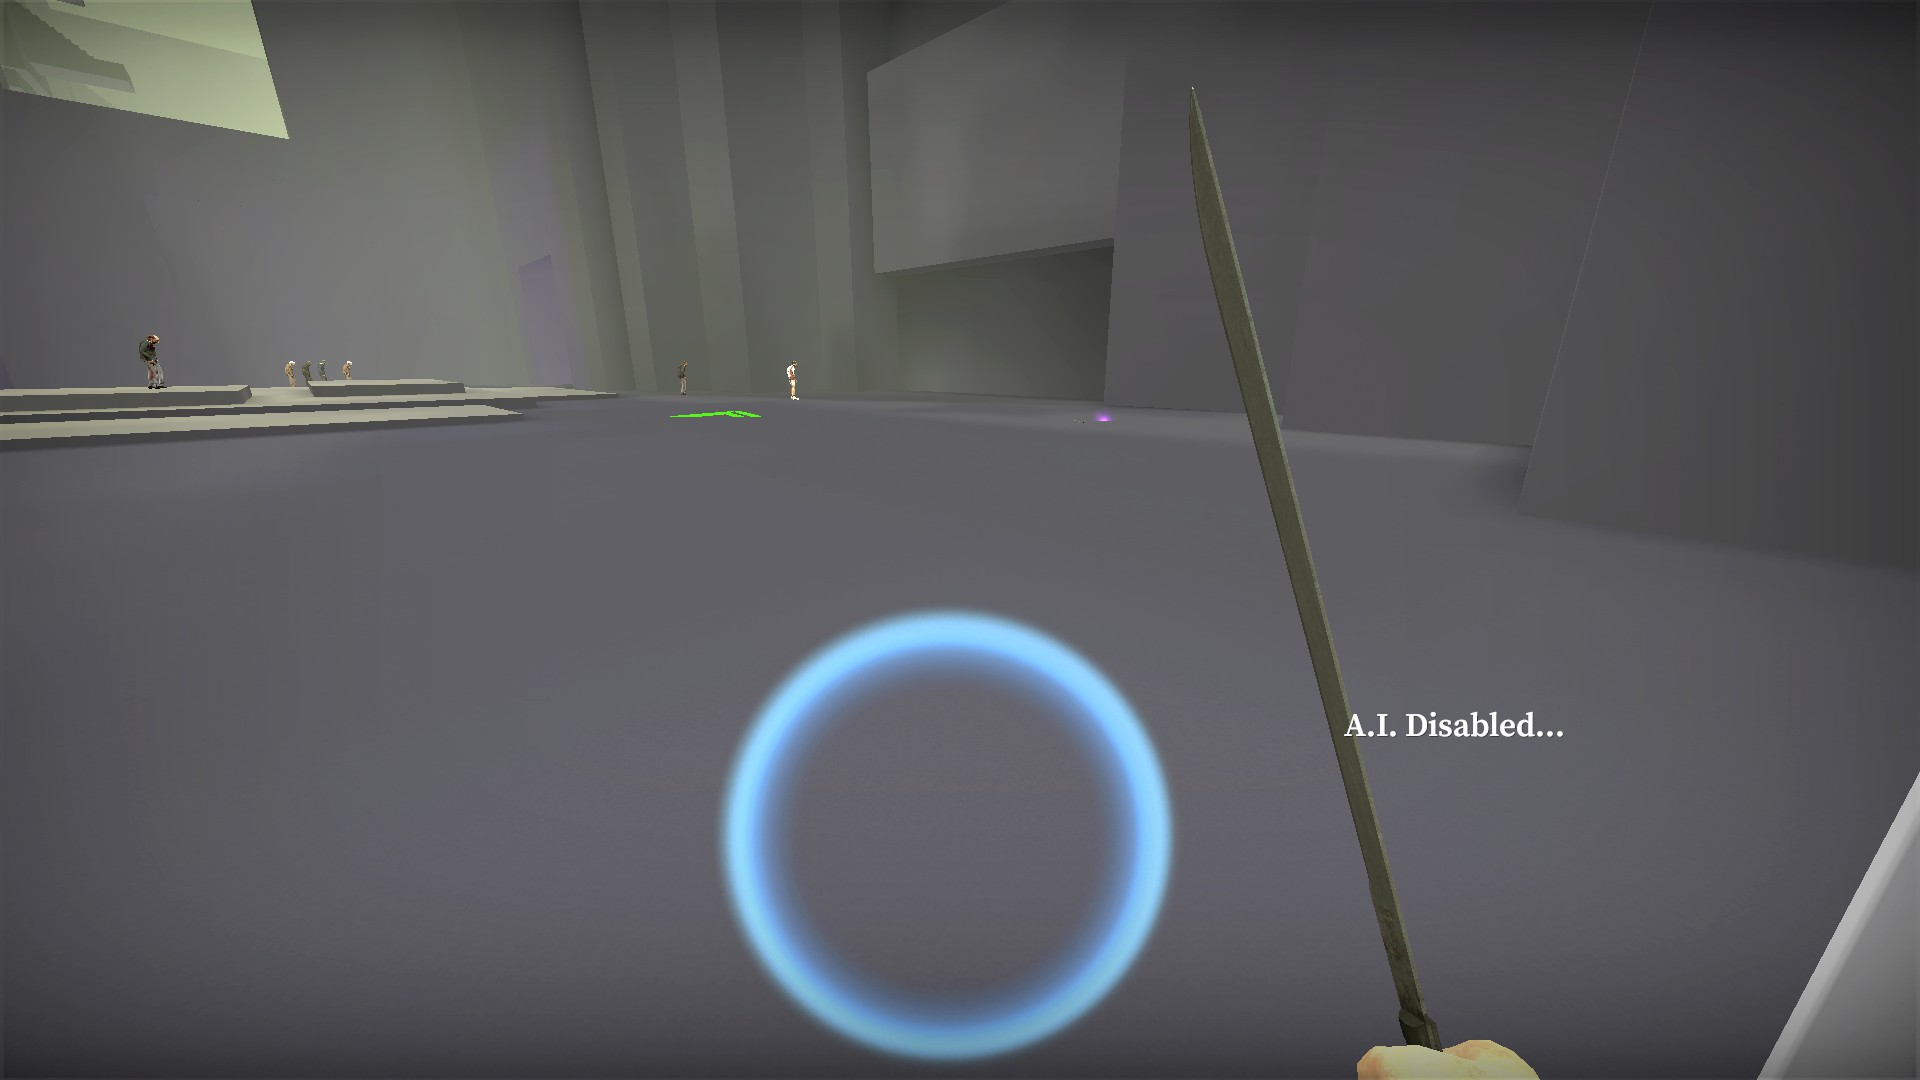
60 second recharge. When the circle has returned, it is ready to be used again
Cube machete
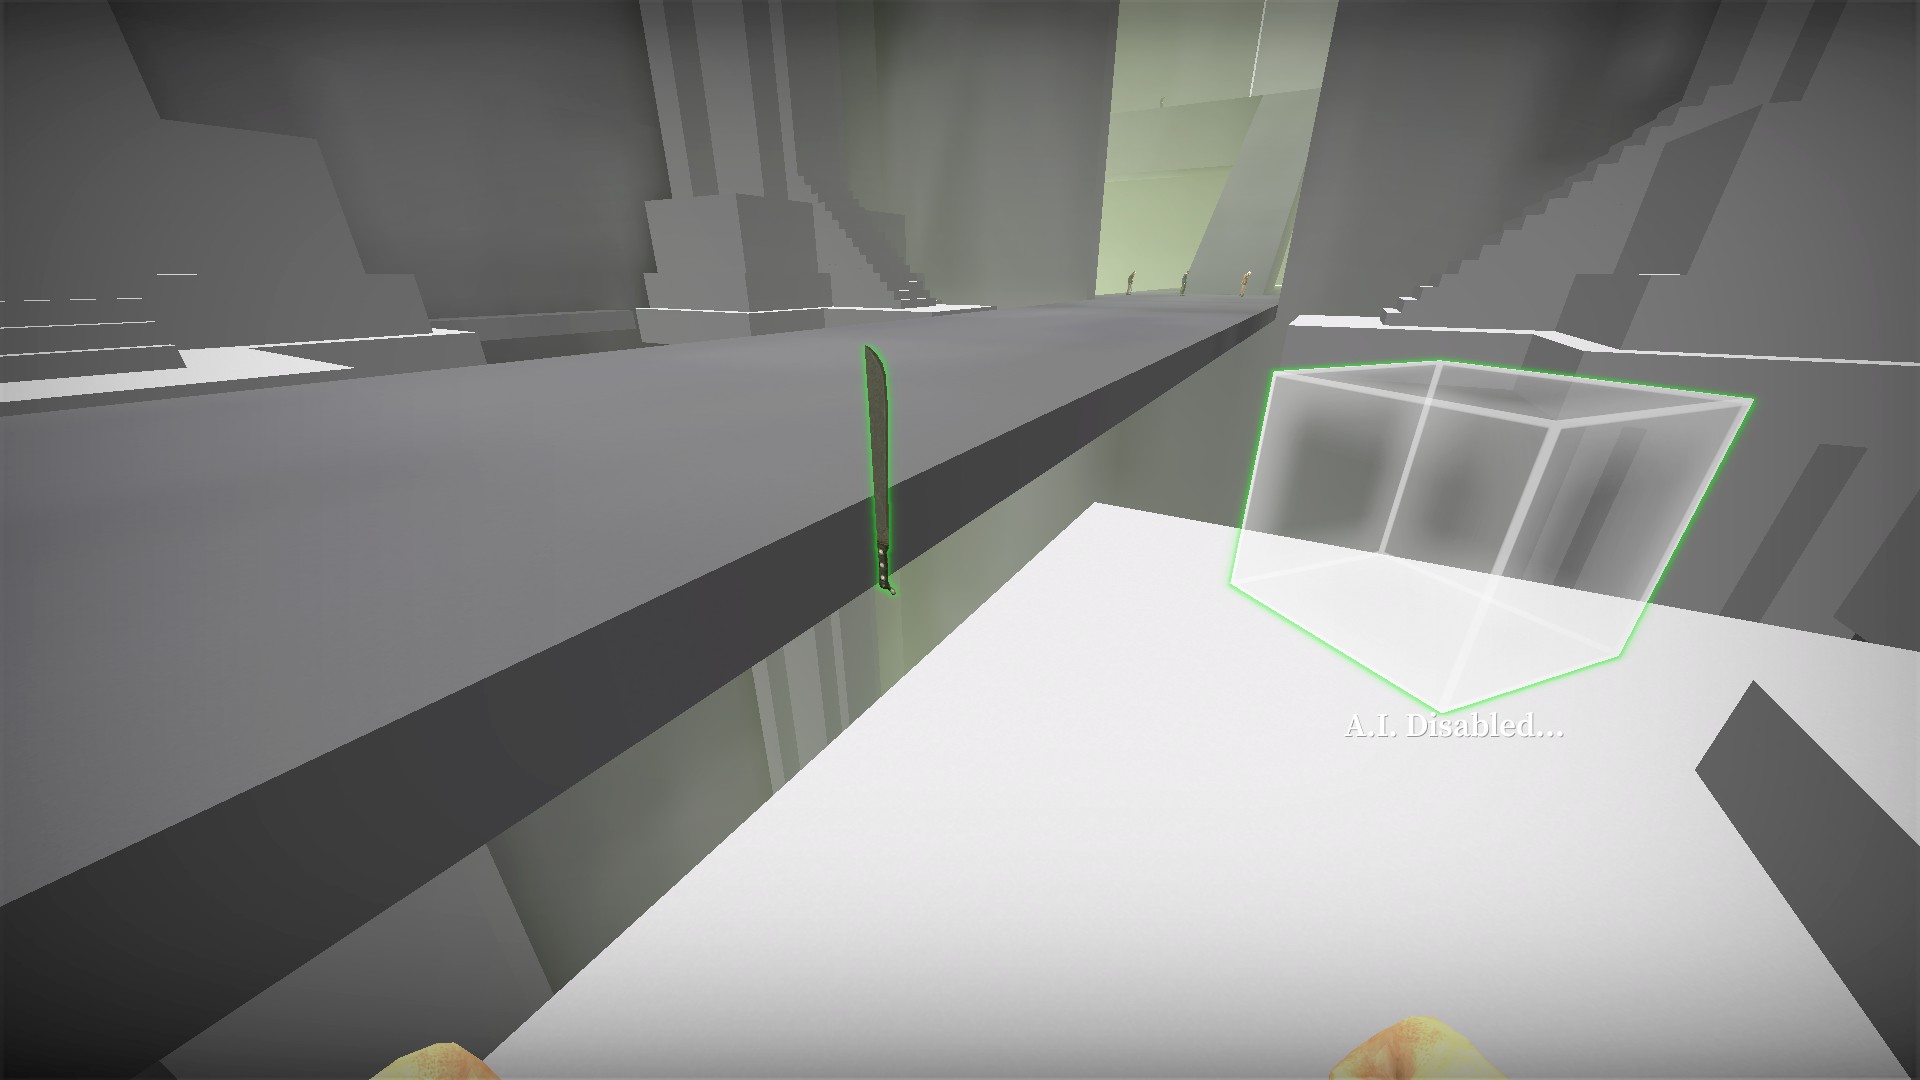
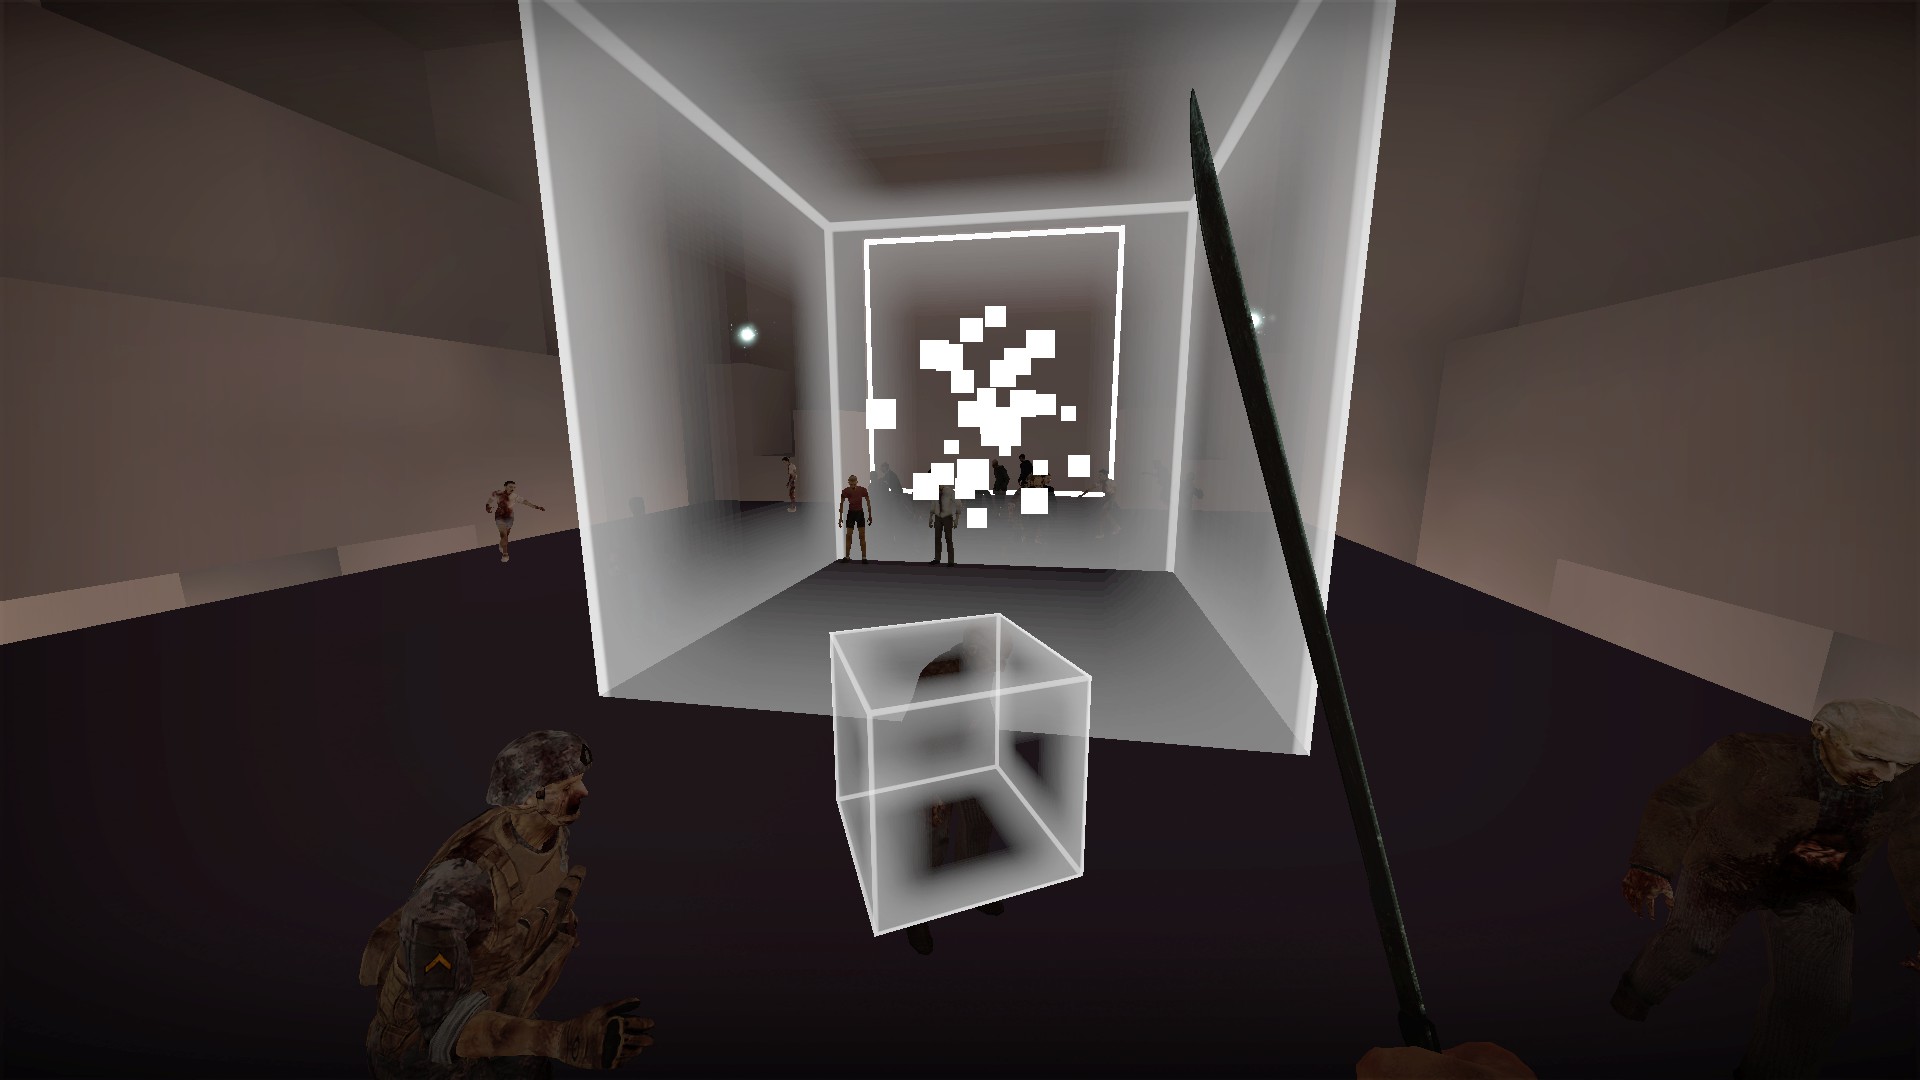
Creates a cube in front of you that freezes zombies inside for 8 secs. Players cannot enter the cube
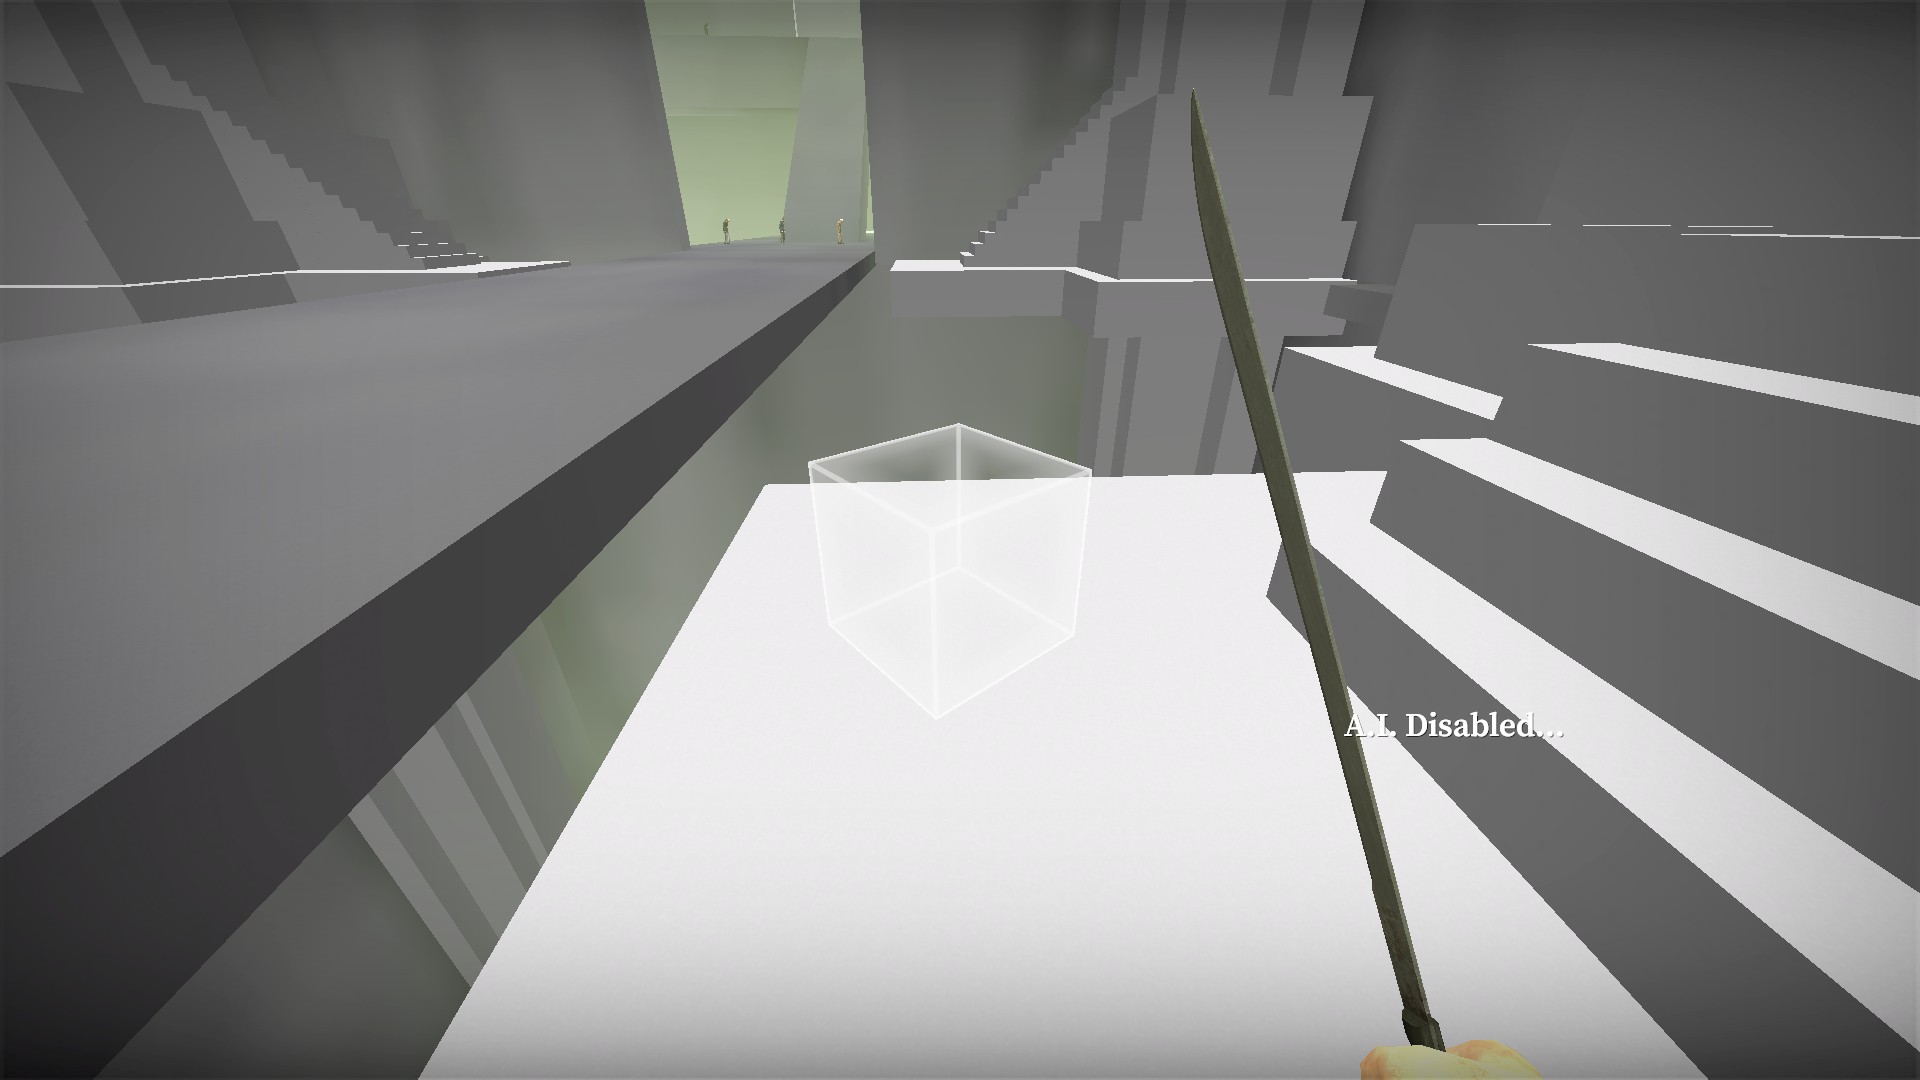
60 second recharge. When the cube in front of you starts rotating, it is ready to be used again
Healing machete
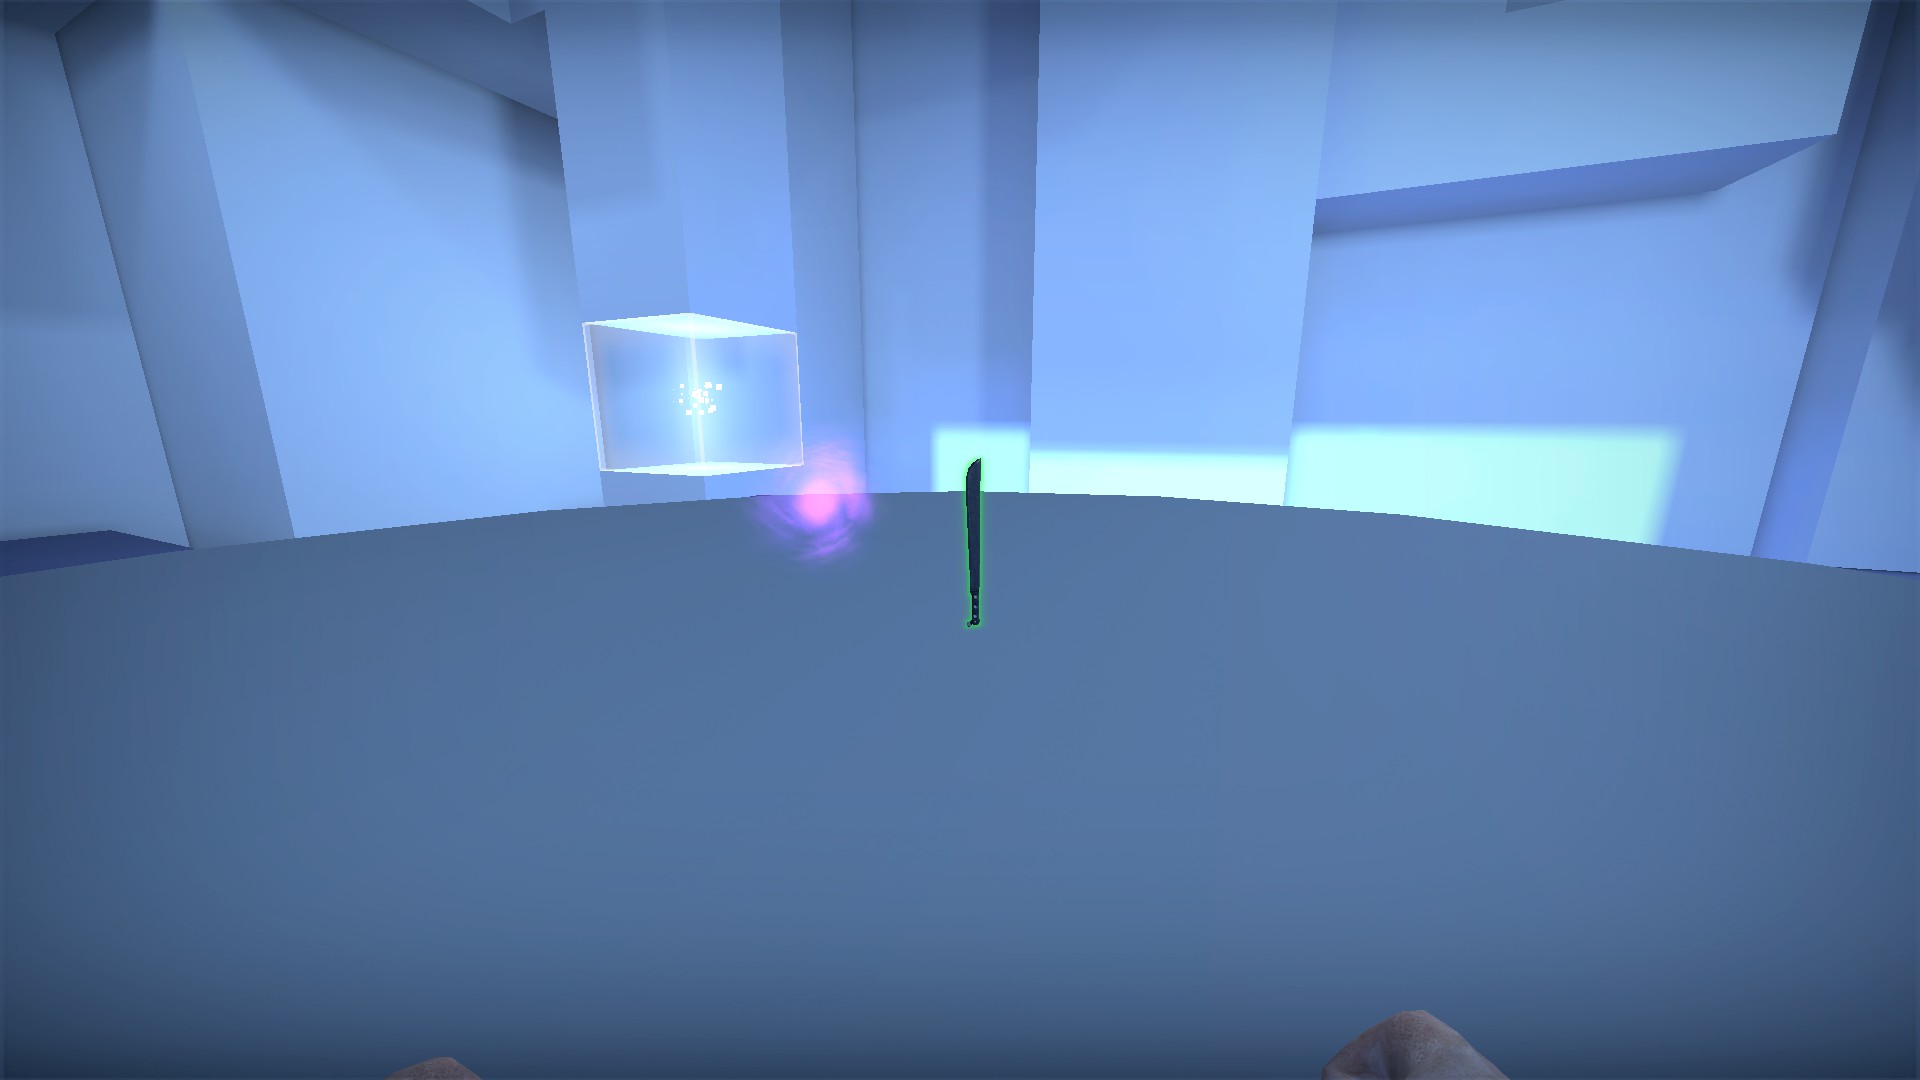
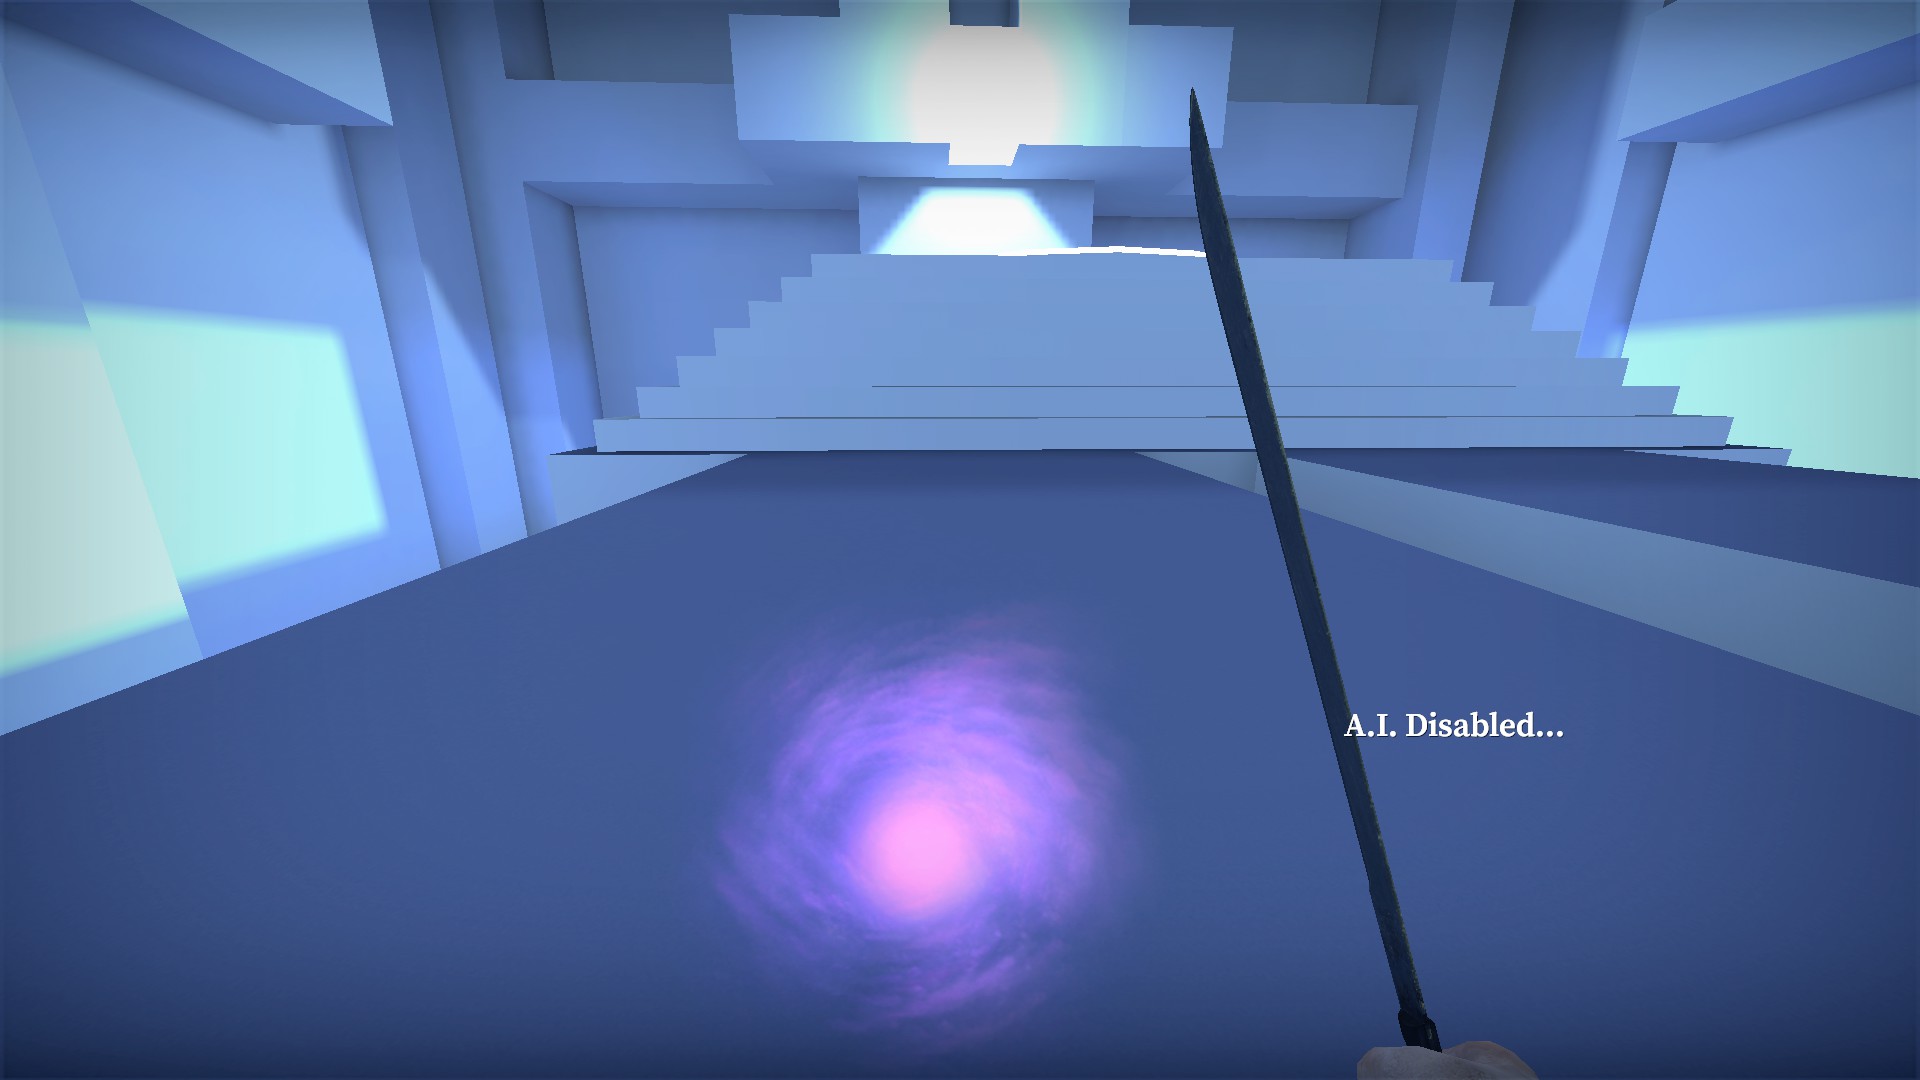
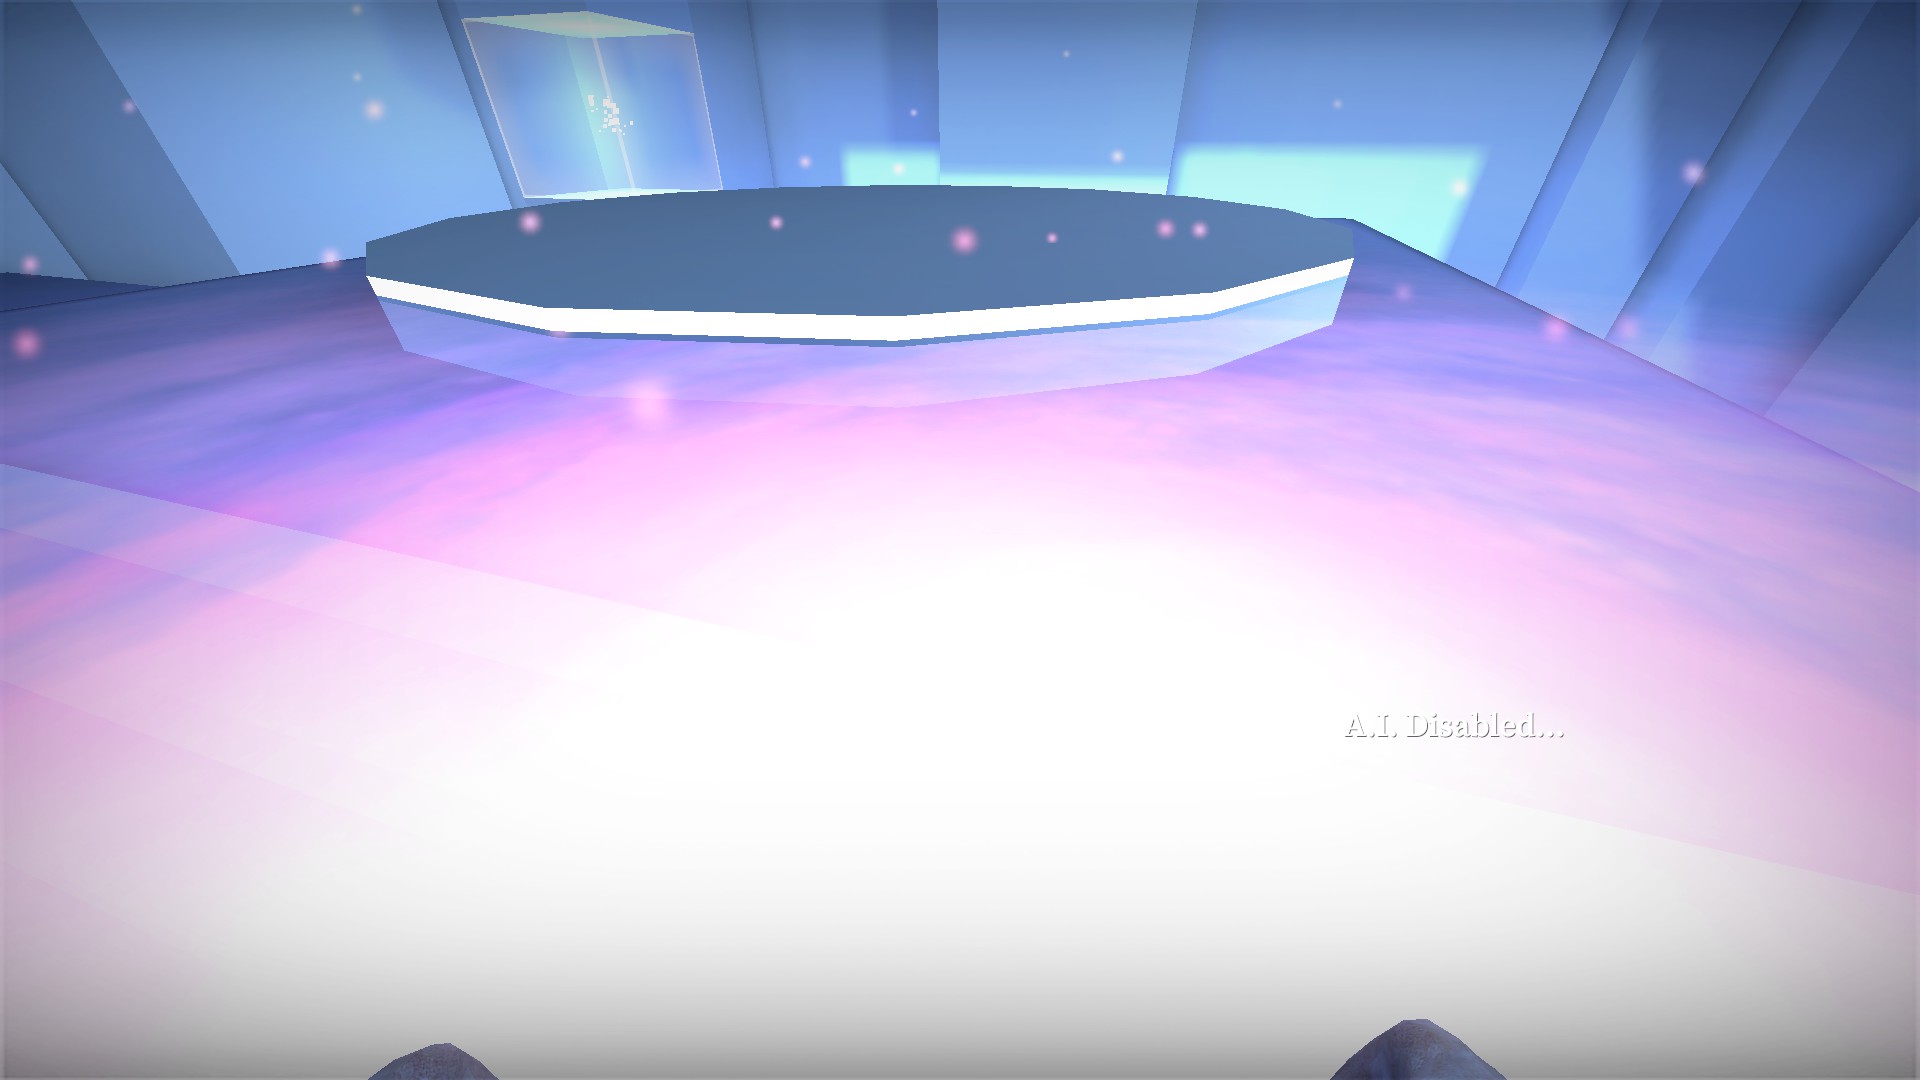
Found only at the end of stage 6
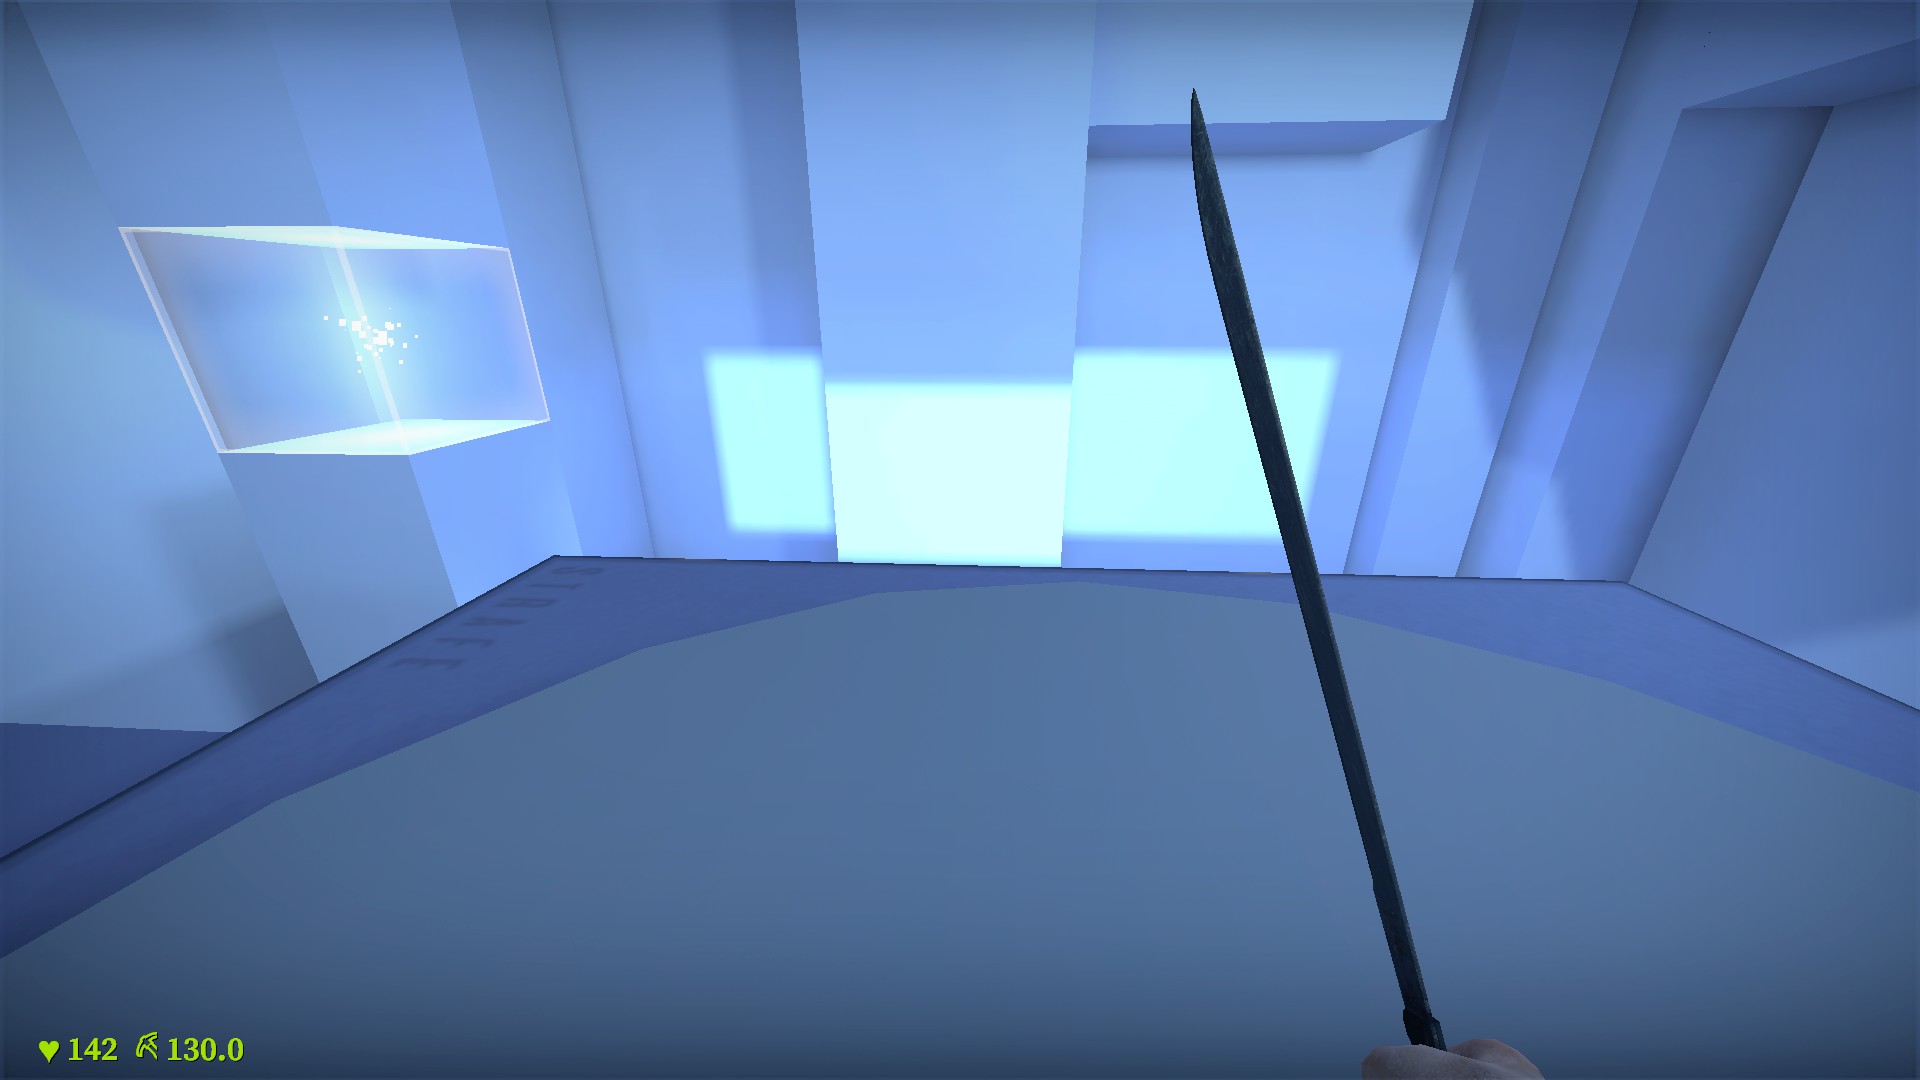
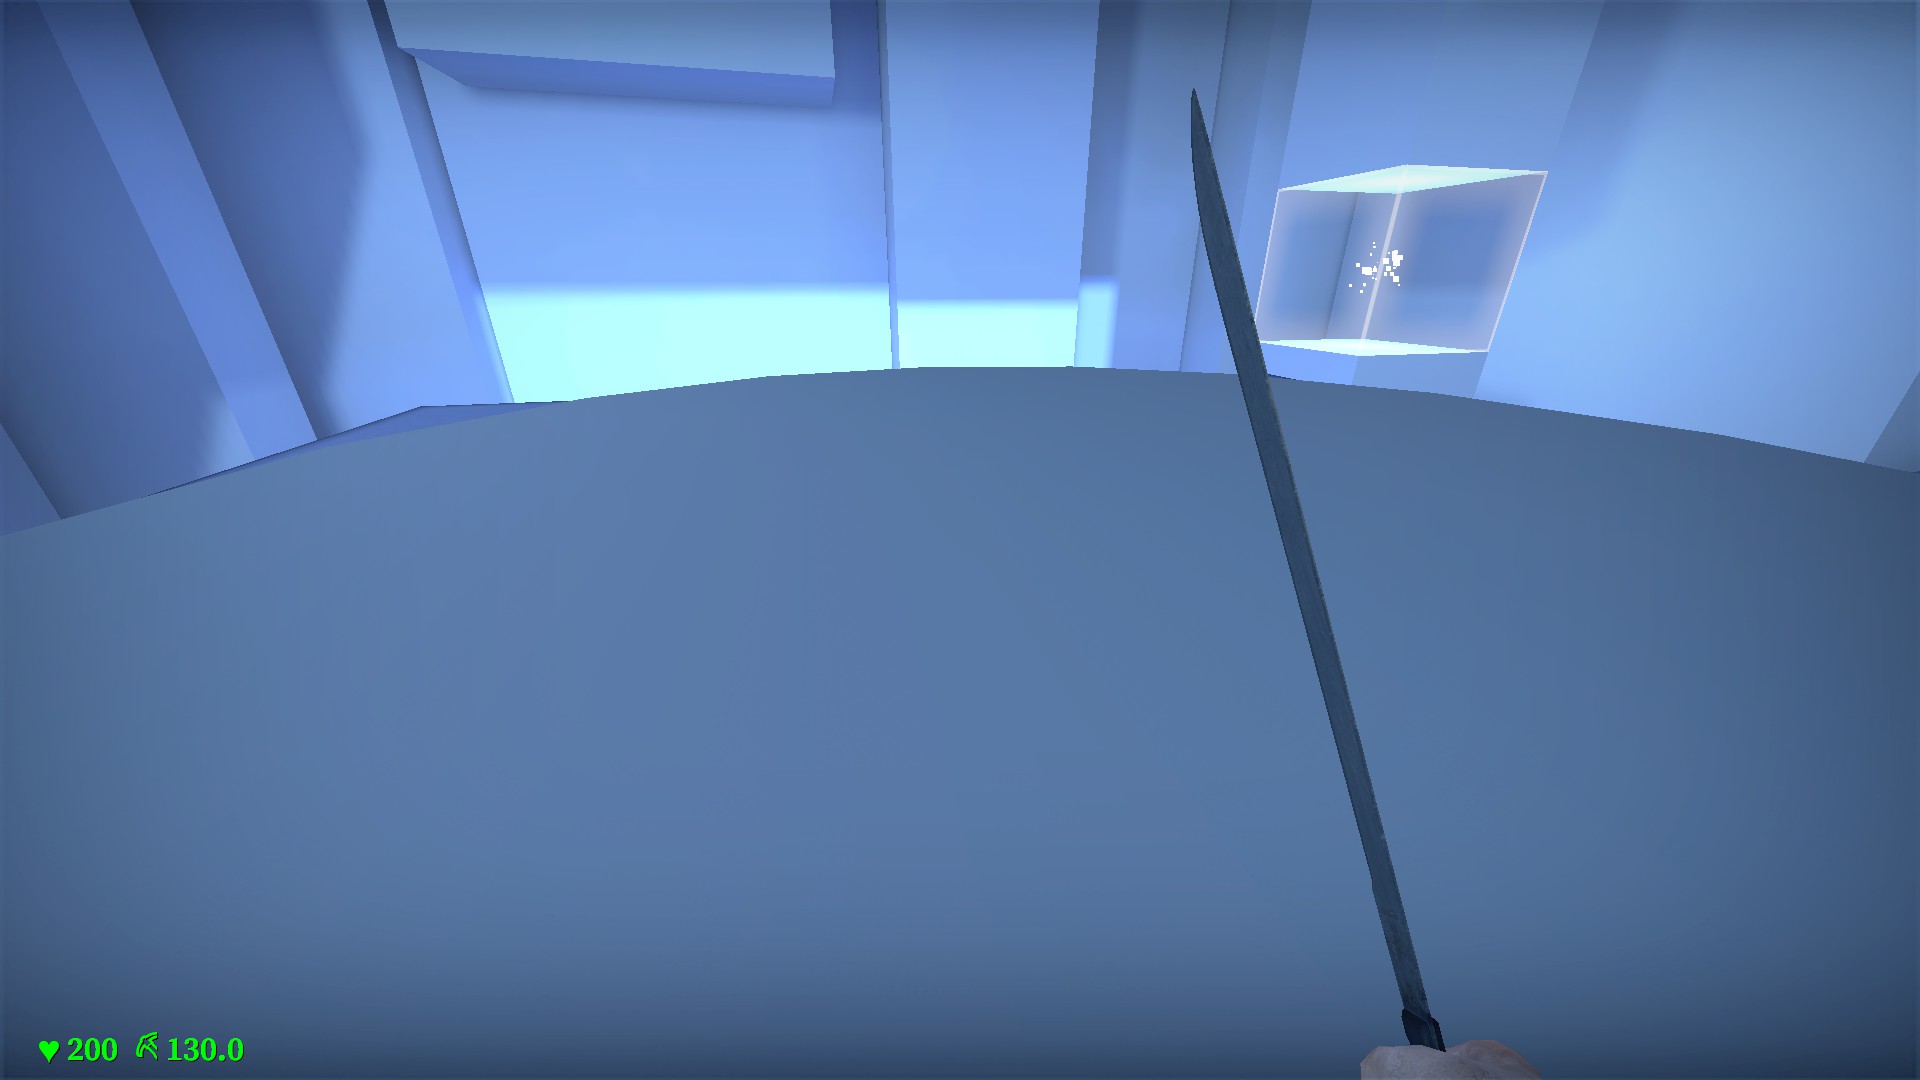
Heals 40-50hp to you and nearby players per use. It can heal you up to a max of 200. 120 second recharge
Developer room
You will need to noclip here. It is a fair distance from the starting area, to the right and forward from the first stage
Use the buttons to move between the map's 6 stages
Blue energy machete
Press e to fire a blue orb forward that kills zombies
60 second recharge. When the blue energy has returned, it is ready to be used again
Green energy machete
Fires a green orb forward that damages zombies
3 second recharge. When the green energy has returned, it is ready to be used again
Purple energy machete
Fires a purple orb forward. The orb does not damage zombies but will create a gravity vortex when it hits that will pull in nearby zombies for 6 seconds
60 second recharge. When the purple energy has returned, it is ready to be used again
Circle machete
Creates a circle around you and will push all zombies outside that circle and keep them there for 6 seconds
60 second recharge. When the circle has returned, it is ready to be used again
Cube machete
Creates a cube in front of you that freezes zombies inside for 8 secs. Players cannot enter the cube
60 second recharge. When the cube in front of you starts rotating, it is ready to be used again
Healing machete
Found only at the end of stage 6
Heals 40-50hp to you and nearby players per use. It can heal you up to a max of 200. 120 second recharge
nmo_waking _dead_kv1 (& xmas)
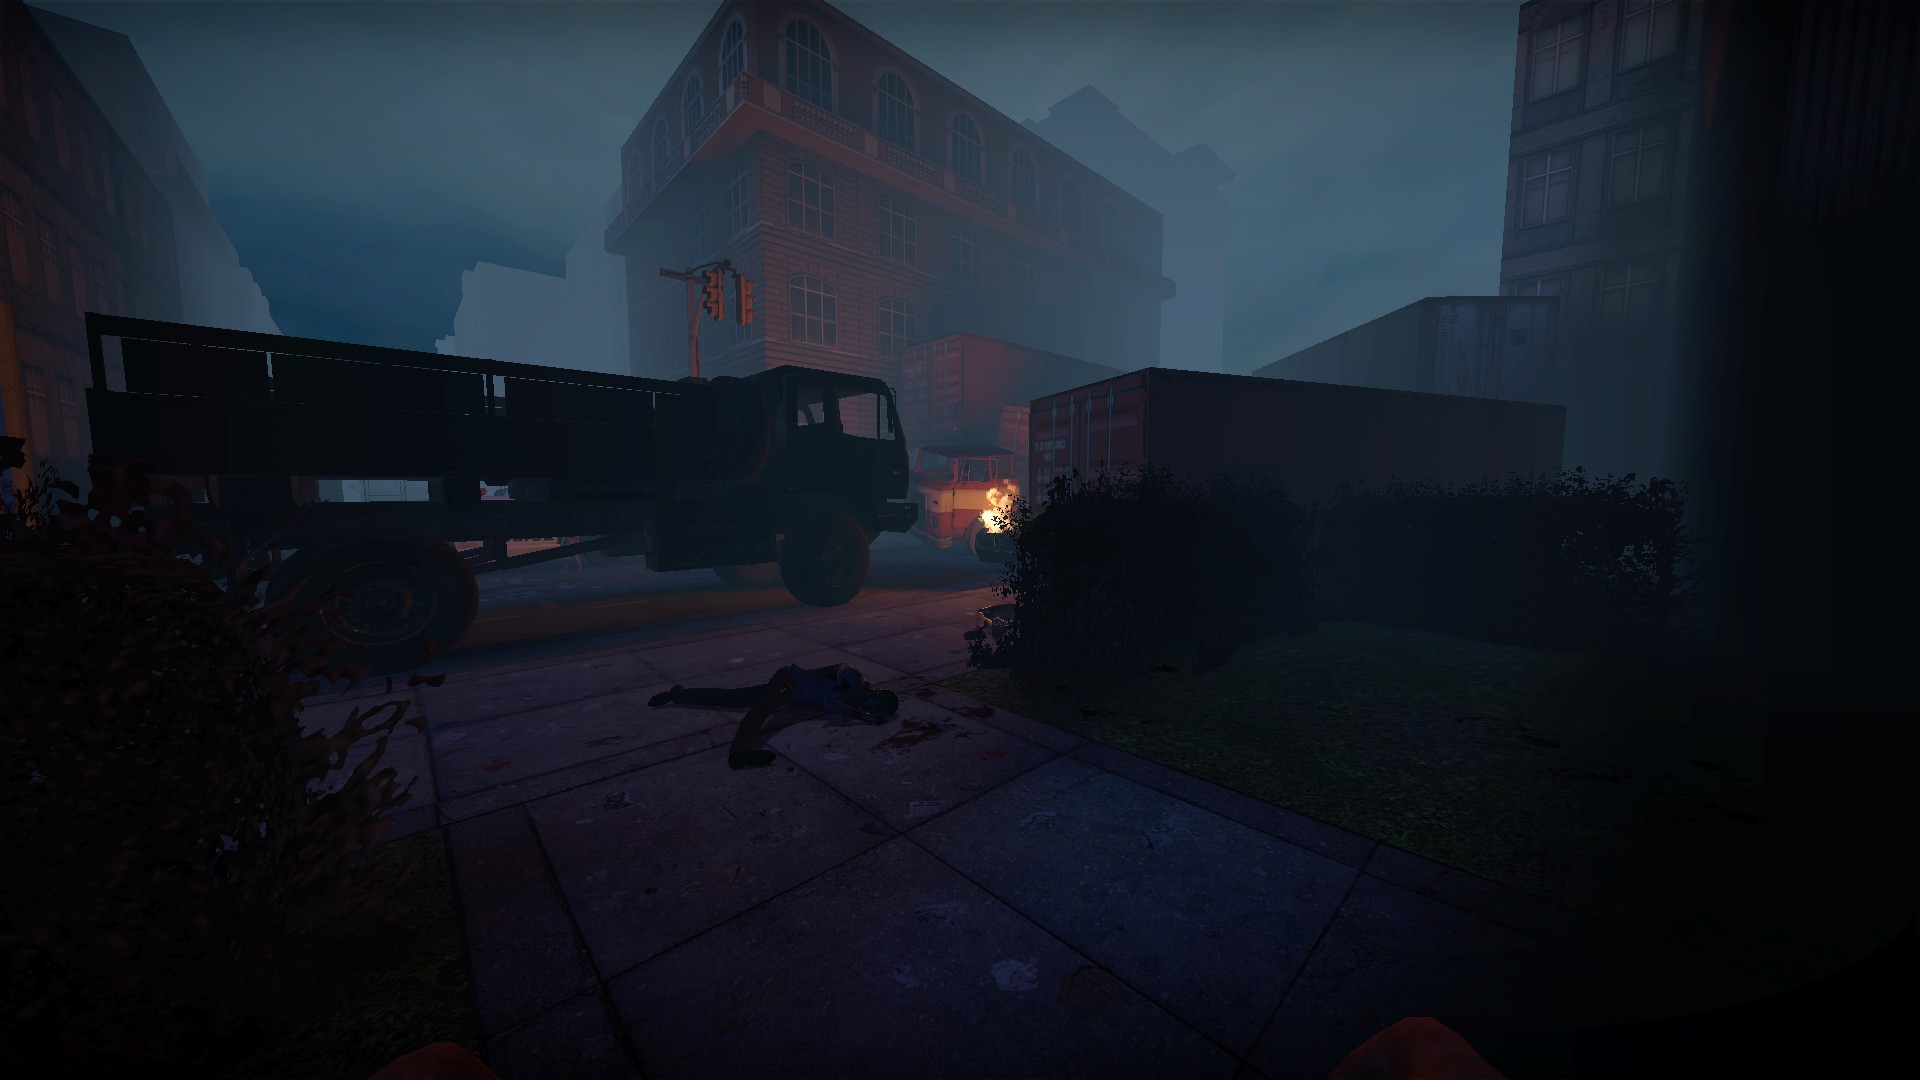
Just past the fire, head right and around the alley for a box of supplies
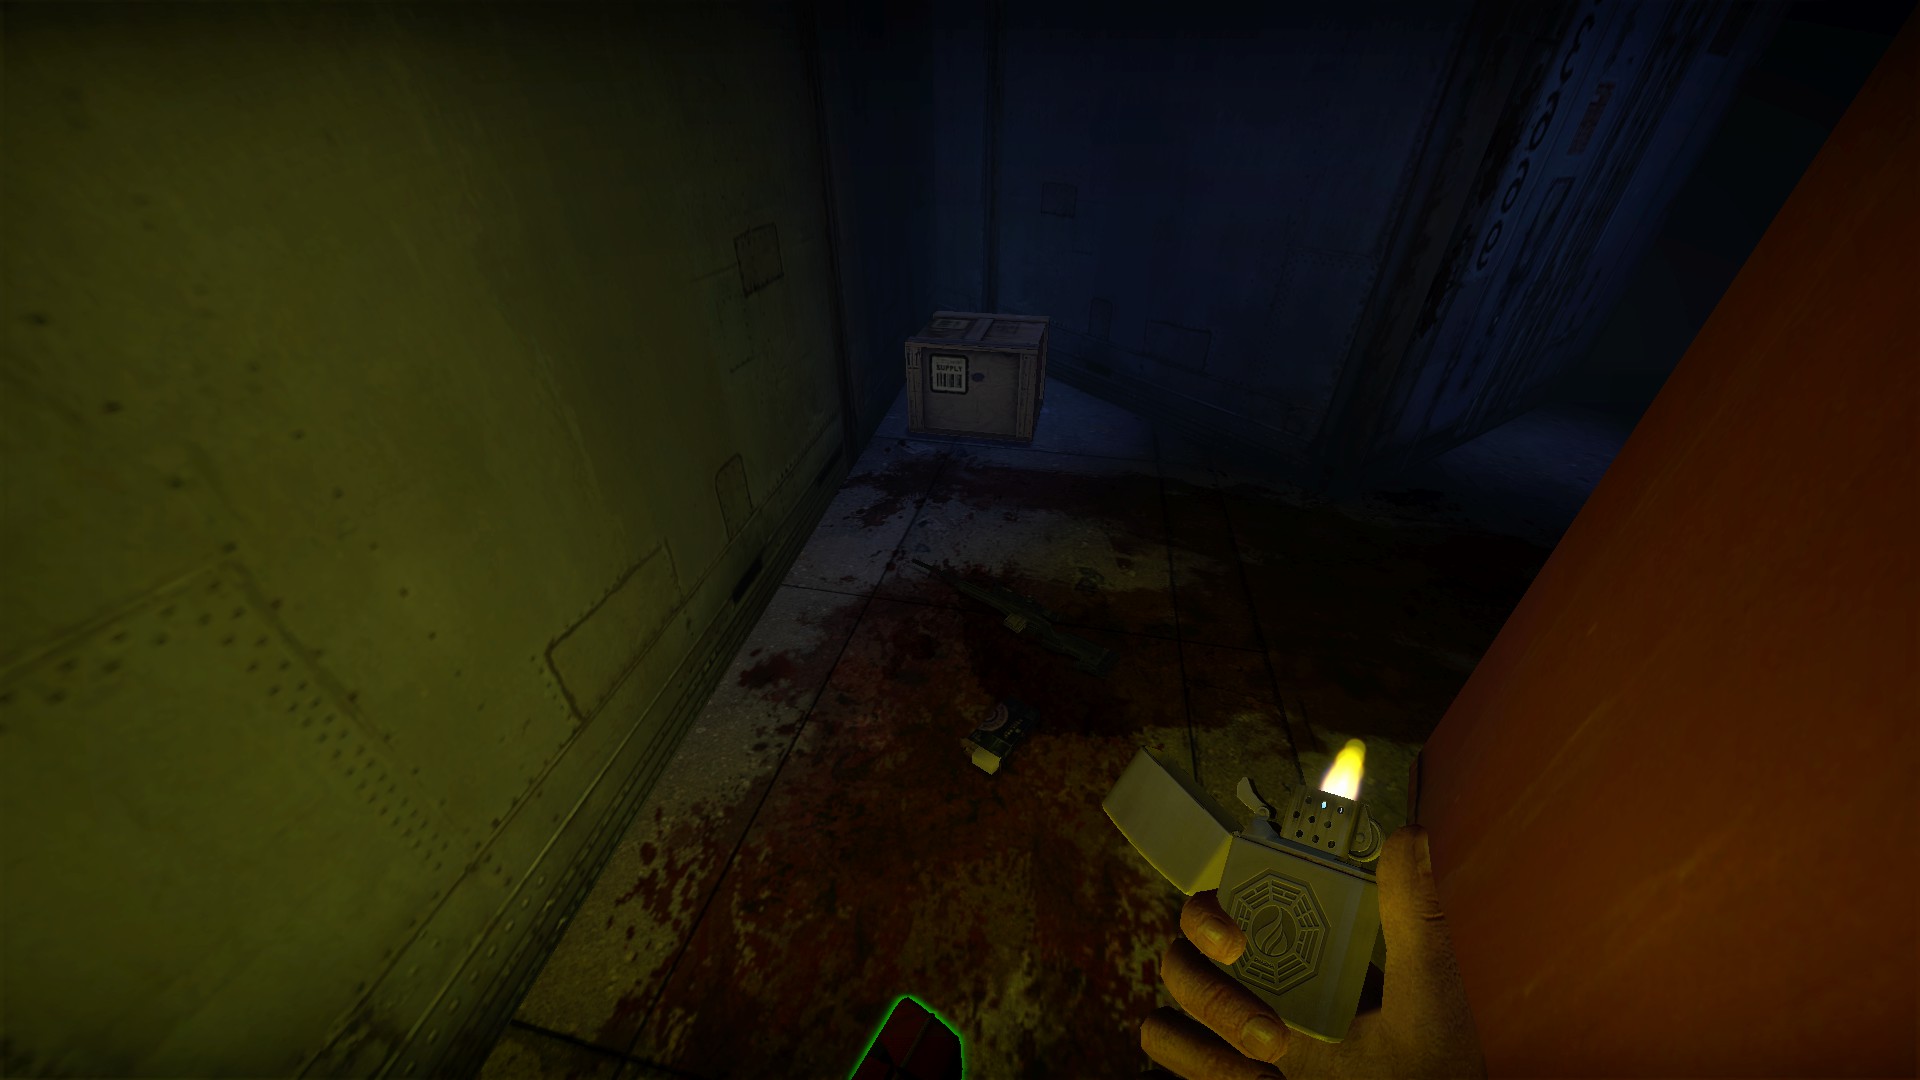
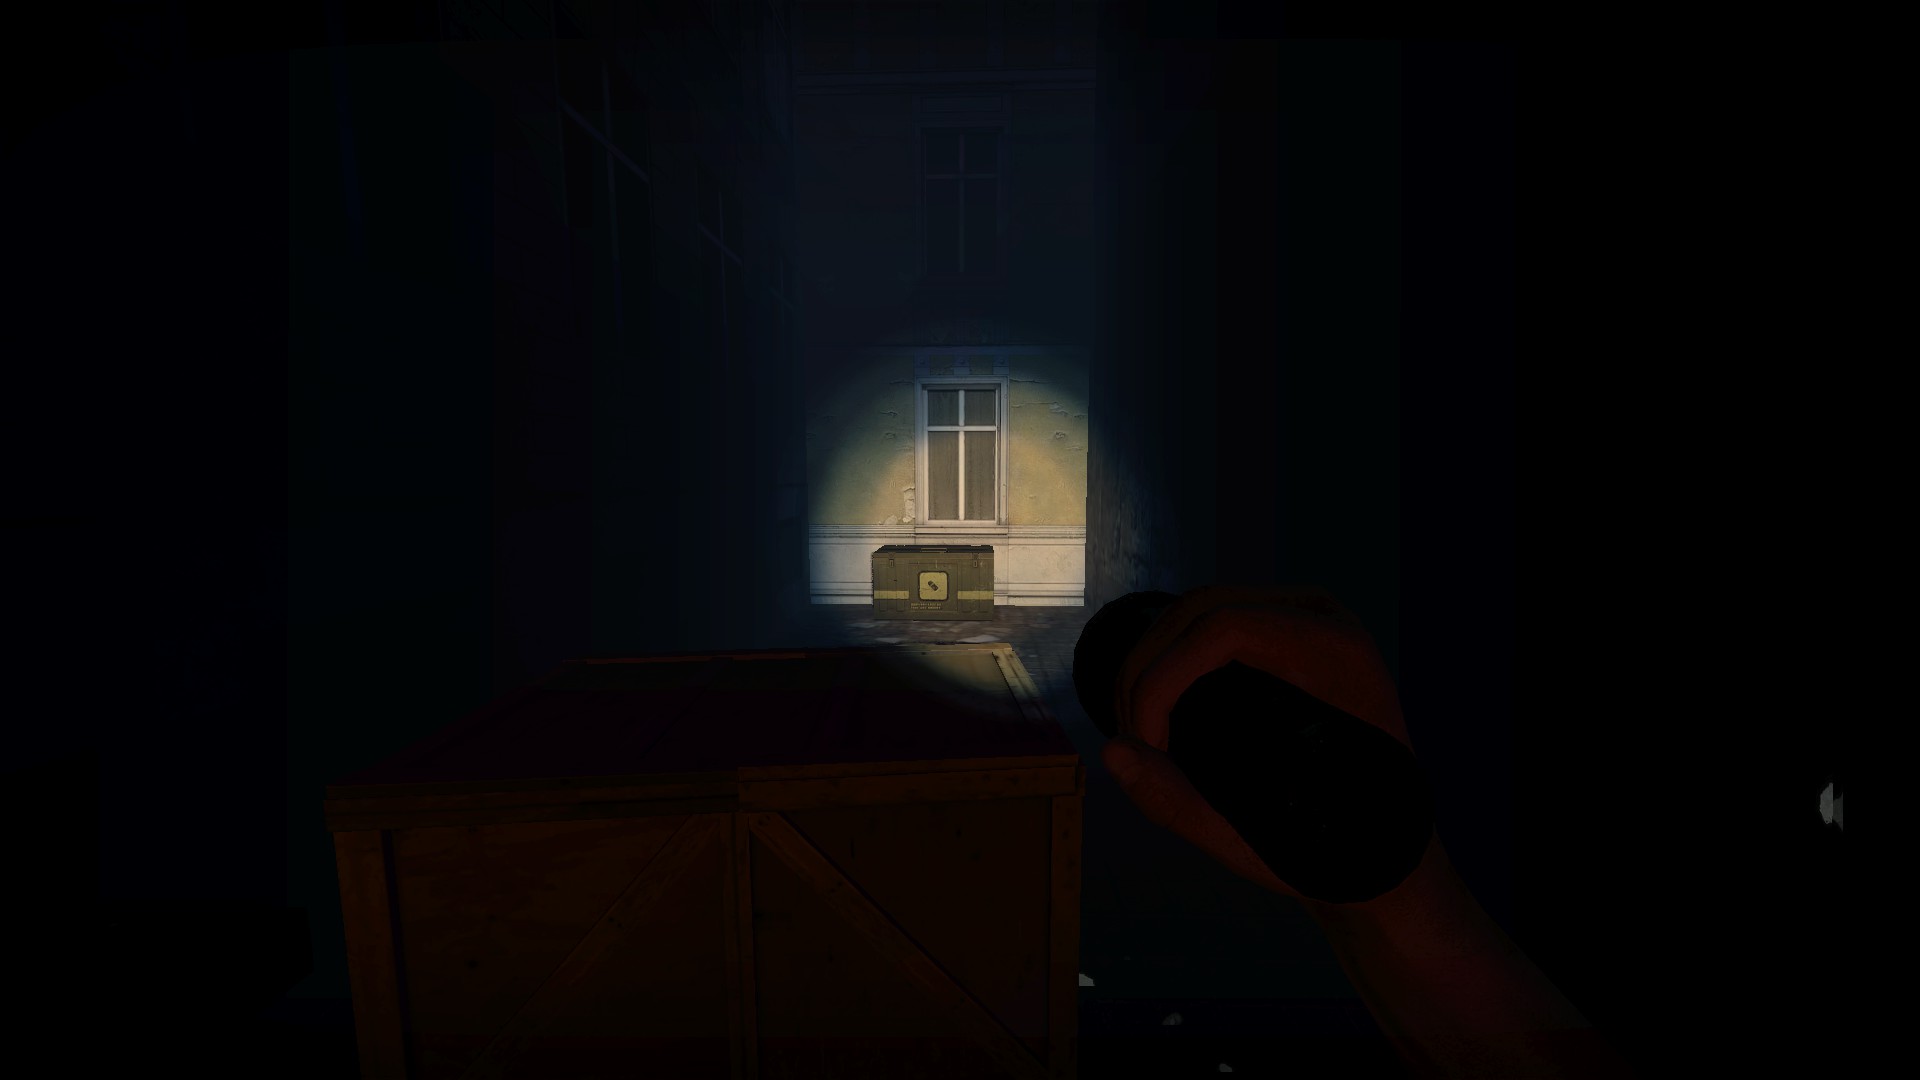
When you reach the truck with the weapon box, go right through the hedge to an area with a med kit, sniper rifle, and a resupply box
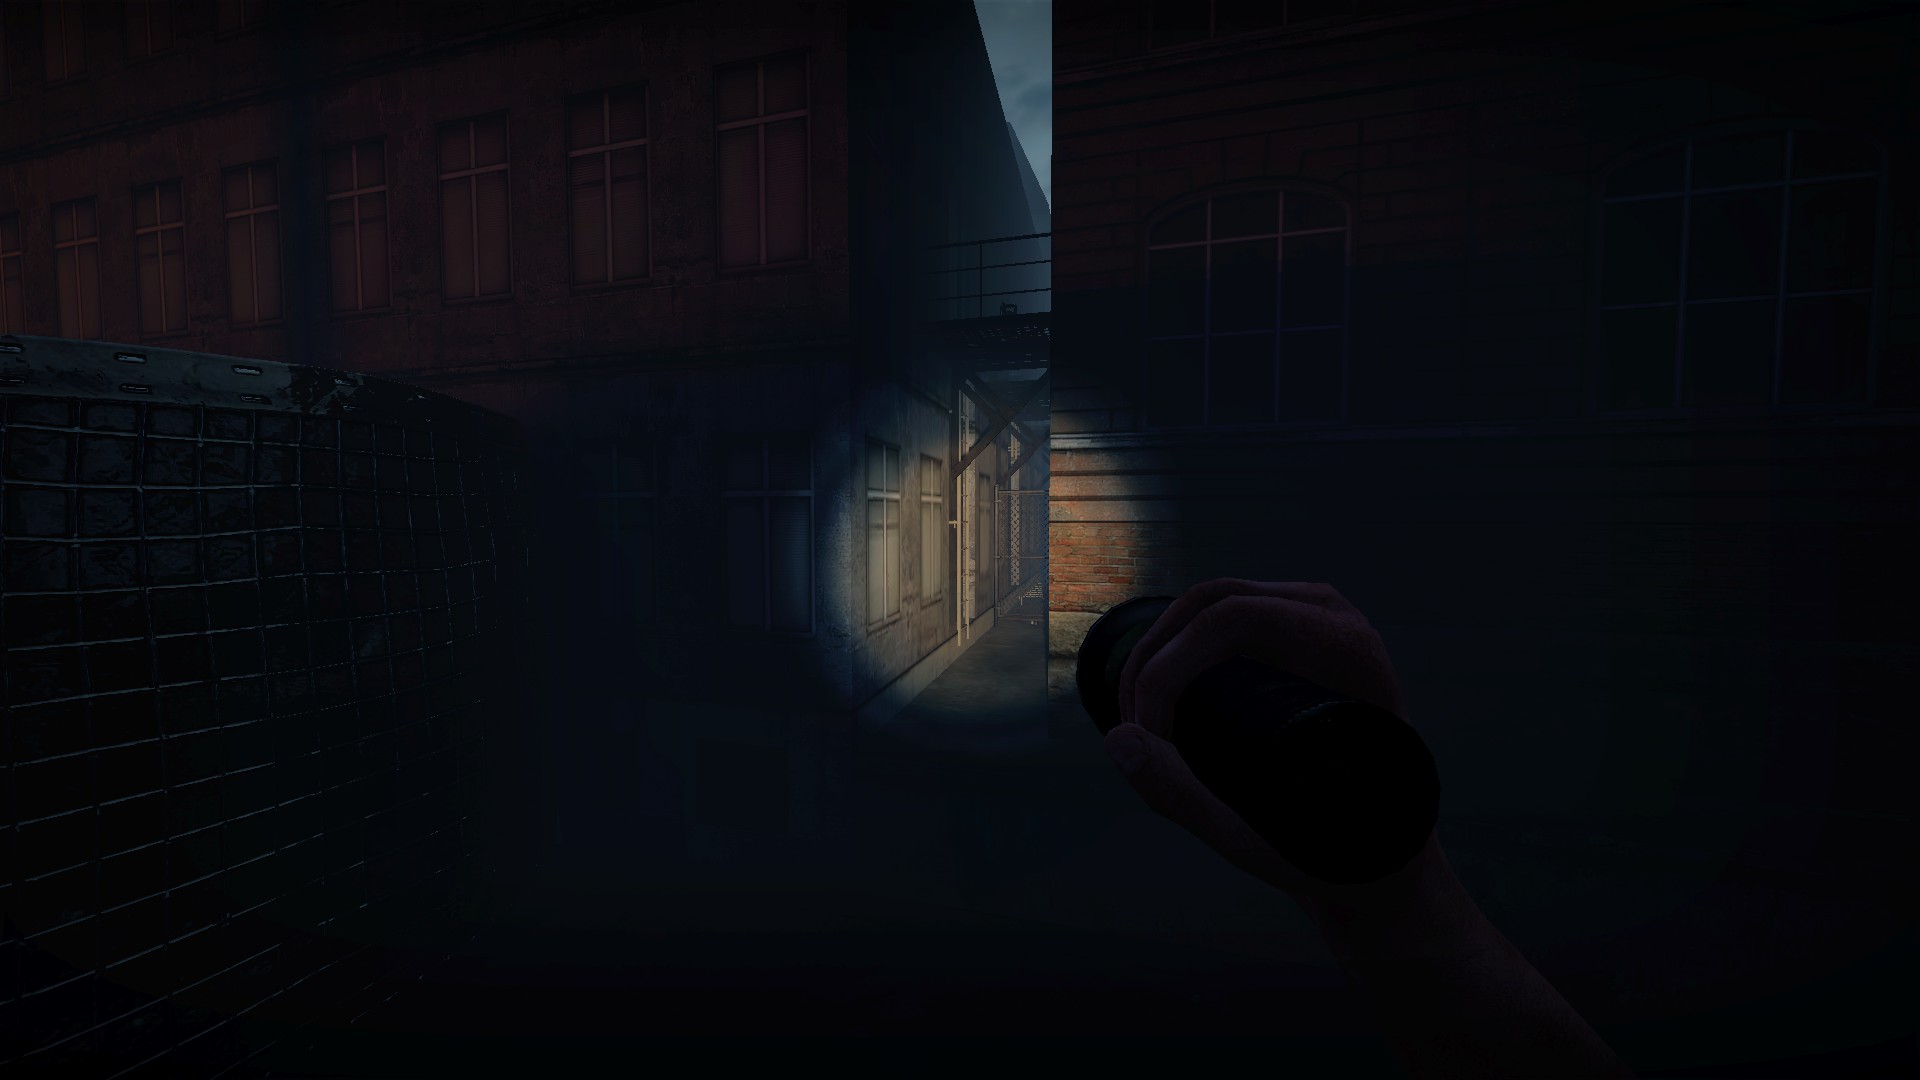
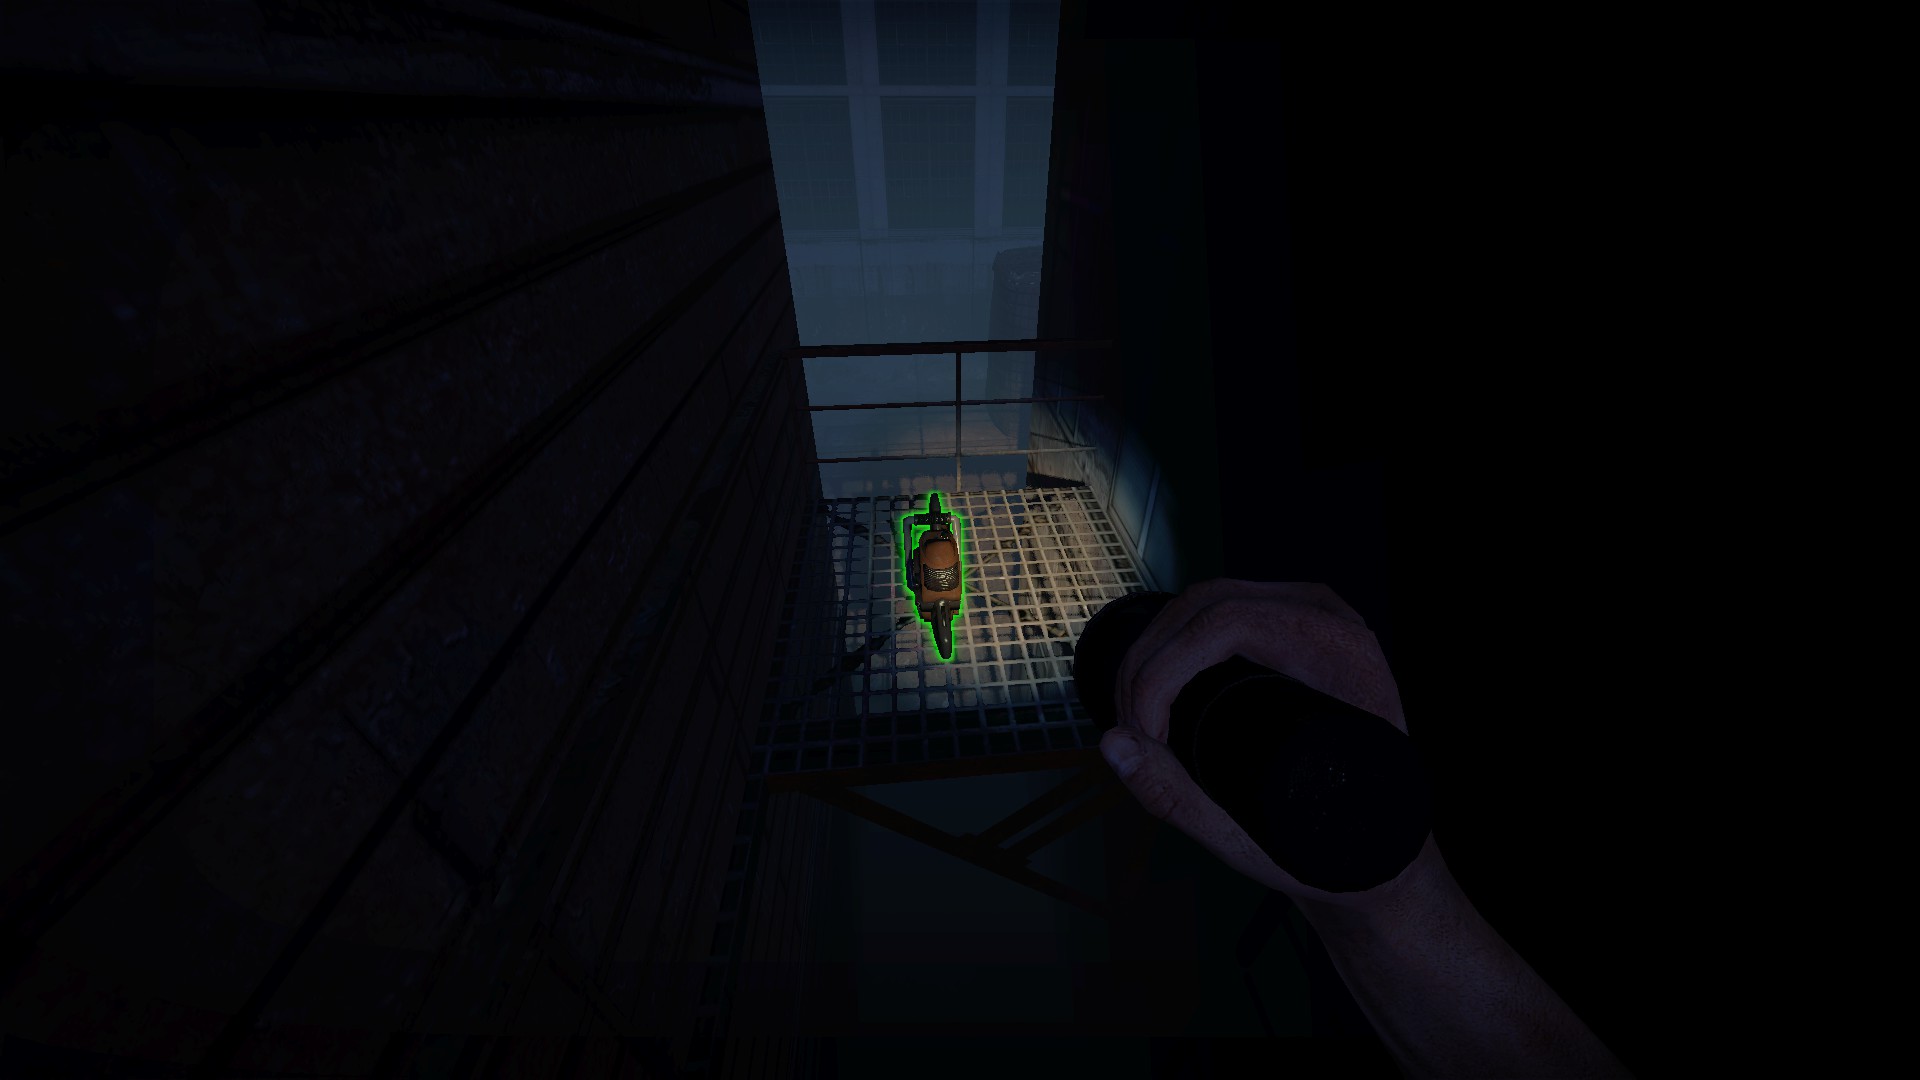
Just past the truck with the weapon box, look left for a small alley with a ladder. Climb the ladder for a chainsaw
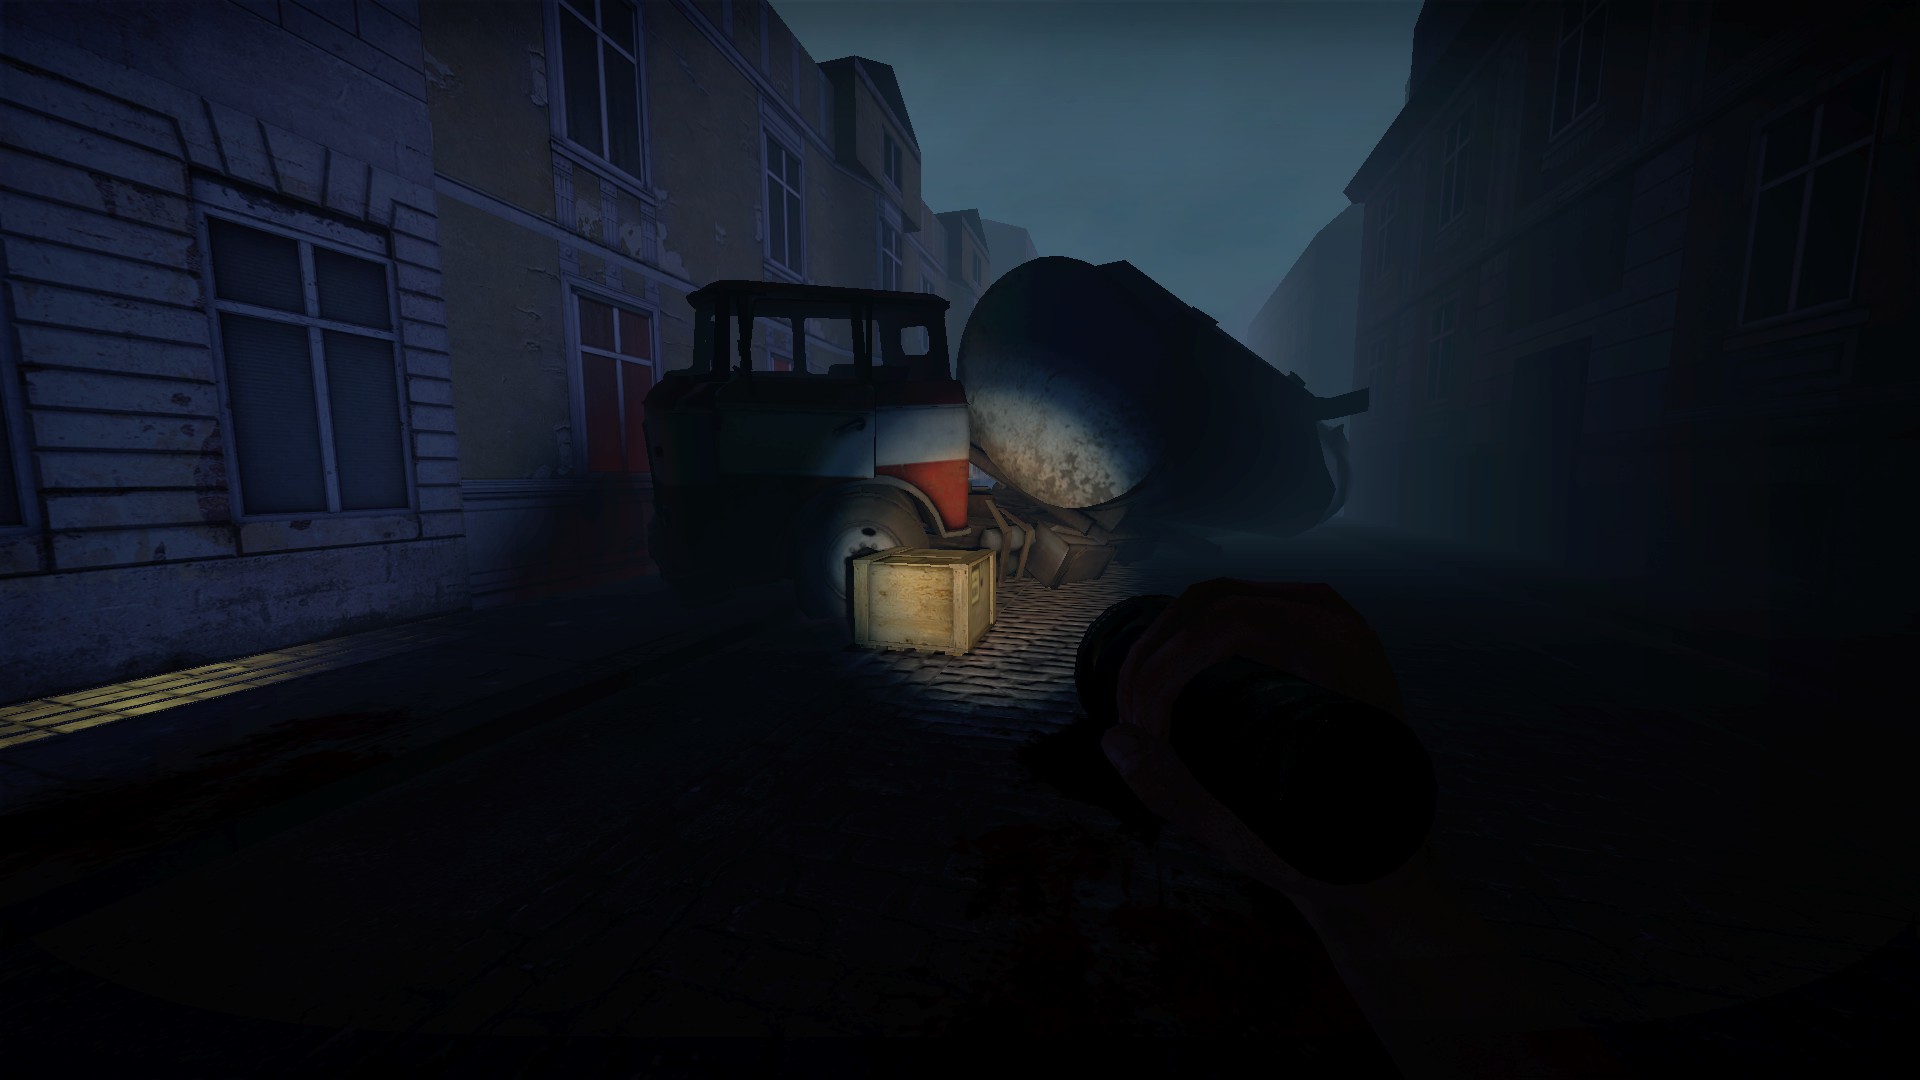
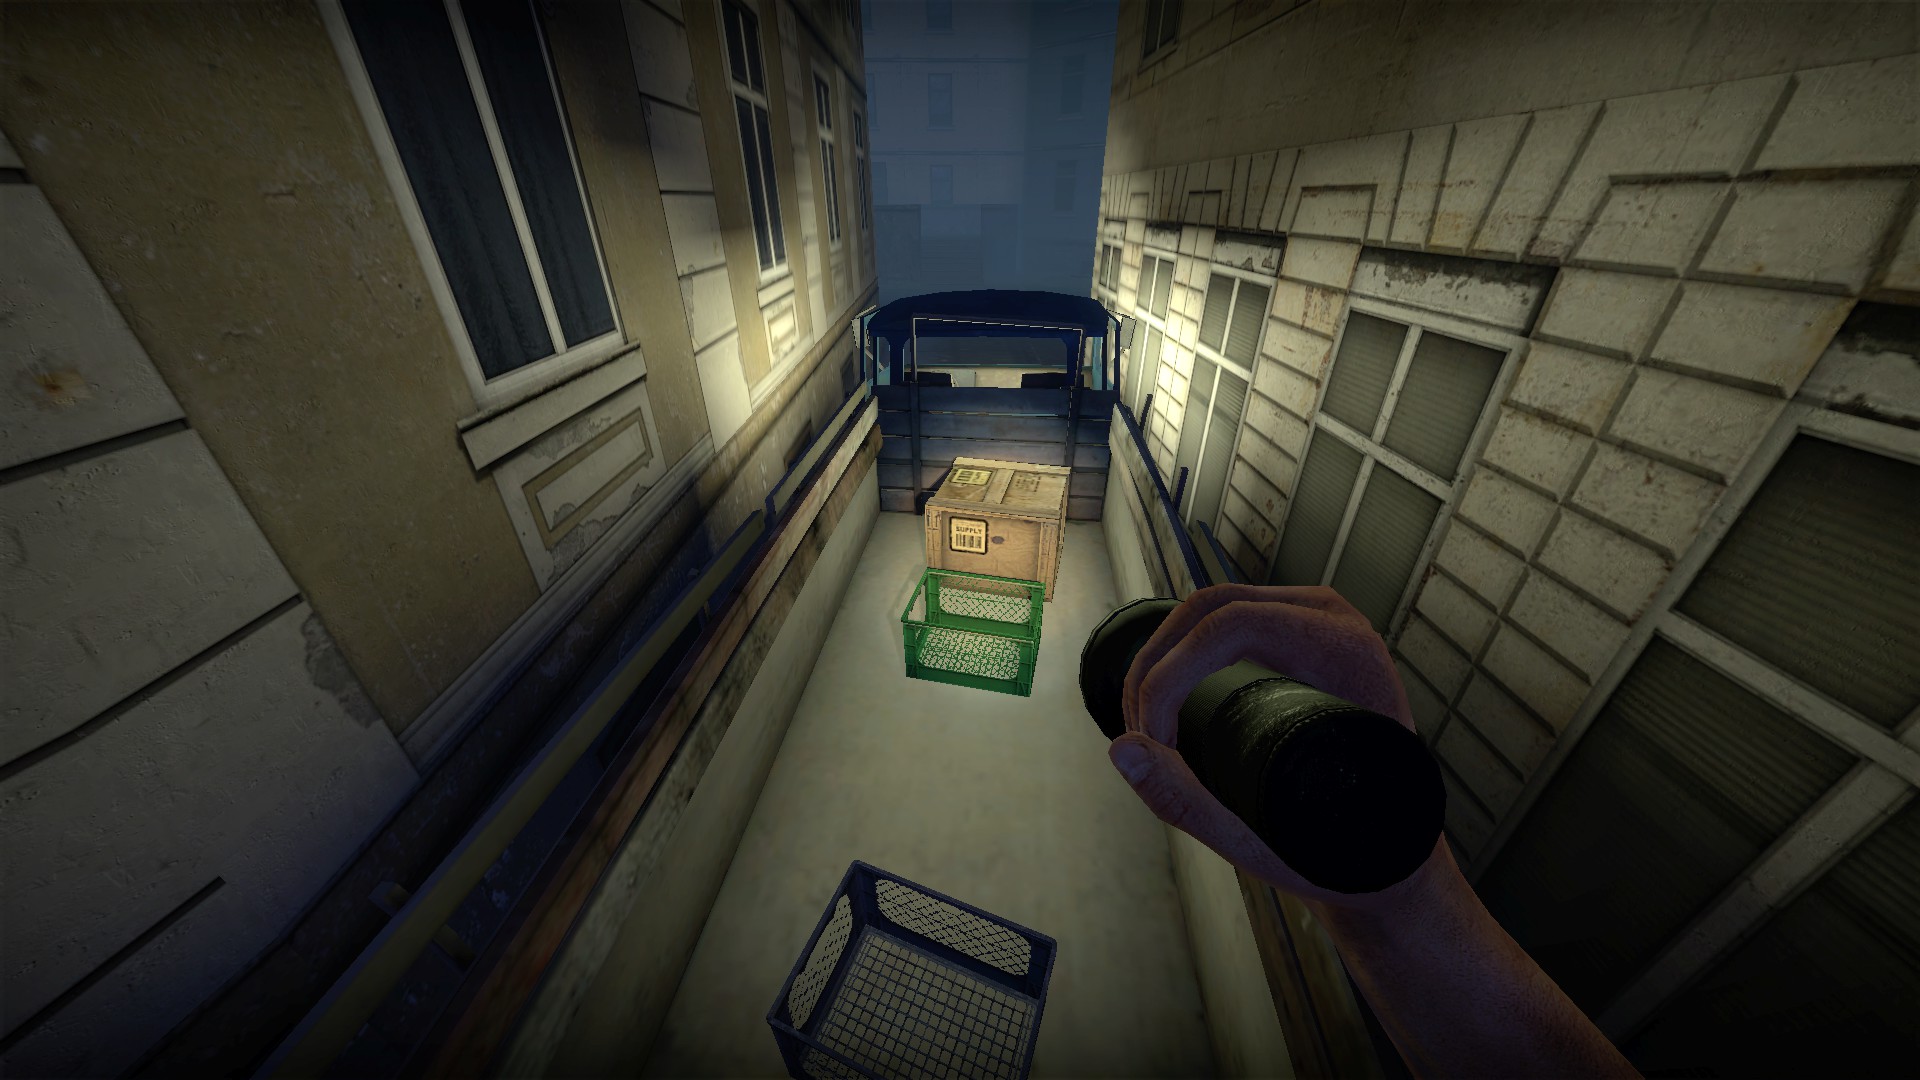
When the path splits, keep going straight for 2 resupply boxes, 1 on the street and 1 in the truck bed
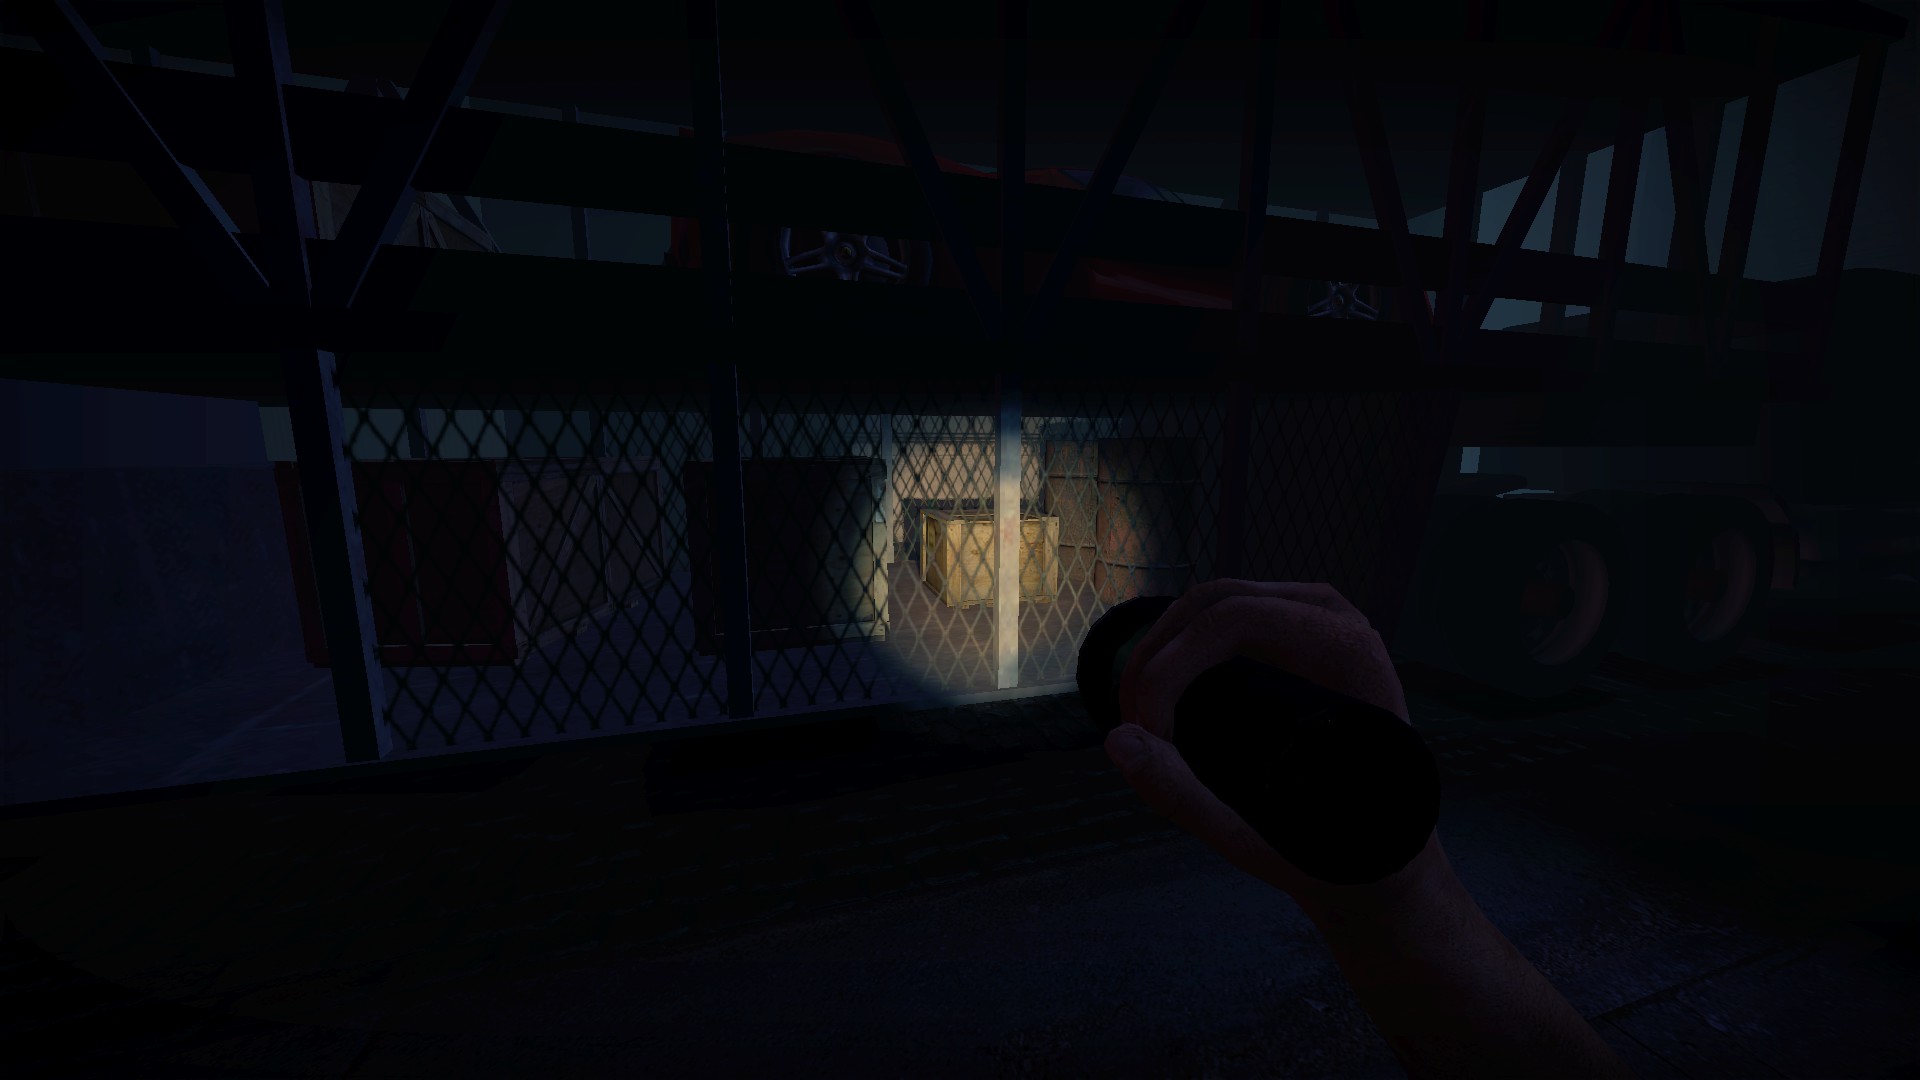
There is a resupply box on the 2nd car hauler's lower shelf
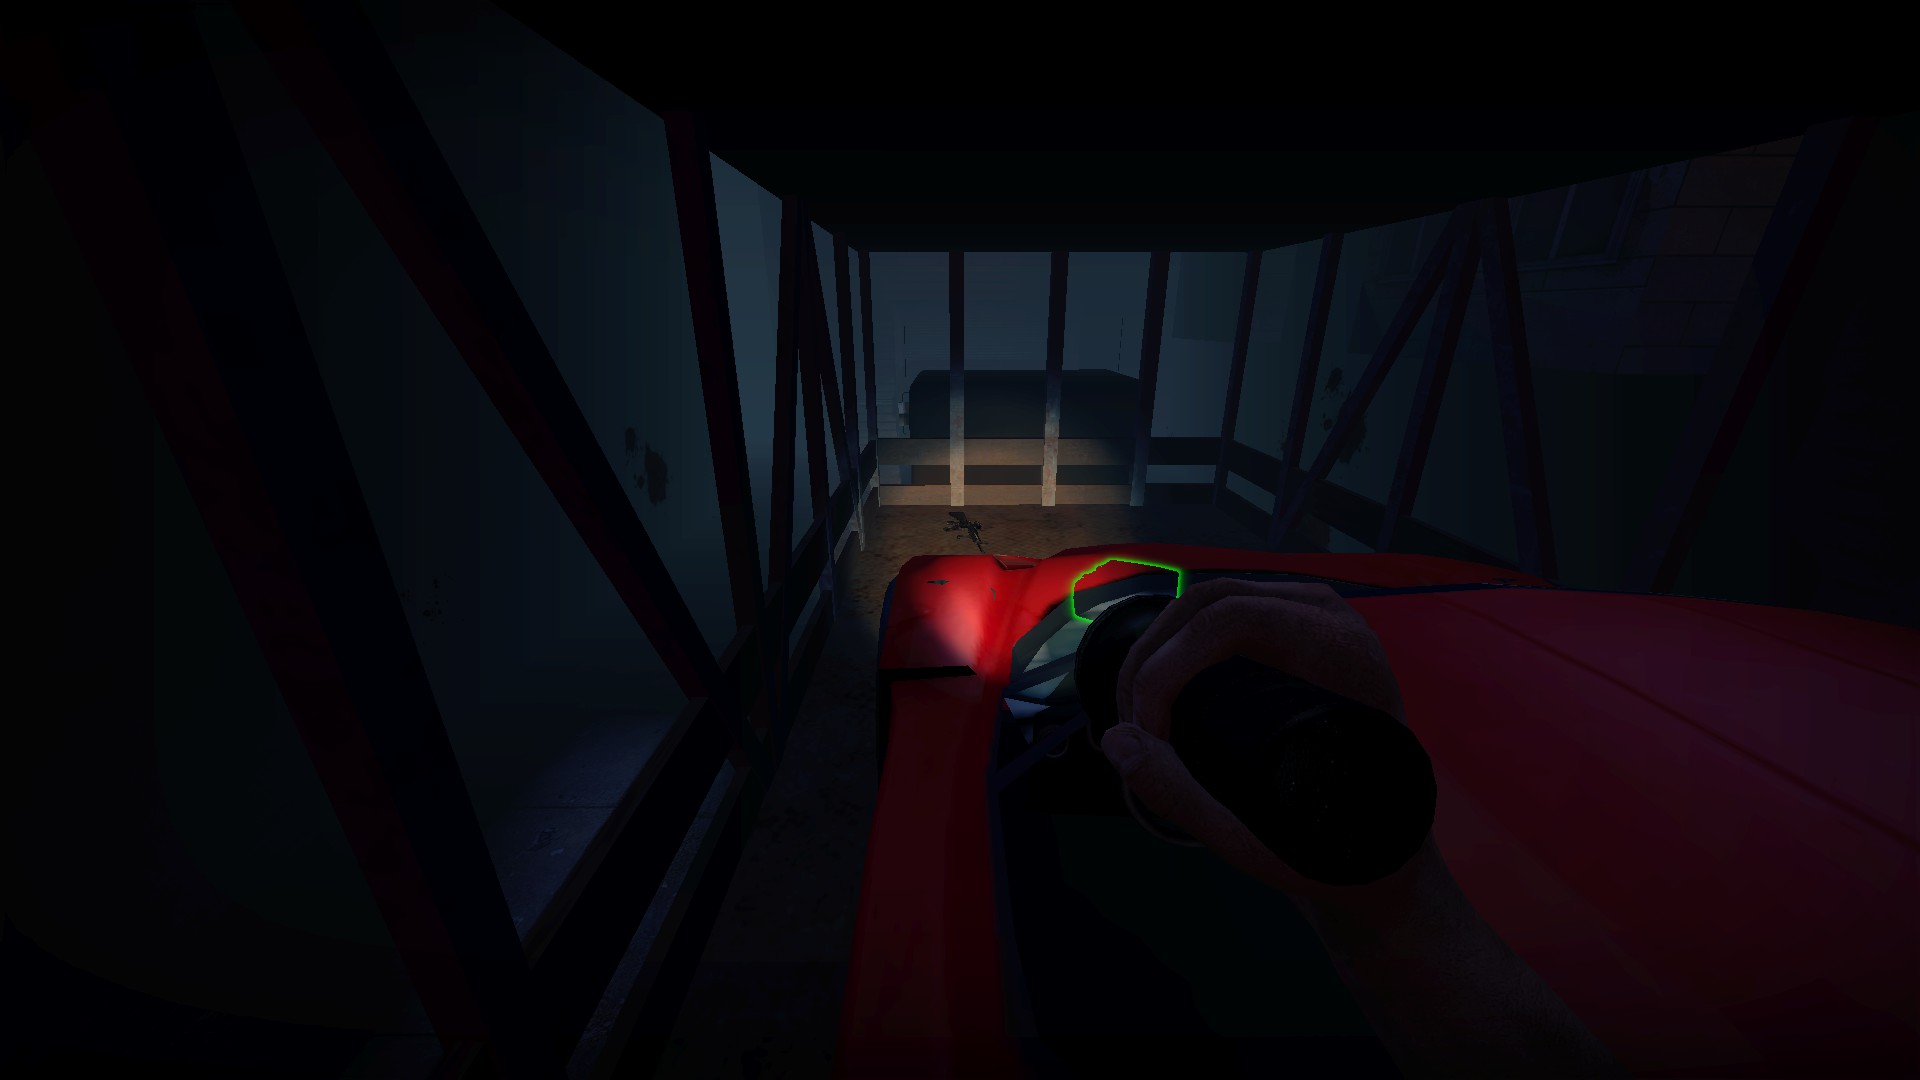
Climb over the vehicles on the top of the car hauler for more supplies
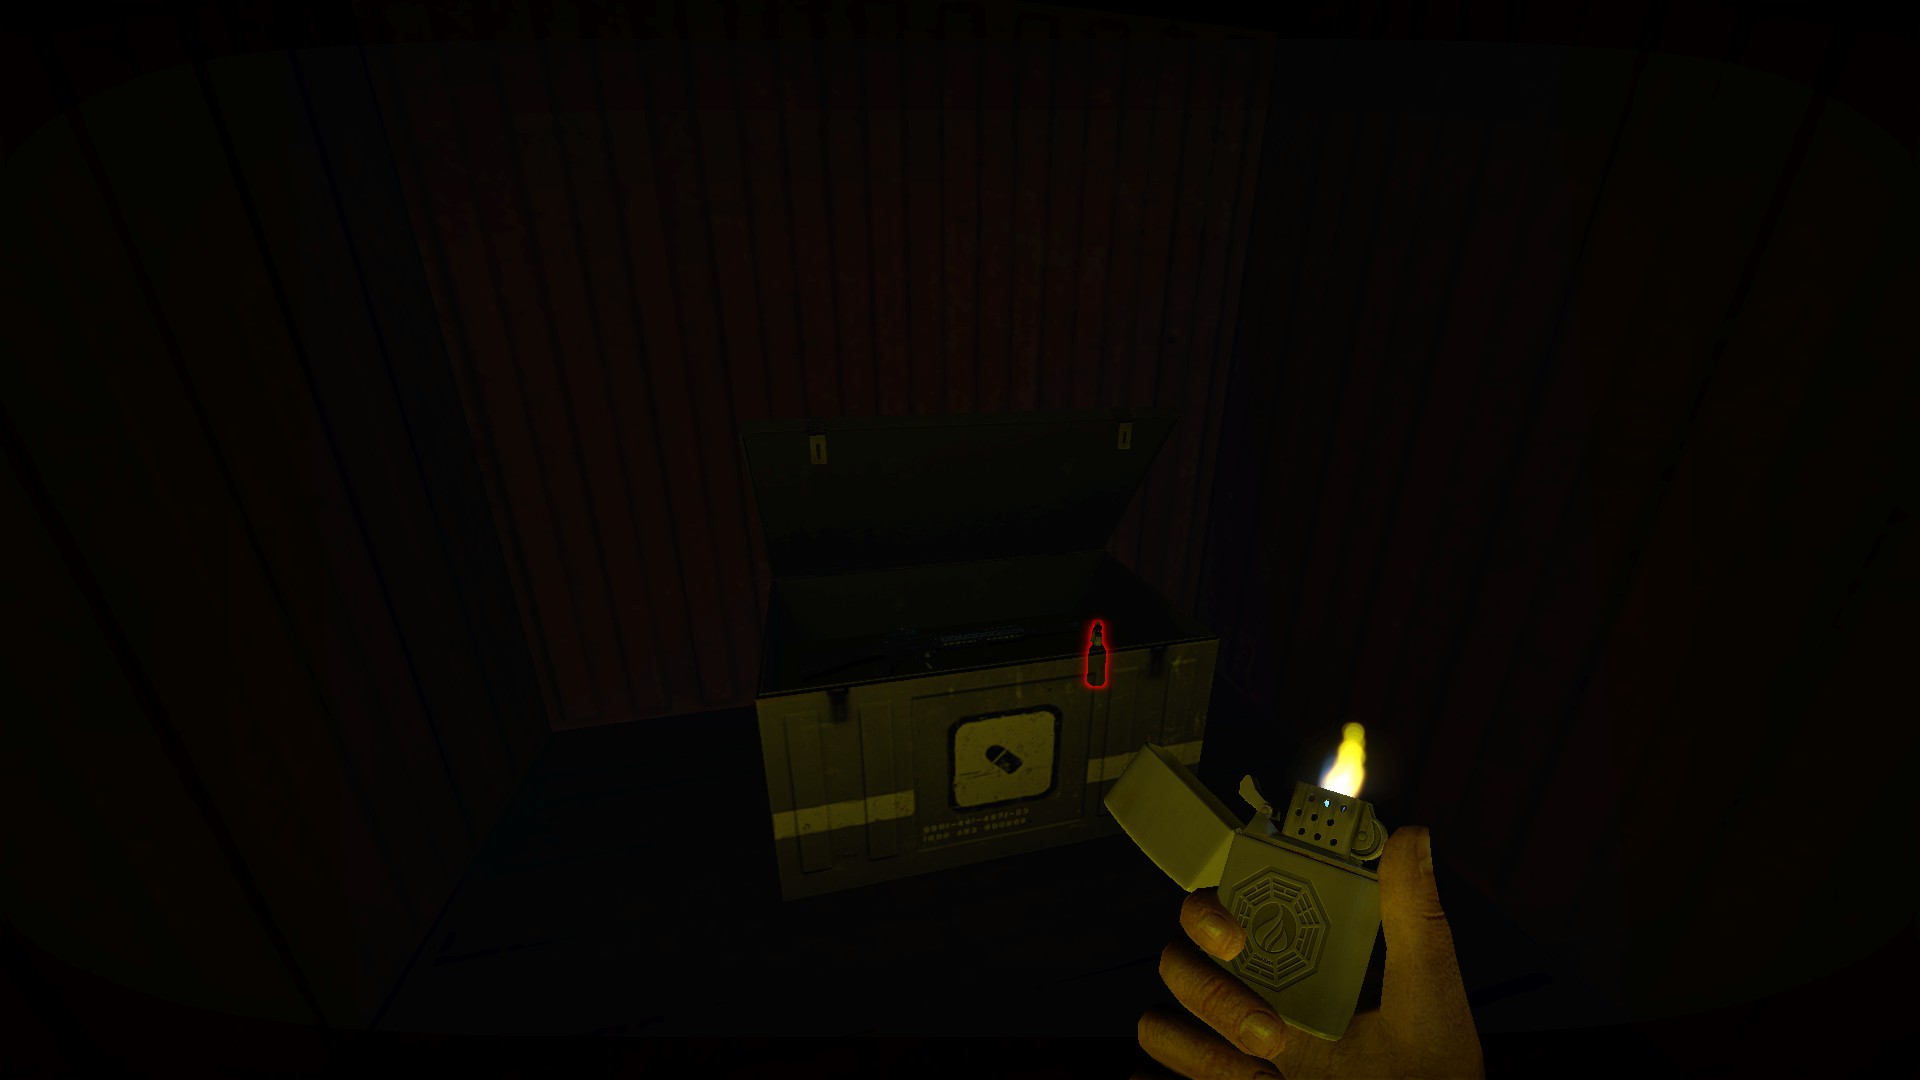
Near the end there is a box of supplies hidden in a container
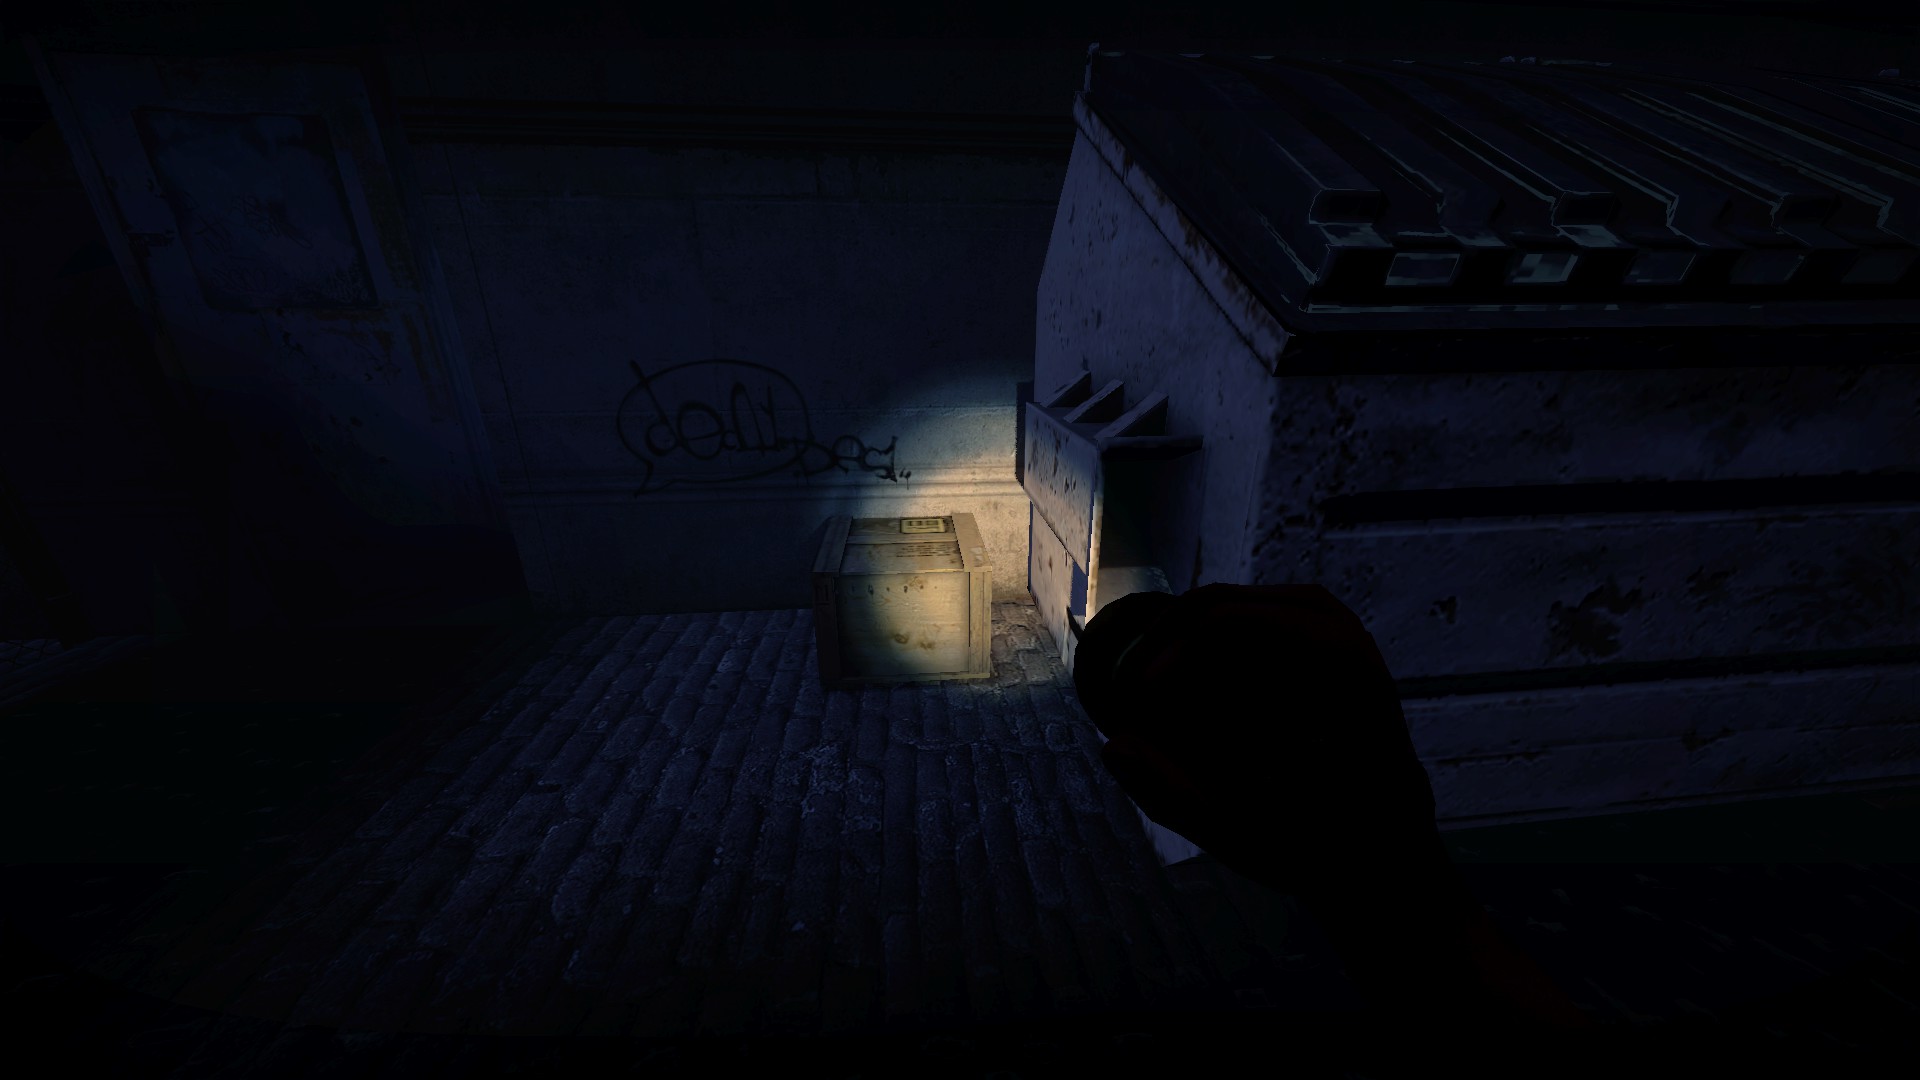
A resupply box behind the dumpster
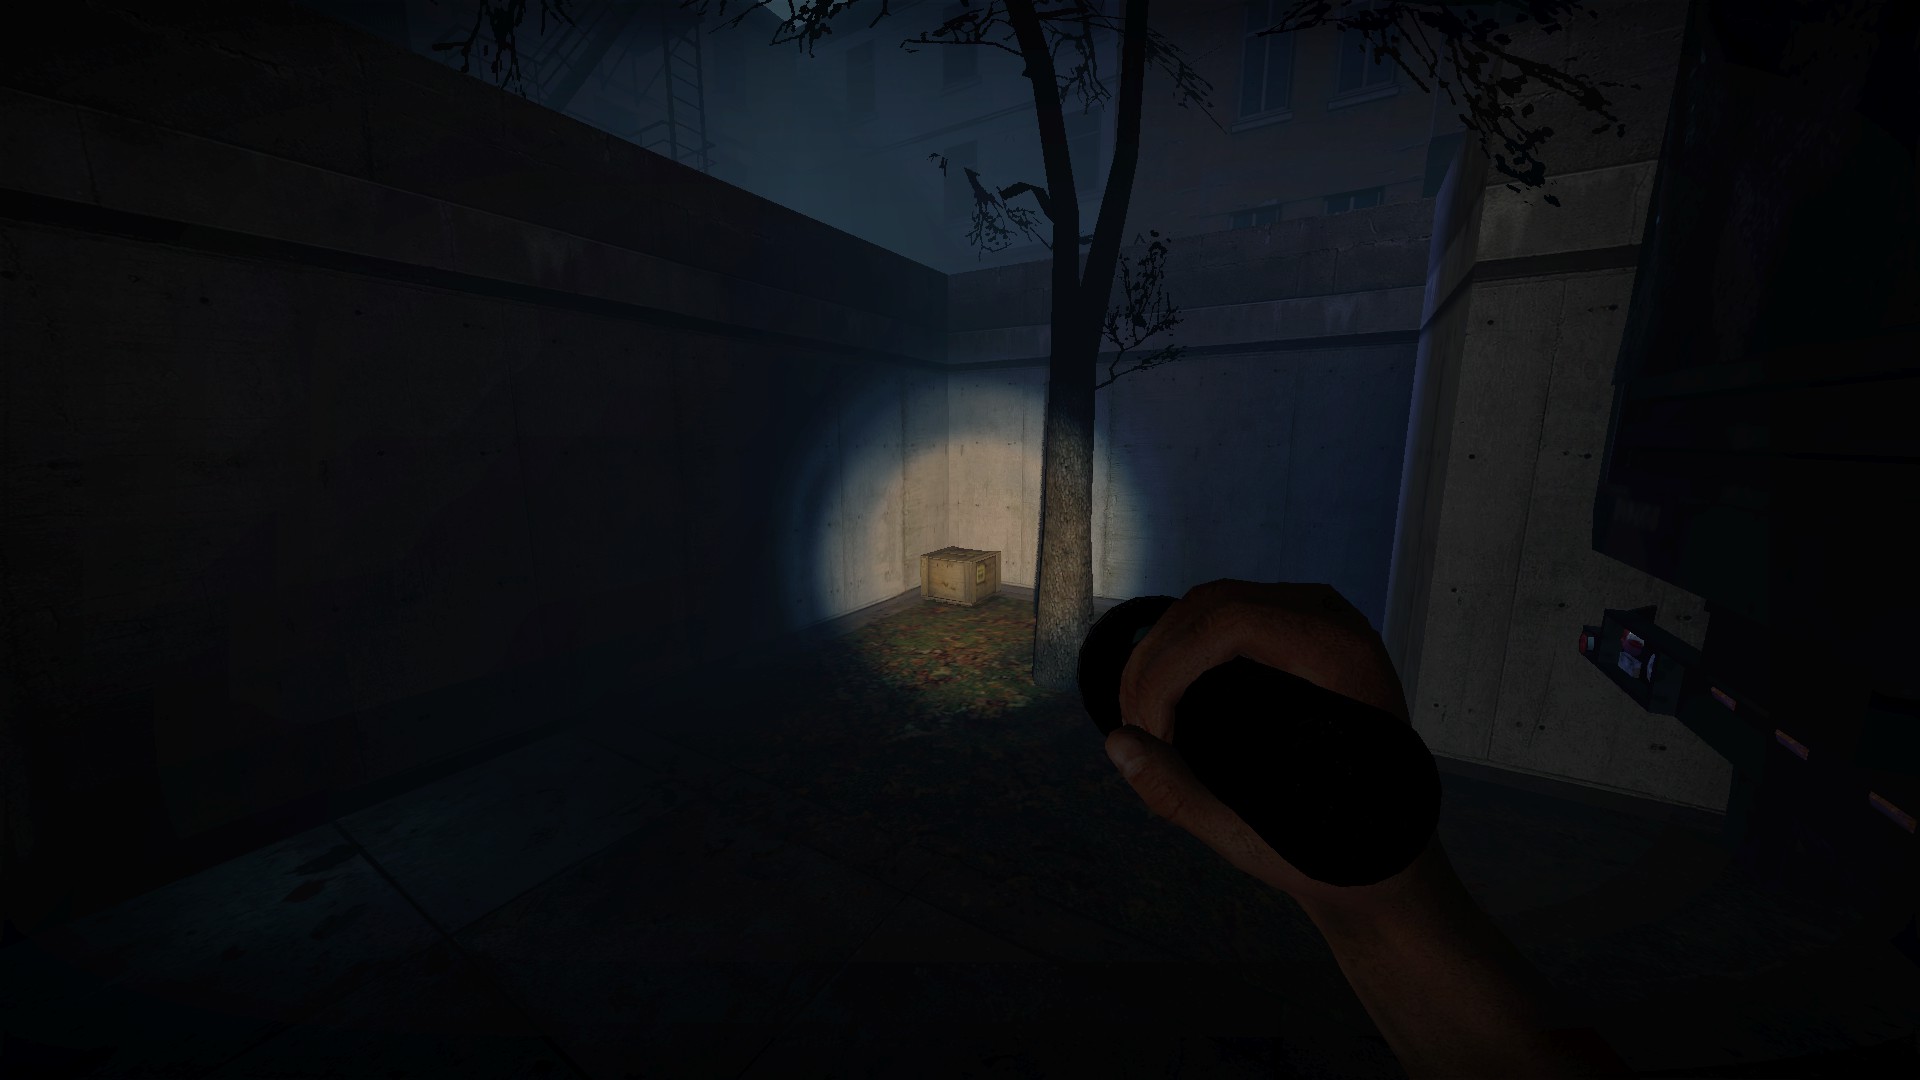
And another resupply box behind the truck in the ending area
Xmas reskin presents
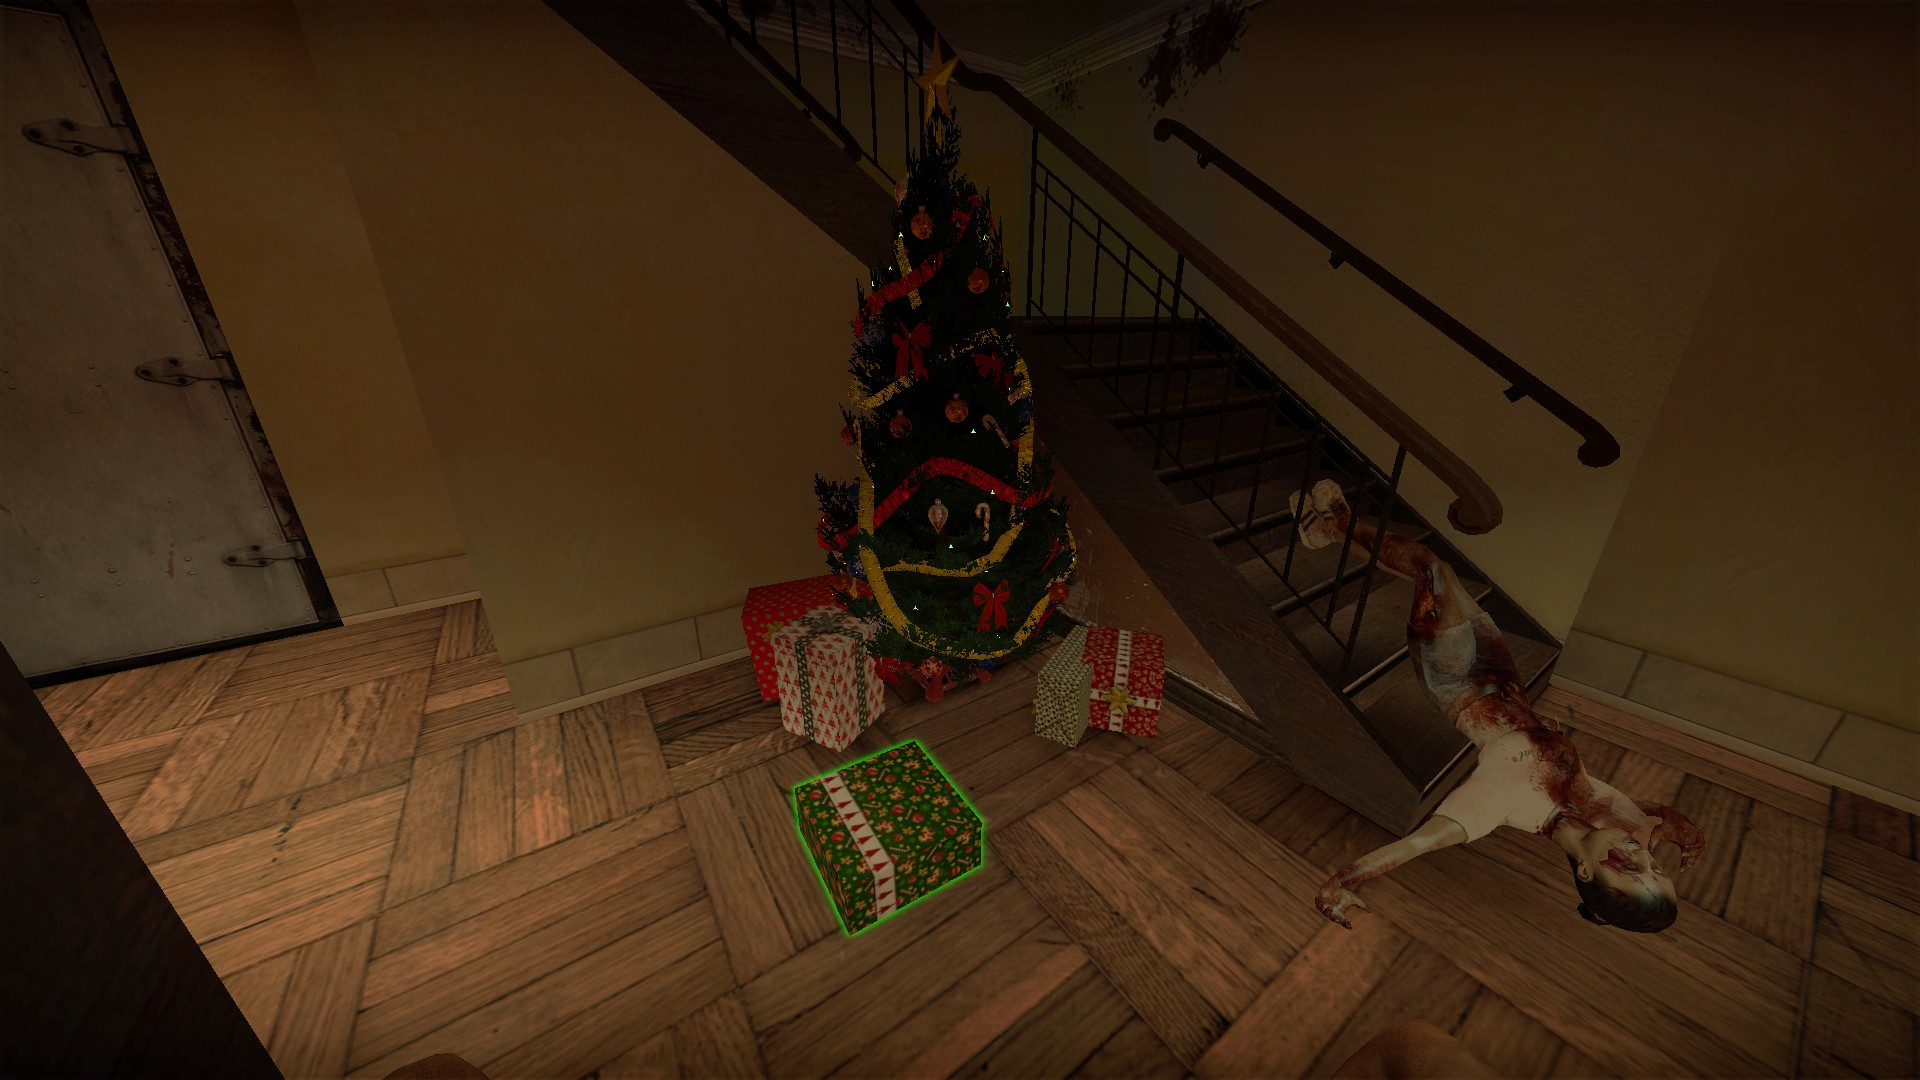
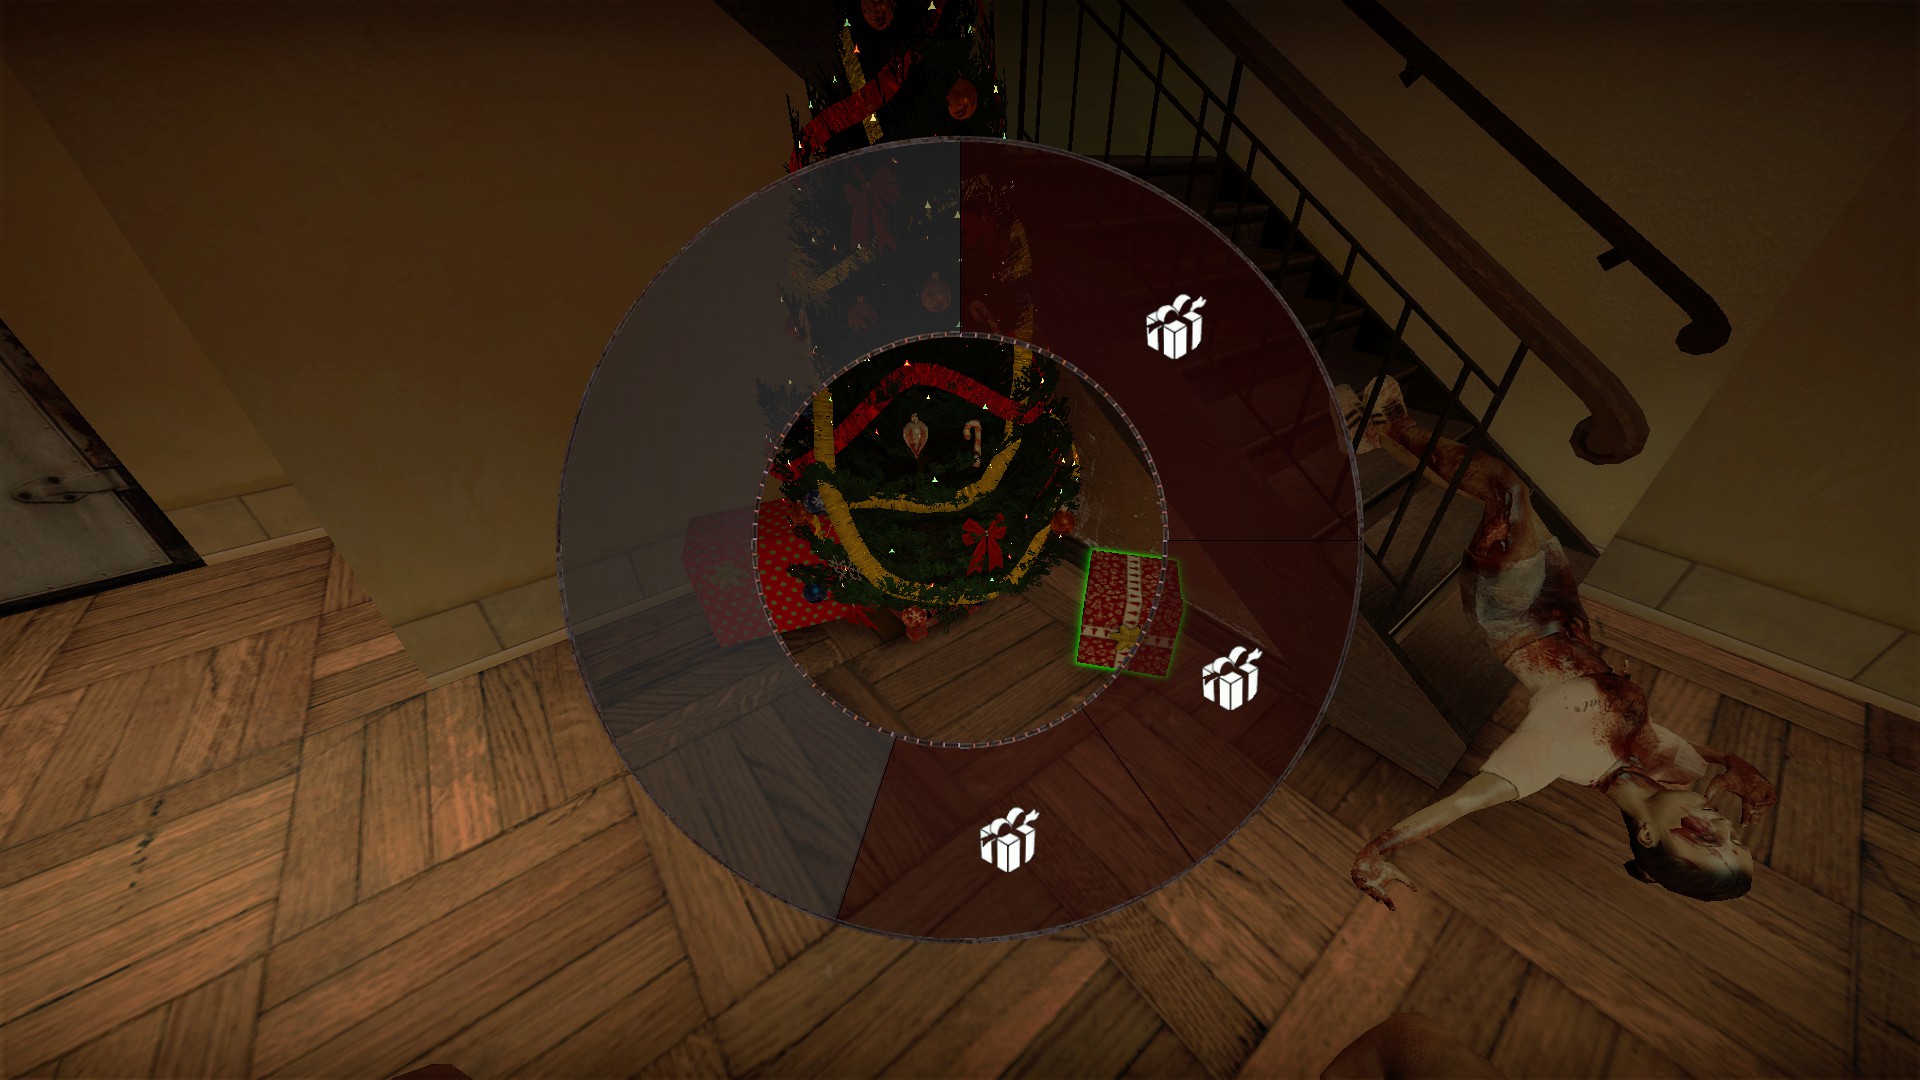
In the xmas reskin, open presents in your inventory by holding 1 and pressing lmb on the present. Prtesents are different sizes in inventory and will drop a random item
nmo_waterfront_bloodfog
Bell tower
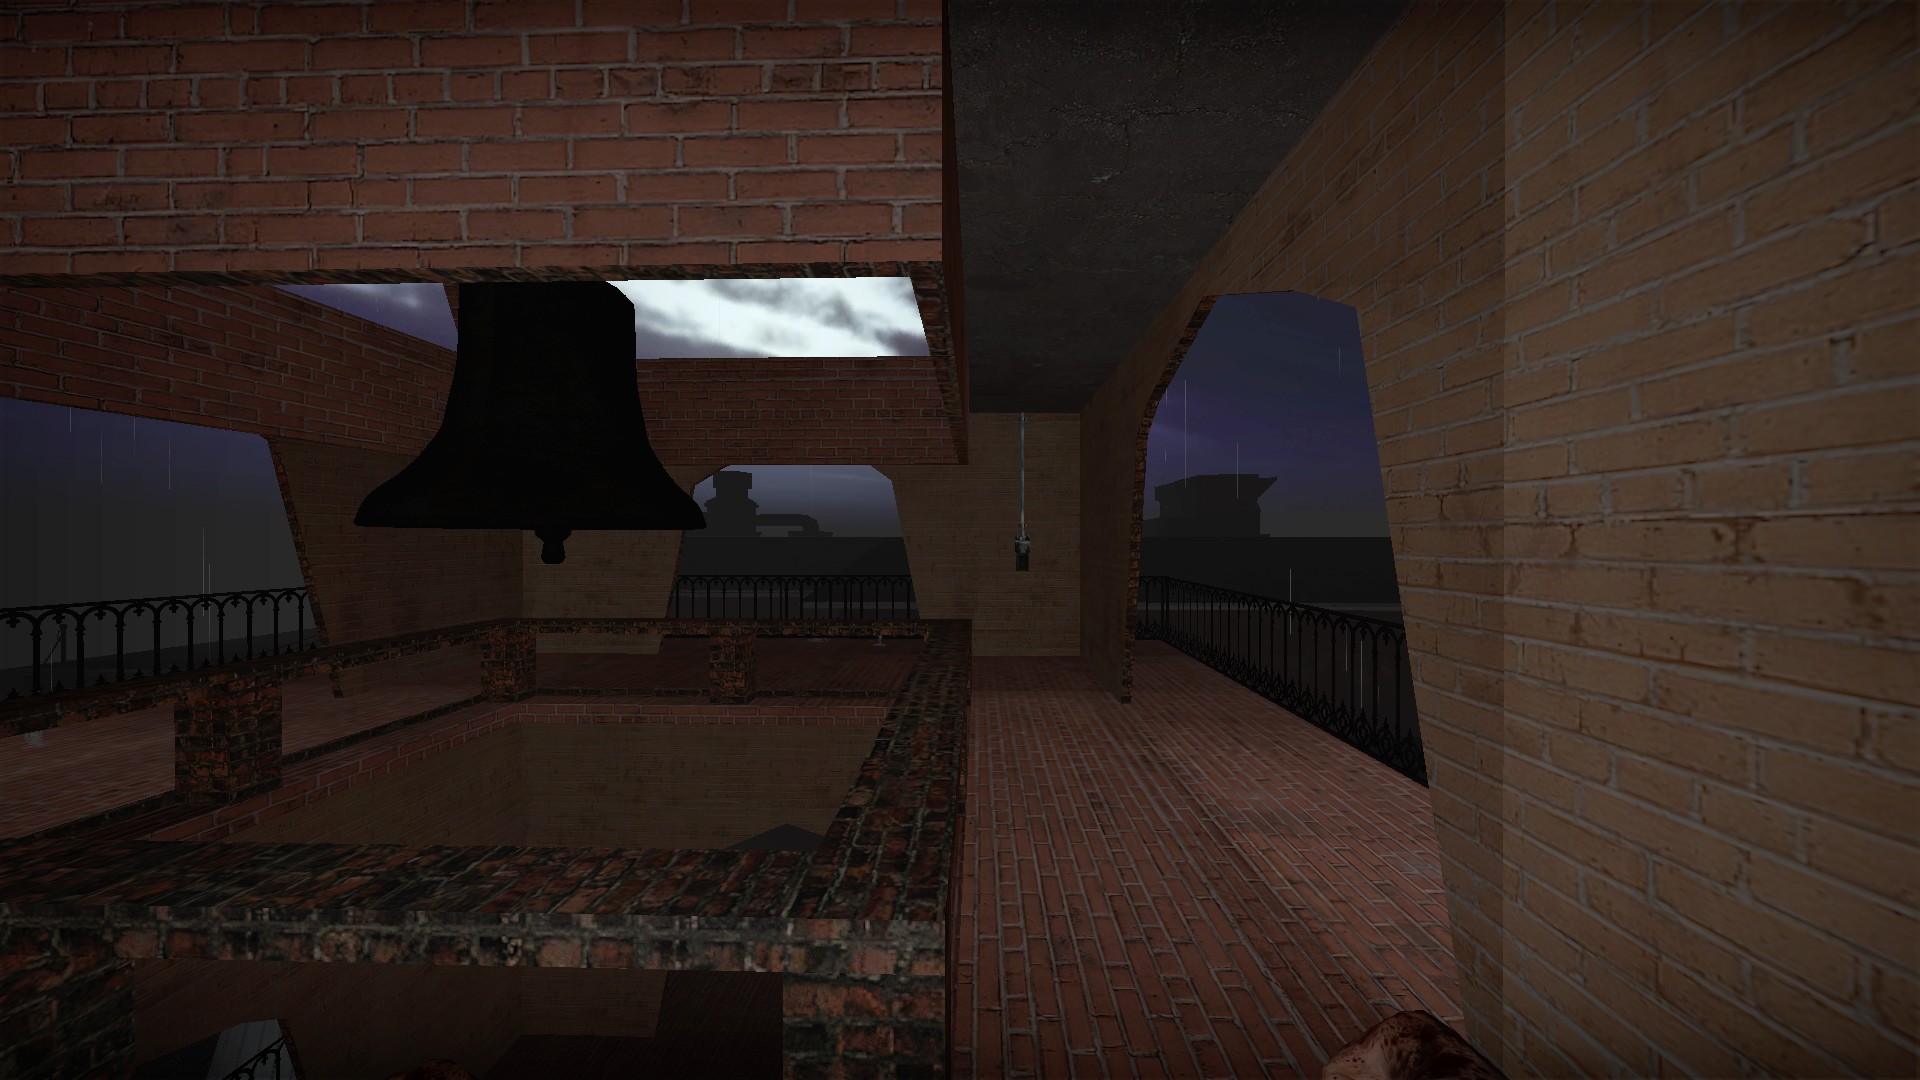
You can press the button in the bell tower to ring the bell. It will summon a horde of runners
Weapon box stash
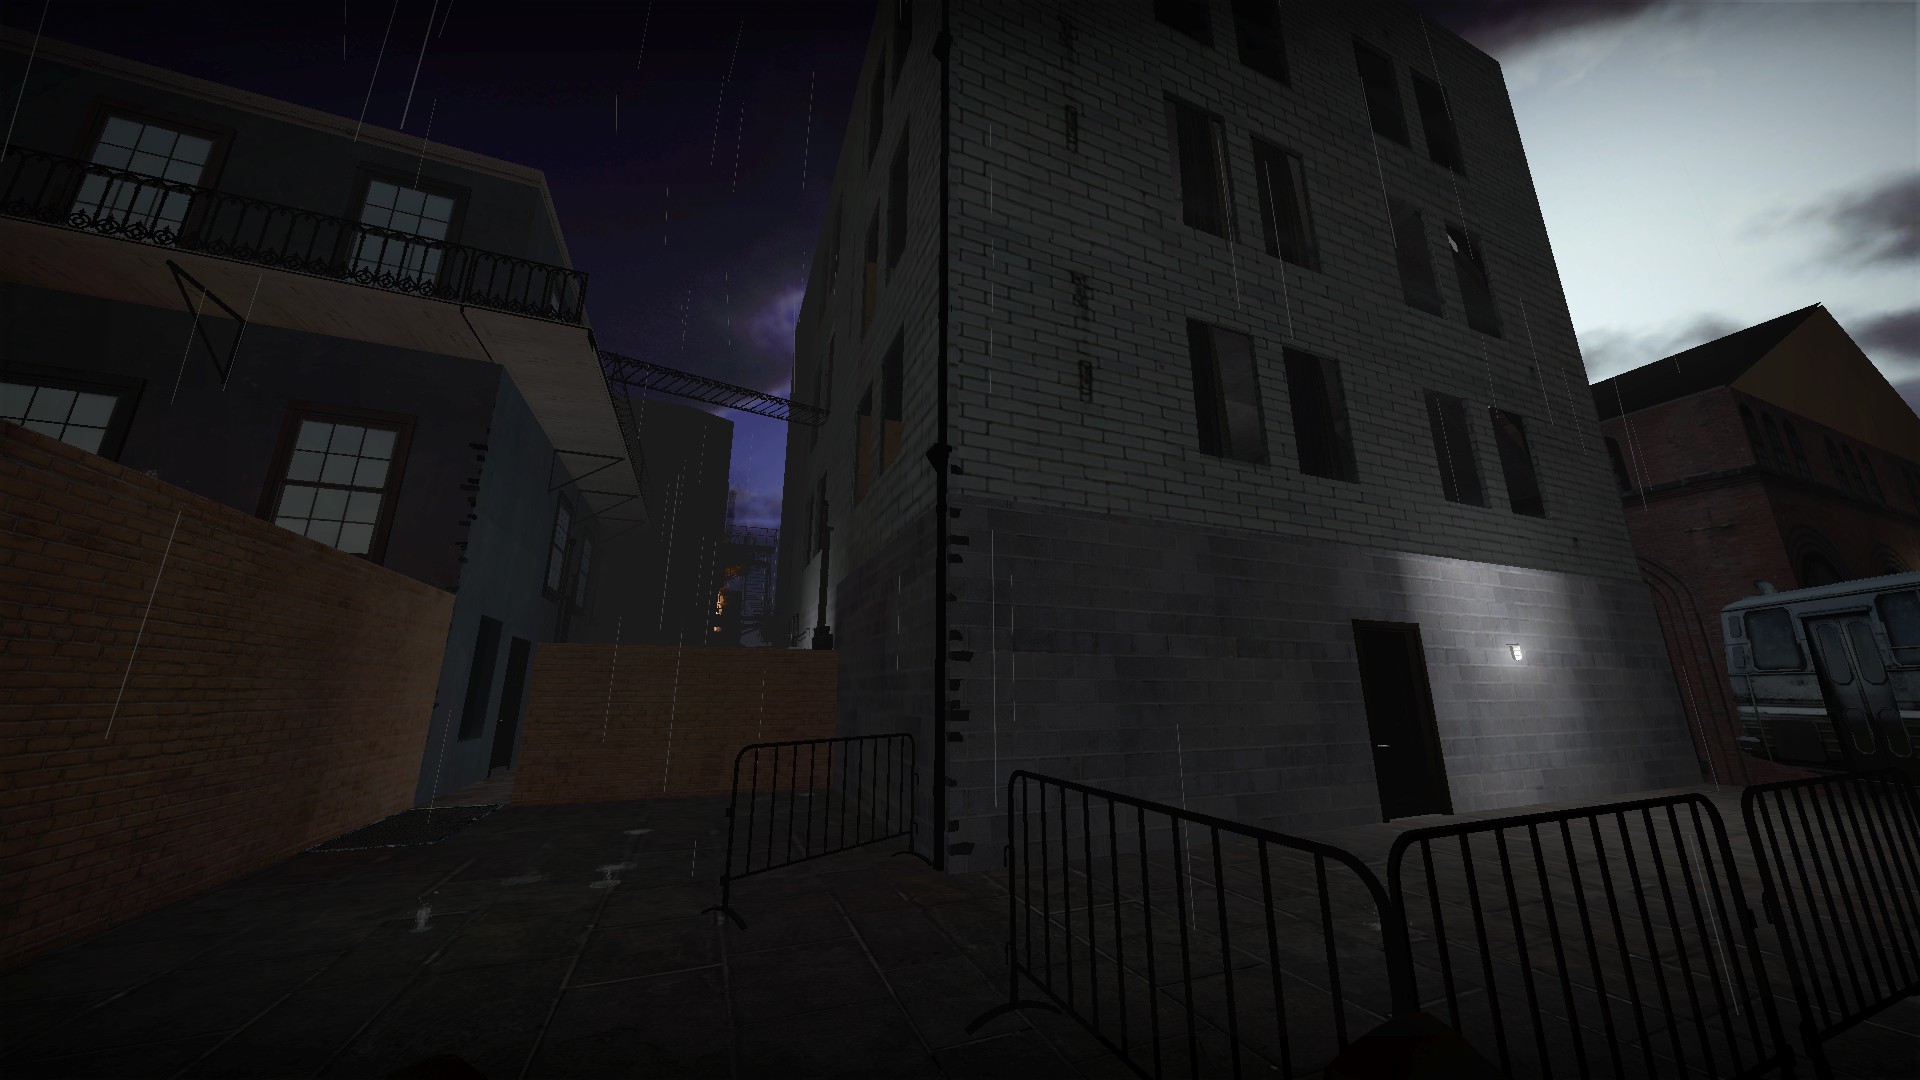
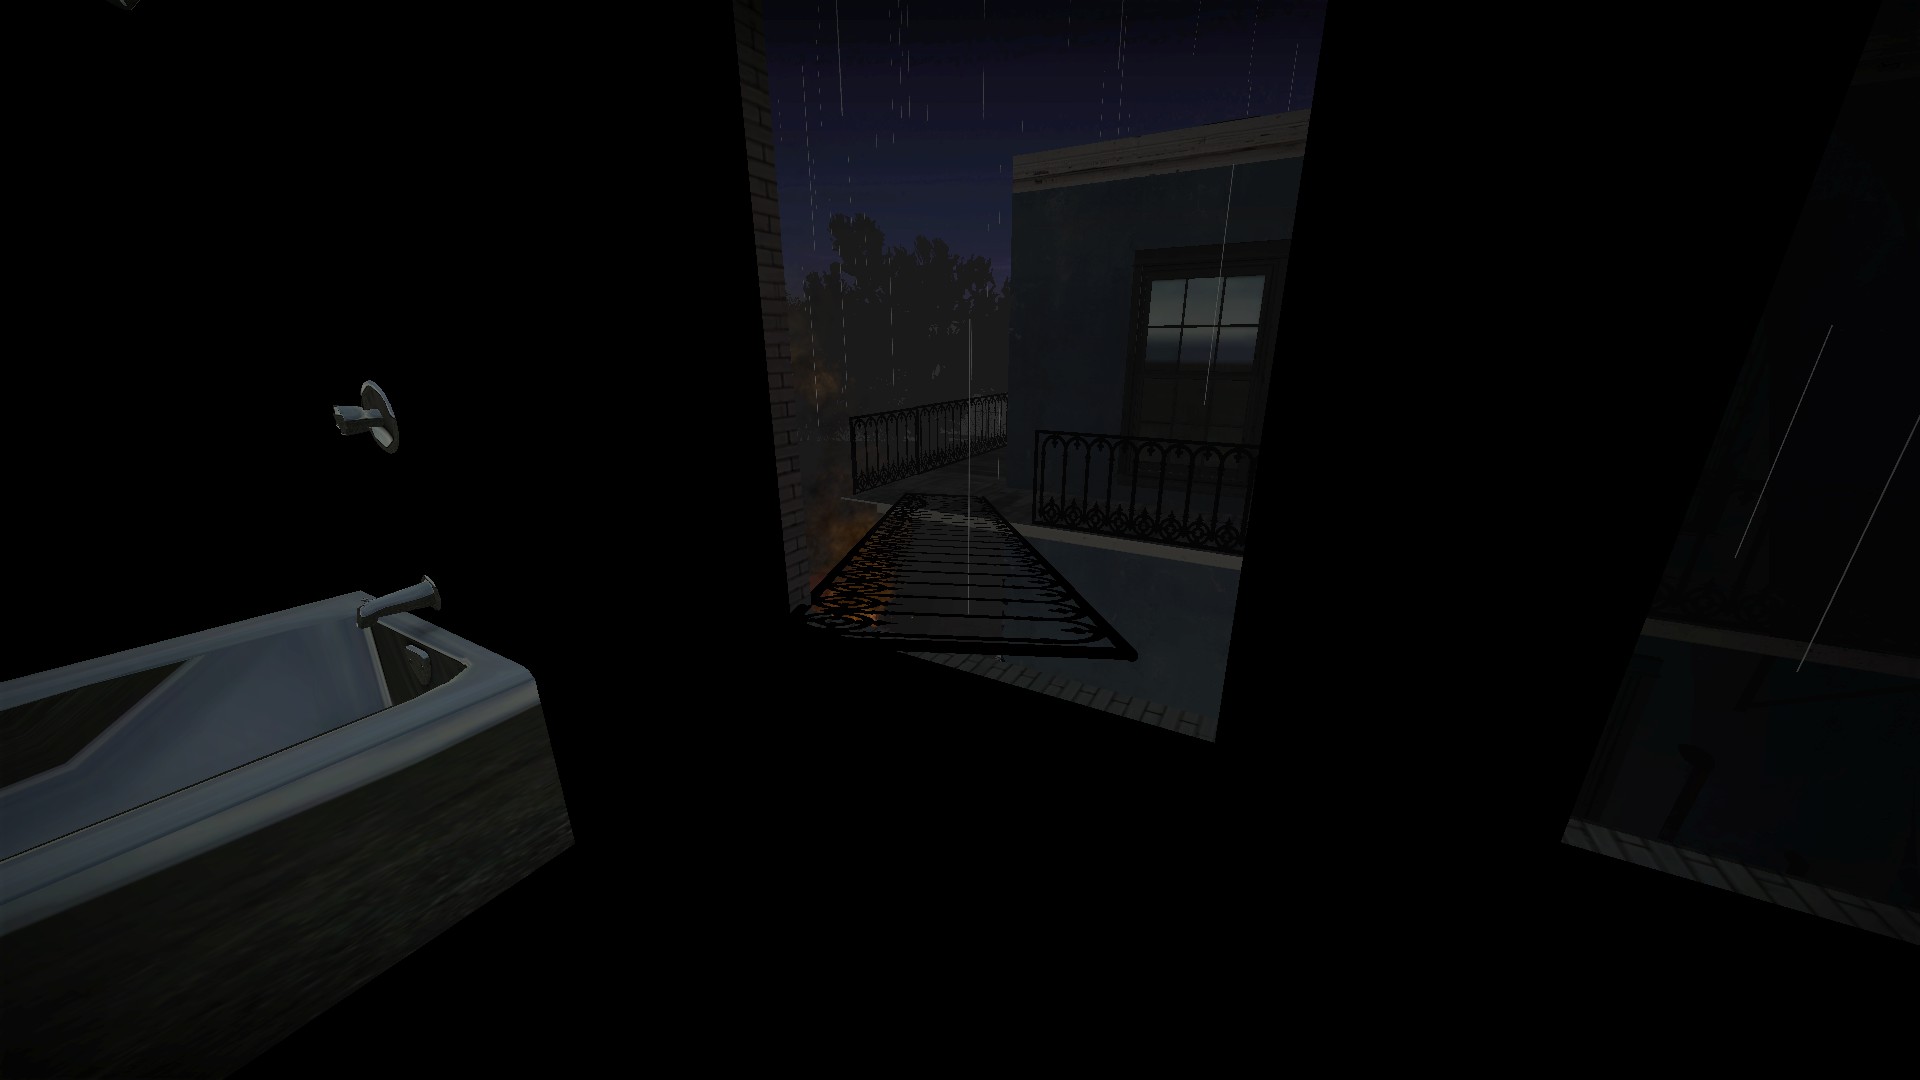
Go to the tall gray building facing the park. Head up to the third floor. One of the bathrooms there has a broken window and a fence that bridges to the next building
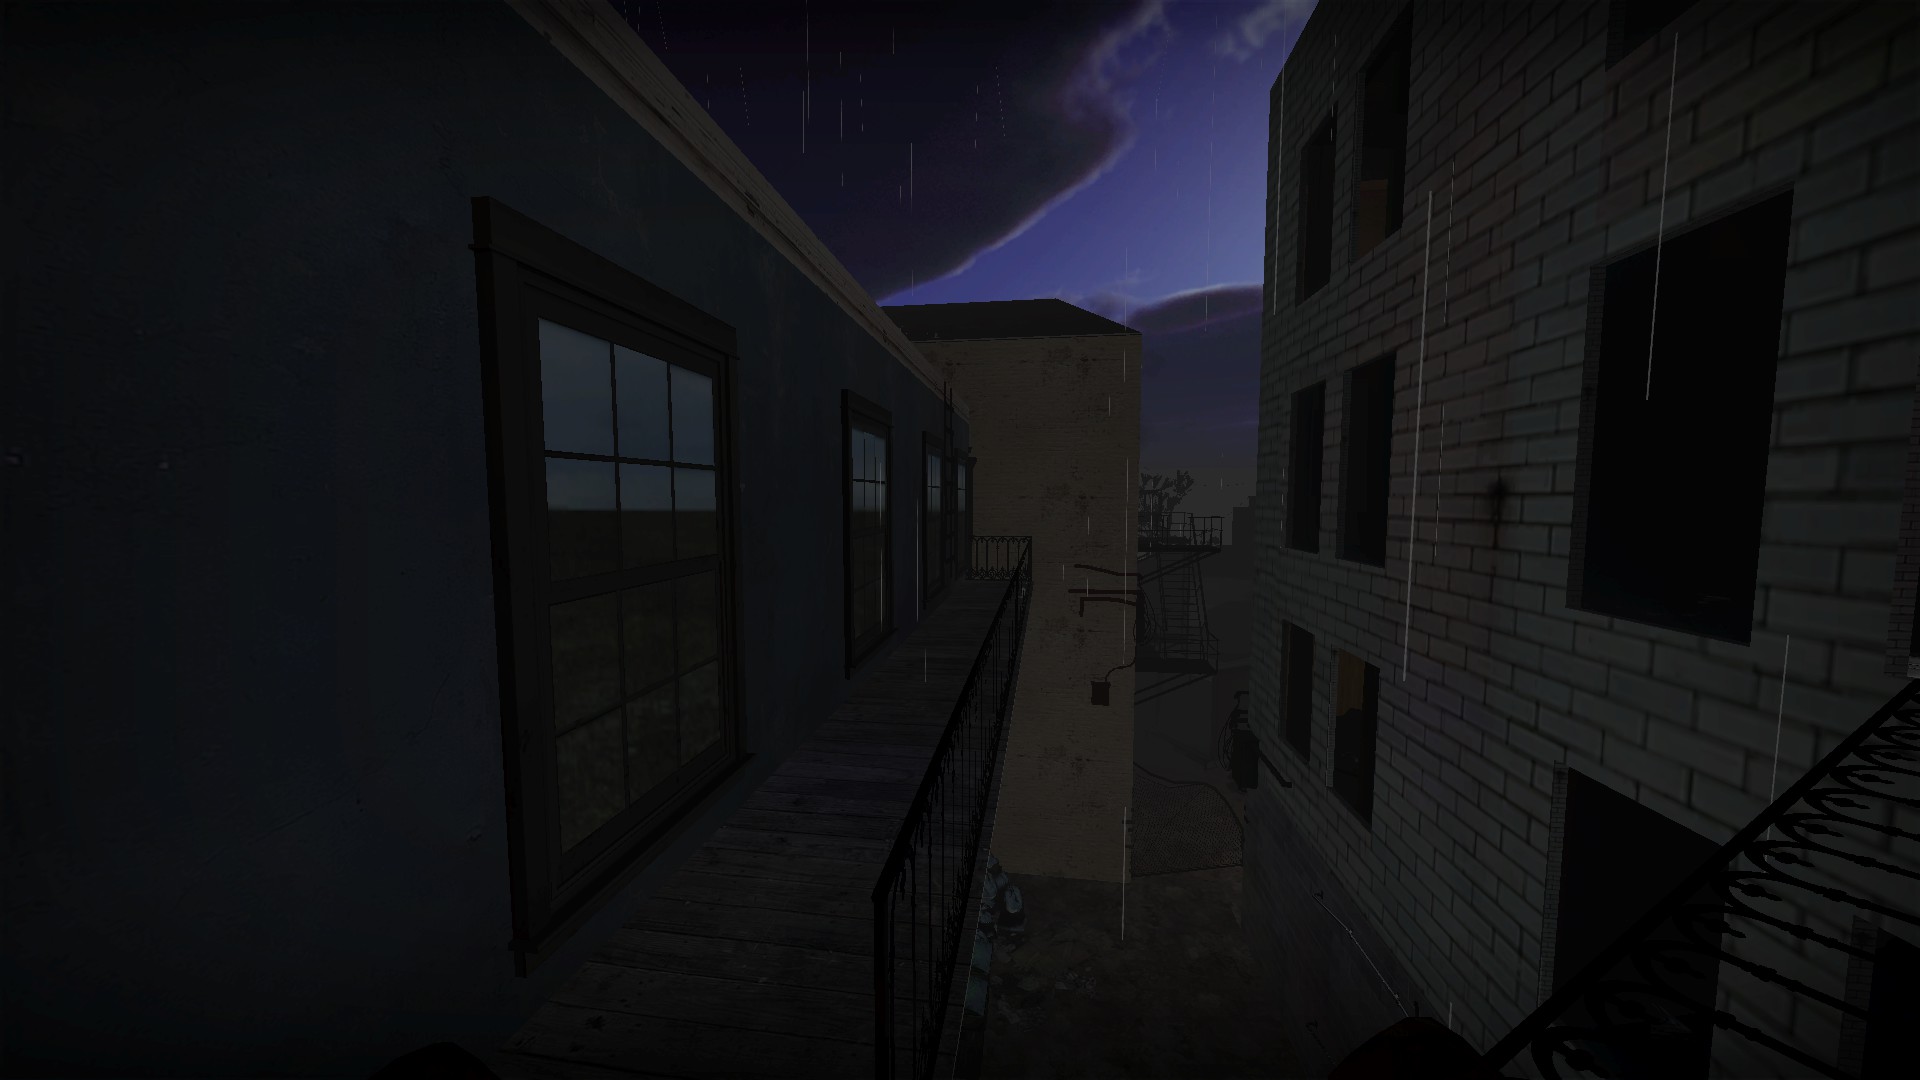
Cross the bridge and head down the balcony to the ladder
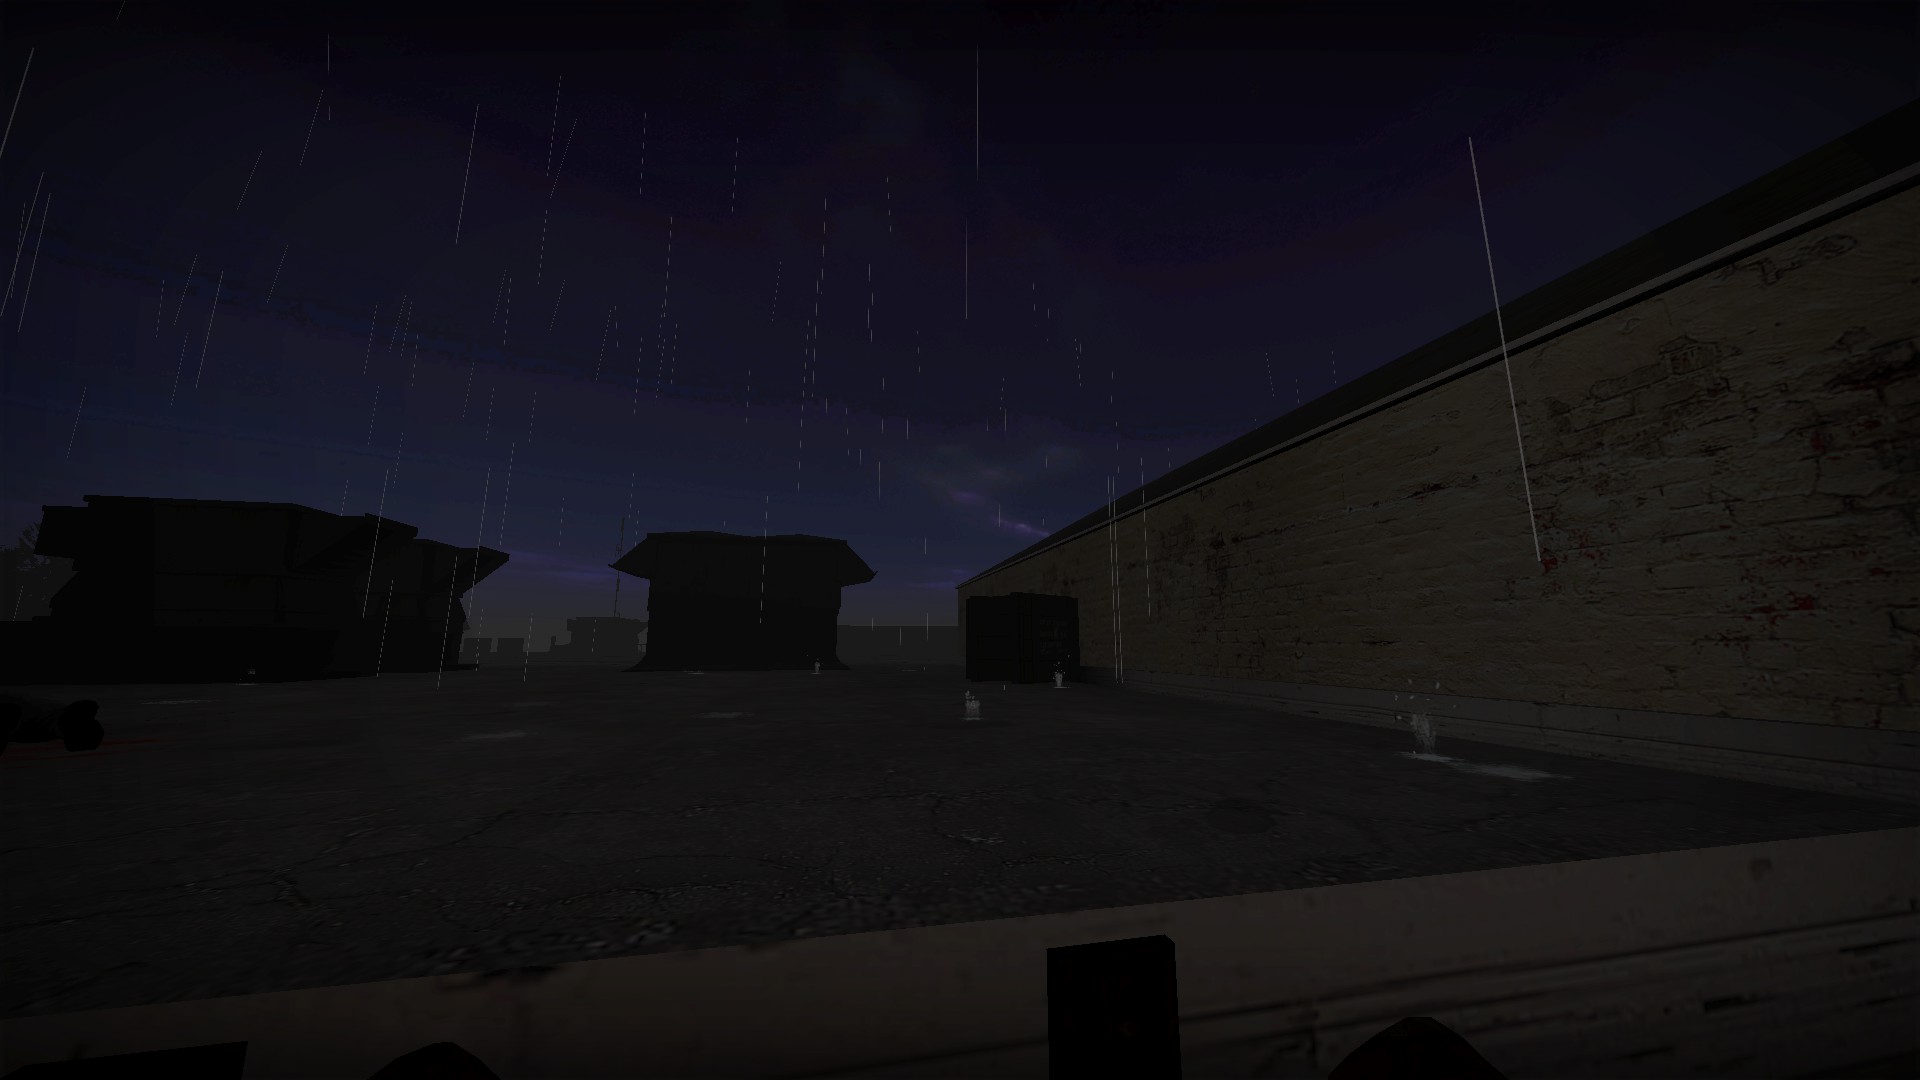
Climb the ladder to the roof and then use the boxes there to boost up to the next roof
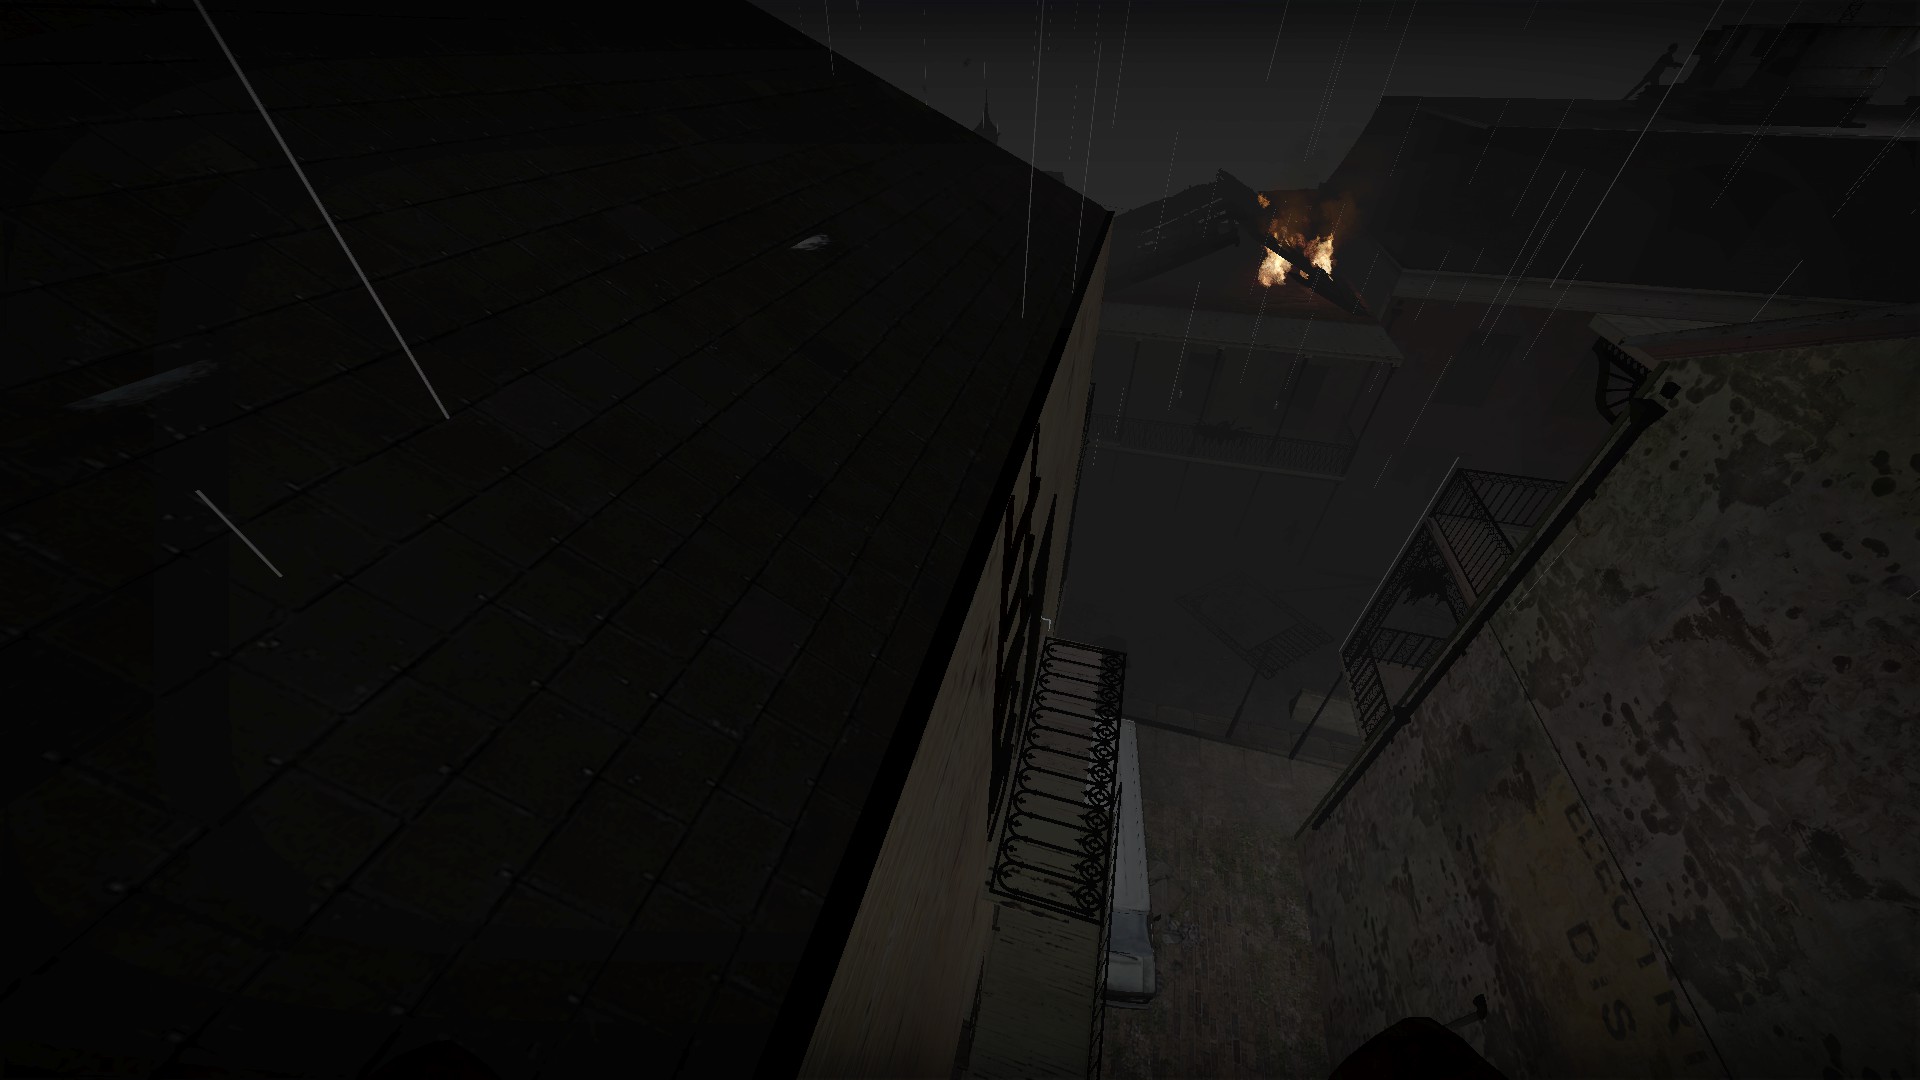
Follow that roof to the end to find a ladder leading down to a balcony and door
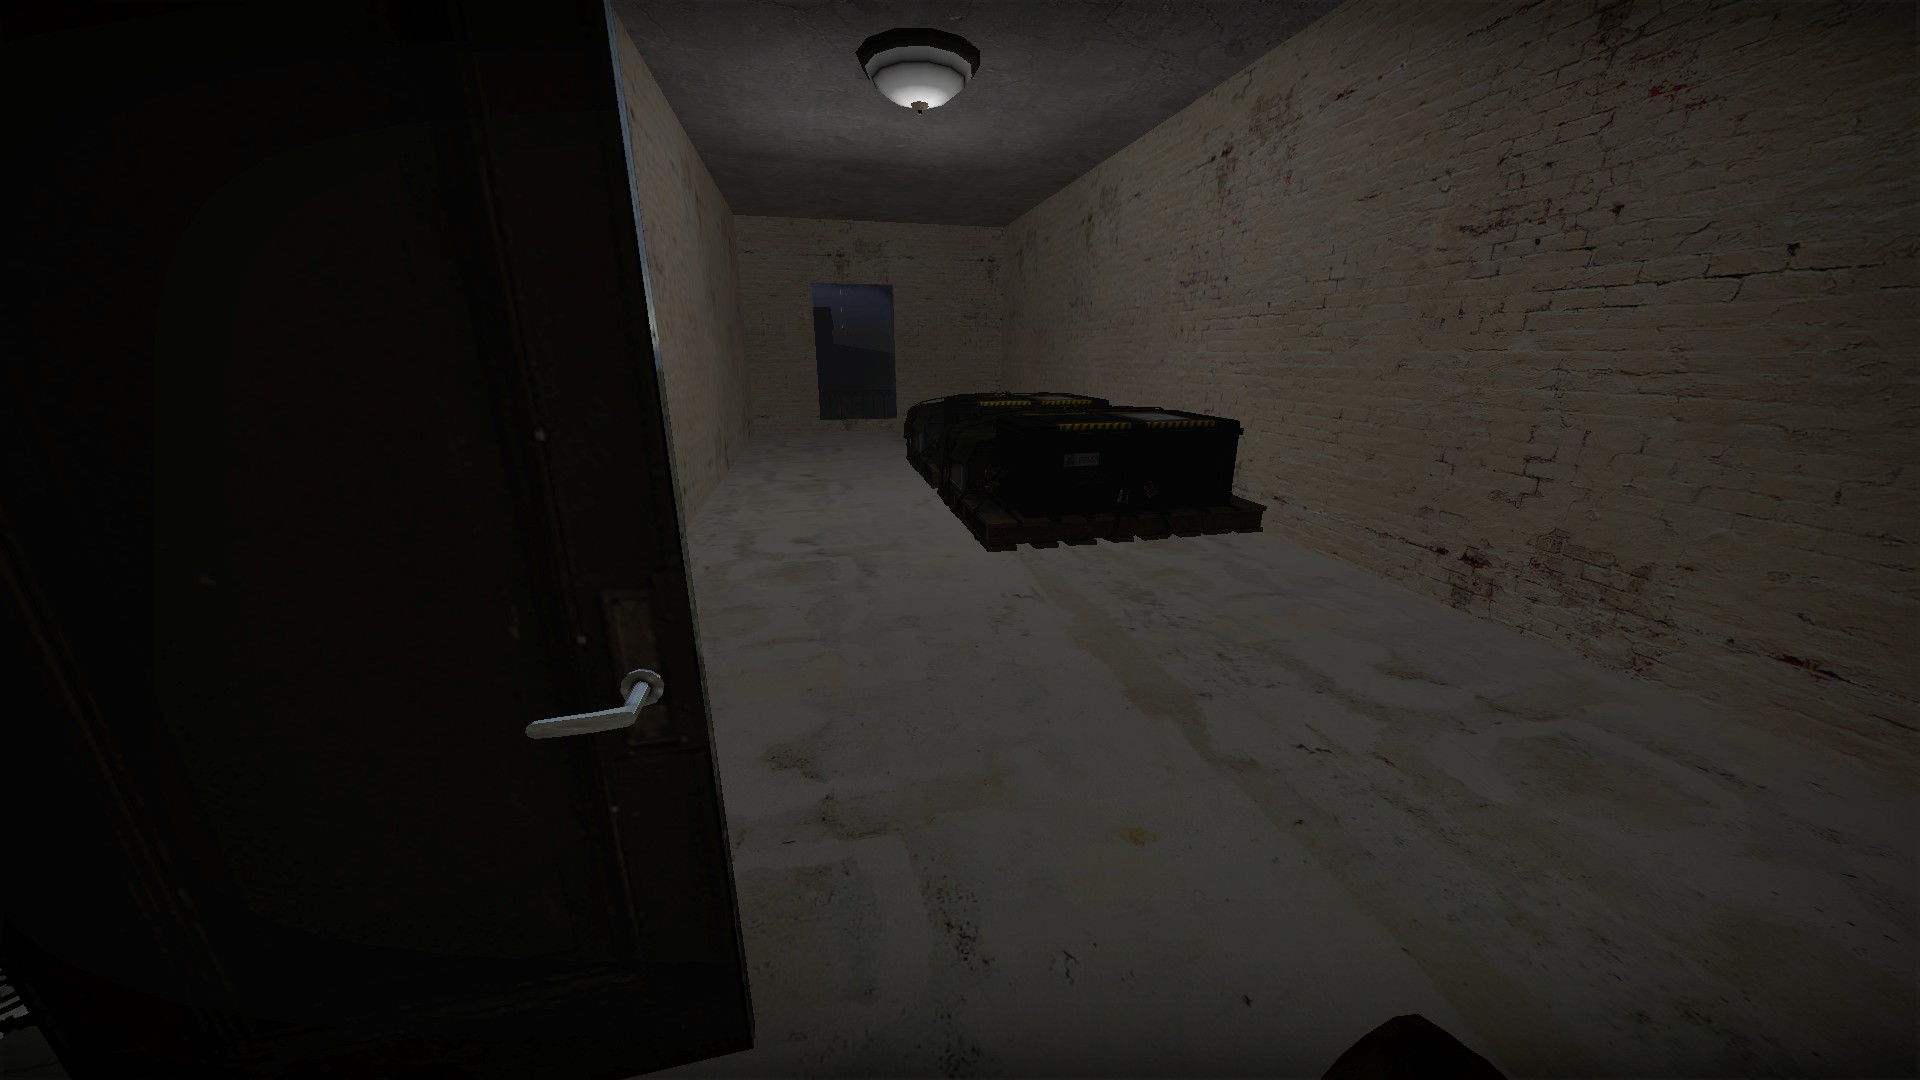
Open the door to find 2 weapon boxes
You can press the button in the bell tower to ring the bell. It will summon a horde of runners
Weapon box stash
Go to the tall gray building facing the park. Head up to the third floor. One of the bathrooms there has a broken window and a fence that bridges to the next building
Cross the bridge and head down the balcony to the ladder
Climb the ladder to the roof and then use the boxes there to boost up to the next roof
Follow that roof to the end to find a ladder leading down to a balcony and door
Open the door to find 2 weapon boxes
nmo_xenovation_v3_7
Restart the map to get it to work. There is no compass or objectives
Developer room
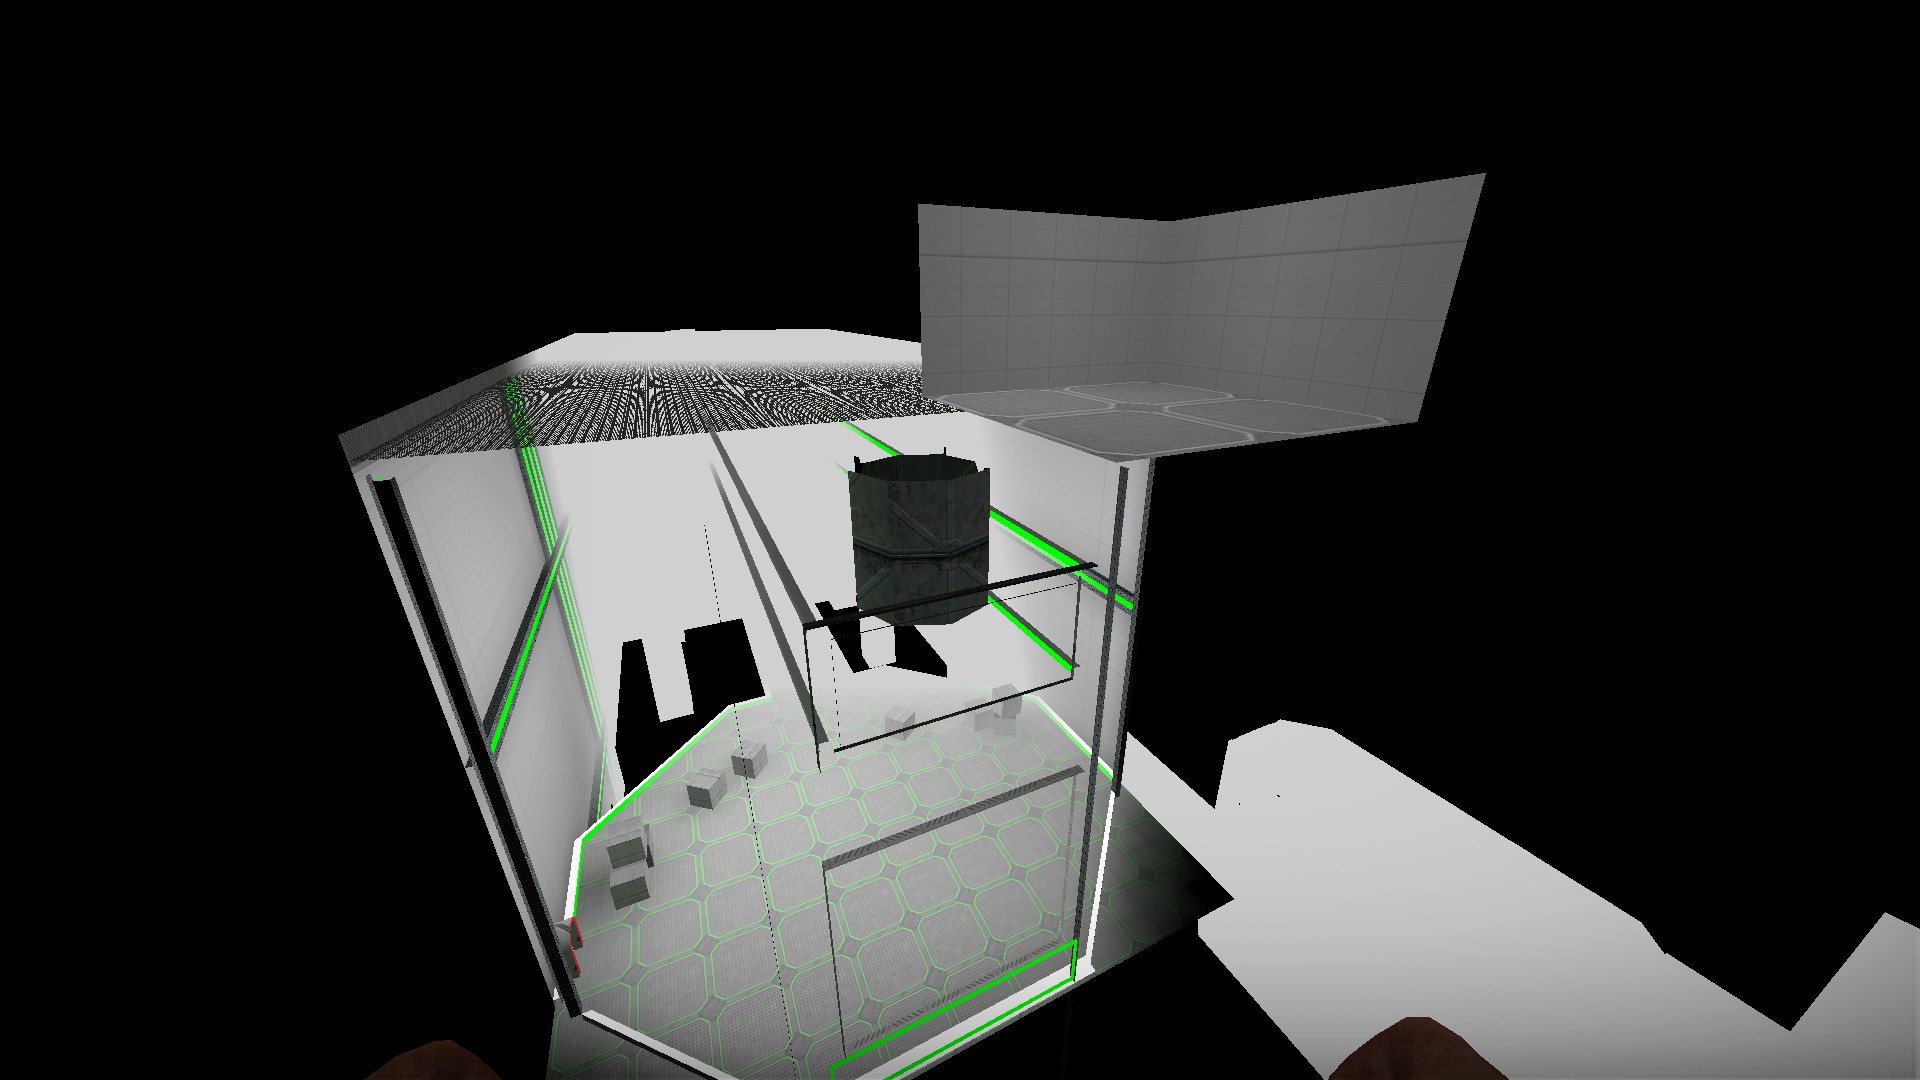
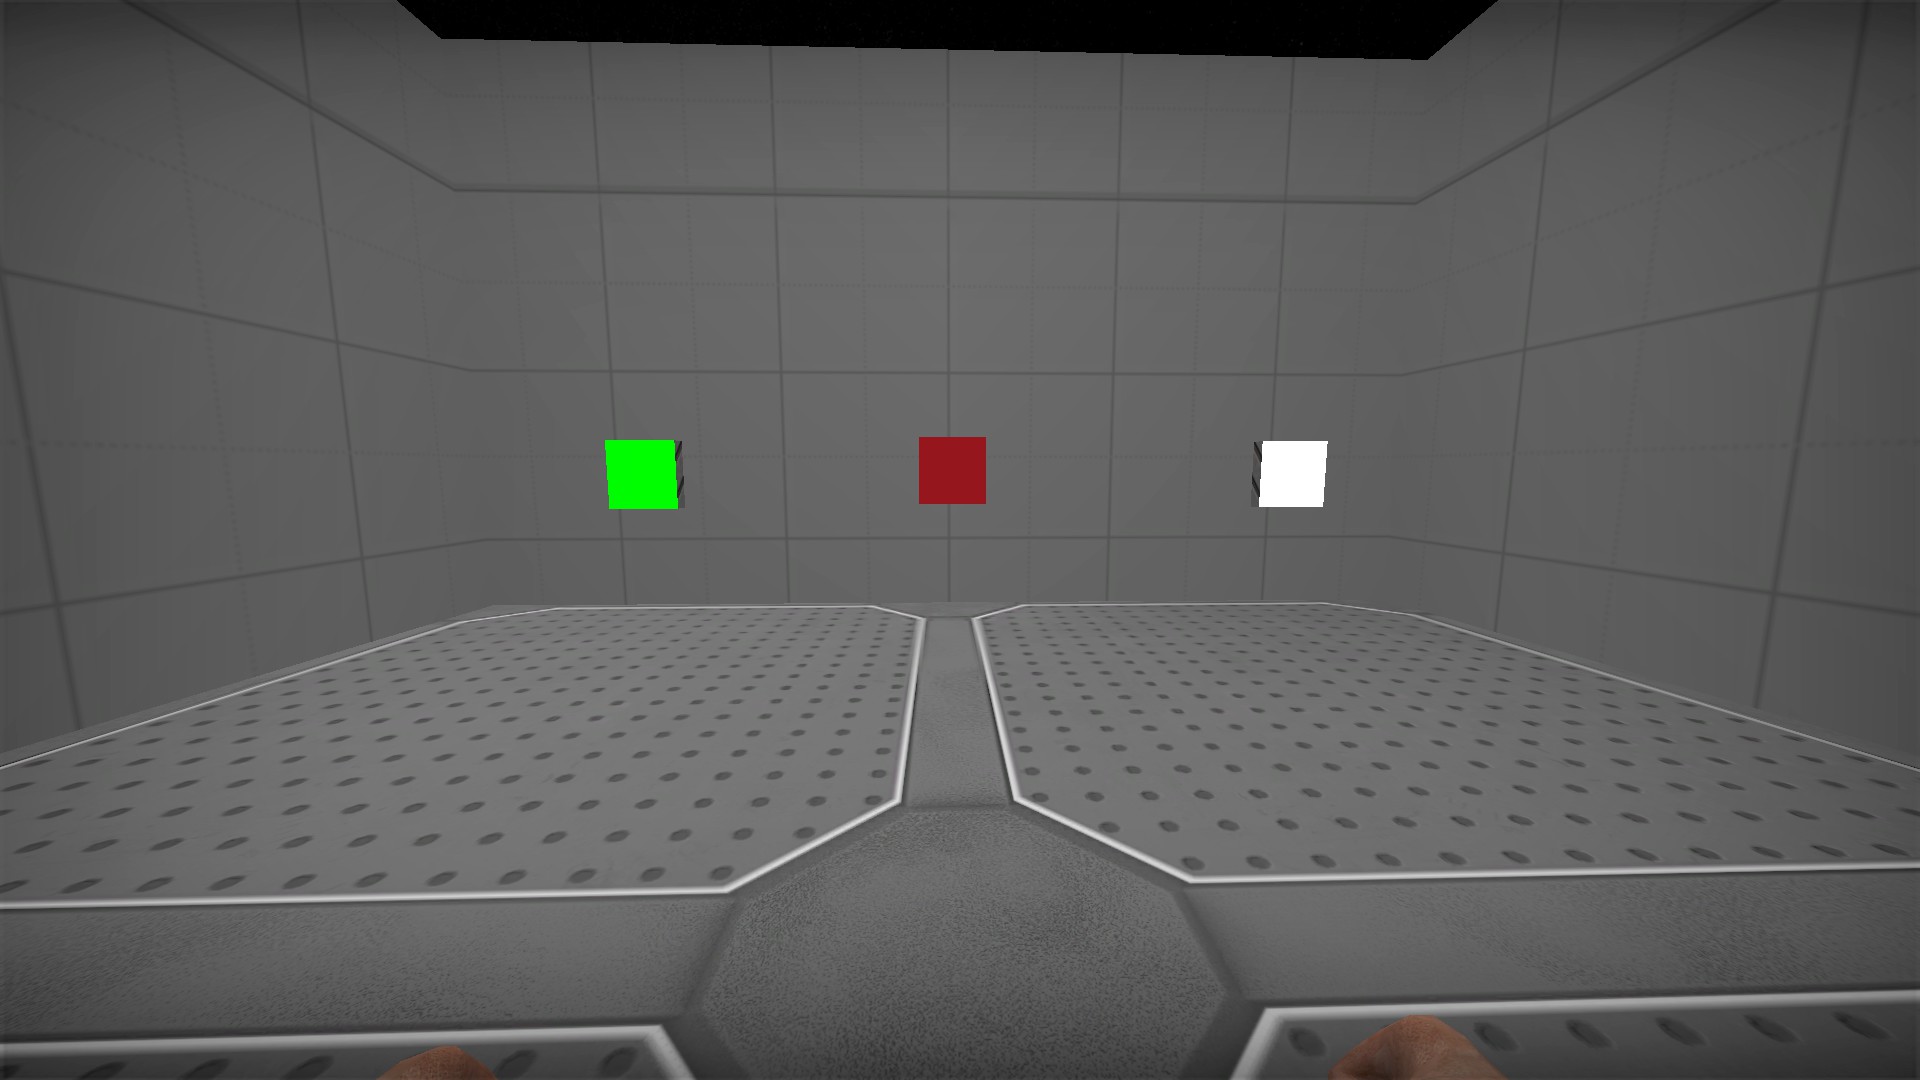
Just above starting area. You will need to noclip here. The green button will return you to the start of stage 1. The red button will take you to a green area with a boss survival event. The white button will take you to stage 2, where you start at the starting area, but the first transition will then take you to a blue/white area with another boss survival event
Second developer area
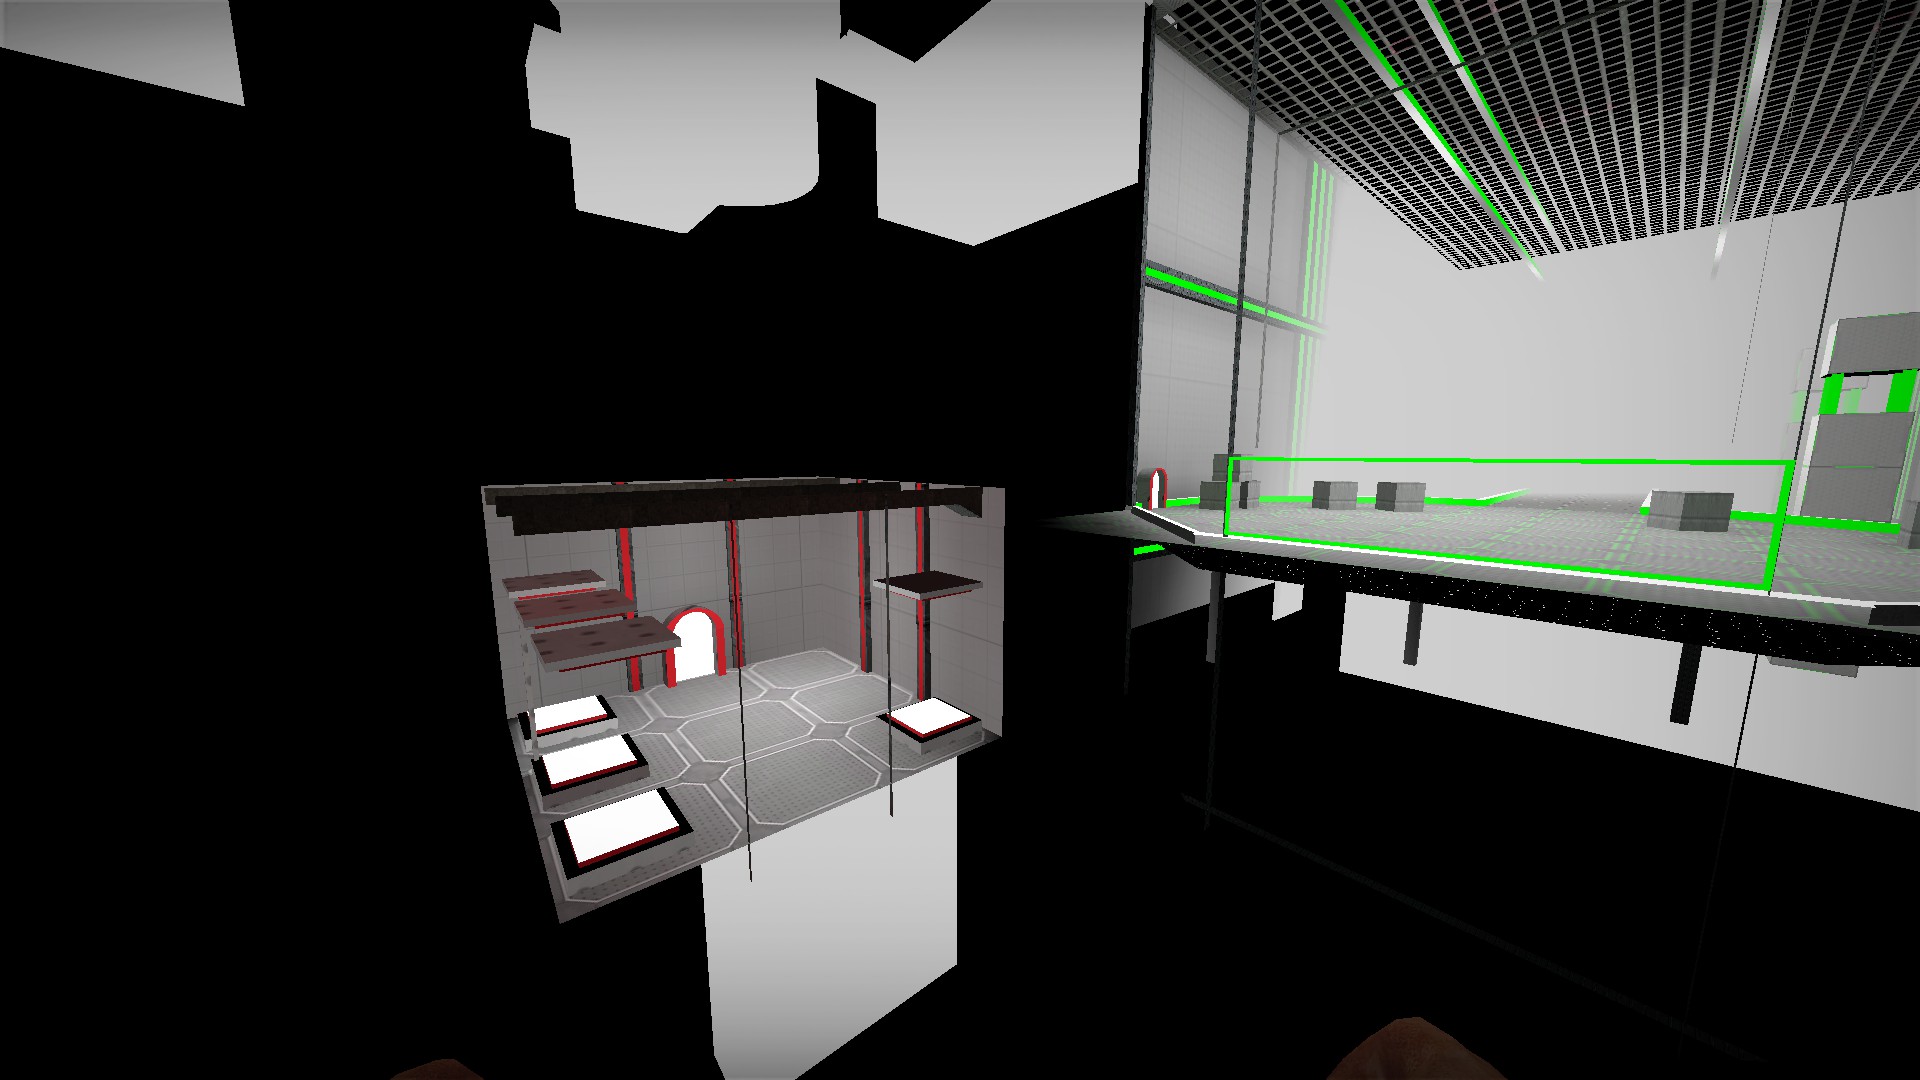
Just behind the starting area and below the room with buttons. You will need to noclip here
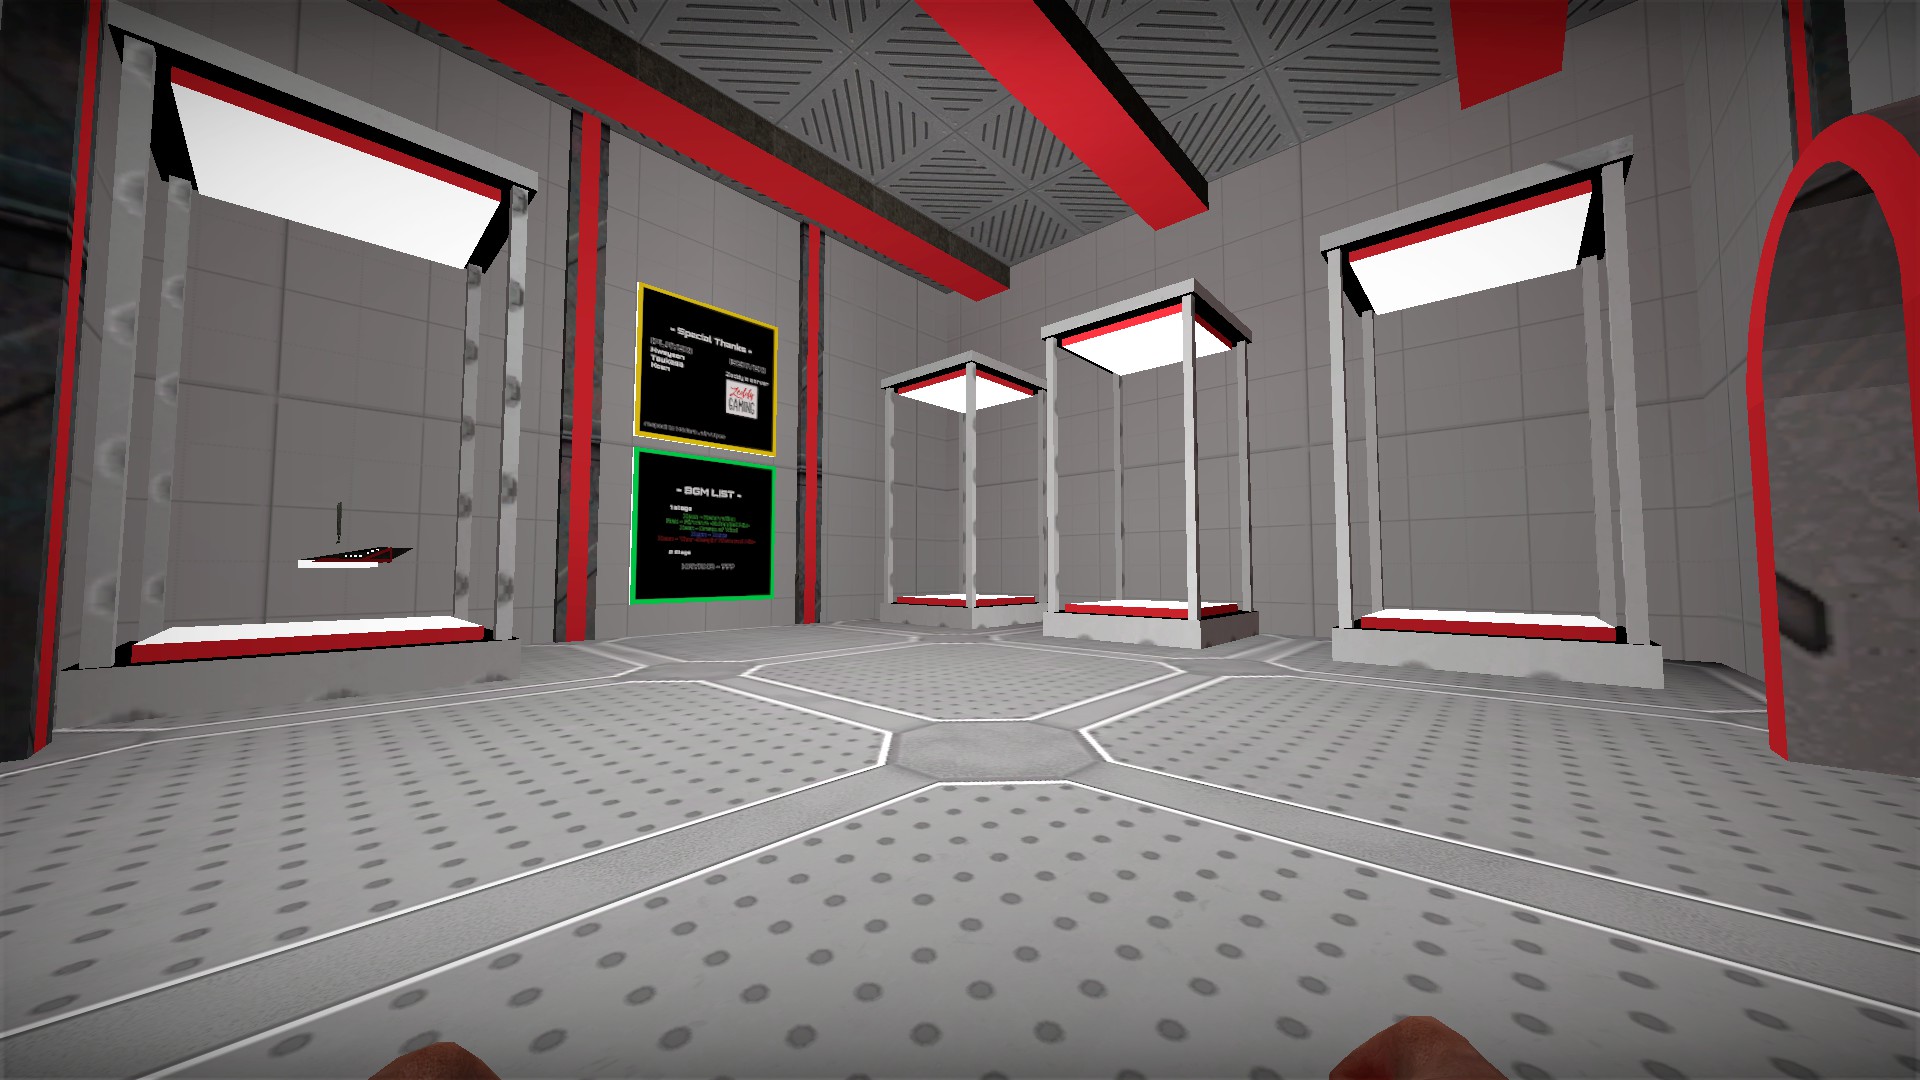
There is a red machete here
Green and Red machete area
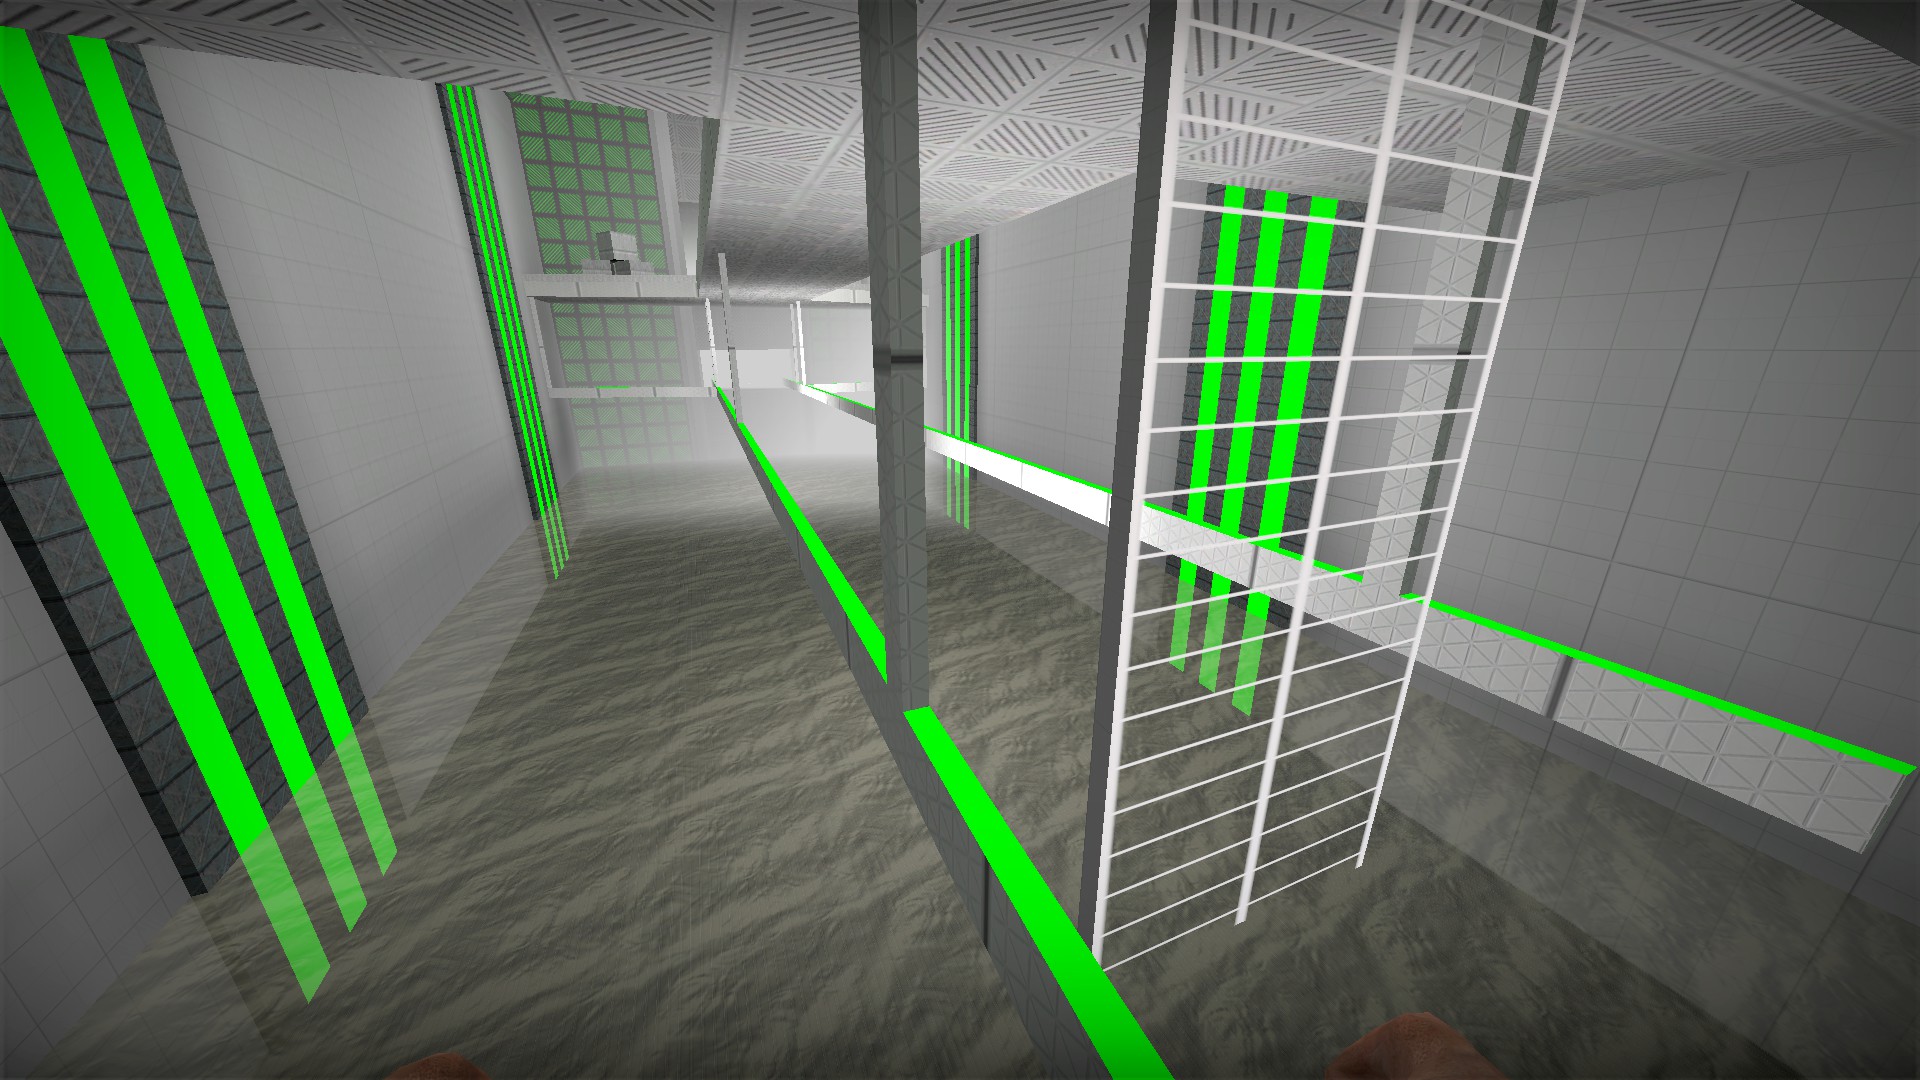
You can climb down, but the parkour to reach the machete's in single jump would be quite difficult
Green machete
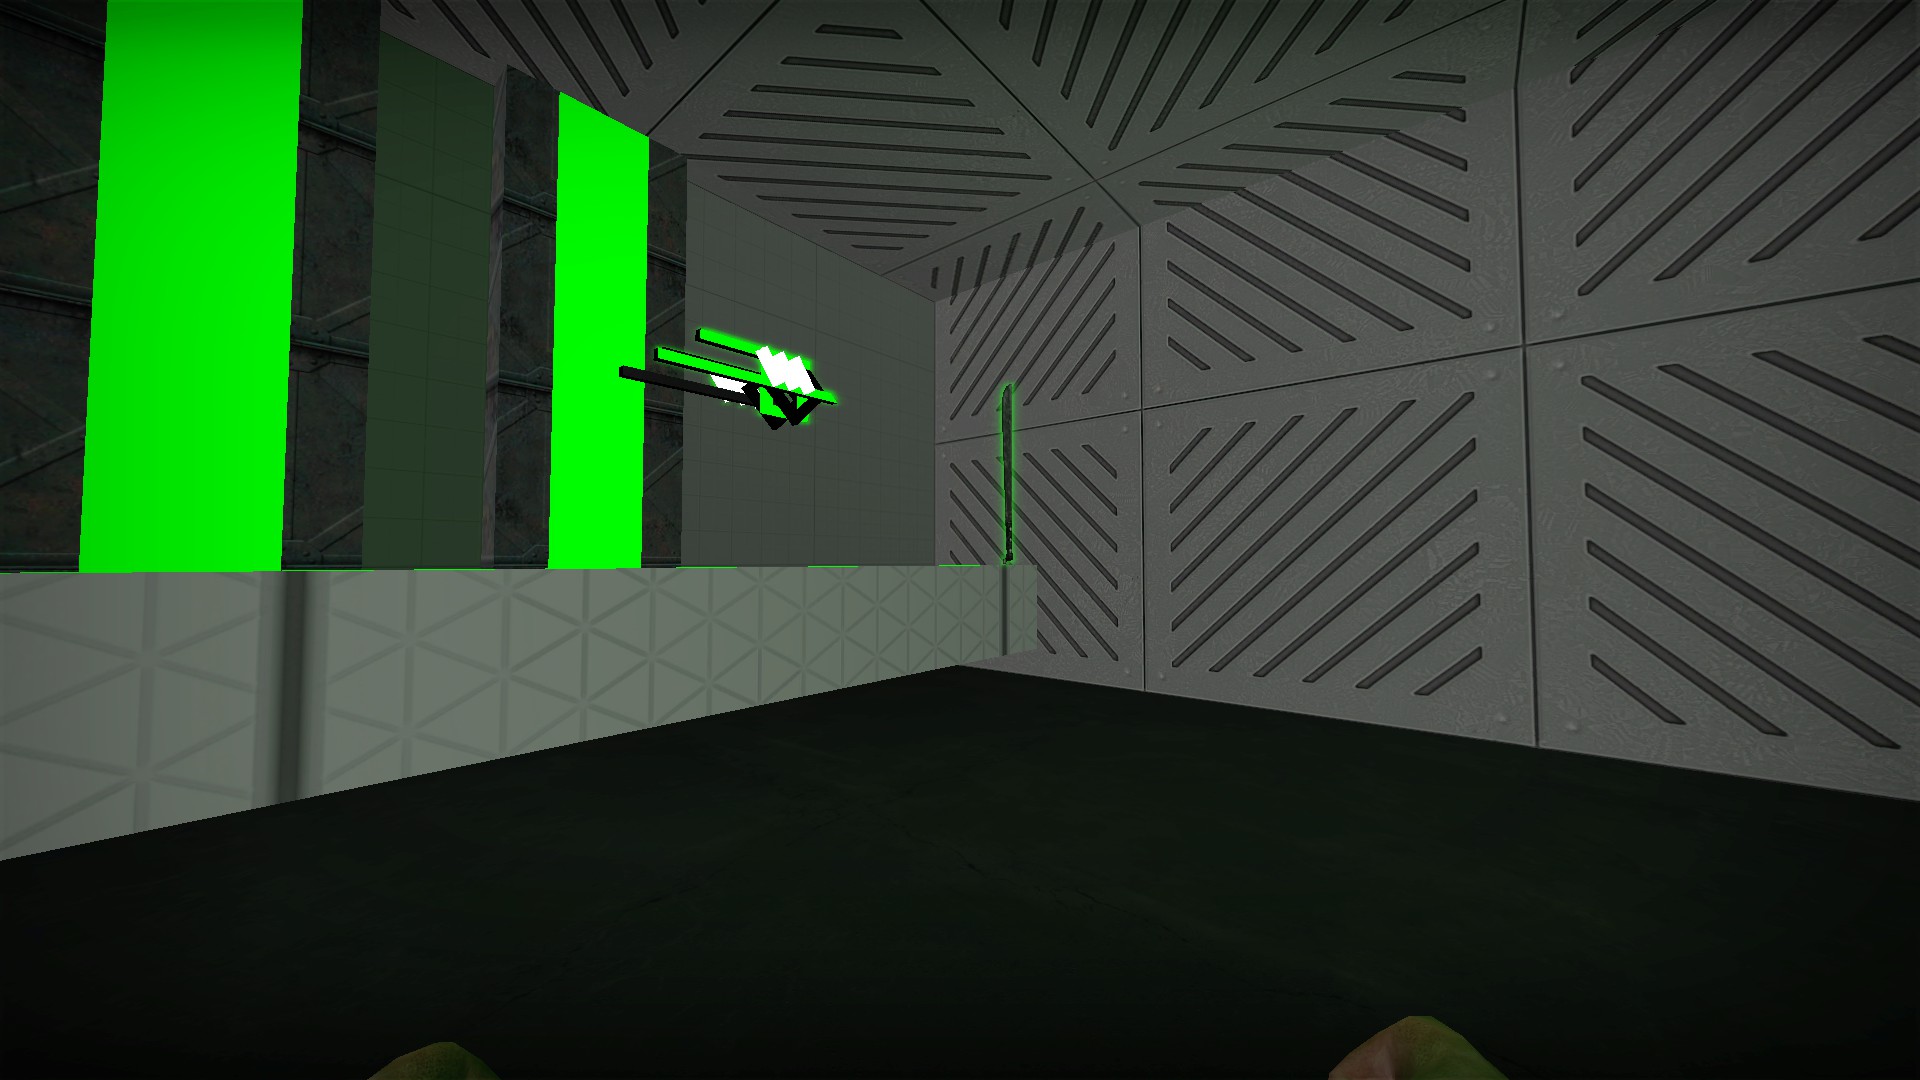
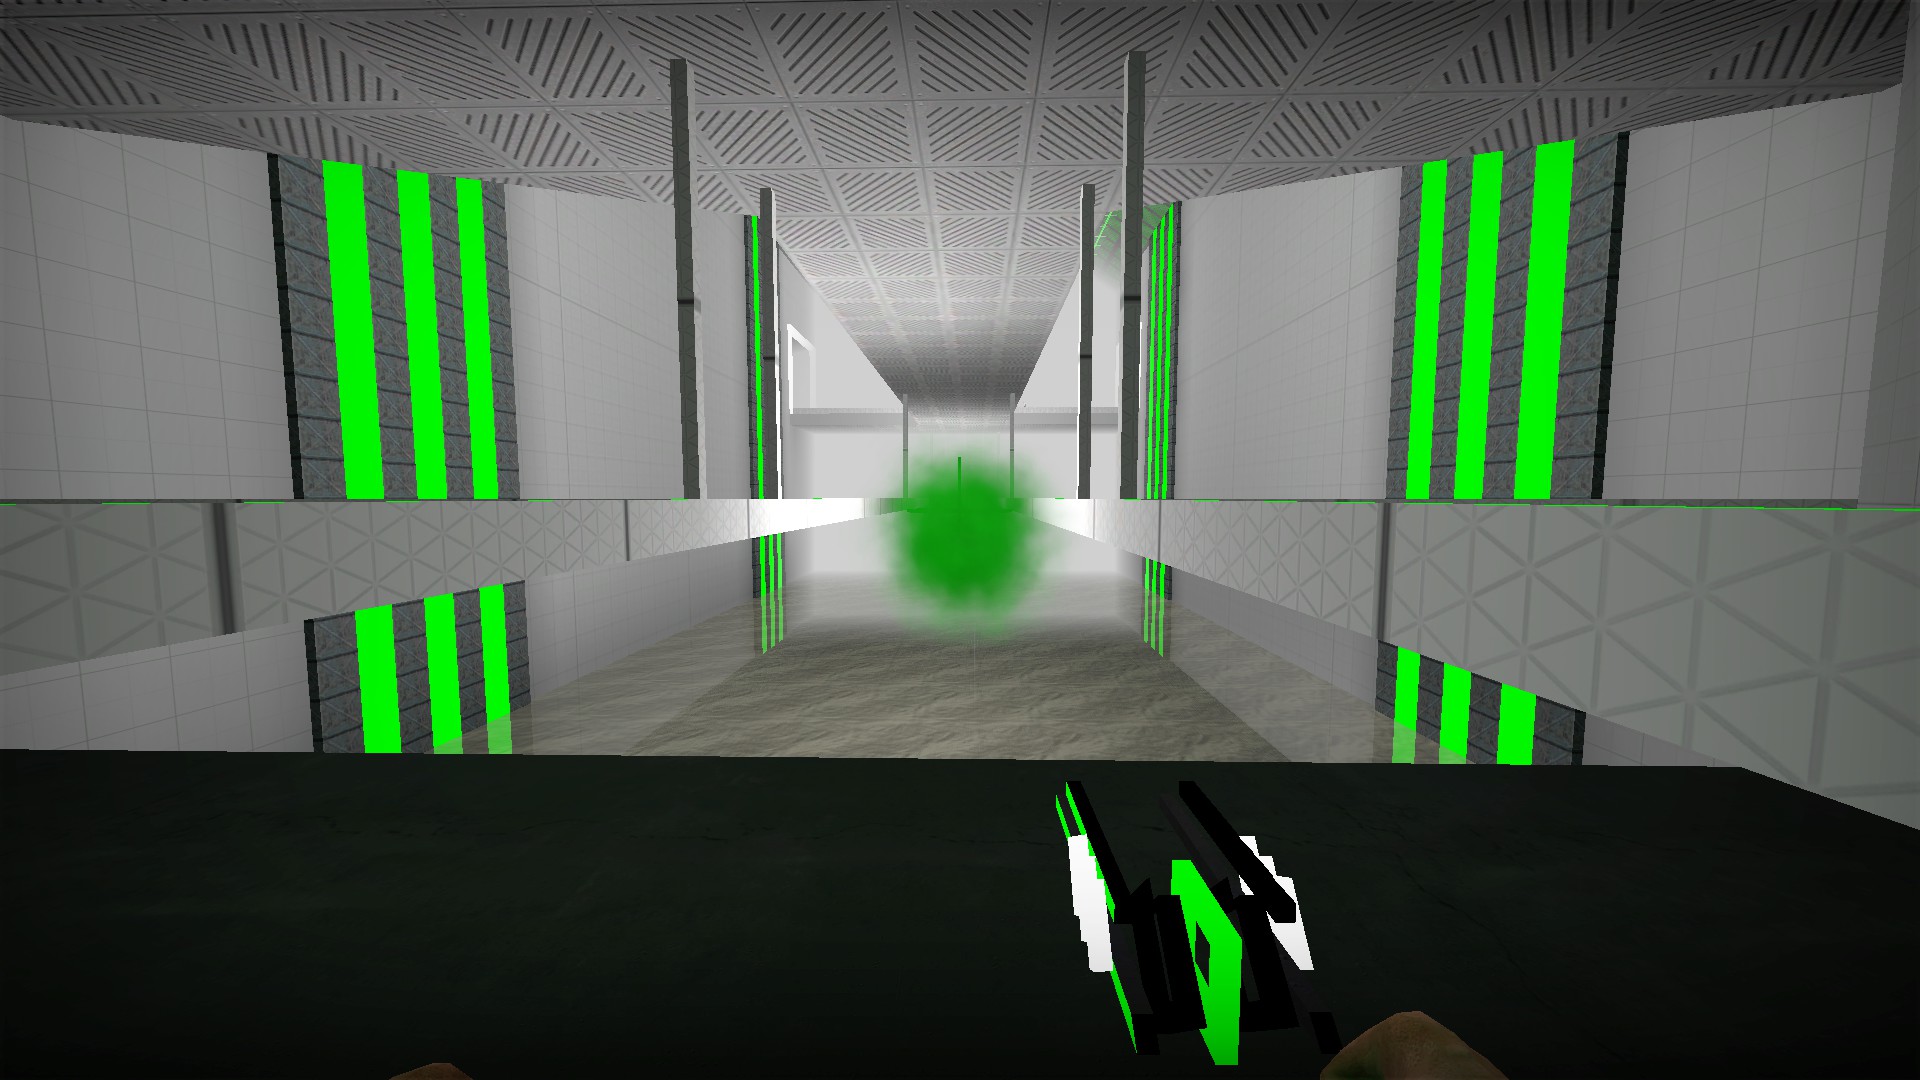
Fires a green energy bolt that does not damage zombies. 30 second recharge
Red machete
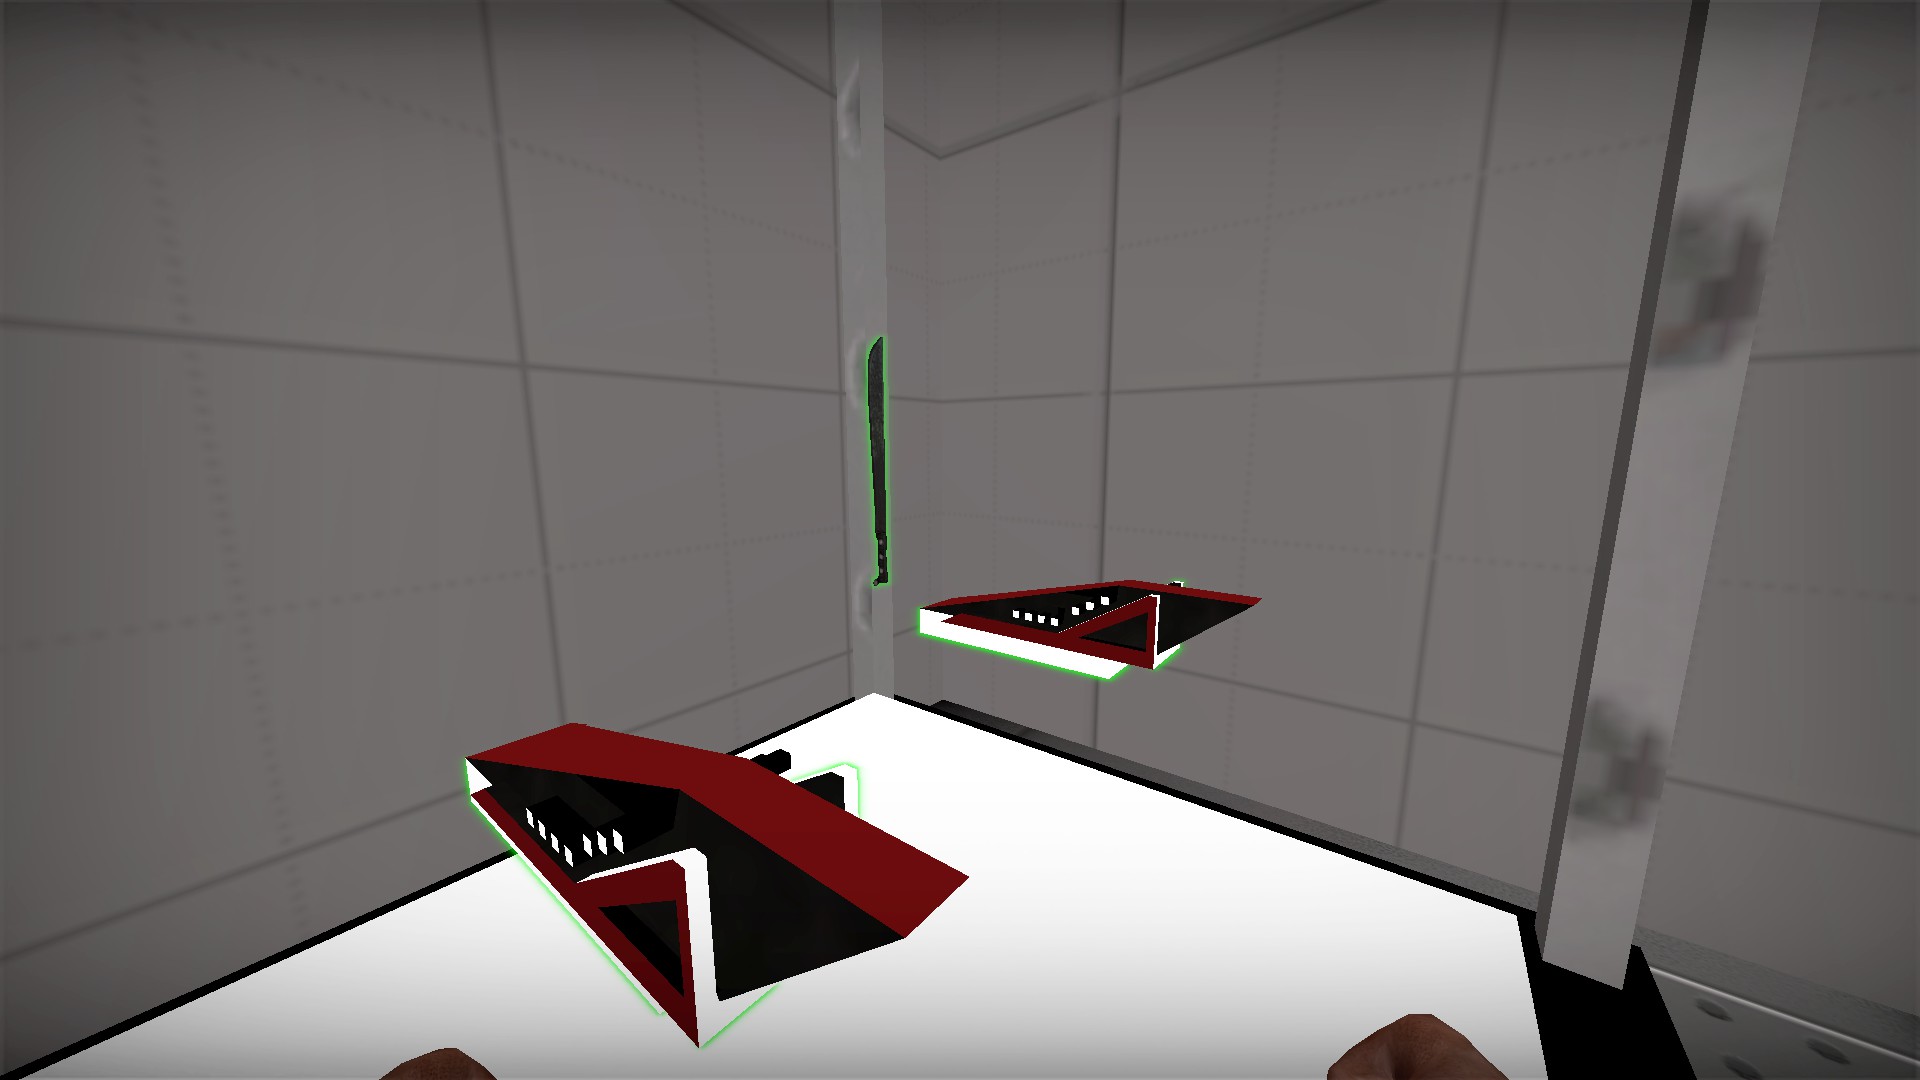
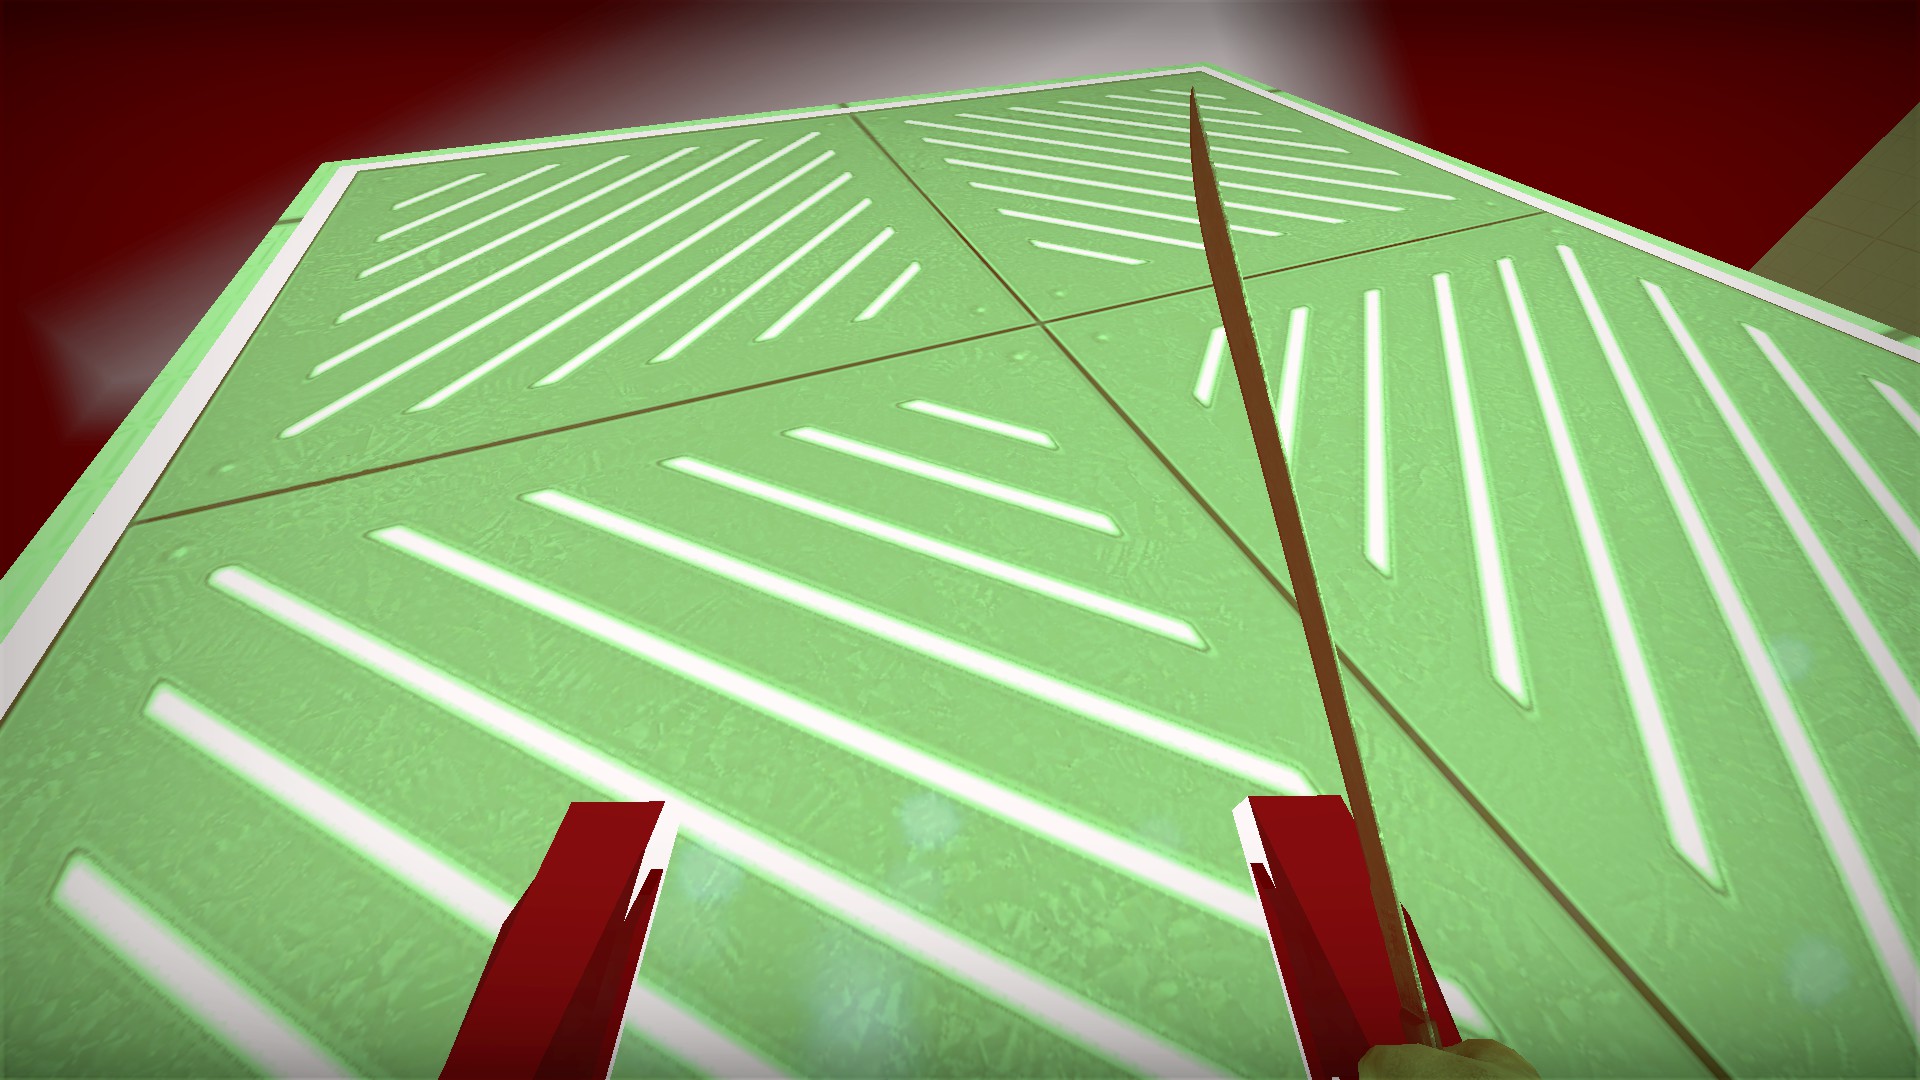
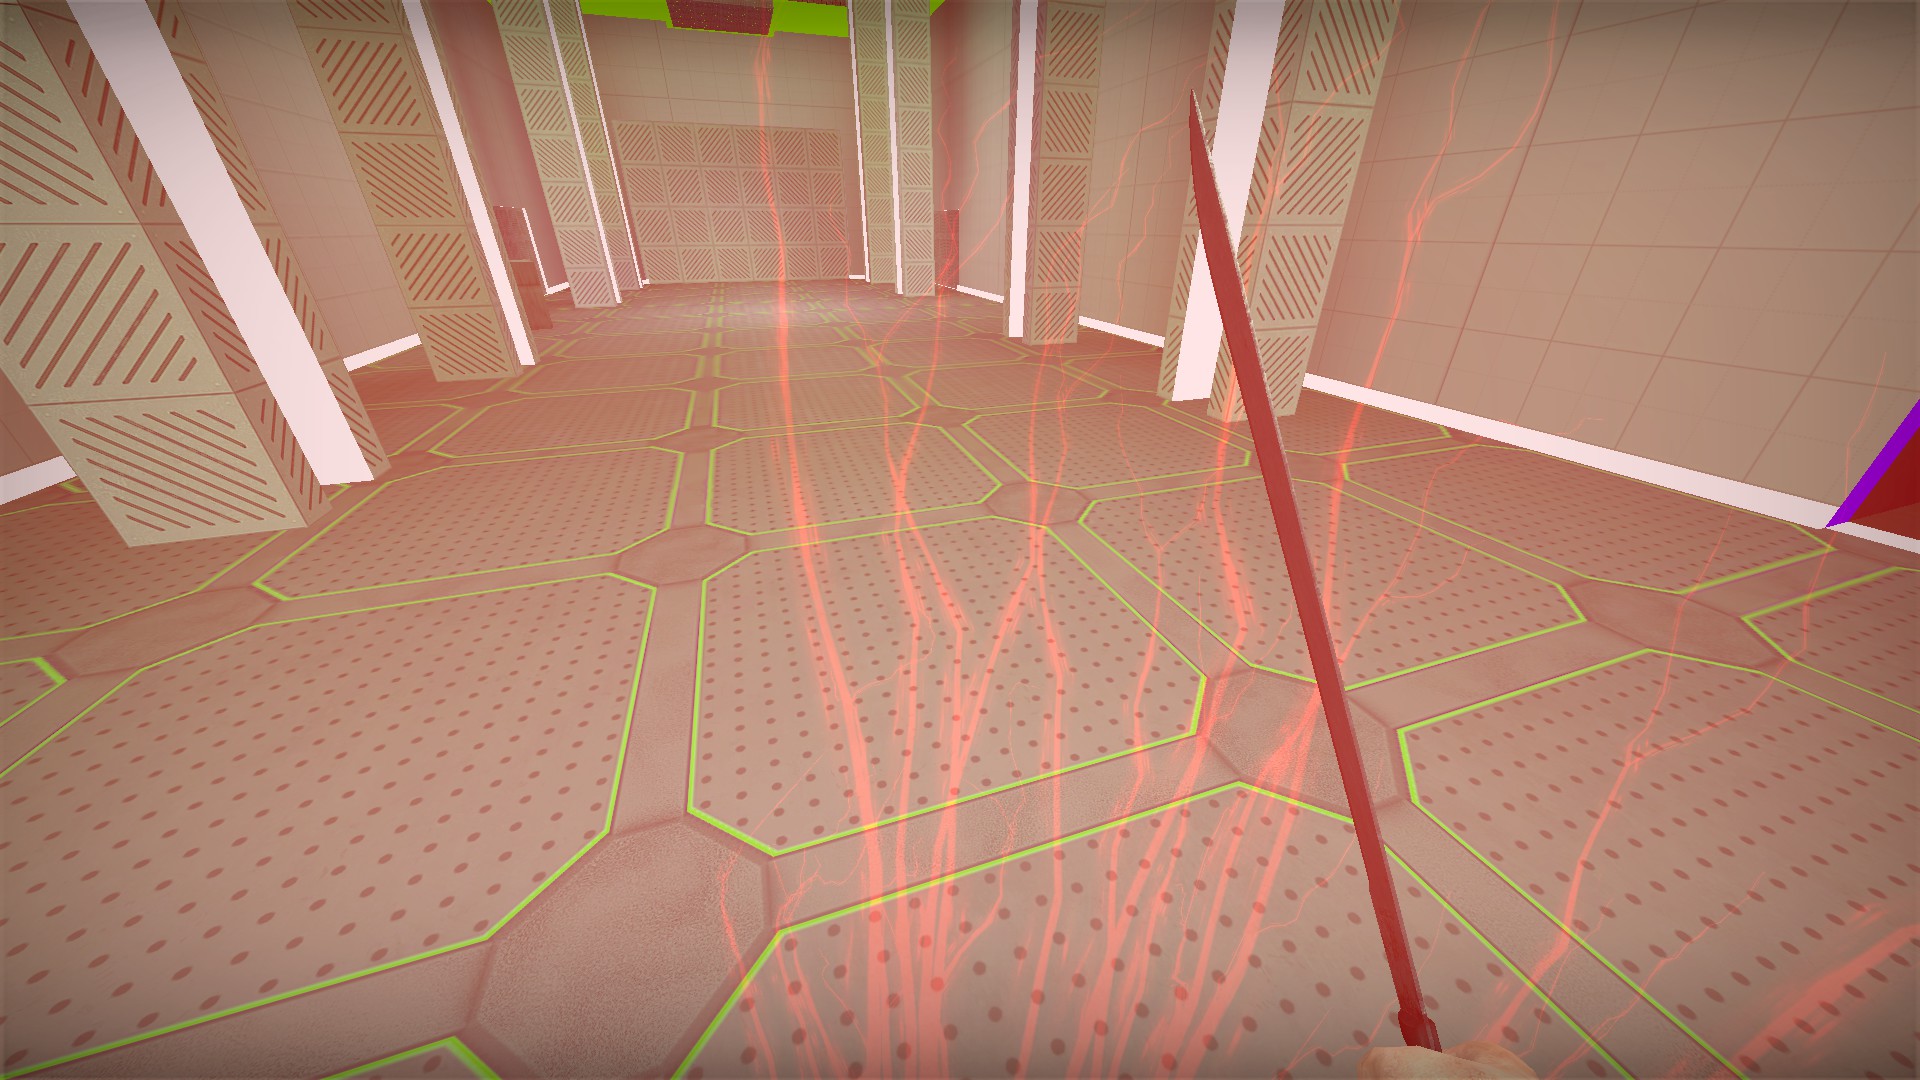
Red lightning effect that does not damage zombies. 60 second recharge
Blue machete
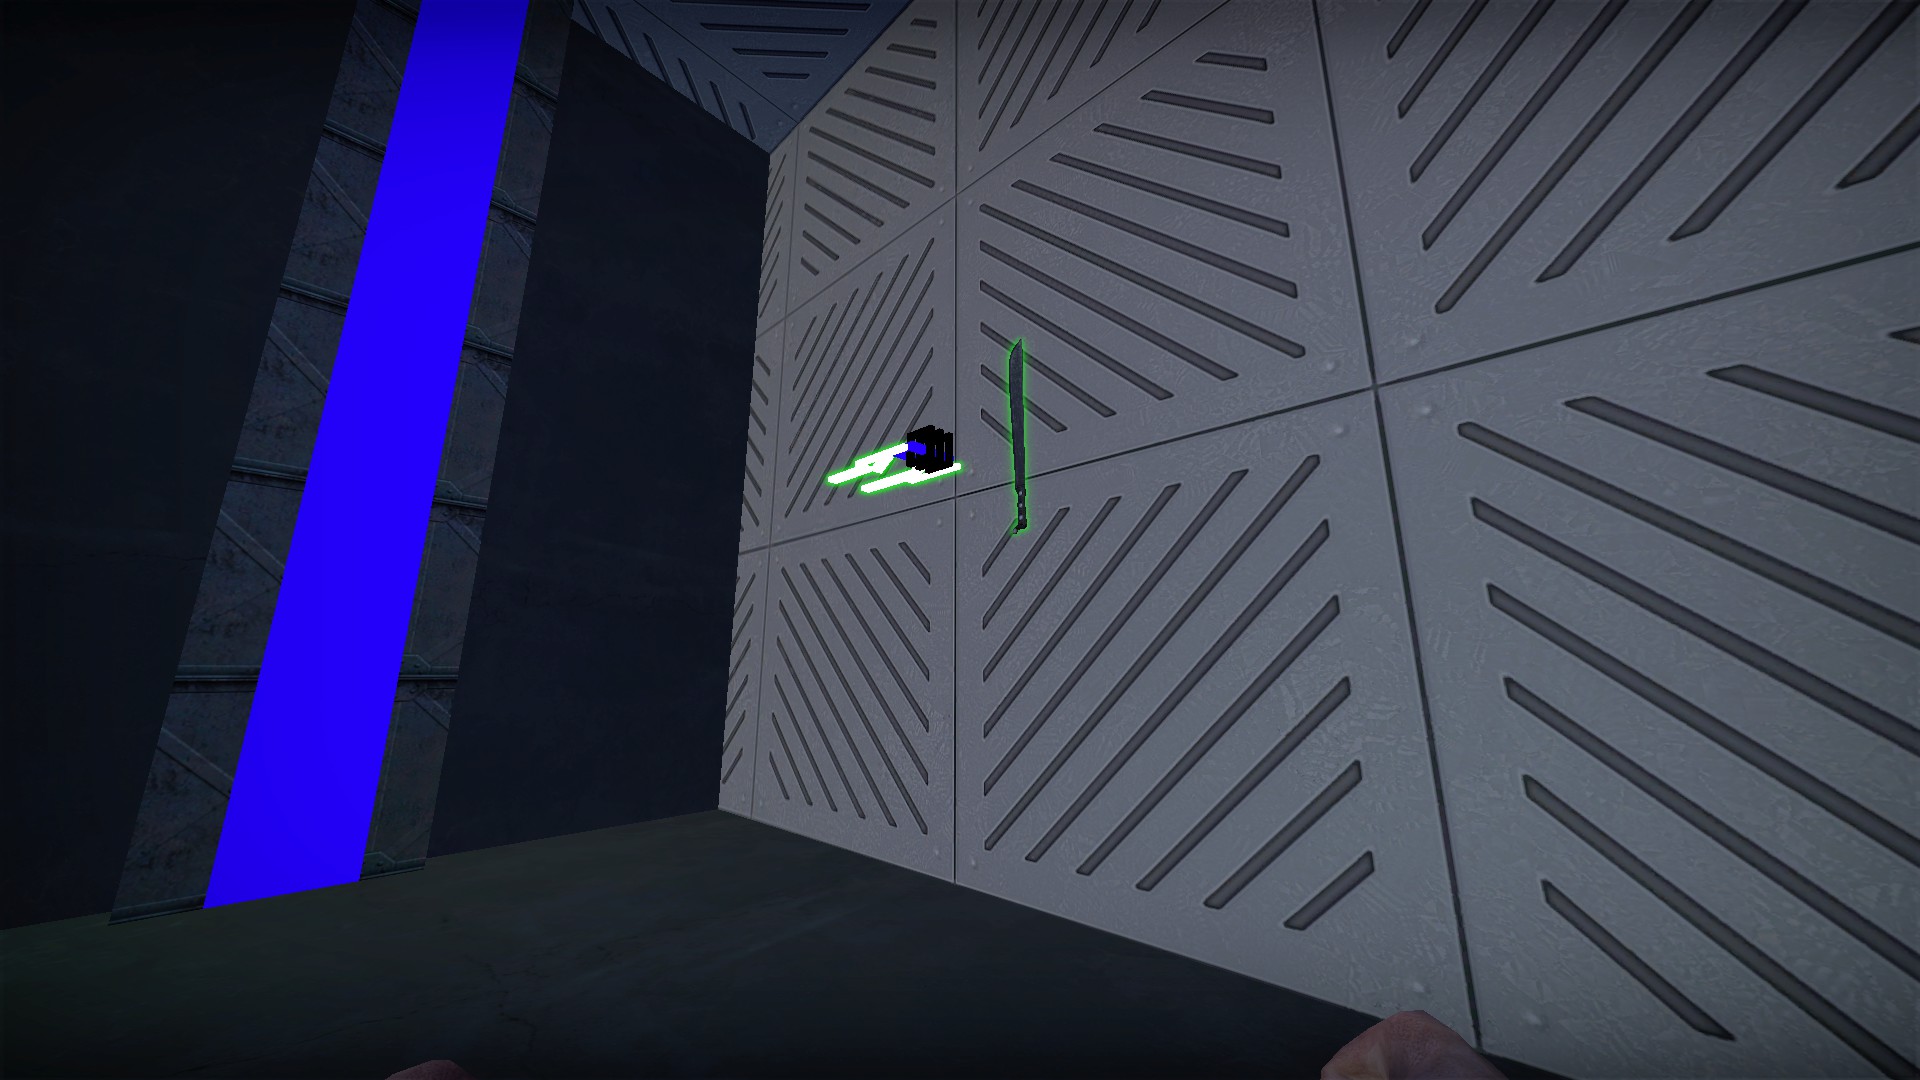
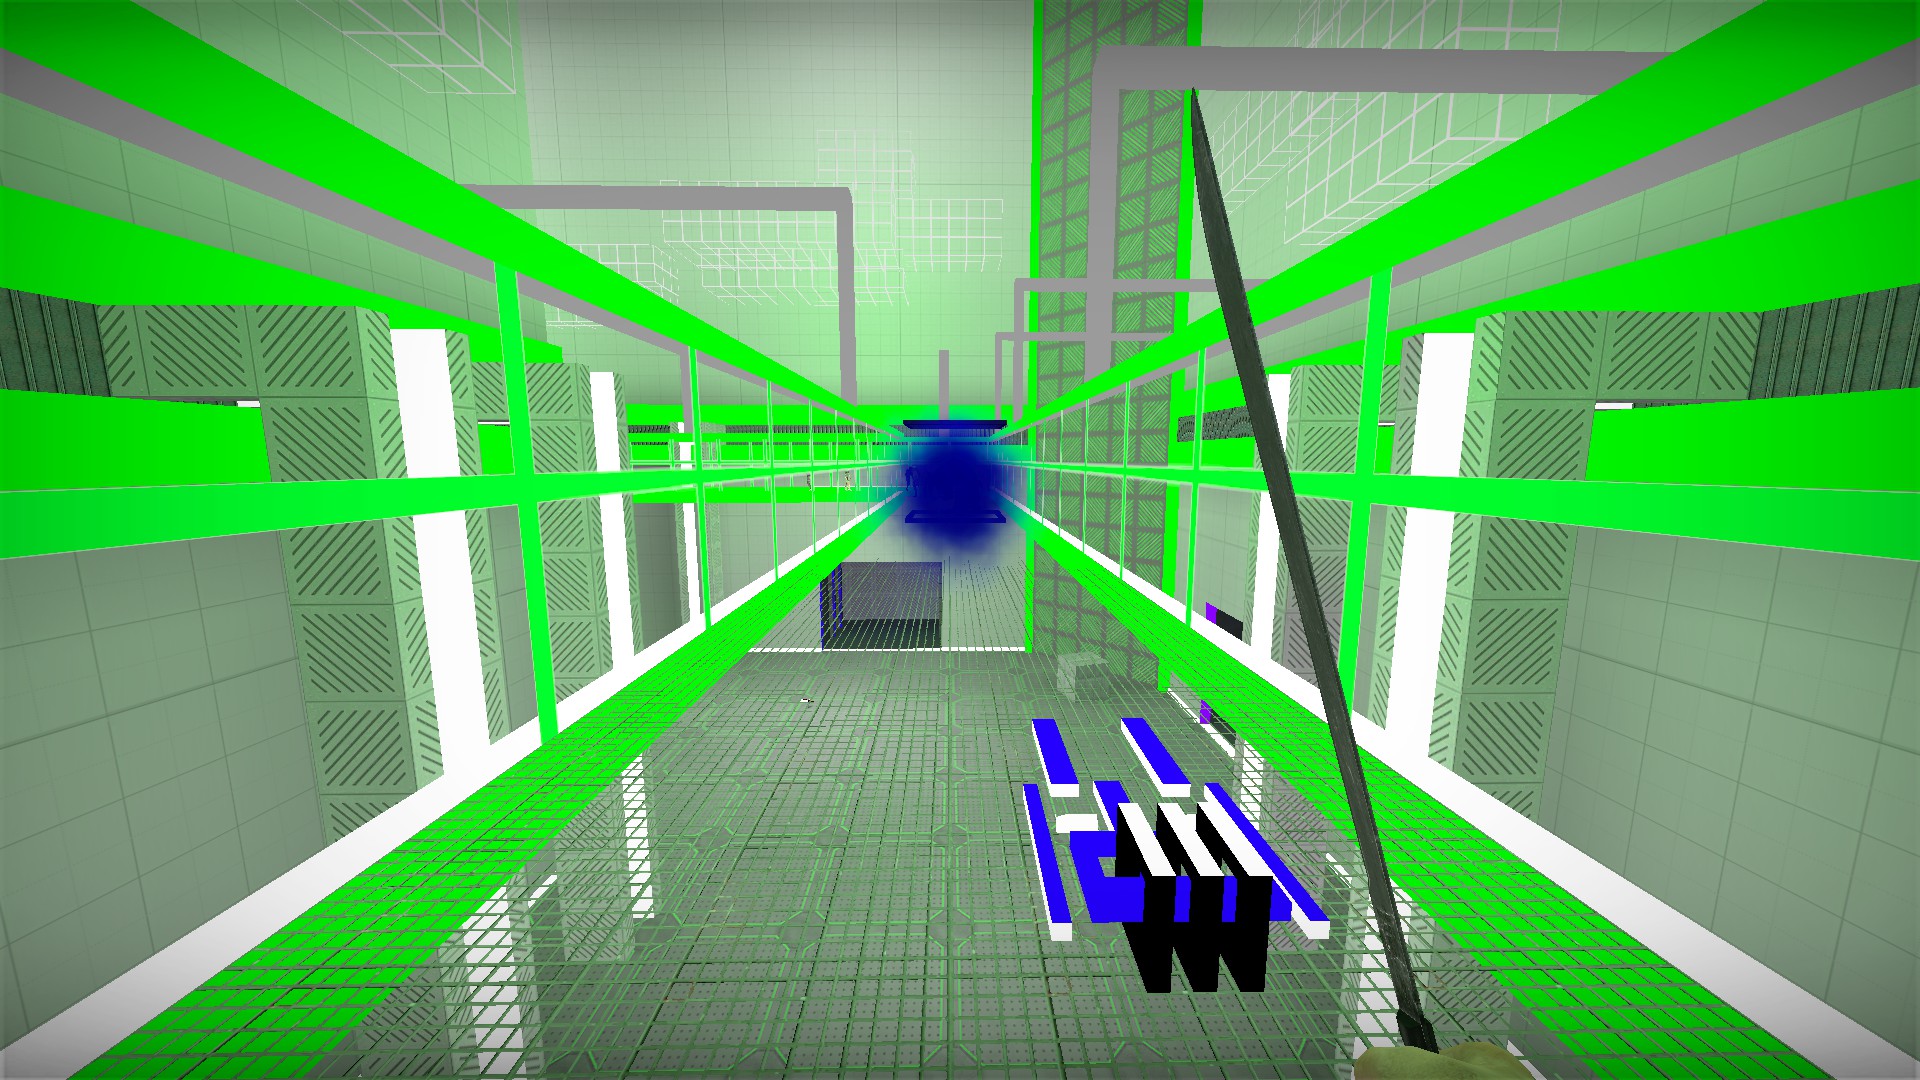
Fires a blue energy bolt that kills zombies. 60 second recharge
Purple machete
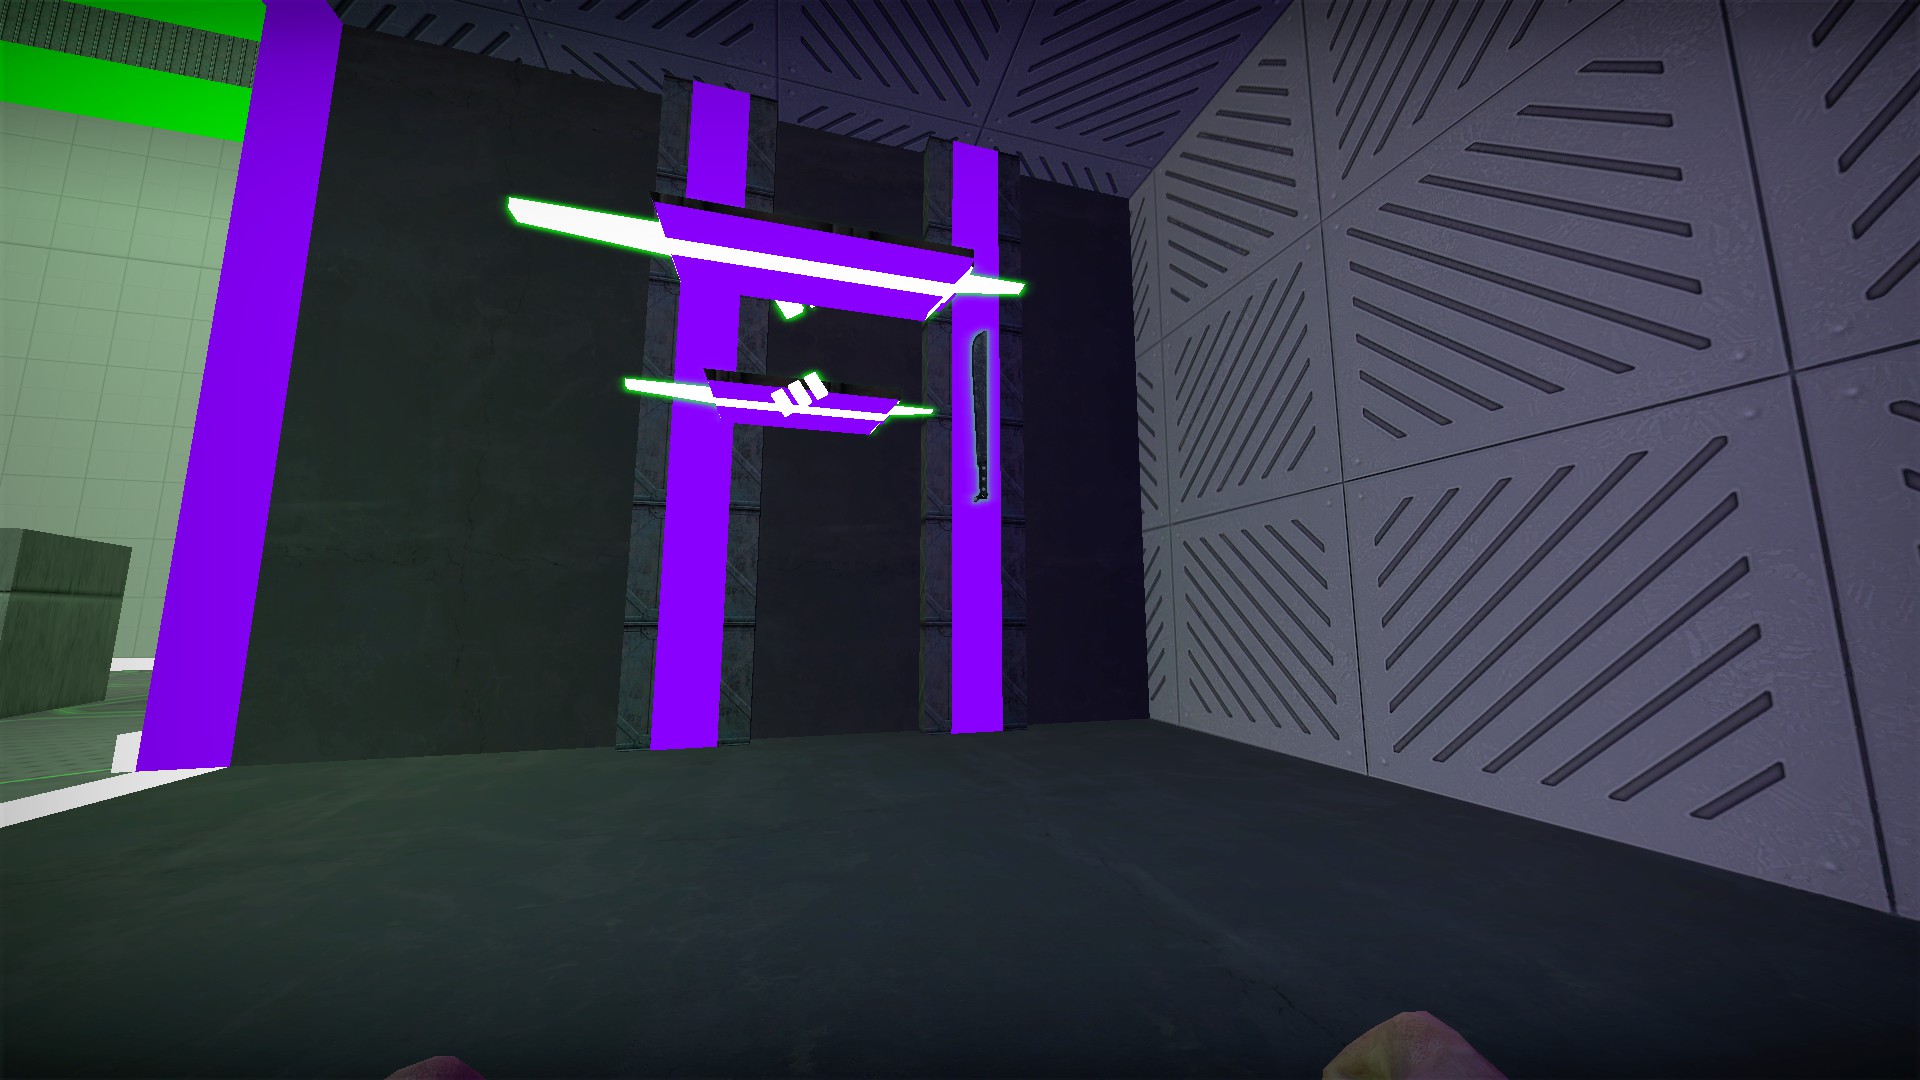
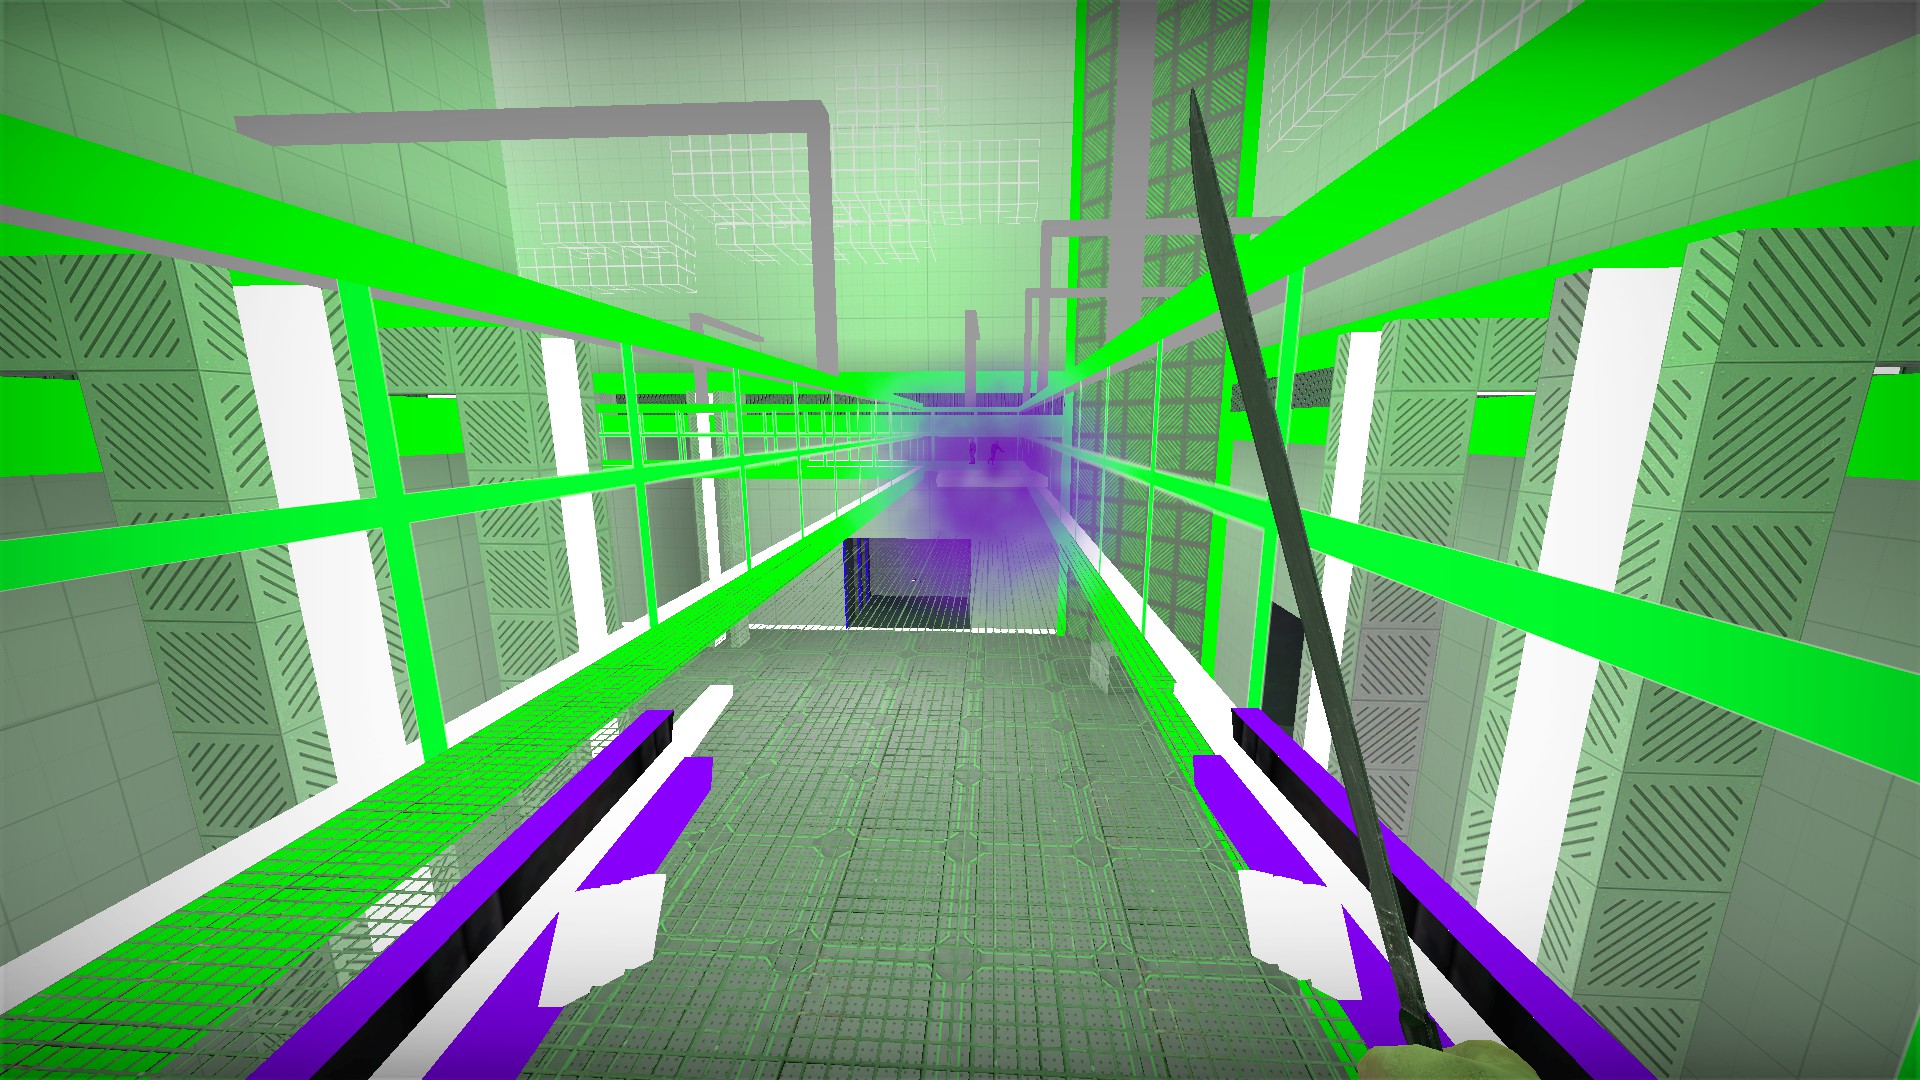
Fires a purple energy bolt that kills zombies. 120 second recharge
Yellow machete
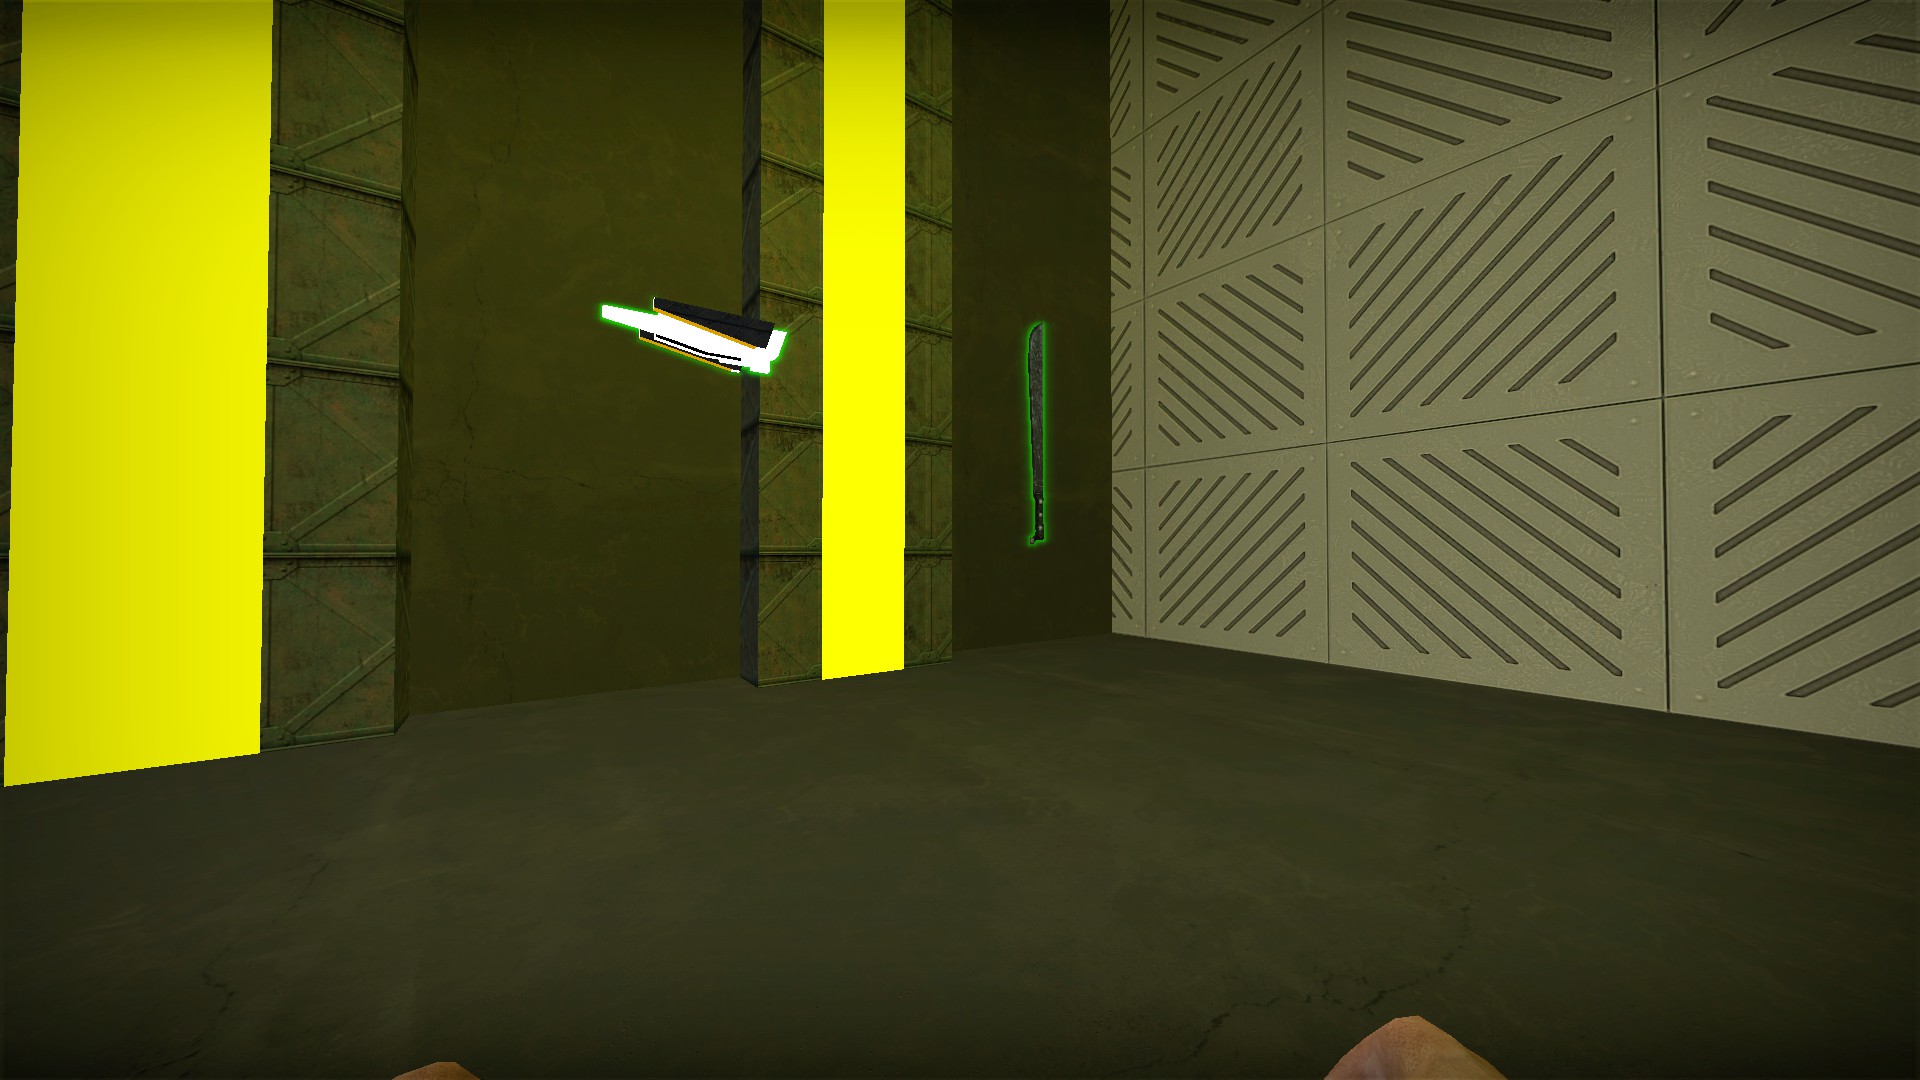
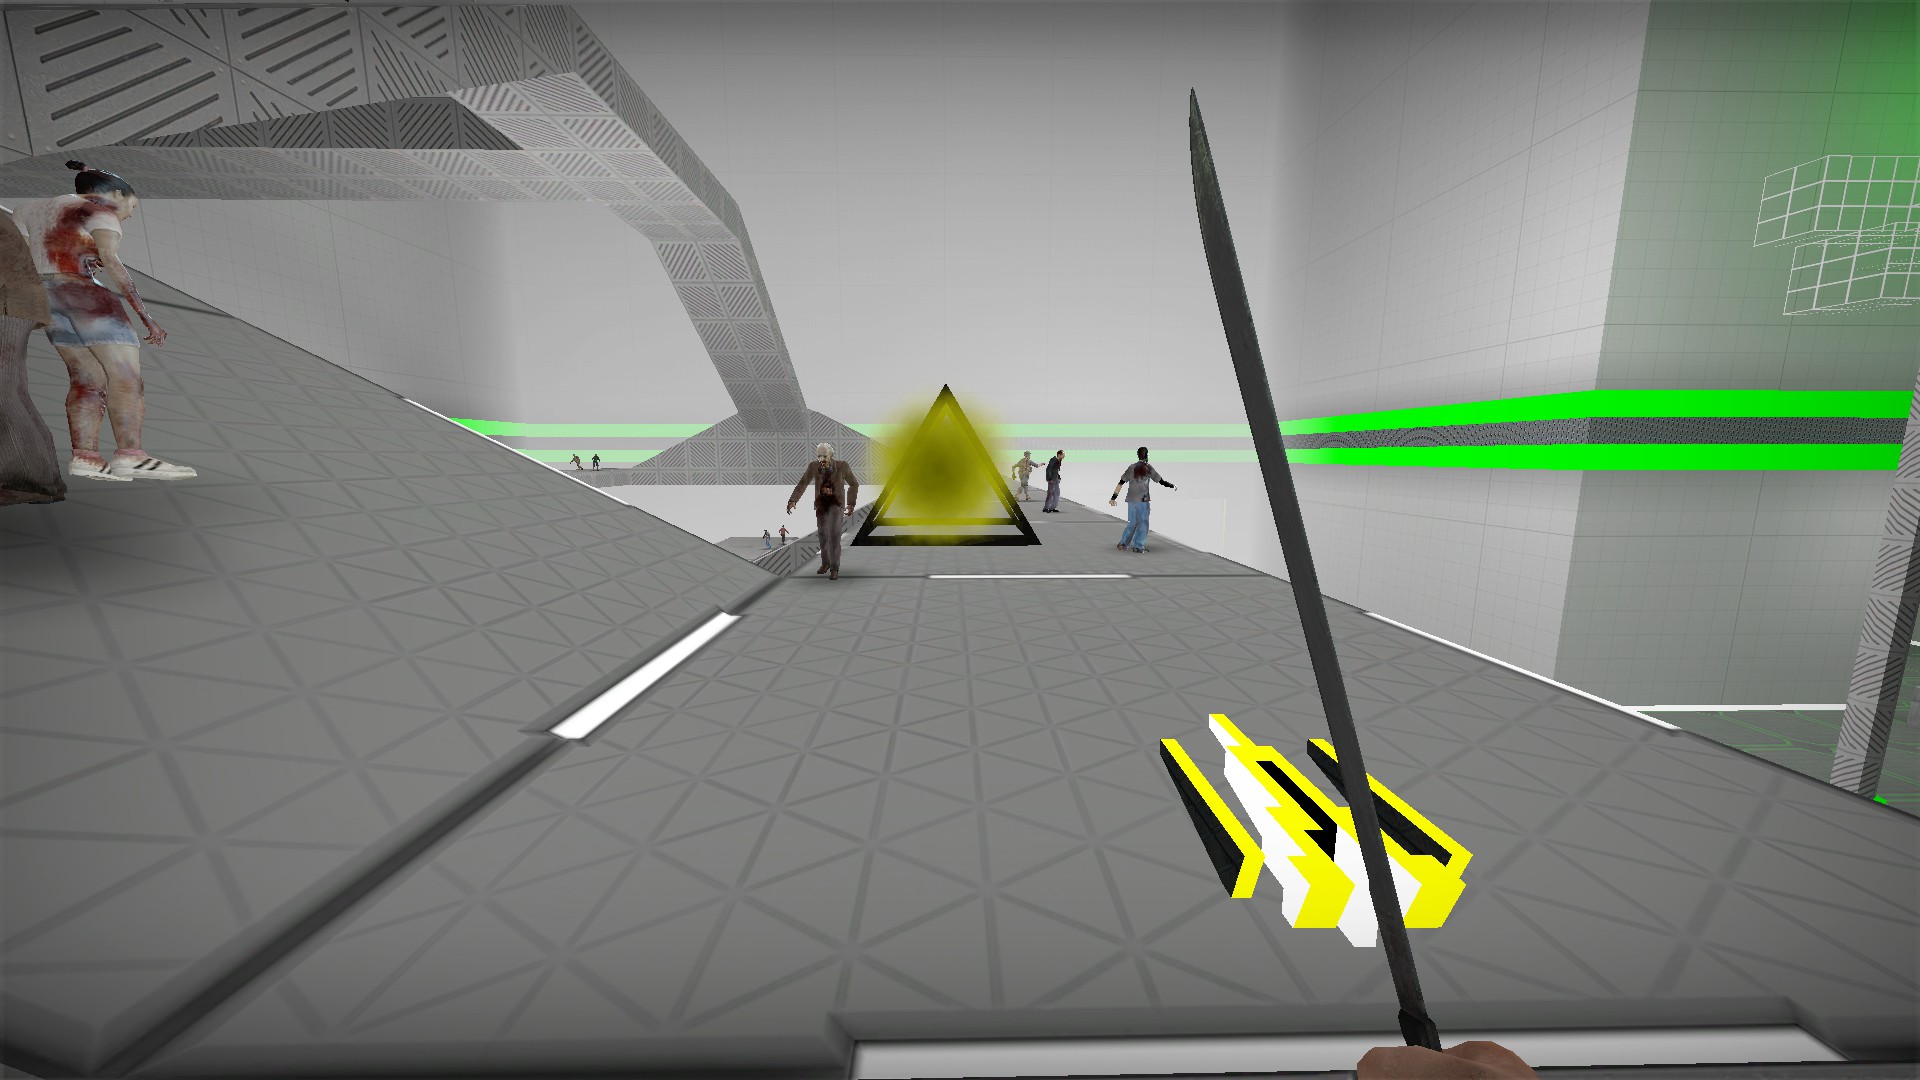
Fires a slow moving triangular object that pushes zombies. 60 second recharge
Pink machete
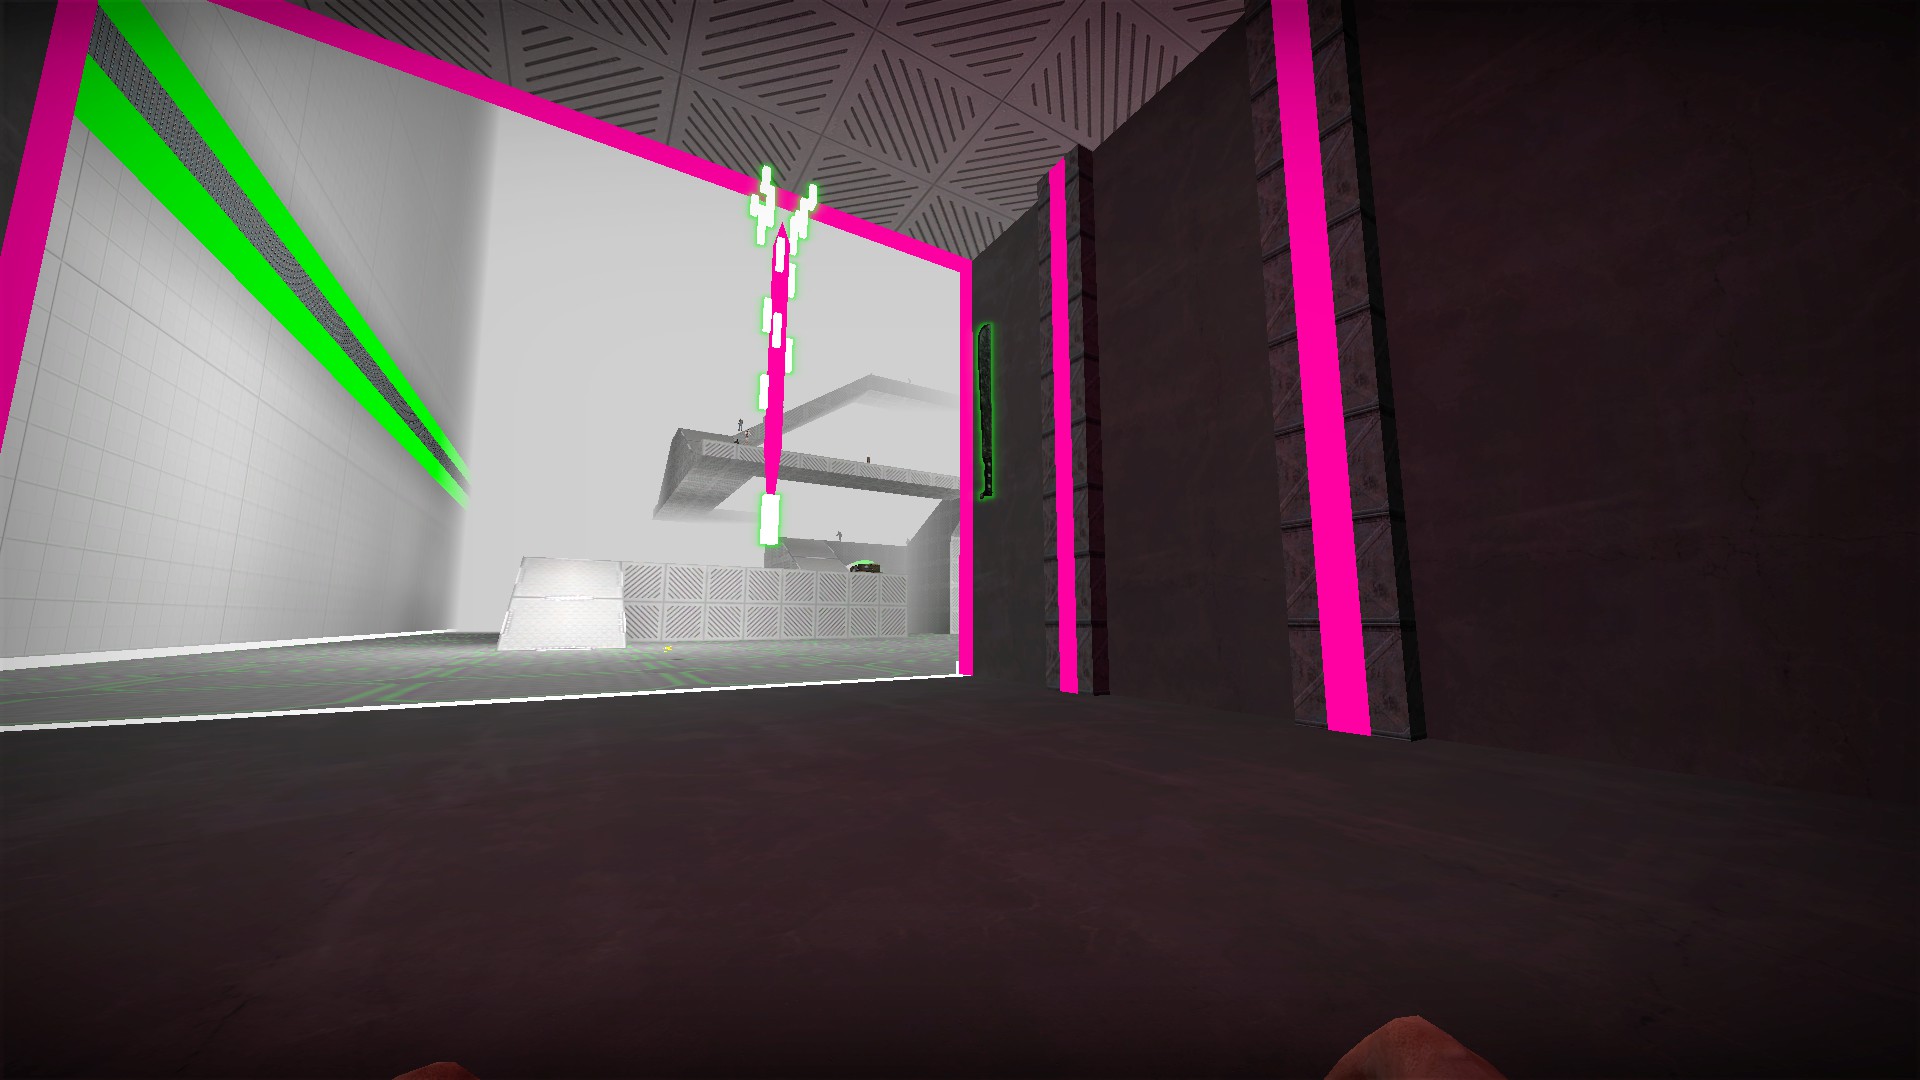
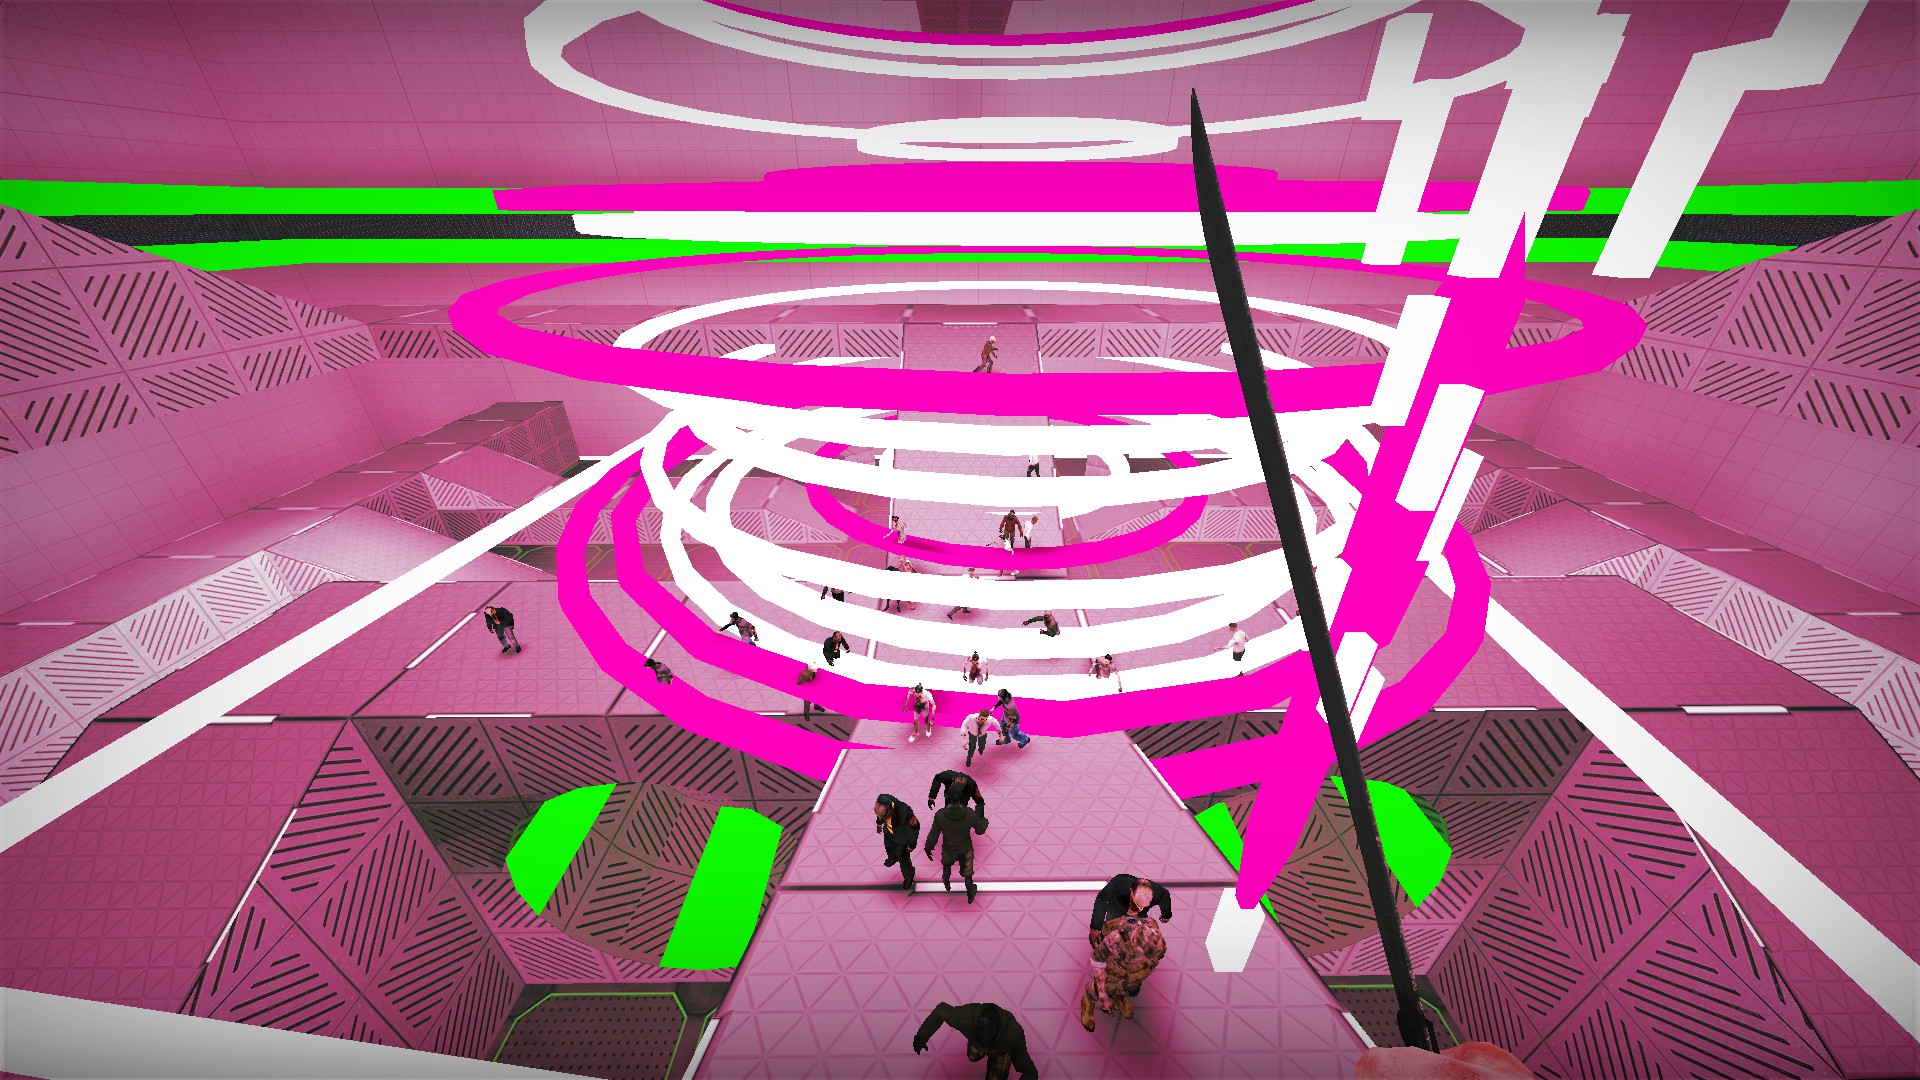
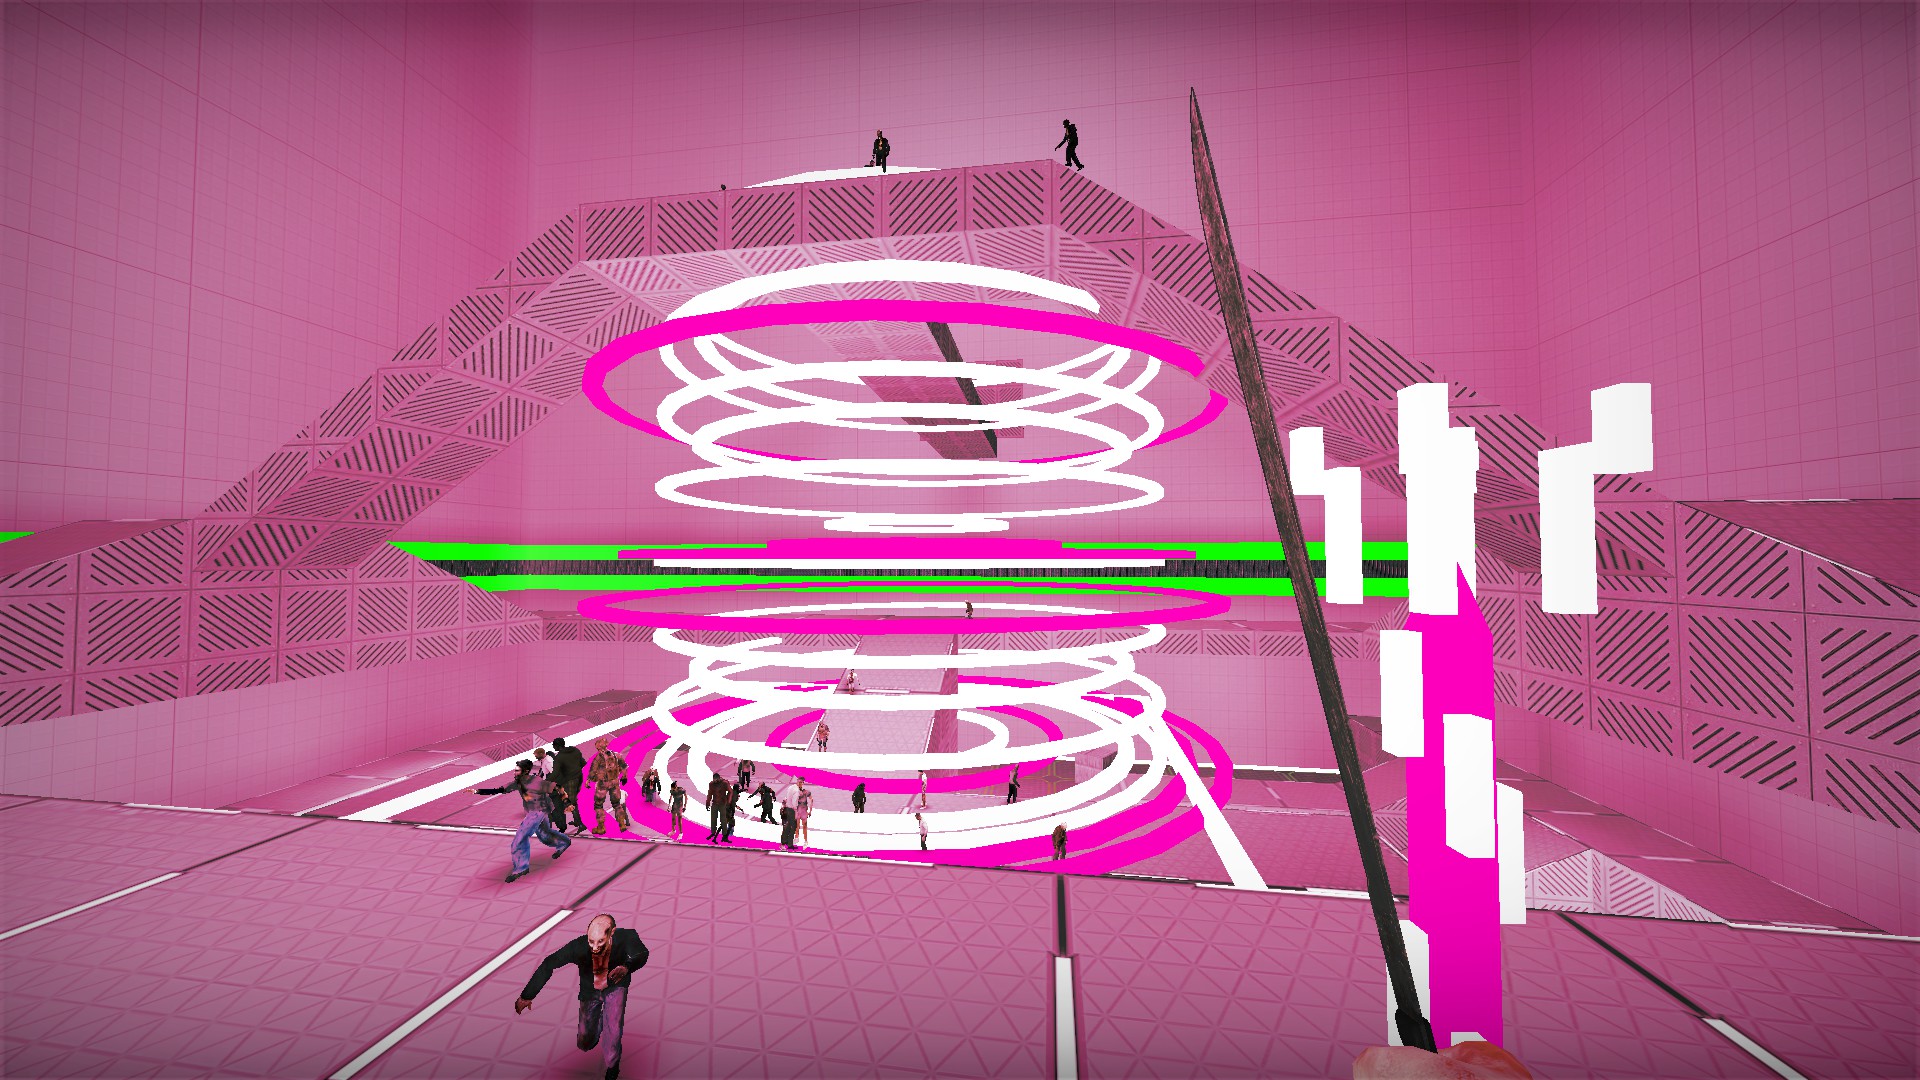
Creates a tornado that will kill all zombies in it's large area of effect after 15 seconds. One time use
Developer room
Just above starting area. You will need to noclip here. The green button will return you to the start of stage 1. The red button will take you to a green area with a boss survival event. The white button will take you to stage 2, where you start at the starting area, but the first transition will then take you to a blue/white area with another boss survival event
Second developer area
Just behind the starting area and below the room with buttons. You will need to noclip here
There is a red machete here
Green and Red machete area
You can climb down, but the parkour to reach the machete's in single jump would be quite difficult
Green machete
Fires a green energy bolt that does not damage zombies. 30 second recharge
Red machete
Red lightning effect that does not damage zombies. 60 second recharge
Blue machete
Fires a blue energy bolt that kills zombies. 60 second recharge
Purple machete
Fires a purple energy bolt that kills zombies. 120 second recharge
Yellow machete
Fires a slow moving triangular object that pushes zombies. 60 second recharge
Pink machete
Creates a tornado that will kill all zombies in it's large area of effect after 15 seconds. One time use
nmo_yongen
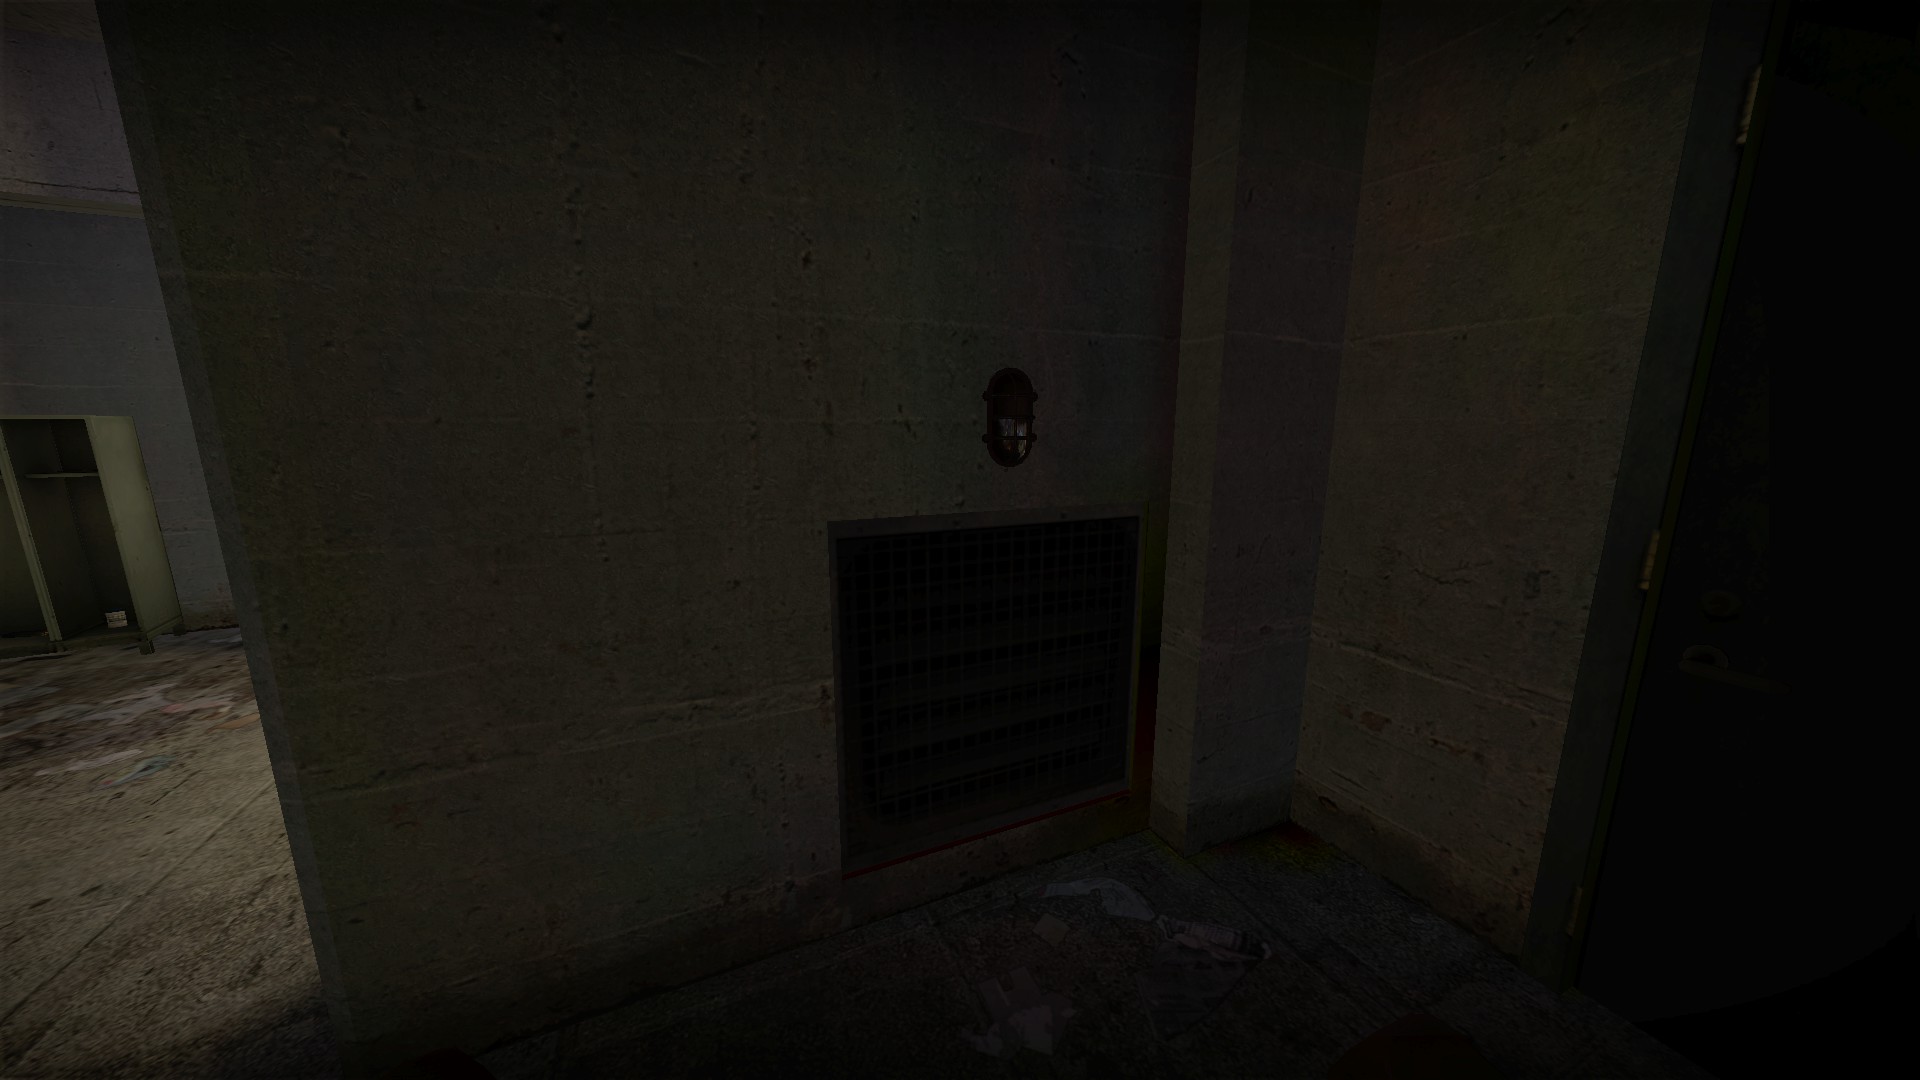
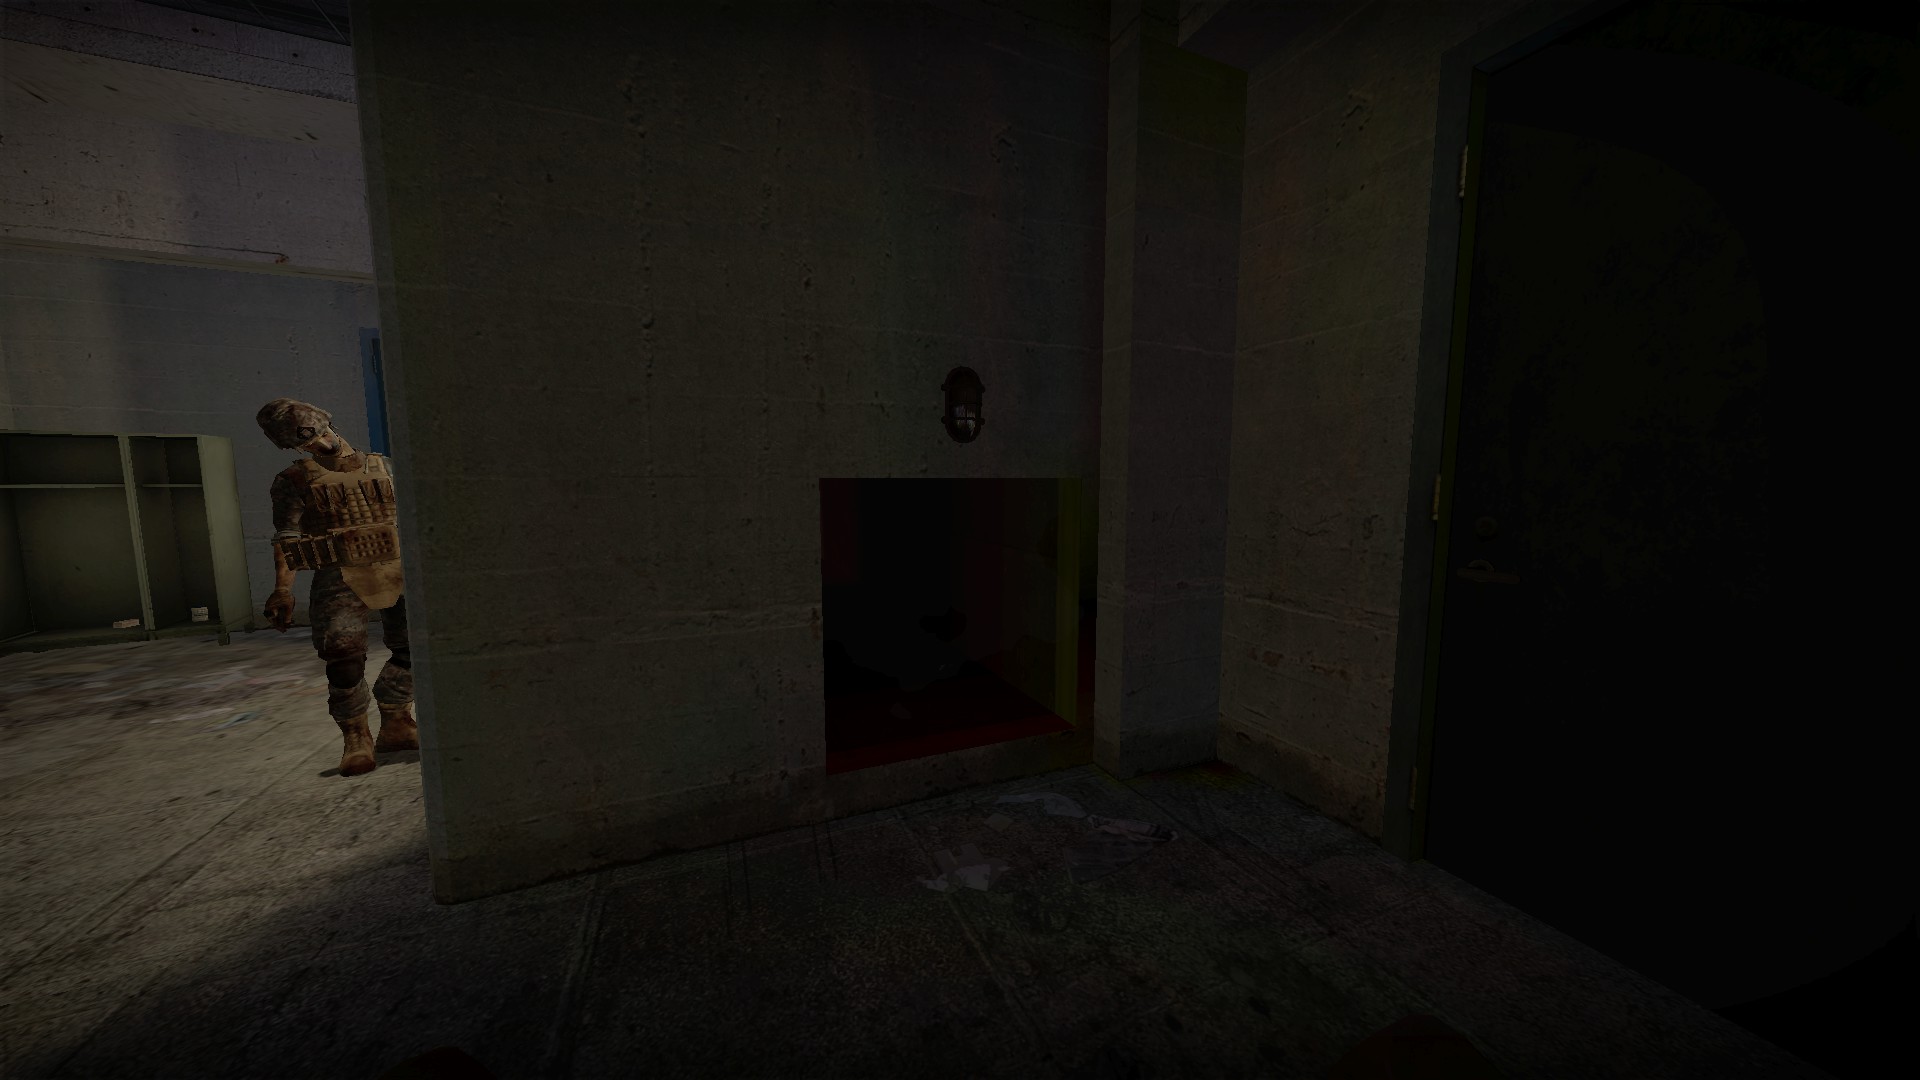
Break the vent near where you get the pliers
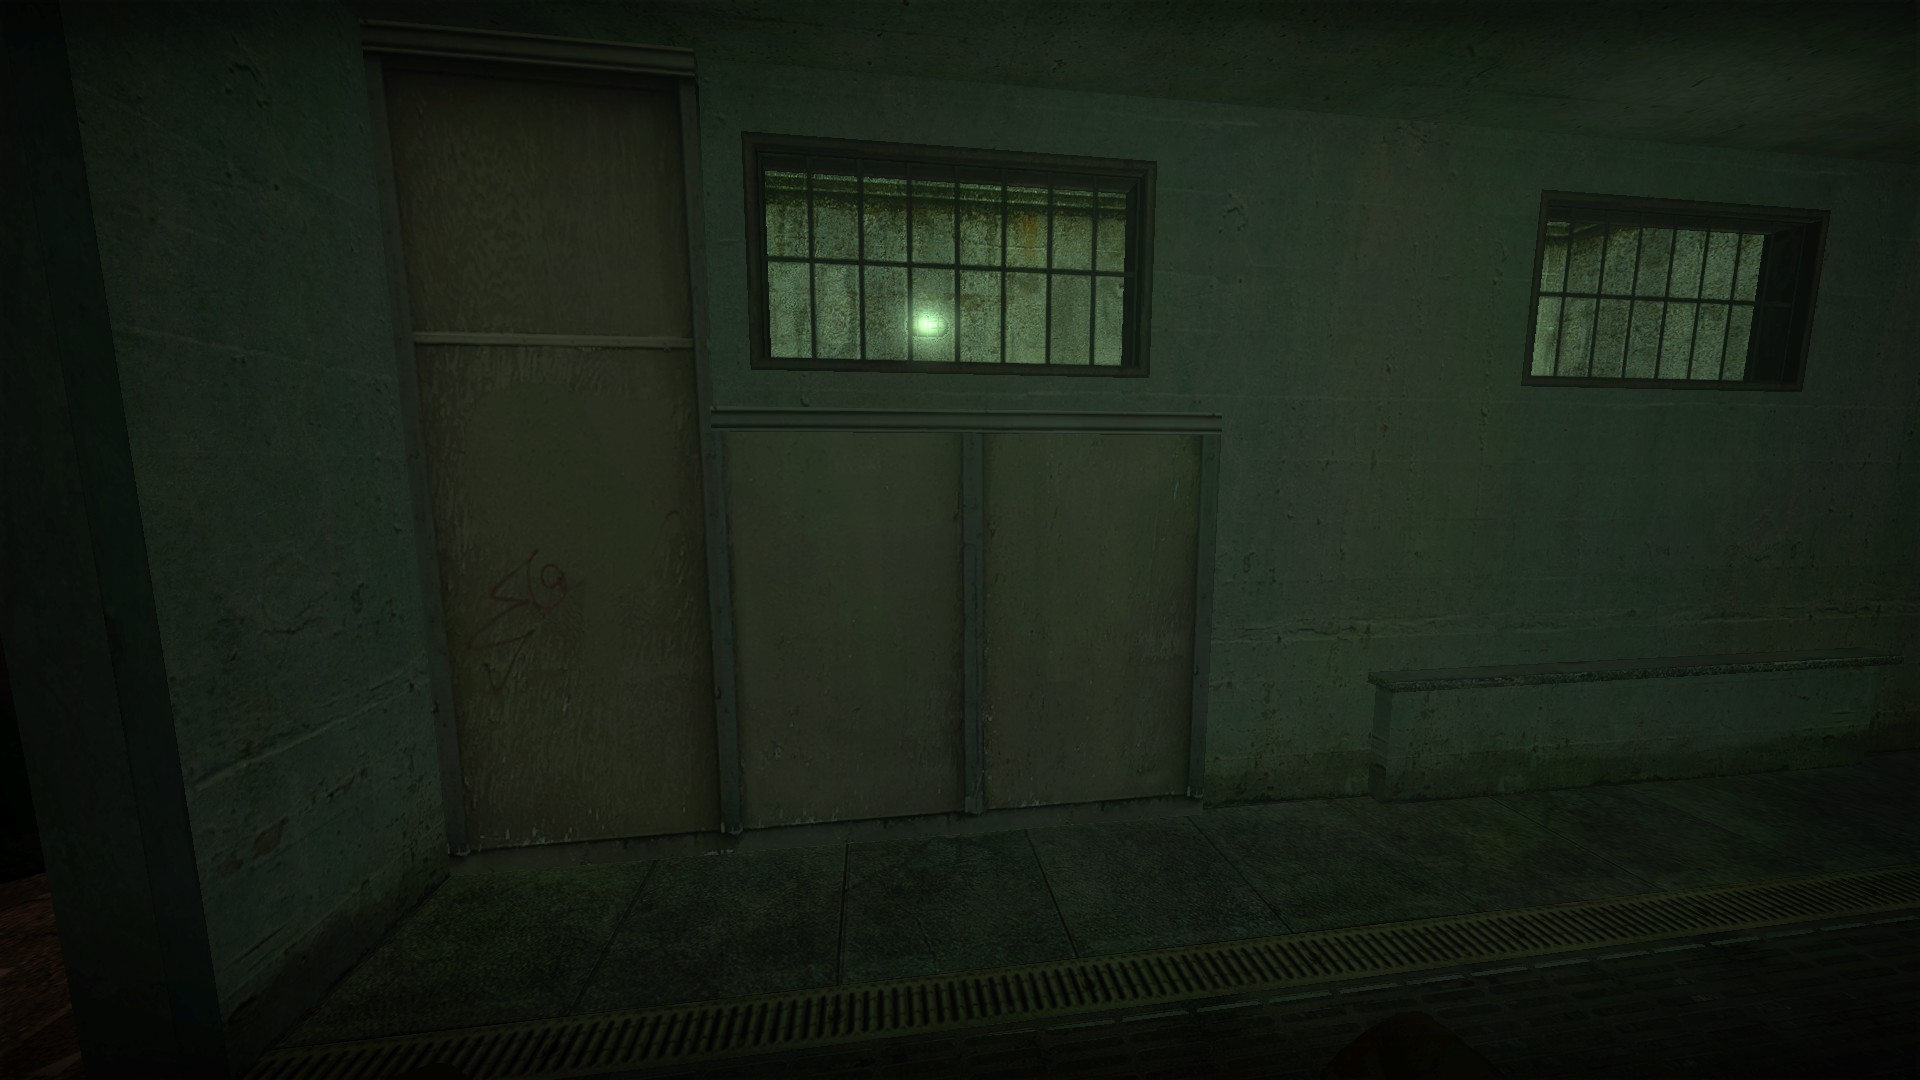
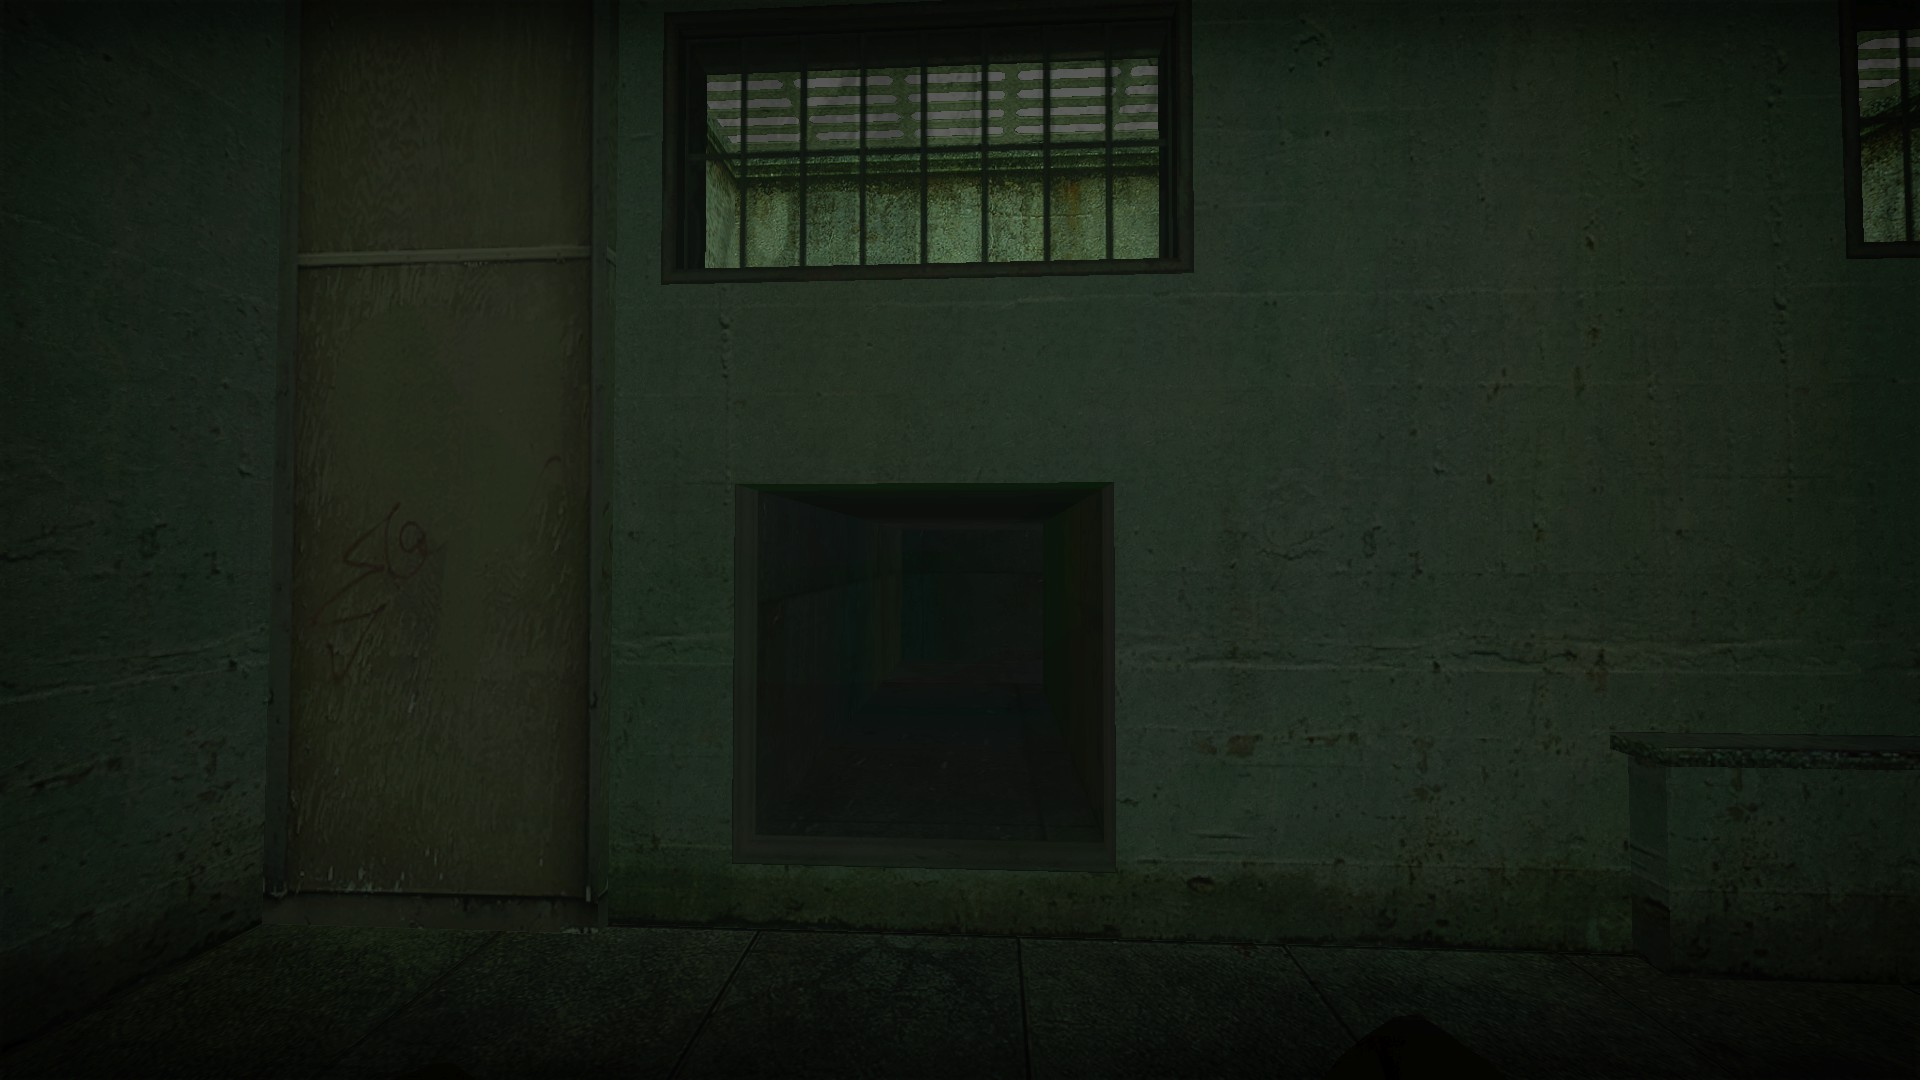
Or break the vent just past where the gas can is used
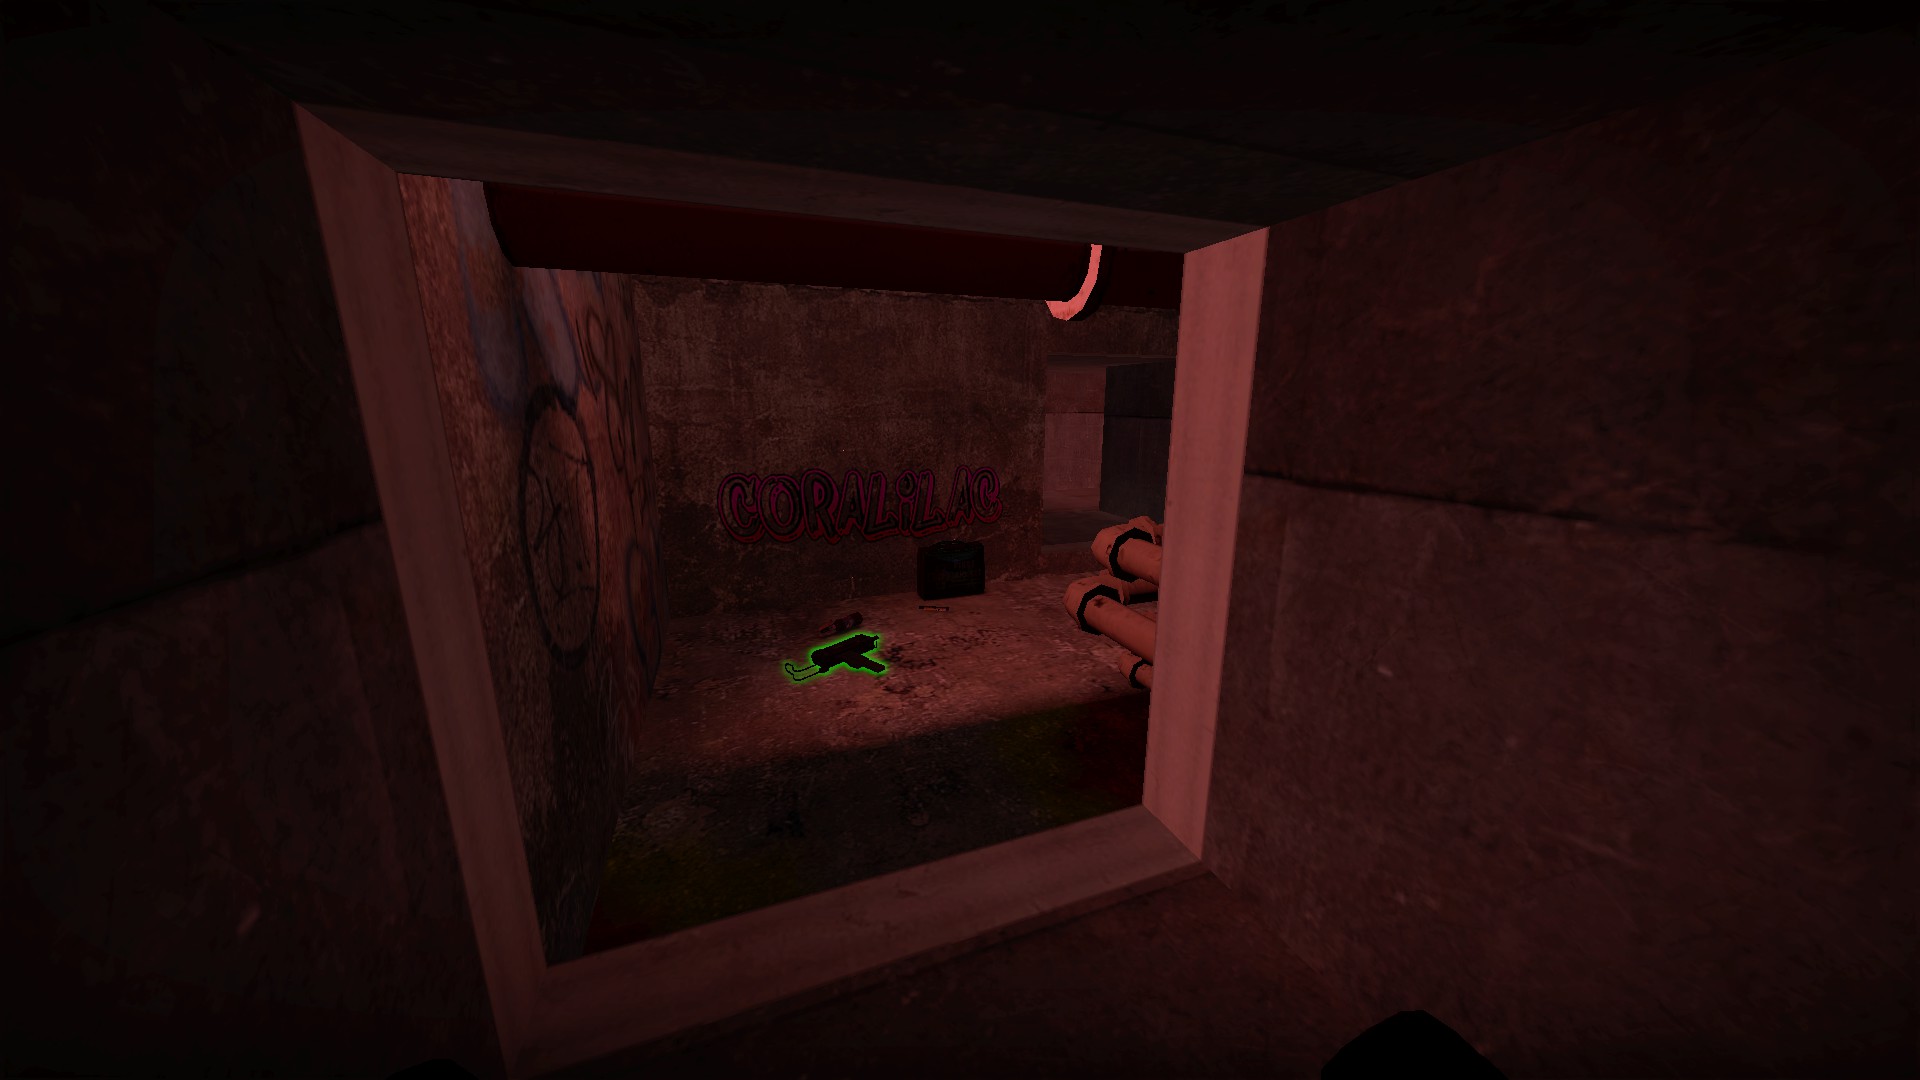
Both vents will lead to a secret area with supplies
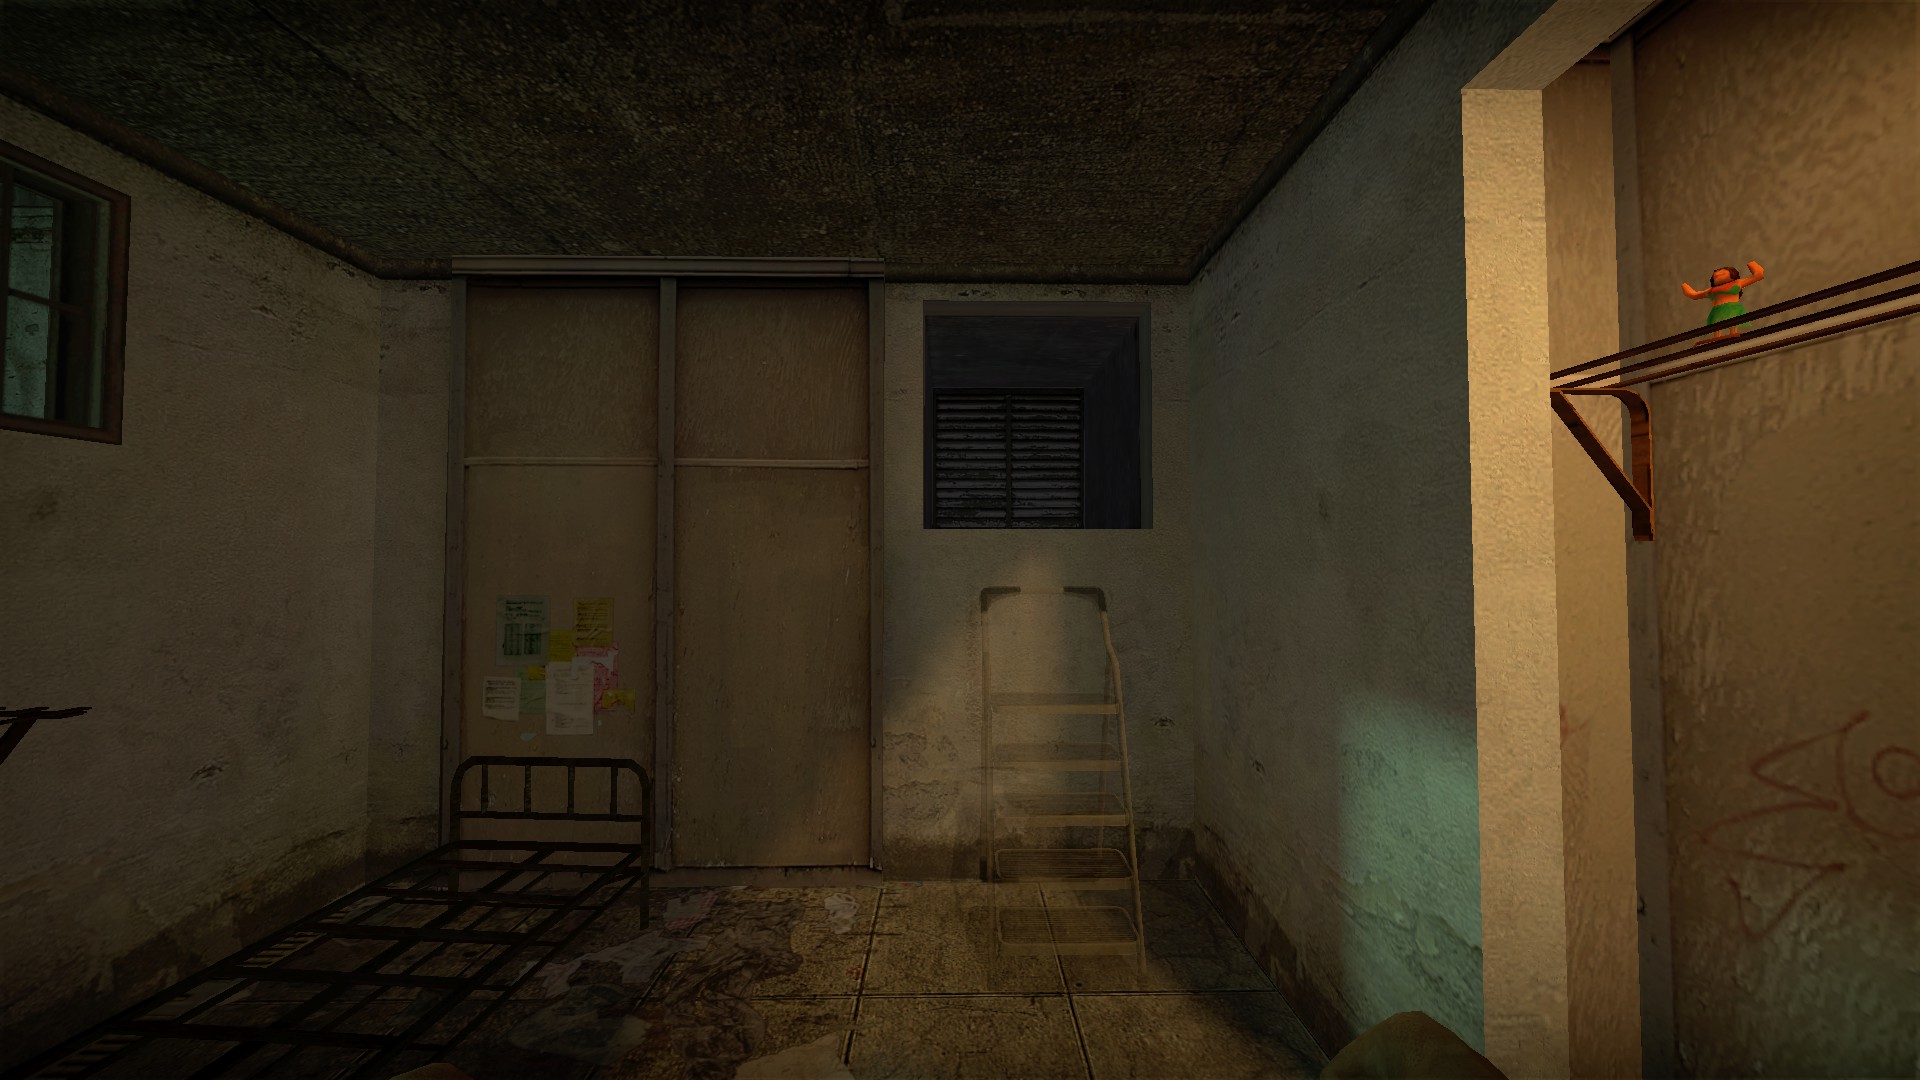
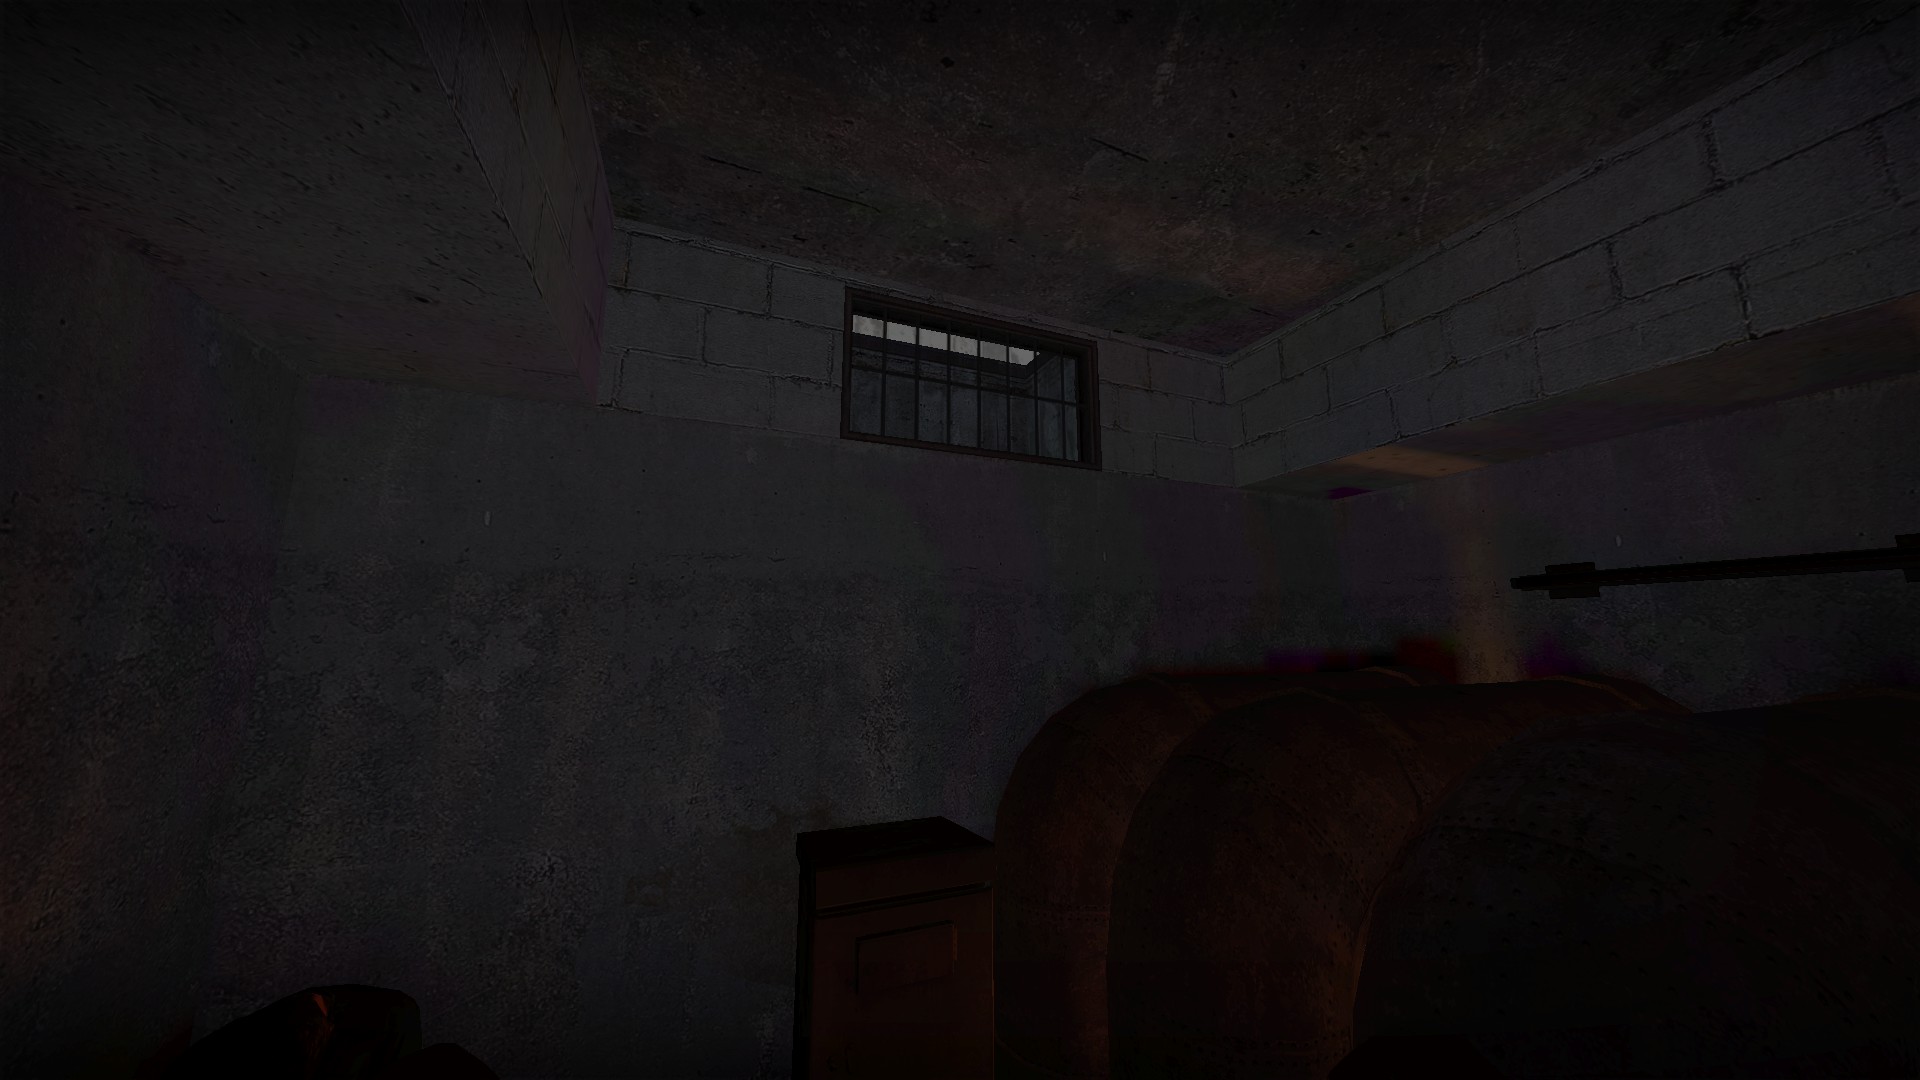
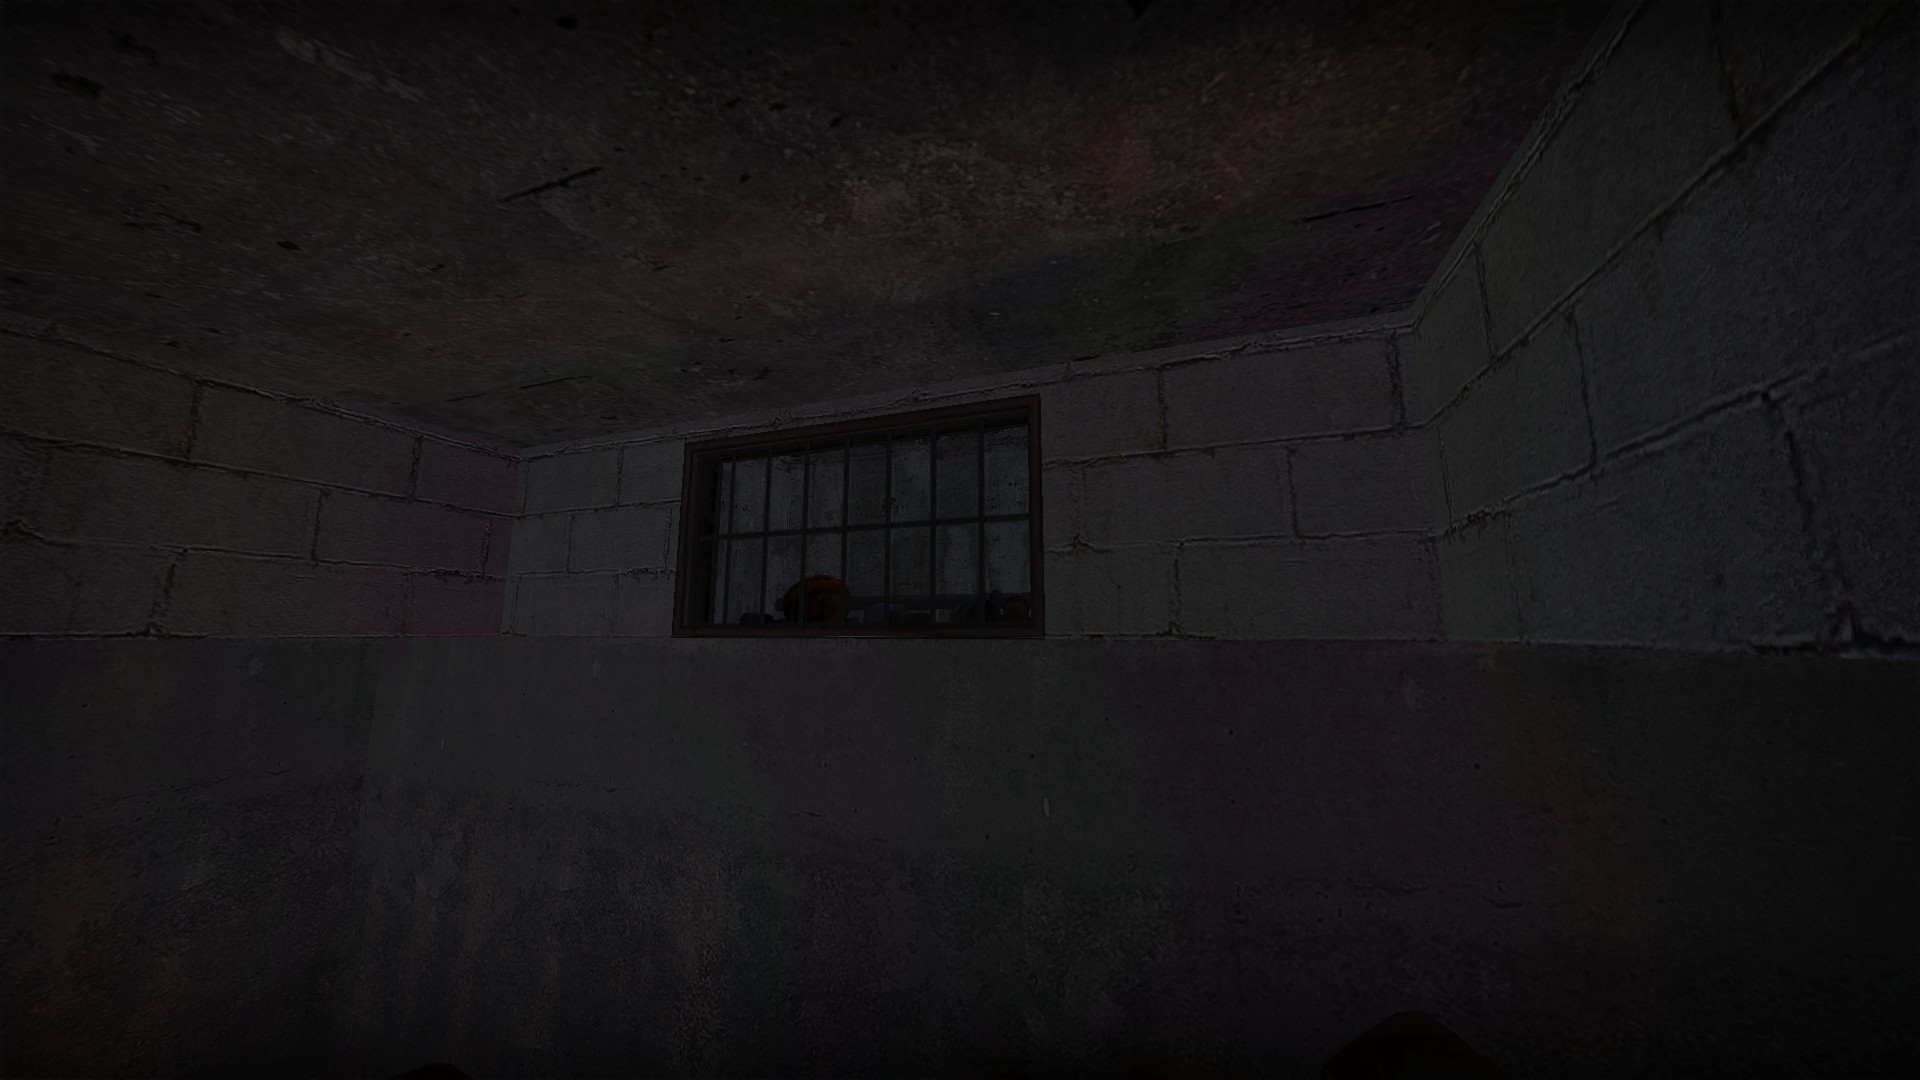
If you get the path with the stepladder and red fuse box key, in the room where the key is climb up the pipes and break the glass to get the watermelon
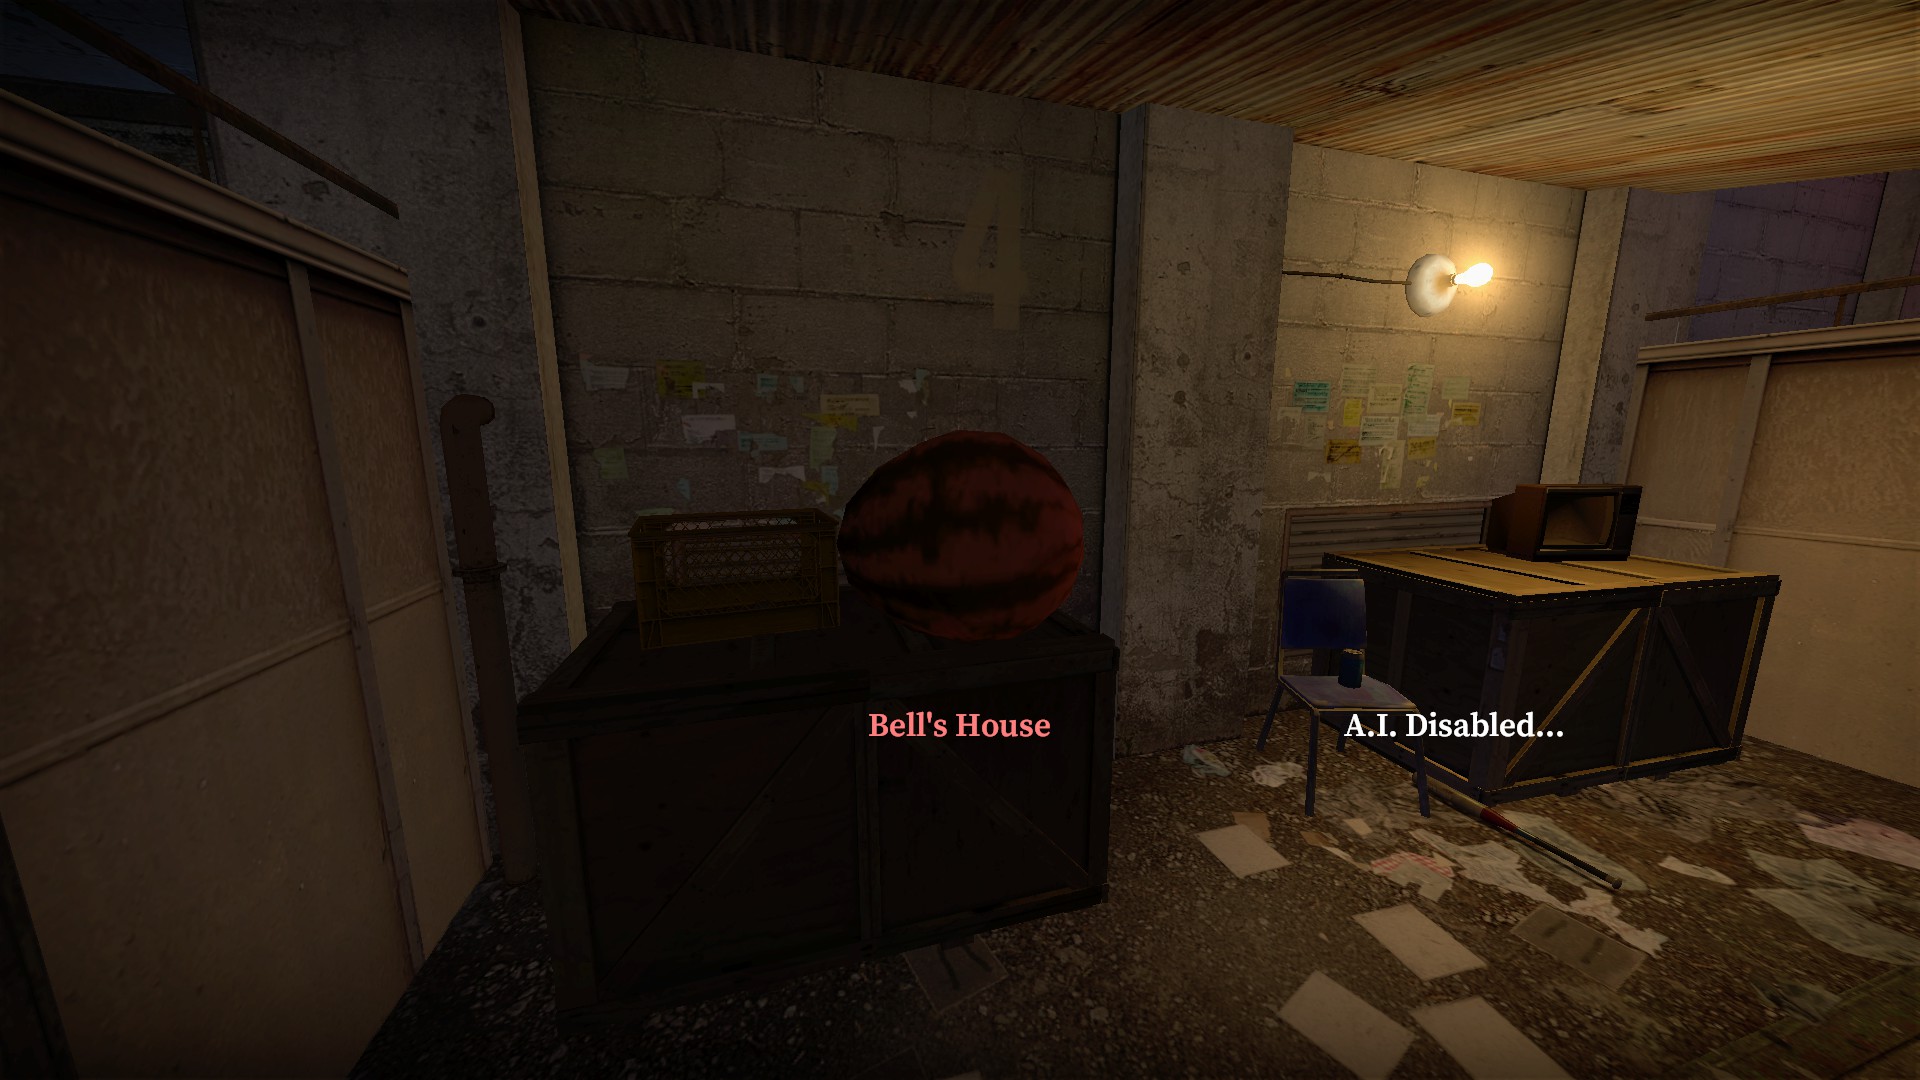
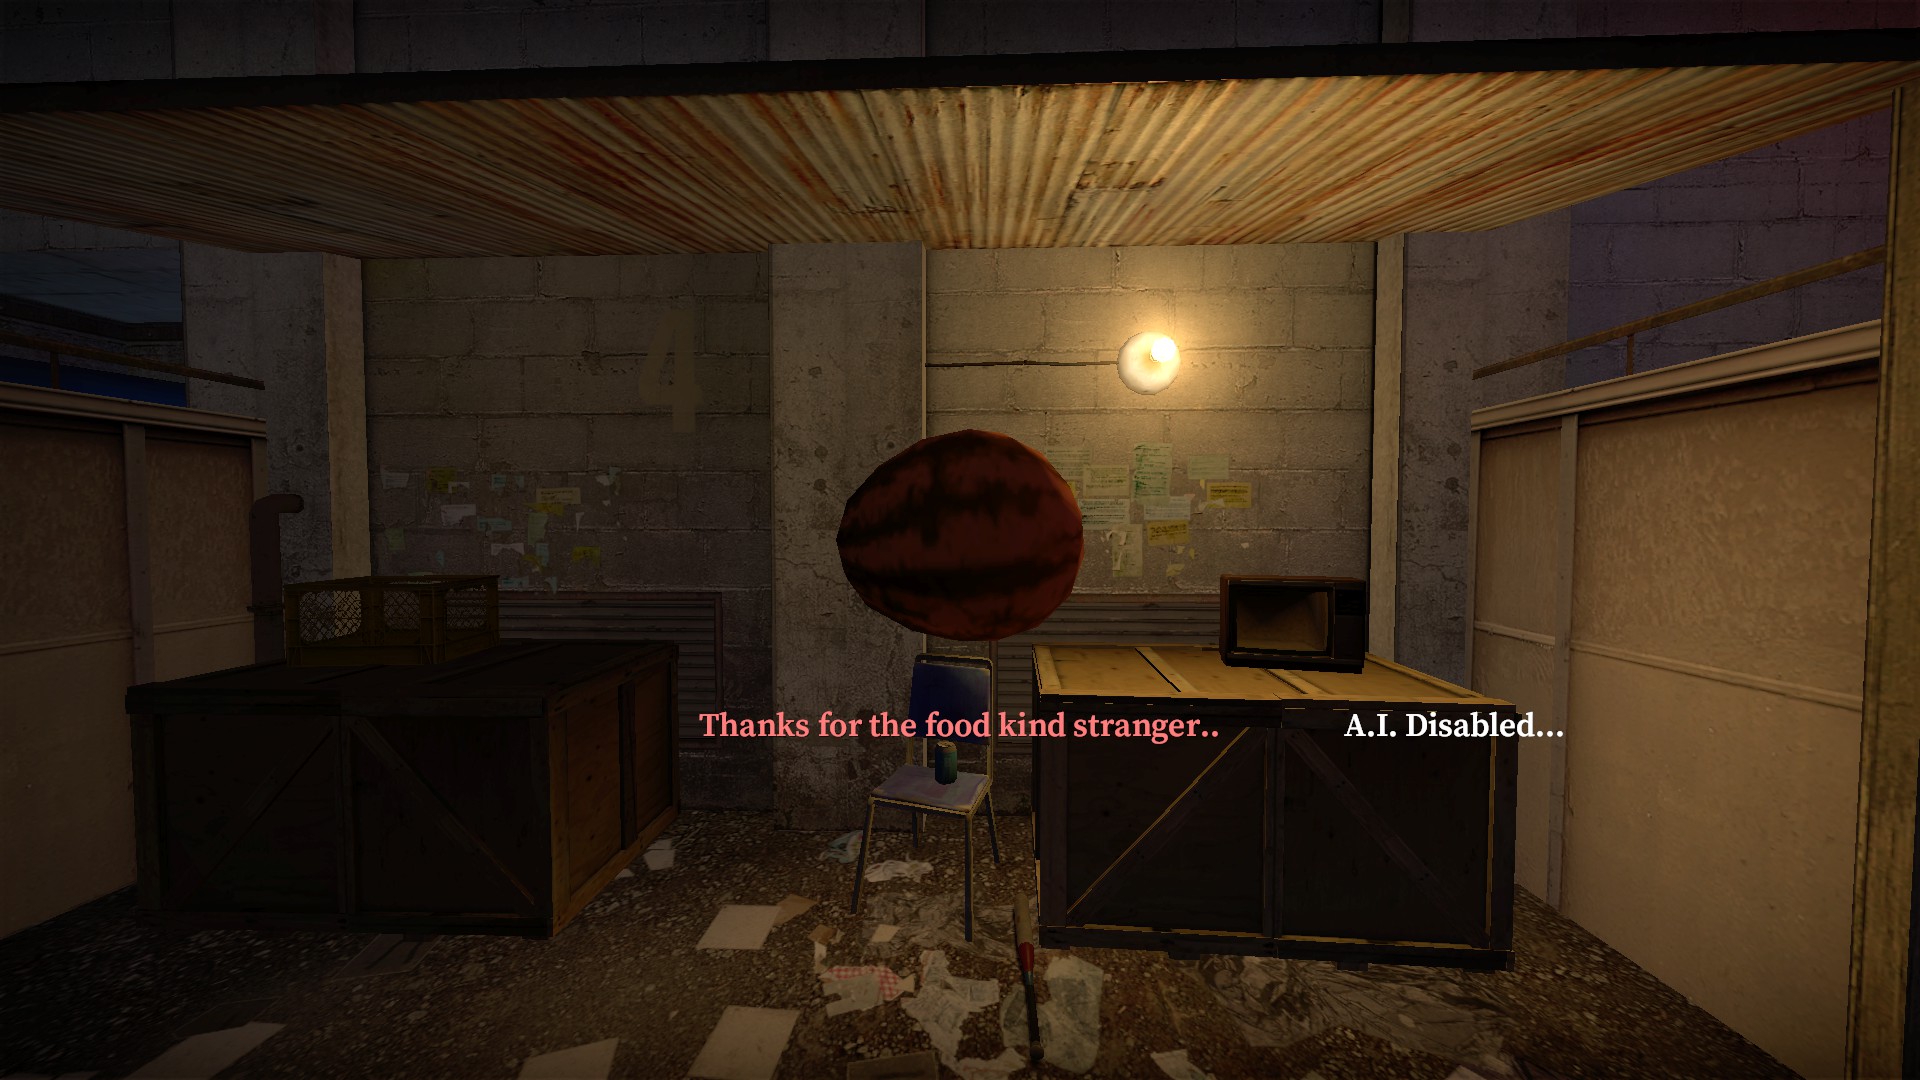
Bring the watermelon to the small roofed area next to the radio and satellite dish at the end for a special message
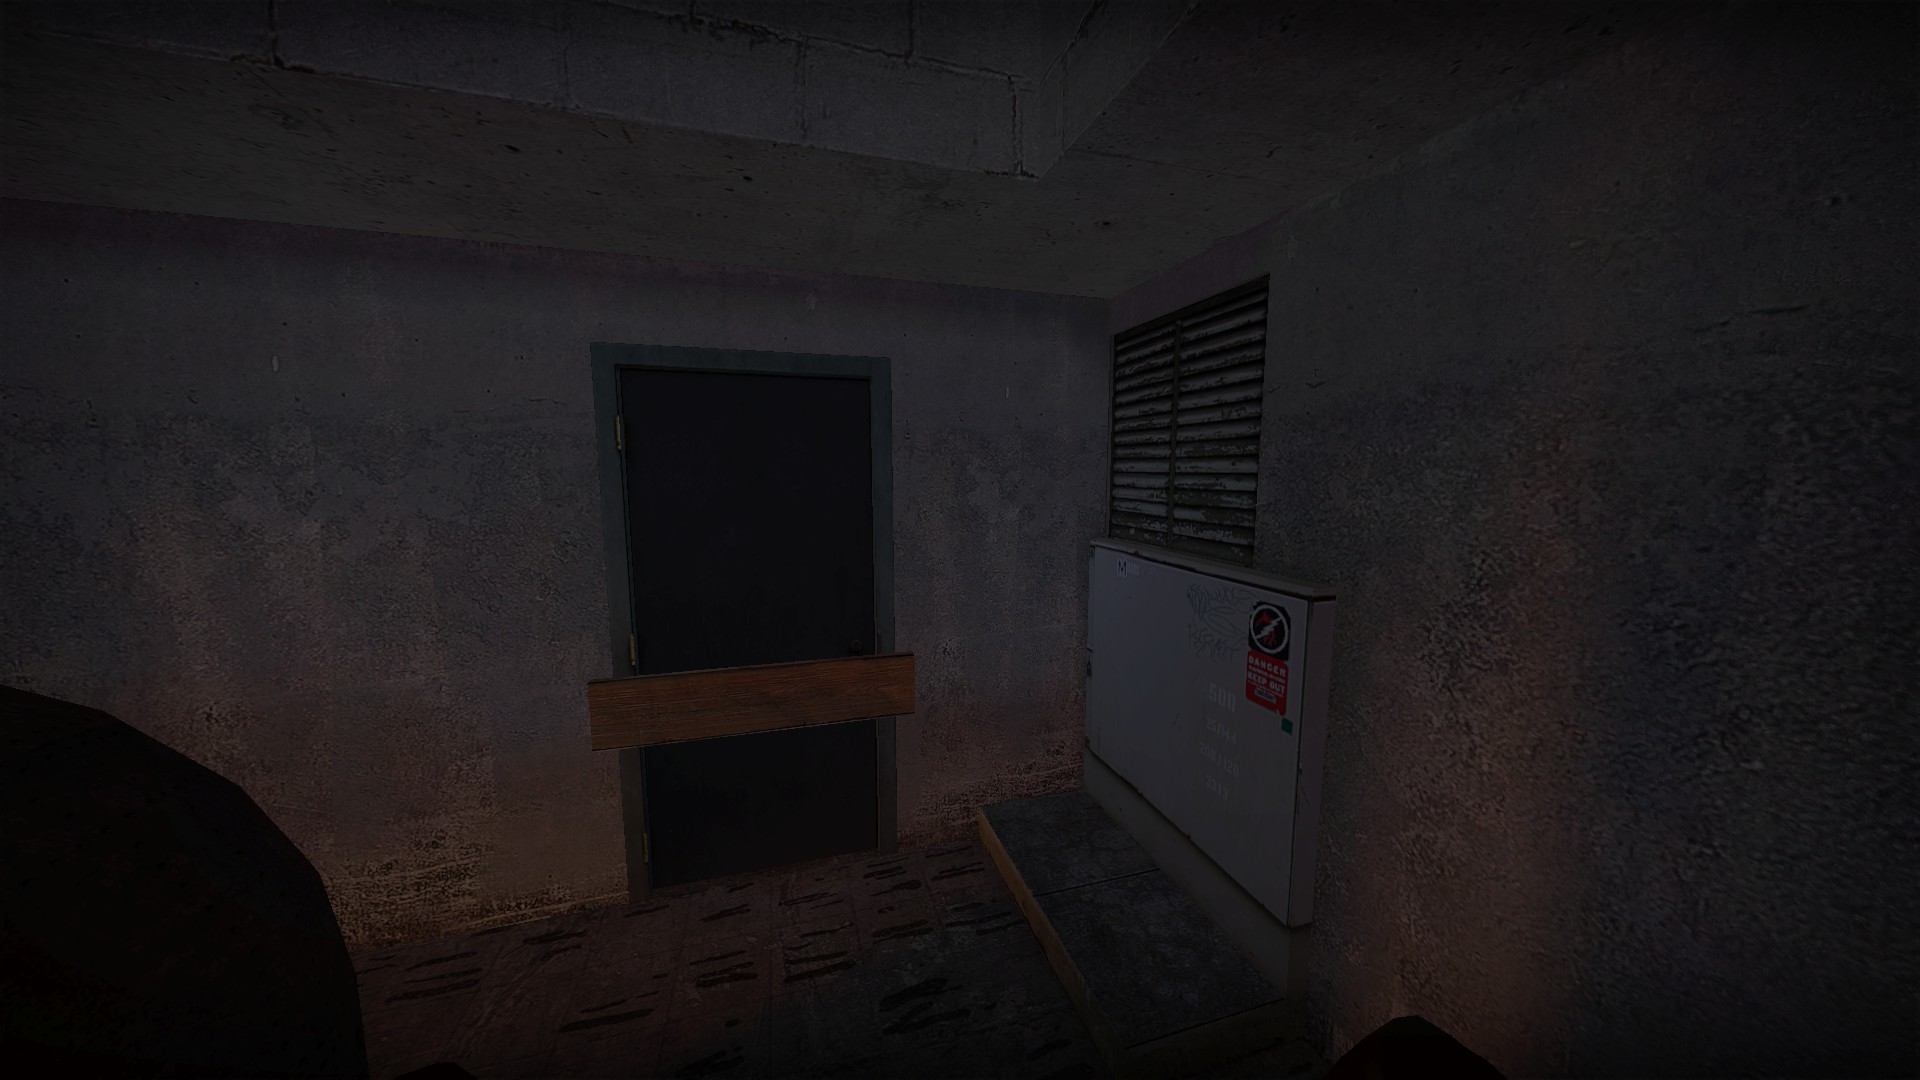
You cannot get the watermelon on alternate paths unless you can cheat into the vent (there are no props to boost with). Using weapons/explosives on the vent and door behind will still leave an invisible wall that will prevent access unless you have gone through the vent
nmo_ze_minecraft_adventure_t2_2
No fall damage
Special machetes will not damage the bosses
Developer room
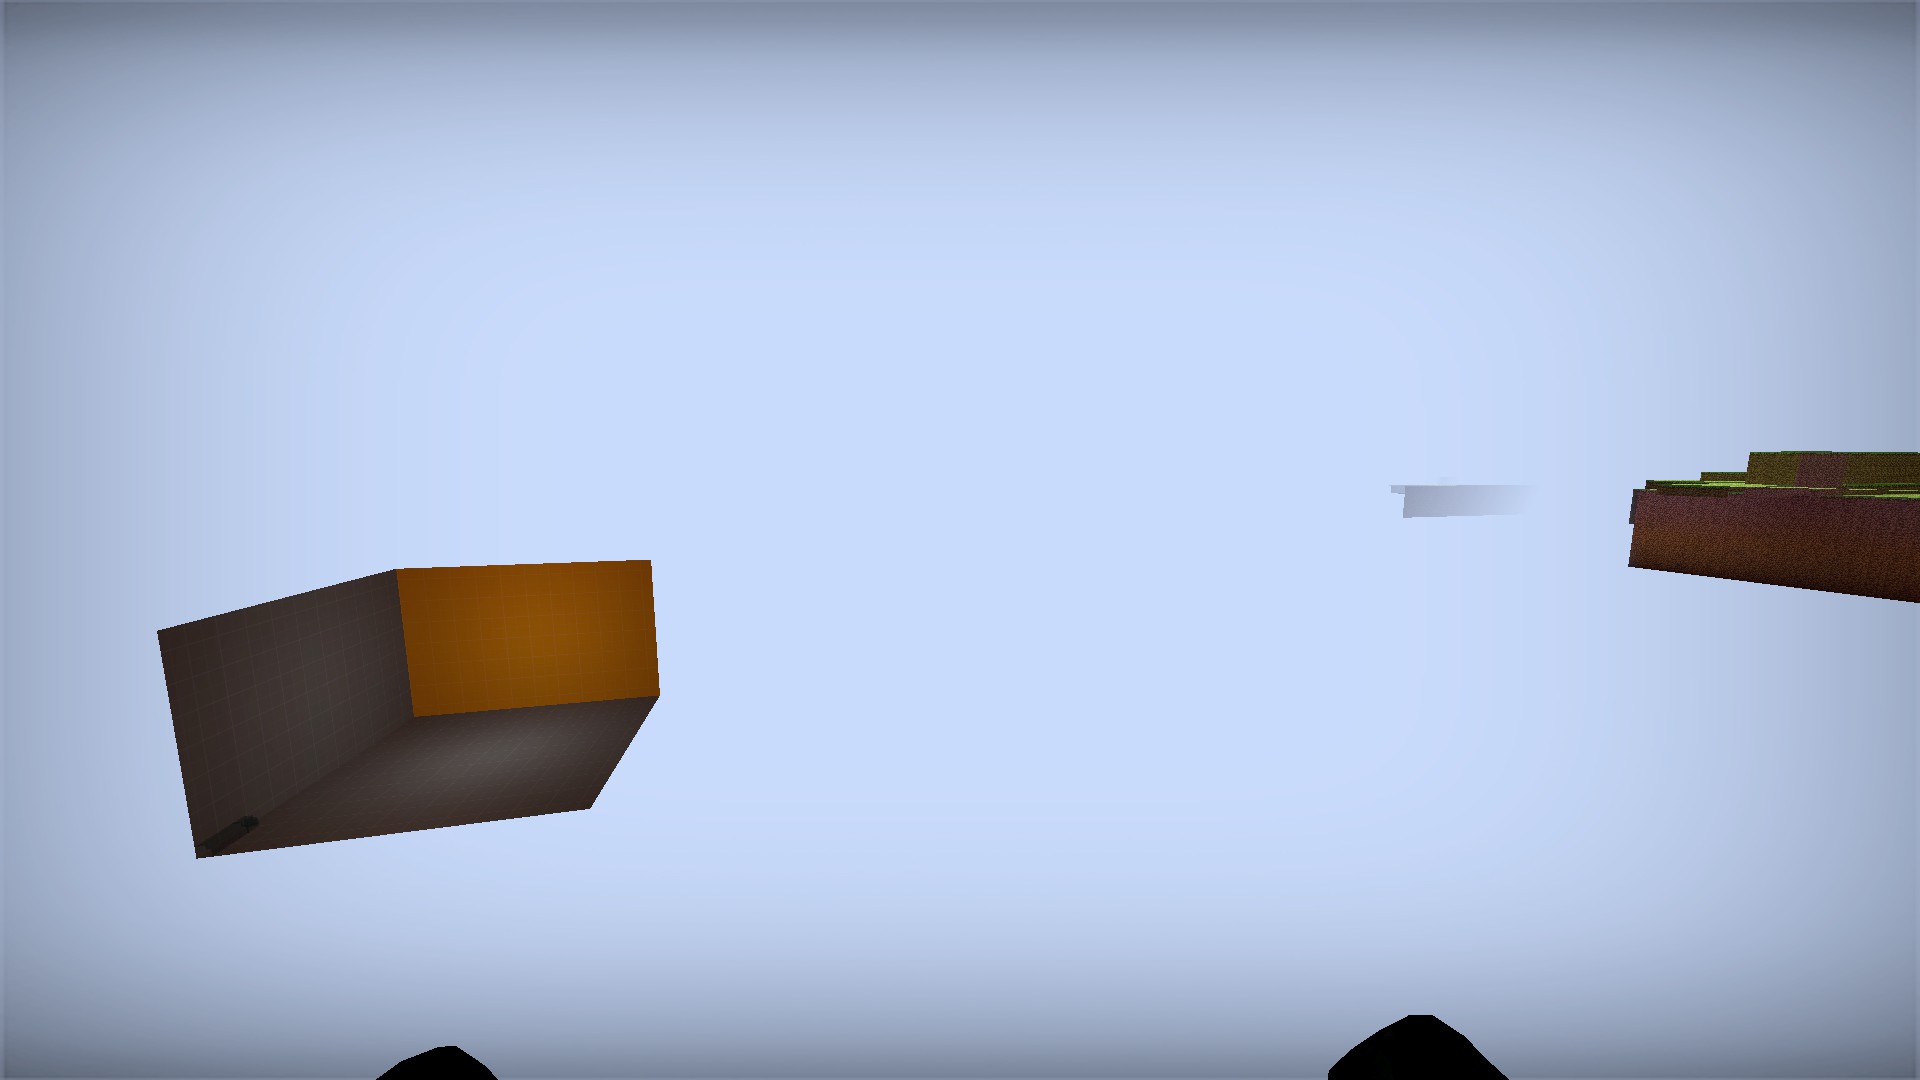
Like other maps with multiple stages, there is a developer room that allows quick access between stages for testing. You can noclip here, but it cannot be accessed otherwise. It is to the left of the area where you find the boats on the first stage
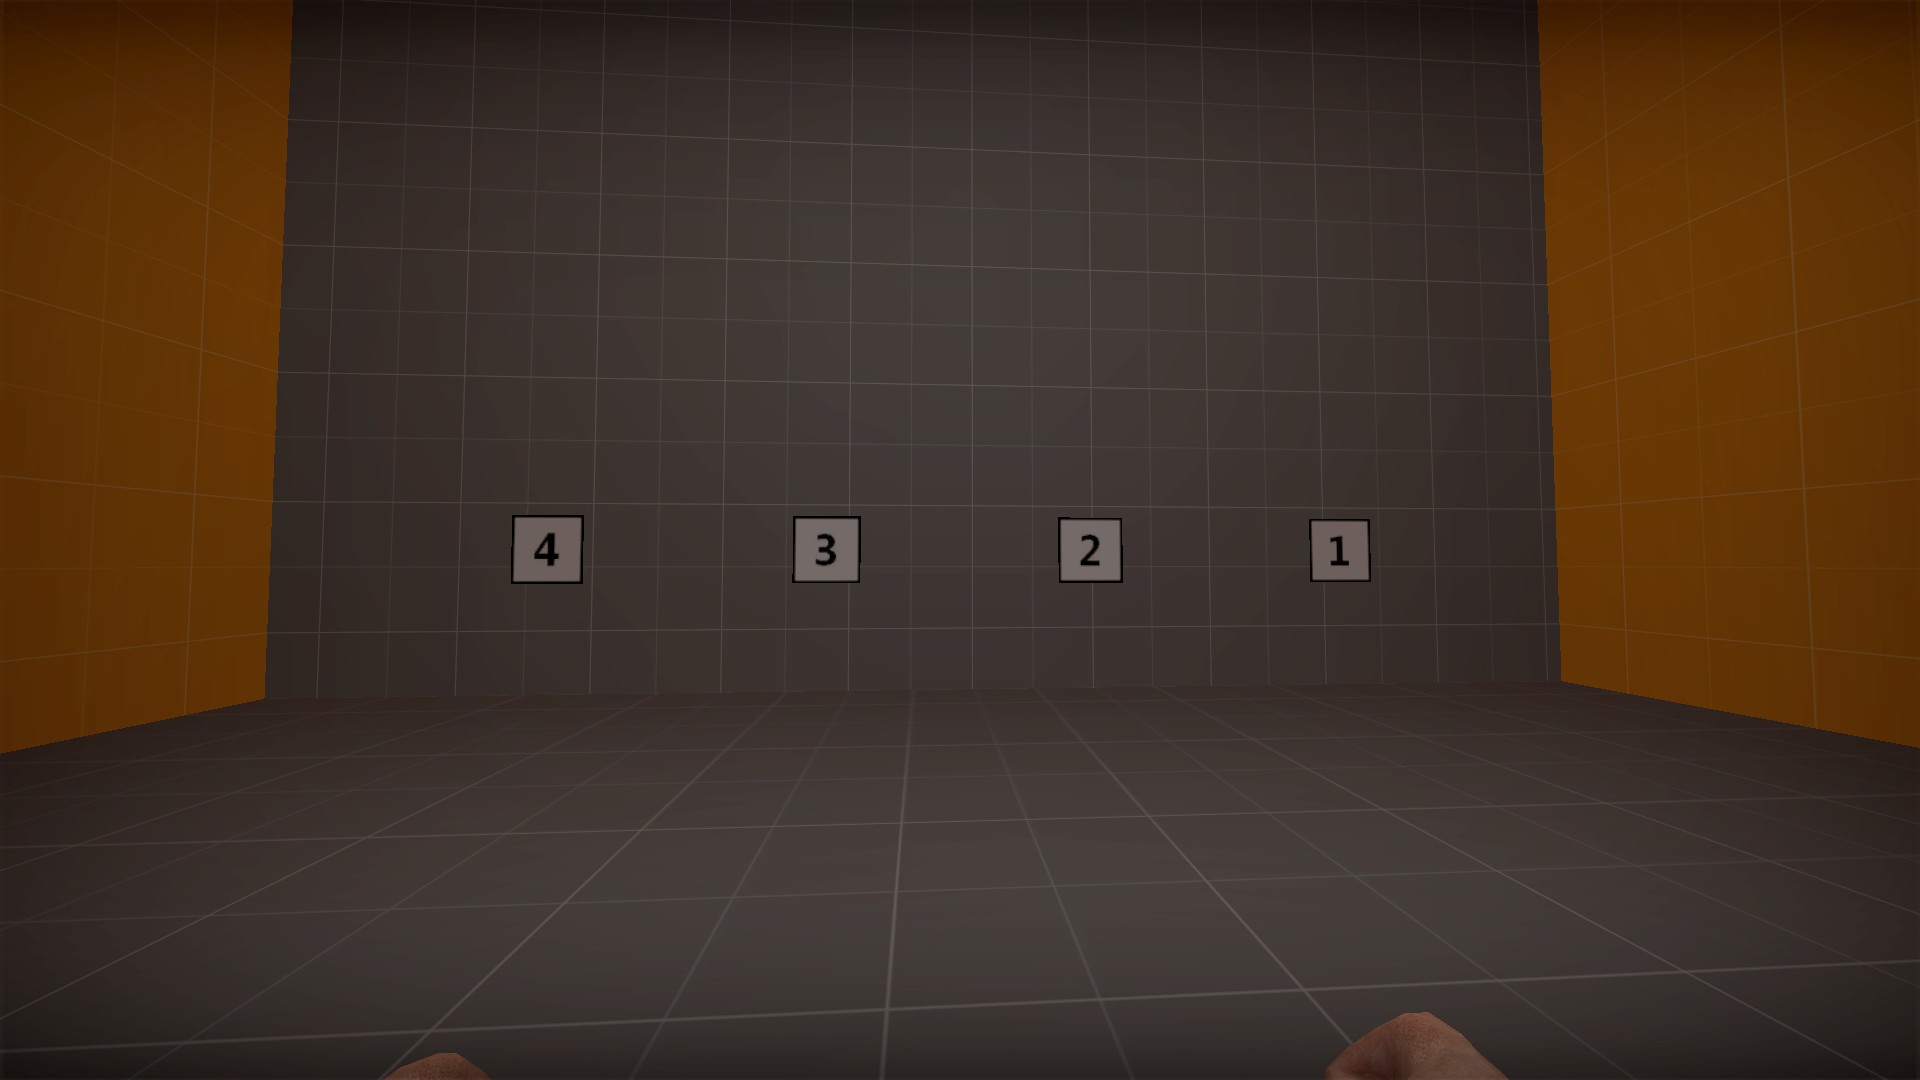
The 4 numbered buttons will restart the map on that stage
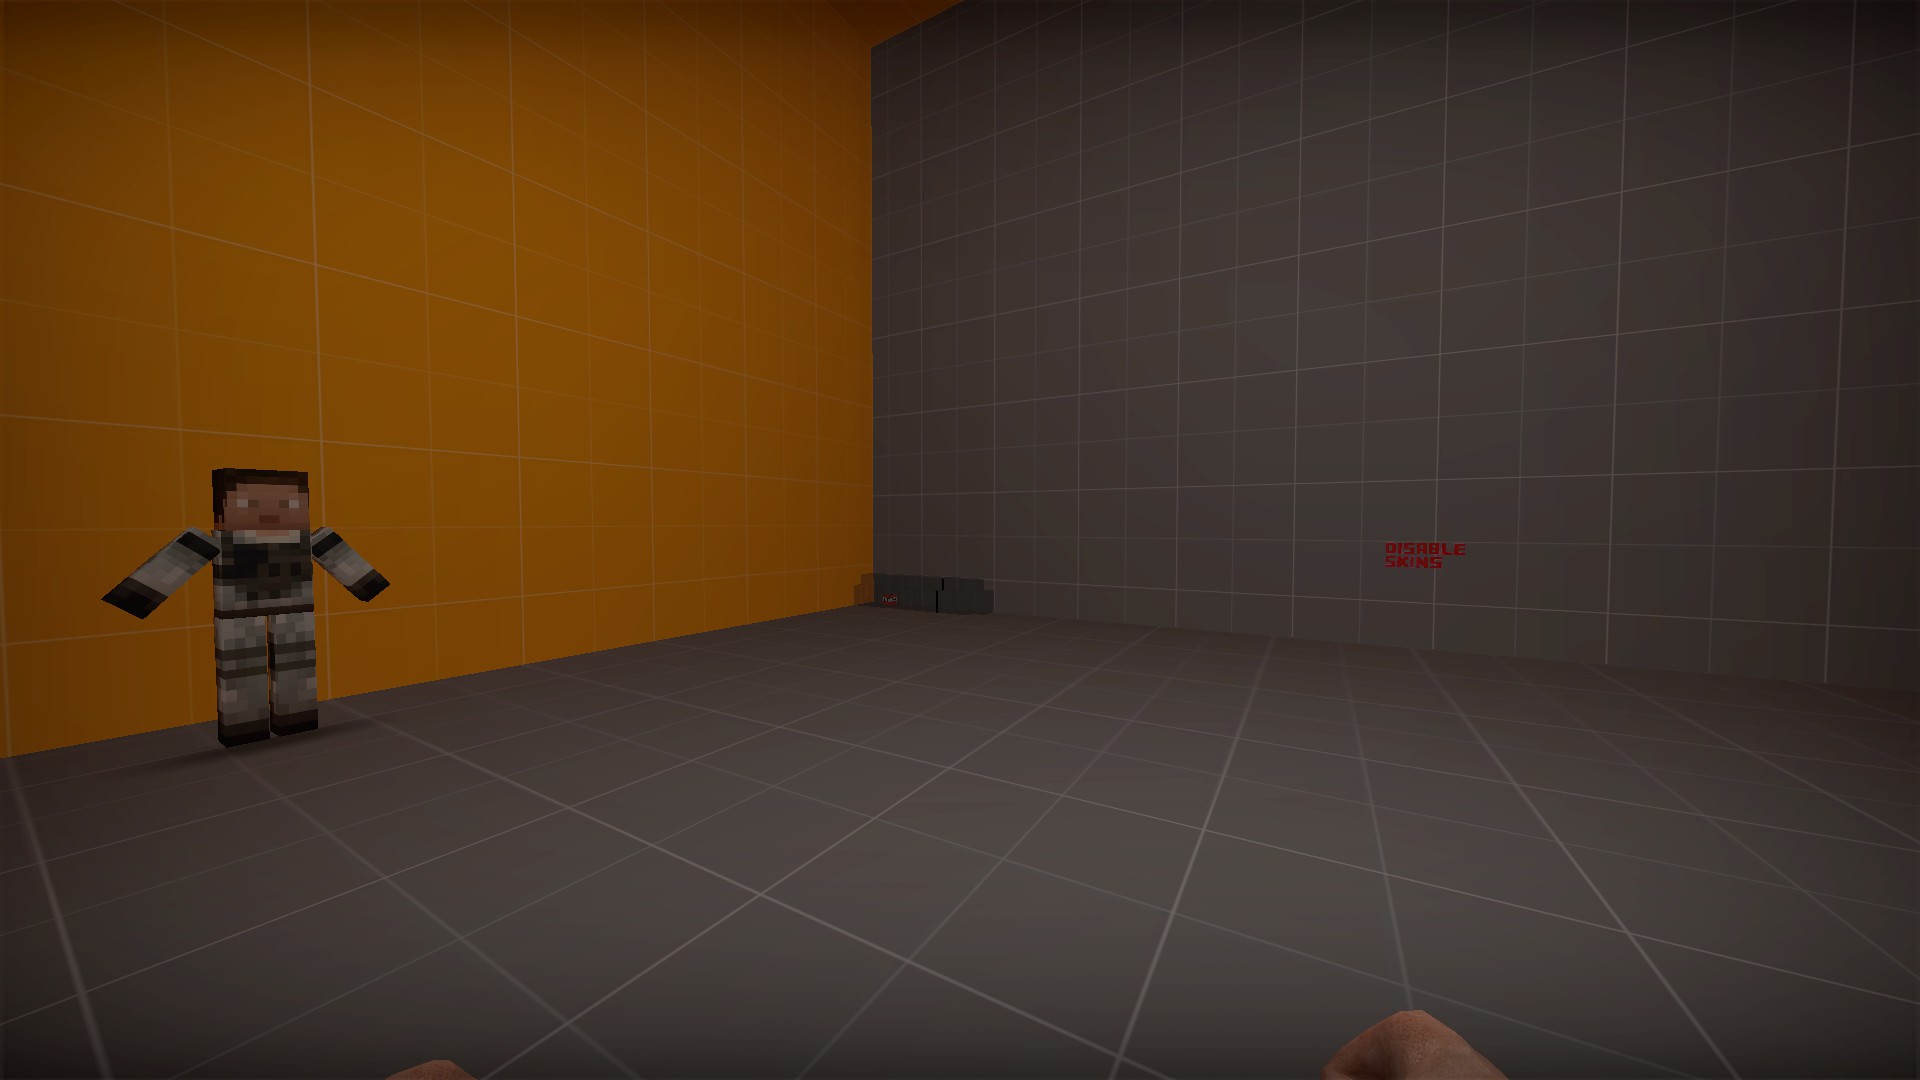
There is also a button here to disable the minecraft skins
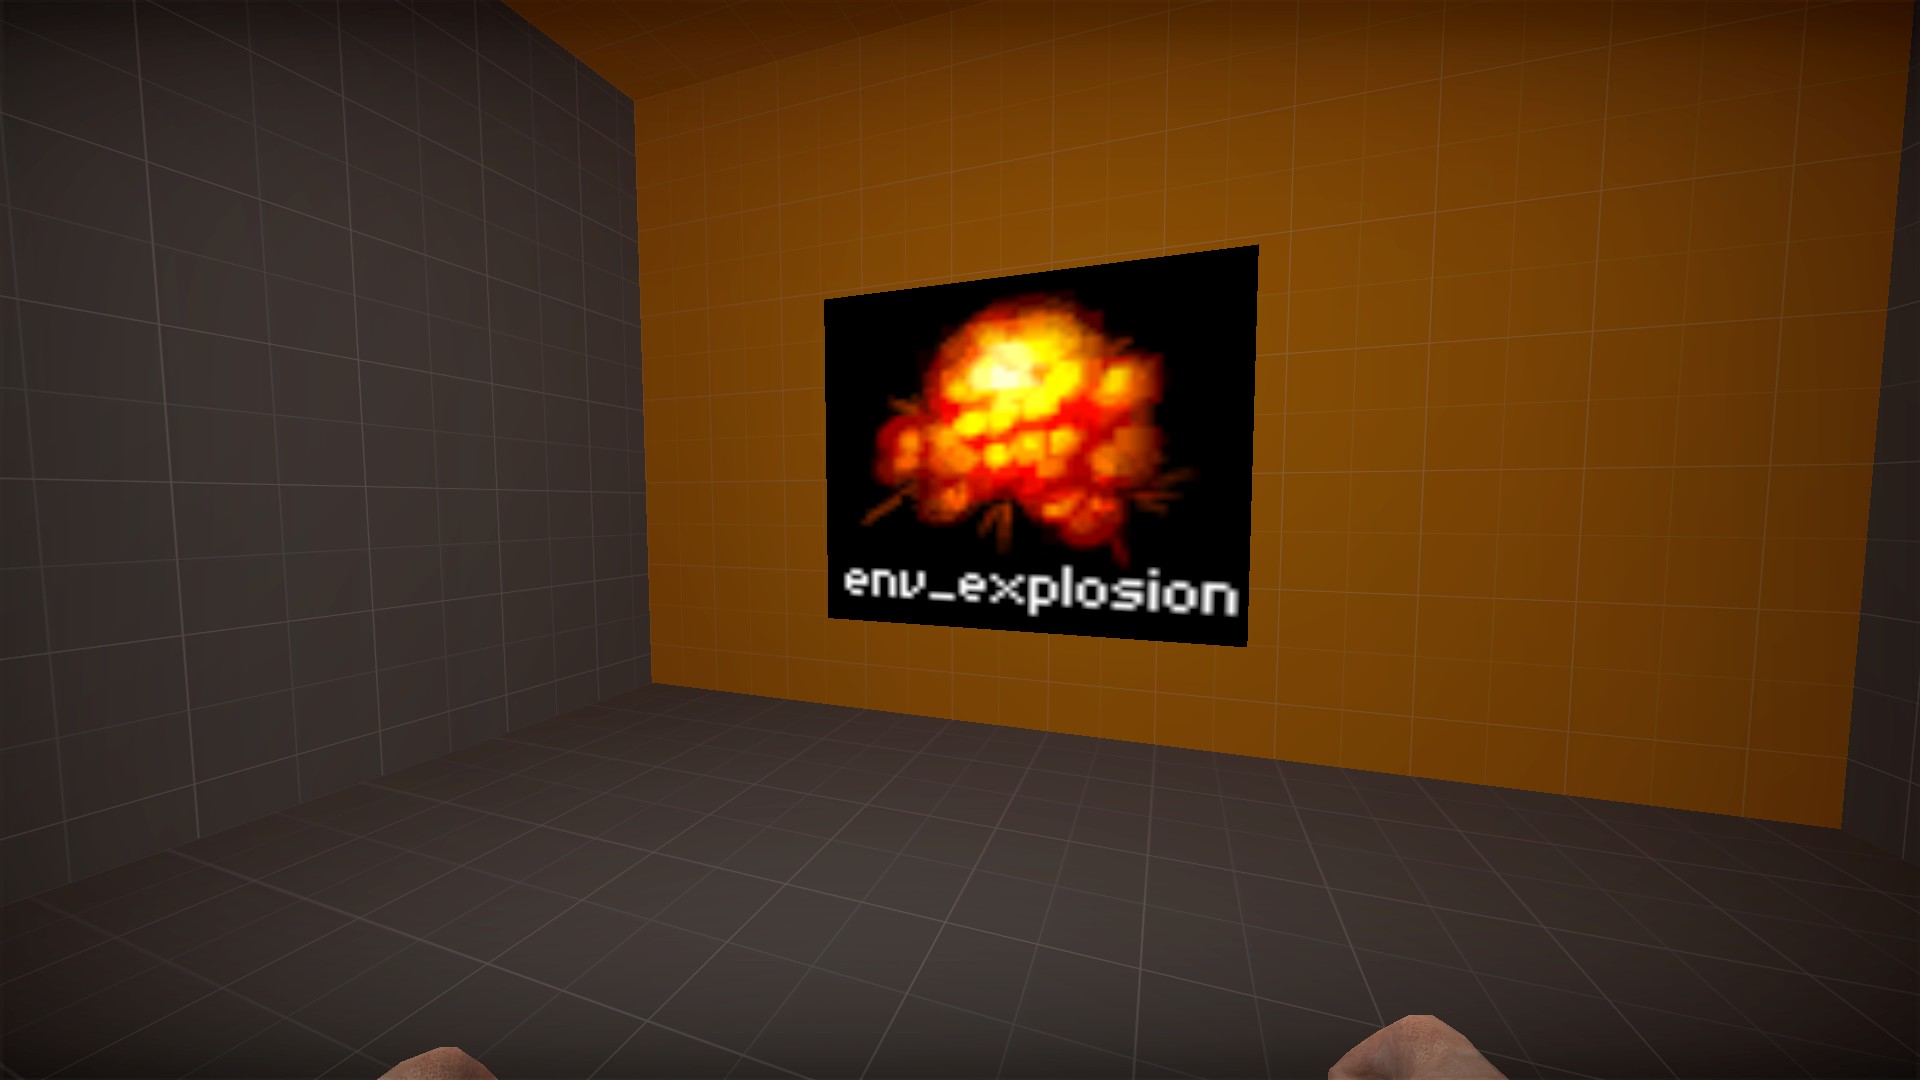
Pressing e on the poster will cause an explosion that will destroy the map
Hidden sword machete on stage 1
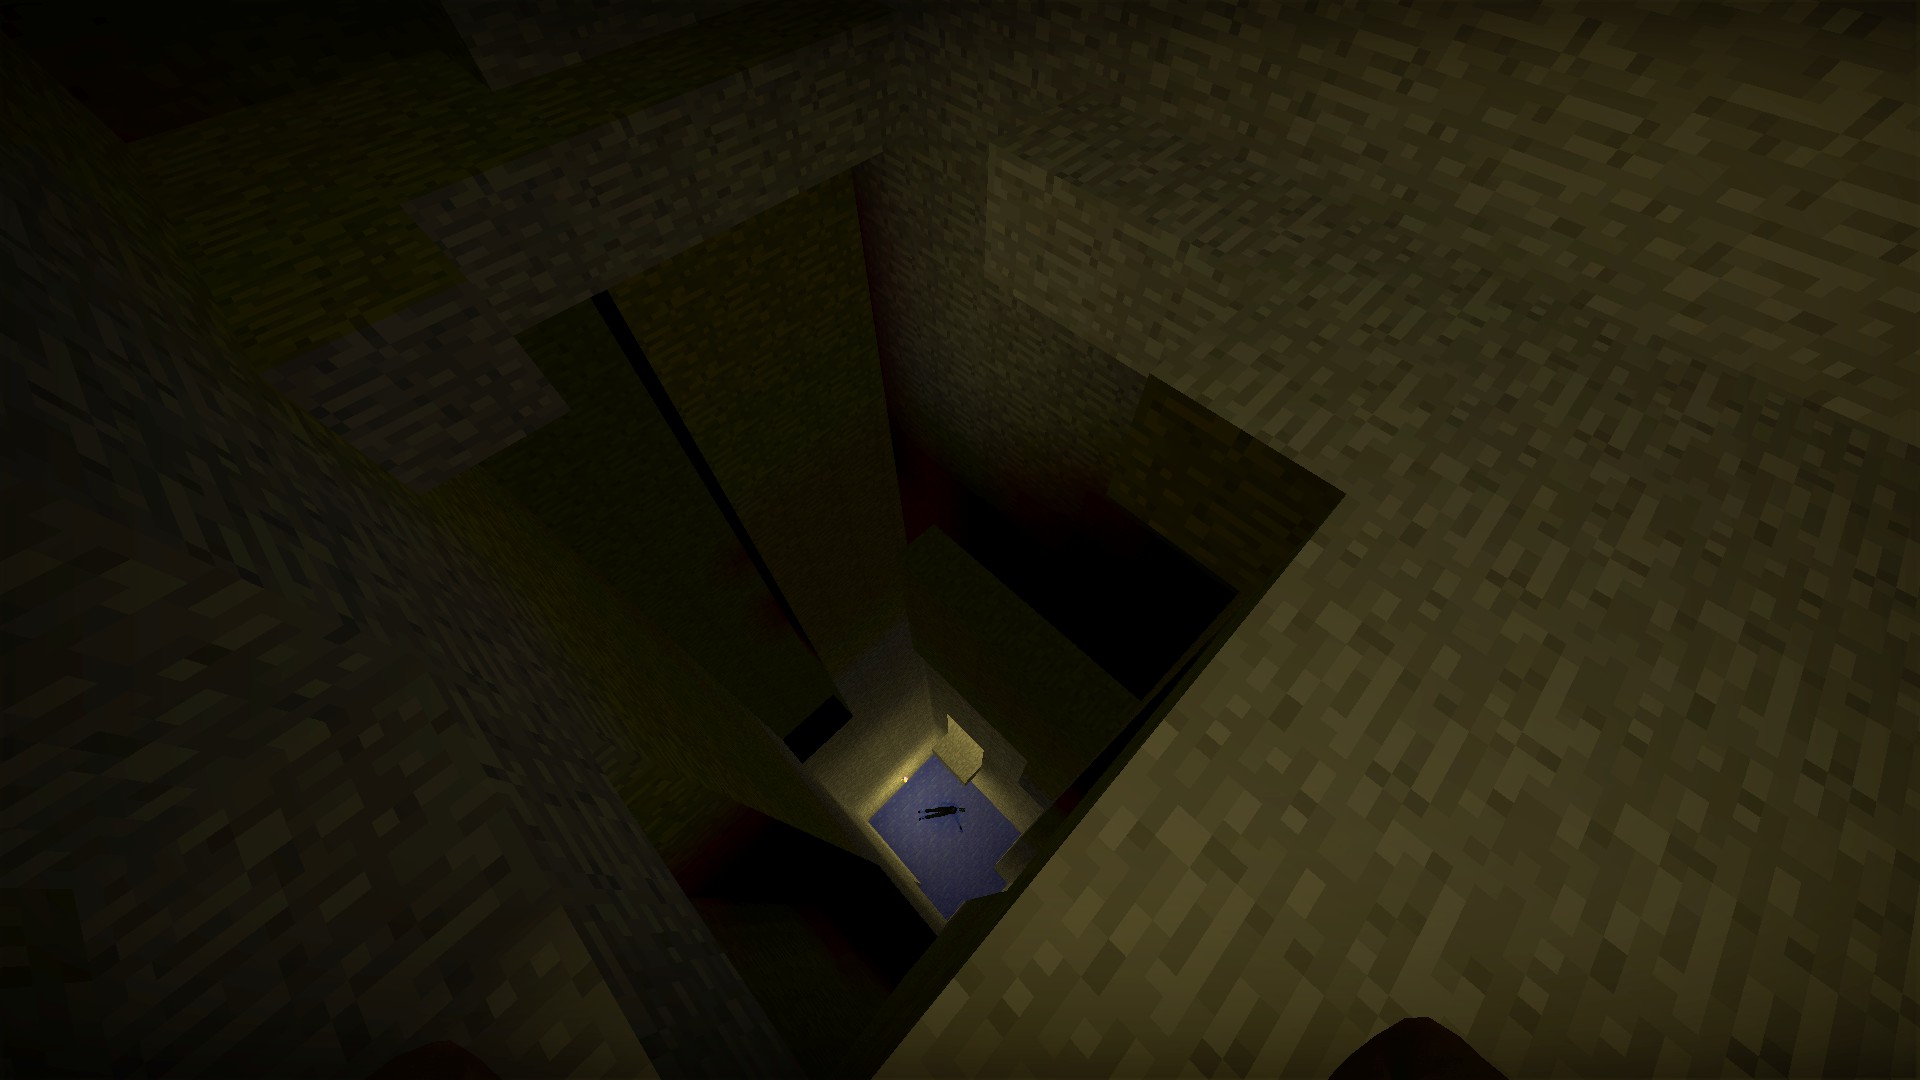
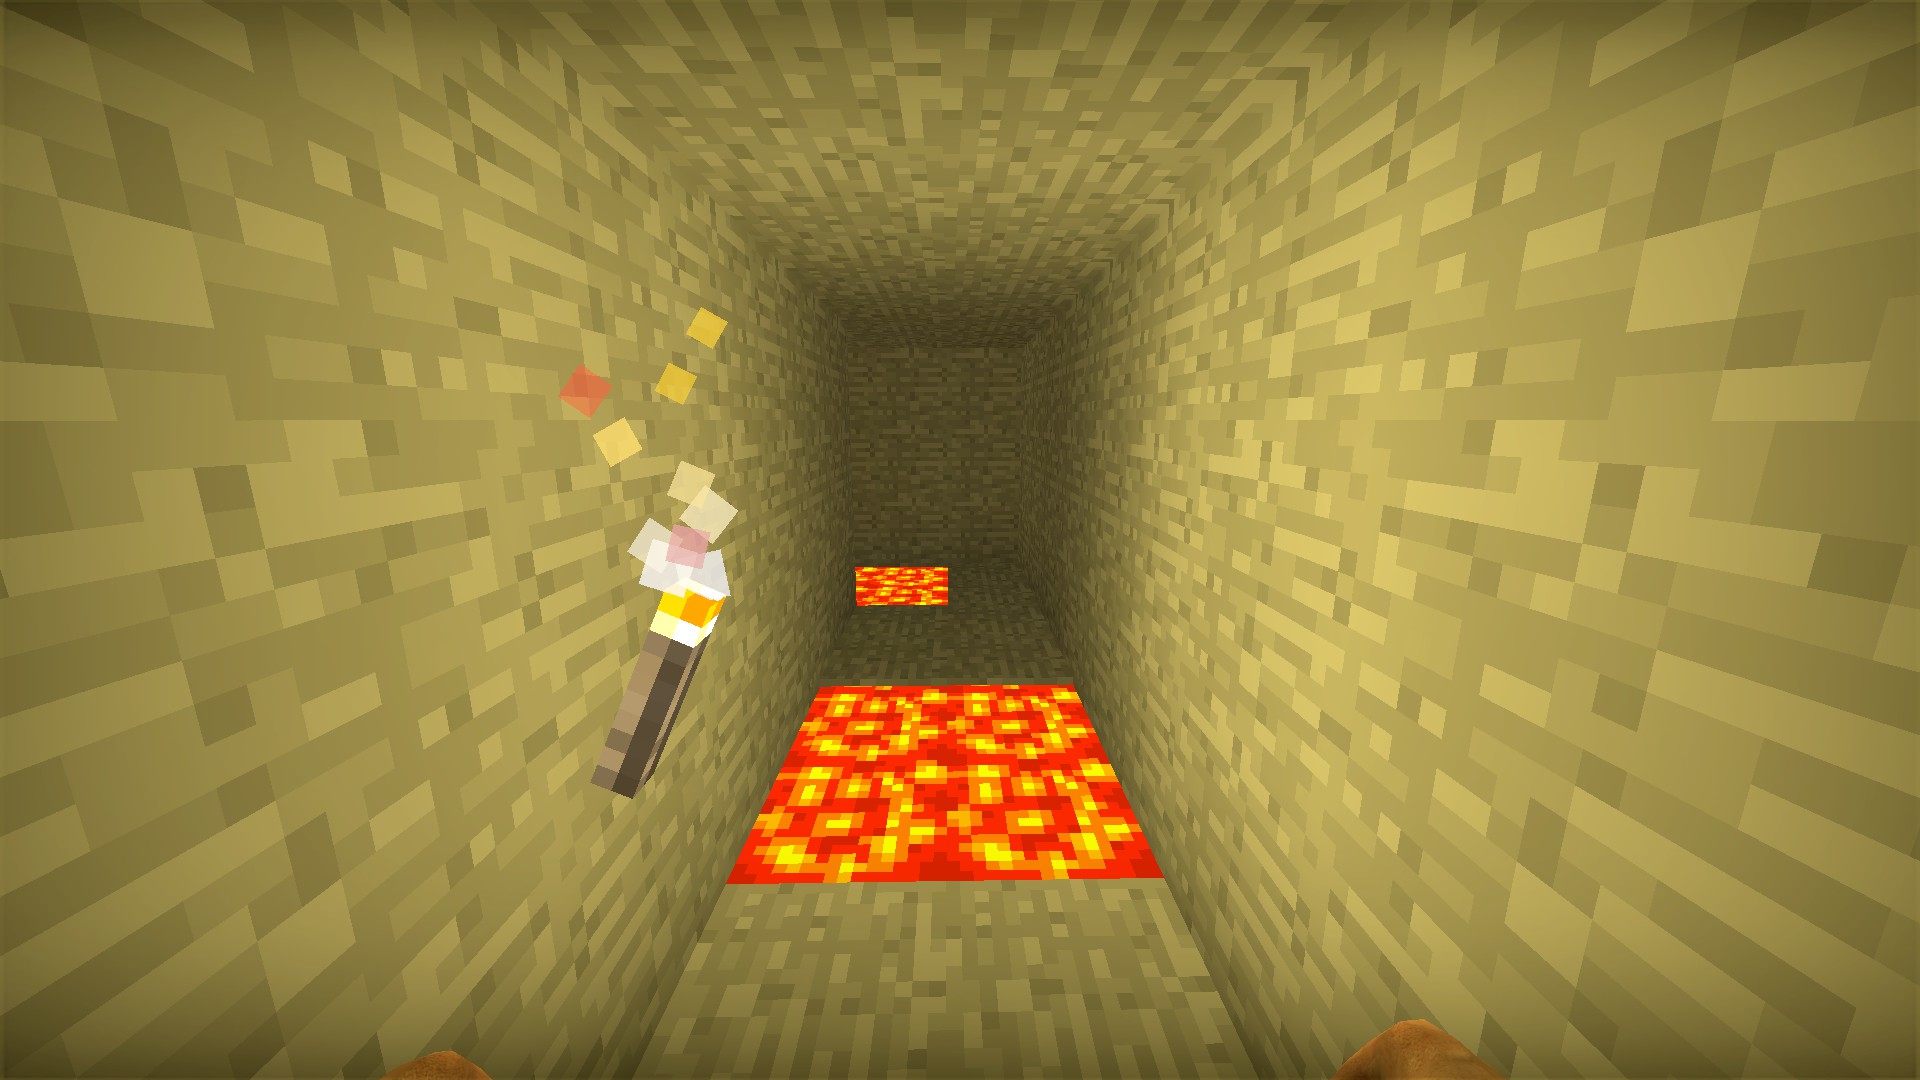
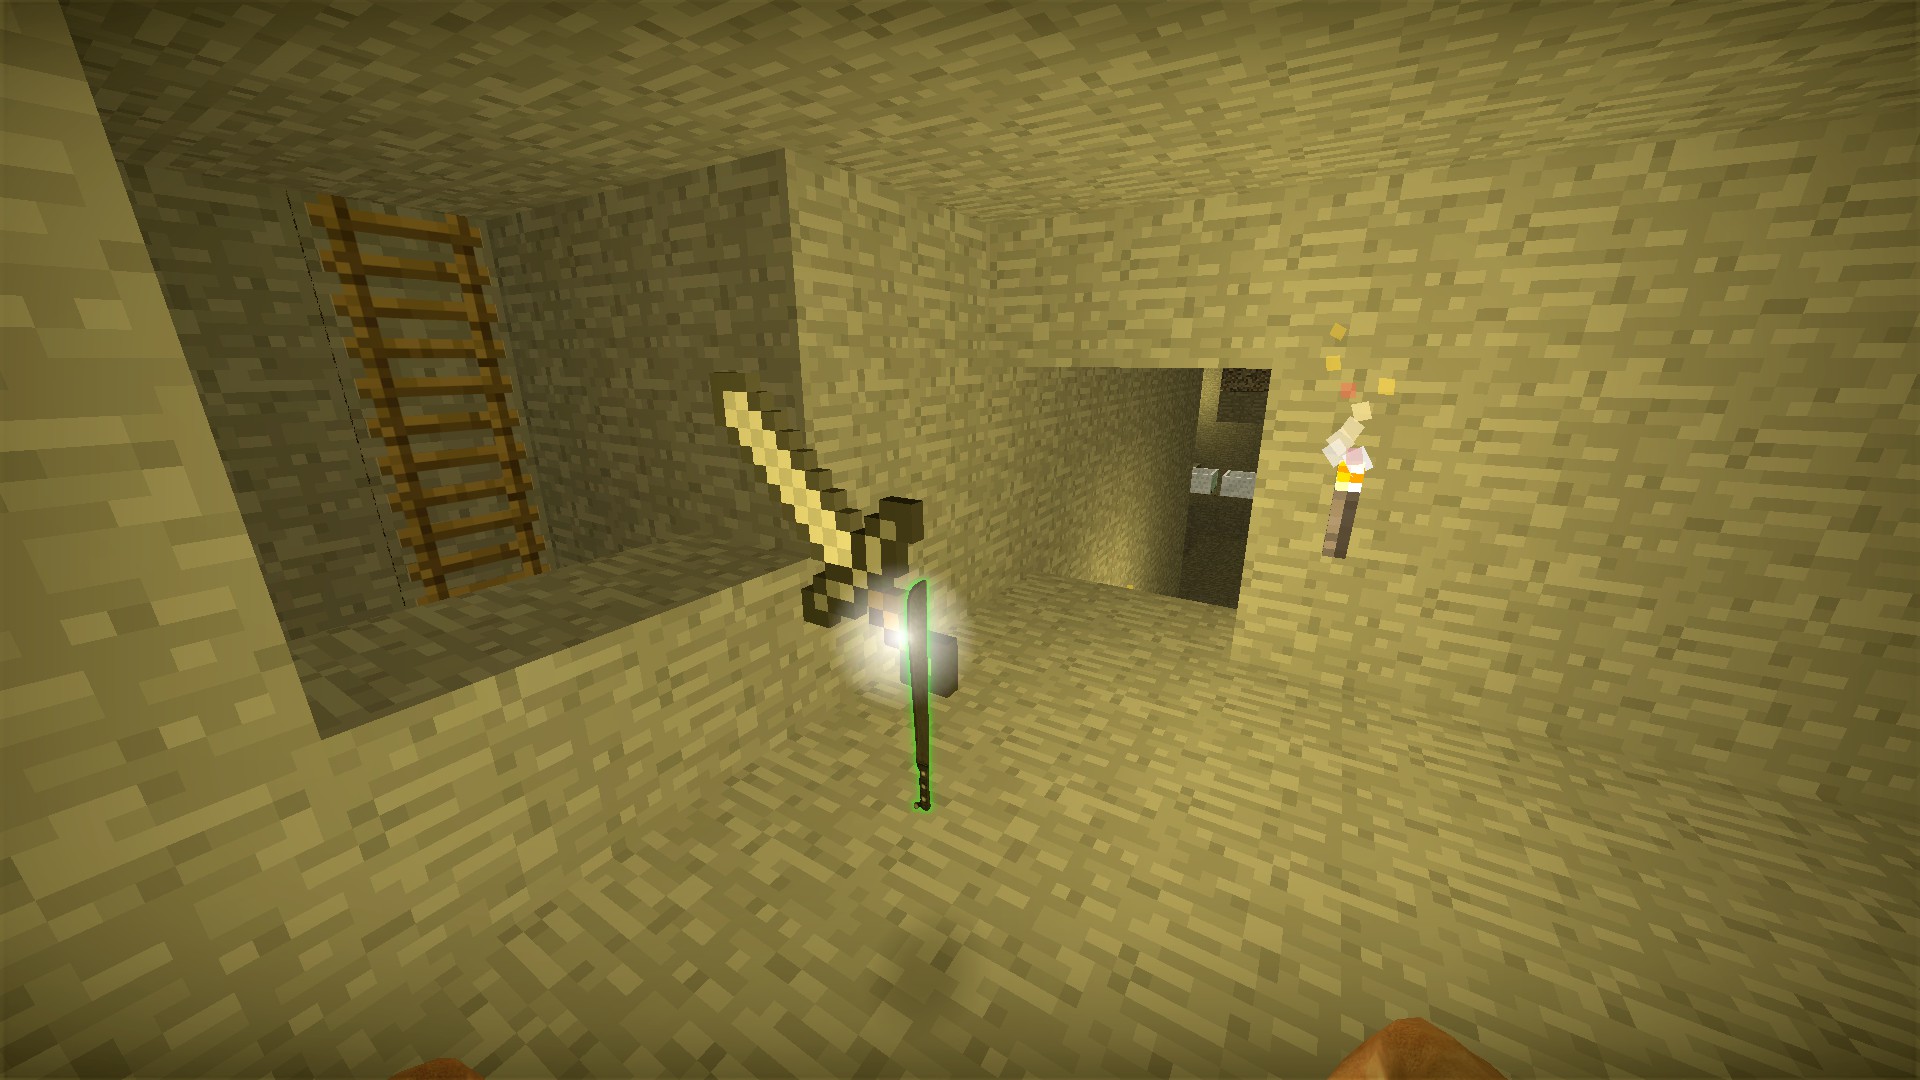
When you drop into the water here, drop to the ledge instead (you will not take damage) and make your way to this hidden sword machete
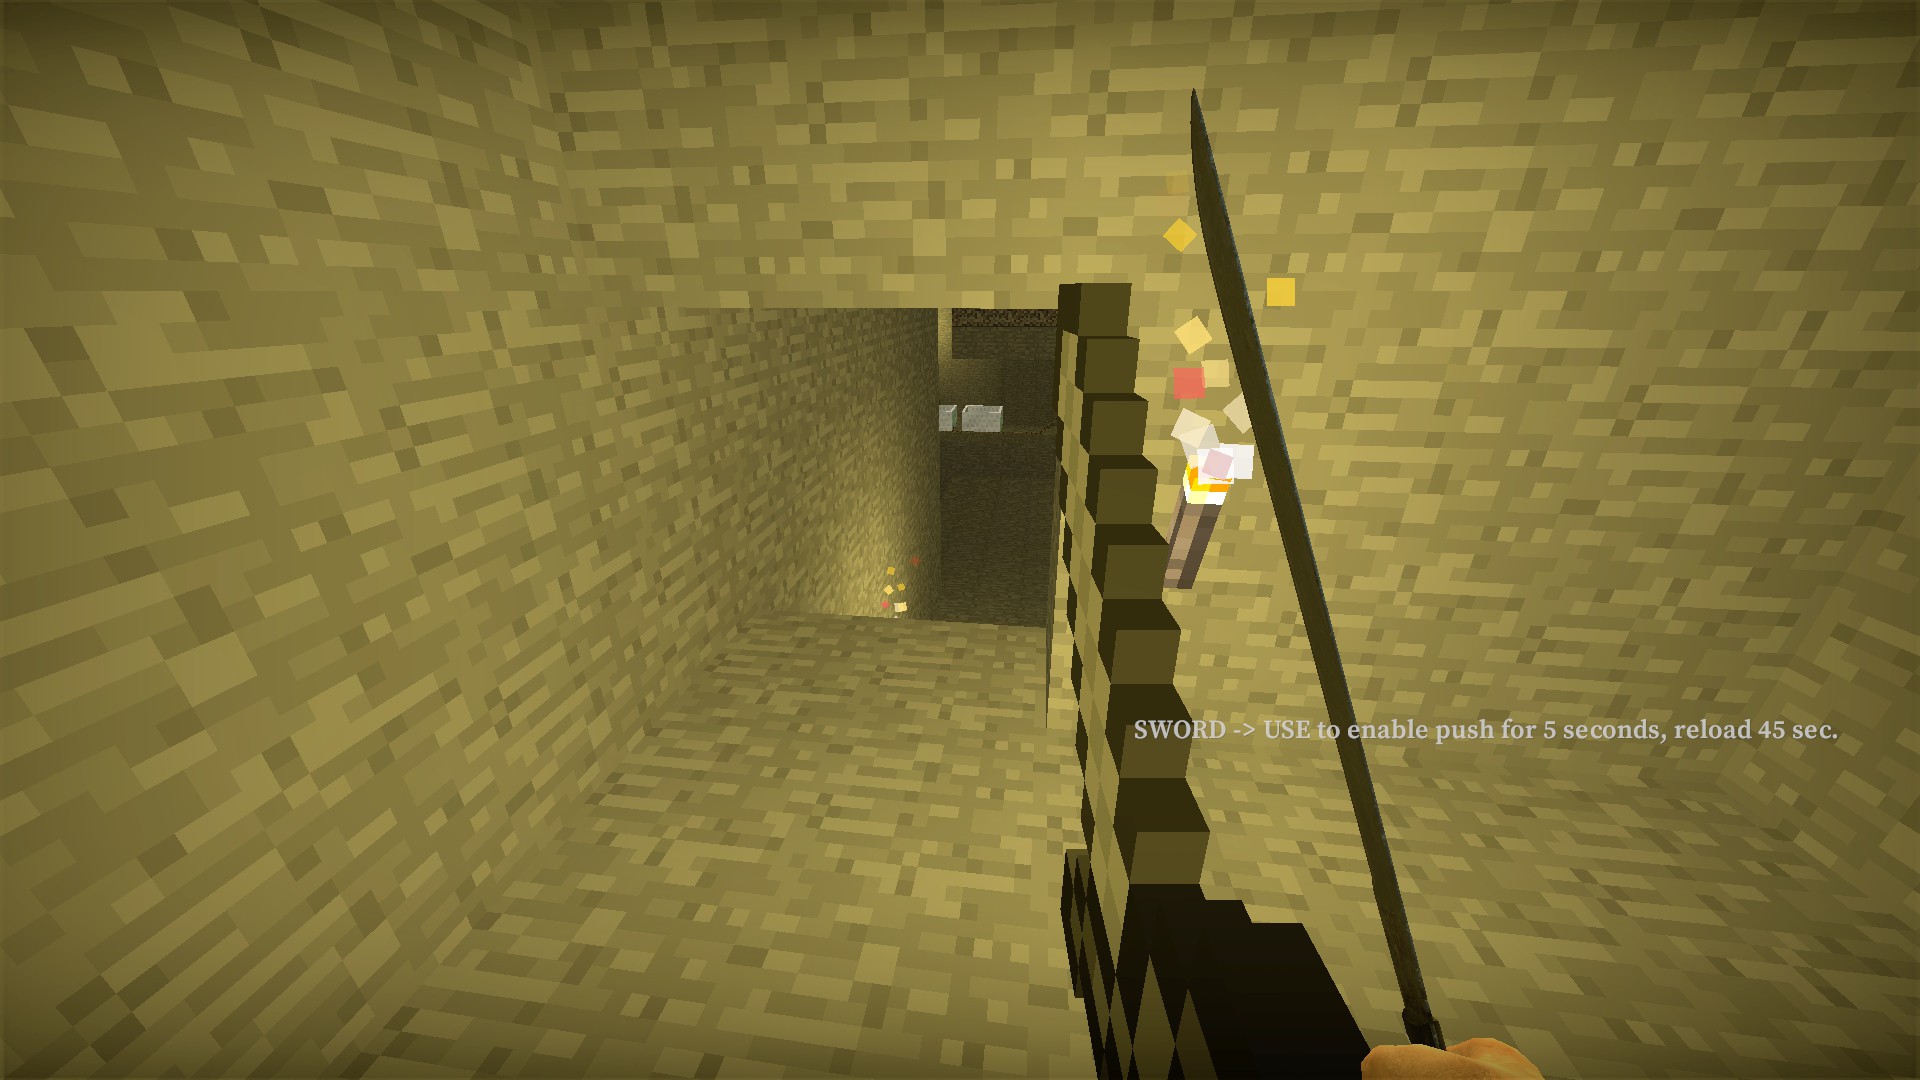
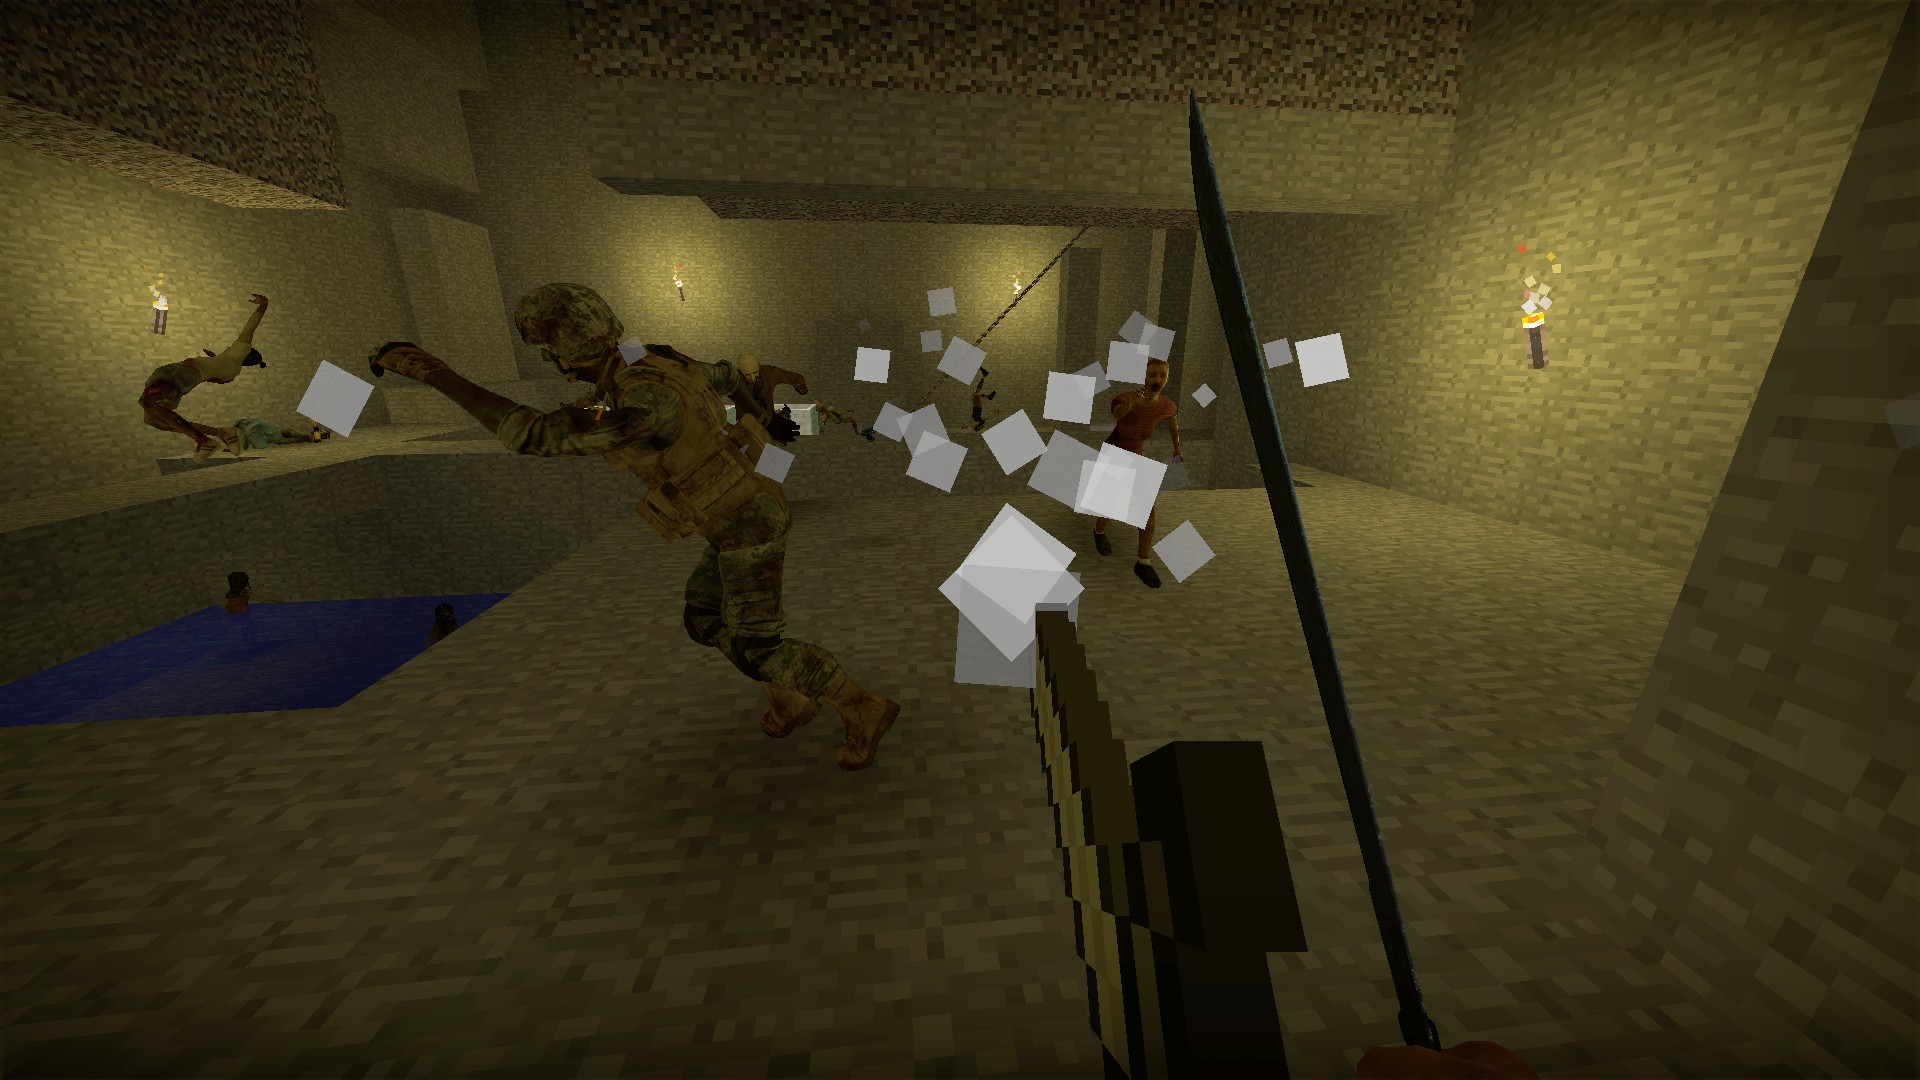
The sword machete has a push attack that will damage zombies. The more you push zombies, the more damage they will take. The effect lasts for 5 seconds and moves with you. The white light will return at the hilt after the 45 second recharge
Objective special machetes
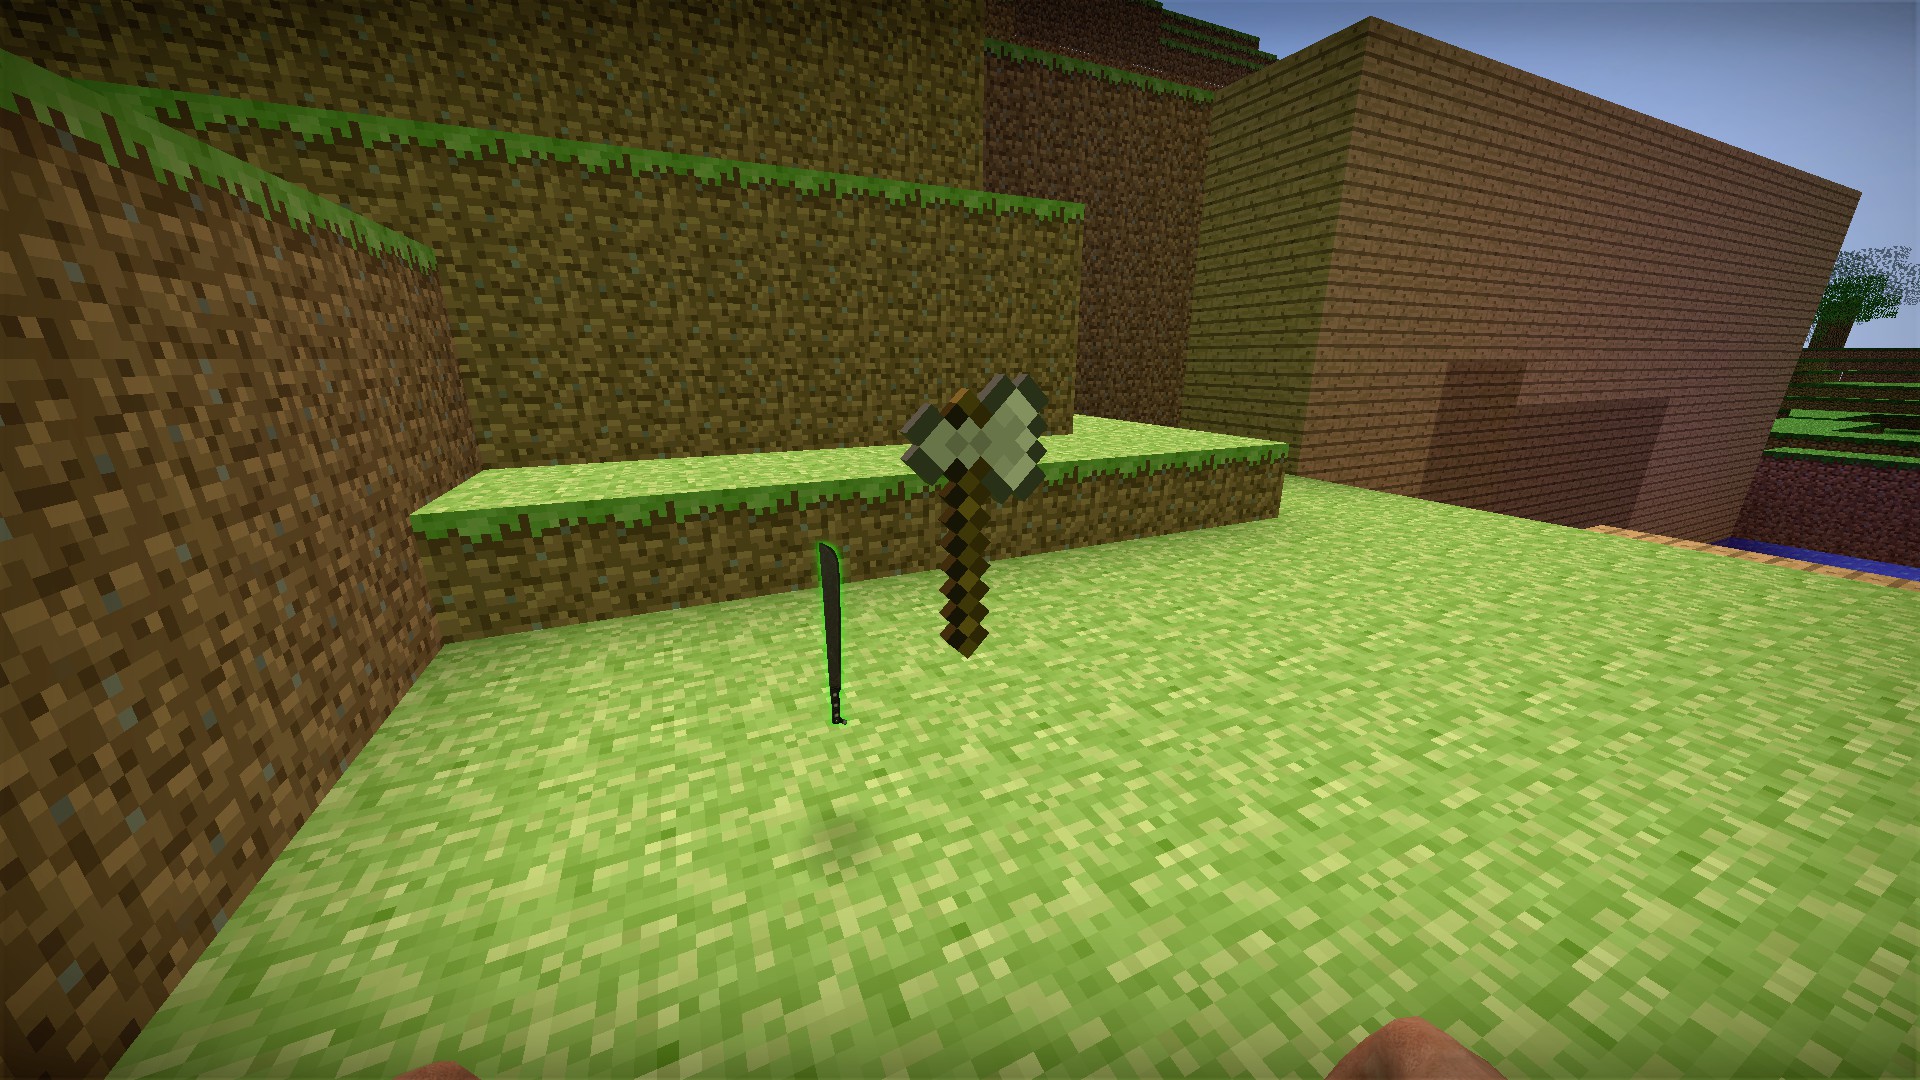
Some of the special machetes on this map are designed to be used in the objectives, such as this axe machete that is used to break the wood wall and the pickaxe machete that is used to break the floor tiles
Torch machete
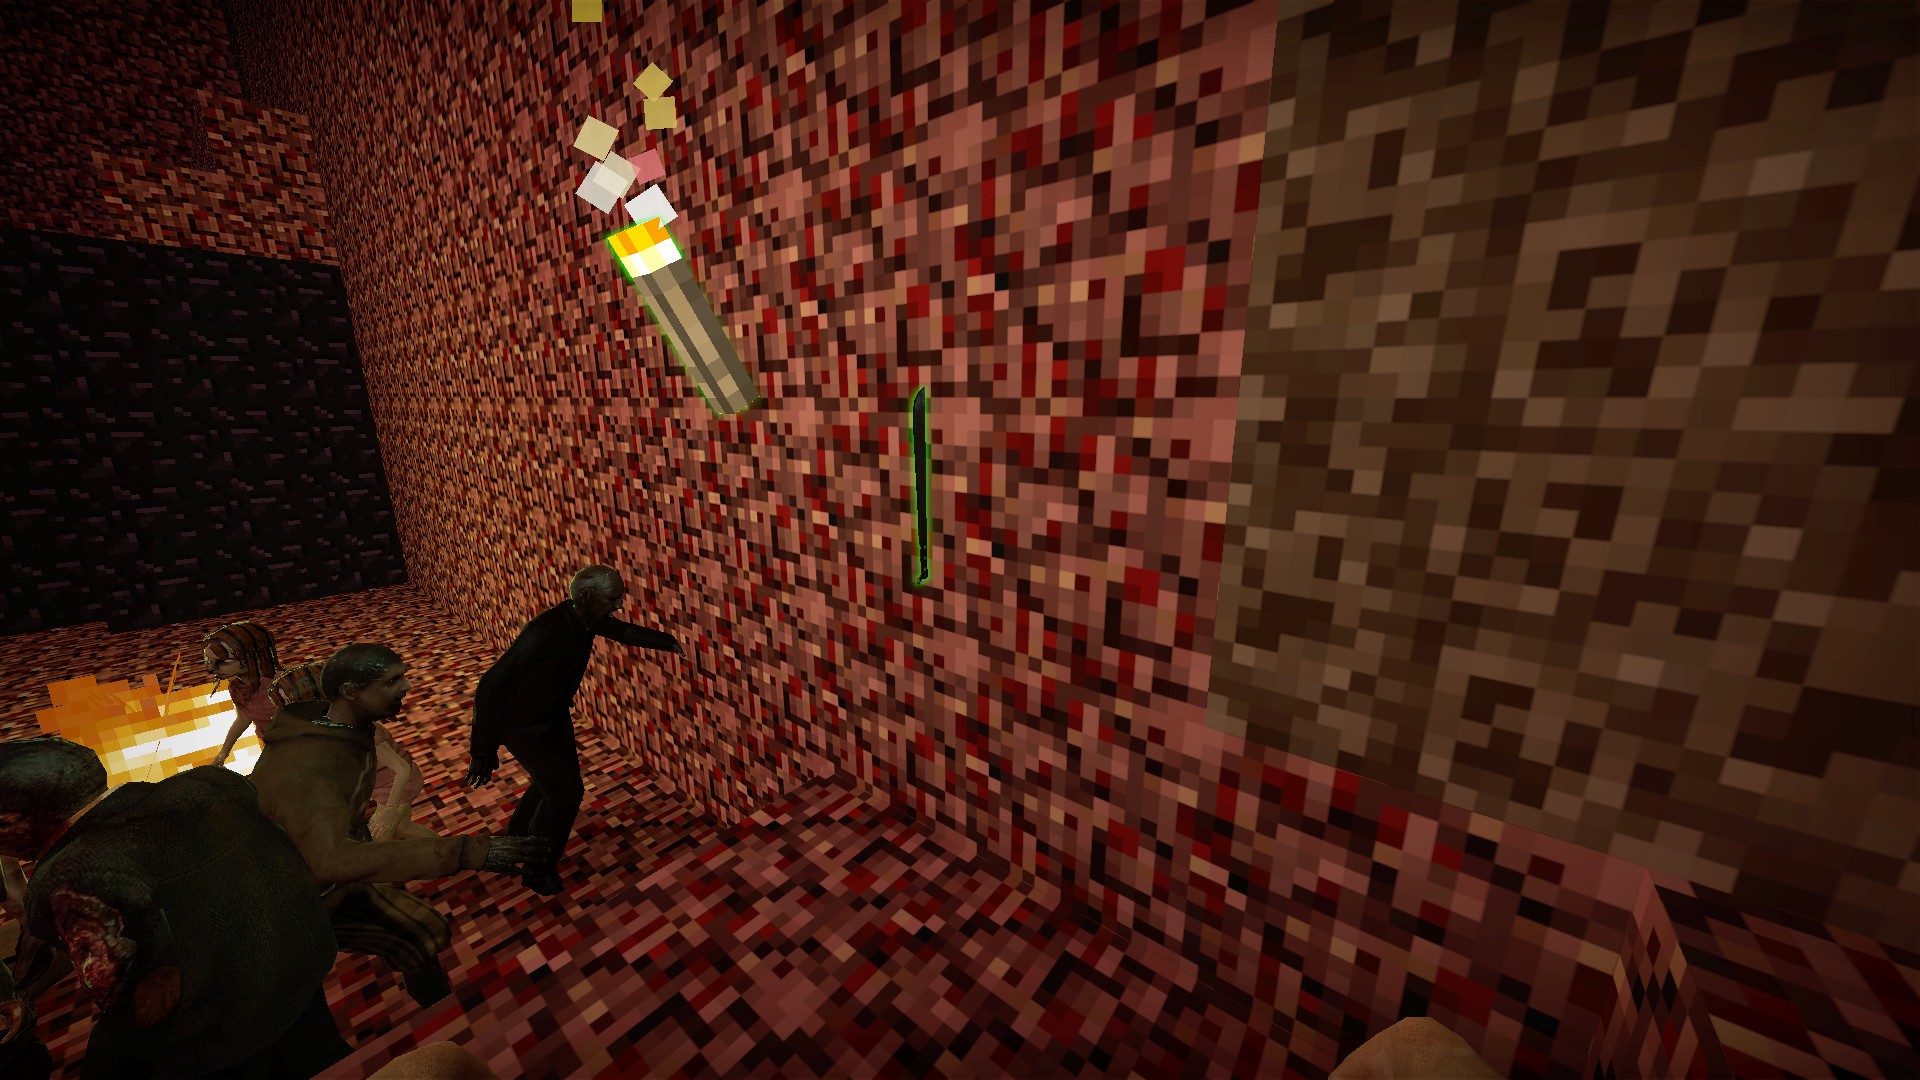
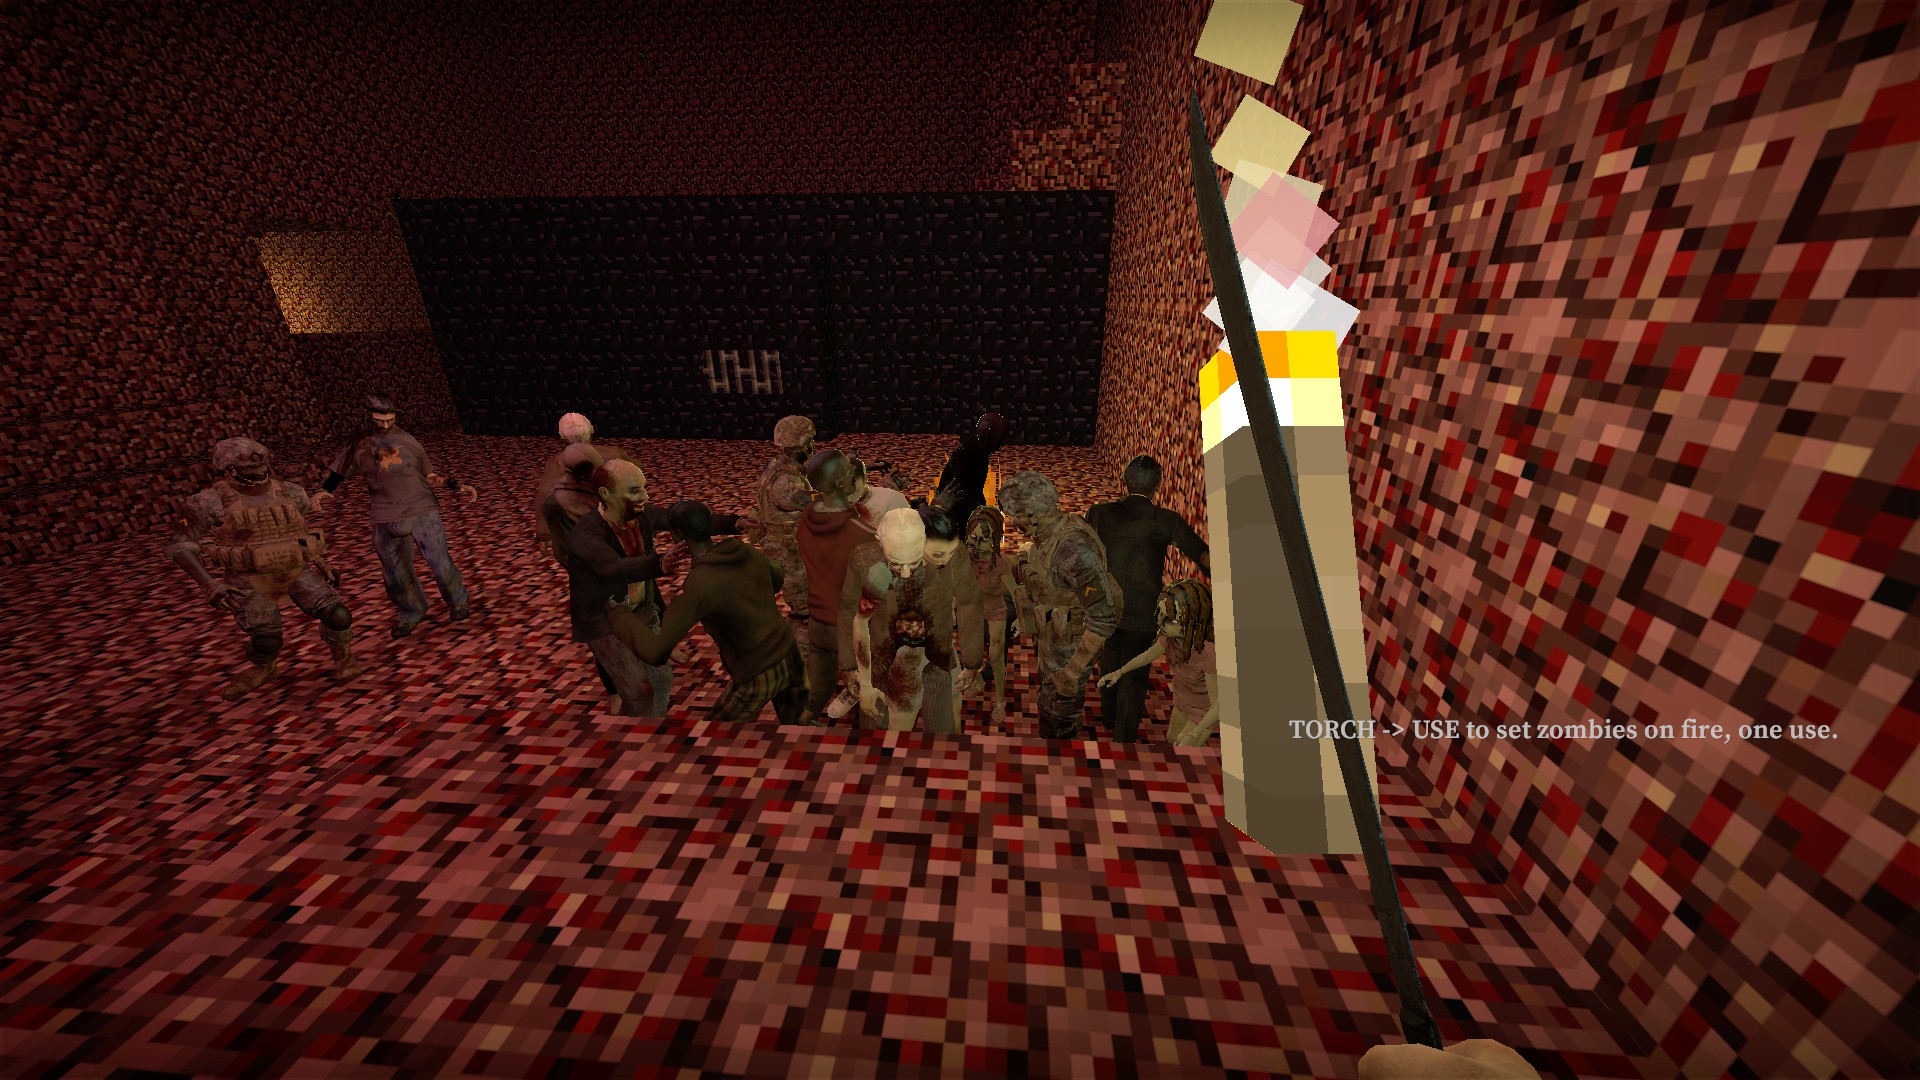
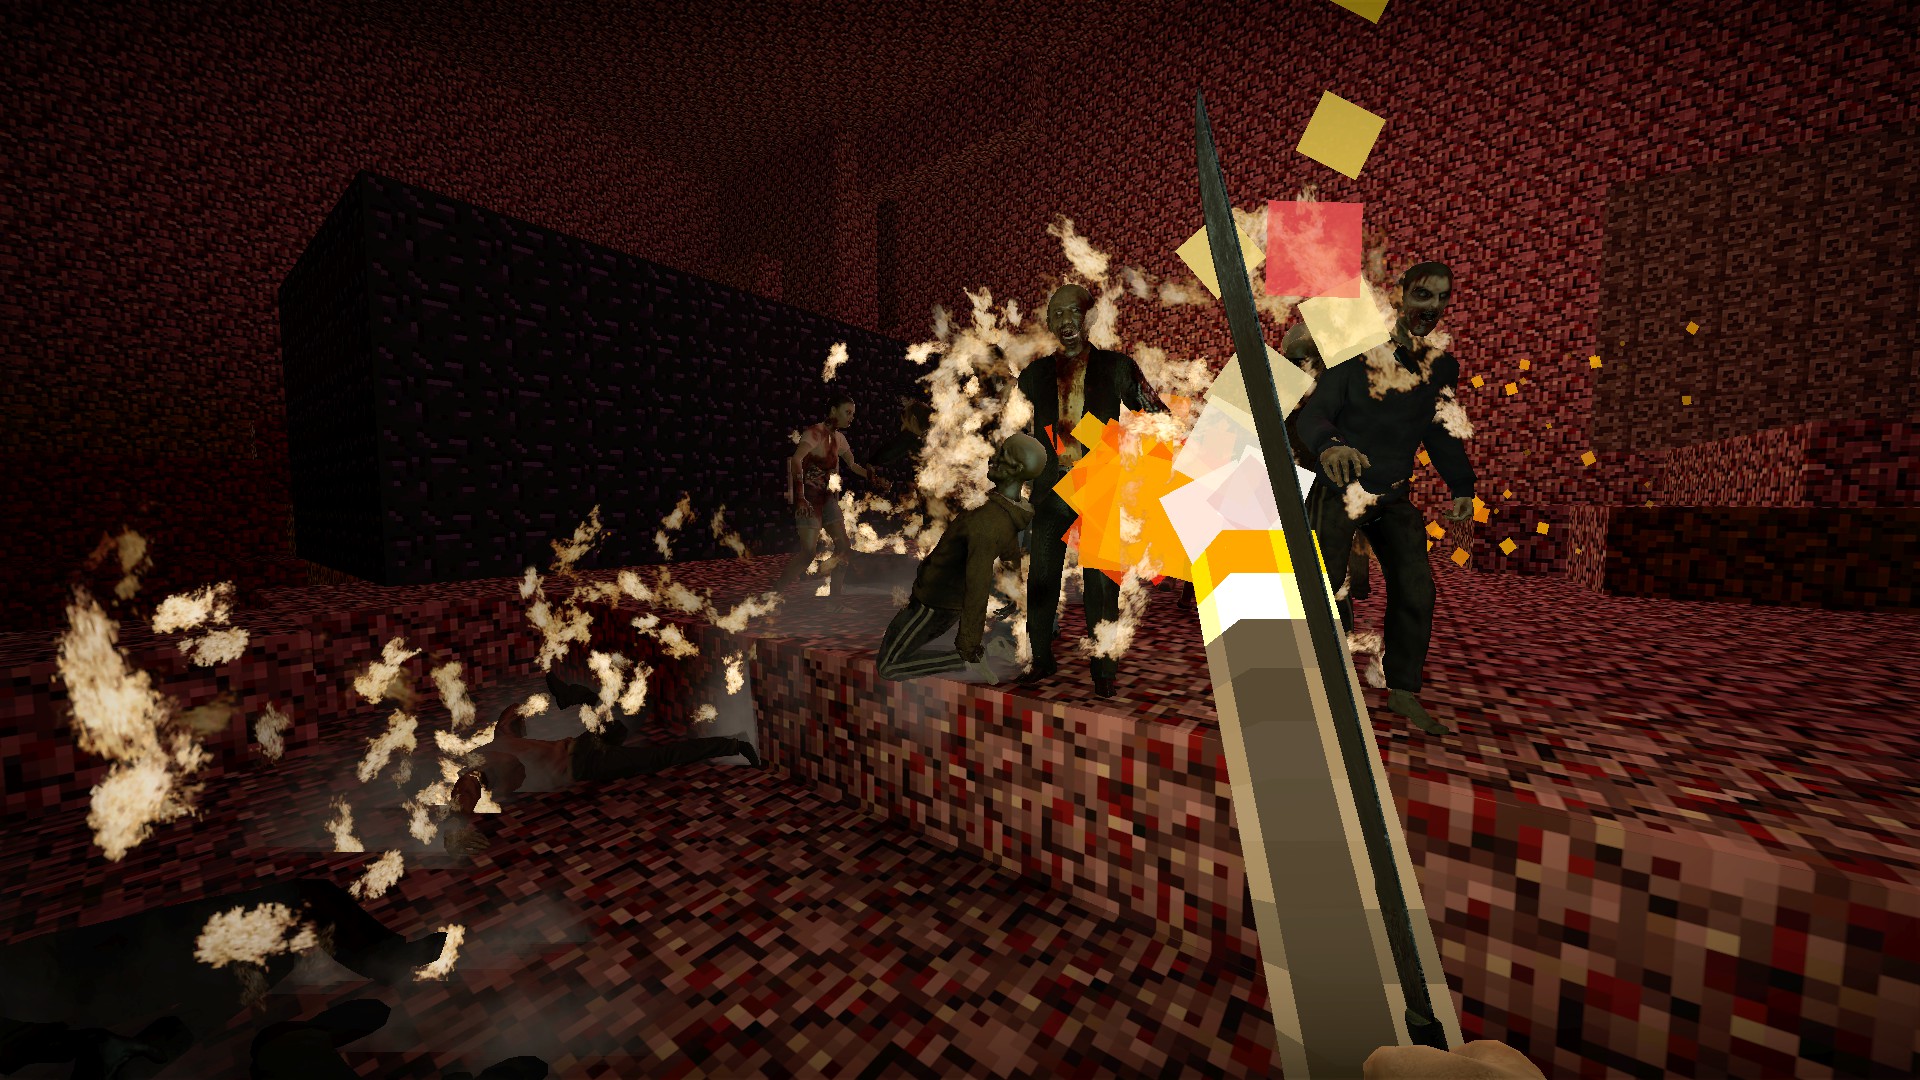
You will find two of these on stage 2. Like the sword machete, the fire attack will last for 5 seconds and will move with you. Although the text says it is a one time use, it will recharge after 60 seconds
Bow machete
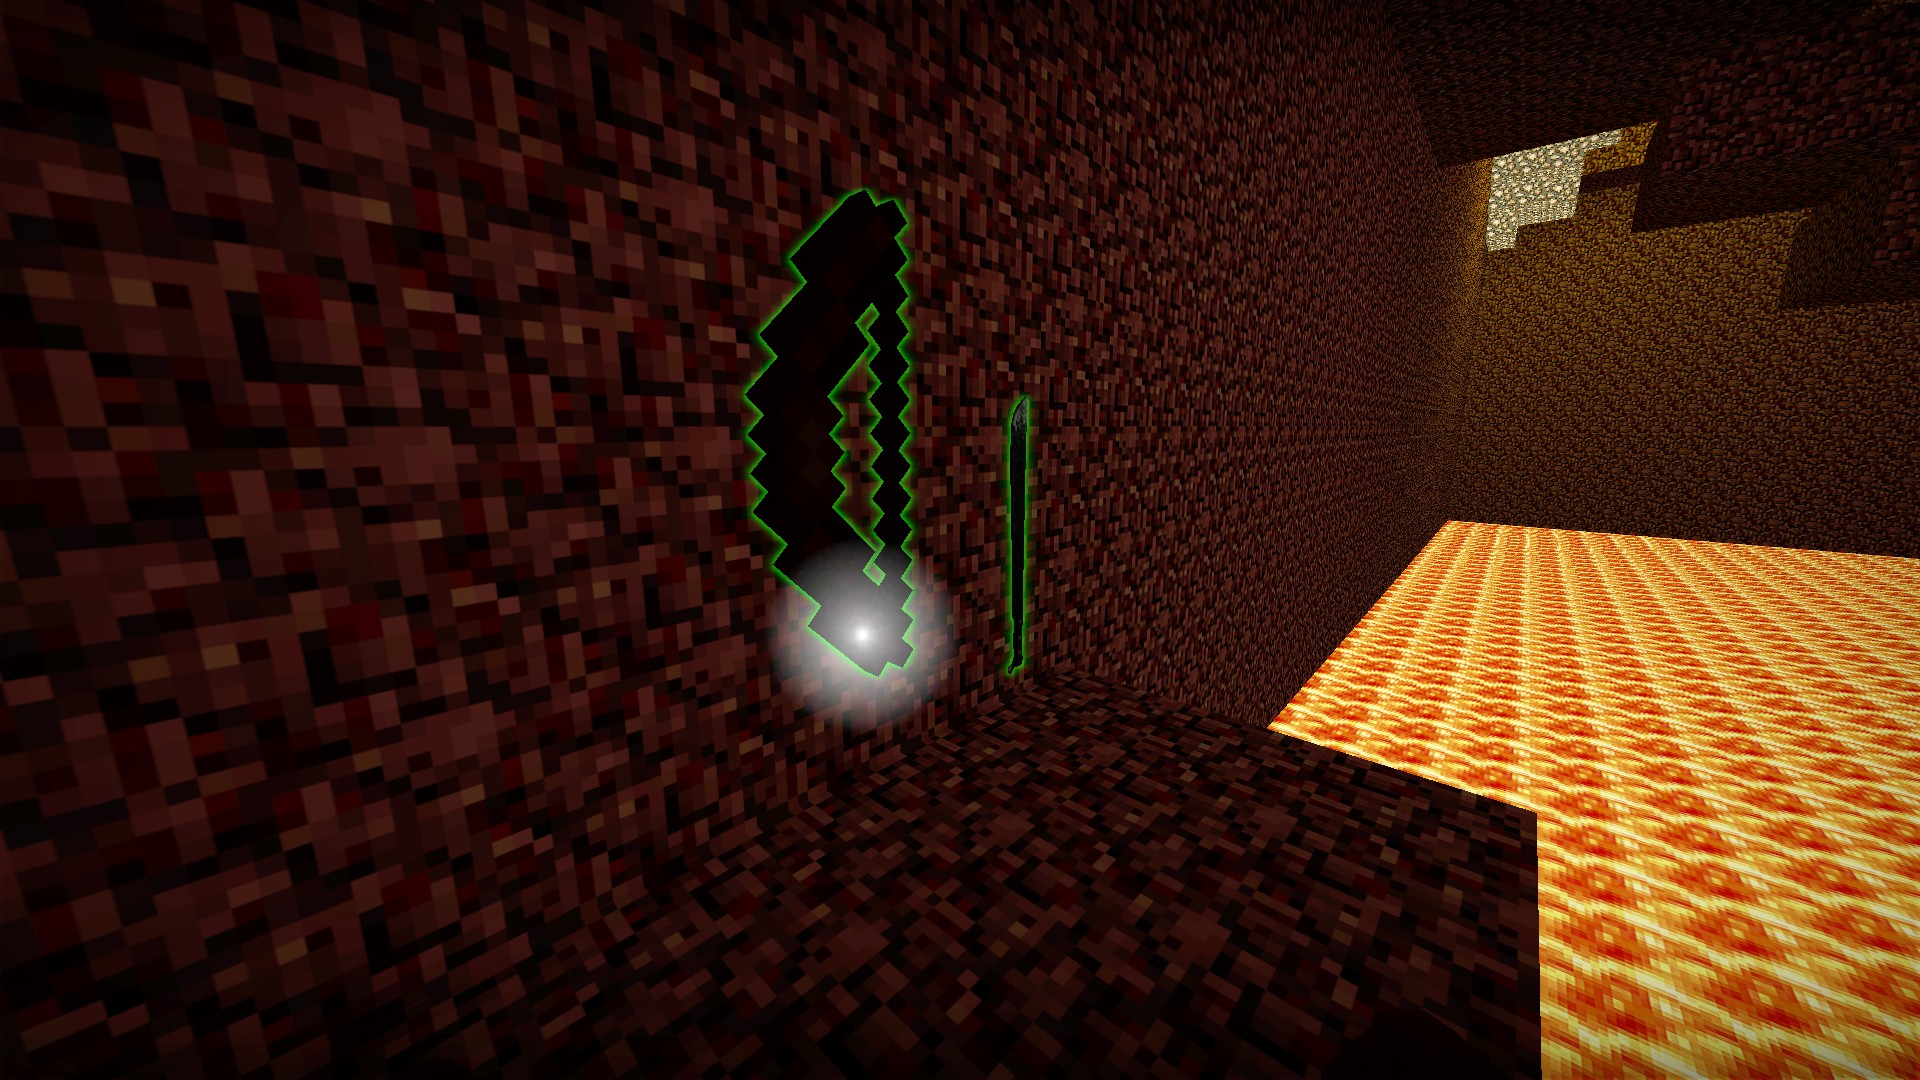
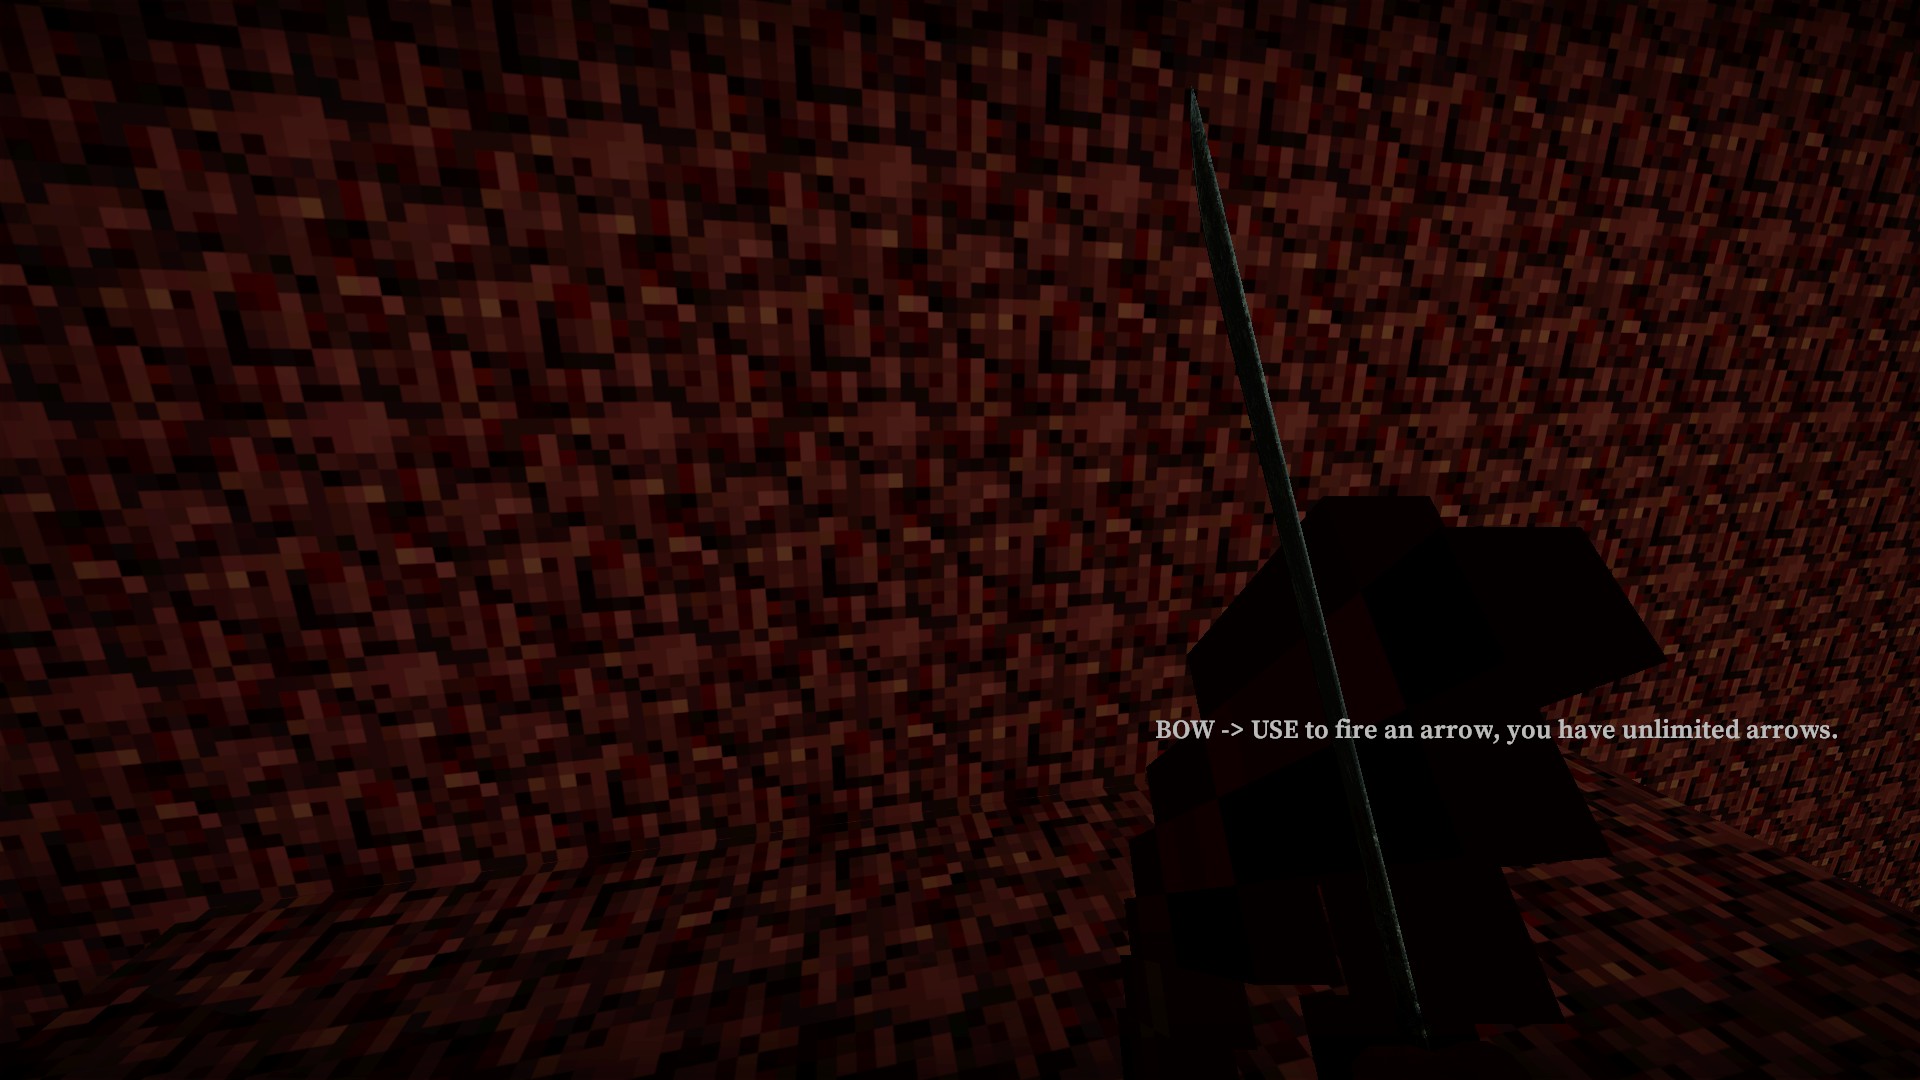
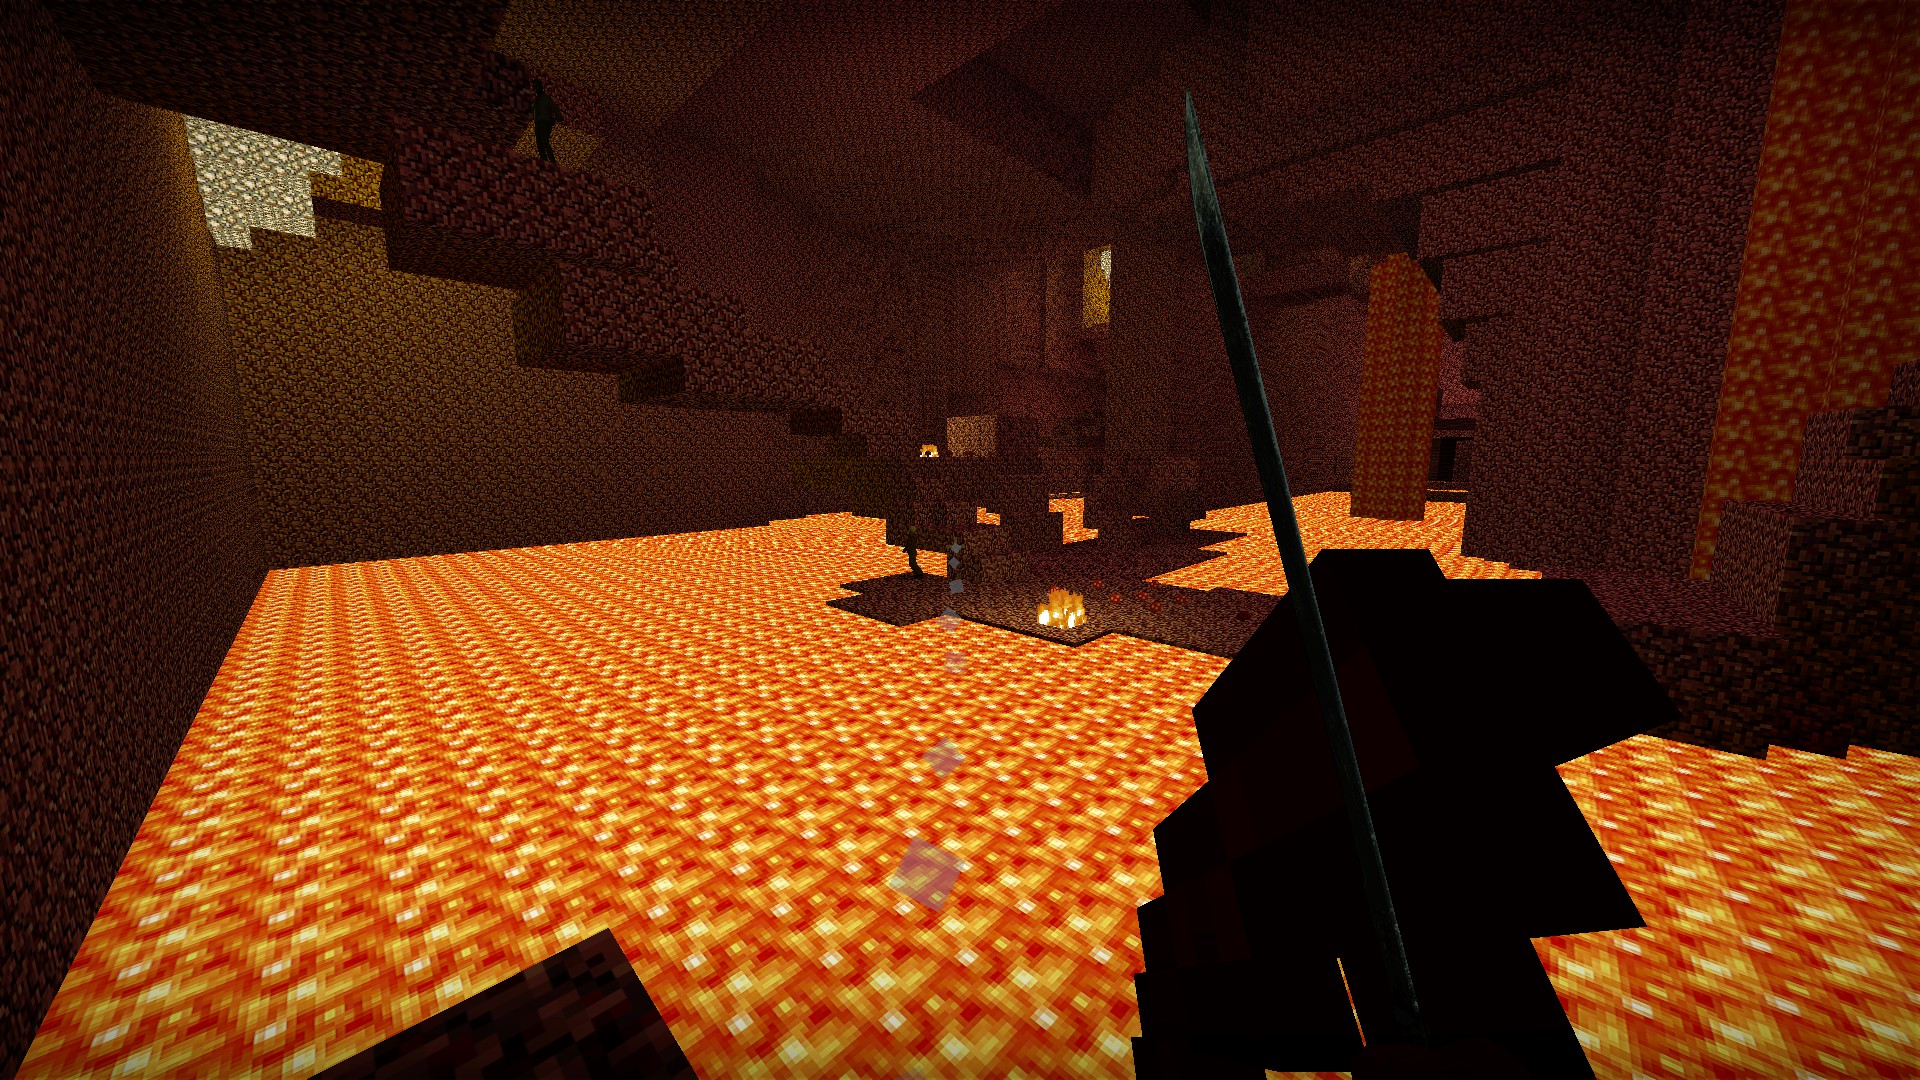
Press e to fire arrows. Arrows will only fire directly forward and will kill any zombie it contacts. Needs 10 seconds to recharge
Cake machete
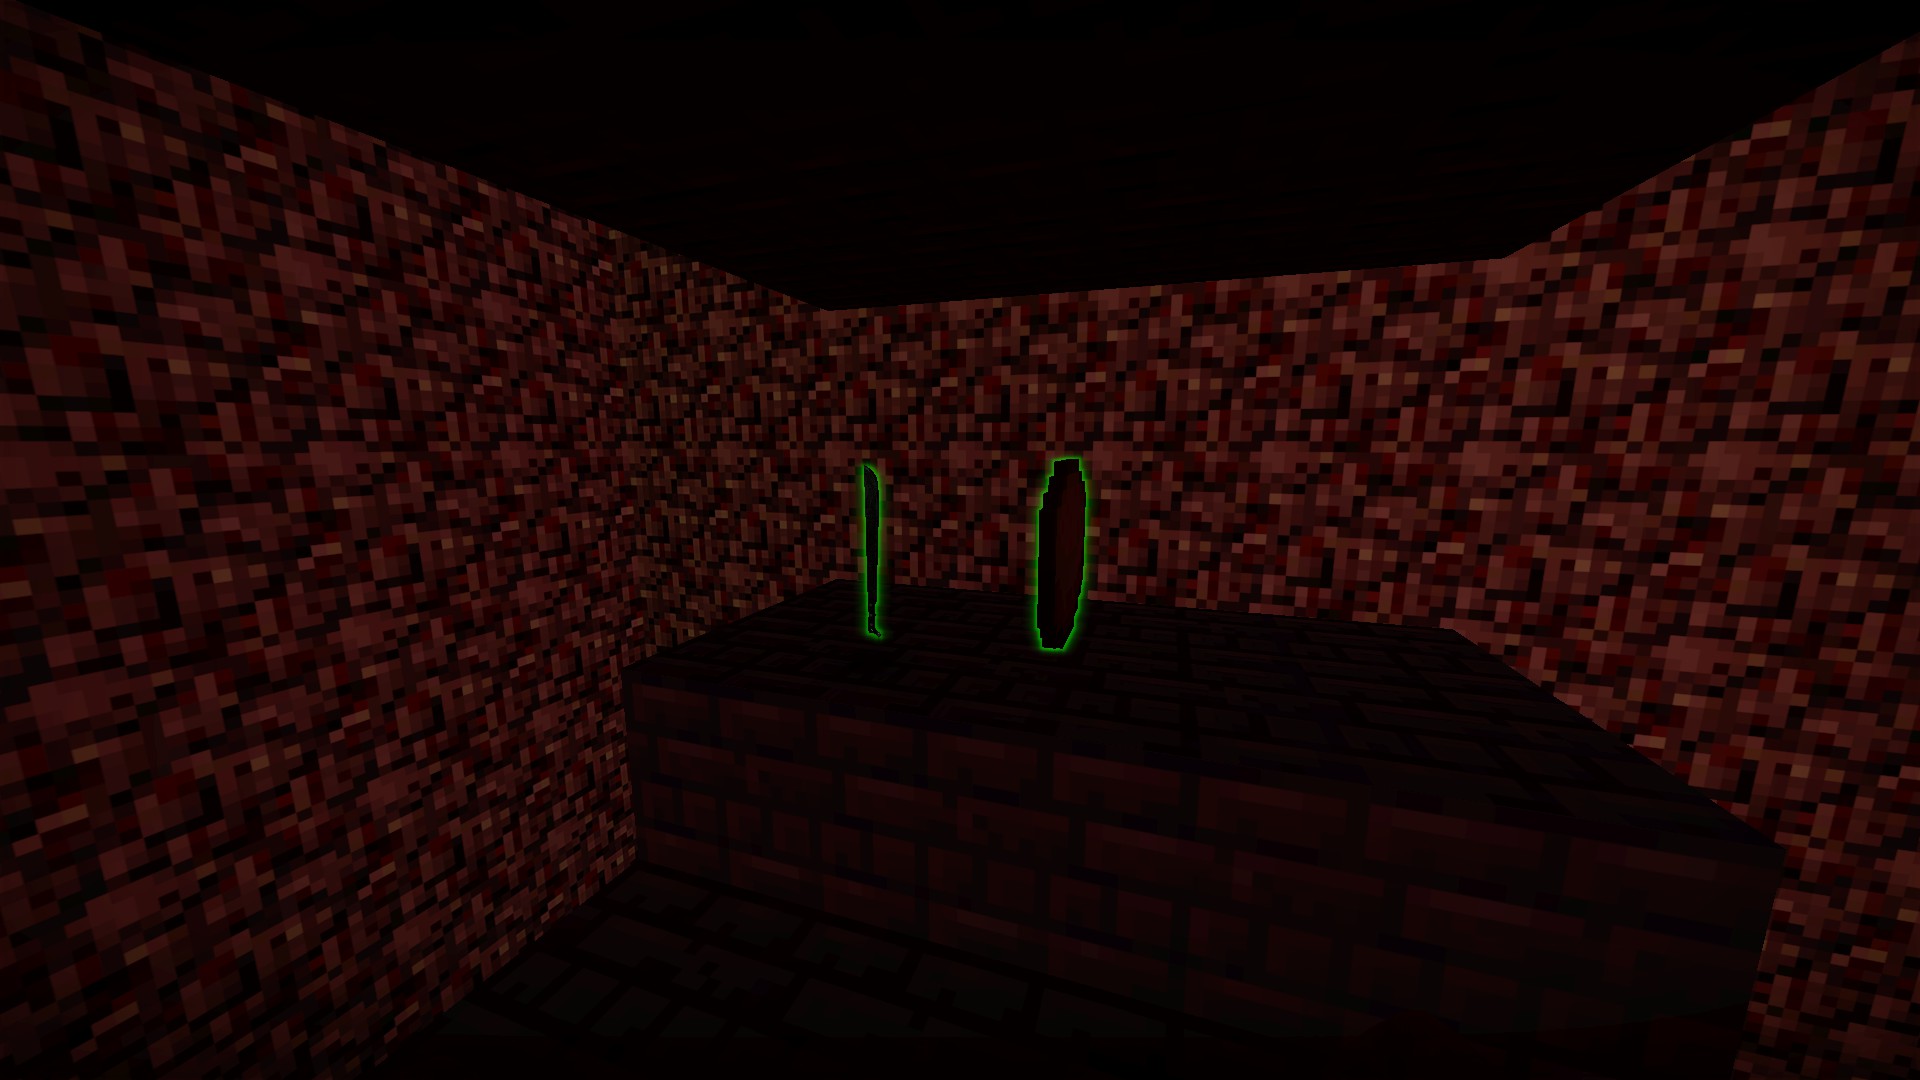
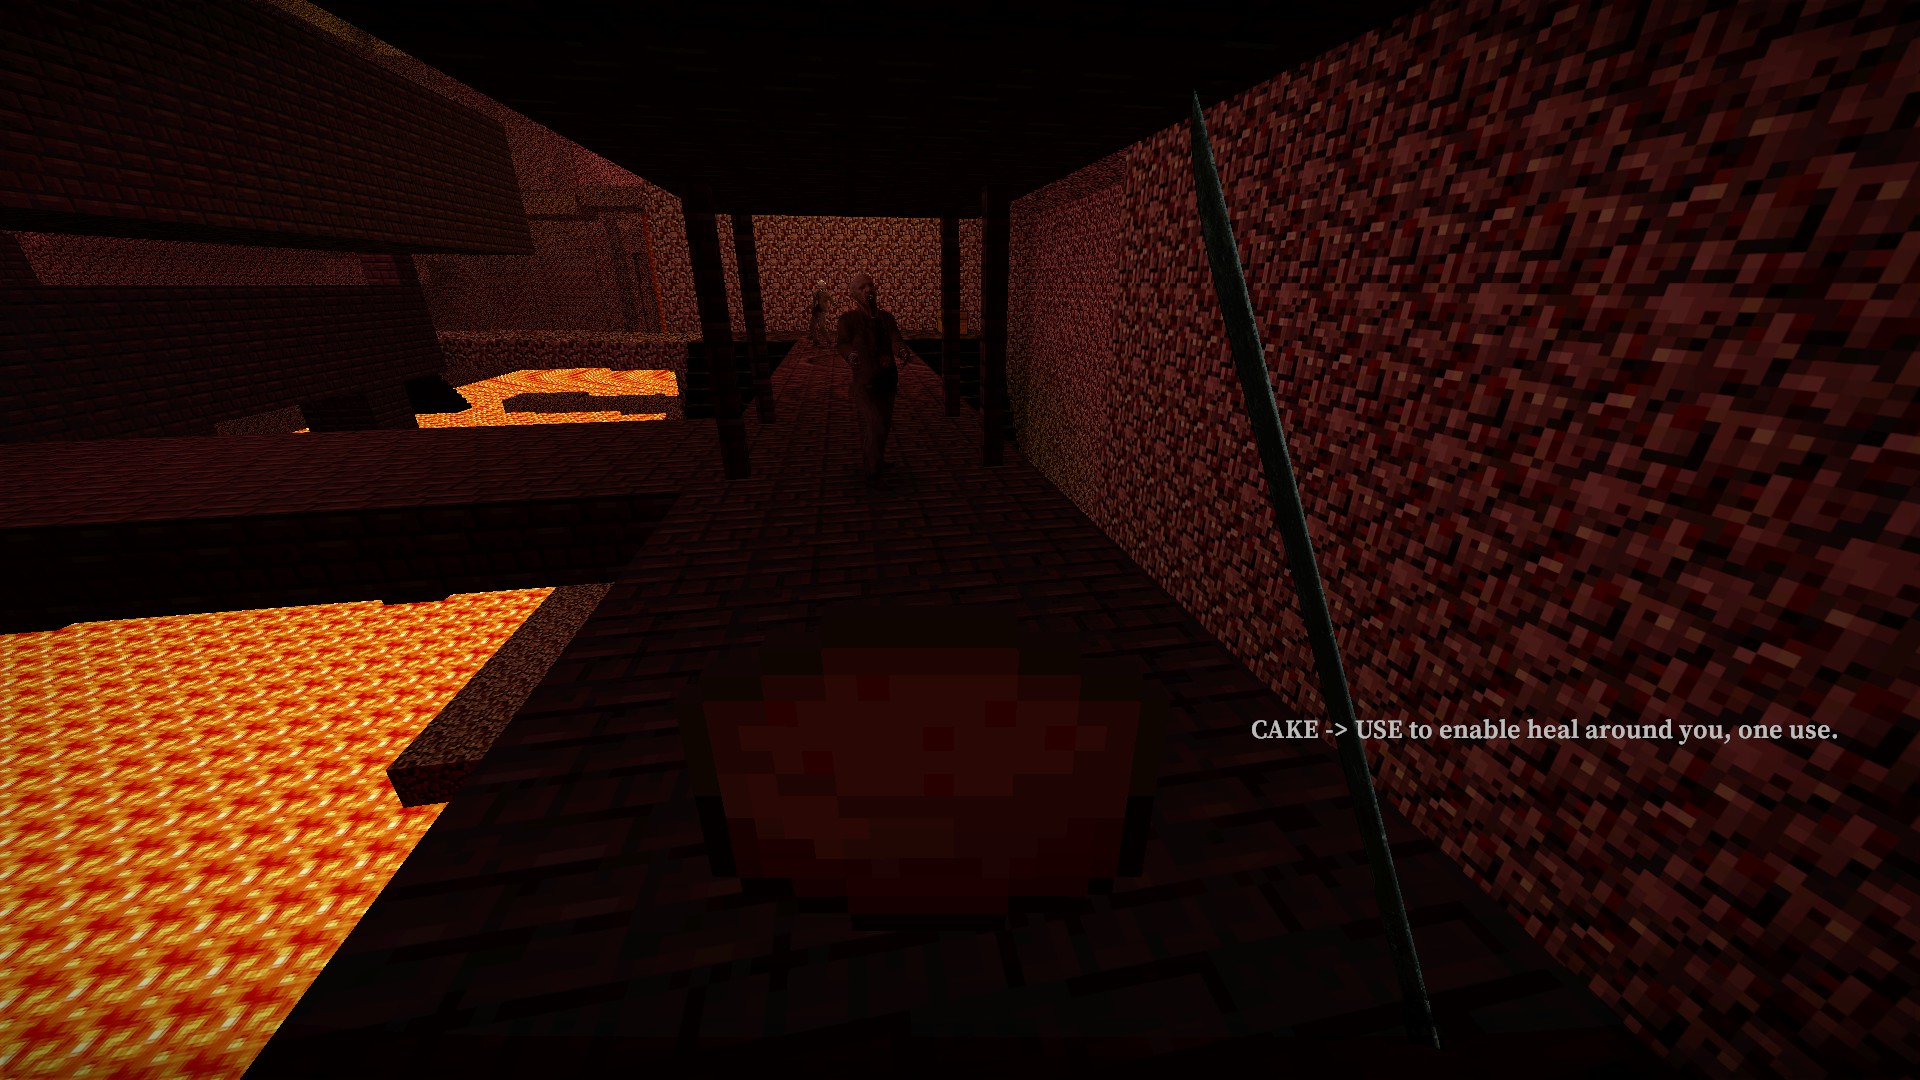
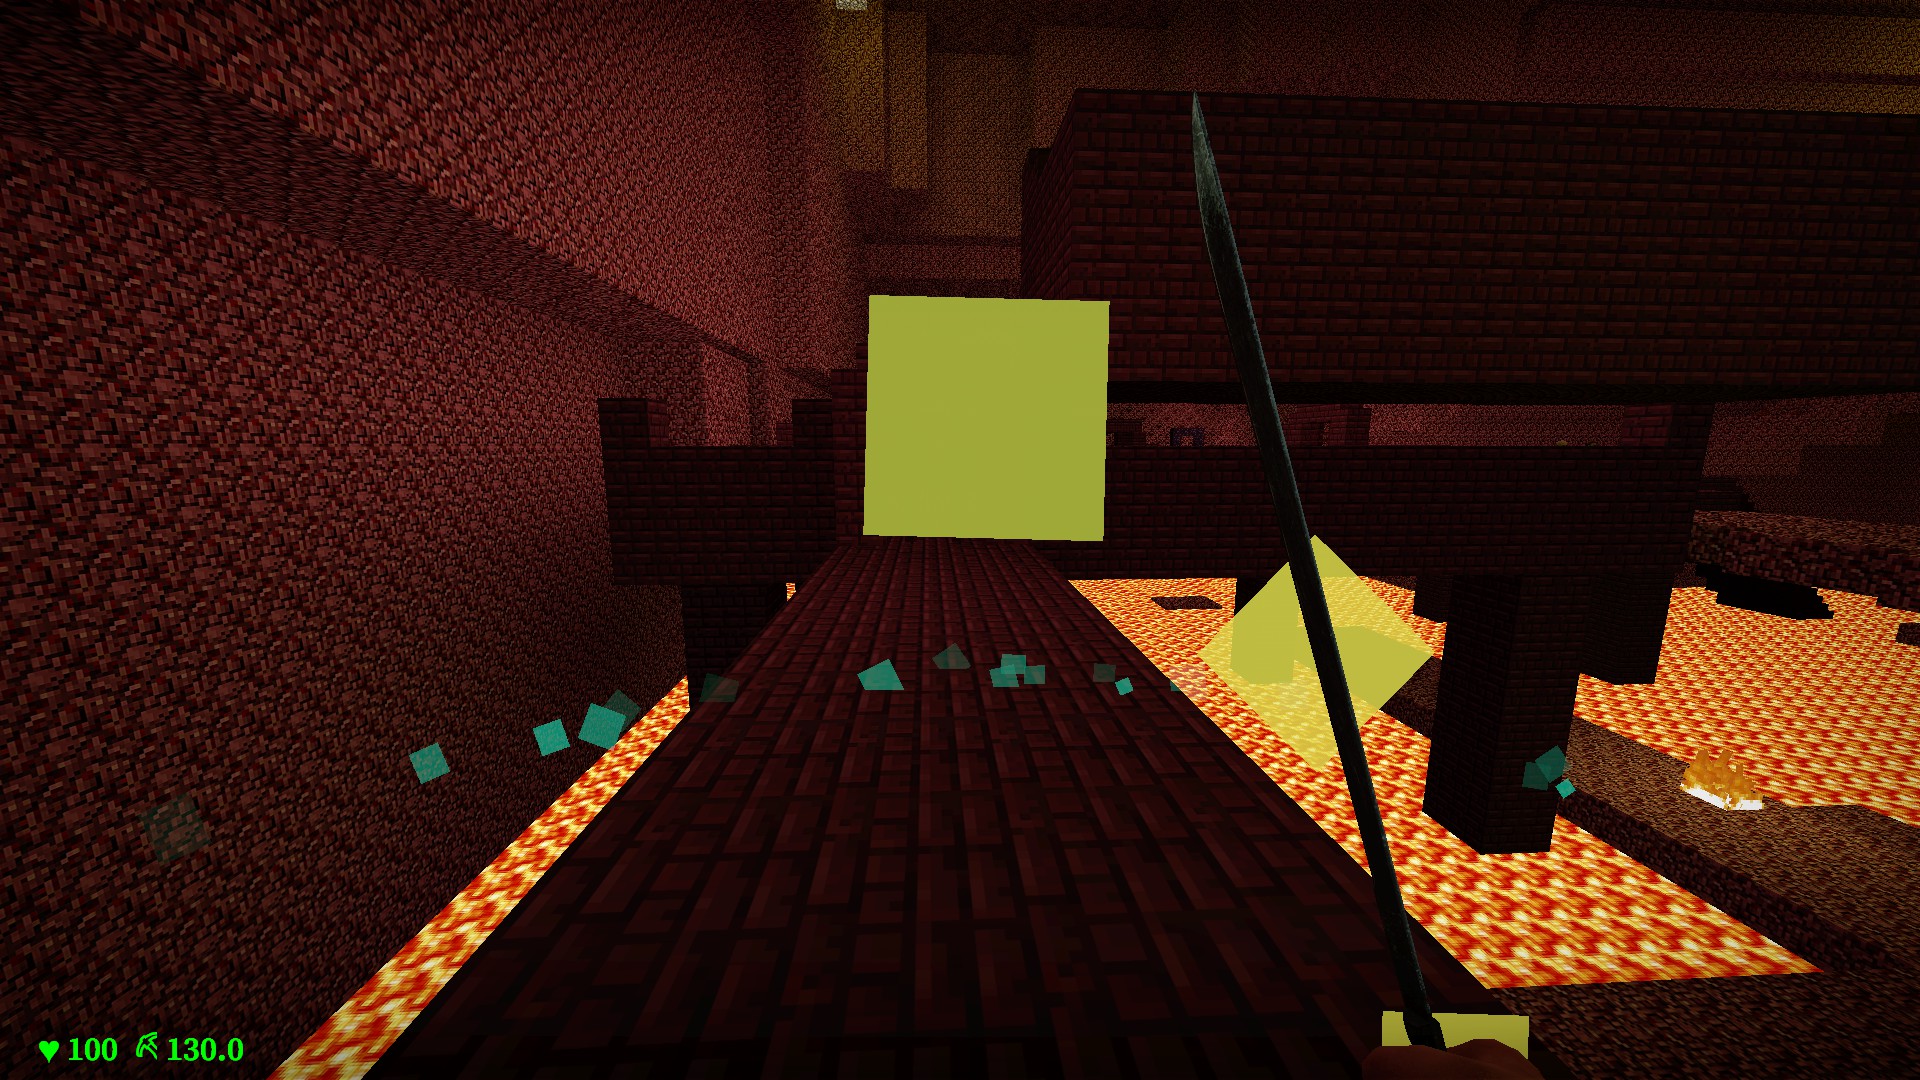
Will heal you and nearby players over 5 seconds back to 100hp. One time use
Translation issues - stage 2 ending
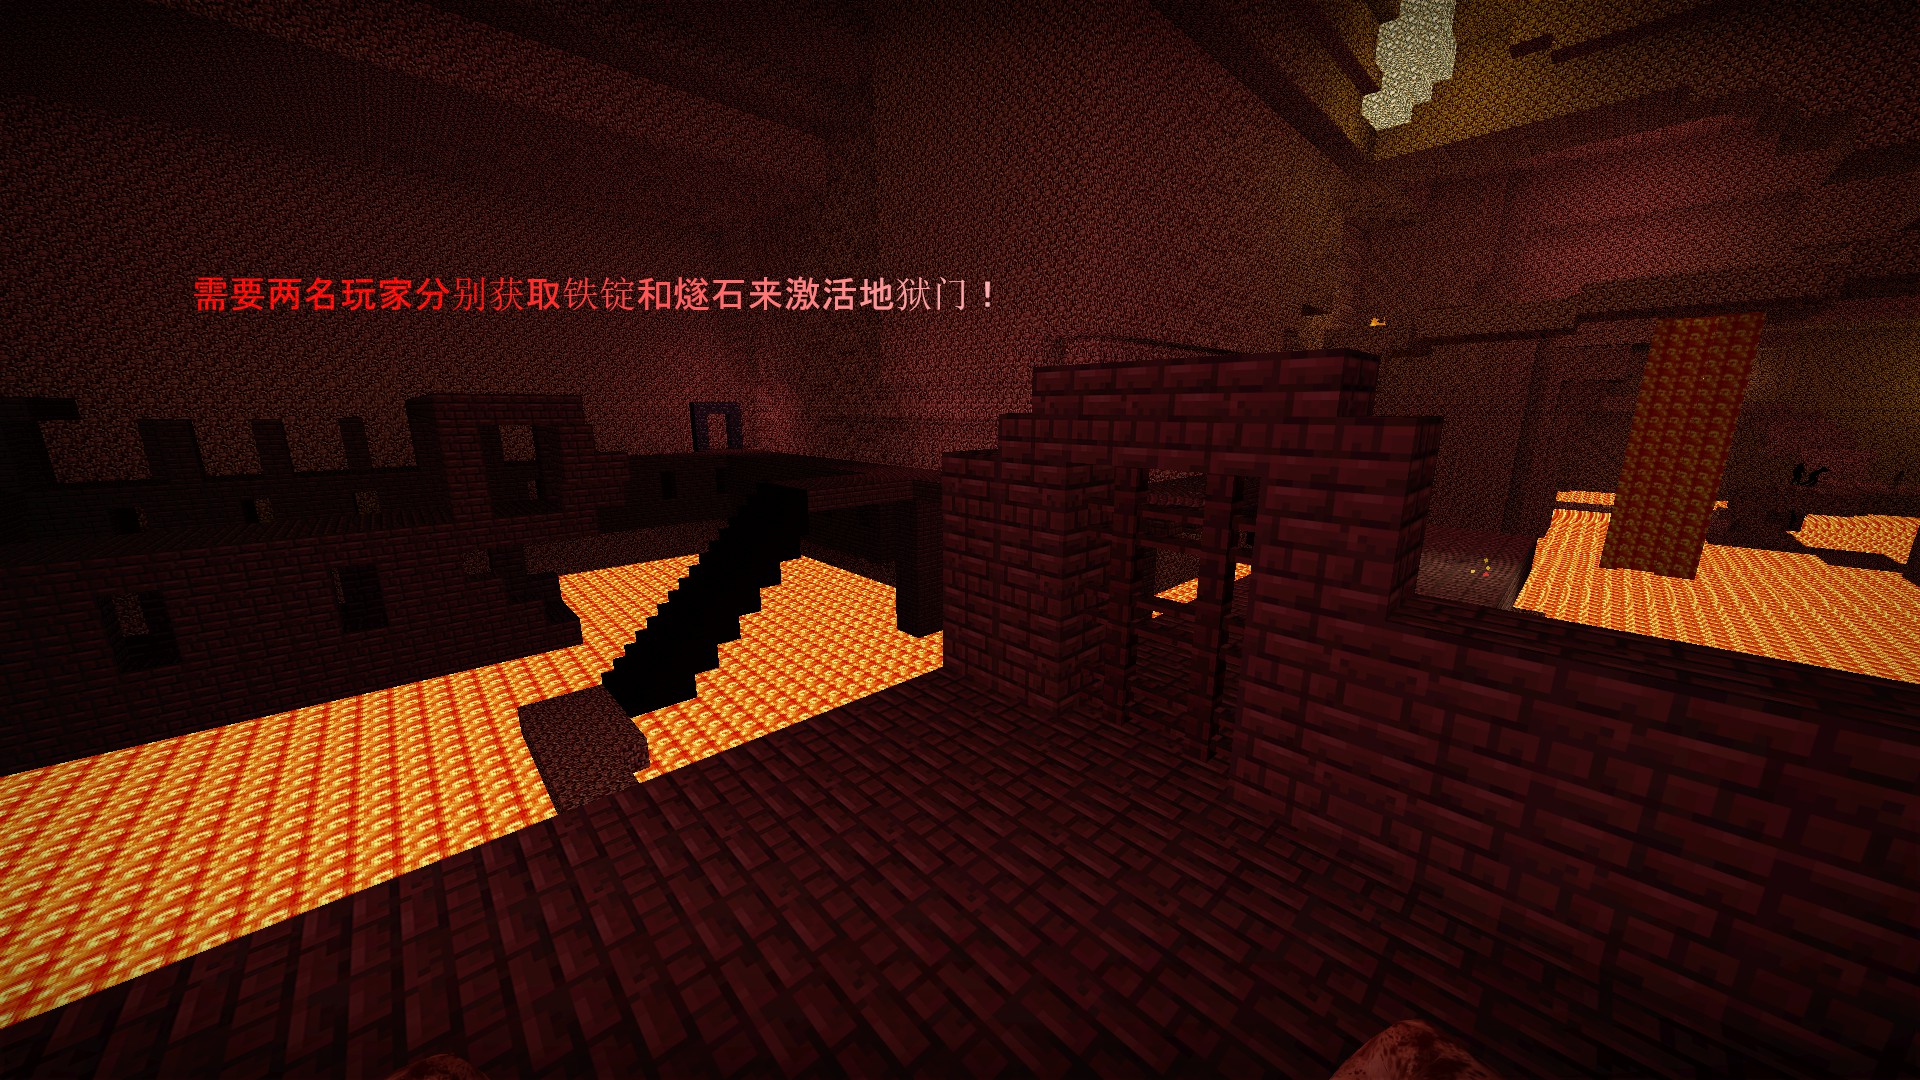
After the boss fight, a critical hint that is not translated is that two players are required to get the Iron Ingot and Flint
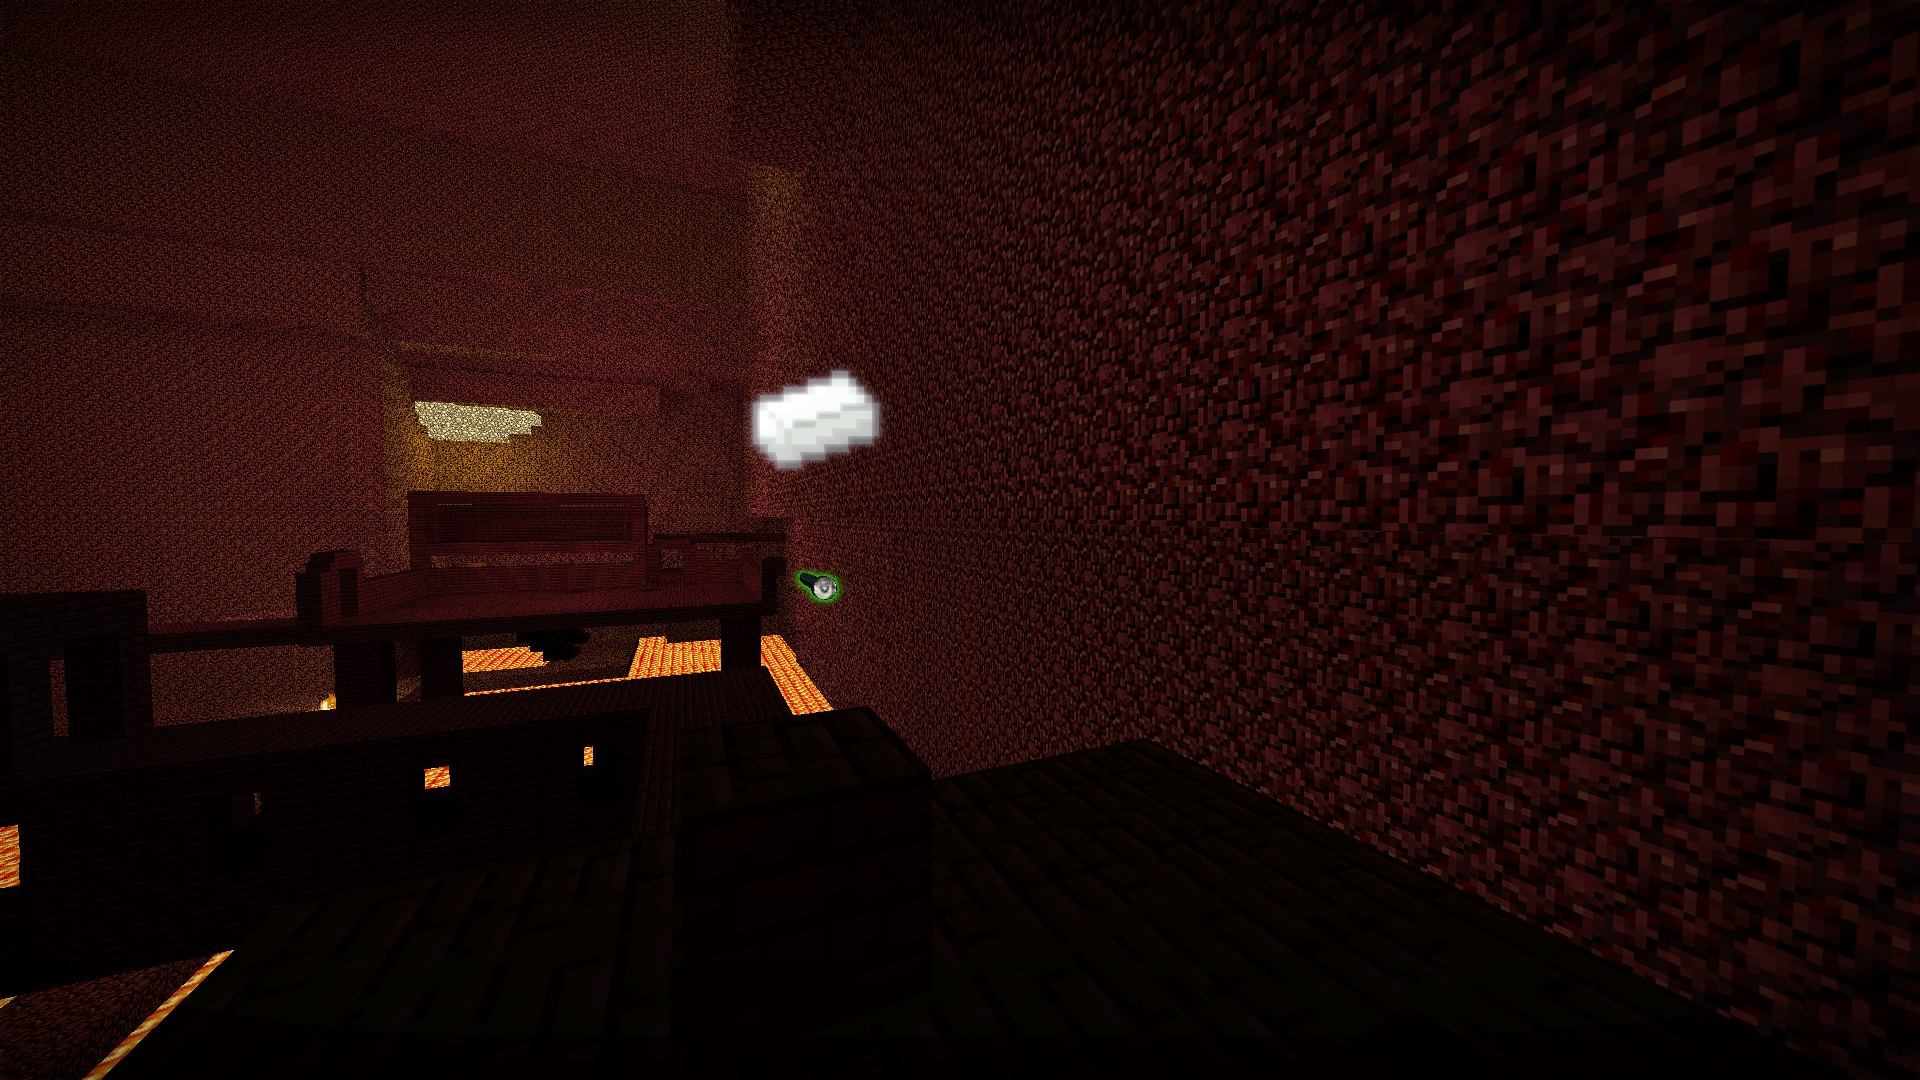
The Iron Ingot is a magic flashlight and is visible on the top of the next area. You cannot pick it up if you have another magic weapon in your inventory (torch, sword, bow, unused cake)
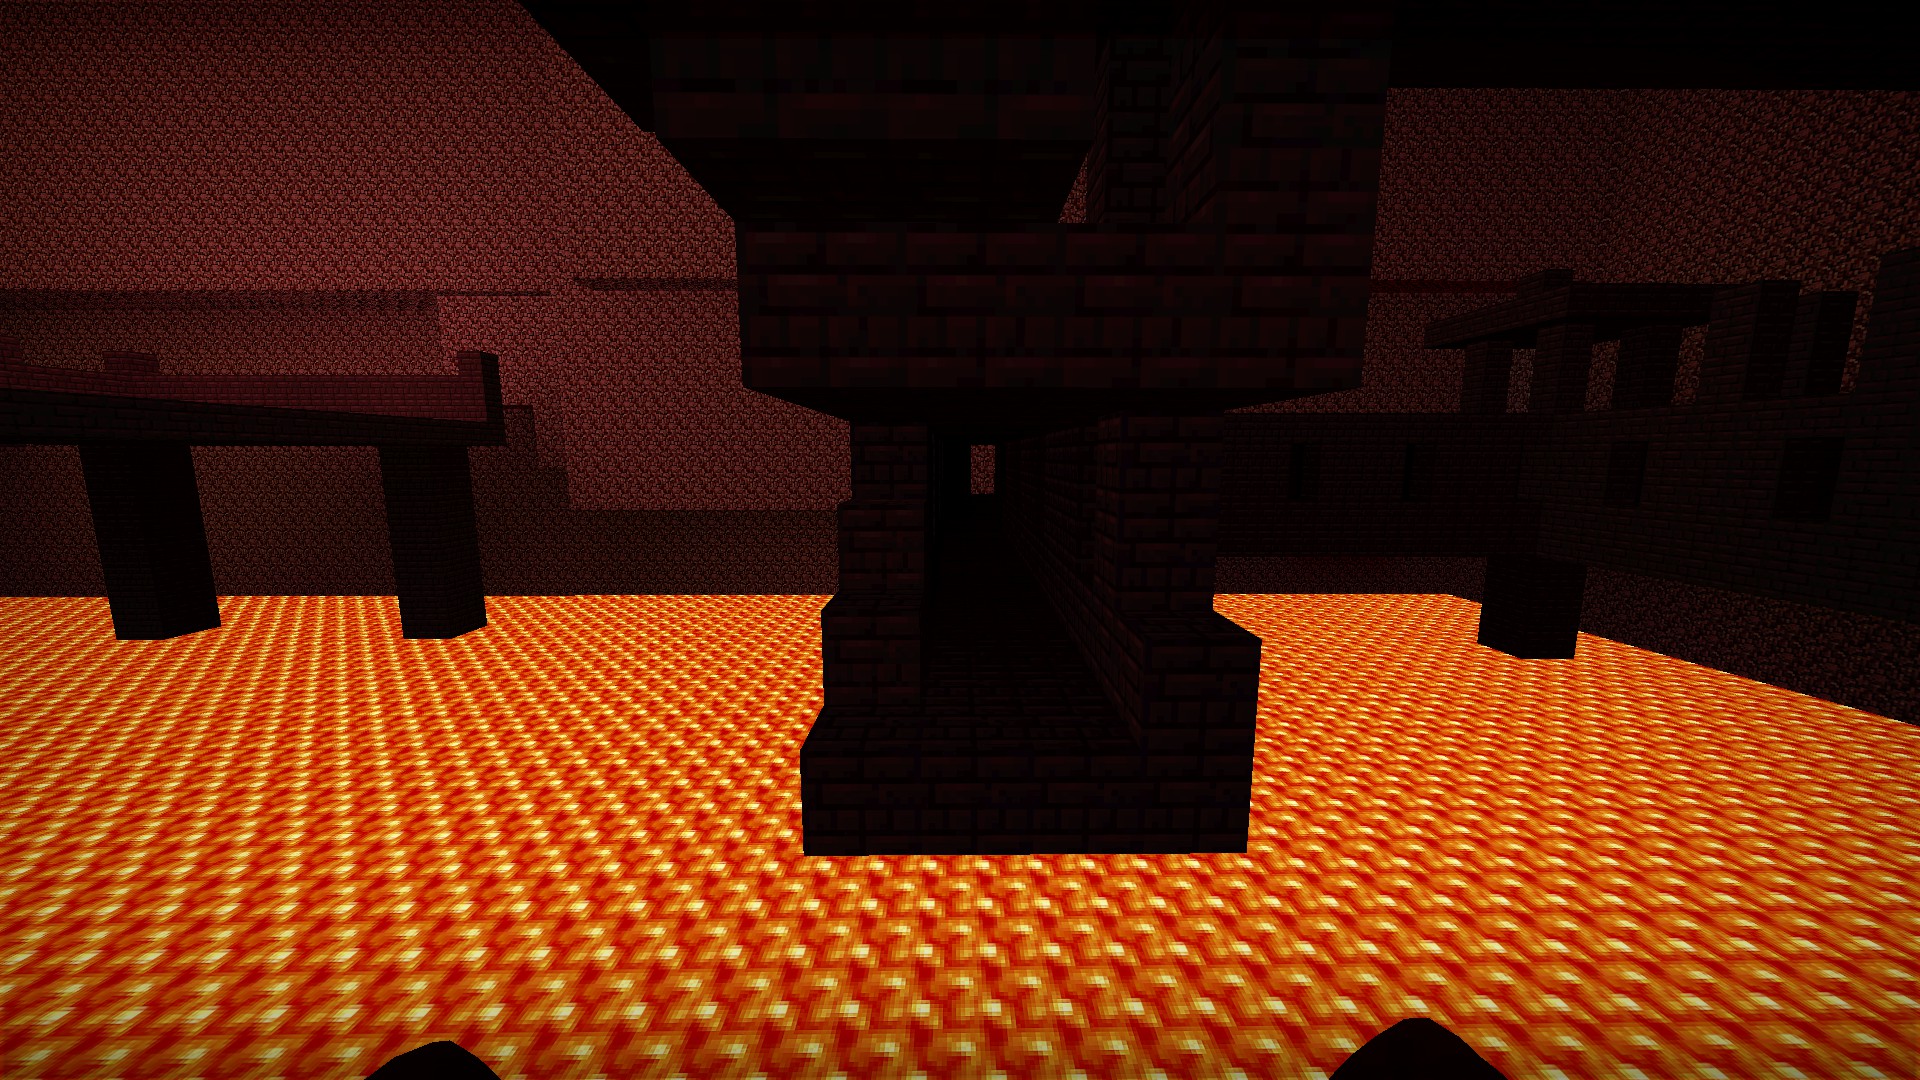
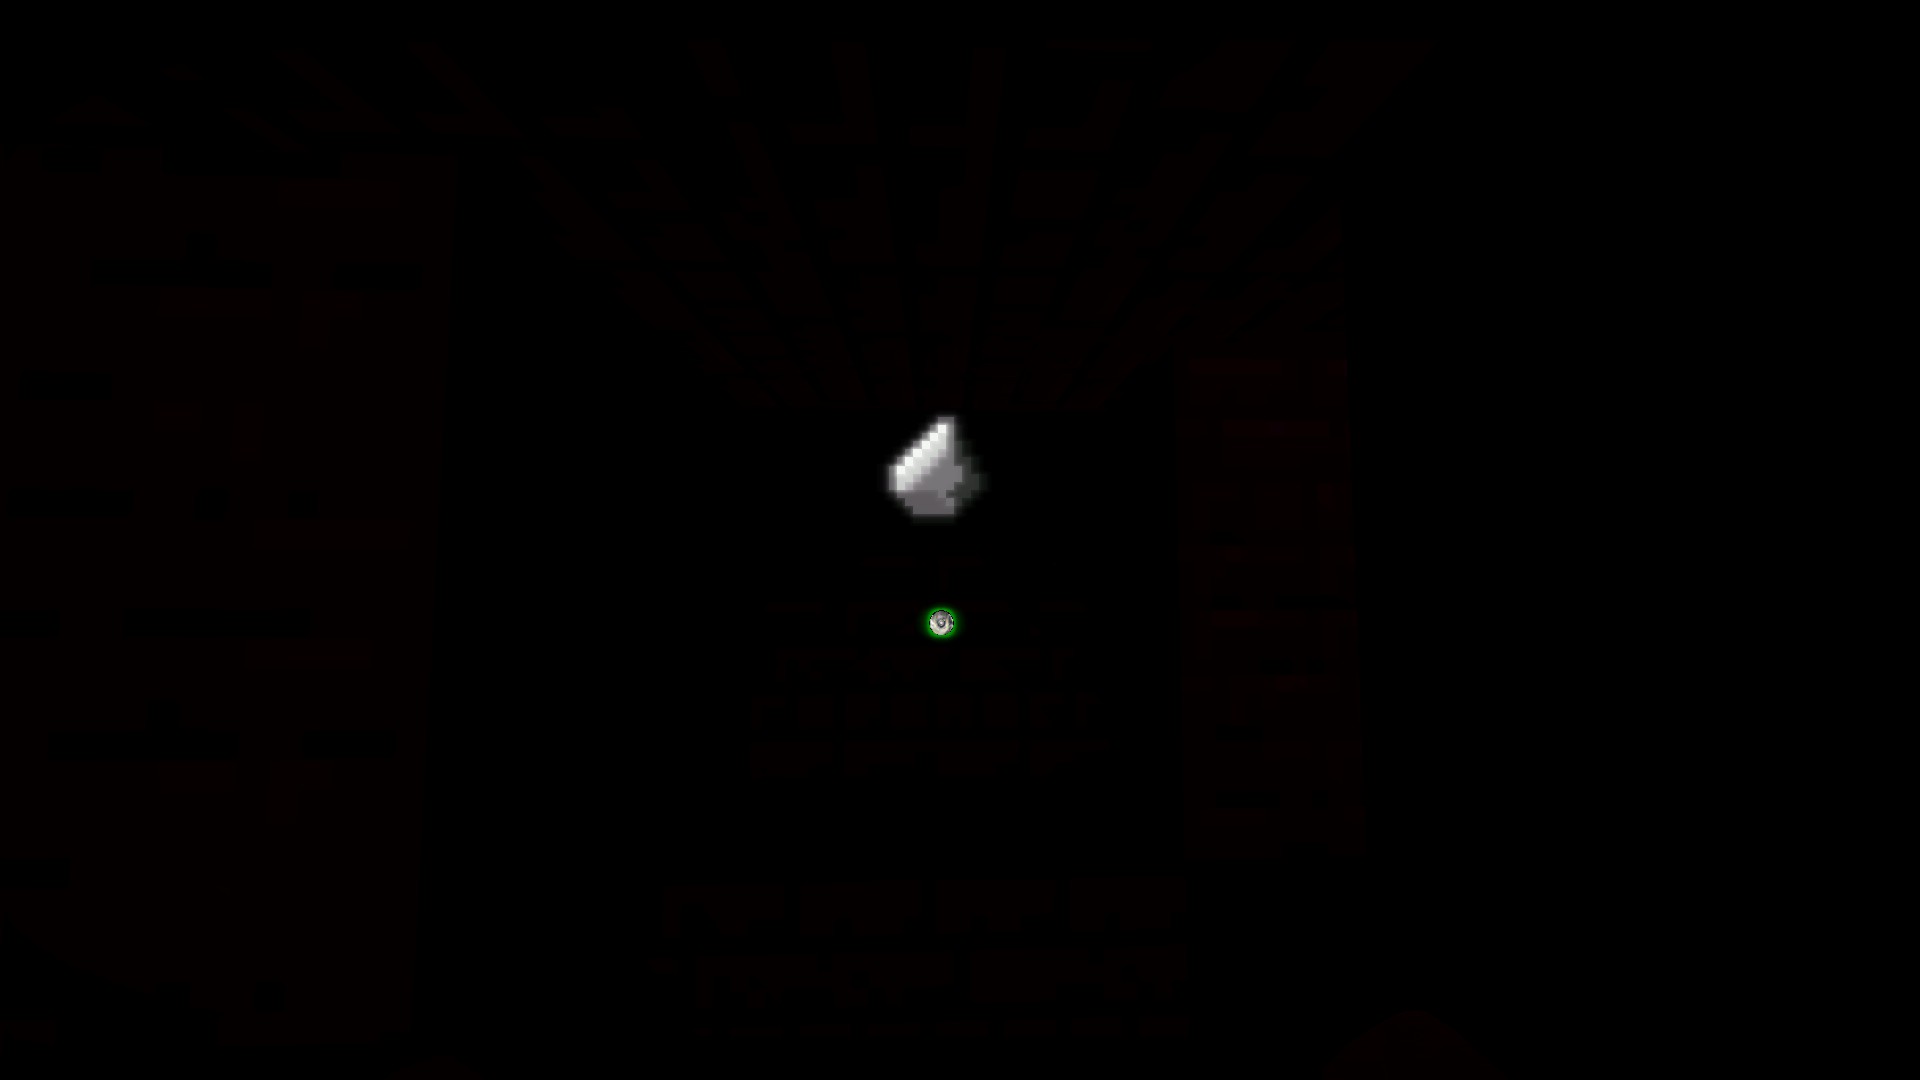
The Flint is inside the lower area. Get a running jump to the lower area from the staircase and follow it around to the flashlight. After its picked up, the wall will break on the way back allowing easy access to the portal
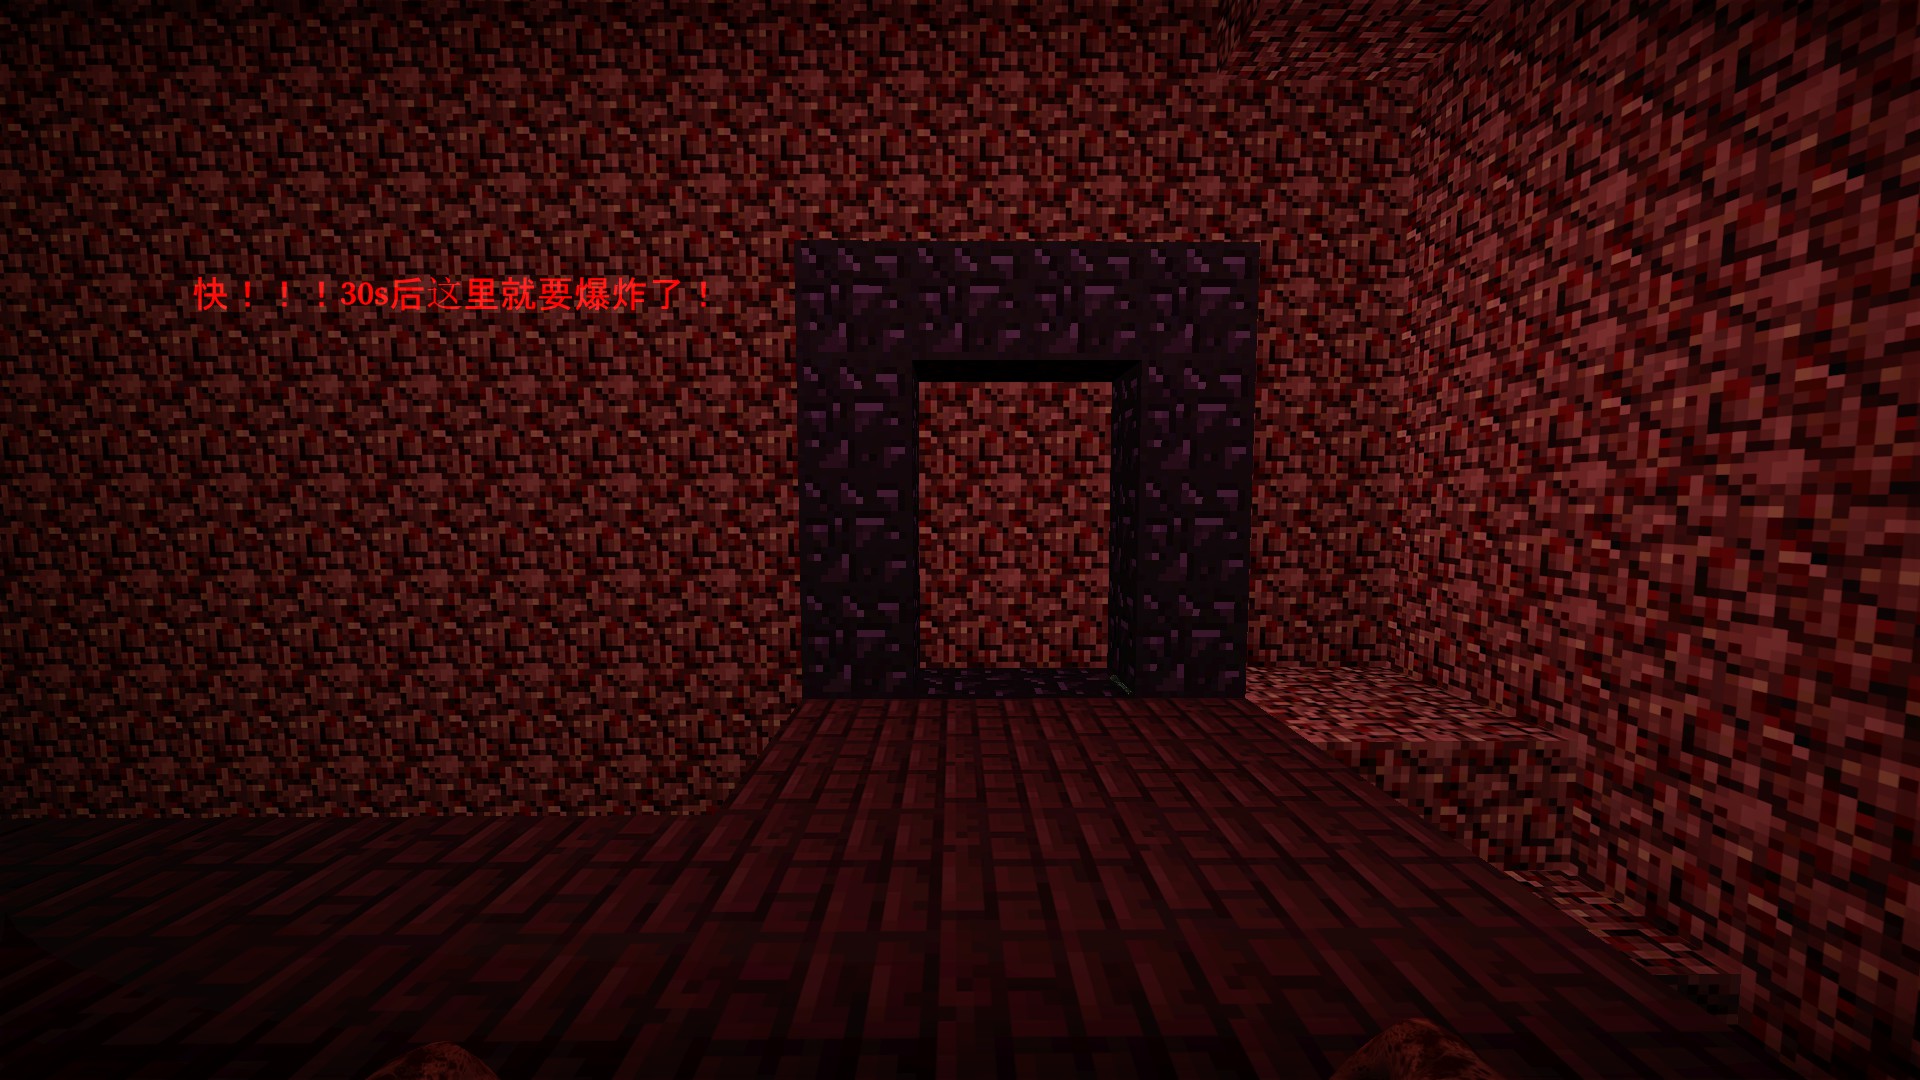
Both flashlights need to be brought to the nearby portal. They will both need to be in a player's inventory for the portal to open. One player cannot complete this stage alone
Special machetes will not damage the bosses
Developer room
Like other maps with multiple stages, there is a developer room that allows quick access between stages for testing. You can noclip here, but it cannot be accessed otherwise. It is to the left of the area where you find the boats on the first stage
The 4 numbered buttons will restart the map on that stage
There is also a button here to disable the minecraft skins
Pressing e on the poster will cause an explosion that will destroy the map
Hidden sword machete on stage 1
When you drop into the water here, drop to the ledge instead (you will not take damage) and make your way to this hidden sword machete
The sword machete has a push attack that will damage zombies. The more you push zombies, the more damage they will take. The effect lasts for 5 seconds and moves with you. The white light will return at the hilt after the 45 second recharge
Objective special machetes
Some of the special machetes on this map are designed to be used in the objectives, such as this axe machete that is used to break the wood wall and the pickaxe machete that is used to break the floor tiles
Torch machete
You will find two of these on stage 2. Like the sword machete, the fire attack will last for 5 seconds and will move with you. Although the text says it is a one time use, it will recharge after 60 seconds
Bow machete
Press e to fire arrows. Arrows will only fire directly forward and will kill any zombie it contacts. Needs 10 seconds to recharge
Cake machete
Will heal you and nearby players over 5 seconds back to 100hp. One time use
Translation issues - stage 2 ending
After the boss fight, a critical hint that is not translated is that two players are required to get the Iron Ingot and Flint
The Iron Ingot is a magic flashlight and is visible on the top of the next area. You cannot pick it up if you have another magic weapon in your inventory (torch, sword, bow, unused cake)
The Flint is inside the lower area. Get a running jump to the lower area from the staircase and follow it around to the flashlight. After its picked up, the wall will break on the way back allowing easy access to the portal
Both flashlights need to be brought to the nearby portal. They will both need to be in a player's inventory for the portal to open. One player cannot complete this stage alone
nmo_ze_minecraft_adventure_v2_2 (continued)
Hidden special machetes - stage 3
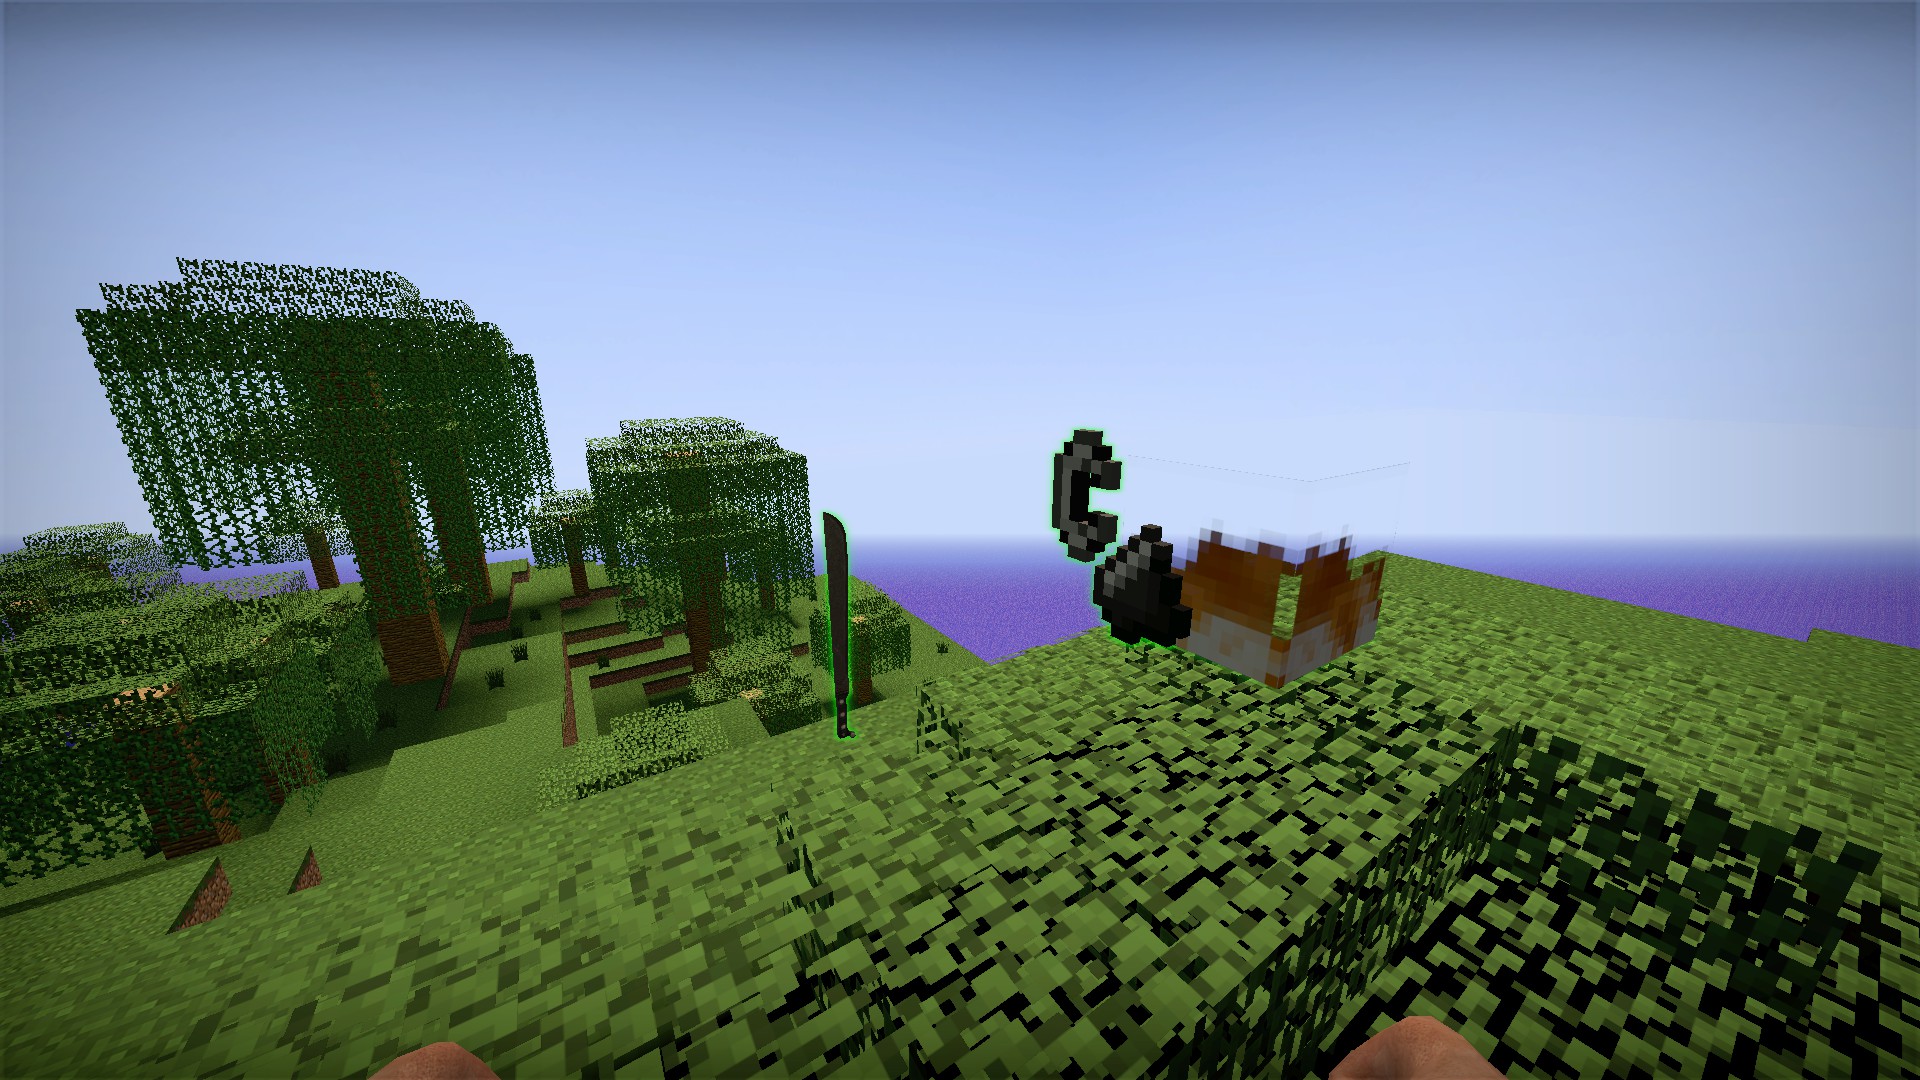
Head high above the stage 3 starting area for a fire machete
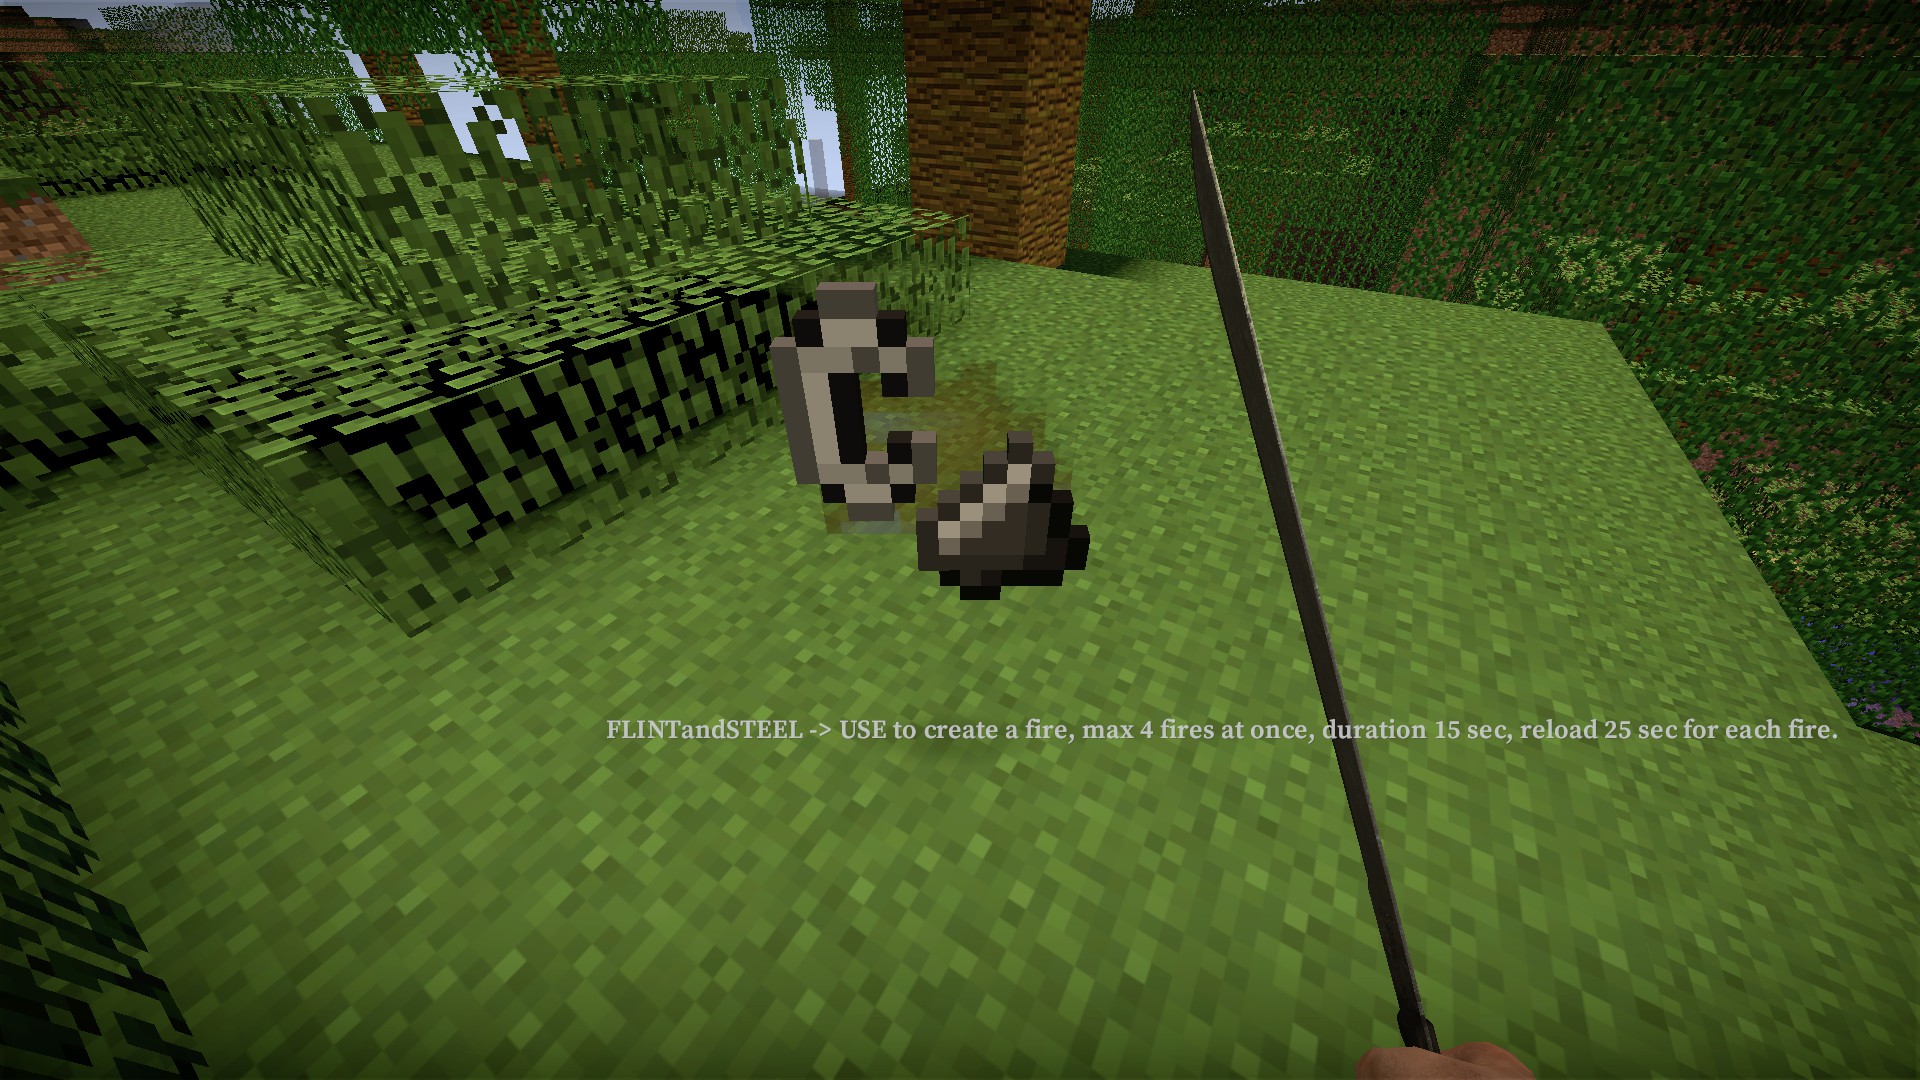
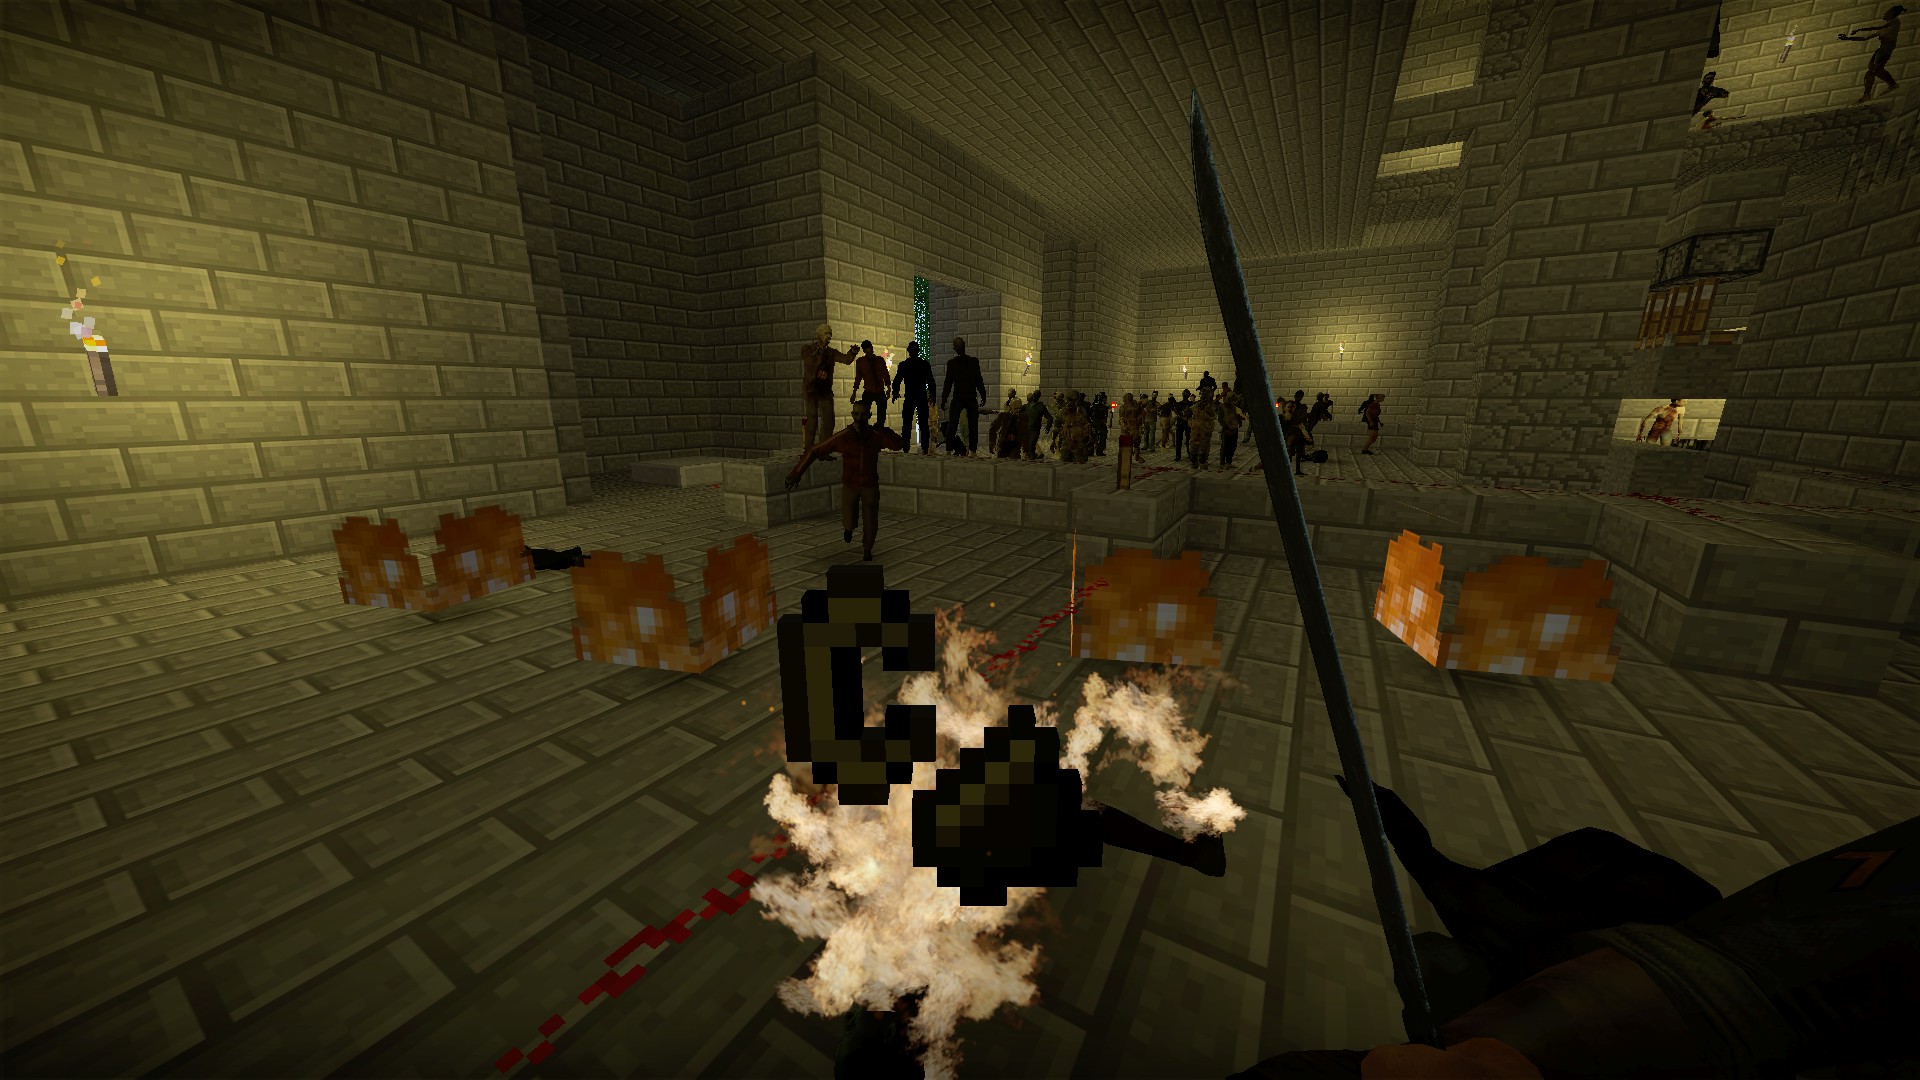
Press e to drop a fire. Fires will burn for 15 seconds. Zombies that pass through the fire will be burned. You can place up to 4 fires at once. 25 second recharge between fires (this time is after placing 4 fires). Be cautious using this as the fires will also burn you and other players
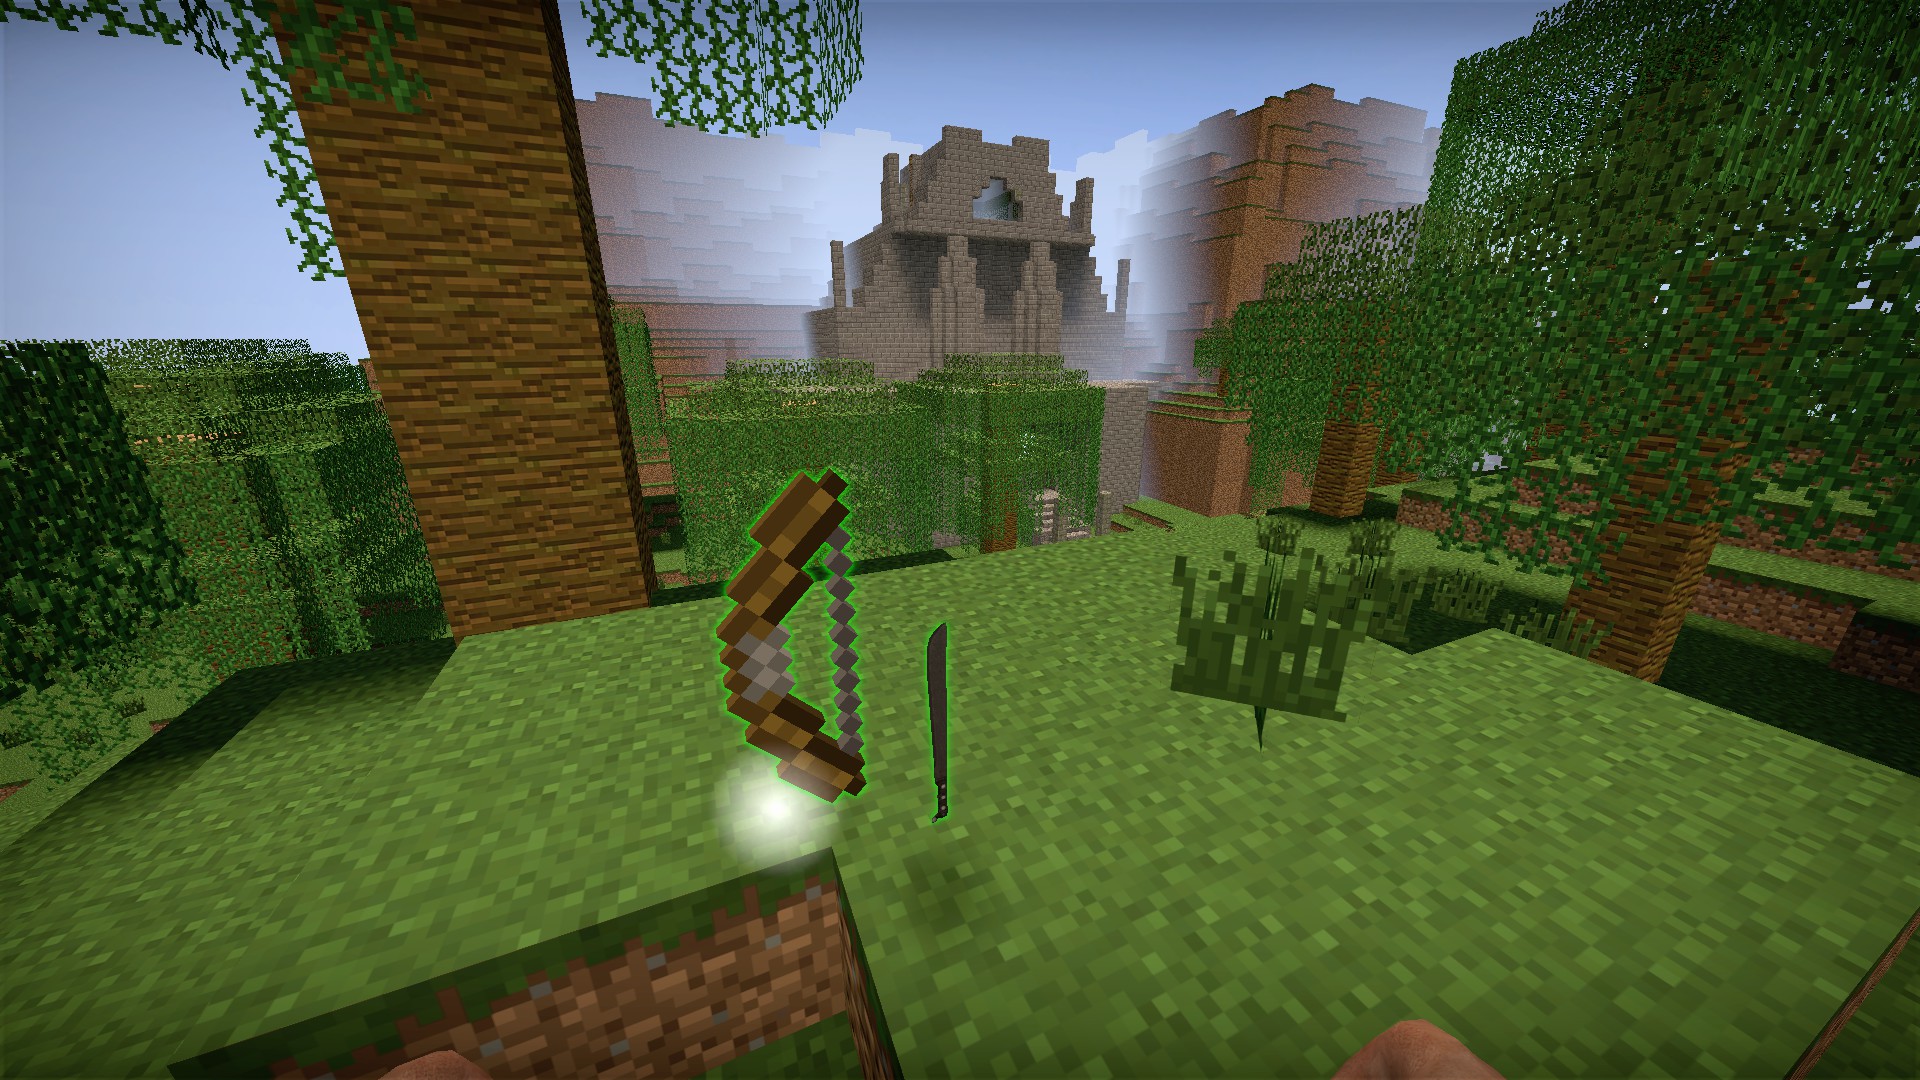
Head up high near the temple for a bow machete. There is a sword machete in the lower jungle
Translation issues - stage 3 temple
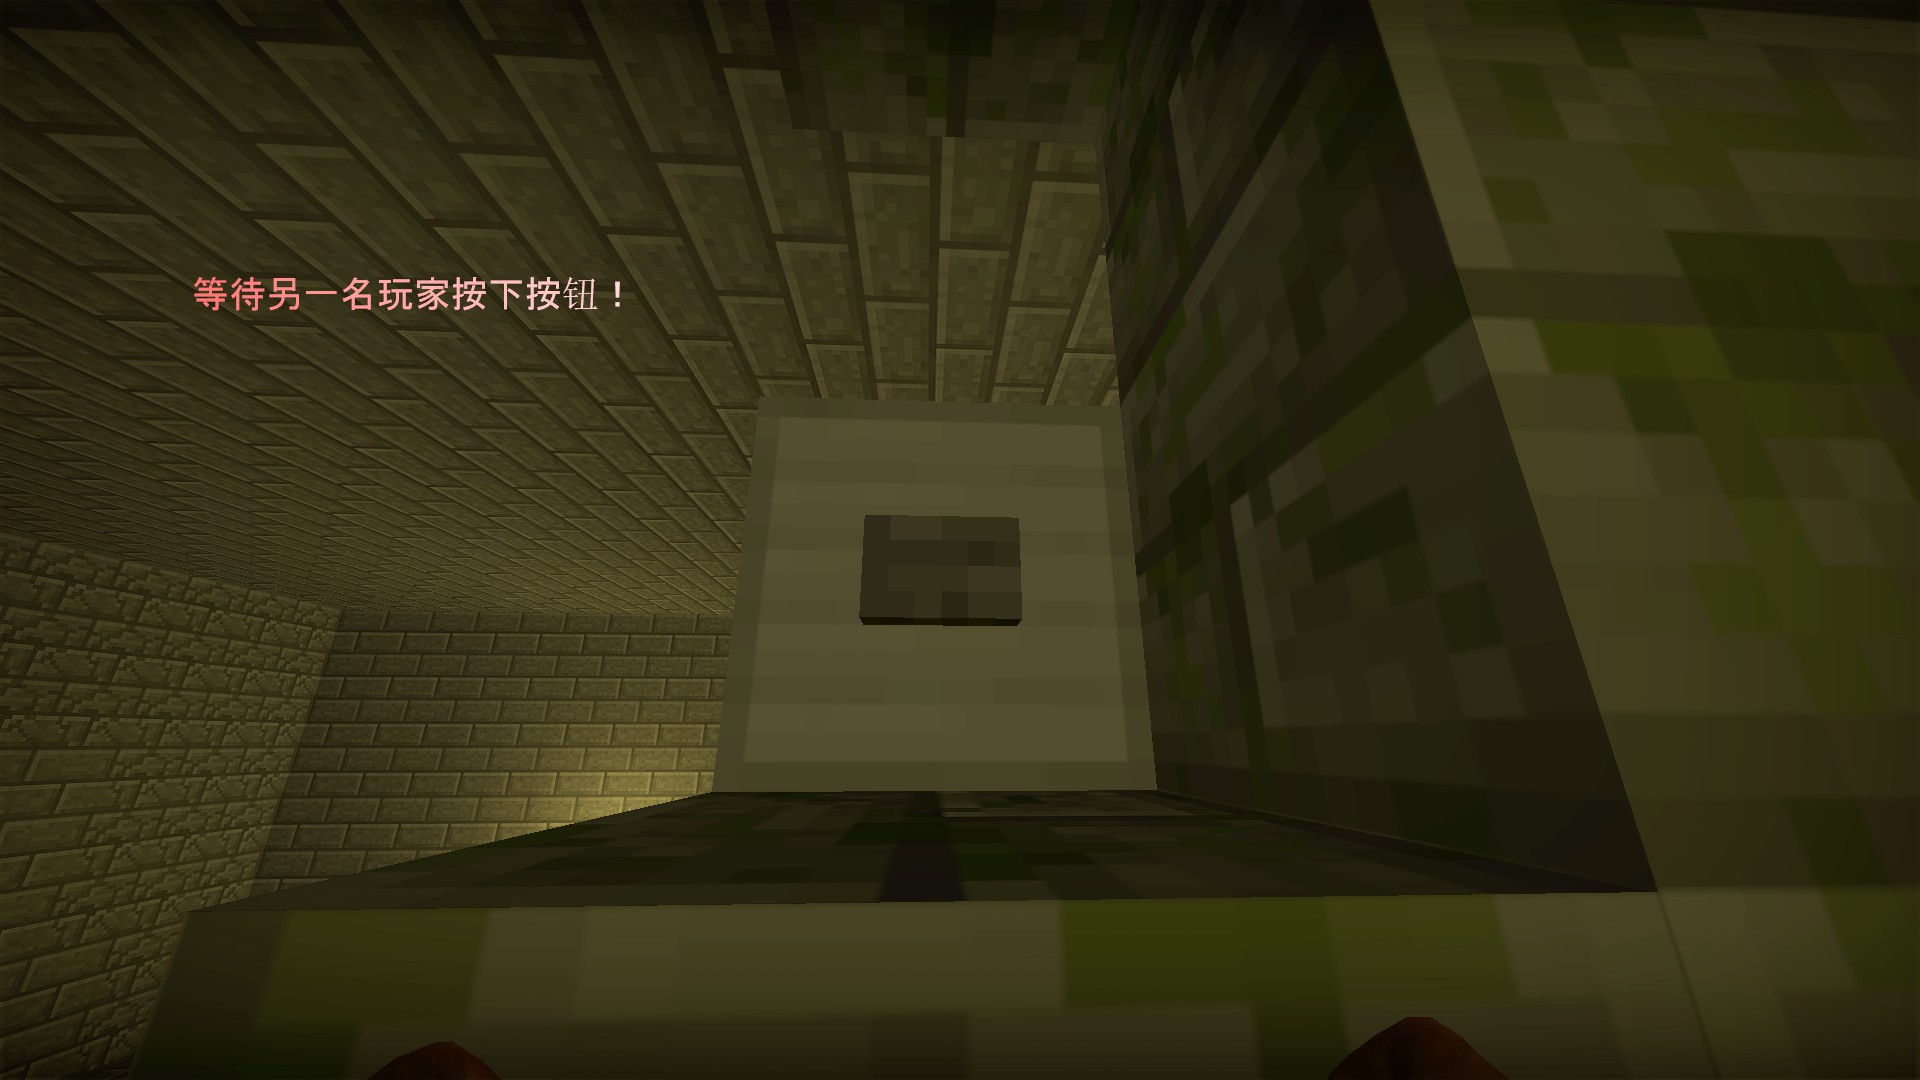
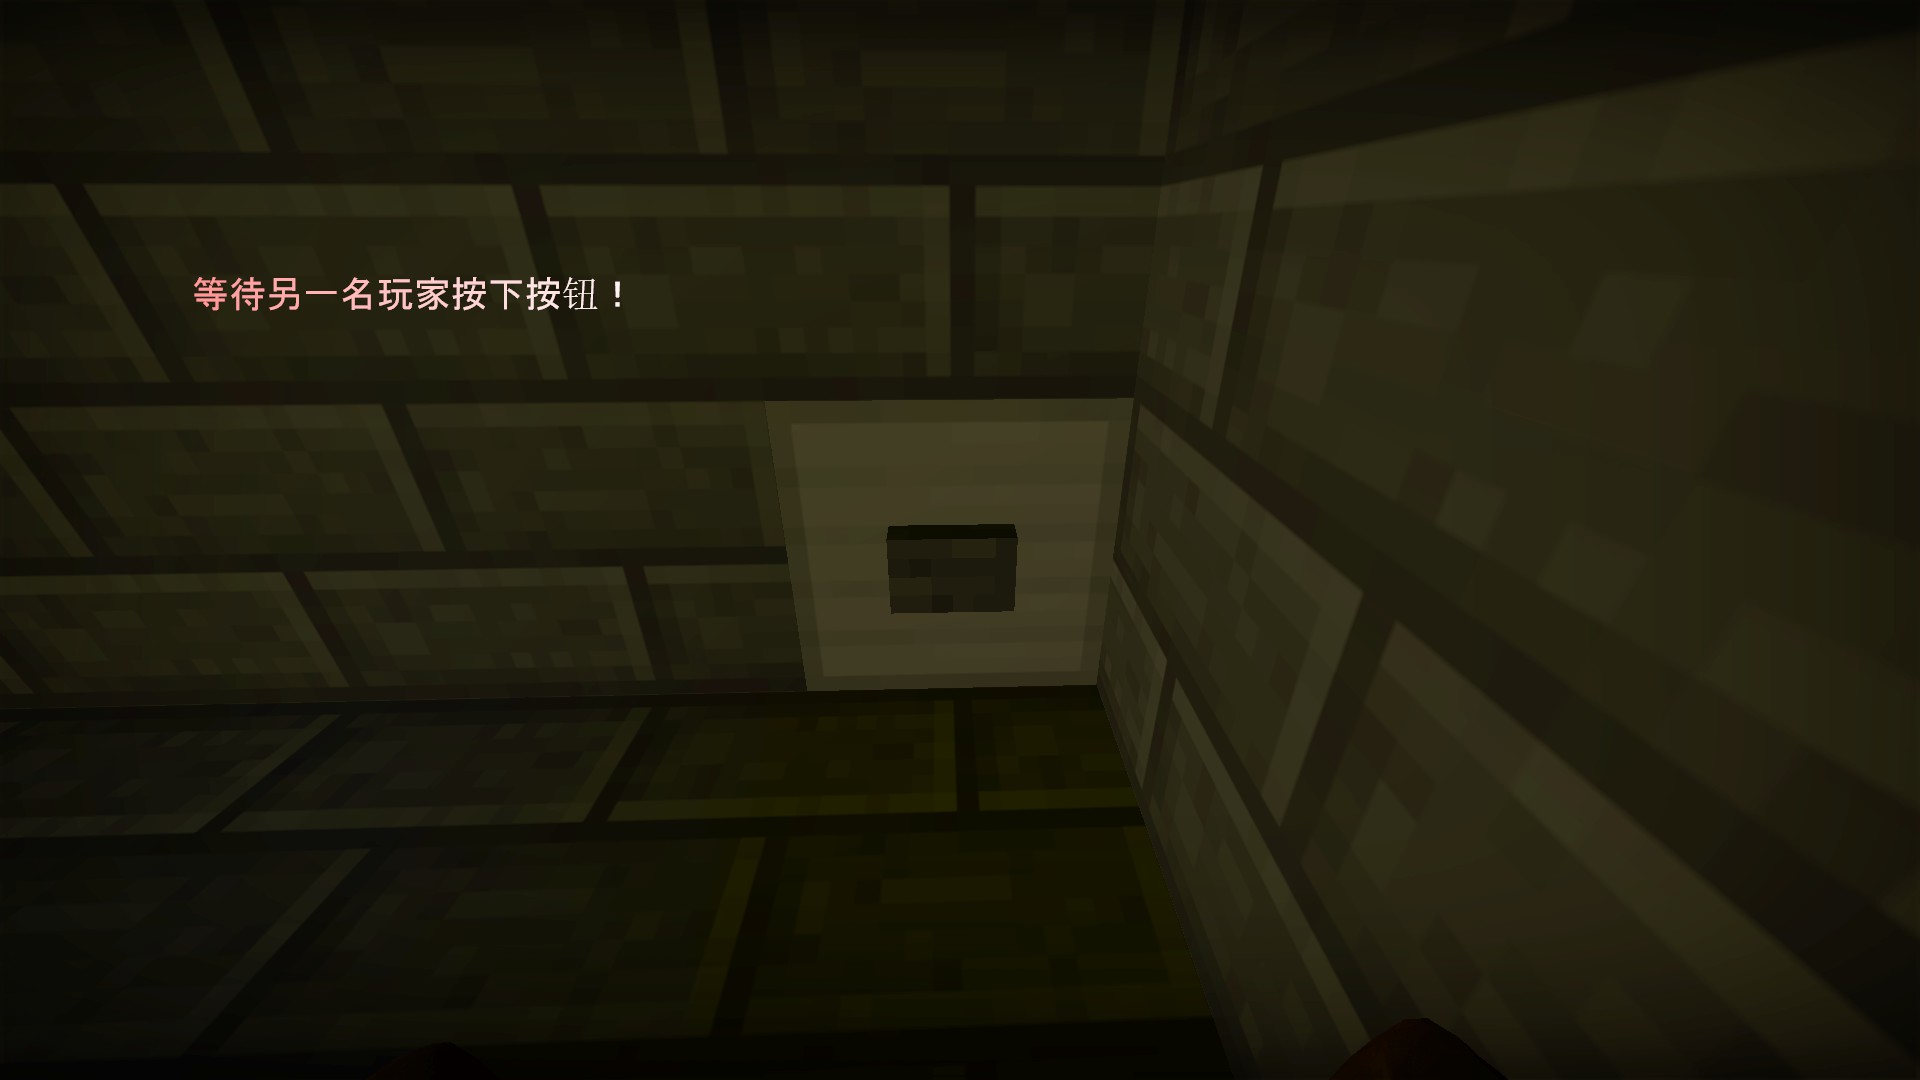
The two buttons required to reach the top of the temple will both give the same message that lacks a critical translation - the buttons need to be pressed by two different players at the same time
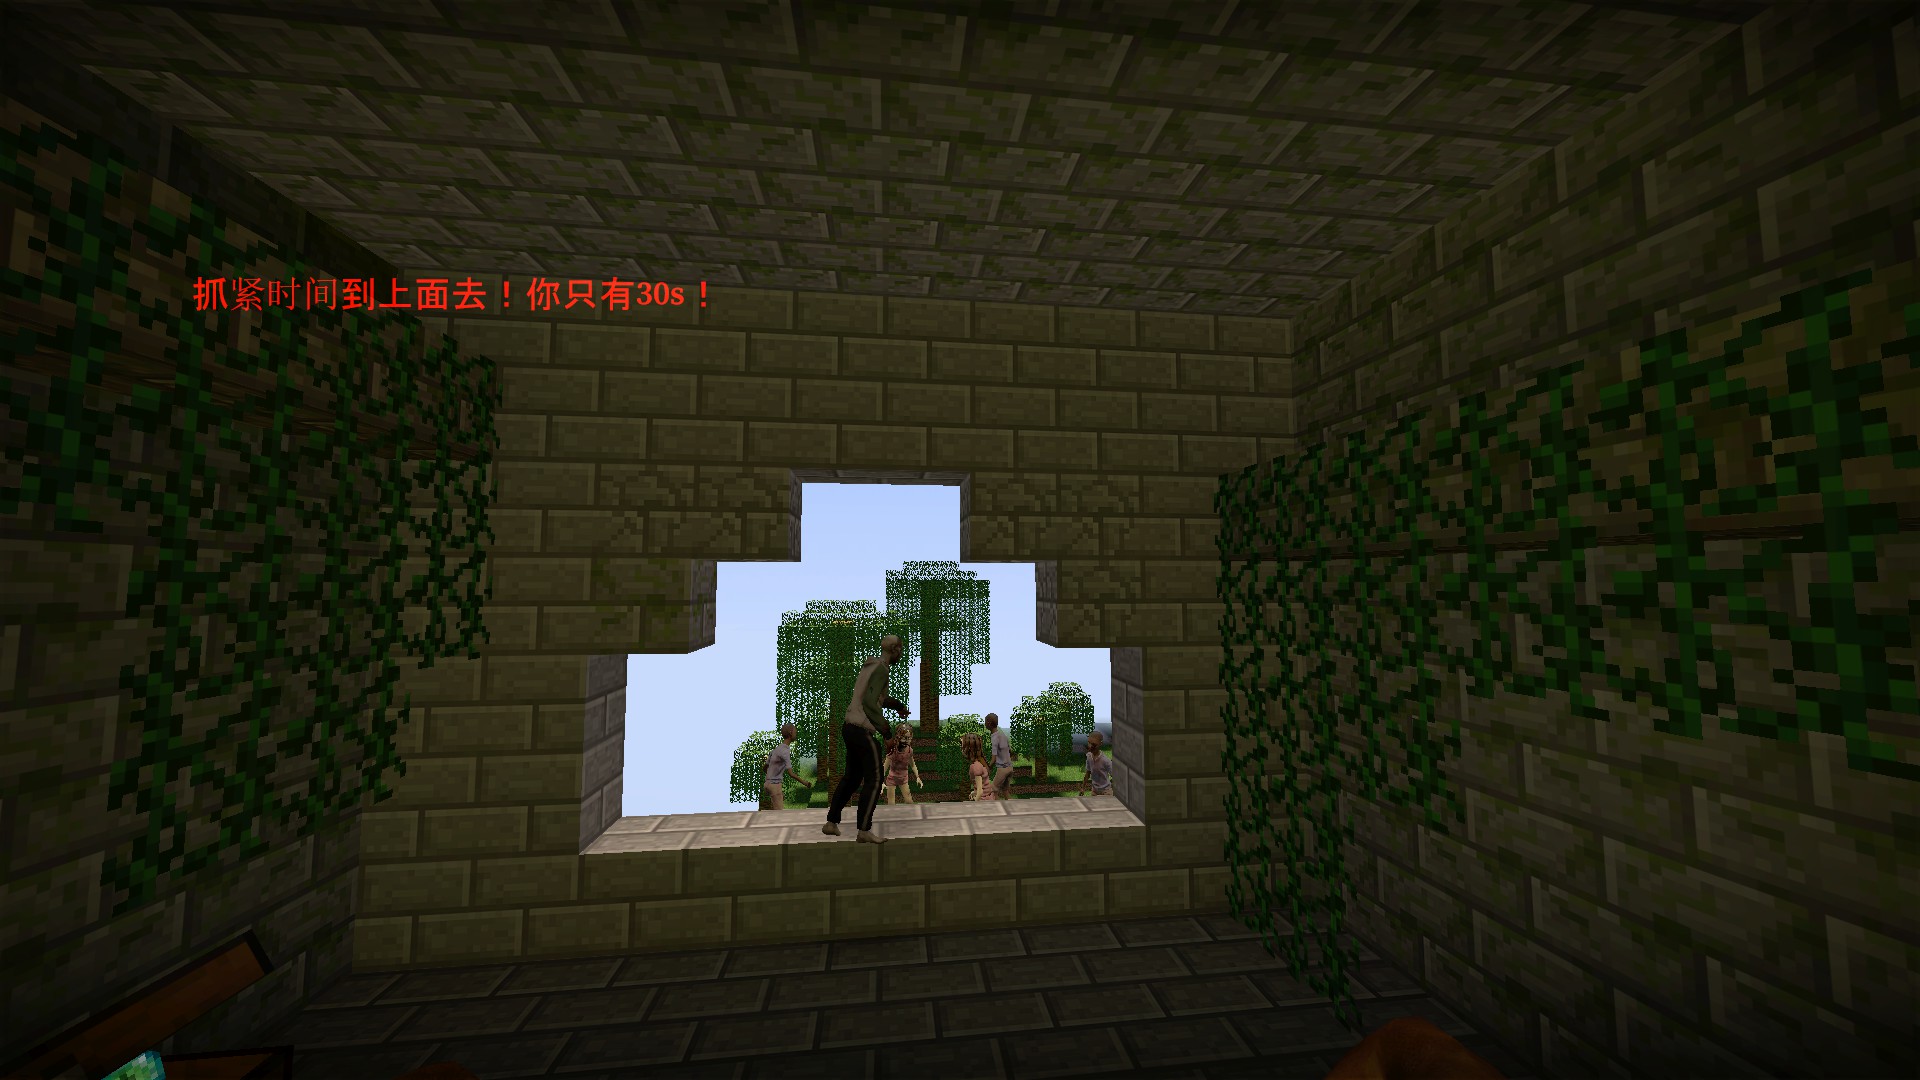
At the top of the temple another message with a critical missing translation is that once the first player has entered the top room, the extraction zone on the roof of the temple will close in 30 seconds
Hidden special machete - stage 4
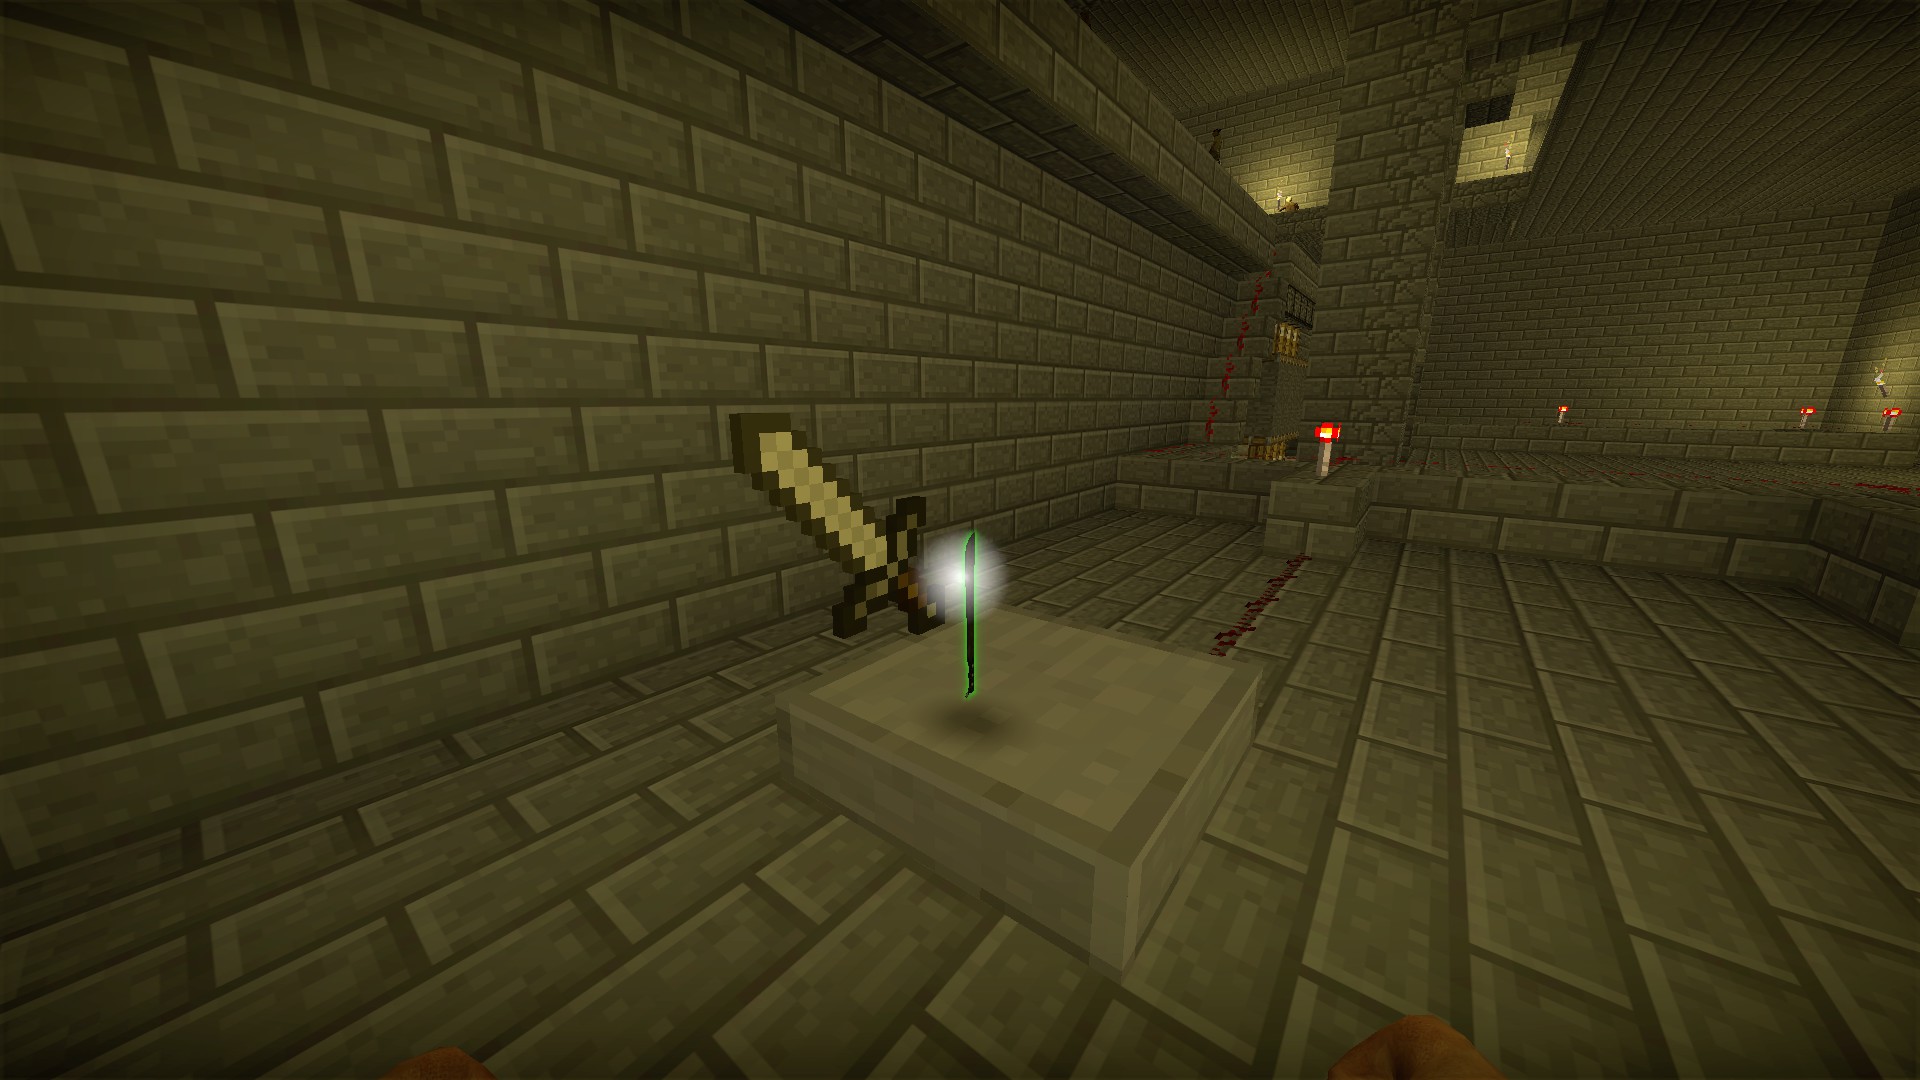
At the start of stage 4, go back inside the temple for a sword machete
Block builder machete
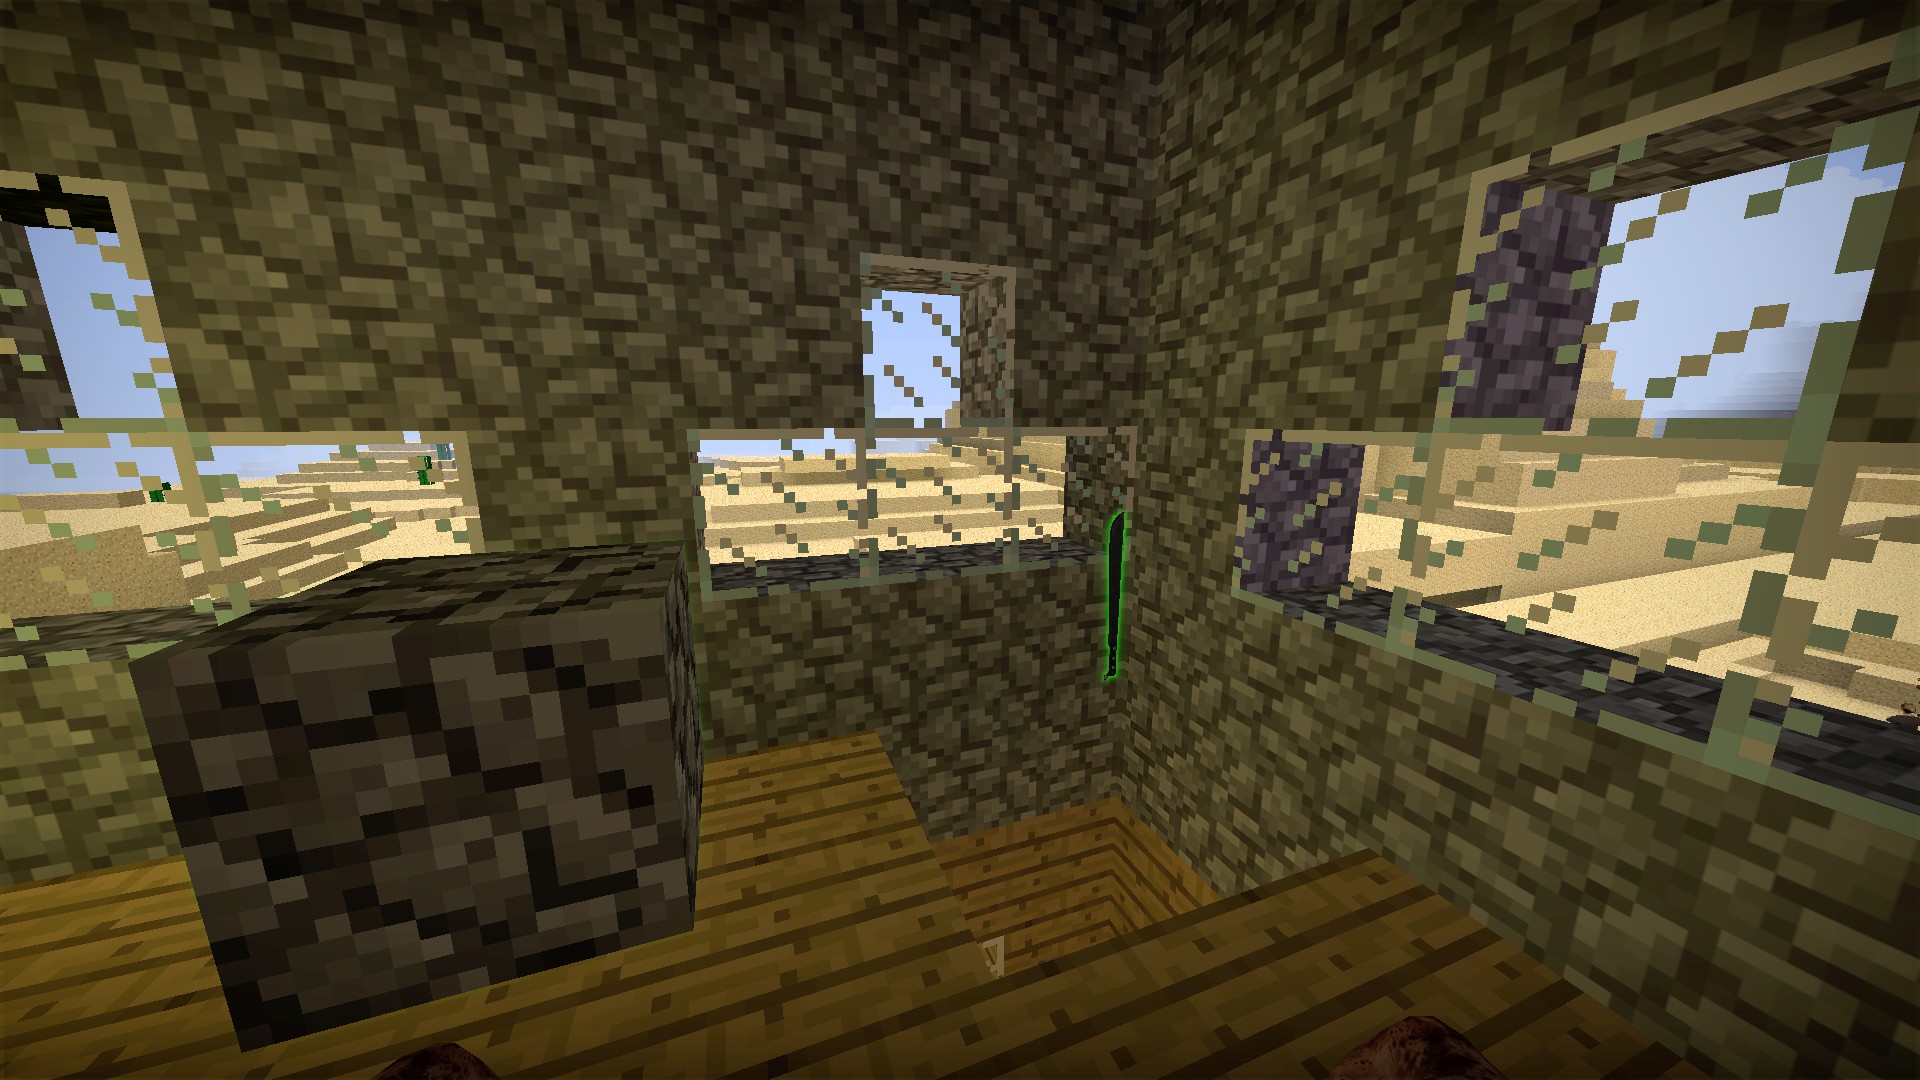
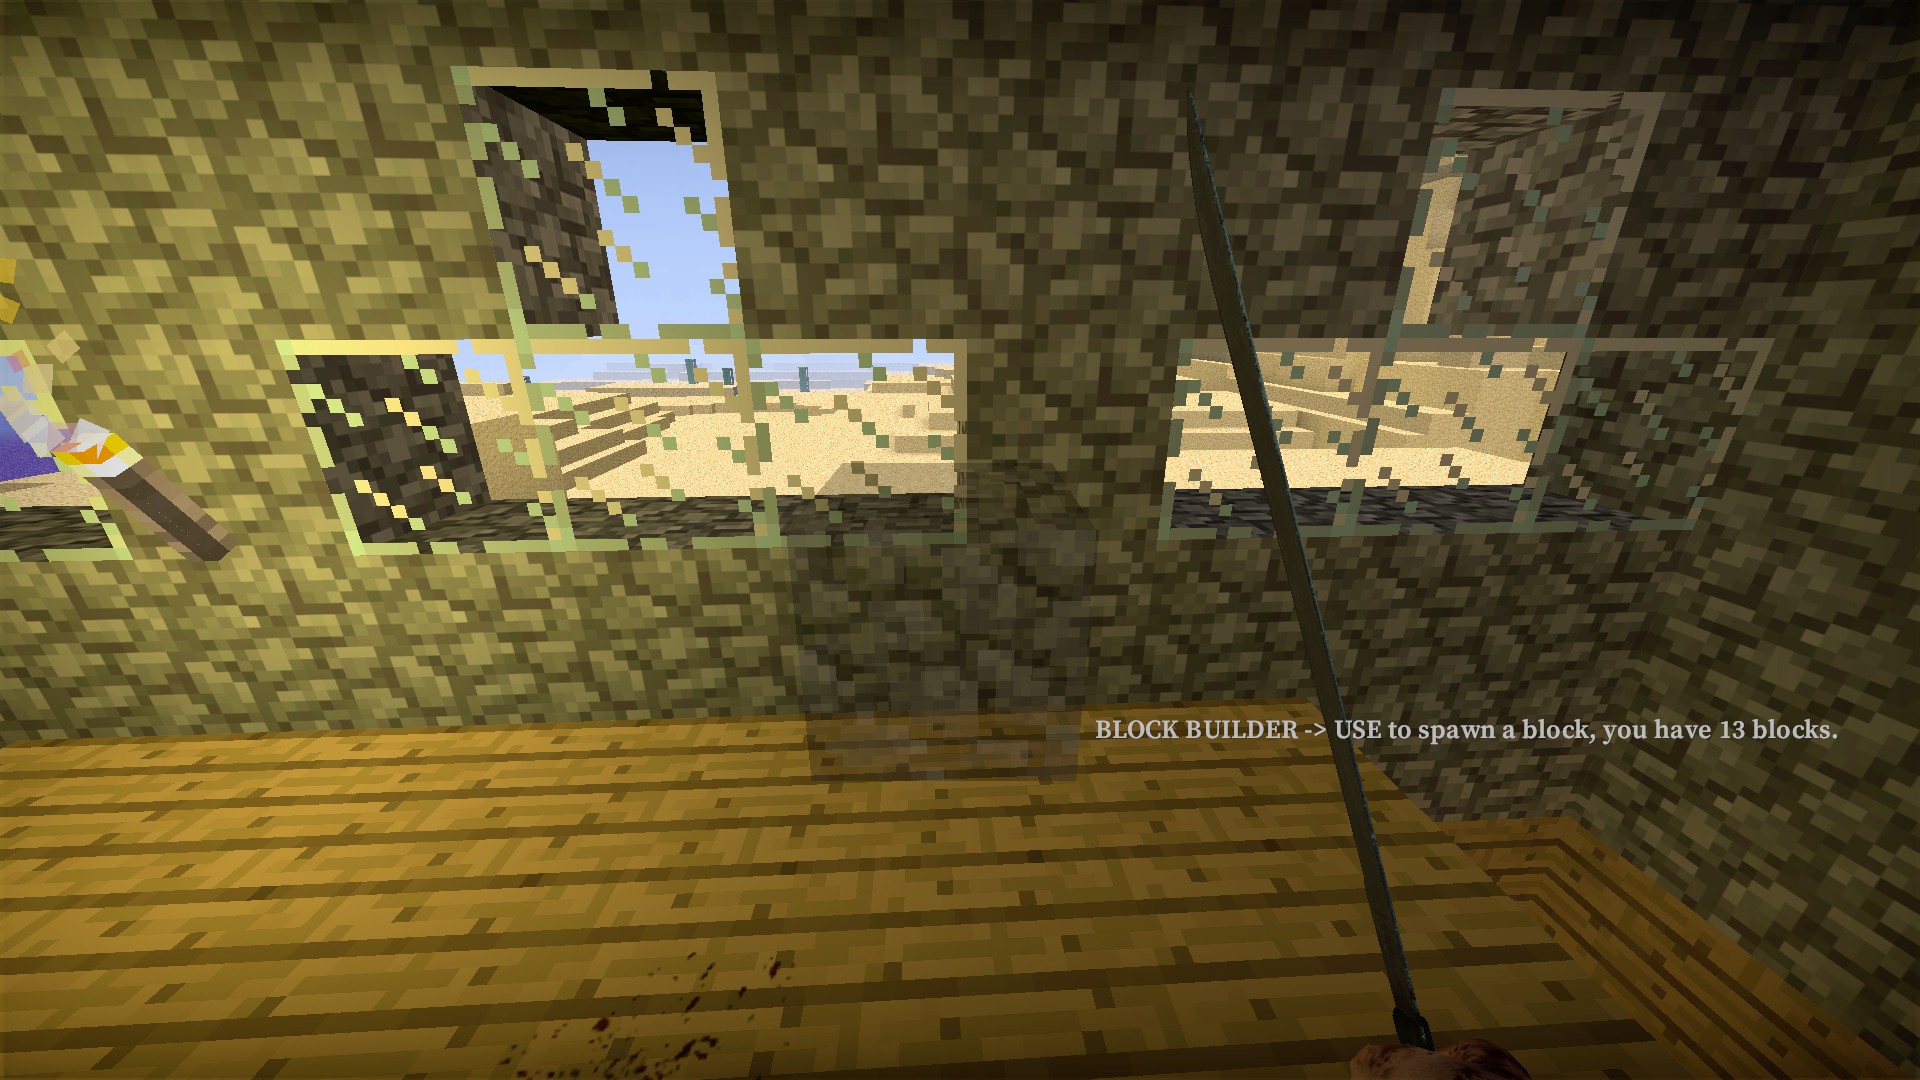
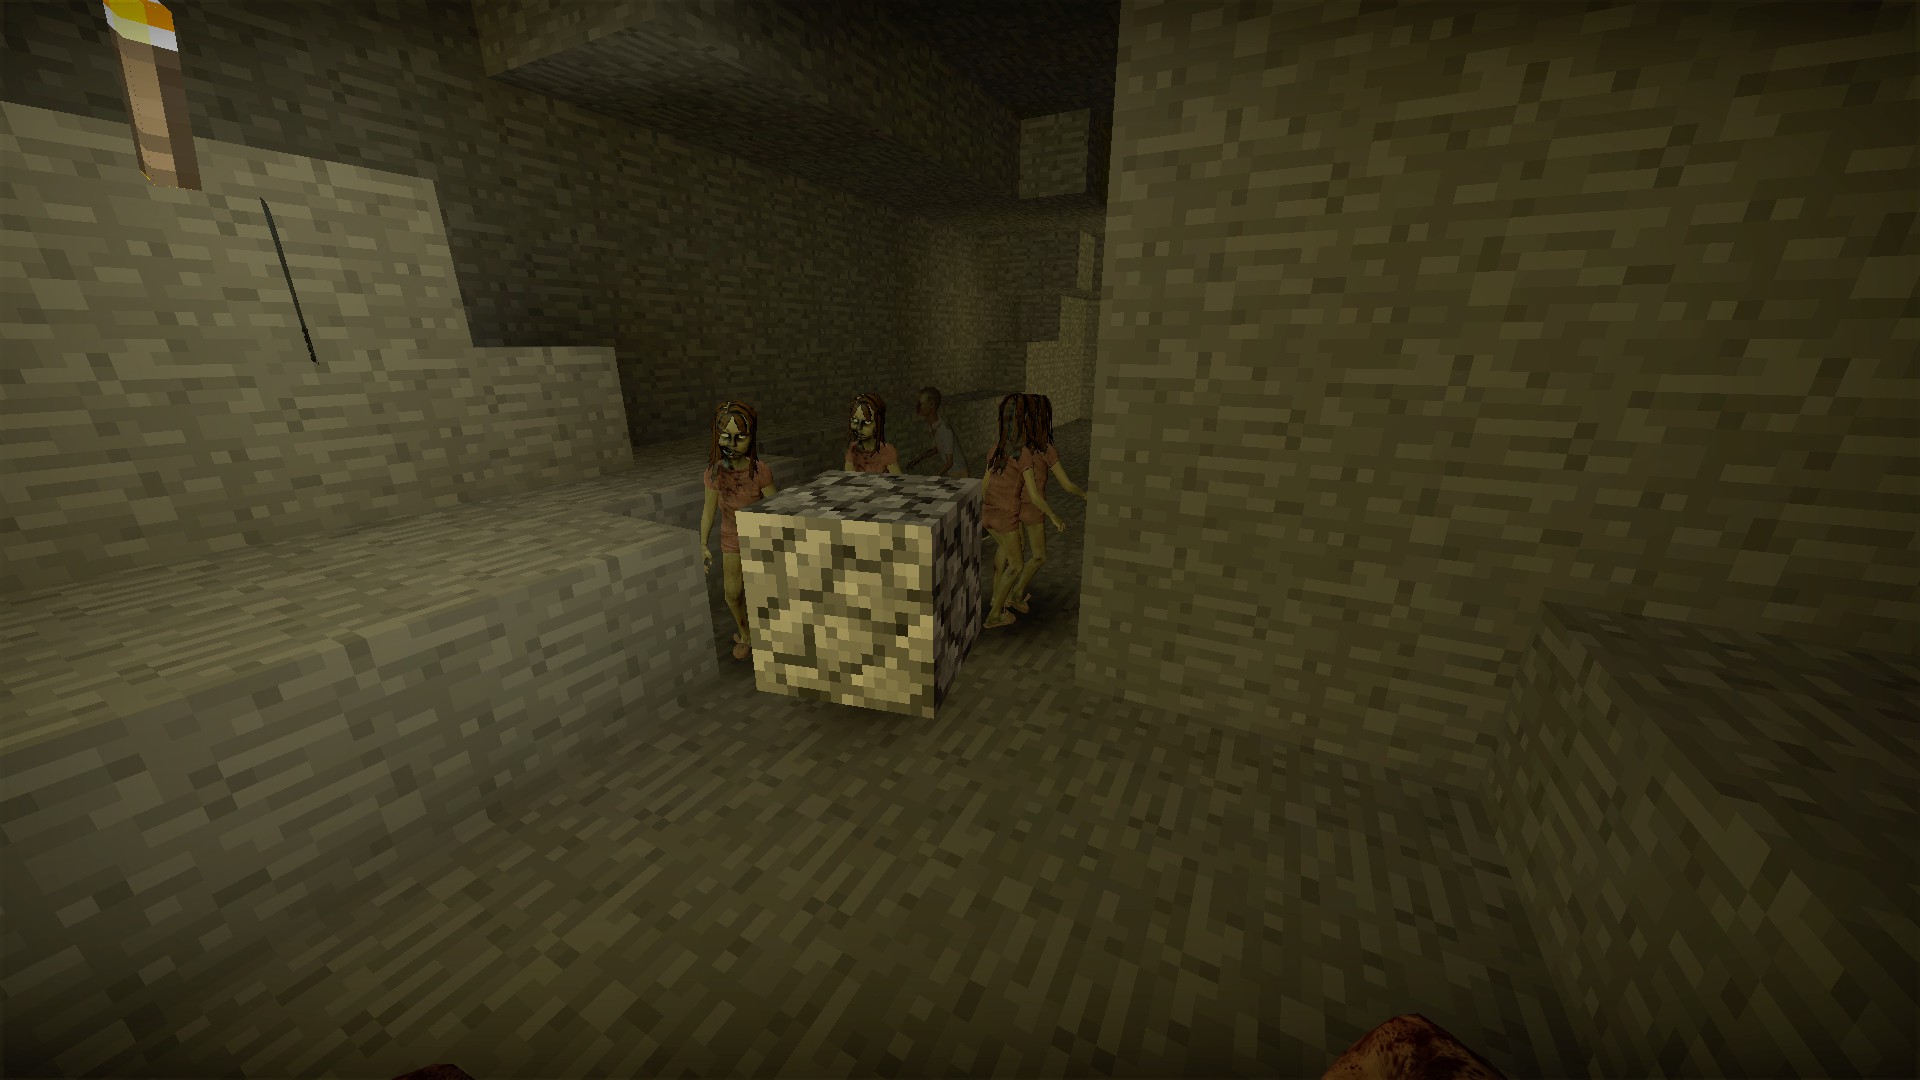
Press e to place a block. Blocks will break in 30 seconds. You can place 13 blocks
Head high above the stage 3 starting area for a fire machete
Press e to drop a fire. Fires will burn for 15 seconds. Zombies that pass through the fire will be burned. You can place up to 4 fires at once. 25 second recharge between fires (this time is after placing 4 fires). Be cautious using this as the fires will also burn you and other players
Head up high near the temple for a bow machete. There is a sword machete in the lower jungle
Translation issues - stage 3 temple
The two buttons required to reach the top of the temple will both give the same message that lacks a critical translation - the buttons need to be pressed by two different players at the same time
At the top of the temple another message with a critical missing translation is that once the first player has entered the top room, the extraction zone on the roof of the temple will close in 30 seconds
Hidden special machete - stage 4
At the start of stage 4, go back inside the temple for a sword machete
Block builder machete
Press e to place a block. Blocks will break in 30 seconds. You can place 13 blocks
nmo_zephyr
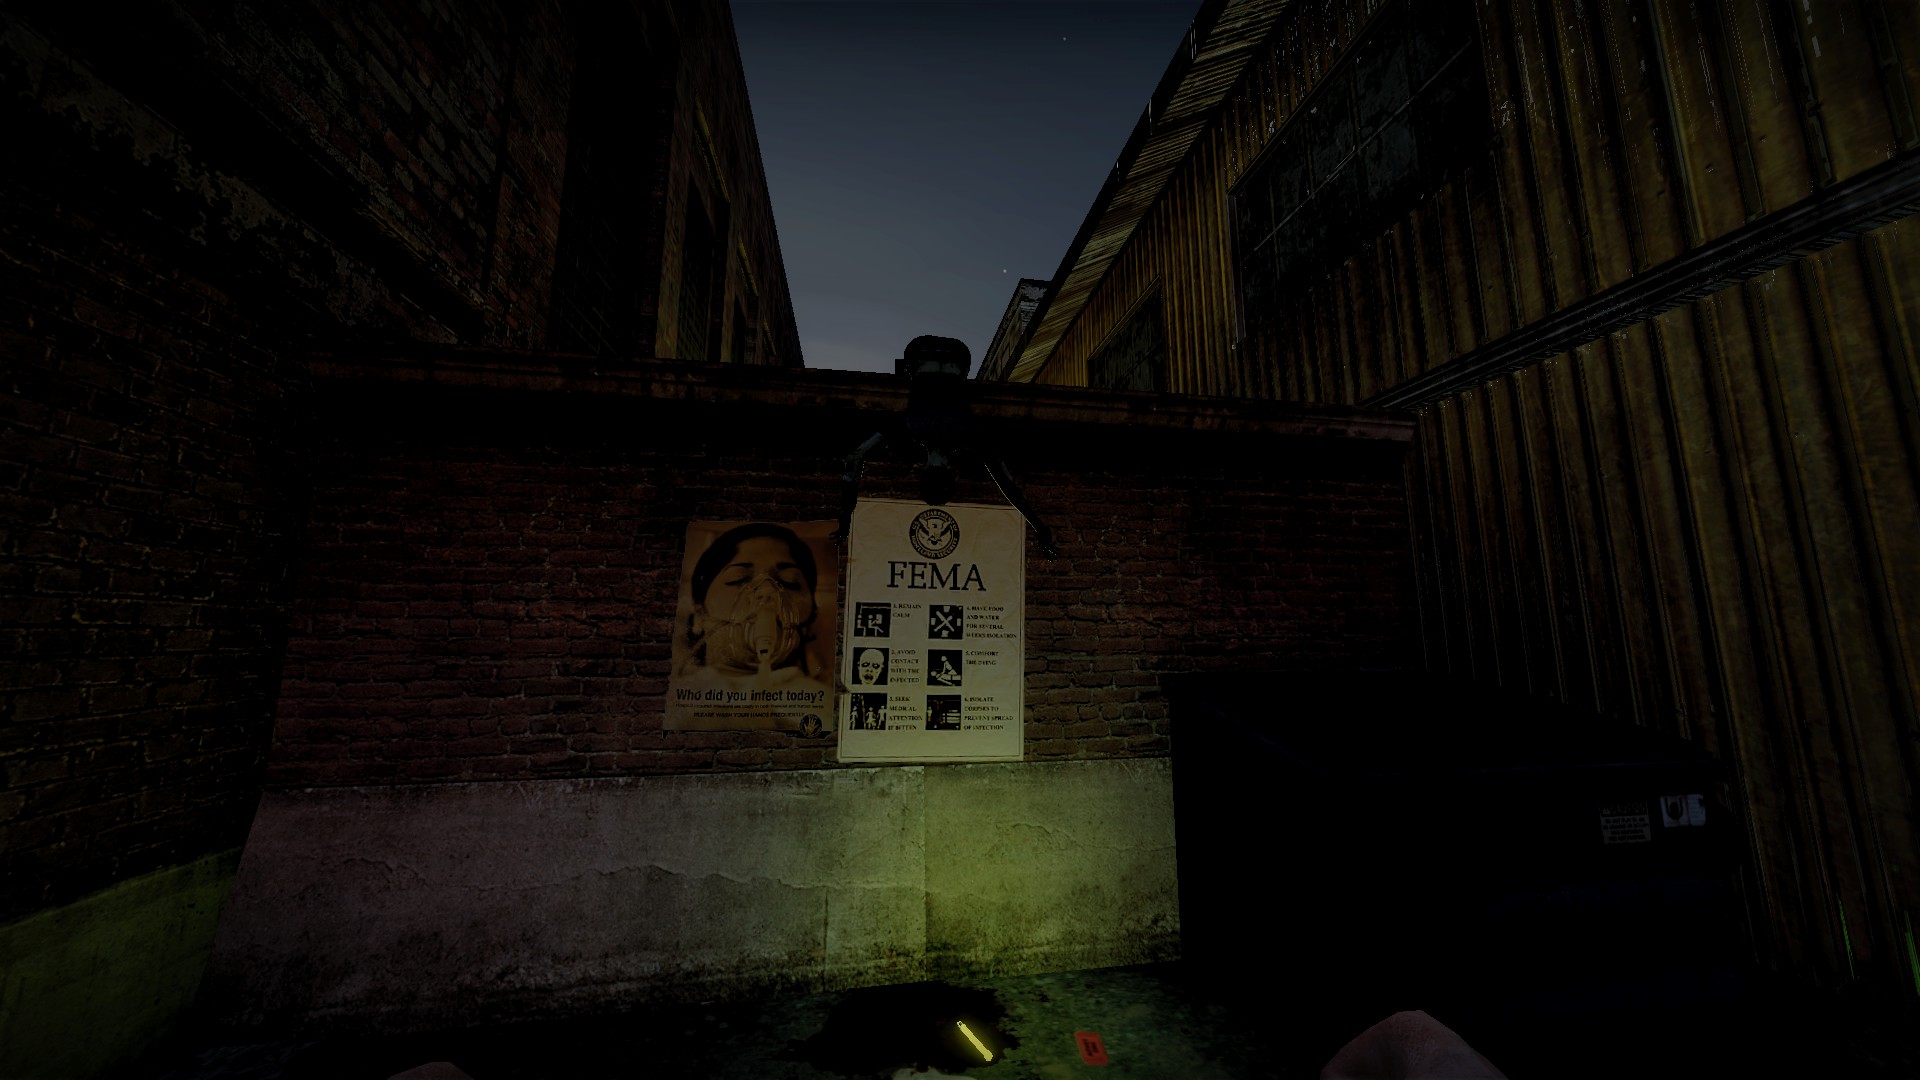
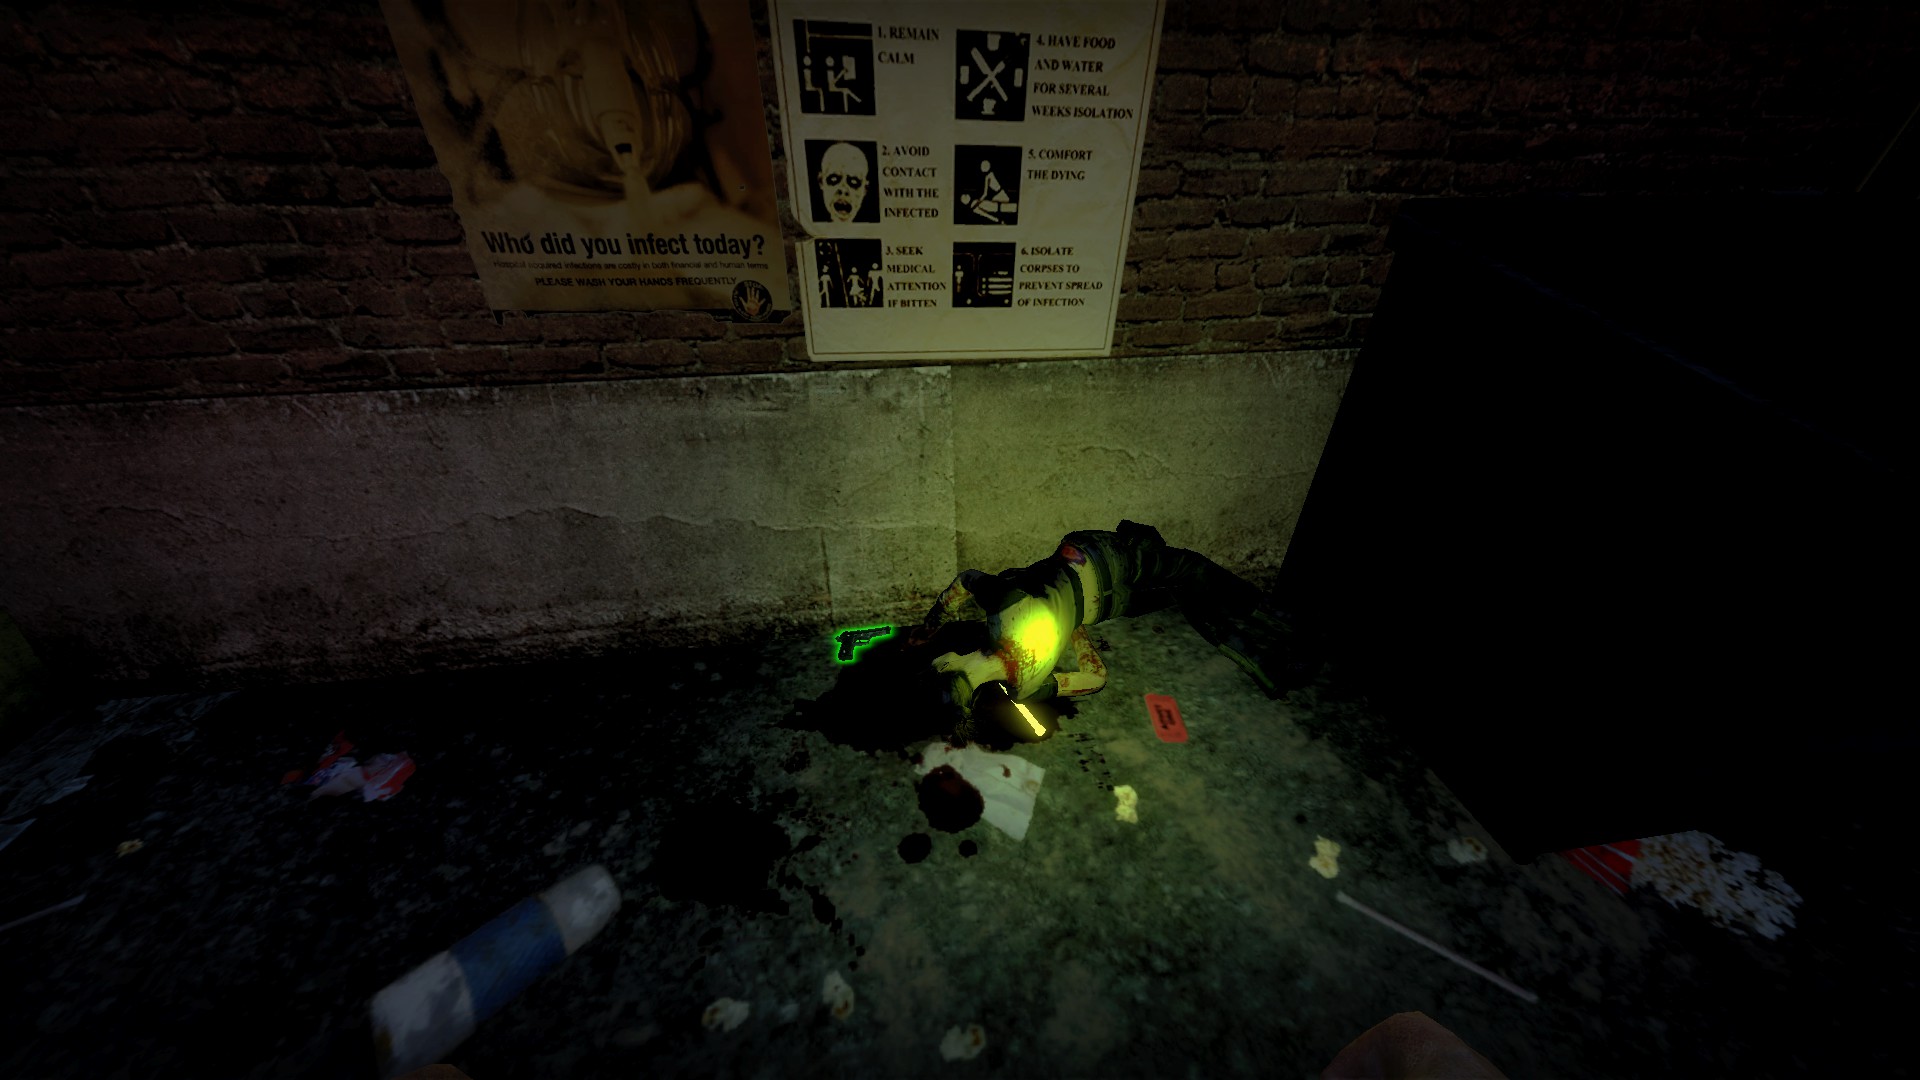
When you get outside, press e on the body on the wall and it will fall and drop a pistol
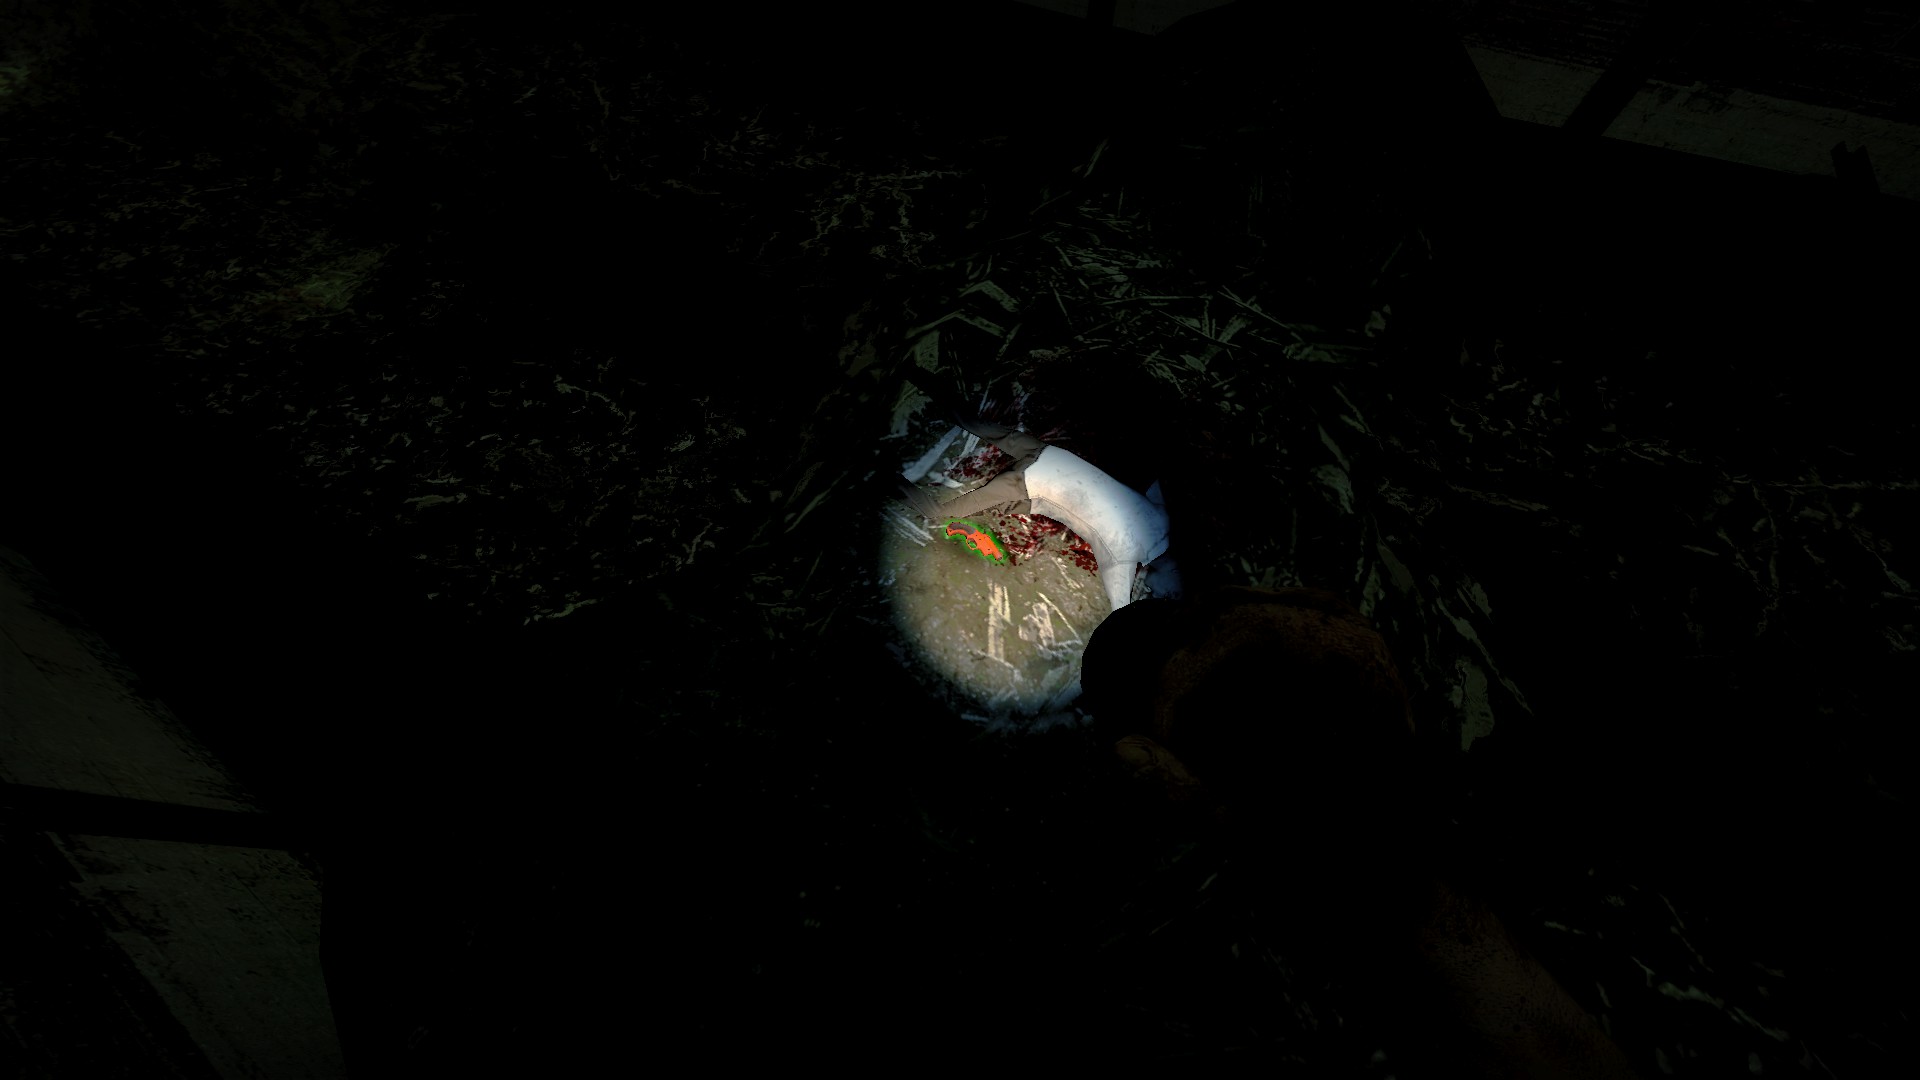
If you get the path that leads through the sewers, you may find a flare gun near a body
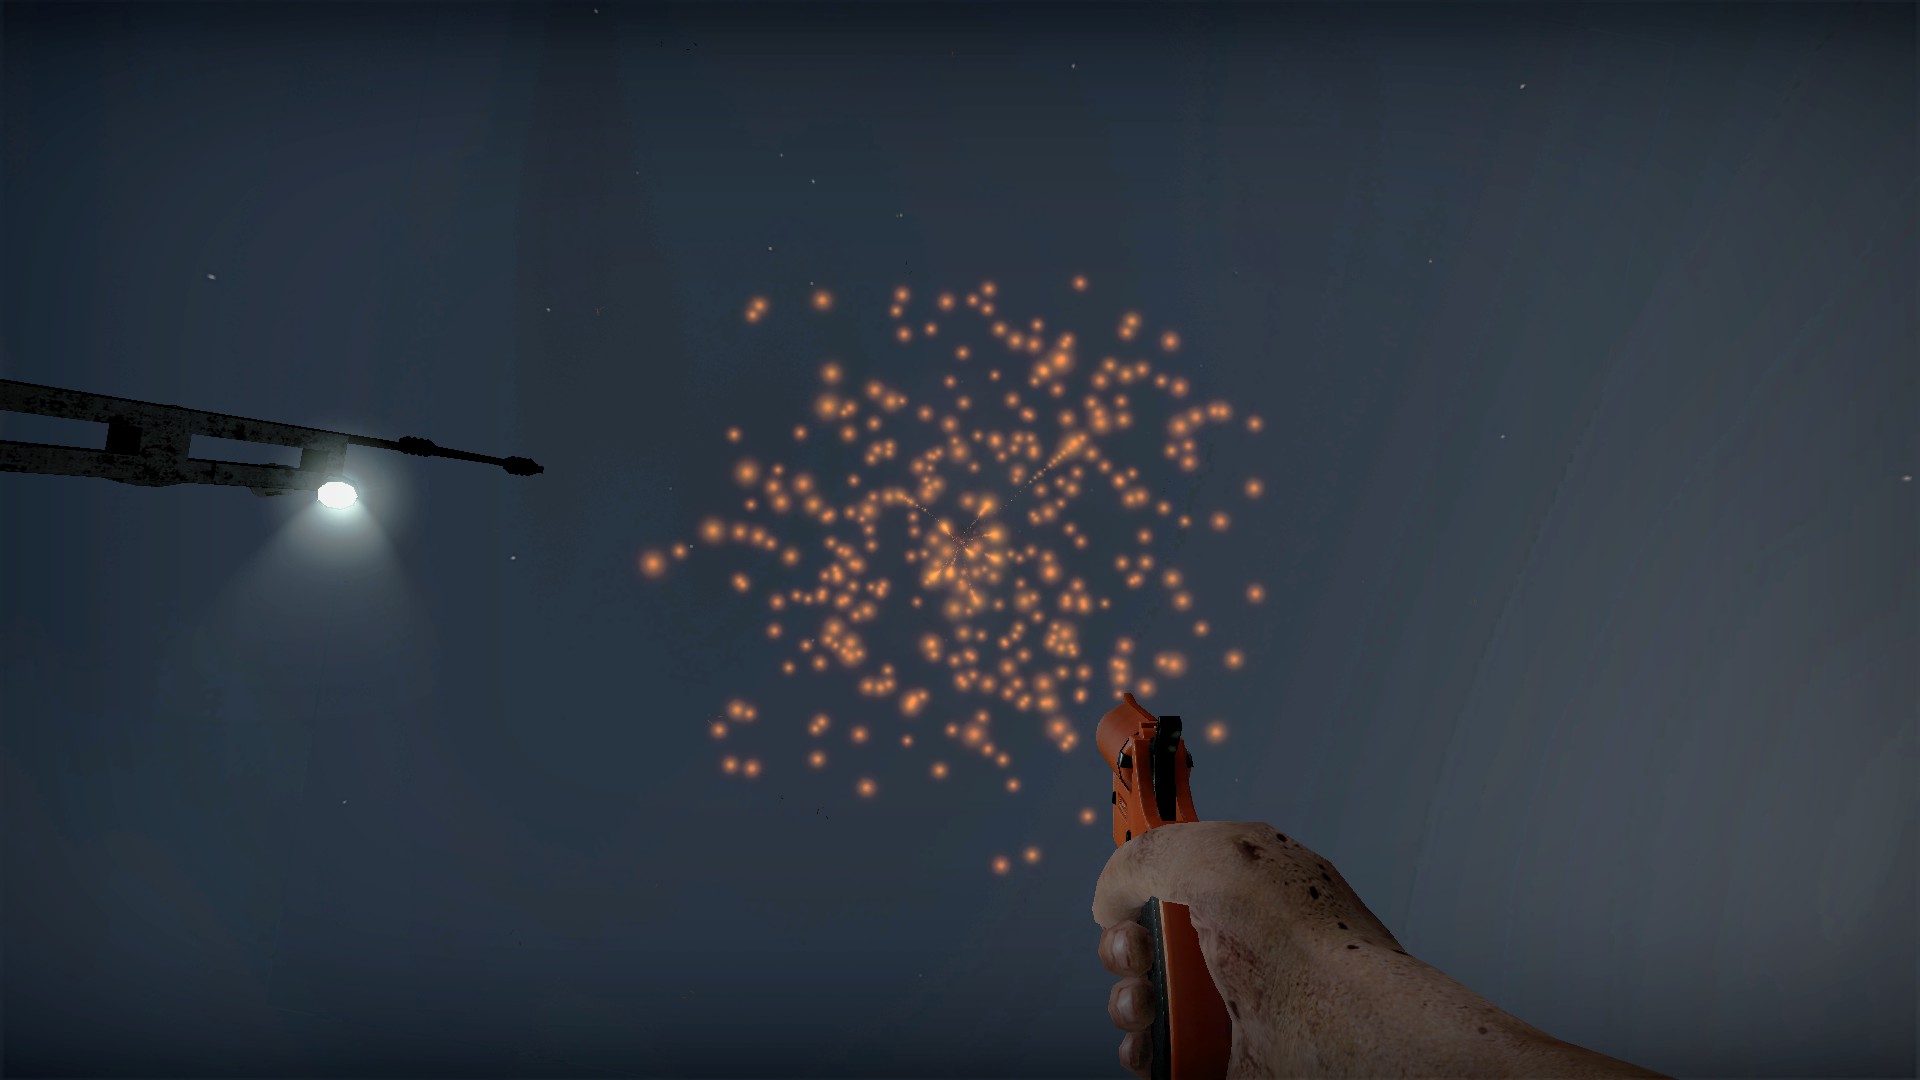
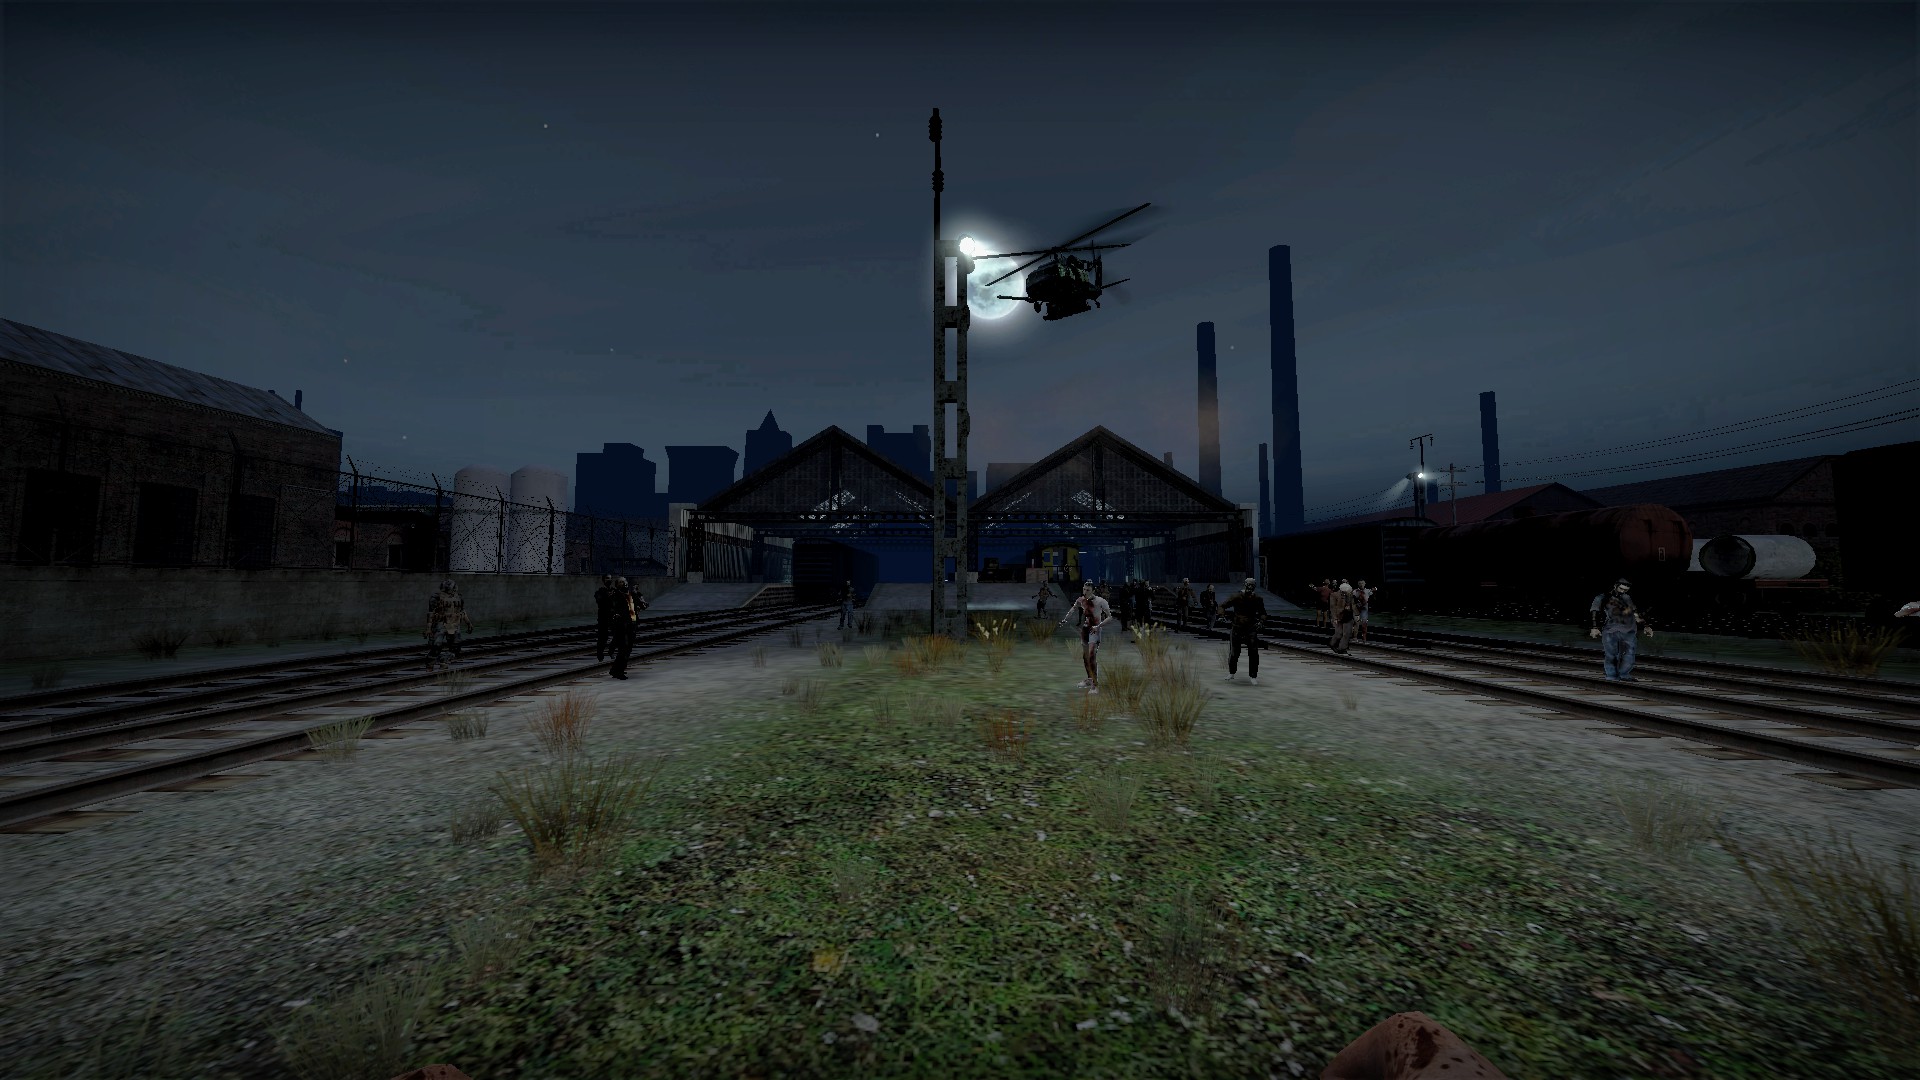
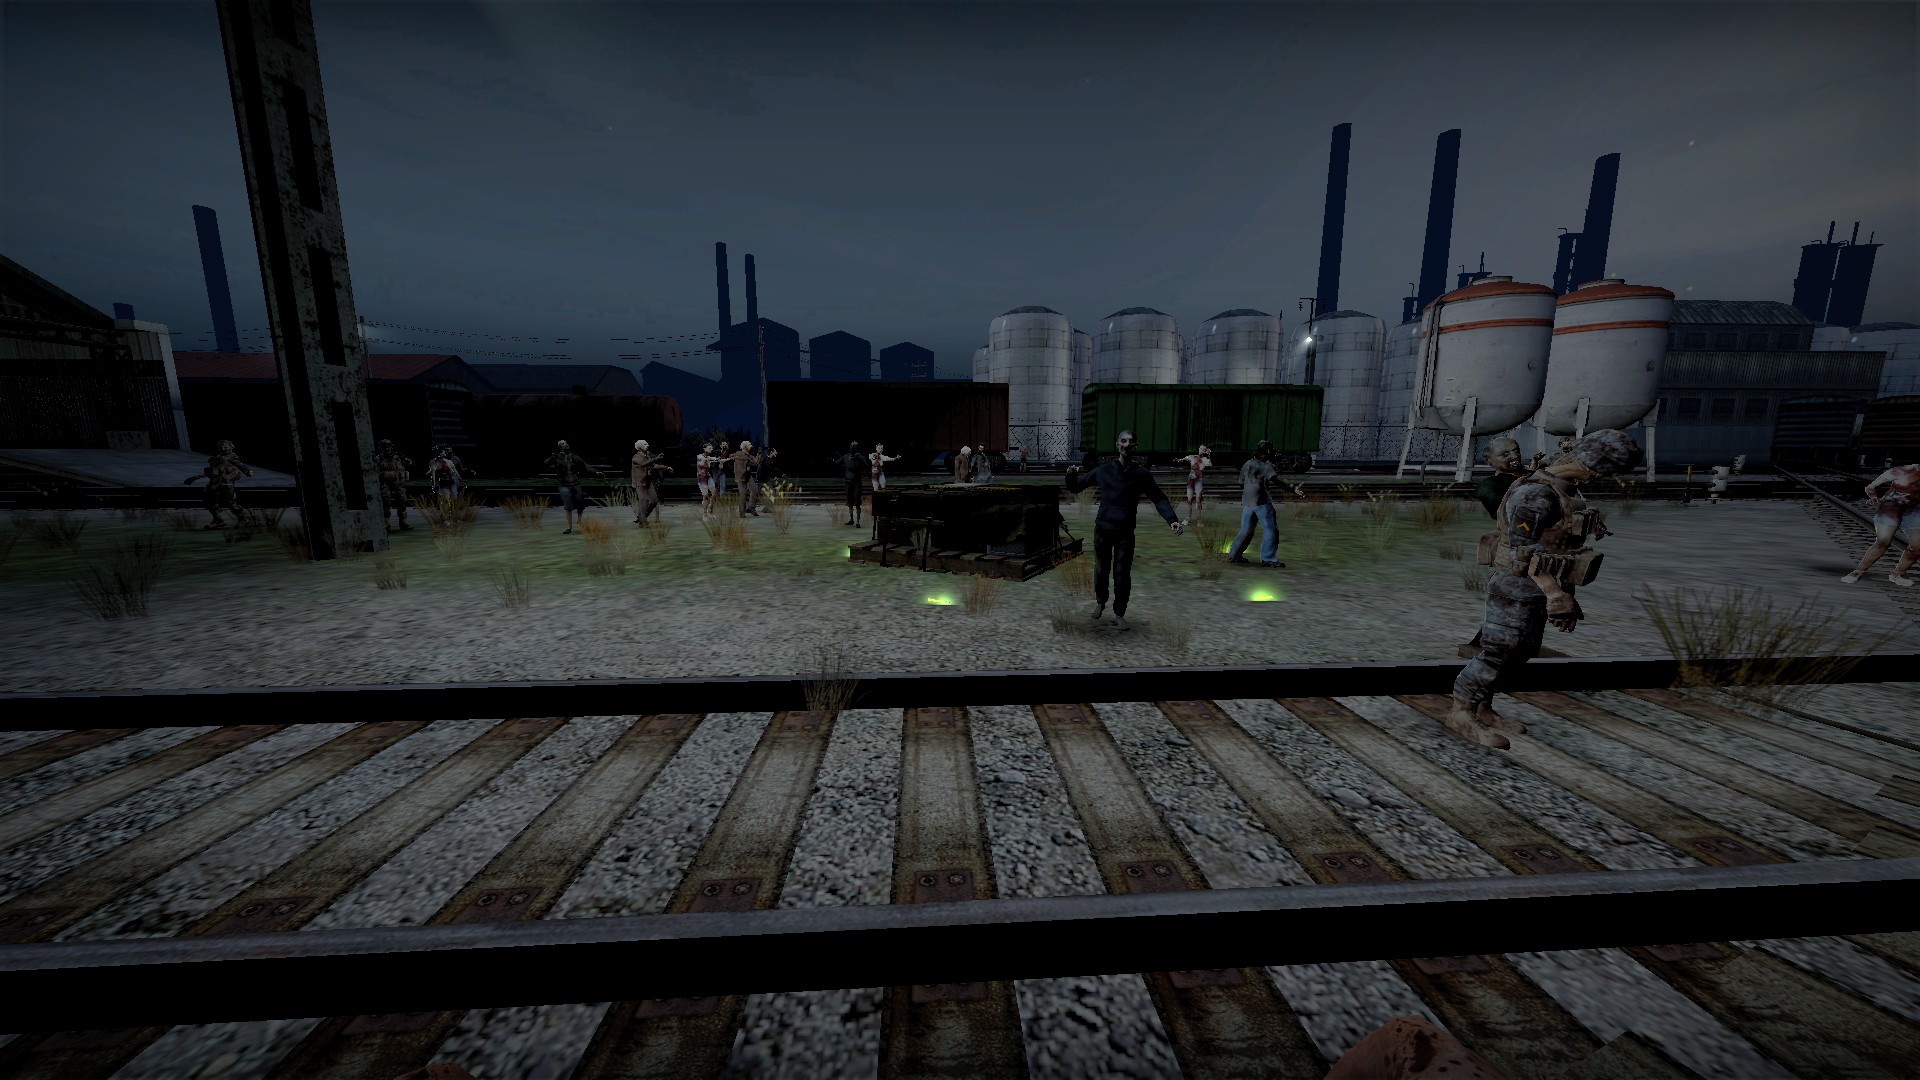
Bring the flare gun to the large open area at the train yards, shoot a flare into the air, and a helicopter will drop a weapon box. The flare gun will not summon a resupply drop if used in other areas and only one helicopter will come to the train yard. Credit to UserJa for this
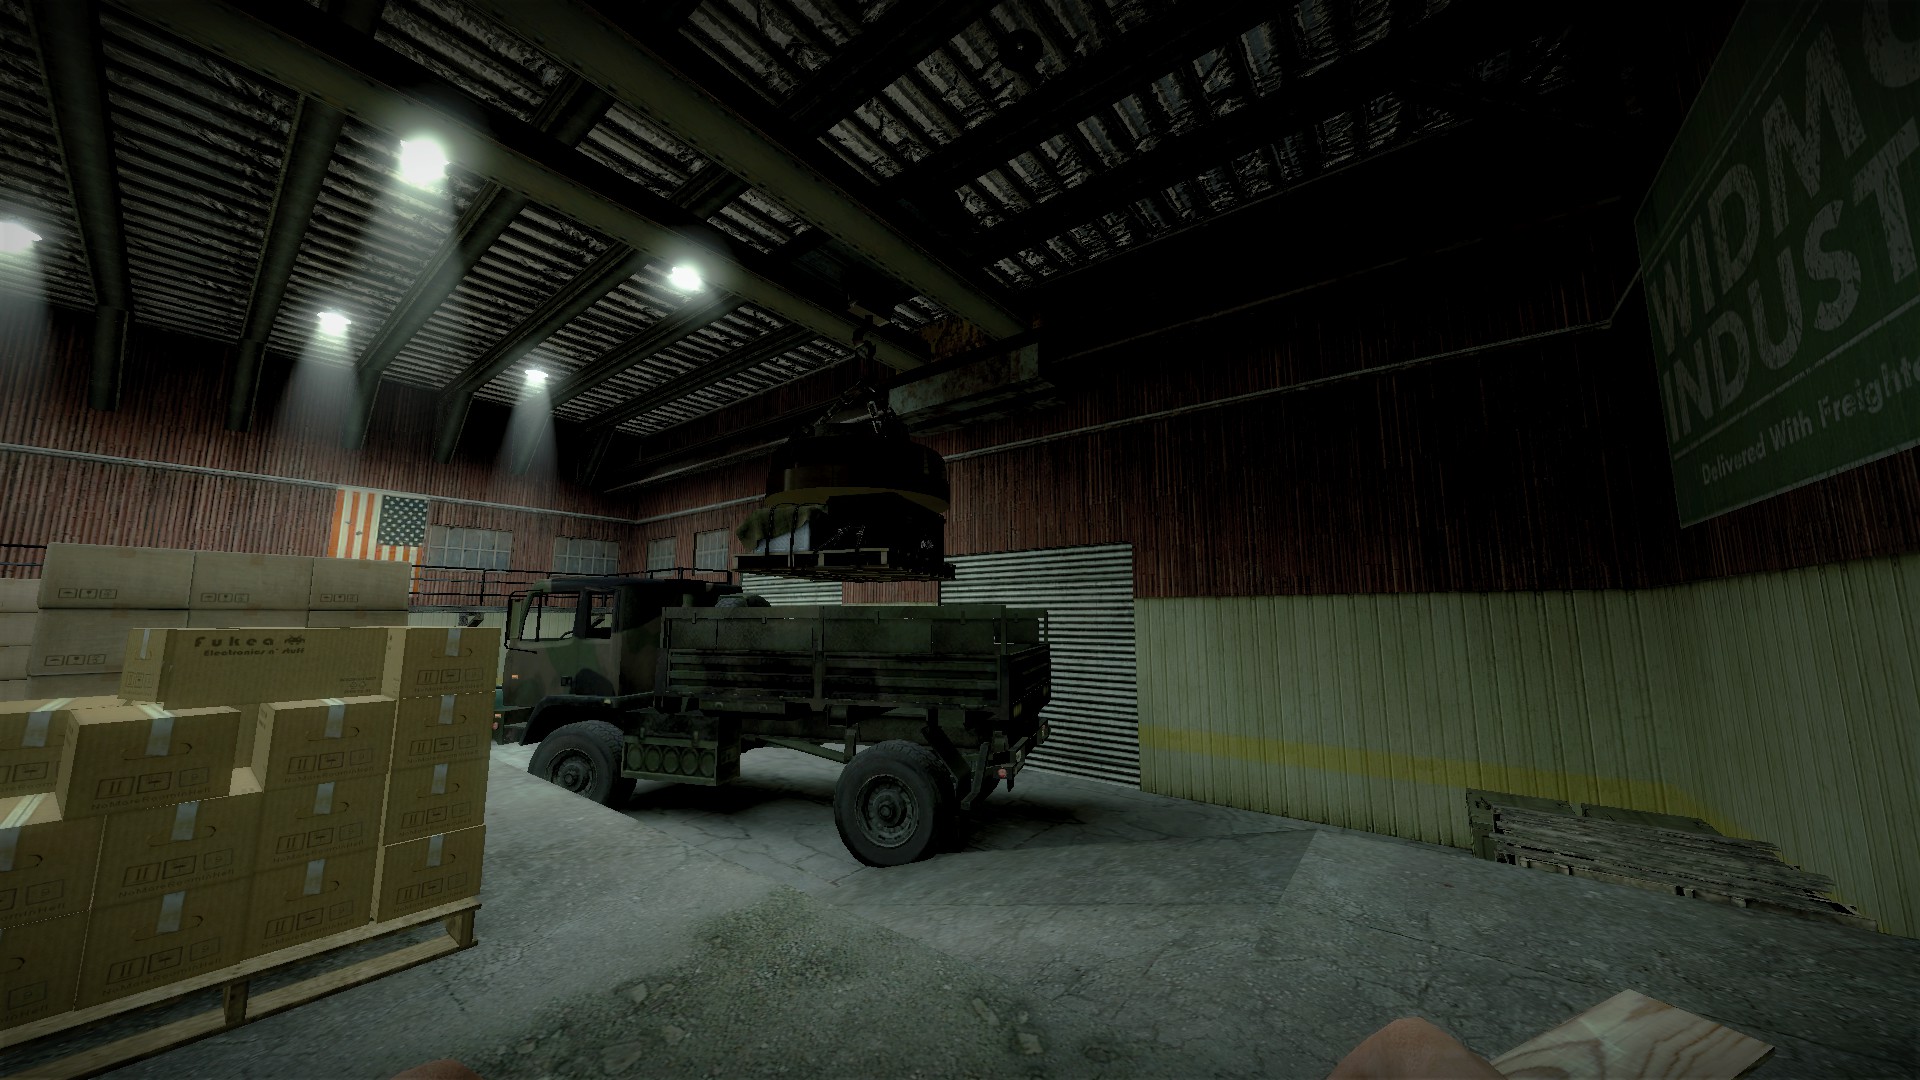
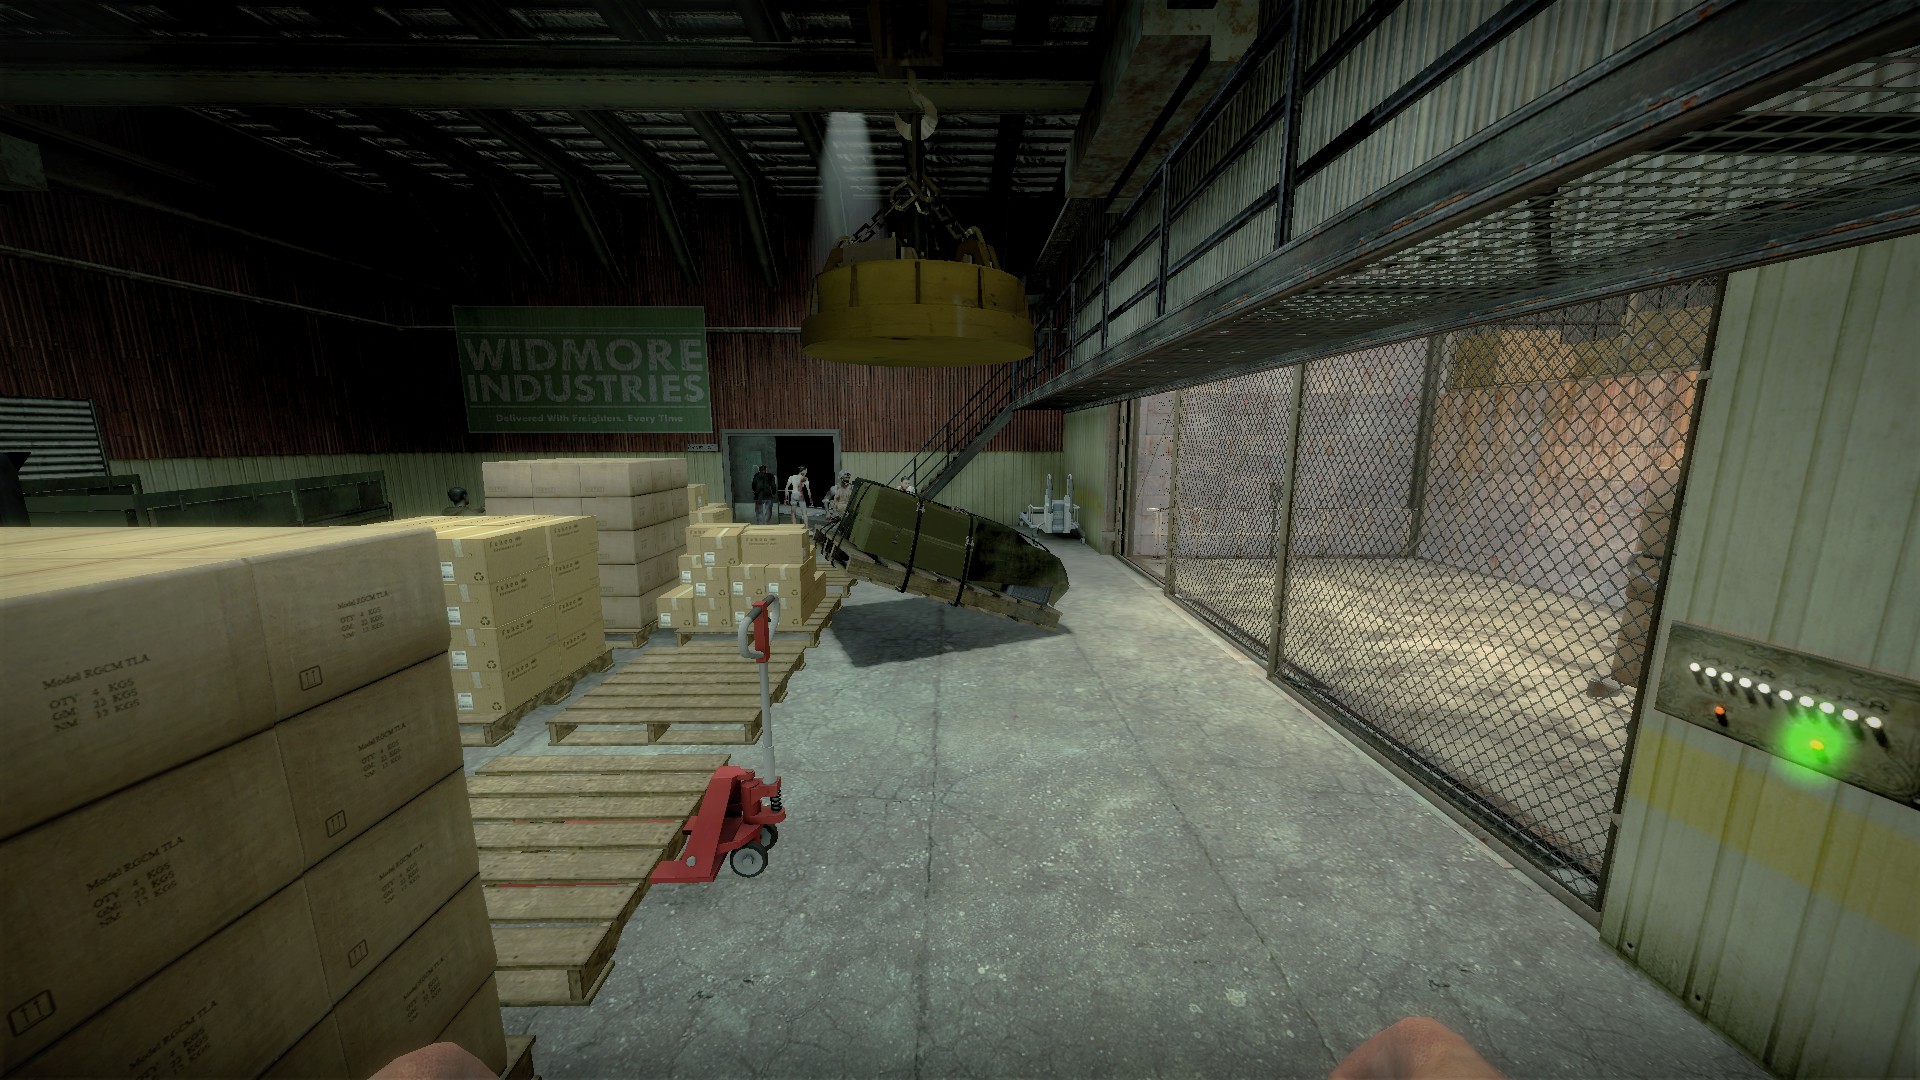
A weapon box may spawn on the magnet over the truck (rare)
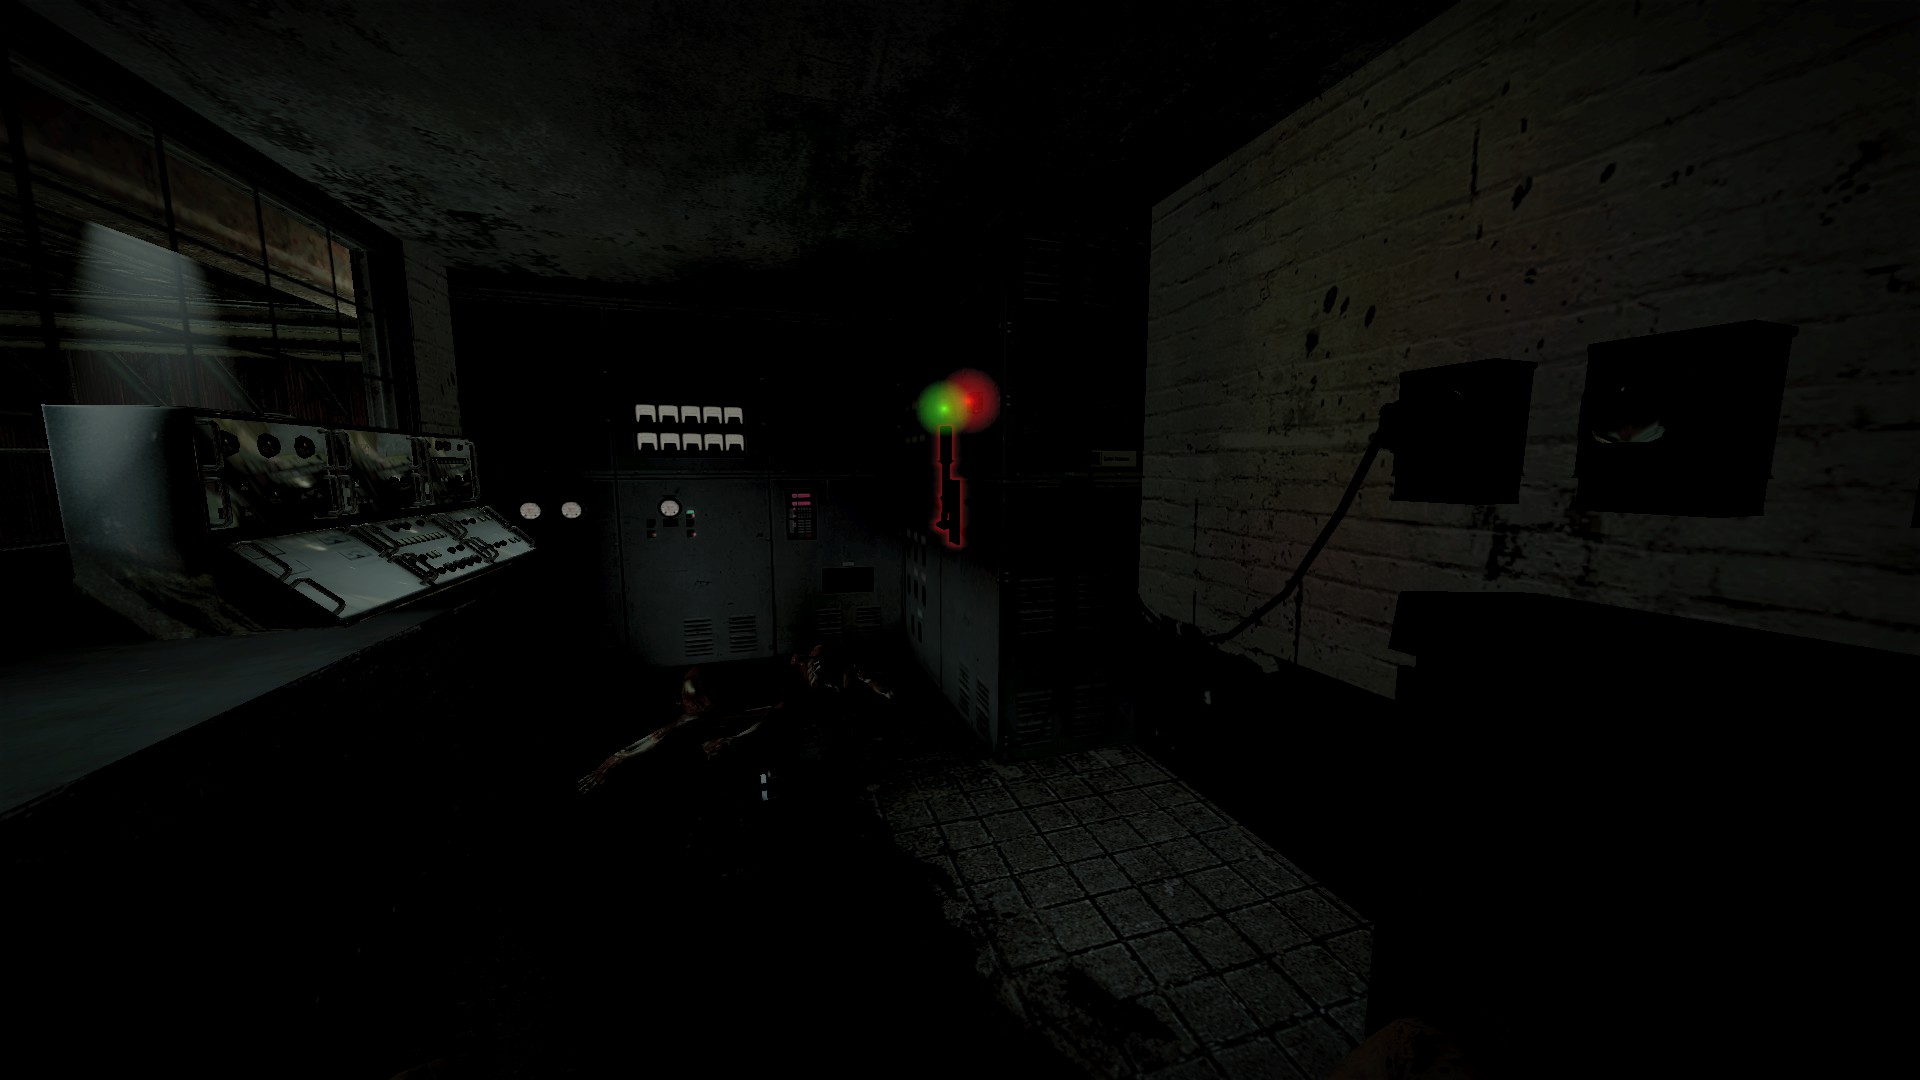
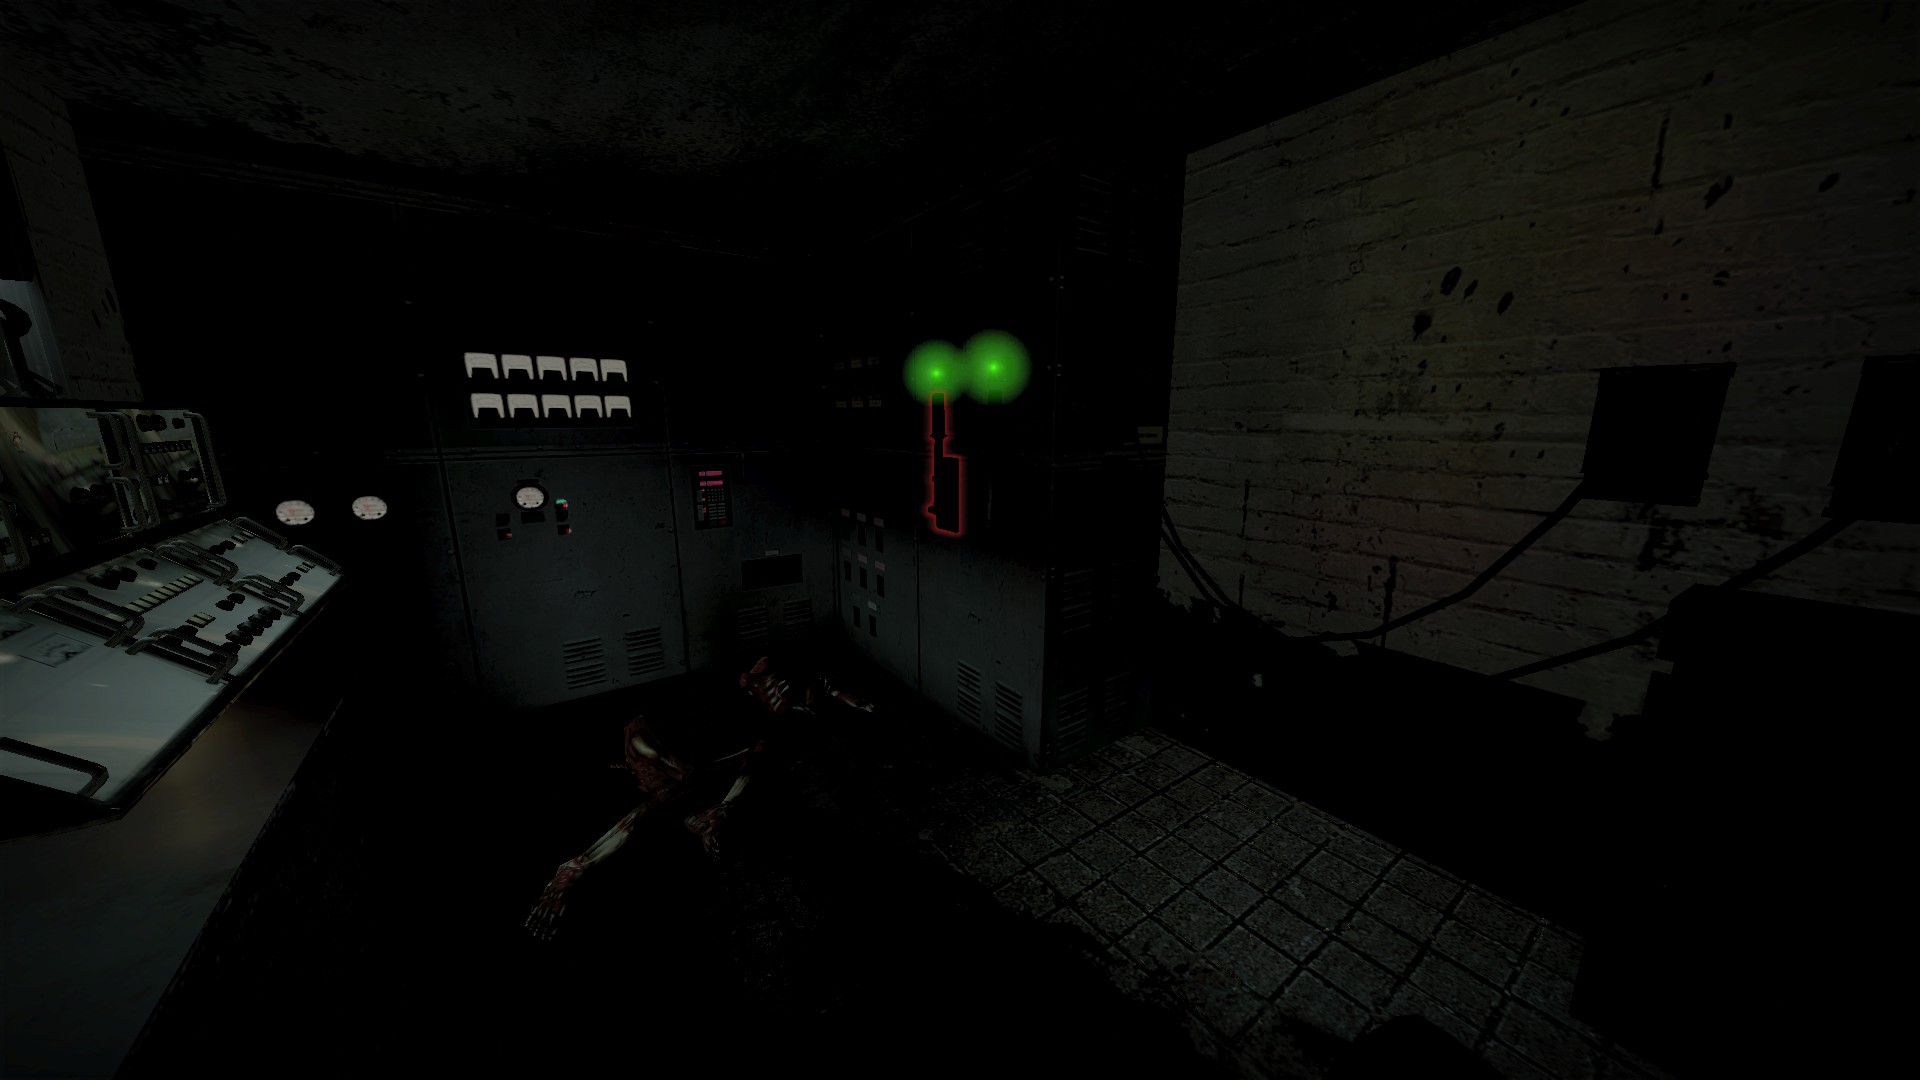
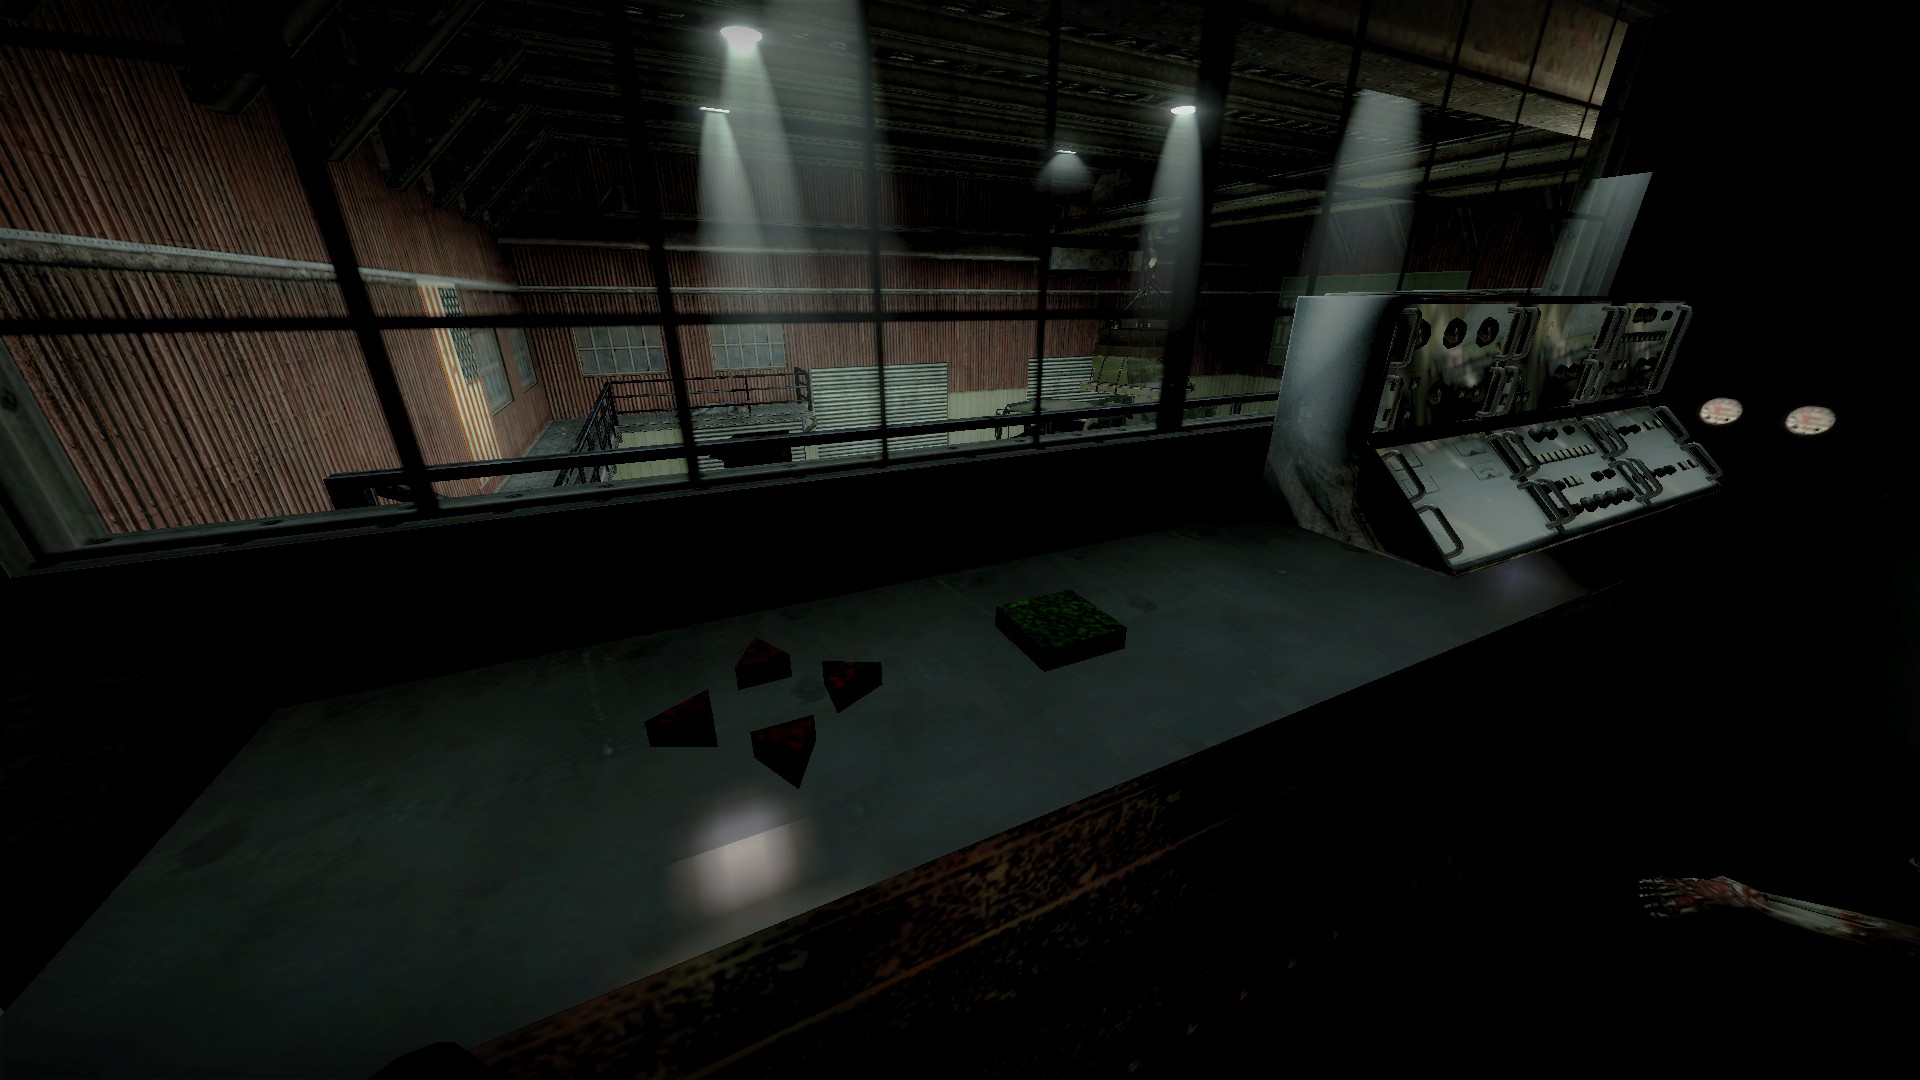
It can be lowered using controls in the room where the elevator power is restored. Connect the sparking plug and lower the second lever to turn on the power for the controls
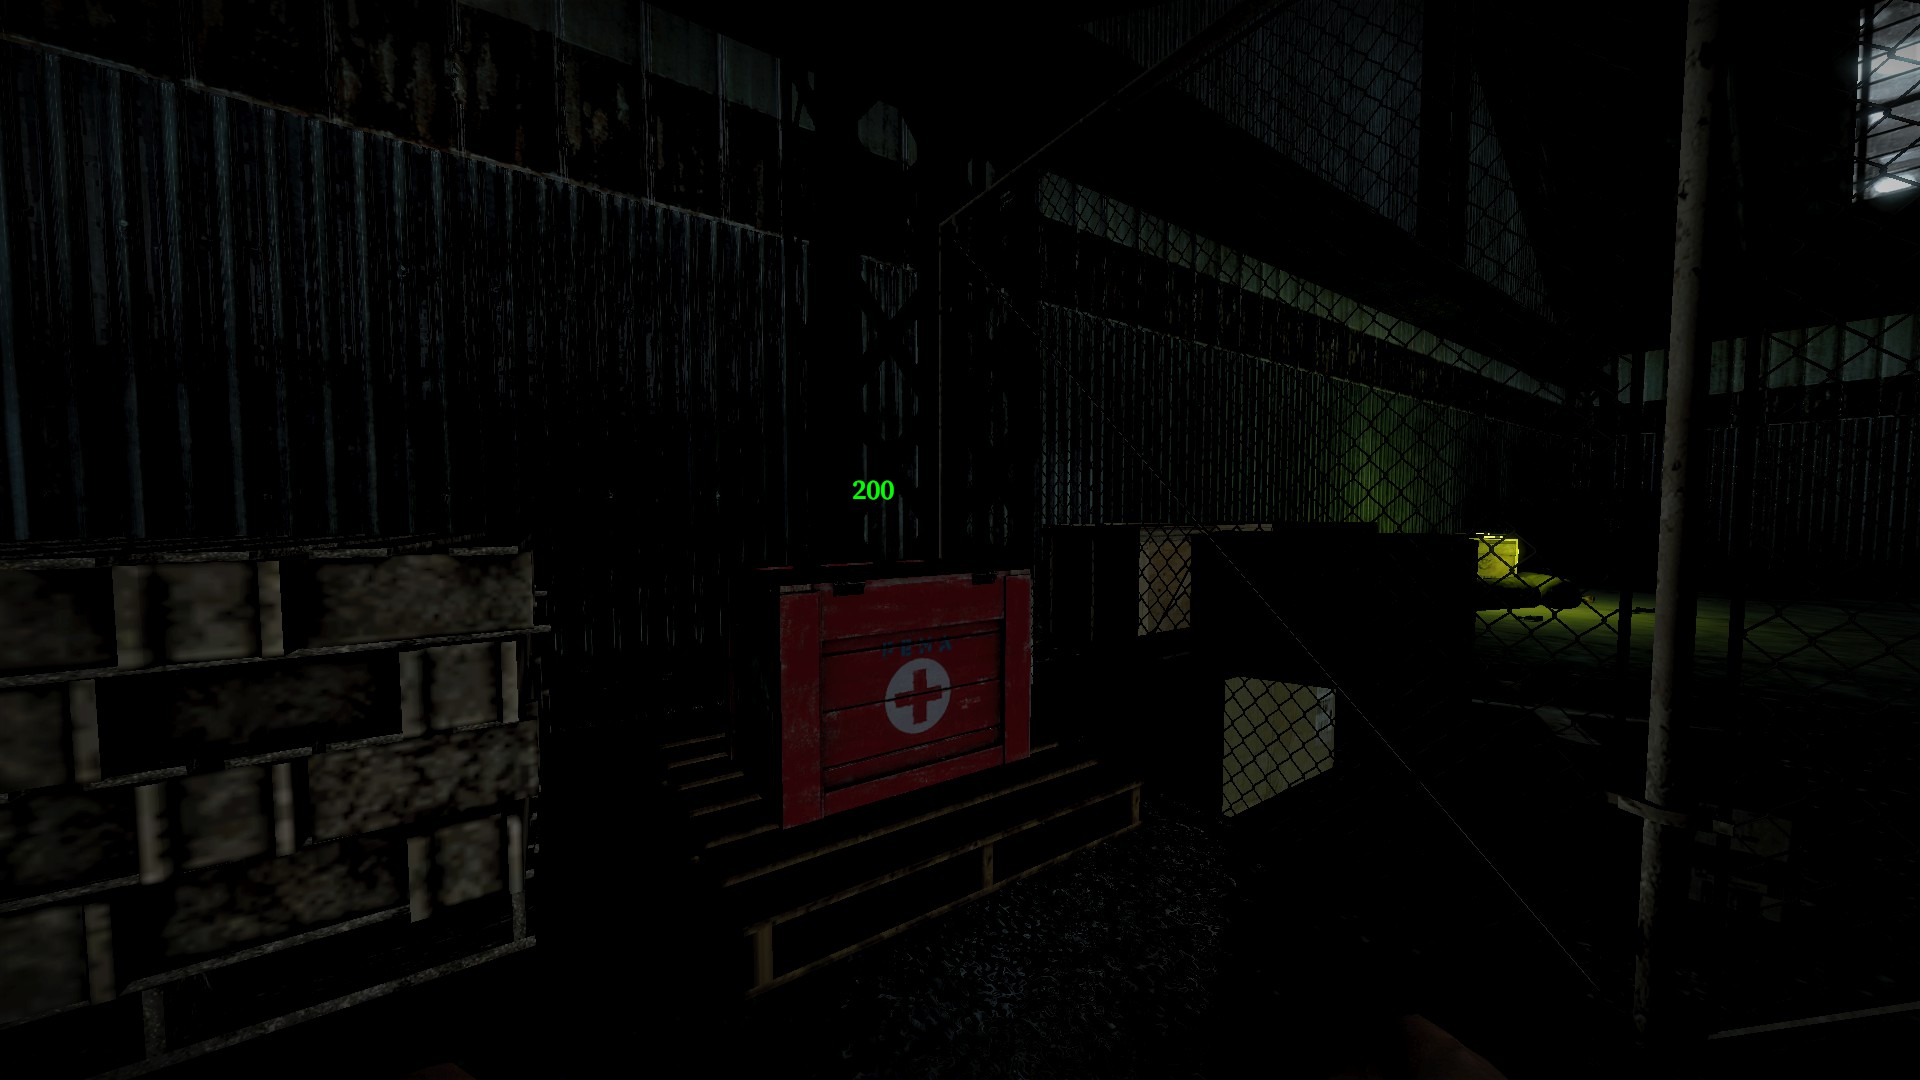
A placed medical box may spawn in the train hangar (rare)
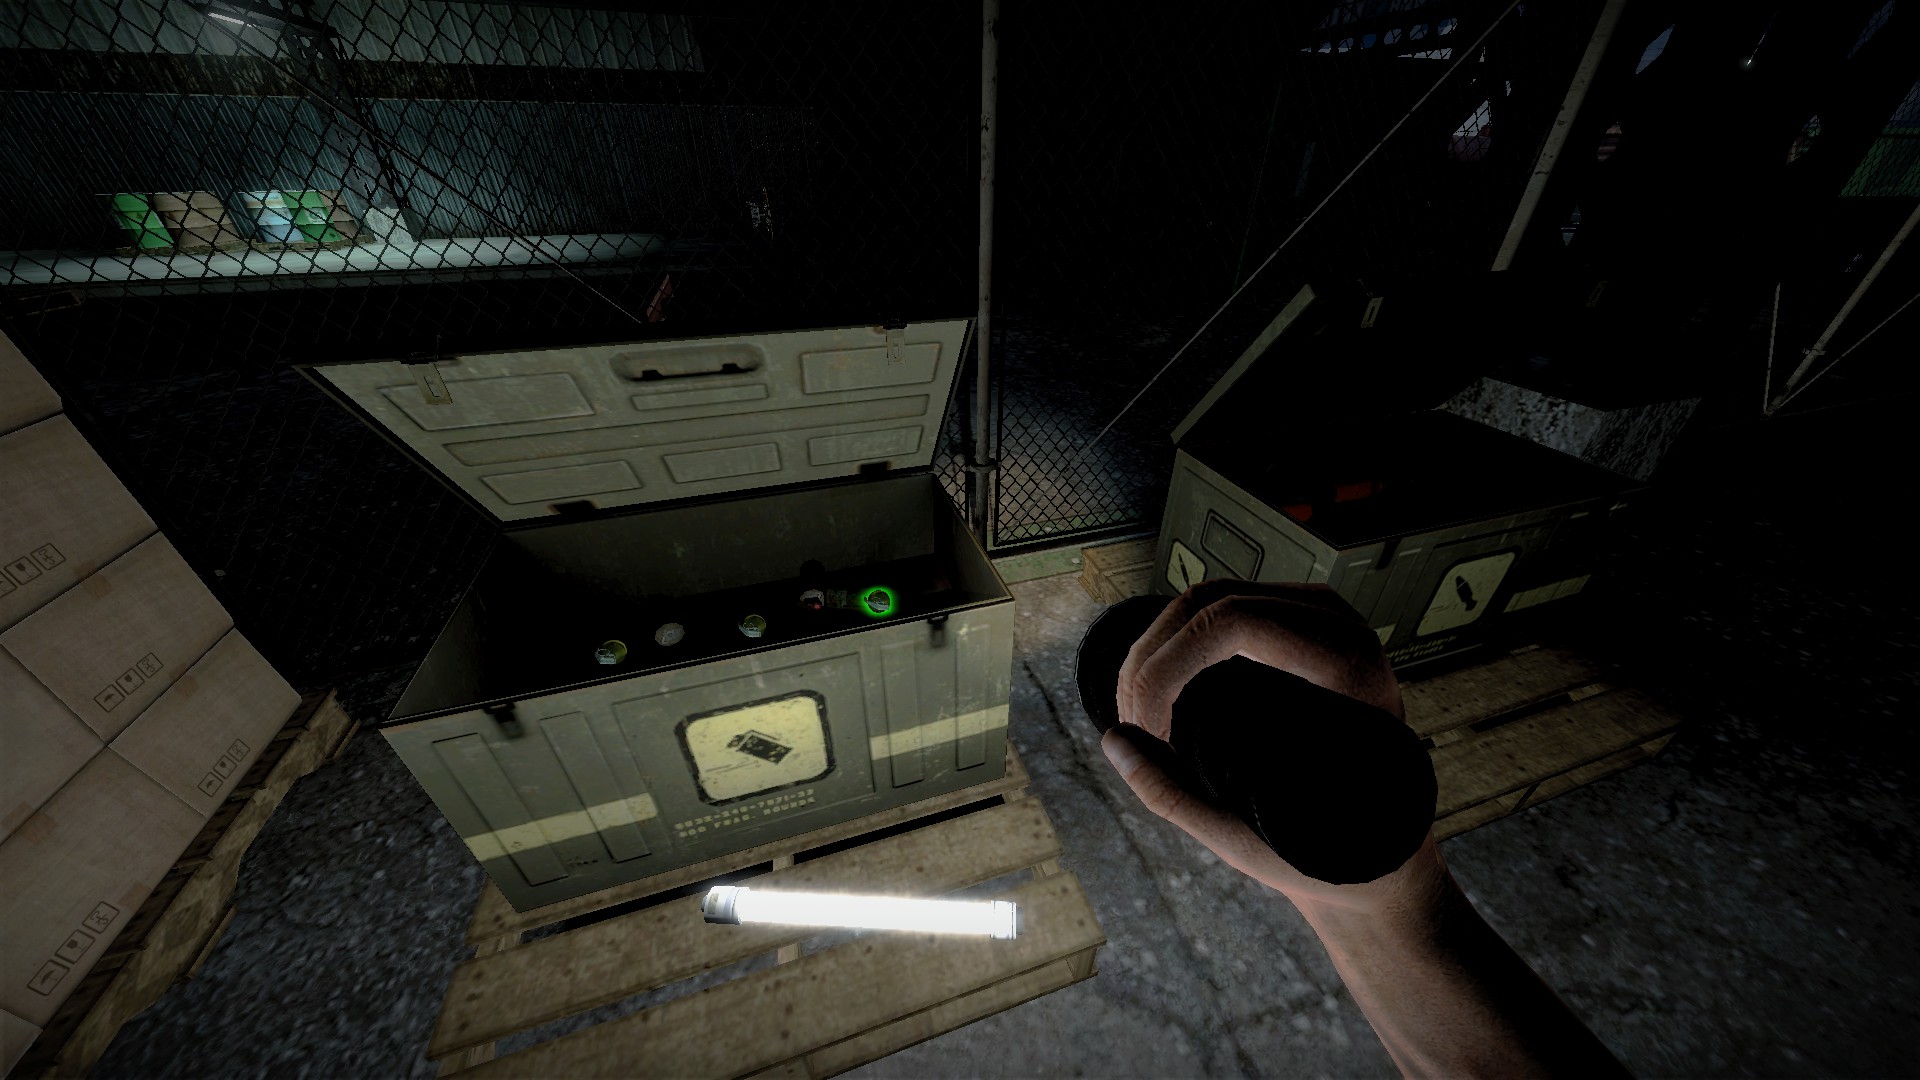
The box of grenades in the train hangar can be opened and has 6 grenades
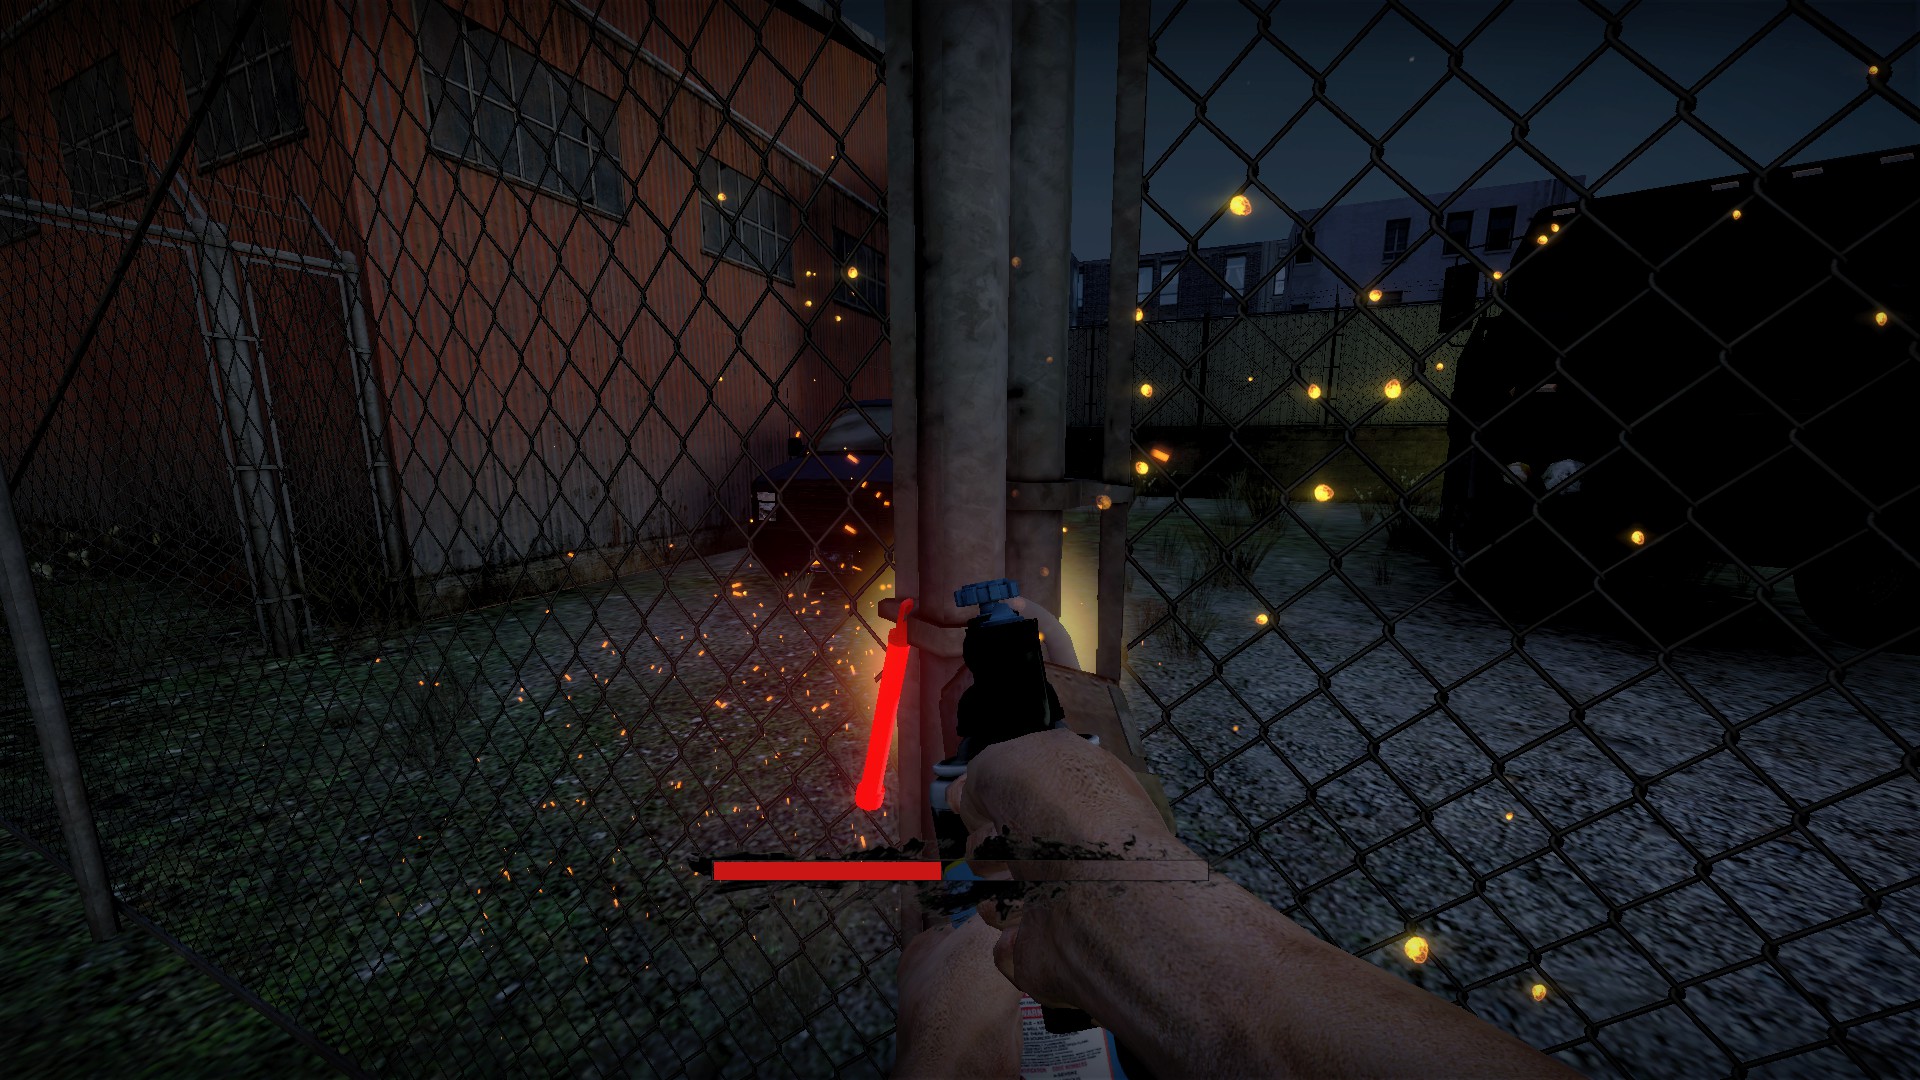
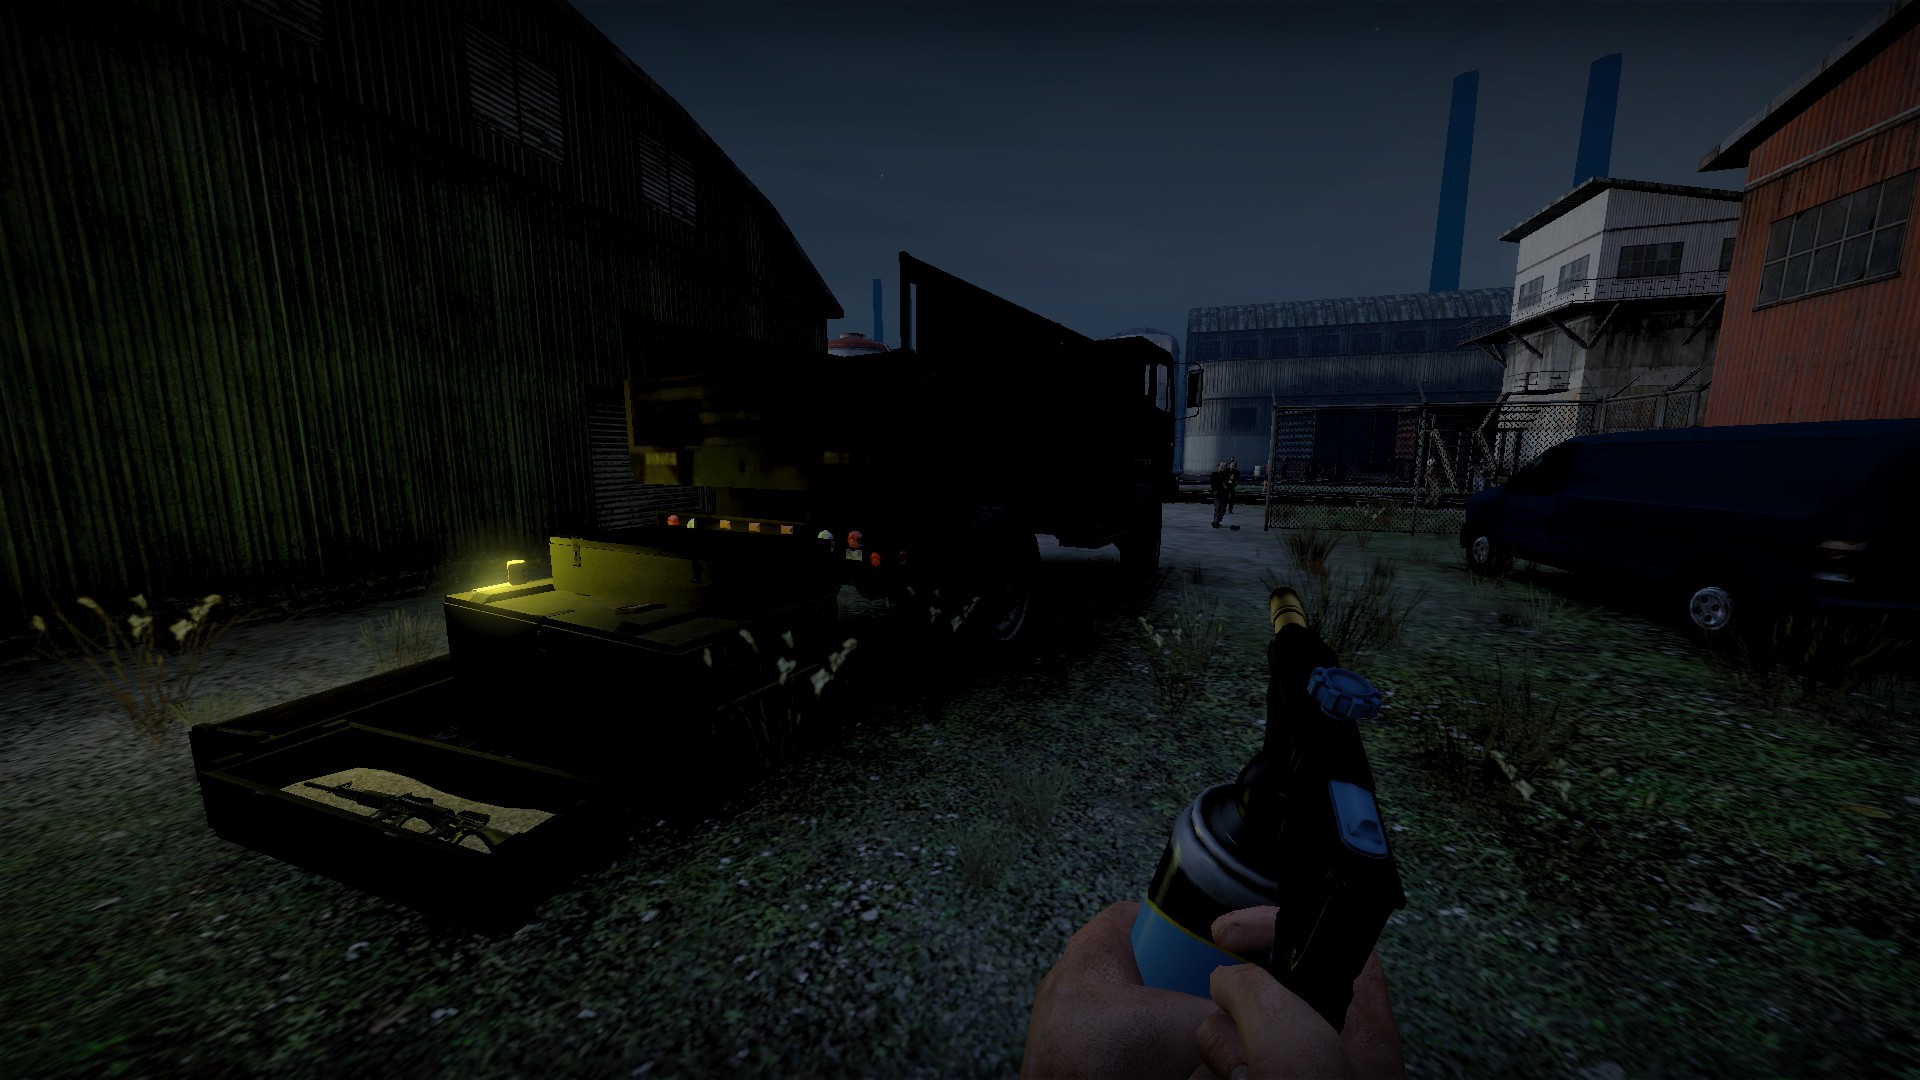
If you have the welder from the underground objective, you can use it to open the fenced area for a few items
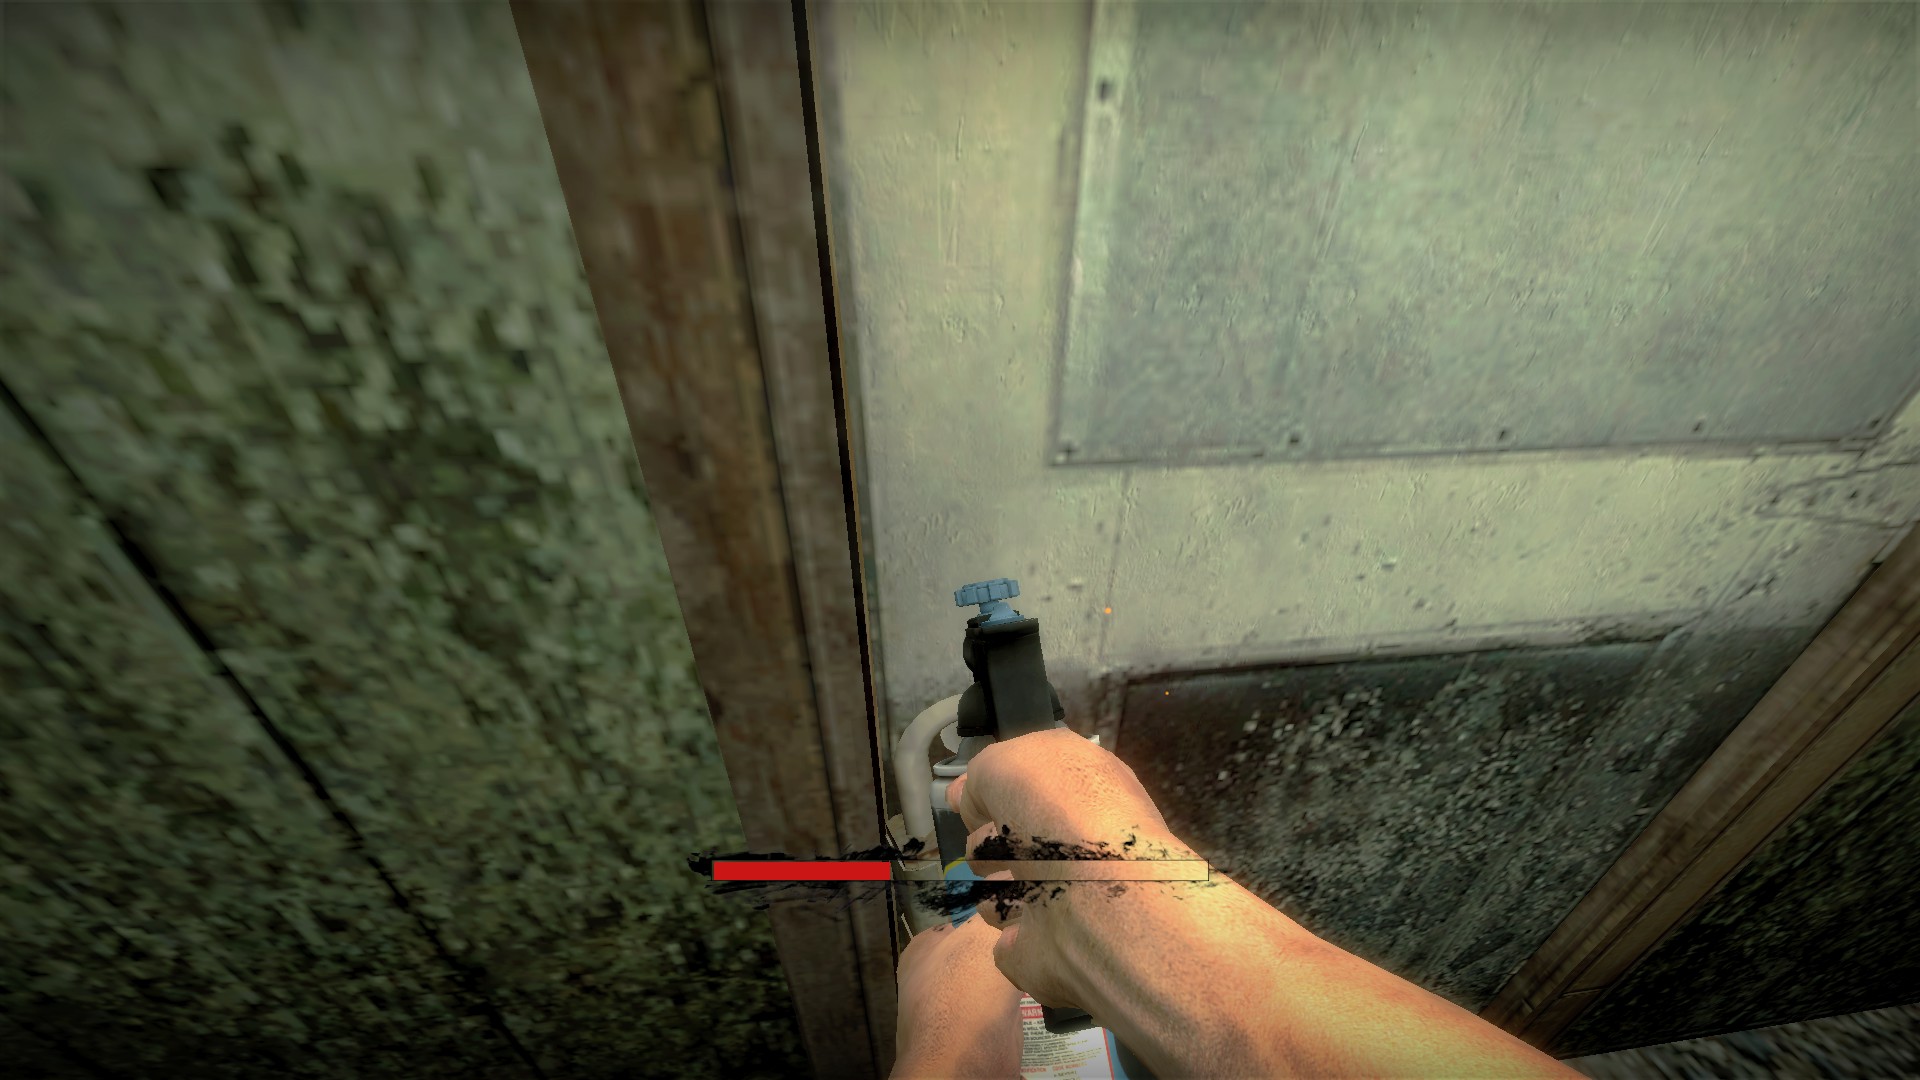
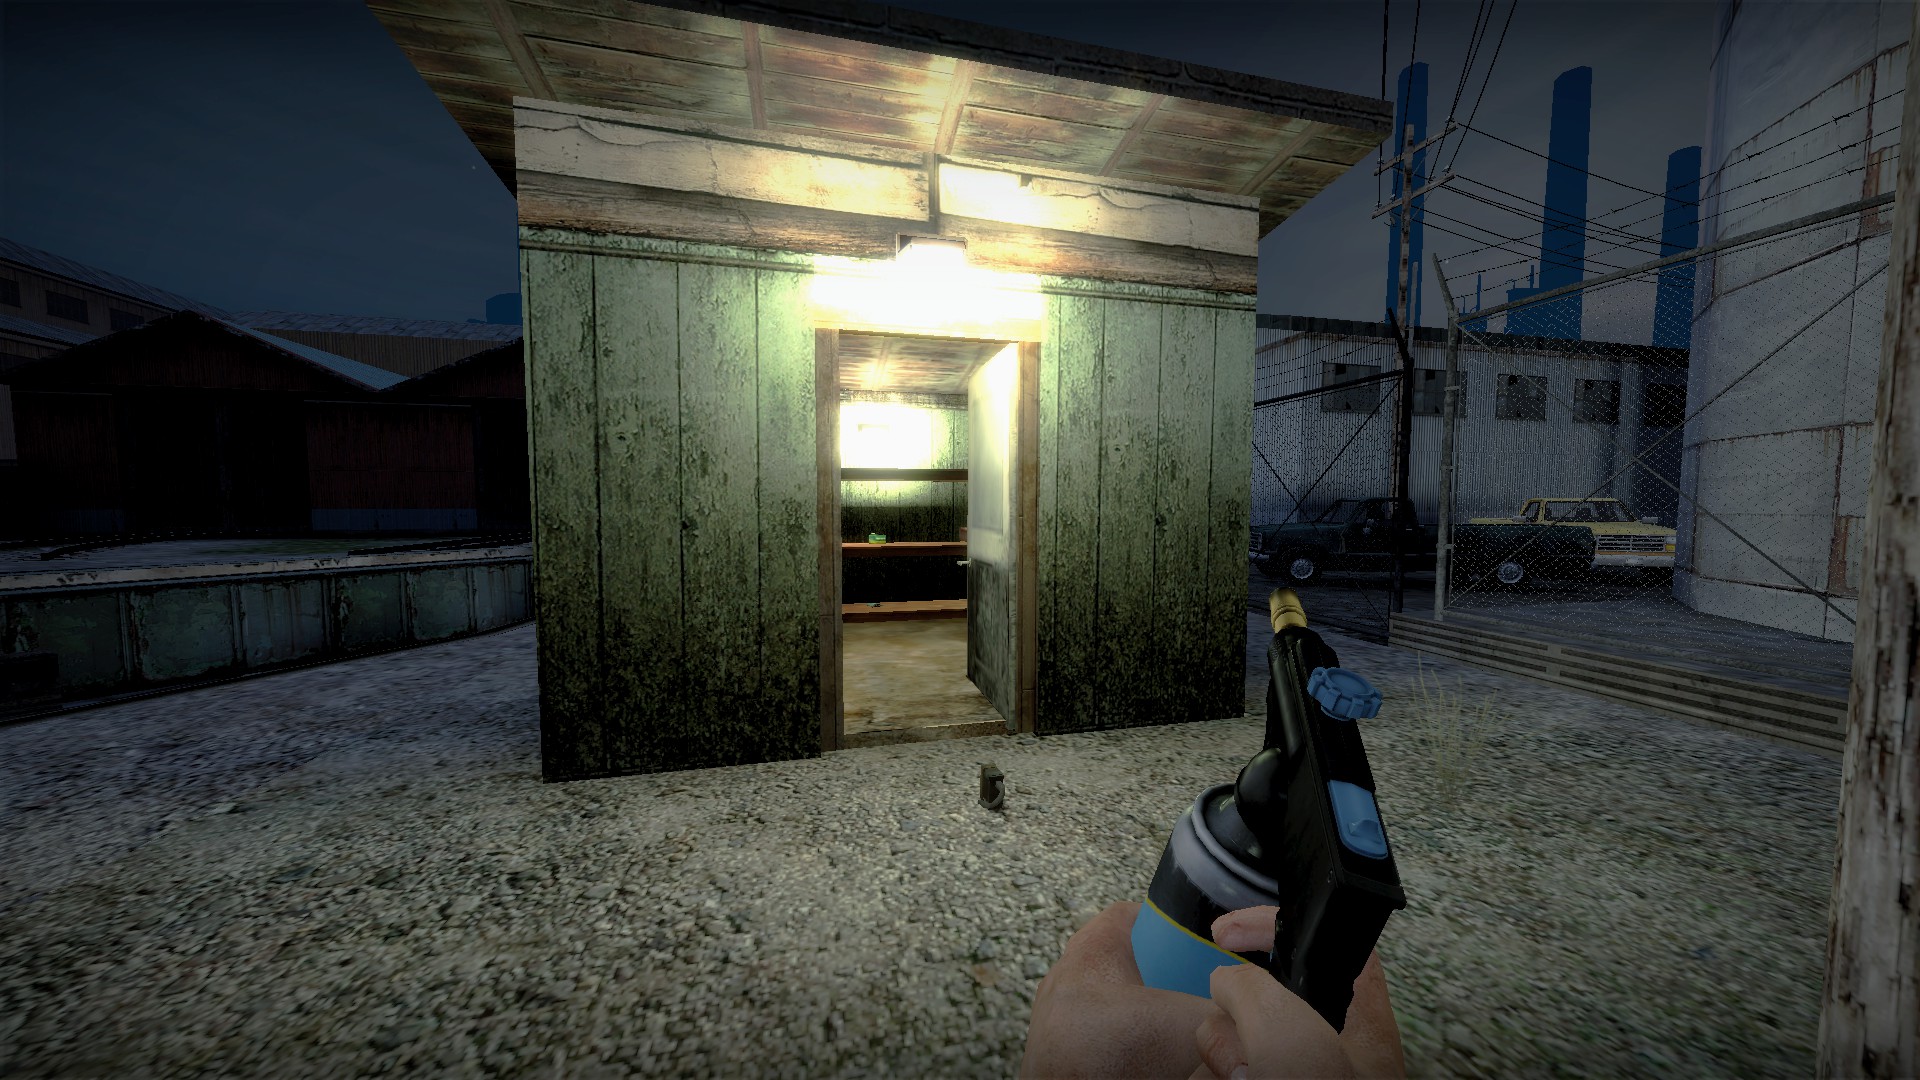
And the shed for a few more
nmo_zm_backwoods_v2
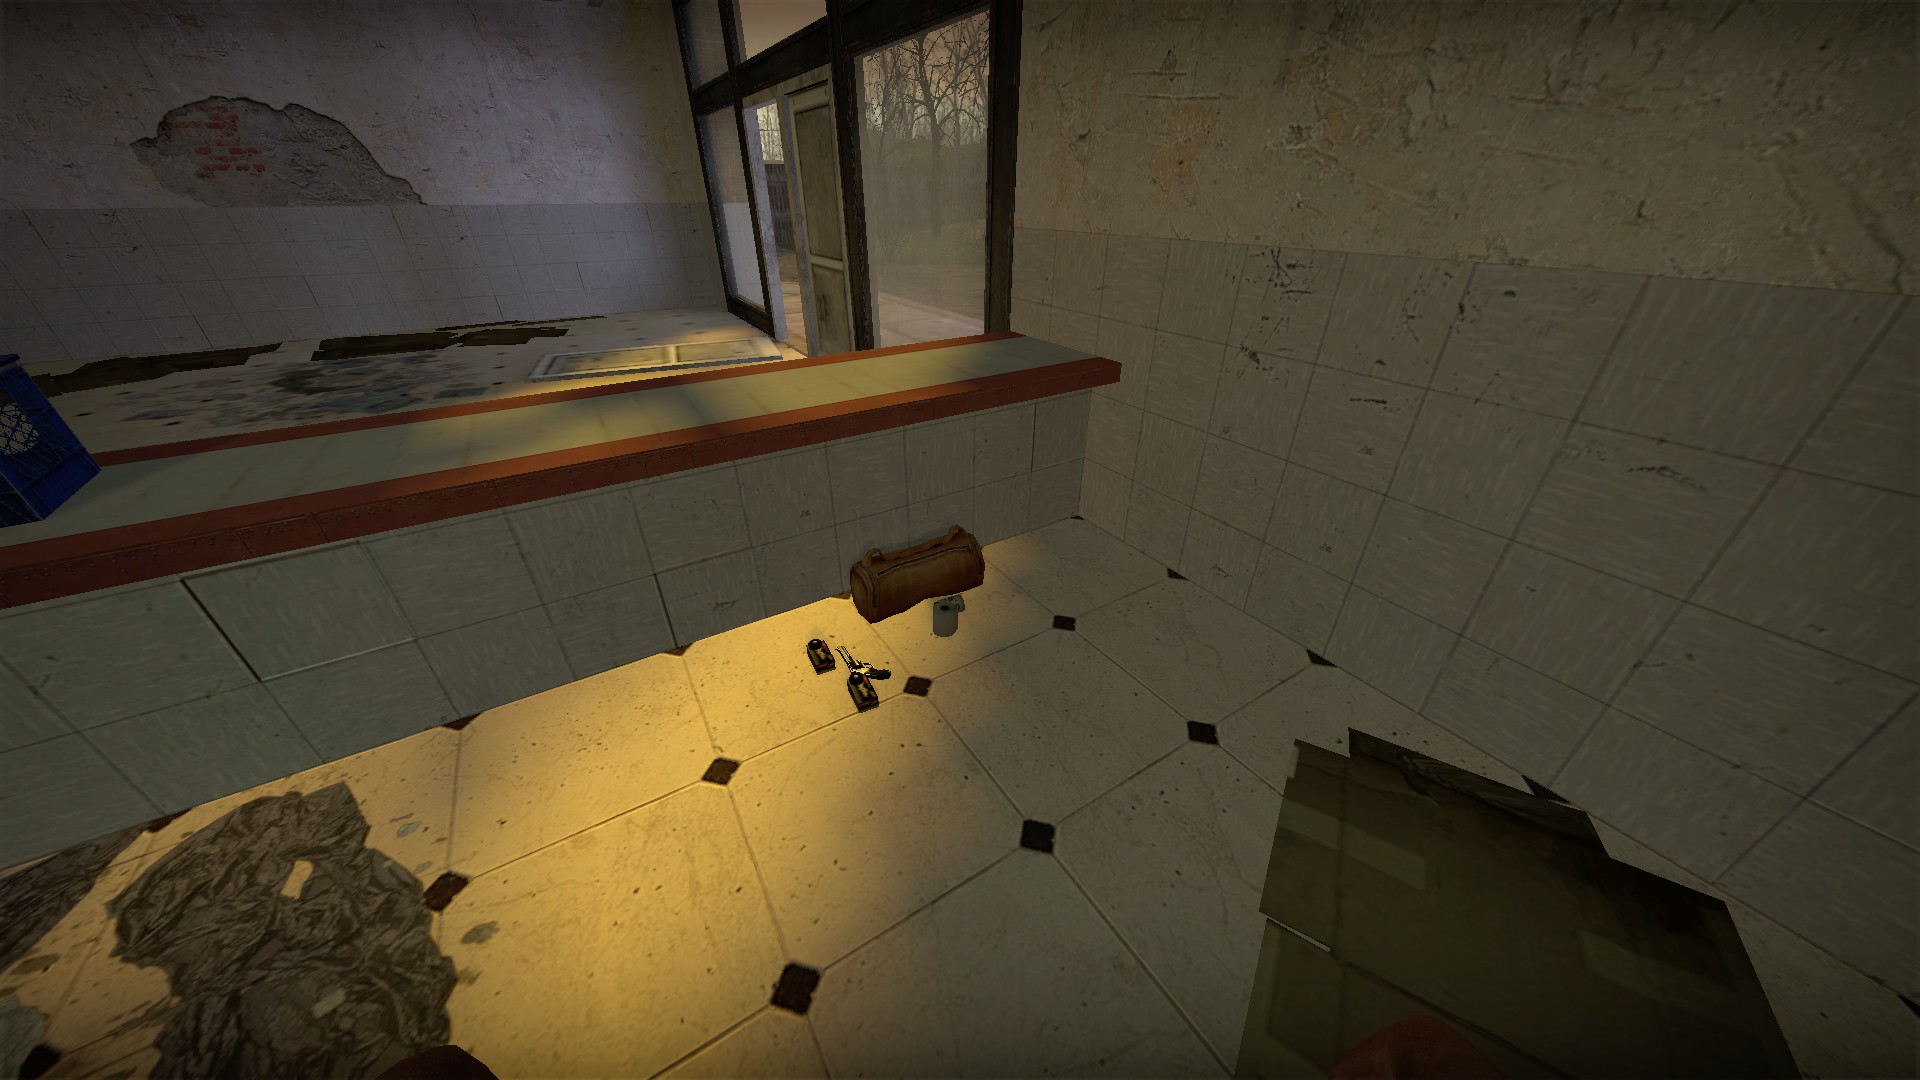
Open the dufflebag at start for a .357 and ammo
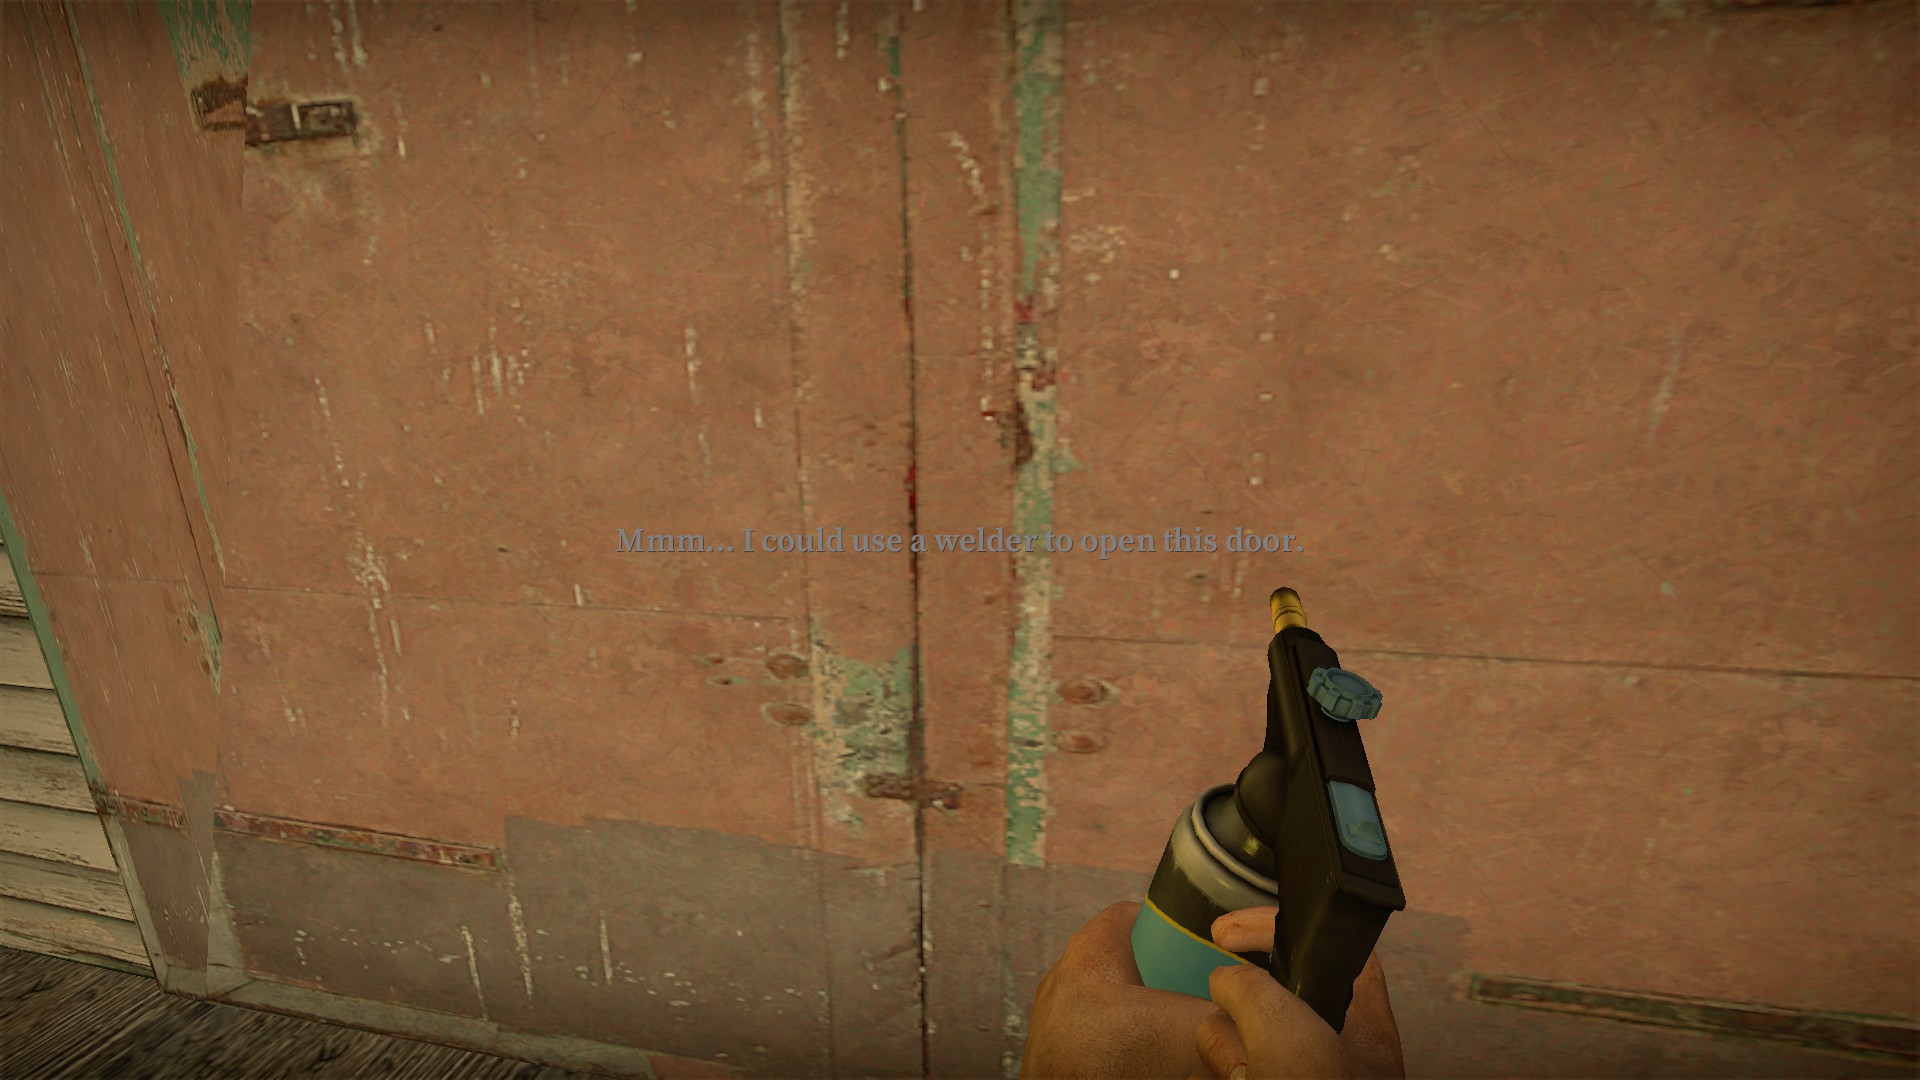
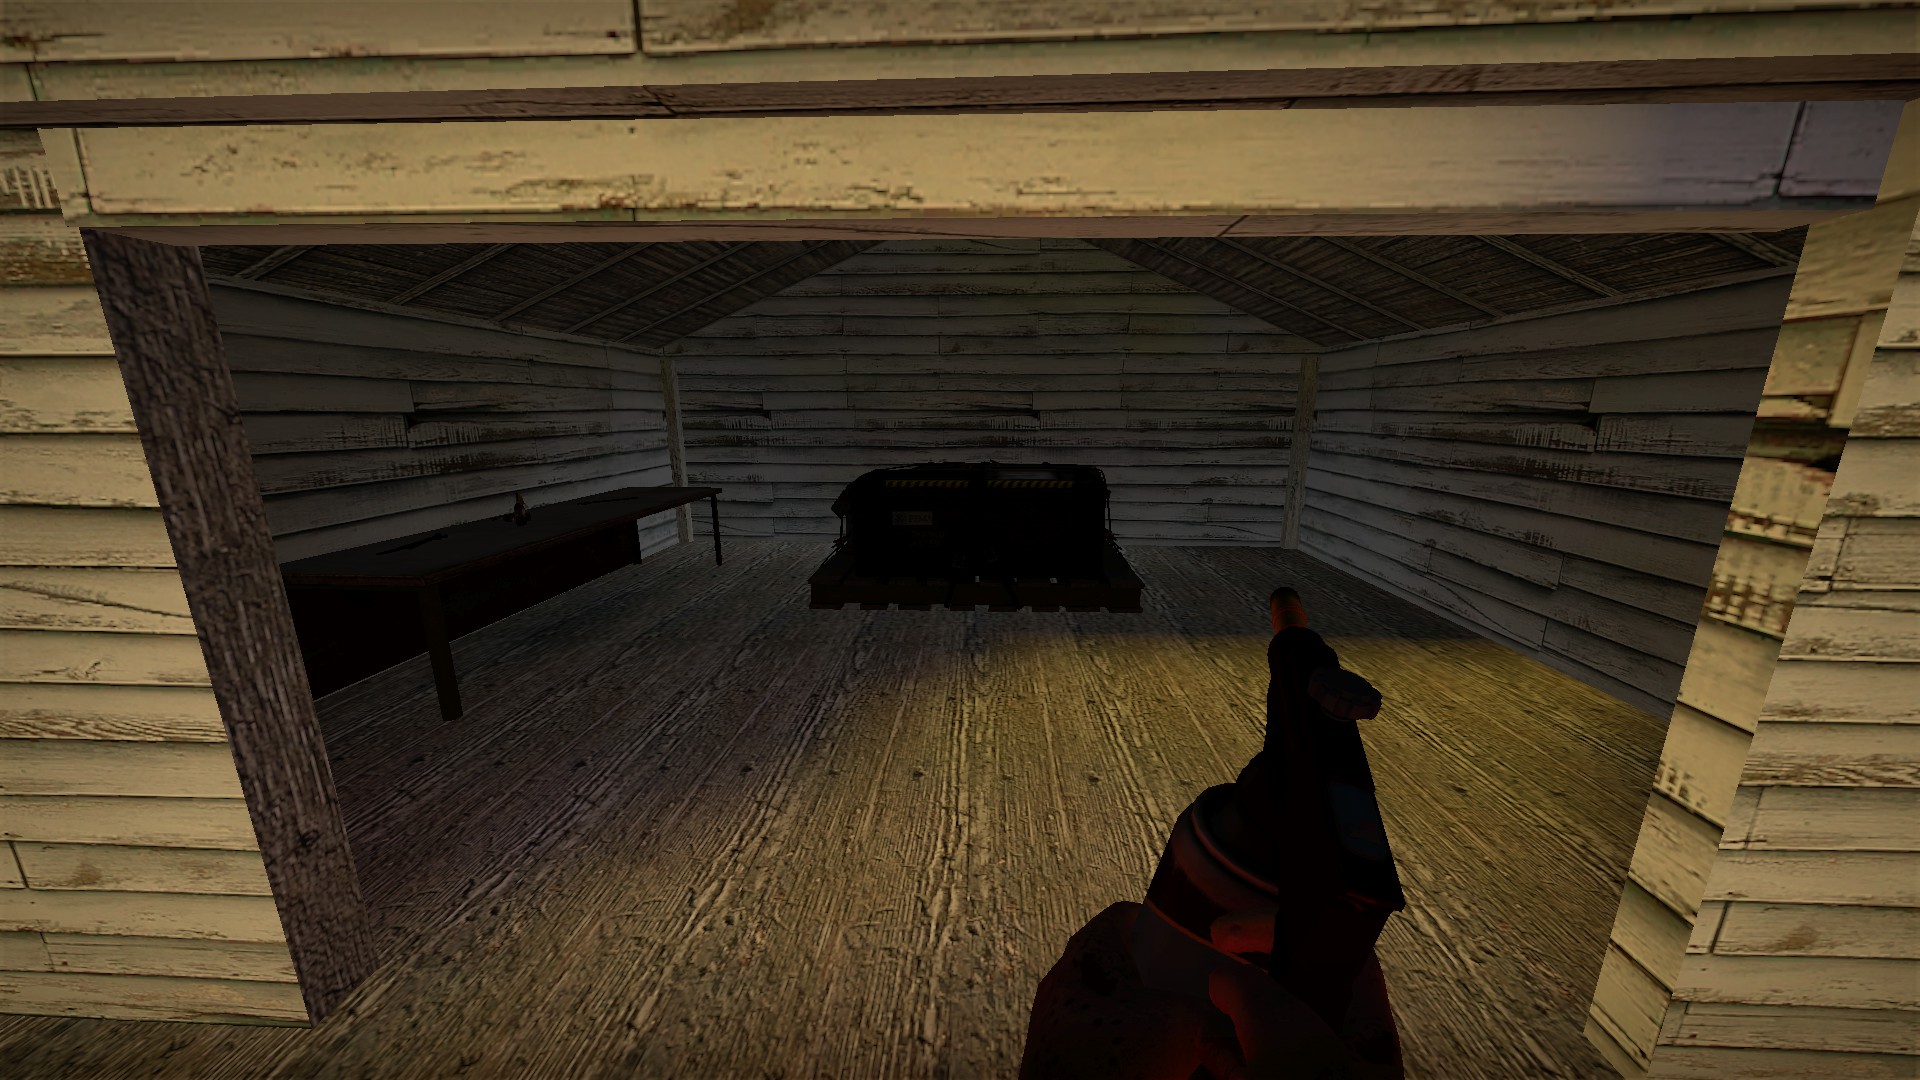
Use the welder from the garage on the shed for a weapon box and 2 molotovs
nmo_zm_shipescape
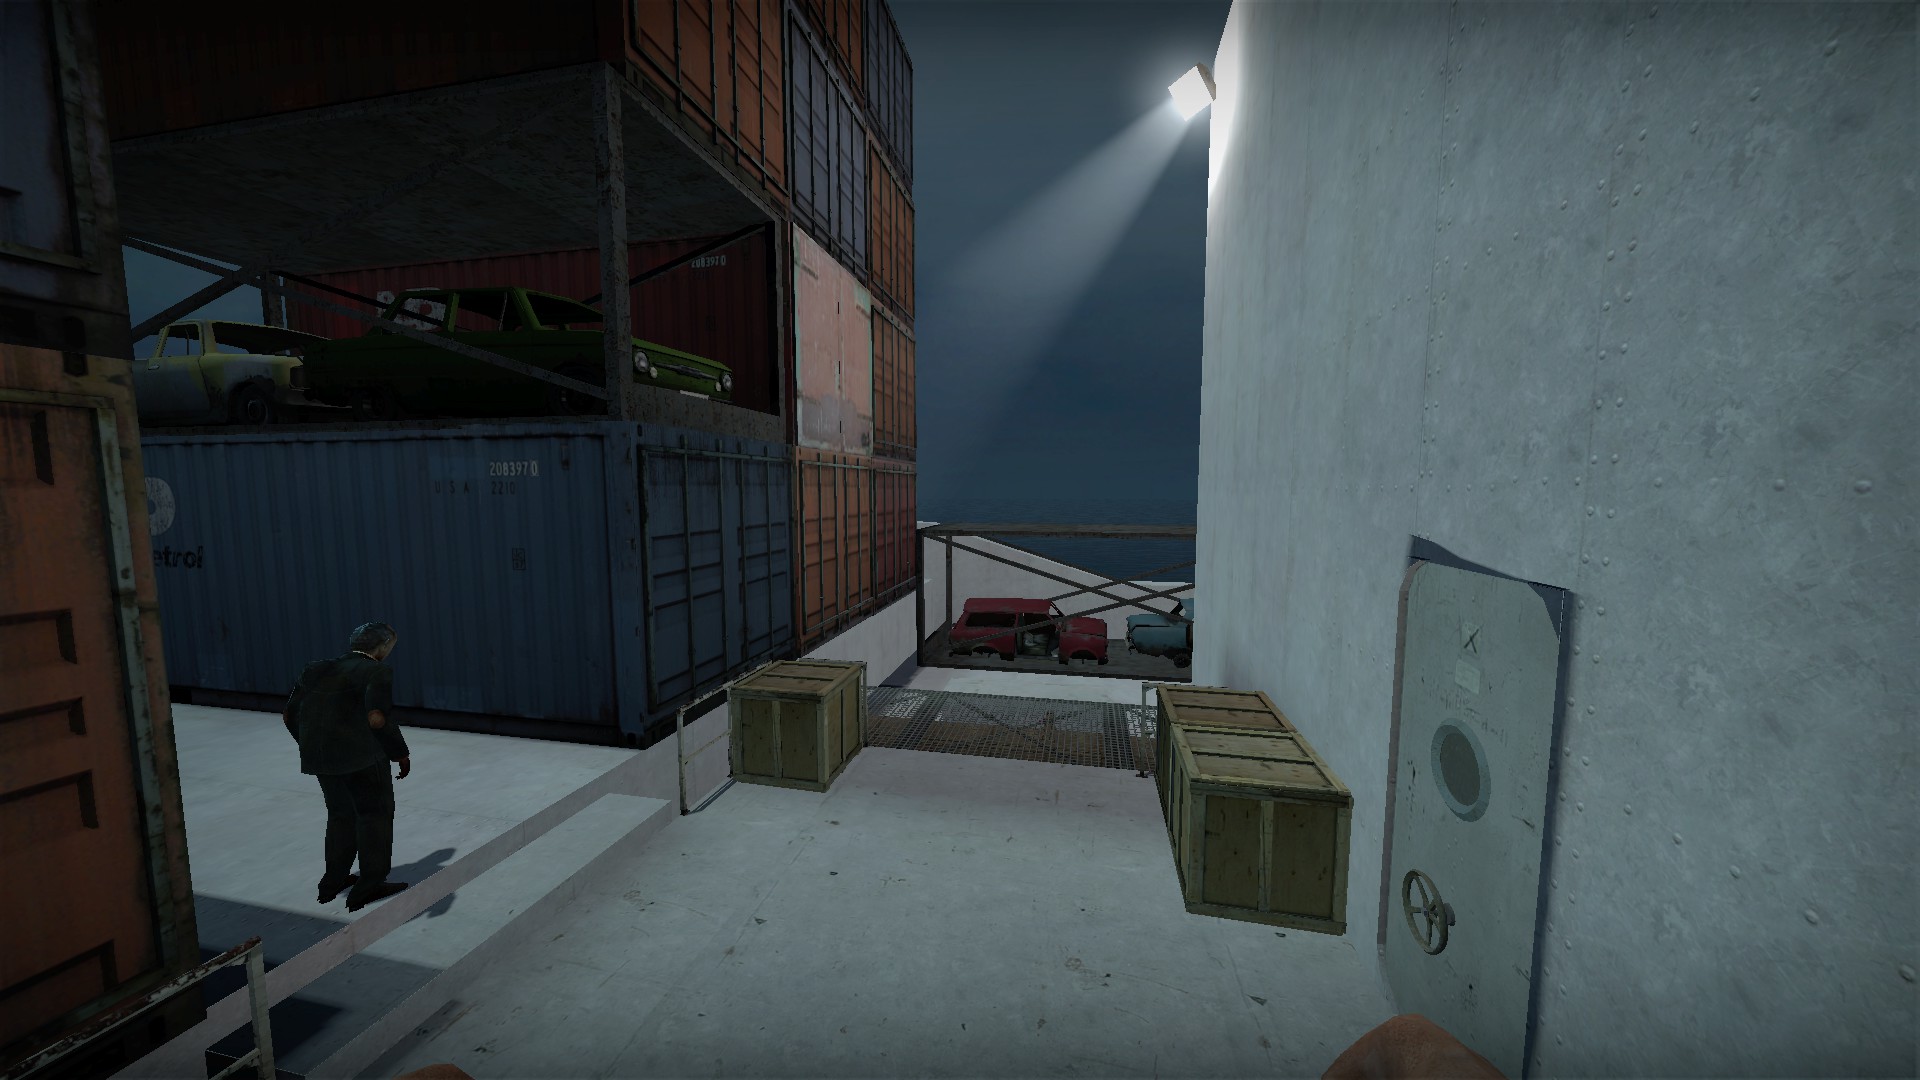
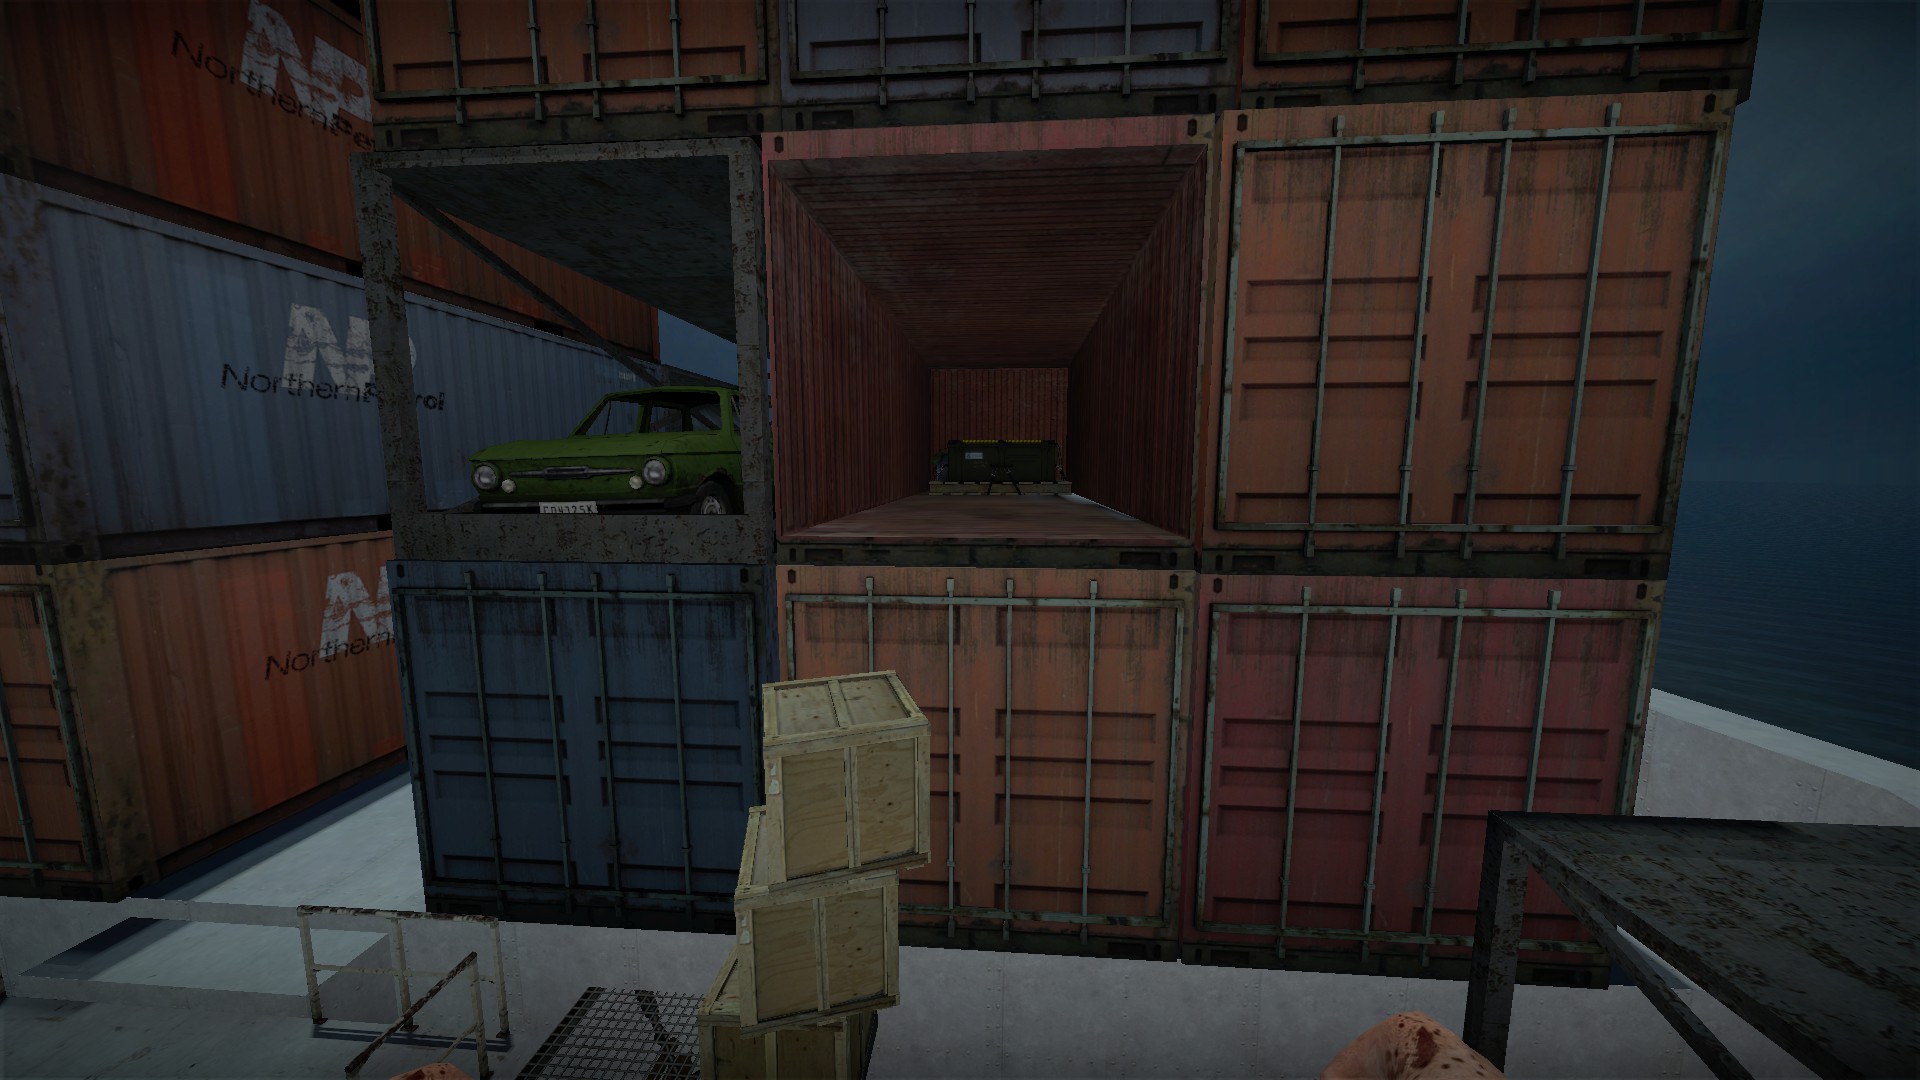
Just around left from the start, use the boxes in this area to build stairs up to a breakable container with a weapon box
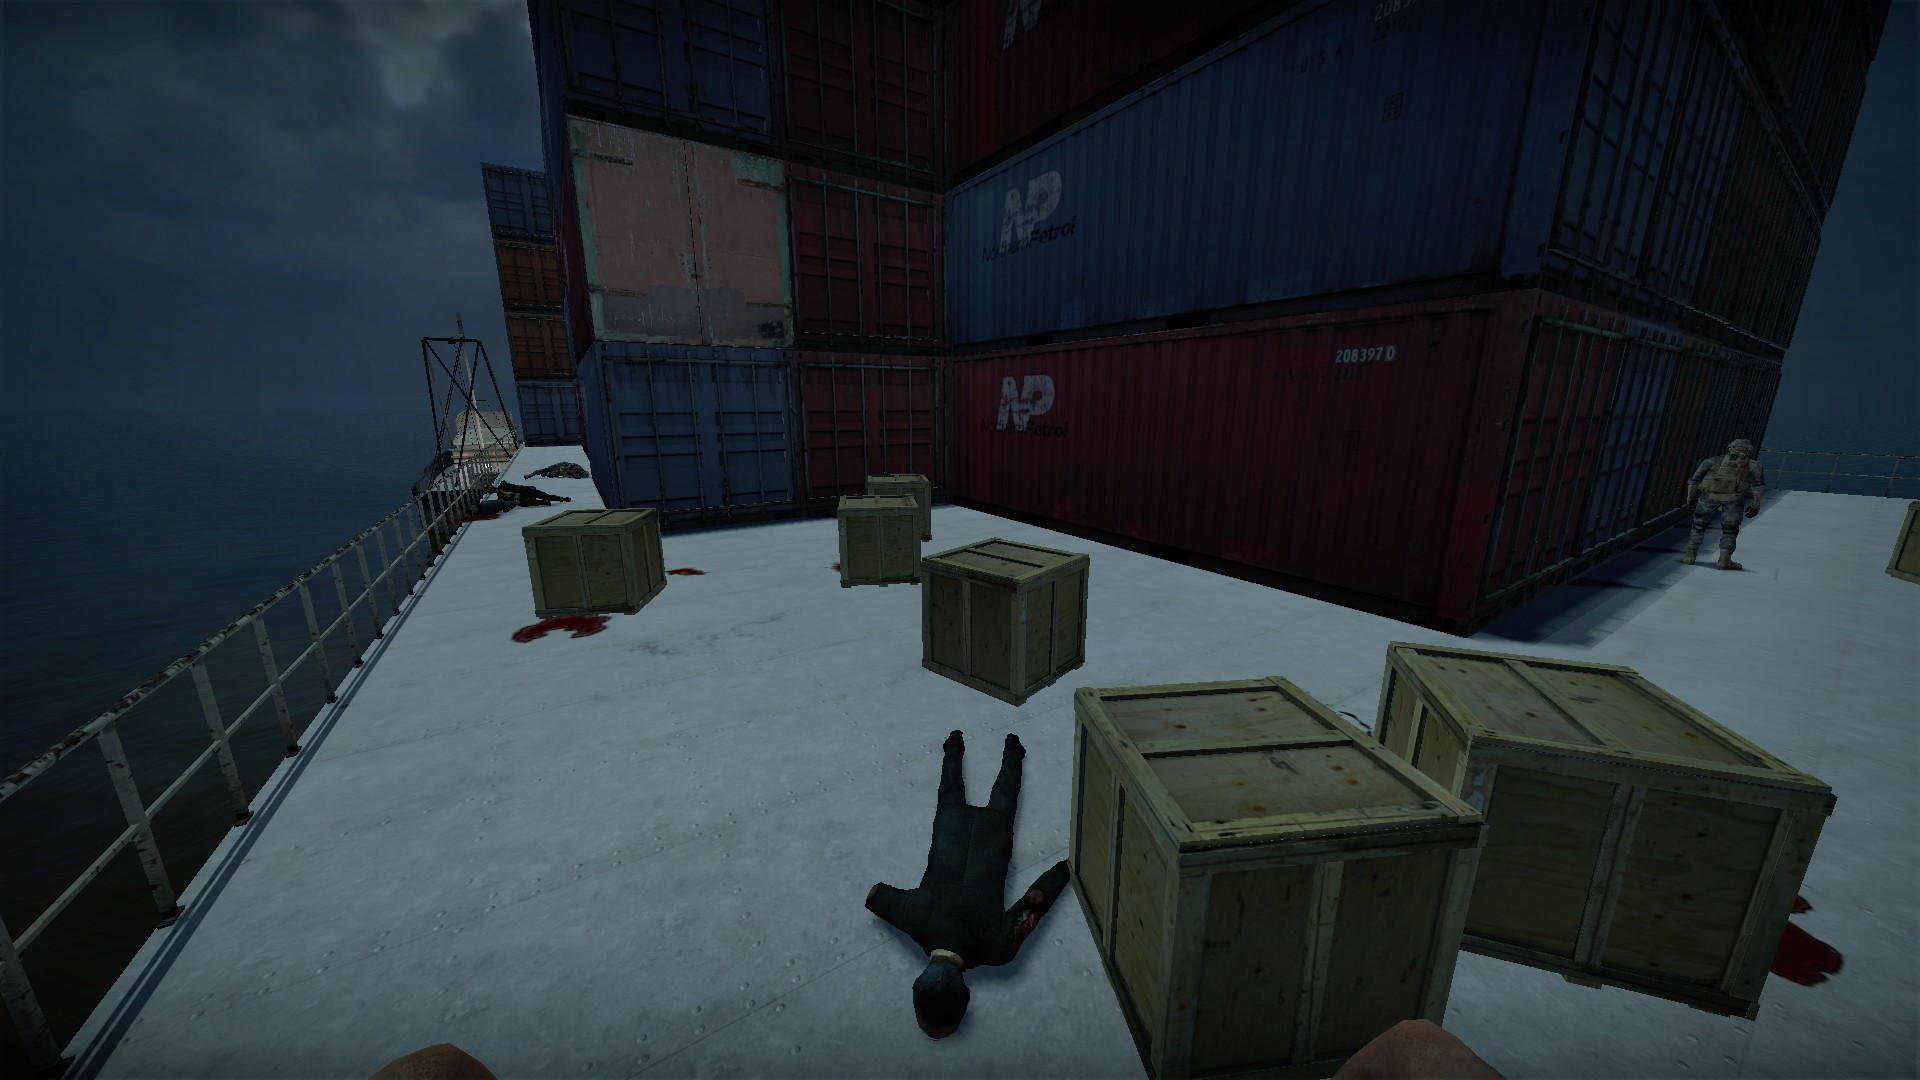
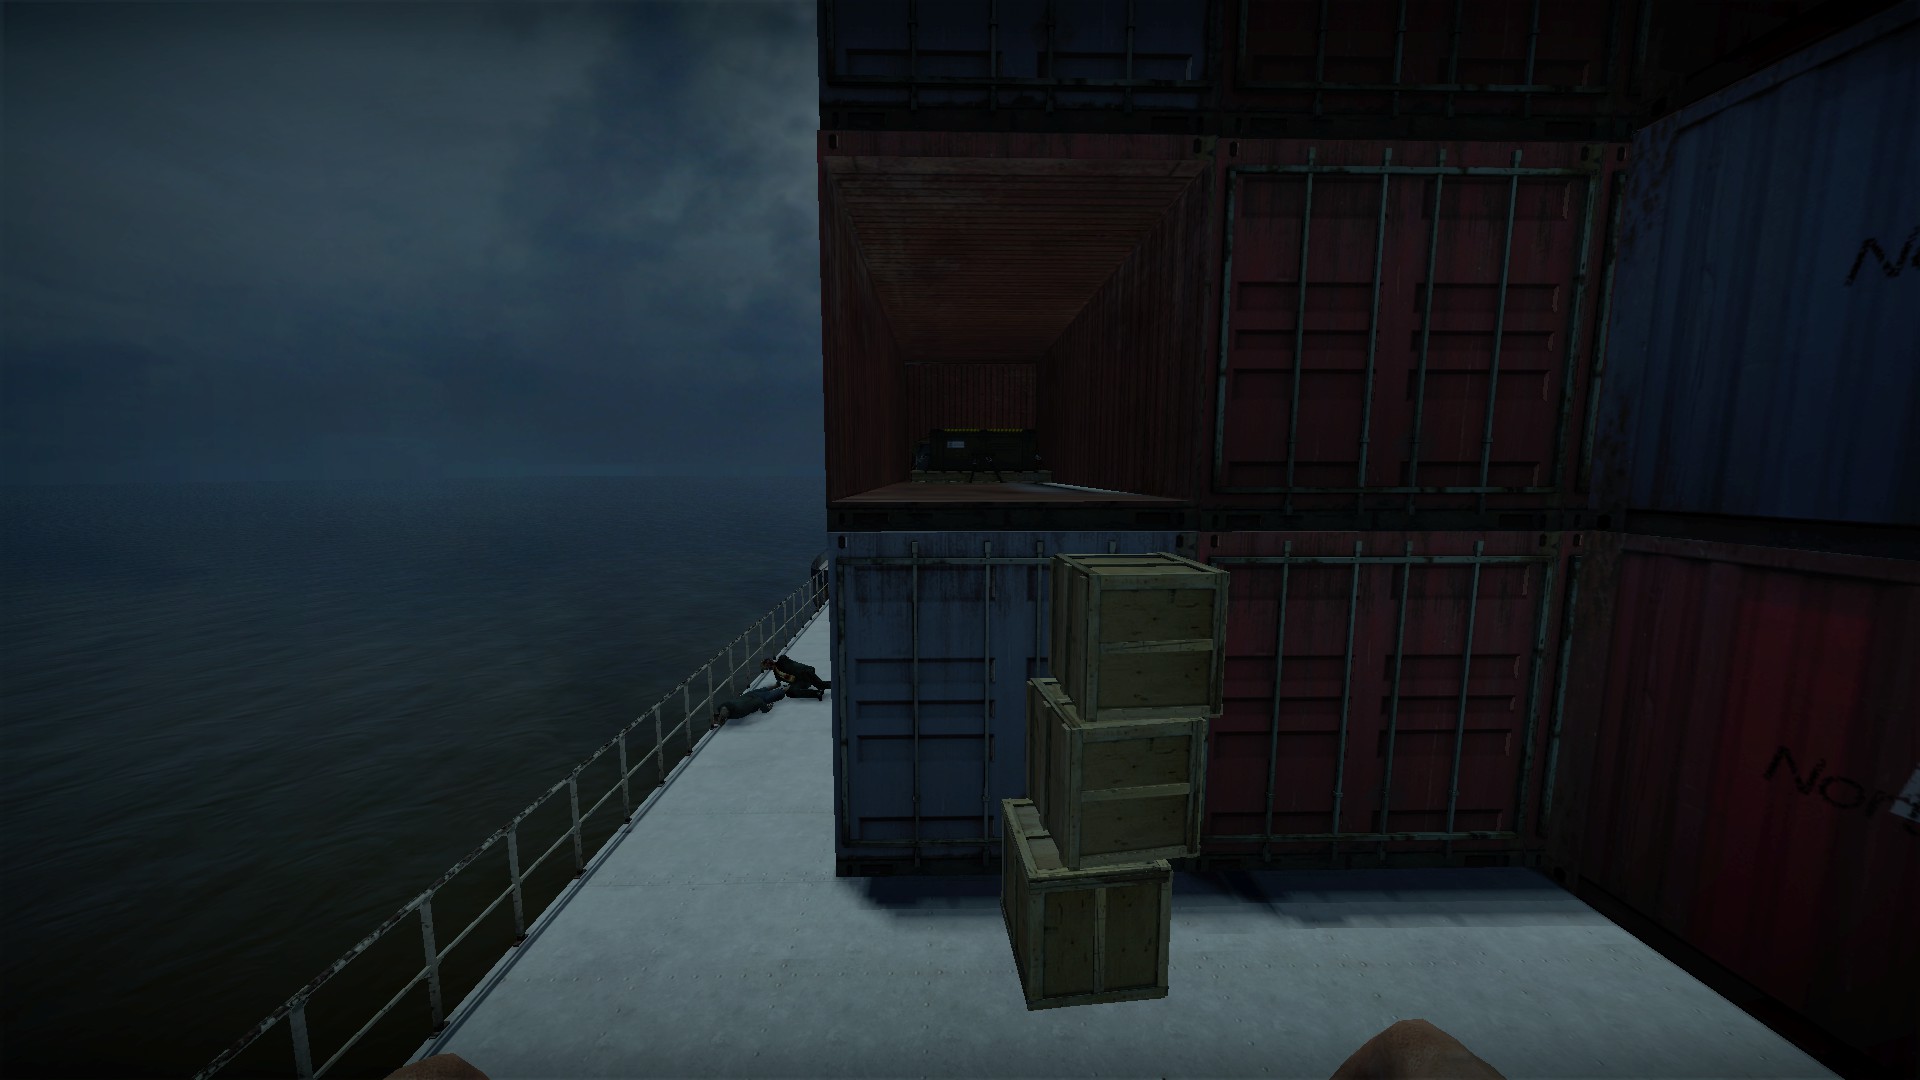
Do this again in the middle of the ship for another weapon box
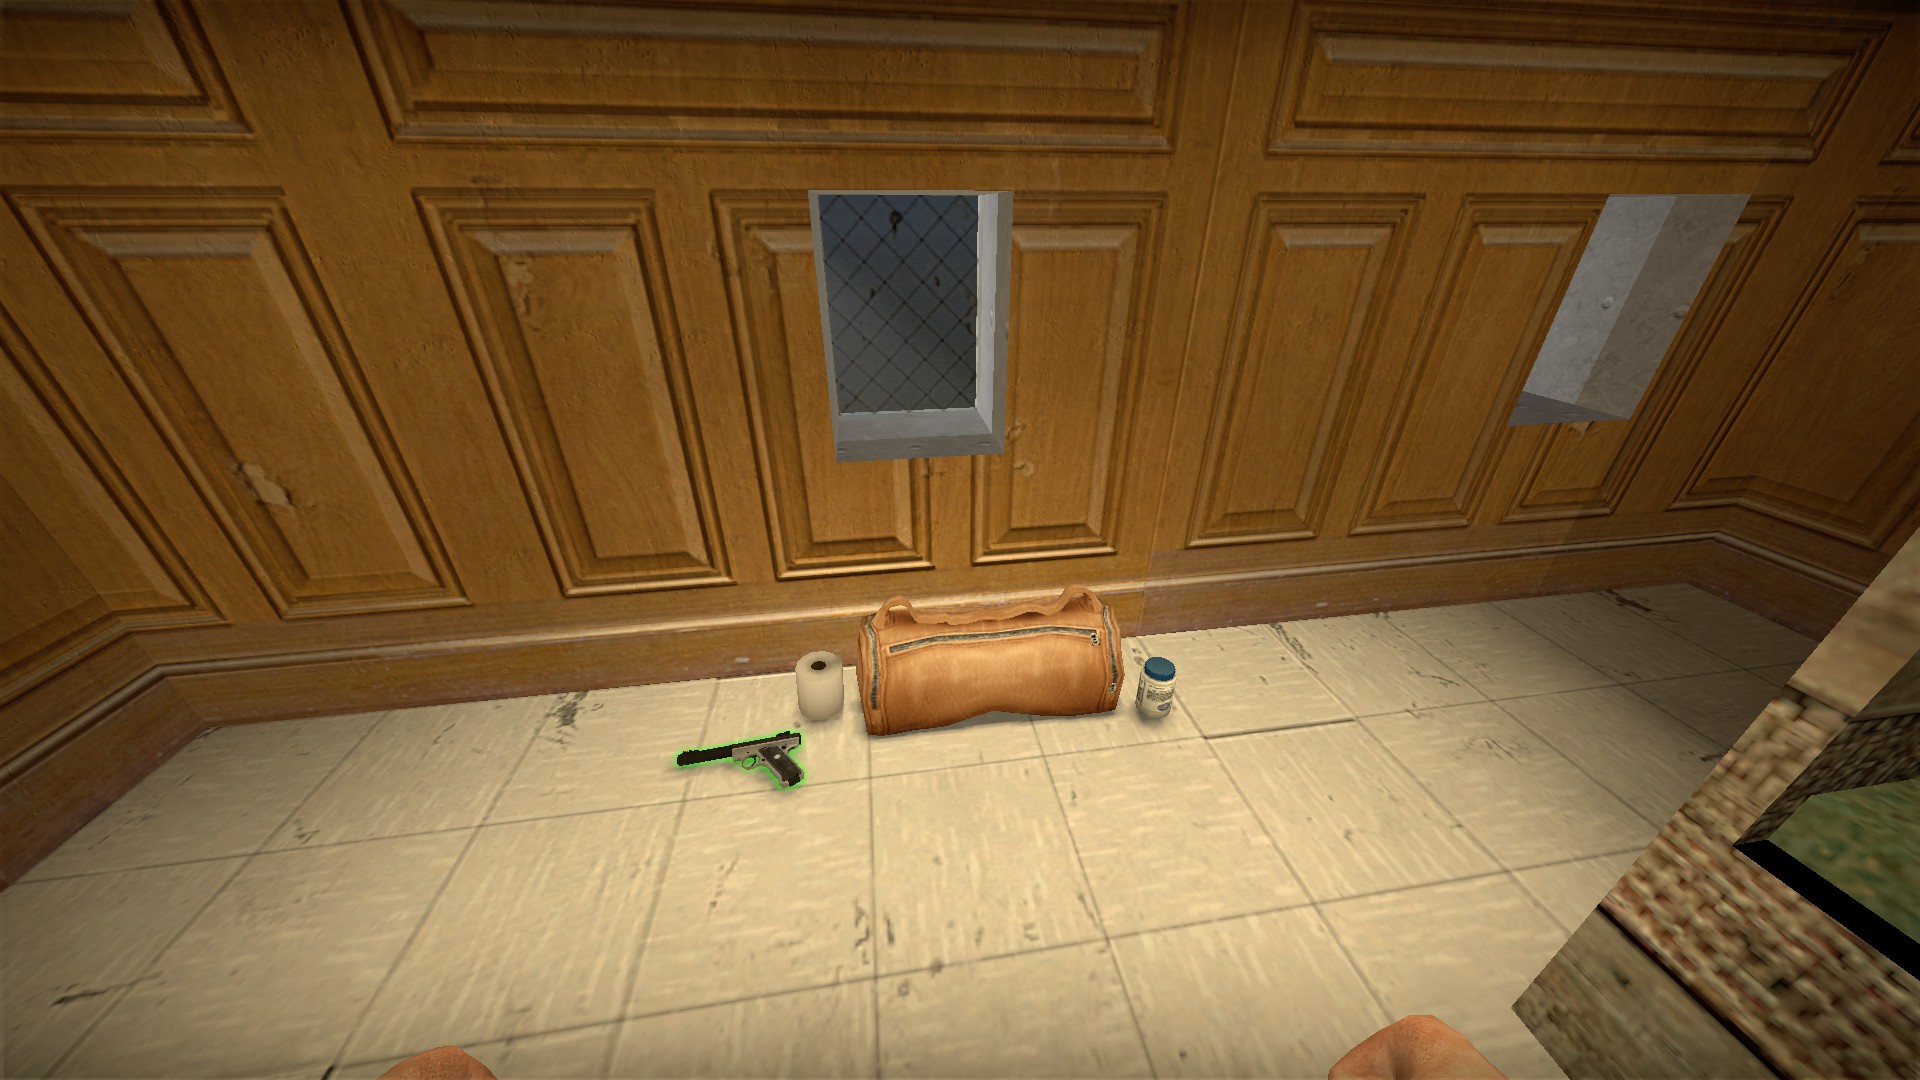
There is a..22 dufflebag just before the bridge
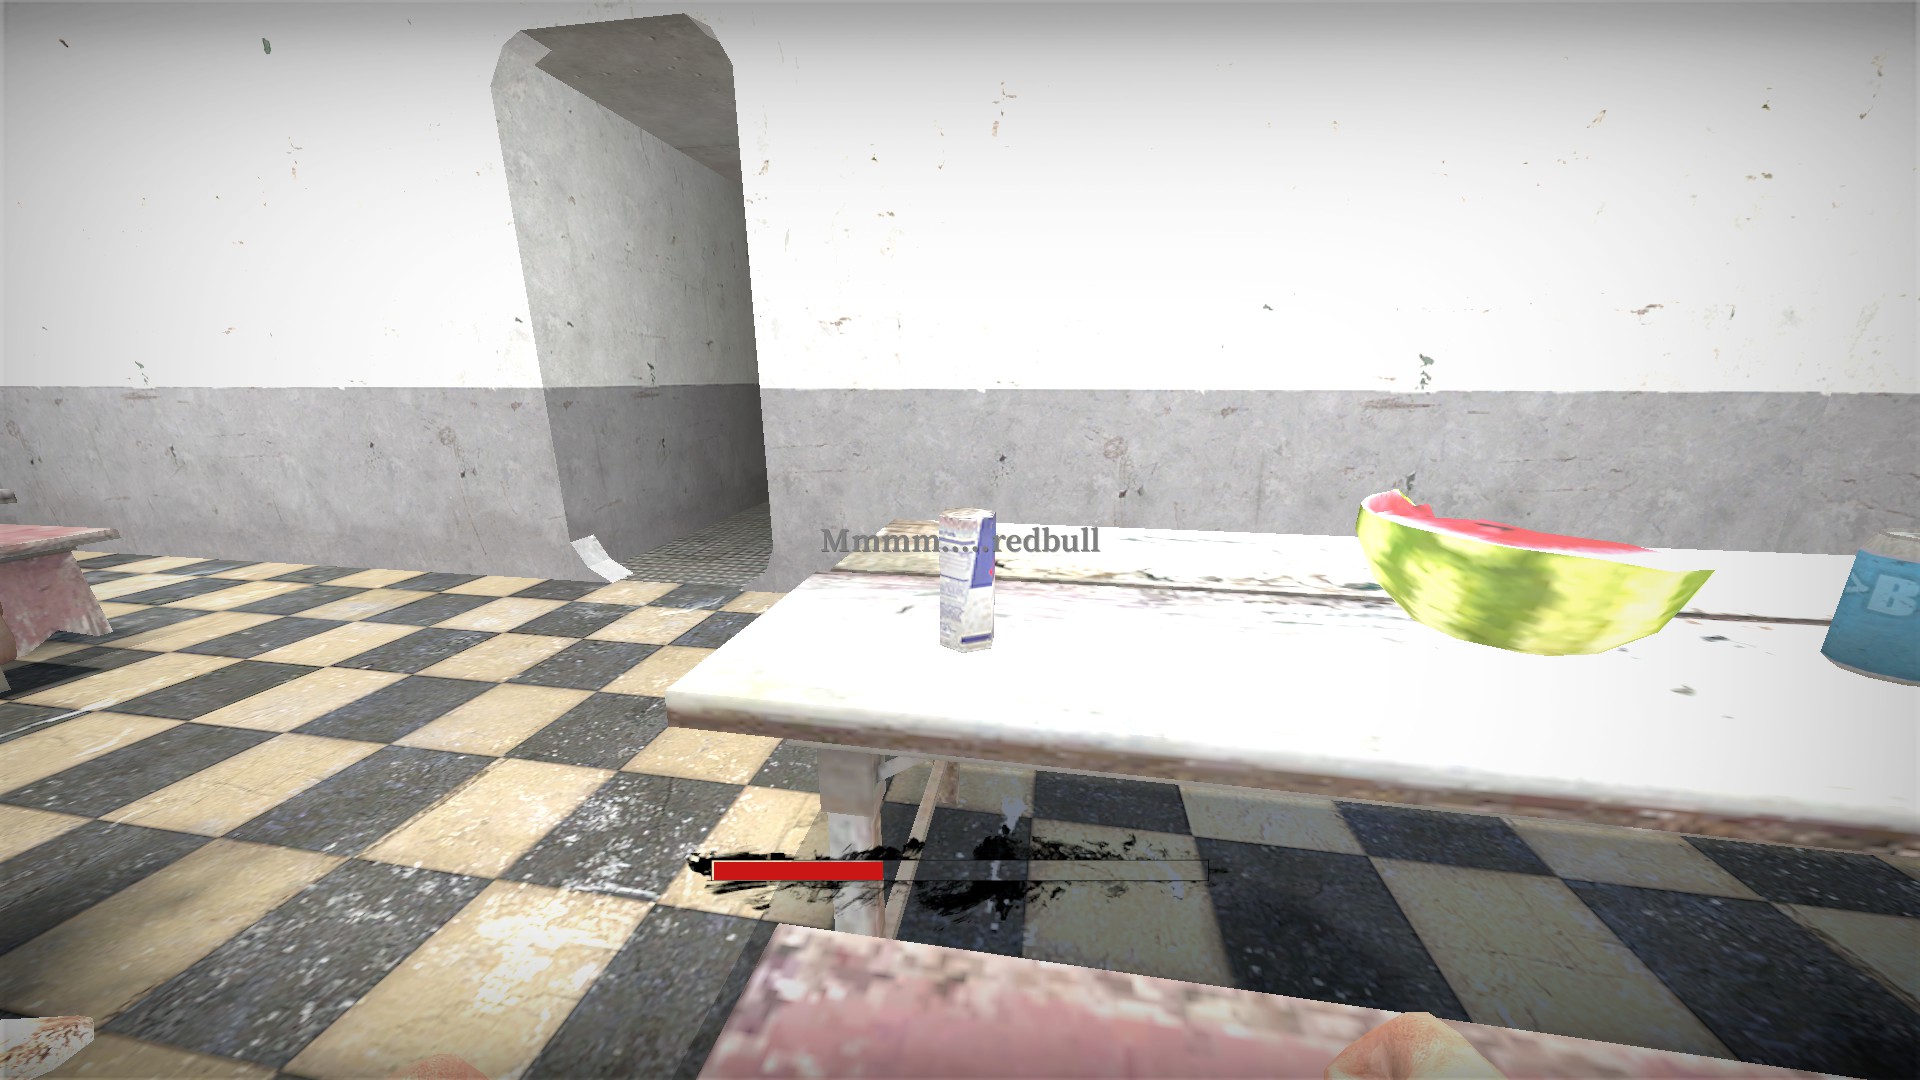
You can drink the redbull in the cafeteria
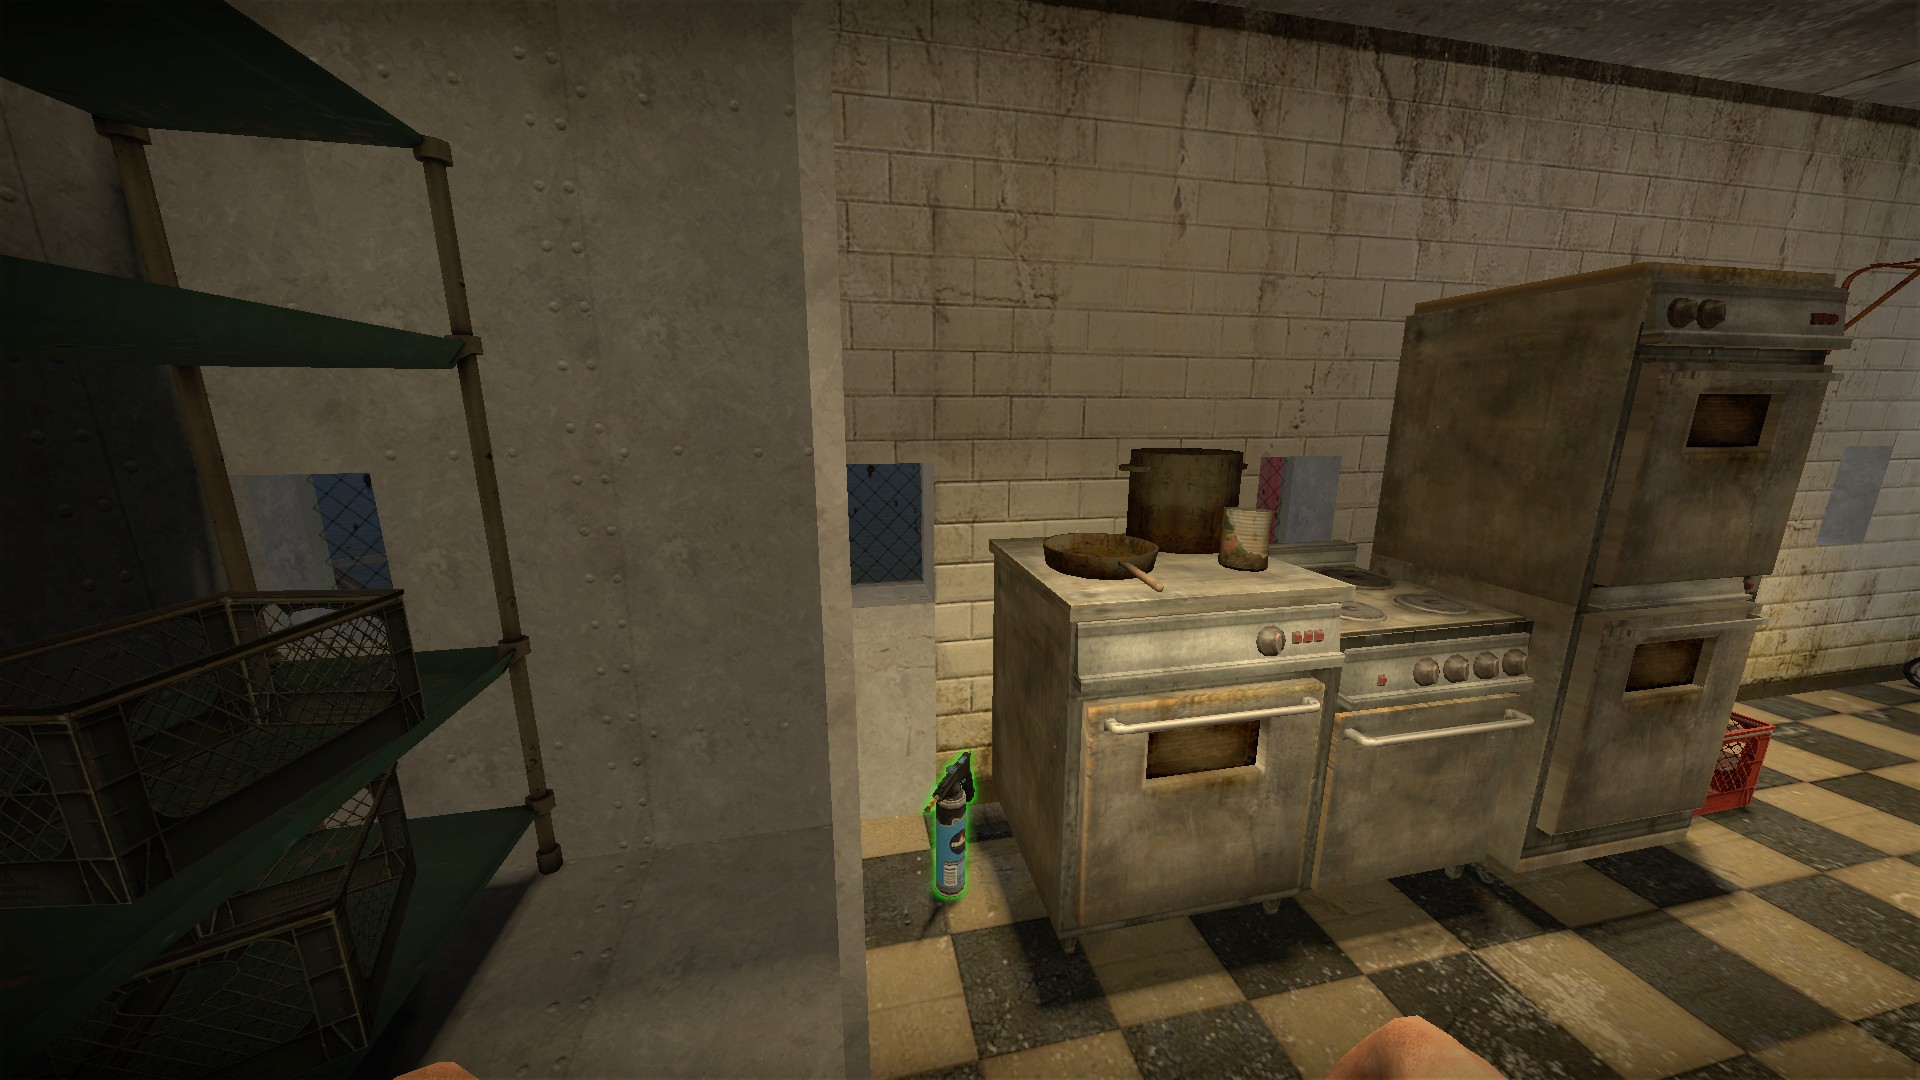
Just past the cafeteria before the watermelon, the welder is hidden in a corner
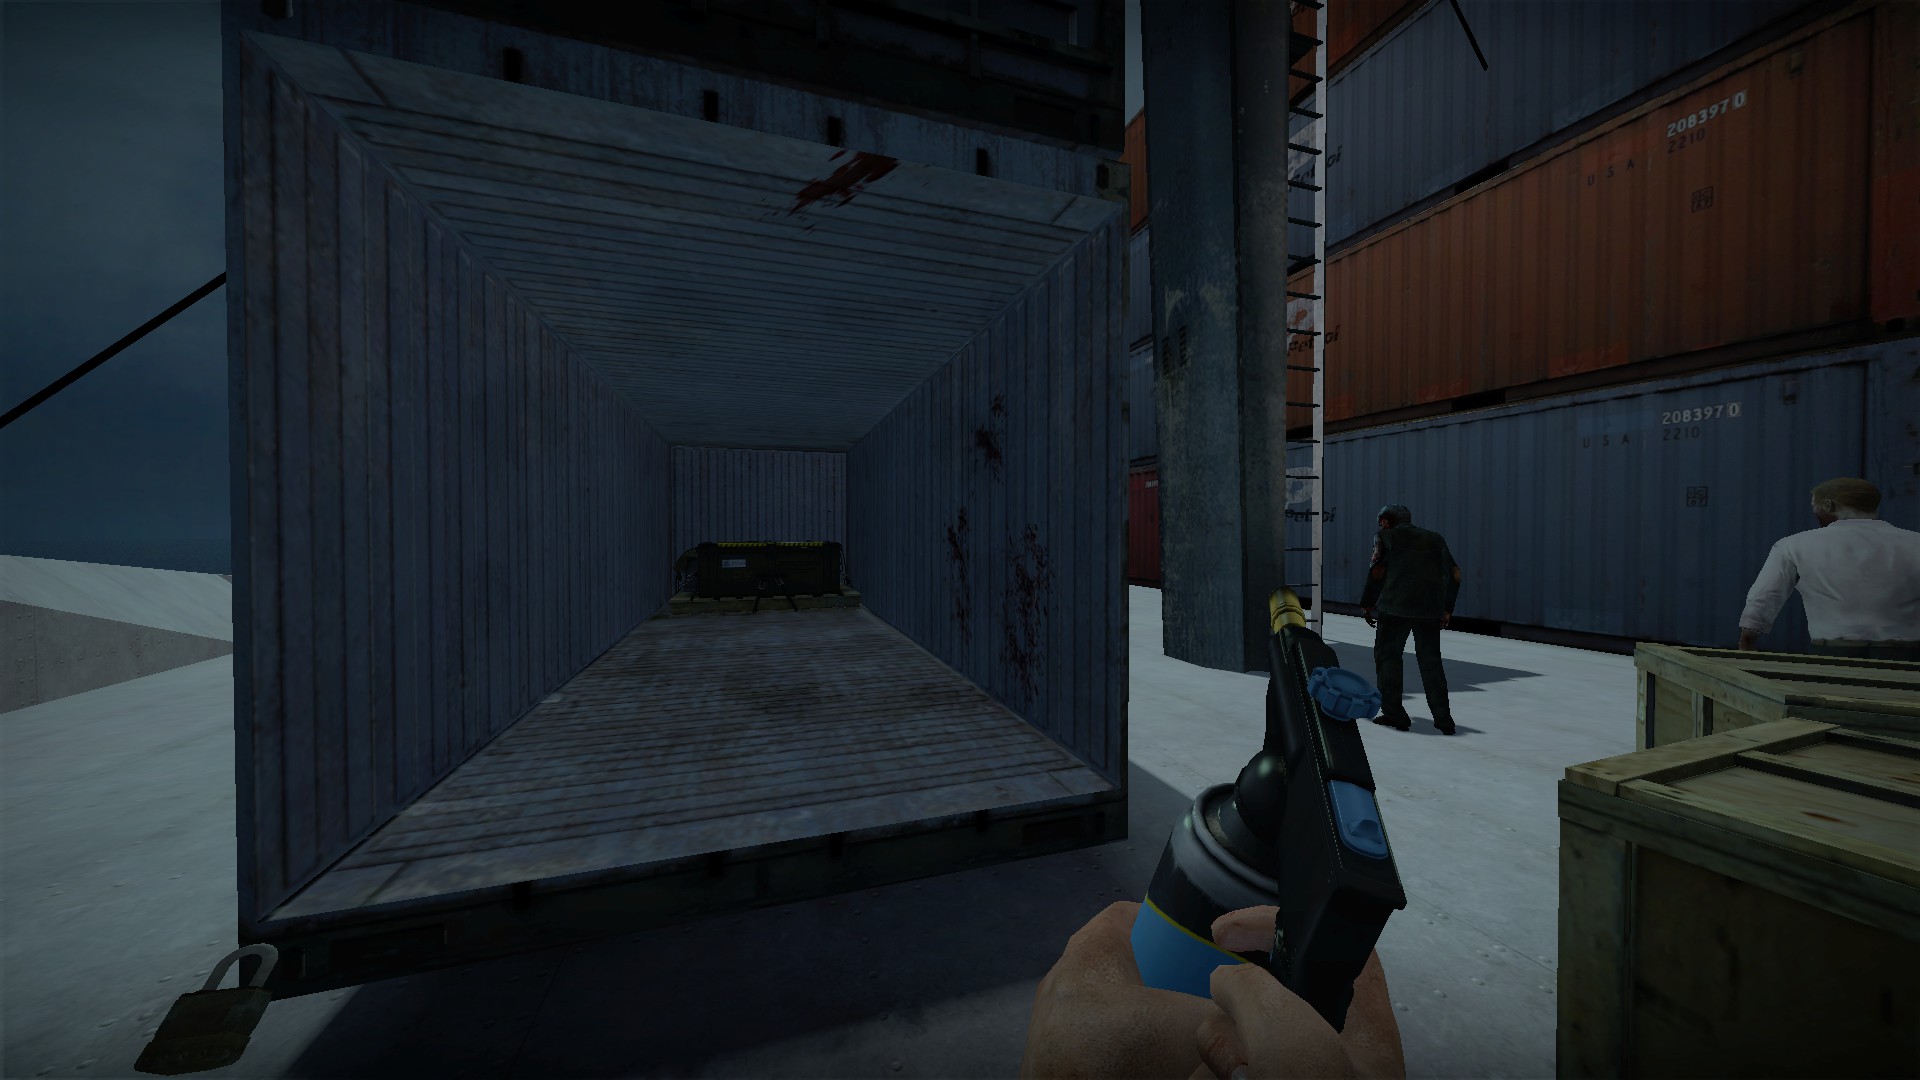
Use it to open another container on the bow of the ship for another weapon box
nmo_zomboeing_v2_final
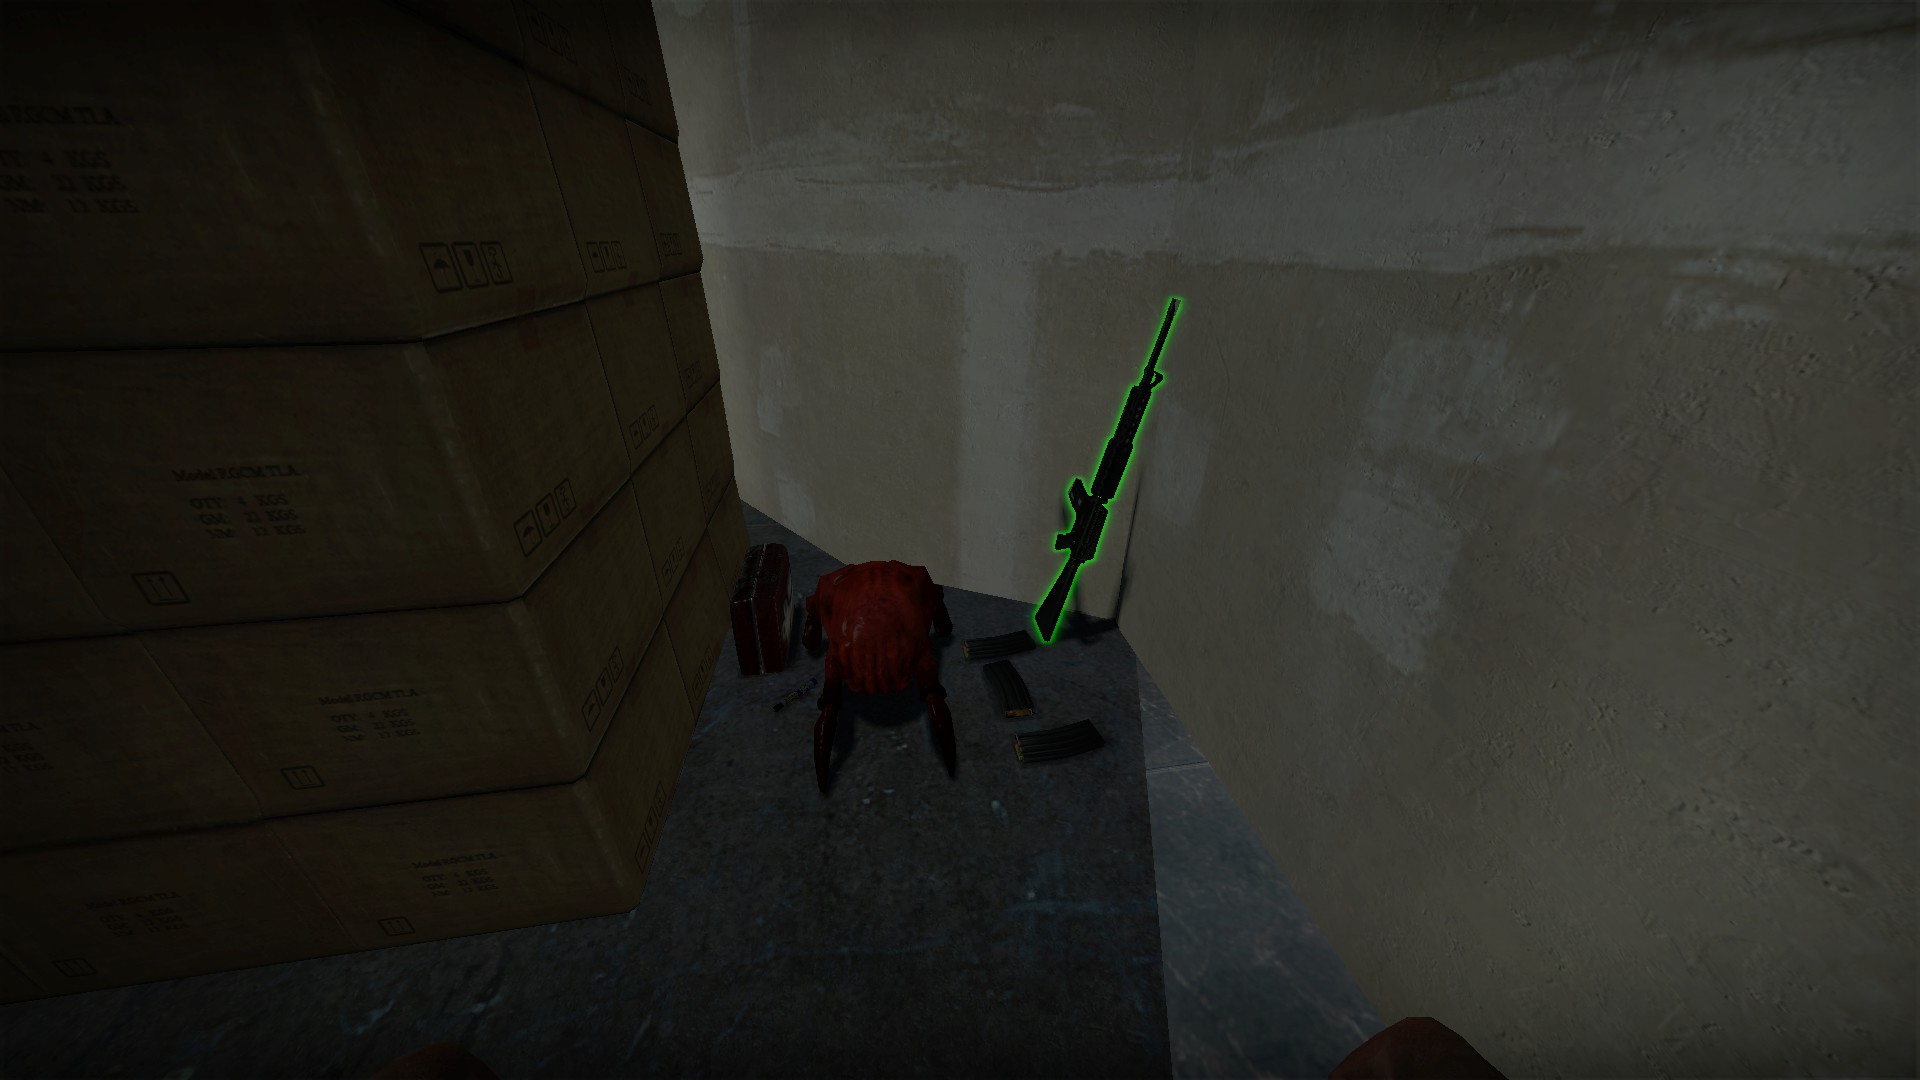
Just opposite the air traffic control entrance is a moveable headcrab and a stash of supplies behind a box
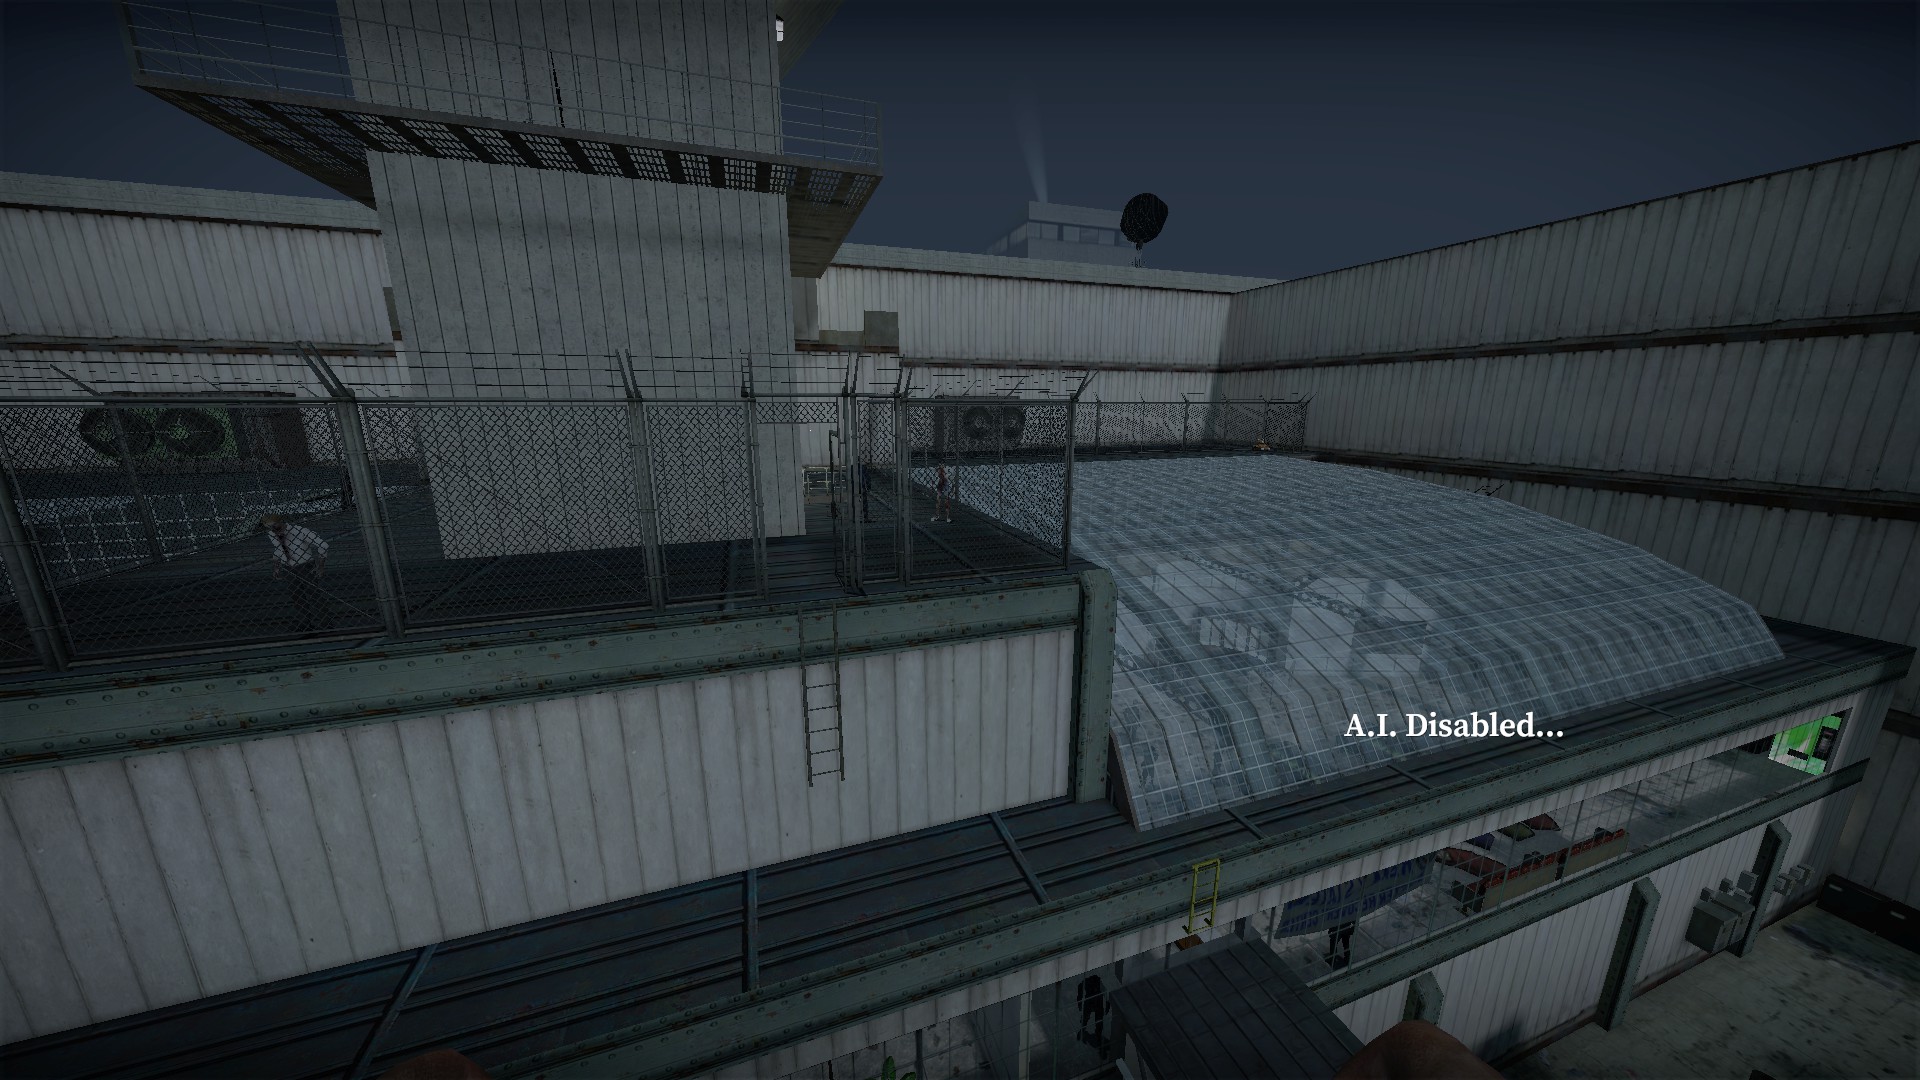
After hacking in the tower, you can access the roof
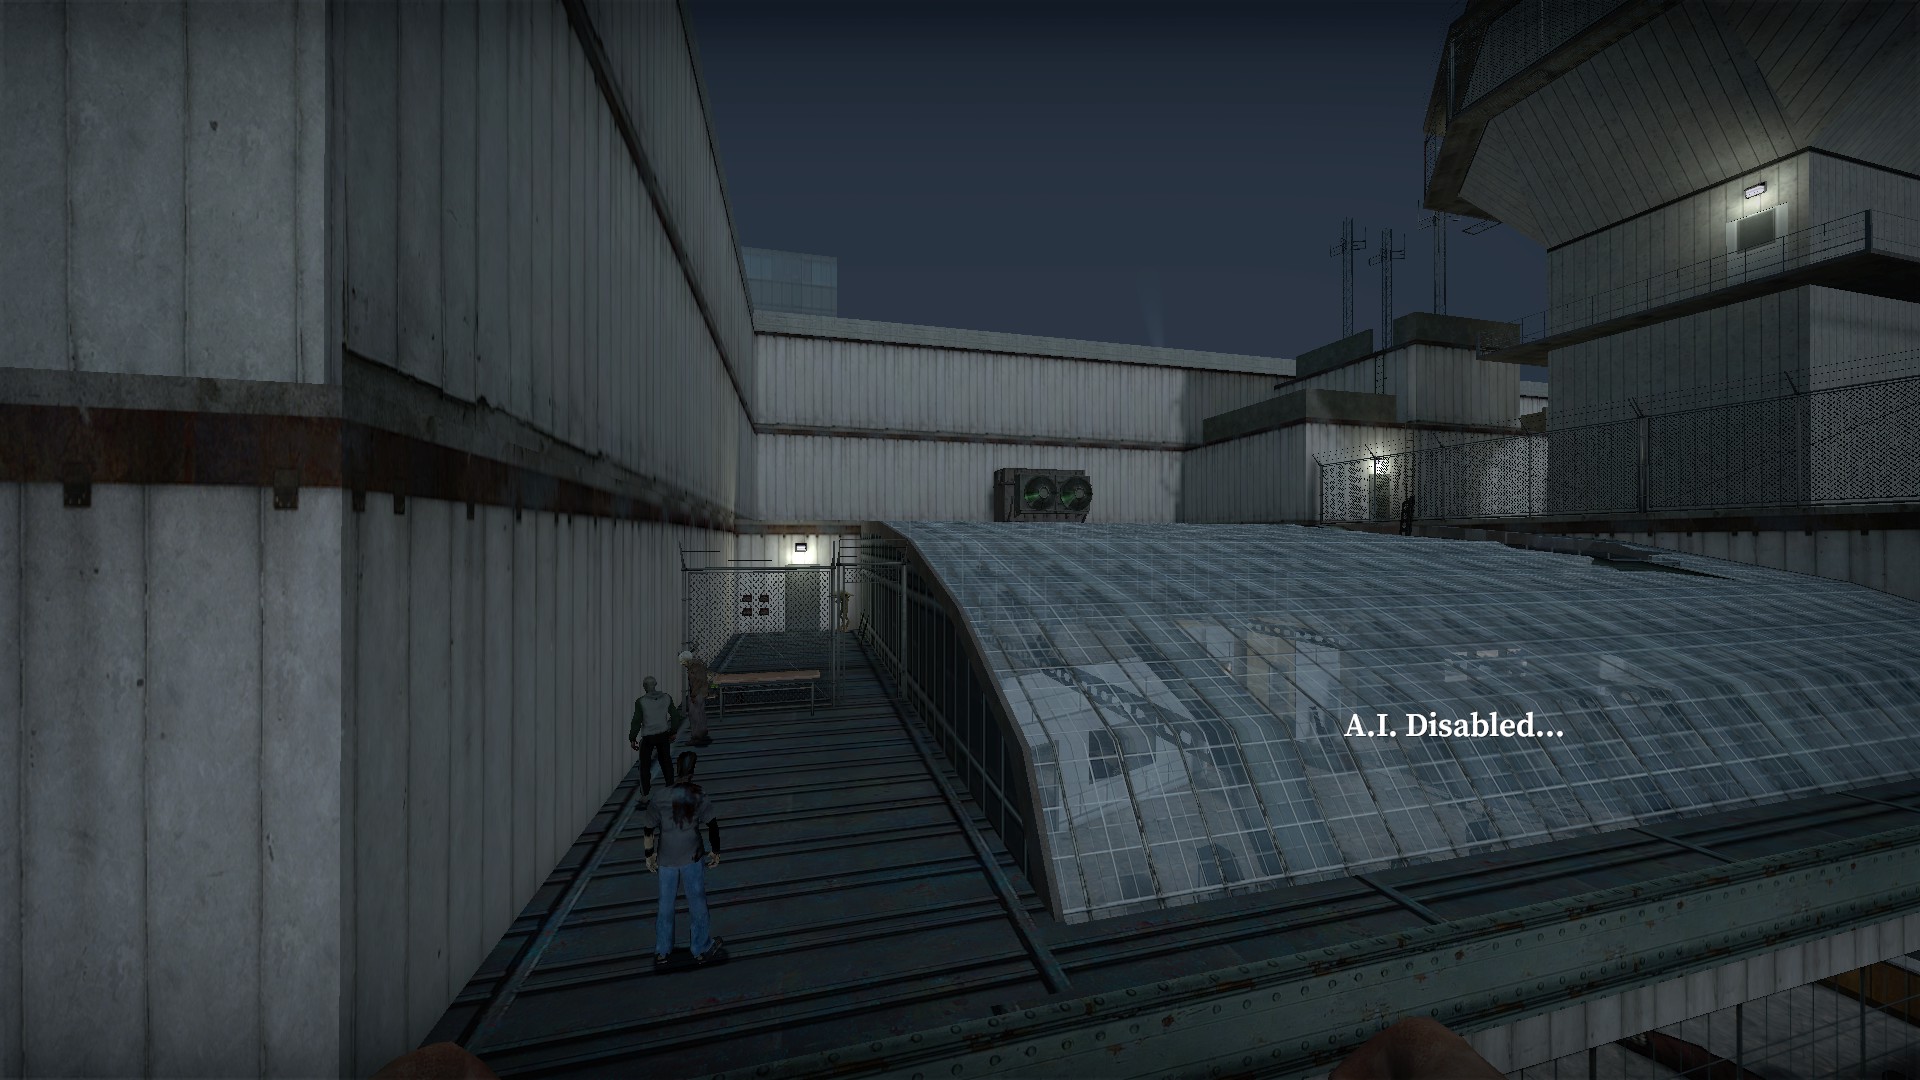
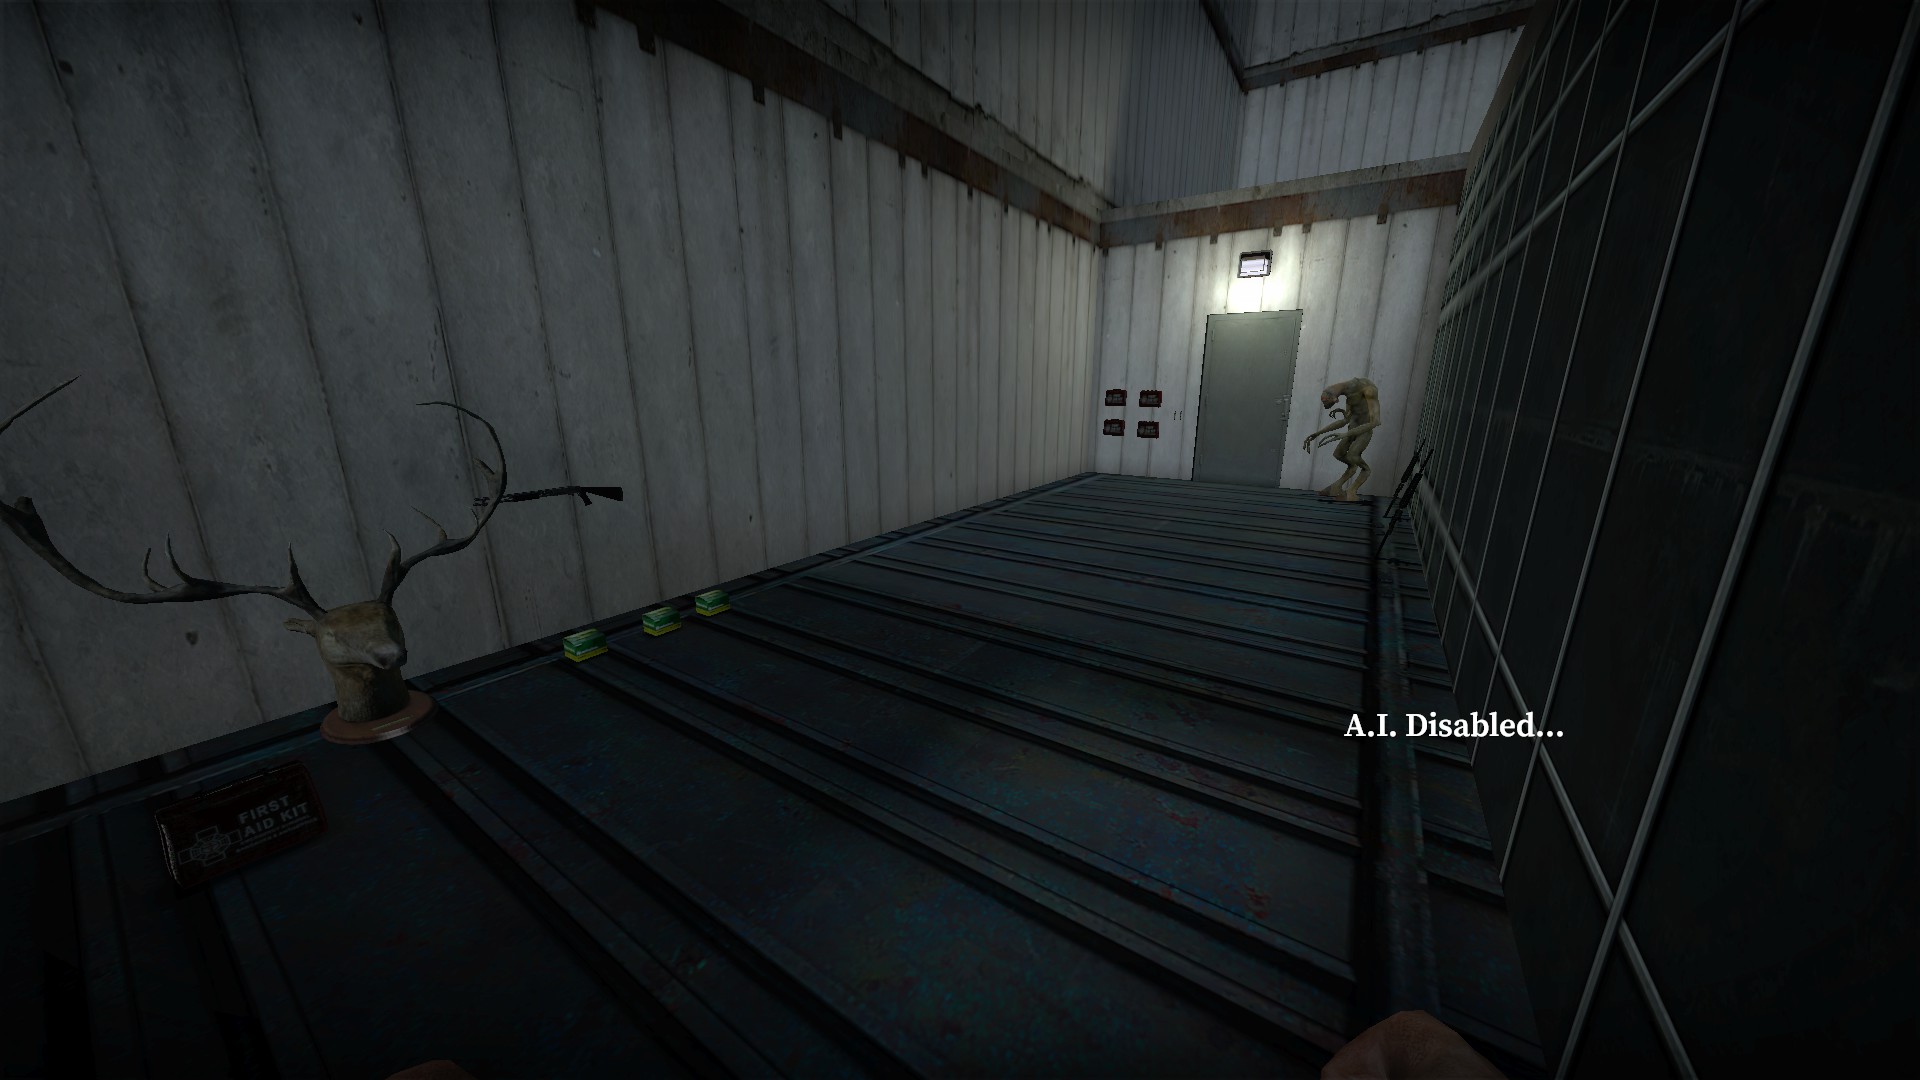
Head south on the roof and you'll find a hidden area with an alien and lots of supplies
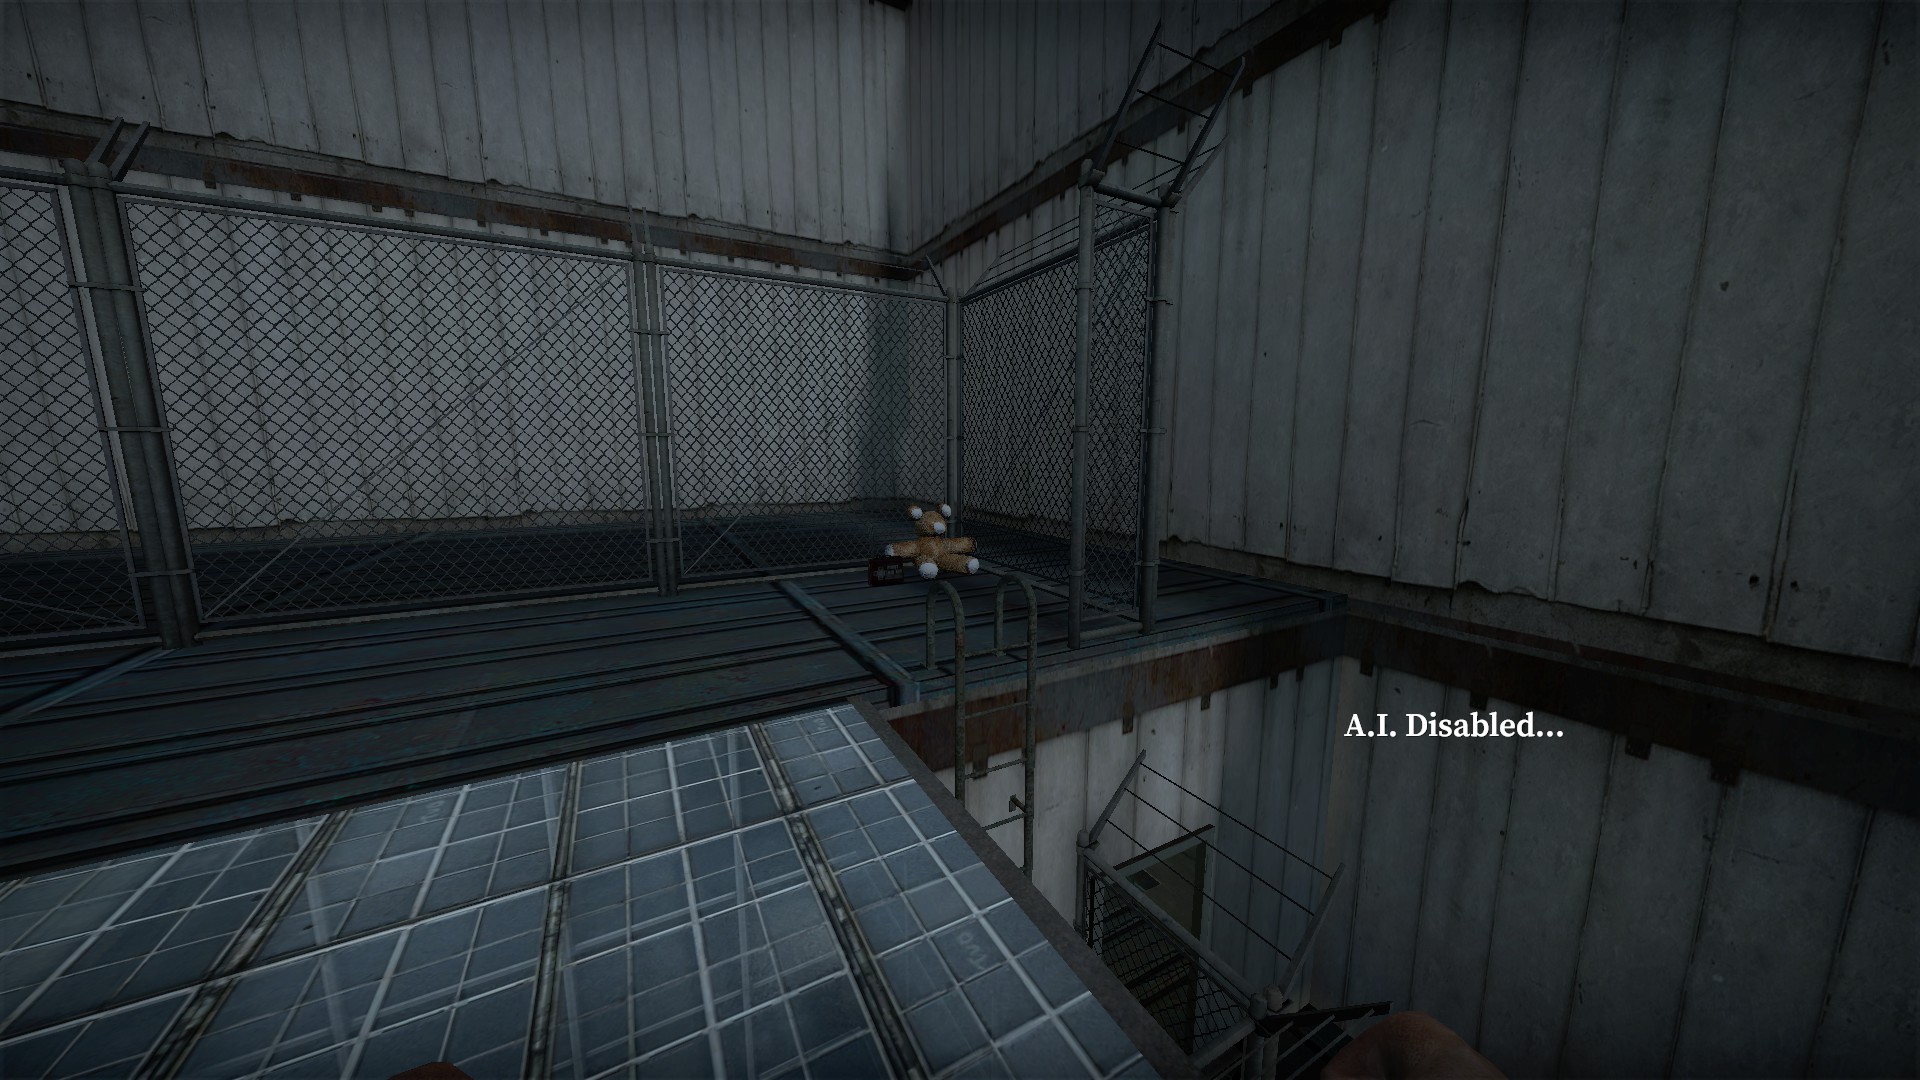
Head north to find a teddy bear with a medkit and machete
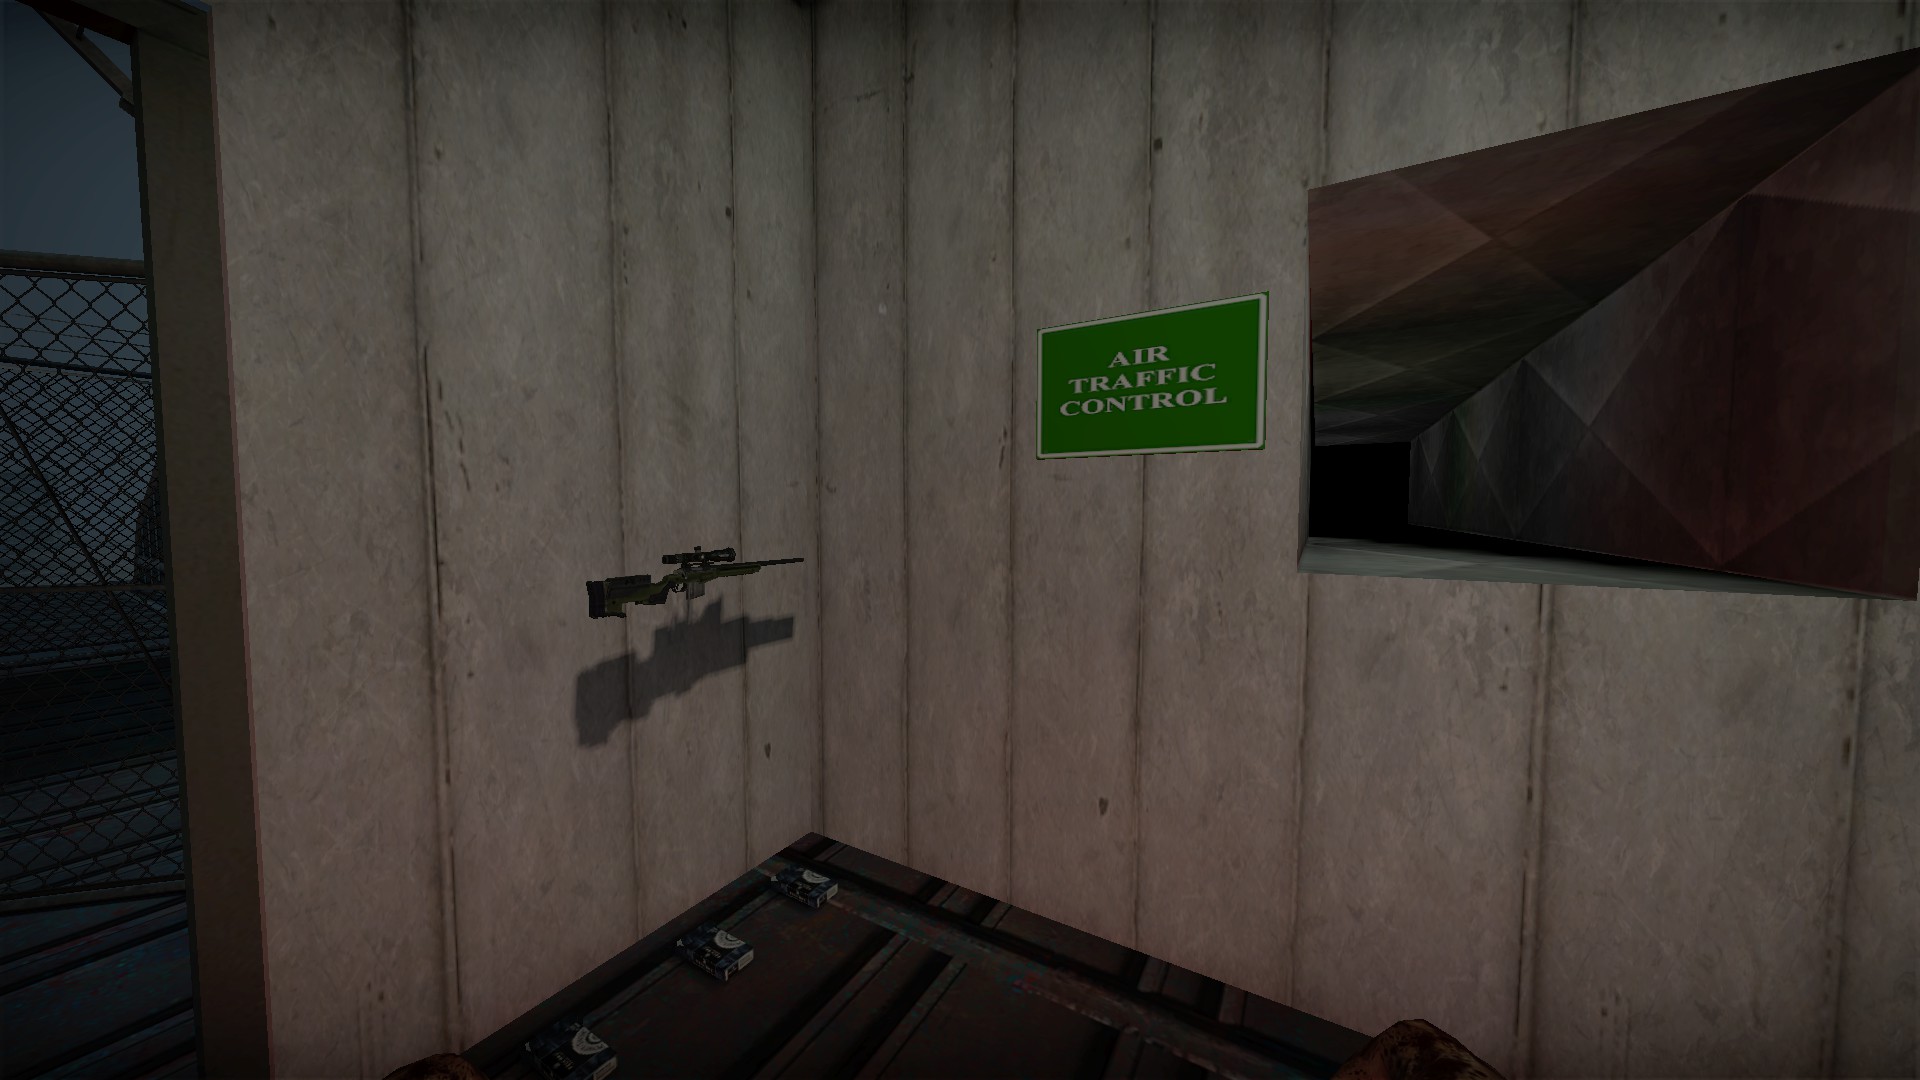
And a sniper stash below
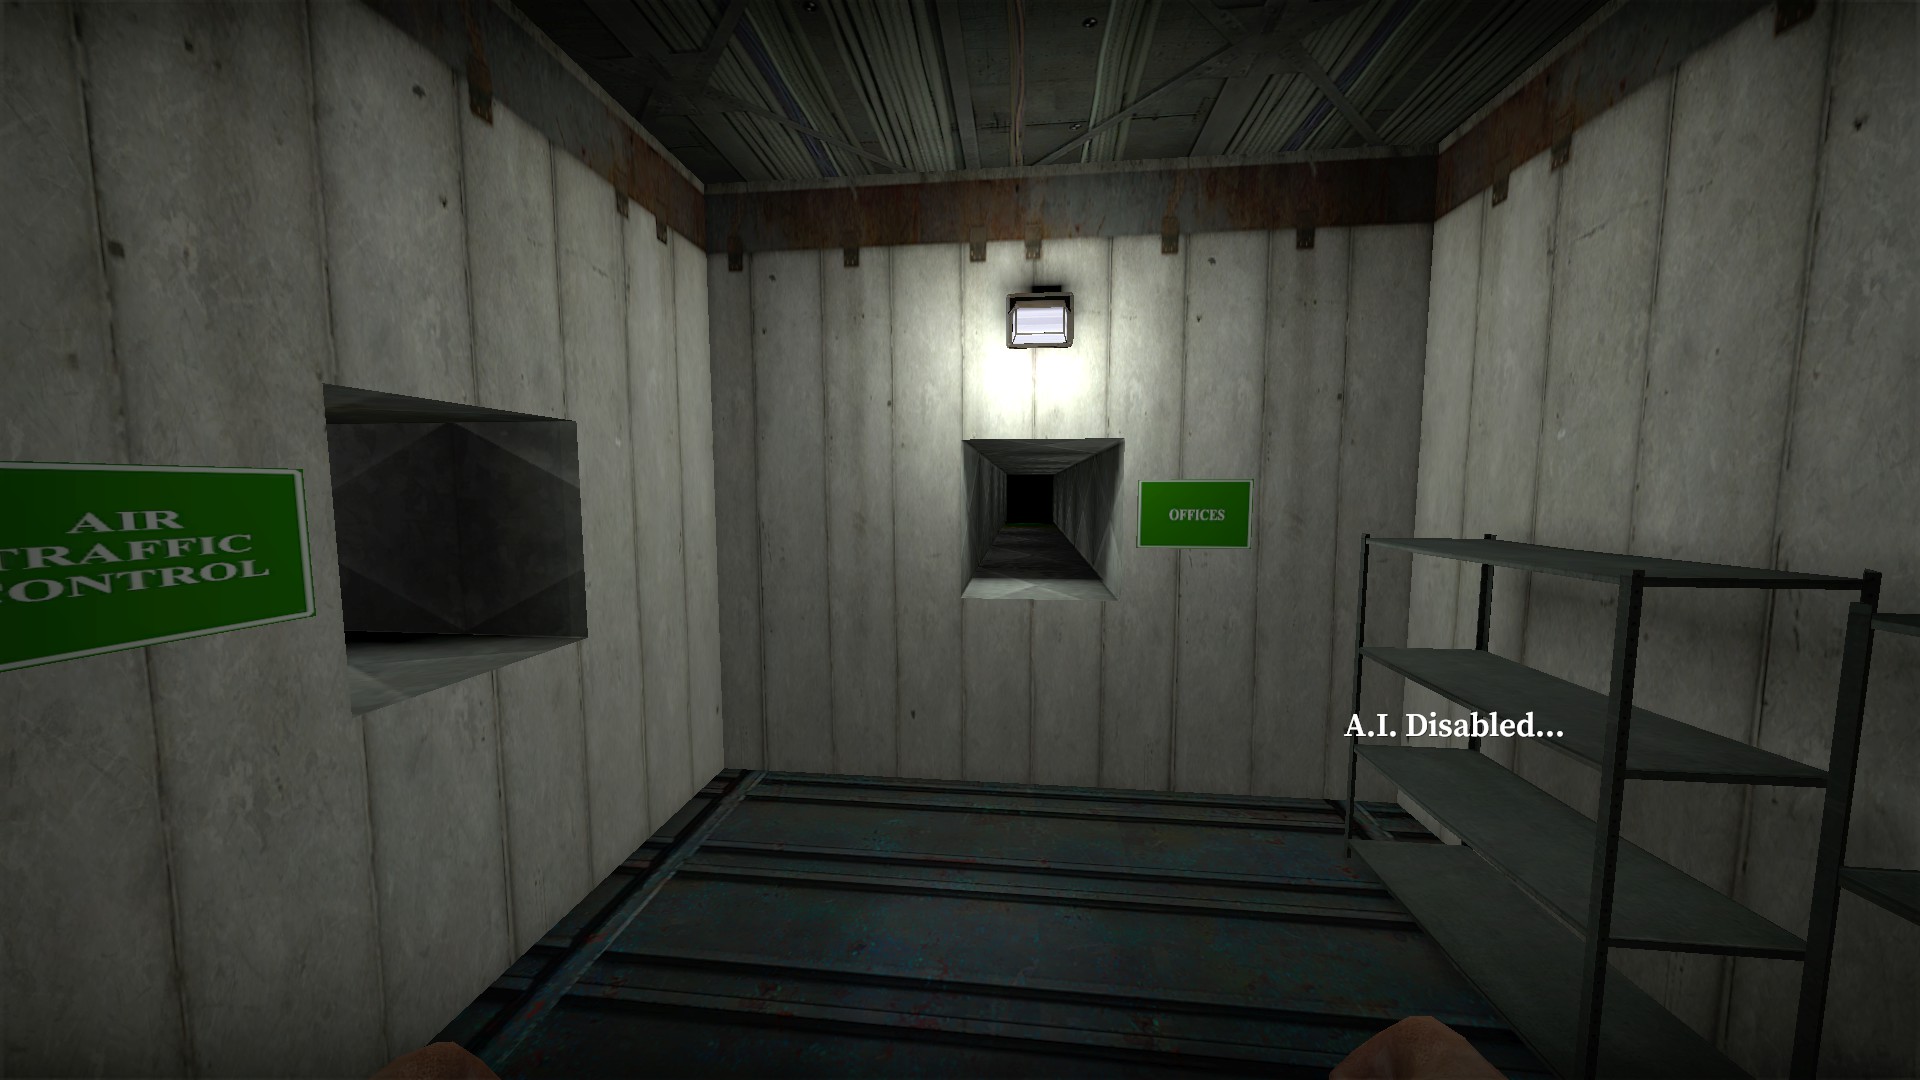
Stay out of the vents, you'll get stuck
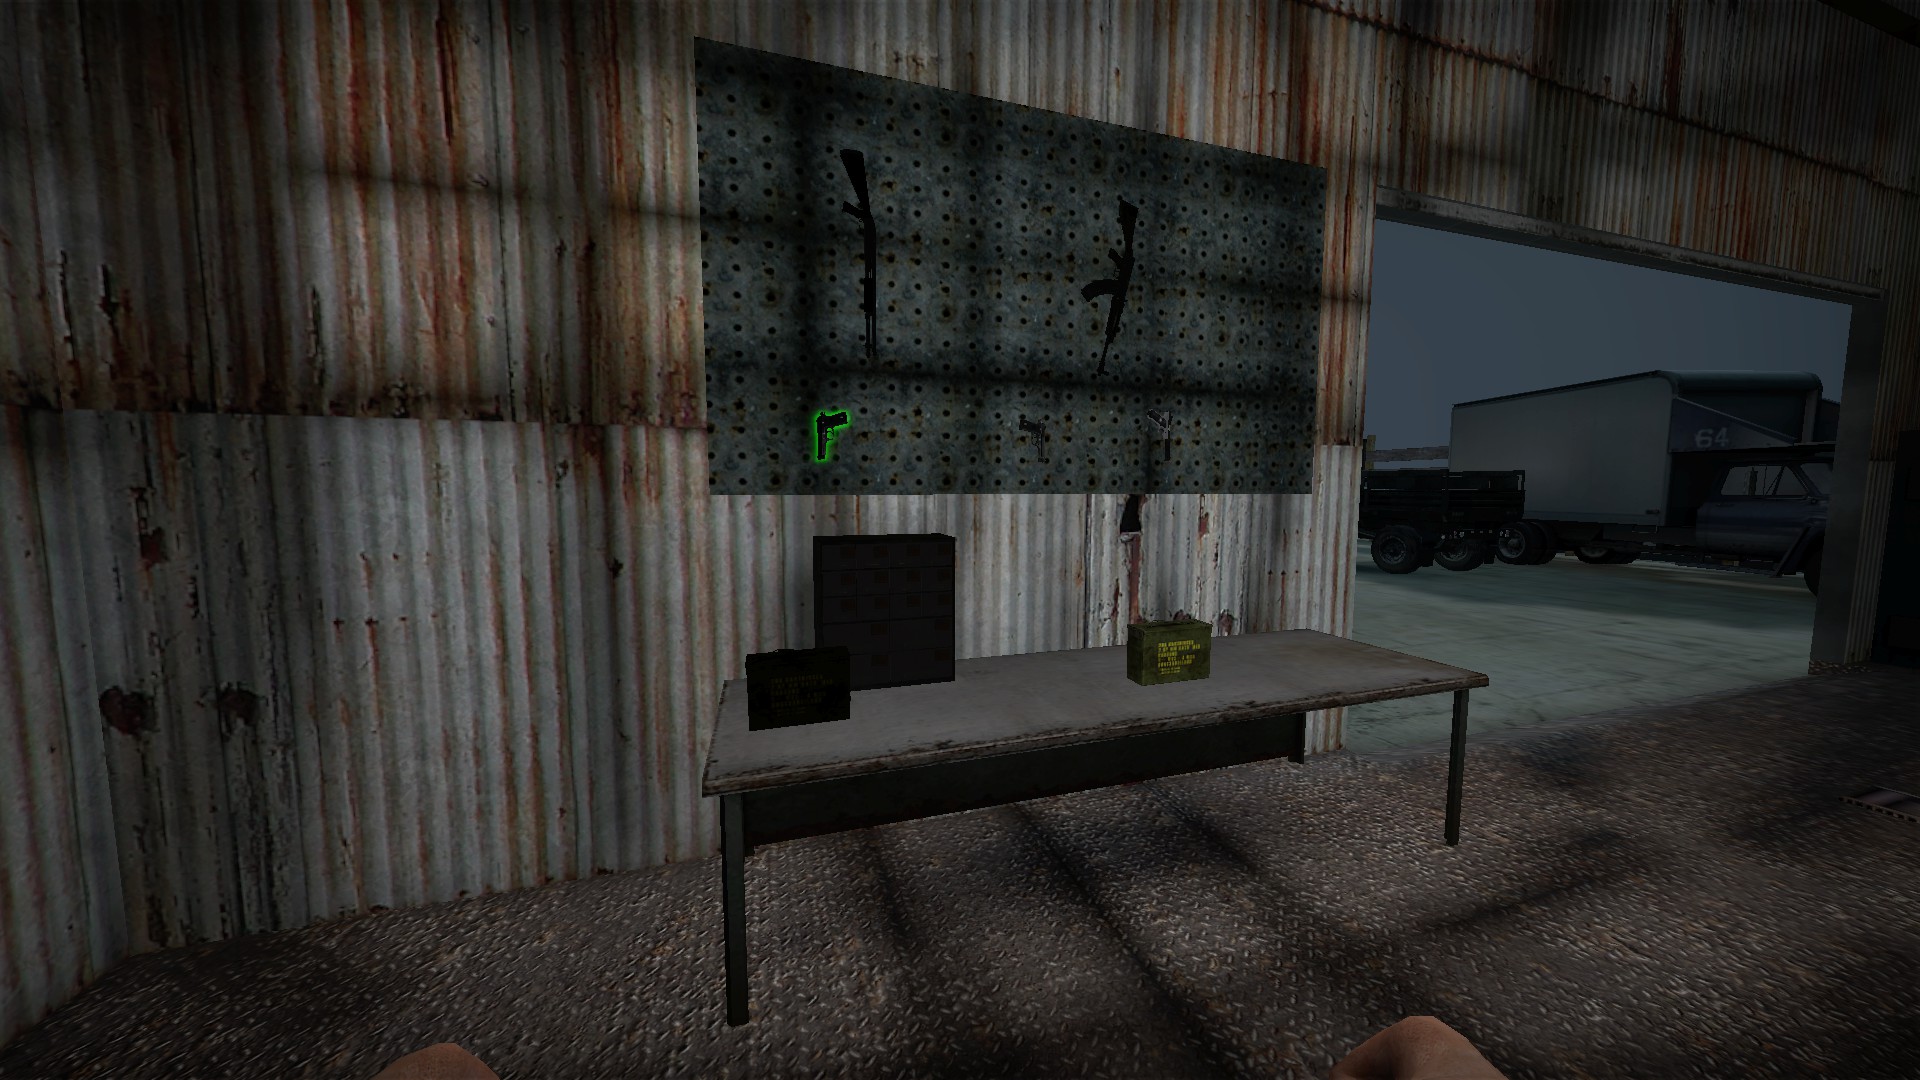
Right next to the supplies for the truck is a bench with ammo boxes and firearms on the wall behind it. The 2 ammo boxes are both weapon boxes, but with just the ammo side
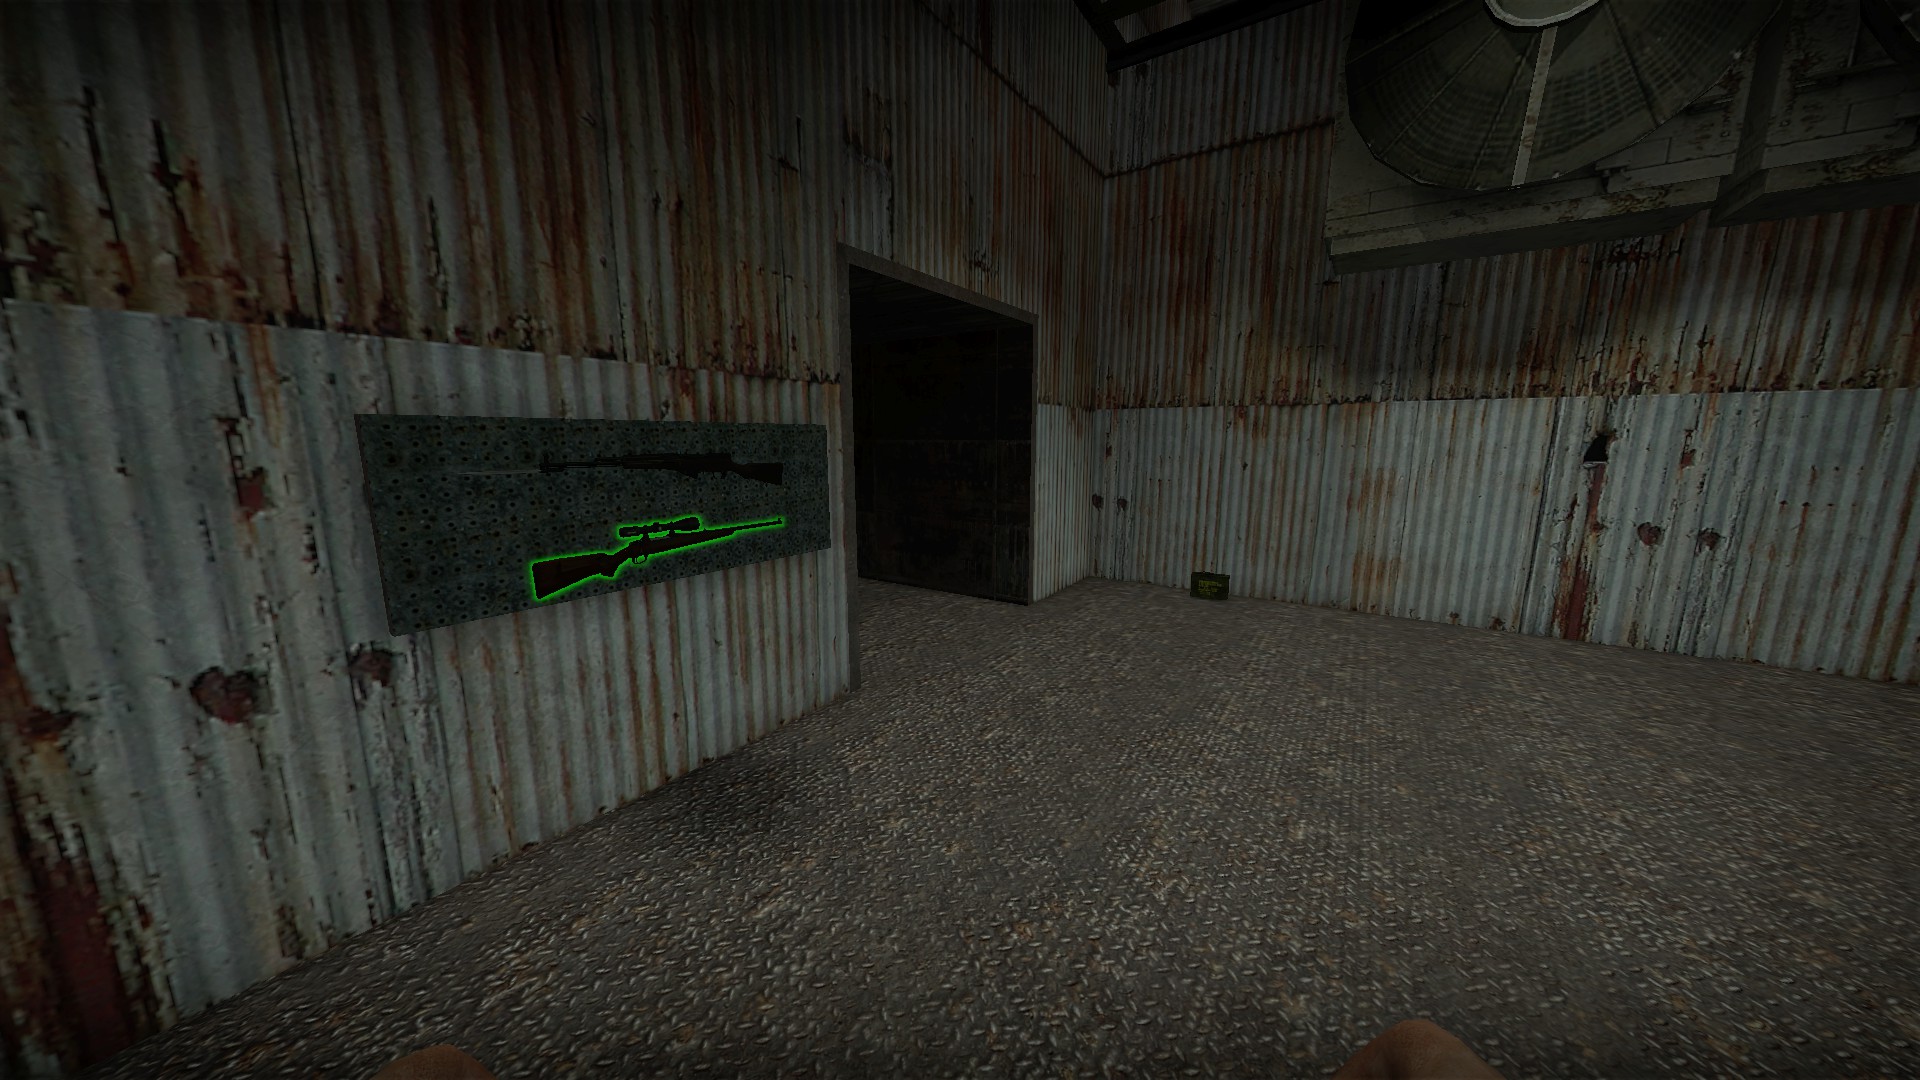
Also check the room just behind where the supplies emerge, there is another ammo box and more firearms on the wall
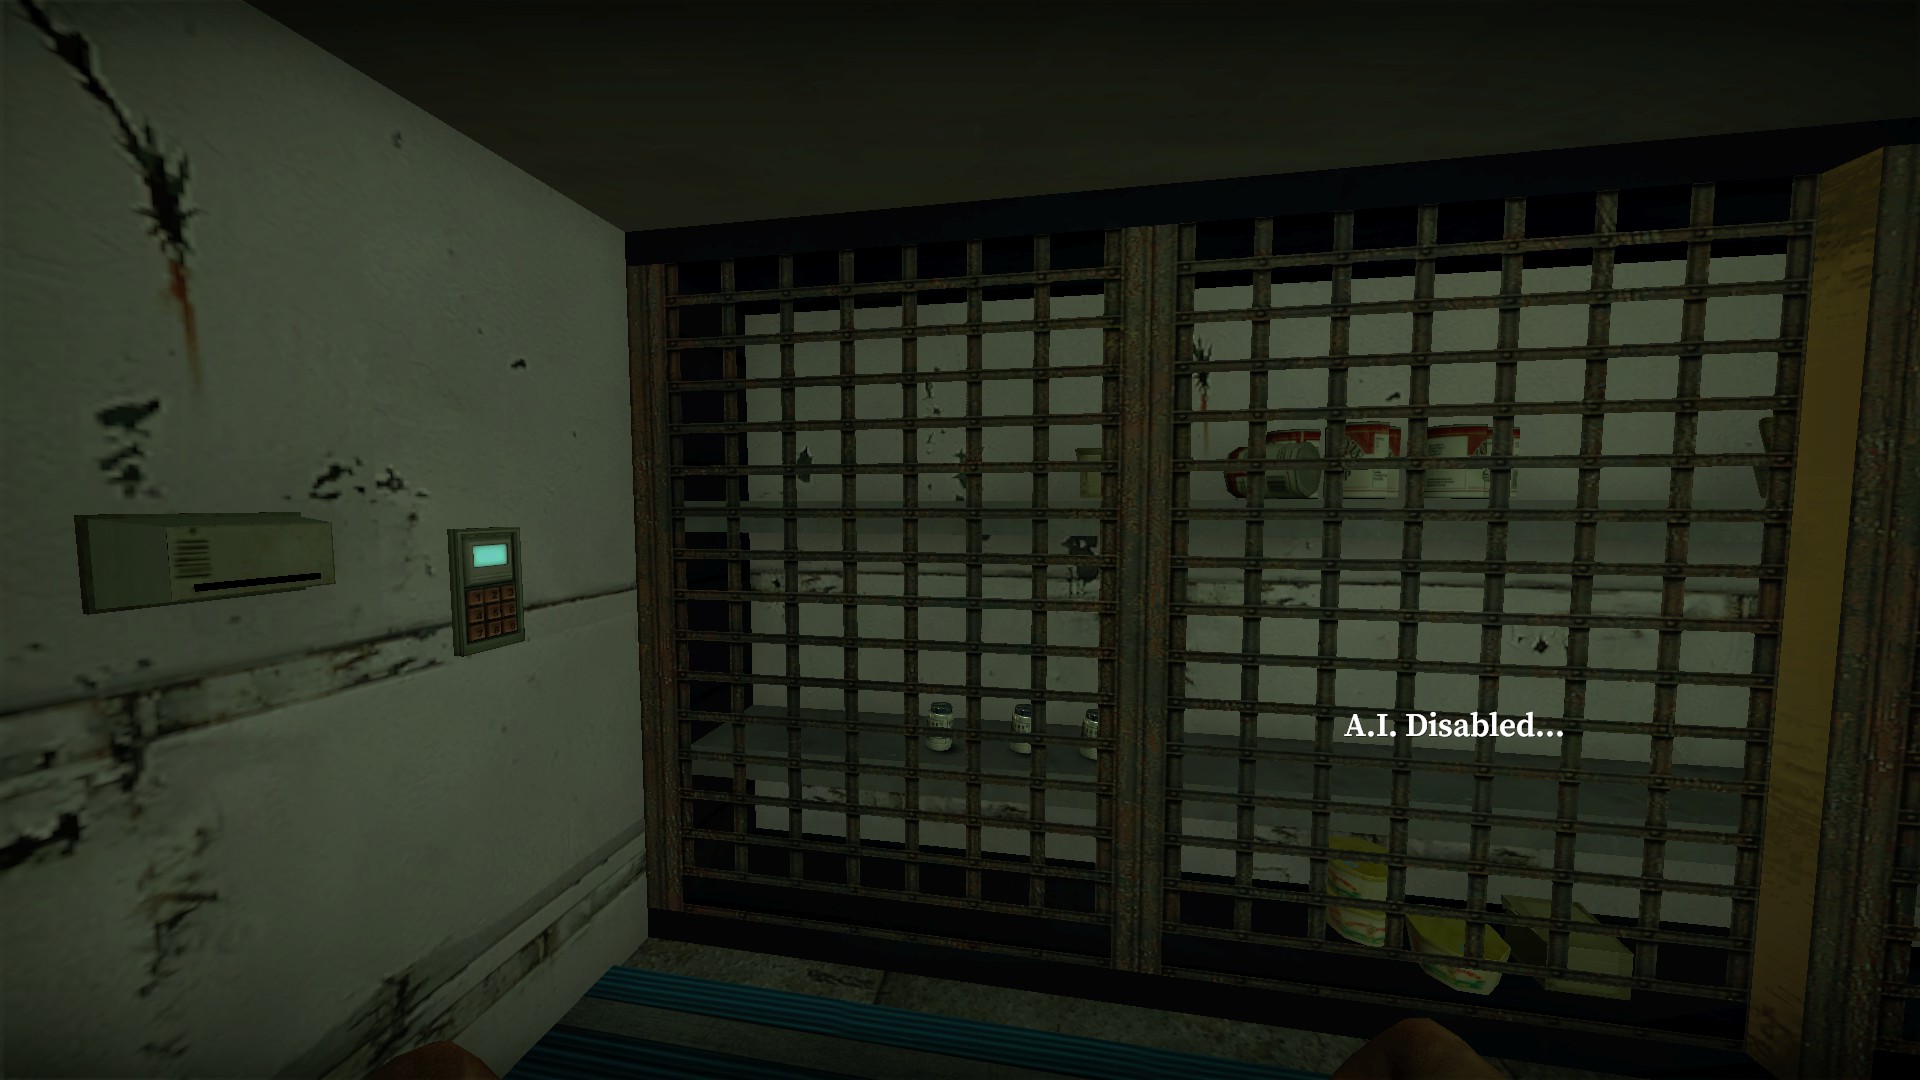
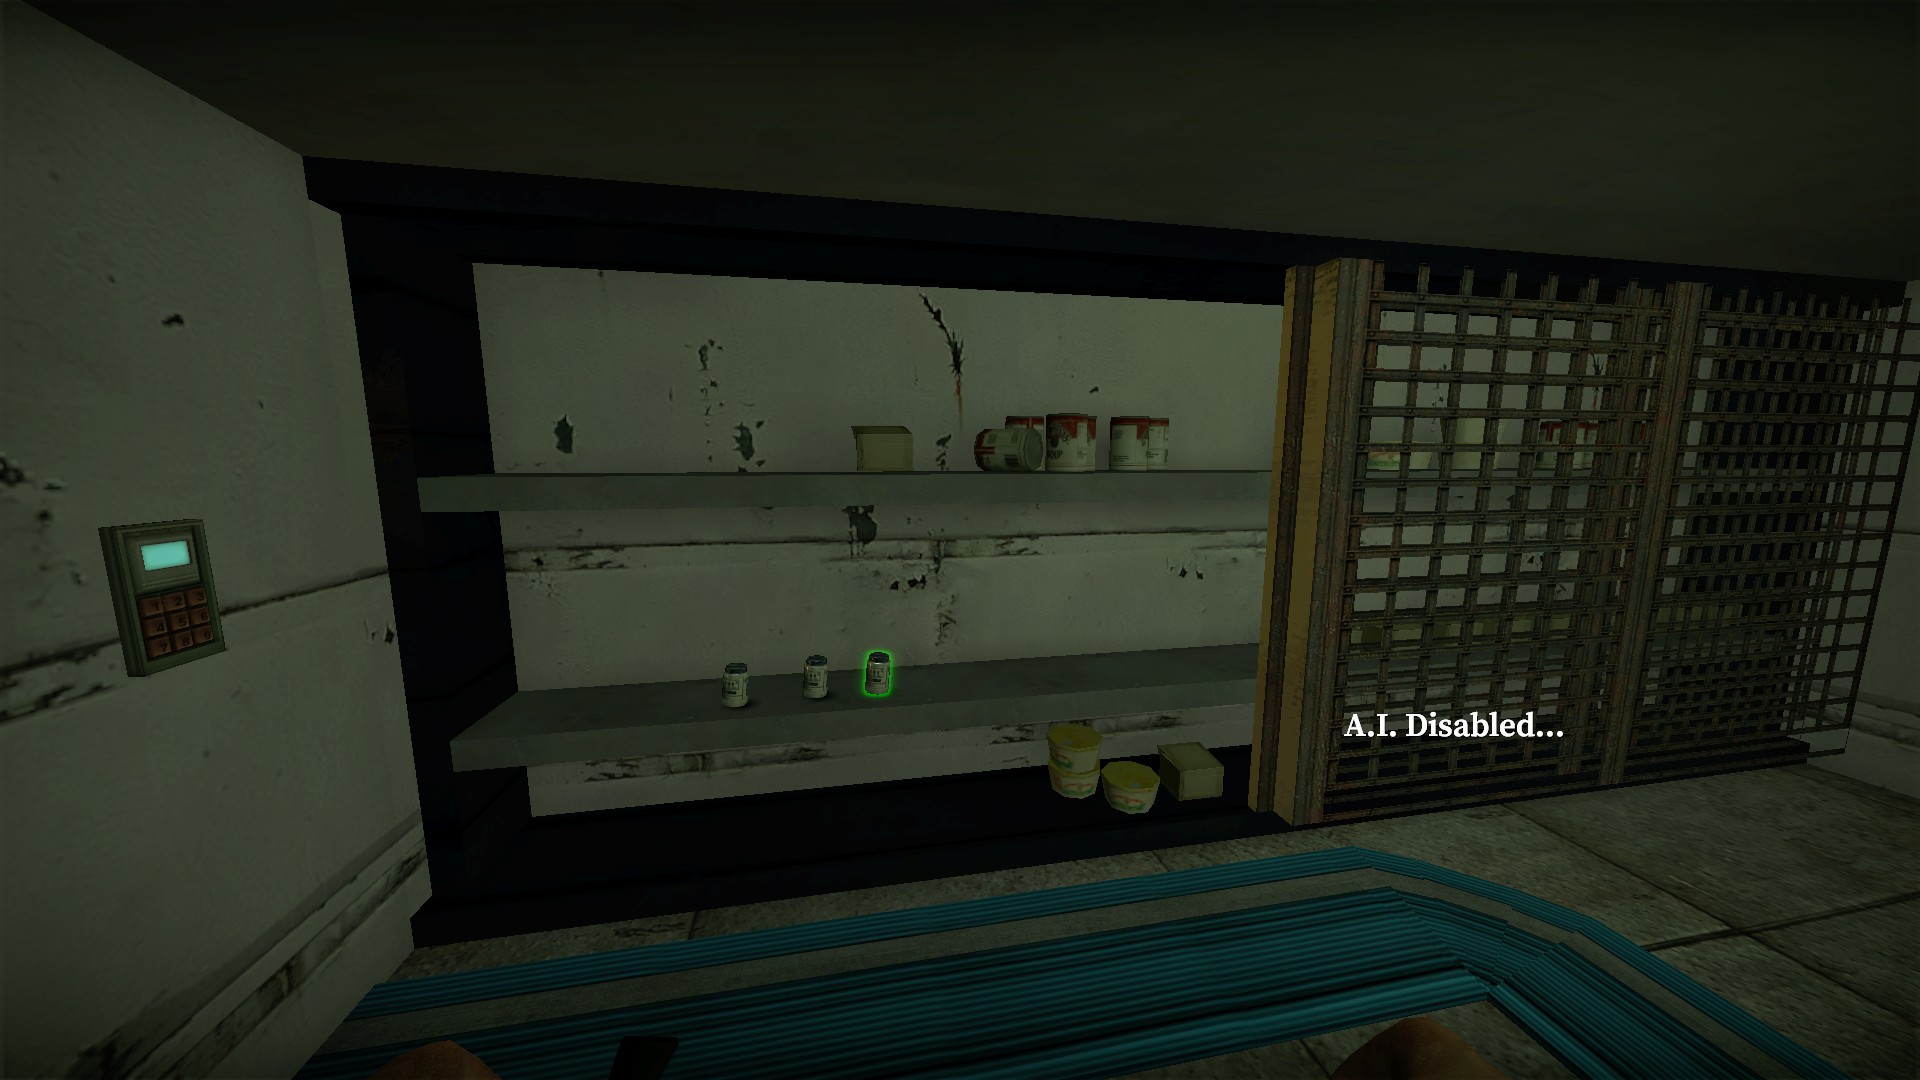
On the plane, after the battery has been connected you can open the cage in the security area
Links to other guides
Belgrieve's Map Secrets: Official NMO Maps
https://steamcommunity.com/sharedfiles/filedetails/?id=2167003980
nmo maps r-s
https://steamcommunity.com/sharedfiles/filedetails/?id=3538231256
Follow this guide in-game by using the steam overlay (shift+tab), this and more tips here:
https://steamcommunity.com/sharedfiles/filedetails/?id=3294874237
https://steamcommunity.com/sharedfiles/filedetails/?id=2167003980
nmo maps r-s
https://steamcommunity.com/sharedfiles/filedetails/?id=3538231256
Follow this guide in-game by using the steam overlay (shift+tab), this and more tips here:
https://steamcommunity.com/sharedfiles/filedetails/?id=3294874237
Thanks
Thank you to all map creators and their contributors!
Thank you to Porkchops4lunch, Kevin, and many others for hosting great modded servers!
Hope this guide brings some love to some old and new maps!
If you liked this guide, give it an upvote (thumbs up) above. Add it to your favorites and it's easier to find in the guides section
Found other secrets for these maps? Let me know in the comments and I'm happy to give credit
Thank you to Porkchops4lunch, Kevin, and many others for hosting great modded servers!
Hope this guide brings some love to some old and new maps!
If you liked this guide, give it an upvote (thumbs up) above. Add it to your favorites and it's easier to find in the guides section
Found other secrets for these maps? Let me know in the comments and I'm happy to give credit
More No More Room in Hell guides
- No More Room in Hell Official Manual★ 5 (2.8k)569k views2.1k ♥29 minUpdated Apr 22, 2019
- NMRiH Community Hosting Guides★ 5 (526)351k views653 ♥1 minUpdated Aug 10, 2022
- A Complete Guide to NMRiH (v1.14.2)★ 5 (996)253k views1.3k ♥280 minUpdated Jun 2
- How to play with friends★ 4 (187)69k views428 ♥2 minUpdated Jun 26, 2023
- How to Create a "Listen" Server★ 5 (453)41k views702 ♥4 minUpdated Sep 27, 2022
- Большое Руководство [RUS]★ 5 (650)22k views609 ♥27 minRussianUpdated May 9, 2016





This guide was created by its original author on the Steam Community. Are you the author and want it removed? Request removal.