ALL YOU NEED GUIDE TO ATTACK OF THE RADIOACTIVE THING
Introduction

Sadly, I won't be posting a map for this one because I don't really know how to make my own map and there's not any image of a map layout online for this map. If you wish the contribute this, feel free to DM something :)
This is my fourth guide for Infinite Warfare Zombies and I know this one is extremely late and I do plan on finishing all of my IW guides soon now that I have the motivation to do so again! However, enjoy the guide and I hope its helpful!
Join the Community

https://infinitewarfarecommunity.com

https://discord.com/invite/FycARMT2YR
Power & Pack-a-Punch
- On the beach looking directly towards the Radioactive Thing.
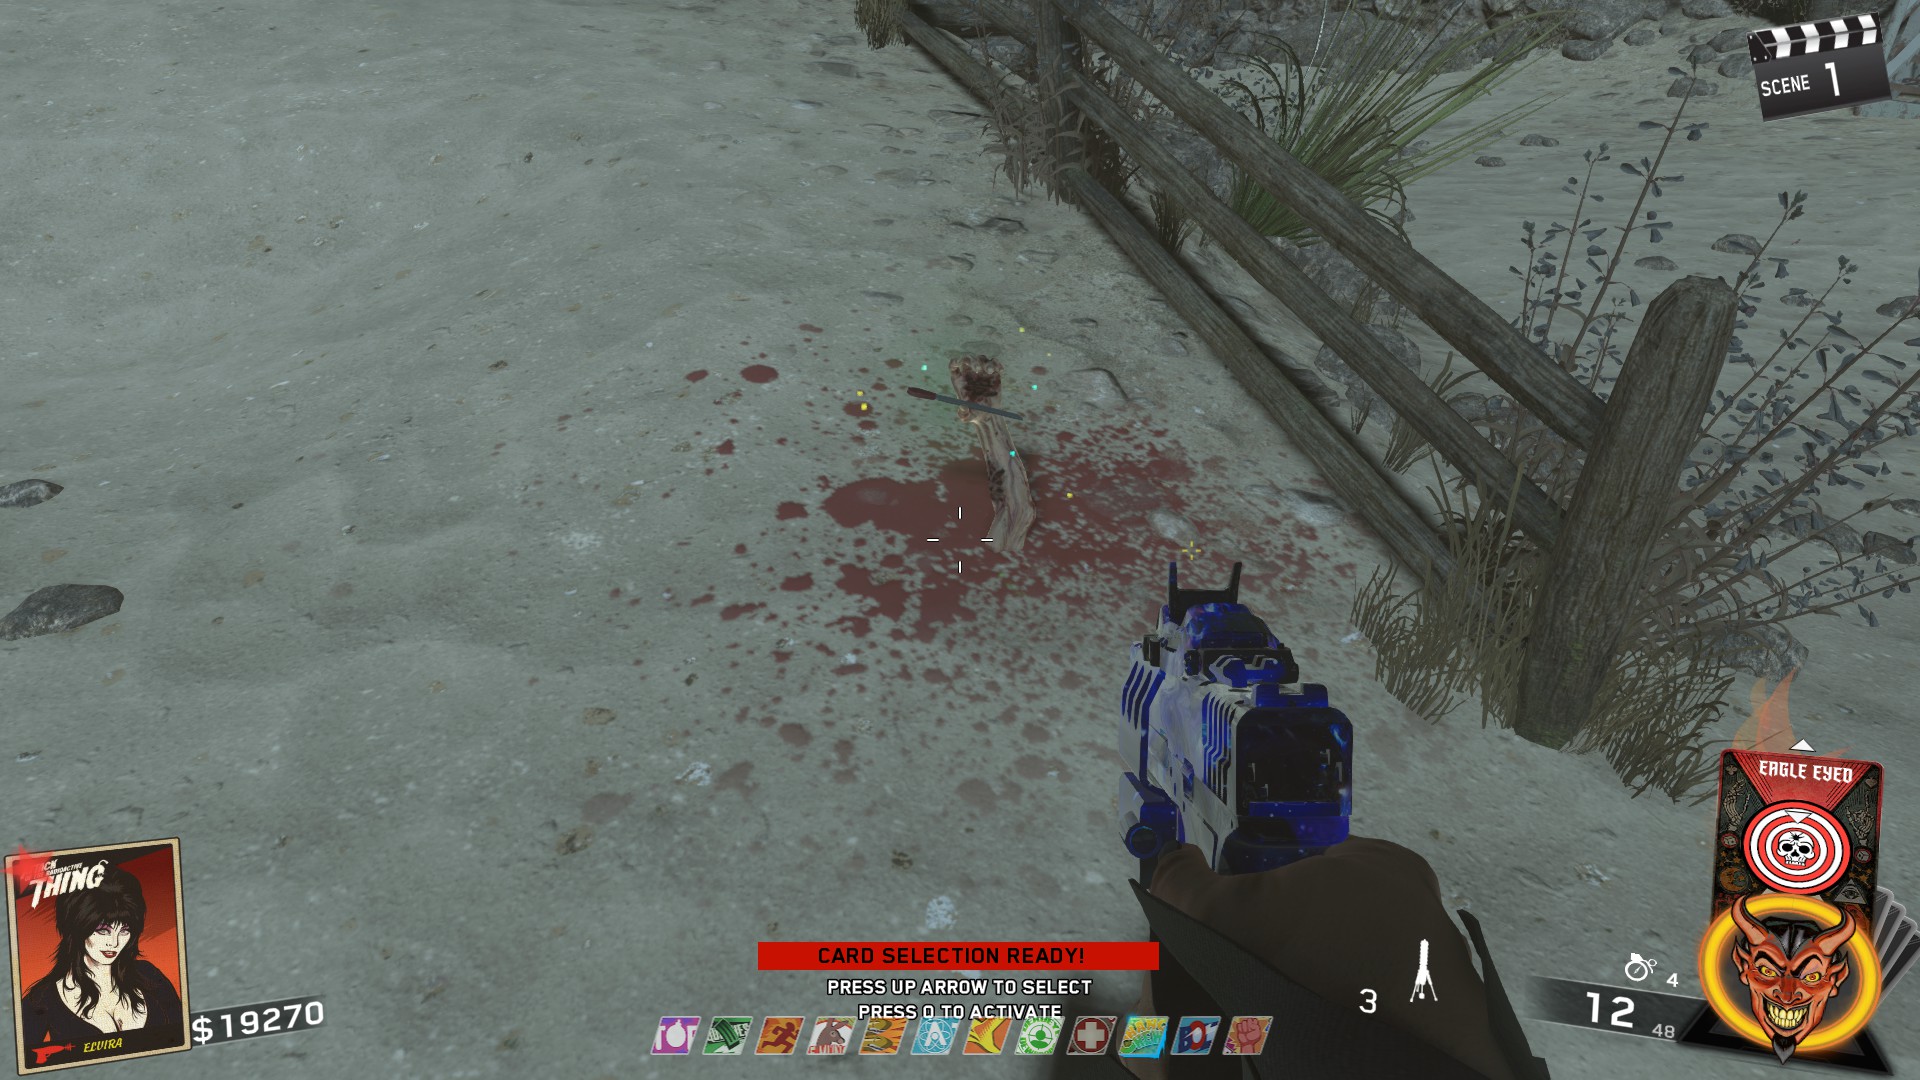
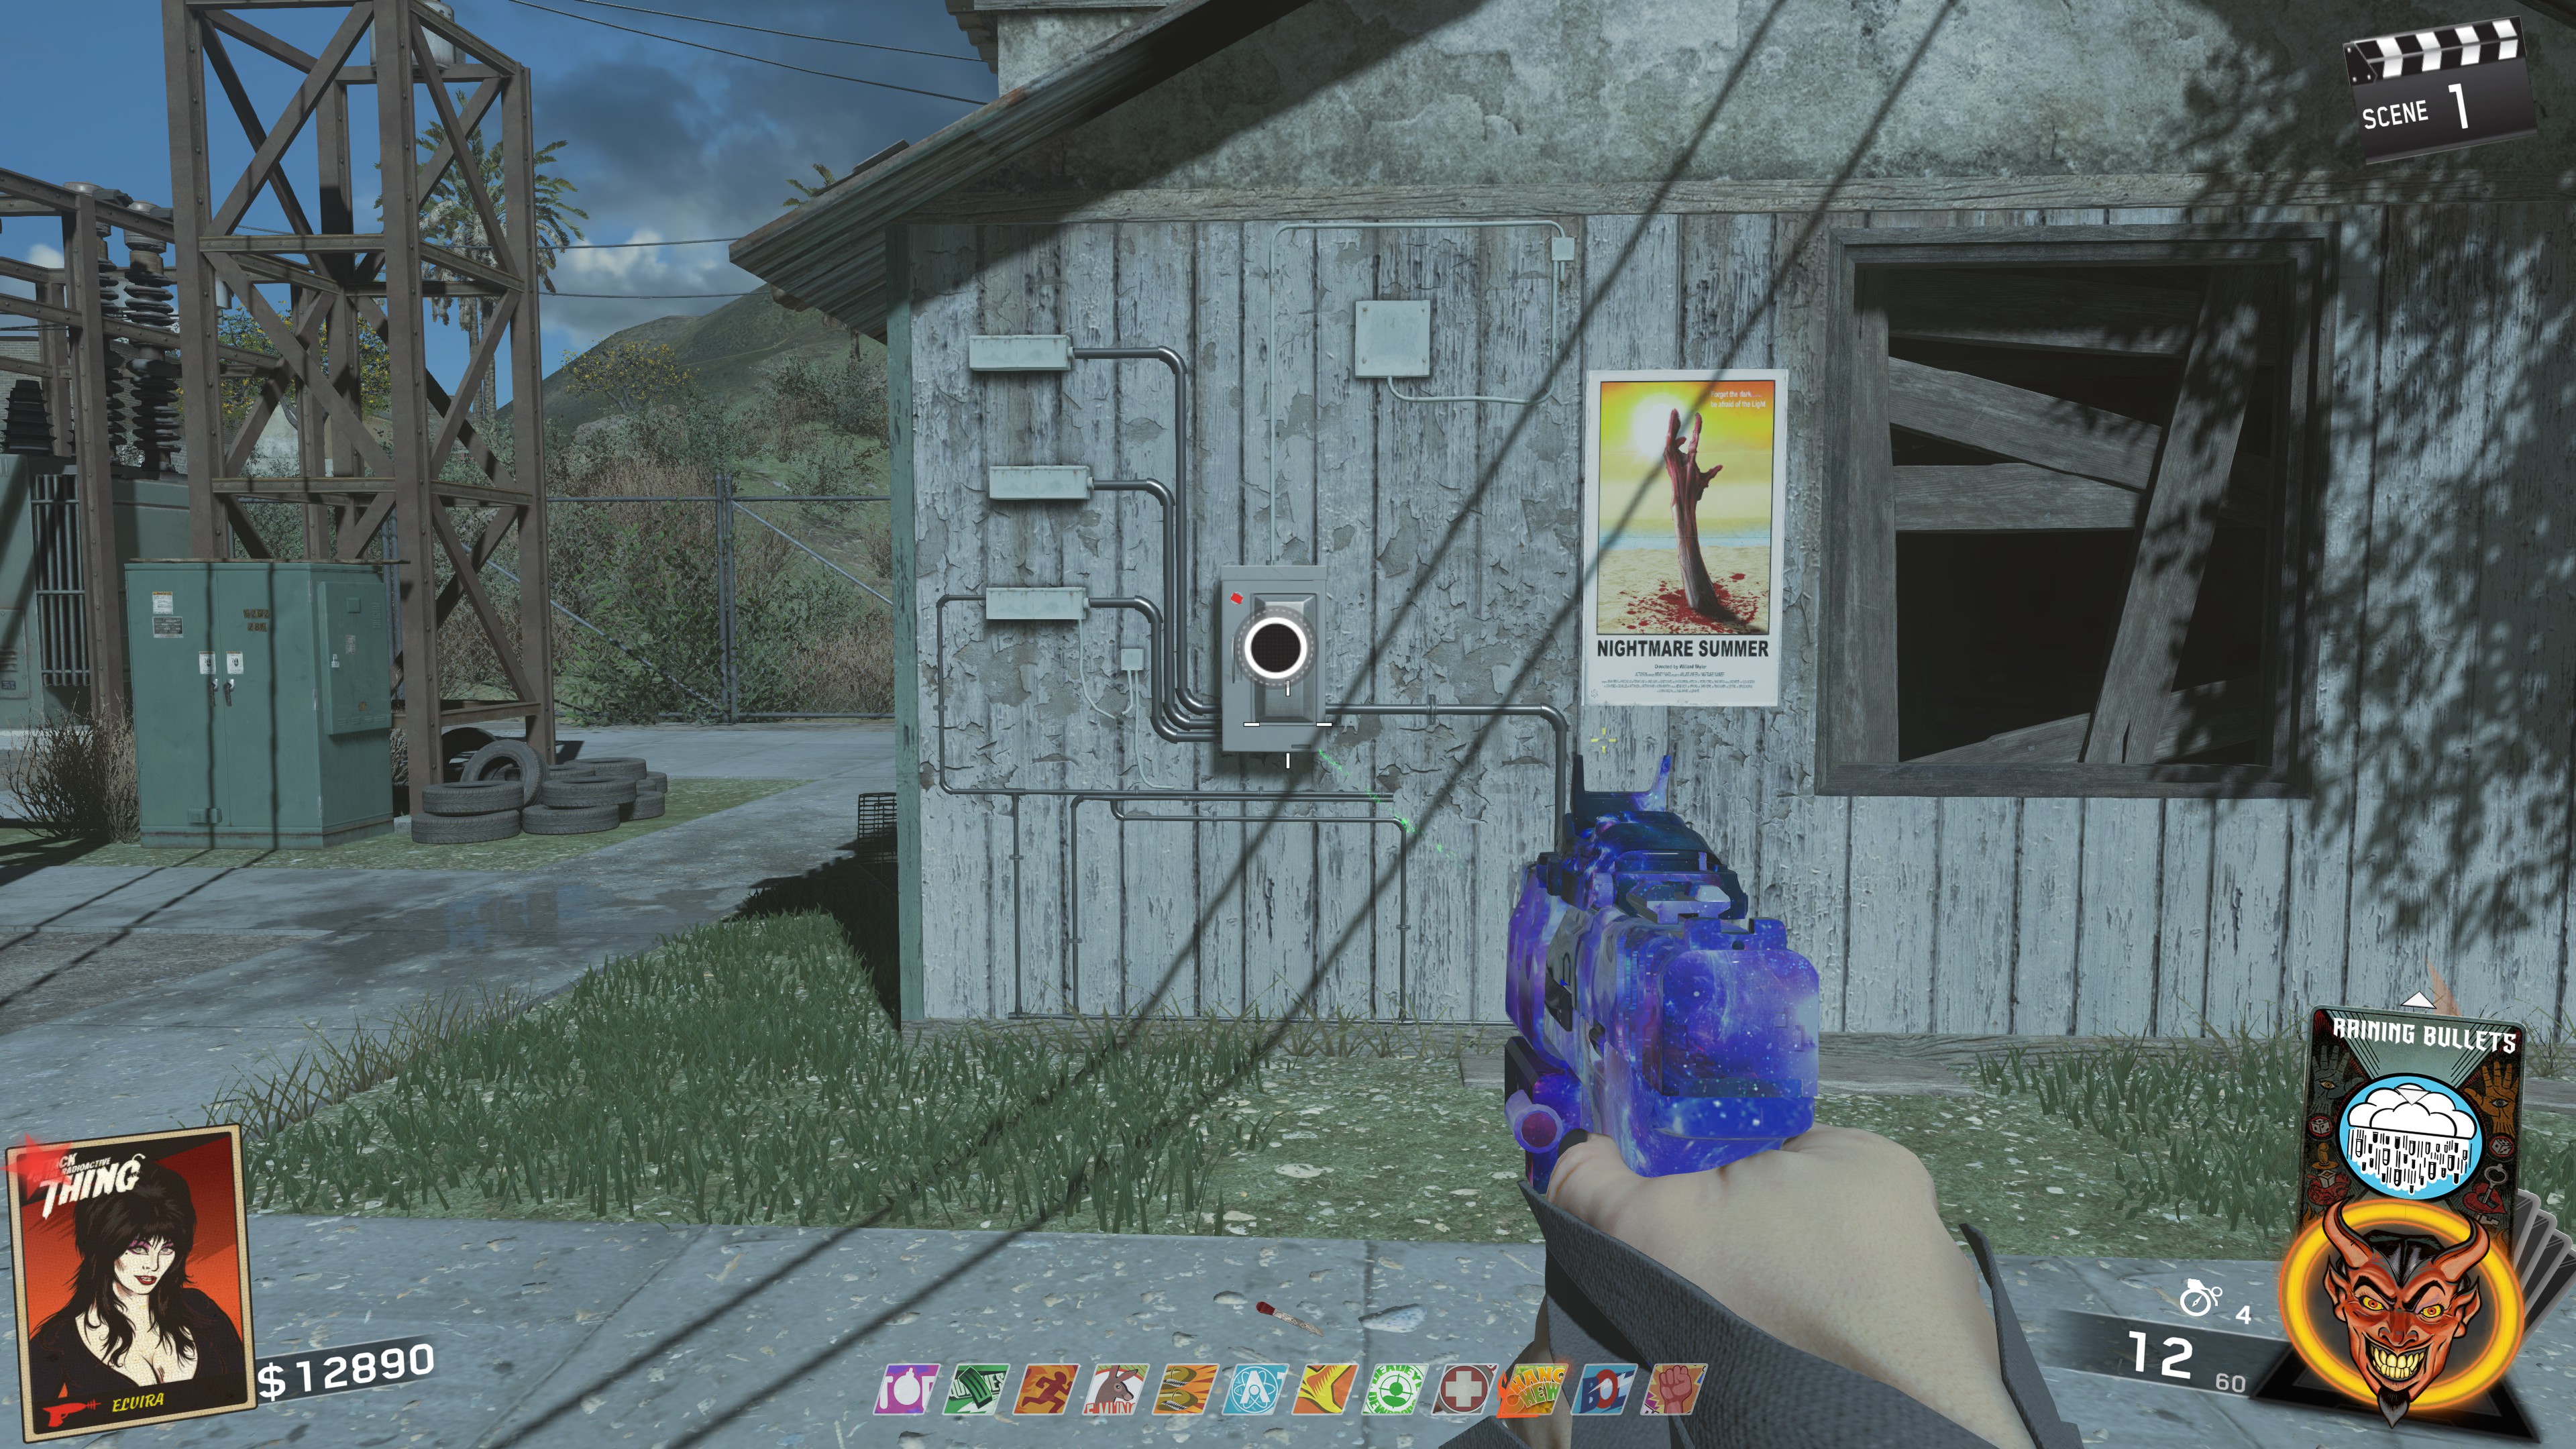
Grab it and take it to the power area near Blue Bolts and place the switch box on the switch box and it will automatically flip the power on.
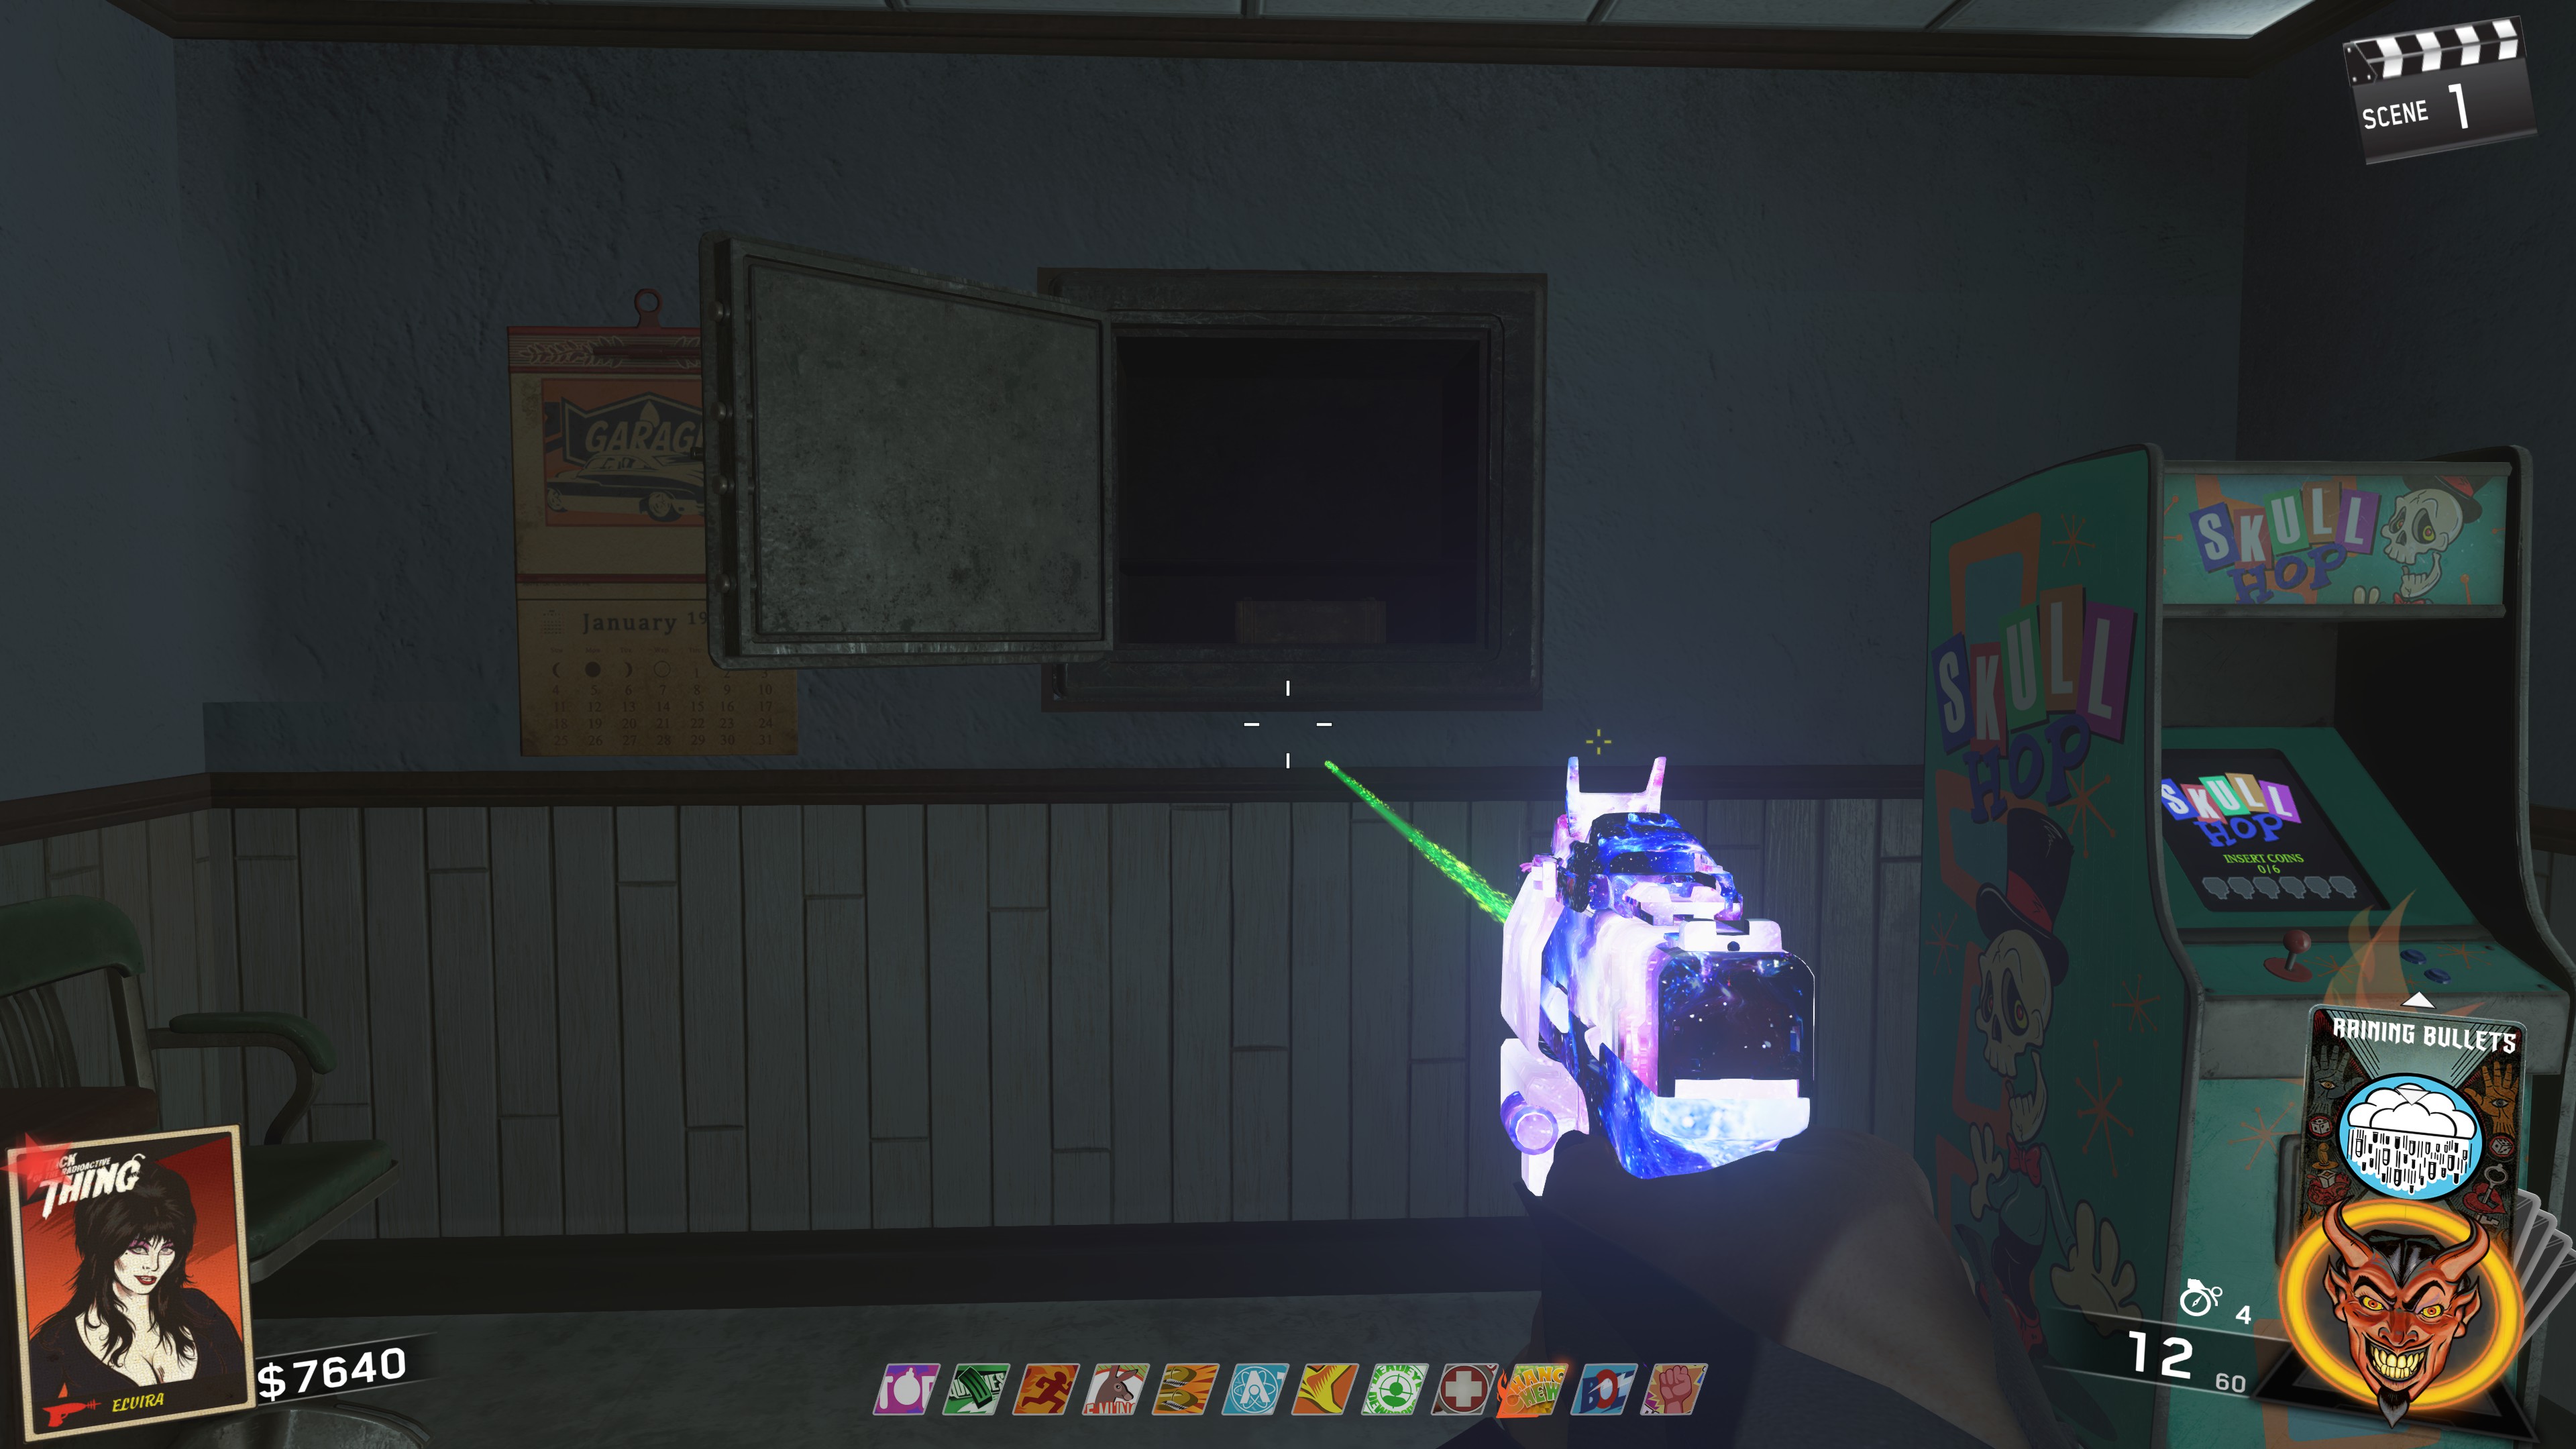
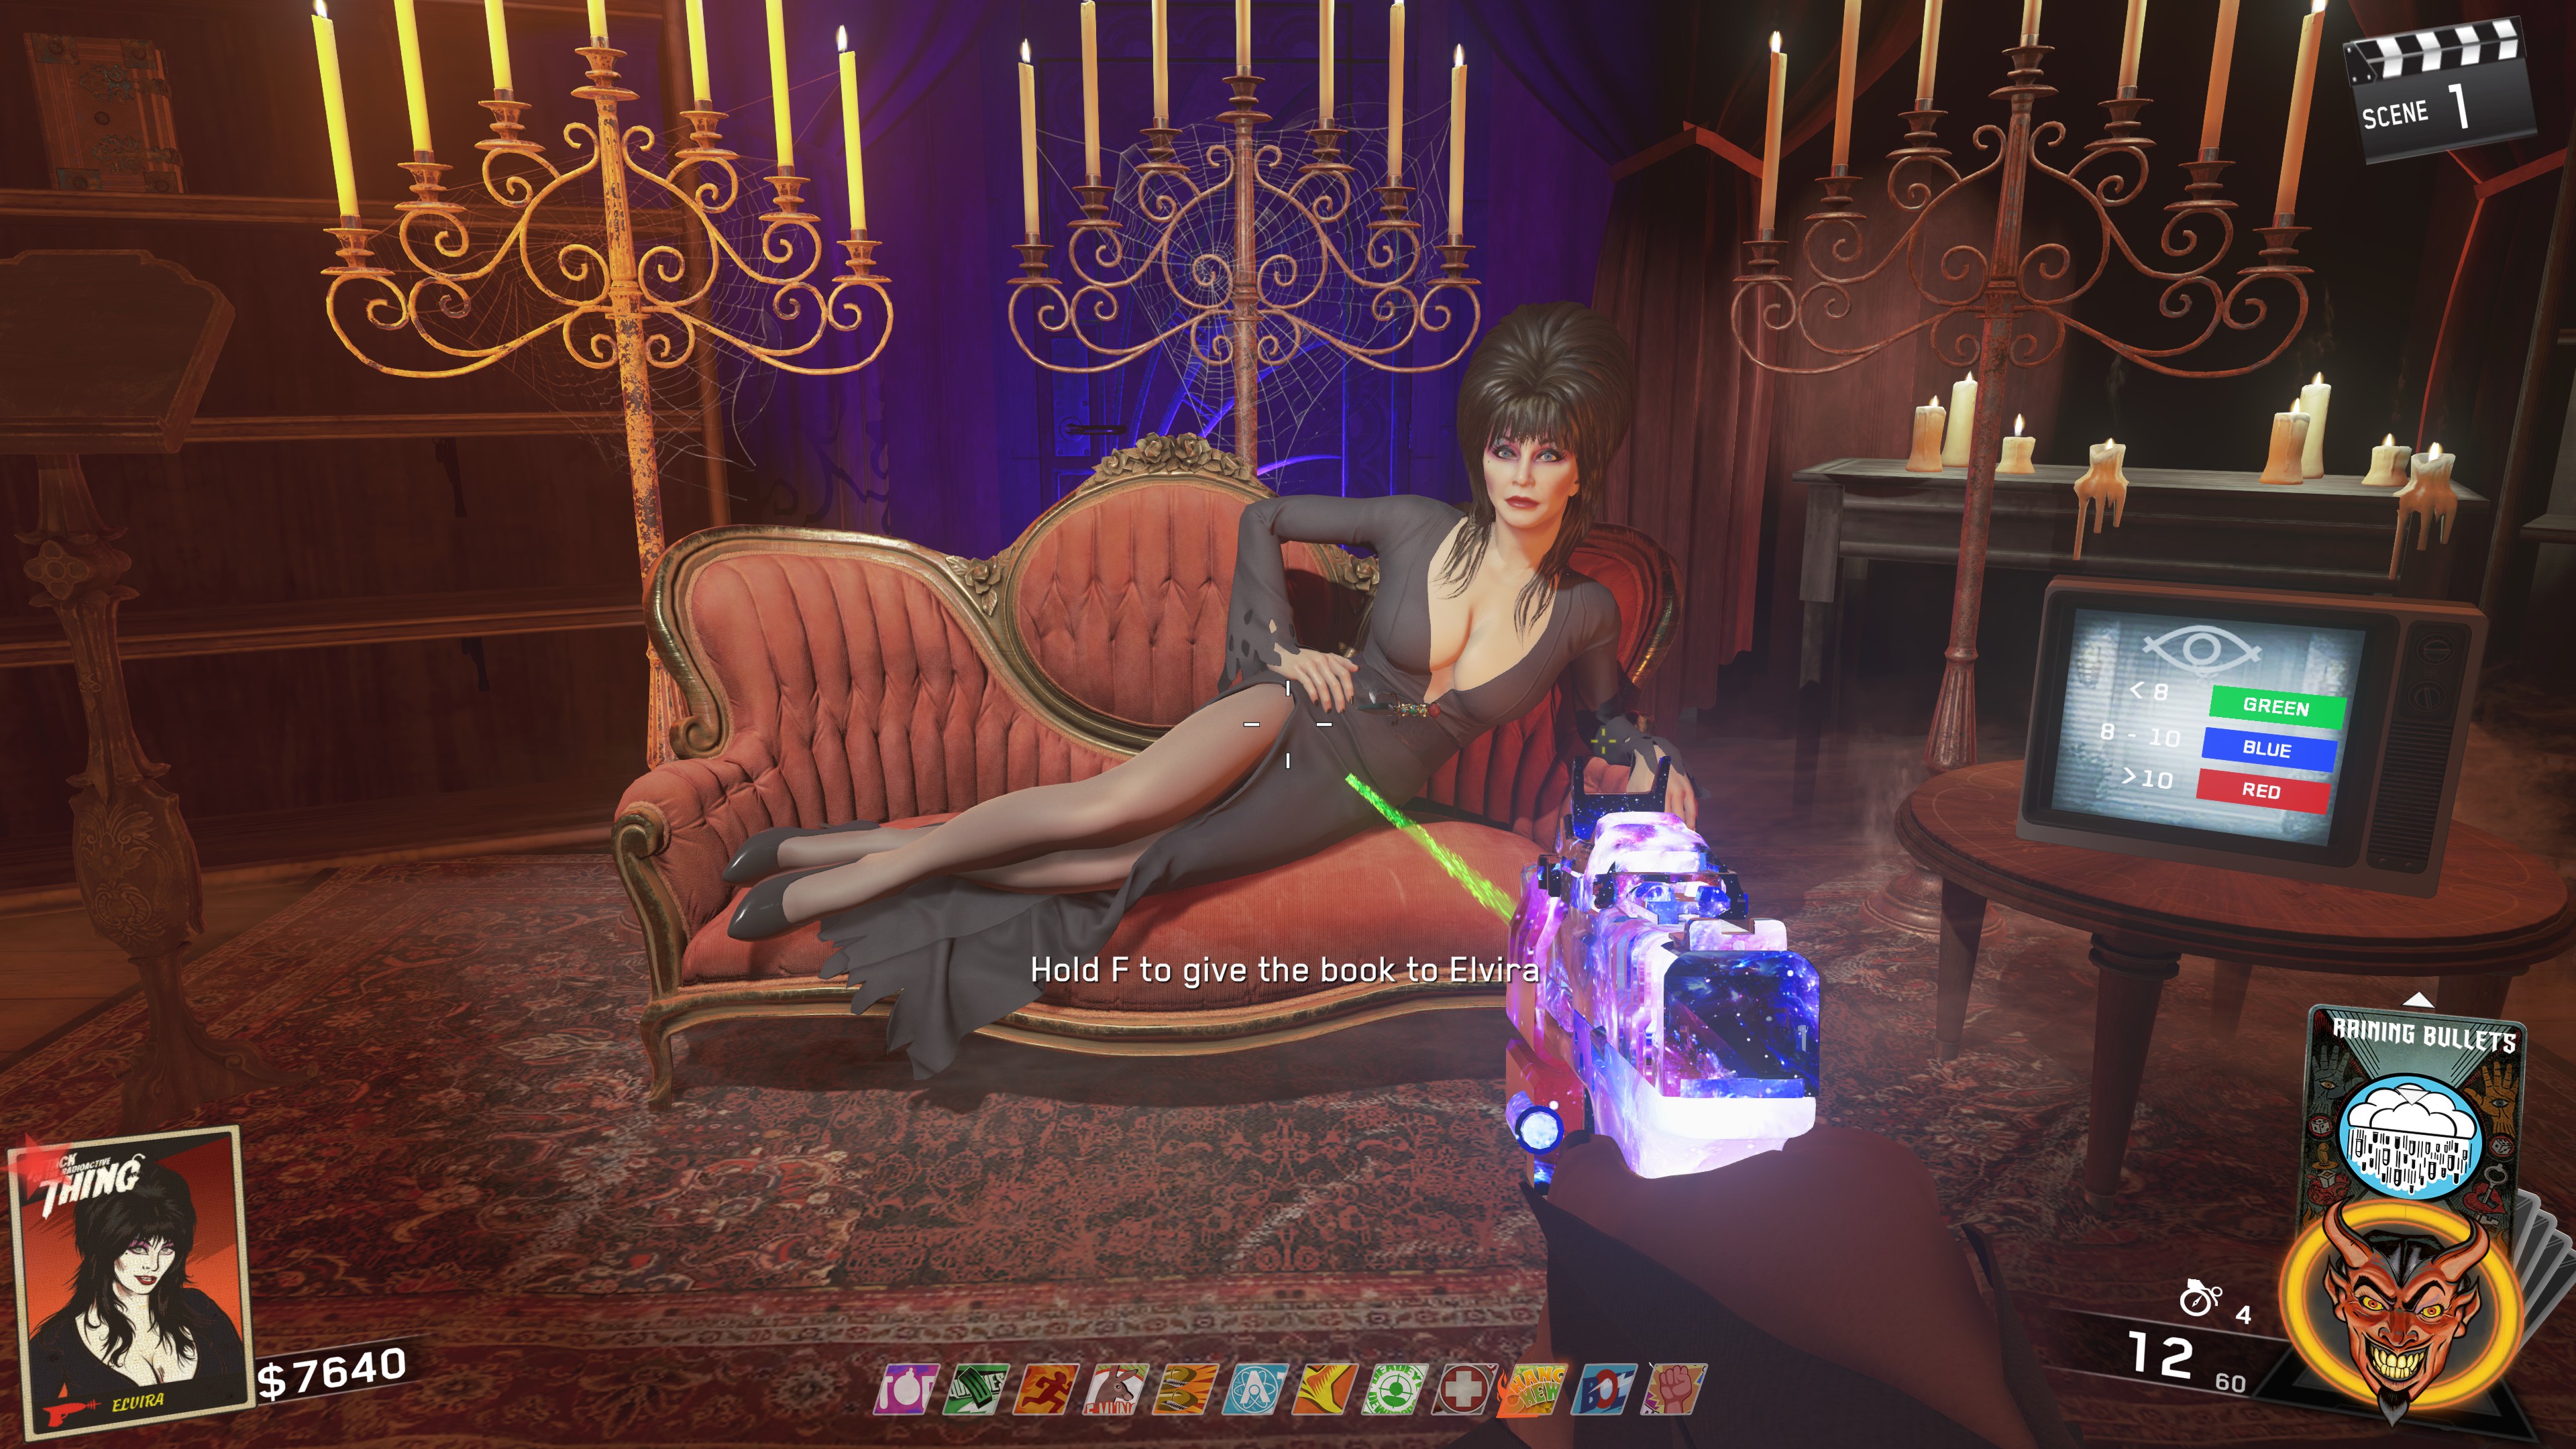
After grabbing the book, head to the TV Station on the opposite side of the map and find Elvira lying on the couch. Give the book to her, and she'll give you a green vial that you'll need to fill up by killing zombies in a certain way
To fill the vial, you'll want to head to the Beachside Market and grab the Cleaver from the dead shark on the counter in the corner
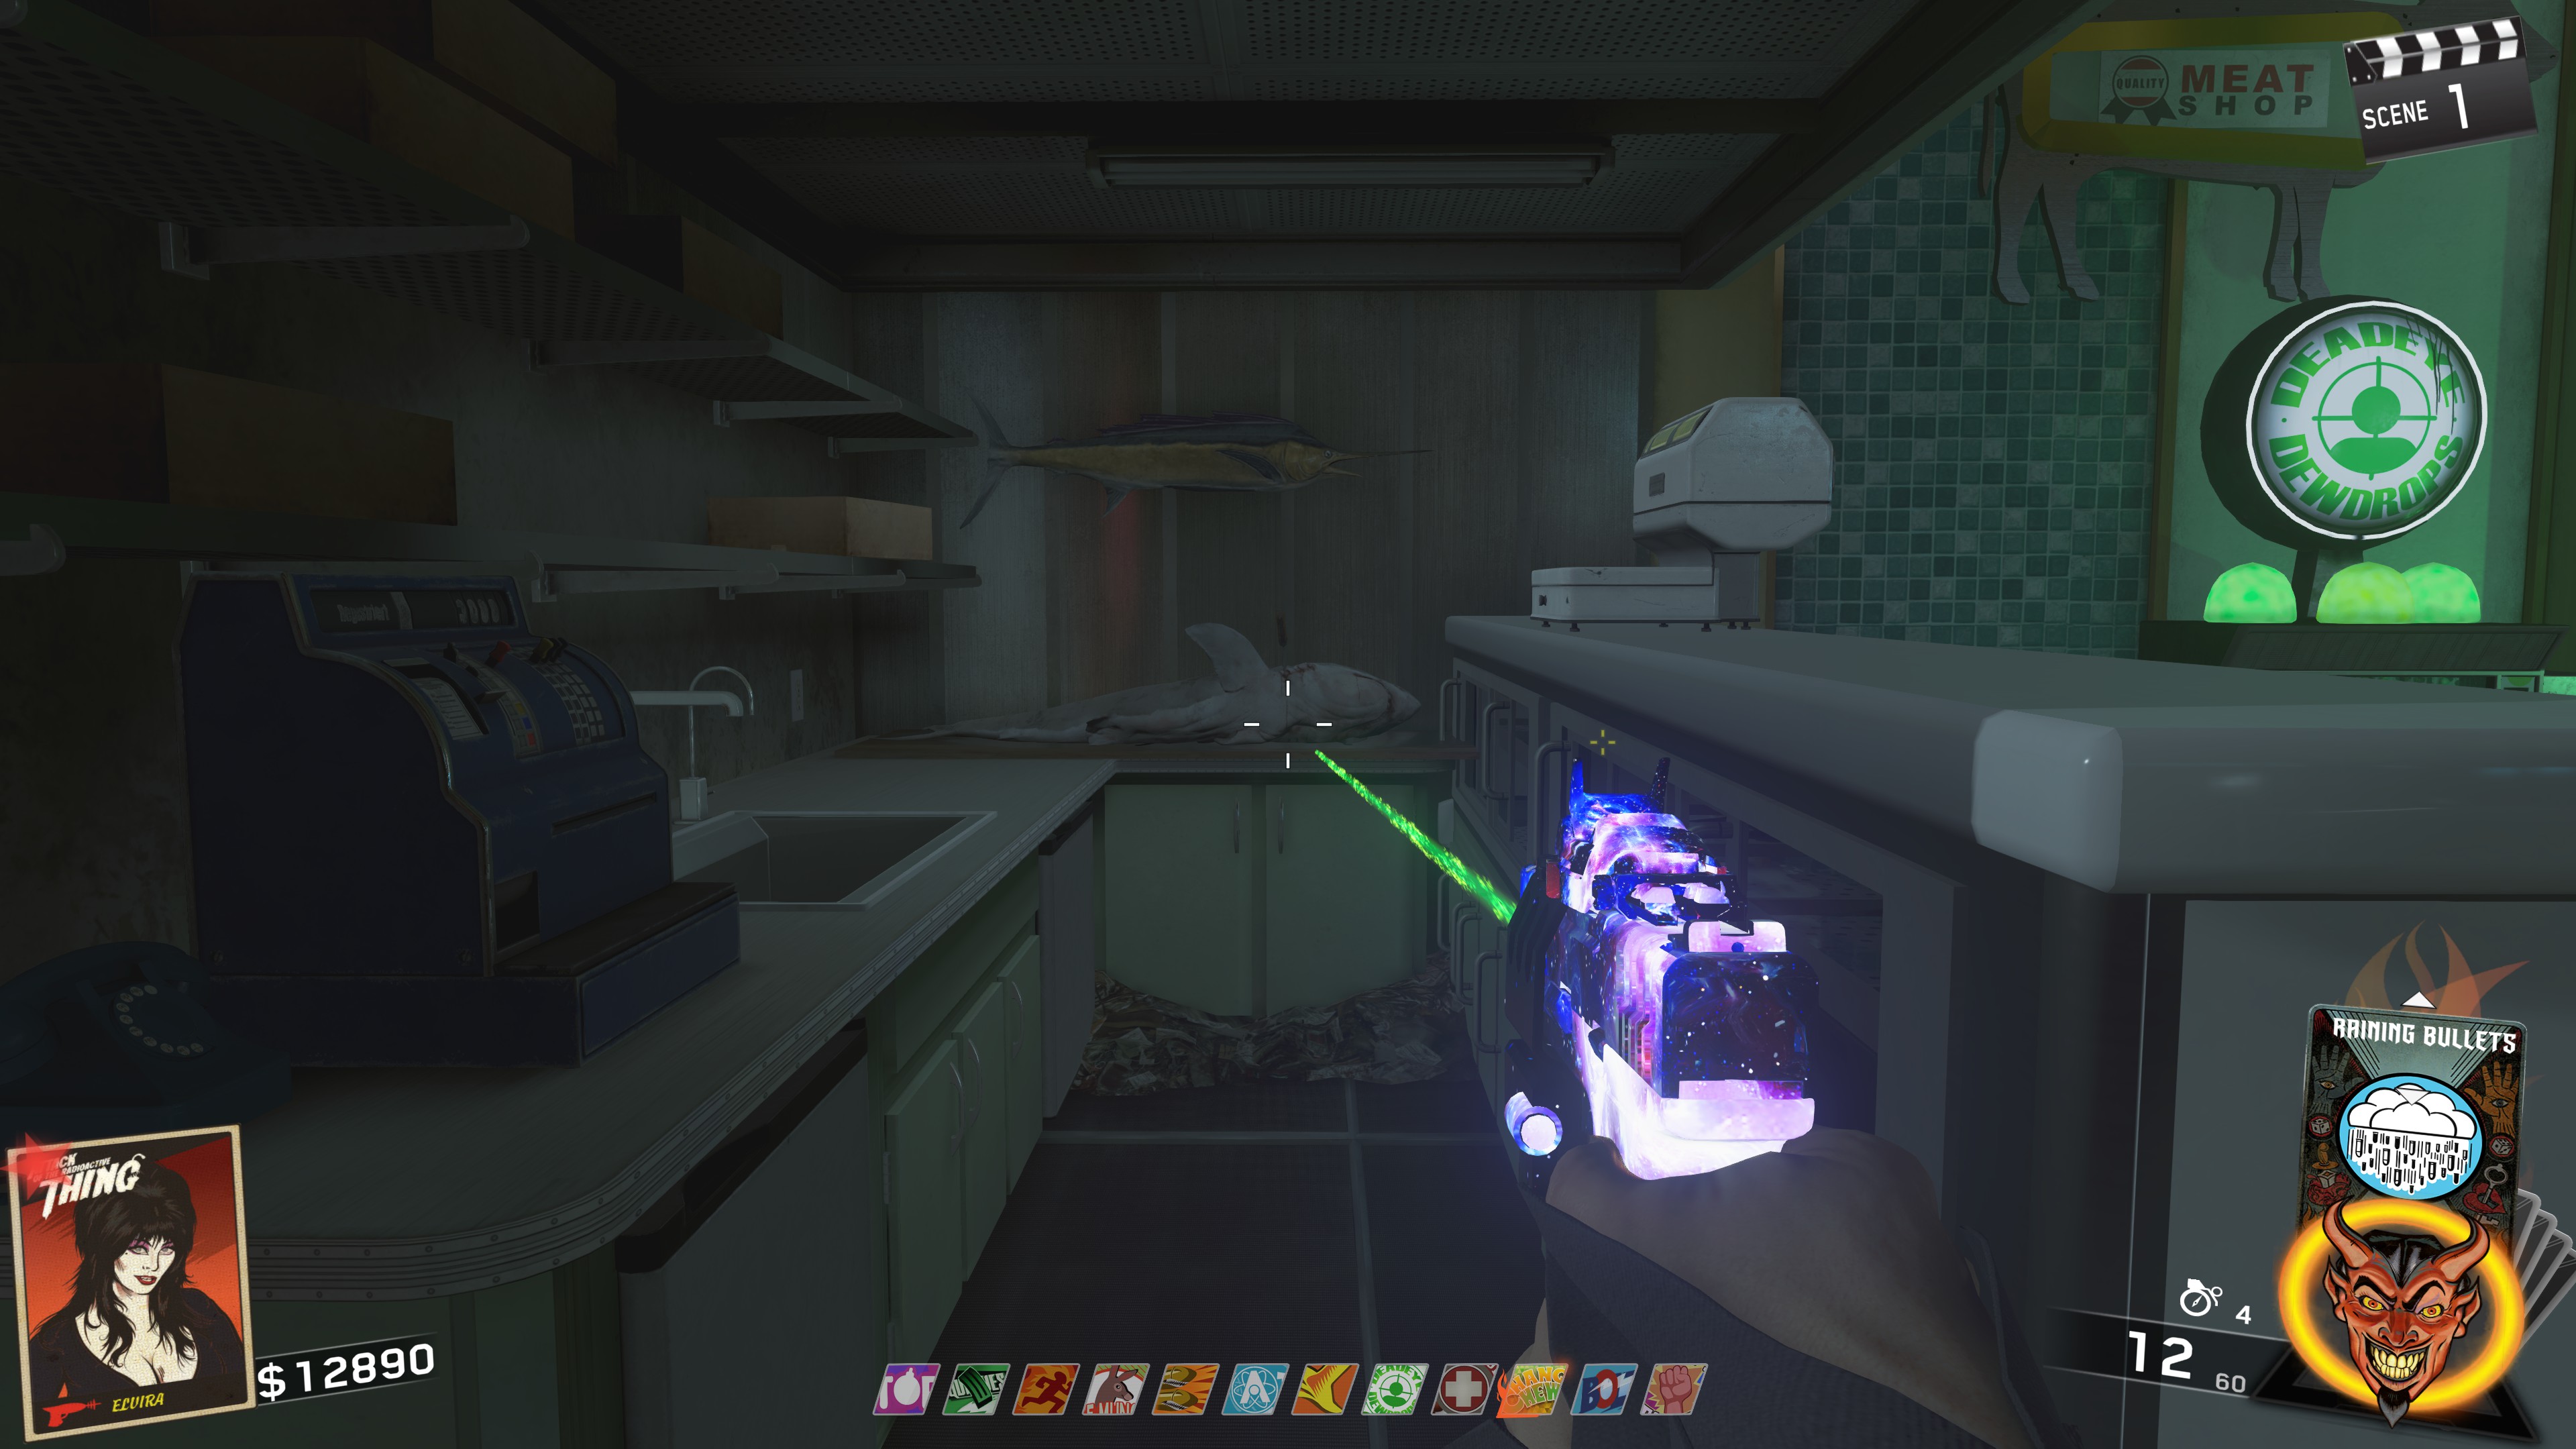
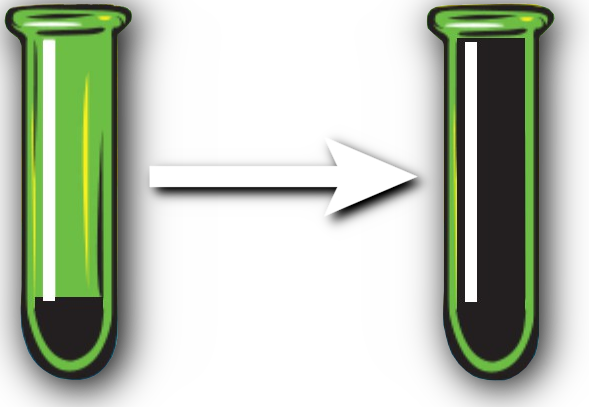
Get kills with this cleaver and you'll want the vial to go from partially empty, to completely full.
This is what it'll look like in the tab menu (Empty vs. Full):
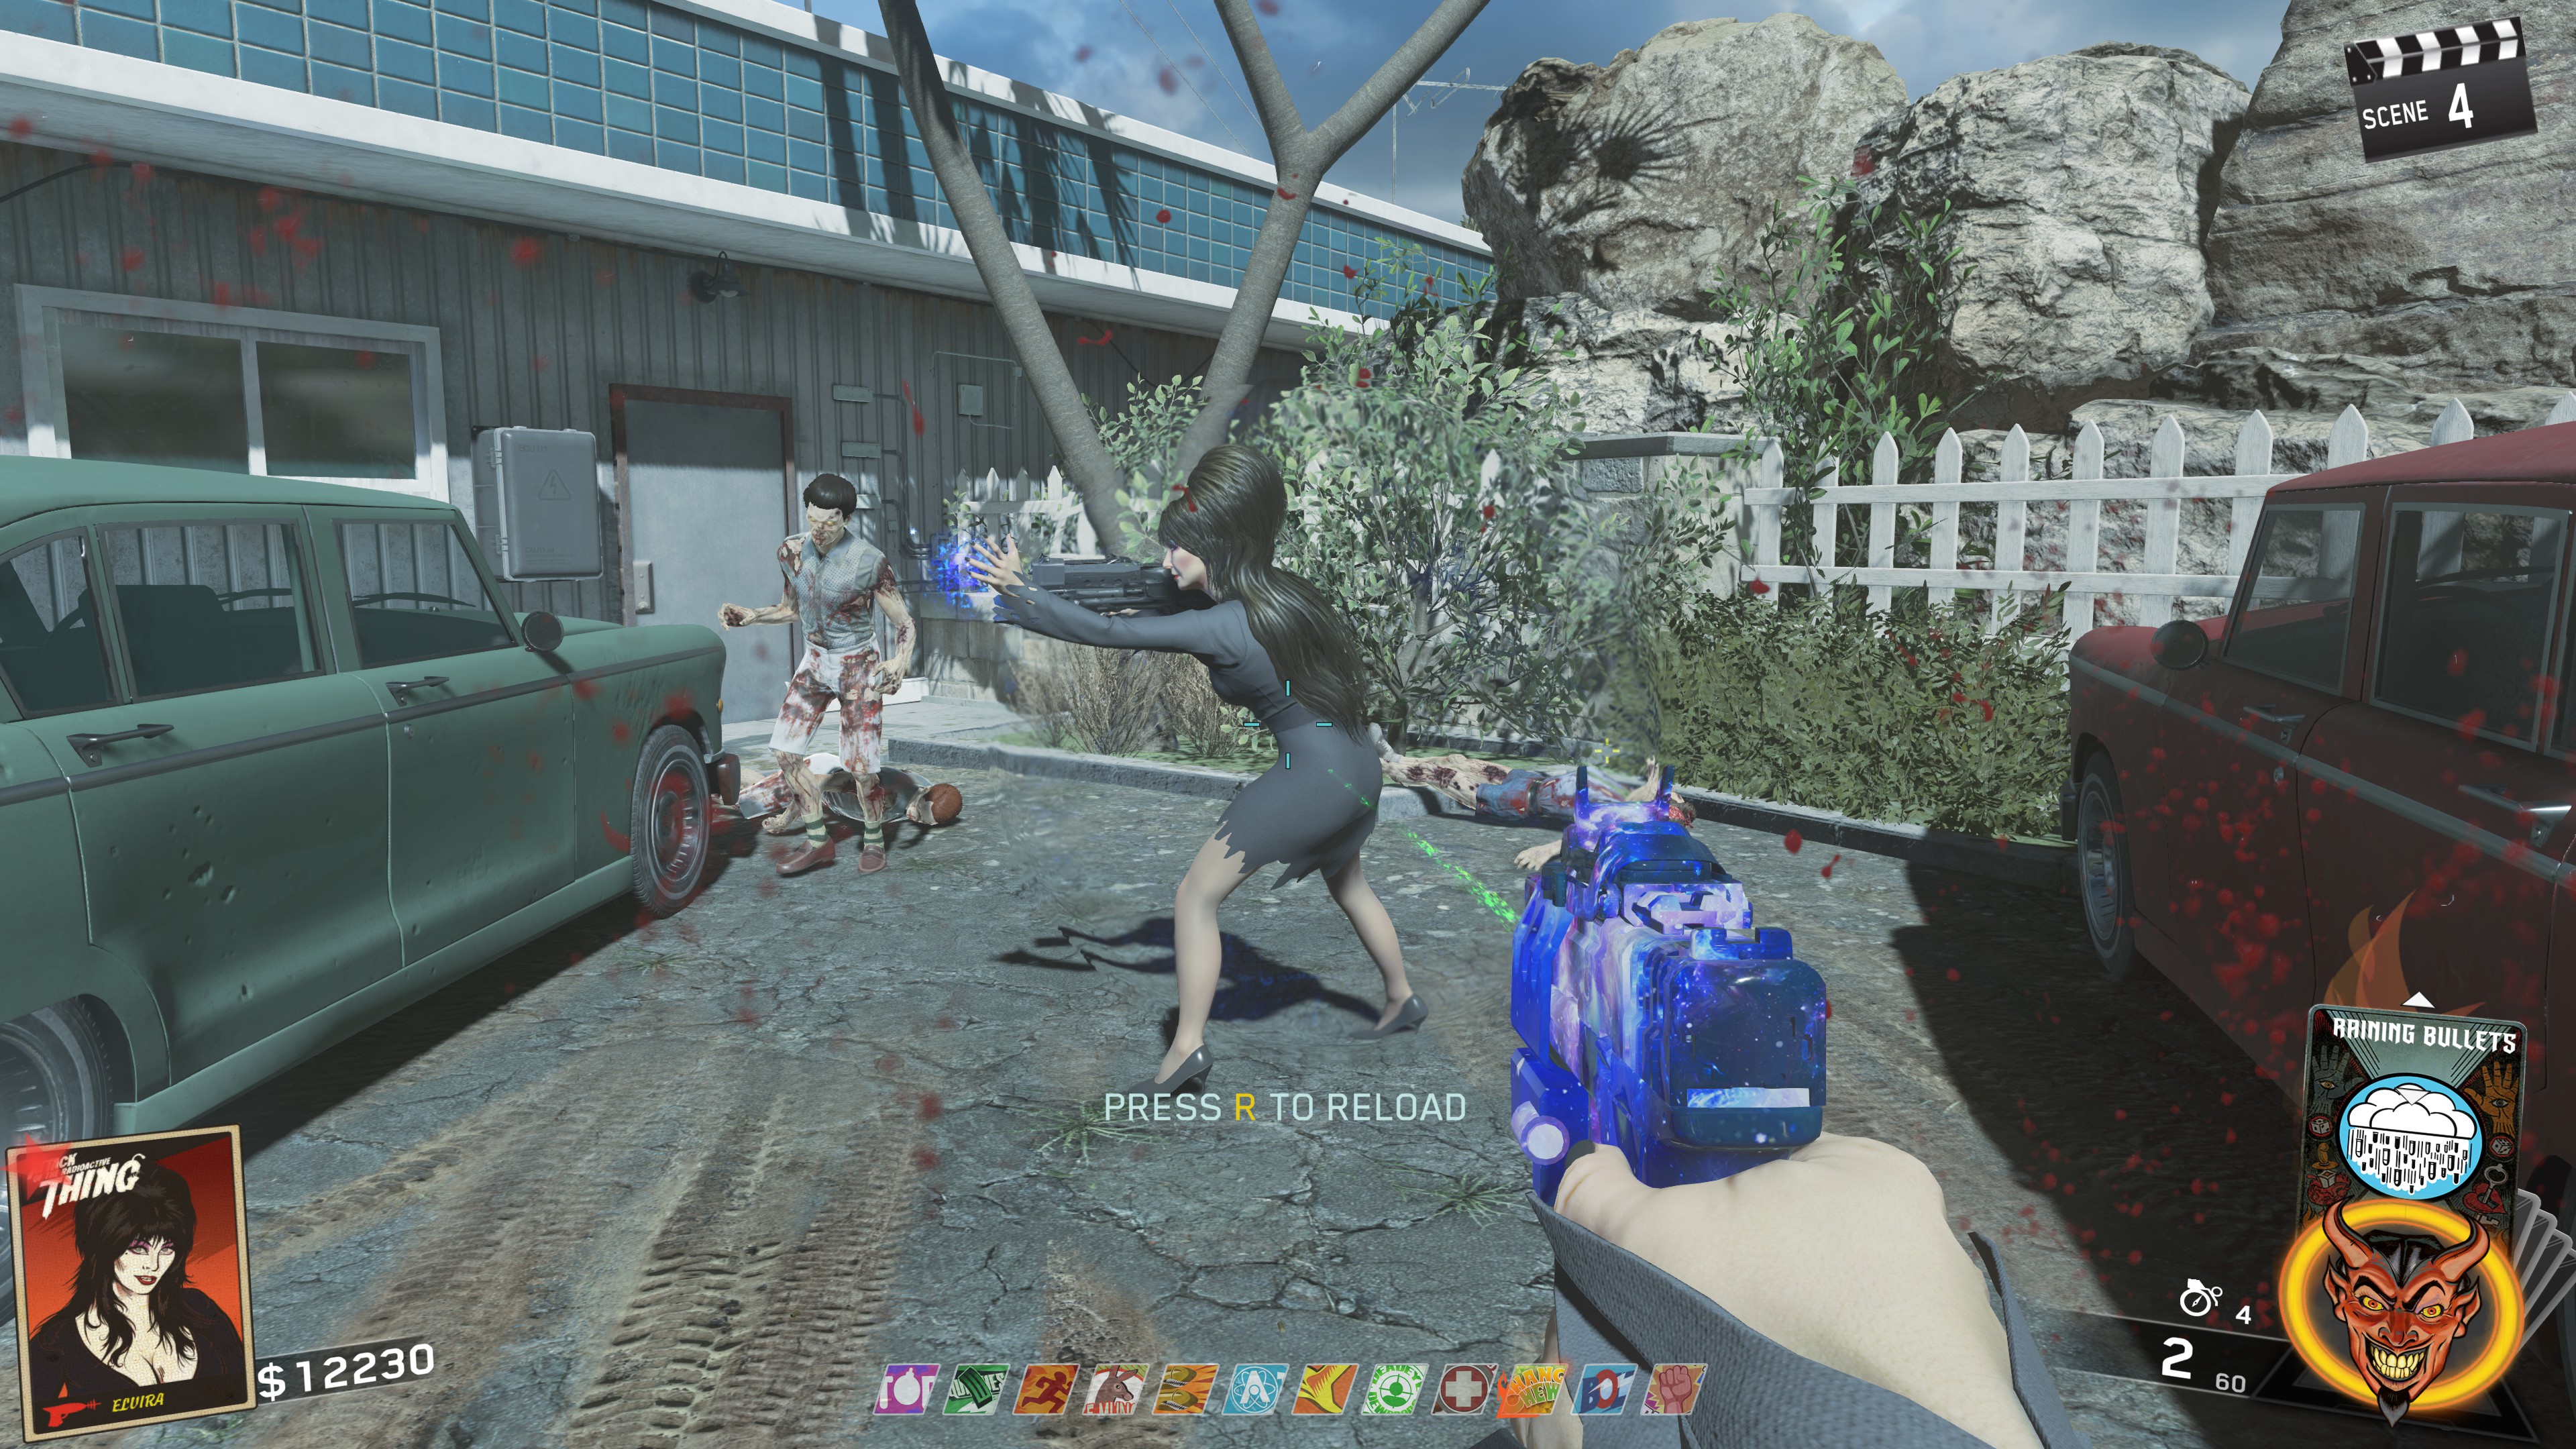
Once you've filled the vial, return to Elvira and you'll have the prompt to give her the filled vial. Give her the vial and she'll get up and start to follow you. You want to take her right outside the TV Station near where Bang Bangs perk machine is and let her do some magic on this portal to activate it, which will allow you to travel to Pack-a-Punch
Double Pack-a-Punch
The process is exactly the same, get kills using the Cleaver melee weapon found on the Dead shark in the Beachside Market. However, this time, do not give the vial to Elvira. We'll be using it later for something else.
Head through on of the Pack-a-Punch portals and once you're in the projector room, press the stoplight button on the left side and then leave the projector room
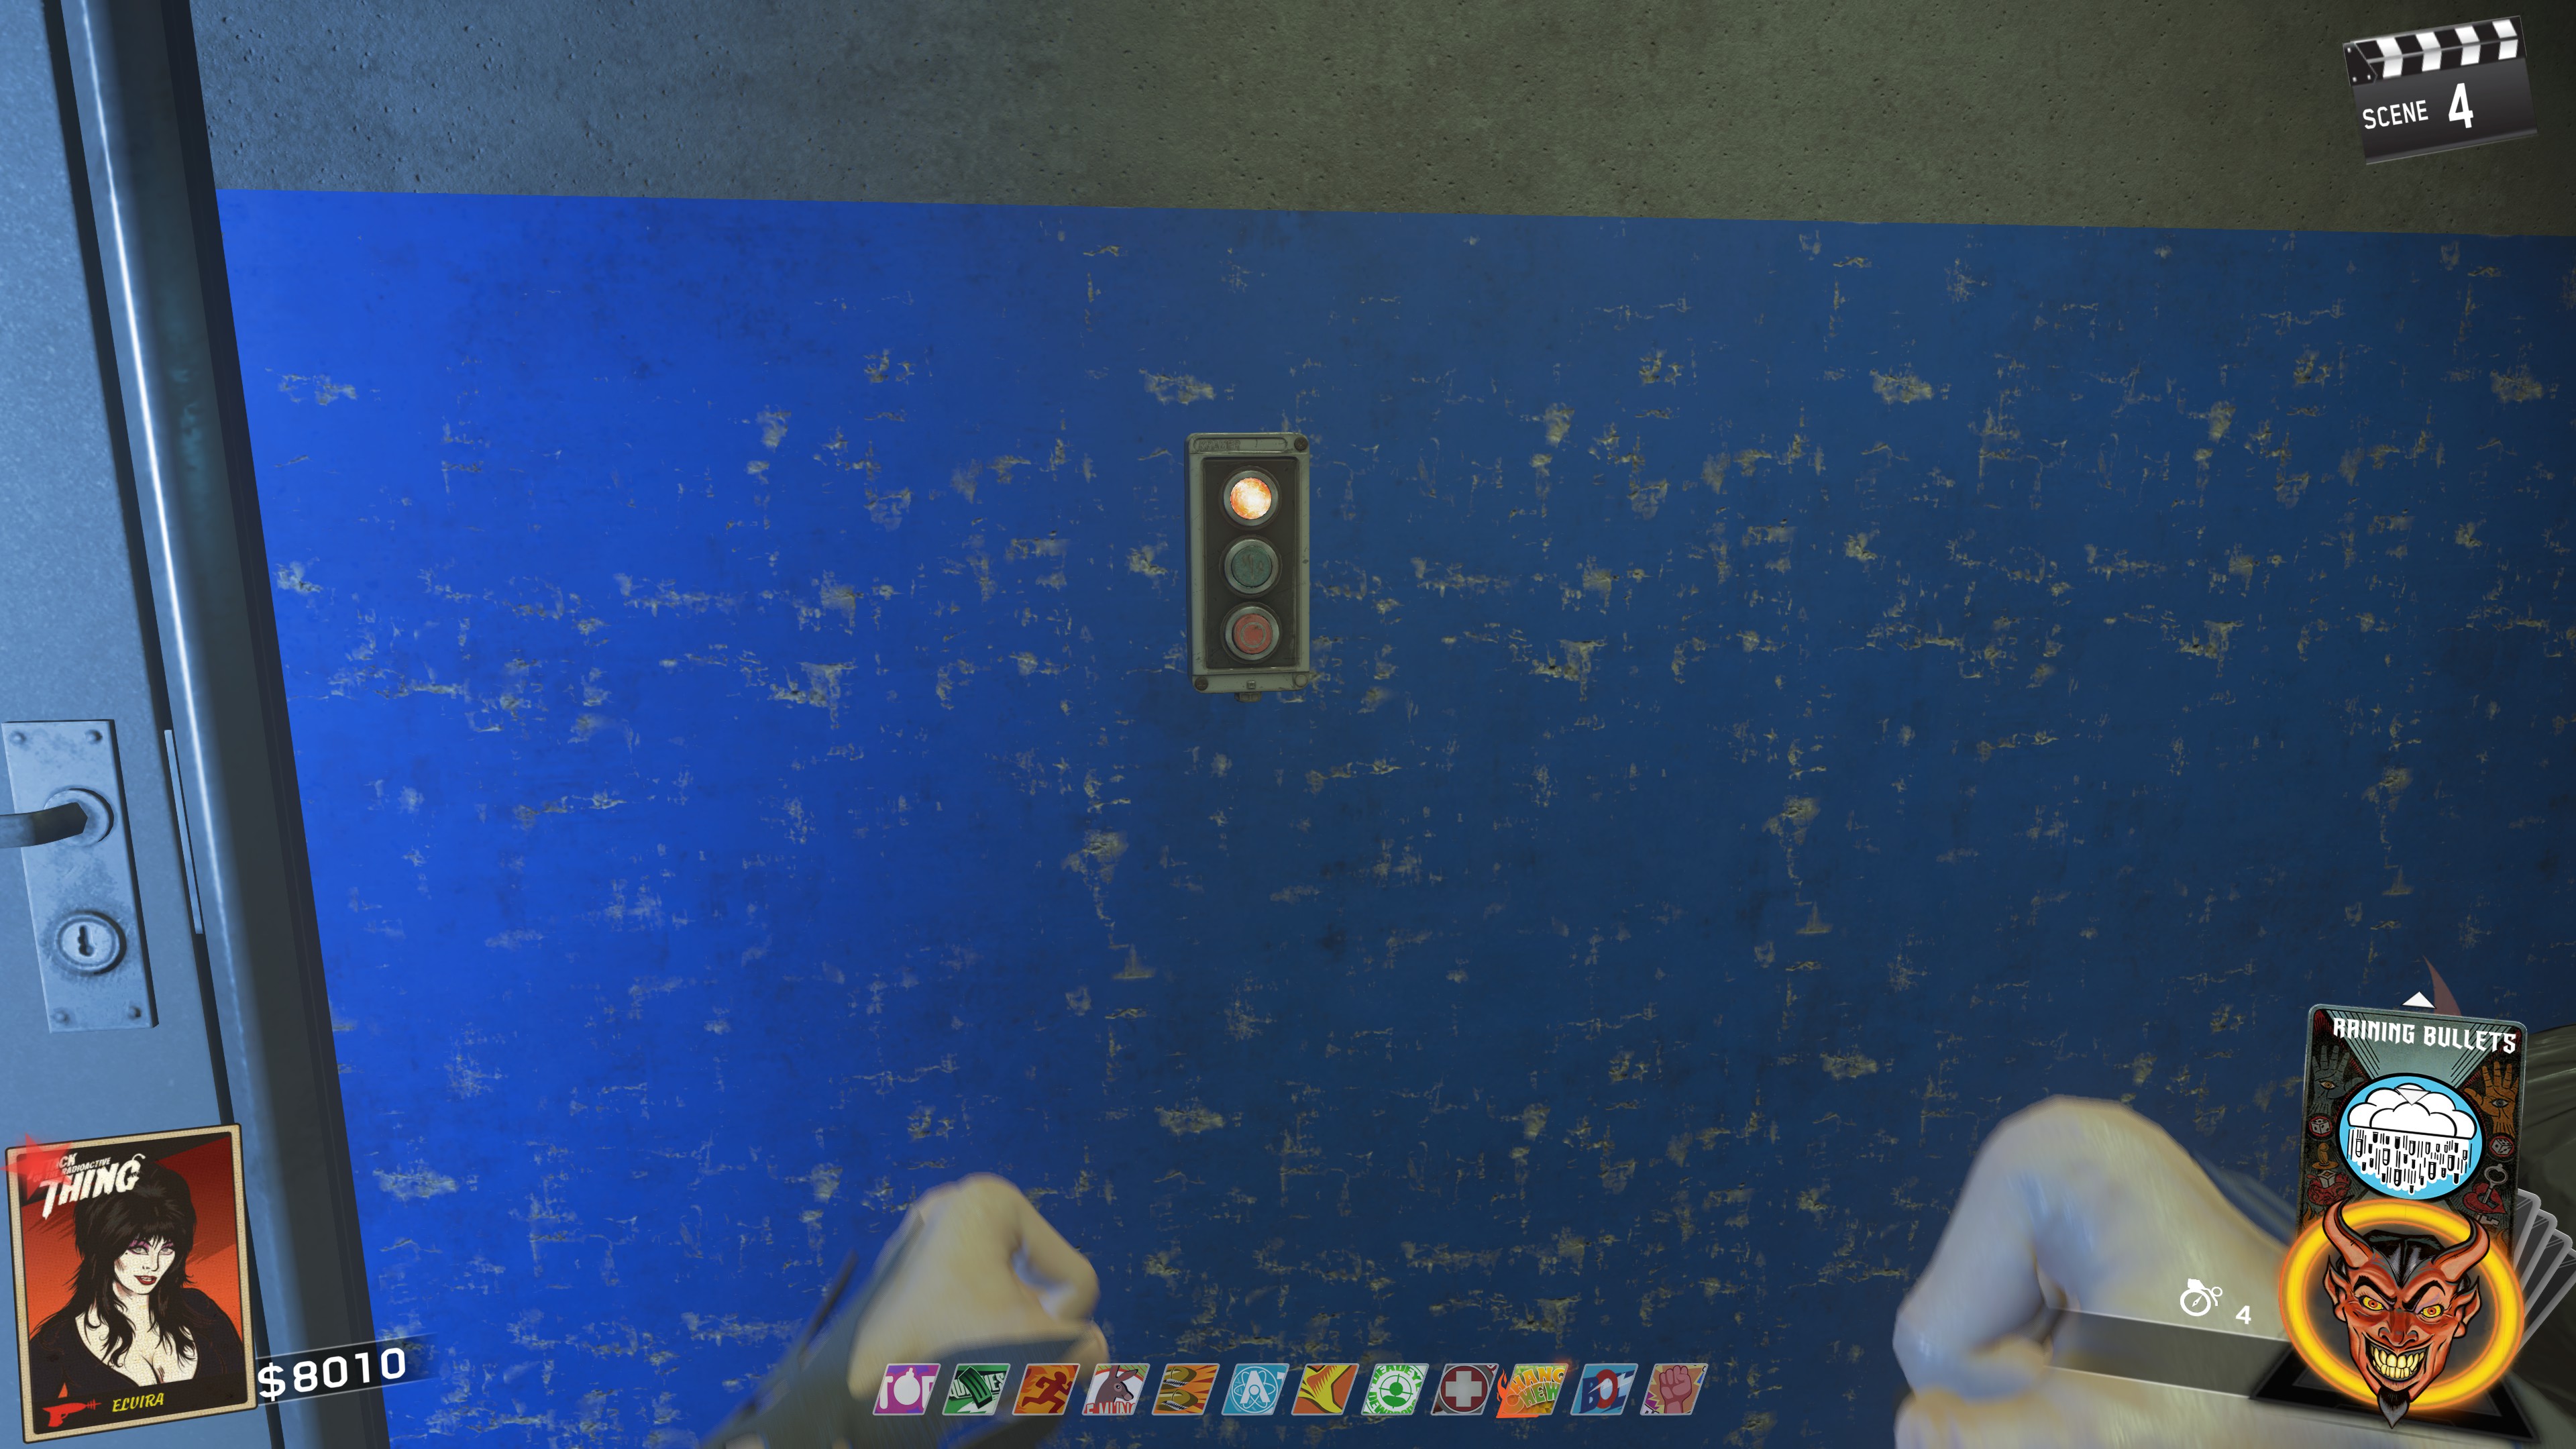
You'll want to be quick with this, as this next part is timed and the timer is very short.
After leaving the projector room, you'll be spawned into a very small RV. Immediately turn around, look up and right and you'll see a cabinet that is slightly open containing the Alien Fuses. Jump up and melee using the Crowbar to bust open the cabinet and you can interact with them to pick up them up.
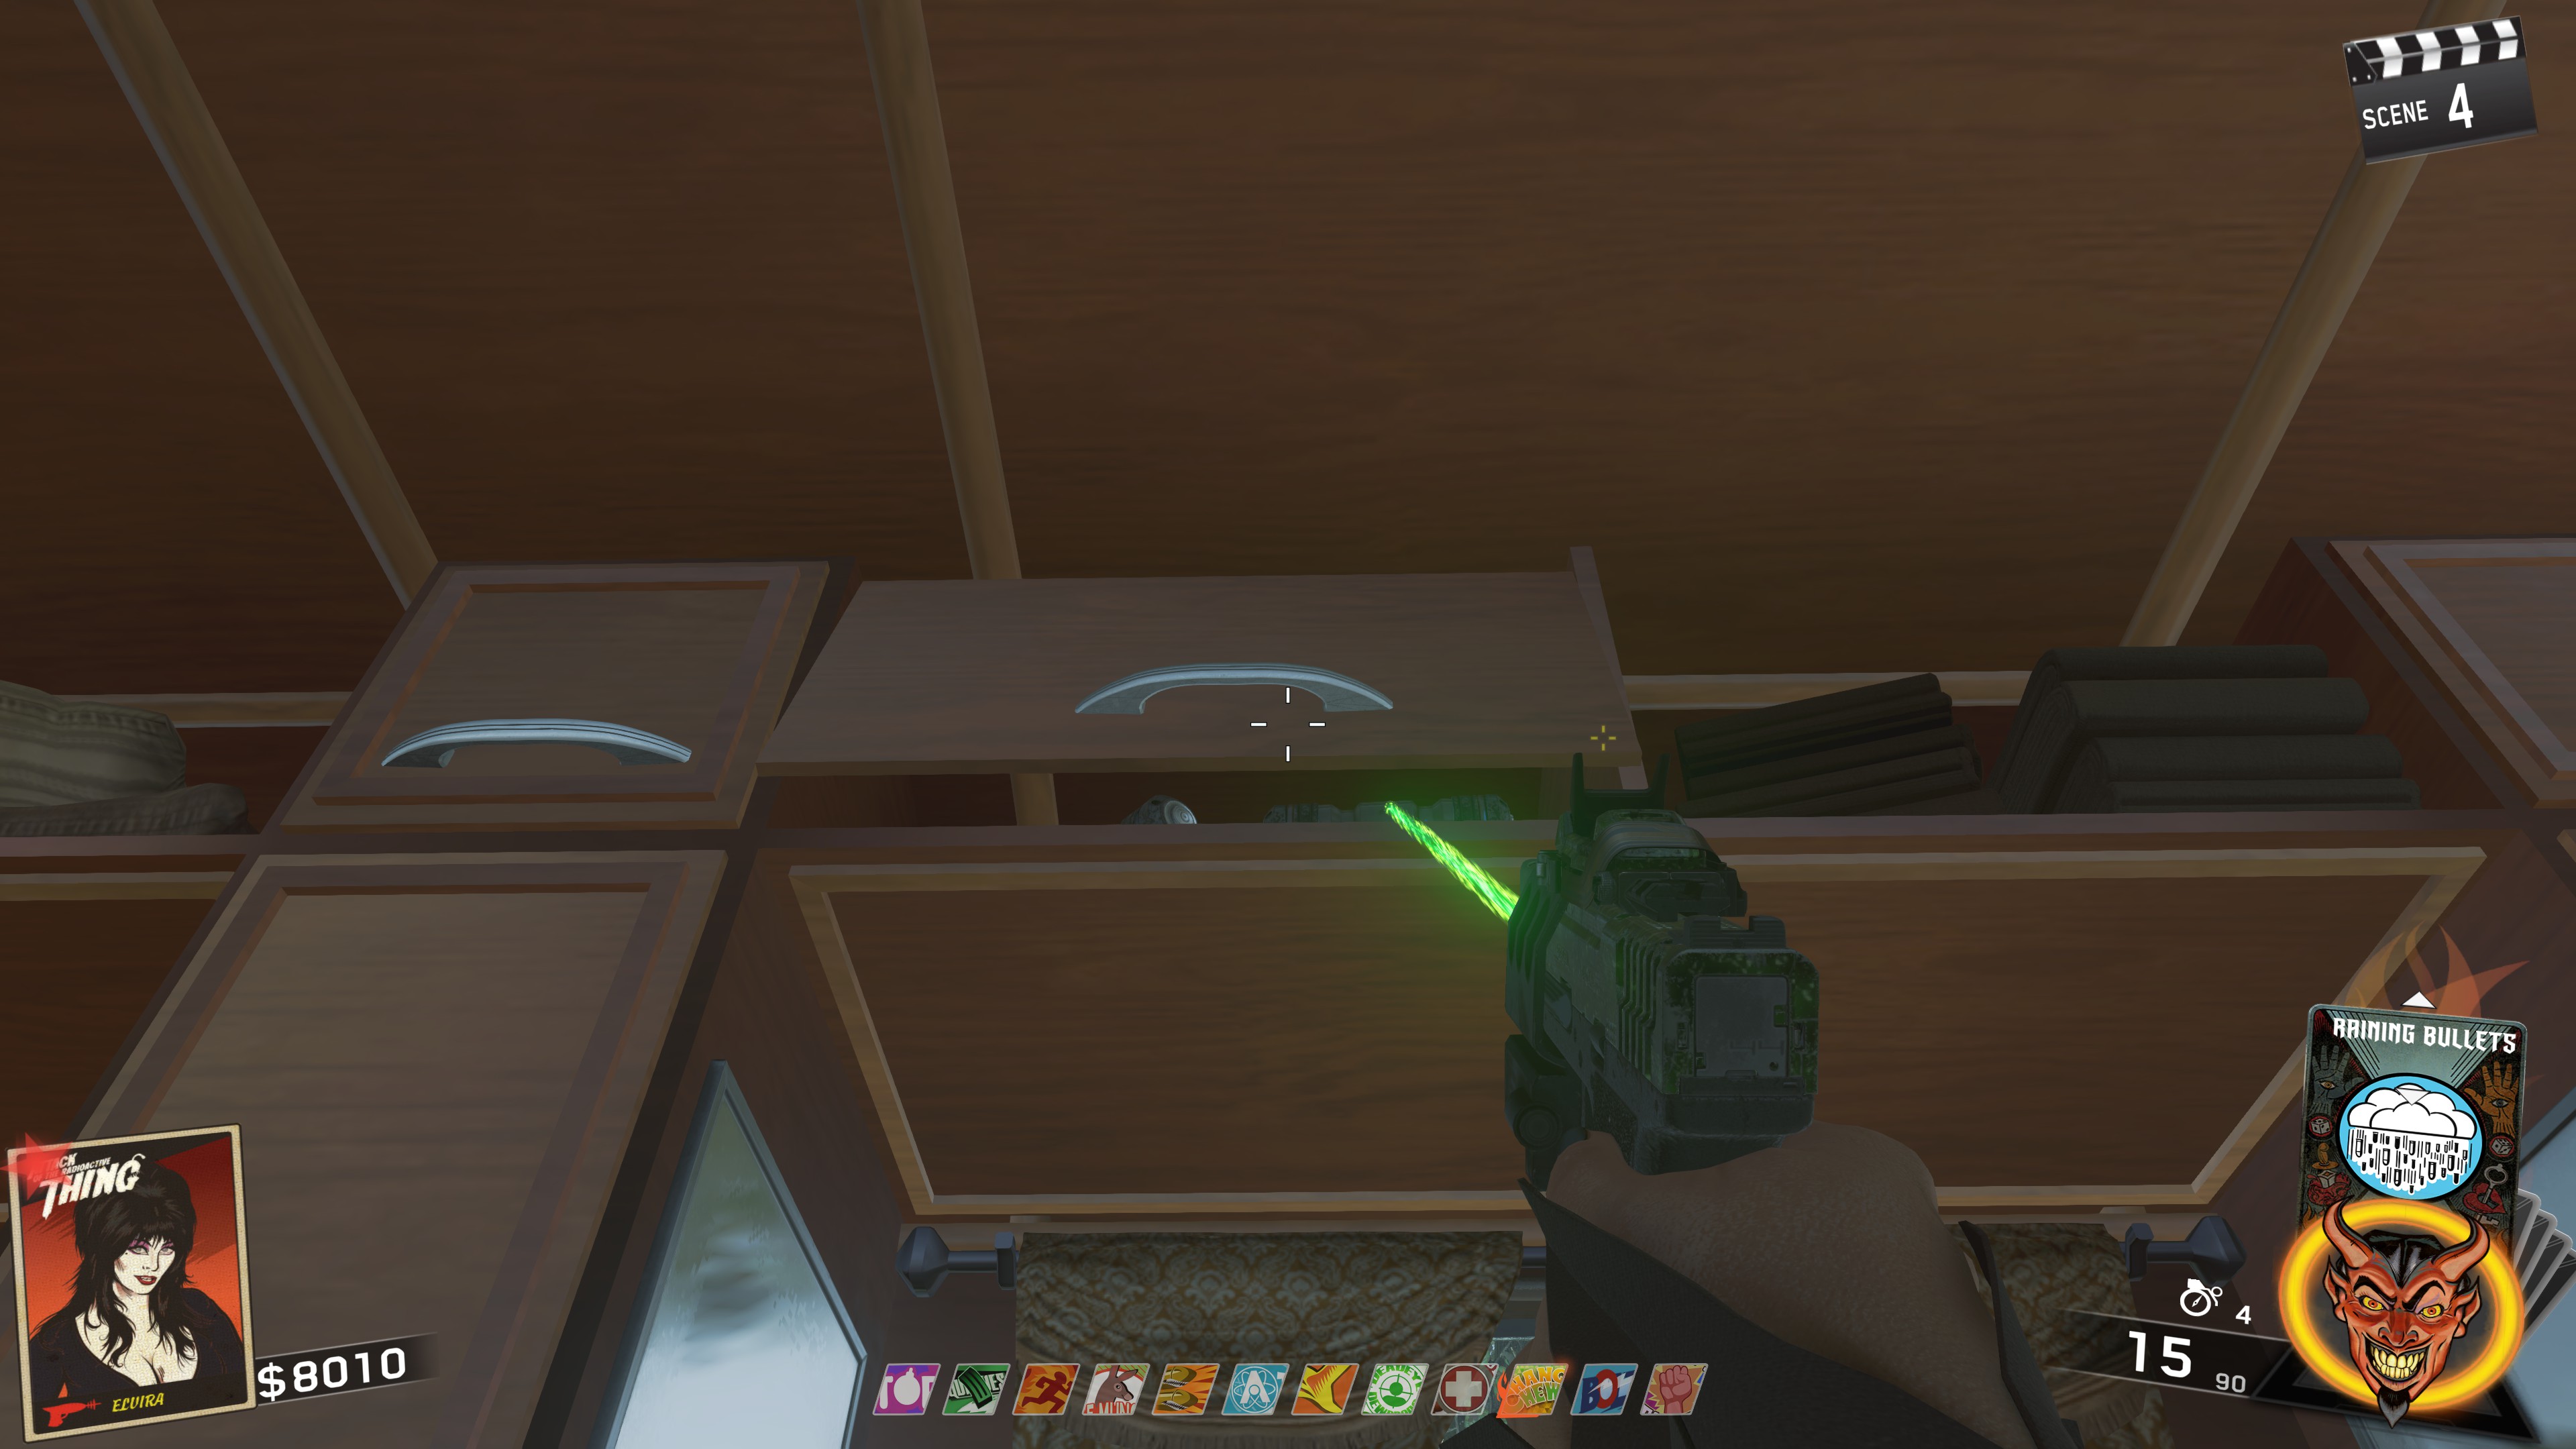
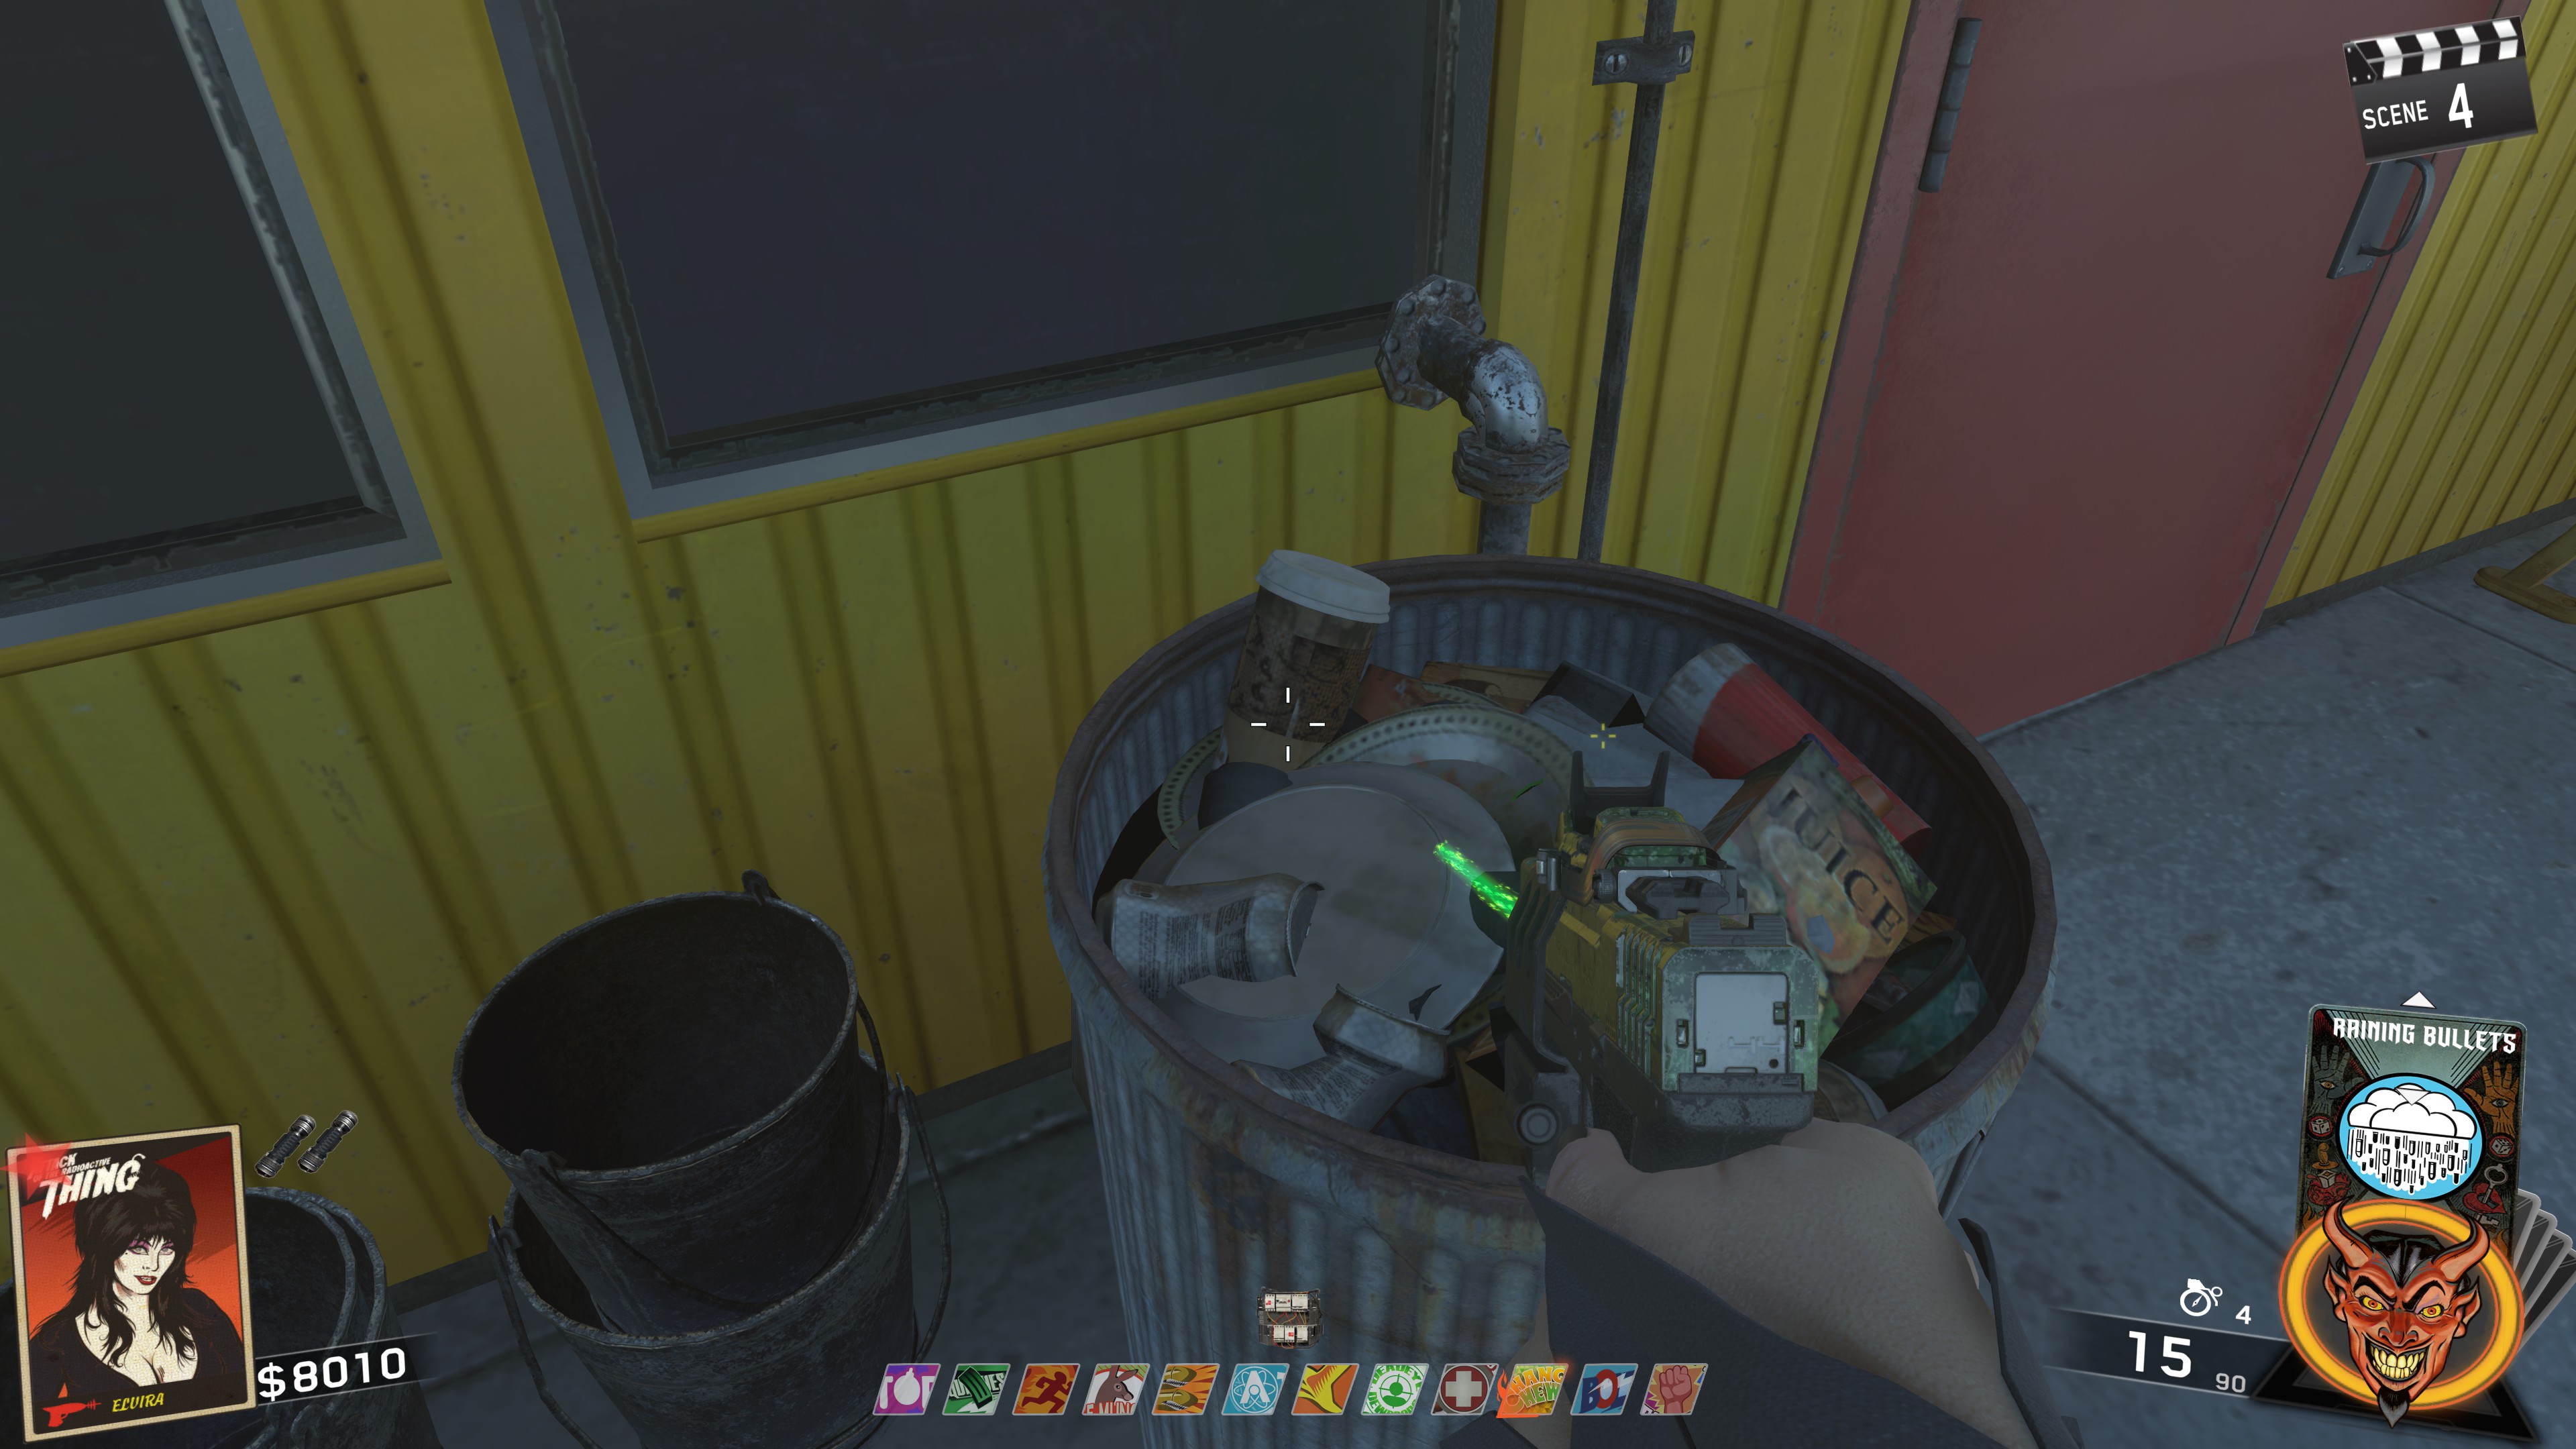
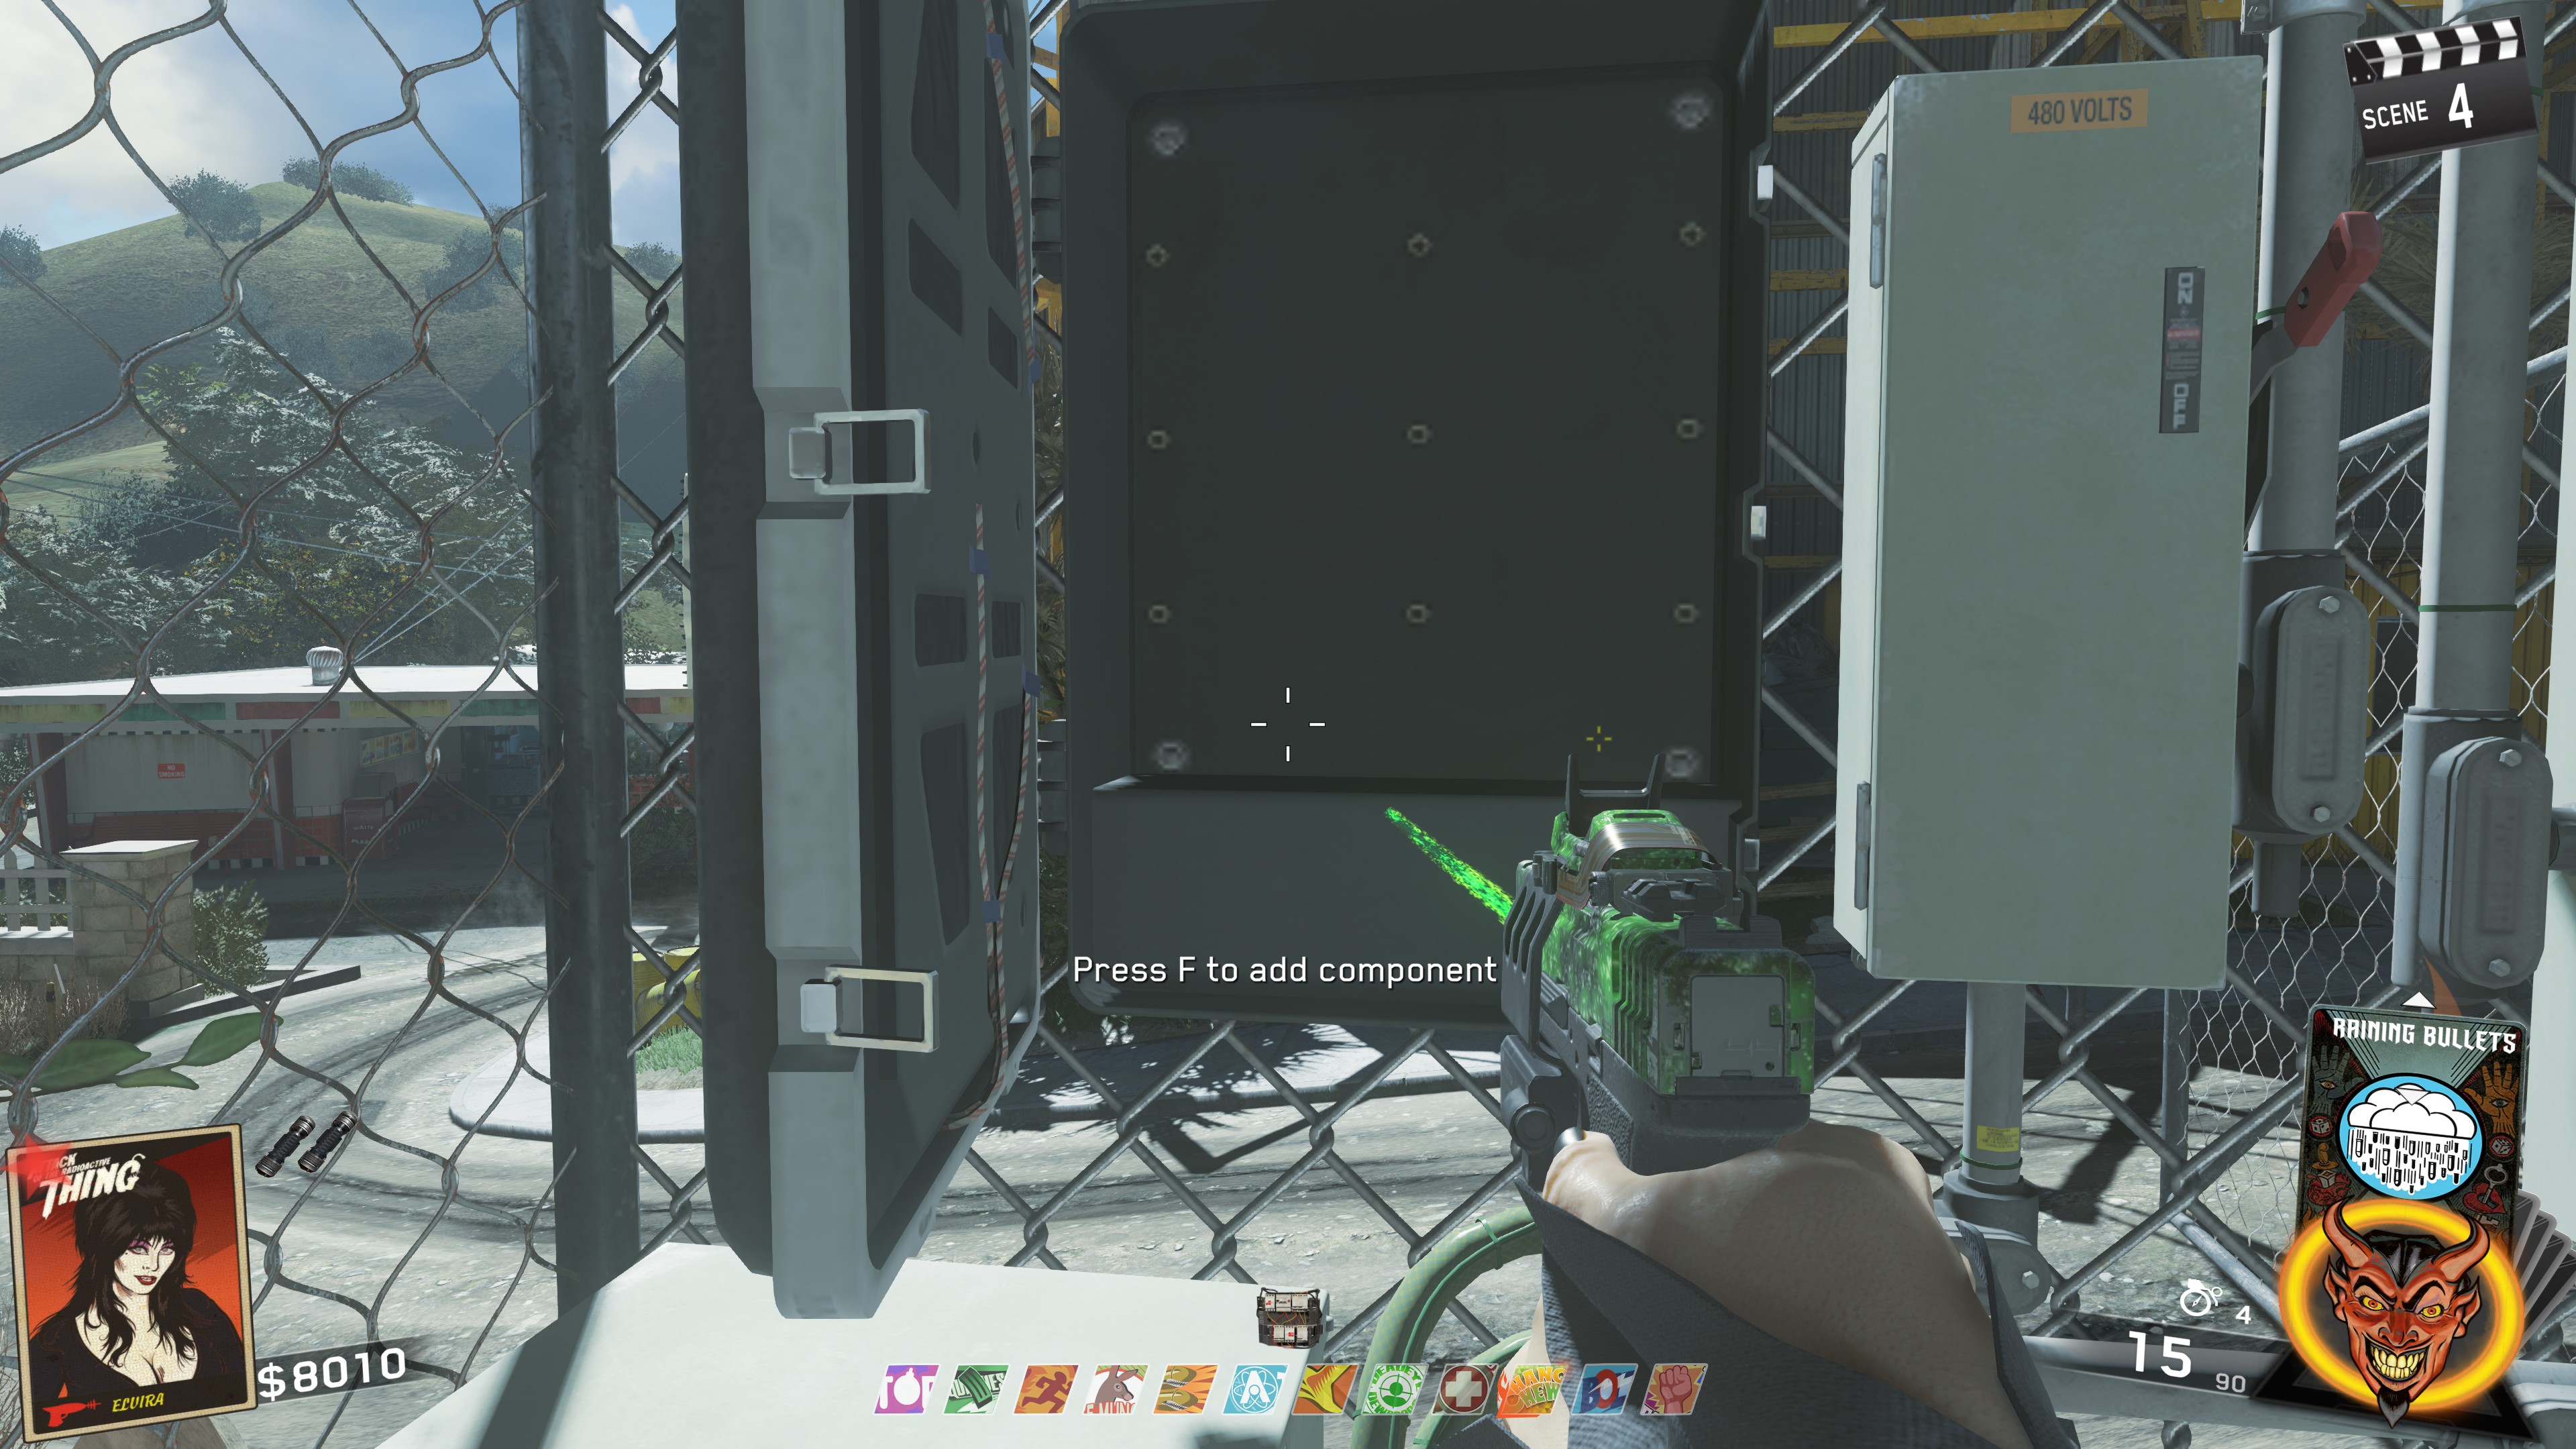
Place the part in the fuse box and this will repair the trap
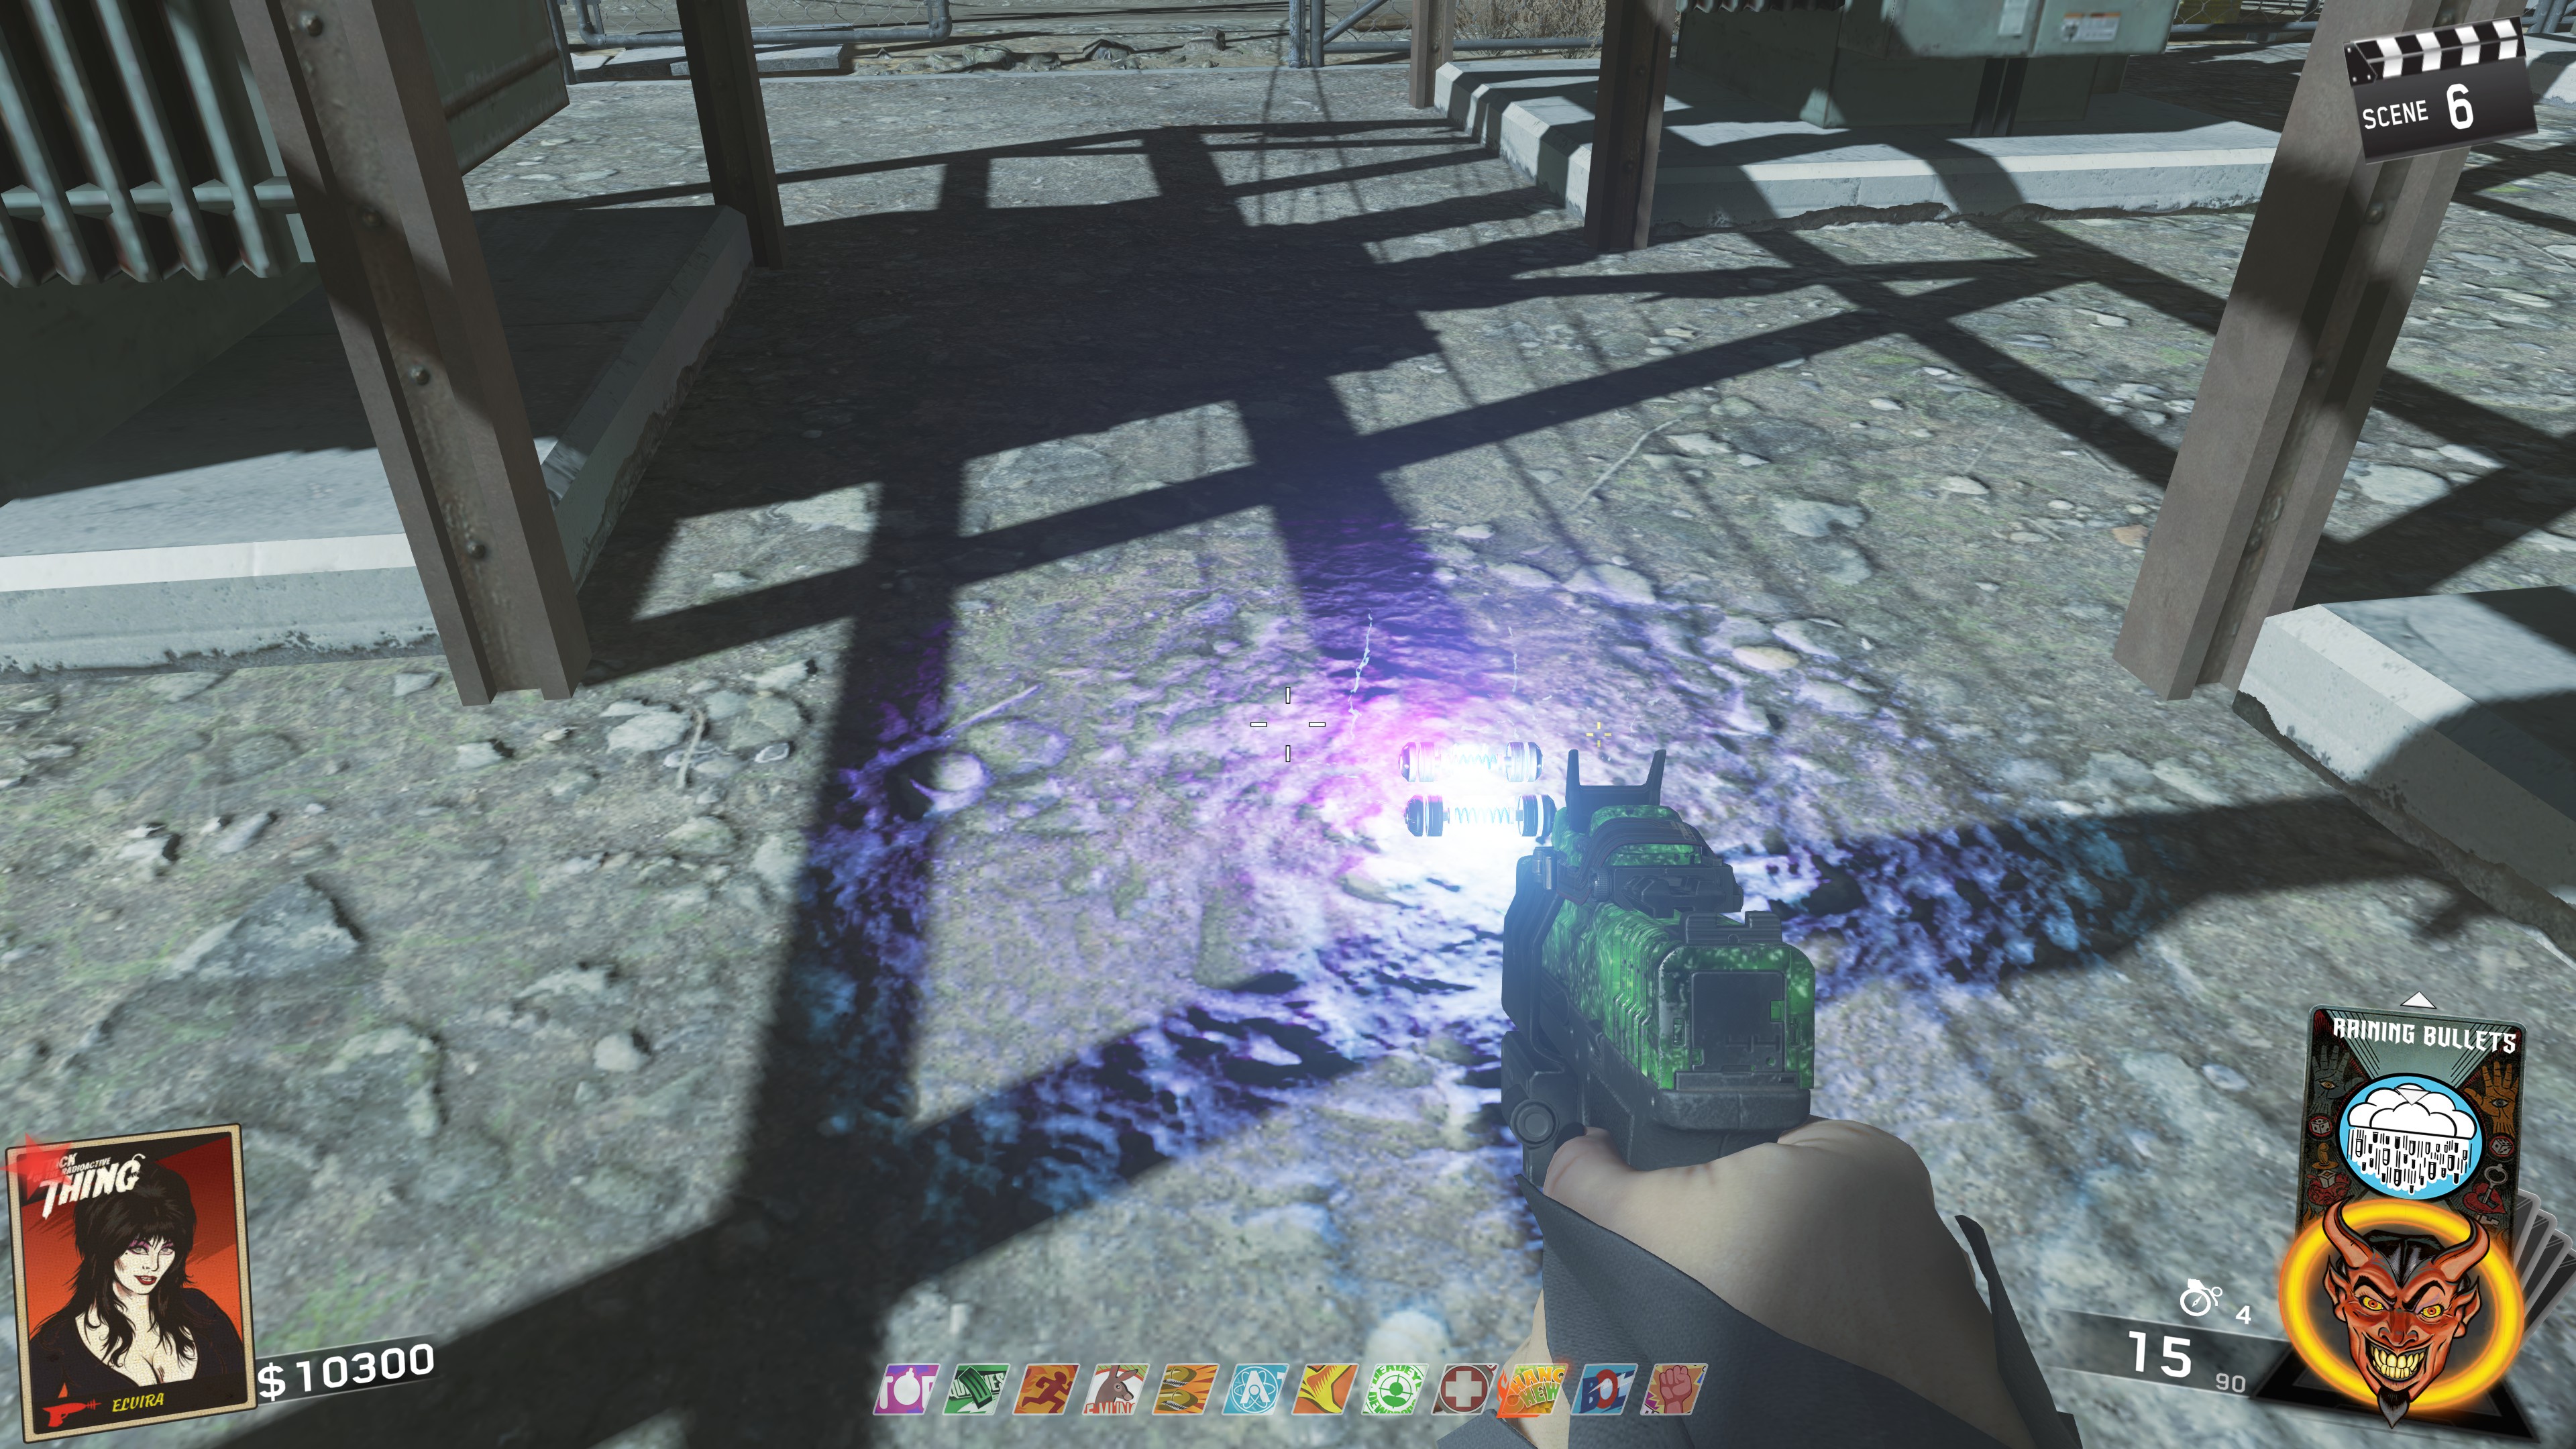
Now, you'll want to come to this spot, roughly in the middle of all the transformers in the power station, and as long as you have a full green vial and the alien fuses in your inventory, you'll notice your screen start to shake. If it does, this means you're right over the spot where you need to place the Alien fuses. Place them and the green vial will spill and the Alien fuses will be in the middle.
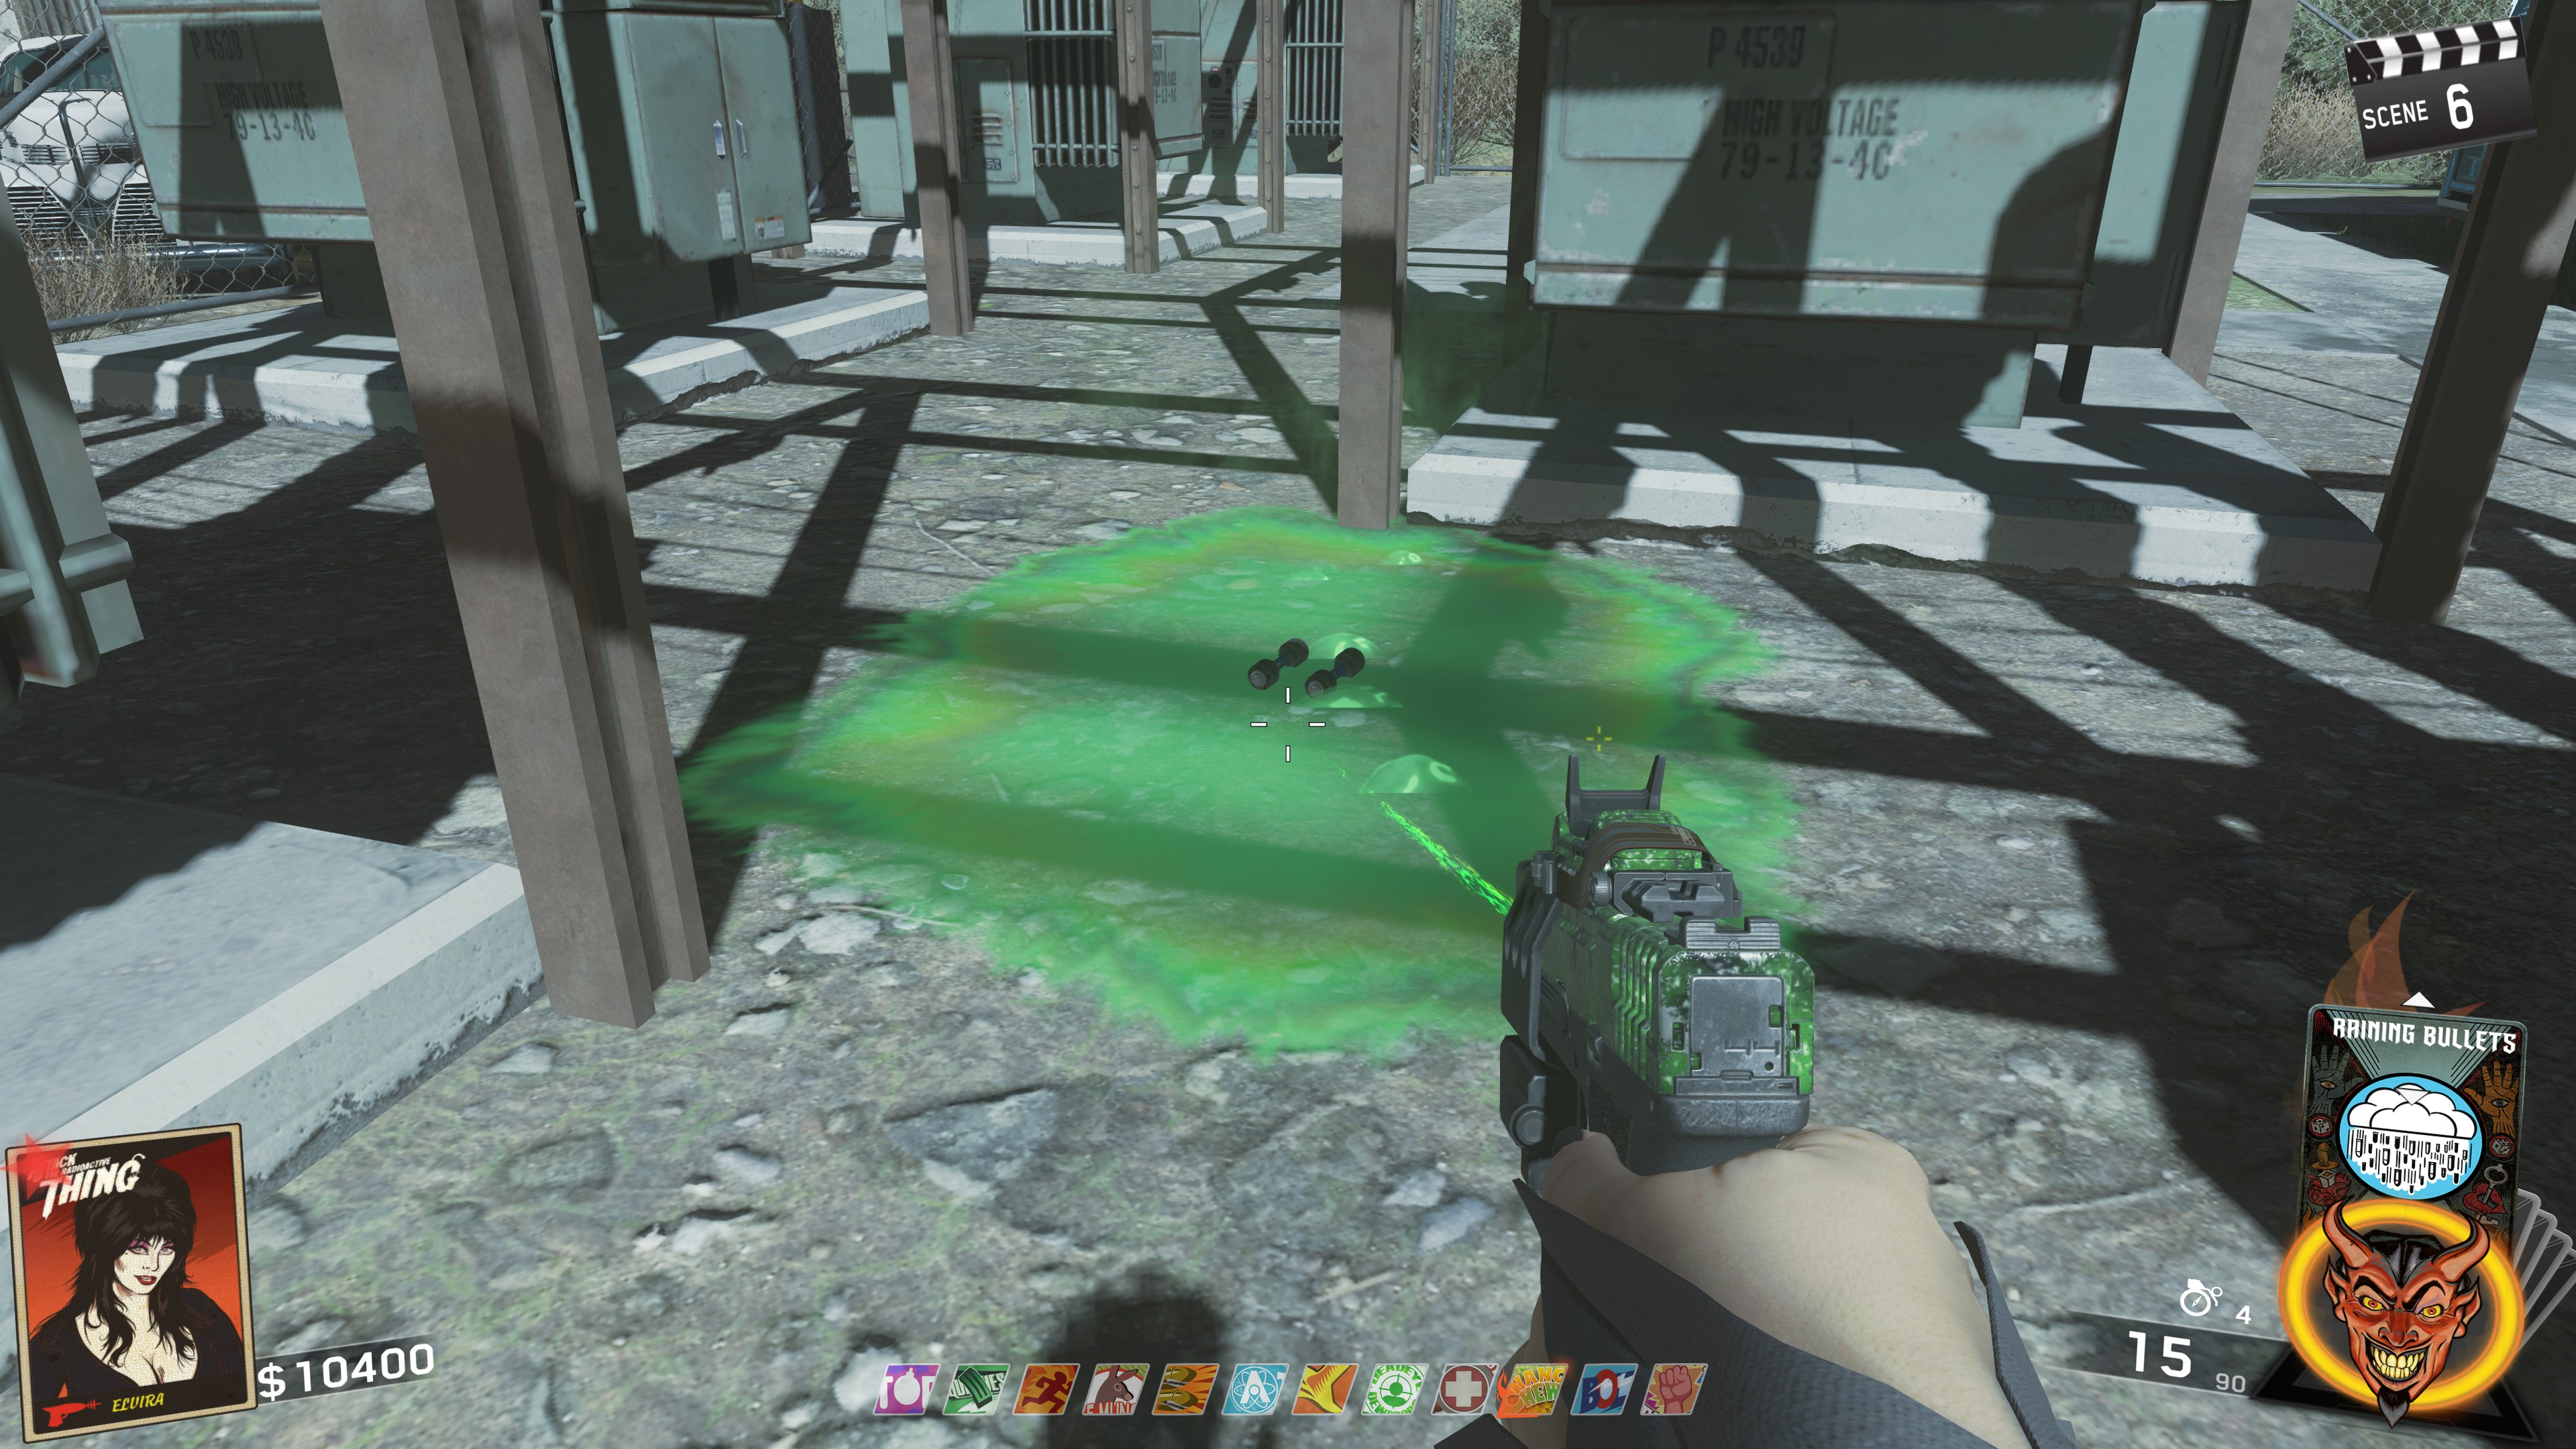
Activate the electric trap nearby and wait for the trap to turn off. When it turns off, you'll be able to collect the now charged Alien Fuses and place them into the Pack-a-Punch machine to enable Double Pack-a-Punching.
Main Quest - Setup
This first bit of the Main Quest can be done in any order/simultaneously as its all just collecting parts. The good thing, is that all of the parts have set spawns, so no multiple spawn locations (yay!)
- Arm 1this can be found on the beach and is the same arm you pick up the power switch from. However, you'll need to force it out of the ground. Luckily, right outside of spawn in a little convenience store you can make the seismic wave generator.
- The blueprint can be found right outside the building on the ground
ㅤ
- One part is near these Port-a-potties
ㅤ
- Another part is on the bench right outside the building
ㅤ
- And the last part can be found right outside the building on this corner
ㅤ
- The build table is located in the building in the room where the Skull Hop Machine is
ㅤ
Now take the generator over to the arm and place it on top of it and the arm will raise out of the ground and you can collect it.
ㅤ
ㅤ - The blueprint can be found right outside the building on the ground
- Arm 2This part is found in a fire found in the RV Camp
ㅤ
ㅤ - Leg 1The first leg is found in this tree outside the TV station down the path that leads to Racin' Stripes
You'll need to throw a grenade and have it explode directly on the branch on the left hand sideㅤ
If done correctly, the leg will fall to the ground and you'll be able to pick it upㅤ
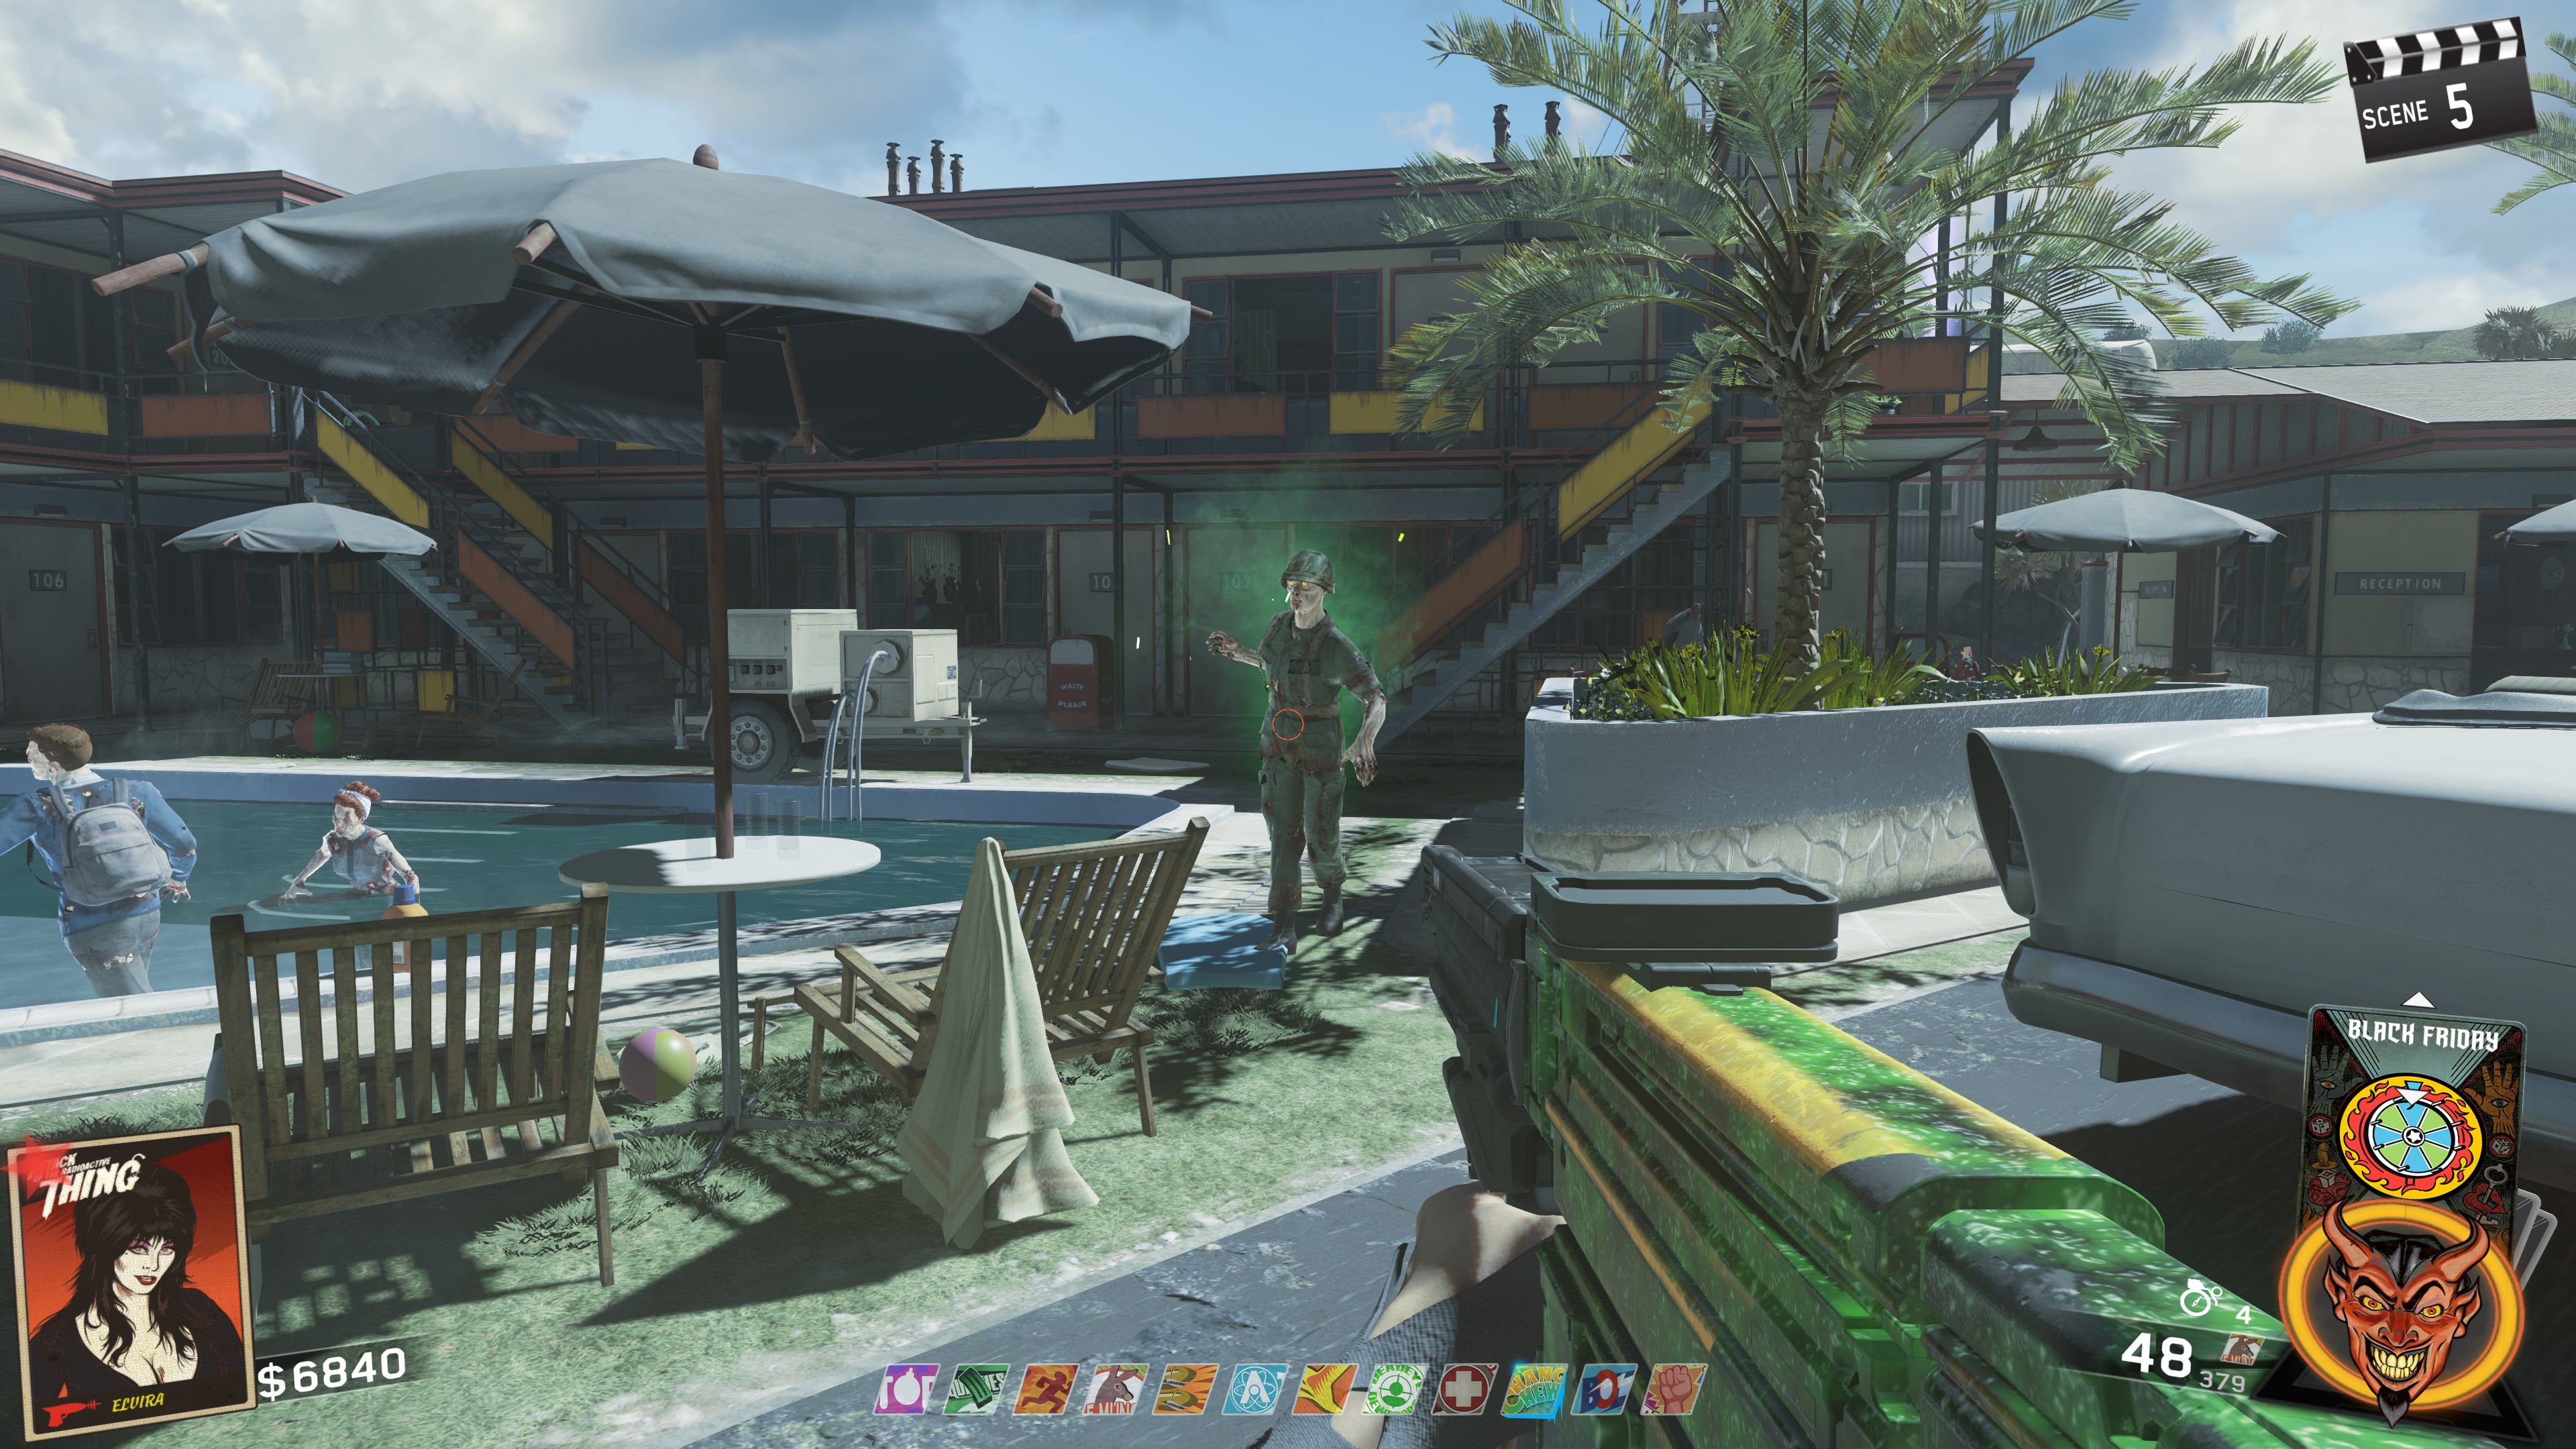
ㅤ - Leg 2The second leg will require to be atleast at round 5 or higher so that the Green mist zombies spawn. You'll also need the Cleaver Melee weapon found on the Dead Shark in the Beachside Market. Once you have the prerequisites settled, find a Green Mist Zombie and melee it with the Cleaver and it will drop its leg.
ㅤ
ㅤ - TorsoFor the Torso, you'll need to repair the Freeze Trap in the Beachside Market Freezer. You'll also need the Crowbar from the Maintenance closet near the Pool where Bombstoppers is. The box to repair the Freeze Trap is found on these boxes right outside of the Garage of the Gas Station (I already picked it up in this screenshot)
ㅤ
Take the box to the trap in the Beachside market and repair it. Then activate the trap.ㅤ
Once you activate the trap, you'll want to melee the now frozen body of meat to get to the zombie torso behind it.ㅤ
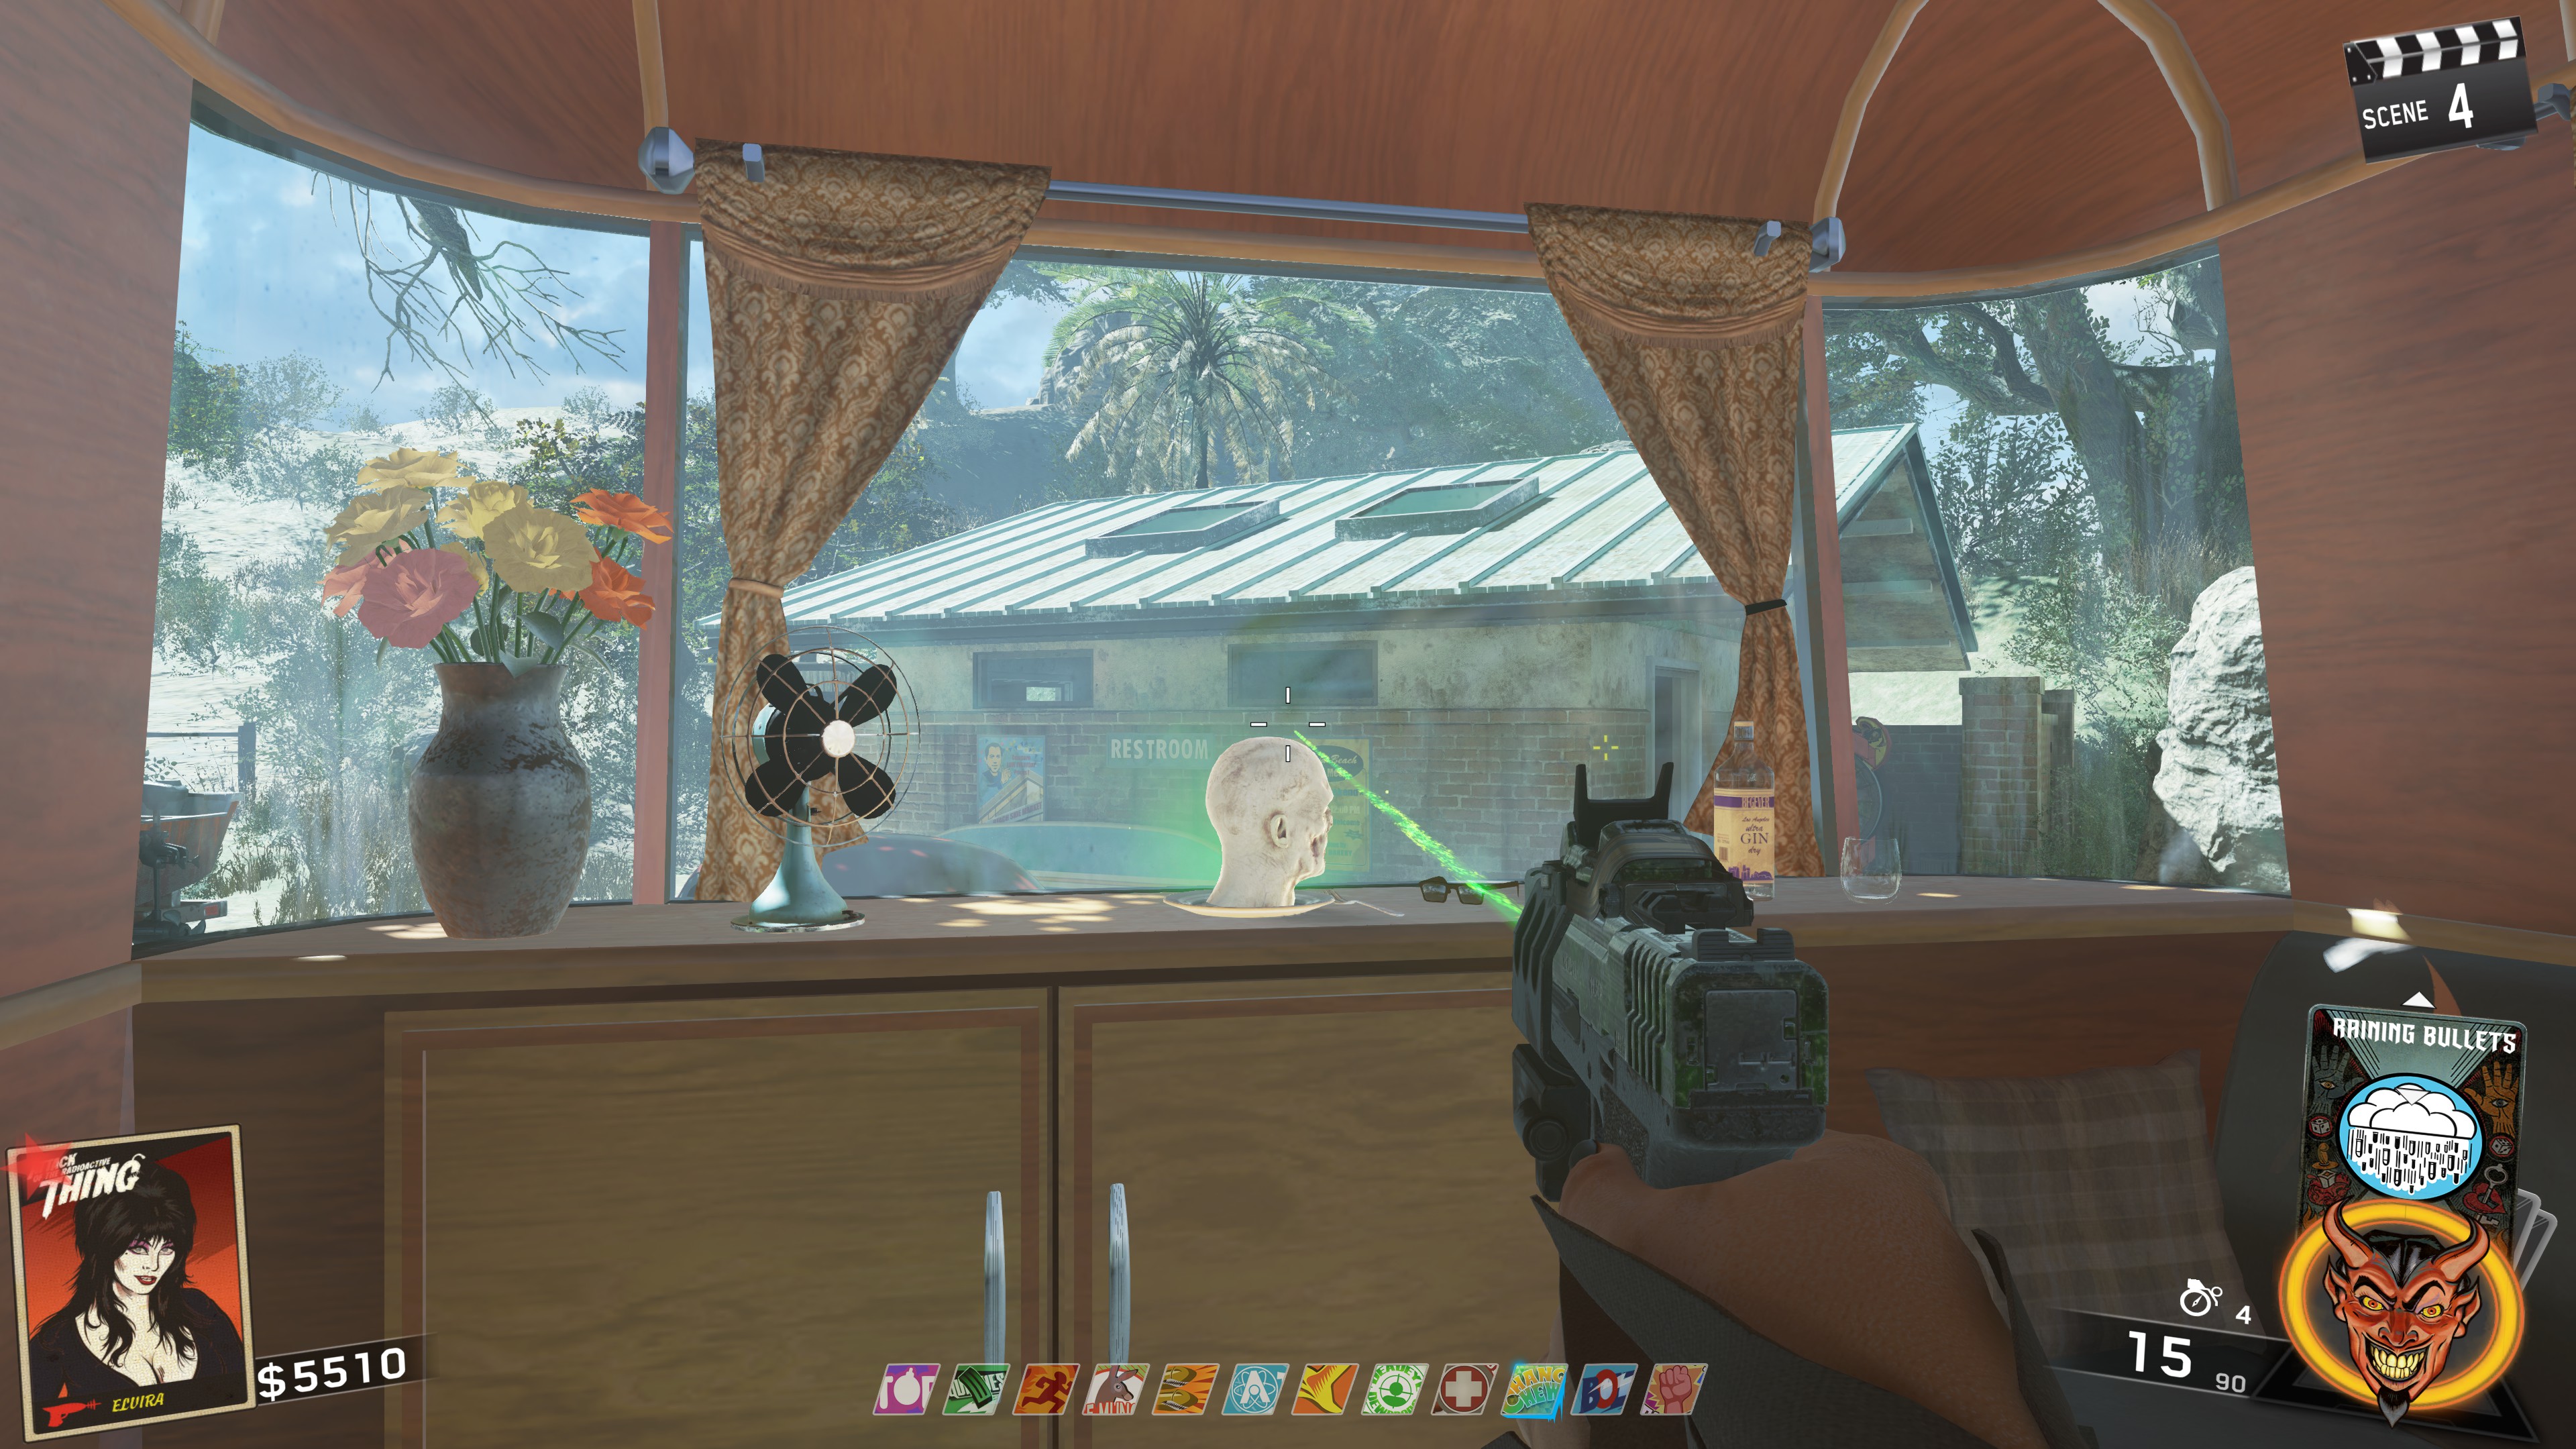
ㅤ - HeadYou can grab the head while doing the setup for Double Pack-a-Punch as it is in the RV you spawn in where the Alien Fuses are. Go through the PaP portal and hit the Stop light button in the projector room
Exit the portal and you'll spawn in the RV and directly in front of you will be the Zombie Head sitting on a plate.
ㅤ
- When walking in the back entrance (coming from power) to the Beachside market, on the couch on the left side.
ㅤ
- In the RV Camp on one of the picnic tables
ㅤ
- On the table on the route that goes between the RV Camp and the Beach
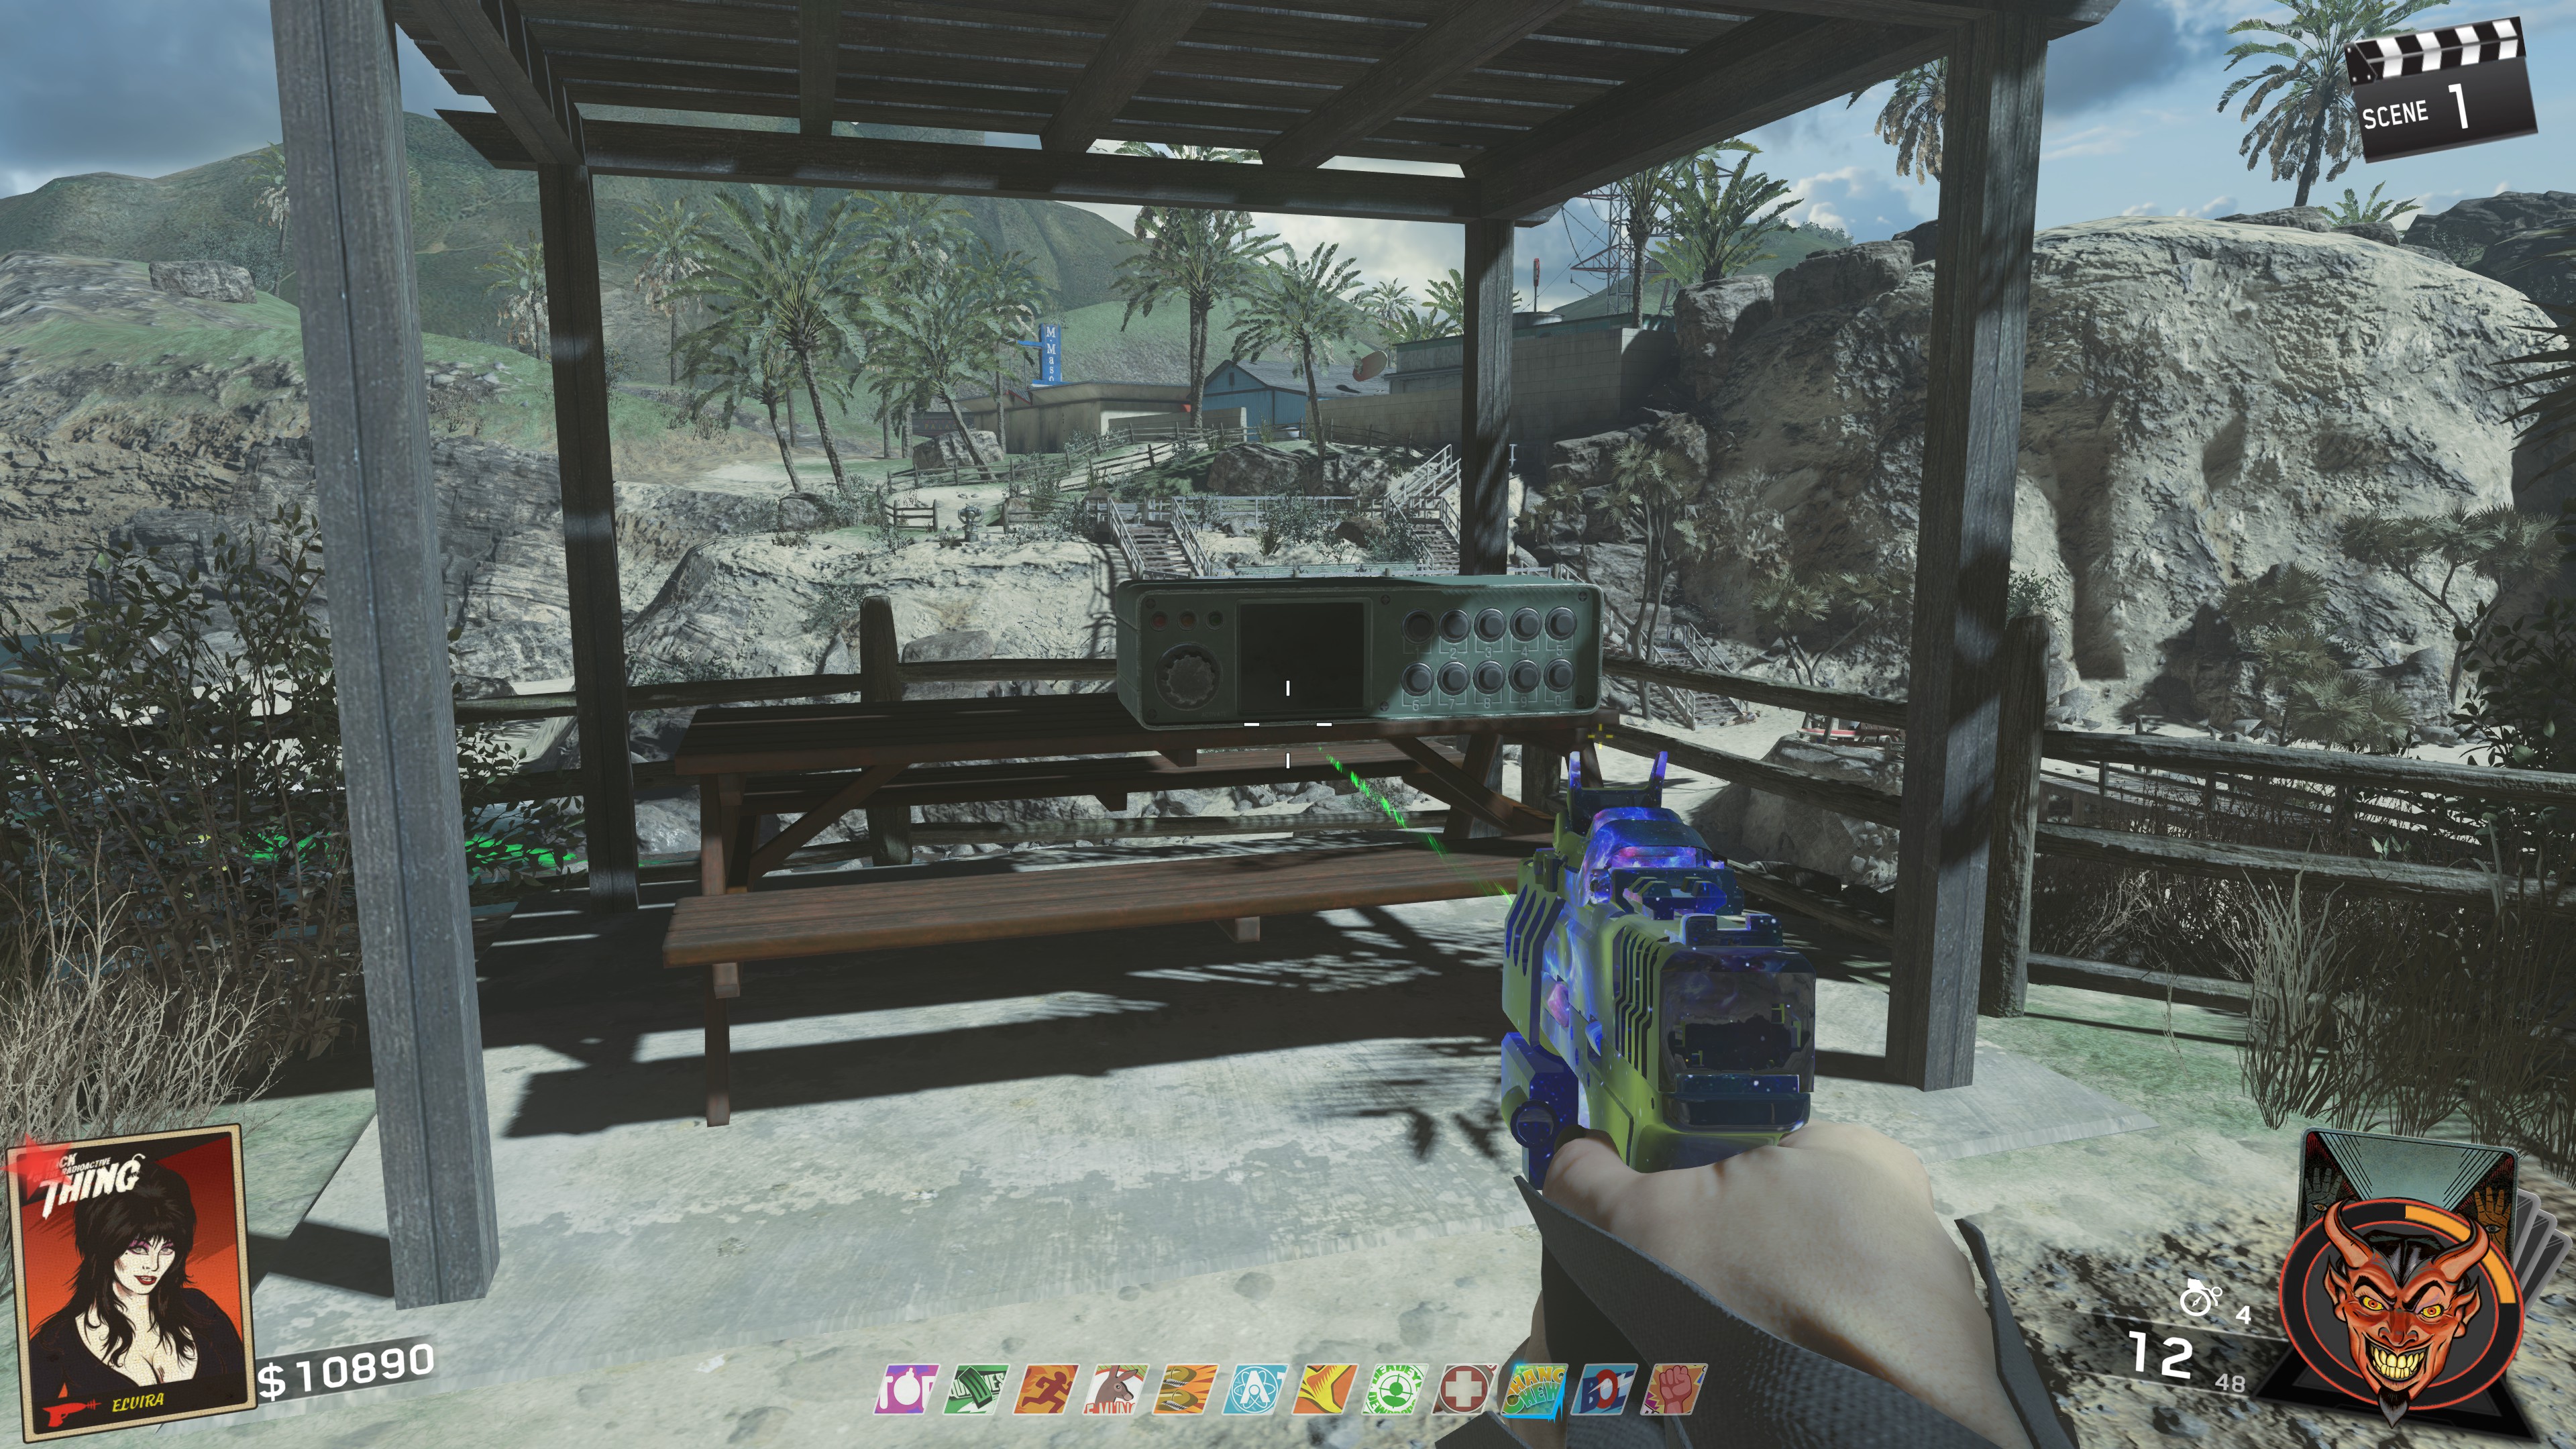
- Located near the beach under the wooden bridge that's under the big concrete bridge
ㅤ
- In between the beach and TV station, Under the red car on the front passenger wheel
ㅤ
- In between the TV station and where Racin' Stripes is, behind the chain link fence where you get one of the zombie legs
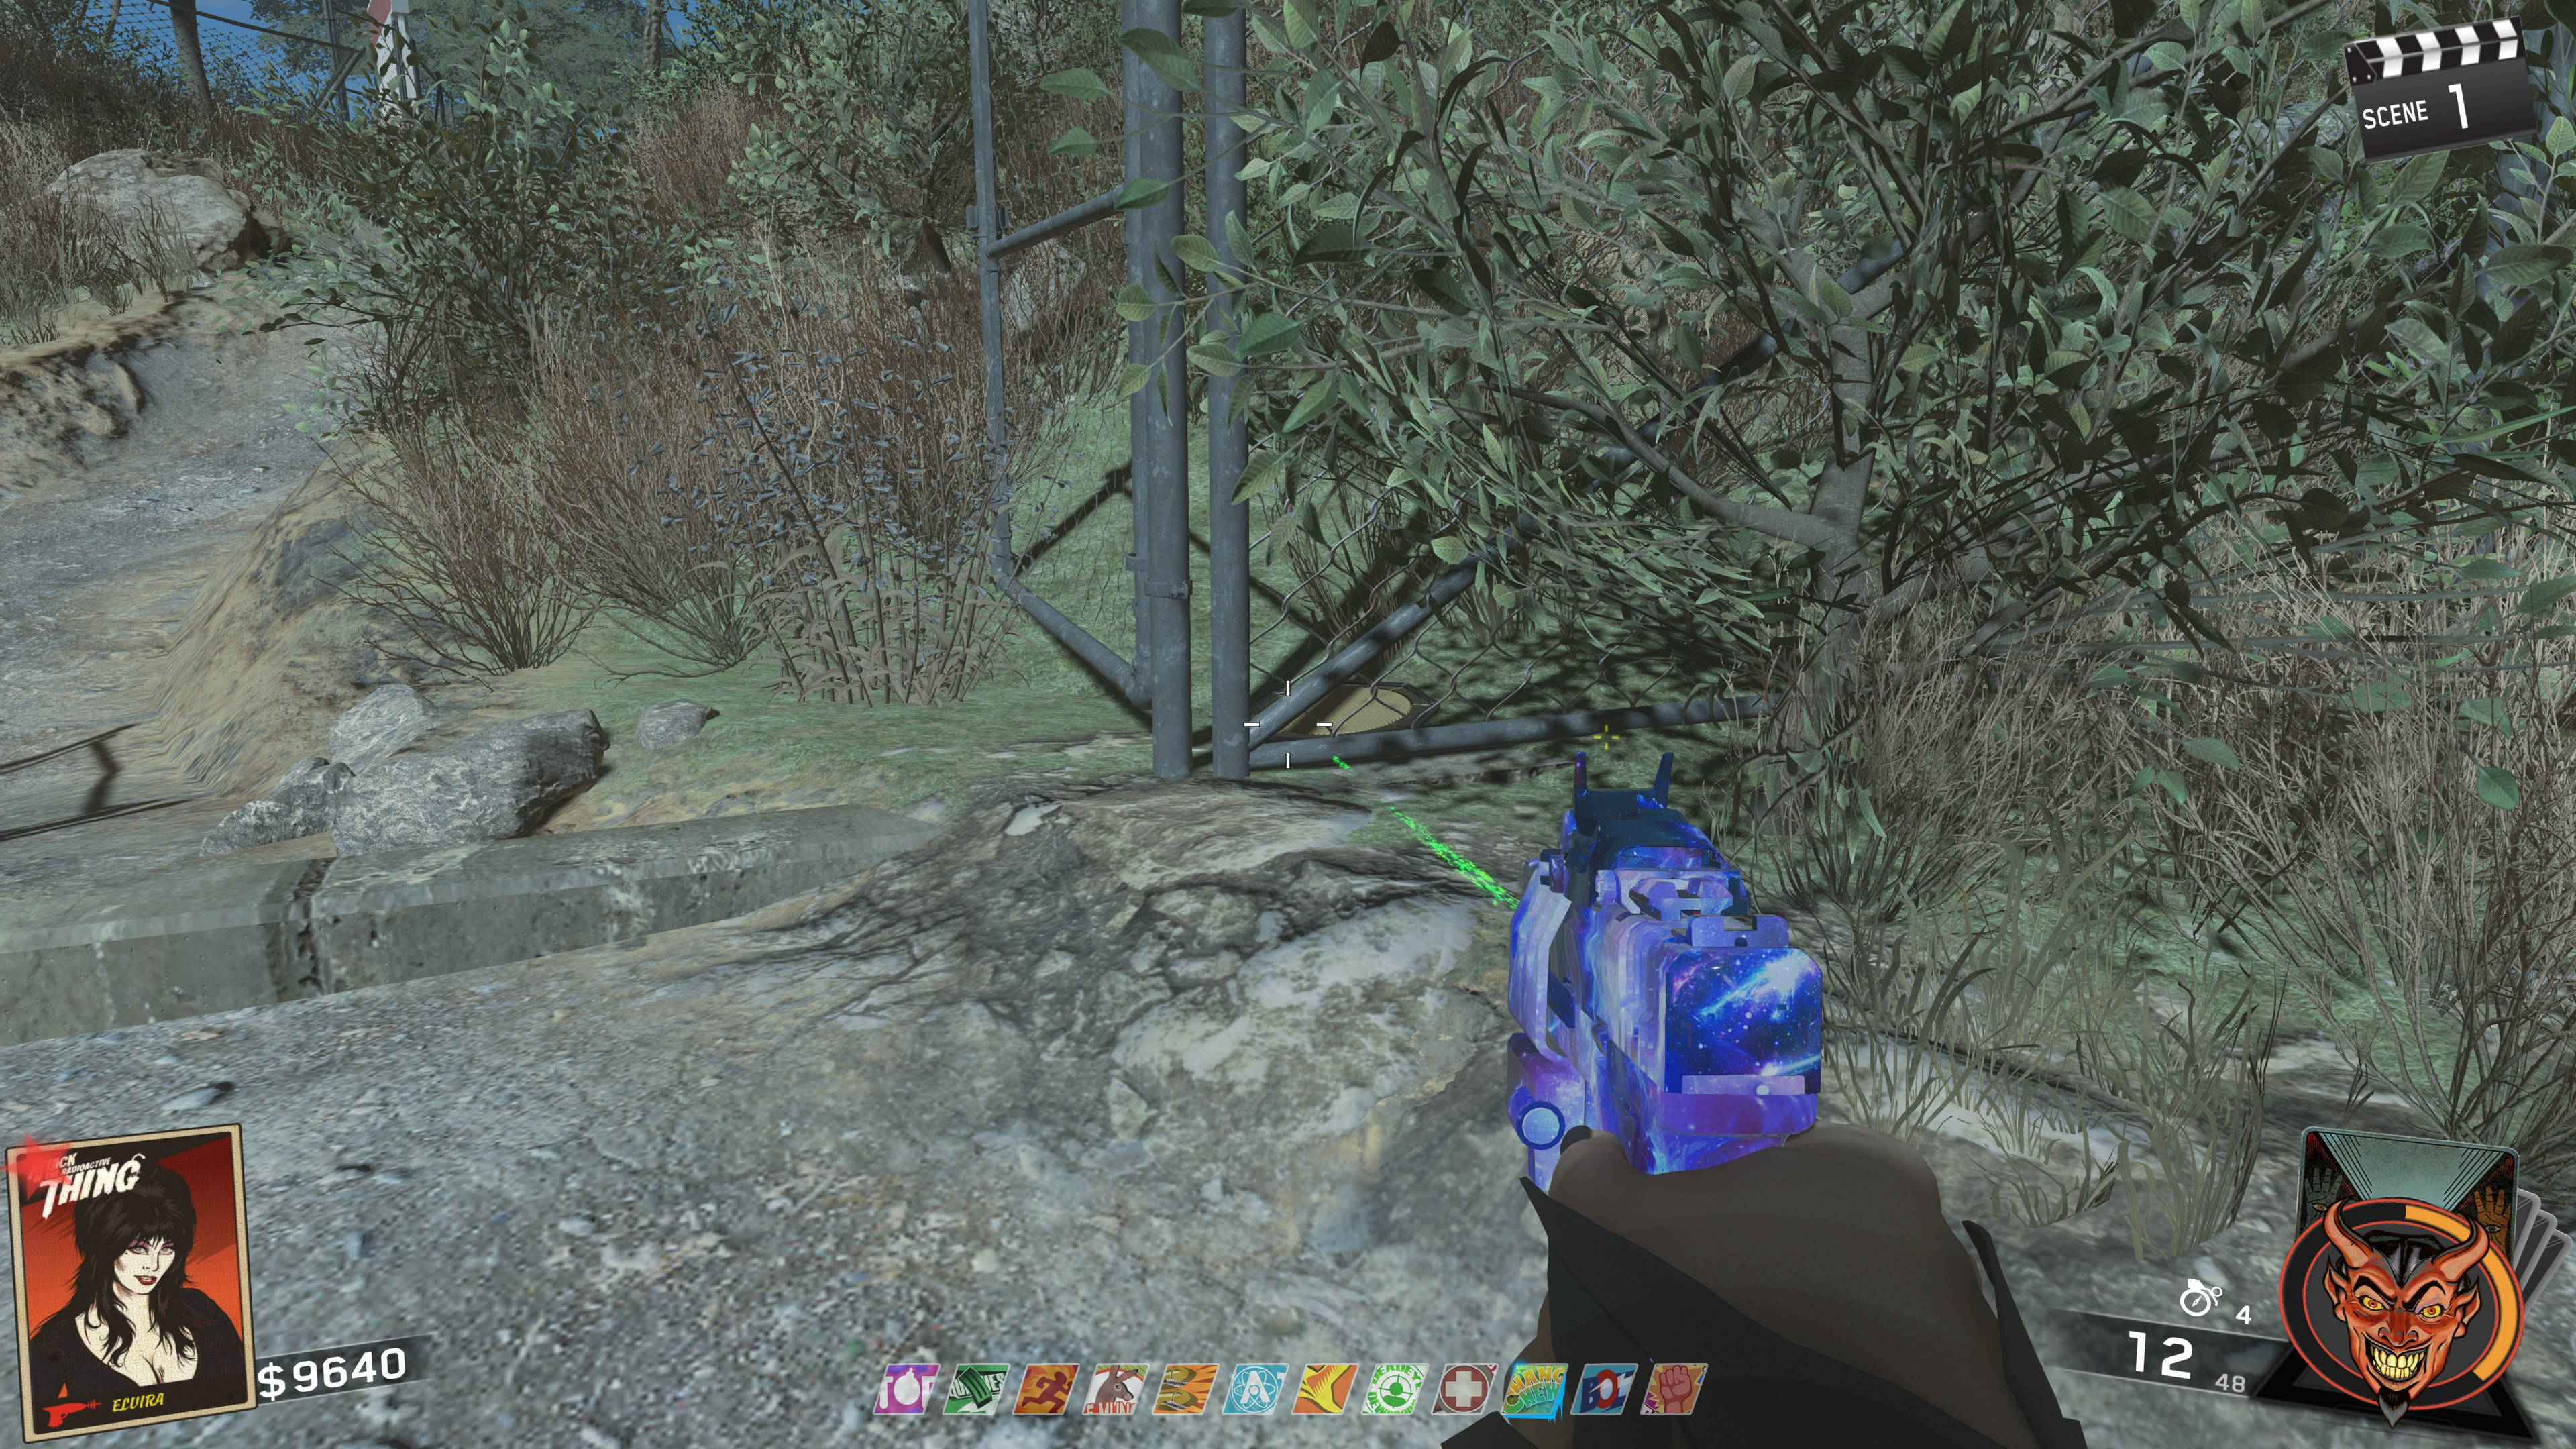
- Hit the mirror off the car located right outside the Beachside market. Pick up the mirror off the ground
ㅤ
- Hit the mirror in the Bathroom of the RV Camp to bust it and grab the broken piece
ㅤ
- Give Elvira a filled Green Vial and she'll move off the couch revealing the Mirror sitting behind her. (It can be kinda finicky to pick up, but keep moving away and coming back to pick it up)
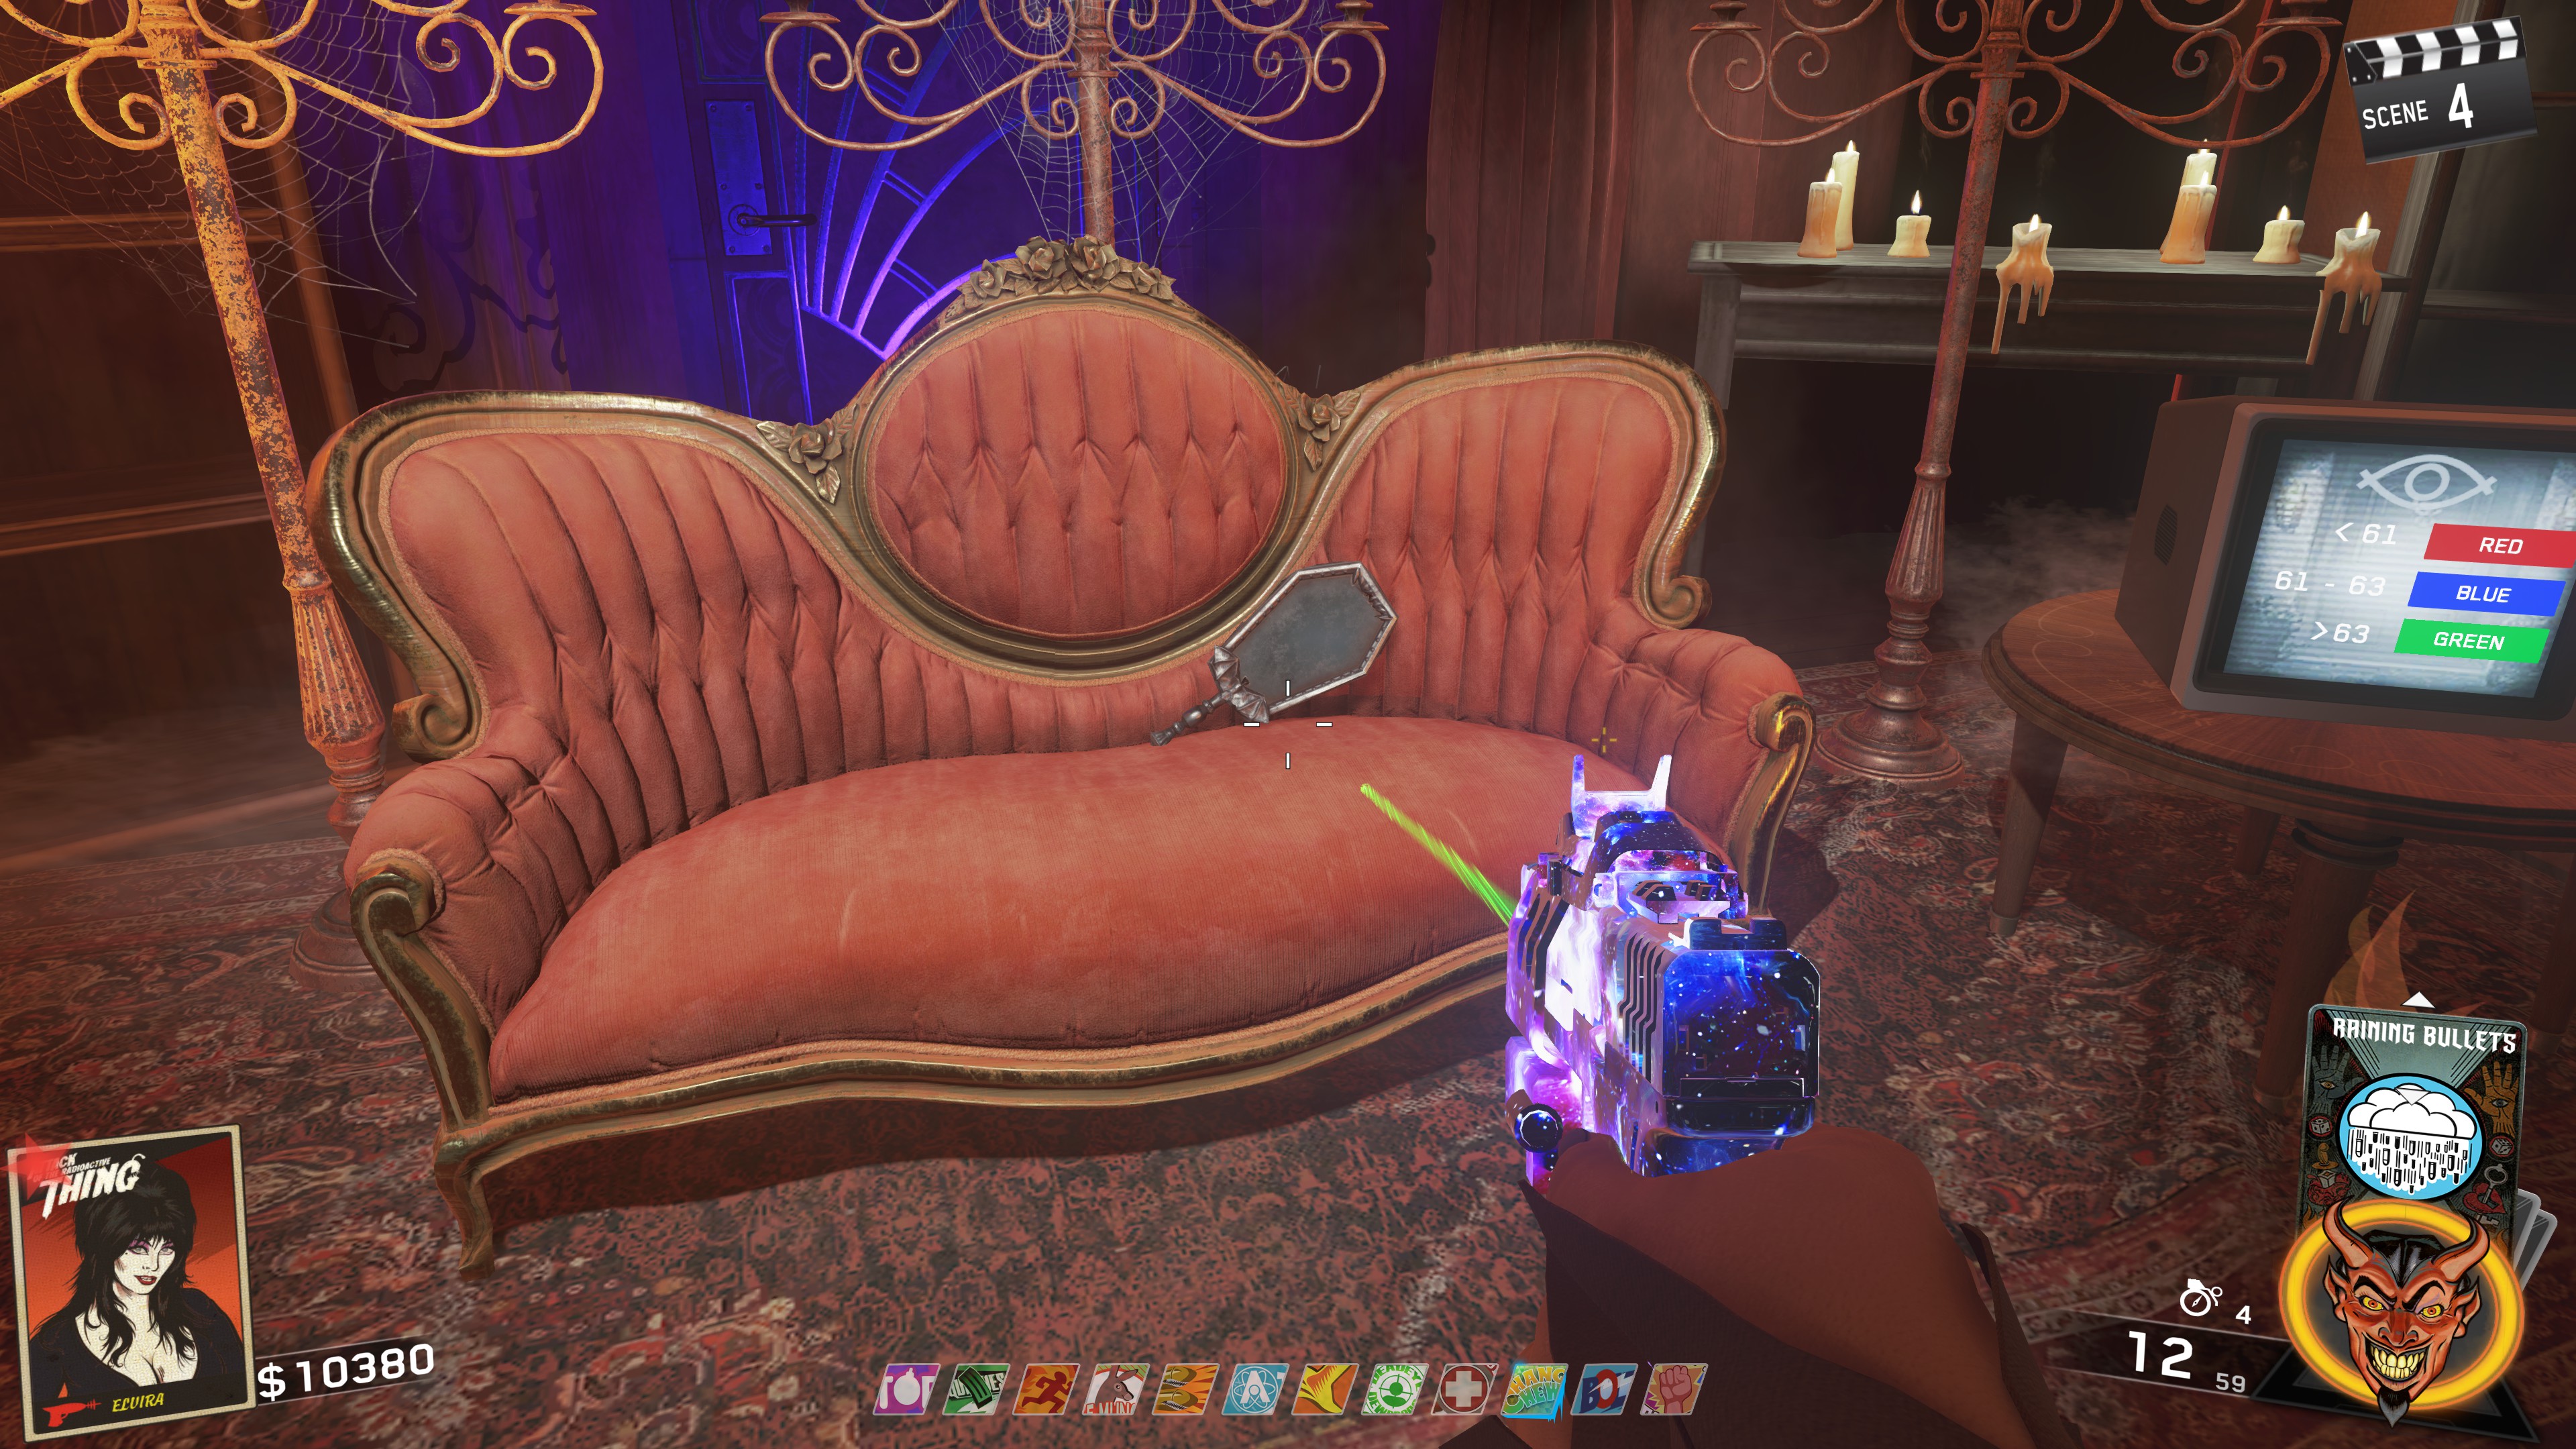
Once you've gotten all of these parts, now we can start doing some actual steps.
Main Quest - Bomb Code
ㅤ
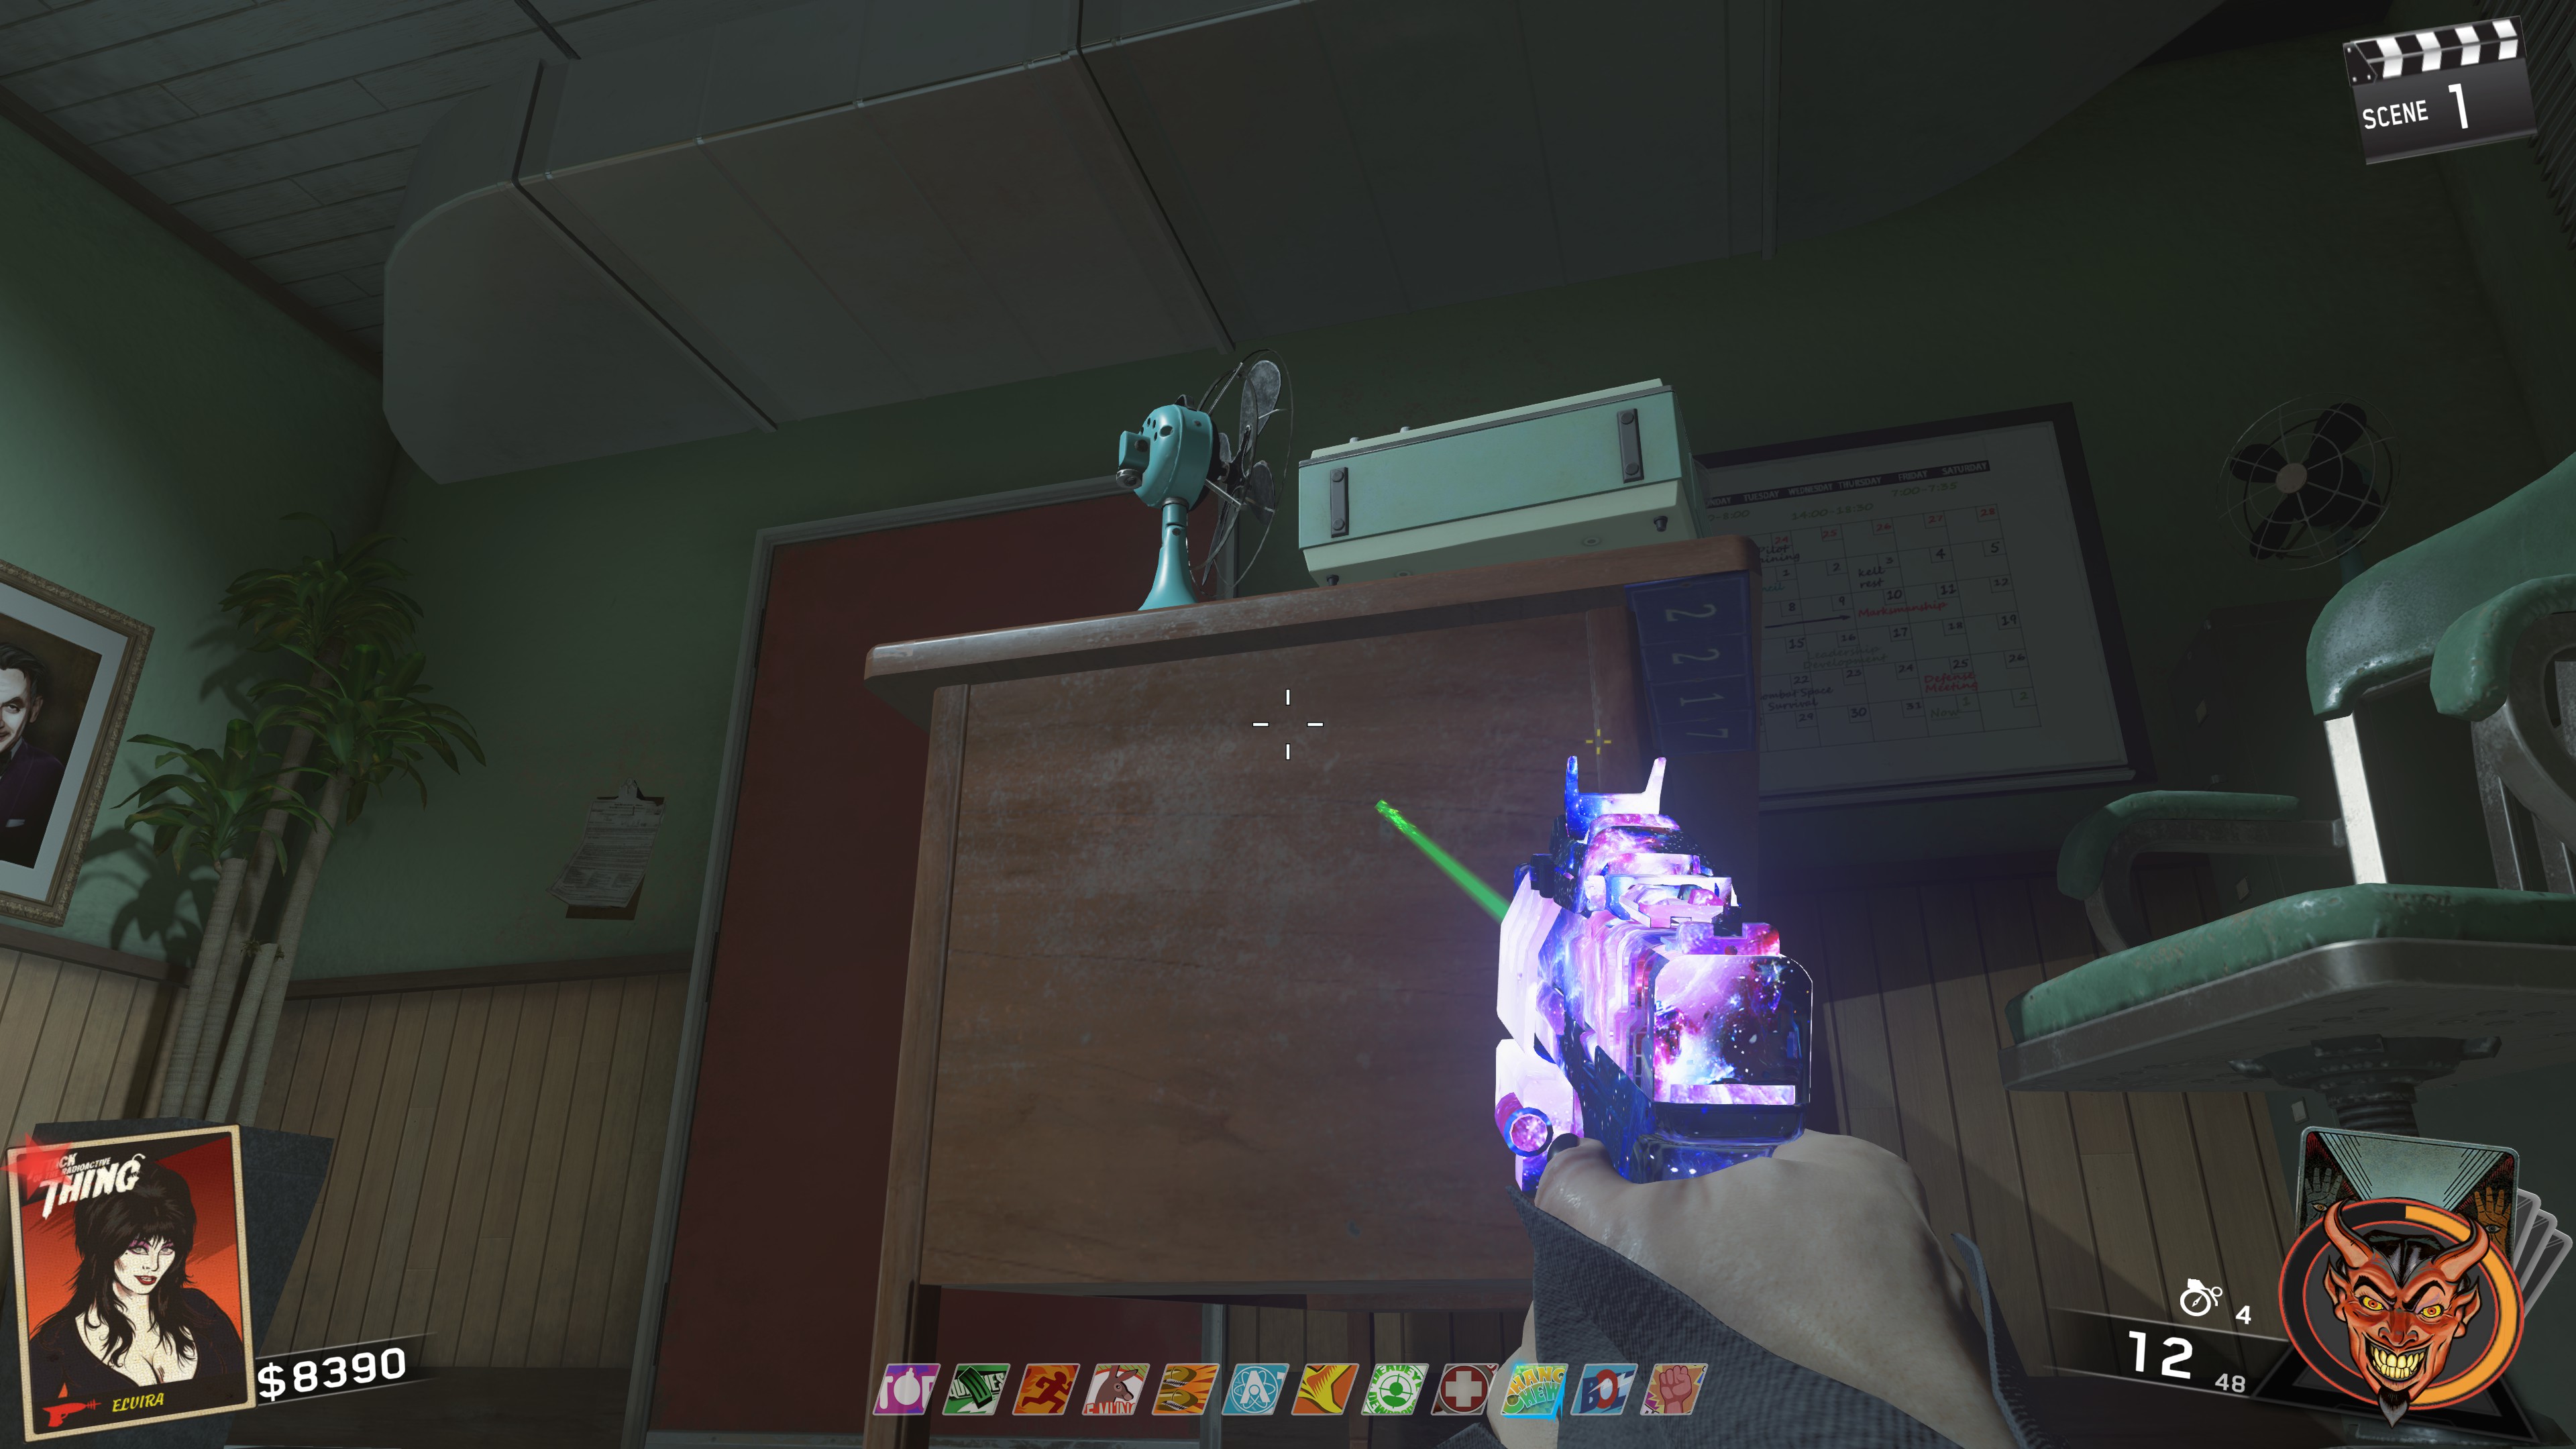 ㅤ
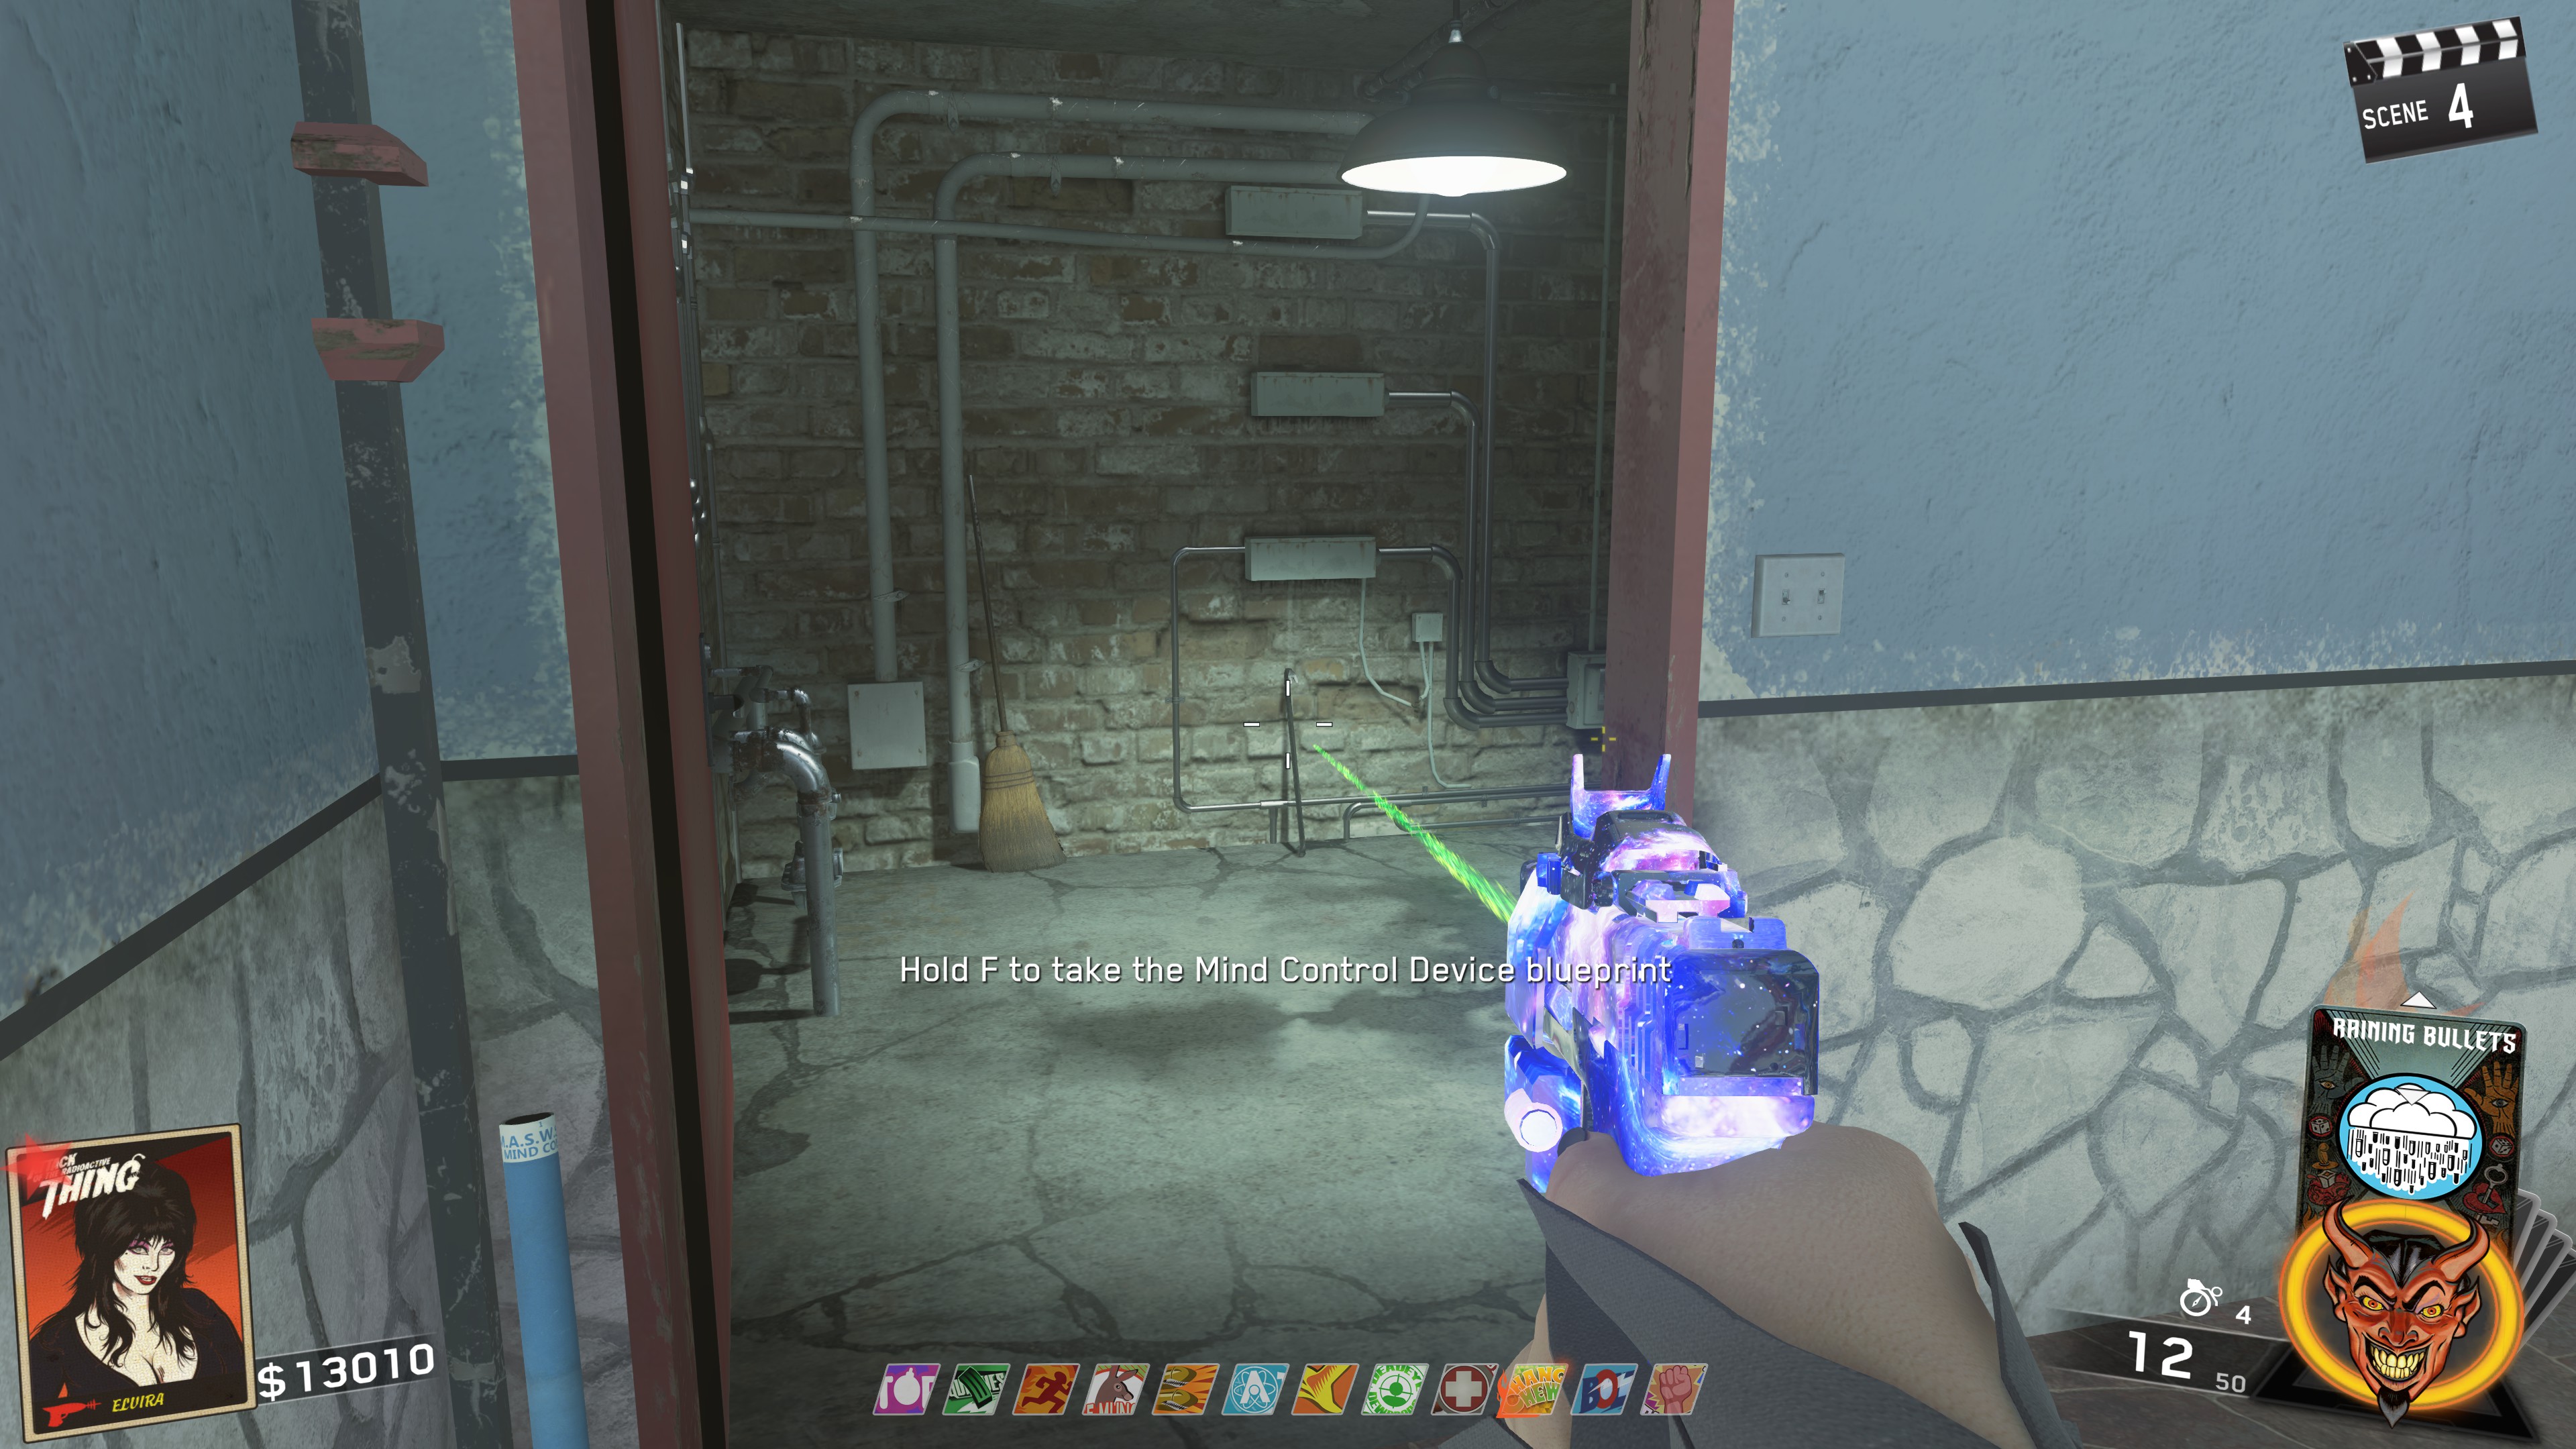
ㅤYou'll also want to grab the Crowbar from the Maintenance closet near the pool and Bombstoppers.
Once you have the code, there are 4 green valves around the map that you can interact with using the crowbar. These valves will have a meter constantly going back and forth from 0-9. You'll want to hit the valve once it's over one of the numbers in your code.
It doesn't matter the order you input the numbers in the code, as long as you input all 4 numbers from the code into the valves. ( So in my case, set two valves to 2, set one valve to 1 and one valve to 7)
The location of the Valves are:- In the same room, directly across from where you pickup the crowbar
ㅤ
- On the side of the building where Quickies is located
ㅤ
- Back side of the Gas Station
ㅤ
- Opposite side of the building where the power switch and Blue Bolts is located
ㅤ
Once you've set all the valves correctly, the safe in the Beachside market will open and you can grab the Bomb Code inside.
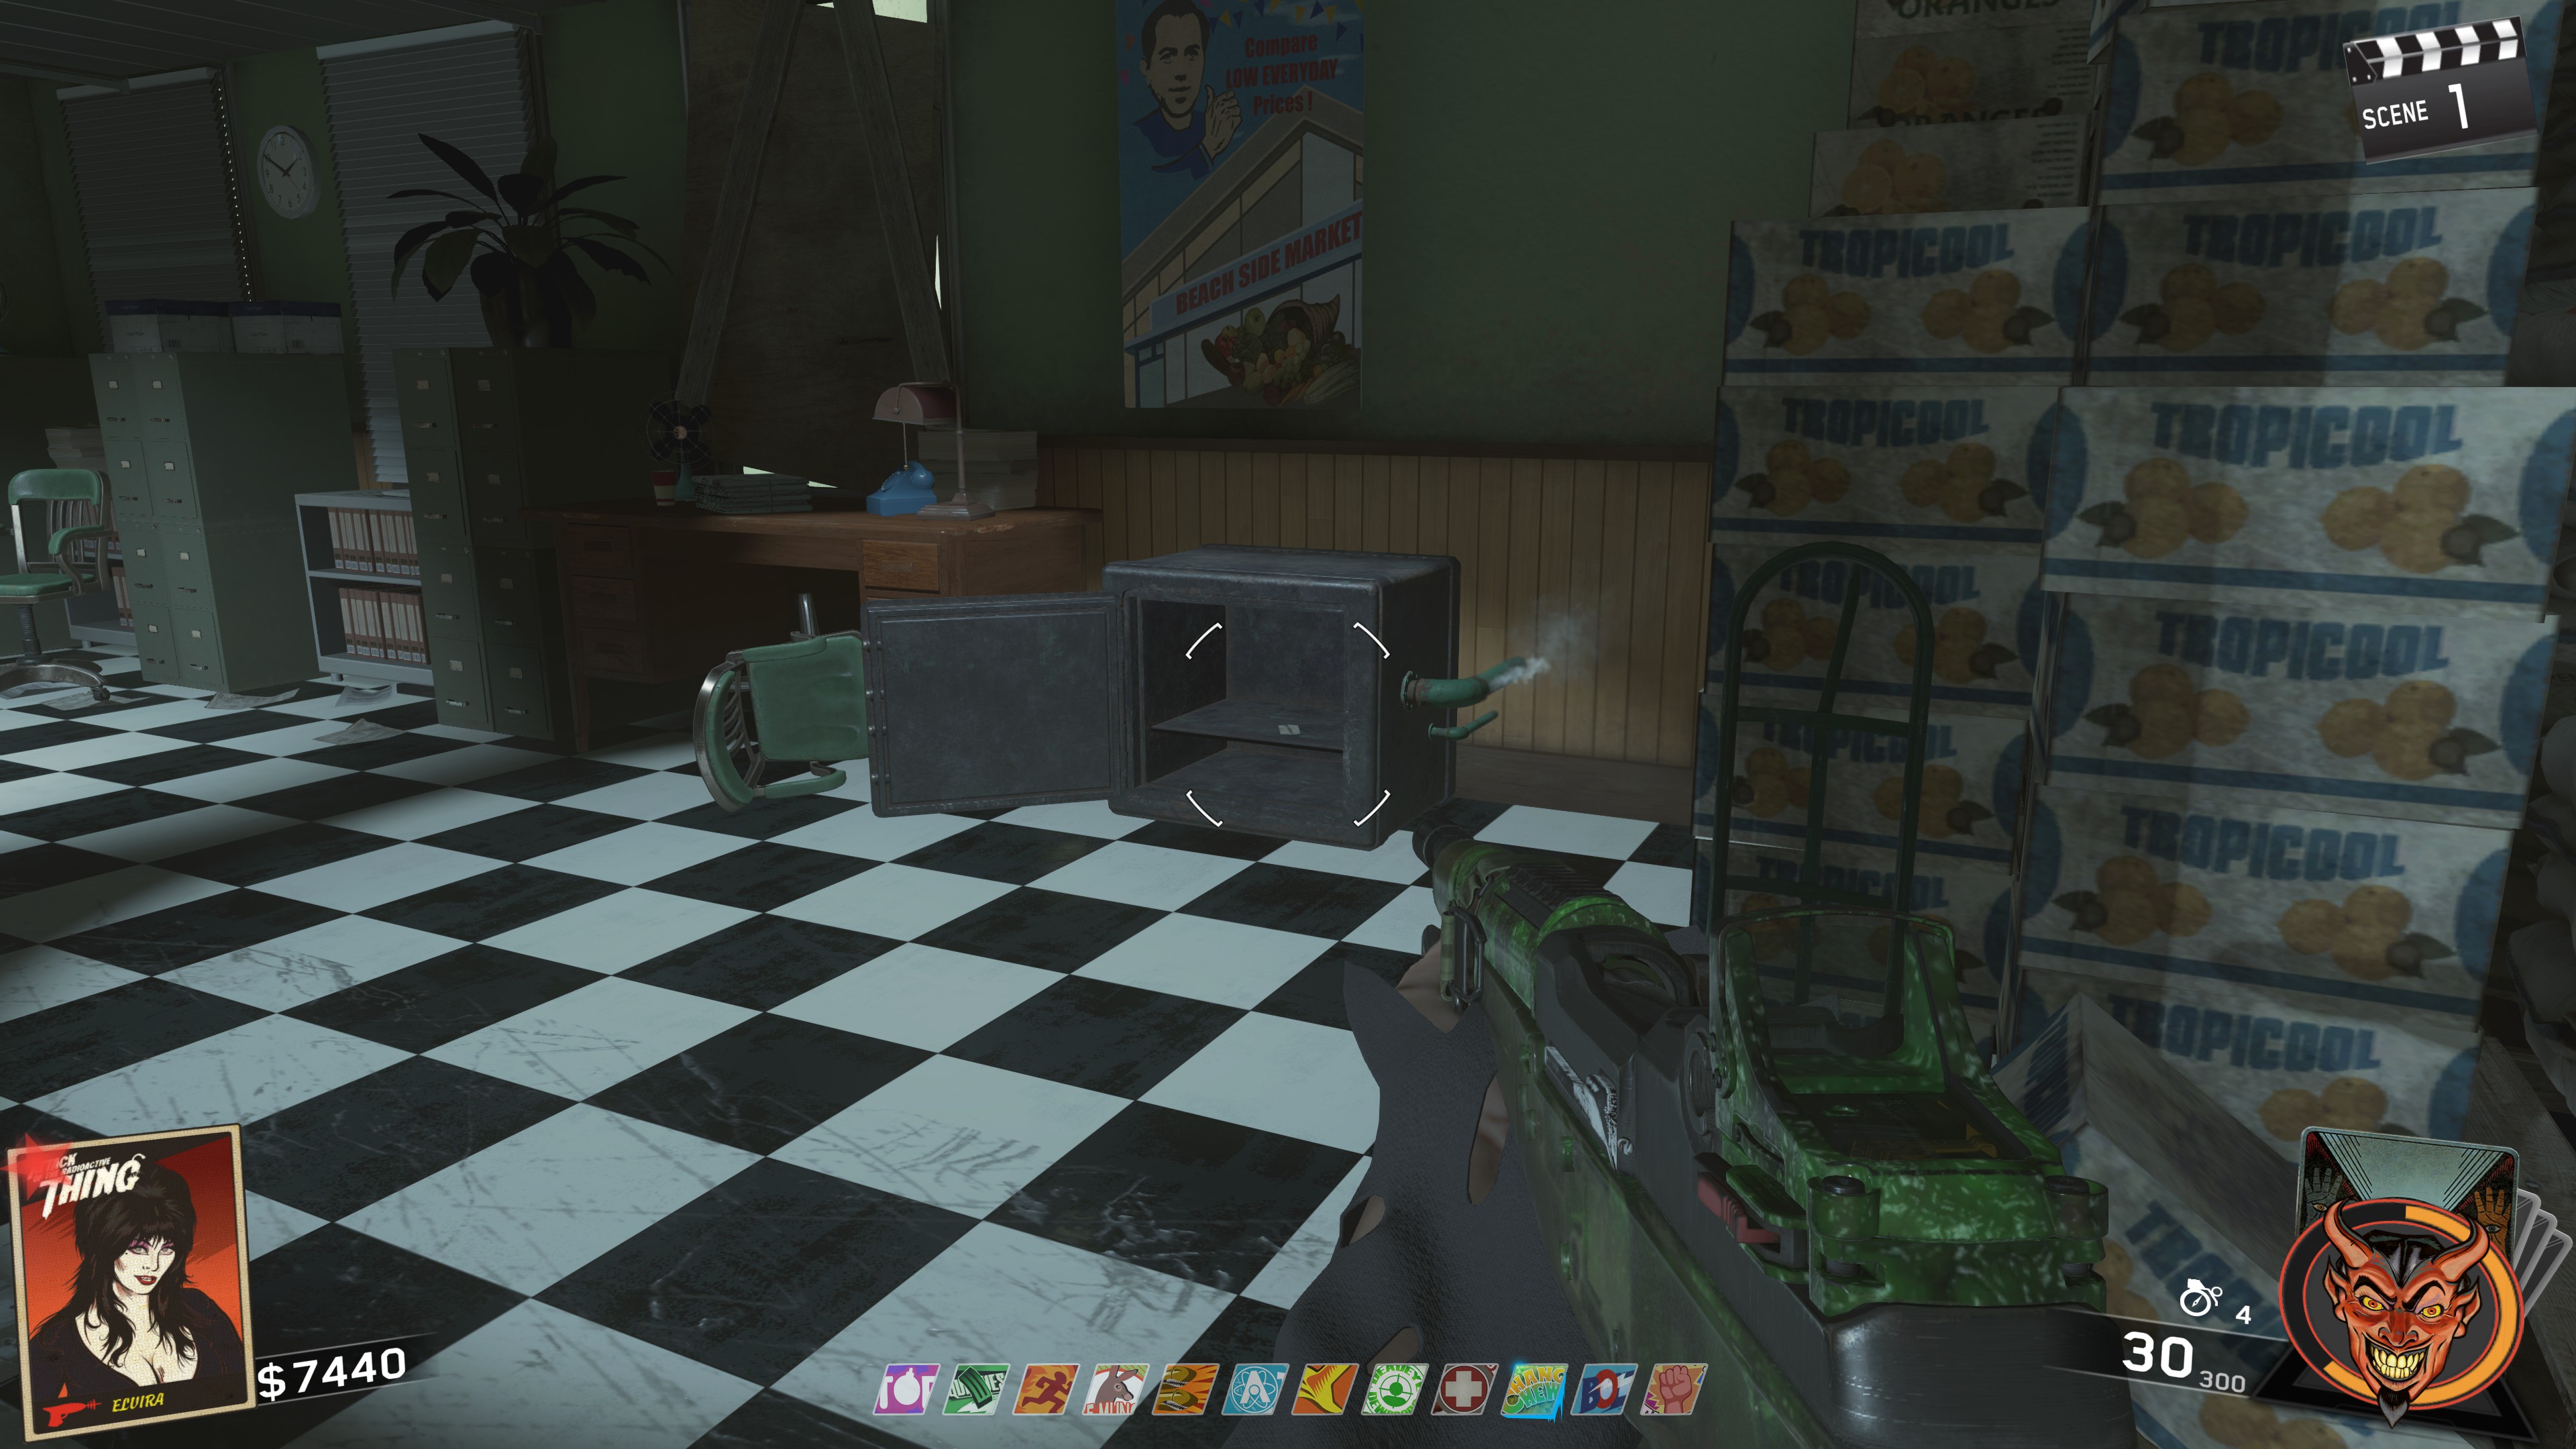
Main Quest - Getting the Garage Key
ㅤ
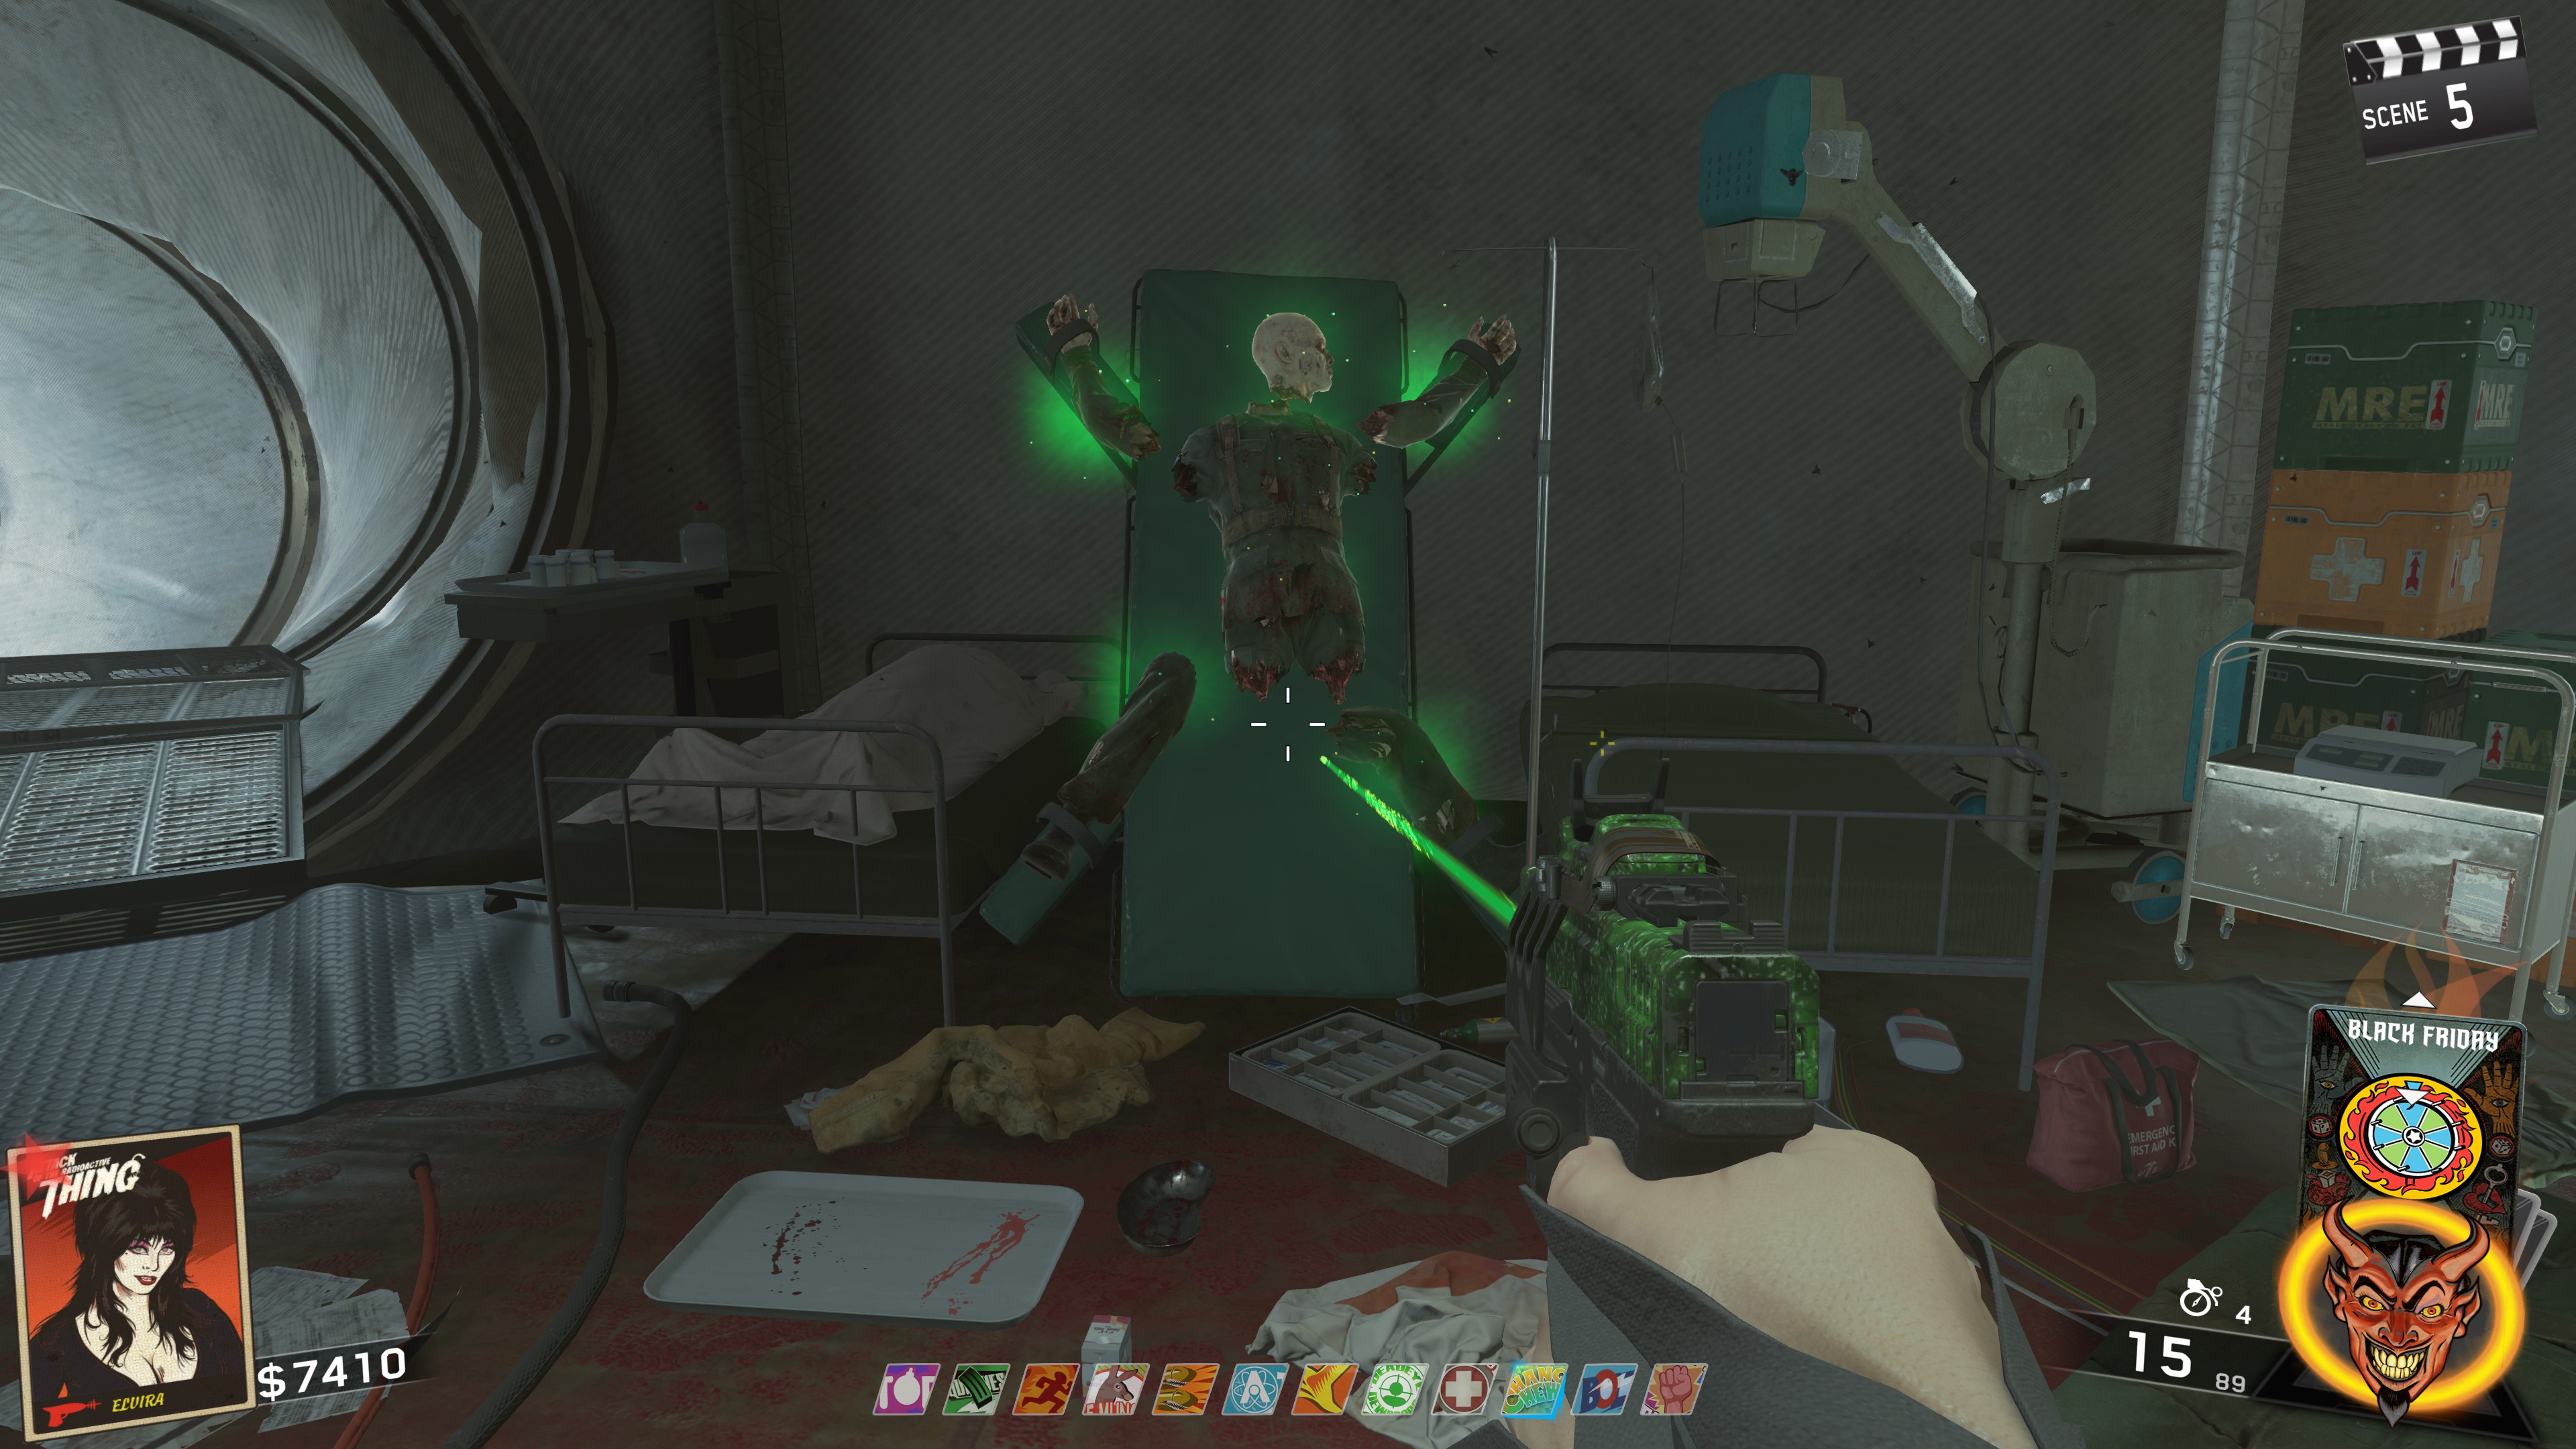 ㅤ
ㅤThen you'll want to place all three mirrors you obtained around the room. Doesn't matter the order, it'll place the correct mirror for you.
- Mirror 1
ㅤ
- Mirror 2
ㅤ
- MIrror 3
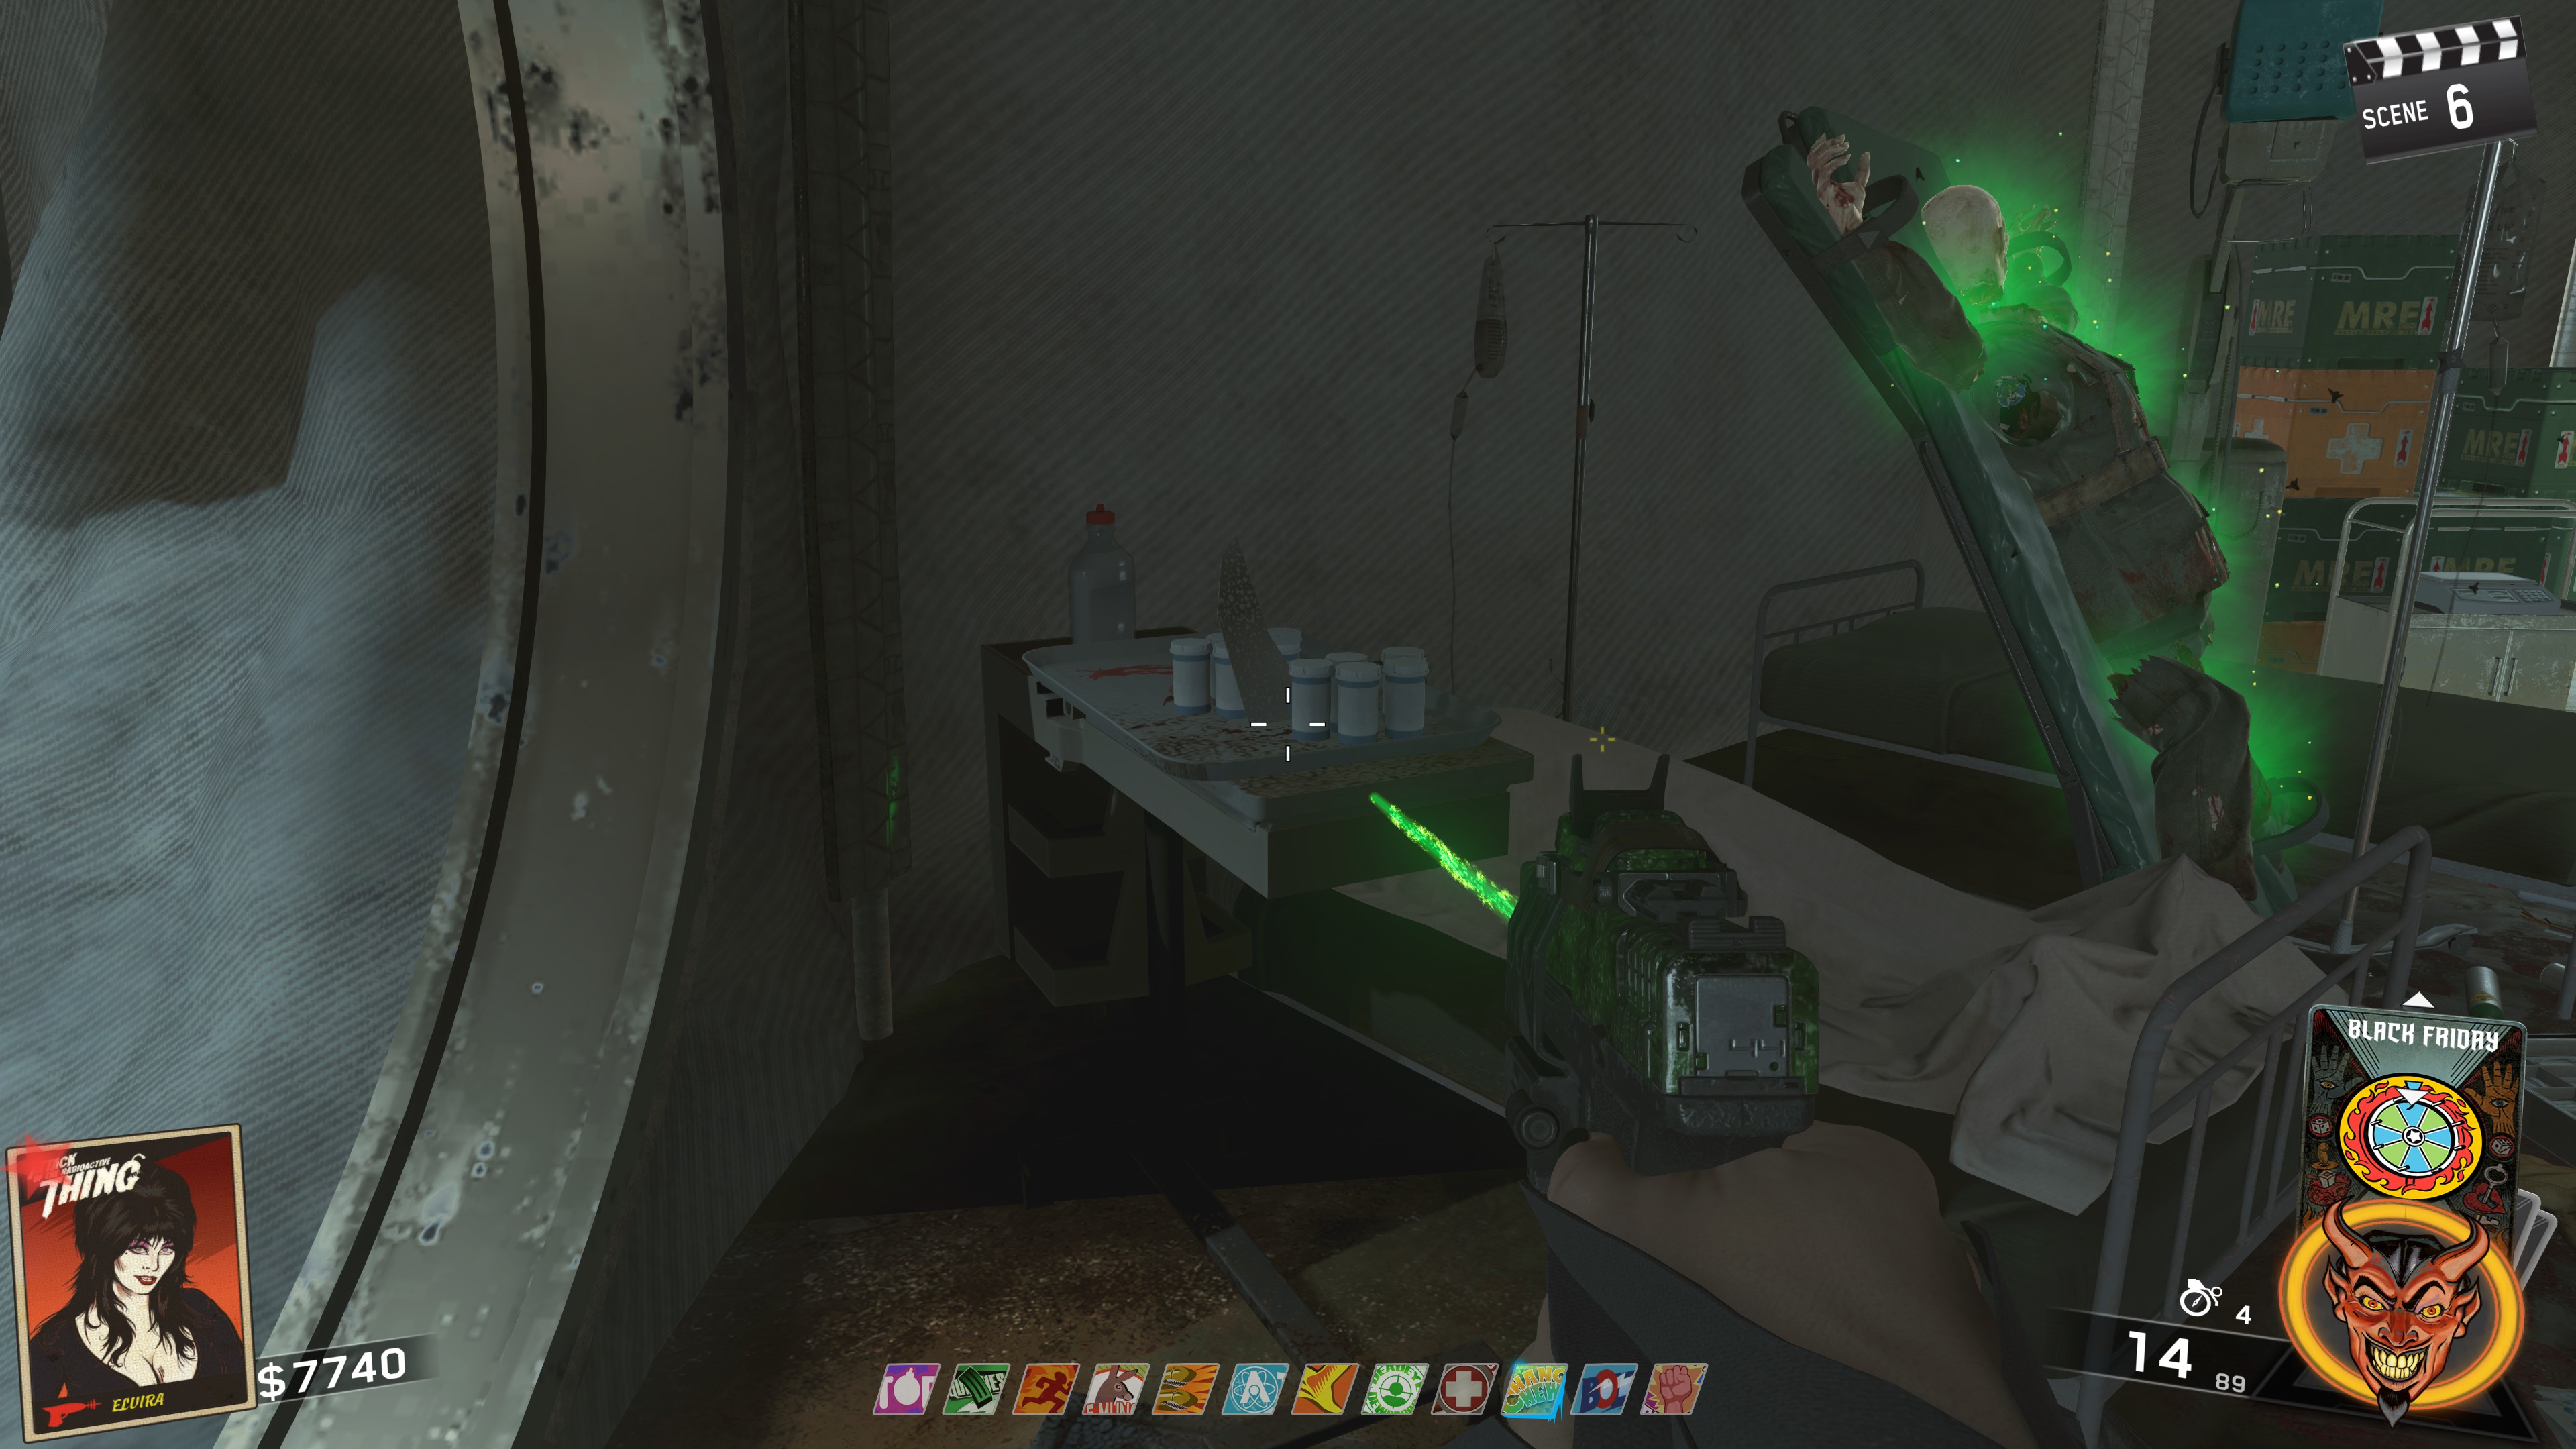
Now, you'll need to go grab the Punchcard which is on a table in the same room you pick up Elvira's Spellbook
ㅤ
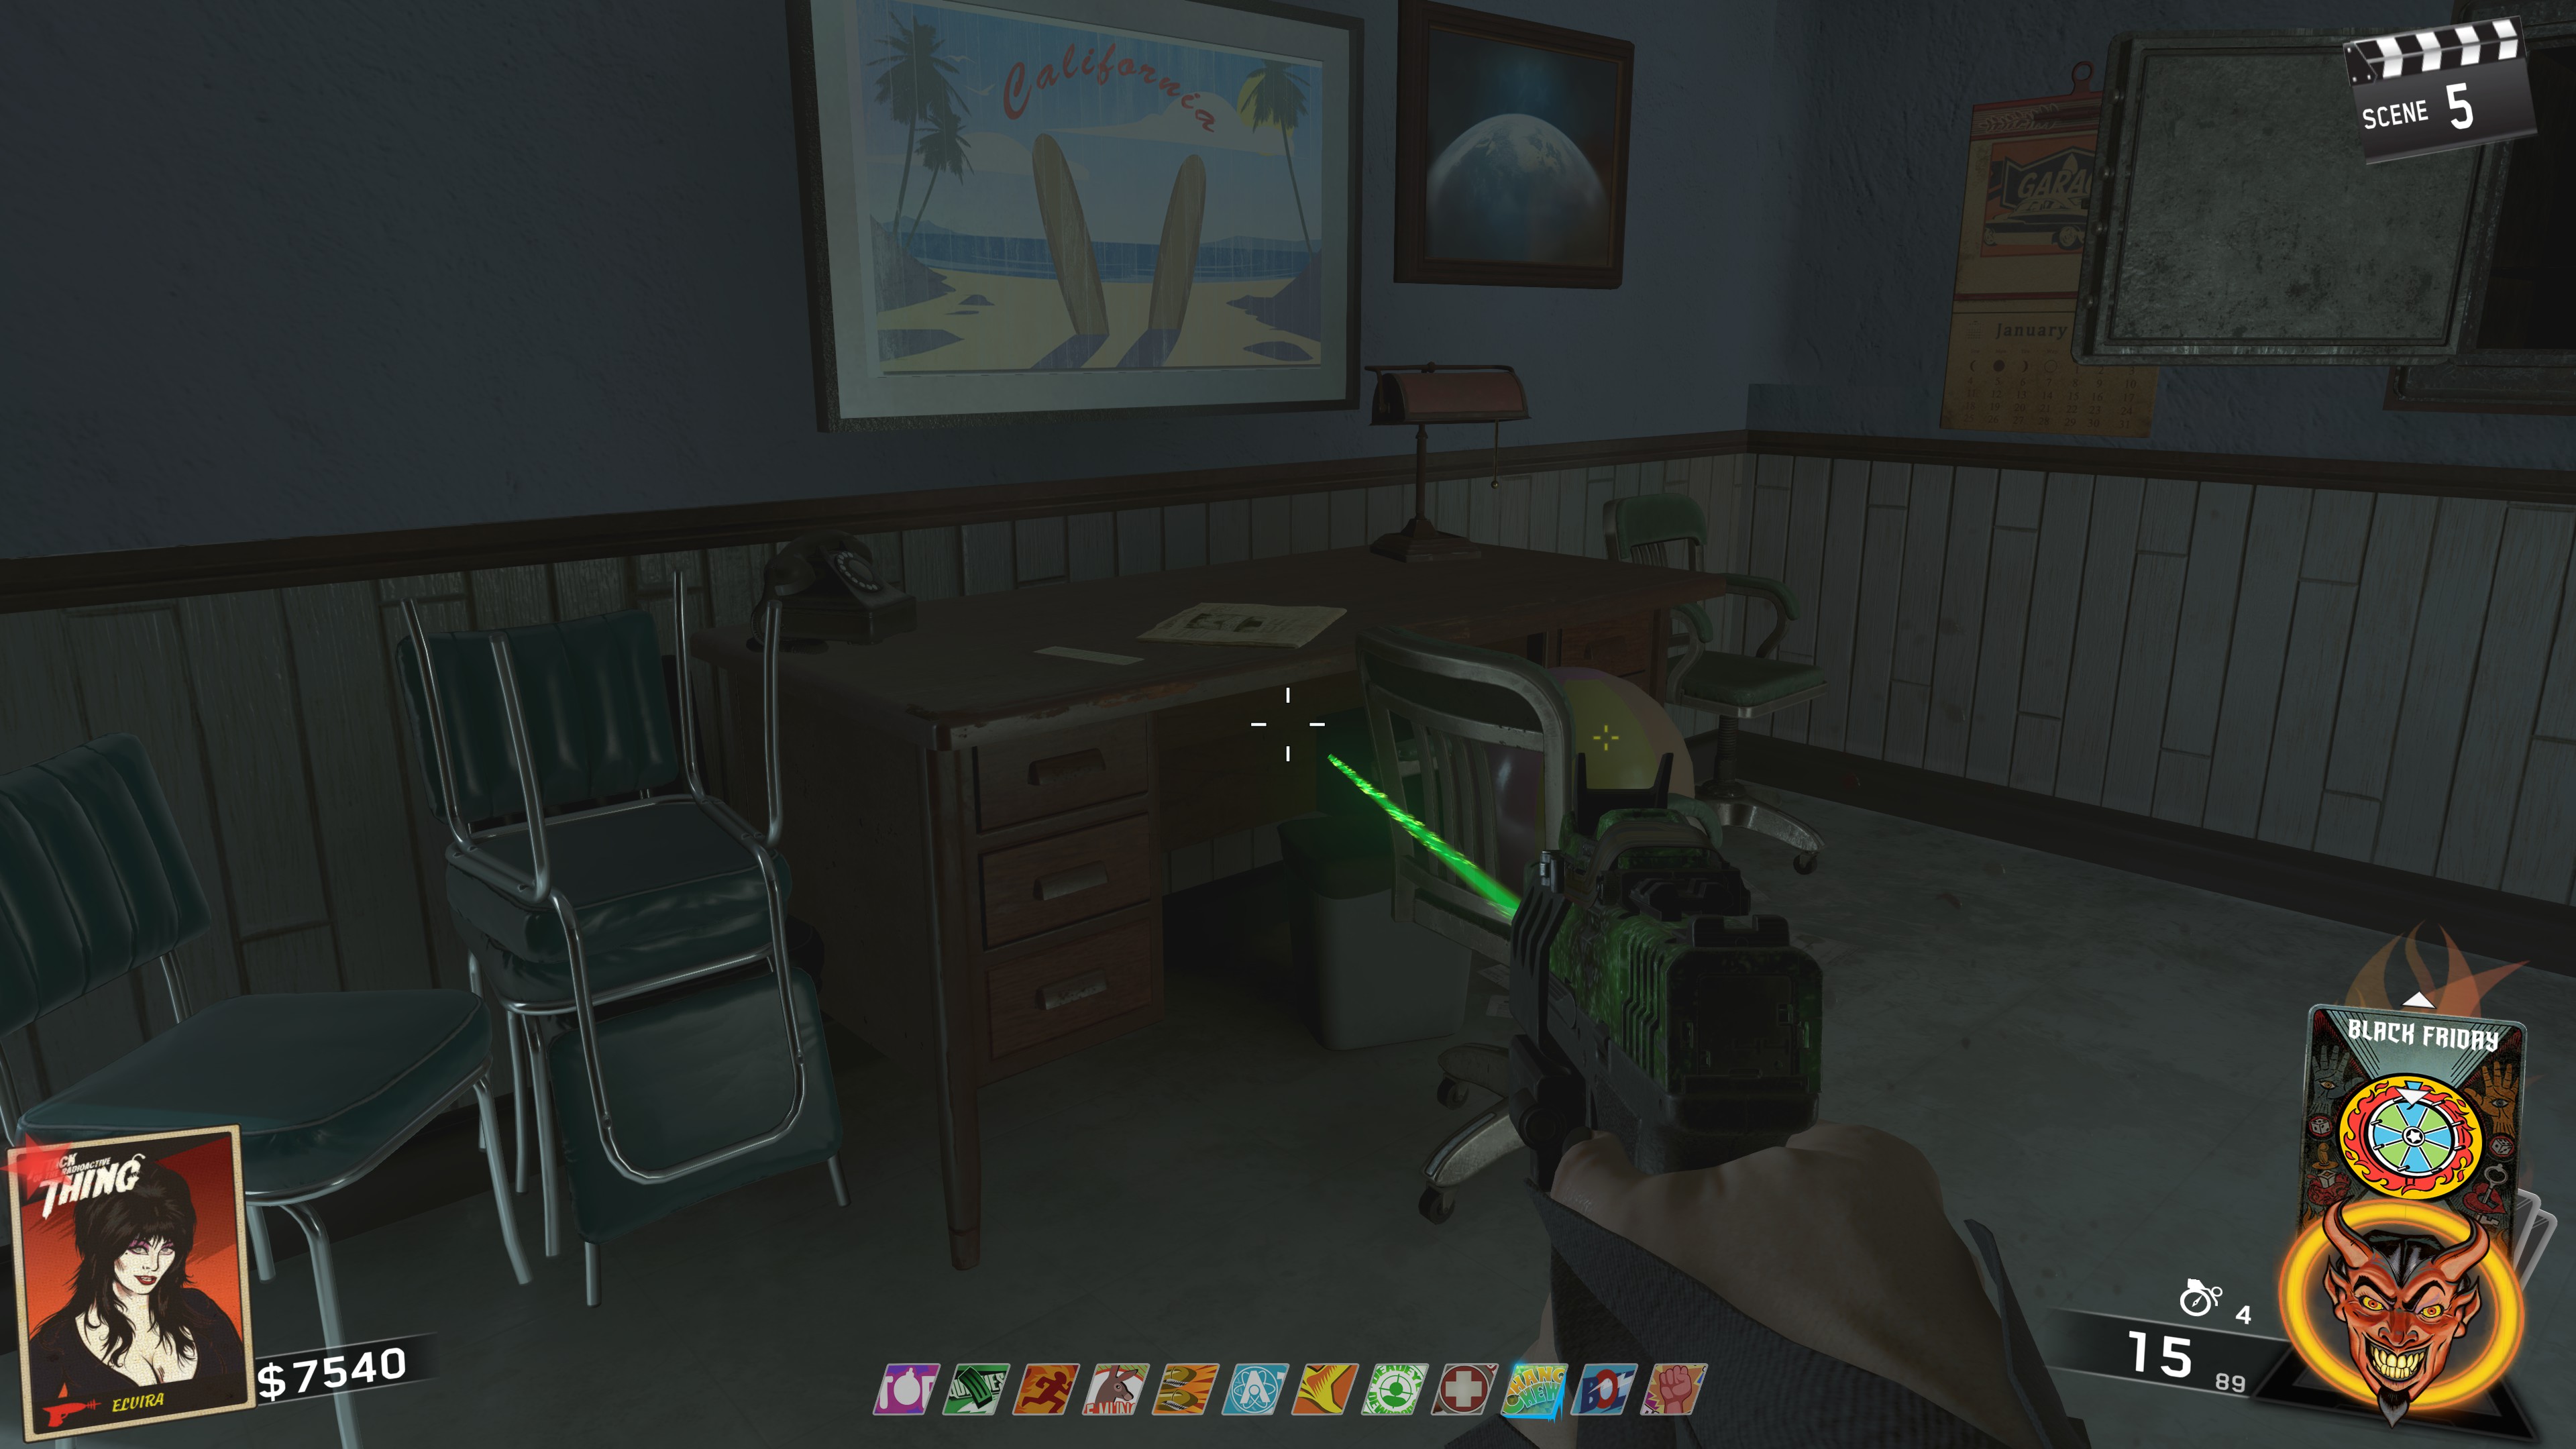 ㅤ
ㅤPlace the punchcard in the machine directly across from where the Zombie Body parts are and you'll be able to use the machine.
You'll need to guess the correct code for the machine by Left clicking the dot when it's in the correct position. The dots from left to right symbolize the numbers 0-9 (the first dot is not 1, so if you wanted to guess 3, you'd need to wait until the dot is on the 4th one).
To speed things up, the code will always consist of the numbers 3, 4, 5, 6, and 8. You'll just need to figure out what the order is for your game by Trial and Error. Once you guess the code correct, remember what it was since you'll need it in a second.ㅤ
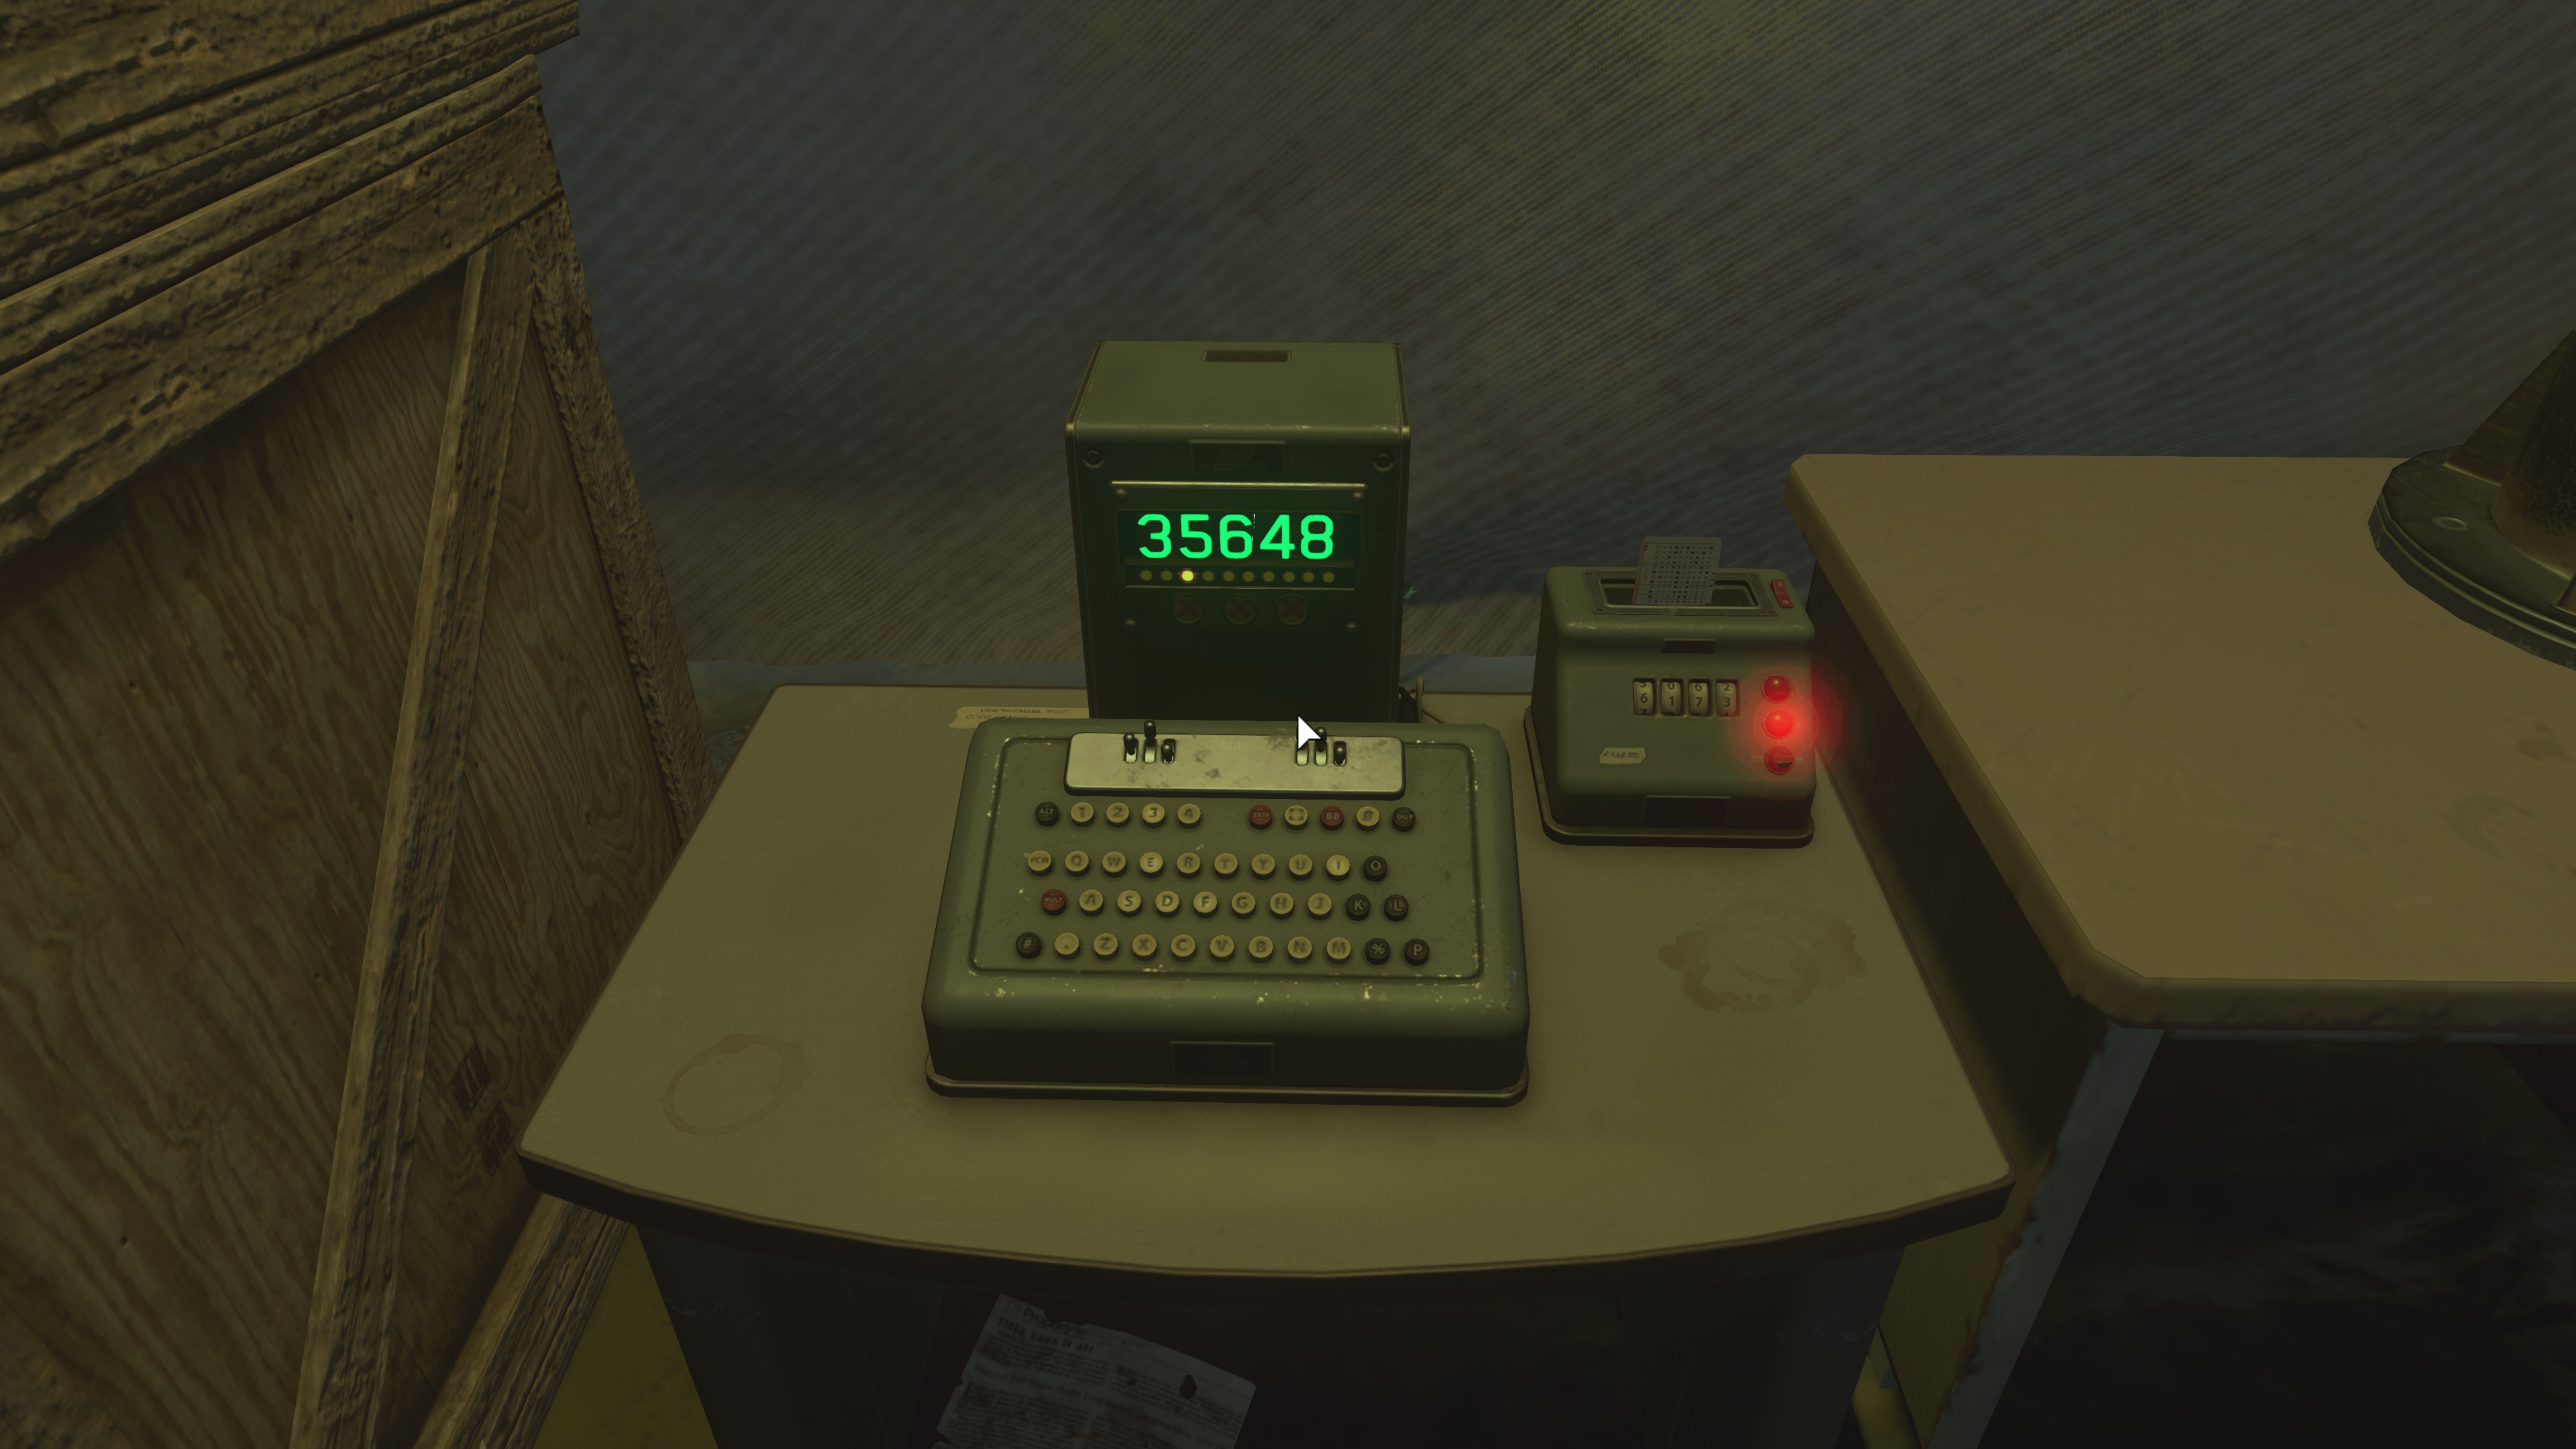 ㅤ
ㅤAbove is what it'll look like once you've guess the code correctly. After the code is inserted, interact with the machine again and it will send a laser beaming through the room and reassemble the Zombie's Body. Now you'll want to interact with the machine again, however, this time you'll want to insert the code you got backwards.
ㅤ
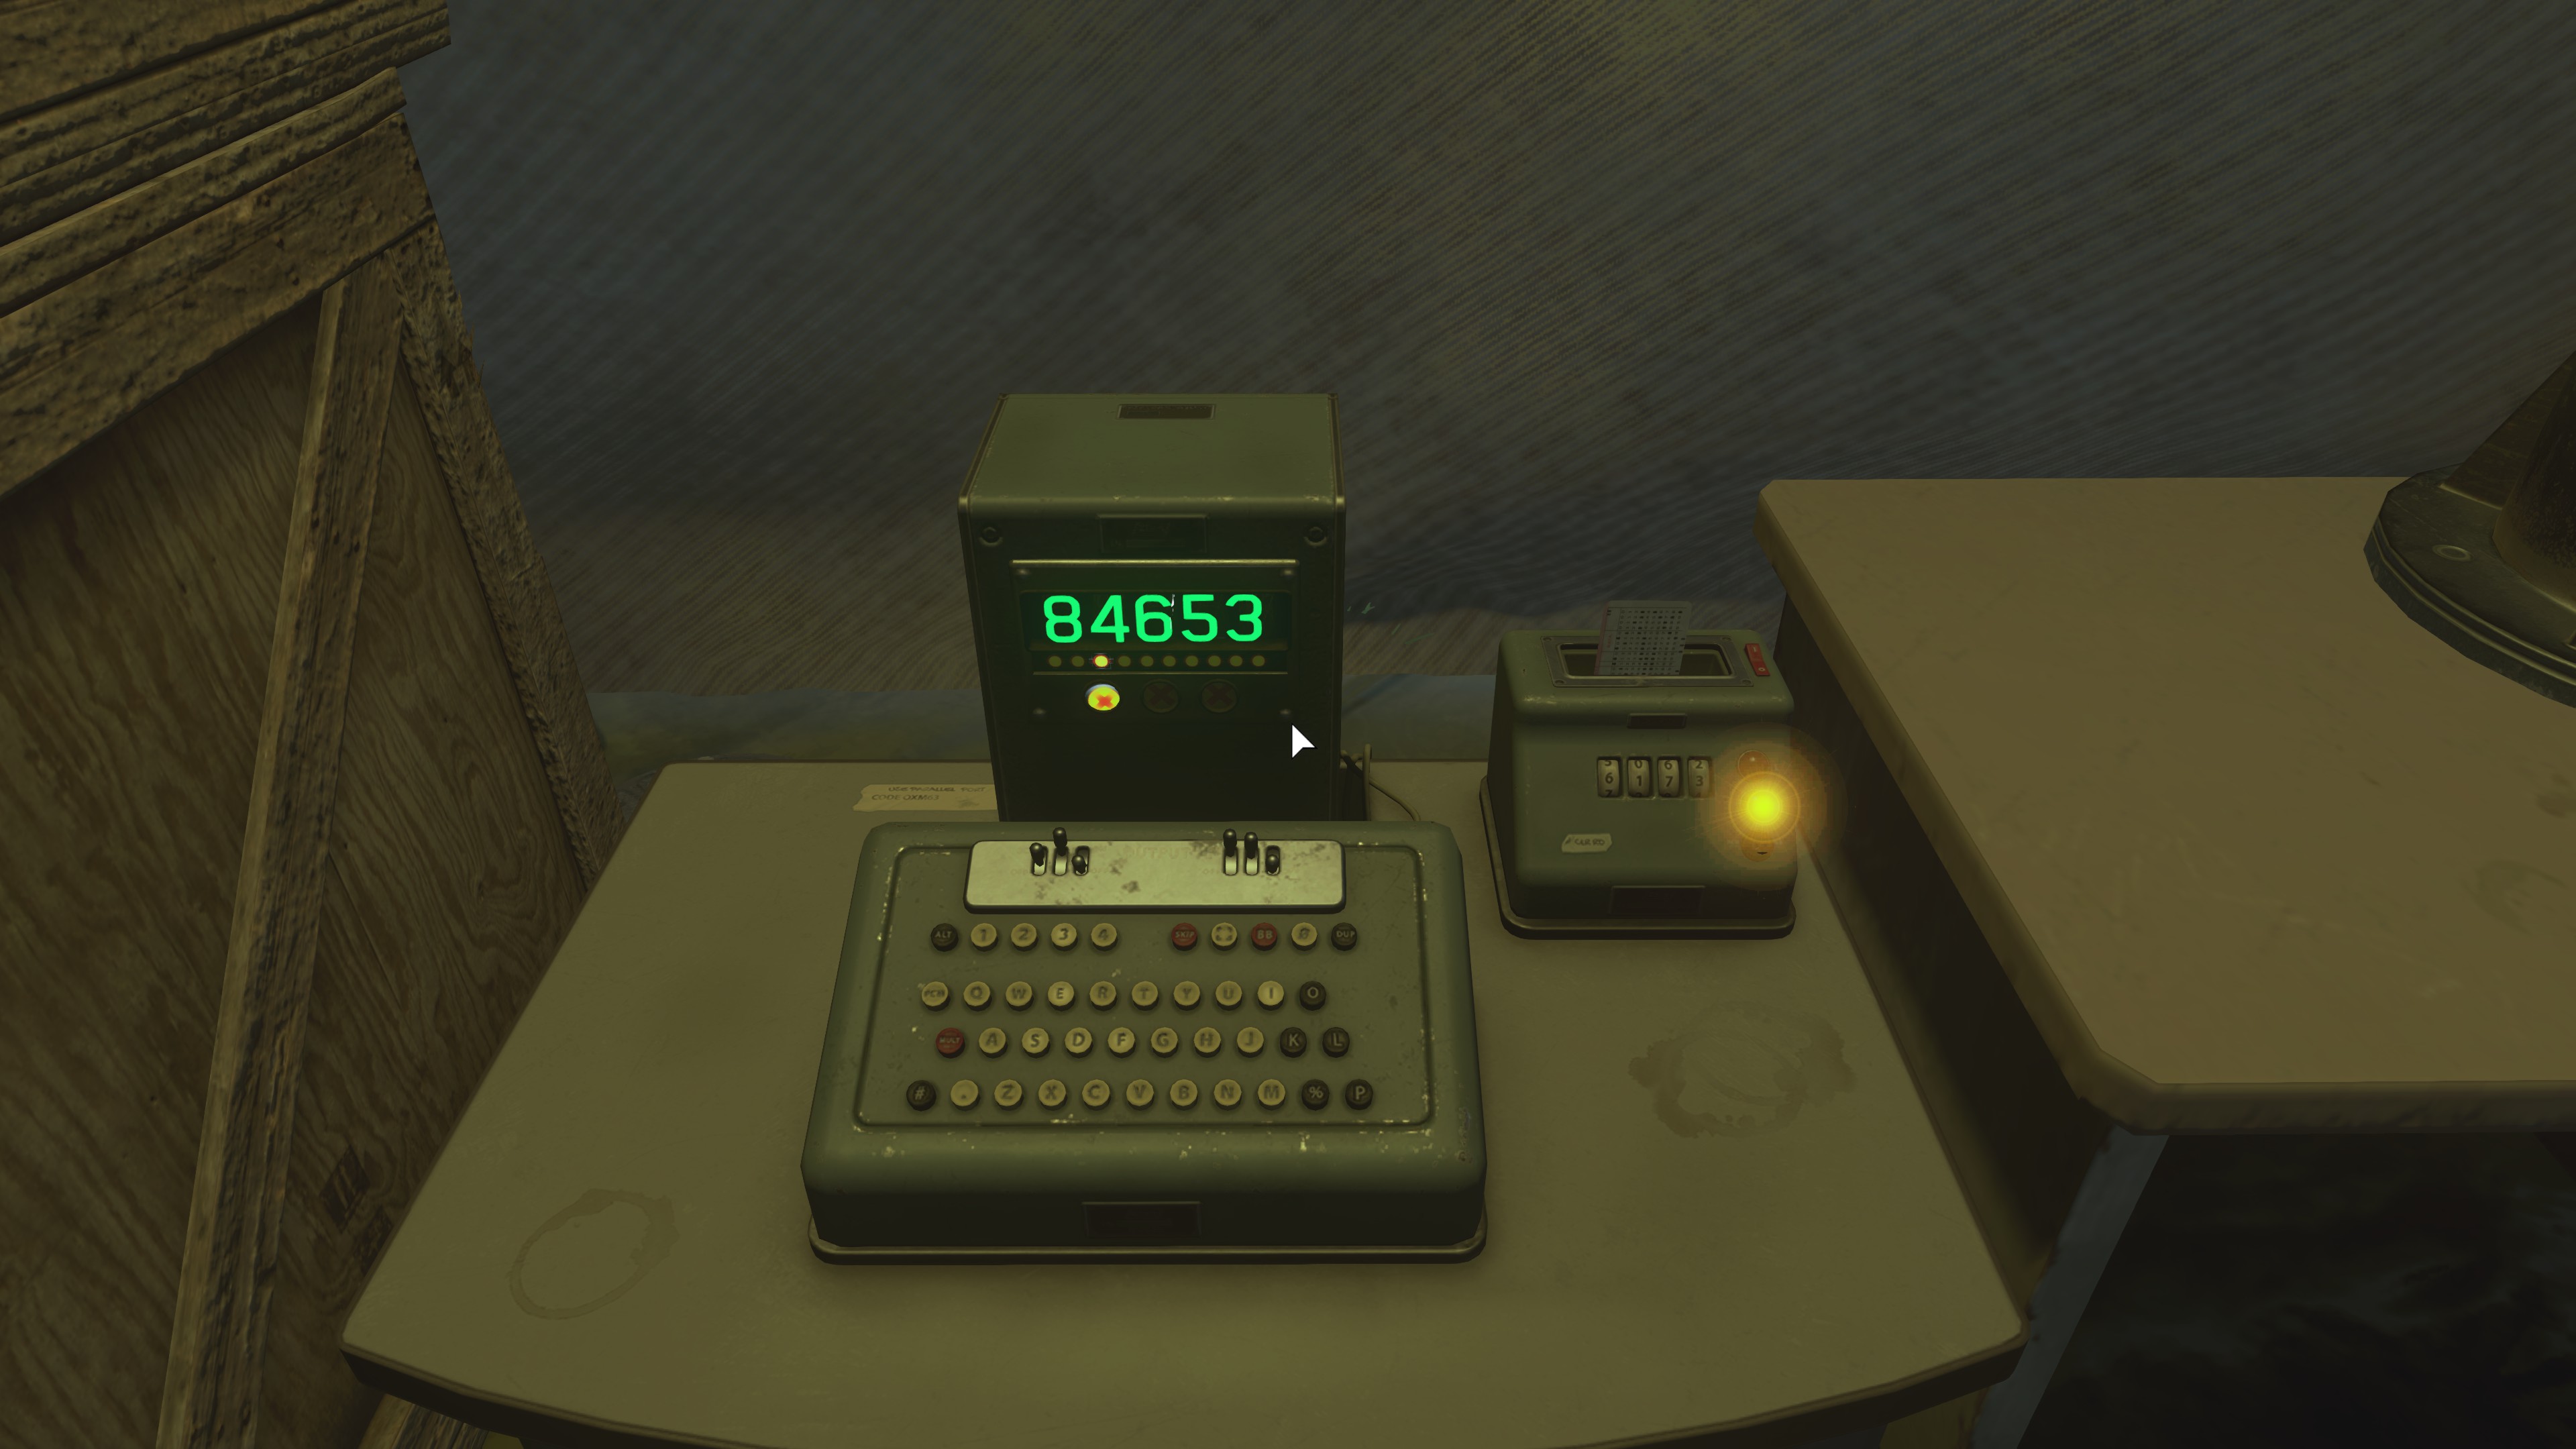 ㅤ
ㅤInteract with the machine again to shoot the laser and it will destroy the Zombie Body giving you the Garage Key
ㅤ
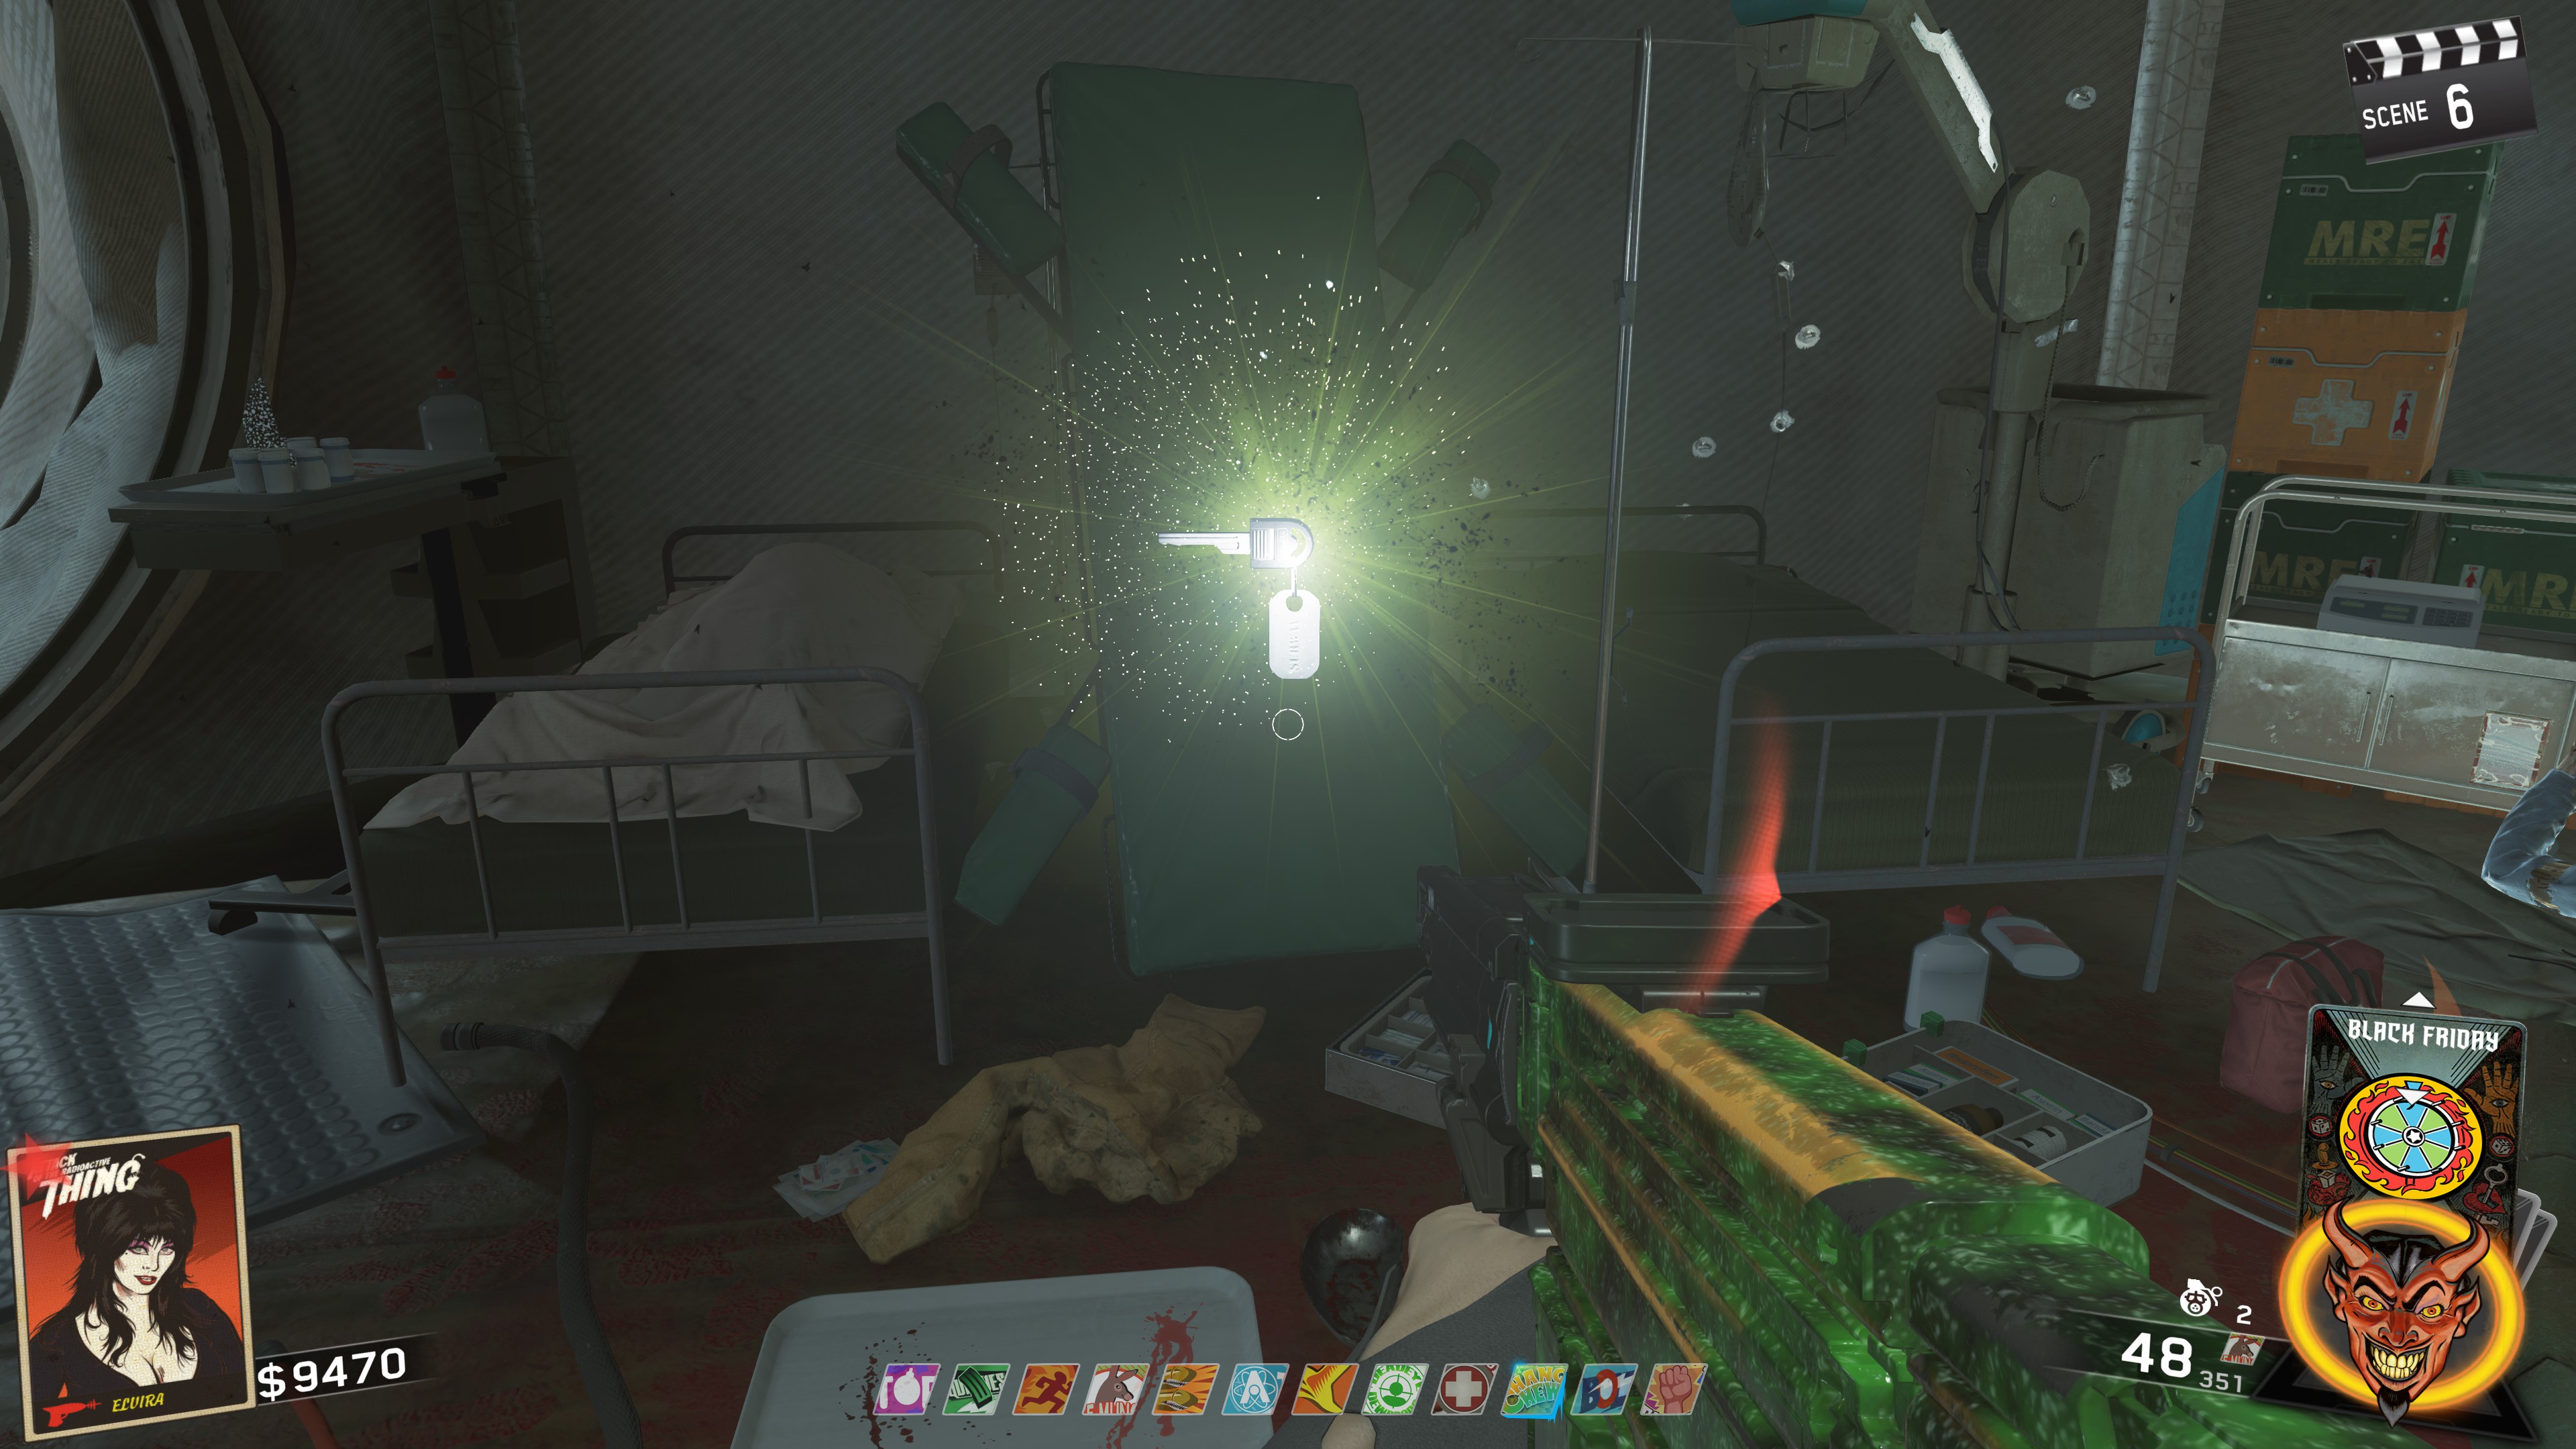 ㅤ
ㅤGrab the key and take it to the Garage opposite the Beachside market and you'll be able to open it. Inside is a Chem Board, the Bomb (You can place the Bomb Parts on it) and the Chem Station (You can also place the parts for this now).
ㅤ
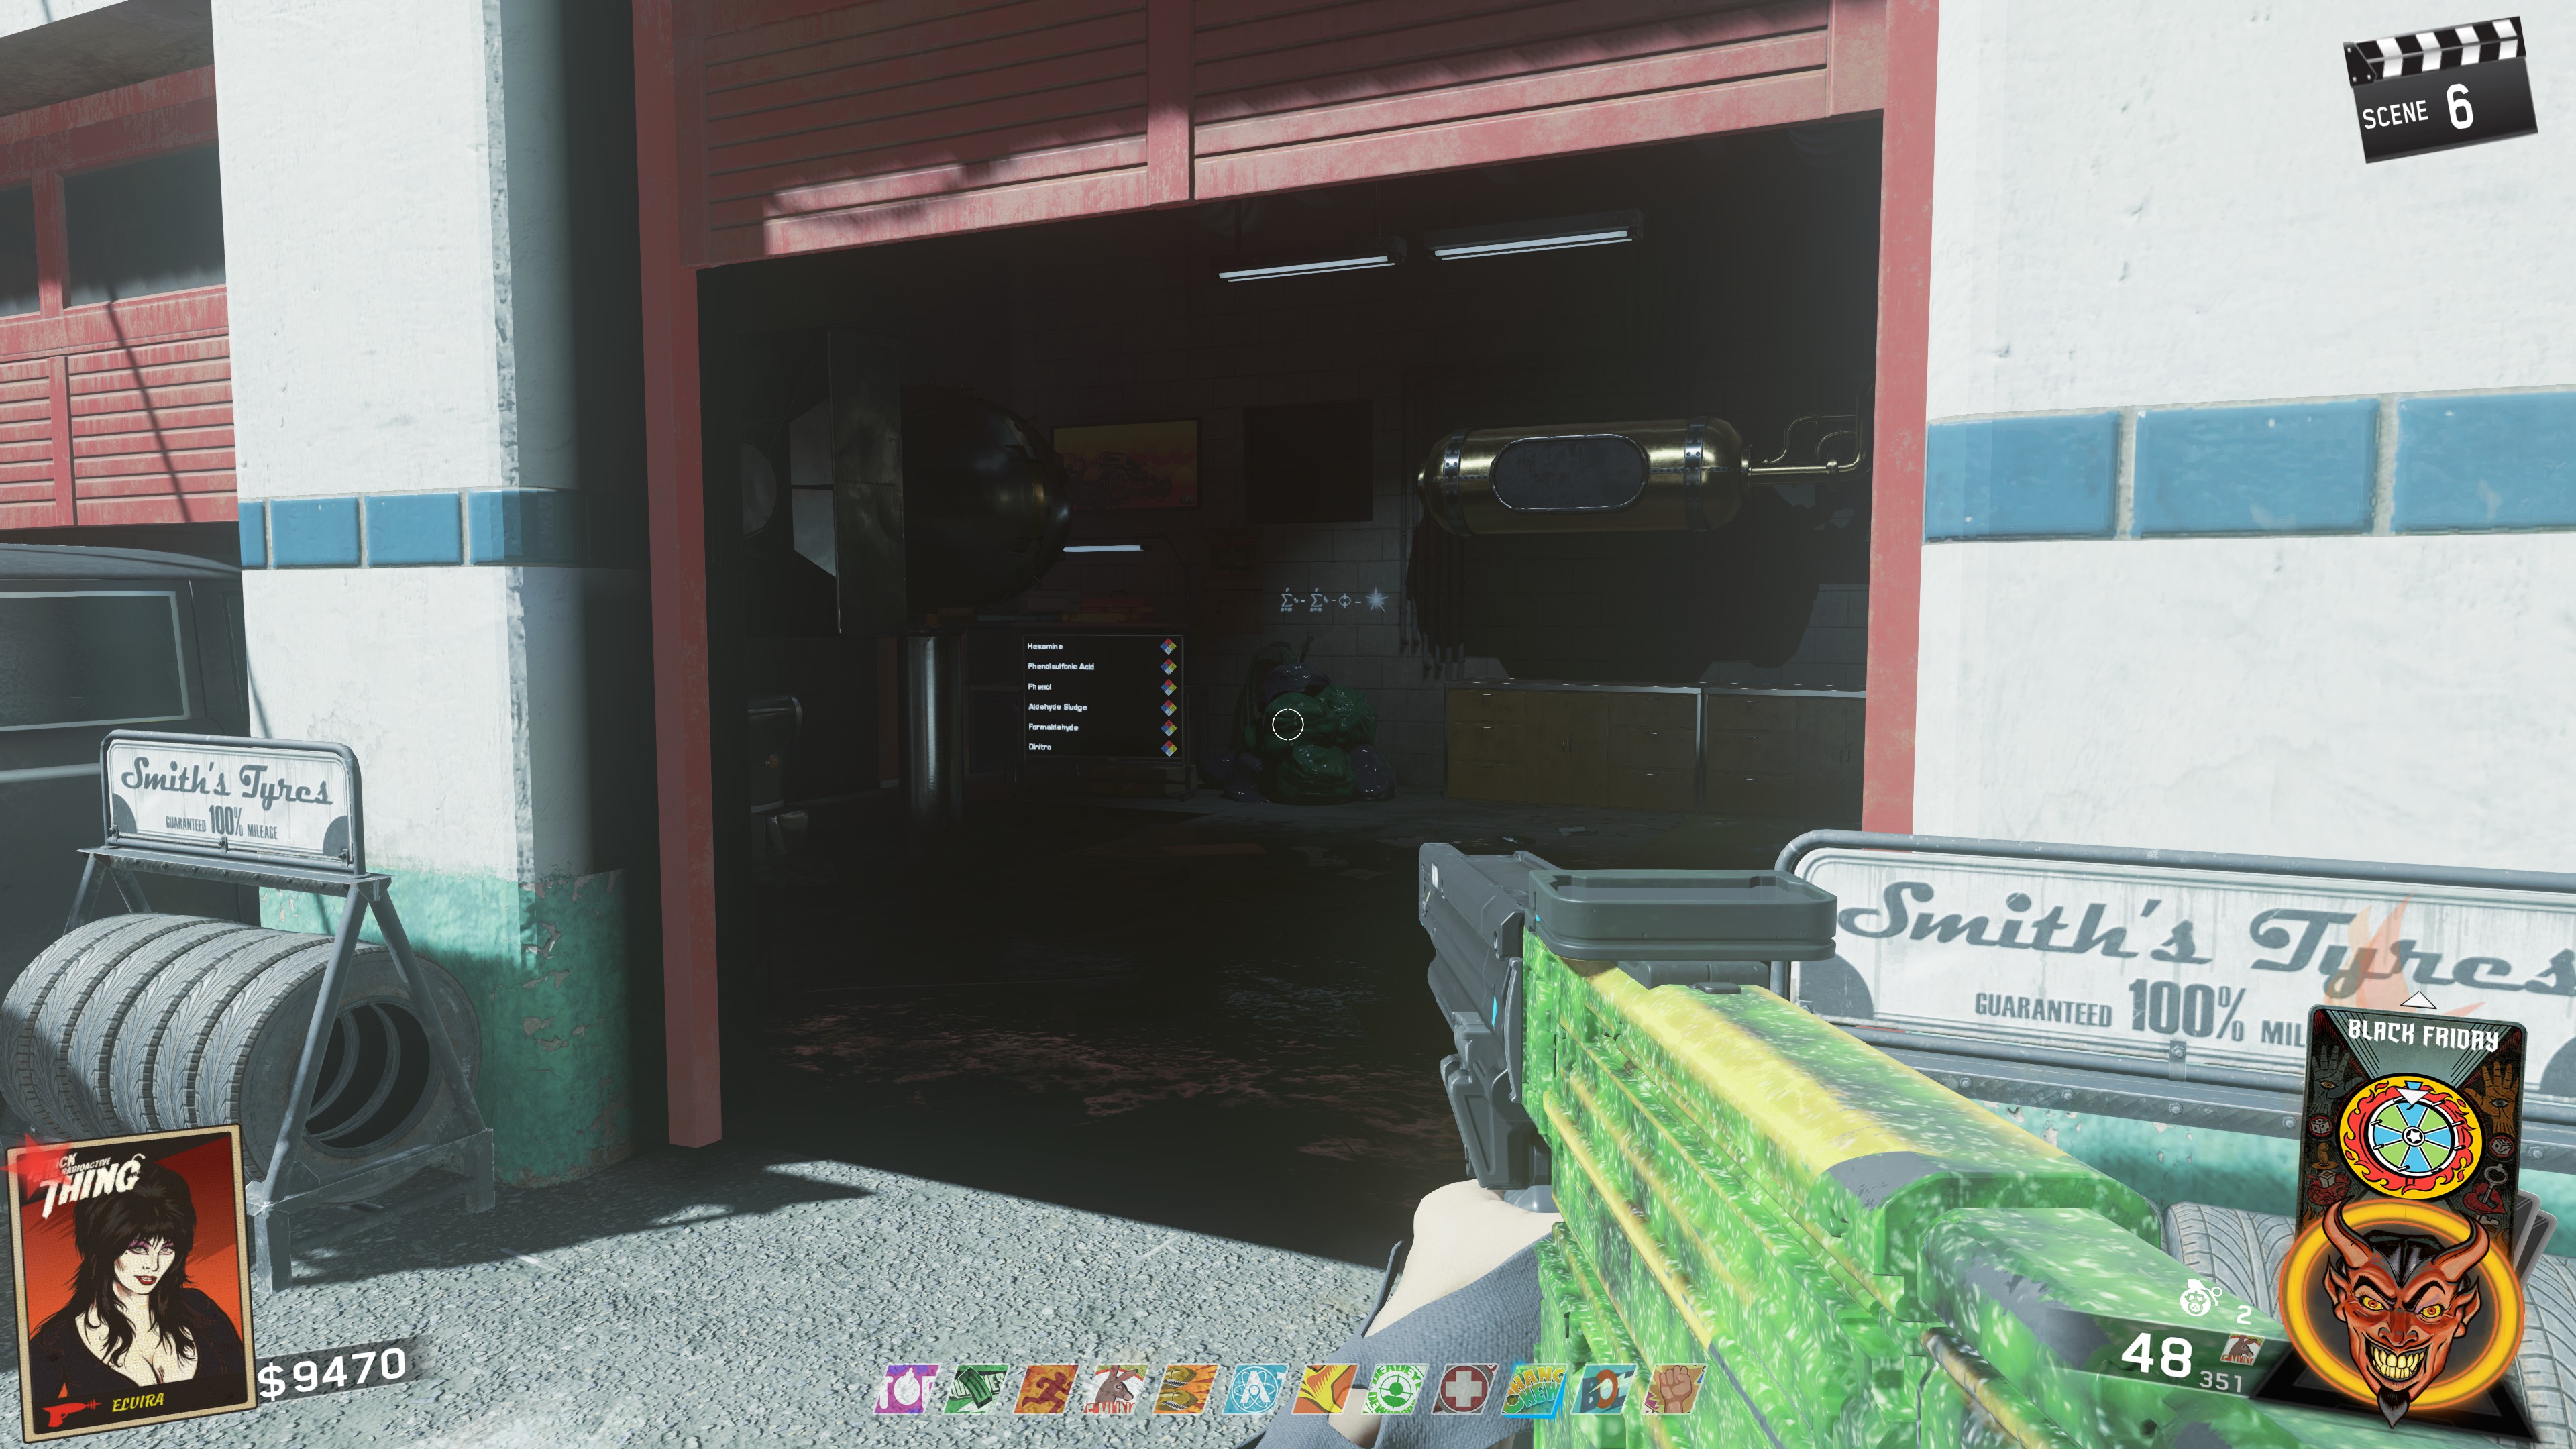
Main Quest - Chemical Step Setup
This is probably one of the most complicated steps in the game, so bare with me and if needed, re-read this section multiple times if you don't fully understand something.
NOTE: I have made a new tool[www.zombieslayamr.com] that simplifies this step down to only needing a couple of things. Consider Trying it out! https://www.zombieslayamr.com/pages/aotrt/aotrt_chemical.html
If you see the not equal sign, that means that number is not going to be your O number, so disregard it. You'll want to switch through each color and by elimination, solve what your O number is.
You'll find the color switcher in the TV station across from where Elvira is:ㅤ
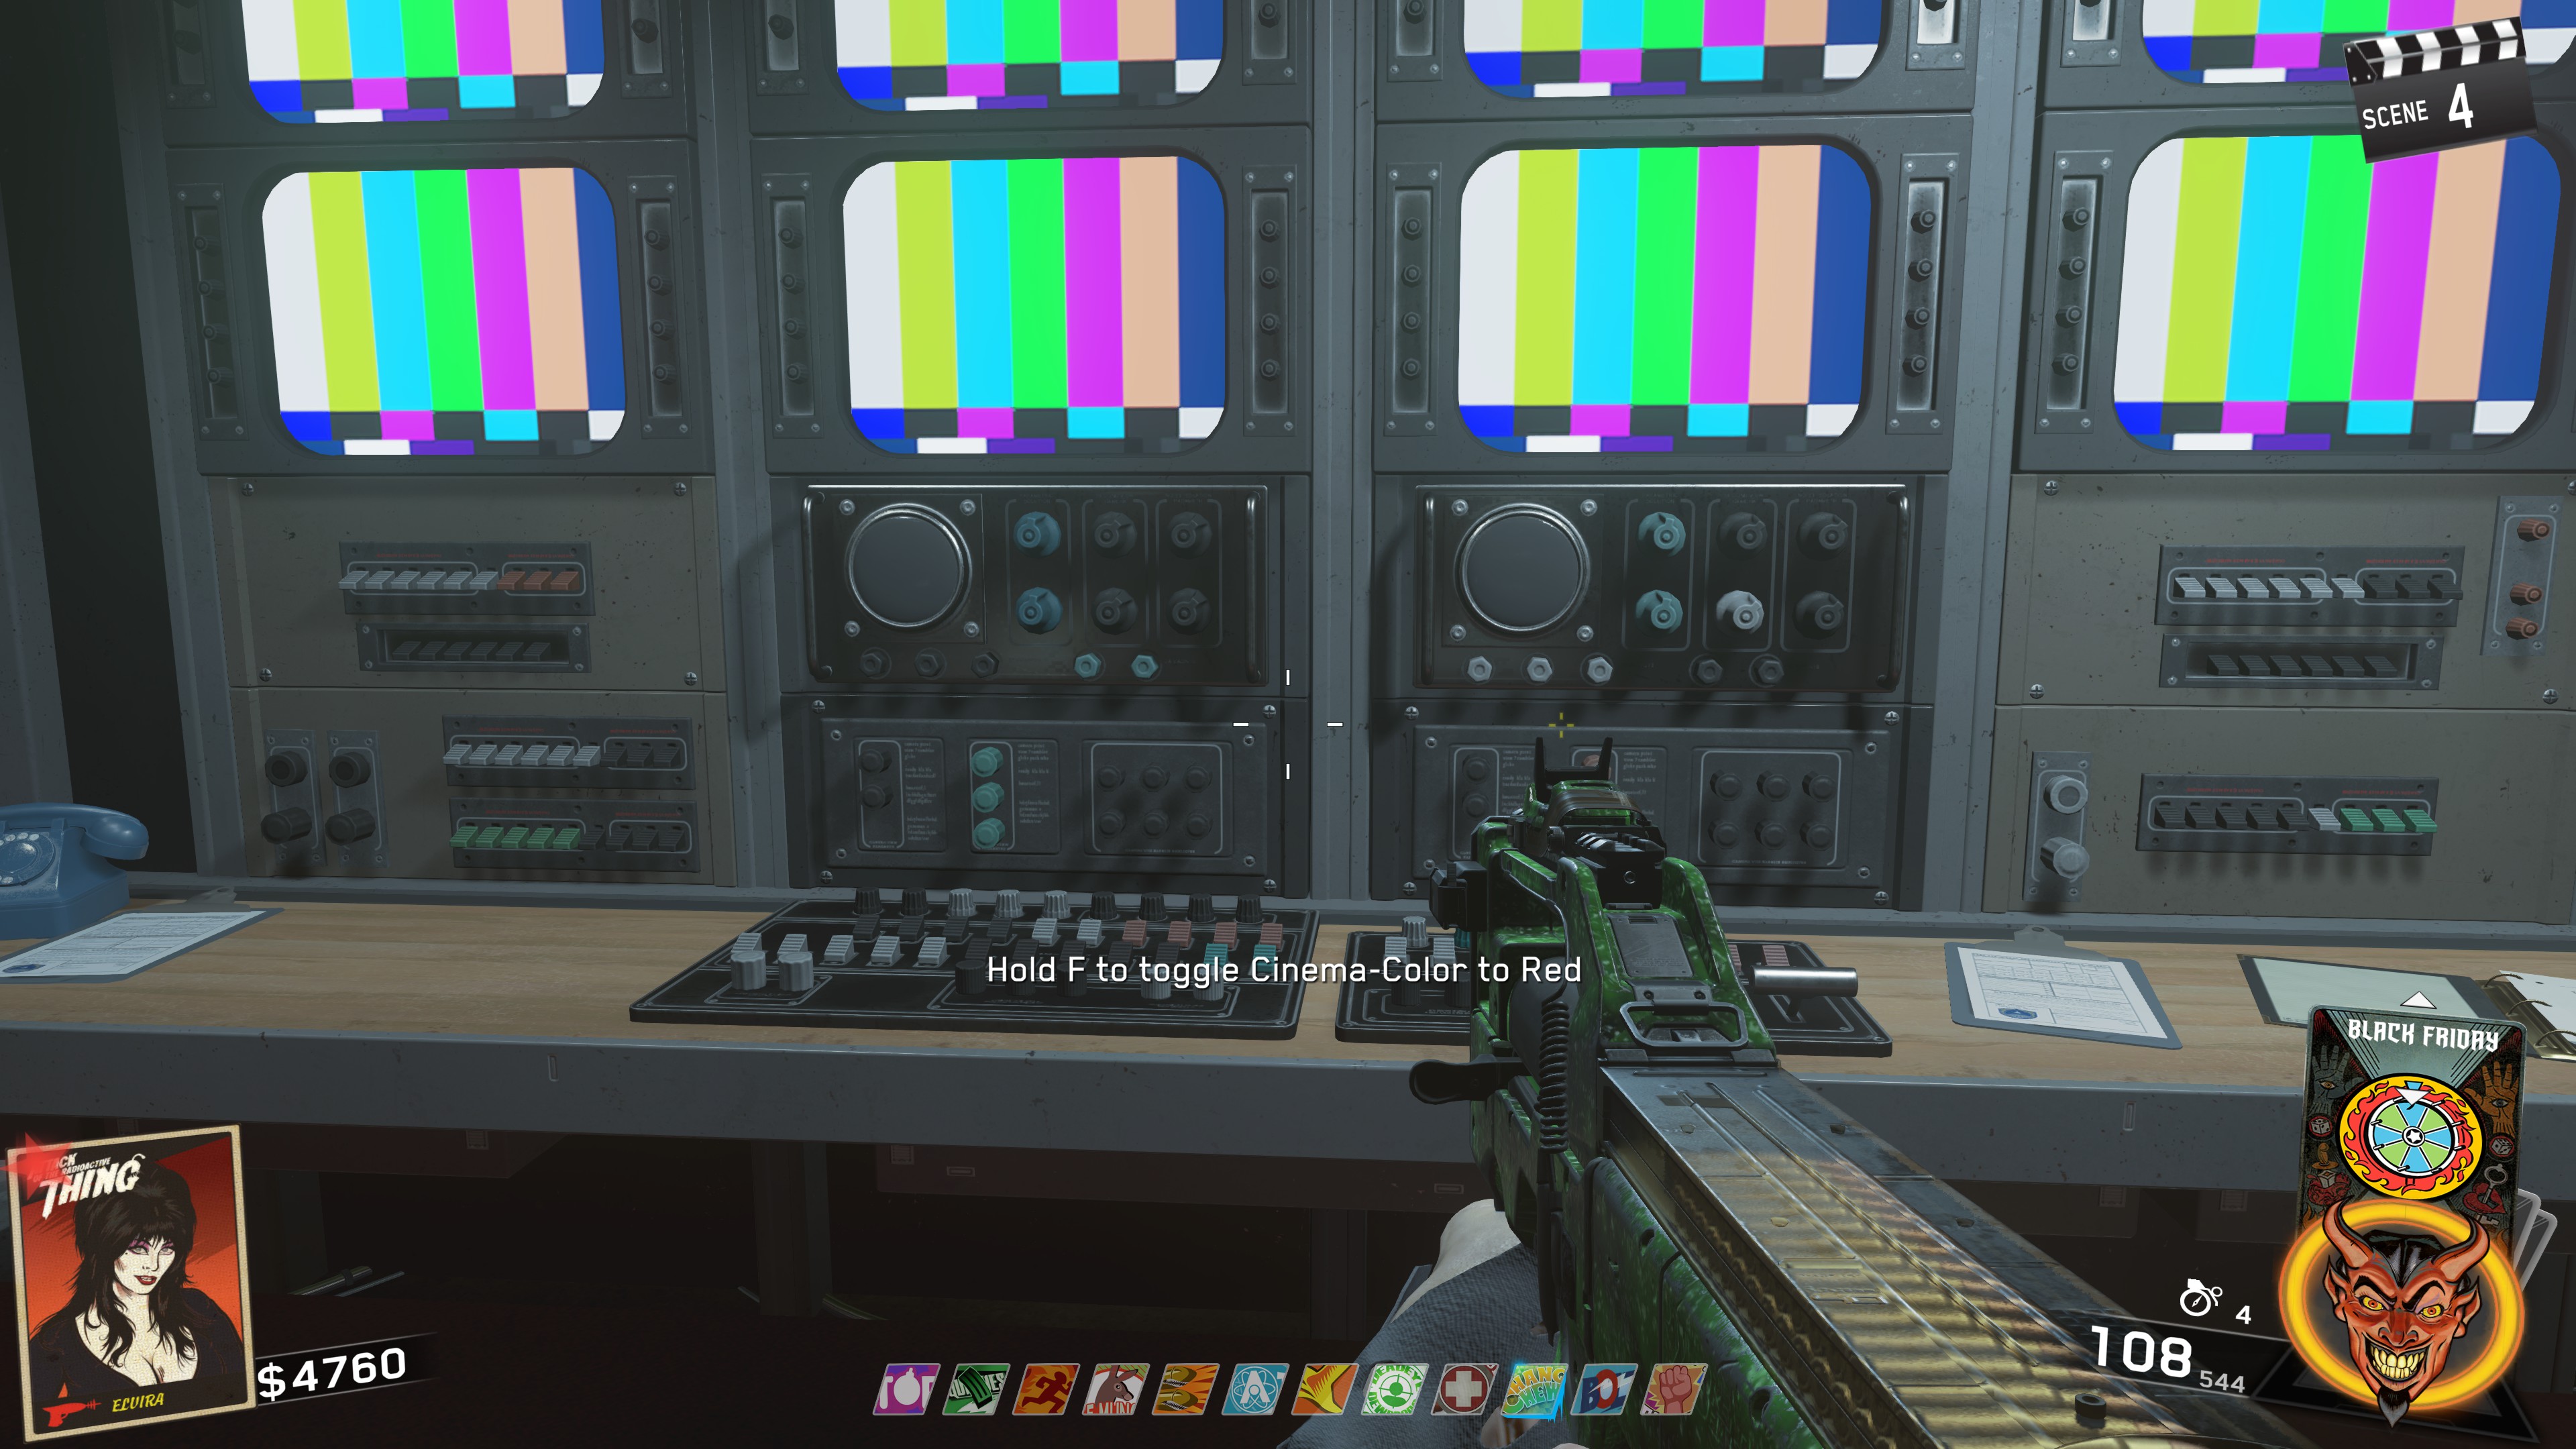 ㅤ
ㅤThe location of the O numbers are:
- Under the big bridge on the beach
ㅤ
- On the door of the Gas Station in front of the Beachside Market
ㅤ
- Above the couch in the back of the Beachside Market
ㅤ
- In the RV the contains the Alien Fuses on the Fridge
ㅤ
Once you've figured out which O number is yours, write it down and make sure you remember it.
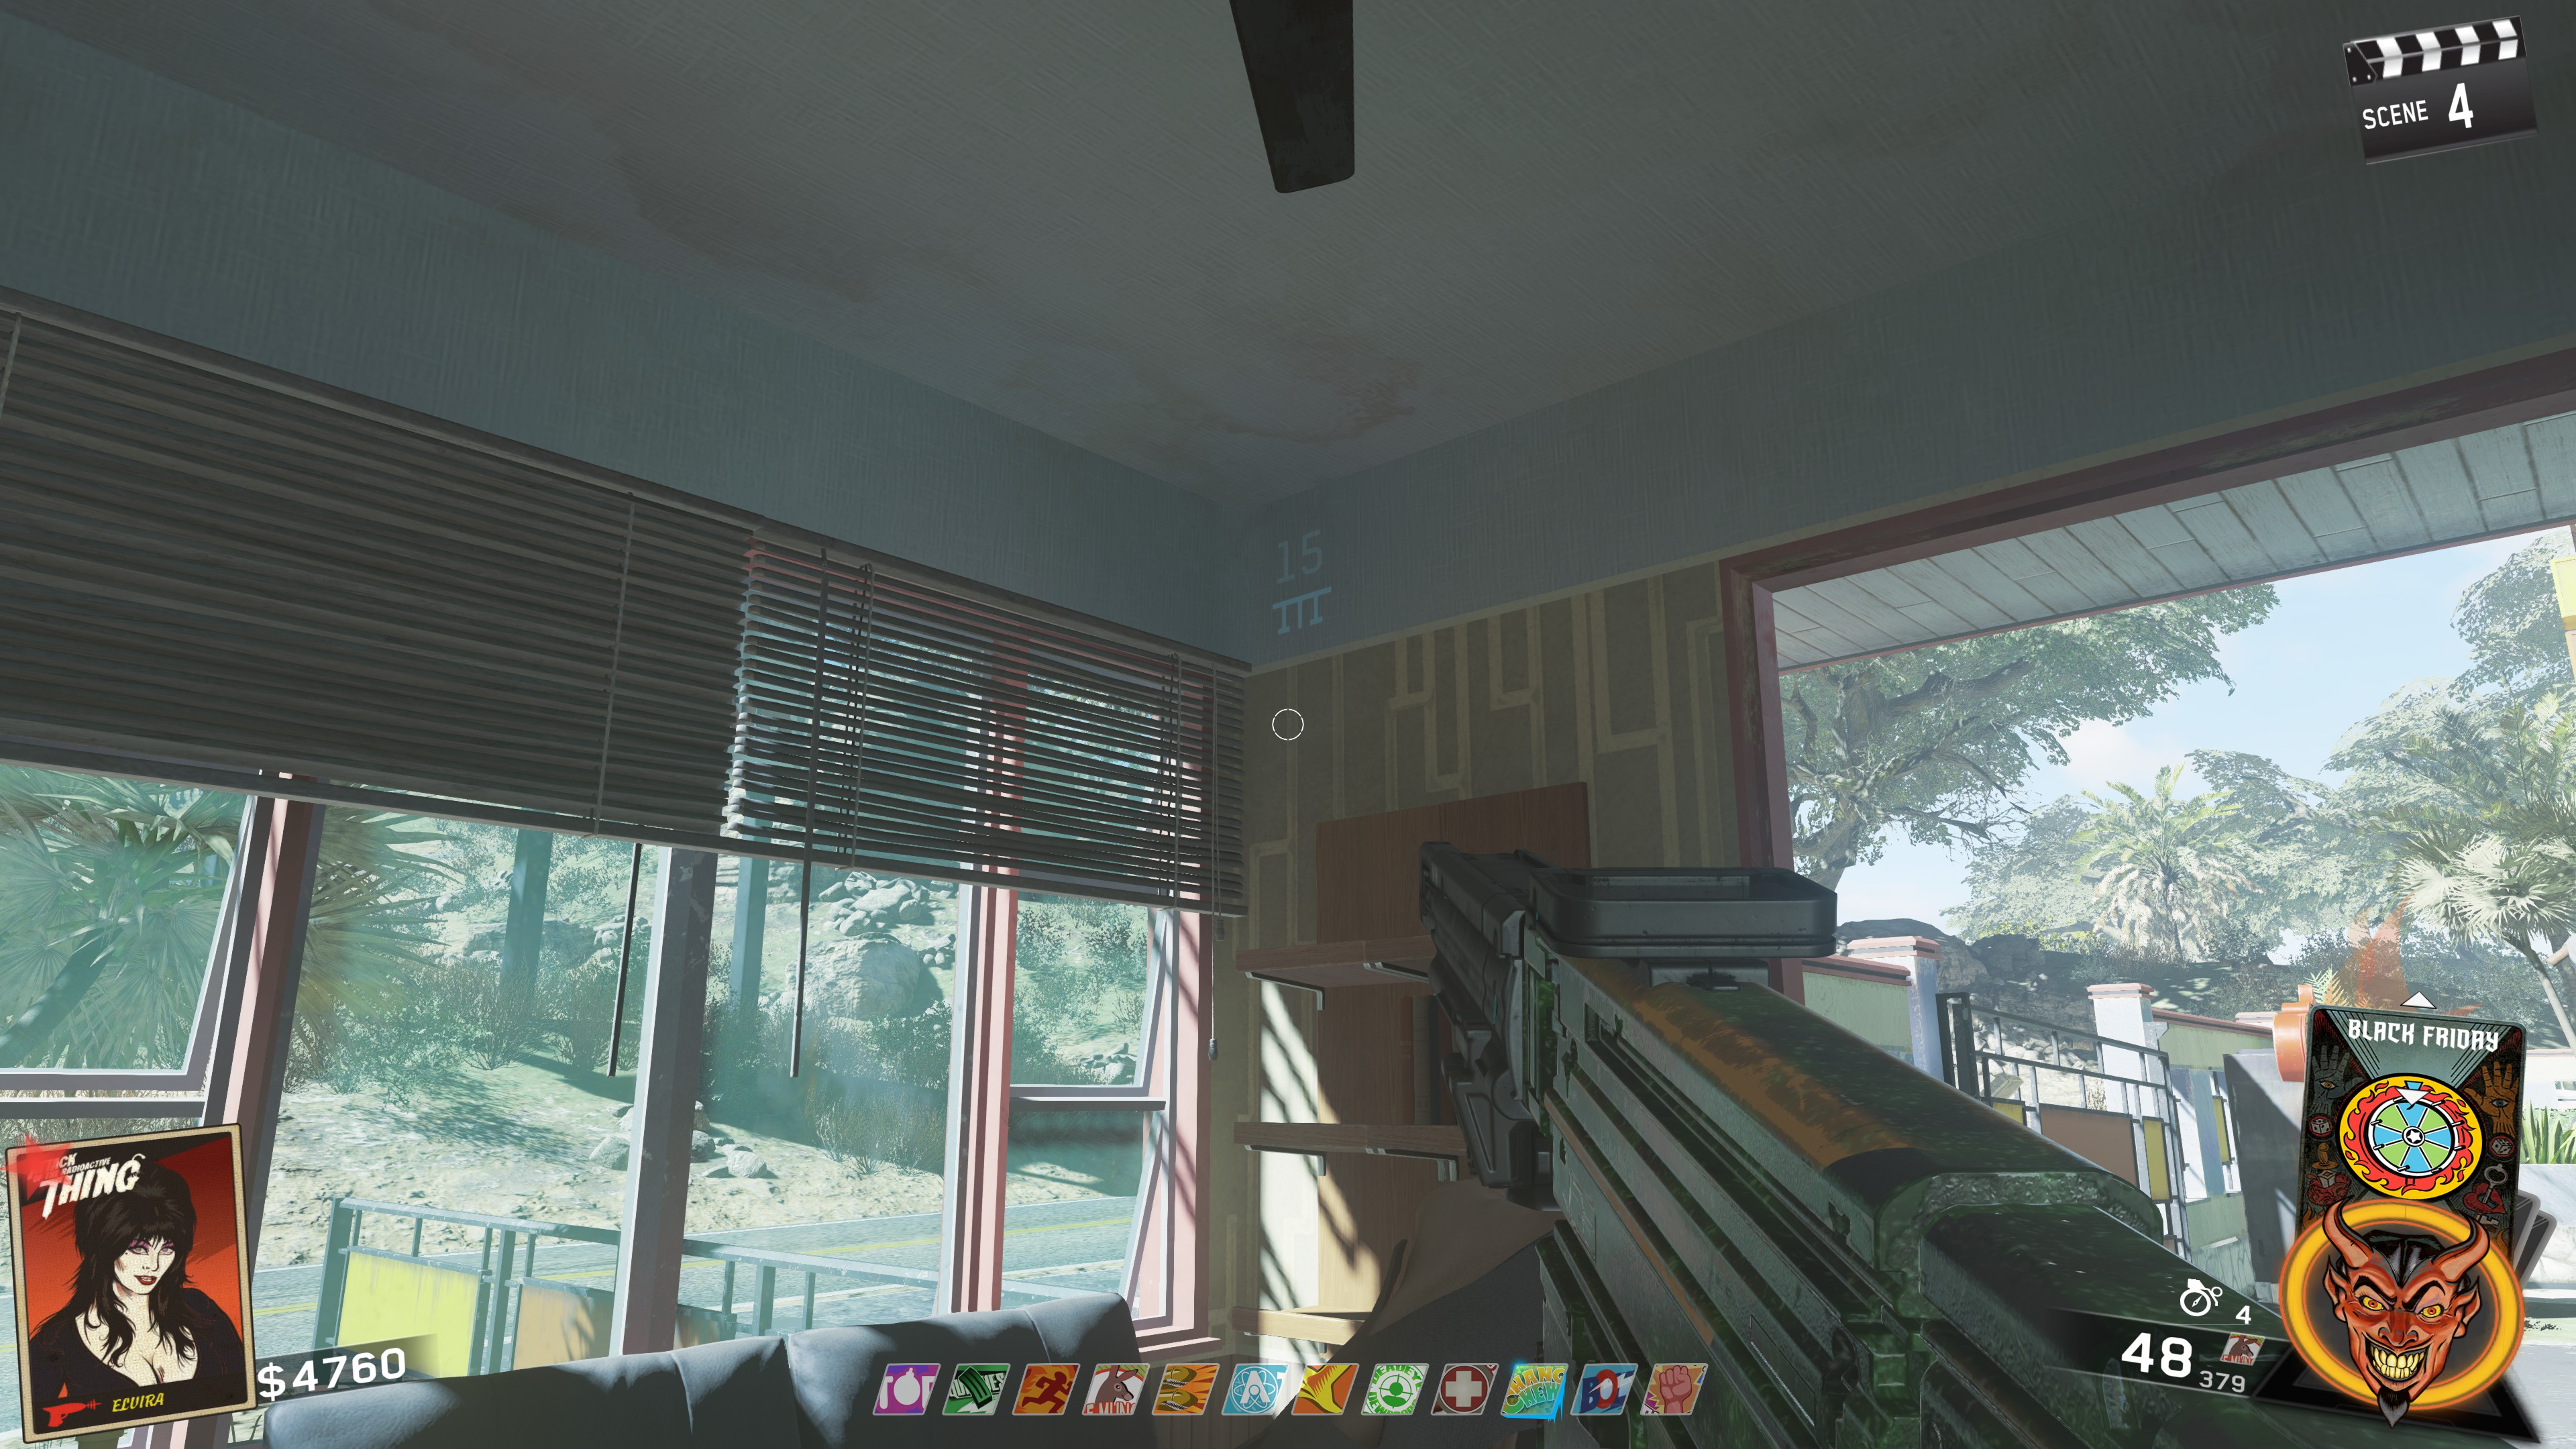 ㅤ
ㅤYou'll only need to remember this number for a moment as it's only used to determine the chemical board color.
To know what color you'll need to be in to view the chemical boards, multiply your O number by your M number.
For example, in my game my O number was 4 and my M number is 15. So multiplying these together gets me 60.
Using this result, go to where Elvira's couch is and there's a TV with a peace-wise function on it. It'll tell you what your color is based on your result. In my case, my number is 60 which is < 61, so my color to view the chem boards is Red.
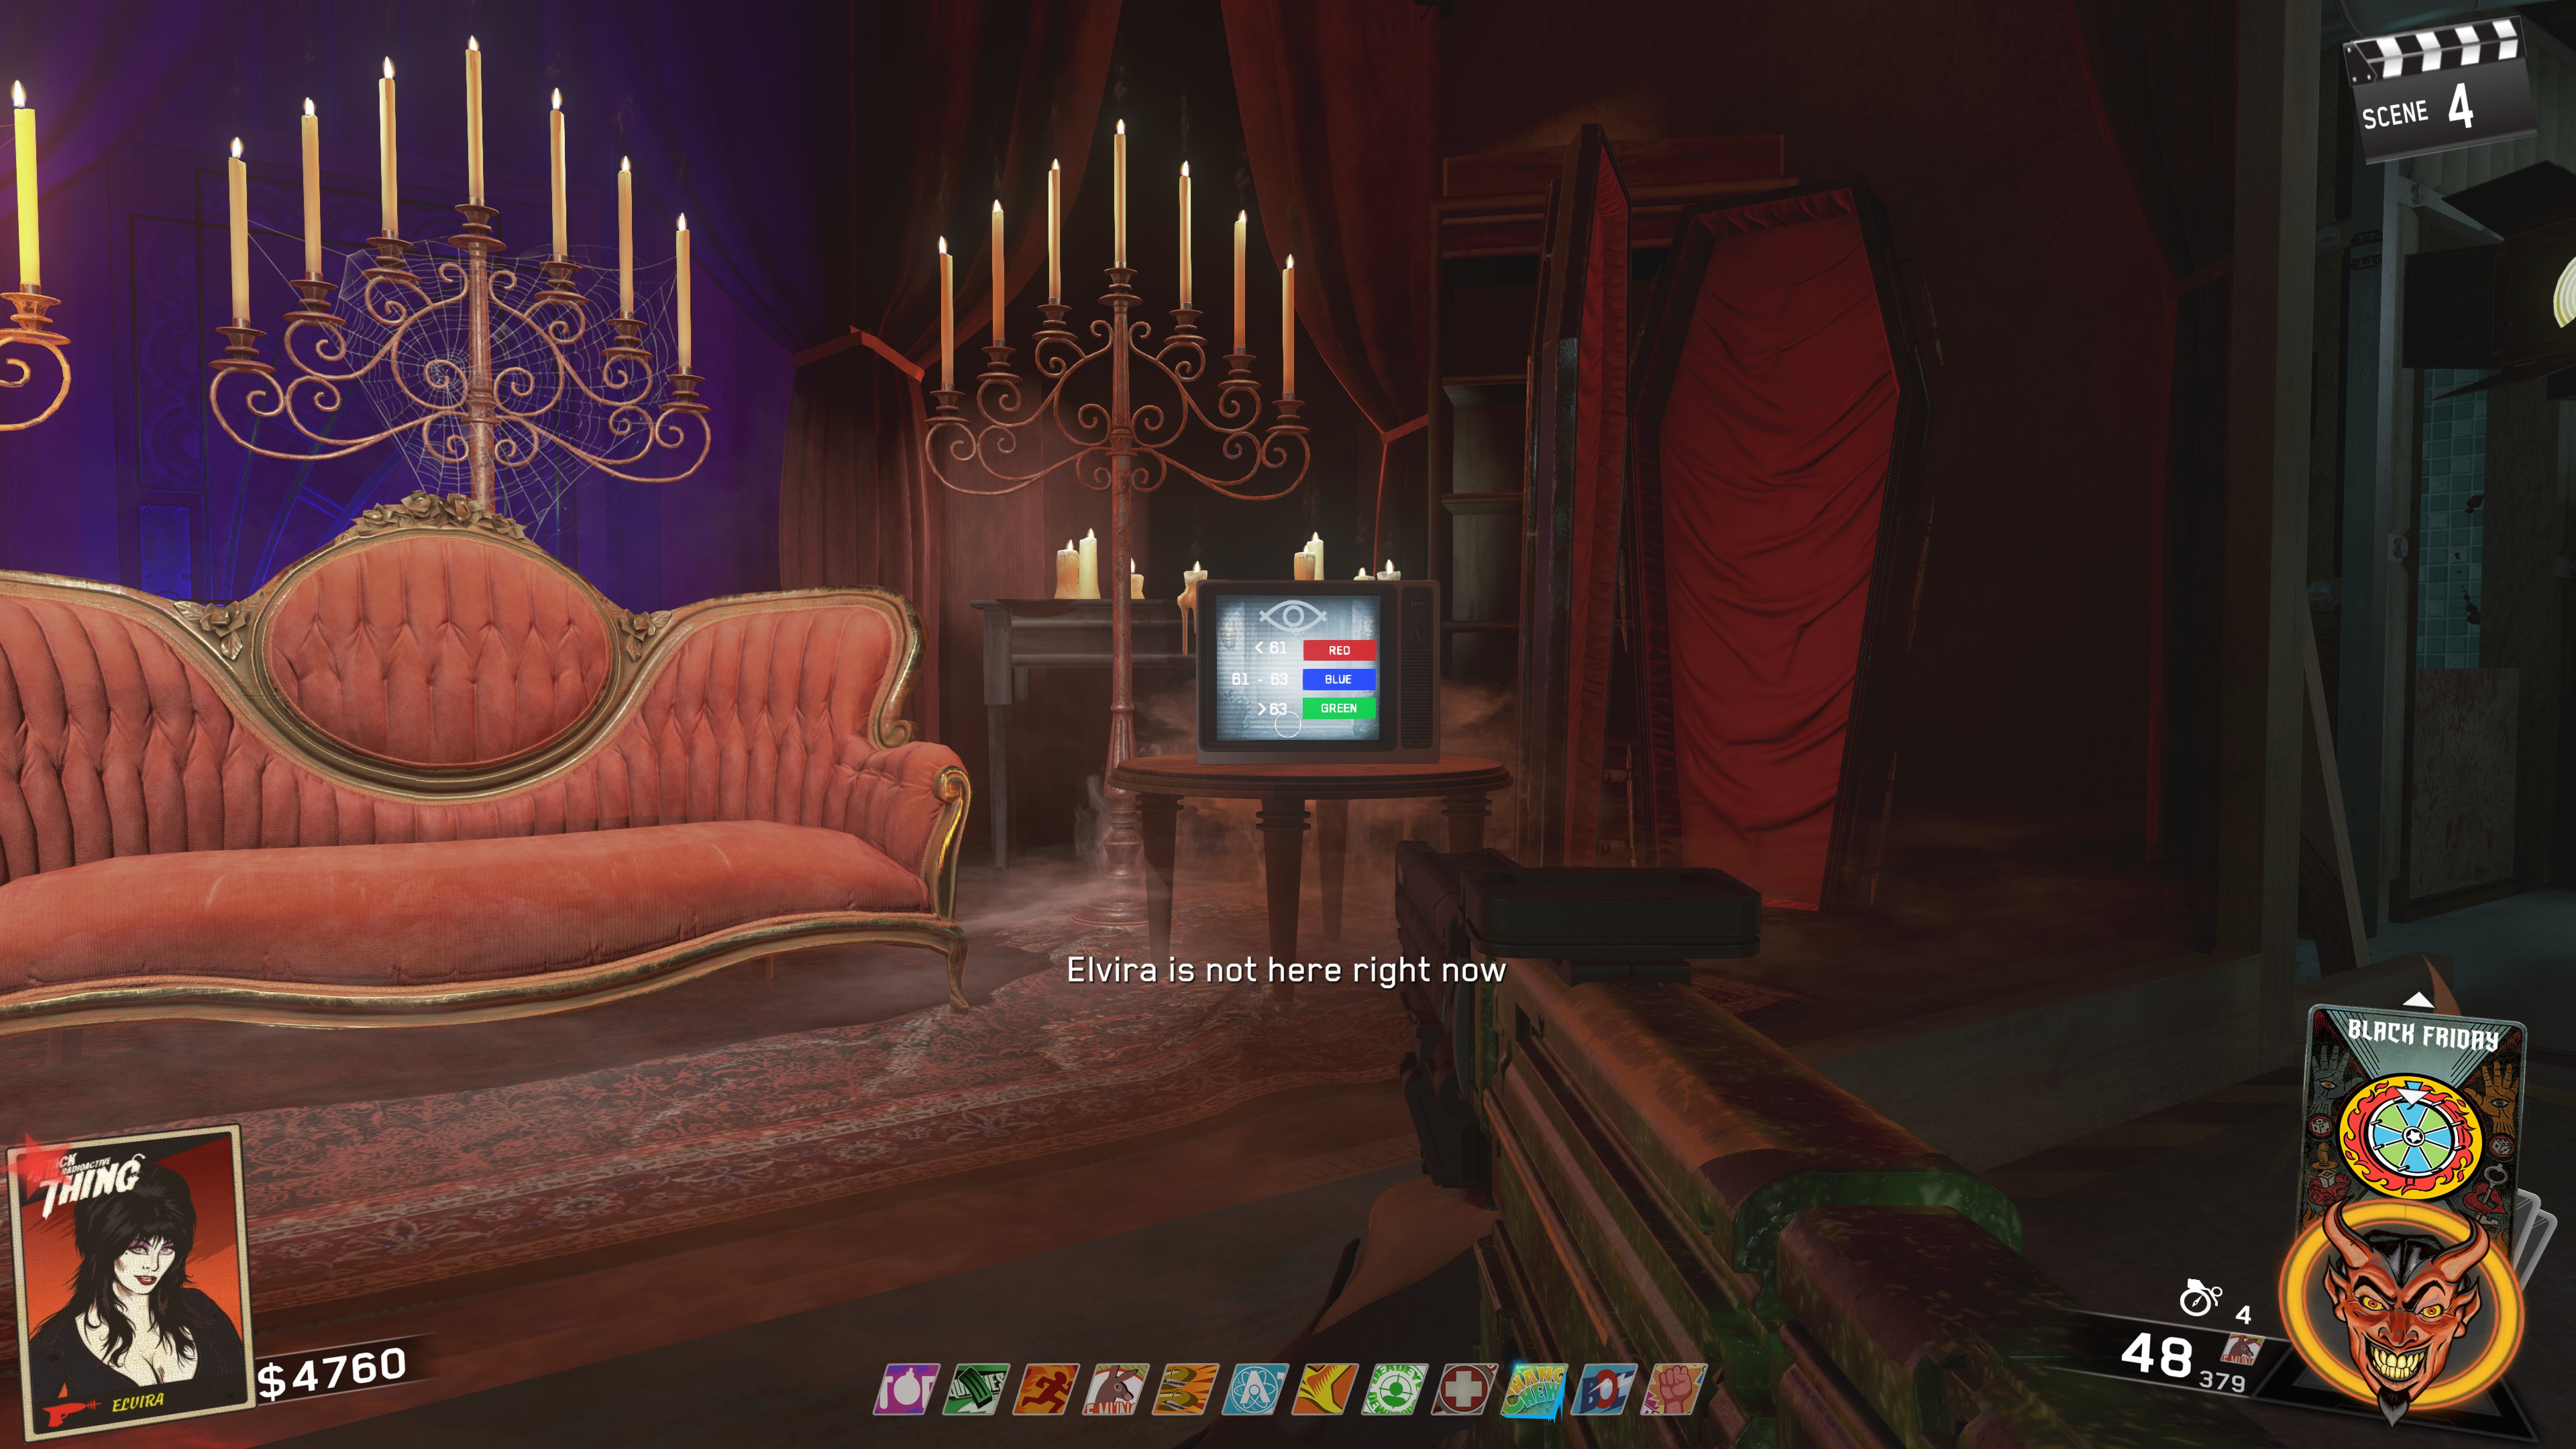 ㅤ
ㅤKeep this color in mind as we'll come back to viewing the Chemical Boards later.
ㅤ
 ㅤ
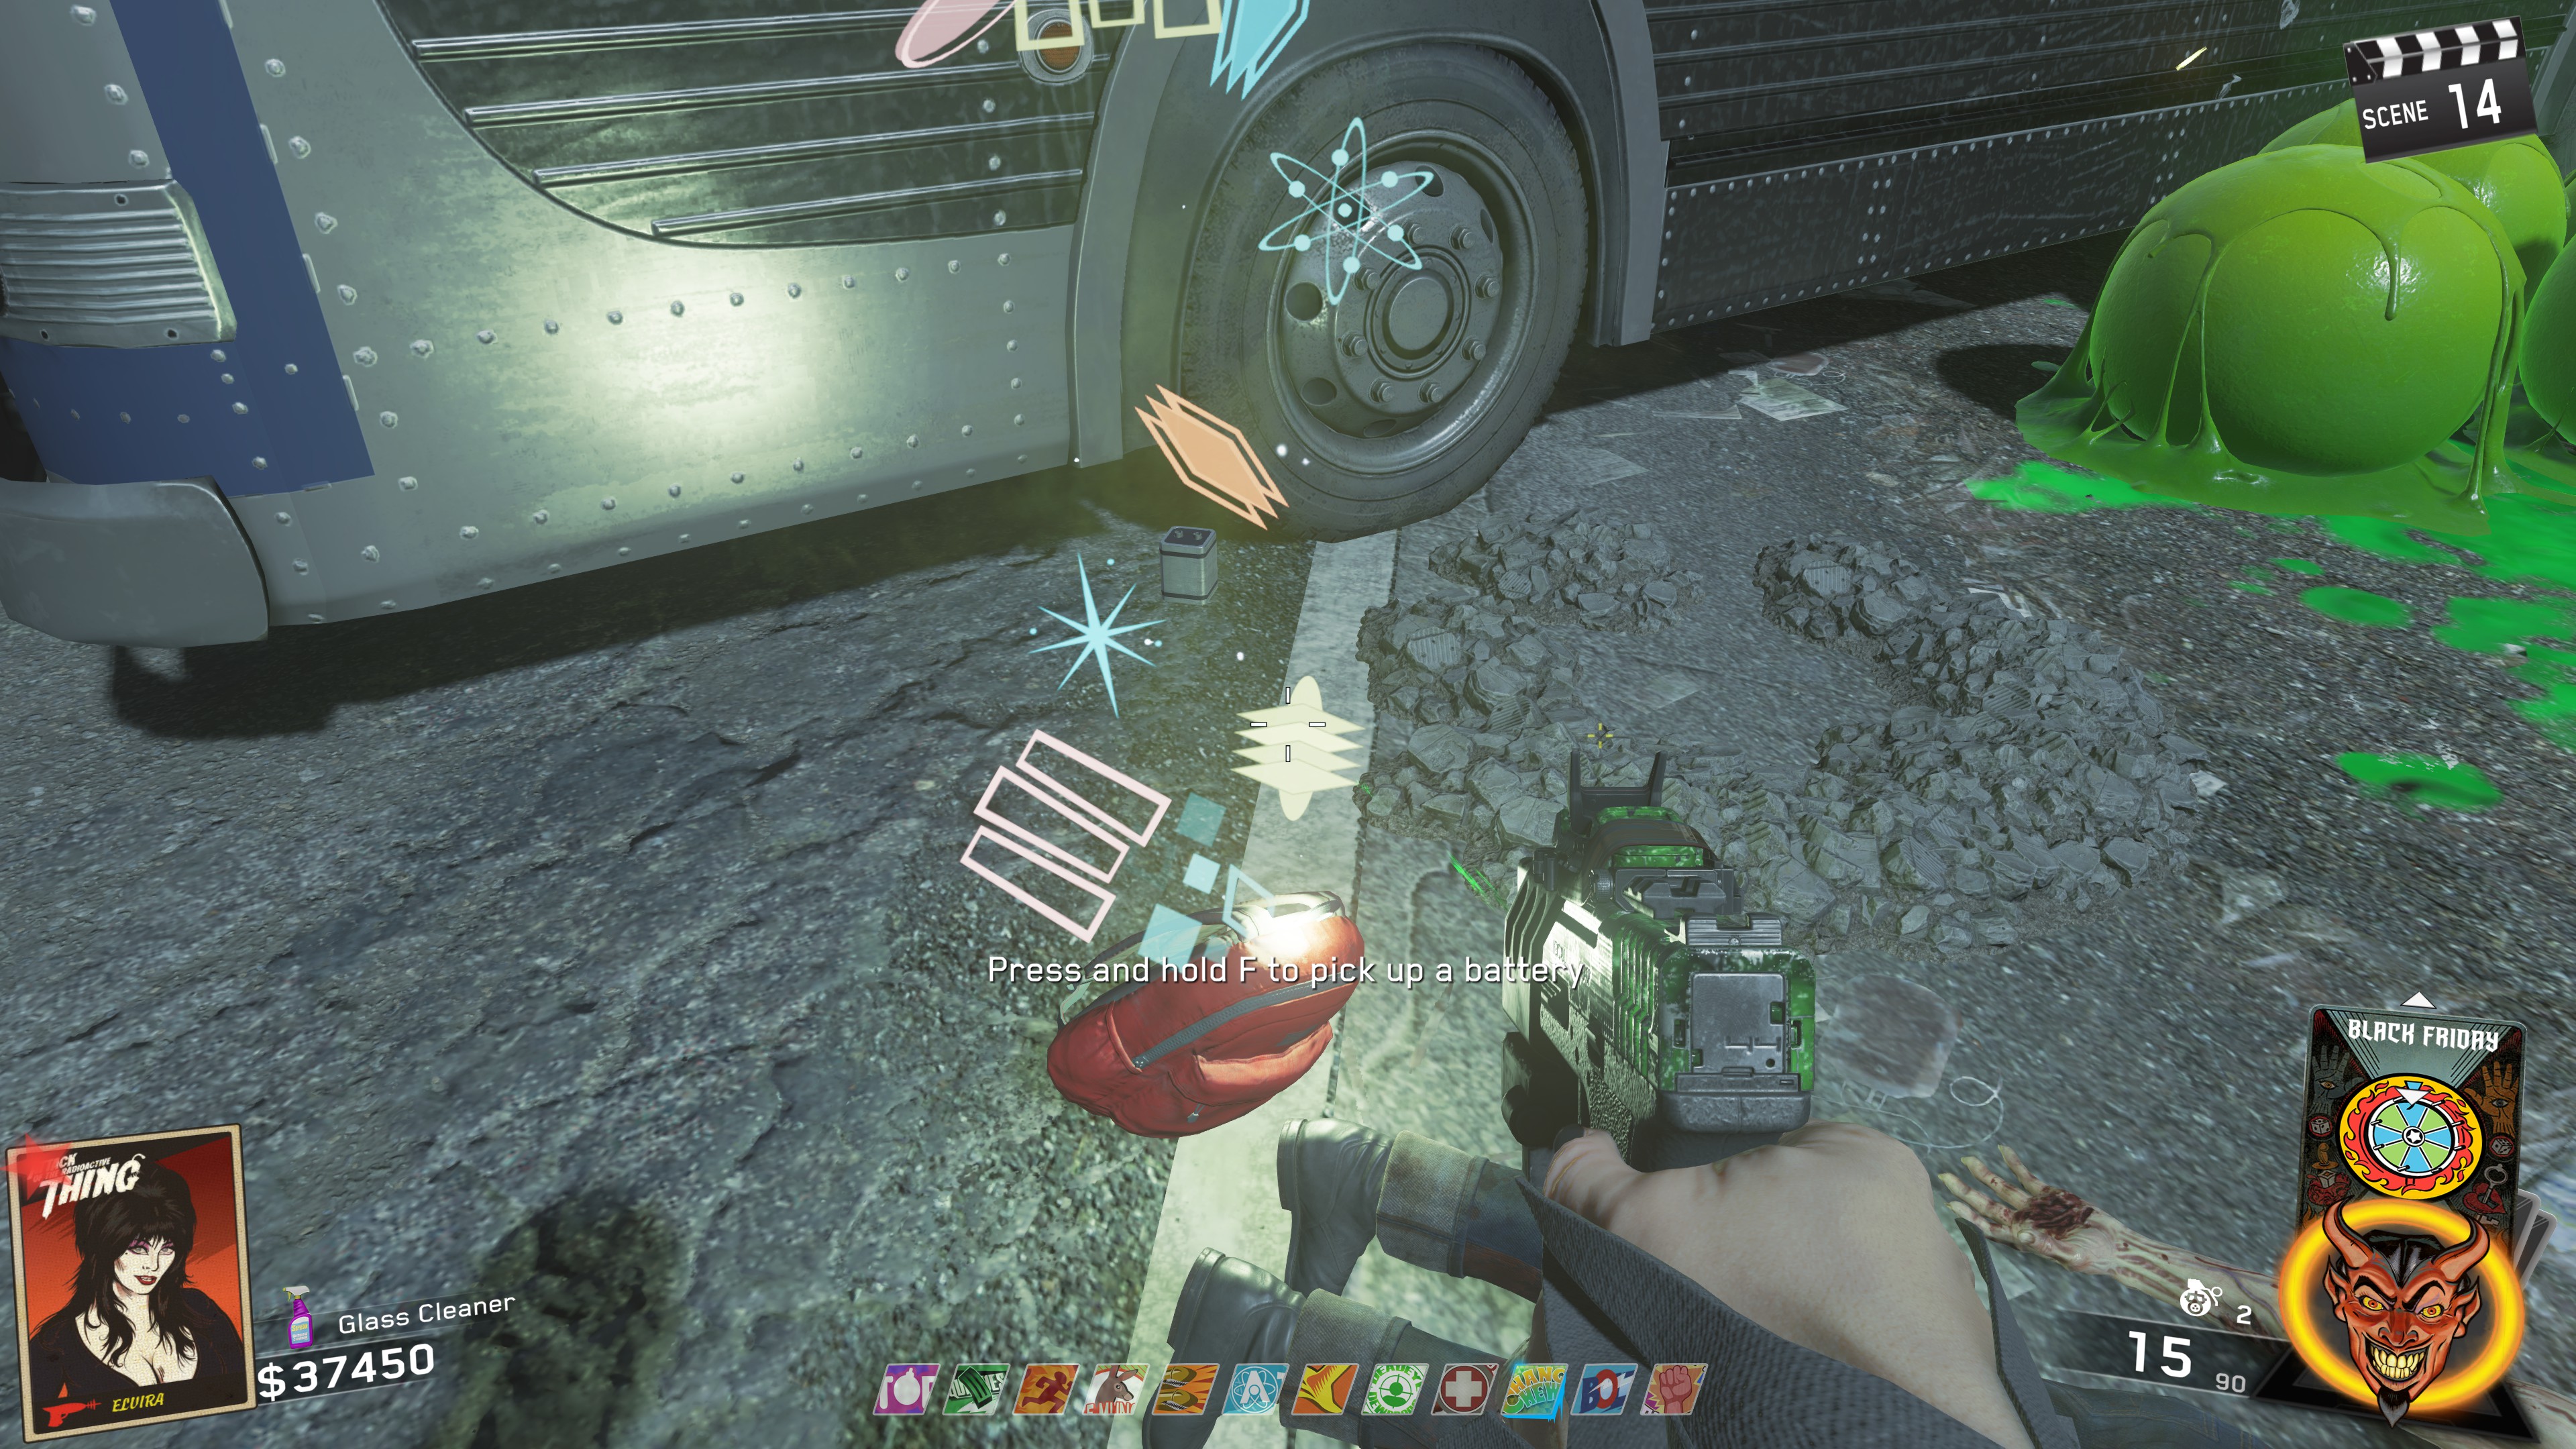
ㅤOnce you've obtained a battery, you can take it to one of two locations to power a tape recorder.
One of these recorders will talk about different chemicals and how they mix (This one isn't needed).
The other will talk about chemicals compounds to defeat the Radioactive Thing. The two radios are random each game, so it's a 50-50 chance you get the right radio on the first try. If you don't just get another battery and power the other radio. The locations of the two radios are:
- In the same little building where the M number is found
ㅤ
- In the corner of the power area where Blue Bolts is
ㅤ
When listening to the radio that is giving chemicals to defeat the Radioactive thing, there's a total of 5 possible chemical compounds. You'll need to listen to what's being said on the radio and which one he says is the correct chemical compound as it changes every game.
 To understand how to read the chemical boards for this step, you'll want to note down the name of the chemical and to the right of the chemical, there will be a diamond with 4 numbers in it. You'll need to write down the Top and Left number for each chemical. (MAKE SURE YOU'RE VIEWING THE CHEM BOARDS IN THE CORRECT COLOR)
ㅤ
NOTE: I have made a new tool[www.zombieslayamr.com] that simplifies this step down to only needing a couple of things. Consider Trying it out! https://www.zombieslayamr.com/pages/aotrt/aotrt_chemical.html
Below are the locations of all the Chemical Boards:
- Outside the TV Station
ㅤ
- In the long hallway in the middle of Spawn
ㅤ
- Outside the back of Beachside Market
ㅤ
- On the Beach
ㅤ
- In the RV Camp
ㅤ
- In the Garage
ㅤ
Main Quest - Mixing the Radioactive Thing Chemical Compound
- Obtained your O number
- Used your color obtained from O x M to get the Chemicals & the left and Top numbers off the Chem boards
- The chemical compound to defeat the Radioactive thing from the battery powered tape recorder
Having all of the above done is important to continuing to the next section. Now you're going to mix together all the chemicals to create your chemical compound. If you're using my spread sheet (make sure you have all the top & left number fields filled out for each chemical as well as the O number at the top), switch to the "Solver" tab and that will do all the math for you as well as tell you the recipes for each chemical compound.
However, if you're not using the spreadsheet, below is all of the chemical compounds and their recipes
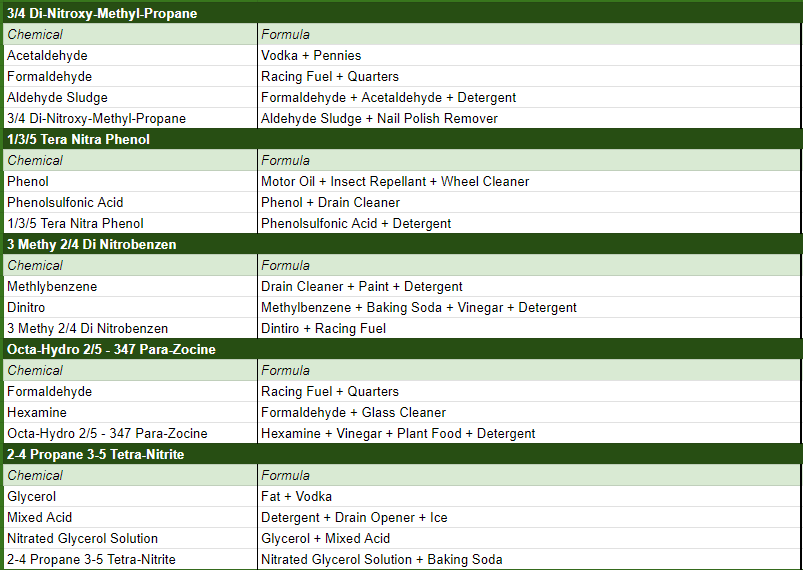
ㅤ
The locations of all the chemicals that are on the map are shown in the section "Main Quest - Chemical Locations."
To mix the chemicals, bring all the ingredients to the chem station located in the garage. No recipe will have more than 4 ingredients, so there are 4 spots on the chem station to put ingredients.
Once you have obtained all the ingredients, you'll want to check each ingredients top and left number and add all of them together.
For example, take the formula to make Dinitro (Methlybenzene + Baking Soda + Vinegar + Detergent)
The table below contains some hypothetical top and left numbers for each ingredientAll we need to do here is add these numbers together so we get:
(4 + 6) + (3 + 3) + (2 + 9) + (6 + 8) = 41
Then you need to take this result and subtract your O number from it. So it my case, lets say my O number is 4. Then you would get
41 - 4 = 37
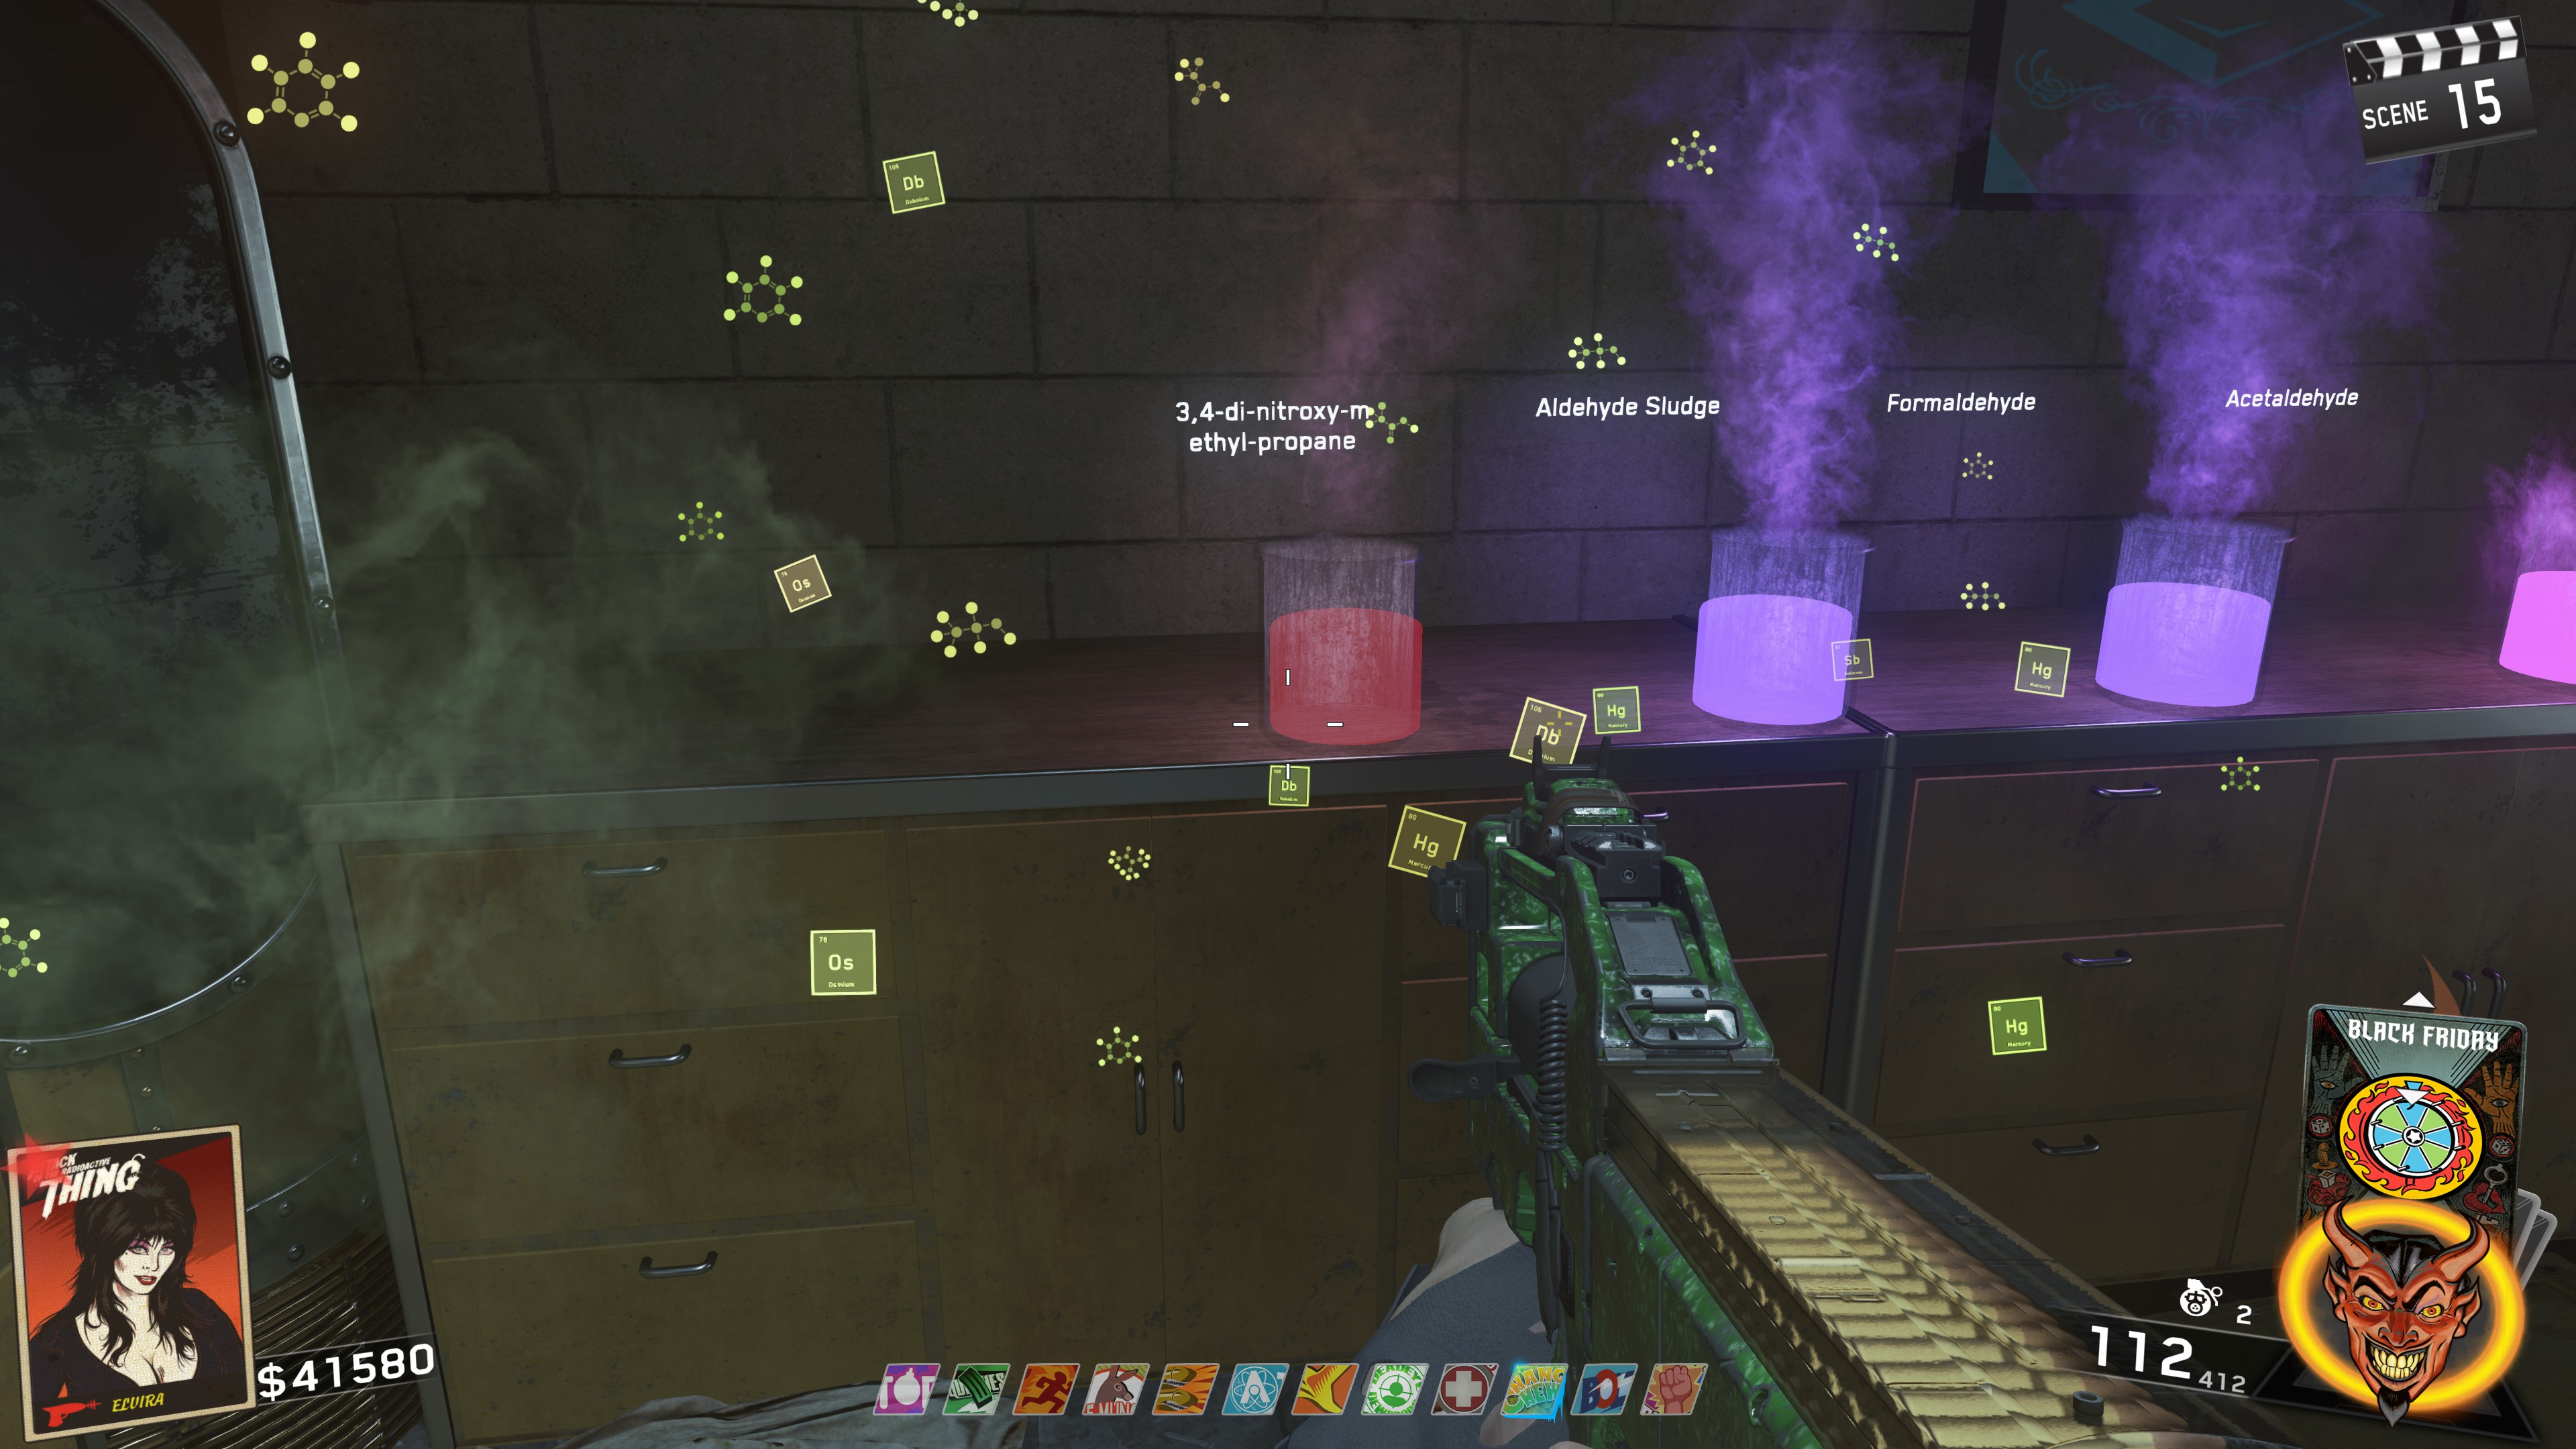
Take this result and punch it into the number pad above the chem station and hit start reaction. If you did it correctly, it will mix the chemical and it'll appear on the right side of the Garage. If you did it incorrectly, the mixture will explode, bringing you down to 1 hp.
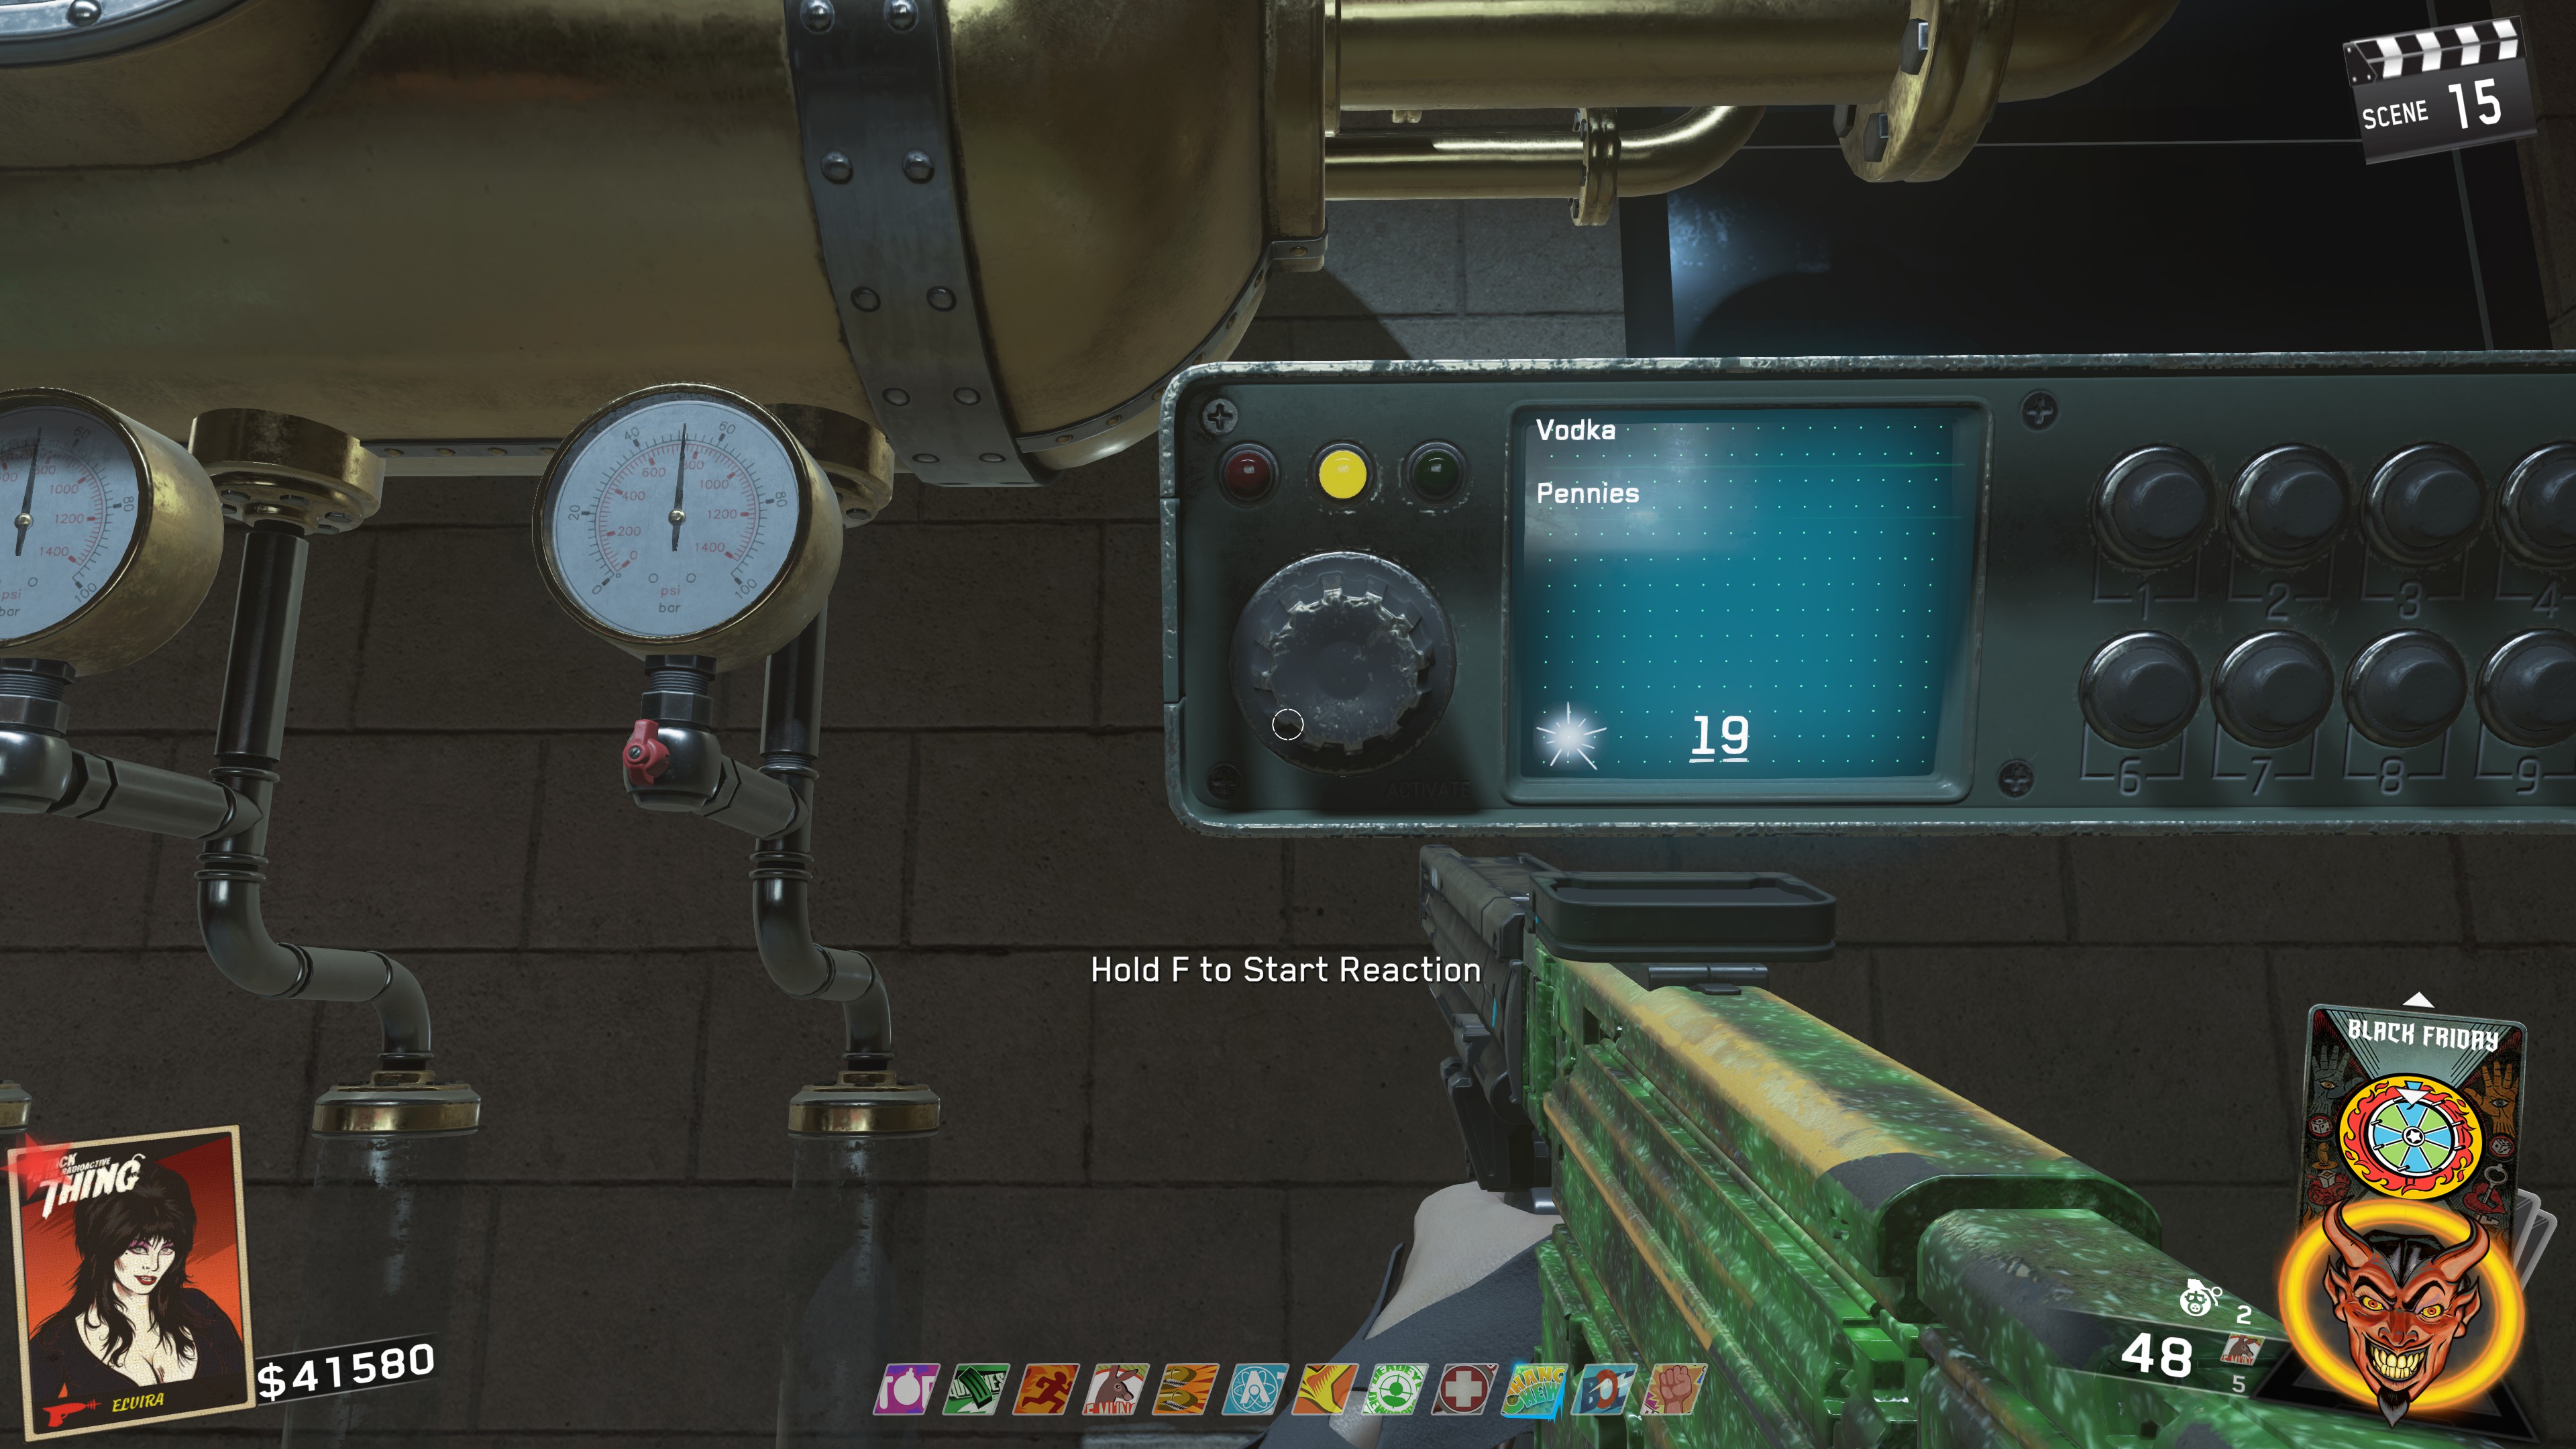
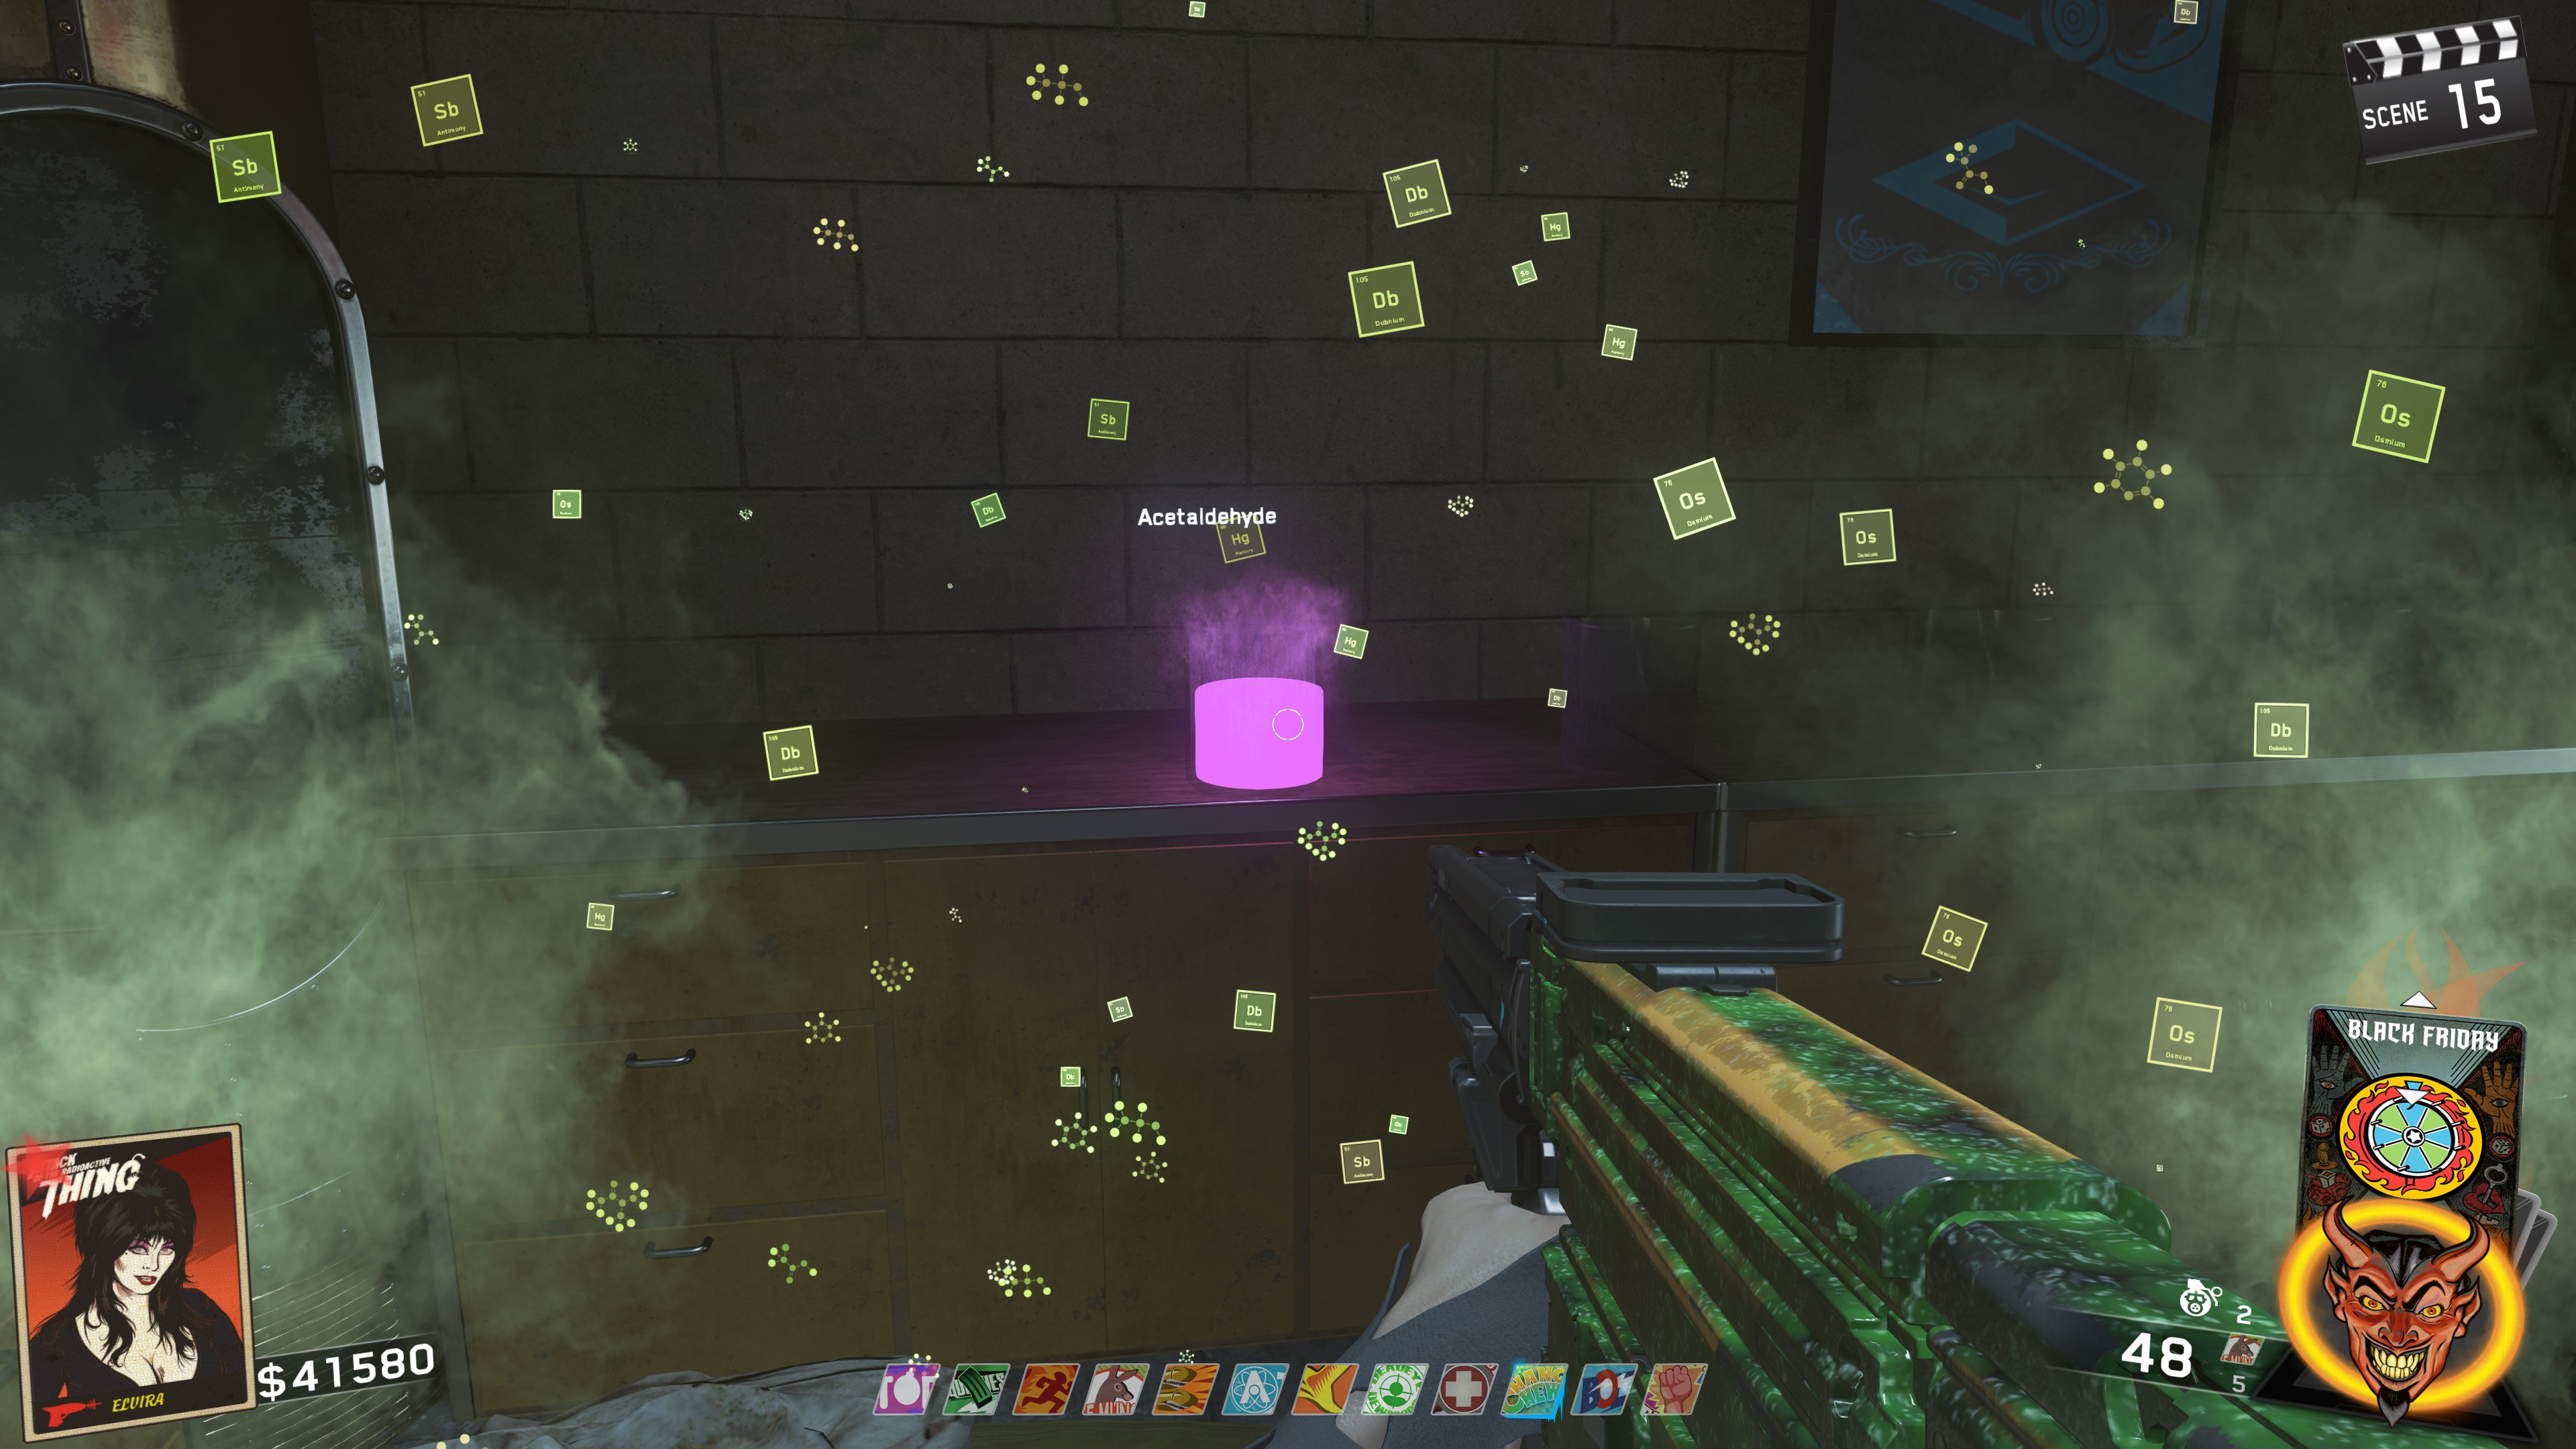 ㅤ
ㅤYou'll need to repeat this for each step of the chemical recipe. Once you've gotten to the final result (one of the five chemical compounds), add the mixture to the bomb. If it is the correct chemical, it will allow you to start the Teleportation process. Once complete, you can teleport to the Boss Fight.
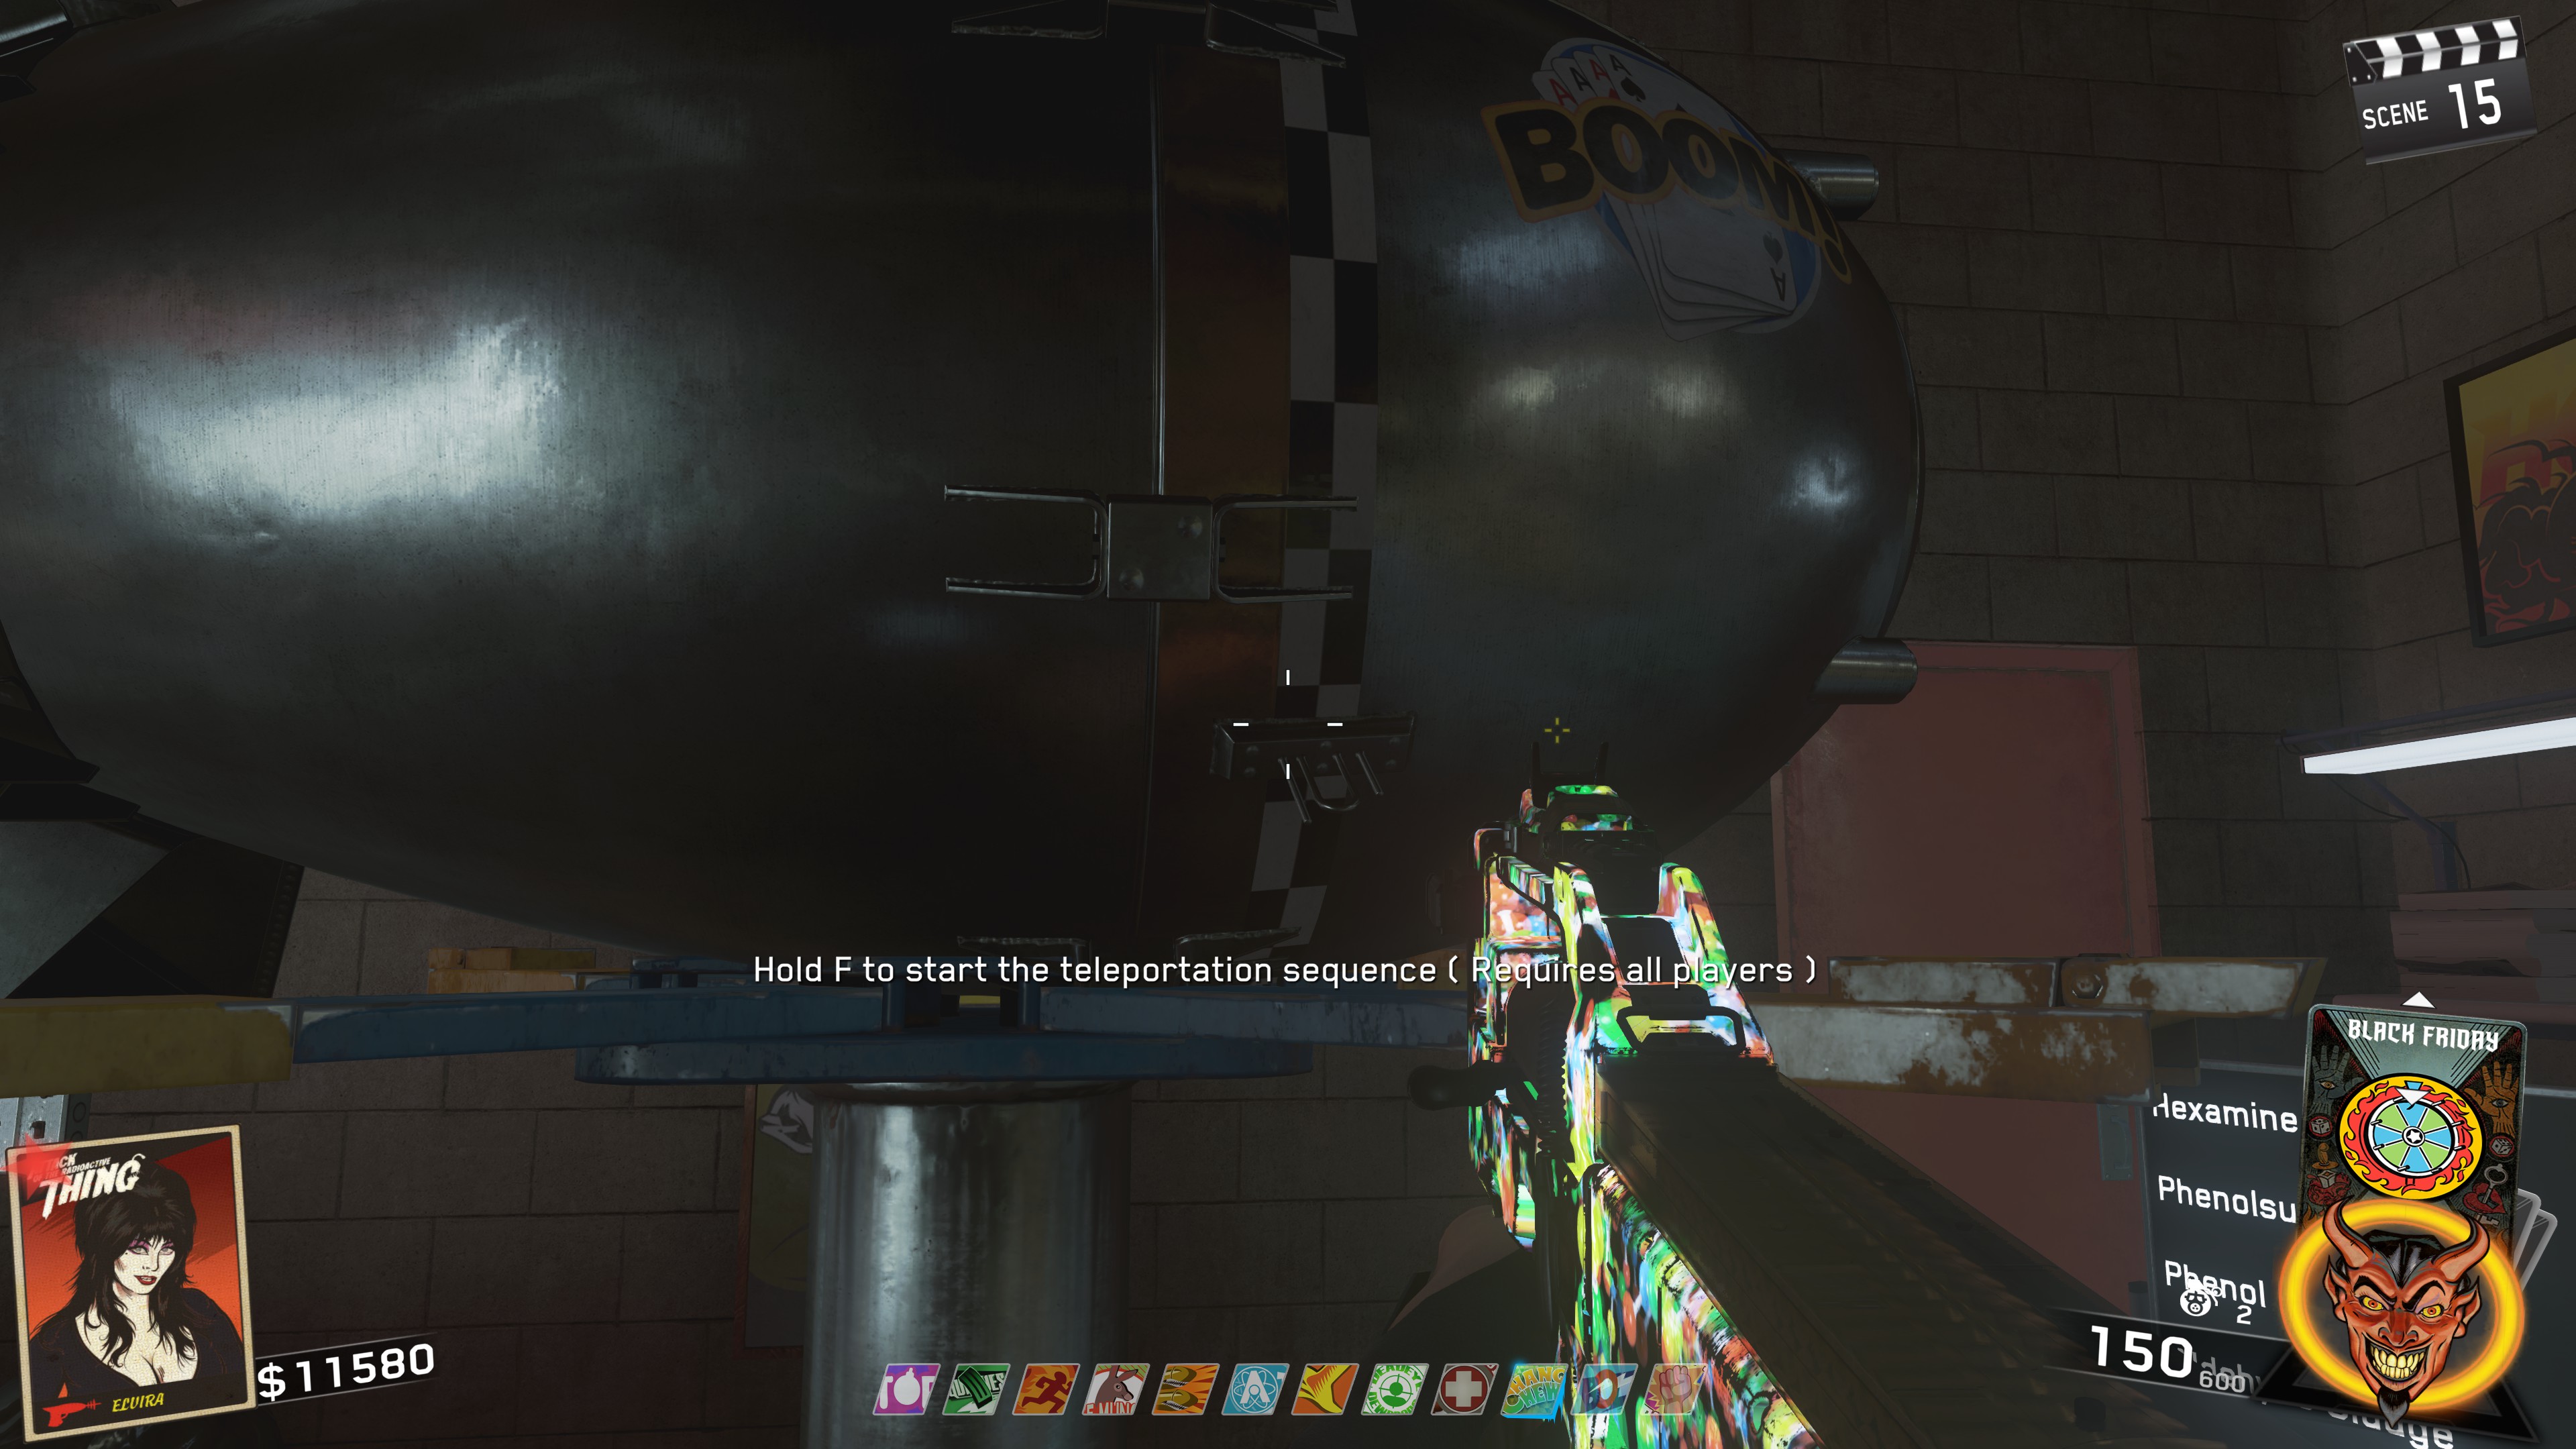
Main Quest - Crogzilla Boss Fight
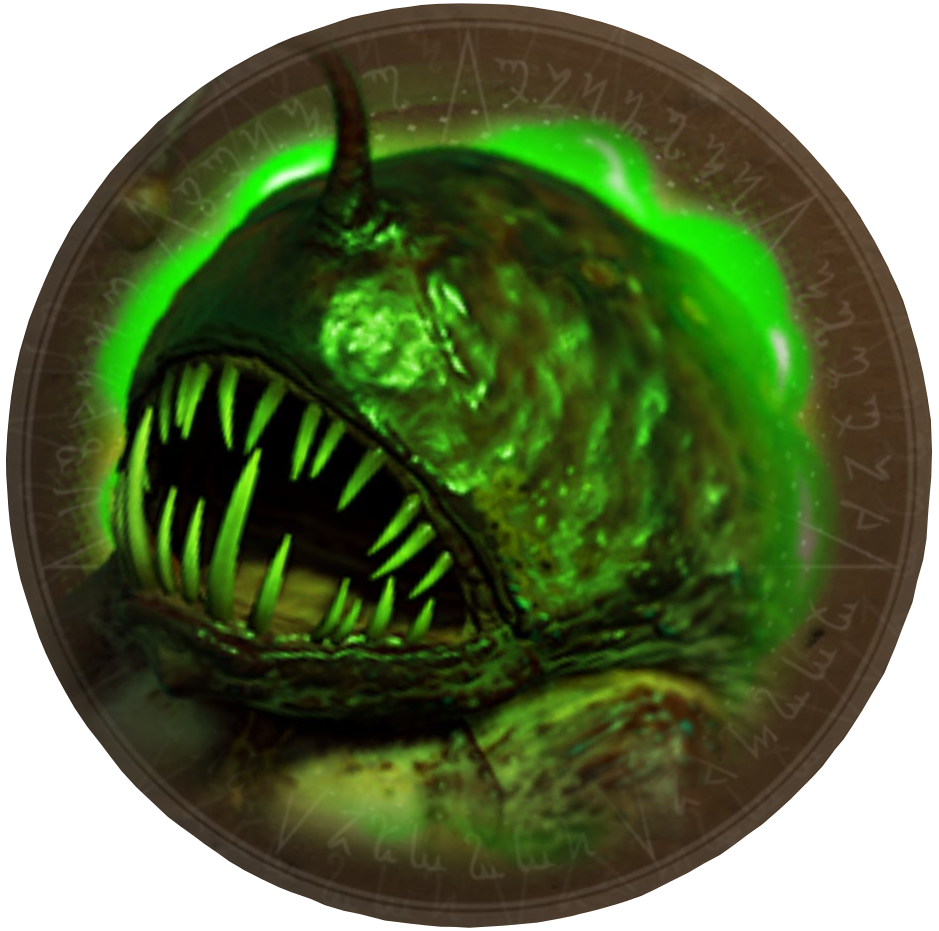
There are 4 phases to this fight, all of which are one after another. One thing you'll need to have written down is the Bomb Code obtained from the Safe in the Beachside Market. You wont be able to access the Tab menu when you're inputting this code, so make sure you remember before you get to this phase.
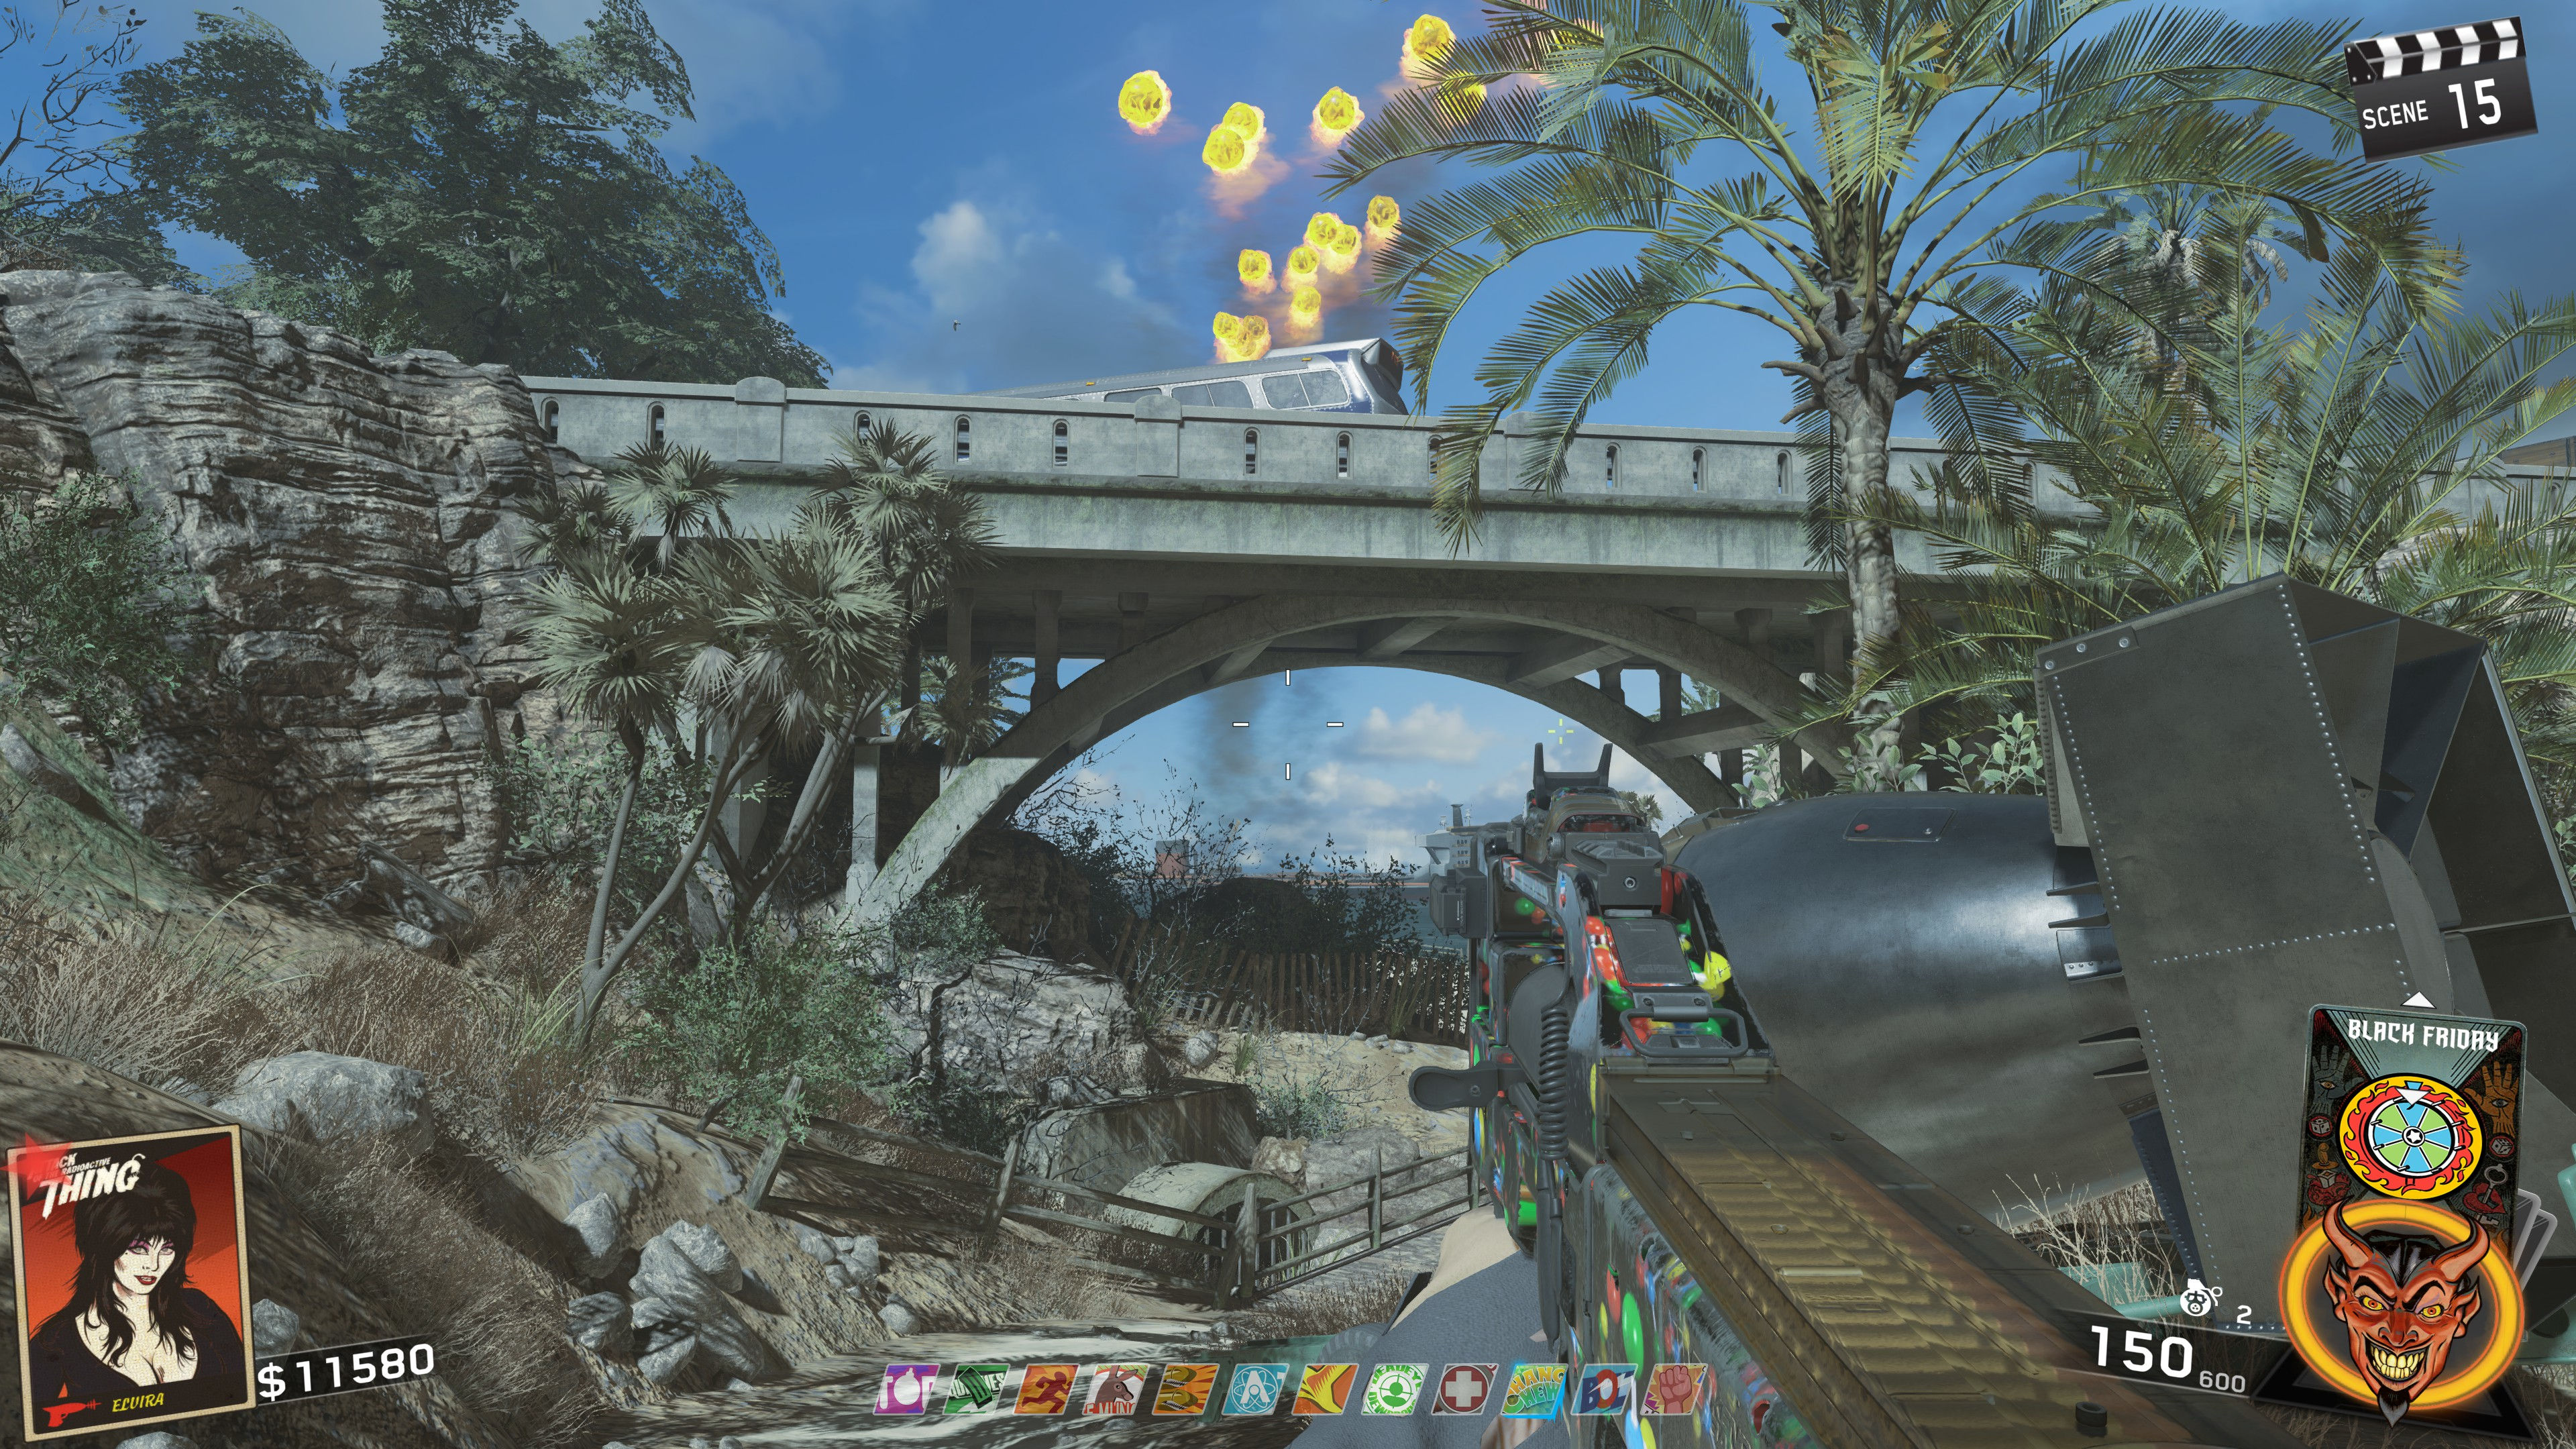
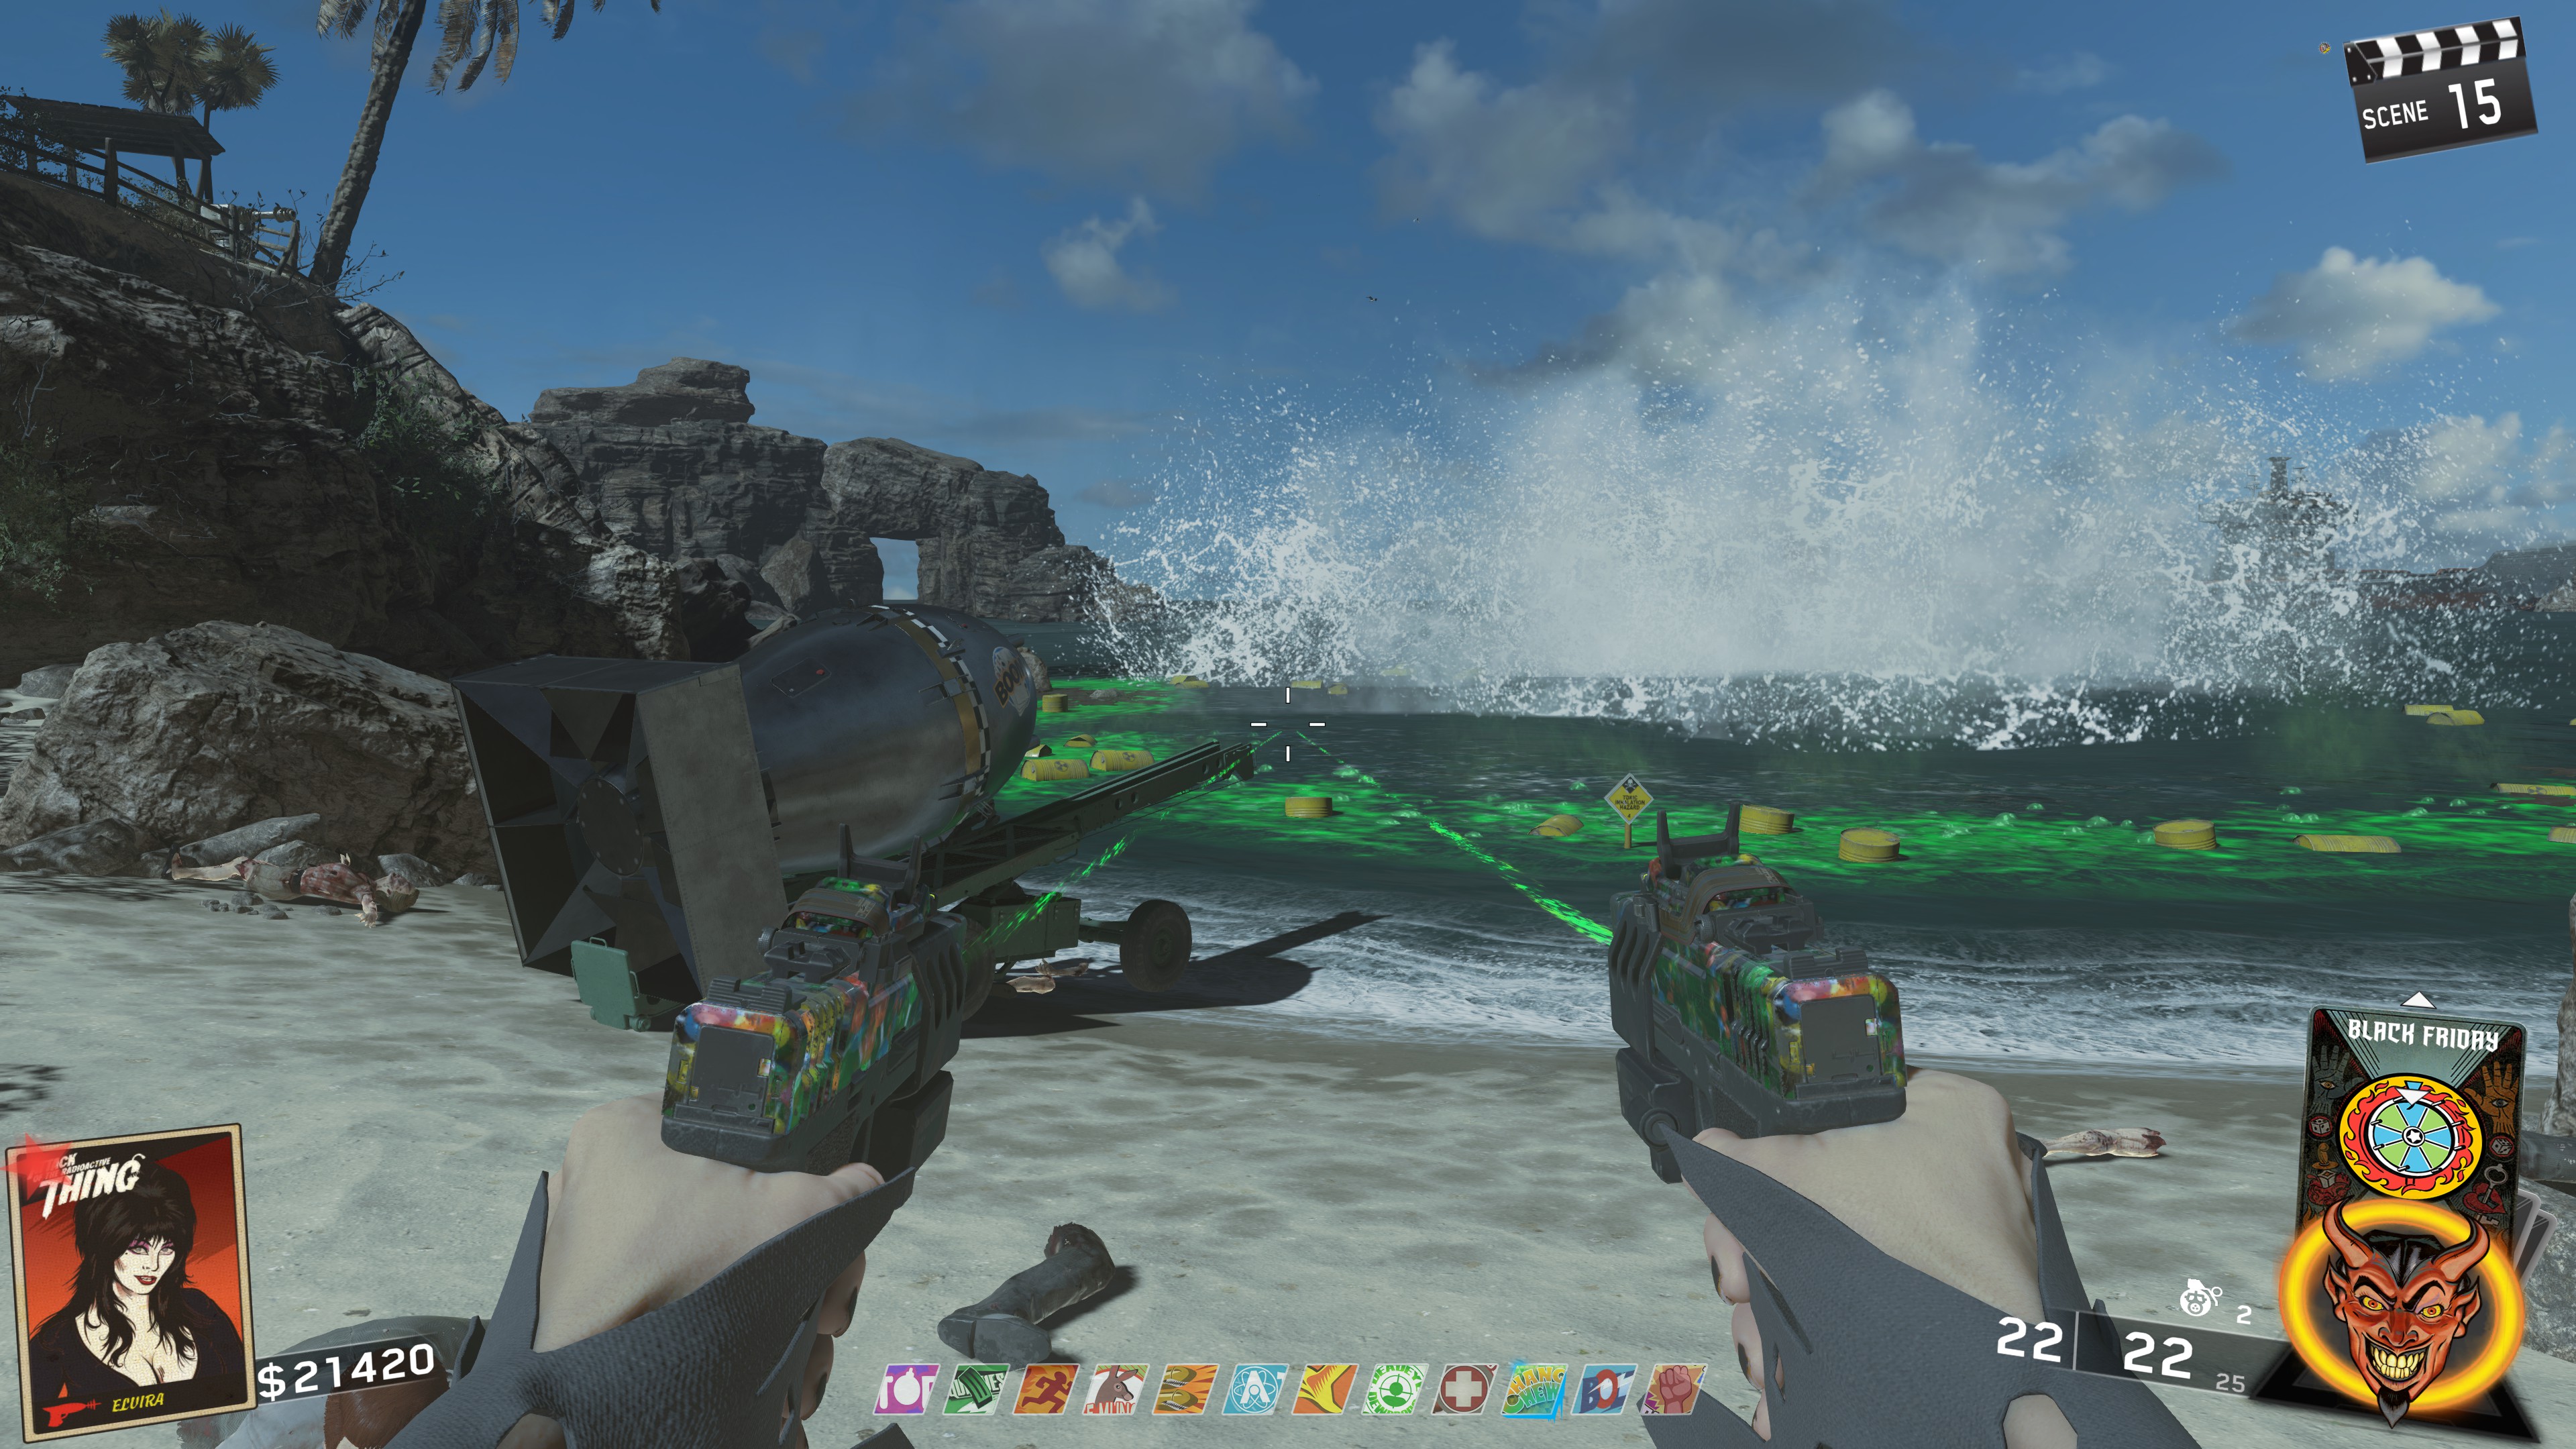
Once you've moved the bomb down to the shore successfully, the bomb will launch into the Radioactive Thing and the next phase will immediately start.
The hitbox for this is kind finicky, I find it best to start charging the Deathray slightly above the glowing spot as it starts its attack animation
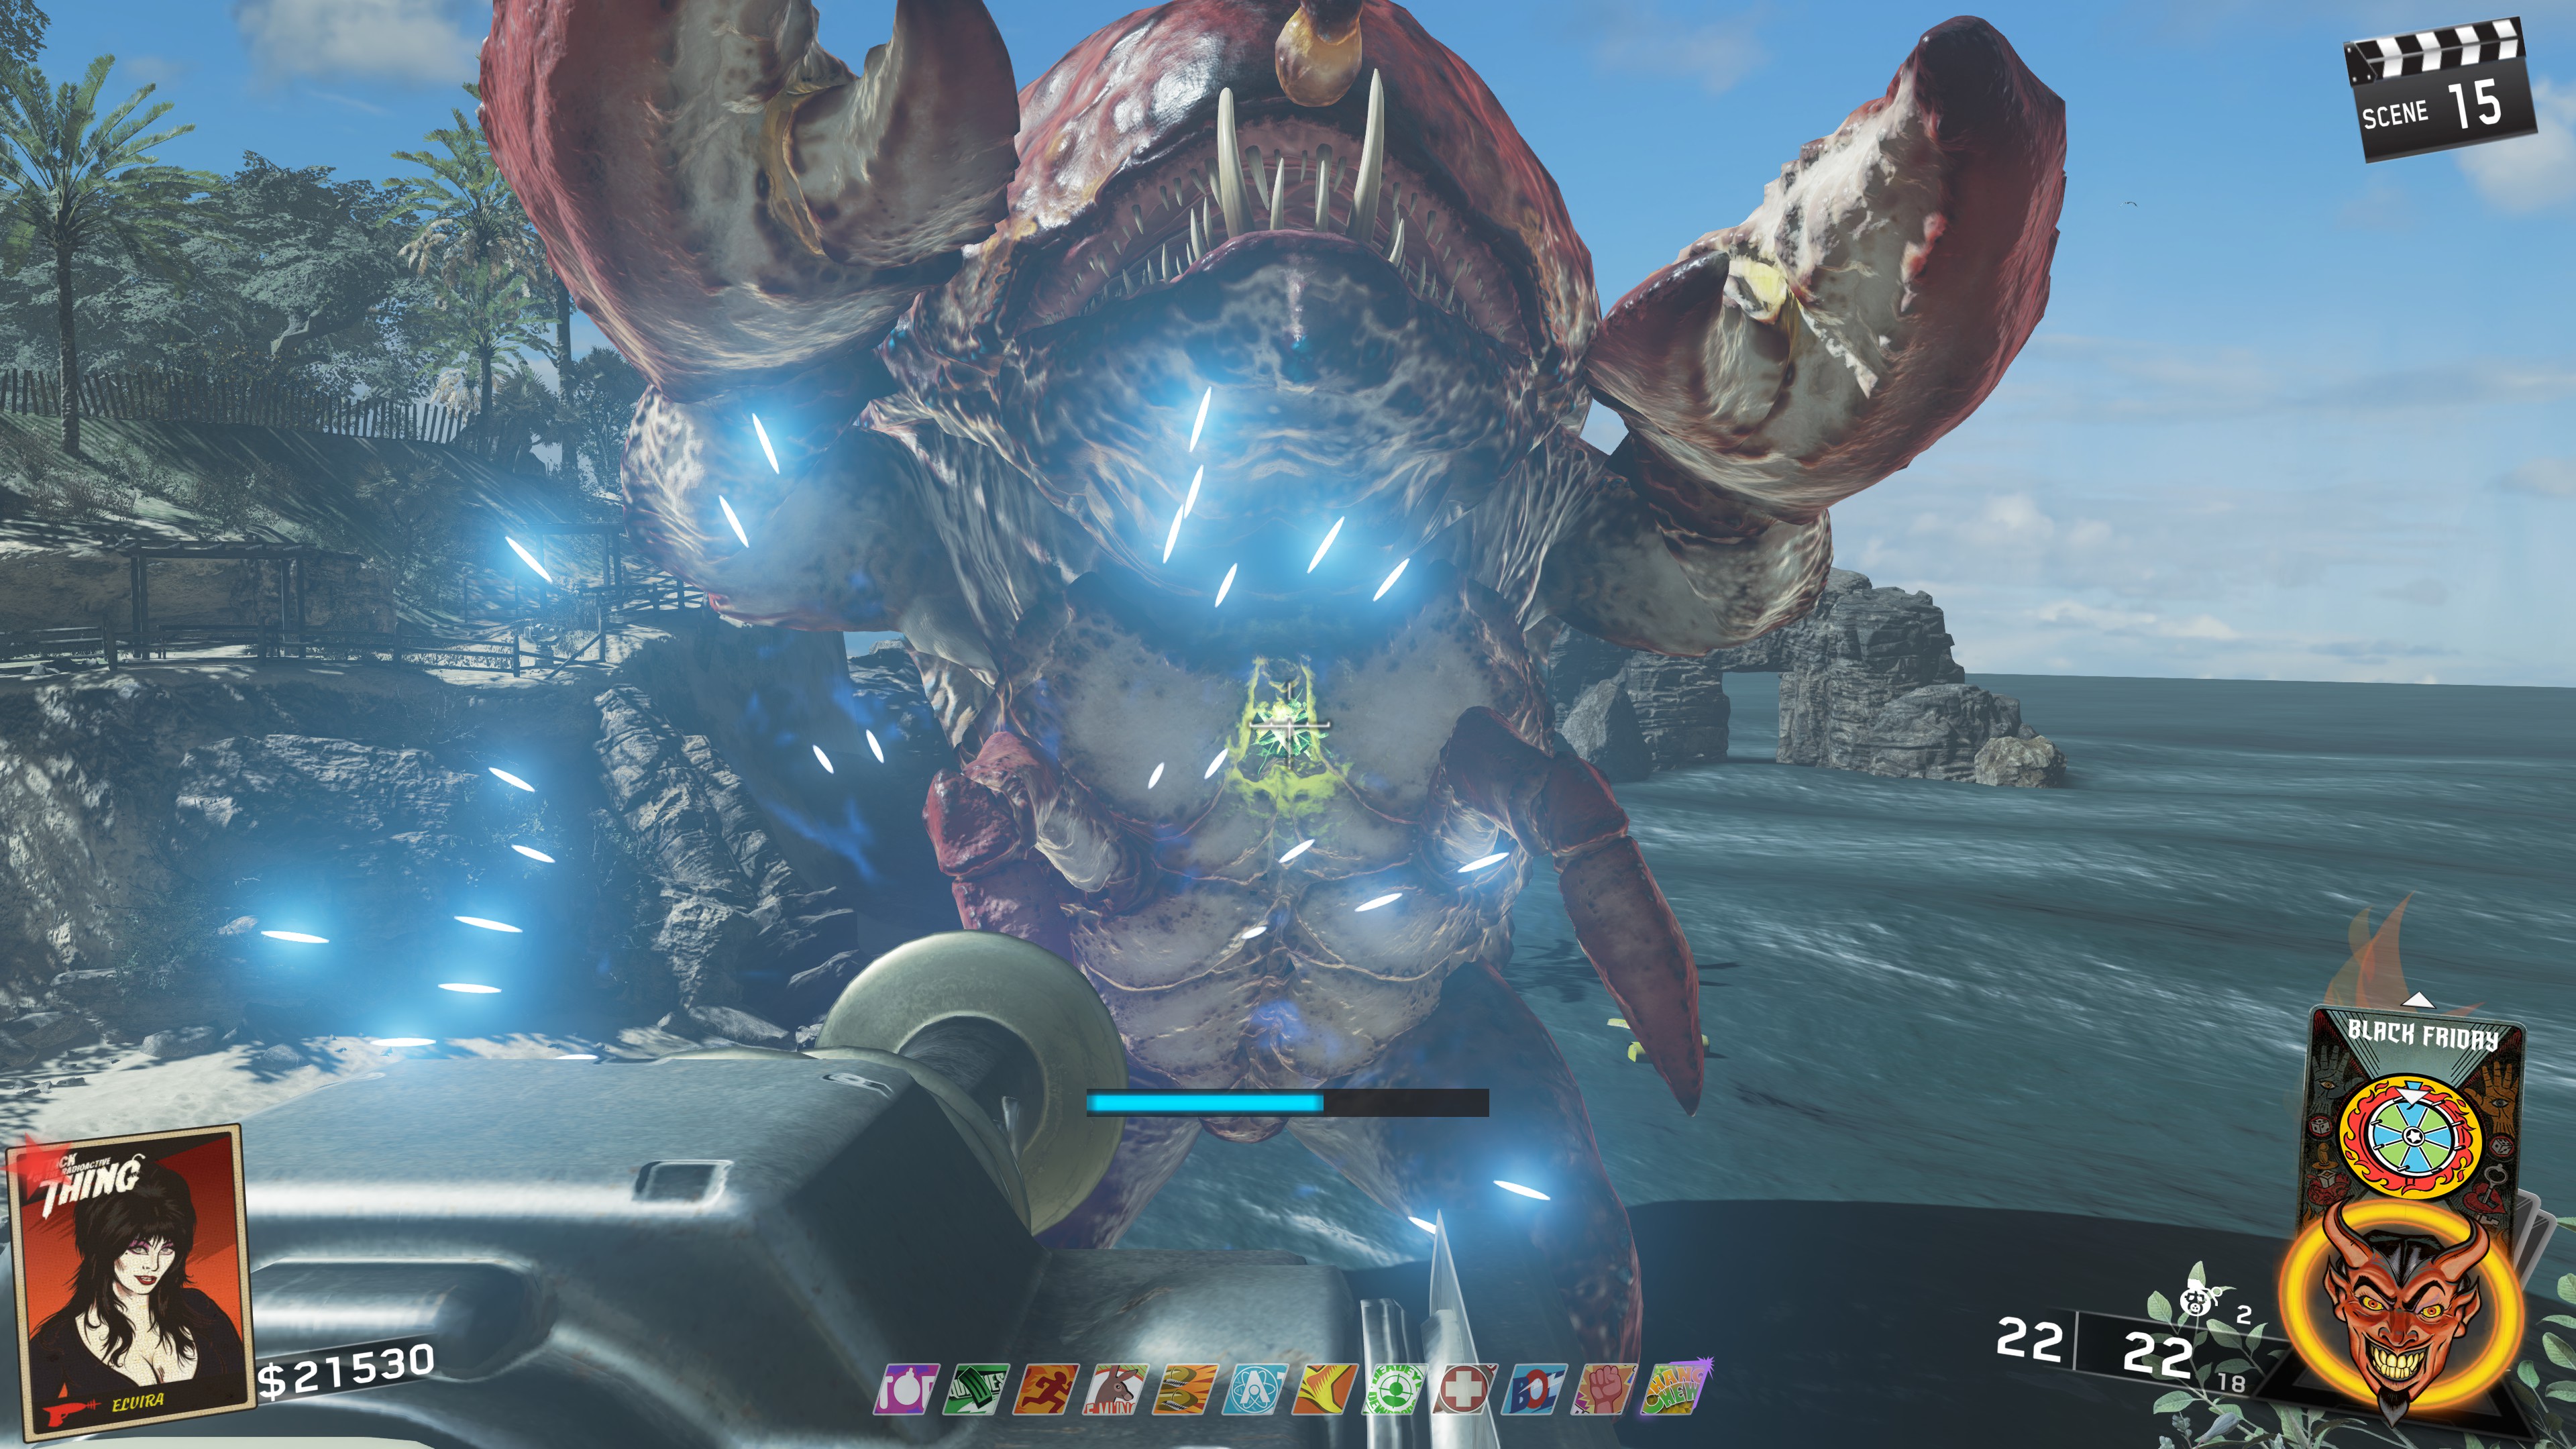
Once you've hit it 3-4 times, the next phase will be able to be started.
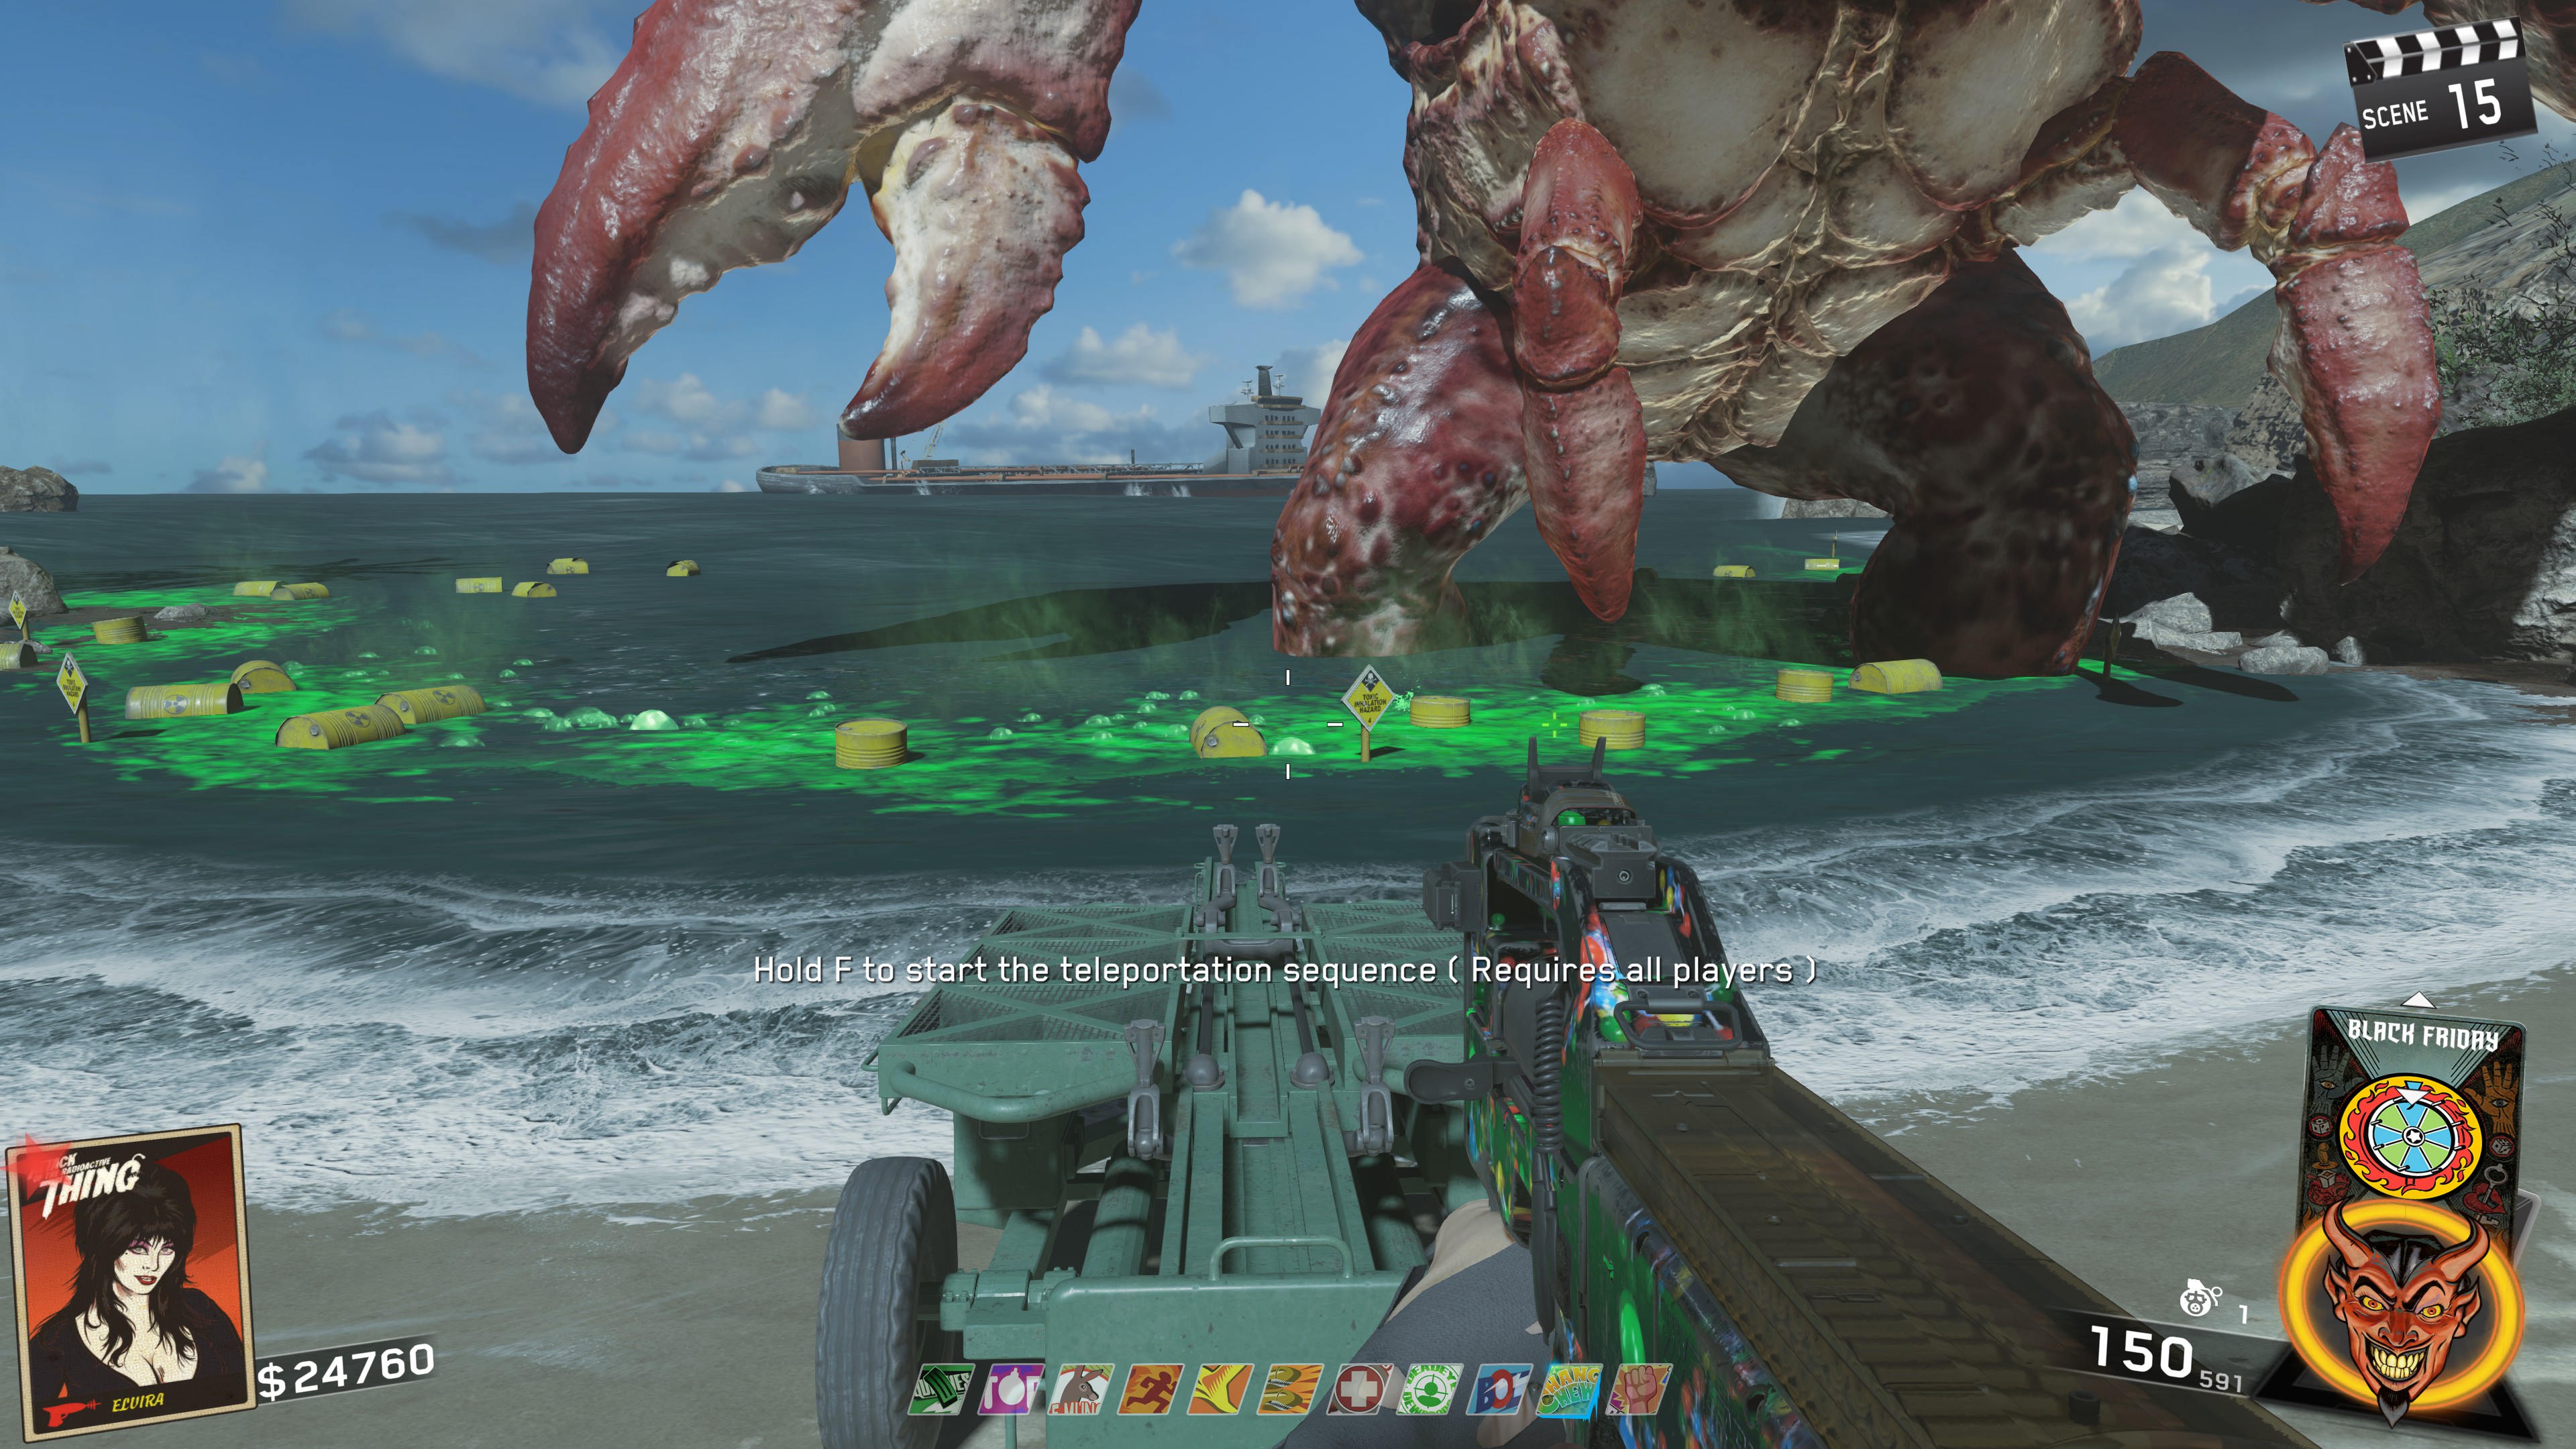
This step is fairly simple, you'll just need to survive as the beach is progressively covered in a poisoned spewed out by the Radioactive Thing. Each time it spews more poison, it will shoot out a wave of Crog Pods.
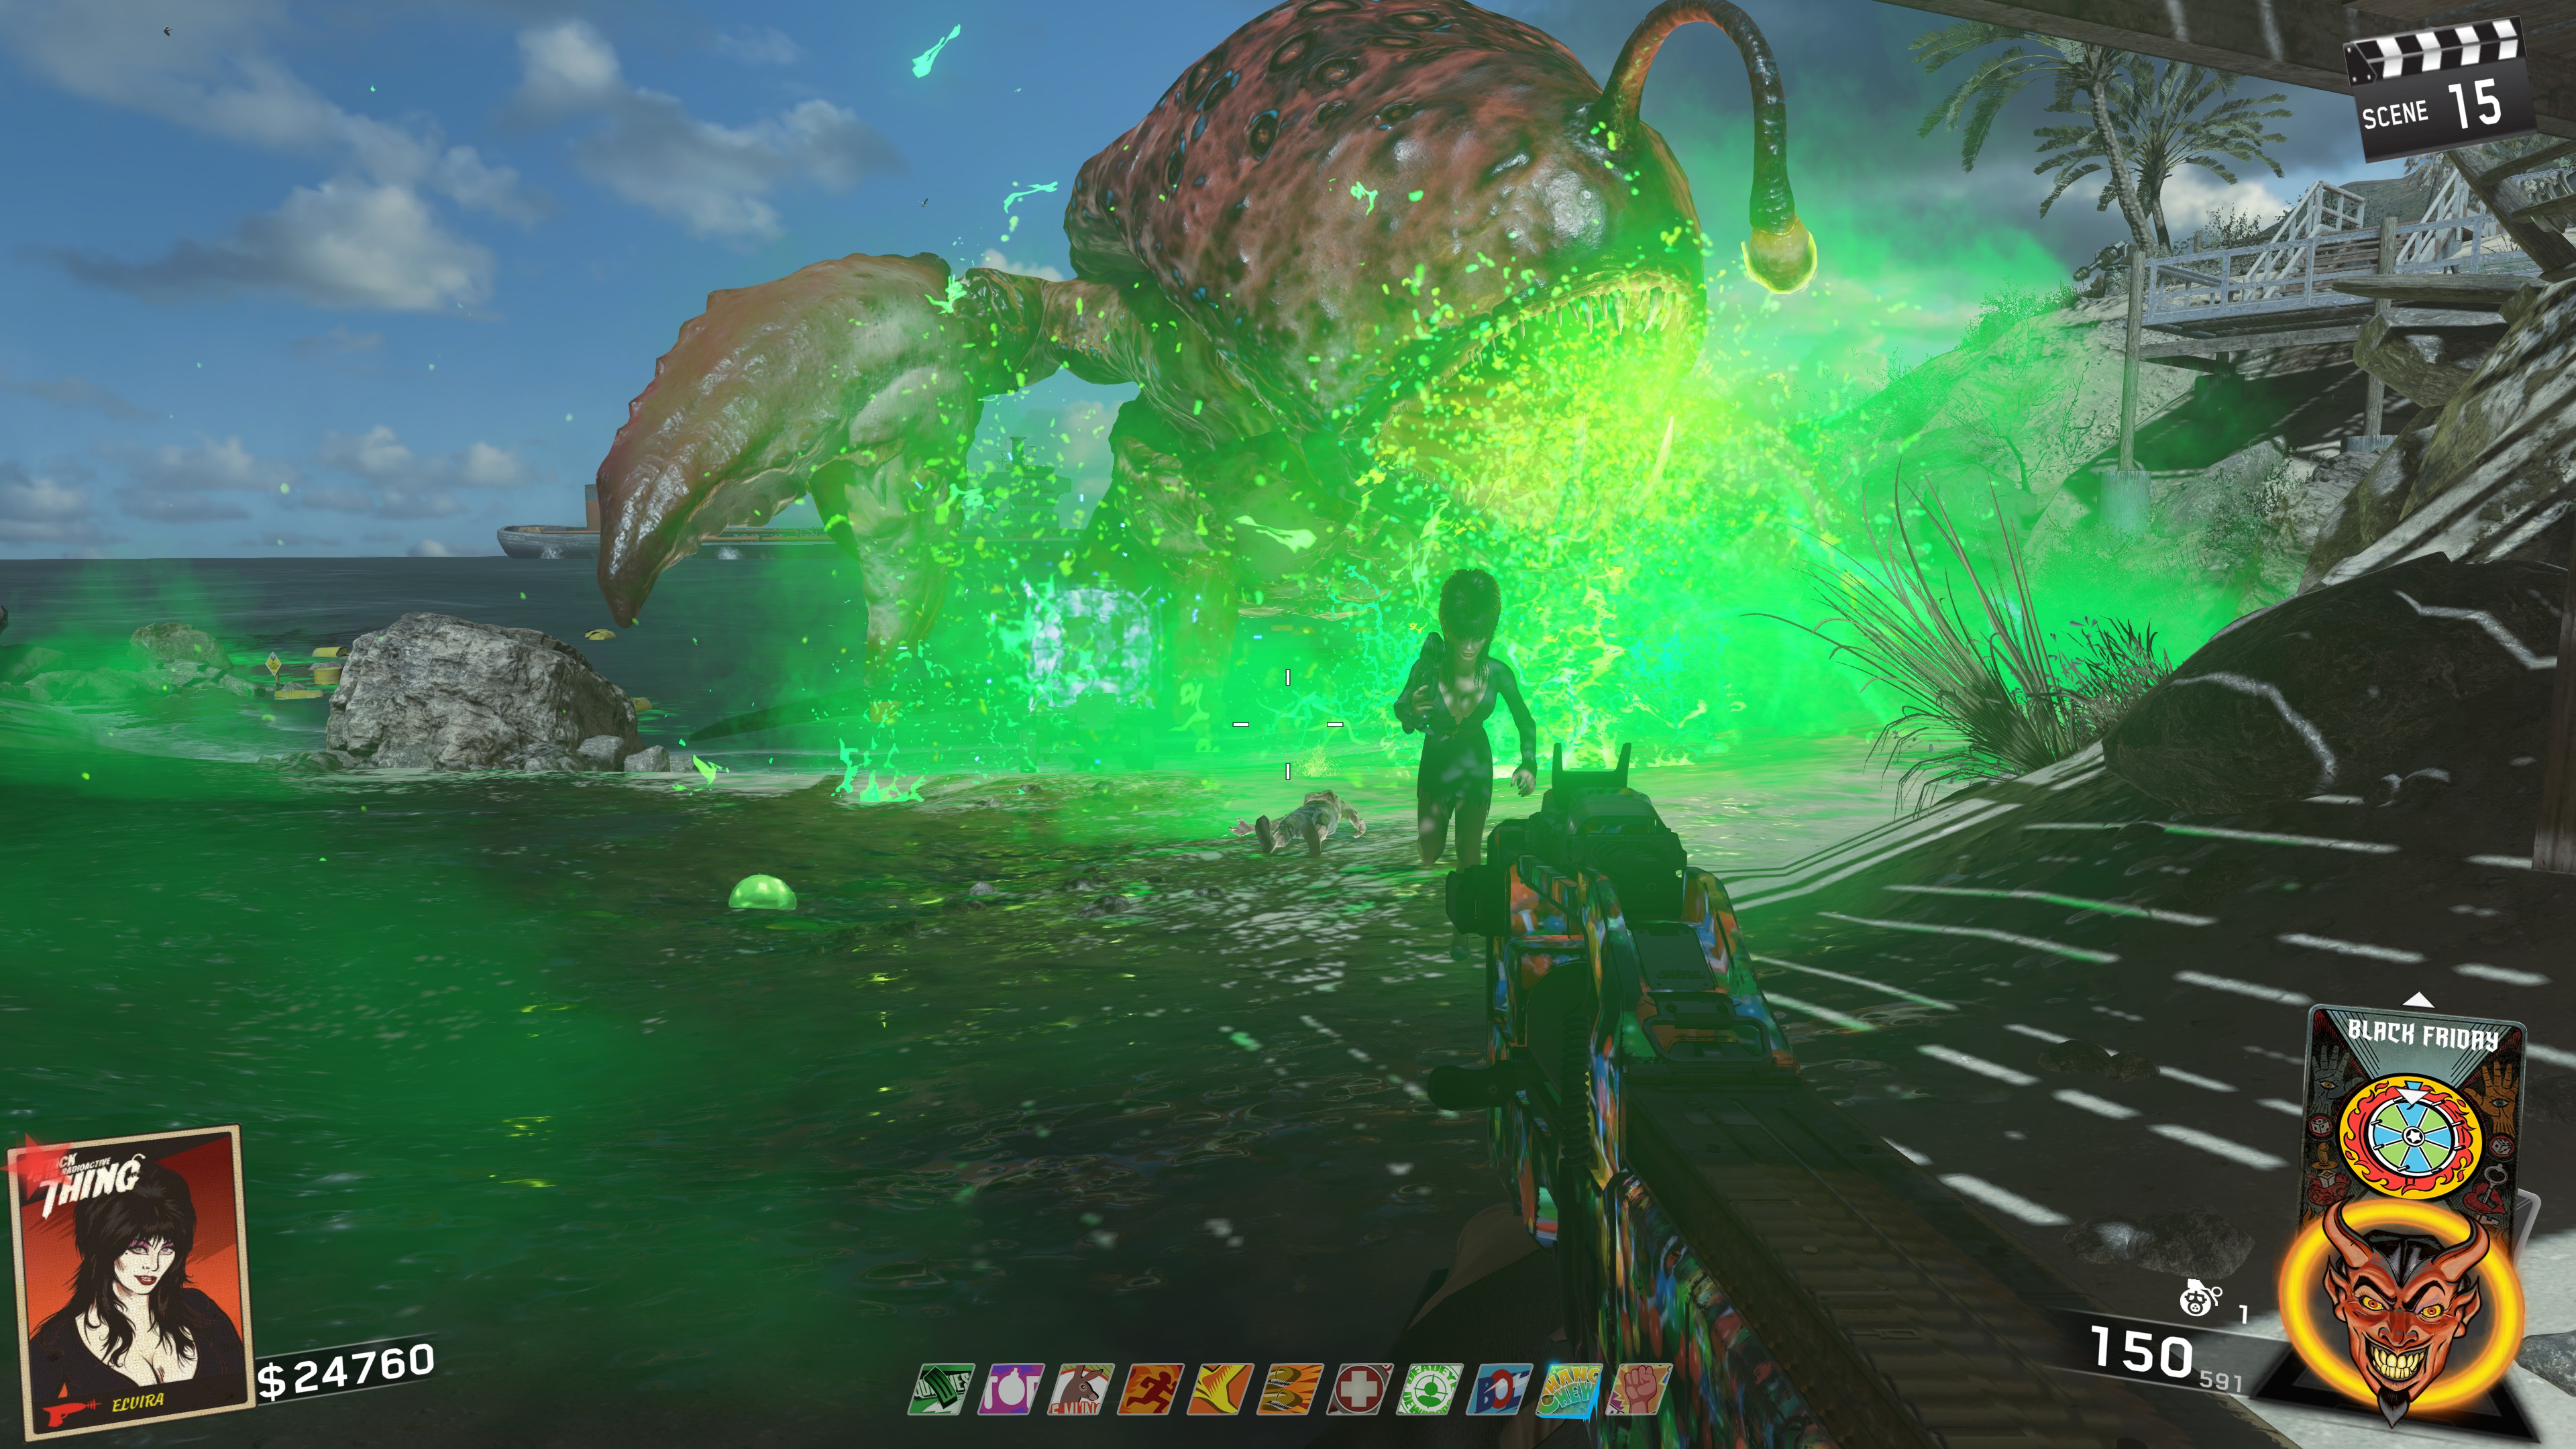
Once you've made it all the way to the back of the beach, and the last wave of crog pods is spawned, the next phase will immediately start.
The Radioactive Thing will spawn a laser field that you'll need to navigate through and get back to the bomb. Once all players in the game have interacted with the bomb, it will teleport you inside the Radioactive Thing to input the Bomb Code.
Inputting the bomb code is very similar to the punchcard code machine. However, it will be slightly faster and your vision will be much more impaired since you'll have a liquid effect running down the screen. Everyone in your game needs to successfully input the code. If not, you'll be spit back out and you'll have to repeat Phase III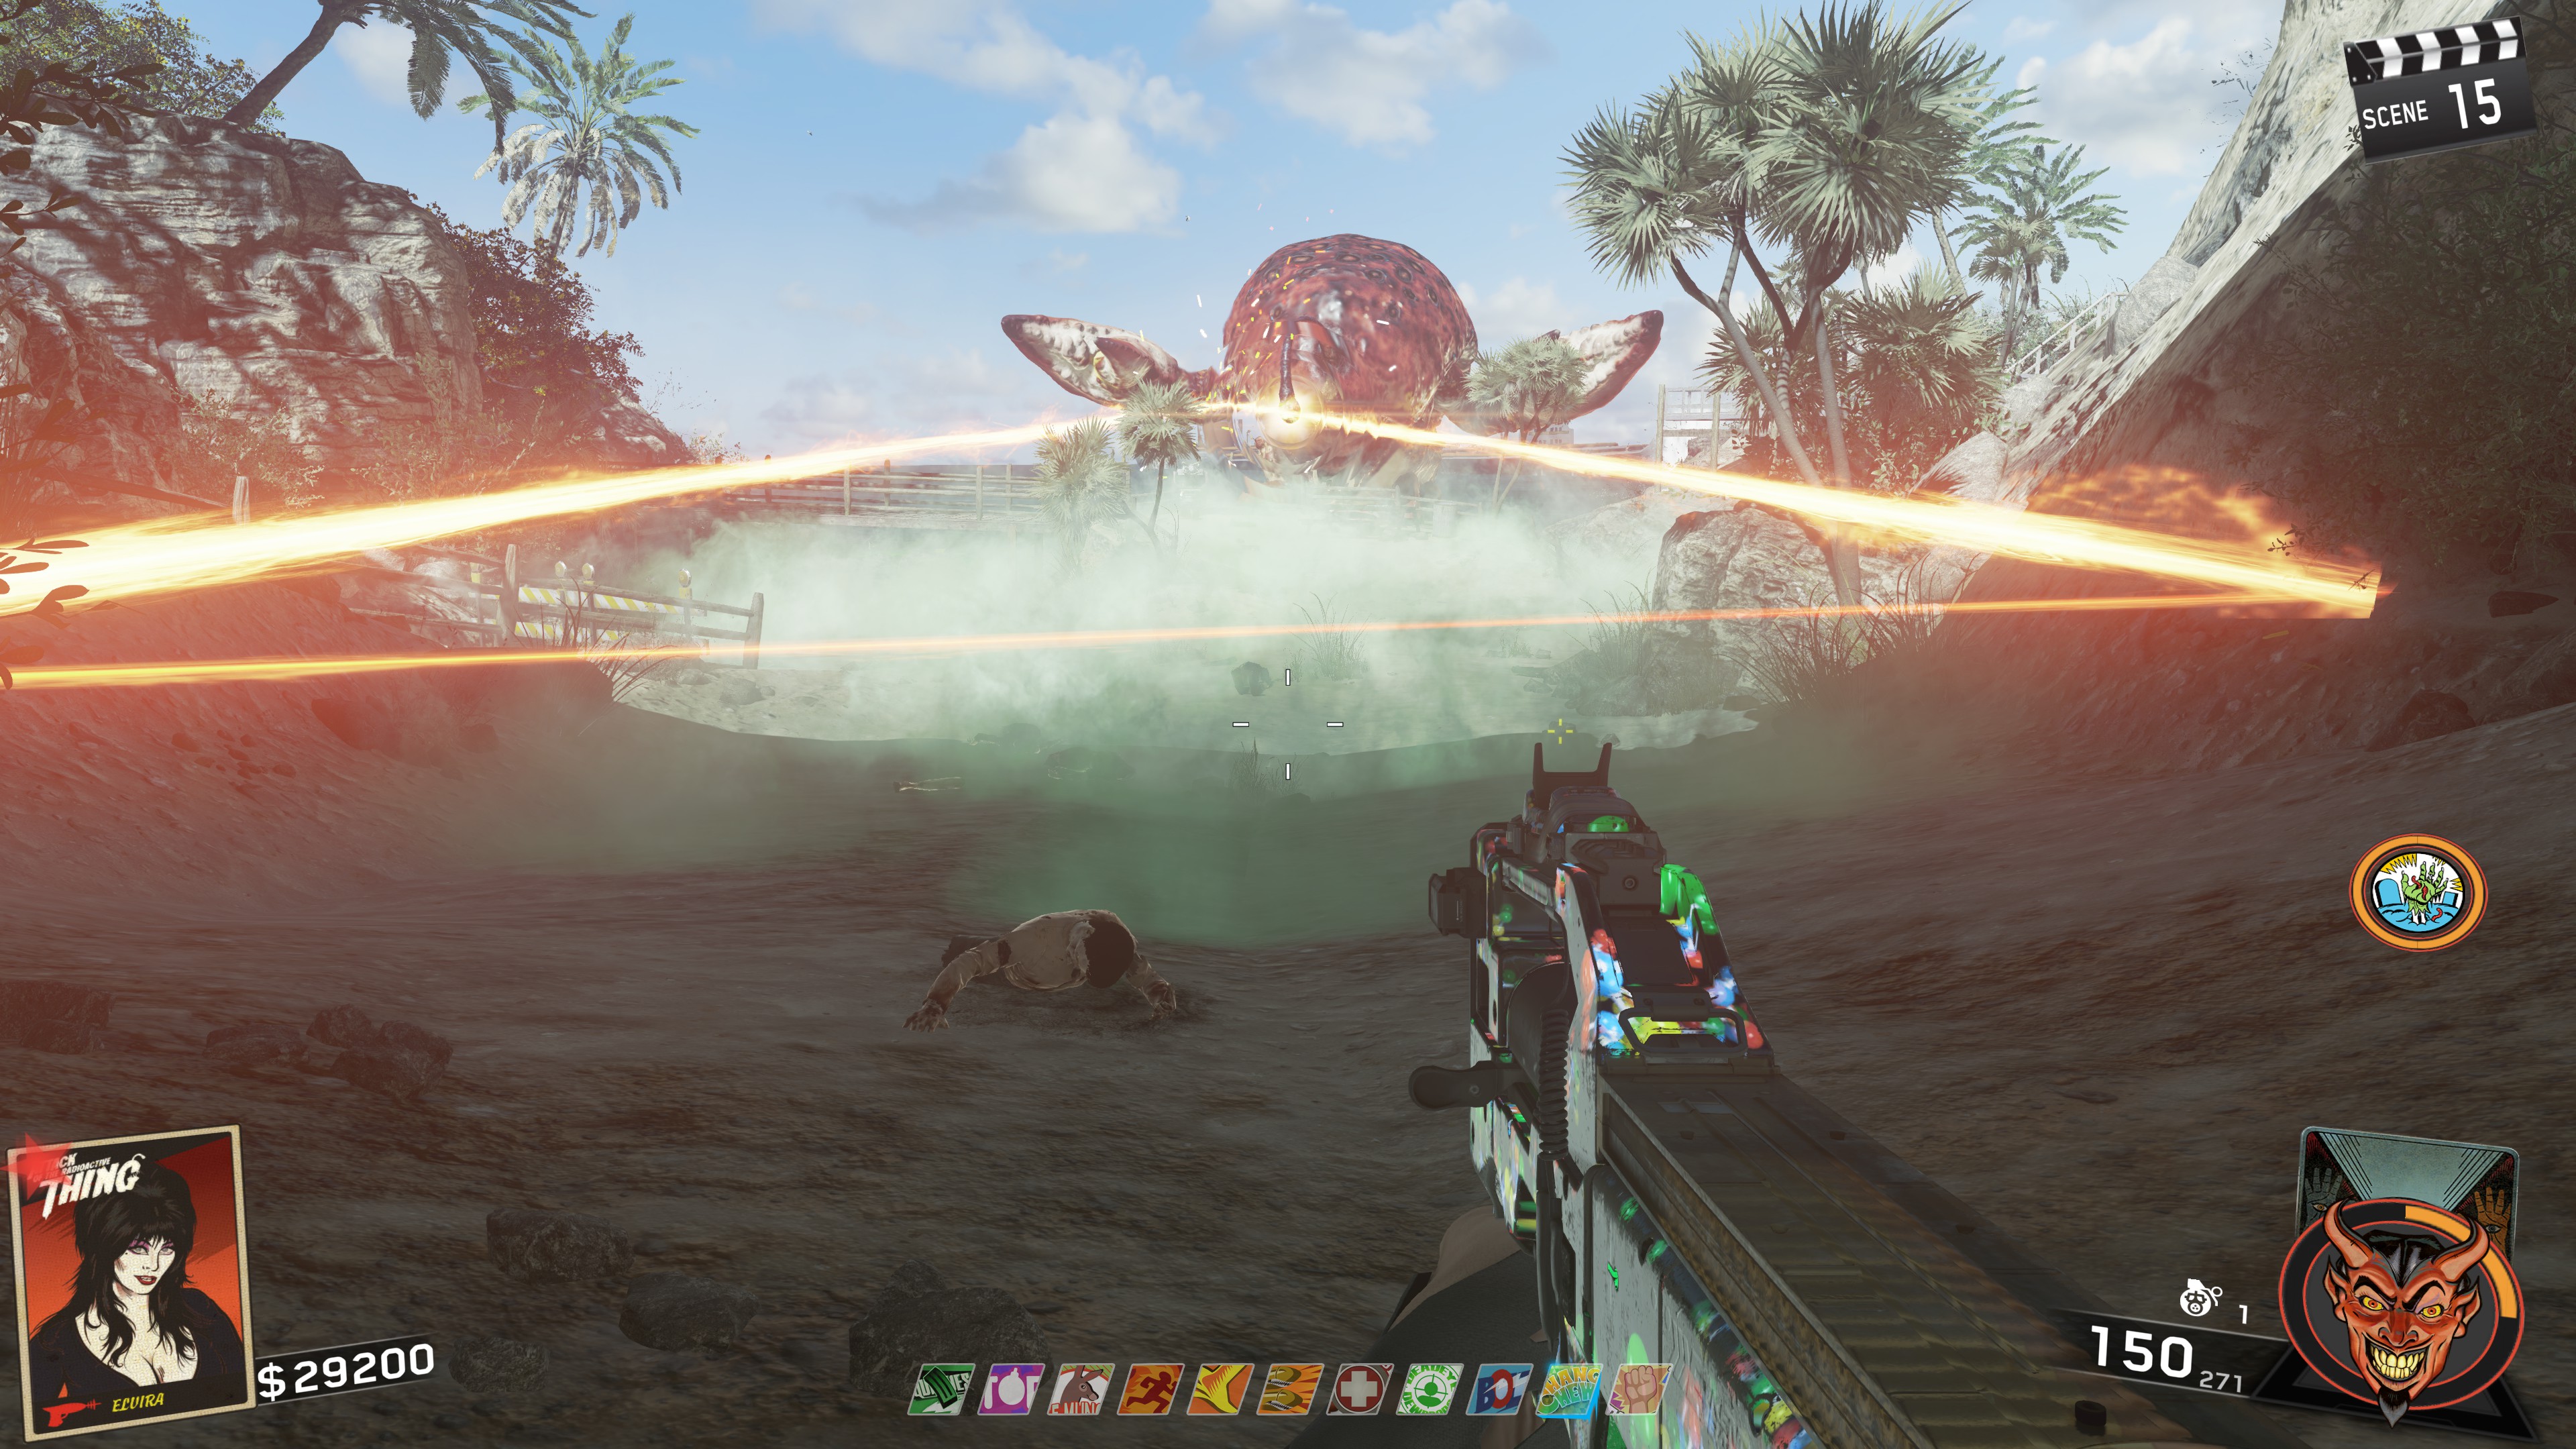
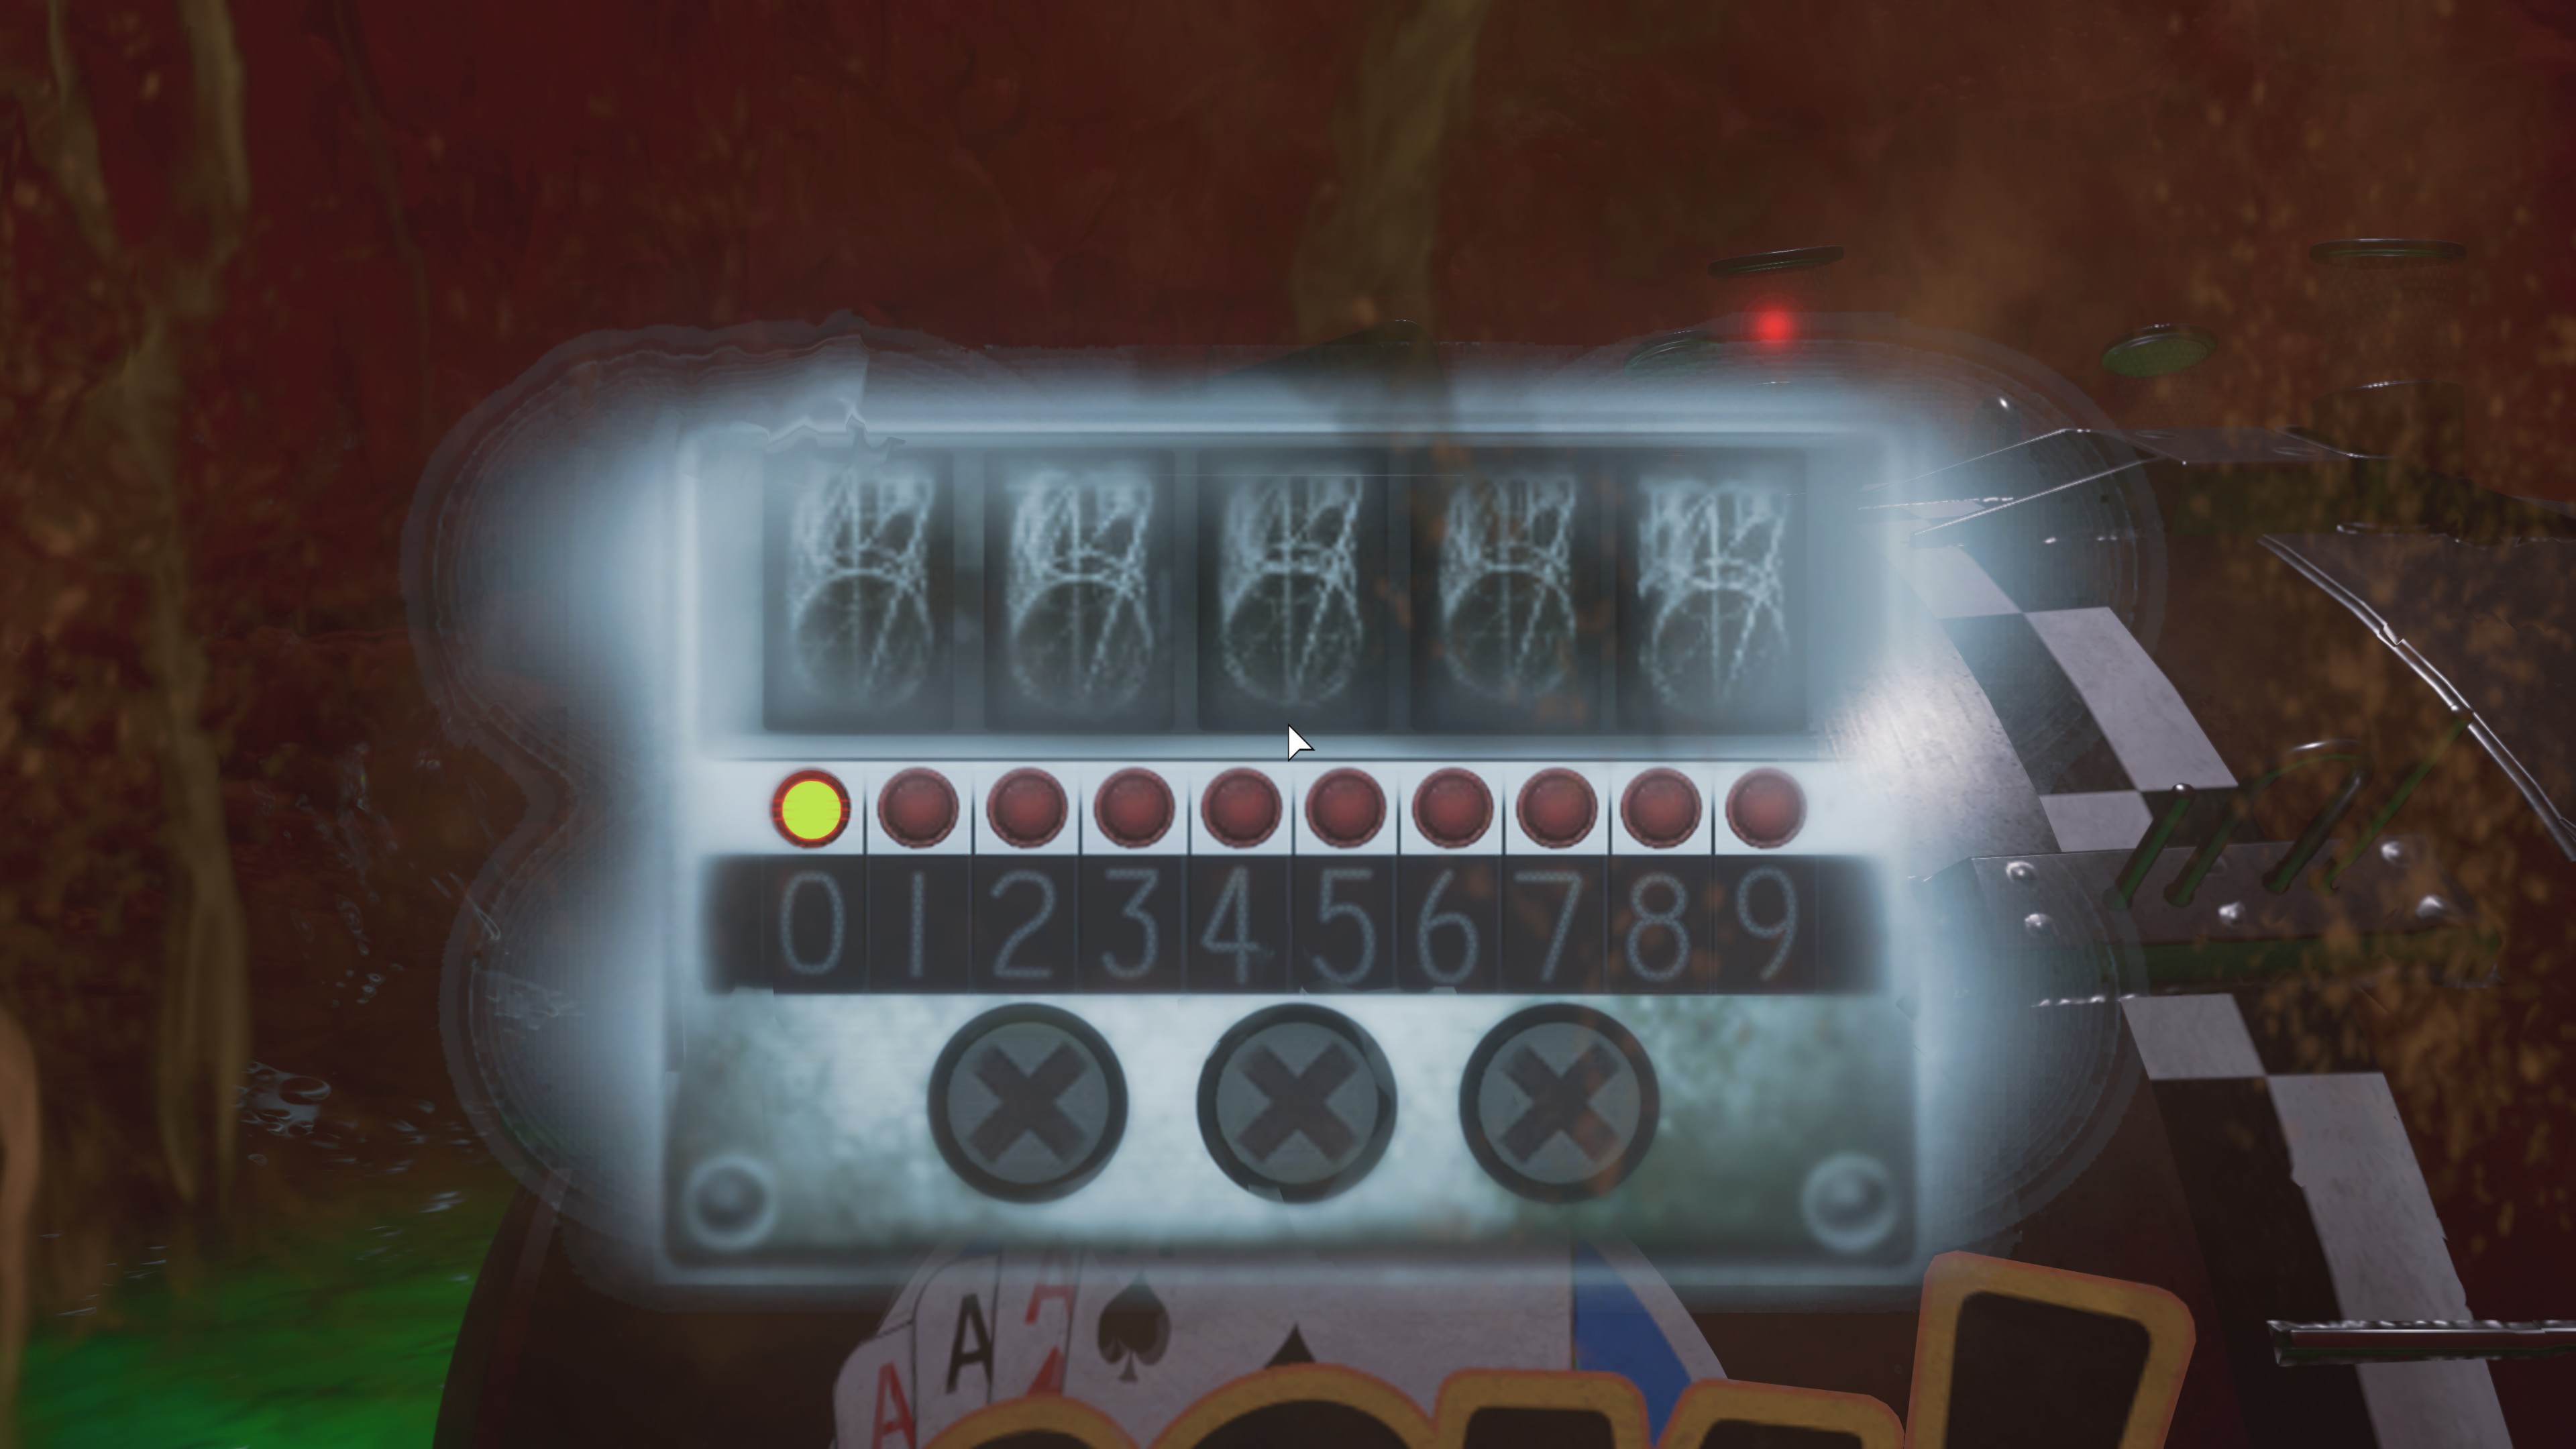
Below is a video of me doing the Laser step as well as the bomb step so you have a much better visual reference. If everyone in your game manages to input the Bomb code correctly, congratulations! You have finally completed this complicated ass Easter Egg.
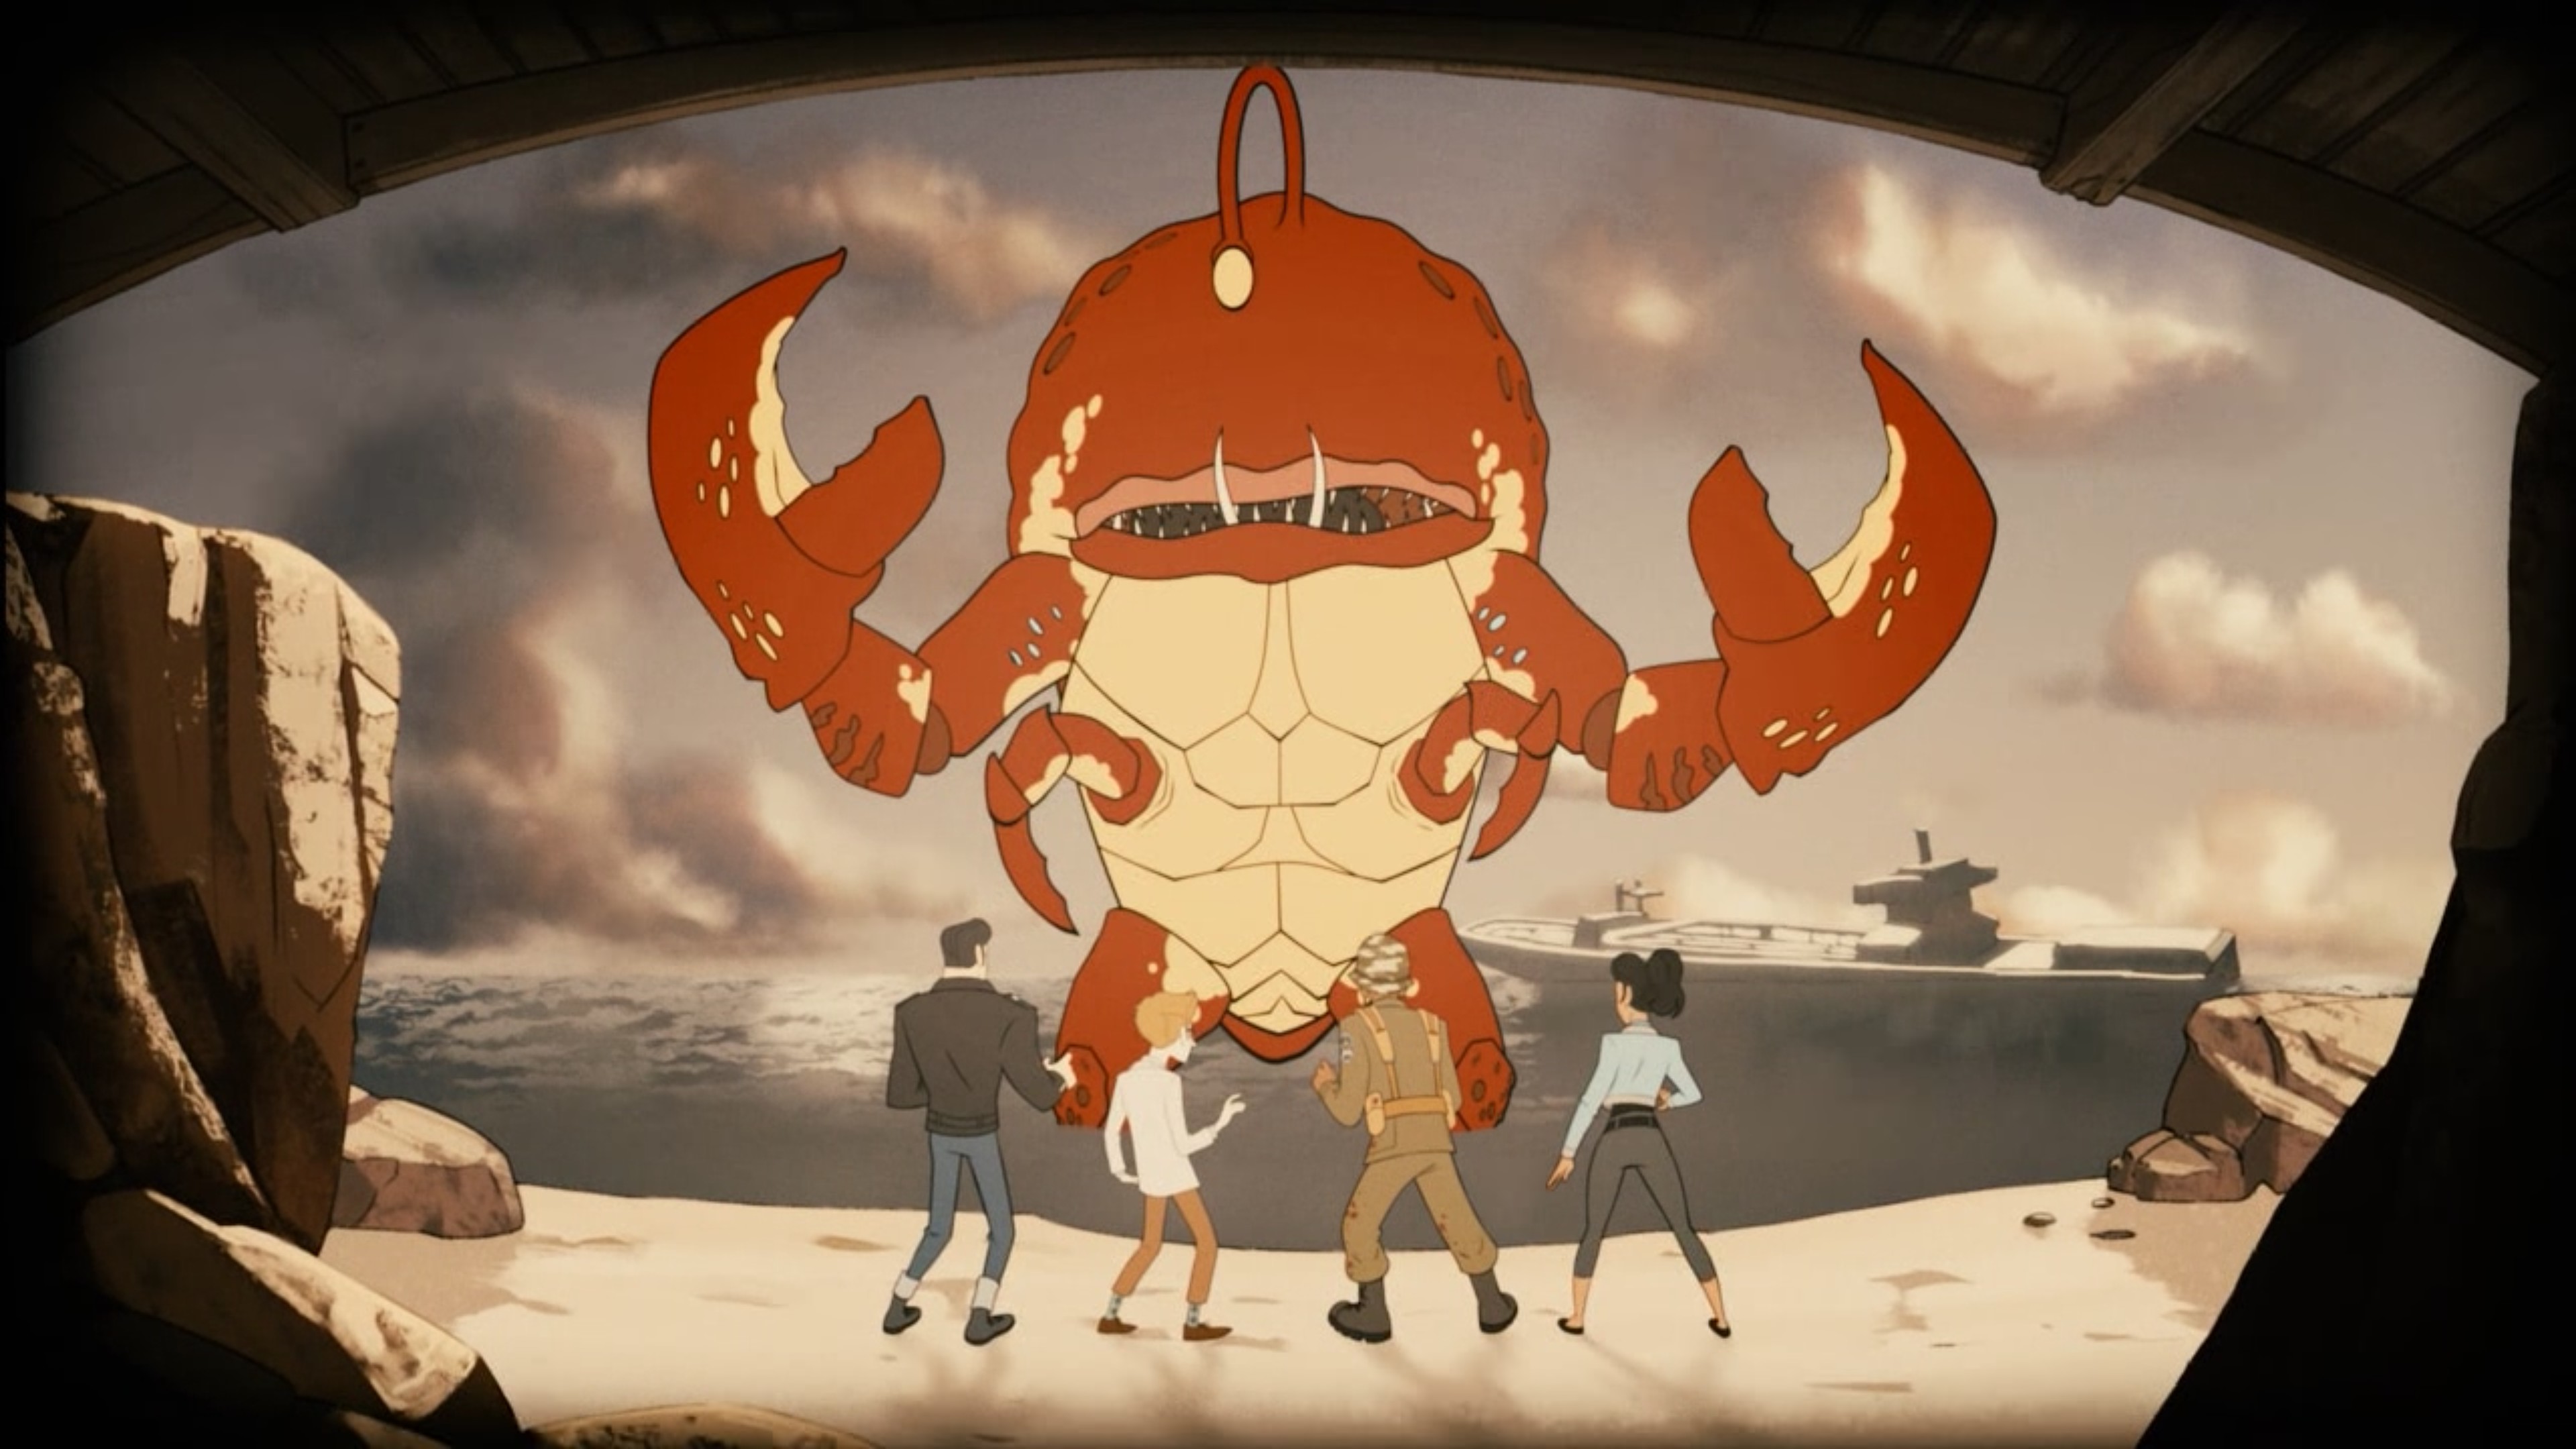
Main Quest - Chemical Locations
- DetergentOn a shelf in the grocery store (side closest to the Fate & Fortune machine
ㅤ
- Drain CleanerCampsite Bathroom first stall
ㅤ
- FatUse clever on the Left-most hanging chuck of animal Meat in the freezer in the grocery store
ㅤ
- Glass CleanerWhen you enter from the garage area not the power area (into the store) stand in the doorway and look slightly right. Its on the outside of the aisles on a small little white shelf on the last aisles
ㅤ
- IceMelee Ice Machine with a crowbar (Supermarket)
ㅤ
- Insect RepellentMiddle hallway in spawn on a table
ㅤ
- Nail Polish RemoverIn the pool room at the pool on a table
ㅤ
- OilInside the Garage Floor, Left Side of Distillery
ㅤ
- PaintTo the immediate left of Racin' Stripes machine sitting on the ground in front of a brick wall
ㅤ
- PenniesUse the crowbar on cash register in the Supermarket
ㅤ
- Plant FoodBy Quickies outside door to the left on the ground below poster
ㅤ
- QuartersUse crowbar on pay phones next to the Garage
ㅤ
- Racing FuelRight side of Garage Door on the ground
ㅤ
- VinegarOn the table to the left as you enter the back of the market (from spawn side)
ㅤ
- VodkaOn a shelf in the market, to the immediate right of the Fate & Fortune Card dispenser
ㅤ
- Wheel CleanerOn a Shelf in the Grocery Store
ㅤ
MAD - Wonder Weapon Guide
However, if you want to upgrade it to its full form, you'll need to grab the crowbar from the maintenance closet near the pool and melee these three boxes around the map and collect the part inside.
- Box 1 - Behind the Gas Station near some dumpsters
- Box 2 - Outside the Bathrooms in the RV Camp
- Box 3 - Outside the TV Station right by where you activate the PaP portals.
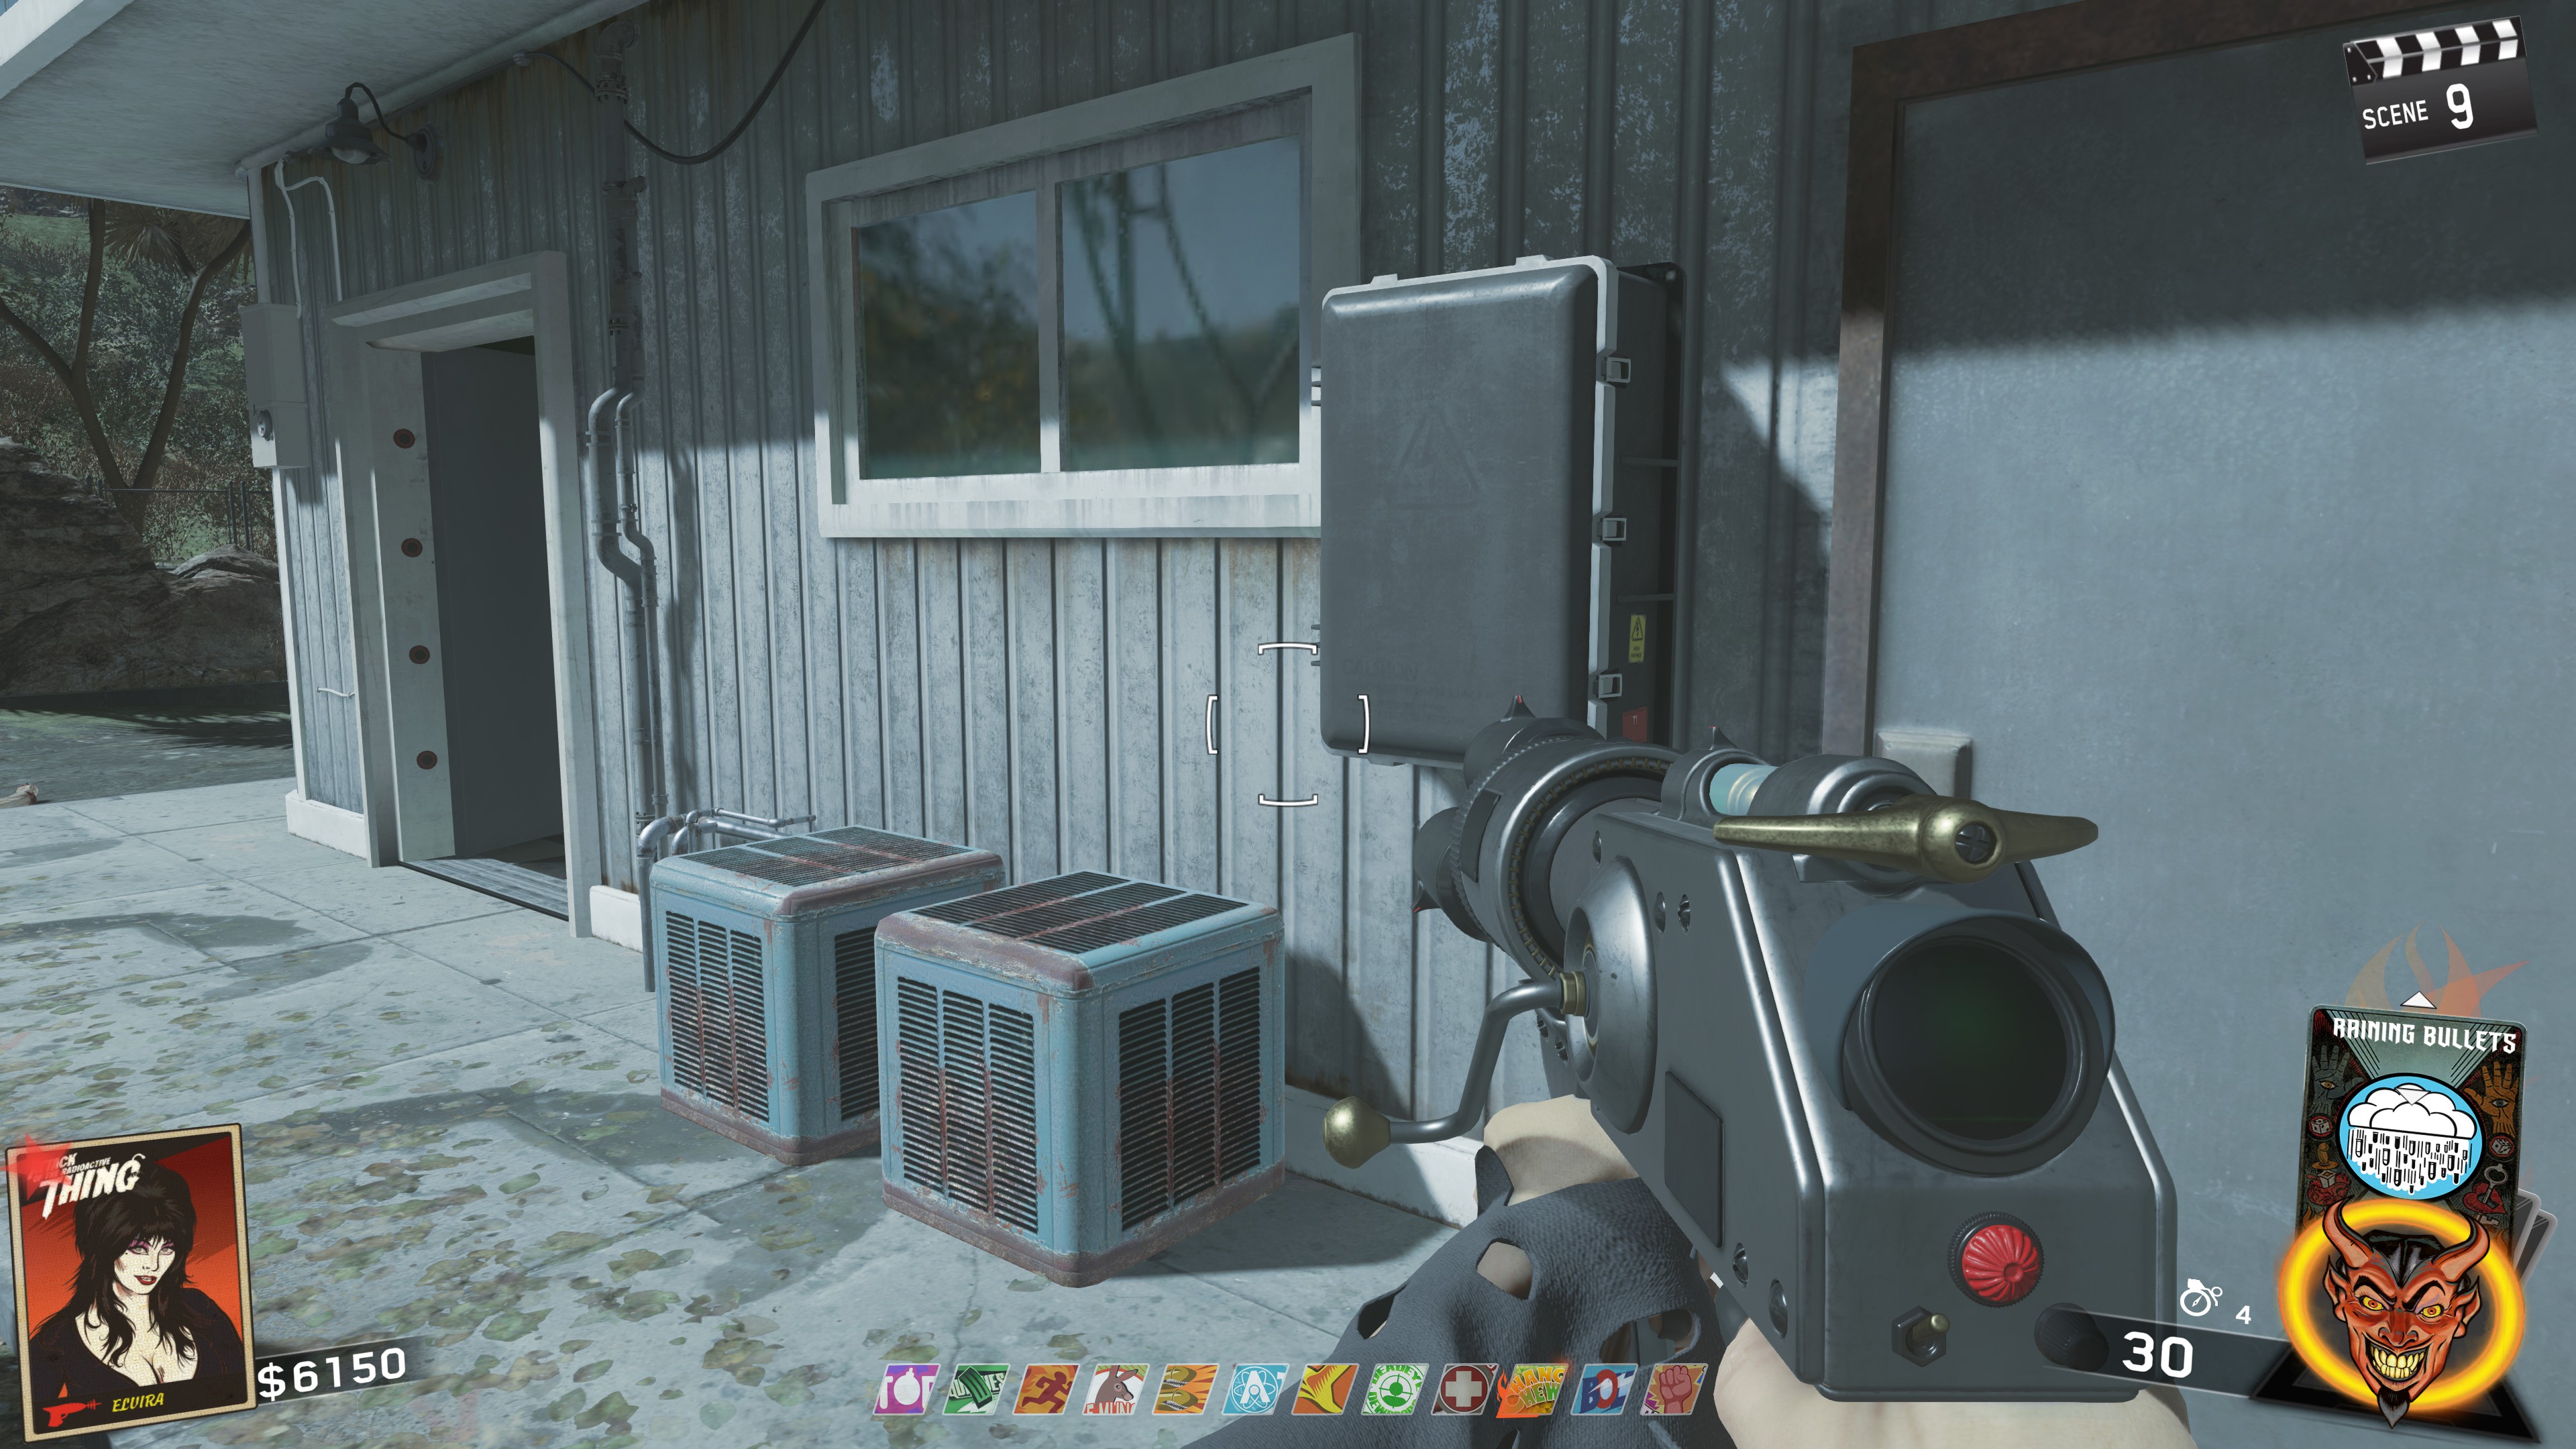
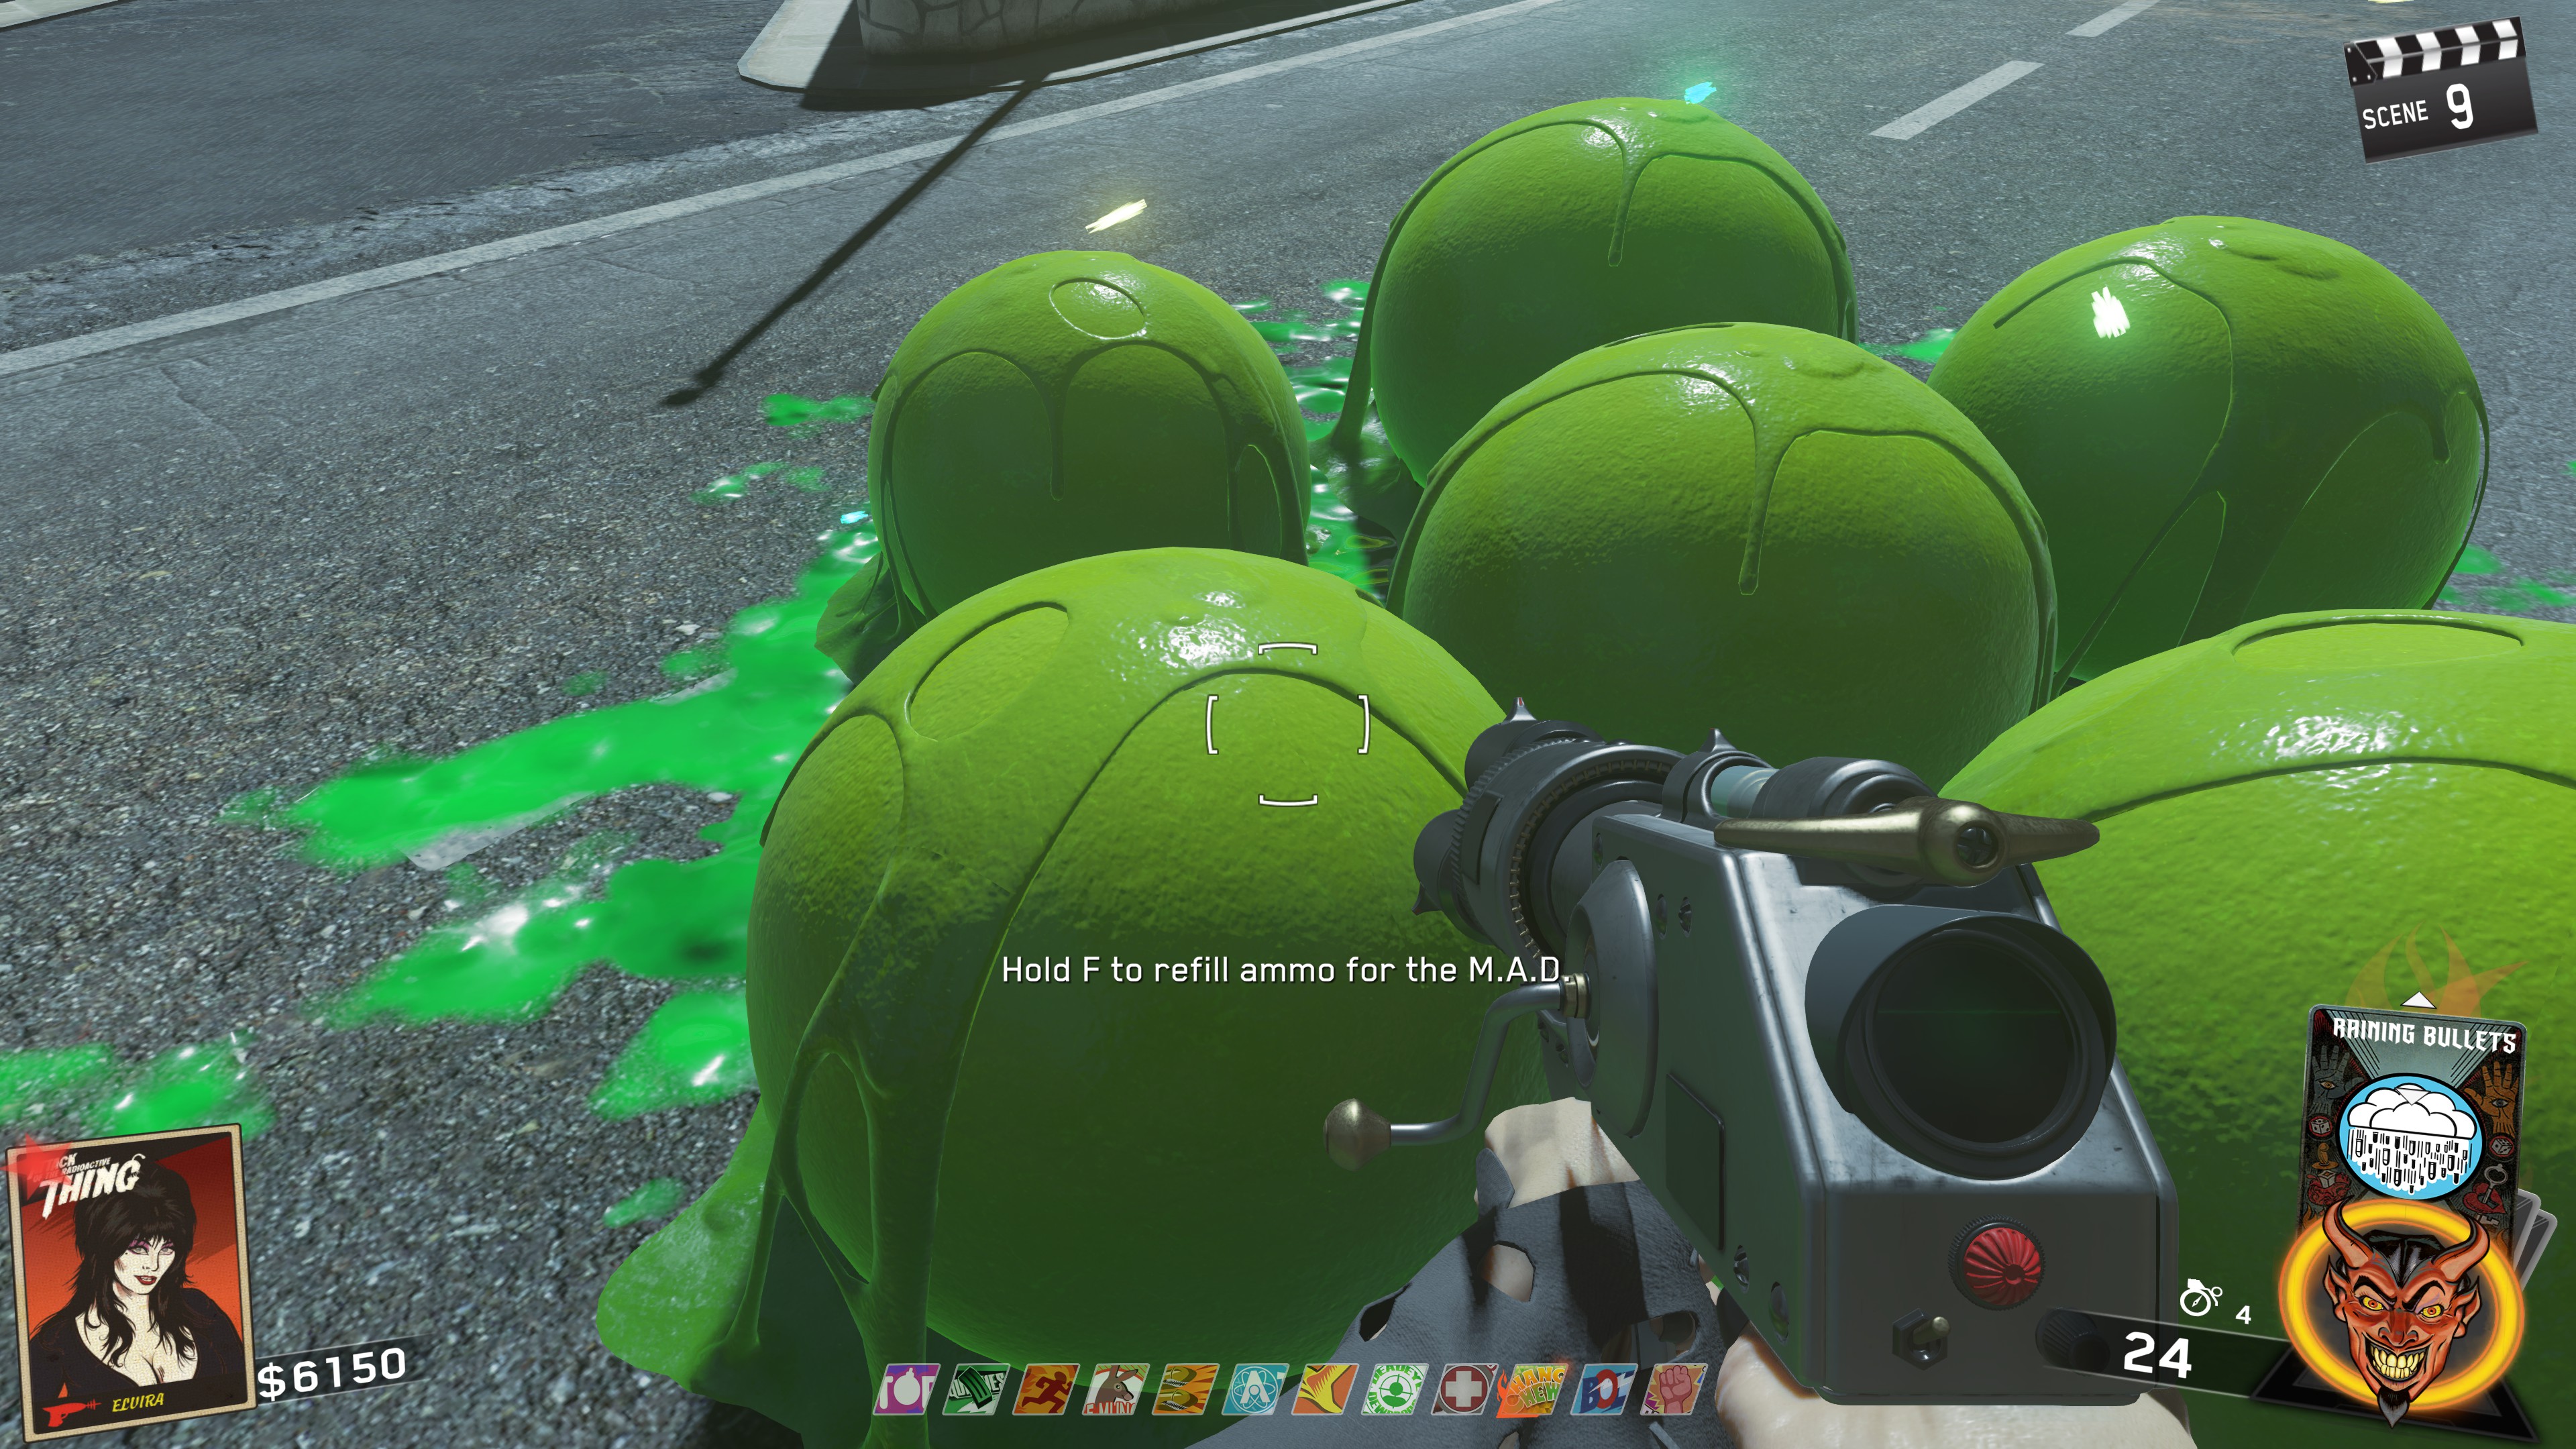
Once you have it fully upgraded, you can hold Right Mouse to crank the weapon and charge it. You can also go to any of the green pods around the map to refill the ammo
Skull Hop - Perkaholic Easter Egg
https://steamcommunity.com/sharedfiles/filedetails/?id=2998583763
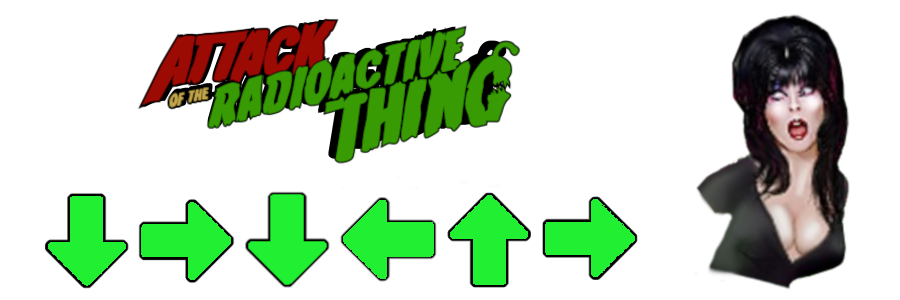
Elvira - Character Code
Conclusion and Links to Other Guides
This guide was extremely exhaustive... Attack of the Radioactive Thing's chemical step is very difficult to explain over a simple text guide, so hopefully I was able to do it some justice and explain it very well. I do plan on finishing this guide series, so look forward to Beast from Beyond next as well as a dedicated guide to Director's Cut/Mephistopheles.
Things coming soon on this guide- Secret Calling Cards
- Music Easter Egg
- Trap Repairs
Ghost and Skull Guides are Coming :) I've started on each one of them!
Hub that contains links to all my guides for IW Zombies
https://steamcommunity.com/sharedfiles/filedetails/?id=2999527656
https://steamcommunity.com/sharedfiles/filedetails/?id=2462403426
https://steamcommunity.com/sharedfiles/filedetails/?id=2589580023
https://steamcommunity.com/sharedfiles/filedetails/?id=2609015706
https://steamcommunity.com/sharedfiles/filedetails/?id=2998590075
https://steamcommunity.com/sharedfiles/filedetails/?id=2698926204
- ALL YOU NEED GUIDE TO ZOMBIES IN SPACELAND★ 5 (522)21k views1.4k ♥29 minUpdated 31 May
- THE ULTIMATE ZOMBIES IN SPACELAND GUIDE!★ 5 (391)17k views587 ♥13 minUpdated 4 Jan, 2017
- ALL YOU NEED GUIDE - CHARACTER CODES★ 5 (245)16k views600 ♥1 minUpdated 24 Apr
- !!! IW7 Install Guide !!!★ 4 (42)12k views159 ♥3 minUpdated 30 Aug, 2024
- ALL YOU NEED GUIDE TO SHAOLIN SHUFFLE★ 5 (265)12k views861 ♥21 minUpdated 23 May
- ALL YOU NEED GUIDE TO RAVE IN THE REDWOODS★ 5 (276)11k views851 ♥21 minUpdated 24 Apr




- Upgrading to PremiumTeam Fortress 2★ 5 (20k)1441k views11k ♥6 minUpdated May 11, 2022
- No More Room in Hell Official ManualNo More Room in Hell★ 5 (2.8k)569k views2.1k ♥29 minUpdated Apr 22, 2019
- NMRiH Community Hosting GuidesNo More Room in Hell★ 5 (526)351k views653 ♥1 minUpdated Aug 10, 2022
- How to 'Git Gud' Soon™MORDHAU★ 5 (2k)318k views3k ♥68 minUpdated Nov 16, 2024
- Лучшие кооперативные игры SteamPAYDAY 2★ 5 (1.5k)315k views2.1k ♥56 minRussianUpdated Apr 27, 2025
- Desert Eagle Heat Treated | Blue GemCounter-Strike 2★ 5 (1.6k)293k views1.5k ♥2 minUpdated Jan 16





This guide was created by its original author on the Steam Community. Are you the author and want it removed? Request removal.