ALL YOU NEED GUIDE TO SHAOLIN SHUFFLE
Introduction

Below is a map that was posted by FranktownDippers on reddit that I'm going to be using. It's not the most pleasing to look at, but it gets the job done!
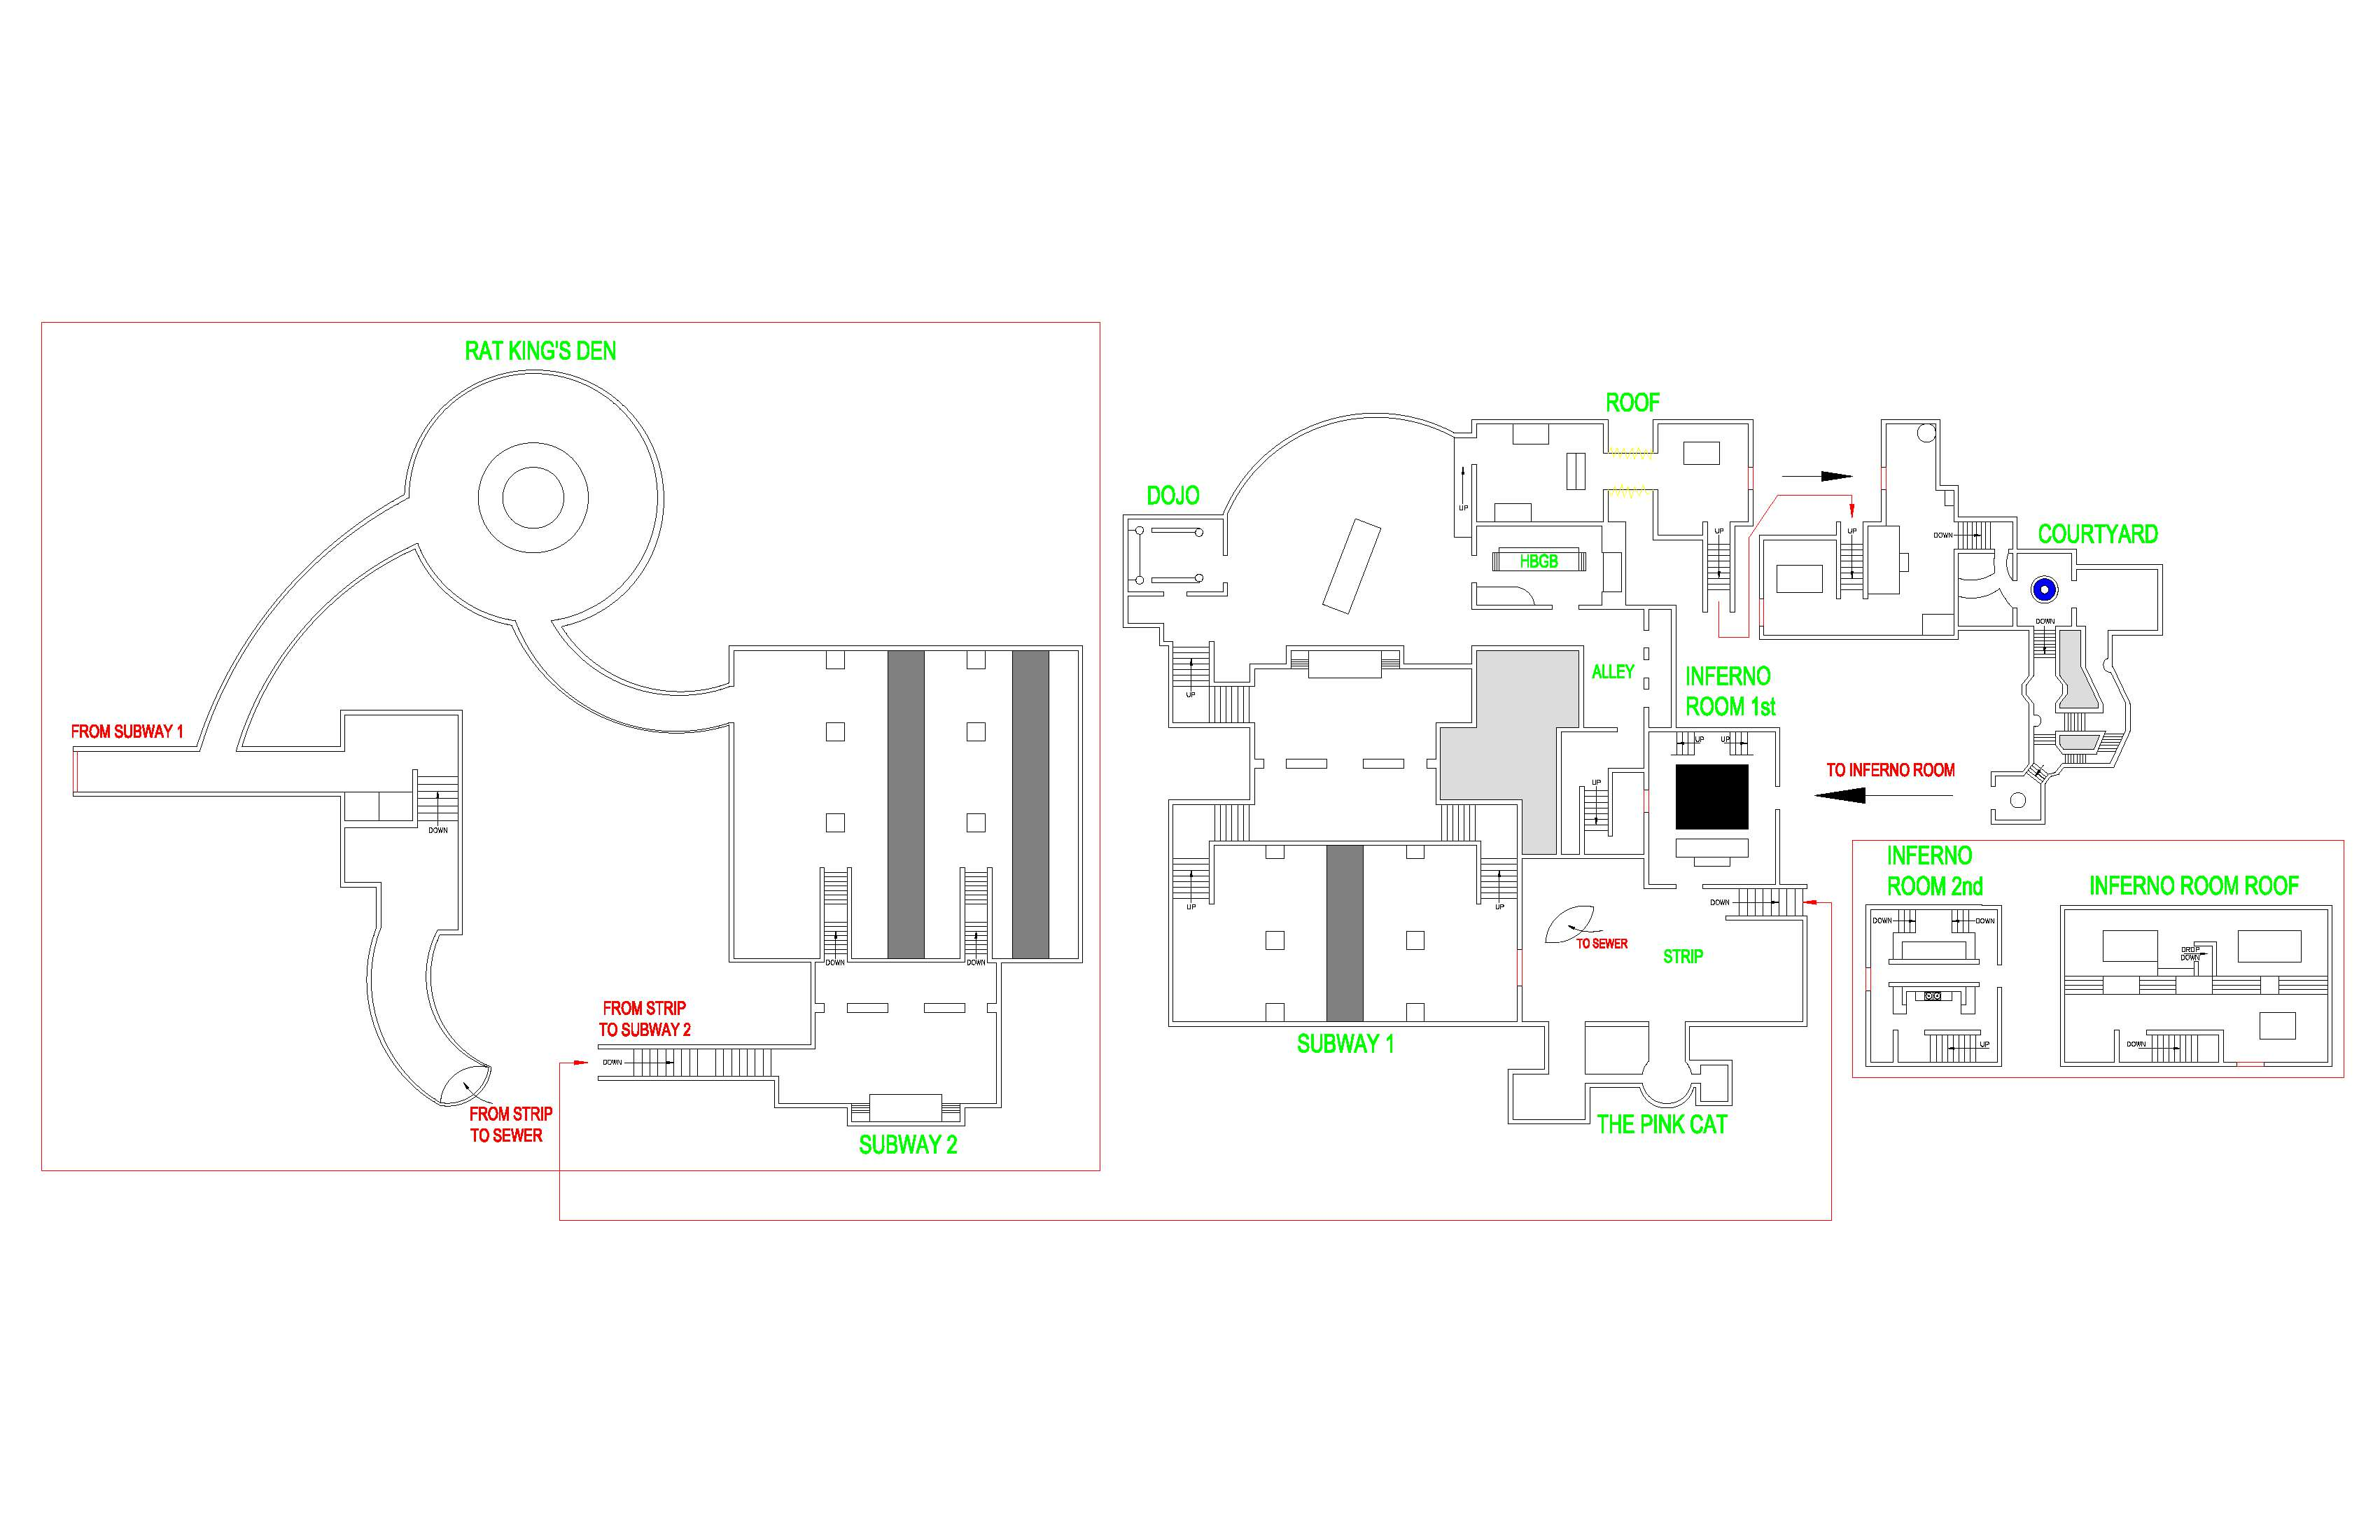
Something I hope you'll enjoy and appreciate is that a lot of the graphics in this guide are my own personally created graphics (This map has a ♥♥♥♥ ton of references you need to complete the Main Quest). So hopefully all of the resources in the guide are helpful to completing whatever you need to complete :)
This is my third guide for Infinite Warfare Zombies and I'm about half way done now to completing guides for all of the maps! Hopefully soon I'll have the Attack of the Radioactive Thing guide up but until then, enjoy the guide and I hope its helpful!
BILLIONAIRE'S TREASURE HUNT HAS BEEN ADDED! (July 1st, 2023)
Join the Community

https://infinitewarfarecommunity.com

https://discord.com/invite/FycARMT2YR
Power & Pack-a-Punch
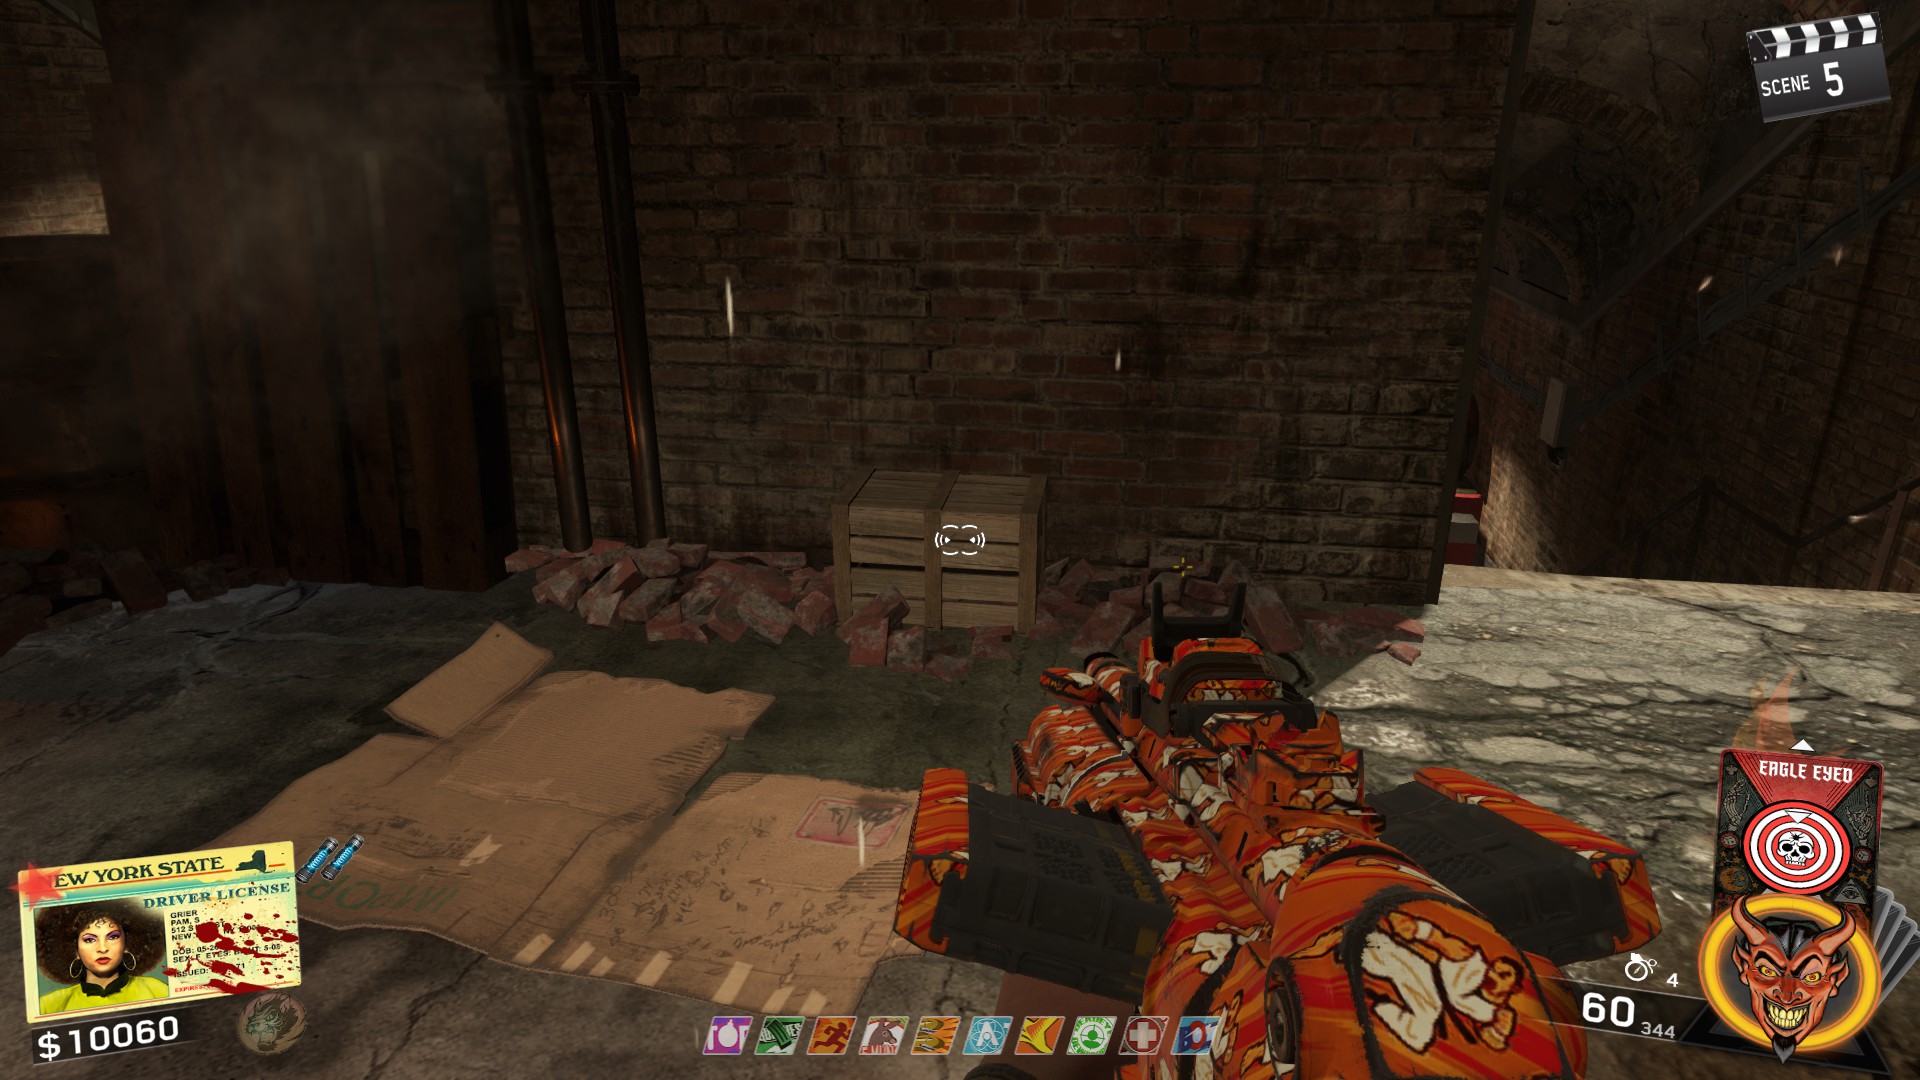
- In Spawn directly across from Up N' Atoms
- Down the stairs from Racin Stripes in the same area where Deadeye Dewdrops machine is.
- On the roof of the Disco Inferno to the left of the Quickes machine
- In the second subway area on the opposite side of Bang Bangs
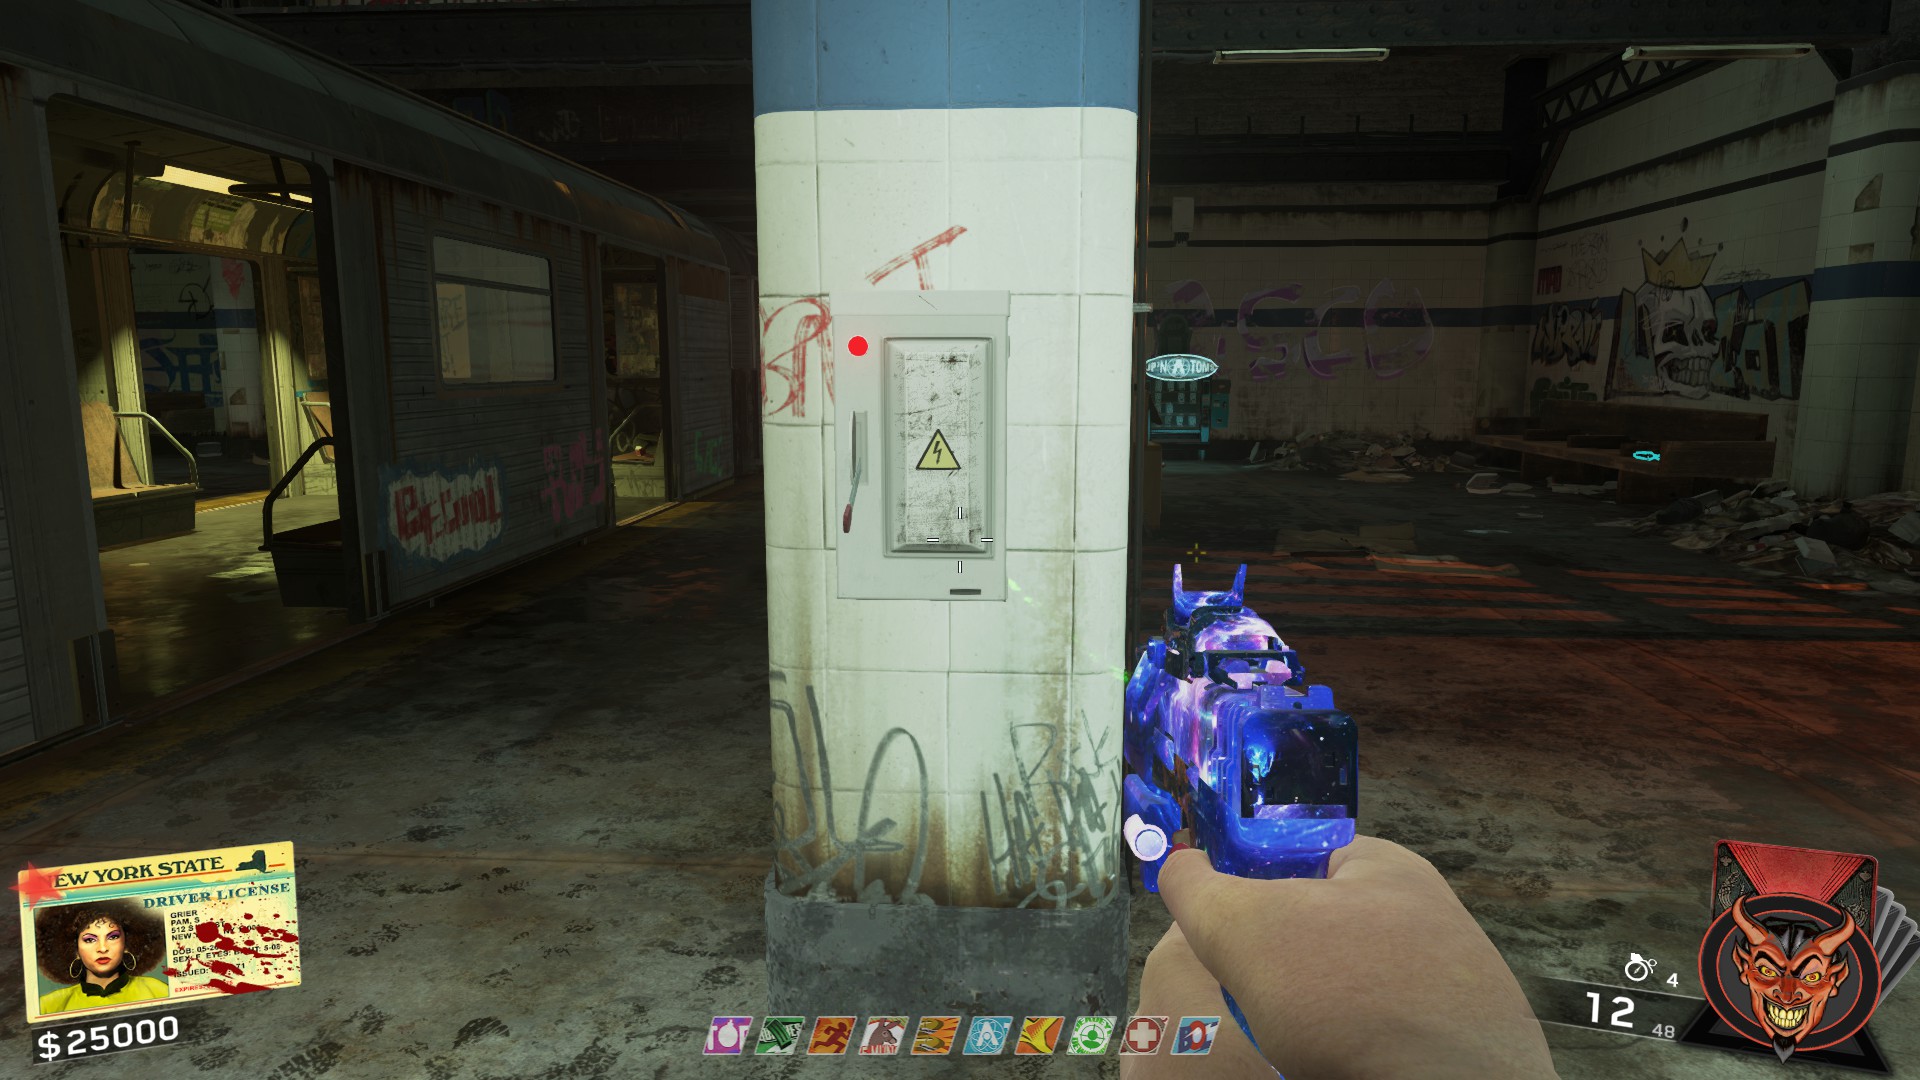
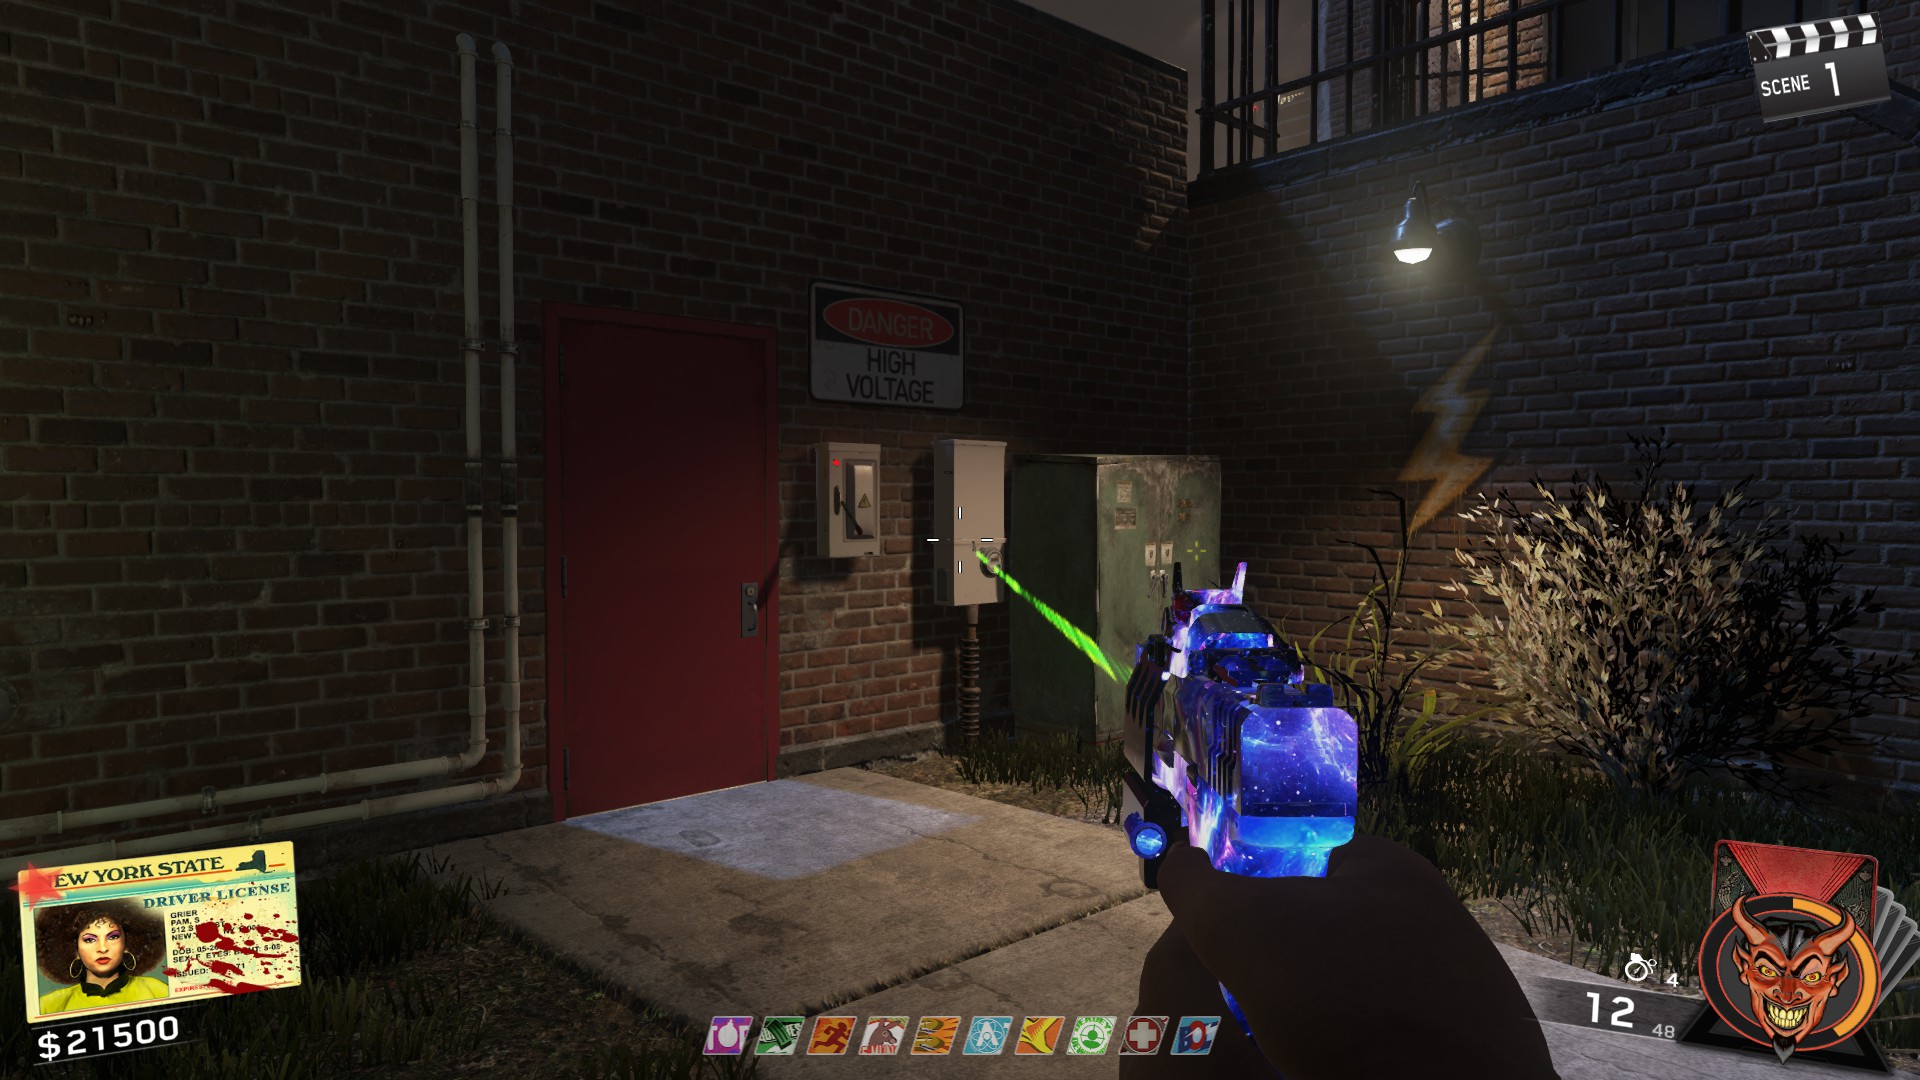
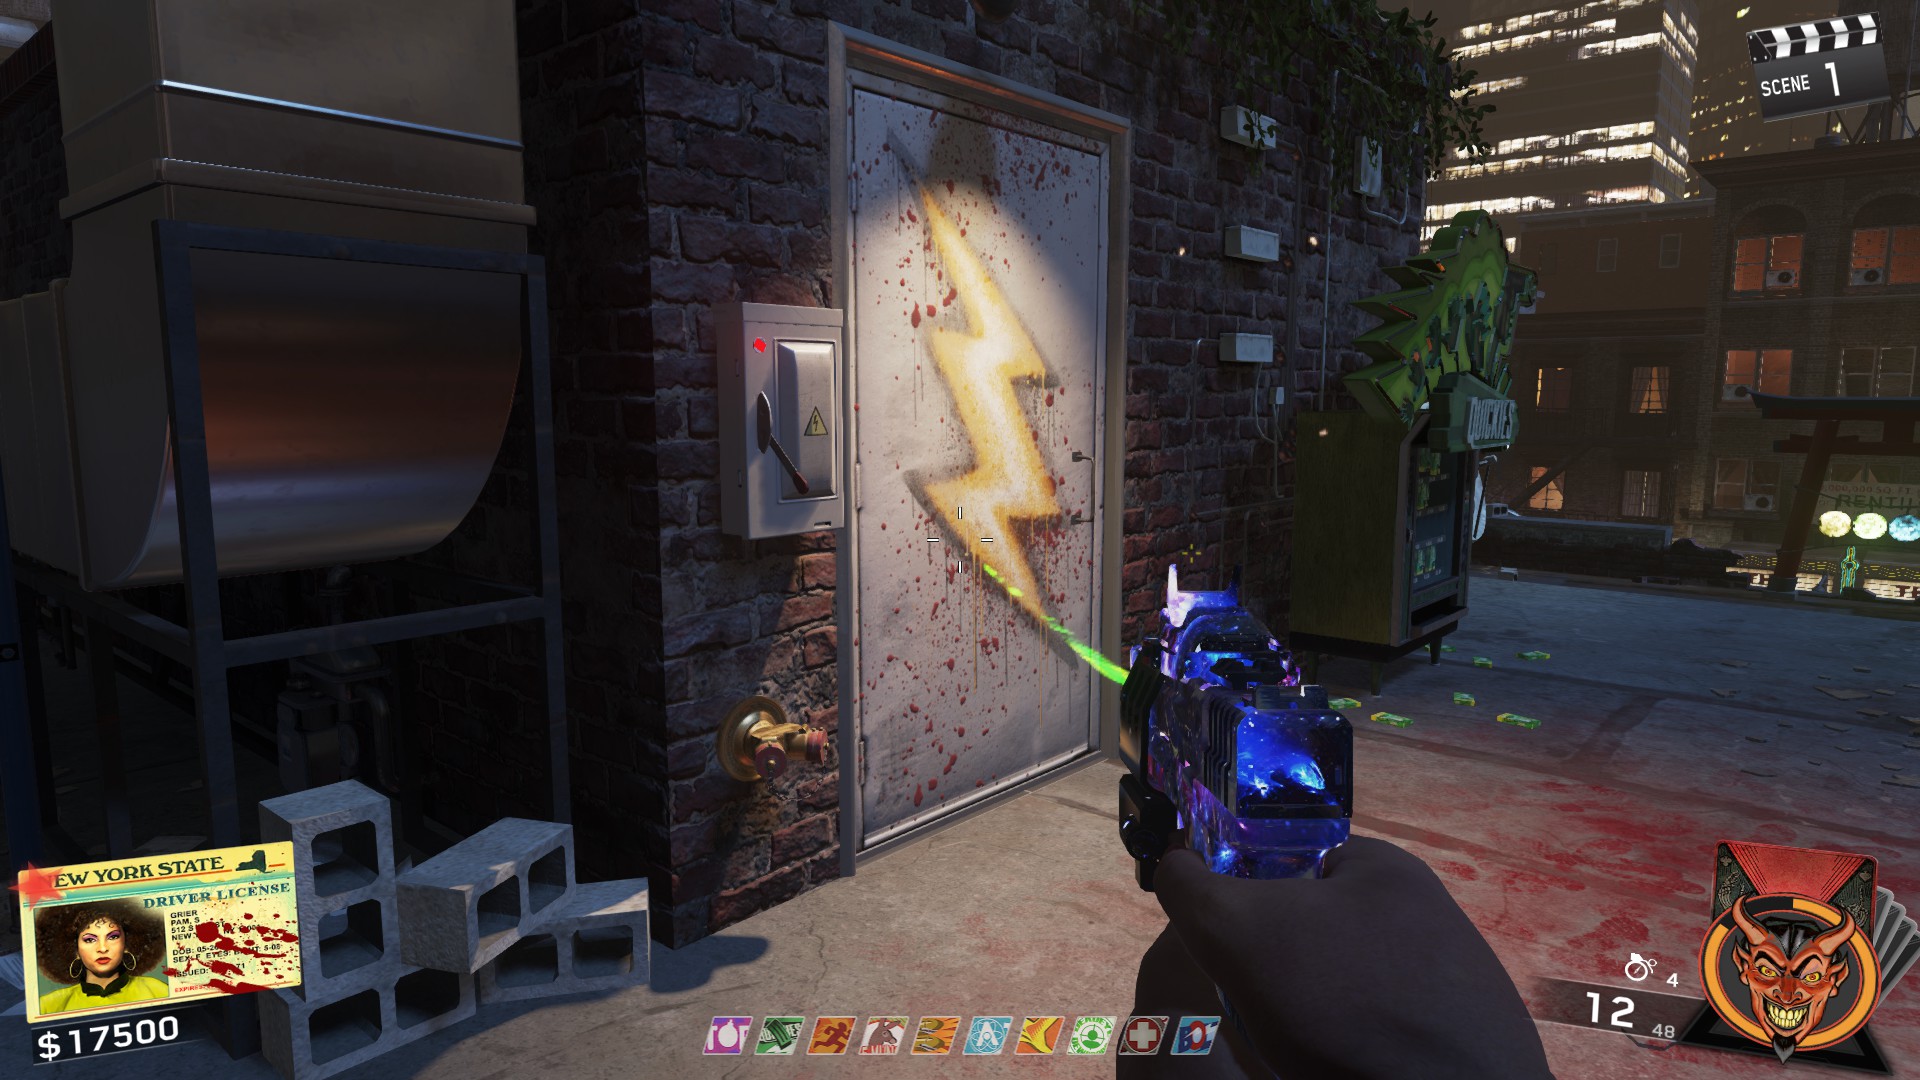
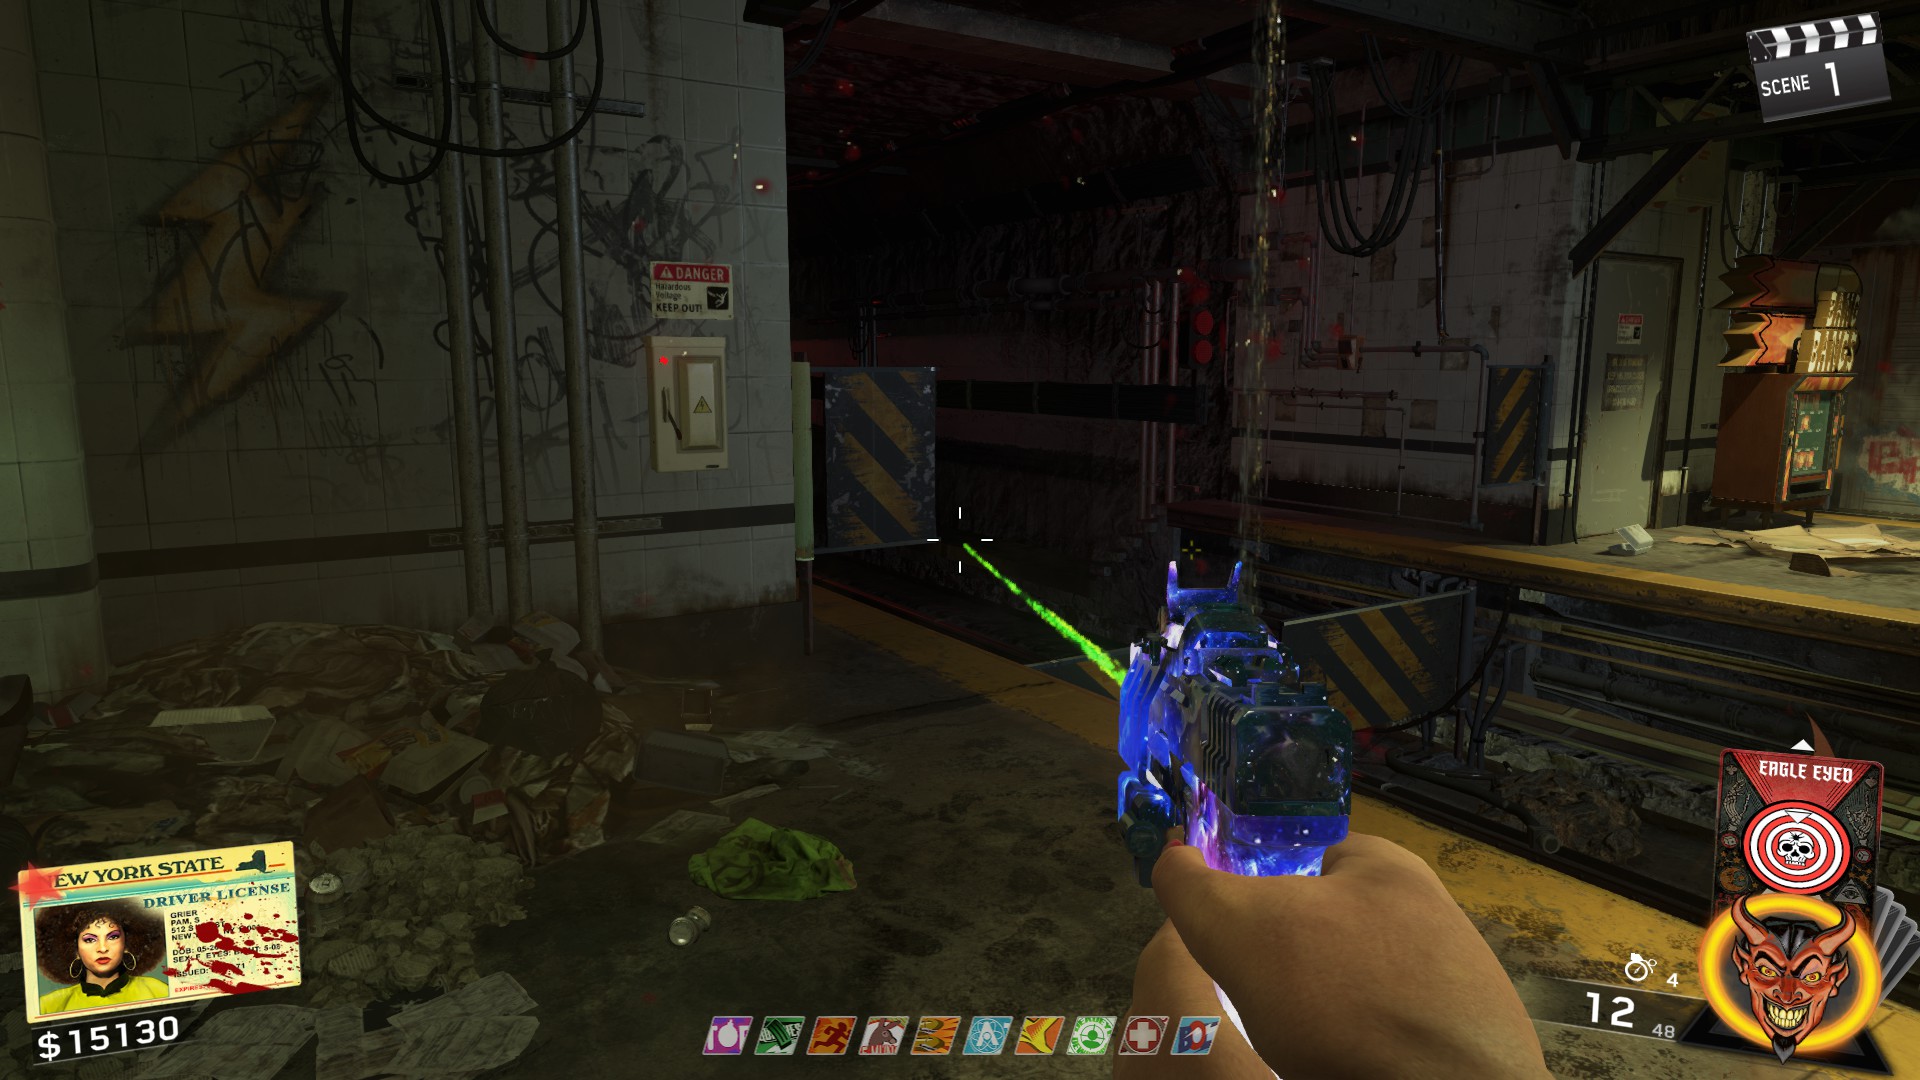
- Directly outside the Pink Cat on the sidewalk
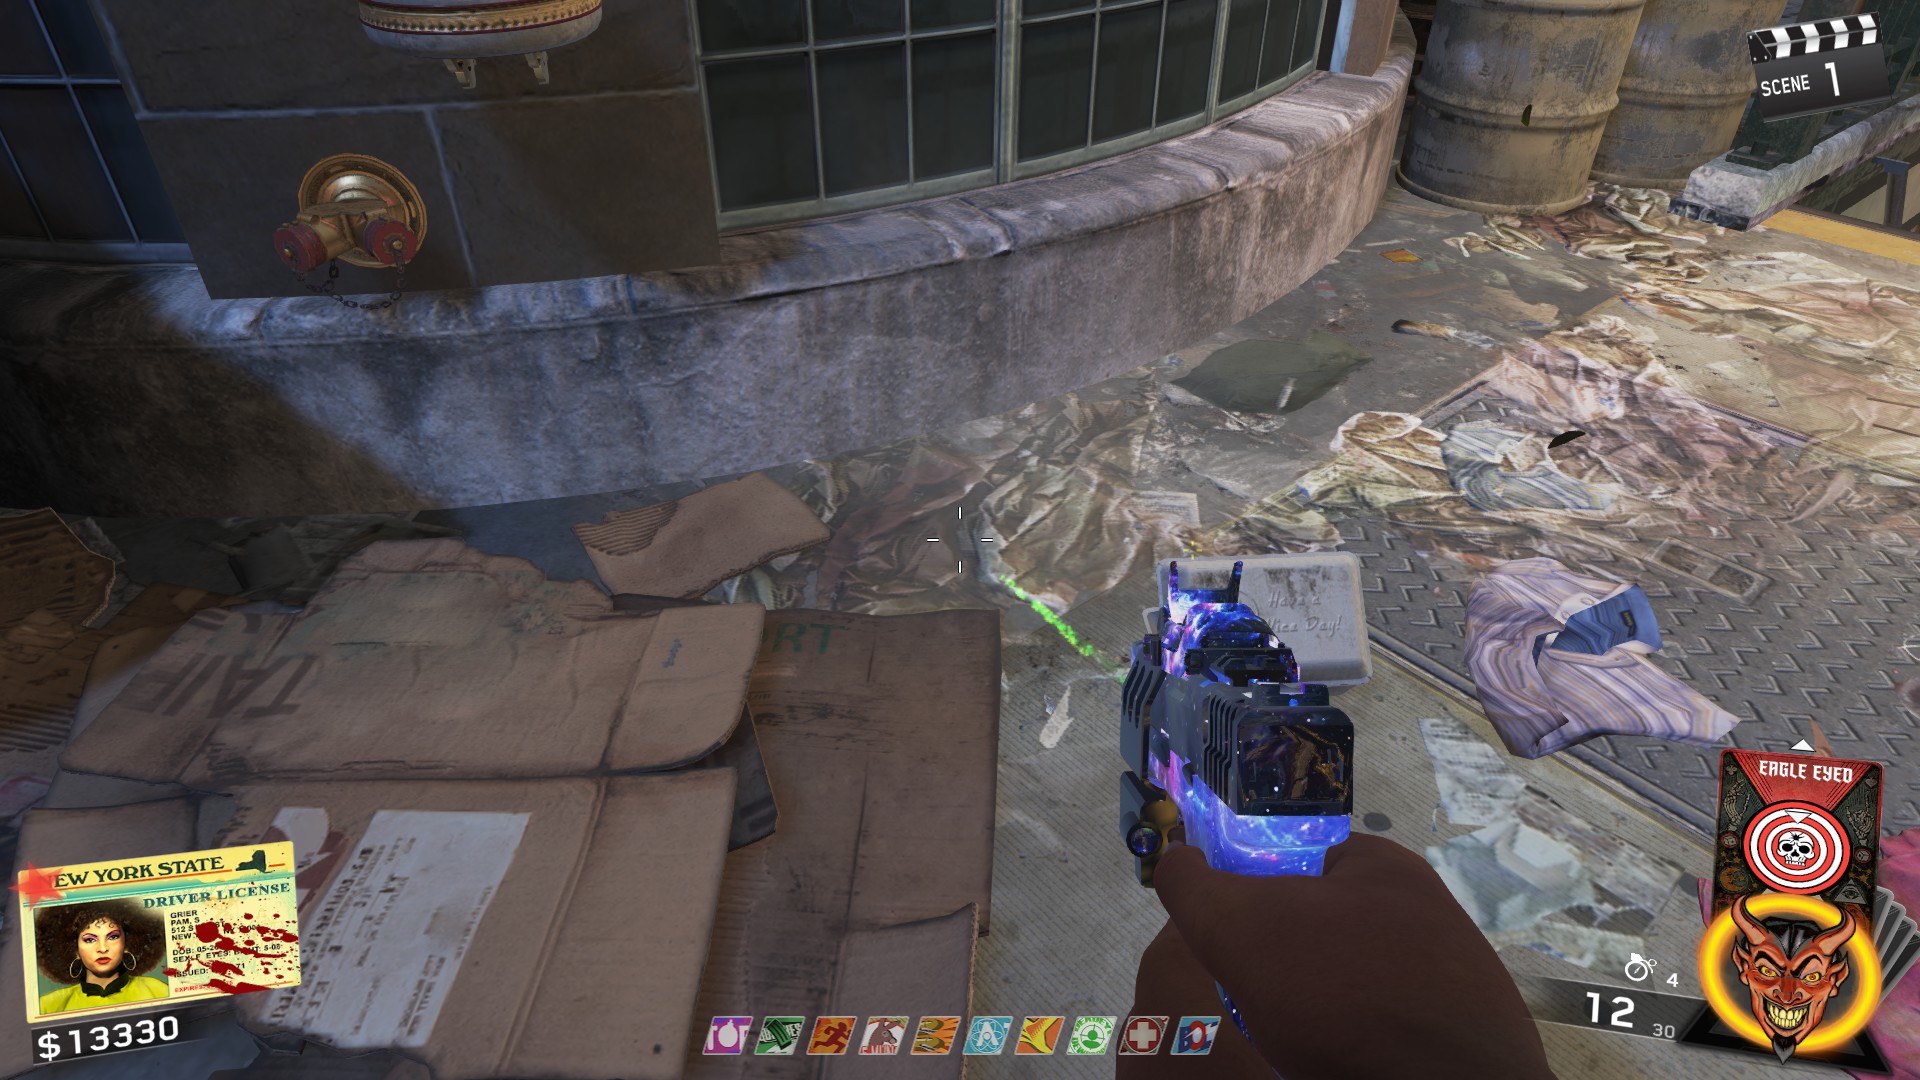
- Outside the Dojo on a trashpile
- On the roof of the Disco Inferno on a stool
- To the right of Racin Stripes on the rooftops
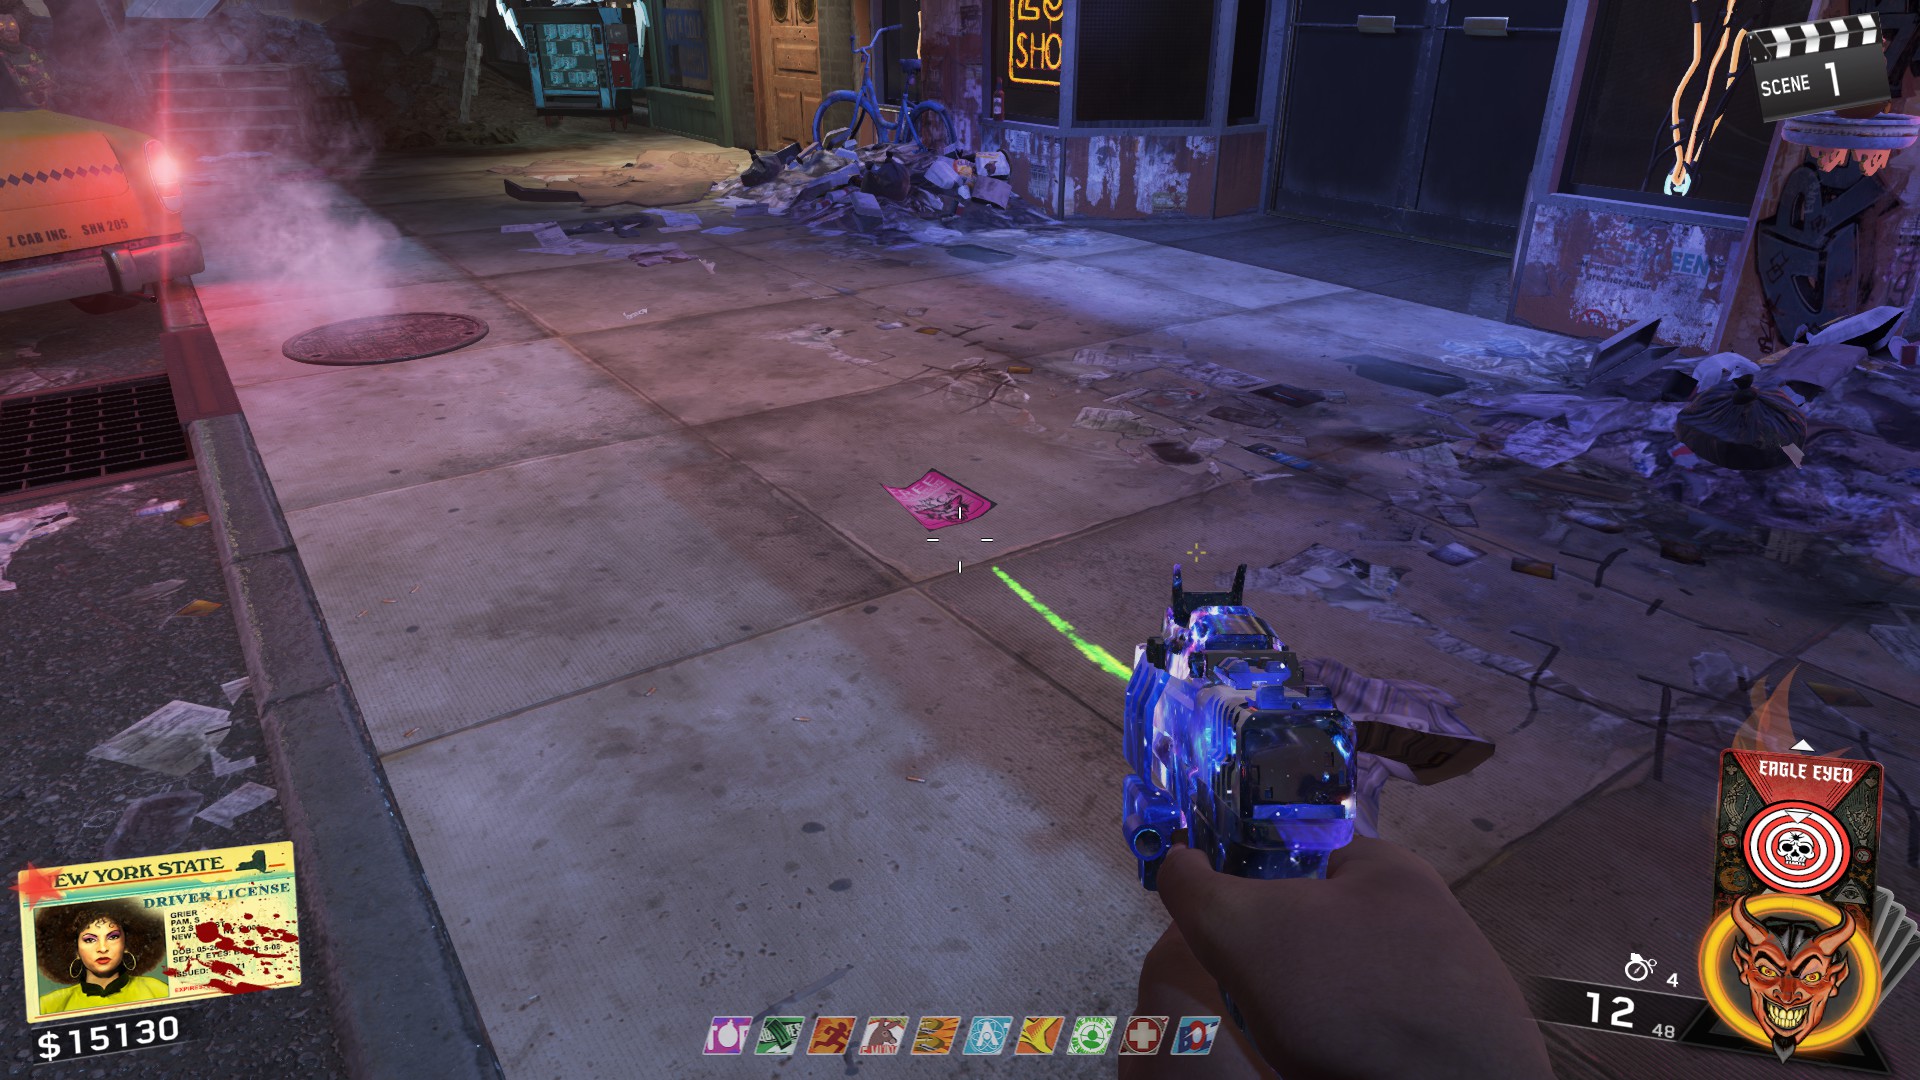
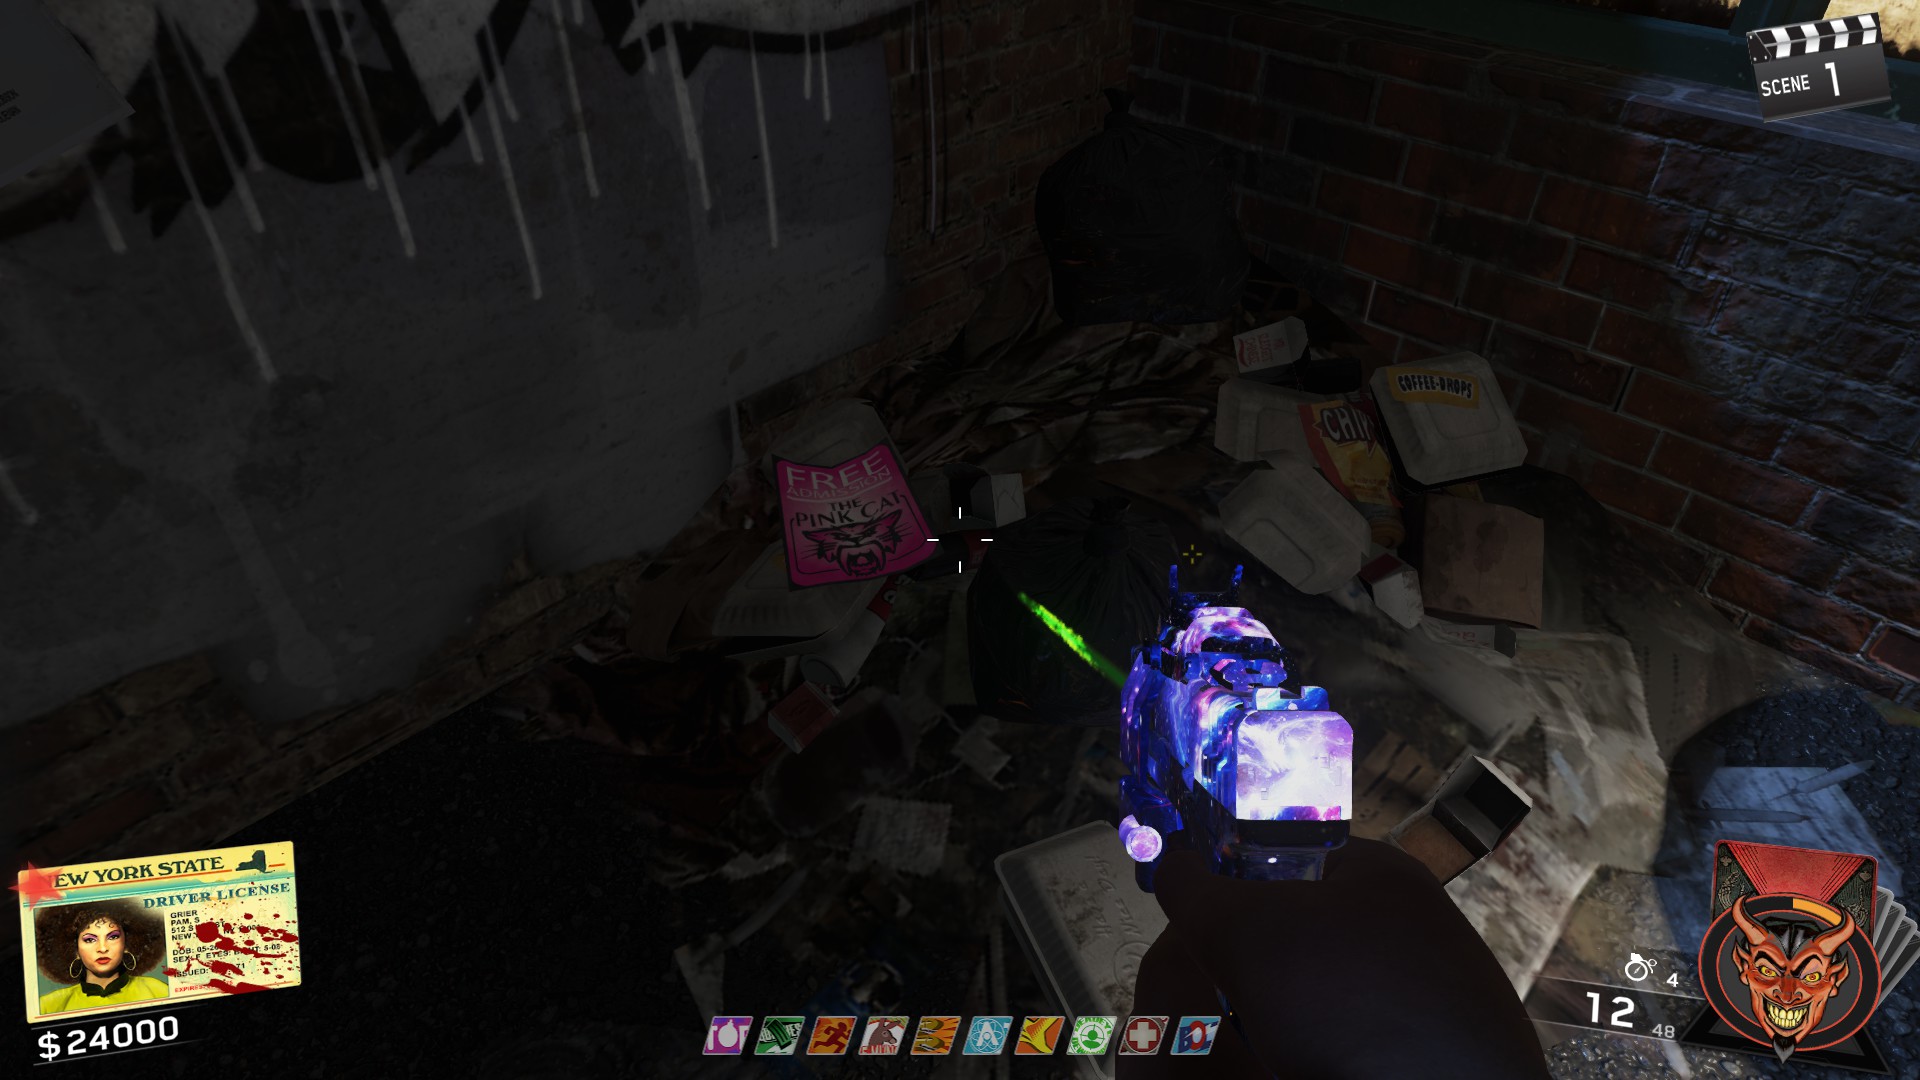
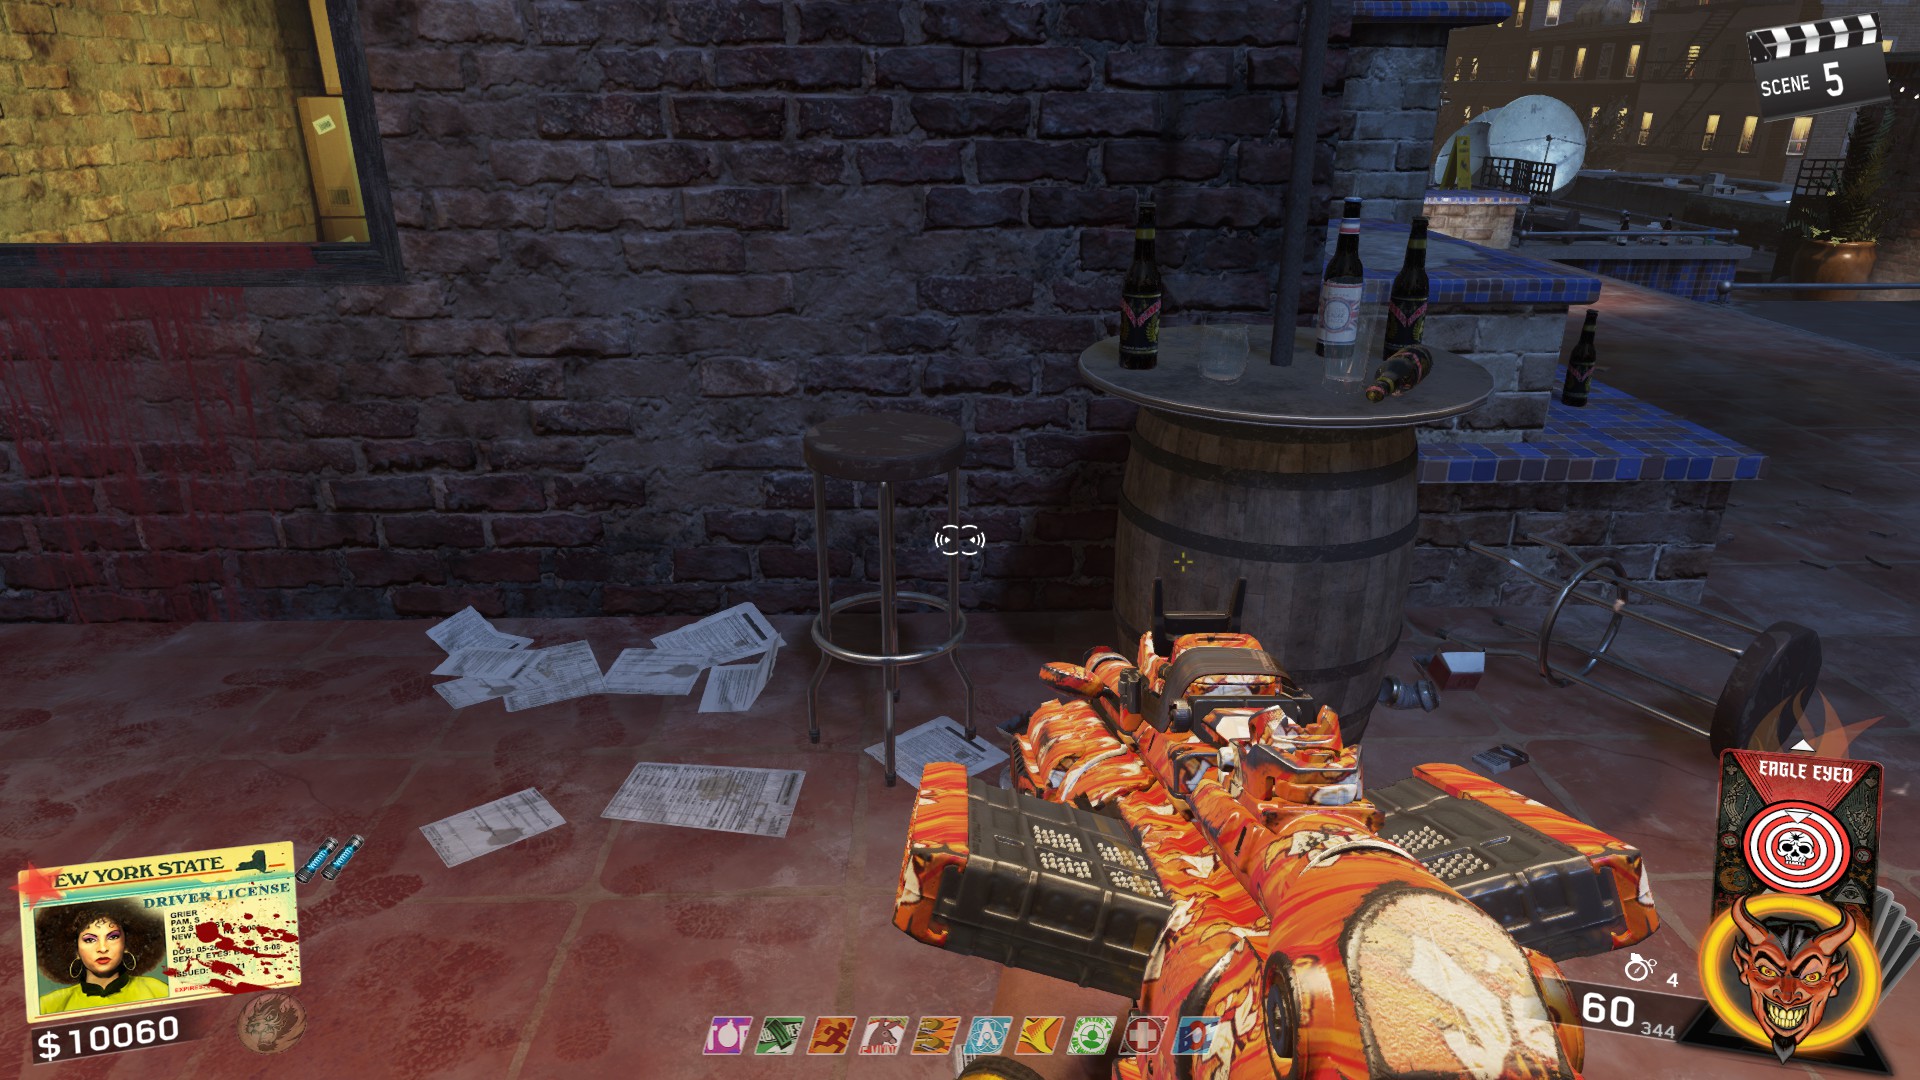
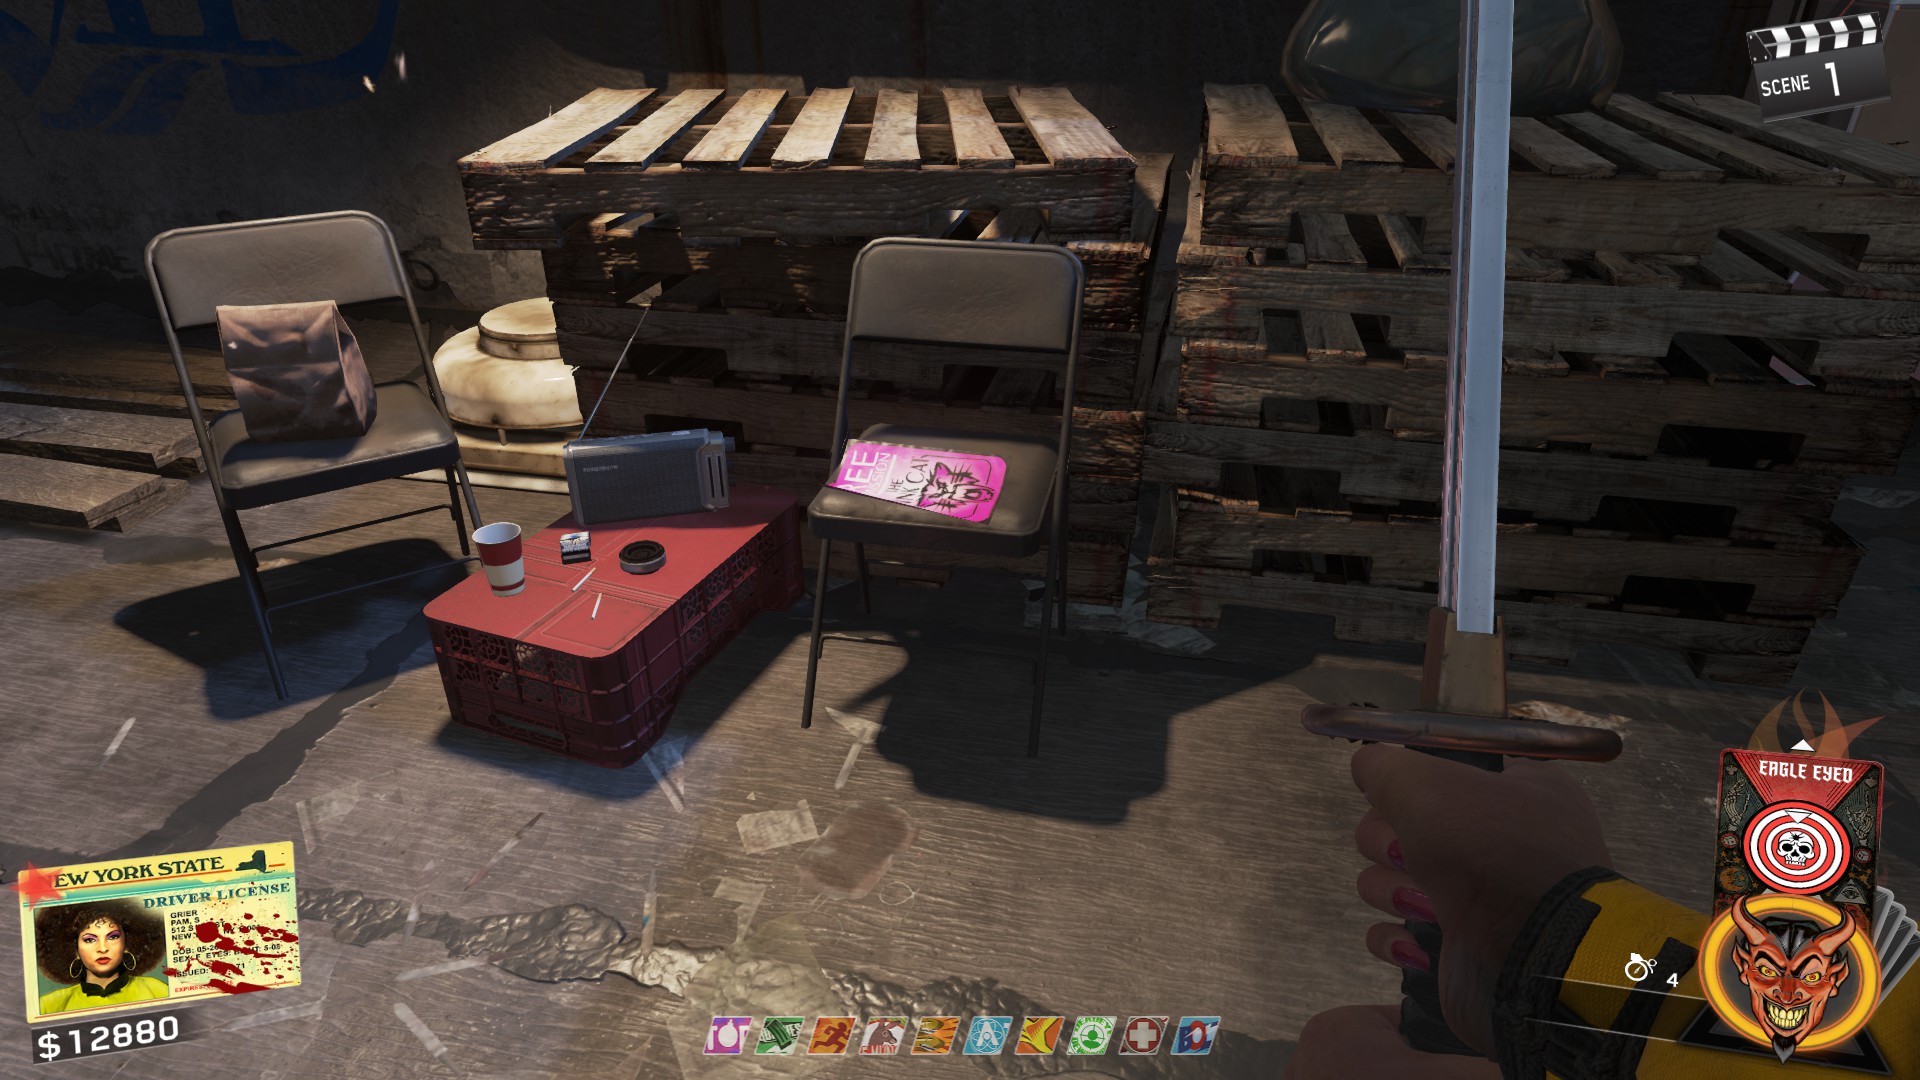
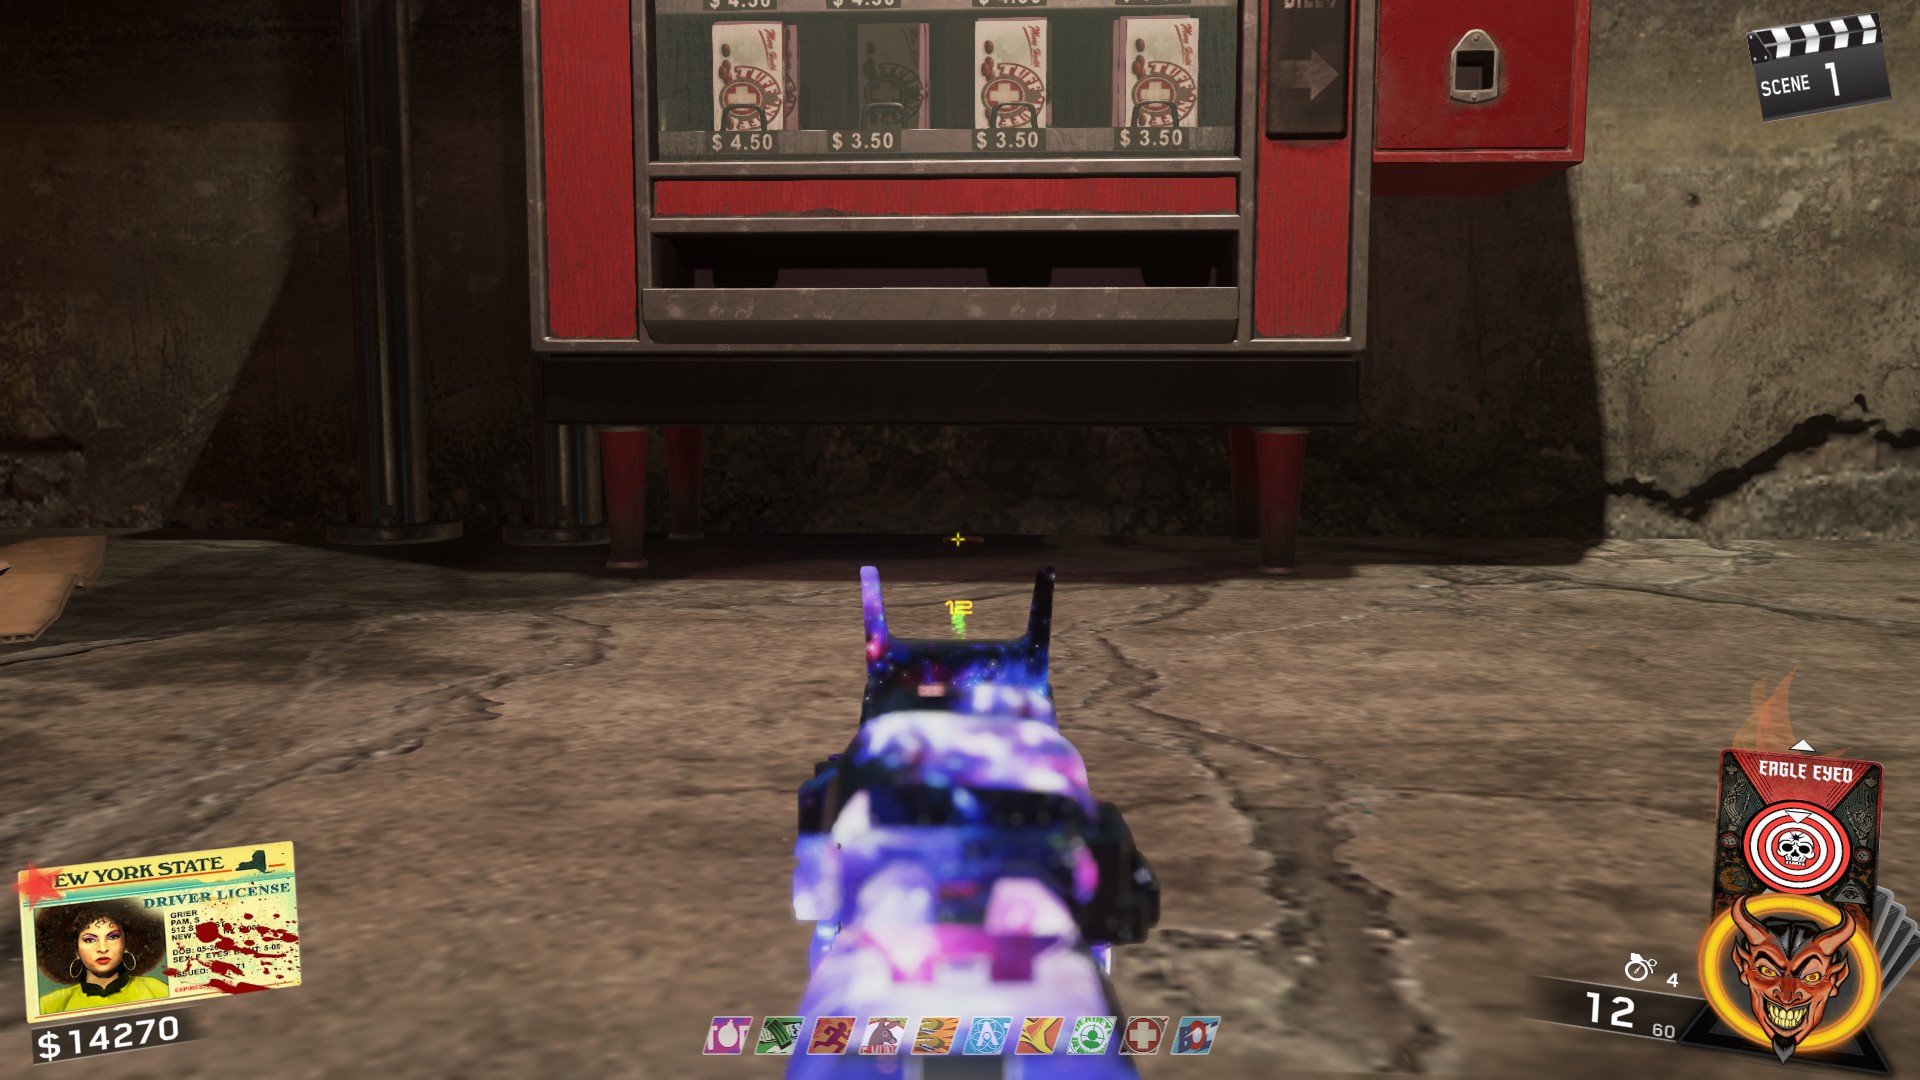
- Under the Tuff 'Nuff perk machine
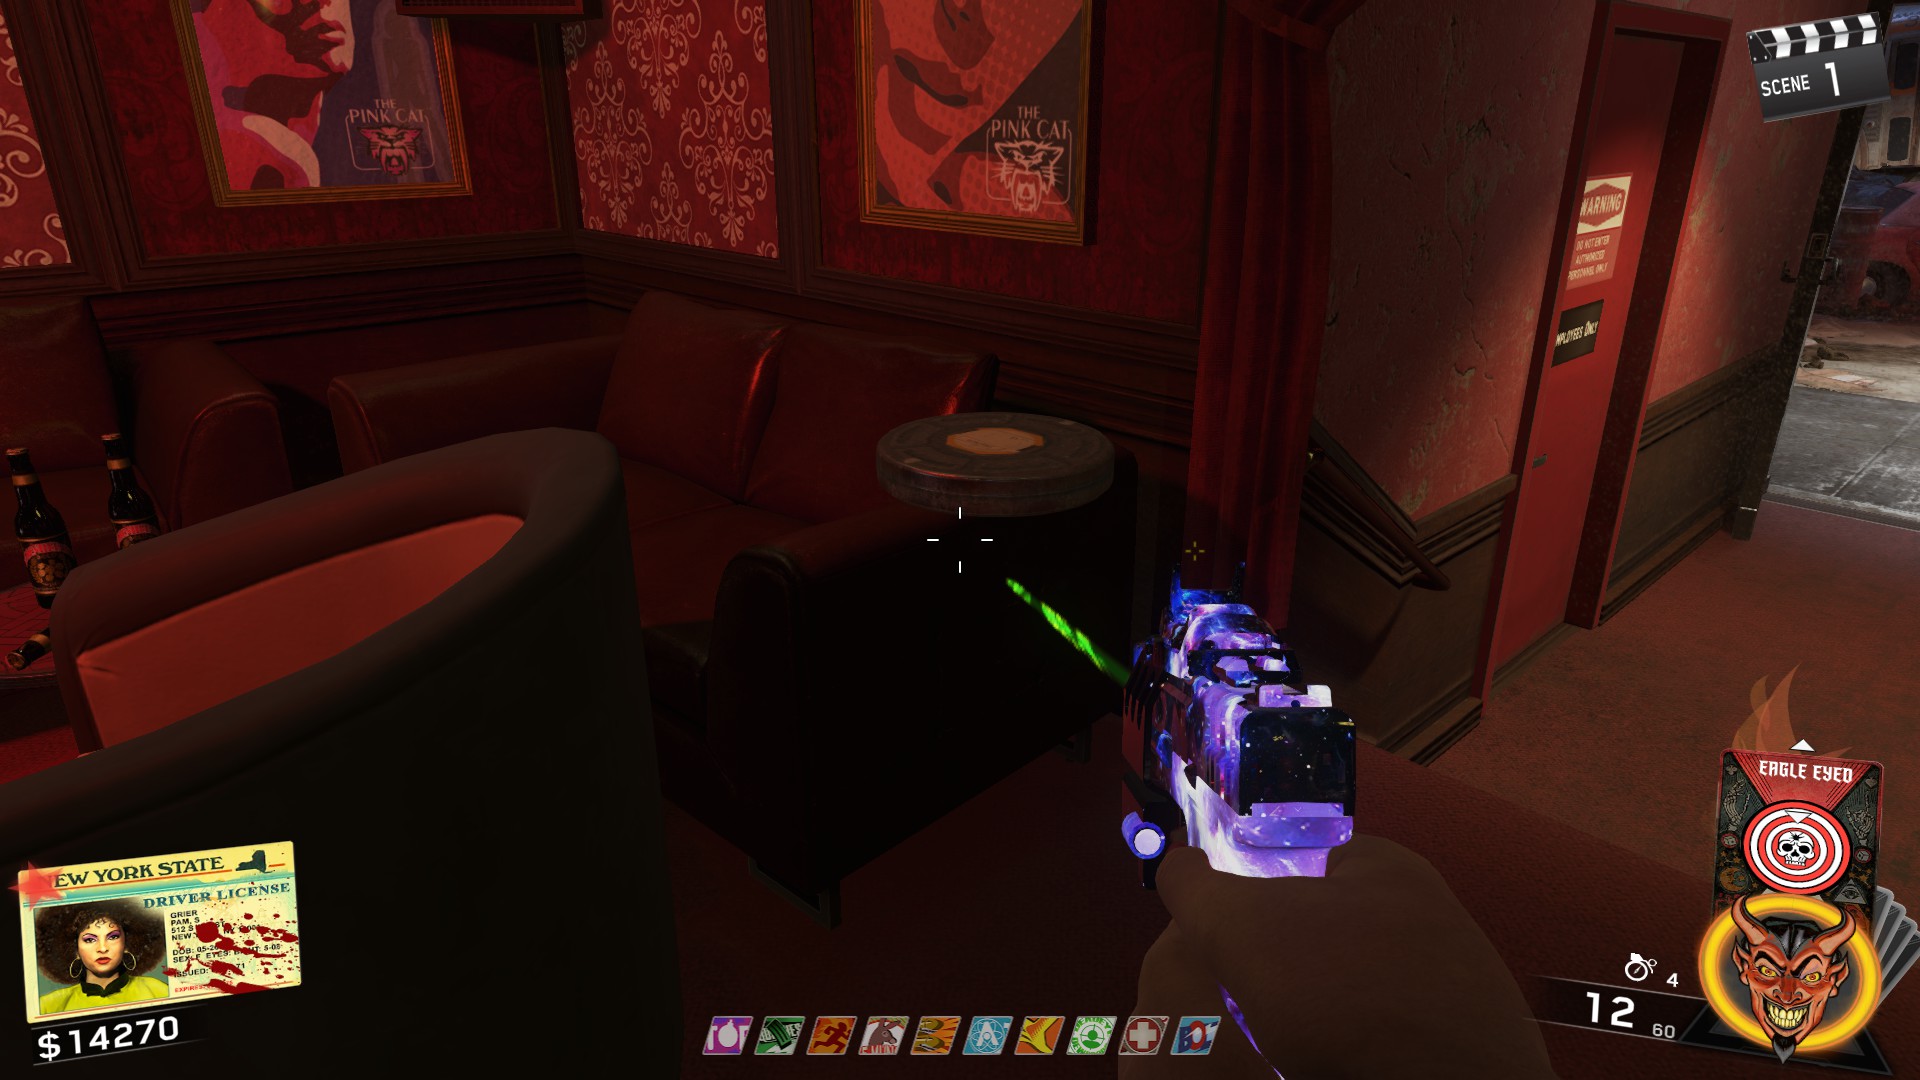
- In the Pink Cat right when you enter on the right on a chair
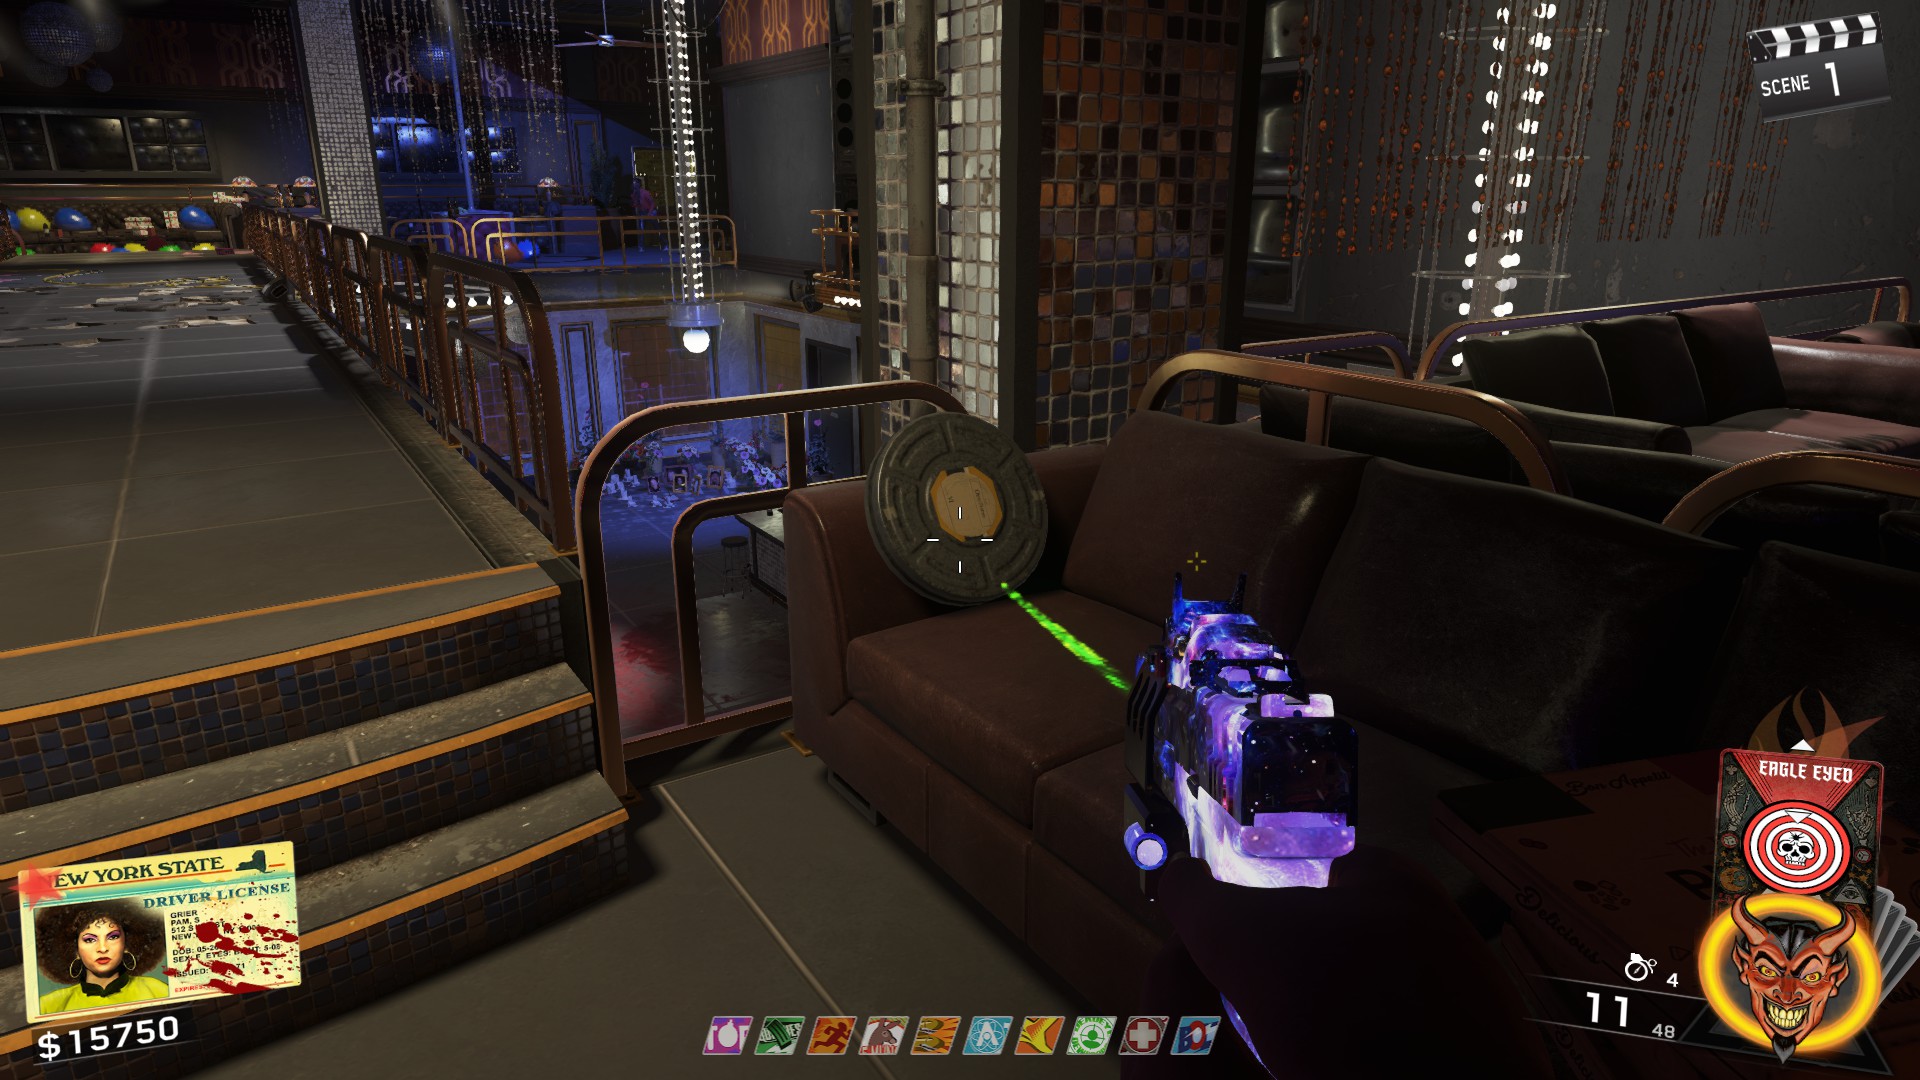
- Couch on the 2nd floor of the Disco Inferno
- At the top of the stairs near Tuff 'Nuff
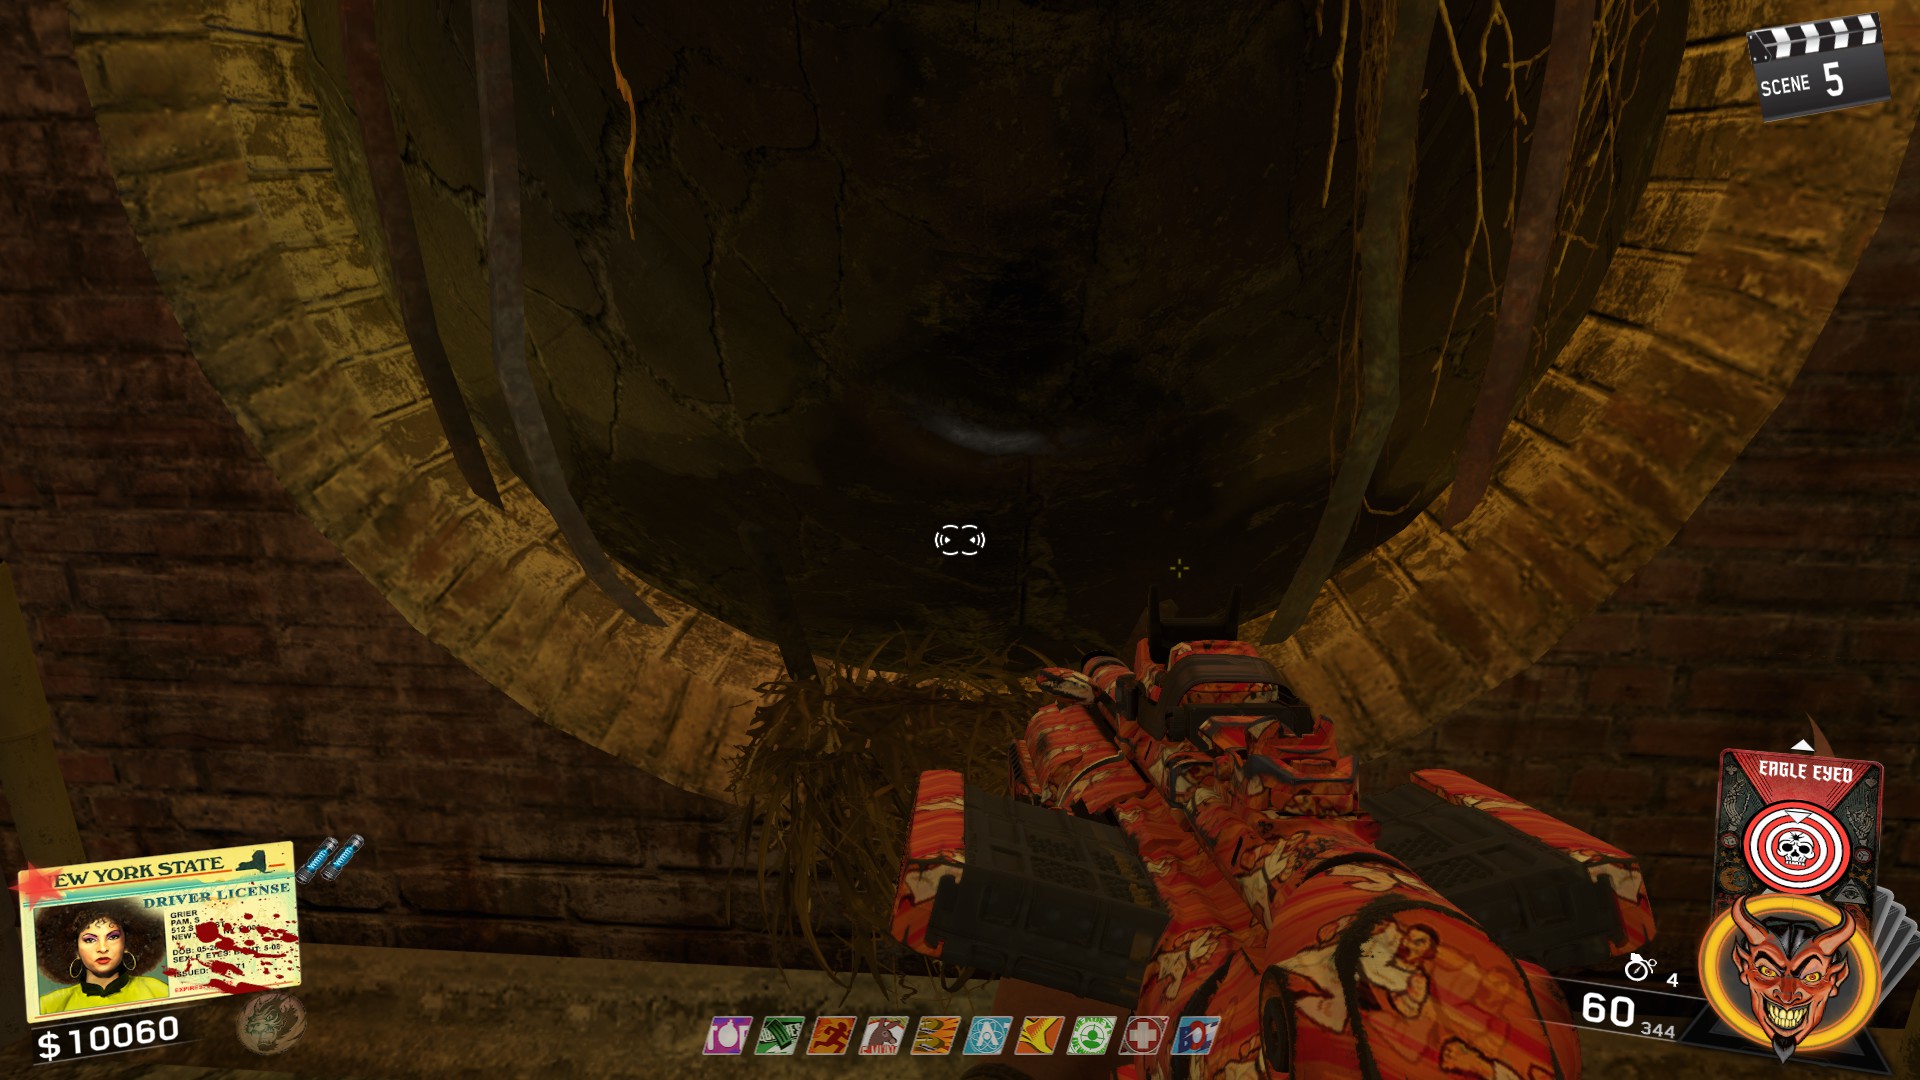
- In the Rat King's Lair in one of the sewers
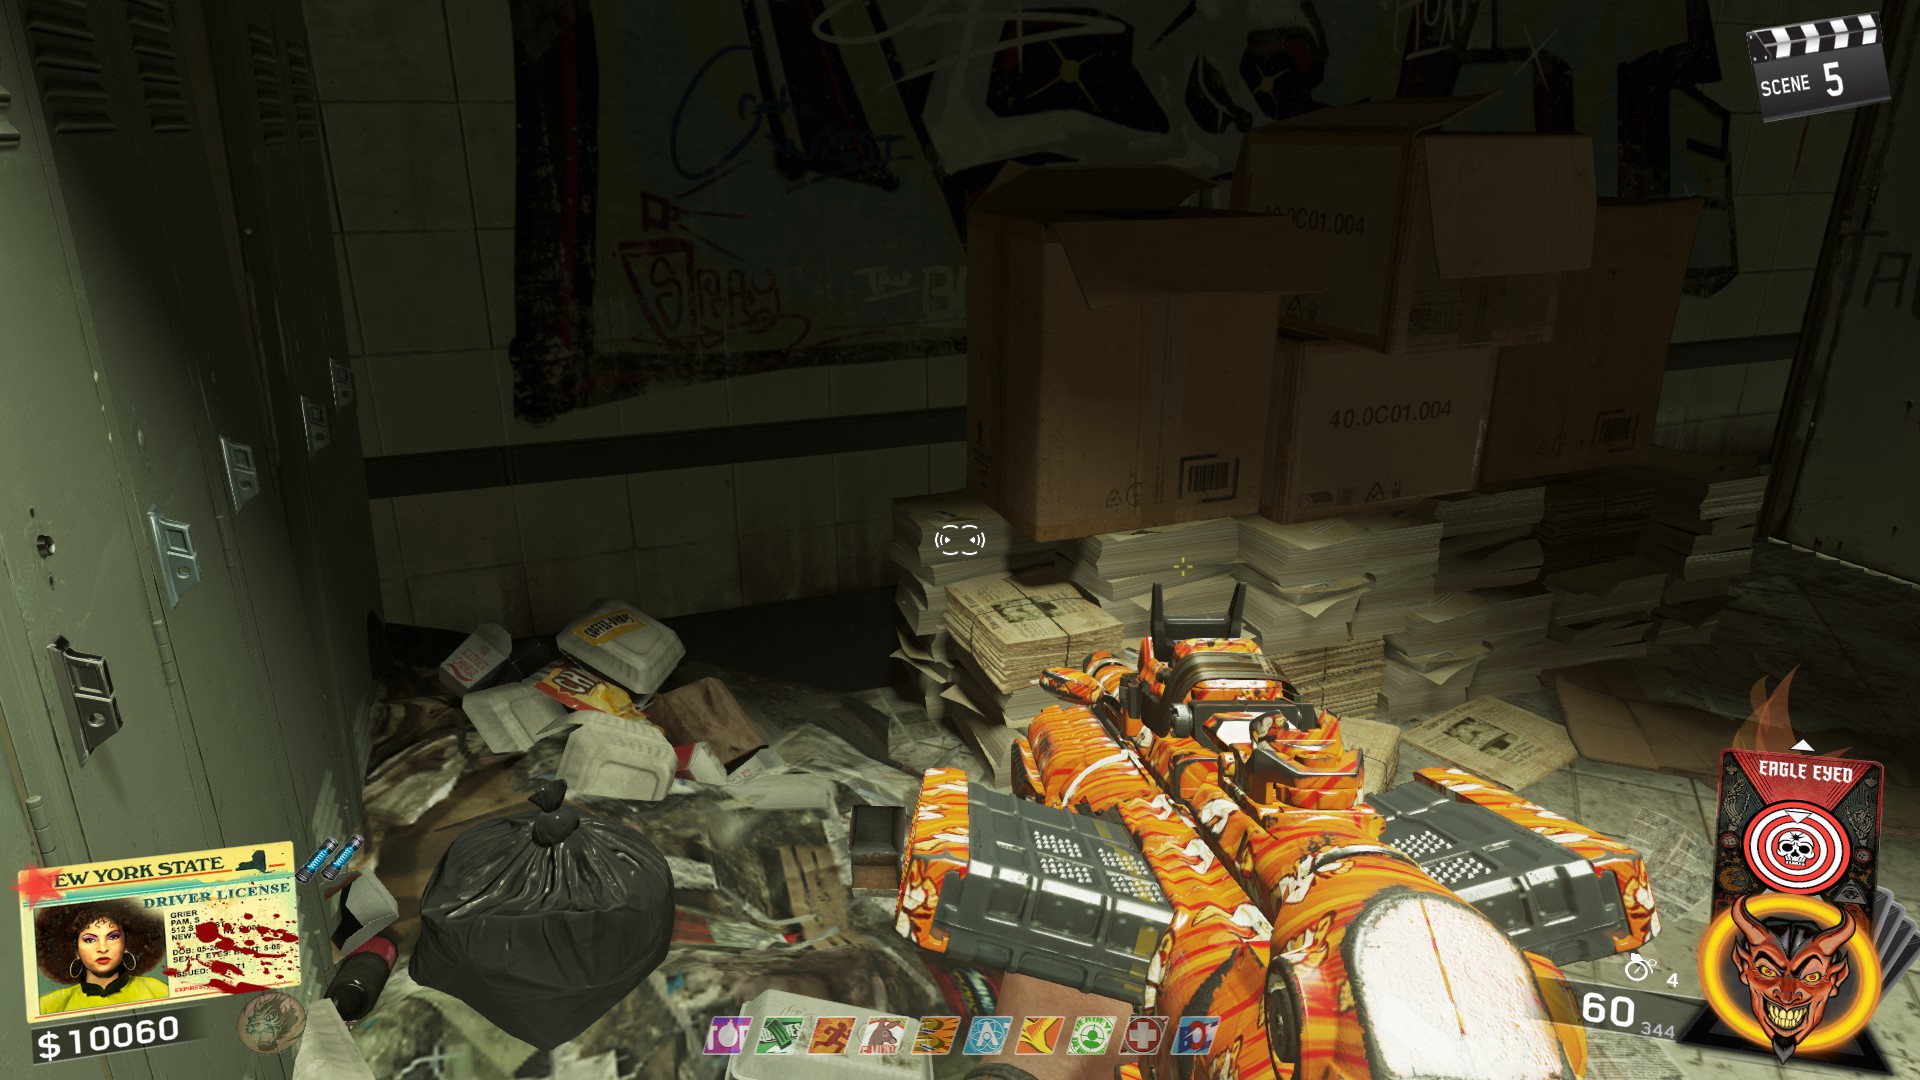
- Ro the right of the Lockers in the Subway near the Pink Cat
Double Pack-a-Punch
Double Pack-a-Punch is fairly easy to set up for this map, however, you can not set up double pack until you have gotten to Round 5 as you'll need to use one of the Chi's to open up the fast travel doors.
- On top of the rooftops near below Racin' Stripes.
- To the left of the Blue Bolts perk machine outside the Pink Cat
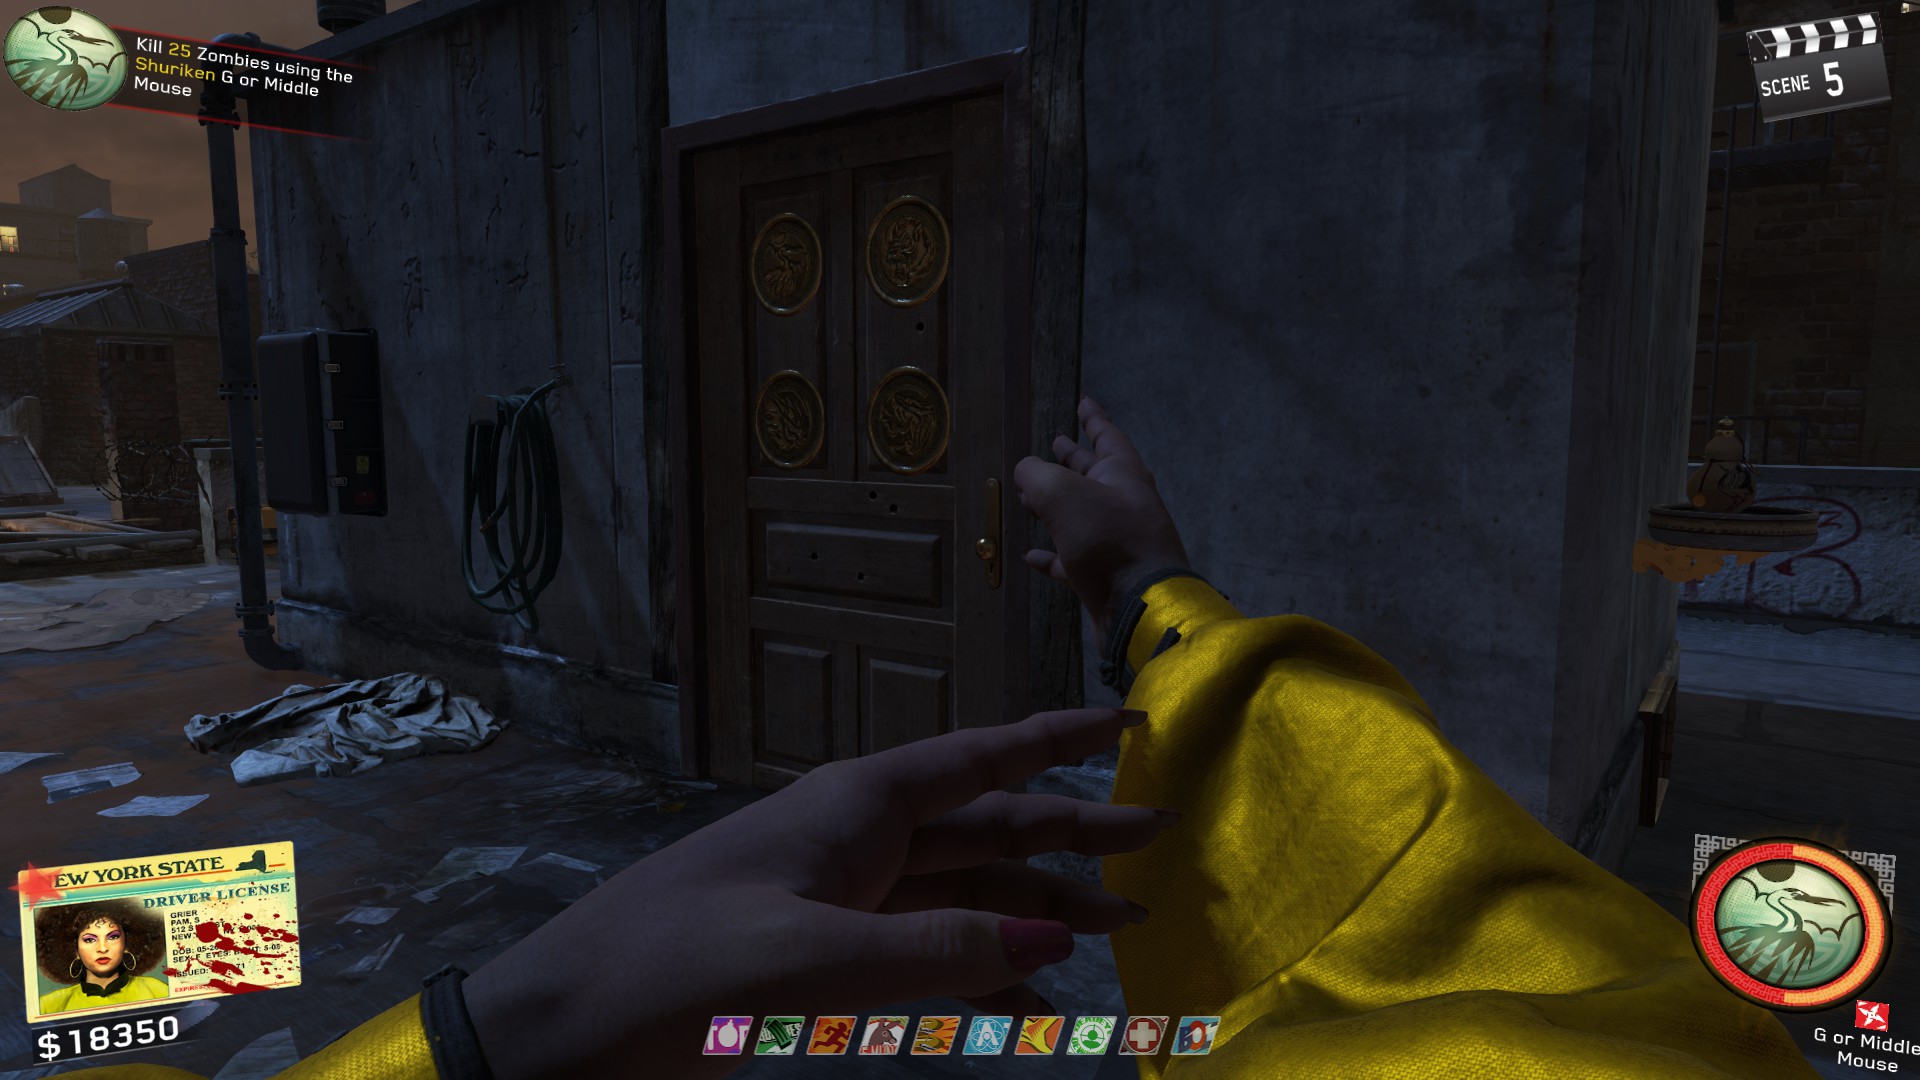
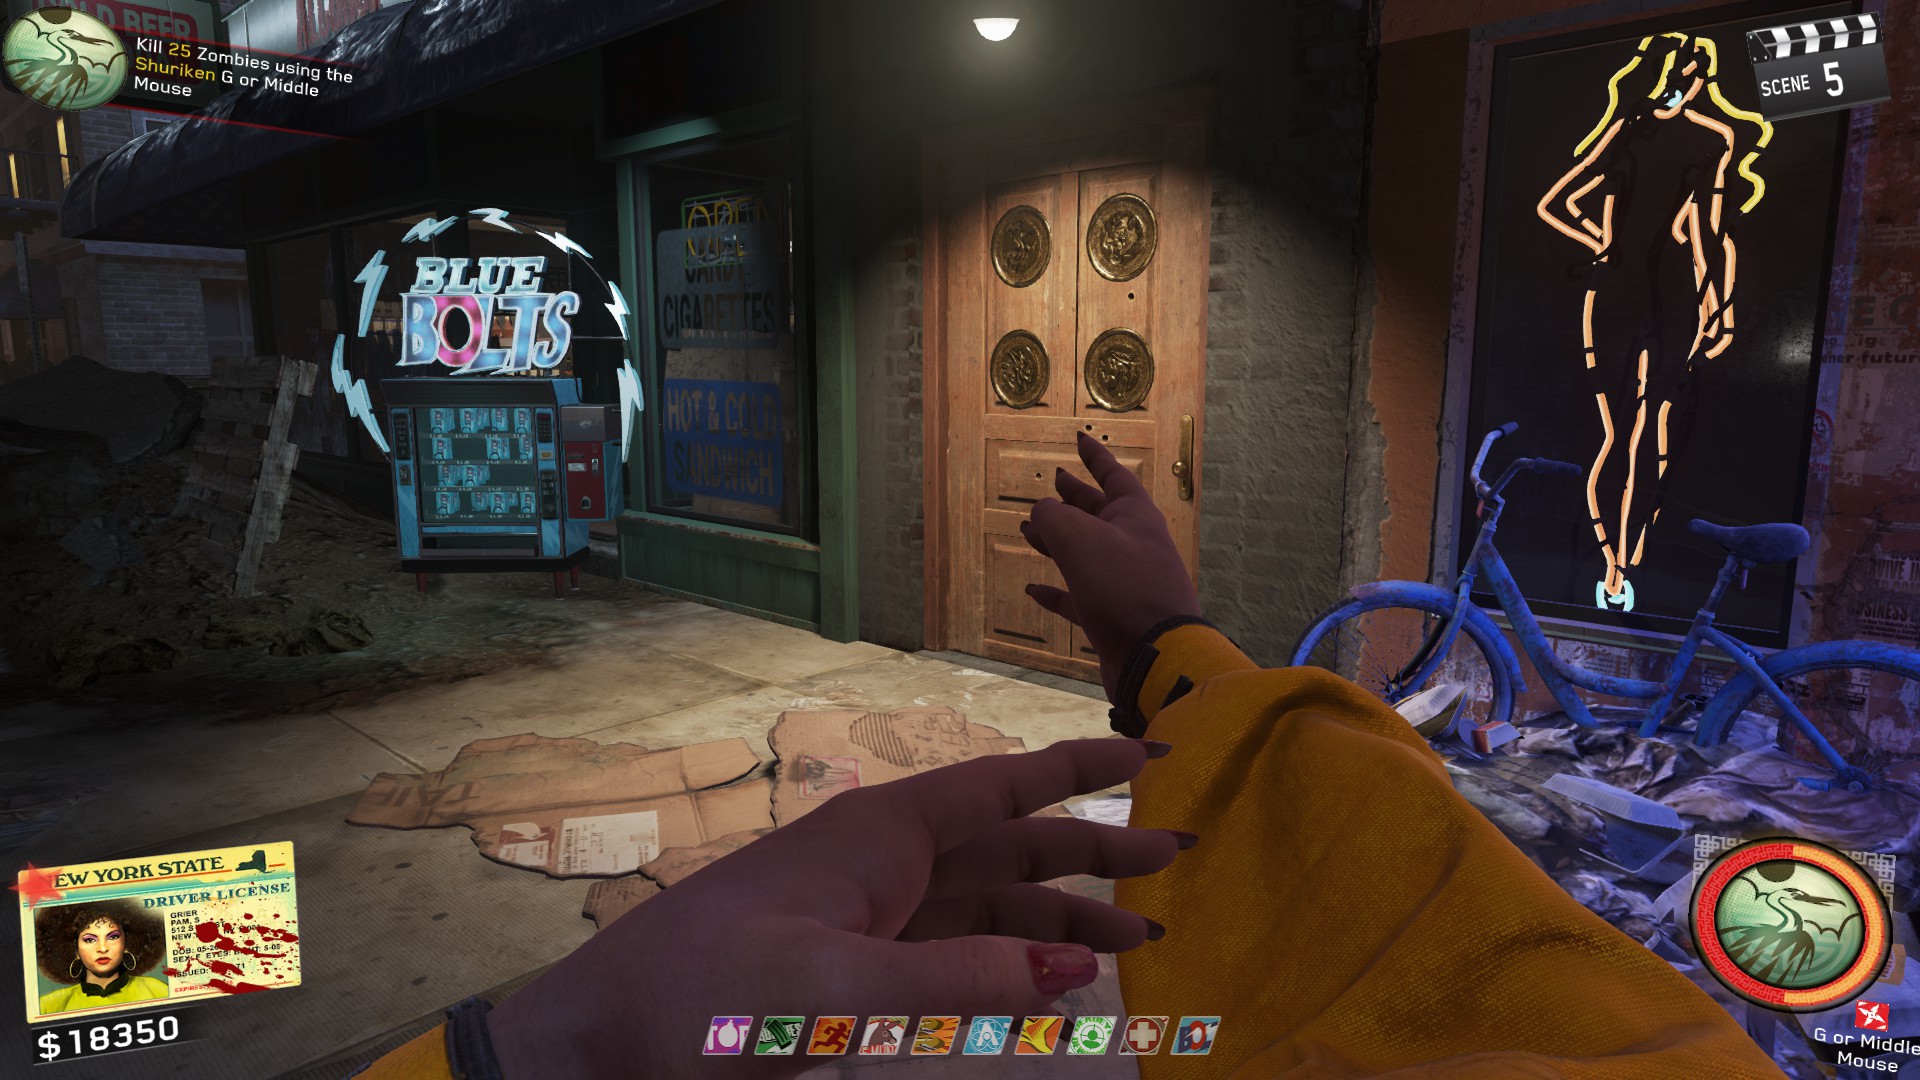
Once the doors are open, make sure you have setup pack a punch (Look above for that guide). Once everything is setup, you're ready to start double pack.
Here's a video for reference
Down there, you'll see electricity sparking from the tracks. Get on the tracks and interact with the electricity to place the fuses (I typically do it on the side closest to Bang Bangs). Watch out for the Train!
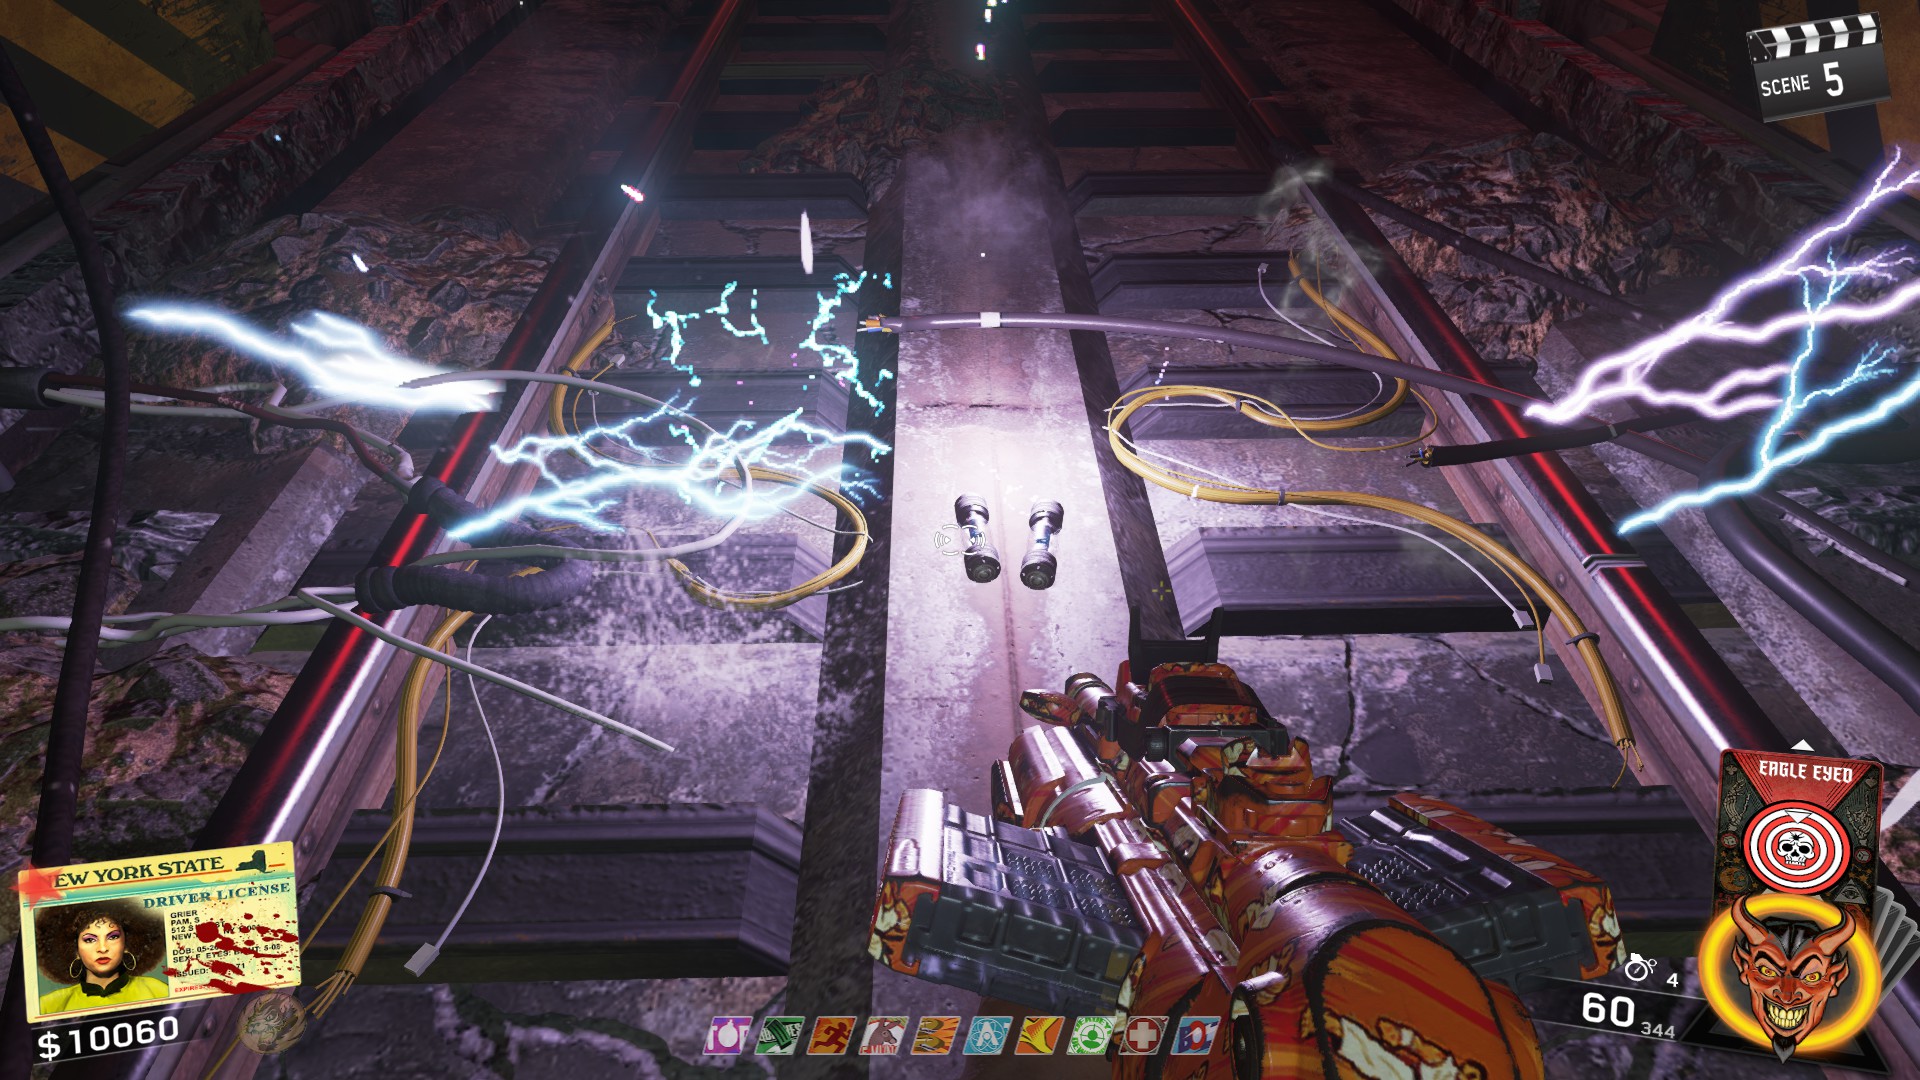
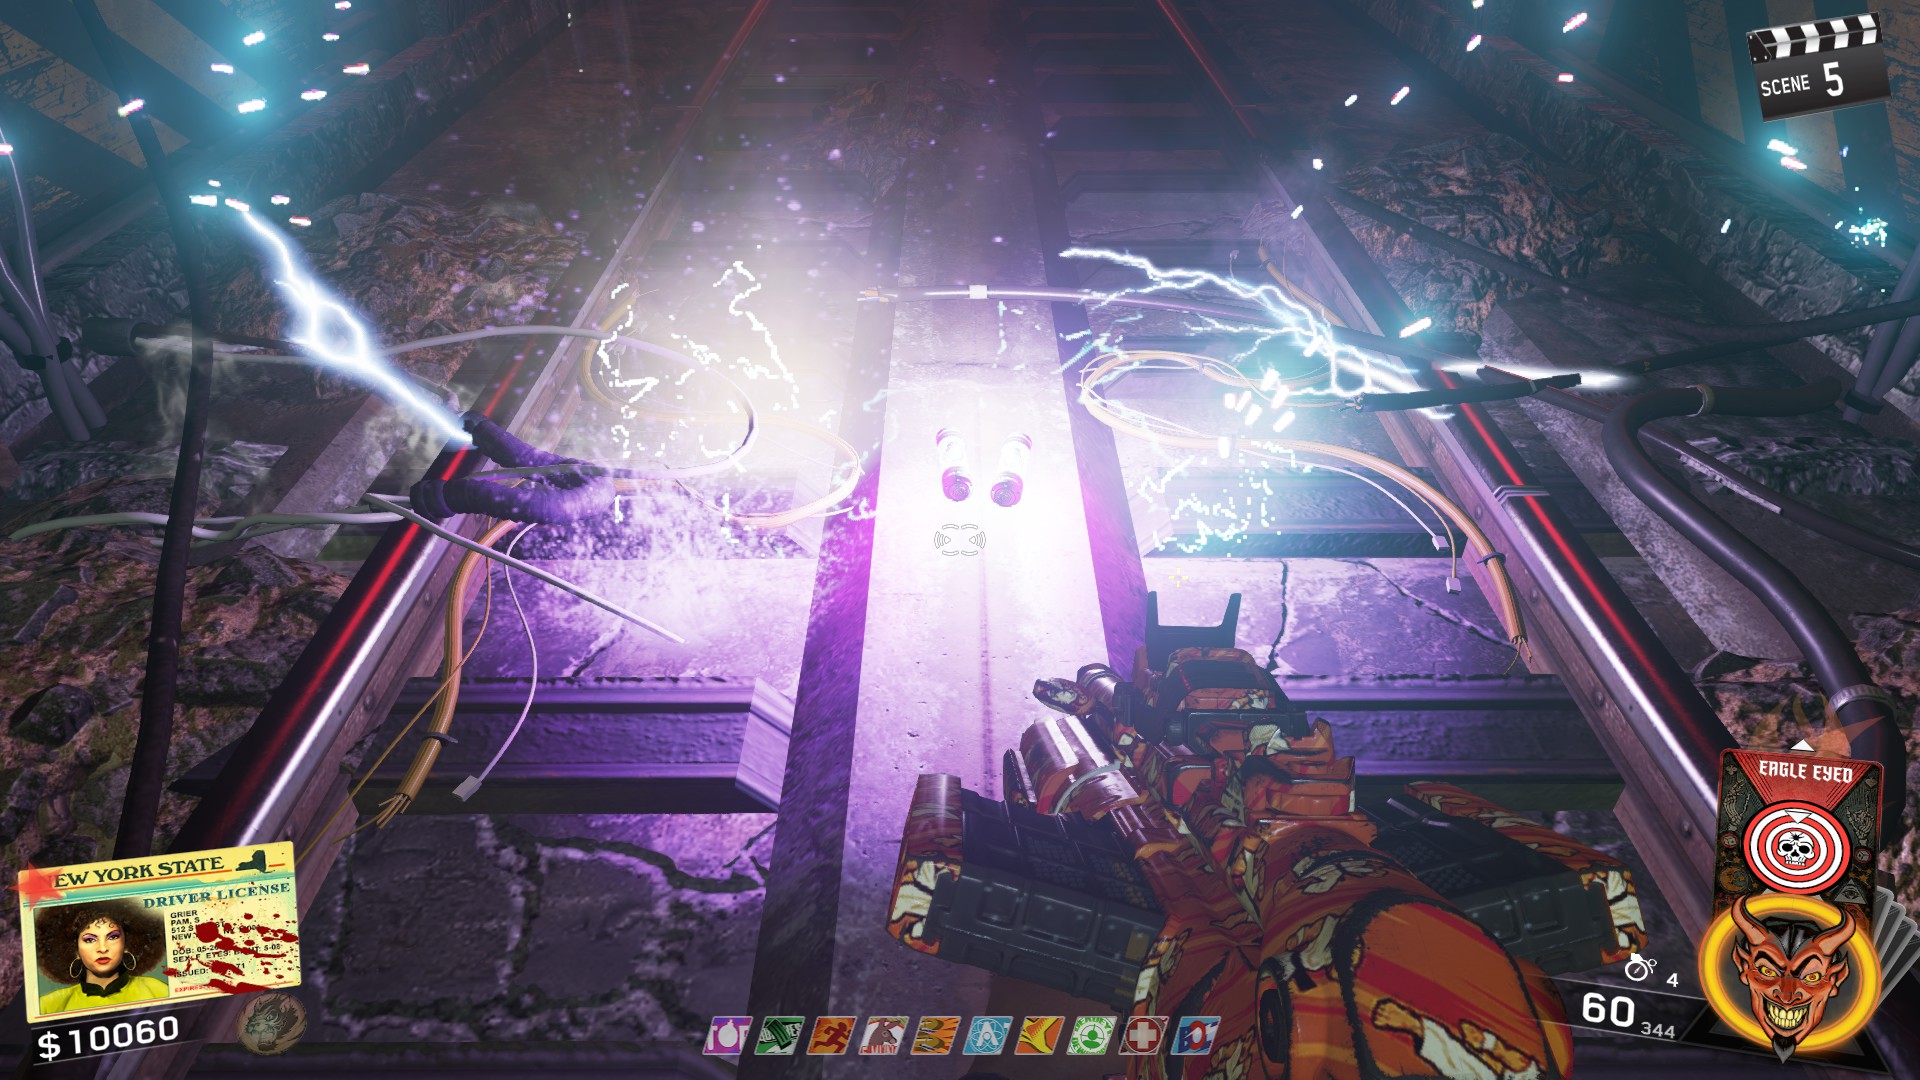
Once the train has passed over the placed fuses, the fuses will be charged and can be placed in the Pap machine!
Chi Fighting Styles
Chi's are special "weapons" the player can obtain after reaching round 5 in the game. After reaching round 5, simply talk to Pam Greer in the Black Cat Dojo and the chi's will become active. The player can choose any Chi Gourd they want and can switch at anytime as long as another player isn't using it.
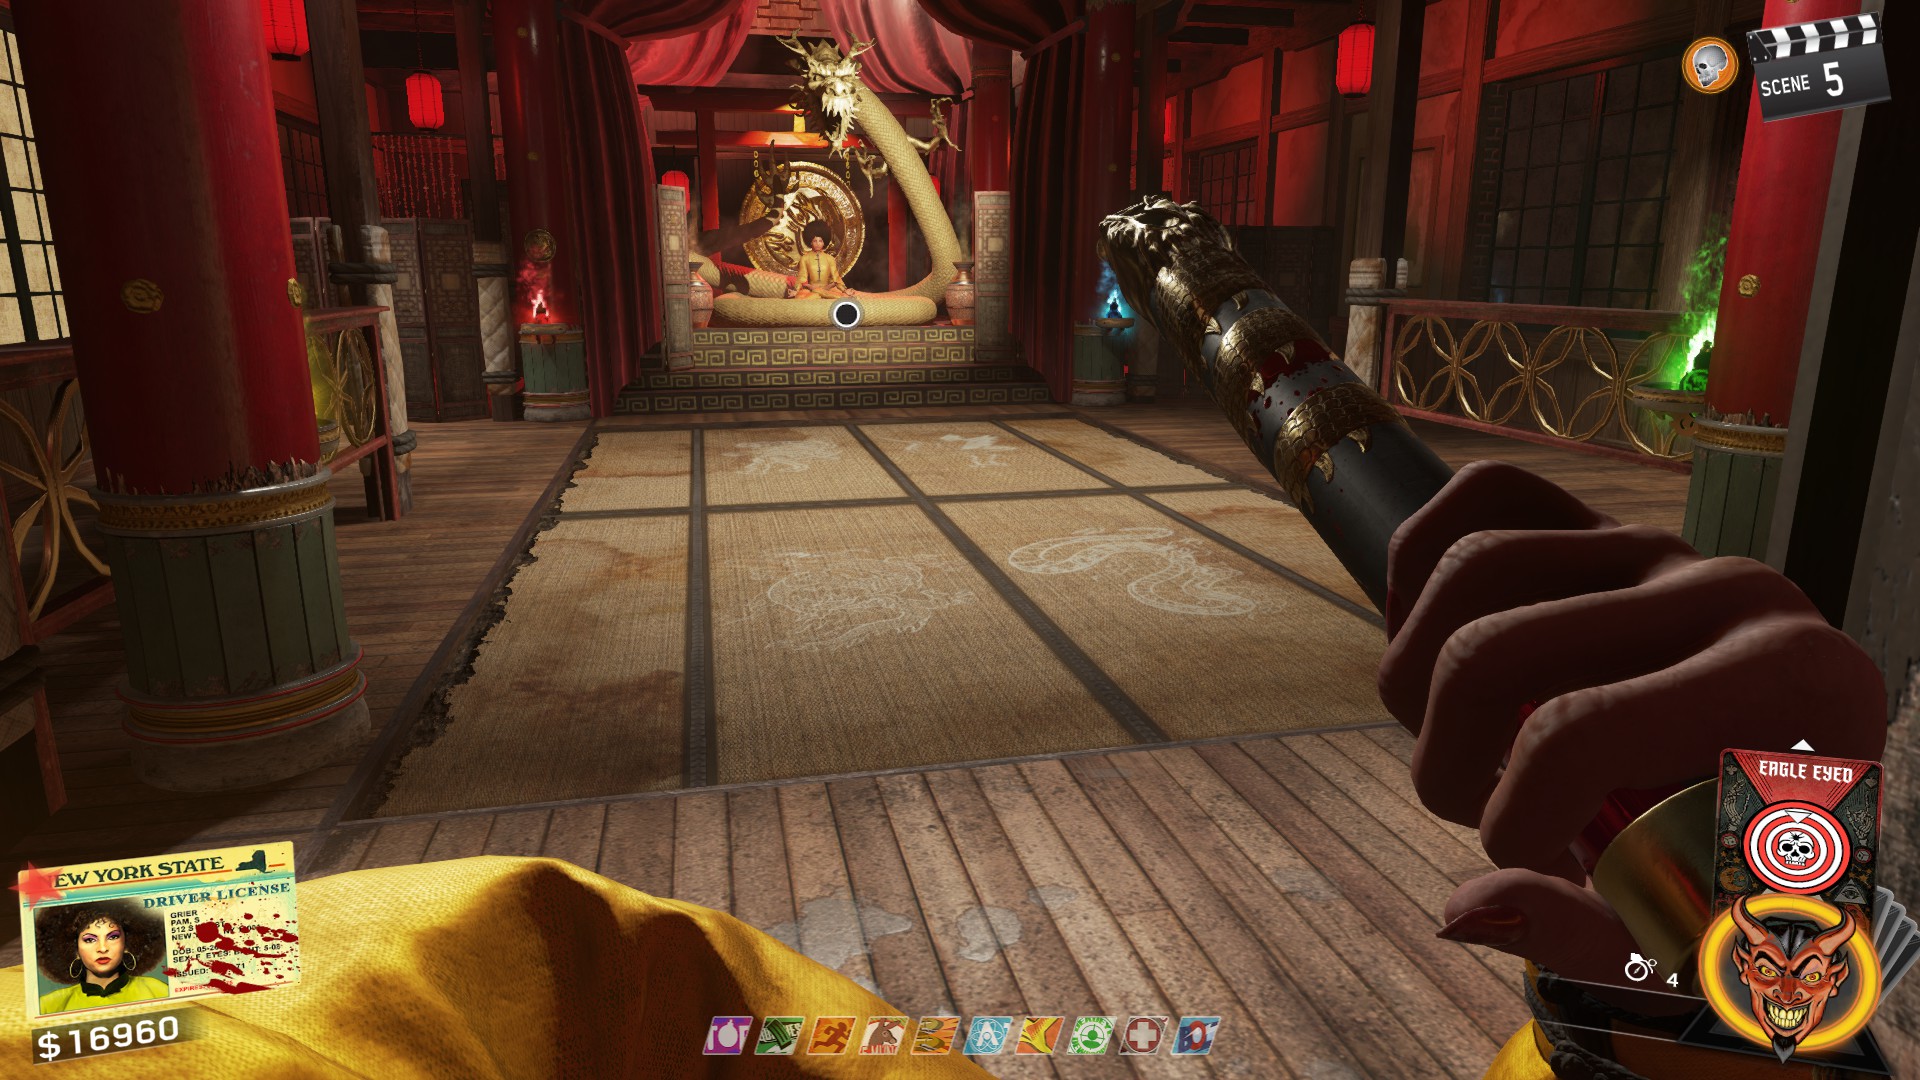
Each Chi doesn't differ too much aside from the animations and the Chi power. Each Chi can be leveled up to obtain different moves and powers.
 1. Go to the Dojo and drink from the Crane Gourd
- Melee kill 15 Zombies using the Crane Style
- Kill 25 Zombies using the Shuriken
- Kill 50 Zombies using the Chi Power
 1. Go to the Dojo and drink from the Dragon Gourd
- Melee kill 15 Zombies using the Dragon Style
- Kill 25 Zombies using the Shuriken
- Kill 50 Zombies using the Chi Power
 1. Go to the Dojo and drink from the Snake Gourd
- Melee kill 15 Zombies using the Snake Style
- Kill 25 Zombies using the Shuriken
- Kill 50 Zombies using the Chi Power
 1. Go to the Dojo and drink from the Tiger Gourd
- Melee kill 15 Zombies using the Tiger Style
- Kill 25 Zombies using the Shuriken
- Kill 50 Zombies using the Chi Power
Buildable Mahjong Tiles
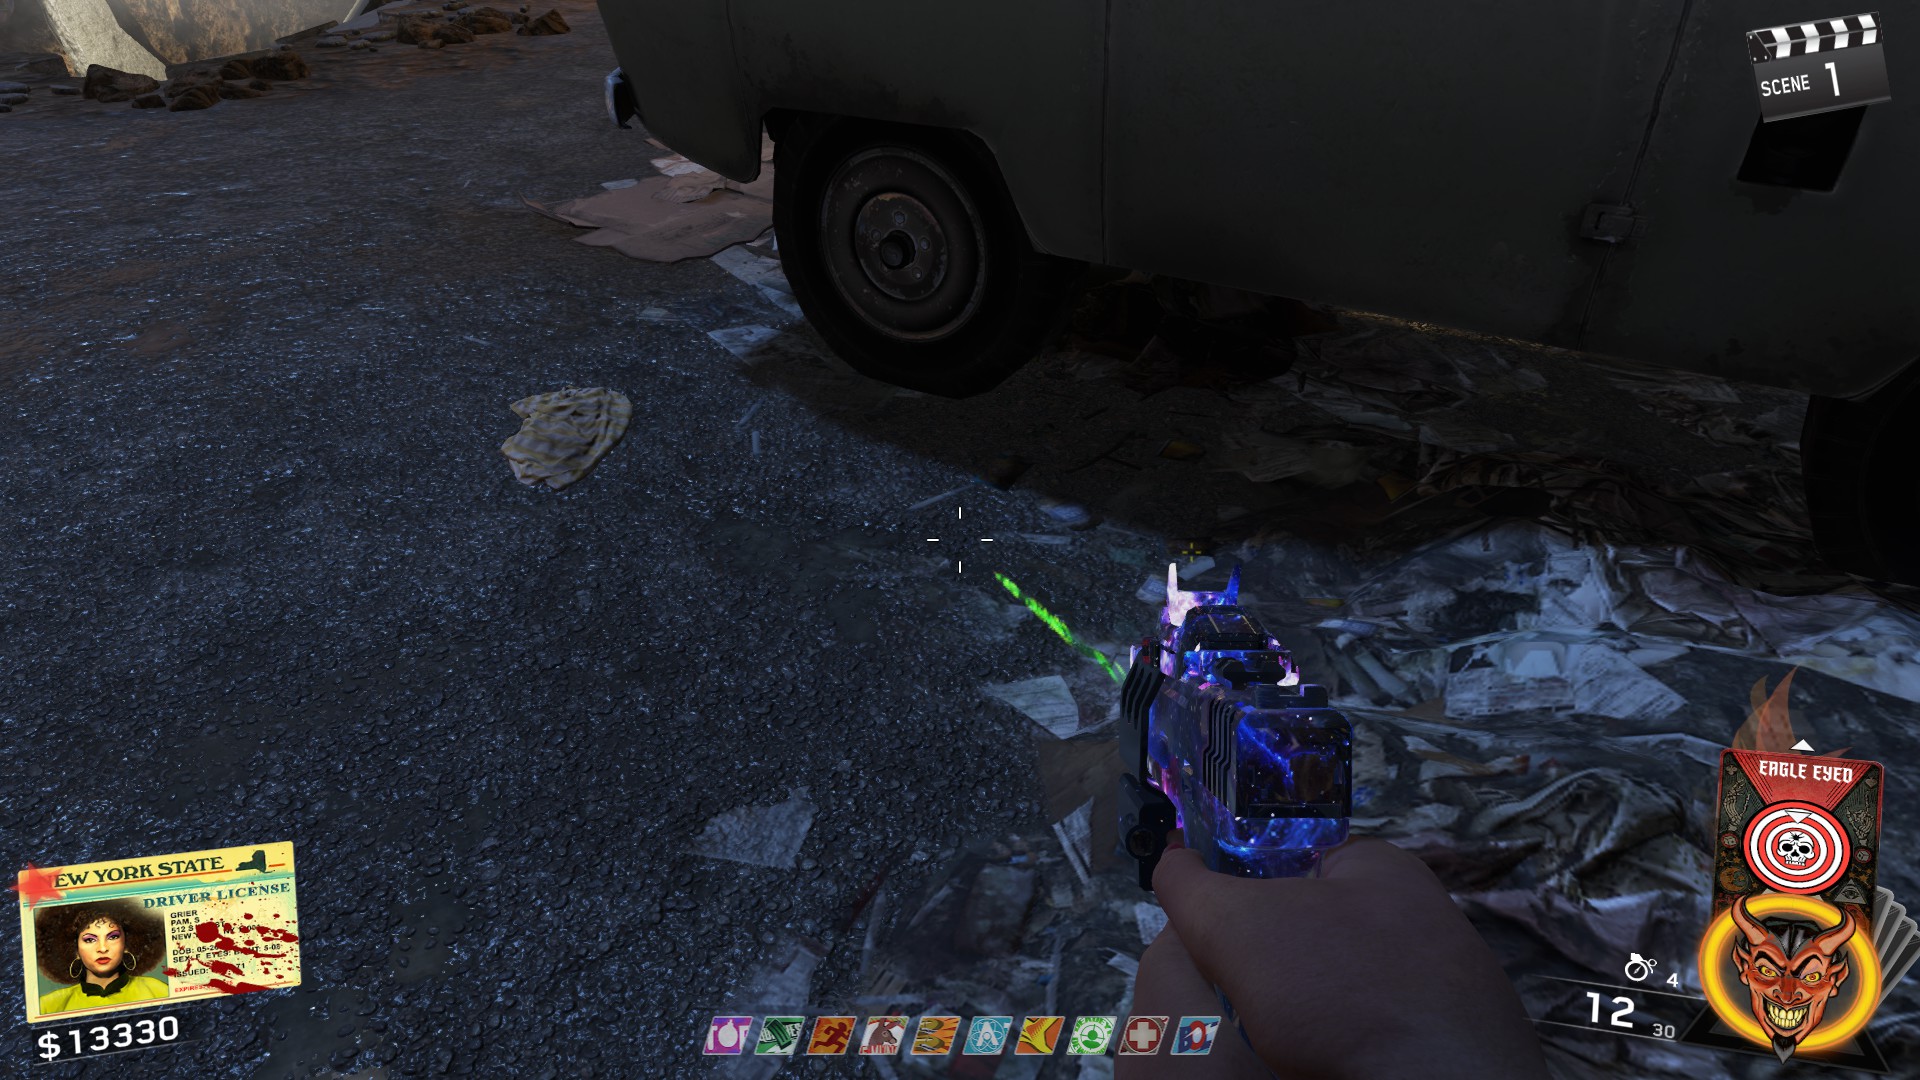
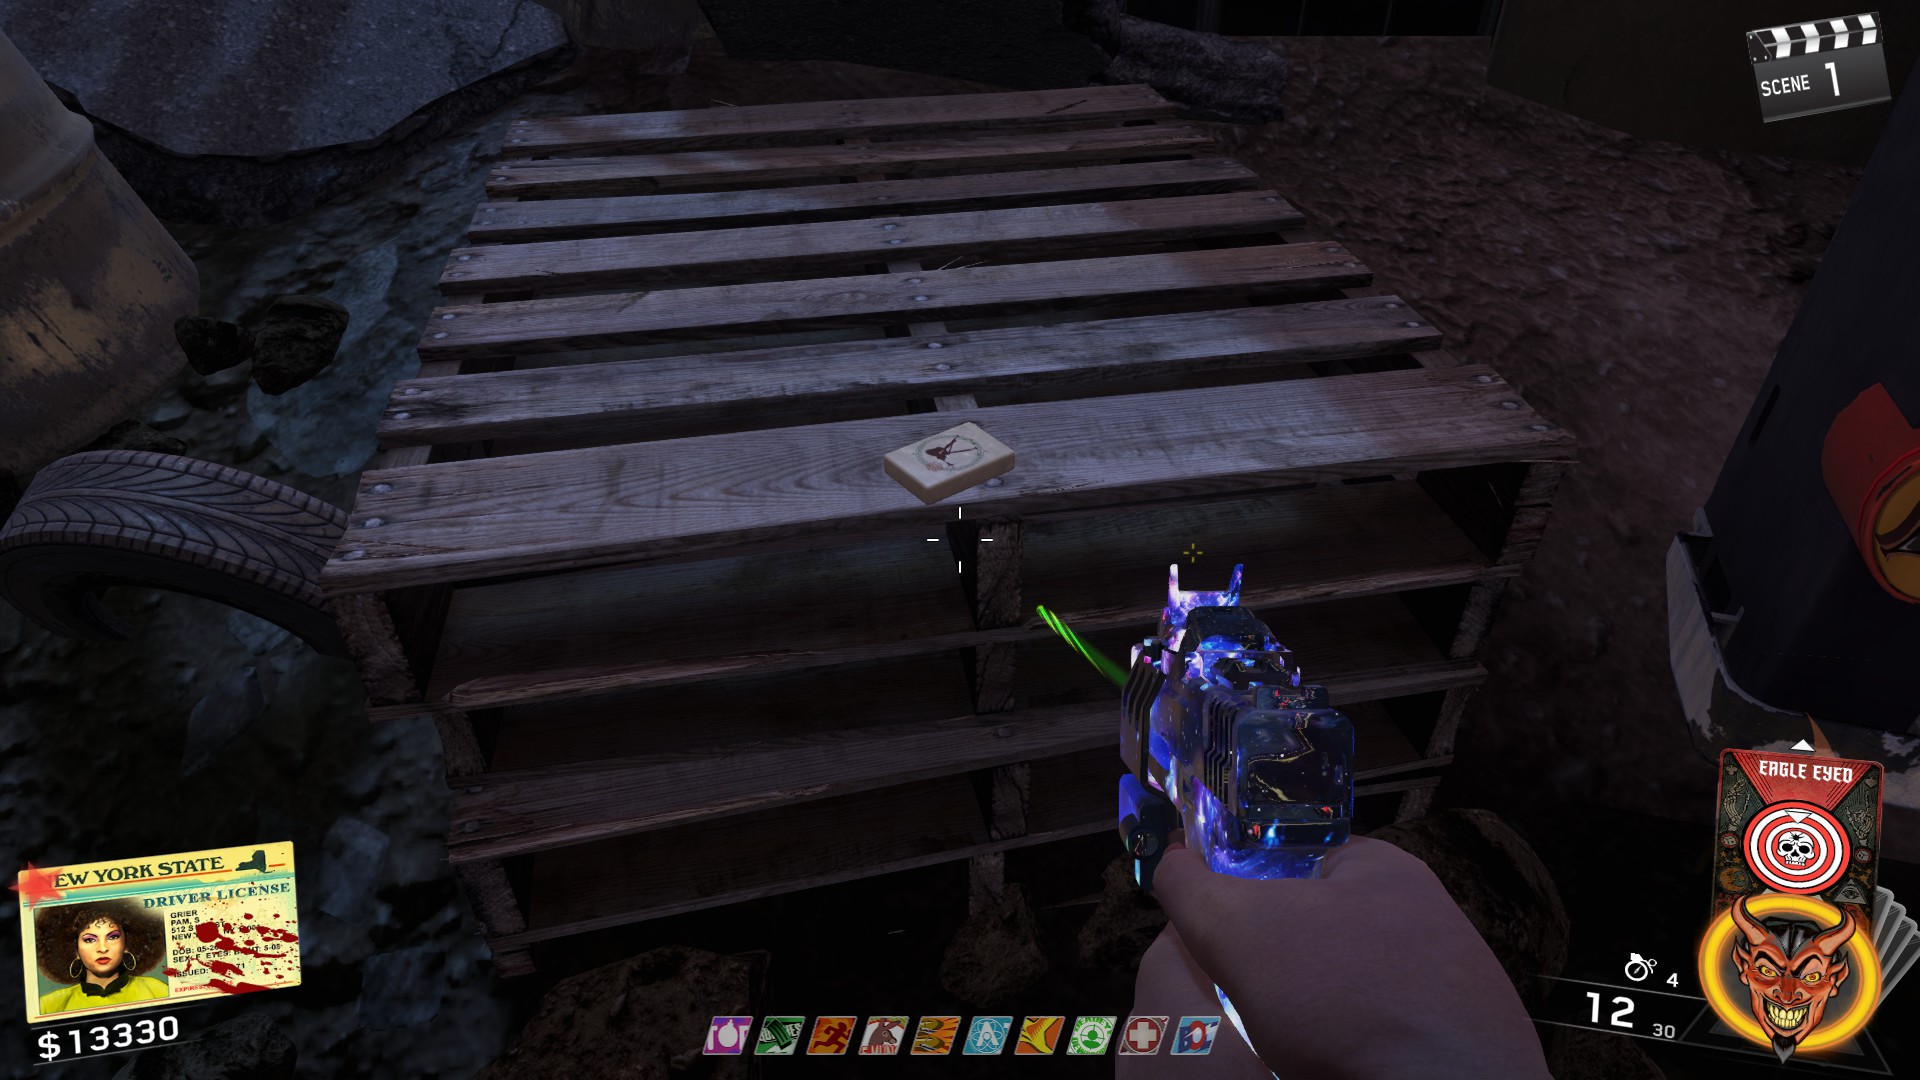
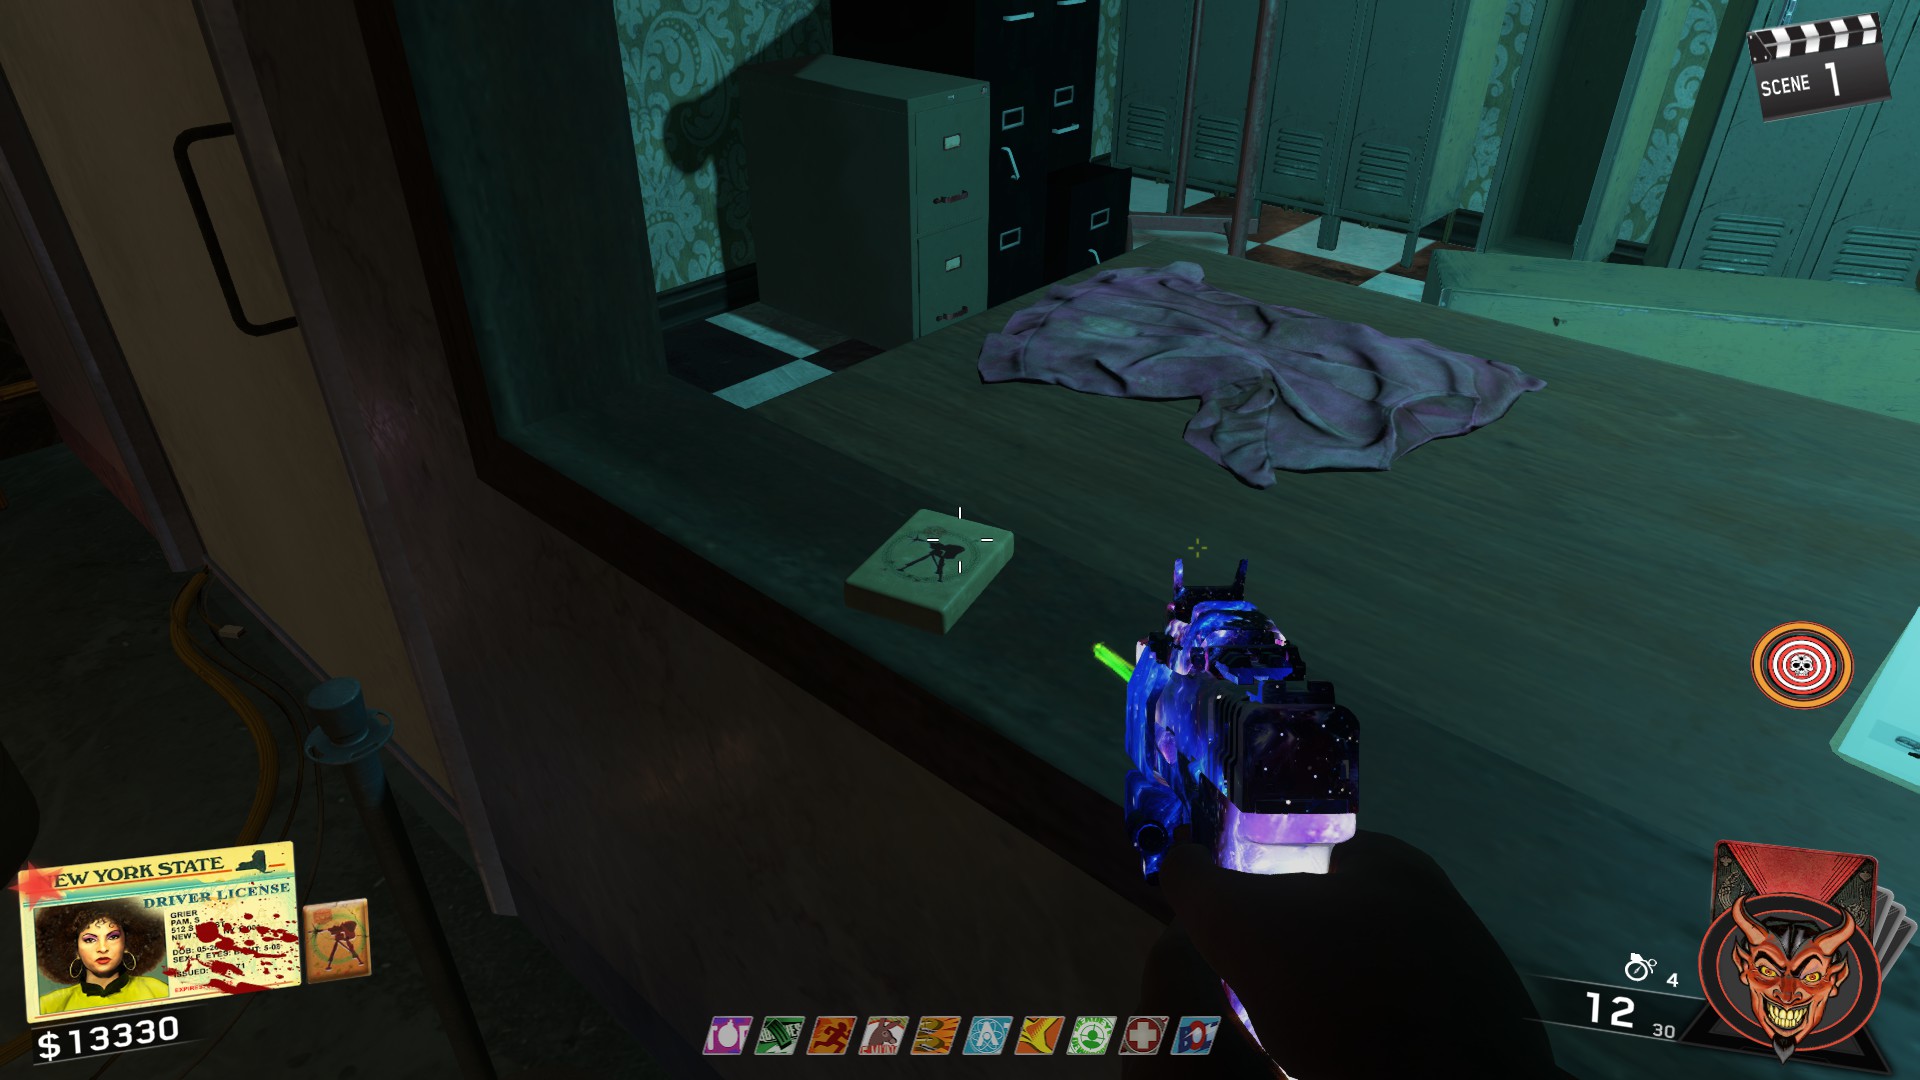
Around the map you'll be able to find Mahjong Tiles with pictures of traps on them such as Sentry Guns and "Zom-B-Gone." Bring 3 of these tiles with the same picture on them to the table that has the same mahjong tiles and you'll be rewarded with the trap.
There are a total of 5 Tables (5 Traps) in the map. Below are the locations for each table's corresponding Mahjong Tiles and table location.

Table Location: next to the bus outside the Black Cat Dojo
- On top of the bus on the back-end
- In the middle of the stairs from the Spawn subway to the Dojo next to trash on the ground
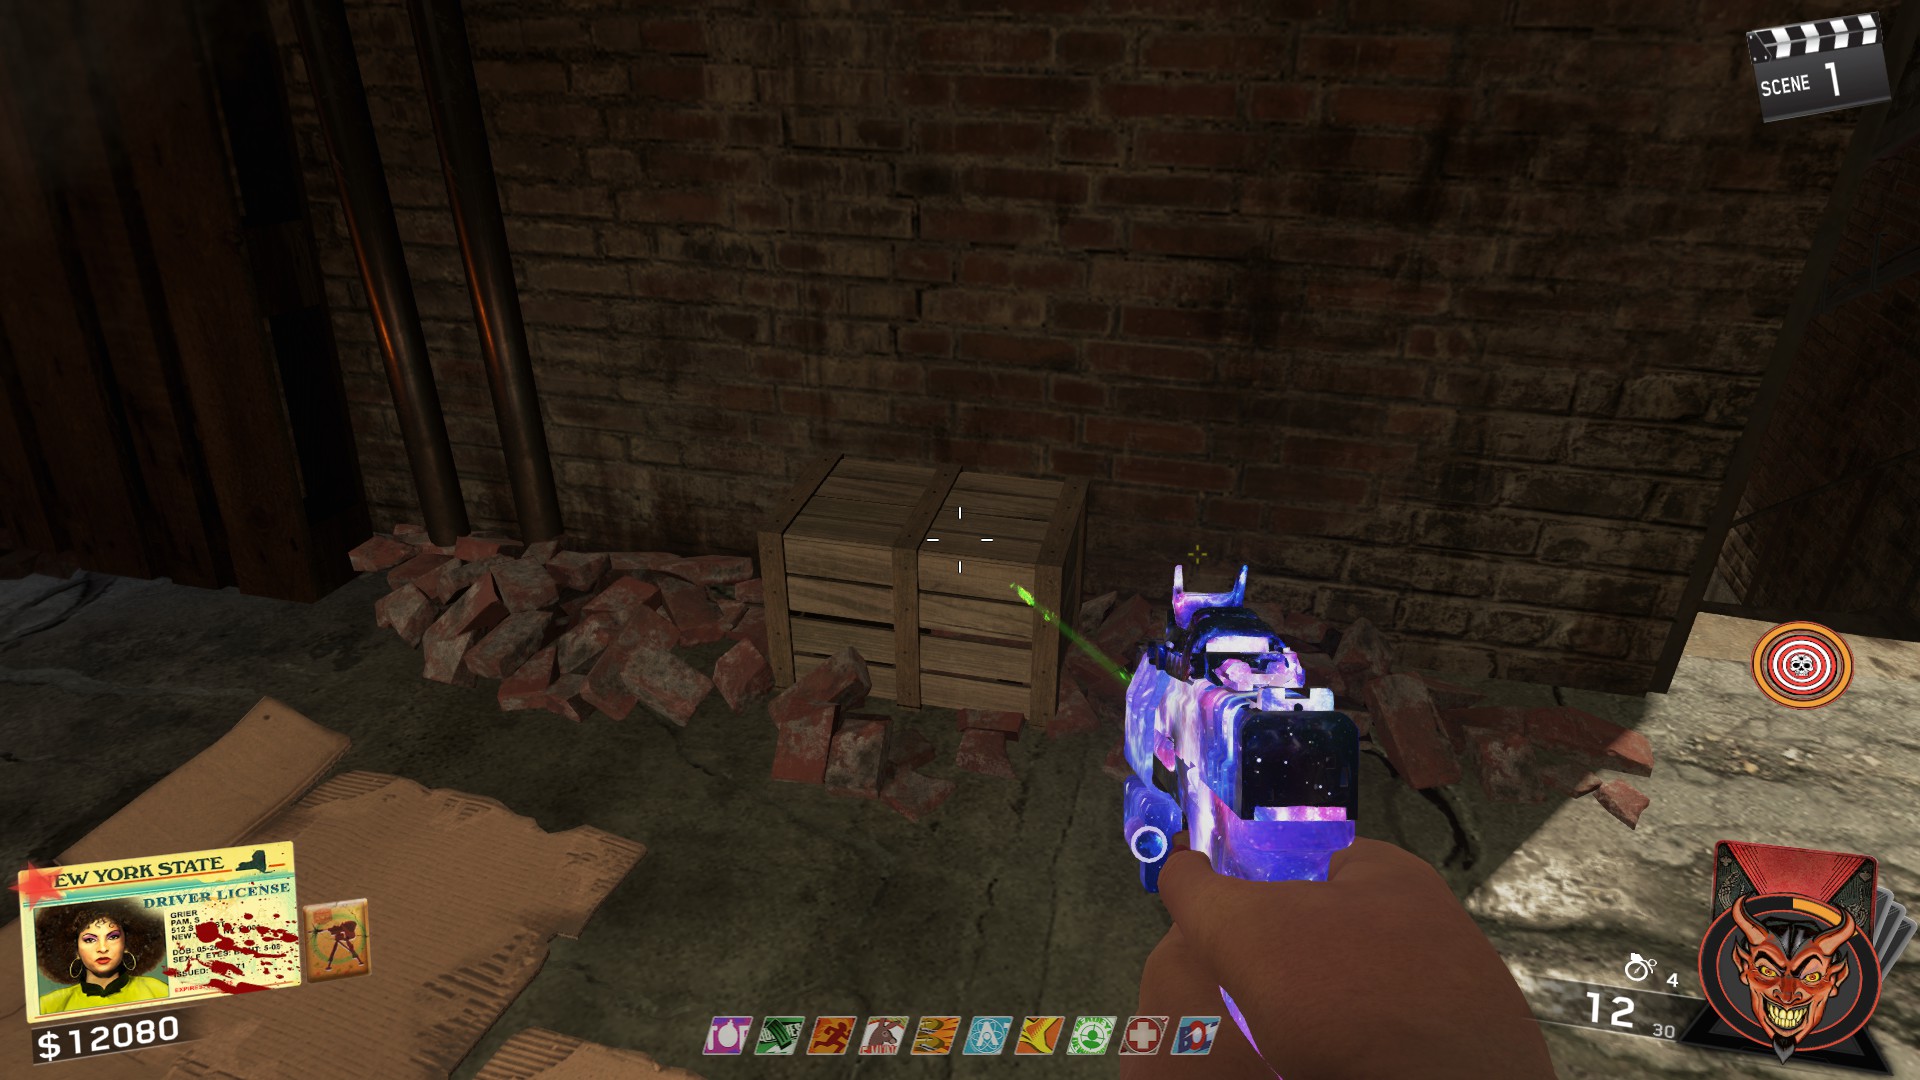
- To the left of Tuff 'Nuff in a crate
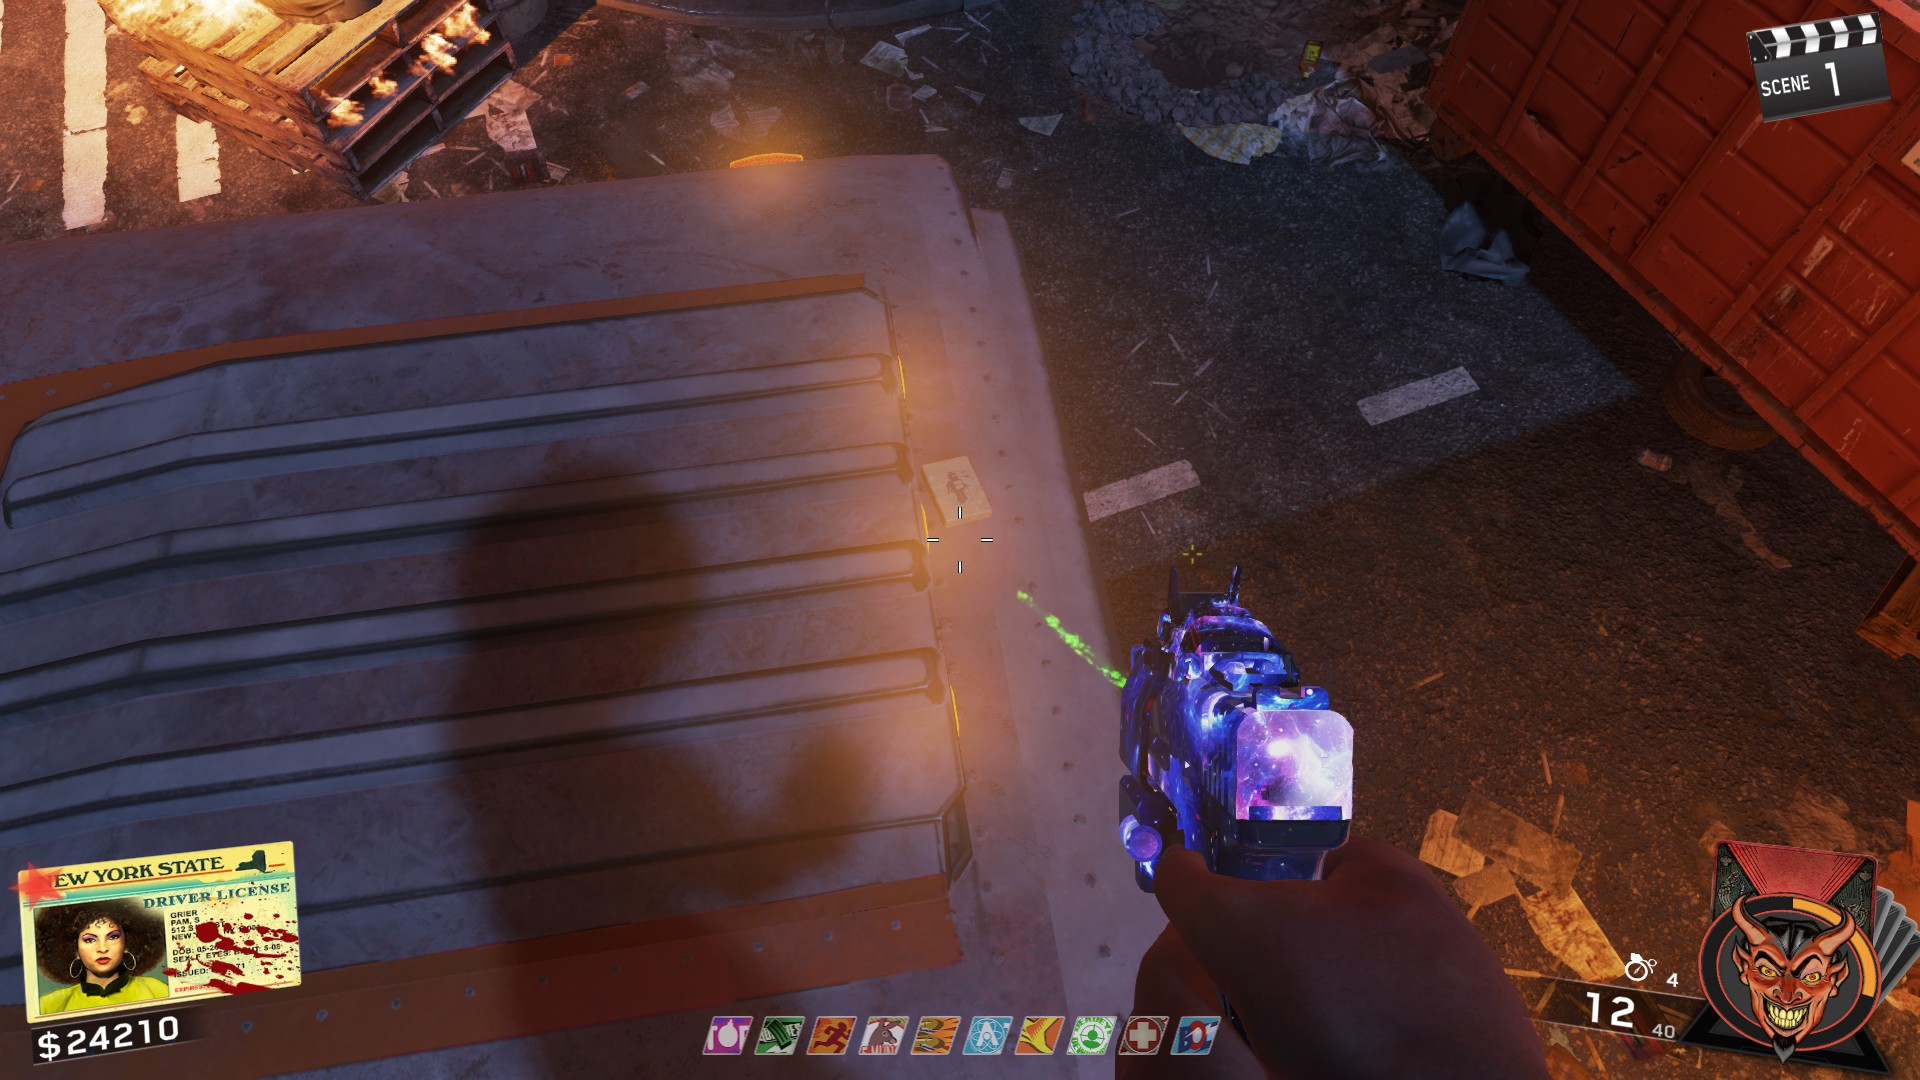
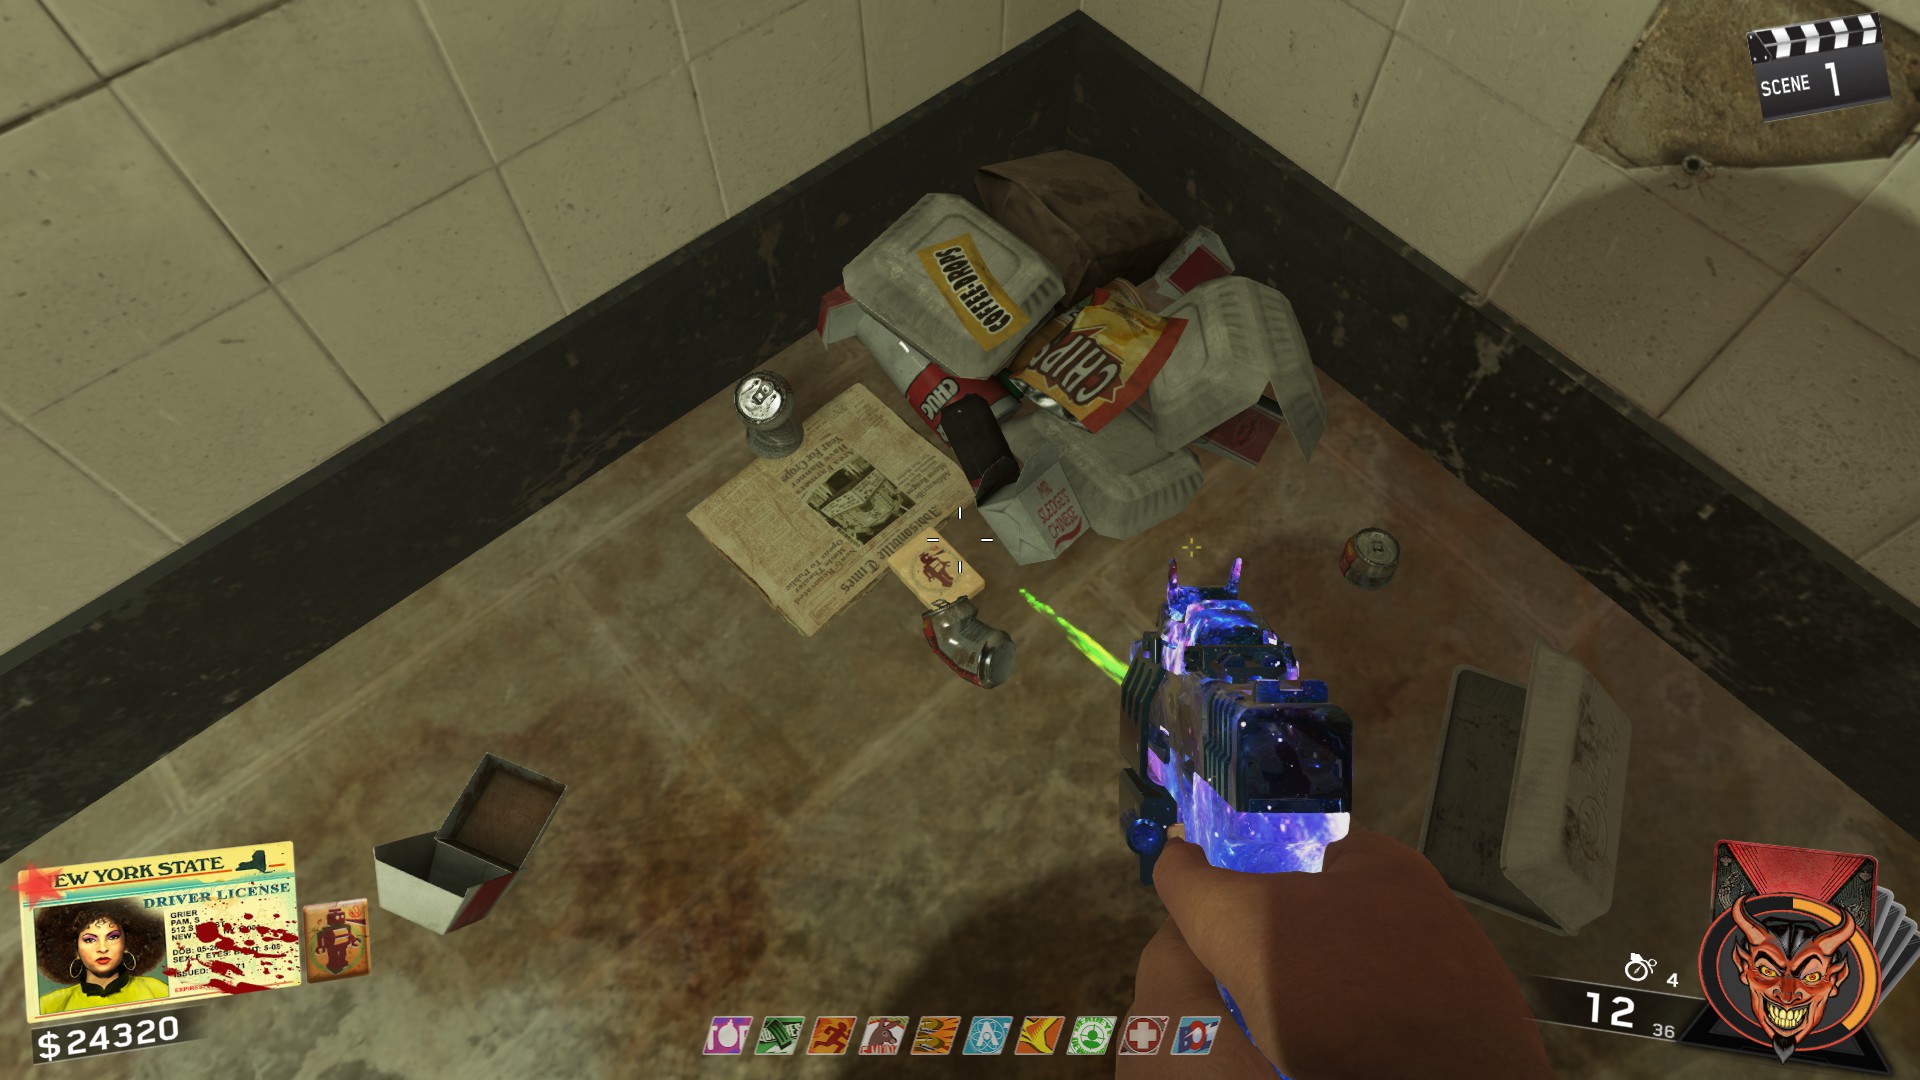
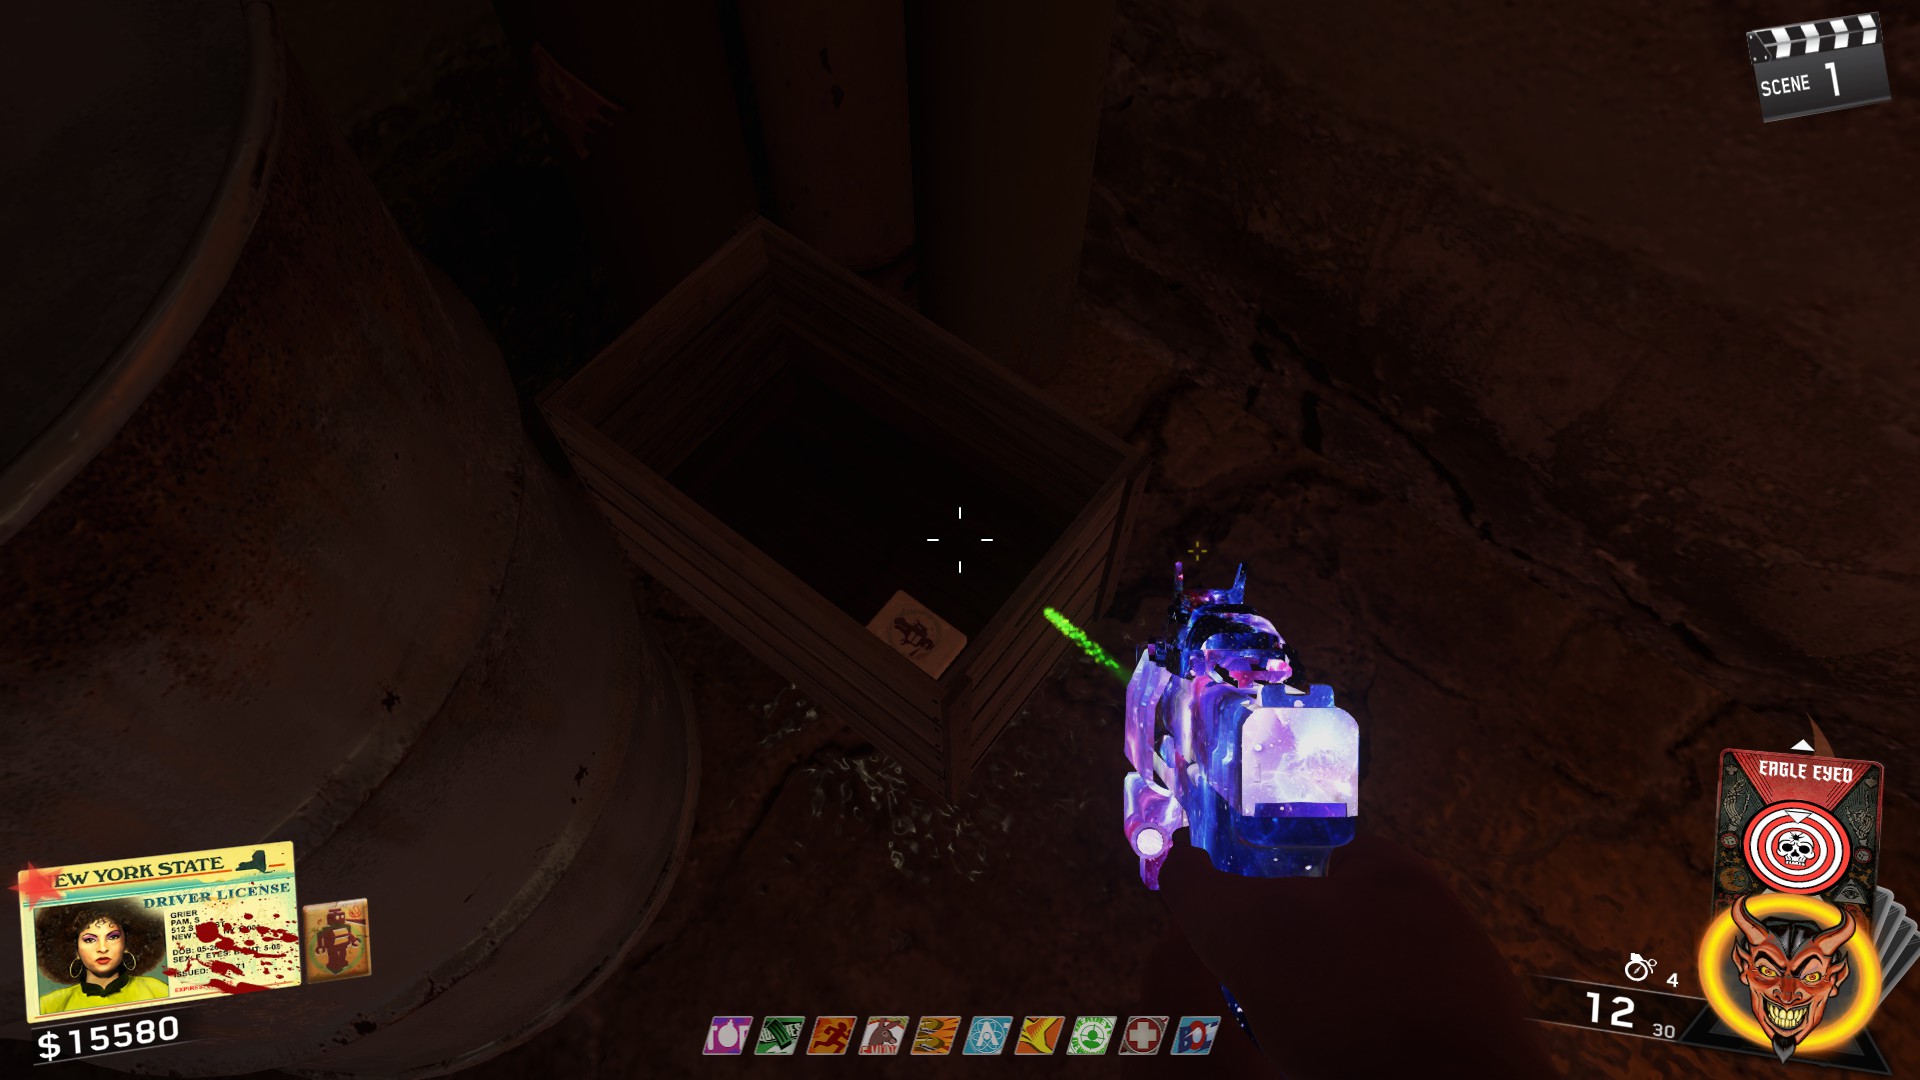

Table Location: behind the door near Racin' Stripes
- Up the ramp near the Dojo next to concrete bricks
- Up the ramp near the Dojo on a spool of wire
- On the ground in the staircase next to Racin' Stripes
- On a paintbucket near the garbage chute on the roof
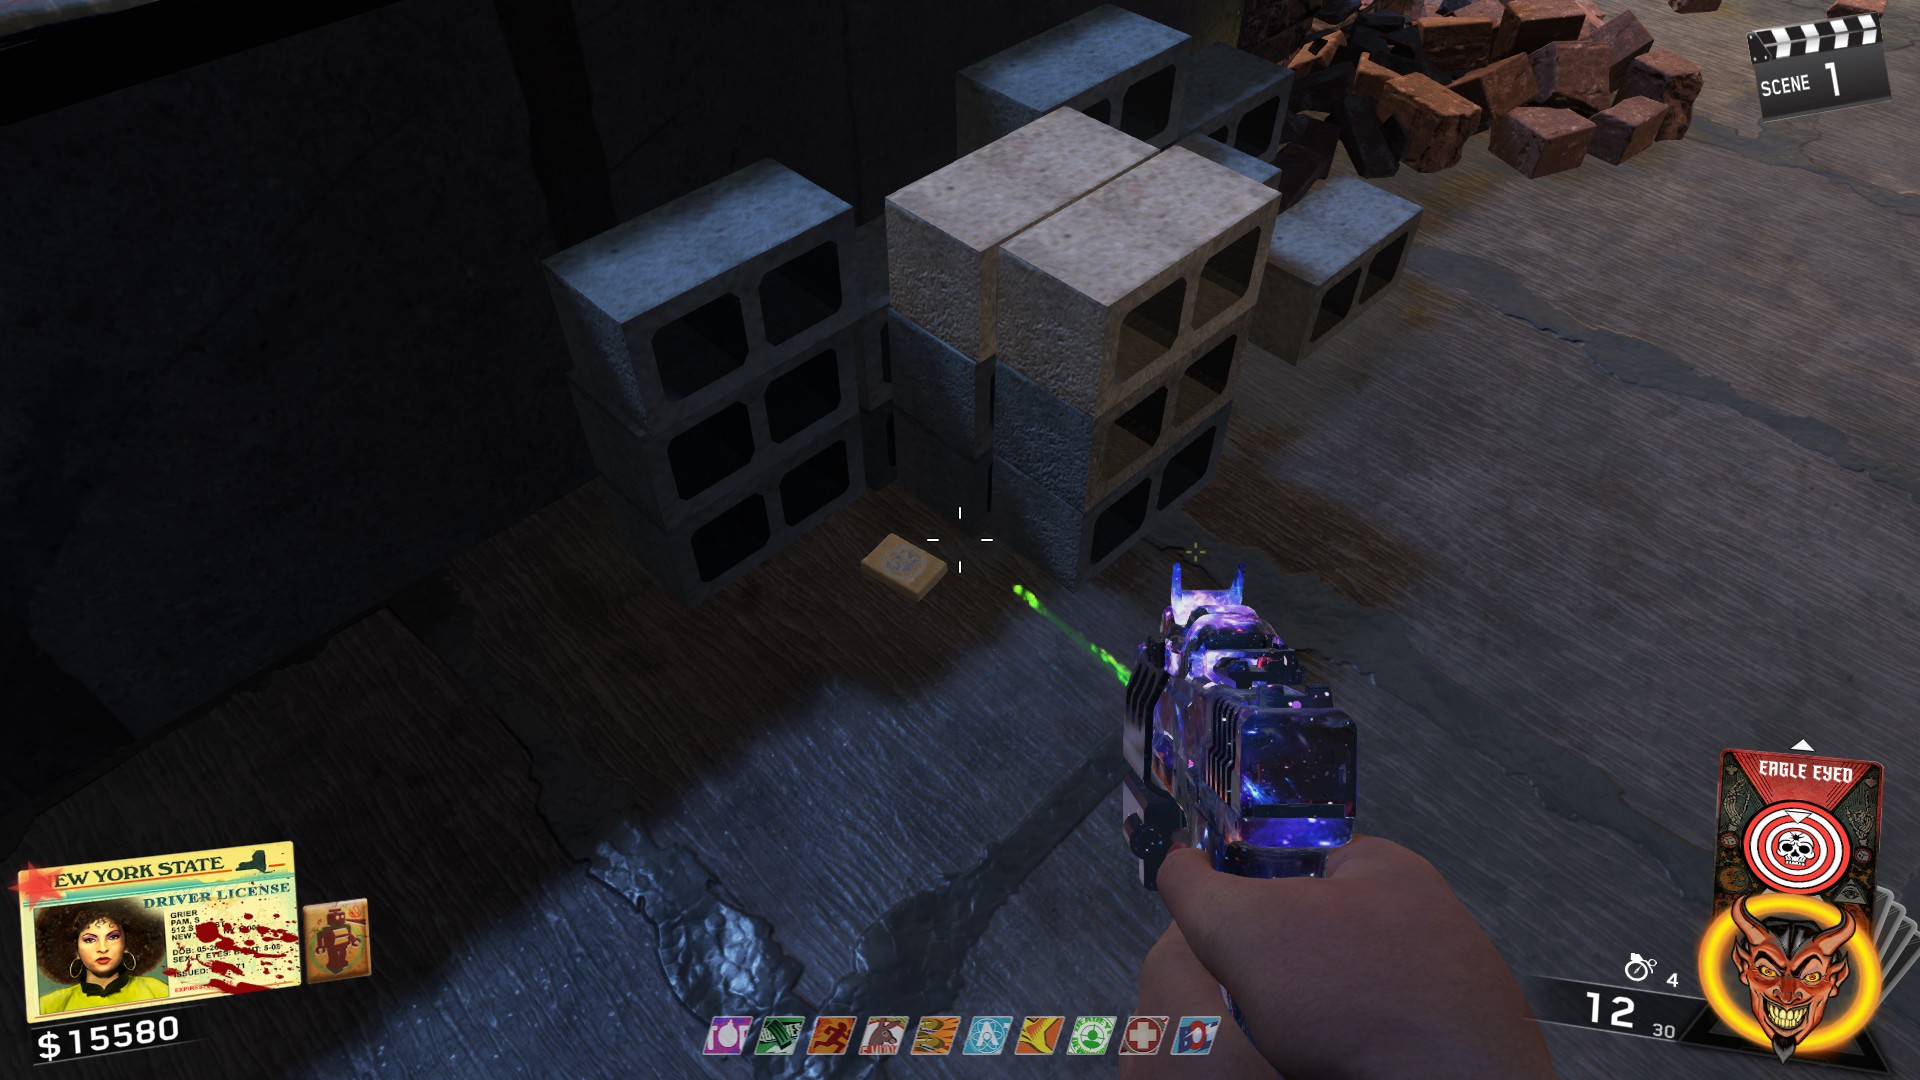
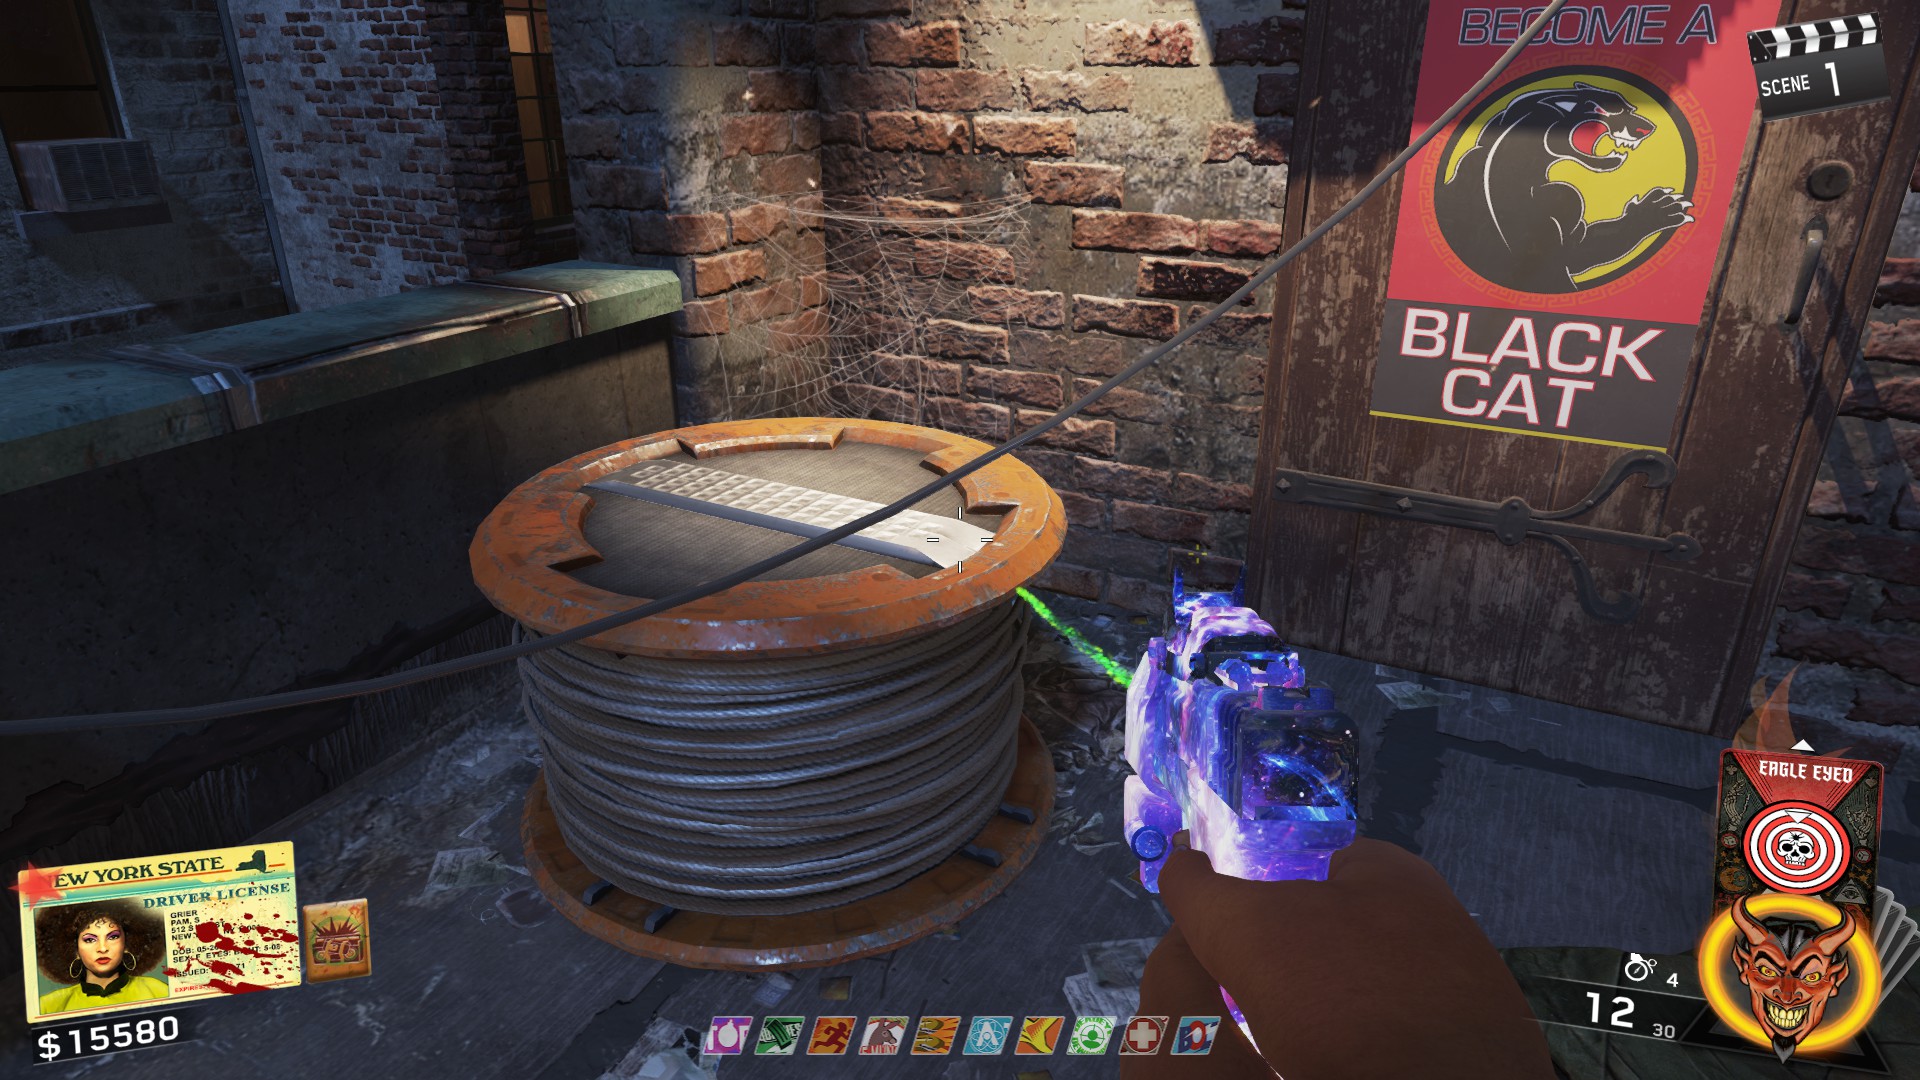
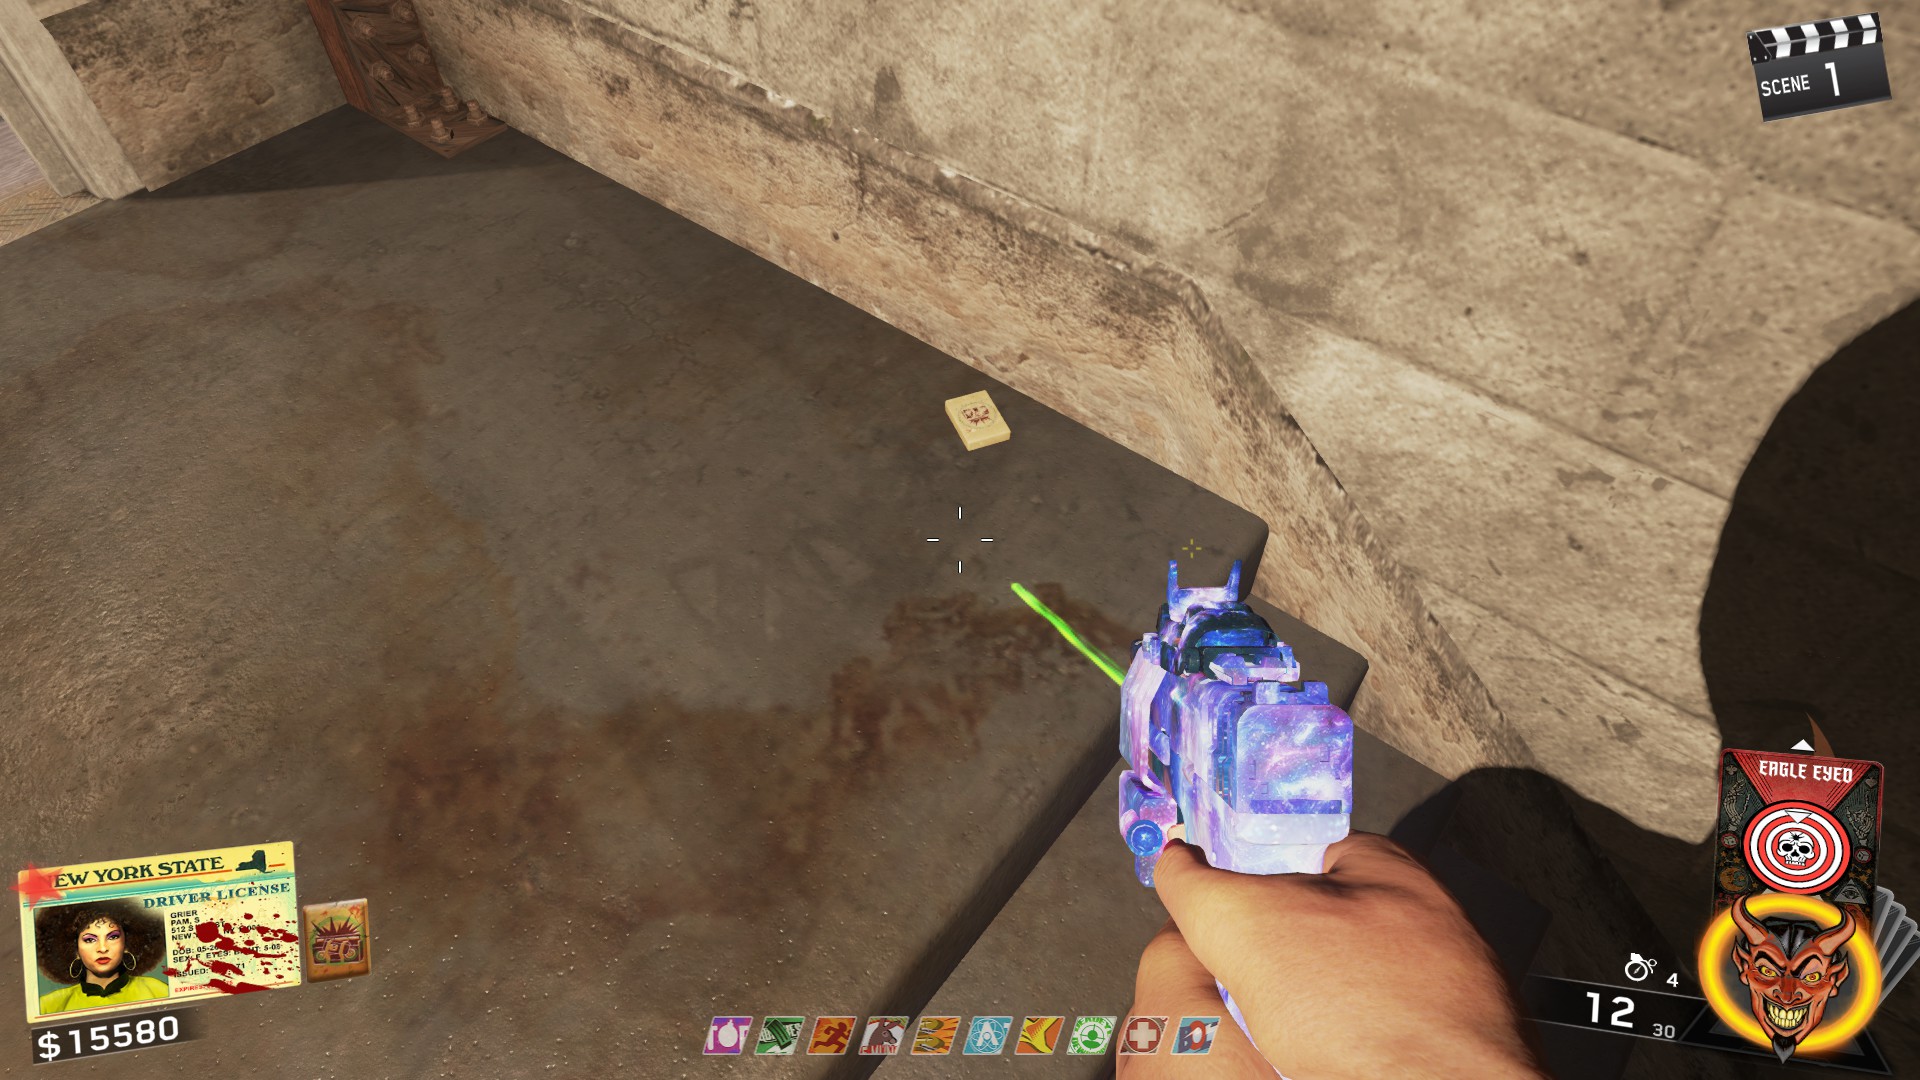
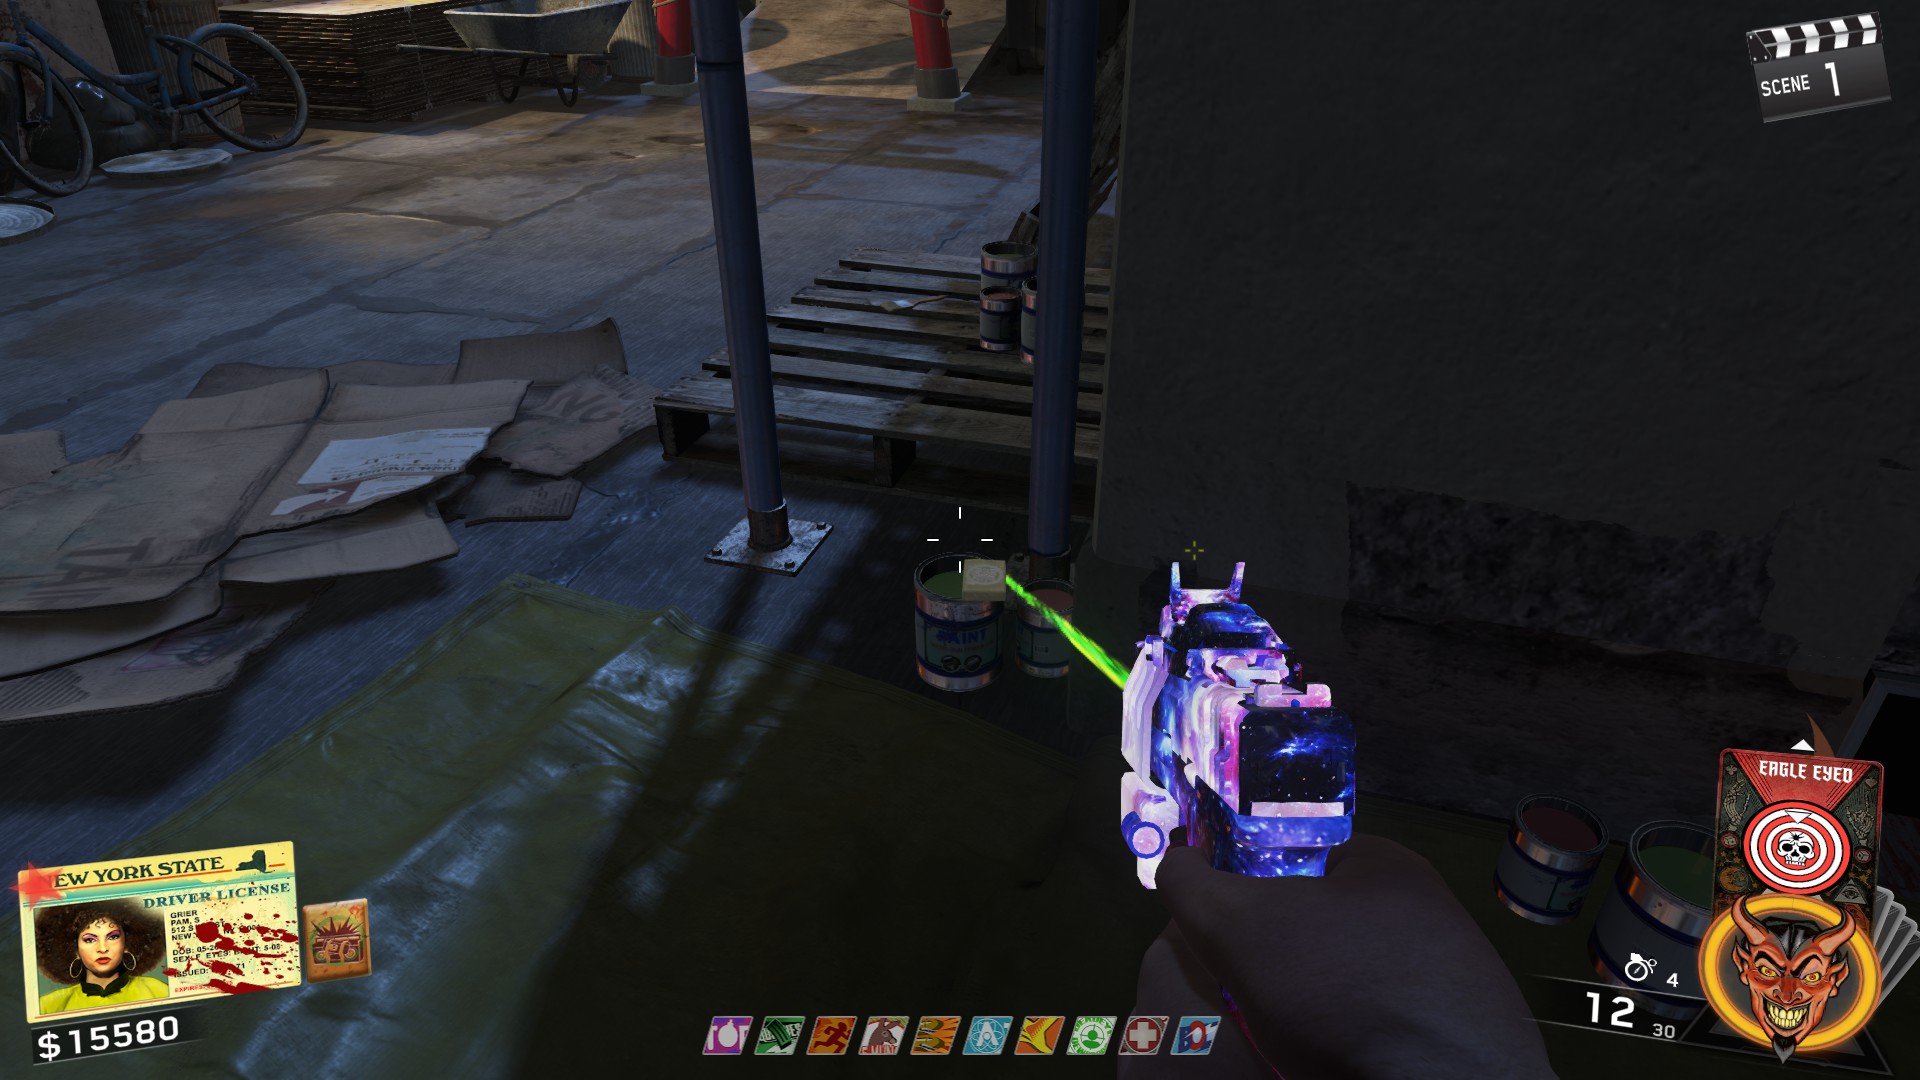

Table Location: next to Bombstoppers
- Opposite to the portal door near Mule Munchies to the left
- On the burning pallet near Mule Munchies
- On a white table in the private room of the Disco Inferno
- On a red table in the Heebie Geebies next to a hookah
- To the right of the buildable table in front of the fence
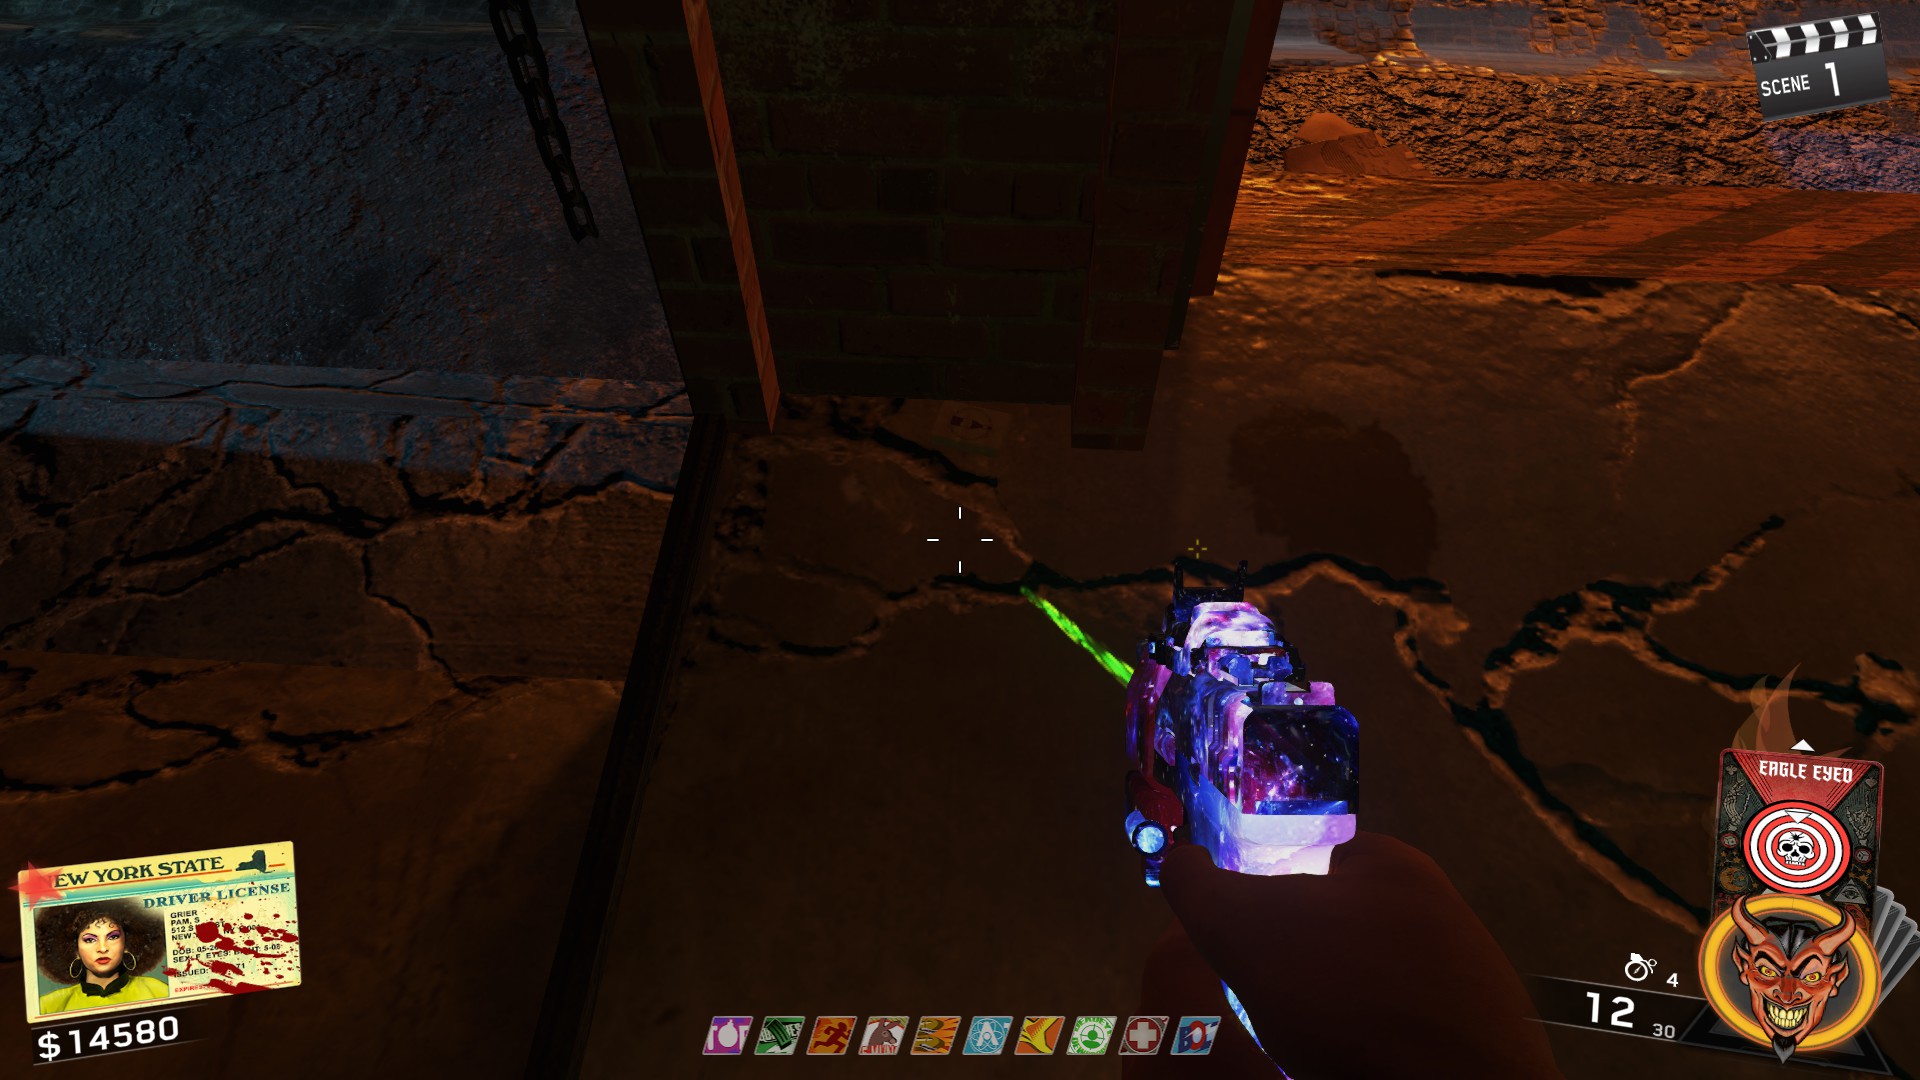
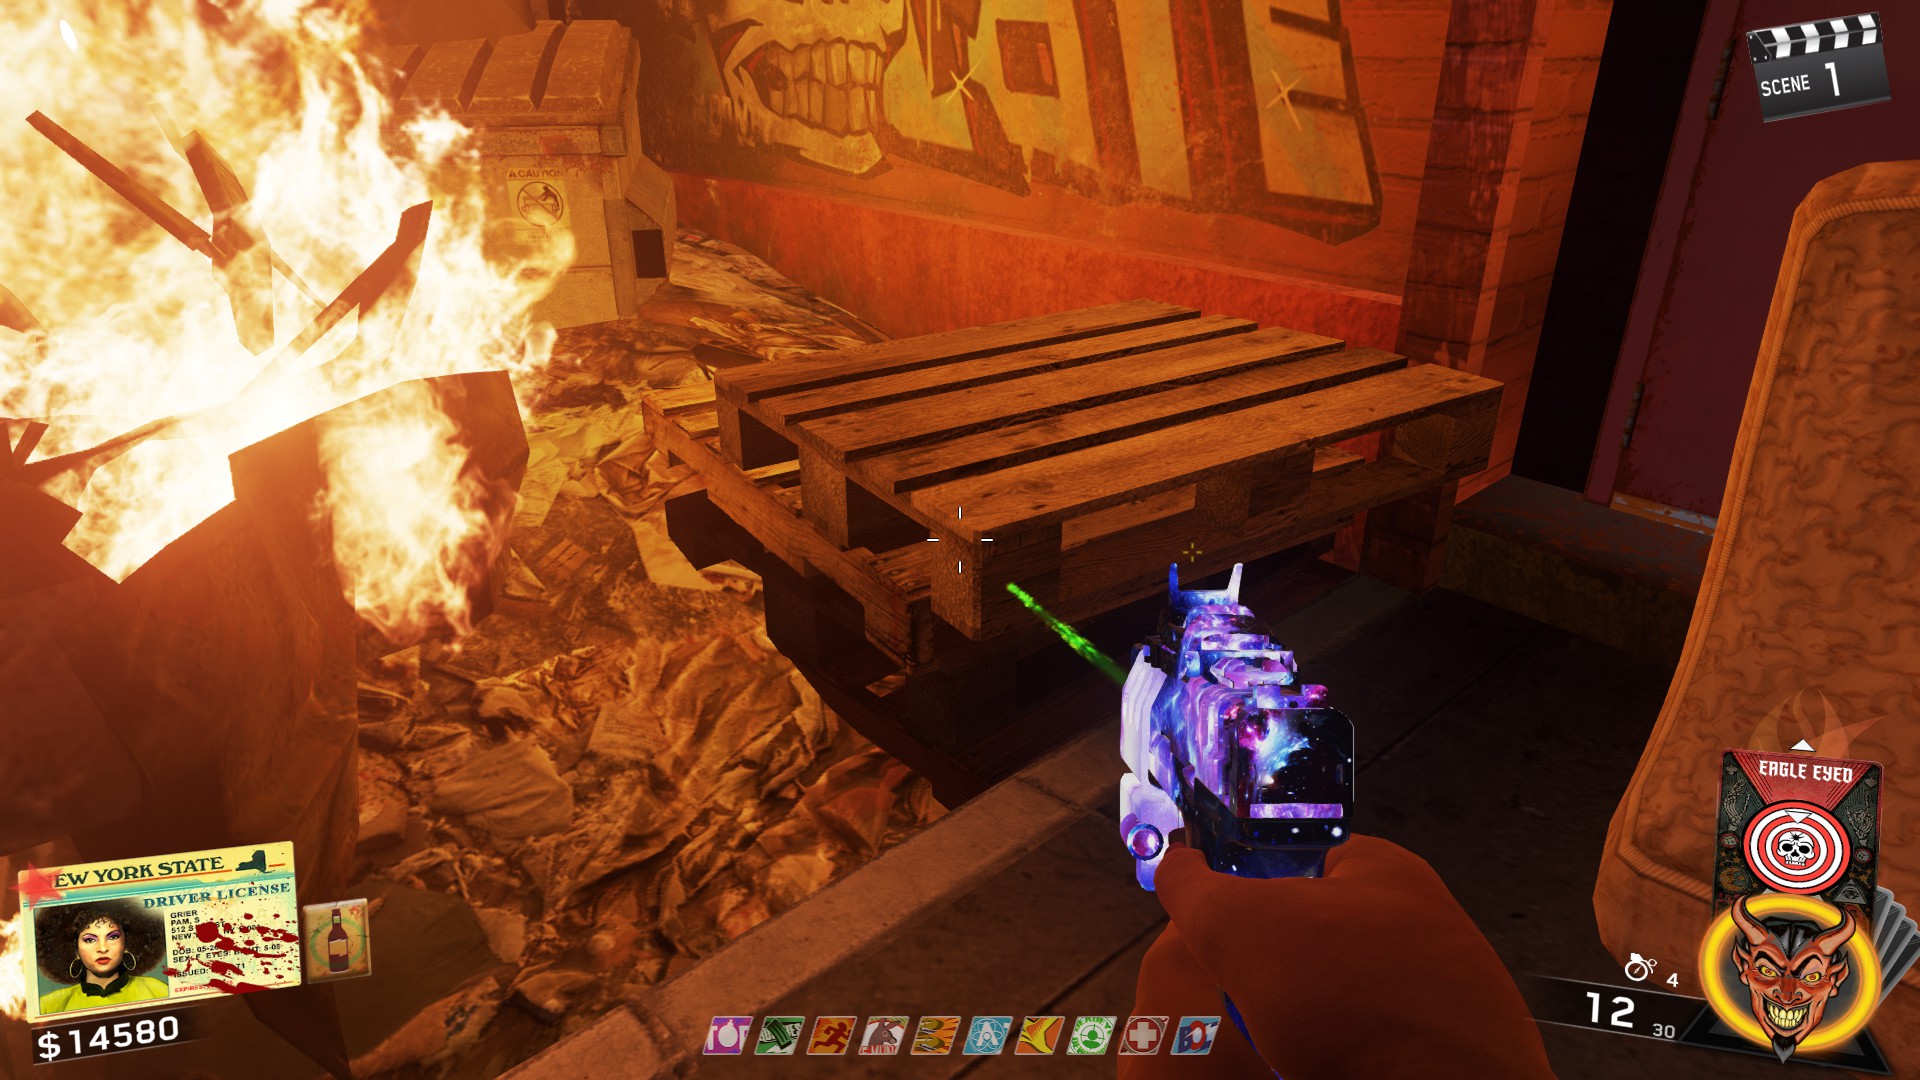
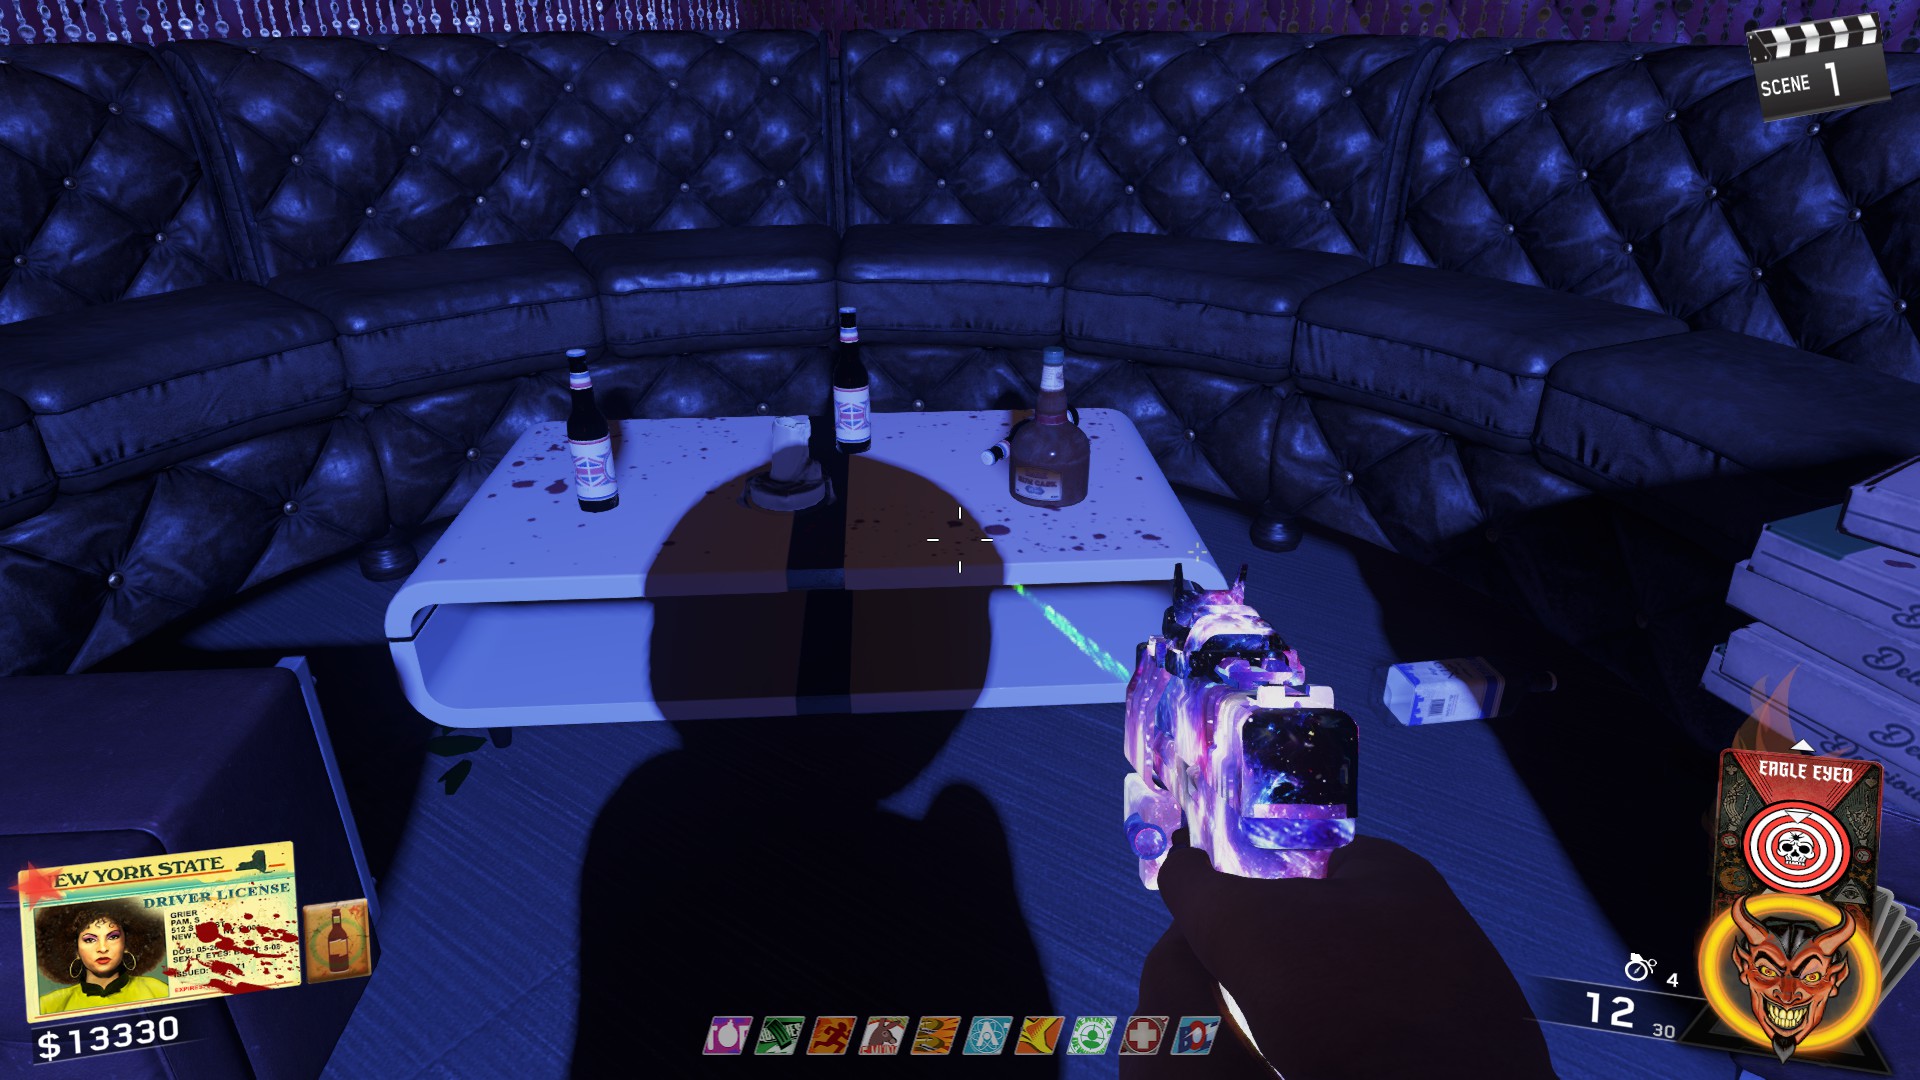
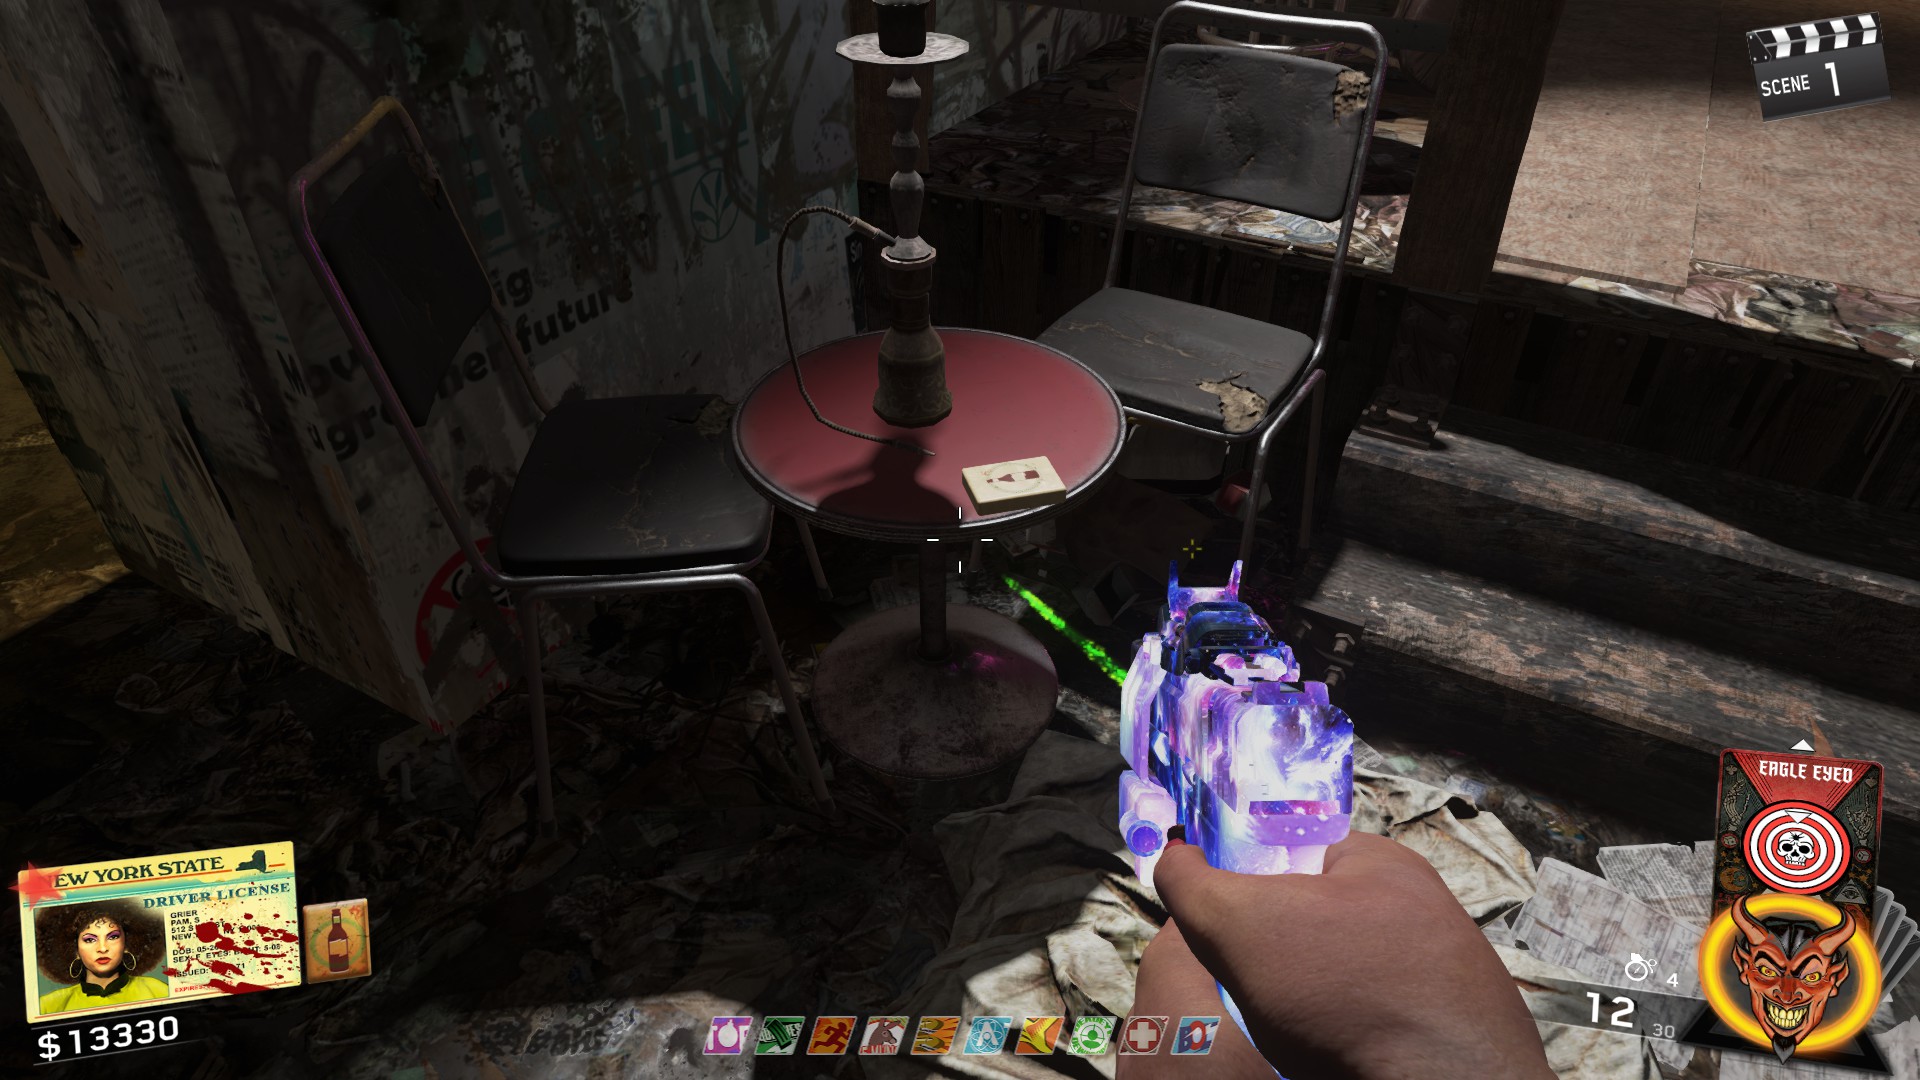
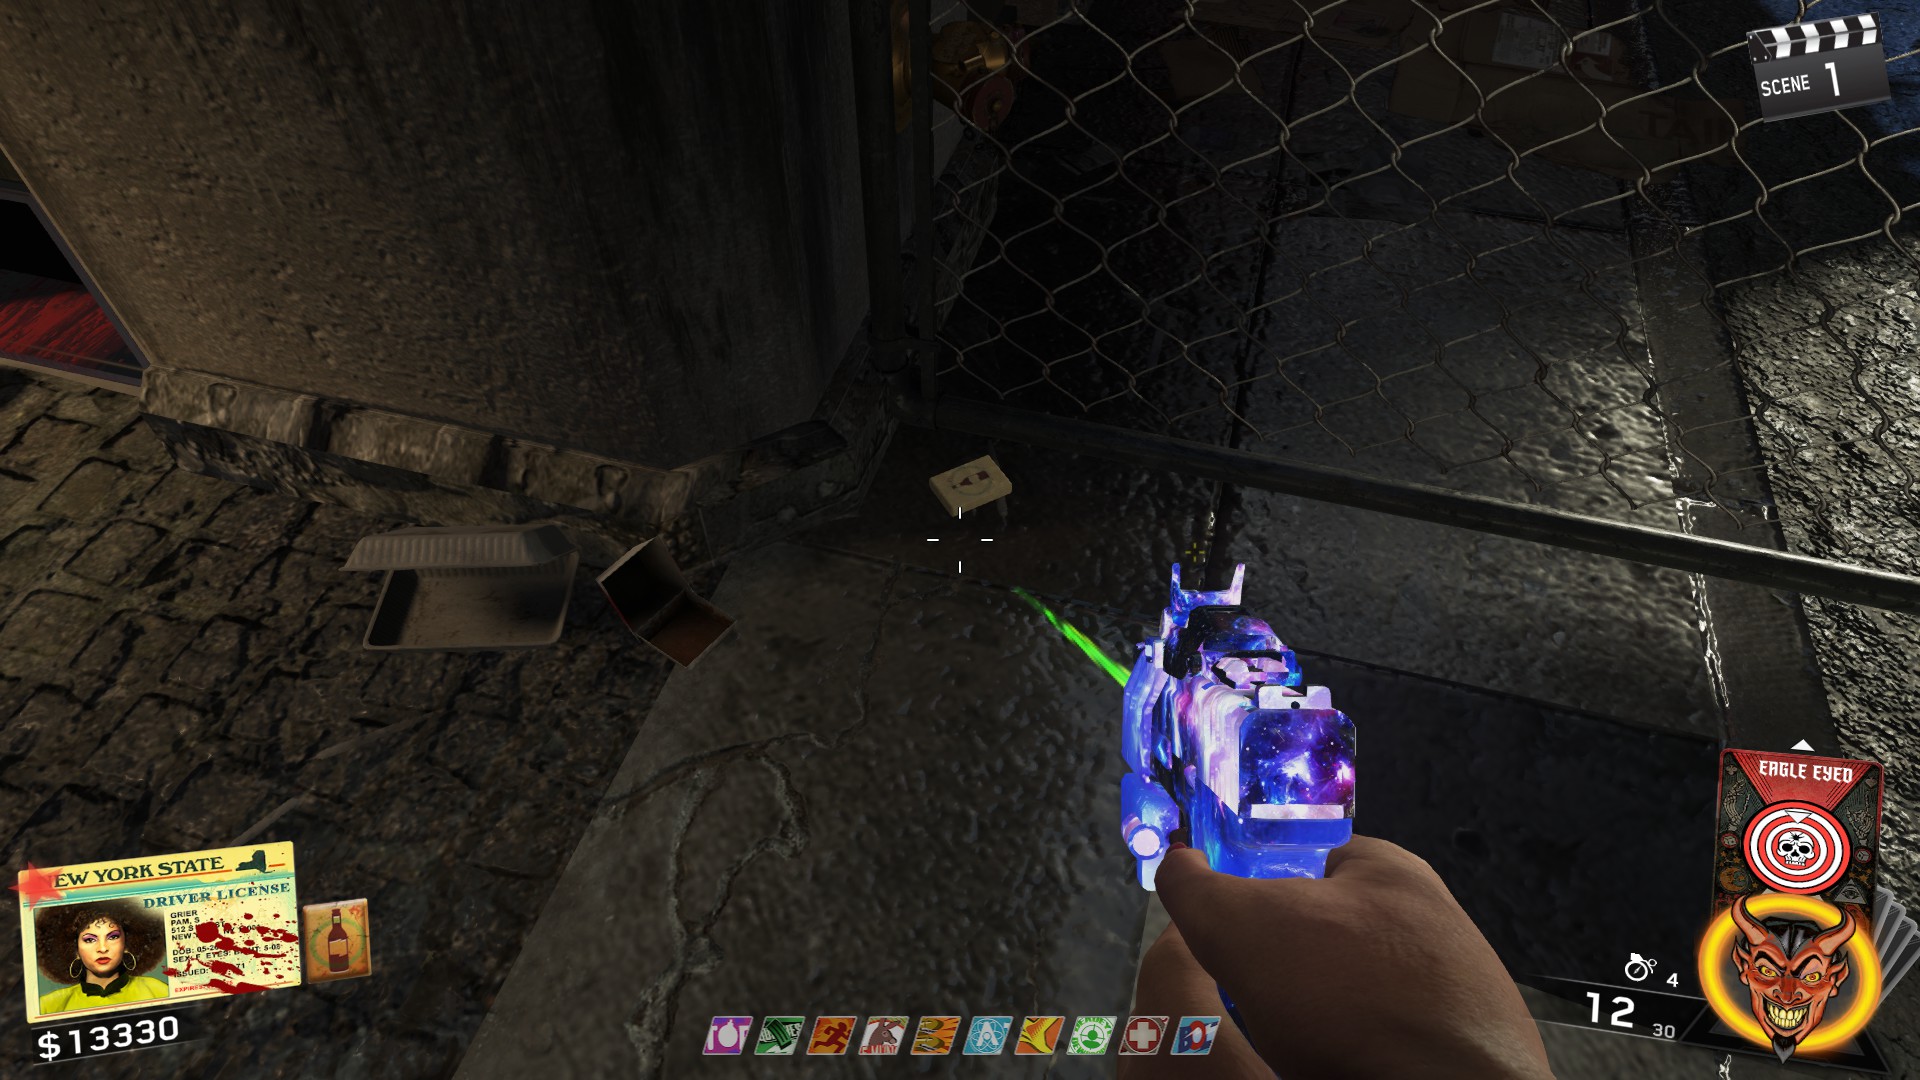

Table Location: next to the Mystery Wheel near Deadeye Dewdrops
- On a white table outside the Disco Inferno next to the R-VN wallbuy
- Up the stairs near the previous location on a dirty sheet
- Opposite to the Volk wallbuy on the ground
- In the top part of the Alleyway to the right of the Mystery Wheel location
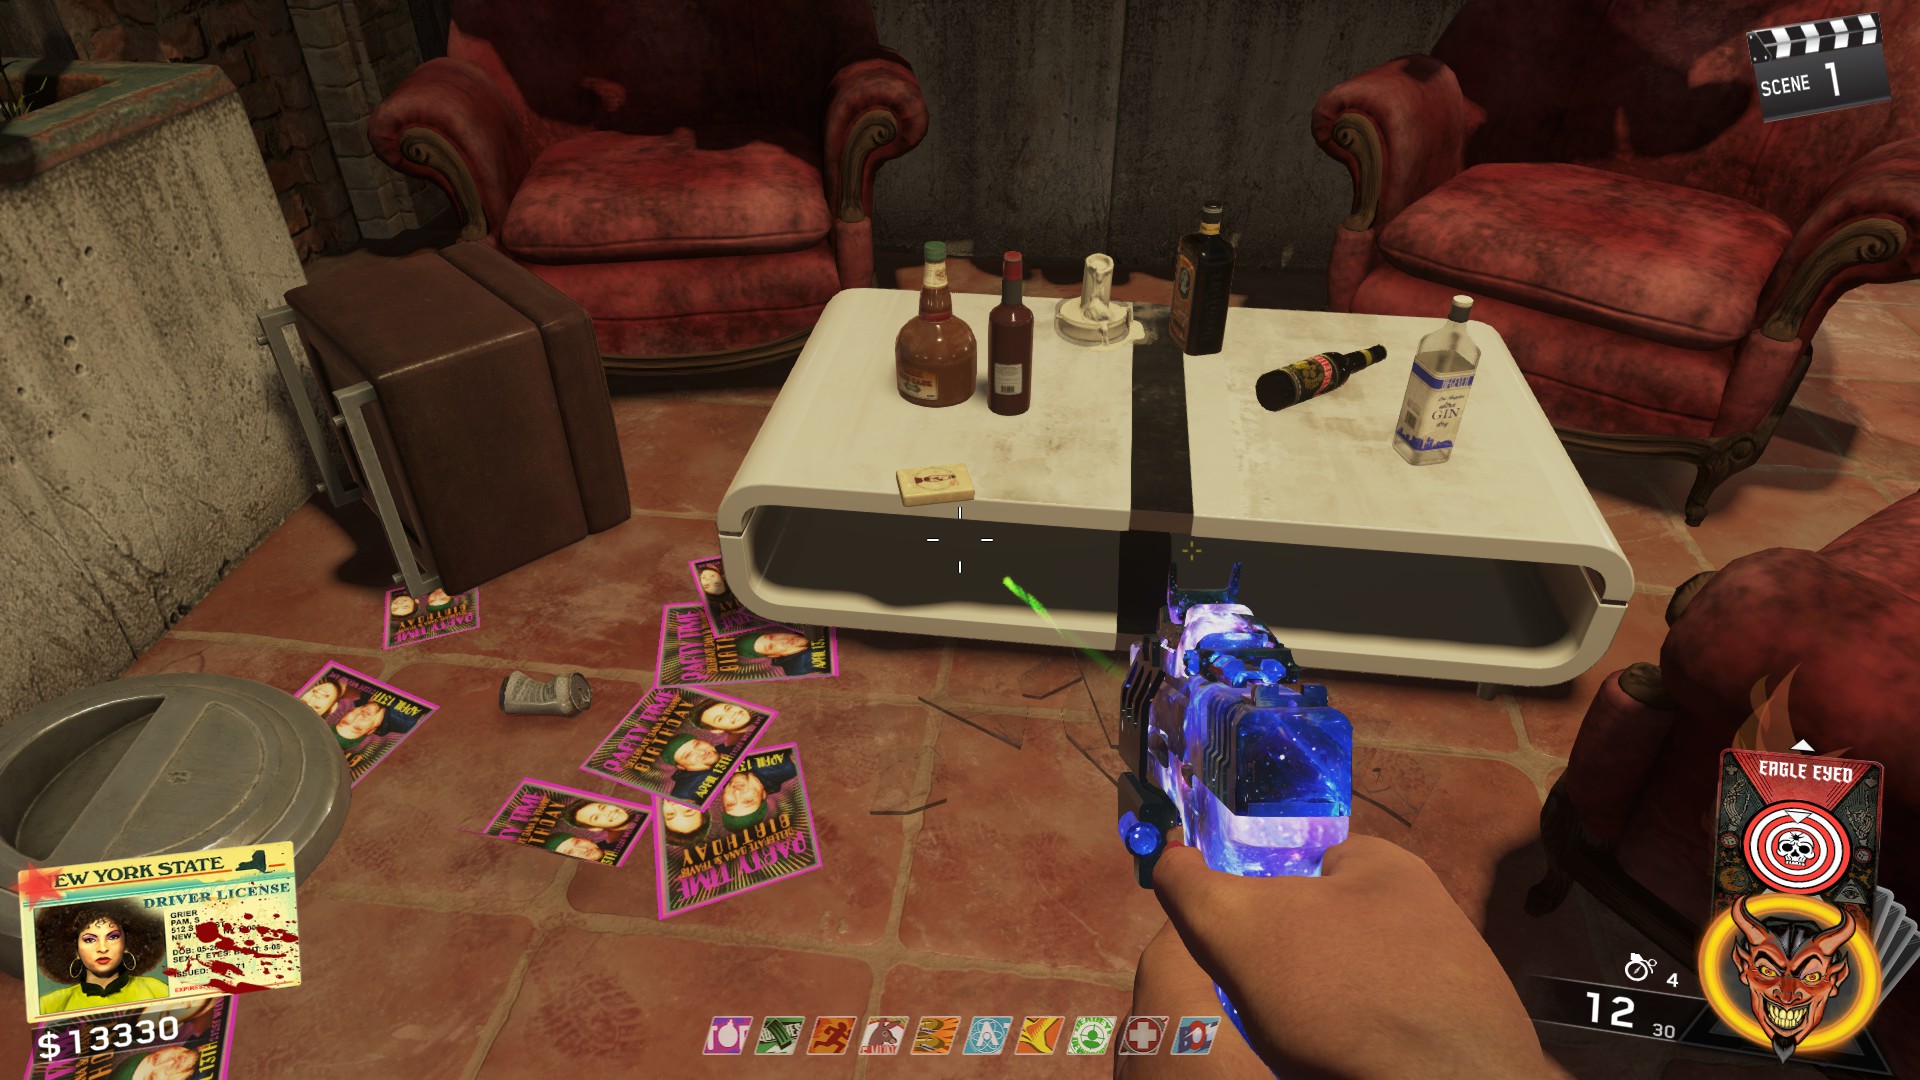
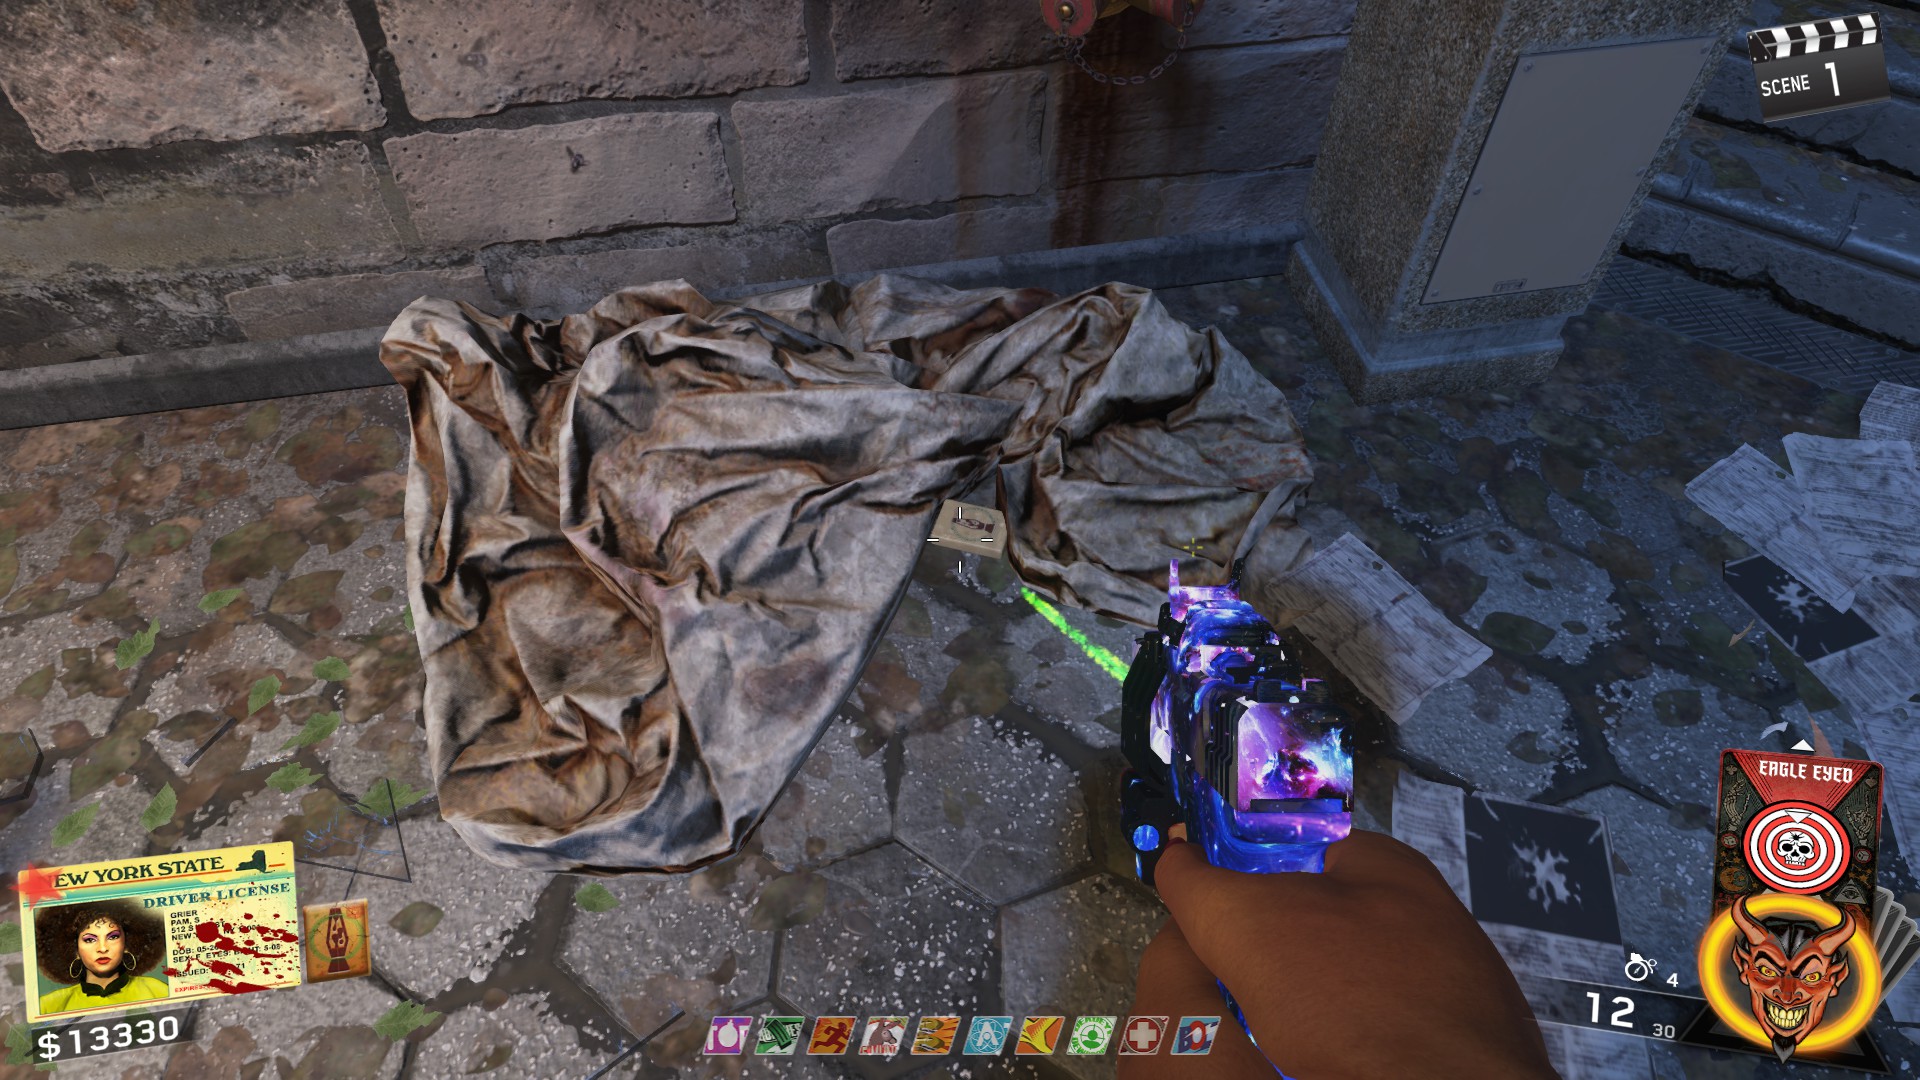
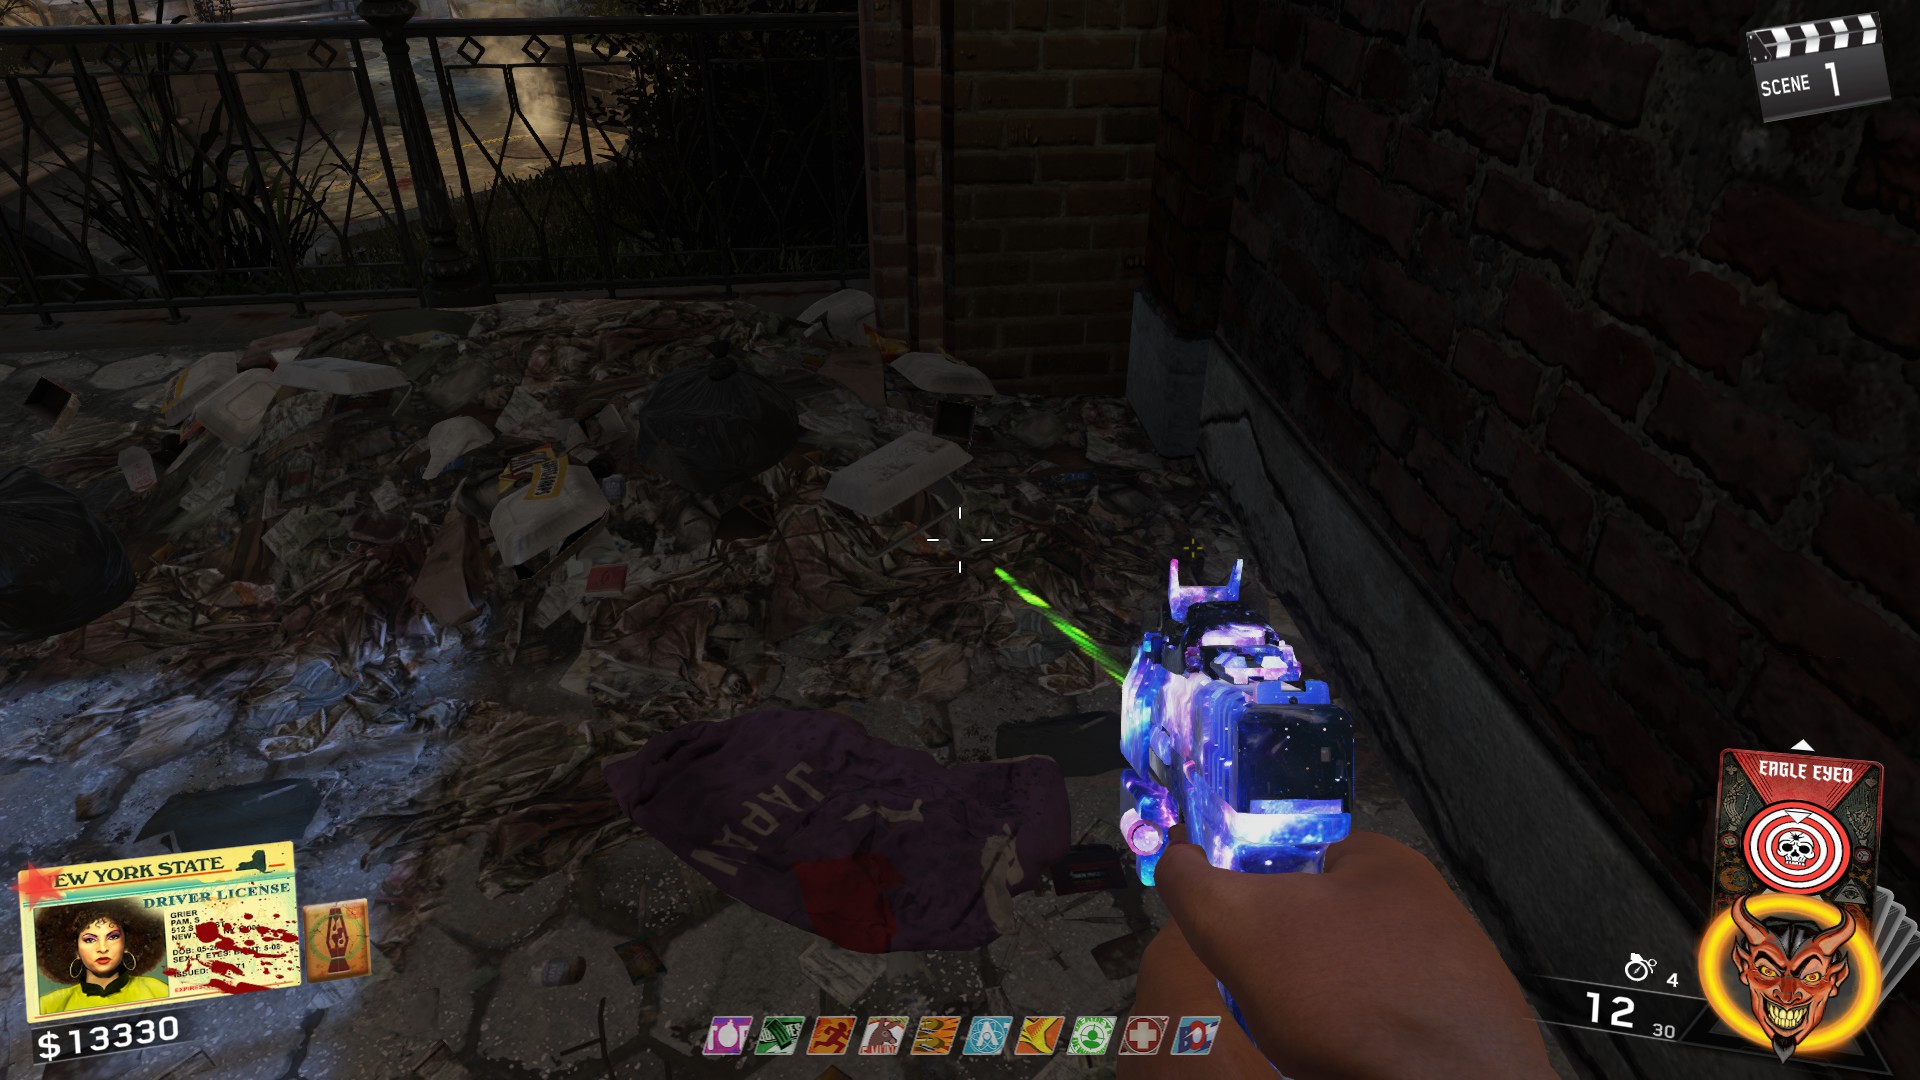
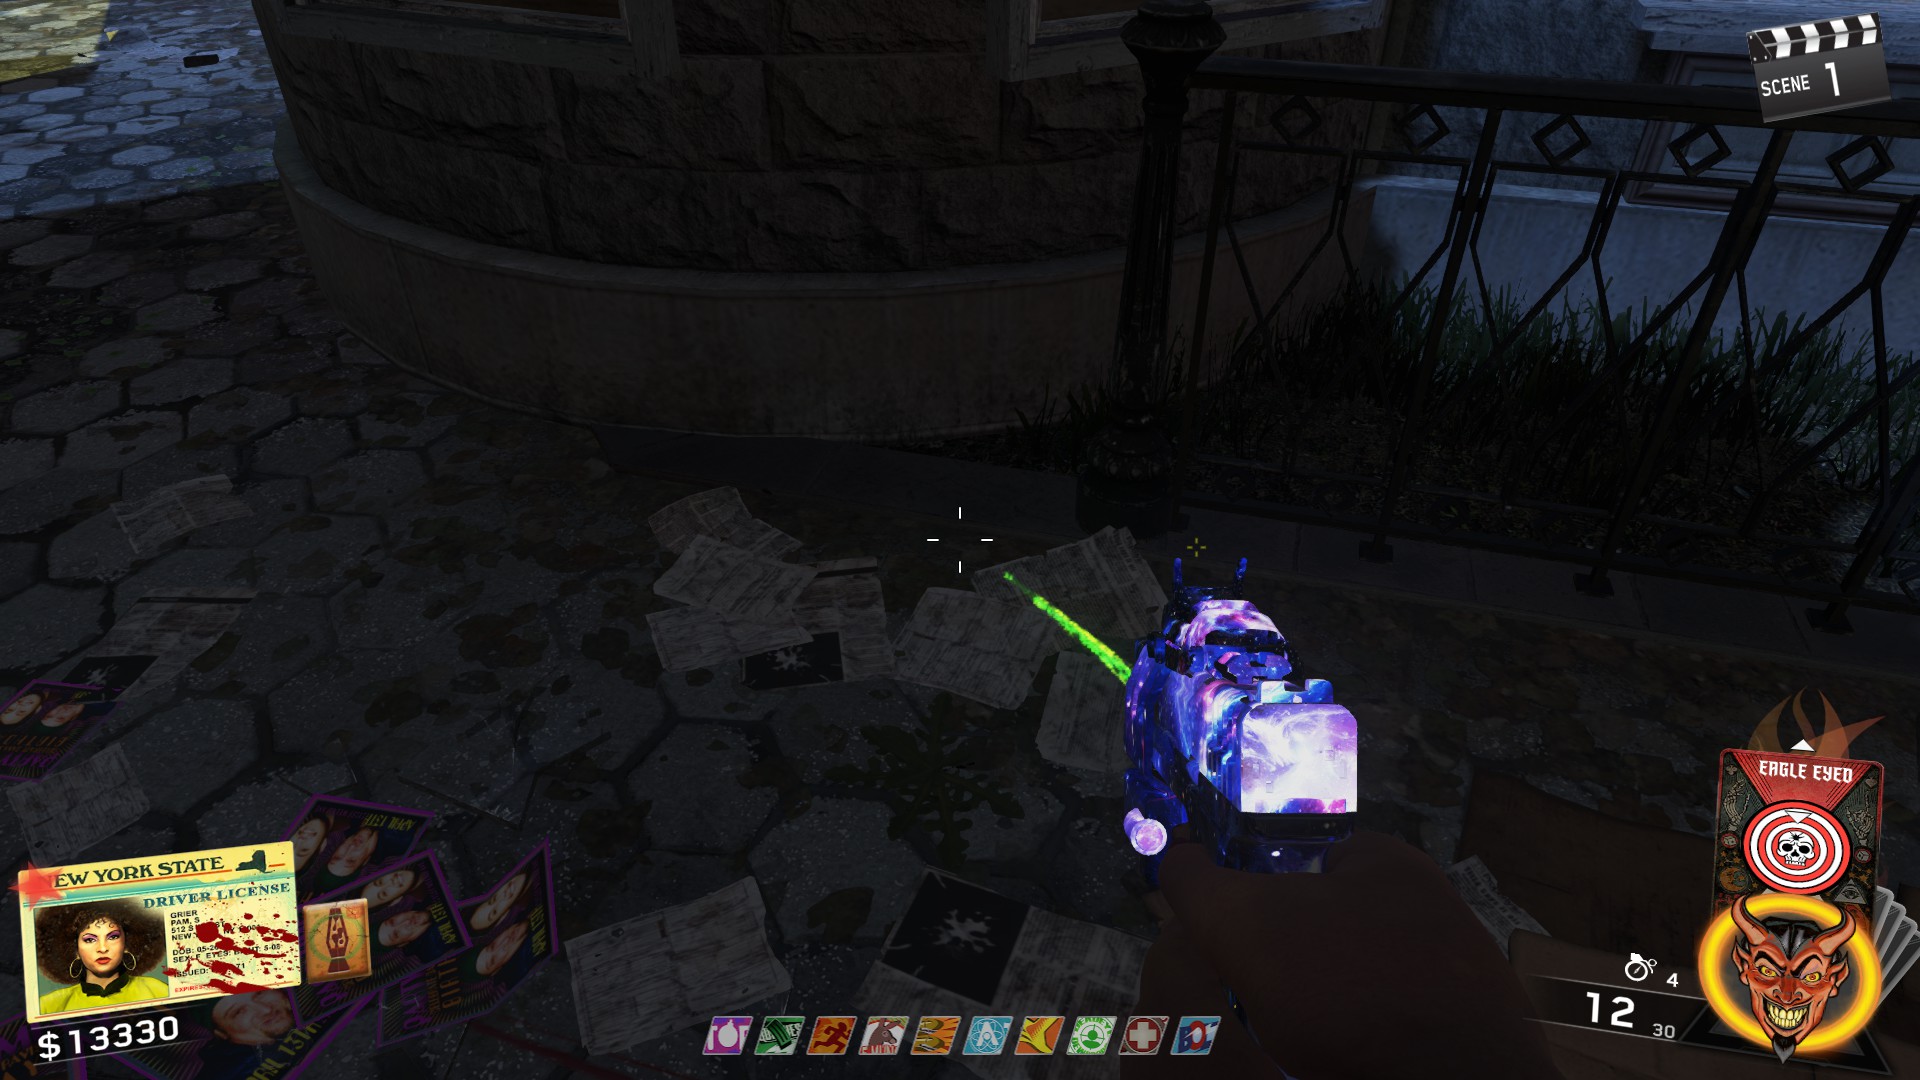

Table Location: opposite Blue Bolts
- In the front of the entrance to the subway near the Disco Inferno
- Next to the white van in front of The Pink Cat
- Next to the Mystery Wheel outside the Disco Inferno
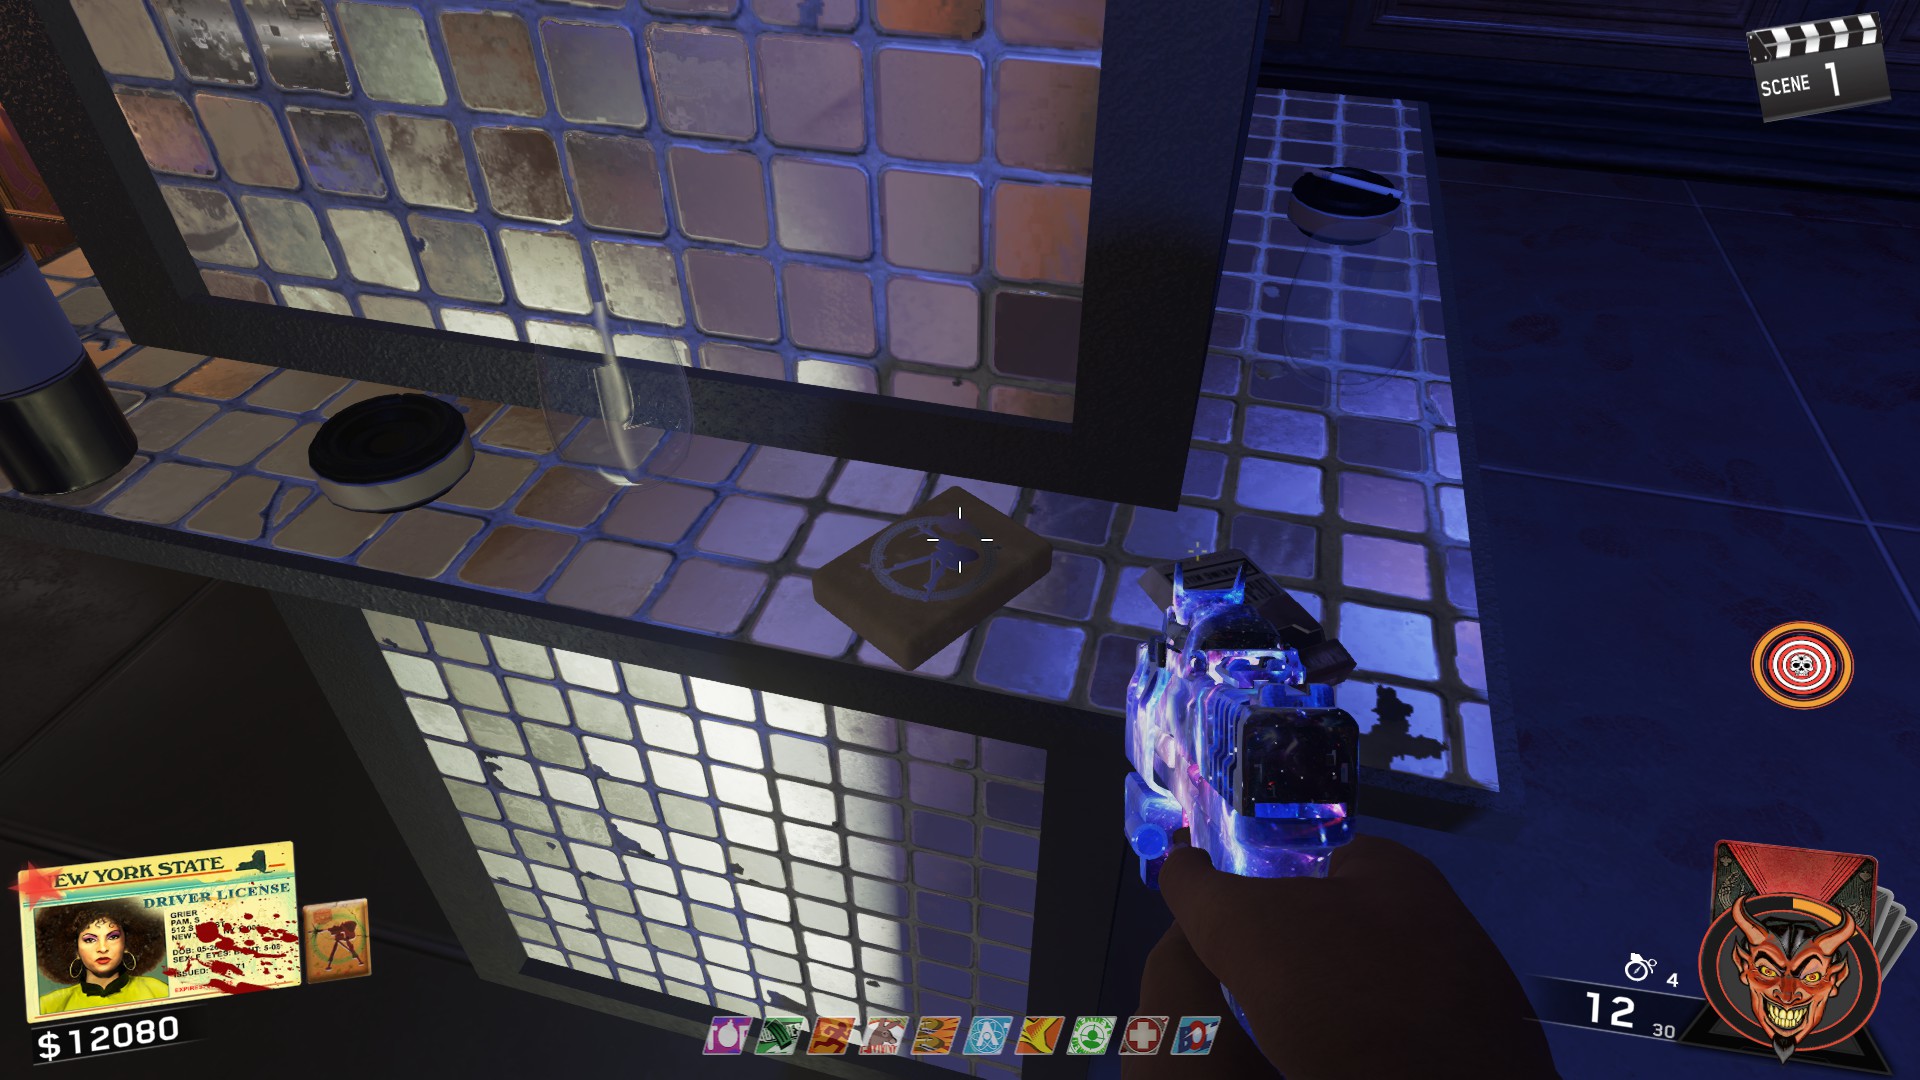
- On the counter of the blue room inside the Disco Inferno
- 2nd Floor of the Disco Inferno on a counter on a support beam
- On a wooden box next to the stairs near Tuff 'Nuff
Main Quest - Part I
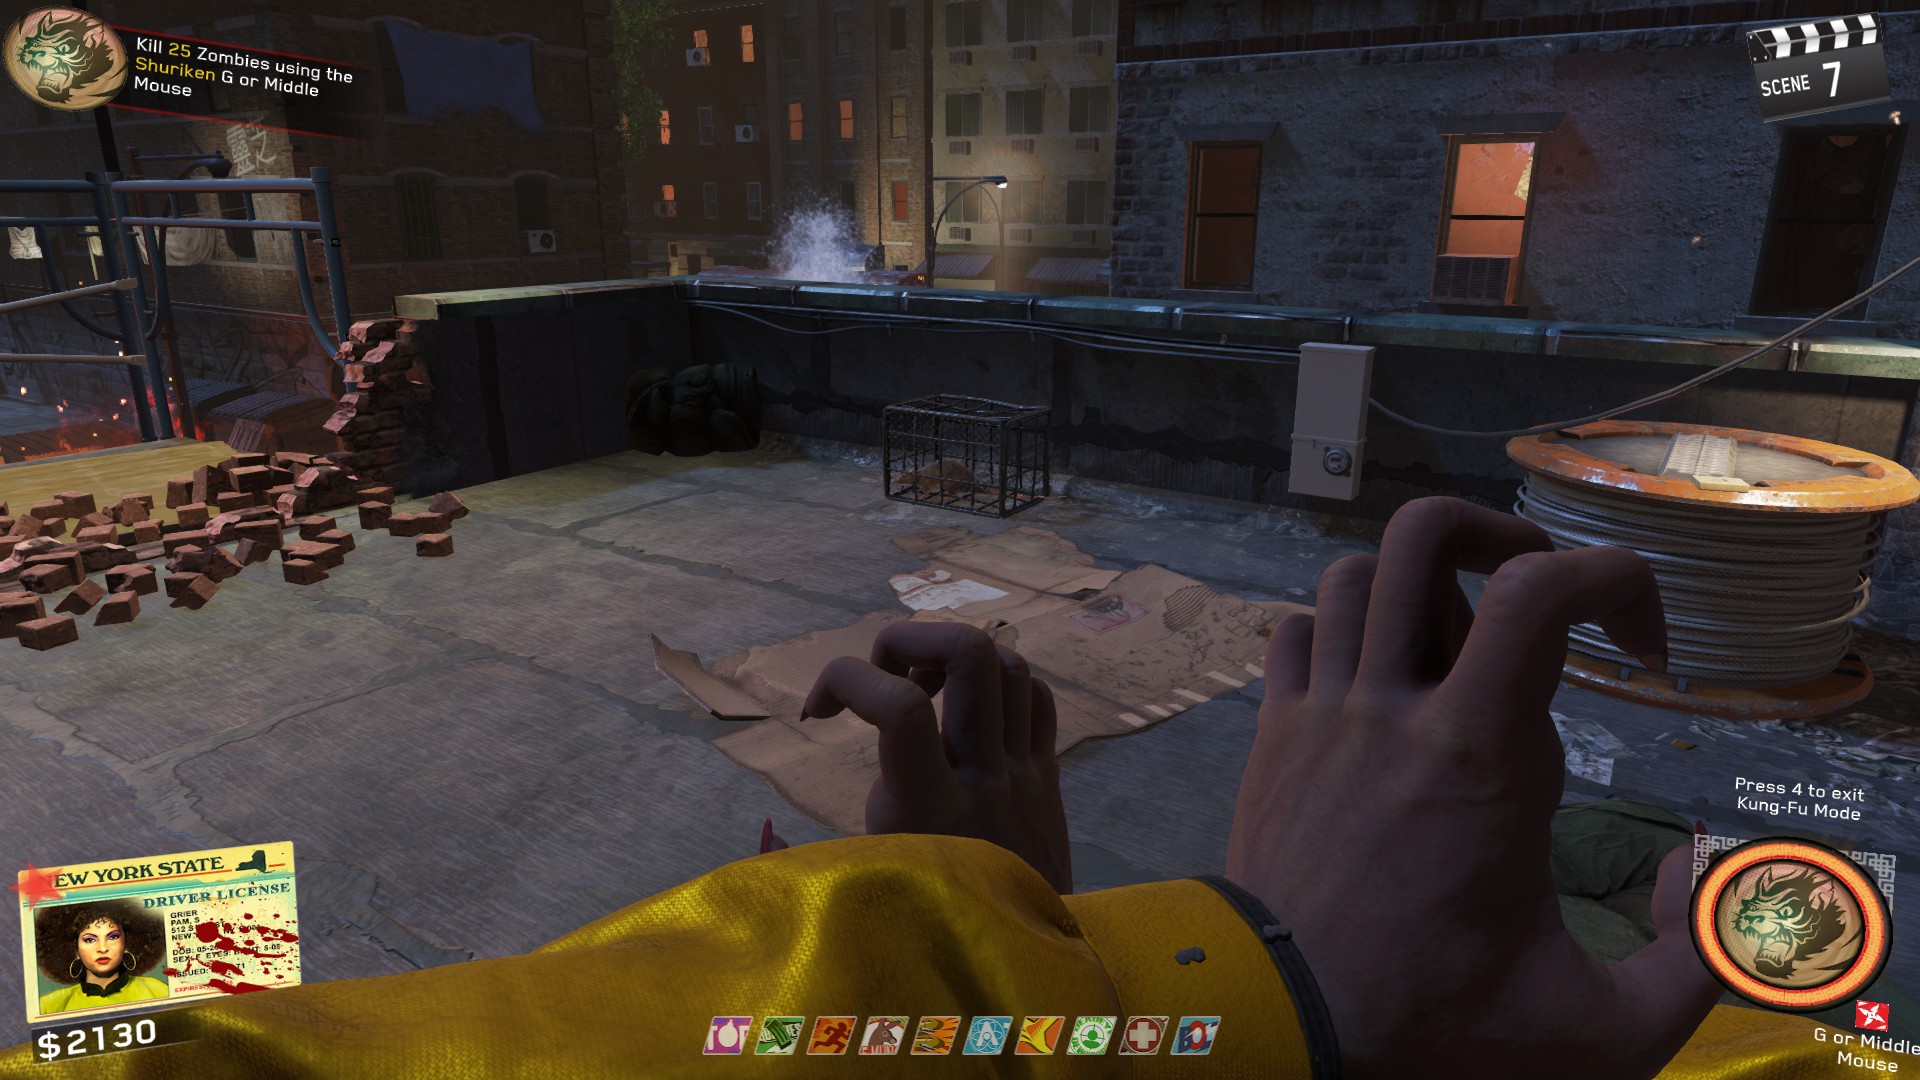
You'll need to follow this rat as it goes into other rat cages around the map. Once the rat enters a new cage, Throw a Shuriken at the cage to release it again. Once you've done enough cages, the final cage will spawn a Large yellow circle.
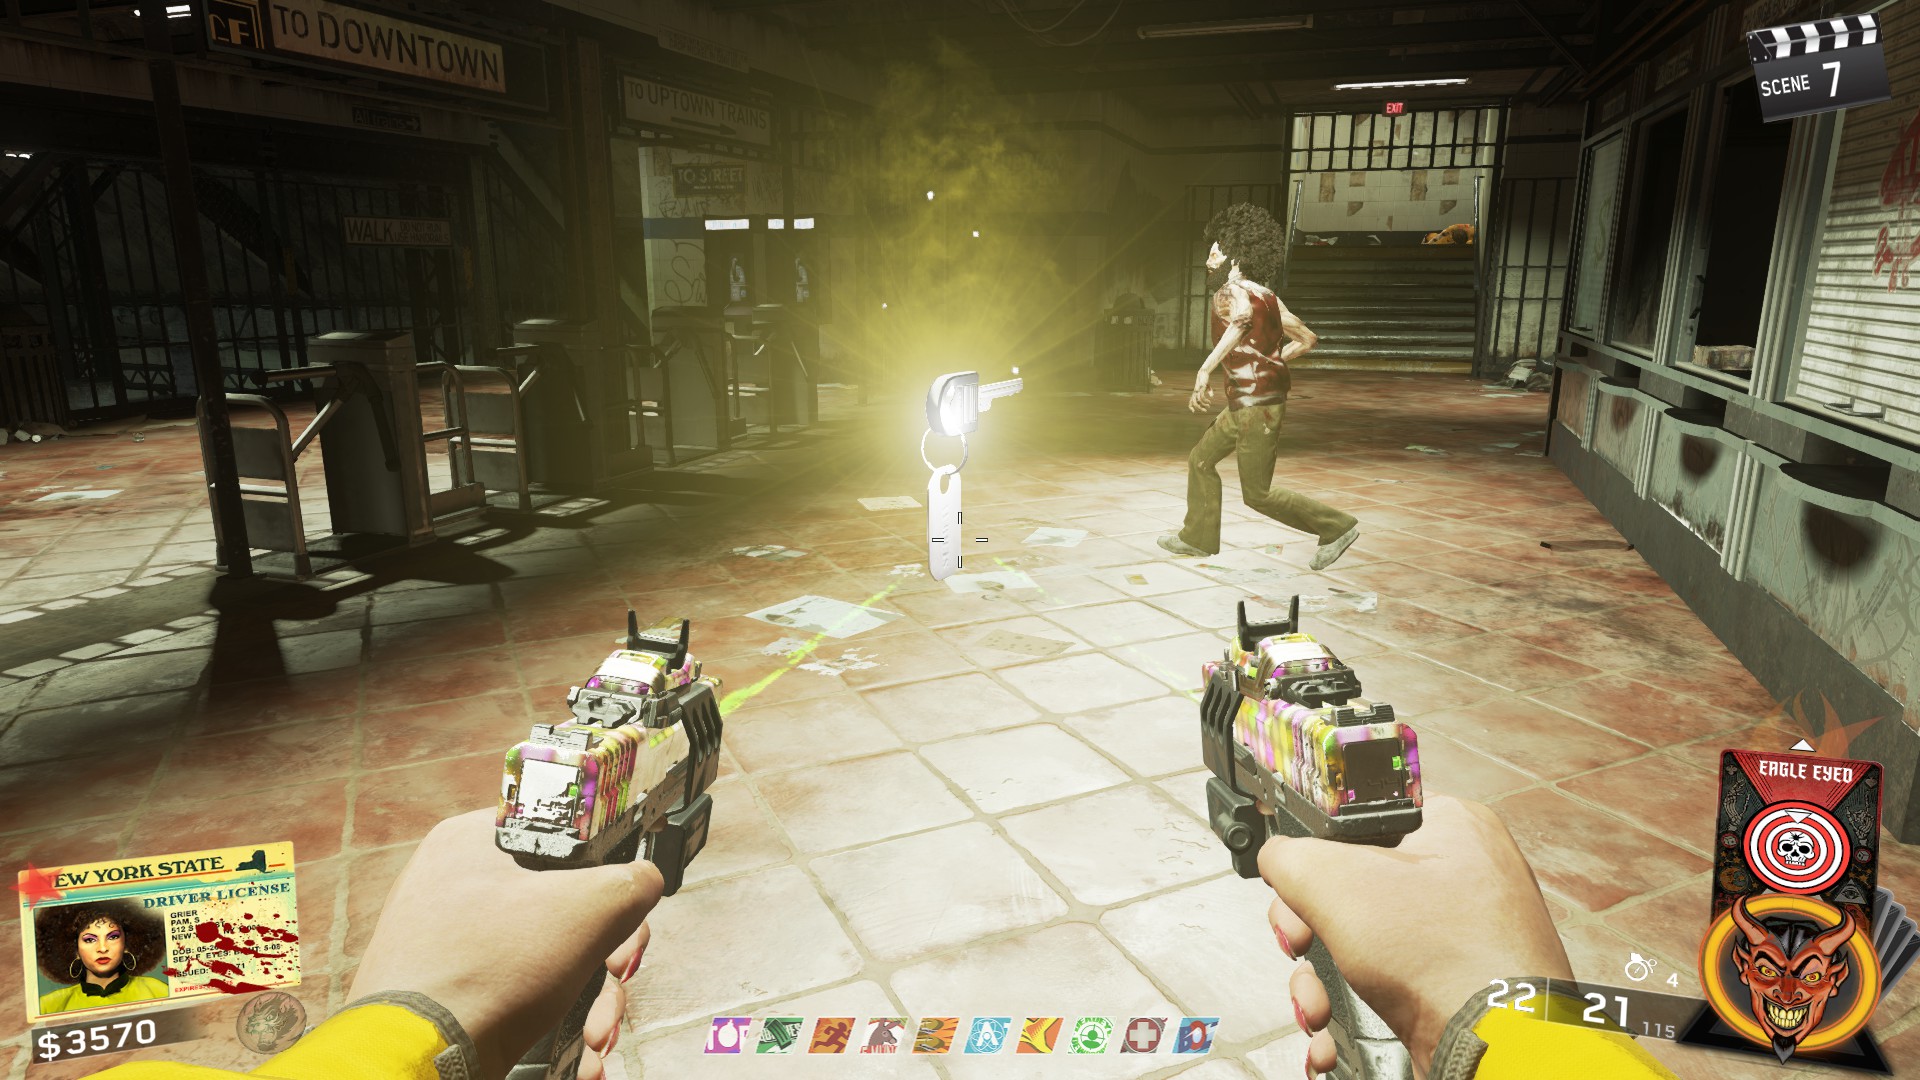
Kill zombies inside in the circle. When the circle disappears, Shaolin zombies will spawn in. Kill the Shaolins and a key will spawn where the Large yellow circle was.
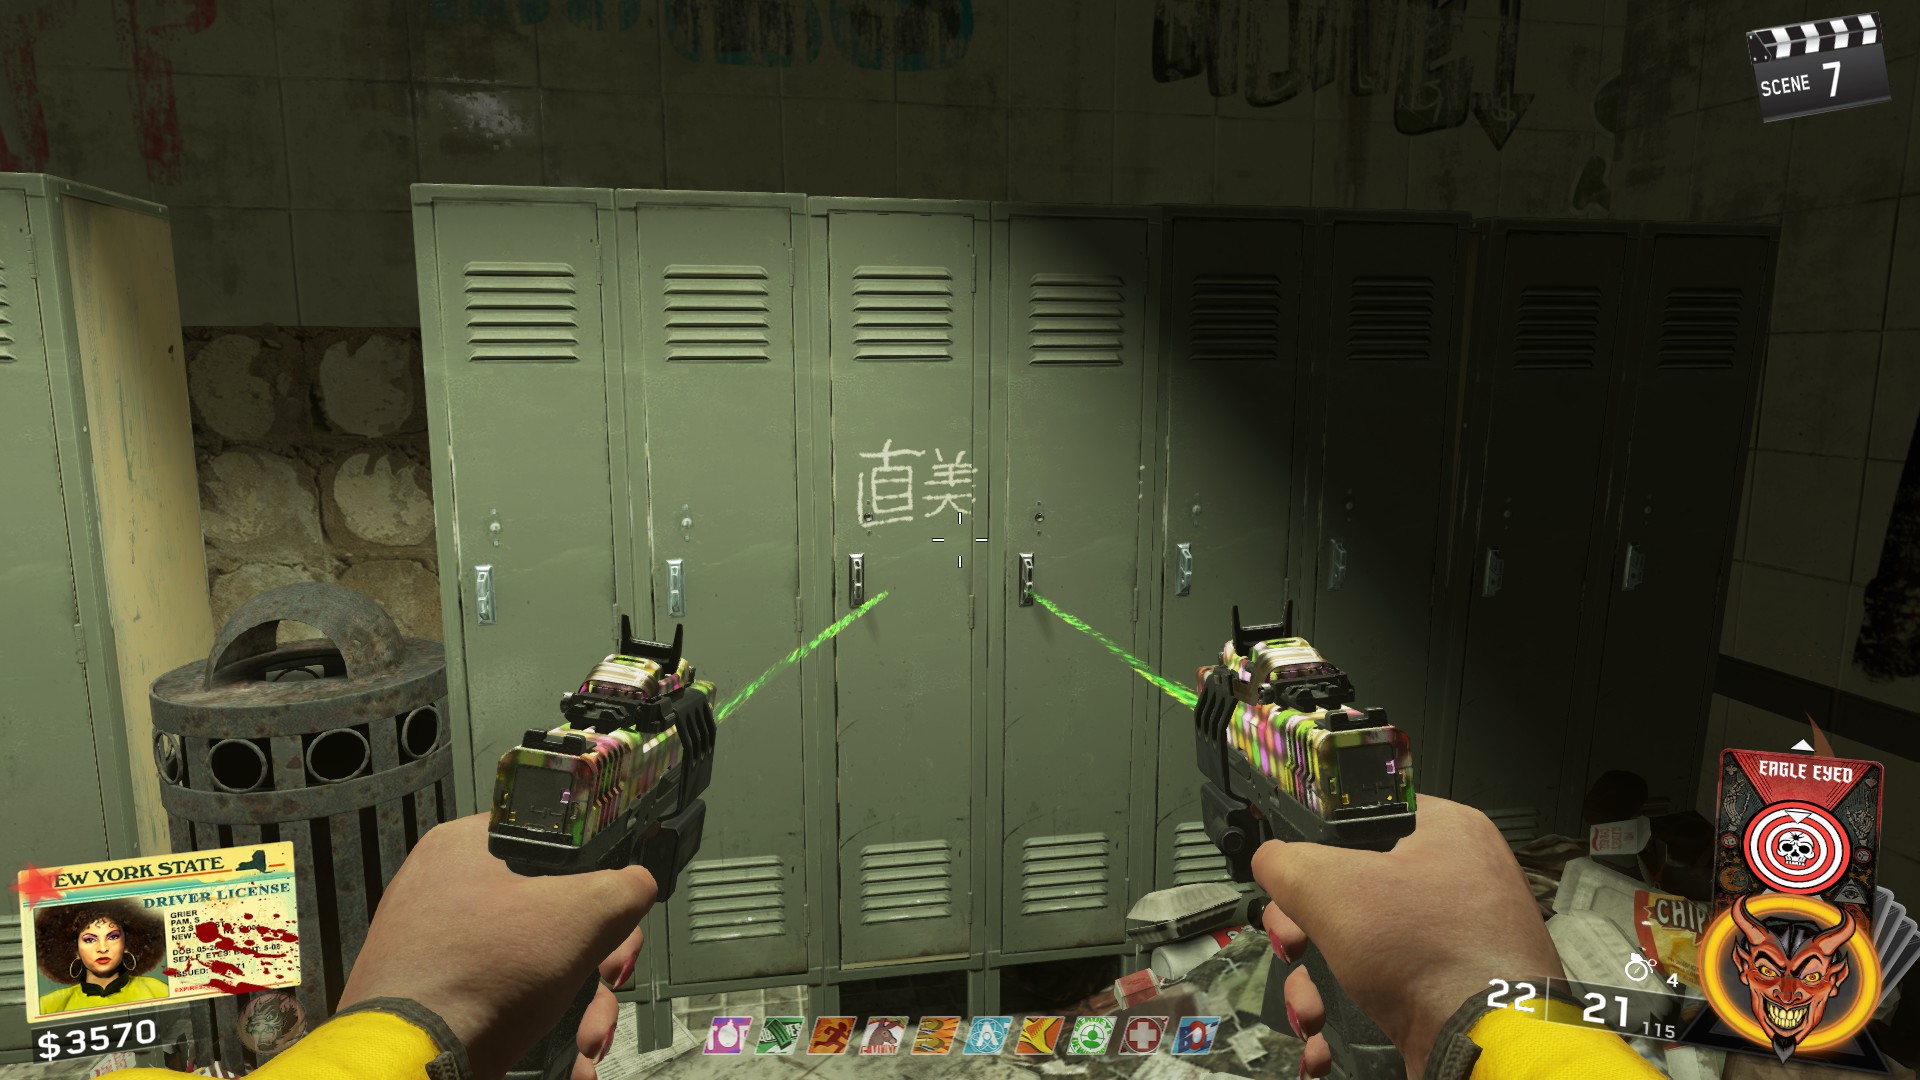
Take the key to the lockers in the subway near Bang Bangs and it will open a locker with symbols inside saying "Soul Key"
 ㅤ
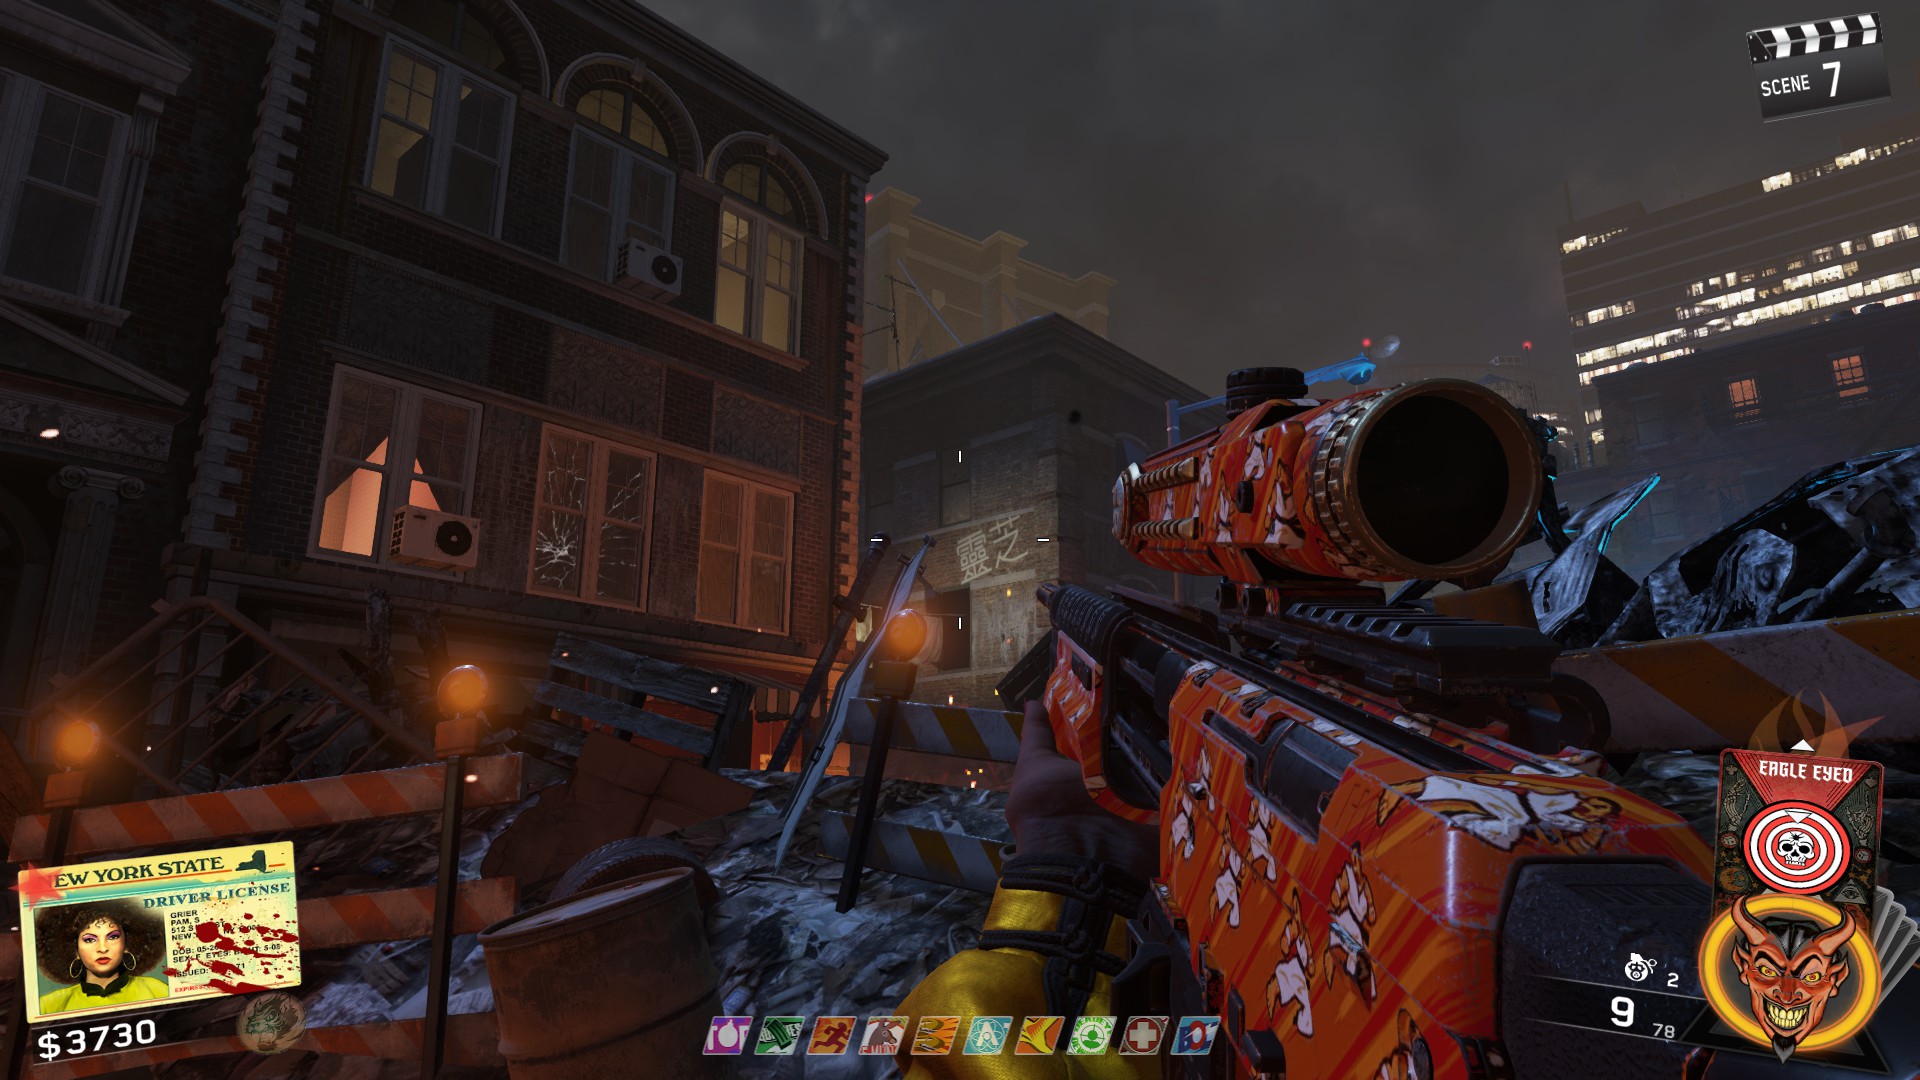
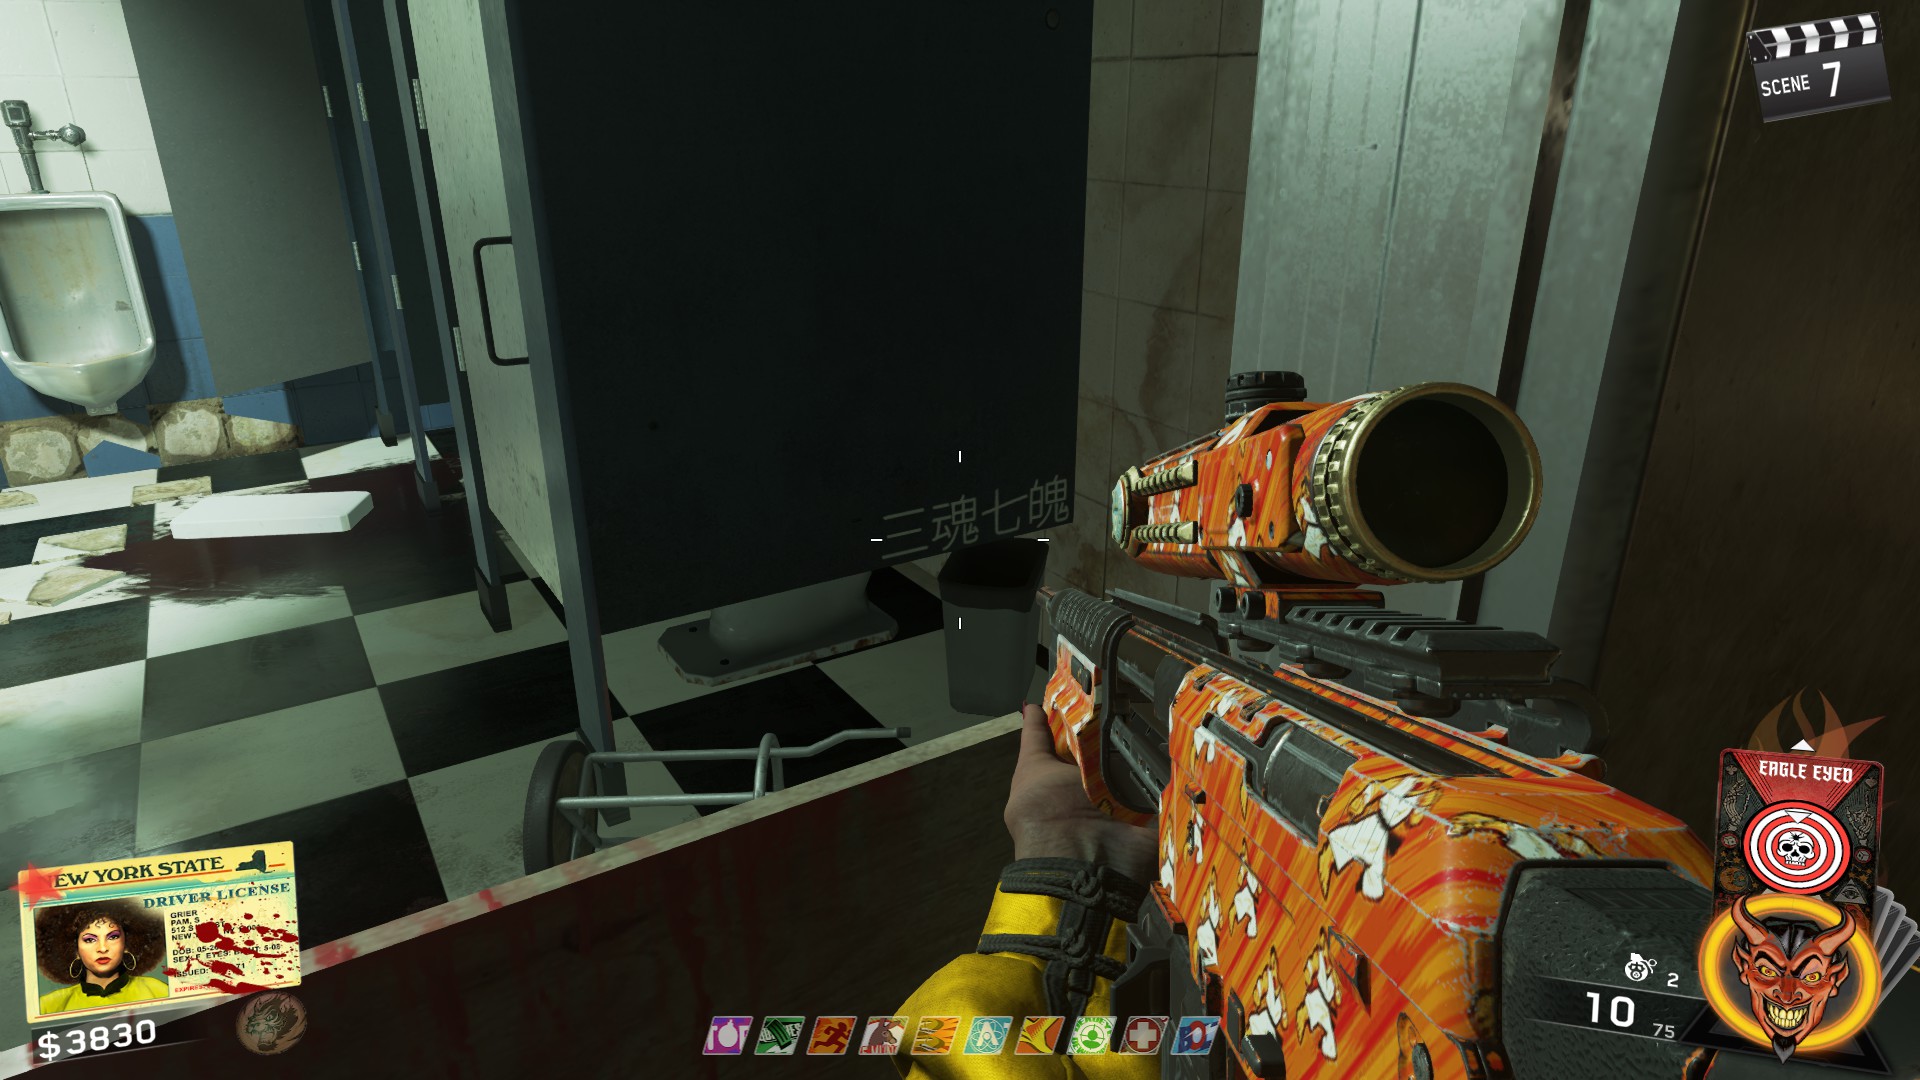
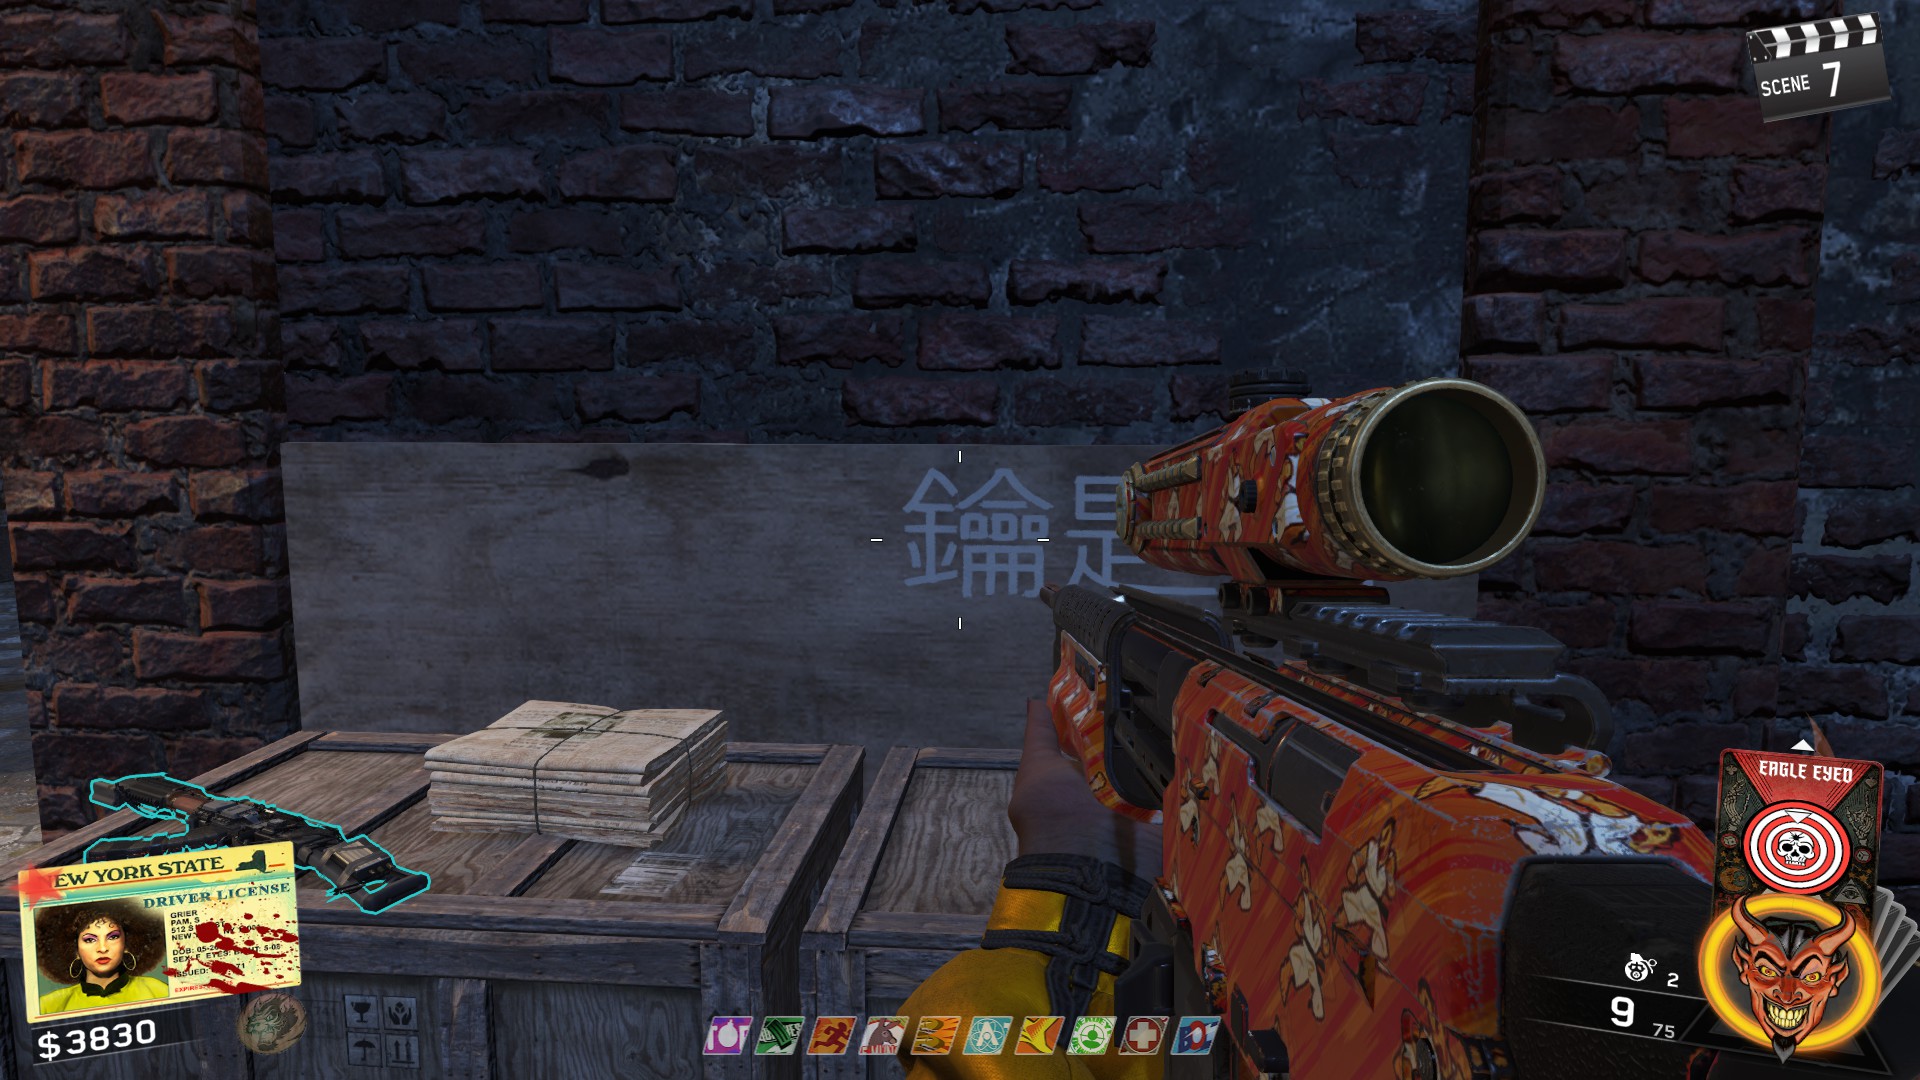
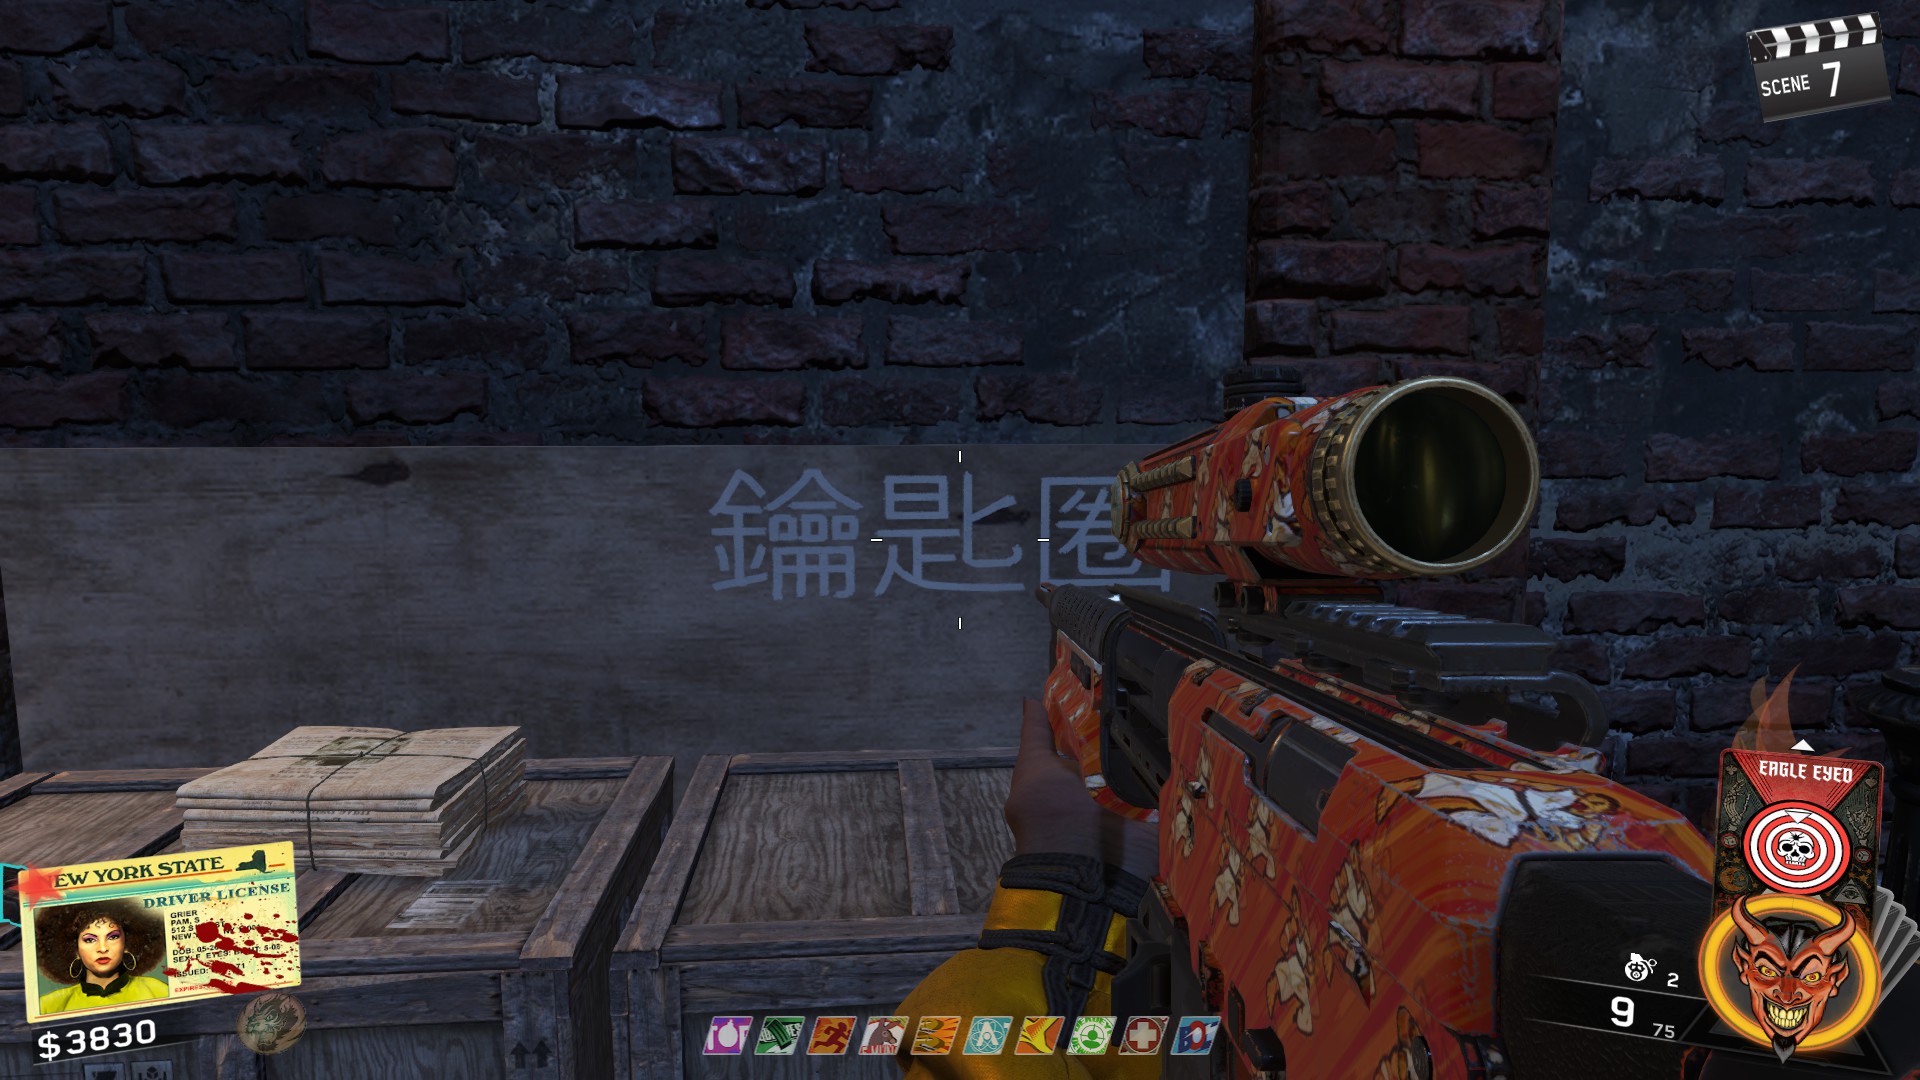
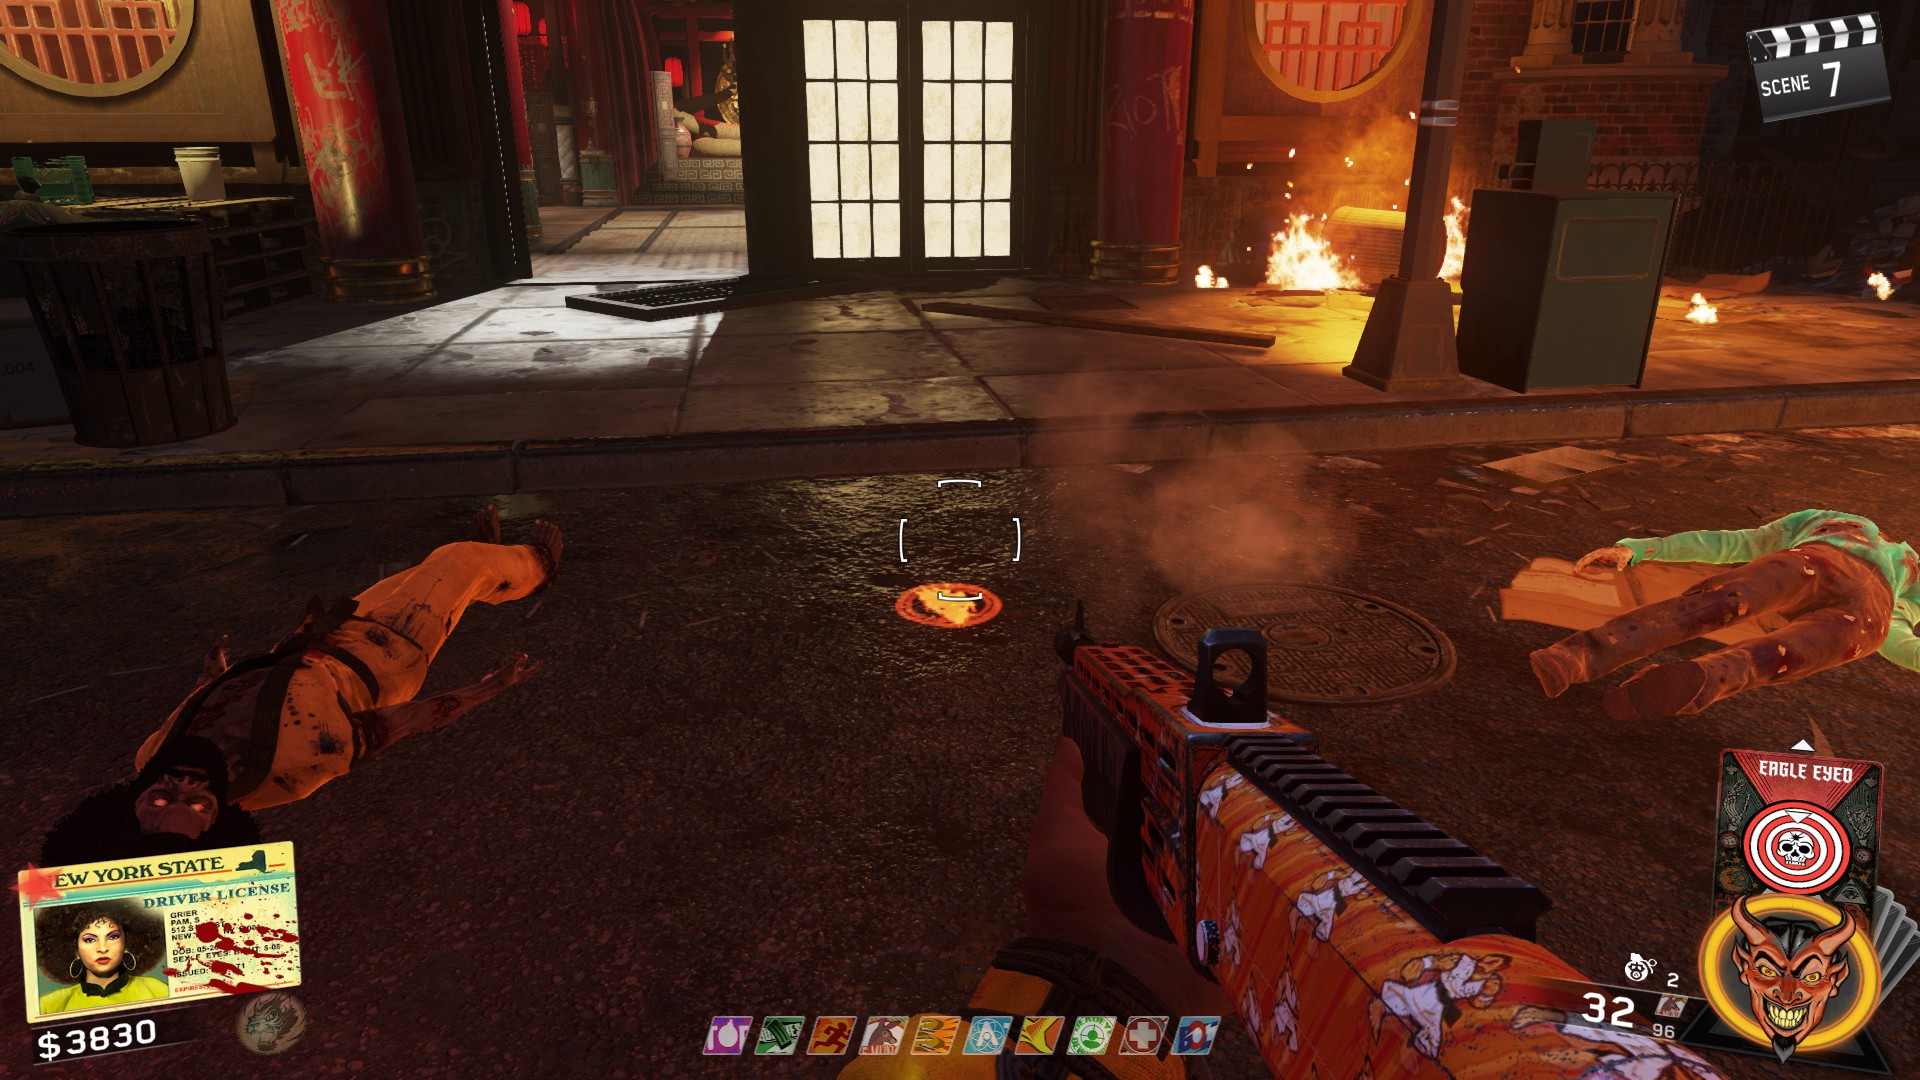
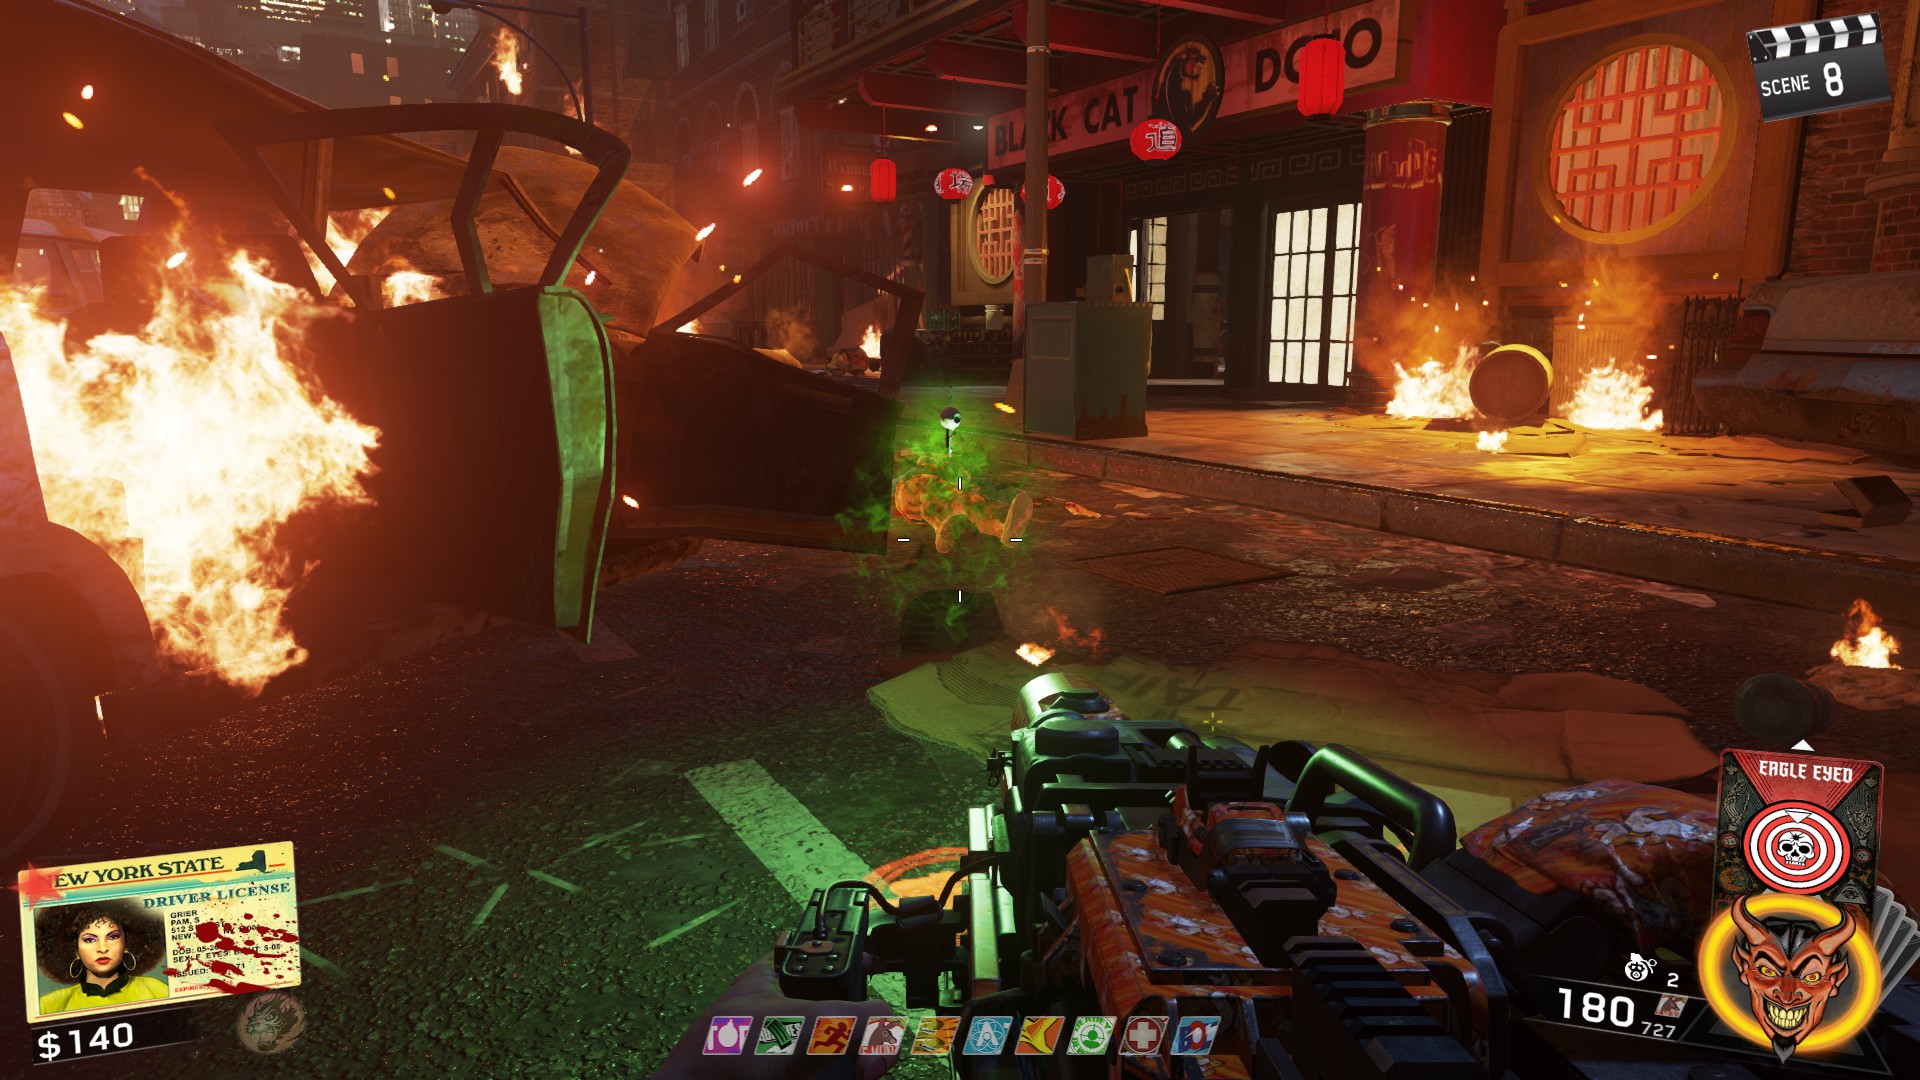
ㅤ- Outside spawn to the right of the Dojo (Symbol on the left)
- Bathroom in the Disco Inferno (2nd symbol from the left)
- Near the lion statue next to Deadeye Dewdrops
- Next to 3
 ㅤ
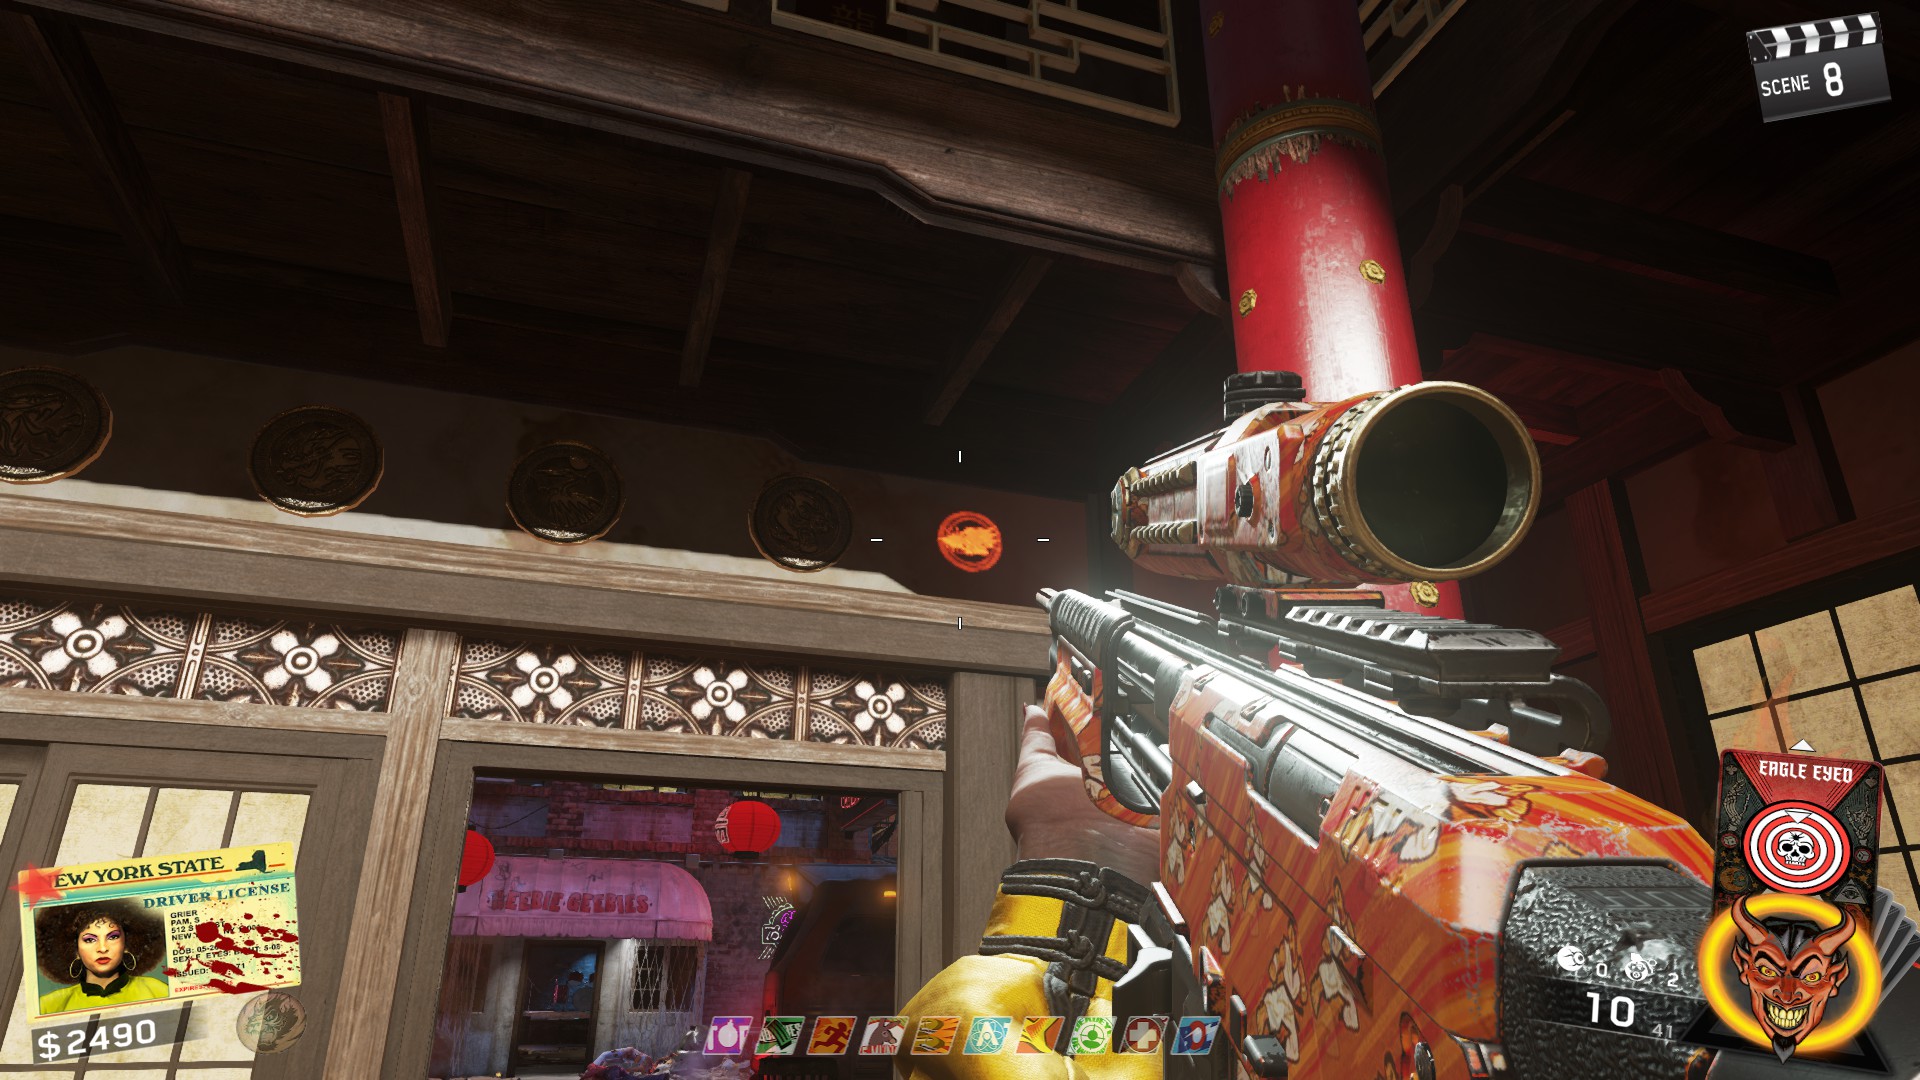
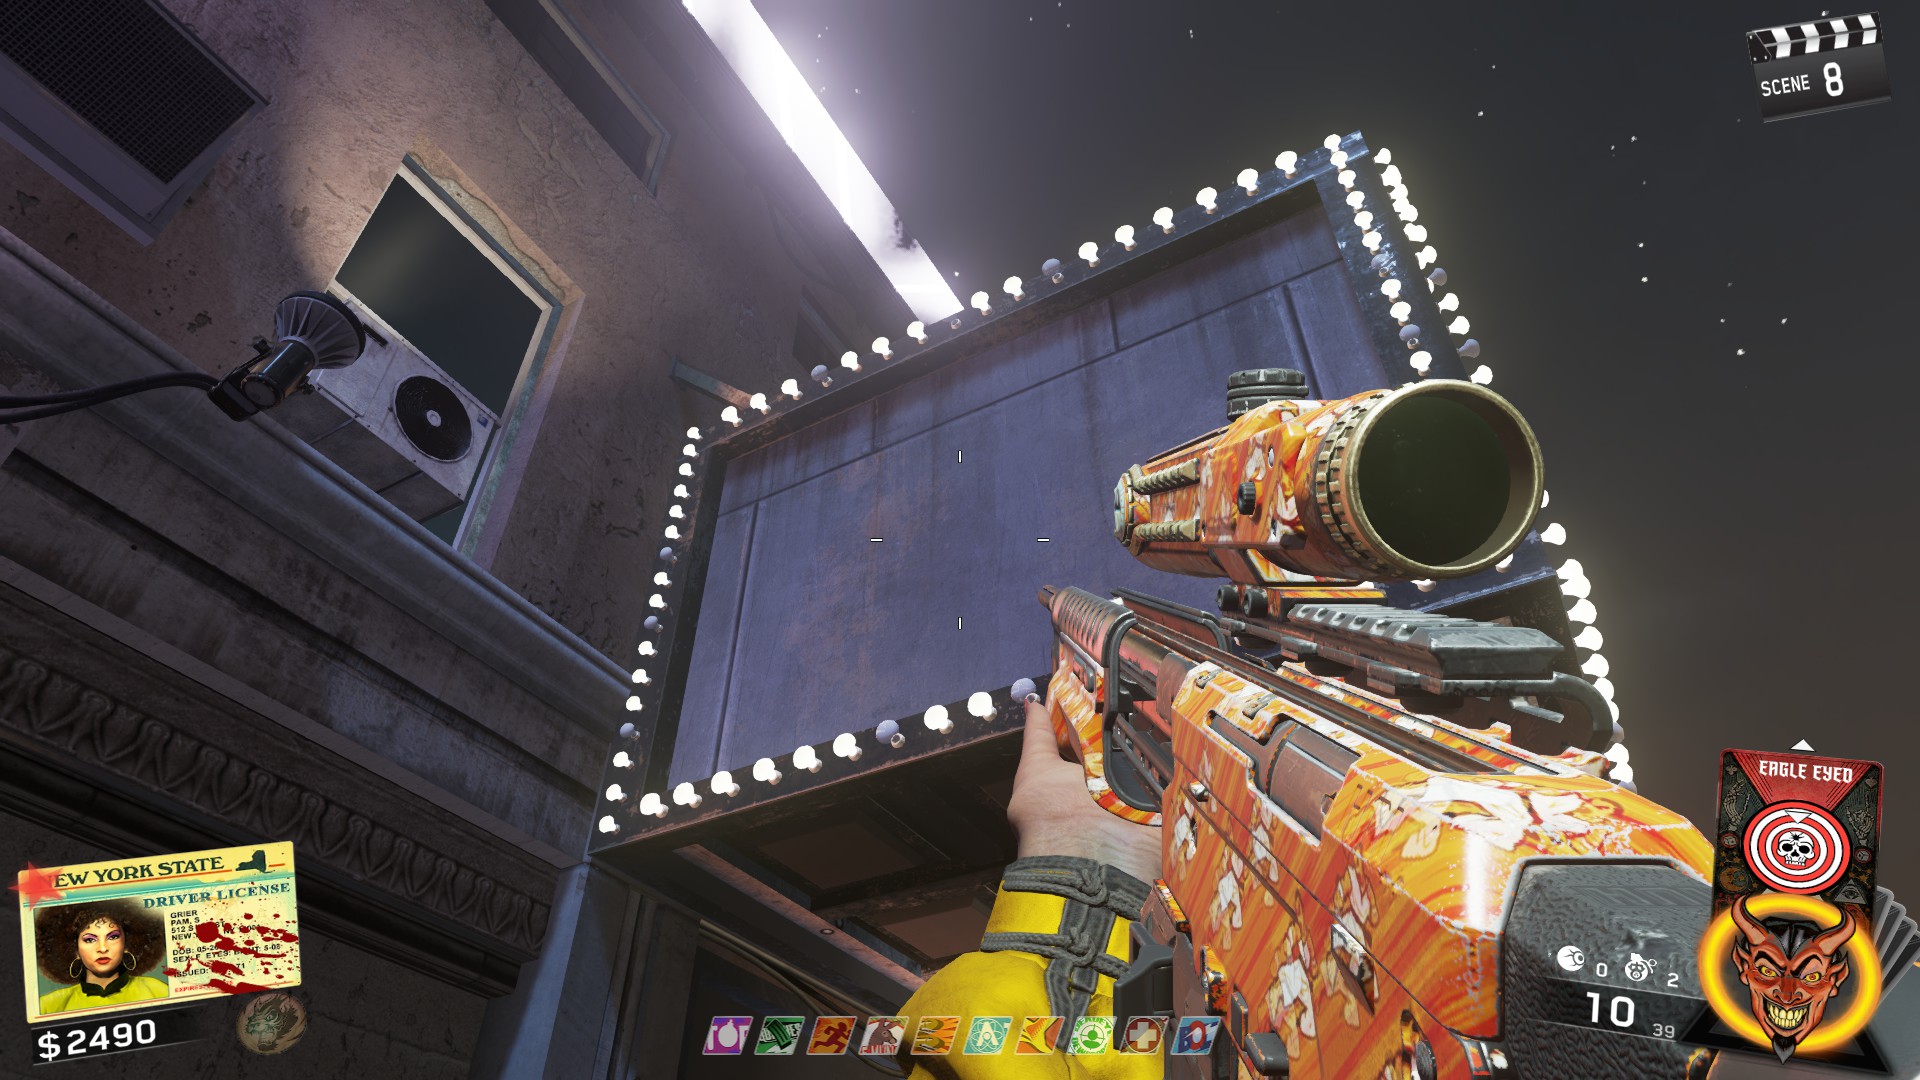
ㅤAfter talking to Pam, you'll need to find 6 orange Rat King symbols around the map. Pressing your tactical grenade button will activate the eye and activate a temporary vision that will allow you to see the symbols in the map. Only 1 symbol spawns in at a time and can spawn in any order. There are 13 locations the symbols can spawn:
- In the Dojo above the door
- In the window of a Barber Shop next to the dojo to the right of the stairs leading to the subway
- In the spawn area behind the train
- Behind a speaker in the Hebbie Geebies bar
- In a window on the roof near the dojo
- To the right of the Ripper Wallbuy on another building
- On a clothes line near the Magic Wheel near Deadeye Dewdrops
- In the left corner in the blue room near Trail Blazers (You need to jump to see it)
- Outside the Disco Inferno on the side of the sign closest to the Magic Wheel
- On a water tower at the roof of the Disco Inferno
- On top of an air duct in the Disco Inferno (Can only be seen from the roof)
- On a cop car outside the map coming out of the VIP room in the Disco Inferno behind Bombstoppers
- Behind the stairs on the side of Bang Bangs, Requires you to jump a bit
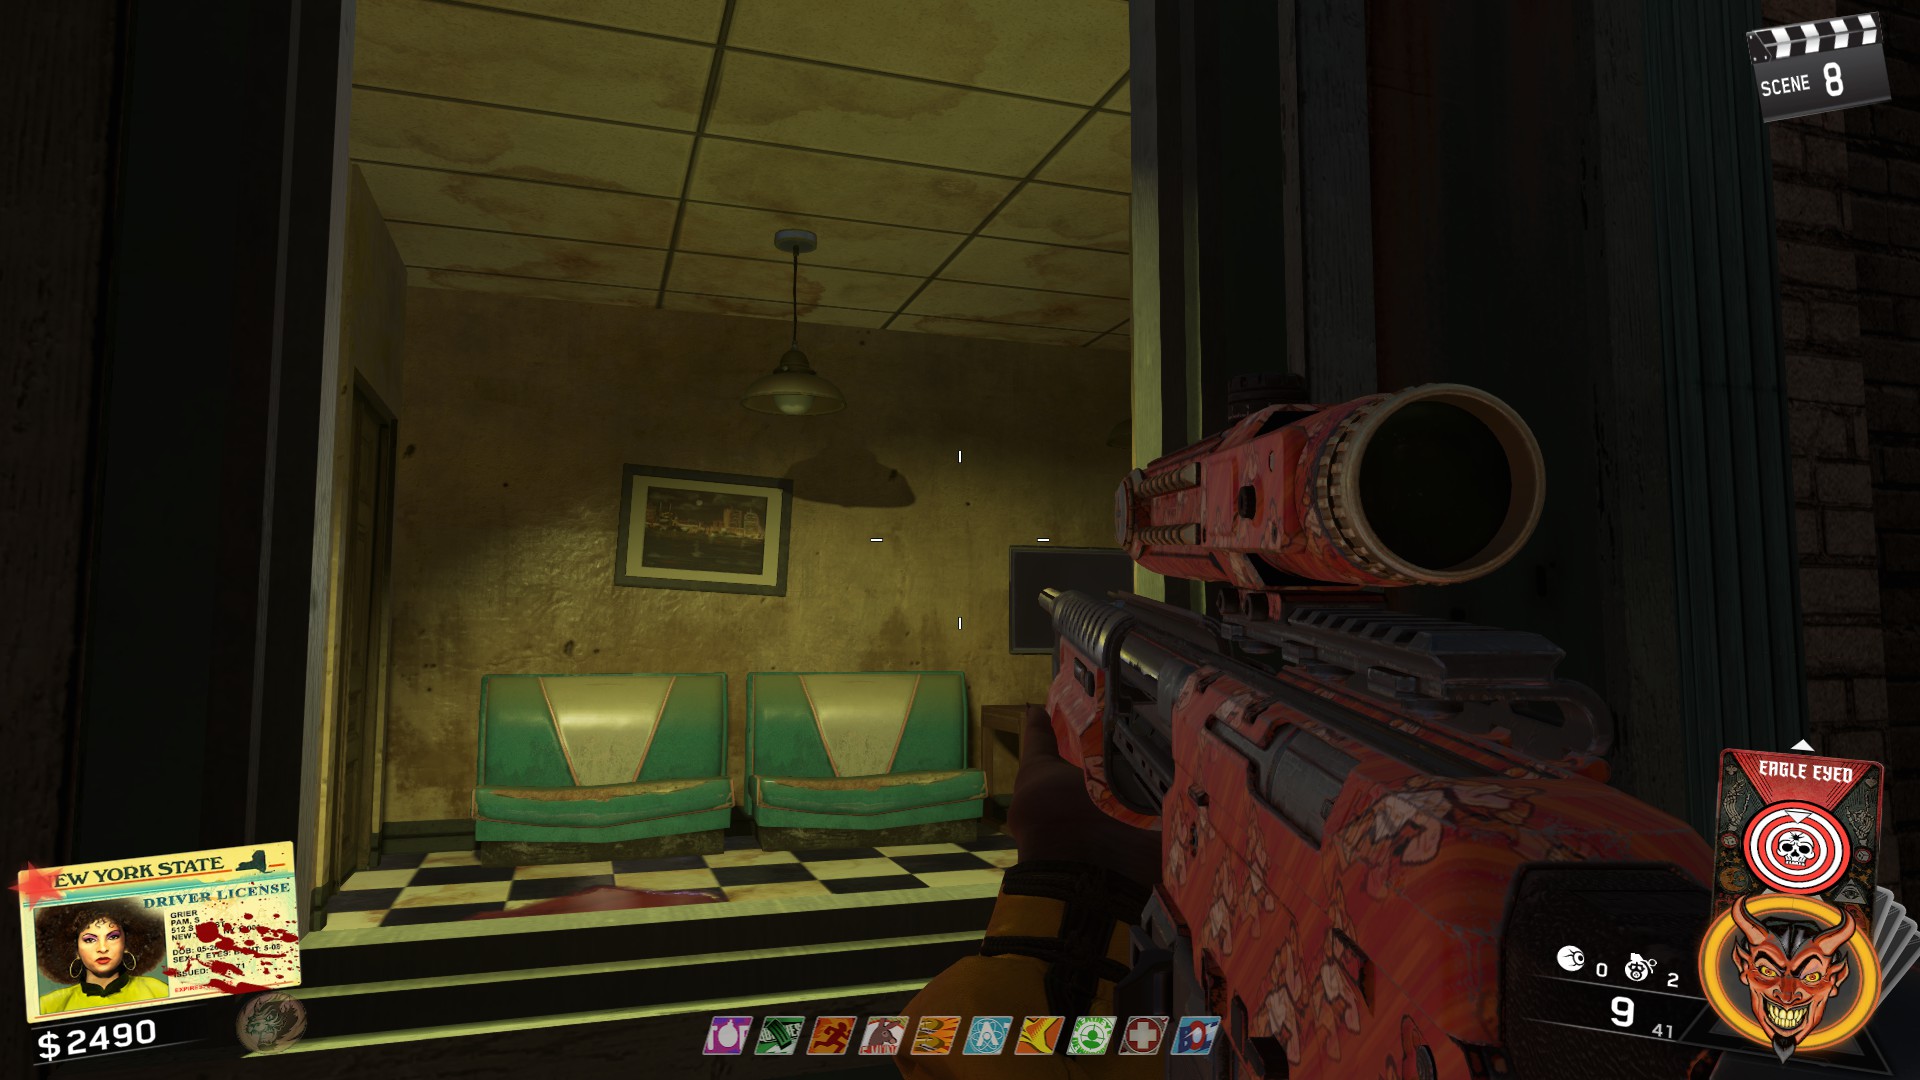
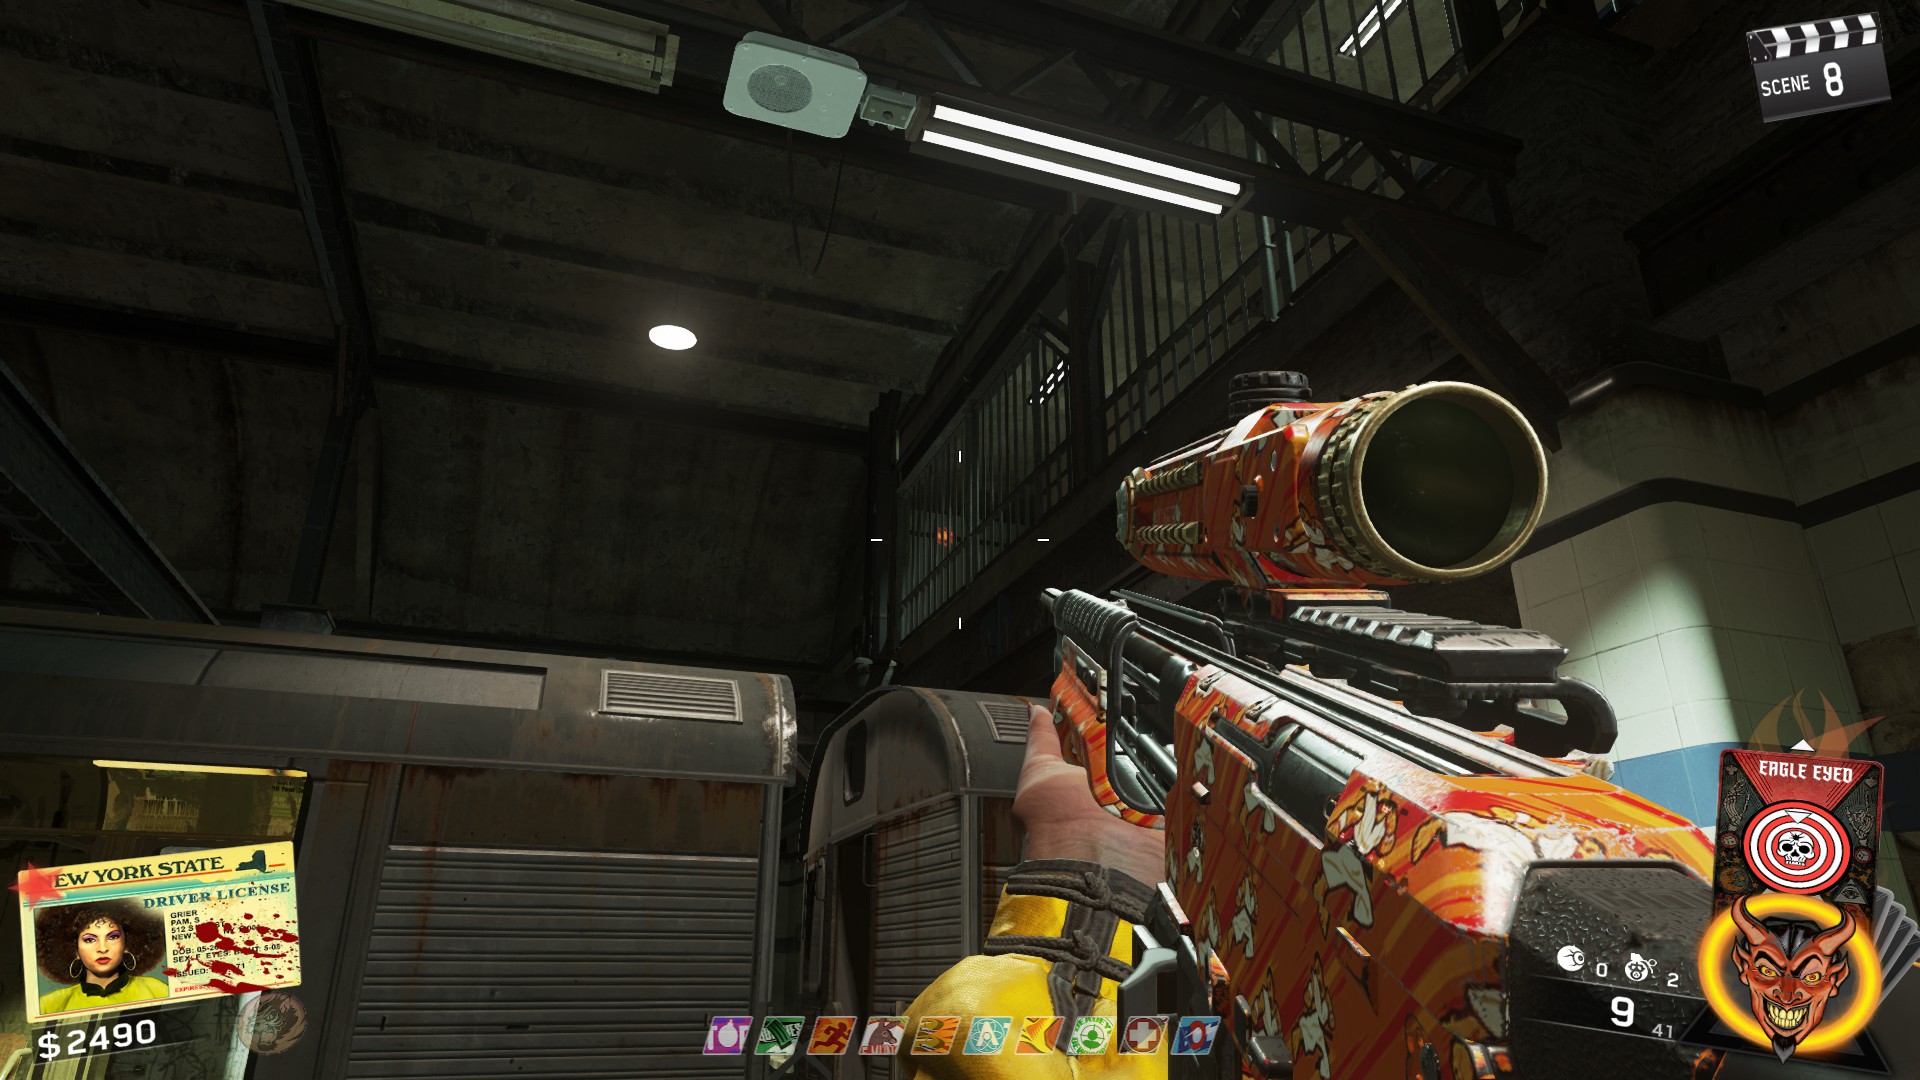
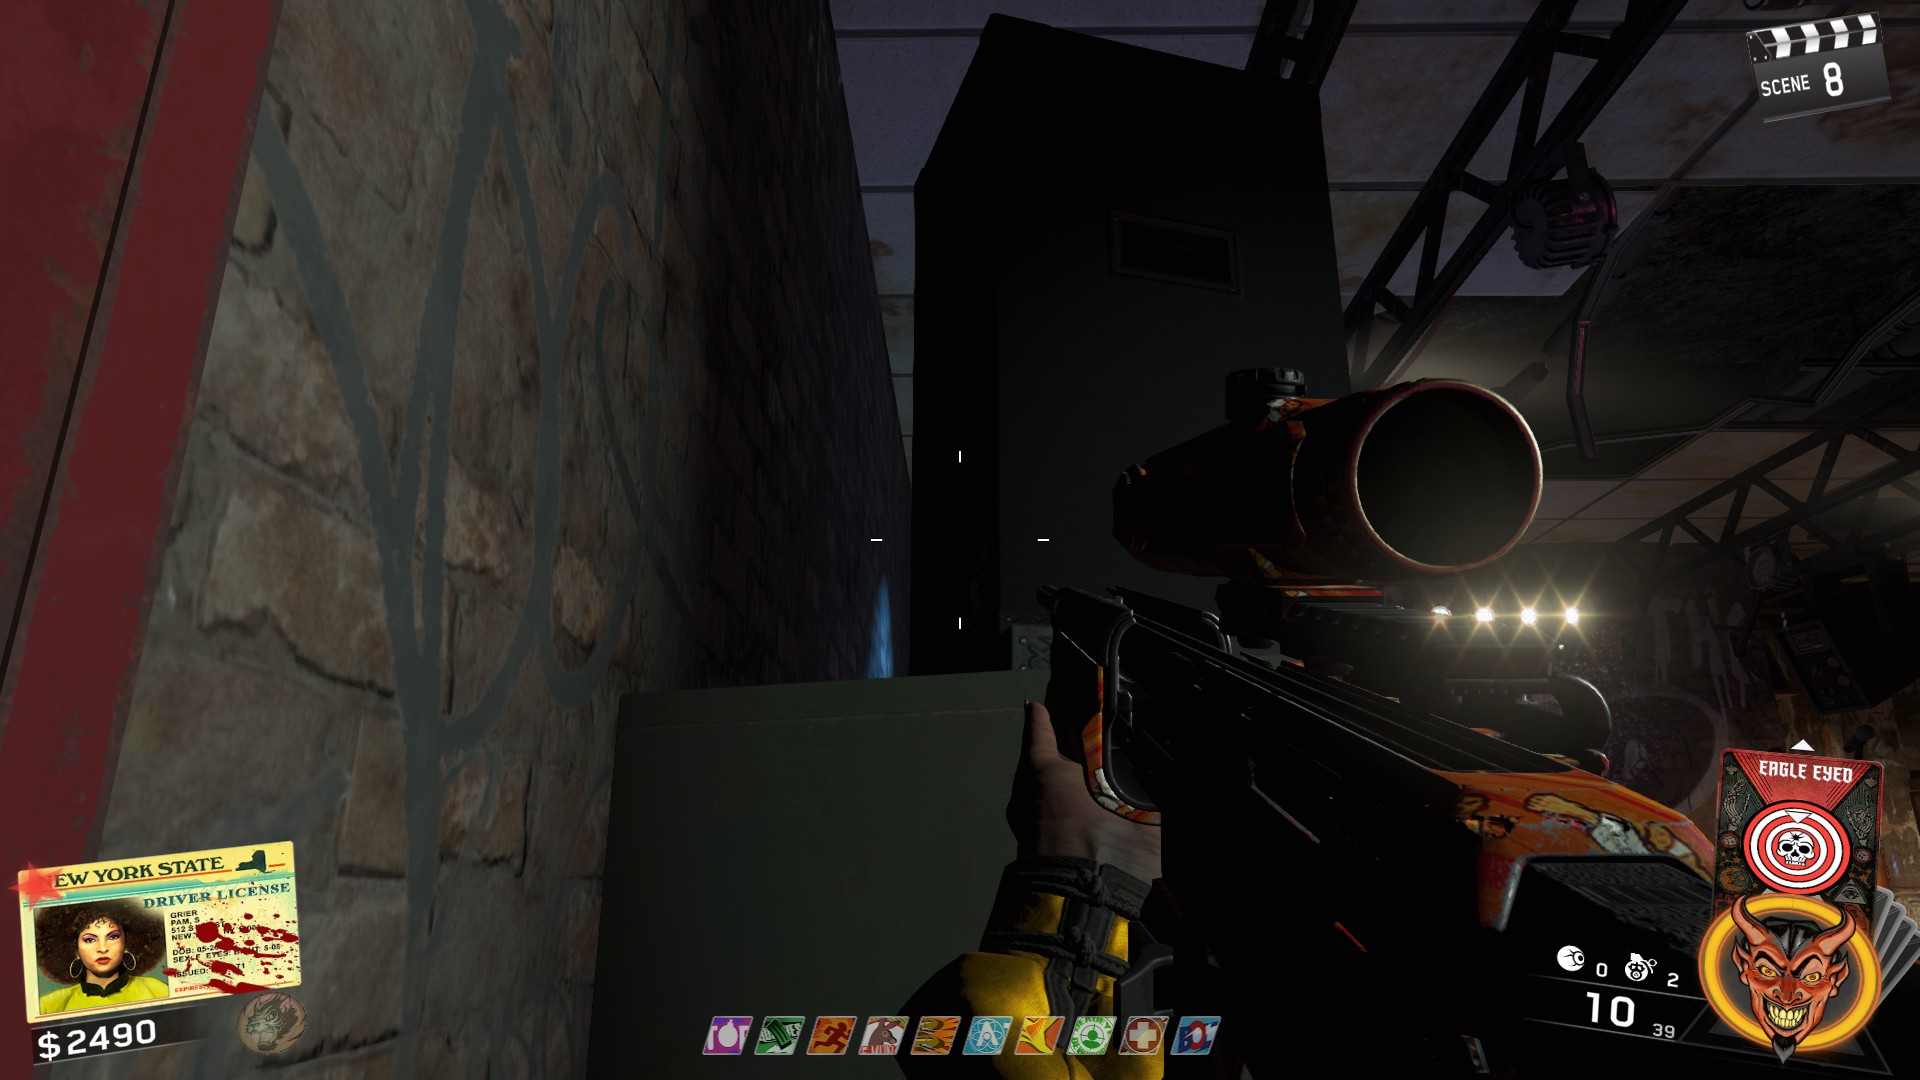
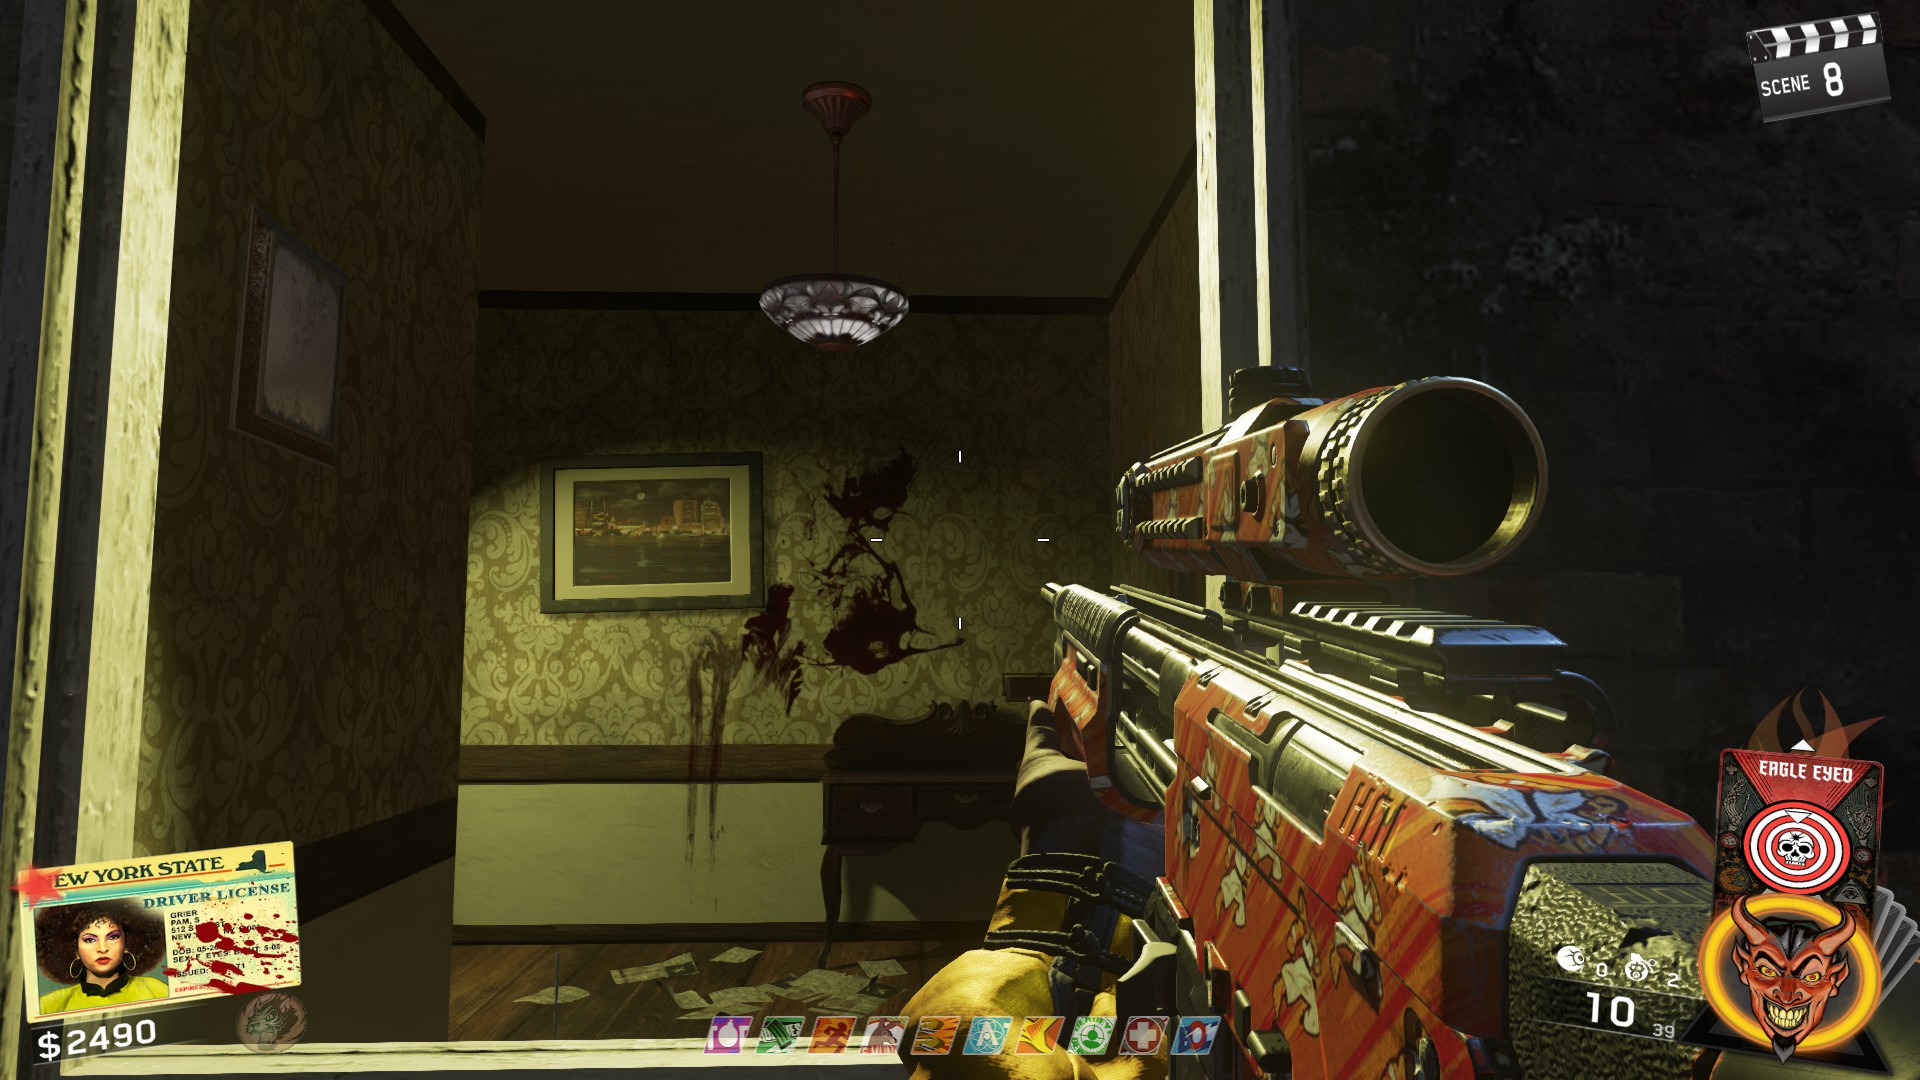
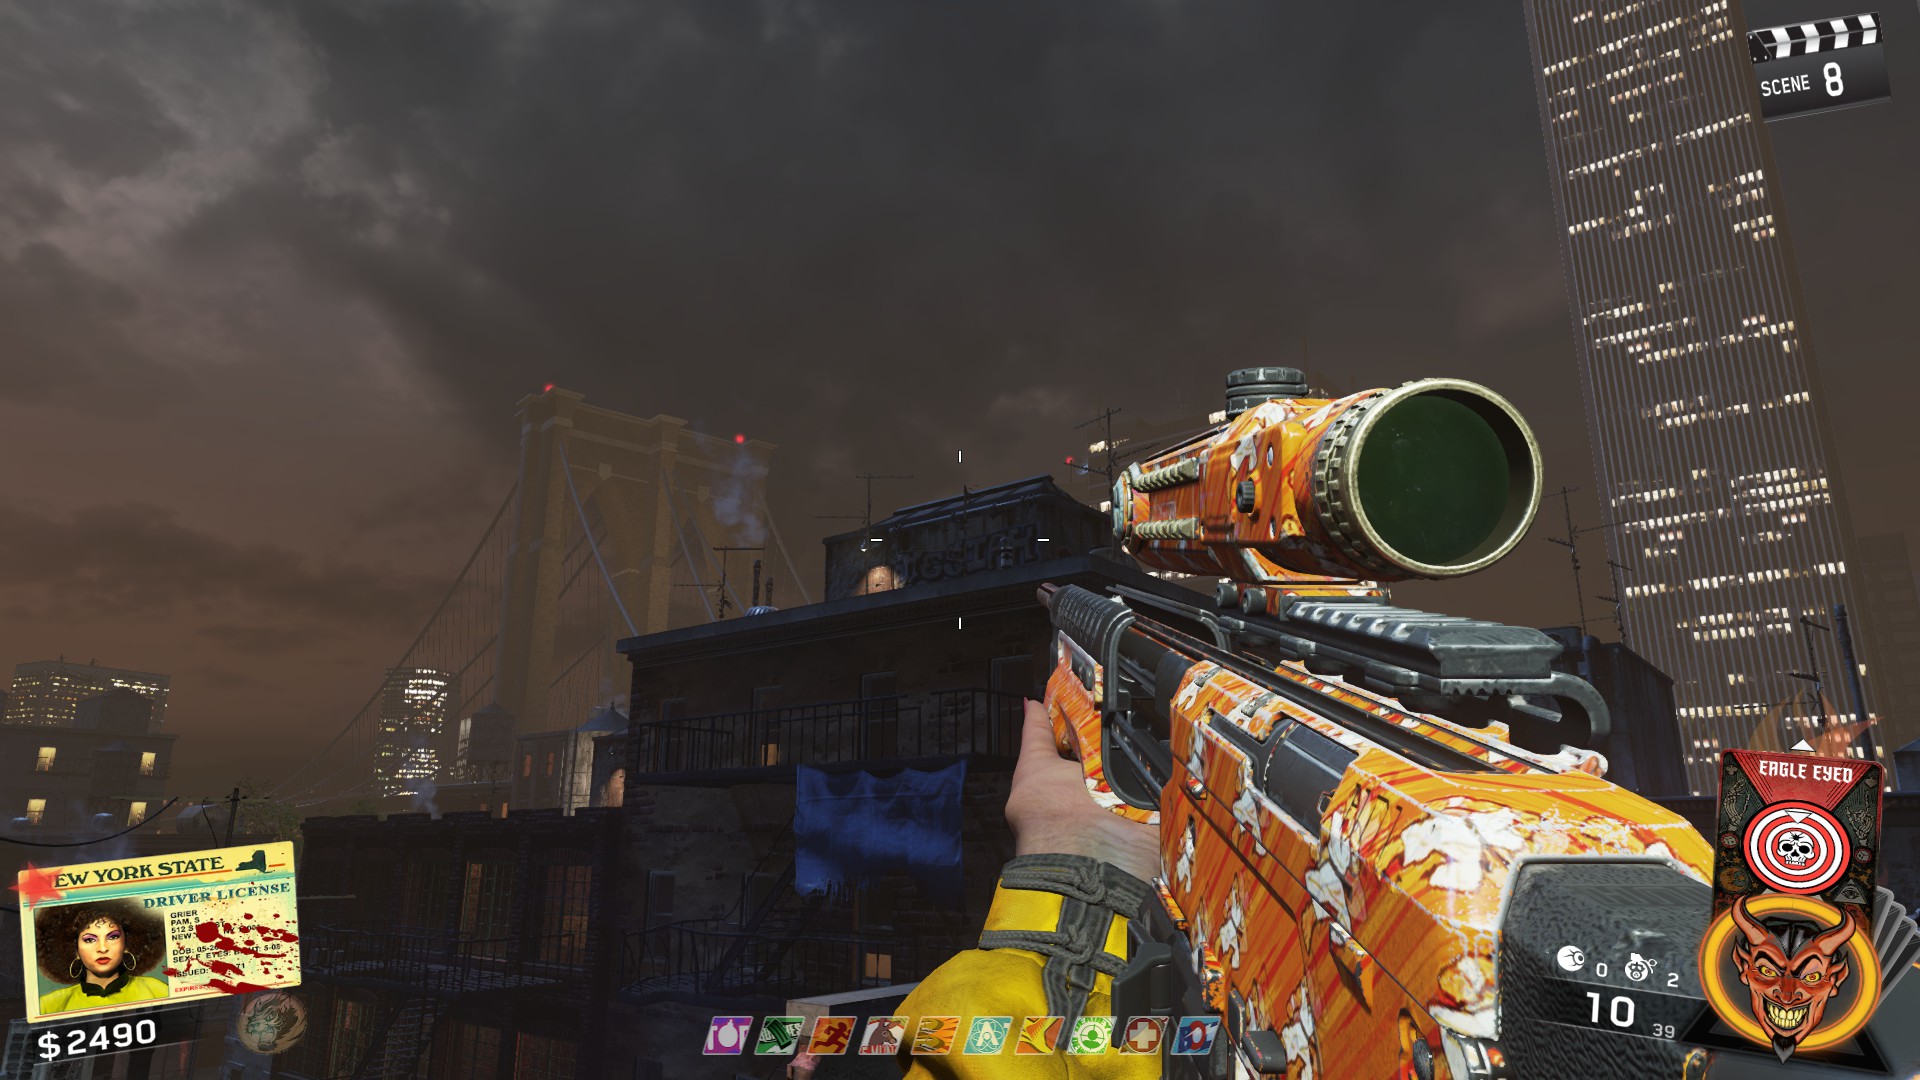
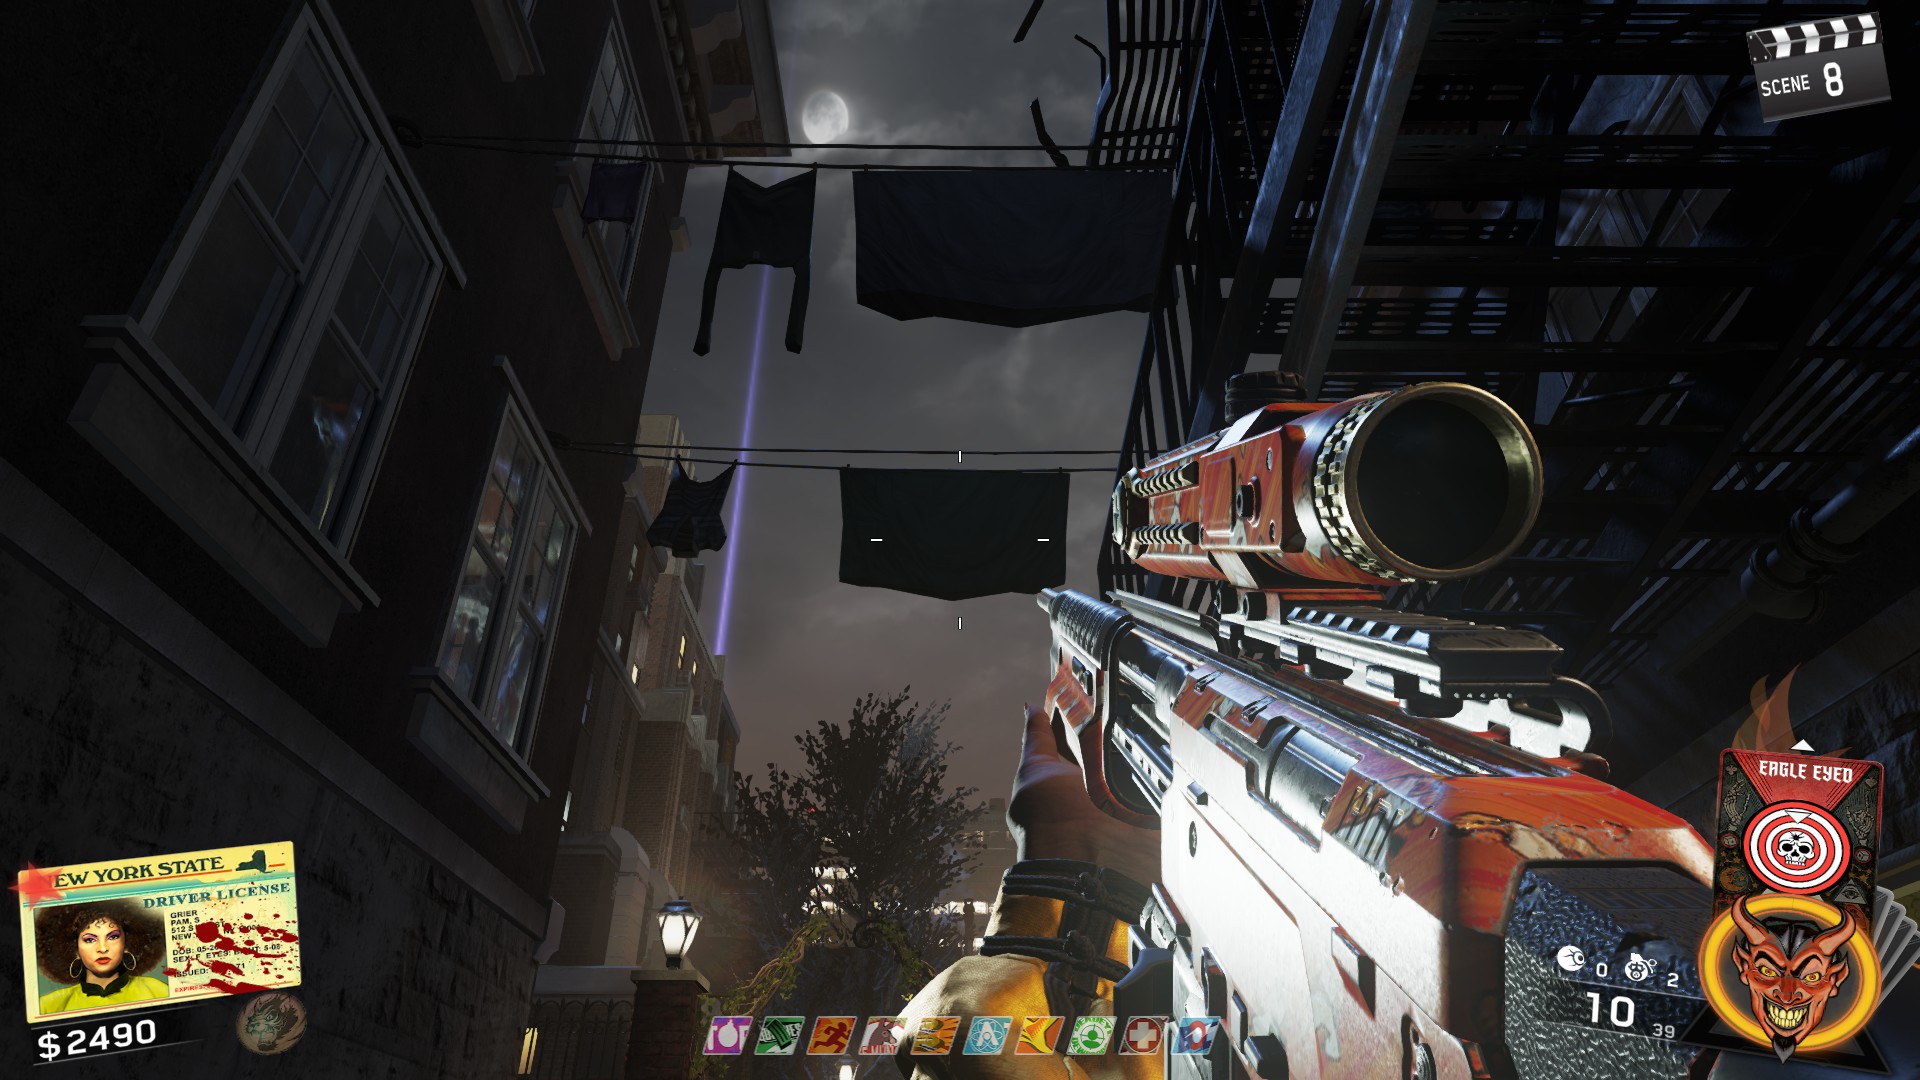
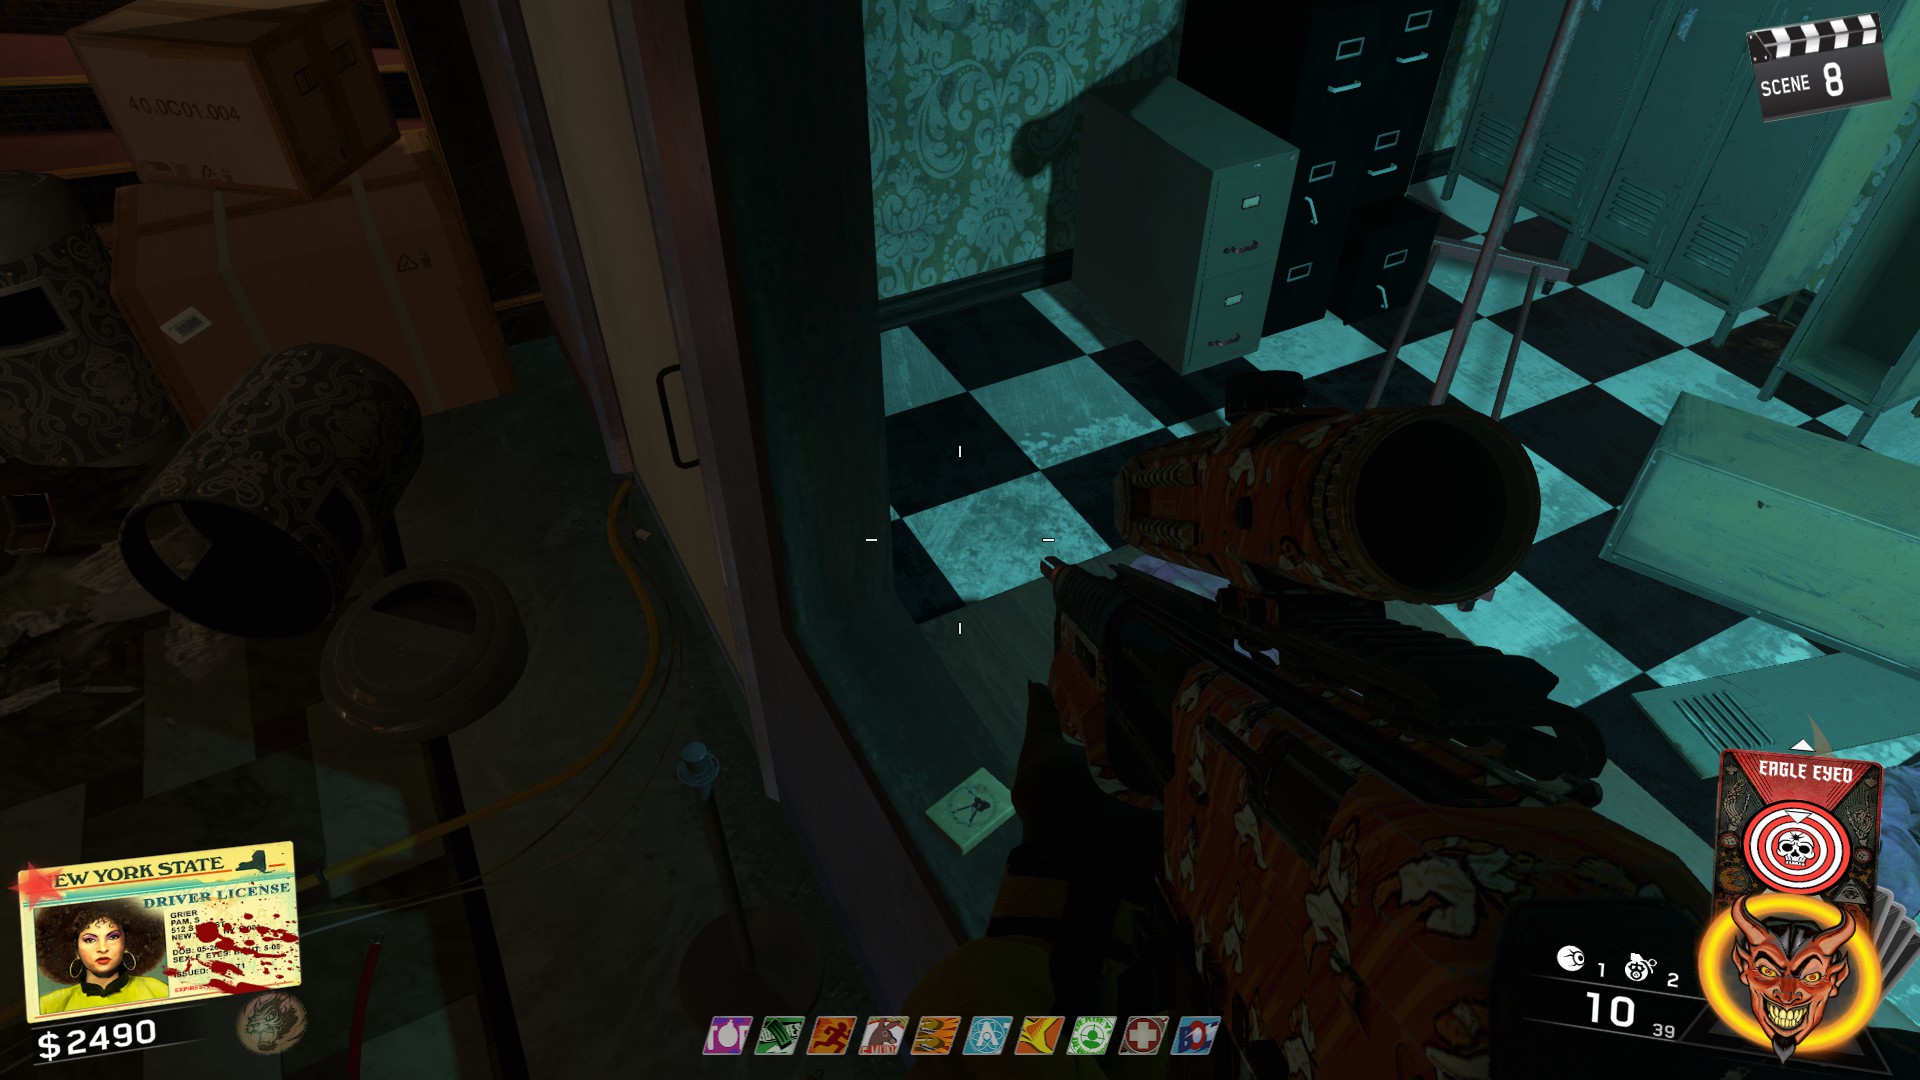
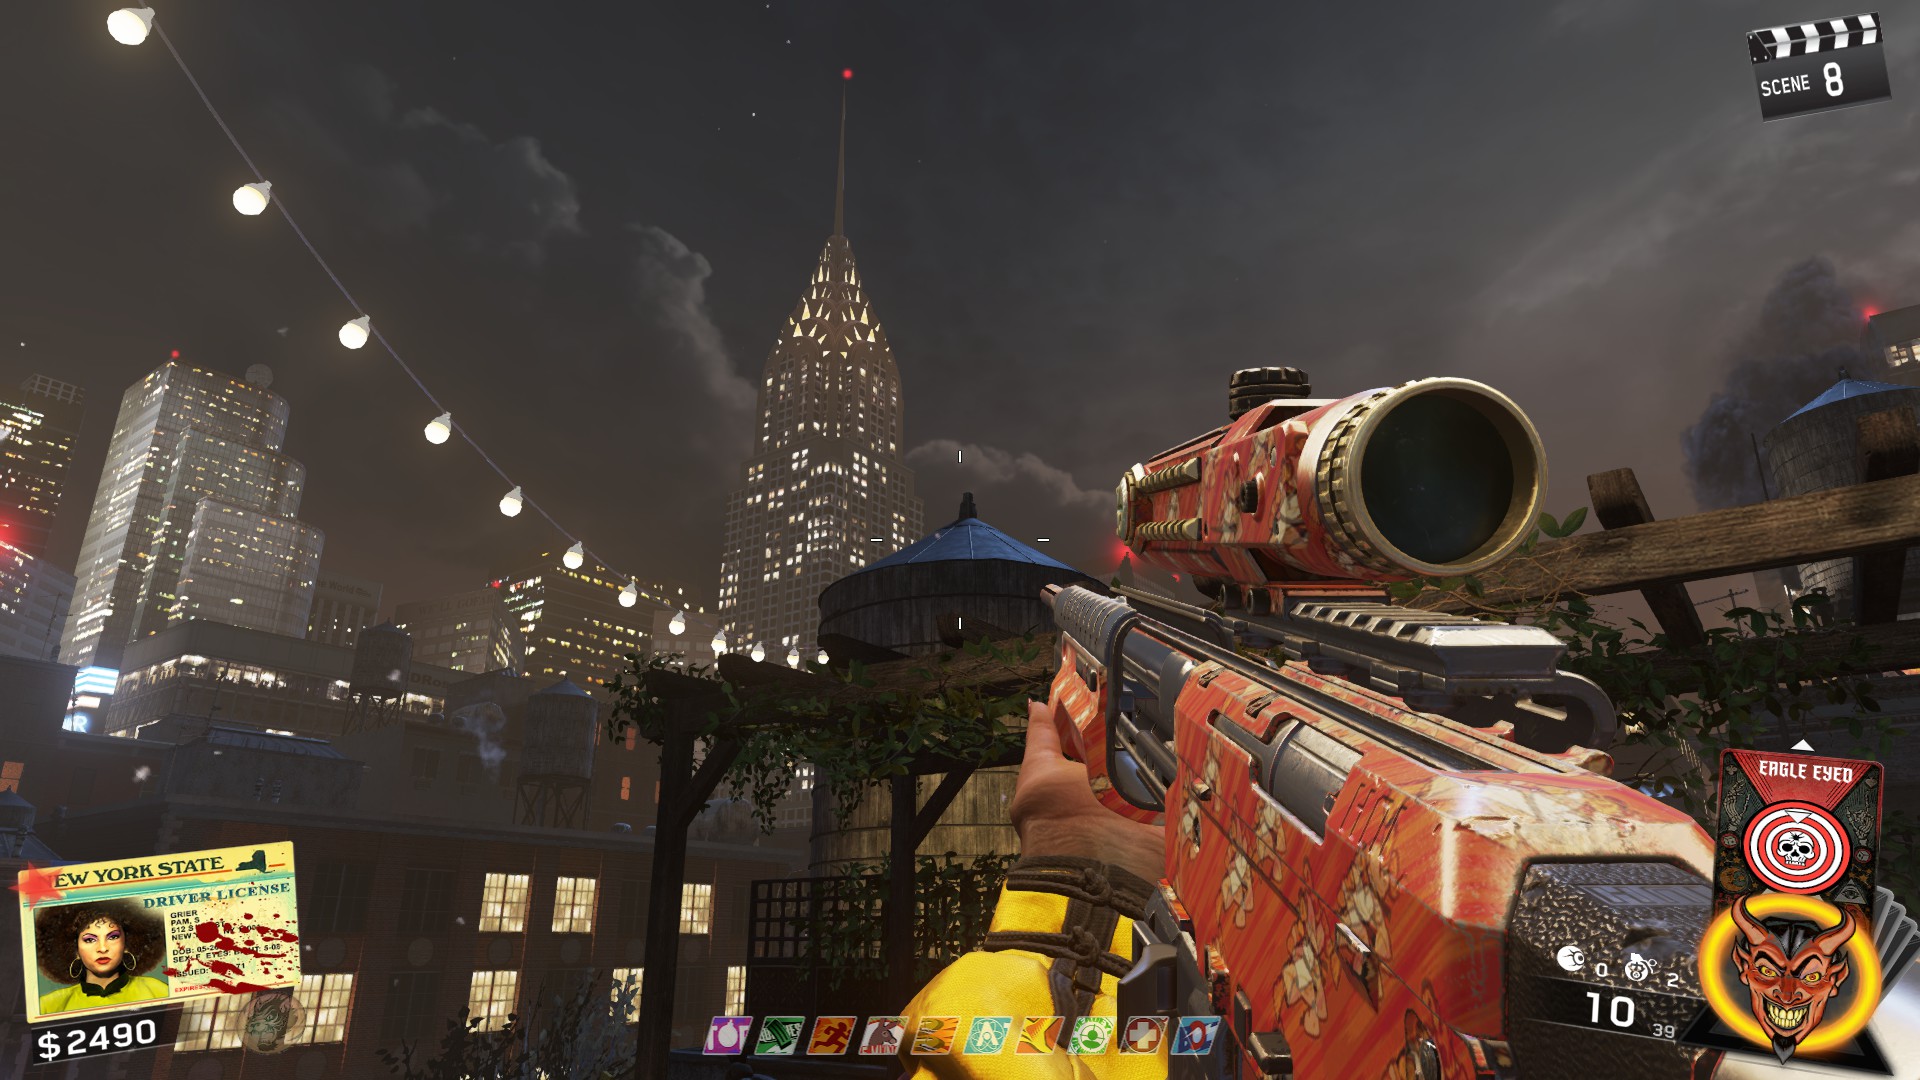
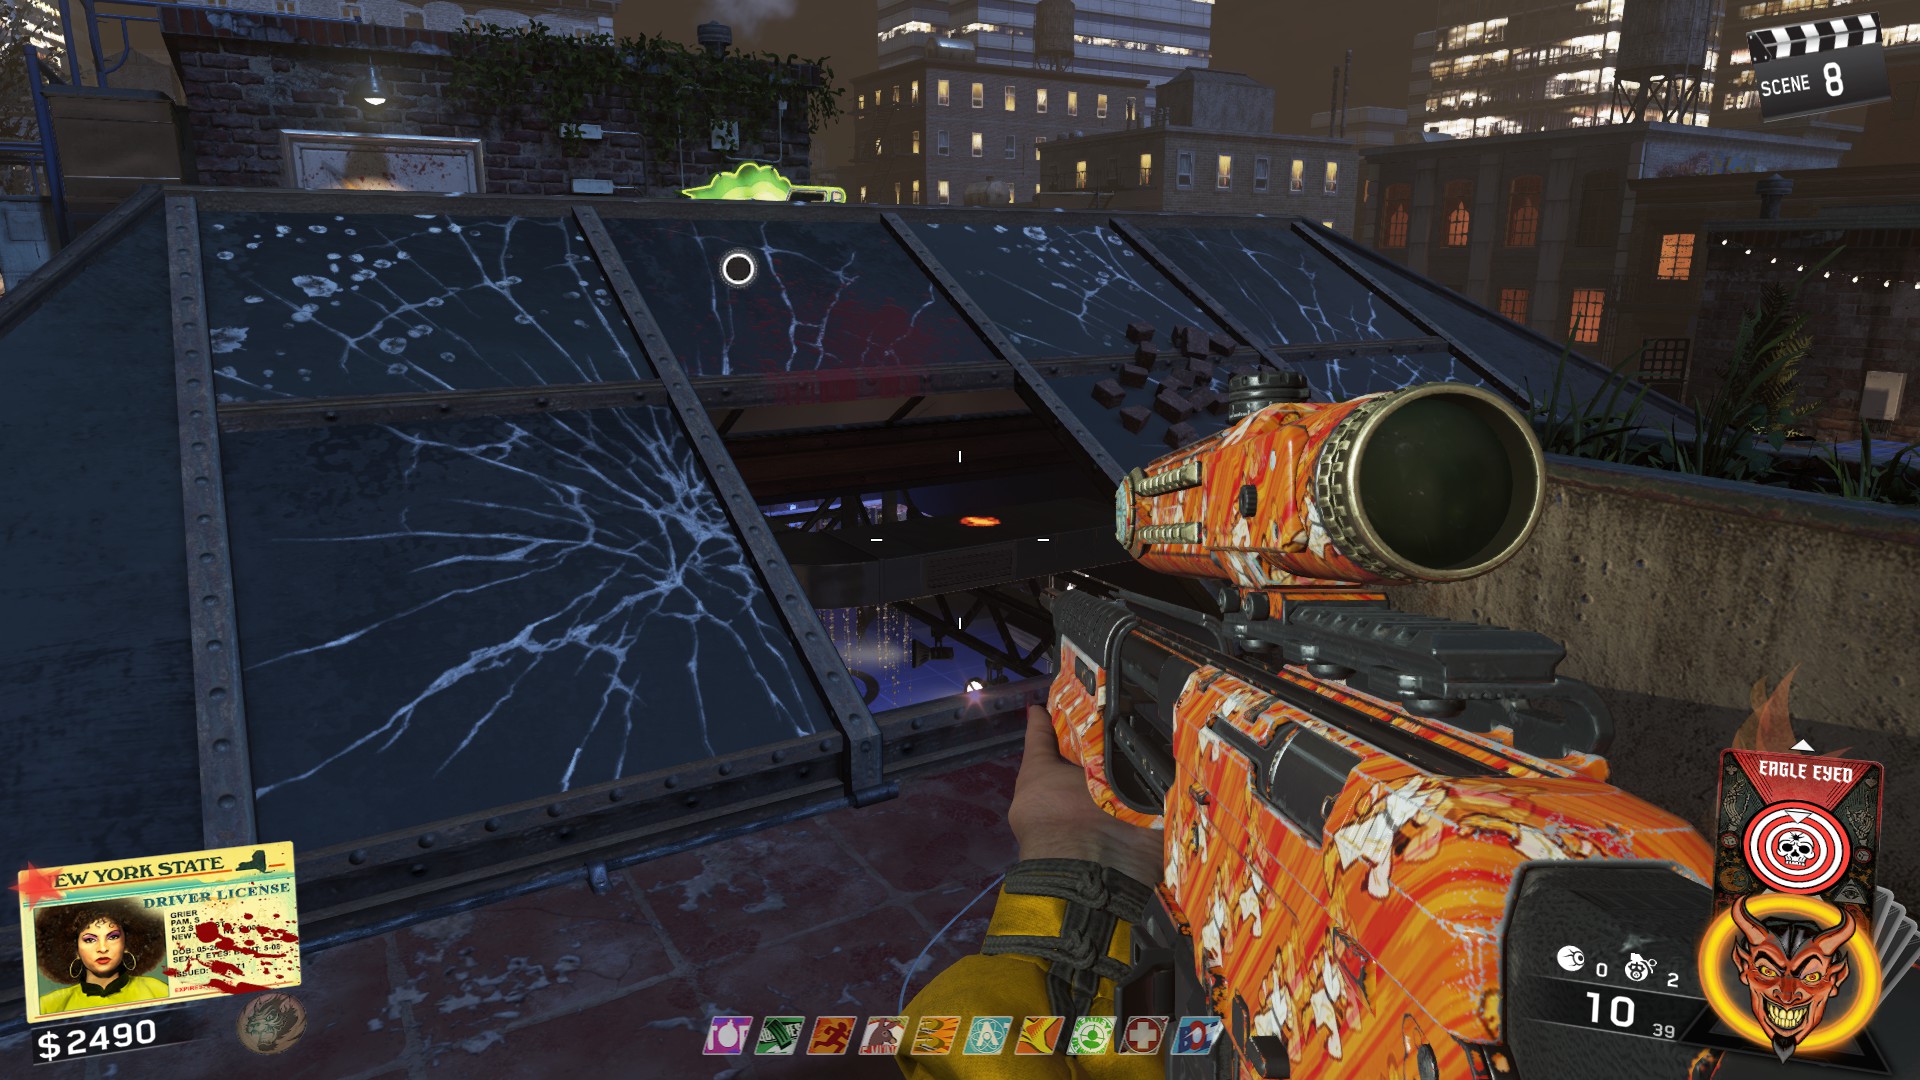
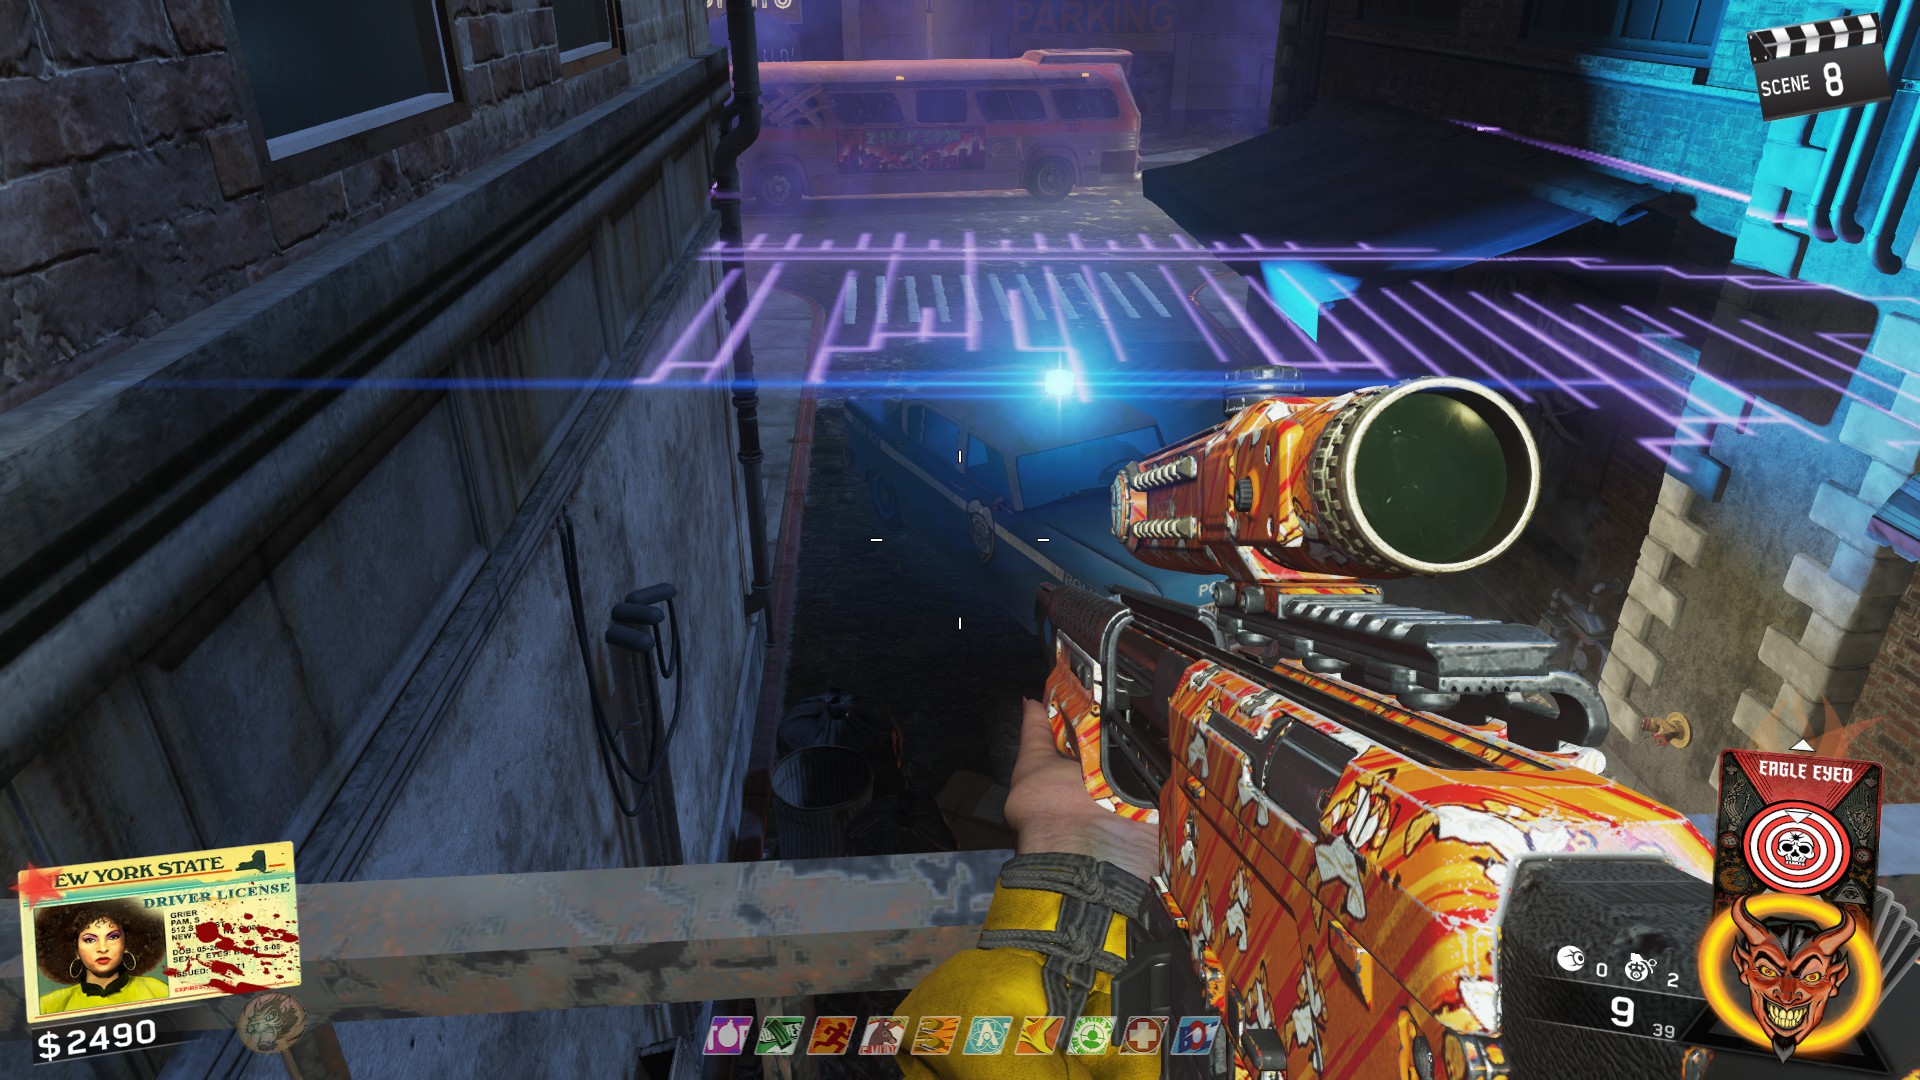
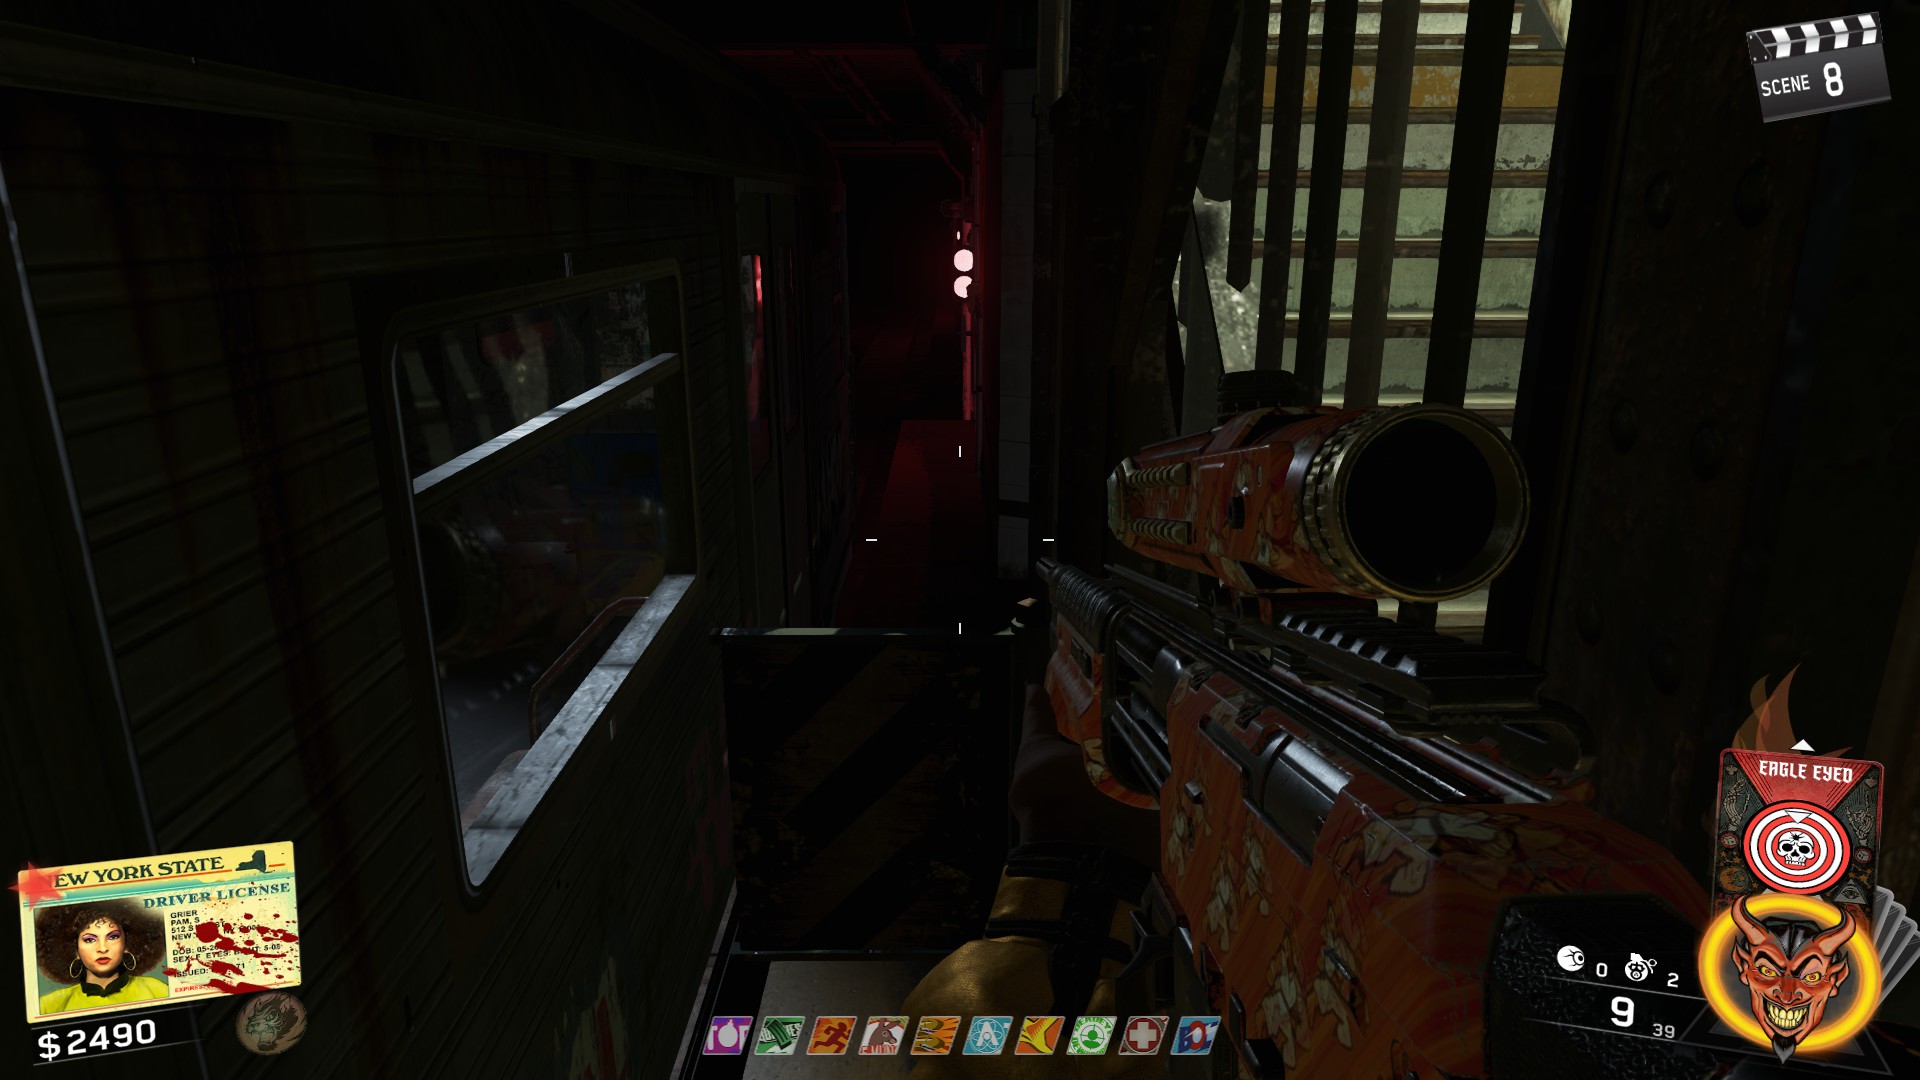
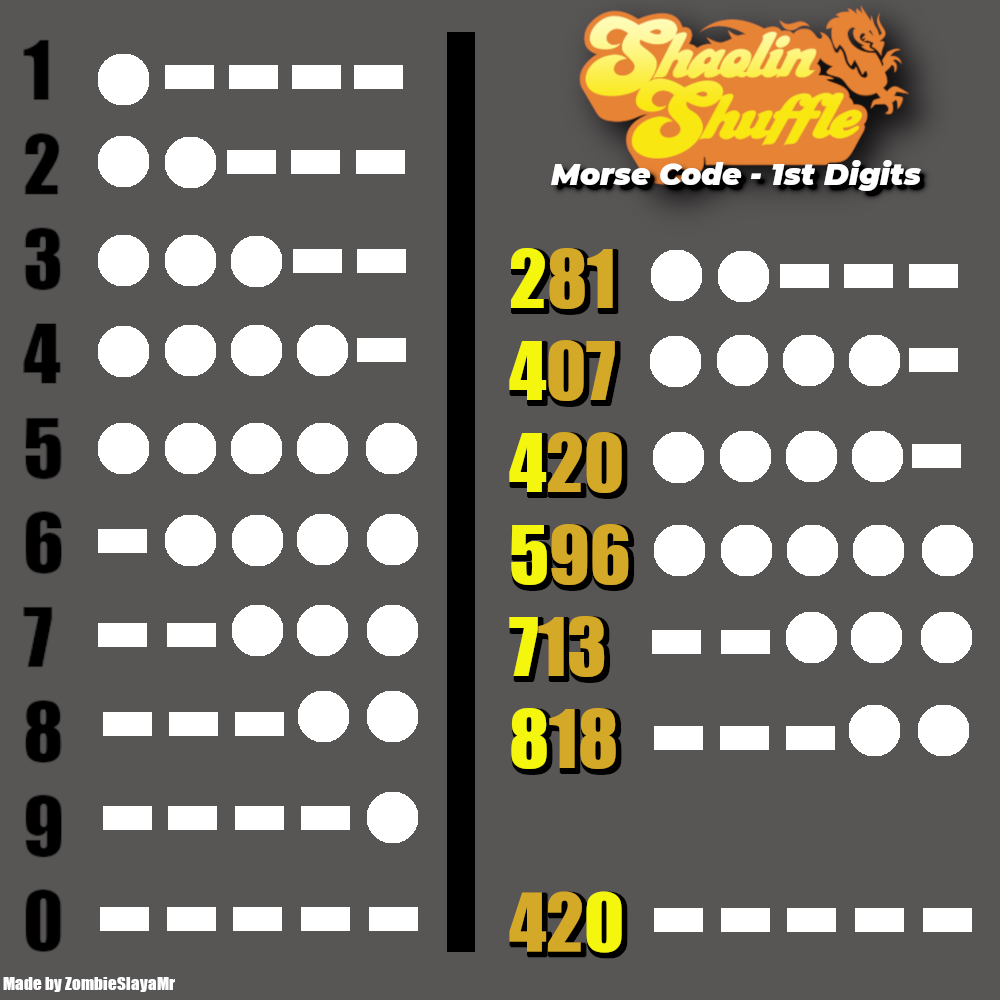
Every 5 beeps in a number. Short beeps are represented by a Dot (.) and long beeps are represented by a dash (-). There are a total of 6 combinations you can hear.
 ㅤ
ㅤAfter determining the number from the phone, these numbers will correspond to a Nightmare Summer Poster in the map. You need to collect the poster that has YOUR number on it. There are 6 locations for the posters. PAY ATTENTION TO THE NUMBER IN THE BOTTOM LEFT. Trying to collect the wrong poster will result in you having to collect the rat king symbols again. Here are the locations of the Posters:
- To the left of the side door entry to the Black Cat Dojo
- On the left wall at the bottom part of the spawn area
- On a wall on the right side of the bottom part of the train station near Bang Bangs
- On the wall opposite of Bombstoppers
- On the Disco Inferno rooftop opposite Quickies
- On the rooftops near the Dojo. Will be on your right on the right side of the wall next to the Magic Wheel
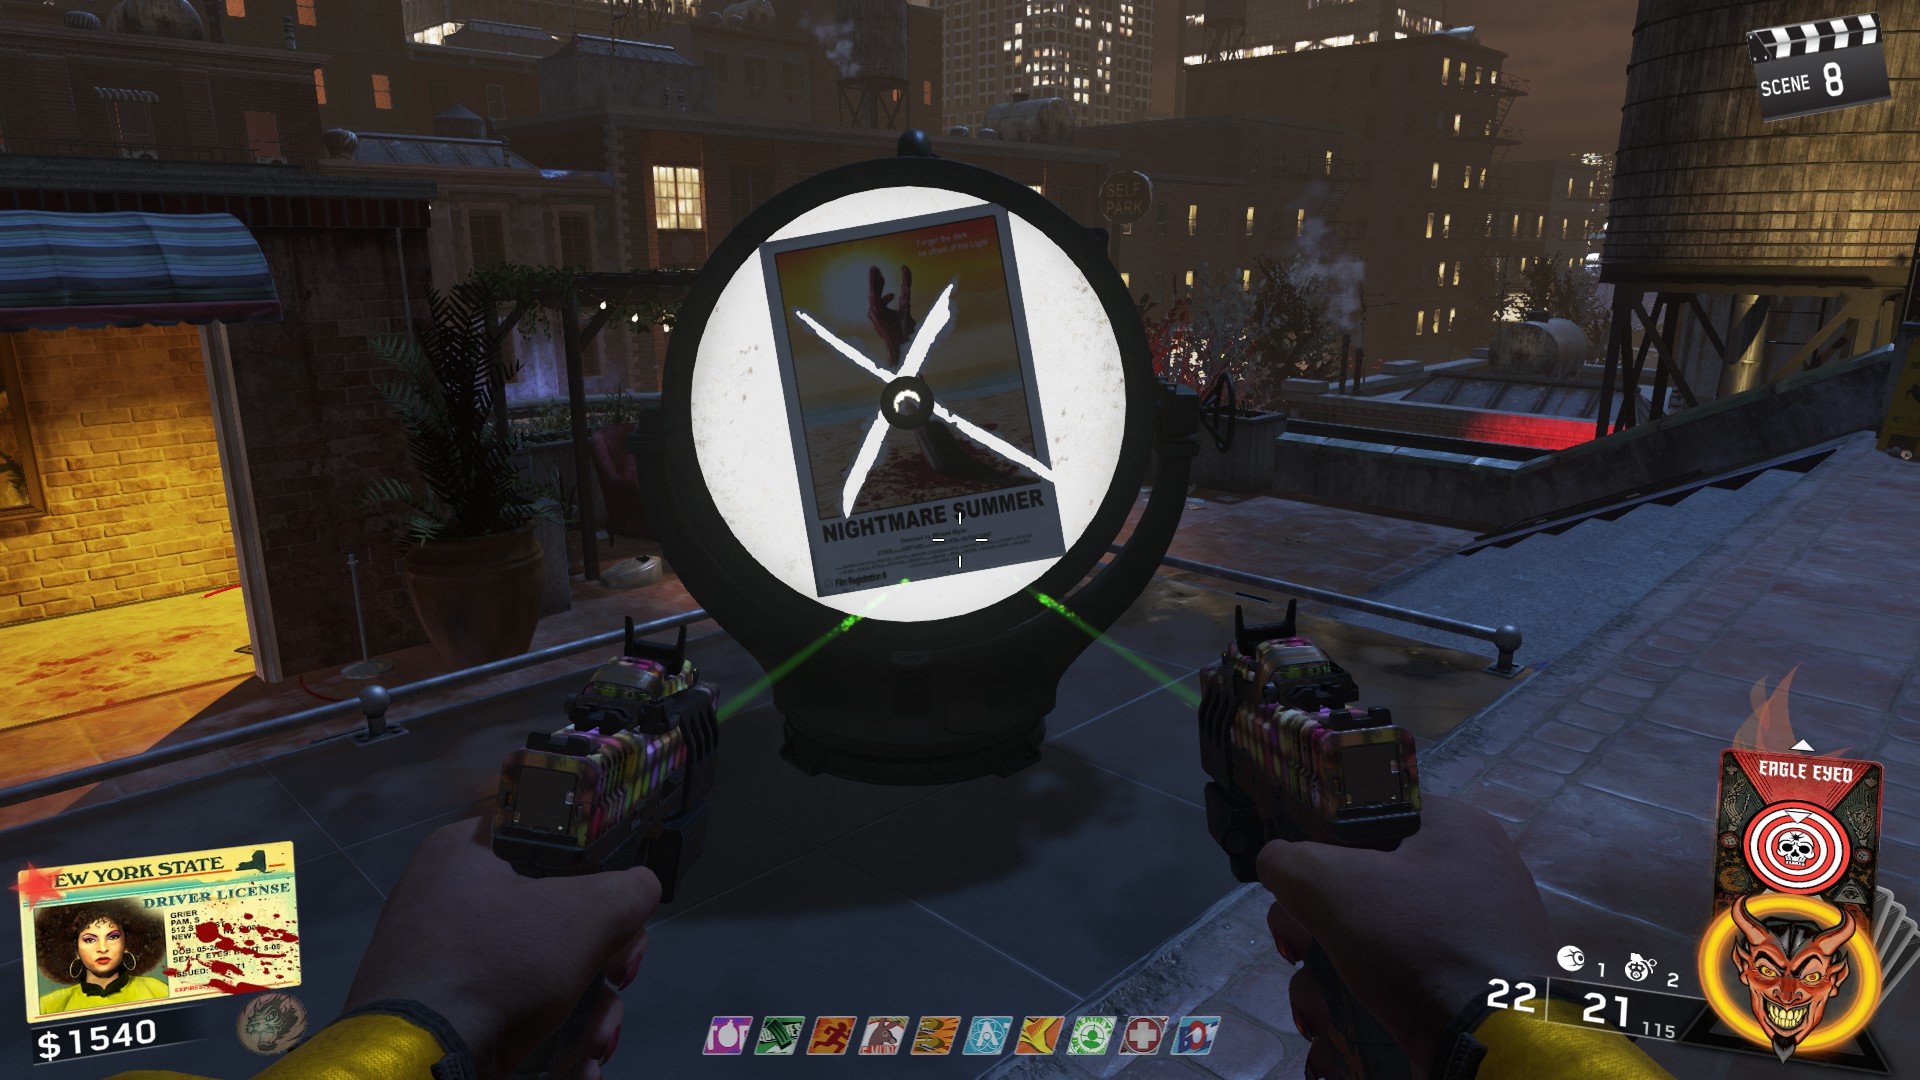
Once you've collected your poster, Make your way to the rooftop of the Disco Inferno and place the poster on the Spotlight on the roof.
ㅤ
 ㅤ
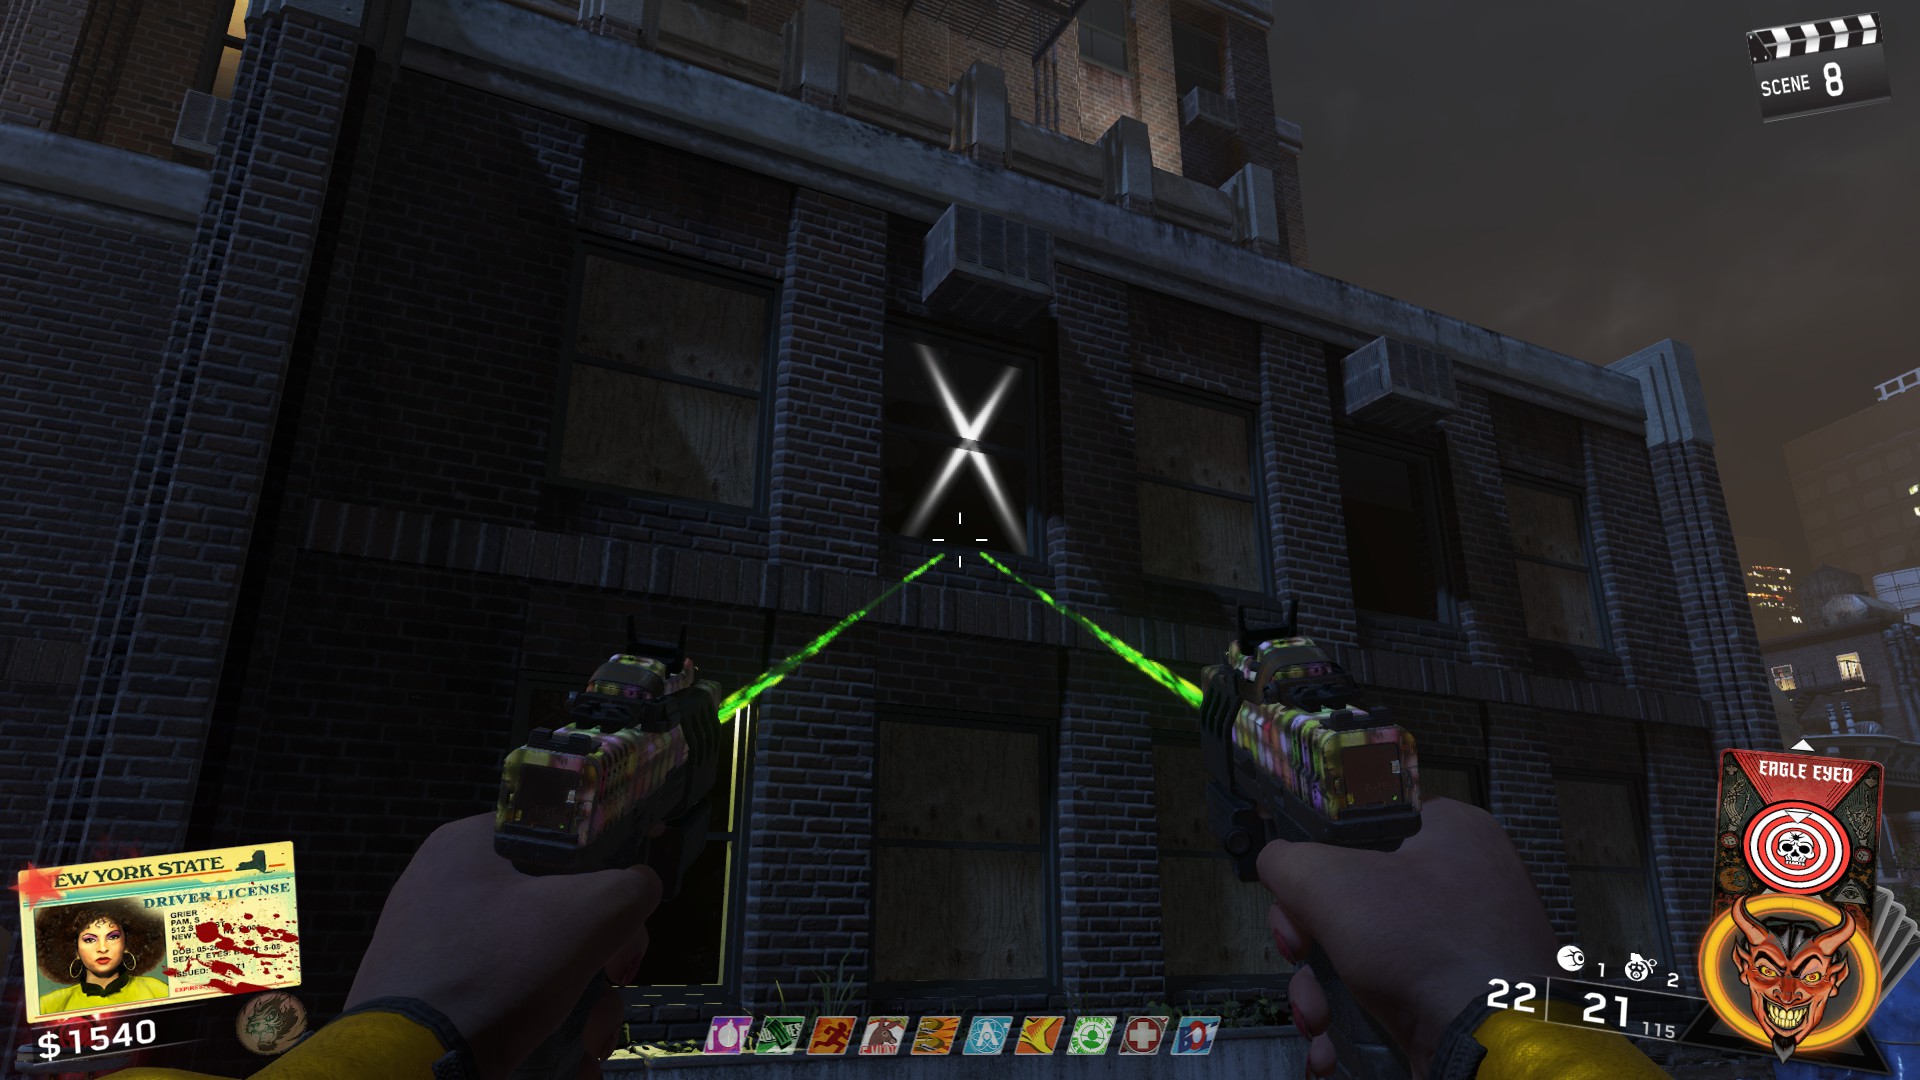
ㅤThe spotlight will make a shadow with an X on the window on the other side of the roof. Using some explosive (Either the upgraded Kendall, or a grenade) blow the X. This will spawn a bunch of Shaolin Zombies on the rooftop. Kill the Shaolins and you can begin the Word Step.
ㅤ
Main Quest - Part II
ㅤ
 ㅤ
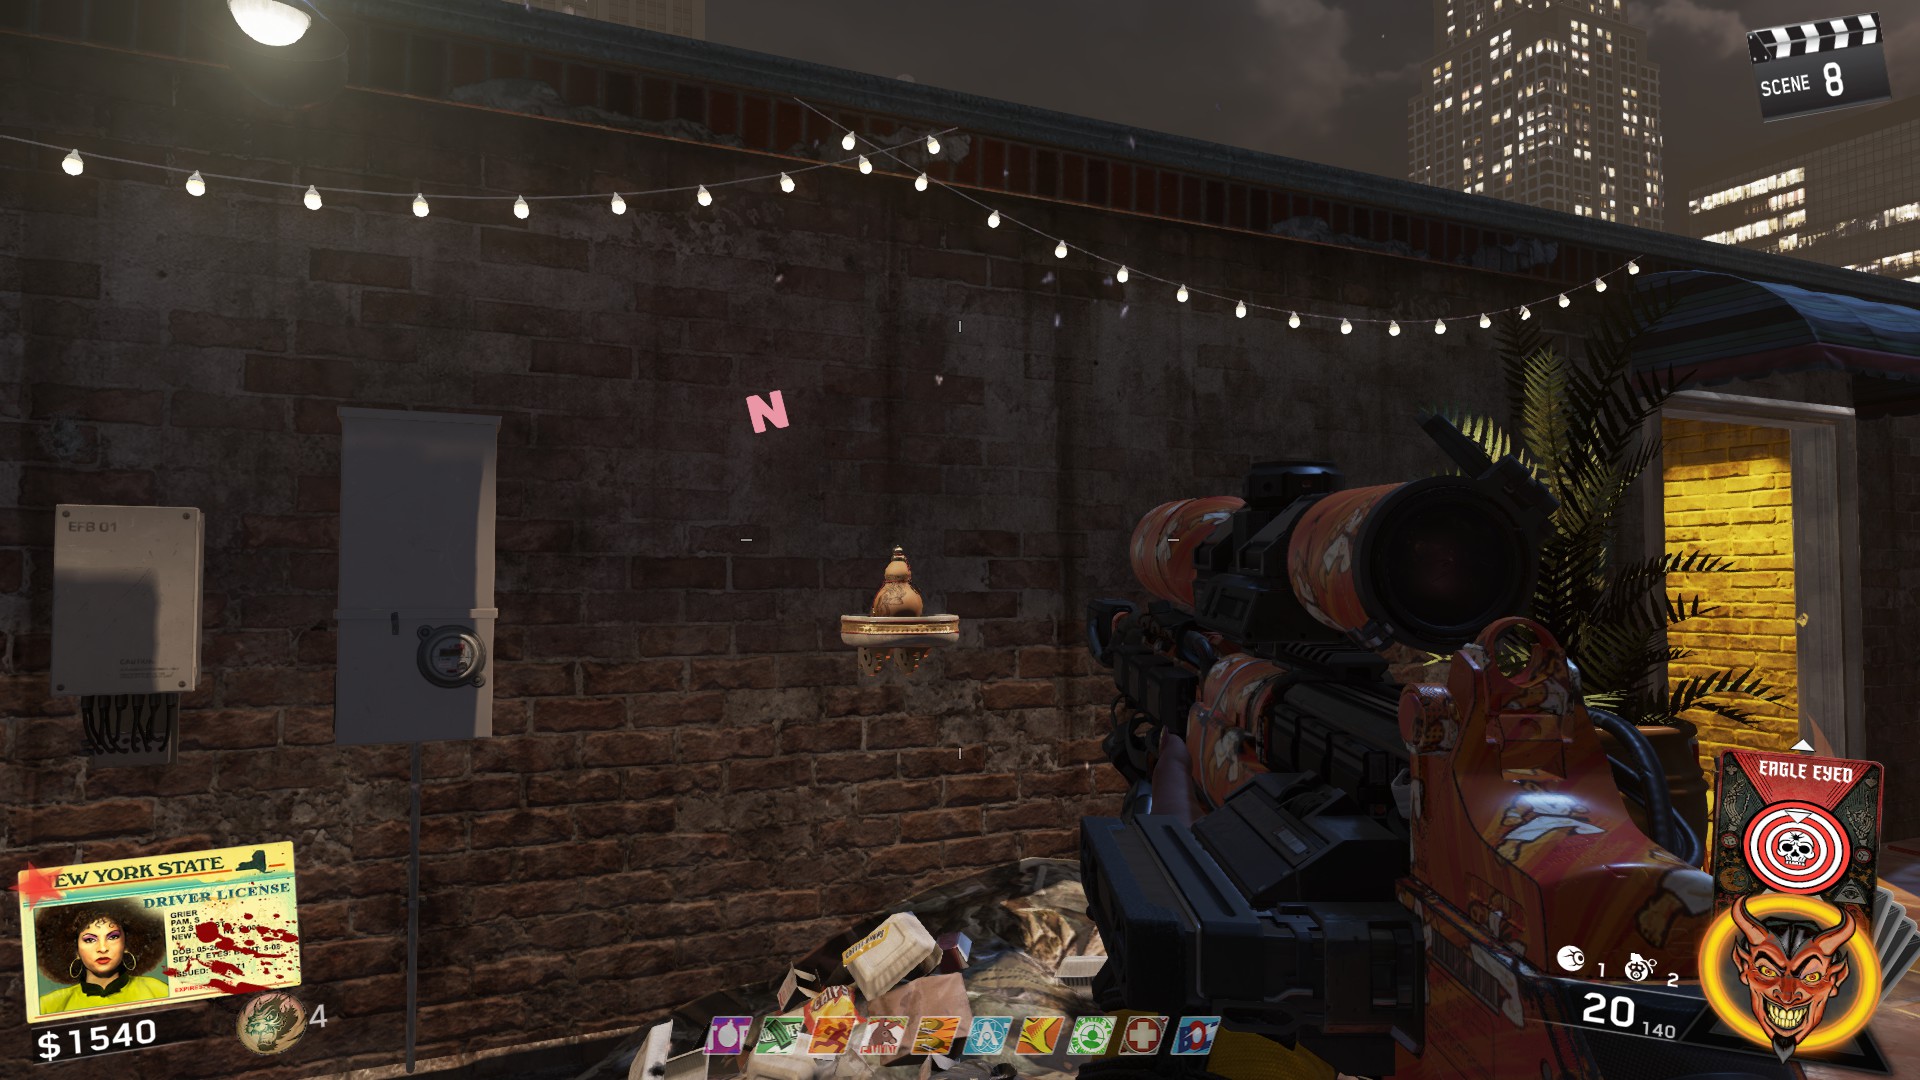
ㅤEssentially, you are playing a game of Hangman and you want to guess the correct word to move on to the next step. However, the symbols that represent letters are in Wylard language, so you'll need a reference to translate the symbols. The Section "Main Quest - Word List" will have all the resources you need as well as a list of confirmed words.
Start by looking at what letter you have on the wall. That alone should weed out majority of the words. Then look at the second letters for those words and see which of those letters appear as symbols on the rooftop. Keep doing this method of elimination and this step shouldn't be too much of a hassle.
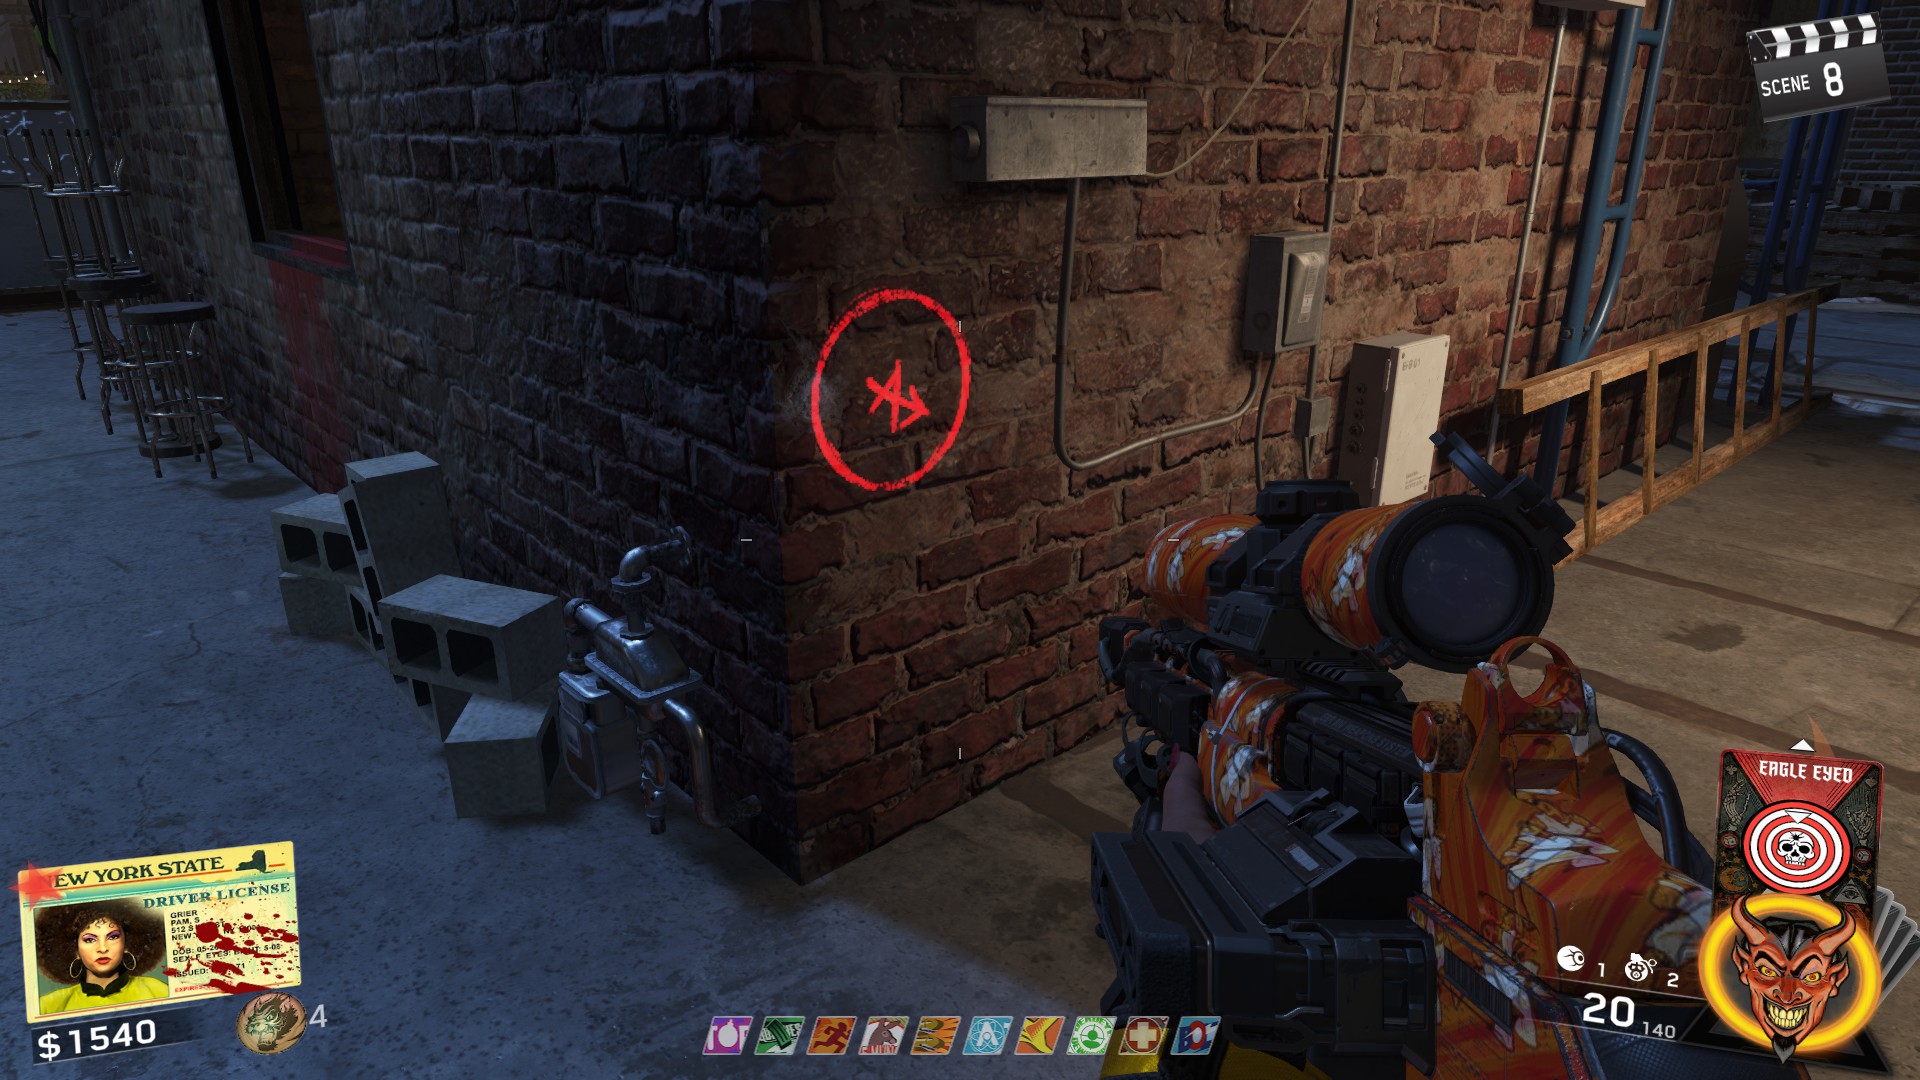
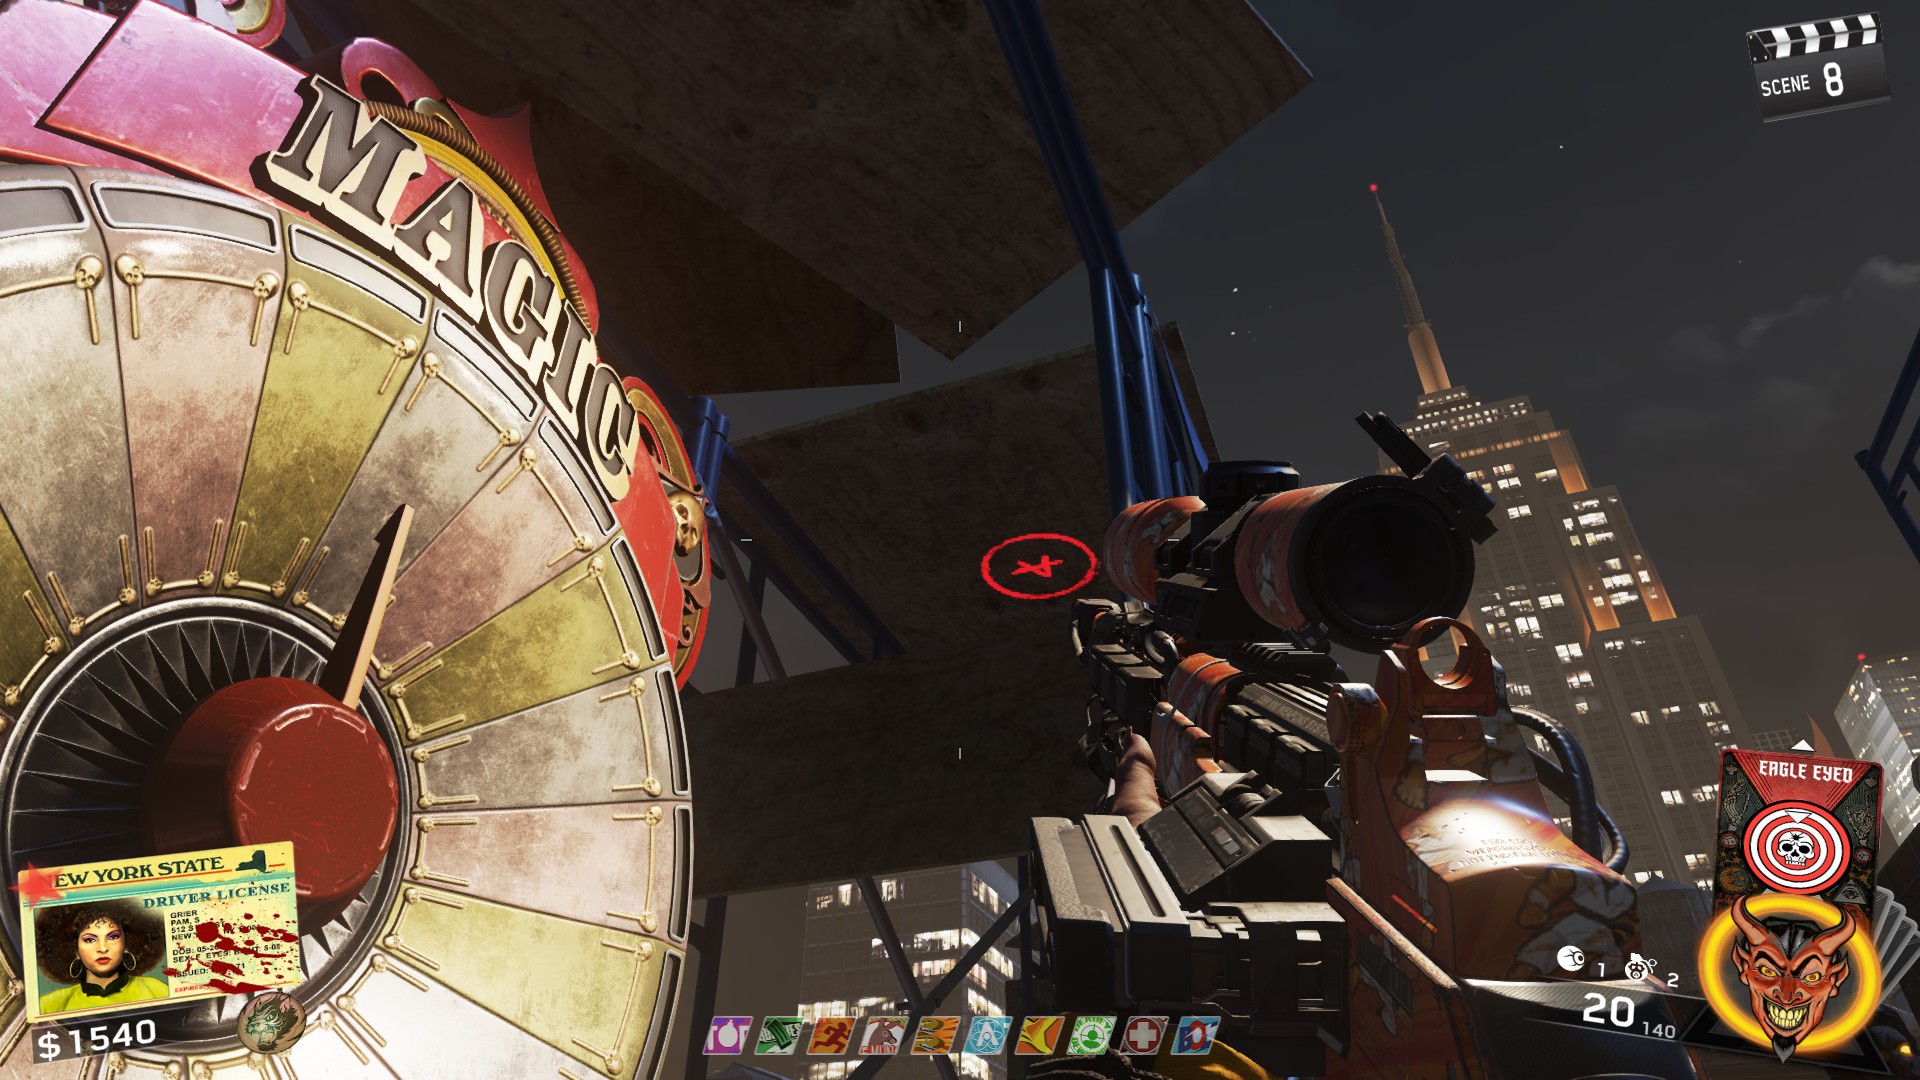
Below are the locations of the symbols on the rooftop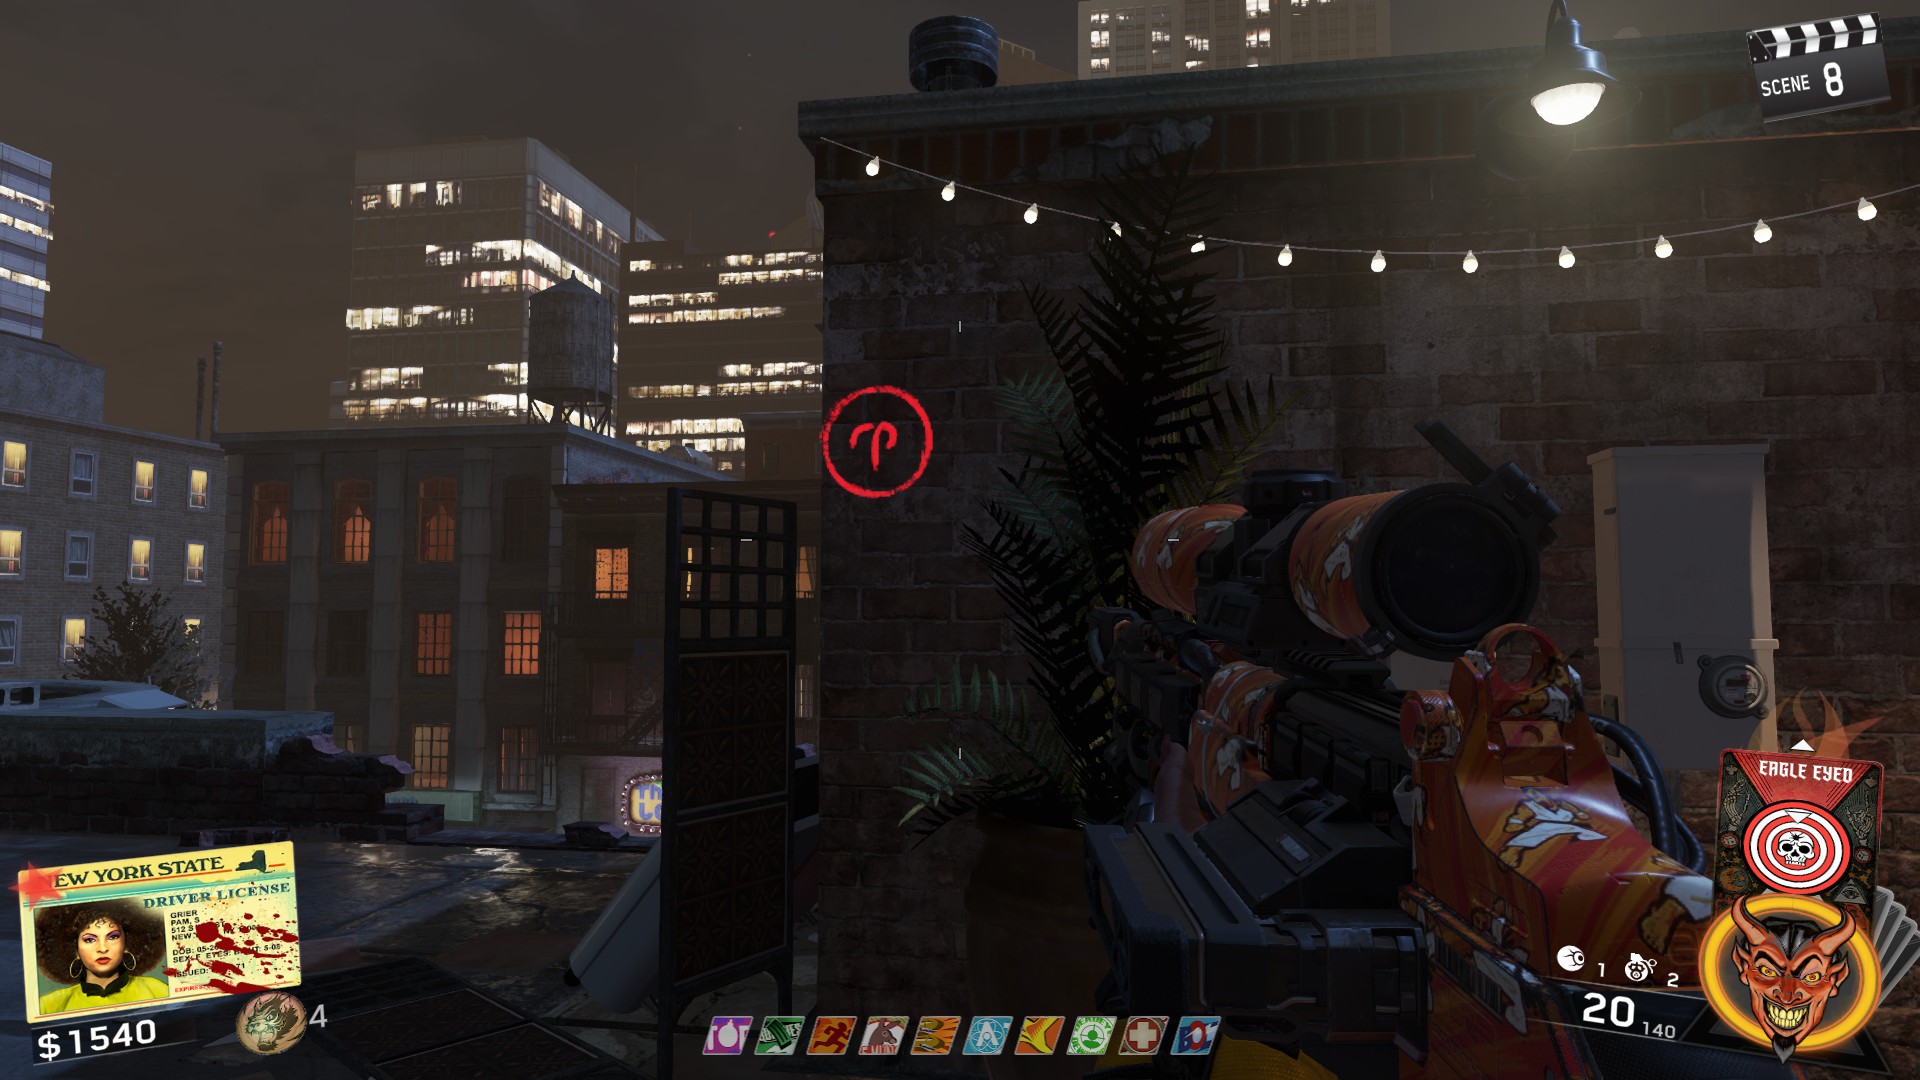
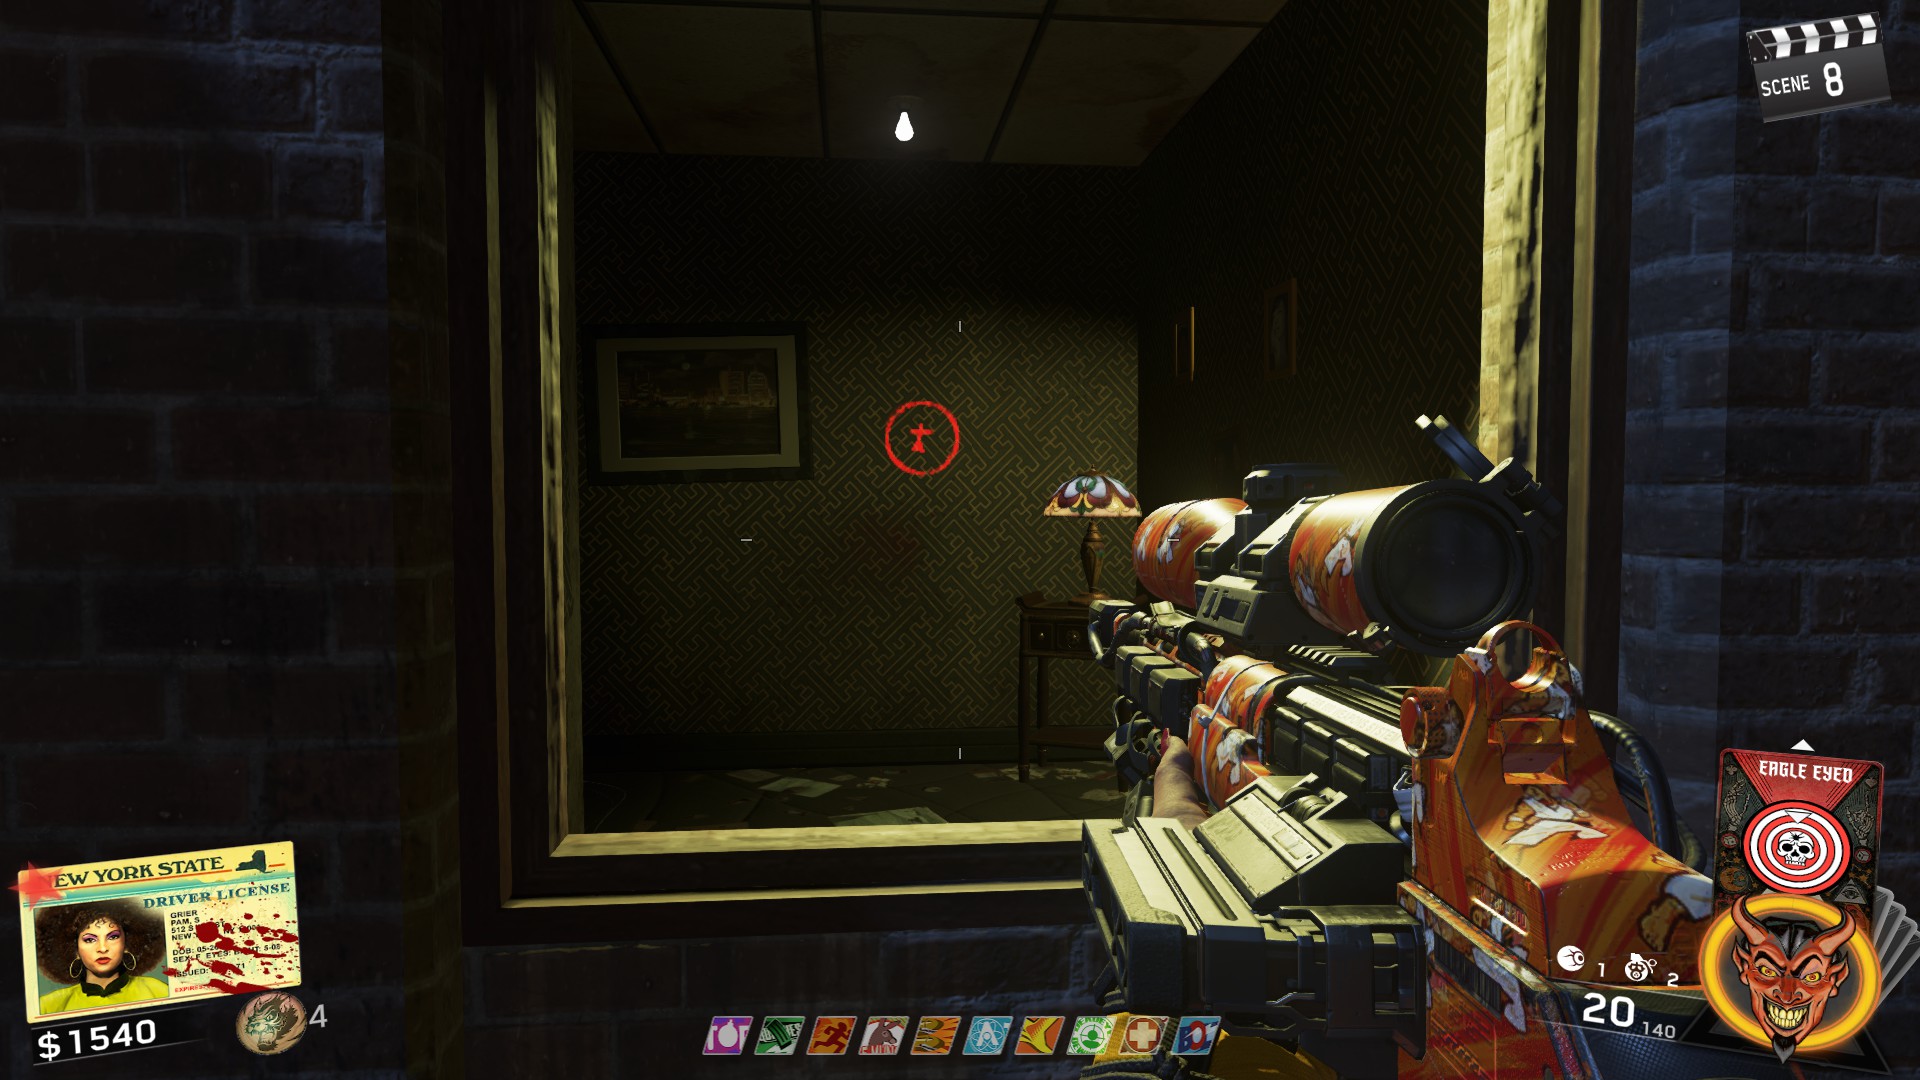
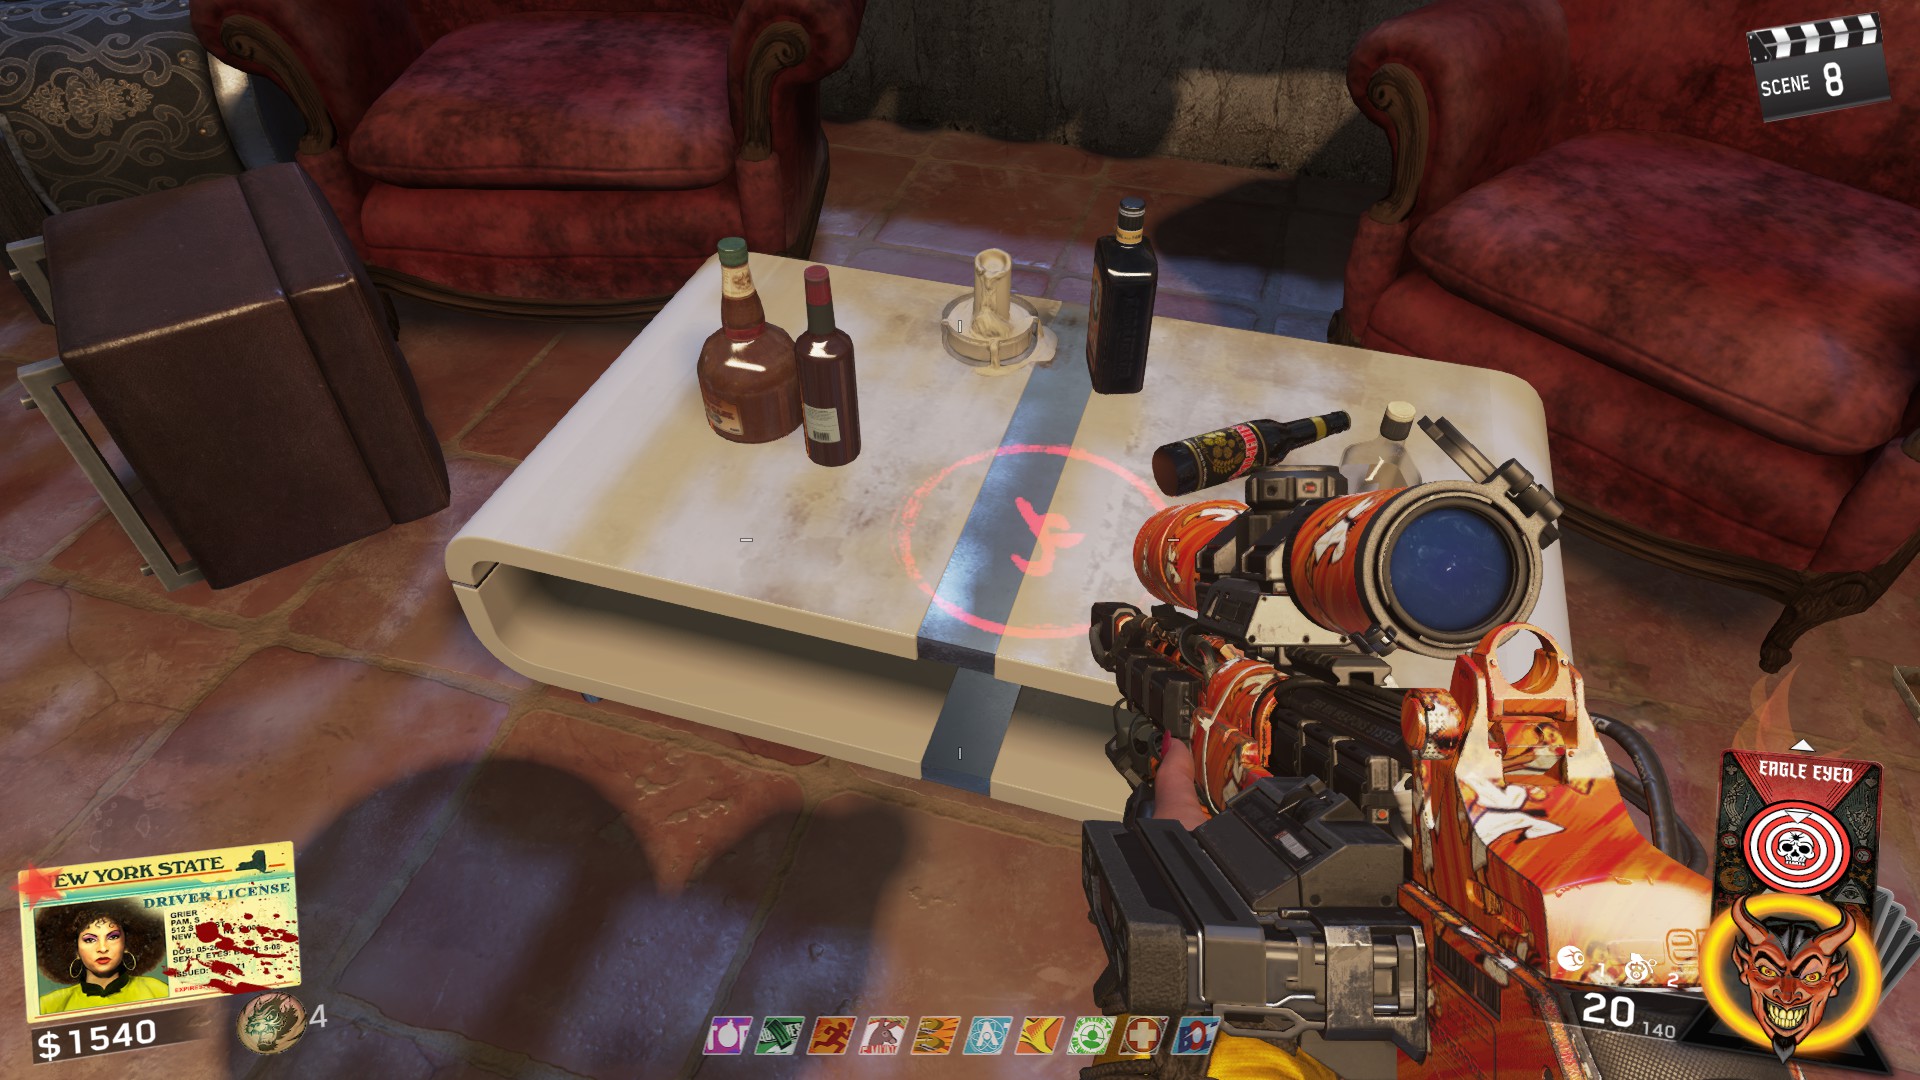
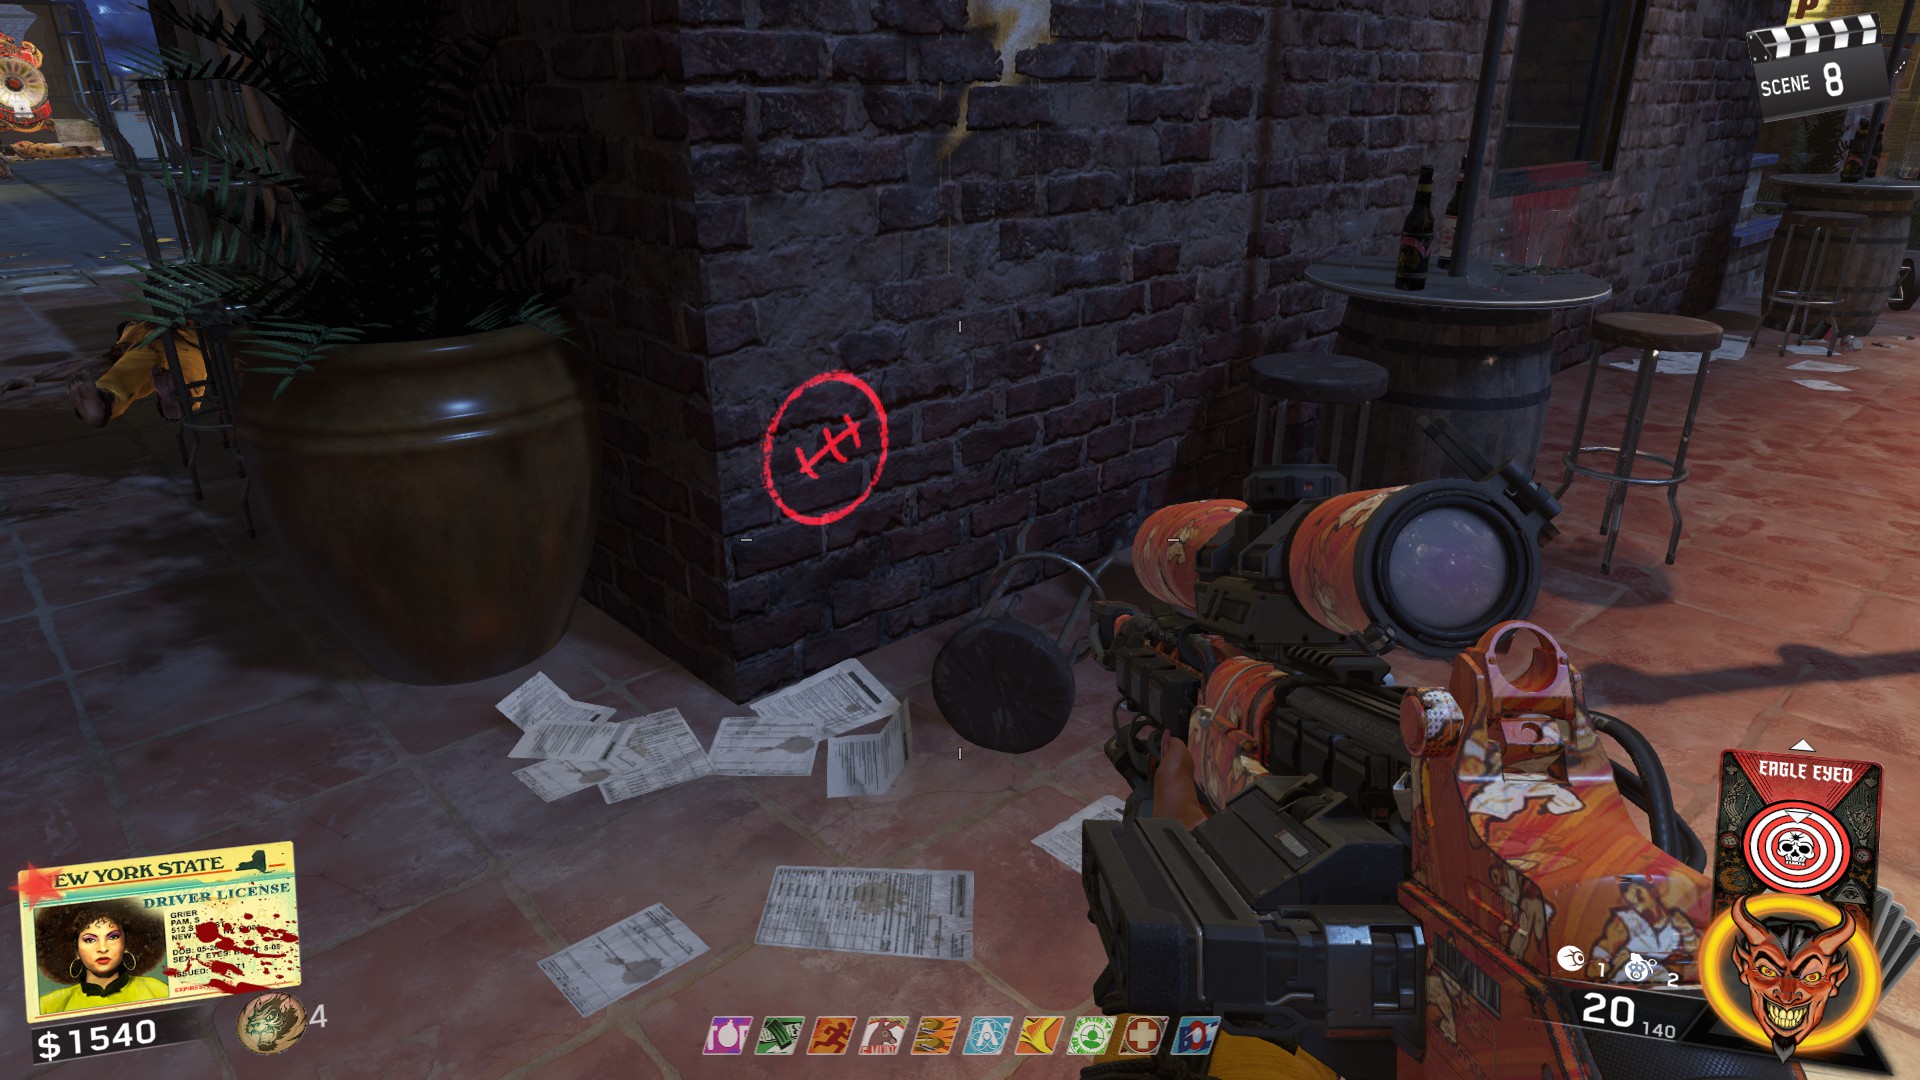
Once you've guessed the correct word, the Gong completion sound will go off and you can move to the next step.
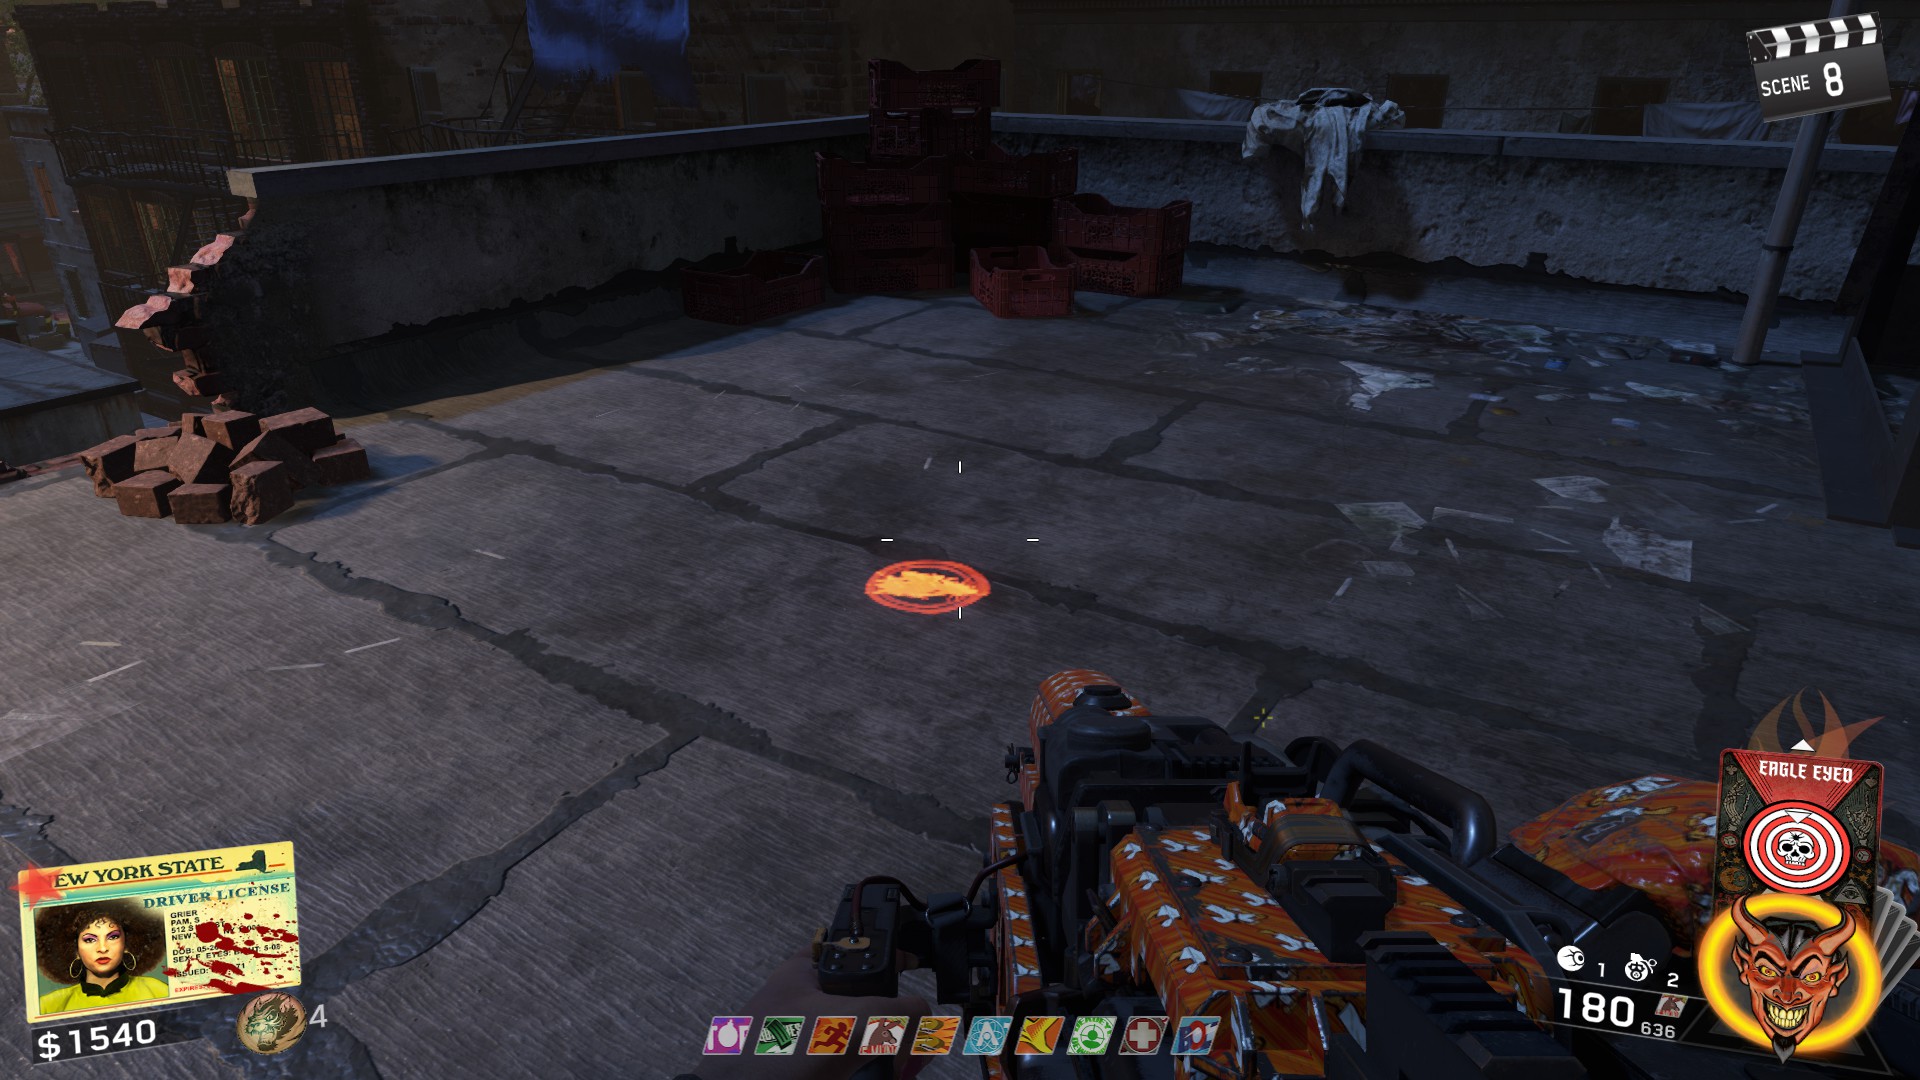
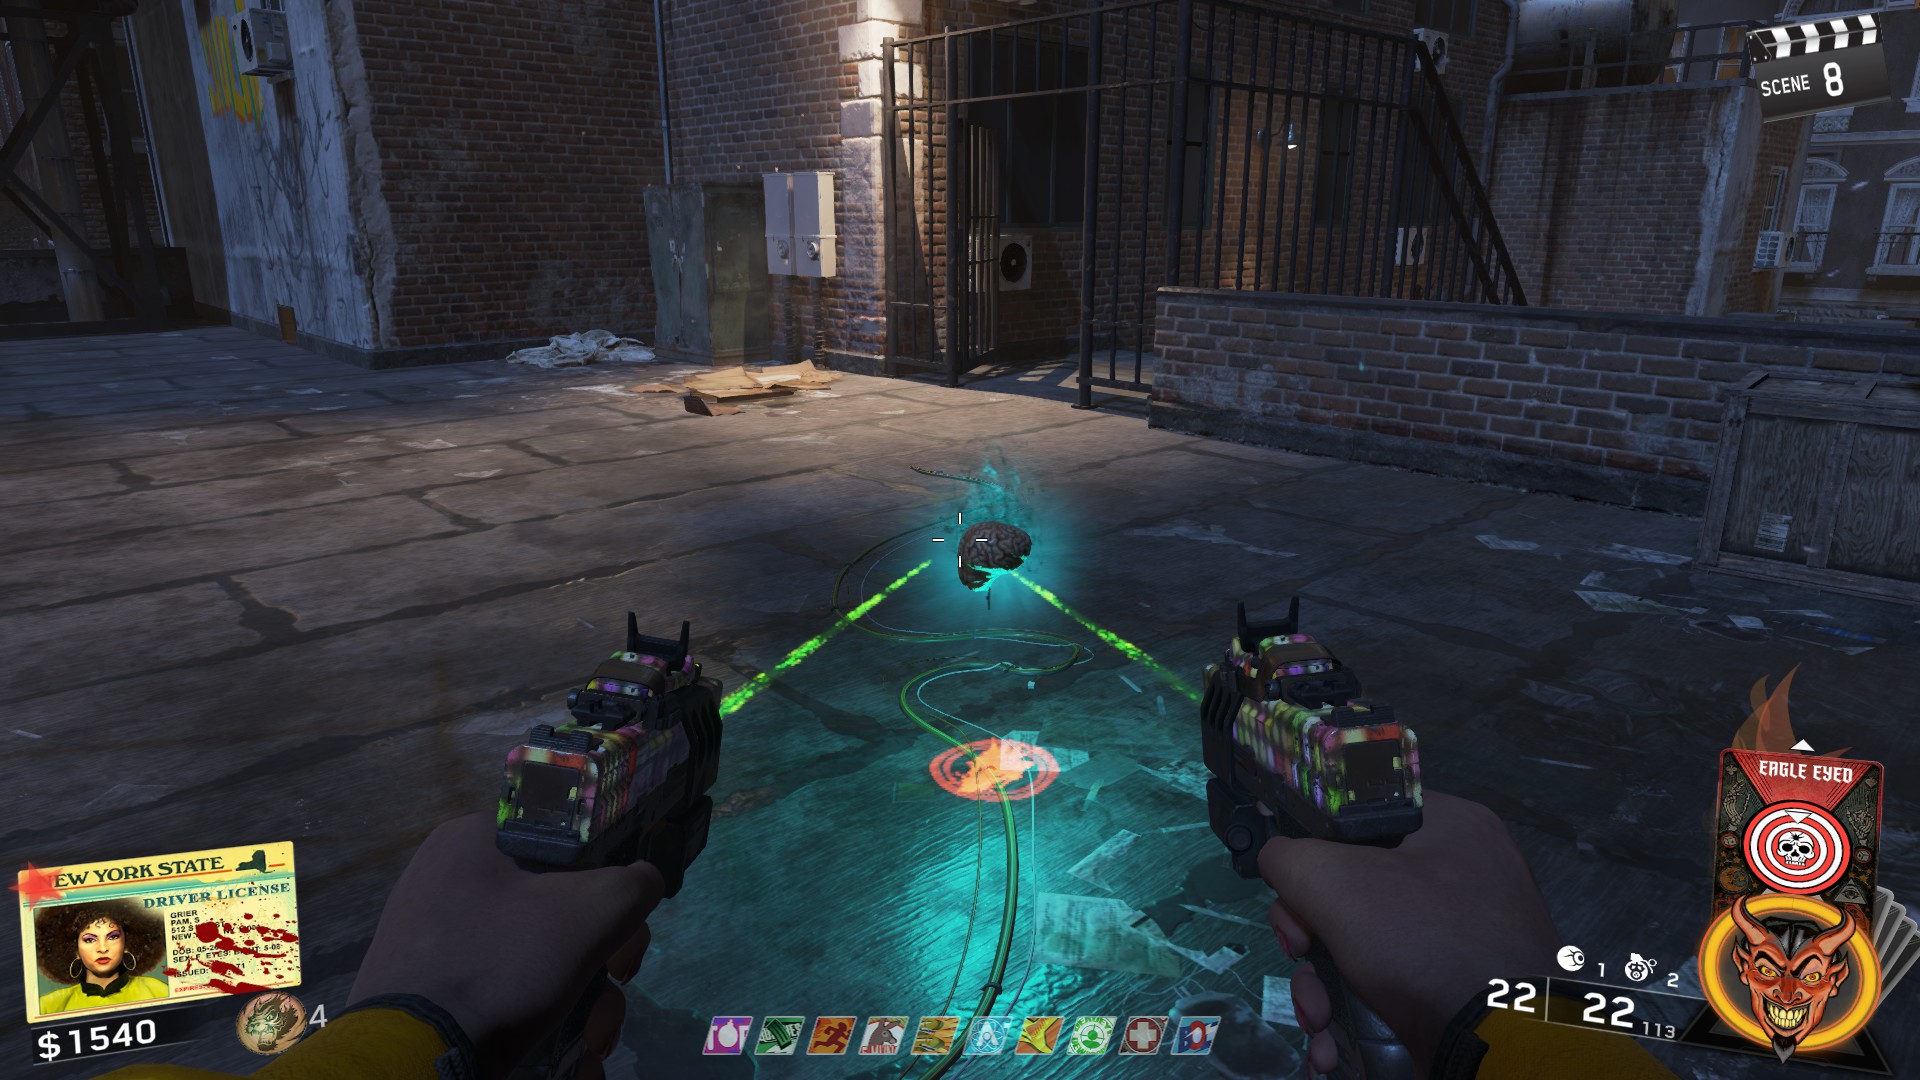 ㅤ
ㅤAfter speaking with Pam, you'll notice a burn mark in the Top left of the screen flashing. This signifies that after 3 rounds, the film will break and will progress you 3 rounds. Simply just use this time to get some setup done.
Once the film "breaks" and places you in front of the Dojo, make sure to kill all the zombies and pick up the golden Turnstyle before leaving the area.
ㅤ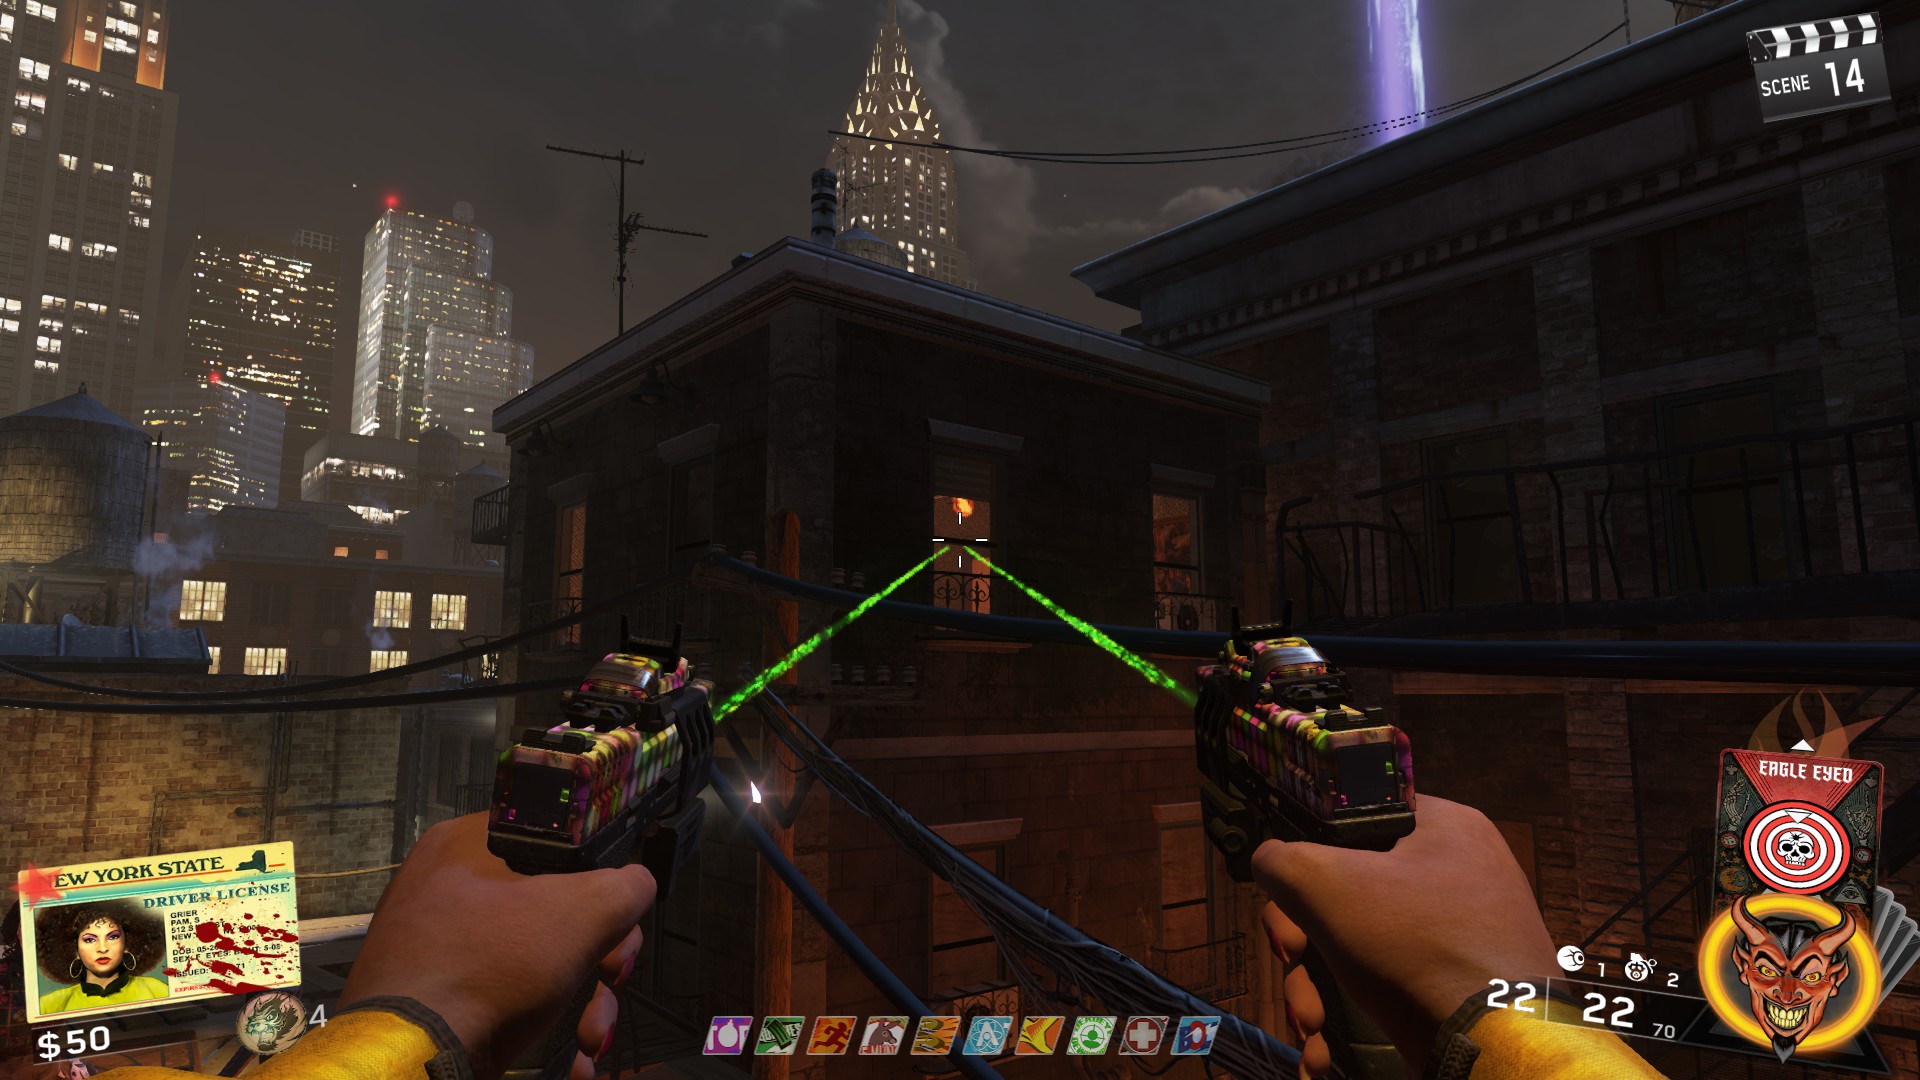 ㅤ
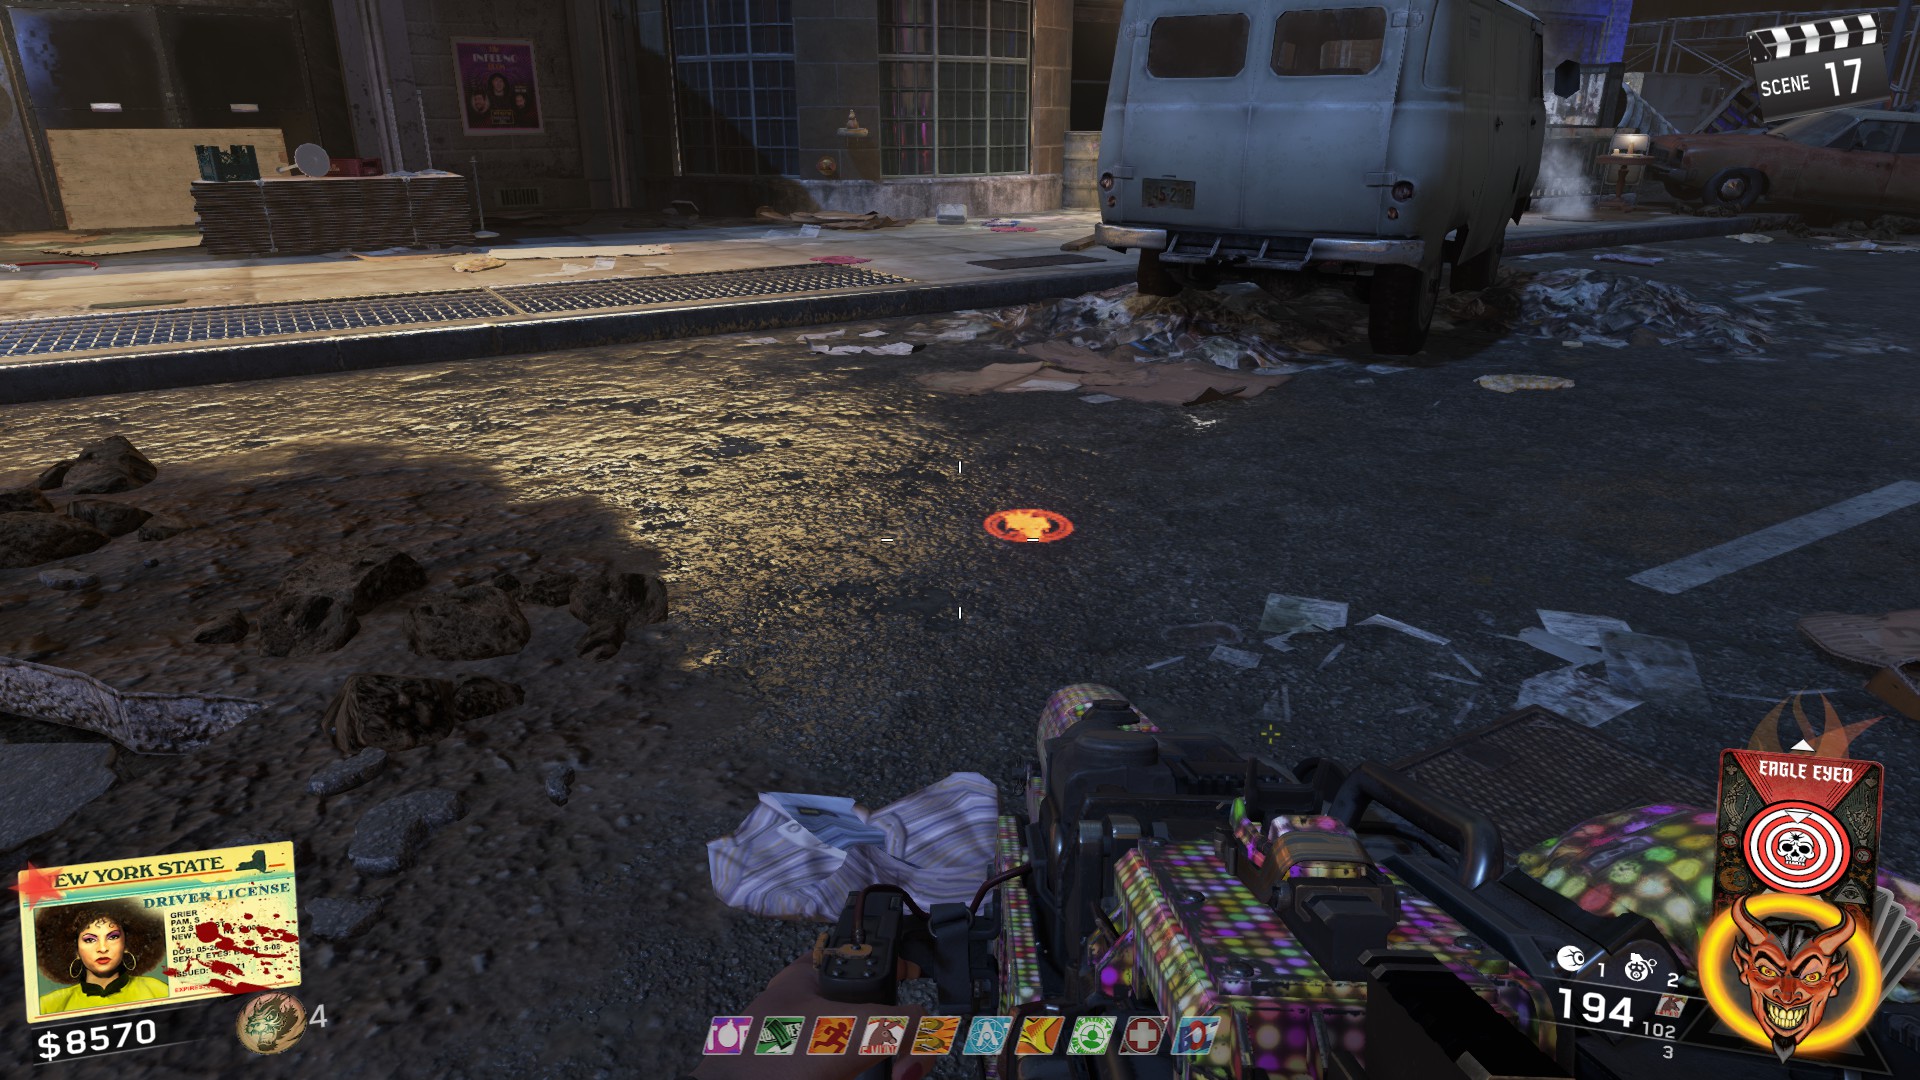
ㅤThis time however, you'll need to fill up multiple of these rings and the rings will move after a few kills. Once it moves, just roam around the map till you find the next one. The make a pretty loud noise and are very bright, so finding them shouldn't be a problem.
Once you've filled enough circles, you'll hear the gong completion sound and can move on to the Disco hot potato step.
 ㅤ
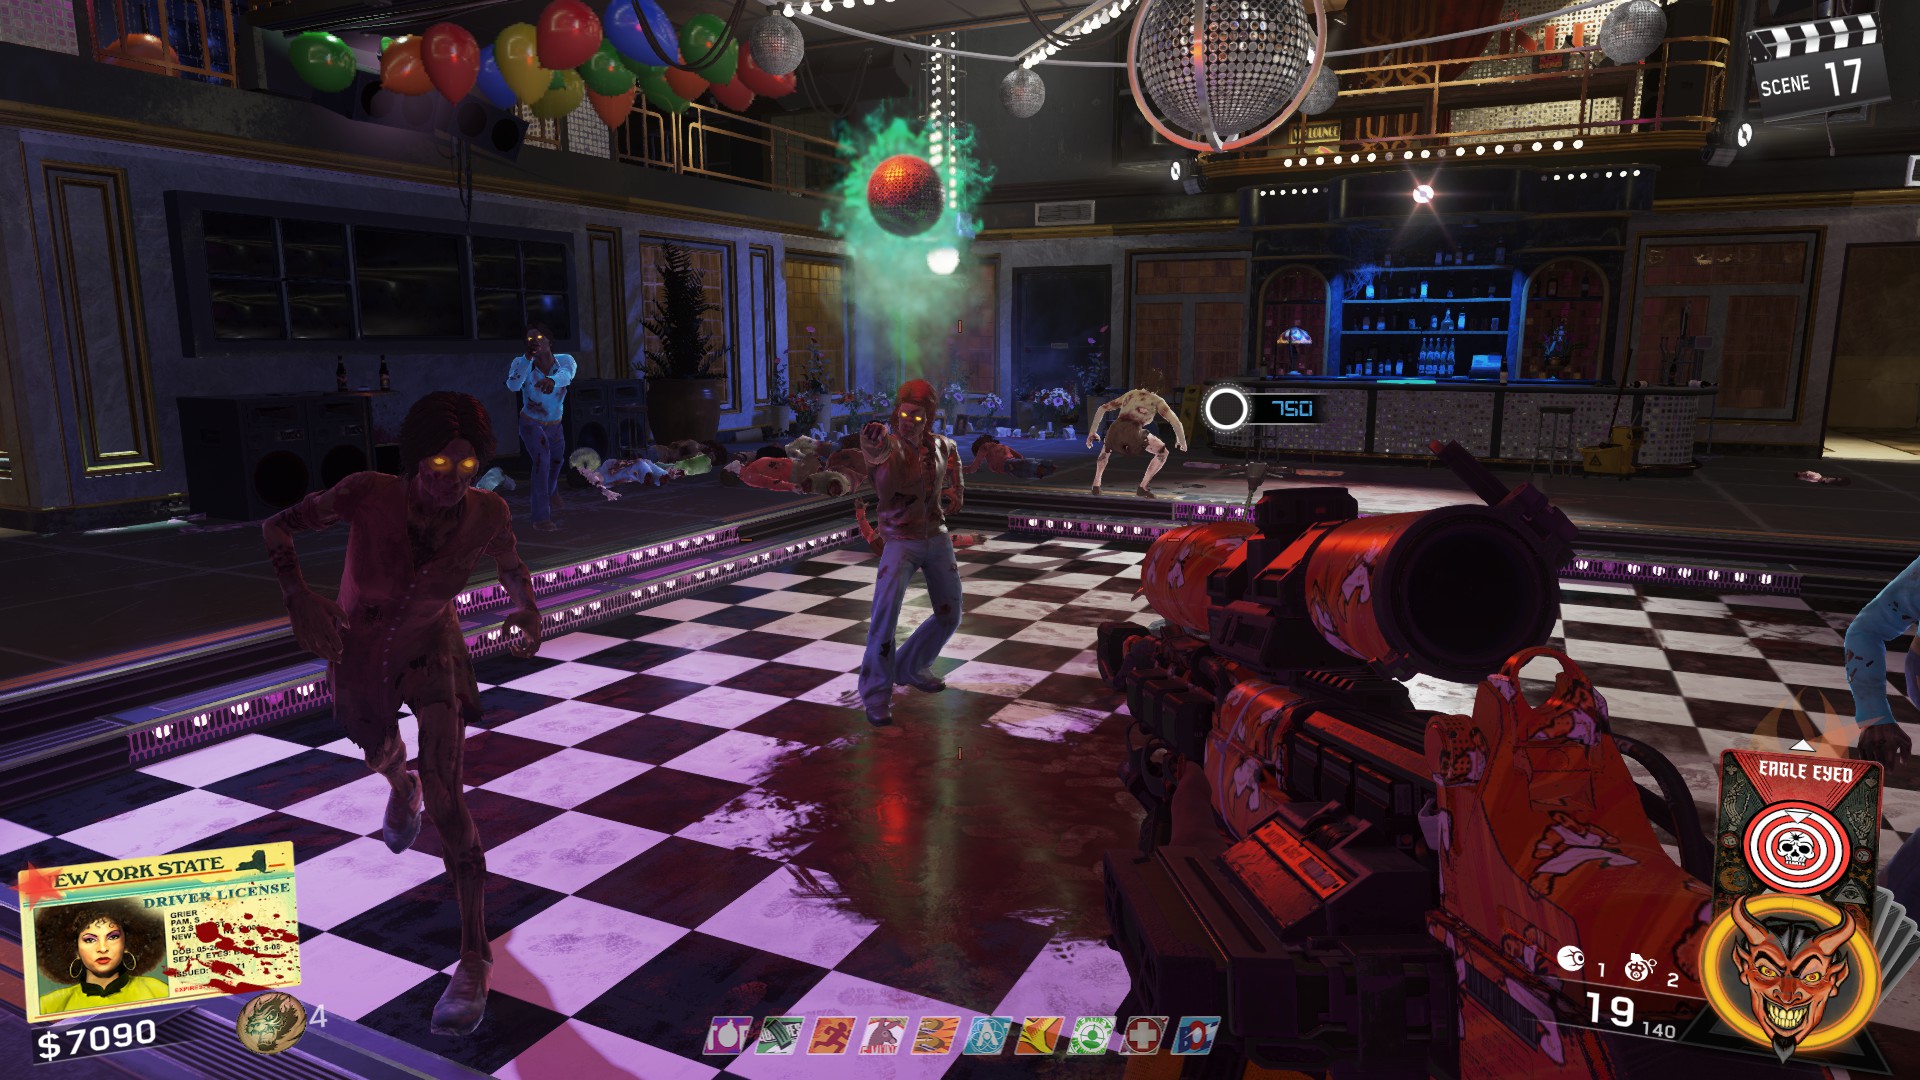
ㅤThe goal with this is to kill the zombie with the Disco ball above its head only when another zombie is on the checkered floor. Do this enough times until you hear the gong sound and you can move the to the last Rat king fight before the main boss fight.
 ㅤ
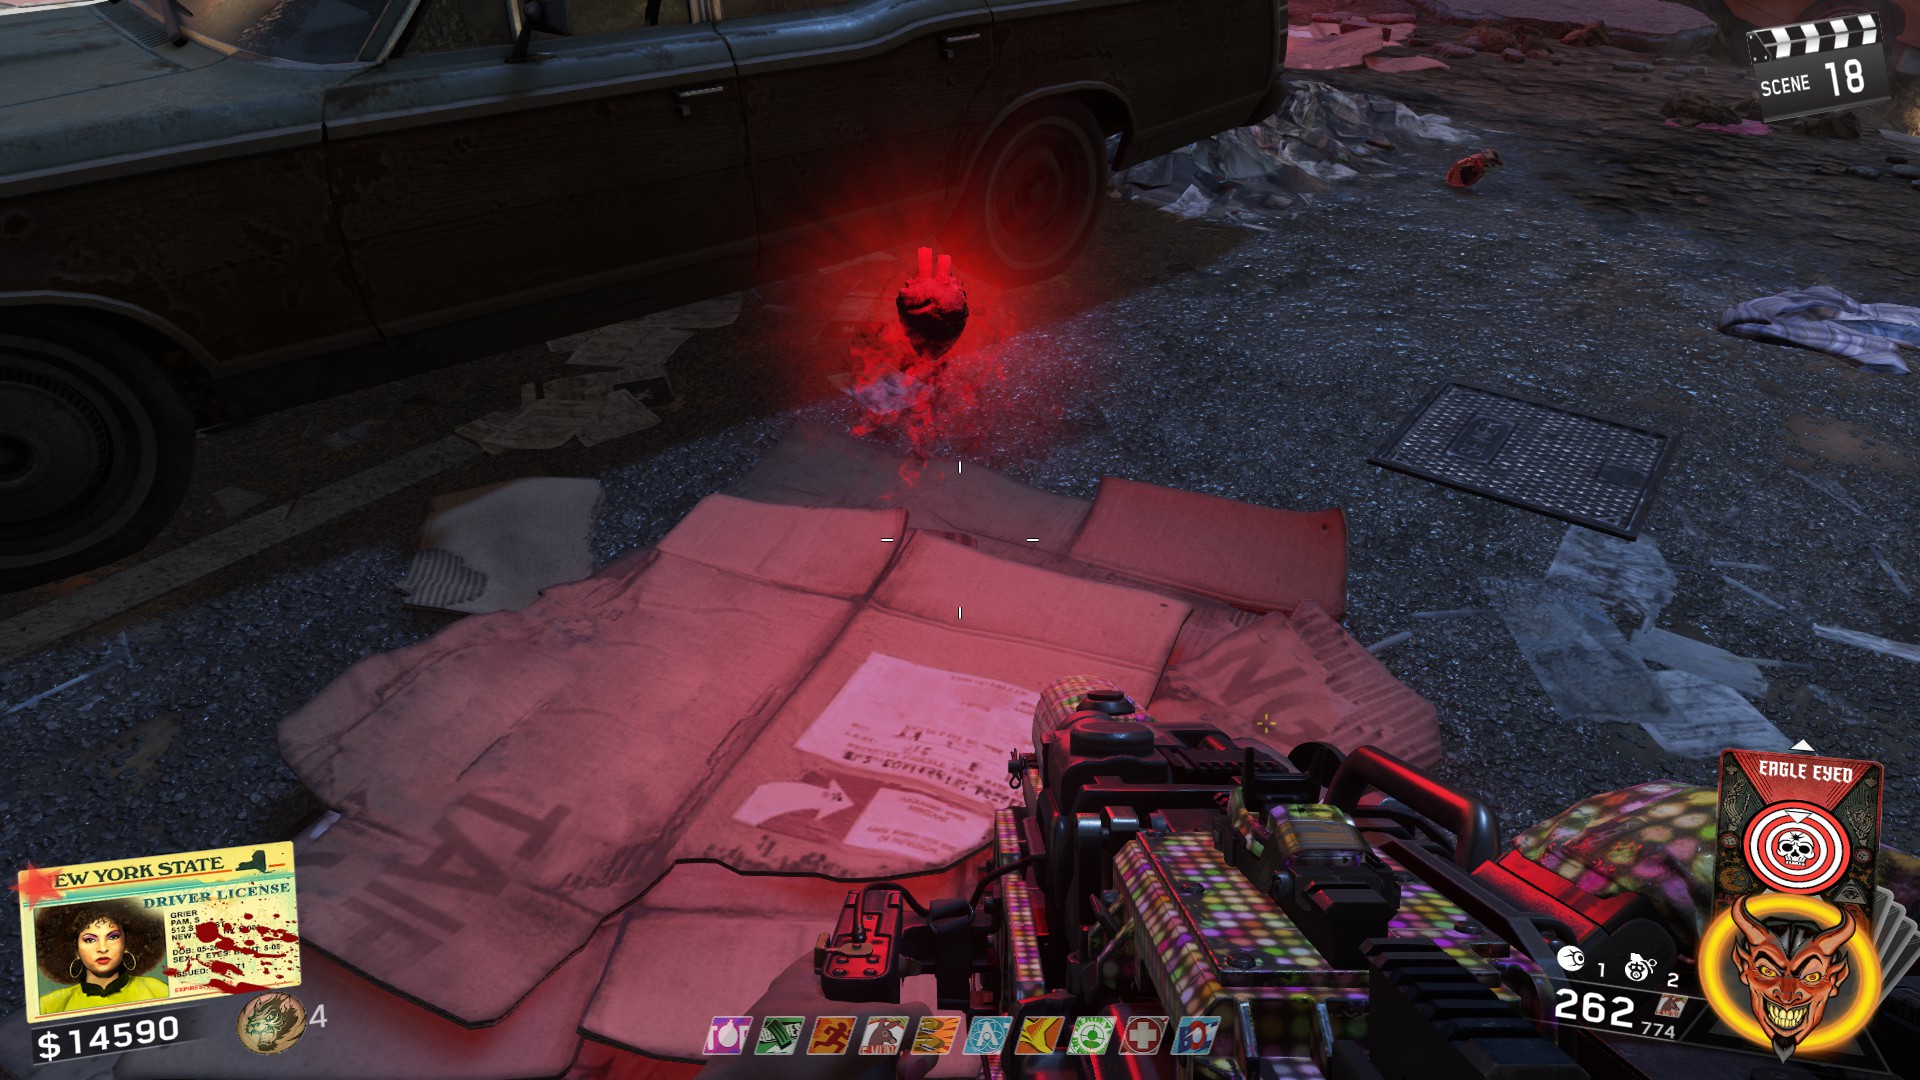
ㅤOnce you are setup, talk to Pam in the Dojo. After talking to Pam, entering the Rat King Lair at anytime will trigger the boss fight.
Main Quest - Rat King Boss Fight
ㅤ
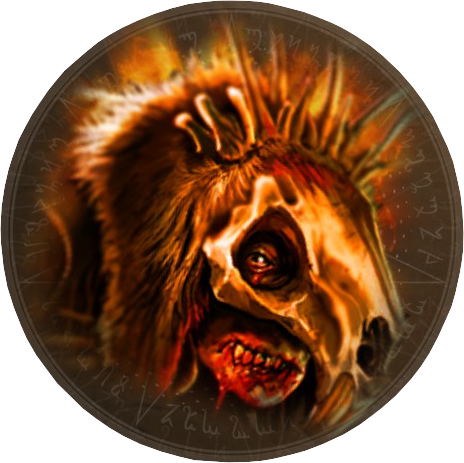
This boss fight has 3 main stages and allows you to do them in any order. There is also a damage phase to start, in between each main stage, and is the final stage.
The damage phase is pretty self-explanatory. Damage the Rat King until he sinks into the ground and spawns the items for you to pick up, or if you're on the final stage, until he dies.
Completing each of the main phases rewards the player with a Max Ammo.
ㅤ
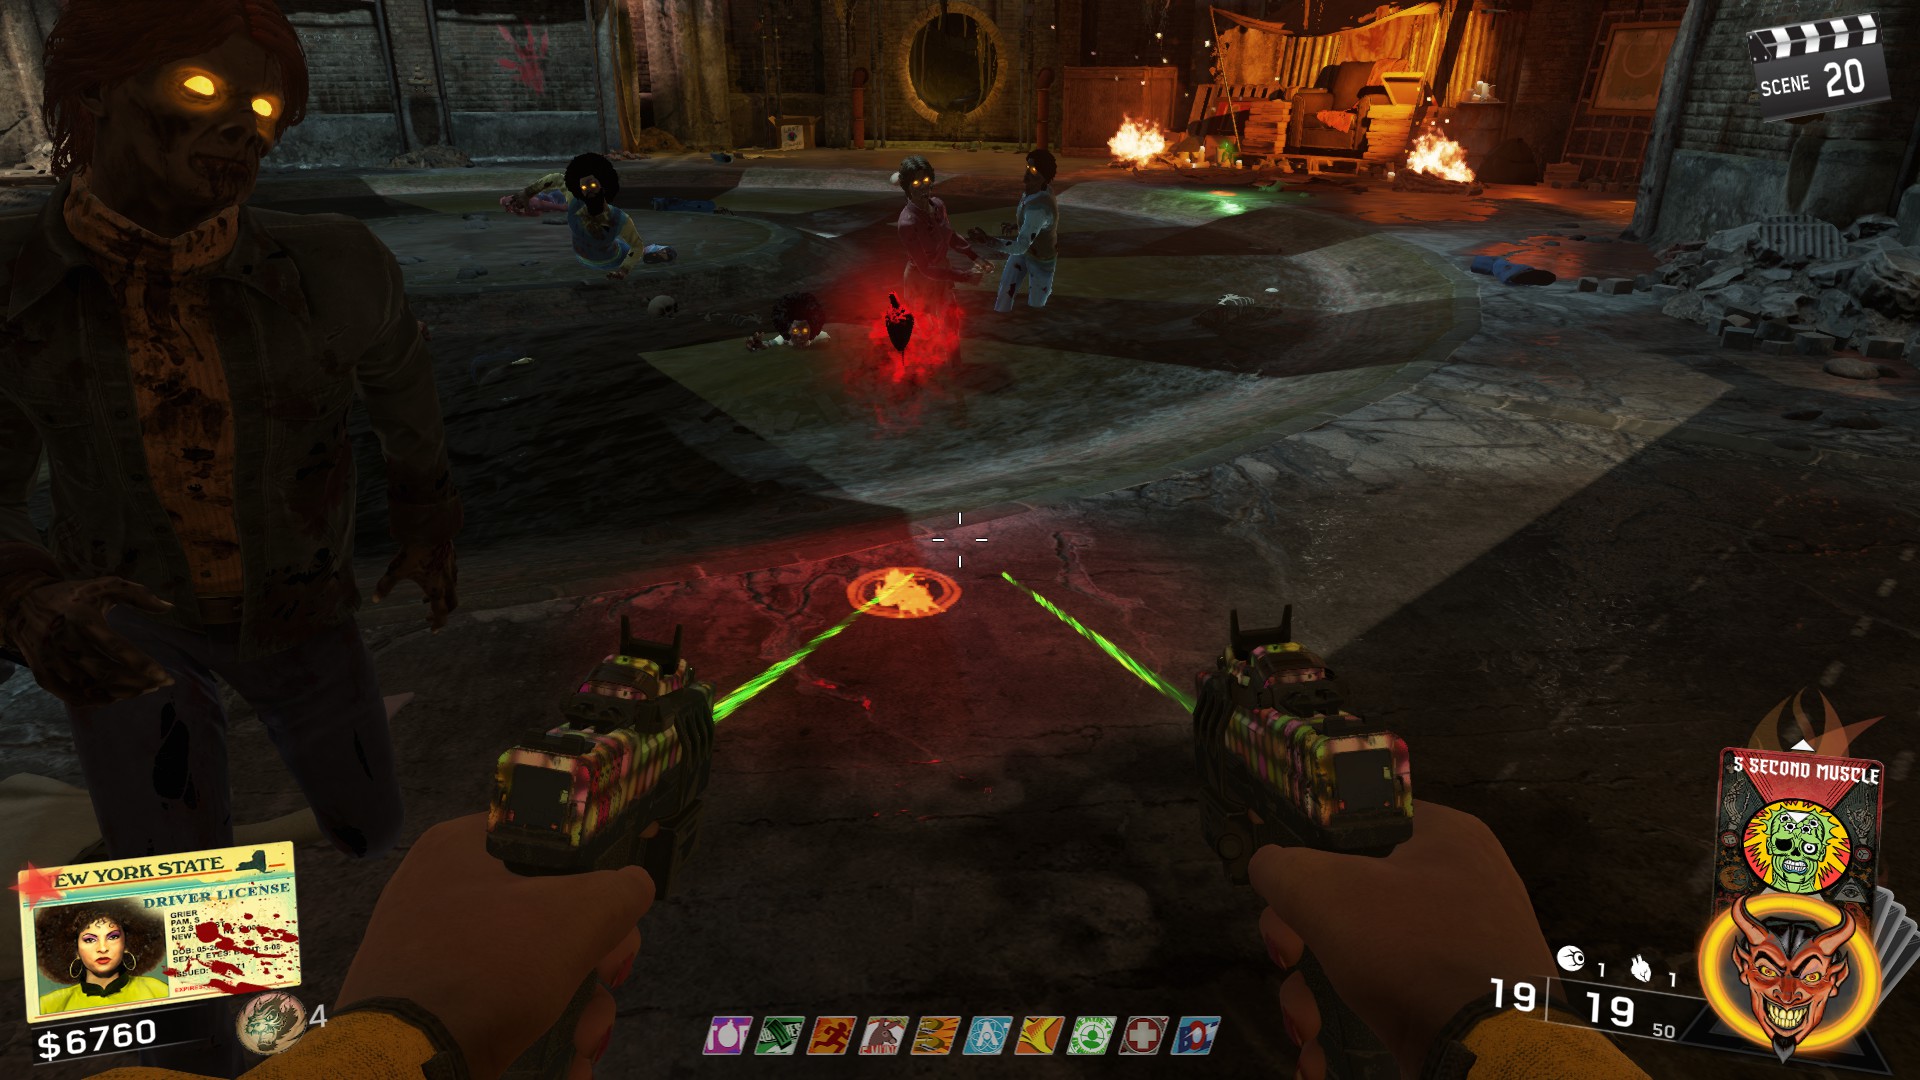
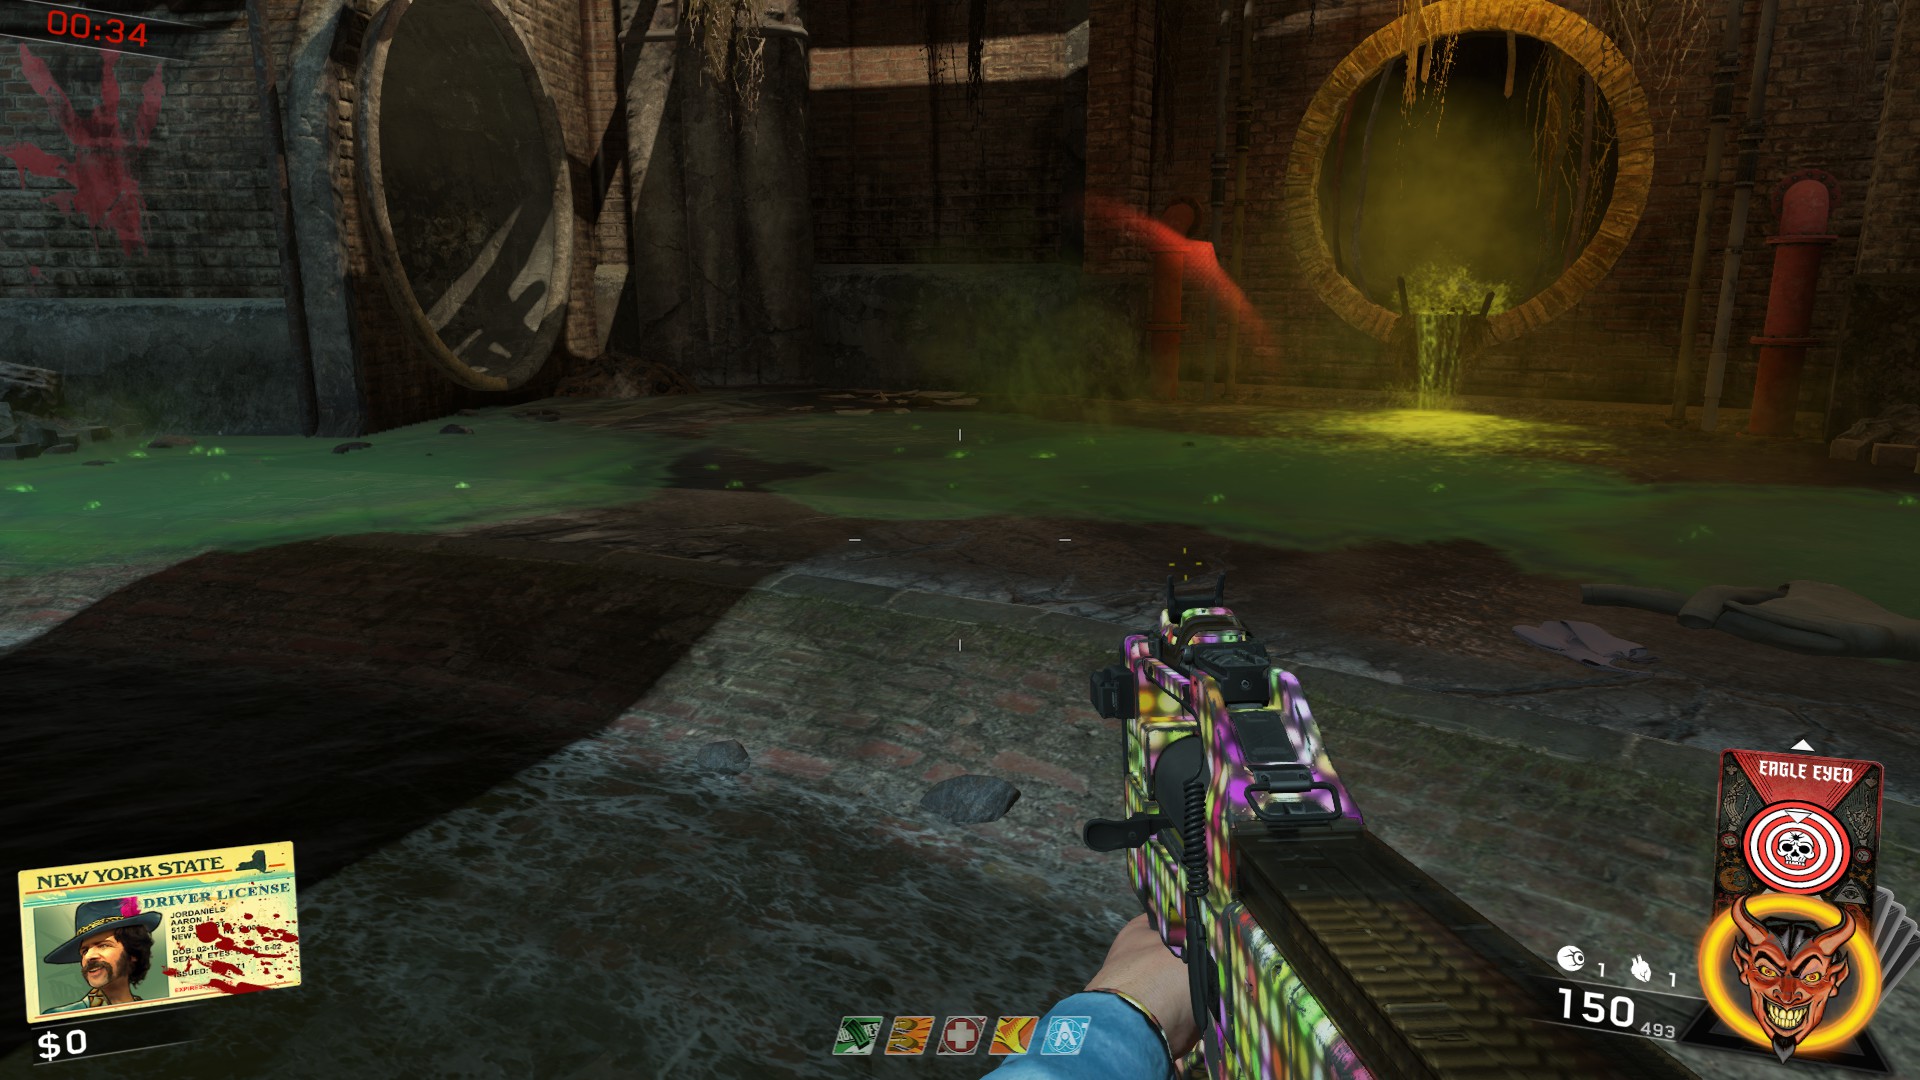
Probably one of the more difficult phases, placing the heart will spawn piles of green slime around the area. The goal of this step is clear the slime before Willard Wyler respawns the slime. You clear the slime by standing in the slime and killing a zombie on the pile of slime. However, staying in the slime too long will begin to cause damage.
This step requires a bit of patience and pacing.
 ㅤ
ㅤ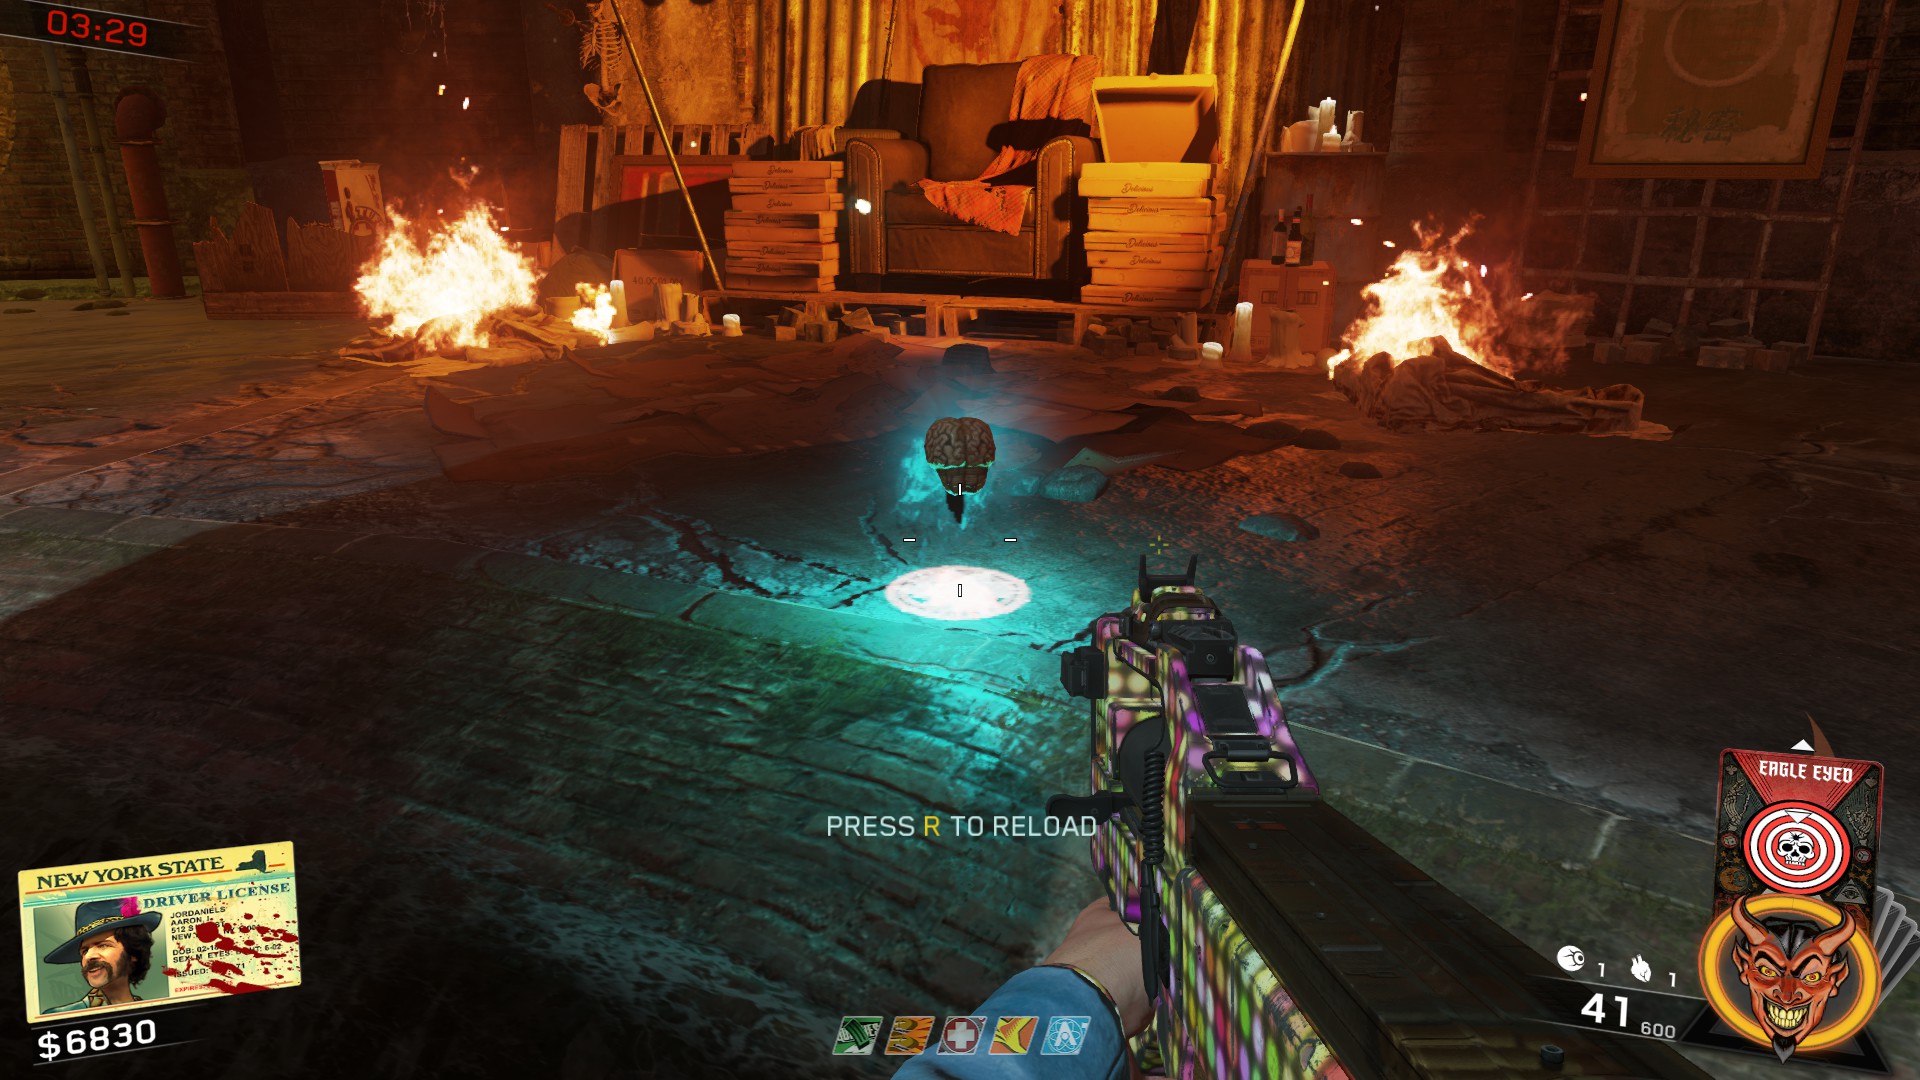
This phase is by far the easiest. Simply do nothing. Just run around the arena until the phase is complete. Don't kill anything.
The goal of this phase to have the blue eyed zombies attack the brain. Using the Shurikens on the Rat King's staff when he goes to kill the zombies can make the phase go by quicker, but it's not necessary.
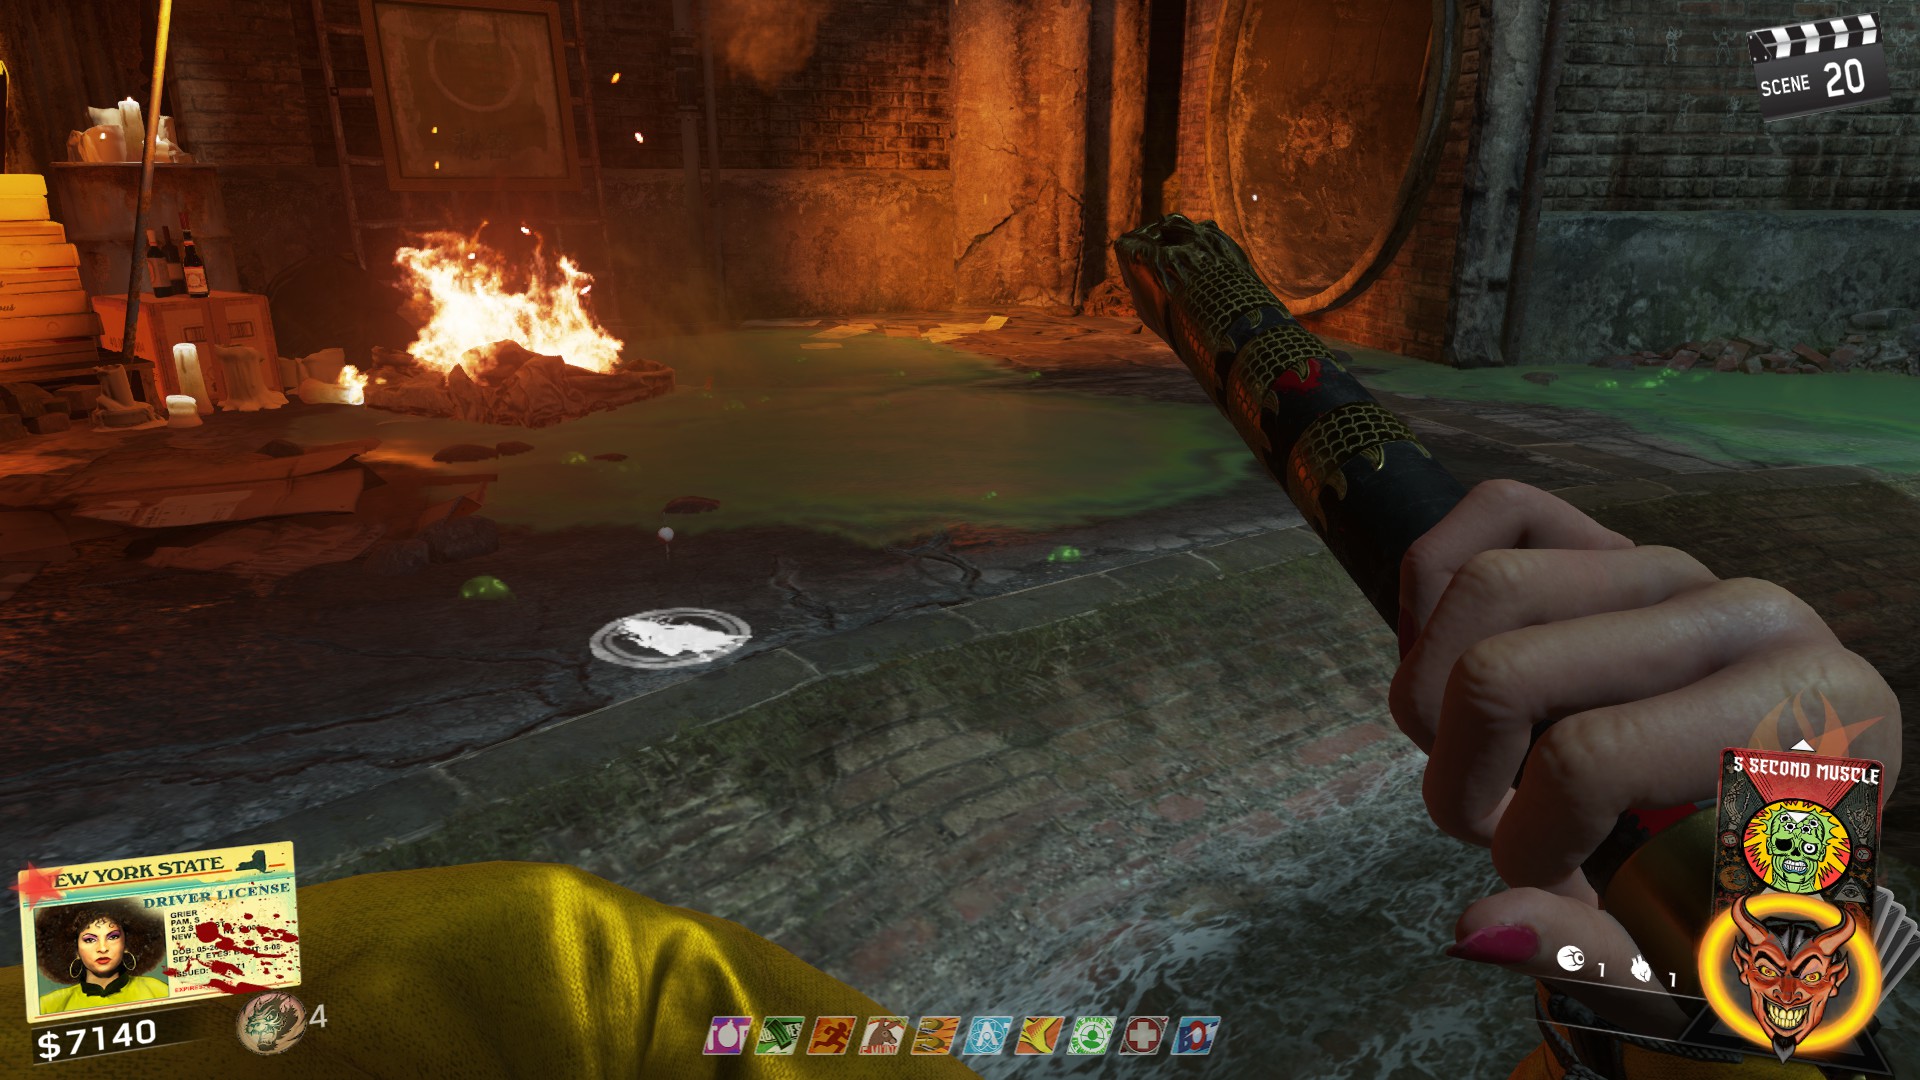
This step isn't too difficult. You simply just need to keep activating the eye to enter the Rat Vision and shoot the symbols in the room. The Rat King will throw more symbols out into the room, so you're goal is to clear them all before he has time to throw more out.
This one also requires a bit of patience and pacing. Just be persistent and quick and this phase will go by fairly quickly.
Main Quest - Word List
This entire step is a lot of guess and check. But if you stick to using the word list below along with the alphabet translation picture, you'll be good and should have this step done in no time.
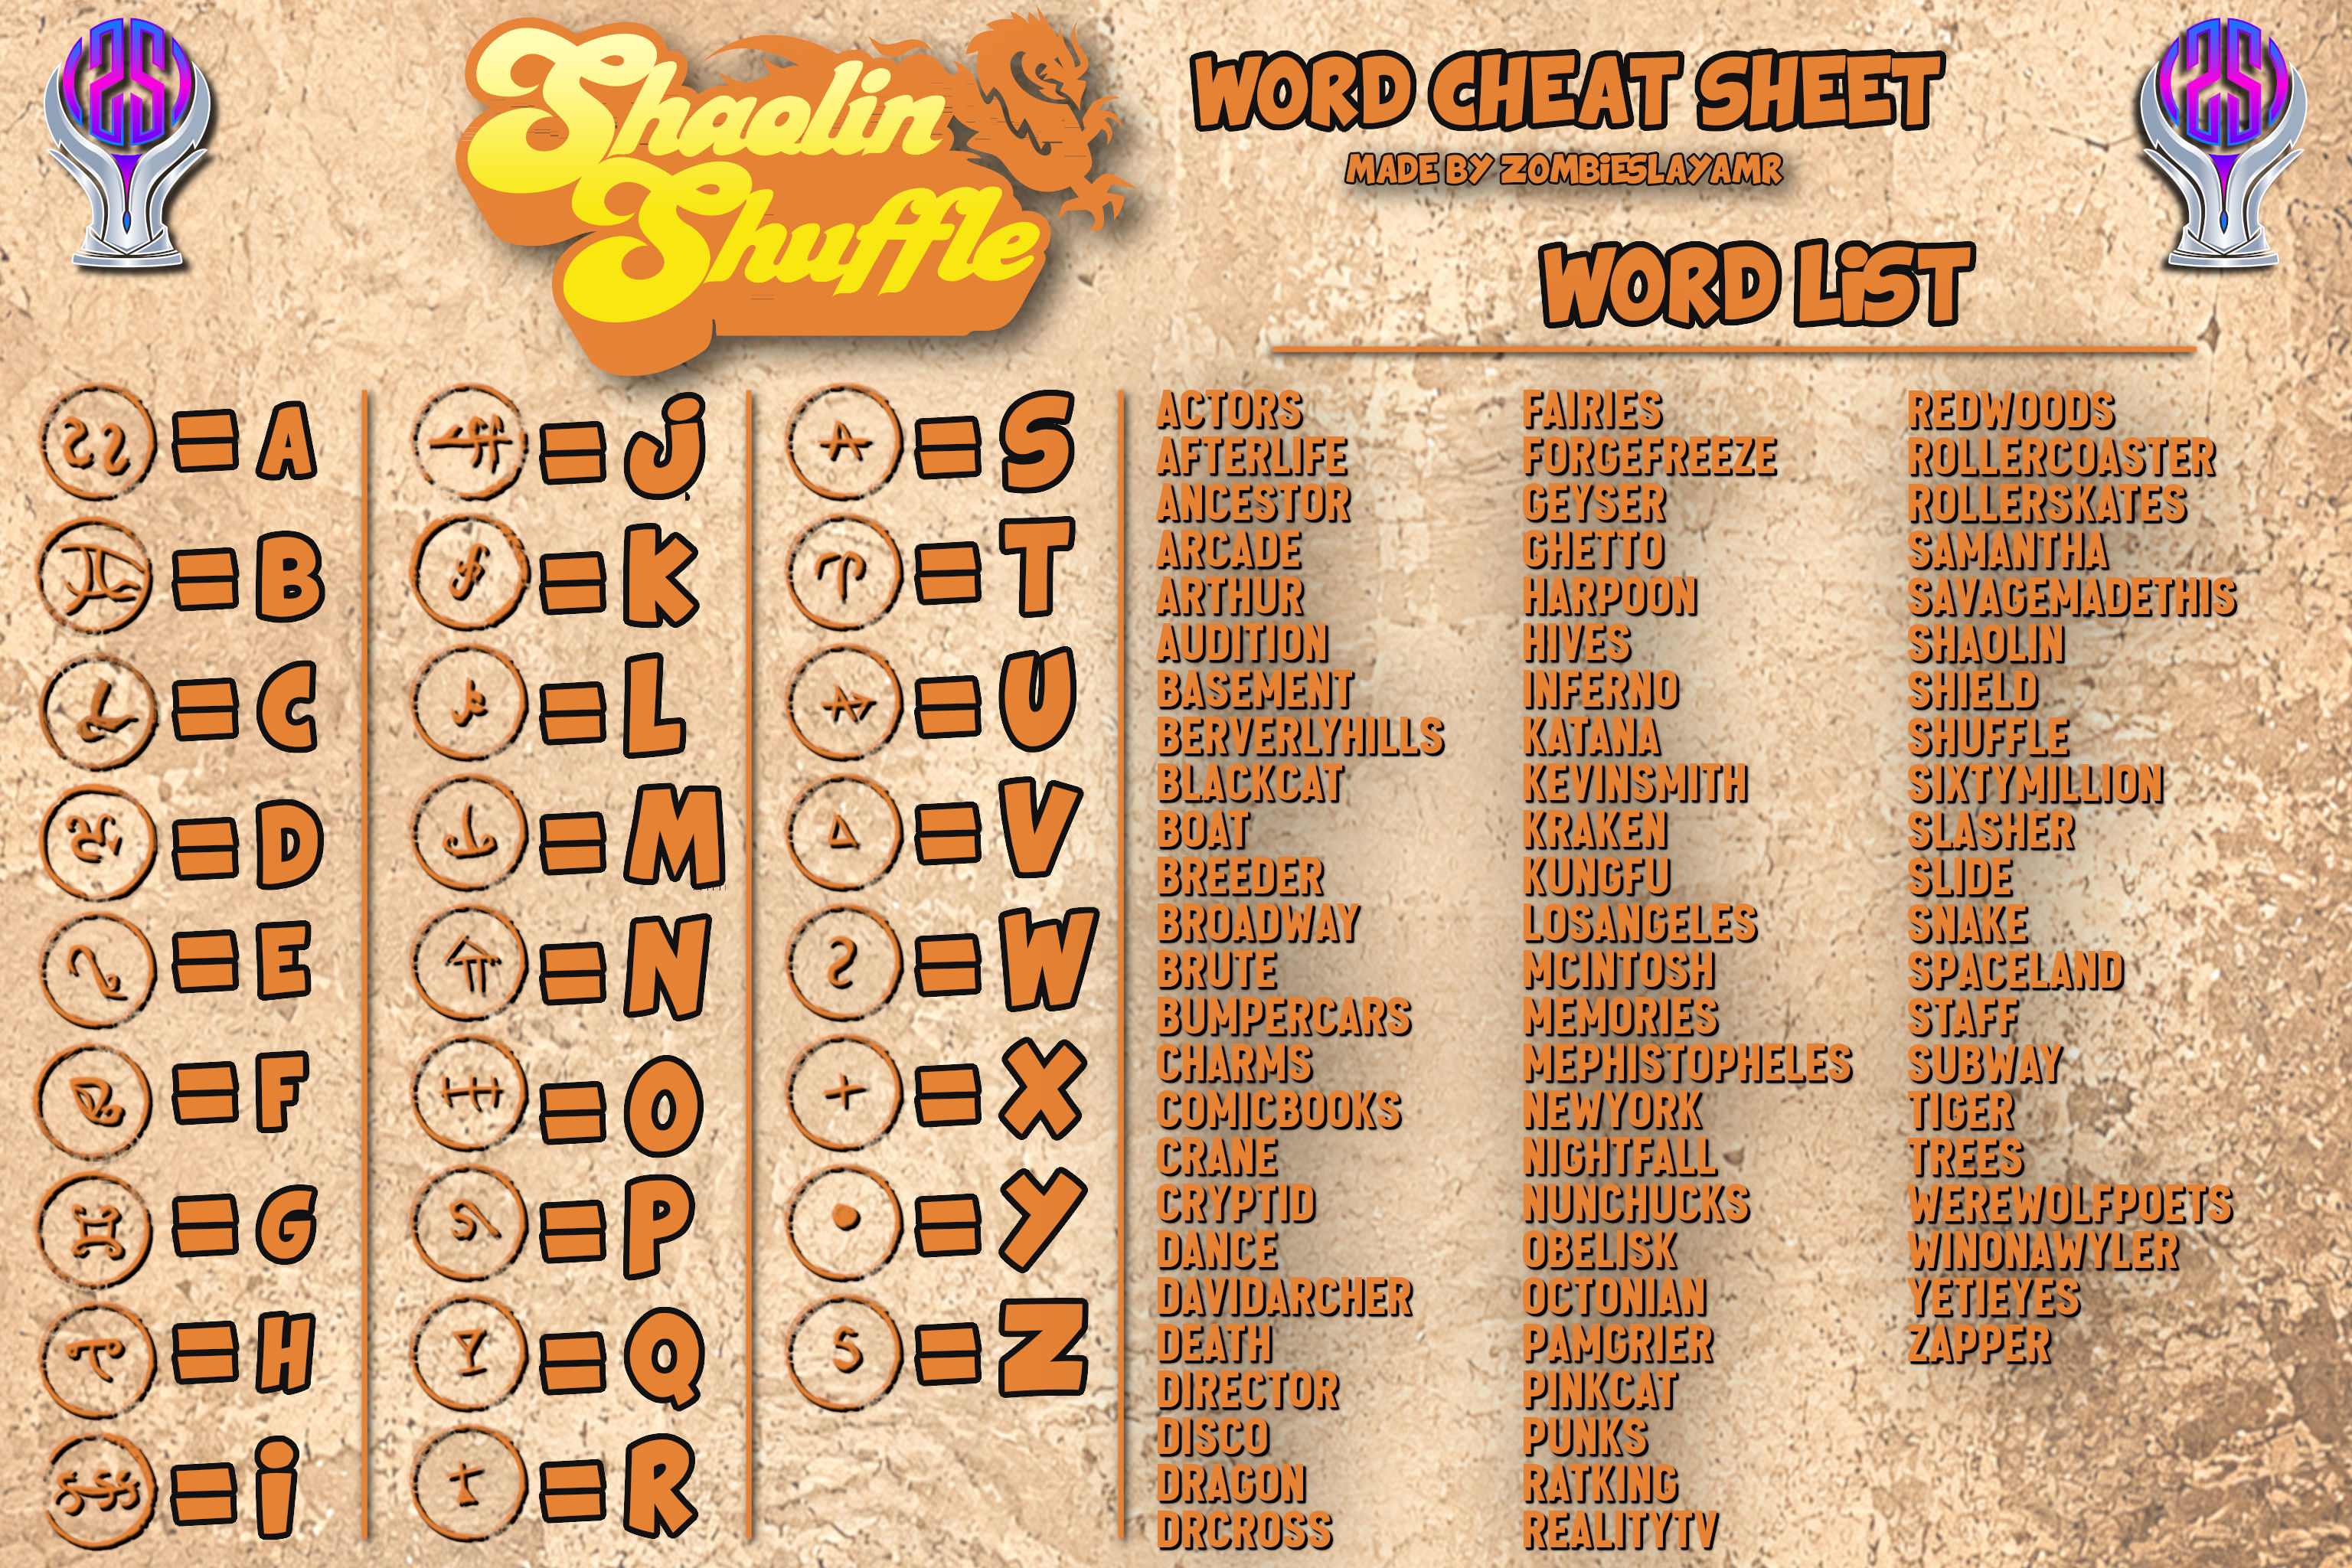
(Updating this image to a graphic I created myself! (5/23/2026))
AFTERLIFE
ANCESTOR
ARCADE
ARTHUR
AUDITION
BEVERLYHILLS
BLACKCAT
BOAT
BREEDER
BROADWAY
BRUTE
BUMPERCARS
COMICBOOKS
CRANE
CRYPTID
DAVIDARCHER
DEATH
DIRECTOR
DISCO
DRAGON
DRCROSS
FORGEFREEZE
GHETTO
HIVES
KEVINSMITH
KRAKEN
KUNGFU
MEMORIES
MEPHISTOPHELES
NIGHTFALL
NUNCHUCKS
OCTONIAN
PINKCAT
PUNKS
REALITYTV
REDWOODS
ROLLERCOASTER
ROLLERSKATES
SAVAGEMADETHIS
SHAOLIN
SHIELD
SHUFFLE
SIXTYMILLION
SLASHER
SLIDE
SNAKE
SPACELAND
STAFF
SUBWAY
TREES
WINONAWYLER
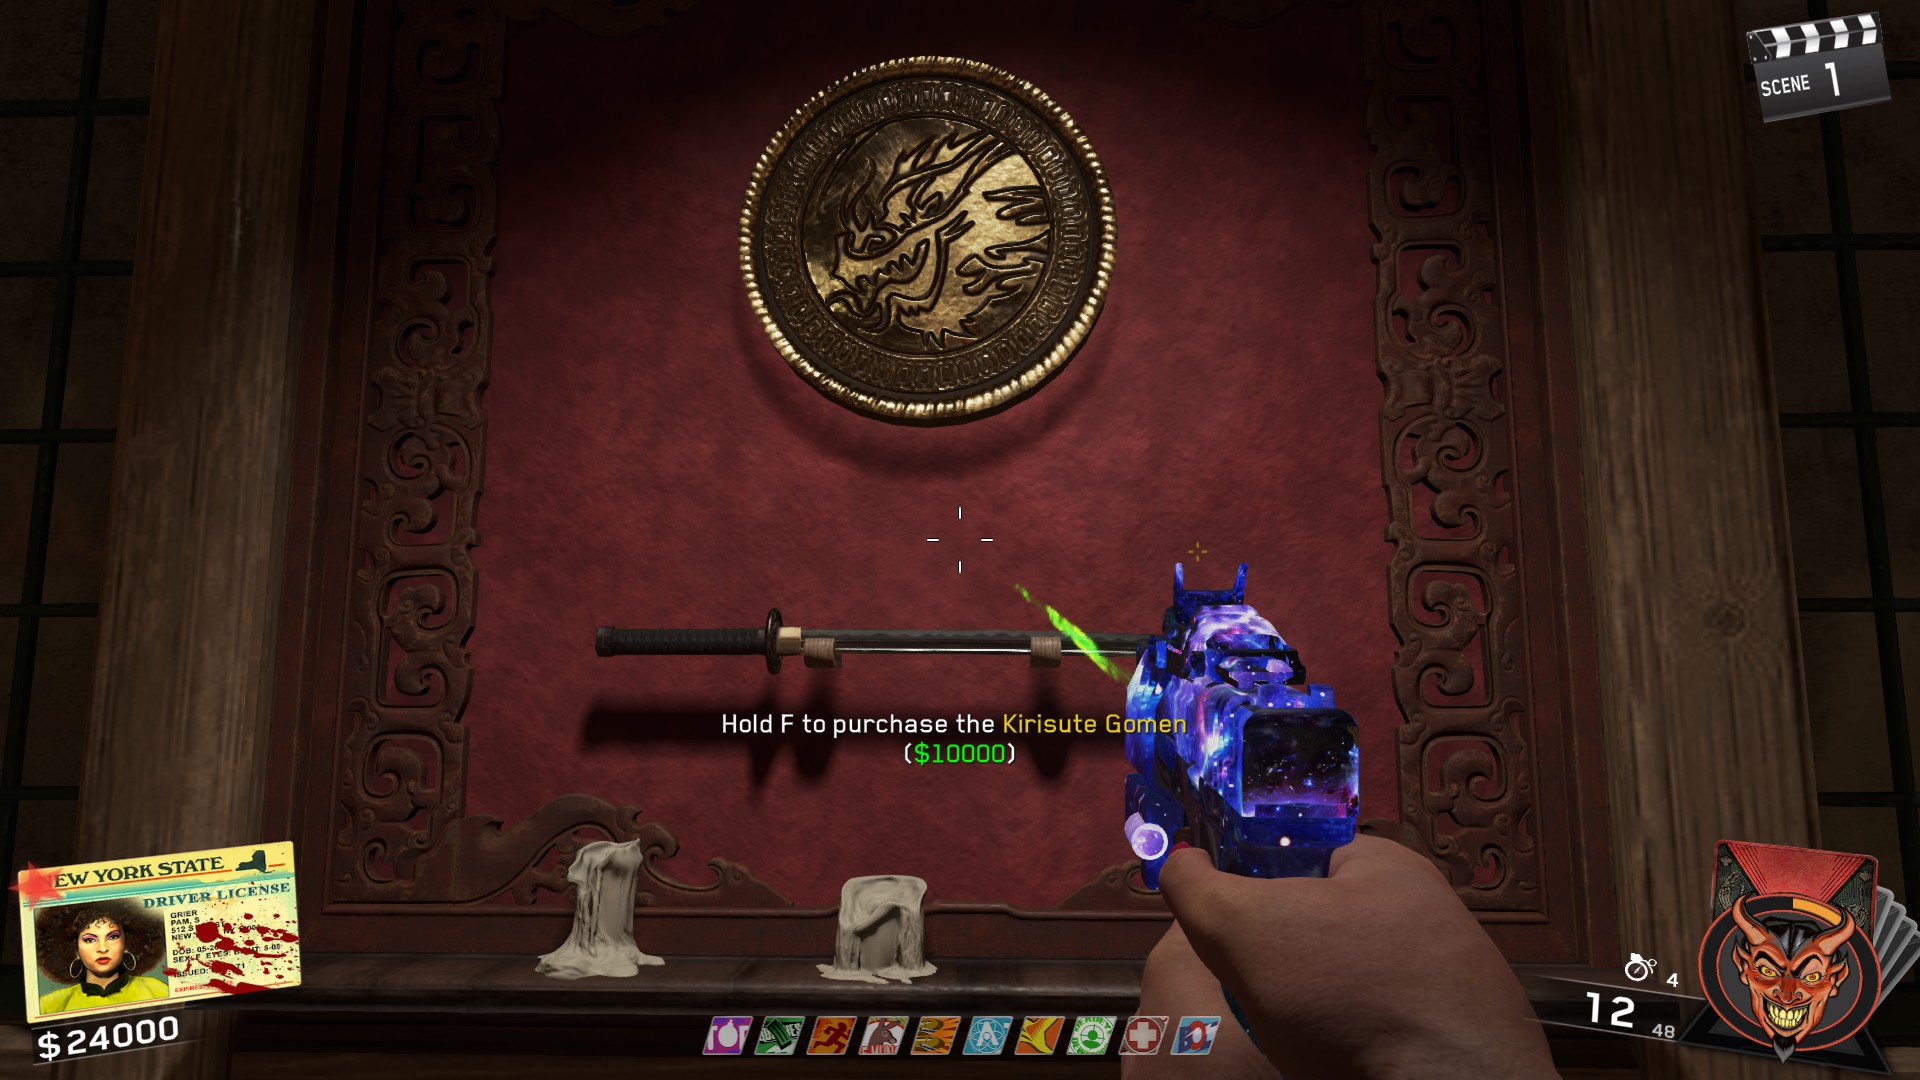
Obtaining the Katana
Obtaining the Nunchucks
NOTE: You cannot do this Easter Egg as Pam Grier. You'll need to be one of the main 4 characters. If you're in Director's Cut, the Nunchucks should already be in the Magic Wheel.
You'll want to start by fully opening up the map, as well as making sure that you open all of the doors and fast travel portals with the Chi Ability. I'd also recommend getting Racing Stripes as well as having the upgraded Kendall 44 to start this side quest. Once you've gotten everything setup, we can start with the actual quest.
Below is a short video showing the location of these clocks and which items you need to hit when you activate them.
- Andre - Activate this TV in Heebee Geebee's
ㅤ - Sally - Activate this TV in the Subway in Spawn
ㅤ - Poindexter - Activate this TV on Roof above Racin' Stripes
ㅤ - A.J. - Activate this TV to the left of Blue Bolts
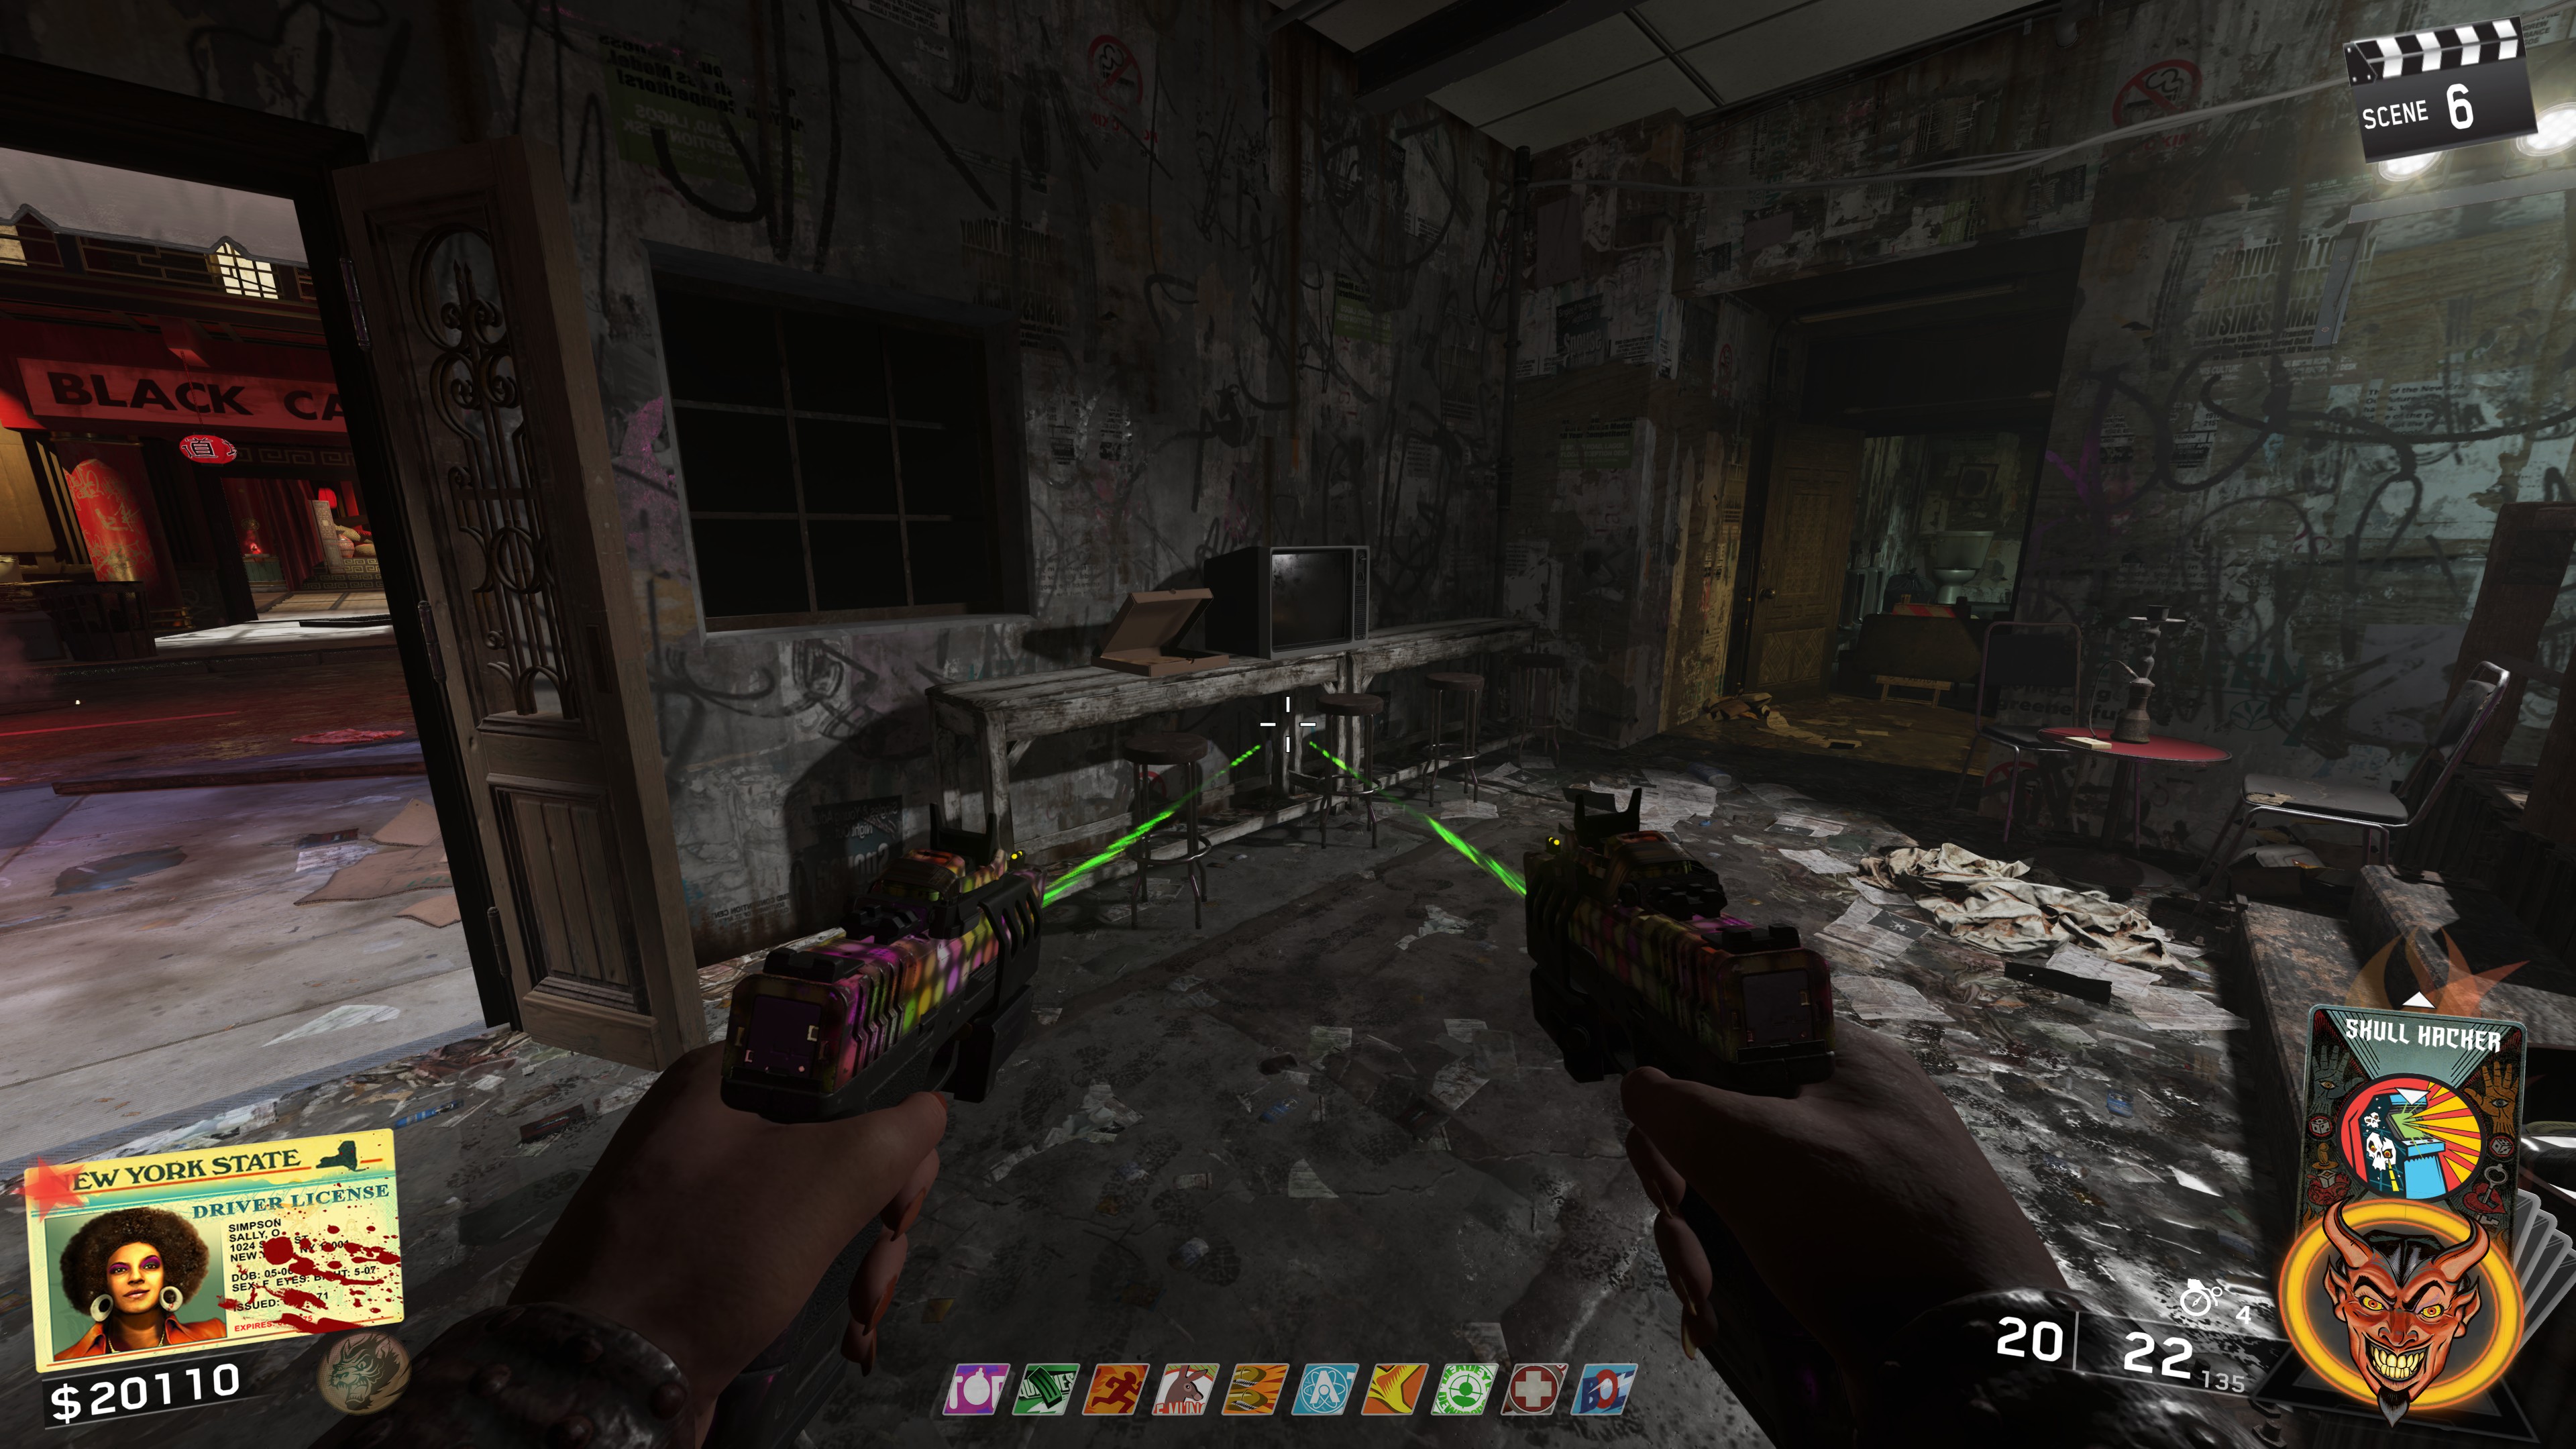
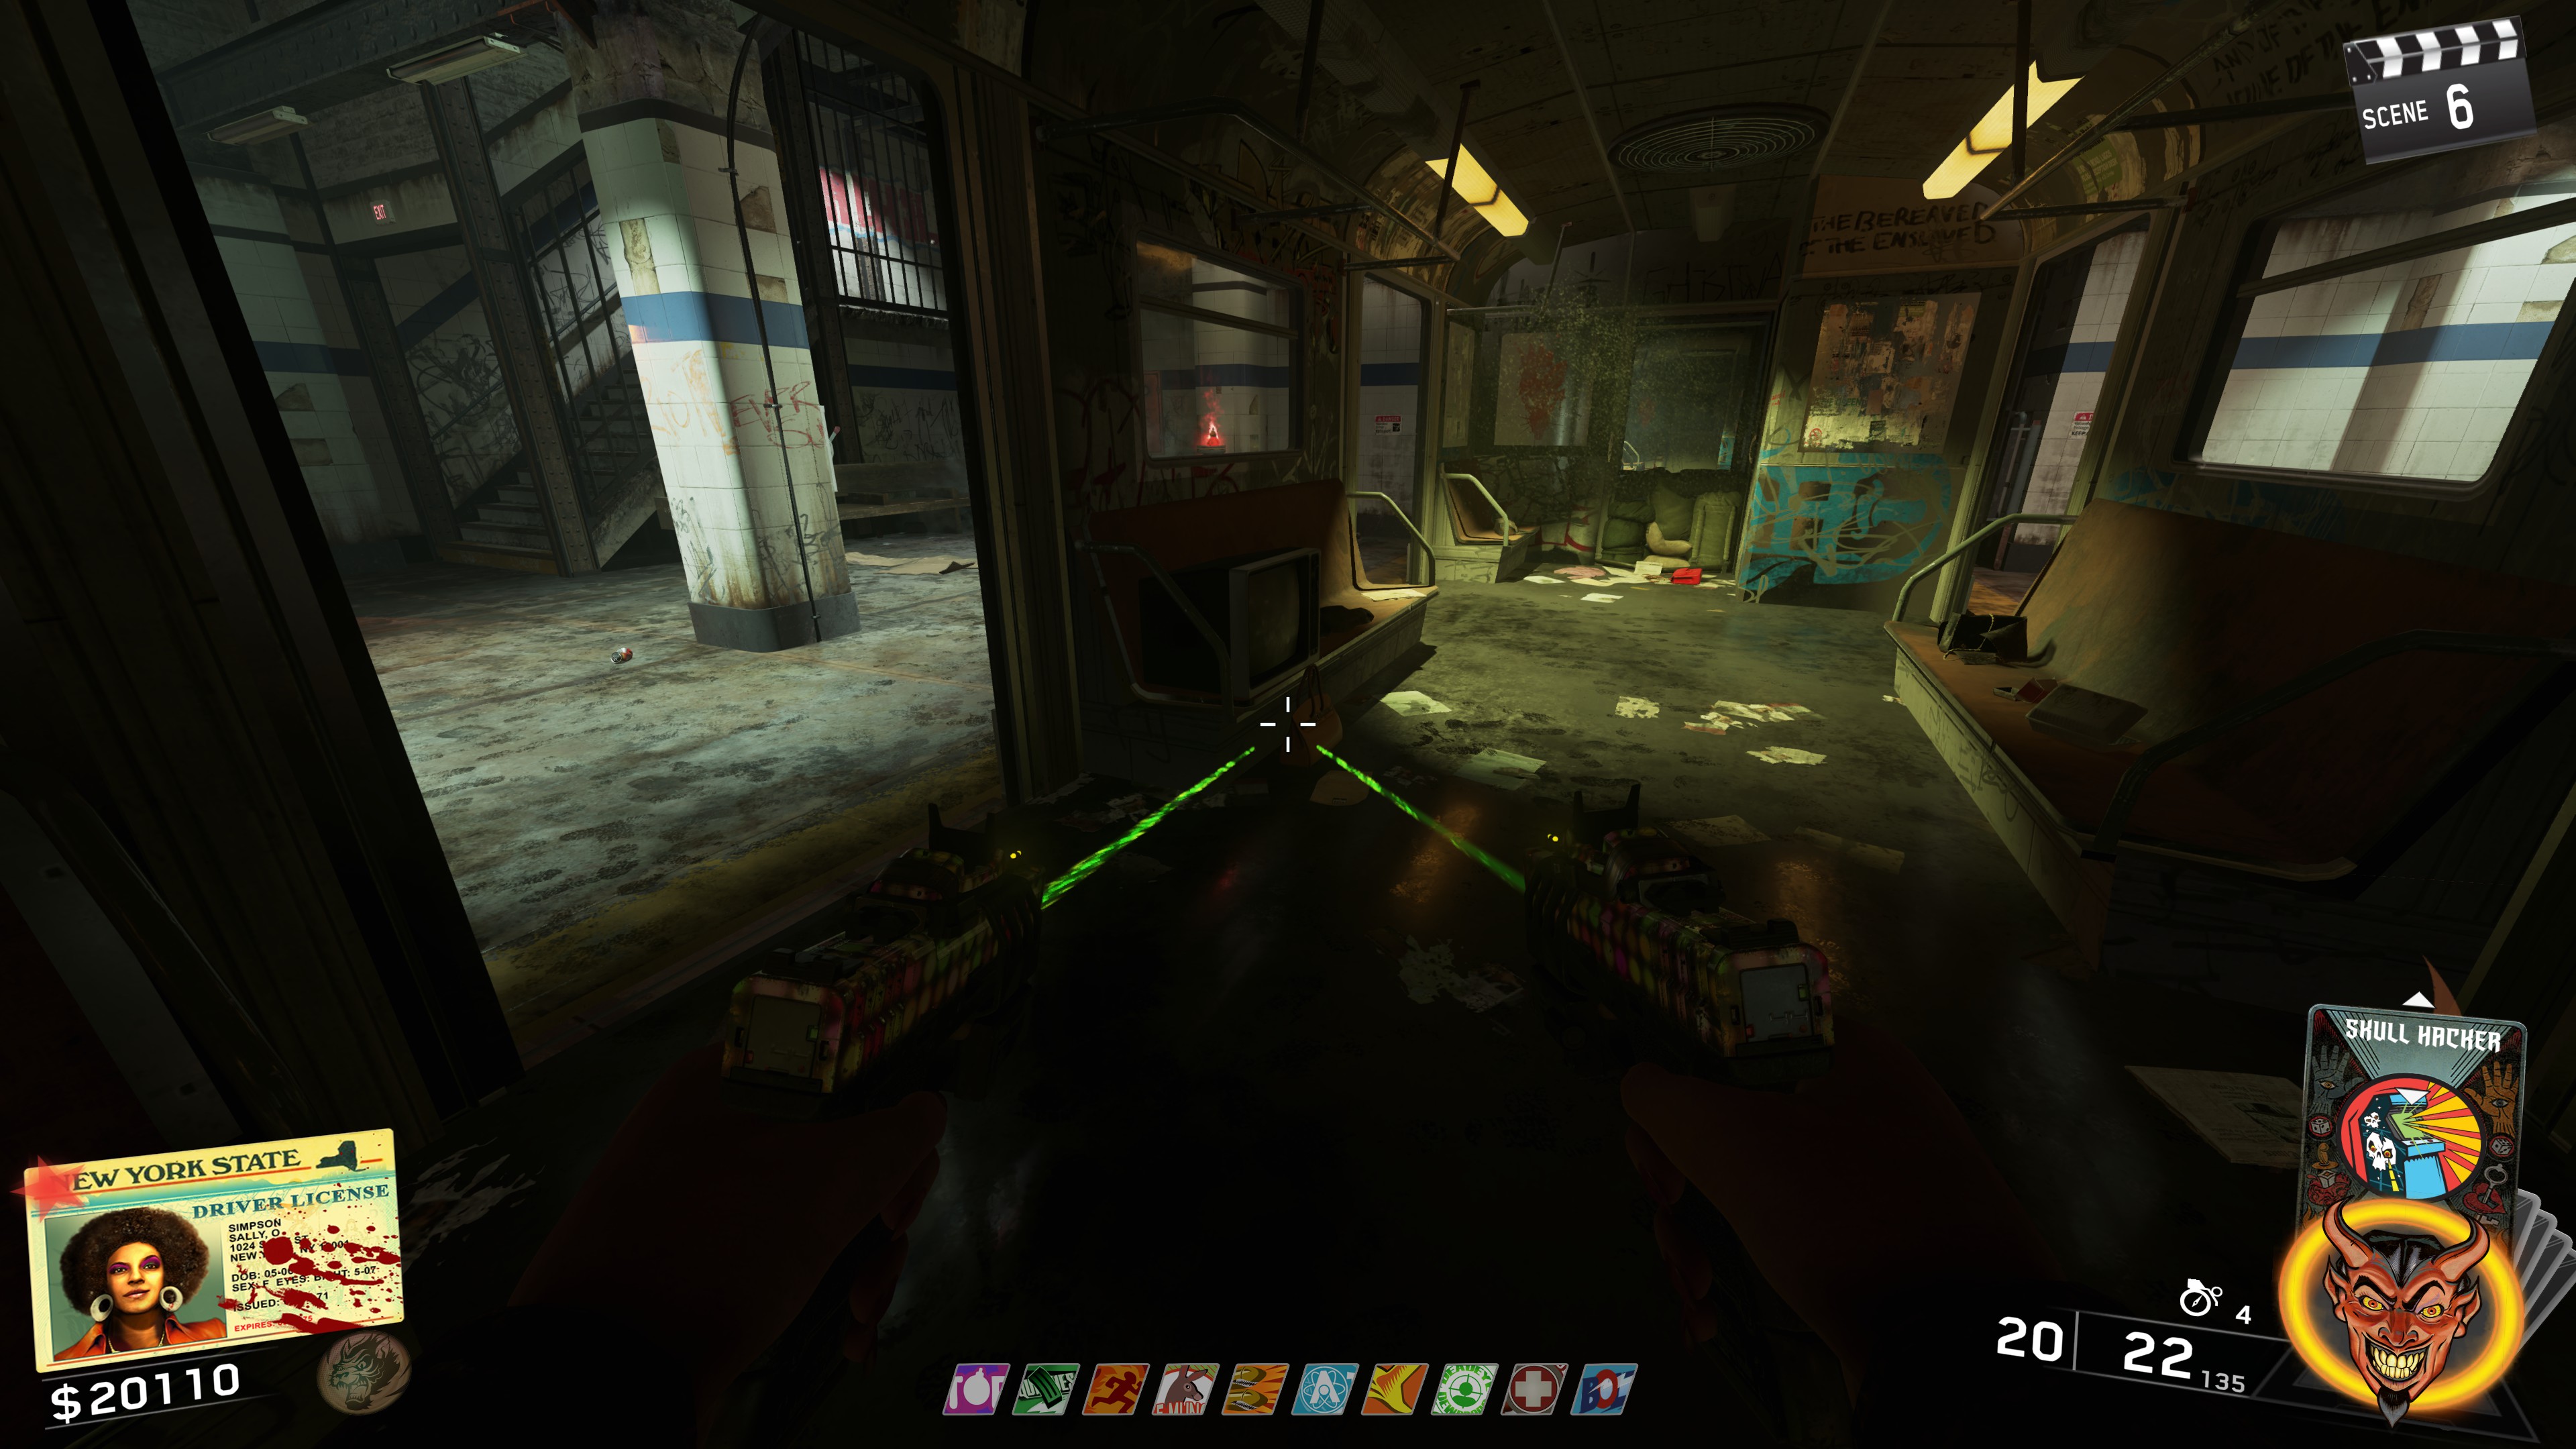
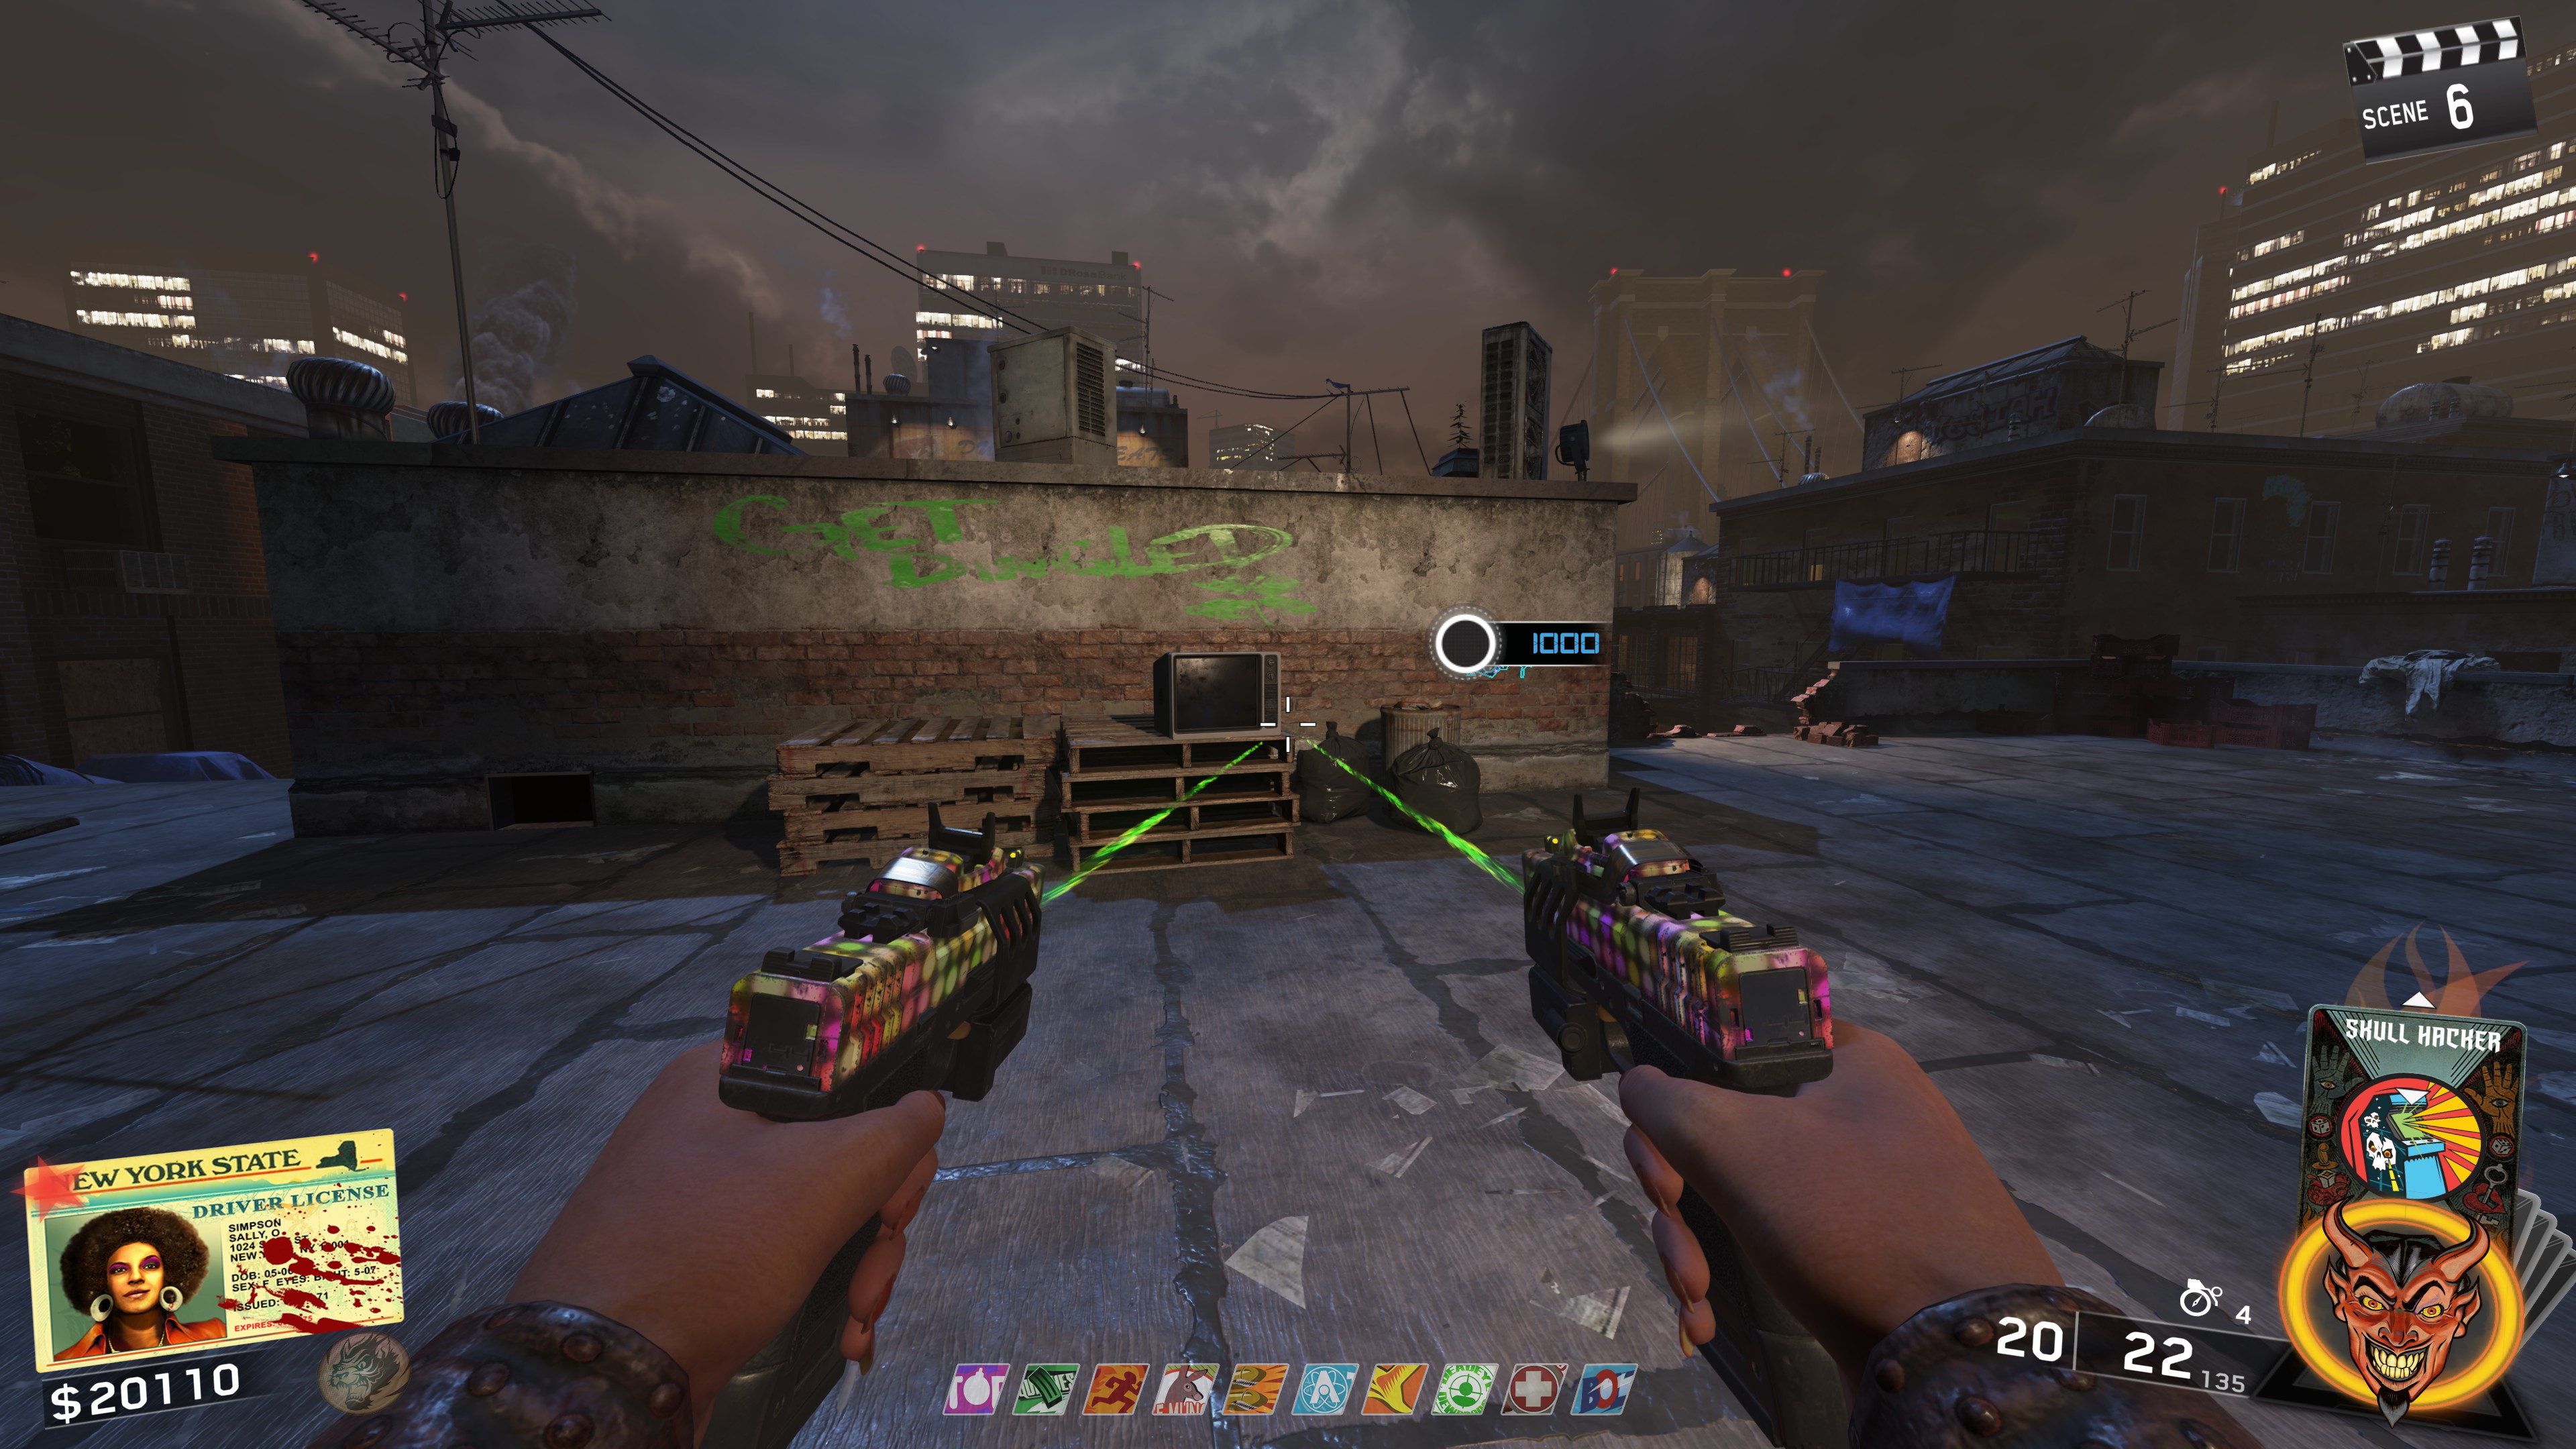
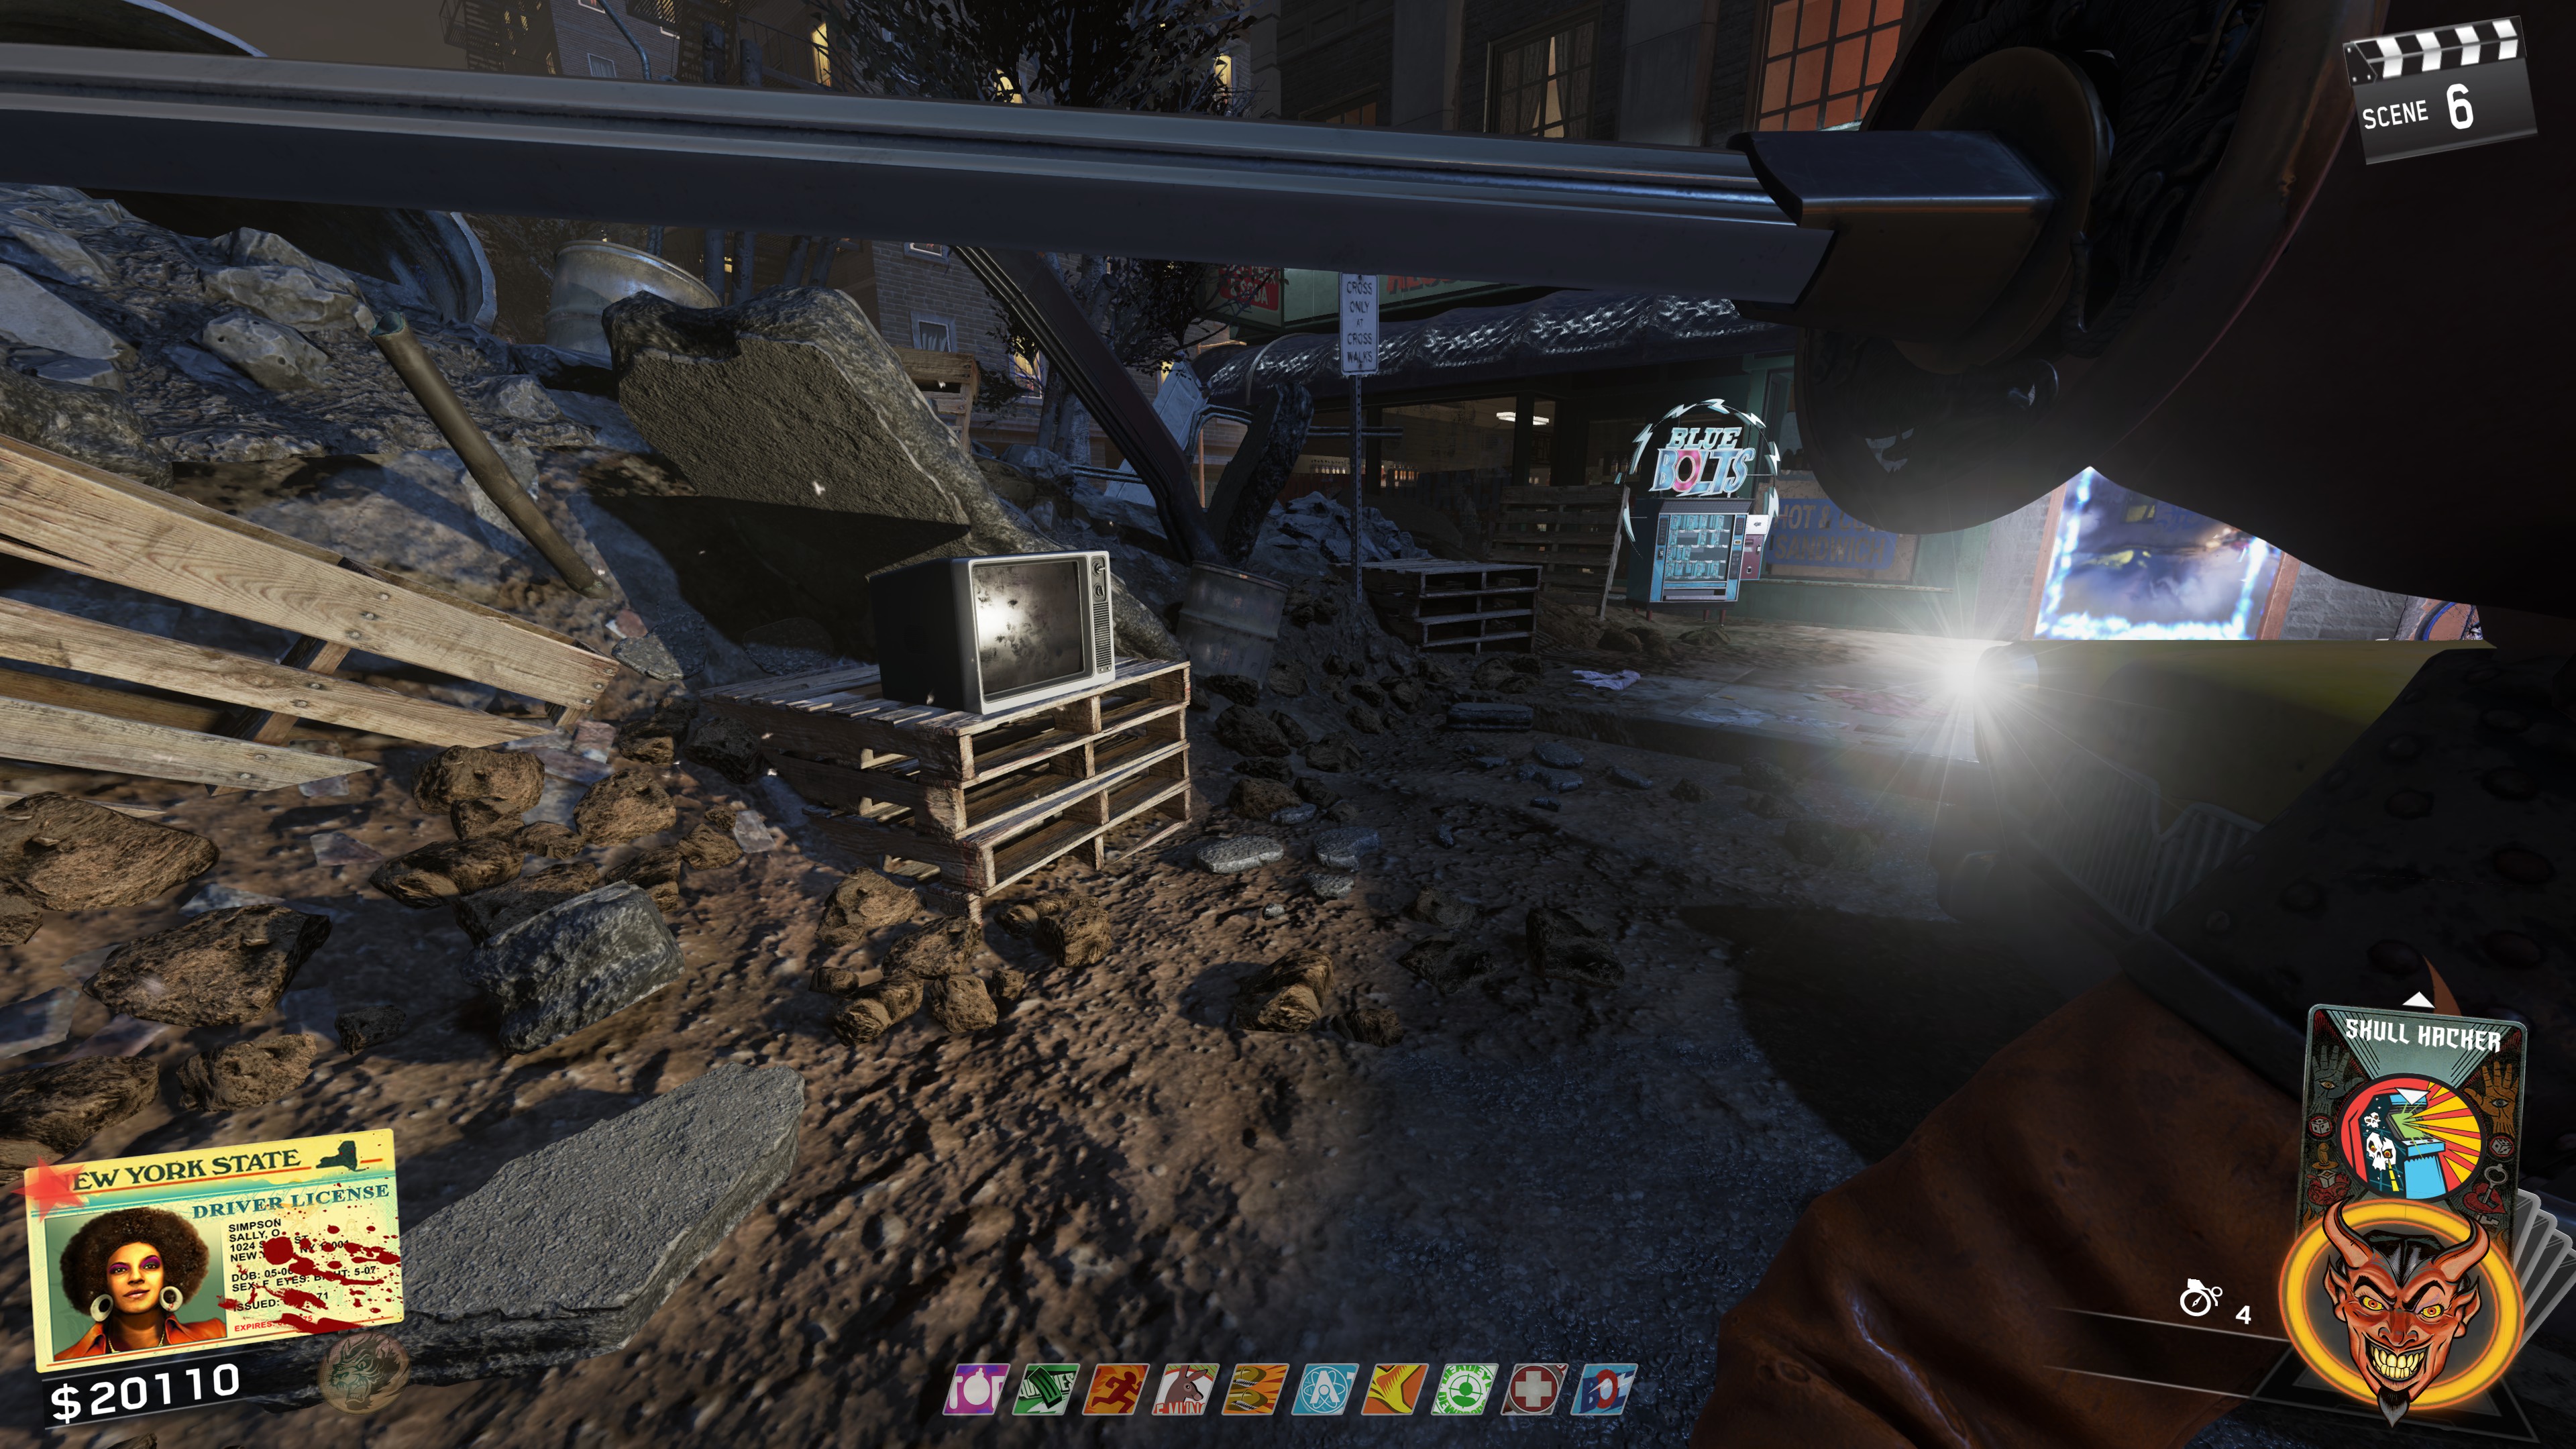
You'll need to find the TV for your character and activate the TV. You want to keep activating it until the picture of the your character appears on the screen. Once you get your picture, Shaolin zombies will begin to spawn. Kill them and flip to the next round and repeat this step.
Once you've completed this Easter Egg, the Nunchucks will always been in the Magic Wheel.
Secret Calling Card - Billionaire's Treasure Hunt | Trolltastic
Normally, I wouldn't do just a video for sections in this guide, however, this felt more appropriate to have a full video guide made. So below is a short video on how to complete this calling card.
Also, the first step of this Easter Egg is technically also the Music Easter Egg, so if you want to get the music easter egg, you just need to find all the radios at the beginning.
NOTE: YOU NEED TO DO THIS EASTER EGG WHEN IT IS 12AM (MIDNIGHT) NEW YORK CITY TIME (Eastern Standard Time). SO CONVERT MIDNIGHT EASTERN TO WHATEVER TIMEZONE YOU LIVE IN TO KNOW WHAT TIME YOU CAN DO THIS EASTER EGG. THE EASTER EGG IS ONLY ACTIVE DURING 12AM - 1AM EASTERN TIME.
Skull Buster - Perkaholic Easter Egg
https://steamcommunity.com/sharedfiles/filedetails/?id=2998523169
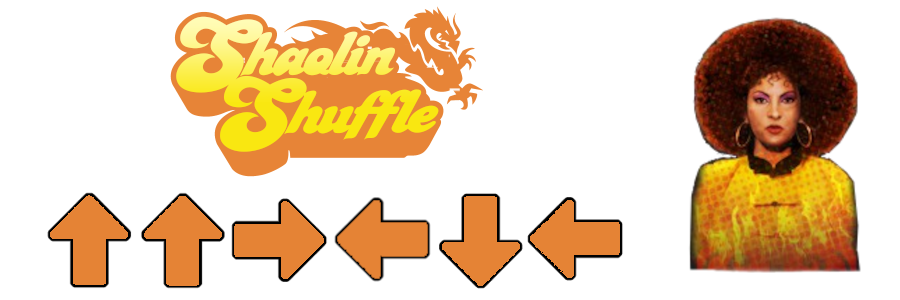
Pam Grier - Character Code
Once you've completed the Shaolin Shuffle main quest easter egg, simply put in this code in the main menu after selecting the Shaolin Shuffle map.
Apologies if you weren't able to see this for awhile, Steam broke a couple of my guides by removing pictures for some reason...
Conclusion and Links to Other Guides
This guide was by far the longest one to complete so far, especially for the main quest since the quest requires quite a bit of outside references to complete it. Hopefully I was able to do the map justice.
I'm pretty sure that I've added everything for Shaloin Shuffle, so I'm confident in saying that this guide is complete. However, if there's anything I missed in the guide that you think I should add, please feel free to let me know in the comments.
Things added (Updated 7/1/2023):- Billionaire's Treasure Hunt / Trolltastic Secret Calling Card
- Music EE (Technically apart of the Billionaire's Treasure Hunt)
- The Nunchuck EE has been added! :)
I hope you all have enjoyed and I hope you are all doing well :)
Hub that contains links to all my guides for IW Zombies
https://steamcommunity.com/sharedfiles/filedetails/?id=2999527656
https://steamcommunity.com/sharedfiles/filedetails/?id=2462403426
https://steamcommunity.com/sharedfiles/filedetails/?id=2589580023
https://steamcommunity.com/sharedfiles/filedetails/?id=2711831705
https://steamcommunity.com/sharedfiles/filedetails/?id=2998590075
https://steamcommunity.com/sharedfiles/filedetails/?id=2698926204
- ALL YOU NEED GUIDE TO ZOMBIES IN SPACELAND★ 5 (522)21k views1.4k ♥29 minUpdated 31 May
- THE ULTIMATE ZOMBIES IN SPACELAND GUIDE!★ 5 (391)17k views587 ♥13 minUpdated 4 Jan, 2017
- ALL YOU NEED GUIDE - CHARACTER CODES★ 5 (245)16k views600 ♥1 minUpdated 24 Apr
- !!! IW7 Install Guide !!!★ 4 (42)12k views159 ♥3 minUpdated 30 Aug, 2024
- ALL YOU NEED GUIDE TO RAVE IN THE REDWOODS★ 5 (276)11k views851 ♥21 minUpdated 24 Apr
- ALL YOU NEED GUIDE TO ATTACK OF THE RADIOACTIVE THING★ 5 (215)10k views677 ♥23 minUpdated 31 May





- Upgrading to PremiumTeam Fortress 2★ 5 (20k)1441k views11k ♥6 minUpdated May 11, 2022
- No More Room in Hell Official ManualNo More Room in Hell★ 5 (2.8k)569k views2.1k ♥29 minUpdated Apr 22, 2019
- NMRiH Community Hosting GuidesNo More Room in Hell★ 5 (526)351k views653 ♥1 minUpdated Aug 10, 2022
- How to 'Git Gud' Soon™MORDHAU★ 5 (2k)318k views3k ♥68 minUpdated Nov 16, 2024
- Лучшие кооперативные игры SteamPAYDAY 2★ 5 (1.5k)315k views2.1k ♥56 minRussianUpdated Apr 27, 2025
- Desert Eagle Heat Treated | Blue GemCounter-Strike 2★ 5 (1.6k)293k views1.5k ♥2 minUpdated Jan 16





This guide was created by its original author on the Steam Community. Are you the author and want it removed? Request removal.