ALL YOU NEED GUIDE TO RAVE IN THE REDWOODS
Introduction

Majority of this guide is following the Tab menu. Therefore, completing everything in this guide will net you almost every achievement for the map.
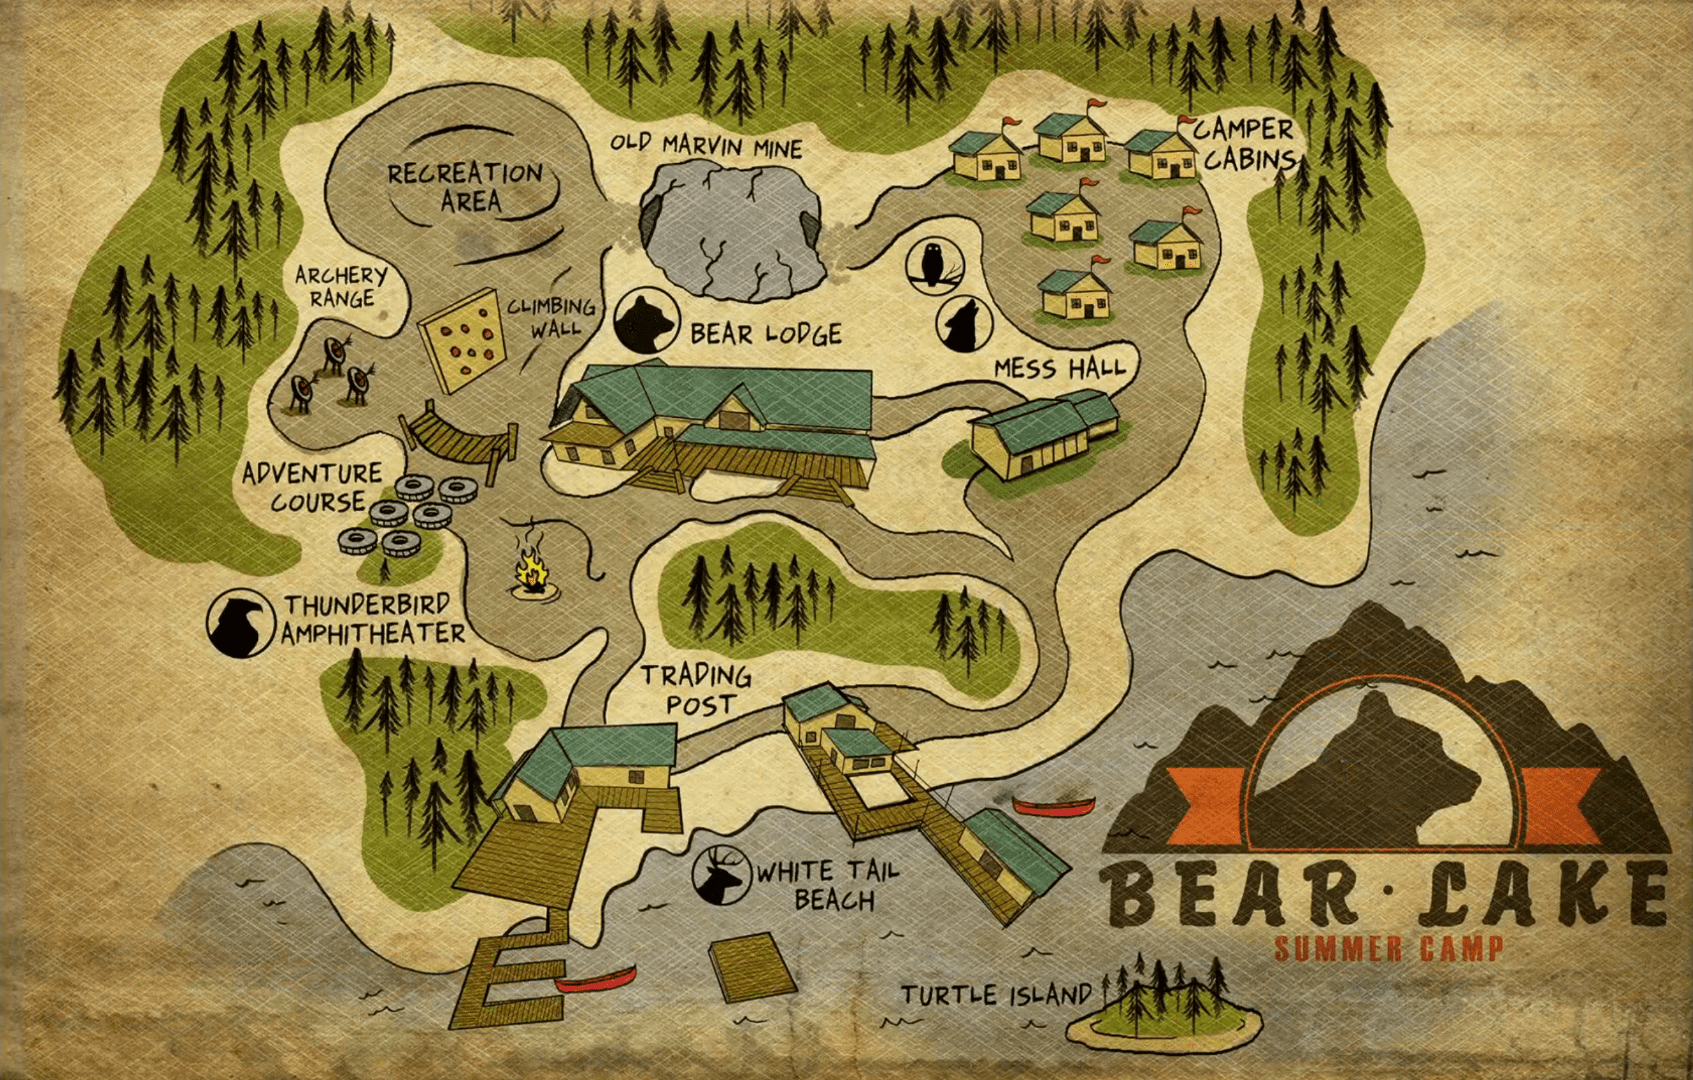
Below is a map of Rave in the Redwoods that I'll reference a few times throughout the guide
Heads Up! I'm currently working on improving the guide, with updated pictures, better formatting and adding things that I missed. If you see things change on the guide over the next few days, just please bare with me!
Join the Community

https://infinitewarfarecommunity.com

https://discord.com/invite/FycARMT2YR
Power & Pack-a-Punch
- The Engine: In the Mess Hall laying against a pillar.
- The Paddle: In the Recreational Area on the right hand side near Quickies.
- The Propeller: In the room above spawn near Tuff Nuff.
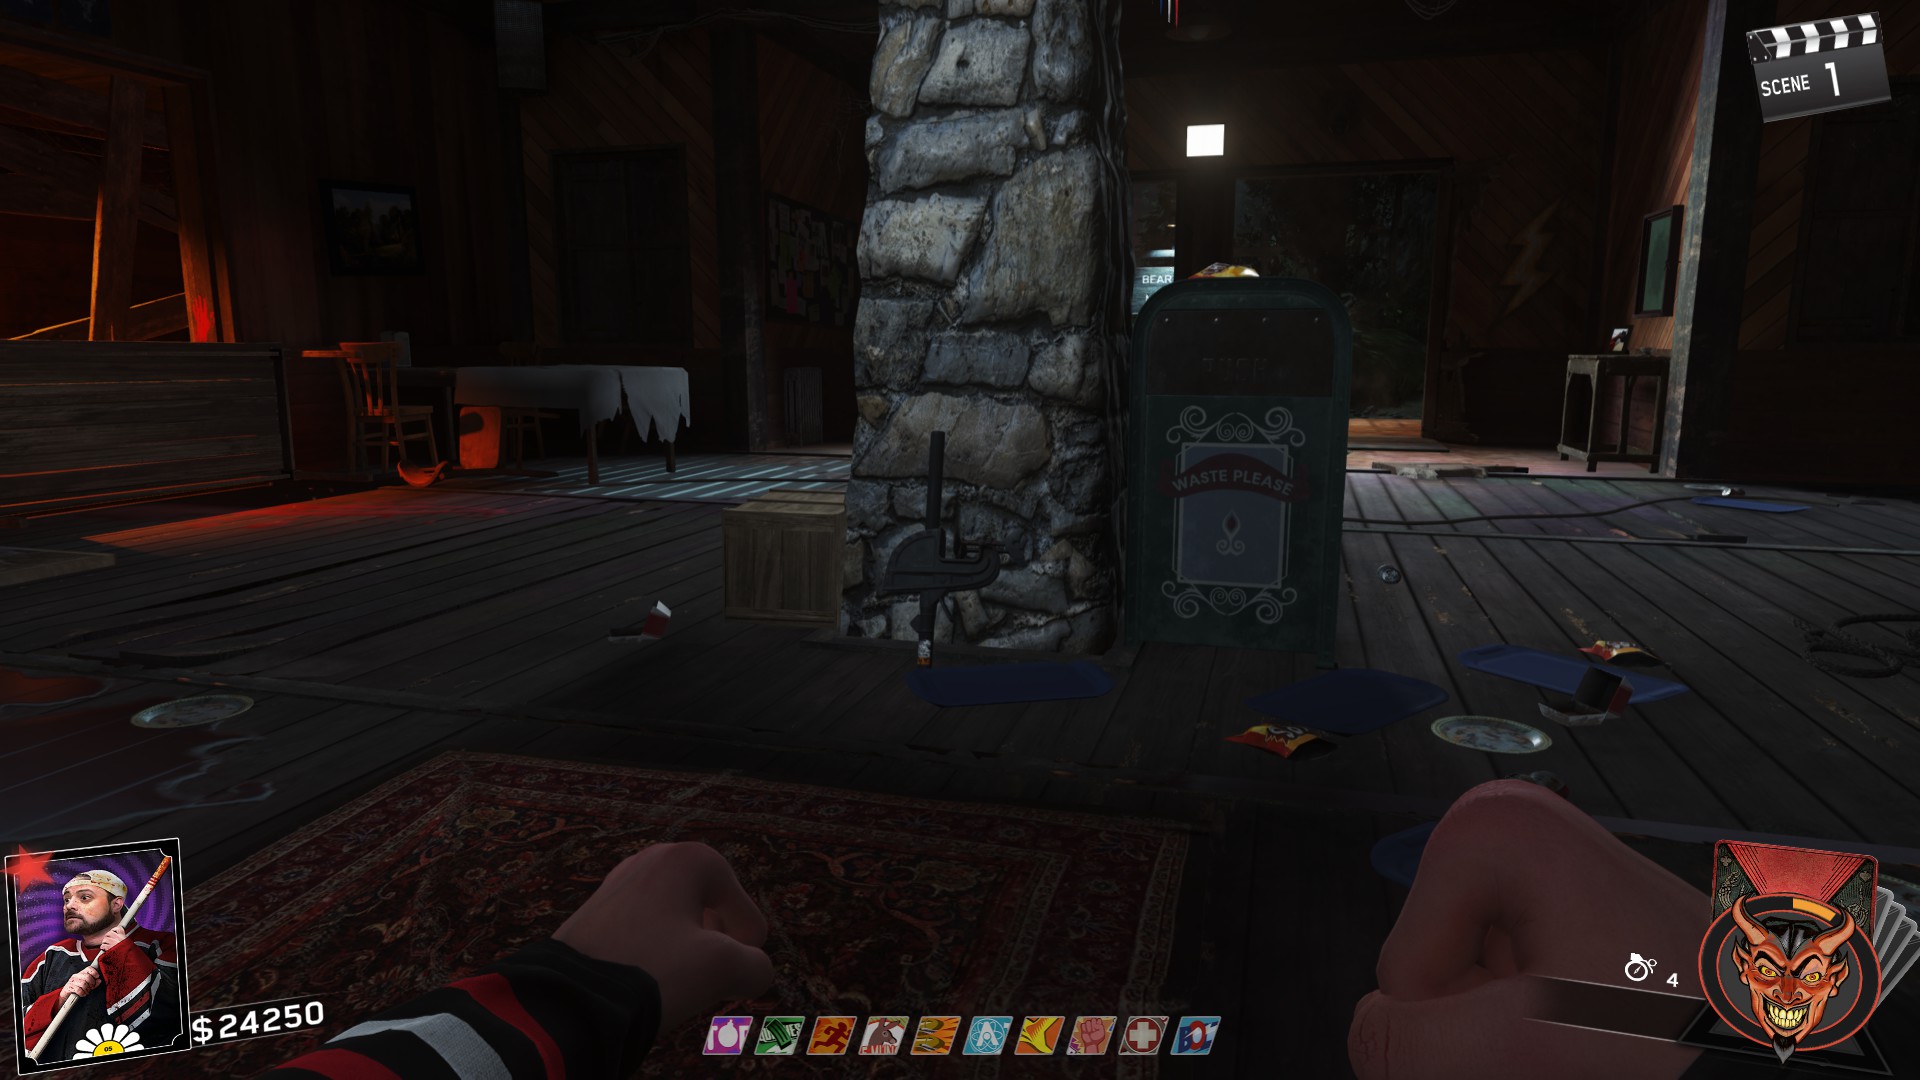
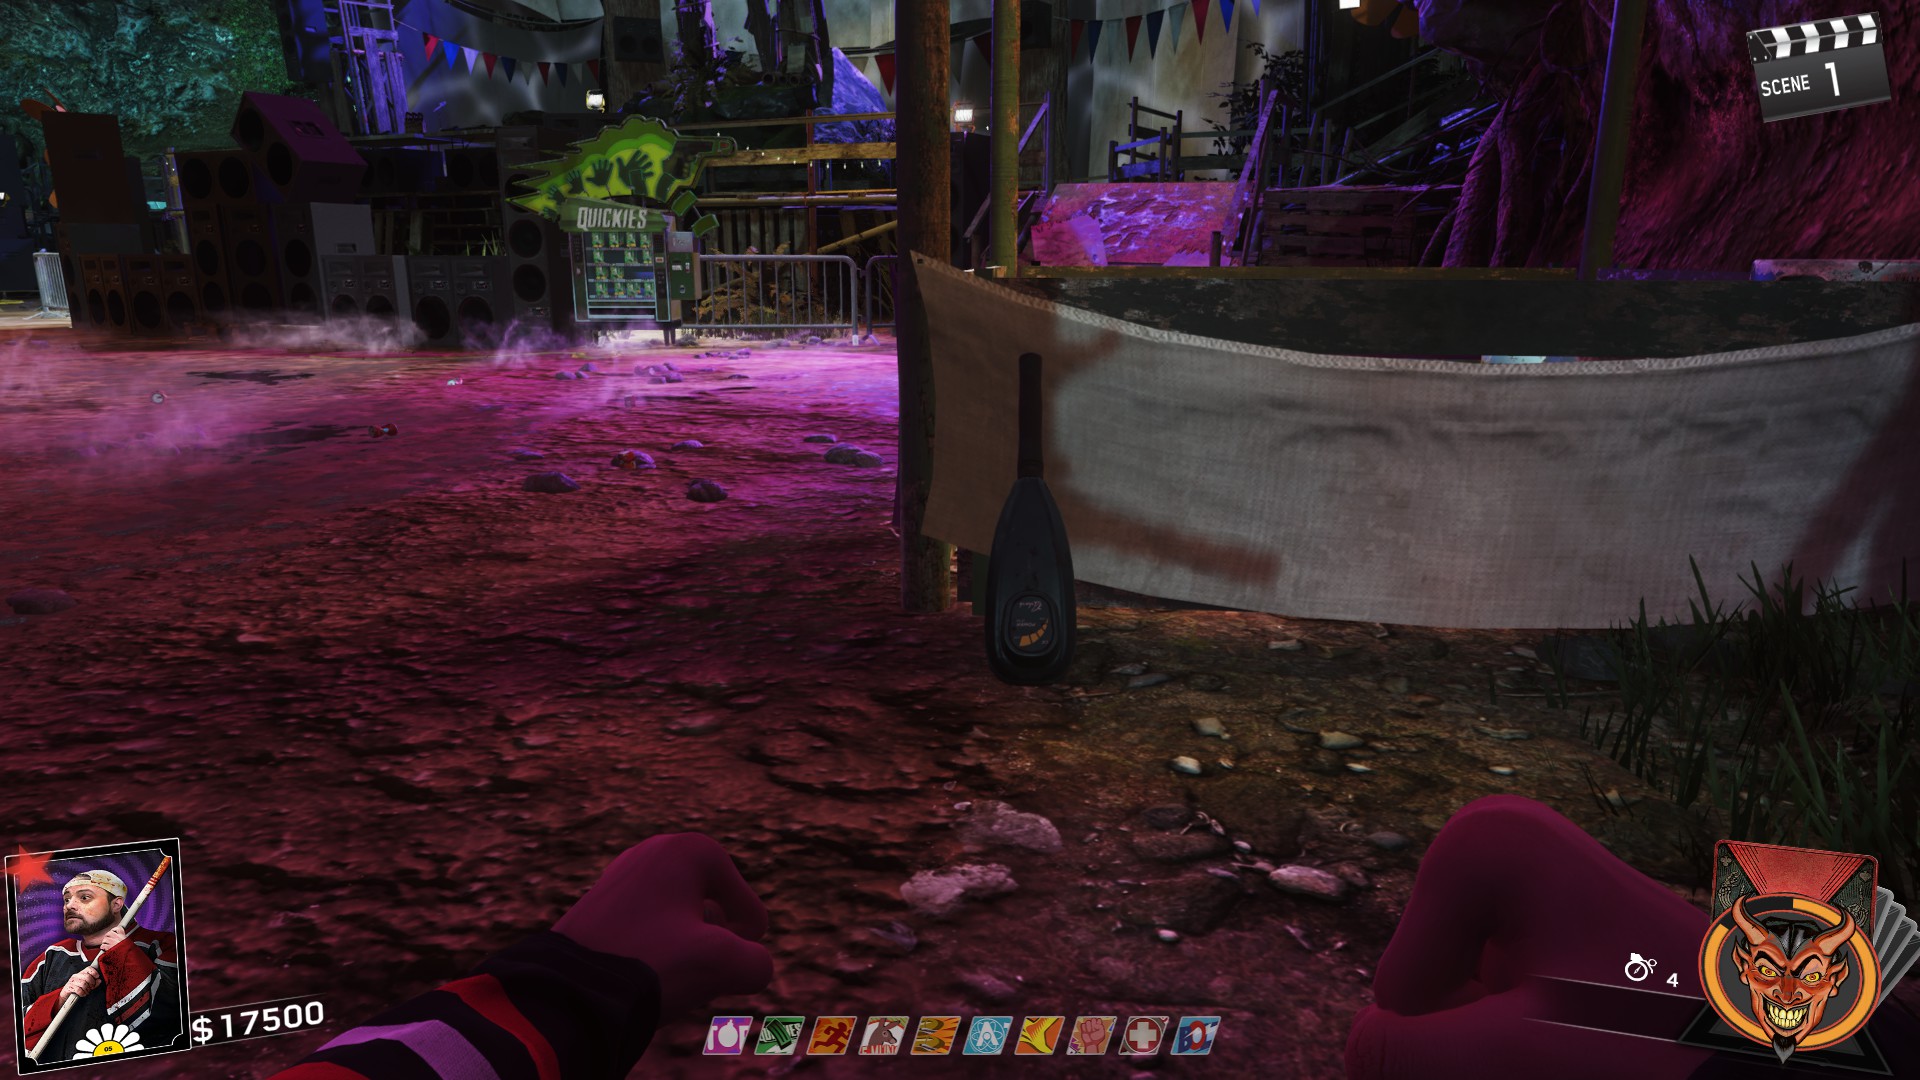
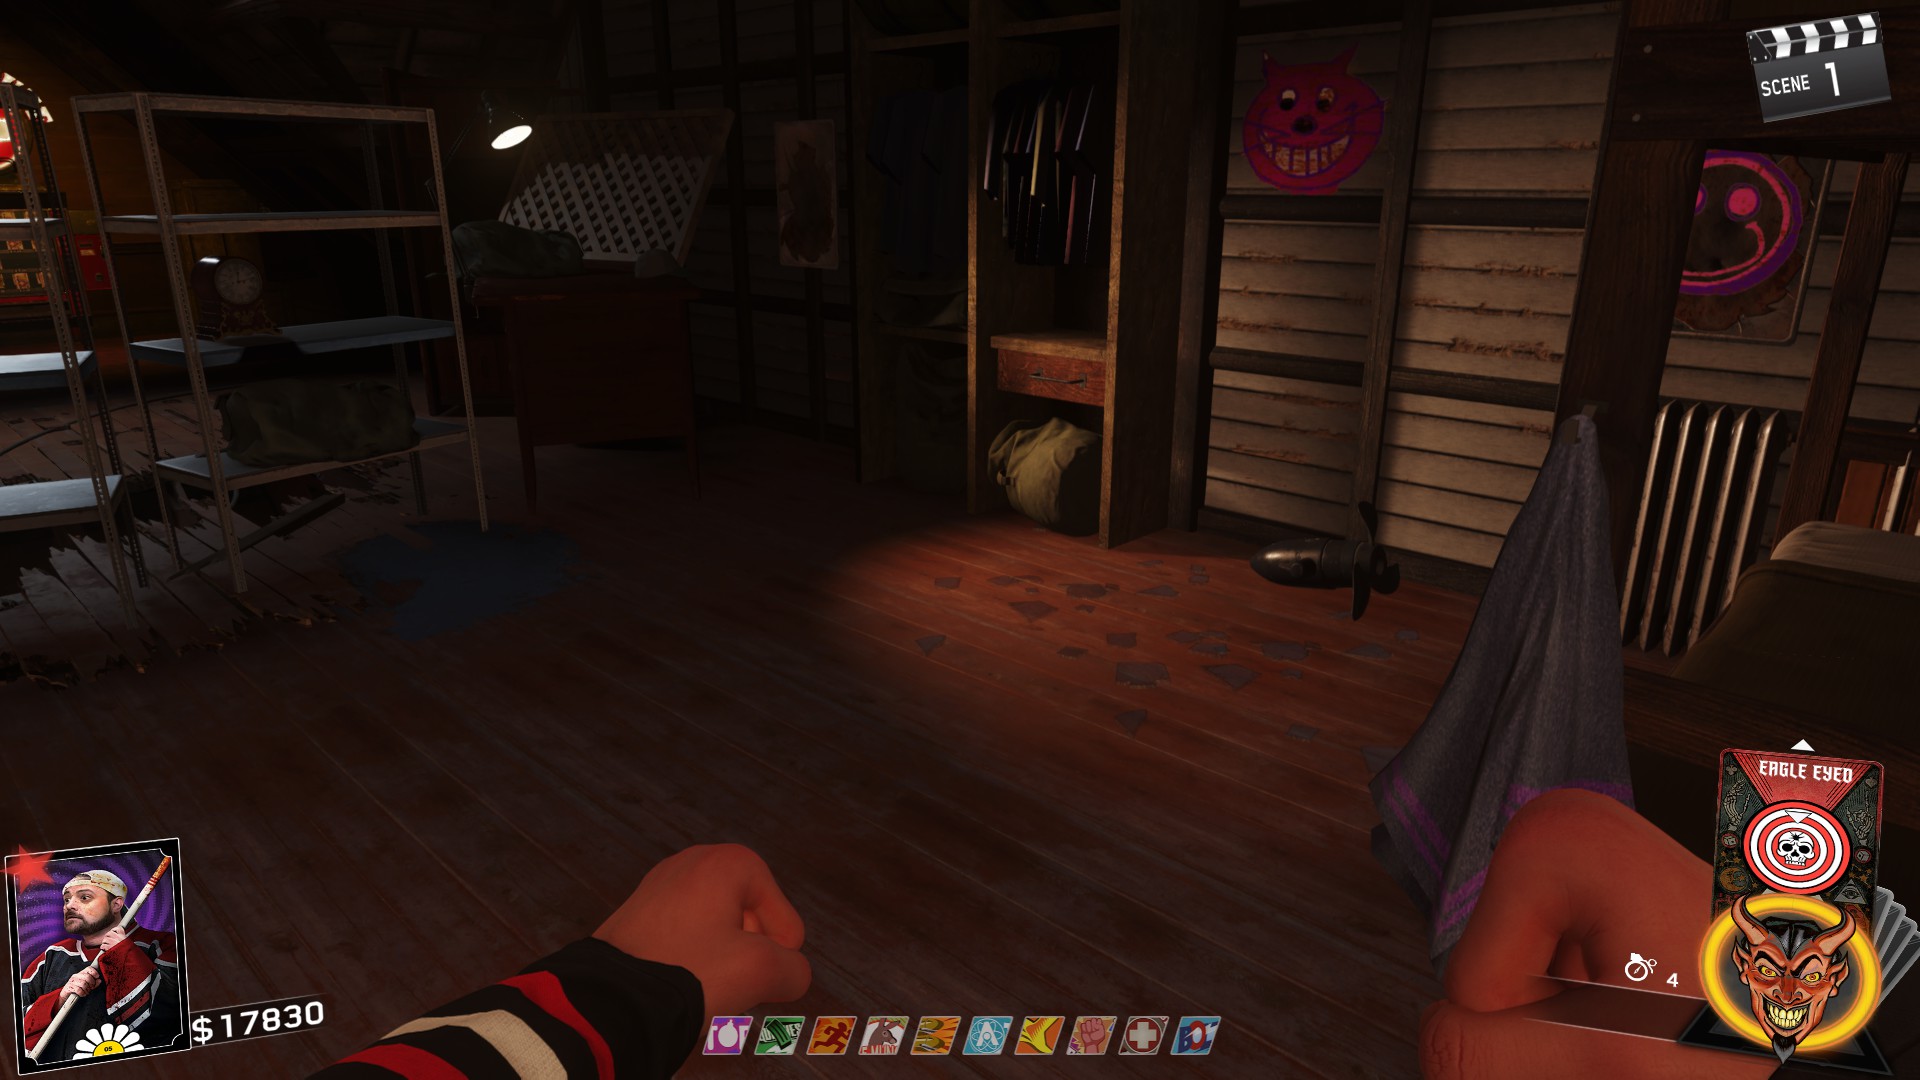
Once all parts have been picked up, go to the dock on the Lake and place the boat pieces, but don't forget to pick up the Film reel before leaving!
- Directly outside where you get on the boat laying on the dock.
- Outside the house next to the campfire on Turtle Island.
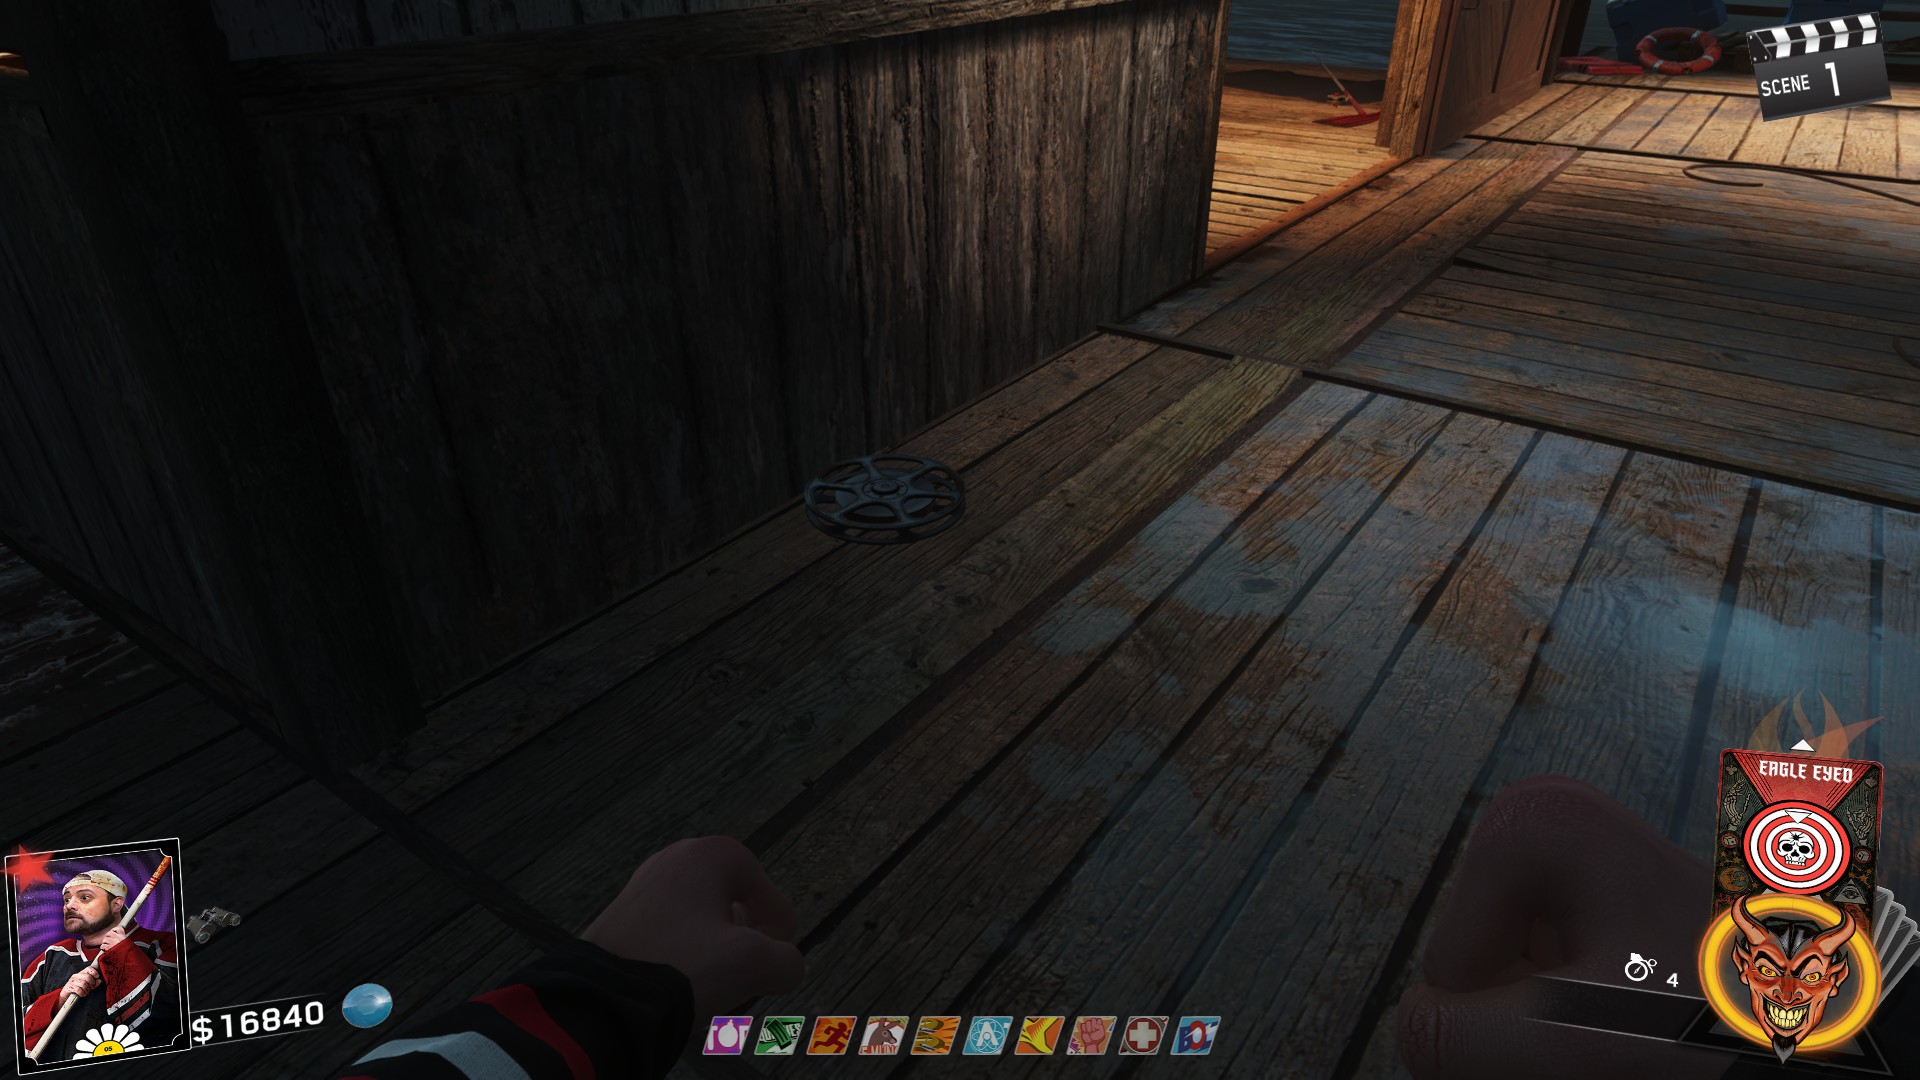
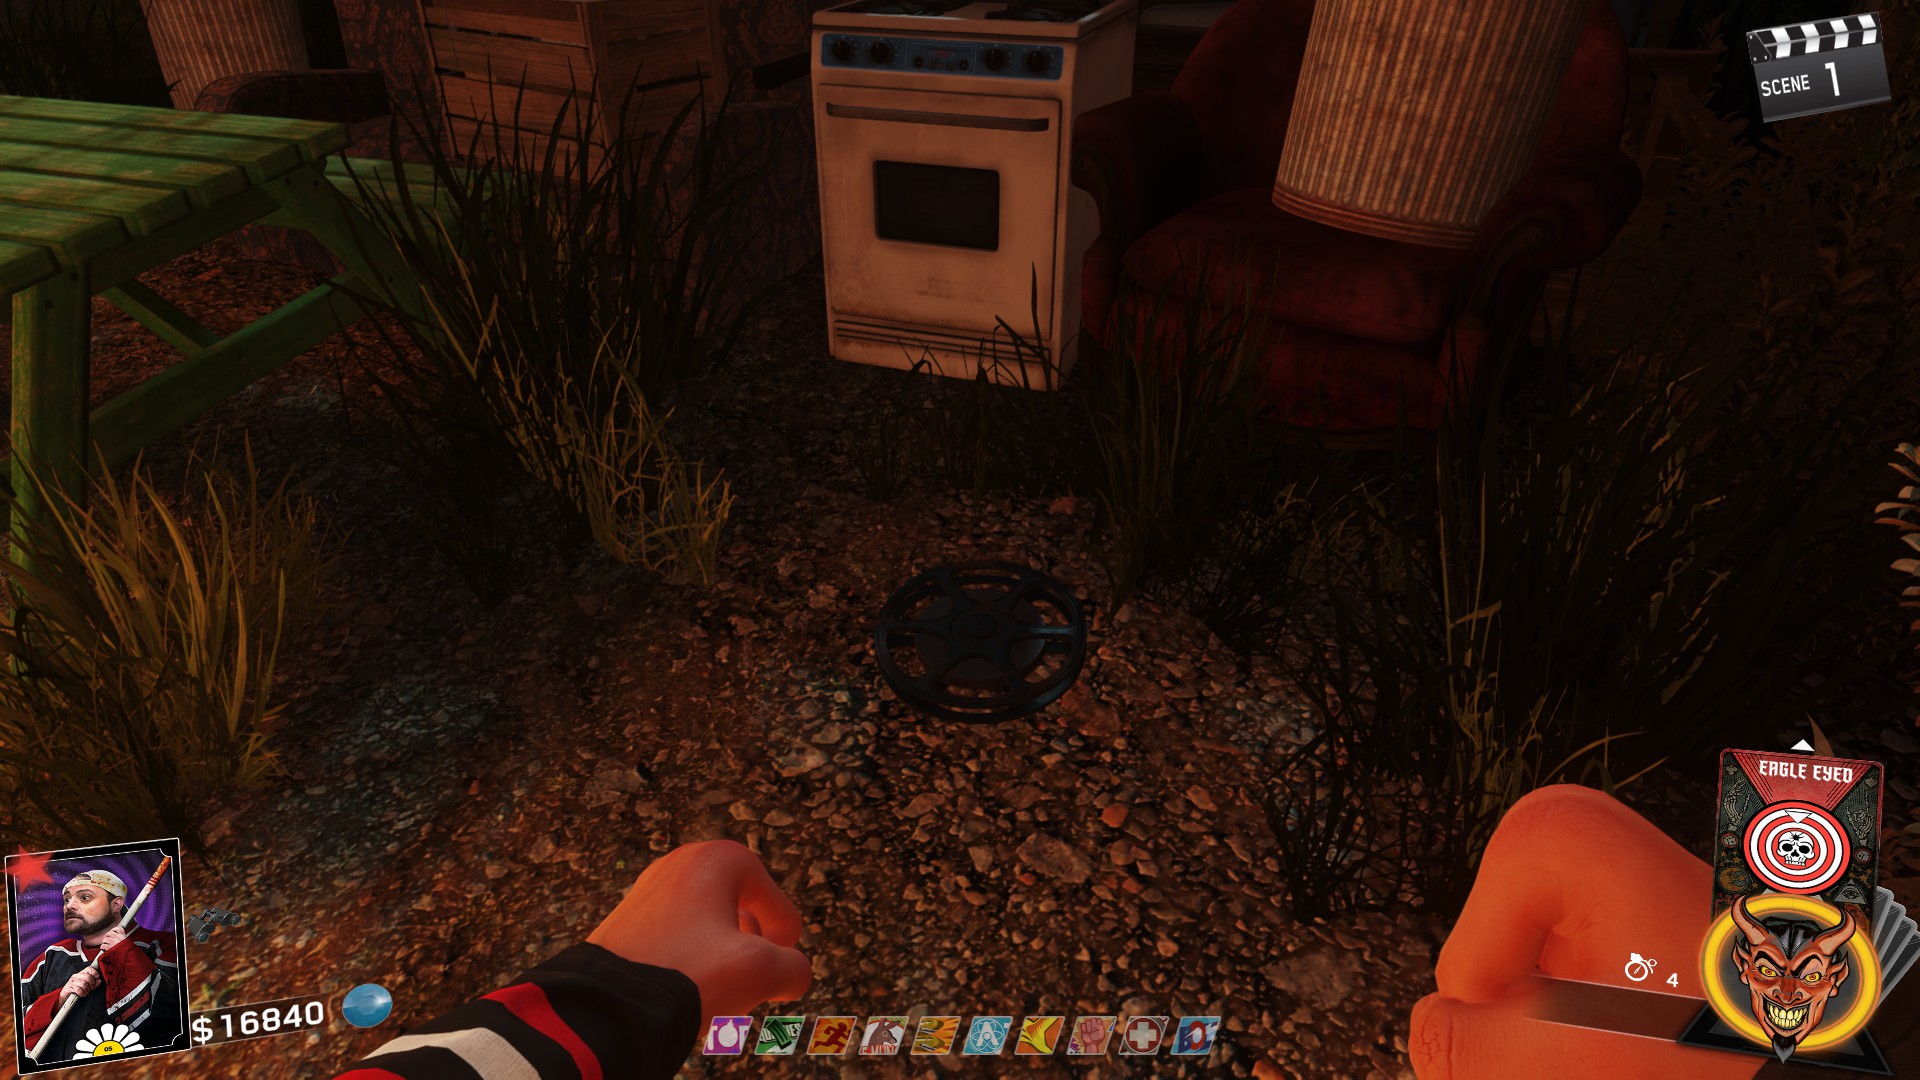
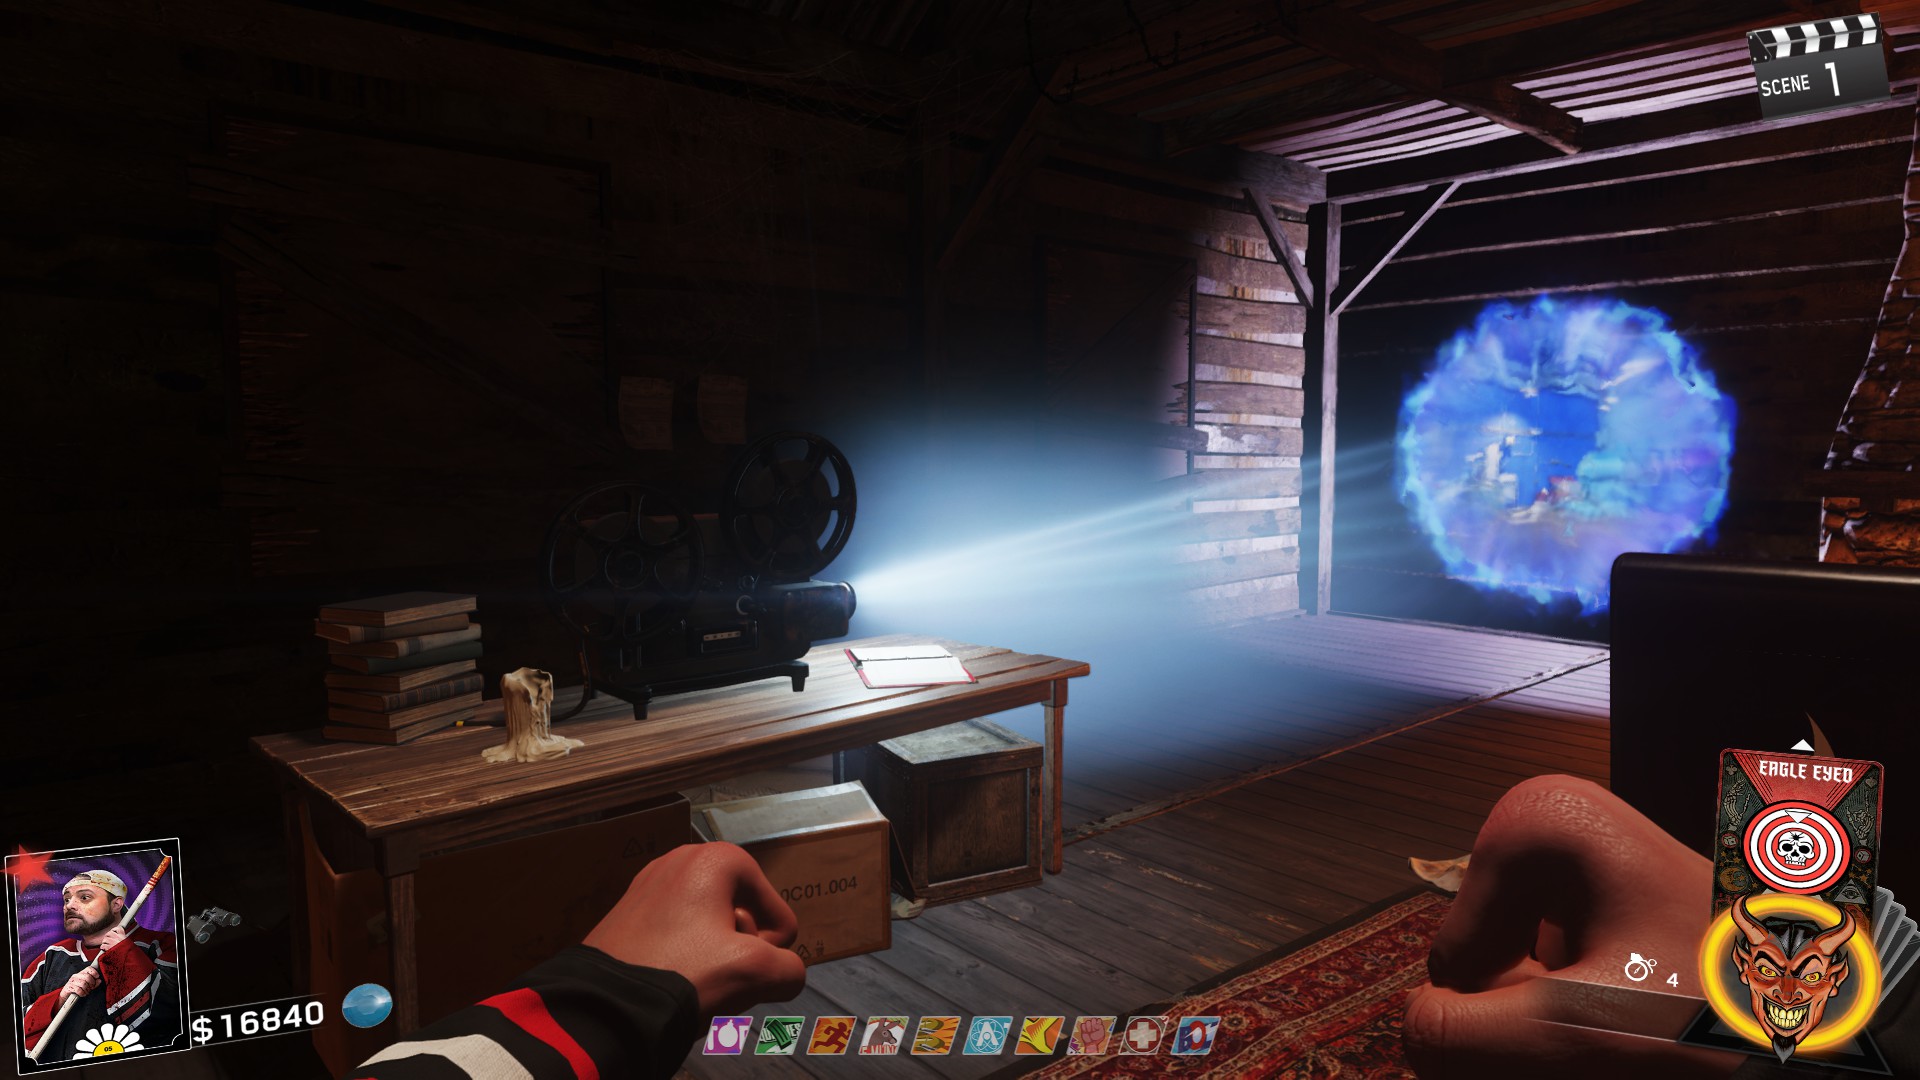
Once you have the film reels, place them on the projector in the house on Turtle Island and you're done with Pack a Punch!
Double Pack-a-Punch
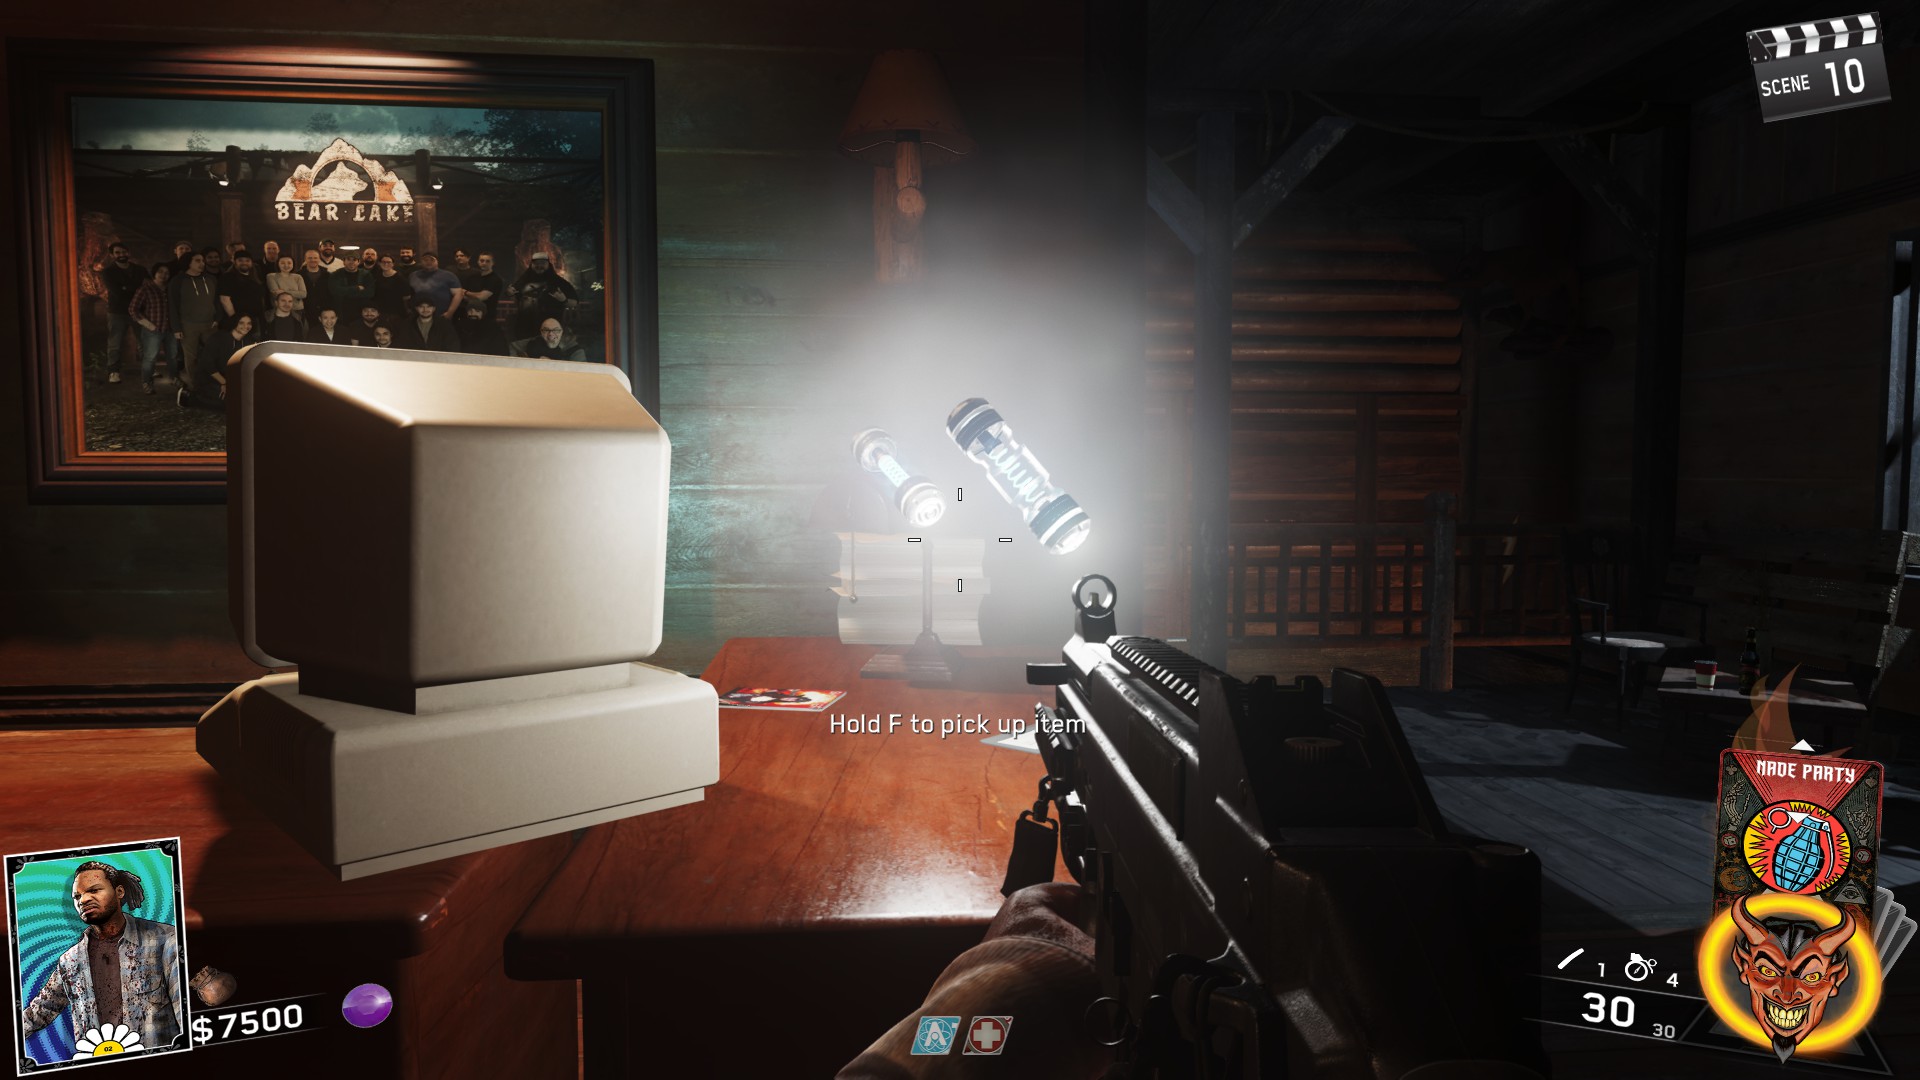
Totem Gems Combinations


The Vlad - Crossbow Unlock
- A sausage (hotdog) from the bucket on Turtle Island near the projector.
- A Rave mode pouch, which you get eventually from killing zombies.
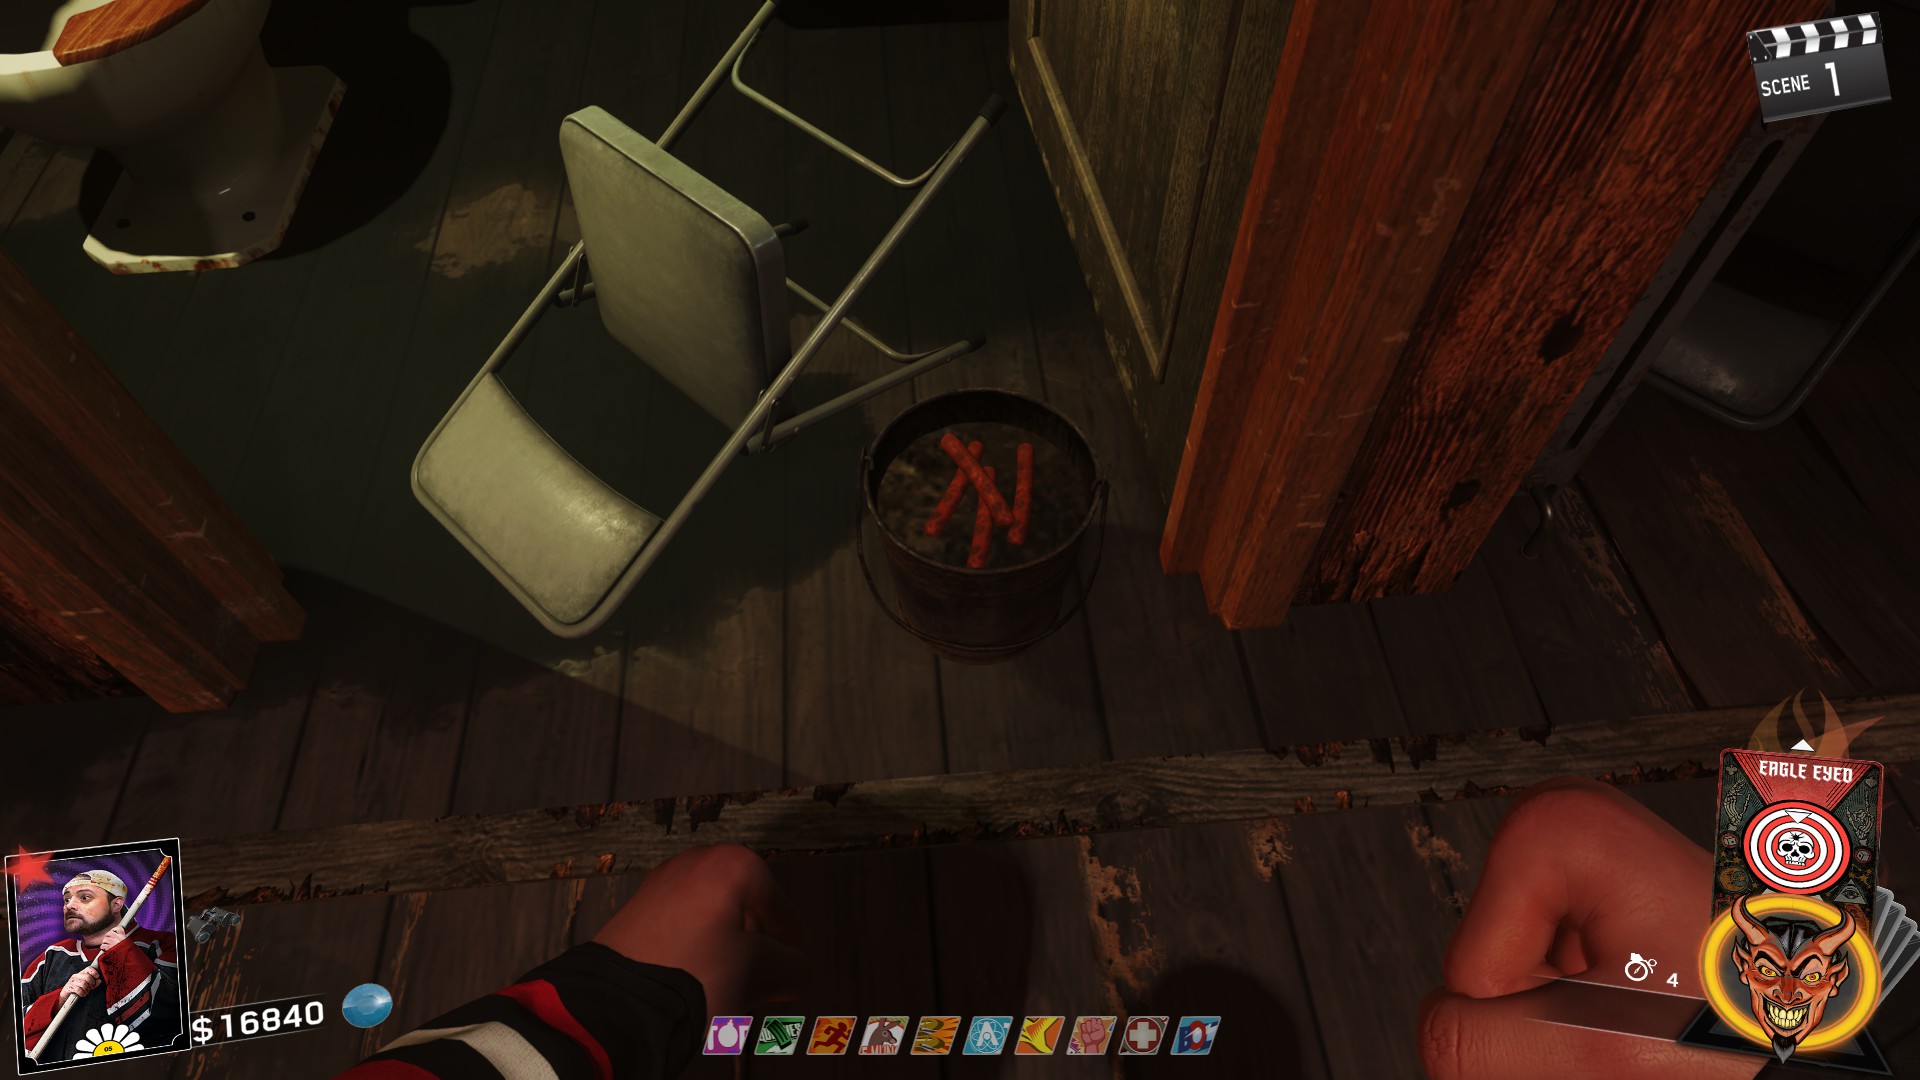
Once you have these two things, you're ready to go!
If you do this fast enough and utilize the "Listen to the fairies" feature to extend Rave mode, you can get this done in one Rave mode.
Locations:- In the Bear Lodge (Spawn) to the right of where you pickup the crossbows.
- In the Mess Hall above the fire place.
- In Camper Cabins on the back side in one of the Cabins. (View the video for a better explanation..)
Here's a video of me completing the symbols in one Rave mode for reference of a route you can take.
Upgraded Crossbows
Obviously, you will need to have completed the Vlad unlock to be able to upgrade the crossbow (If you are playing Director's Cut. You can just get the upgraded crossbows from the Magic Wheel).
Each one of the crossbow upgrades have the same exact steps minus the fact that you'll need to collect a different statue depending on what crossbow you want.
Below will be the steps that each bow has as well as the locations of all of the statues as well as their bigger versions. Also, below is which statue goes to which Crossbow.
- Deer: Whirlwind EF-5
- Eagle: Trap-o-Matic
- Owl: Acid Rain
- Wolf: Ben Franklin
Finally, you can do more than one statue at once. However, each statue for the last section must be filled using the Vlad and each statue's upgrade can only be picked up when you have The Vlad in your inventory.
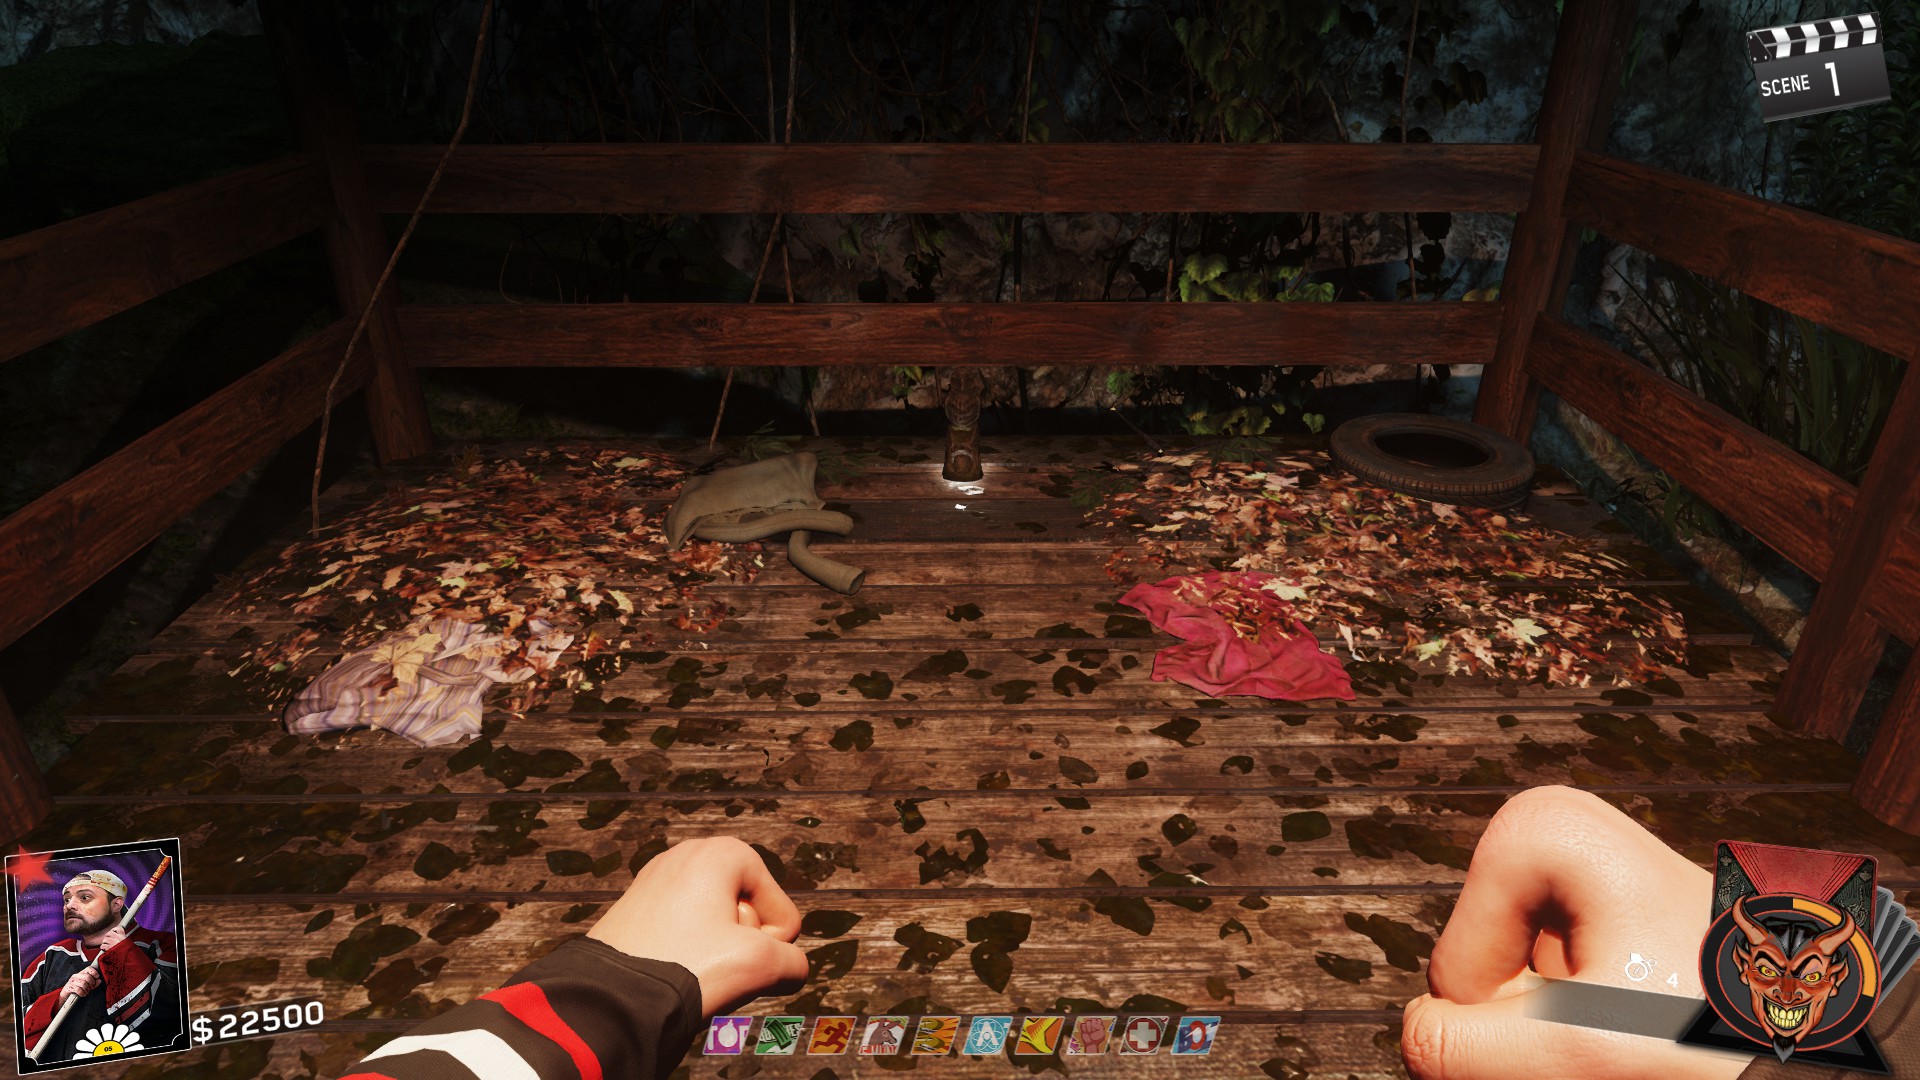
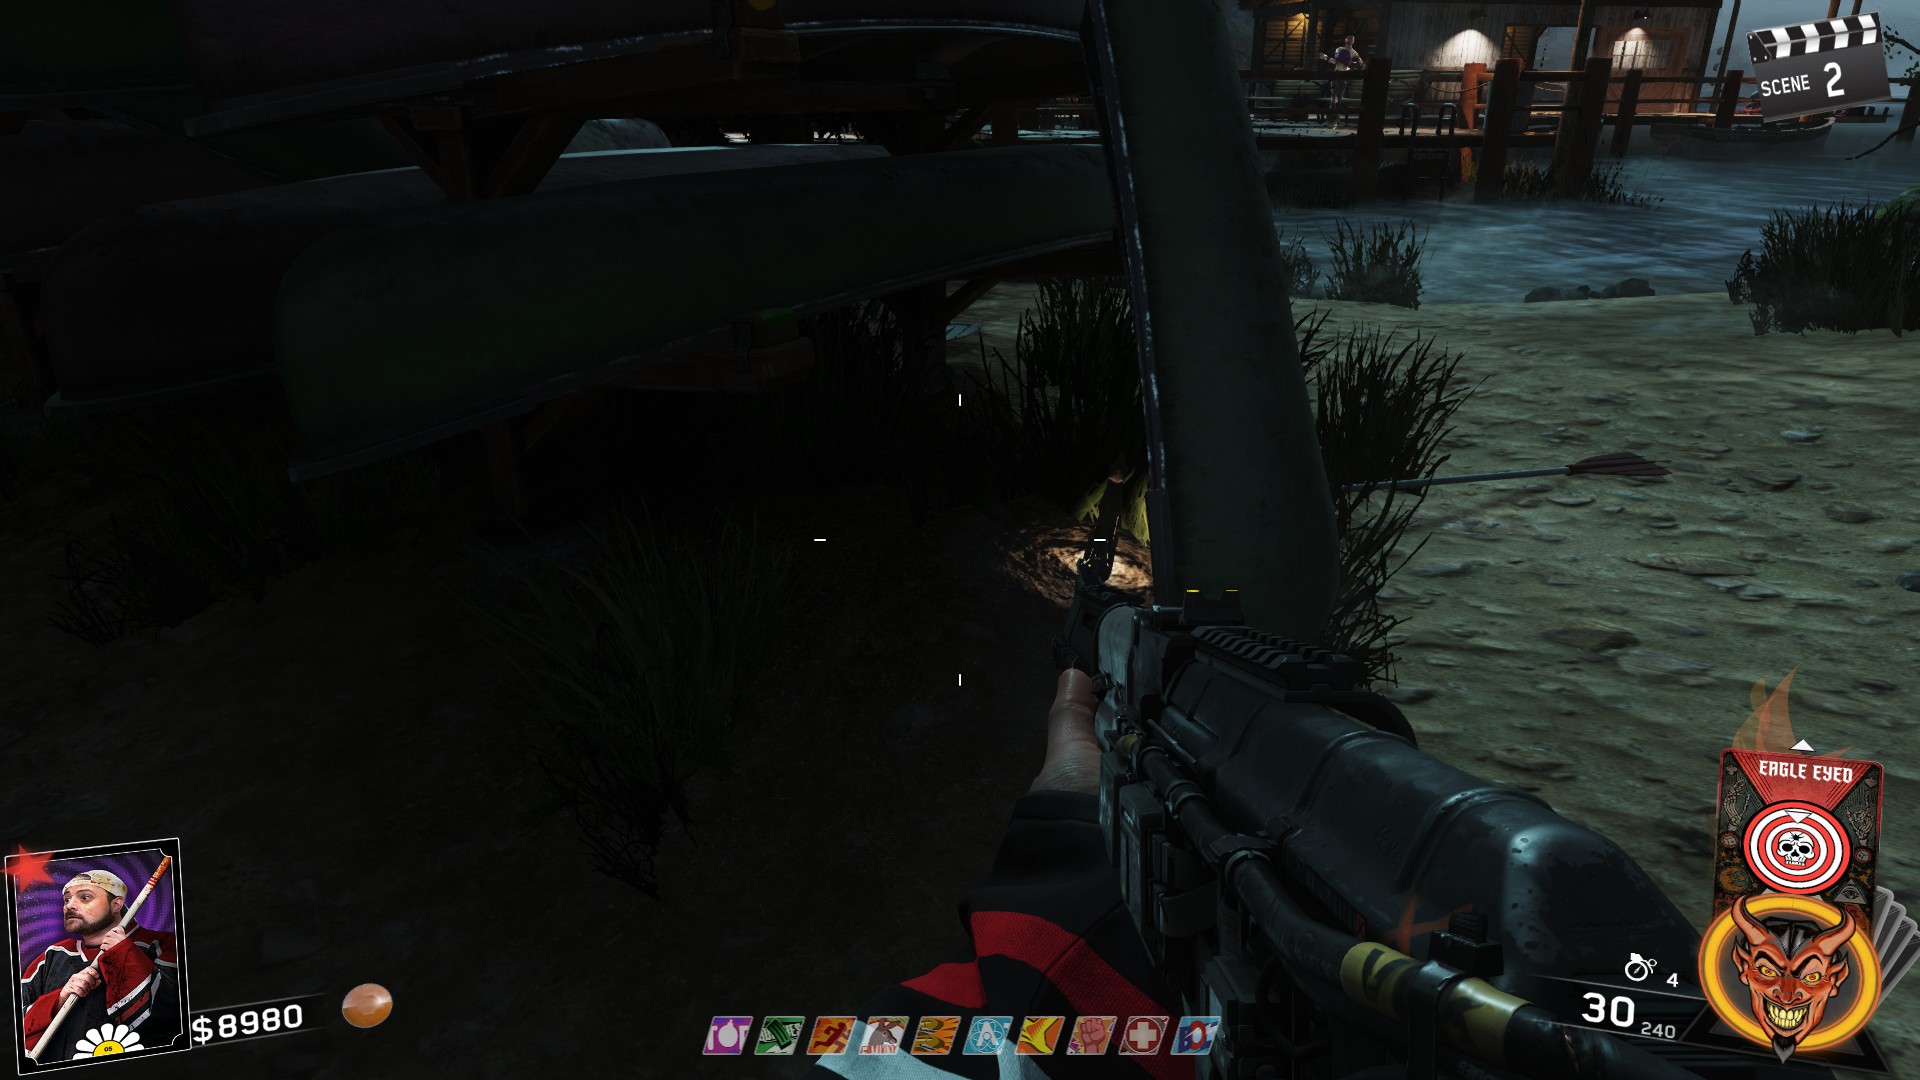
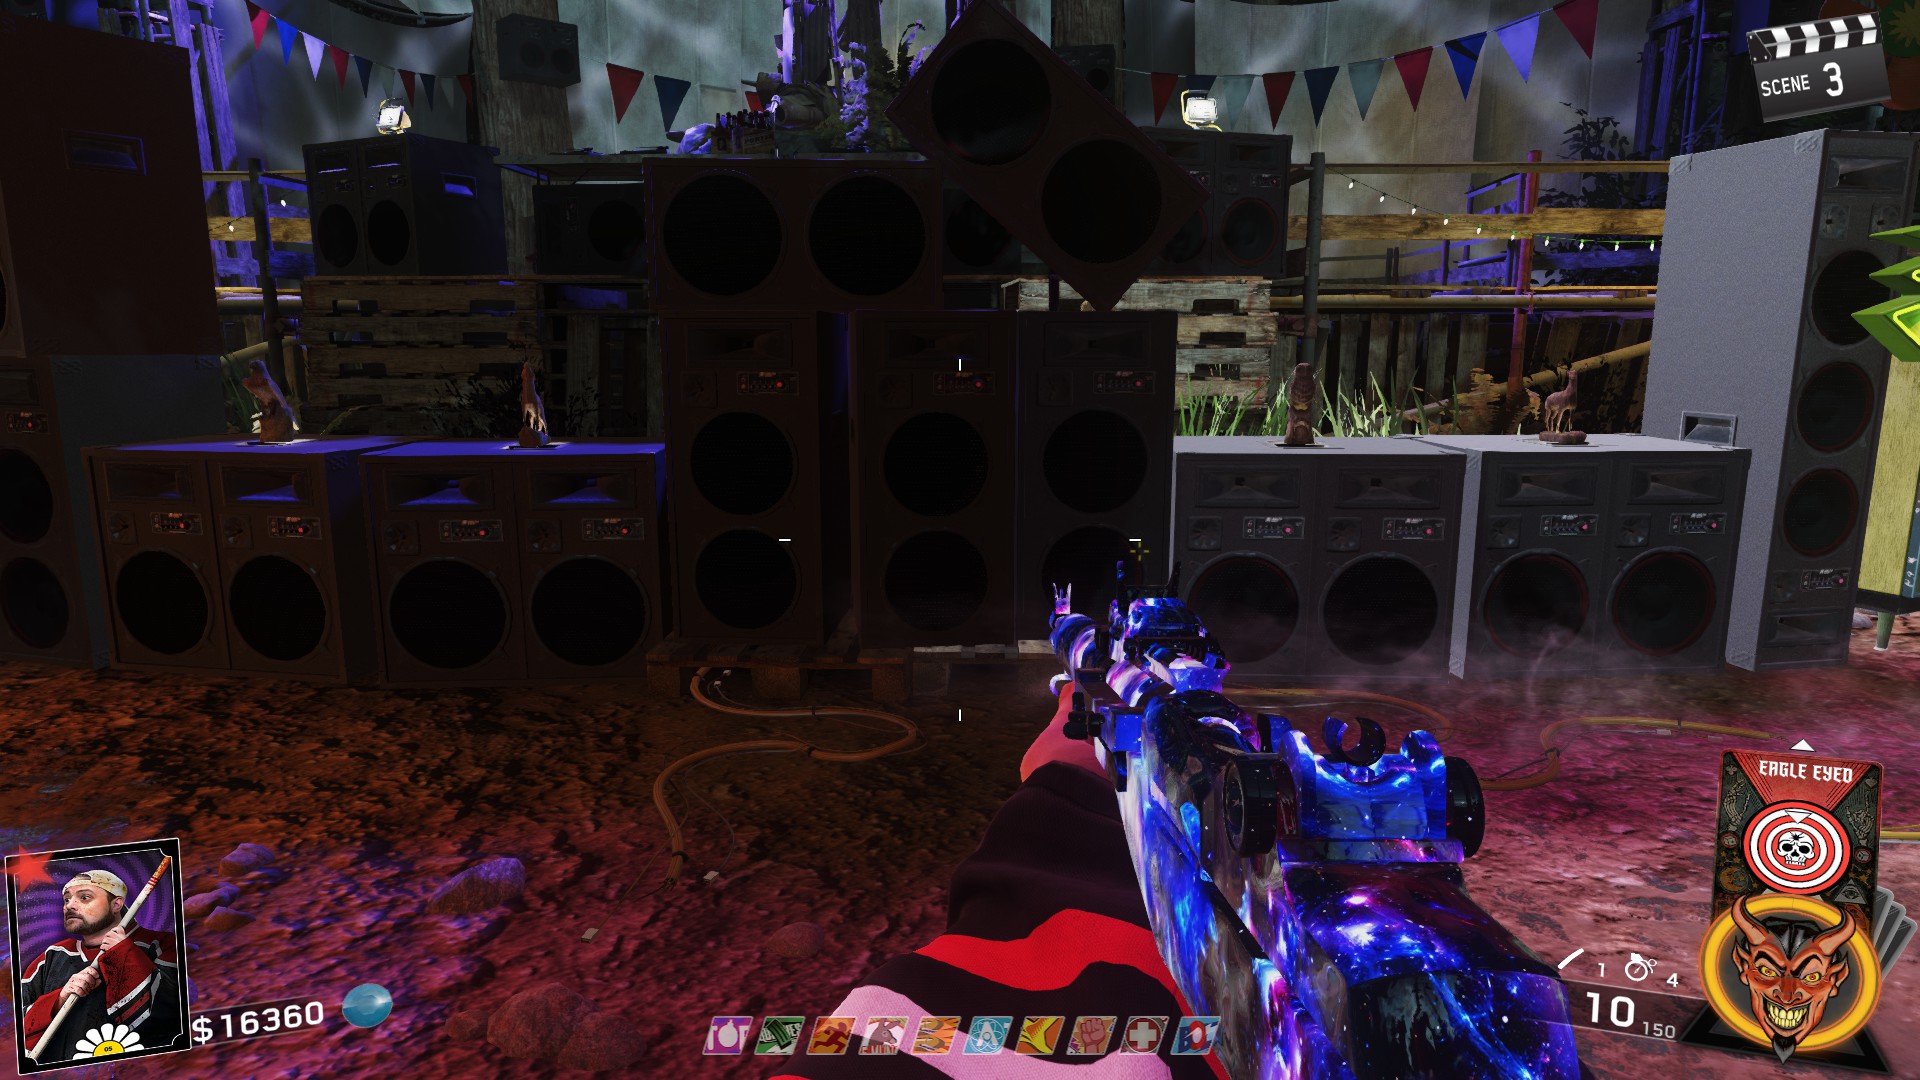
- Picnic table in Camp Wolf
- Trailer in Recreation Area near the Type-2
- Near the bottom of the climbing wall in Recreation Area
- Opposite of Racin' Stripes in Camper Cabins
- Next to bench on path between Camper Cabins and Mess Hall
- On the stairs next to Bang Bangs
- On table at docks near Trail Blazers
- On the Adventure Course Floor
- Under the canoes near Slappy Taffy
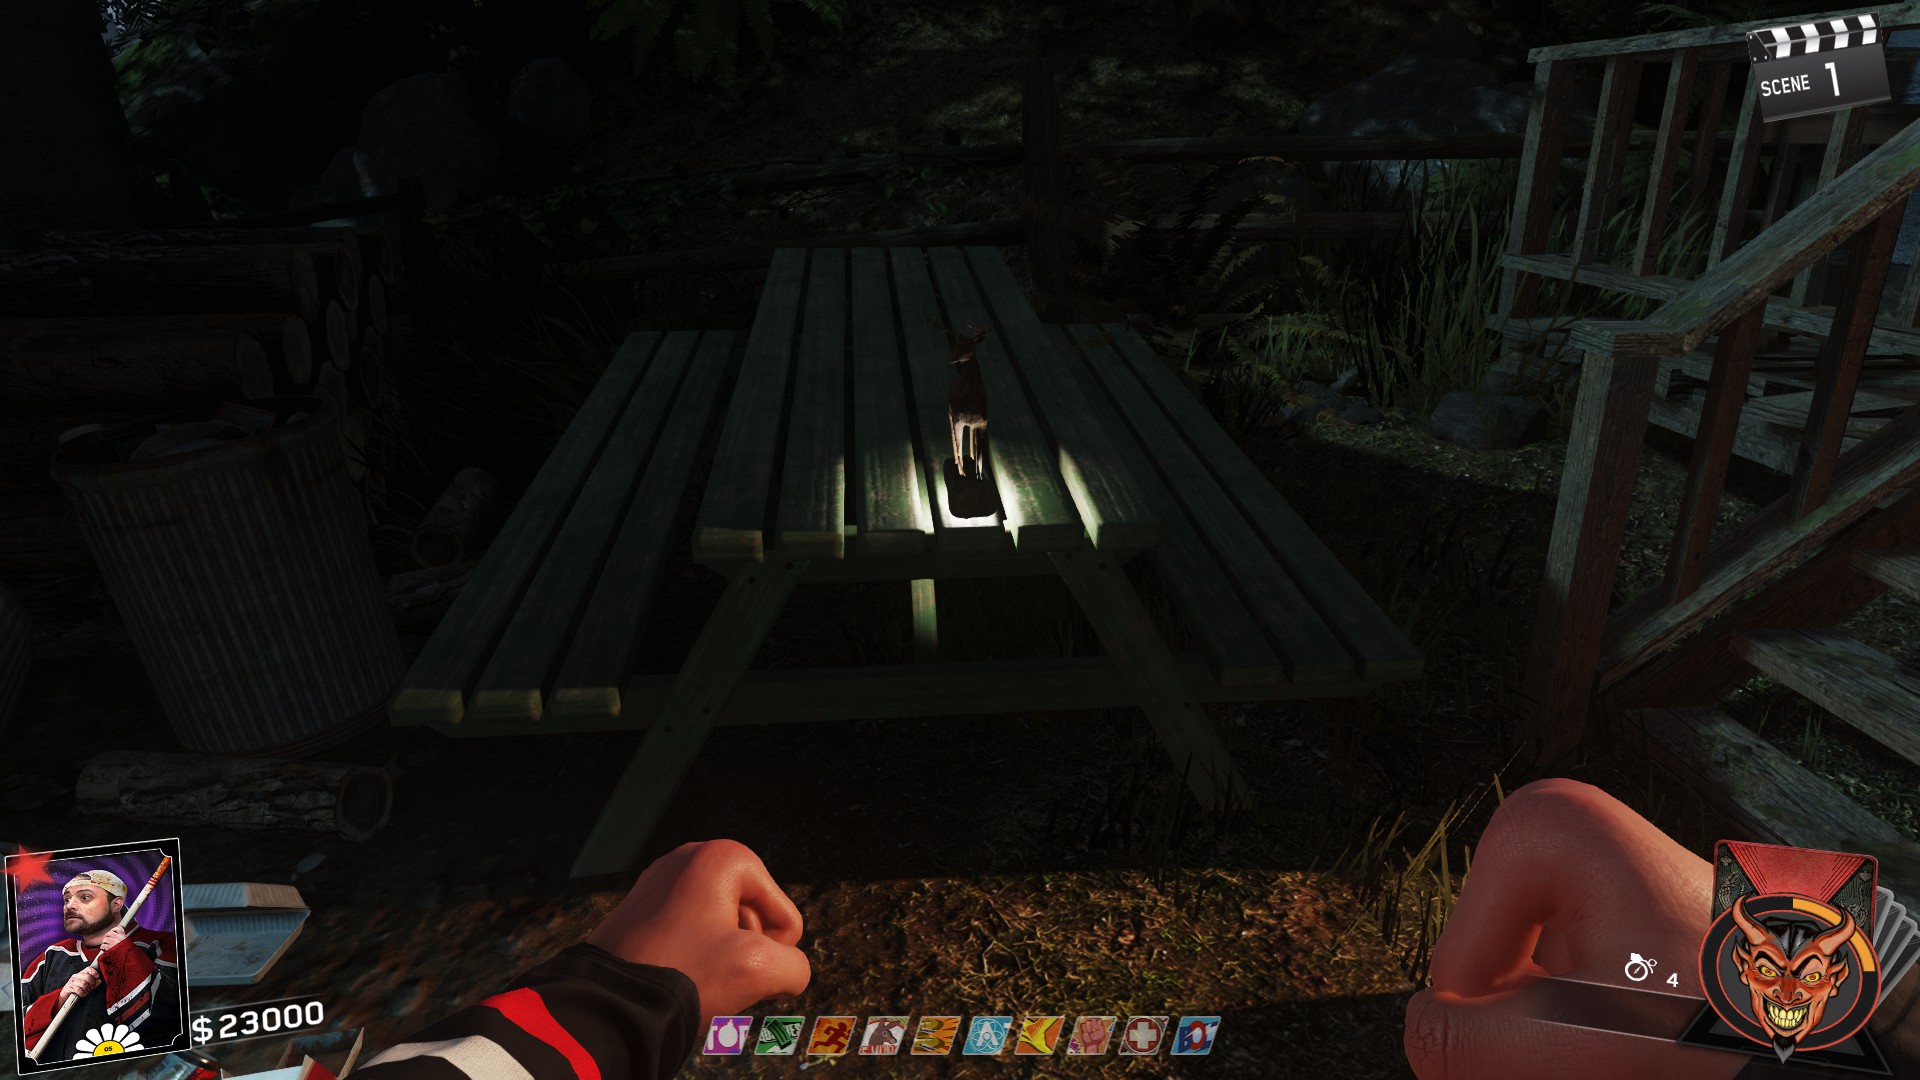
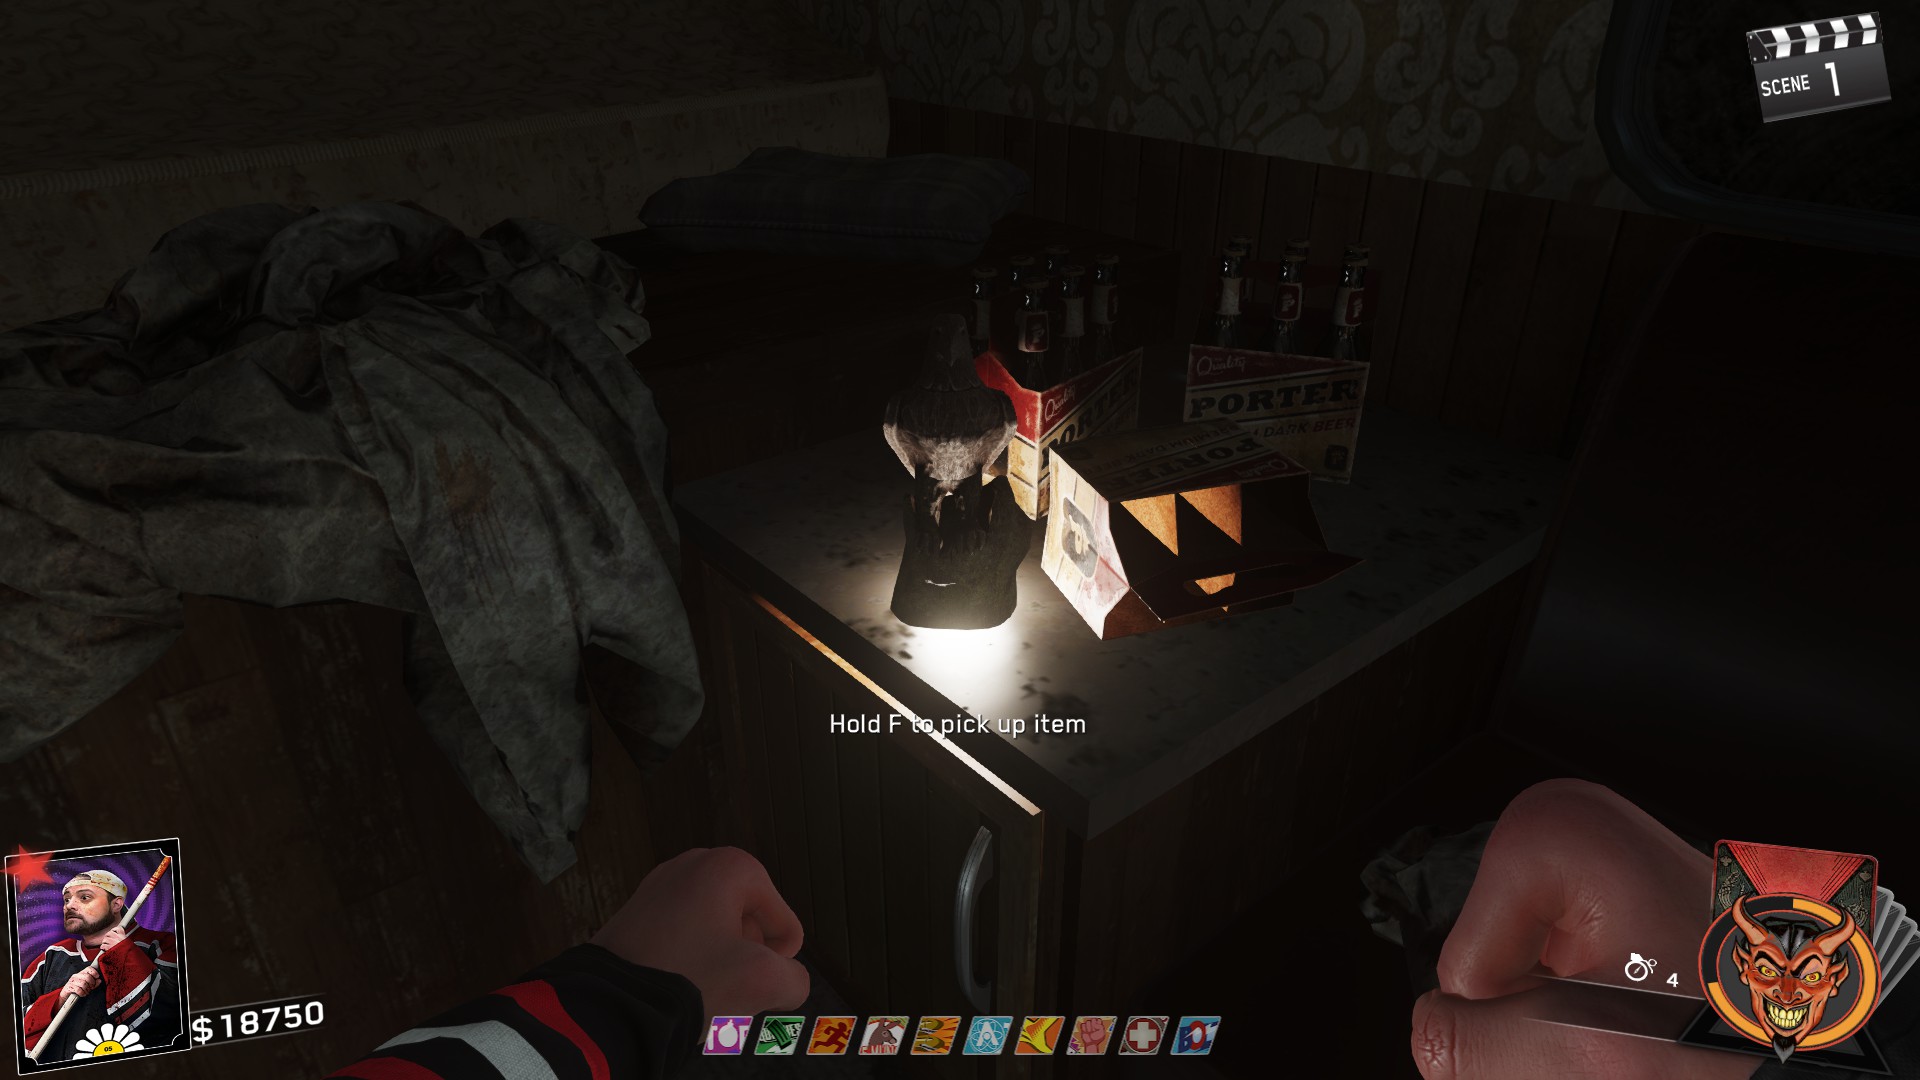
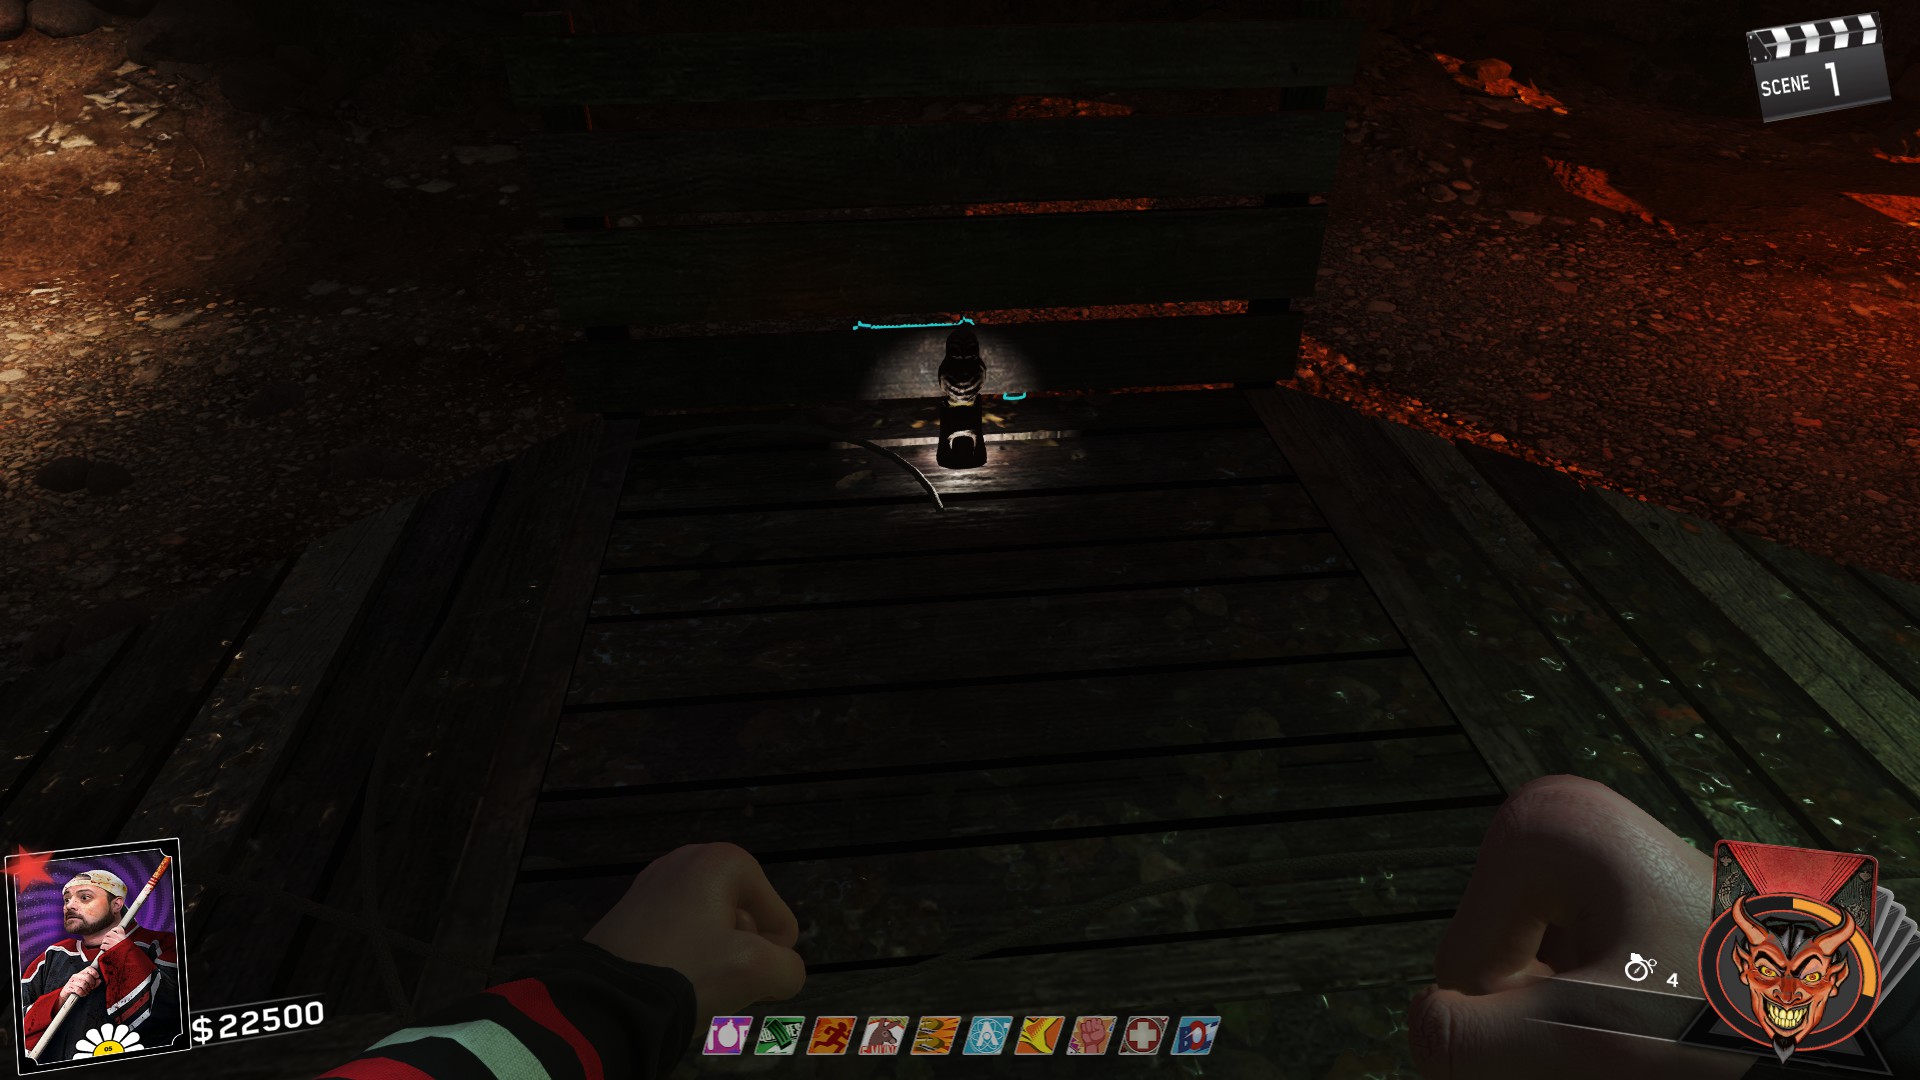
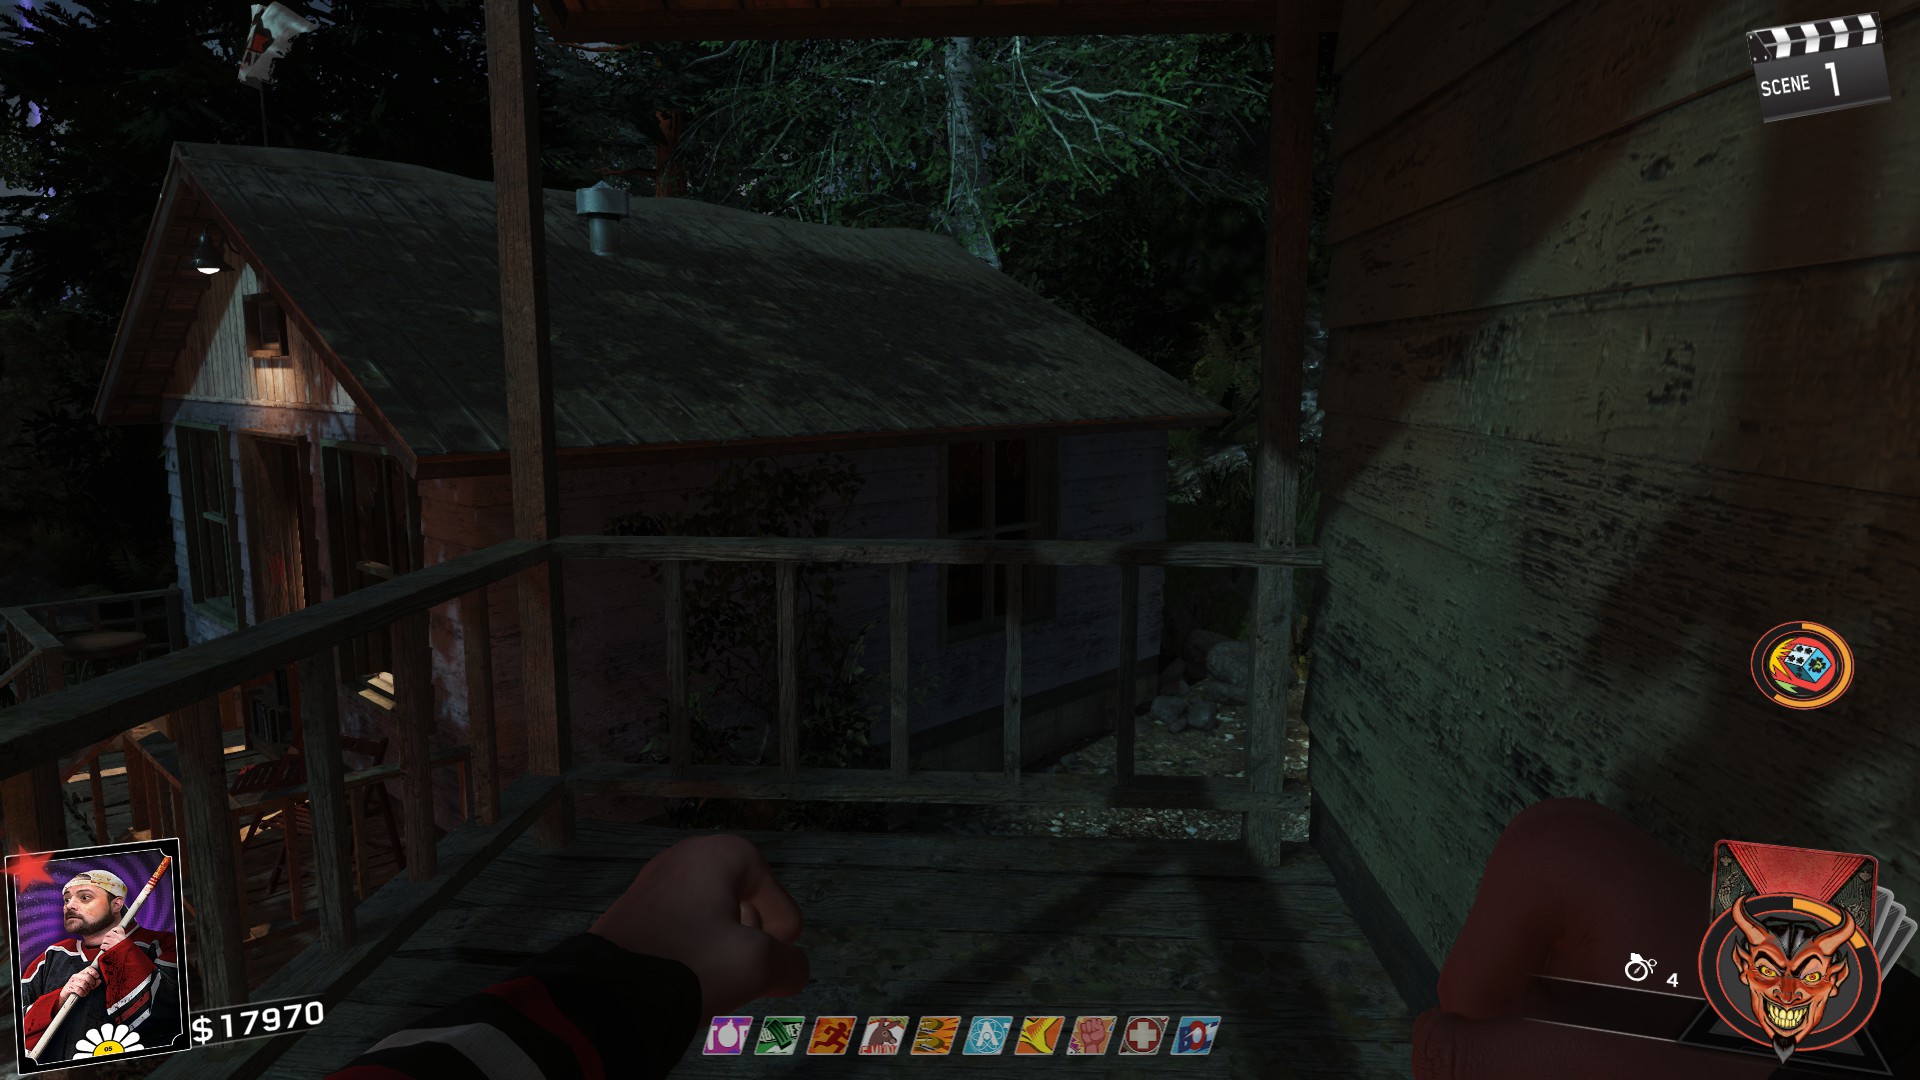
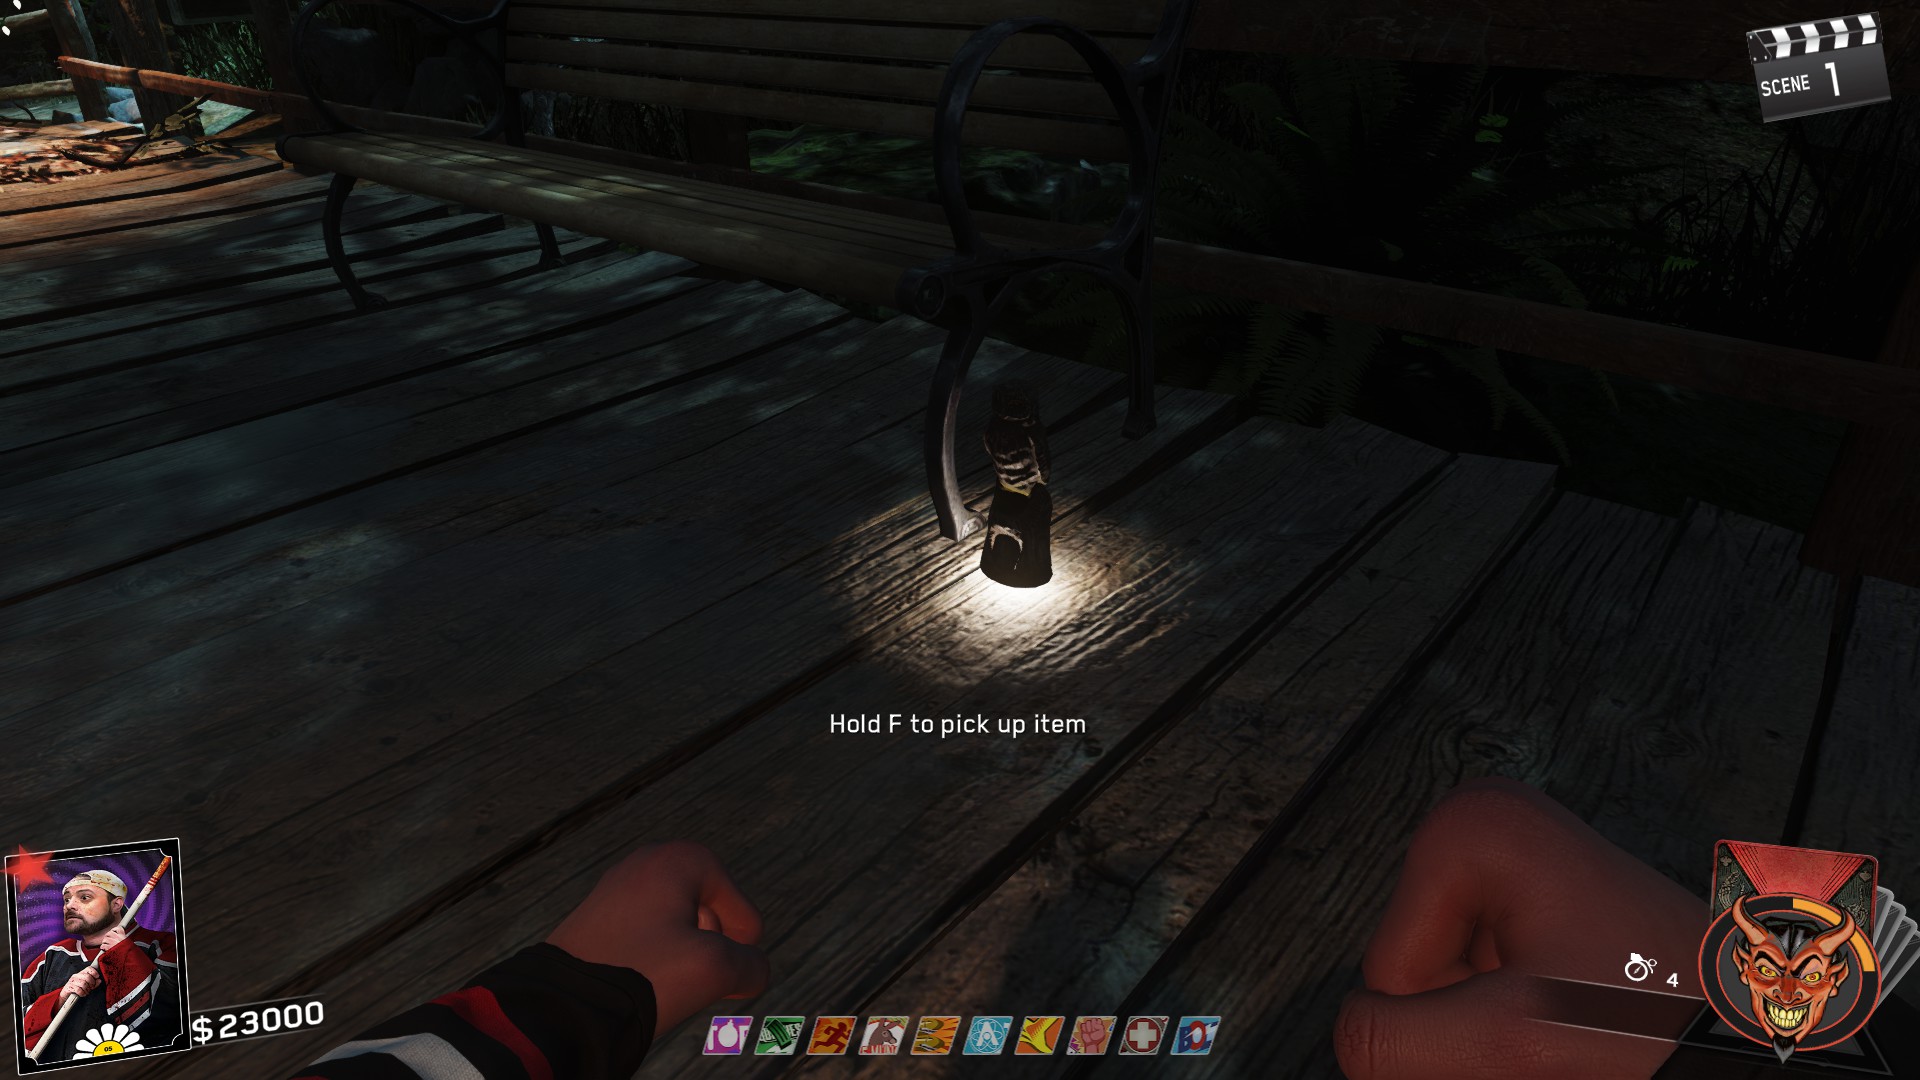
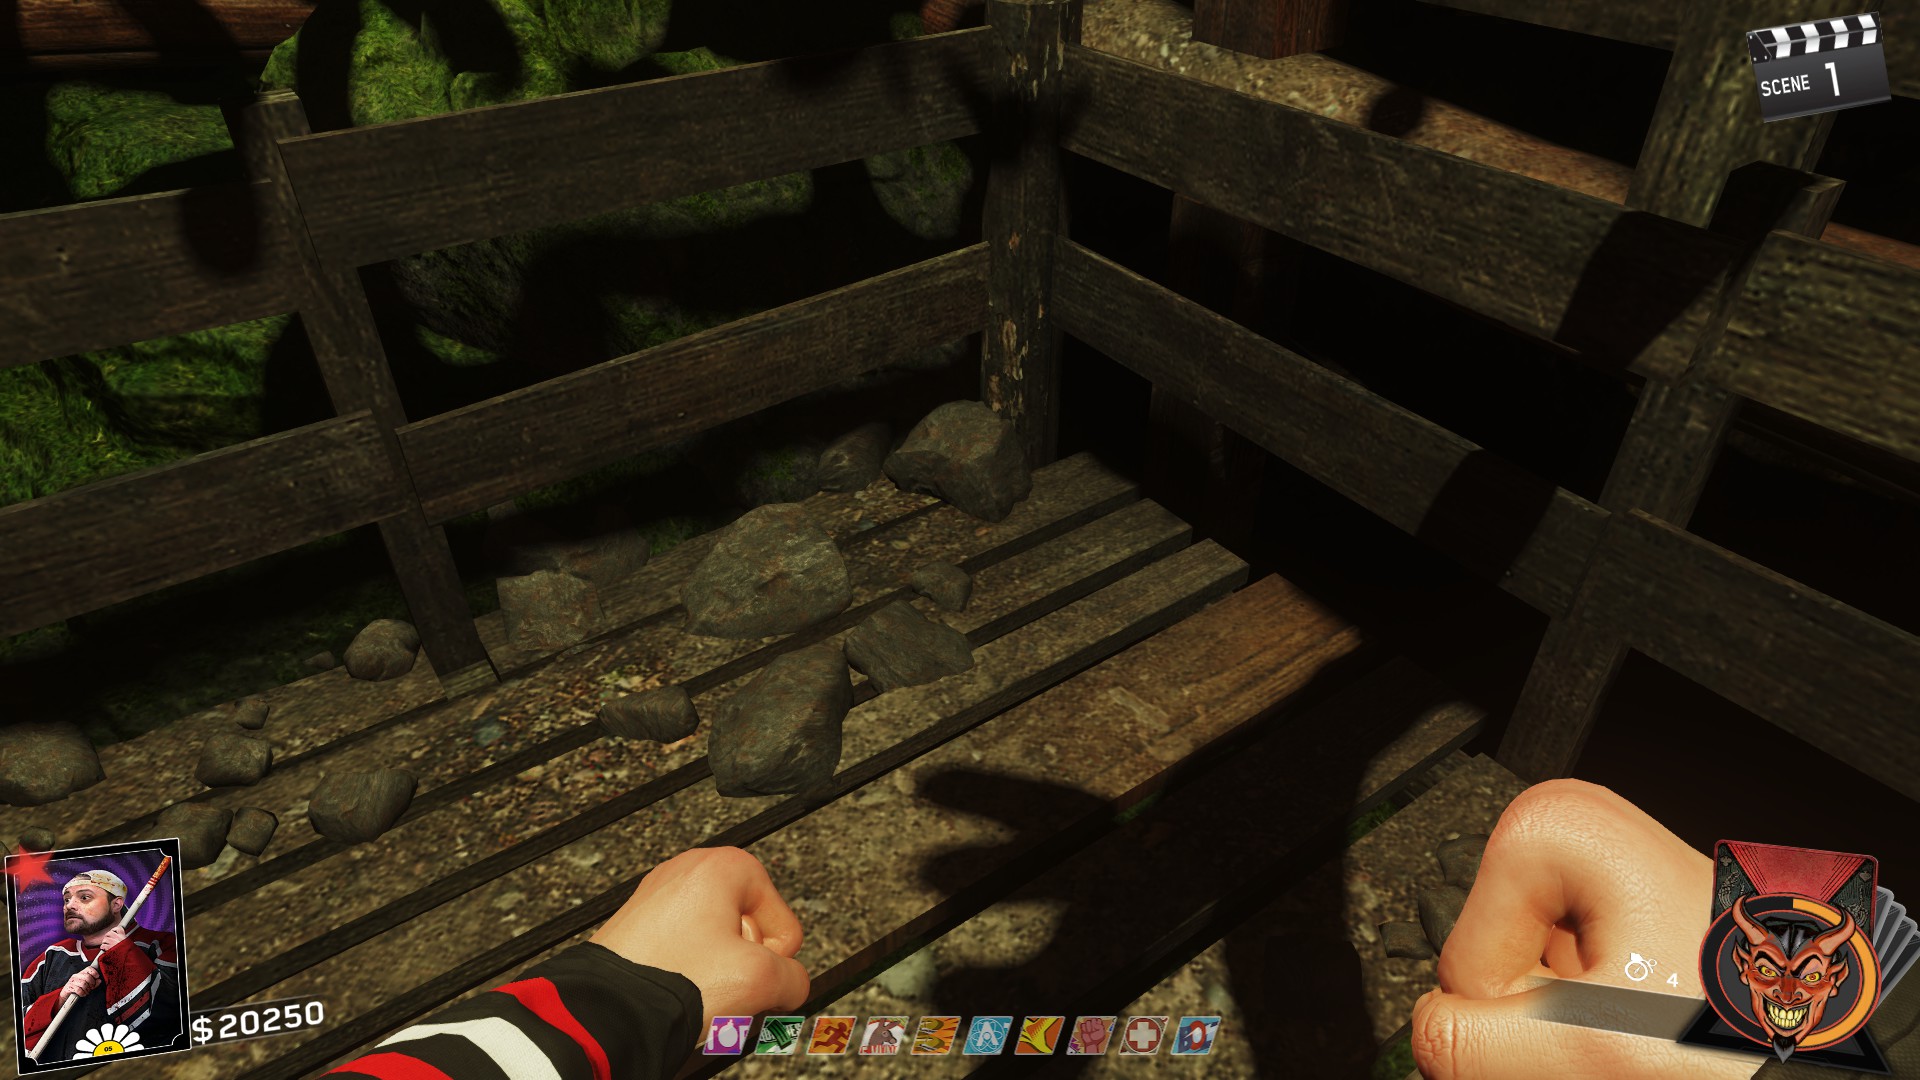
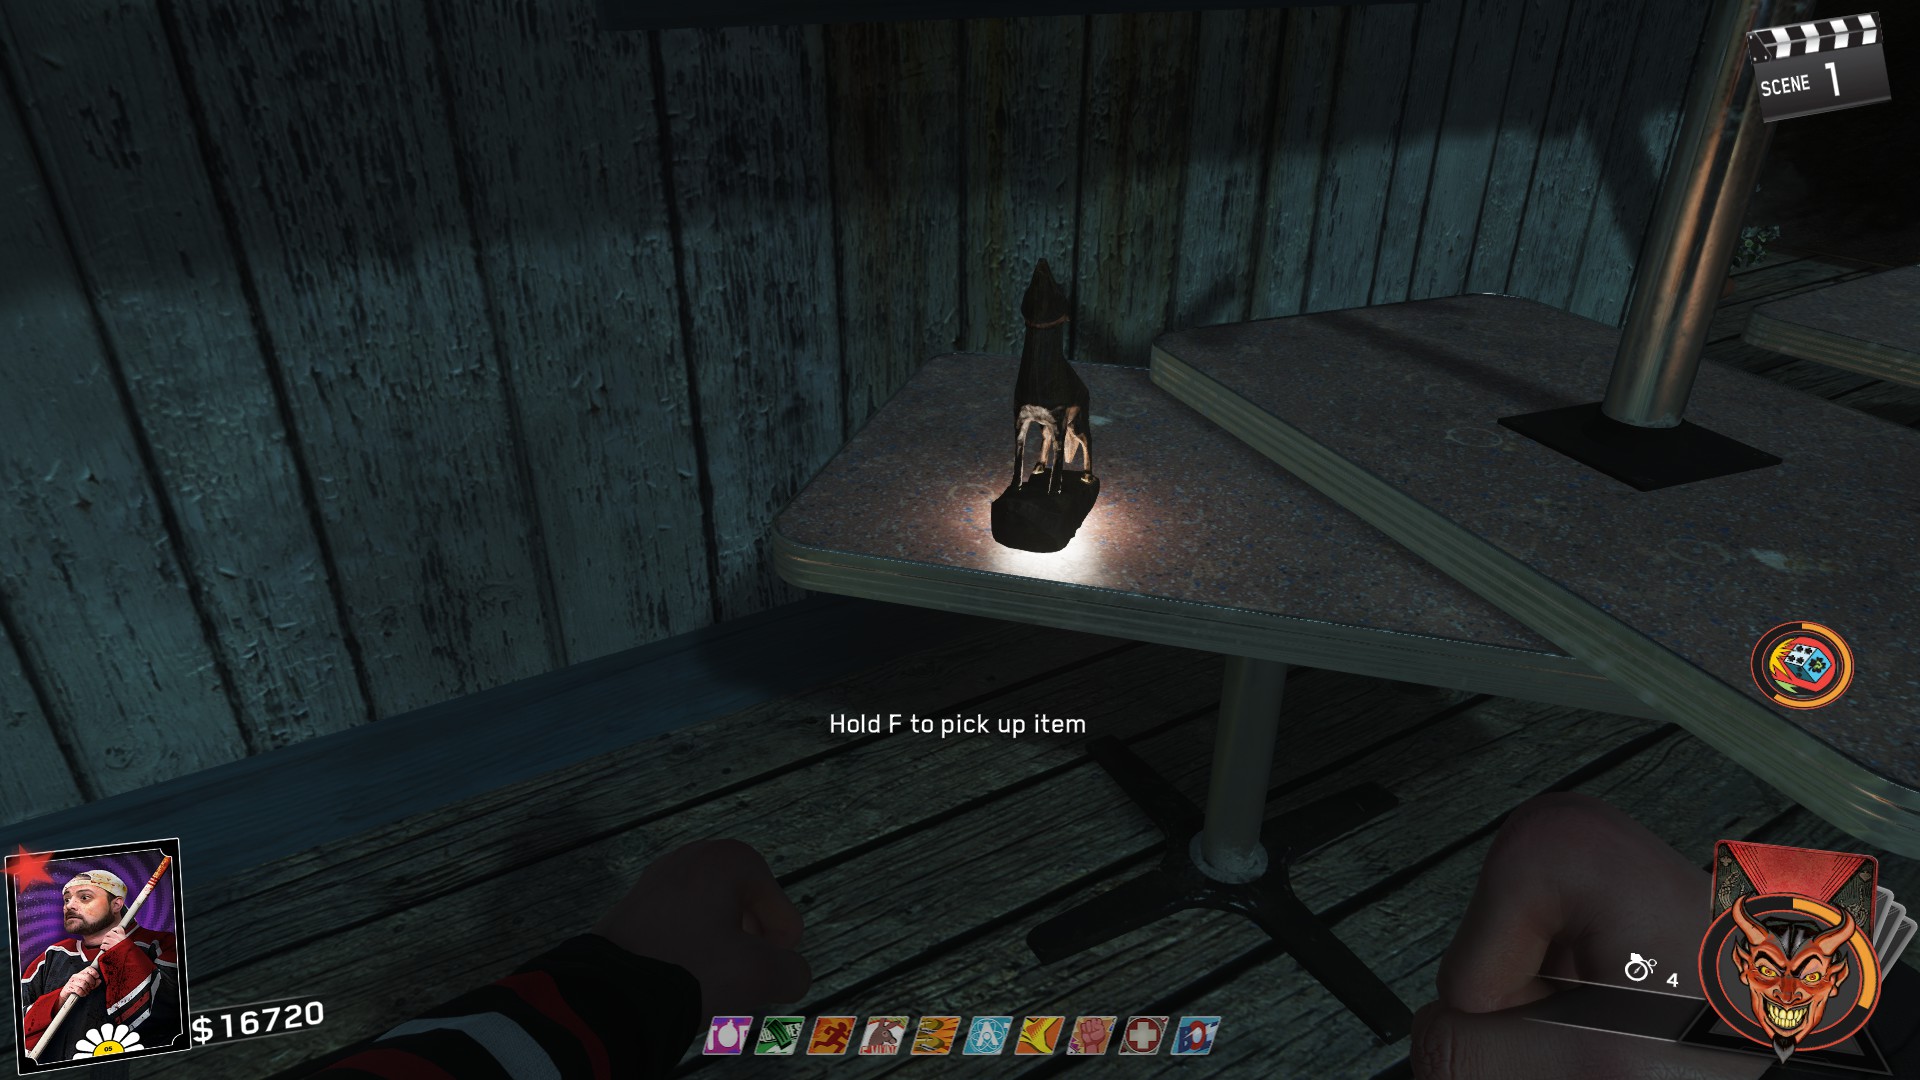
- Deer: At the Docks near the exit going towards the Mess Hall
- Eagle: Thunderbird Amphitheater (Bonfire Area)
- Owl: At Owl Camp near entrance to Marvin Mines
- Wolf: Directly next to the Owl statue.
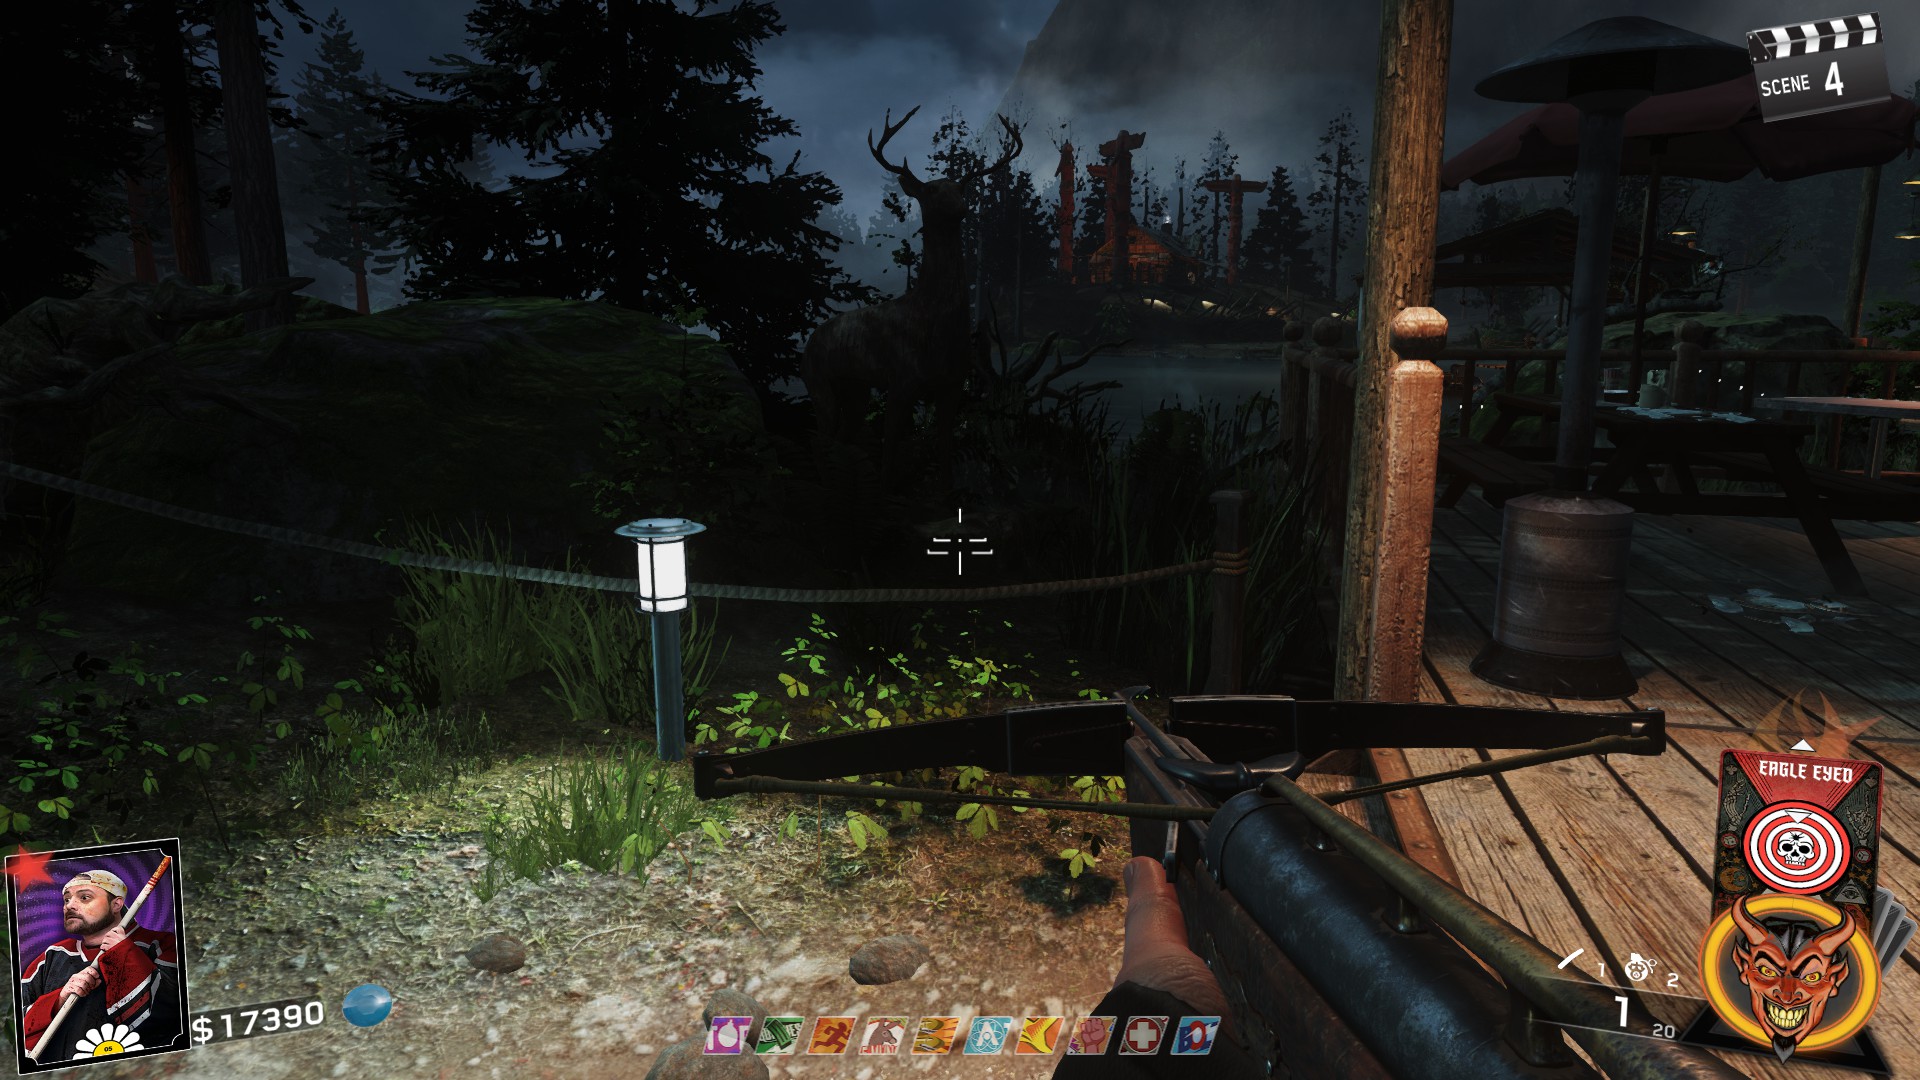
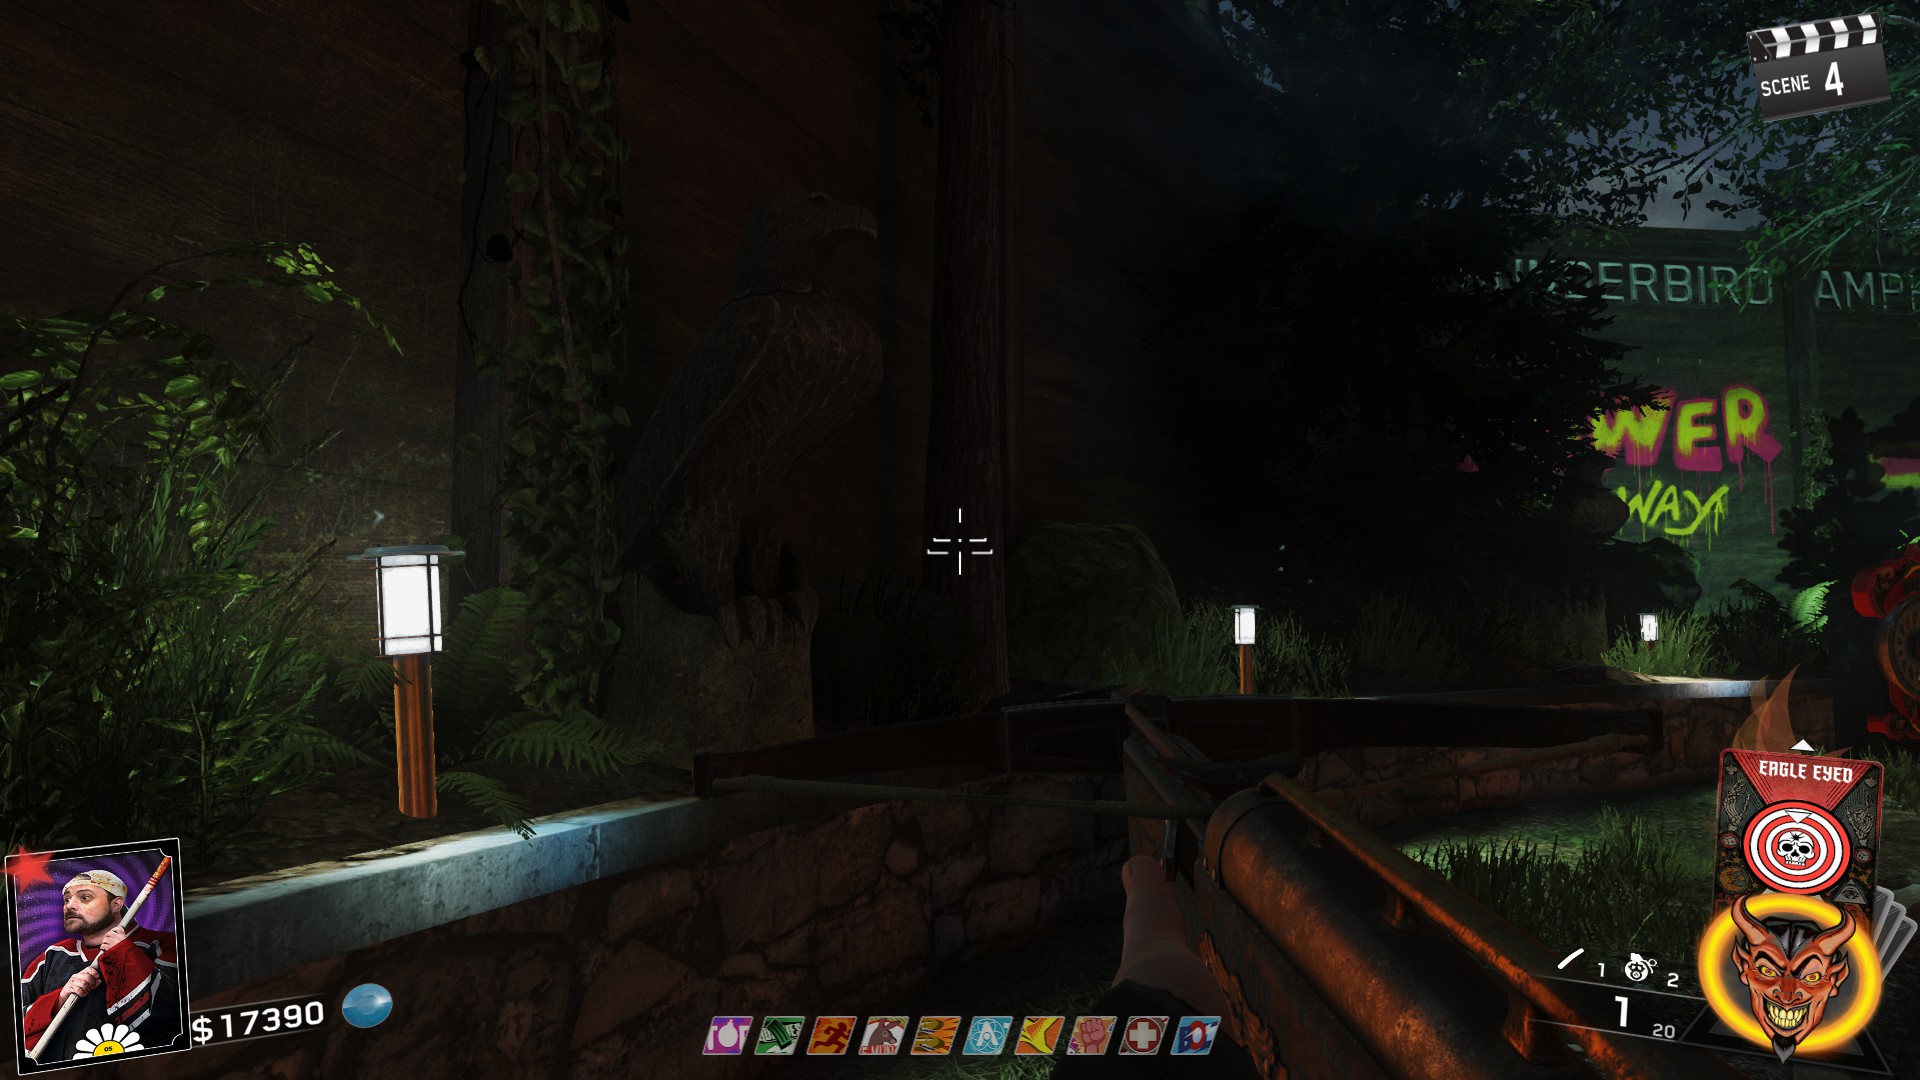
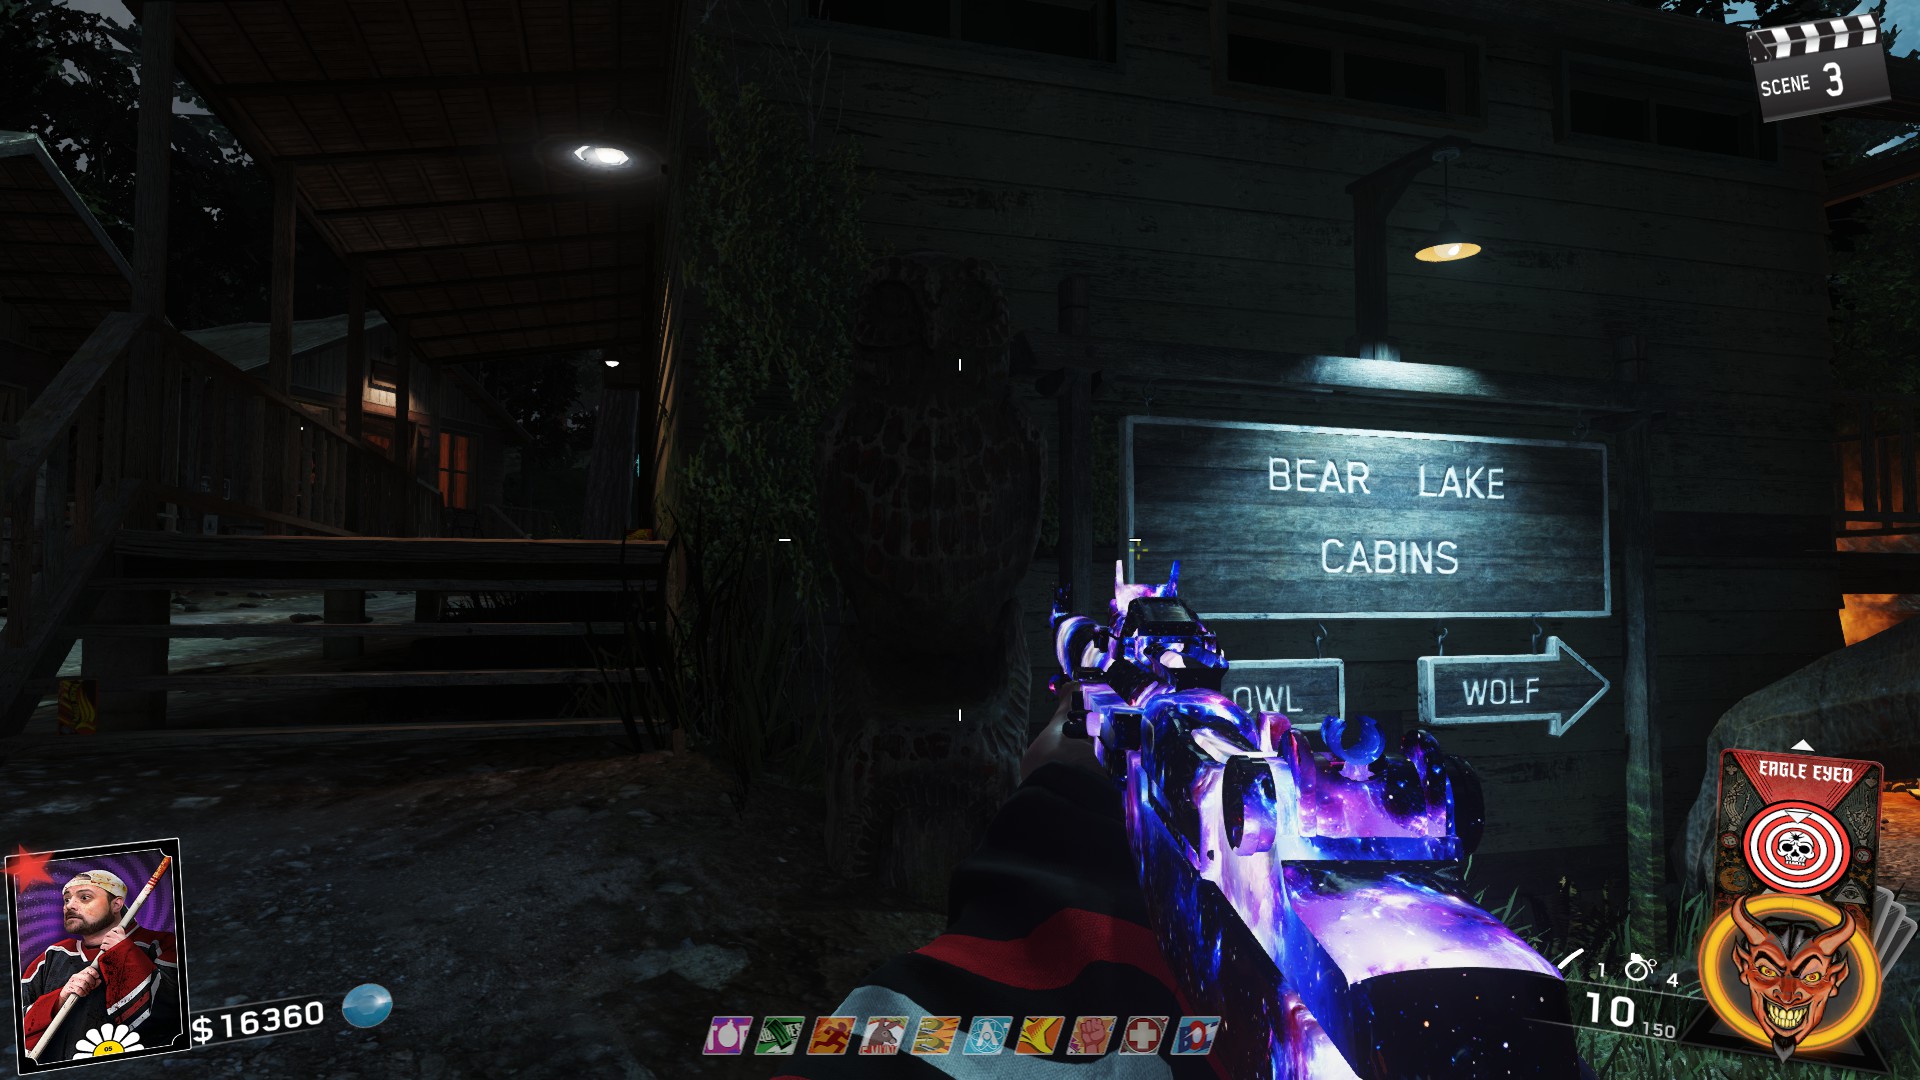
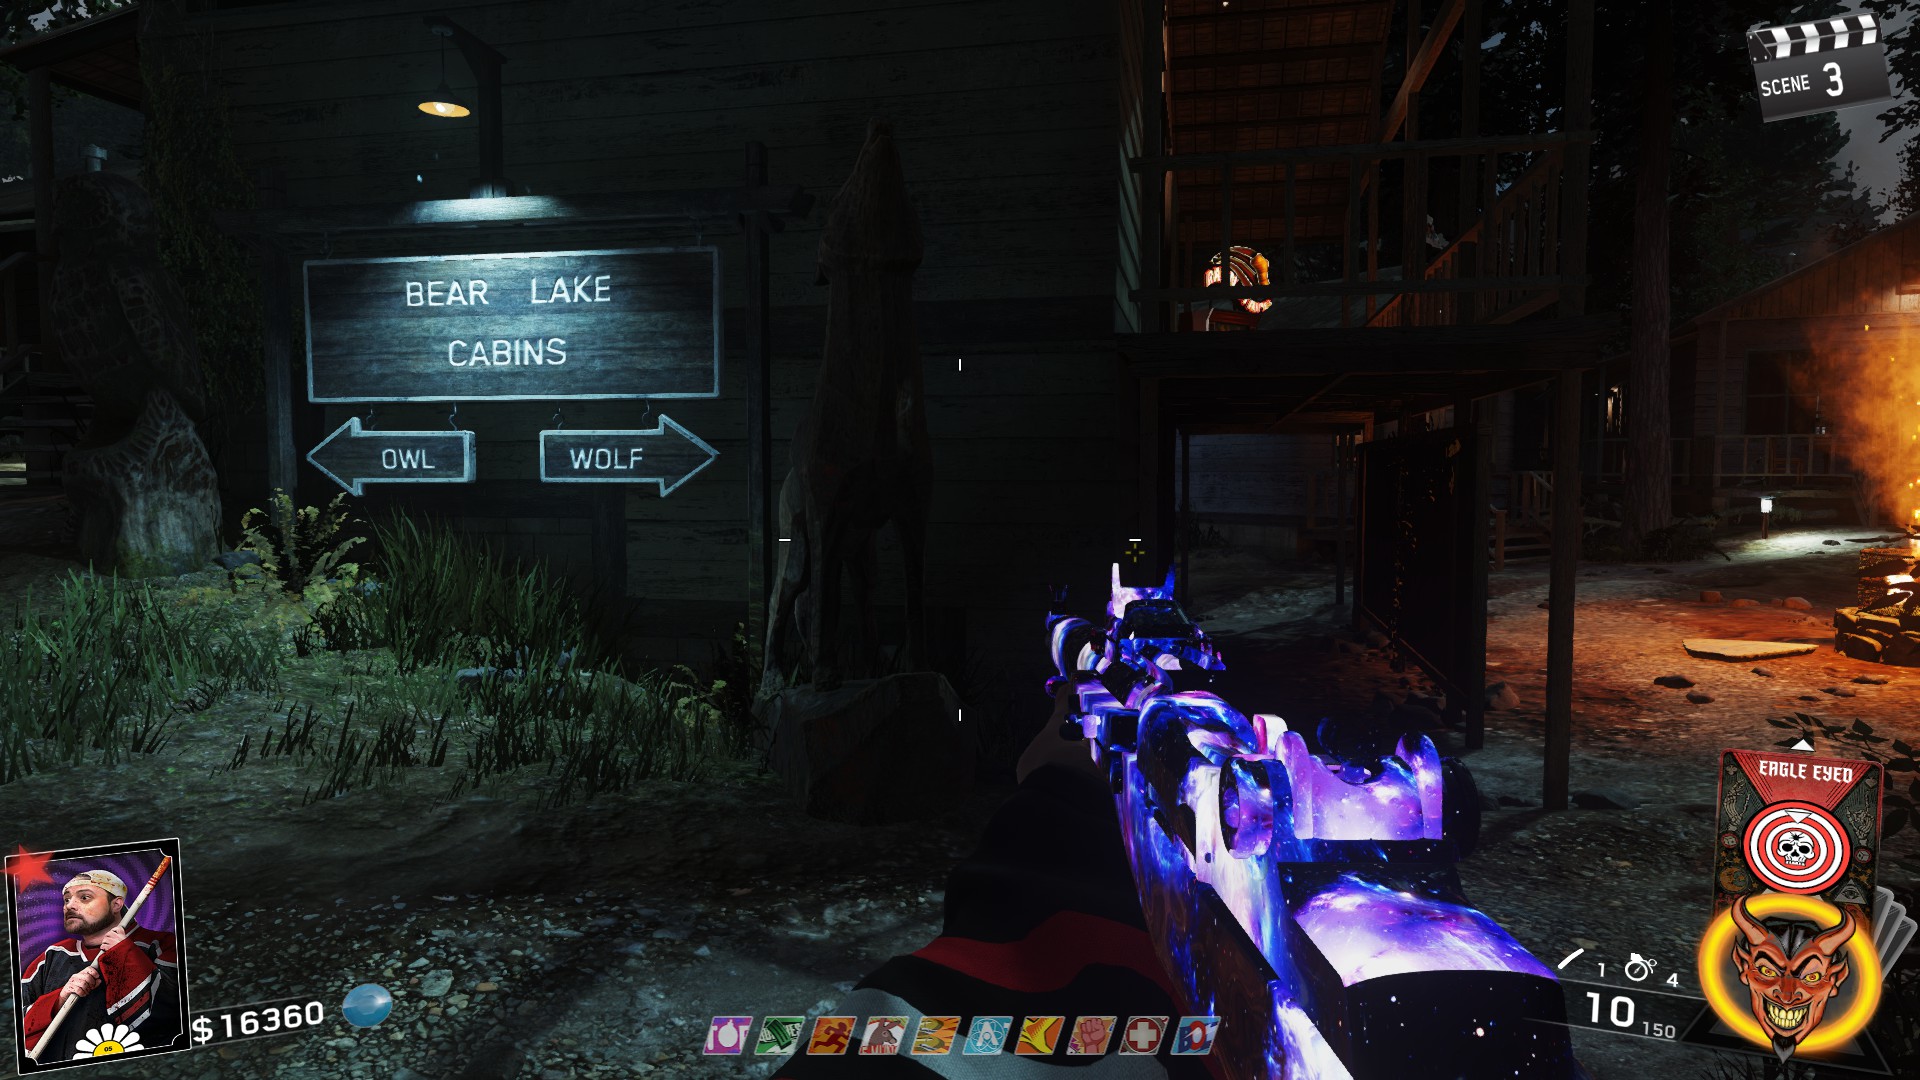
Once you've placed the statue down at it's bigger variant, you need to get about 15-20 kills with the Vlad in front of the statue (get the kills fairly close). You will have the option to interact with the statue once you've collected enough souls.
Interacting with the completed statue will give you the upgraded crossbow!
Memory Charms

Locaiton 1: On a bench outside the Mess Hall
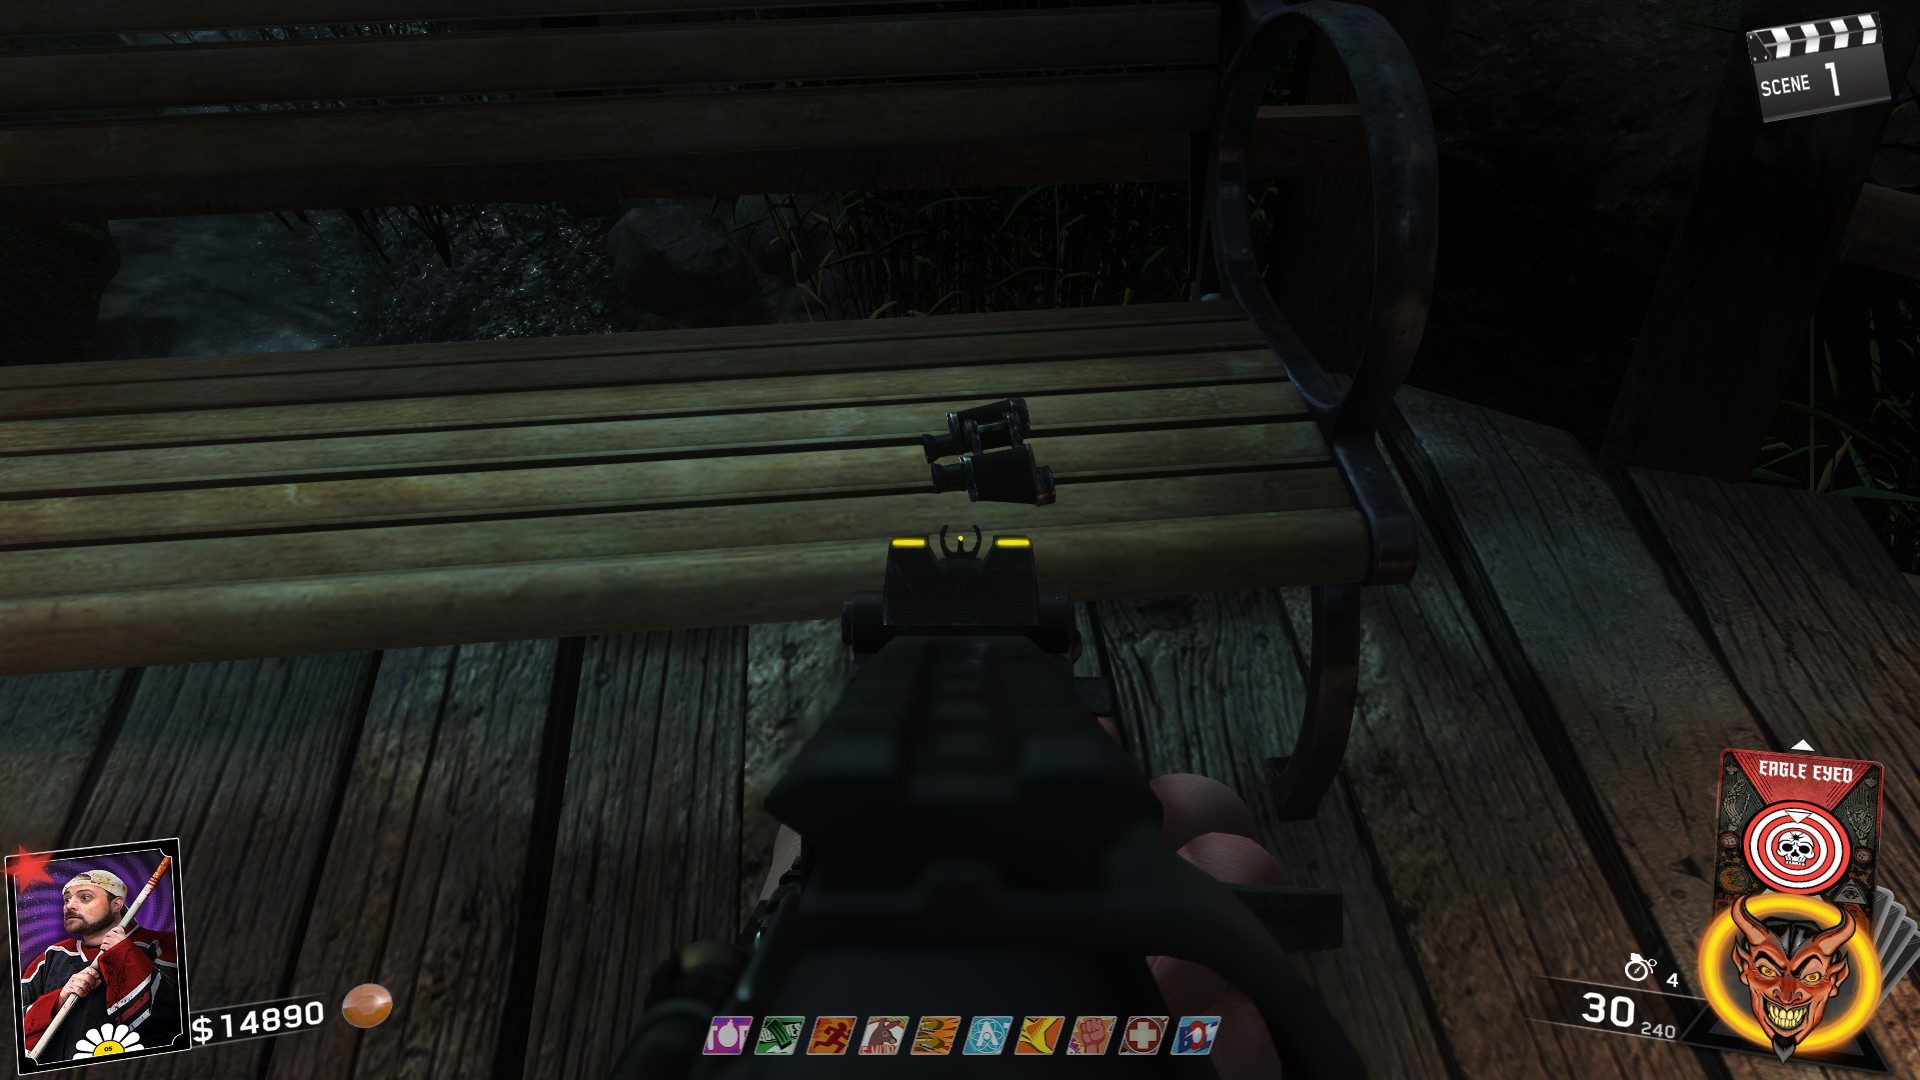 Locaiton 2: Recreation Area next to a bunch of beer boxes in the Rave area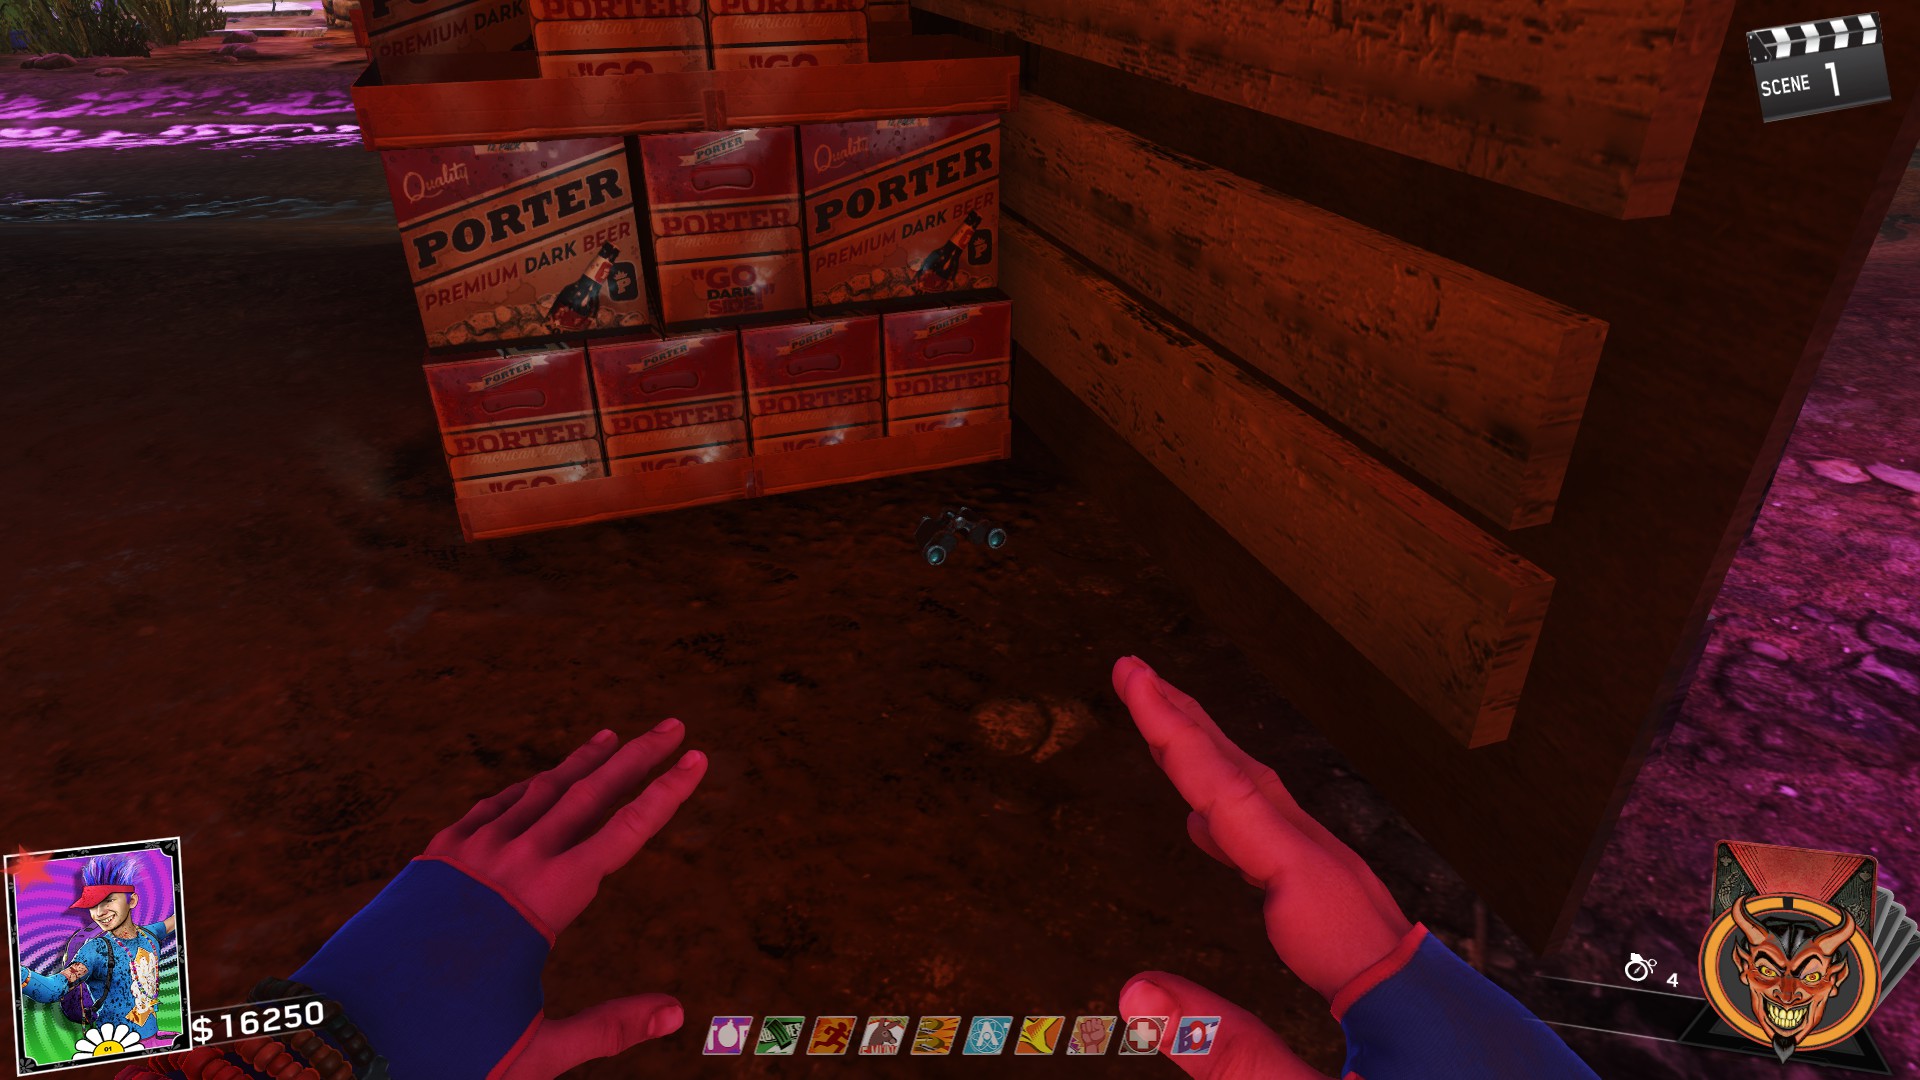
Quest
Place charm on bench near Bait and Tackle. Shoot 5 eyeballs from hut near KBS wallbuy (5 on Turtle Island, 2 in area behind card refill, 1 above Slappy Taffy). Also while in the hut, get 10-15 headshots.
*I'll add a video soon of me completing the quest for reference
Charm Effect: Works like Blue Bolts between players

Locaiton 1: In mines near HVR wallbuy
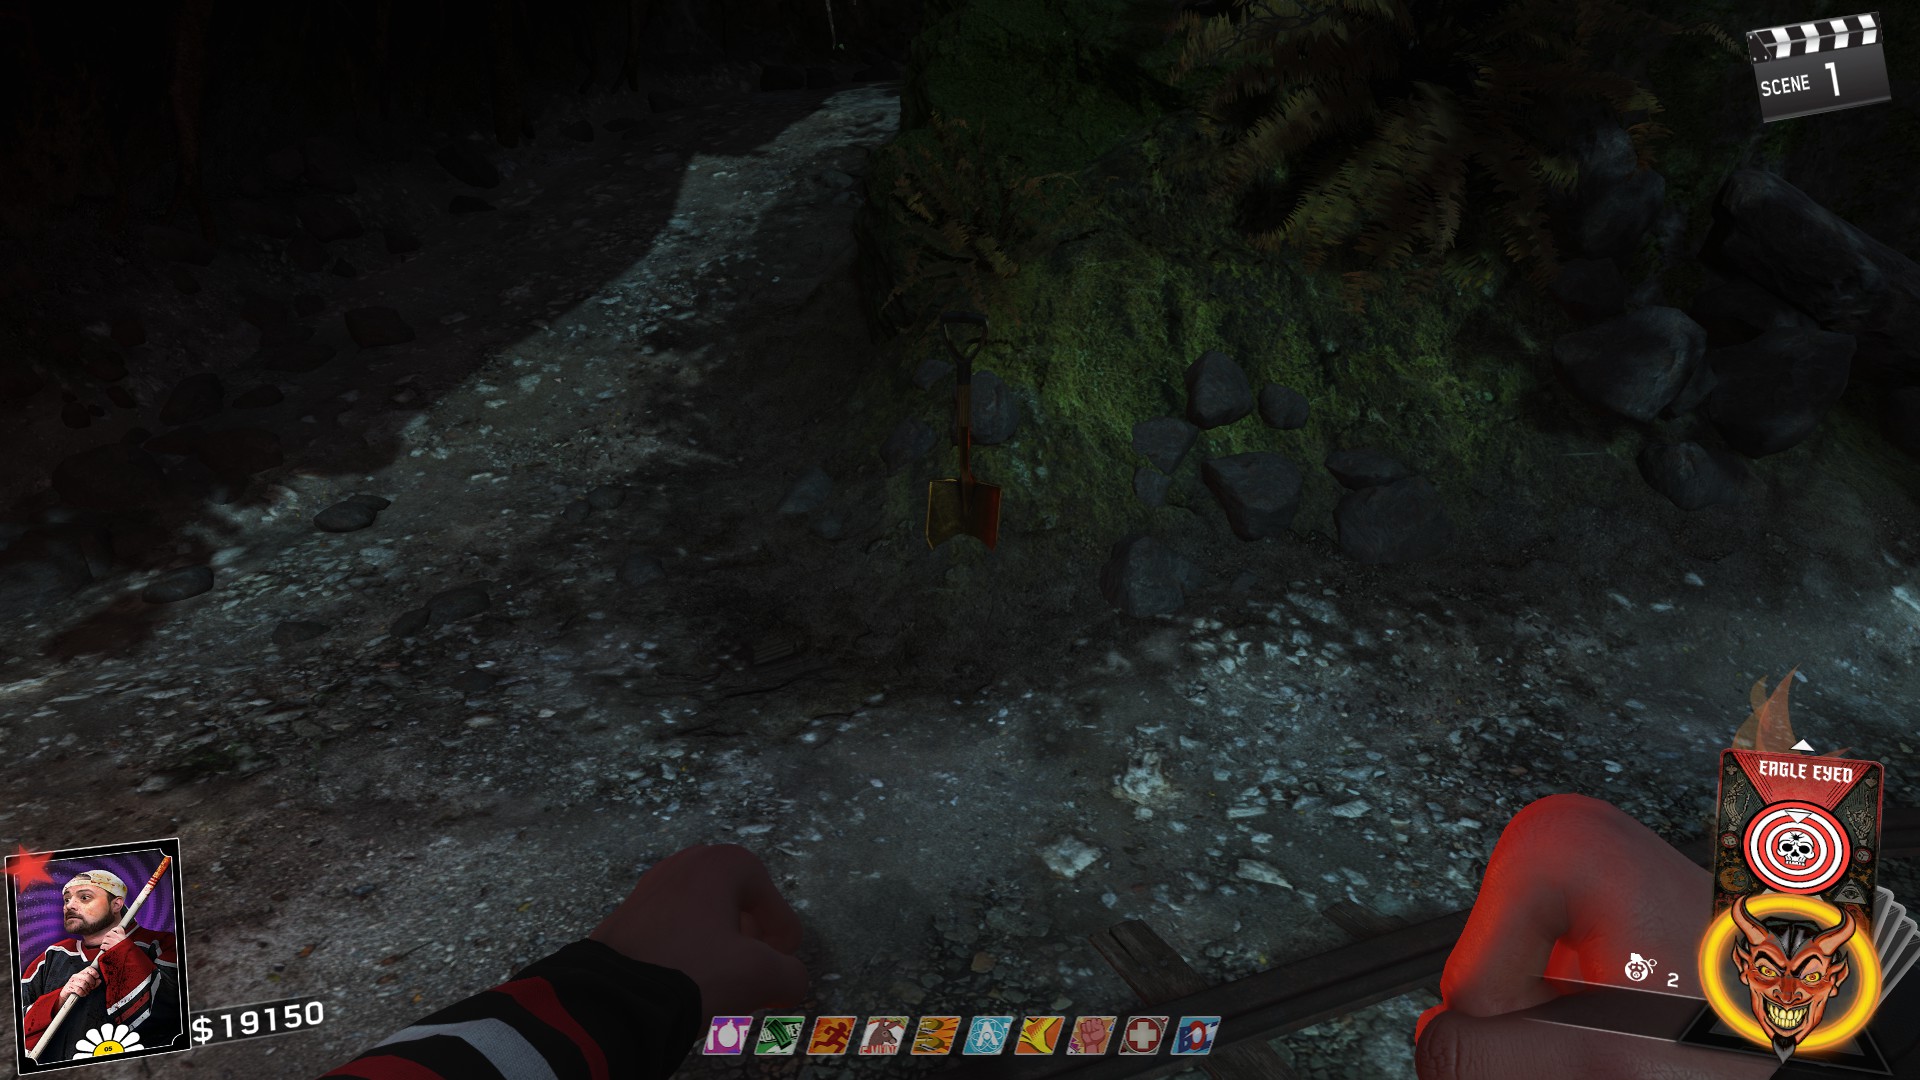 Locaiton 2: Near target range in Recreation Area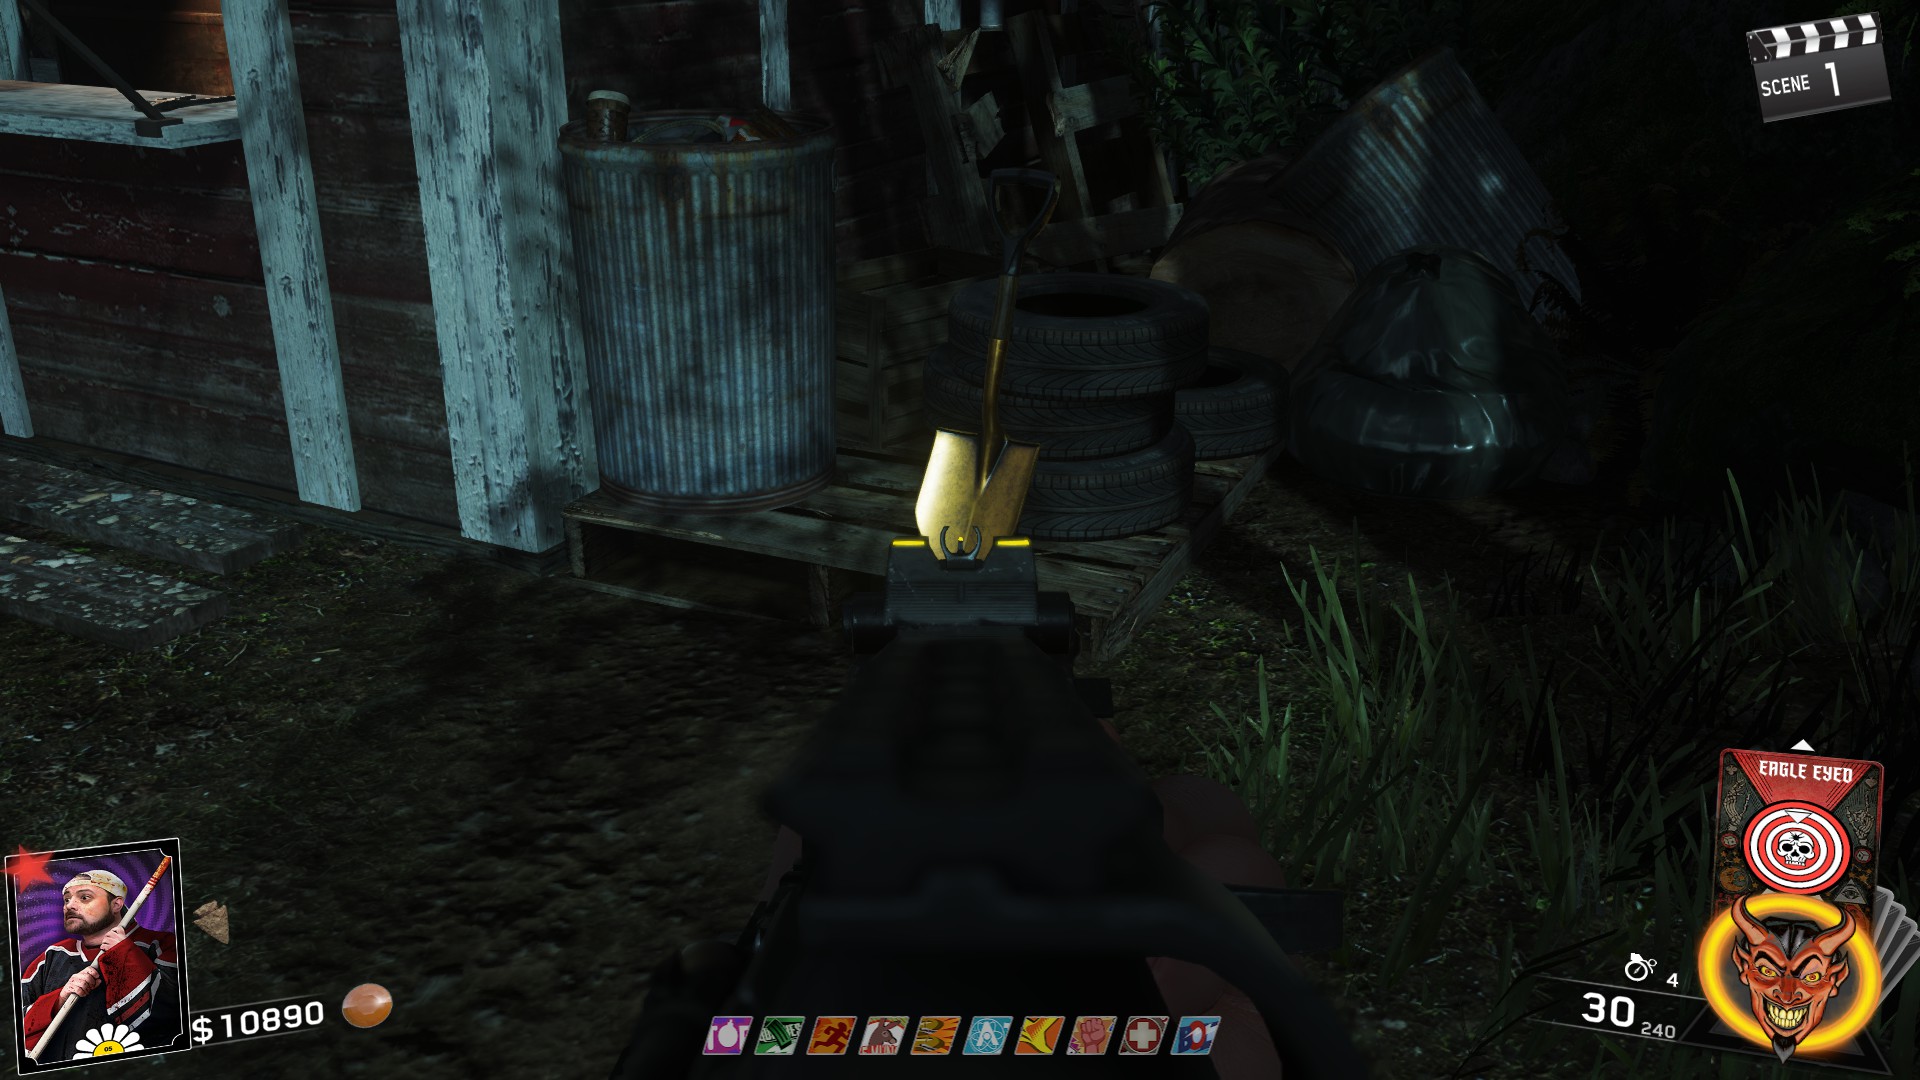
Quest
Place charm on gravestone in swamp area near Mess Hall. Kill 5 skeletons that spawn.
Charm Effect: Explosion kills nearby zombies after reviving downed teammates

Locaiton 1: On ground to the left of Mess Hall sign
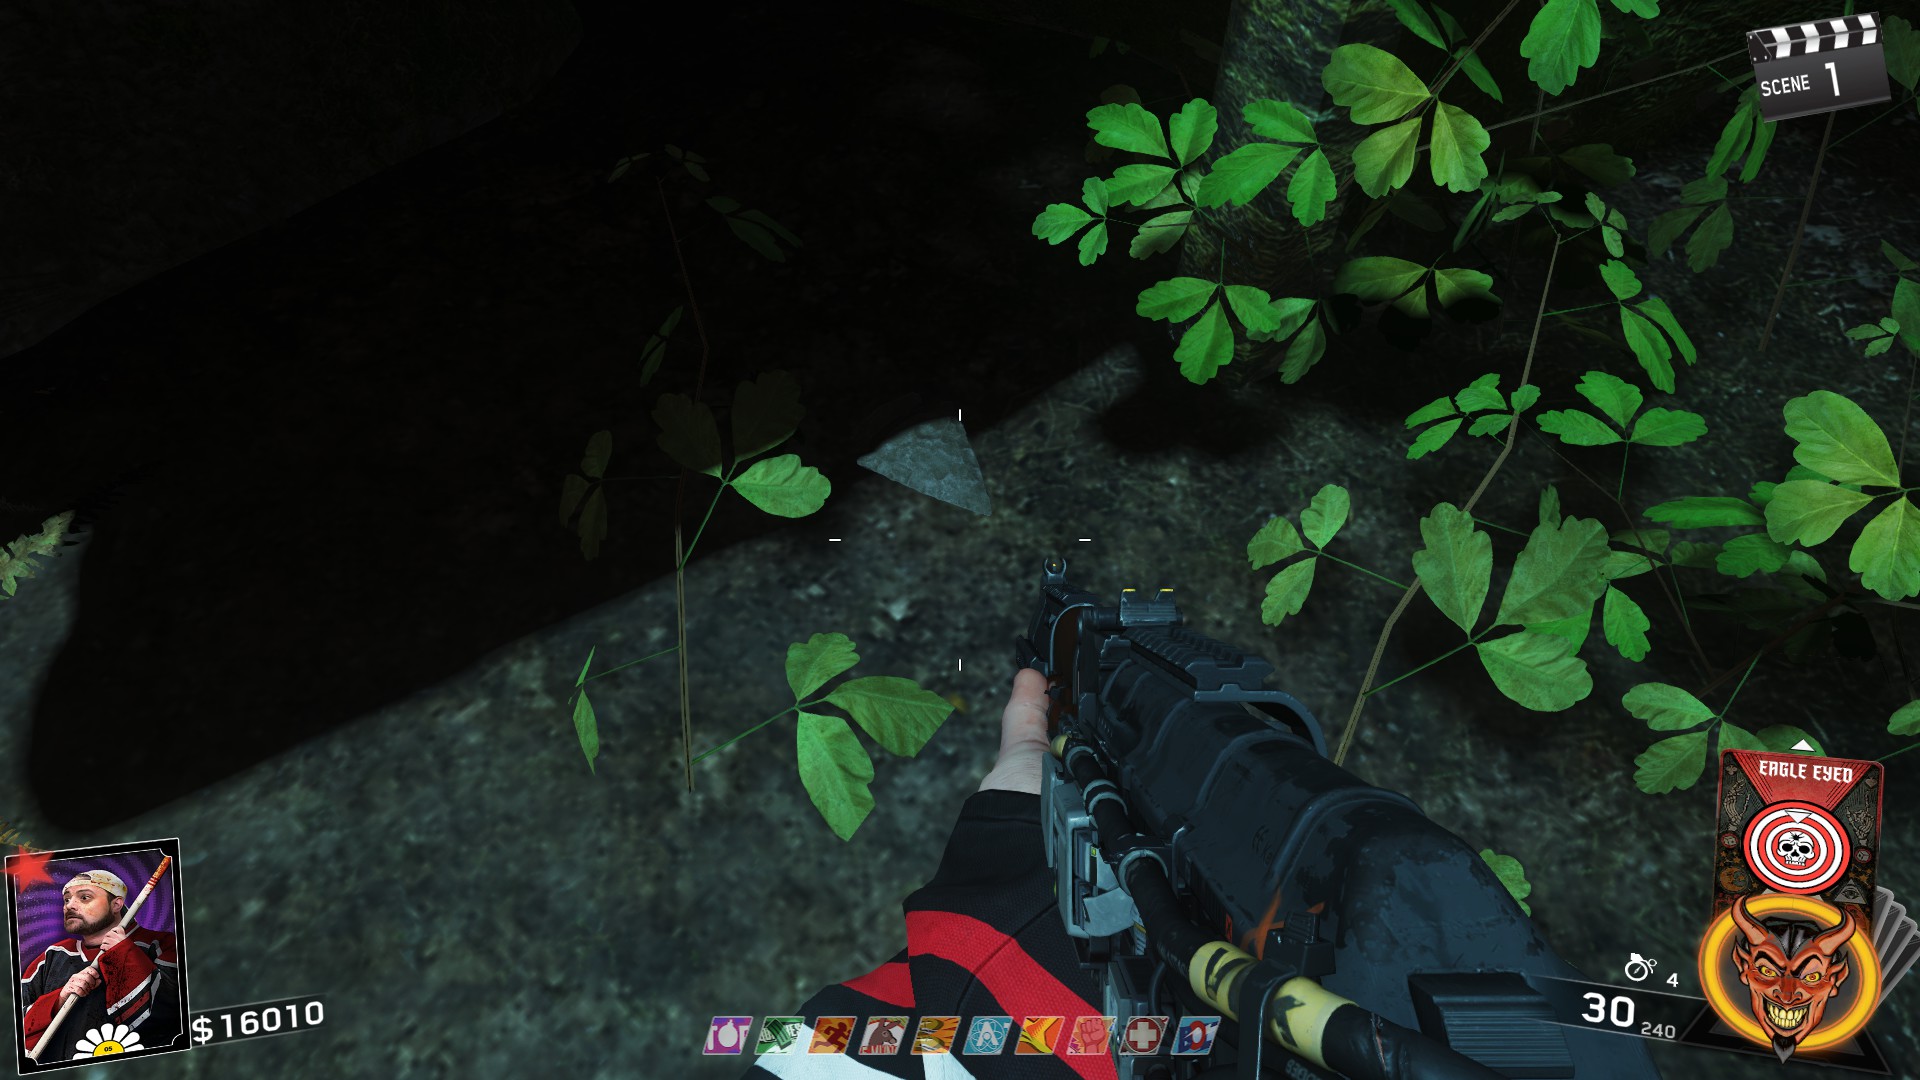 Locaiton 2: After first door of Spawn going towards dock, laying next to lamp post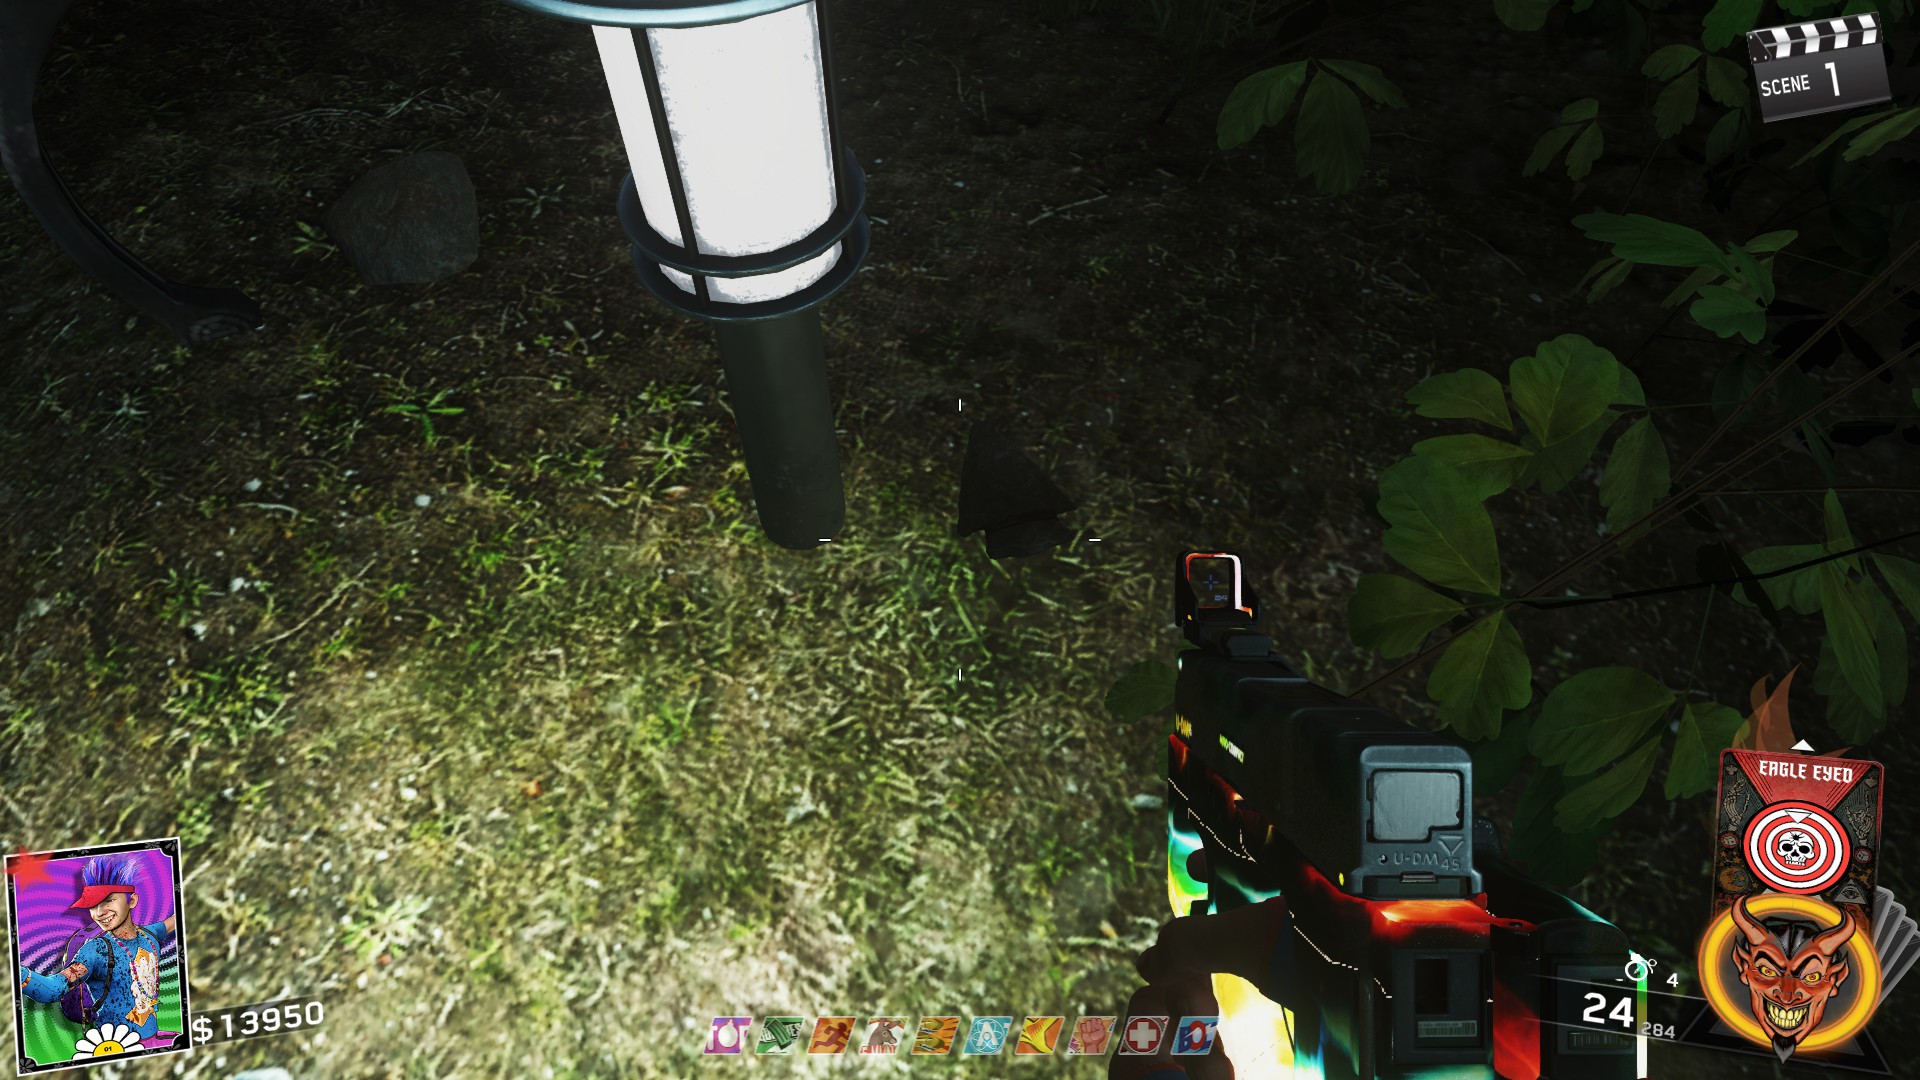
Quest
Place charm on building next to firing range in Recreational Area. Enter Rave Mode and shoot all targets quickly. Warning, doing this on round 10 or higher will result in you having to do this with a slasher chasing you... Below is a video of me completing the quest
Charm Effect: Auto-aim assist towards zombie heads when ADS

Locaiton 1: On stairs to Mess Hall from Spawn
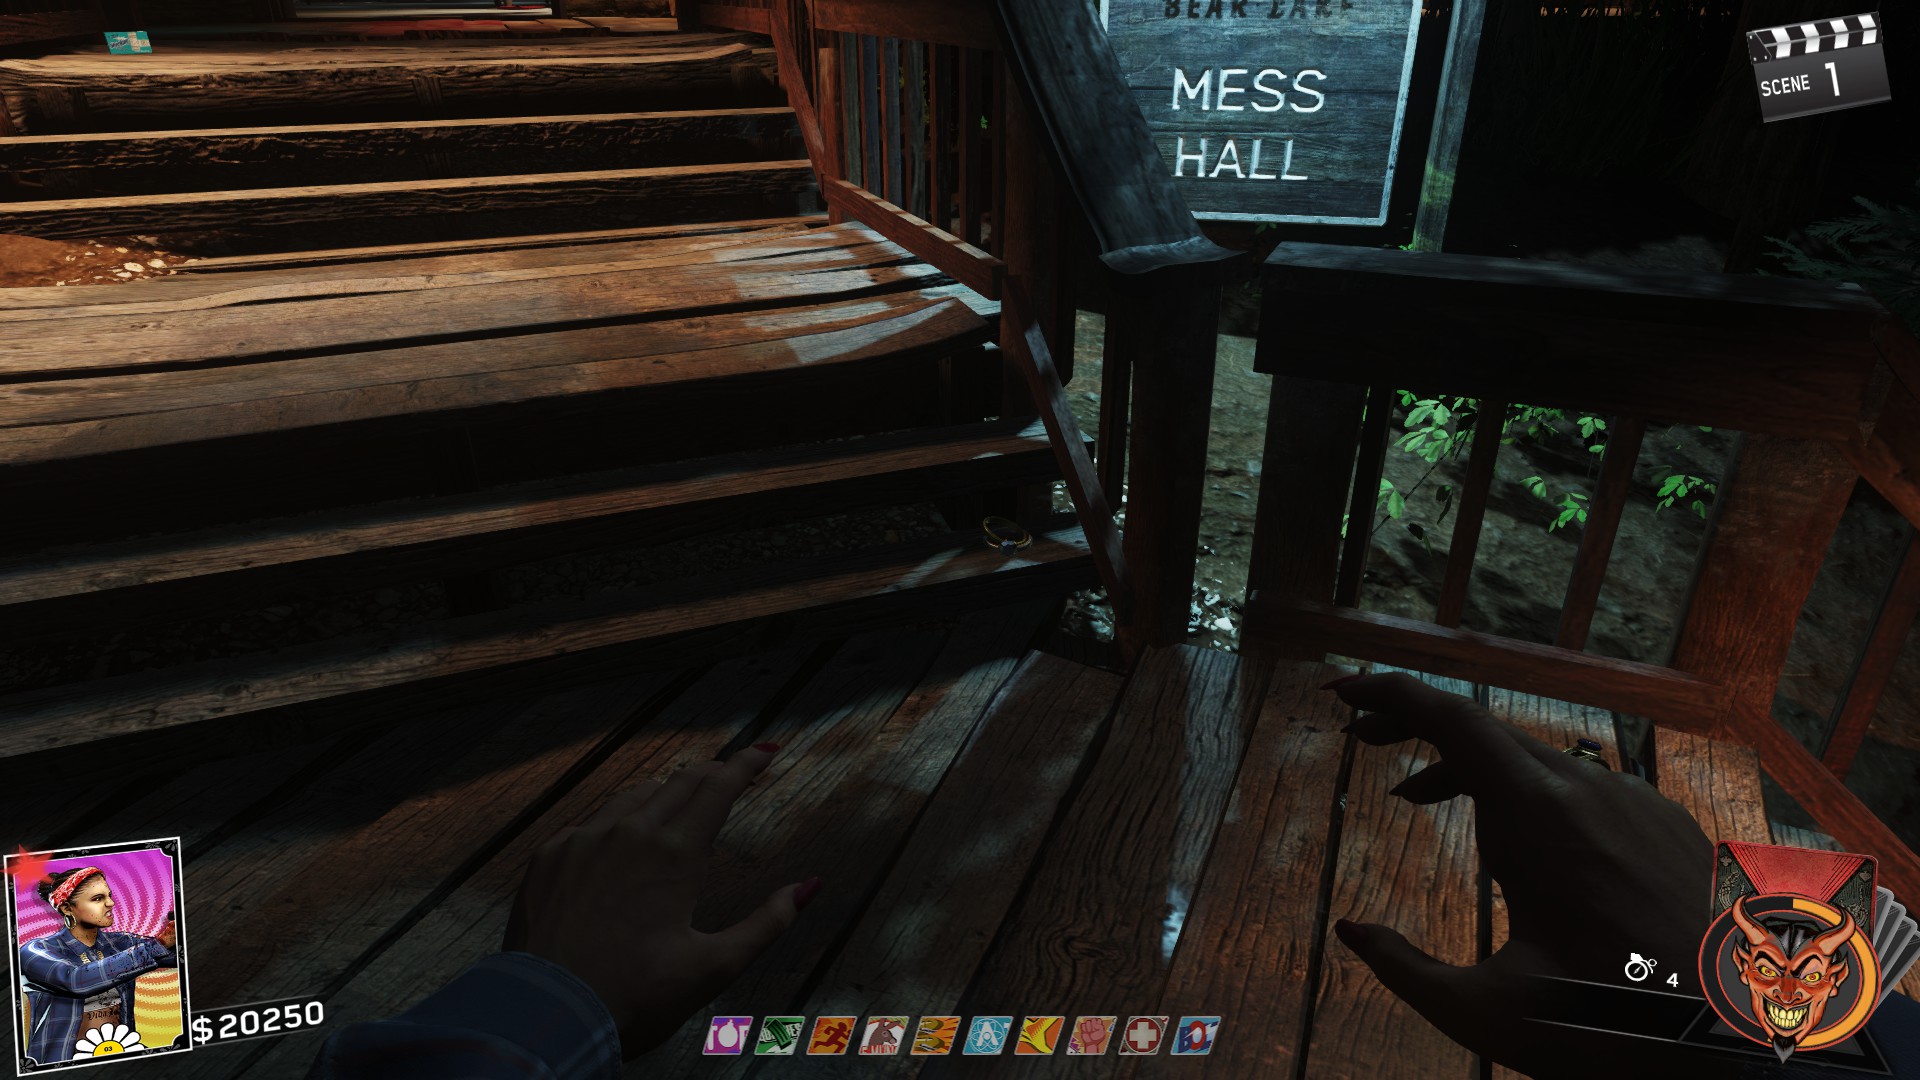 Locaiton 2: Stairs near Bang Bangs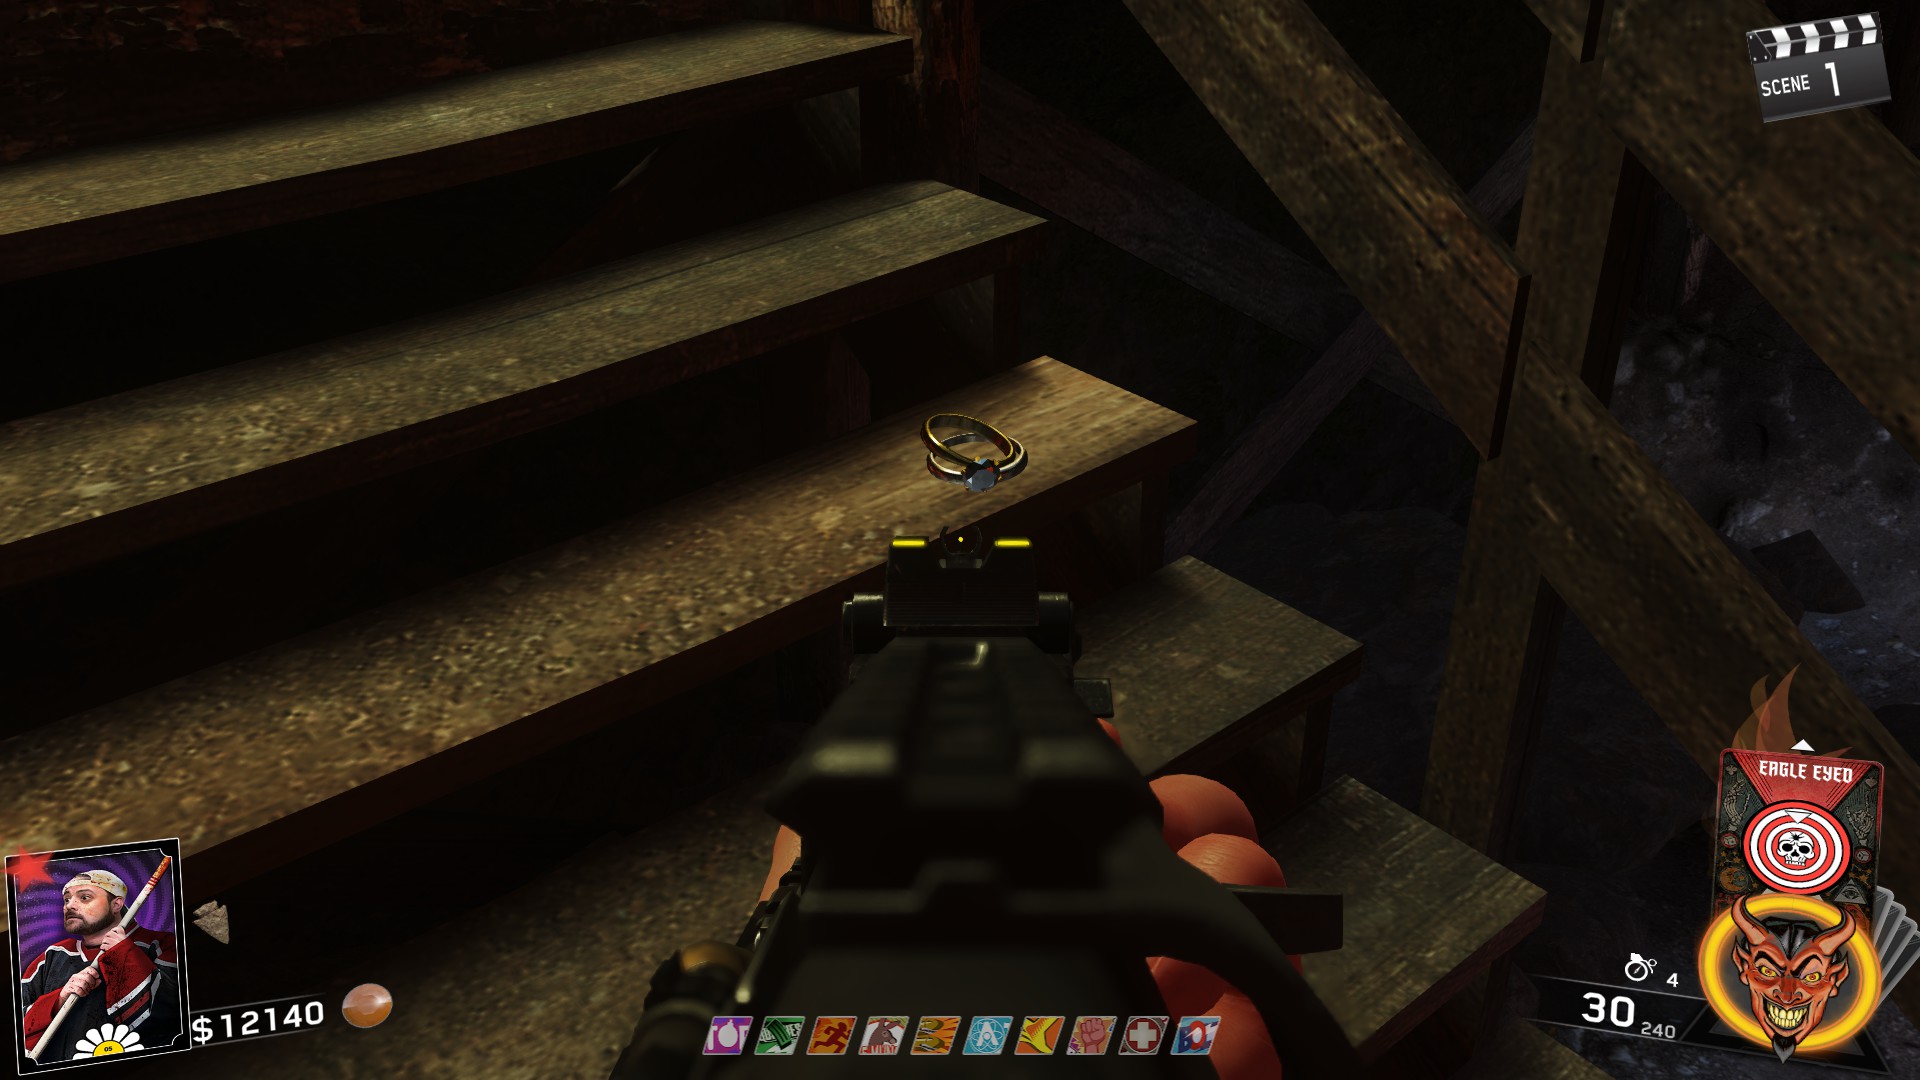
Quest
Place charm near TV near fireplace in Spawn. Interact with lamp above fireplace and lamp on bench until they shine on the ring.
Charm Effect: Regain health when meleeing

Locaiton 1: Near end of dock as you approach Mess Hall
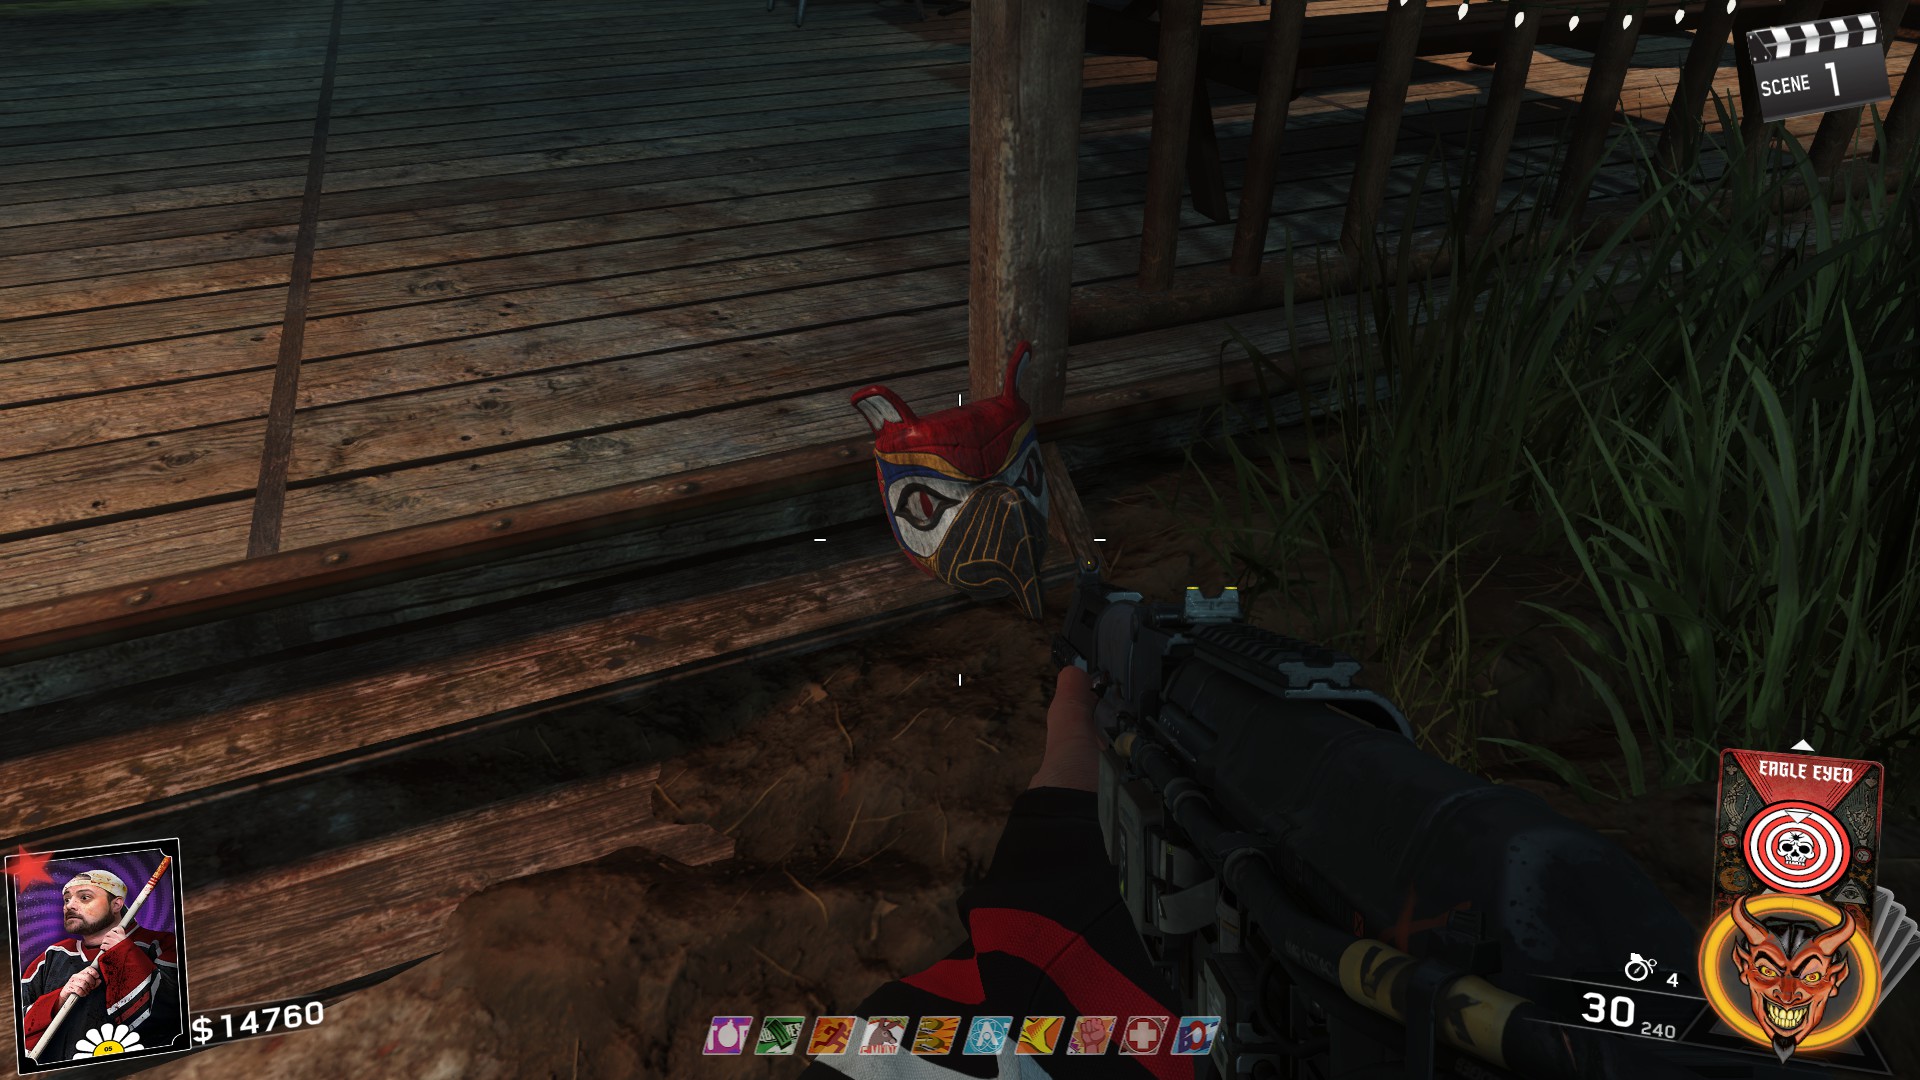 Locaiton 2: In dark corner after dropping down near Archery Range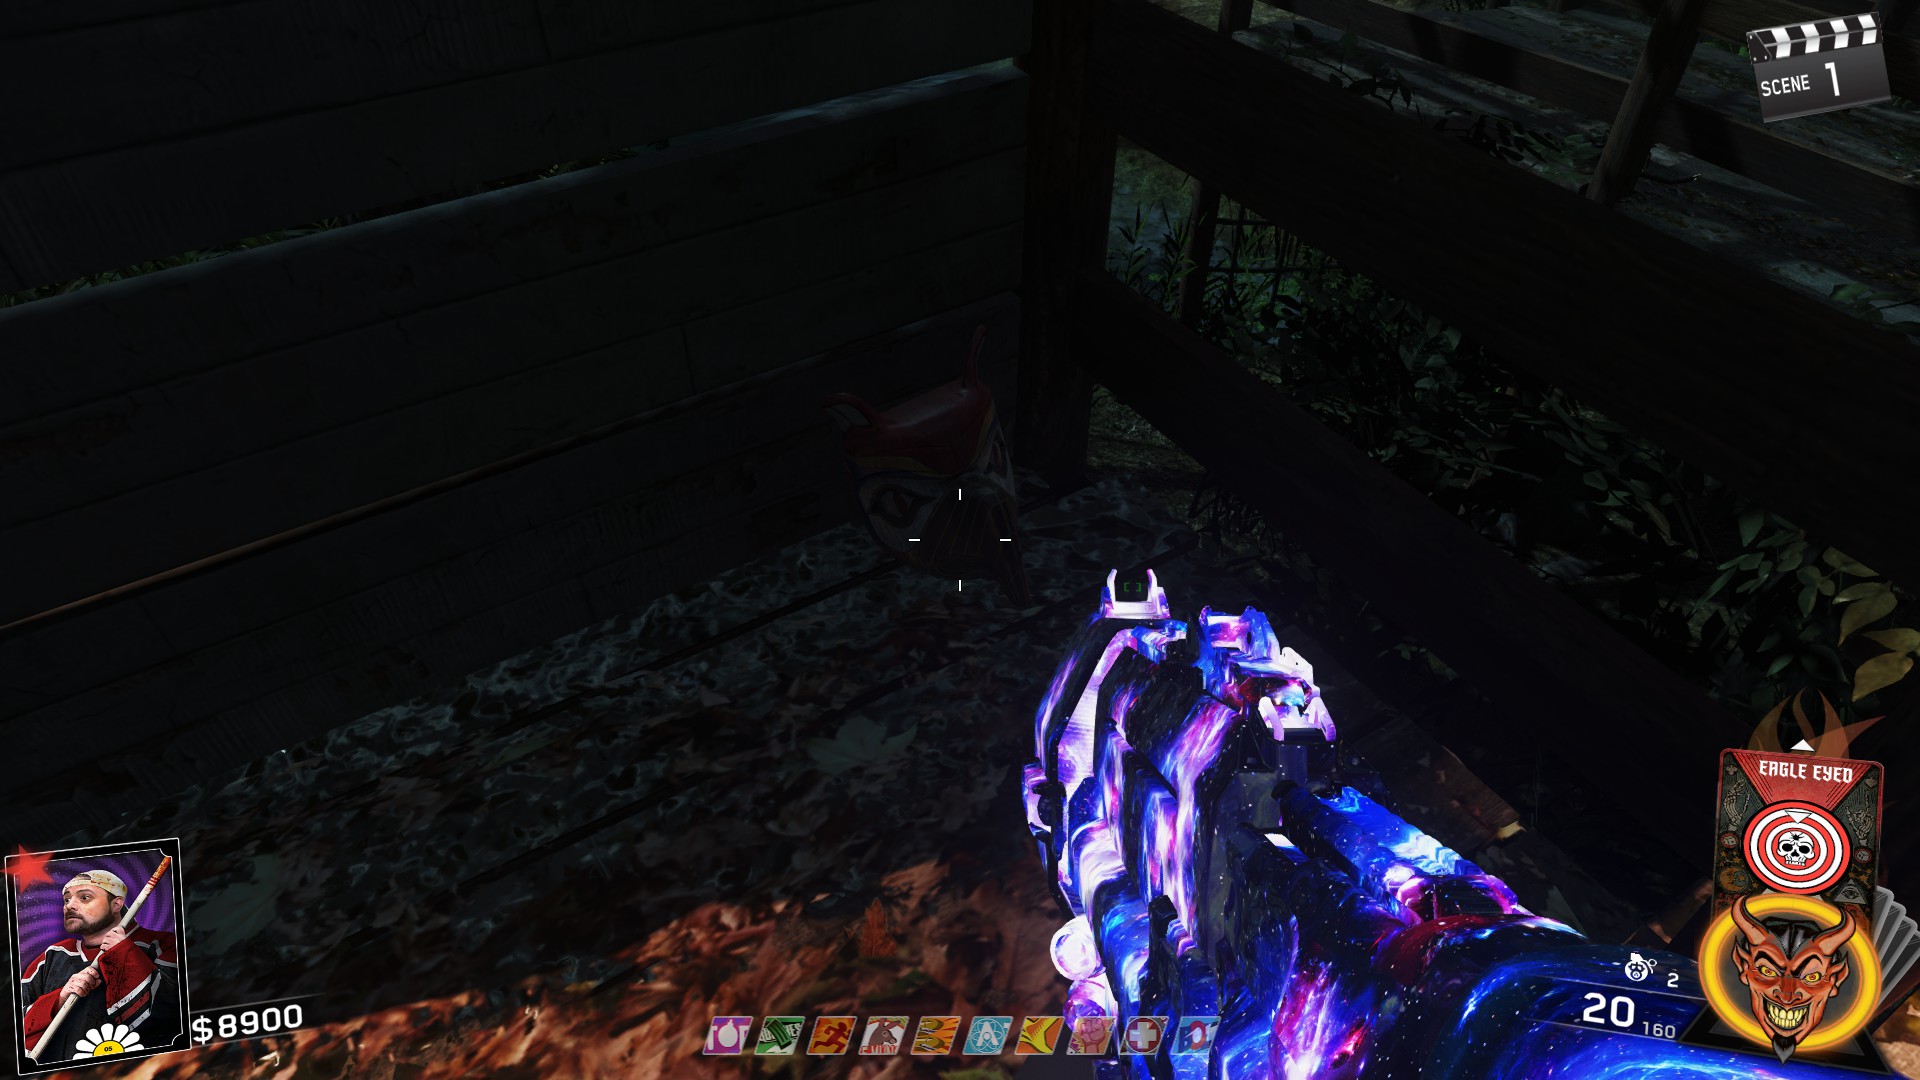
Quest
Place charm on blank frame in Mess Hall. Shoot keys hanging next to the frame.
Charm Effect: Auto refills ammo when gun is not in your hands

Locaiton 1: In mines on upper level
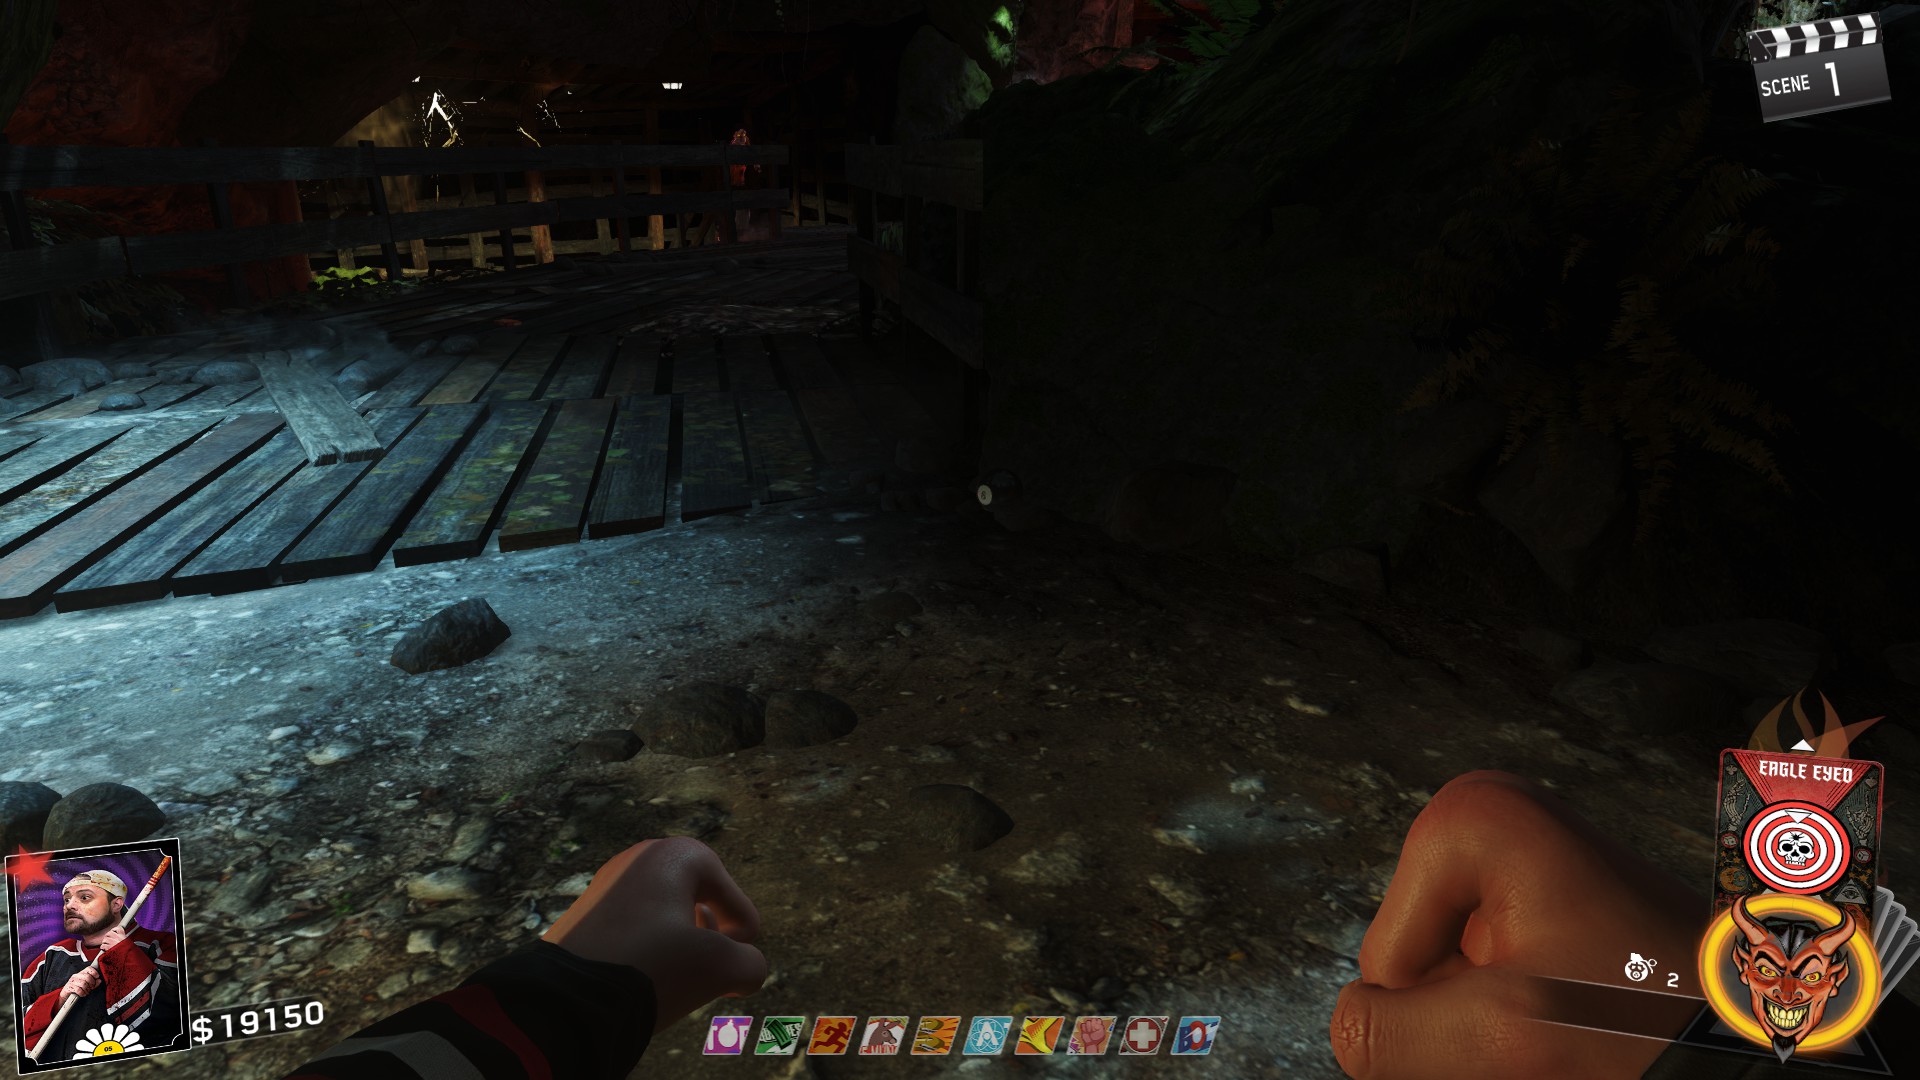 Locaiton 2: Opposite side of tent where paddle for boat is in Recreational Area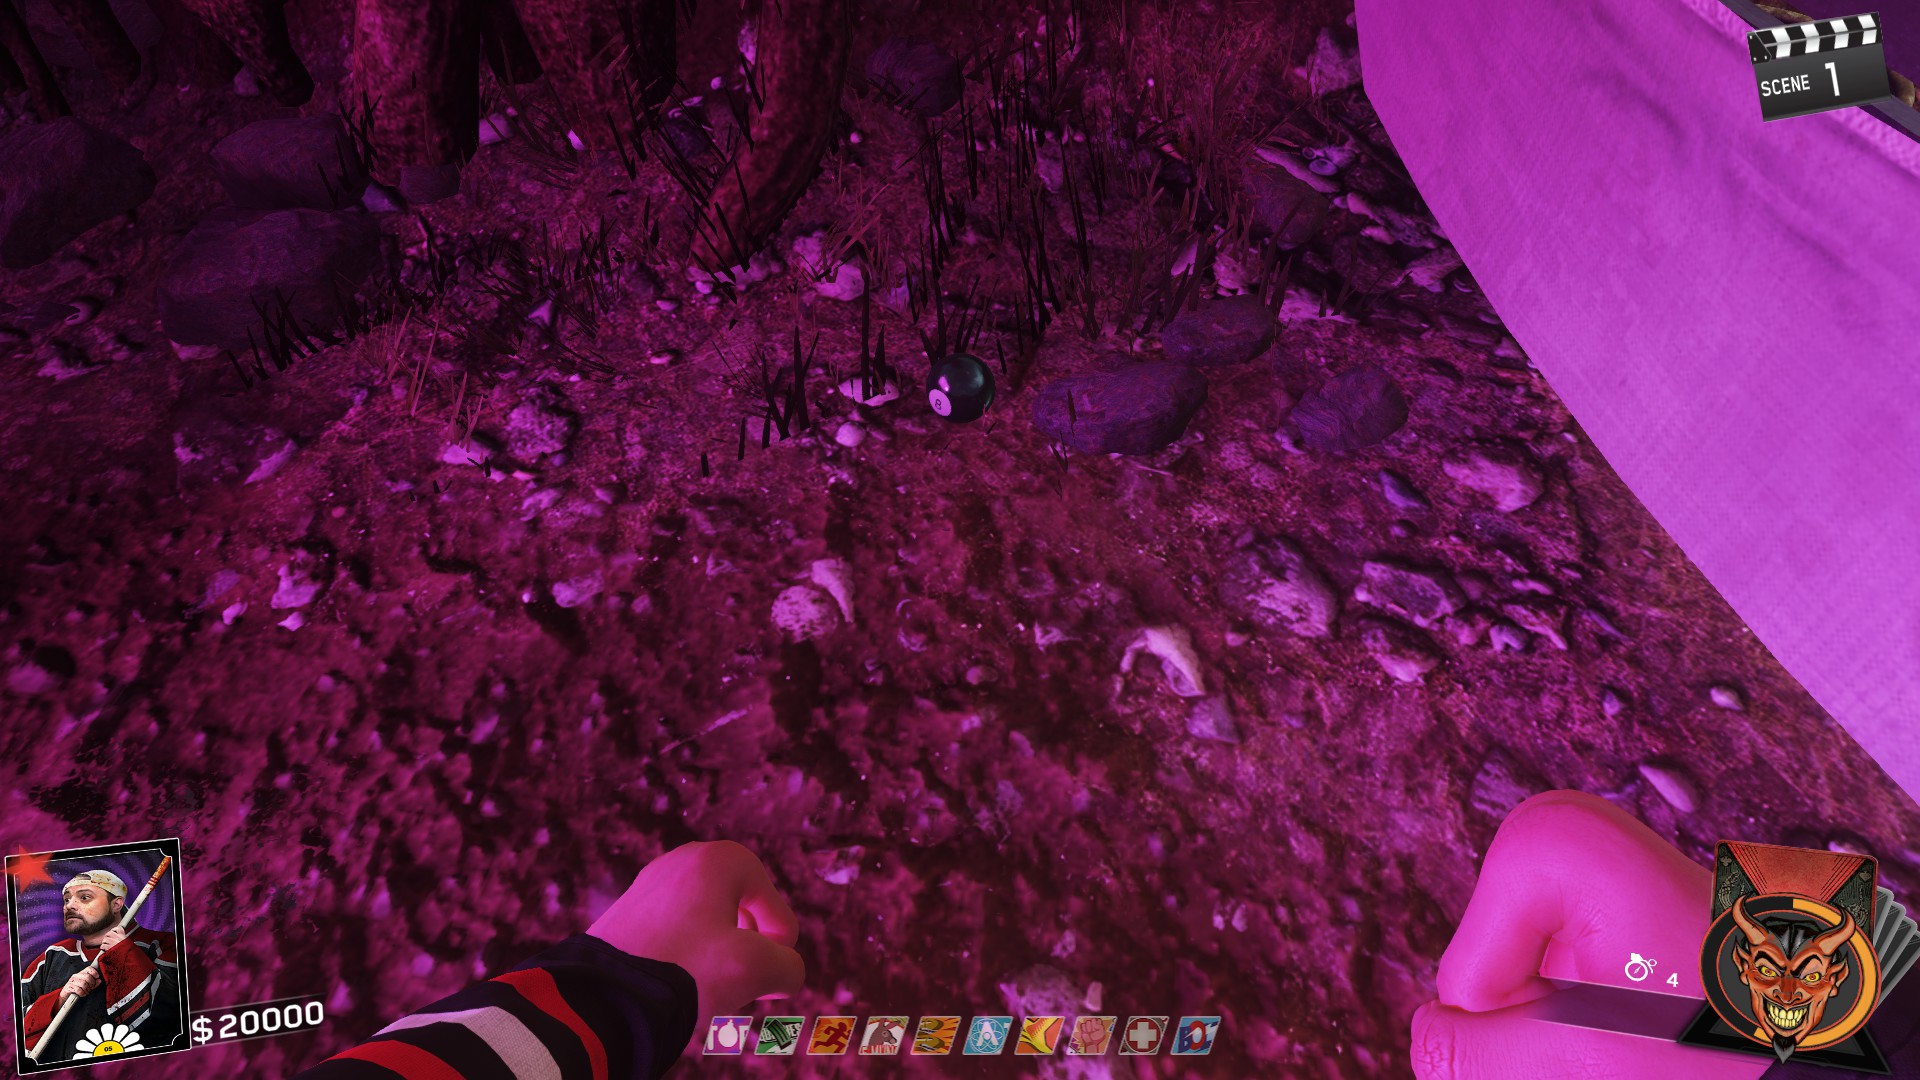
Quest
Place charm on pool table that's upstairs in spawn. Shoot all the white cue balls on the pool table.
Charm Effect: Sliding into zombies damages them

Locaiton 1: Near bathroom sign in Camper Cabins underneath Racin' Stripes
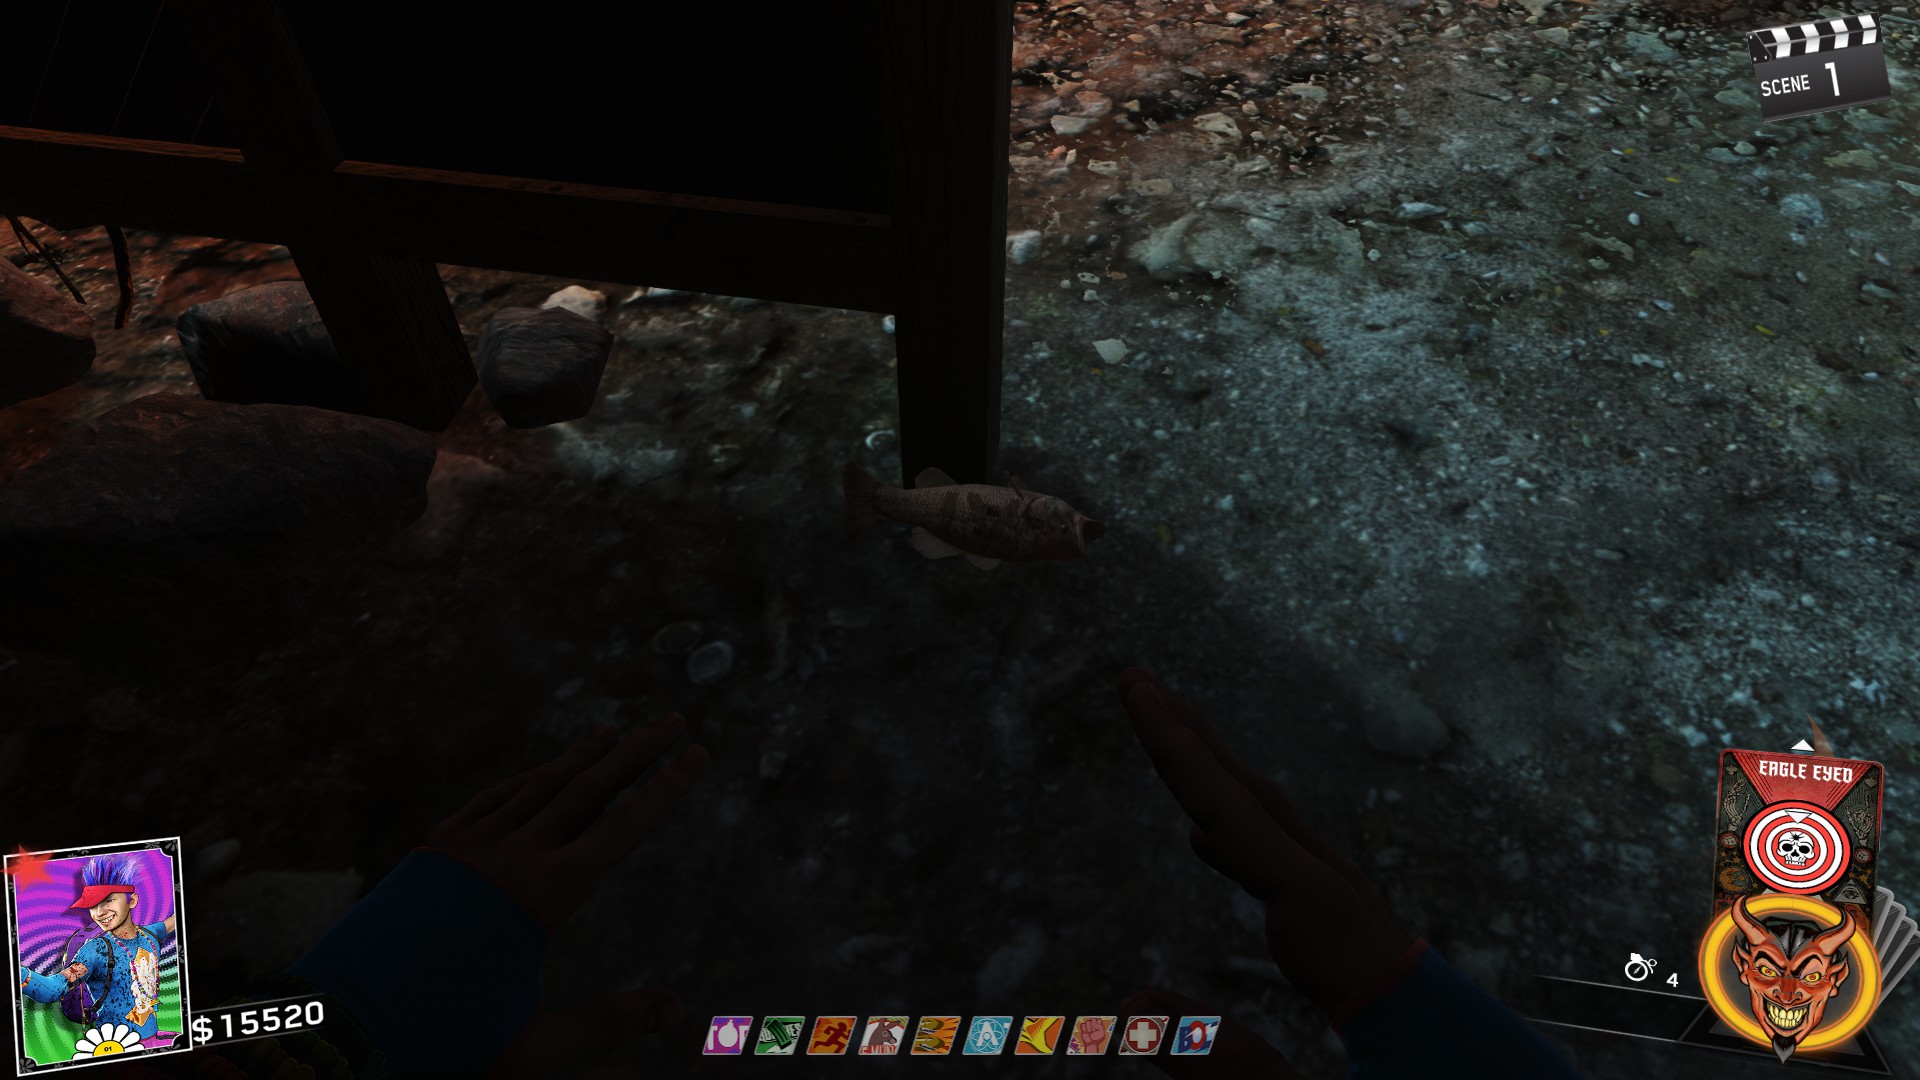 Locaiton 2: In a sewer tunnel near Mess Hall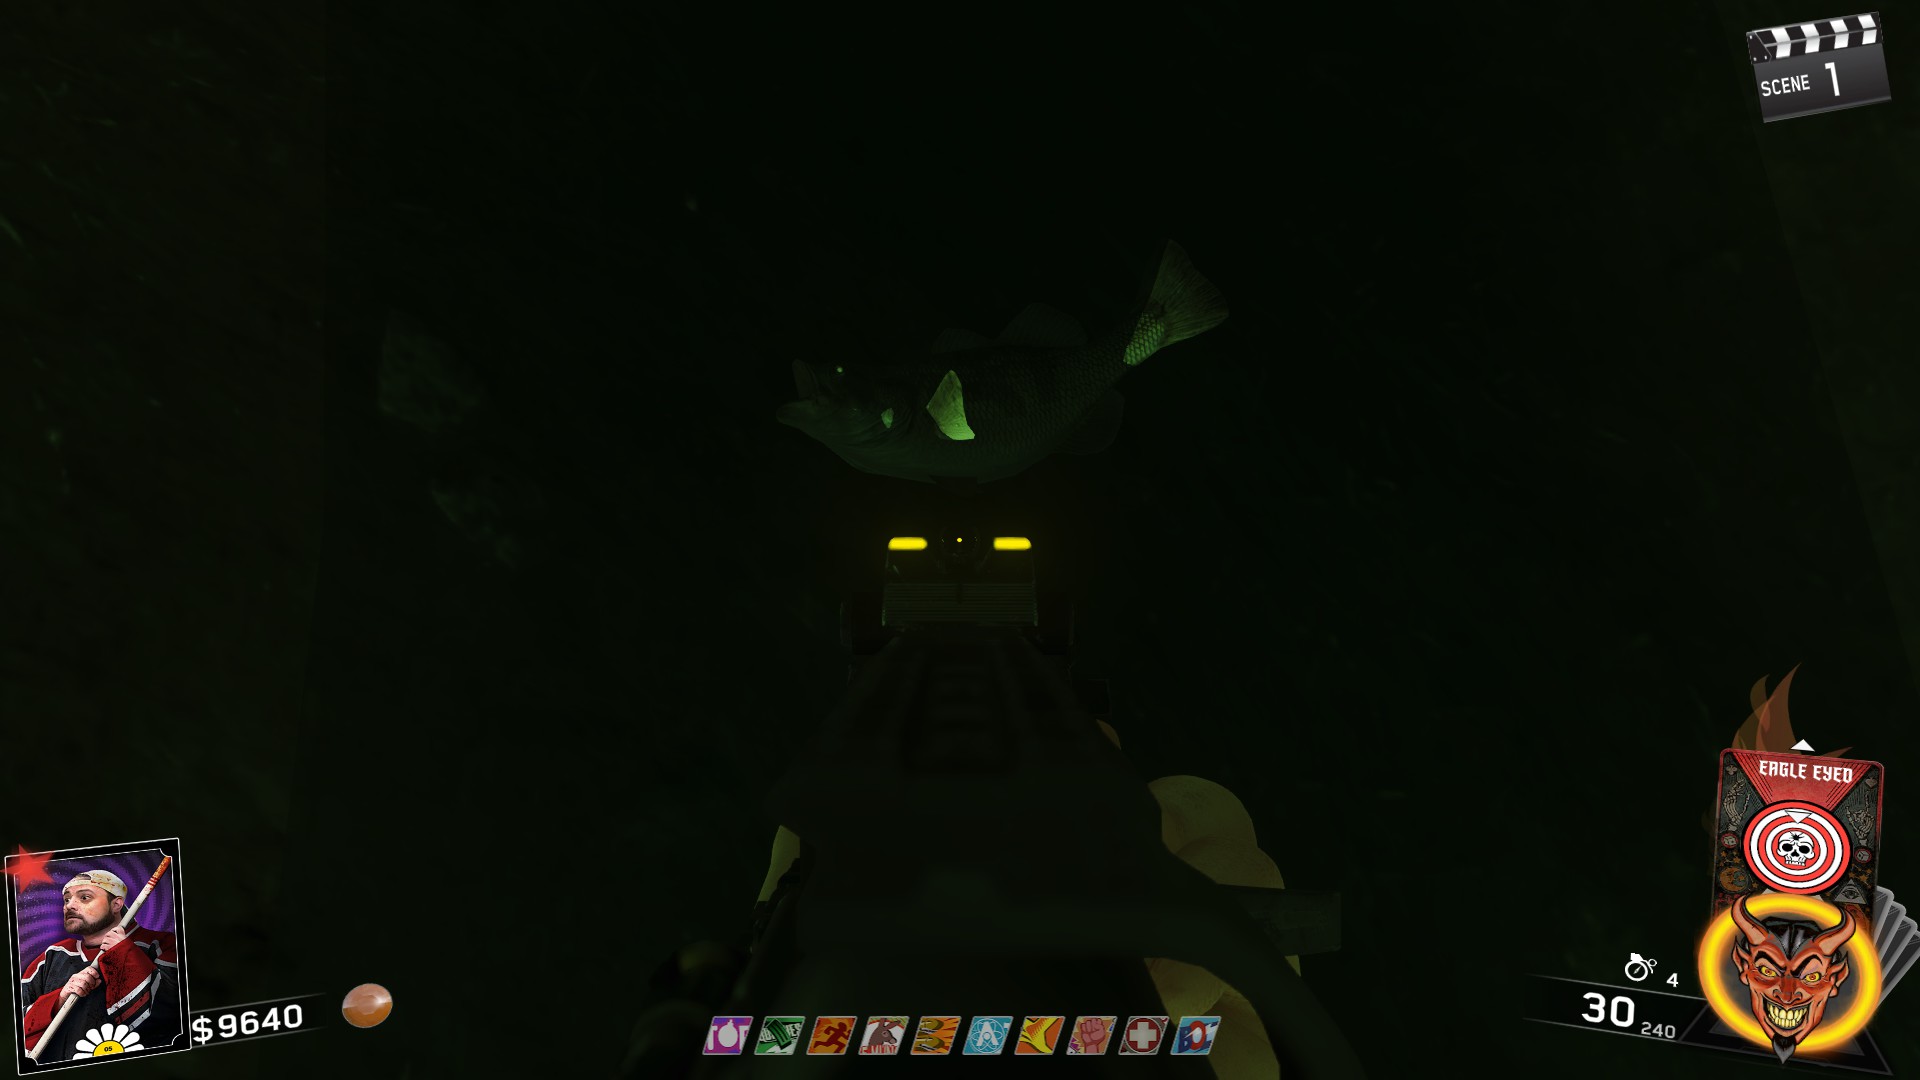
Quest
Place charm at end of docks near boat. Throw grenade at blue light in water outside the map. Here's a video for reference.
Charm Effect: Gain momentum perk from multiplayer

Locaiton 1: In Type-2 Trailer next to Recreational Area
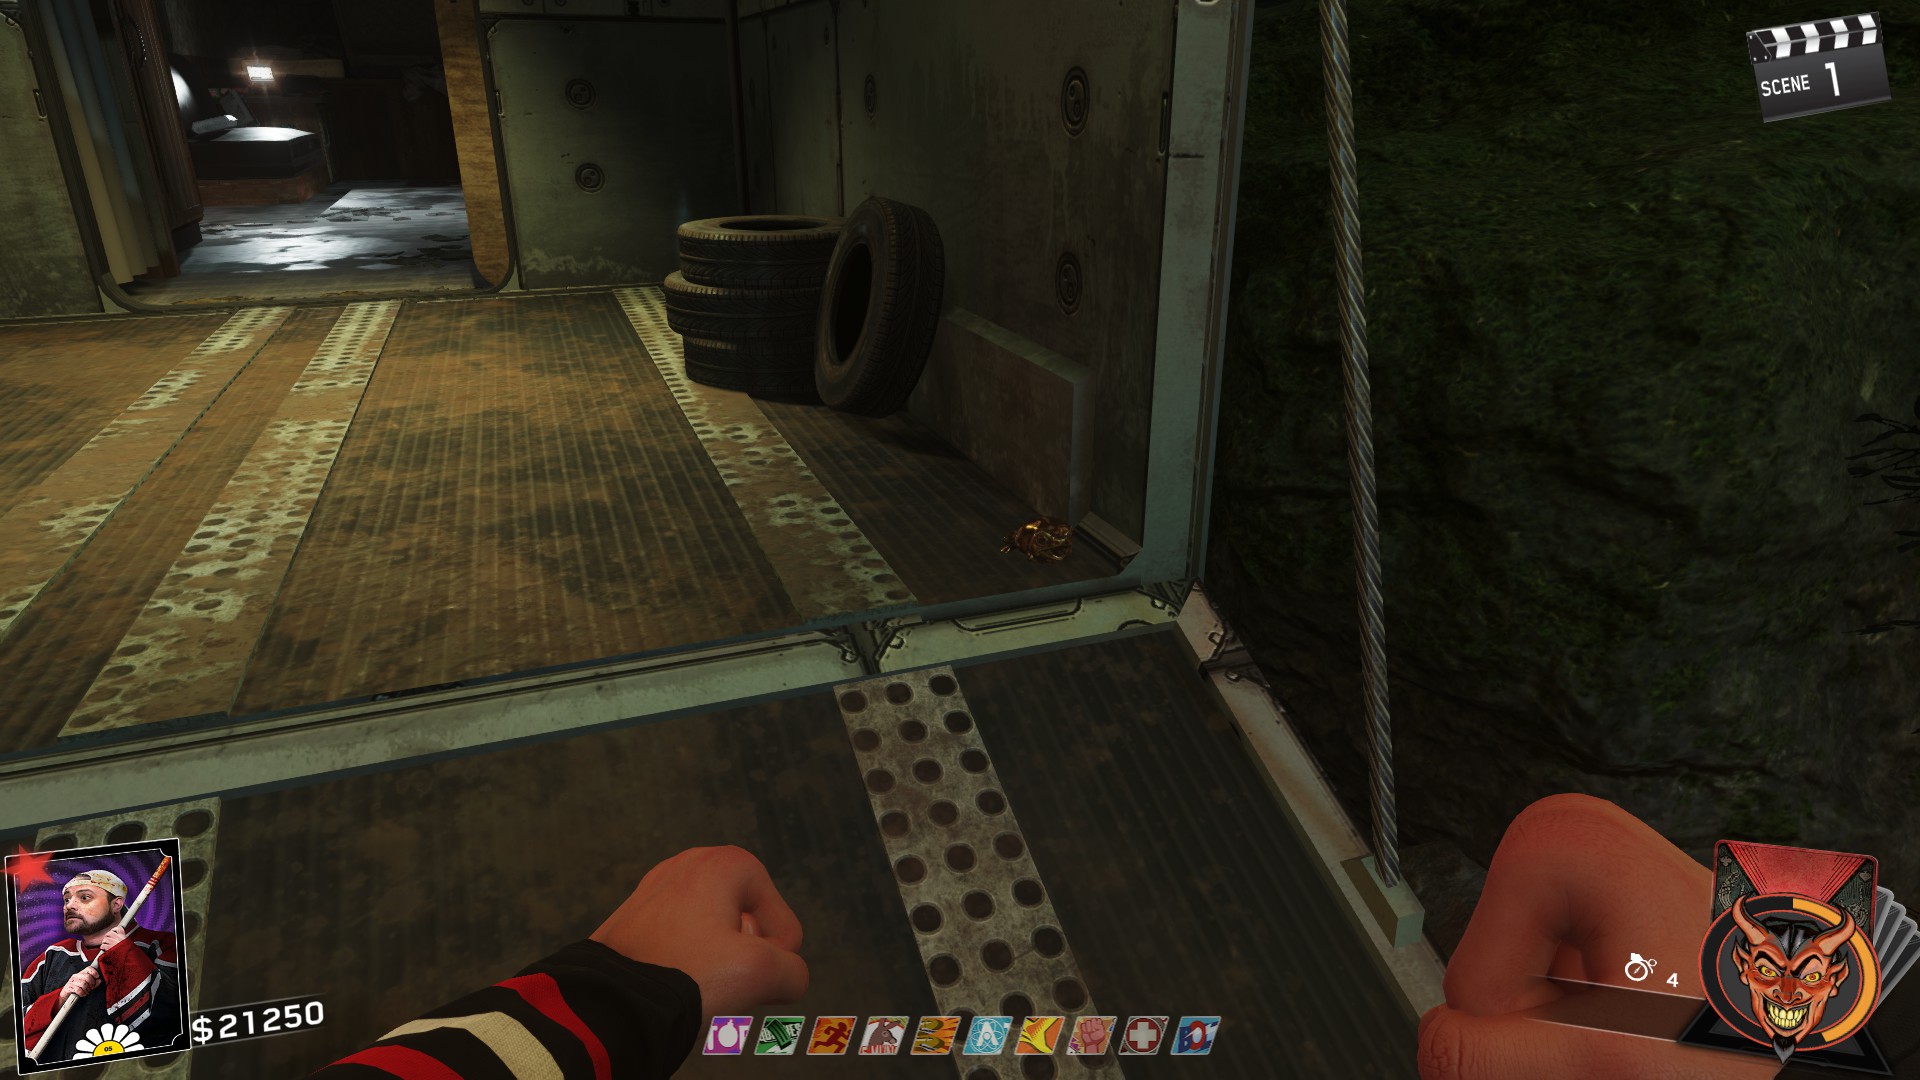 Locaiton 2: On chair inside Bait & Tackle shop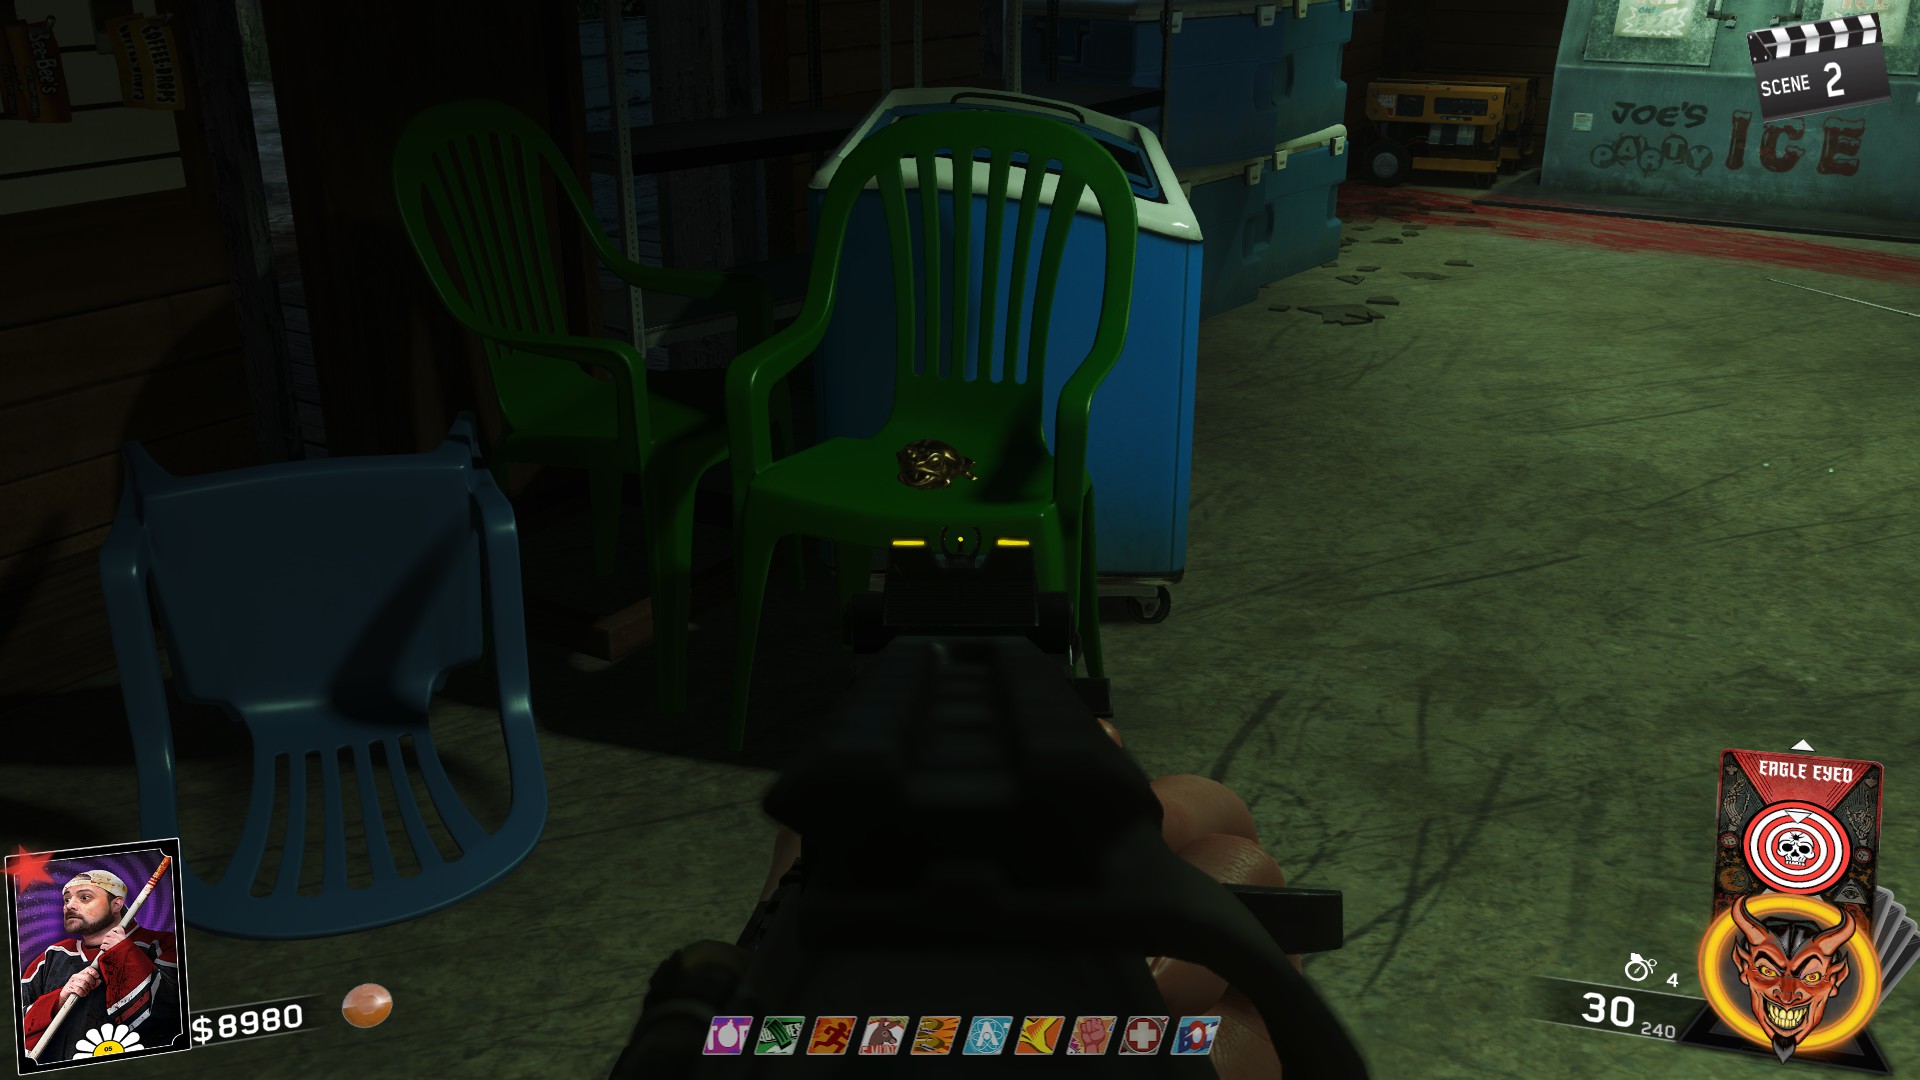
Quest
Place charm in swamp area near Mess Hall close to sewer. Enter Rave Mode and jump and ground pound the frogs. Warning, doing this on round 10 or higher will result in you having to do this with a slasher chasing you...
Charm Effect: Let's you sprint in water

Locaiton 1: Near rocks at Docks on shore leading up to KBS
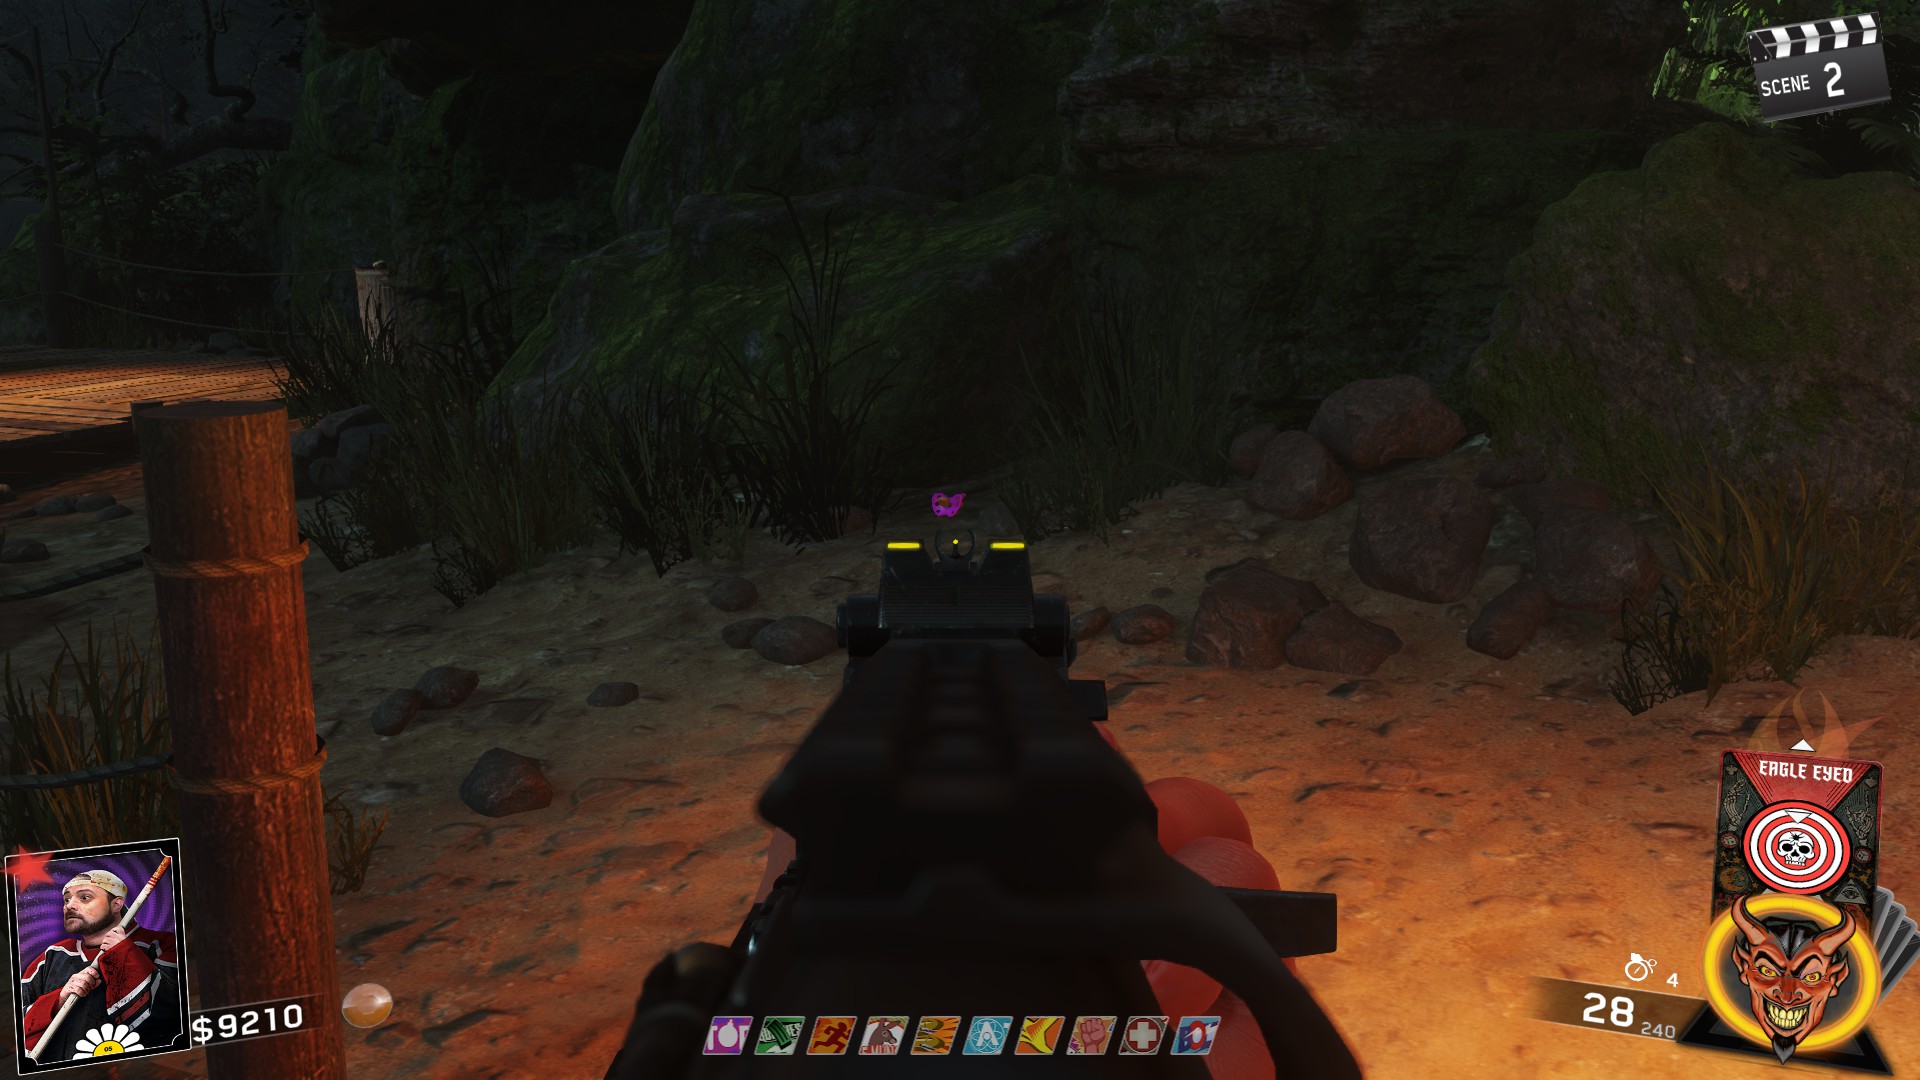 Locaiton 2: Shower room on floor near Racin' Stripes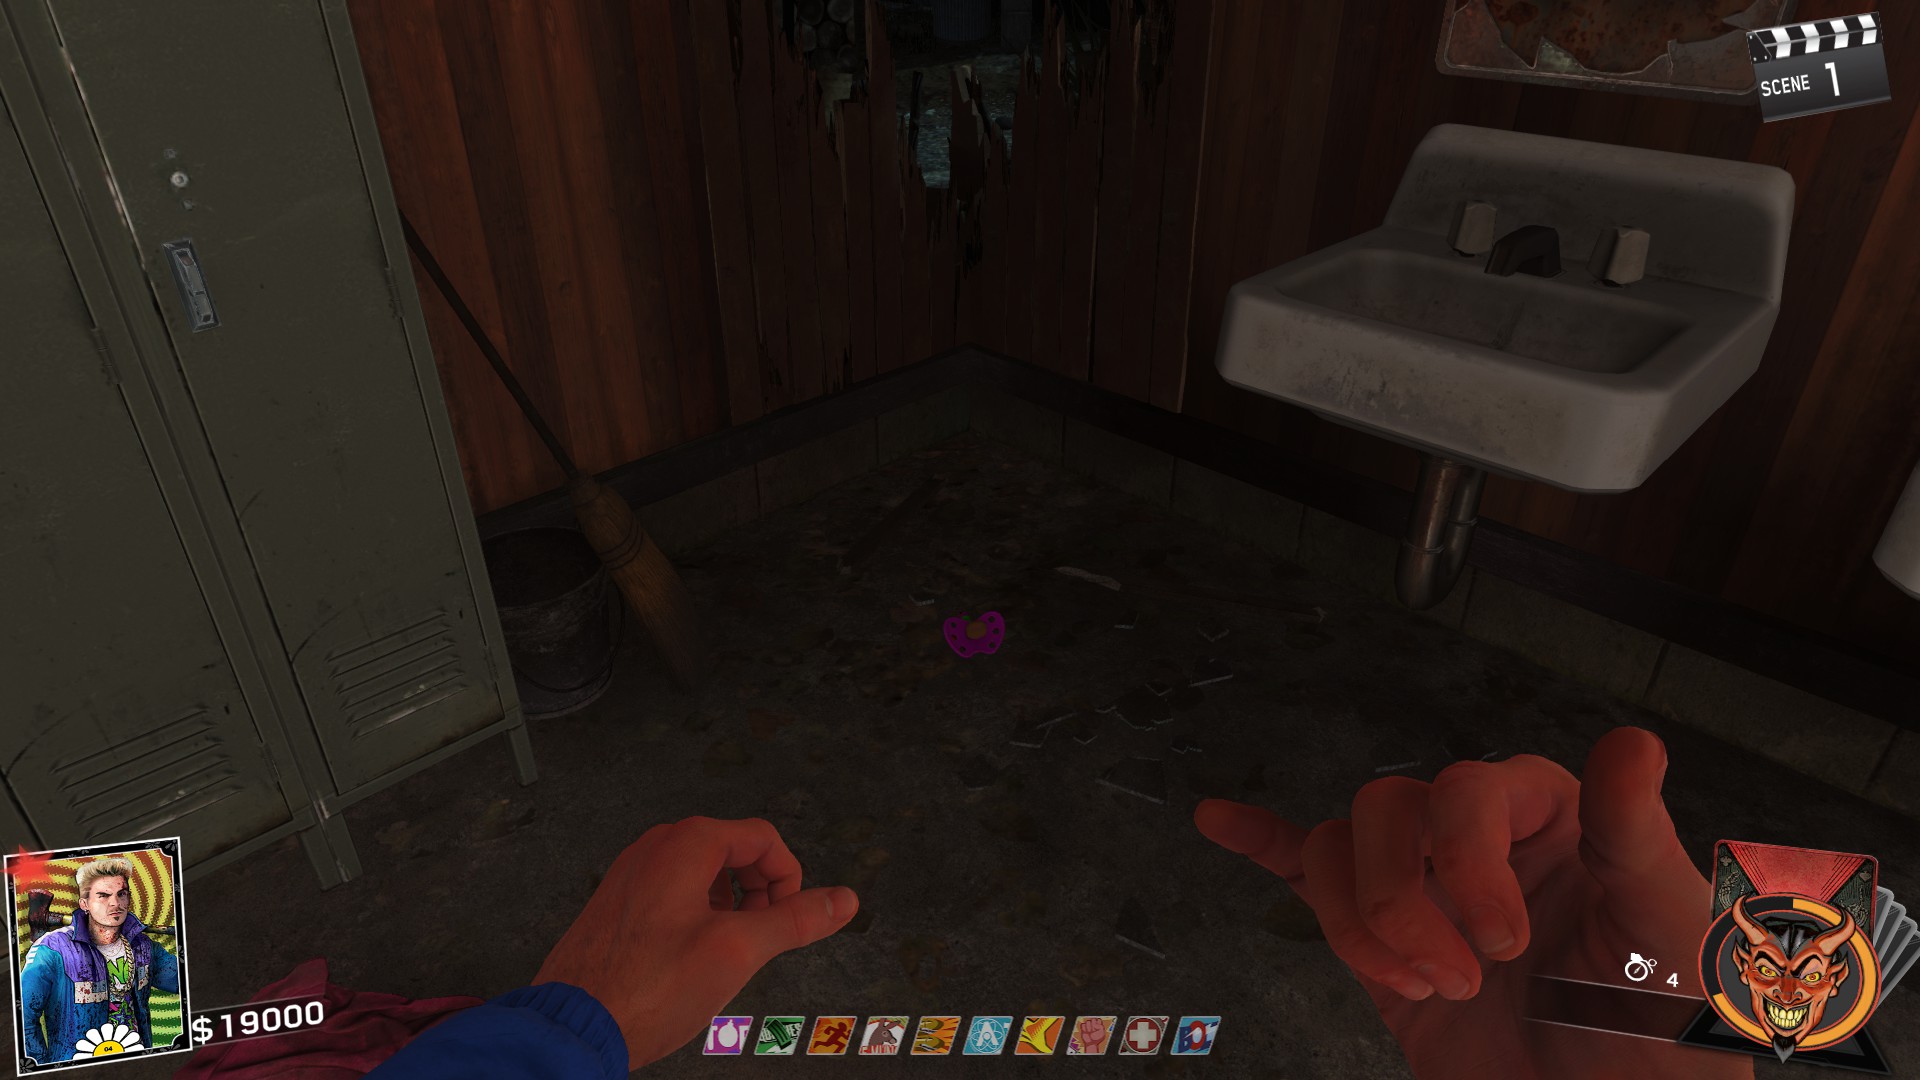
Quest
Place charm on counter top in Mess Hall. Kill zombies until you are free to leave the Mess Hall.
Charm Effect: Damage zombies that hit you

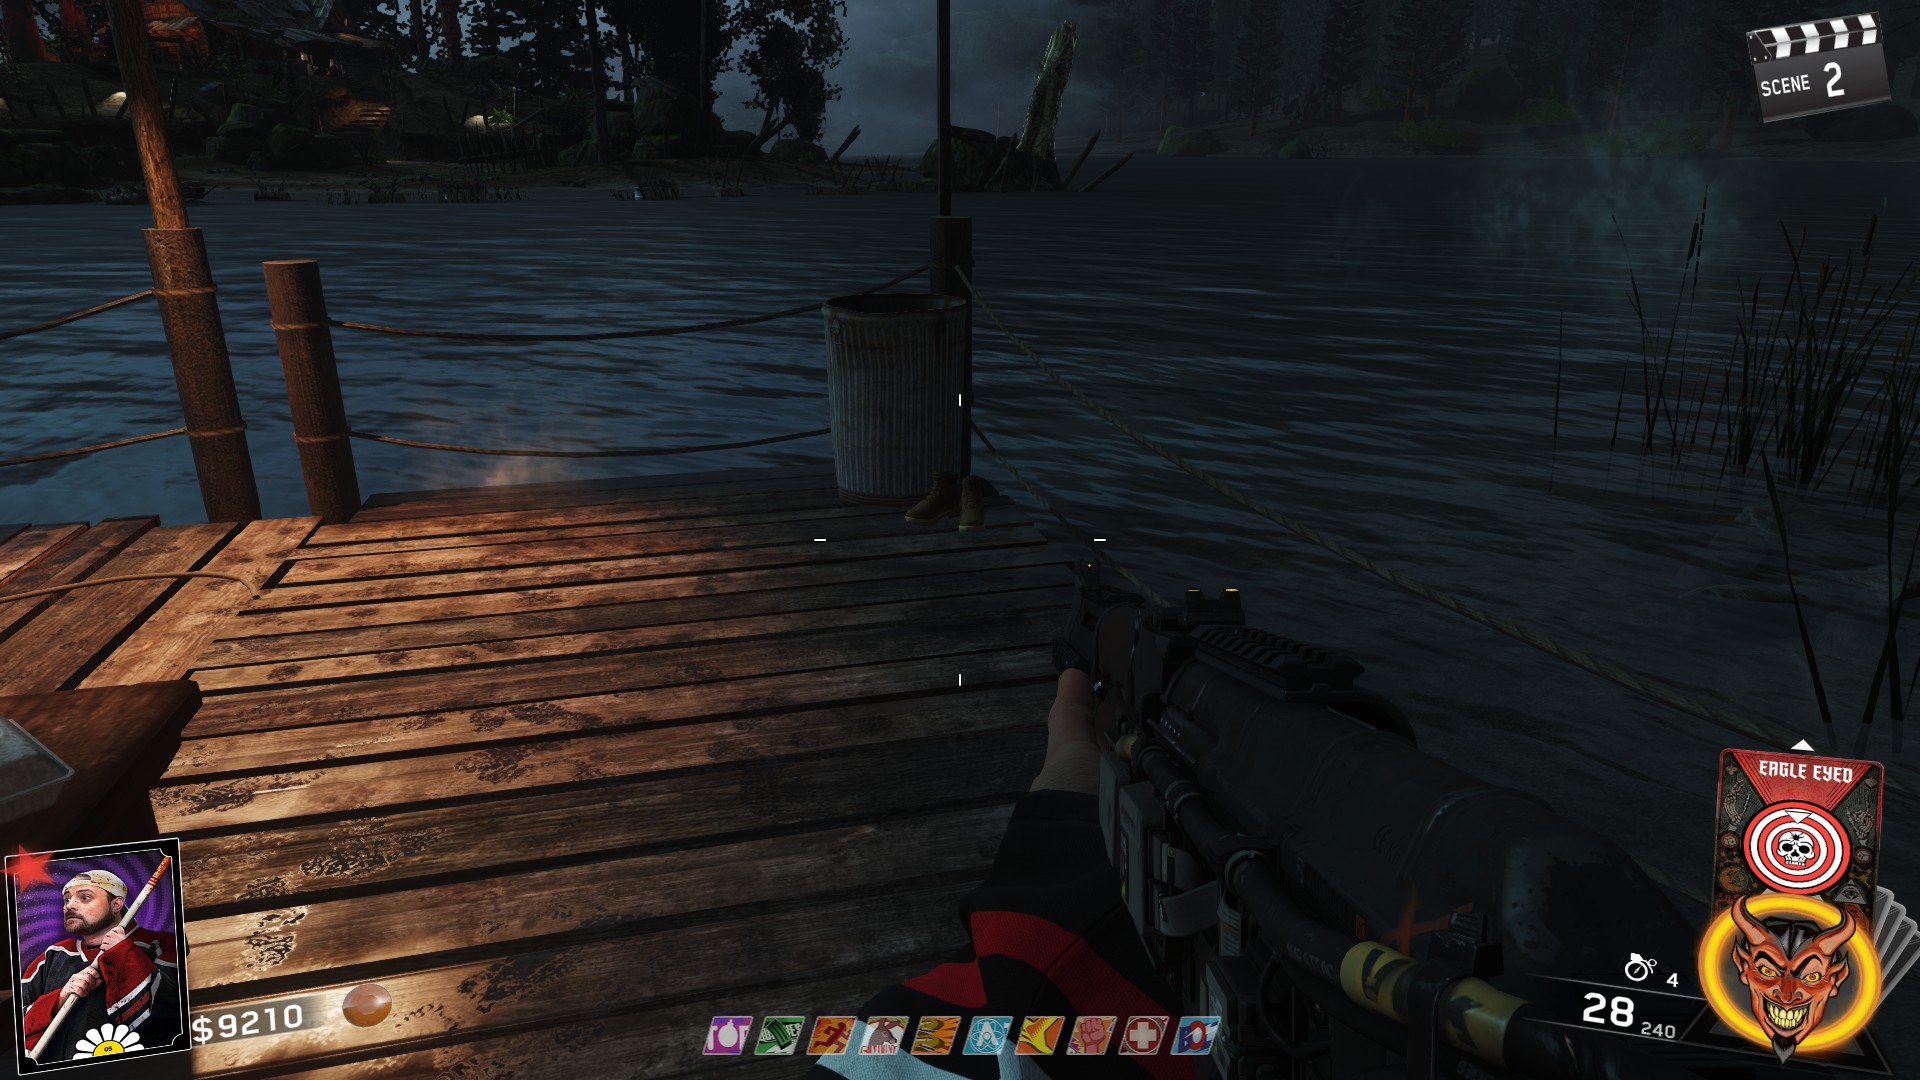
Locaiton 1: Next to trash cans on Docks near KBS
 Locaiton 2: In dark corner in Thunderbird Amphitheater (Bonfire Area)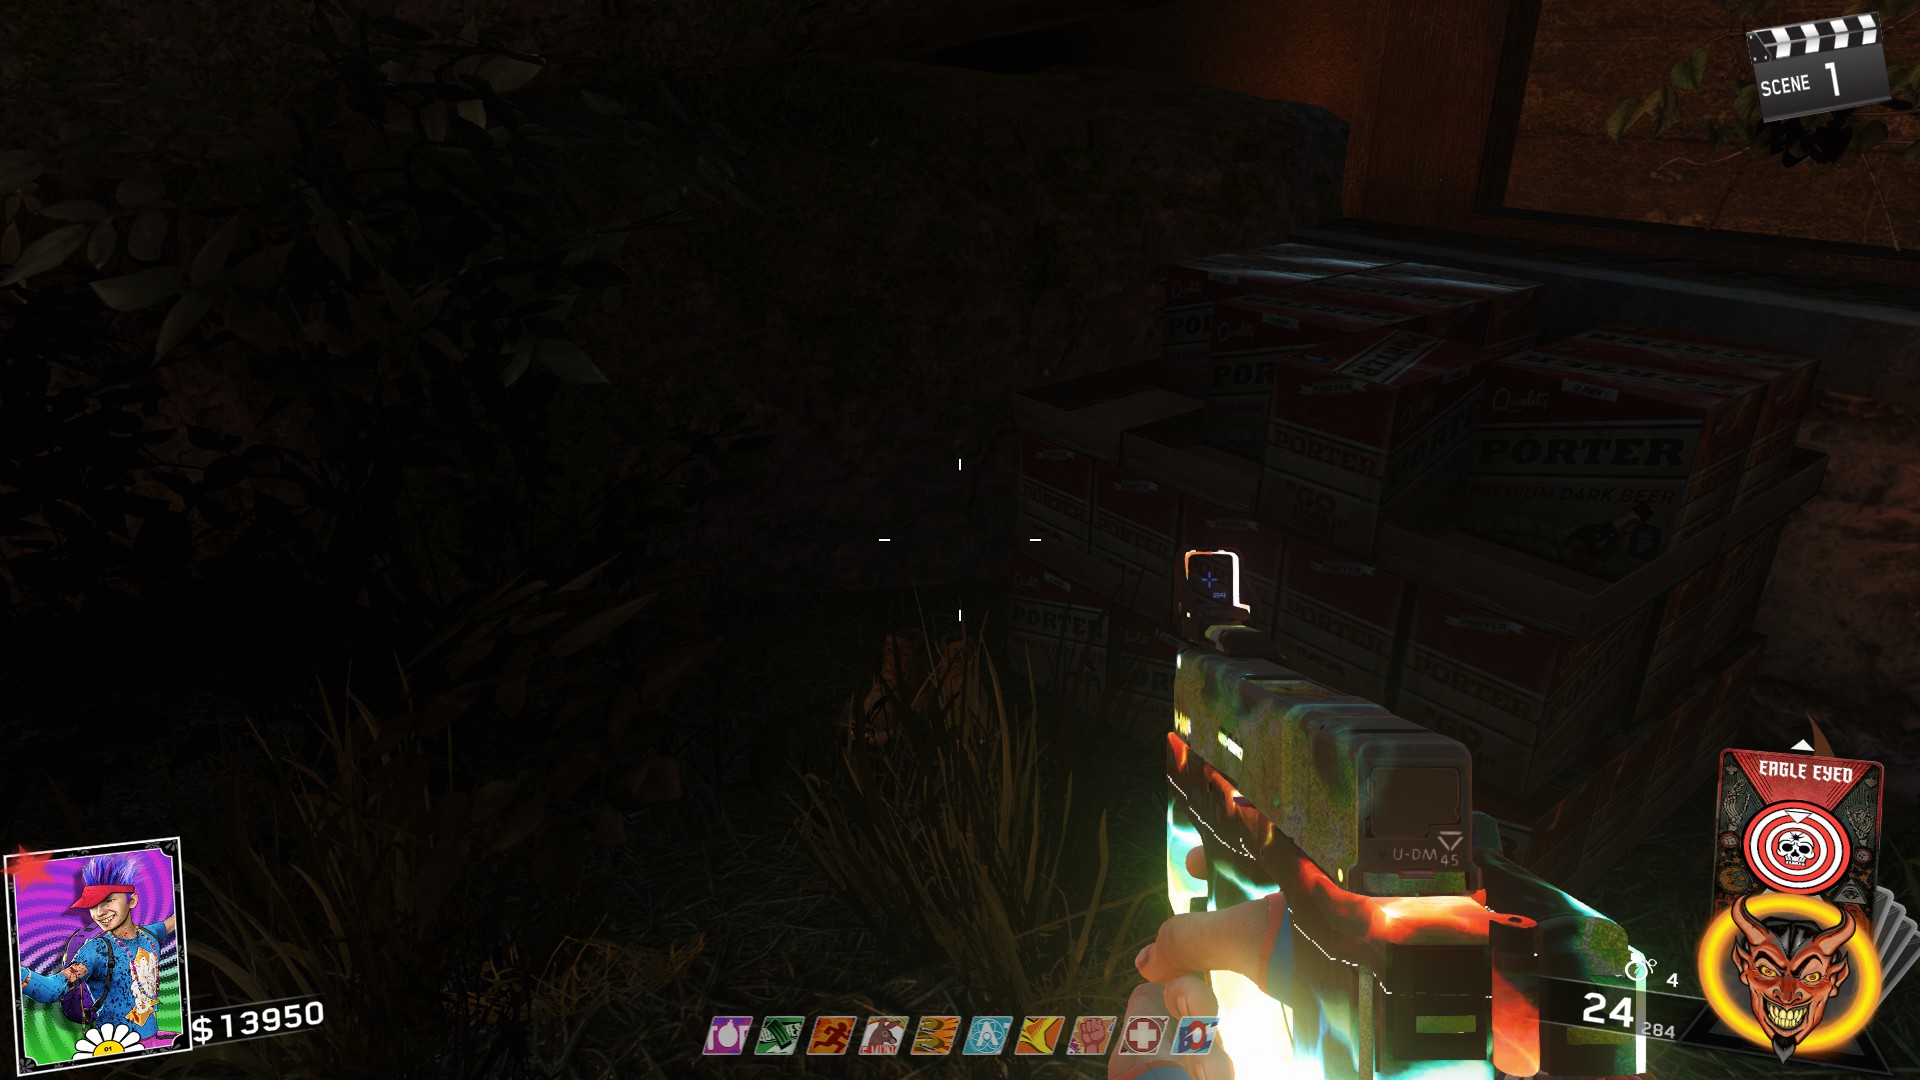
Quest
Place charm in cabin at Camper Cabins. Follow footsteps until Jumpscare at window. Go to spawn and follow footsteps until second jumpscare. Go to docks and follow footsteps for last time. Here's a video for reference.
*I'll add a video soon of me completing the quest for reference
Charm Effect: Headshots cause zombie heads to explode.
Bear Lake Camp Challenges
 Challenge: Melee kill 15 zombies
Location: Outside Spawn going towards the Mess Hall
Reward: Rewind Grenade
 Challenge: 25 long-distance kills
Location: In the Owl Camp between two cabins
Reward: Transponder
 Challenge: Rebuild 45 window boards
Location: Docks near fire barrel
Reward: Repulsor
 Challenge: Kill 25 crawlers
Location: Outside Spawn towards the Bait & Tackle Shop
Reward: Armageddon
 Challenge: Get 10 Multikills
Location: Near entrance to Wolf Camp from Mess Hall
Reward: Black Hole Grenade
Main Easter Egg - Rituals
Below is going to be the explanation of how to do each ritual that leads up to the boss fight. These rituals are already pretty easy, however, I'm going to give some tips that I use every time I complete this easter egg.
First, I would start by getting an accurate AR. Something like the Volk, or an accurate SMG will work. Do not use the FHR, this thing is inaccurate as hell and will make your life like hell for the 1st and 3rd rituals. The Mauler is also a pretty good weapon, but really slow.
Secondly, work on getting the Balloon Trap (2 blues and a yellow gem in the totem) or Gas Grenades as this is going to help a lot during the second ritual.
Lastly, YOU WILL LOSE A PERK IF YOU FAIL ANY OF THE RITUALS!. This is especially detrimental to those of you playing in Director's Cut mode since if you lose Bang Bangs, you cannot buy that perk back because its bugged.
With all this set, speak to Kevin Smith at Turtle Island to spawn the first picture for the ritual.
Step 1:
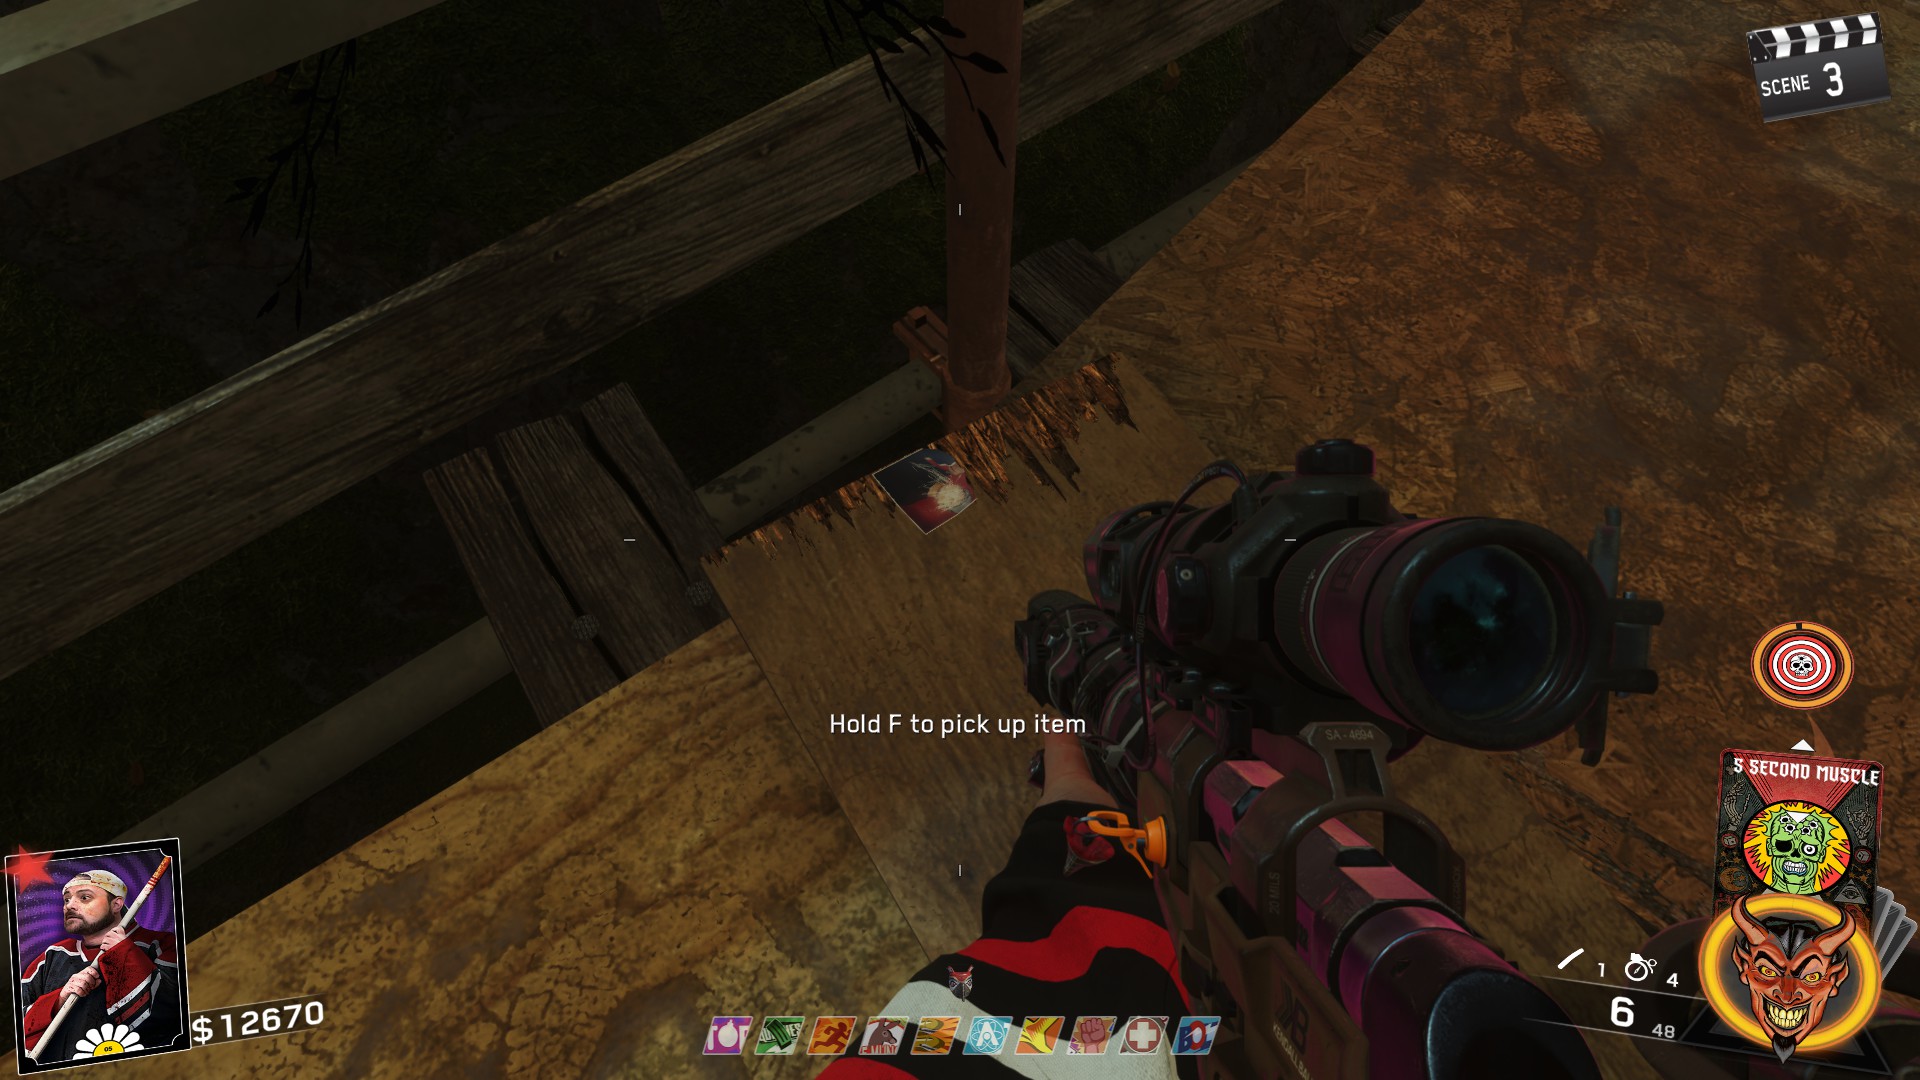
The picture can be found in the Recreation Area behind the big Rave statue next to a weapon wall buy. Pick up the picture and you'll begin to hear some dialog play.
 ⠀
Step 2:
⠀
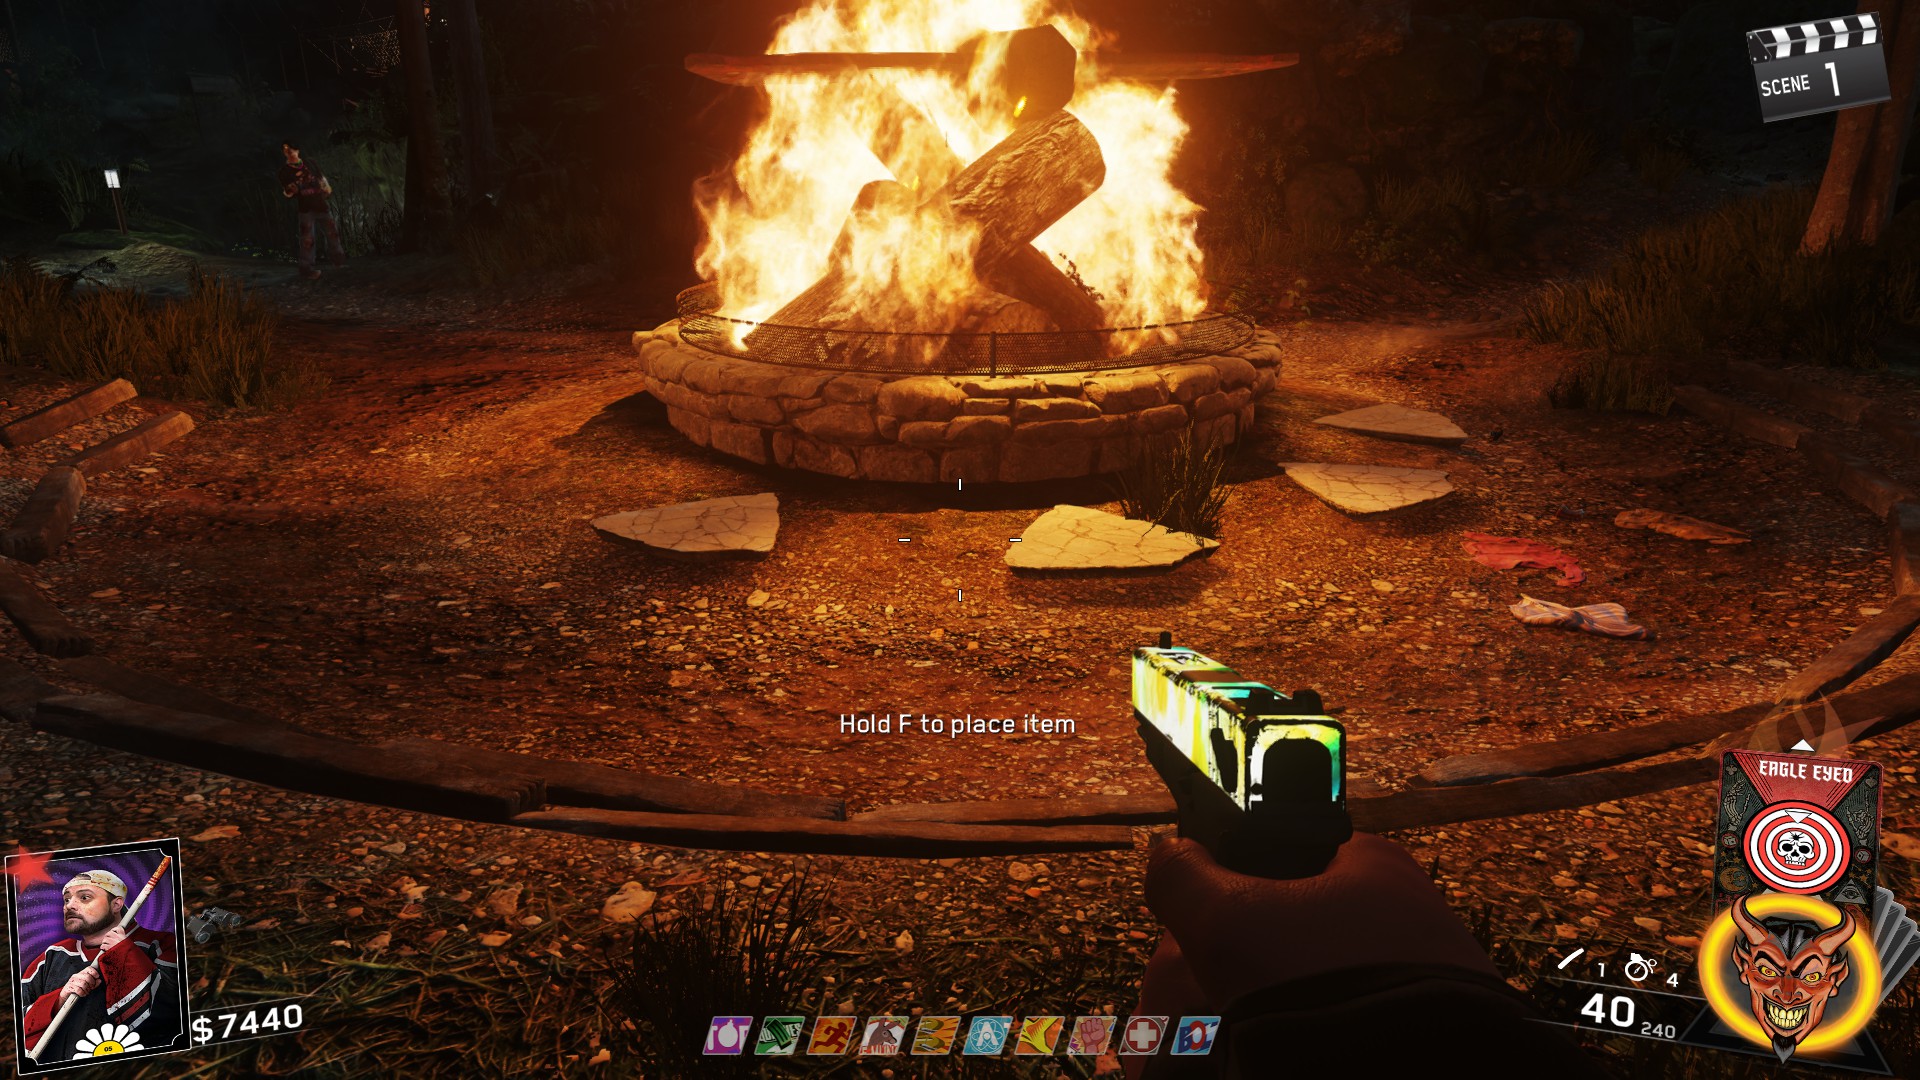
Step 2:Once you have the picture, head to the area just outside of spawn (the Bear Lodge) with the big bonfire. Use the door that's on the side where Up 'N Atoms is. Once there, in front of the fire you can place the picture which will start the ritual.
 ⠀
⠀
Step 3:
Once the picture is placed, you'll go into Rave mode and zombies will begin constantly spawning.
You want to shoot their arms off! And shoot them off quickly as this is a timed step!
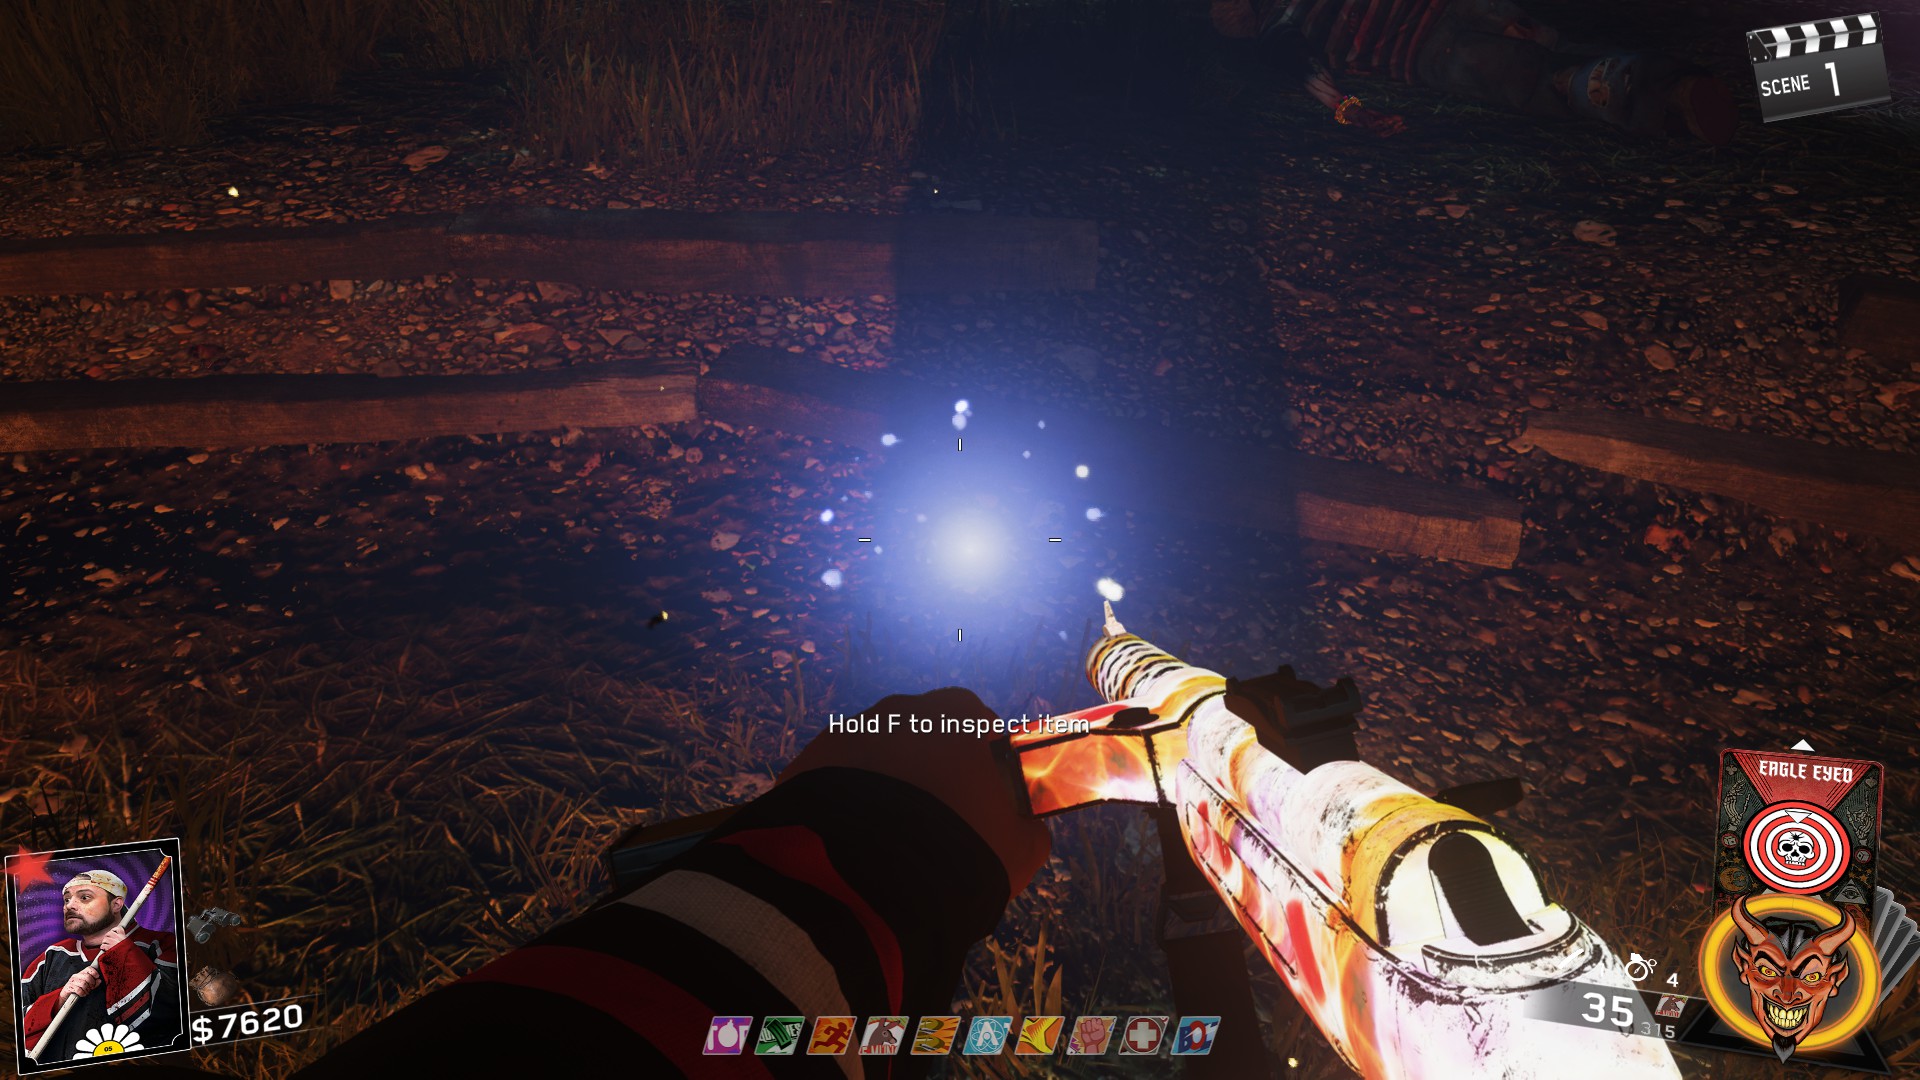
After each successful gib of an arm, you'll see a soul go to the picture. Once the last soul has been collected, you'll see all the souls rapidly go into the picture and inspect it which will spawn a Kill-able Slasher and take you out of Rave mode
⠀
The slasher will be invulnerable until Rave mode has completely stopped. Once out of Rave mode, start unloading into the Slasher. THIS IS ALSO TIMED, SO BE QUICK!
Once the slasher has been killed, it will drop a Max Ammo and you'll be able to pick up the picture.
MAKE SURE TO TALK TO KEVIN AFTER PICKING UP THE PICTURE!!
 ⠀
⠀Step 1:
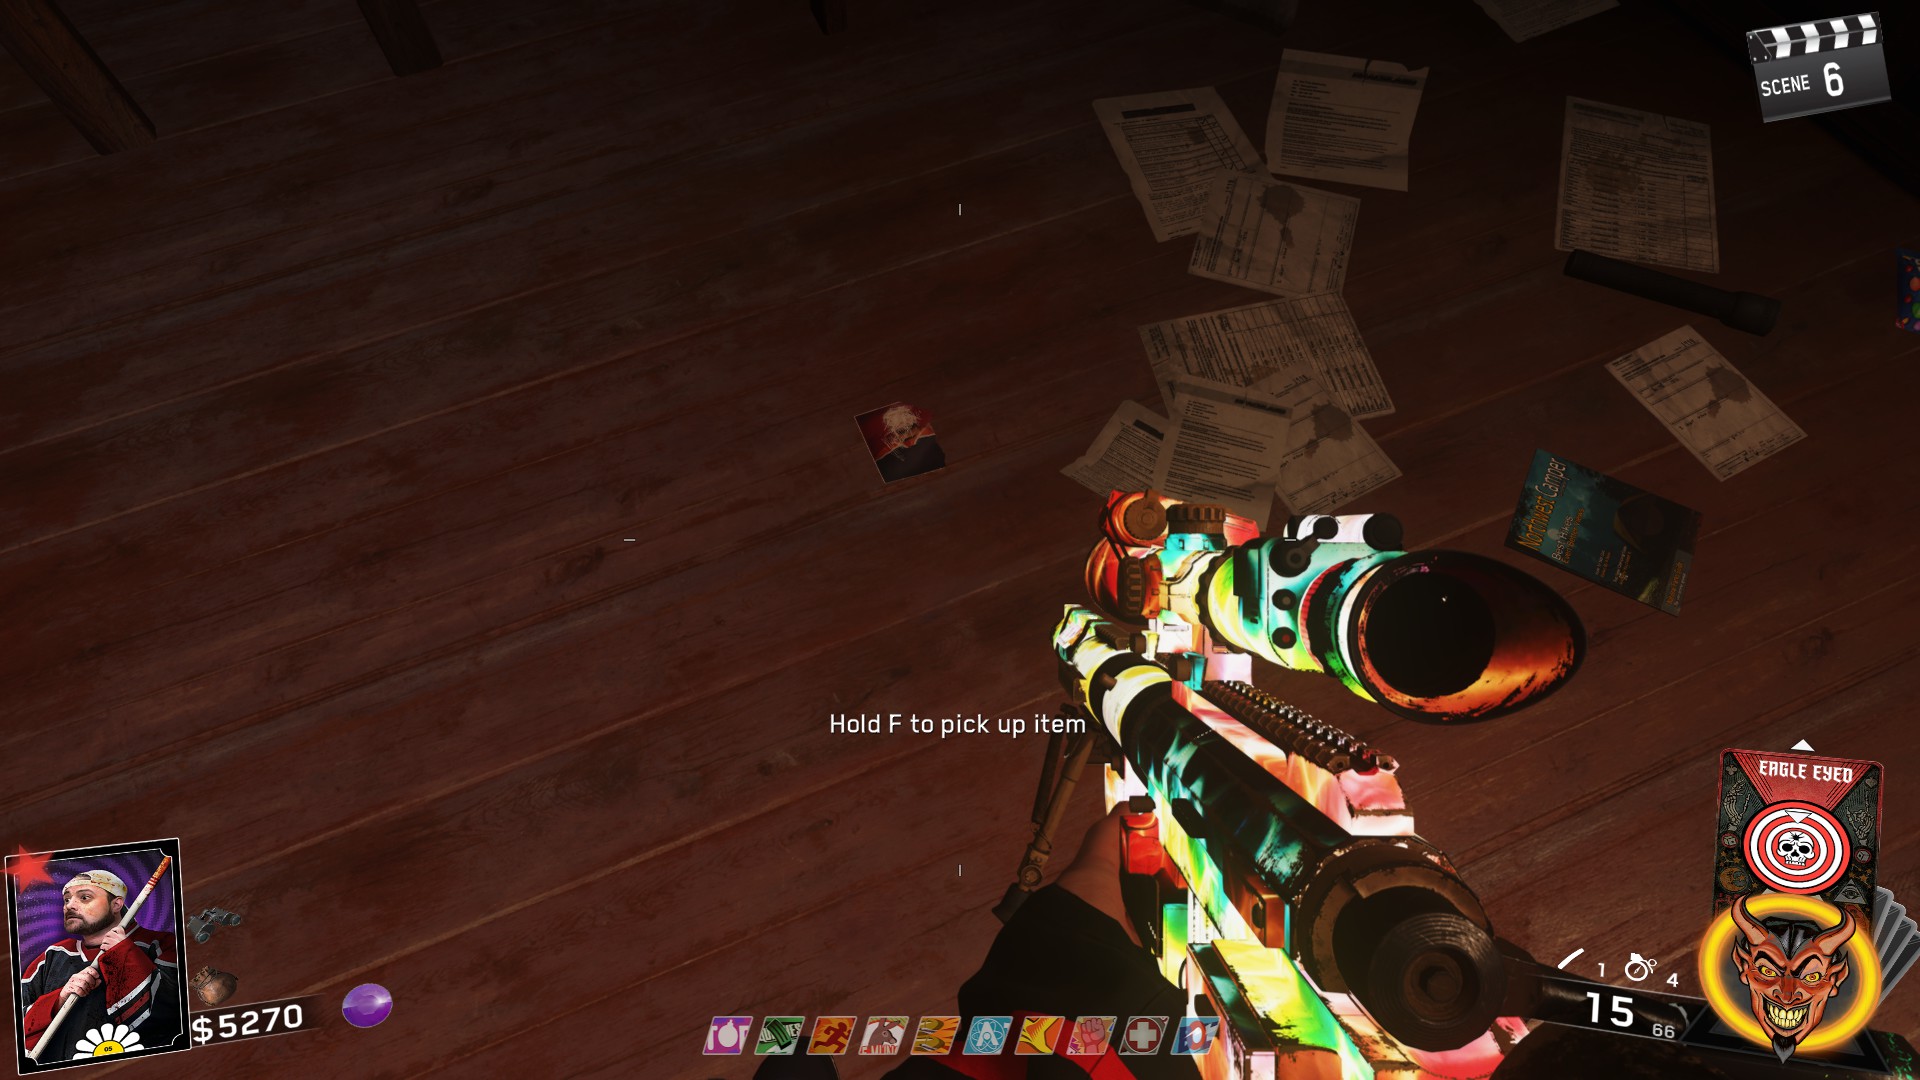
The picture can be found in the upstairs room in Spawn where Tuff' 'Nuff is. It'll be directly to the right when you walk into the room on the floor.
 ⠀
Step 2:
⠀
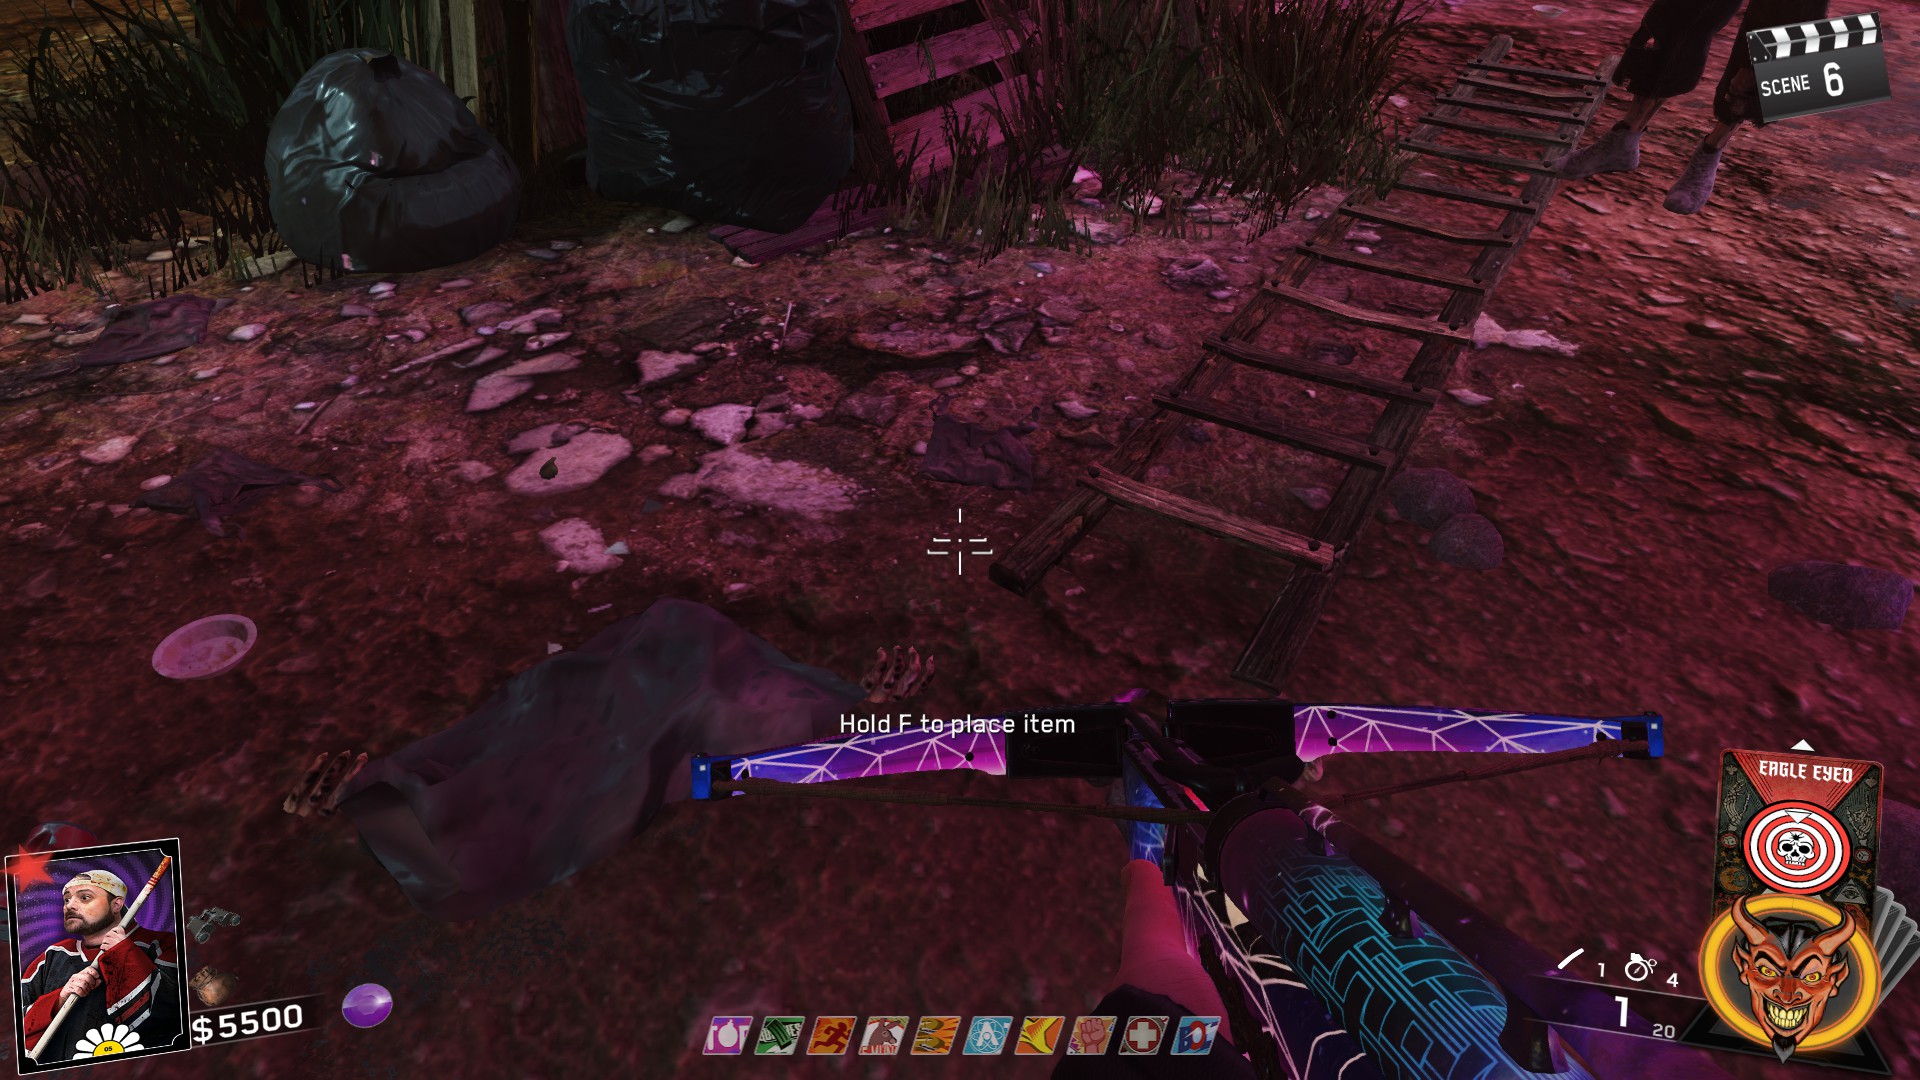
Step 2:Once you have the picture, head to the Recreation Area directly in front of the Quickies perk machine. Place the picture down here.
 ⠀
⠀
Step 3:
Once the picture is placed, you'll go into Rave mode and zombies will begin constantly spawning.
You want to shoot their FEET off! And shoot them off quickly as this is a timed step!
After each successful gib of a foot, you'll see a soul go to the picture. Once the last soul has been collected, you'll see all the souls rapidly go into the picture and inspect it which will spawn a Kill-able Slasher and take you out of Rave mode
Note: Using the Balloon Trap or Gas Grenades help alot here!
⠀
The slasher will be invulnerable until Rave mode has completely stopped. Once out of Rave mode, start unloading into the Slasher. THIS IS ALSO TIMED, SO BE QUICK!
Once the slasher has been killed, it will drop a Max Ammo and you'll be able to pick up the picture.
MAKE SURE TO TALK TO KEVIN AFTER PICKING UP THE PICTURE!!
 ⠀
⠀Step 1:
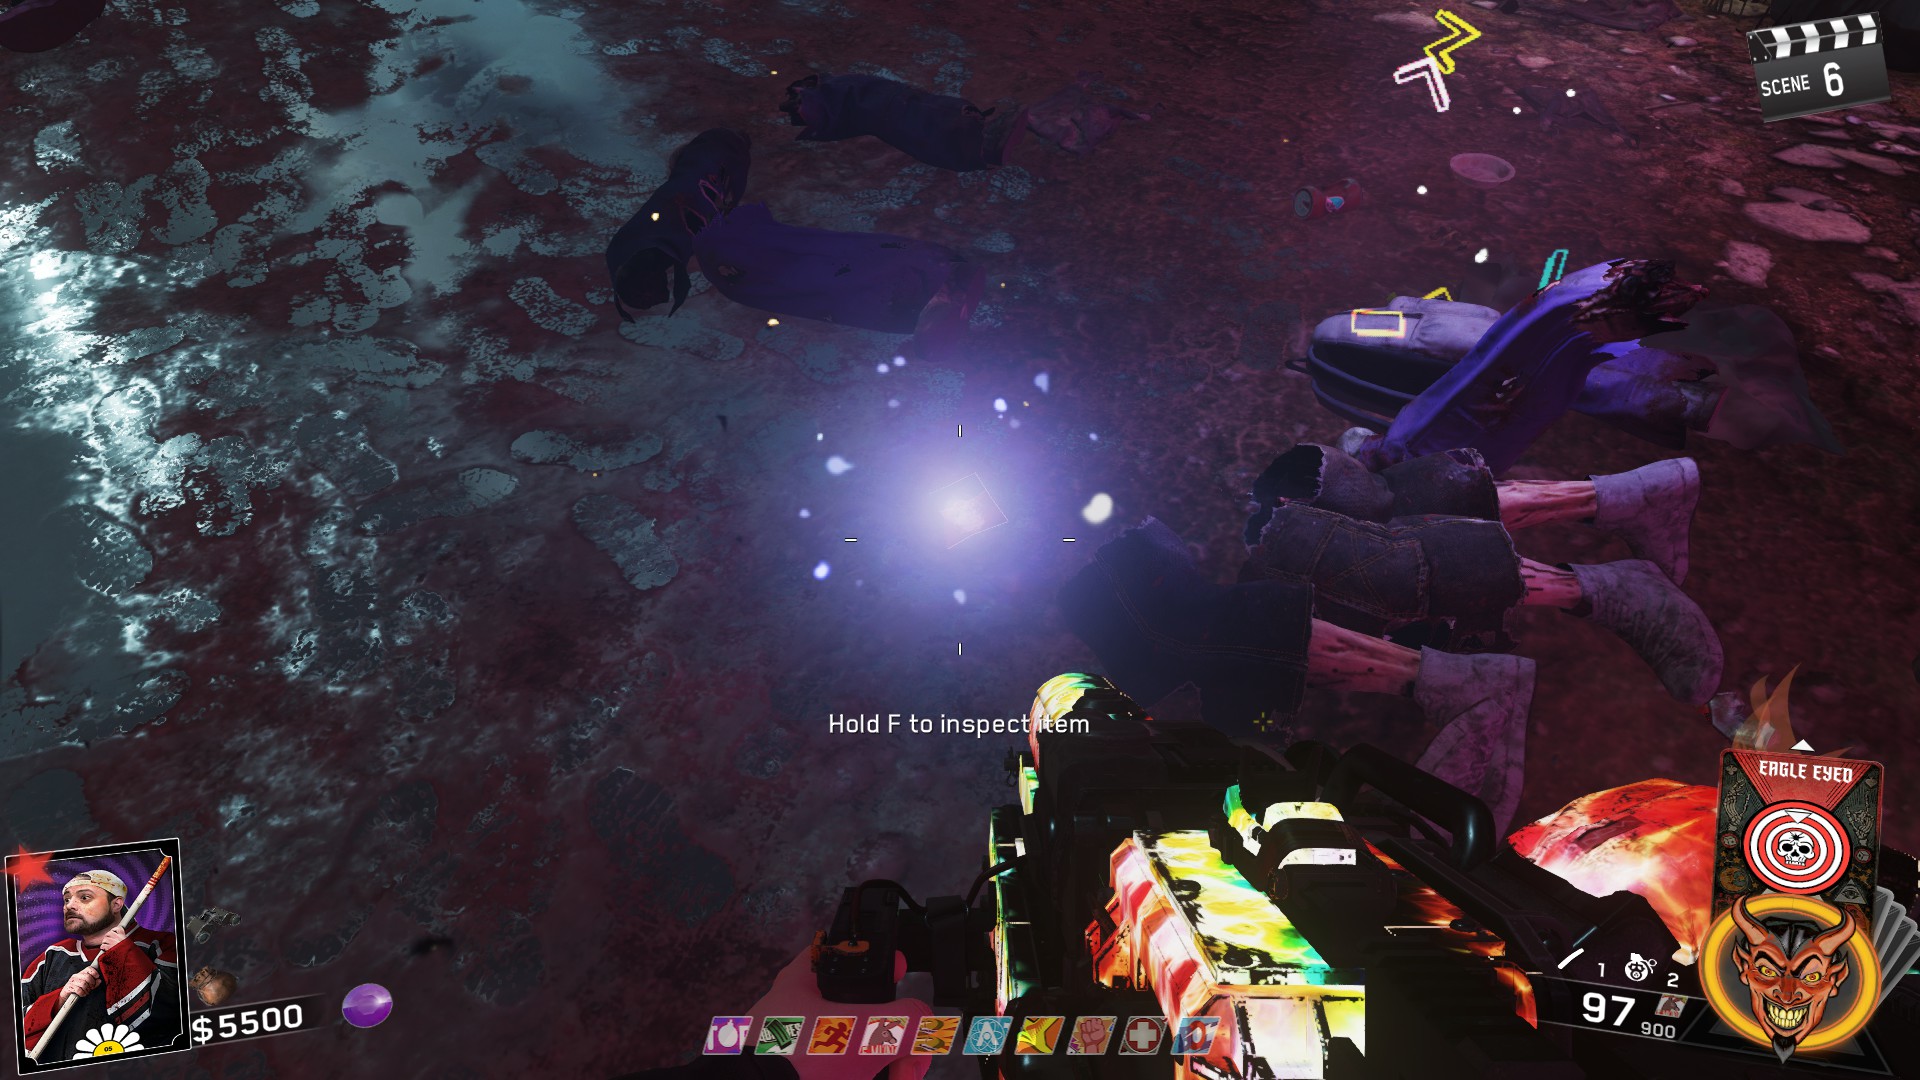
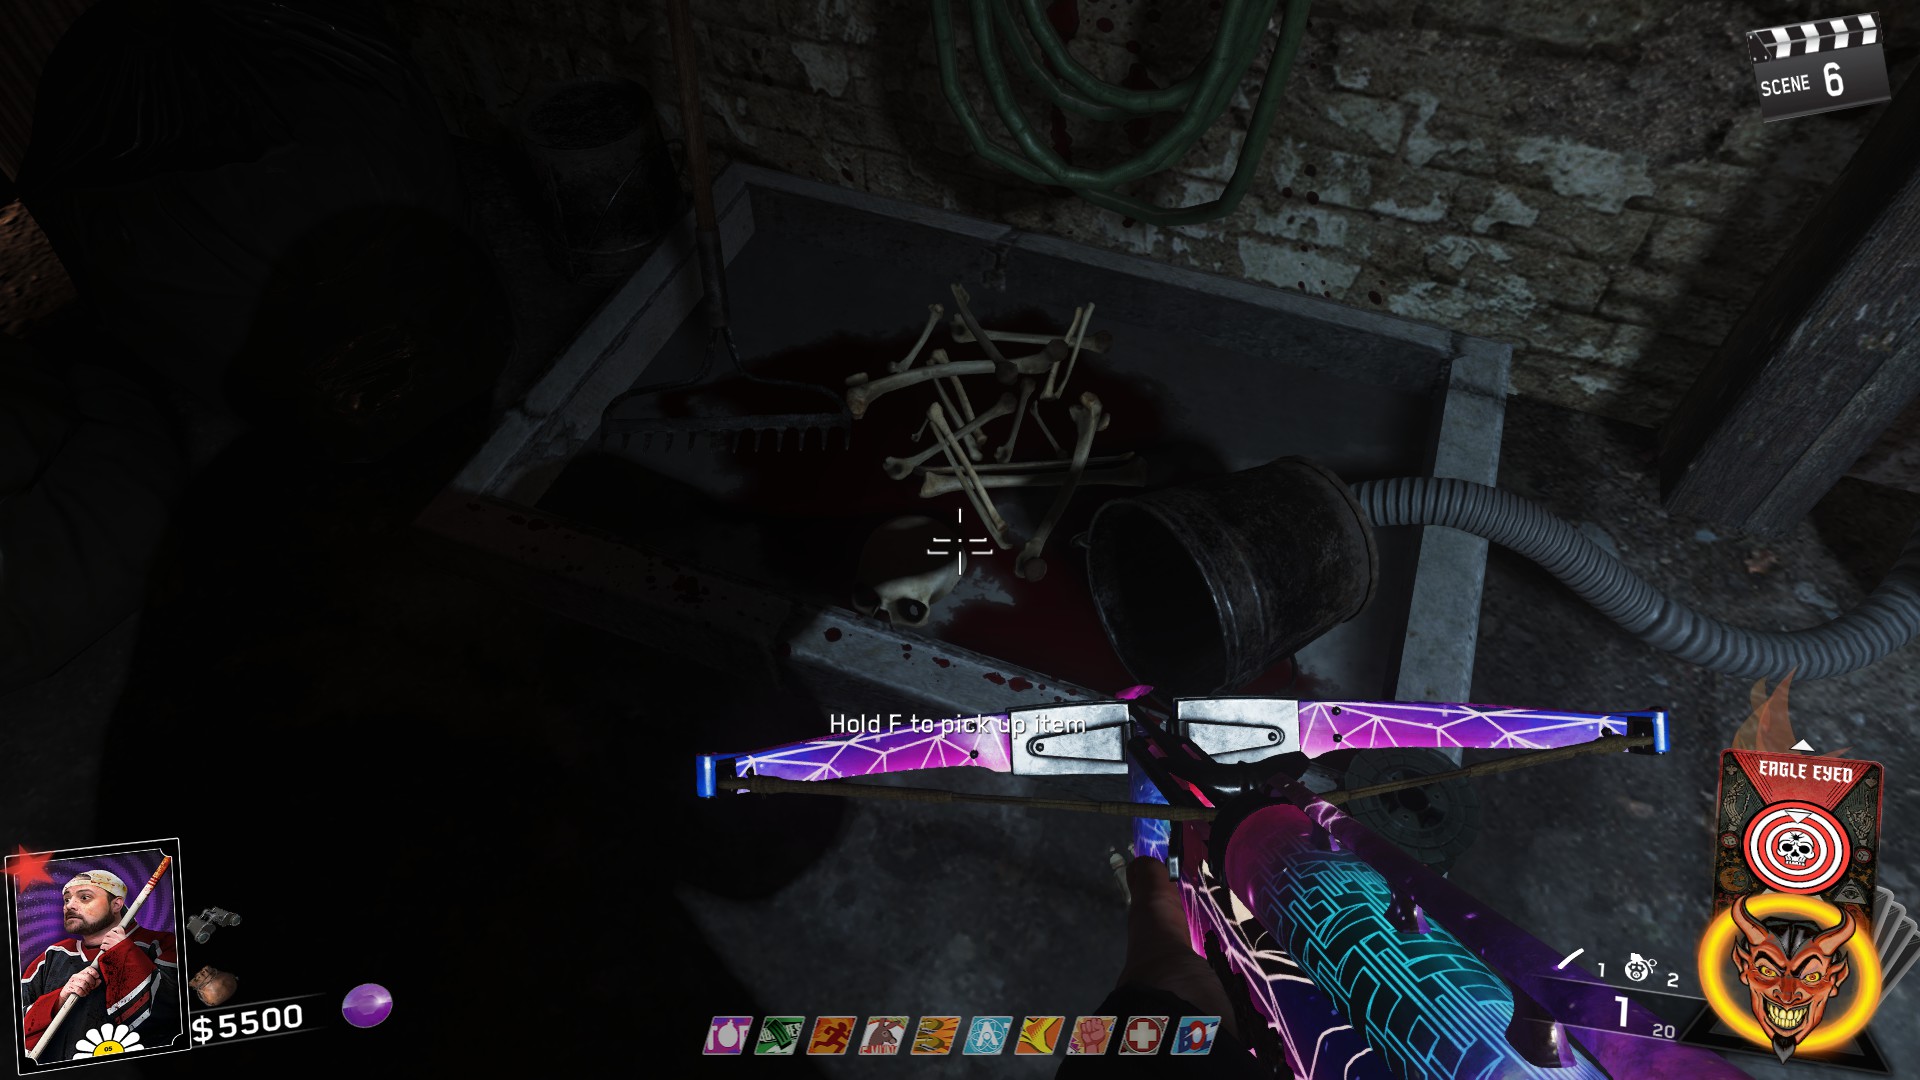
The skull can be found in the Power room on the floor to the left of the Magic Wheel. Pick up the skull.
 ⠀
Step 2:
⠀
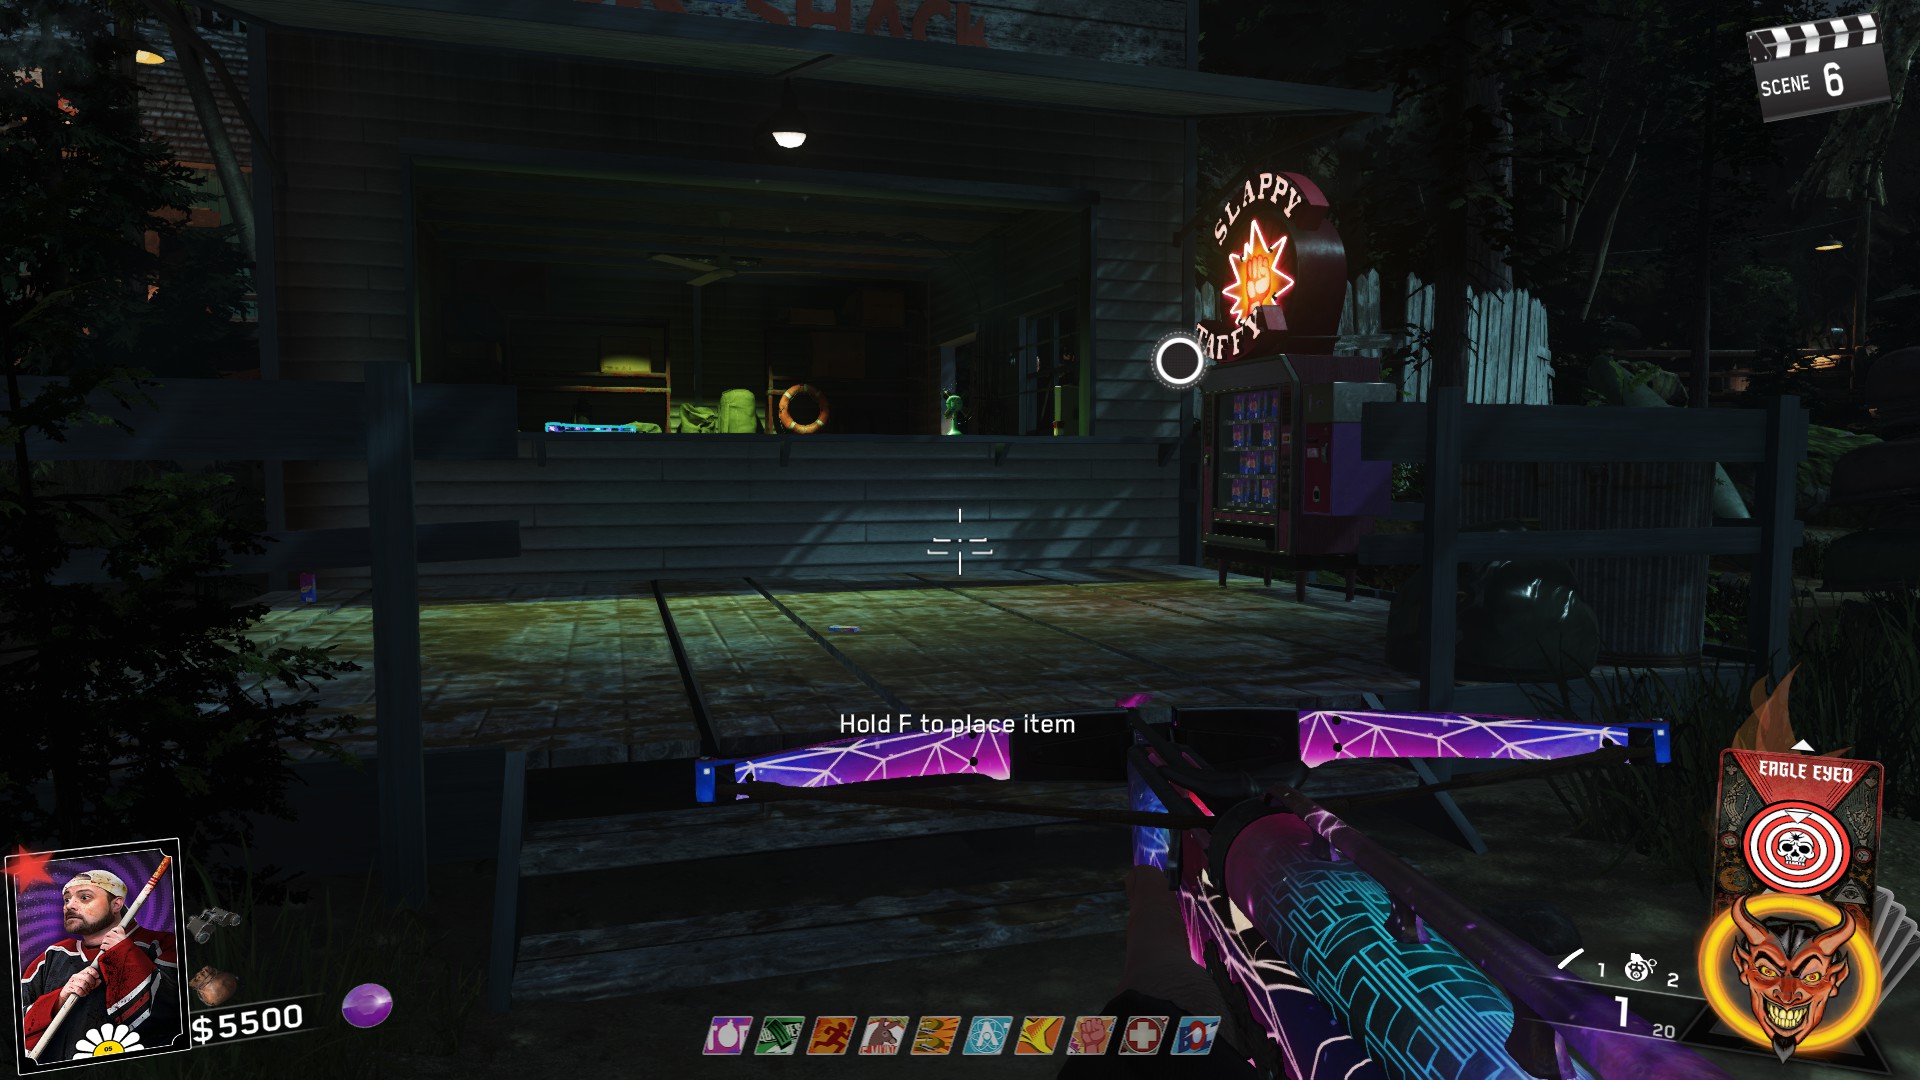
Step 2:Once you have the skull, head to the beach in from of the Slappy Taffy machine. Place the skull down and the ritual will start.
 ⠀
⠀
Step 3:
Once the skull is placed, you'll go into Rave mode and zombies will begin constantly spawning.
You want to shoot their HEADS off! And shoot them off quickly as this is a timed step!
After each successful gib of an Head, you'll see a soul go to the skull. Once the last soul has been collected, you'll see all the souls rapidly go into the skull and inspect it which will spawn a Kill-able Slasher and take you out of Rave mode
⠀
The slasher will be invulnerable until Rave mode has completely stopped. Once out of Rave mode, start unloading into the Slasher. THIS IS ALSO TIMED, SO BE QUICK!
Once the slasher has been killed, it will drop a Max Ammo and you'll be able to pick up the skull.
 ⠀
⠀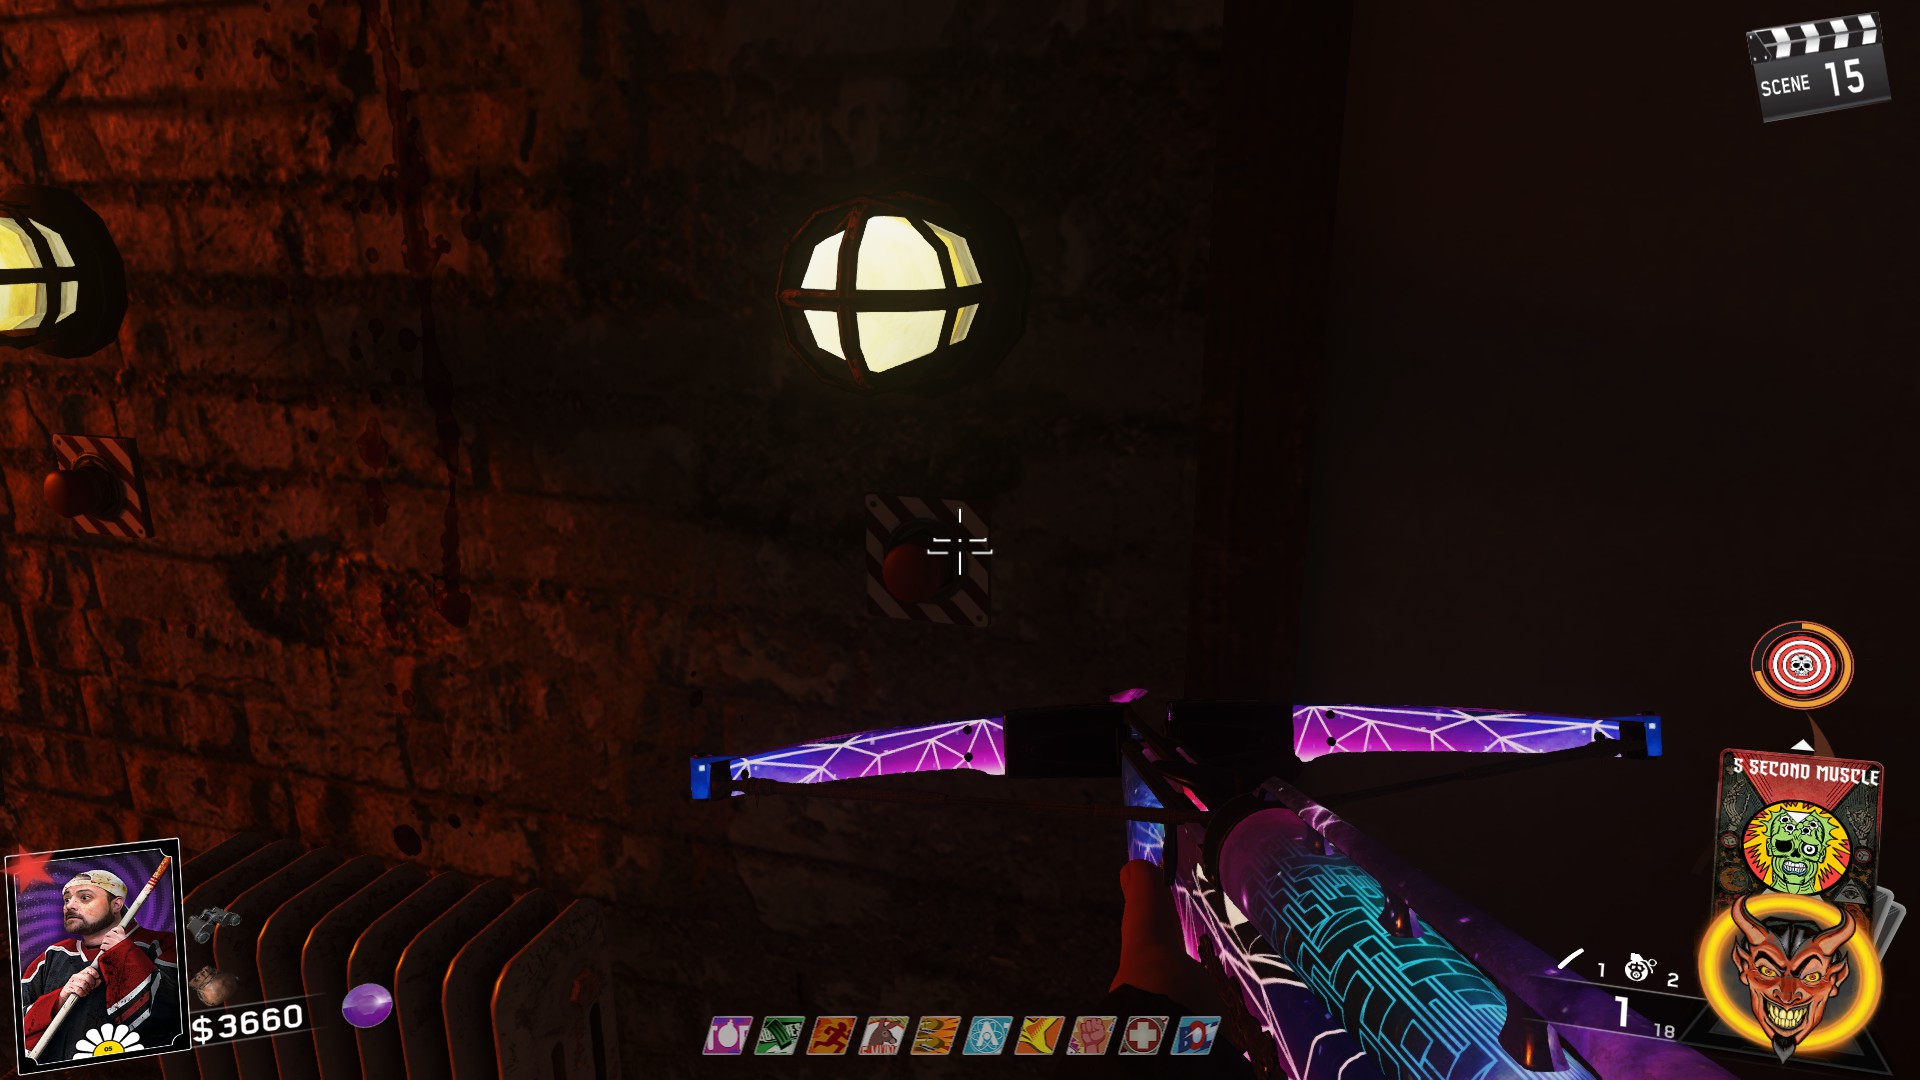
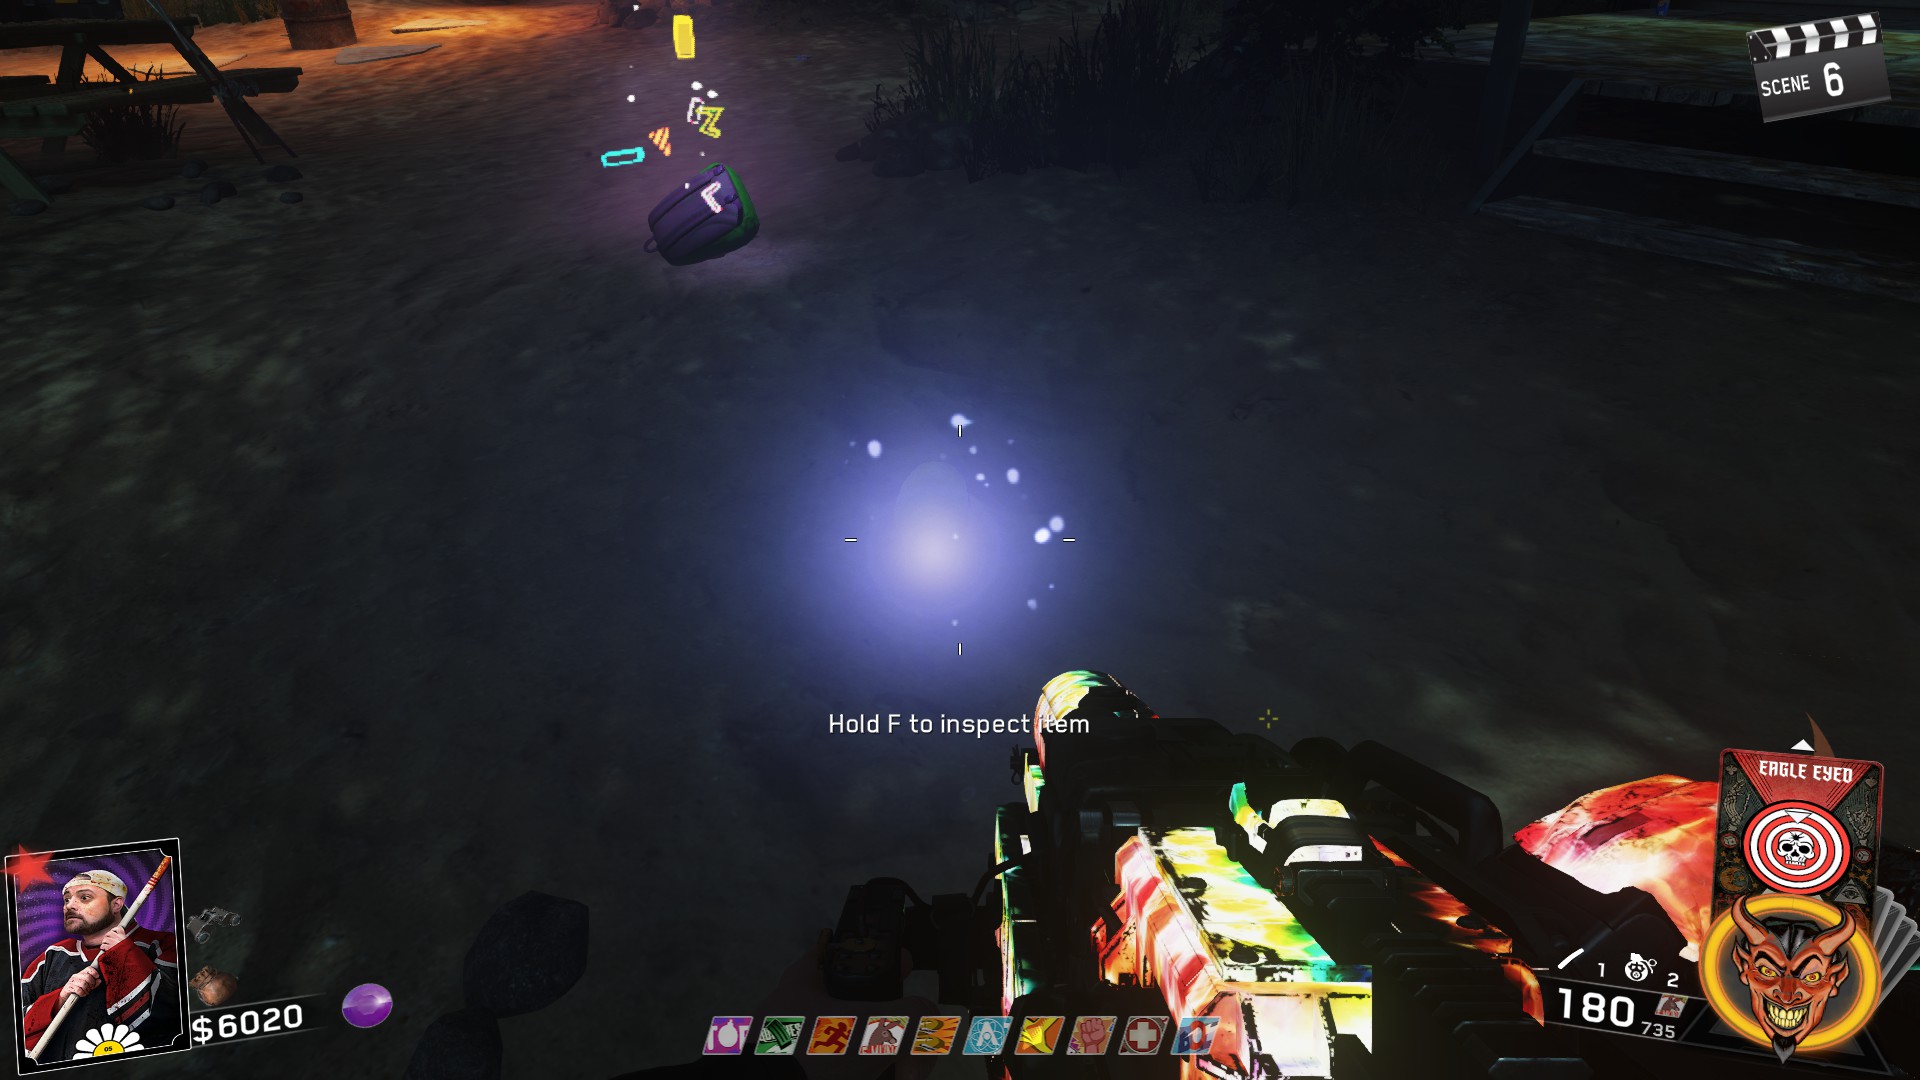
Once you are ready for the boss fight, all players in the game need to hit a light simultaneously. You will hear an alarm and a portal opening if done correctly.
BE AWARE, ONCE YOU HIT THE LIGHTS, YOU WILL NO LONGER BE ABLE TO PACK A PUNCH. SO MAKE SURE YOU ARE COMPLETELY READY.
Once the lights have been activated, have all players go to the boat that takes you to Turtle Island and you will see Kevin Smith sitting in the boat. All players in the boat will trigger the boss fight intro.
Main Easter Egg - Super Slasher Boss Fight
- As with any easter egg in this game, i would recommend getting the Kendall 44 pistol. However, in this map, you do not start with it, so you will have to get it out of the Mystery Wheel.
- I wouldn't really use any Fortune Cards because they are really unnecessary and just a waste. However, Scoped Dollars, Irish Luck, and Nade Party are really good Fate Cards to use.
- For your crossbow, it really comes down to preference. I prefer either the Acid Rain or the Whirlwind EF-5
The boss has 3 main phases plus a damage phase at the end. The boss will loop through these 3 phases 3 times total, with each loop getting progressively more restrictive with blue walls appearing on the Island. However, on the last loop, instead of the last phase you get the damage phase instead.
Below are the phases in detail
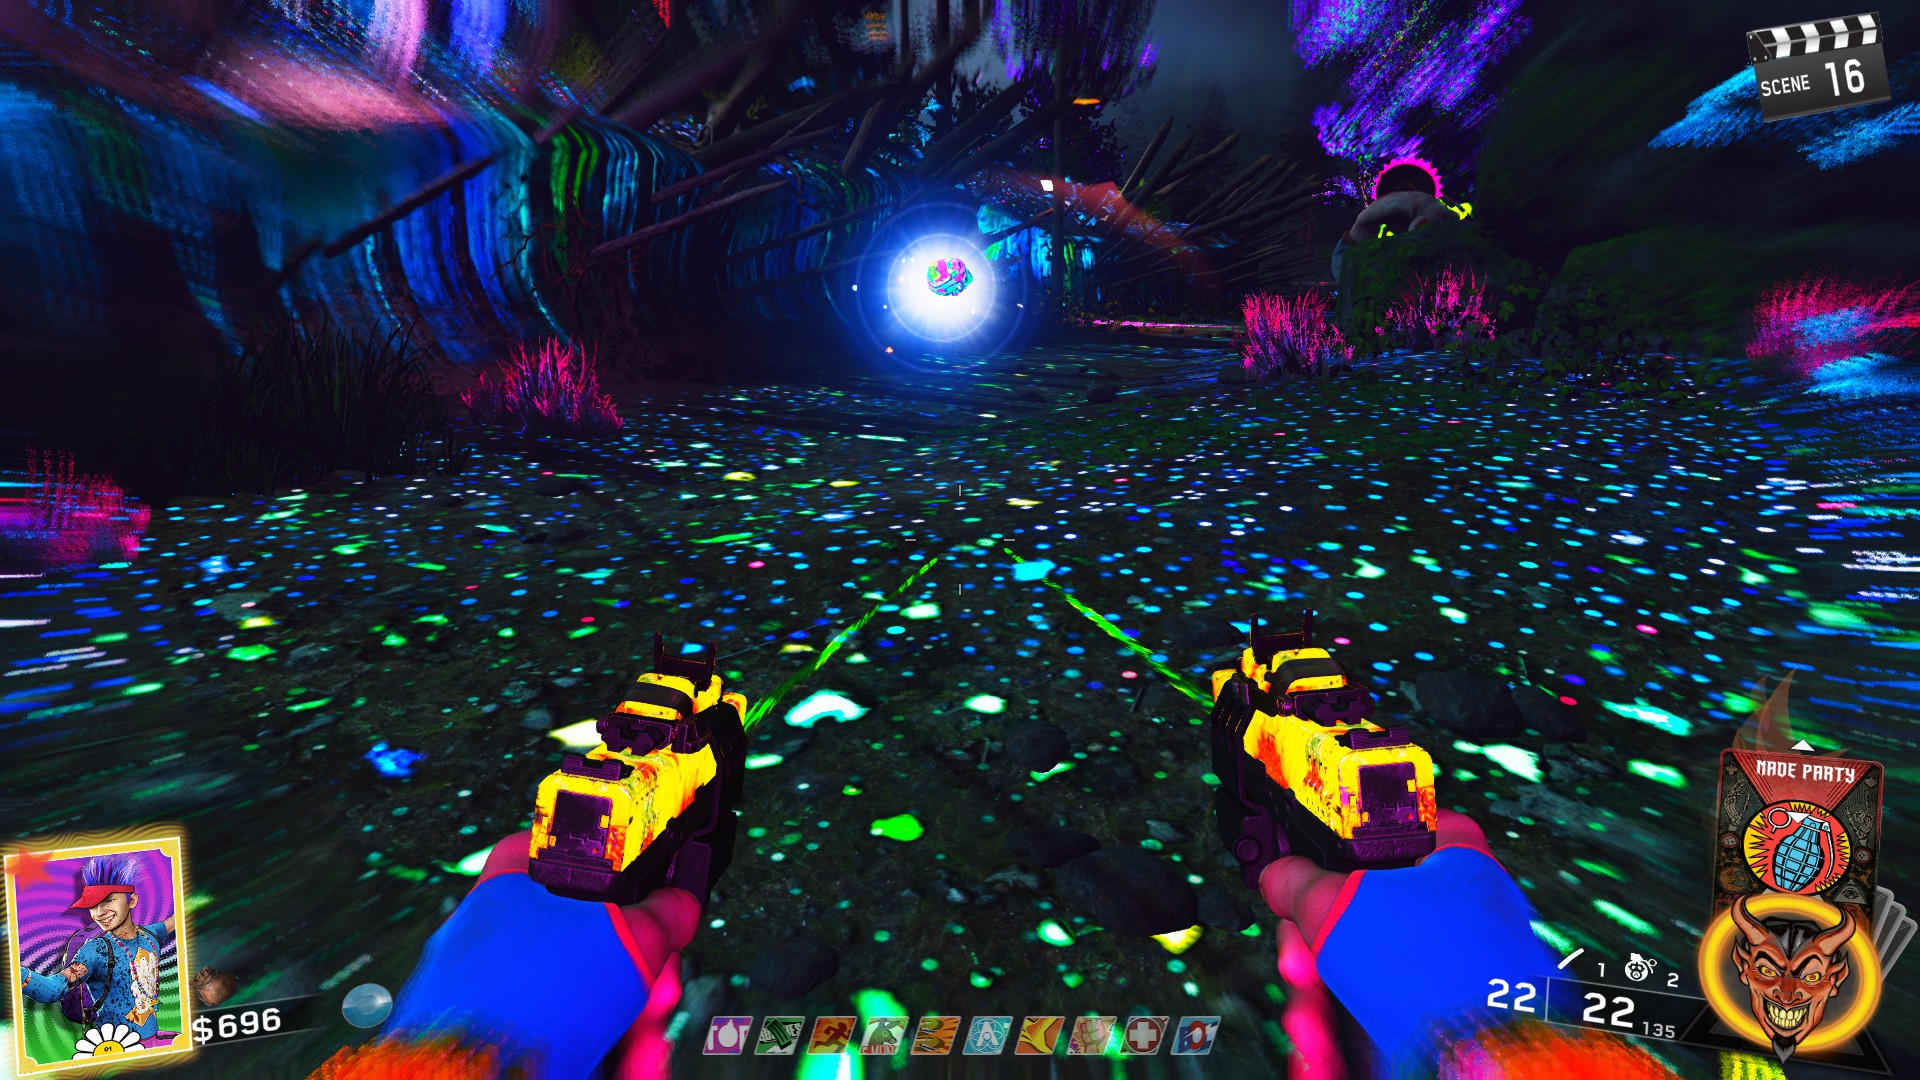
The first phase will require you to raise skulls on the island by killing zombies near the skull. The number of skulls on the island scales with the number of players in the game. In solo, it will be 2 skulls, and with 4 players its 4 skulls (This may be wrong, haven't done this easter egg 4 player in a long time).
Once you've kill enough zombies near a skull, it will light up a very bright light blue. You need to raise all skulls fairly quickly as if a skull is raised for too long without the other skulls being fully raised, it will begin to descend. This will make it to where you have to re-raise that skull. This especially becomes a problem in 4 player co-op since there's many skulls to raise.
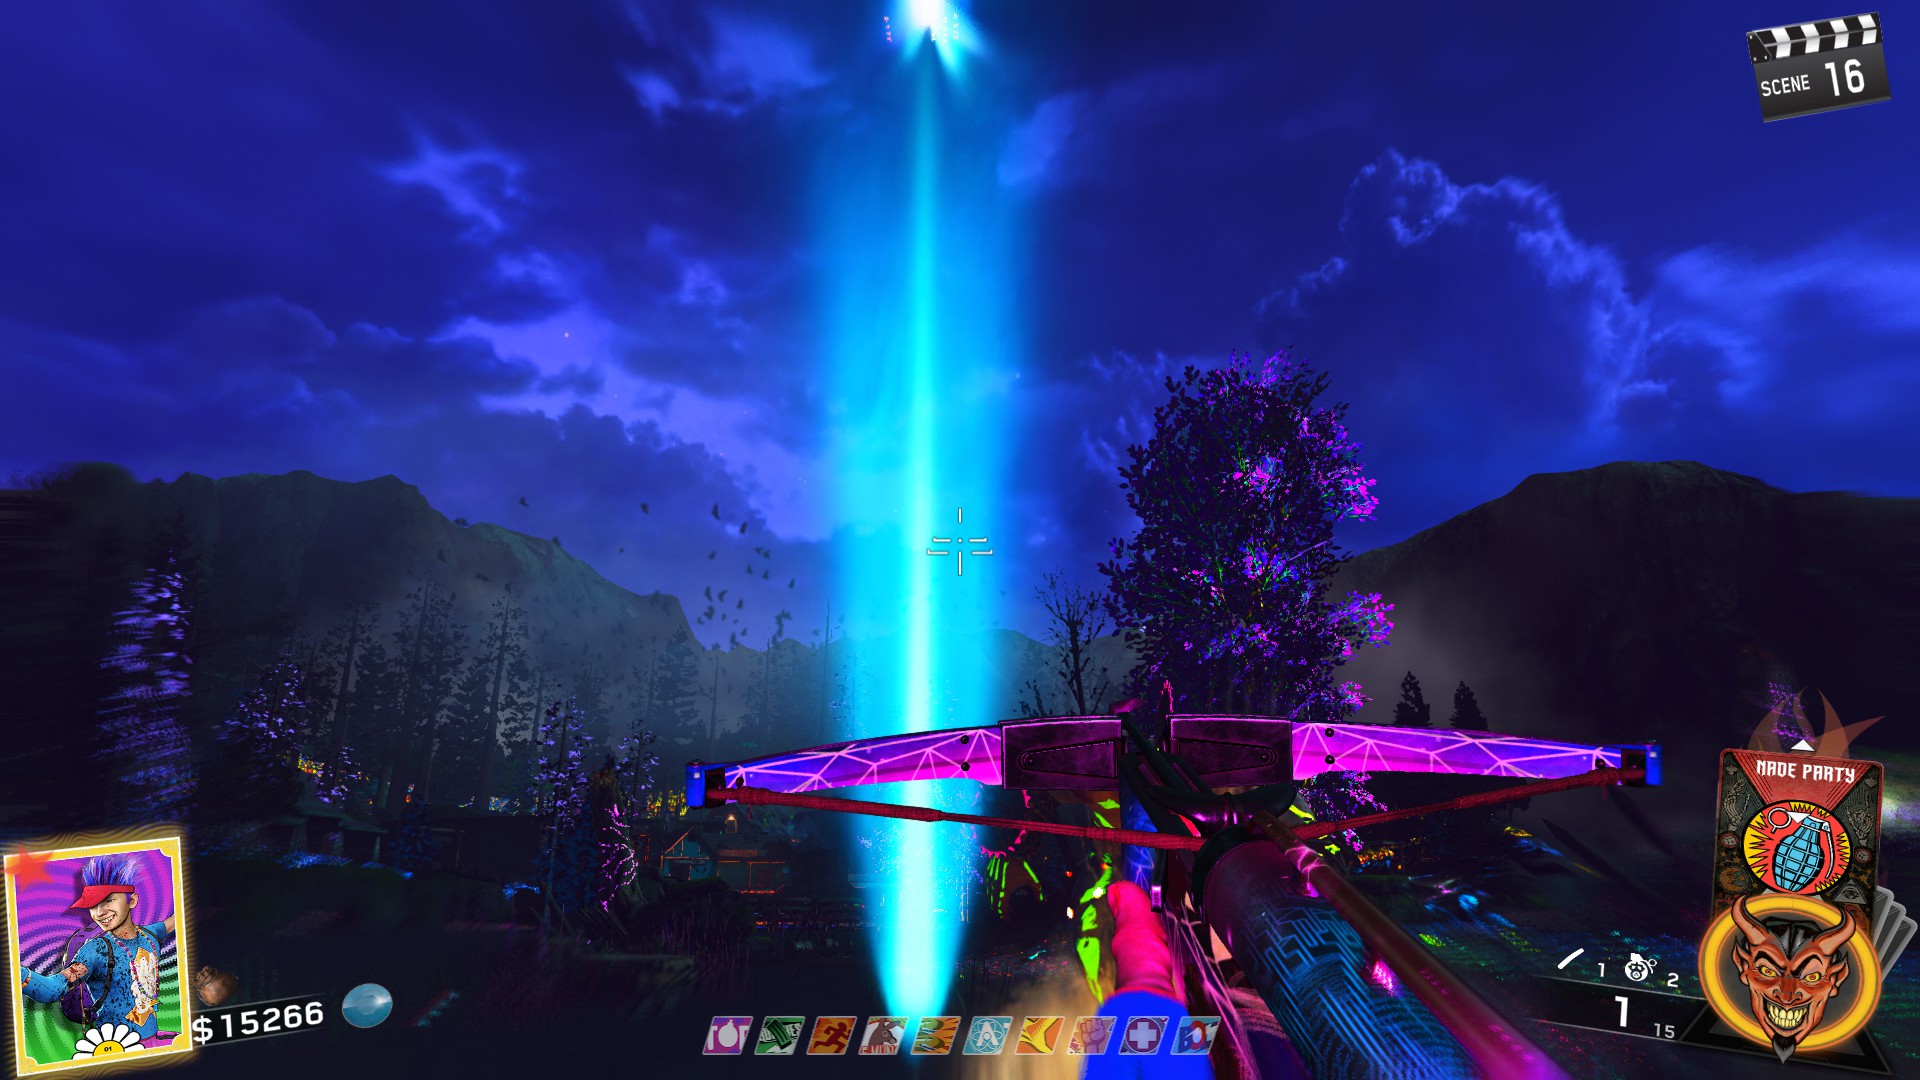
Finally, once all skulls have risen, a blue symbol will appear somewhere on the island. Lure the Super Slasher into the symbol and he will begin to freak out and a purple symbol will appear on his body. Shoot the symbol and he will begin the next phase.
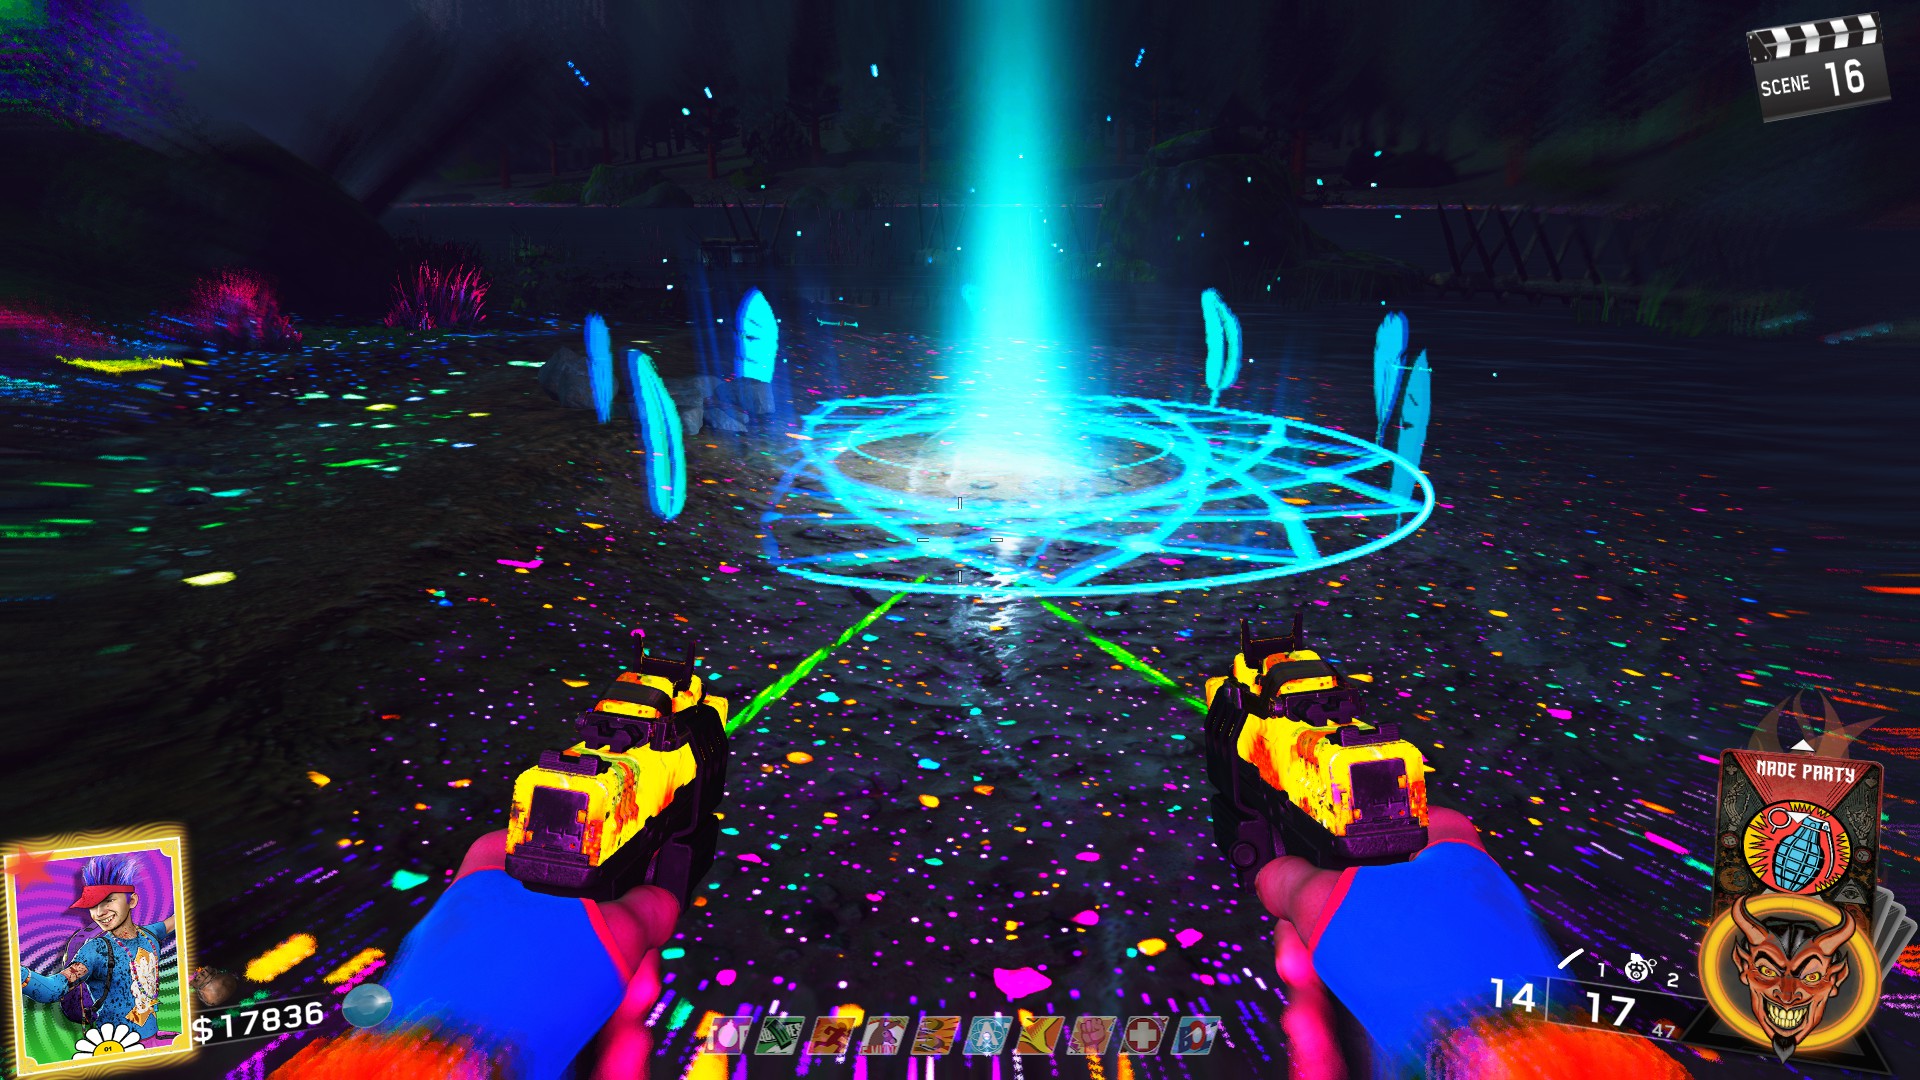
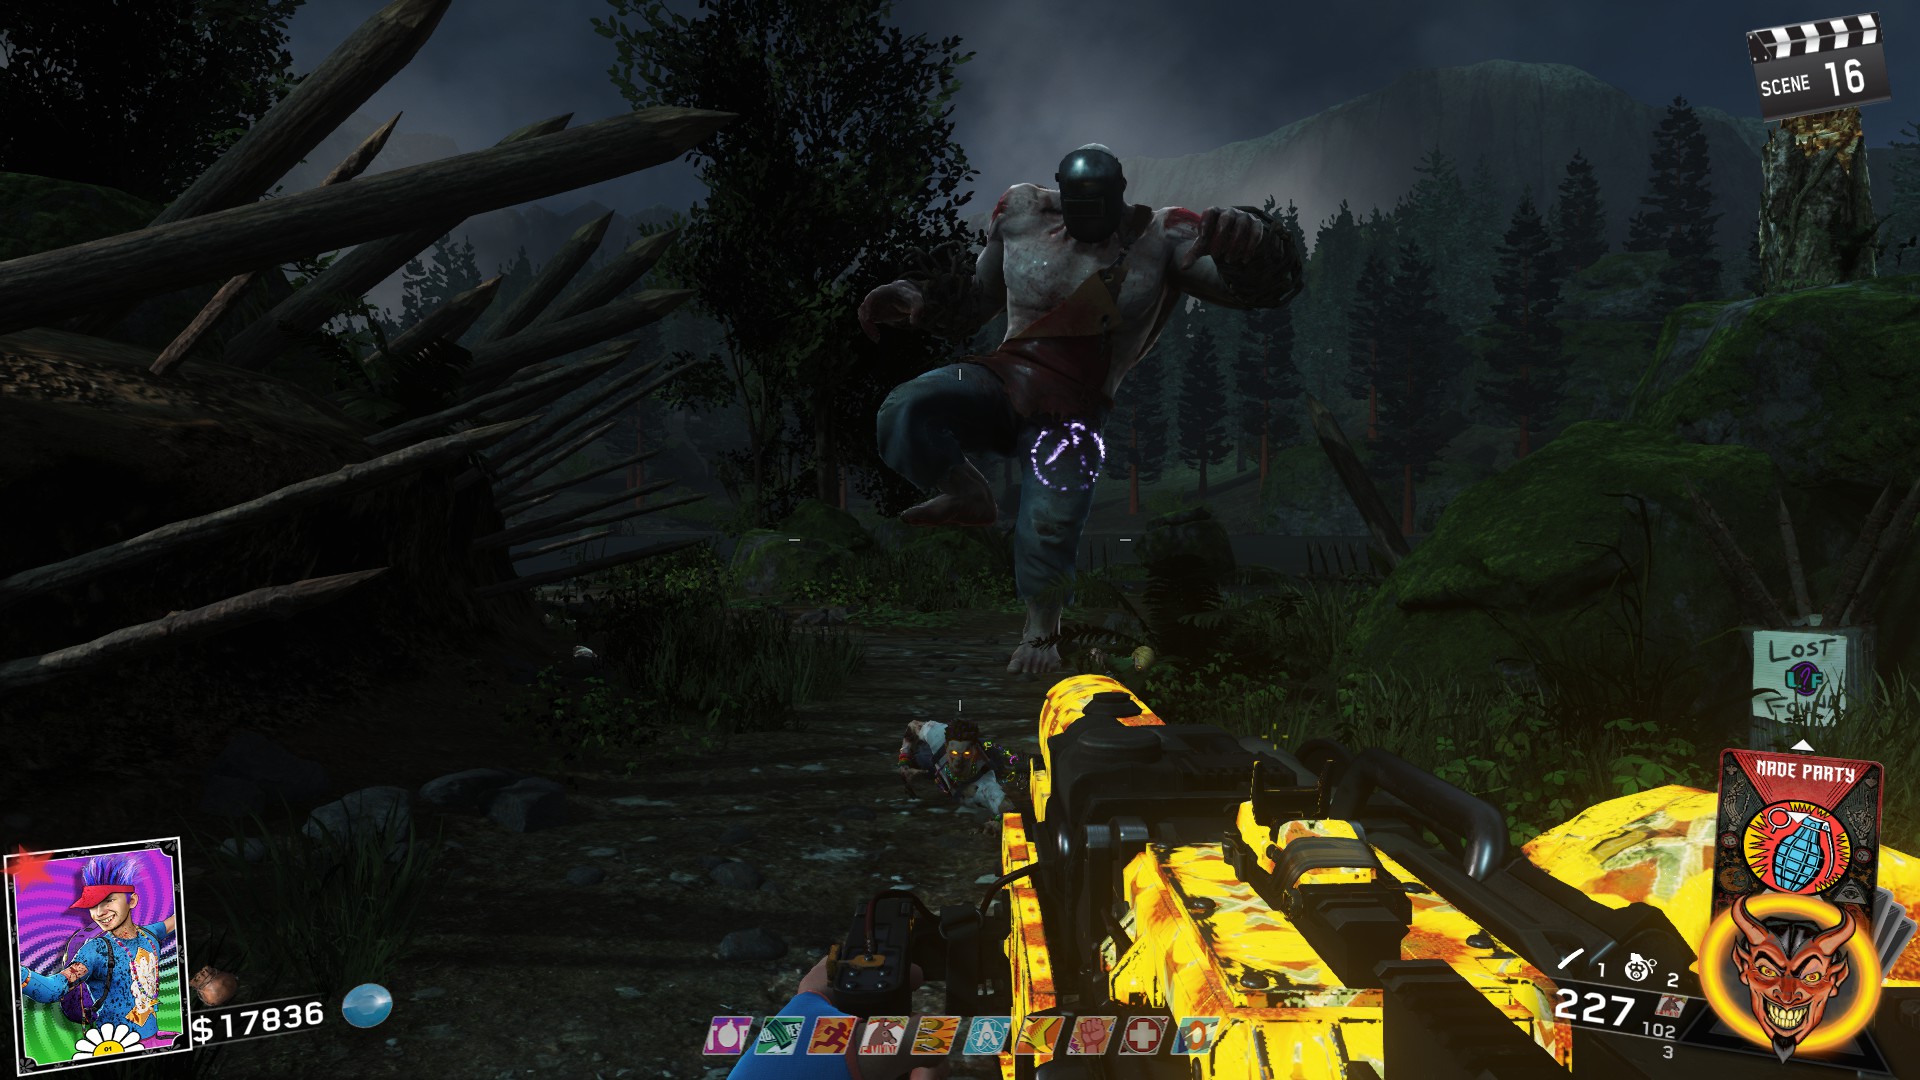
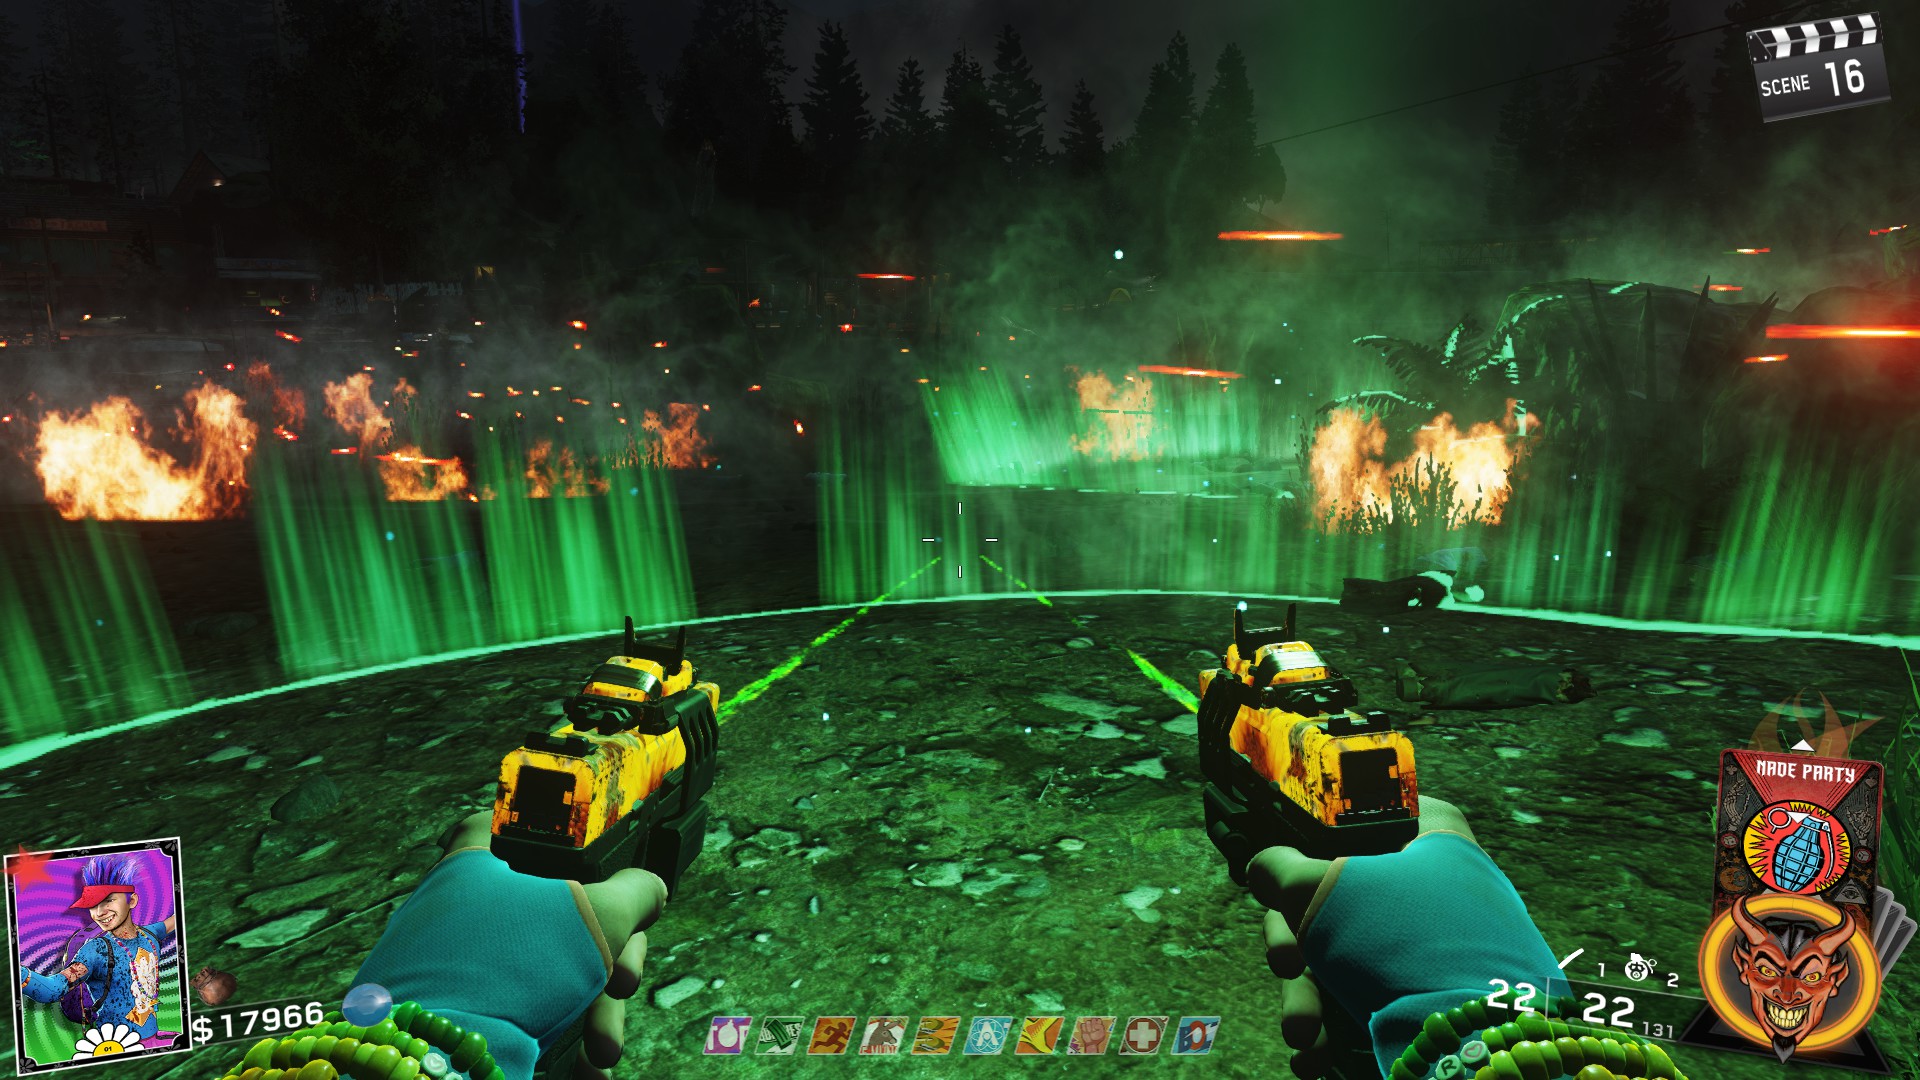
During this phase while standing in the circle, Skeleton zombies will appear which are a bit more beefy than the normal zombies. Use your crossbow here to easily get rid of them. If you are on the third loop, this phase is skipped and instead the damage phase begins. So you will only get this phase twice.
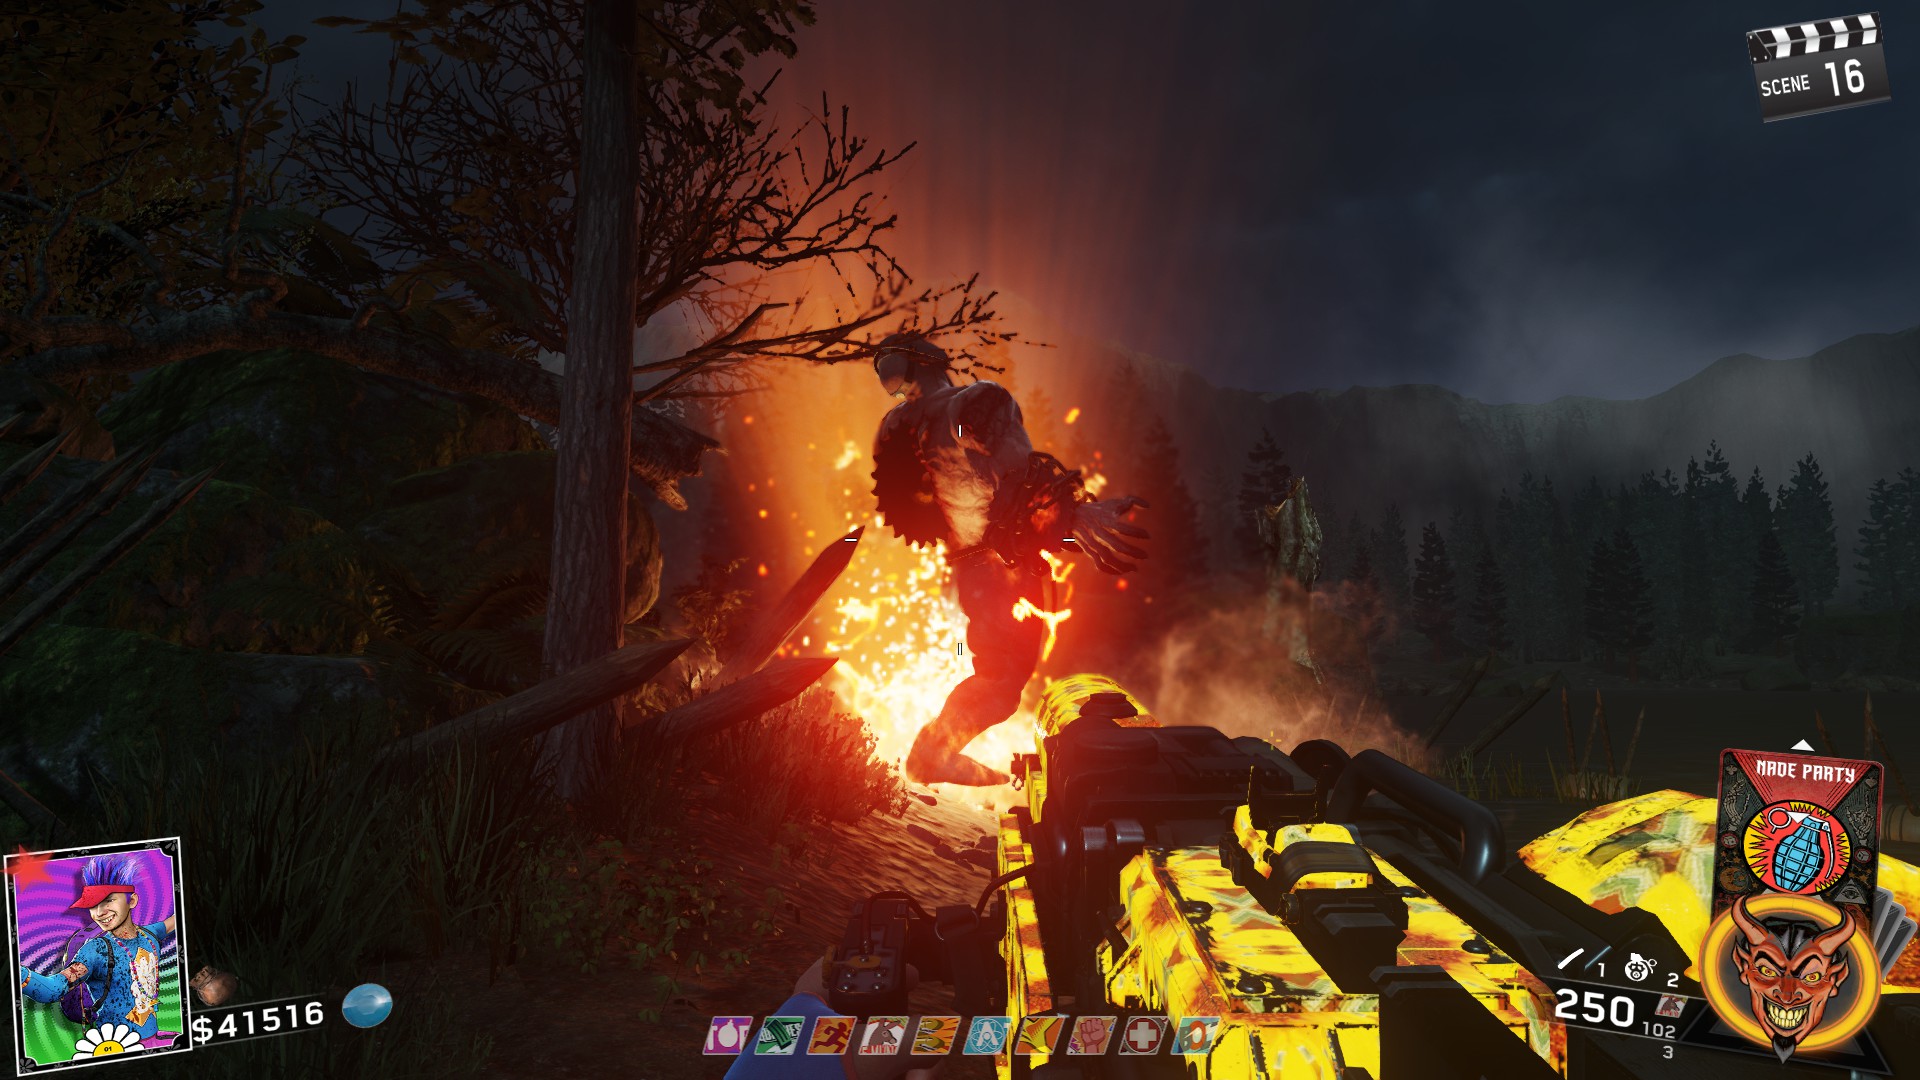
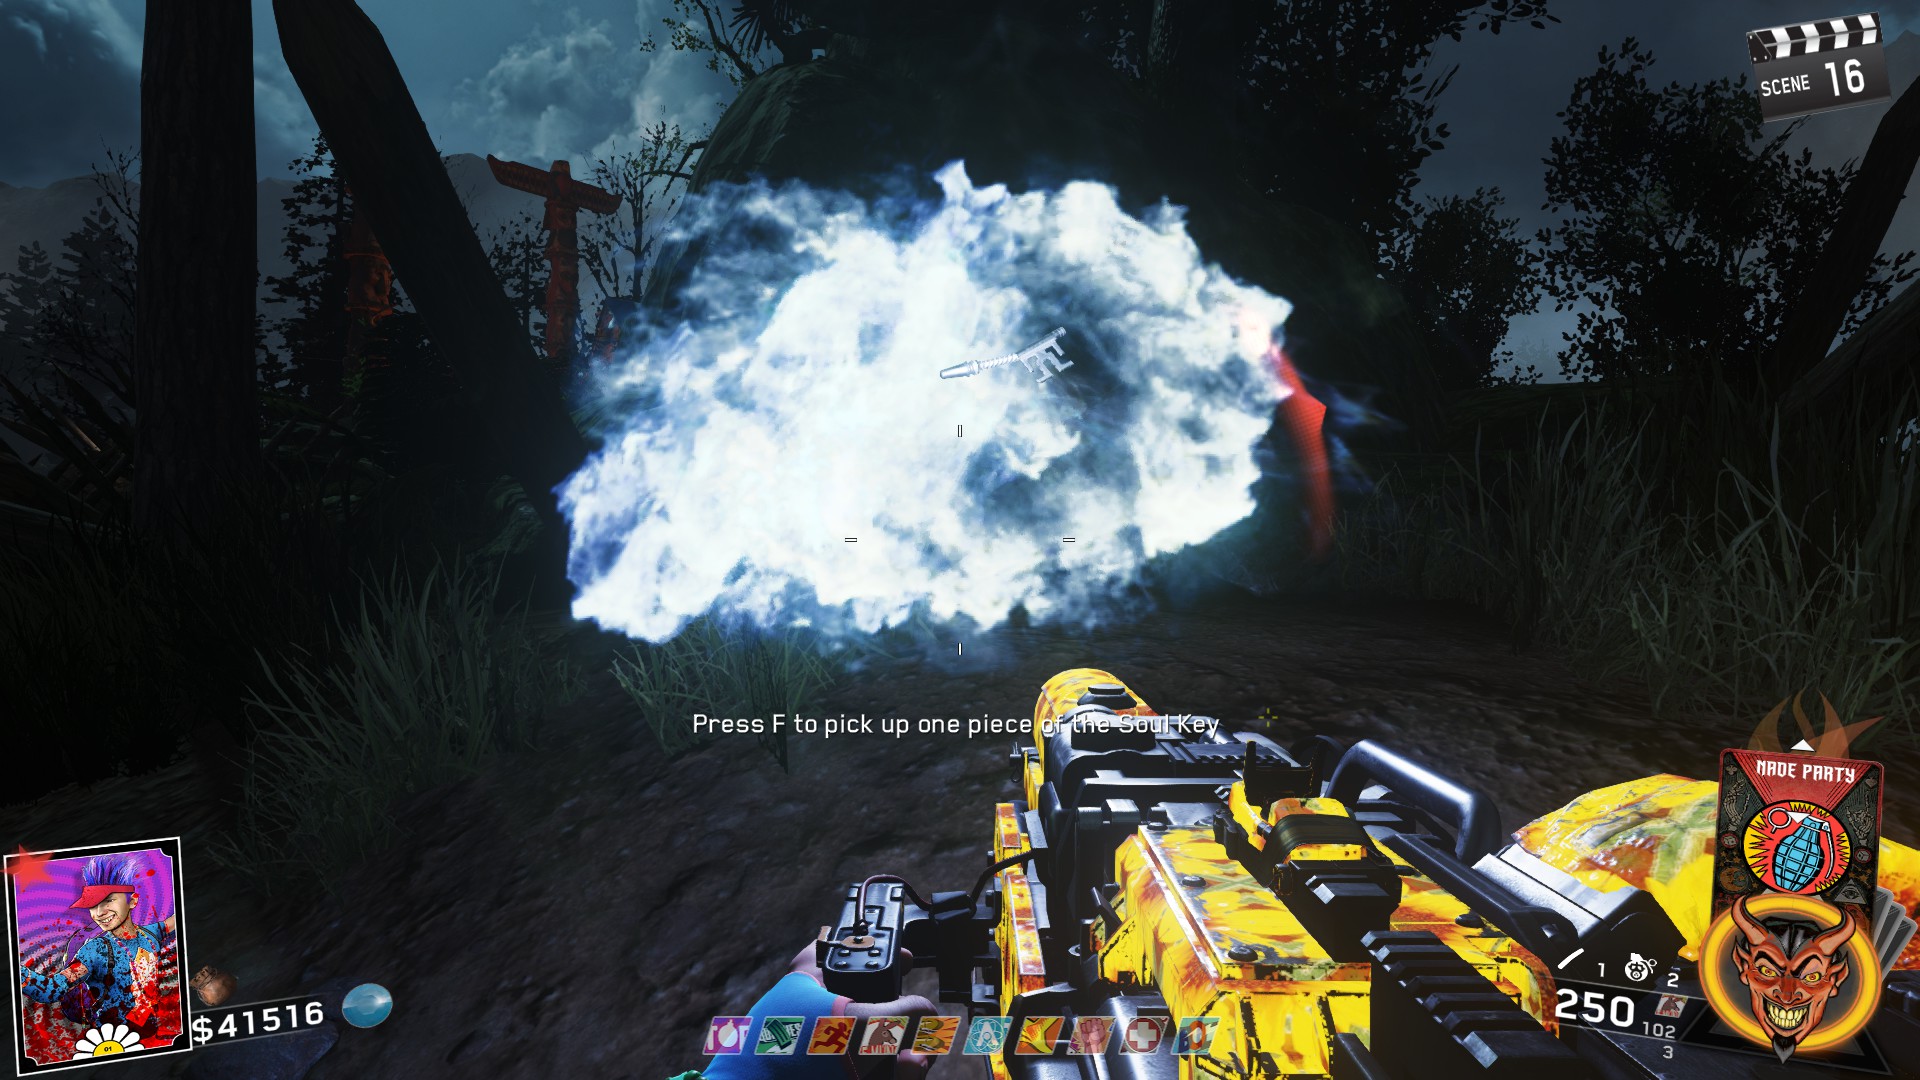
CONGRATS, YOU COMPLETED THE EASTER EGG!
How to Kill the Slasher
Note: This can only be completed once you have completed the Main Quest Easter Egg.
You can do this either in a new game or directly after you complete the Easter Egg.
Make your way to the power room and to the left of the table where you throw the knives at the zombie on the wheel, there will be the Smiley hanging from a bar. You can grab it for free
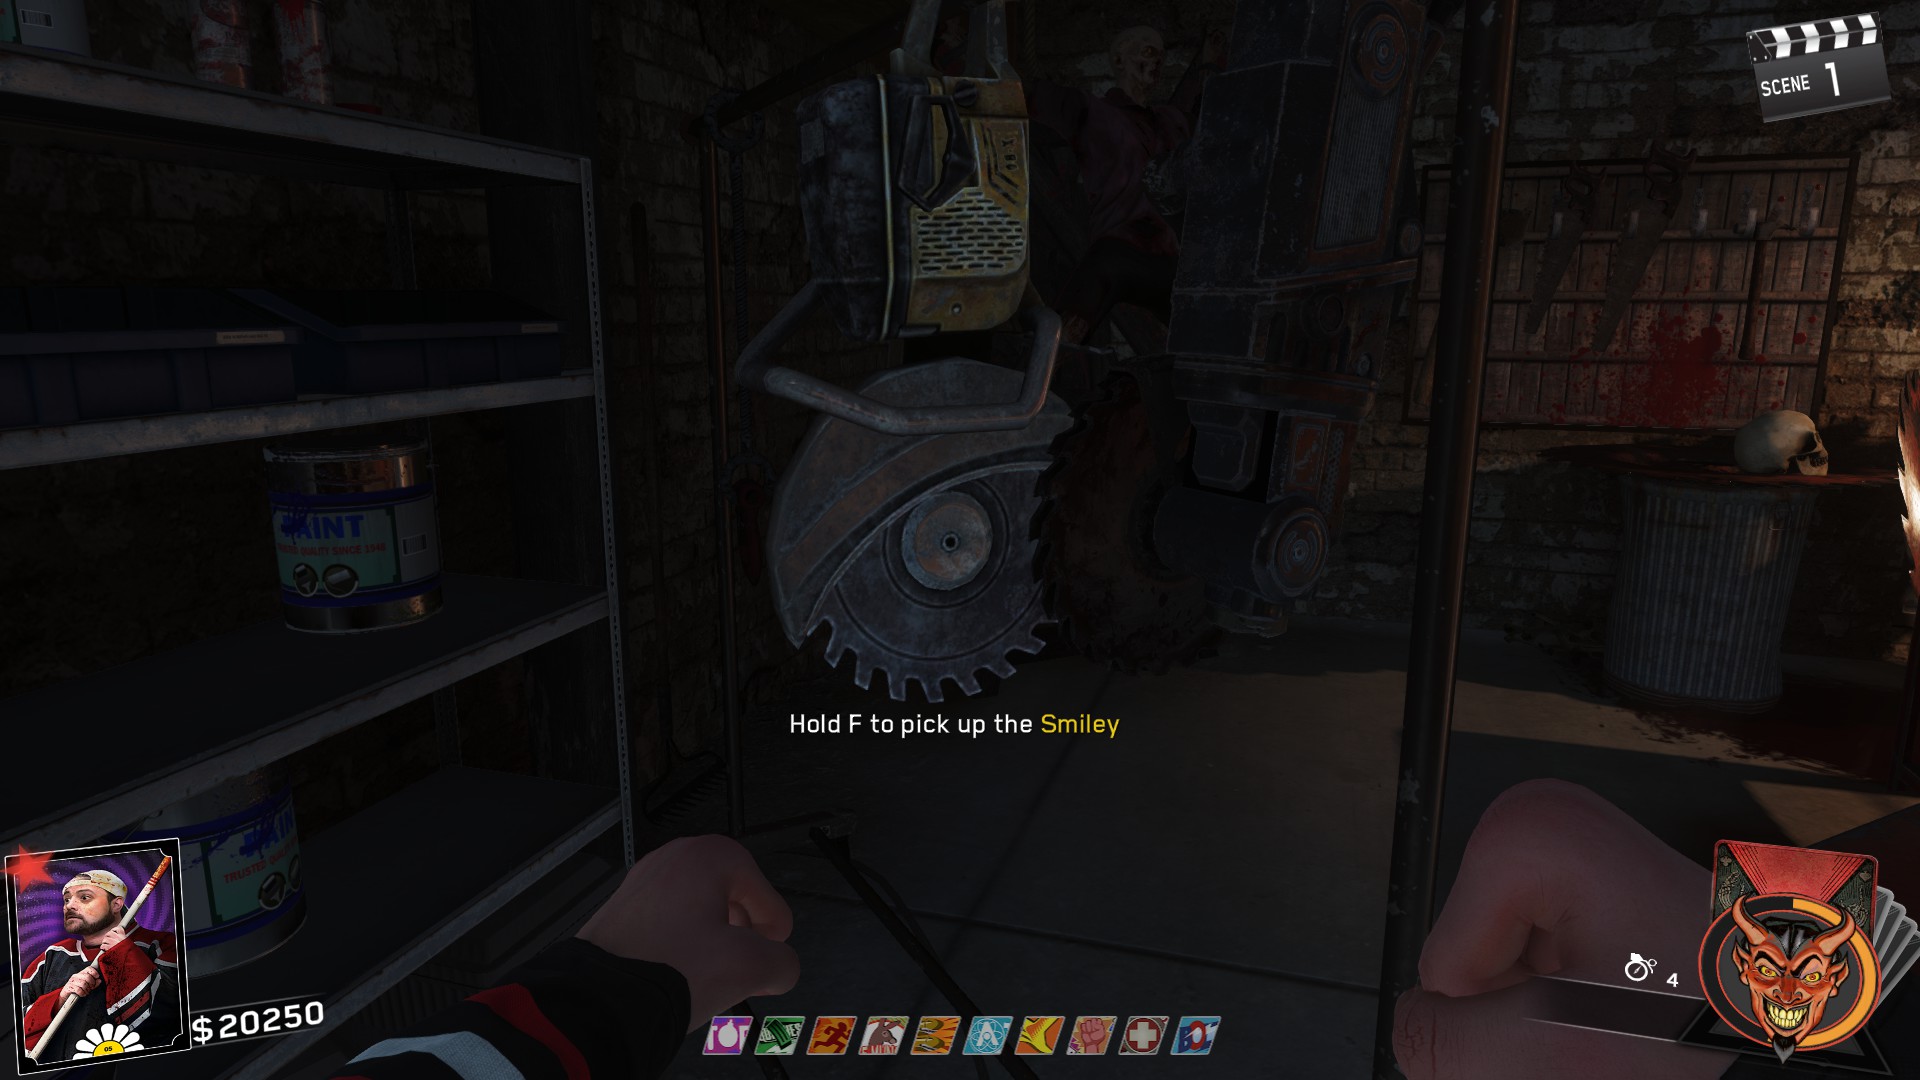
Once picked up, be on round 10 or higher and throw a pouch into the fire to go into Rave mode. The slasher will only spawn once you're at least round 10 or higher.
Use the right mouse button (the button you use for ADS if you're on controller) to pull the Smiley up and get the blade spinning and walk into the slasher with it. Be careful because the slasher can do a lot of damage quickly. Eventually, he'll sustain enough damage he disappears and you'll get the achievement "Tables Turned"
Below is a video of me killing the slasher for reference.
Music Easter Egg - Rave On Achievement
This music Easter Egg is actually fairly quick, but you'll need to turn on the power and also collect a pouch to be able to go into Rave mode (Delirium).
Once you have those two things, go into Rave mode at the Spawn (Using the fireplace to the left of the door that leads to the Mess Hall). Now you'll need to find a total of 10 glowing spots around the spawn building.
The spots never change, and you can use multiple rave pouches to get all of them, however, if you're quick enough, you'll be able to do it all in one rave pouch.
Below are the spots:
- Ceiling directly above the Fireplace where you entered rave
- Up the stairs of spawn, directly to the right before you enter through the doorway
- Under the wooden table to the left of the pool table
- Behind the bar that's to the right of the pool table
- Through the door to the balcony to the left of the pool table right above the doorway
- To the left of the door that leads to the Adventure Course, on a roof outside the playable area
- Under the desk where the computer is in spawn
- When you walk into the room where Tuff Nuff is, directly to the left behind some boxes
- To the left of where the boat piece spawns under the shelf in the wardrobe
- To the left of the Tuff Nuff machine between some cabinets.
For reference, since some of these locations are a bit hard to describe, here's a video of my route that I took in my game to get all the symbols in one rave pouch.
Ghost N' Skulls 2 - Perkaholic Easter Egg
https://steamcommunity.com/sharedfiles/filedetails/?id=2998542421
Kevin Smith - Character Code

So I hope this looks better than the wall of text that I had here. Plan on doing this for each map, but for now, here's my new setup for the character codes
Kevin has some pretty interesting dialogue when you complete the easter egg as him.
Conclusion and Links to Other Guides
Hopefully this will be all the information you'll need to succeed and do everything on the map. To be honest, this isn't really my favorite map. However, I wanted to make guides for all the maps, and hopefully I've done this one justice. If I did, let me know in the comments or if you think I didn't tell me what I should add!
Hub that contains links to all my guides for IW Zombies
https://steamcommunity.com/sharedfiles/filedetails/?id=2999527656
https://steamcommunity.com/sharedfiles/filedetails/?id=2462403426
https://steamcommunity.com/sharedfiles/filedetails/?id=2609015706
https://steamcommunity.com/sharedfiles/filedetails/?id=2711831705
https://steamcommunity.com/sharedfiles/filedetails/?id=2998590075
https://steamcommunity.com/sharedfiles/filedetails/?id=2698926204
- ALL YOU NEED GUIDE TO ZOMBIES IN SPACELAND★ 5 (522)21k views1.4k ♥29 minUpdated 31 May
- THE ULTIMATE ZOMBIES IN SPACELAND GUIDE!★ 5 (391)17k views587 ♥13 minUpdated 4 Jan, 2017
- ALL YOU NEED GUIDE - CHARACTER CODES★ 5 (245)16k views600 ♥1 minUpdated 24 Apr
- !!! IW7 Install Guide !!!★ 4 (42)12k views159 ♥3 minUpdated 30 Aug, 2024
- ALL YOU NEED GUIDE TO SHAOLIN SHUFFLE★ 5 (265)12k views861 ♥21 minUpdated 23 May
- ALL YOU NEED GUIDE TO ATTACK OF THE RADIOACTIVE THING★ 5 (215)10k views677 ♥23 minUpdated 31 May




- Upgrading to PremiumTeam Fortress 2★ 5 (20k)1441k views11k ♥6 minUpdated May 11, 2022
- No More Room in Hell Official ManualNo More Room in Hell★ 5 (2.8k)569k views2.1k ♥29 minUpdated Apr 22, 2019
- NMRiH Community Hosting GuidesNo More Room in Hell★ 5 (526)351k views653 ♥1 minUpdated Aug 10, 2022
- How to 'Git Gud' Soon™MORDHAU★ 5 (2k)318k views3k ♥68 minUpdated Nov 16, 2024
- Лучшие кооперативные игры SteamPAYDAY 2★ 5 (1.5k)315k views2.1k ♥56 minRussianUpdated Apr 27, 2025
- Desert Eagle Heat Treated | Blue GemCounter-Strike 2★ 5 (1.6k)293k views1.5k ♥2 minUpdated Jan 16





This guide was created by its original author on the Steam Community. Are you the author and want it removed? Request removal.