ALL YOU NEED GUIDE TO ZOMBIES IN SPACELAND
Introduction
The guide is comprehensive as possible, although there may be some things that I miss.

Majority of the guide is following the Sticker Pack. So therefore, completing N31L, Weapons of Rock, Main Quest, and the X-Quisite Core will grant you the "Sticker Collector", "Batteries Not Included", "Sooooul Key", "Hoff the Charts!" and the "Rock On!" achievements.
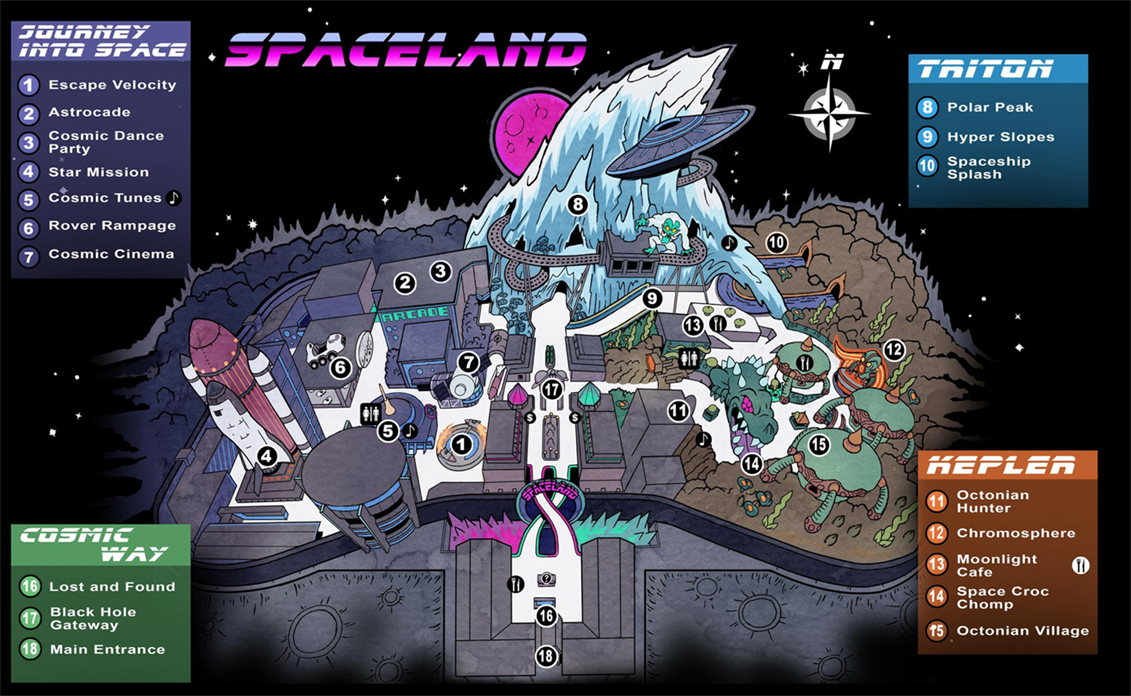
Below is a map of Spaceland that I'll reference a few times throughout the guide.
Join the Community

https://infinitewarfarecommunity.com

https://discord.com/invite/FycARMT2YR
Power & Pack a Punch
Power and Pack a Punch can be done together and will save you a lot of hassle in the long run if right after you flip one of the switches, go through the portal nearby.
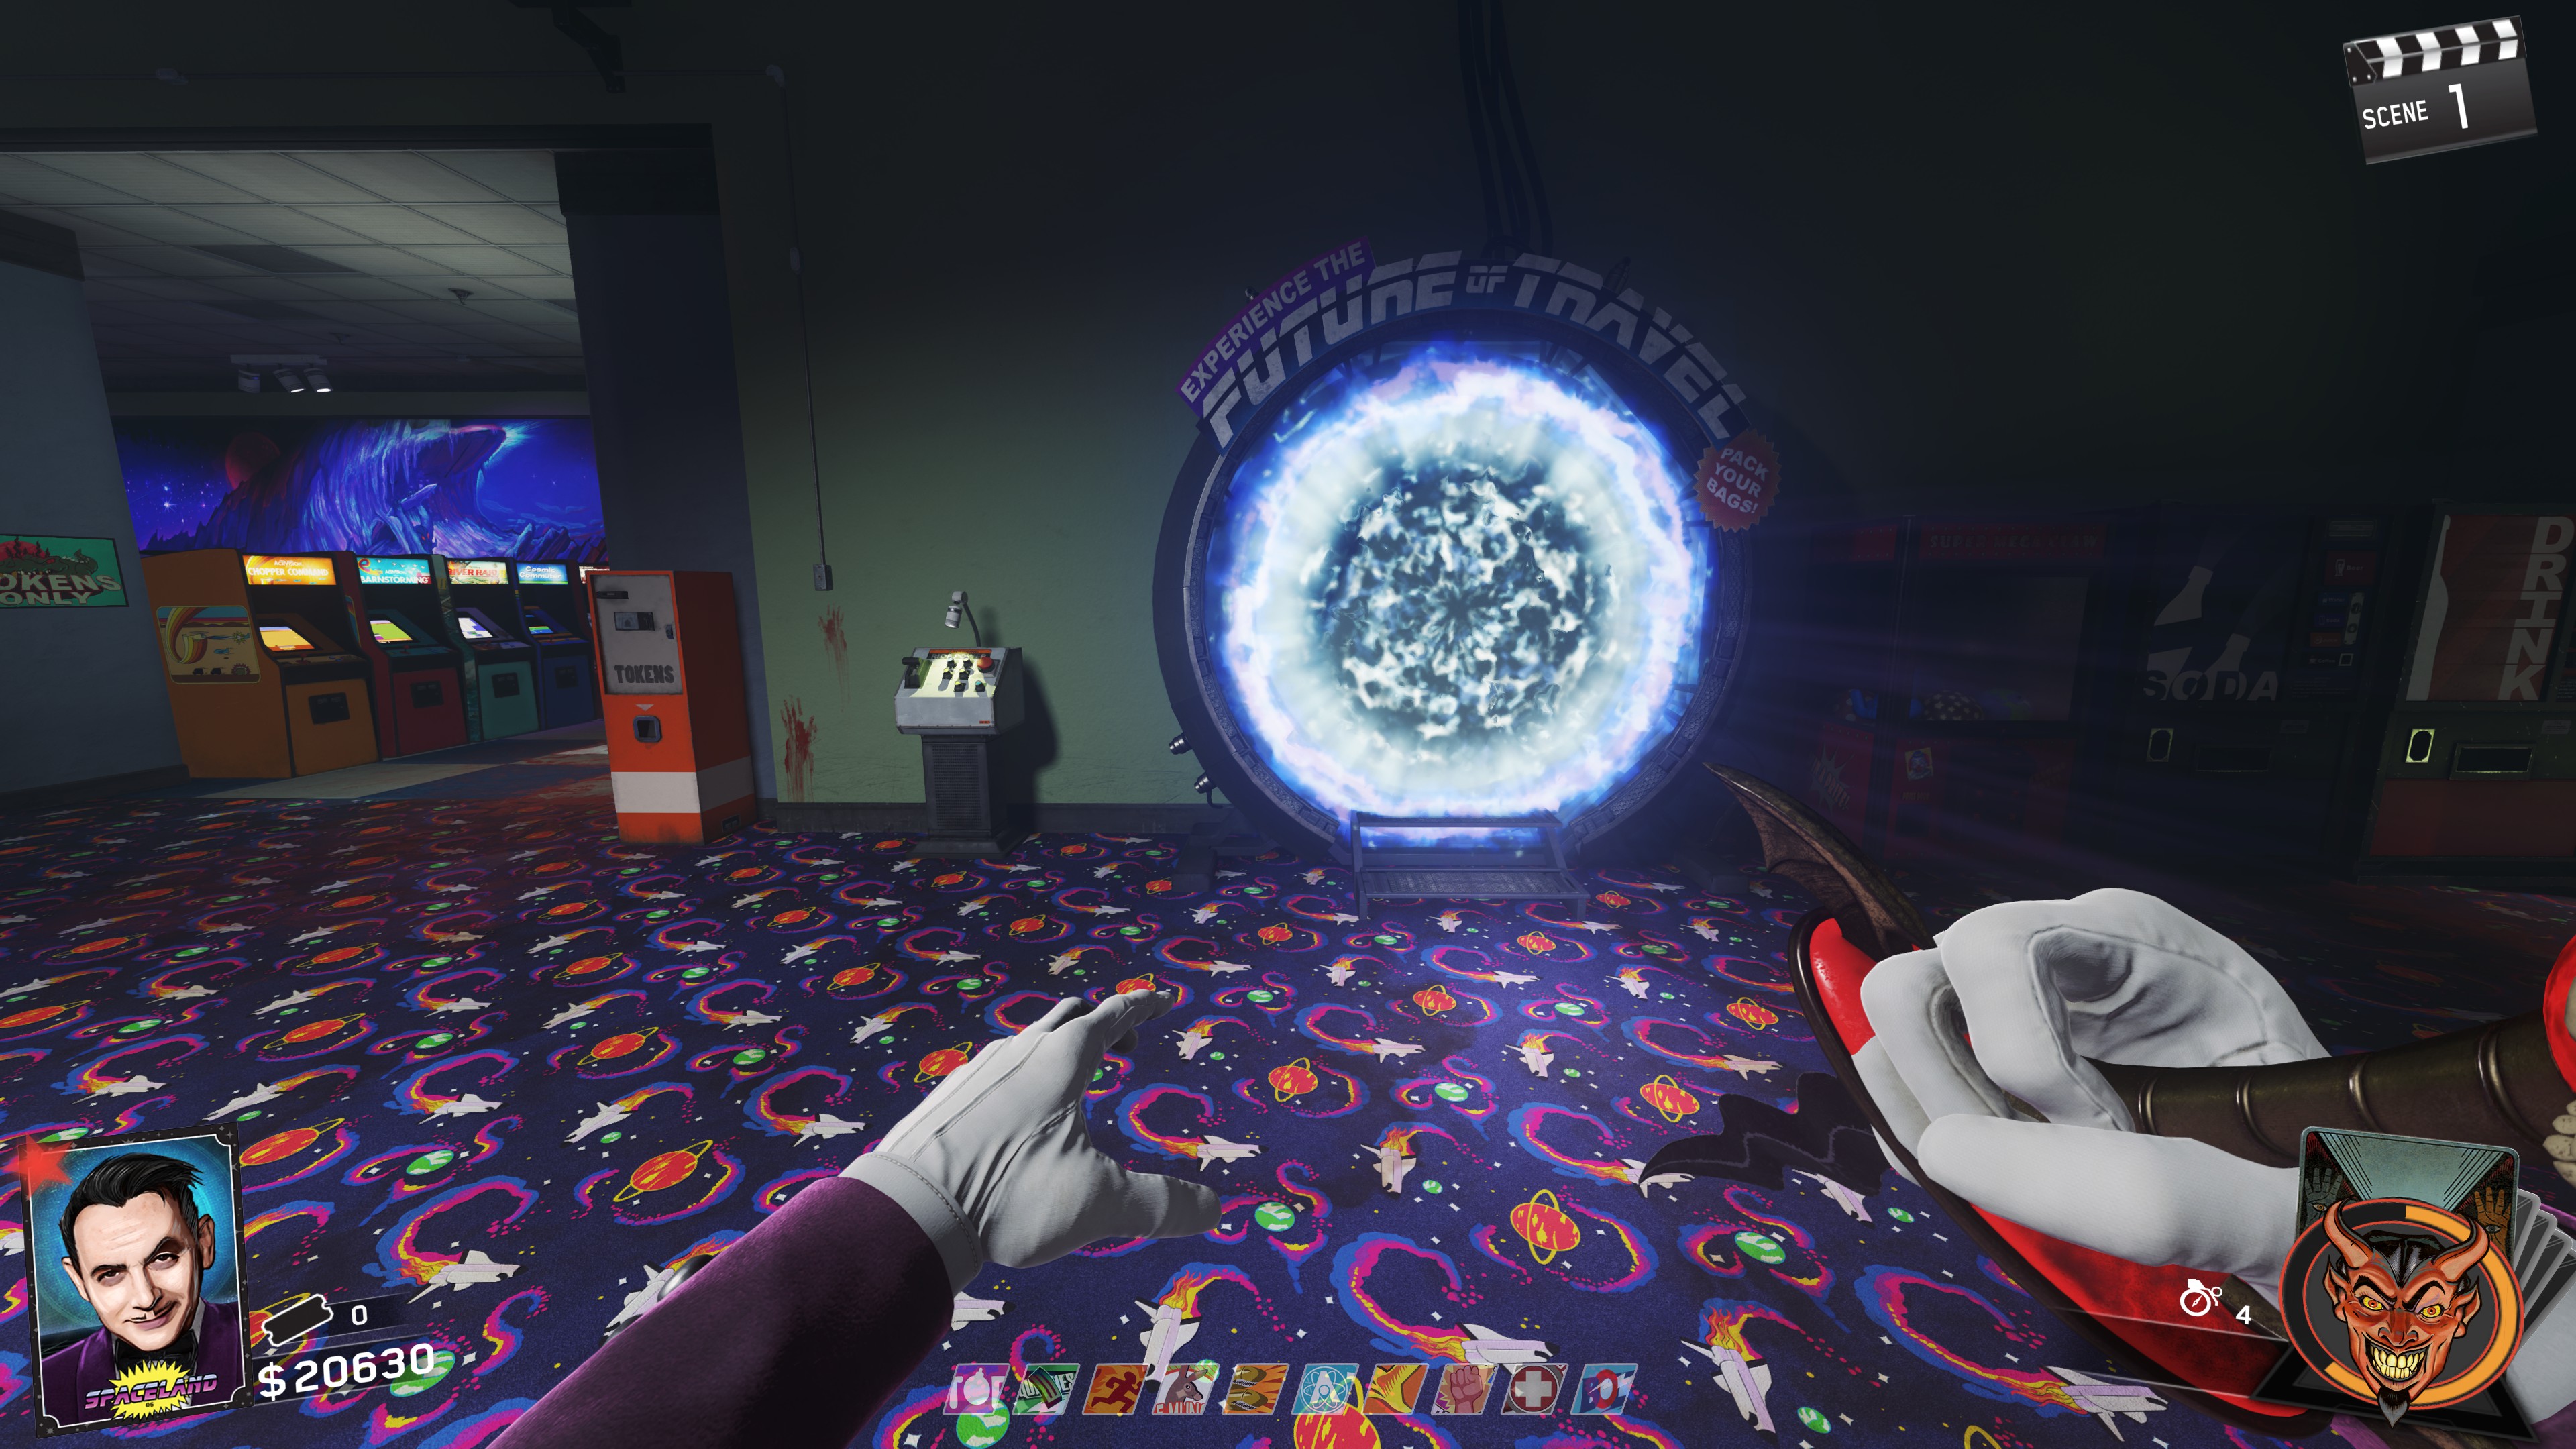
There are 5 Power Switches and 4 Portals. After a portal has been entered at least once, the lights above the big portal frame right outside of spawn [Cosmic Way] will update. Yellow indicating that the portal has not been entered, and Blue meaning the portal has been entered. Once all portals have been entered, each light above the Cosmic Way portal will be blue and the portal can be entered, which takes you to Pack a Punch.
NOTE: Double Pack is not available on this map until the player has either completed the Main Quest Easter Egg or loads the game in Directors Cut.
- In spawn, to the right of Lost and Found in the small room.
- In Journey Into Space in the hallway between Rover Rampage(Bumper Cars) and the Star Mission trap
- In Kepler at the Moonlight Cafe.
- In Polar Peak opposite the Quickies perk, near the entrance roller coaster ride.
- In the Astrocade directly next to the Portal on the bottom floor.
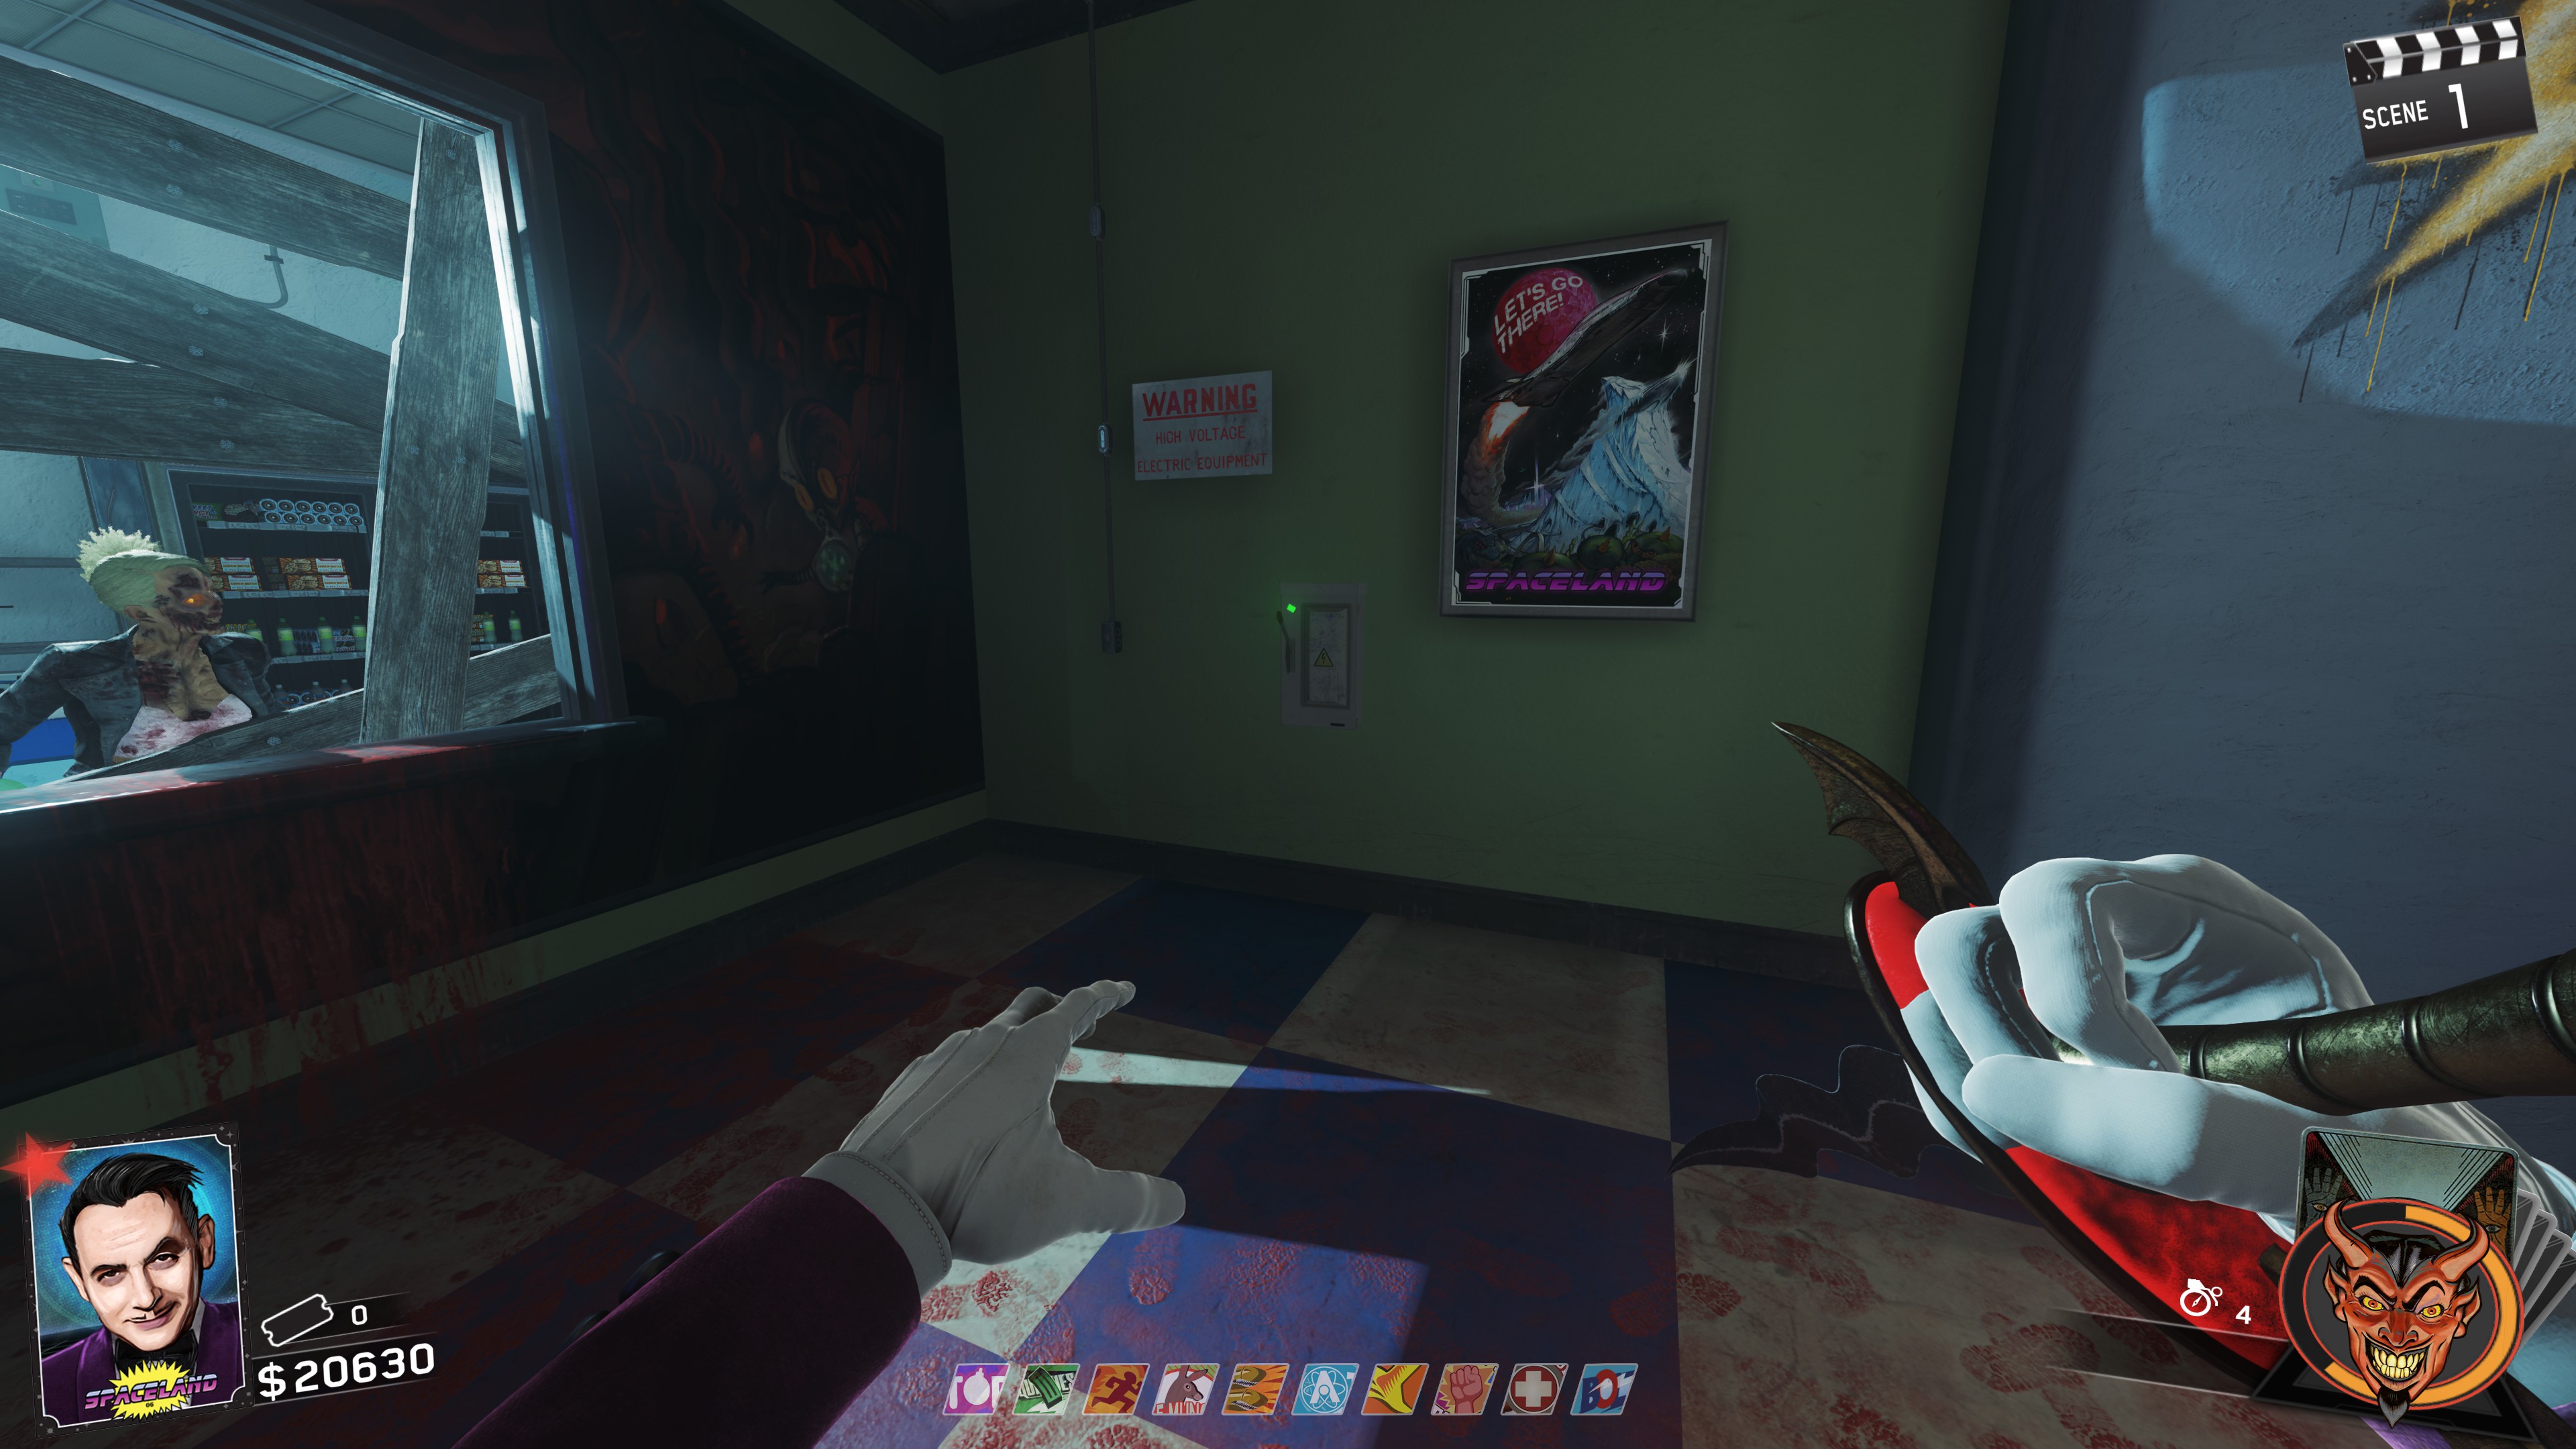
- In Journey Into Space behind the Cosmic Tunes booth. The Volk Assault Rifle wallbuy is also near by.
- In Kepler down the stairs from the Power Switch in Moonlight Cafe
- In Polar Peak in a corner in the Gift Shop
- Astrocade directly next to the Power Switch.
Souvenir Machine Combinations


NOTE: The rewards marked Special Item* can only be gotten from certain machines in the map and are used to build the wonder weapons. Look at the "Weapons of Rock" sections.
Weapons of Rock & X-Quisite Core(Setup)
- Battery
- Toy
- Elemental Shard
Keep in mind that you will need to get the Golden Teeth, which can be obtained from the Arcade Prize Counter for 300 Tickets.
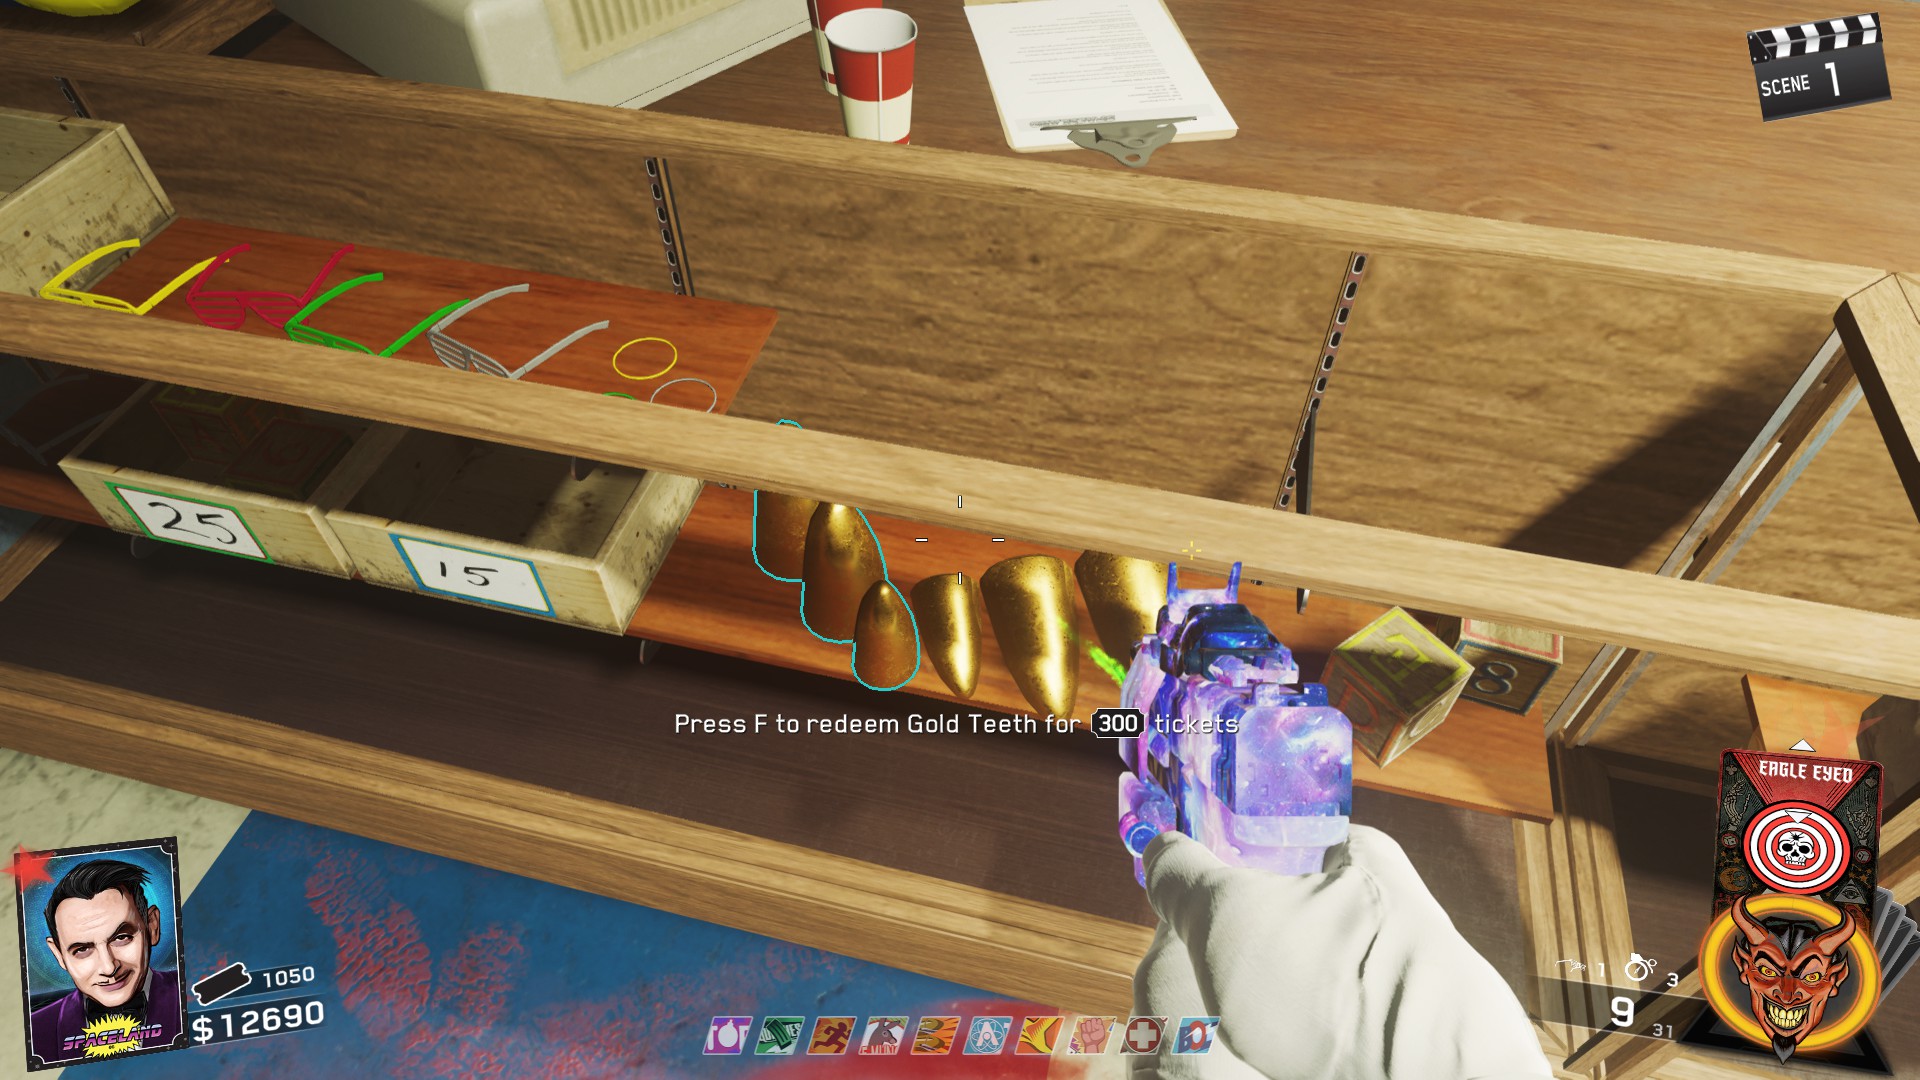
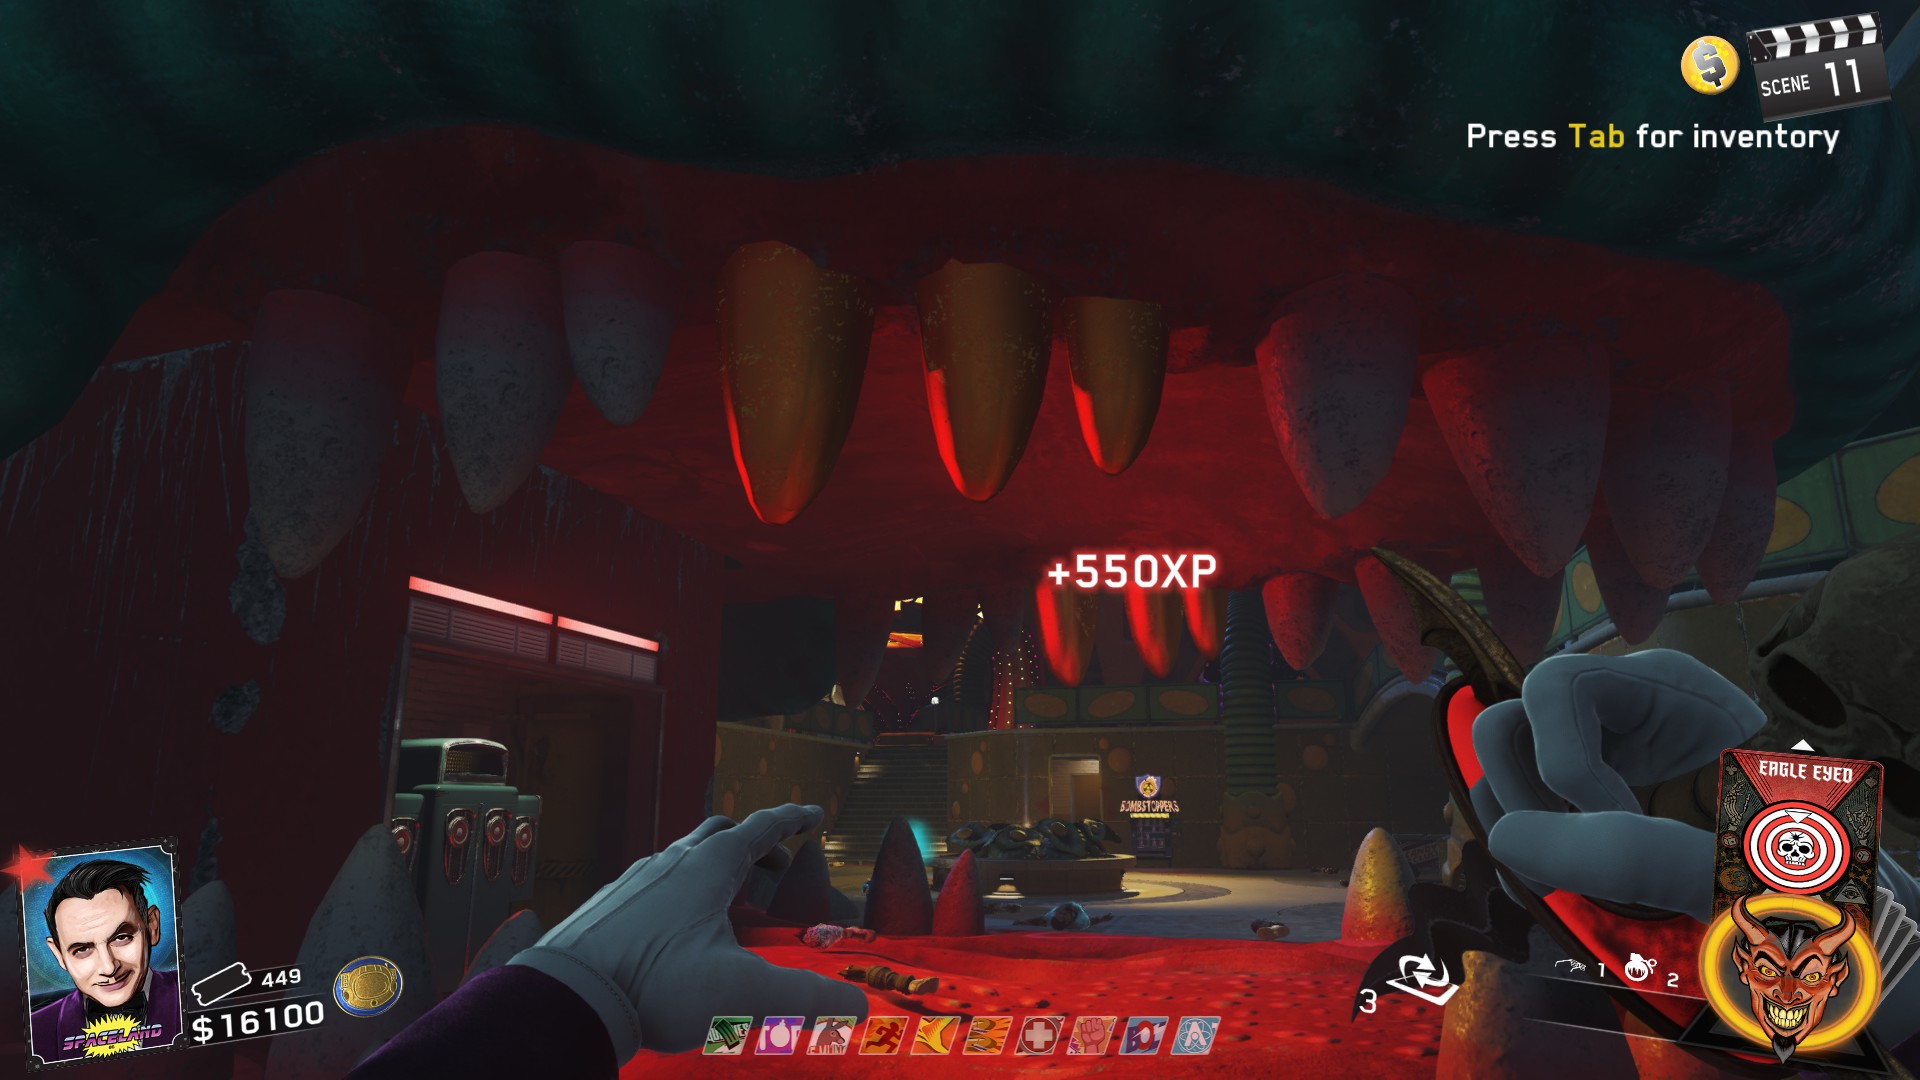
These Teeth can be placed on the Space Croc Chomp, but you need to have a Brute smash the teeth first by getting the Croc to smash down when the Brute is in the mouth. View the video below for reference.
Placing the Golden Teeth will reveal a device that contains the shards for the wonder weapons.
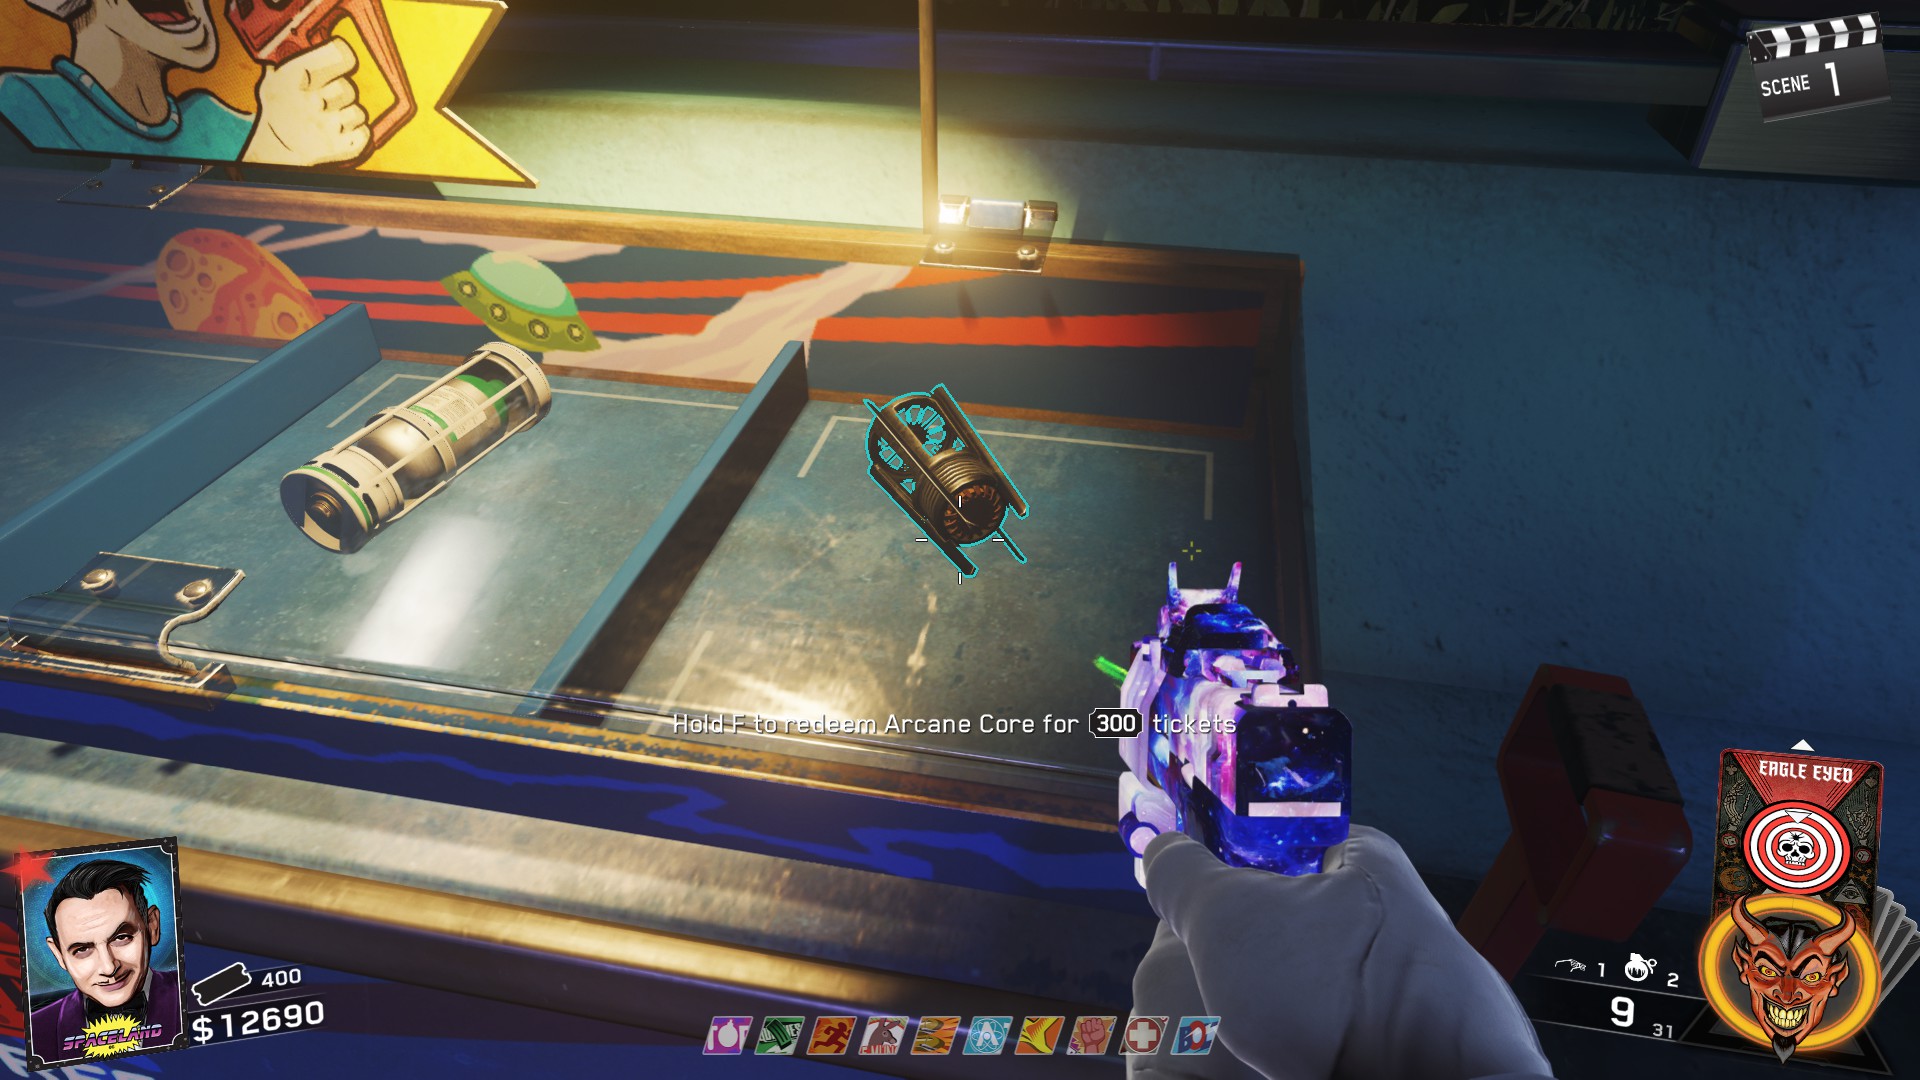
You'll Also need to purchase an Arcane Core for 300 Tickets at one of the carts around the map. I got mine outside of the Astrocade. I'd suggest getting it on the Kendall 44.
Finally, you'll need to head into the Pack a Punch room and in the back left corner, interact with the UFOs to send them through the portal.
With all that set in place, you can finally begin working on getting the wonder weapons.
Head Cutter - Weapons of Rock
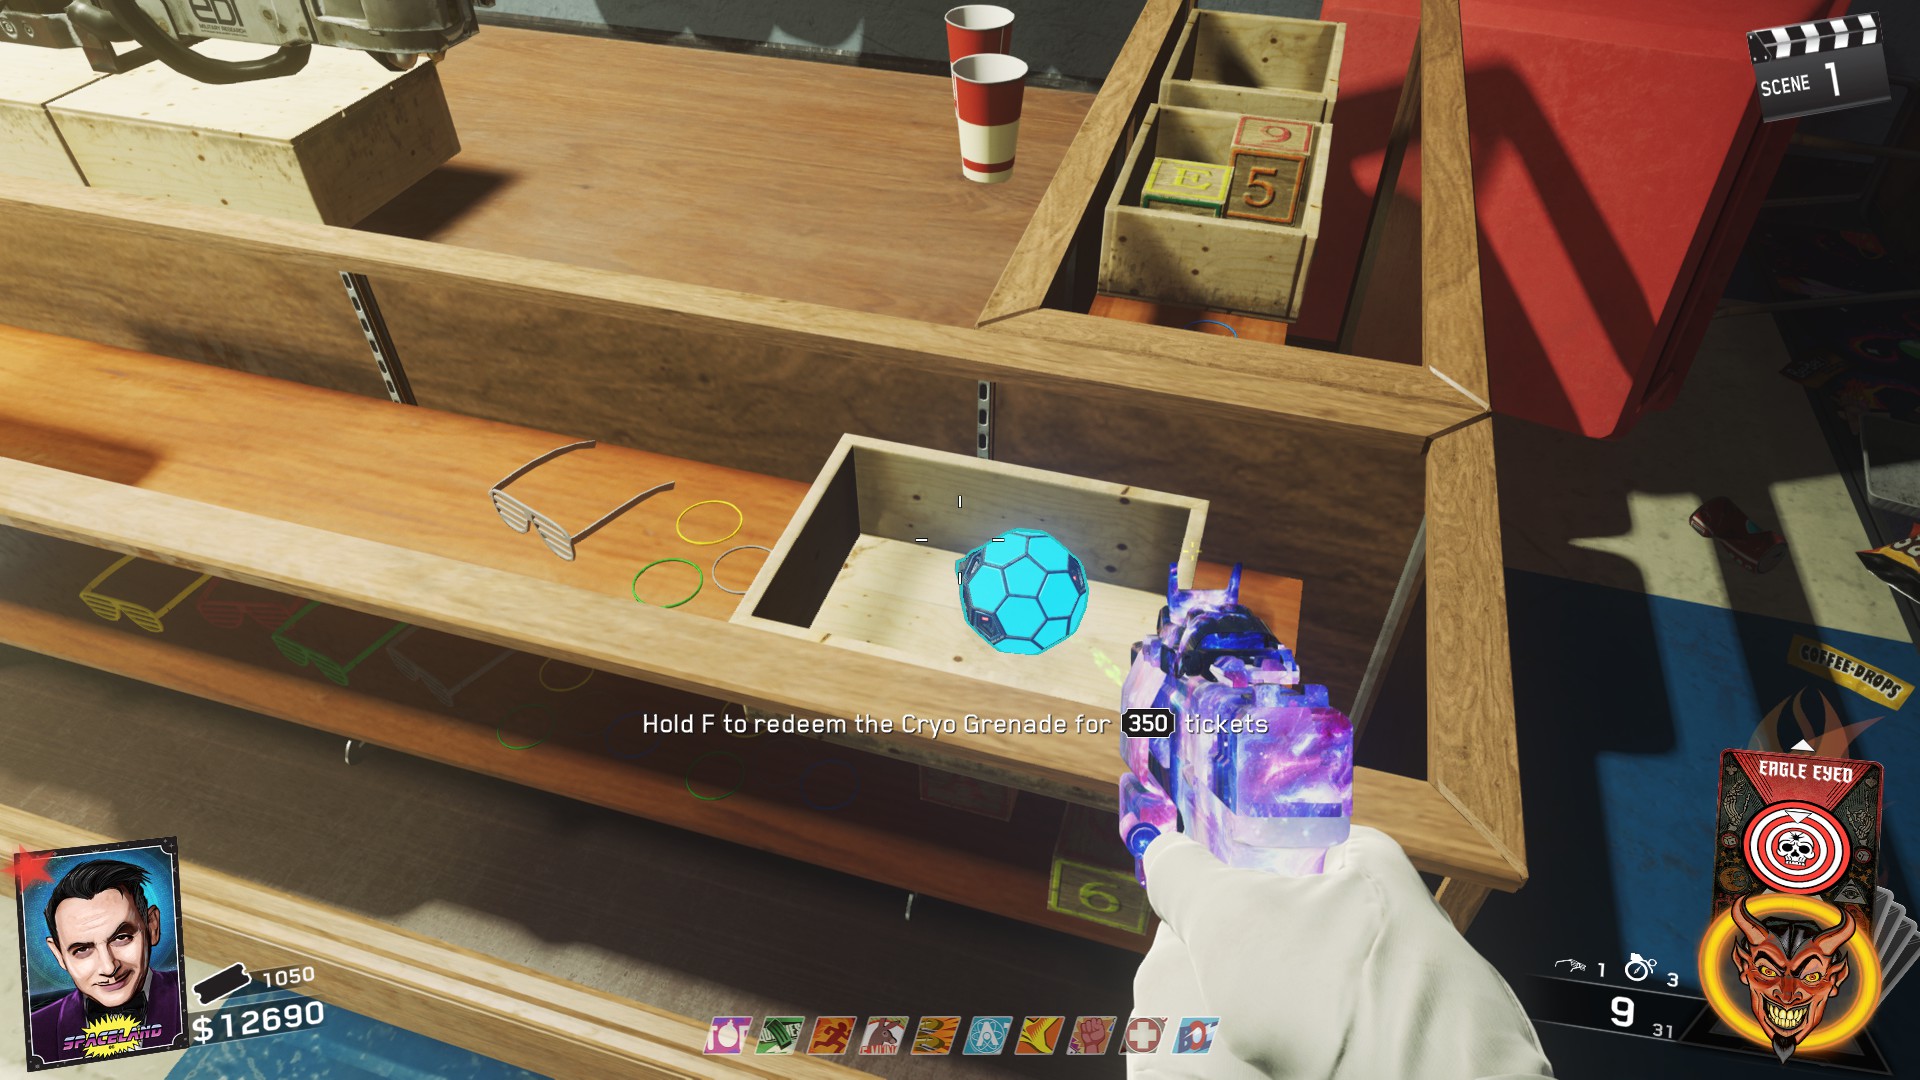
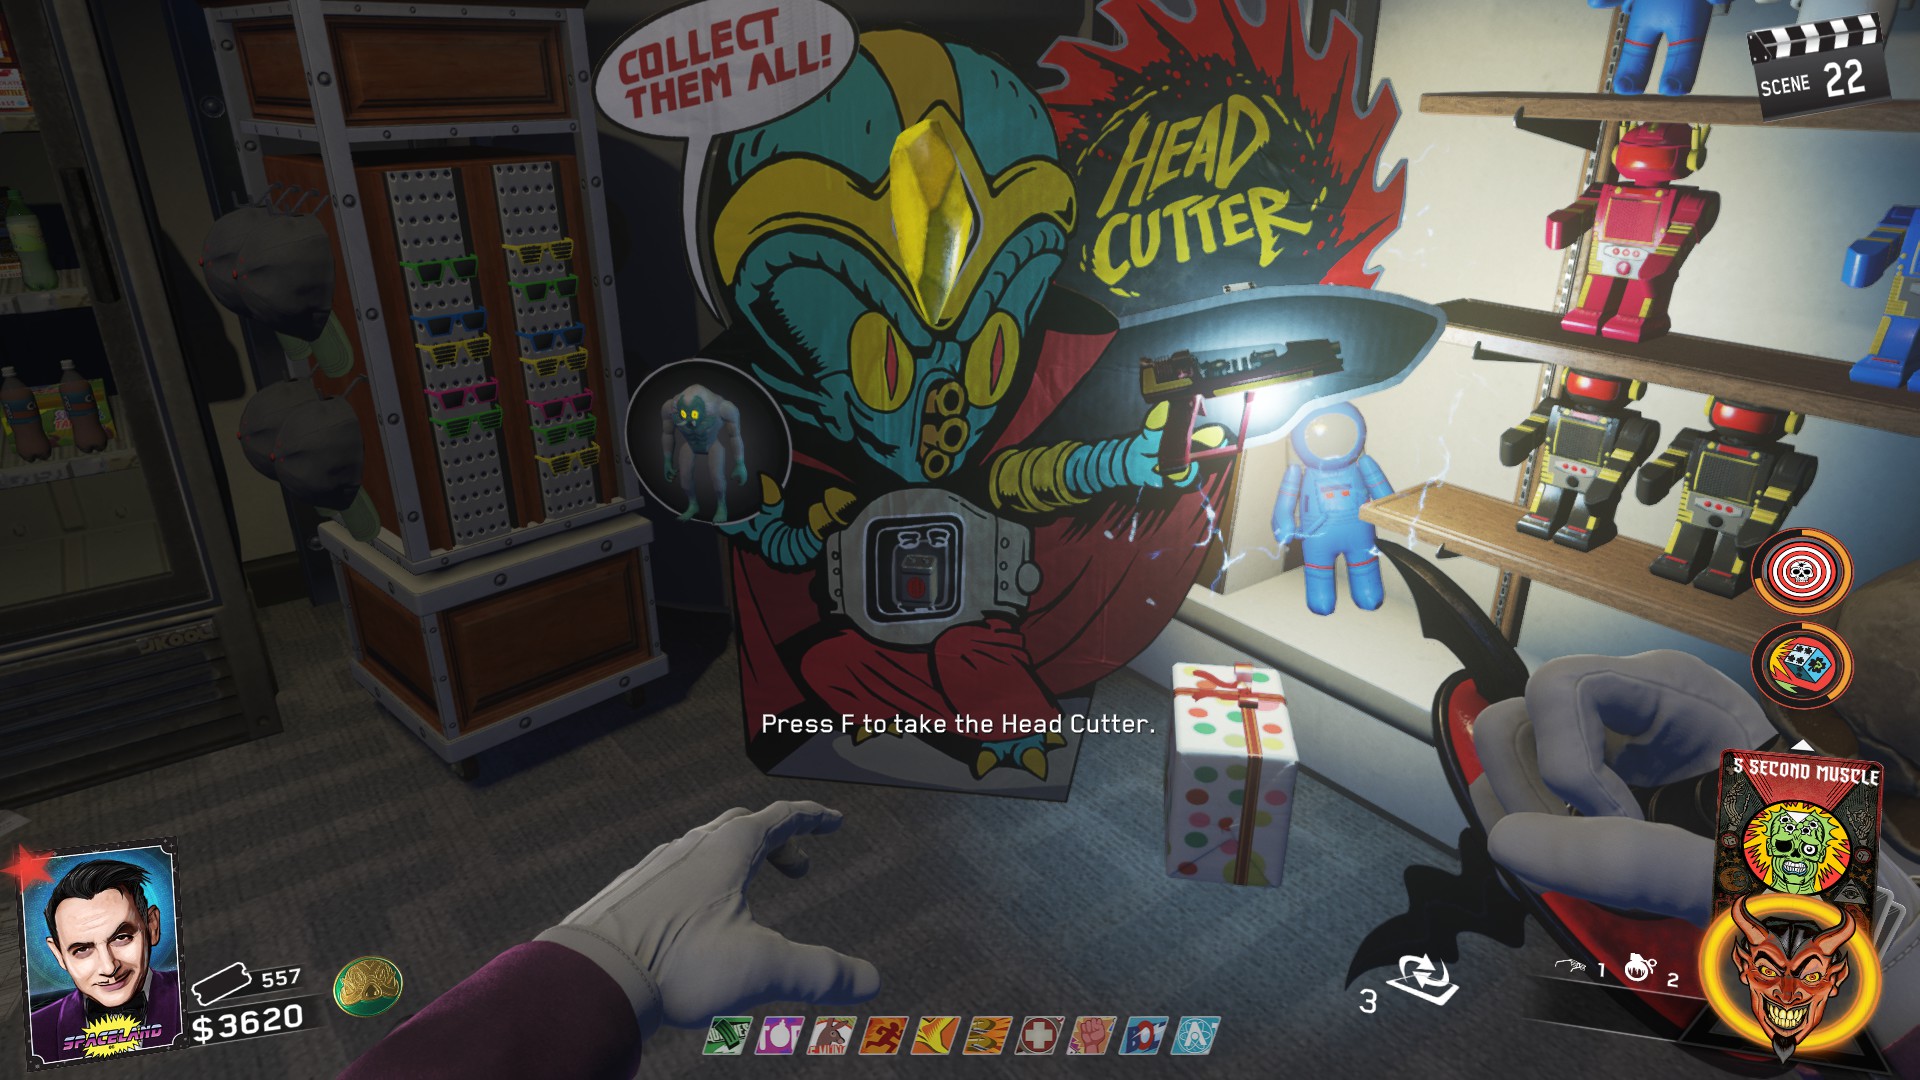
With the cryogrenades obtained, make sure you have a weapon that you can easily get headshots with. Make your way to the Yeti outside the entrance to Polar Peak.
Train about 15-20 Zombies and bring them to the Yeti. Throw a Cryogrenade at the head of the Yeti and the Yeti will begin to breathe frost. Headshot the zombies effected by the frost. Once you've headshot at least 10, it will spawn the battery in the Gift Shop. (This can be a but buggy and not count kills, so you may have to do it a couple of times).
View the video below for reference.
Once tokens have been put in, the toy will float out of the machine and sit to the right.
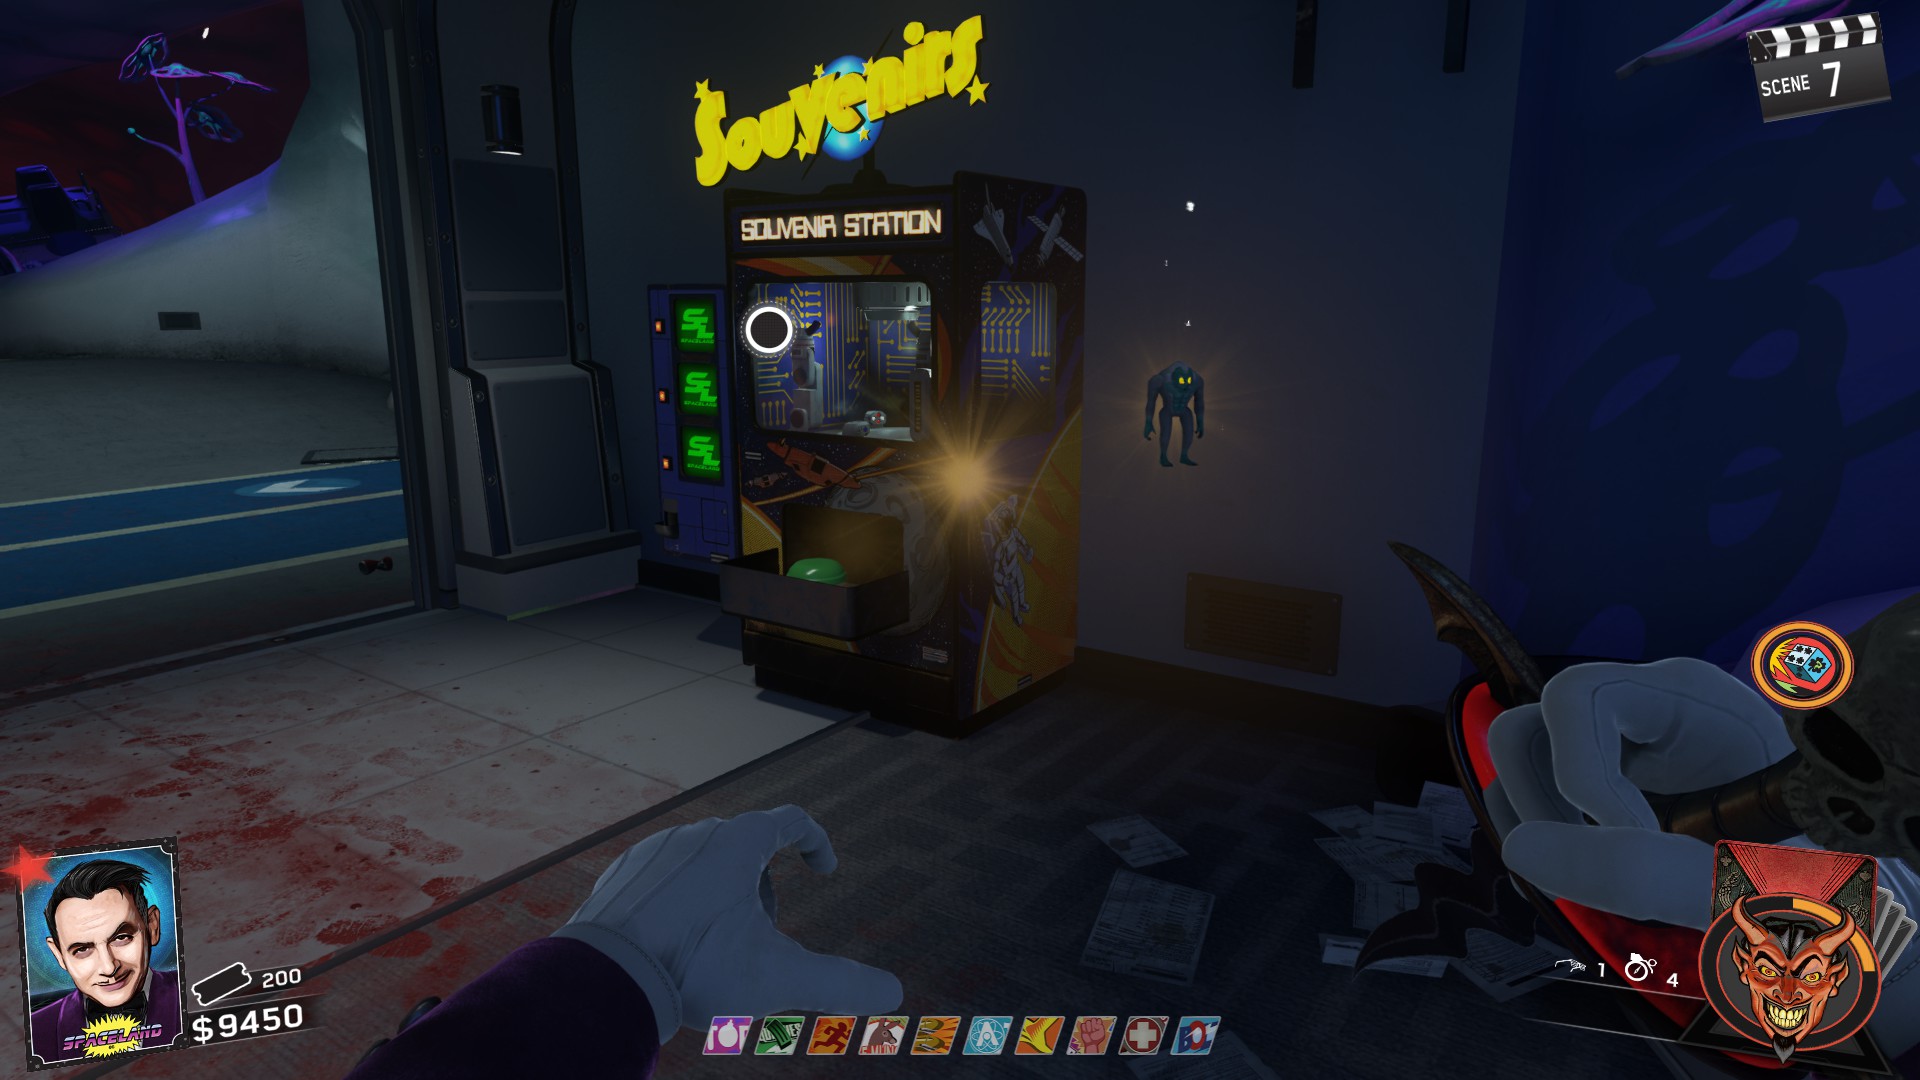
Once you've gotten enough kills, the UFO flying around the trap will begin a different course. Now you can get kills near the UFO and the souls will be sucked into the UFO. The kills MUST be with a weapon that has an Arcane Core attached.
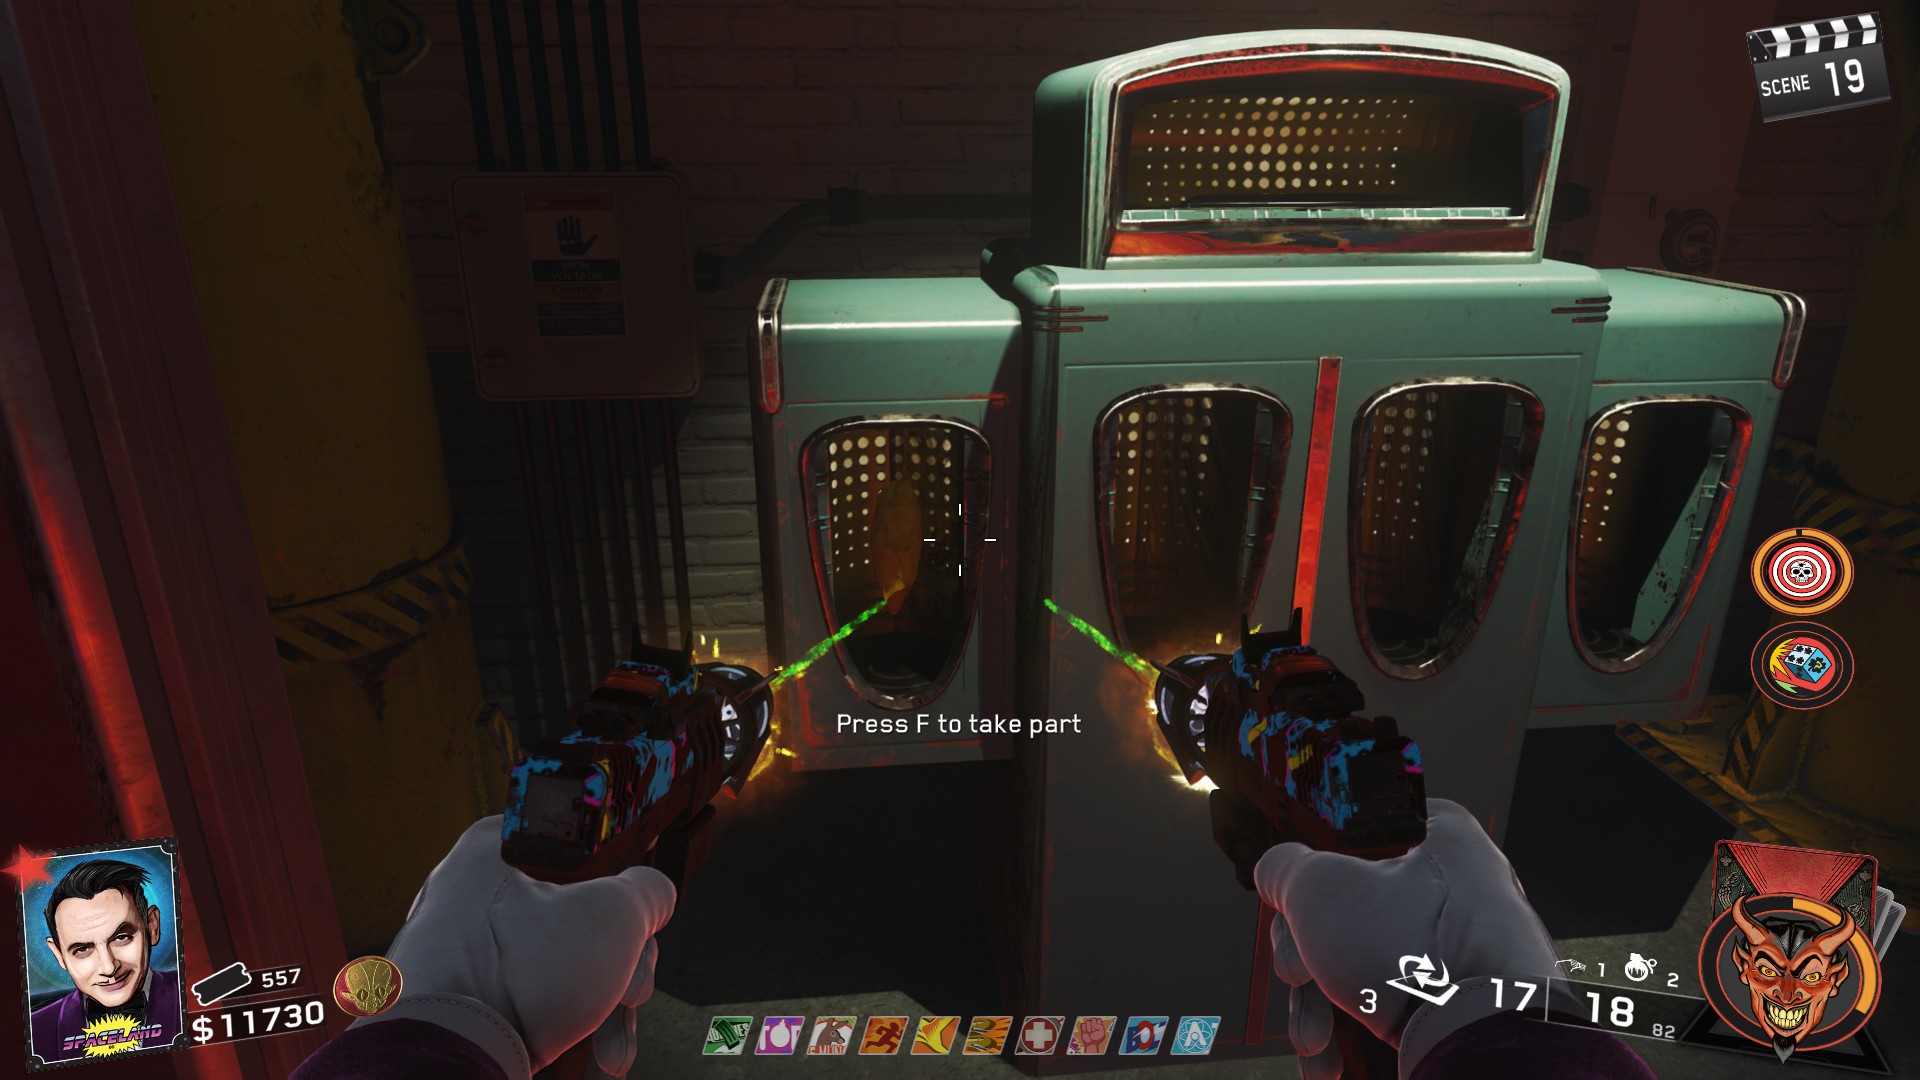
25 kills are needed to charge the UFO. Once it's gotten enough, the yellow orb will drop on the ground. Pickup the orb and it will attach to your Arcane Core.
Go to the Croc trap in Kepler and in the middle of the mouth will be the machine that holds the shards. Shoot the left most slot and the yellow shard will appear. Pick up the shard!
Face Melter - Weapons of Rock
Once the portal is active, throw a grenade and it will be spat back out. You must now play "Hot Potato" with the grenade by picking it up and throwing it again. The goal is to get the grenade to the Pack a Punch portal. View the video below for more clarification.
Once all coins are inserted, the Rocket Toy will float out and sit to the right of the Machine.
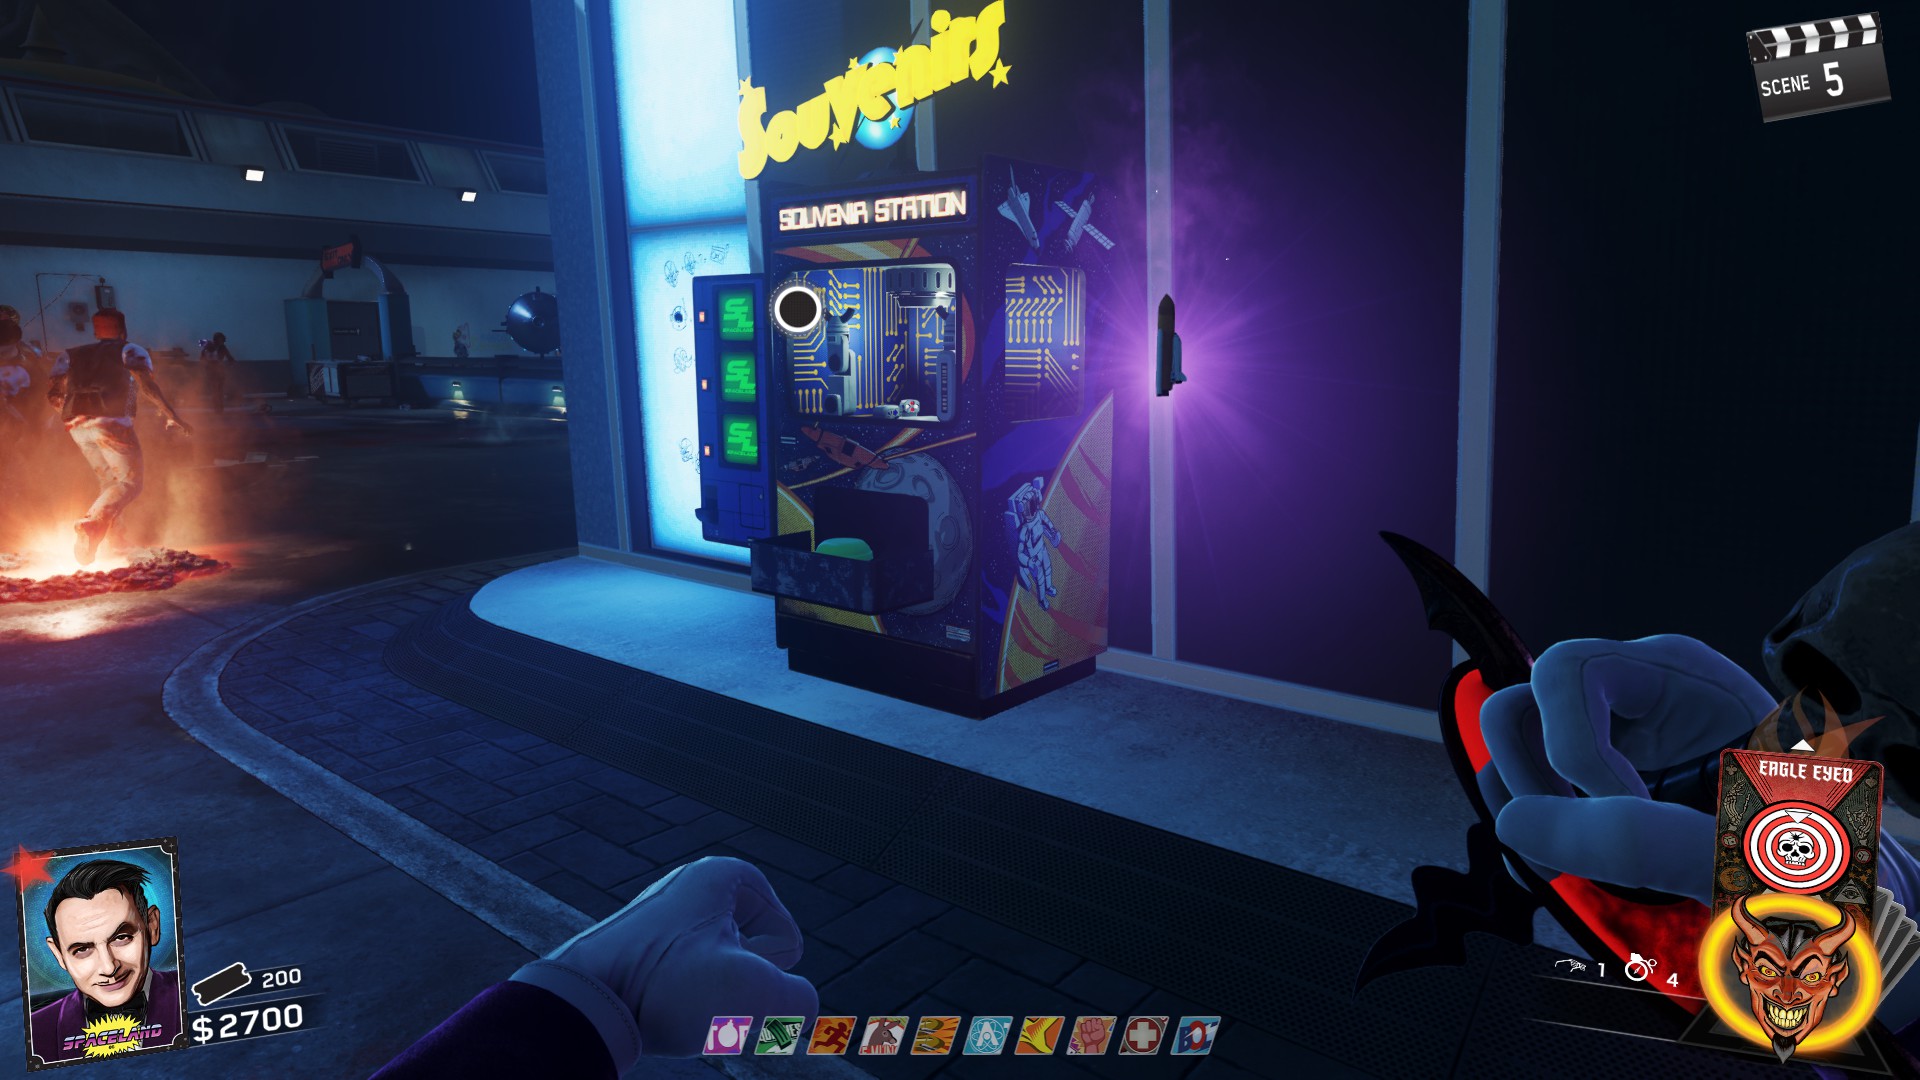
Once you've gotten enough kills, the UFO flying around the trap will begin a different course. Now you can get kills near the UFO and the souls will be sucked into the UFO. The kills MUST be with a weapon that has an Arcane Core attached.
25 kills are needed to charge the UFO. Once its gotten enough, the blue orb will drop on the ground. Pickup the orb and it will attach to your Arcane Core.
Go to the Croc trap in Kepler and in the middle of the mouth will be the machine that holds the shards. Shoot the left middle slot and the blue shard will appear. Pick up the shard!
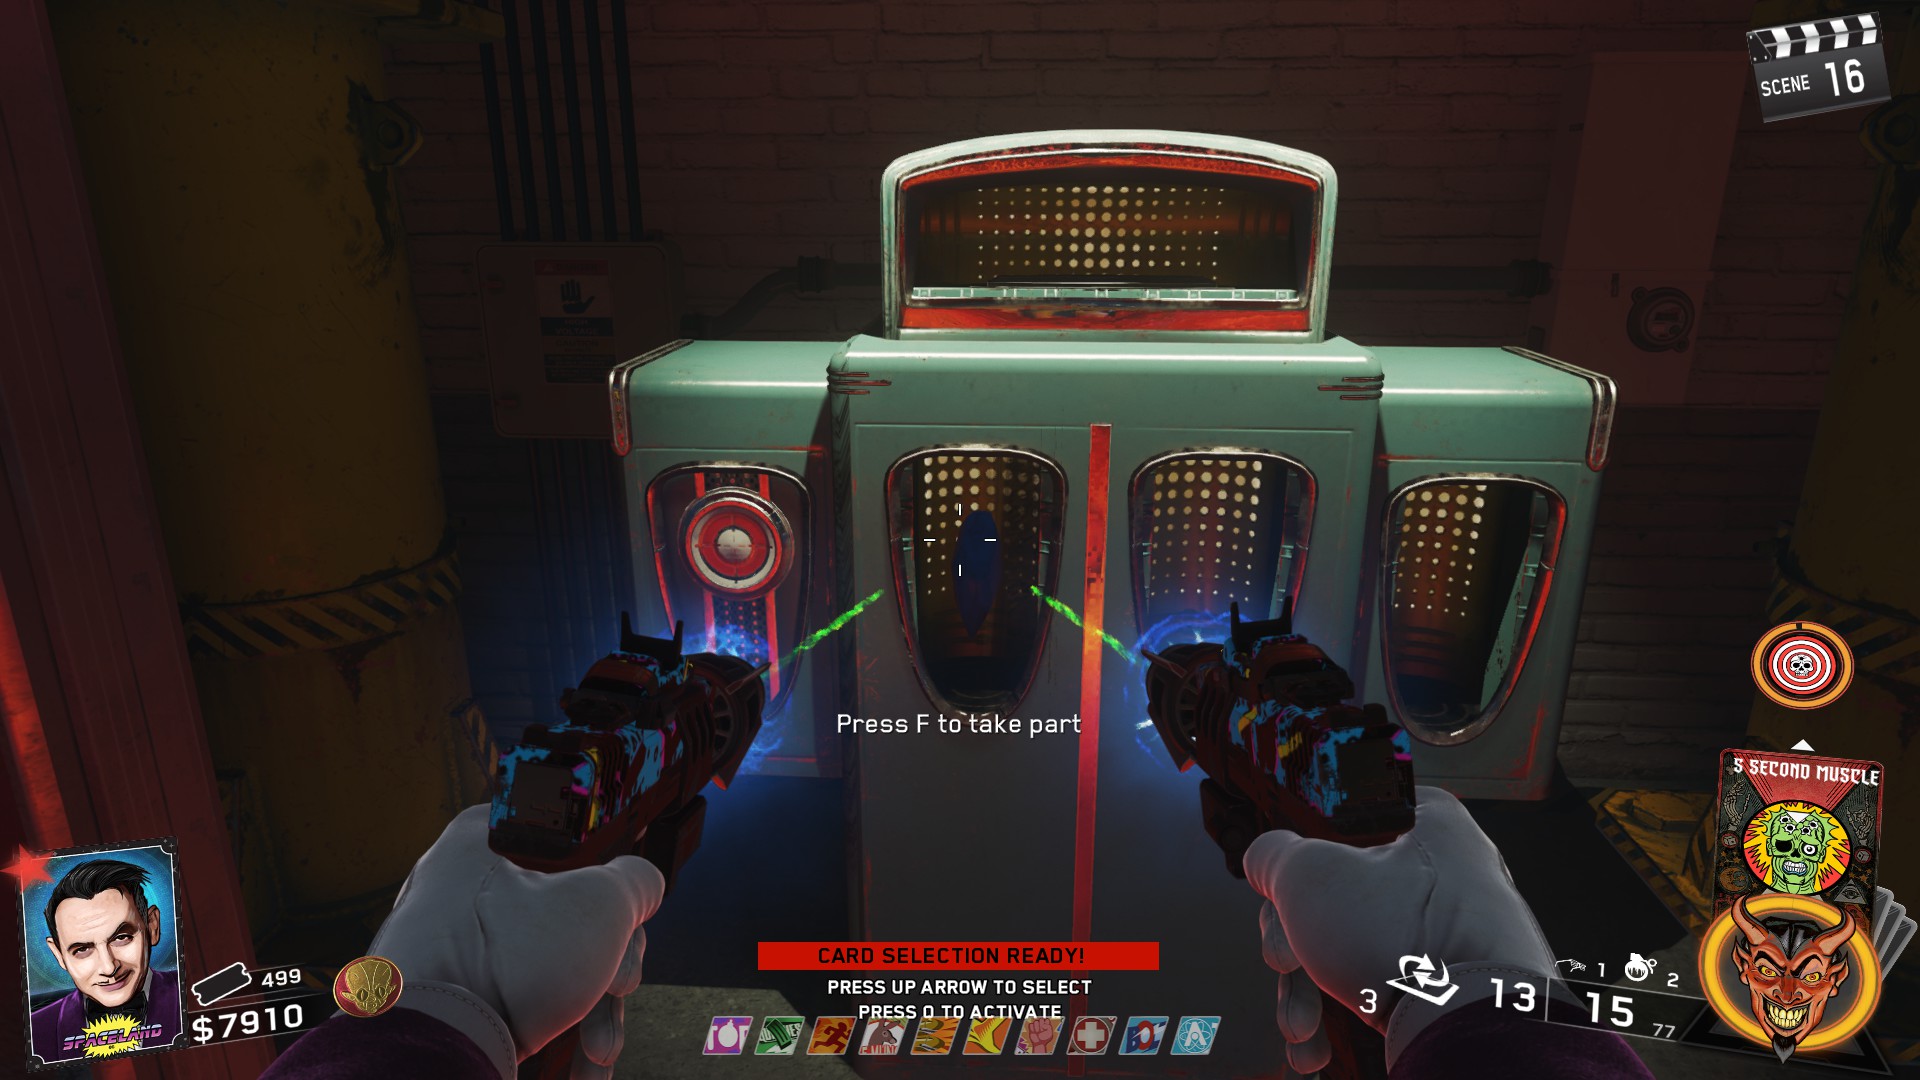
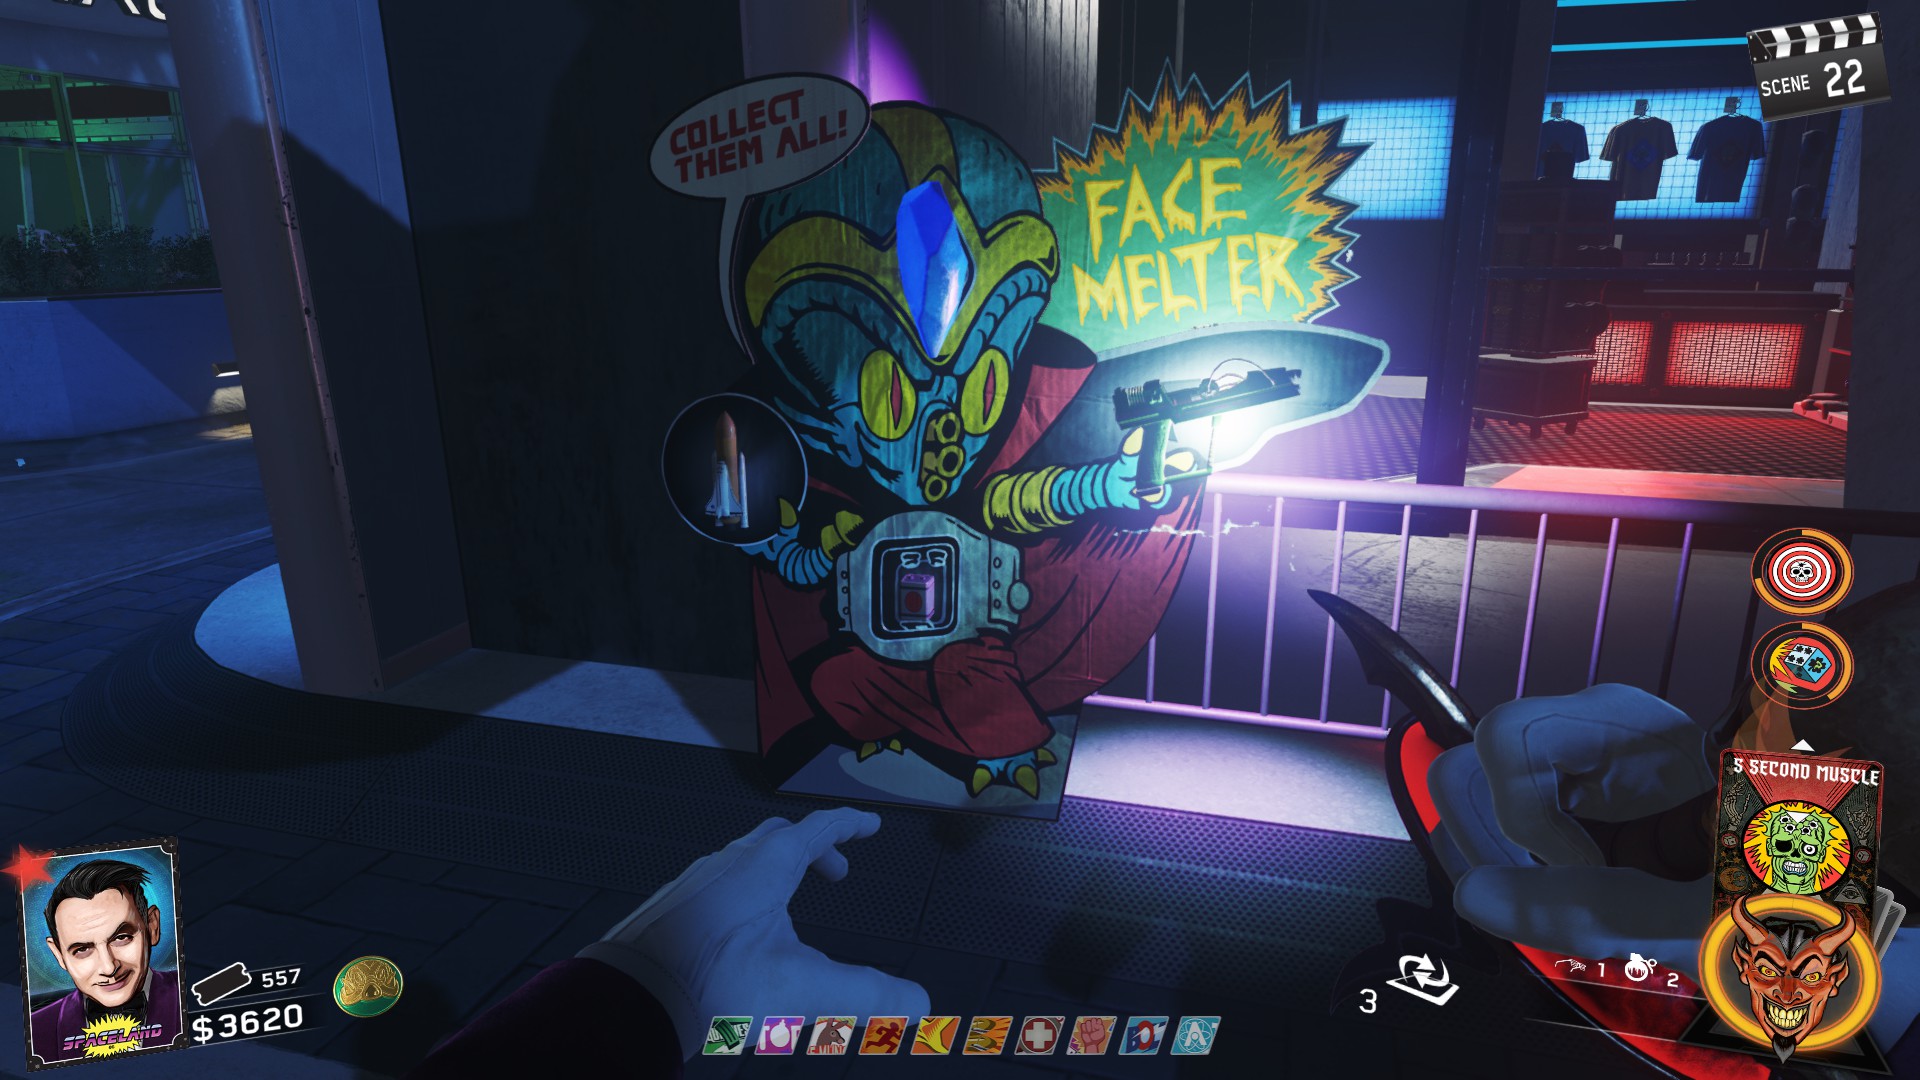
Dischord - Weapons of Rock
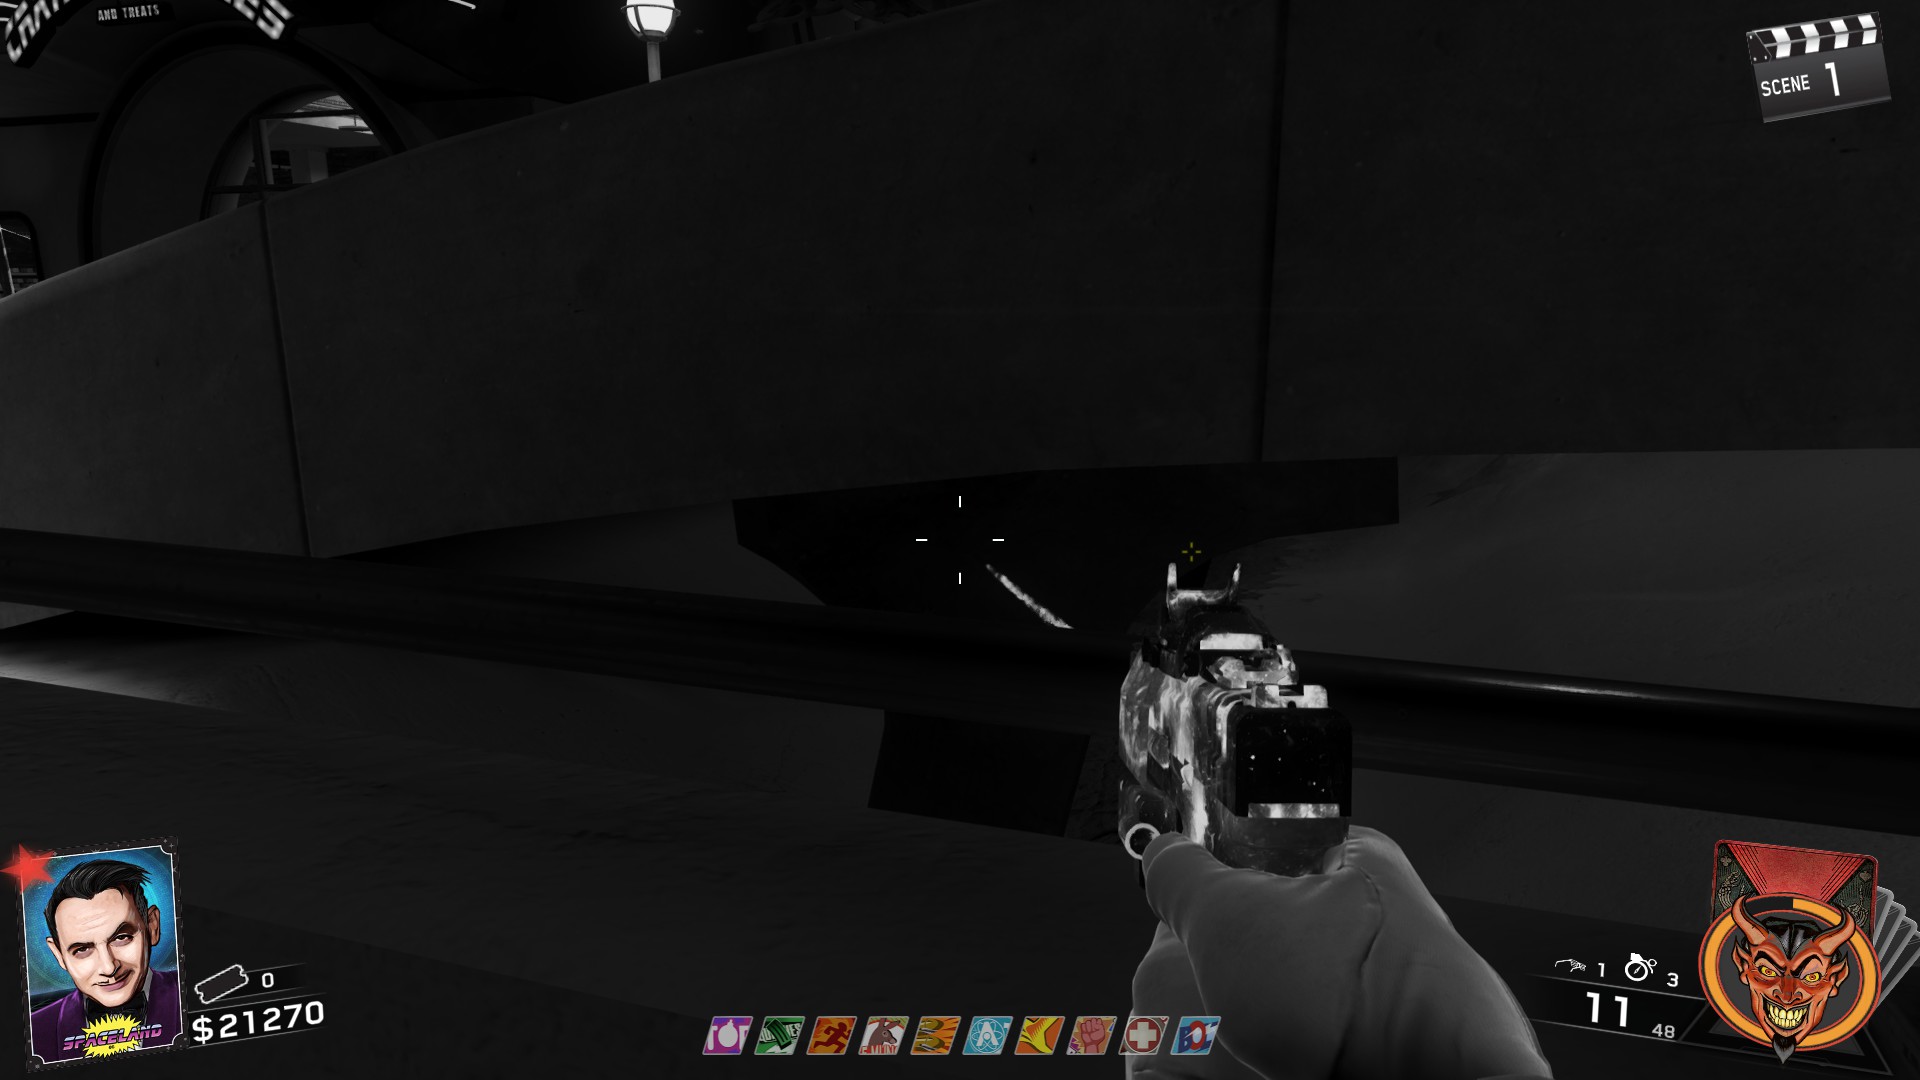
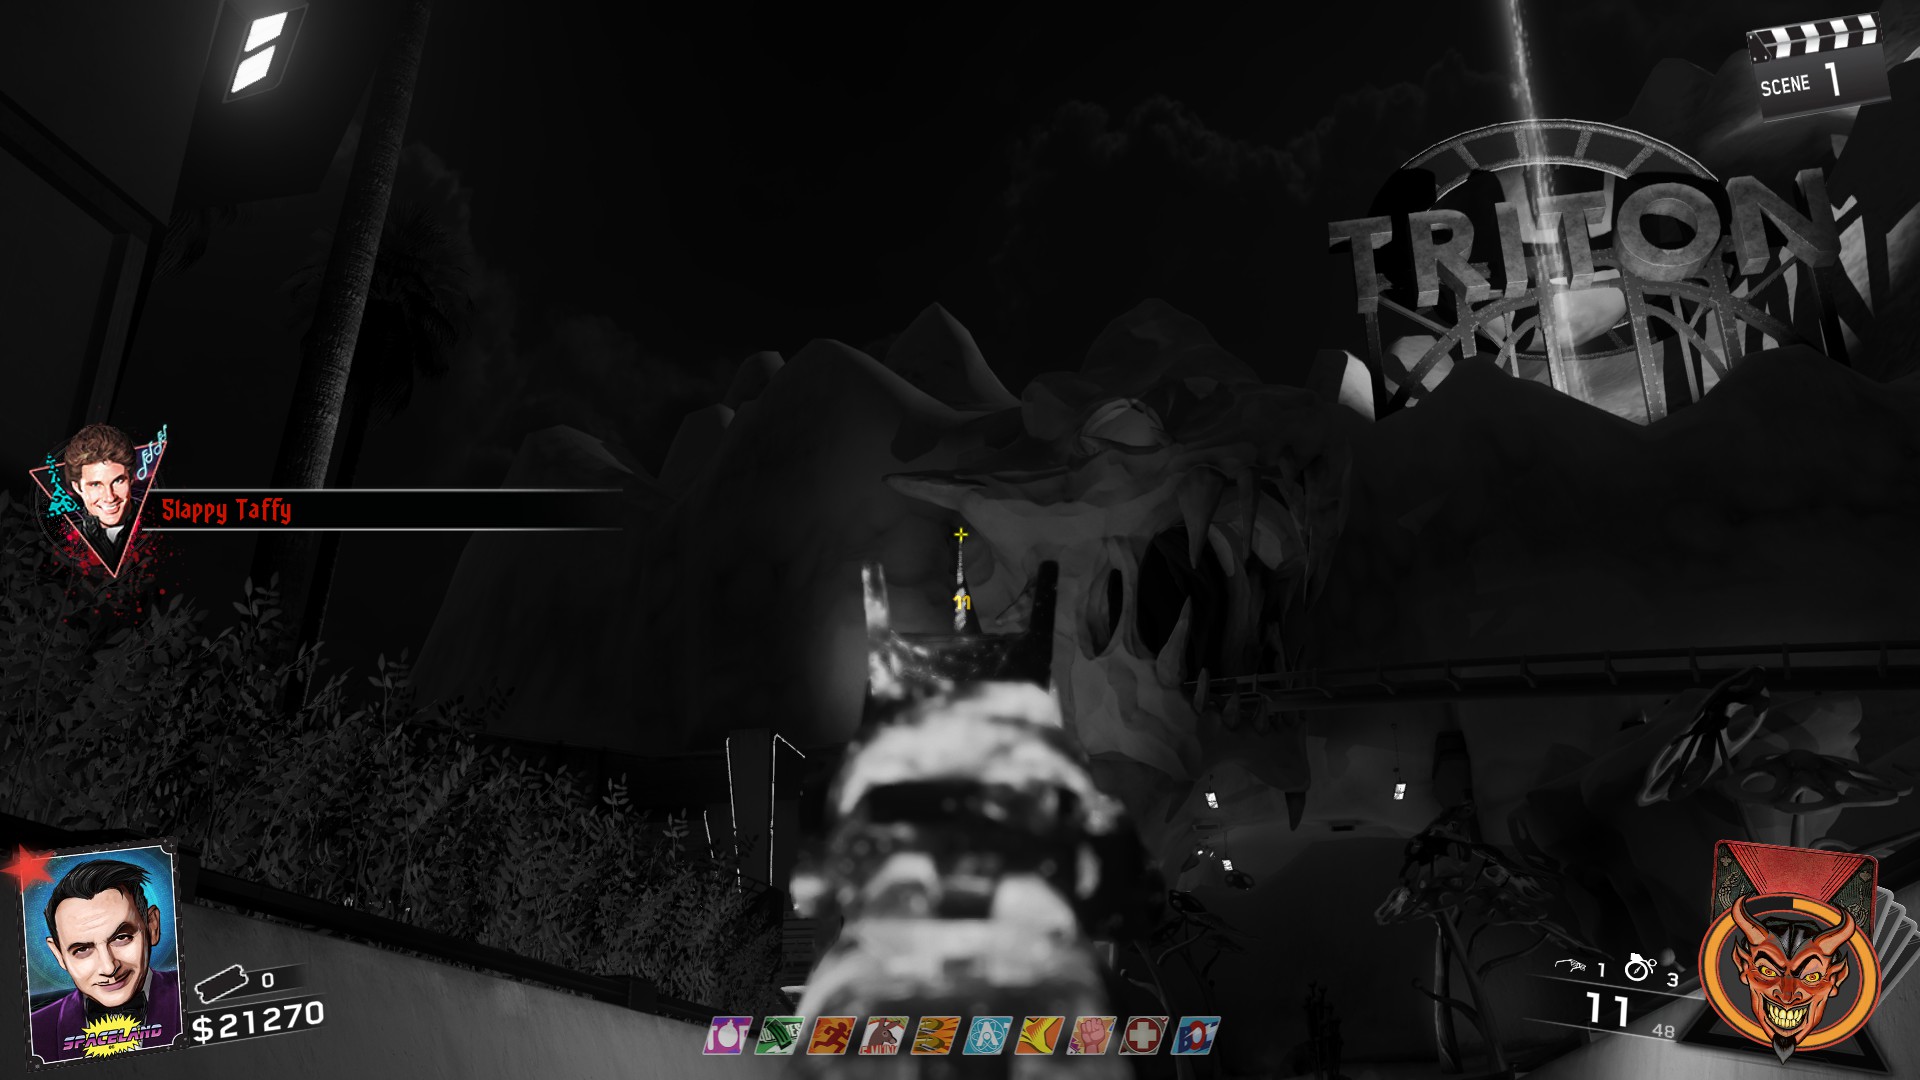
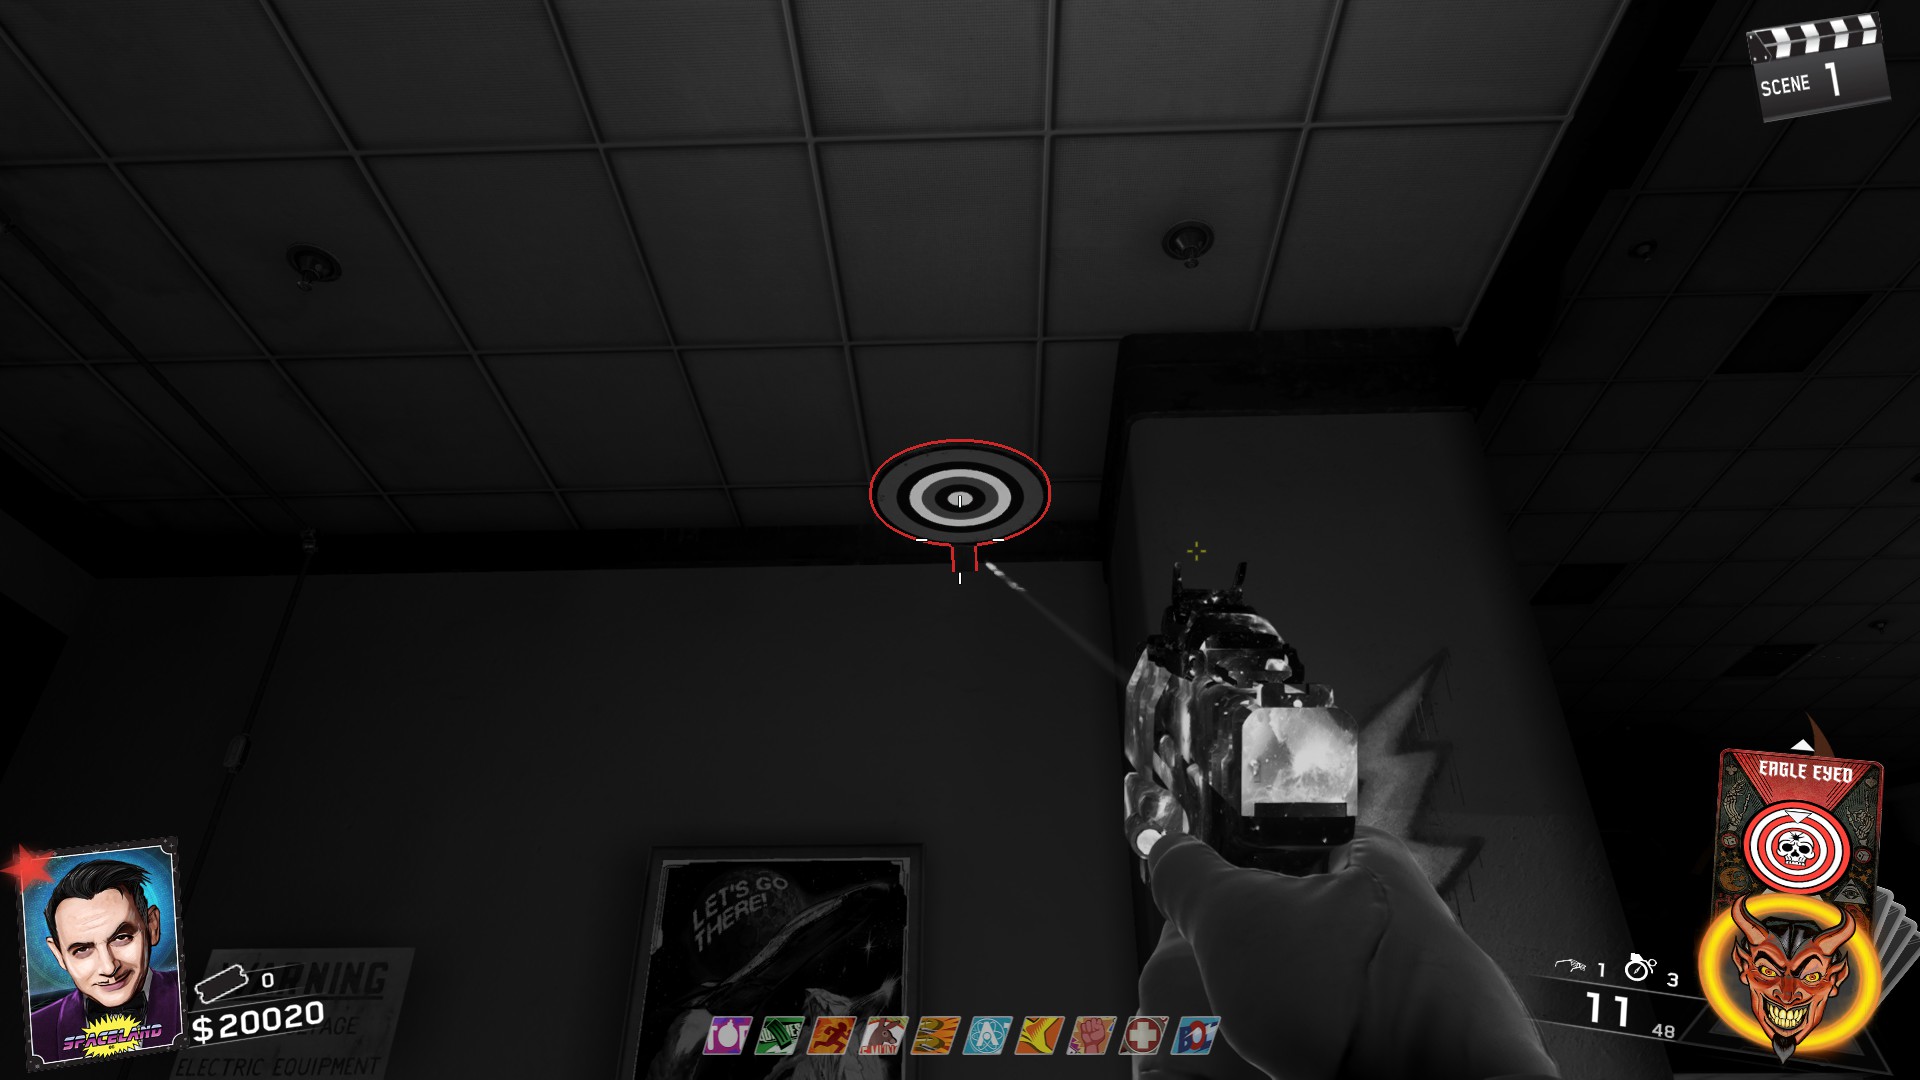
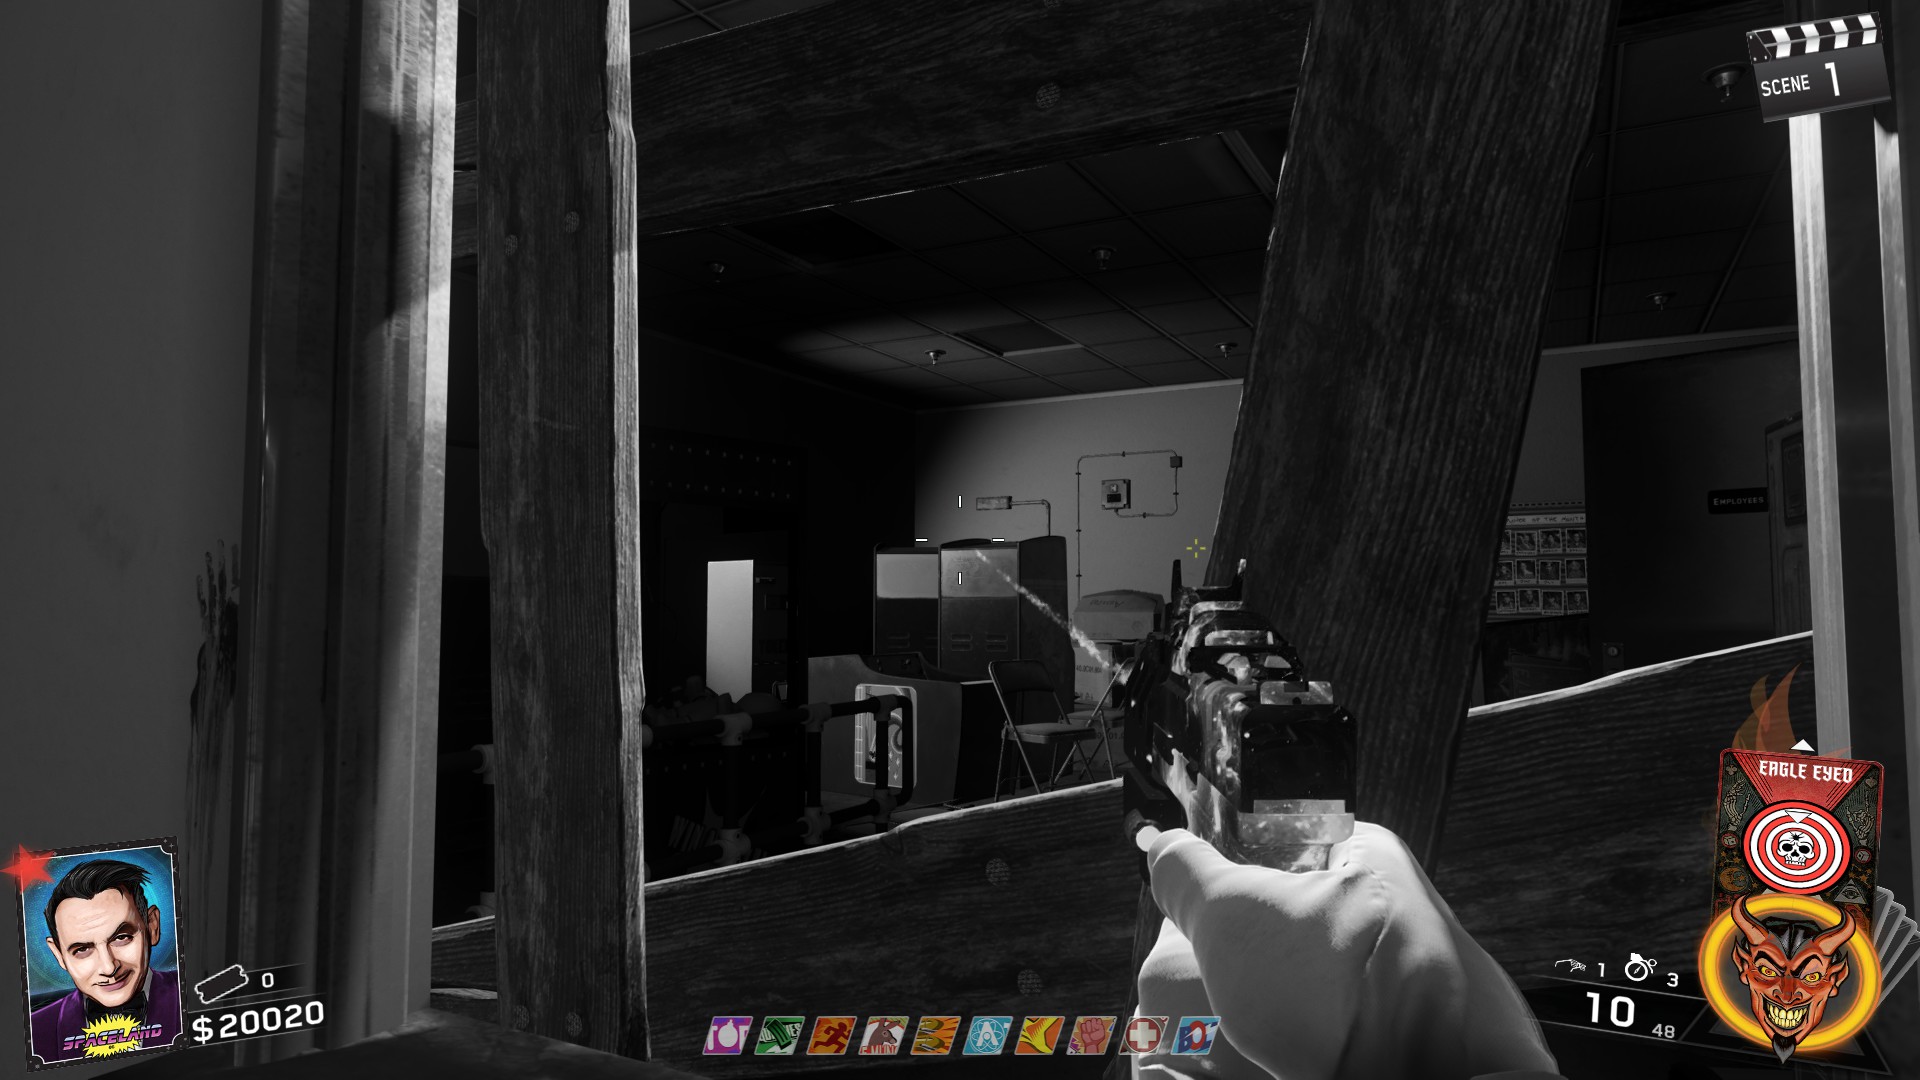
- In Spawn near the Lost and Found.
- Near the Pack a Punch Portal above the ATM machine.
- Under the bridge that leads to the entrance of Polar Peak.
- Near the dragon mouth on Polar Peak above the entrance to the Astrocade.
- Above the power switch in the Astrocade
- Upstairs by the Devil Teeth game outside the window.
- In one of the machines between the Disco floor and the Prize Counter
- Behind the Prize Counter
- Behind the Dischord build location.
- In one of the trash cans upstairs near the Black Hole arcade game.
- Outside the Astrocade, close to the Blue Bolts perk machine.
- In The Rover Rampage area in a corner
- On the coaster ride in between the coaster entrance and the Astrocade.
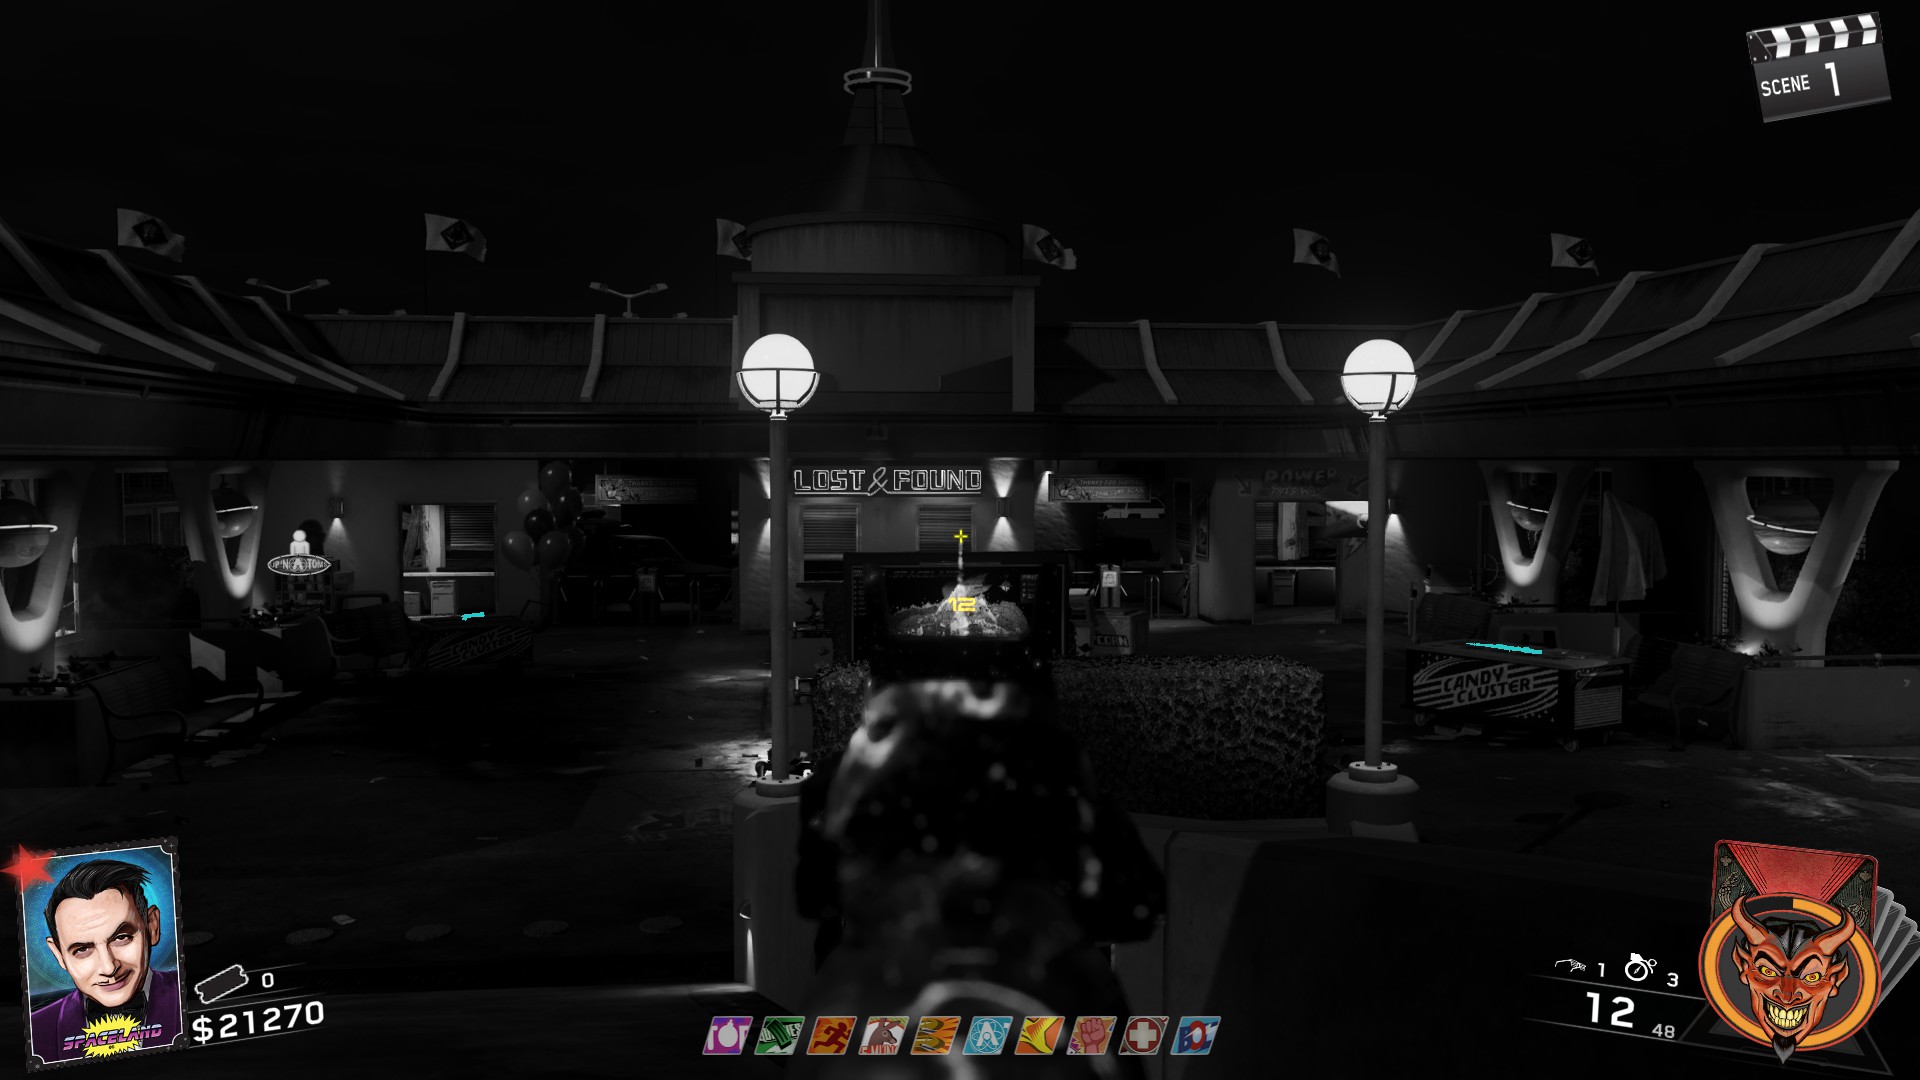
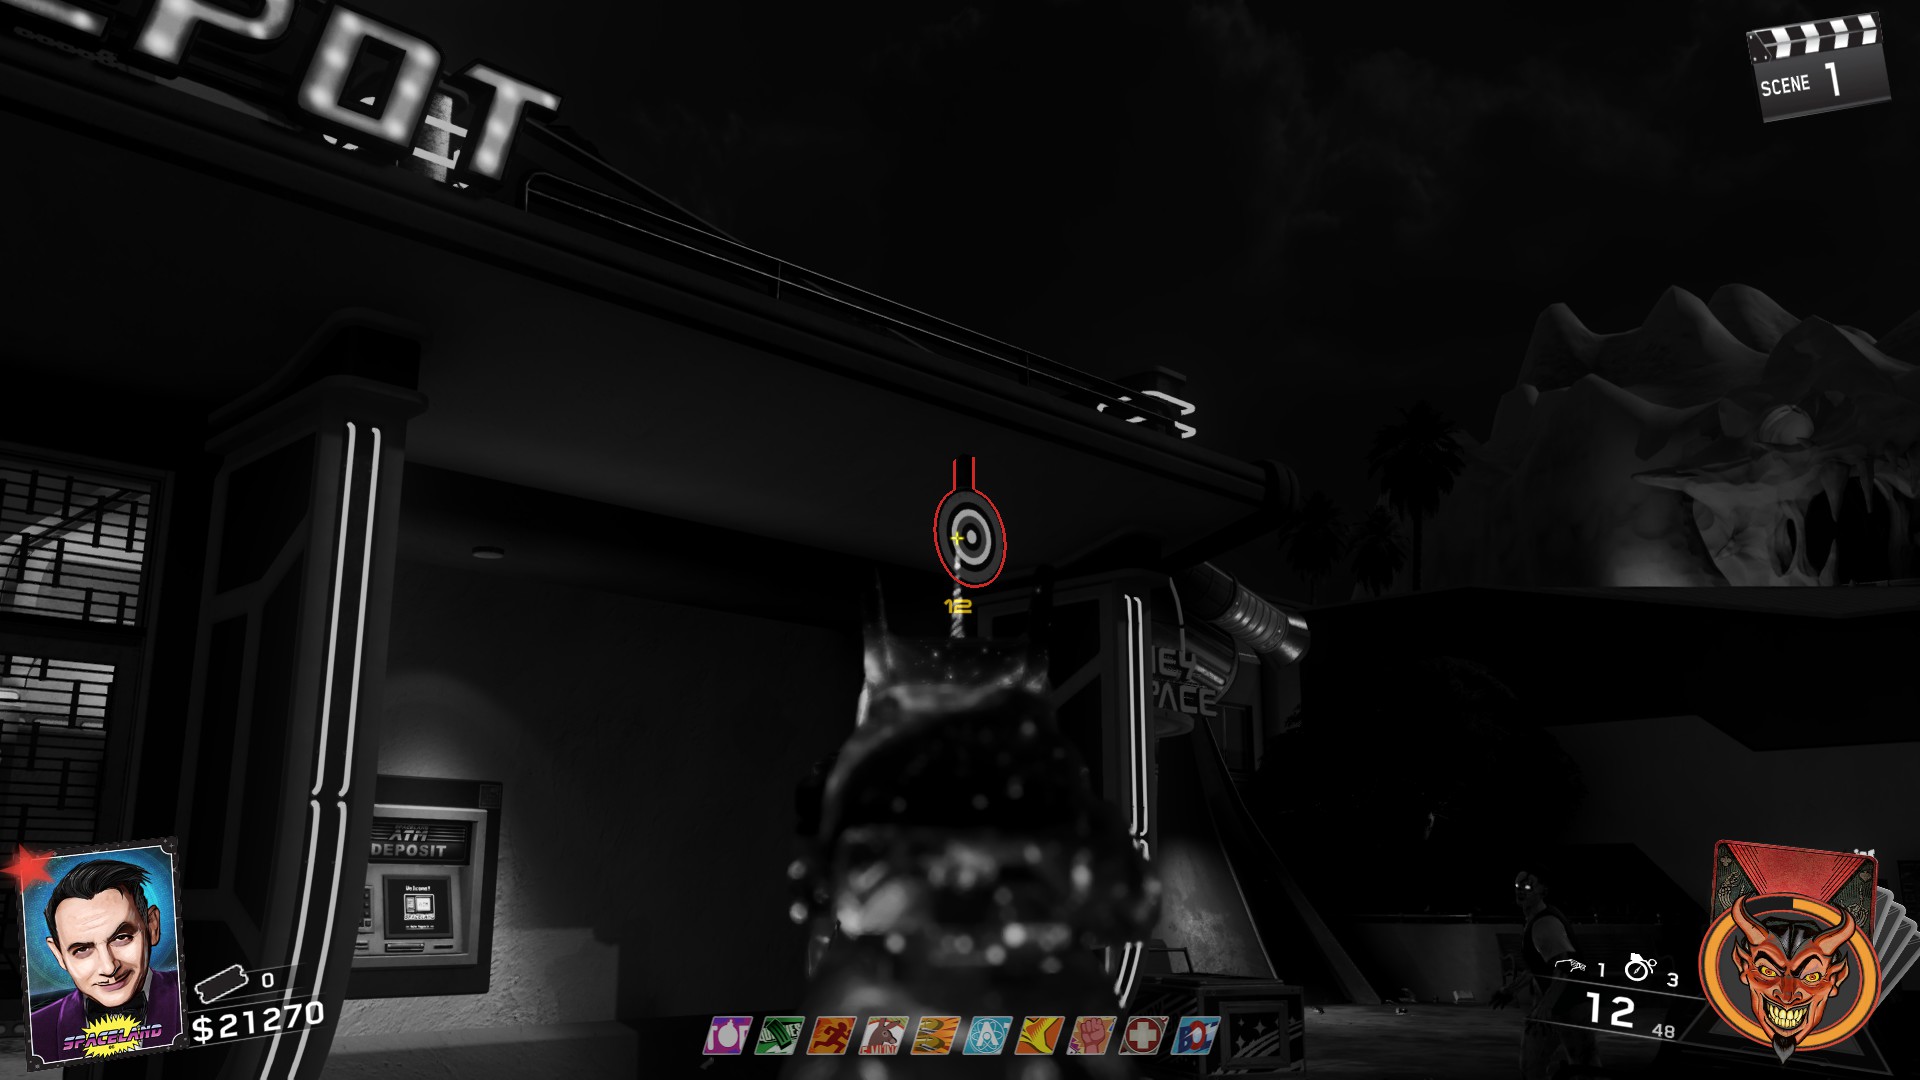
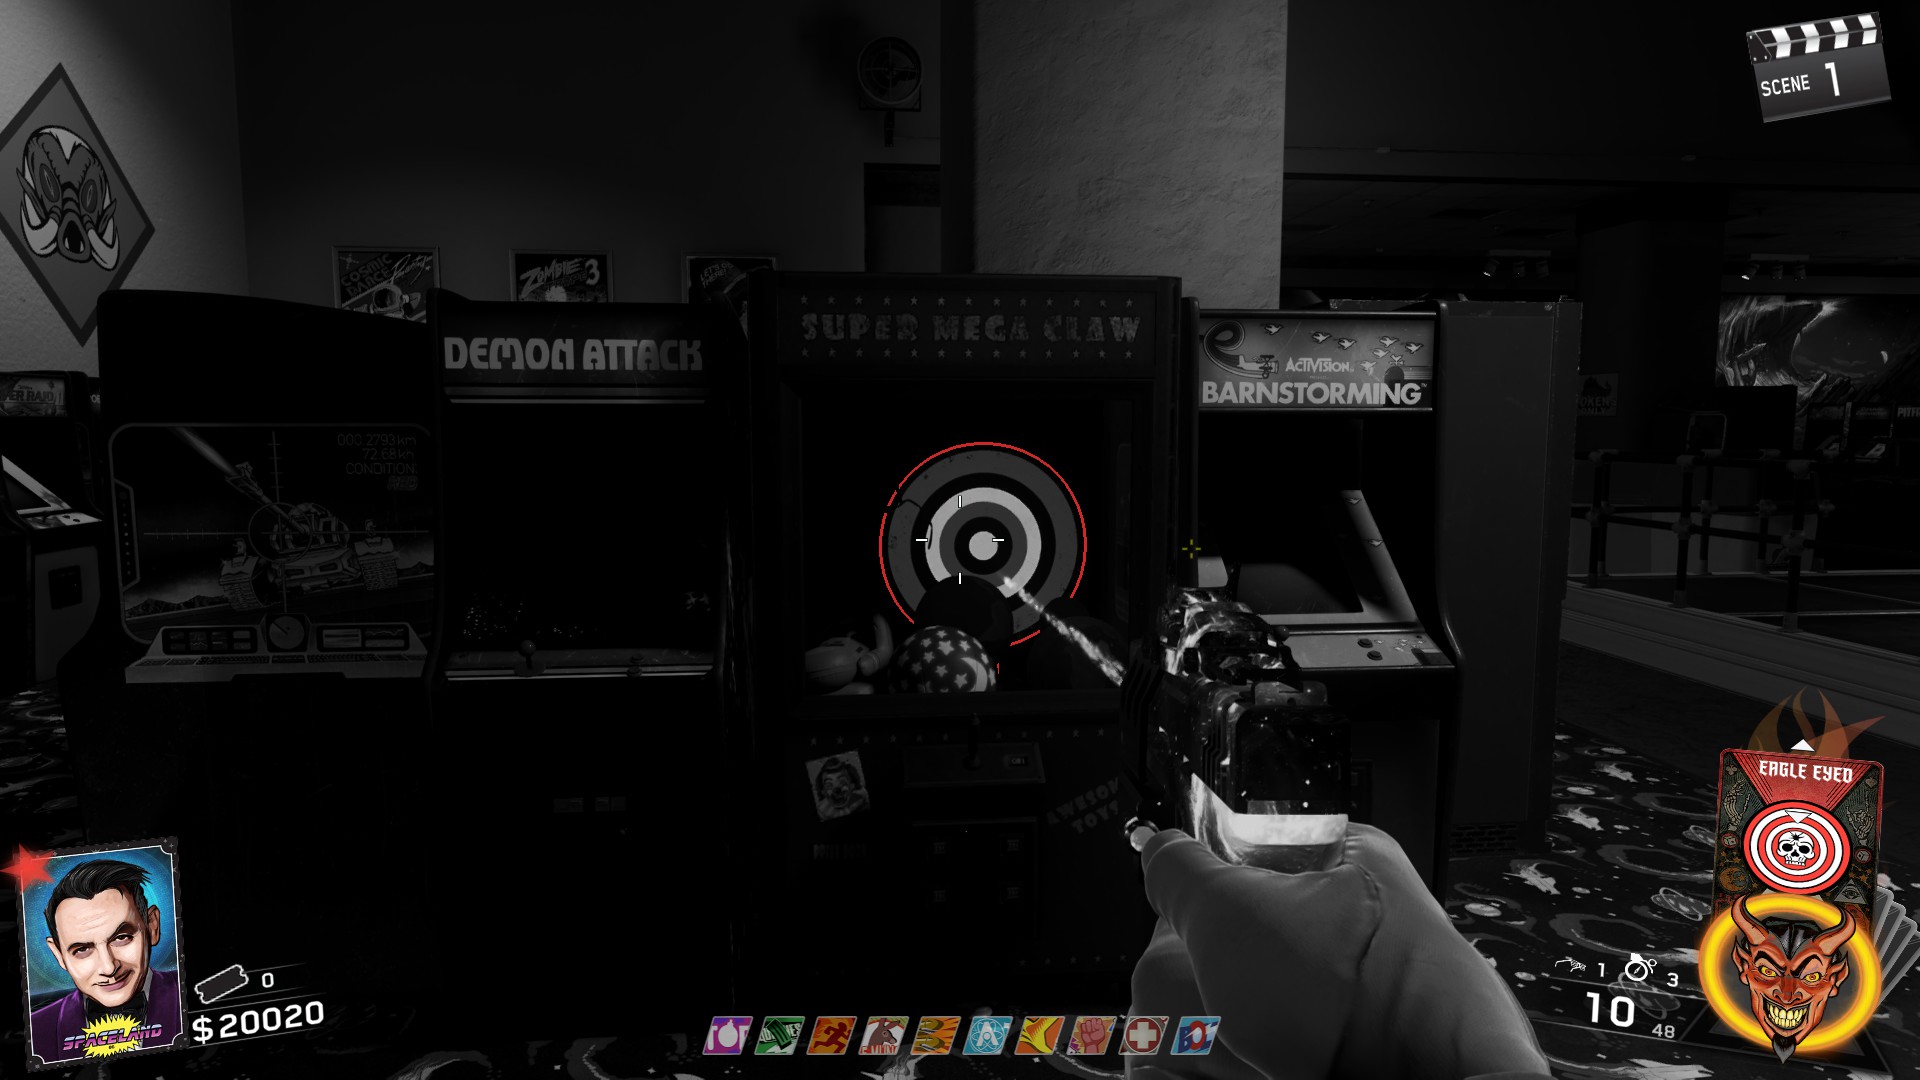
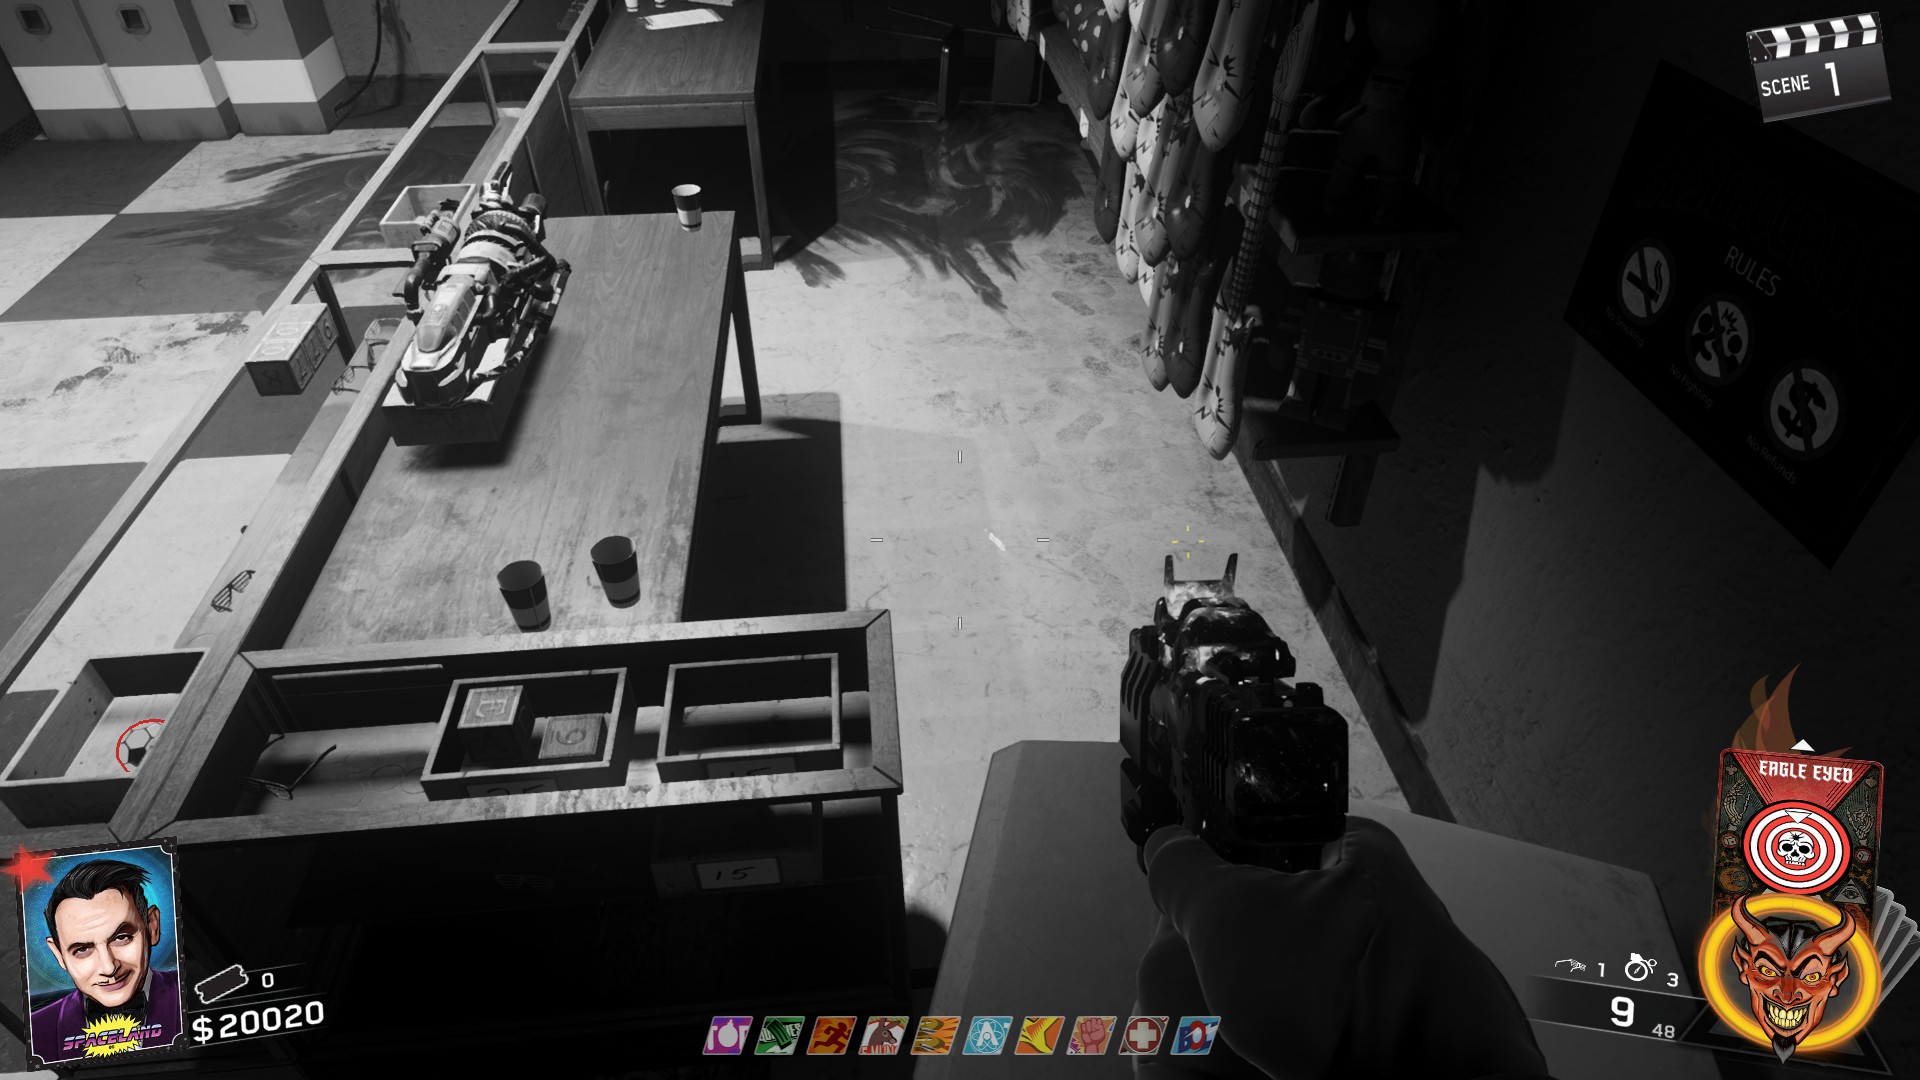
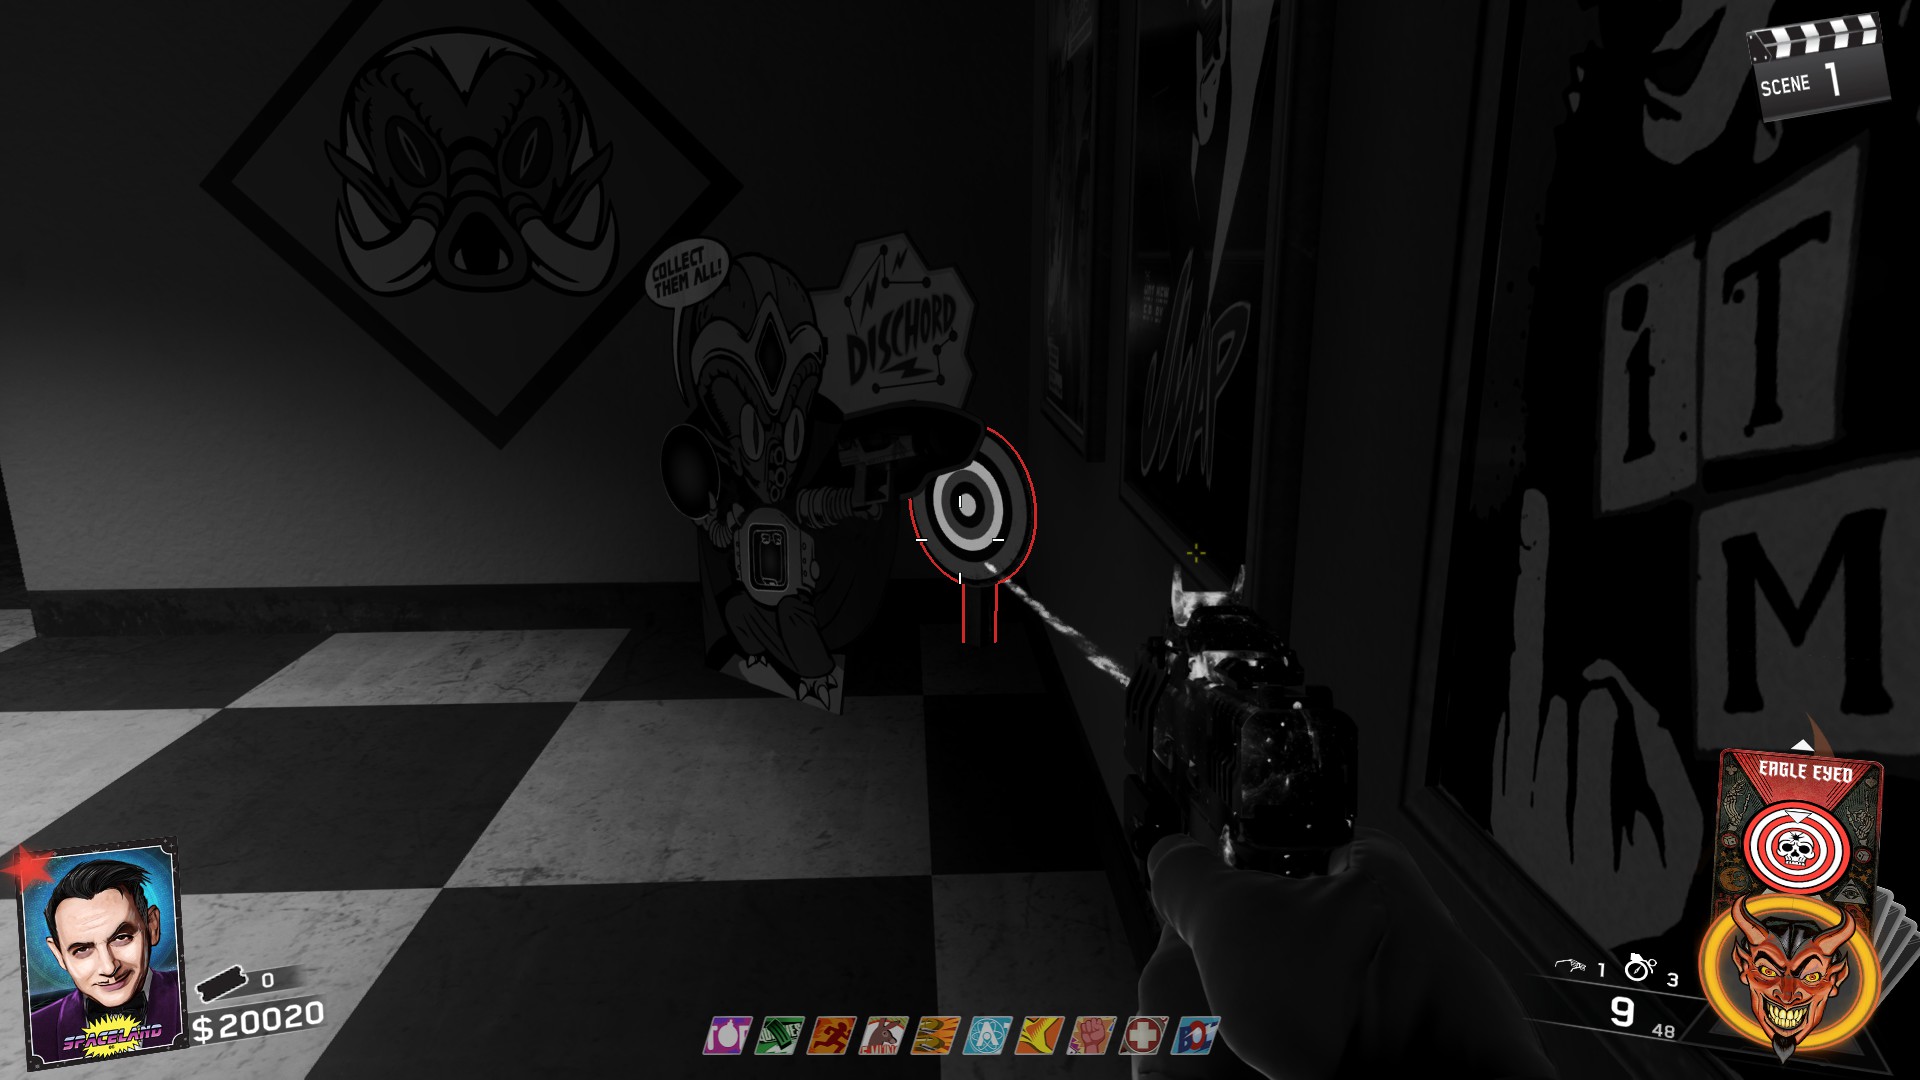
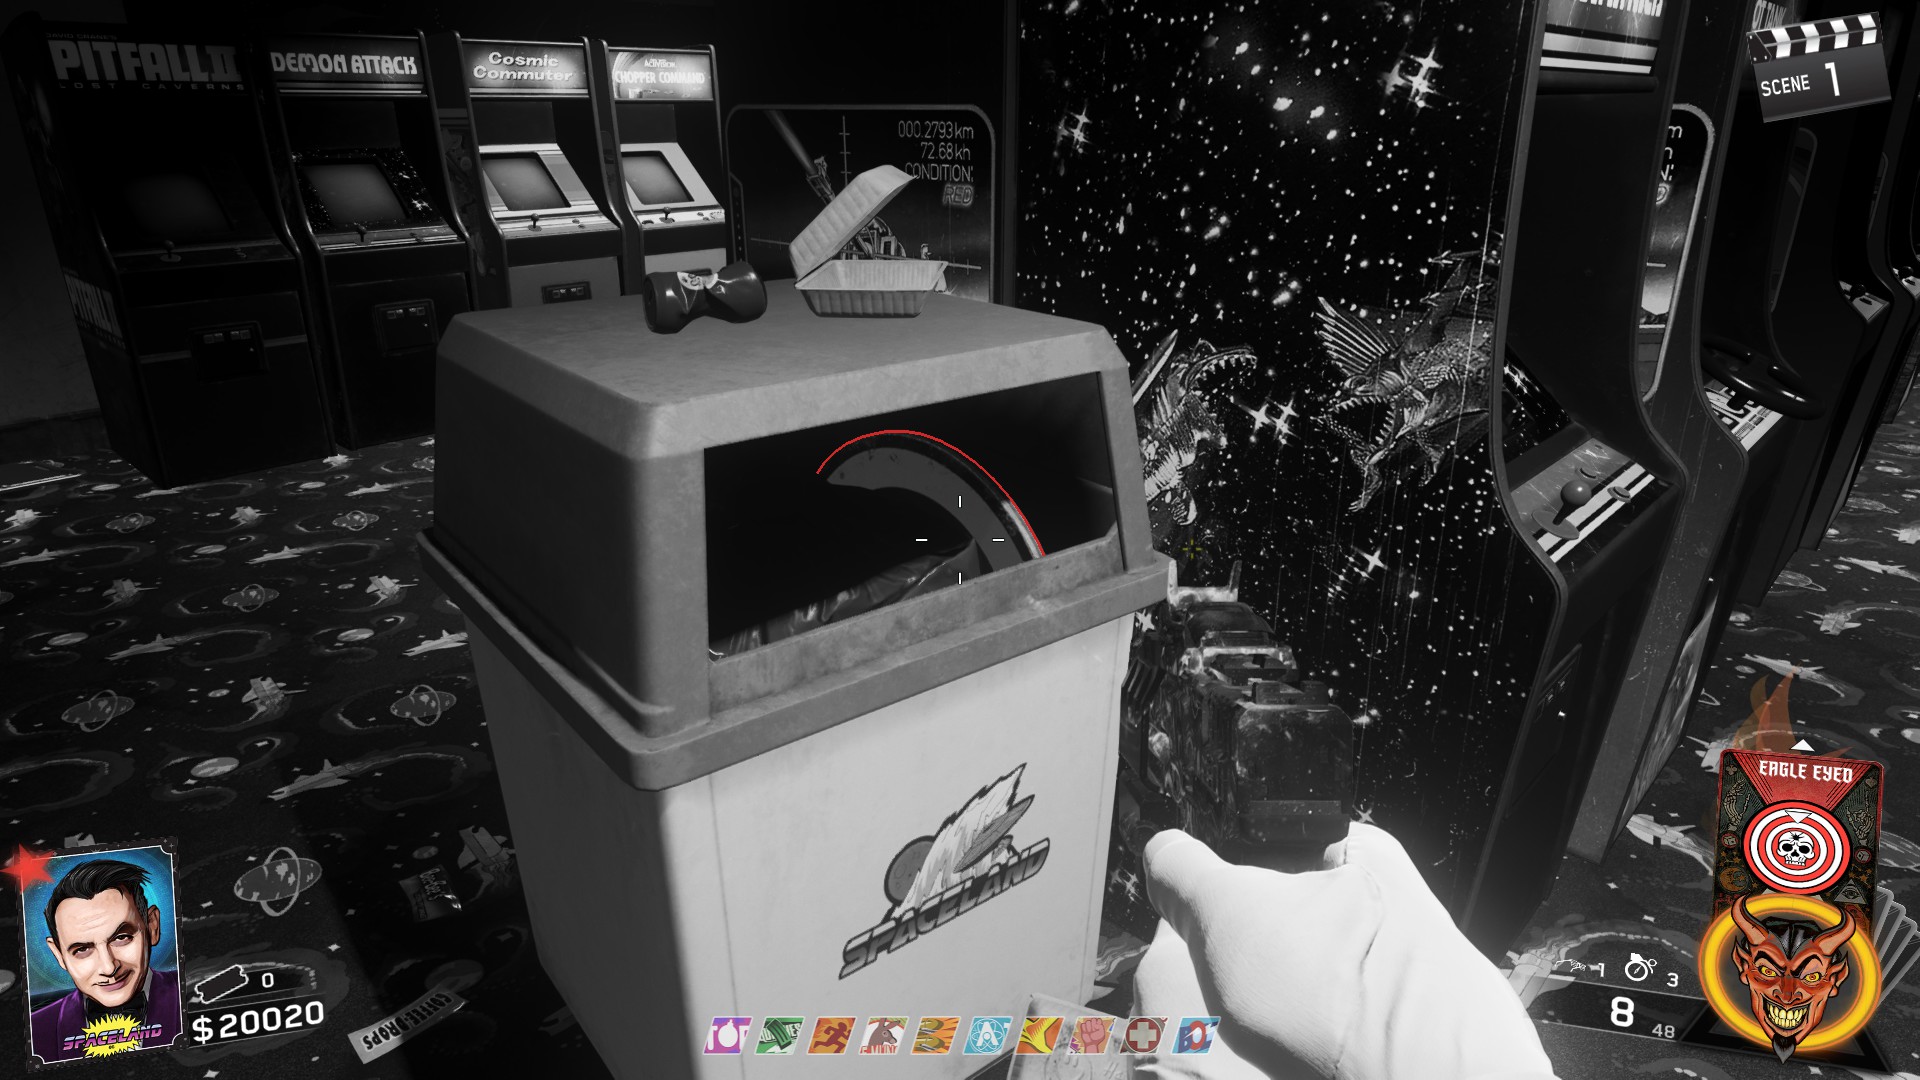
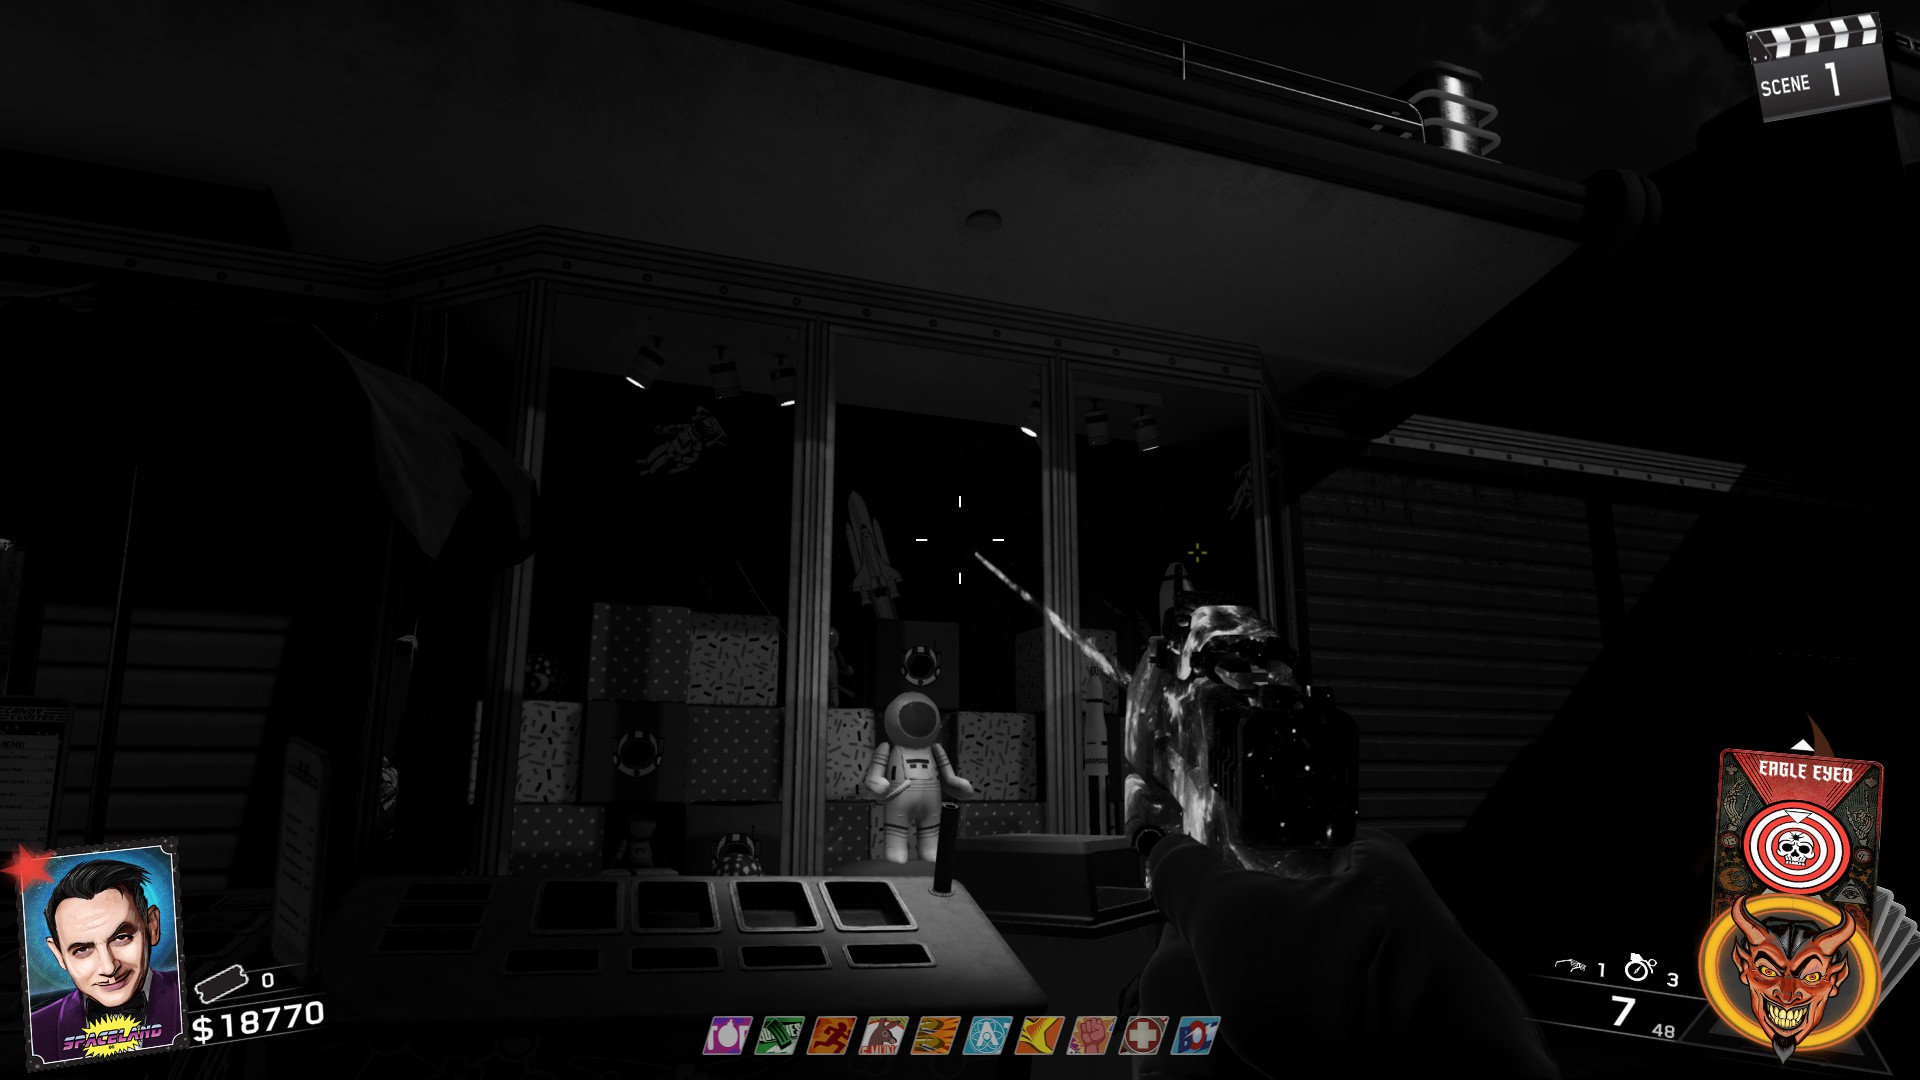
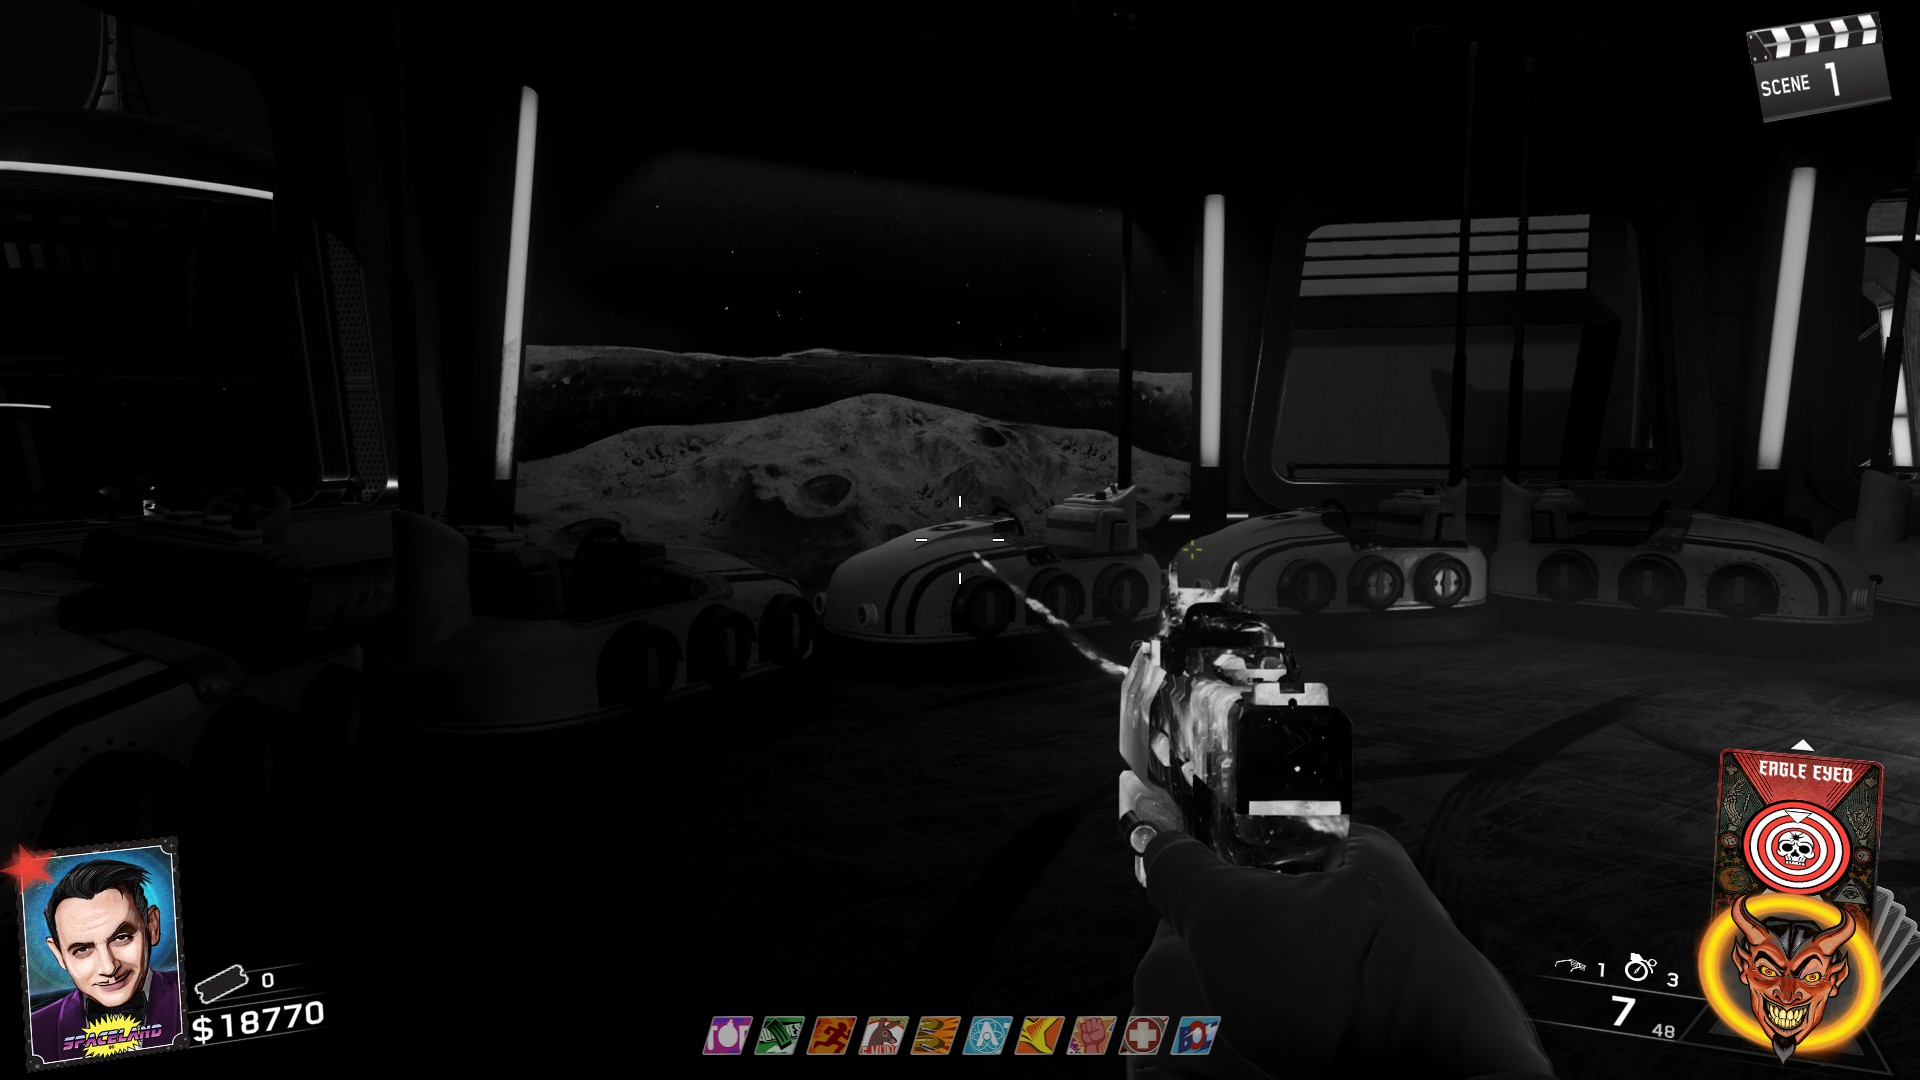
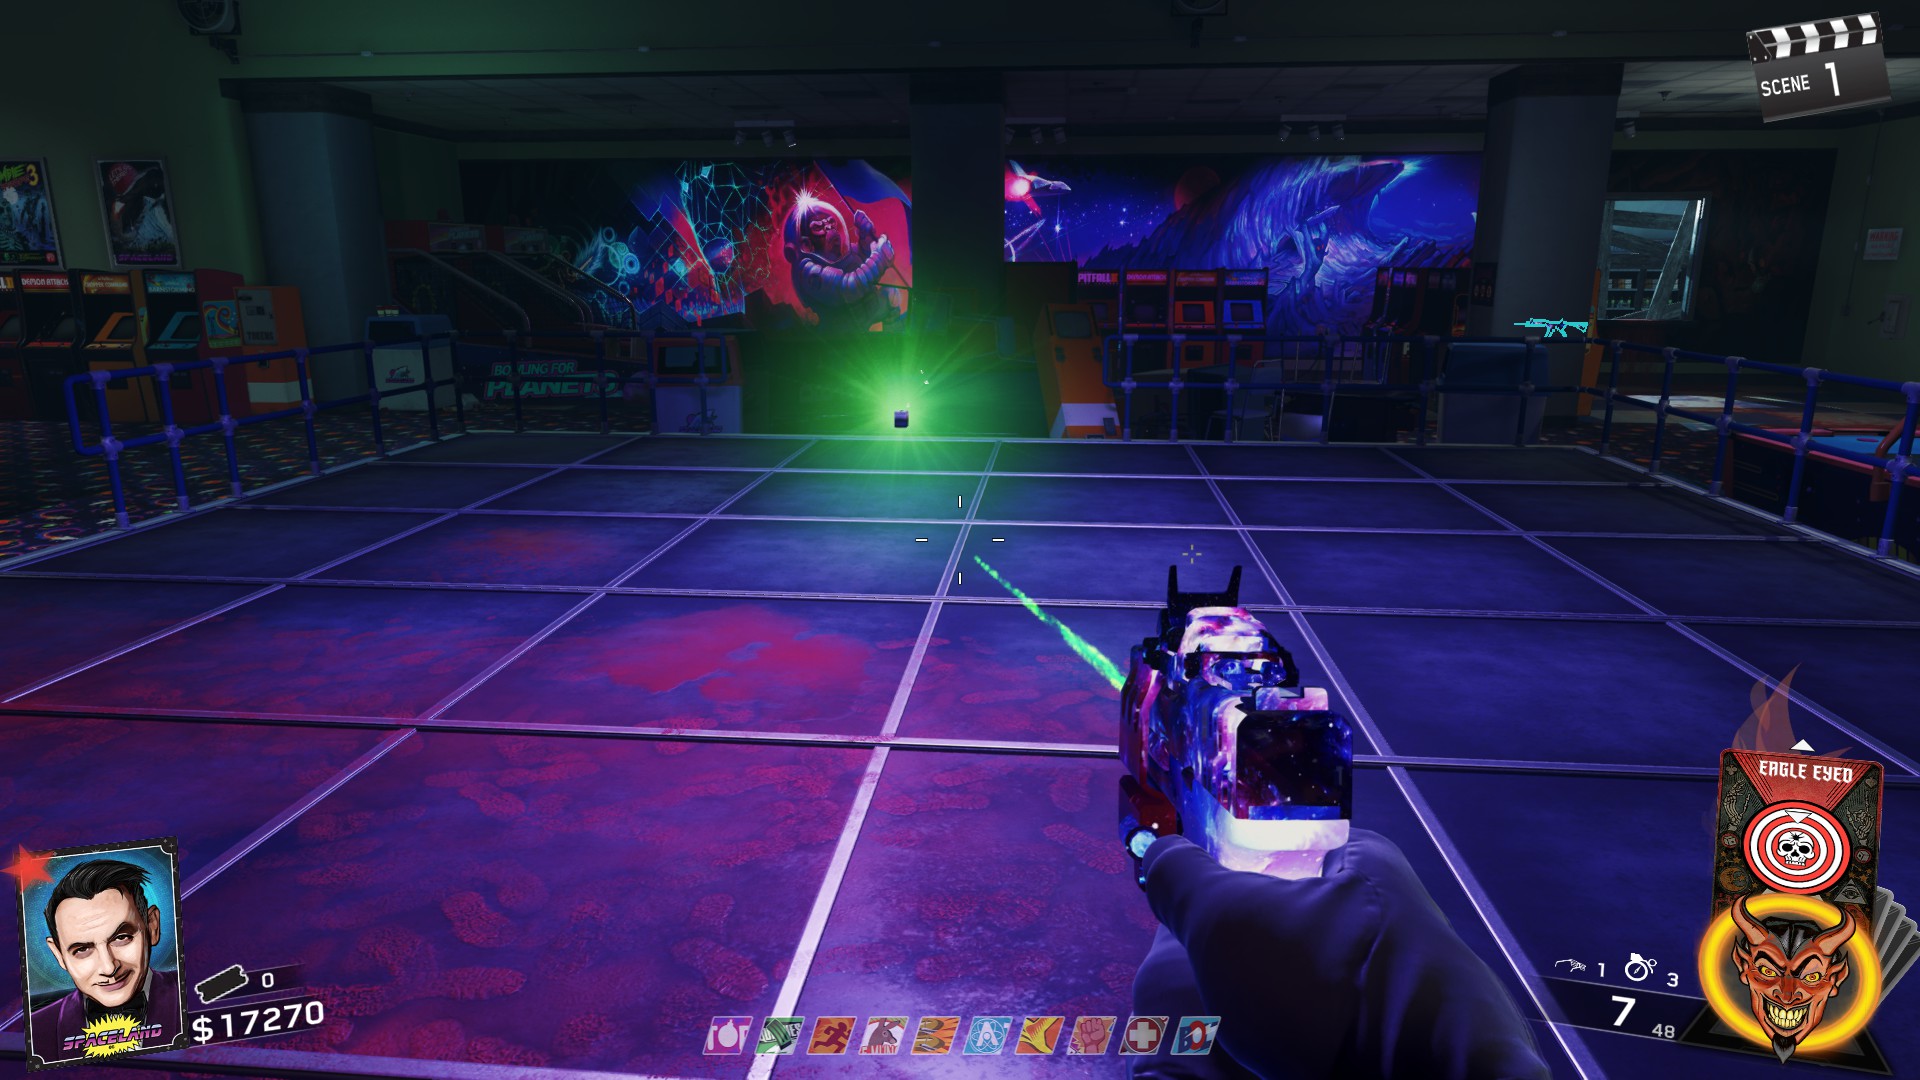
Once all coins have been inserted, the Disco Ball Toy will float out and sit to the right of the machine.
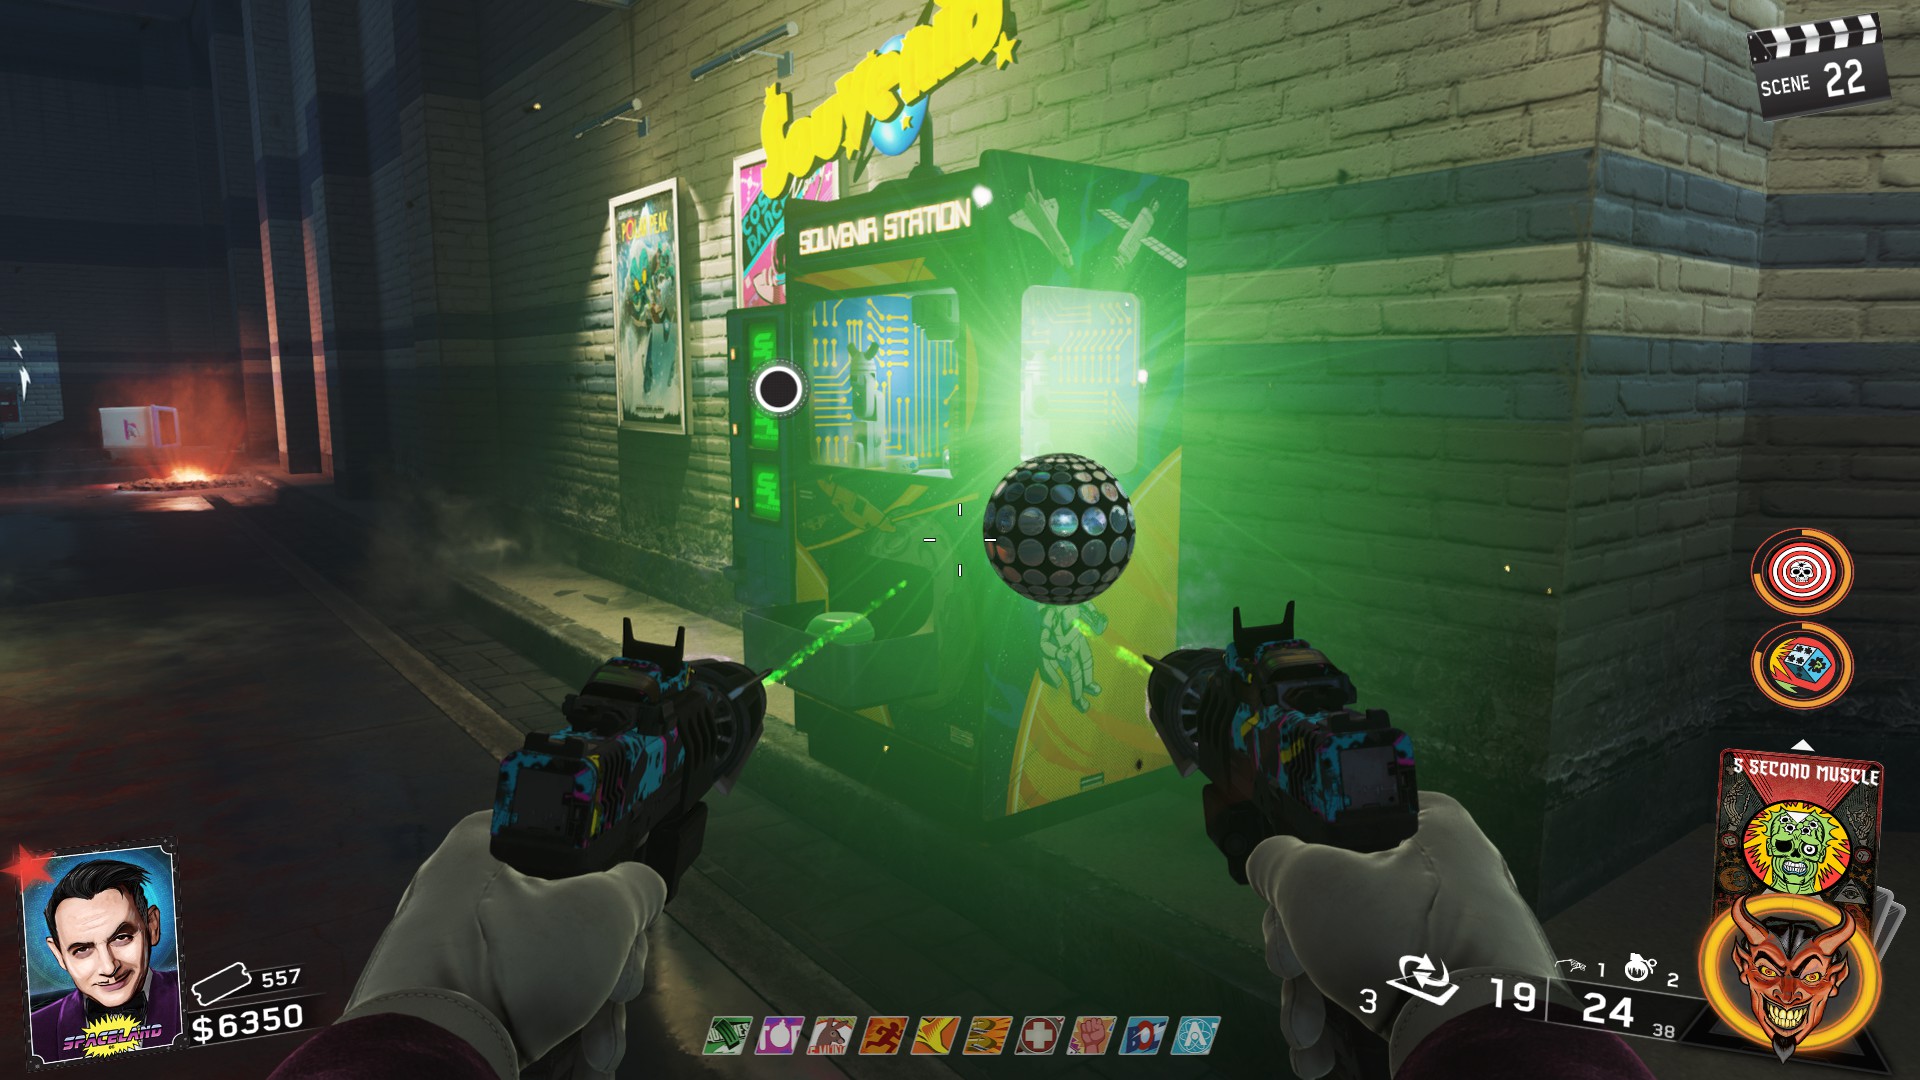
Once you've gotten enough kills, the UFO flying around the trap will begin a different course. Now you can get kills near the UFO and the souls will be sucked into the UFO. The kills MUST be with a weapon that has an Arcane Core attached.
25 kills are needed to charge the UFO. Once it's gotten enough, the green orb will drop on the ground. Pickup the orb and it will attach to your Arcane Core.
Go to the Croc trap in Kepler and in the middle of the mouth will be the machine that holds the shards. Shoot the right middle slot and the green shard will appear. Pick up the shard!
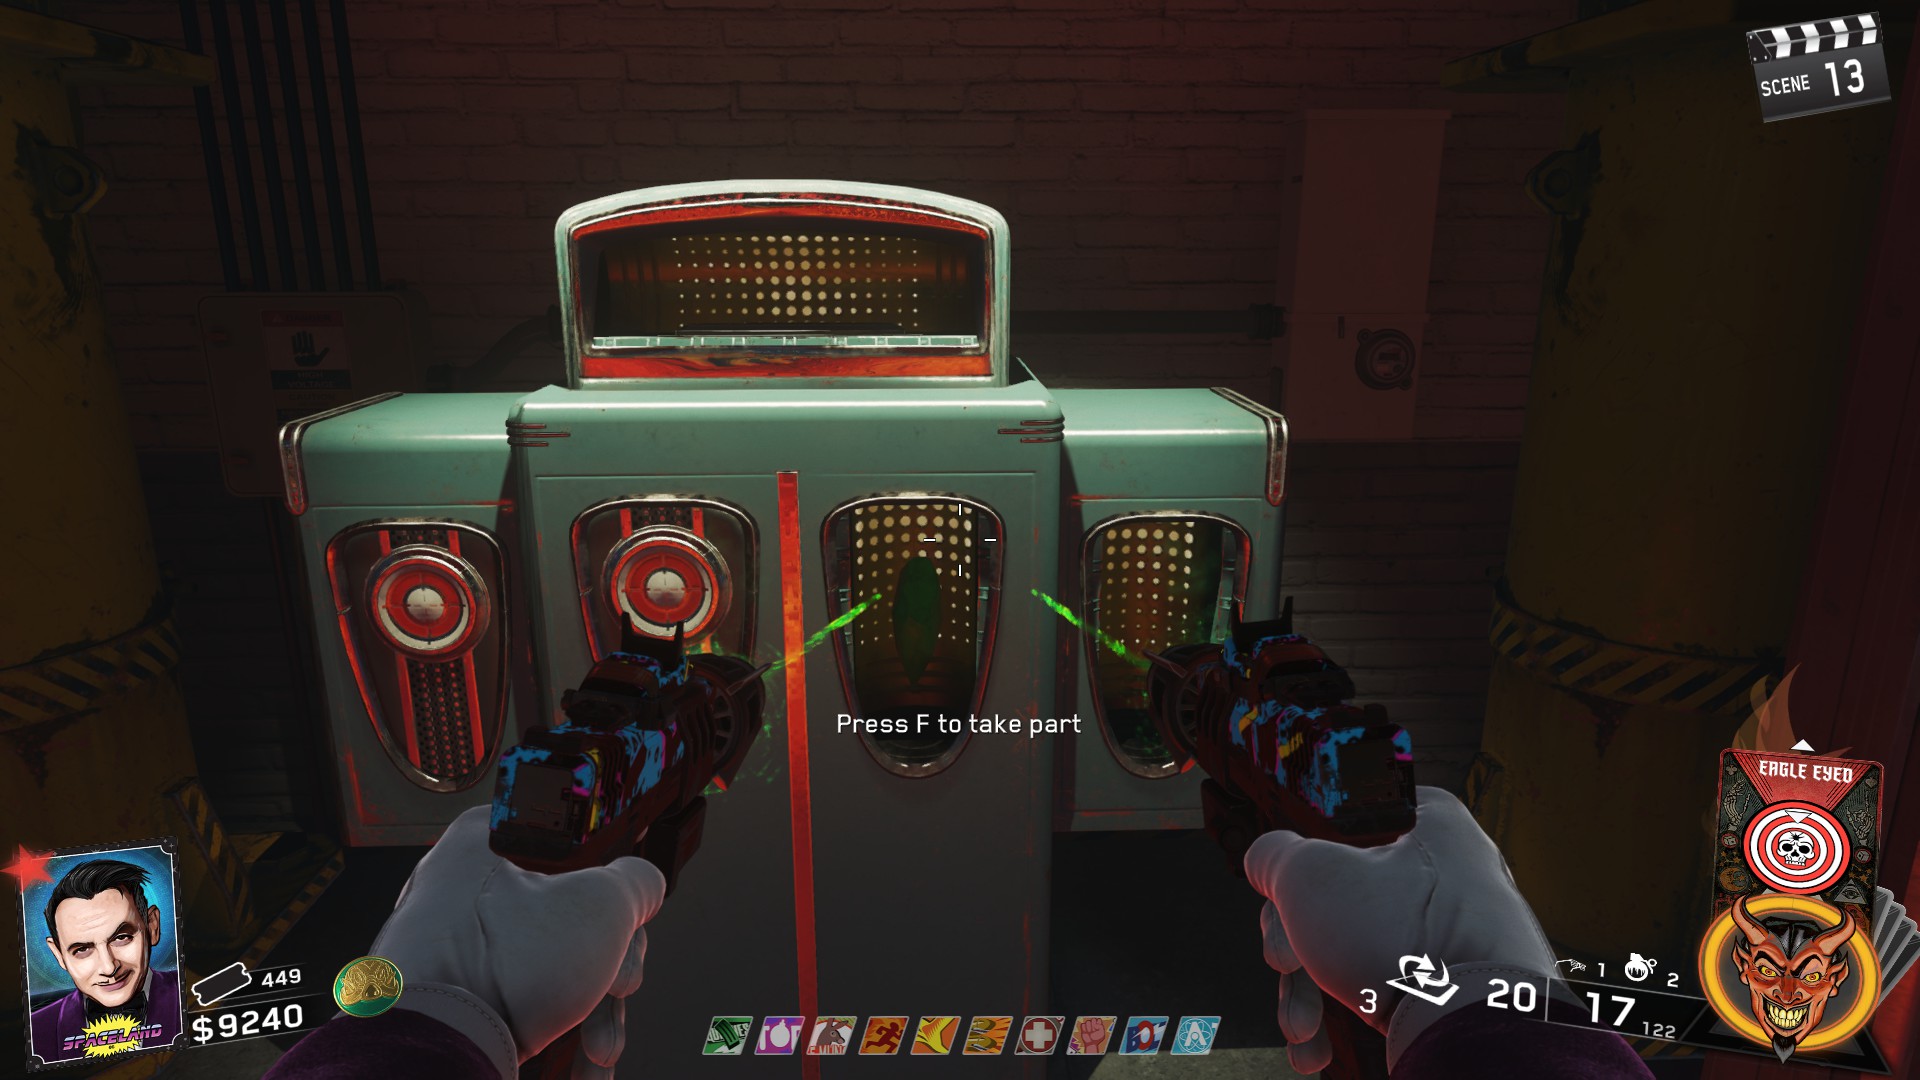
Place all three parts and the Dischord will be available for pickup.
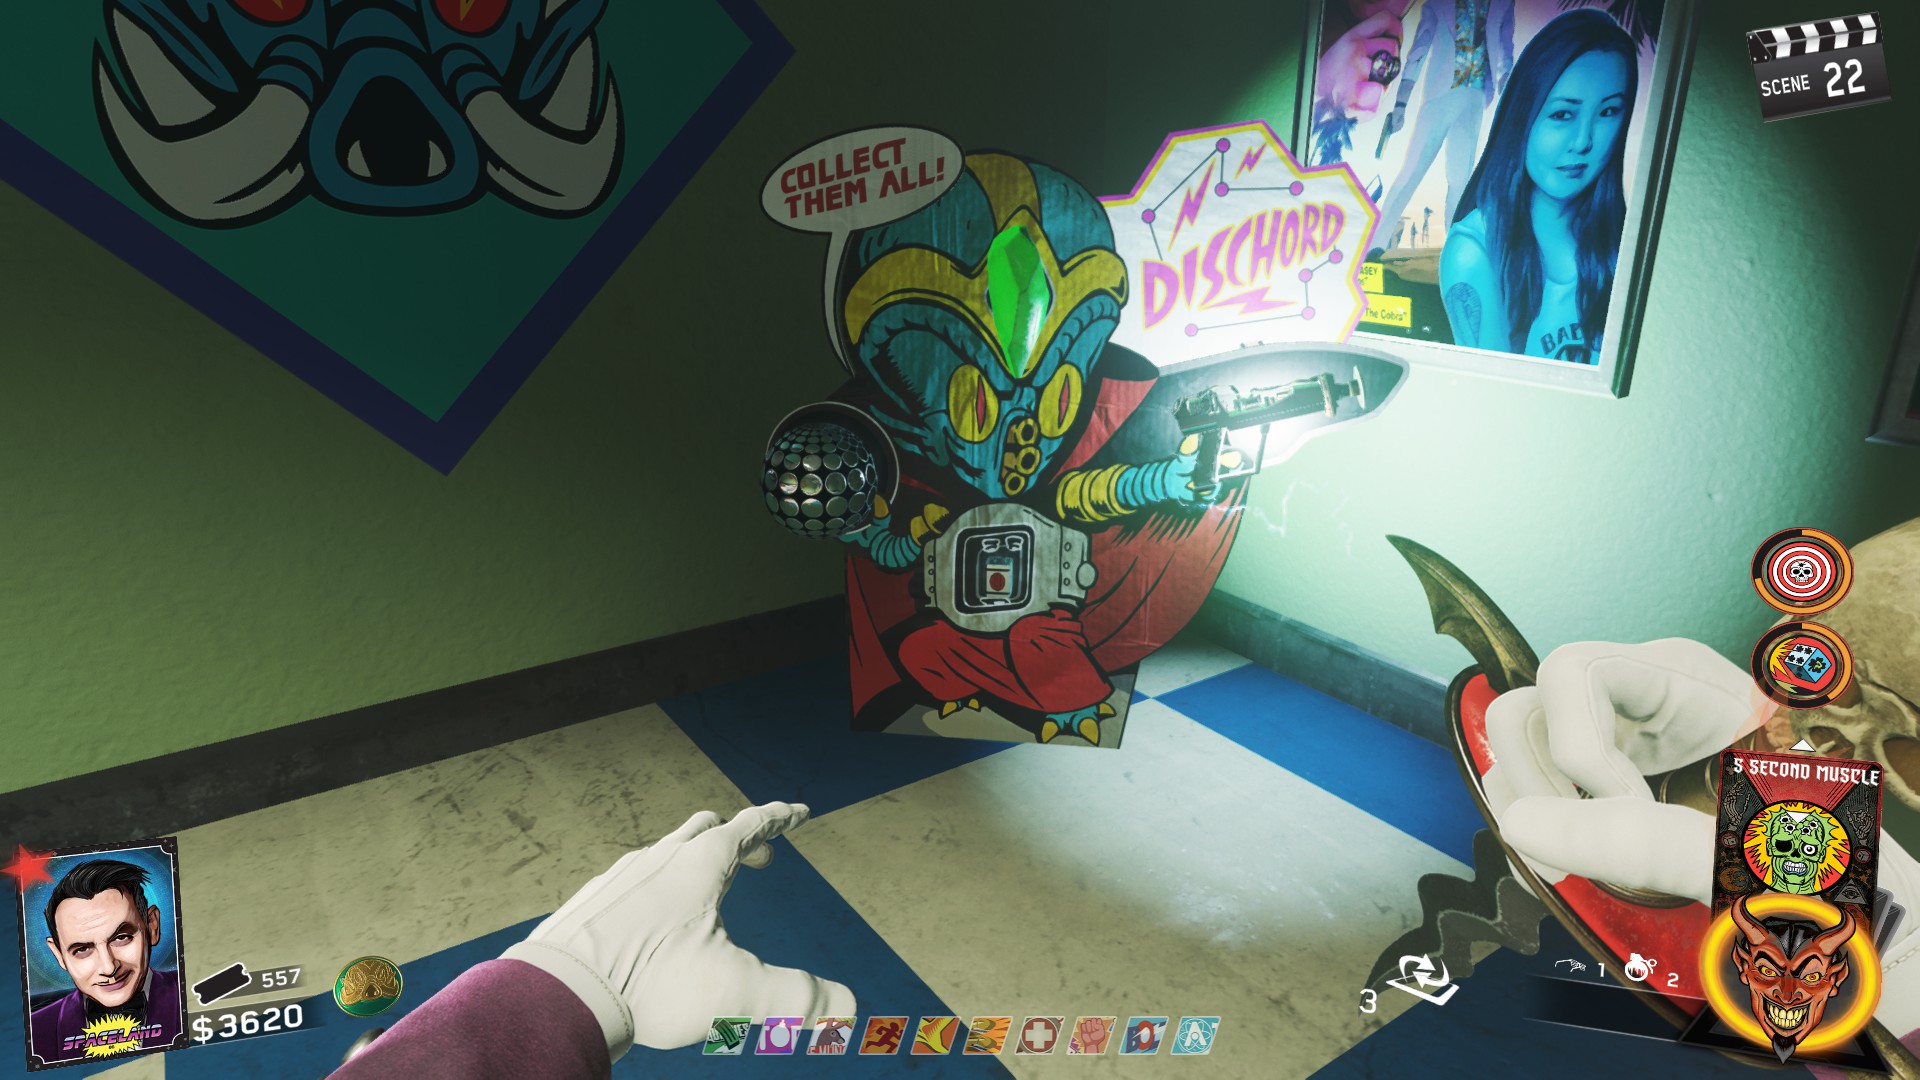
Shedder - Weapons of Rock
Go up to the top area of Spaceship Splash and catch the battery when it comes out of one of the sprayers. View the video below if you still don't understand.
Once all 3 coins have been inserted, a tiny replica Chromosphere toy will float out and sit to the right of the machine.
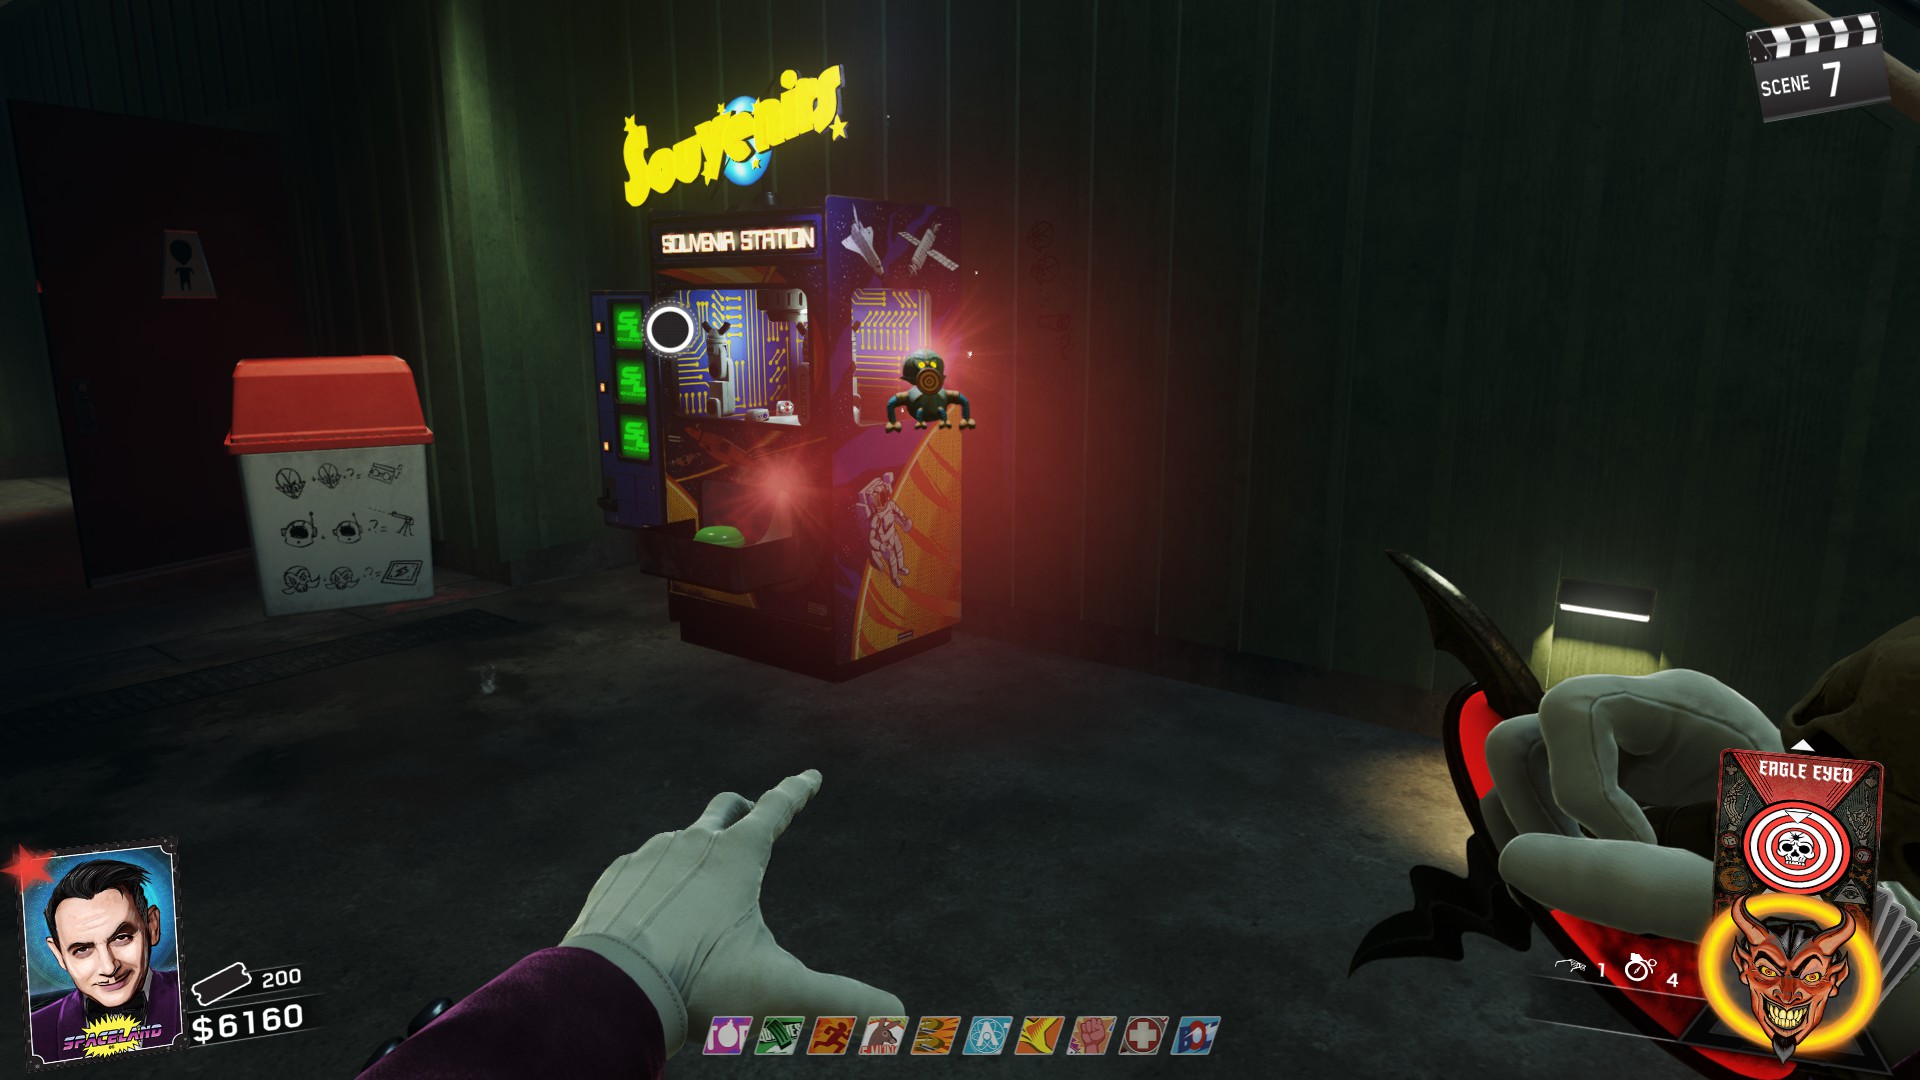
Once you've gotten enough kills, the UFO flying around the trap will begin a different course. Now you can get kills near the UFO and the souls will be sucked into the UFO. The kills MUST be with a weapon that has an Arcane Core attached.
25 kills are needed to charge the UFO. Once it's gotten enough, the red orb will drop on the ground. Pickup the orb and it will attach to your Arcane Core.
Go to the Croc trap in Kepler and in the middle of the mouth will be the machine that holds the shards. Shoot the right most slot and the red shard will appear. Pick up the shard!
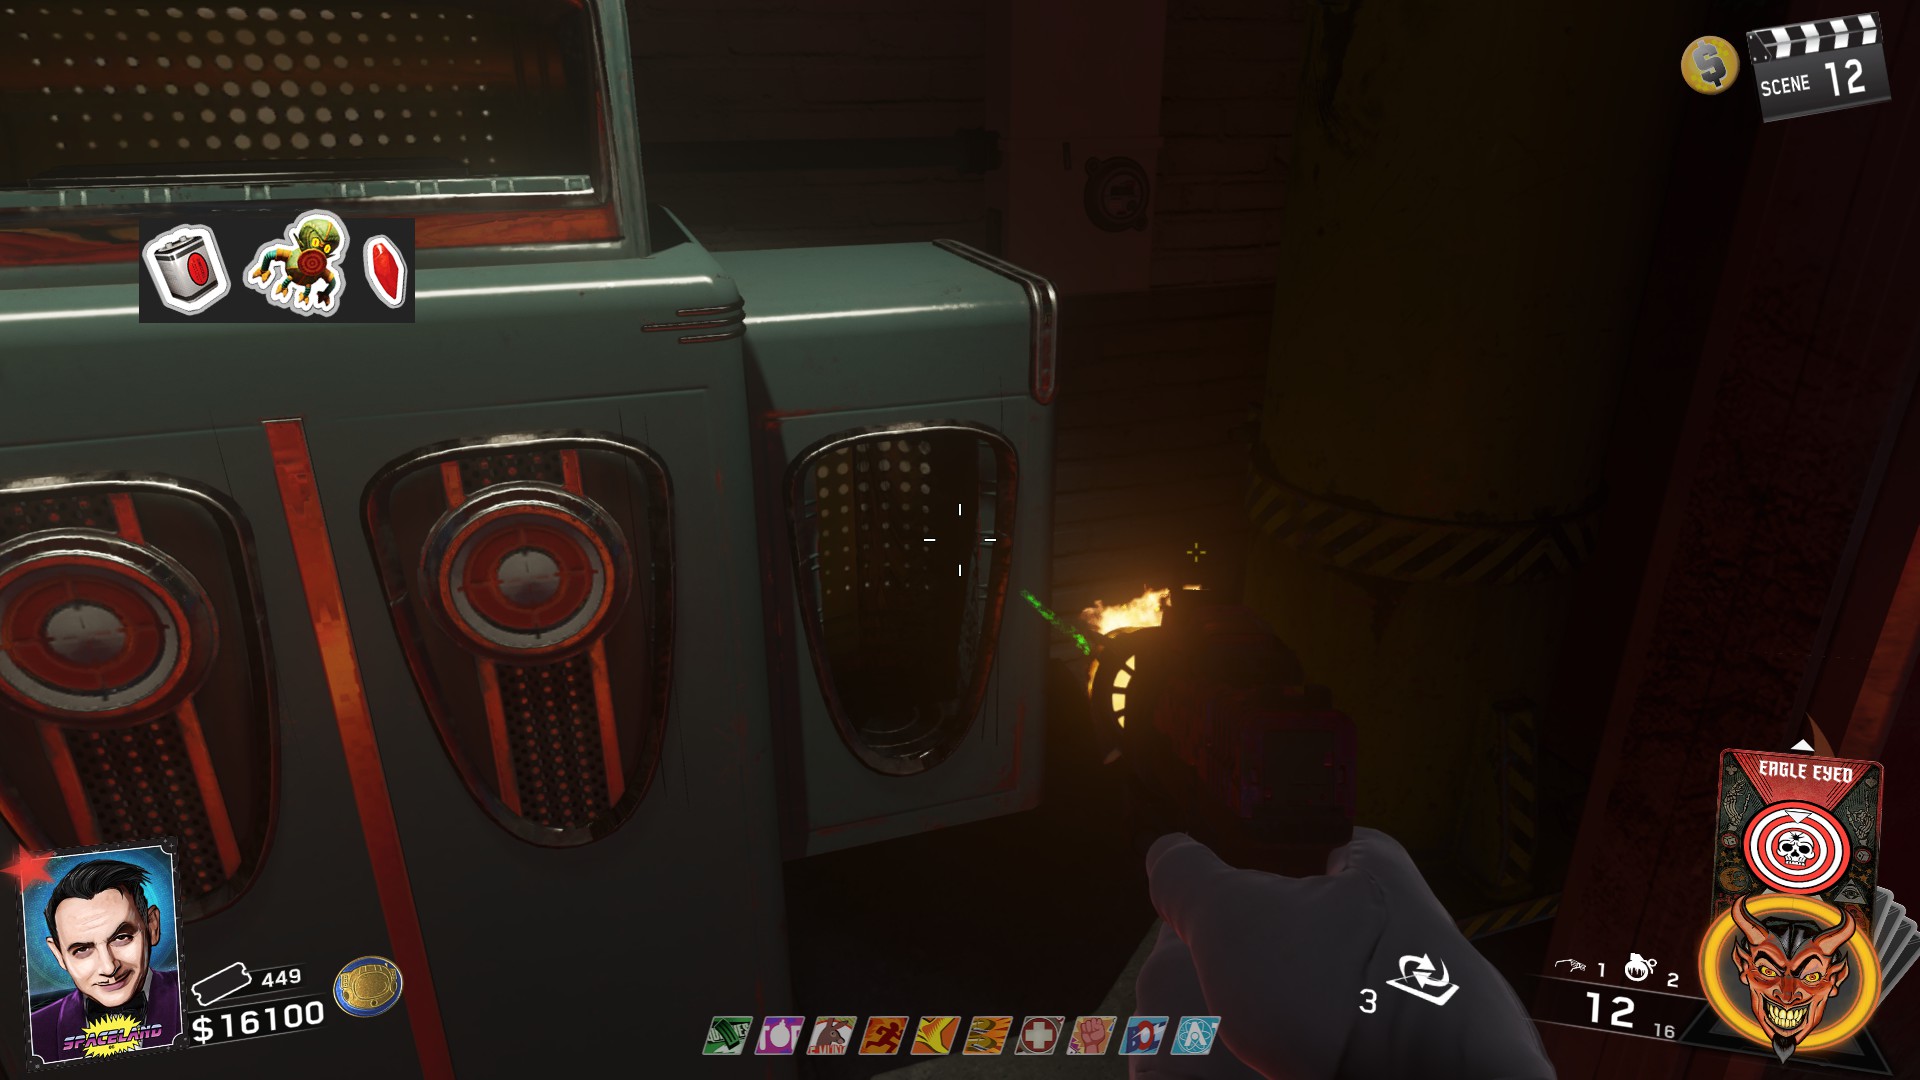
Place all three parts and the Shedder will be available for pickup.
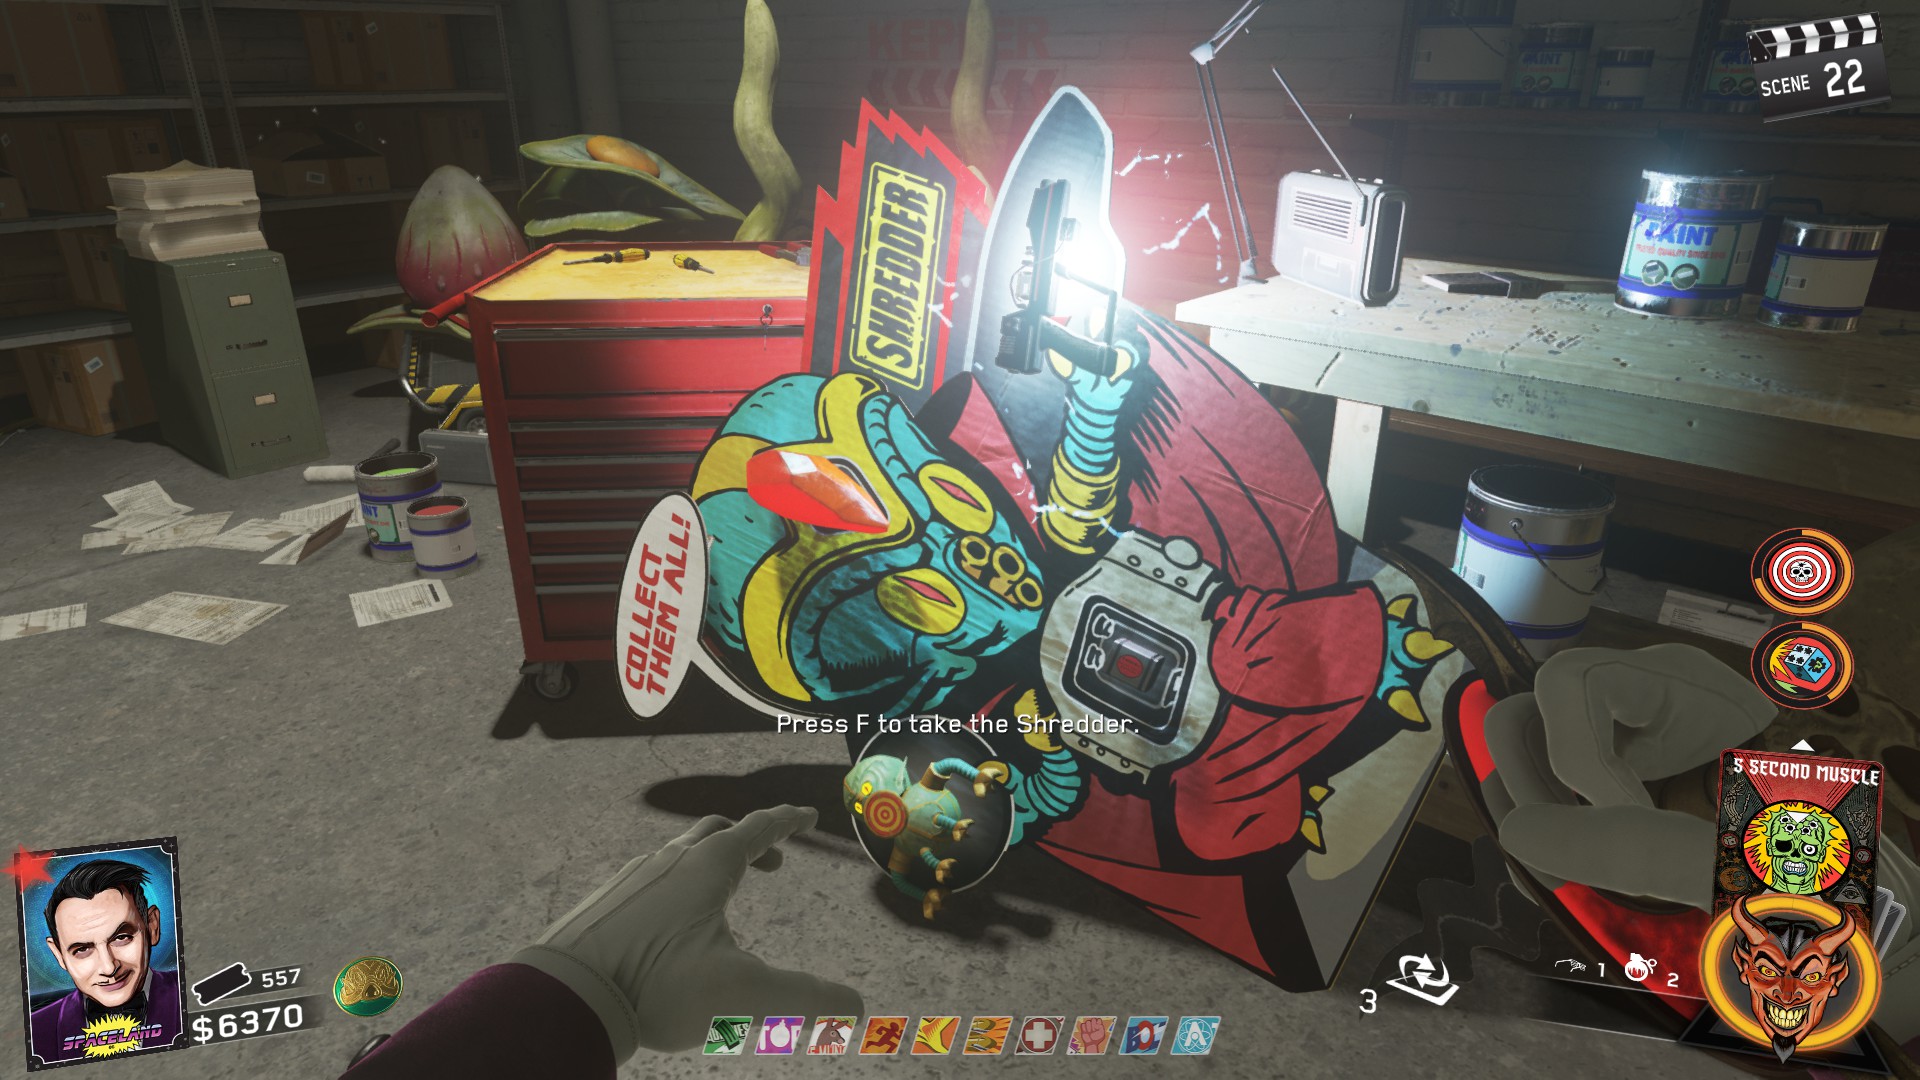
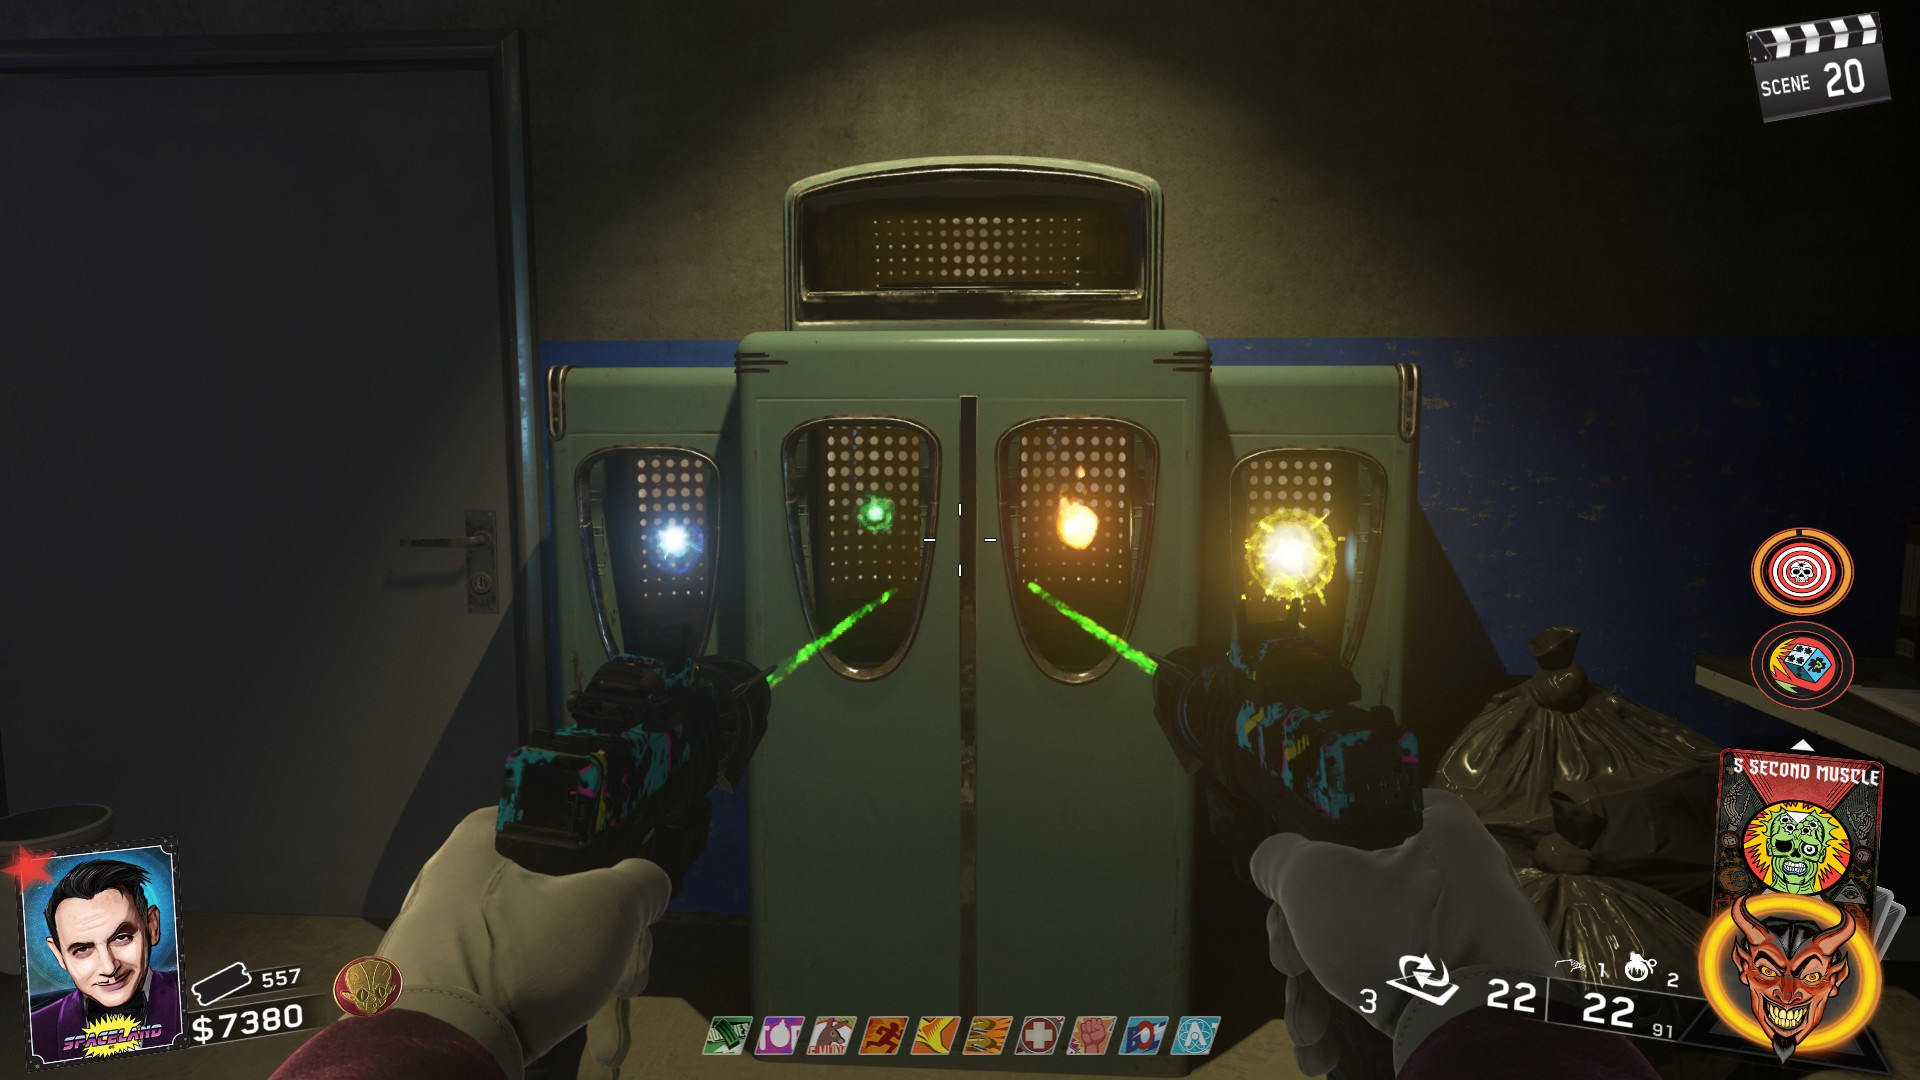
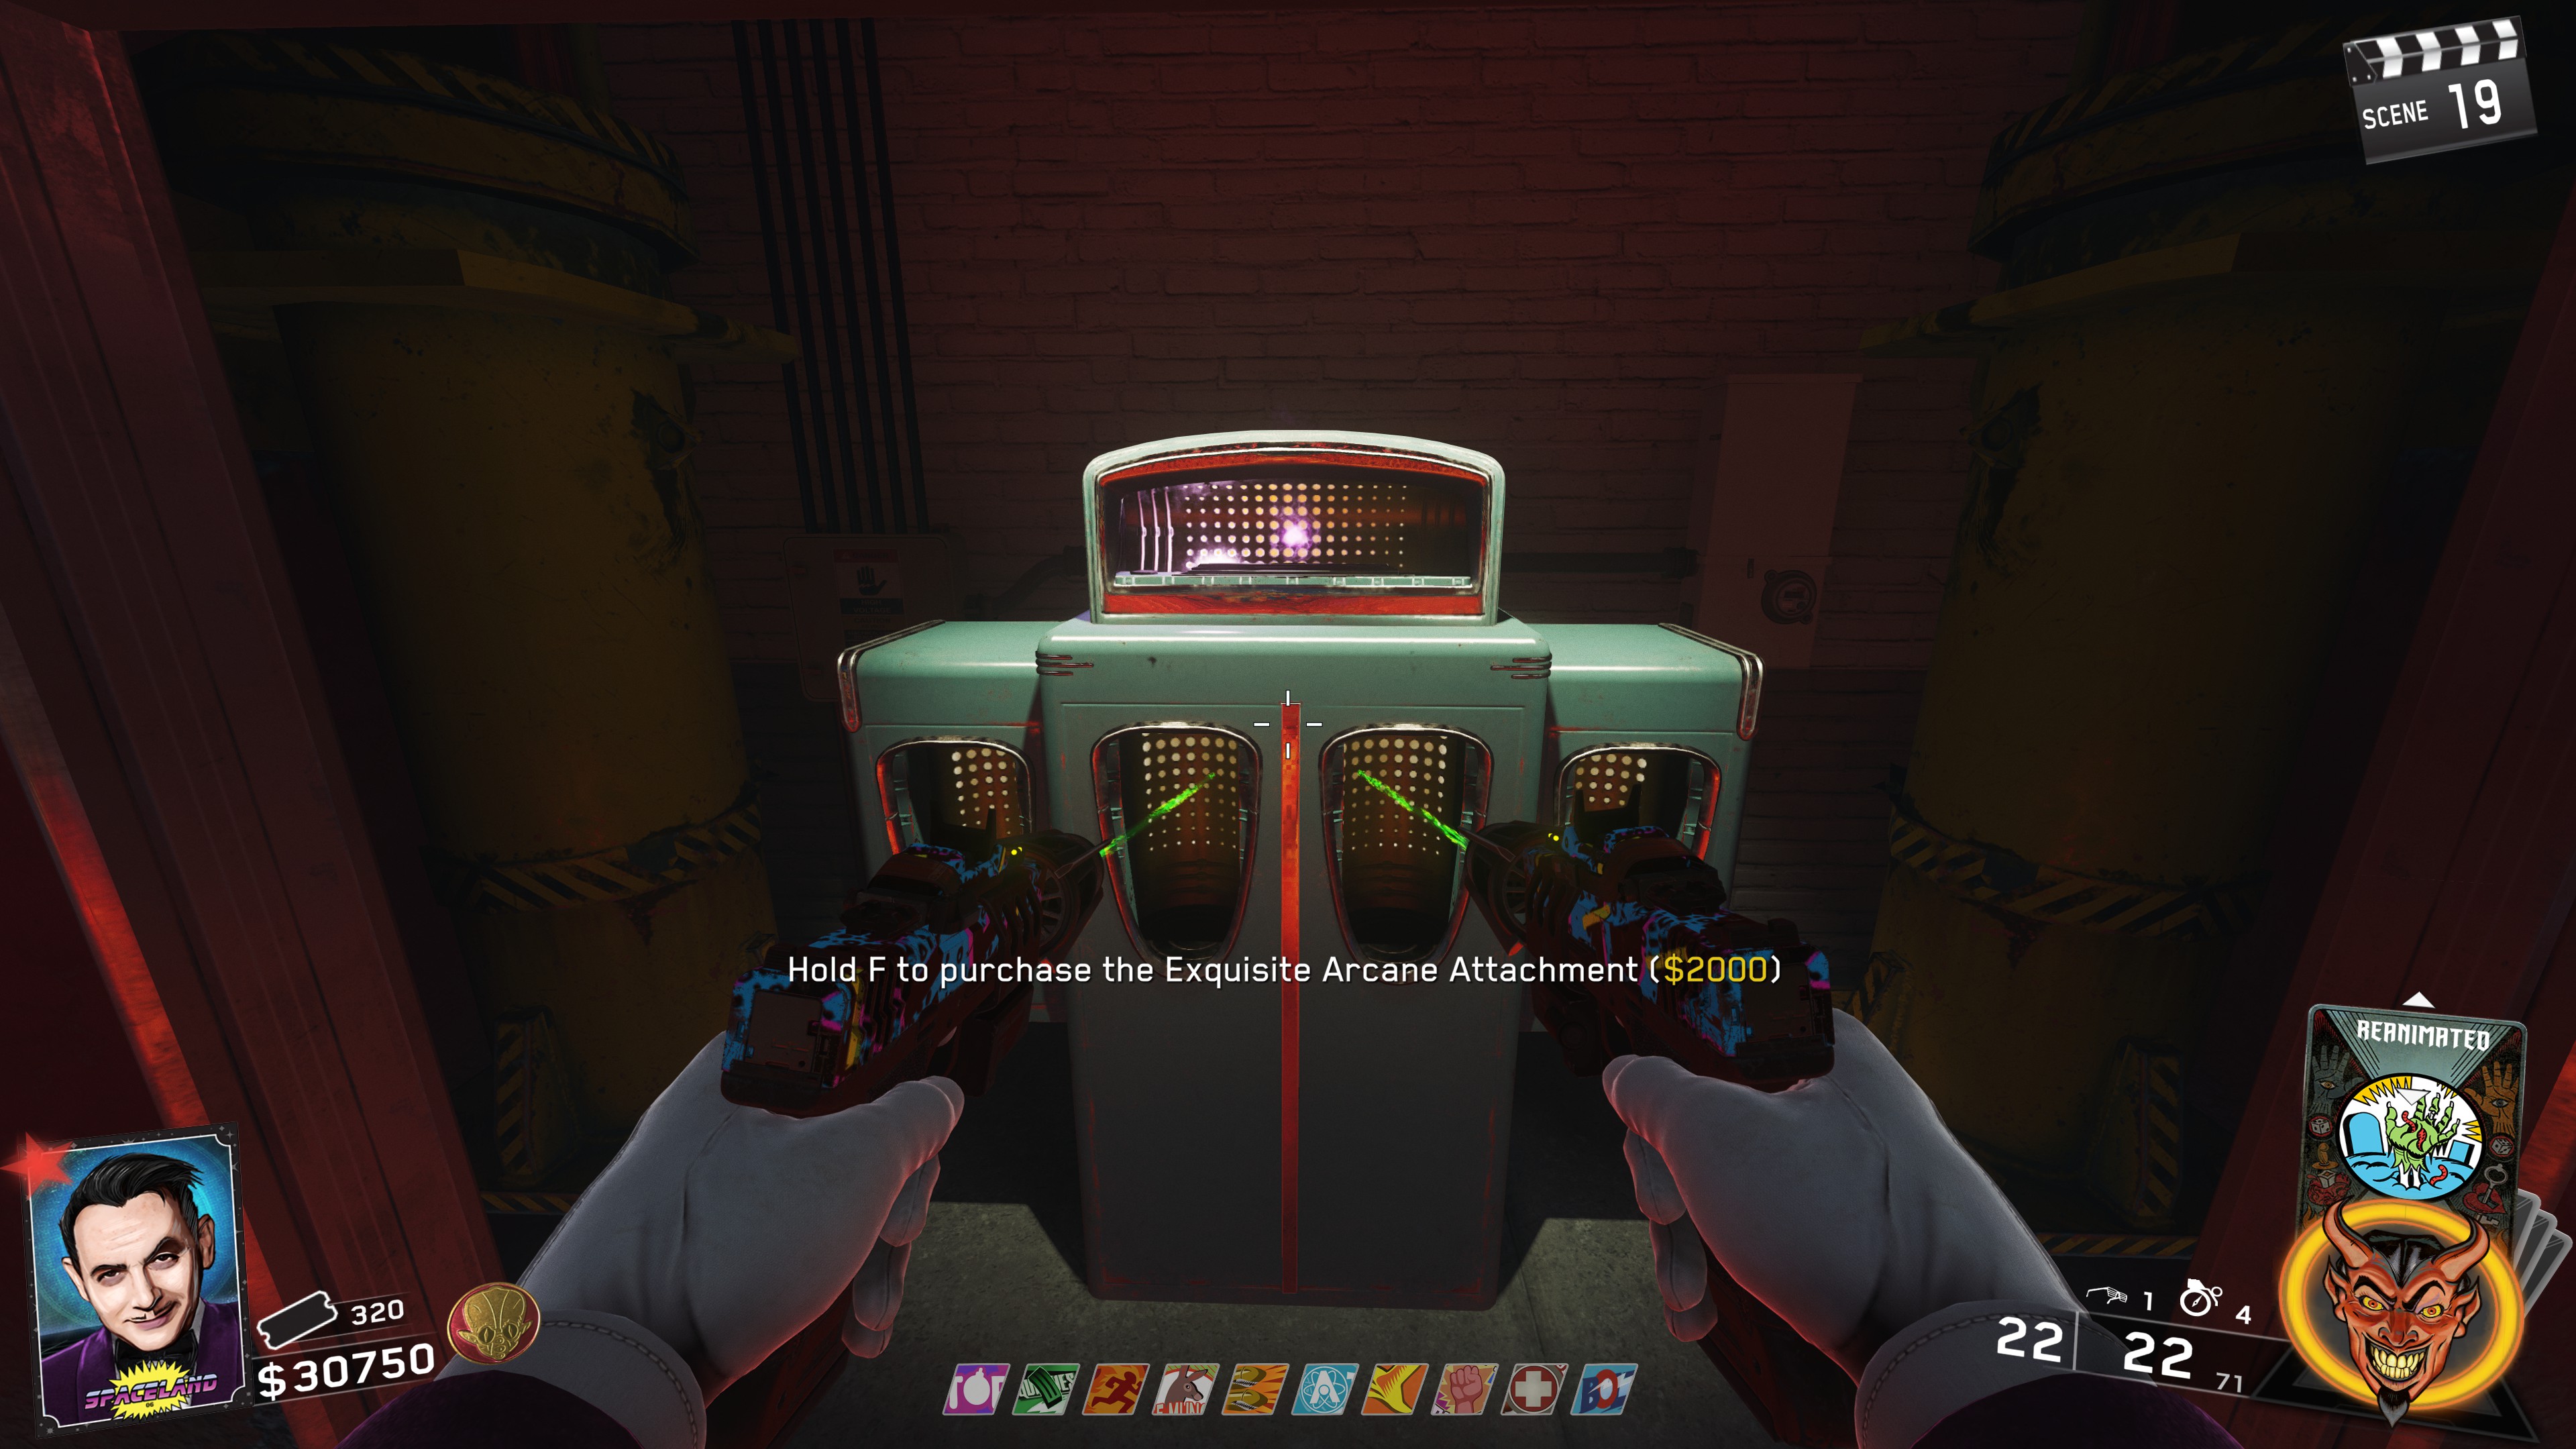
X-Quisite Core
Once you've gotten enough kills, the UFO flying around the trap will begin a different course. Now you can get kills near the UFO and the souls will be sucked into the UFO. The kills MUST be with a weapon that has an Arcane Core attached.
25 kills are needed to charge the UFO. Once it's gotten enough, the red orb will drop on the ground. Pickup the orb and it will attach to your Arcane Core.
Go to the Croc trap in Kepler and in the middle of the mouth will be the machine that holds the shards. Shoot the right most slot and the red shard will appear. Pick up the shard!
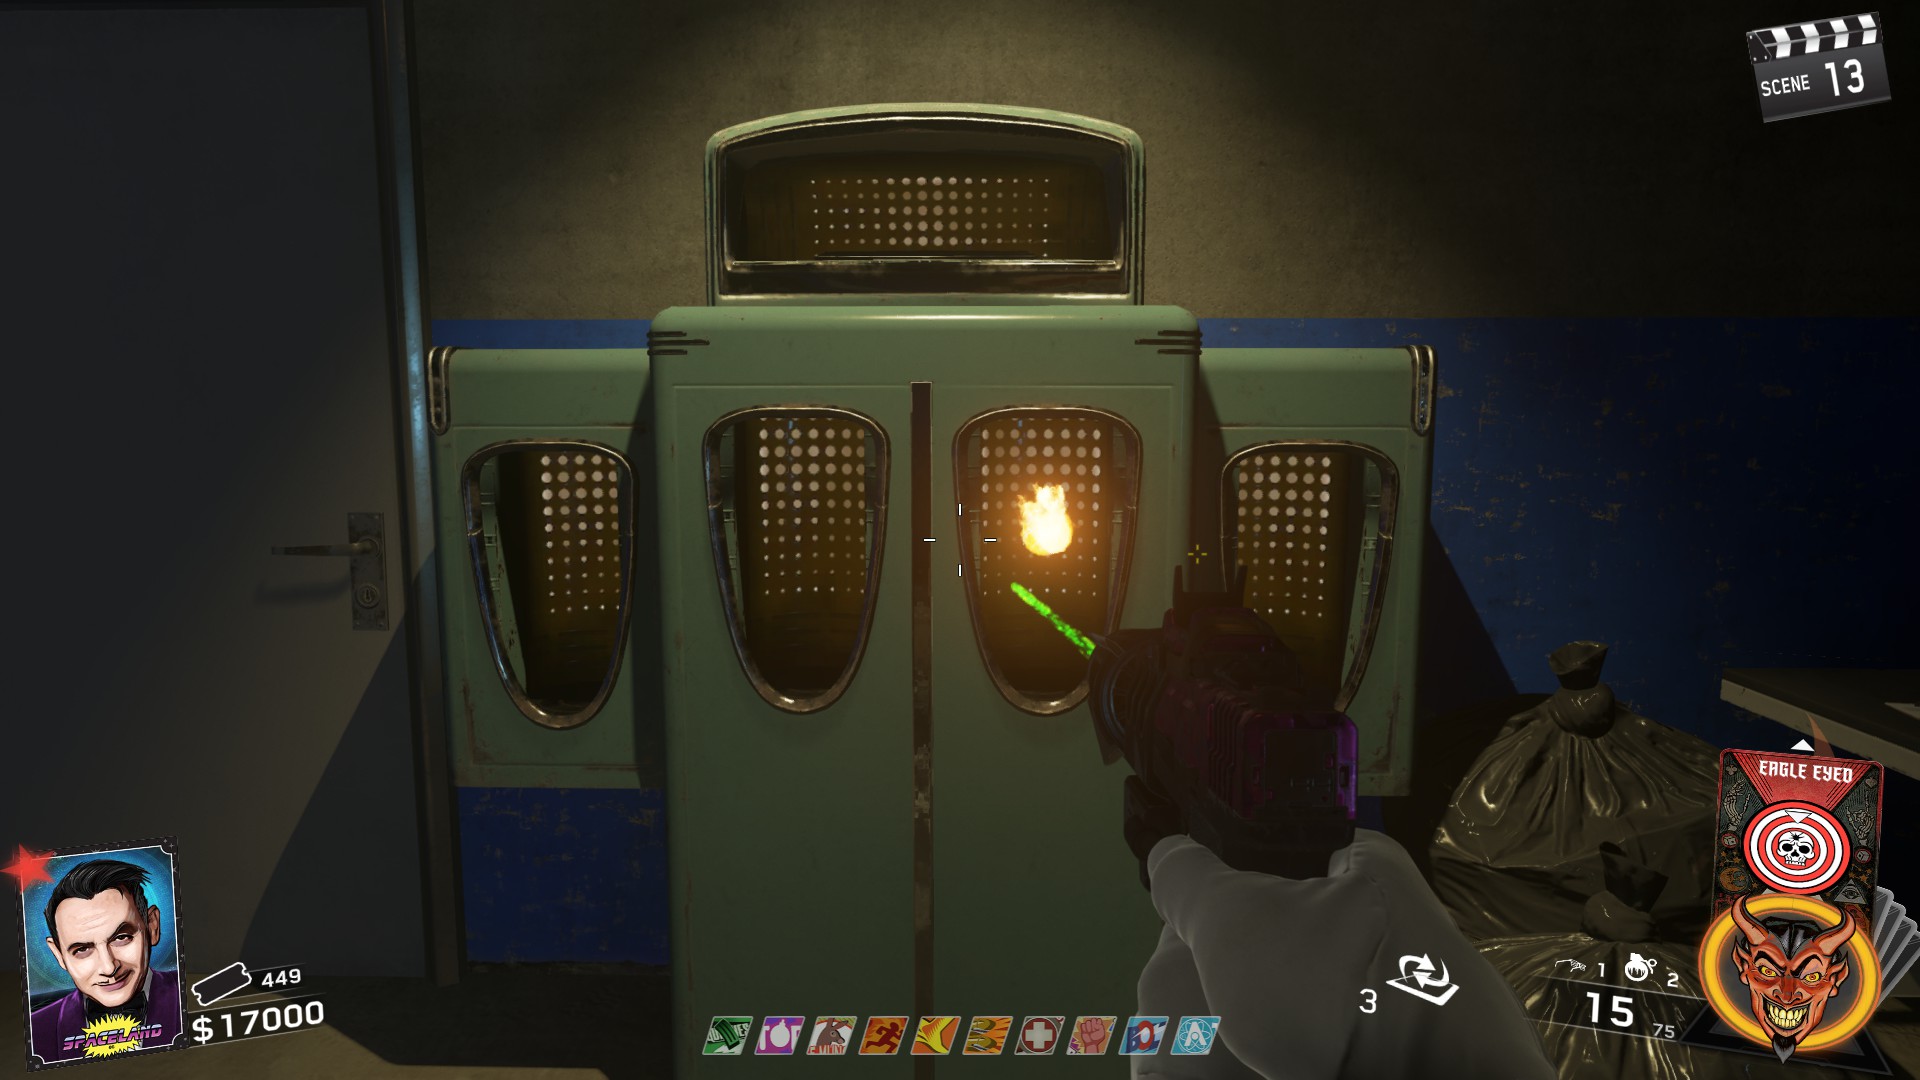
Once you've gotten enough kills, the UFO flying around the trap will begin a different course. Now you can get kills near the UFO and the souls will be sucked into the UFO. The kills MUST be with a weapon that has an Arcane Core attached.
25 kills are needed to charge the UFO. Once it's gotten enough, the green orb will drop on the ground. Pickup the orb and it will attach to your Arcane Core.
Go to the Croc trap in Kepler and in the middle of the mouth will be the machine that holds the shards. Shoot the right middle slot and the green shard will appear. Pick up the shard!
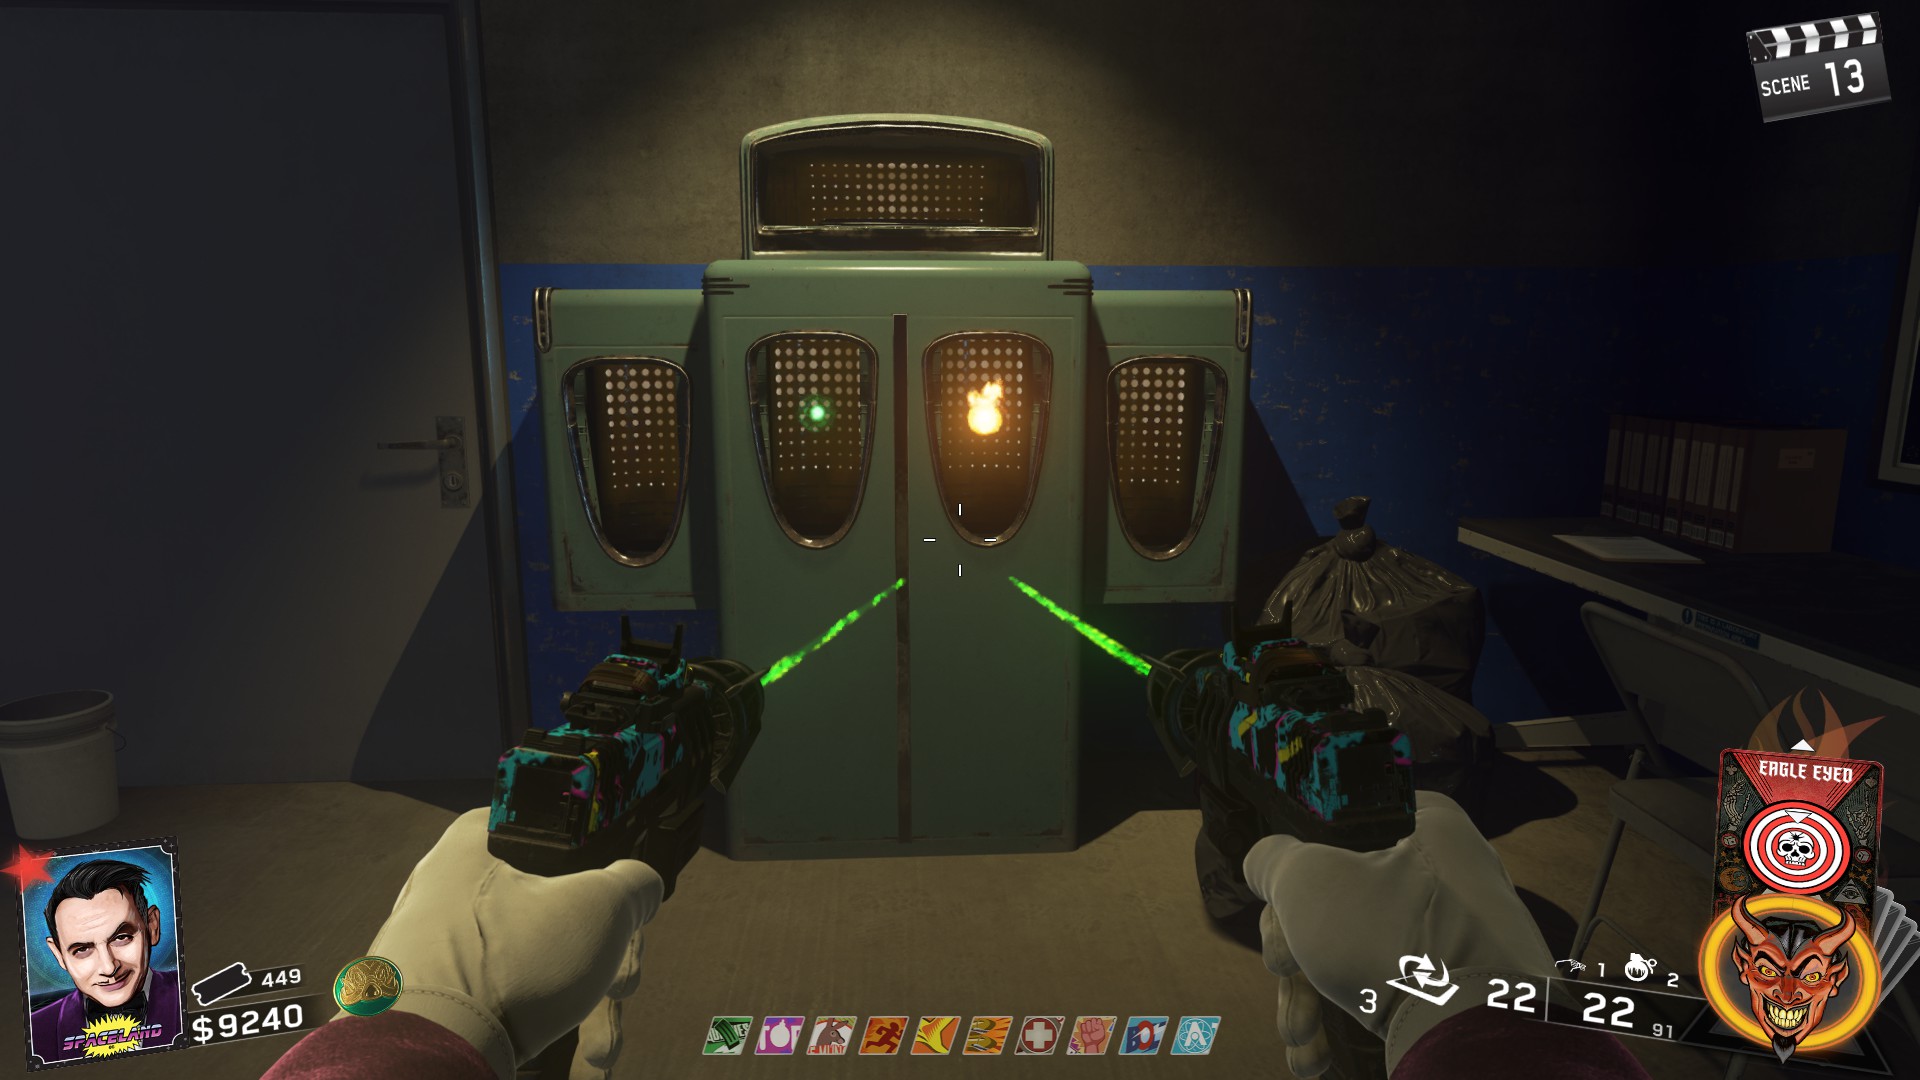
Once you've gotten enough kills, the UFO flying around the trap will begin a different course. Now you can get kills near the UFO and the souls will be sucked into the UFO. The kills MUST be with a weapon that has an Arcane Core attached.
25 kills are needed to charge the UFO. Once it's gotten enough, the blue orb will drop on the ground. Pickup the orb and it will attach to your Arcane Core.
Go to the Croc trap in Kepler and in the middle of the mouth will be the machine that holds the shards. Shoot the left middle slot and the blue shard will appear. Pick up the shard!
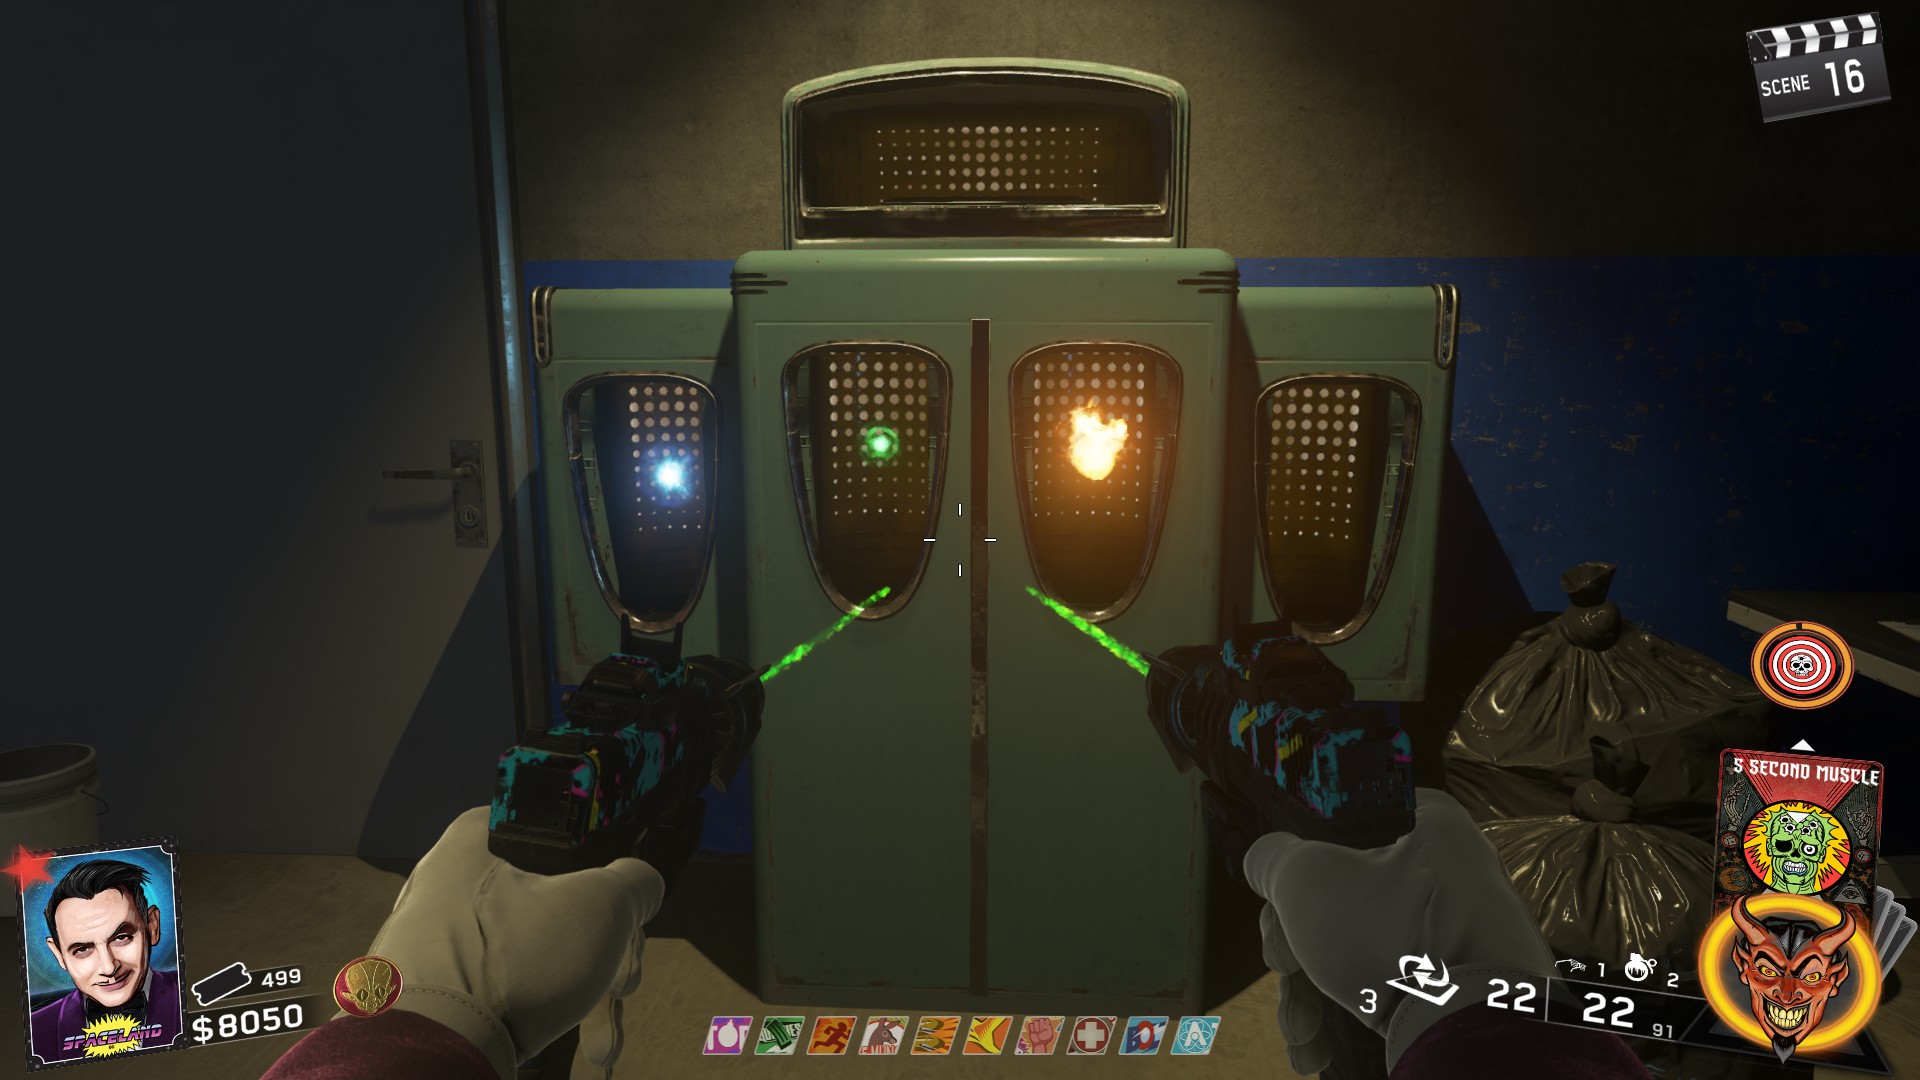
Once you've gotten enough kills, the UFO flying around the trap will begin a different course. Now you can get kills near the UFO and the souls will be sucked into the UFO. The kills MUST be with a weapon that has an Arcane Core attached.
25 kills are needed to charge the UFO. Once it's gotten enough, the yellow orb will drop on the ground. Pickup the orb and it will attach to your Arcane Core.
Go to the Croc trap in Kepler and in the middle of the mouth will be the machine that holds the shards. Shoot the left most slot and the yellow shard will appear. Pick up the shard!
N31L Guide
This happy boy here is a good way to get some tickets early on in the game by doing some fairly simple challenges. However, if you want to complete the Sticker Pack, you are going to have to do everything for him. So here's a nice picture of N31L and all the steps to complete him along with the reward for doing so.
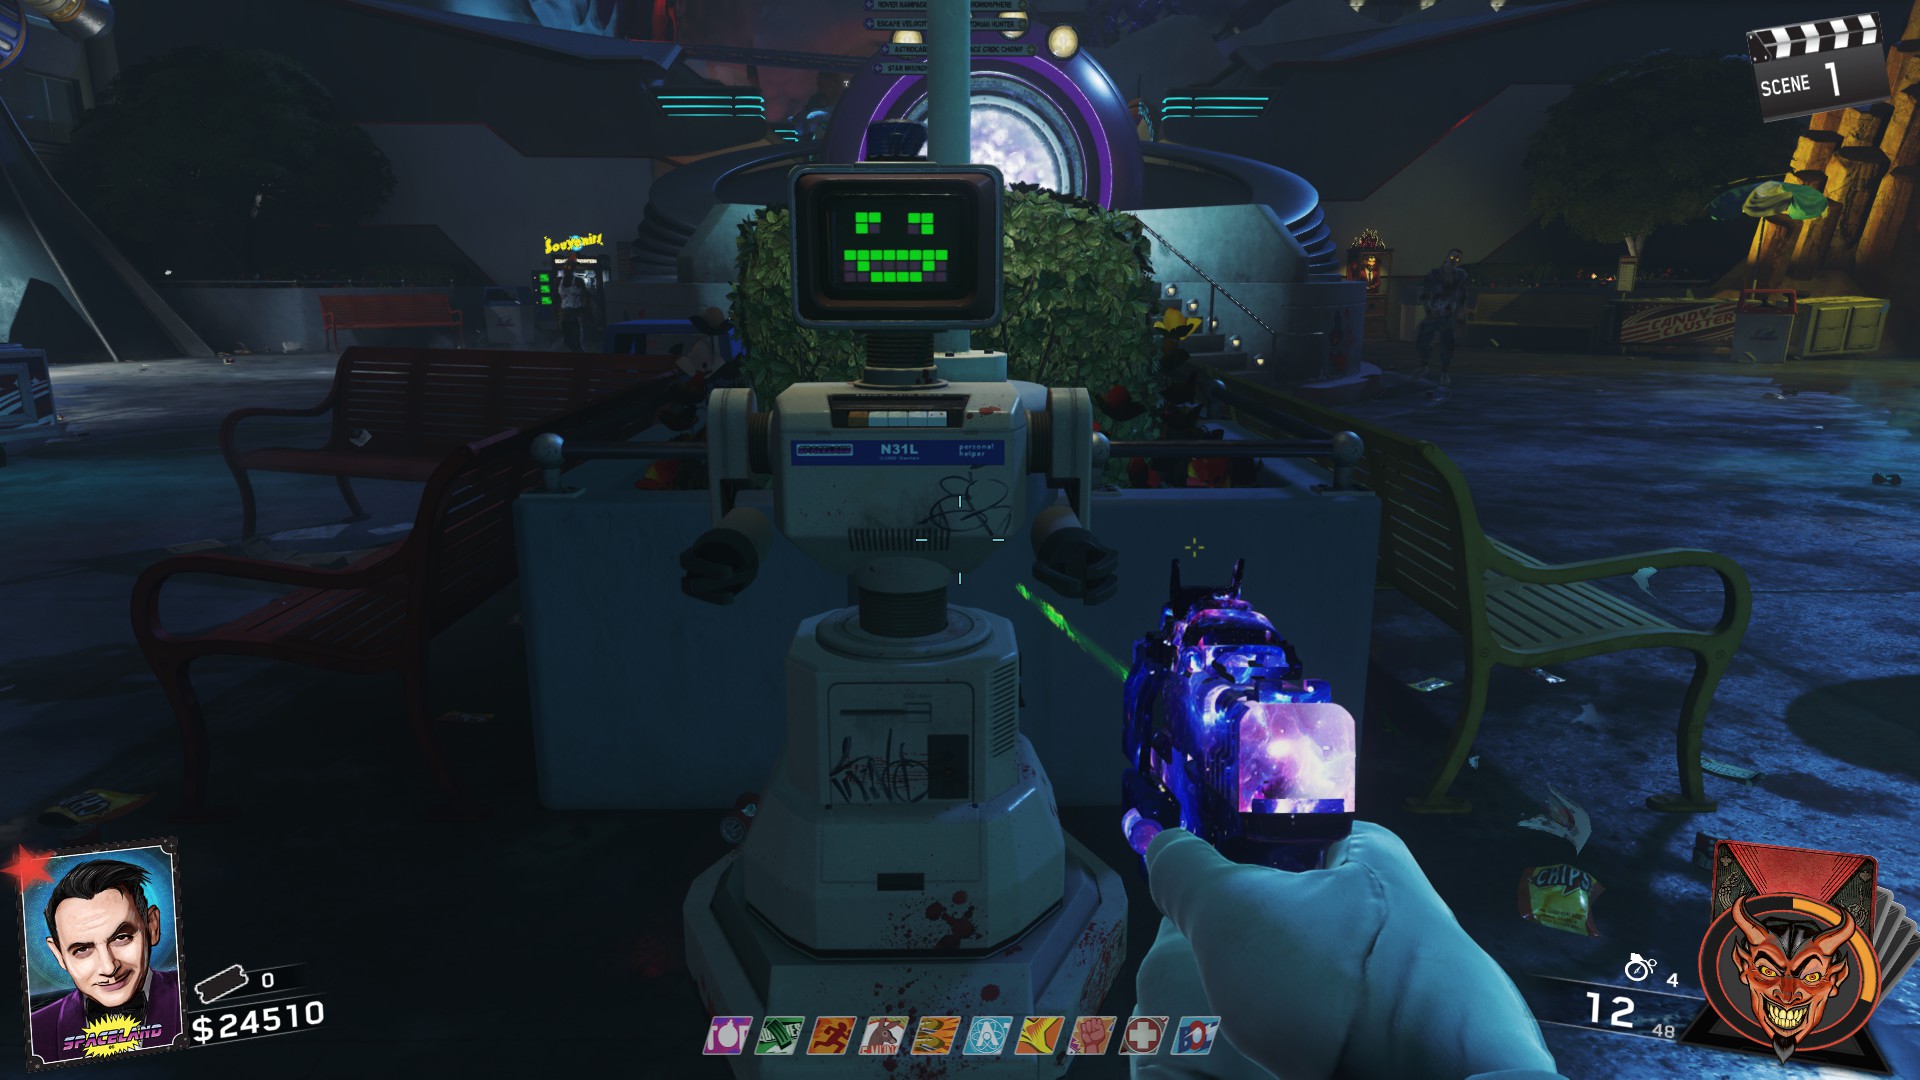
Below are the challenges that can be given after attaching N31L's head. Note that these scale based on how many players are in the match.
After completing all challenges. Interact with N31L and he will bring down Hasselhoff. Wait for Hasselhoff to leave and N31L will come back asking for an Auxiliary Battery.
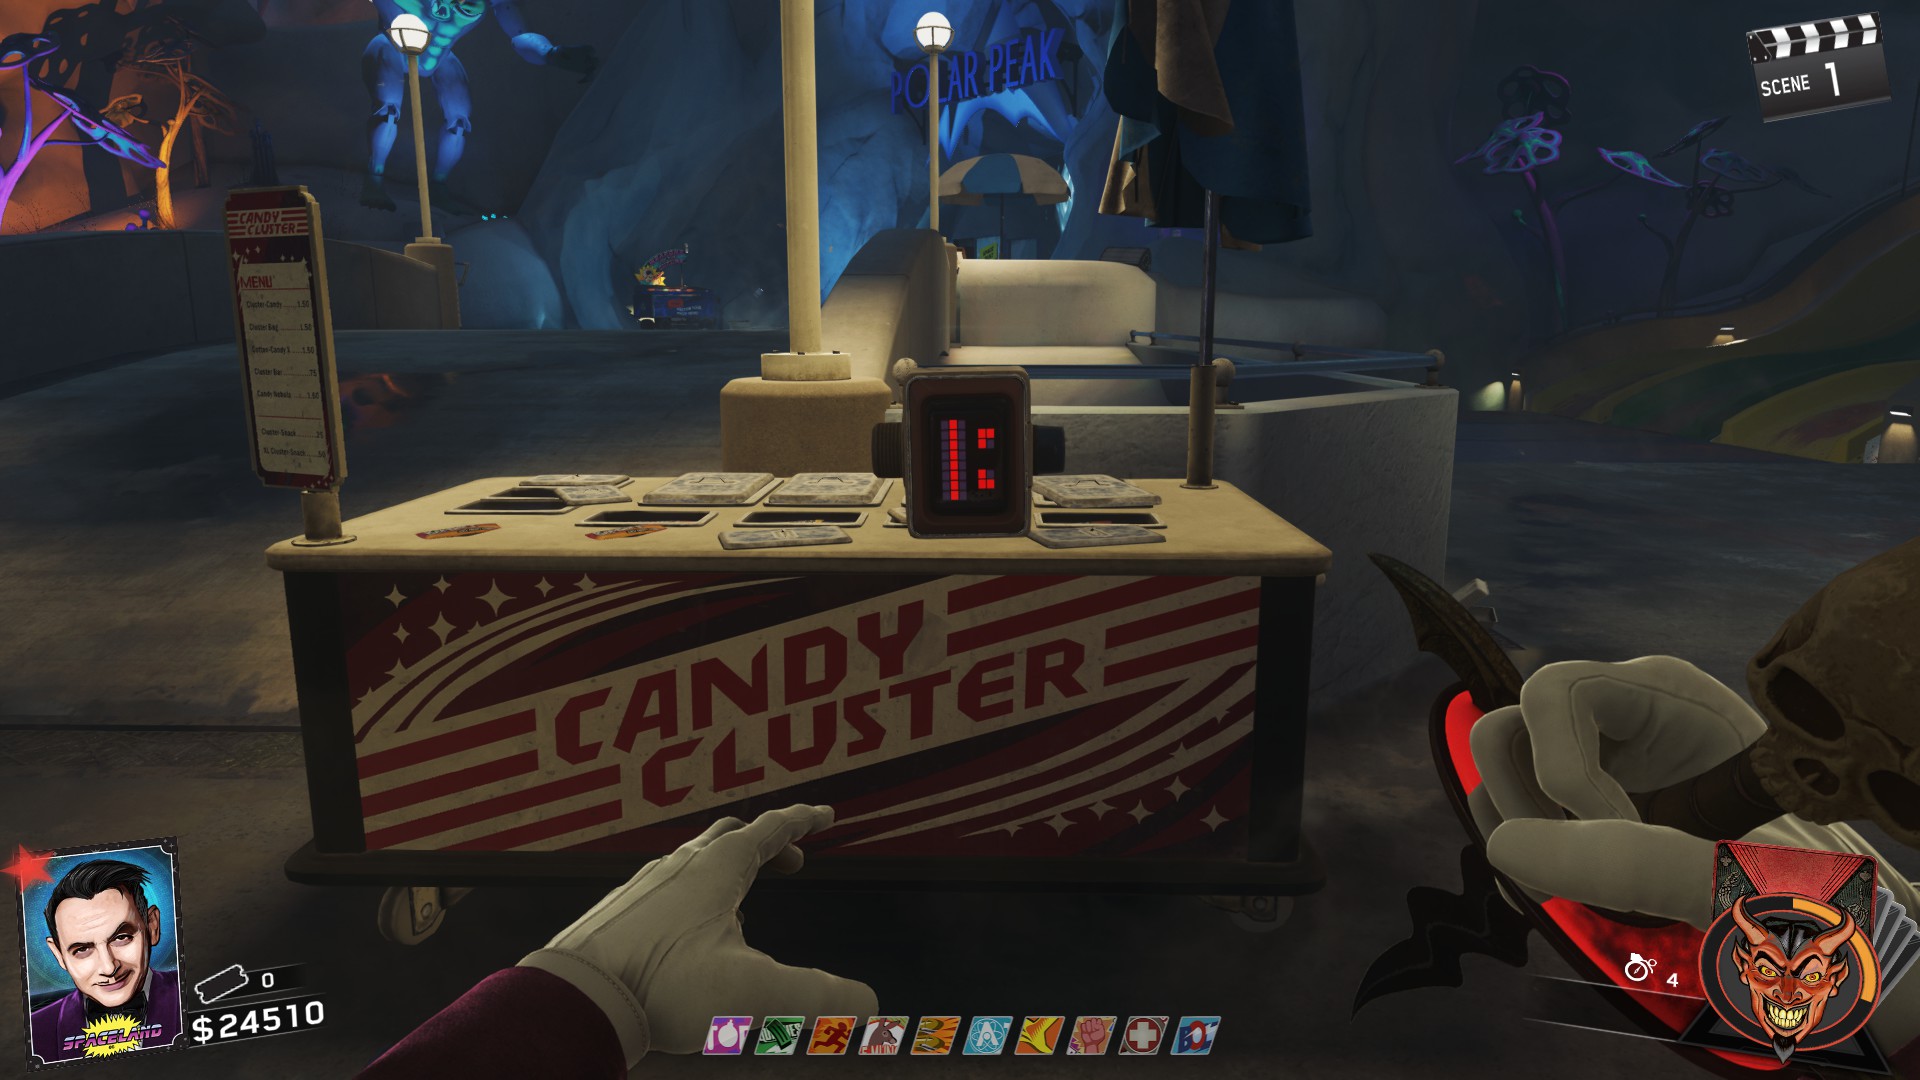
- The yellow bench next to the Cosmic Waves booth in Kepler
- The Red trash can near the Chromosphere trap that overlooks the Croc Trap.
- Ice Cream cart directly opposite the Chromosphere
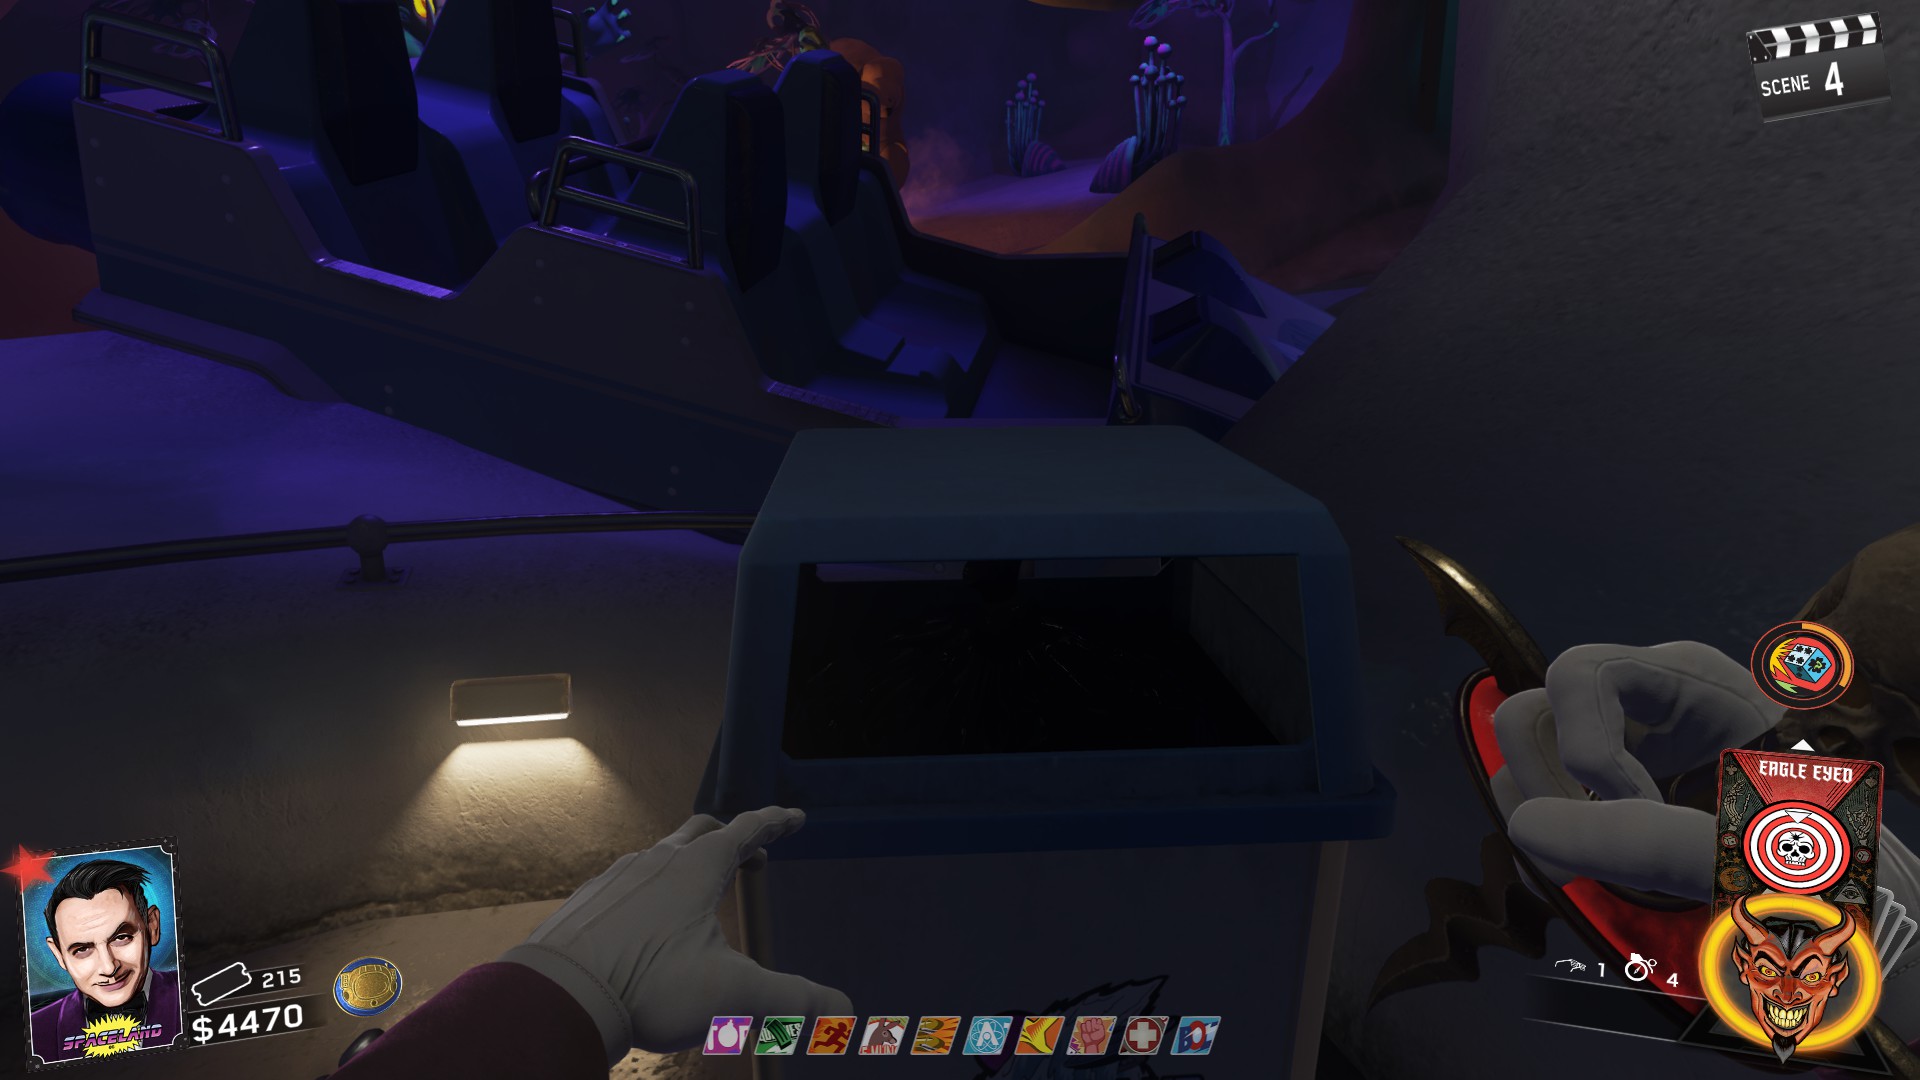
- On top of blue trash can next to the Beam Trap in Polar Peak
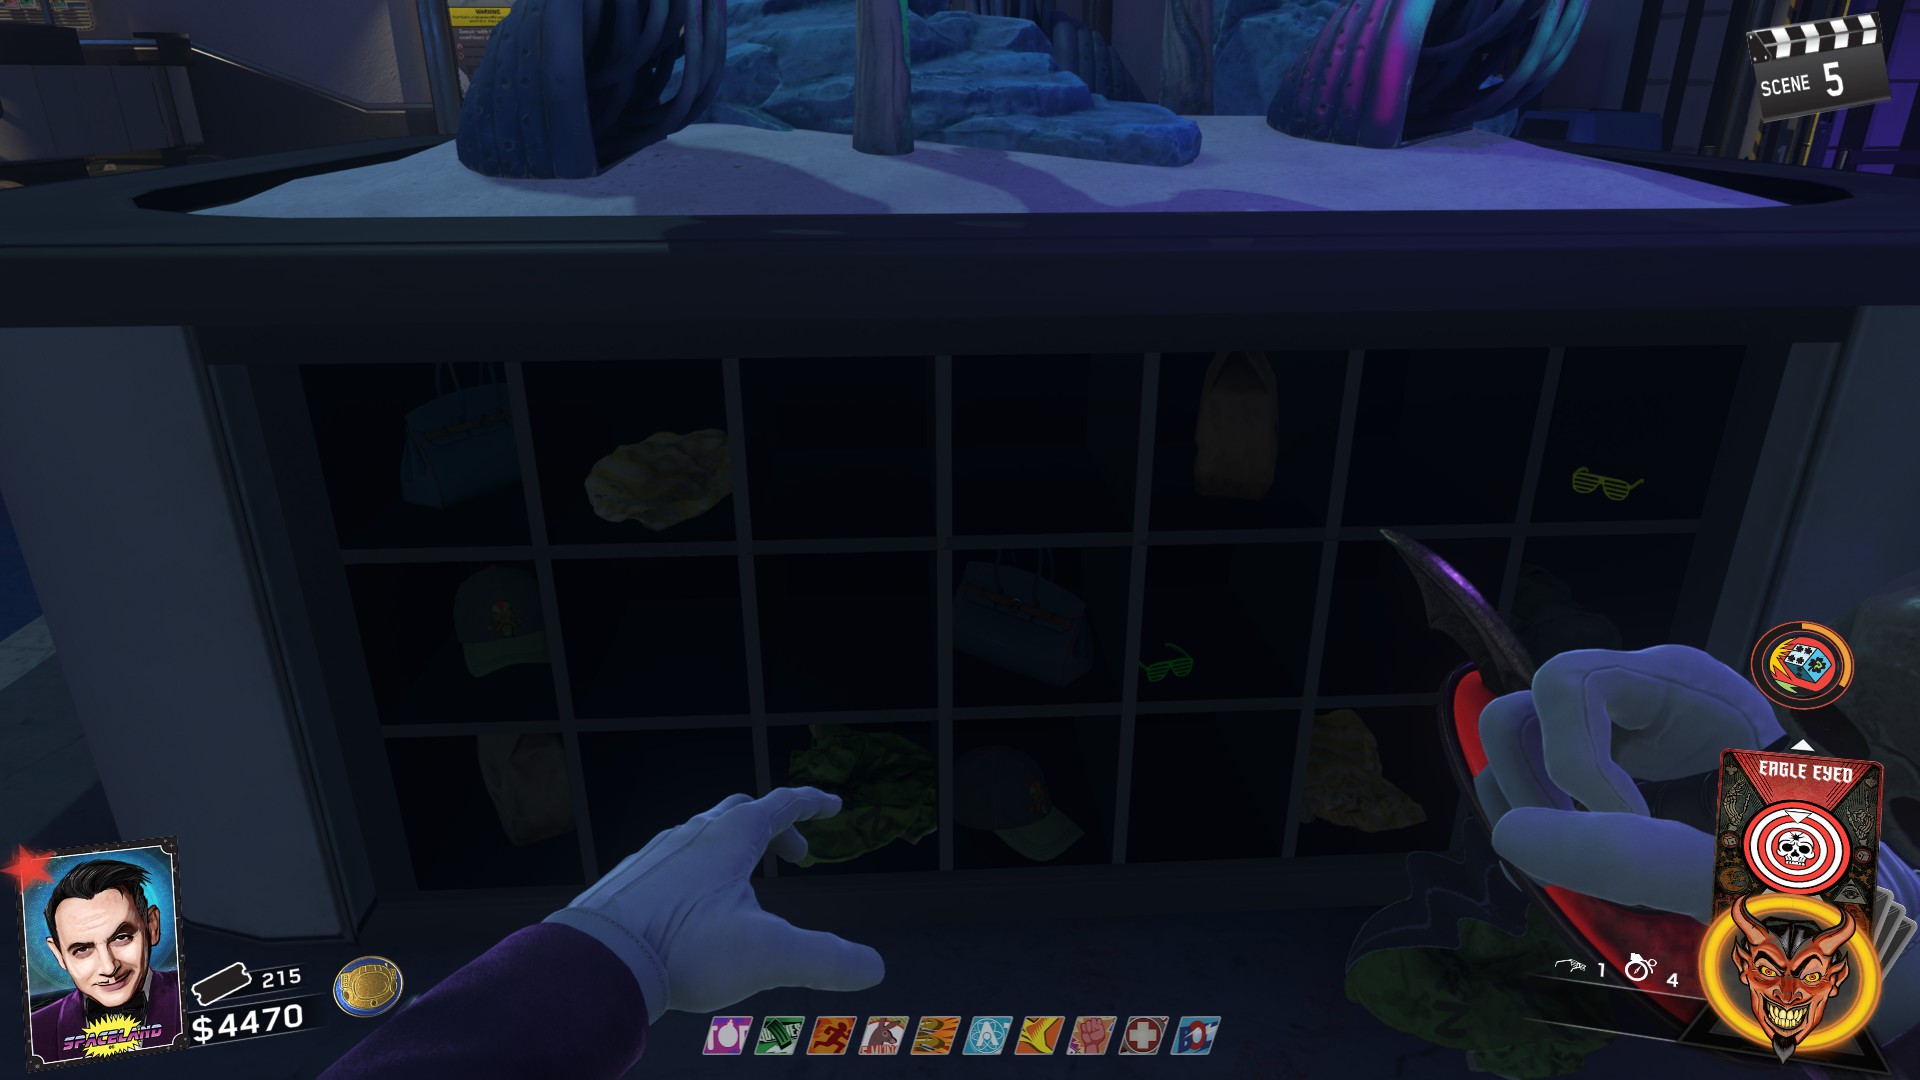
- In one of the cubbies in the roller coaster area.
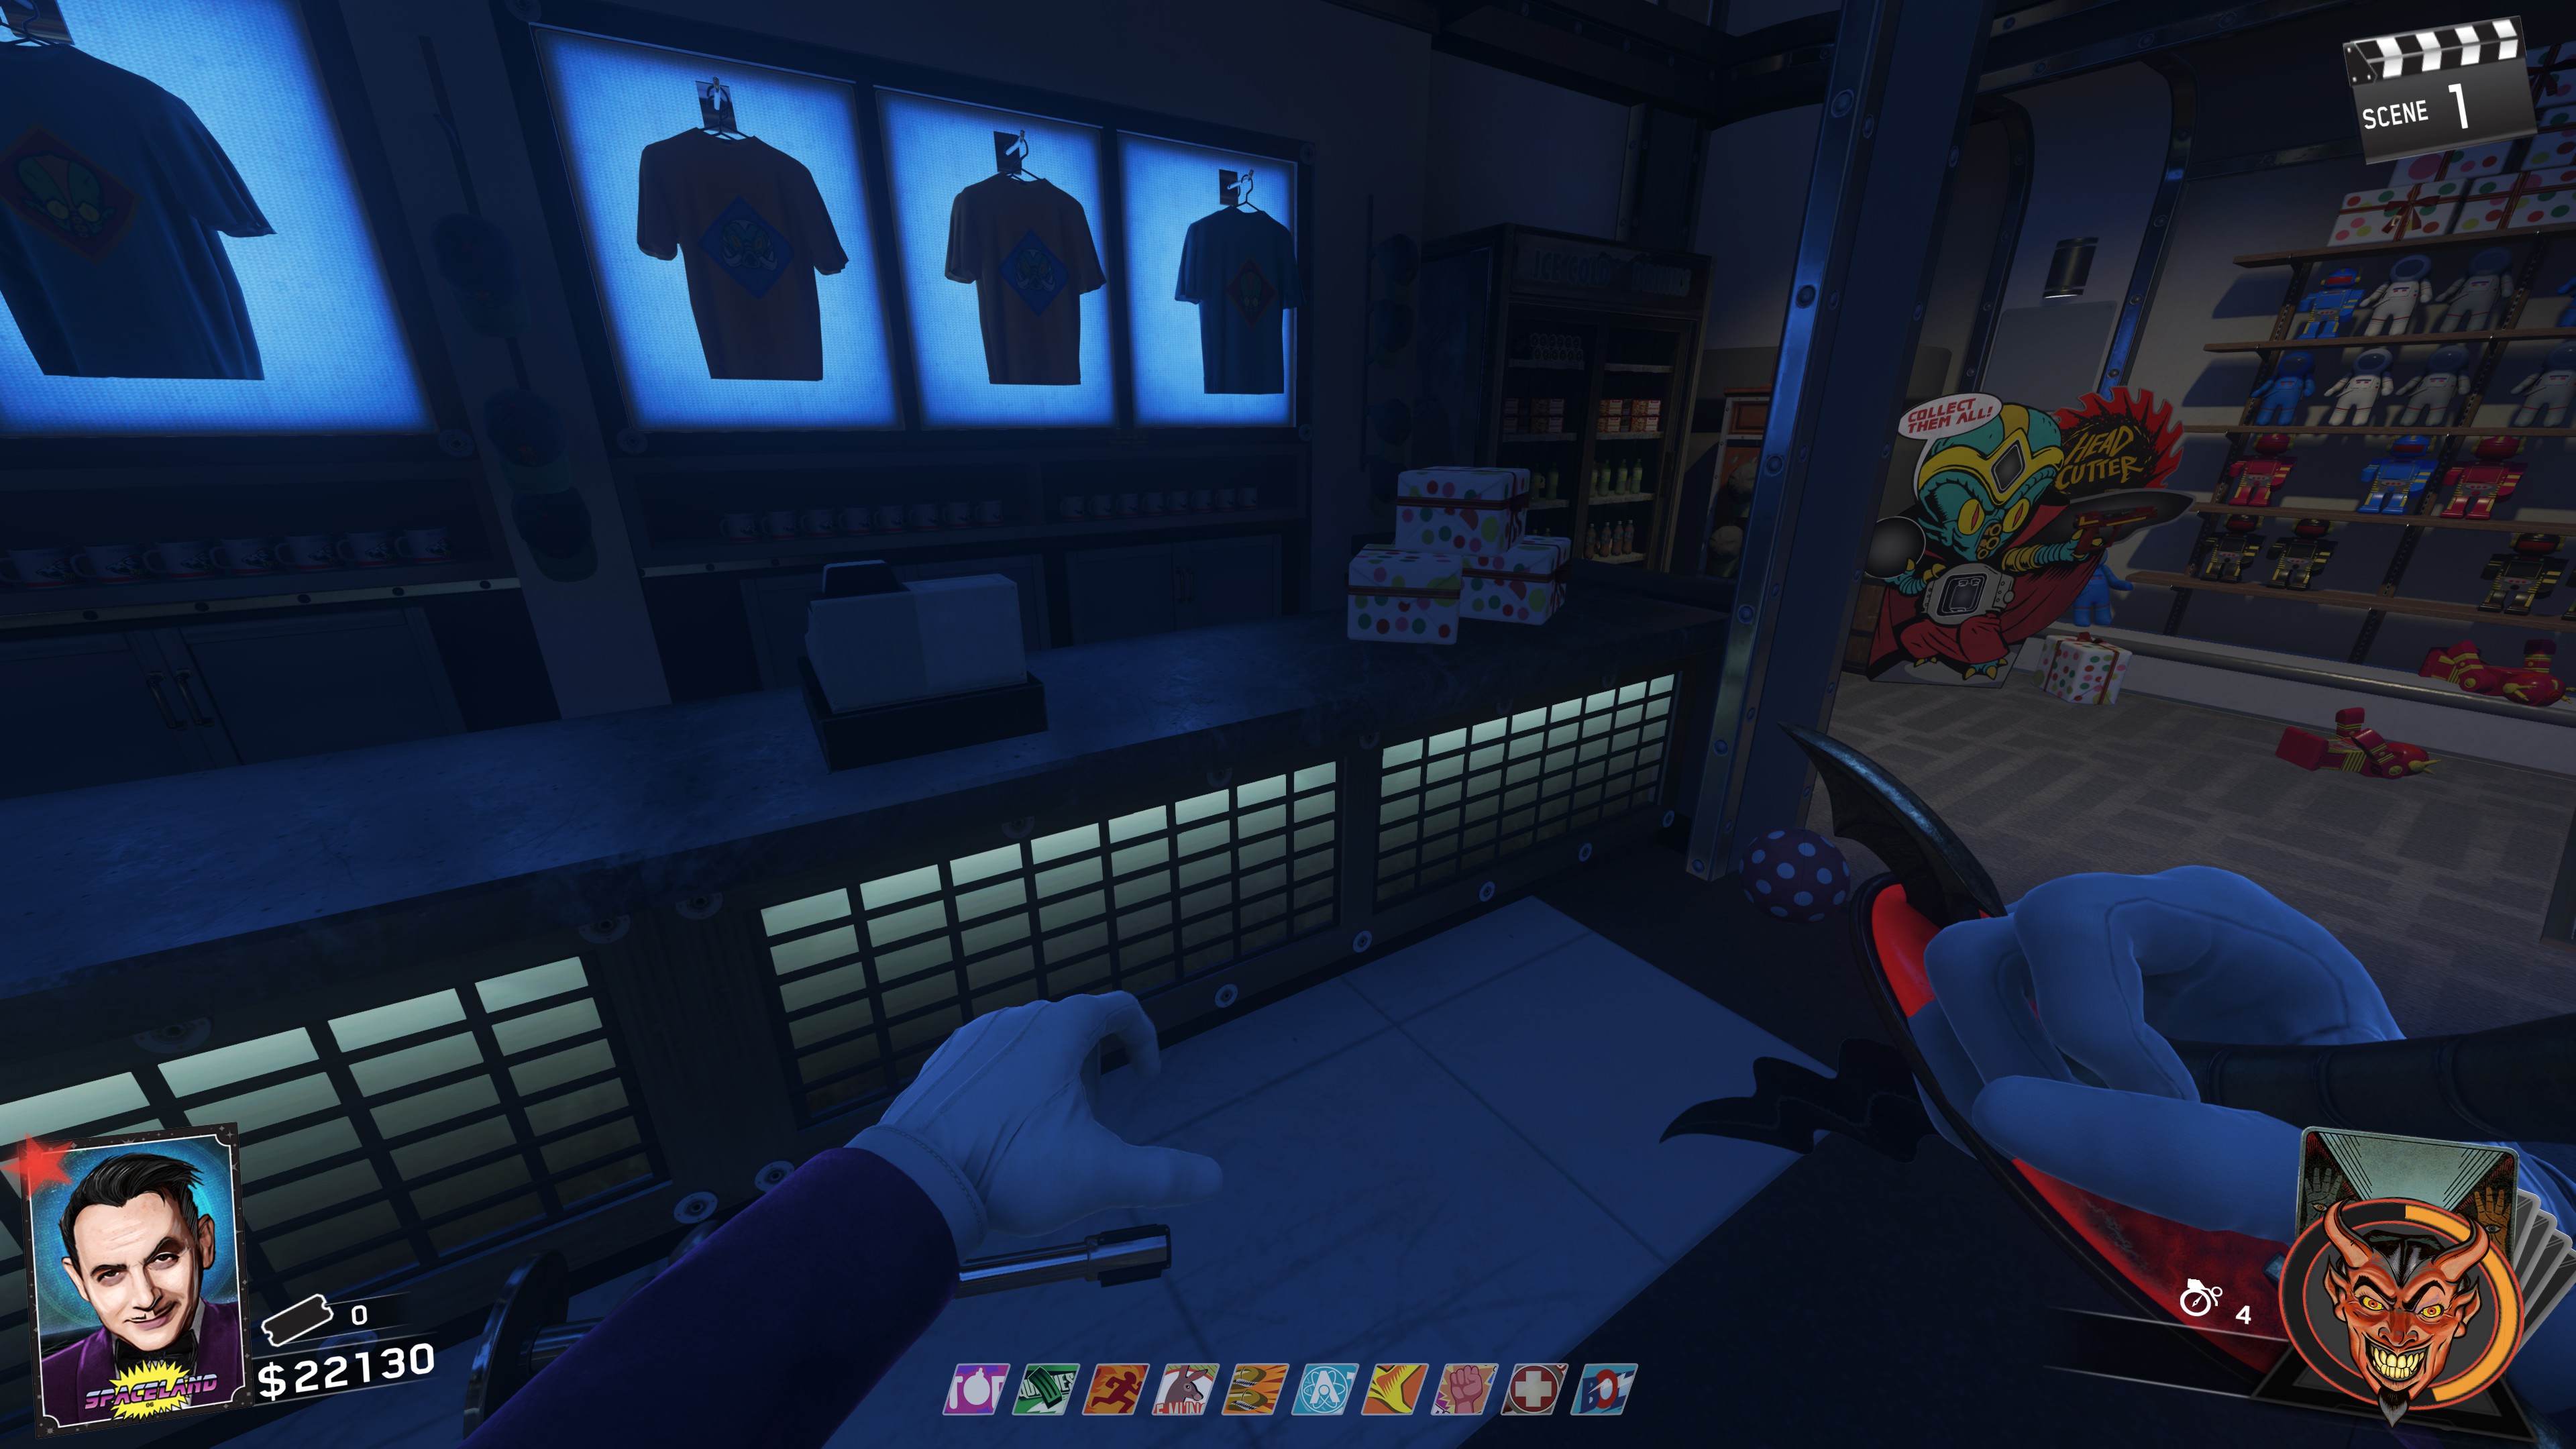
- Lying on the counter in the Gift Shop (Thanks to @Nate B), @Rafiki and @Verlurion for mentioning this in the comments. Sorry it took so long to add it to the list.)
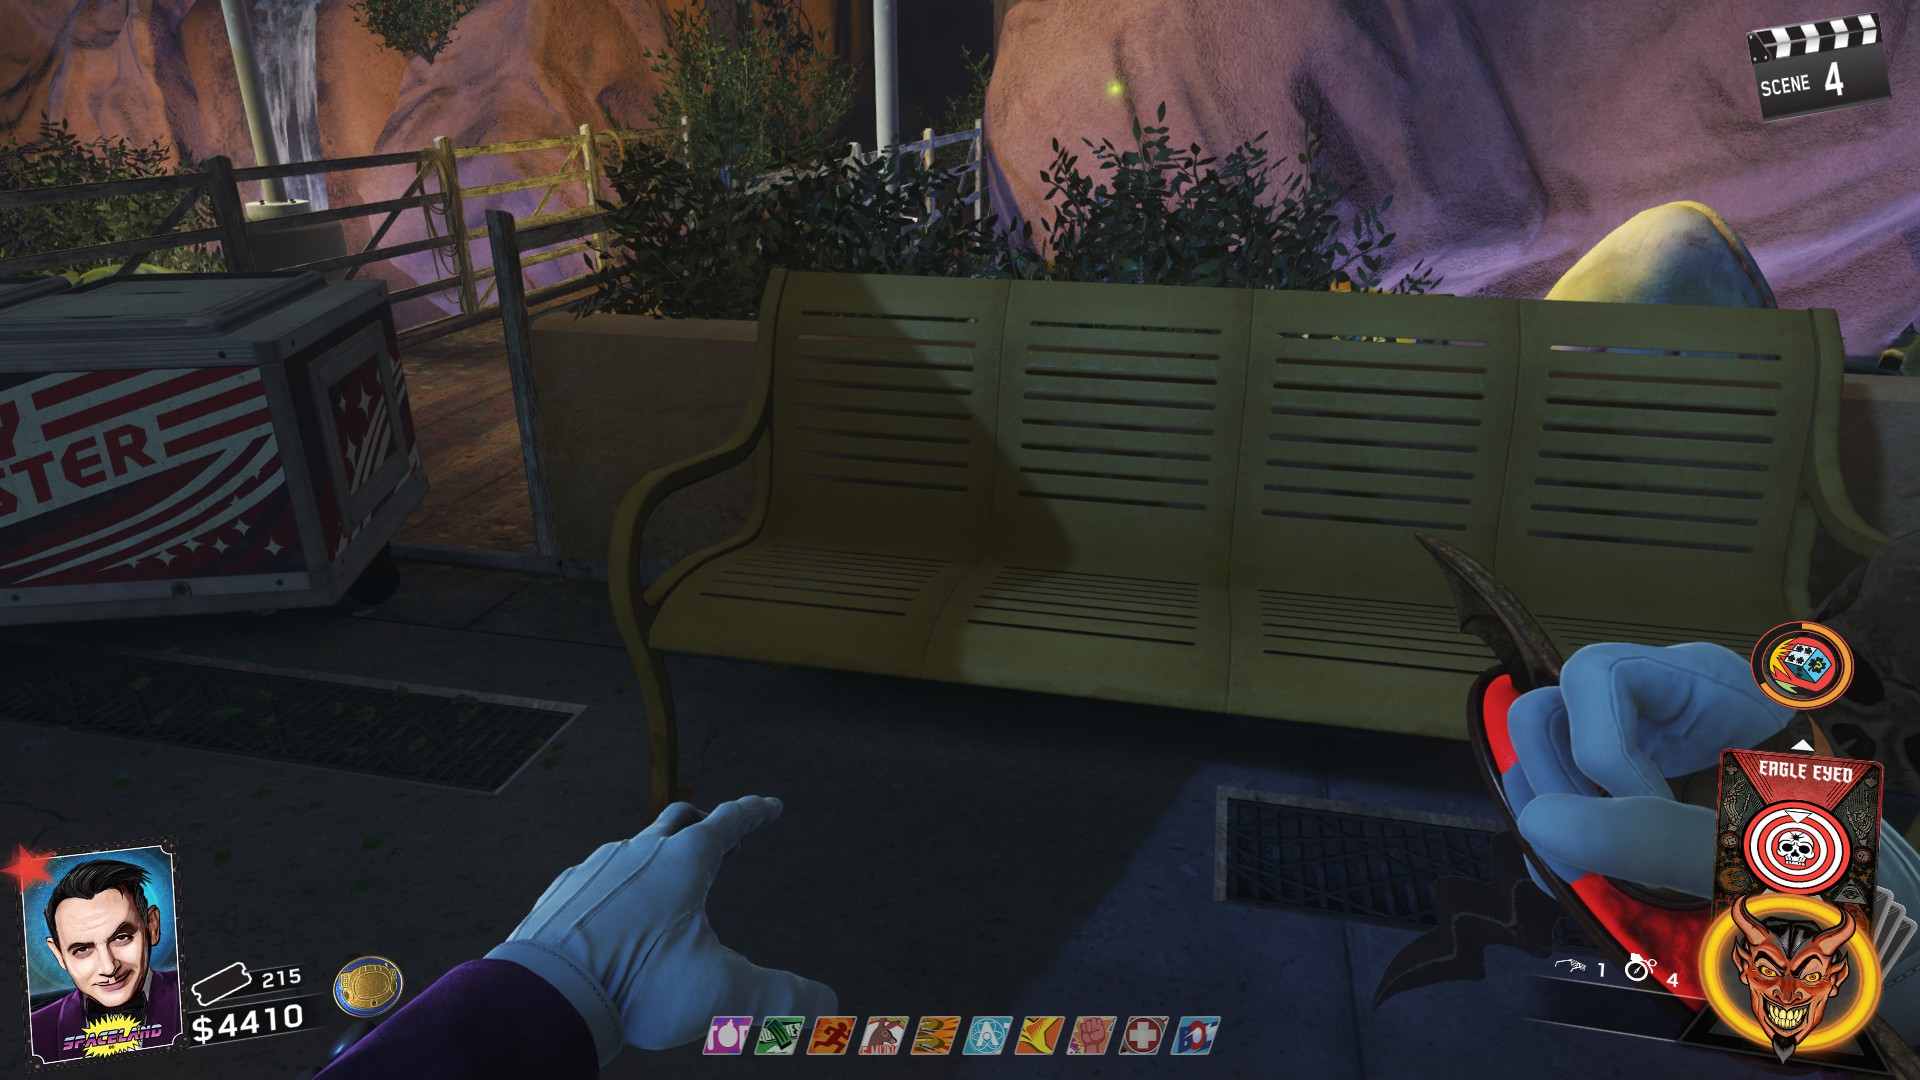
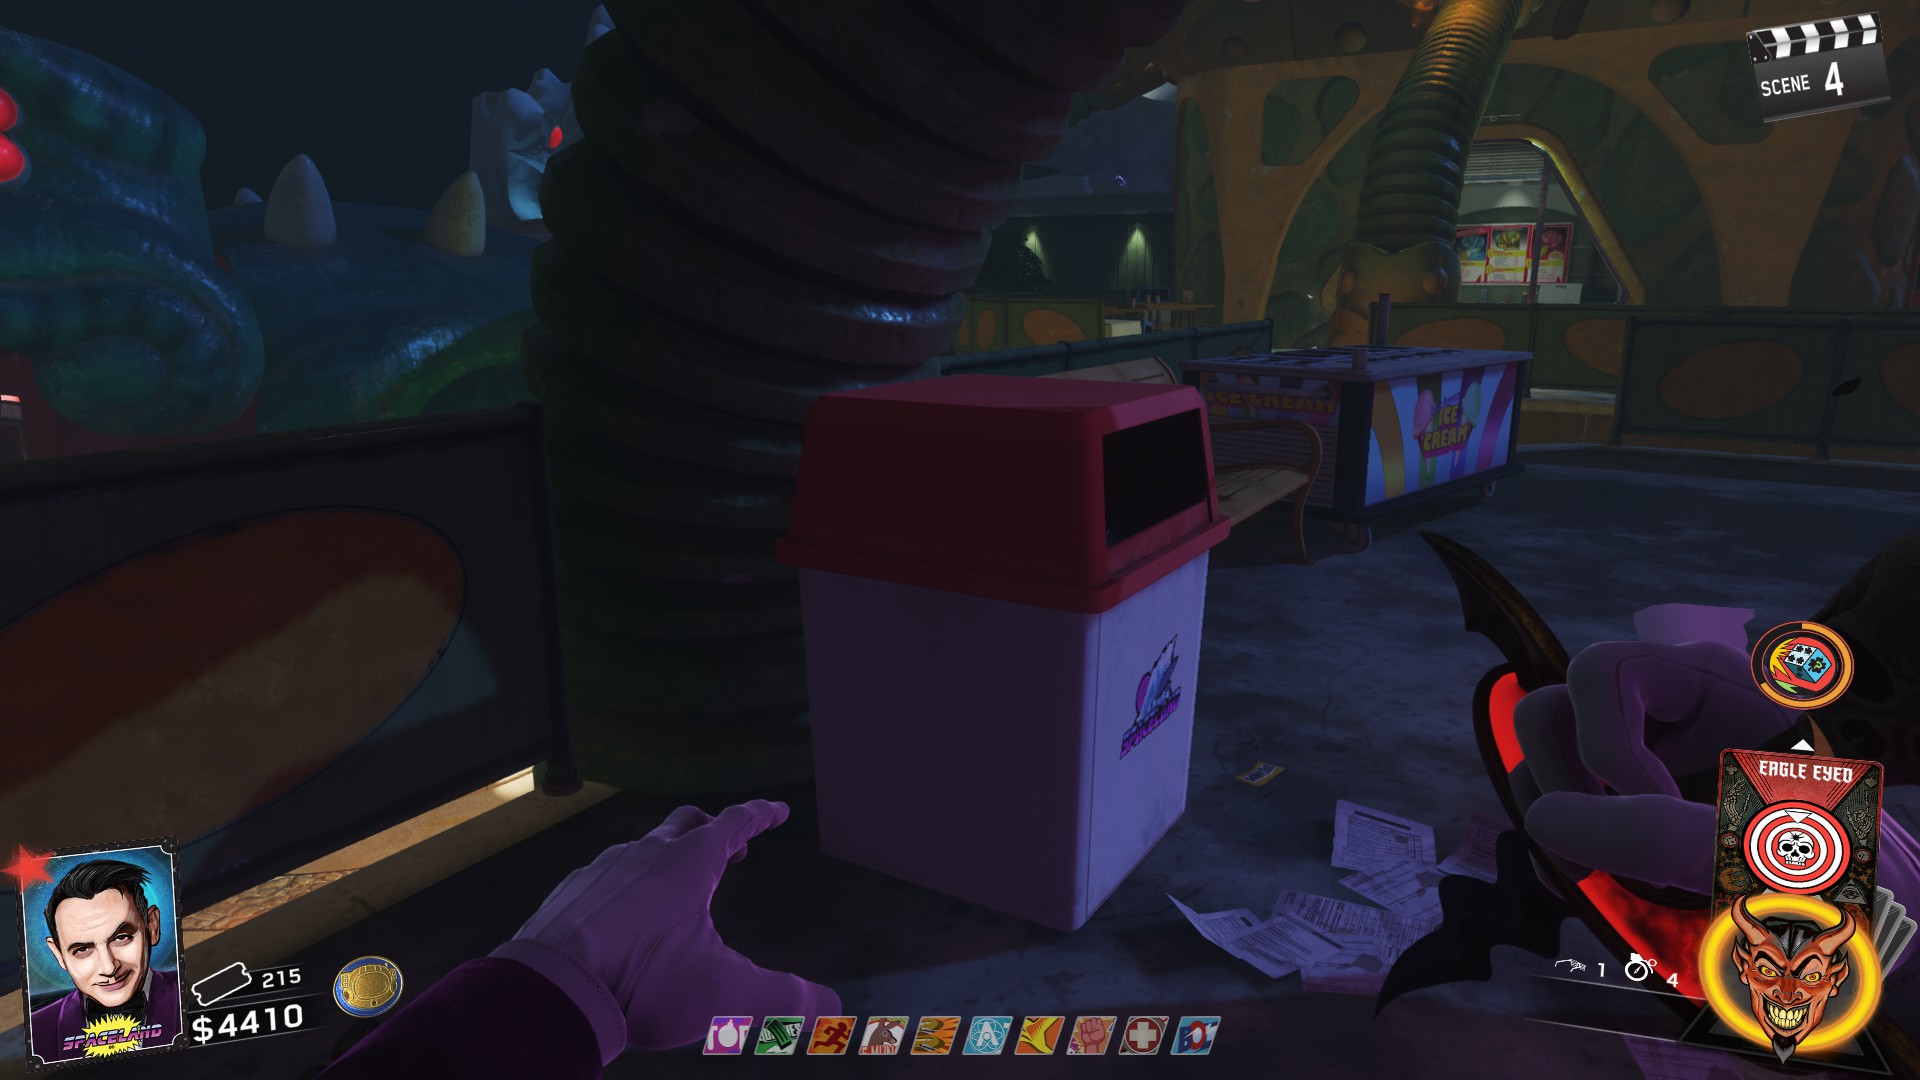
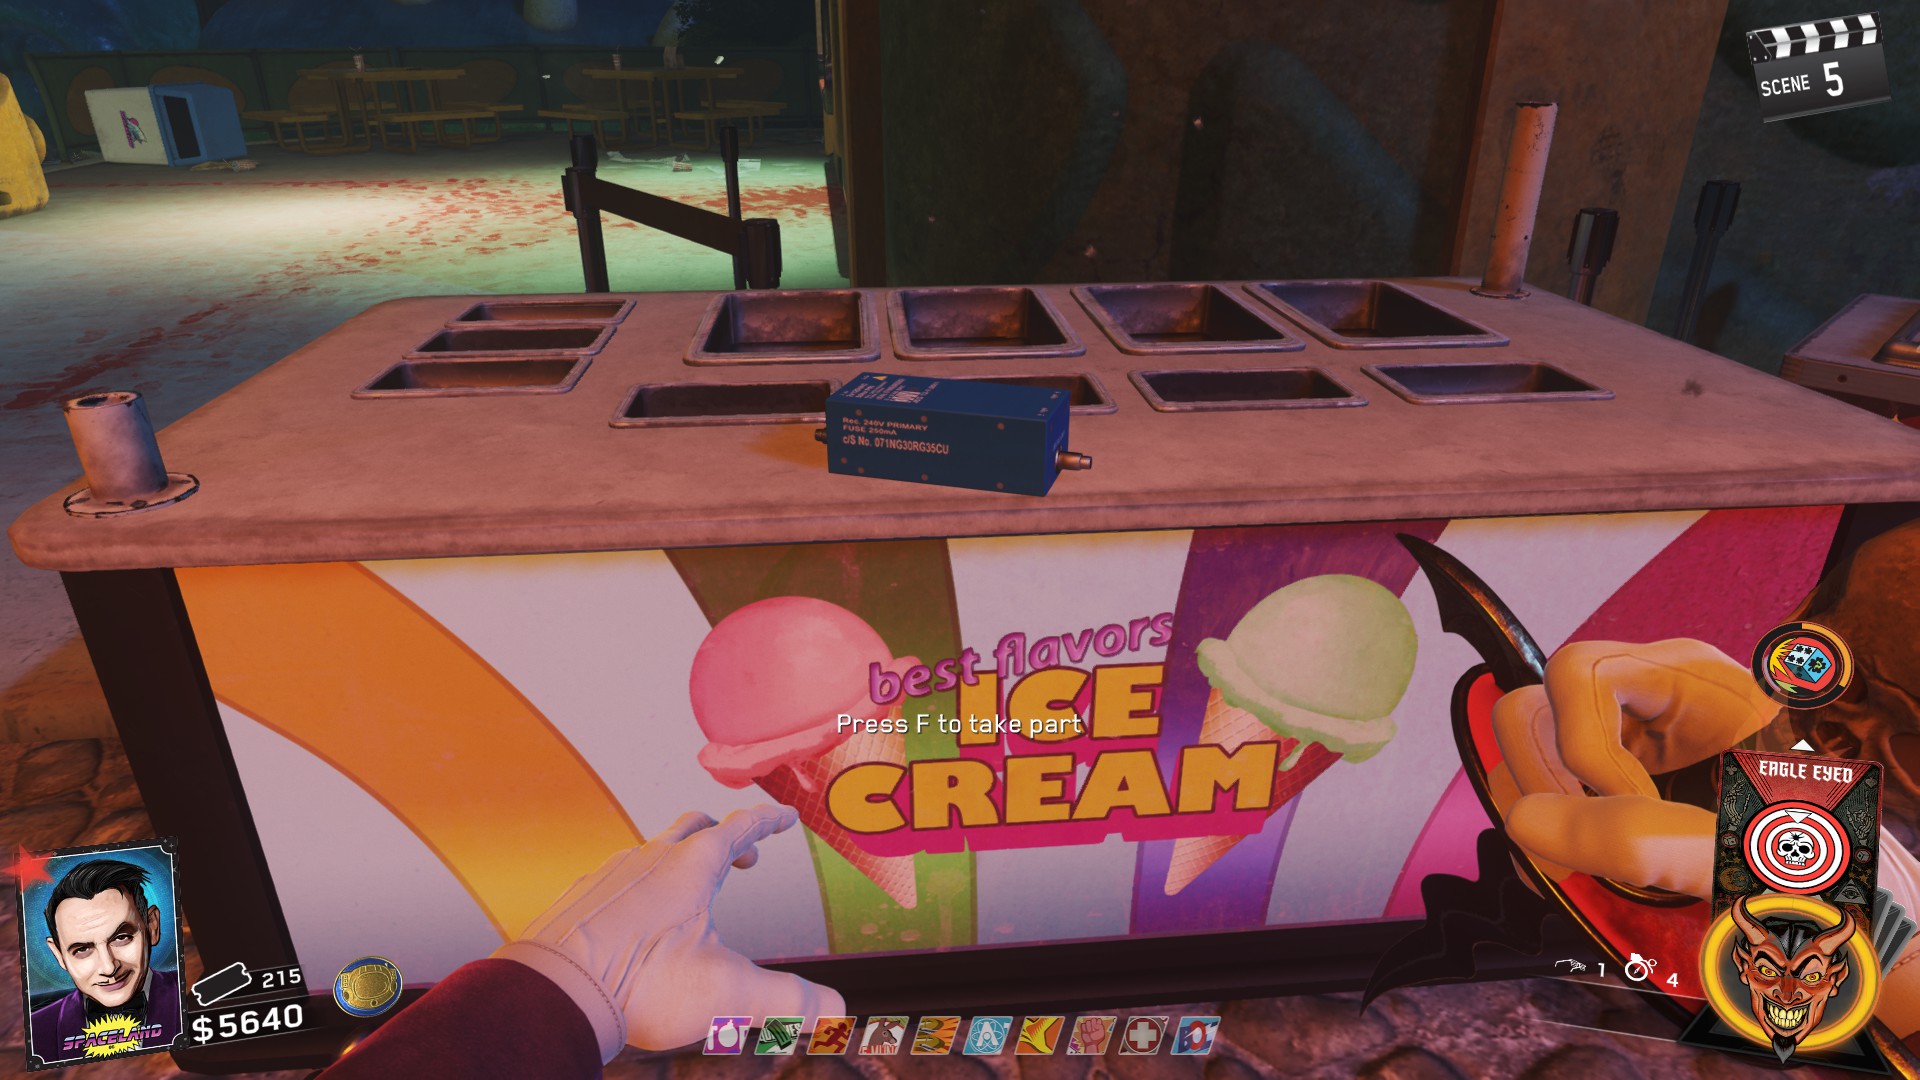
Once again, after completing all challenges, interact with N31L. Wait for Hasselhoff to leave and now N31L will ask for a Floppy Disk.
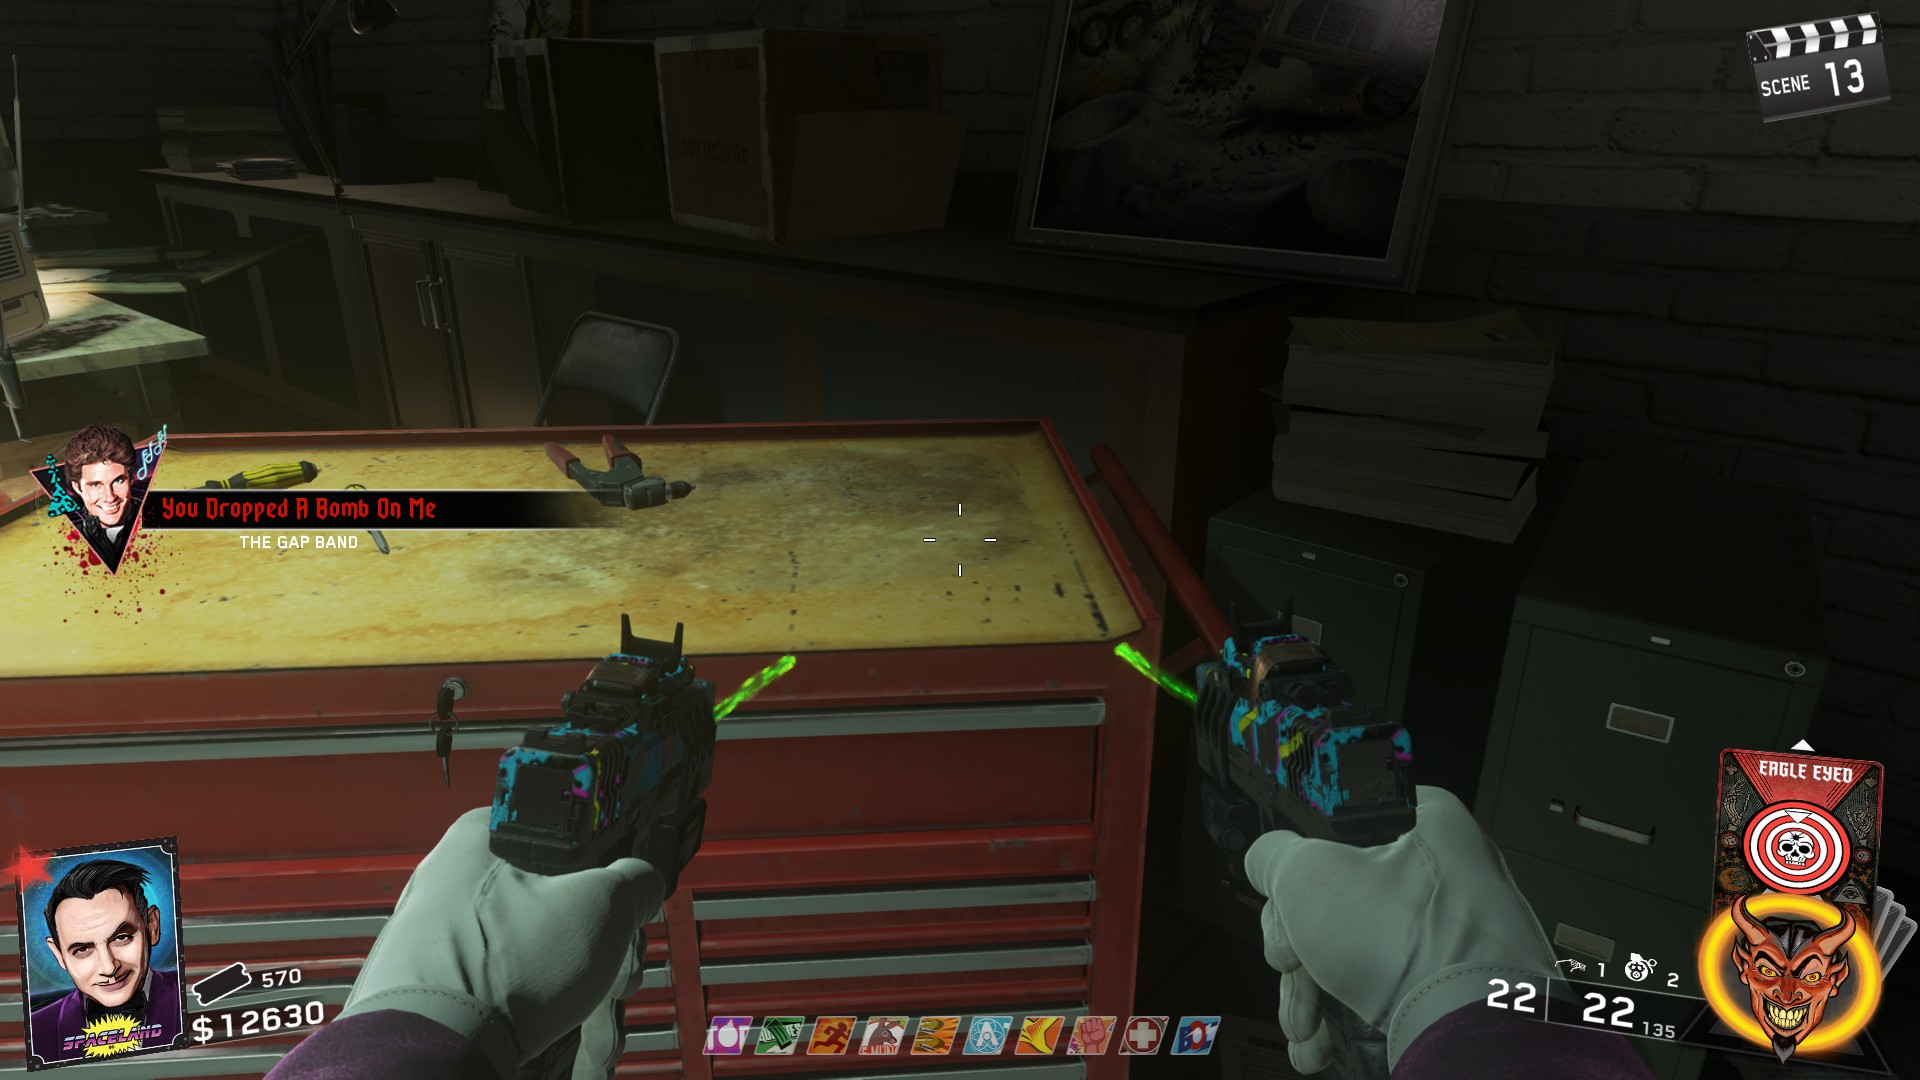
- After coming down the stairs from Journey into Space, on the Red workbench
- On a bench outside the Employee Break Room
- On a white foldable table in the room before the Shedder build location
- To the right of the Shedder build location on a table
- To the left of the Shedder build location on a red workbench
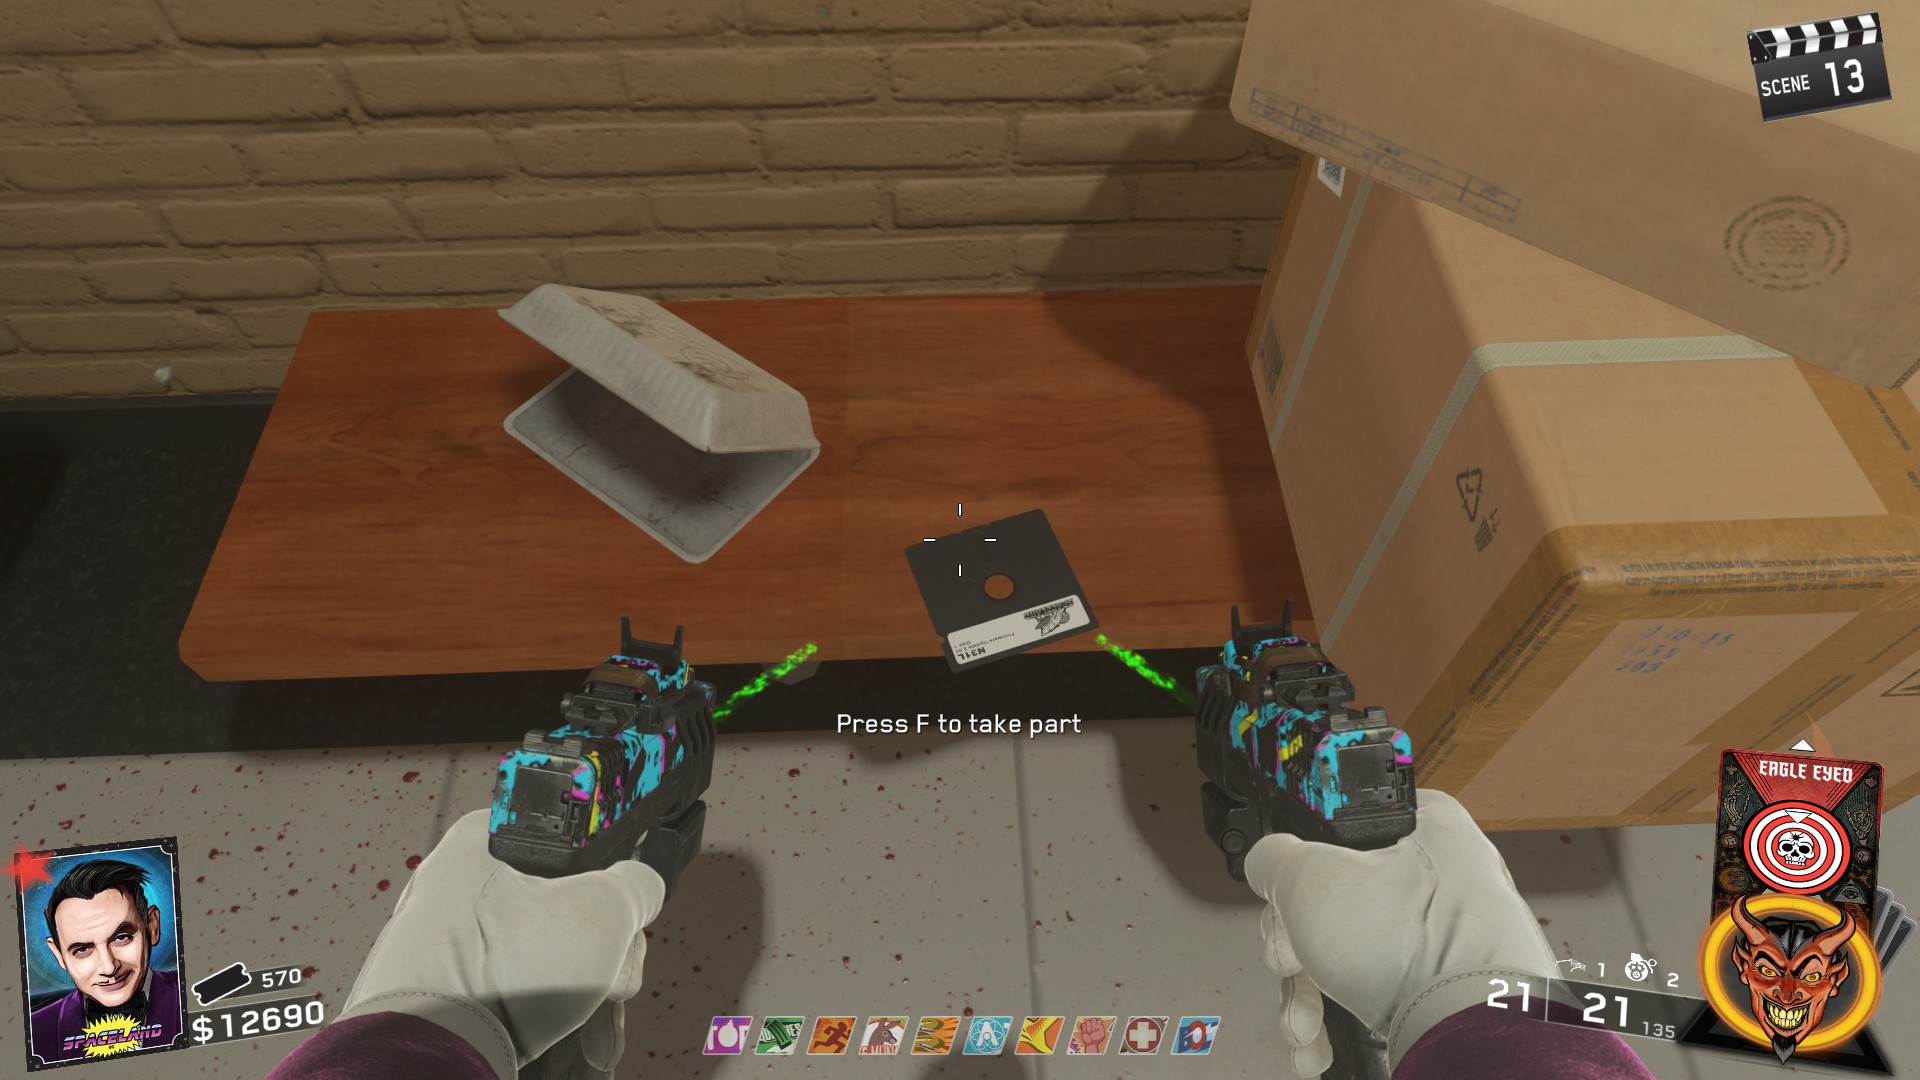
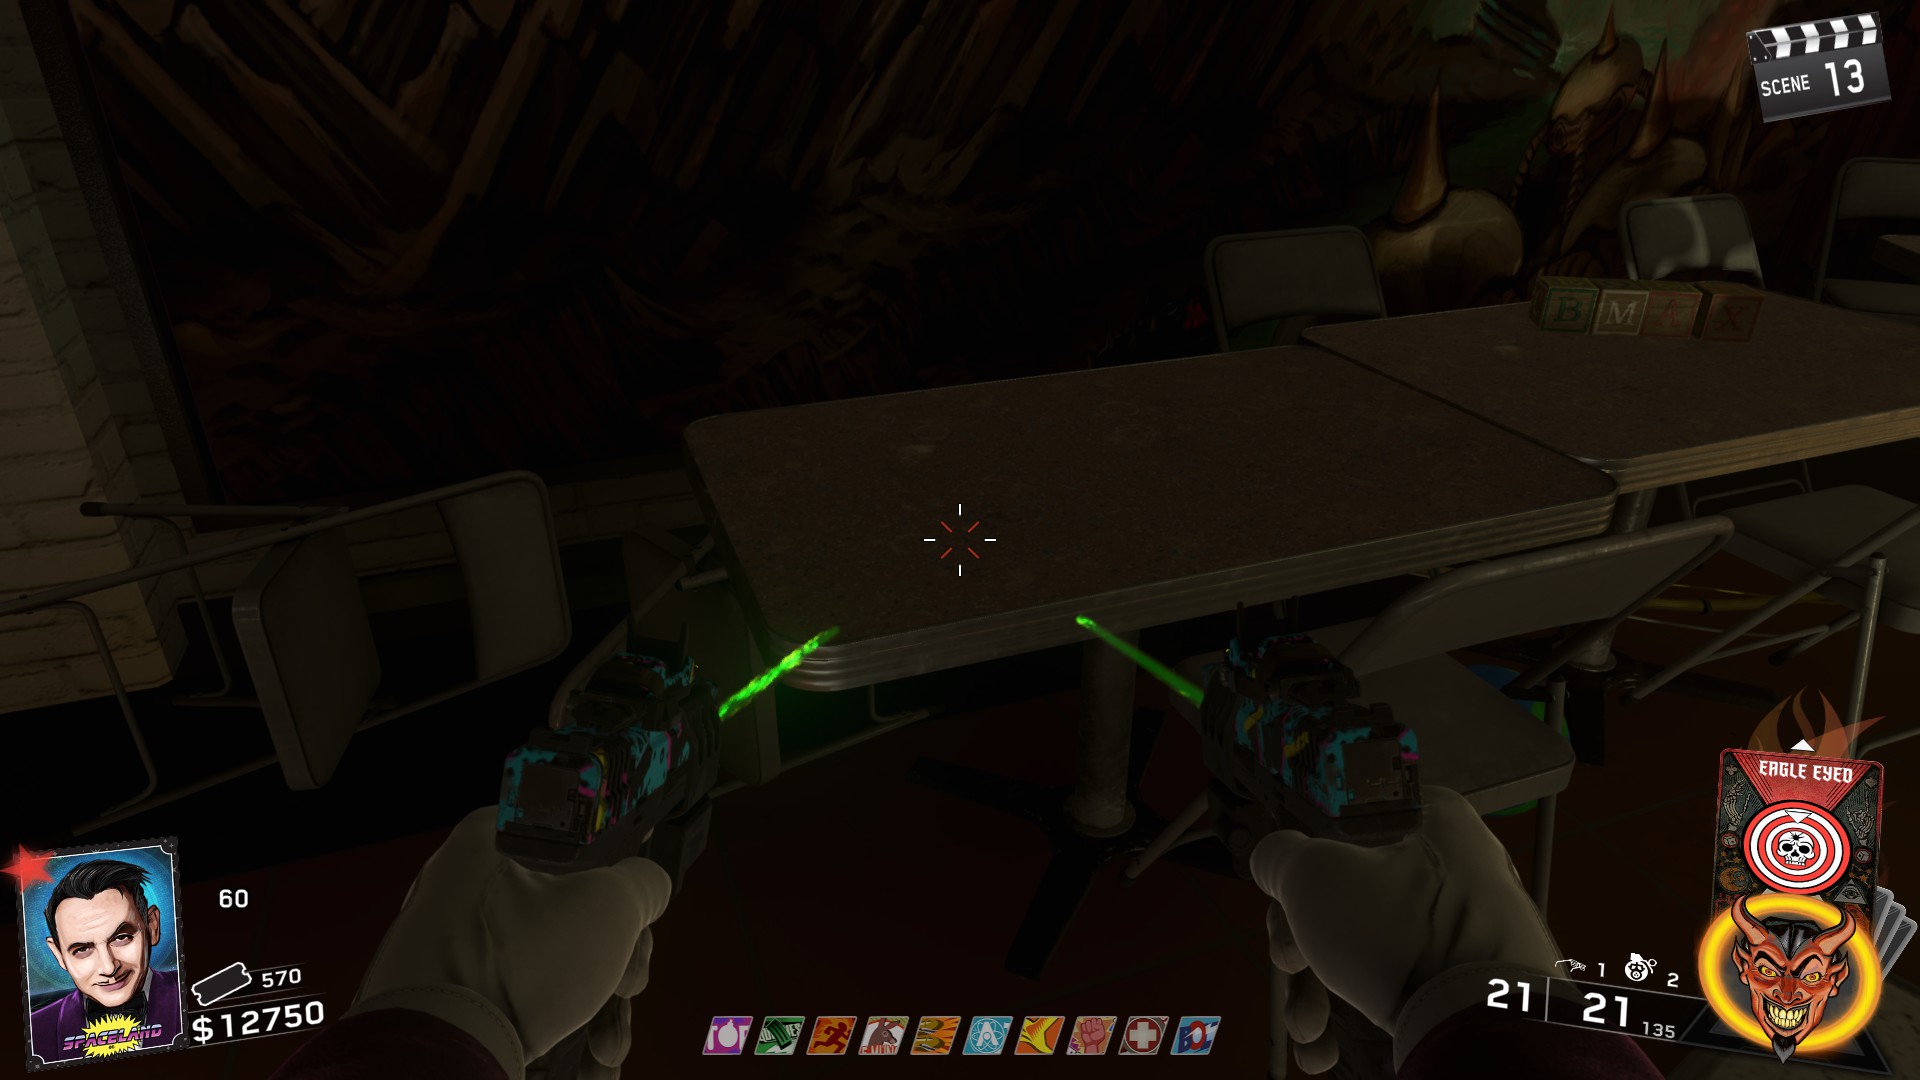
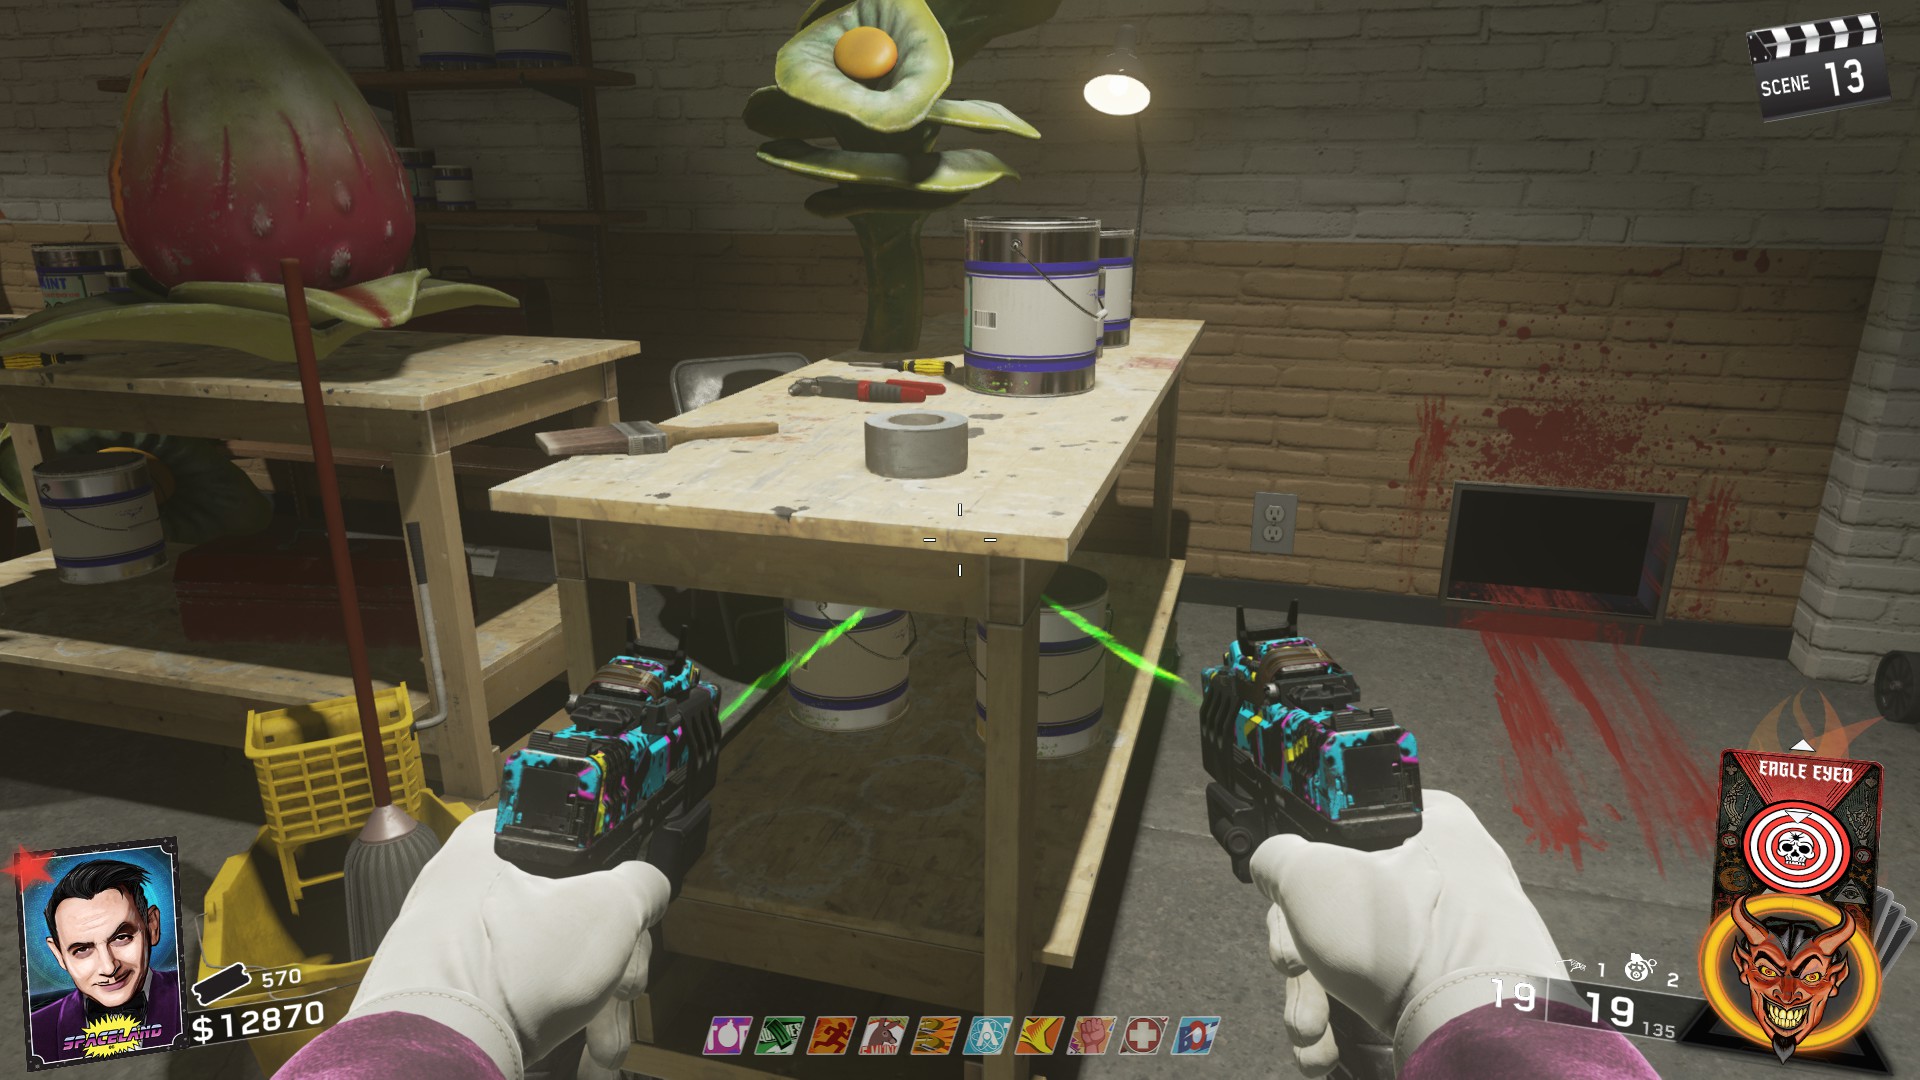
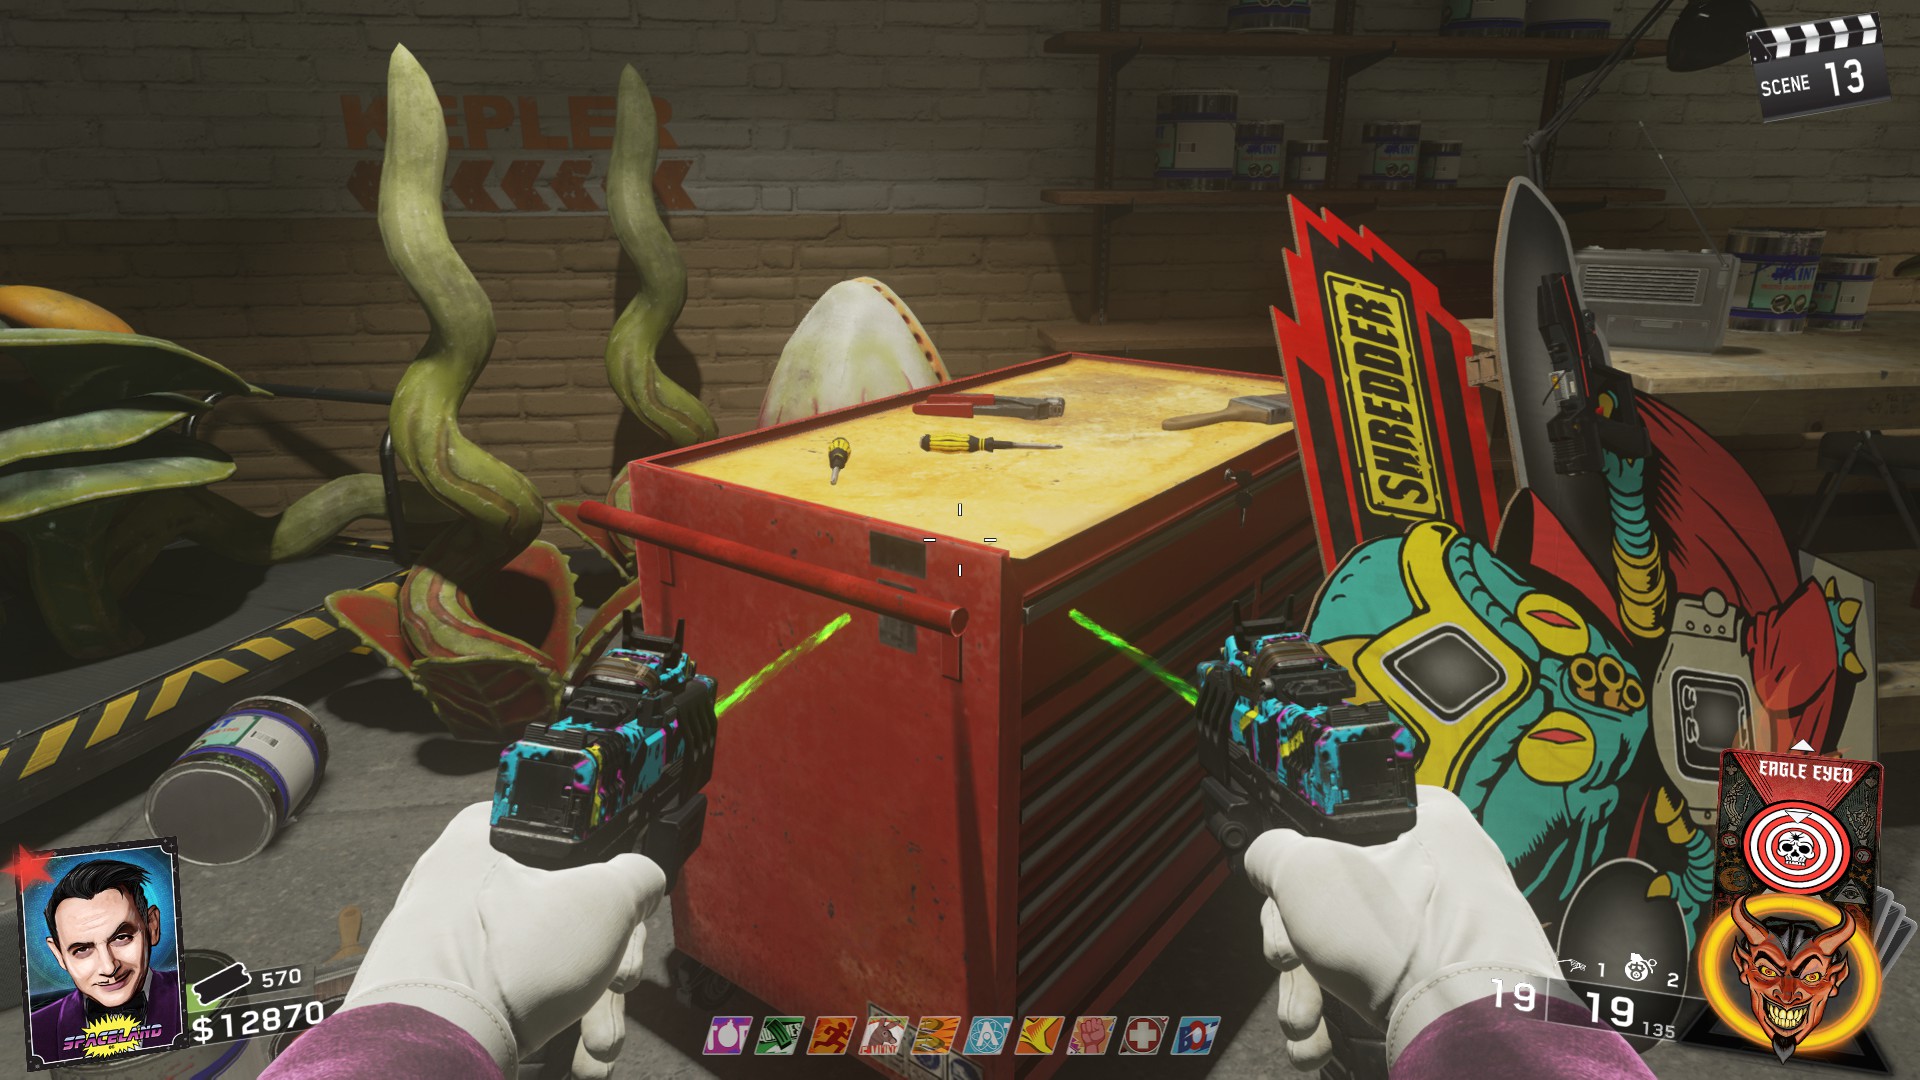
After completing all challenges, interacting with N31L will complete the quest! View below for the rewards.
- Tickets for each challenge successfully completed.
- Hasselhoff can be called (for 5000 points) at any time after last challenge set is complete.
- Progress towards completing Sticker Pack.
Main Quest (Setup & SETI-COM)
- Make Sure that you keep the Kendall 44 starting pistol. If possible, upgrade it with the extended mag attachment. The Dominion Variant will also stack with Extended mags, giving you even more ammo, but isn't necessary This paired with Bombstoppers is almost a requirement to complete this Easter egg with ease.
- Stick with attempting this Easter Egg solo, no more than 2 players. This is because the amount of Alien Bosses increases with more players.
- Use Fate cards, stray away from Fortune unless you're willing to give up those cards. I suggest using Five second Muscle, Best for Last, Nade Party and Scoped Dollars. The 5th card is a freebie. If you want to use Fortune cards, Perk Insured, Raining Bullets, Explosive Touch or All the Ammos.
- While it's NOT required technically, I would highly suggest using one of the Wonder Weapons, so if you aren't sure how to make one, back up in this guide to where I explain how to make them. I would suggest the Shedder or the Discord as they are the easiest to make.
- Turn on power and go through the portal to pack a punch. If you aren't sure how to turn on power or PaP, look at the section "Power and PaP" for how to do those things.
NOTE: You will not be able to get the indication that the SETI-COM is ready for pickup until you enter the pack a punch portal.
- Cosmic Way On the bench near the bottom of the Hyper Slopes.
- Journey Into Space Near the panel to start the Start Mission trap on the ground.
- Polar Peak On a counter in the Gift Shop
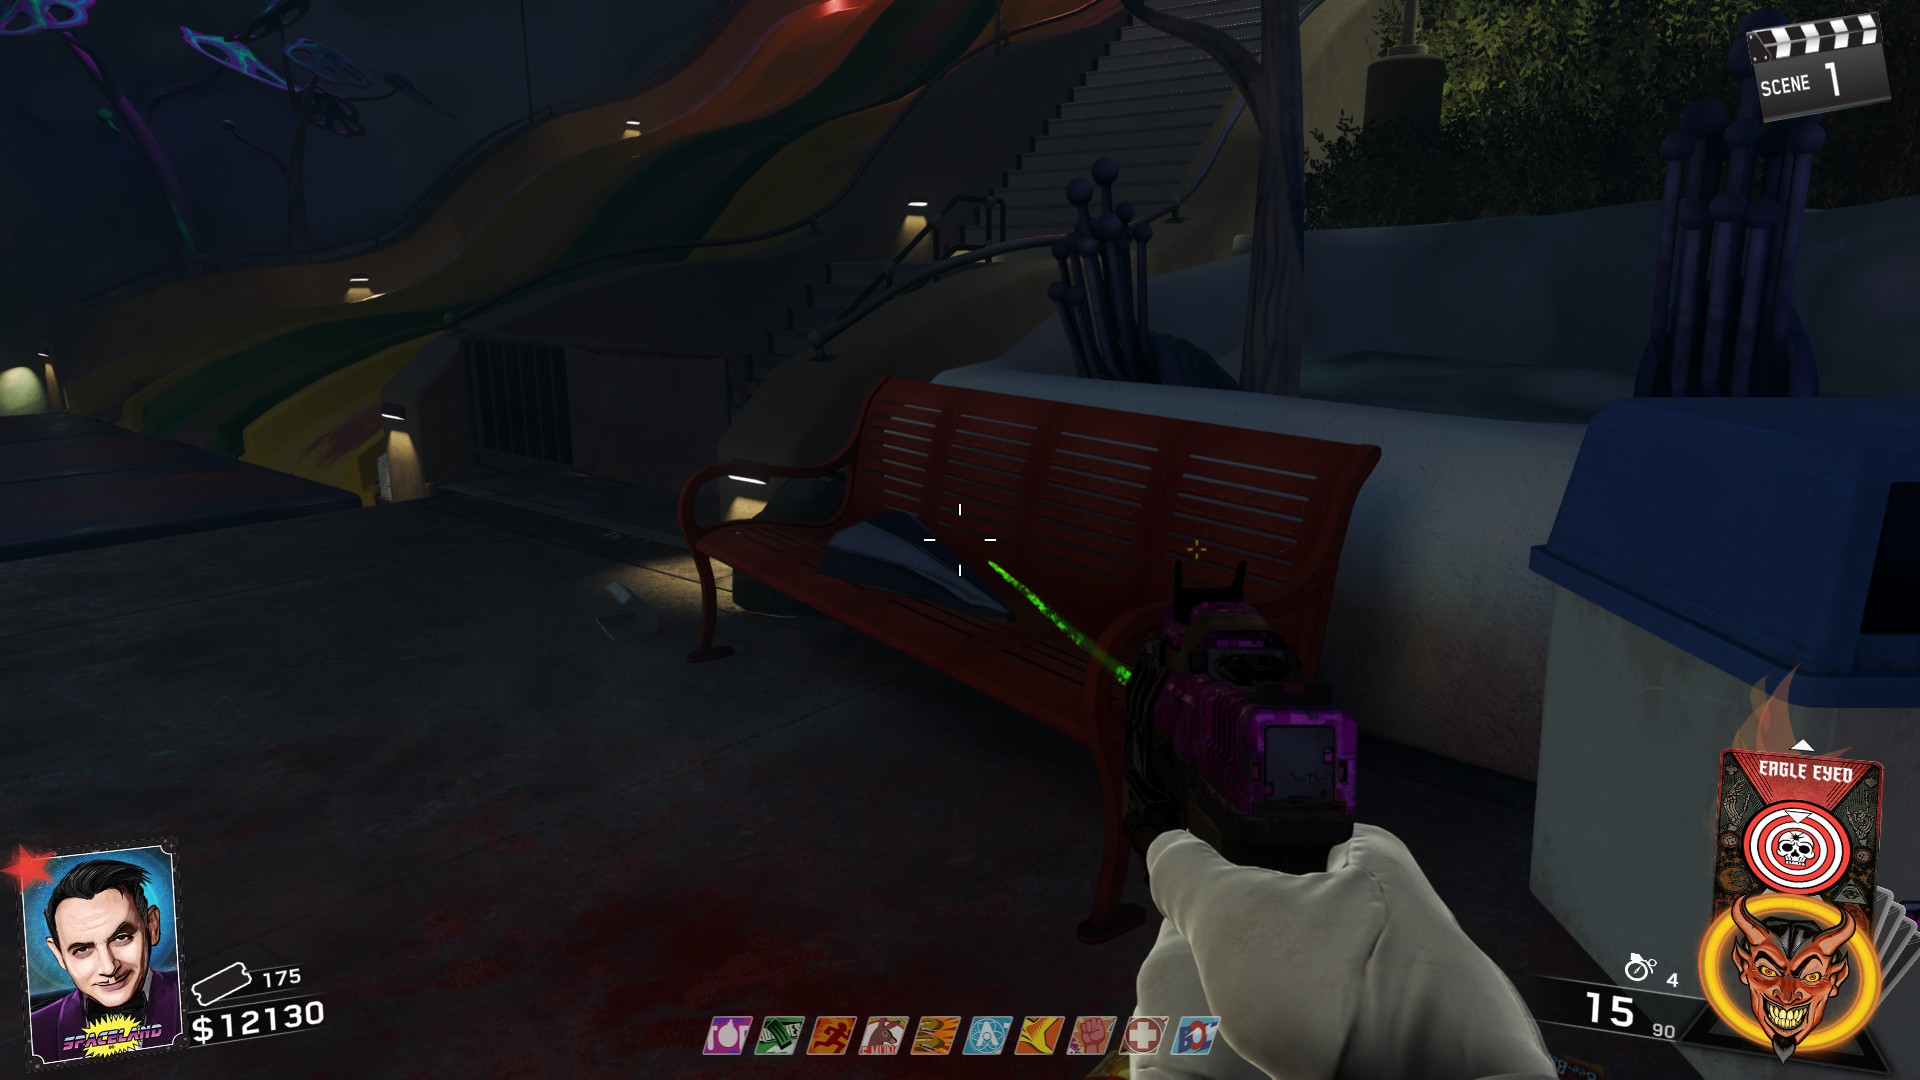
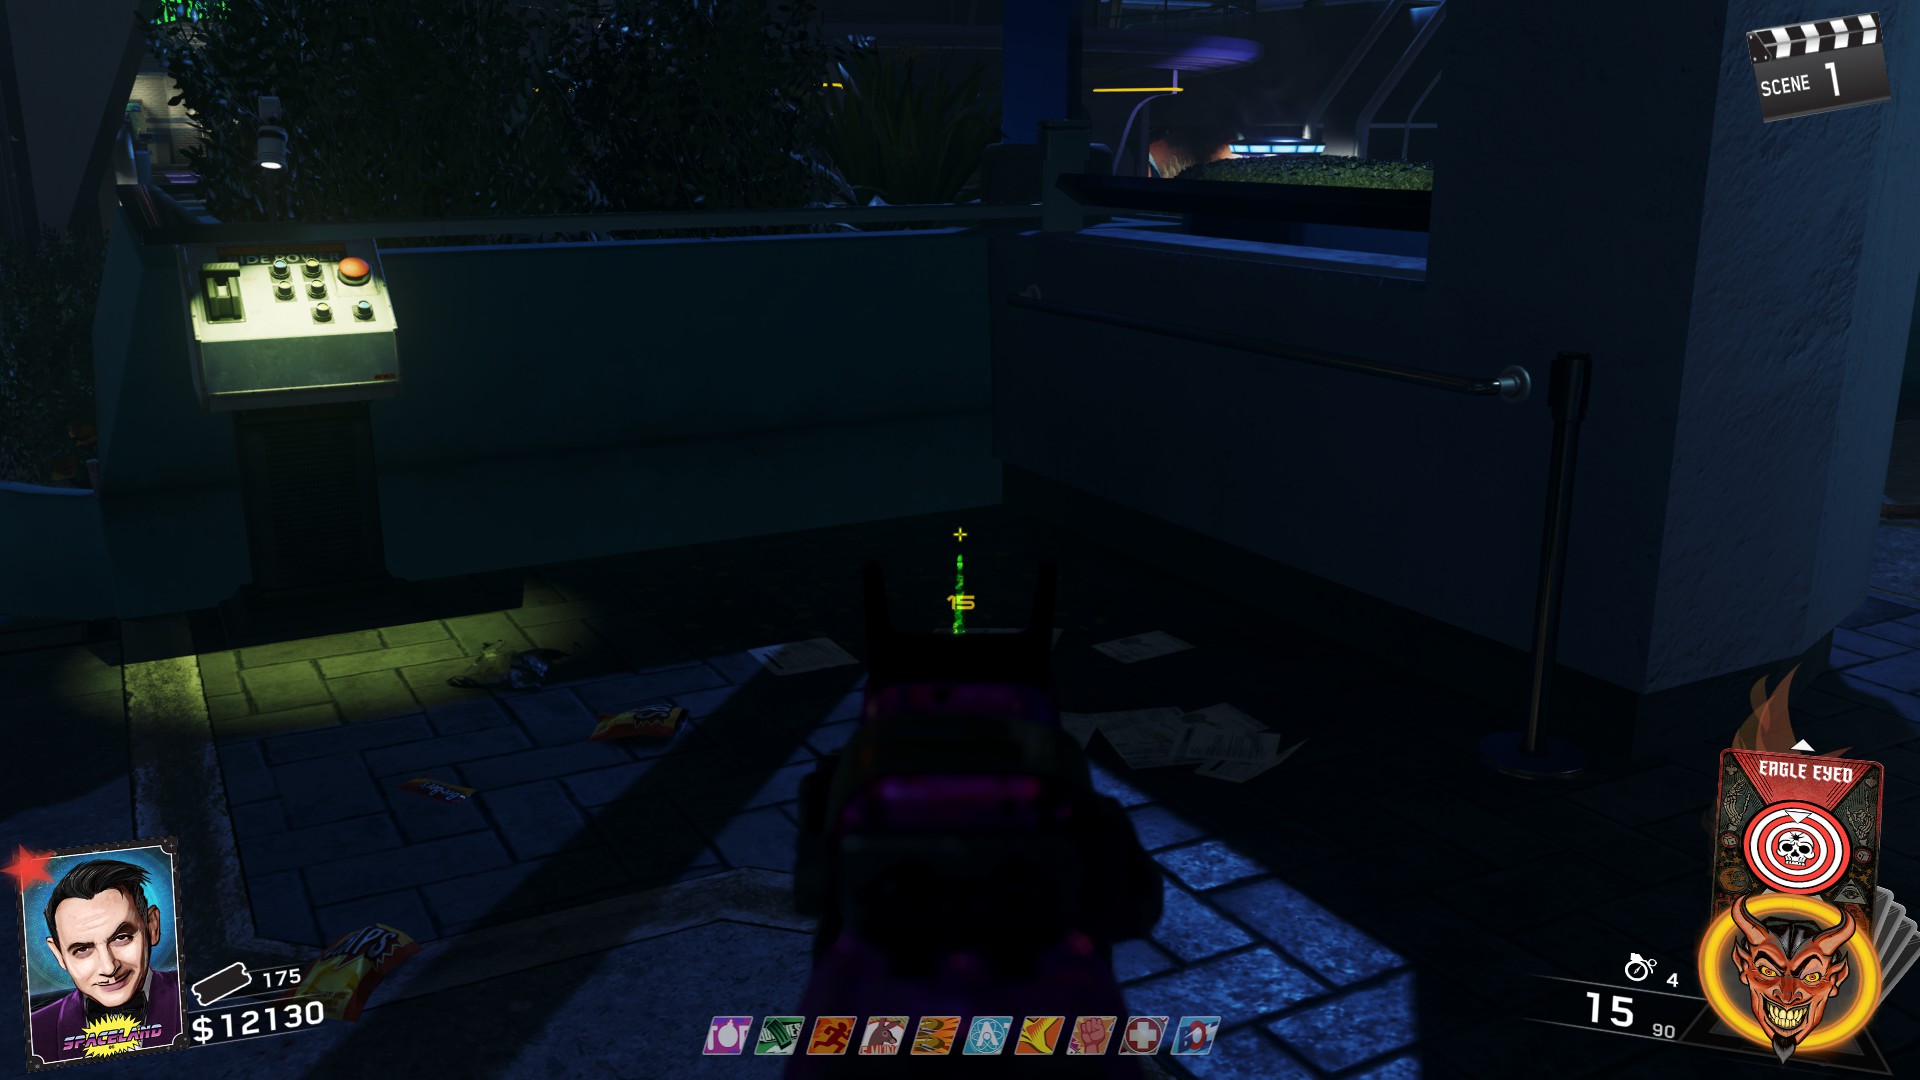
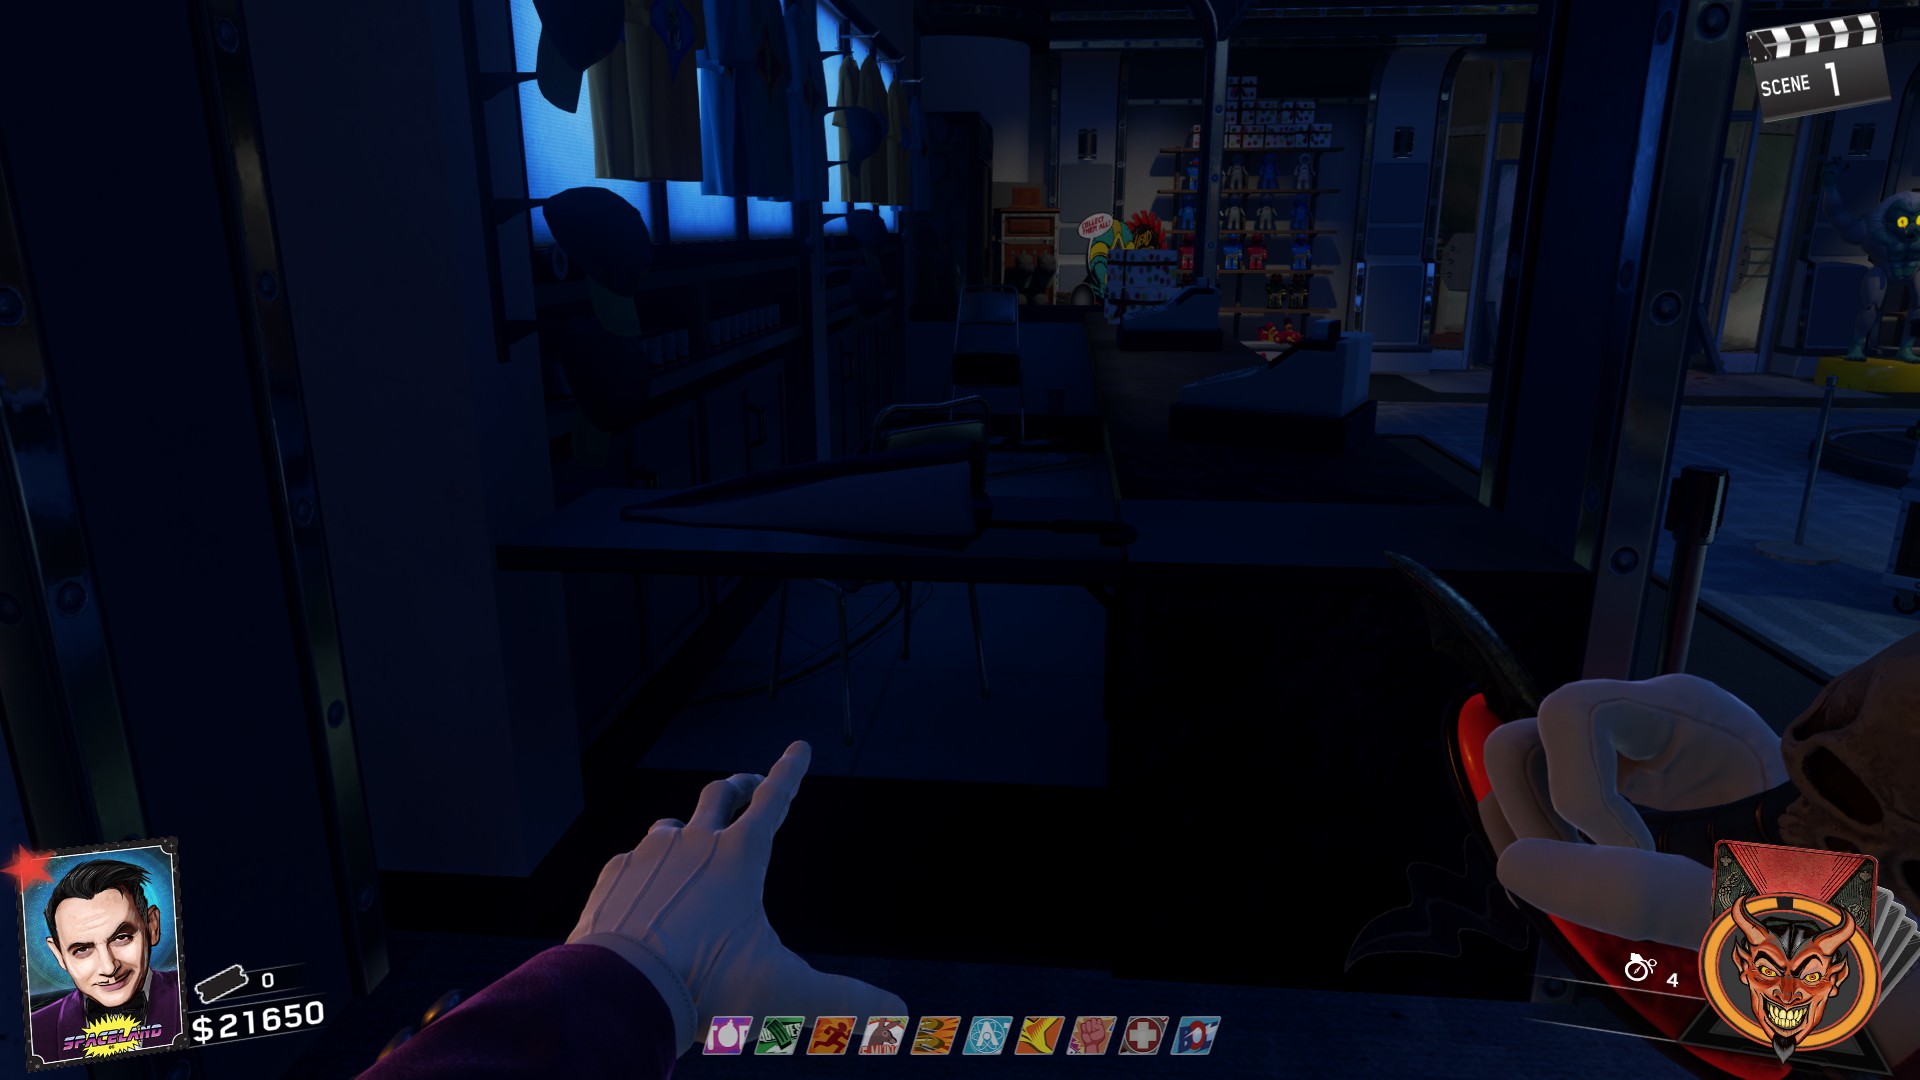
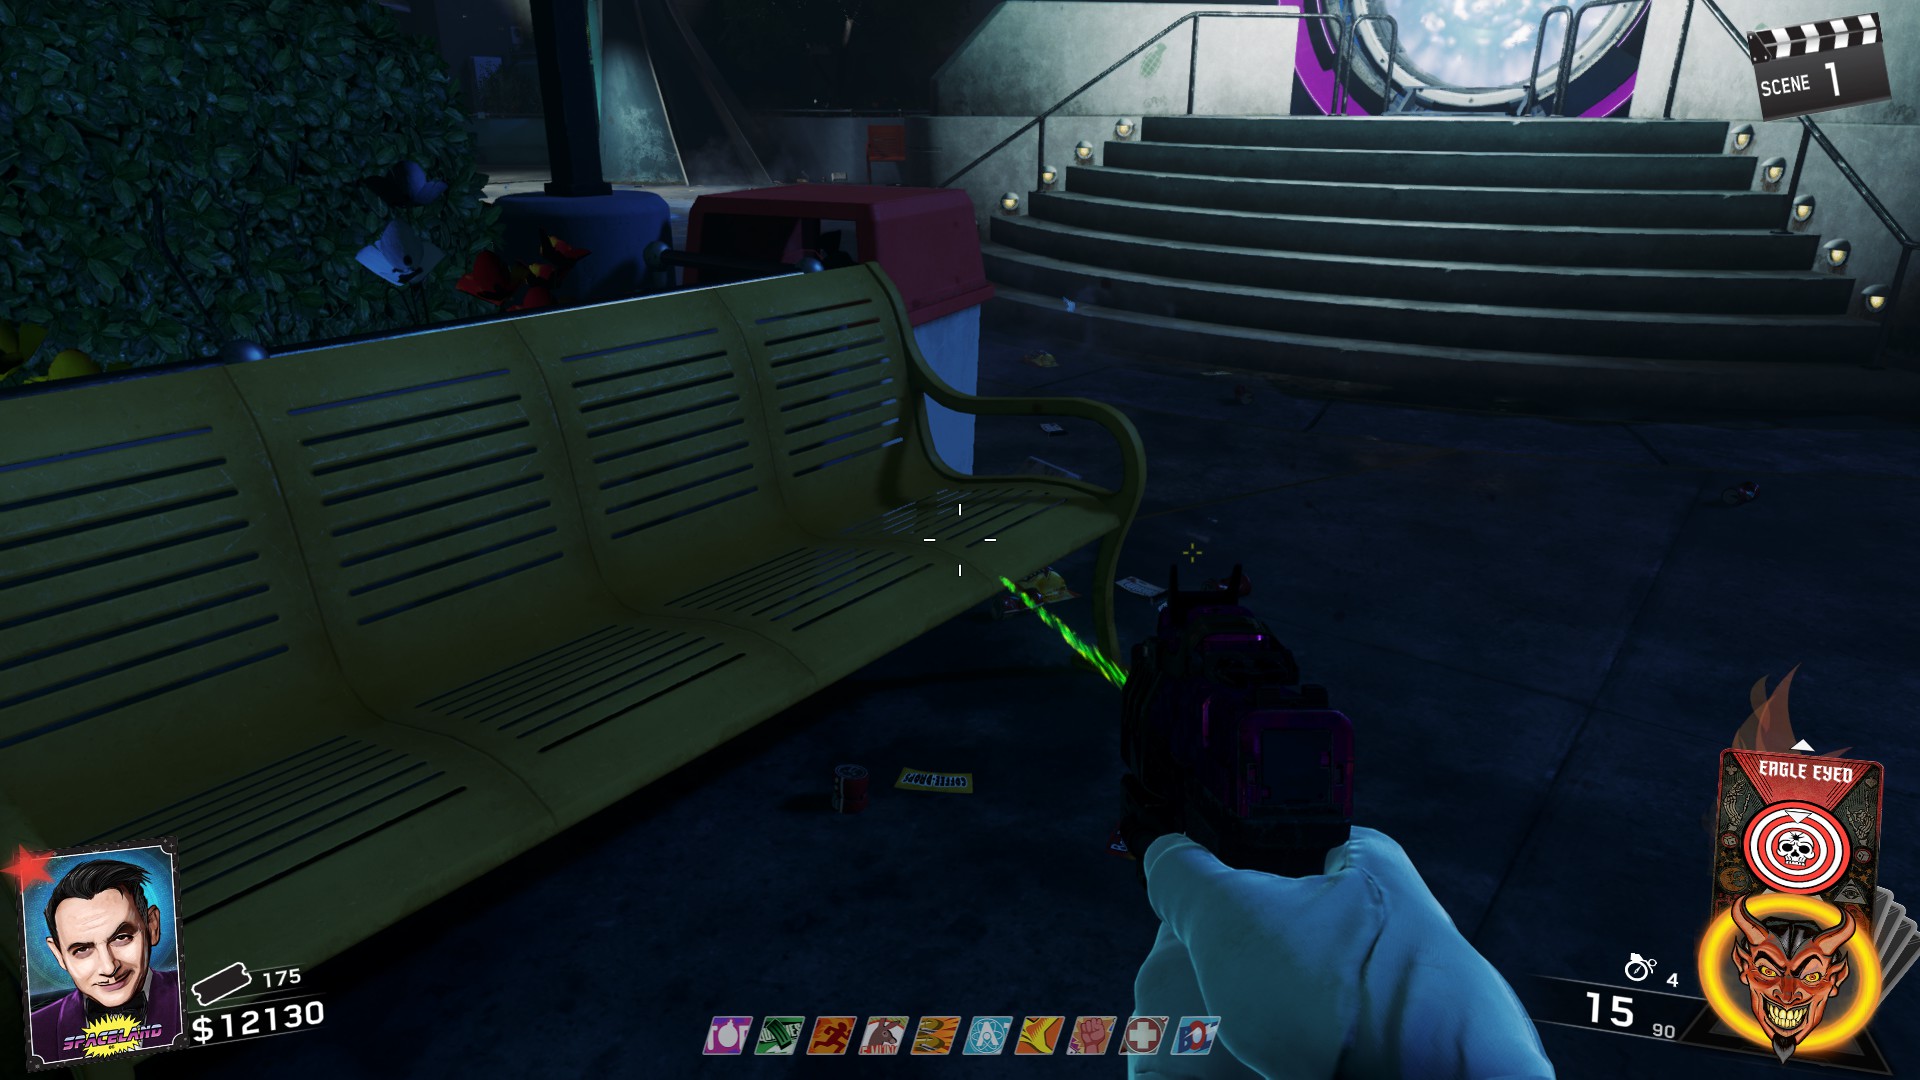
- Cosmic Way On a yellow bench directly in front of the Pack a Punch Portal.
- Kepler On the seat of one of the tables opposite the Chromosphere Trap
- Astrocade On one of the blue topped trash cans in the upstairs area.
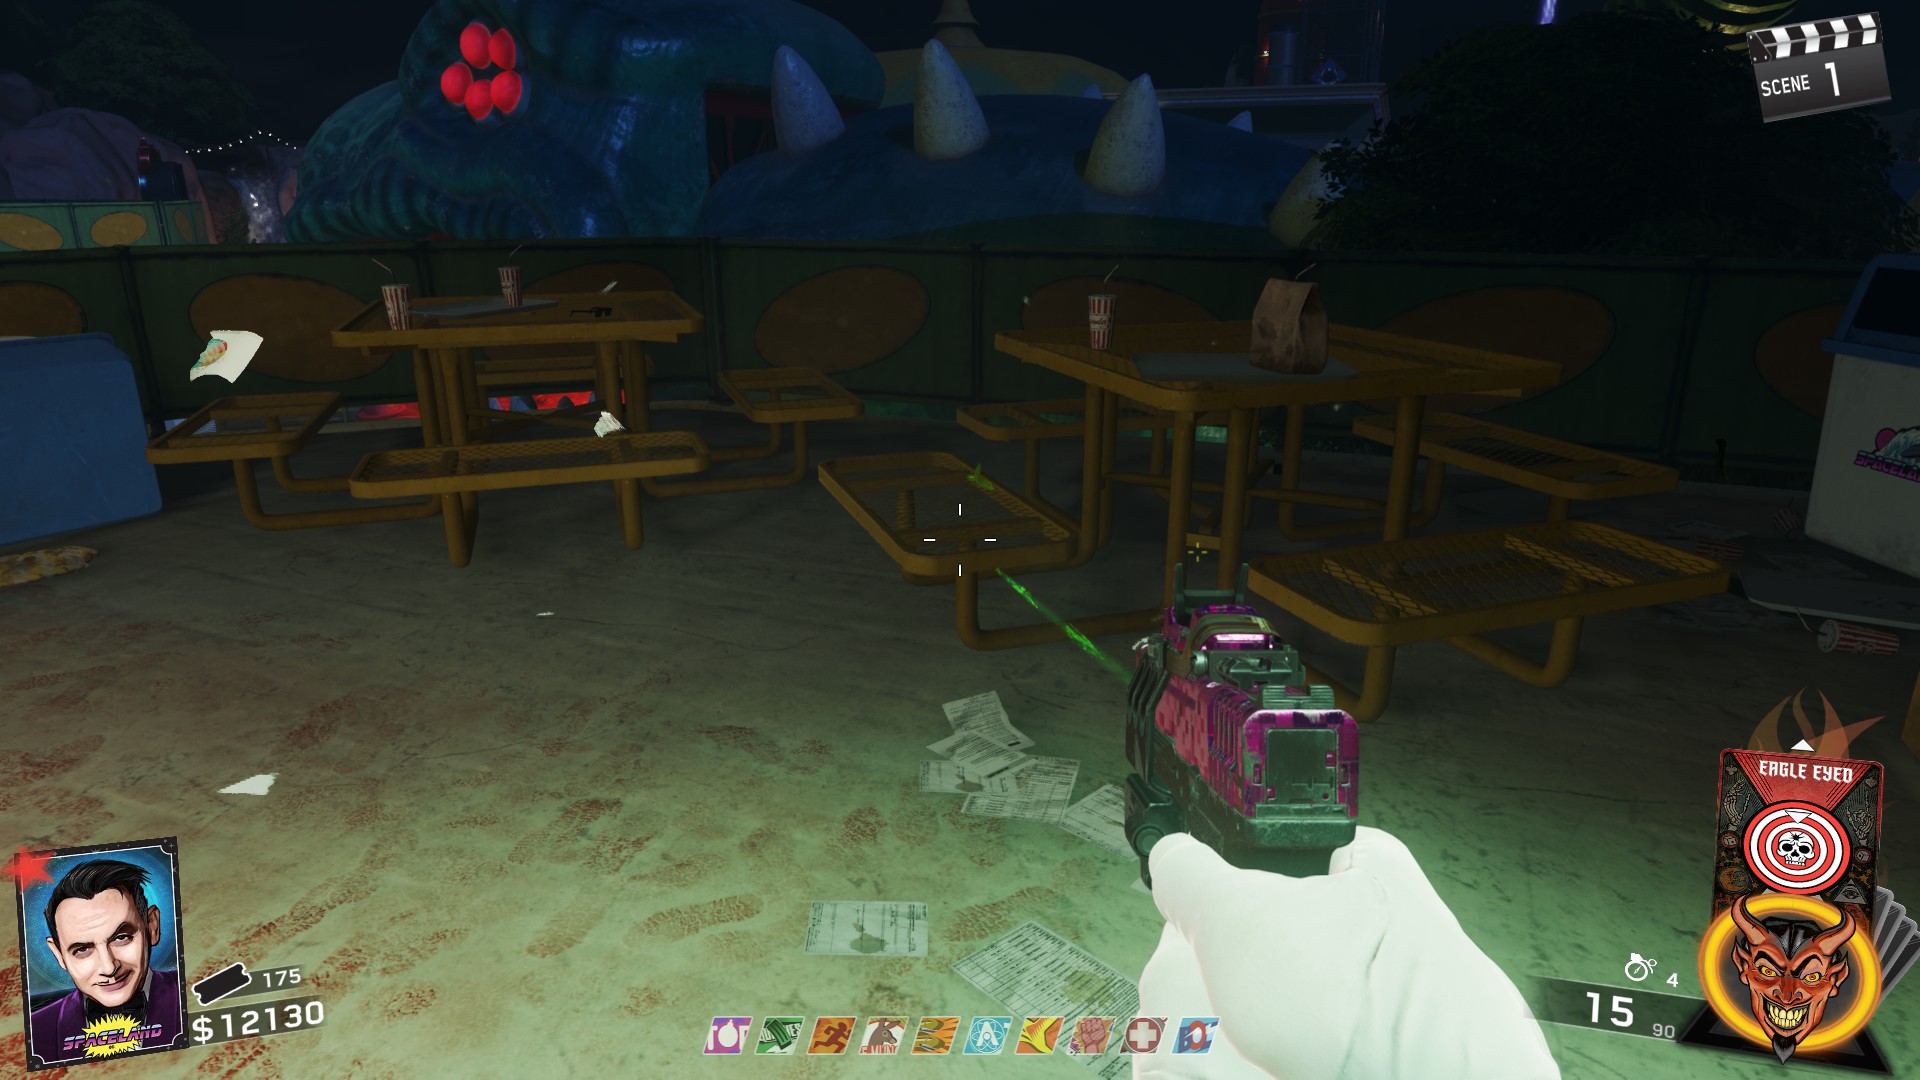
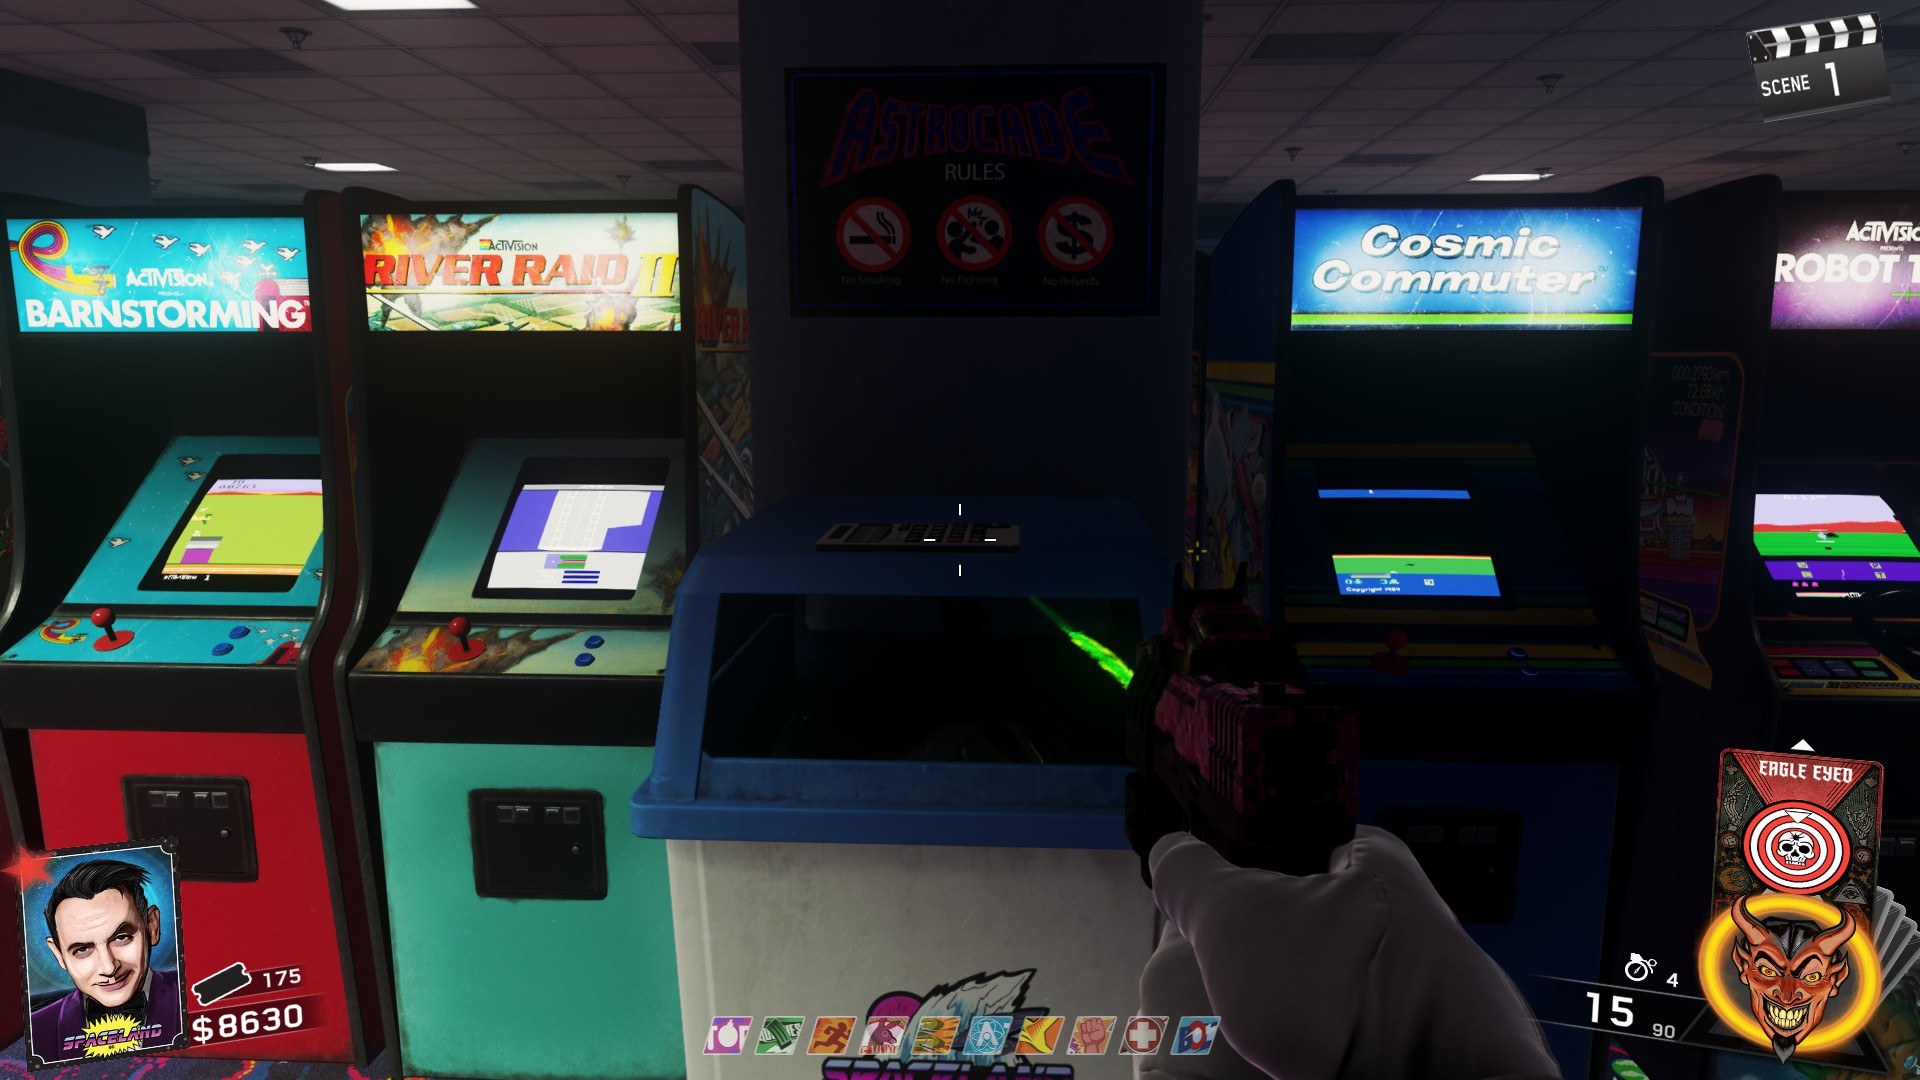
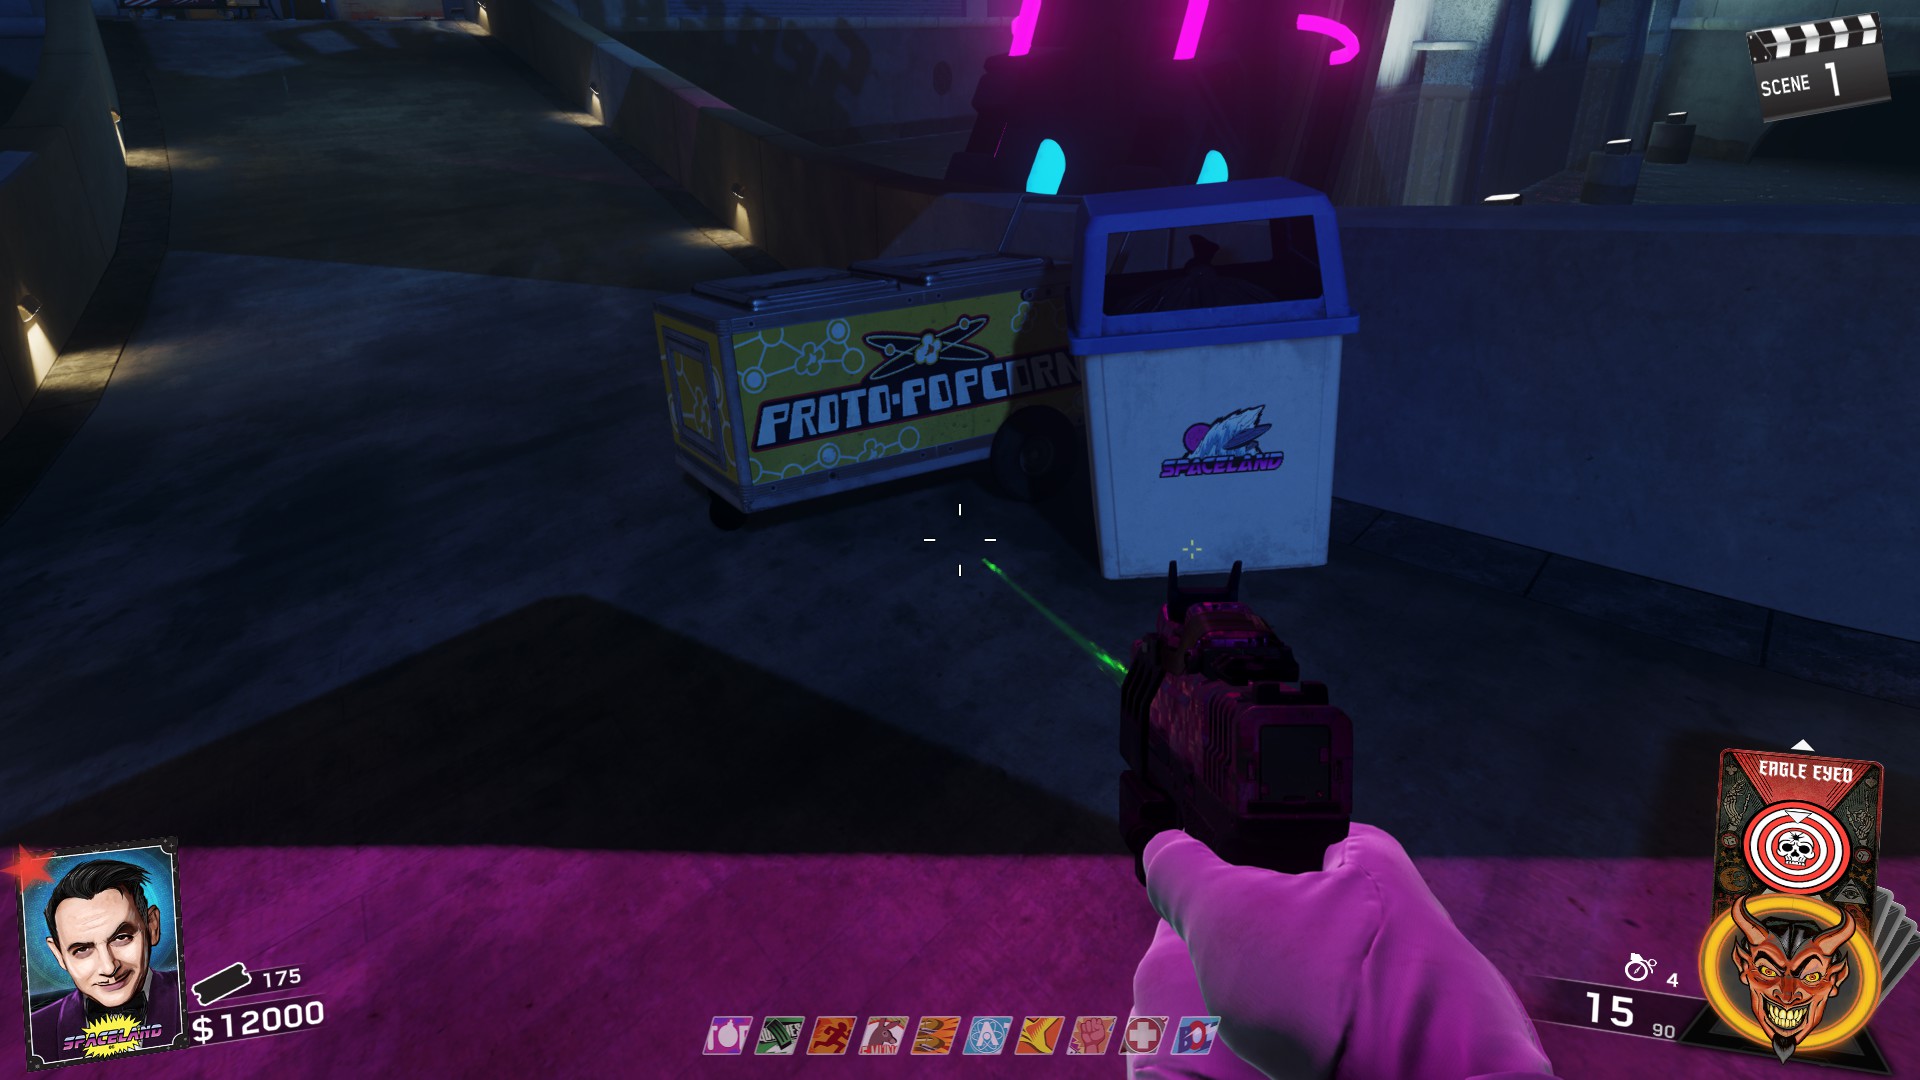
- Cosmic Way On the bottom bridge coming out of spawn, next to a food stand and a trash can
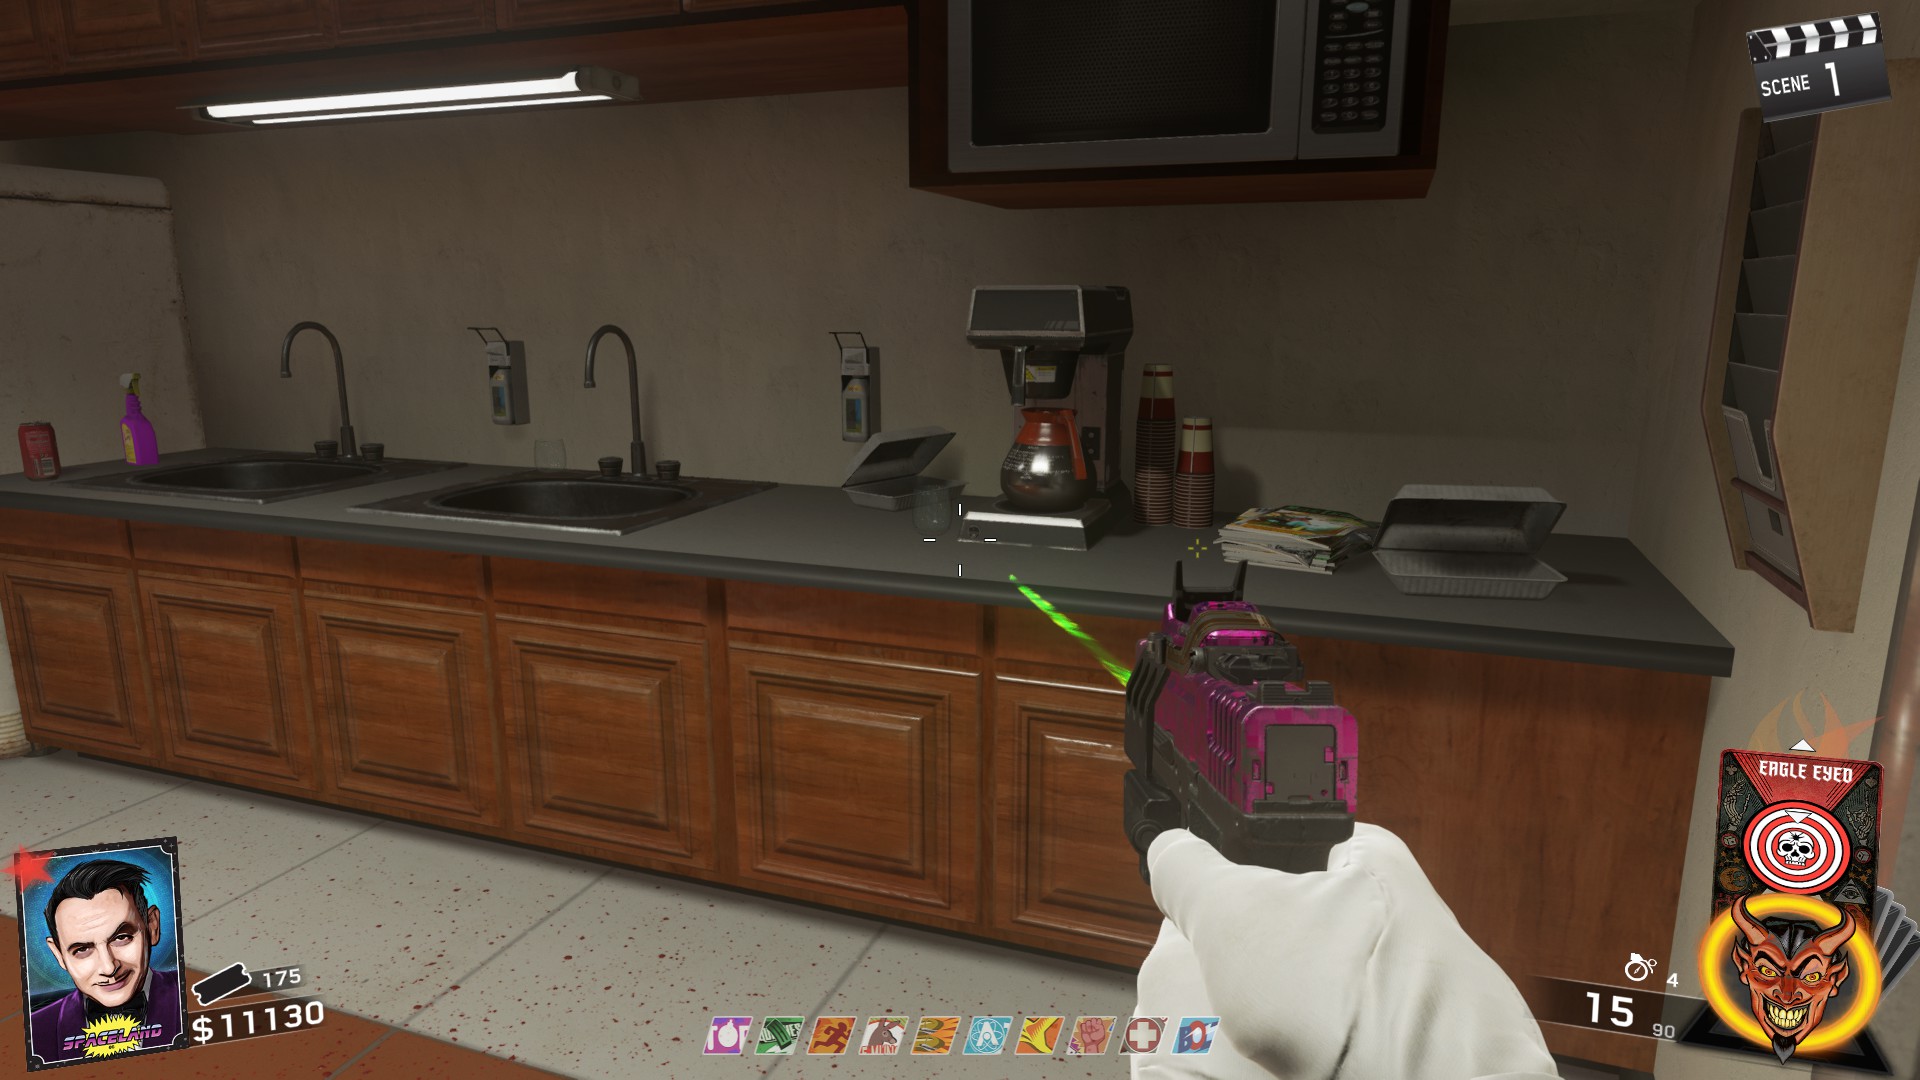
- Underground In the employee break room on the counter. The same room as the Racin' Stripes perk.
- Kepler On a counter at the Moonlight Cafe next to the power switch.
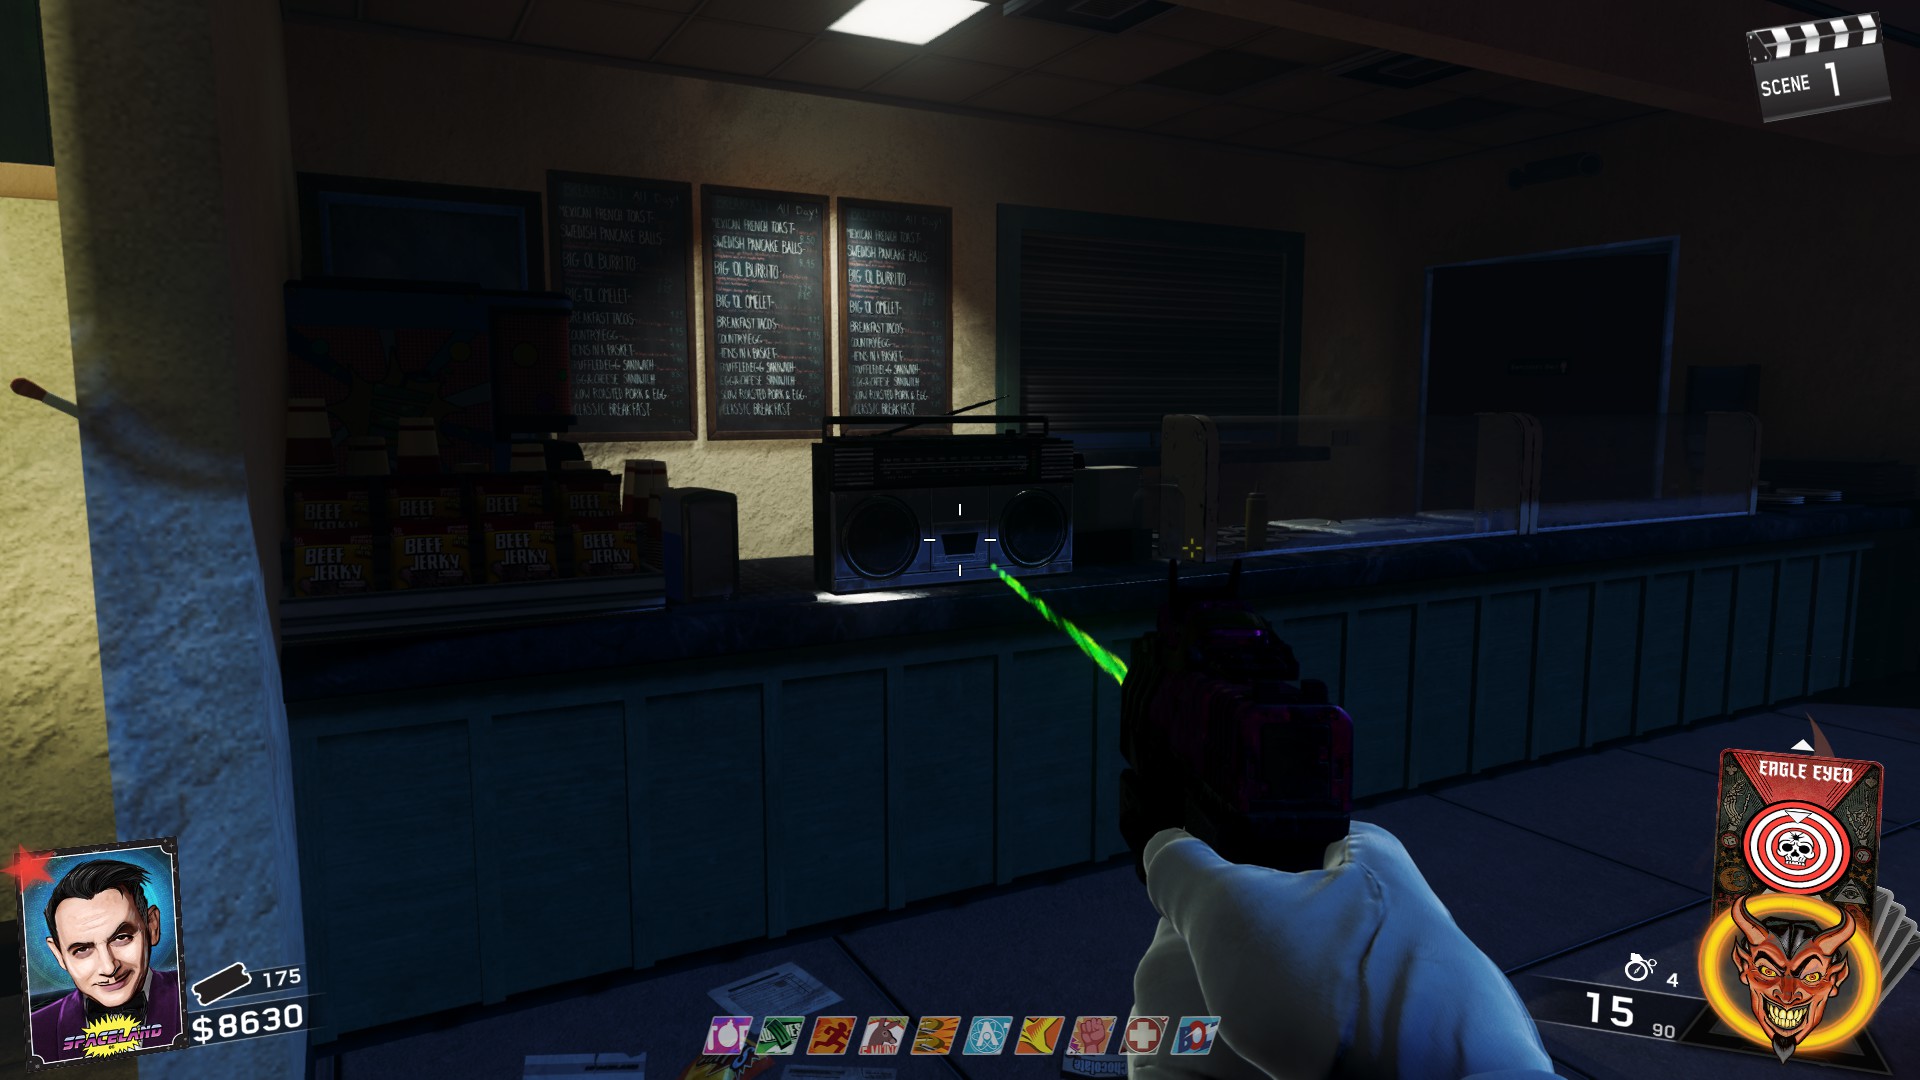
- In Journey to Space near where the Mule Munchies Perk Machine is
- In Keplar to the left of the Octonian Hunter game
- In Polar Peaks outside the Gift Shop
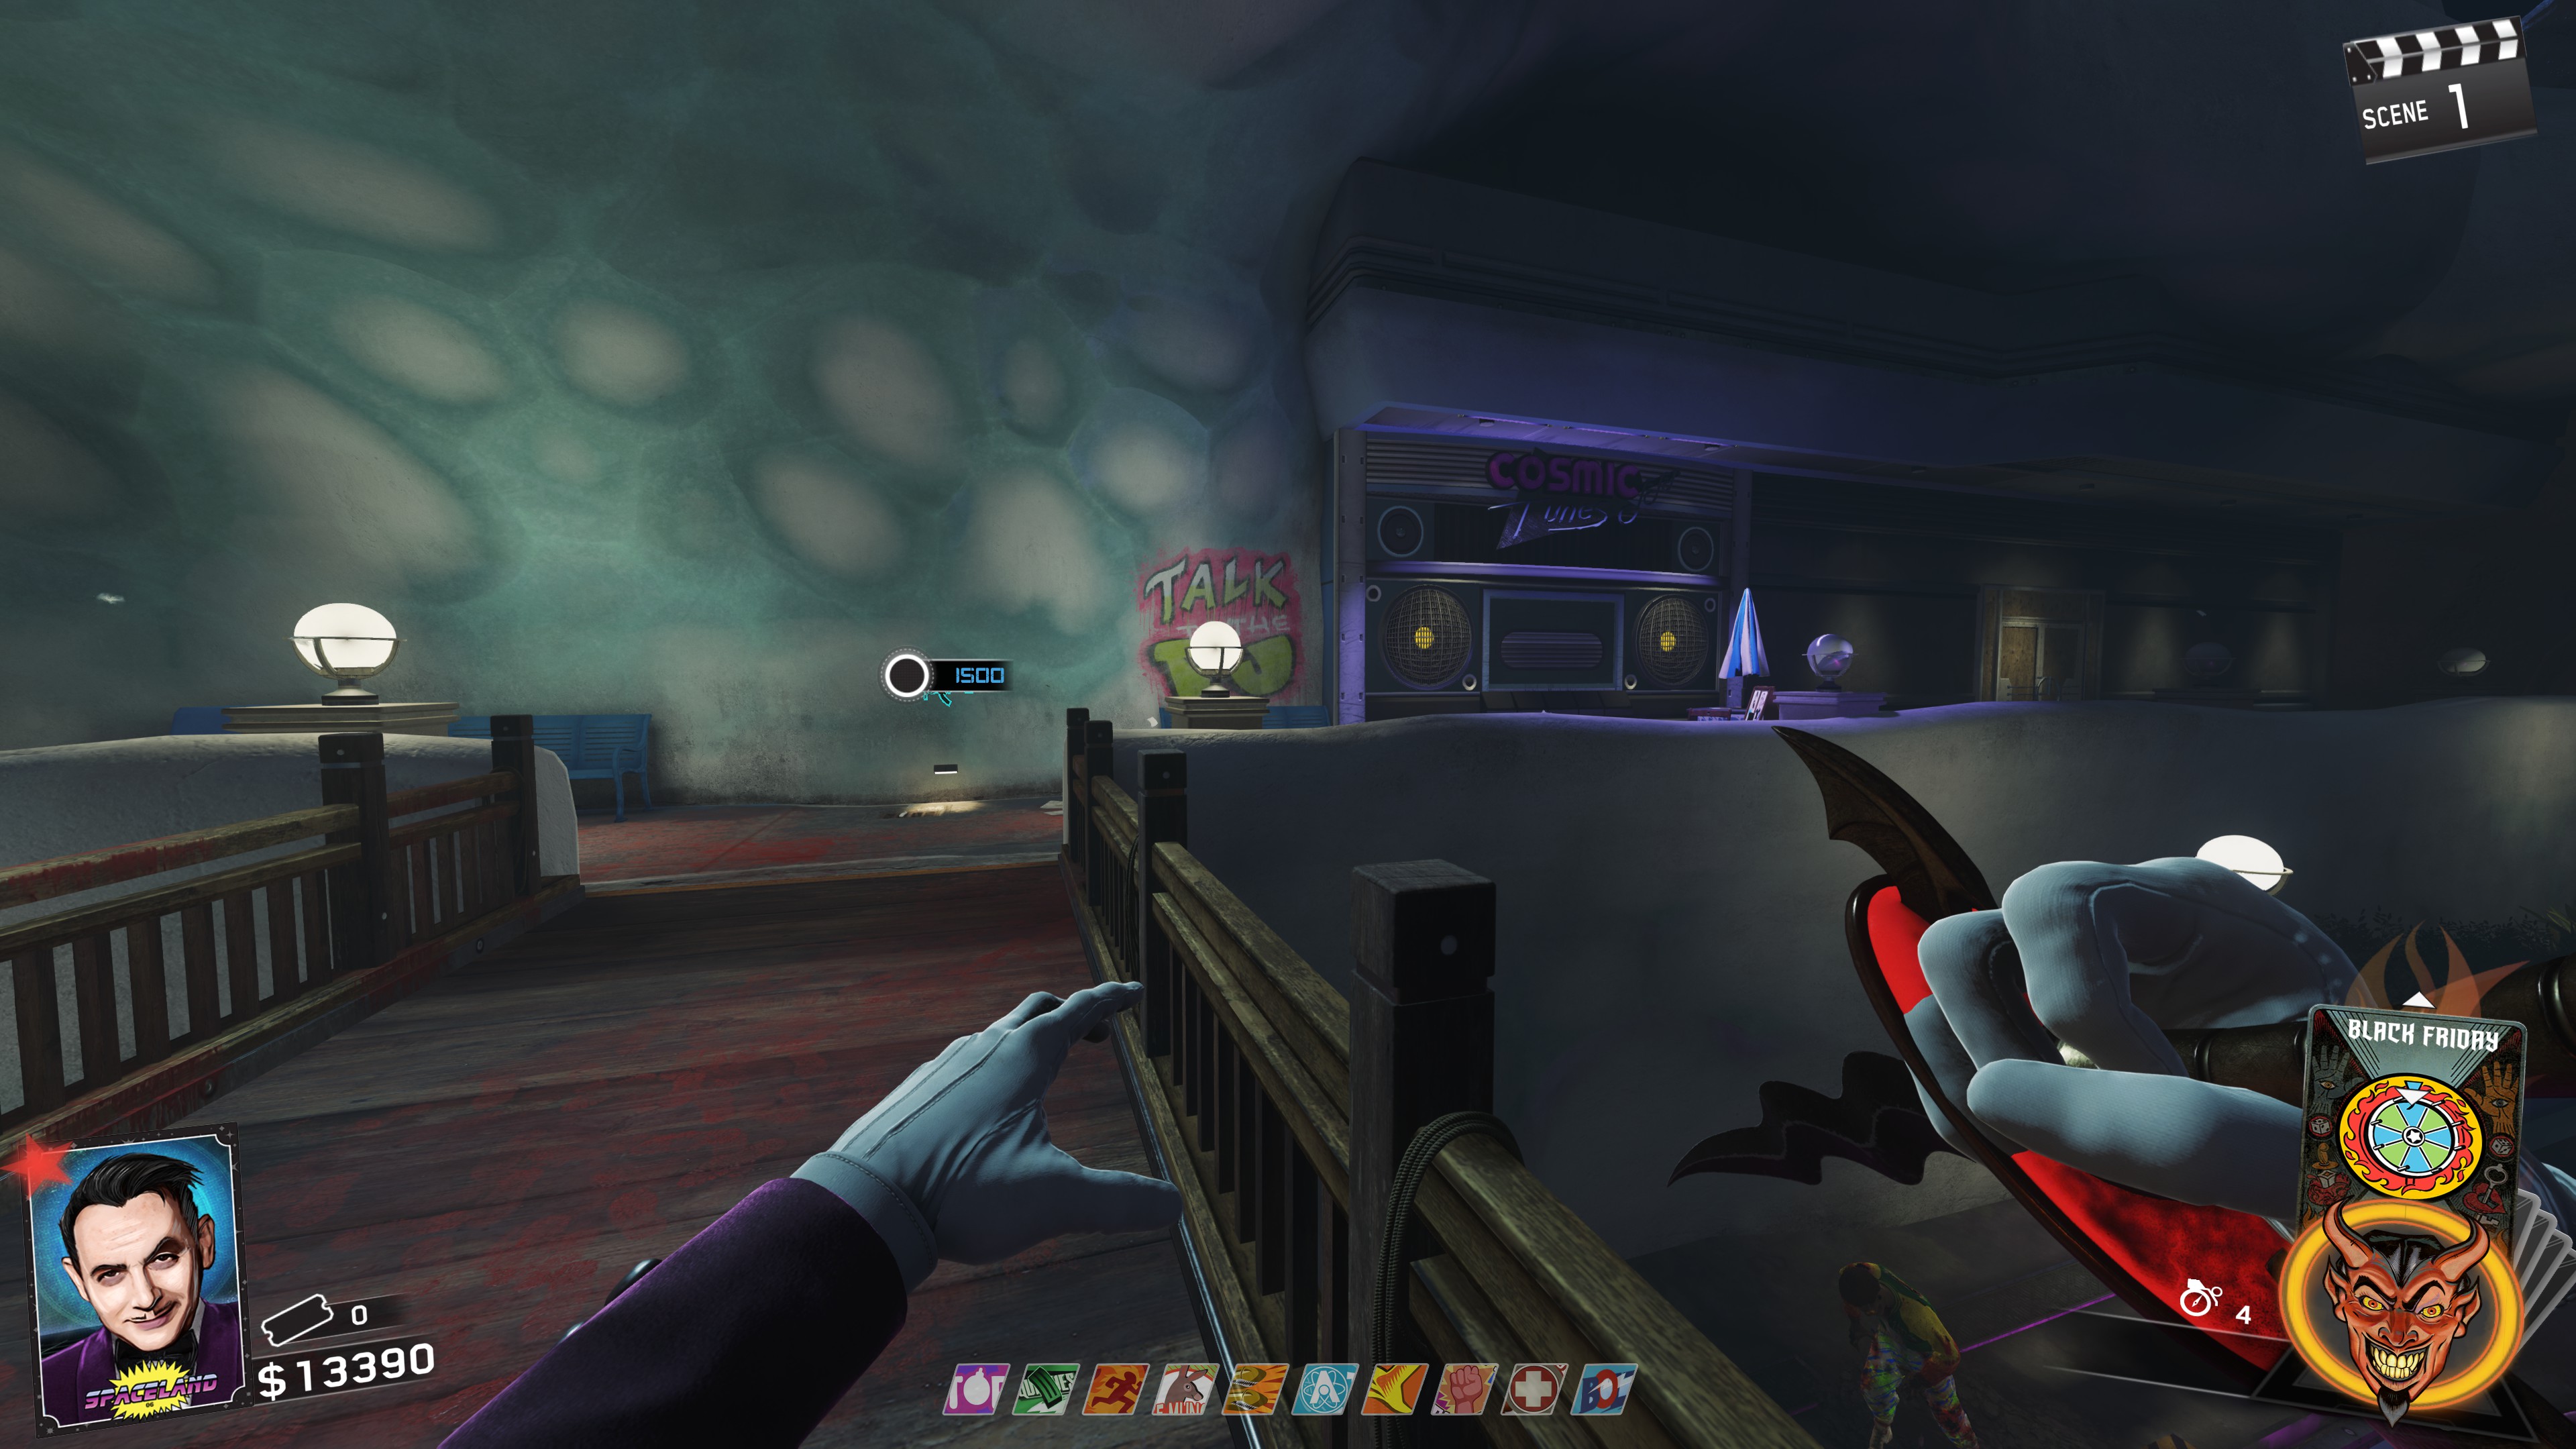
Once you've picked up the SETI-COM from Hasslehoff, you should see it appear in your Sticker pack and you can move on to the SETI-COM defenses.
The 1st defense is 60 seconds, 2nd defense is 90 seconds, and 3rd defense is 120 seconds.
You may only do one successful SETI-COM defense per round. If you fail, a Brute will spawn, but you will be able to do another defense on the same round.
Below are the locations for the defenses.
- Journey to Space next to the Escape Velocity Trap. (Look for the red blood stain)
- Journey to Space outside Rover Rampage near the Magic Wheel.
- Underground/Employee Area directly in front of the Racin' Stripes perk.
- Kepler across from the Bombstoppers perk in the corner closest to the Space Croc Chomp
- Polar Peak directly in front of the entrance coming from Cosmic Way
- Polar Peak in the middle of the Gift Shop area
- Polar Peak across from the Bang Bangs perk inn the Spaceship Splash area.
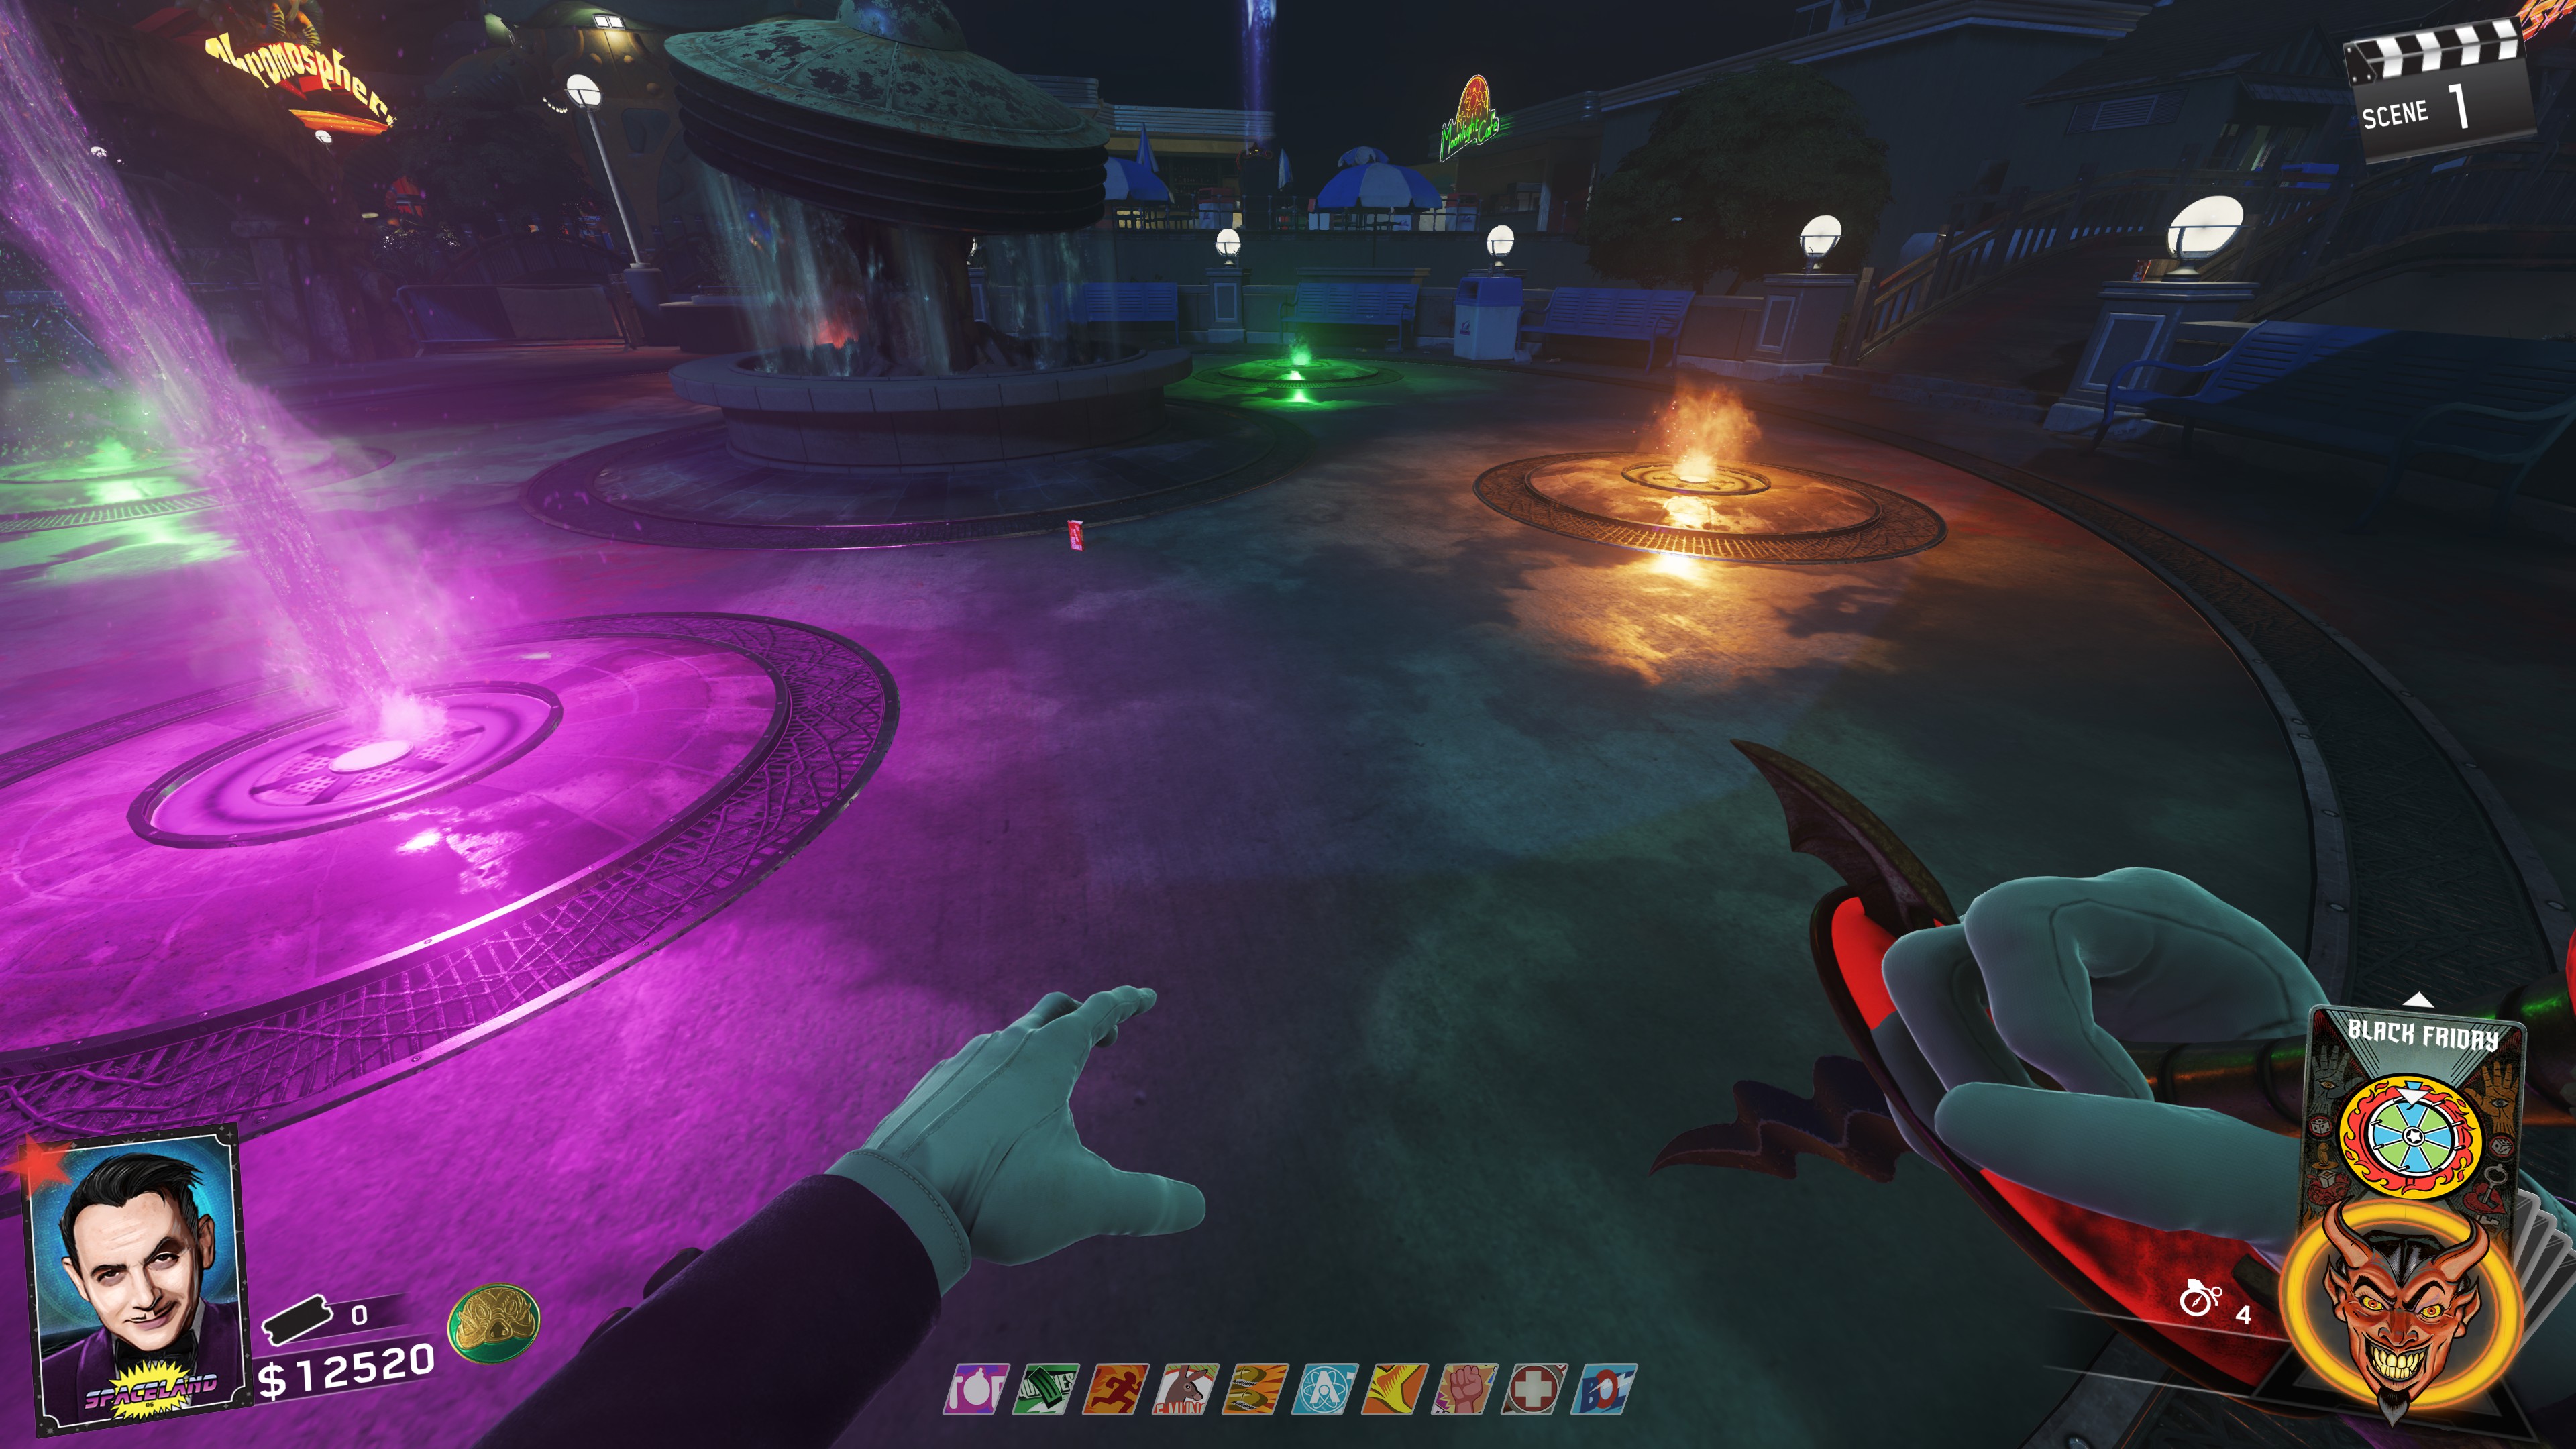
After two rounds have passed, interacting with Hasselhoff will grant the player with a speaker which will be used to enter the final boss.
Return back to the Pack A Punch portal and you will now be able to place the speakers on the 3 symbols surrounding the perimeter of the portal as well as one directly in front of the portal itself.
Place them and before you activate the speakers, make sure that you are completely setup as activating the speakers begins the boss fight.
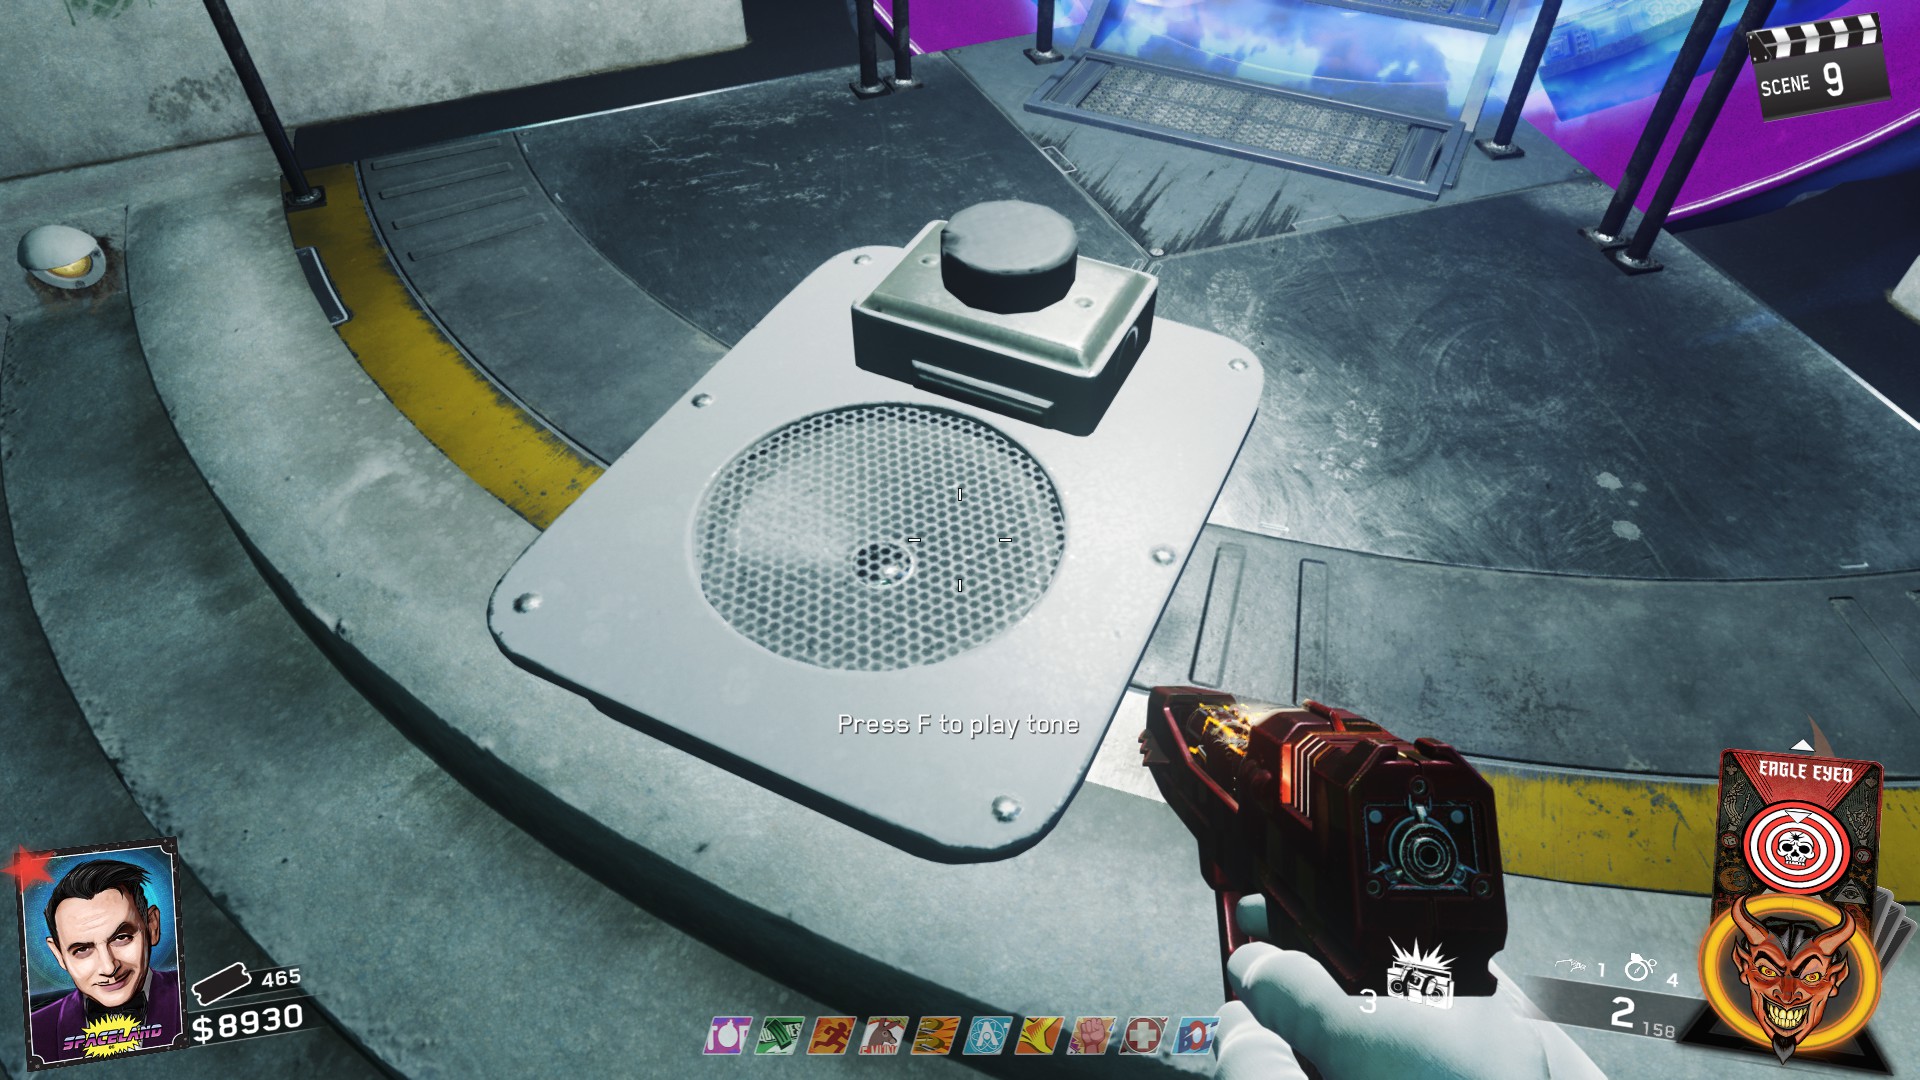
Main Quest (Boss Fight and UFO)
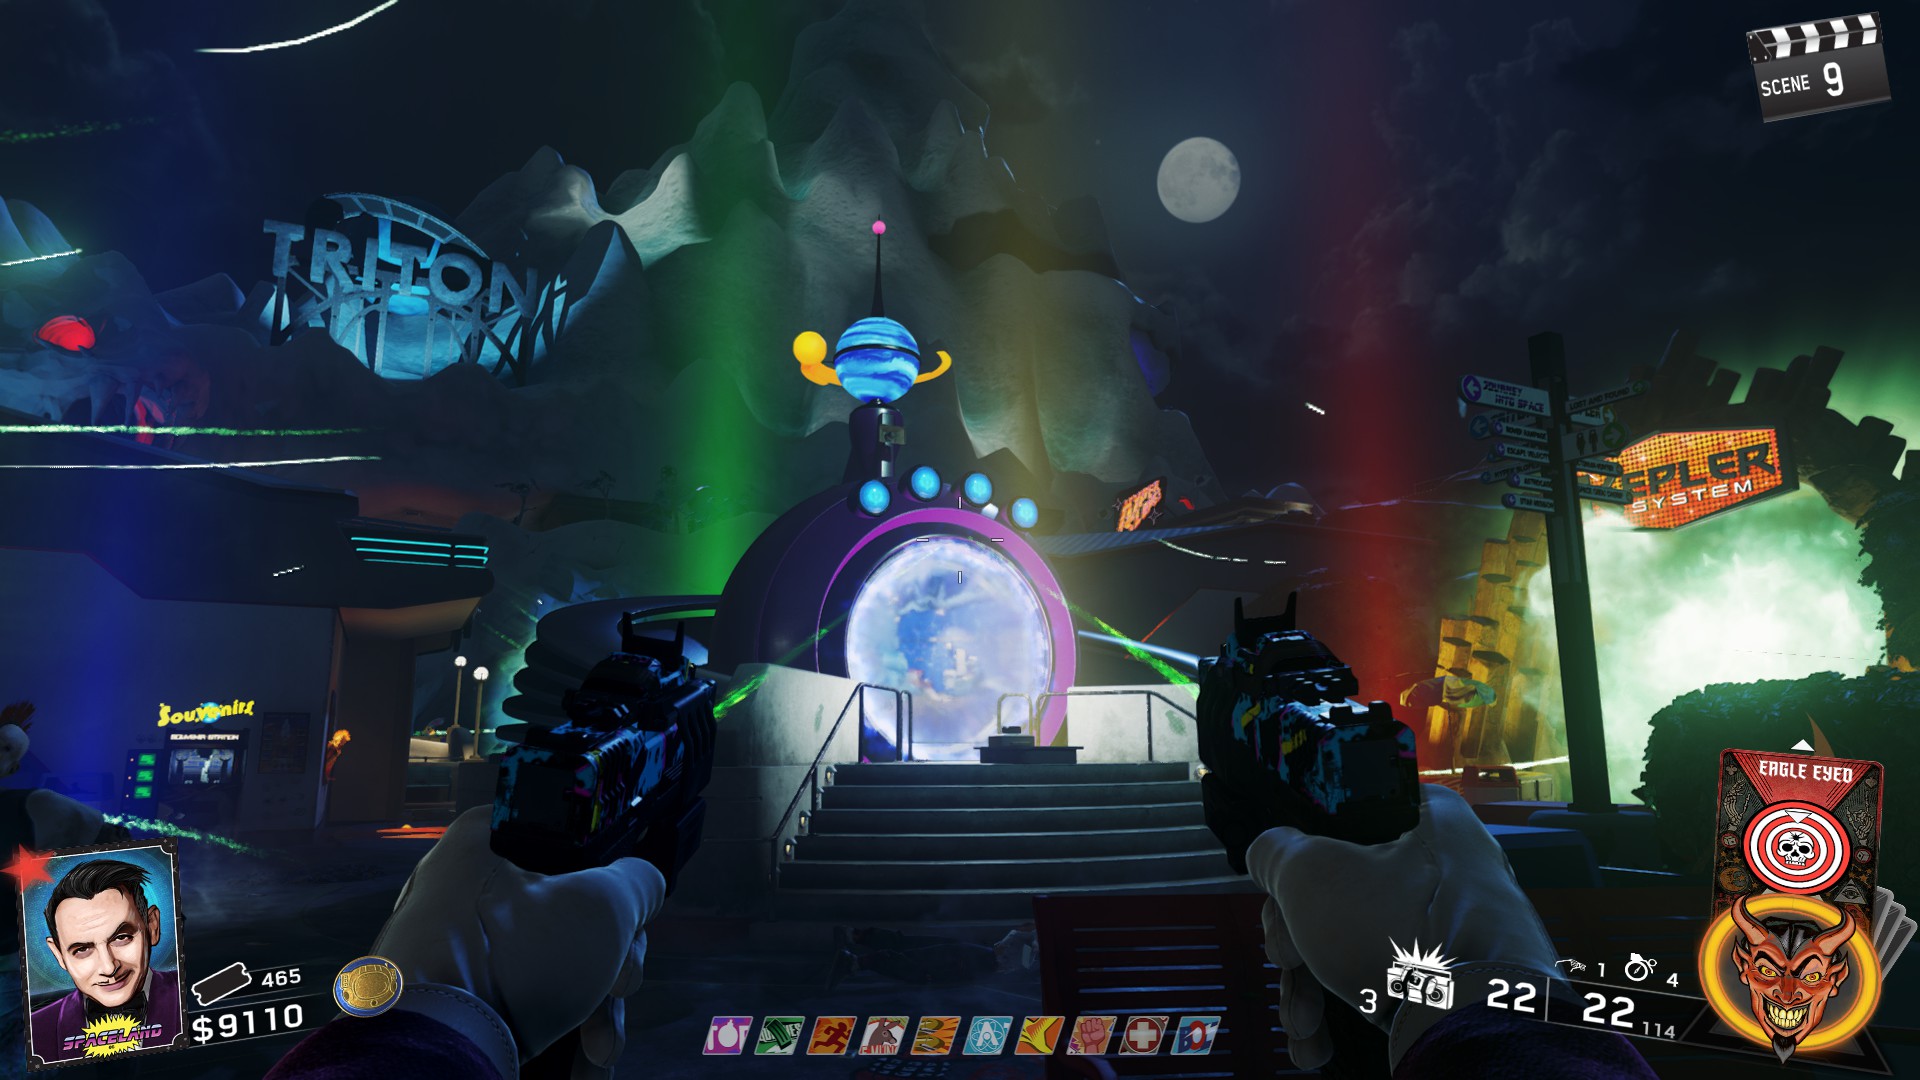
Make sure to remember which speaker is displaying which color as its different depending on the order you placed the speakers.
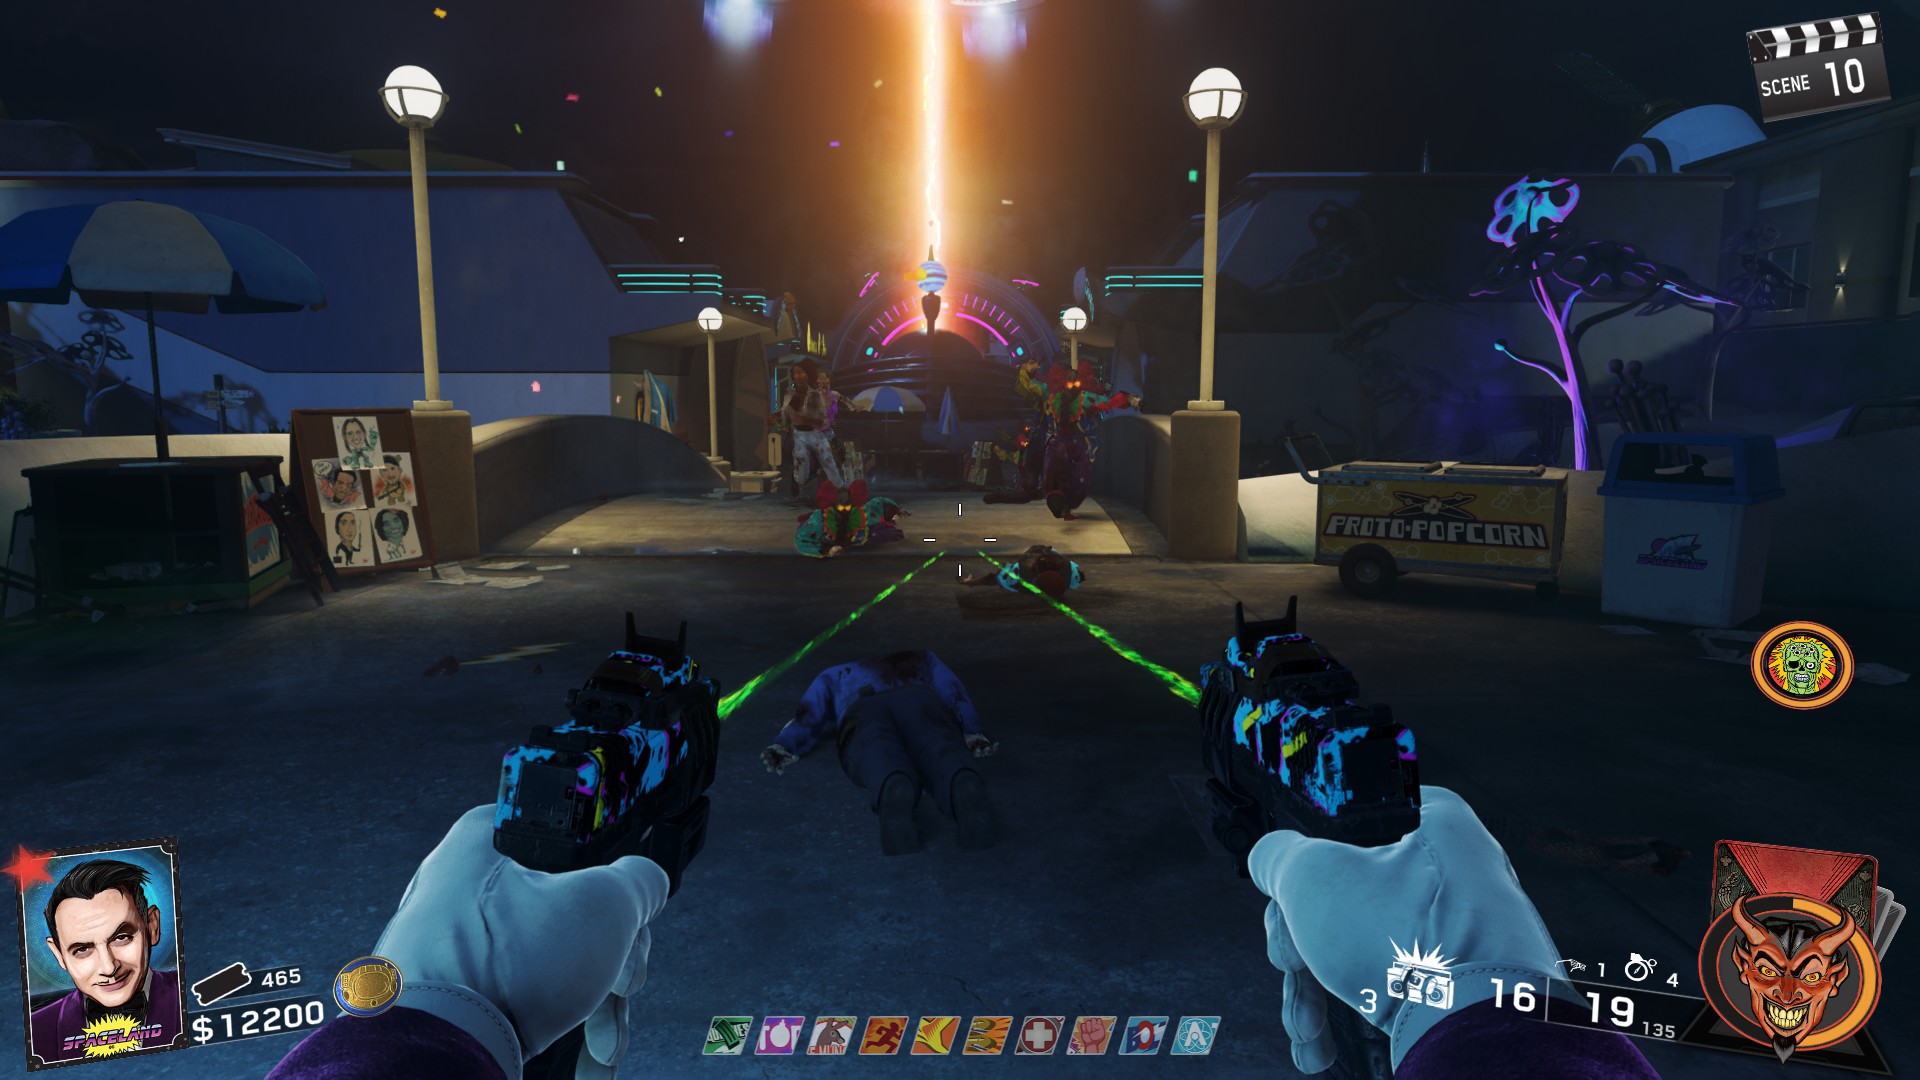
The UFO will begin flashing colors, pay attention to the order and you want to mimic the order using the speakers. (Basic Simon Says).
If you are playing multiplayer, it will take more than one player to activate the speakers as the timer that you have is too short to do solo on co-op.
Complete this three times to move on to the next phase. If you fail, the UFO will turn white and a Brute will spawn. Kill the Brute before beginning again.
The boss' health can be determined by paying attention to the collar on his neck. It will turn Red when it is close to death.
You damage the boss by using one of the Weapons of Rock.
How to kill the Alien:
After damaging the boss enough, the alien will fall to the ground and produce a yellow shield like sphere around him. He can also spawn zombies while he's on the ground
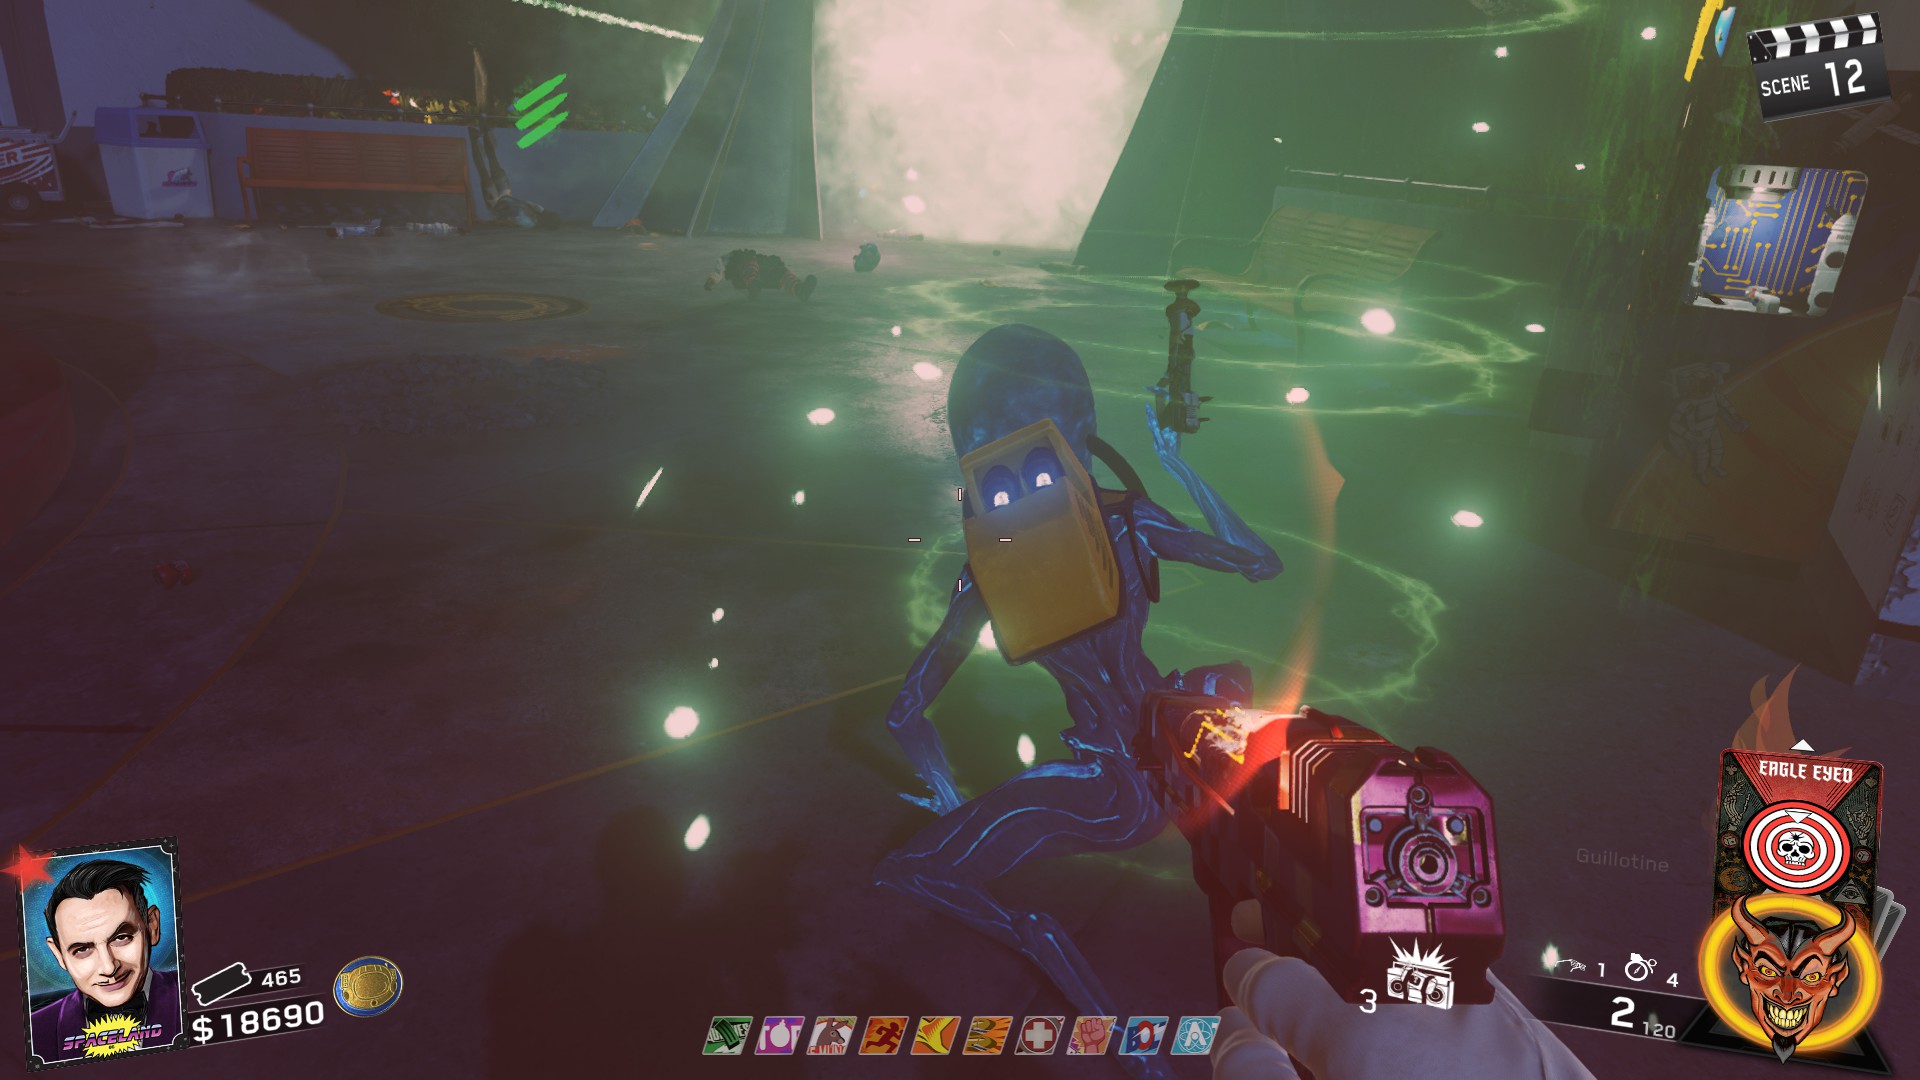
Melee the back of the Alien to break one of the fuses in his backpack. You only get a few seconds to do so. Be quick and only try to down the boss when it is on the ground.
To defeat the boss, you need to knock both fuses out of his backpack. So you will need to repeat damaging him till he's on the ground to knock out the second fuse.
After both fuses are out, you can damage him for a third time, but this time it will kill the boss.
Each Alien killed will grant an Auto-Nuke, Max Ammo, and 1000 XP.
After all Aliens are killed, the Alien Fuses will appear in front of the PaP Portal. Take them and insert them into the PaP machine and Upgrade one of the Weapons of Rock for 5000 points.
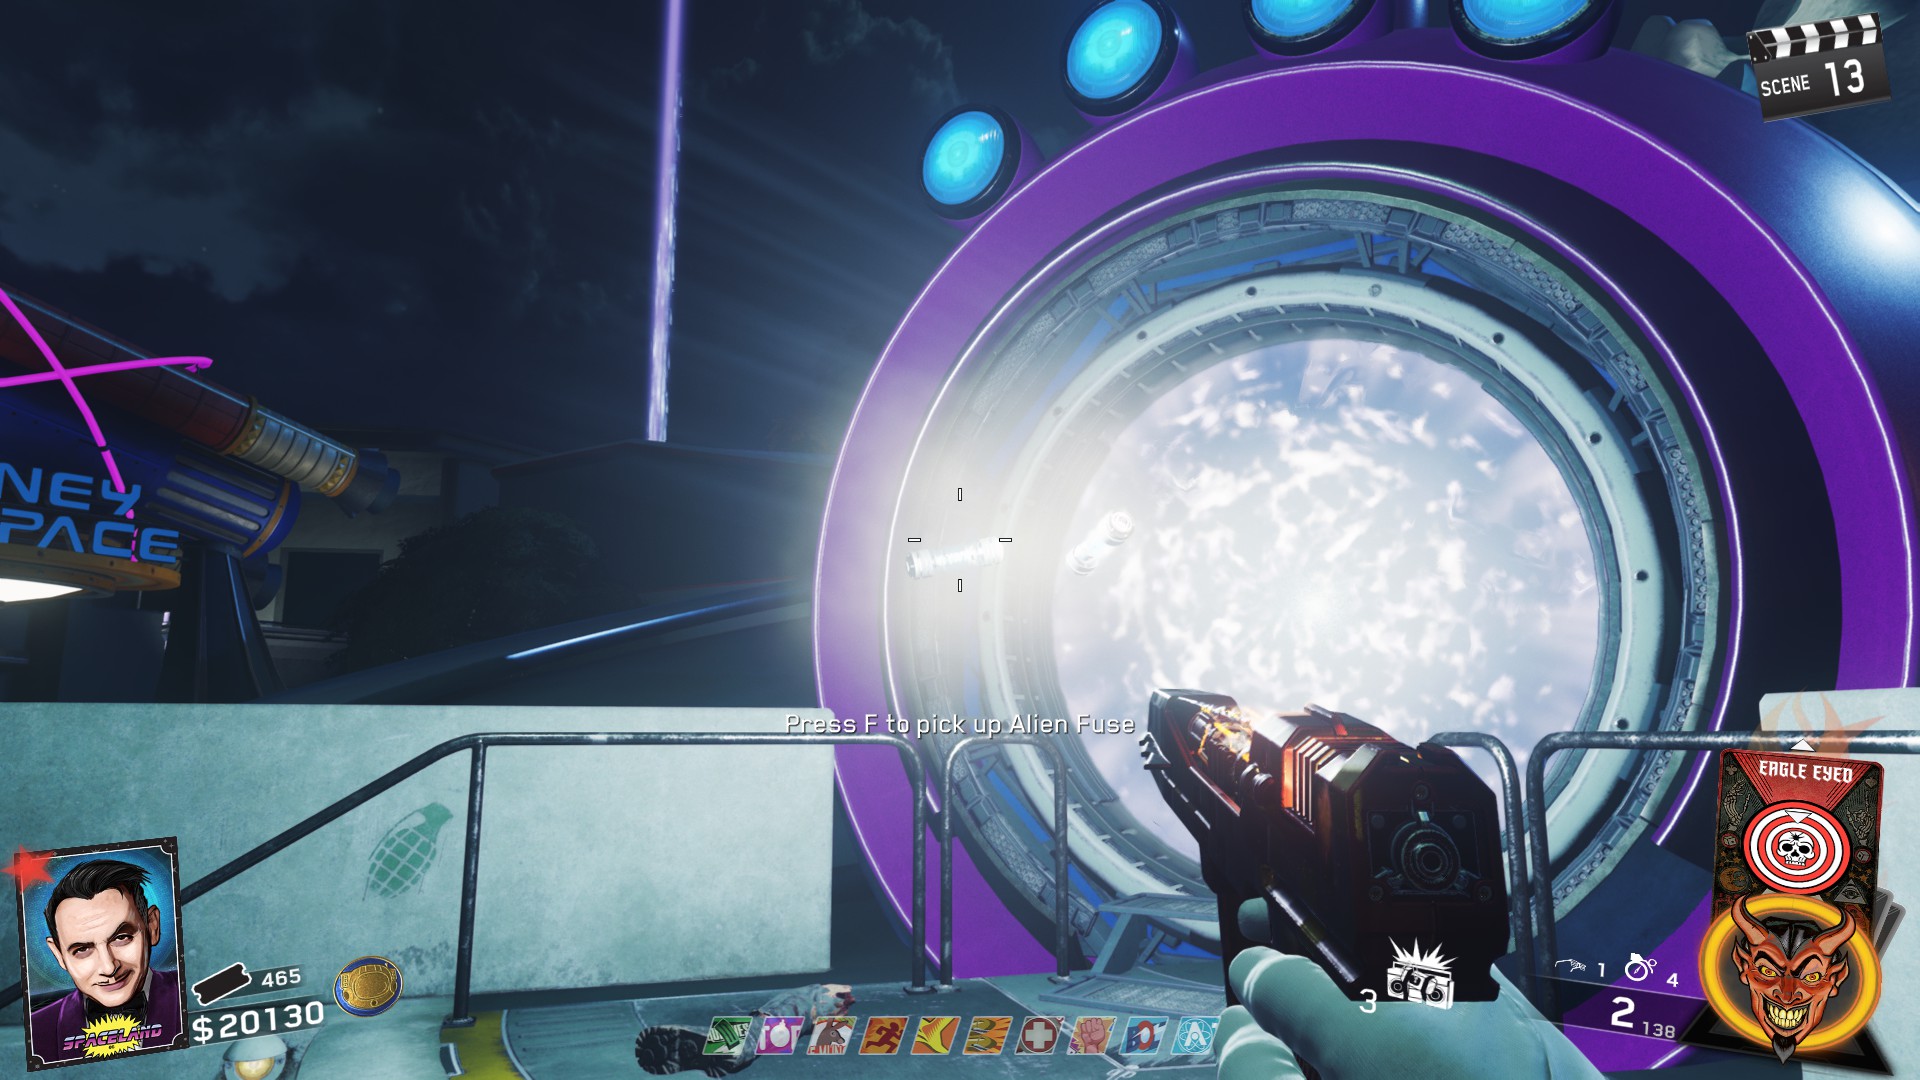
From Cosmic Way, Look at the back of the large circular Spaceland Sign above the pair of bridges that link Spawn and Cosmic Way.
There are 5 blue glowing lights in the back of the sign. To destroy the UFO, shoot the five lights when the UFO is above the PaP Portal. Once all five are shot, a power beam will shoot up destroying anything above it.
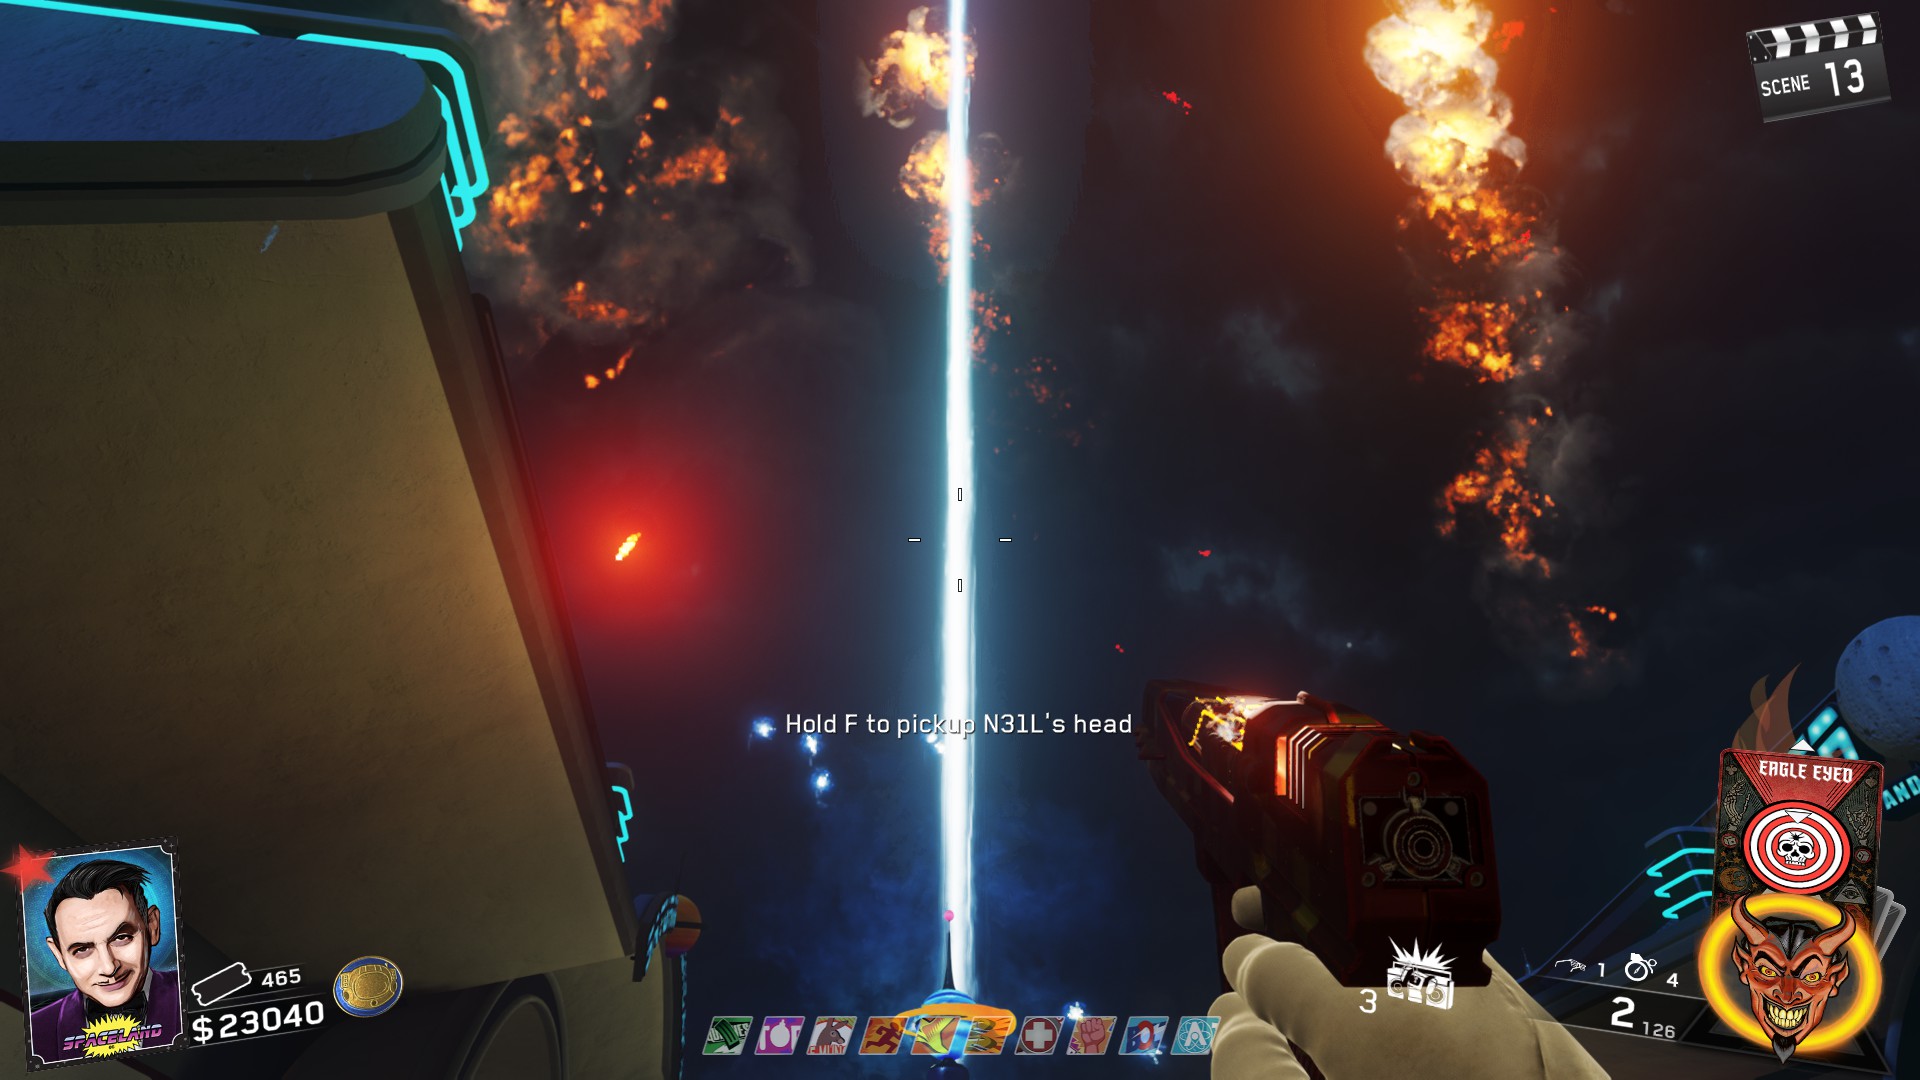
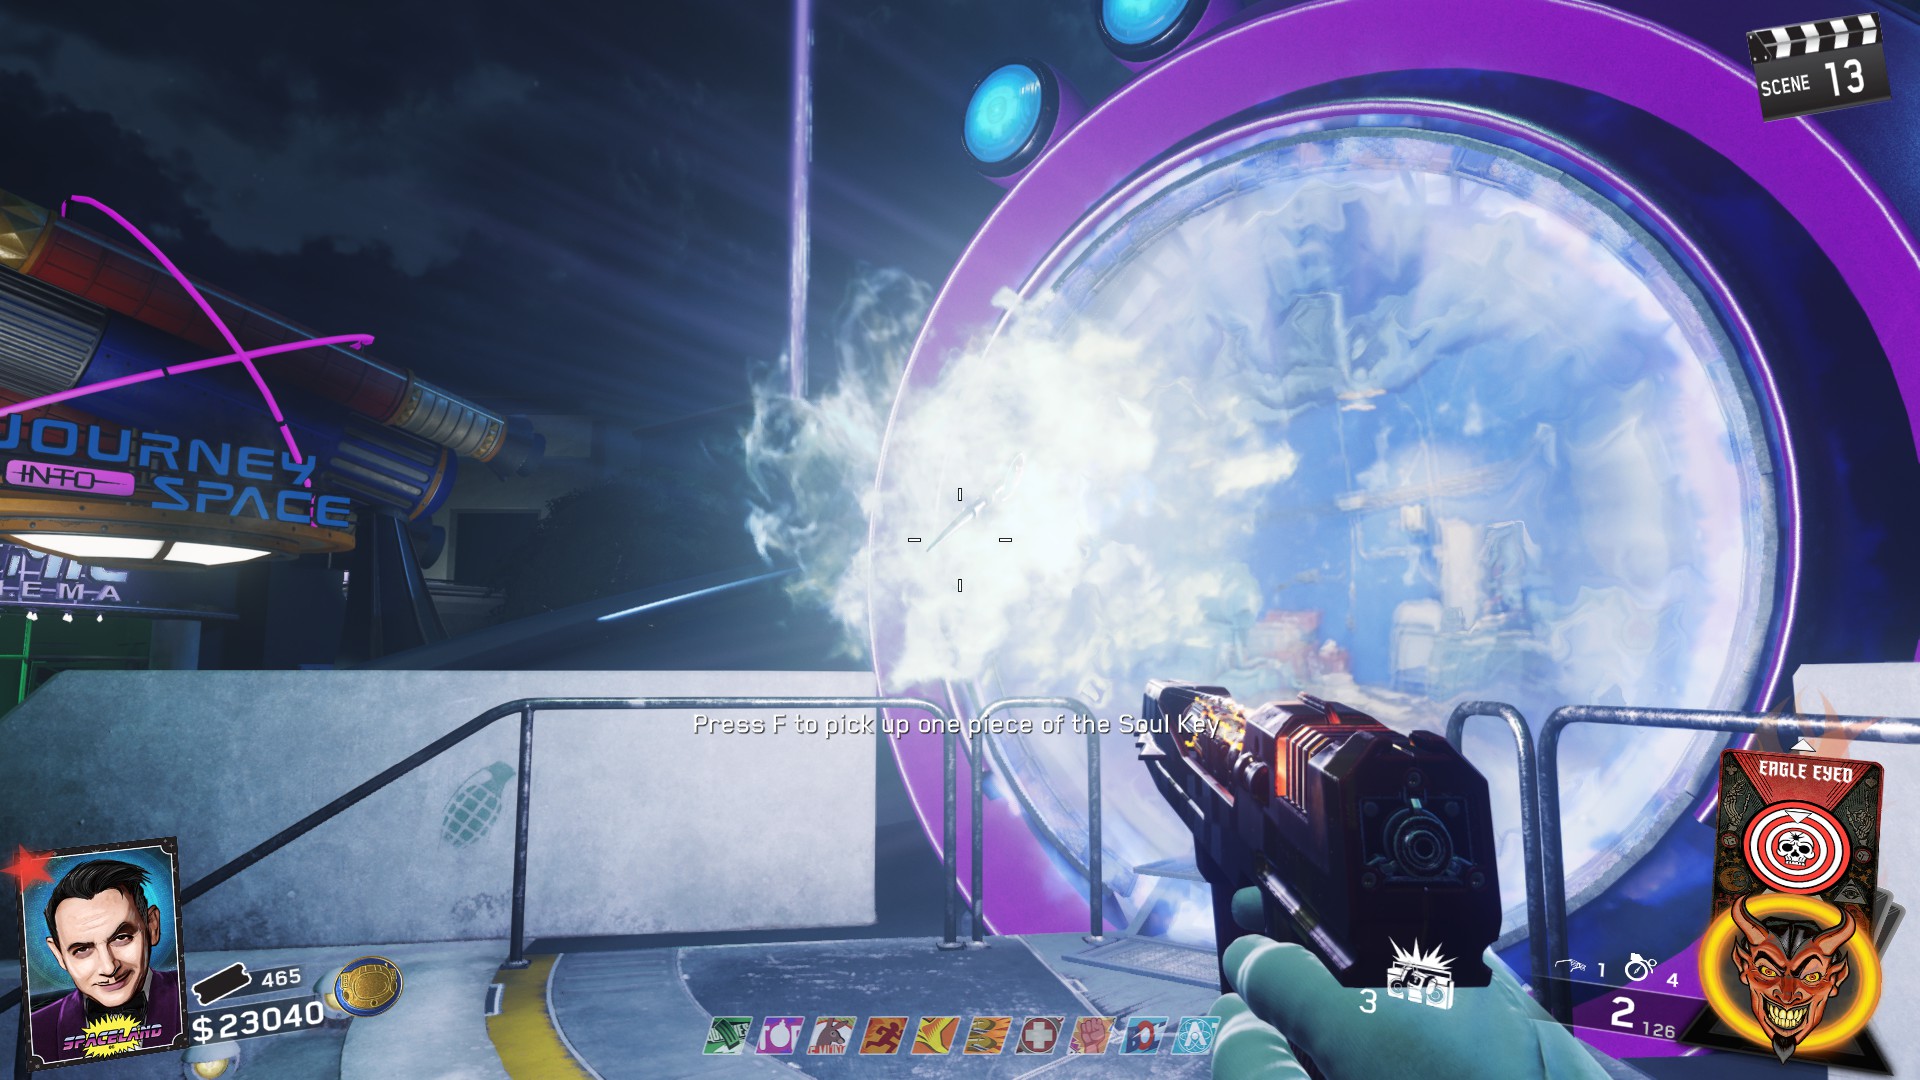
Music EEs - I Love the 80s Achievement
- Board 1 - In between the Astrocade and the Rover Rampage in a window.
- Board 2 - In the Astrocade in the upstairs area in the window closest to the devil teeth game.
- Board 3 - Behind the desk at the entrance to the rollercoaster at Polar Peak
- Board 4 - At the top of the Hyperslopes in the window
- Board 5 - Up the stairs from Bombstoppers in a window.
- Board 6 - Underground directly across from the Shedder build location
- Board 7 - The window at the end of the hallway on the right of the previous location
- Board 8 - In the employee break room directly across from Racin' Stripes
- Board 9 - In the room directly next to Up N' Atoms
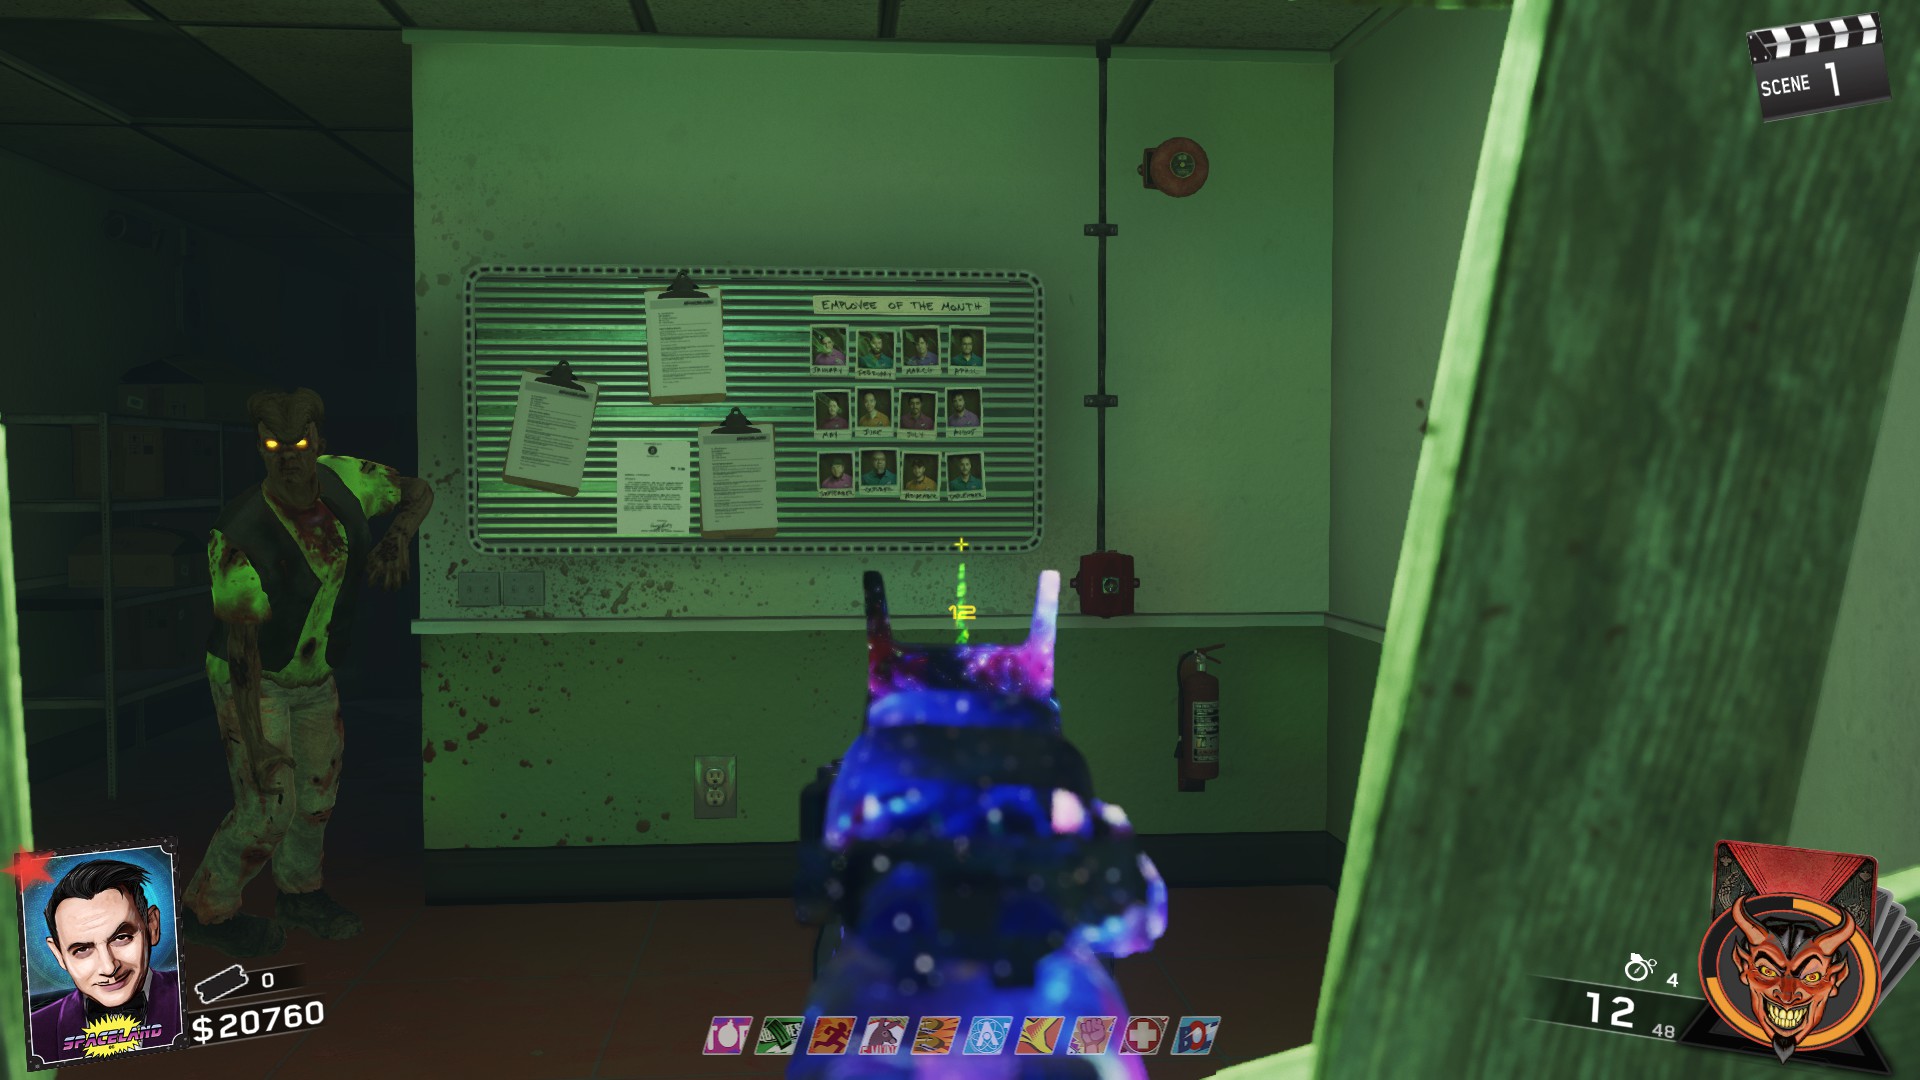
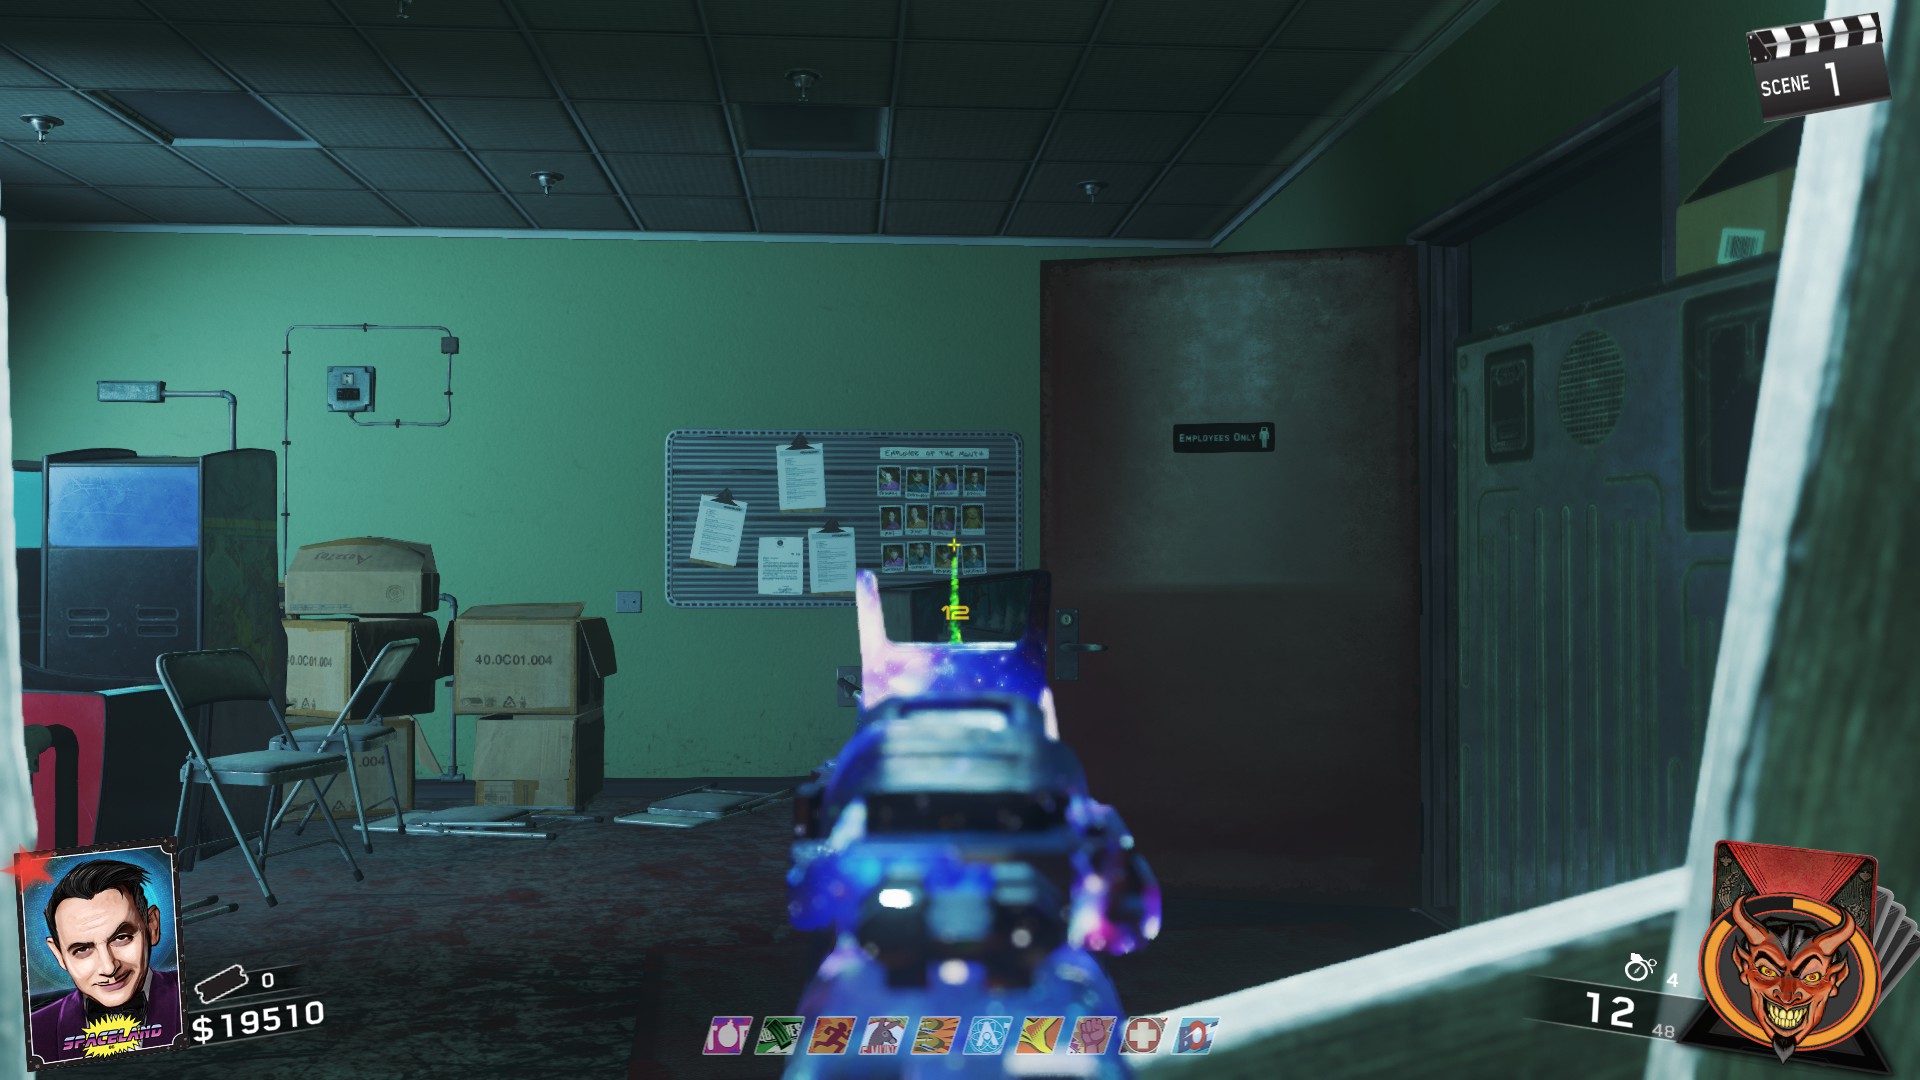
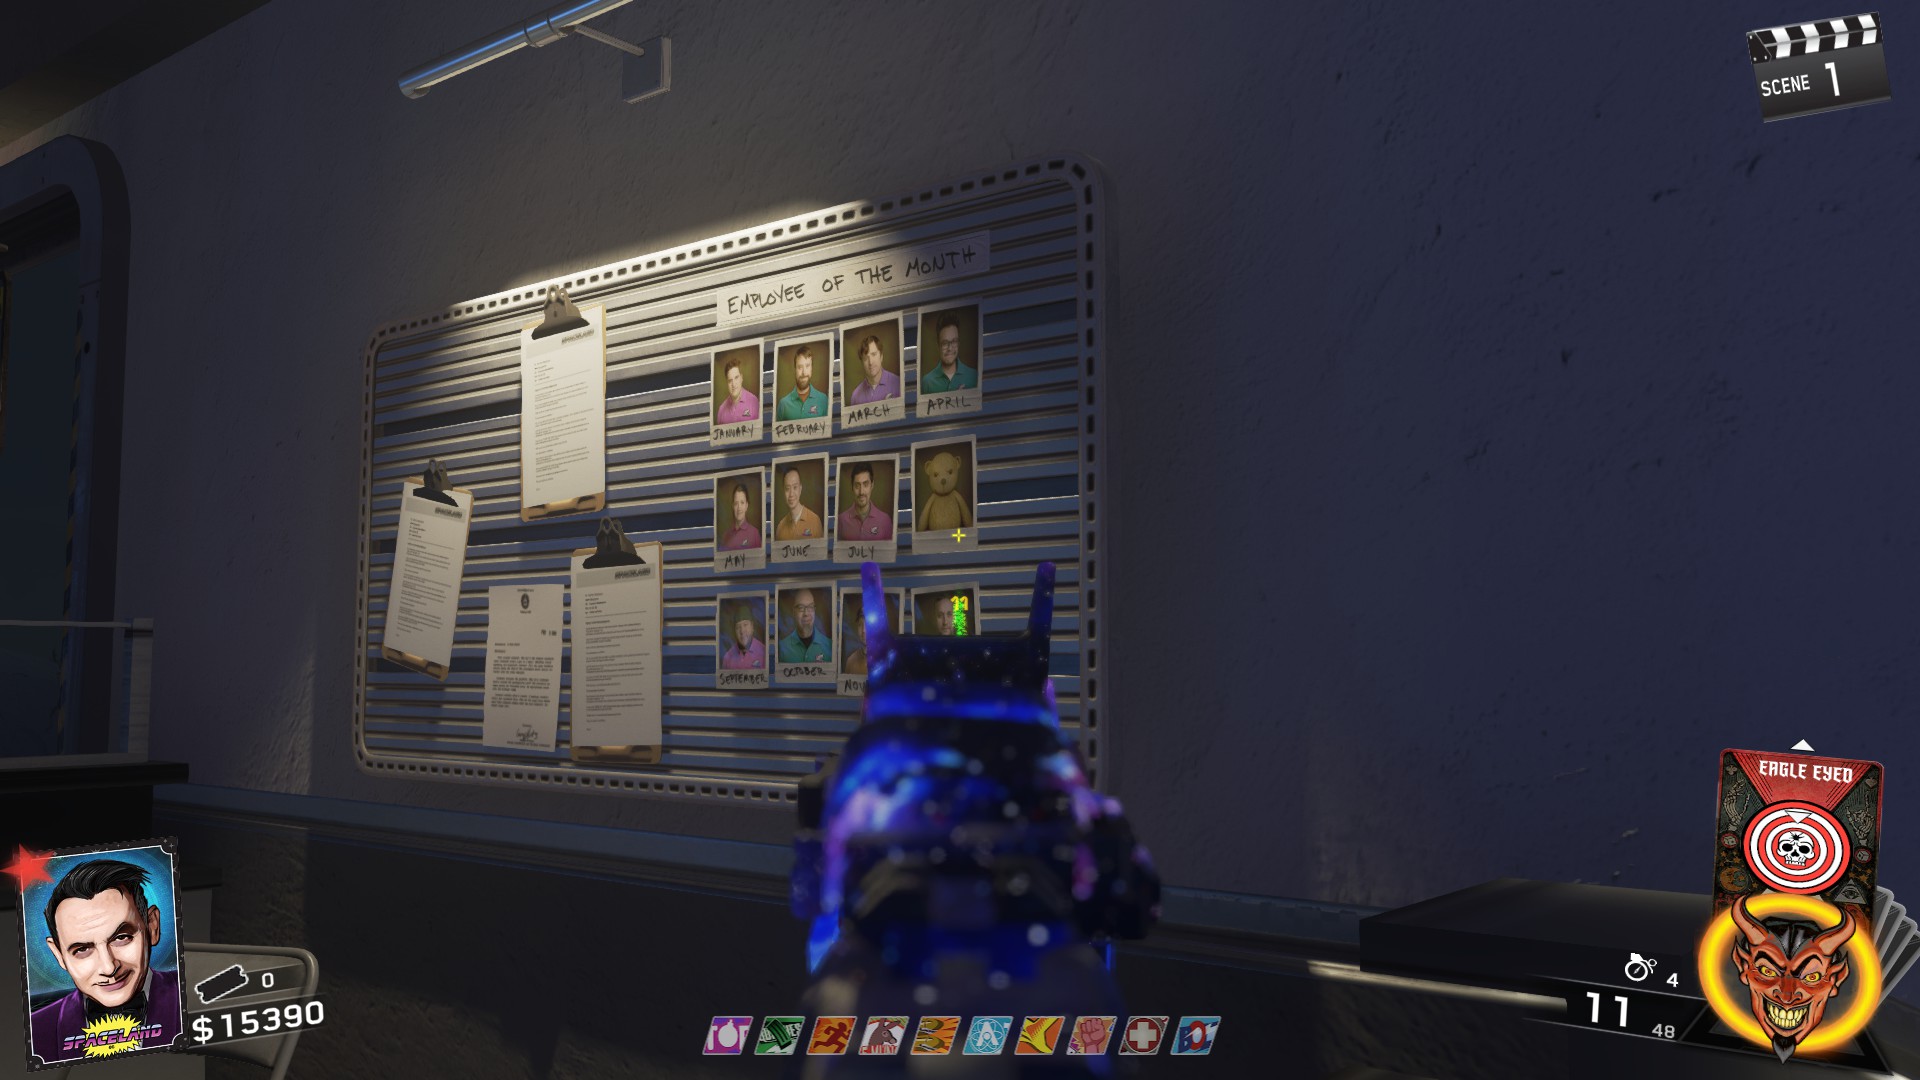
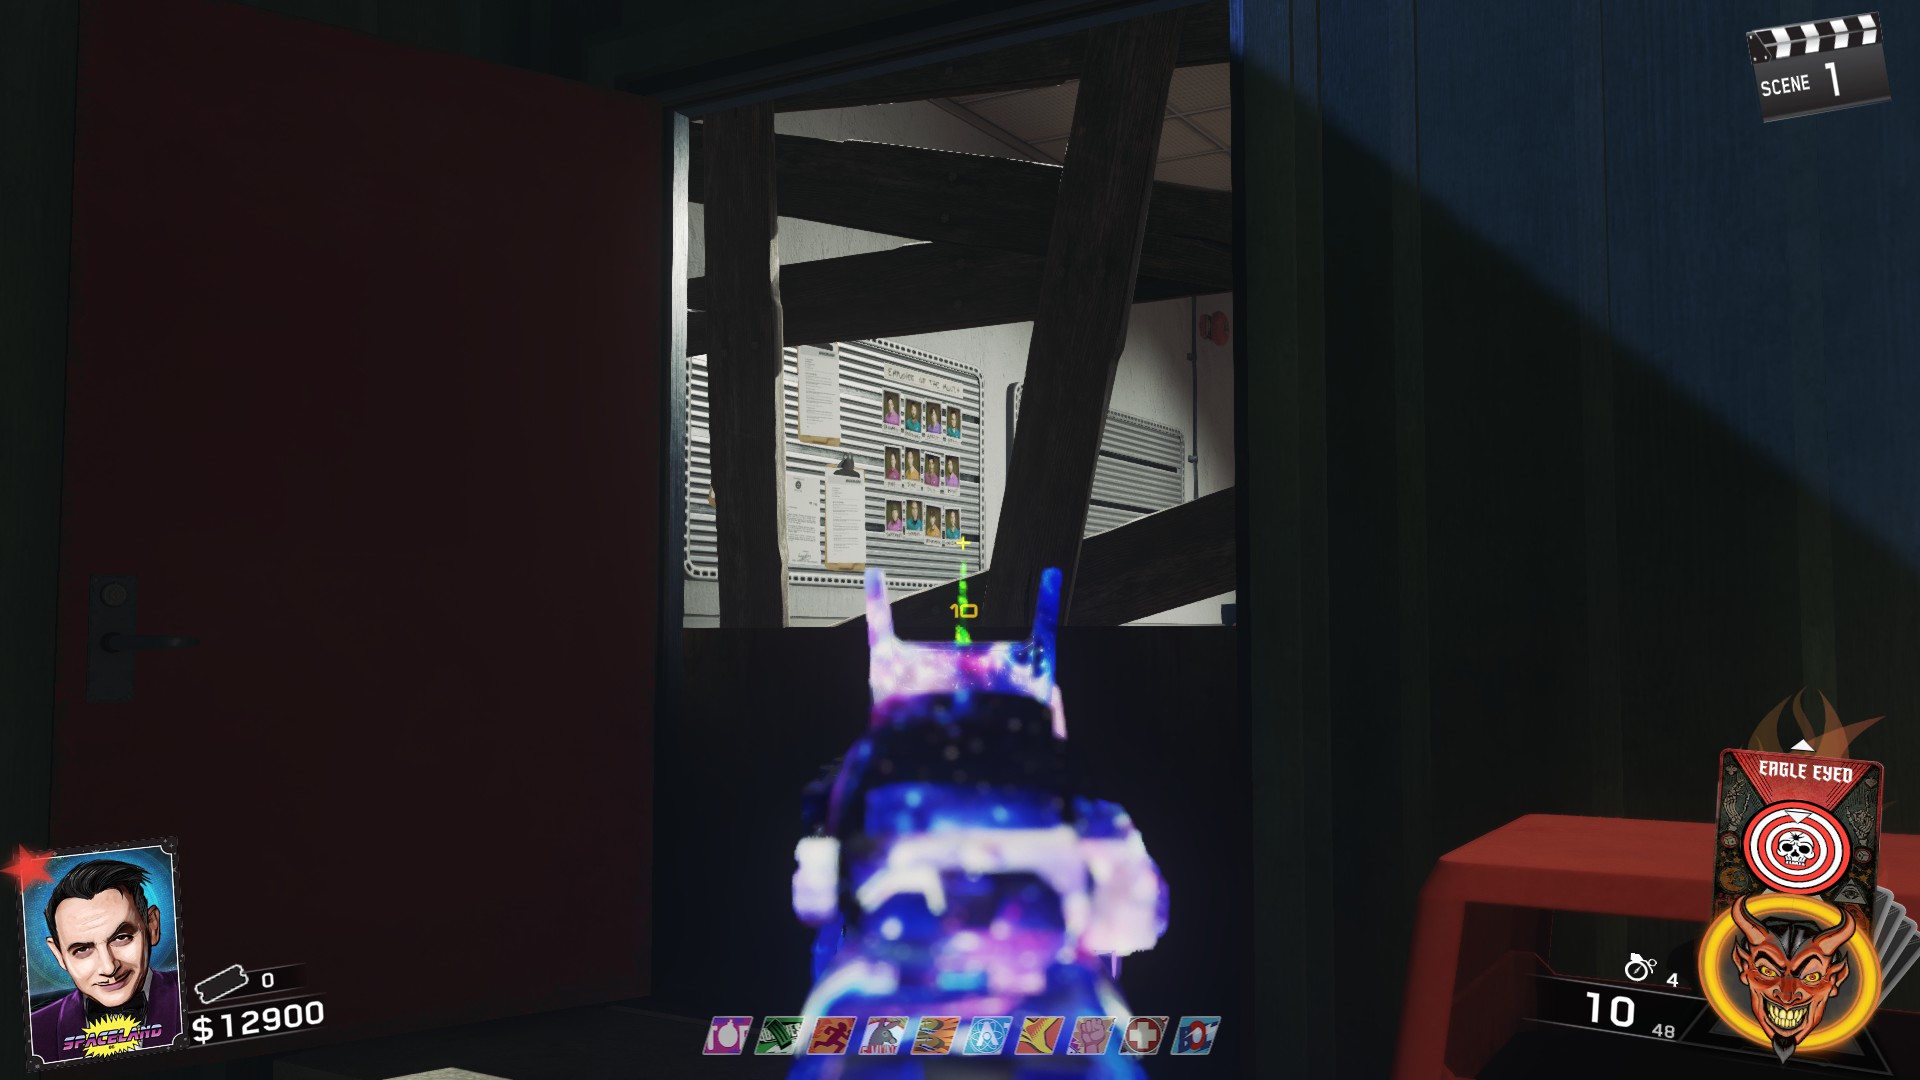
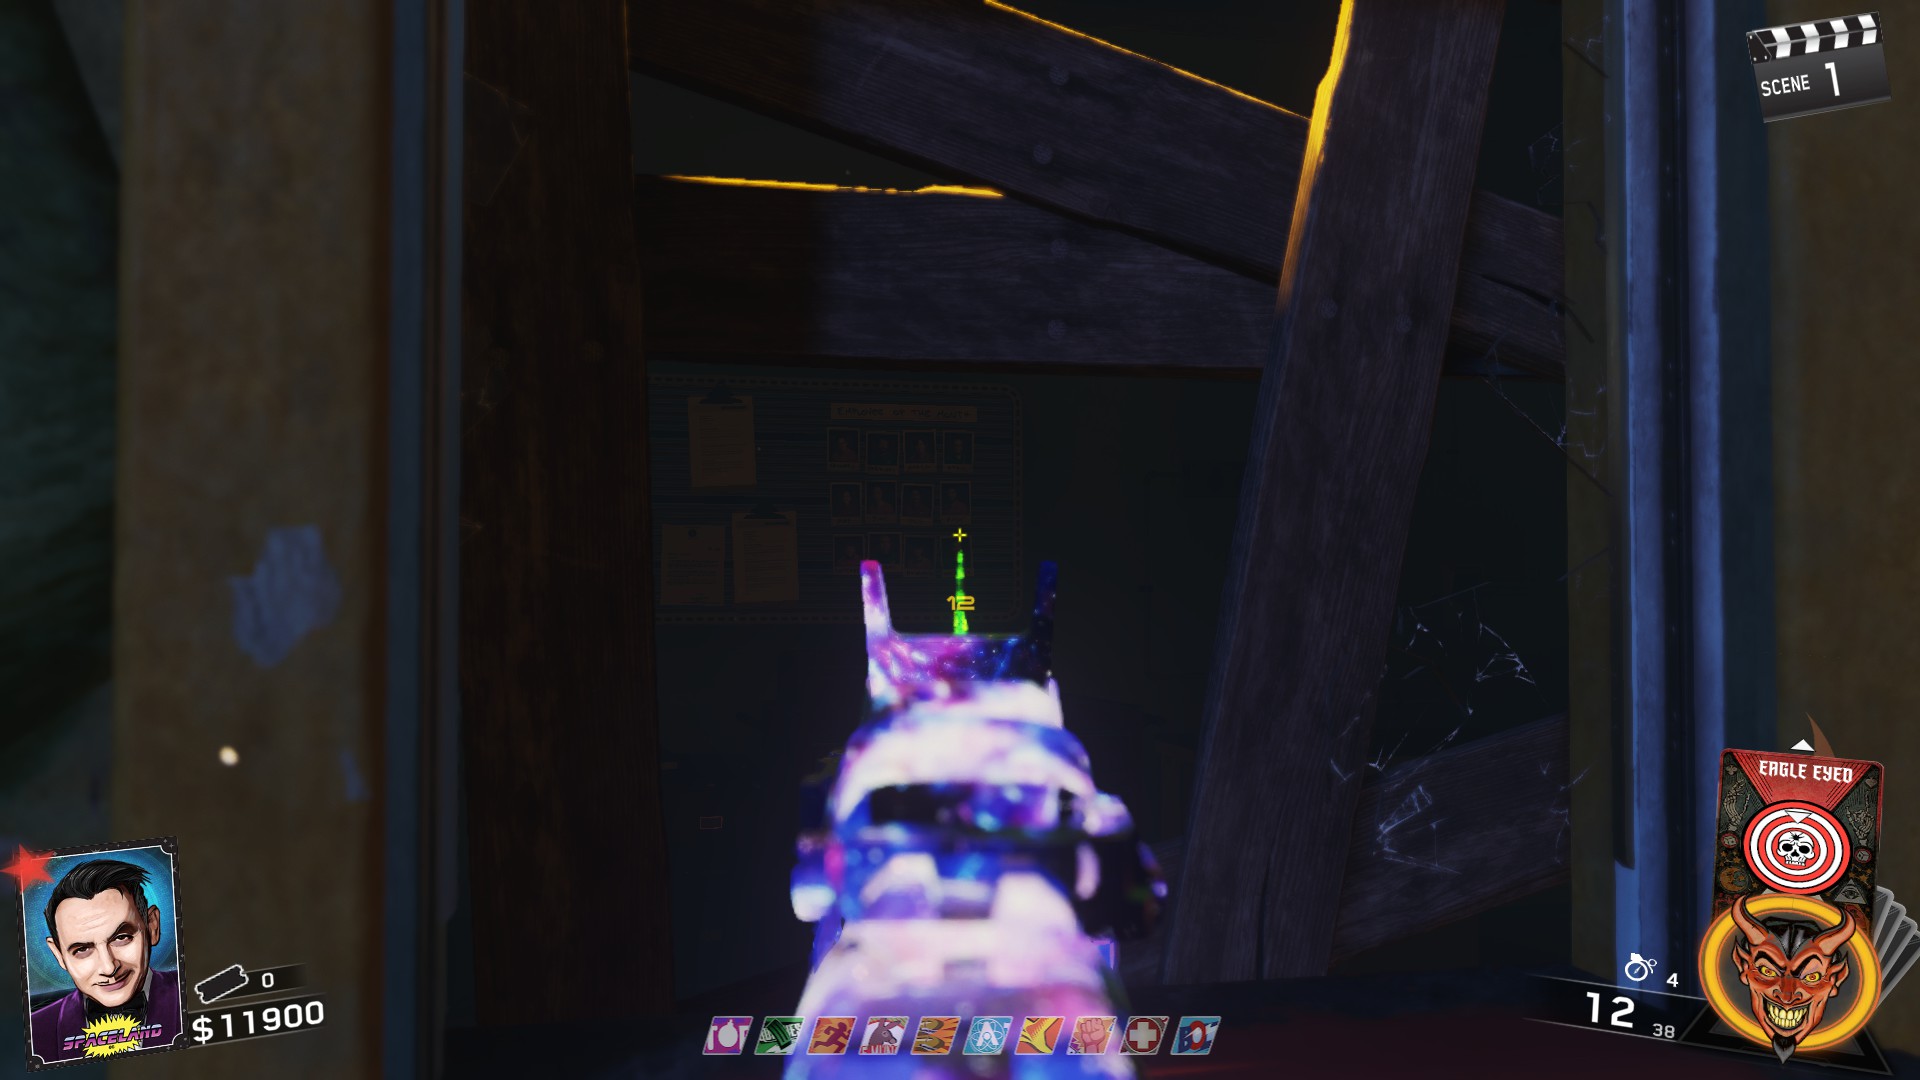
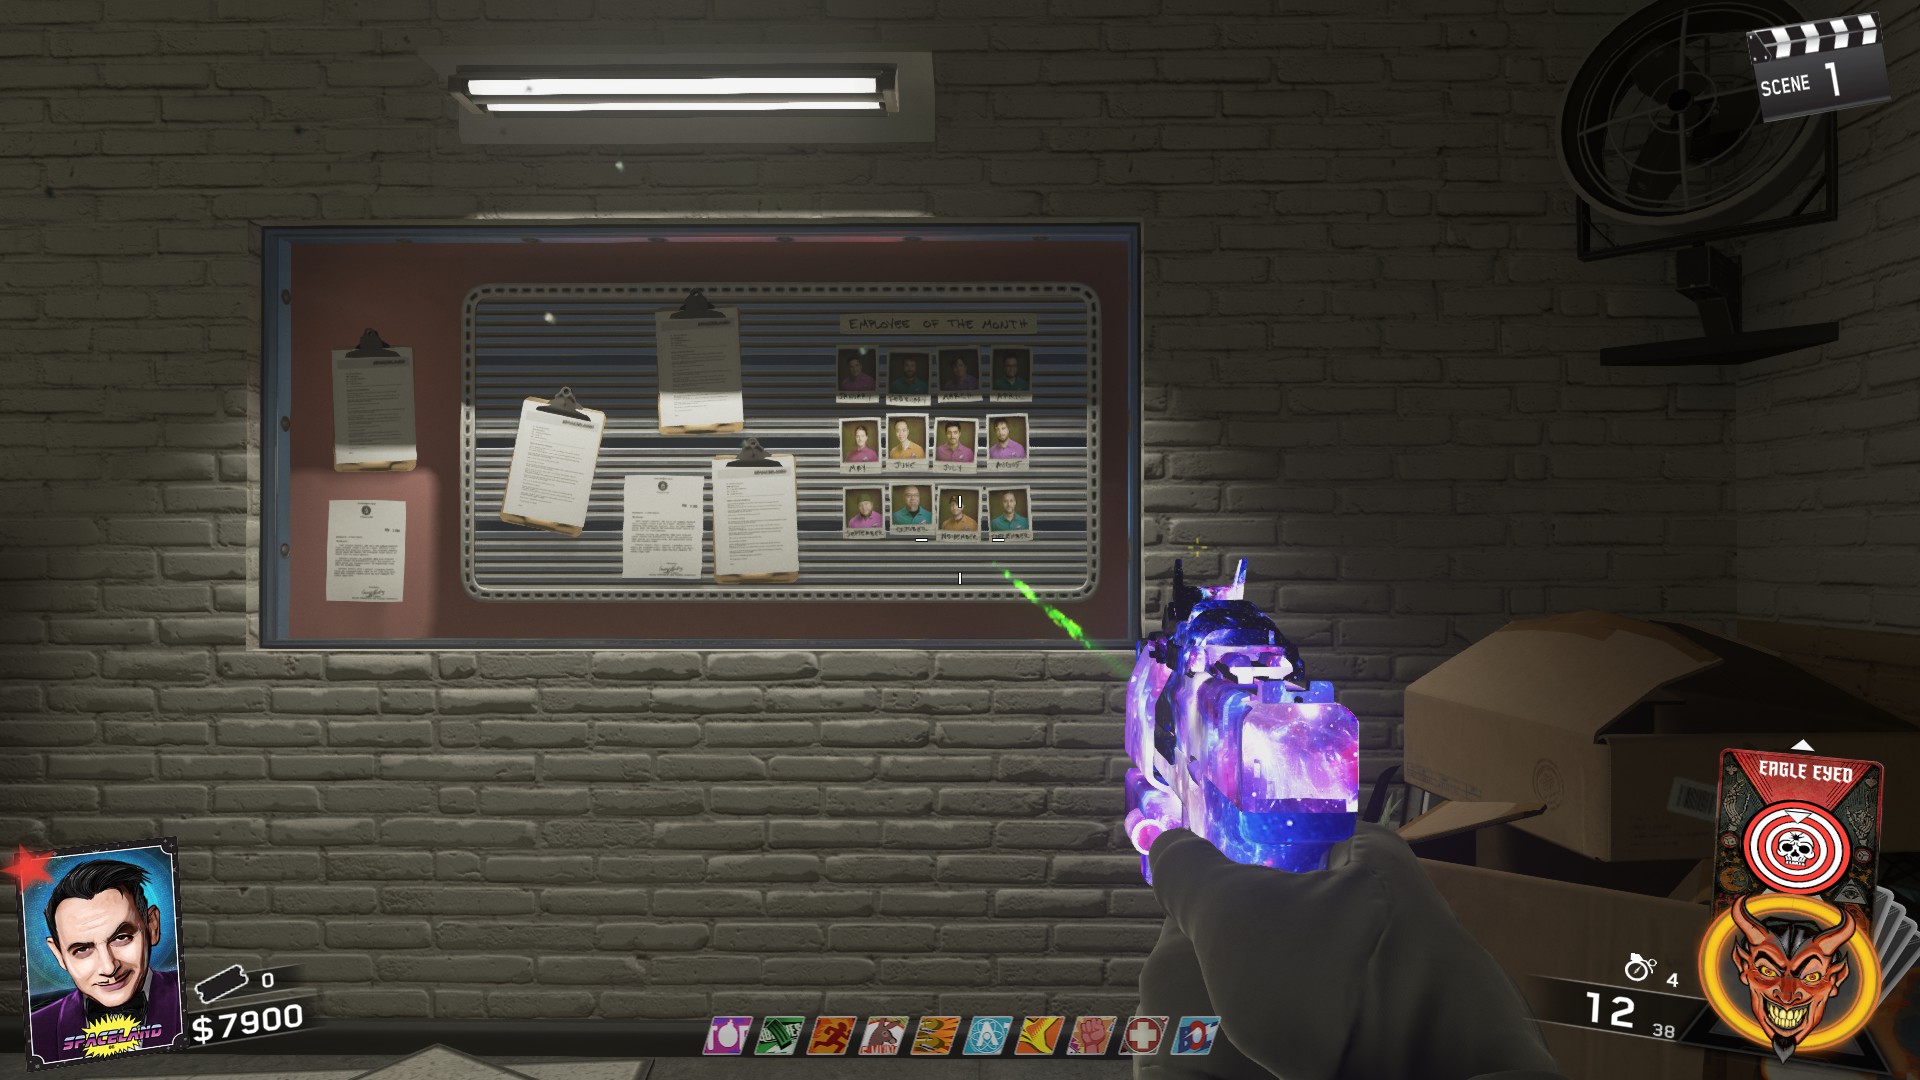
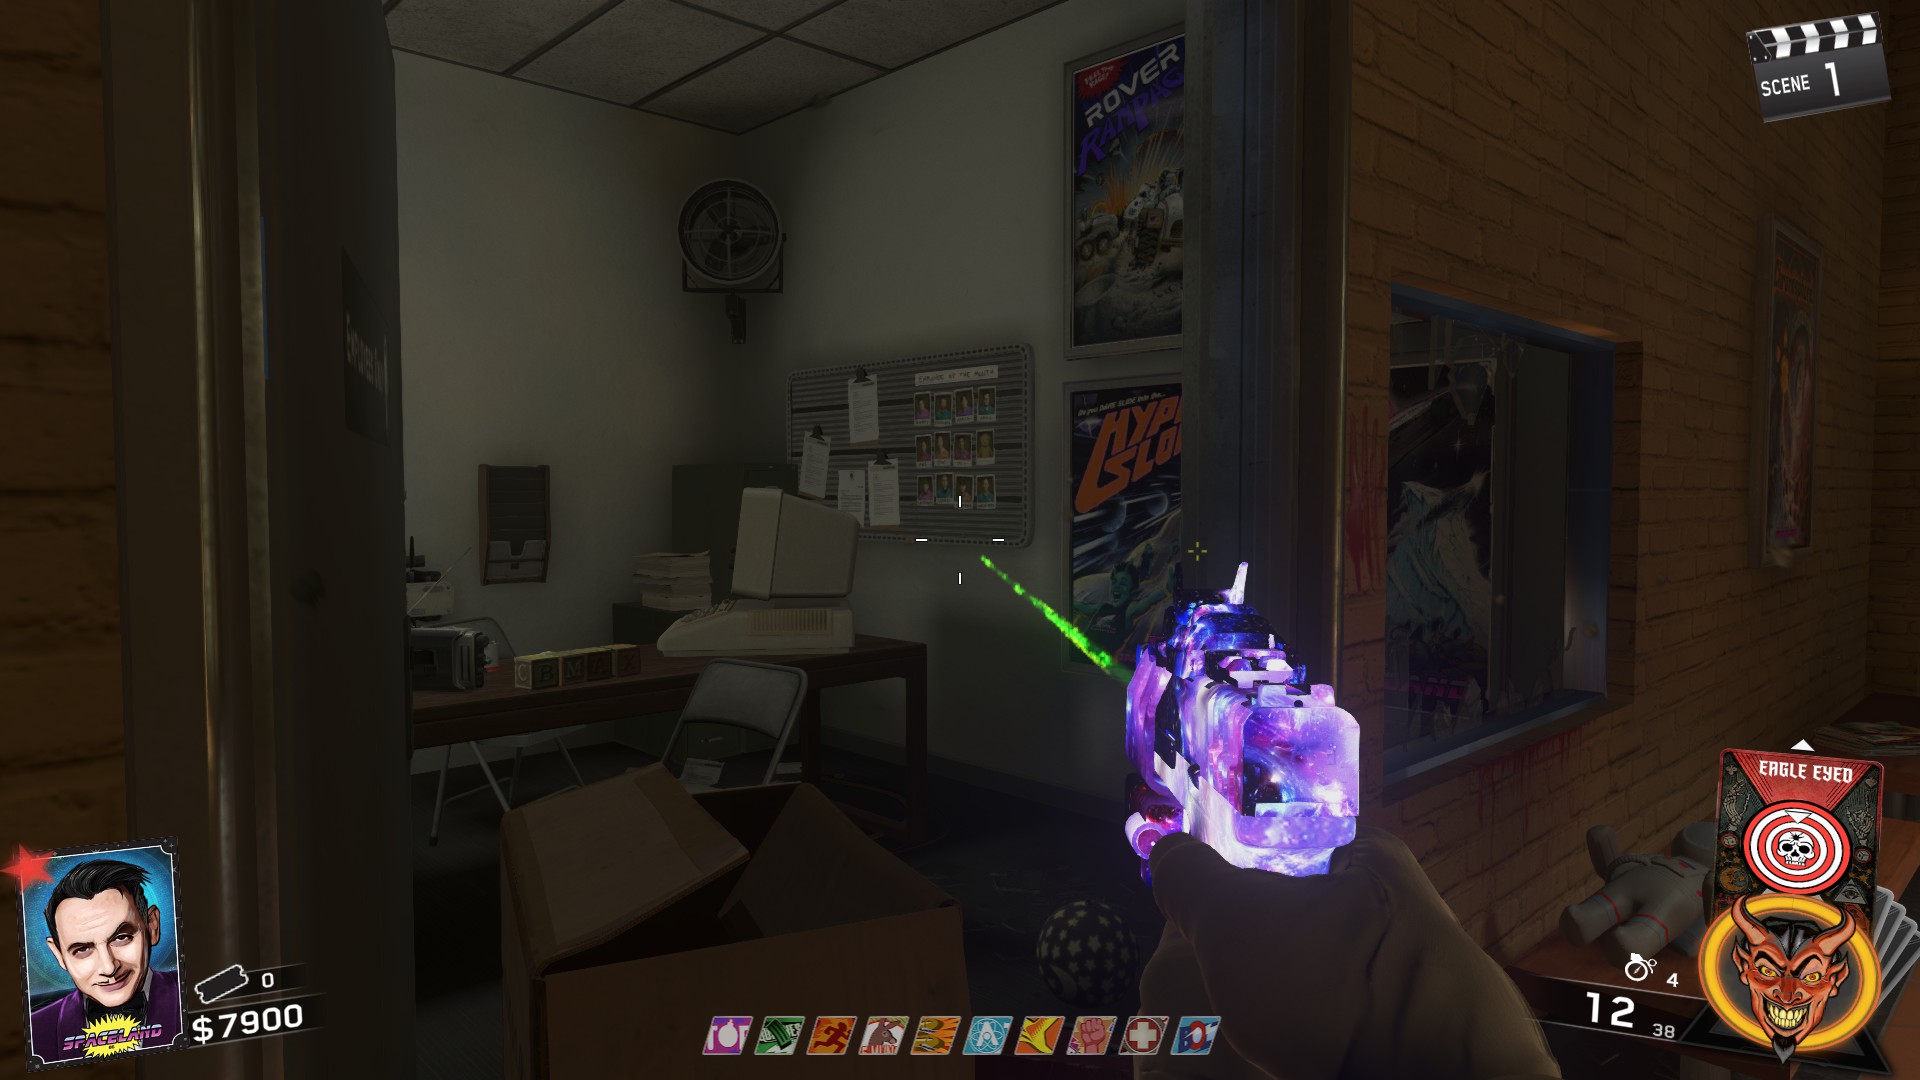
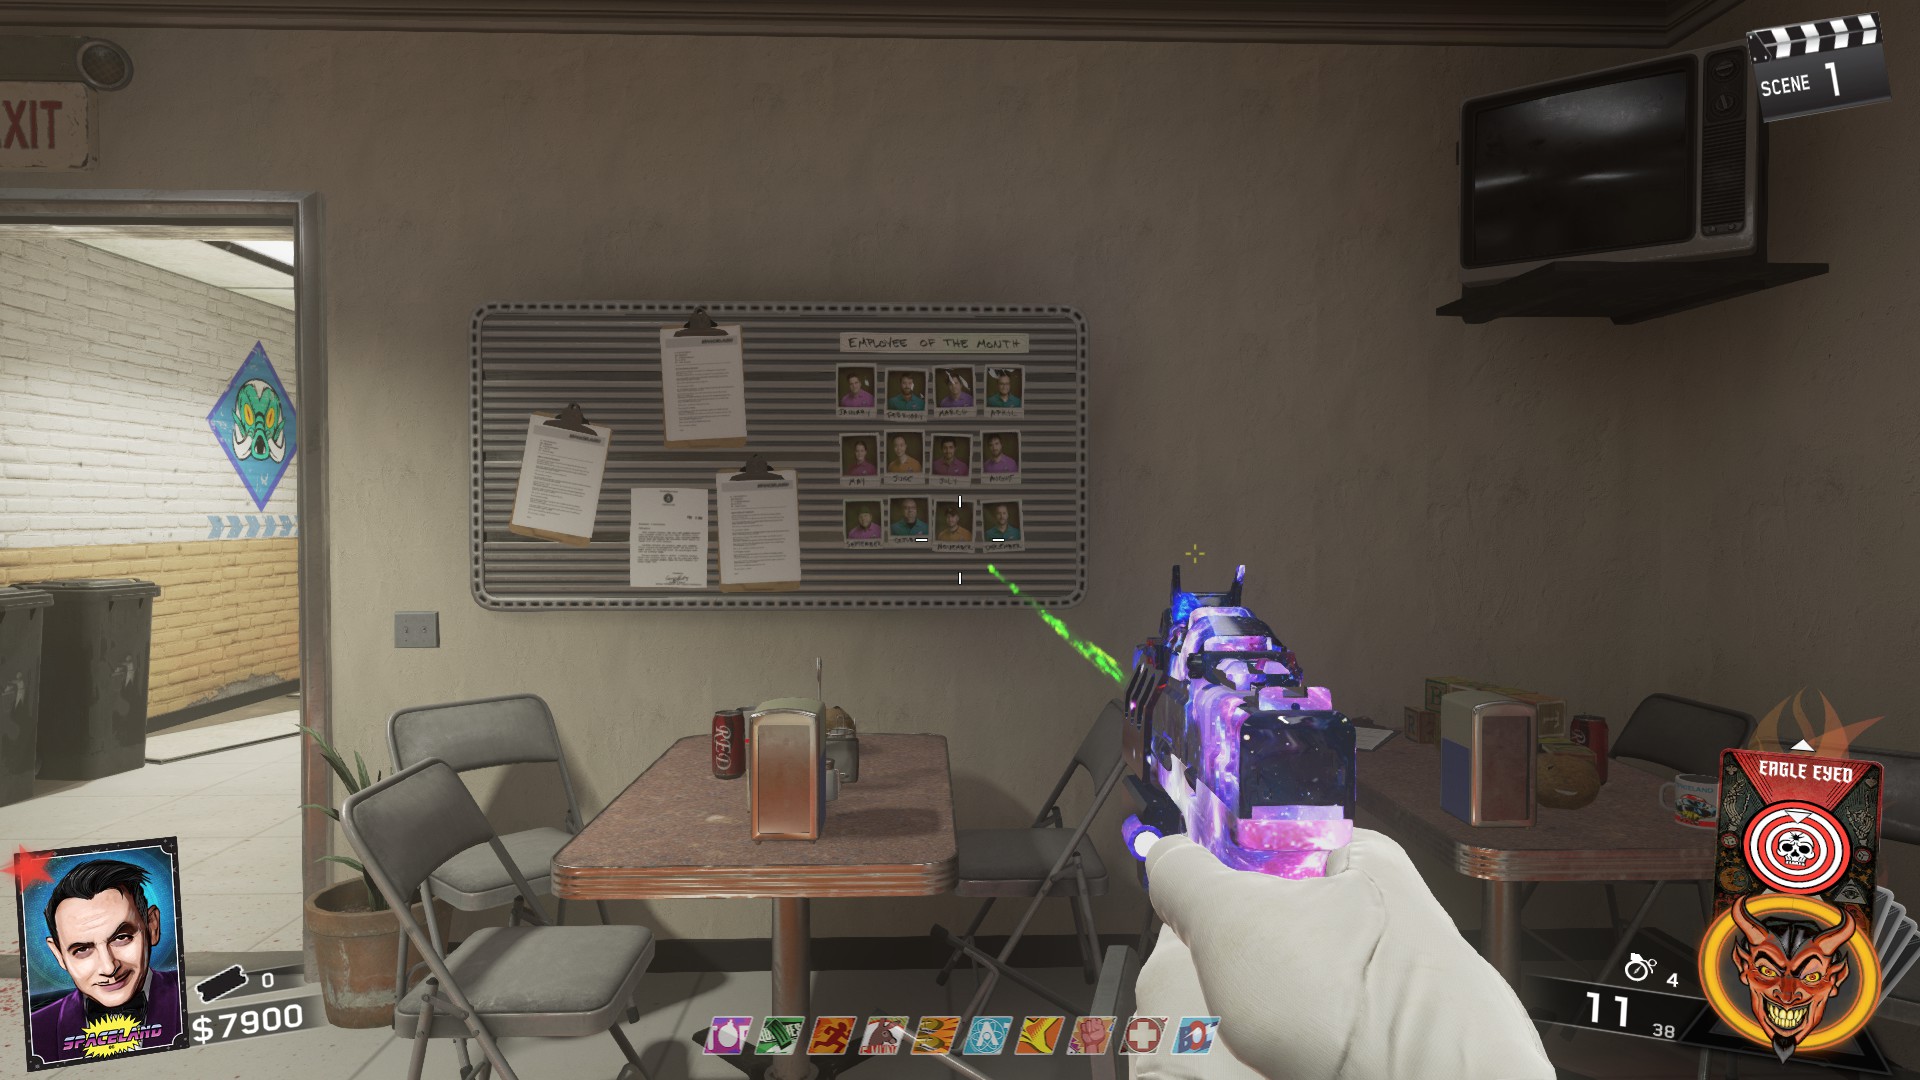
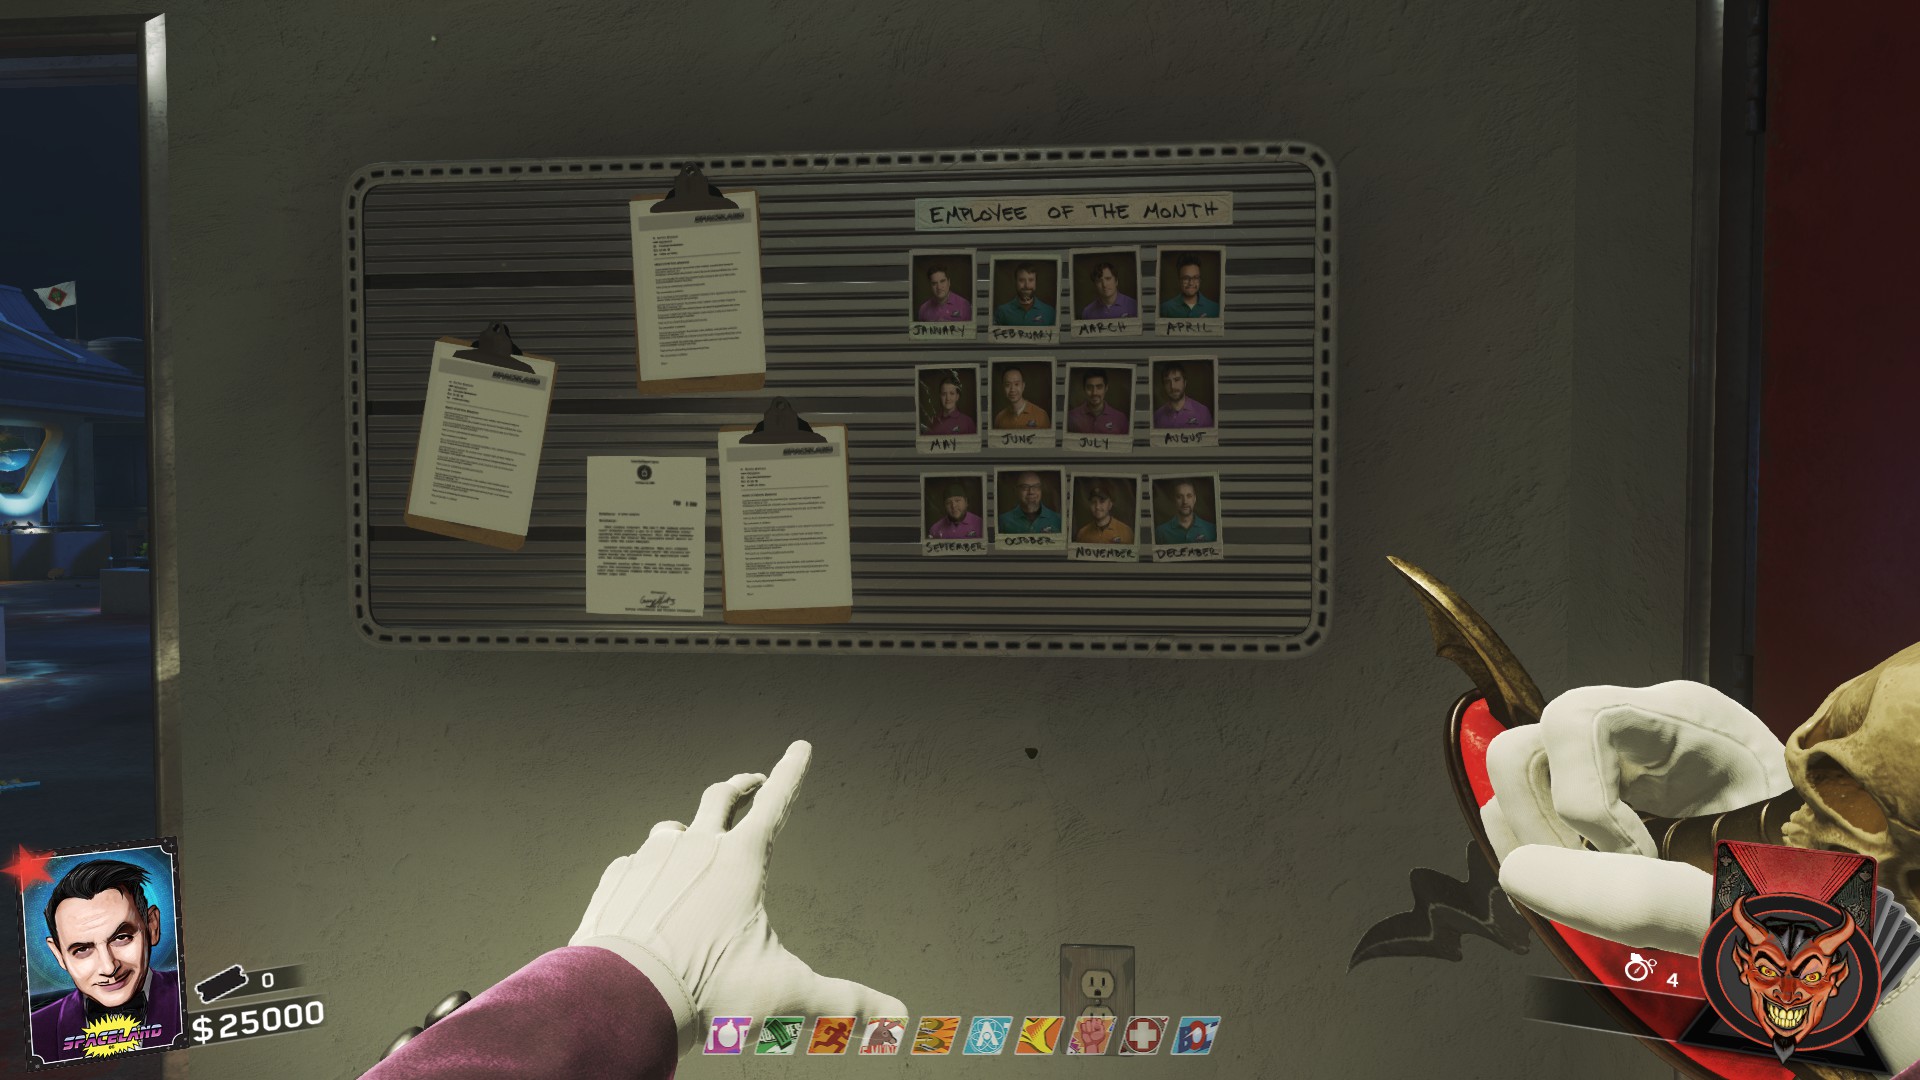
Thankfully, I was recently (4/29/2026) able to get ahold of the decompiled scripts for IW and found the map data which includes all of the bear locations and their exact position. So, I can definitively say, there are 54 bear locations and the video below will show the exact locations with the teddy bear it the spot.
Below is a video of all the locations, however, if you're like me and prefer a text guide, @Myss Lys created a wonderful guide covering all 54 locations for the bears, So definitely check that out!
https://steamcommunity.com/sharedfiles/filedetails/?id=3516111372
Ghost N' Skulls - Perkaholic Easter Egg
https://steamcommunity.com/sharedfiles/filedetails/?id=2998186927
Character Codes


Conclusion and Links to Other Guides
Hopefully this guide was as detailed as possible and helped you learn whatever you need to in Zombies in Spaceland. From here, I suggest checking out any one of my other guides on IW Zombies!
Thanks, and I hope you have a wonderful day!
Hub that contains links to all my guides for IW Zombies
https://steamcommunity.com/sharedfiles/filedetails/?id=2999527656
https://steamcommunity.com/sharedfiles/filedetails/?id=2589580023
https://steamcommunity.com/sharedfiles/filedetails/?id=2609015706
https://steamcommunity.com/sharedfiles/filedetails/?id=2711831705
https://steamcommunity.com/sharedfiles/filedetails/?id=2998590075
https://steamcommunity.com/sharedfiles/filedetails/?id=2698926204
- THE ULTIMATE ZOMBIES IN SPACELAND GUIDE!★ 5 (391)17k views587 ♥13 minUpdated 4 Jan, 2017
- ALL YOU NEED GUIDE - CHARACTER CODES★ 5 (245)16k views600 ♥1 minUpdated 24 Apr
- !!! IW7 Install Guide !!!★ 4 (42)12k views159 ♥3 minUpdated 30 Aug, 2024
- ALL YOU NEED GUIDE TO SHAOLIN SHUFFLE★ 5 (265)12k views861 ♥21 minUpdated 23 May
- ALL YOU NEED GUIDE TO RAVE IN THE REDWOODS★ 5 (276)11k views851 ♥21 minUpdated 24 Apr
- ALL YOU NEED GUIDE TO ATTACK OF THE RADIOACTIVE THING★ 5 (215)10k views677 ♥23 minUpdated 31 May




- Upgrading to PremiumTeam Fortress 2★ 5 (20k)1441k views11k ♥6 minUpdated May 11, 2022
- No More Room in Hell Official ManualNo More Room in Hell★ 5 (2.8k)569k views2.1k ♥29 minUpdated Apr 22, 2019
- NMRiH Community Hosting GuidesNo More Room in Hell★ 5 (526)351k views653 ♥1 minUpdated Aug 10, 2022
- How to 'Git Gud' Soon™MORDHAU★ 5 (2k)318k views3k ♥68 minUpdated Nov 16, 2024
- Лучшие кооперативные игры SteamPAYDAY 2★ 5 (1.5k)315k views2.1k ♥56 minRussianUpdated Apr 27, 2025
- Desert Eagle Heat Treated | Blue GemCounter-Strike 2★ 5 (1.6k)293k views1.5k ♥2 minUpdated Jan 16





This guide was created by its original author on the Steam Community. Are you the author and want it removed? Request removal.