Anime Gigachad Necromancer Ch. 4 Build (v1.10X)
1a. Intro and Goal

The goal of this guide is to teach you how to maximize your necromancer gameplay to be extremely efficient, with the goal of obtaining hundreds of resources on a single ch.4 run.
1b. Unrealistic Expectations
Based on your skill level, here's what you should expect from this guide.
Beginner: How to play necromancer
Intermediate: Opinions on stats, traits, items, and buildings.
Advanced: How a complete dotard kamikazed his way to the top.
GIGACHAD: How to abuse god and destiny for resources.
As per the title, I do not expect you to emulate this absurd playing style. In fact, I discourage you from doing so. This guide serves to show you what limits could be achieved while maintaining a maximum level of stress. As such, I don't even expect you to read this guide. But if you do, I can only expect you to learn the core fundamentals of each section.
2a. Class Basics

- When things get going, you don't need to worry about HP.
- Summoning 5 skeletons will guarantee a high chance of success in any fight.
- Scales well late game with the right skills.
- Not bounded by stamina.
- Slowest attacker.
- Exclusive reliance on RNG for optimal gameplay.
- Battles of attrition are expected, unpredictable, and absolutely boring.
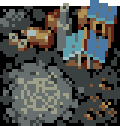
 24x
24x 2x
2x 3x
3x
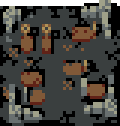
 14x
14x 2x
2x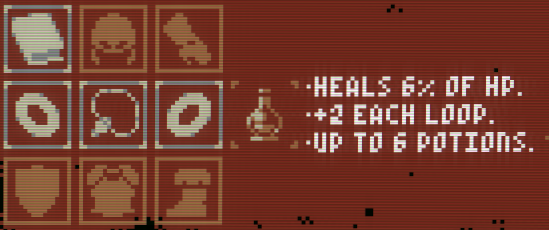
You wield a Grimoire to summon skeleton to fight your enemies. Your amulet provides a magic shield whereas your two rings provide (in)consistent potential. Ignore the potions, we'll talk about that in another guide.
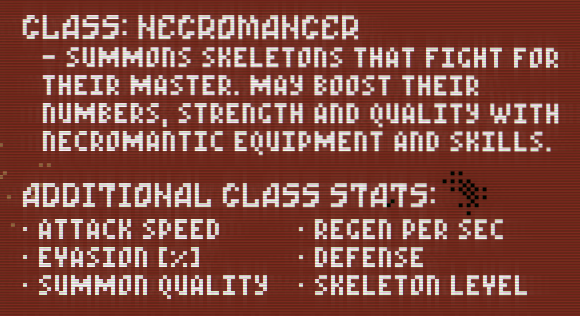
Even though these stats are pretty self-explanatory, the game doesn't do a good job in explaining these stats. This is because of the skeletons. They only scale off of Skeleton Level/Summon Quality/Max Skeletons
What about that last stat? It's completely omitted in the game! Well, wayward reader, you see... That's the secret sauce.
2b. Class Theory
- Abuse rivers and thickets for a T H I C C 230% attack speed
- Prioritize skeleton substats (Skeleton level, Summon Quality, Max Skeletons)
- Skeleton Level: (Loop Lvl) - 2 is where you should be
- Summon Quality: Stay at around 50%
- Max Skeleton: Minimum 4 for comfy early-game, 5 for bosses/lategame
How you rip and tear through the abyss is simple. Attack Speed affects how fast you summon skeletons. You build that through Rivers + Thicket cards alone, but we'll talk more about that later.
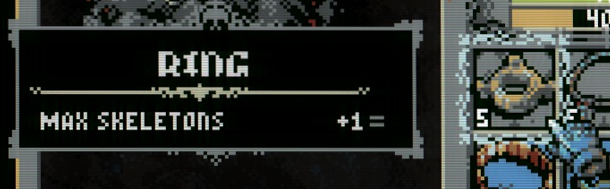
Unfortunately, because your success is tied to a rare stat, it also becomes the class' biggest flaw. The flaw presents a giant dilemma whenever you upgrade your gear:
Do you trade one skeleton for more substats?
The answer should always be no, but because of how gear drops work, the question becomes substantially complicated.
The picture above demonstrates the worst case scenario for a Max Skeleton drop. It's a grey level 5 ring. Grey items only have one stat. And because Max Skeletons is ALWAYS +1, it's all or nothing. Yes, this means that you'll be relying on Orange drops for Max Skeletons. Yes, this is an L you have to take. Sorry kiddo.
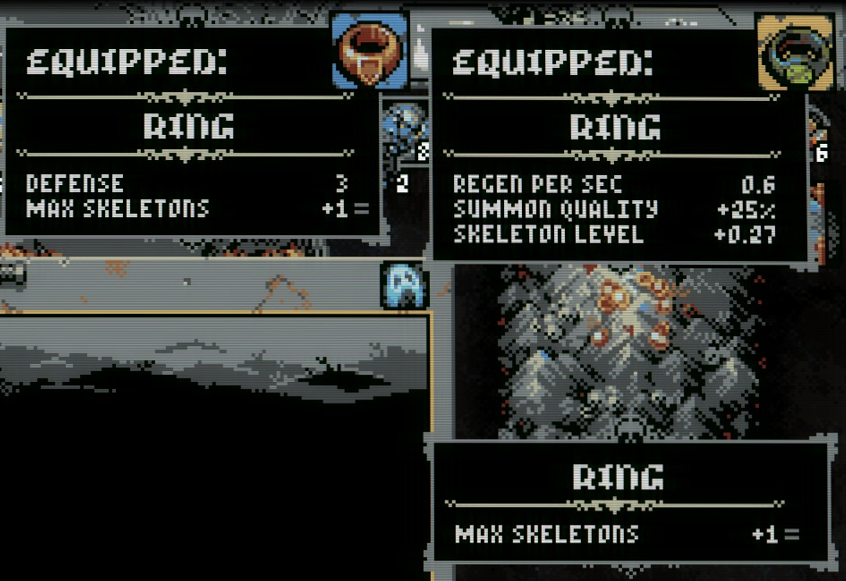
Here's a question: Do you want to replace your RIGHT ring for +2 Max Skeletons?
Well... The answer is no because you always want your Max Skeleton gear to have other skeleton stats.
The only time you WOULD replace the other ring would be when you're comfortable for the next couple of loops. But lady luck is a fickle beatch, and you can't trust her to give you what you want.
3a. Deck Build
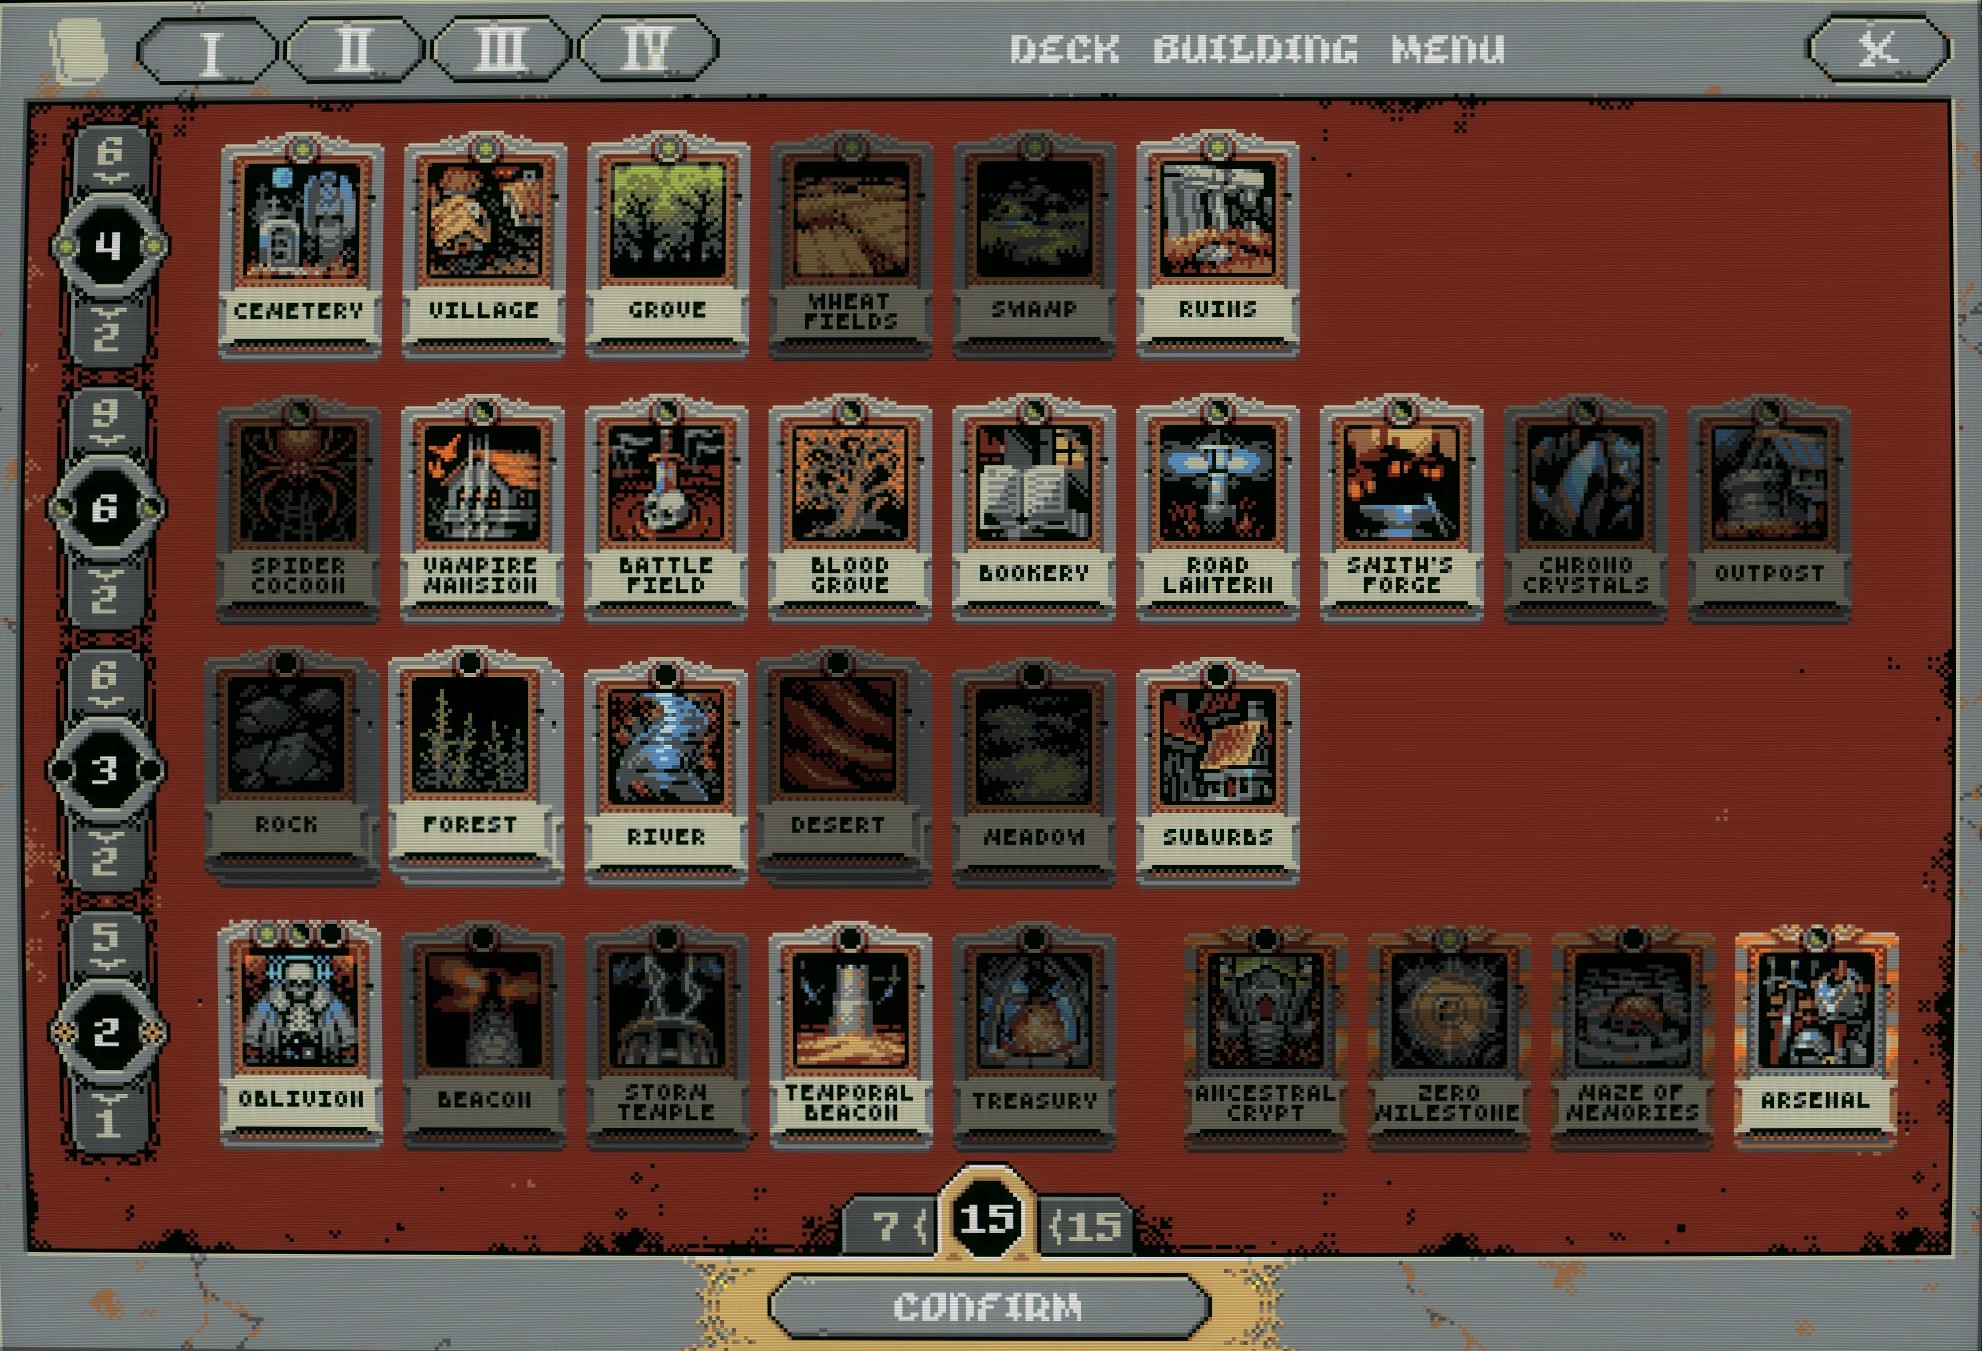 Now, I know what you're thinking. 15 cards?!??!?!
Yes. This is a run for resources. My highest run on ch.4 has been on loop 34, but I'm confident I can go higher with the right RNG.
- Cemetery is used for resources only. Gathering more Memory Fragments is always welcome for the girthy-ass encyclopedia achievement. Much like Ruins, it is best used in moderation.
- Village is the de-facto card for setting up your safe space. When a Vampire Mansion is placed beside it, it transforms into Ravaged Village for the next 3 loops. Then it transforms into Count's Land, offering better gear(?) and a stronger quest which heals you upon completion.
- Groves is used in conjunction with Blood Grove to help contain situations. It is particularly good for Ruins, since those slithery snakes have a 40% of leaving you in the dust unscathed.
- Ruins is good in moderation. On one hand, this is one of the prime ways to get loot. On the other hand, especially when misplaced, it can spell the end of your run because the snakes shooting you from a tile away can deal some SERIOUS damage.
- Vampire Mansion is the card that transforms Villages. They're great early game for generating loot and getting those upgraded quests.
- Battlefield is great when controlled properly and has minimal impact (using only 2 Battlefields for 3 Blood Path tiles).
- Bookery shuffles your cards. It's essential because you'll be burning a lot of cards with my setup.
- Road Lantern keeps the situation under control by reducing the max amount of enemies on any highlighted tile by one. It dictates how much and how well you can fight.
- Smithy's Forge significantly helps you with damage reduction. Generally, you should not expect a fight to last more than 30 hits, the maximum amount of armor you can carry. Its 20% damage reduction is invaluable late-game, as it eases damage requirements by simply tanking through it.
- Forest and River are used for the absolutely OP Thickets + River combo. I'll explain more in another guide.
- Suburbs are how you scale into late game by scaling your exp growth. It is absolutely required for late-game.
- Oblivion is used to keep progression straight. Deleting goblin and bandit camps maintains my inner peace.
- Temporal Beacon is only exclusively used for farming Astral Orbs (for fun). Used ONLY in late game, burned otherwise.
- Deserts? Because when you're engaging in combat, you will always want the enemy to target your skeletons. Because of how ridiculously squishy each one is, increasing the enemy's attack speed would do more harm than good. The increased atk spd would lead to more skeleton deaths instead of helping them live. Instead, you should tank the hit. Case and point, the skeletons.
- Zero Milestone? You are legit griefing yourself if you take this card. Sure, it helps decreases damage for one half of the map. But it increases the damage taken for other half. Either the kill-zone punishes you, or the bosses slap your ass cheeks into oblivion for taking such a stupid card.
3b. Arsenal is better. (Arsenal vs Ancestral Crypt)
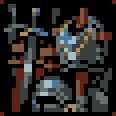
One debate you'll come across is whether to use the Ancestral Crypt or the Arsenal gold card for Necromancer.
- Ancestral Crypt gives you +3 max hp for every enemy with a soul killed. It removes the hp bonus from armor and grants you one resurrection with full HP
- Arsenal grants you one extra item slot (the Shield for Necromancer) and lowers the stats of all dropped gear by 15%
In my first attempt, when I beat god on loop 15, I lasted until loop 22 wherein a nasty combo of enemies managed to out damage my build. The problem was clear as day. Gearing in those loops got exceptionally tight since every upgrade needed to have all 3 skeleton stats. My 3k HP and ~1k Magic shield didn't matter and I died a slow death. Perhaps if I had dropped a skeleton for an atk speed drop, maybe I would have survived longer.
There was no further way of keeping up at that point. Because at that point, I had also snagged the achievement for filling out the entire map as a stupid humble flex. As the map was filled out, there was no further way of improving my attack speed and drops. Everything needed to be orange and have all 3 skeleton stats to retain loop comfort.
That means that your chonky HP doesn't matter if your drops can't keep up with Skeleton Level AND Max Skeletons at the same time. This makes Ancestral Crypt only good for the resurrection, which is still a pretty good deal mind you.
But if you don't need the resurrection or you're casually farming Hunter, Arsenal is the way to go. The shield alleviates Necromancer's biggest flaw - the inflexibility over Max Skeletons. Sure, the stat drop does add up and will affect you in all stages, but its benefits far outweigh the flaws. Your shield can also get Max Skeleton, increasing the maximum of skeletons to 7. A death force. If you get lucky and summon 3 Skeleton Mages, the fight's already decided.
I found that taking a shield with Max Skeletons always helps because it frees up the ring drops to be whatever garbage they want. Having 6 Max Skeletons is still comfy, but having 7 guarantees victory.
- If you DO NOT have your cemetery upgraded, take Ancestral Crypt
- If you DO have an upgraded cemetery, you can get away with Arsenal.
3c. Necromancer Trait Tier-list-kinda-maybe
Ugh. The most subjective part of the guide. But it must be done.
Note: This will ONLY cover class specific traits. Use others at your own discretion.

- Gain + 0.25 Skeleton Level every loop (starting from the loop when this trait was received)
- It's free power that eases scaling. Best obtained early on, but never hurts to take late-game.

- Gain permanent +0.5 magic shield for every skeleton summoned.
- This is best utilized when you are constantly fighting strong and plentiful enemies. Best obtained early on, as you can build a shield that can last a while in late-game.
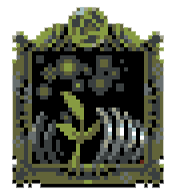
- Receive +(3*loop lvl) as HP after skeleton's death.
- This is one of the only ways you will be self-sustaining. With the deaths of your undead friends.
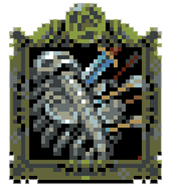
- Any direct damage to the hero will be evenly split between him and his skeletons.
- This is one of the main methods you will be constantly reducing hero damage taken. To be fully utilized will require maximum attack speed so you can constantly summon skeletons. Best used with Residual Heat to maintain a great amount of self-sustain.
If you only had these choices, prioritize the ones on the top.

- +1 to maximum number of skeletons.
- A flat +1 Max Skeletons is always welcome in this household.
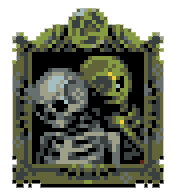
- 20% chance to exceed the number of skeletons and summon 2 of them during the last summon.
- A much worse version of Art of Control, but still viable since you'll constantly hit max limit skeletons. It's just a 20% chance to get another one.
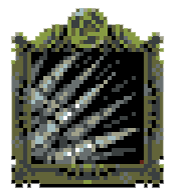
- After hero receives direct damage all skeletons have a 15% chance to immediately perform a counterattack.
- Is nice when you have all of your skeletons on the field.
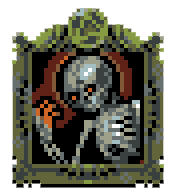
- After killing an enemy, skeleton fully heals itself; its damage and hp are increased by 10% until the end of battle.
- 10% damage and health doesn't matter when the tankiest of skeletons are still unfathomably squishy.
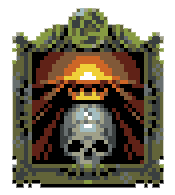
- First two skeletons summoned in a day will be strengthened.
- Not only is this description nondescript, but your skeletons are too squishy for it to ever matter.
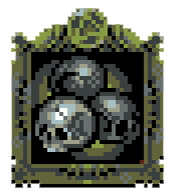
- 3 strengthened skeletons will be joining the hero on every loop to help in battle
- Yay. 3 squishy skeletons for free. They can't last 2 encounters with this setup.
3d. Camp Build
This section will outline what buildings you should consider upgrading. With how basic progression is in this game, you should be able to at least build the base building. Upgrading them is a major bonus/cost, so do as you see fit, hero.

- +1 to max number of Potions
- Anything to increase your survivability.

- +1 to max HP for every whole Resource gained during this expedition
- This is the only way that you'll reliably build max HP. As this build is centered around resources, this furniture is PARTICULARLY VITAL for success.

- Raises chance of finding a rare item by 10%.
- Might as well try to make everything an Orange-tier drop, right?

- +1 more preserved pebbles Preserved Pebbles.png while passing through the Campfire tile.
- Is good for resource building.

- Attackers receive 1 damage after every hit.
- Free damage. Though, I'm not sure if it applies to skeletons.

- 10% chance to receive 1 Ration after killing a Ratwolf. +5 damage to ratwolves.
- A handy tool since you have a chance to get a ration AND deal more damage to ratwolves.

- +2 damage against all vampires.
- Bonus damage is always nice

- Receive additional 5 HP while passing through a village.
- Admittedly, I haven't unlocked this one yet. But this sounds neat enough to take.

- The hero's damage is increased by 5% when he is in range of a road lantern or a beacon (effects don't stack).
- Free damage is always nice, especially when Road lanterns are mega-useful.

- 6% chance to redirect lightning (from the Storm temple) or a pure attack to a random enemy.
(Note : Can be used to reflect the damage back from the Lich.) - Is only useful for the Lich, but considering how powerful he is in chapter 4, anything helps. If it's stackable, the fight becomes a breeze.

- Increases damage done to bosses by 4%.
- Free damage to bosses is always welcome in this household.

- -4 damage from all vampires.
- Another useful item for vampires.

- +2 damage to all undead.
- Bonus damage to enemies is always welcome in this household.
4a. Basic Map Theory 101
In this section, you will learn how and what tiles you will place on the map. In addition, it will tell you all of the tile combos I use. This section is pretty straight-forward.
- River
- Thickets
- Suburbs
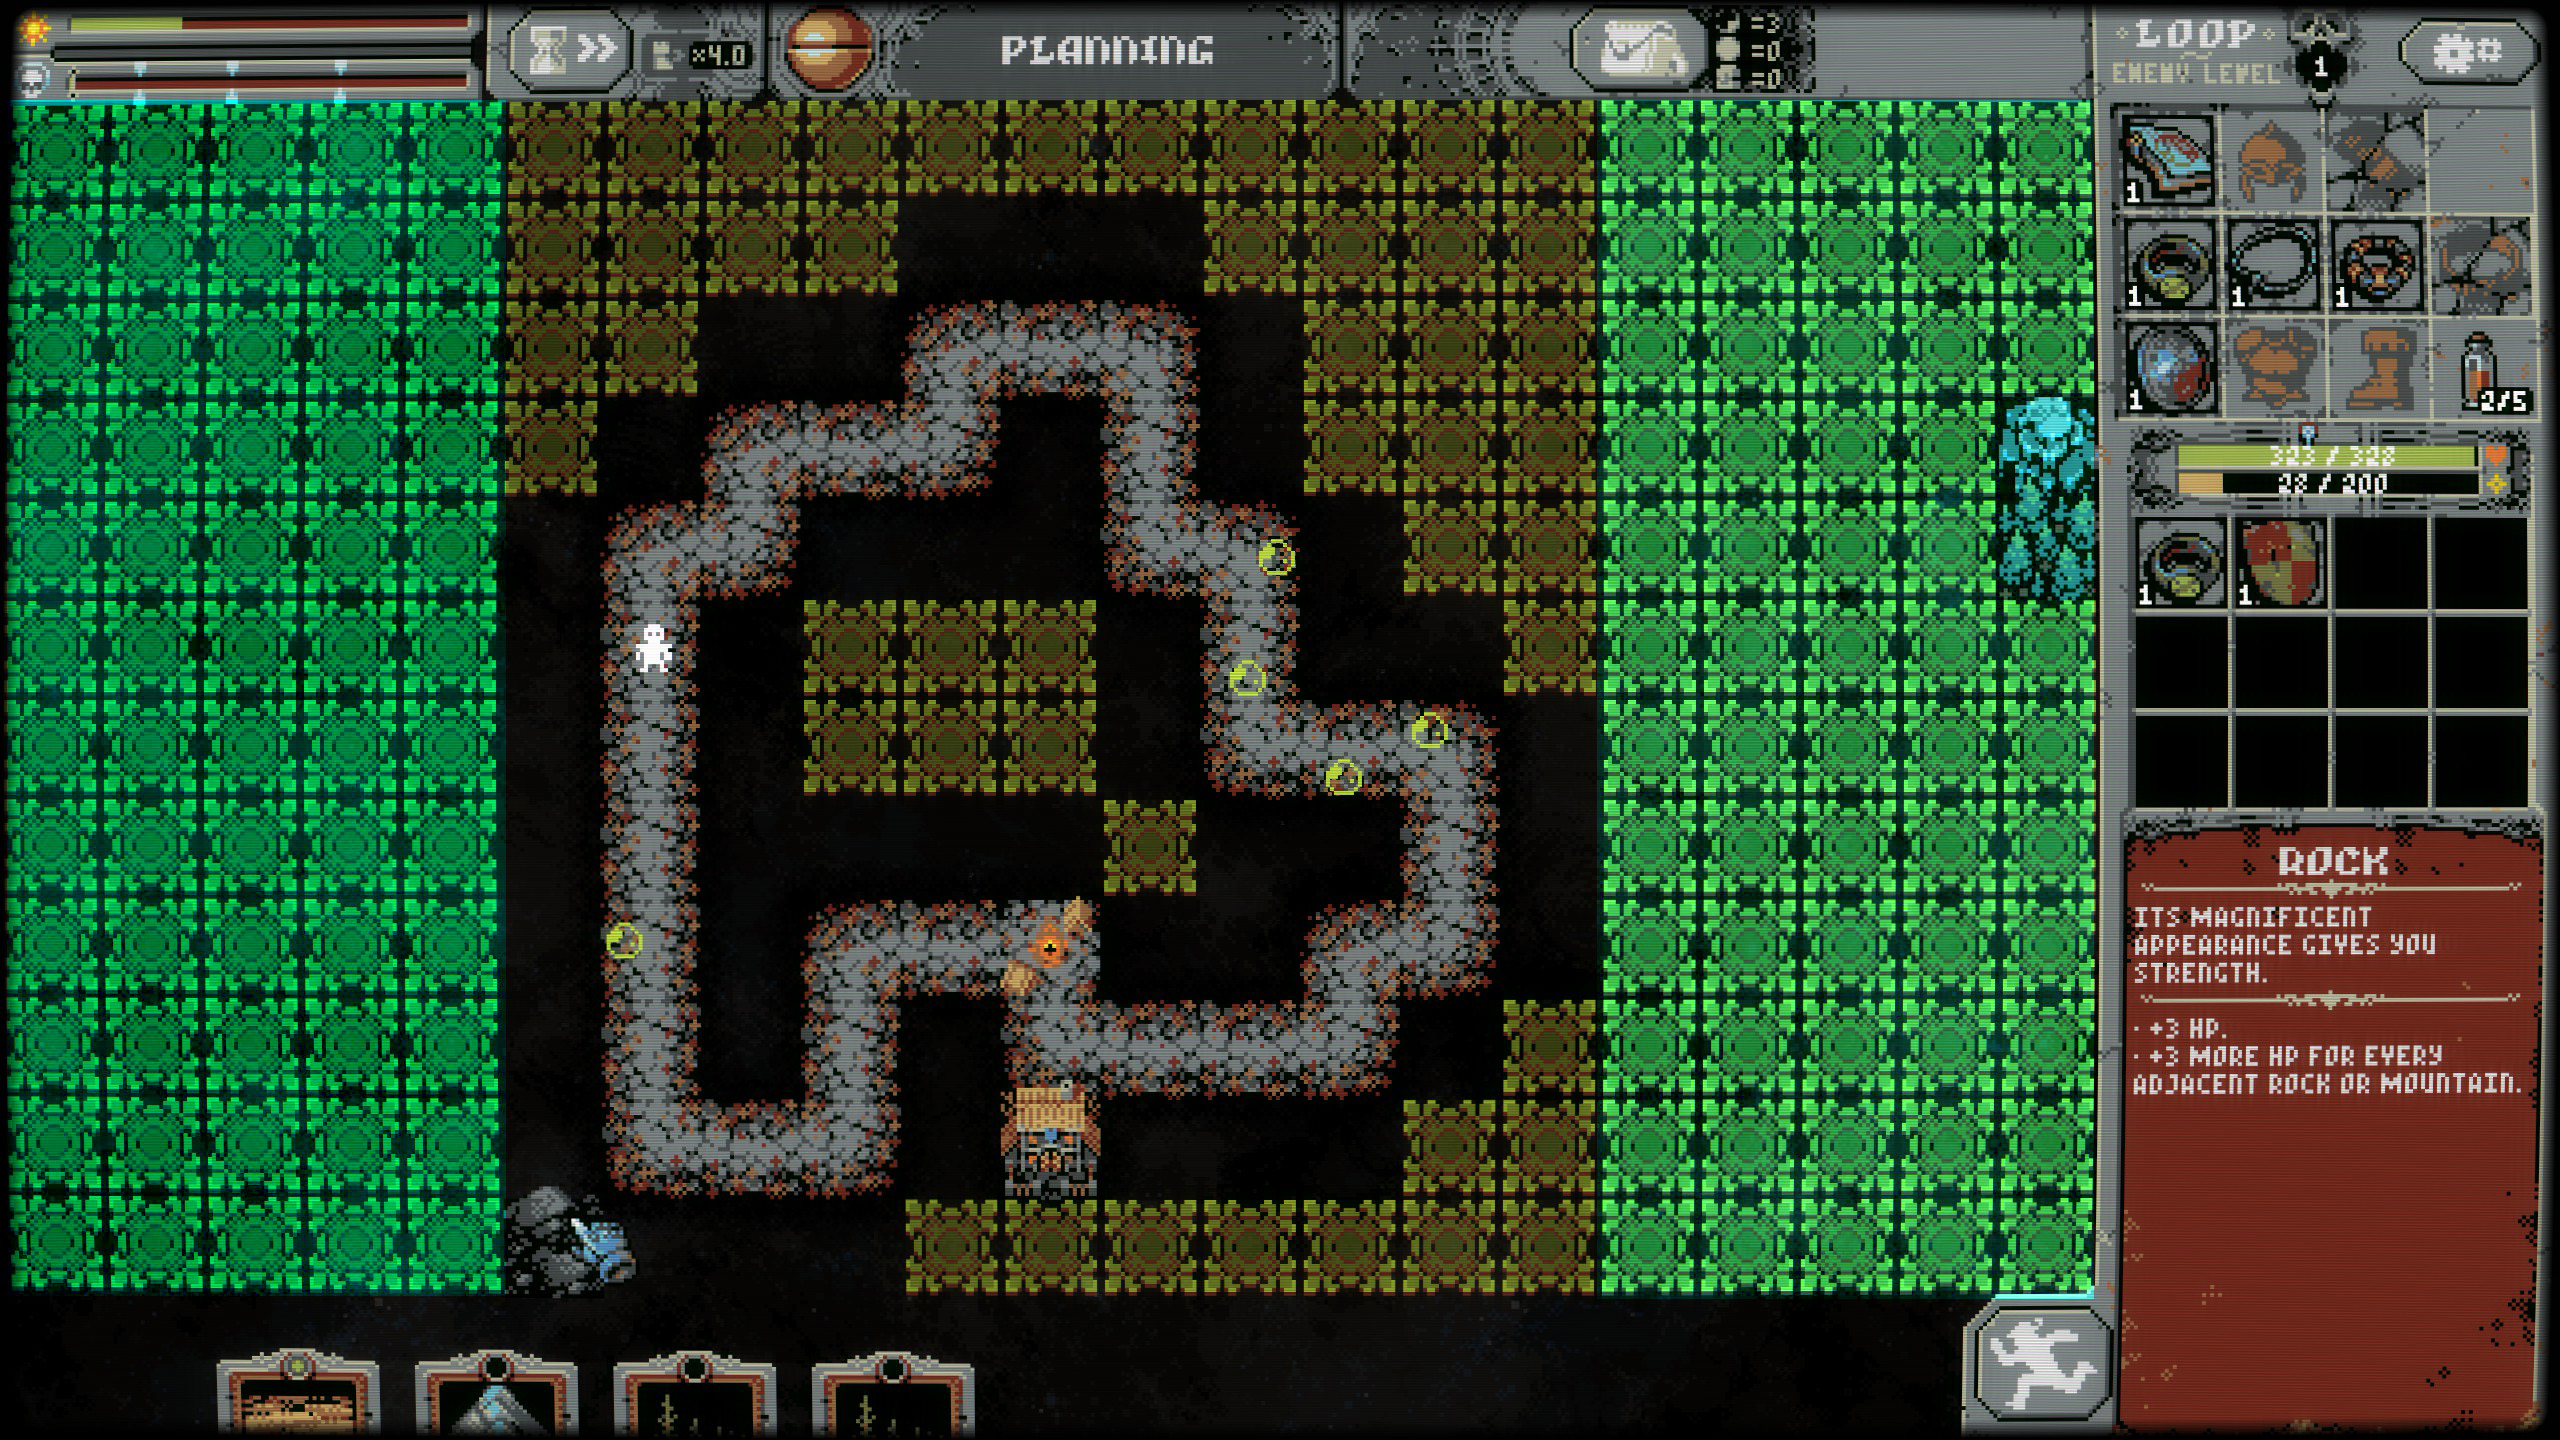
Rivers are 15-BILLION % IMPORTANT. Again, it replaces the need to have attack speed on your gear. As rivers aren't the most straightforward card, I thought it would be in everyone's best interest to remind you how it works.
- Rivers will DOUBLE the effect of an ADJACENT map tile.
- Rivers are multiplicative, meaning that having multiple river tiles touch one map tile will multiply it by a lot. (2x -> 4x -> 8x -> 16x)
- Rivers can ONLY have a beginning point and an end point. You cannot fork the river into multiple paths.
- Place a river on ONE SIDE ONLY. Preferably touching the loop for Shipwreck synergy.
- If you need more information and pictures you should seriously check out the guide above.
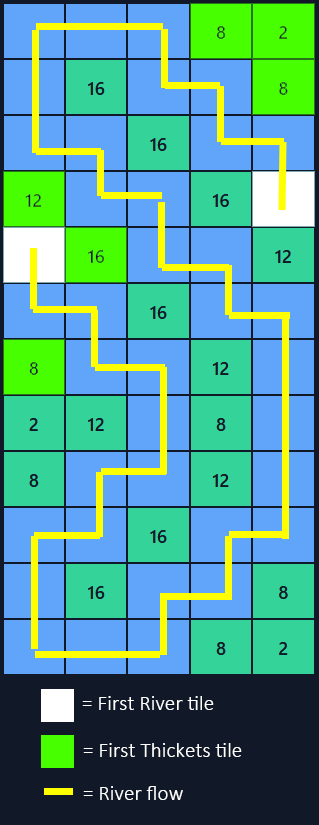
My color choice may not have been the best here, but that's not the point. This picture has been made even more noob-friendly, clearly indicating where you should start placing things.
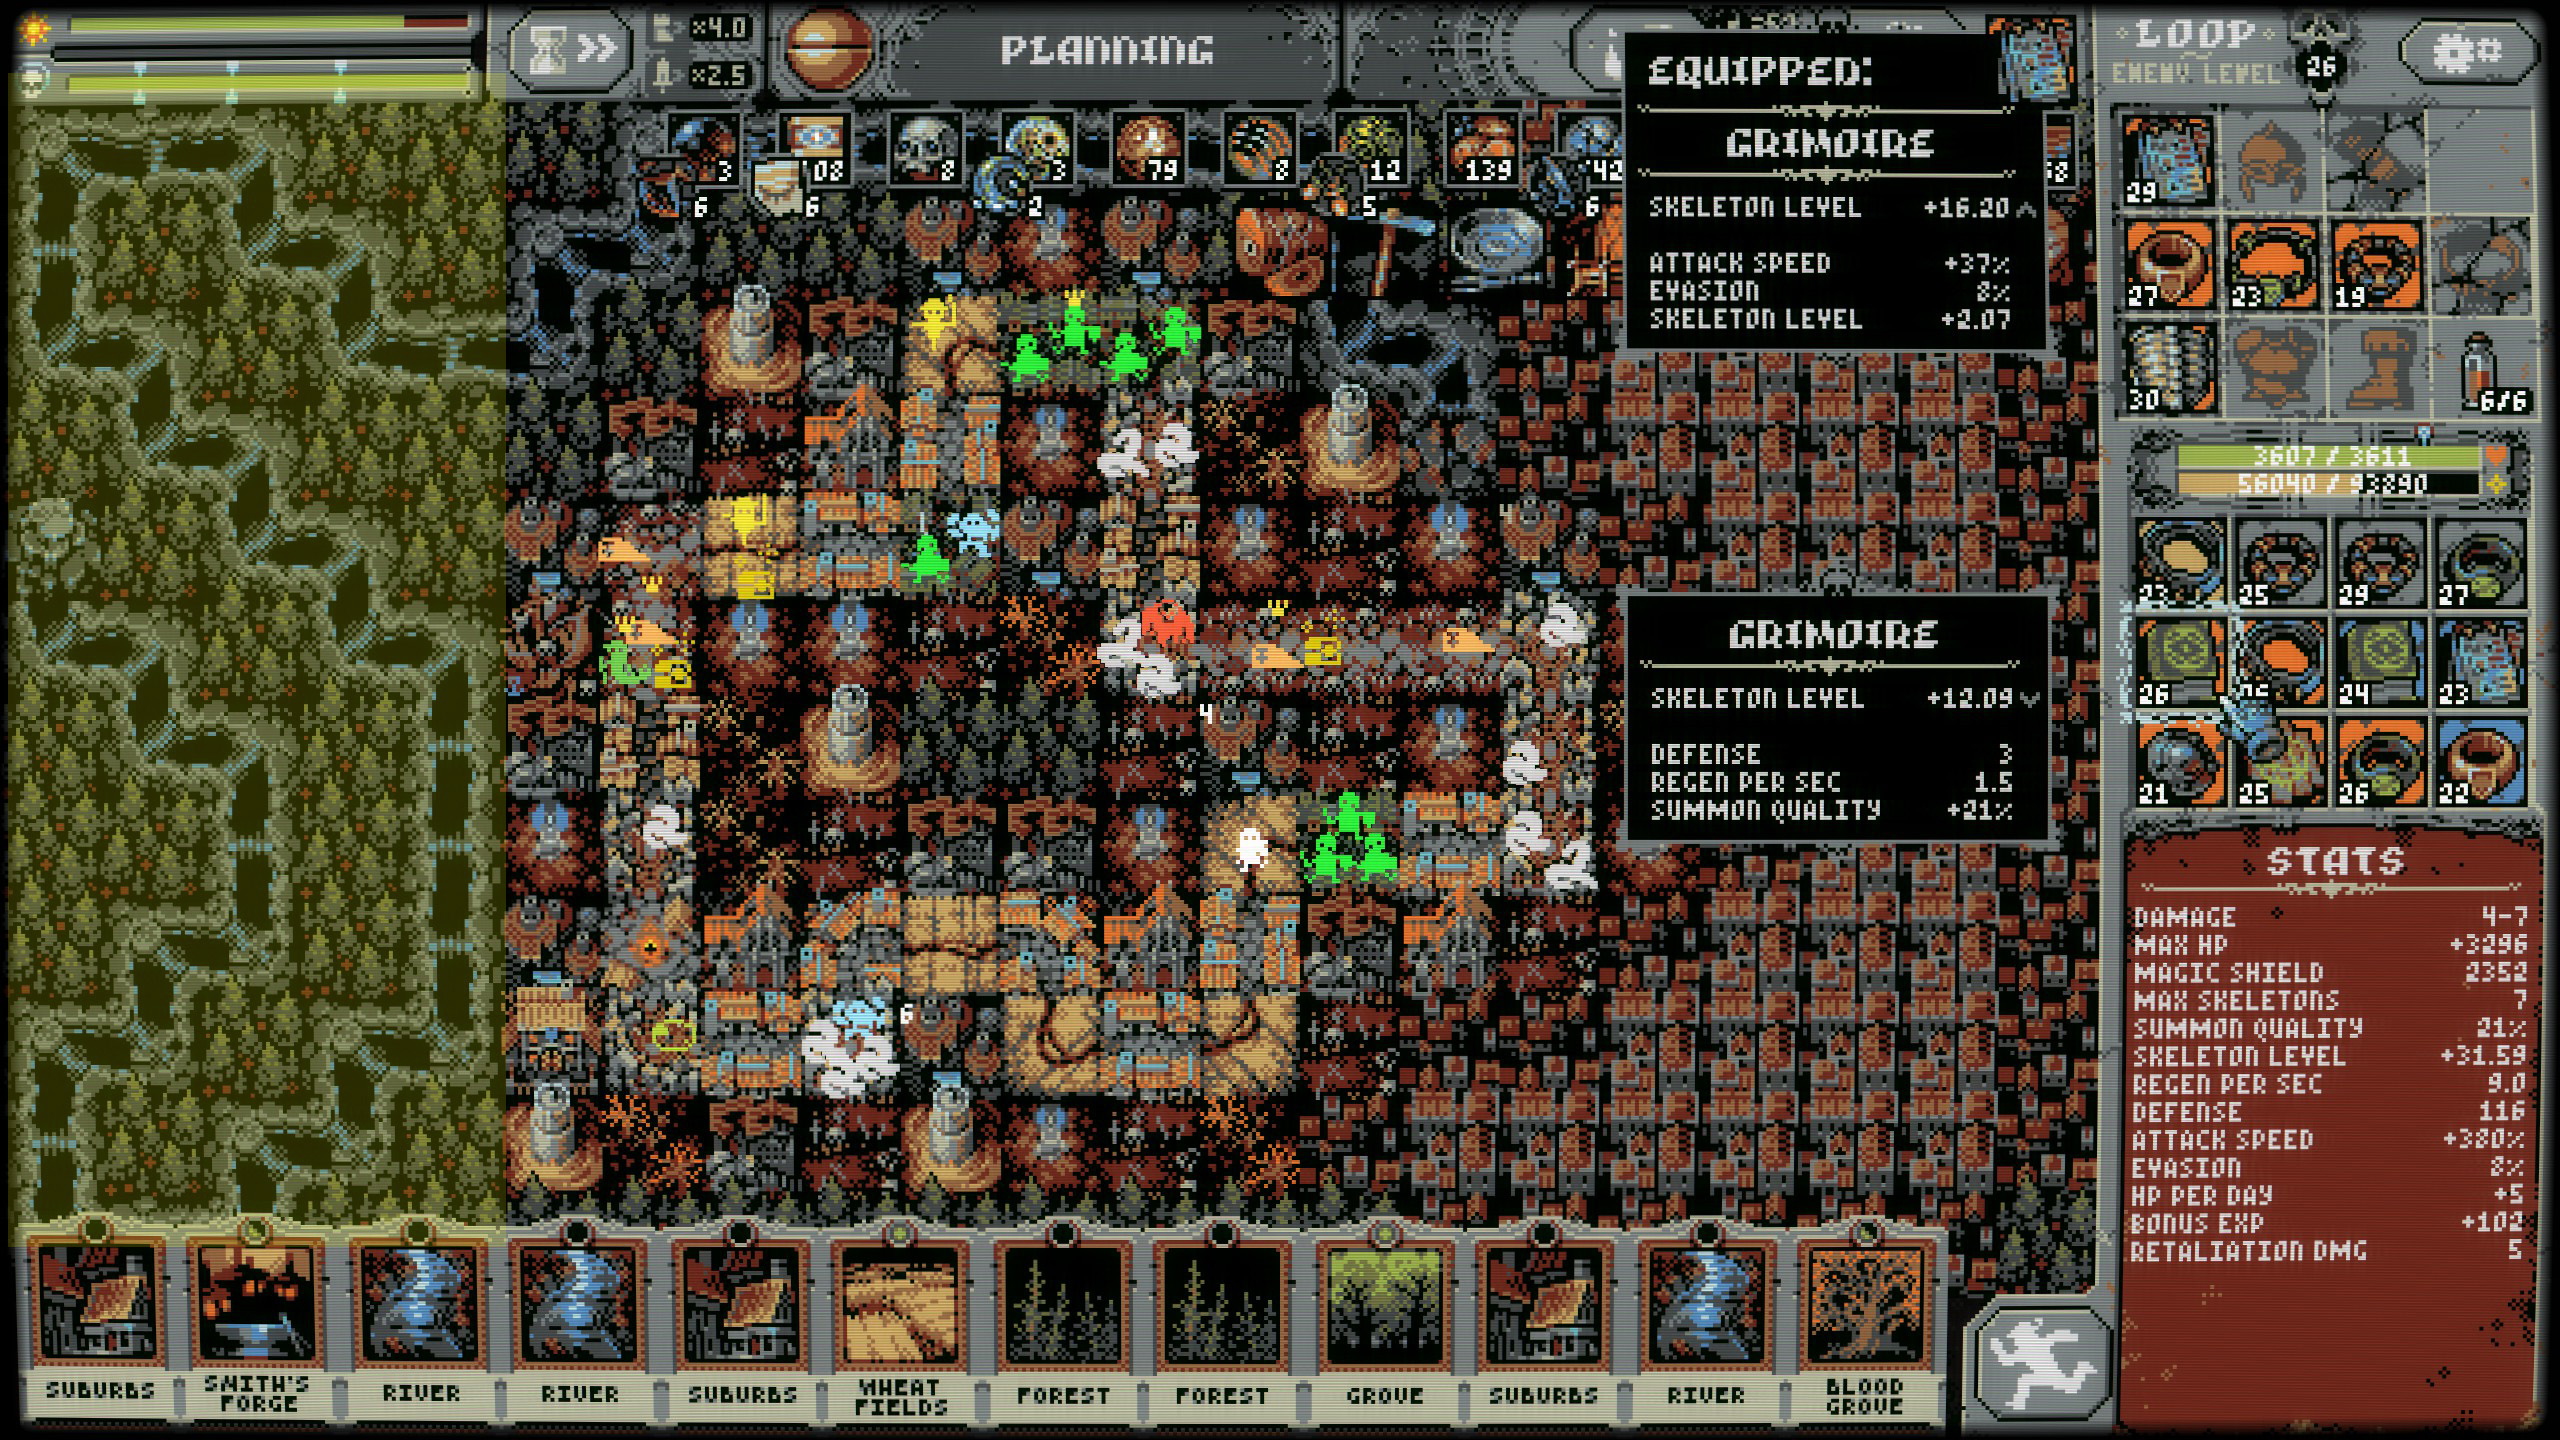 Obviously, this is a very different looking map from the one depicted above, but you get the point.
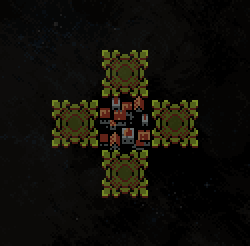
When you first place your suburb tile, you can no longer place them willy-nilly. From the first placement, you can only place tiles adjacent to suburbs.
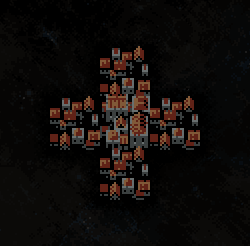
When you place suburbs in a cross (+ shape), the middle suburb transforms into a town, granting you a bonus of 1 xp per monster. So when you surround a map's worth of towns, this is what it should look like.
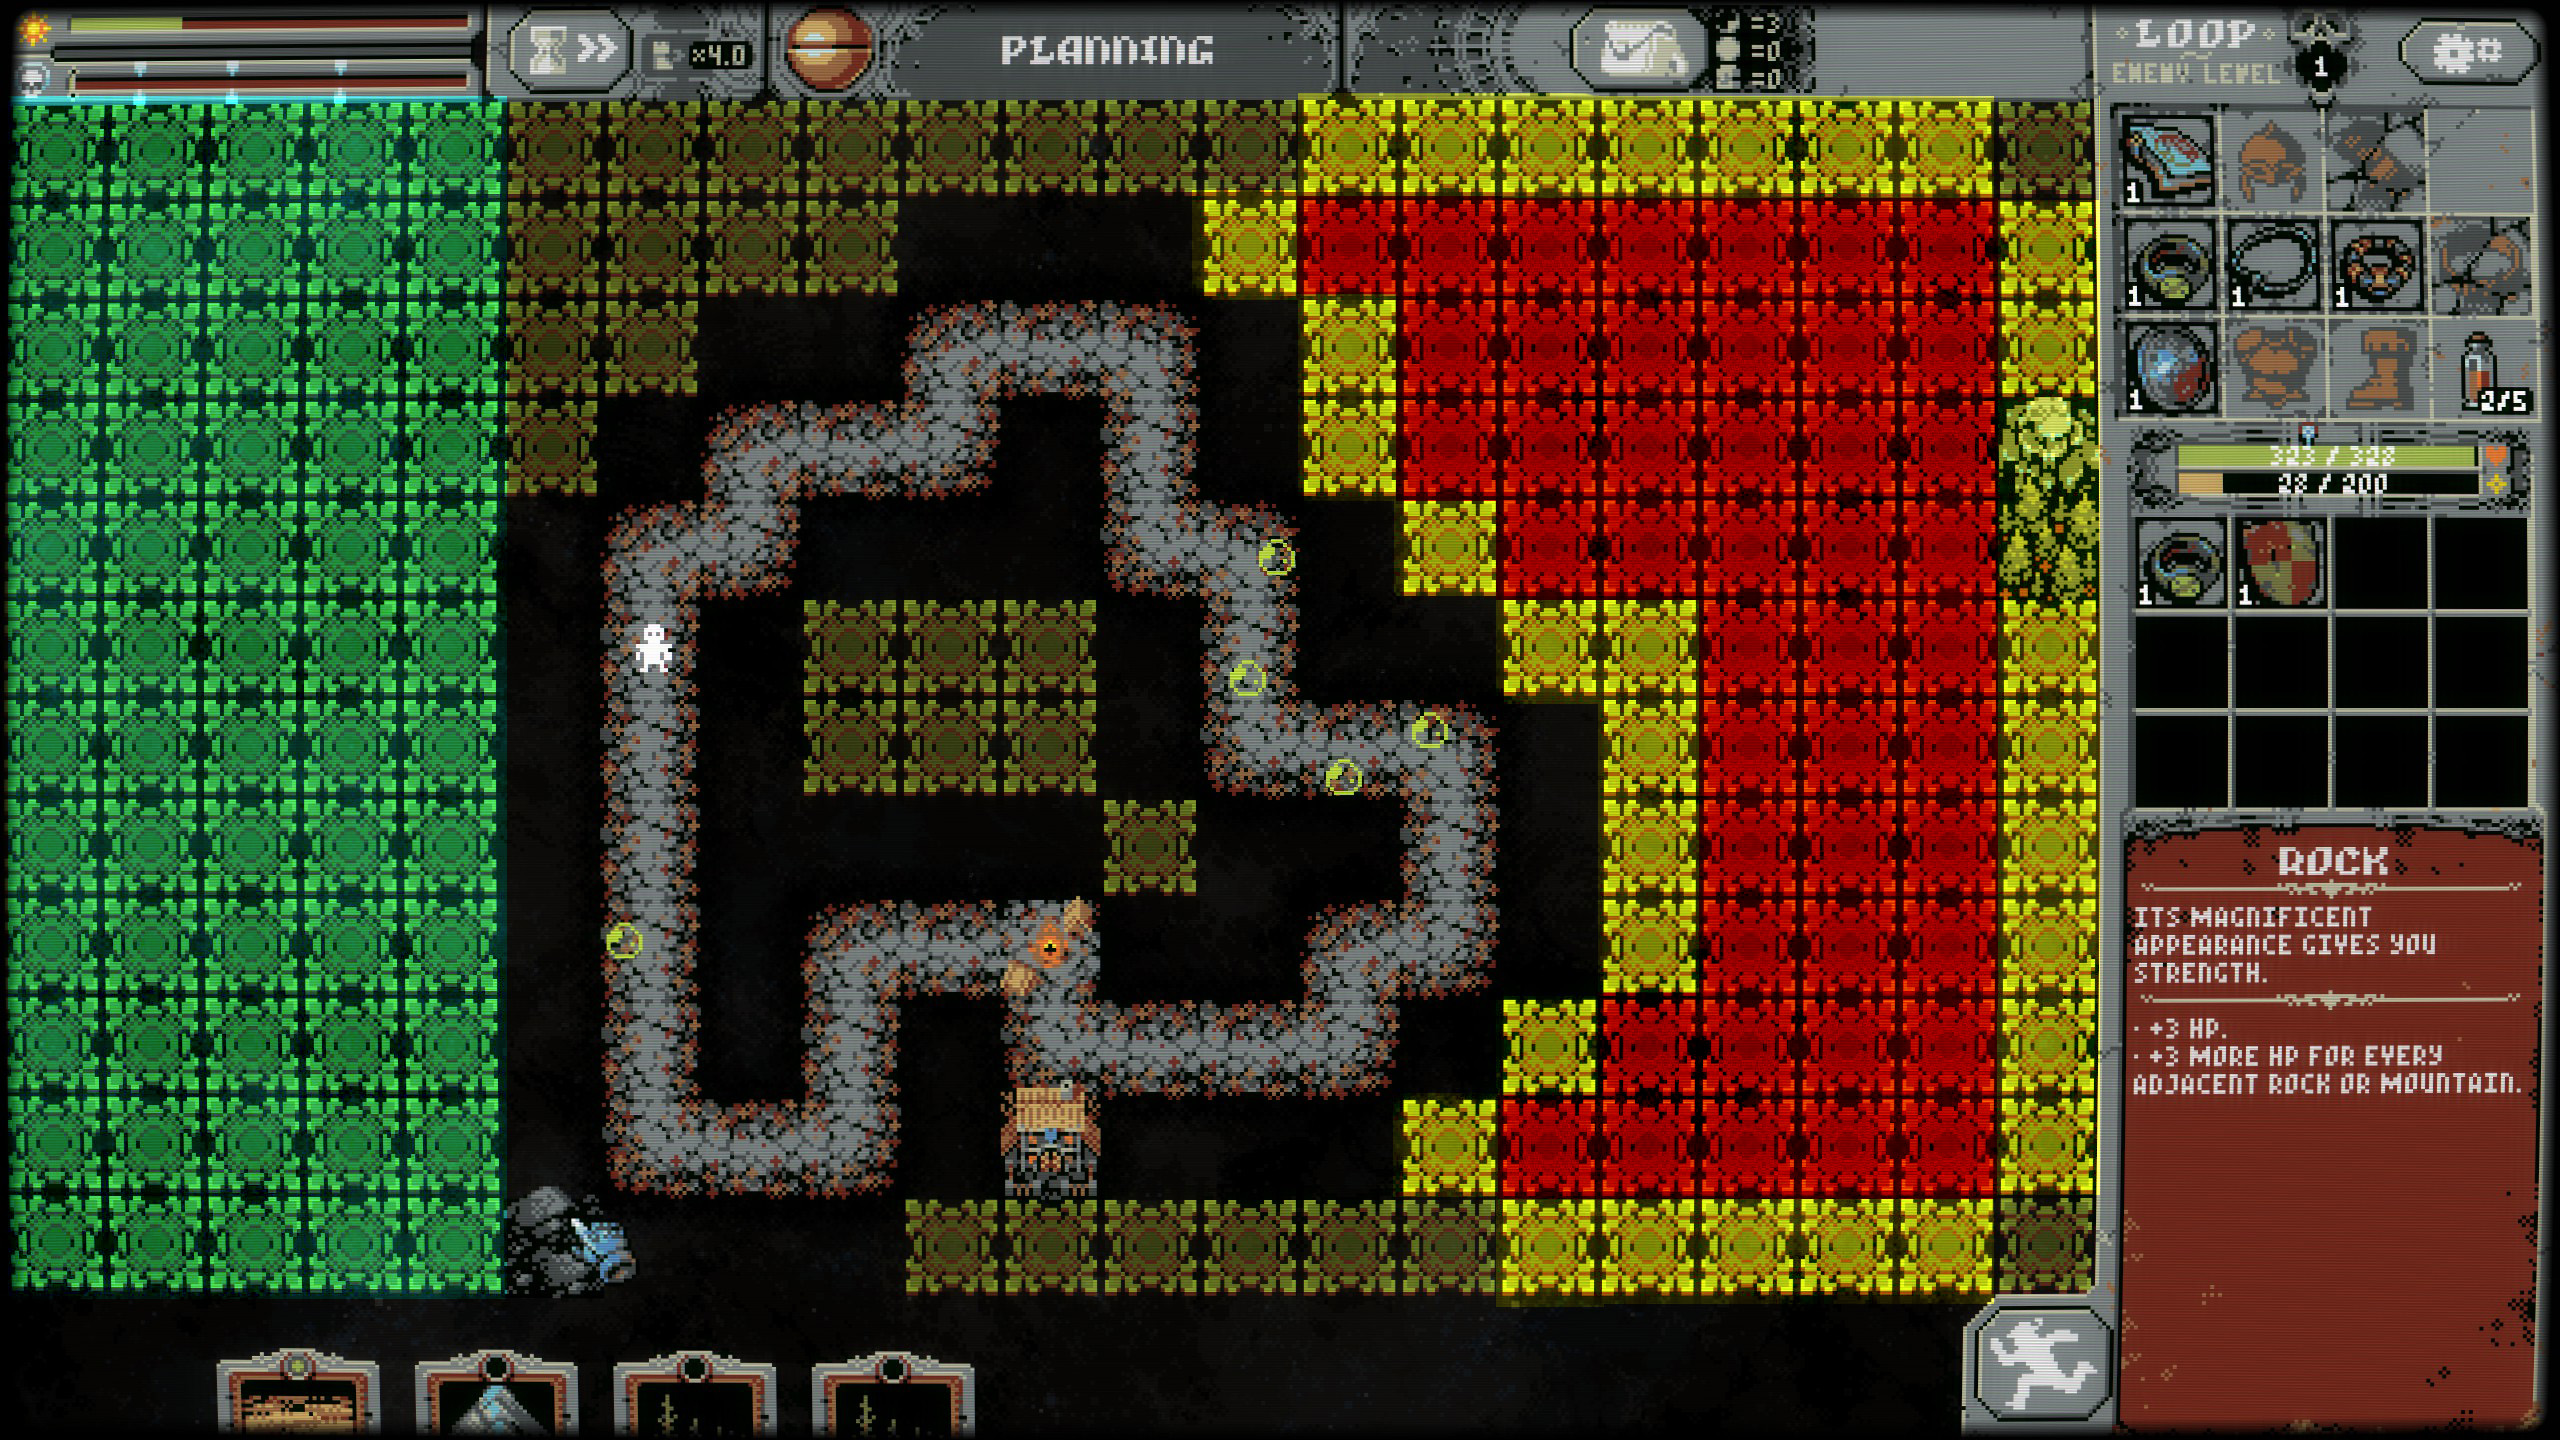
- Brighter Green (on the left side, sorry colorblind people :X) = River/Thickets
- Yellow = Suburbs
- Red = Suburbs Transformed into a town
- Ensure the map has space for a 5-wide river. If not, restart.
- Place the river on the side that's closest to the loop. Refer to the above image for reference.
- Build suburbs with the largest surface area.
Thank you for attending Basic Map Theory 101! See you next lecture.
4b. Intermediate Combat Theory 204
- Did the Necromancer take HP damage?
- Did the Necromancer use a potion in battle?
- Did the Necromancer take HP damage? No.
- Did the Necromancer use a potion in battle? No.
If the Necromancer does take HP damage, it's an indicator that things can be improved (until you know they can't be).
If the Necromancer takes enough damage to use a potion, it's a clear indication that you will have trouble revisiting that scenario. Far from ideal. You will need to further control the encounter.
- Blood Groves.
- Road Beacons.
Blood Groves are the saviour to keeping things under control. They guarantee a kill at 15% HP, which is required for those DAMNED SNAKES IN THE RUIN. Otherwise, they have a 40% chance to escape and harass you in the next encounter.
Thank you for attending this lecture on Combat Theory. Until next time, wayward hero!
4c. "Advanced" Tile Placement Theory 420
This section will describe to you how I place tiles on any given map. This is beyond subjective, debatable, and quite possibly incomprehensible. But I will try my best. As such, this section and the next will not be noob-friendly.
To describe the ebb and flow of how I place tiles, you need to understand that I divide the map into two halves.
Unfortunately, I can't really guide you on how to build your own kill-zone. This sort of thing is completely subject to your preferences and how masochistic you are. The best advice I can give you is to make sure you have a Blood Groves in the notch before you develop it.
Even though Road Lanterns significantly increase survivability, I see it as a crutch as you reduce the amount of chances you get for loot. If you are serious about employing this silly play-style, I expect you to survive the harshest encounters within reason. That's not to say that you should completely avoid Road Lanterns, but to use it when you feel uncomfortable. Treat Road Lamps like a limiter, as you will feel more comfy with more of them on the map, but more stressed out when that one extra enemy can spell your doom.
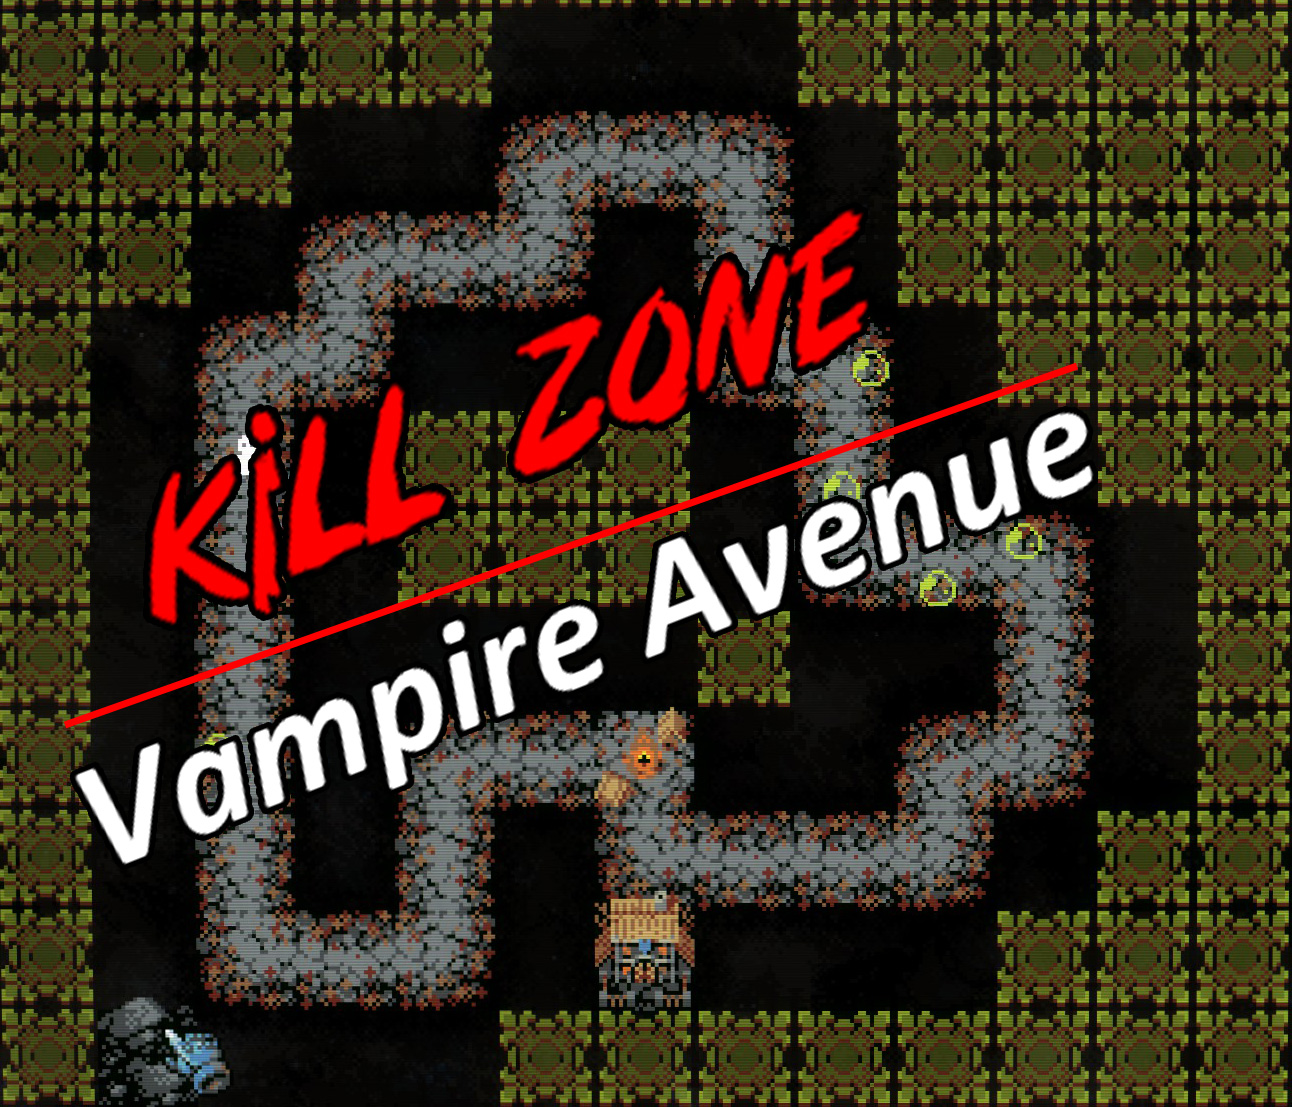
You should be able to see the clear split. Should be simple enough.
Notches allow you to cram more villages per vampire mansion, more chances to swap cards and expedite the transformation, maintain armor, etc. etc.
Generally, to be a gigachad, you will want to place the higher-priority tiles in the INNER NOTCH. This means a Vampire Mansion in the Vampire Avenue, and Bloody Groves in the Kill-Zone.
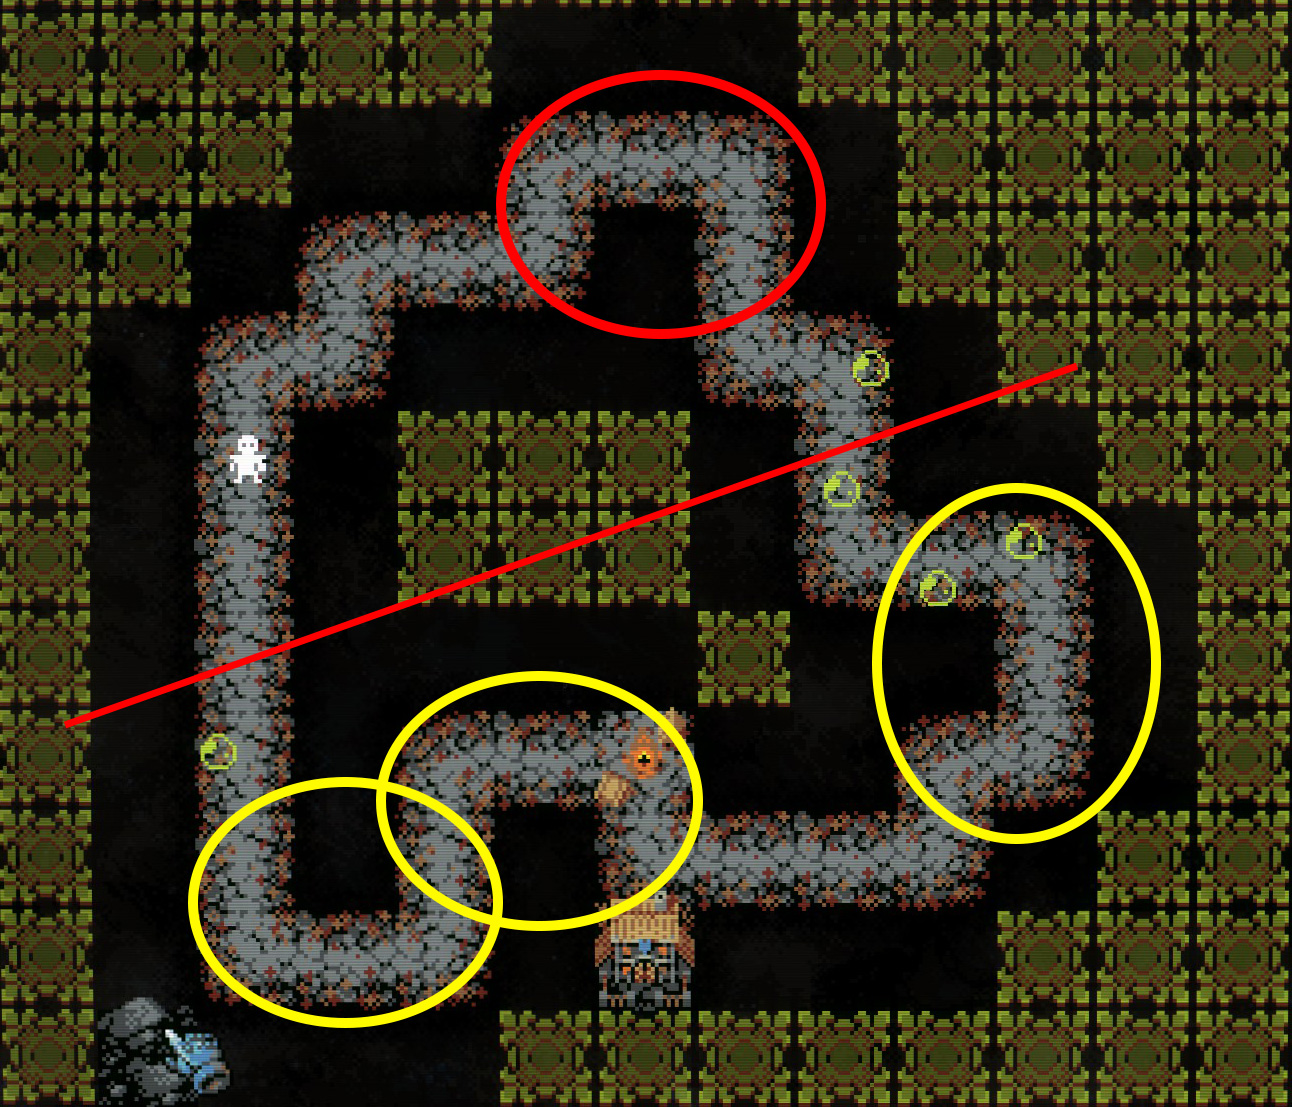
The yellow notches are where I would place Vampire Mansions, whereas the red represents Bloody Groves.
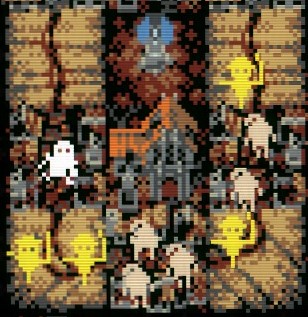
You might not like it, but this is what peak performance ACTUALLY looks like. (minus the road lantern and wheat farms i'm sorry)
- Try not to place Ruins back to back, those stupid fire snakes are SUPER DUPER DEADLY. DO NOT UNDERESTIMATE THEM.
- You can place whatever you want in-between villages. I prefer Ruins and Cemetery.
- I like placing Bookeries and Armories in the Vampire Avenue, as it spawns enemies adjacent to the tile. If I remember correctly, you do not fight on Count's Lands.
4d. Expert 5D Chess Game Theory 690

- Fighting a Ravaged Village COMPLETELY raw dog before the Lich King.
- Lich King
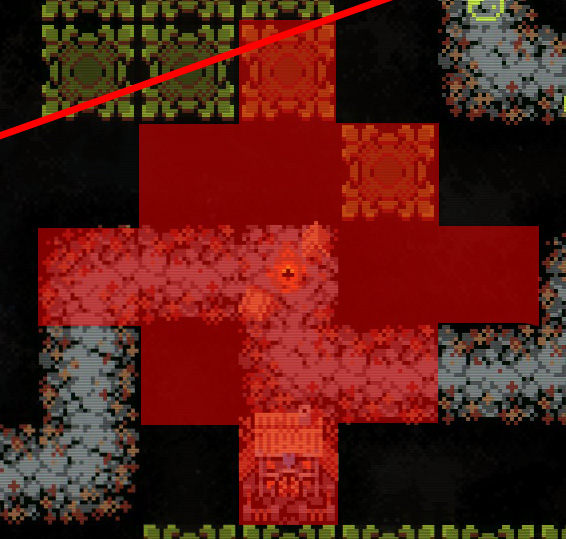
As indicated in RED, if these marked tiles are empty, the Lich King will fill that tile and empower himself with the Lich's Palace. There are only two ways to counter this:
- Deleting a palace with Oblivion.
- Covering a marked spot with whatever tile you want.
- You simply cannot sloppily place tiles wherever and however you want. There needs to be thought put into it so your setup can survive late-game.
- You DO NOT want to place Cemetery/Ruins cards AFTER the campfire. This will cause enemies to spawn in your boss encounter. If you are forced to place a card that isn't a village card, try to wait for a Groves. That way you can place a Bloody Groves afterwards.
- If you are trying to conserve on card placements right before the Lich King, avoid placing thickets that do not touch rivers.
- Ensure that your Arsenal placement will NOT affect how you plan the rest of the map. Yes, this is one of the more latent advantages Arsenal has over Ancestral Crypt.
- Try not to place too many encounters near your campfire. When you're breasts deep into late-game, those guard-towers stop being useful. They end up being a giant liability and can lead you to your unfortunate demise.
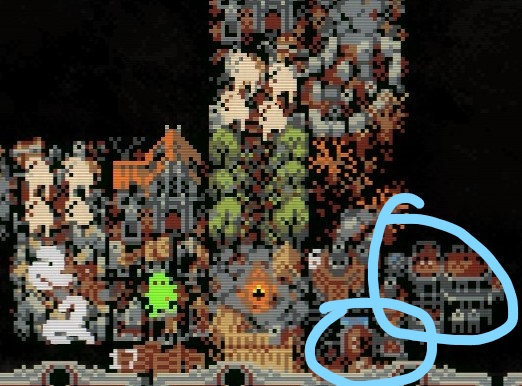
I clearly missed two spots, but I still managed to barely squeak out a kill without dying.
5. Conclusion
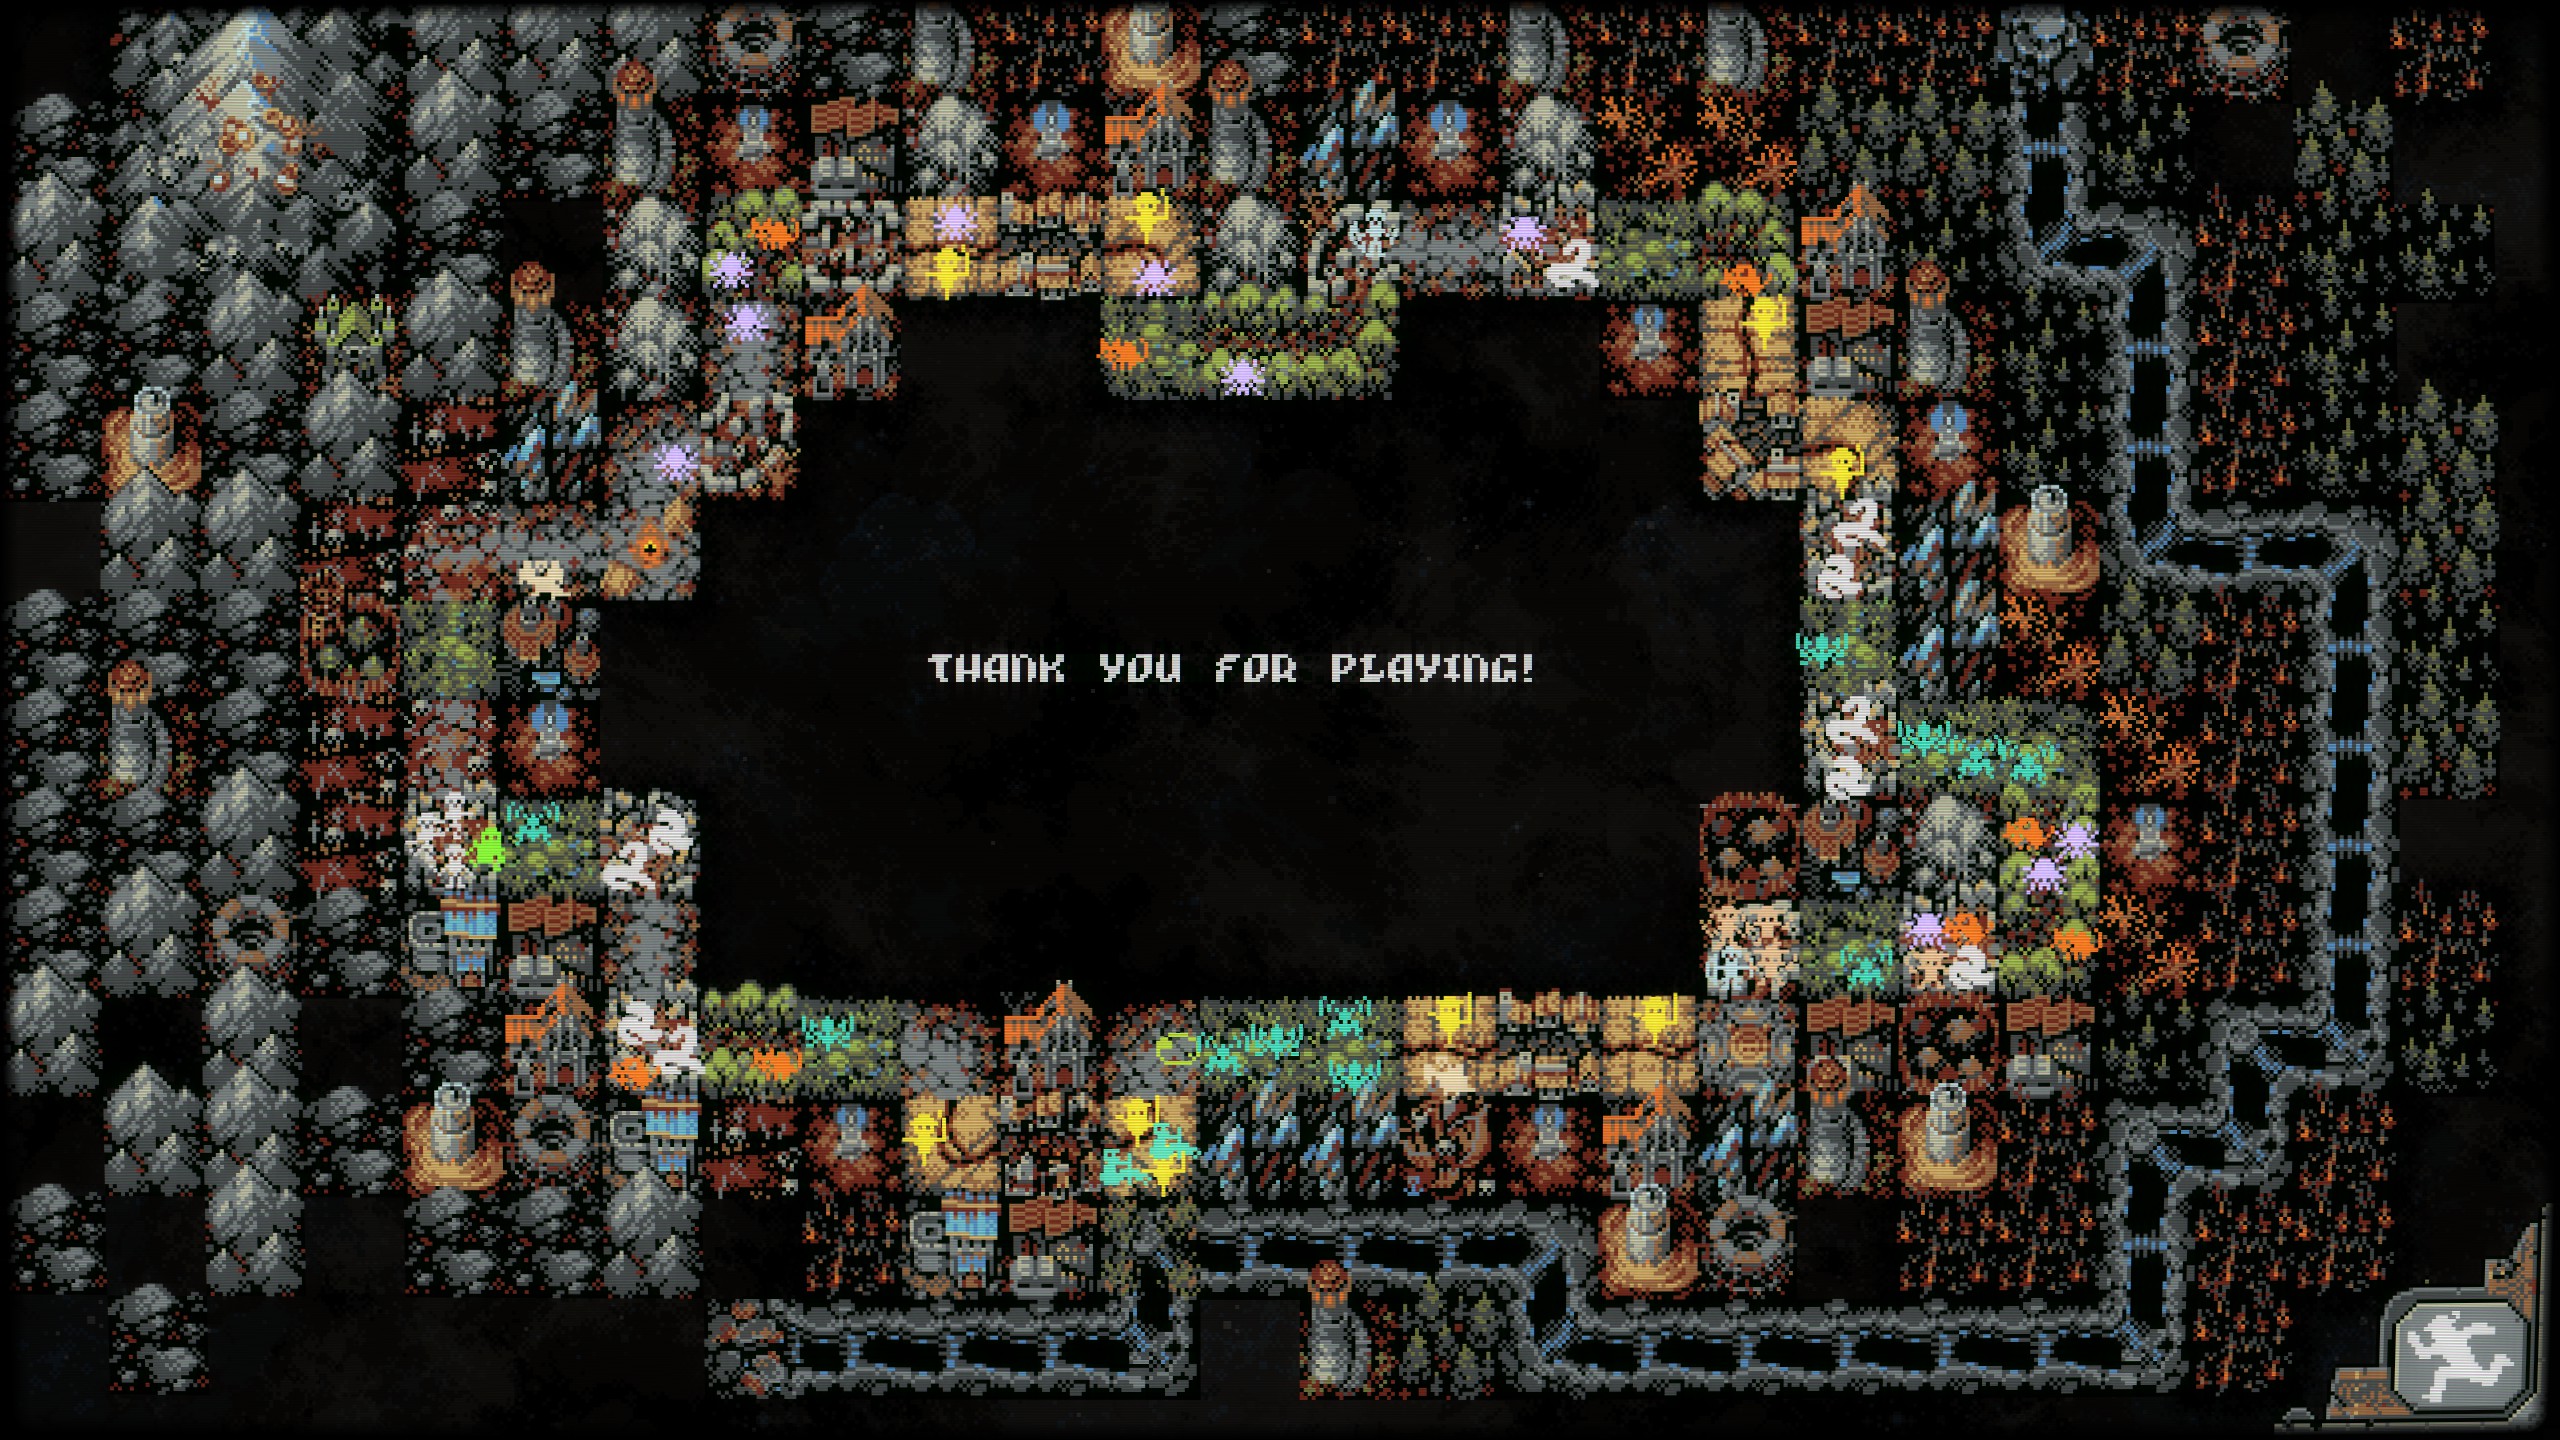 Well, I hope this guide was helpful for you! Sure, the later sections do not go farther in depth, but they only needed to guide you through the toughest obstacles in this chapter. The more you think about my guide, the more you see how these systems feed into each other.
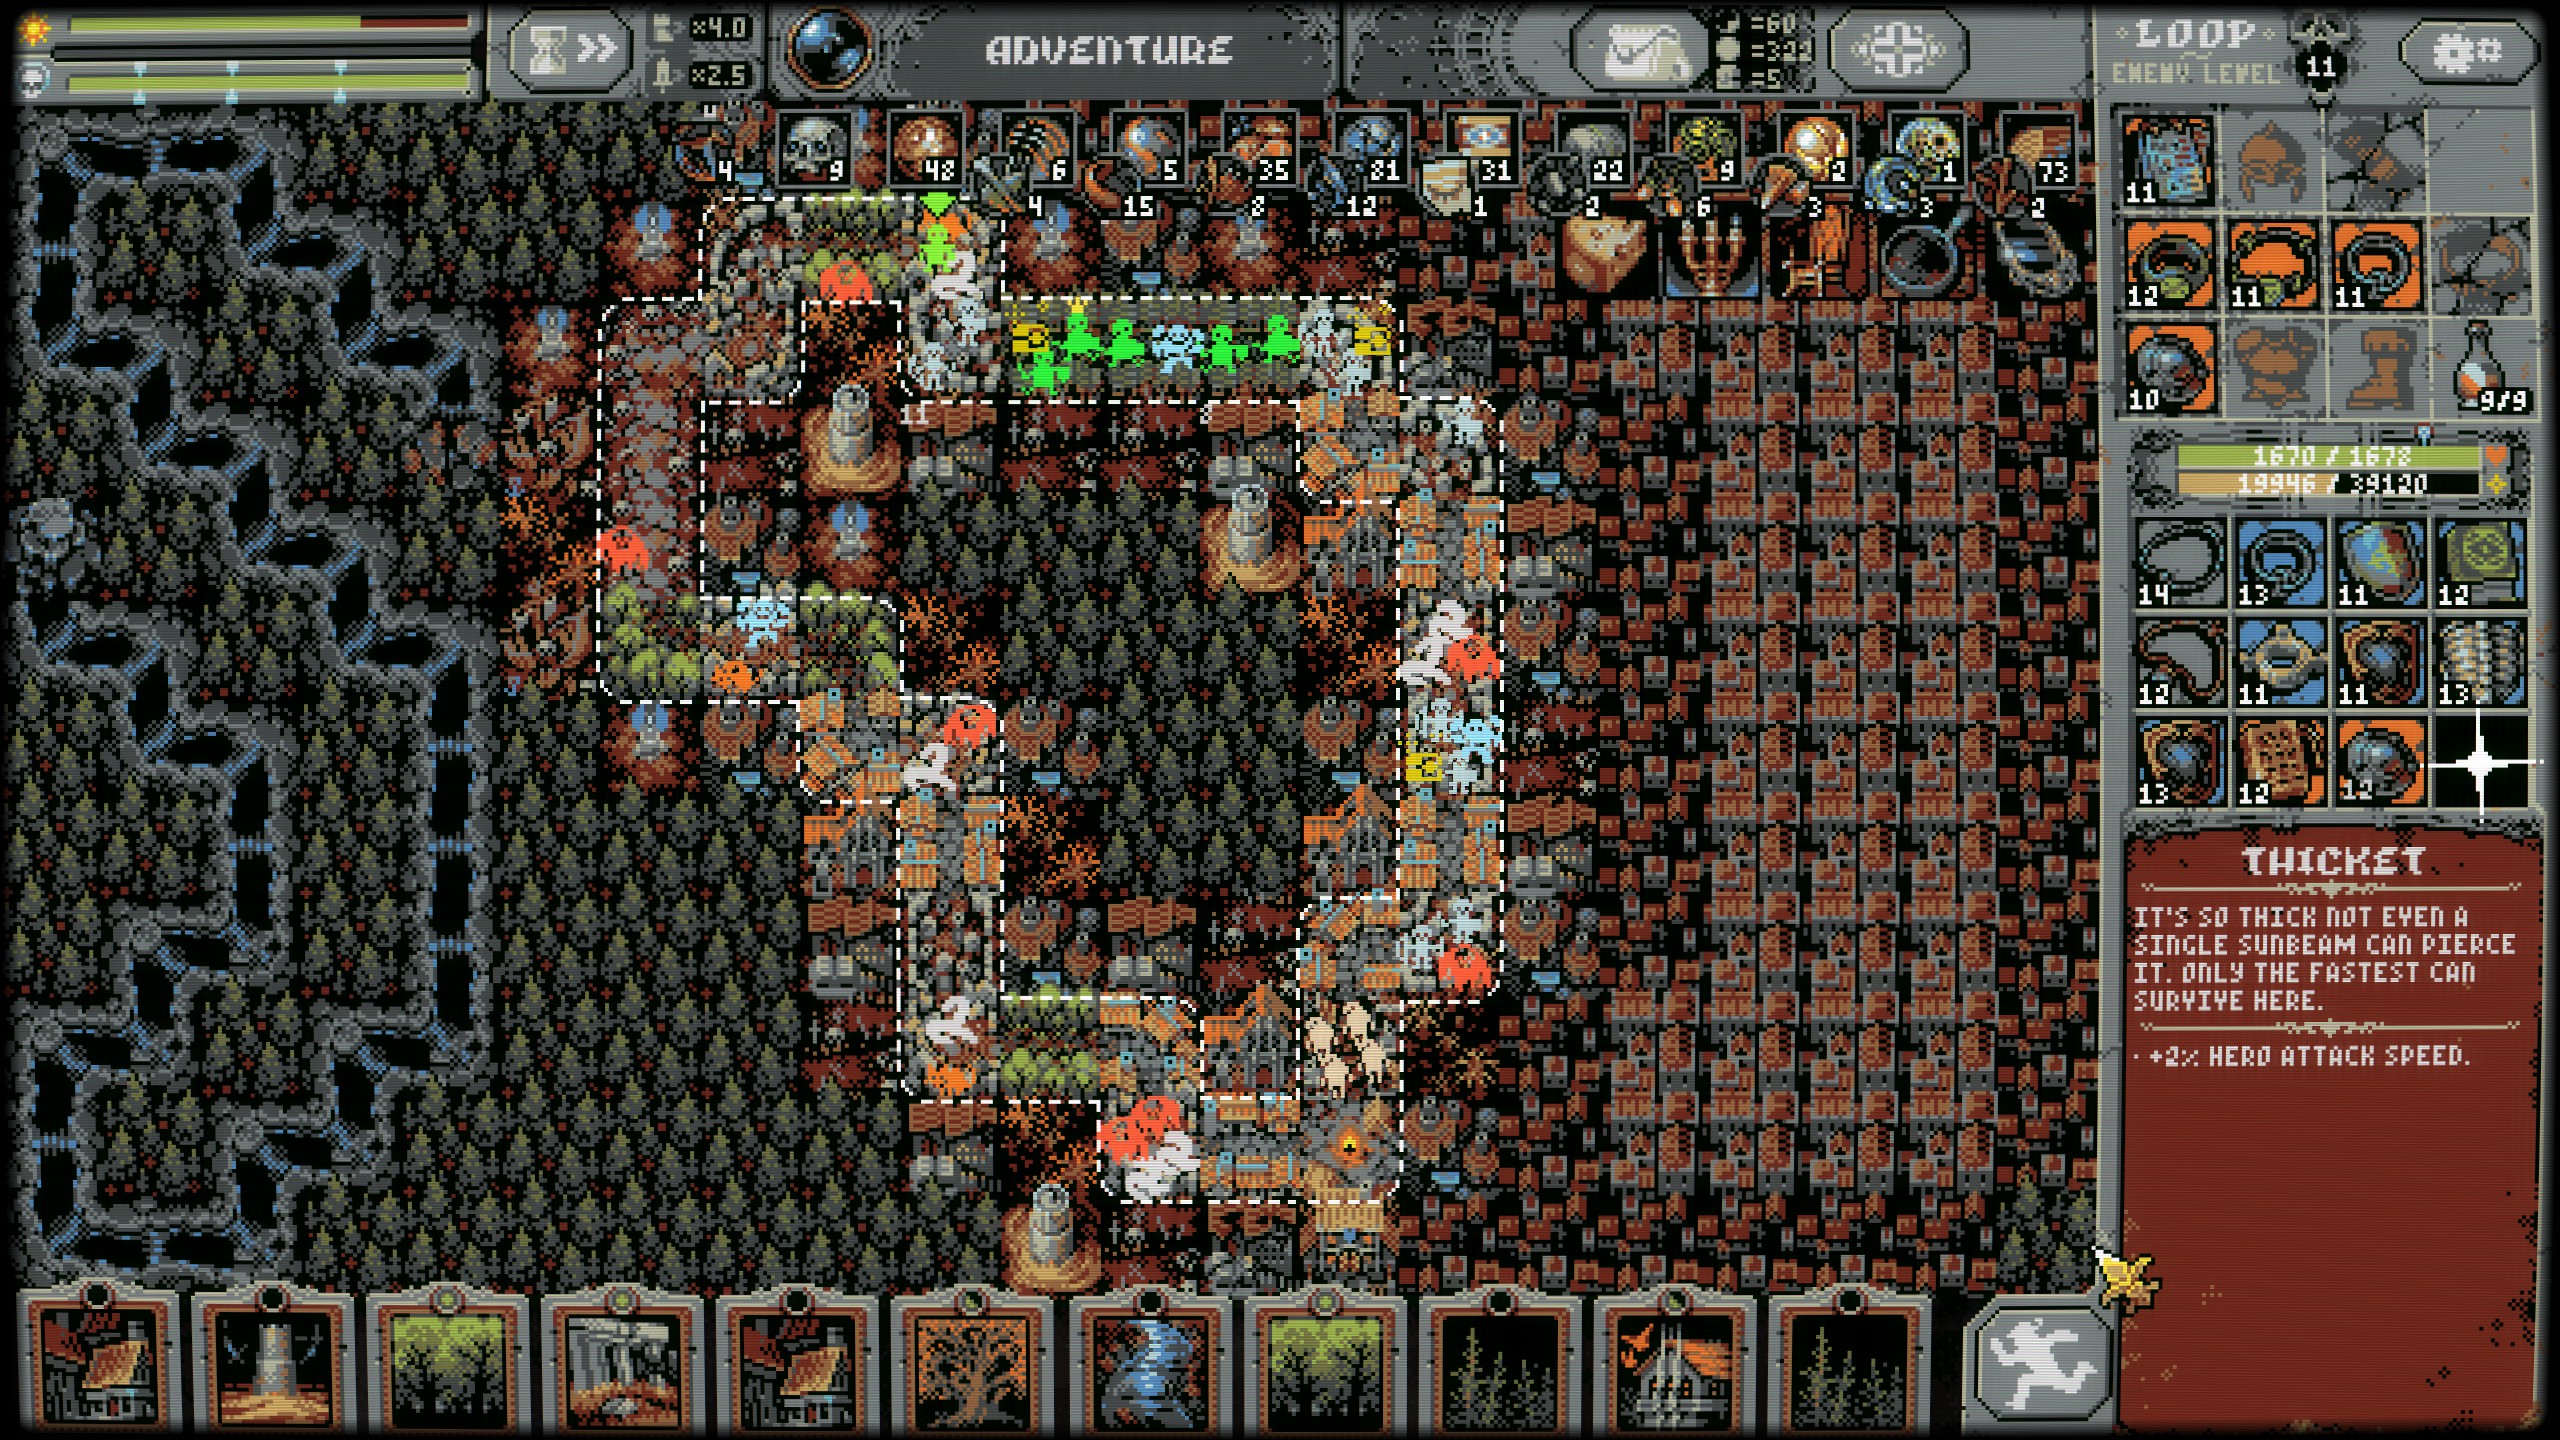
This guide doesn't need to teach you how to farm at neck-level end-game. After all, a skeleton encounter is a guaranteed battle of attrition and RNG. While my set-up can exceed loop 30, I guarantee that you'll be absolutely bored out of your mind. If you take it any slower than I do, your chances of pushing loop lvl 30+ becomes that much higher.
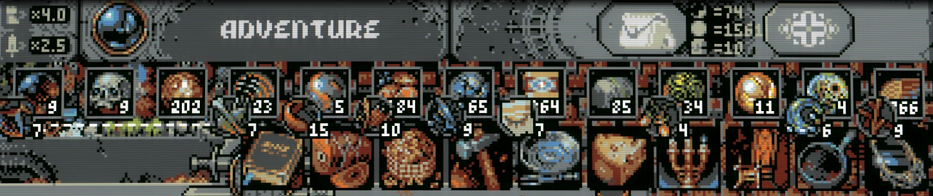 Sorry that I didn't take a formal picture of the loot, this particular run ended at 2am (at lvl28) and I was already tired of putting up with these absolutely stupid skeletons. SCREW EM. But nonetheless, the results speak for themselves. Good luck hero, and see you at the top.
If you have any questions or comments, please feel free leave them down below! I'll try to answer as many questions if I can... if there are any.
- An Unofficial Loop Hero Manual, Mechanics Guide + Sheets!★ 5 (557)57k views1.3k ♥64 minUpdated 31 May, 2023
- Loop Hero - a Community Knowledge Book★ 5 (1k)54k views1.6k ♥8 minUpdated 8 Mar, 2021
- Cards / Tiles combo [Update 1.102]★ 5 (556)37k views1.3k ♥5 minUpdated 9 Jul, 2021
- Warrior Guide for Infinite Loops★ 5 (311)31k views1k ♥9 minUpdated 17 Mar, 2021
- Rogue Guide for Infinite Loops★ 5 (357)30k views1.1k ♥10 minUpdated 17 Mar, 2021
- Loop Hero комбинации карт + секретные боссы★ 5 (440)24k views751 ♥3 minRussianUpdated 16 Mar, 2021




- Upgrading to PremiumTeam Fortress 2★ 5 (20k)1441k views11k ♥6 minUpdated May 11, 2022
- No More Room in Hell Official ManualNo More Room in Hell★ 5 (2.8k)569k views2.1k ♥29 minUpdated Apr 22, 2019
- NMRiH Community Hosting GuidesNo More Room in Hell★ 5 (526)351k views653 ♥1 minUpdated Aug 10, 2022
- How to 'Git Gud' Soon™MORDHAU★ 5 (2k)318k views3k ♥68 minUpdated Nov 16, 2024
- Лучшие кооперативные игры SteamPAYDAY 2★ 5 (1.5k)315k views2.1k ♥56 minRussianUpdated Apr 27, 2025
- Desert Eagle Heat Treated | Blue GemCounter-Strike 2★ 5 (1.6k)293k views1.5k ♥2 minUpdated Jan 16





This guide was created by its original author on the Steam Community. Are you the author and want it removed? Request removal.