Armory Data Locations [Updated: Purgation]
Operation 1: Inferno
Location
Screenshot
Behind the barricades directly above the ammo cache in the Astra Militarum camp.
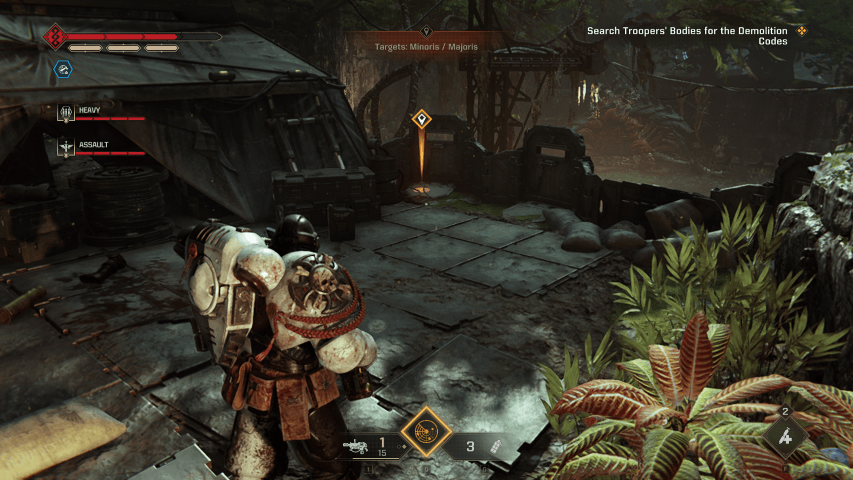
Behind a tent in the upper area of the campsite when looking for demolition codes. This tent is near the upper cave entrance.
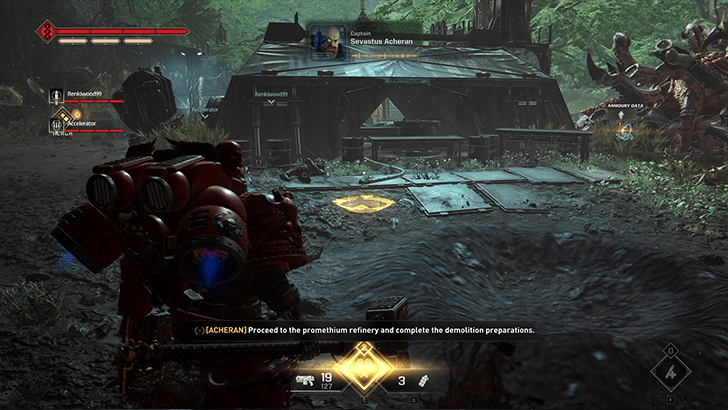
Head to the map edge from the entrance of Generator 4.
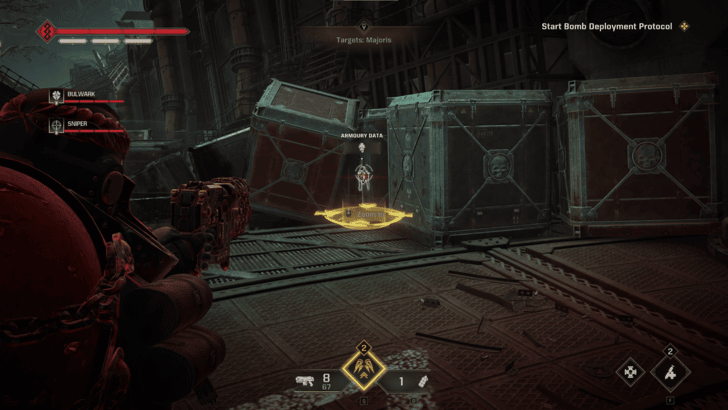
Found at the bottom of the platform while advancing to the observation platform before the final elevator.
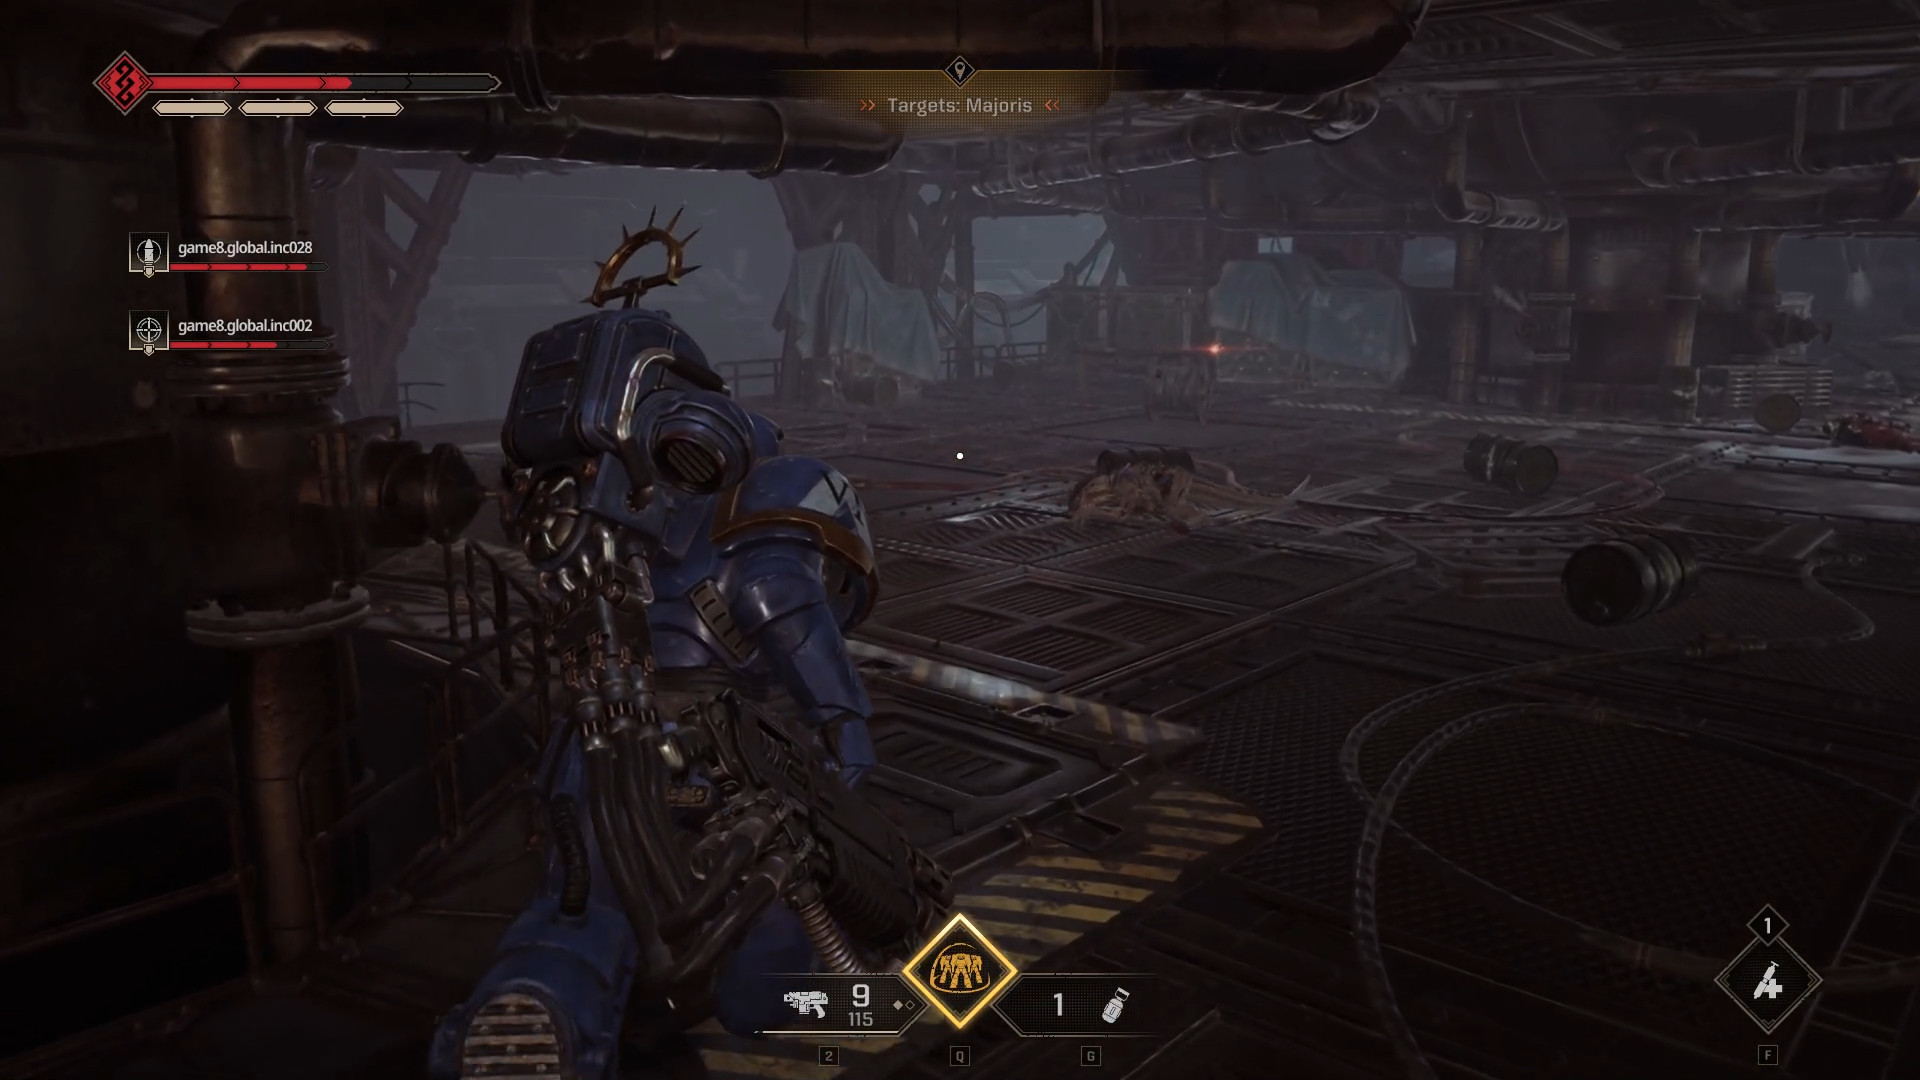
Right before the final area, there's a small room you can enter to the right.
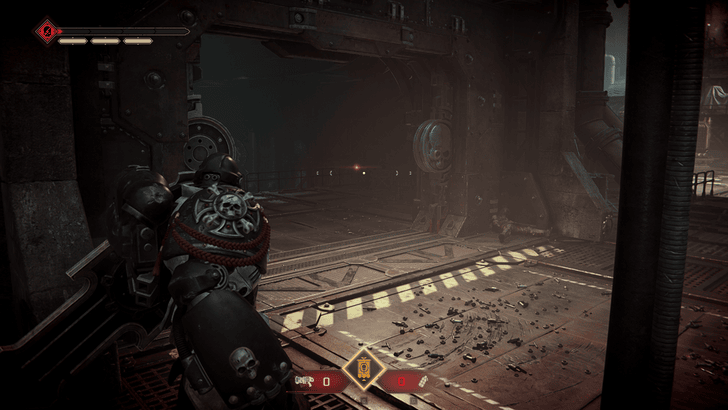
Operation 2: Decapitation
Location
Screenshot
At the lower section of a wide area after exiting the top of the cathedral, near the underside of a bridge.
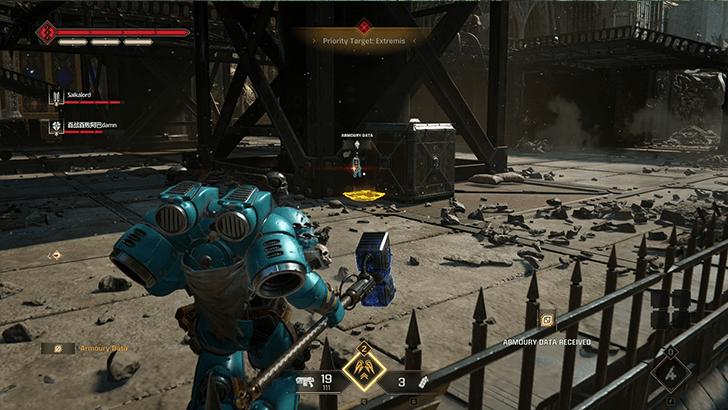
There is a path to the left before you enter the area where you will place the charges.
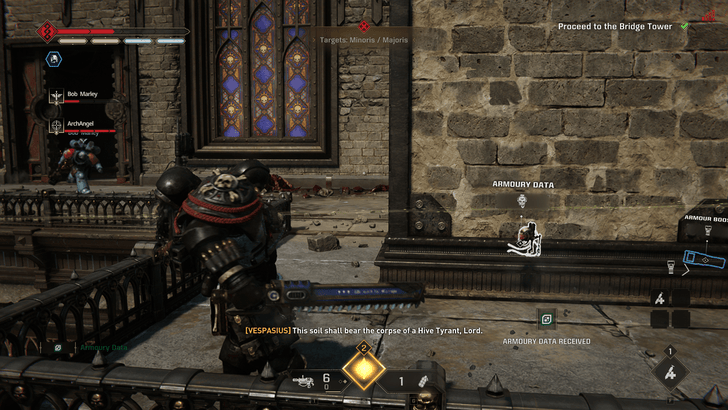
After placing explosive charges, check near the right area of the room with the elevator.
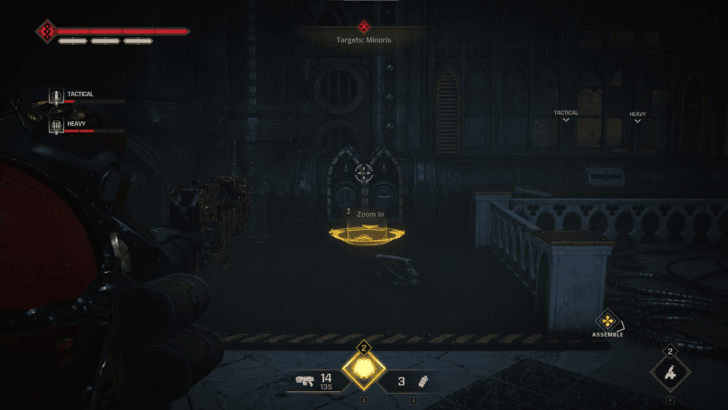
After detonating the bridge, before riding the elevator, look around the right side of the room.
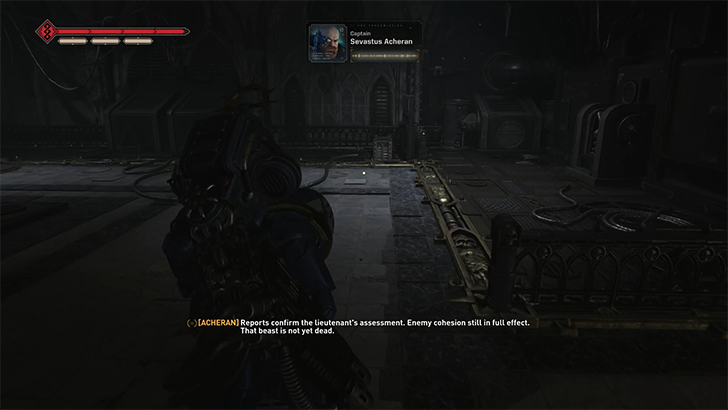
Found in one of the rooms before reaching the final area.
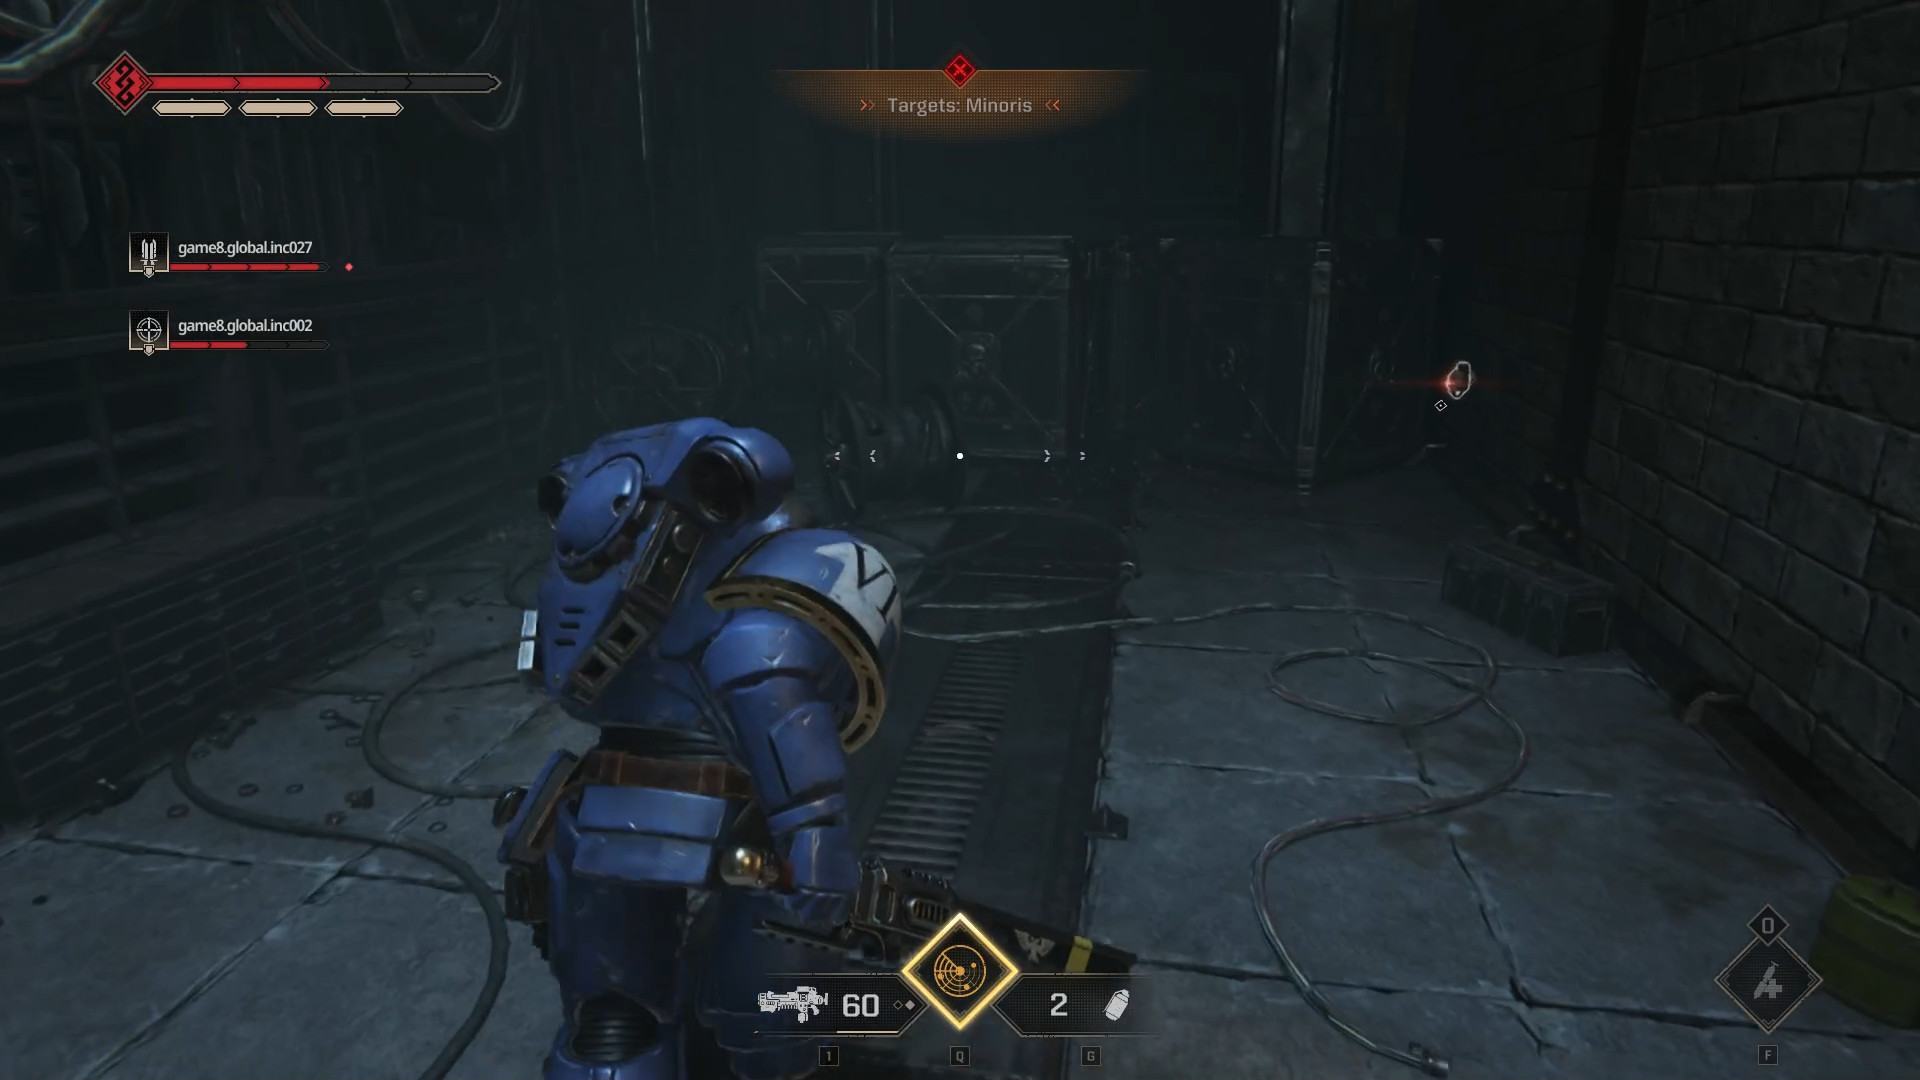
Operation 3: Vox Liberatis
Location
Screenshot
As you walk towards the Cathedral on a ruined pathway, you will see a small red-lit room to the left, and on the right will be a path down, follow it heading towards a yellow-lit room to find the Armory Data.
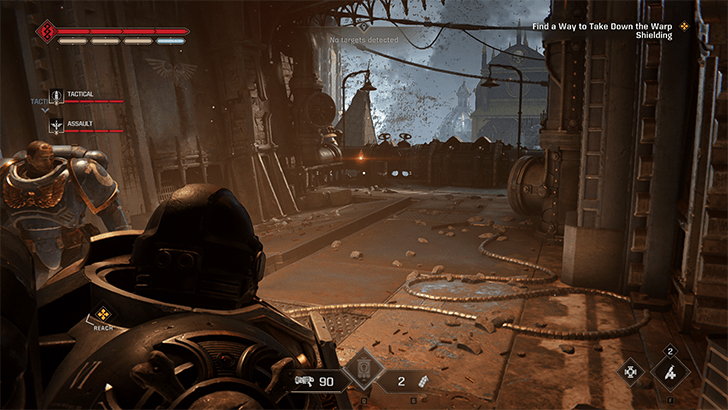
Inside the Cathedral where you fight the heretics for the first time, head up the small staircase going to the left side of the room, and it’ll be in front of the statue.
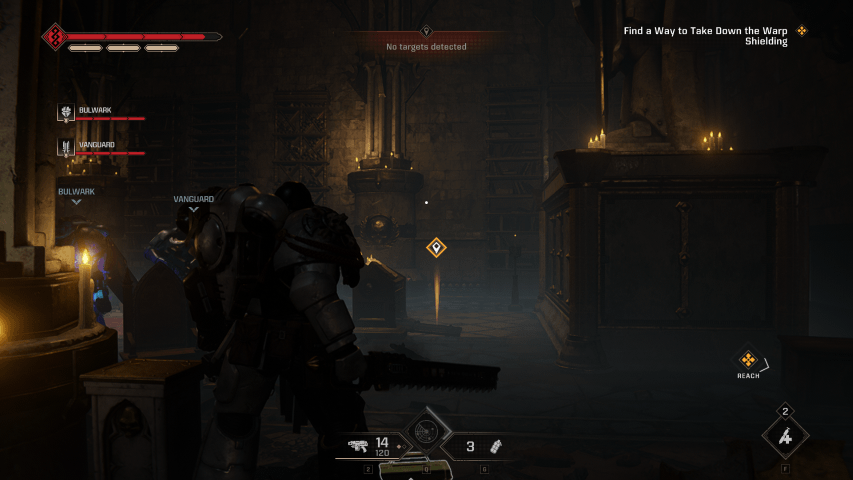
Go left when you see 3 flights of stairs while advancing to the cathedral.
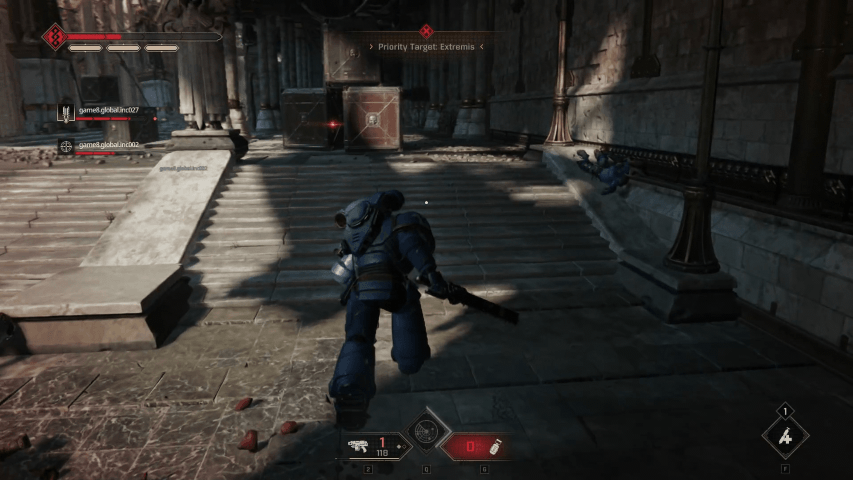
Before heading toward the giant circular elevator at the center of the room, go to the left and it’ll be by the blocked off staircase.
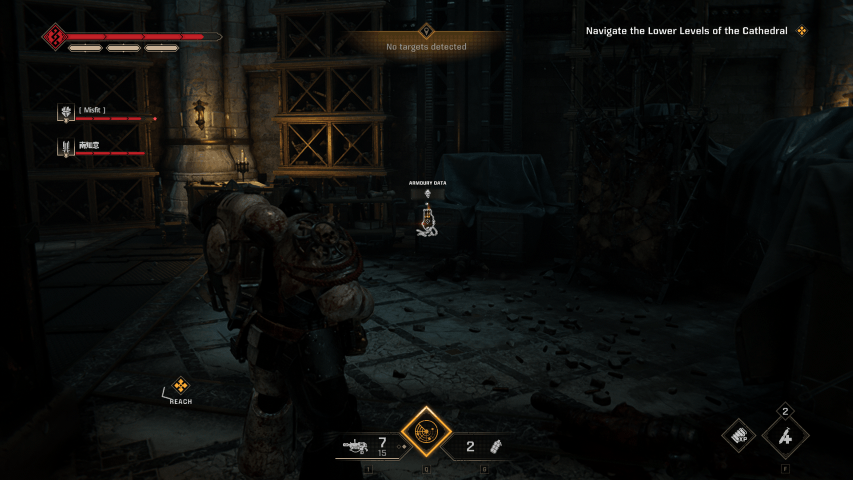
As you enter the boss location, head left until you reach the staircase, go back around towards the left side and it’ll be by the bookshelf in the corner by the staircase.
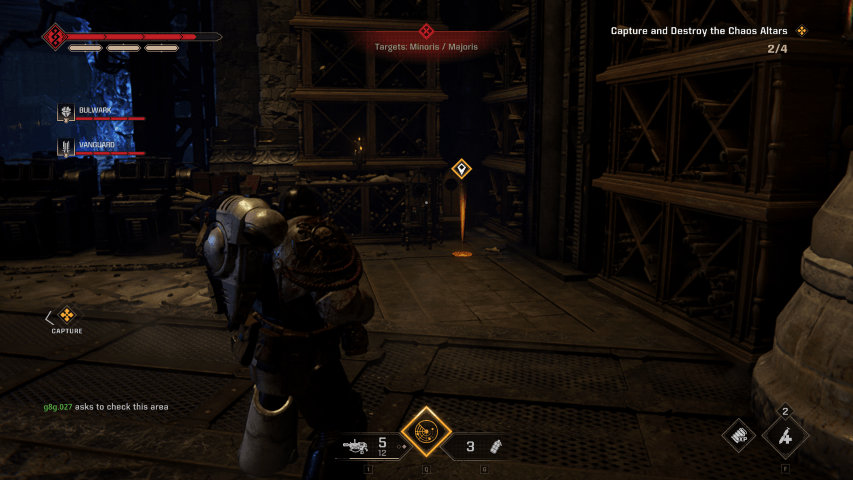
Operation 4: Reliquary
Location
Screenshot
At the start of the operation you will reach a crypt with a statue, go through the archway and after following the path, you will see rubble on the left. Hug the wall towards the left until you get to it.
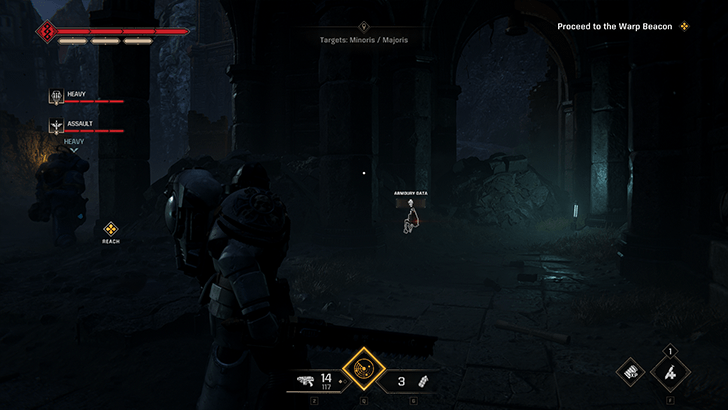
Before entering the Tomb, take the left path by the big tower instead of going straight, look for the opening to a crypt on the left and it will be by the doorway on the right.
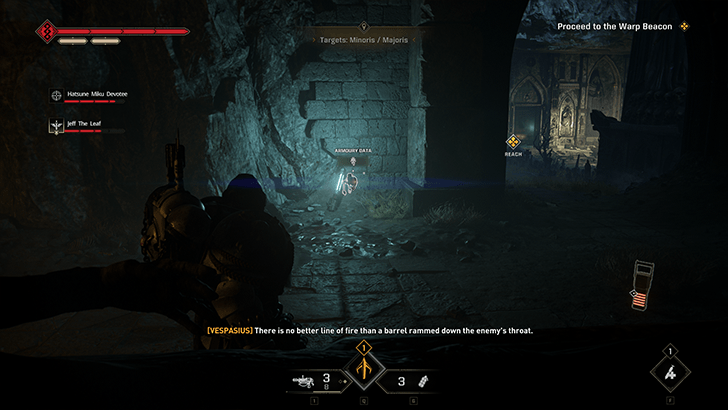
After getting down the elevator from the Tomb, instead of immediately advancing forward, go left towards a downward path, at the end will be a brazier with the Armory Data in front.
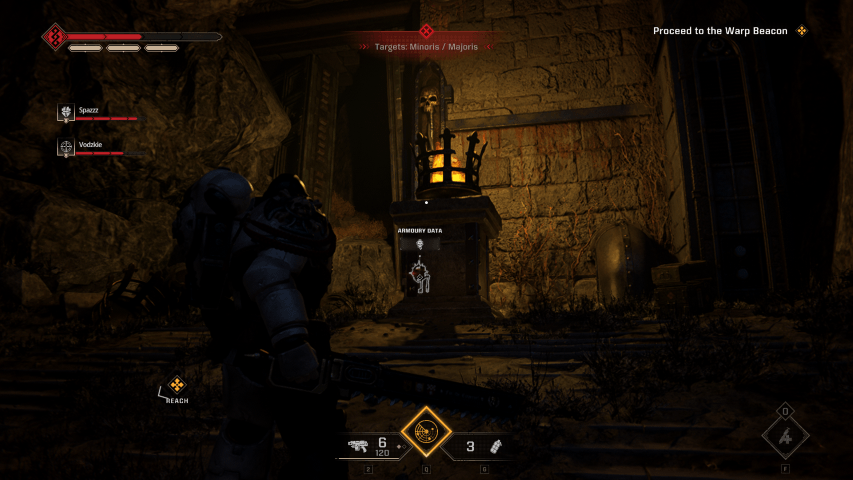
Outside the building with the Dataslate, go right and down the stairs.
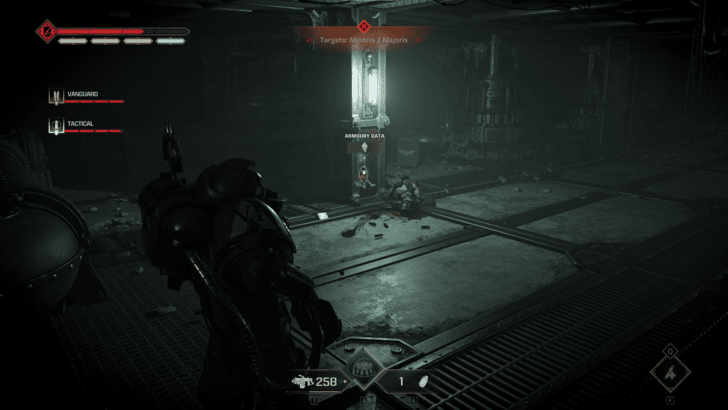
At the last stretch of the Heldrake Bombardment, after dropping down from the first tower, immediately turn right into a steel platform and it will be at the end.
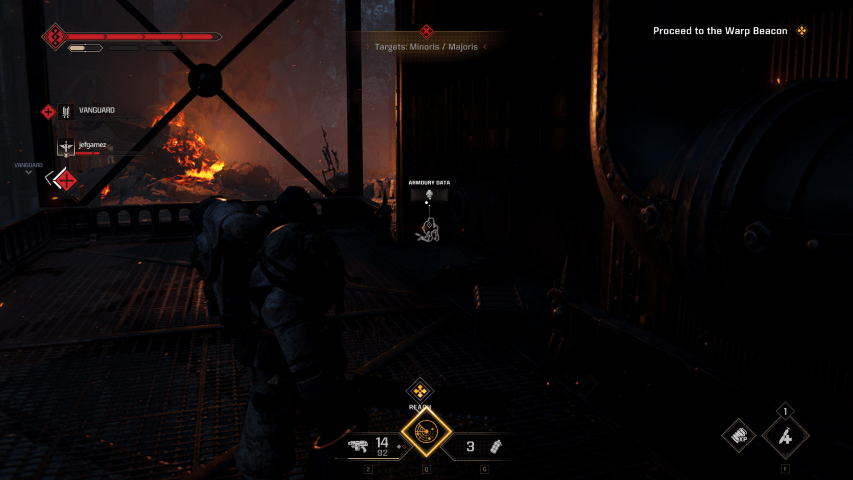
Operation 5: Fall of Atreus
Location
Screenshot
At the start of the operation, go to the left right before entering the archway to find it.
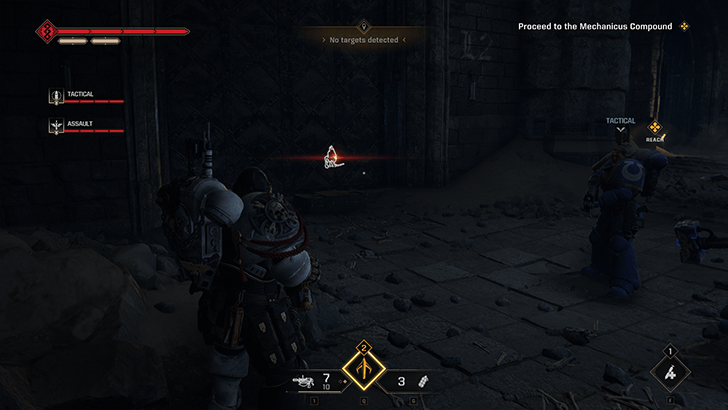
Found in the area while holding until the passage is clear.
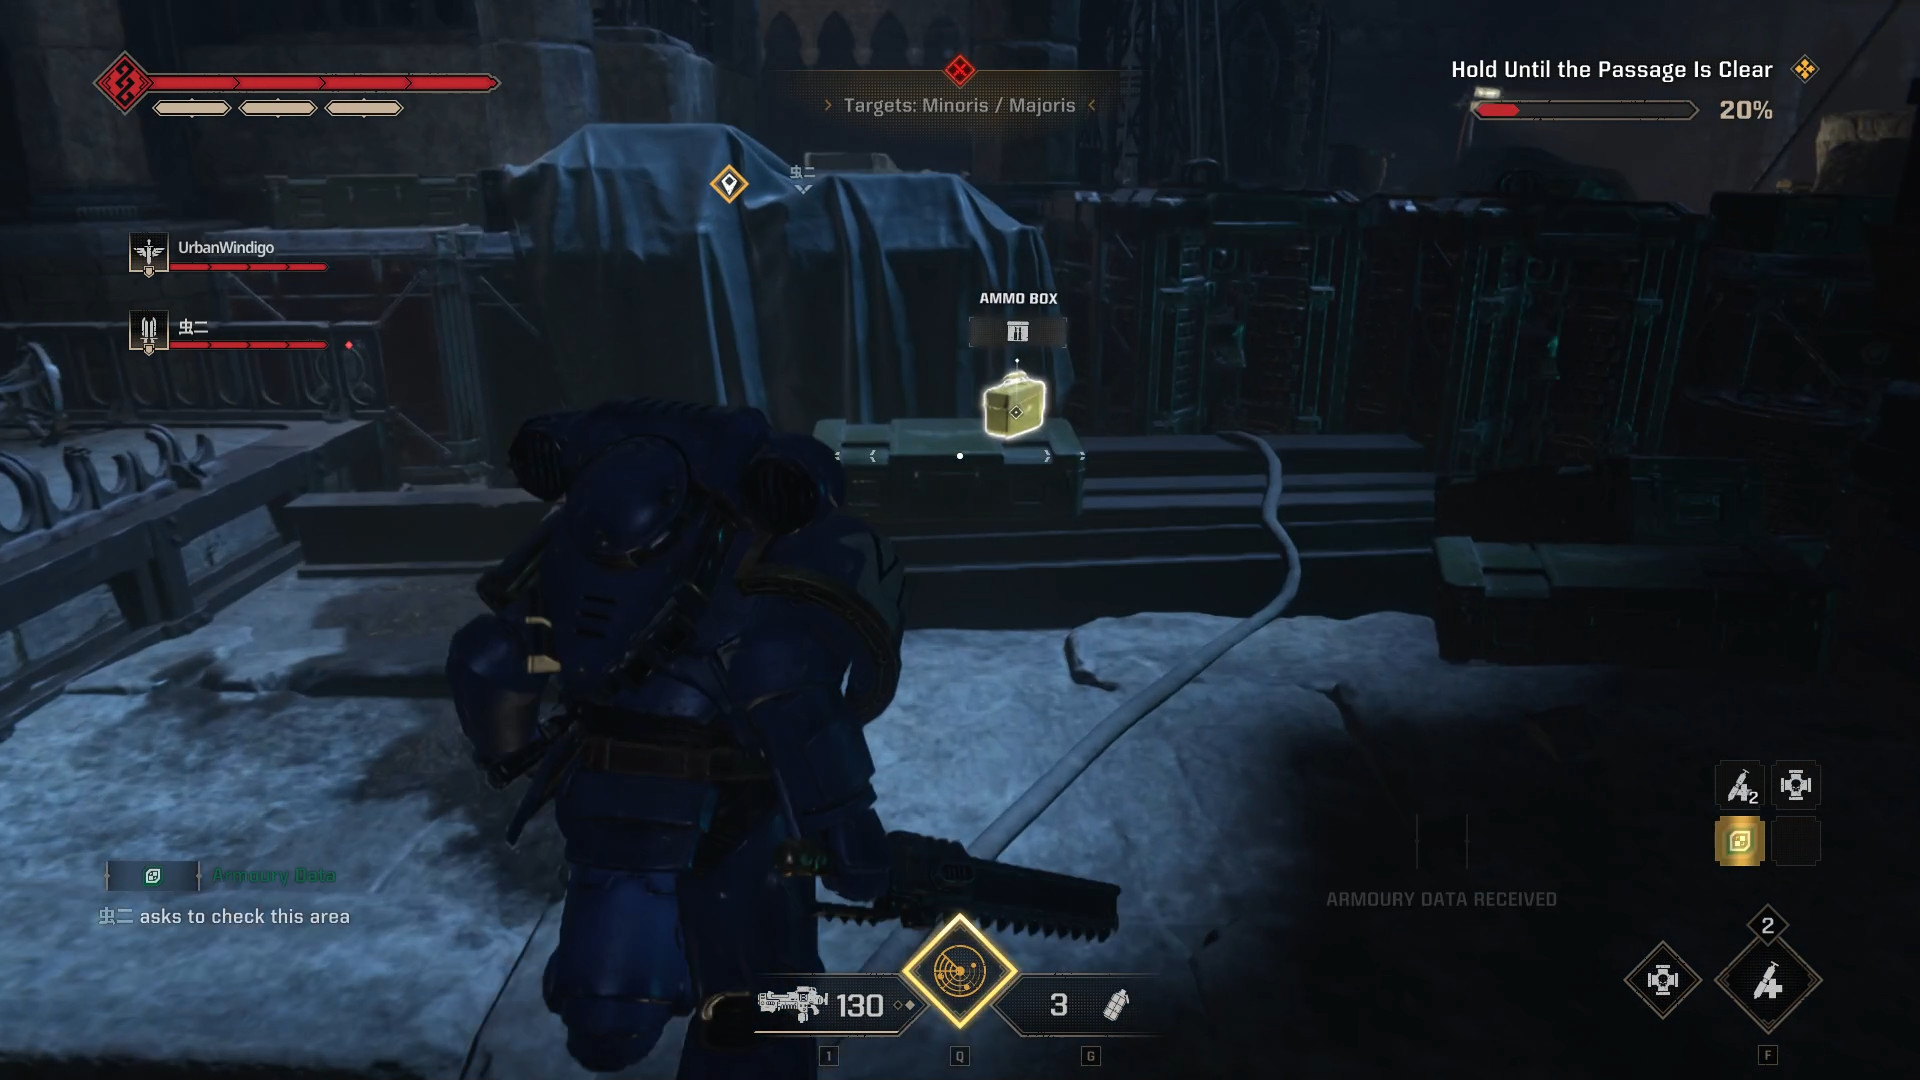
After talking to the Tech-Priests and heading outside, head down the ramp and go to the opposite side to the other ramp that should theoretically lead back into the base, it’ll be right by the door next to the Tech-Priest.
Operation 6: Ballistic Engine
Location
Screenshot
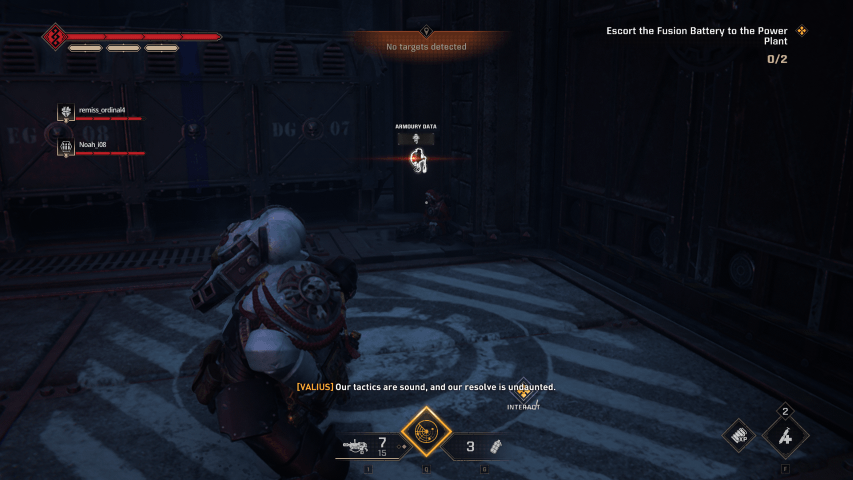
Find this in a shelter in the first area right before moving to the warhead storage.
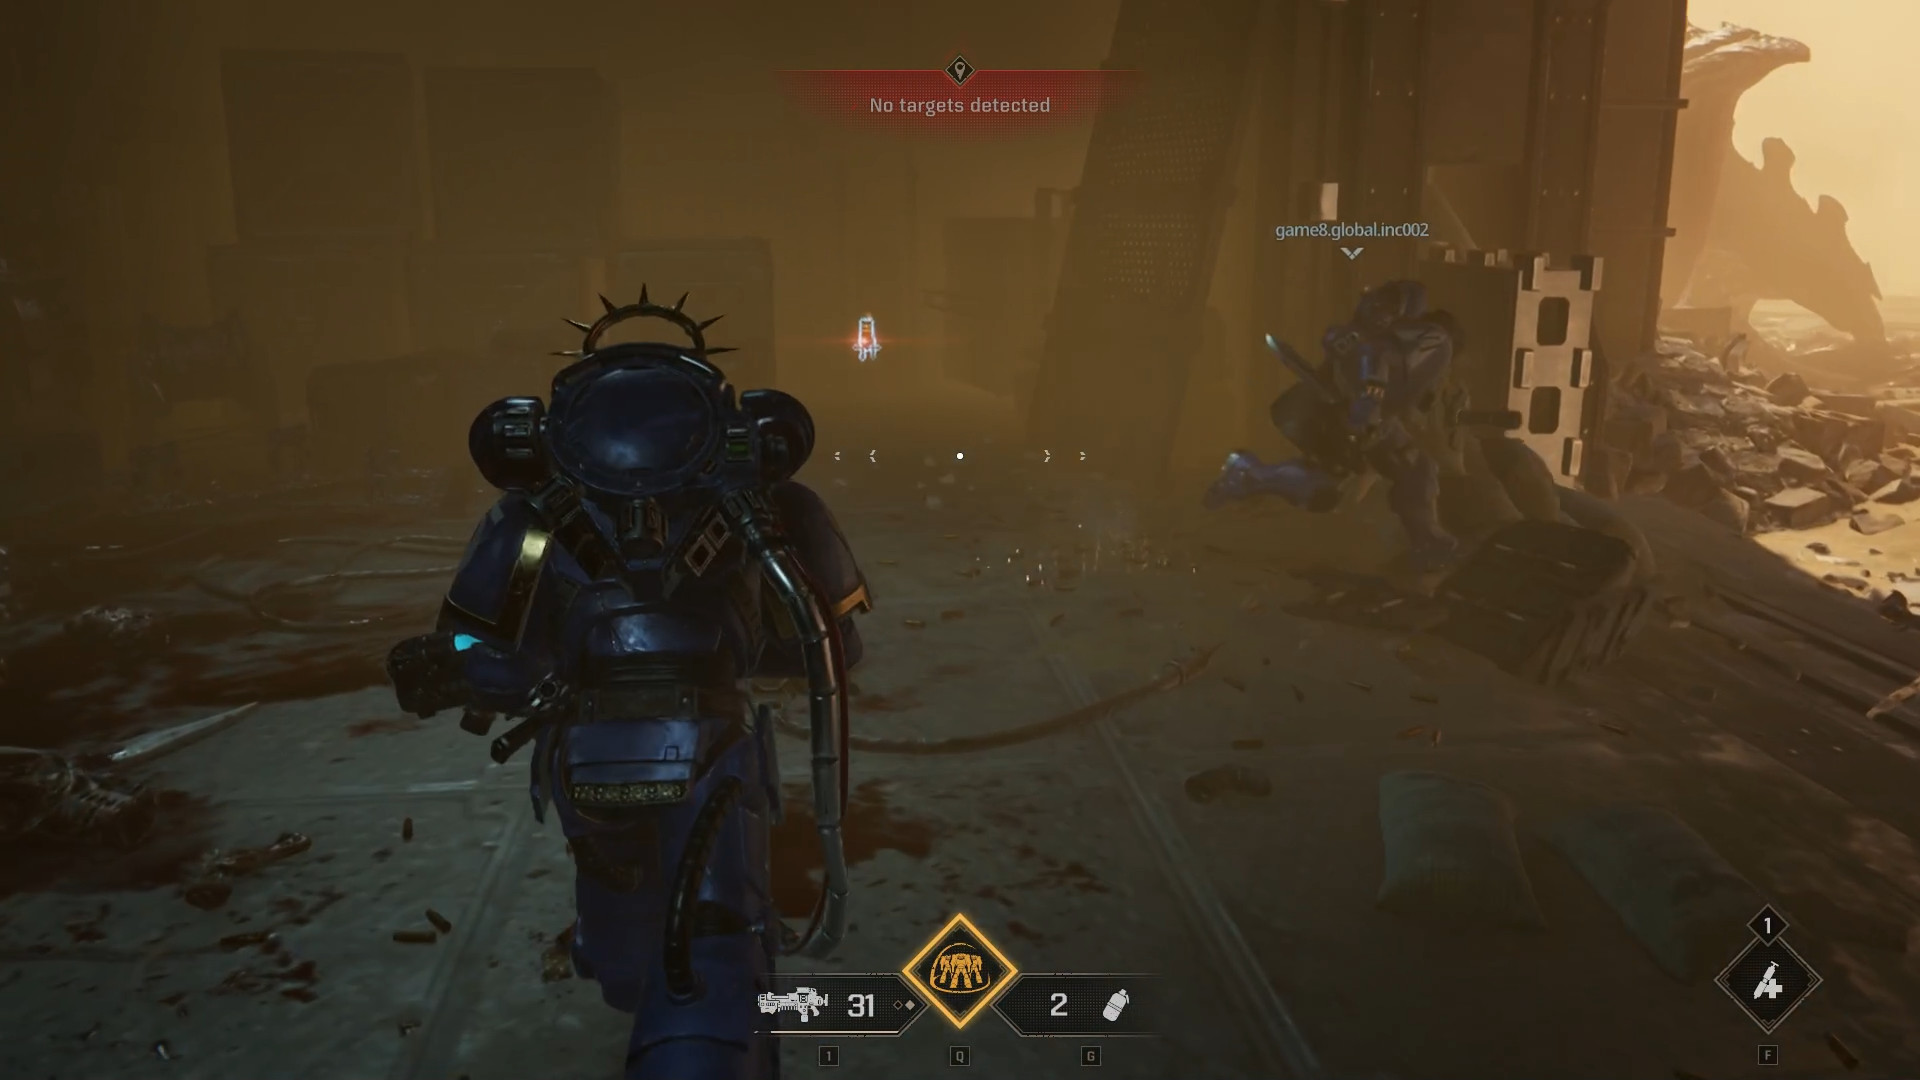
In the left-most room after riding up the elevator before proceeding to the objective marker. Same area as a potential Gene-Seed spawn.
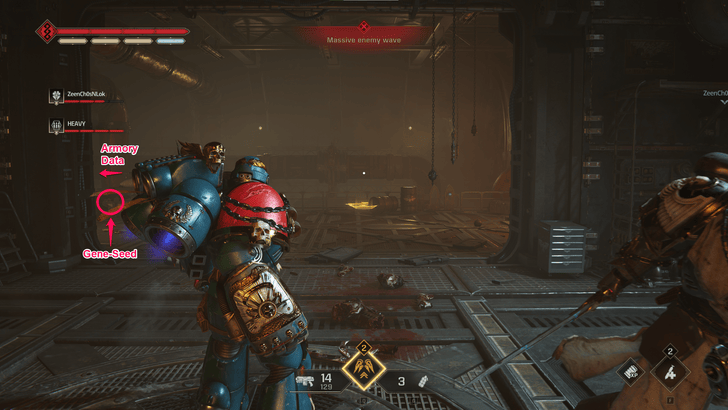
Behind a cart when you head right after reaching the second open area.
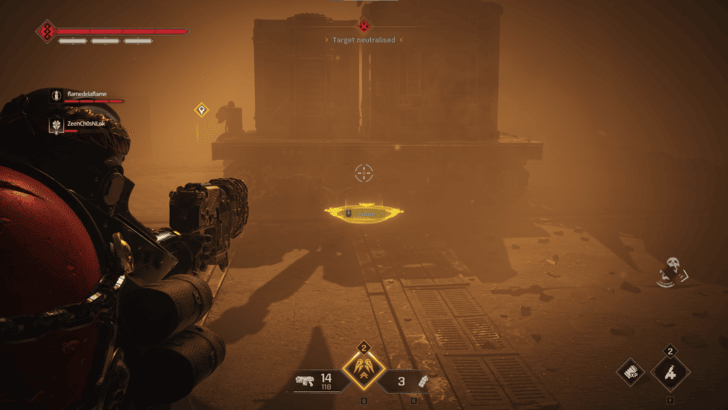
Head to a corner on the right after one of the stowed trains once you enter the train yard. There is a Dataslate on the opposite side.
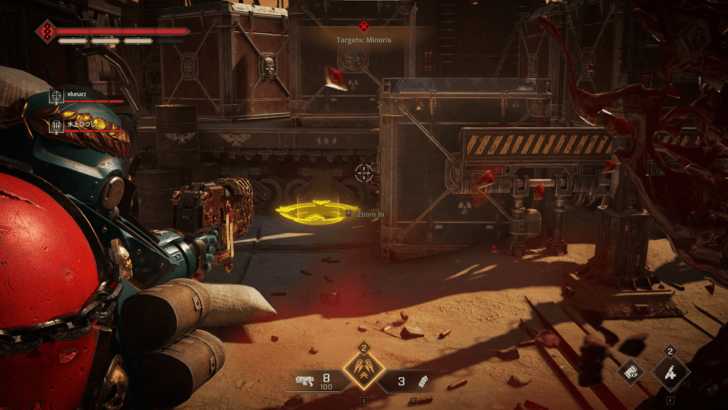
To your right, just before the loadout terminal.
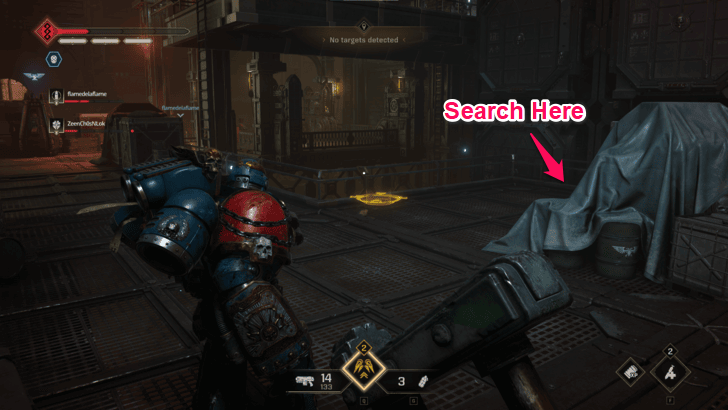
Operation 7: Termination
Location
Screenshot
At the beginning of the mission, after interacting and going through the big flowers, hug left until you see a large armored vehicle on fire. The data is around the corner to the left.
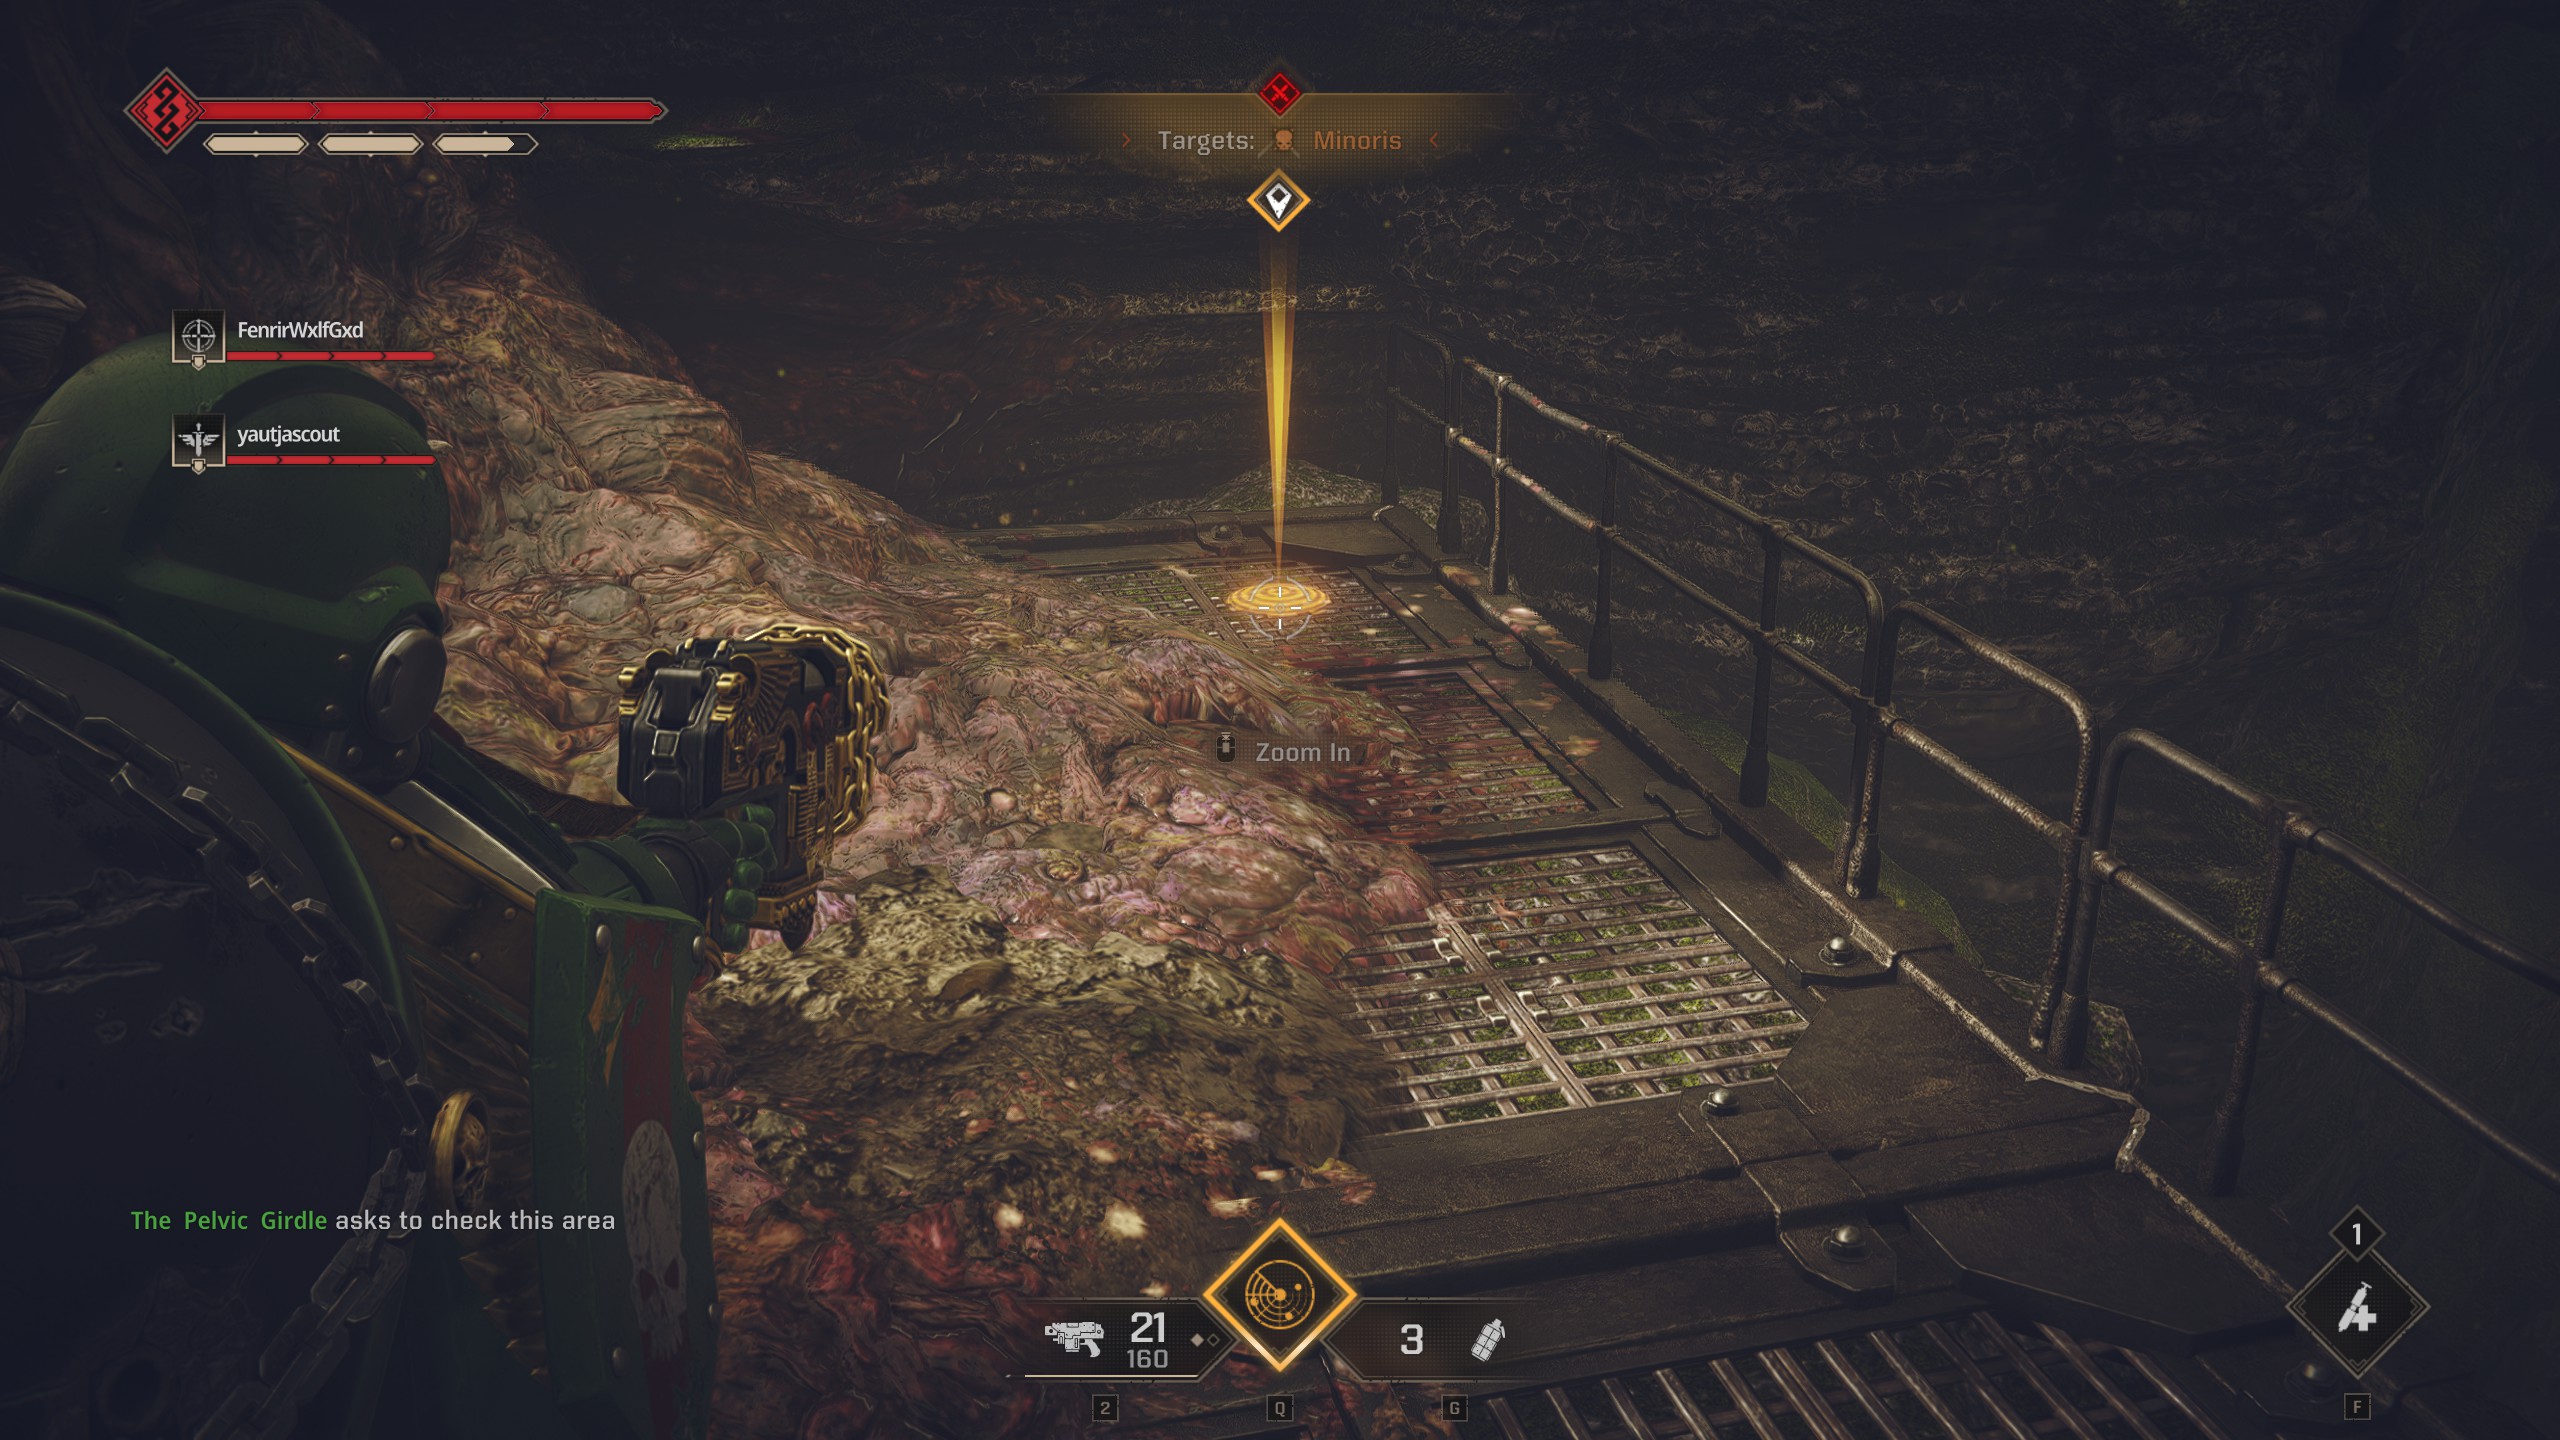
In the room with the terminal surrounded by a mud pit where you awaken the console, head up the stairs to the northwest of the terminal. In a room with two glowing blue battery pods, the data is behind a stack of crates.
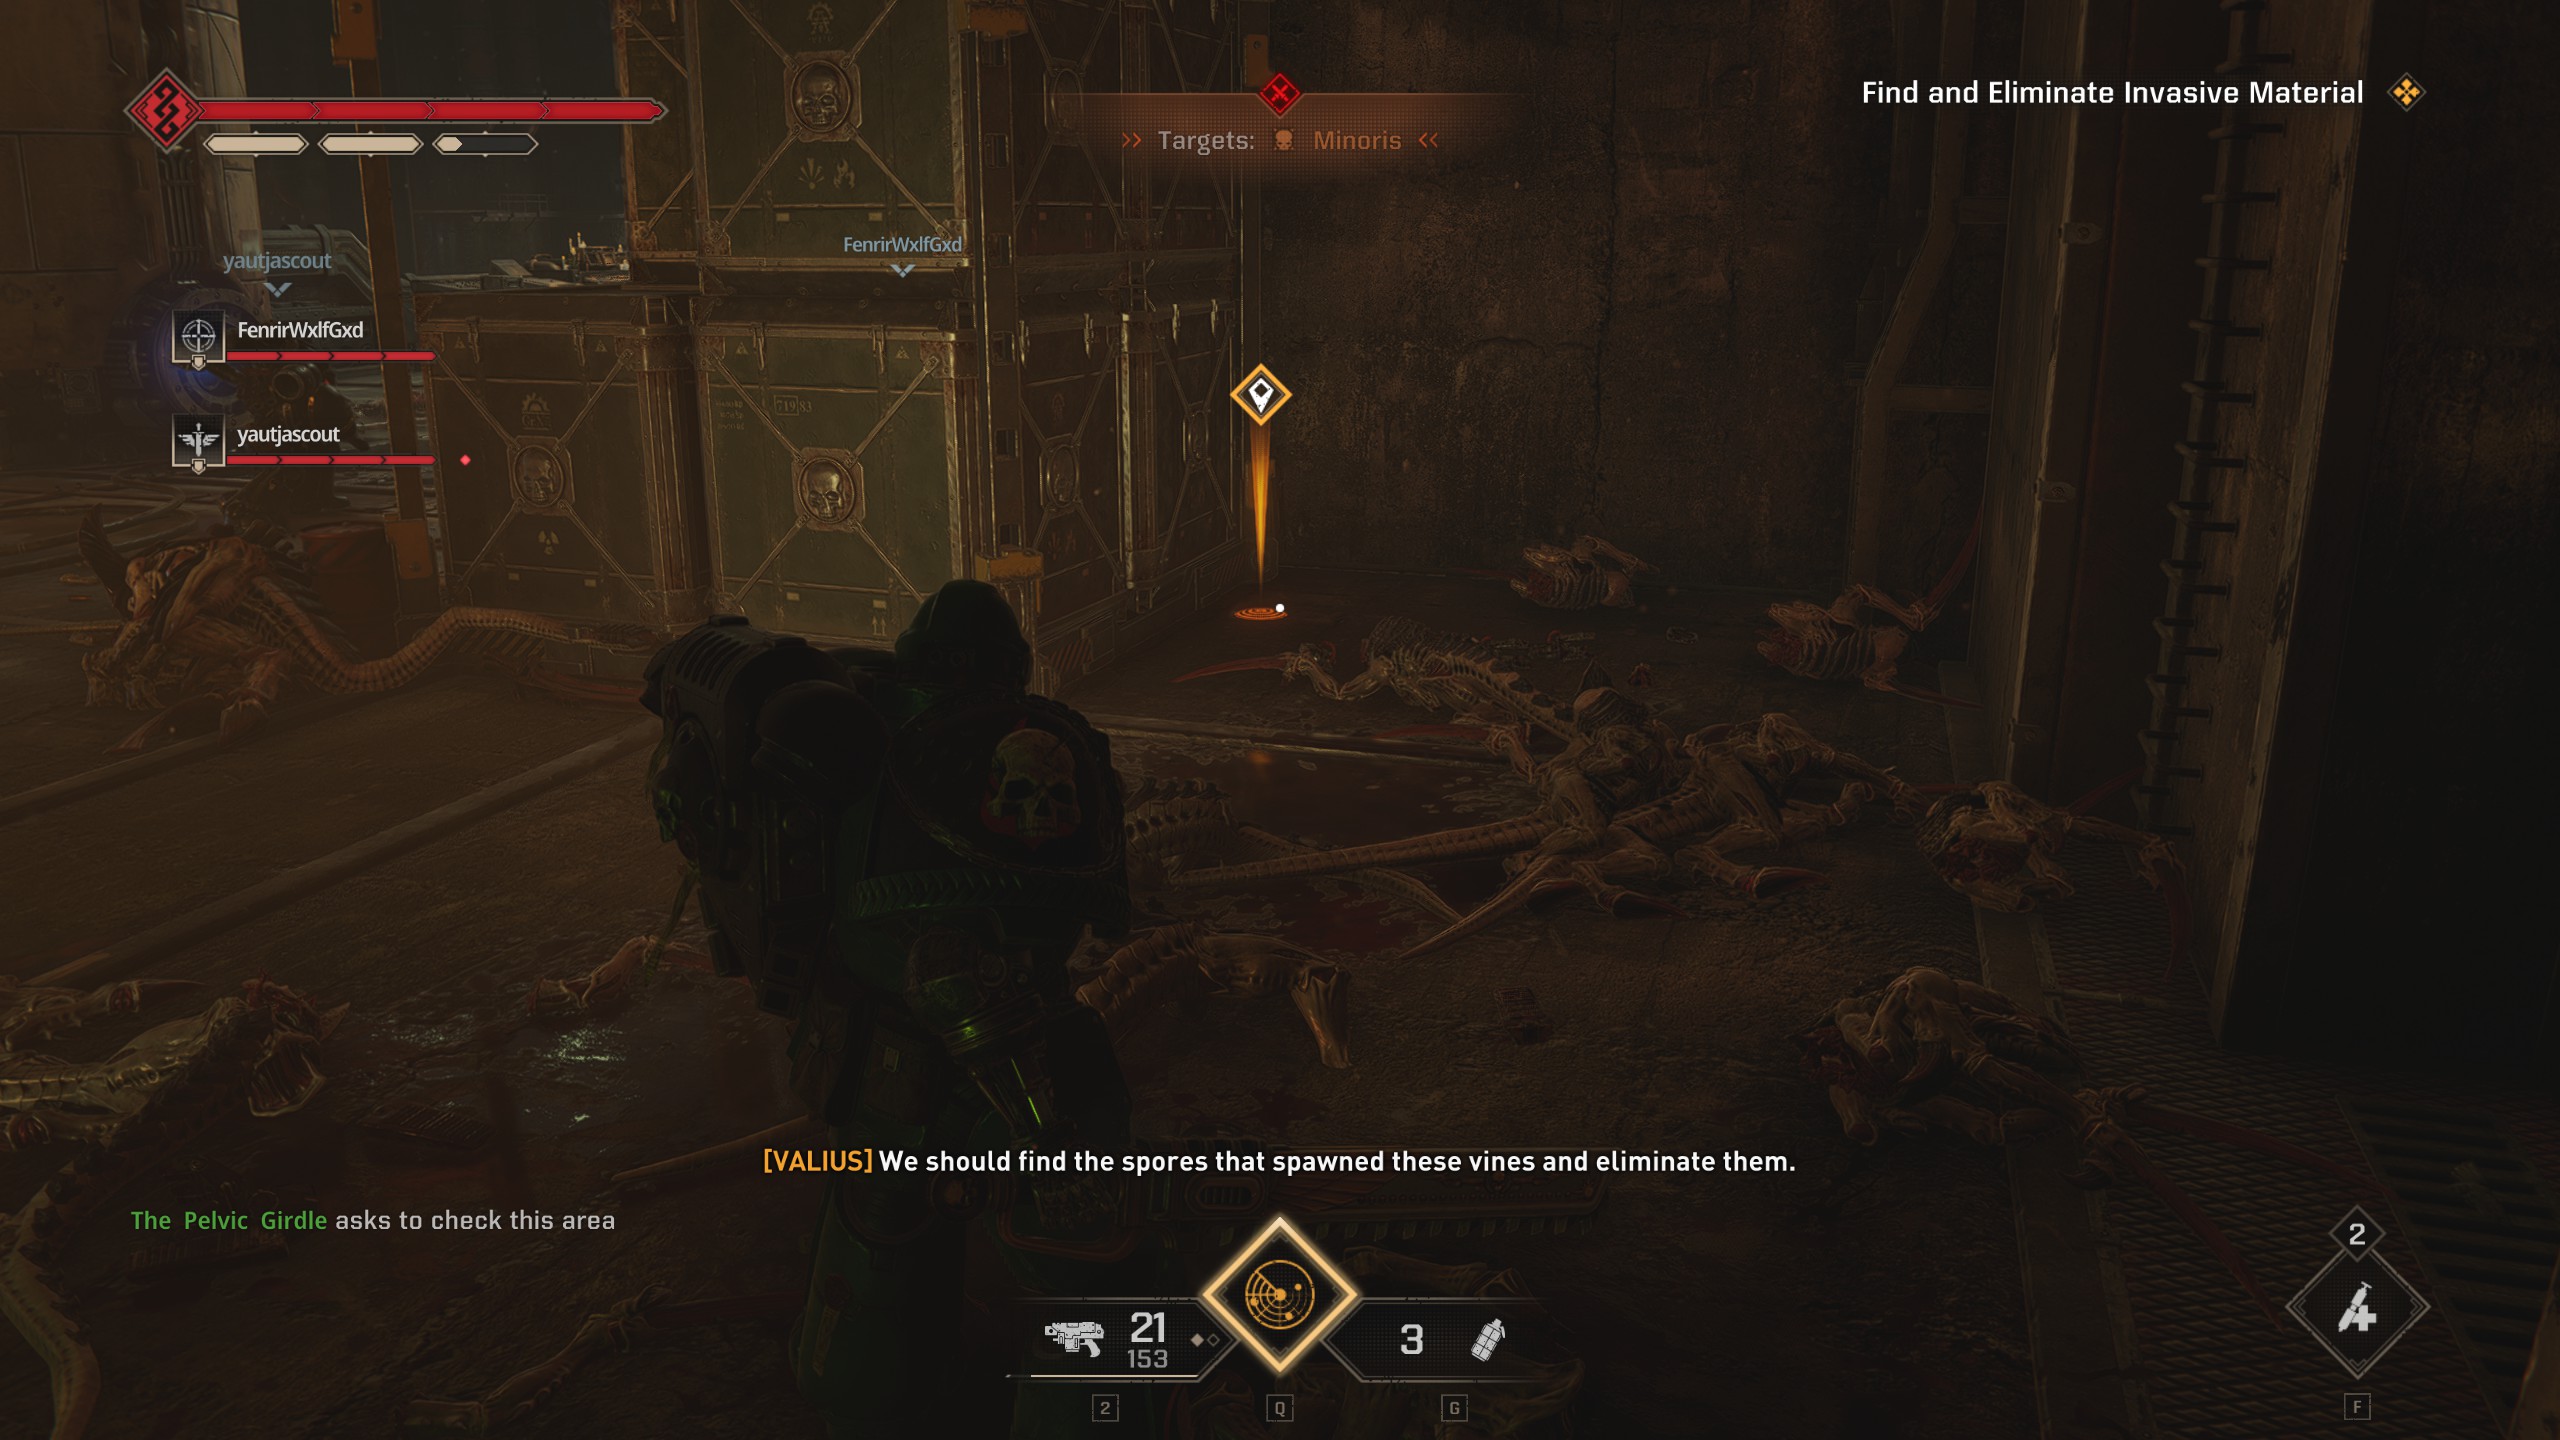
In the room with the terminal surrounded by a mud pit where you awaken the console, go toward the large door to the right of the terminal. Just before going through the door, turn right, and the data is in a corner by small construction machine.
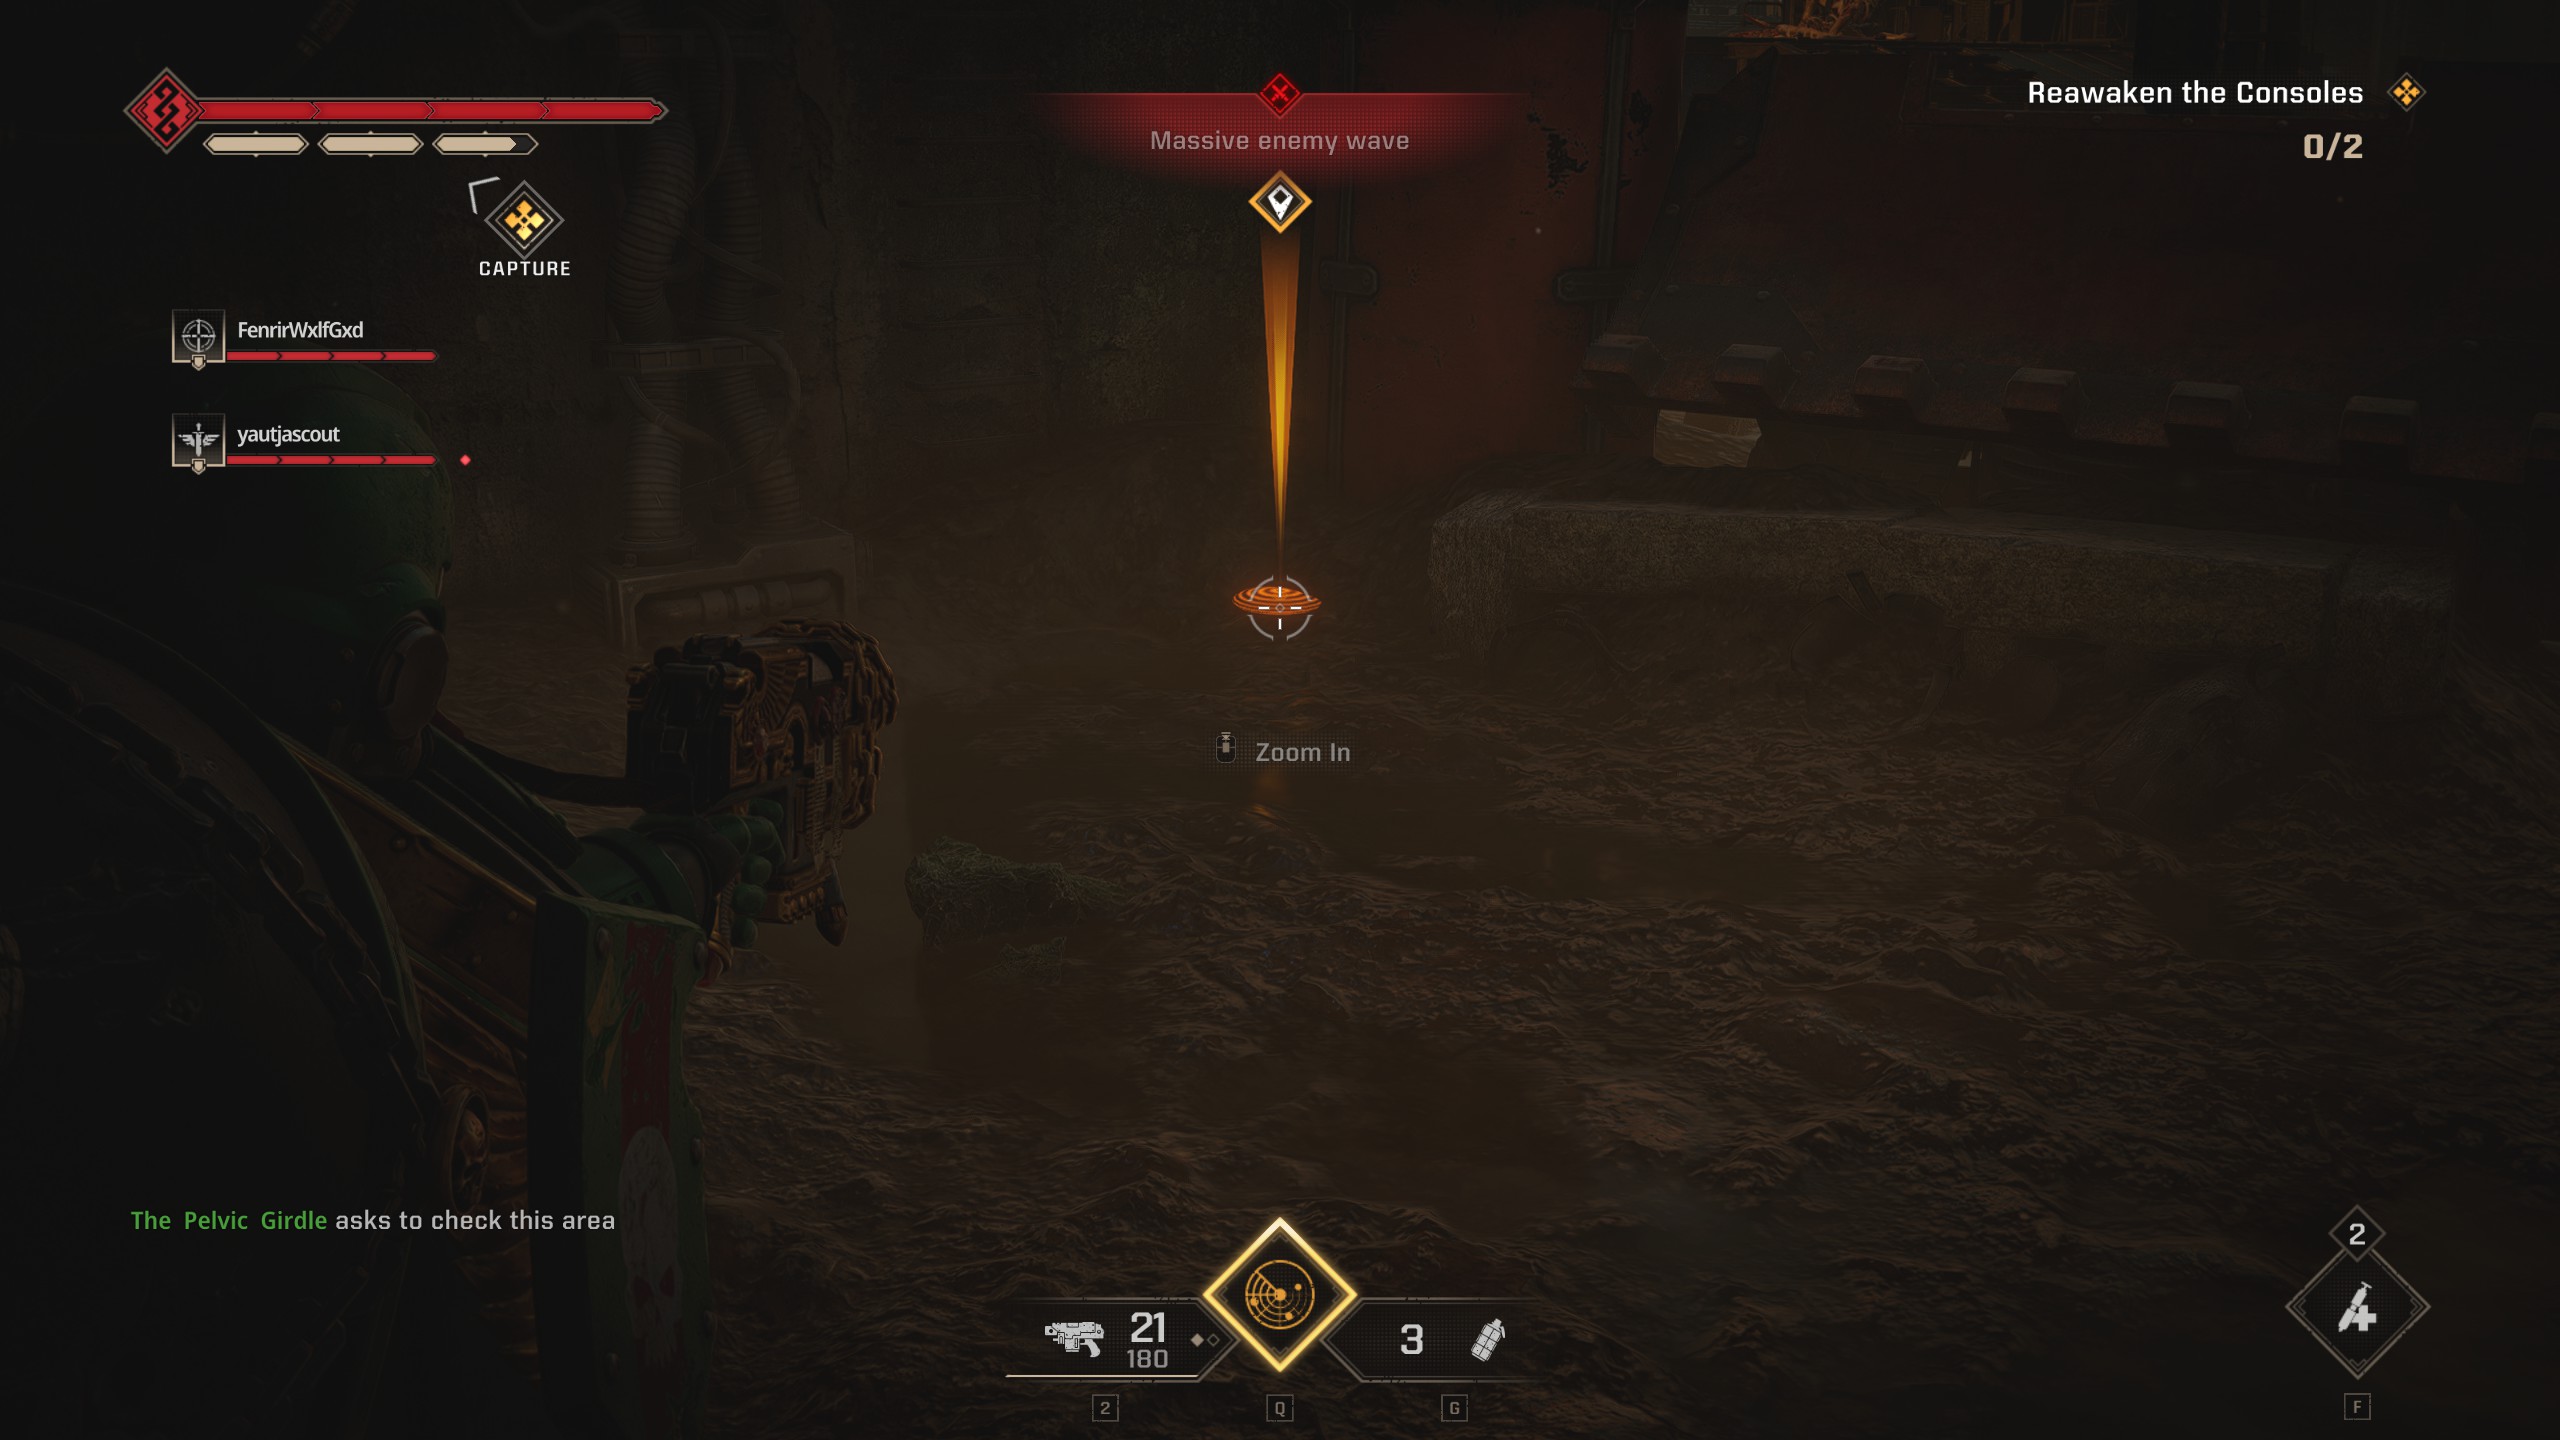
After you awaken the consoles and heard through the door, immediately go right through a hallway until you reach a room that has a wall that is lit with red light. At the end of this room, turn right to find the data behind a terminal and some covered crates.
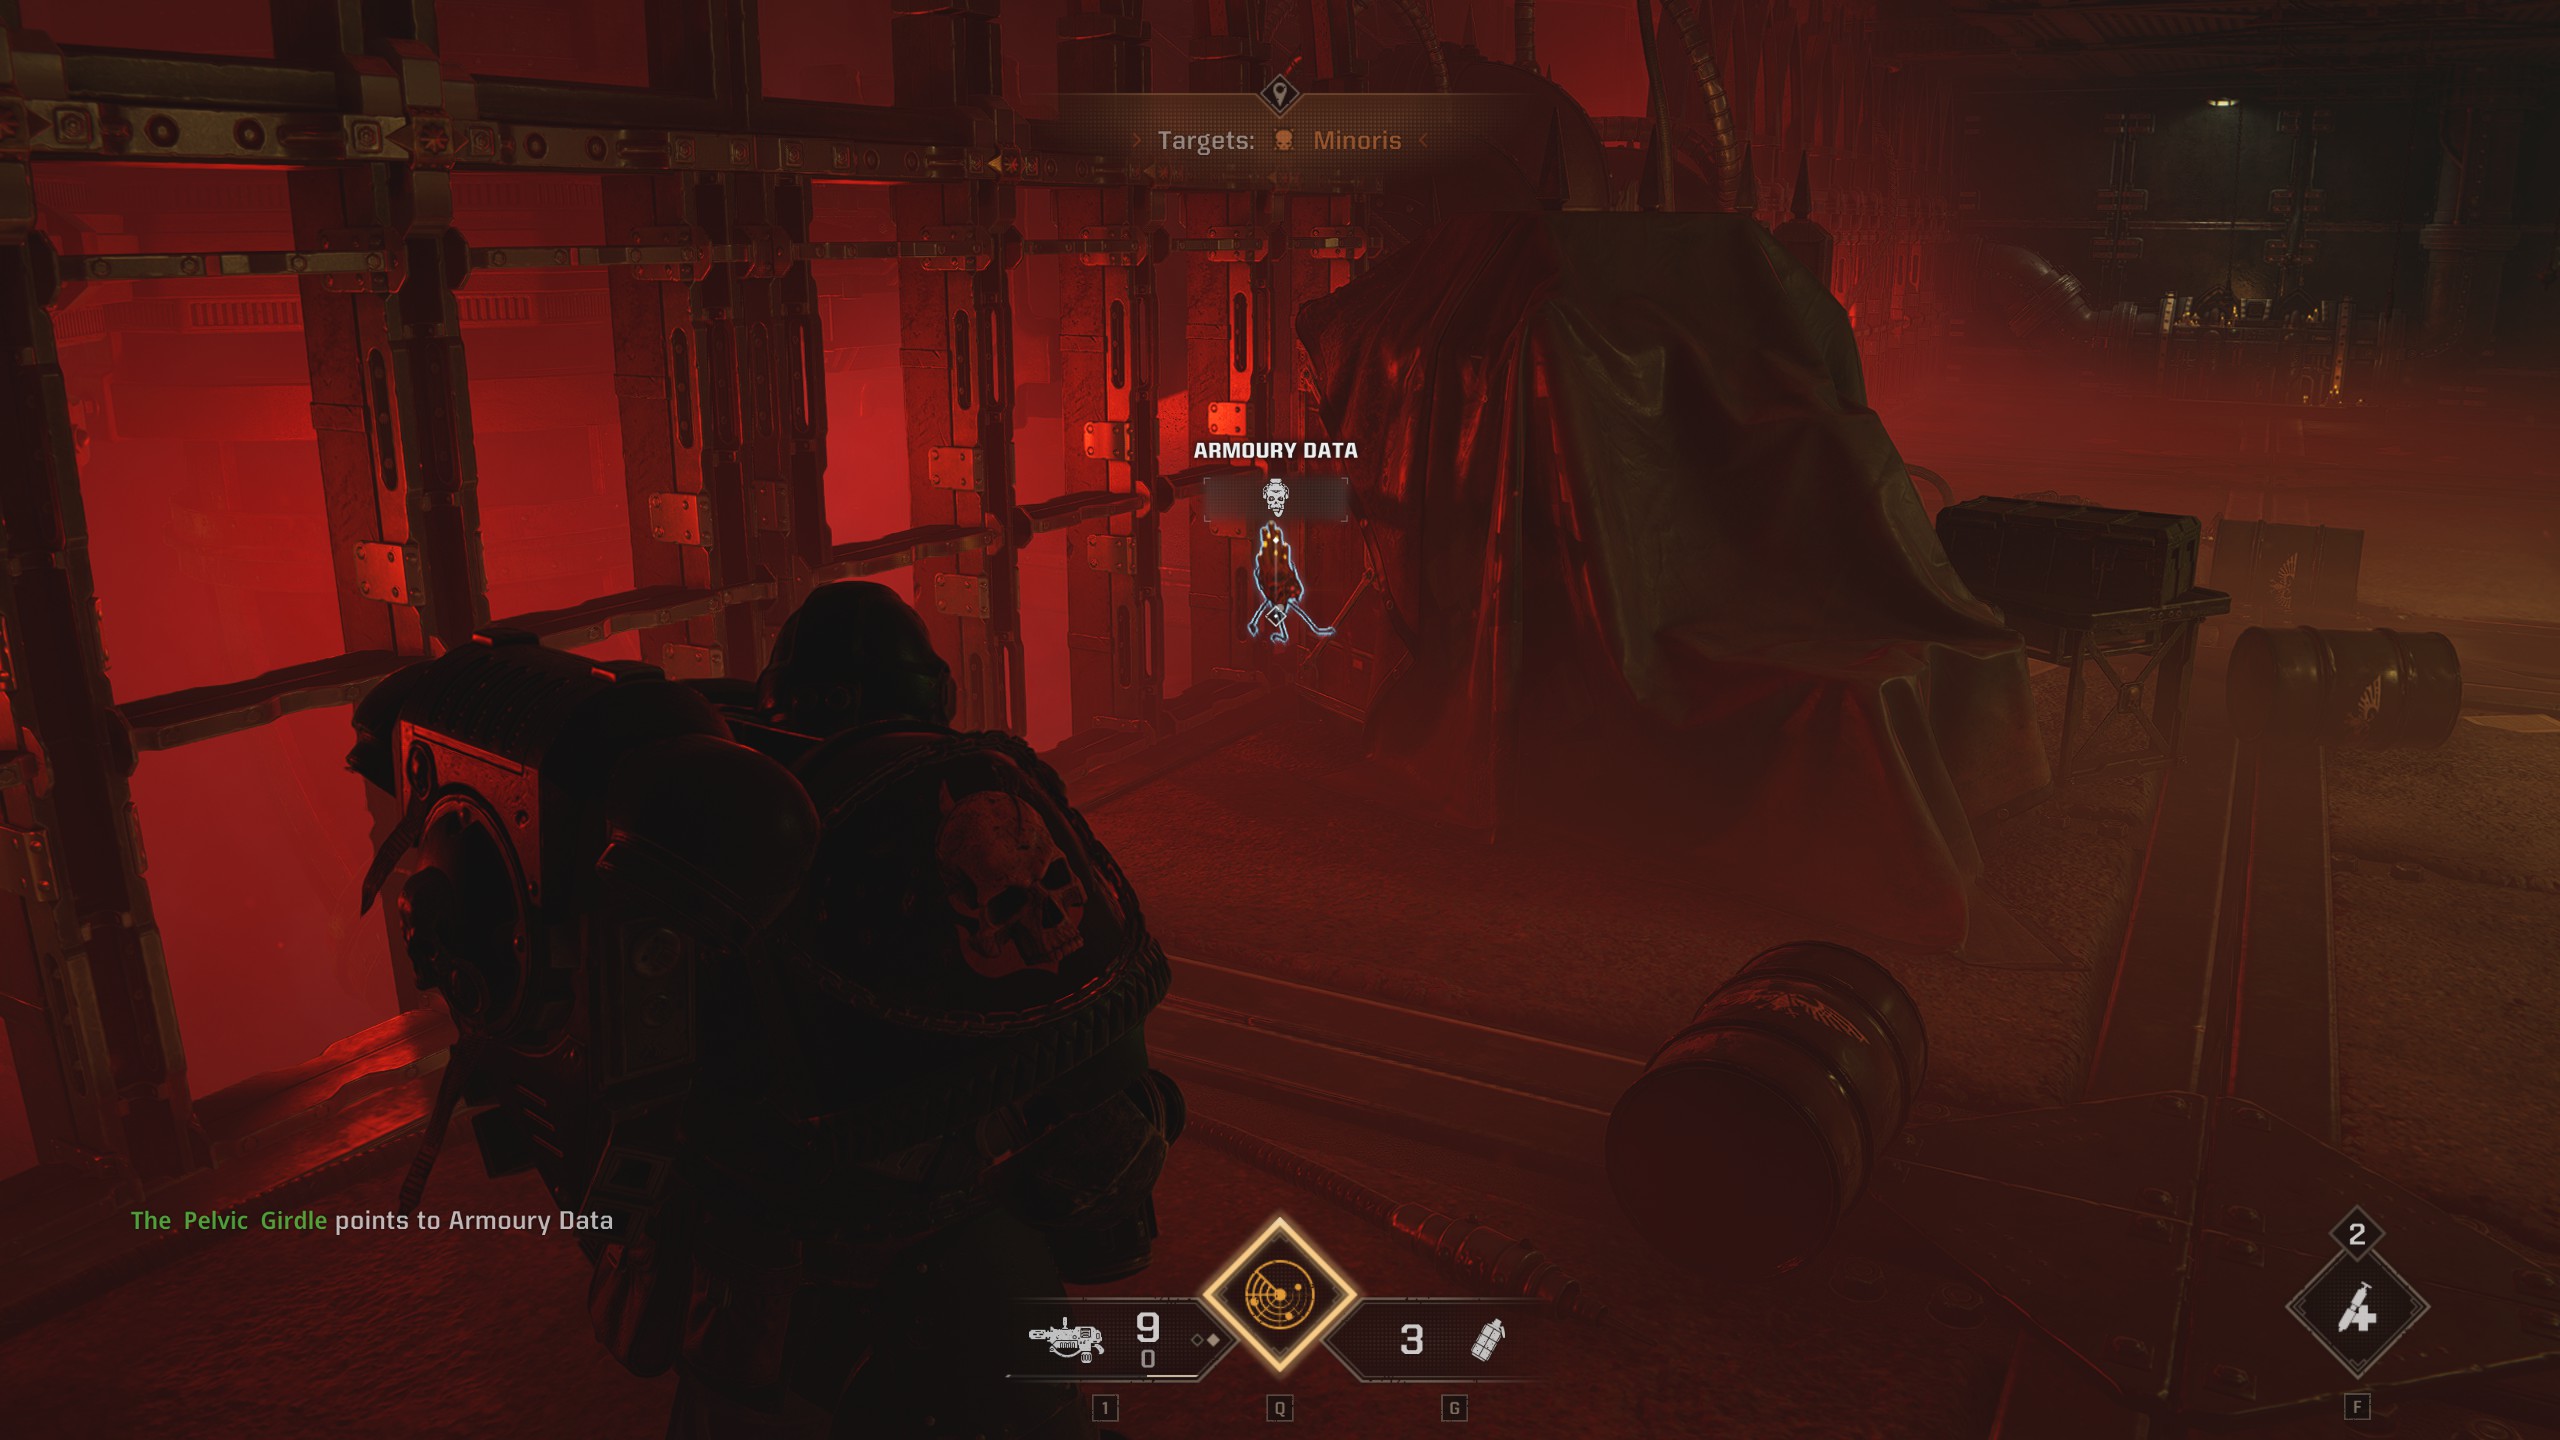
When heading up the large spiral staircase, go to the very top, past the objective marker. When you get to the top, turn right into a relatively short hallway, and the data is at the end on the left.
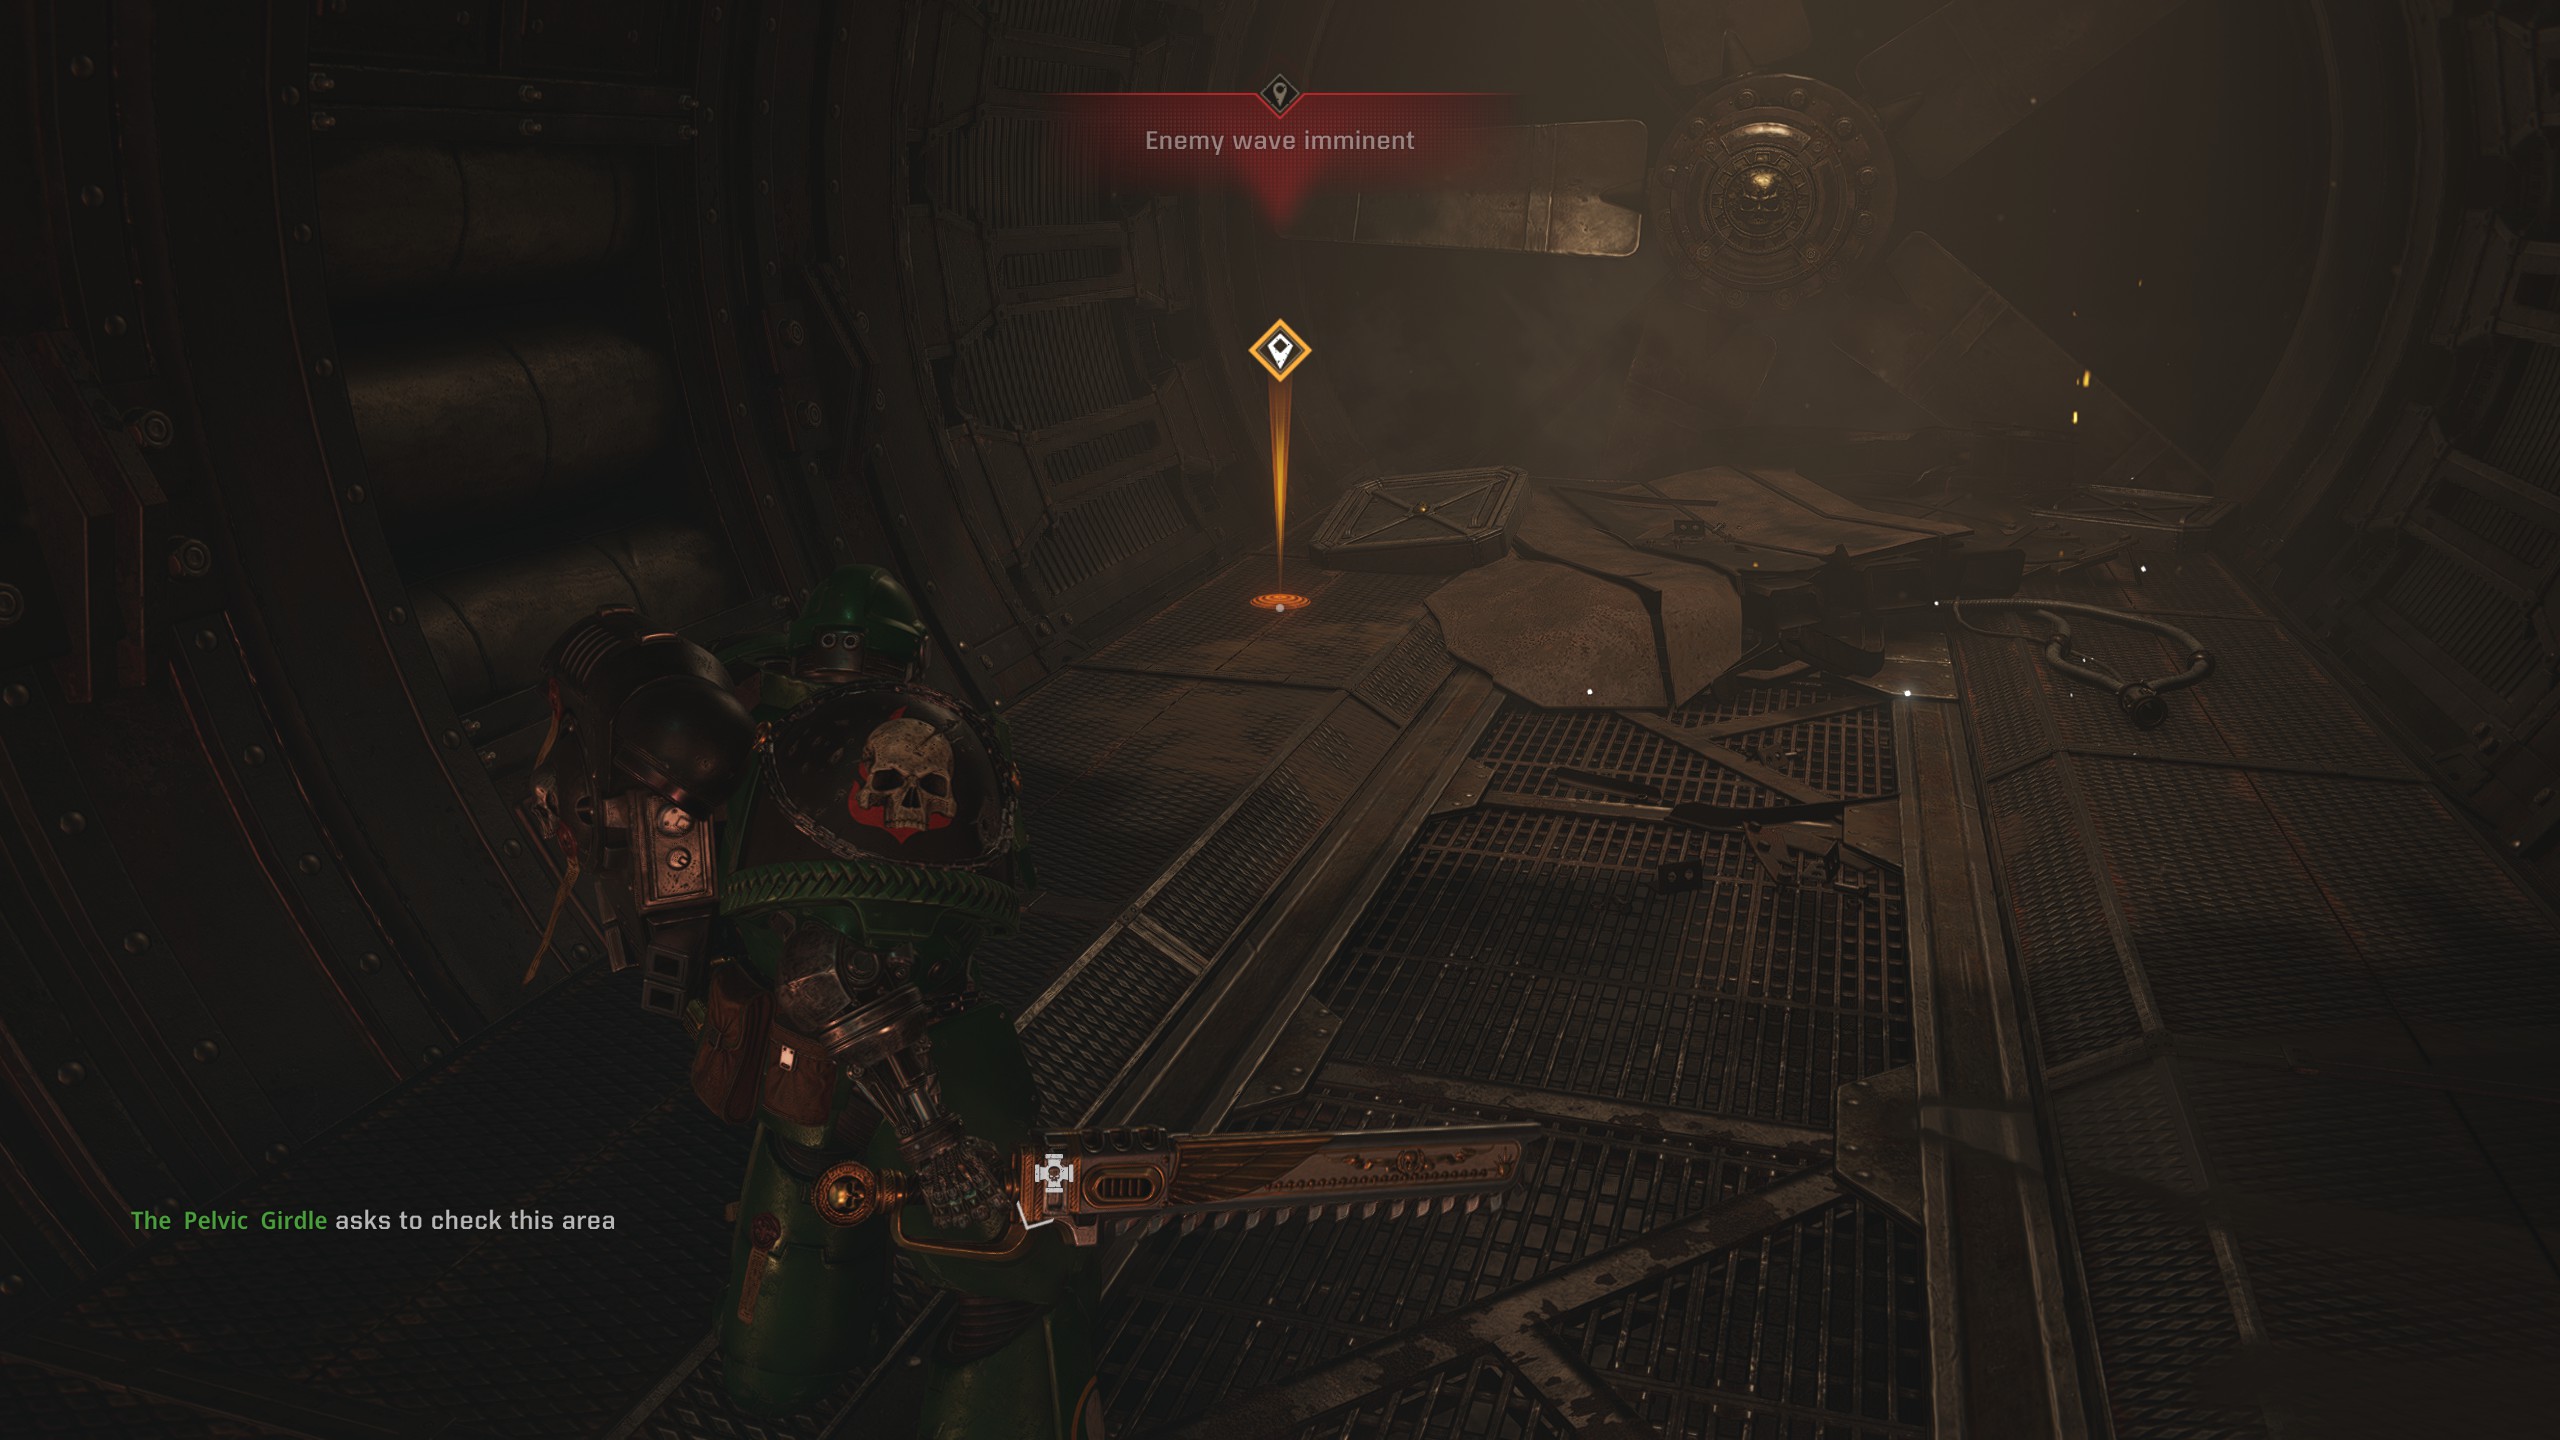
Operation 8: Obelisk
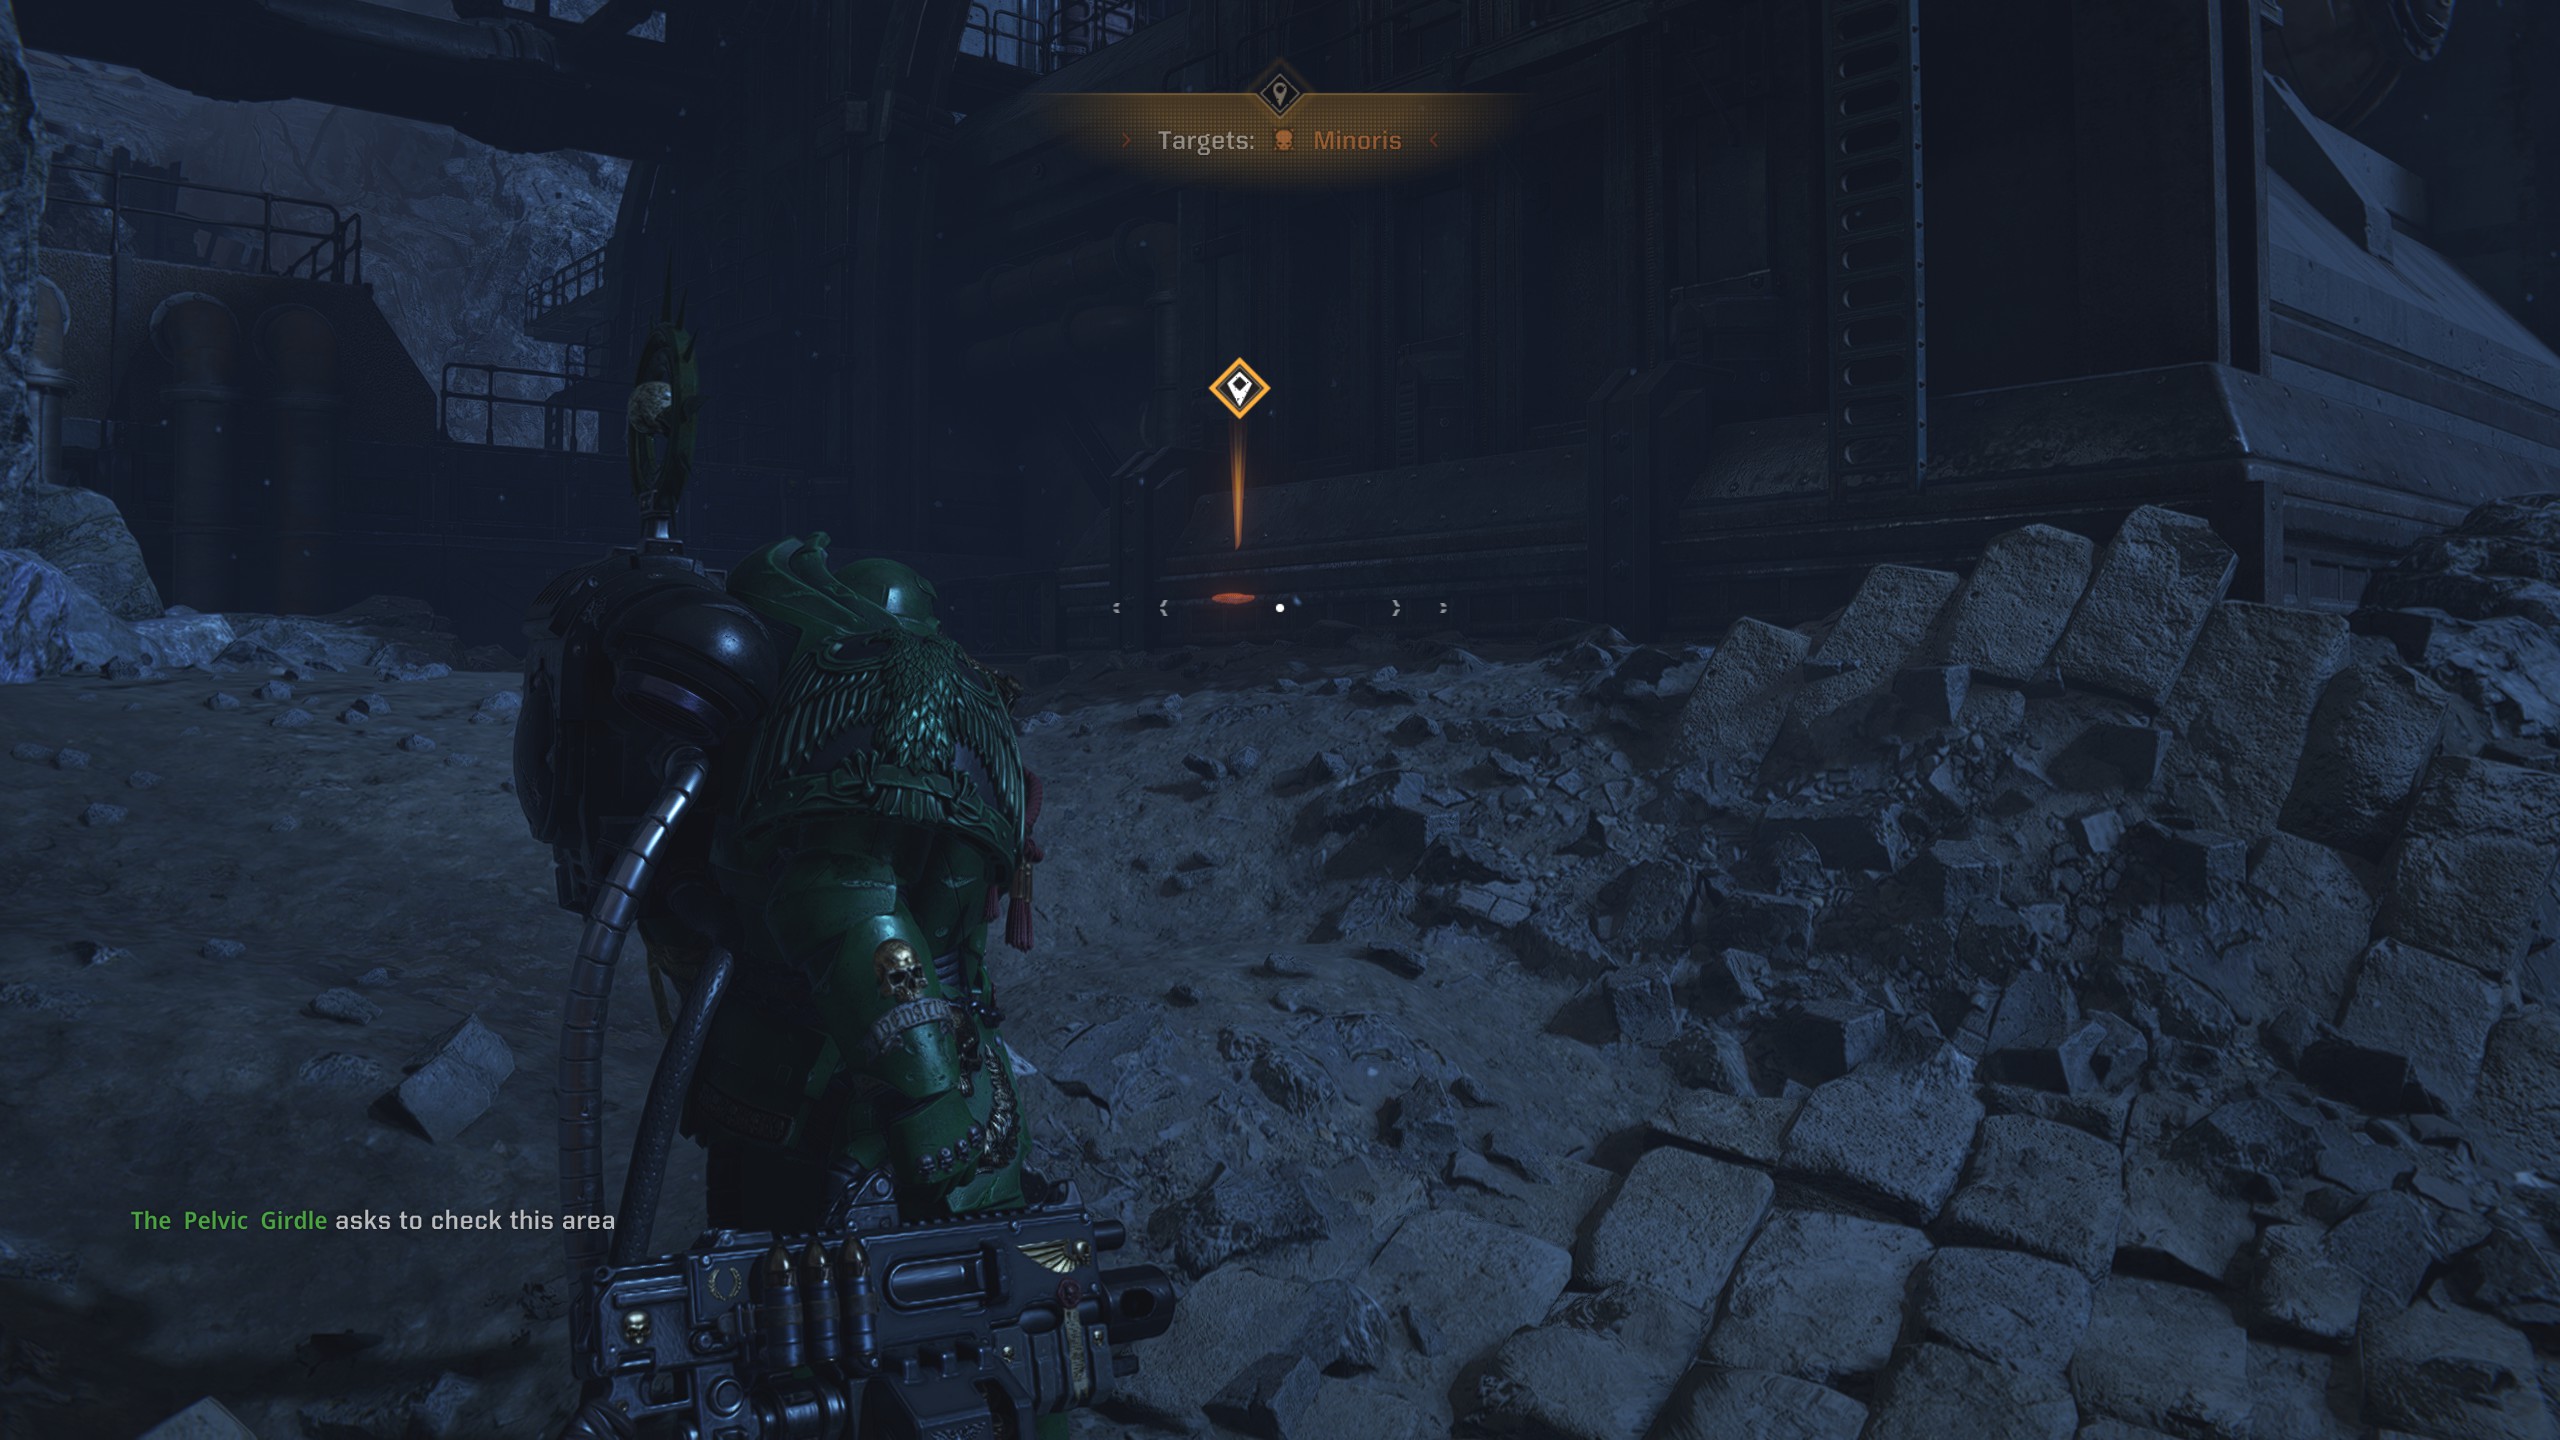
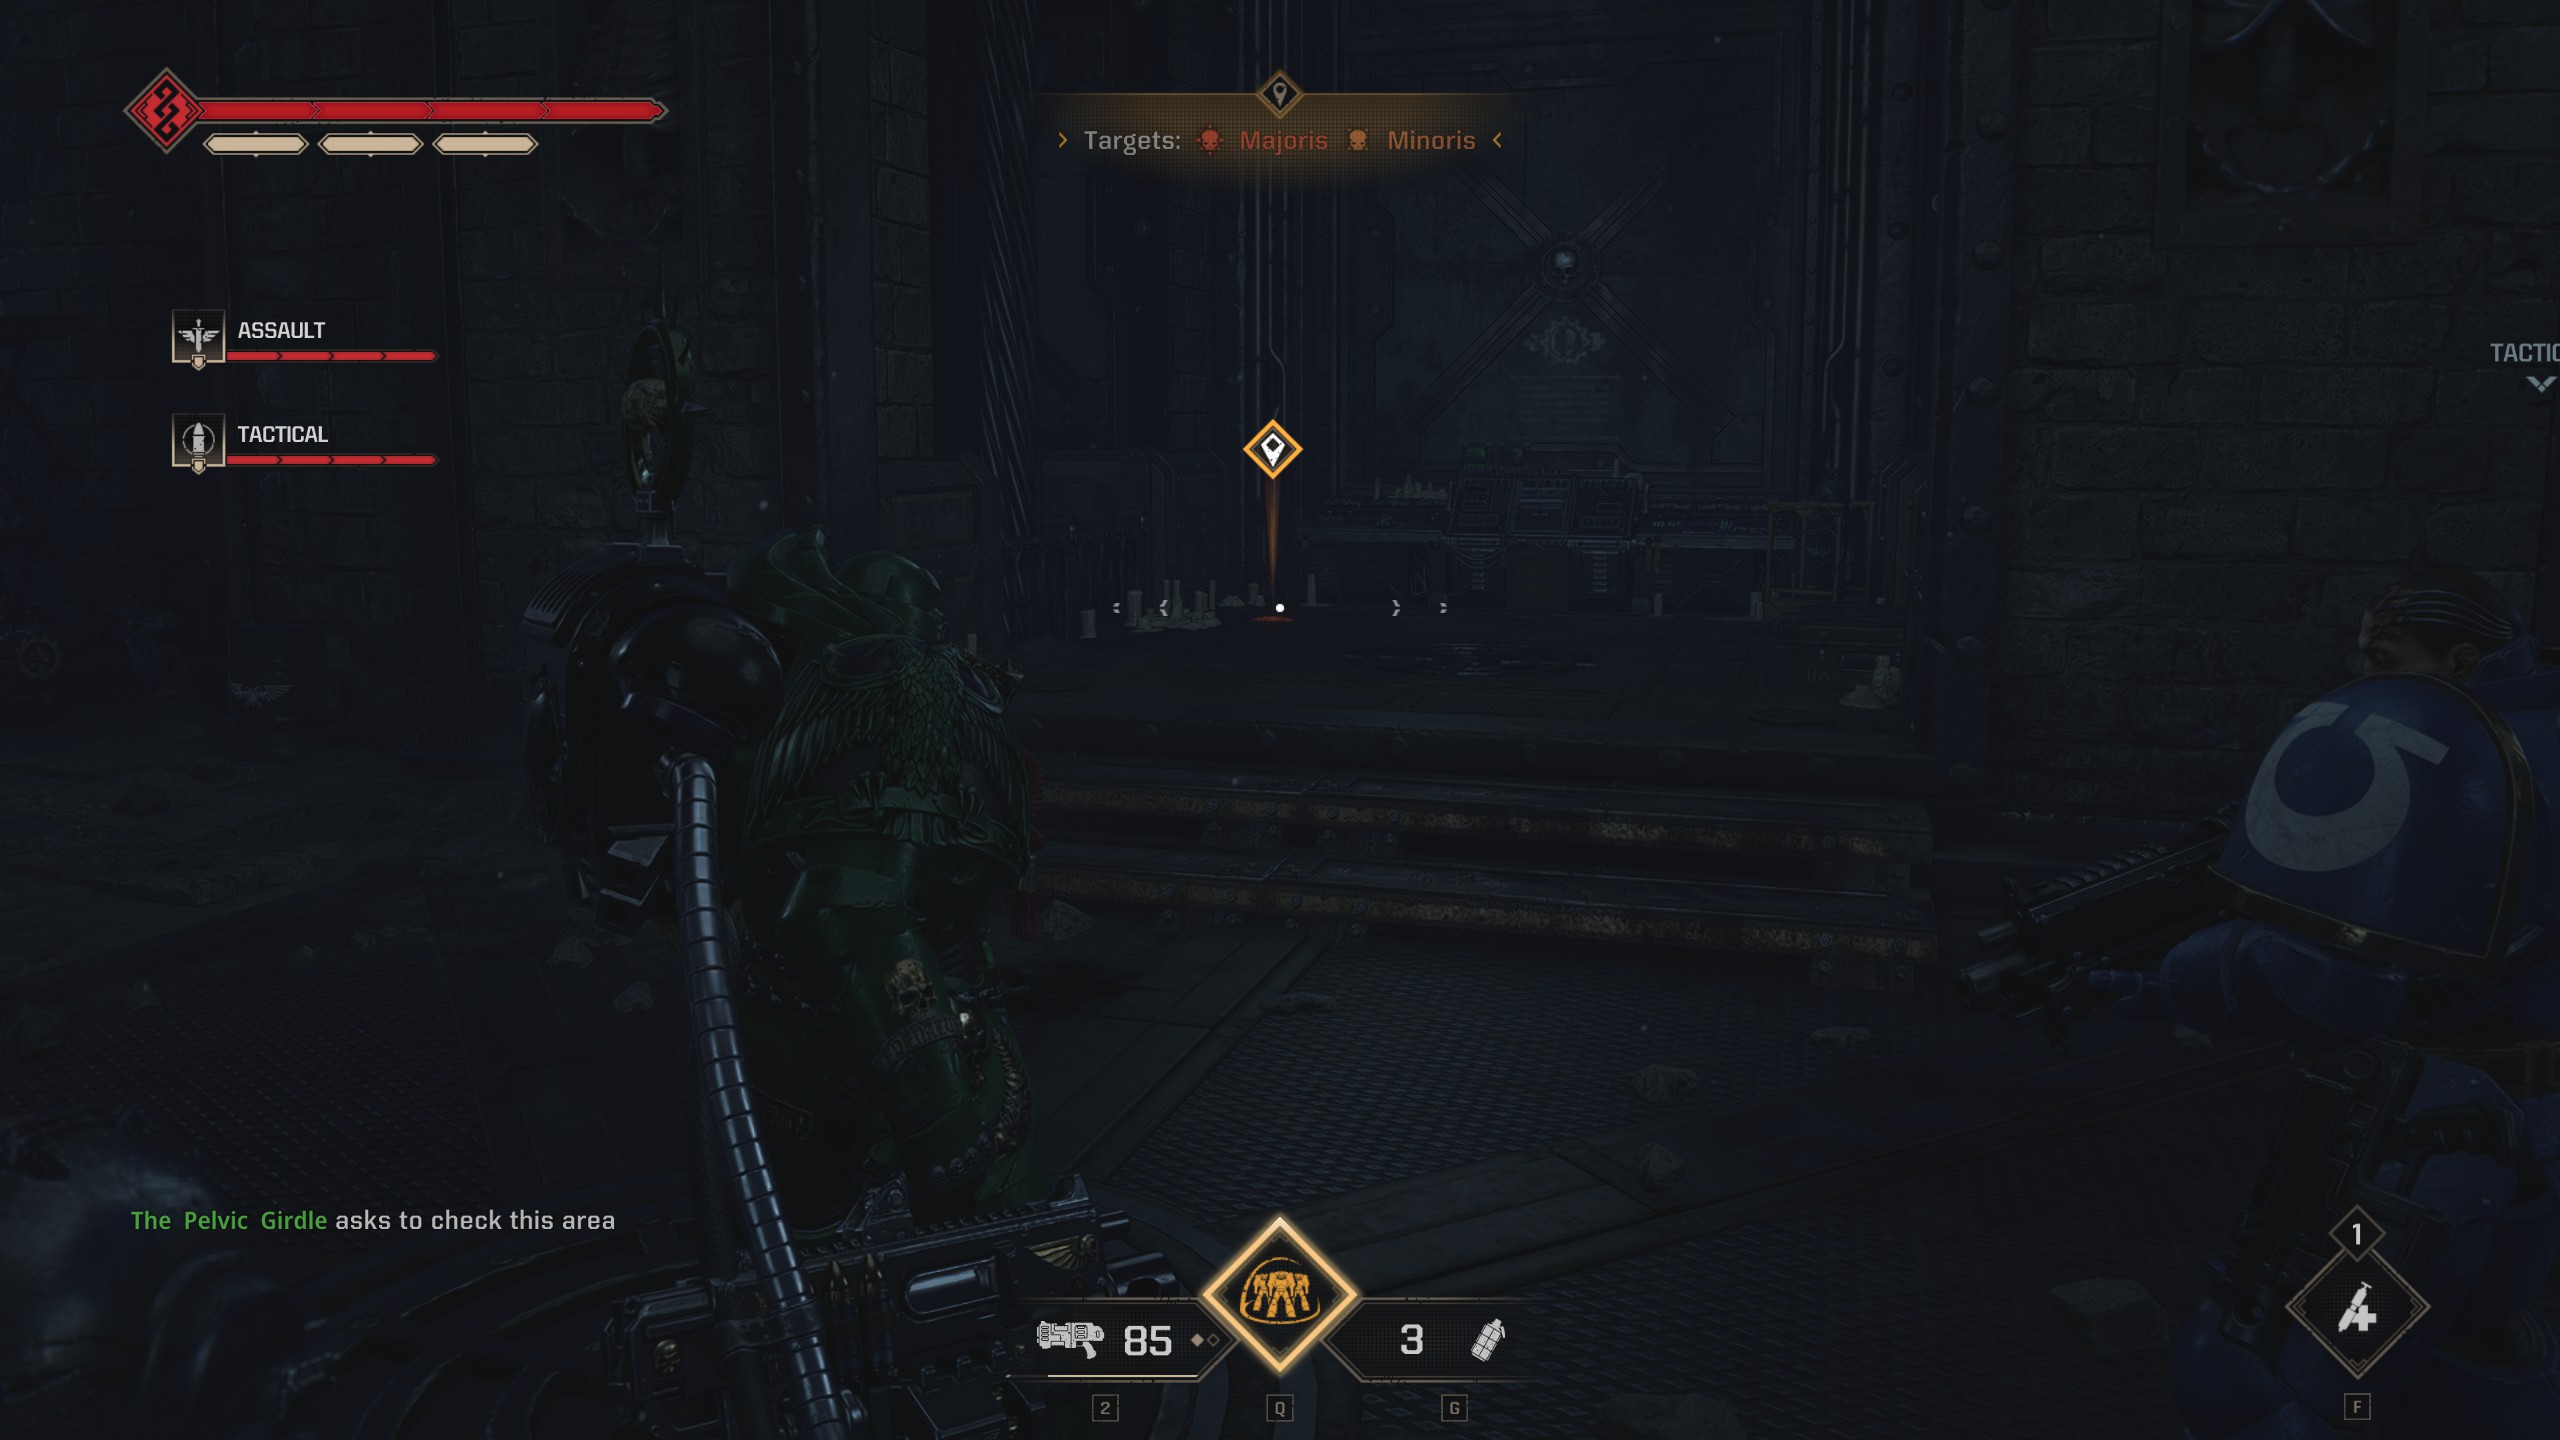
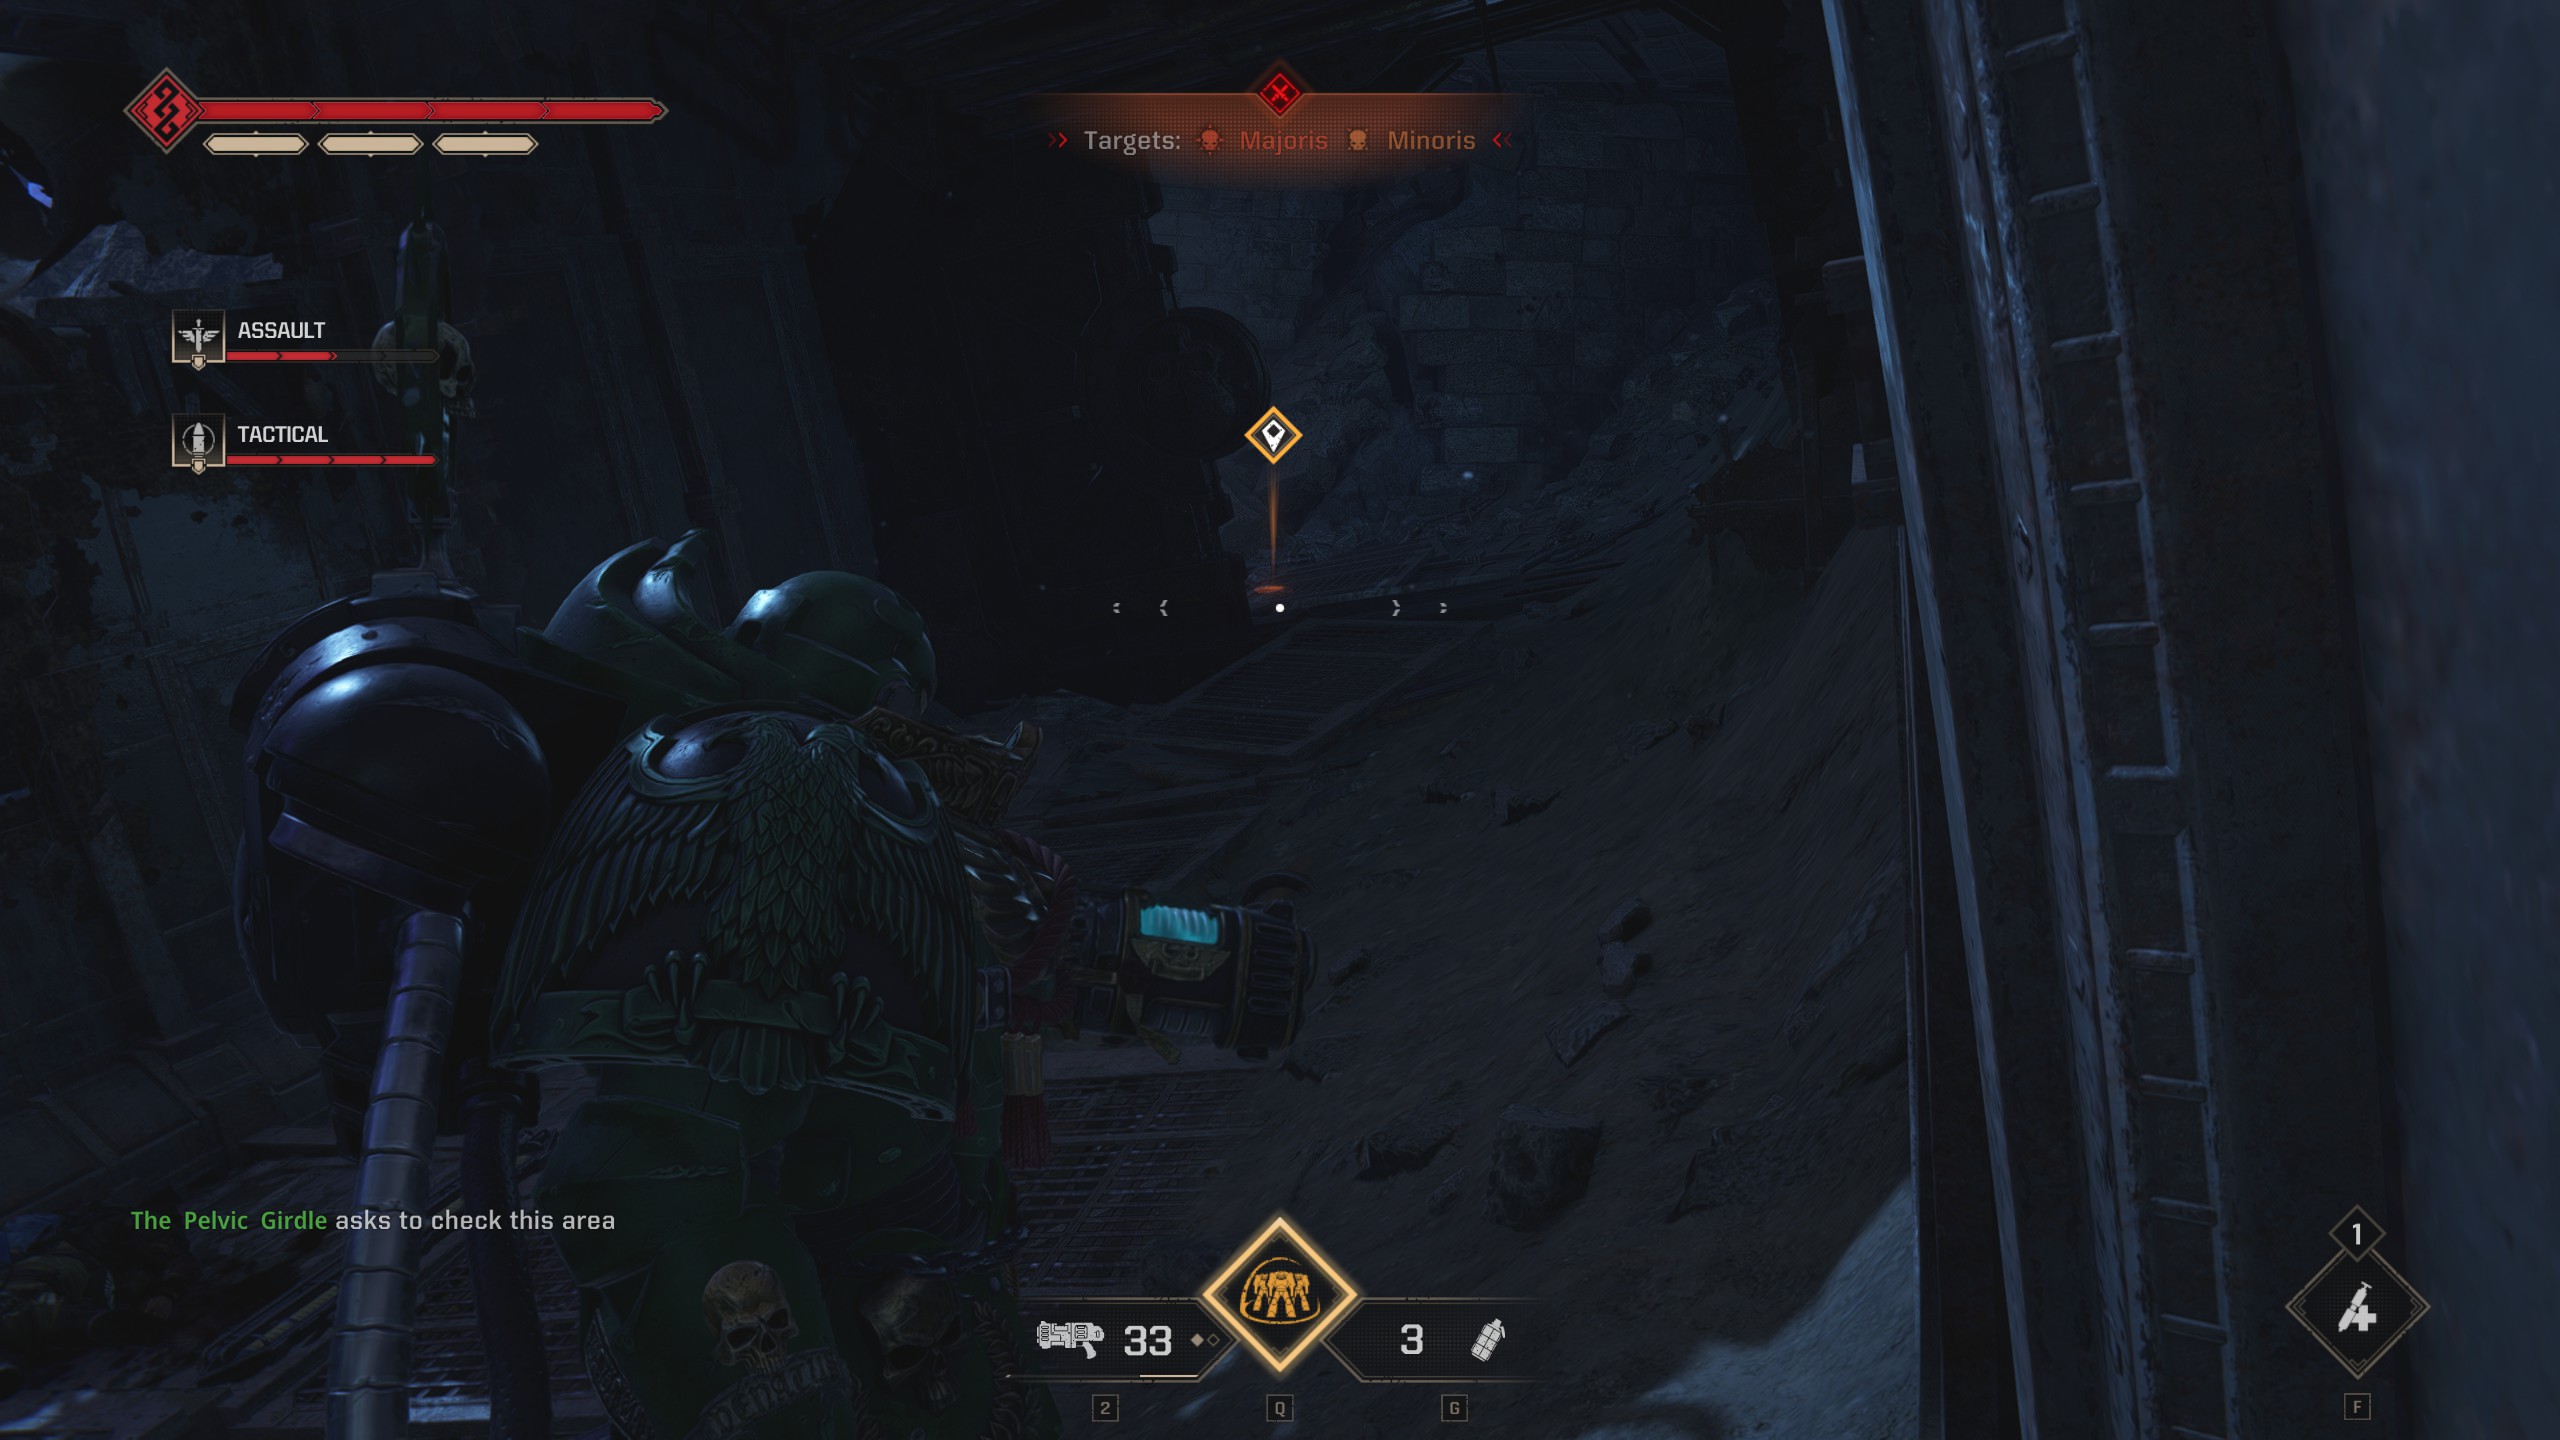
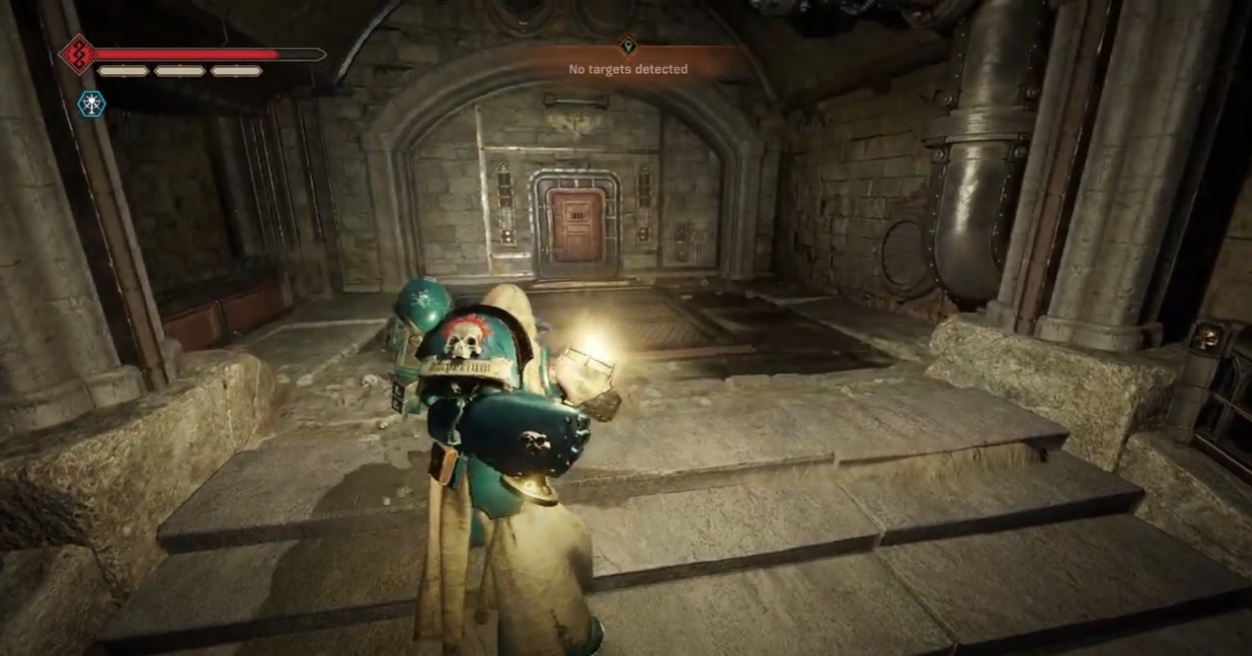
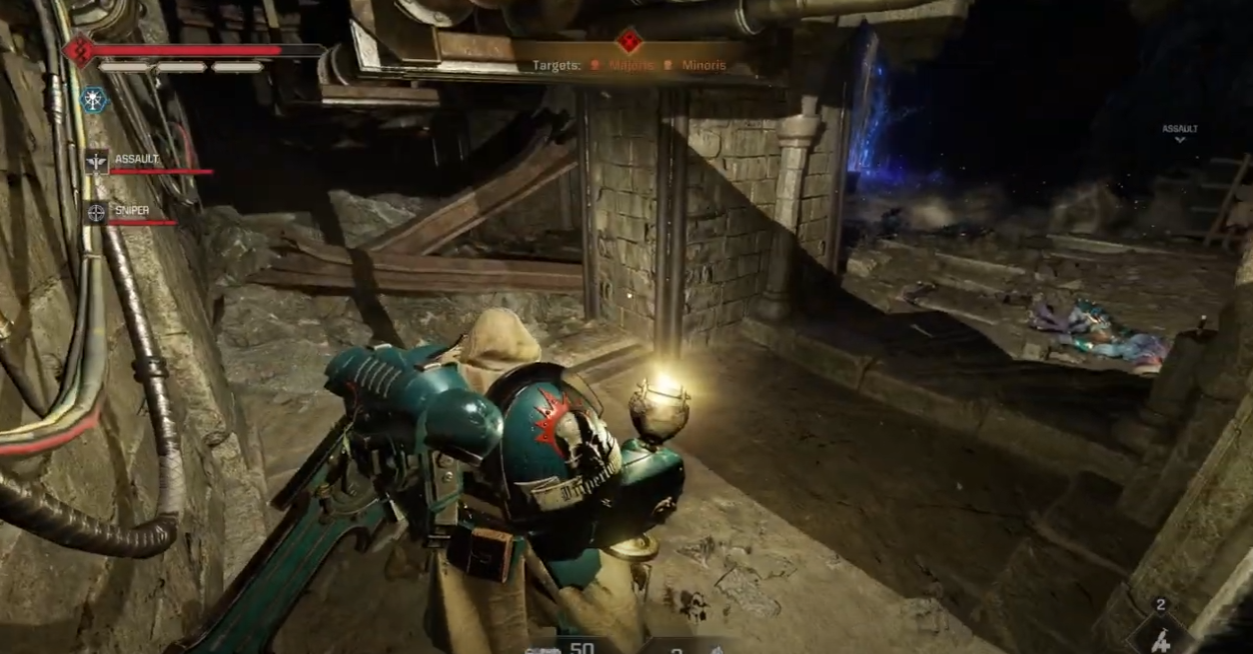
Two of these are screenshots from Mai Keth's video on this. https://www.youtube.com/watch?v=5IkkqySjHK0
Location
Screenshot
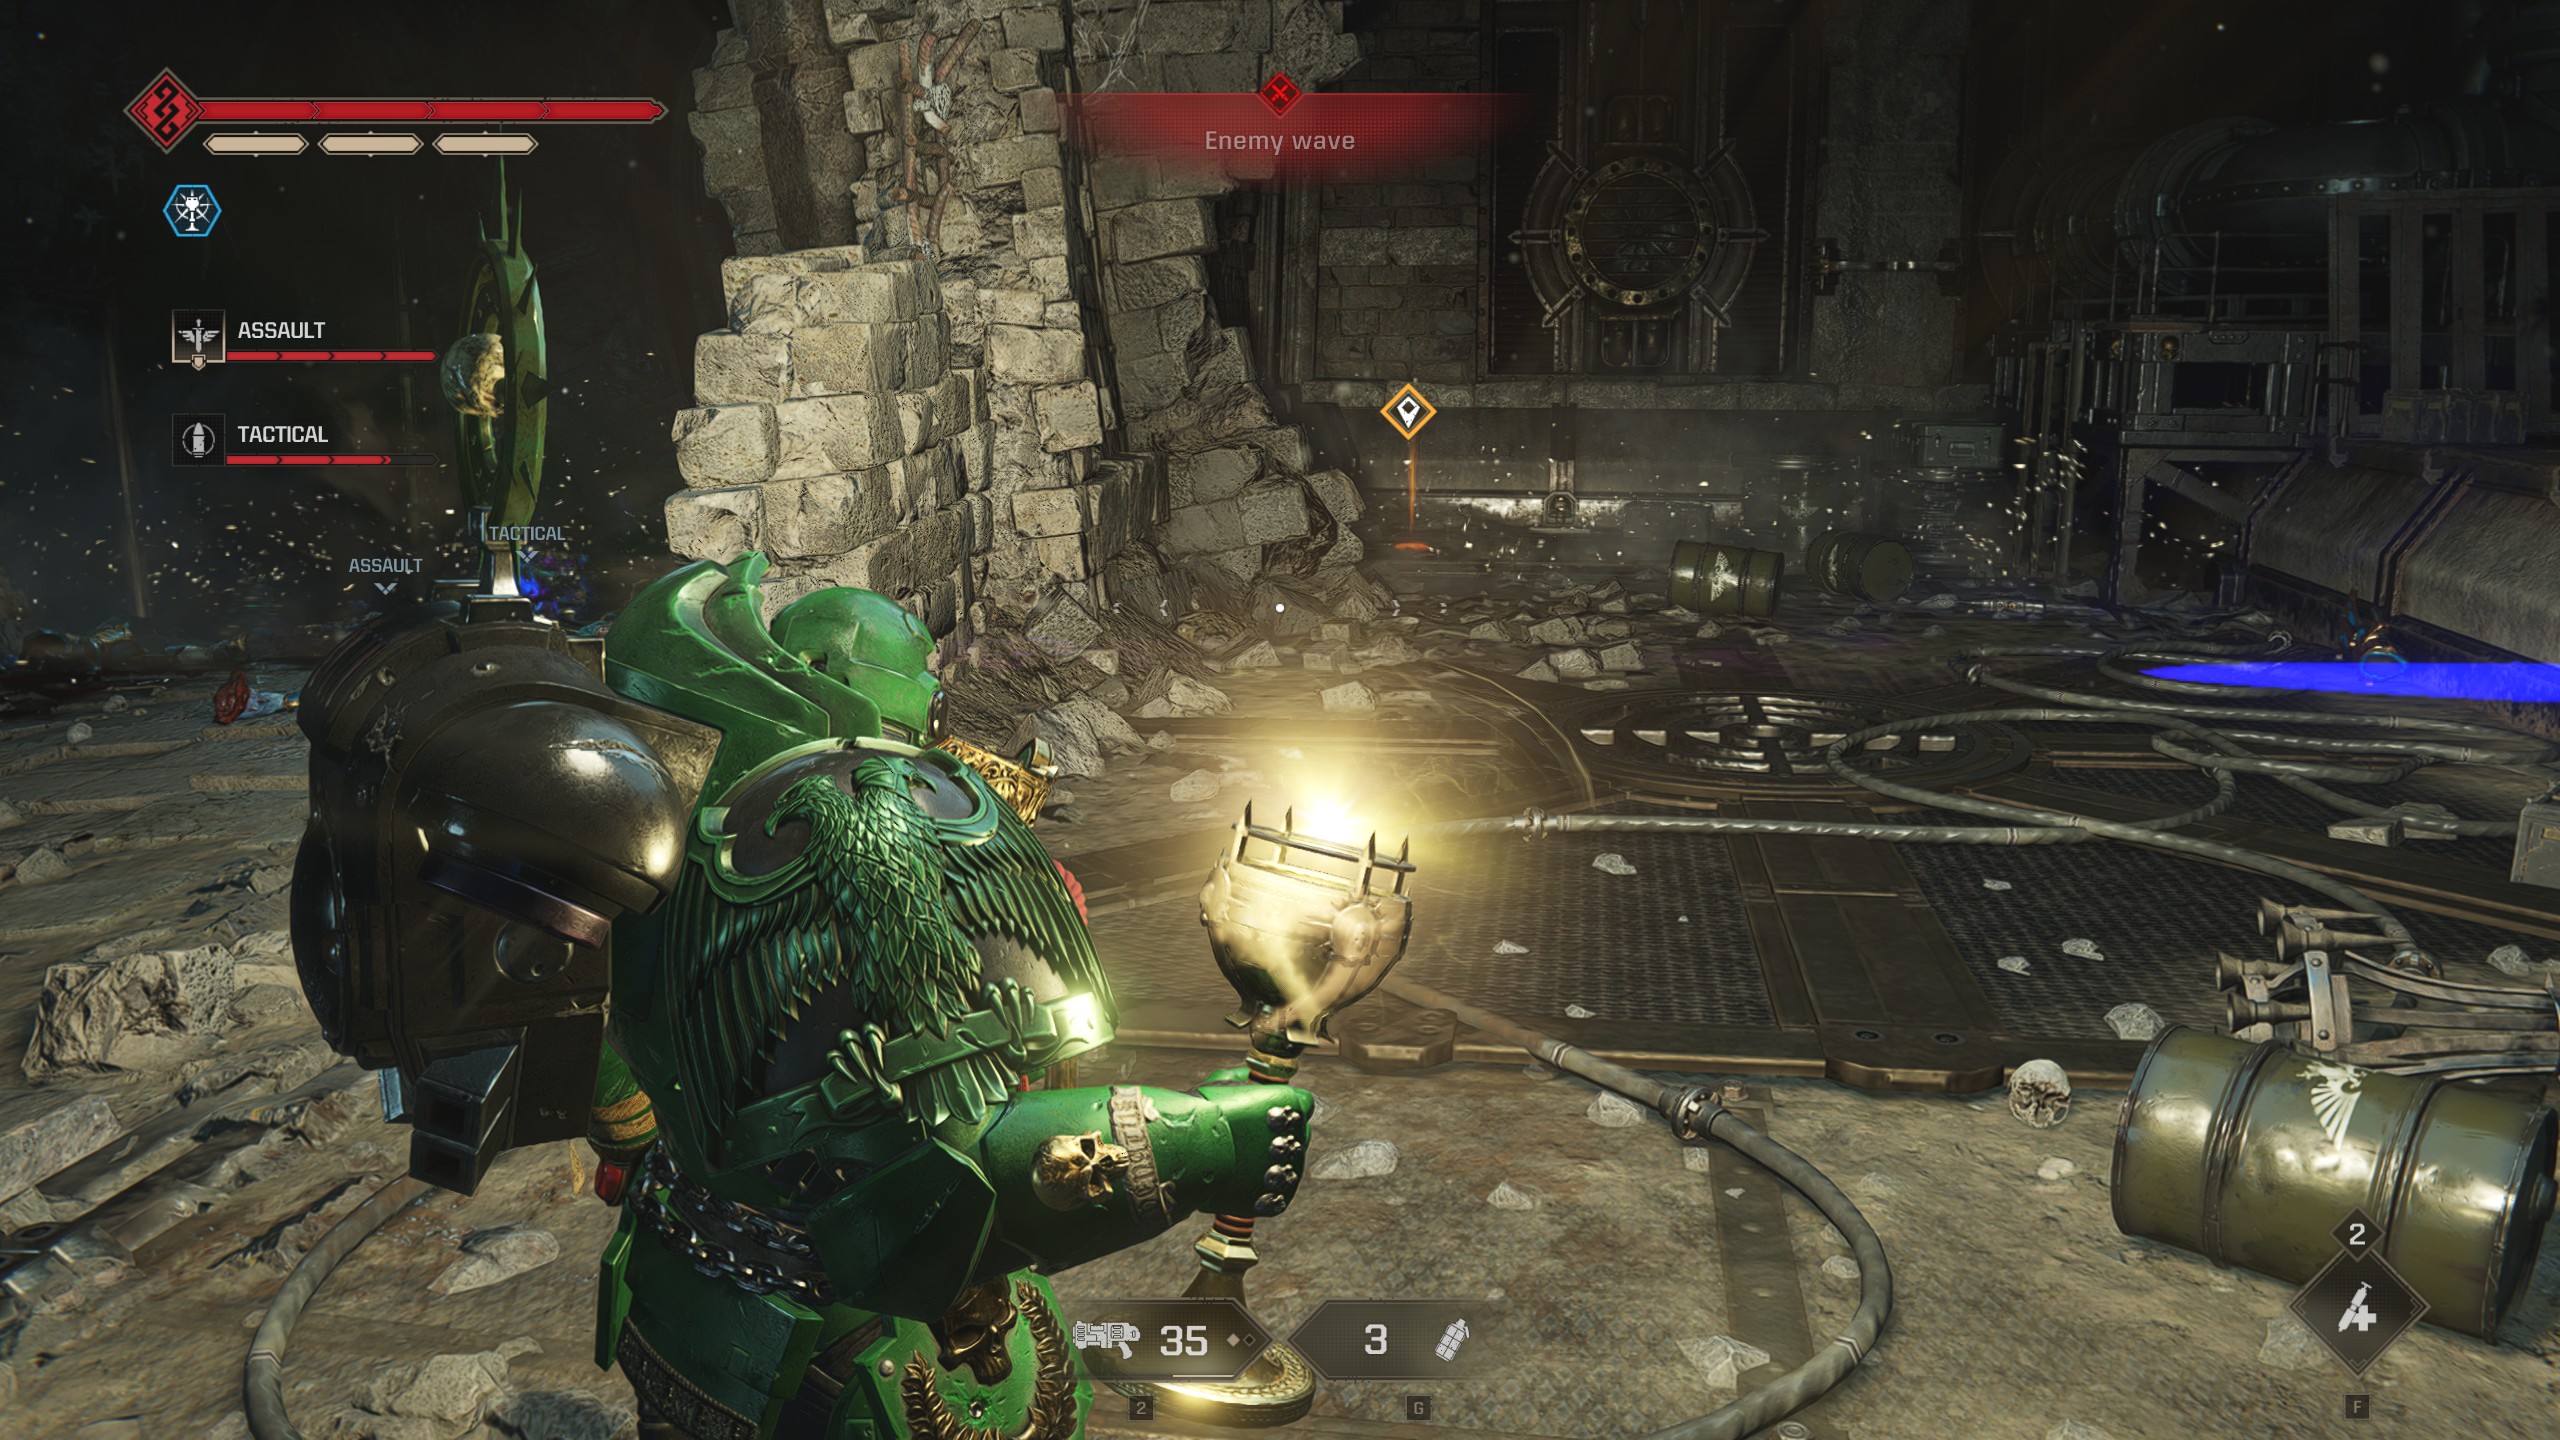
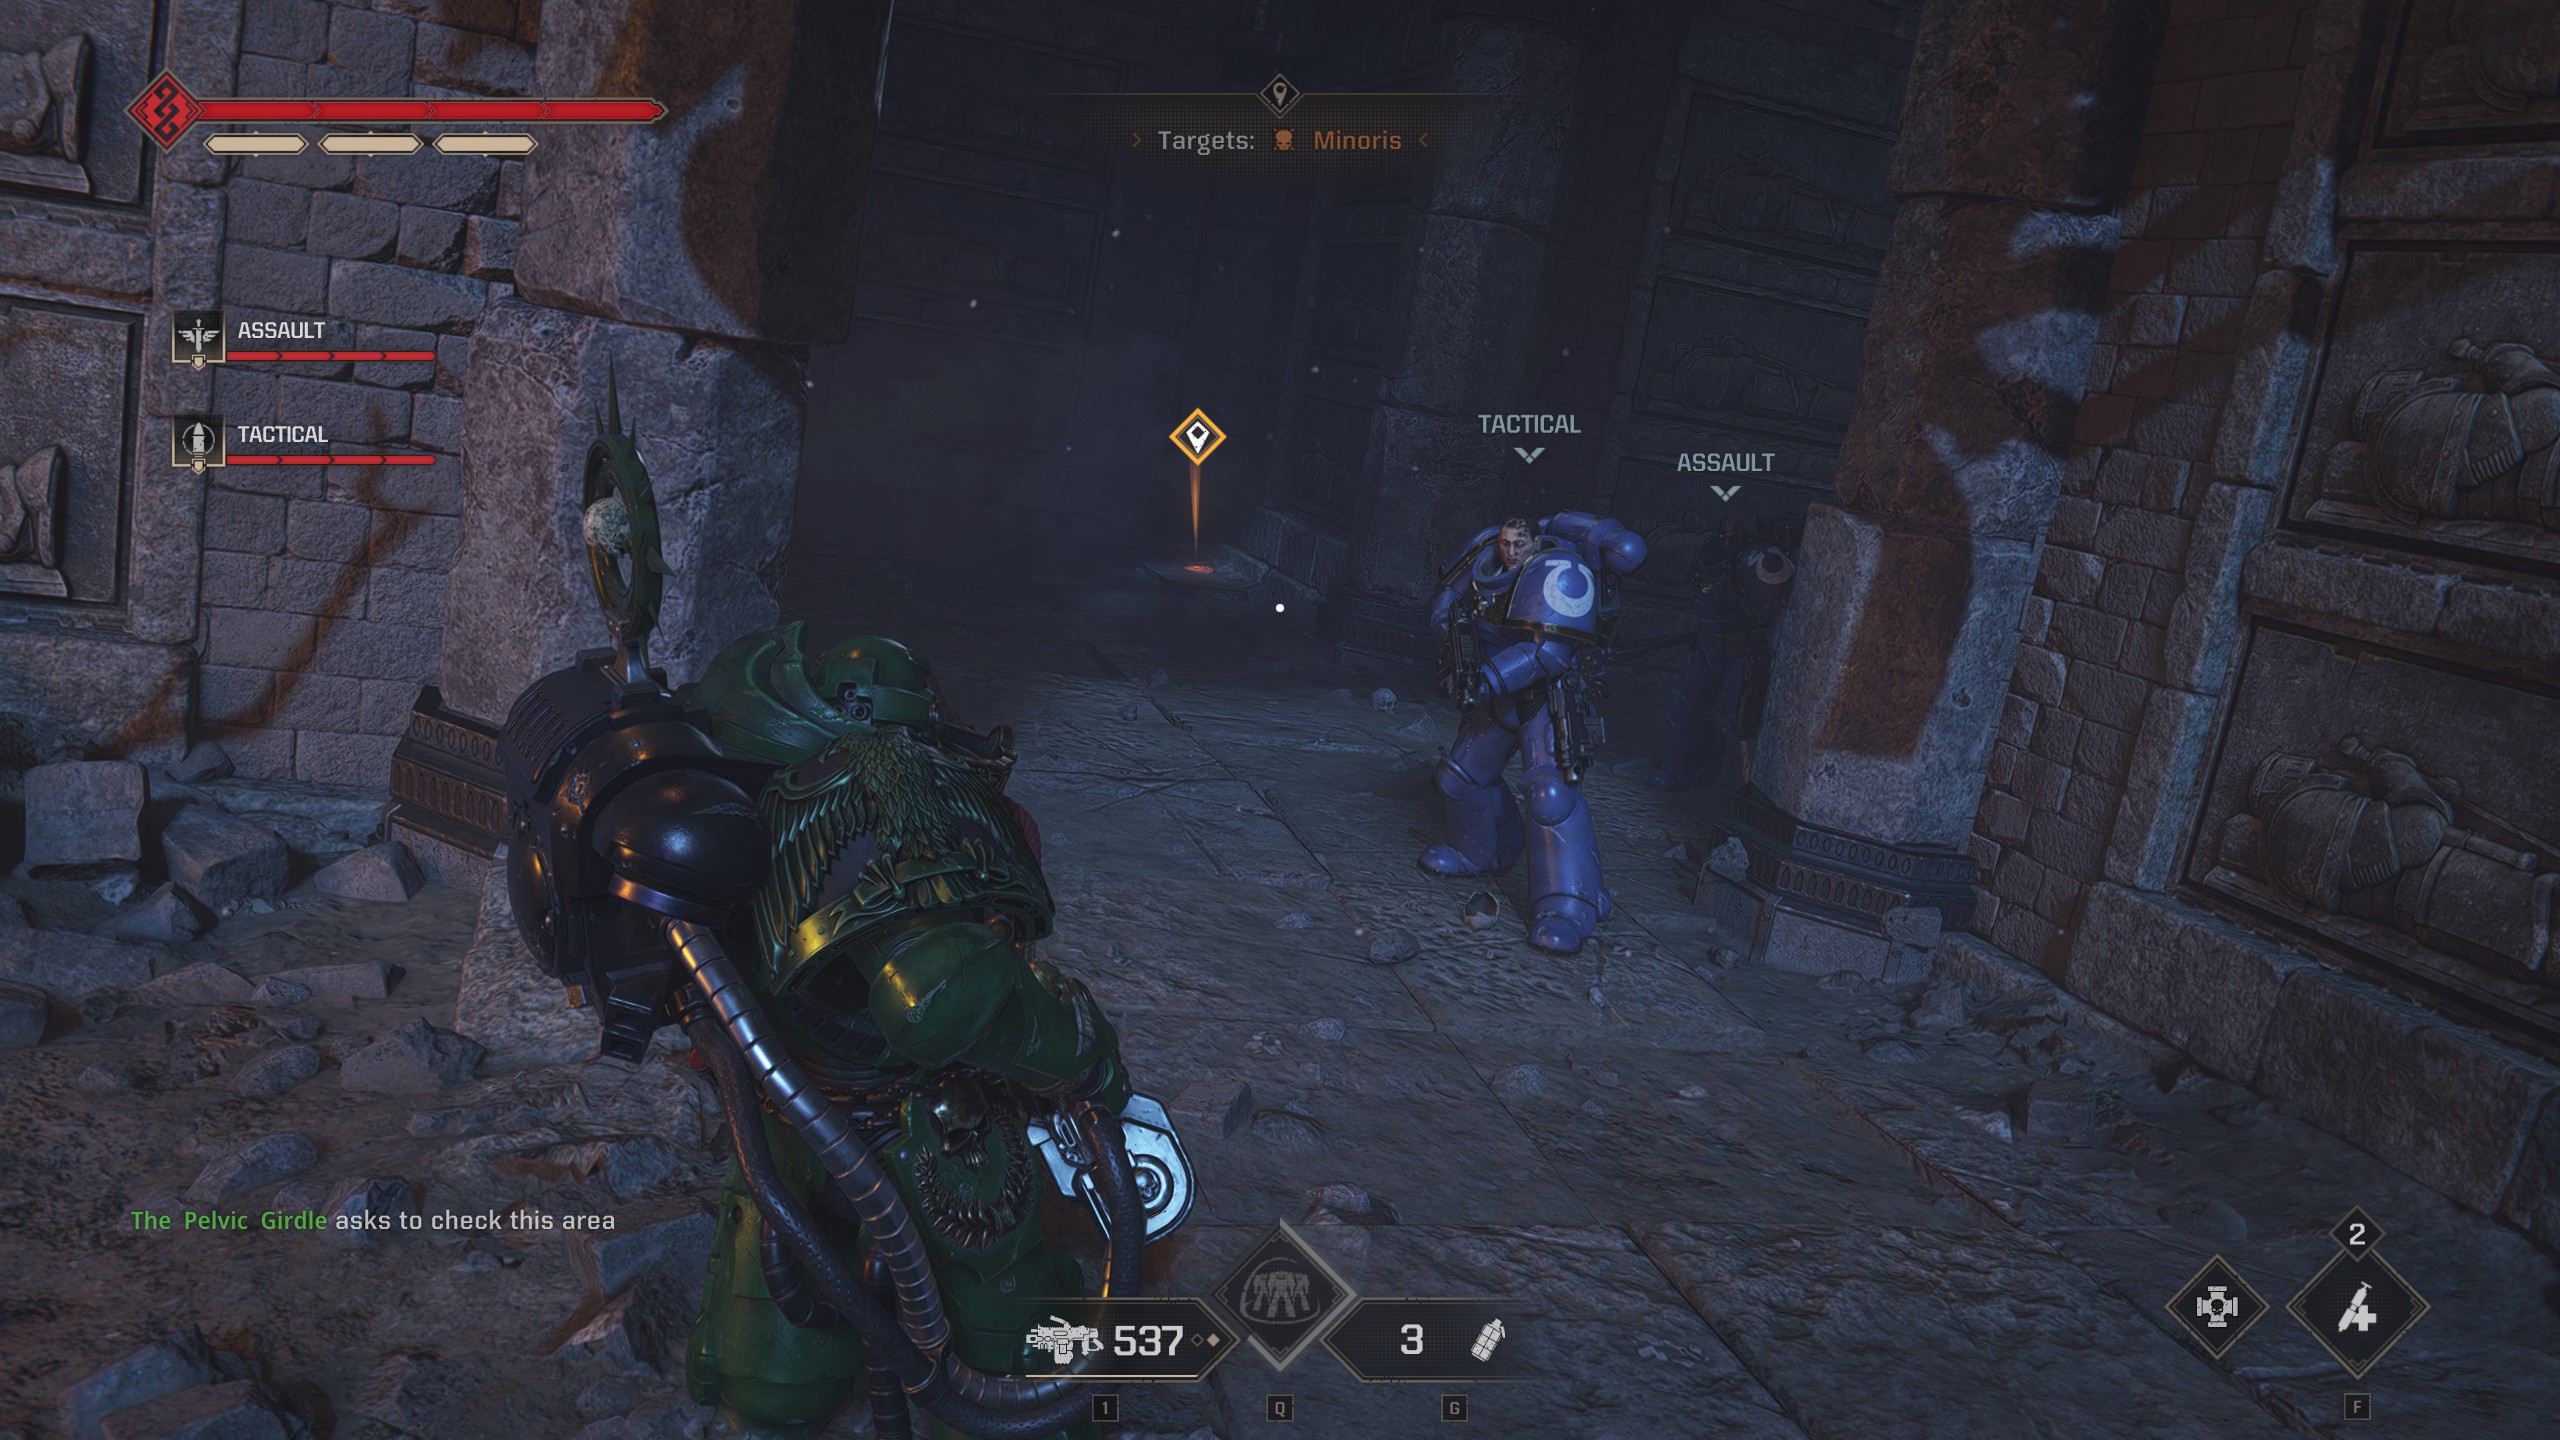
At the first elevator where you assemble, run past it and to the right. Continue right under a thin, metal bridge, and do a button hook to the right past some pipes and a tank on your left. After rounding a large rock, you should see the armory data down a narrow hallway.
At the first elevator where you assemble, run past it and to the right. Immediately turn left, which would be behind the elevator from where you started. The armory data is in a small tower in the corner.
Before running down the hill into the mountain where you carry the relic in the dark, follow a long pathway along a cliff to the right. The armory data is in a room at the end.
If your mission is to reactivate a servo-skull: After picking up the relic, you will enter the crypts through a large set of gold double doors. Go straight through the doors, and turn left to go up a slope instead of down. You will come across a wall to the right that is broken, and the armory data is in a corner here.
If your mission is to reactivate a console: When you enter the dark room, go forward and stay to the right. You will pass a broken set of chaos marine armor then a large blue bookshelf before heading down a slope into a bunker of sorts. Continue through the bunker. The armory data will be in the first room to the left.
If your mission is to reactivate a console:When you head down the slope that has purple energy on the ground, you will drop down to a new segment. Immediately after dropping down, turn to the left and go into a small tunnel. The armory data will be at the end on the right.
Once you have exited the darkness, head left down a slope. Continue staying left until you see an armory data in a small room at the end.
Operation 9: Exfiltration
Location
Screenshot
After you first see the boss, hang to the right into an open field. The data is behind a rock in here.
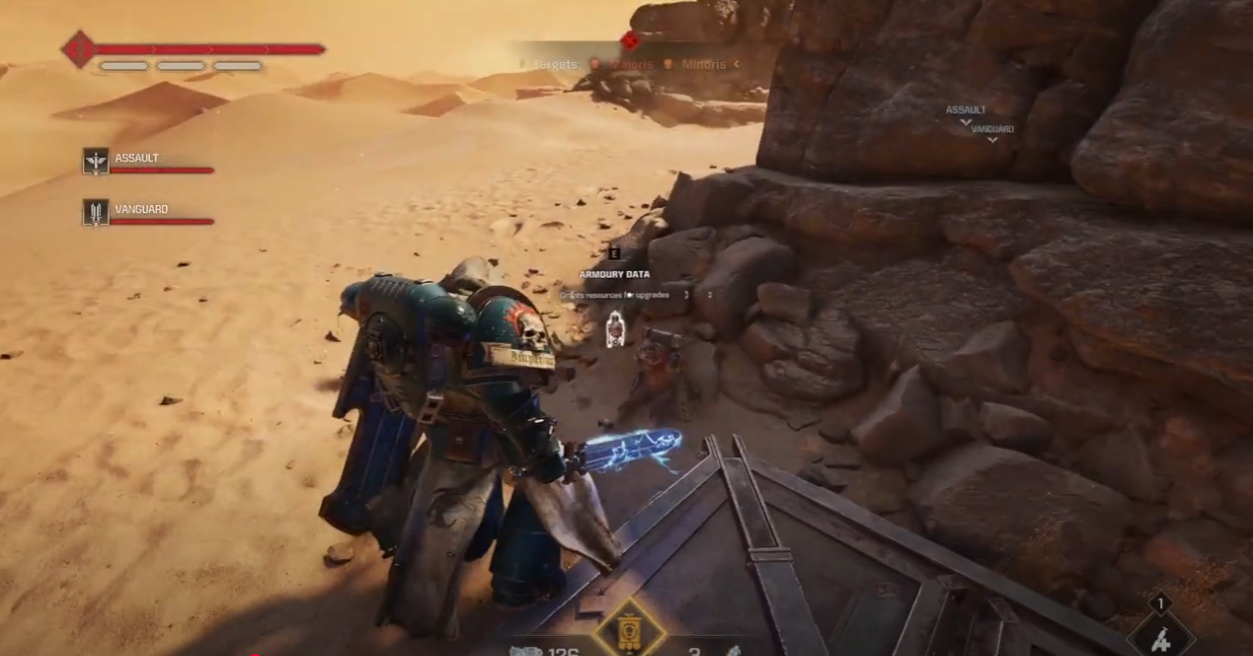
In the next open area, head toward the back left. You will find the data underneath a bridge.
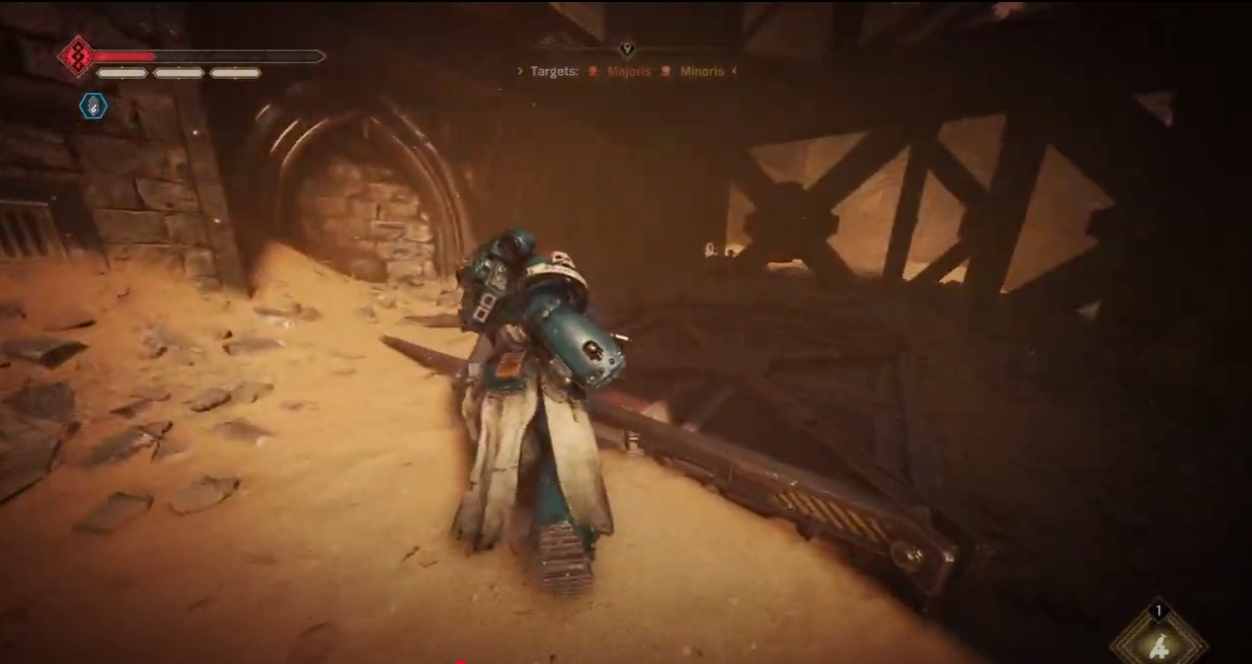
After getting off the elevator, head left and run straight down that hallway. You will run through a small barrier (~1 foot tall), and find the data in a room to the right.
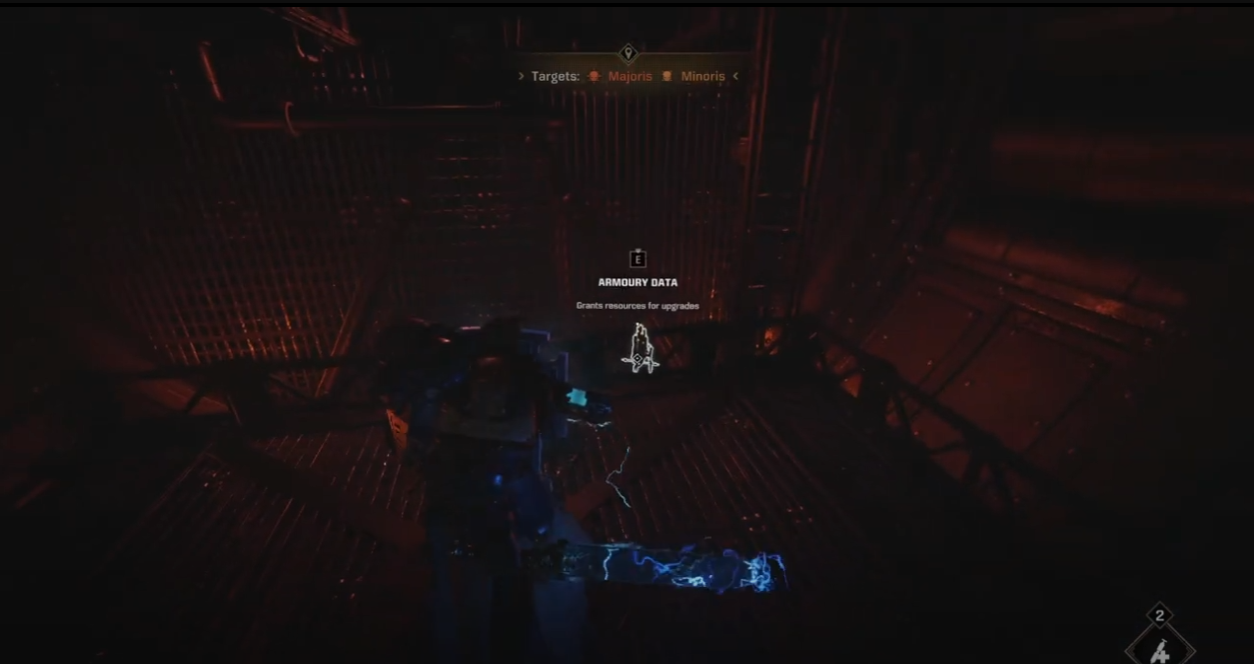
After heading up a series of ramps, head straight out into the open. The data will be behind some crates near a ledge.
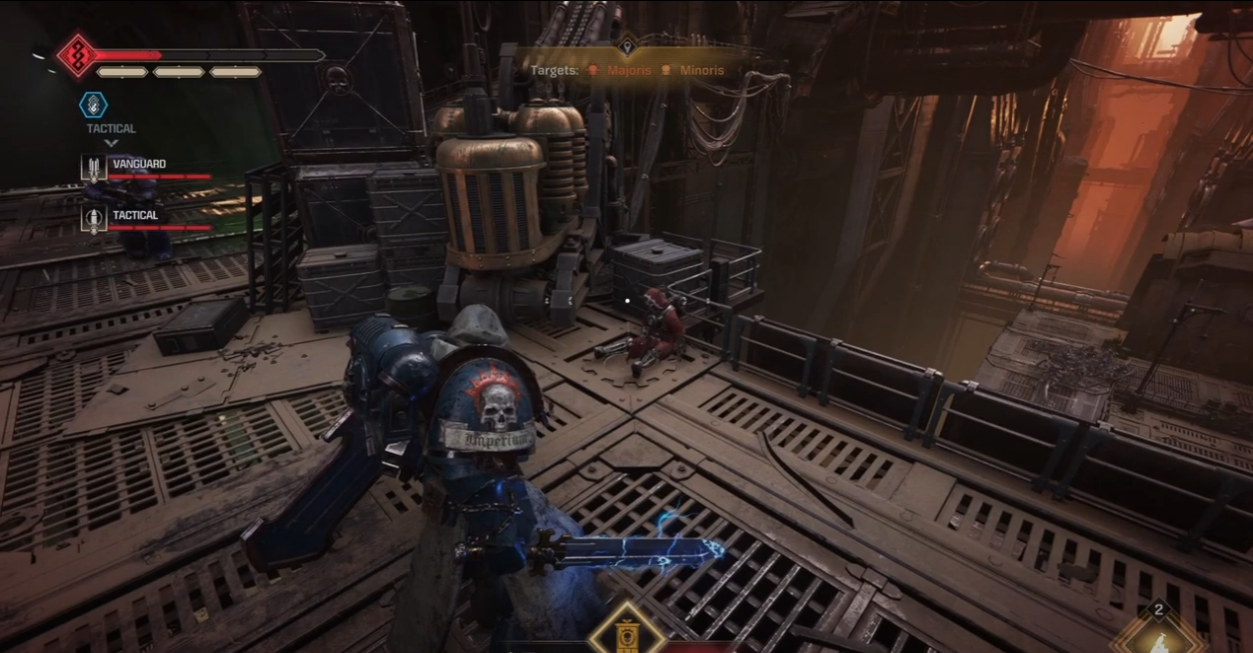
In the area where you close the tunnels with melta bombs, after the first tunel, head up a ramp to the left to an elevated area. The data is on the left.
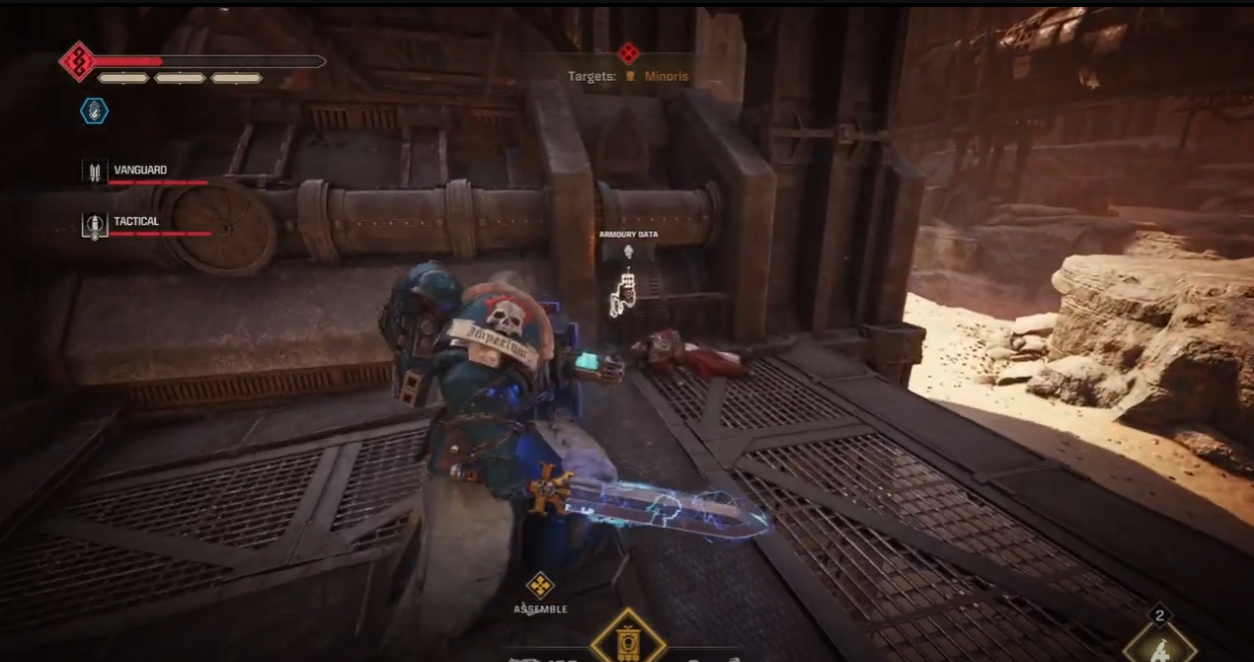
Operation 10: Vortex
Location
Screenshot
After dropping through a hole in the floor, armory data is between some crates.
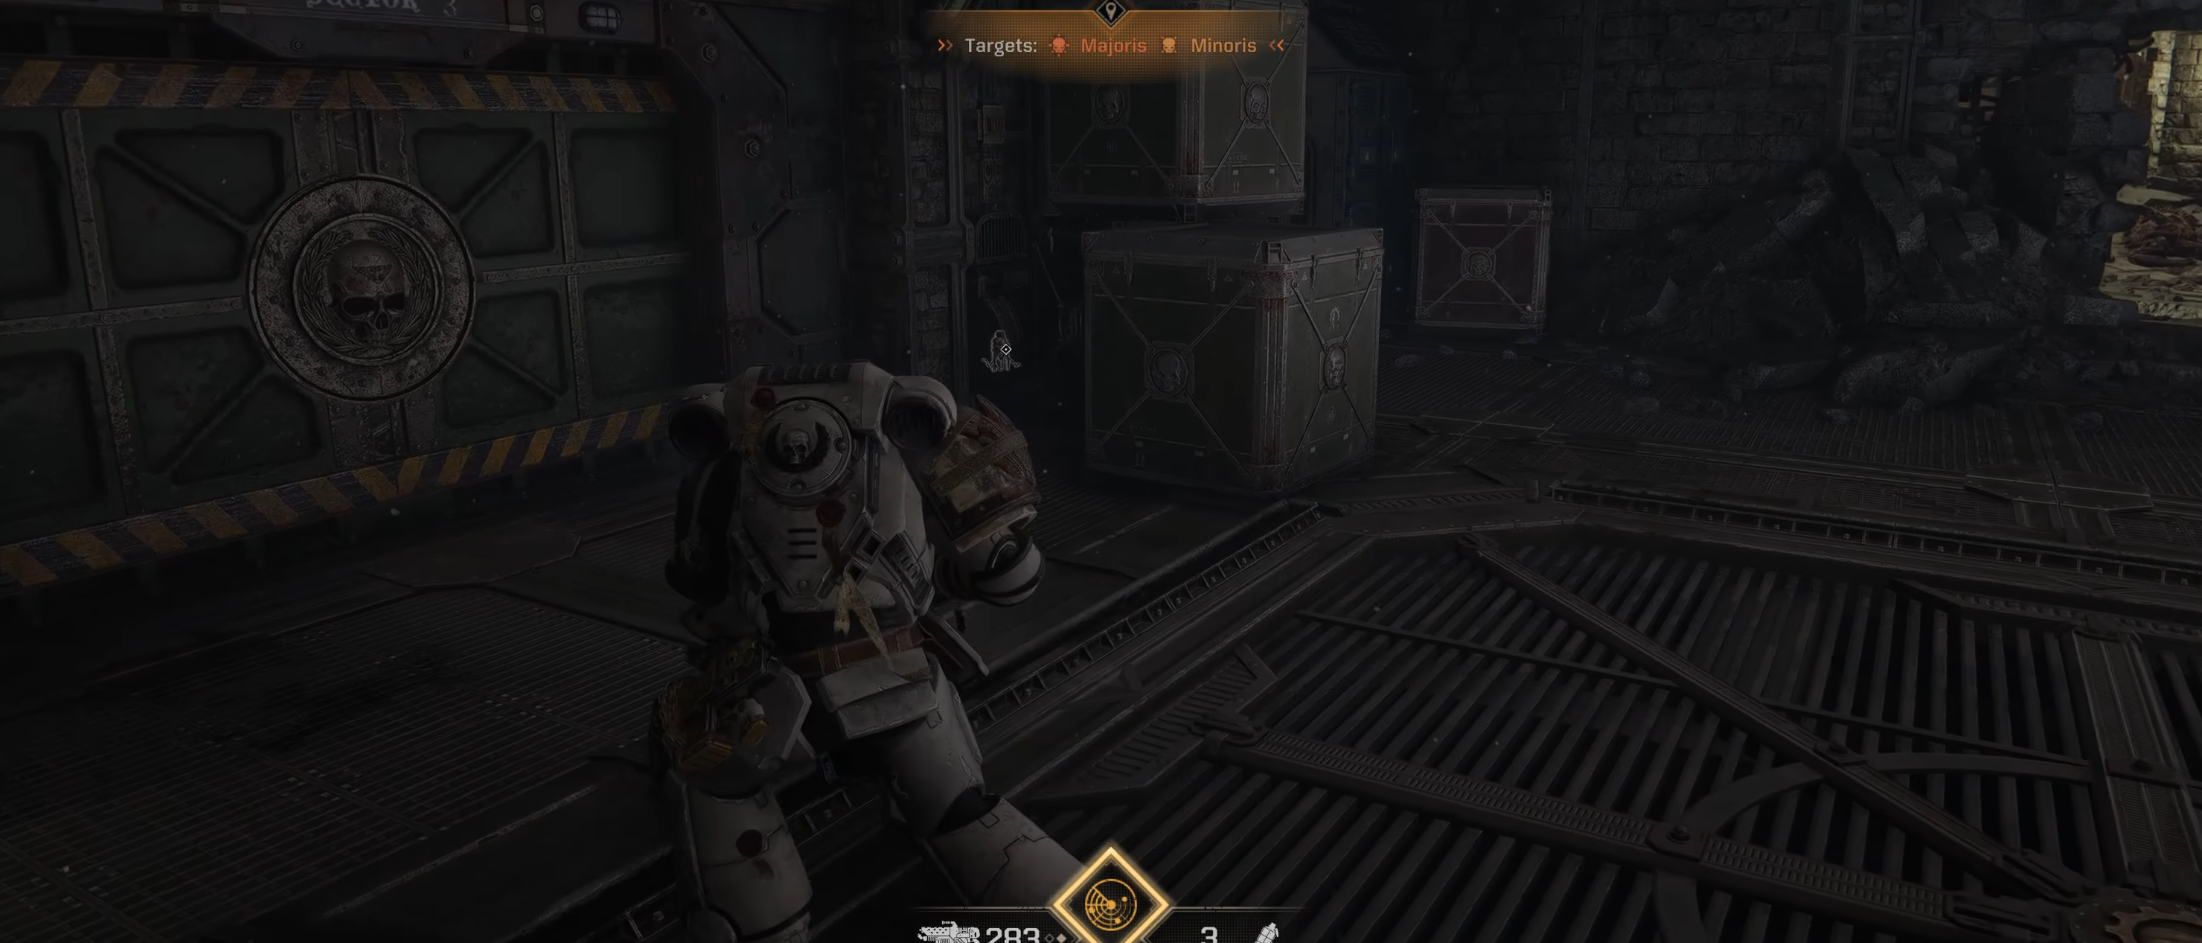
Around the corner before dropping down out of some intersecting hallways.
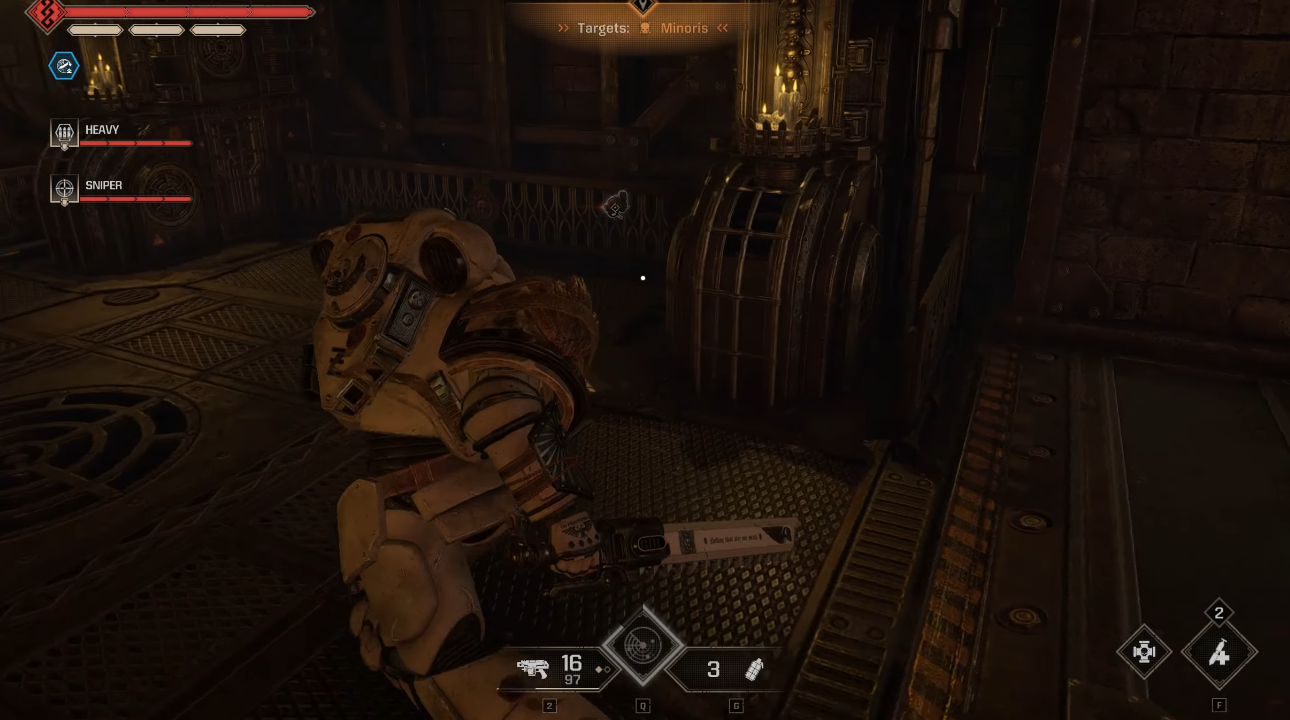
Before proceeding to the heretical activity, behind some crates.
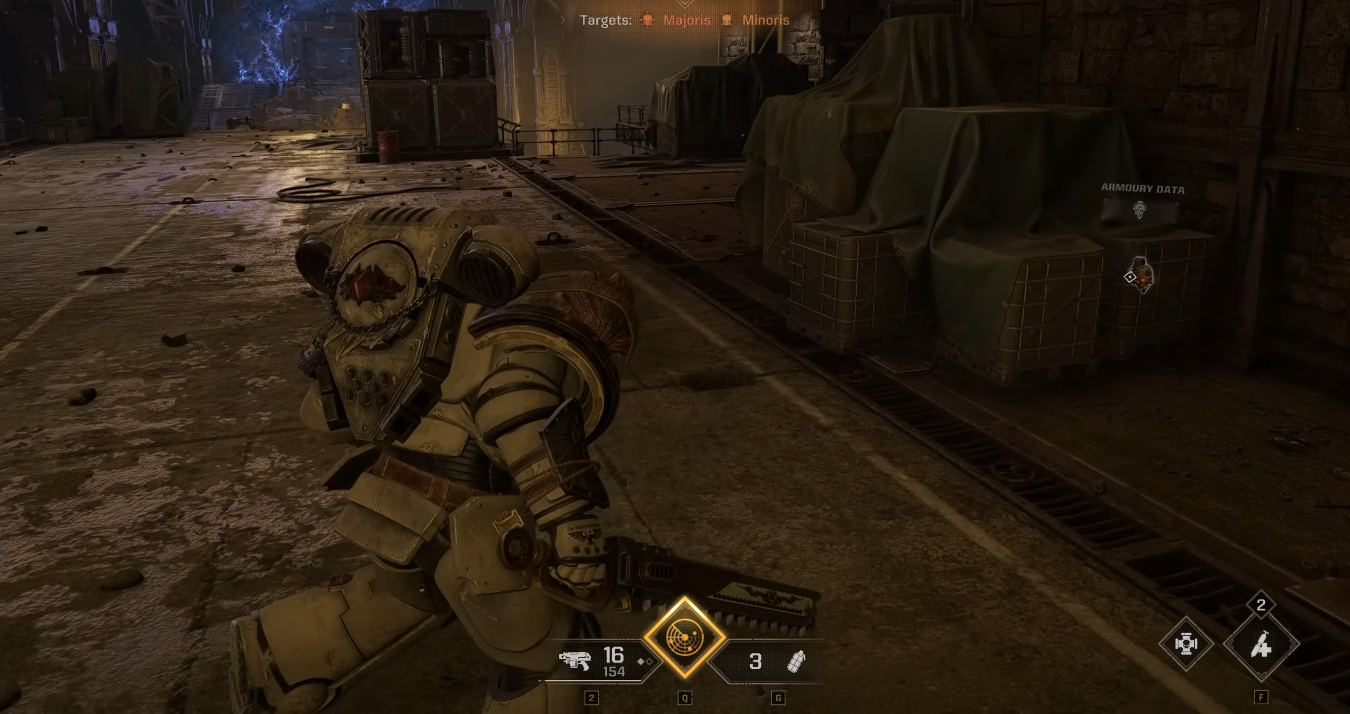
On the path to destroy three chaos altars, in the corner behind a small wall.
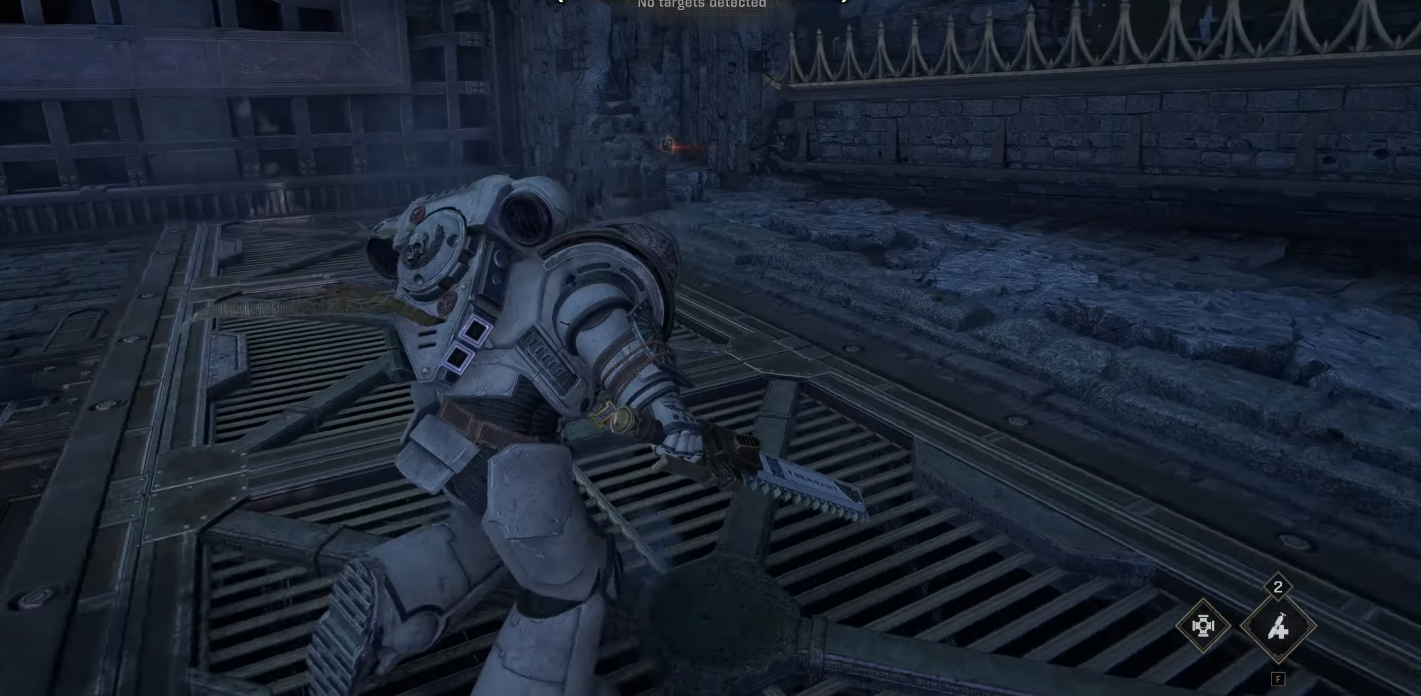
When descending to the boss, off to the right of the main pathway.
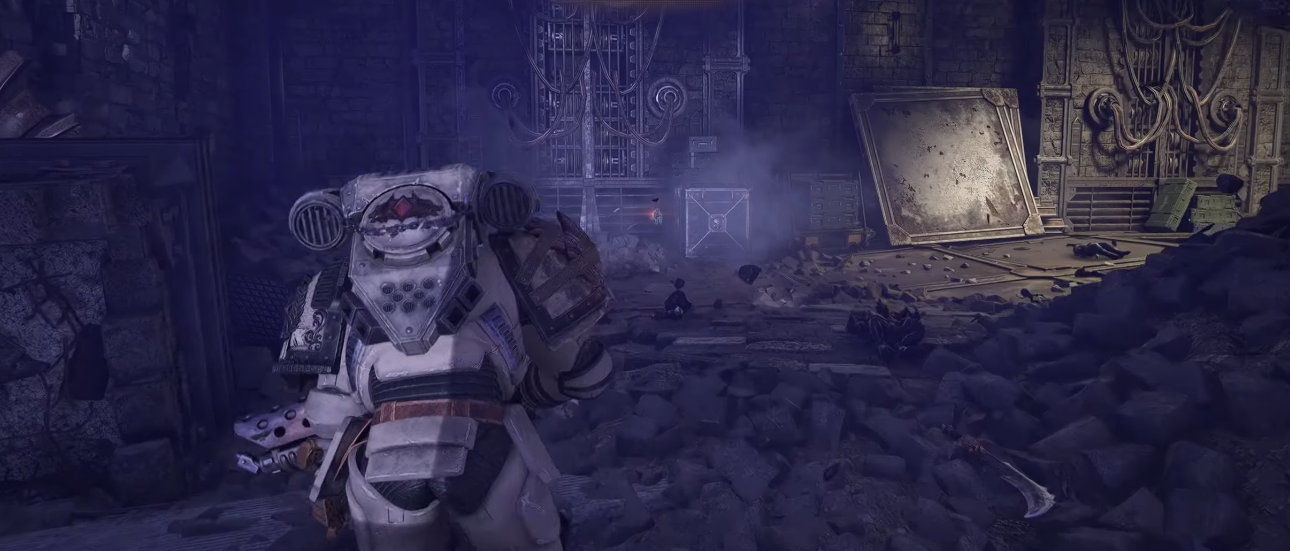
Operation 11: Reclamation
Location
Screenshot
After the door with a glowing "Block C3" sign, up some floors to the left.
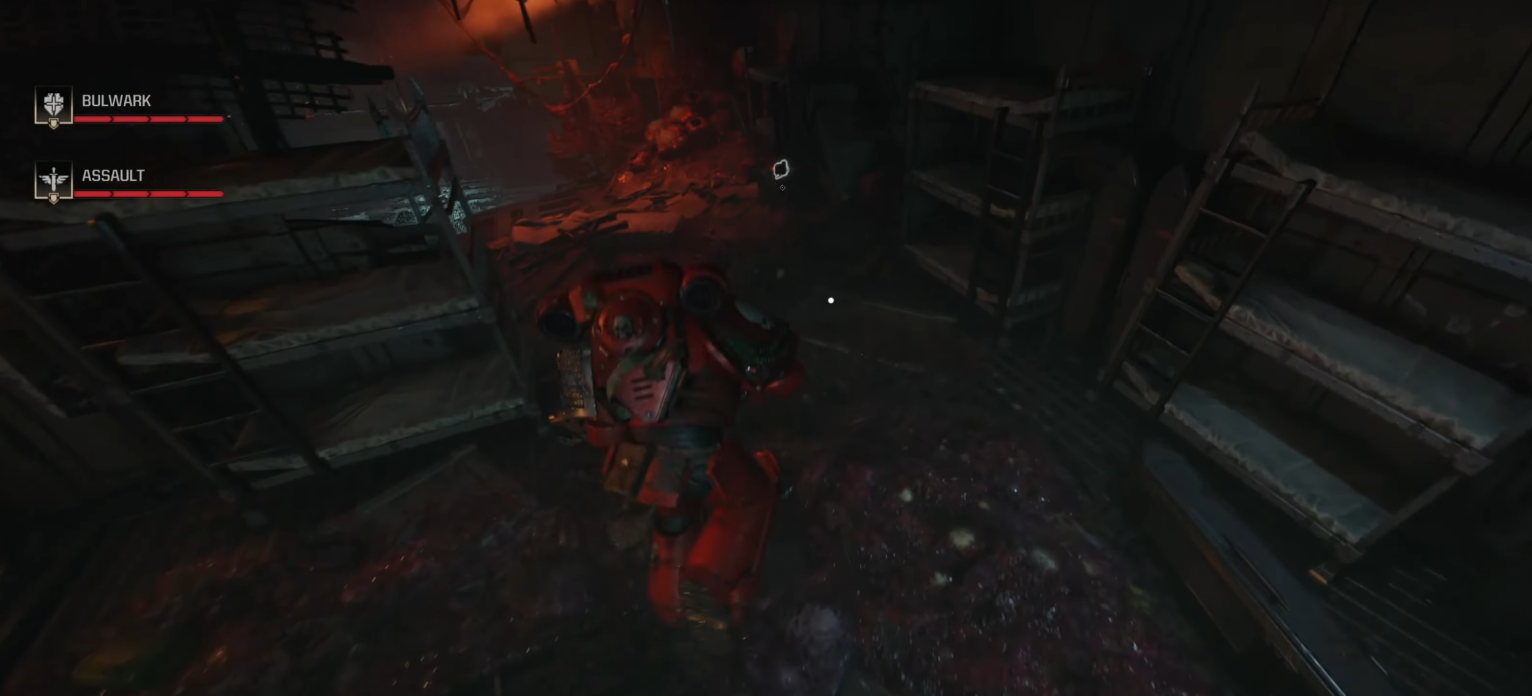
After the door with a glowing "Rail Transit" sign, to the right before the Assemble point.
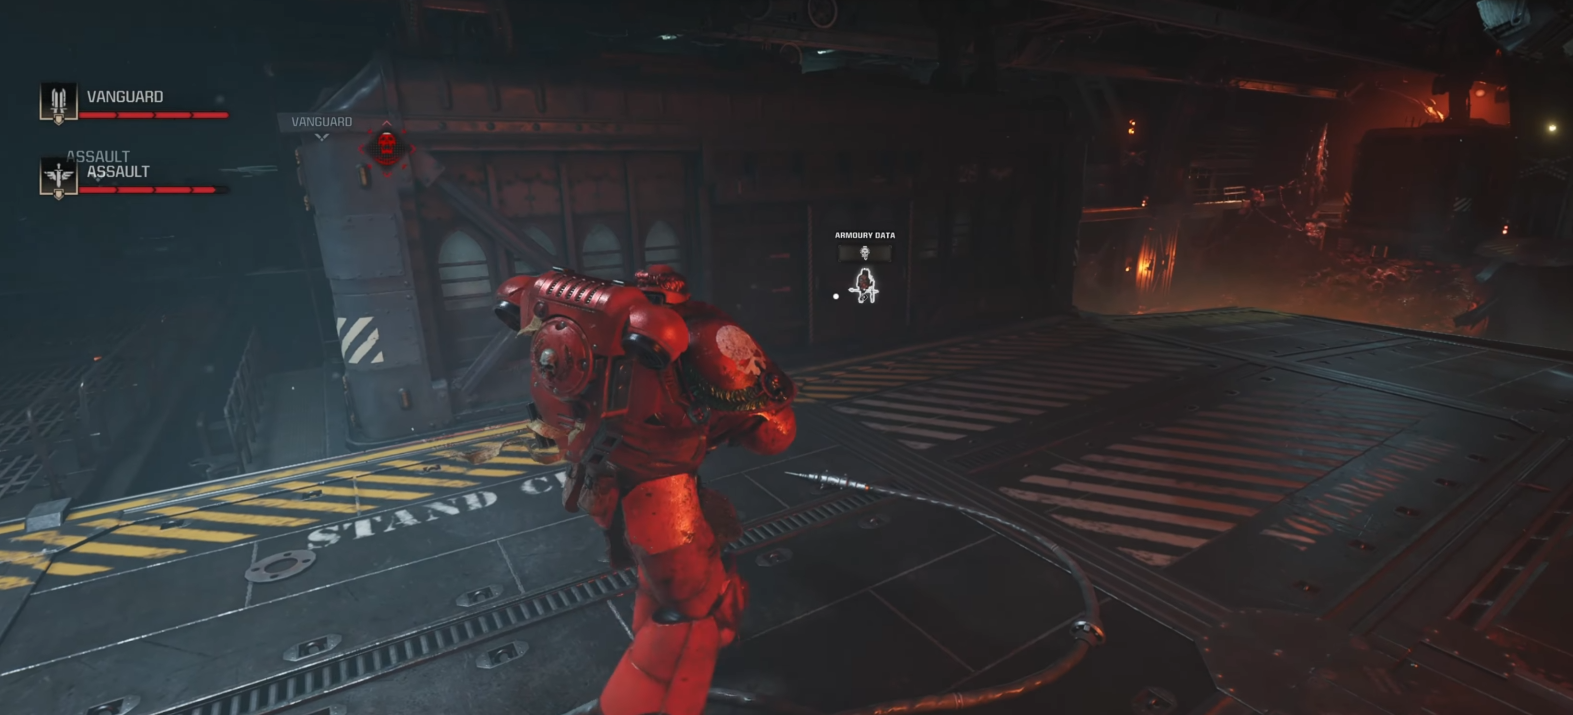
On a corner of a balcony near the cannons.
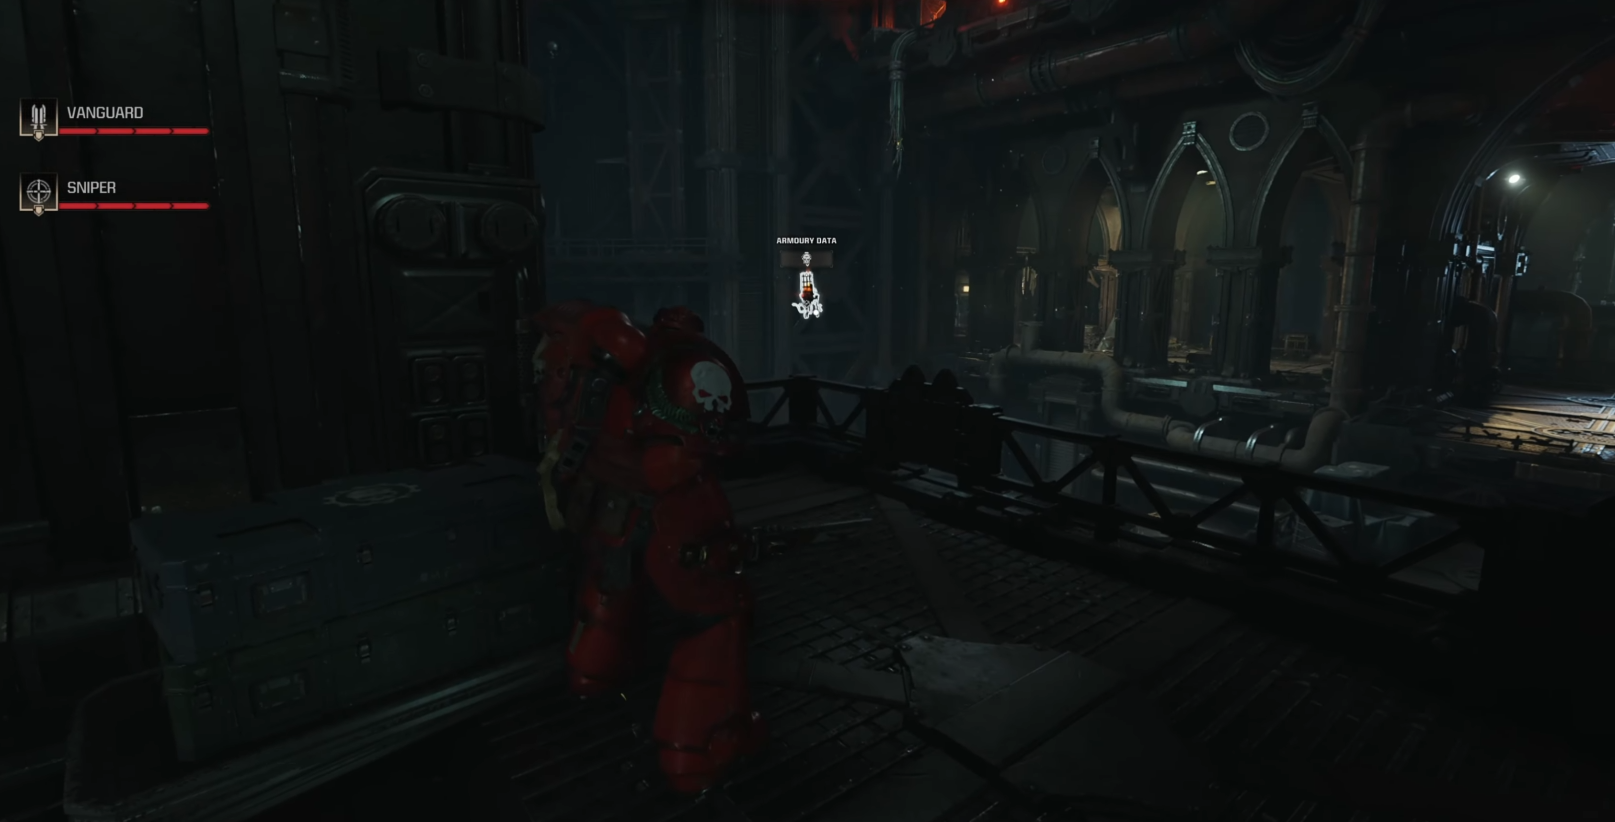
After the door with a glowing "Control Room" sign, after dropping down on some Tyranids.
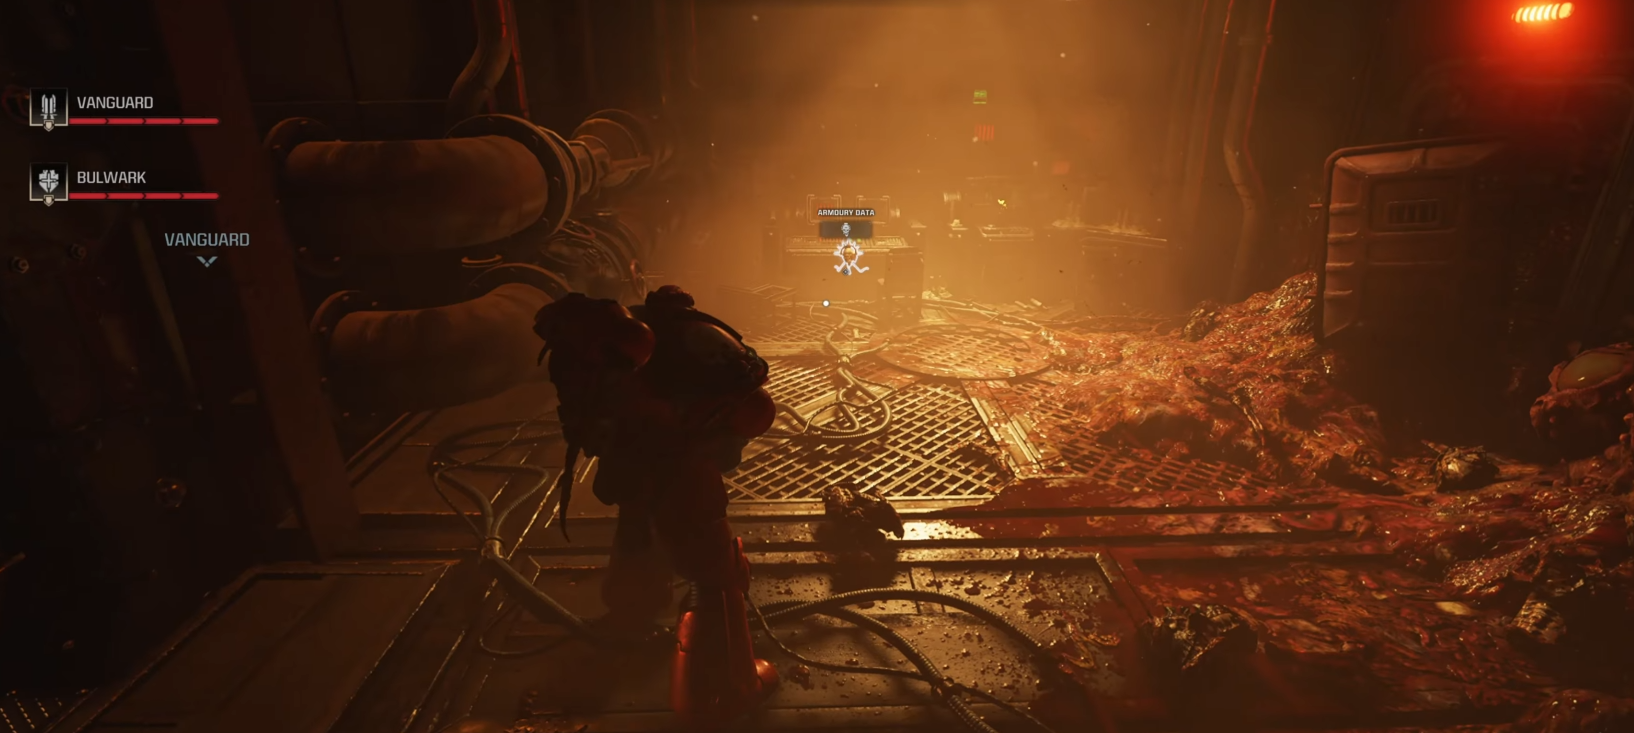
After the door with a glowing "Cooling Maintenance" sign, in a corner up the ramp and to the left.
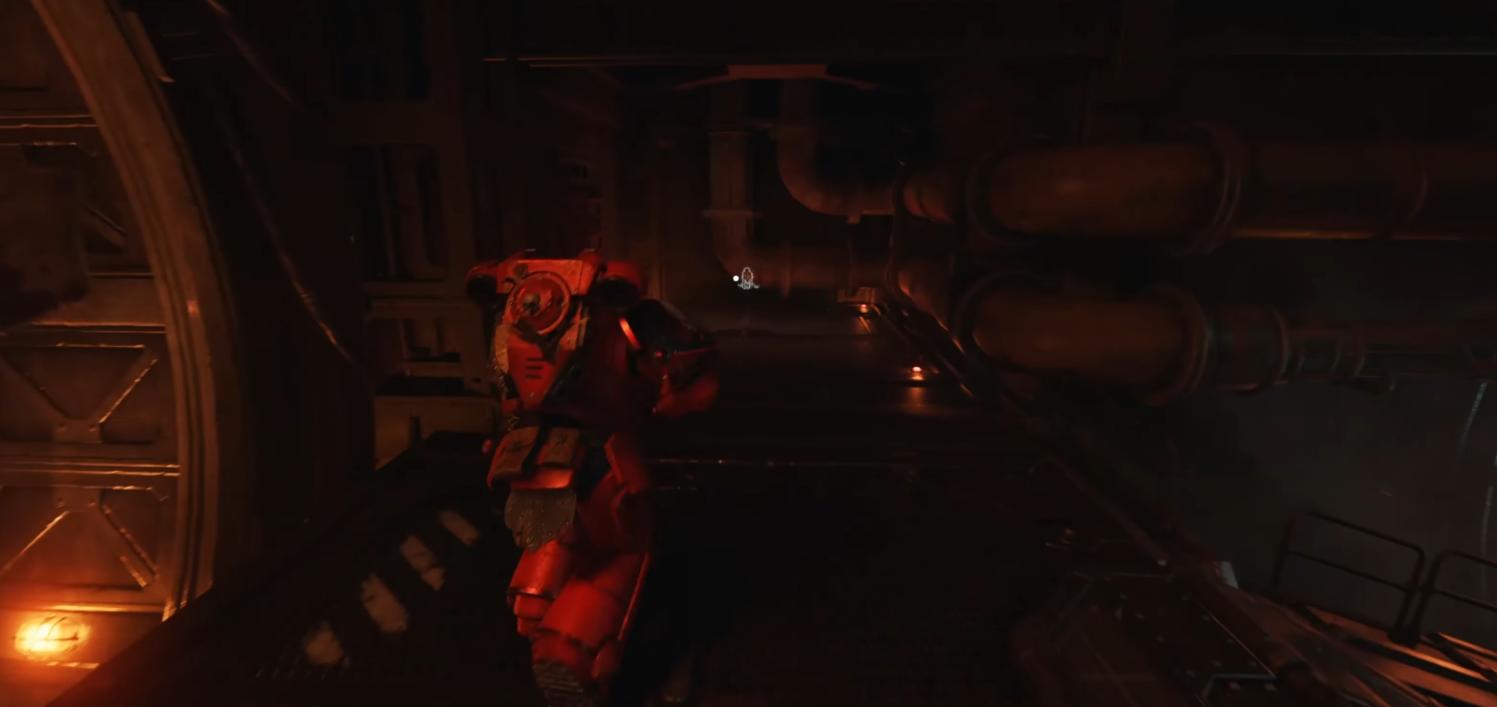
Operation 12: Disruption
Location
Screenshot
Take a hallway to the right, behind a bench.
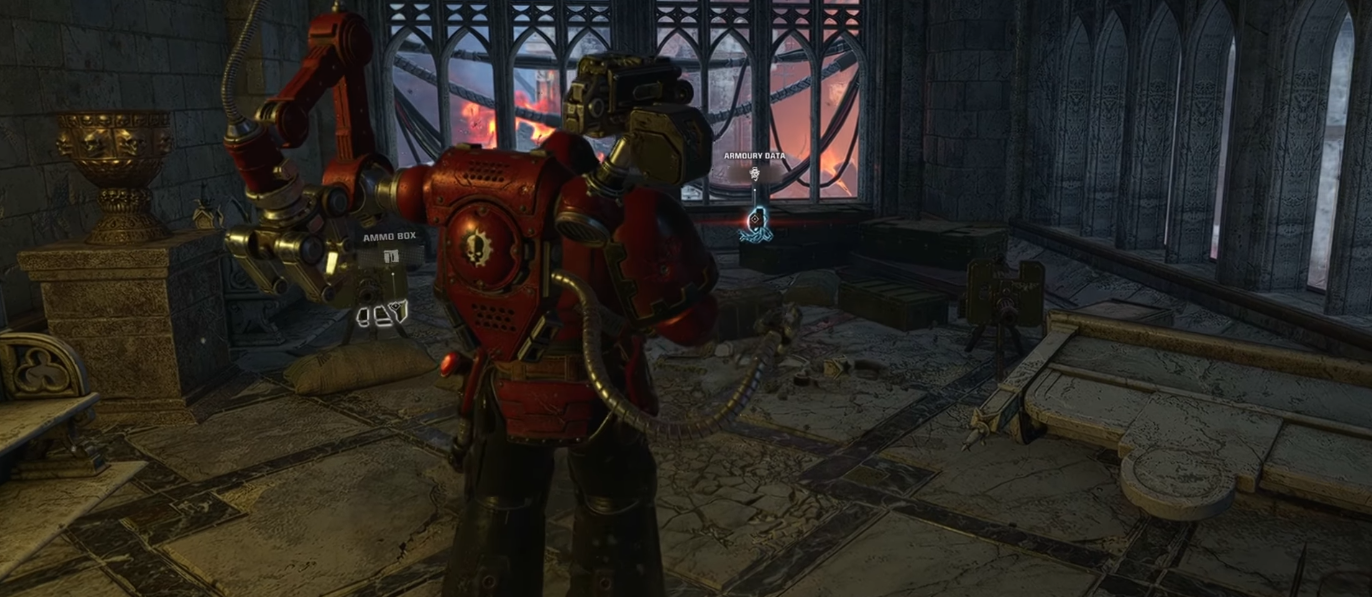
At the end of a hallway after the fallen statue.
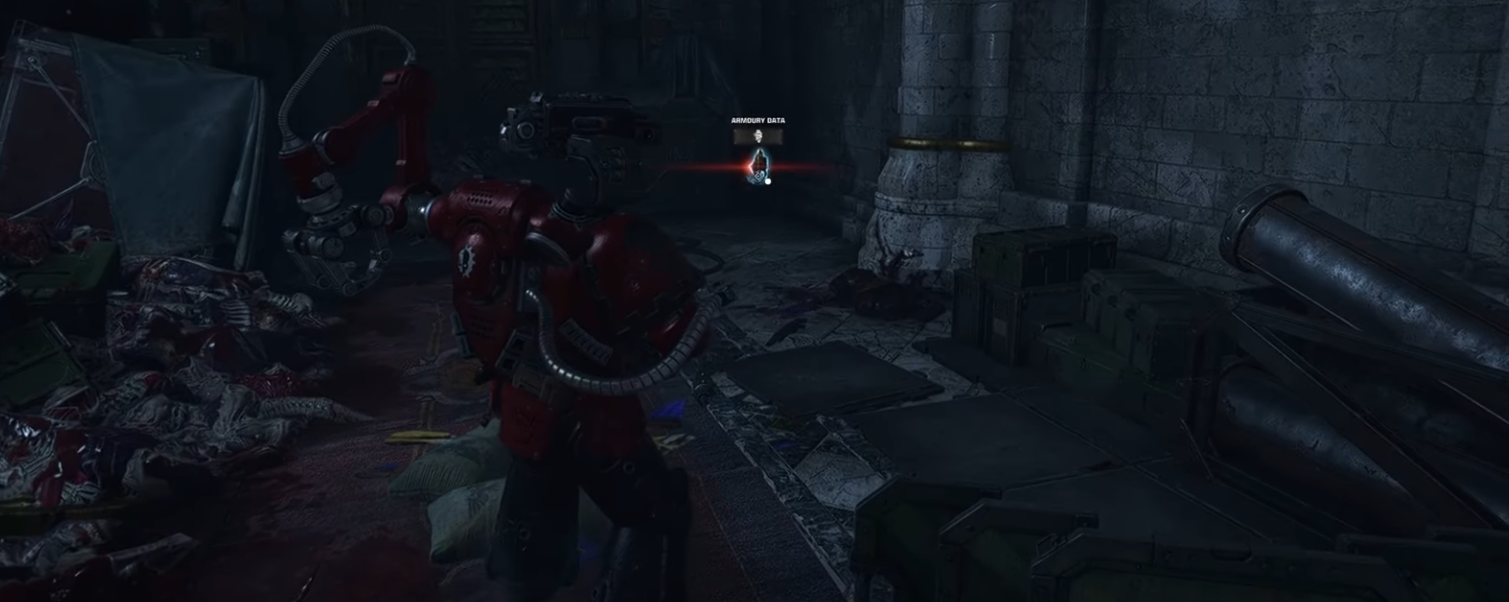
At the top of the spiral staircase with a weapons pod, around the corner to the left.
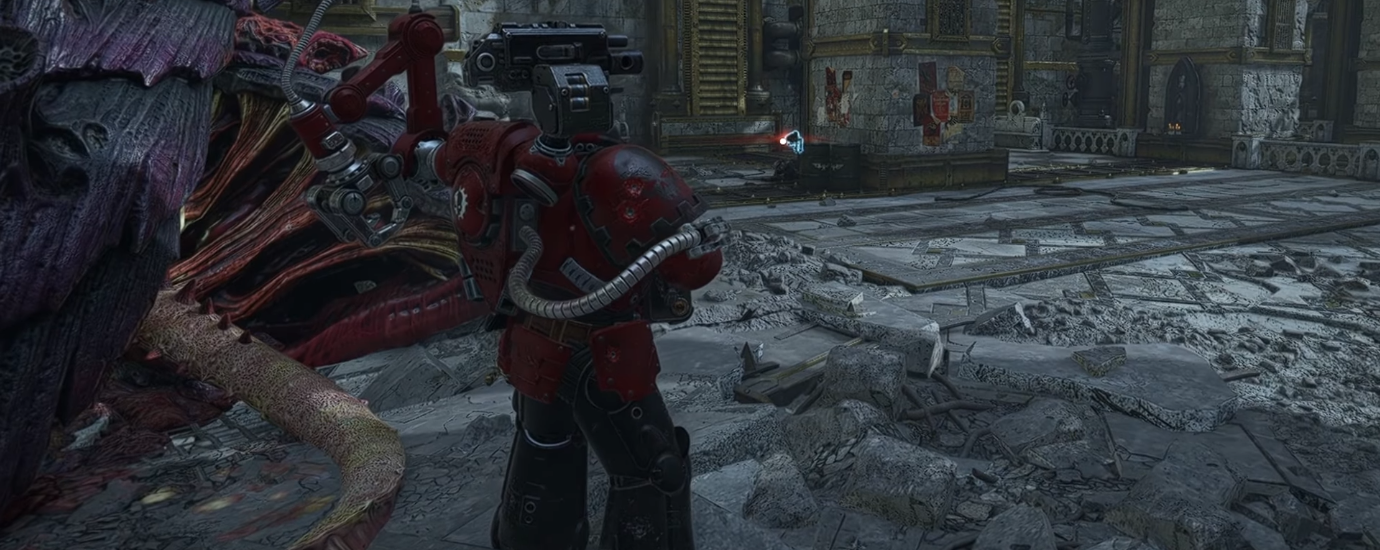
When you pass the Dreadnought on a train car, continue to the blue room on the right.
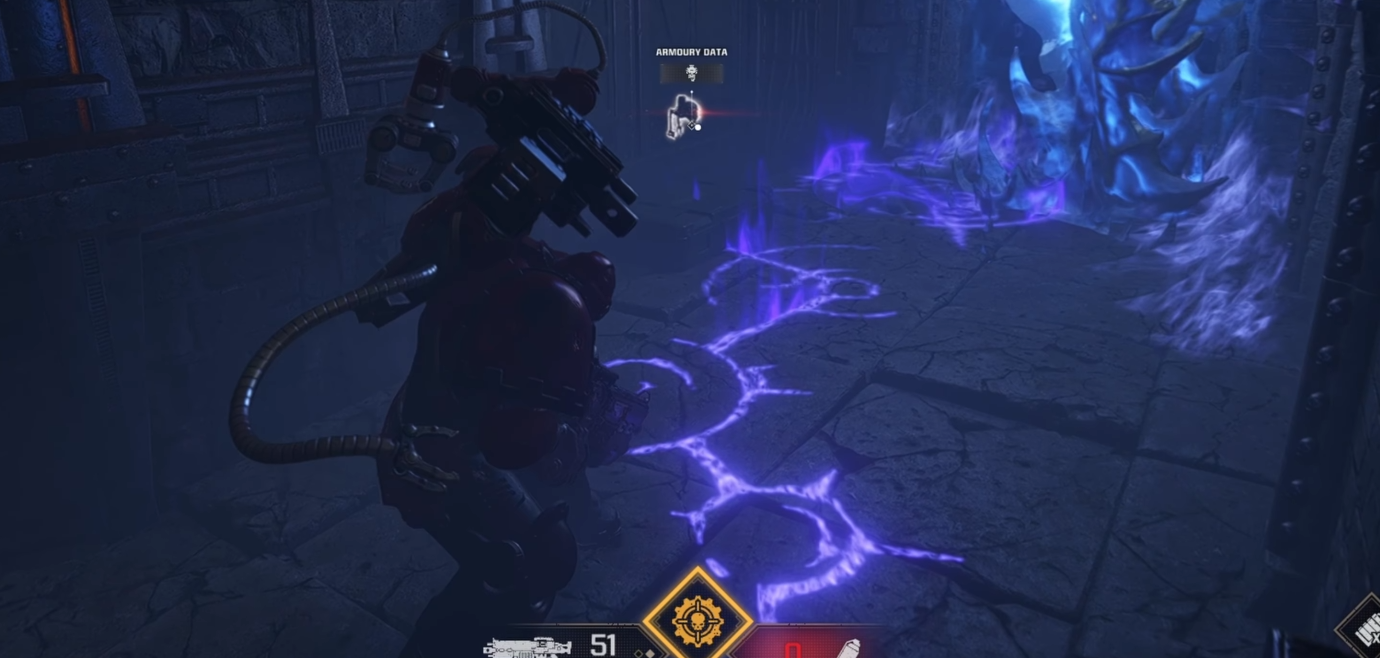
Before the Dreadnought shots down a bridge, under a small drop.
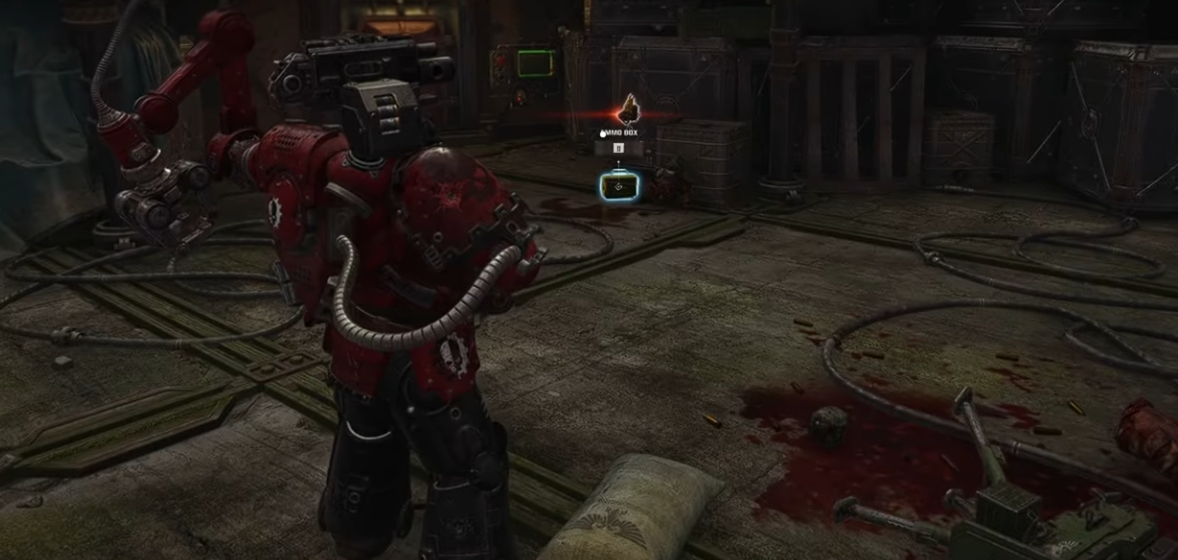
After entering the cathedral to plant charges, in a room to the left.
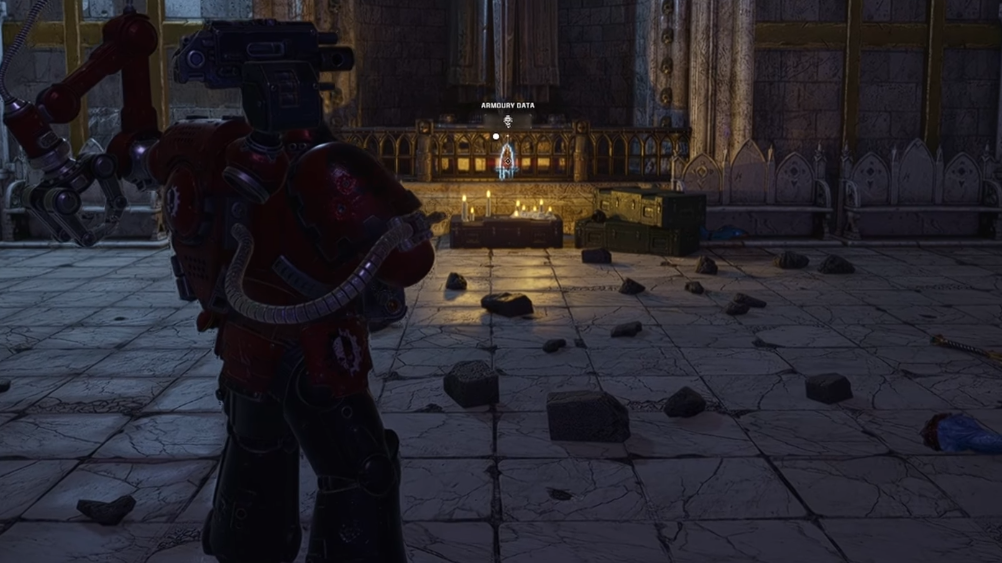
Operation 13: Purgation
Location
Screenshot
In the back left portion of the swamps.
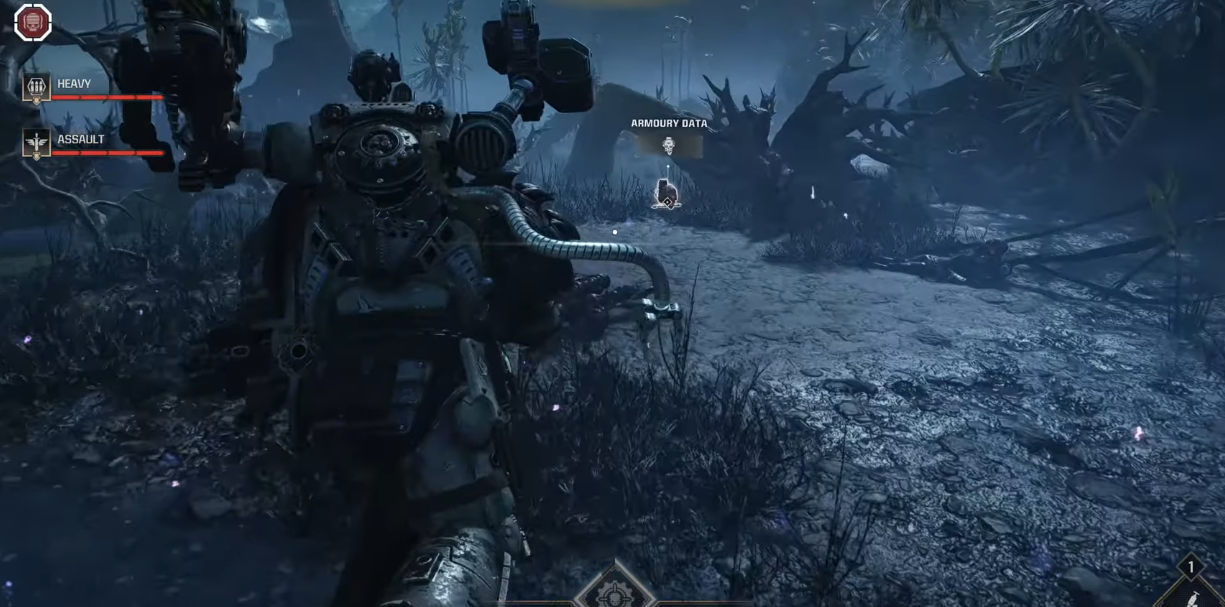
To the left before the larger blue doorway.
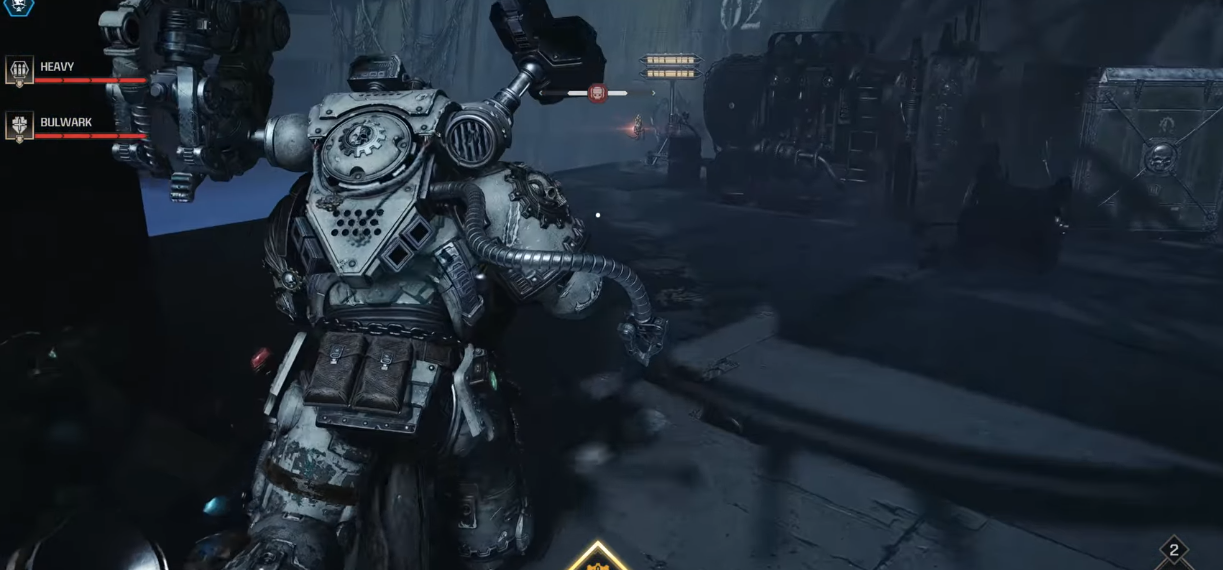
In the caves, up a ramp and in a room on the side.
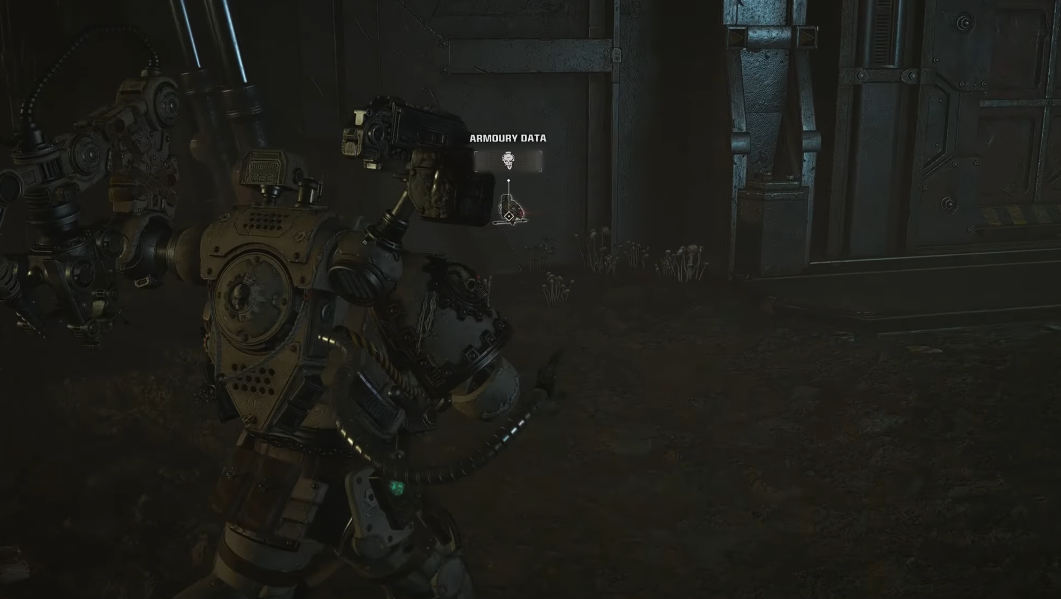
To the right immediately before passing through another large blue doorway.
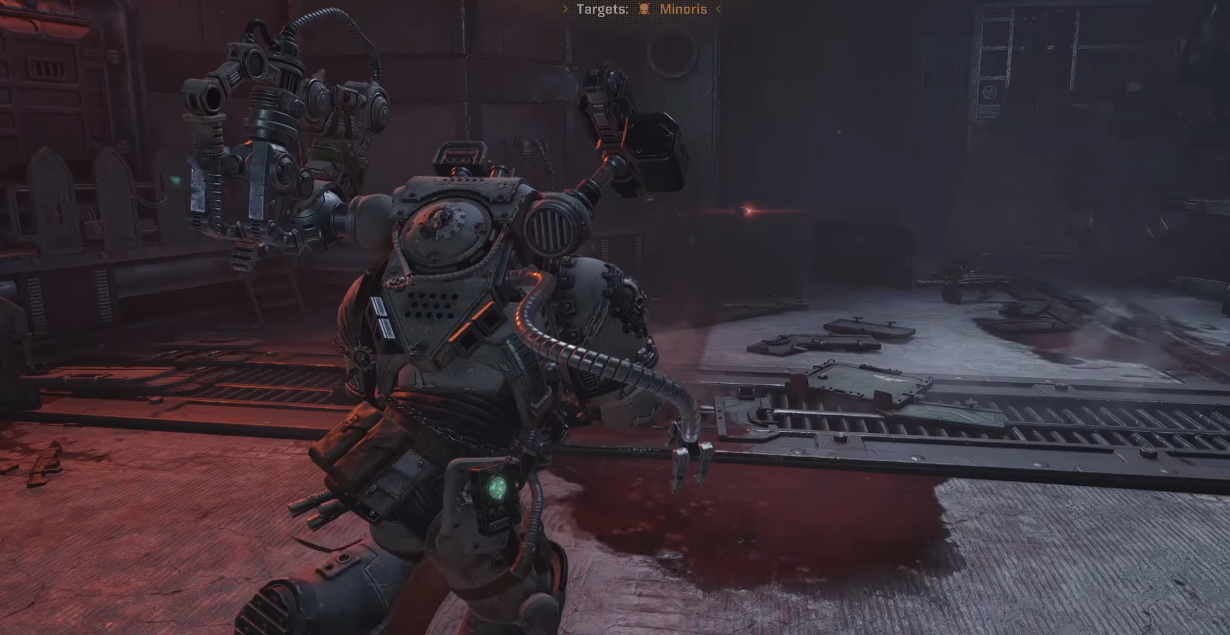
While destroying the domes and releasing Cadians, on an elevated segment.
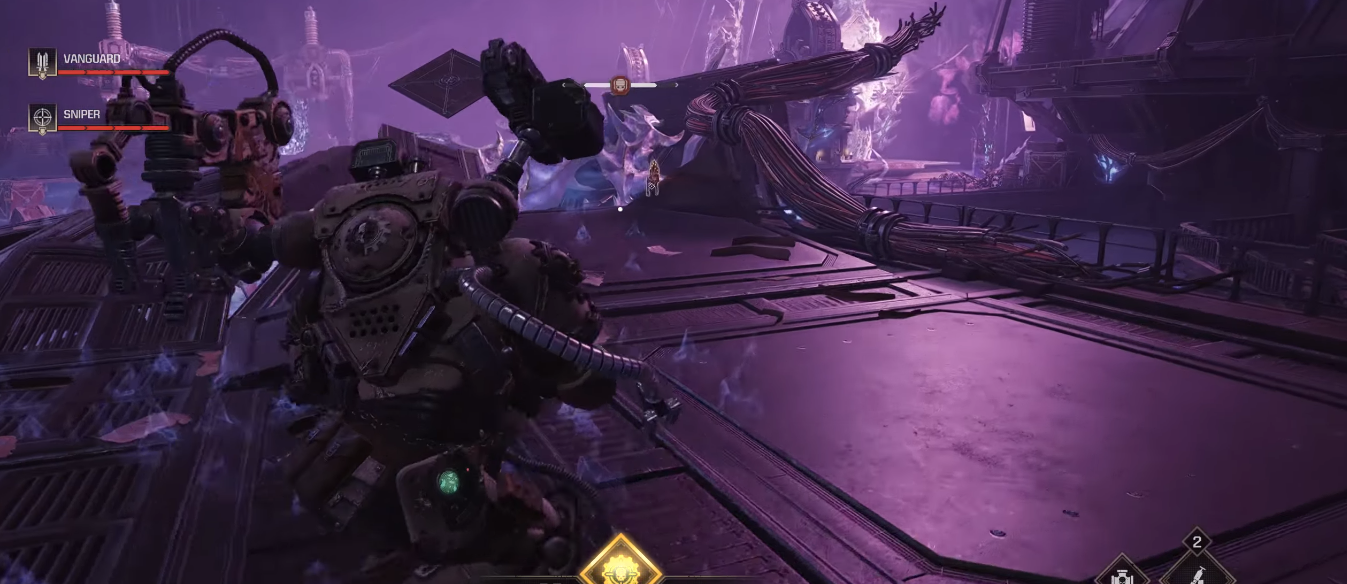
More Warhammer 40,000: Space Marine 2 guides
- Fully Optimized PVE Builds for Every Class★ 5 (1.5k)55k views3.8k ♥36 minUpdated Apr 30, 2025
- Cosmetics Compendium★ 5 (323)43k views487 ♥17 minUpdated May 14, 2025
- [W40k: Space Marine 2] All dataslate locations★ 5 (1.2k)33k views2.4k ♥3 min
- Armory data / Gene Seeds Locations: WIP★ 5 (632)27k views1.6k ♥12 minUpdated Mar 12
- 100% ACHIEVEMENT GUIDE | Warhammer 40,000: Space Marine 2 👑★ 5 (597)24k views1.1k ♥11 minUpdated Aug 28, 2025
- Руководство по всем достижениям | Прохождение игры на 100%★ 5 (596)24k views1.4k ♥6 minRussianUpdated Oct 13, 2024





This guide was created by its original author on the Steam Community. Are you the author and want it removed? Request removal.