Dawn of War Complete Campaign on Hardest Difficulty
General Overview
Dawn of War is a real-time strategy game set in the grimdark universe of Warhammer 40,000. The single-player campaign is fully linear, spanning 11 missions and playable exclusively as the Space Marines’ Blood Ravens Chapter on the Imperial world of Tartarus. The planet is initially under attack by Orks, but soon reveals a deeper threat.
You command squads of infantry and vehicles, manage resources, capture strategic points, and engage in both ranged and Melee combat. The campaign challenges players with three difficulty levels—
- Normal (Enemies have 50% health)
- Hard (Enemies have 100% health)
- Insane (Enemies have 150% health) - We will play on this Difficulty
You command squads of infantry and vehicles, manage resources, capture strategic points, and engage in both ranged and Melee combat. The campaign challenges players with three difficulty levels—
- Normal (Enemies have 50% health)
- Hard (Enemies have 100% health)
- Insane (Enemies have 150% health) - We will play on this Difficulty
Part 1 - Planetfall
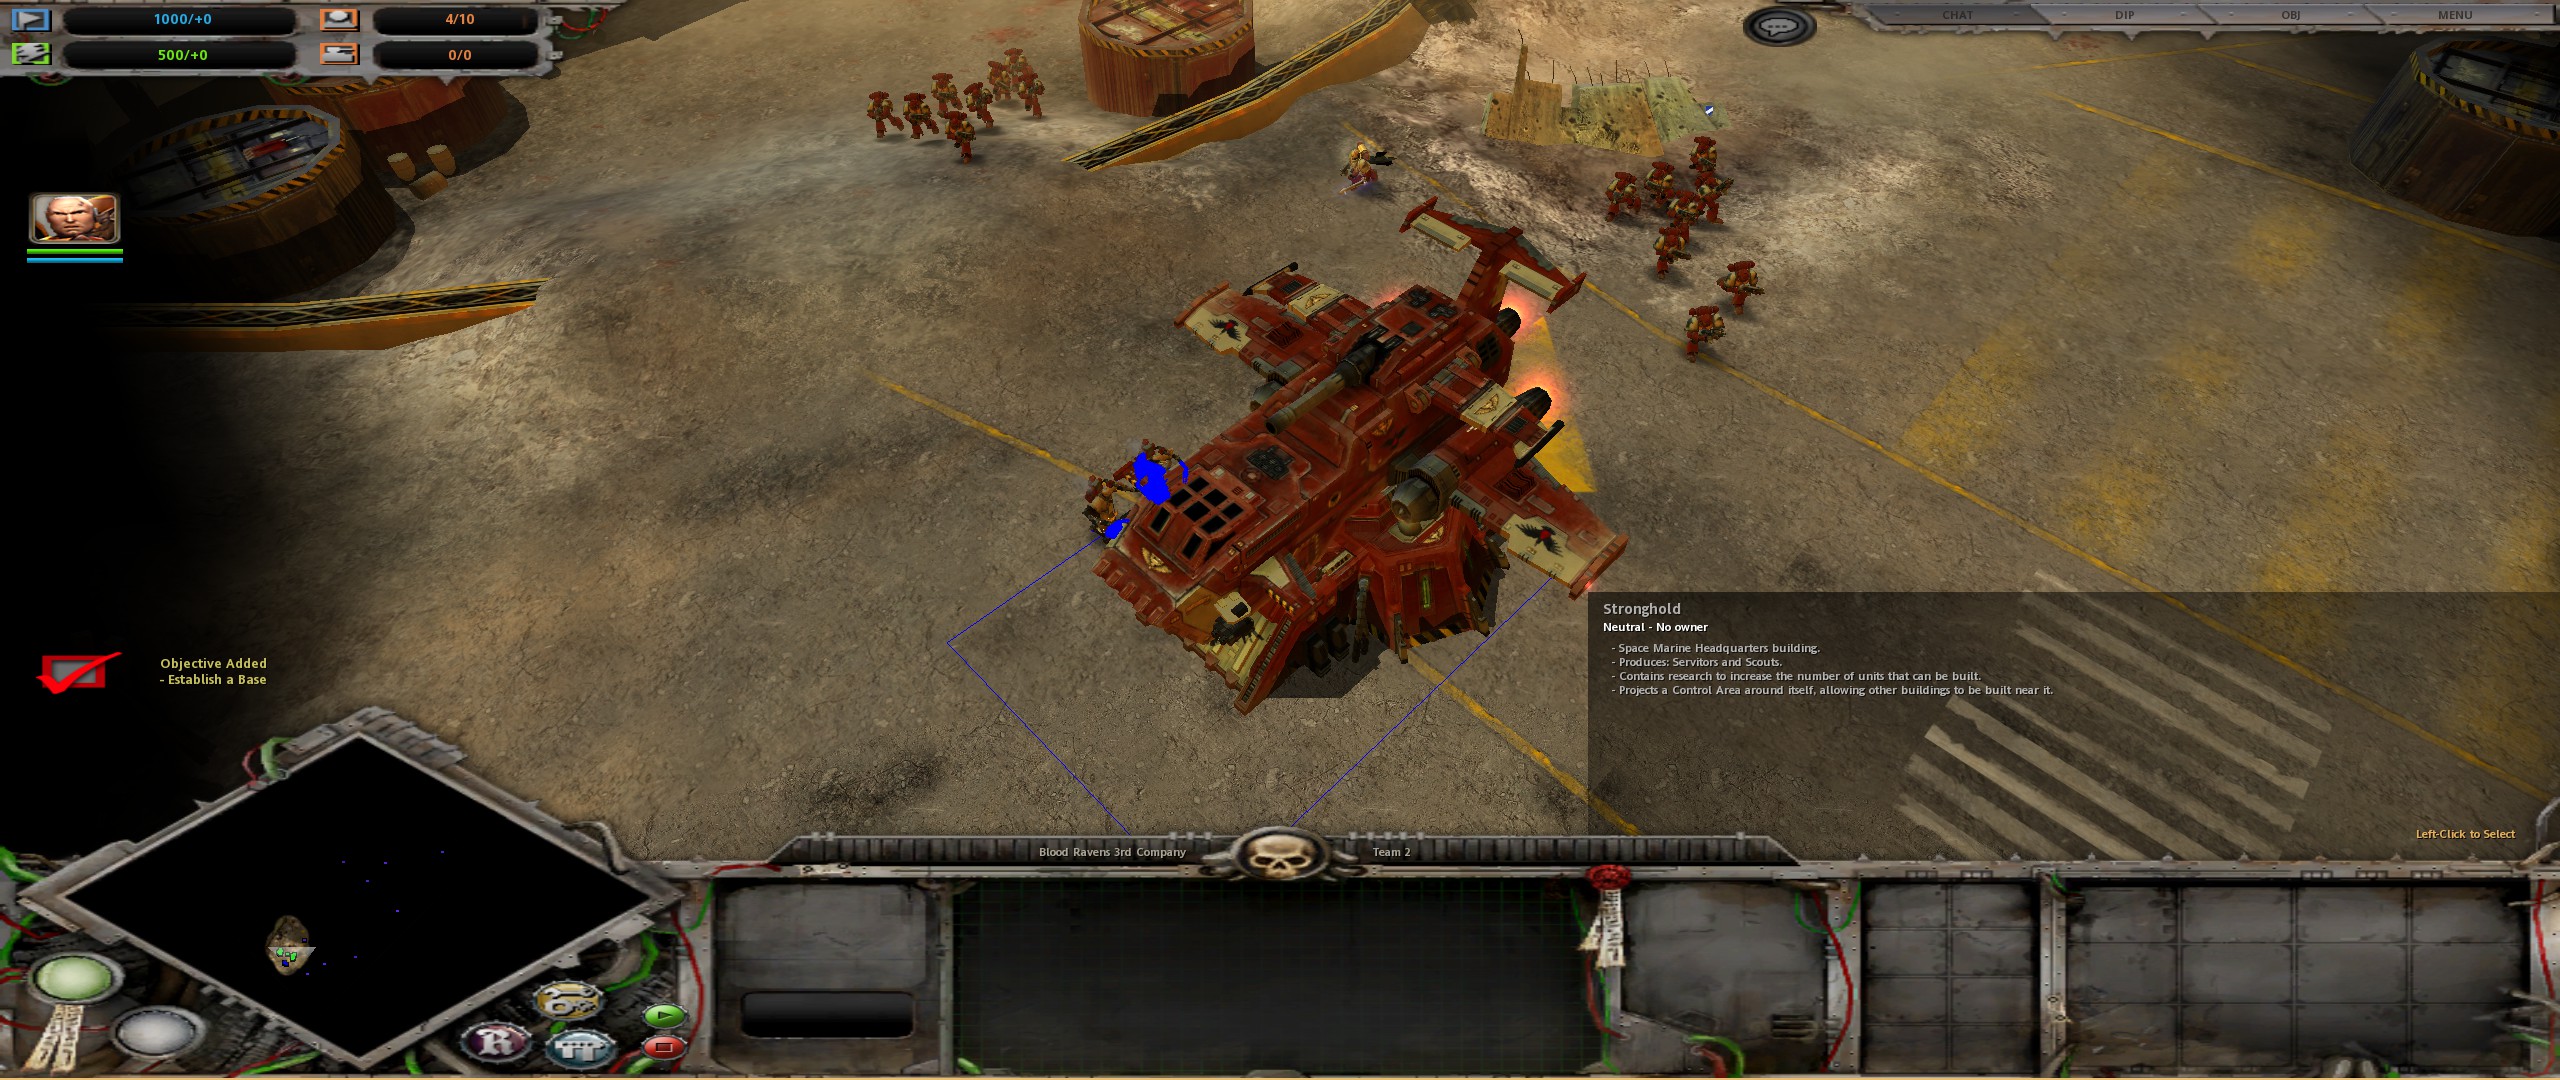
- This mission is essentially a tutorial, guiding you through basic combat and base-building while the main goal is straightforward: eliminate all Ork forces.
- Begin by establishing a small base. One of each available Building is enough to get you started. Focus on capturing nearby Strategic Points and building Listening Posts on them to secure resources.
- You’ll notice Imperial Guard units already engaged with Orks around the map—while you can’t command them directly, supporting them will make you feel better. On the eastern path, there’s also a Leman Russ tank you can claim, which will be valuable later.
- Train additional Space Marine squads, reinforce them, and fully equip them with heavy weapons. A strong setup is to have one squad of flamers and the rest of the squads outfitted with heavy bolters.
- When you encounter Orks, advance with the Force Commander and the flamer squad to lead the charge, while positioning your heavy bolter squads to cover them from a safe distance. Use the heavy bolters to weaken enemies before moving in.
- The Heavy Bolters have increased Range, while the Flamers are short ranged, but the Bolter users will still fire from Medium Range and the Flamers will burn anyone who tries to engage in melee, protecting your Heavy Bolters.
- Move your units east to rescue the Leman Russ and nearby Imperial Guard troops. Repair the tank and lead your assault with it, supporting it with your Marines. The Orks in this mission lack effective anti-tank weapons, so the Leman Russ makes the push to the main base much easier, though you can do it without it.
Part 2 - Infiltration
- Immediately move your Scout Marines to scout nearby areas. At this point, there are no enemy leaders that can detect you, so you can move freely.
- Head south, then east, where you’ll encounter some Imperial Guard troops. You can choose to help them, (It's a TRAP!) but don’t risk losing your scouts—sometimes it’s better to move on.
- Your first goal is to reach another Scout Marine squad, this one equipped with sniper rifles. Reinforce both squads to four members each.
- Around the first Strategic Point, you’ll find a small group of Orks, eliminate them and capture the Strategic Point. Once done, return to stealth; there’s no need to engage more Orks yet, as it will be easier later with heavier firepower.
- To the northeast is a small Ork encampment with a patrol led by a Nob. Avoid this squad—it can detect infiltrated units. Move carefully around the camp, timing your movements with their patrols. Once past, eliminate the targeted Nob on the ramp.
- Tactical Marines and the Commander are deployed. Move up the ramp and position your heavy bolter squads to take out Ork buildings. They outrange enemy structures if placed carefully. Capture nearby Strategic Points and build a basic base - You can keep sending the Commander to fight, he will instantly respawn if defeated in combat.
- From the south ramp, split your squads. Moving left helps two Imperial Guard squads (which can be upgraded with plasma guns and grenade launchers), while taking the right path saves two Space Marine squads under attack by Orks. Rescue them quickly, and they’ll join your forces along with a new requisition point.
- Focus on destroying Ork buildings. Use Heavy Bolters and Rocket Launchers and everything should fall quickly.
Part 3 - Under Siege
- Start by securing your two defense outposts. Capture the Strategic Points your units are already positioned around, then finish building any incomplete turrets. Consider adding 1–3 turrets around the other Strategic Points for extra coverage. For each outpost, a strong setup includes:
*1 Heavy Bolter Squad
*1 Missile Squad
- Build an Armoury and other support structures as needed. This setup will handle Ork harassment from Slugga and Shoota Boyz, as well as Wartraks. Keep the Guardsmen back—they aren’t built to absorb heavy damage, so let your Marines and turrets take the brunt of attacks.
- Once your defenses are secure, you have options for targeting the Ork structures. The Orks have Da Boyz Huts on the left and right flanks and a Da Mek Shop in the center. While you can salvage a Machine Cult on the right to build Dreadnoughts, it’s not immediately necessary. A smart first target is the central Da Mek Shop to reduce the constant Wartrak harassment coming from the main base. Altho it is significantly easier with the Dreadnaught.
- You can use a missile squad supported by 1–2 anti-infantry squads. Scout ahead with infiltrated Skull Probes and fire on the buildings from a distance. Repeat this process on the left and right flanks to soften enemy positions.
- Let the Dreadnoughts lead the assault, supported by your Marines.
Part 4 - Destroy the Xenos
- This mission is another Ork-clearing operation, with slightly different objectives but the same basic approach. You’ll start on a ledge with Whirlwinds and Assault Marines. By default, the Whirlwinds are set to “cease fire,” so switch them to Focus on Structures and use them to start demolishing enemy structures. They’re effective against buildings, but trying to kill all the Boyz with Whirlwinds alone is slow—jump in your Assault Marines to mop up any remaining enemies.
- Once the initial Orks are cleared, you can establish a base. Orks will occasionally drop Stormboyz over the northern trees, so leave a squad or build some Turrets to guard the area. Move quickly to capture the third Strategic Point. Once you have some heavy weapons, destroy the Ork Listening Post on a nearby ledge and capture the fourth SP using your Assault Marines.
- On the far side, the Bridge is guarded by a Squiggoth (a powerful Relic unit) and numerous vehicles. On Insane difficulty, the enemy will have a large tank force, making this section particularly tough. Surround the area with 5–6 Dreadnoughts and missile it with a bunch of Marine Squads while using bolters, plasma, or snipers to finish off the Warboss. Expect some casualties among Marines and Dreadnoughts, but after this, the remainder of the mission is straightforward.
* Dreadnaughts and Missile Launchers are your best friend here, get as many as you can.
Part 5 - A New Lead
- This mission is relatively straightforward, but introduces new enemies—the Eldar. Your objective is to escort the Force Commander and the Librarian to the end of the map, which naturally involves clearing all enemy forces along the way.
- You start with a few squads, Commanders, and limited resources, as there are no nearby Strategic Points—move your units quickly. Send Scout Marines north while the rest of your forces advance east, encountering some broken Ork squads along the way. Capture the two nearest SPs and deploy a Servitor to build Listening Posts before moving further.
- After taking the third Strategic Point, you’ll encounter a long pass with no cover, where Dark Reapers ambush from above. You can either push through in Rhinos, or clear them from below —Dark Reapers have poor anti-vehicle damage and low health. Along this pass, you’ll find another SP and Webway Gate; clear them before continuing along the crater path.
- Use Dreadnaughts to push for the Final Base as the enemy has no counter to it.
Part 6 - Into the Maw
- This is where the difficulty really ramps up, especially on Insane. Your objective is to destroy Webway Gates scattered across the map and reach an ancient Chaos dig site.
- You begin with no base or Servitors. Take out the nearby Eldar group first to gain access to base-building and production units. Use your Force Commander and Dreadnought to deal with the Wraithlord, while Tactical Marines handle enemy infantry. This initial engagement should be manageable with minimal casualties. Once the area is clear, you can move north to start constructing your base.
- Eldar attacks will come from the southwest forest and the river near your northern Strategic Point.
- Early on, you may need to use commanders to engage enemy tanks, since missile launchers may not be available yet. Fortunately, Eldar lack effective anti-vehicle weapons, so once you get a walker or tank, it can dominate the battlefield.
- The Imperial Guard units up north are critical in holding off Ork attacks. Regularly check on them and position your more durable units in front. Use at least one missile squad, one heavy bolter squad, and one or two vehicles to intercept the Orks. - these attacks repeat throughout the mission, so a strong, low-maintenance defensive setup is essential.
- Once your defenses are stable, begin taking out the Webway Gates. Scout with Skull Probes to locate them. A small force—one vehicle and 1–2 squads—is usually enough to destroy each gate. Eldar production bases are scattered.
- Push up the ramp toward the Slag Deposit and establish a secondary base to facilitate reinforcements. - Fortify this position and build multiple Machine Cults and Barracks to replace your casualities quickly, you can turn on Auto Recruit with Right click.
- Once the central Webway Gate and Fire Prisms are neutralized, mop up remaining threats and advance en masse to secure the area. Don't forget to use the Predators, they are the Main Unit you need here.
Part 7 - Sacrifice
- Compared to previous missions, this one is a bit more forgiving (but significantly longer)—attacks on your base start later, and the final battle gives you plenty of room to maneuver instead of forcing you into a tight kill zone.
- The map is split by a river with a closed bridge, creating two distinct areas. Start by turtling: capture the two Strategic Points in your base and focus on teching up. Build several generators, advance toward vehicles, and prepare defenses.
- Attacks will come from multiple directions, but the heaviest will be from the left. Infantry squads appear at other entrances, but these are manageable. The Avatar will wander around—don’t chase him until you can handle him safely; avoid running into tanks while pursuing.
- Once you’ve built up, capture the Strategic Point on the right and secure the unclaimed Relic. Take out the minor Eldar base with two lascannon Predators and some Marines. Use Skull Probes to scout—attacking from behind near their production buildings is effective, as they lack anti-vehicle units. Clean your side of the river, and hold before the gate-opening Strategic Point.
- After opening the Bridge advance slowly and steadily. Use Drop Pods, Terminator teleport, and abilities. Establish a secondary base past the bridge to replace any lost units.
ALTERNATIVE TACTICS
- You can use Land Speeders and Assault Marines to ignore the Bridge Mechanic and even Assault the final base.
Part 8 - The Chapel
- This map is split by a deep chasm, creating two main zones. Your primary objective is to storm the chapel in the north, but there’s a secondary Space Marine base on your side of the map that should be secured first. The Chaos base sits north-west, behind the chapel, though you’re probably not meant to assault it directly but you can.
- Don’t worry about the eastern base that’s under siege—it’s trivial. One Assault Marine Squad can jump in and claim it at any time. Move them to the Relic site, double-jump across to the base, and ignore any enemies along the way. This secures your side and gives you a safe staging area.
But claim the base before it gets overwhelmed.
- Don’t worry about the eastern base that’s under siege—it’s trivial. One Assault Marine Squad can jump in and claim it at any time. Move them to the Relic site, double-jump across to the base, and ignore any enemies along the way. This secures your side and gives you a safe staging area.
But you can build Towers to help them and bring in Heavy Bolters to kill the Chaos on the other side
- When your position feels secure, jump a squad across the chasm to capture the secondary base.
Use Vehicles to clear the enemy - they will put up a fight but you can overwhelm them if you have enough Unit Production Buildings.
Part 9 - Unholy Ceremony
- This mission focuses on capturing and holding all four Relics for a short period. You don’t need to destroy all Chaos bases or wipe out every enemy unit, but trying to secure the Relics without at least crippling their production will make things much harder. Two Chaos bases sit behind the north and south Relics, and they will launch attacks along multiple routes.
- You start in the western corner with a handful of Marine squads, some Imperial Guardsmen, and damaged Leman Russ tanks (which slowly repair automatically). Immediately capture the first four Strategic Points, but avoid overextending—spreading your forces too thin invites disaster.
*Build turrets around outer Listening Posts.
- The additional units Angelos brings count against your squad cap. Max out your population at your main base before he arrives, then you can field 32 units instead of 20 without penalty. Vehicles are unaffected. Deploy the squads, then reinforce and equip them as you see fit.
- Once you have some spare squads, start expanding and clearing out some Chaos Buildings (They don't rebuild)
- At Tier 2, vehicular attacks ramp up faster than you can replace losses. For a simpler win, you can skip upgrading your stronghold and rely on a strong Marine force (or Terminators with the Force Commander) backed by Leman Russ tanks to take down both Chaos bases. This avoids the constant waves but is obviously a much easier approach.
* Atleast until you cripple their Production enough to not have to worry about them having unlimited requisition.
Part 10 - Old Friend
- Your objectives are clear: eliminate Isador and wipe out all Chaos forces and structures. There are three main Chaos bases: one directly behind the Relic “pyramid,” and one on each side (left and right). Each will launch mixed attacks, so a solid defense will help immensely.
- Unlike many campaign maps, turtling here is a bad idea. Most of the map starts unclaimed, and the sooner you capture it, the better.
- Once Strategic Points are under control, prioritize fortifying outer Listening Points to handle initial infantry attacks.
- With your side secure, you can start striking the enemy early, even with modest forces.
* This early aggression prevents the enemy from building up, giving you a significant advantage before they have proper defenses.
- Choose any of the three bases to start: left, right, or the center ( they are all separate player entities, so taking one out has a huge impact, fighting 1vs2 is much easier then 1v3)
- After the first base falls, systematically move through the remaining Chaos bases.
Part 11 - All Out War
- The final mission is surprisingly easy compared to some other missions. Your only objective is to destroy the Daemon Prince Sindri.
- Start moderately aggressive, expand, capture Strategic Points, and eliminate nearby Possessed Squads.
- Supporting the Eldar is optional, but they do send units to help if they survive the early game.
* Build a chain of fortified LPs along the path toward the Eldar to strengthen their defenses if desired.
- Use a las cannon Predator early to destroy any small bases or production buildings in your path.
- Once you control most SPs and have a strong army in place, a raid will provoke Sindri.
- He will leave his base and run into your army. Concentrated fire from your forces will easily overwhelm him—you don’t need your full army.
*If he does not appear naturally, simply take your full army and destroy him in his base.
Once Sindri is defeated, the mission ends, and you have beaten Dawn of War on Insane!
The Silver Crusade

More Warhammer 40,000: Dawn of War - Anniversary Edition guides
- Dawn of War Widescreen Fix★ 5 (1.1k)102k views1.2k ♥3 minUpdated Dec 20, 2025
- A better 16:9 widescreen fix.★ 4 (162)30k views331 ♥1 minUpdated May 20, 2024
- Warhammer 40,000: Dawn Of War изменение разрешения экрана.★ 5 (462)30k views528 ♥1 minRussianUpdated Aug 29, 2020
- How to Play Good in Skirmish with Every Race★ 5 (459)28k views944 ♥38 minUpdated Jun 6, 2017
- Warhammer 40,000: Dawn of War - All Campaign Missions★ 4 (158)25k views201 ♥1 minBulgarianUpdated Feb 5, 2016
- Ultra widescreen Fix 21:9★ 4 (54)21k views102 ♥1 minUpdated Sep 10, 2017


This guide was created by its original author on the Steam Community. Are you the author and want it removed? Request removal.