How to download Skins for CSS
introduction
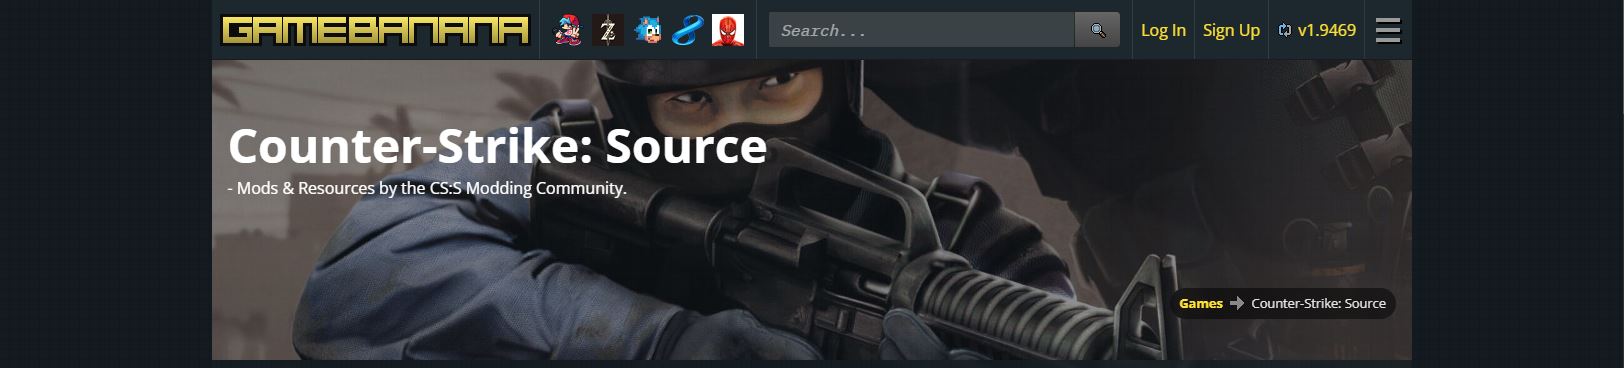 The site we will be downloading skins from is gamebanana[gamebanana.com] for those who are worrying about the safety of the site, it is completely safe and tons of people use it.
What is gamebanana?
Gamebanana is a company made for mod and skins of a game that's compatible with mods.
Step 1
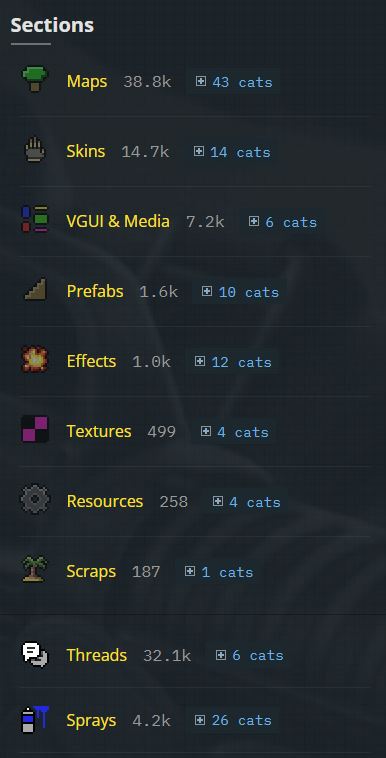
Step 2
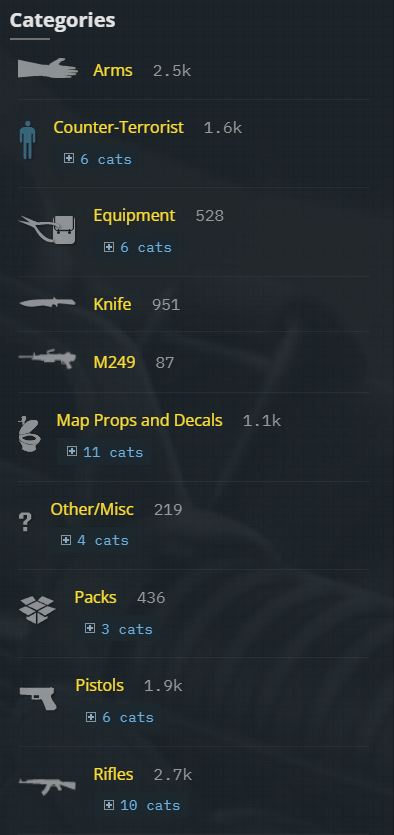
From entering Sections scroll down and on the same right side you will find "Categories". From the "Categories" you can find multiple options like in "Sections" you can choose for what object you want a skin, for this tutorial I will be downloading a knife skin.
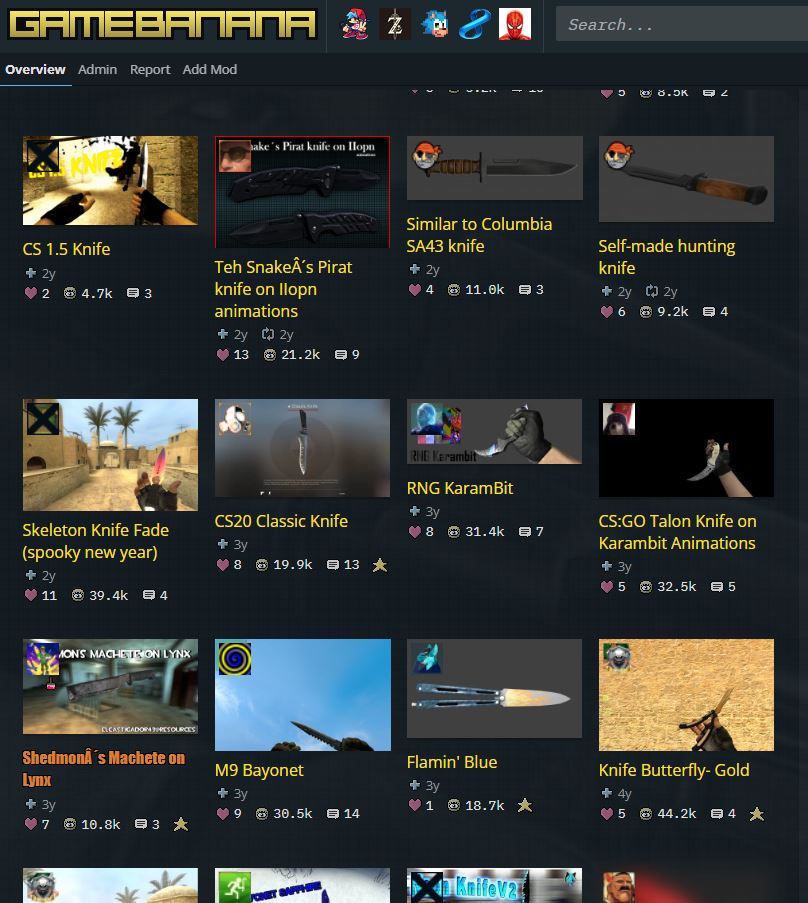
After you have chosen what category skin you want, scroll down and find the one you like.
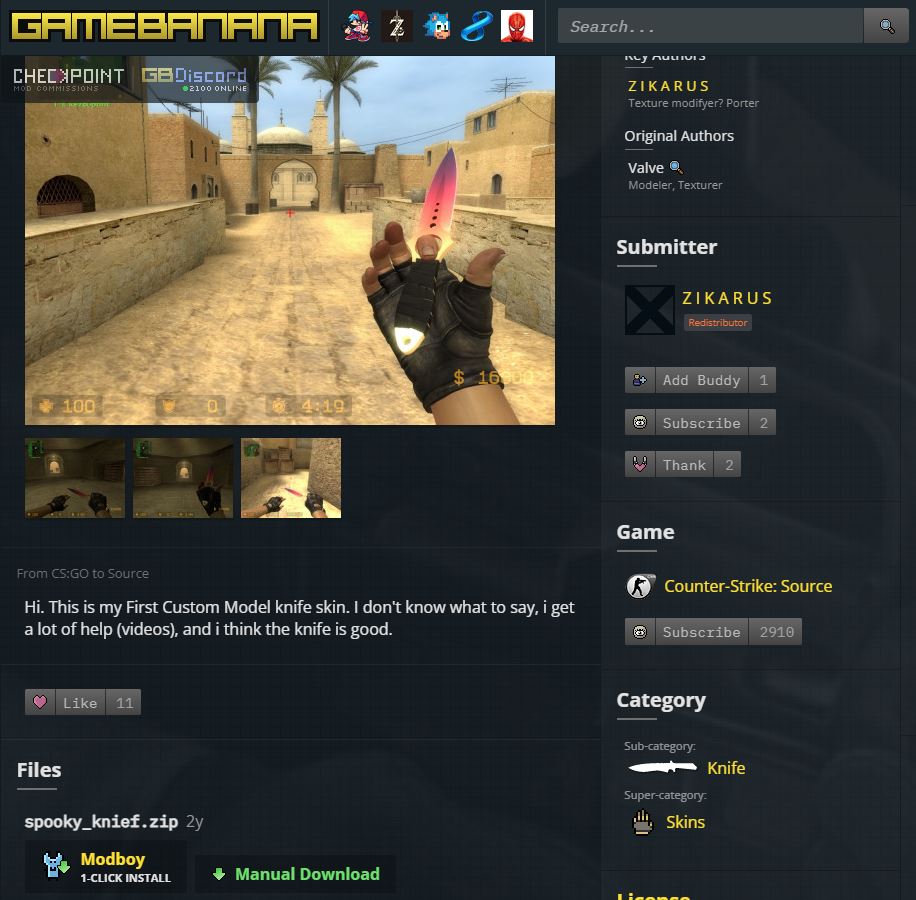
Once you have found the skin you like, click it and scroll down a bit till you see the "Manual Download" button, press it.
Installing the Skin
Once you have downloaded the skin you will get a WinRAR folder, in which contains the skin.
Go to the drive you have installed CS: Source and then go to Steam/steamapps\common\Counter-Strike Source\cstrike\custom\ or go to your Steam library right click on Counter Strike: Source press properties and press Local Files from there you will see a button called browse, press it. It will take you to the Counter-Strike Source folder from there press cstrike folder and then custom.
Note: If there is no custom folder make a new folder and call it custom!
Once you're there open the WinRAR folder and drag the folder inside the custom folder you just have open from CSS. If there are multiple folders (materials, sound, scripts, models - if some of these are missing, it doesn't matter, they are probably not part of the skin.) create a folder inside custom and drag those folders into it.
Once you have done all of this launch the game and enjoy!
One final thing if you don't see the skins, it is probably because that server you joined doesn't support it.
Don't forget to Like, Favorite and Share if you found this guide helpful!

- Bot Abuse Achievement Guide★ 5 (1.3k)38k views2k ♥44 minUpdated 19 Dec, 2020
- Use the Console & Commands List in CS:S★ 5 (610)34k views914 ♥5 minUpdated 31 May, 2021
- Получаем достижения легкими путями★ 5 (1.5k)25k views2.3k ♥22 minRussianUpdated 4 Dec, 2023
- How to win the game★ 5 (567)23k views207 ♥1 minBulgarian
- creating a good config and binds★ 5 (336)20k views591 ♥52 minBulgarianUpdated 4 Dec, 2020
- Консольные команды для Counter-Strike: Source★ 5 (314)16k views377 ♥10 minRussianUpdated 31 Oct, 2020



- Upgrading to PremiumTeam Fortress 2★ 5 (20k)1441k views11k ♥6 minUpdated May 11, 2022
- No More Room in Hell Official ManualNo More Room in Hell★ 5 (2.8k)569k views2.1k ♥29 minUpdated Apr 22, 2019
- NMRiH Community Hosting GuidesNo More Room in Hell★ 5 (526)351k views653 ♥1 minUpdated Aug 10, 2022
- ULTIMATE GUIDE FOR GAME DEV TYCOONGame Dev Tycoon★ 5 (5.8k)326k views10k ♥4 minUpdated 23 Jan, 2014
- How to 'Git Gud' Soon™MORDHAU★ 5 (2k)318k views3k ♥68 minUpdated Nov 16, 2024
- Лучшие кооперативные игры SteamPAYDAY 2★ 5 (1.5k)315k views2.1k ♥56 minRussianUpdated Apr 27, 2025






This guide was created by its original author on the Steam Community. Are you the author and want it removed? Request removal.