Making Your World Downcast
Overview
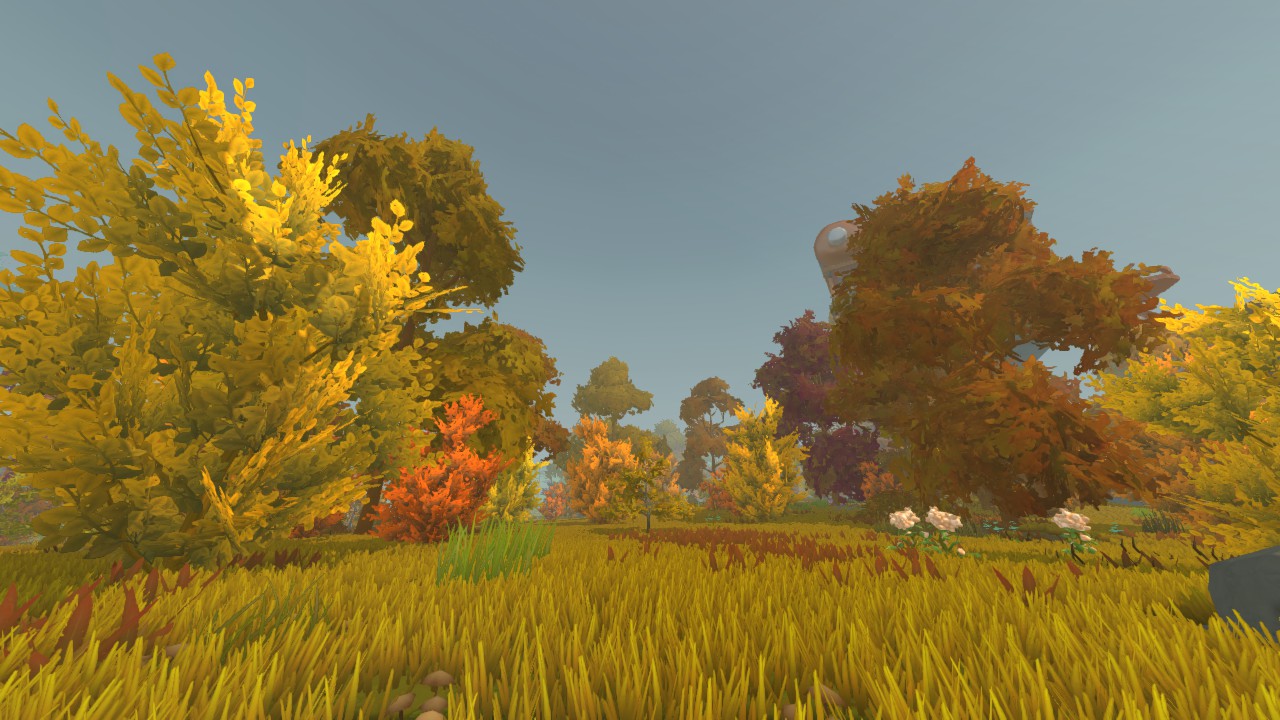
I like almost everything about Scrap Mechanic: the building system, game-play, the creativity of the community. Again, I like almost everything in Scrap Mechanic...
I just don't like the mood that it sets.
I love clouds, especially downcast fog that makes the sky a perfect grey. Unfortunately, the sky in this game is a big, teal void without a cloud in sight. This is much better than clouds that look bad, but it didn't change what I want.
While all of y'all were looking at the fancy new tote-bots in the newest Devblog, I was looking at the sky. I didn't see any clouds, which was sad, because weather was the one thing that I was hoping for. I decided to take matters into my own hands...
After delving in the files of this game for hours, I was able to get something to work, and was able to alter another issue I have with this game's graphics that you may relate to! The developers chose some really cool methods for handling the game's lighting and stuff, which are surprisingly easy to modify :)
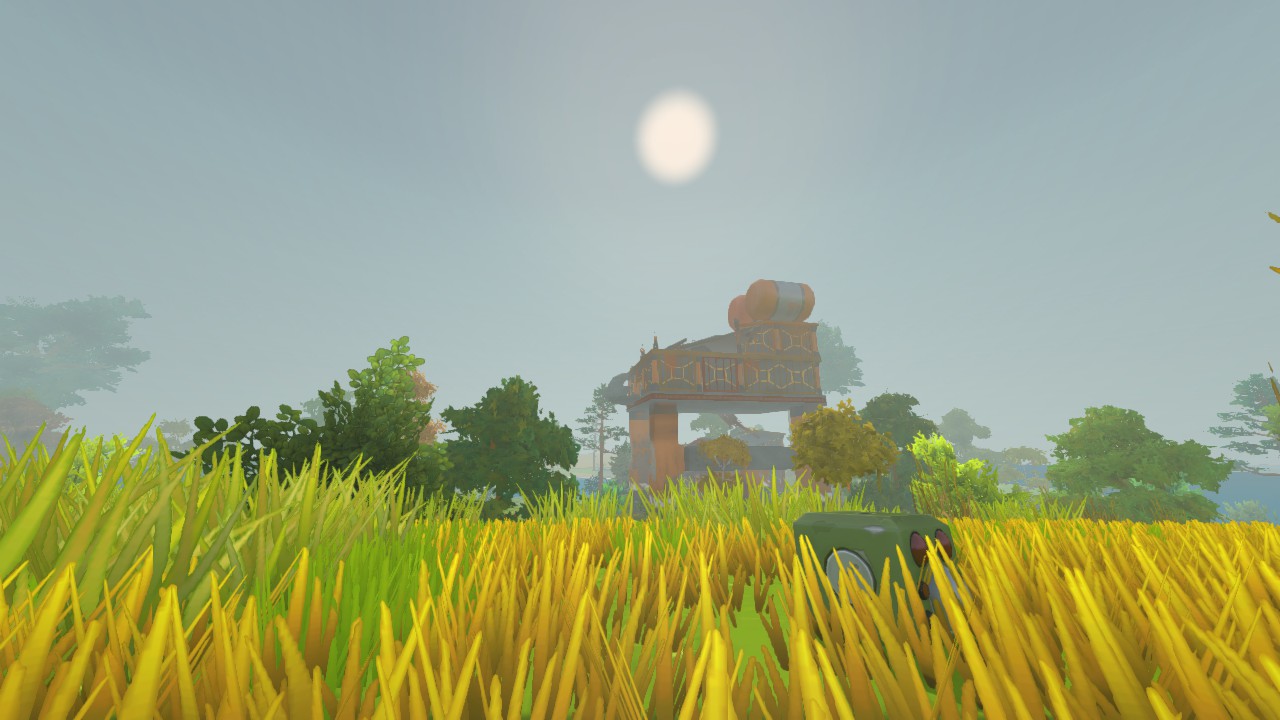
Just as a little side note: I'm new to modding this game! I'd love to help if you have any questions, but I may not be able to answer them.
My hope is that this guide will help YOU play how you want to!
Needed Software
I'll use the free-software GIMP for this tutorial.
File Directories
We'll only be using a few file directories, all of which should be inside of:
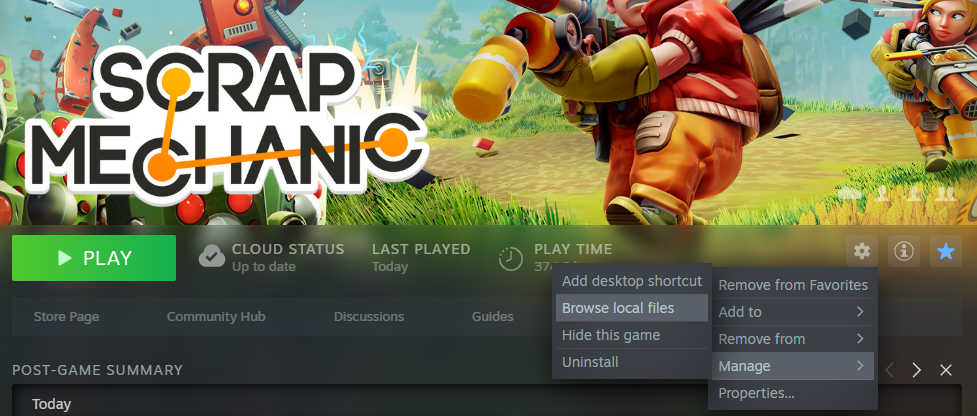
[wherever you have Steam locally] > steamapps > common > Scrap Mechanic. You can also select the Browse local files within Manage in Scrap Mechanic's Library page.
 The checked files are the ones we'll be dealing with from here-on-out: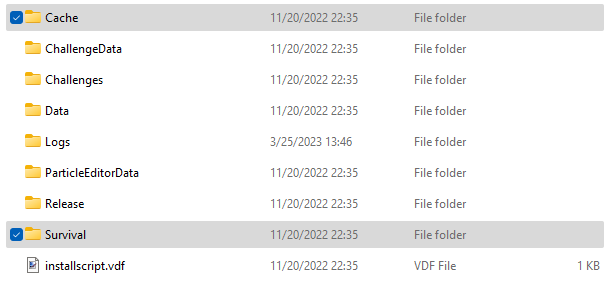
Survival is where every texture we need is stored, more on Cache later.
The Sky-Box
- The developers split it into a Cube Map and a Texture
- The Cube Map is to give information on where along the Y-axis we will pull from
- The Texture that holds the colors for all times of day at different elevations.
- The X position is determined by the time of day.
This setup essentially allows for easy day-night cycle implementation; we can run the textures' information through a function to get the appropriate color for each pixel in the sky.
Knowing this allows us to understand this image right here:
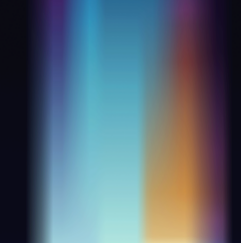
Which is at Survival > Lighting > Textures > skybox_colormap.tga
Each column (up-down) of pixels displays a different time of day, and you'll notice that we start at and end at midnight going right.
Here's it opened in GIMP:
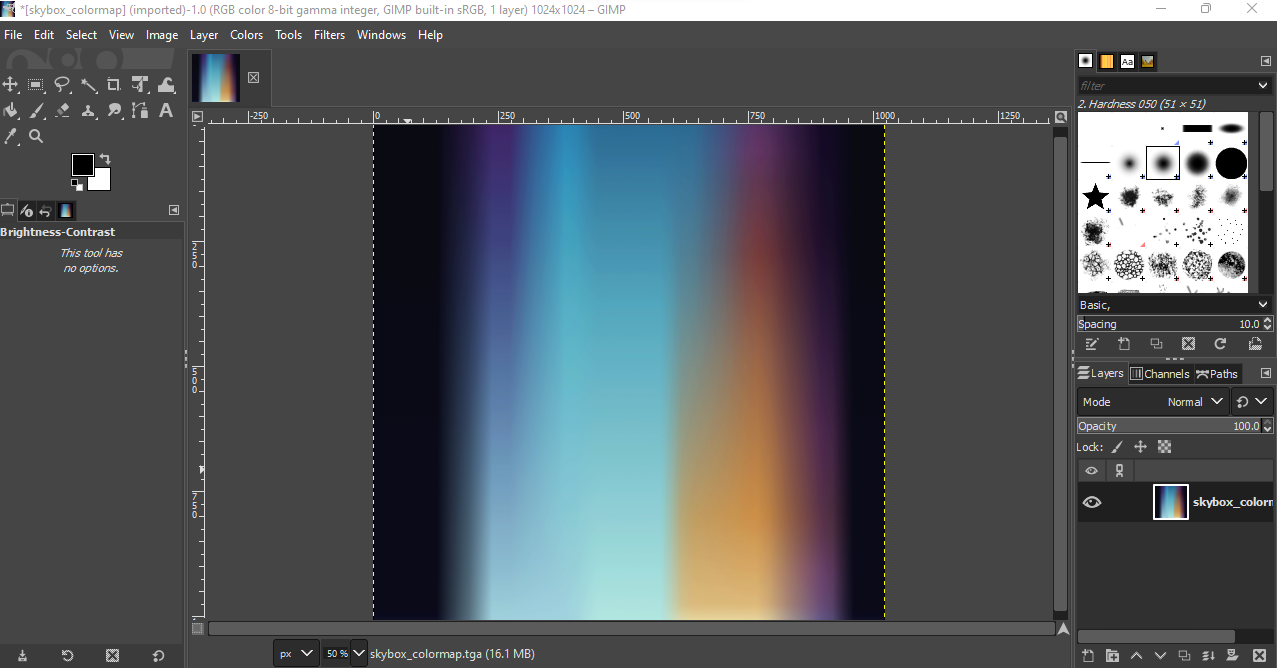
Go to Colors to see what modifiers there are. I used the Saturation and Brightness-Contrast sliders for my example.
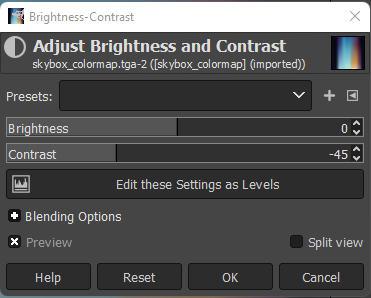
I set the slider for Saturation to 0.450, and set the Contrast to -45. Feel free to do what you want here, just remember what these colors stand for when making changes.
Go to the File setting, then click Overwrite [file name].
Fog
All of the following files we'll be looking at are inside Survival will be Survival > Lighting > Textures. This is where we find our next friends: fog_colormap.tga, reflection_colormap.tga, and, godrays_colormap.tga.
Fog should be modified the exact same way as you modified the sky-box, as it relates to how far-off items fade into the sky-box. Things won't look very good if it isn't accurate, so try and use the exact same numbers, don't guess.
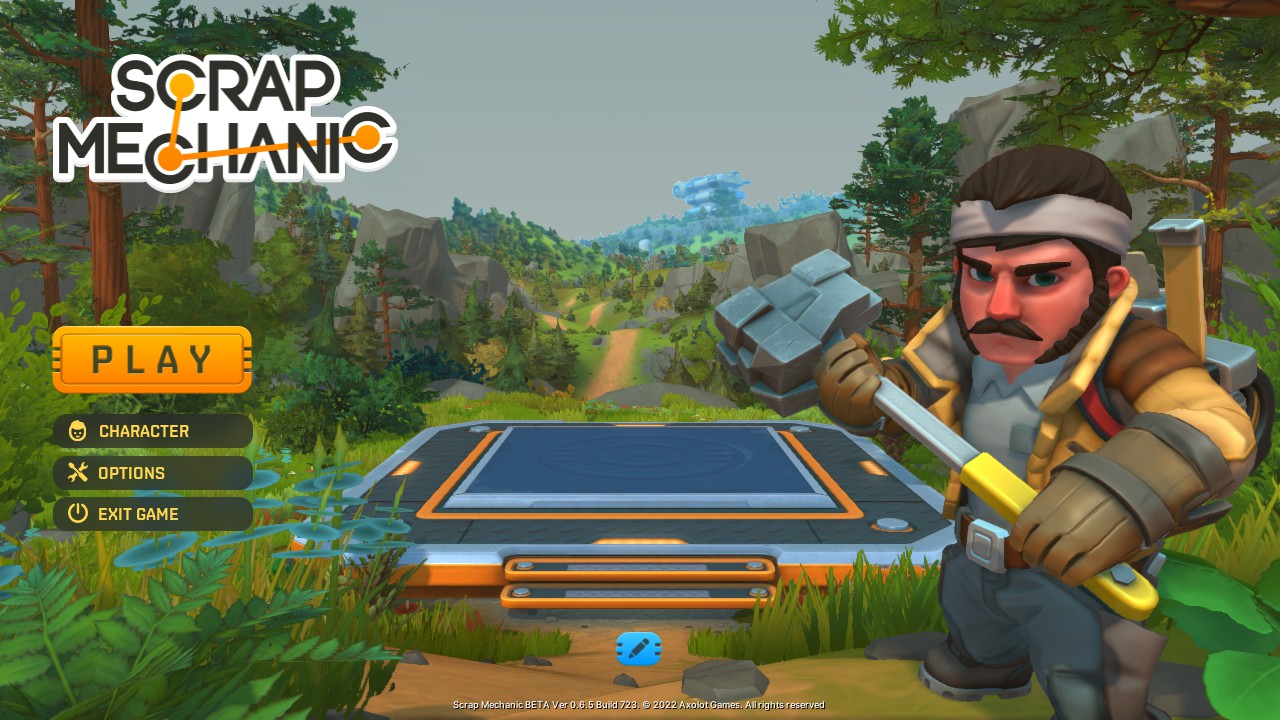
*The fog on the title screen is pre-rendered, so it will still be blue
Godrays are only one color, which is the color of the sun. That's why it is a horizontal sliver of pixels: it only needs one color for each time of day. It should look fine as long as it is close enough.
Reflection, same story as fog. This is based on the time of day, so being too different can cause weird looking visuals. I personally leave reflections as they are, because I like the aesthetic of stronger reflection colors.
LIGHT LET'S GO (make night brighter)
When the weather is foggy (in life), sunlight refracts into shadows so that everything is pretty illuminated. Lowering the contrast of directional_light_colormap.tga will make the darker areas less dark, as to simulate this. Again, keeping your adjustments close to the sky-box adjustments for best results.
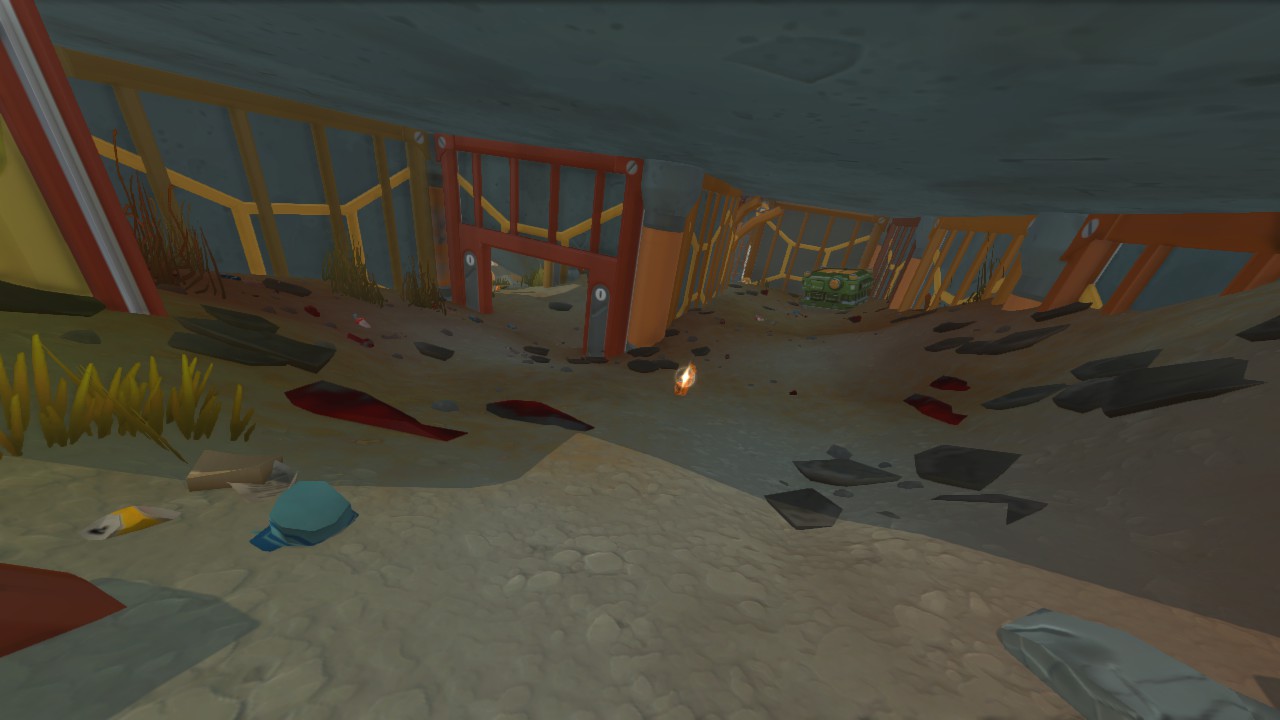
A common complaint with Scrap Mechanic is how dark night is. This is the texture responsible for making shadows and night-time really dark. Now, you can change it!
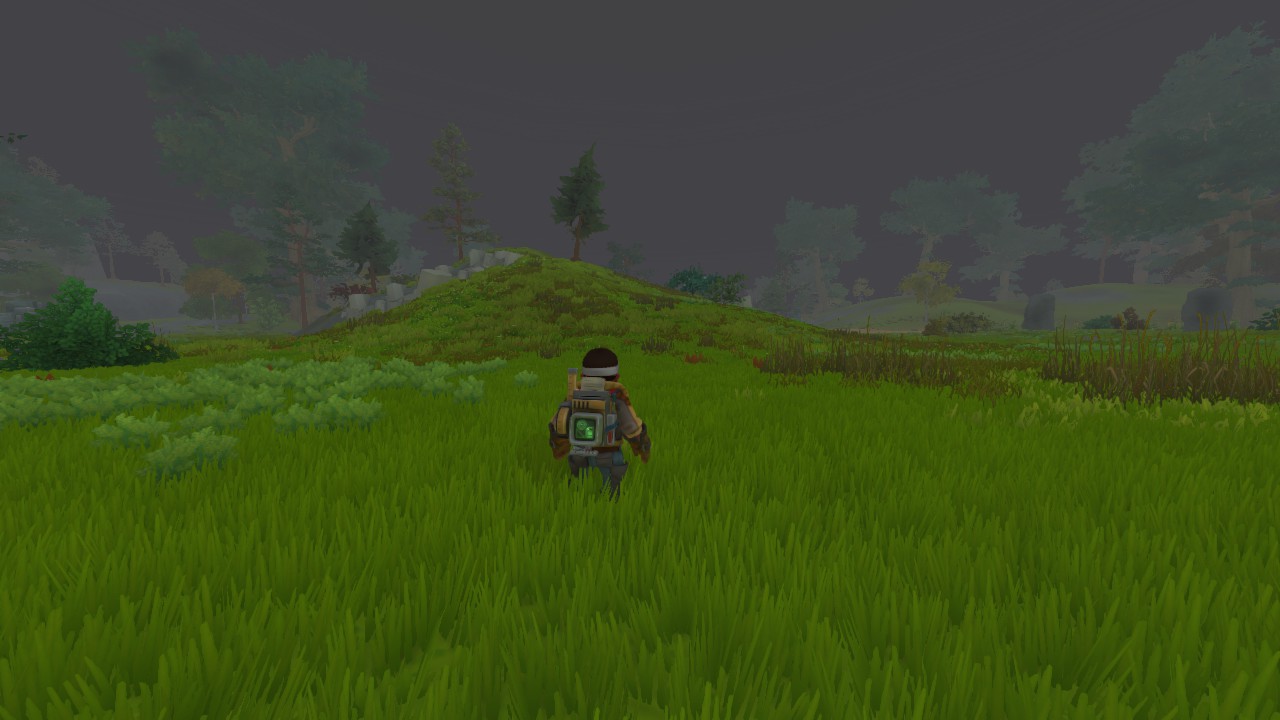
You'll probably want to experiment with the night part of the texture to get better results. Here, I only applied the modifications that I applied to all of the mentioned textures (except reflections), so it doesn't look that good.
A fun thing to try is increasing the brightness of the Directional Light color map to the max (127 in GIMP). I'll let you try it out for yourself, the result is very interesting.
Liquid
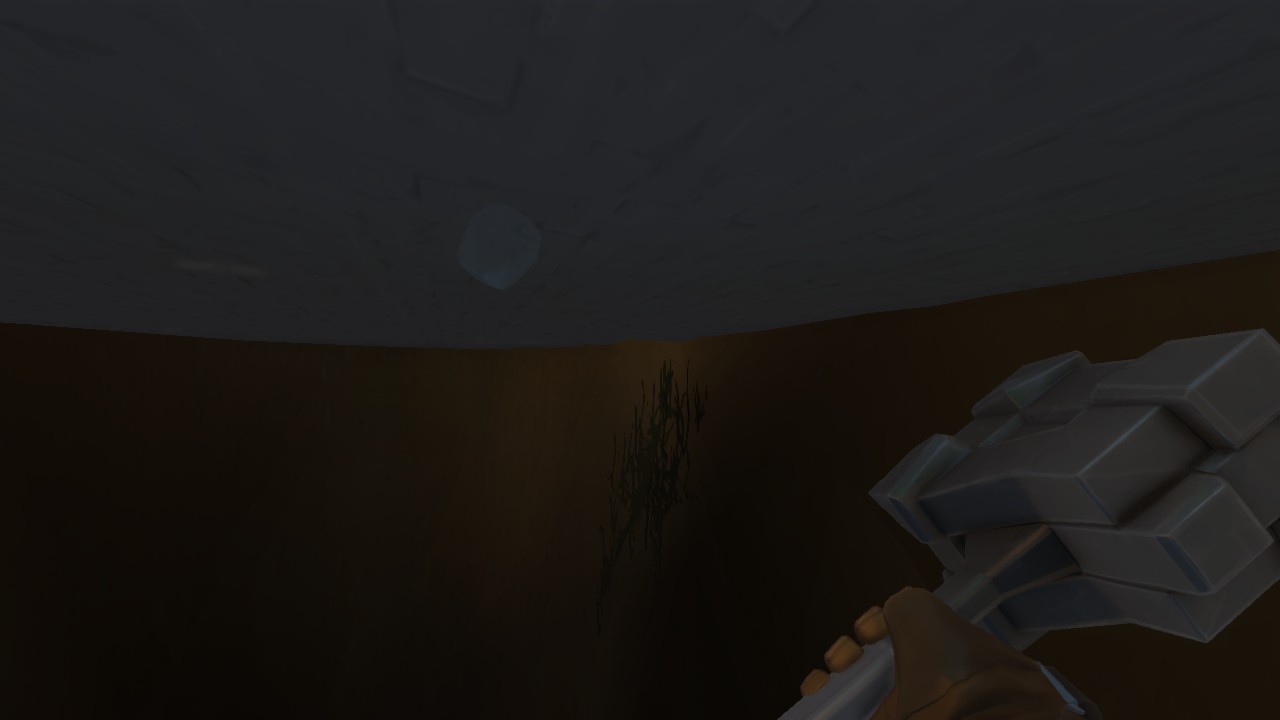
When you are submerged in an oil pond, you can't see your hand in-front of your face. It makes sense, but you might accidentally drop a valuable item and you won't be able to find it because... it's oil. You can make underoil_colormap.tga more translucent to remedy this, and customize underchemical_colormap.tga and underwater_colormap.tga to change the color for underneath chemicals and water respectively.
I made both of these more translucent, since water at night is almost as bad as being under oil in the vanilla game.
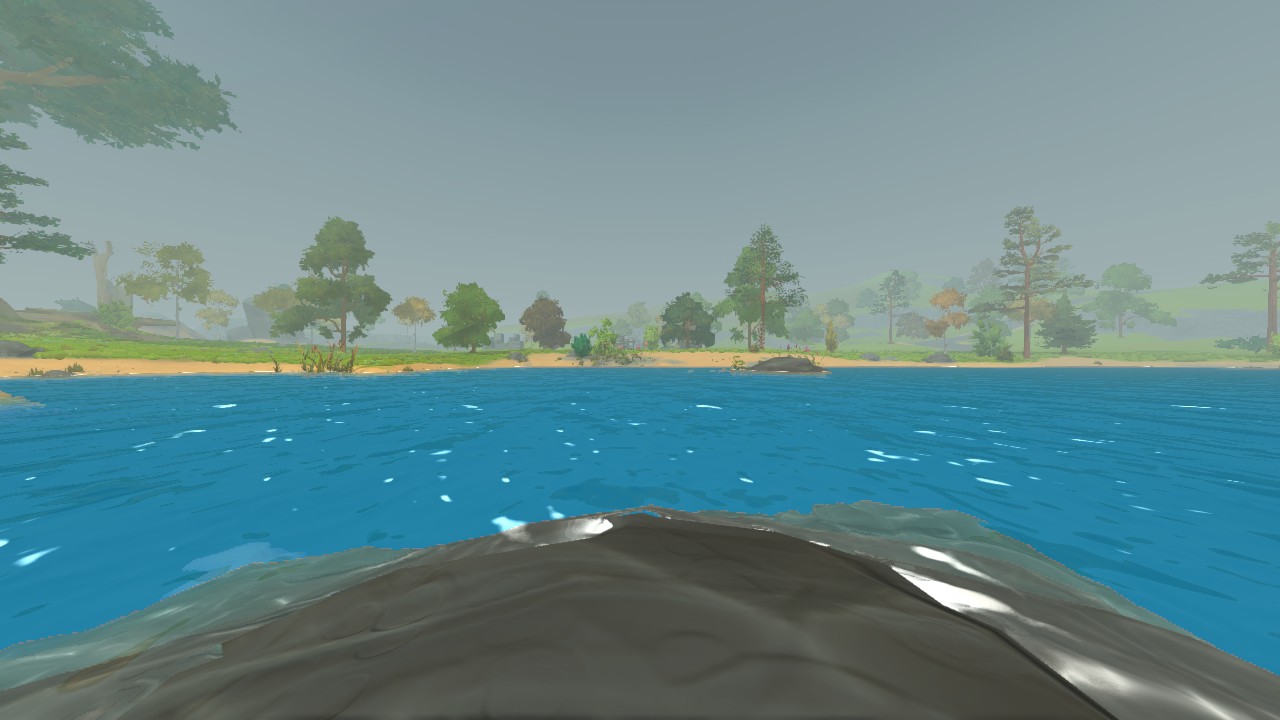
If we want to change the surface of the water, we'll need to go to a new file location. Go to
Survival > Effects > Textures > Water
and you will find a plethora of options. The one that has to do with the water's surface color is water_color_dif.tga. I really like the way that water looks in Challenge Mode, so I made a custom gradient that just barely goes to gray, with it still being somewhat transparent at the deepest color.

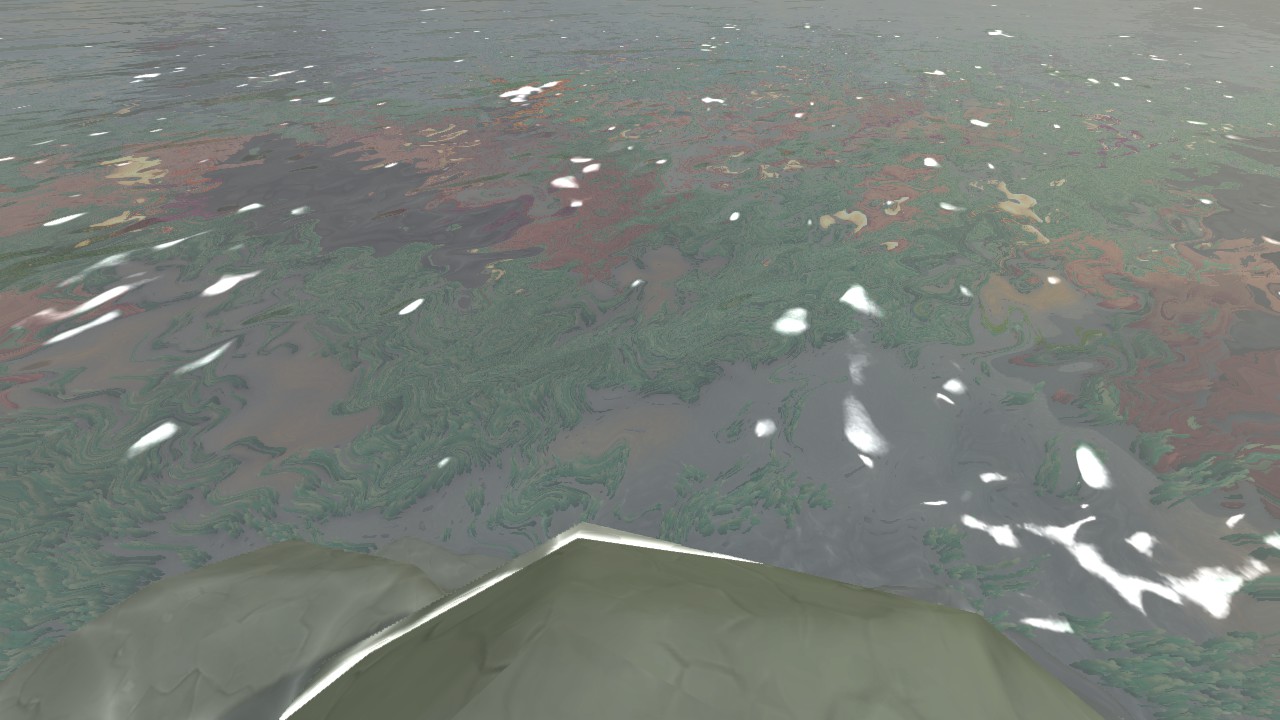
You can also look at water_underside_color_dif.tga to change what the stuff looking out of the water looks like.
And it doesn't work :|
This is because the Cache did not update. The cache remembers what things were like way-back-when, back before you changed the files.
To get them to update, go to Cache > Textures. this is where the files we need updated are. Search for the name of each file (i.e. skybox_colormap). It will be a .tco file with a bunch of random characters after the correlating file name. (i.e. skybox_detail_EF524B1BECB6B637.tco). Delete all versions for each modified file. When you start the game, the cache will be populated with everything it needs.
Mistakes
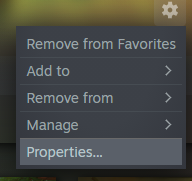
They happen, and maybe you deleted something that you shouldn't have! If you can't get your game to start, or you want things to be reset, go to the game's Properties:
And Verify the integrity of game files:
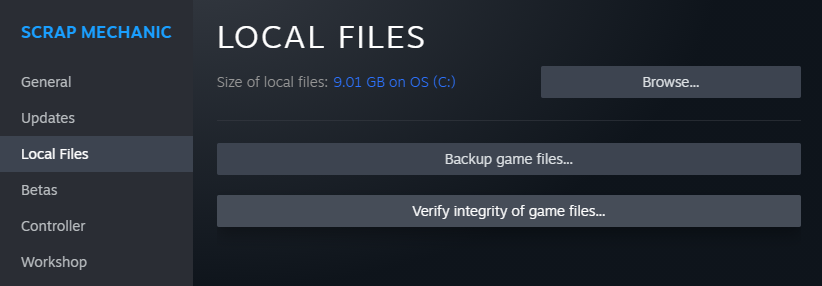
It will go through and fix anything that is out of place. This will reset any textures you modified.
Future of This Guide
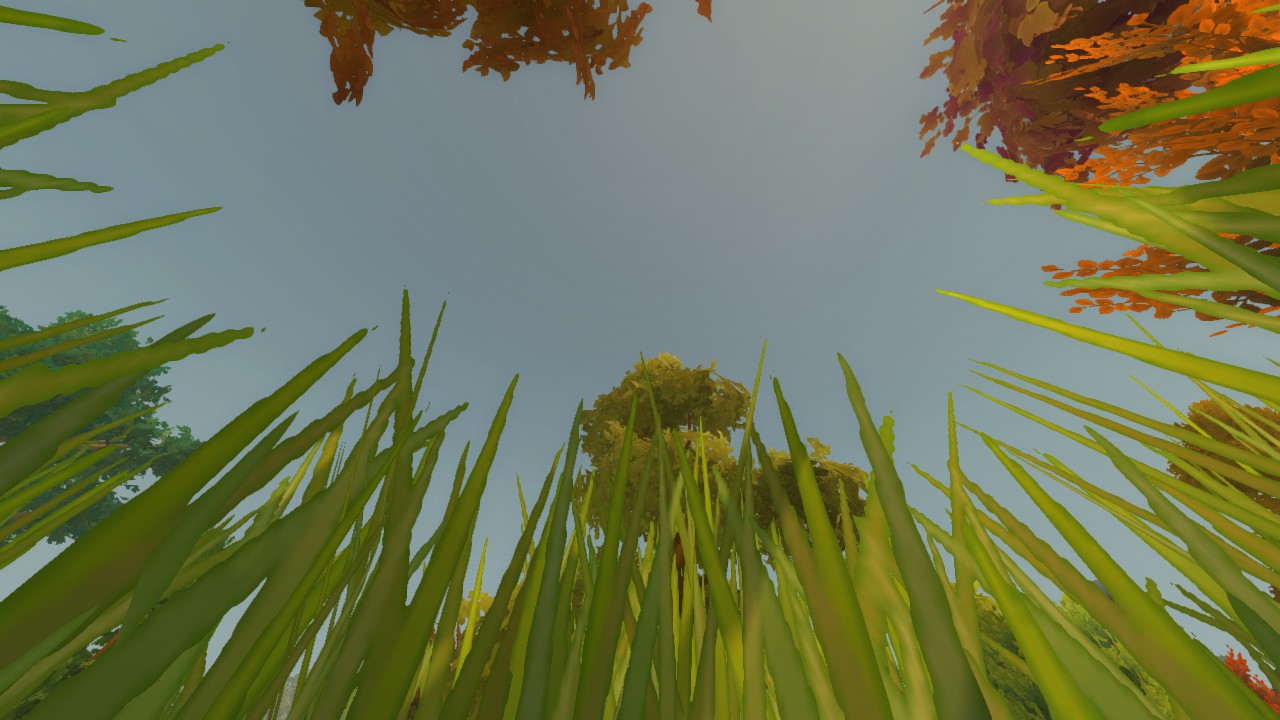
There's still a lot I don't know about this, but I'm sure that what I've shown will unlock some fun possibilities for customizing your game.
I'll update this if I learn anything else related to the topic. Thanks for reading!
- How raids actually work (Version 0.5.1)★ 5 (550)19k views867 ♥3 minUpdated 7 Apr, 2021
- Как пройти выживание?★ 5 (448)18k views700 ♥25 minRussianUpdated 12 Aug, 2020
- Все команды для скрап механик★ 5 (259)15k views475 ♥1 minRussianUpdated 1 Dec, 2023
- Robots and weapons concept proposal★ 5 (421)10k views182 ♥3 minUpdated 1 Apr, 2022
- How Does Fuel Consumption Work? Which Engine Is the Most Efficient?★ 5 (182)10k views152 ♥3 minUpdated 16 Oct, 2020
- Русификатор для Scrap Mechanic by Pro100DarkTV (v2.5)★ 5 (317)9.9k views516 ♥1 minRussianUpdated 19 Jun, 2021



- Upgrading to PremiumTeam Fortress 2★ 5 (20k)1441k views11k ♥6 minUpdated May 11, 2022
- No More Room in Hell Official ManualNo More Room in Hell★ 5 (2.8k)569k views2.1k ♥29 minUpdated Apr 22, 2019
- NMRiH Community Hosting GuidesNo More Room in Hell★ 5 (526)351k views653 ♥1 minUpdated Aug 10, 2022
- ULTIMATE GUIDE FOR GAME DEV TYCOONGame Dev Tycoon★ 5 (5.8k)326k views10k ♥4 minUpdated 23 Jan, 2014
- How to 'Git Gud' Soon™MORDHAU★ 5 (2k)318k views3k ♥68 minUpdated Nov 16, 2024
- Лучшие кооперативные игры SteamPAYDAY 2★ 5 (1.5k)315k views2.1k ♥56 minRussianUpdated Apr 27, 2025






This guide was created by its original author on the Steam Community. Are you the author and want it removed? Request removal.