Separate Ways DLC | 100% Collectibles Guide

What this guide is for:
This guide is designed to help you find and collect everything you need while playing the Separate Ways DLC for Resident Evil 4 Remake. It covers:
- Treasures: Locations and tips to find valuable treasures that can be sold or combined.
- Medallions: Where to find all the blue medallions and the rewards for collecting them.
- Weapons: Key weapons and upgrades, including special items hidden throughout the DLC.
- Collectibles: Important items like herbs, crafting materials, and key items that help you progress.
Small Keys
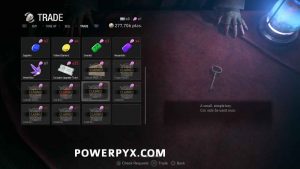
When you first encounter the merchant you can purchase small keys from him which are required to access a small number of treasures. There are 5 in total that you can buy that progressively unlock throughout the game, they cost 2, 3, 4, 5, and 6 spinels respectively.
(Separate Ways: Chapter 1)
Objective: Escape from the Castle
Treasure 1: Elegant HeaddressAs soon as you leave the entrance hall of the castle, go forward and around the small building in the corner on the upper level to find this in a chest.
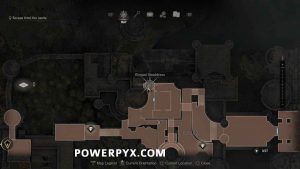
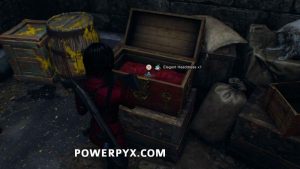 Treasure 2: Splendid Bangle
On the lower level by this small structure is a chest containing the treasure.
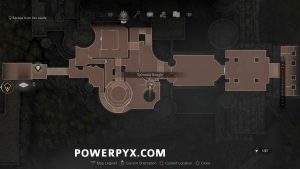
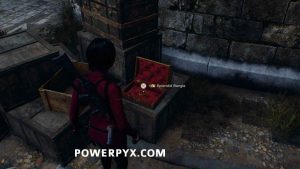 Weapon: SR M1903 + Scope
On this table right here where you drop down to shoot the weight that raises the cannon.
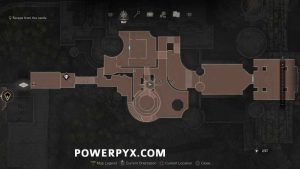
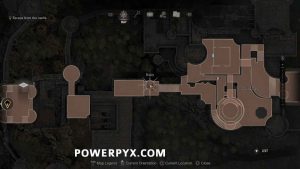
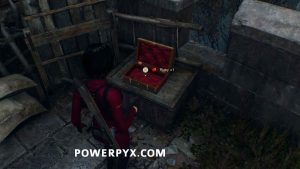
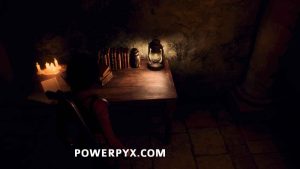 Treasure: Ruby
After disabling the cannons and before grappling over to the next area, go down the stairs and find the treaure in a box here.
(Separate Ways: Chapter 2)
Objective: Head for the church
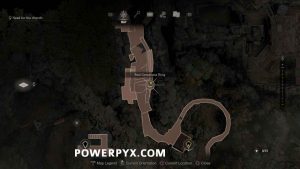
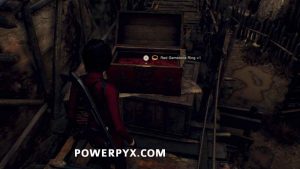
Treasure: Red Gemstone RingAfter grappling across a few gaps dropping down to ground level, up some stairs before the gate where a pig head brute enemy comes through is a chest containing the treasure.
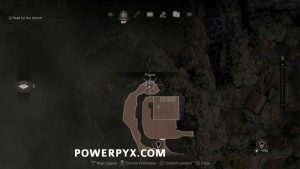
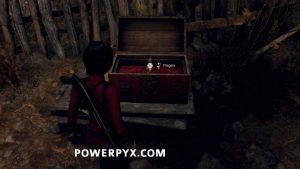
 Treasure: Flagon
Once you go out of the gate from the Villa, follow the path leading around the back to the chest holding the treasure.
 Merchant Request: Eradicate the Blue Medallions
Whilst navigating the cliffside, when you reach the puzzle door turn around and grapple just above you to find the letter on a post for the request.
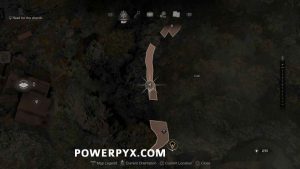
 Blue Medallion 1
Just past the letter for the request right ahead of you, can’t miss it.
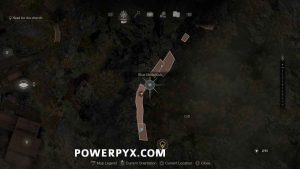
 Blue Medallion 2
Directly under the boards where the request letter was, you have to grapple back across to the door and turn around to see it.
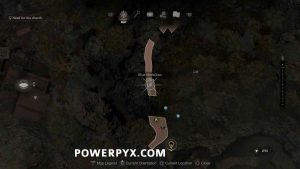
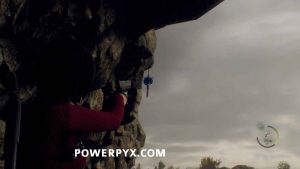
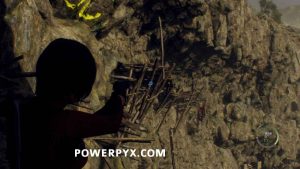 Blue Medallion 3+4
Turn around from where you picked up the letter for the request and go to the end of the platform, facing towards the puzzle door. Look down to see a medallion hanging by a tree, then look directly up from that to find the final medallion hanging from the cliff.
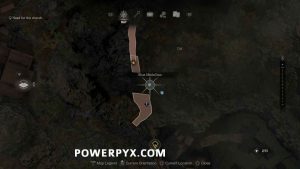

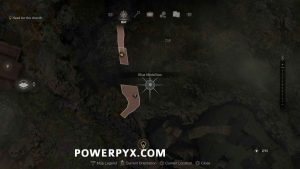

Objective: Head for the village chief’s manor
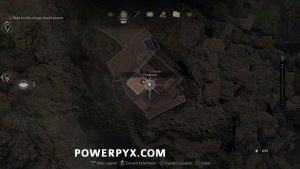
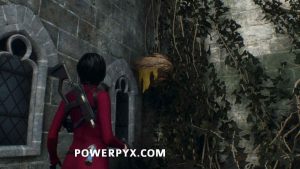
Treasure: RubyAs soon as this objective starts, following the cutscene of Ada ringing the bell, turn around and grapple on to the church rooftop to find will a bird nest in the corner, shoot it for the treasure.
 Treasure: Velvet Blue
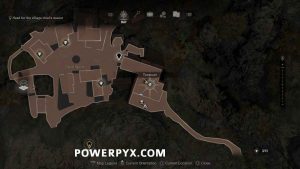
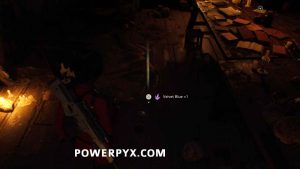
After your first encounter with the merchant, in the first room of the next building shoot the hanging silver container to drop the treasure.
 Treasure: Gold Bangle
In a locked drawer in a building in the village square, requires a small key to open.
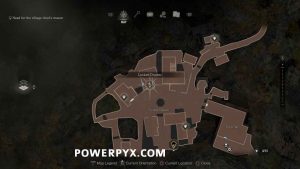
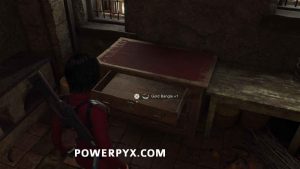 Treasure: Elegant Perfume Bottle
In a barn in the top left of the village square. You can grapple in through a window on the west side, here you will find the treasure in a chest.
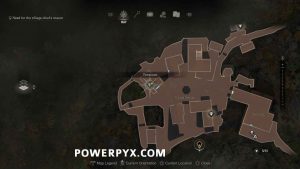
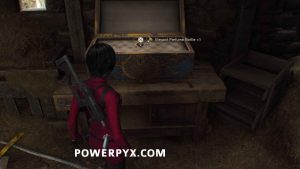
(Separate Ways: Chapter 3)
Objective: Find a clue on Luis’s whereabouts
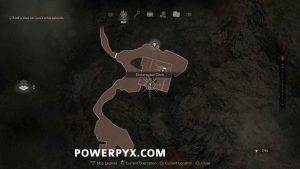
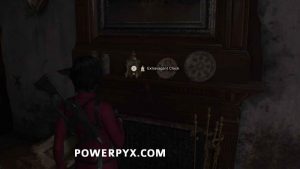
Treasure: Extravagent ClockAbove the fireplace on the ground floor of the village chief’s manor.
Objective: Flee from the villagers
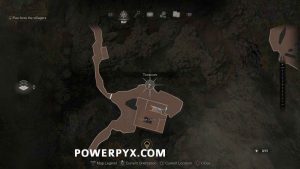
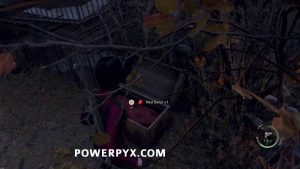
Treasure: Red BerylWhen you leave the manor and are being pursued by Mendez, quickly grab the treasure from the chest just outside of the house. You can also grab this later in the chapter after the cutscene with Wesker if you want.
Objective: Enter the abandoned factory
Treasure: EmeraldAfter escaping Mendez by grappling over the gate, go all the way down the path on the left and look up, shoot the lamp to get the treasure.
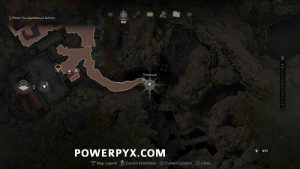
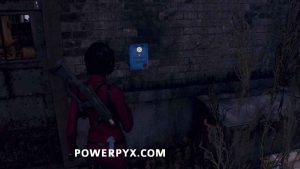
 Merchant Request: Jacket of All Trades
This request is located just by the entrance to the Abandoned Factory, in plain sight.
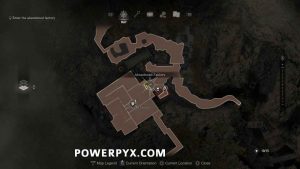
 Jacket
The enemy you need to kill for the above mentioned request is just inside the factory, you will run into him and see he is wearing Leon’s jacket, kill him, take the jacket and sell it to the merchant.
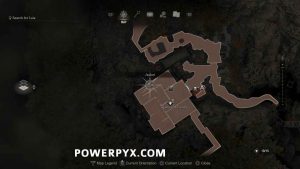
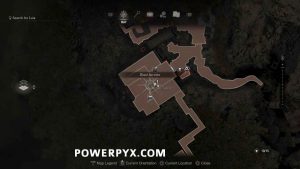
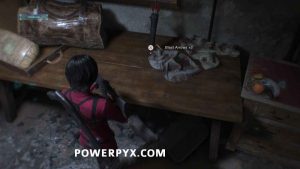
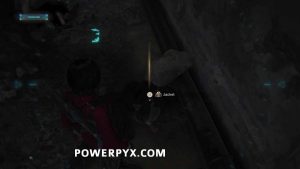 Weapon: Blast Crossbow
You can find the blast crossbow inside the abandoned factory, on top of a table here.
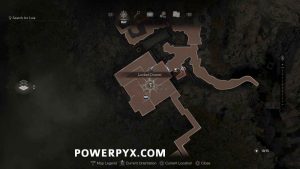
 Treasure: Gold Bar
In the locked drawers just next to the crossbow, a small key is required to open it.
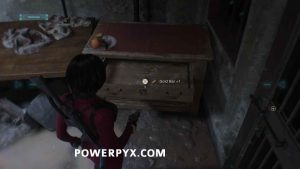
Objective: Head for the villa
Treasure: Antique Pipe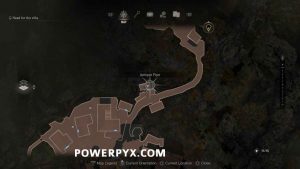
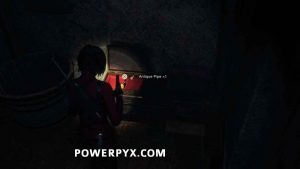 Treasure: Pearl Pendant
In the western part of the farm, hanging from a small windmill, make sure to shoot it while it’s not hanging over the dirty water below, otherwise you’ll get a dirty pendant instead.
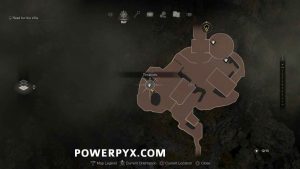
 Treasure: Yellow Diamond
Hanging from the outside of the big windmill in the north-eastern part of the farm.
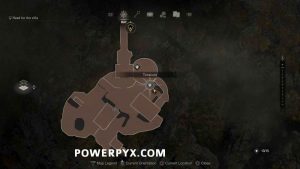
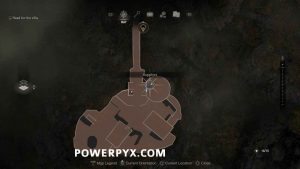
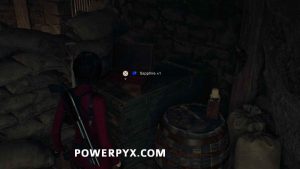
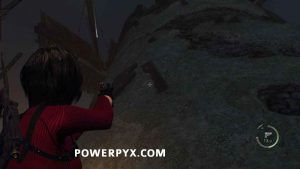 Treasure: Sapphire
Inside the windmill, go all the way around the other side to find this in a box.
(Separate Ways: Chapter 4)
Objective: Go back upstairs
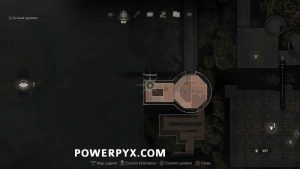
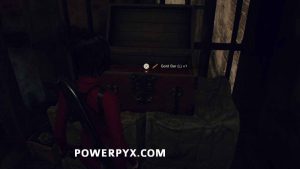
Treasure: Gold bar (L)After saving Luis from the fire and going up some stairs, before climbing the ladder turn around and you can grapple to a higher platform, you will find a chest here with the treasure.
Objective: Search for the three ingredients
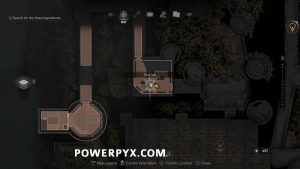
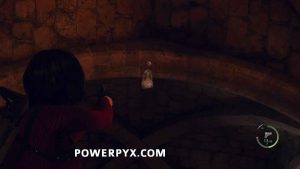
Treasure: Velvet BlueIn the room with the shield puzzle, hanging from the ceiling.
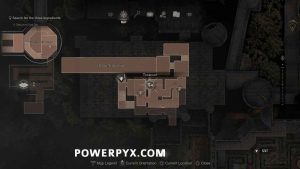
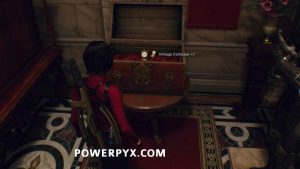
 Treasure: Vintage Compass
After the gong puzzle where you escape the large drill, this is in a chest in the next room on the right.
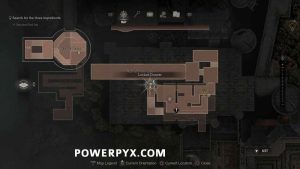
 Treasure: Ornate Necklace
Before going down the stairs after the previous collectible you will see a locked drawer, a small key is required to open it and claim treasure.
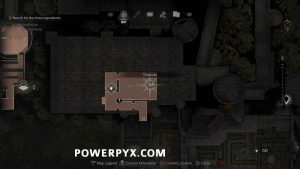
 Treasure: Alexandrite
This is in the small area behind some wooden boards that two knights break through after you pick up the gold bottle key item.
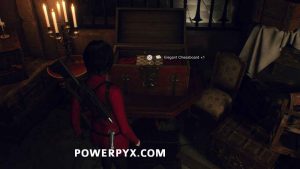 Merchant Request: Eradicate the Blue Medallions 2
You can find the blue letter with this request just by the next merchant.
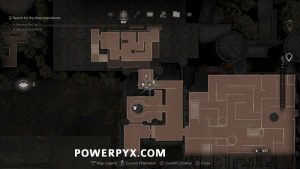
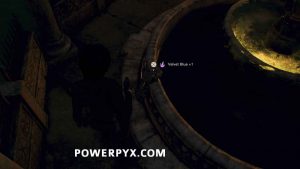
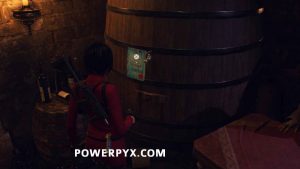 Treasure: Blue Velvet
After leaving the room with the merchant, go right behind the fountain the find this.
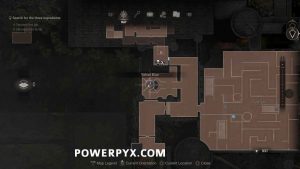
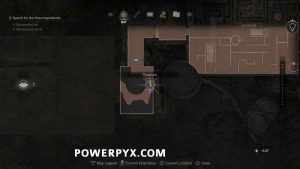
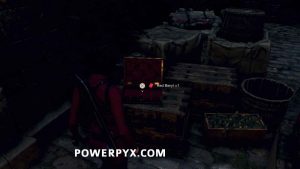
 Treasure: Red Beryl
Just after the previous treasure, instead of going in to the maze, go right and follow the path through a gate to find a box with the treasure next to another fountain.
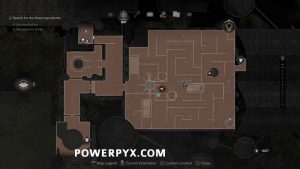
 Blue Medallion 1
Hanging down from the above walkway, near the entrance of the maze.
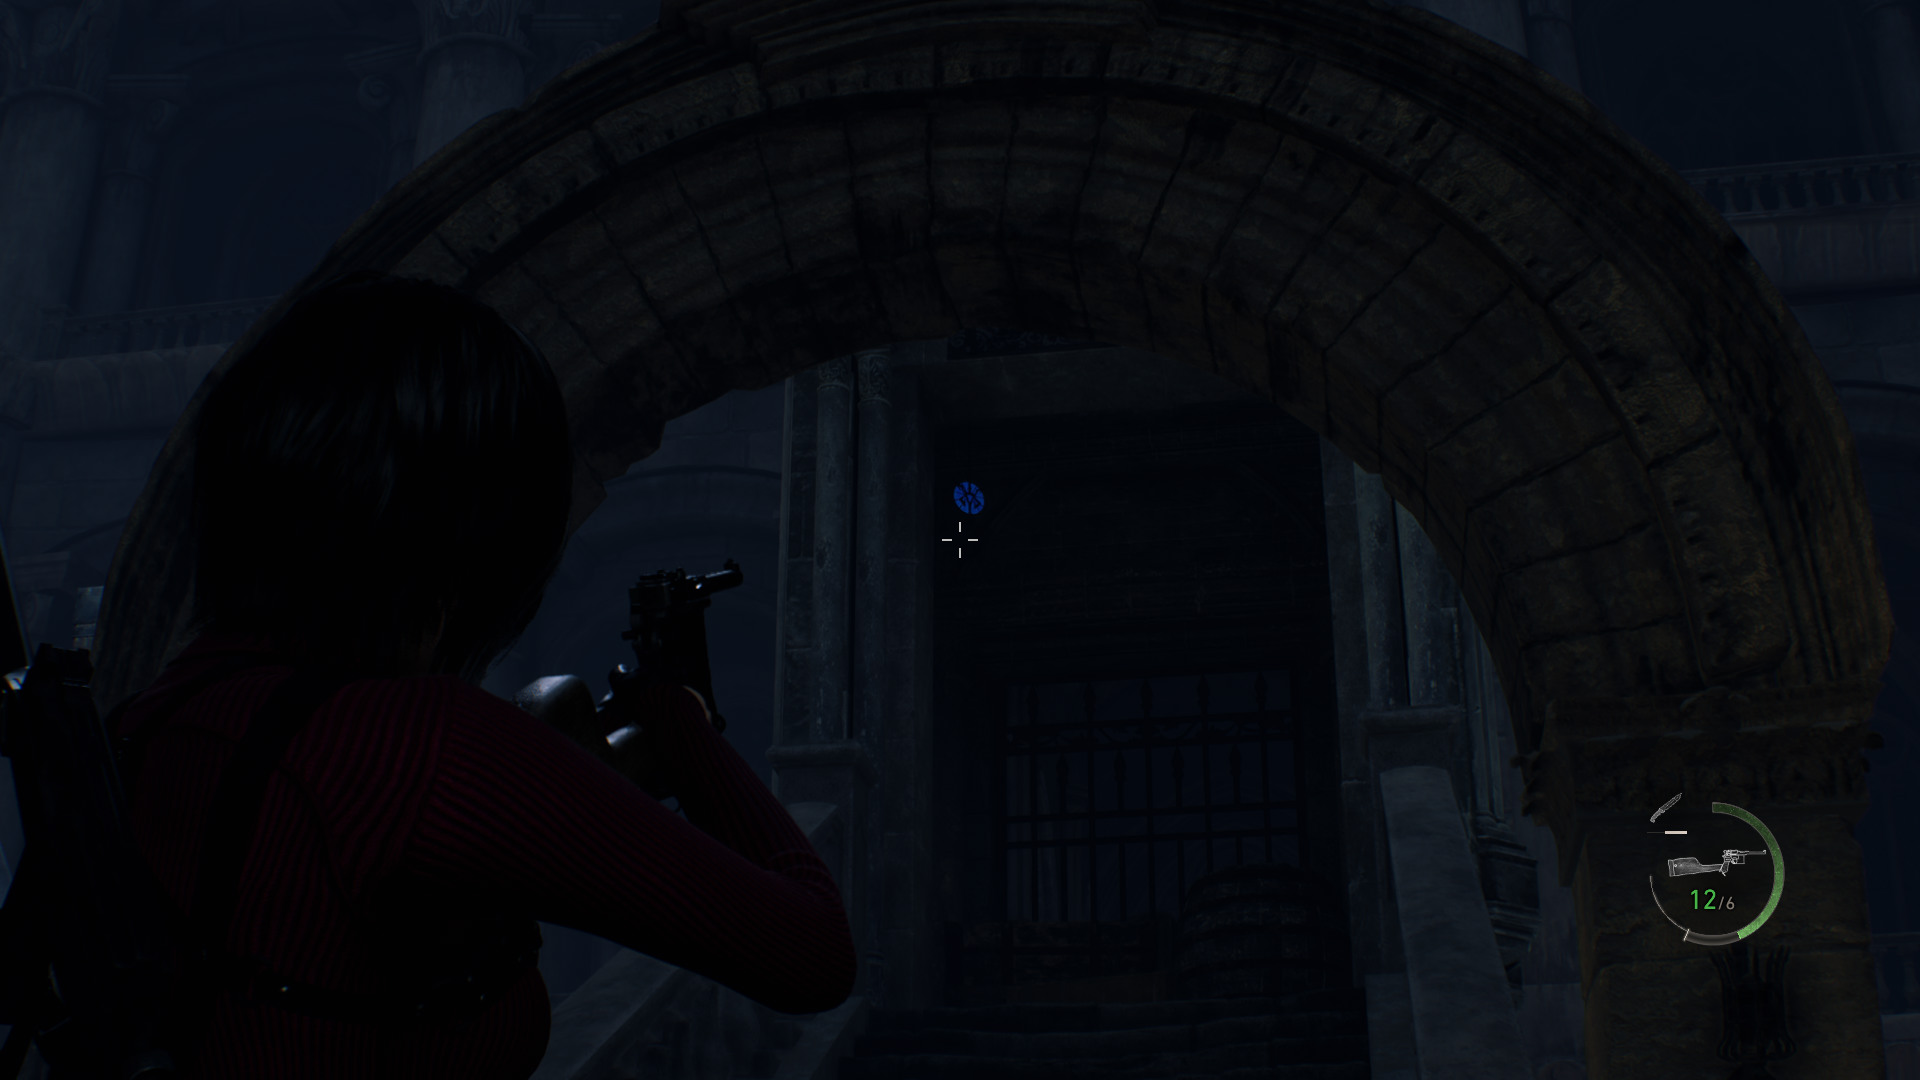
 Blue Medallion 2
Hanging above the barred doorway at the top of the stone stairs.
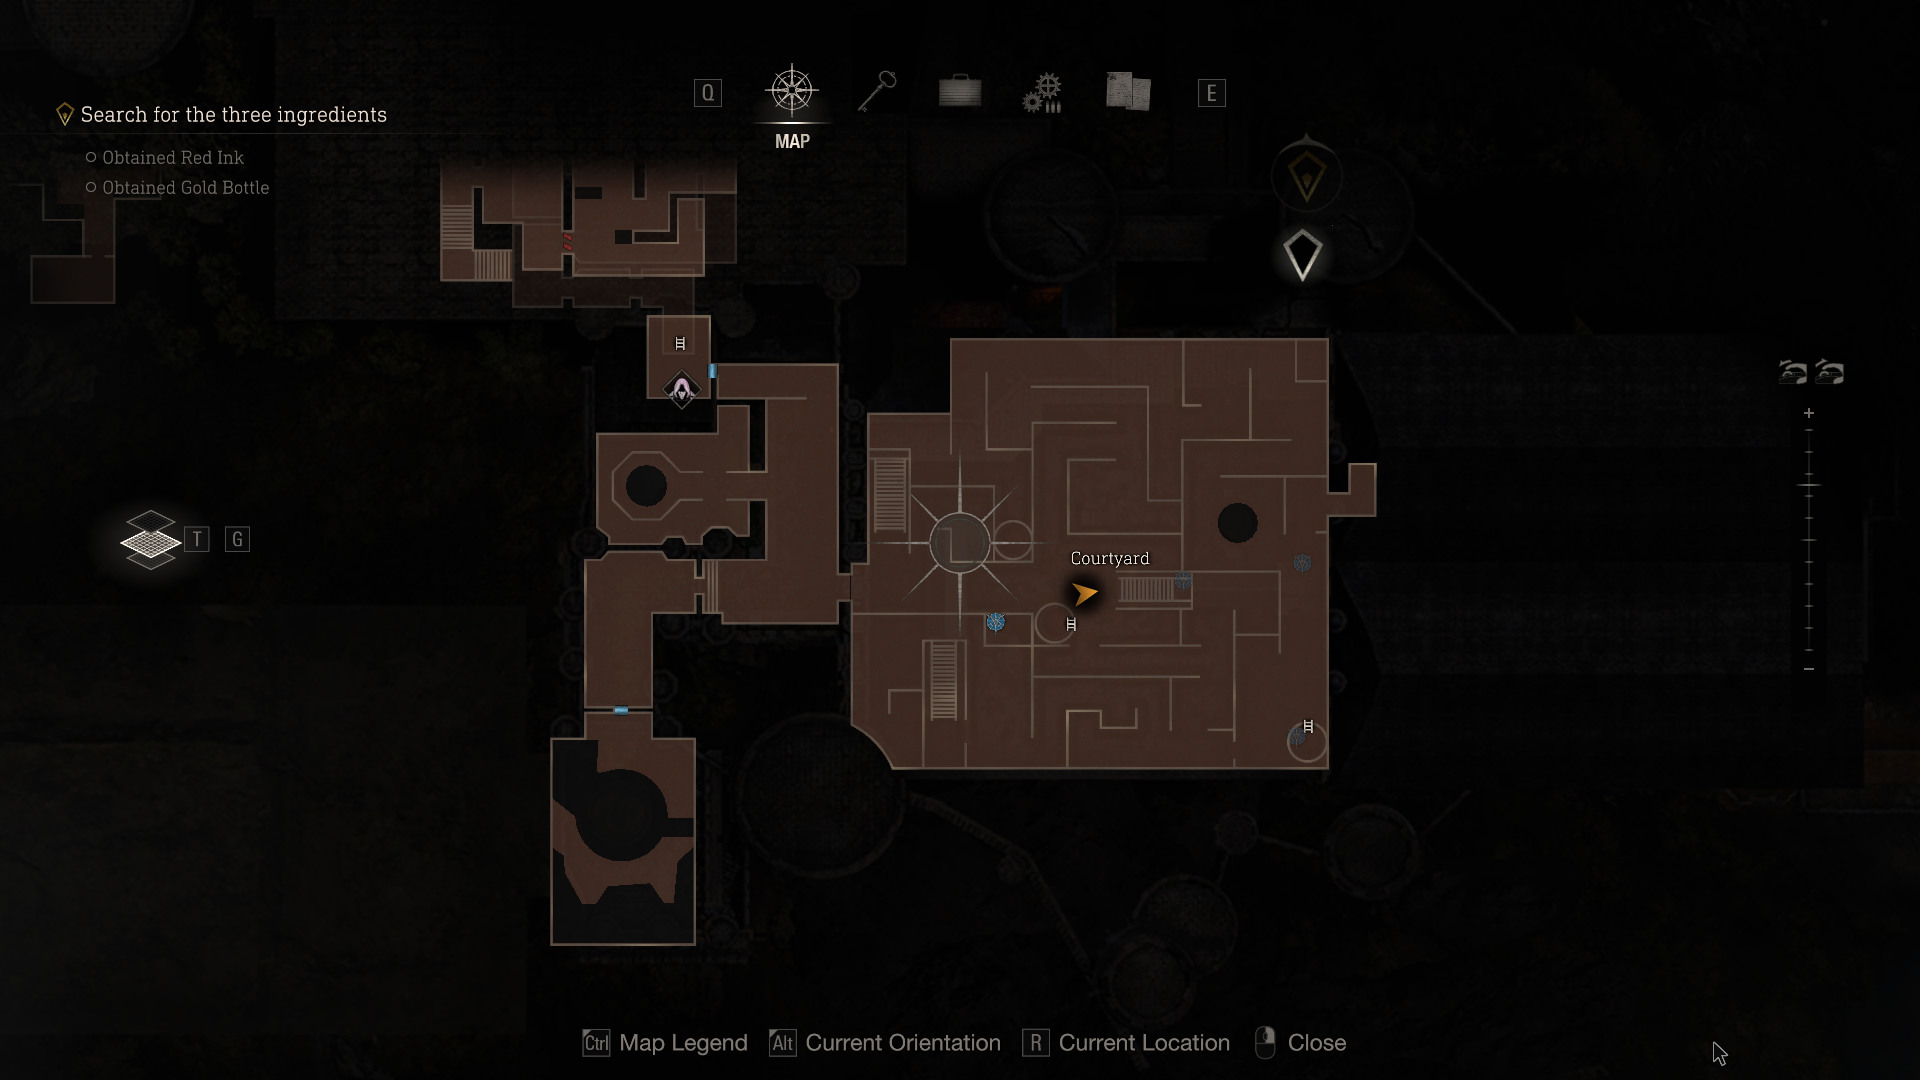
 Blue Medallion 3
Inside the stone cage structure in the side alley off the courtyard.
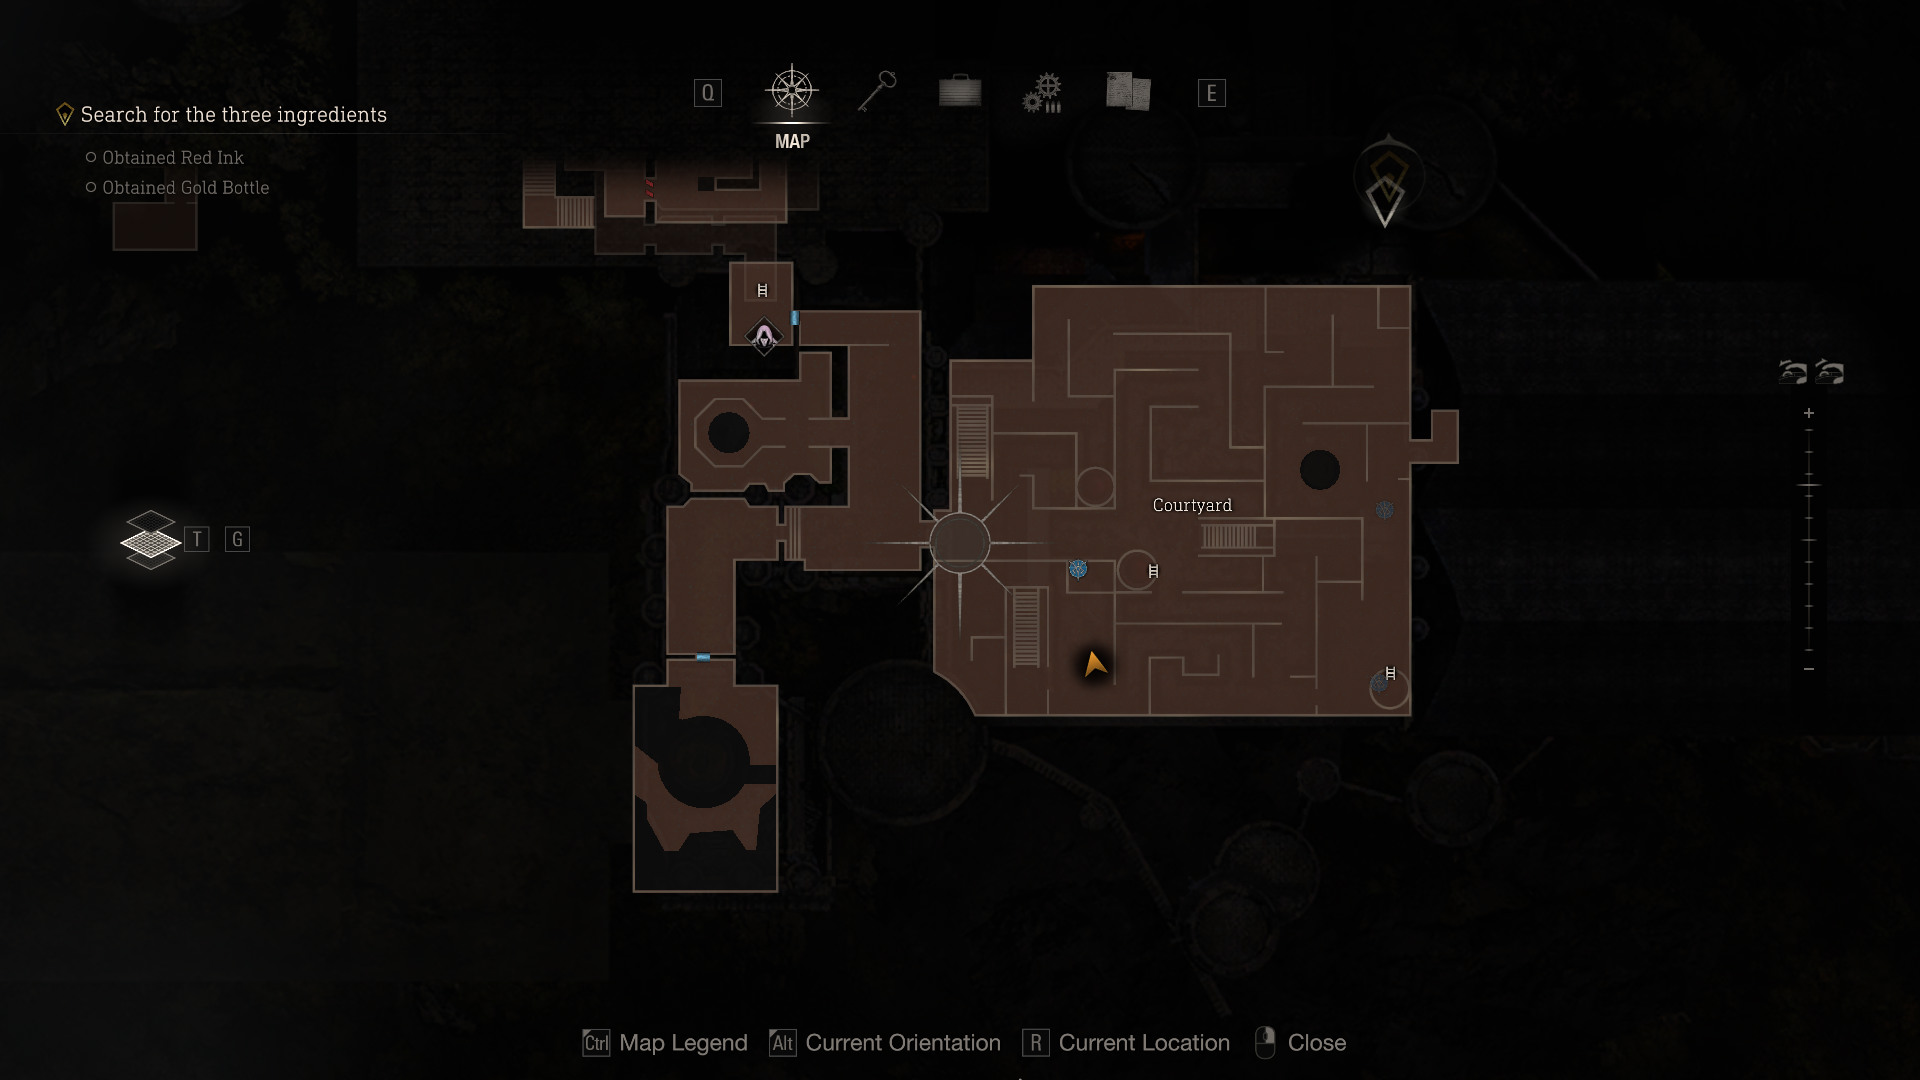
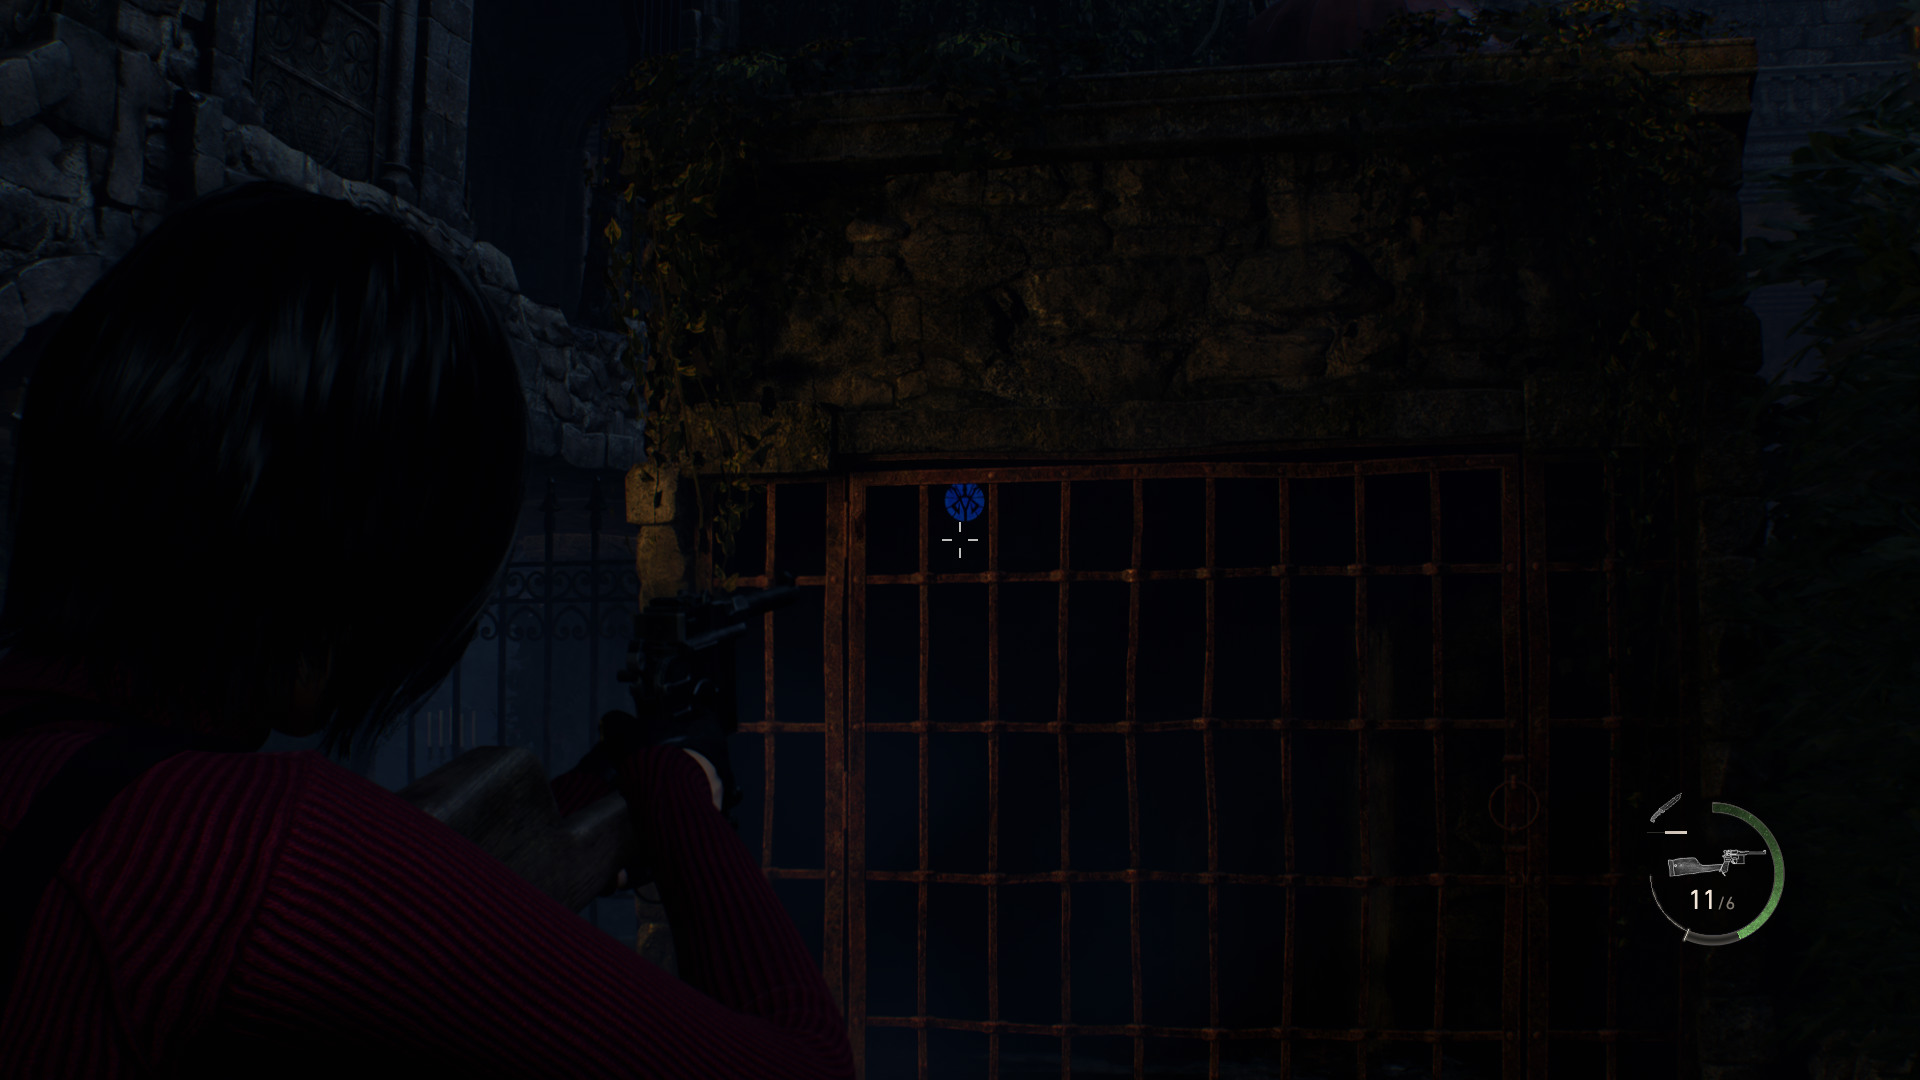 Blue Medallion 4
Hanging on the inside of the small round tower balcony on the north side of the courtyard.
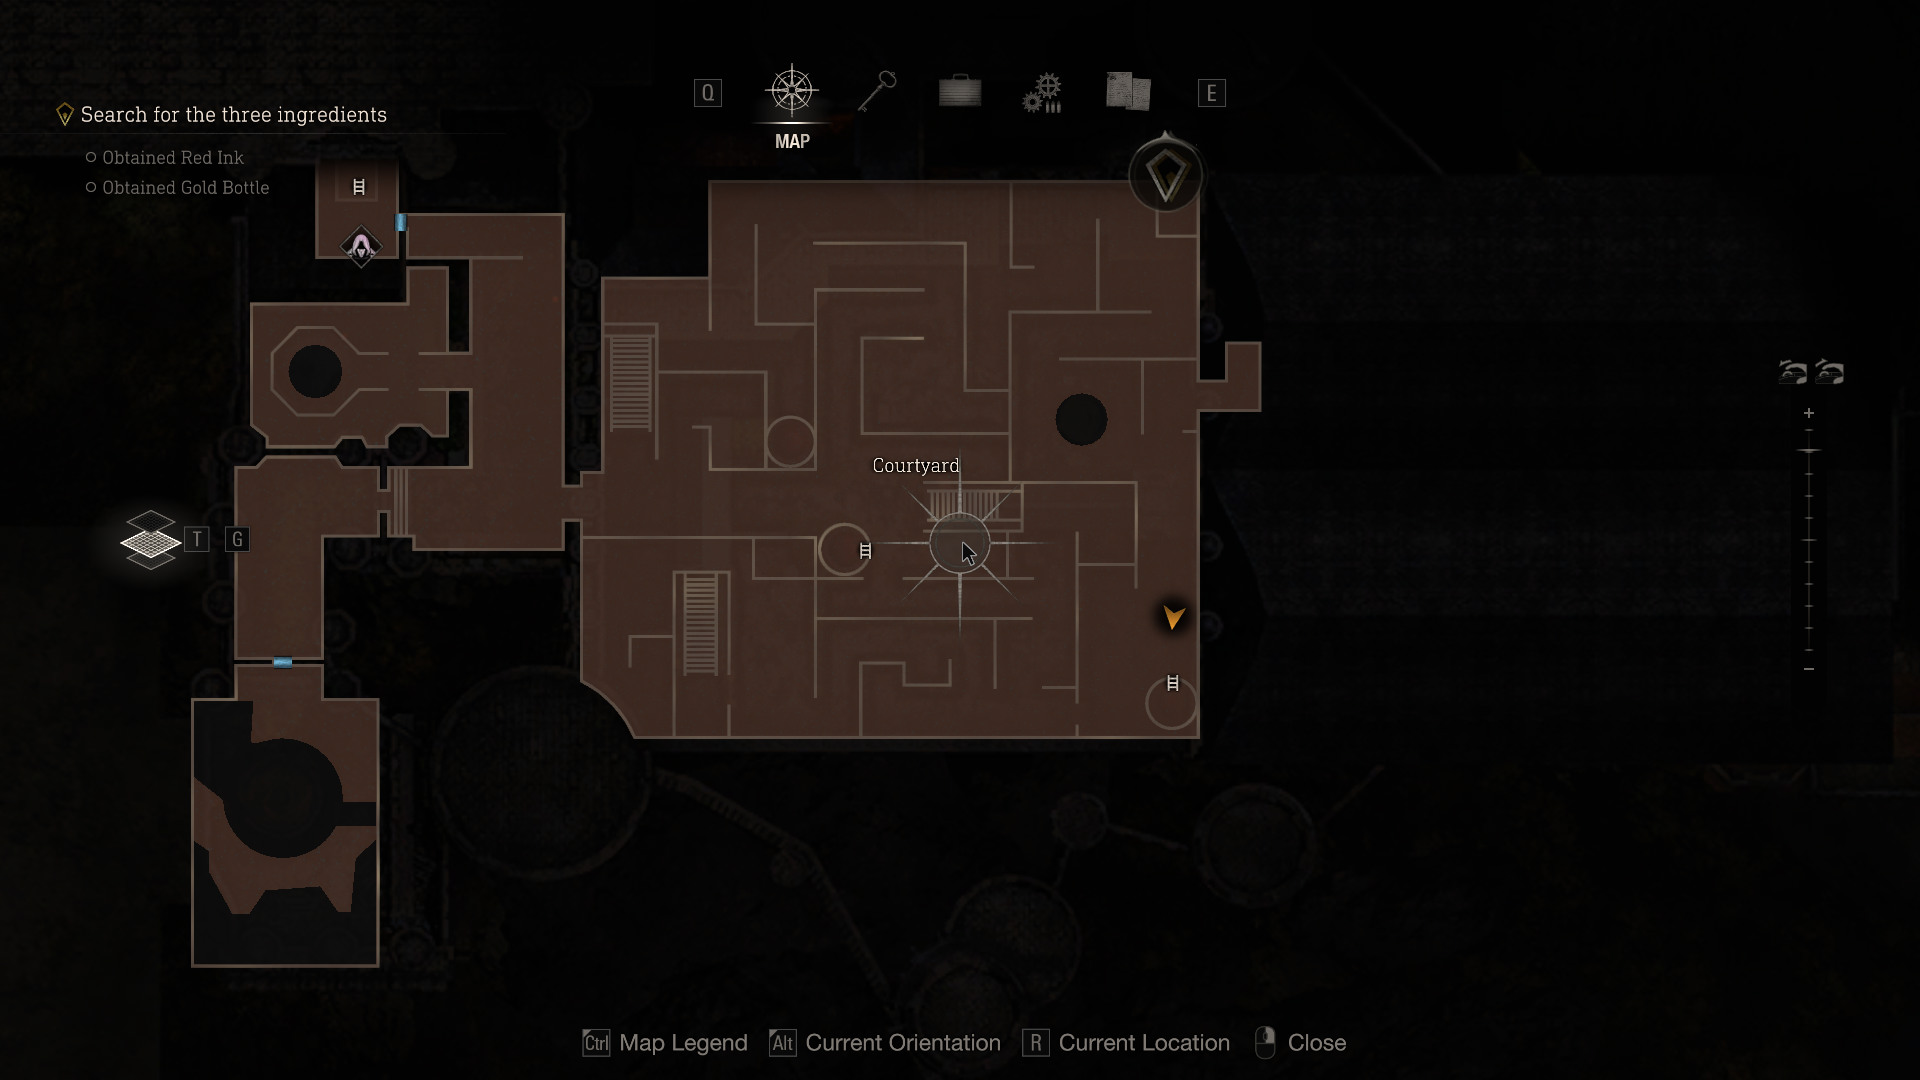
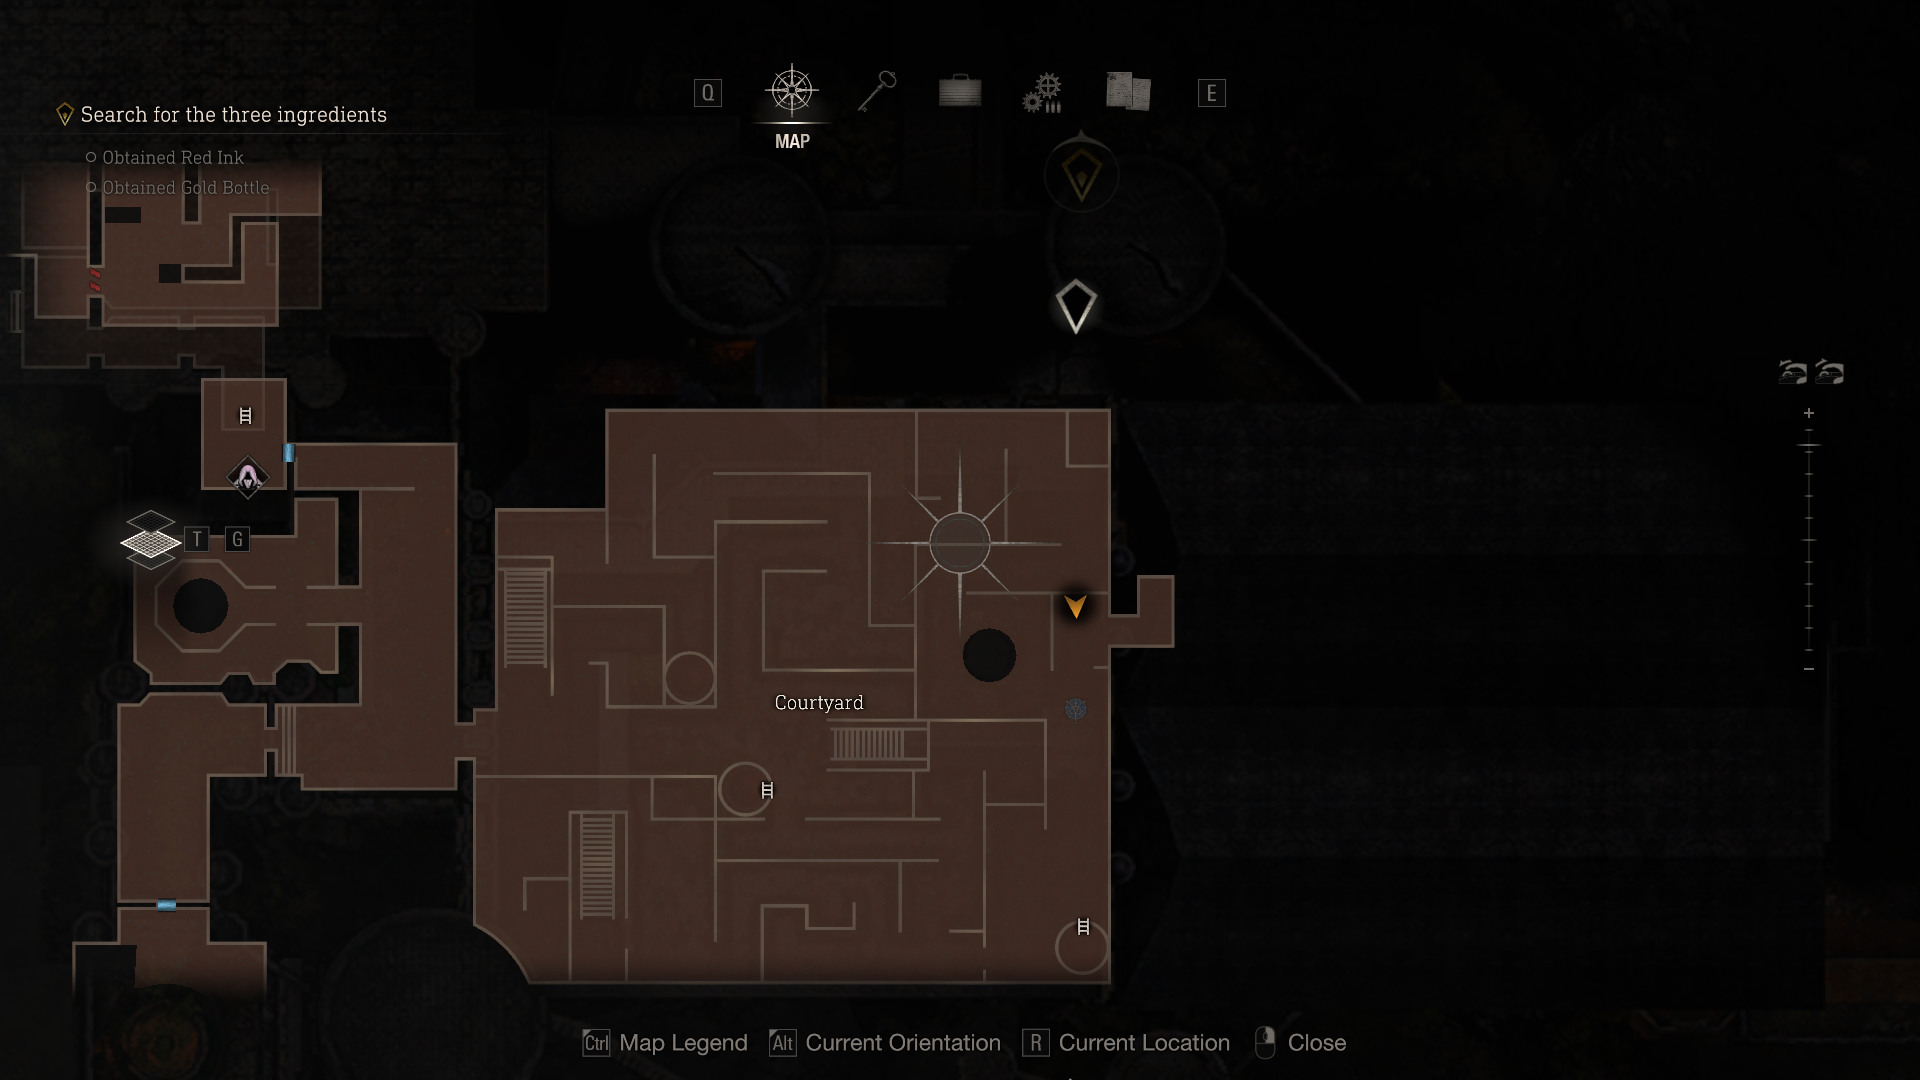
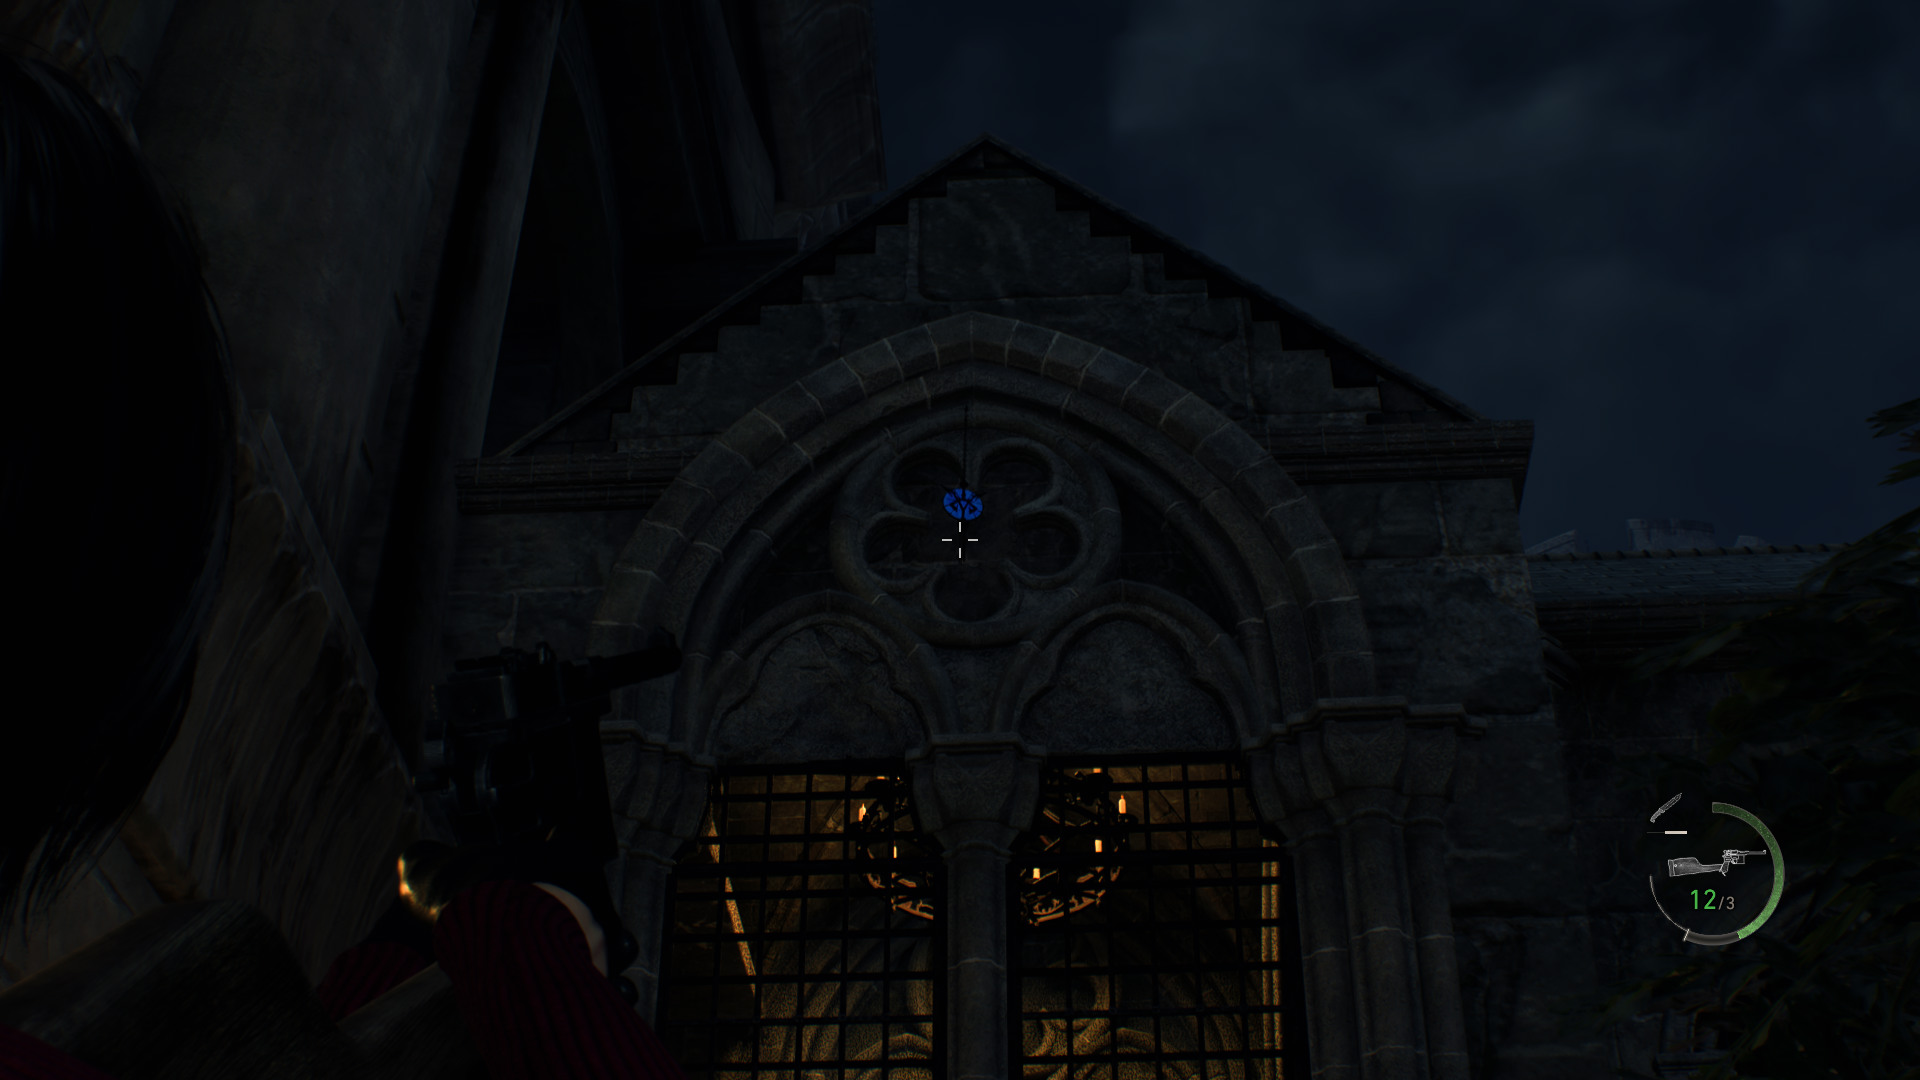
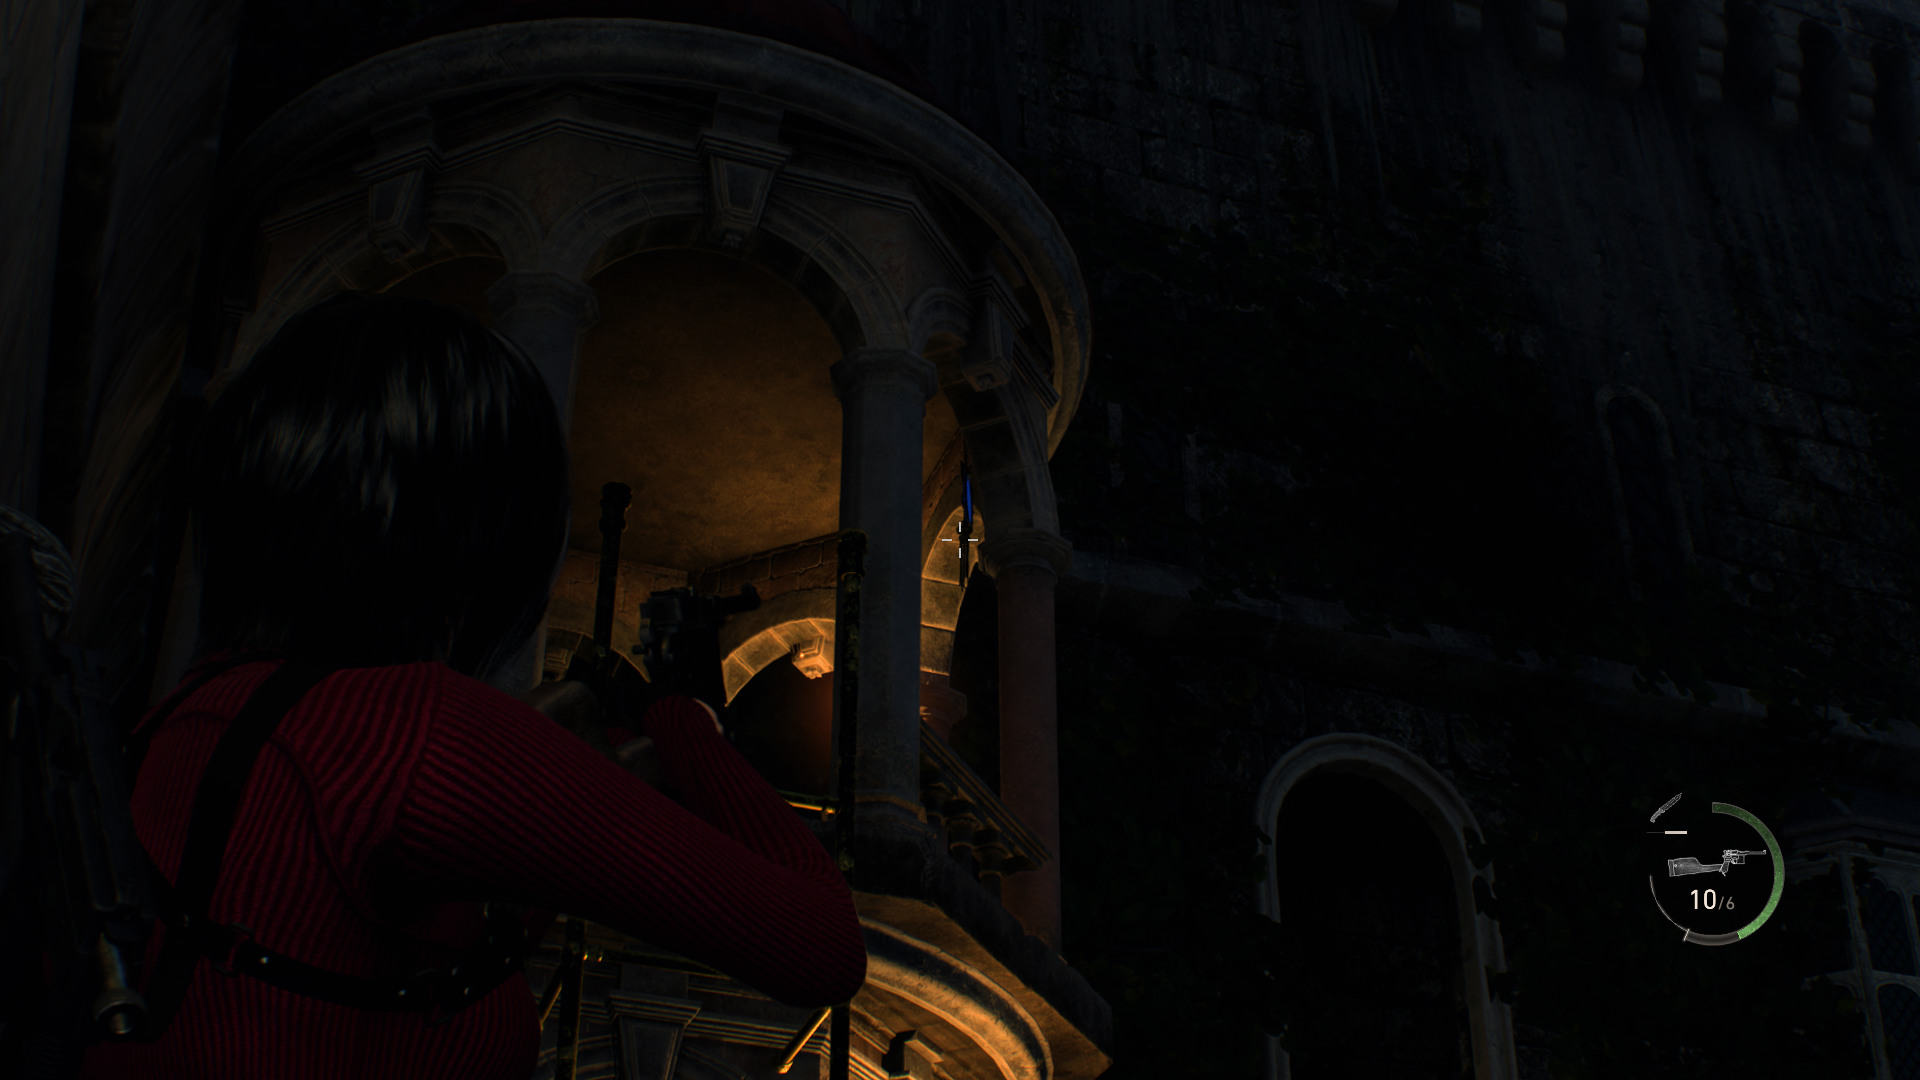 Blue Medallion 5
Hanging above the barred window, in the small round stone window right at the top of the arch on the wall.
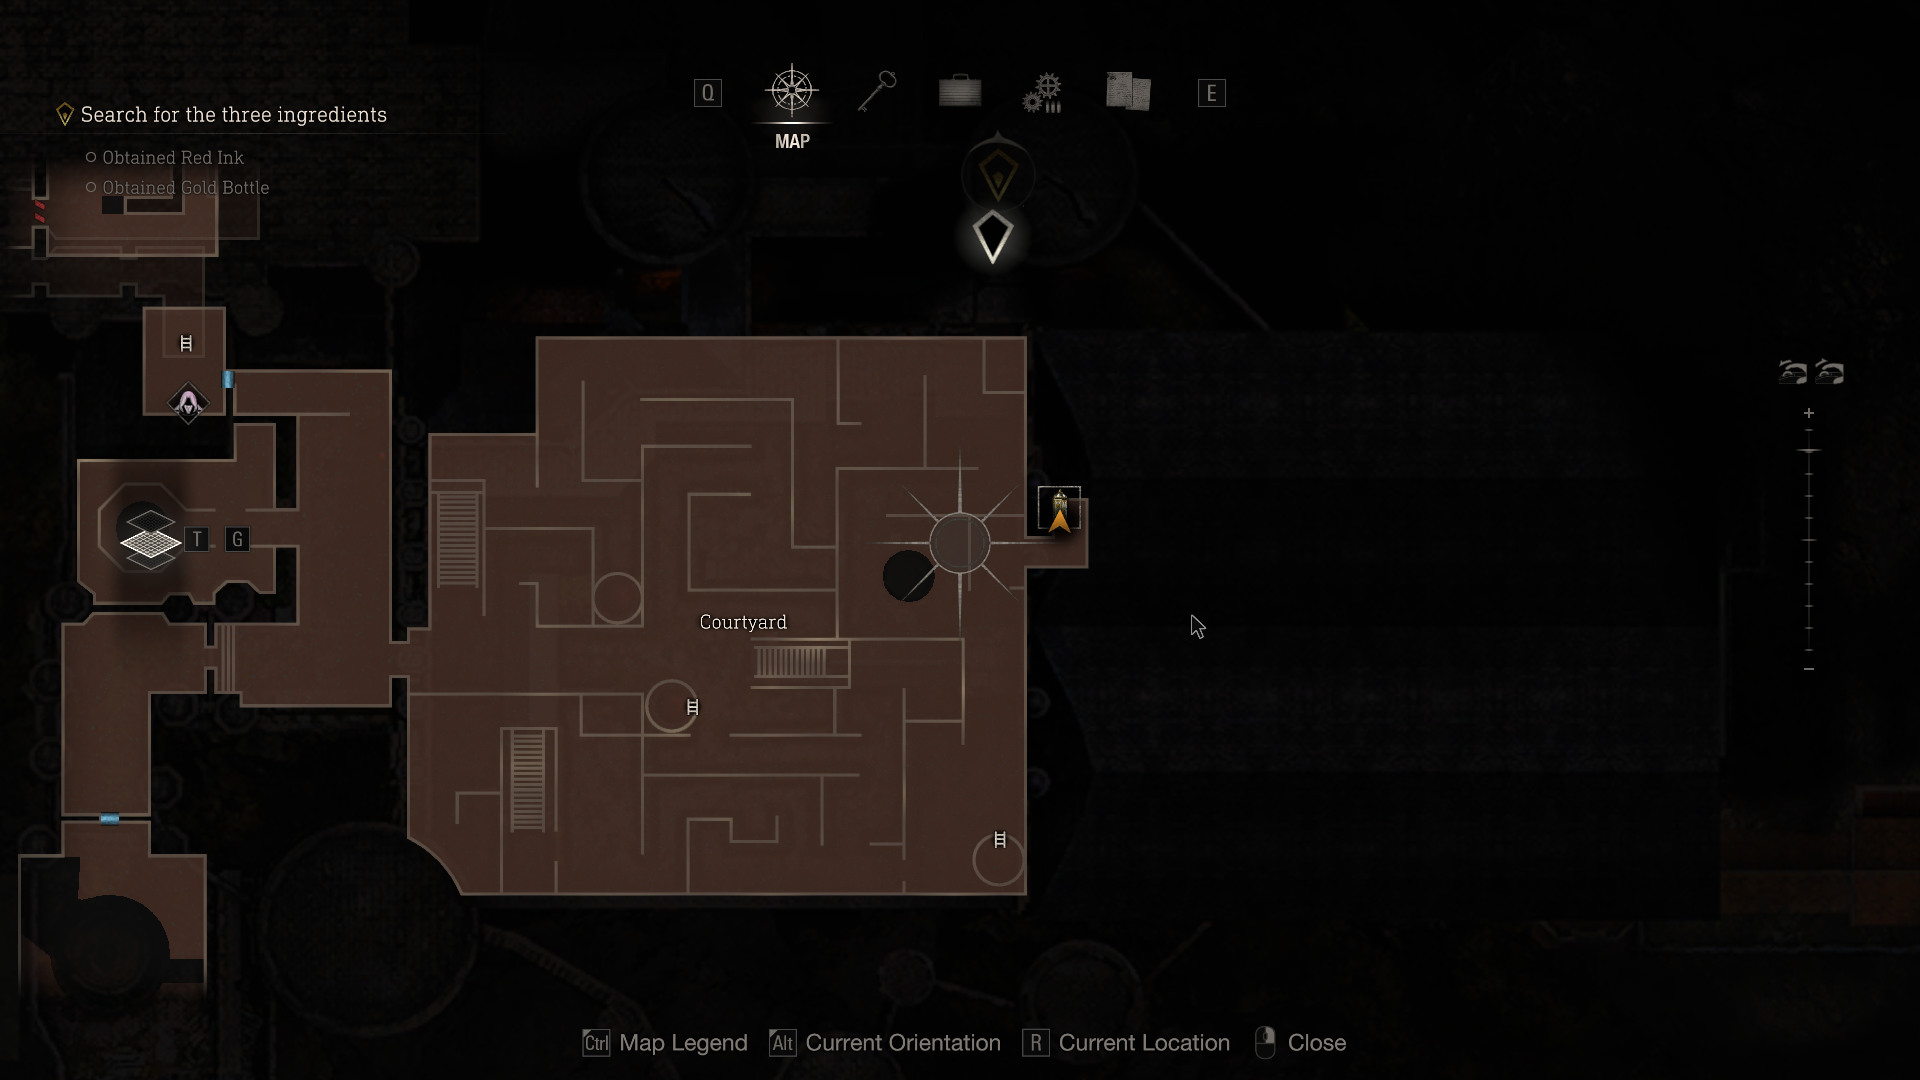
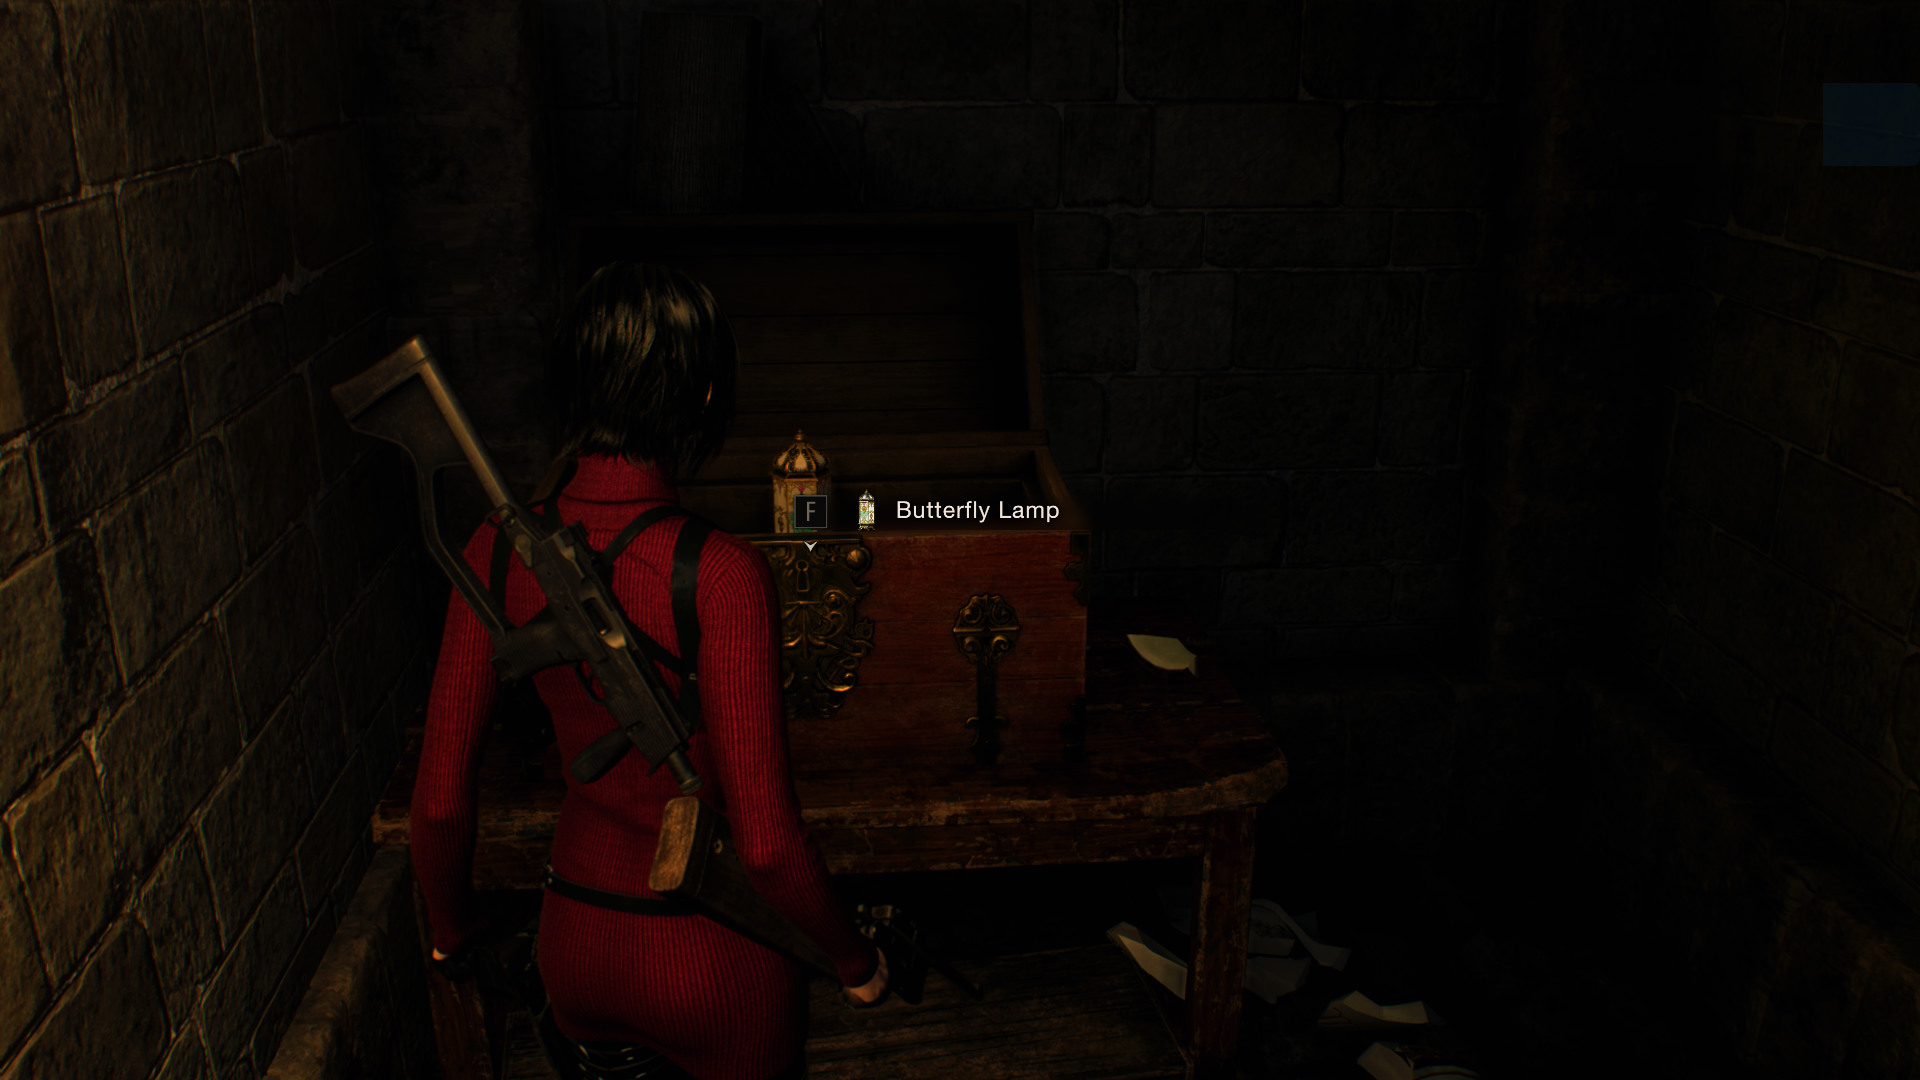
 Treasure: Butterfly Lamp
Located in the small side room at the far east end of the courtyard.
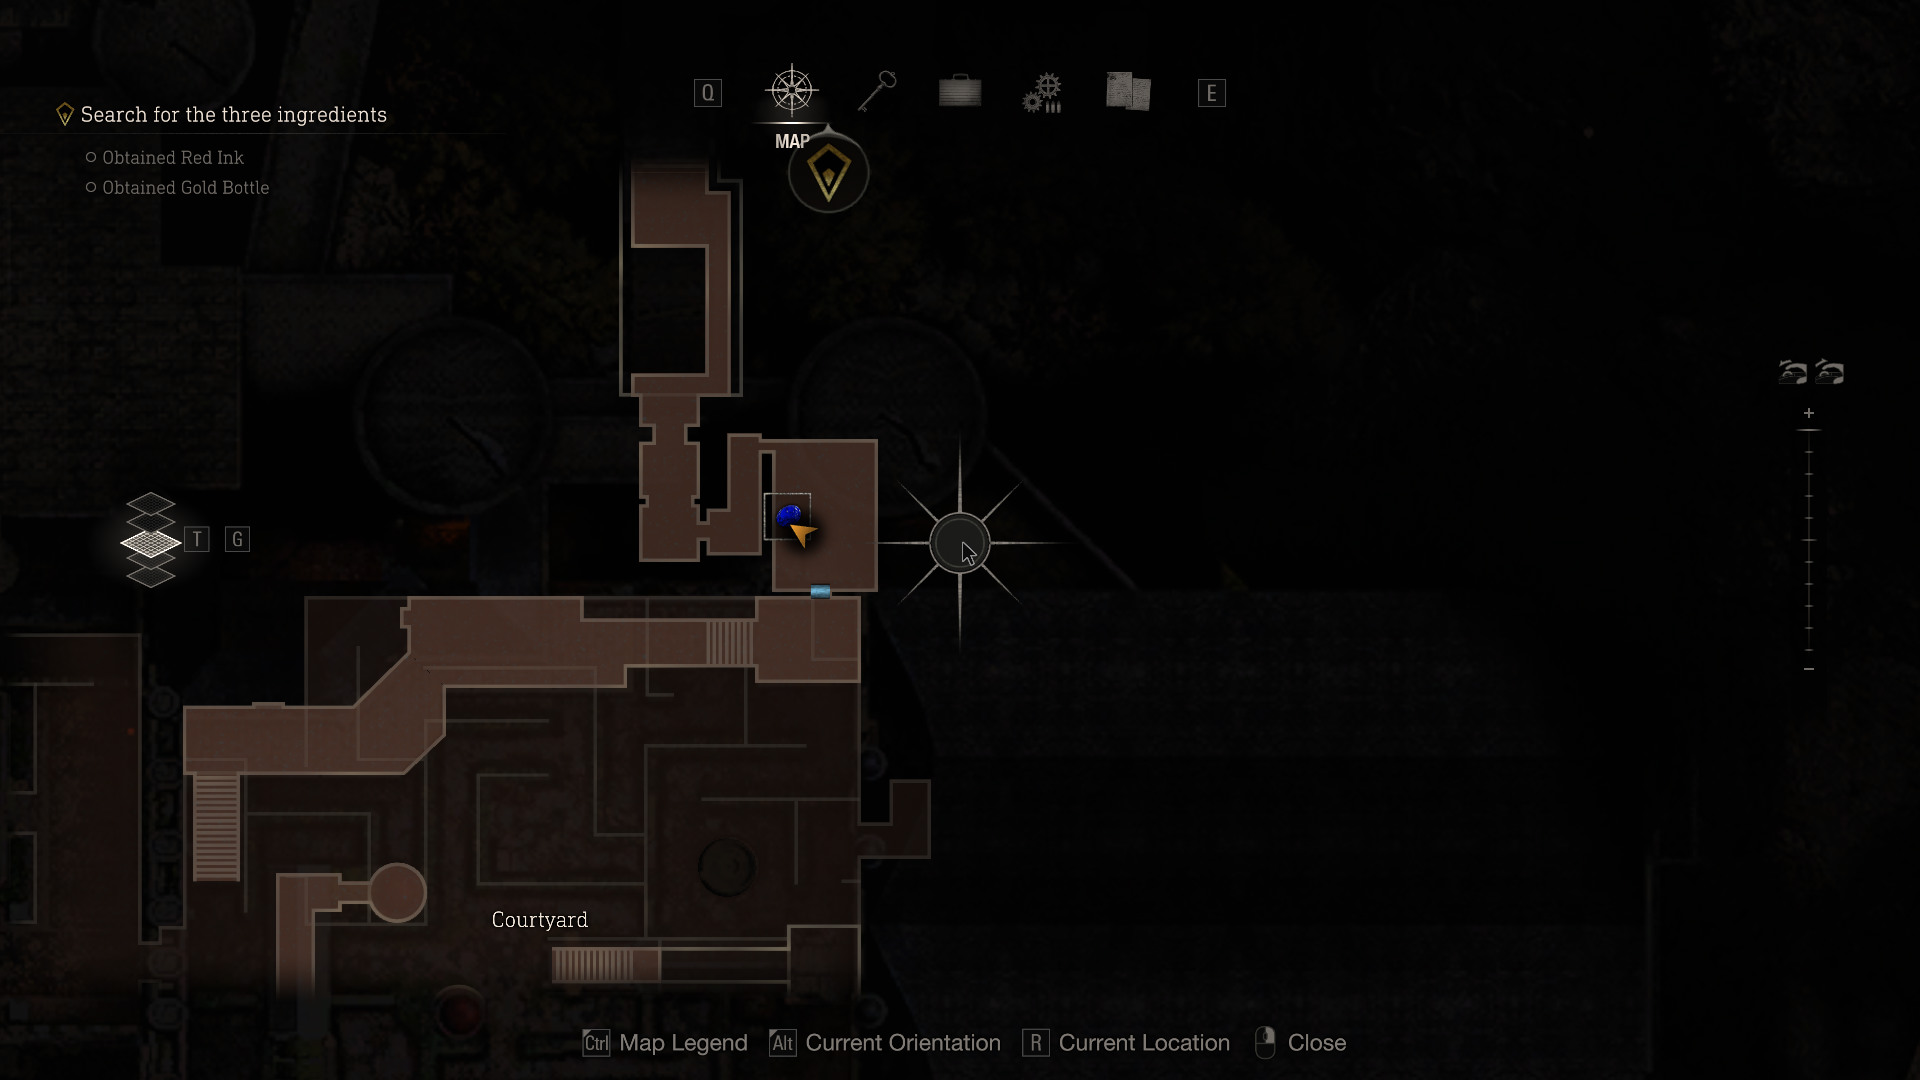
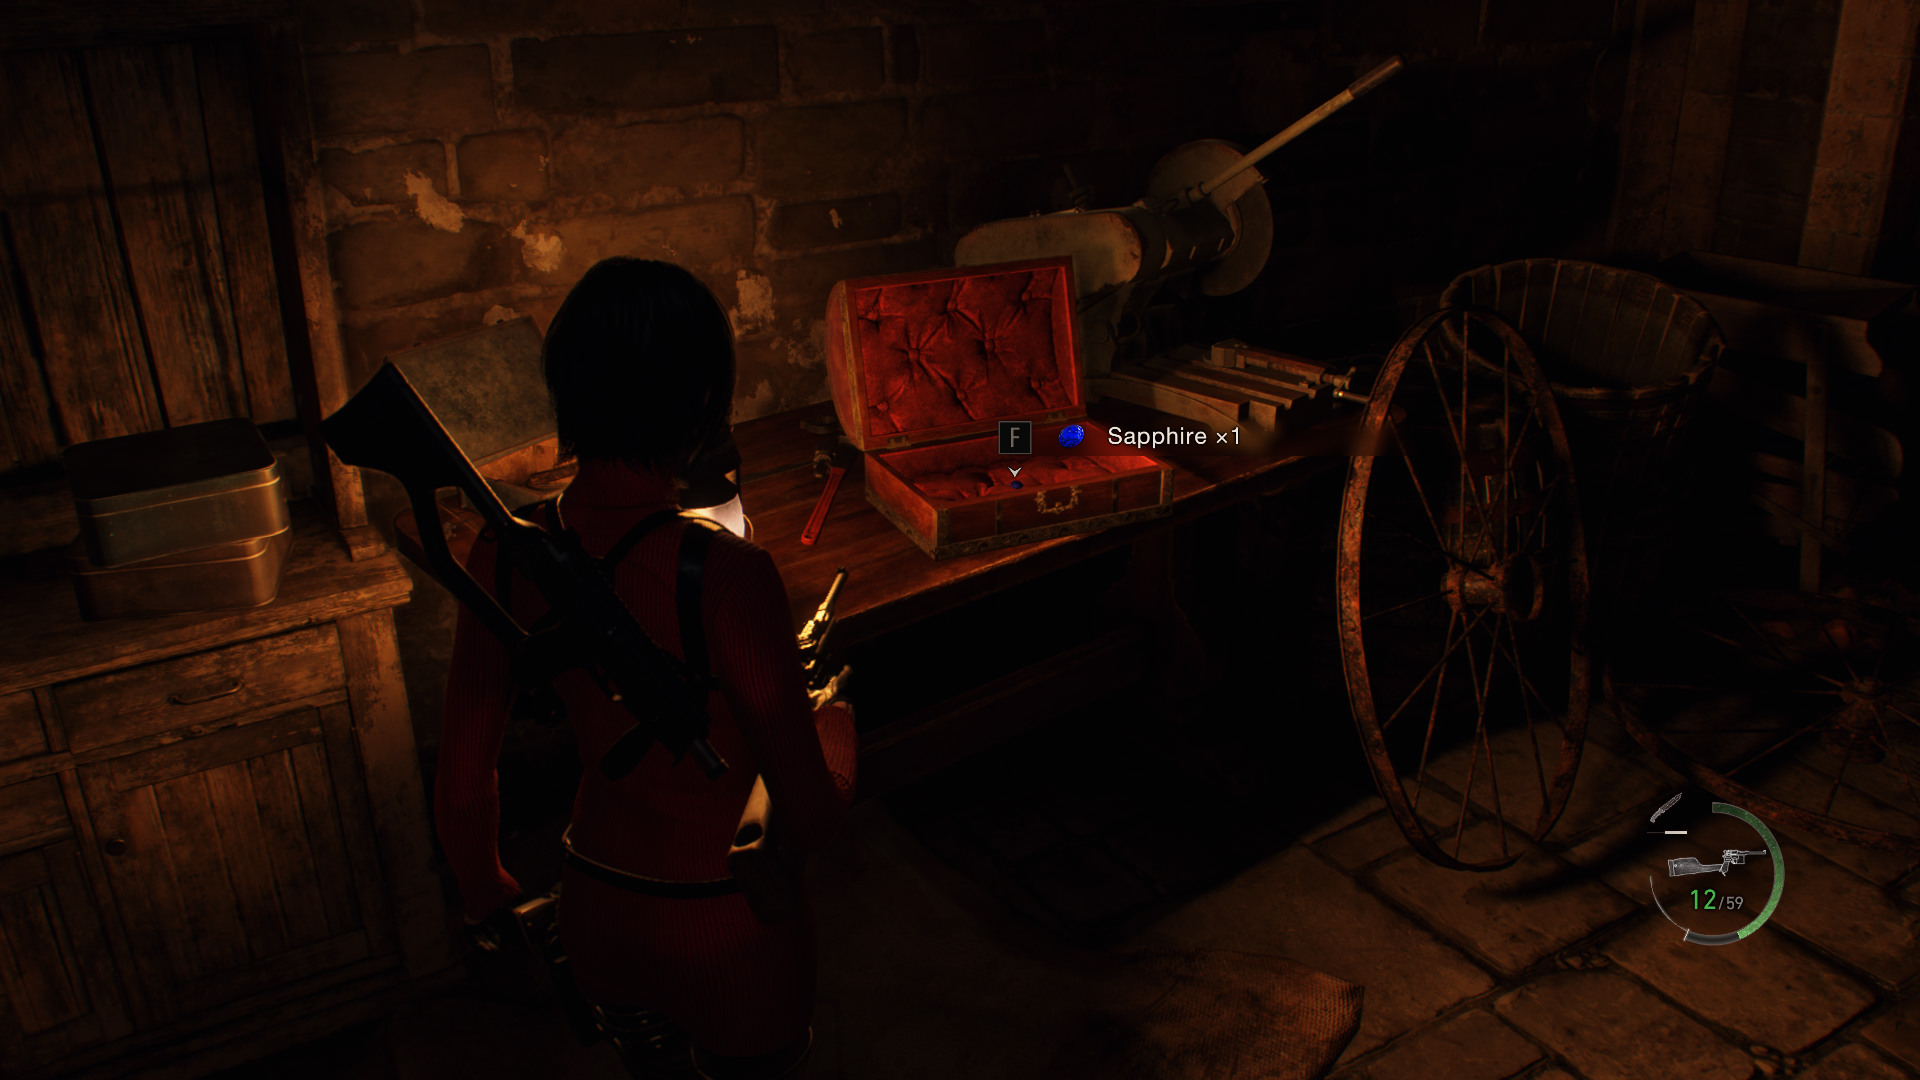
 Treasure: Sapphire
Immediately after walking through the Blue Moonstone doorway, on the left atop of a table.
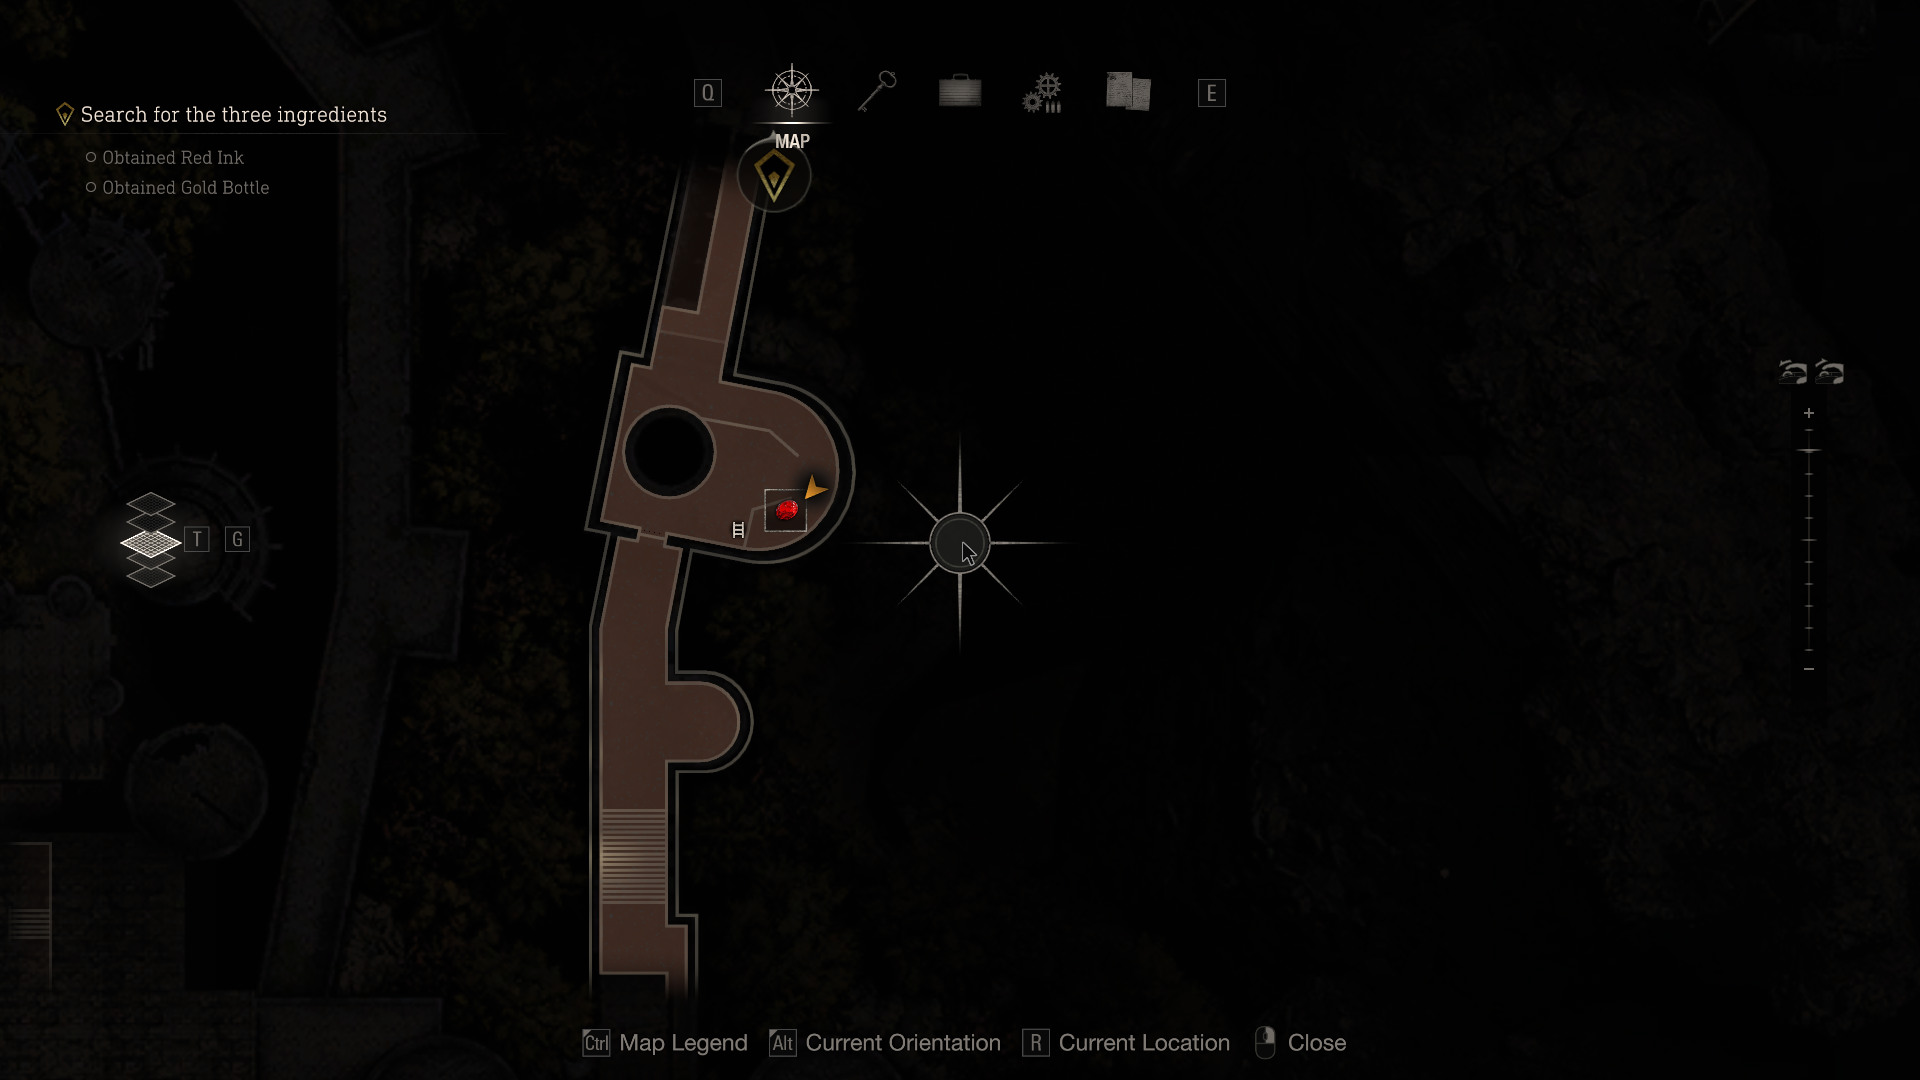
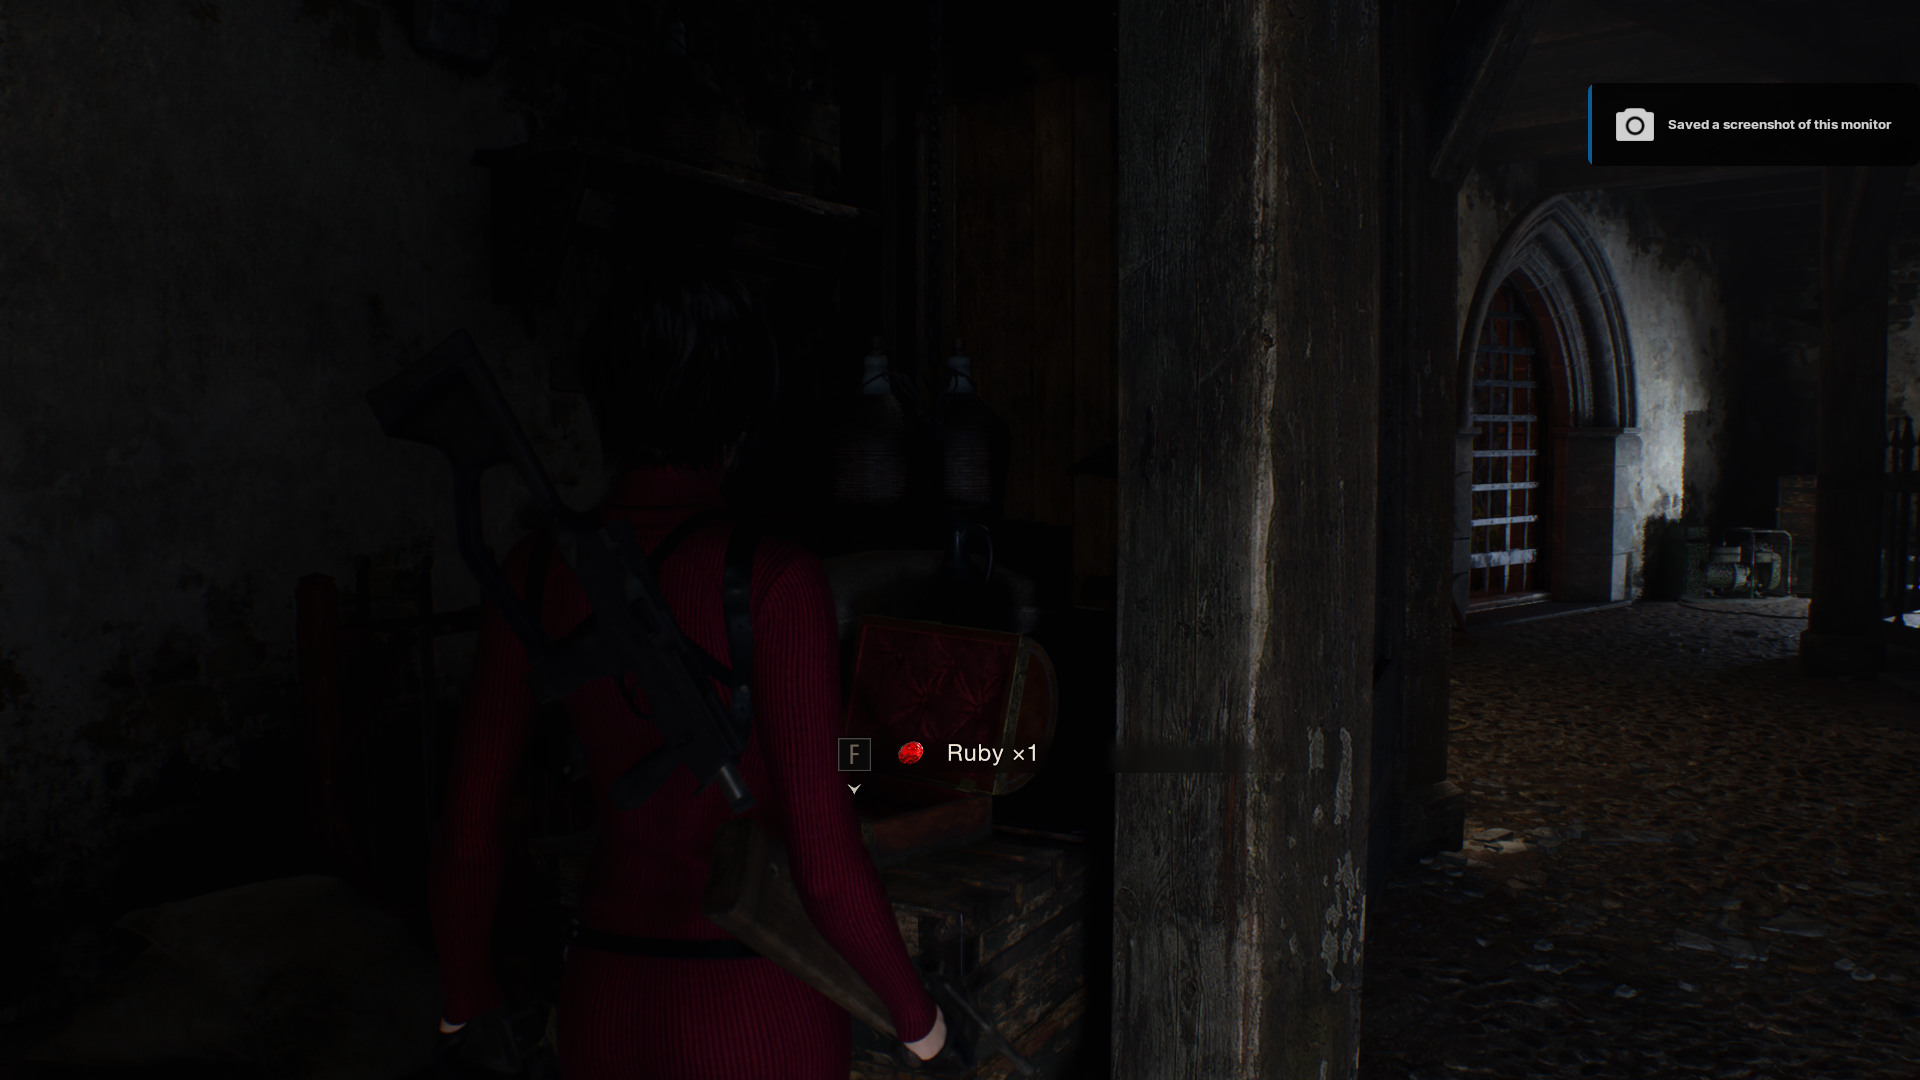
 Treasure: Ruby
Keep going down the battlement till you jump down the ladder, behind the wall ladder, atop of a box.
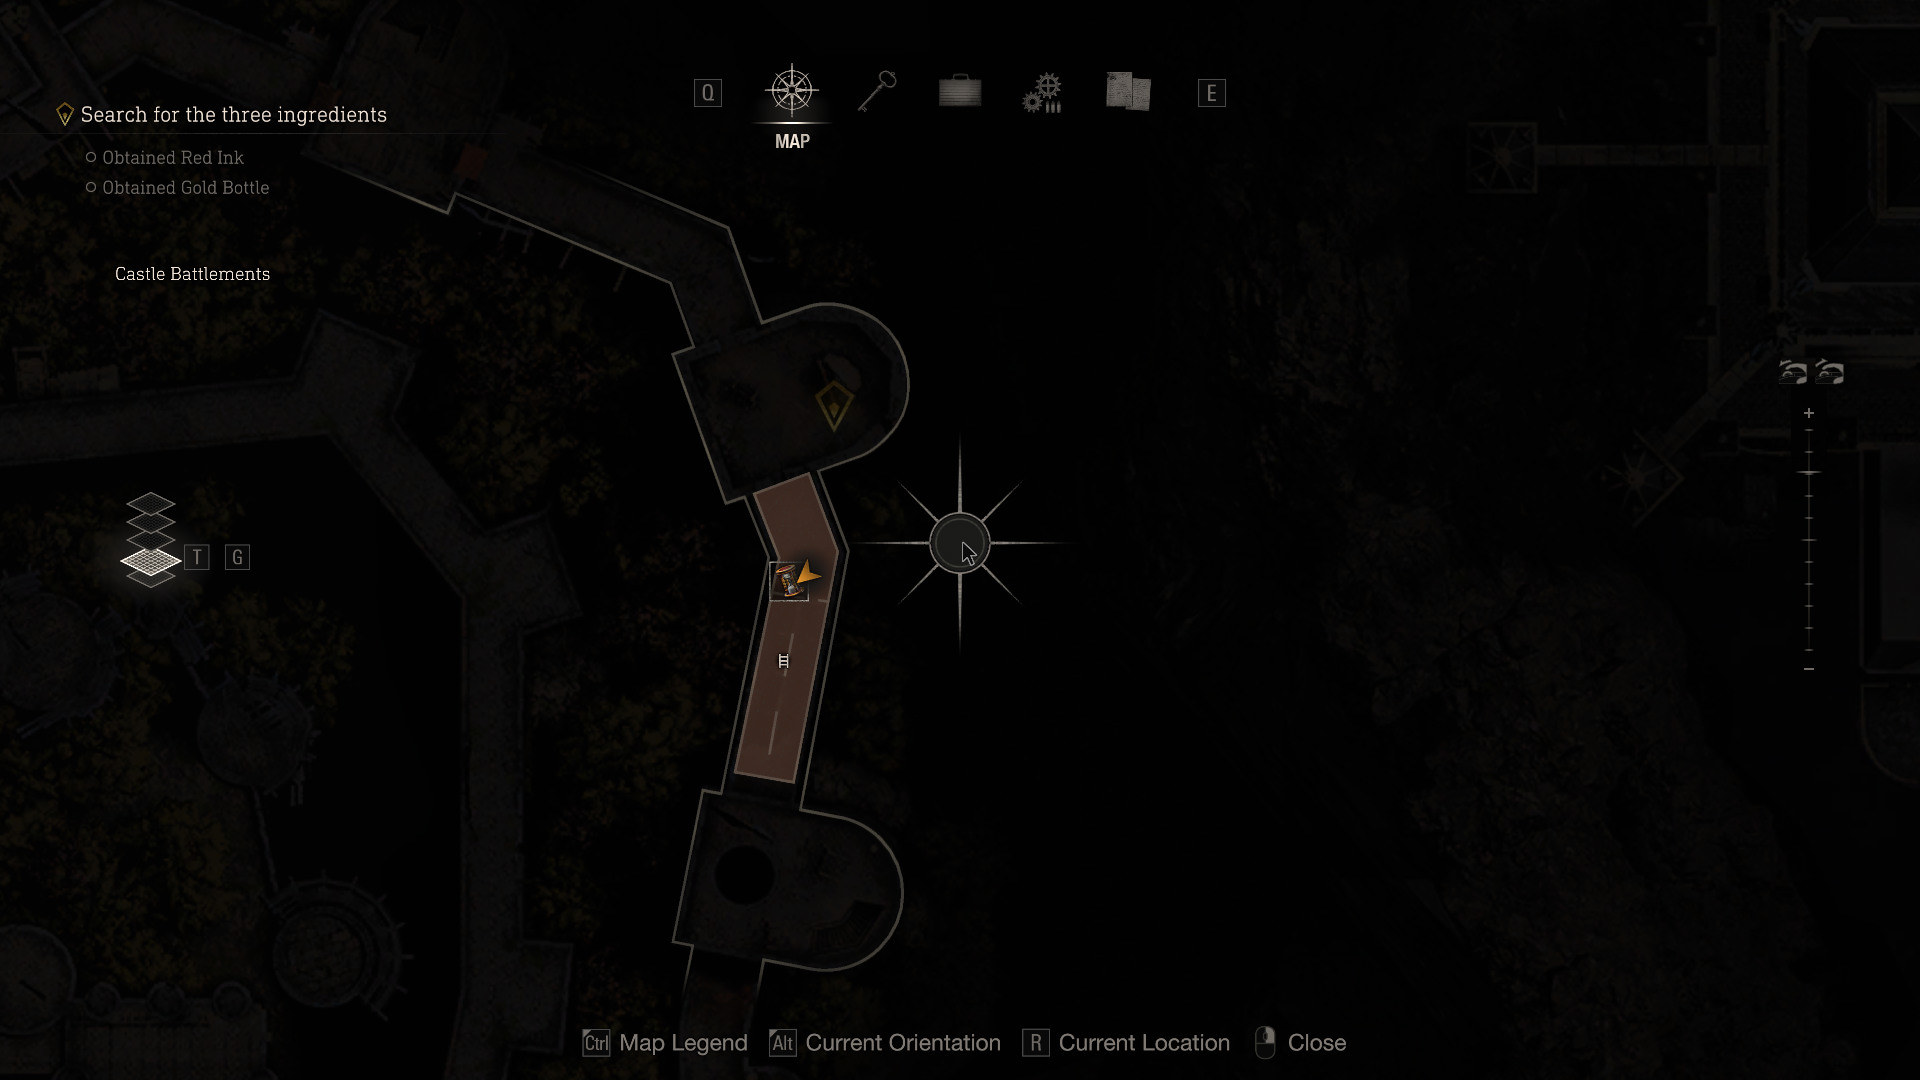
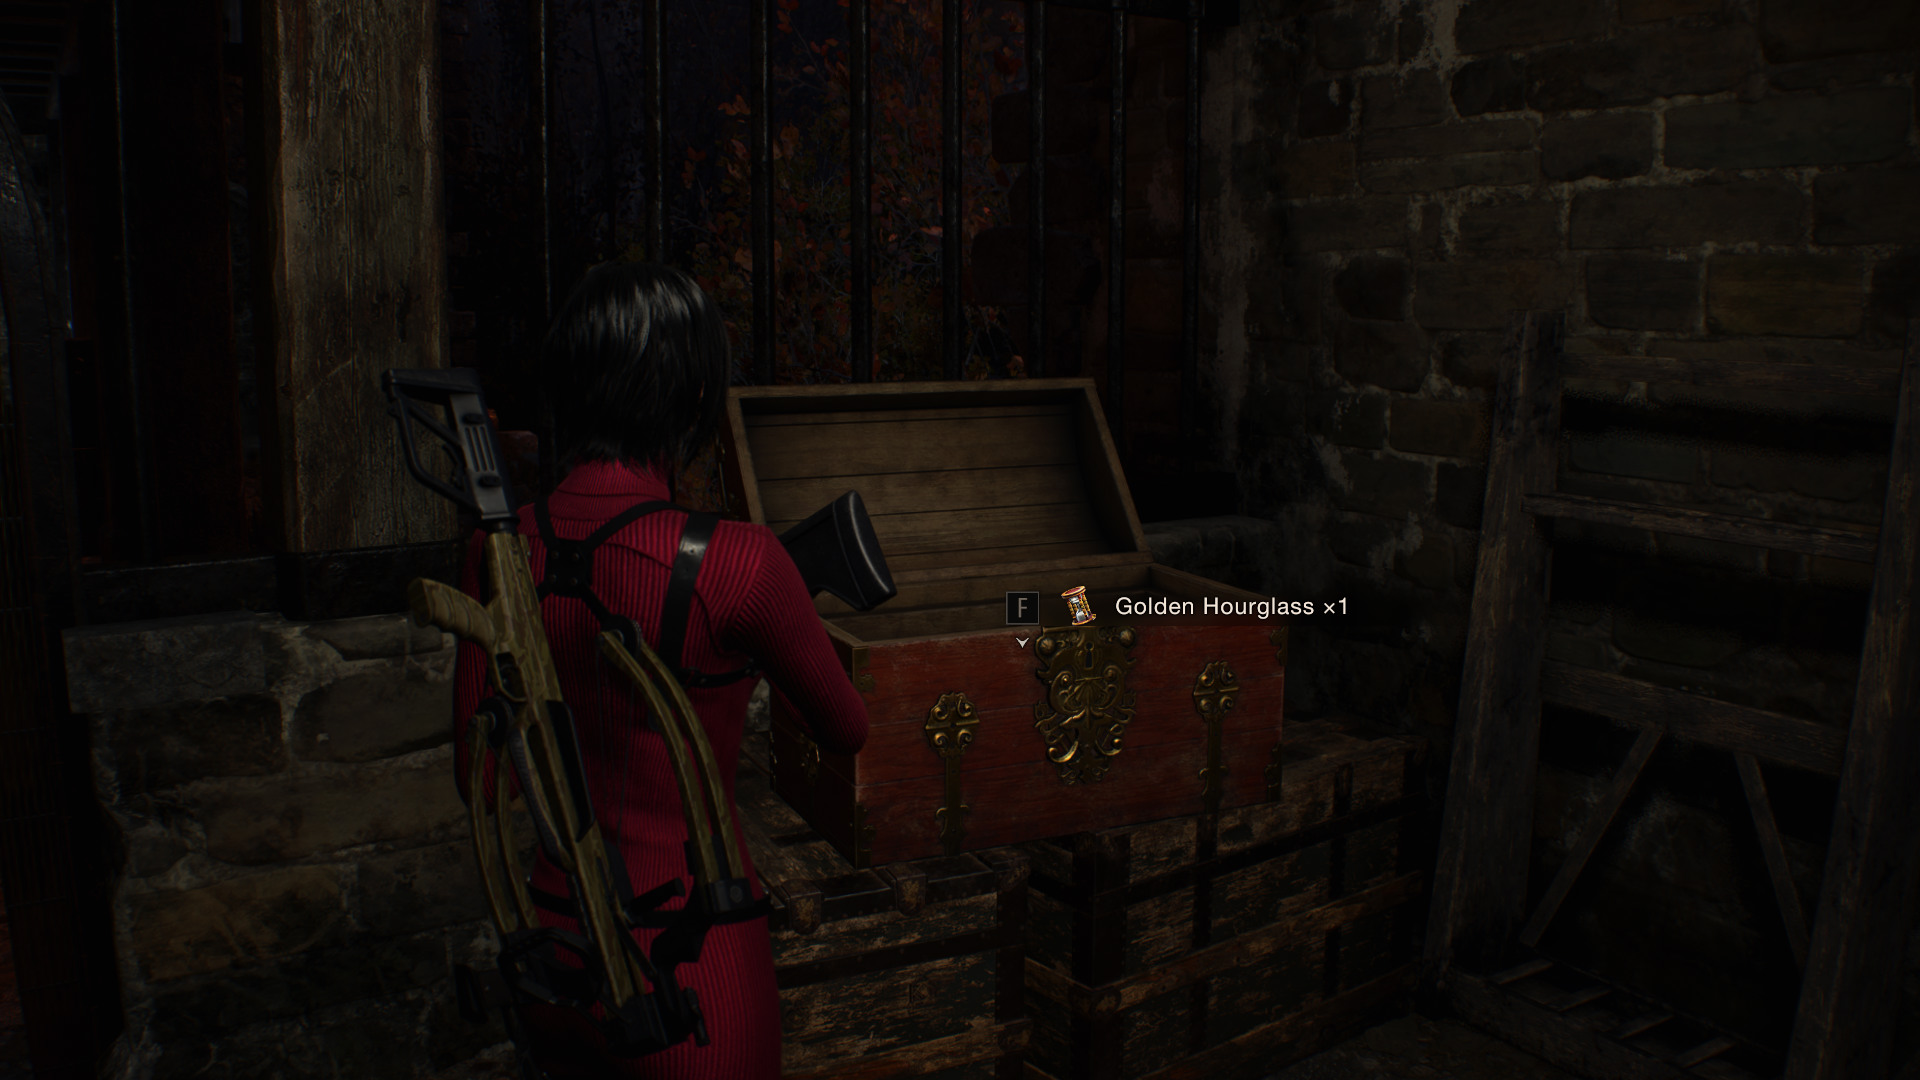
 Treasure: Golden Hourglass
Under the small lever room where you switch the symbol to the moon to open the moon‑symbol door, there’s a chest sitting on top of two stacked crates.
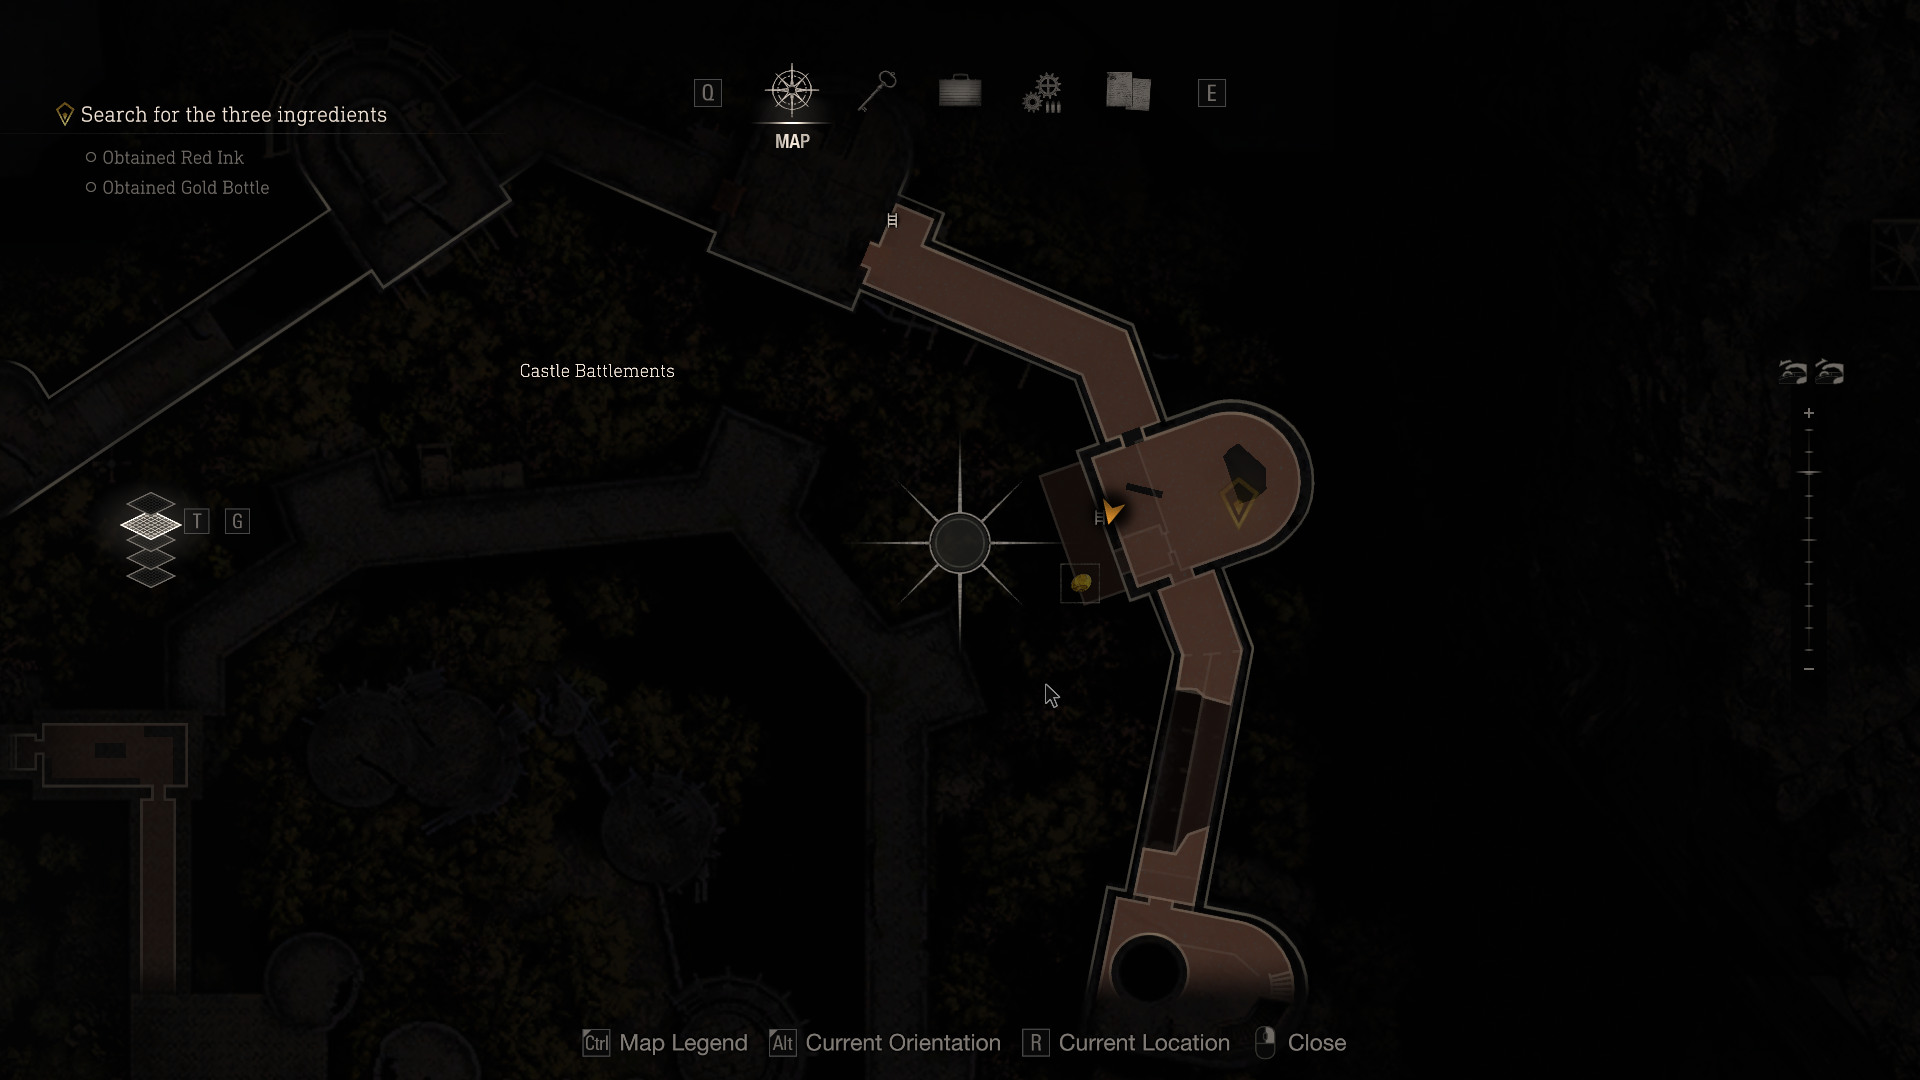
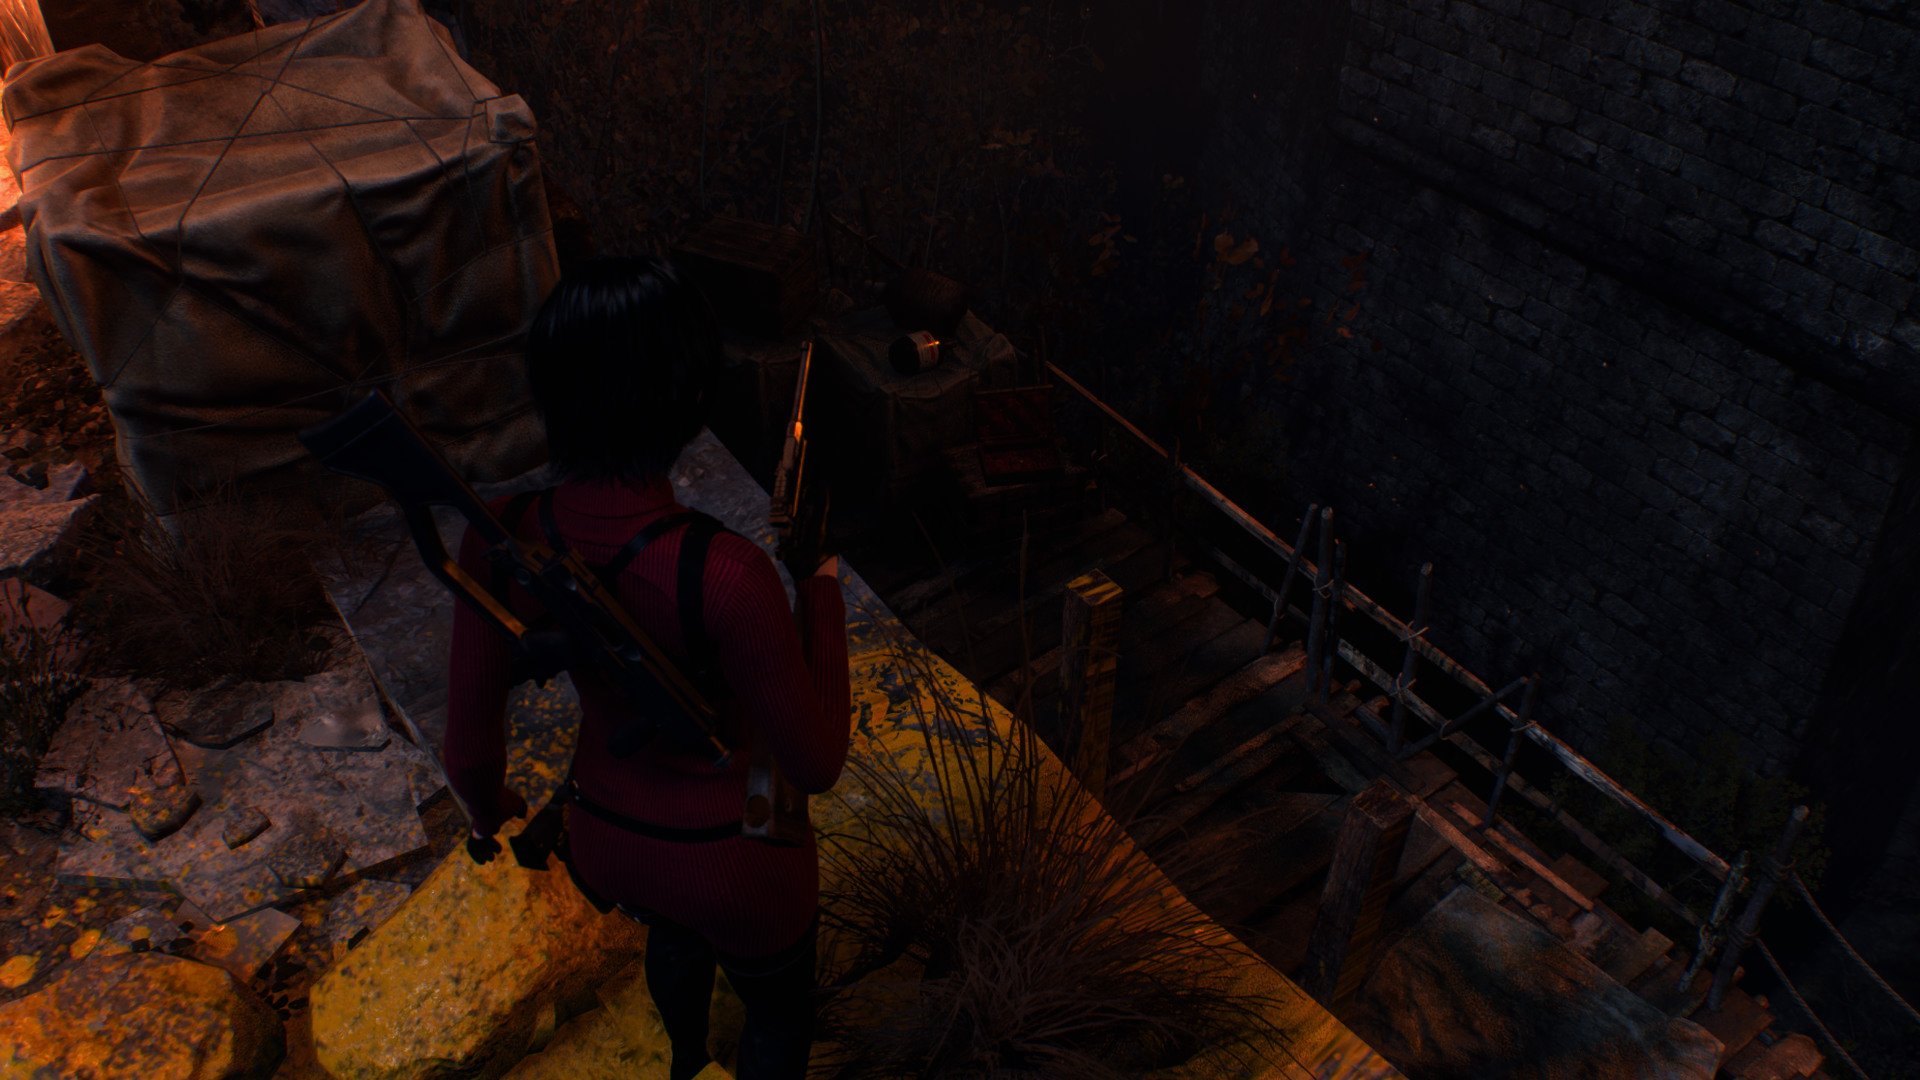
 Treasure: Yellow Diamond
When jumping down the paint splattered ledge of the battlement, located in a case near the railing.
(Separate Ways: Chapter 5)
Objective: Go after Luis
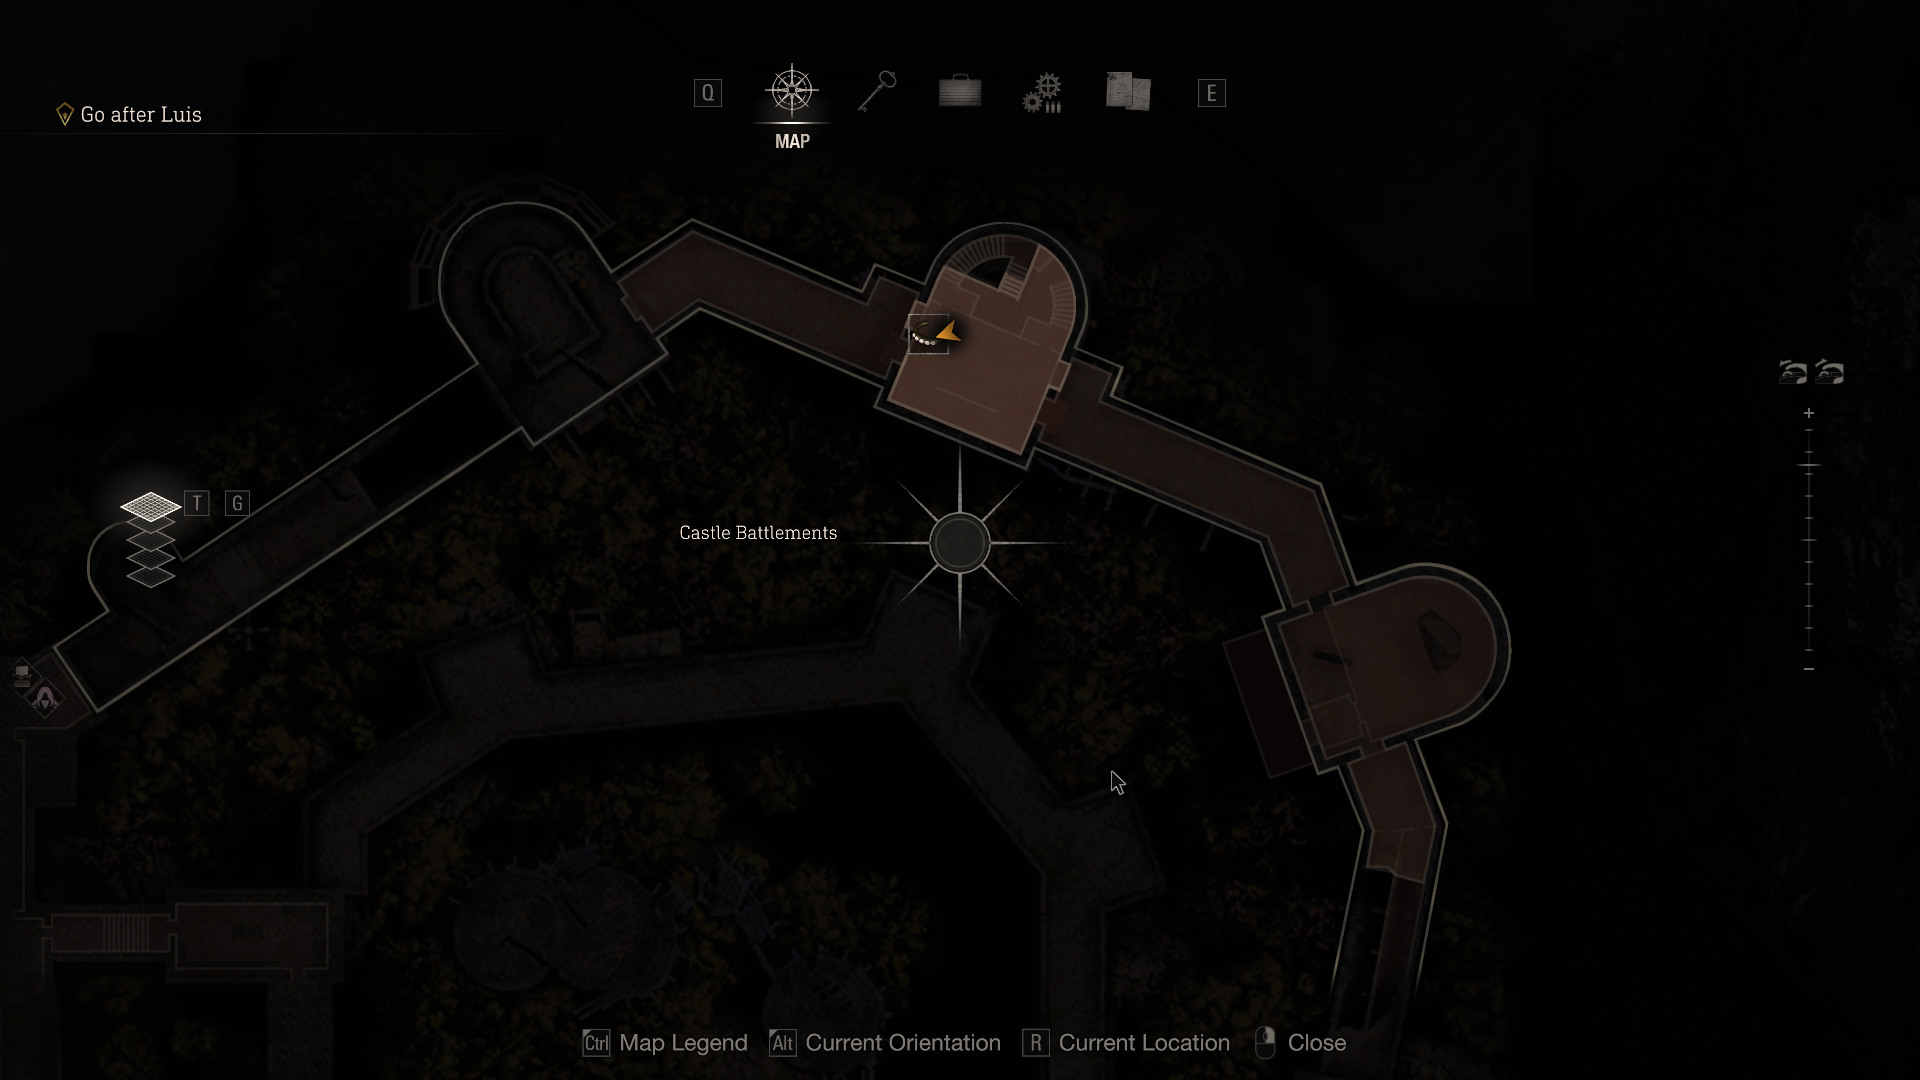
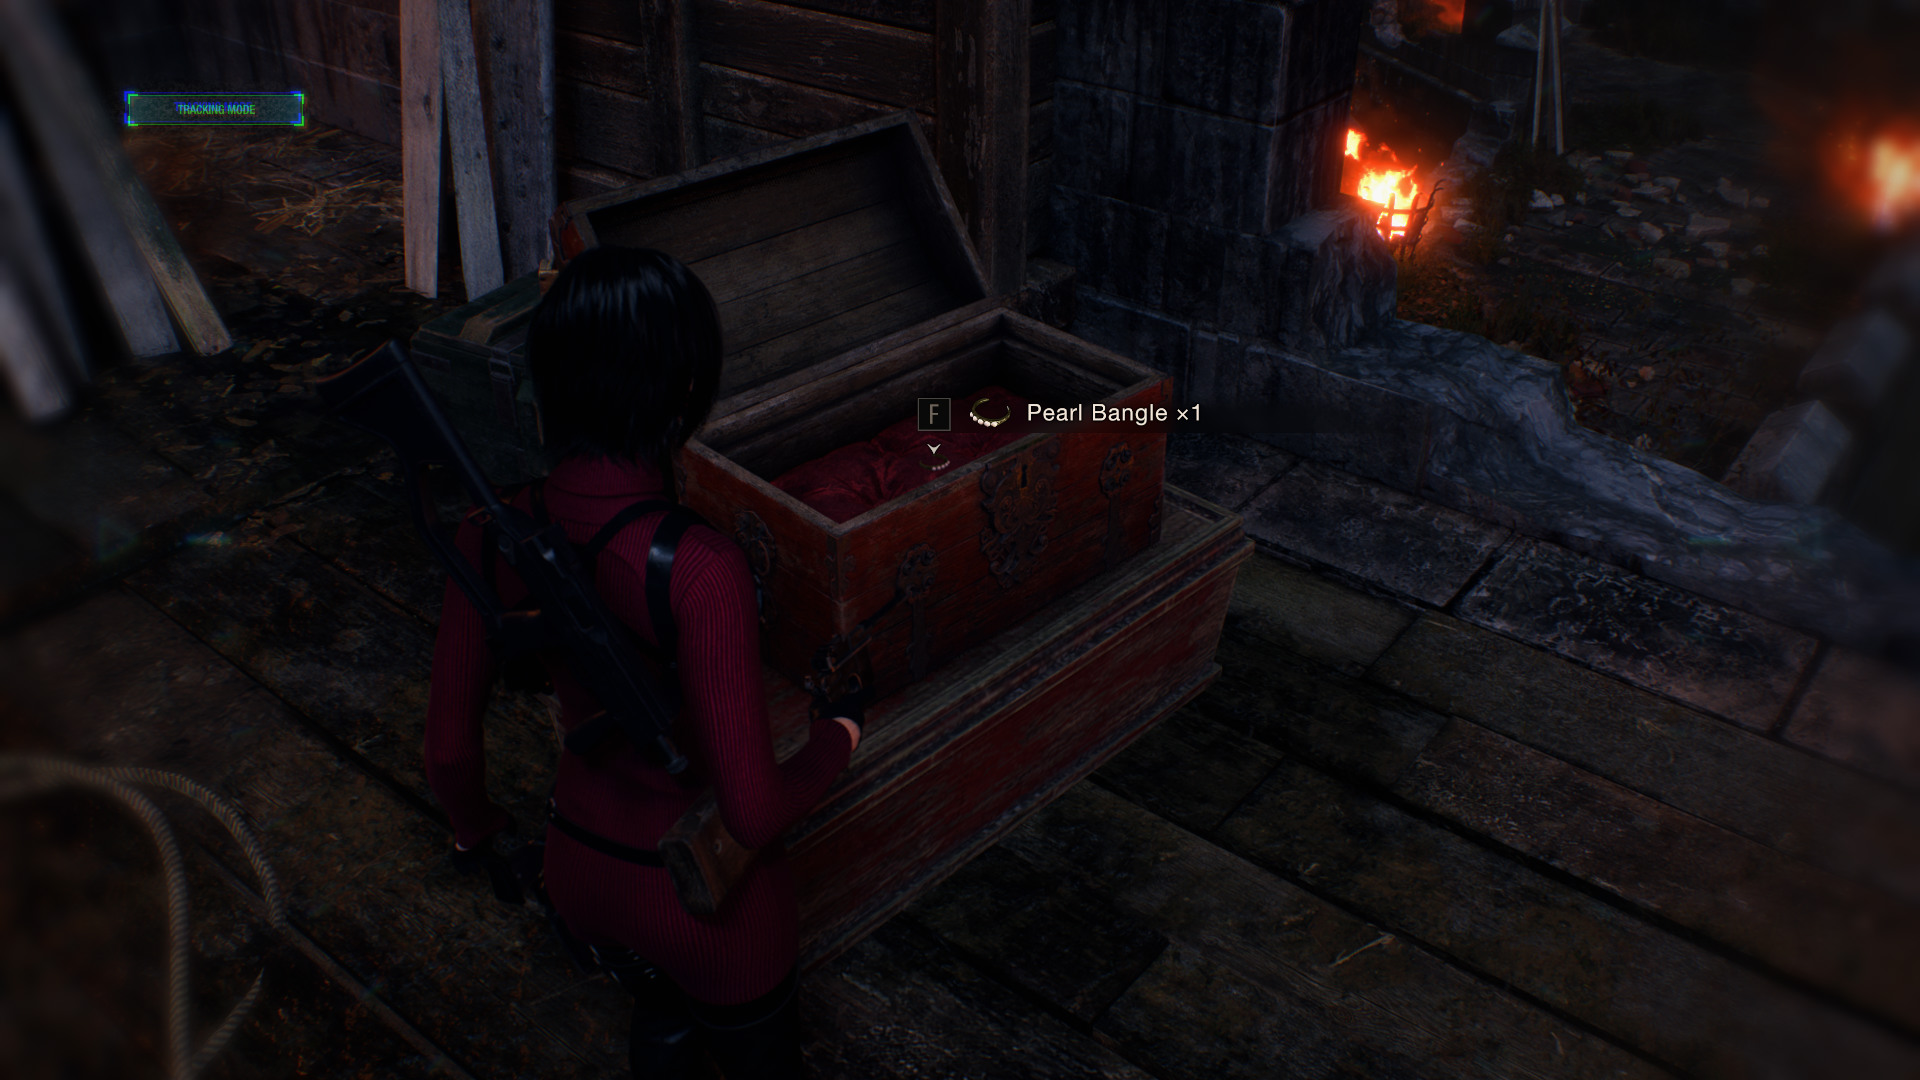
Treasure: Pearl BangleGo either the way the Black Robe went or the opposite way to get access atop of the battlement where you will find it in a chest.
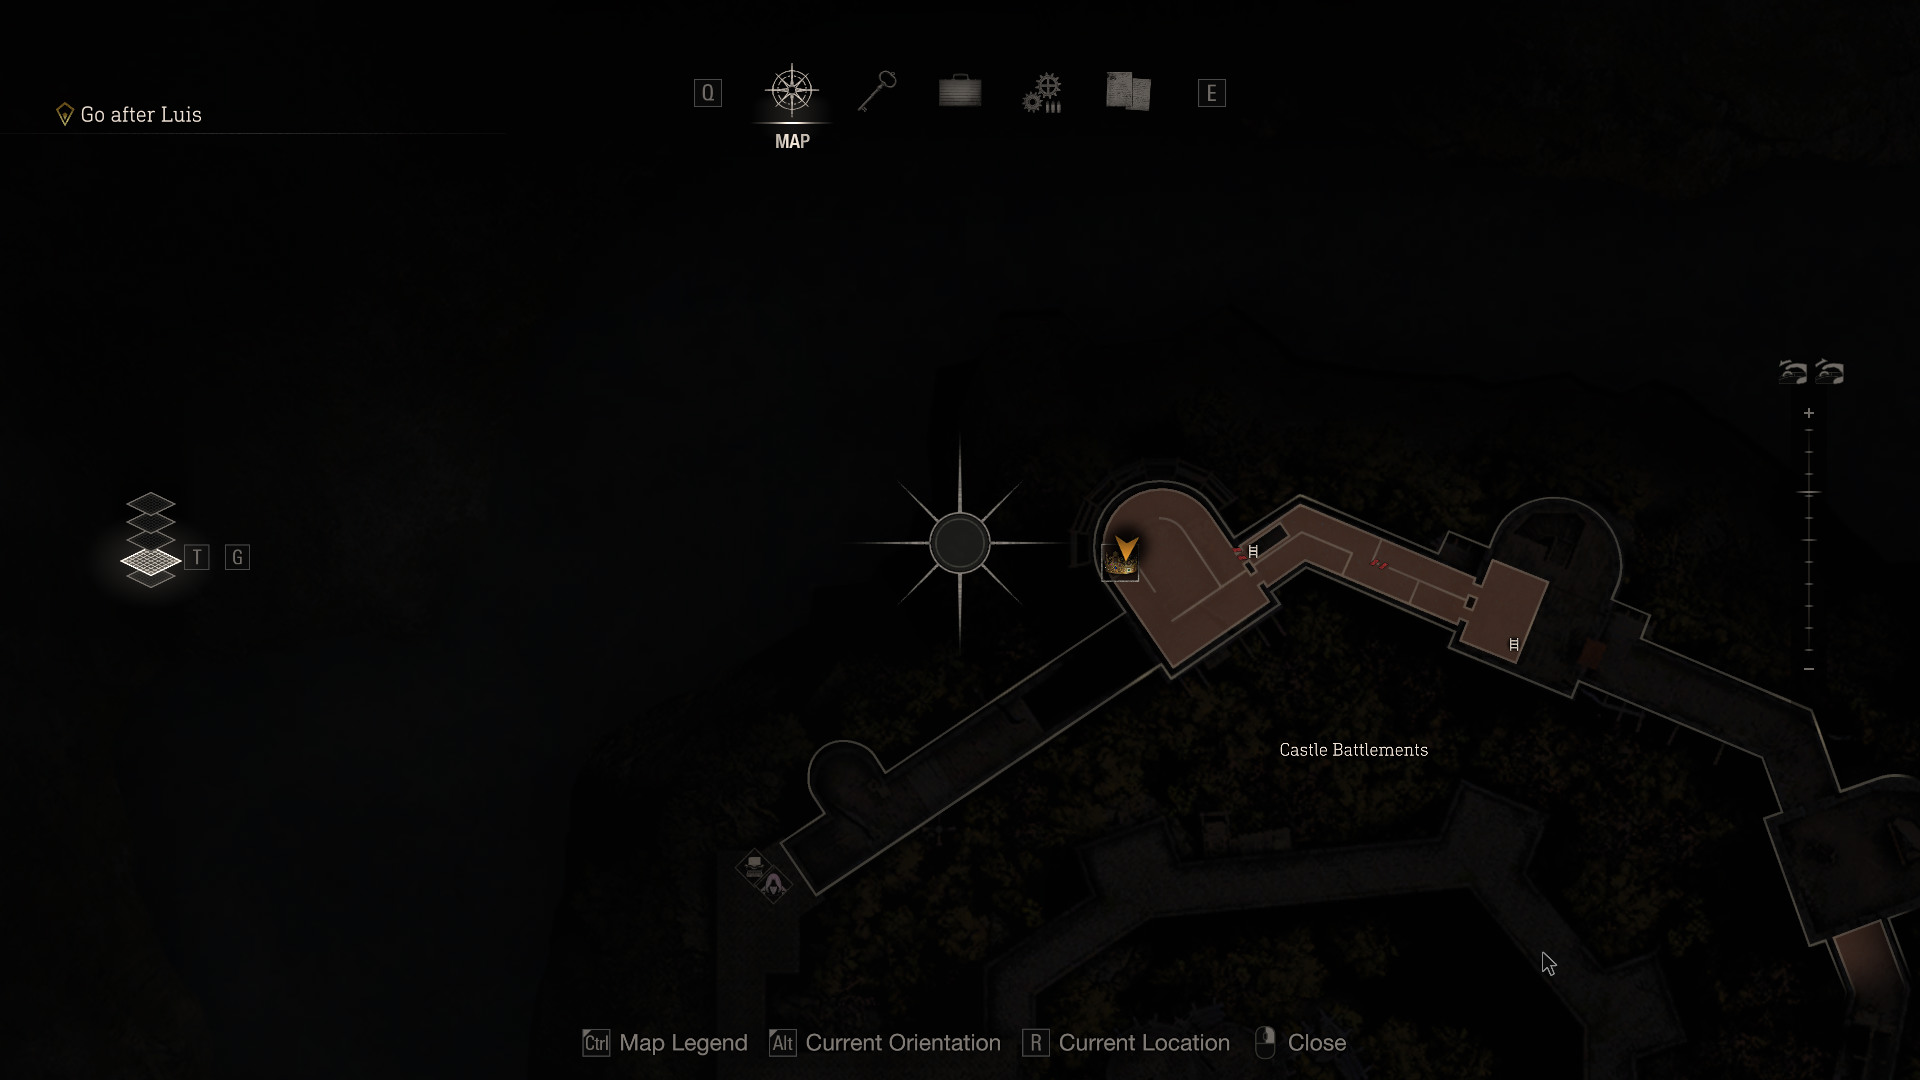
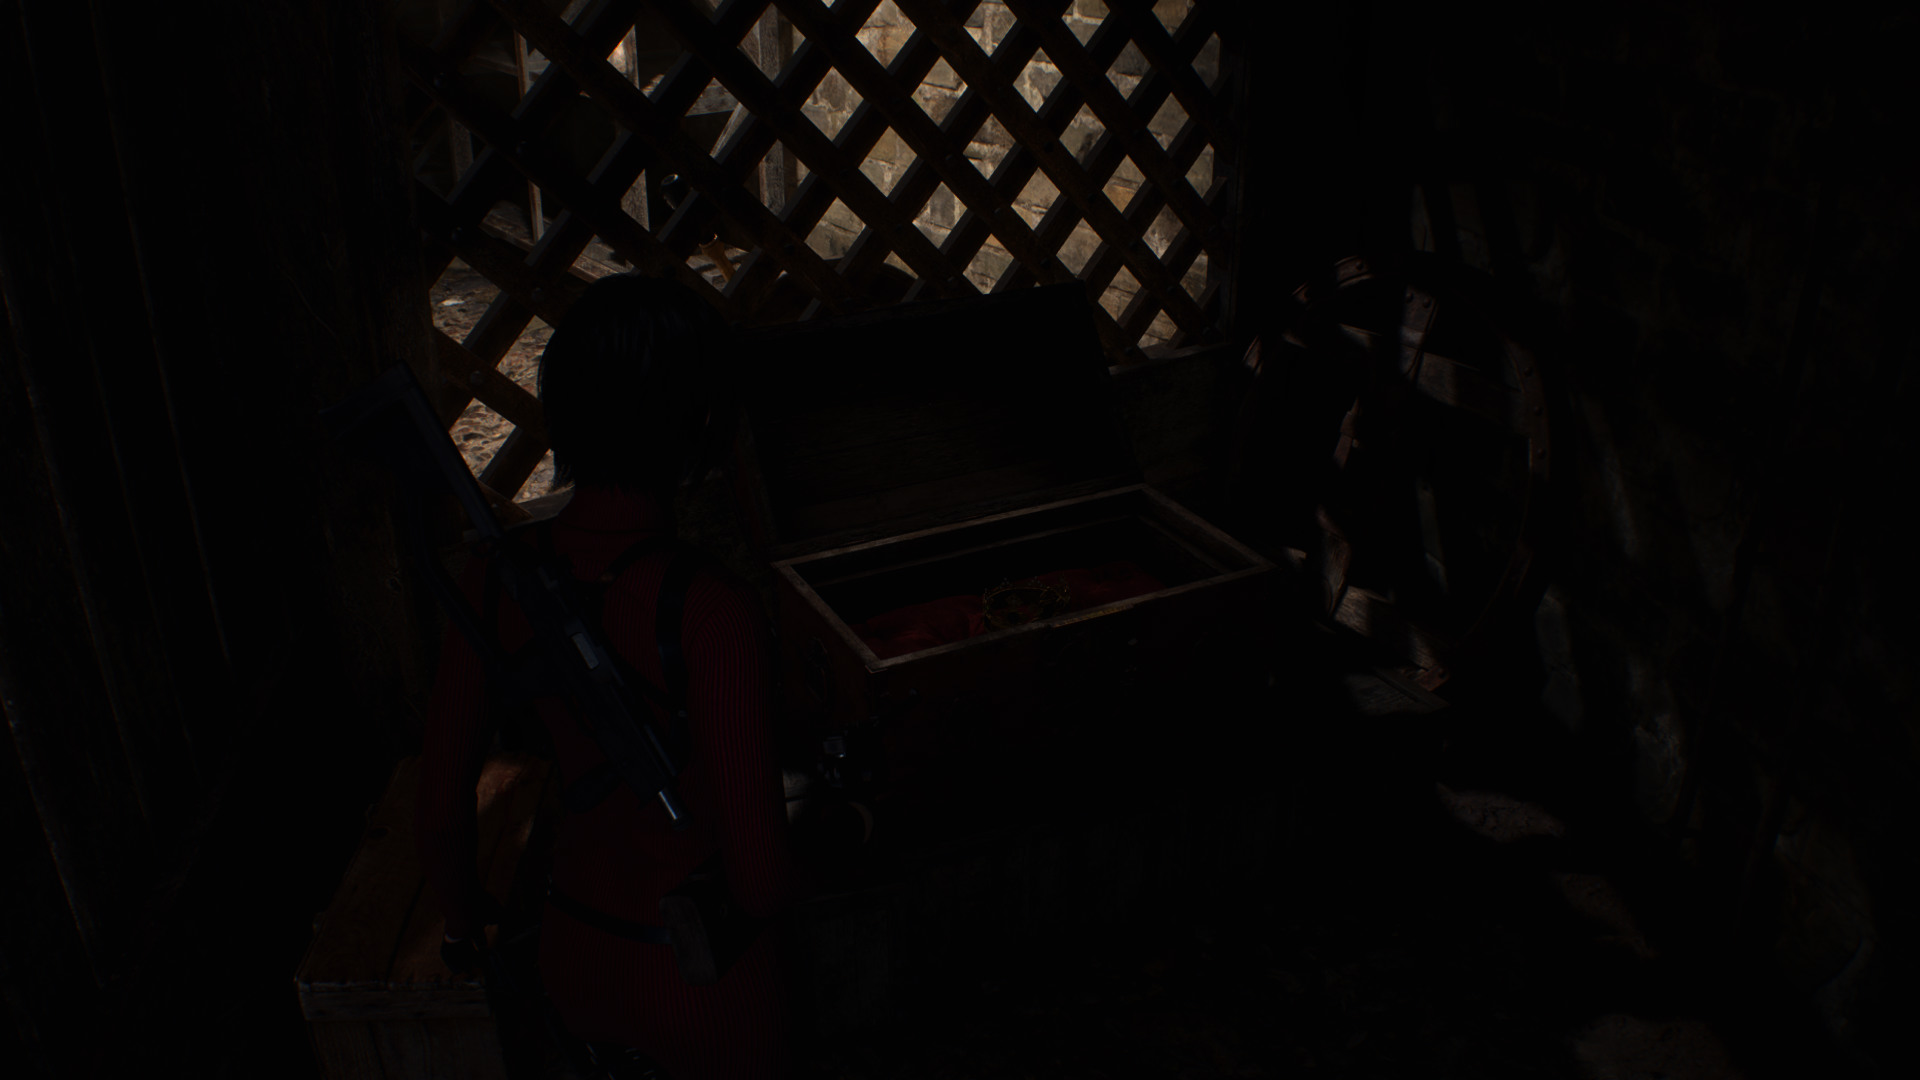
 Treasure: Elegant Crown
Before dropping through the hole to follow the footsteps go left.
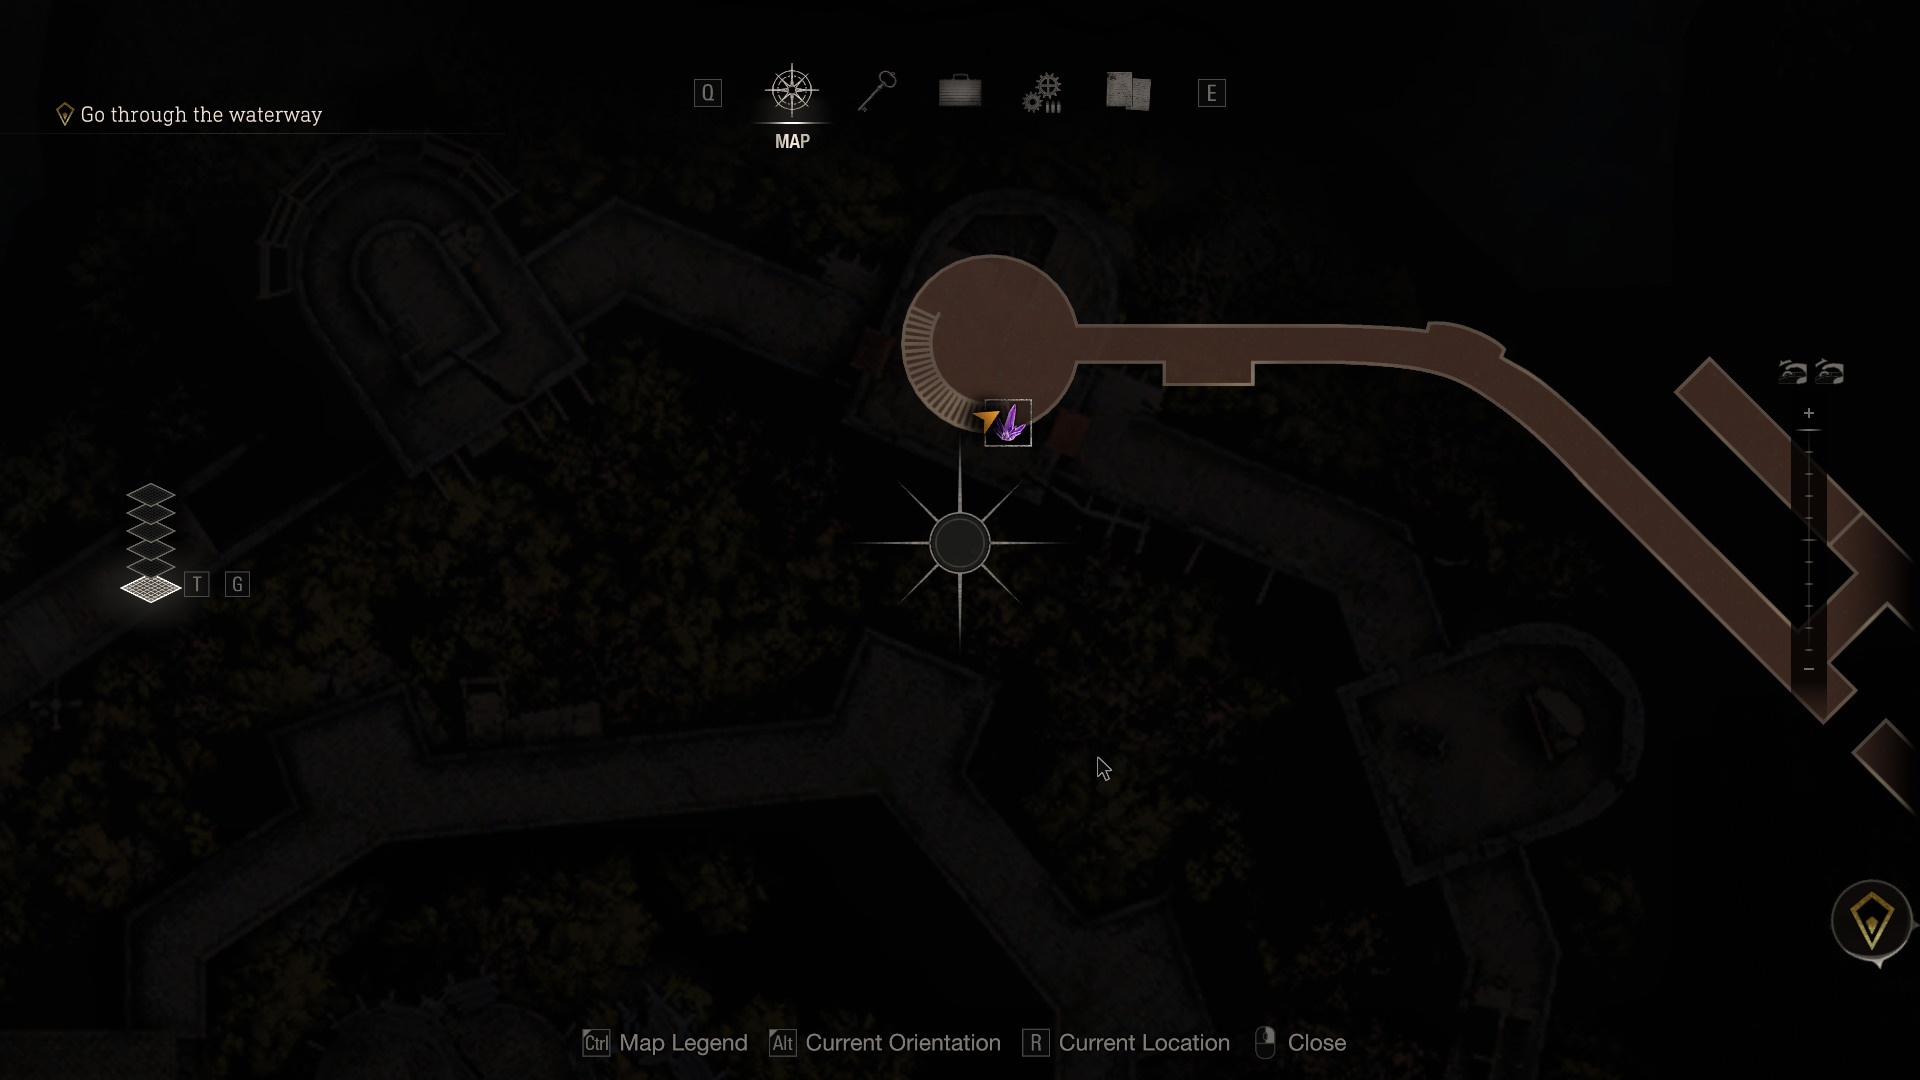
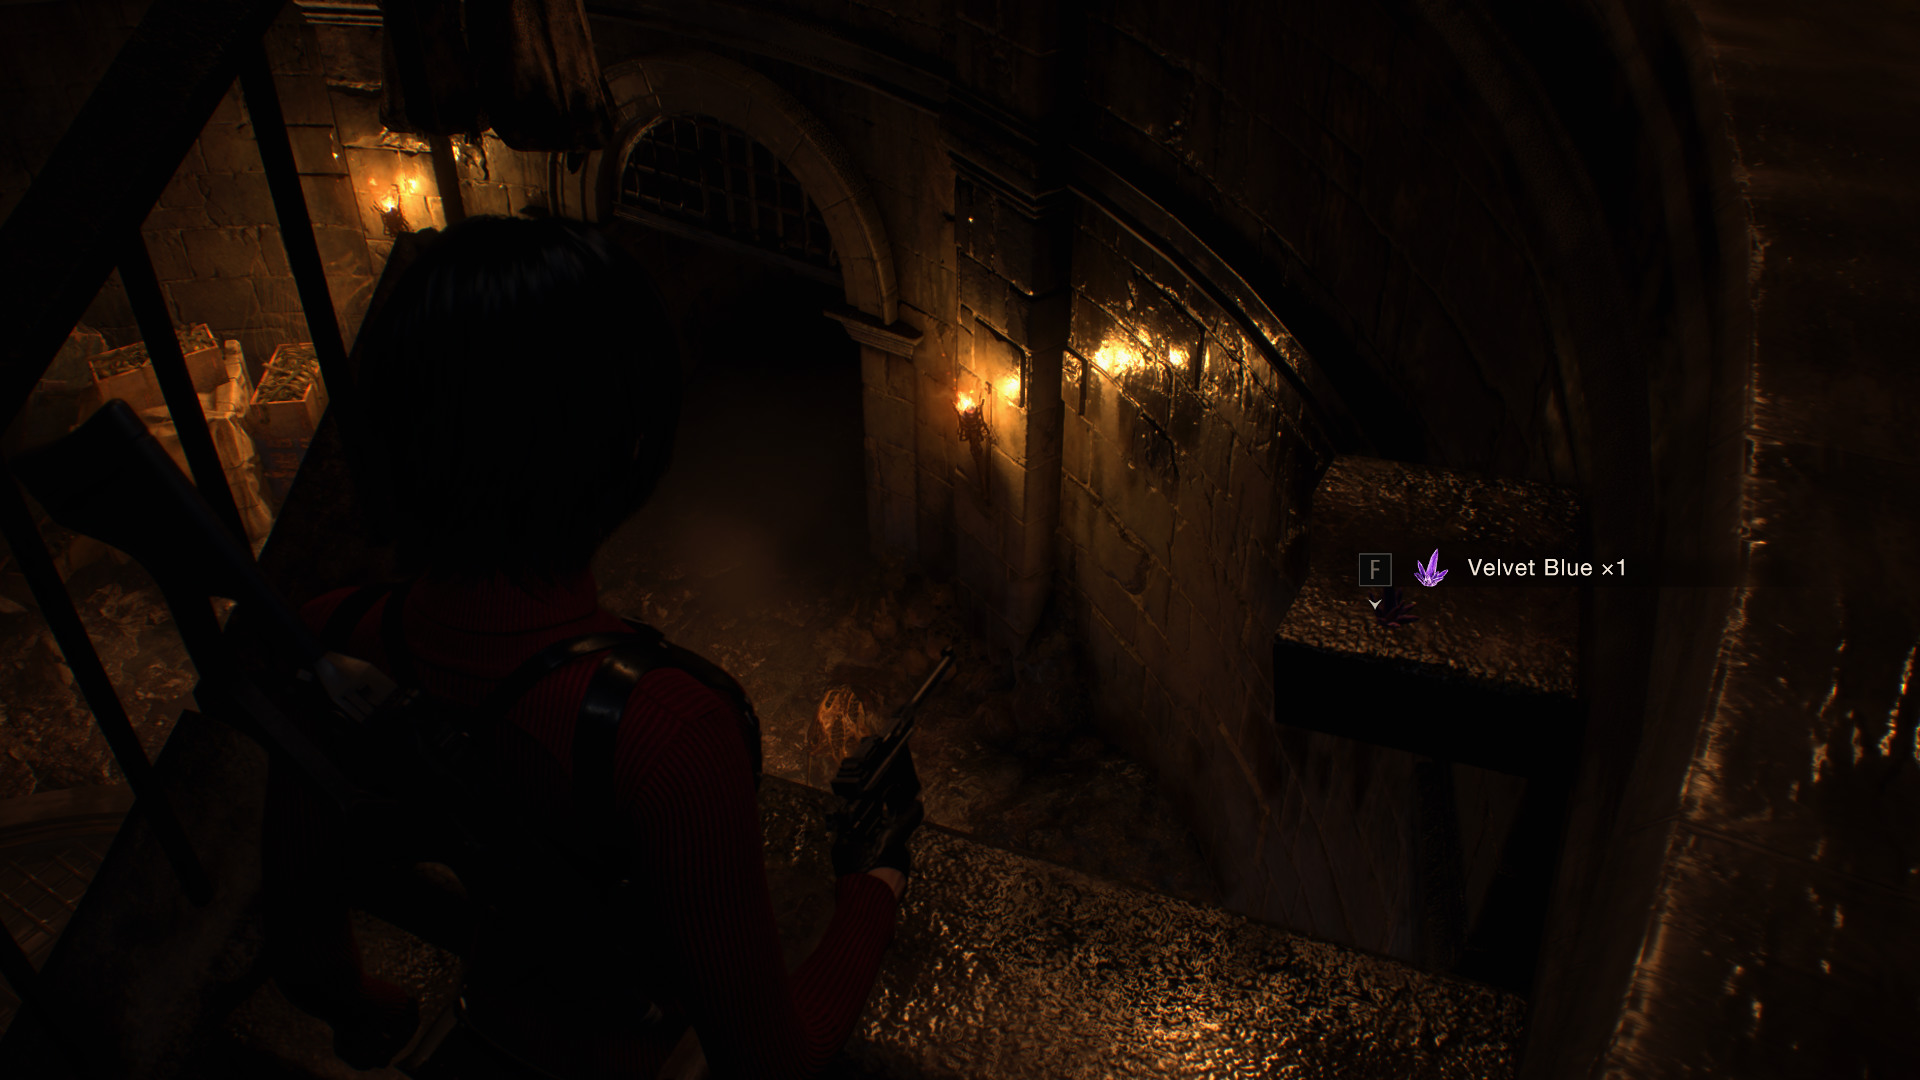
 Treasure: Velvet Blue
Before going towards the hallway after grappling down, turn around and go up the stairs.
 Treasure: Ruby
Stop when you notice two breakable crates beside a Yellow Herb and look up.
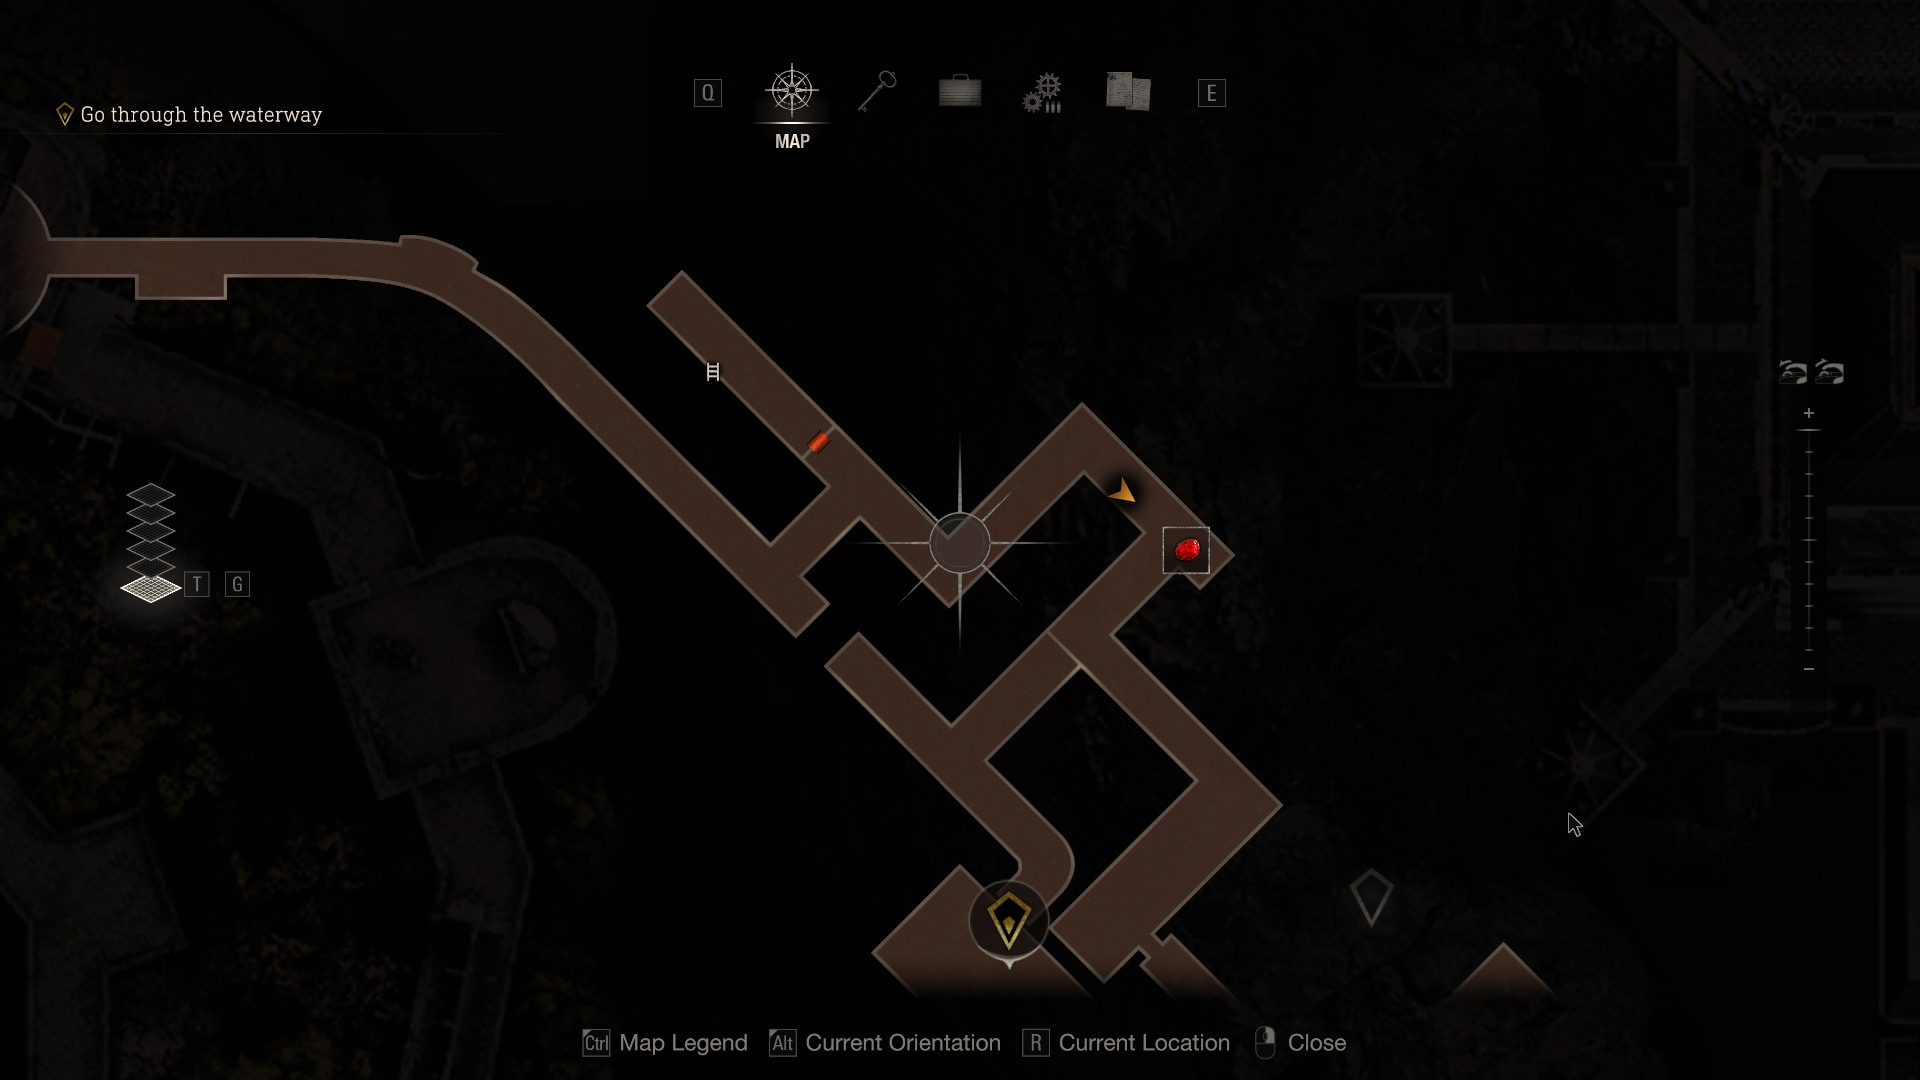
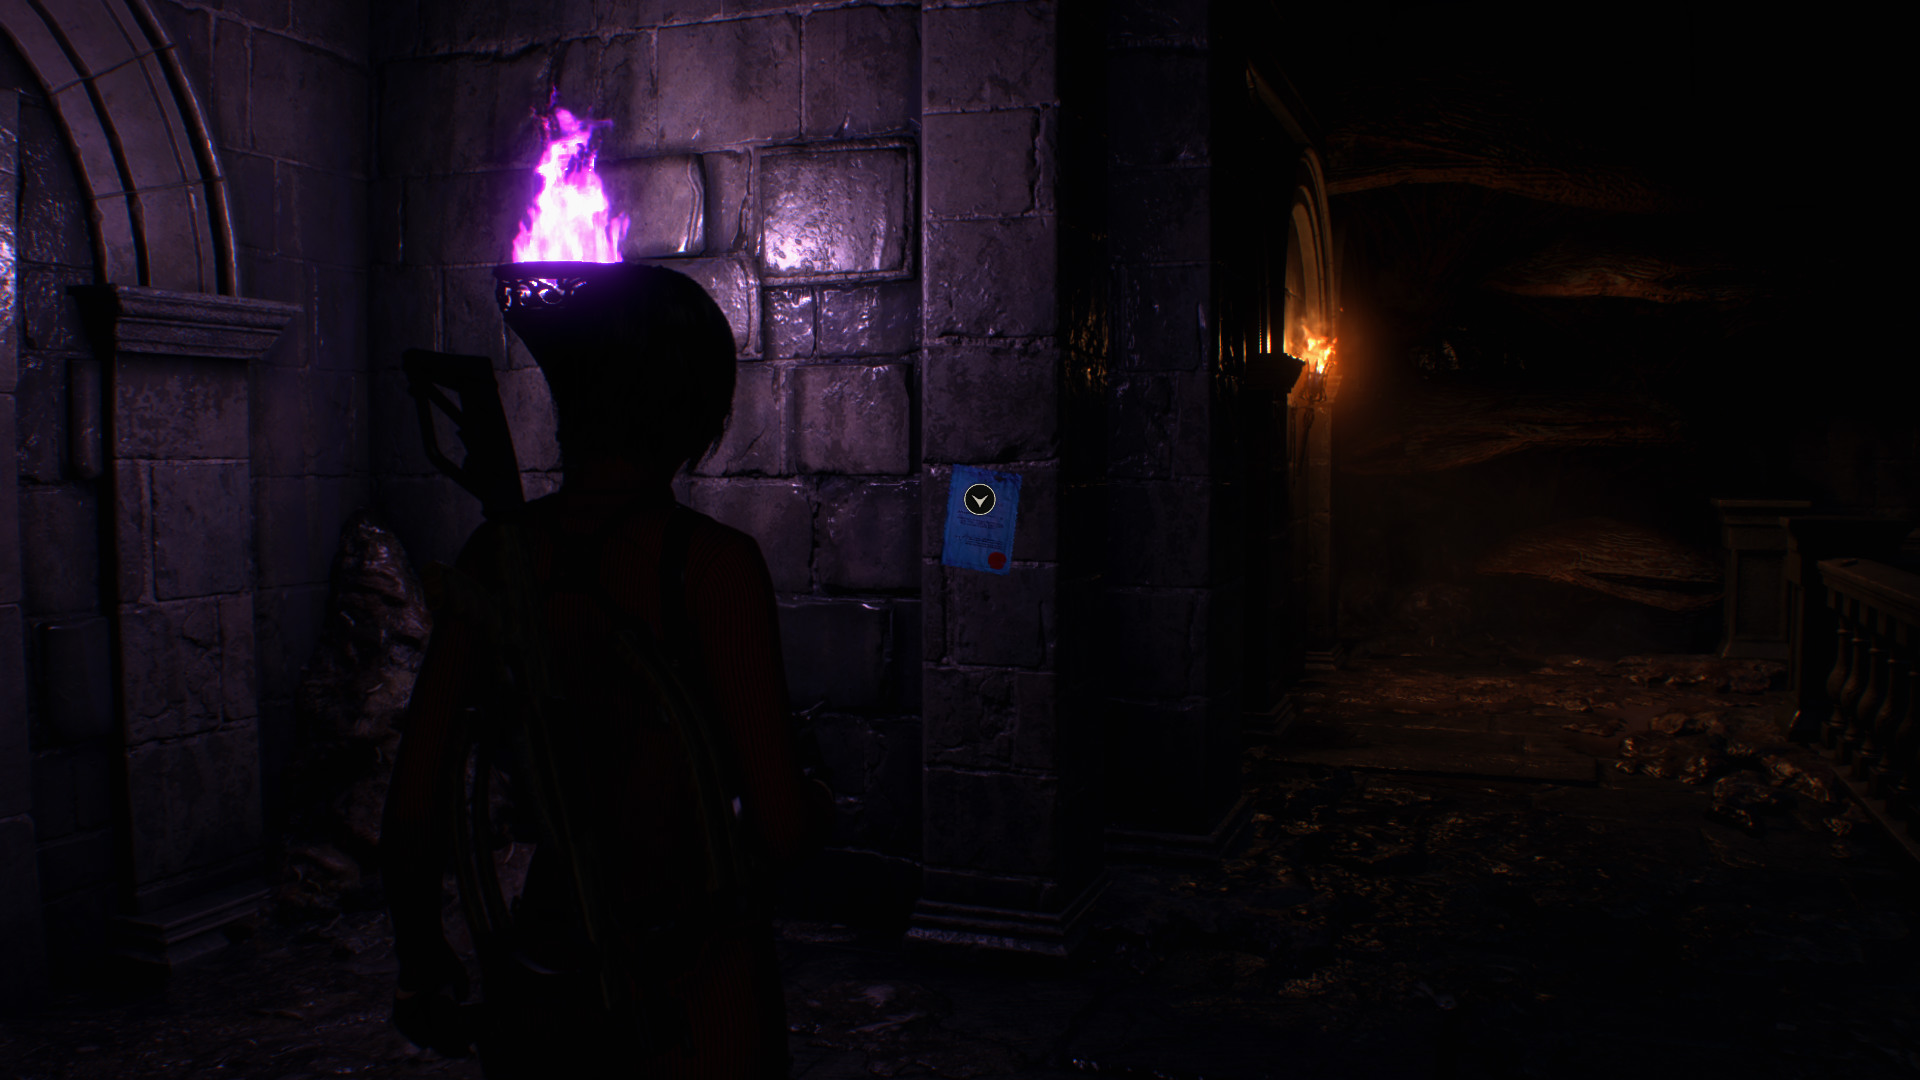
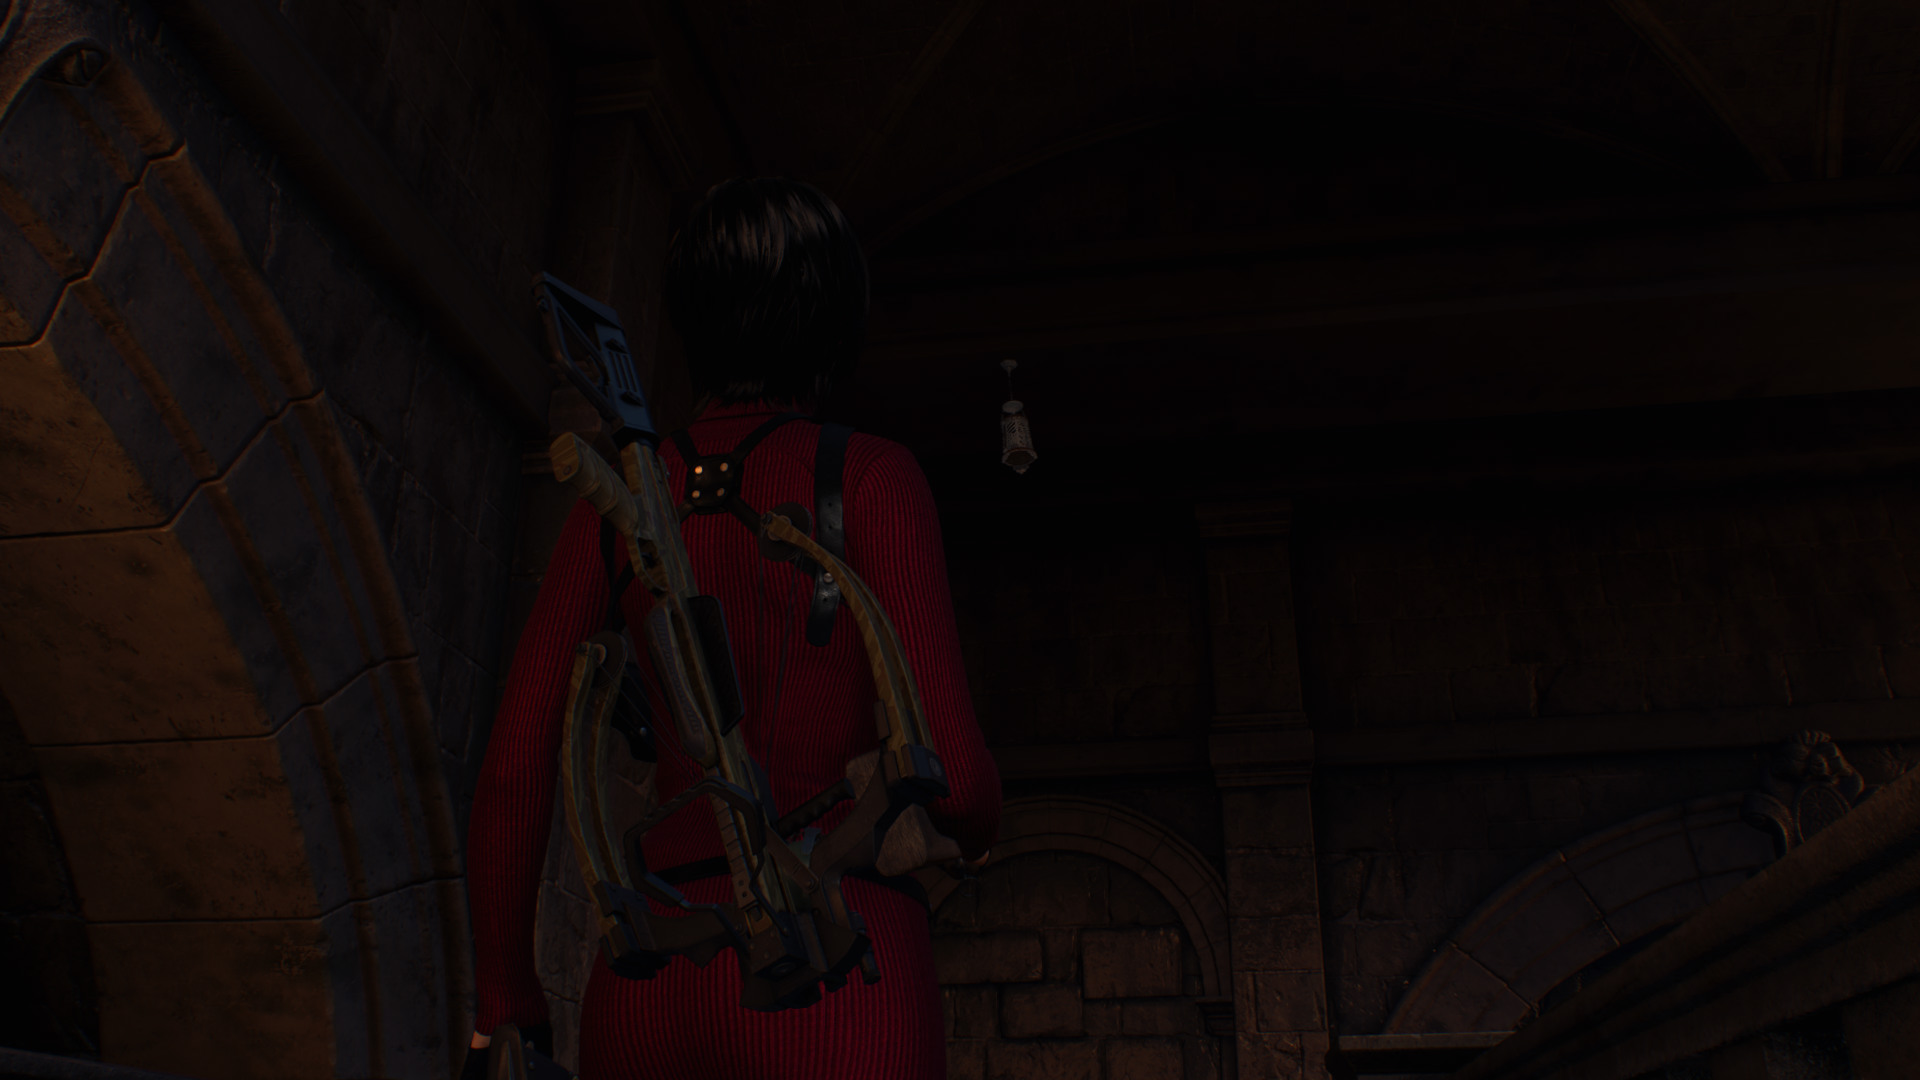 Merchant Request: Lord of the Waterway
Found next to the door that leads you to the merchant.
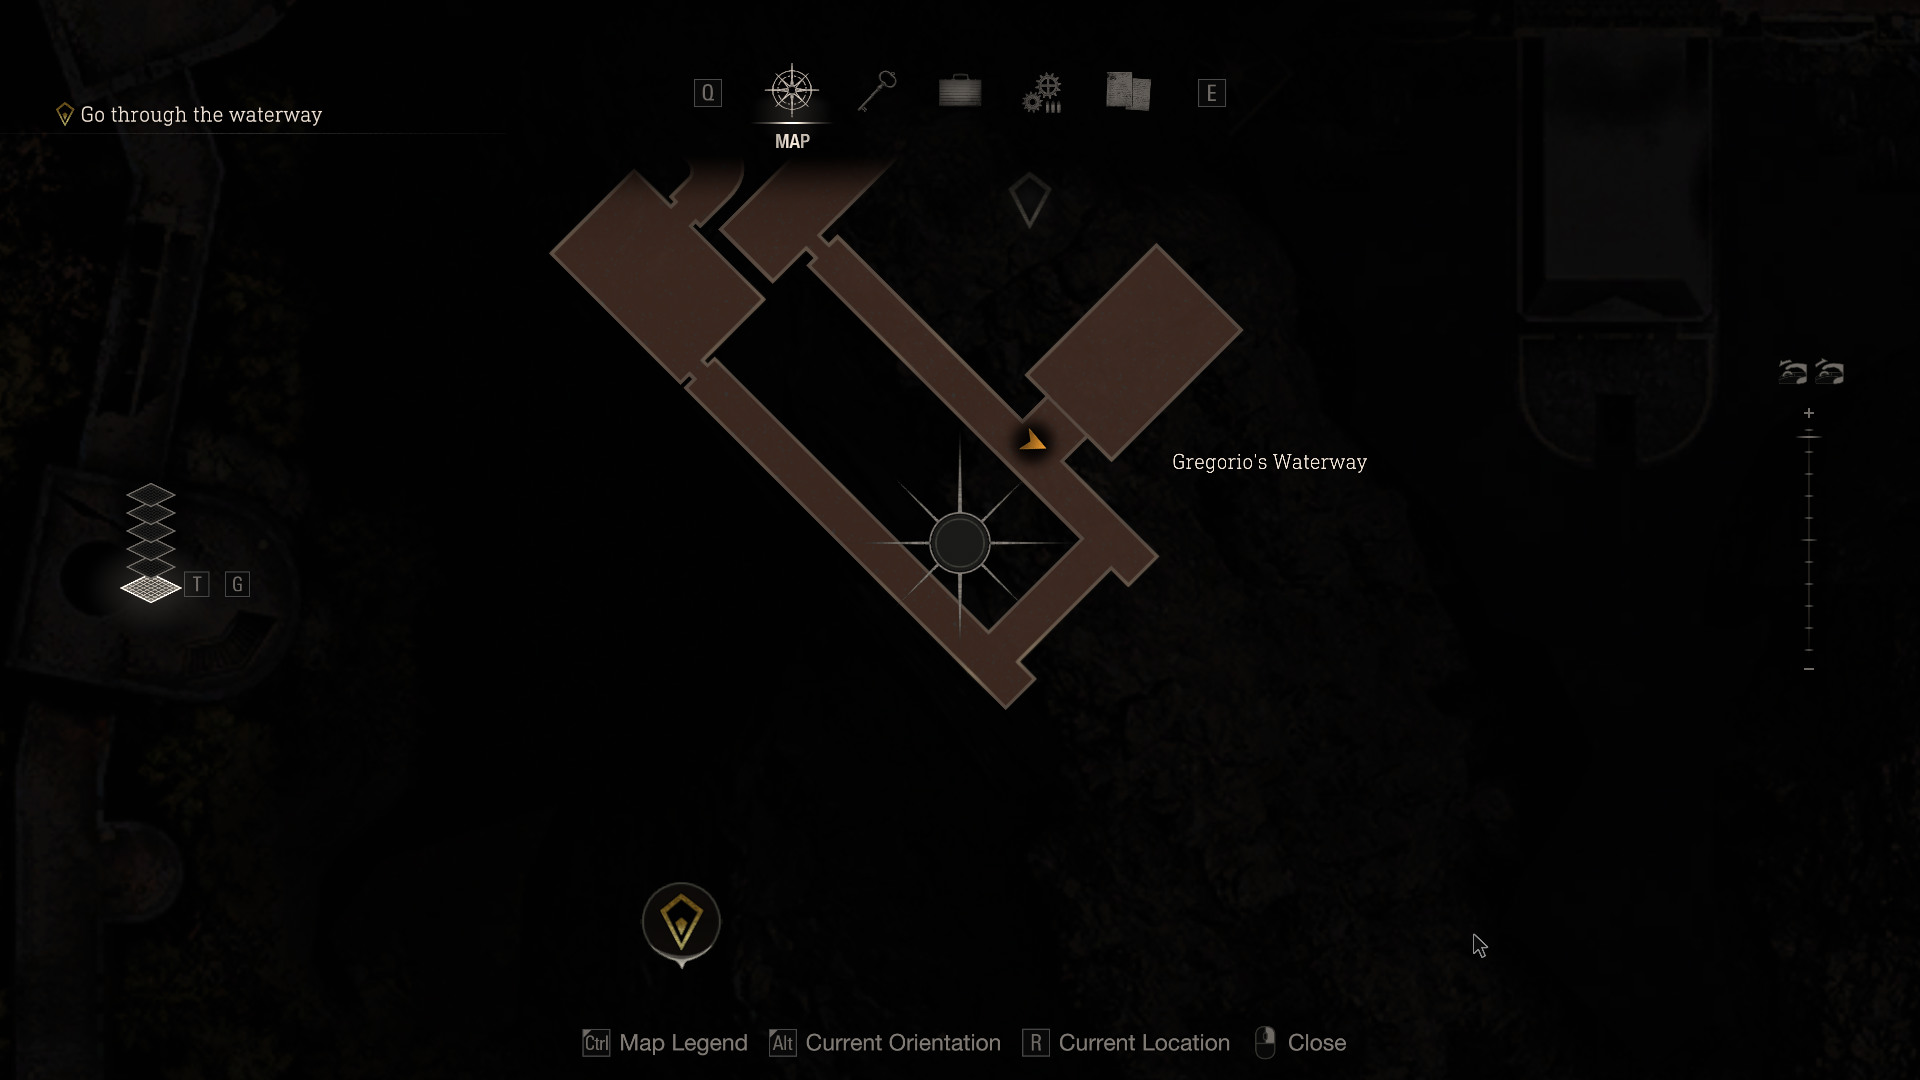
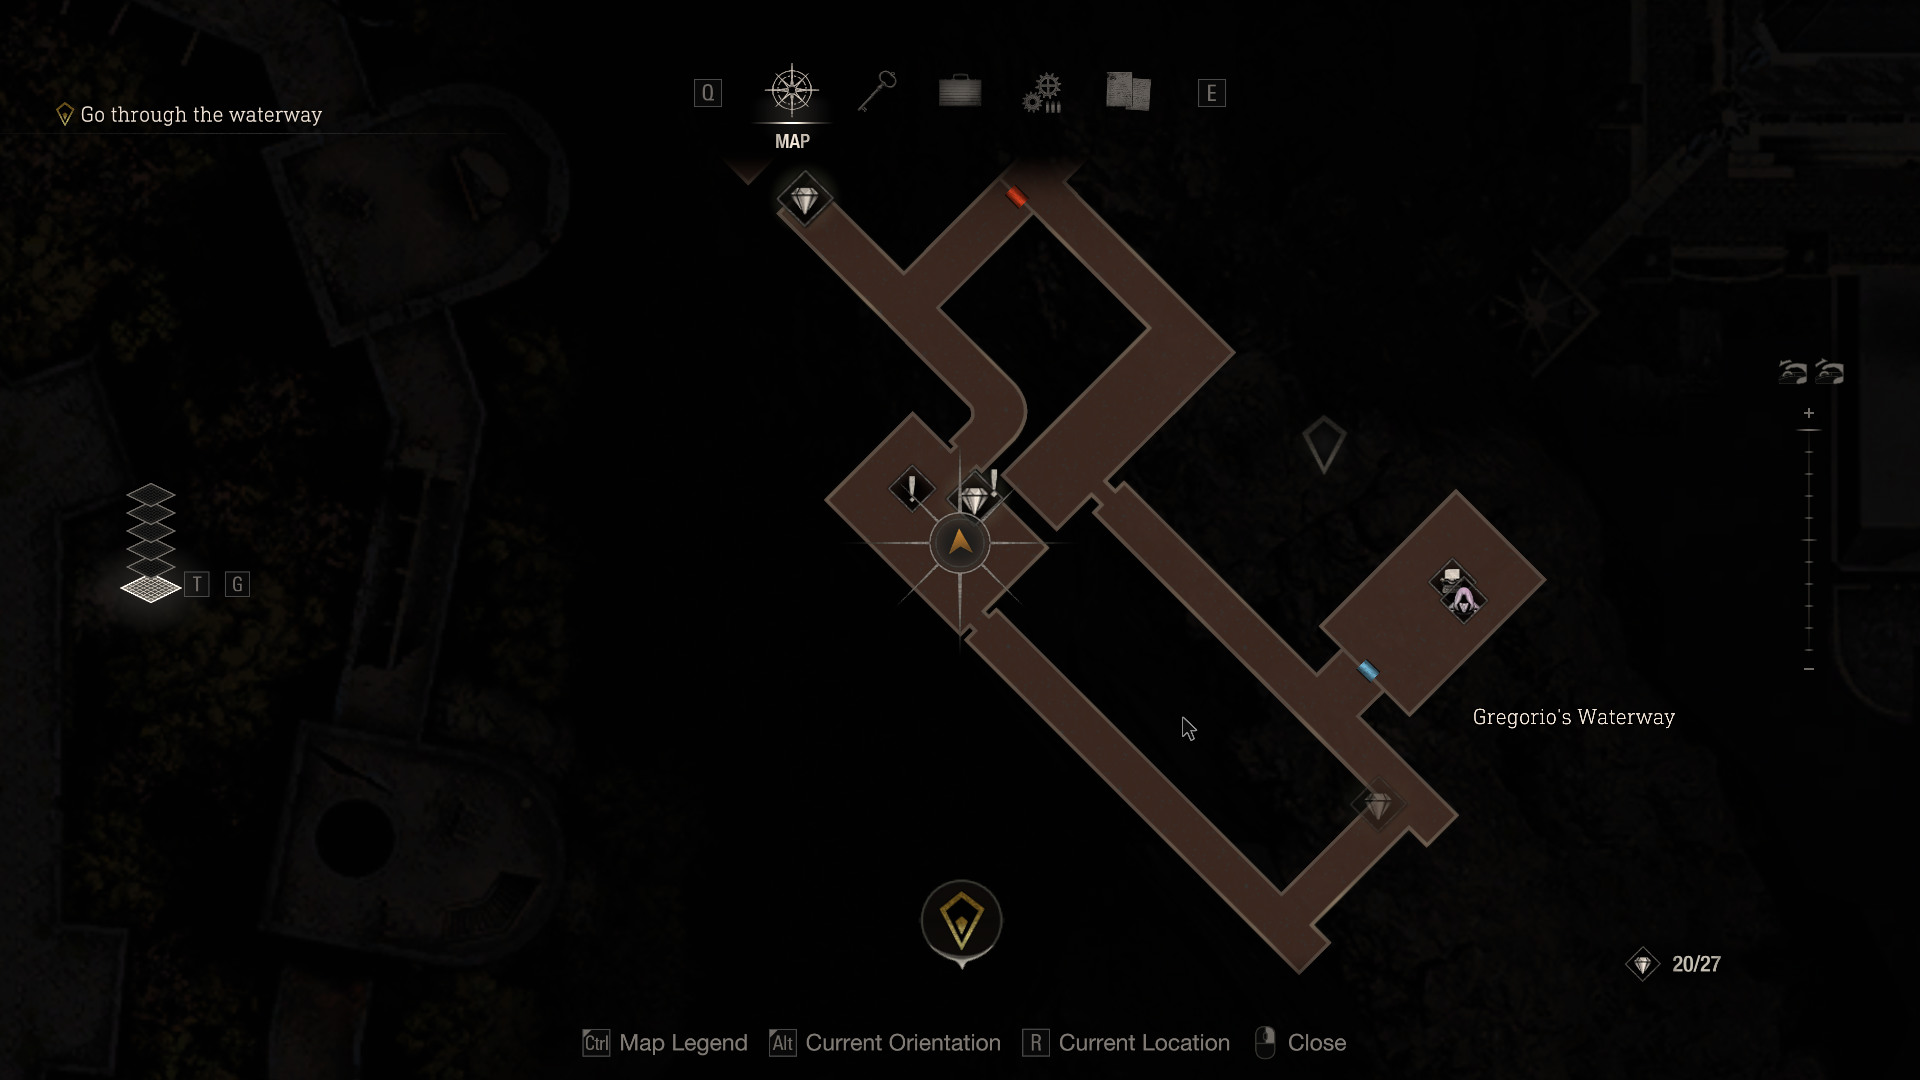
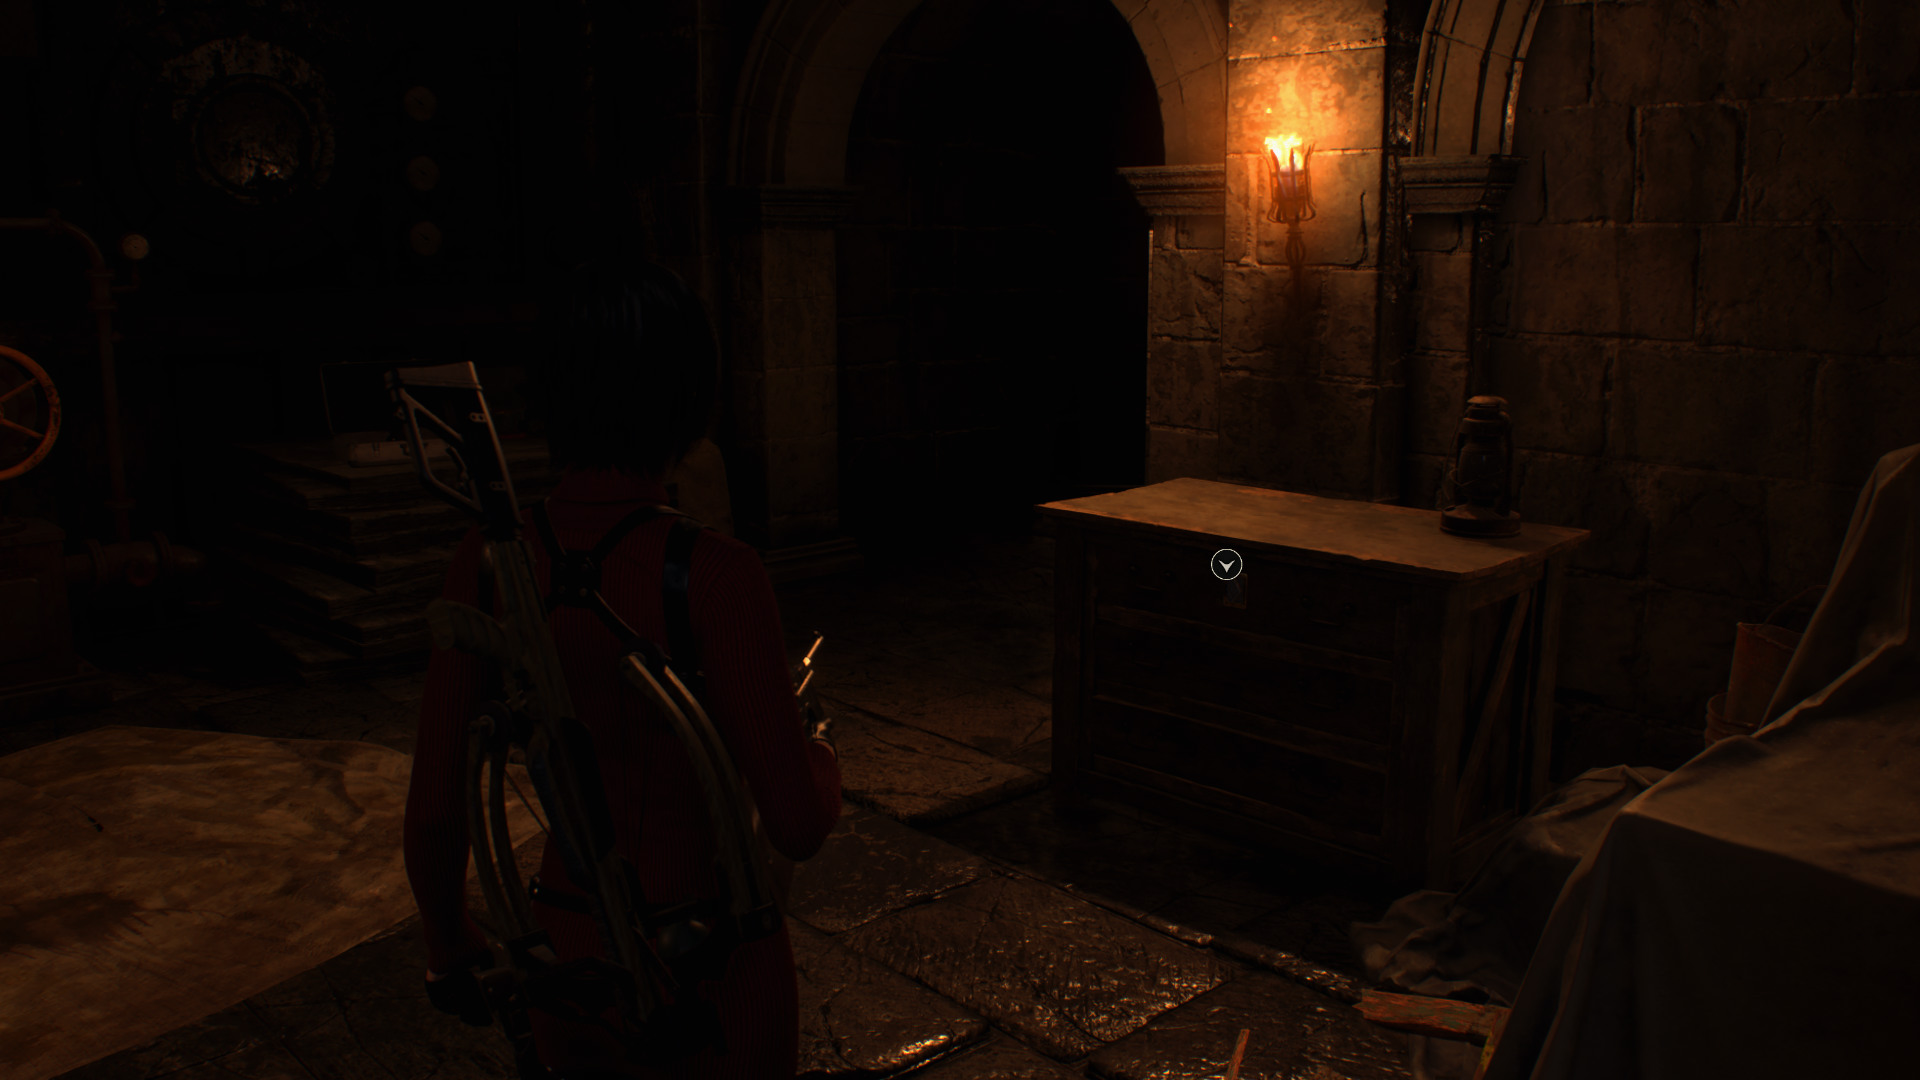
 Treasure: Gold Bar (L)
Next to the valve inside the locked drawer.
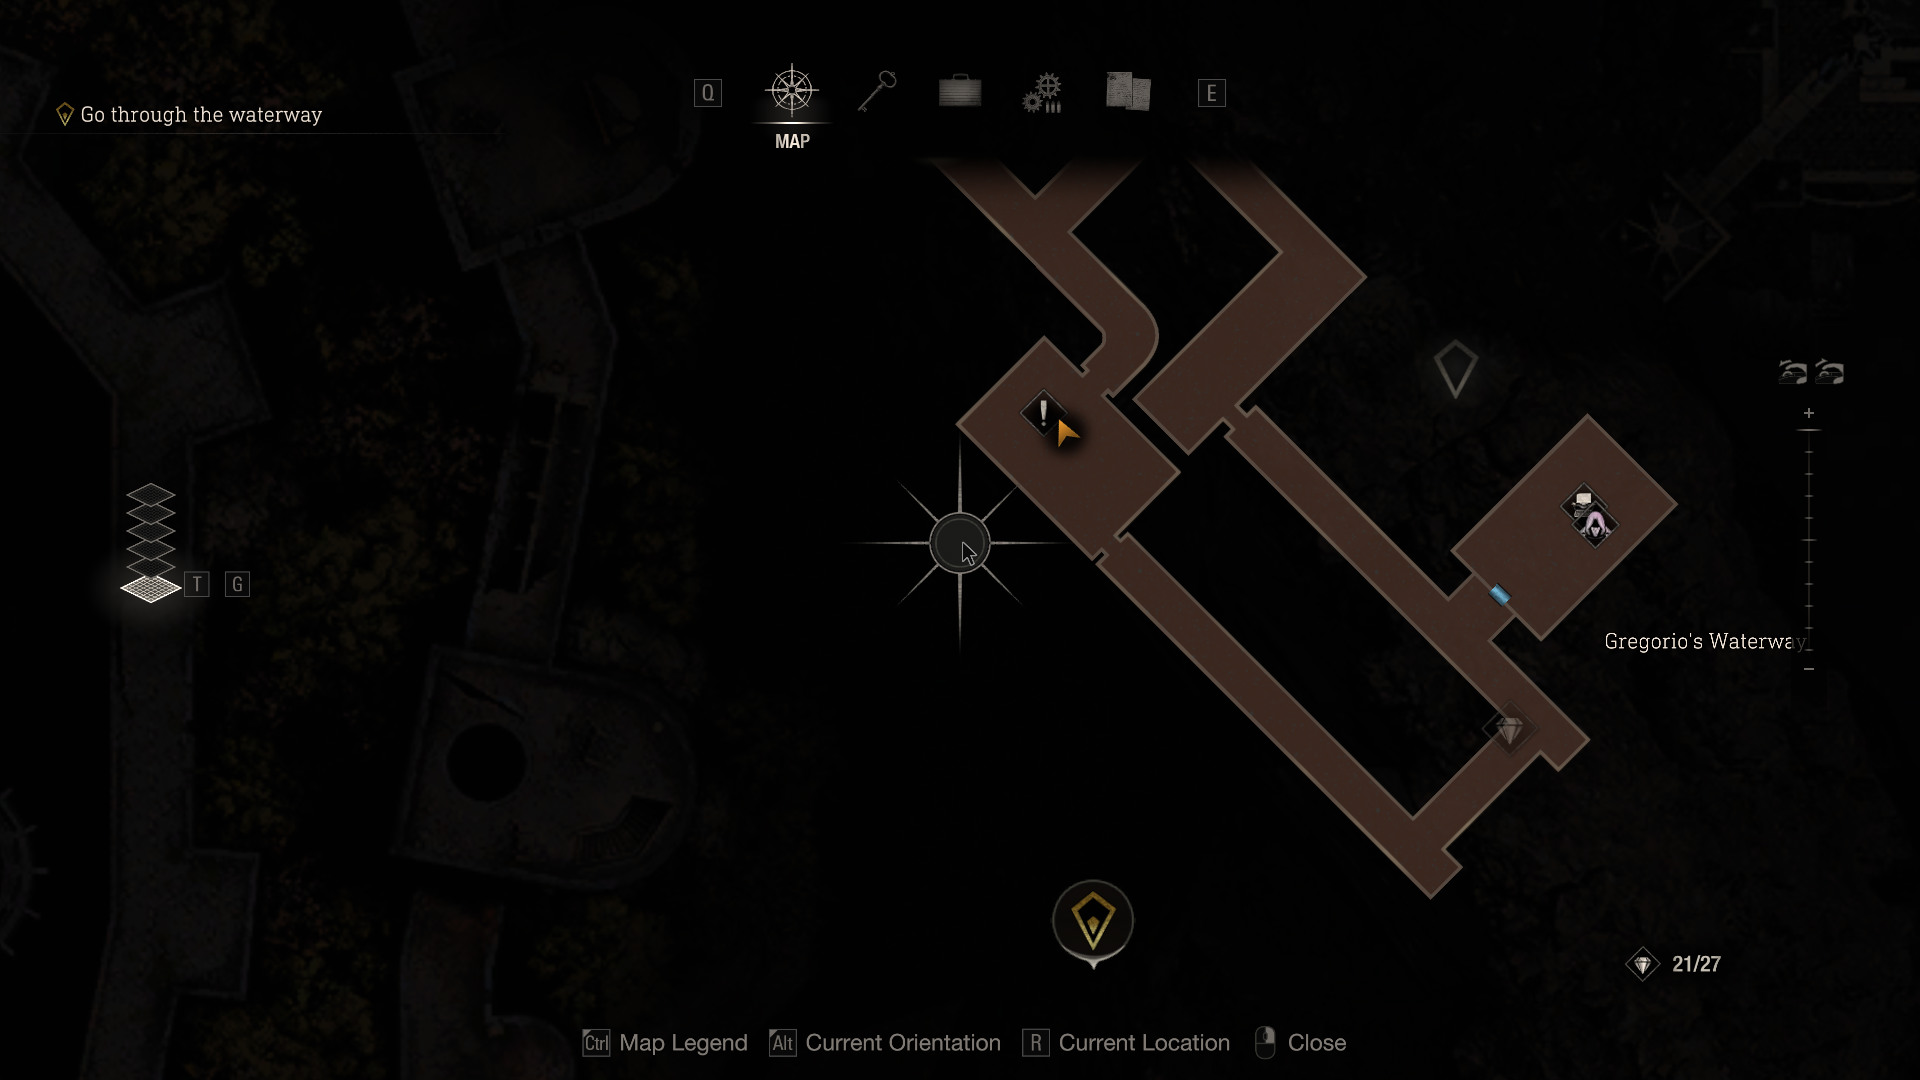
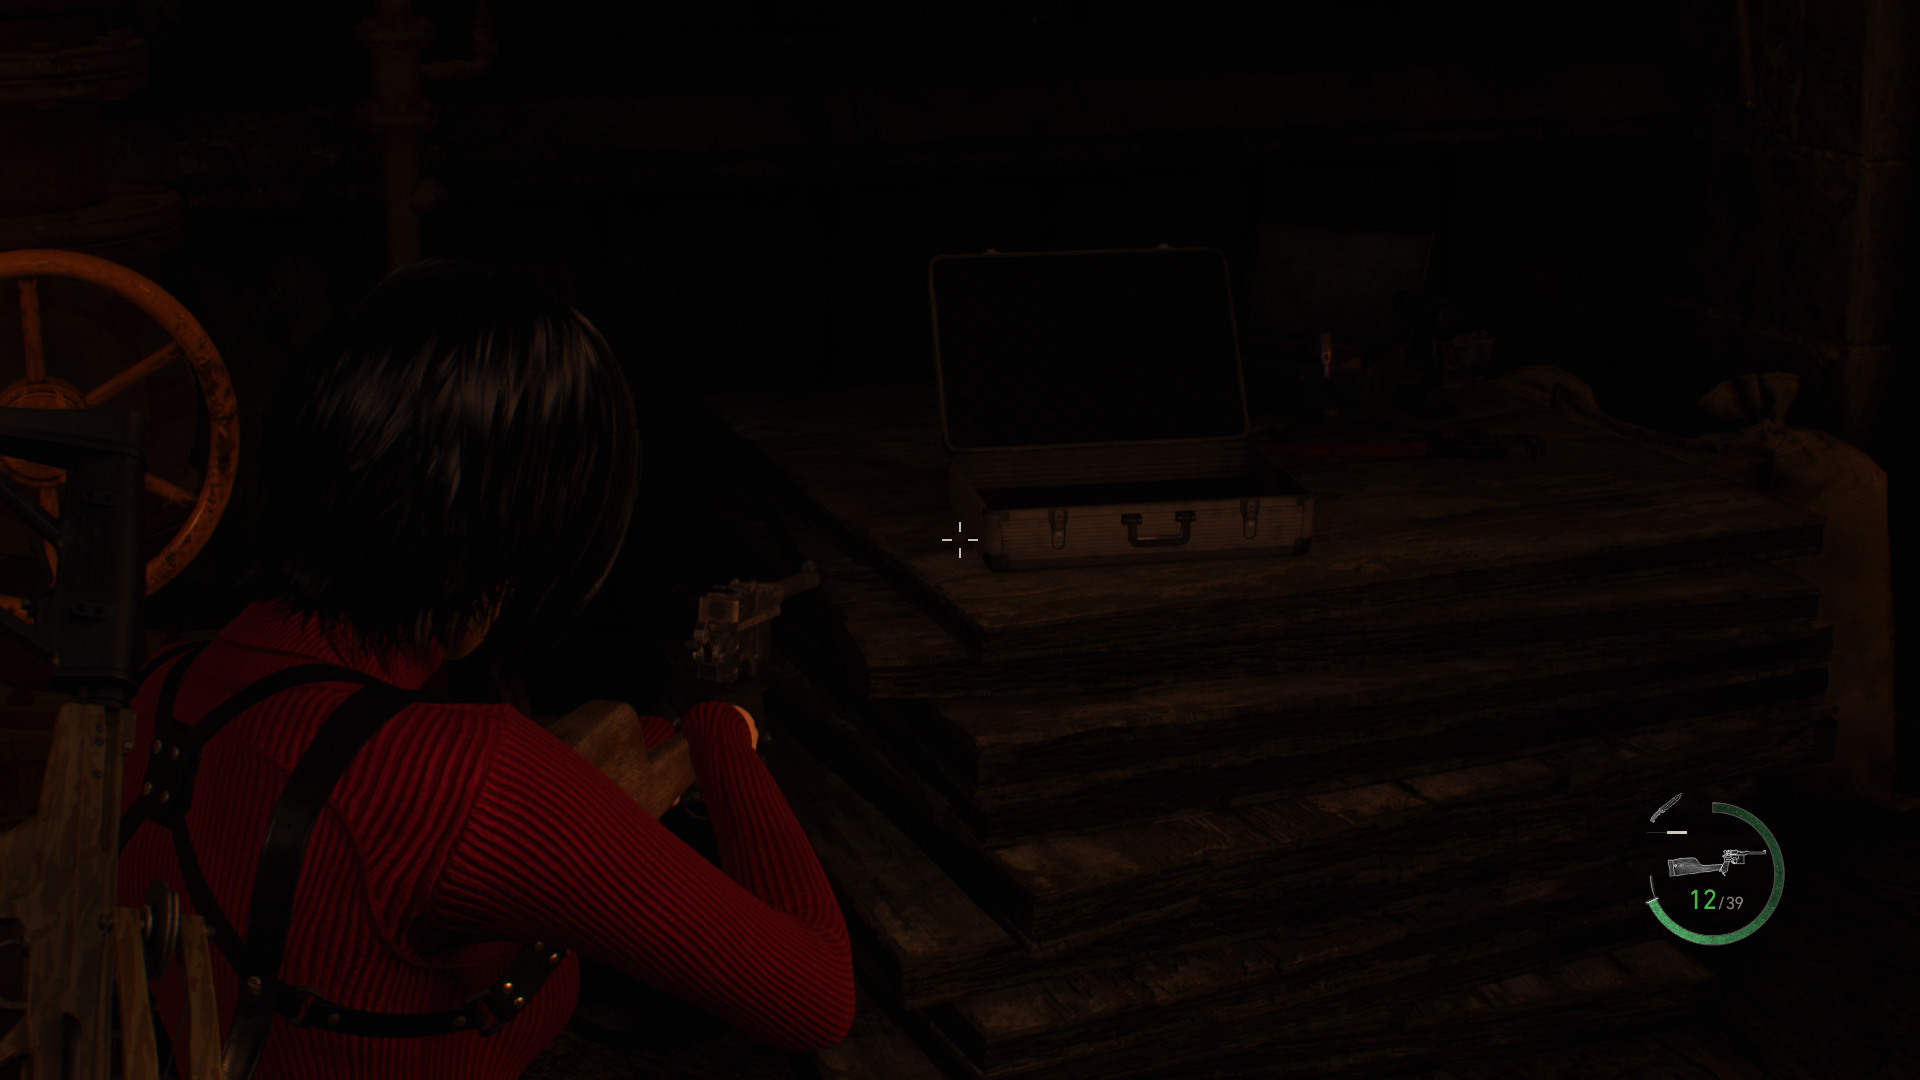
 Weapon: Biosensor Scope
Next to the valve inside the briefcase.
 Treasure: Mirror with Pearls and Rubies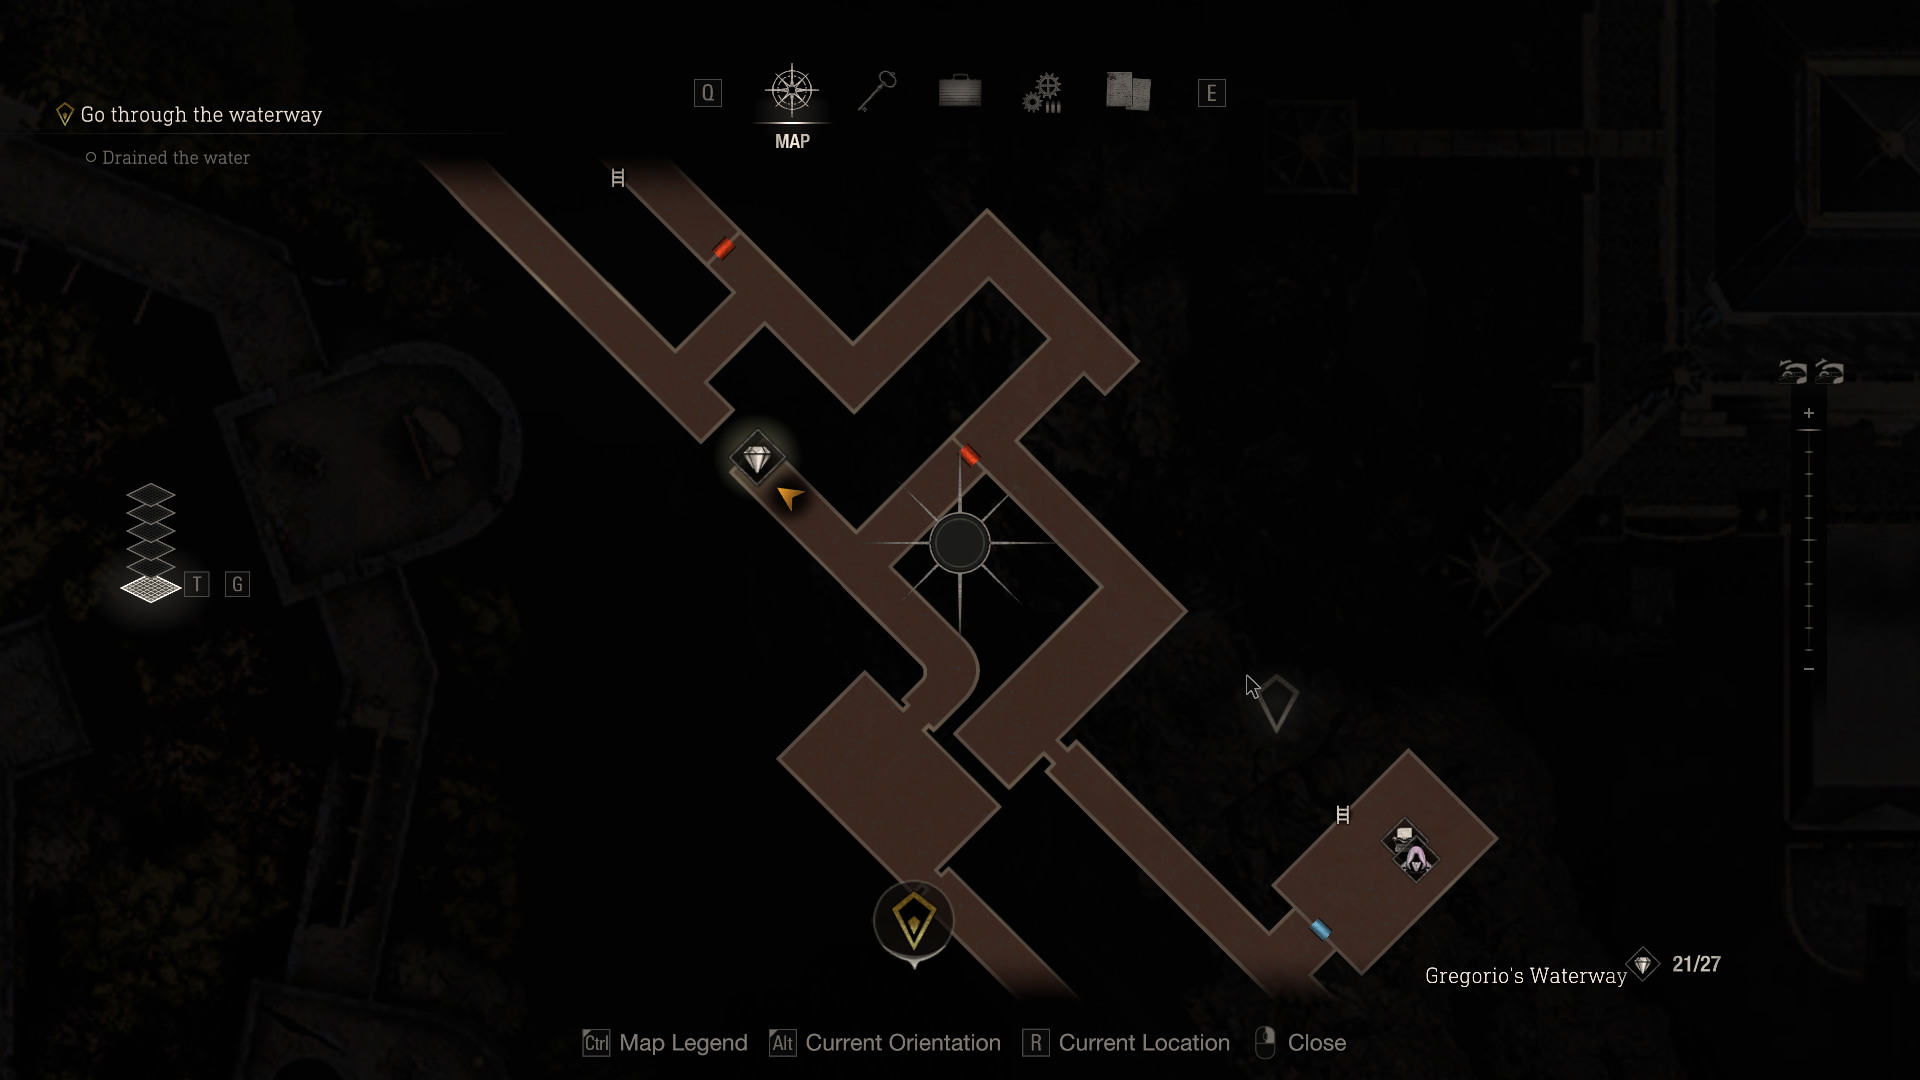
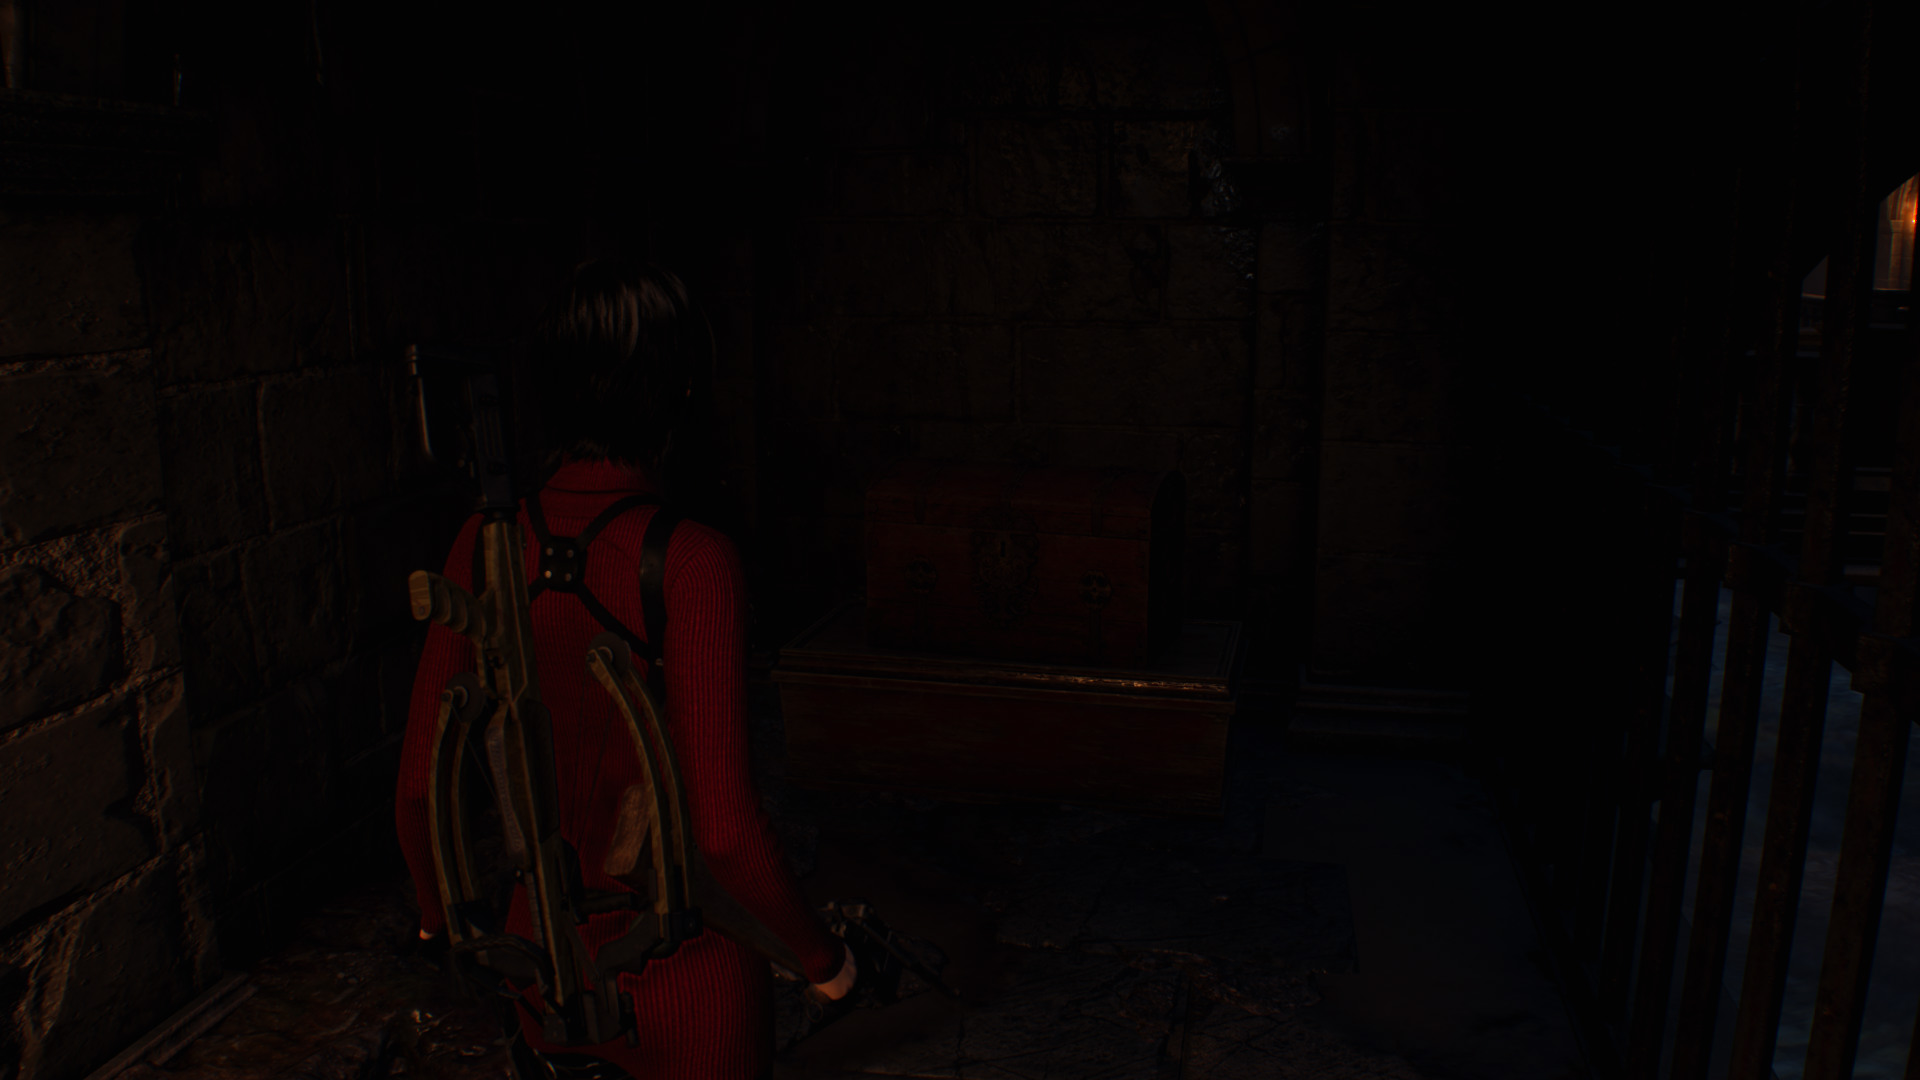
Drop into the water from the merchant or marking Luis left you.
Treasure: AlexandriteGo all the way back where you first came from and climb the ladder.
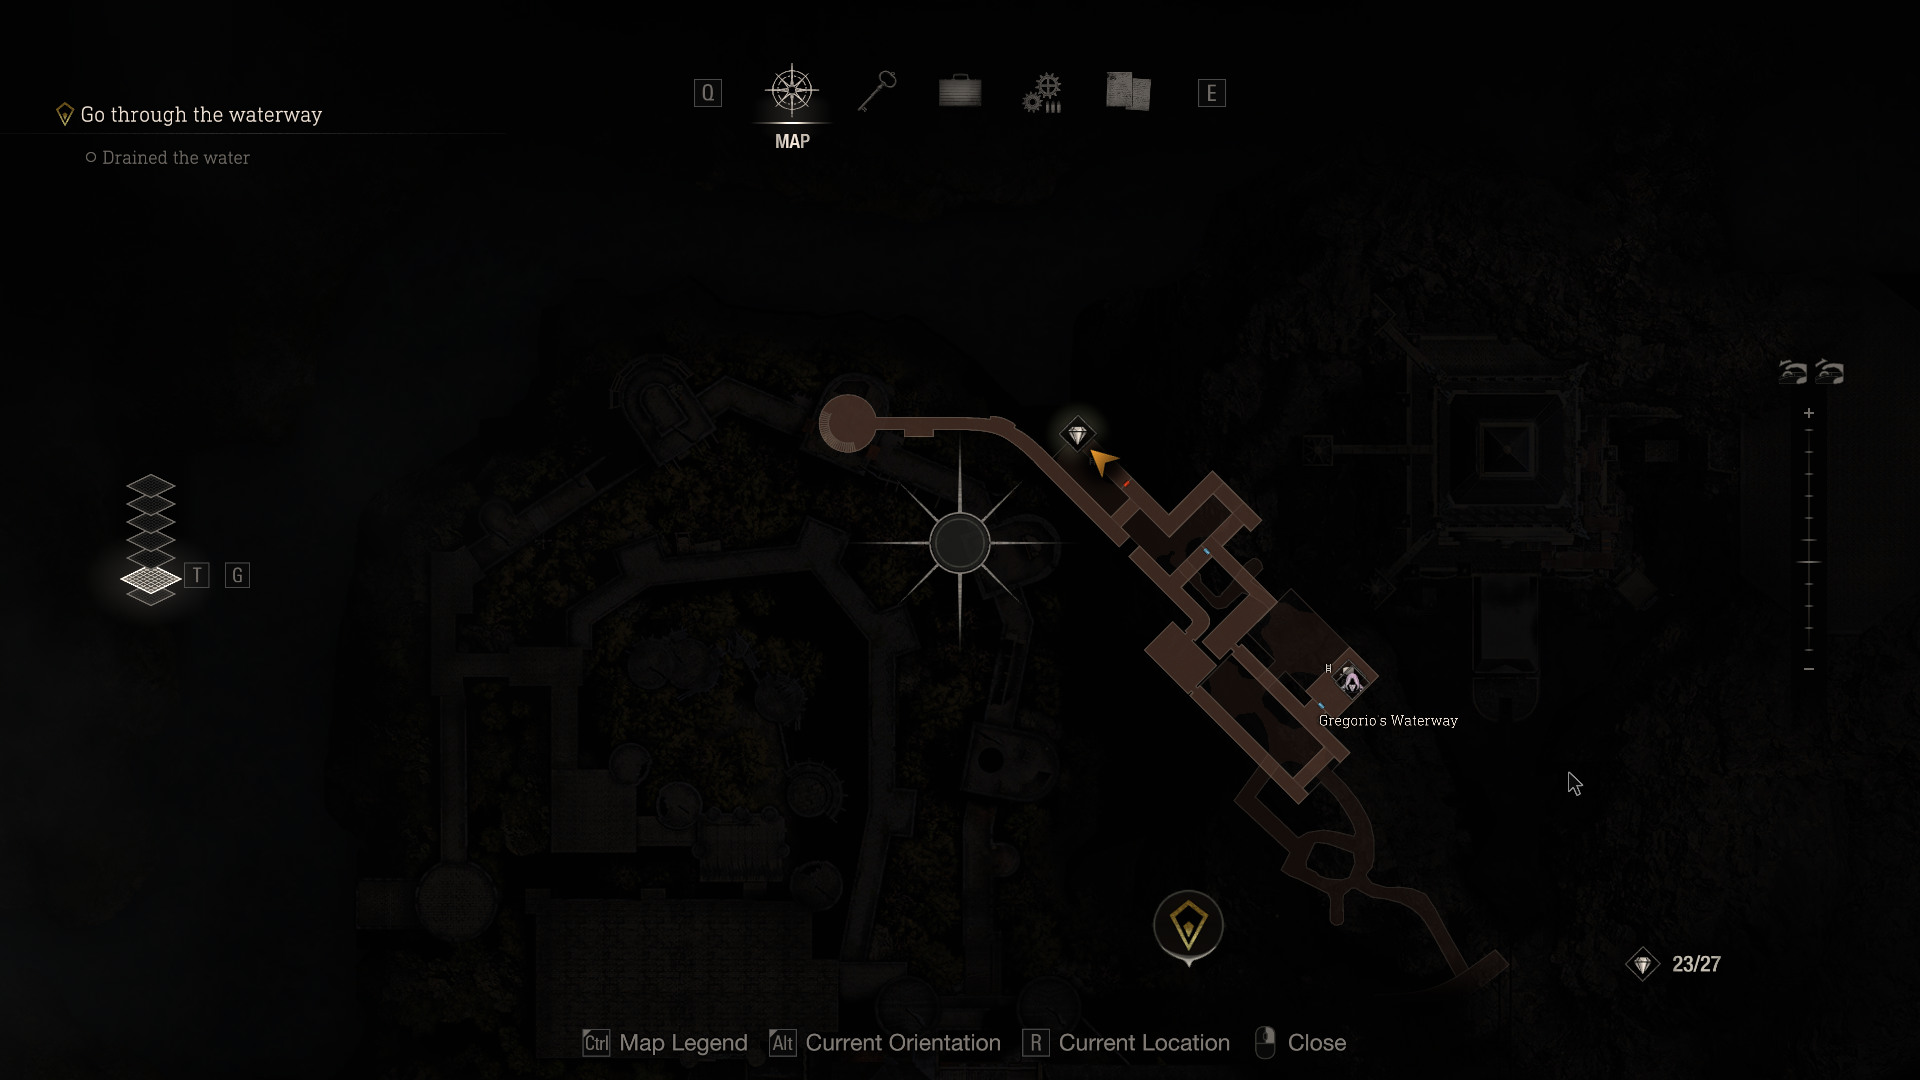
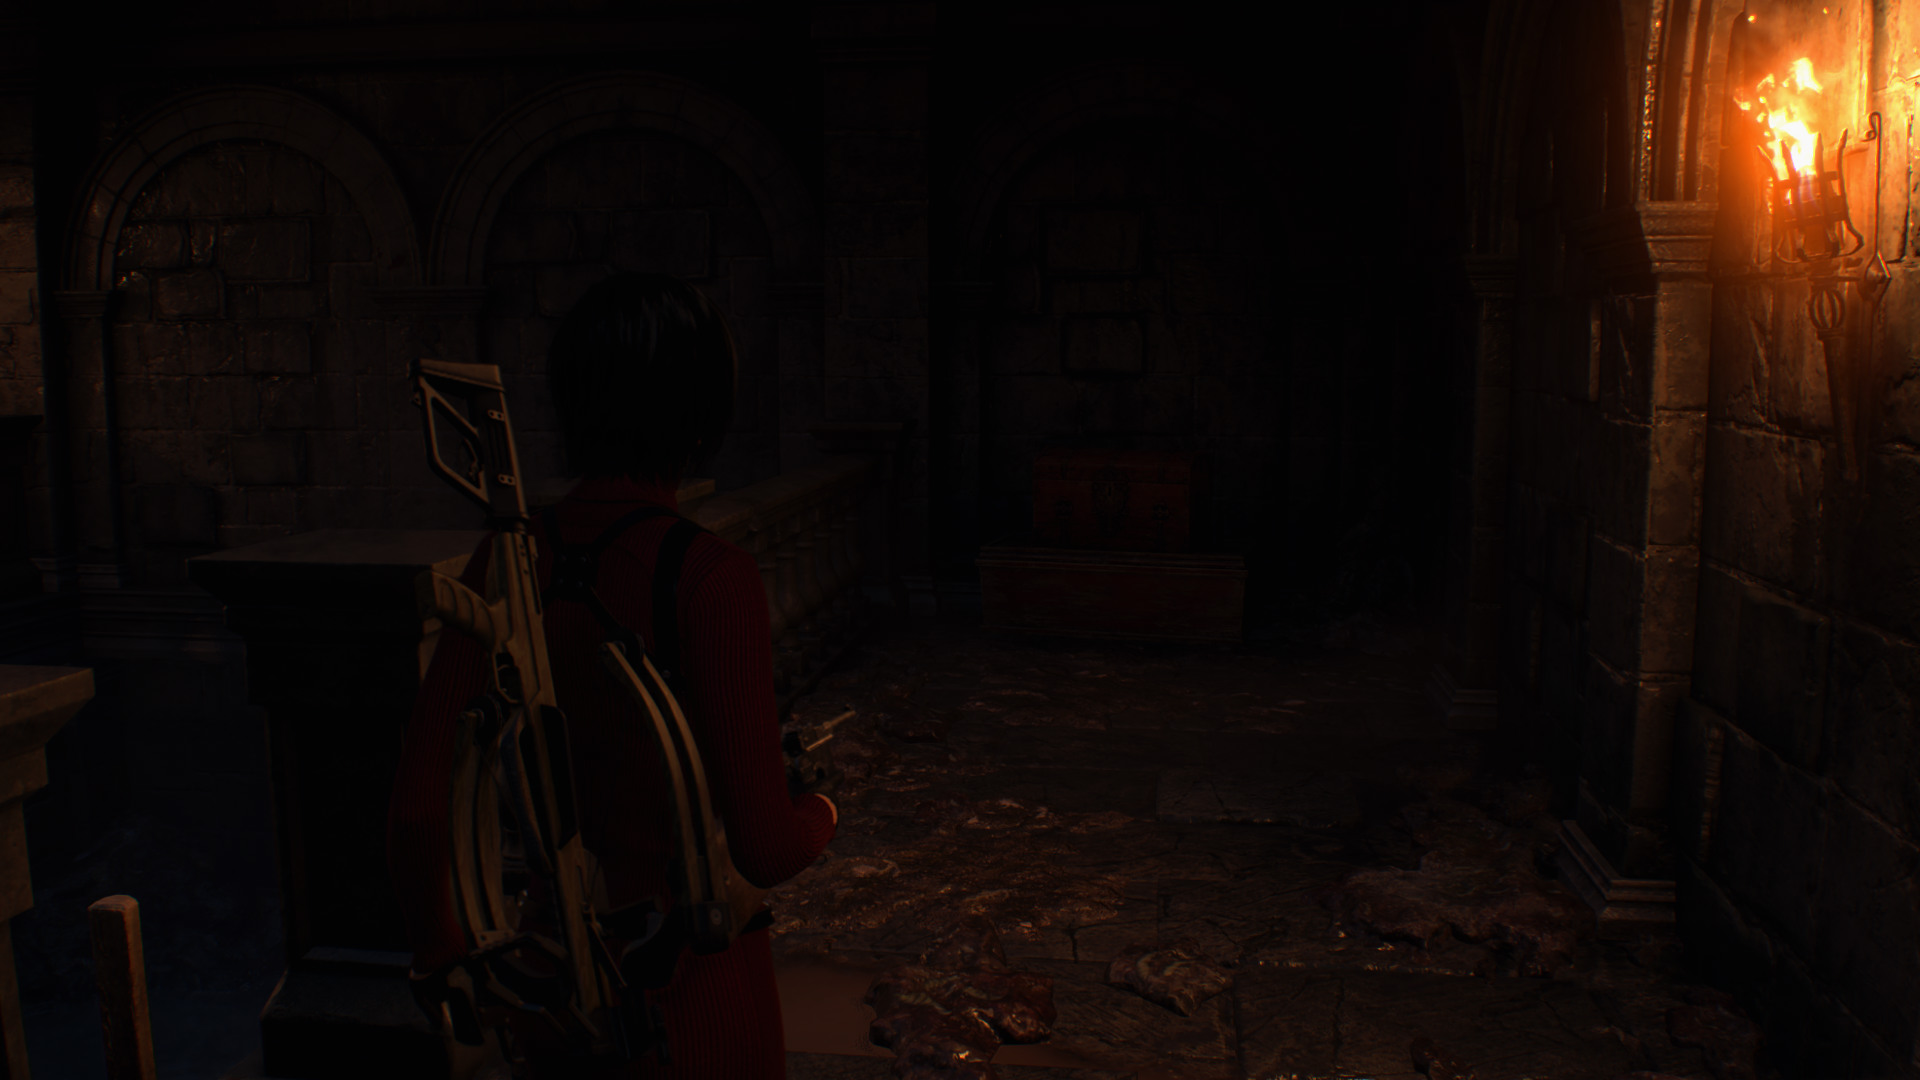 Treasure: Yellow Diamond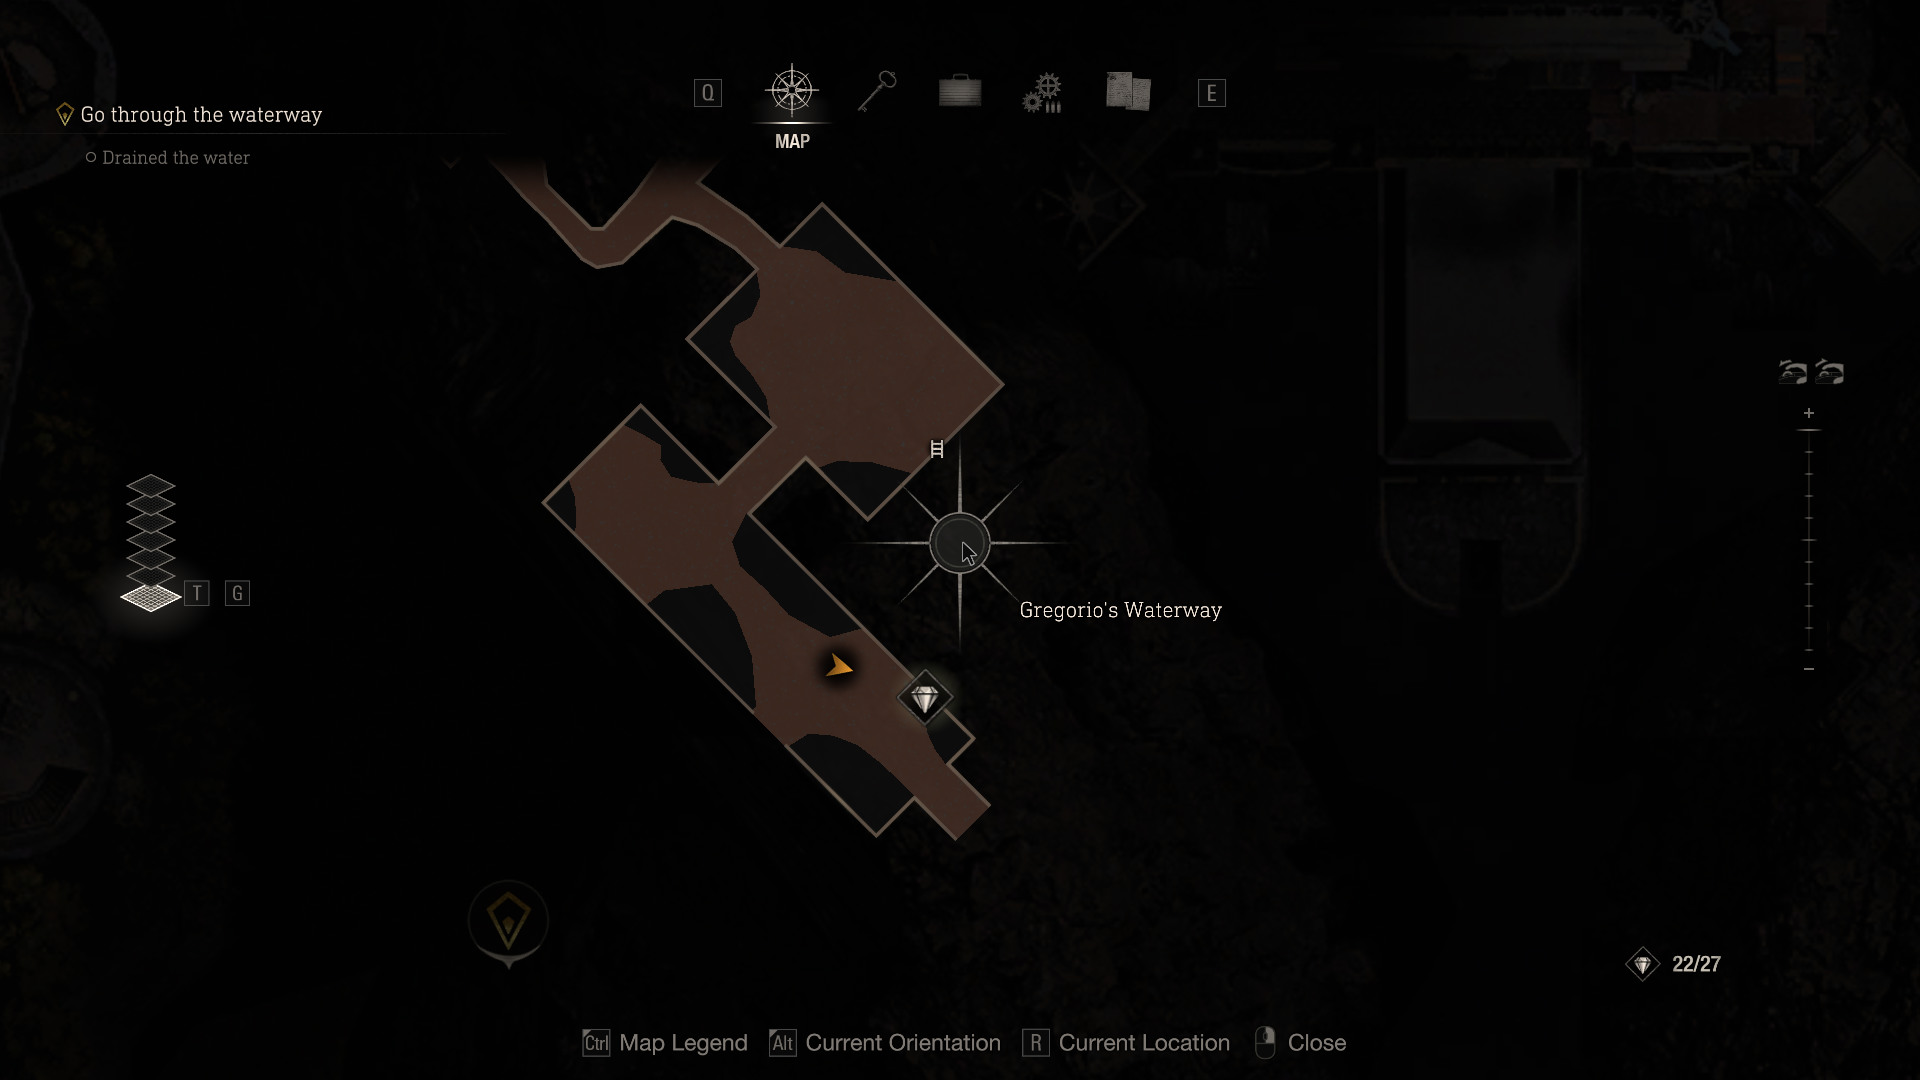
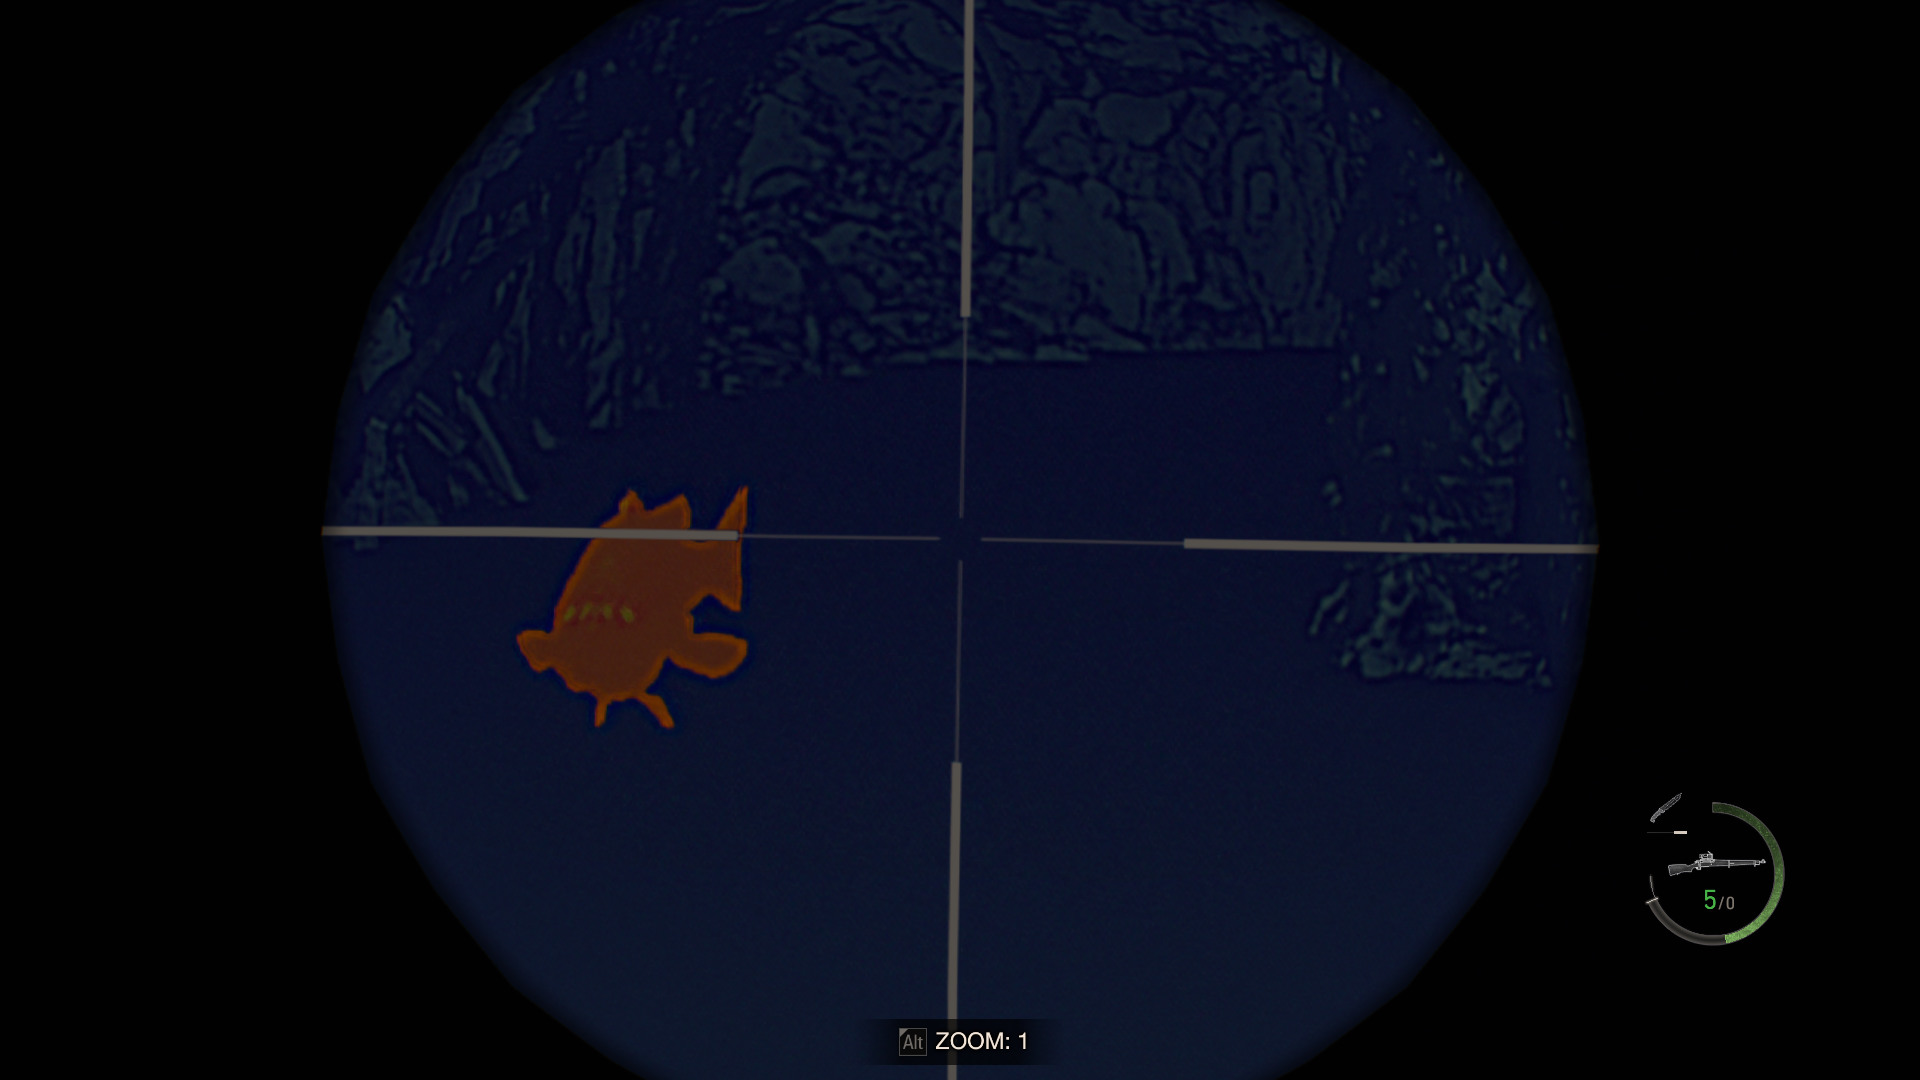
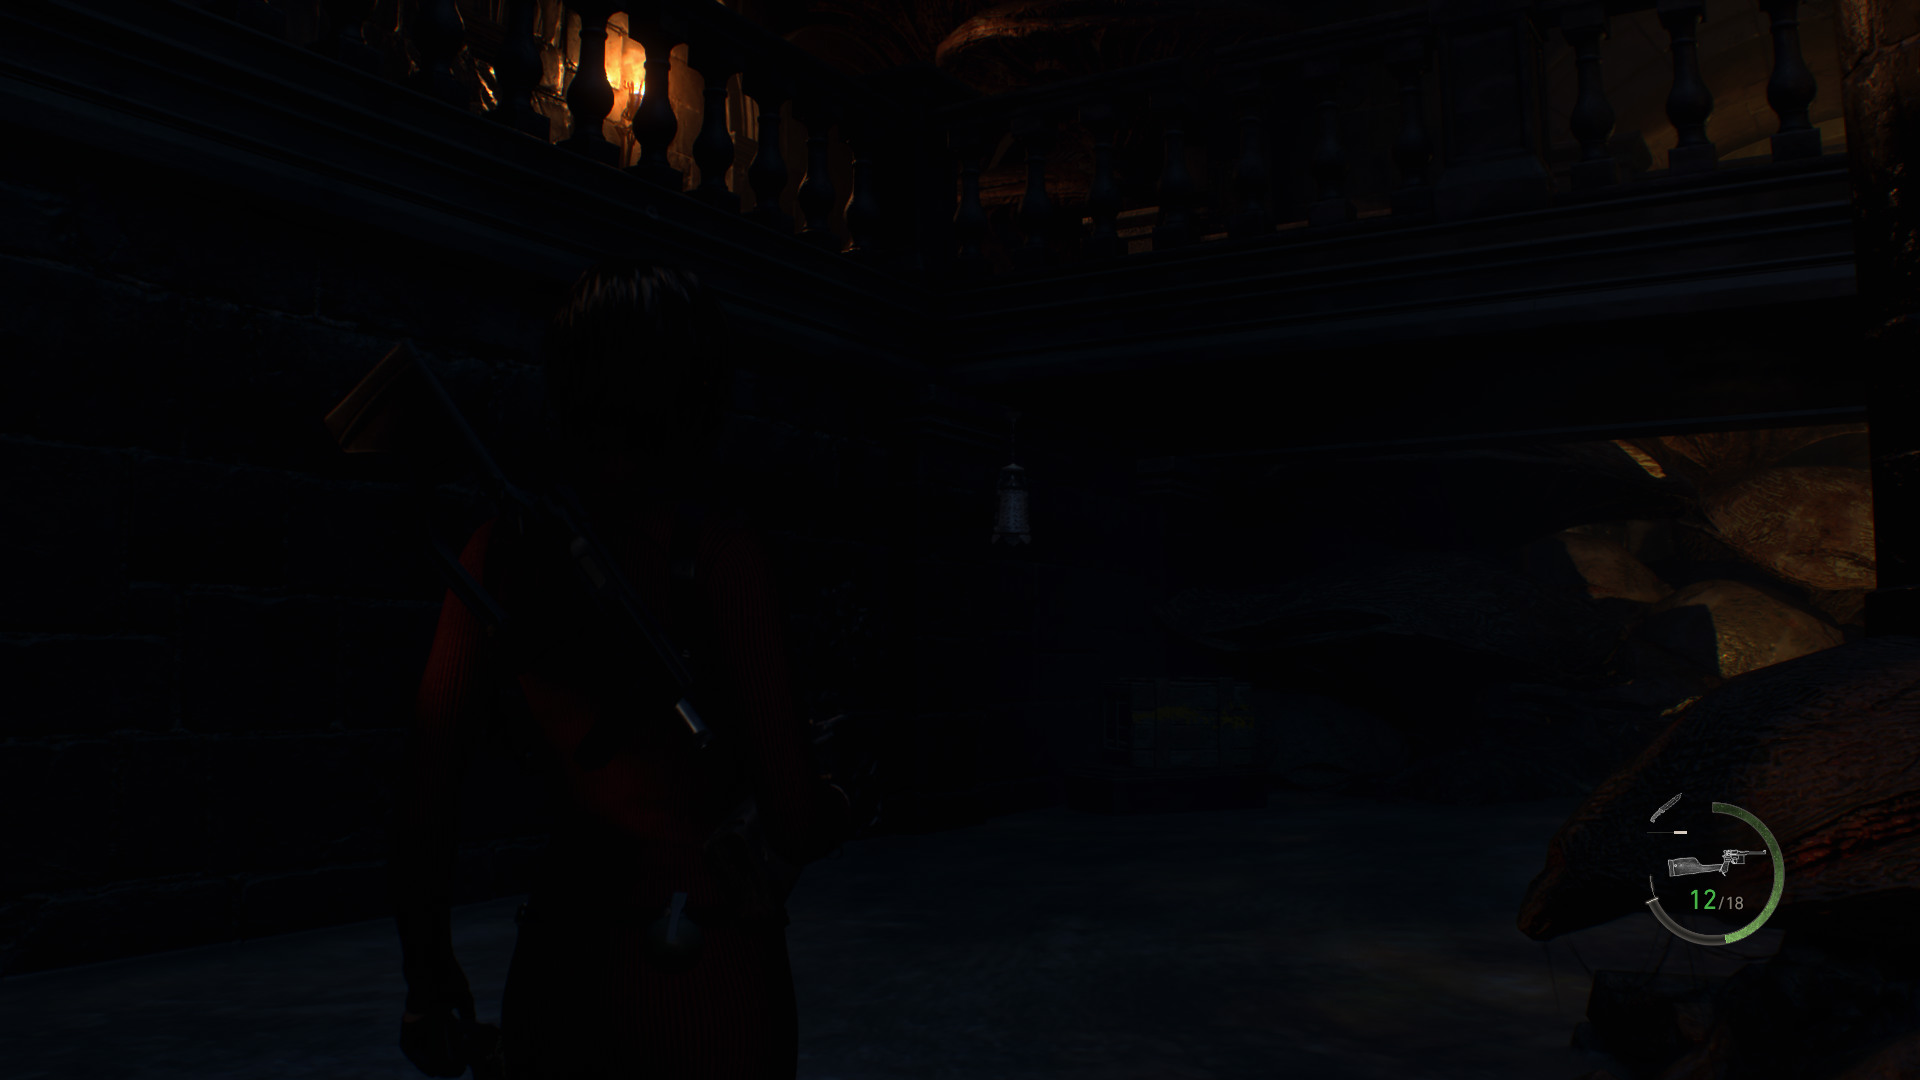 Merchant Request: Lord of the Waterway
Continue crouch walking after the yellow diamond, I suggest bringing a rifle with the biosensor scope.
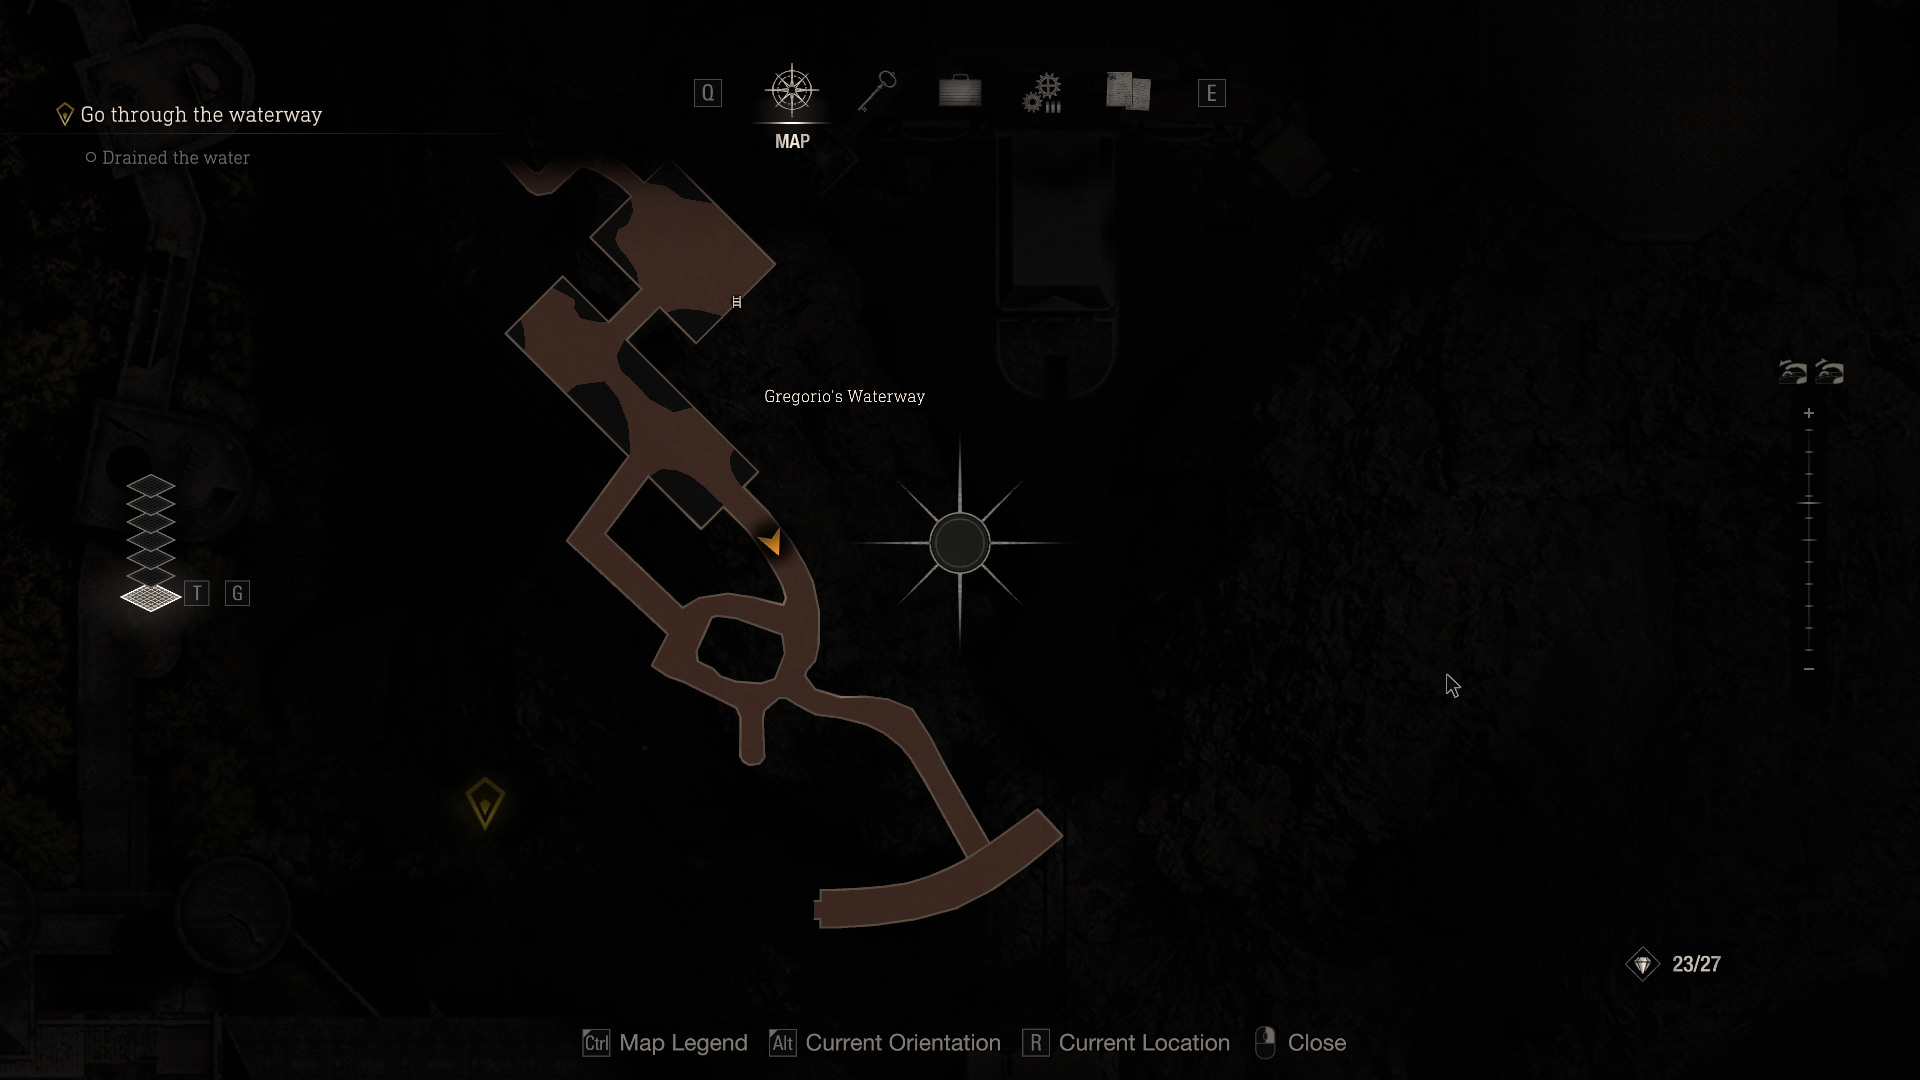
Objective: Go after Krauser
Merchant Request: Bug BusterAfter entering the closing gate, to the right of the merchant.
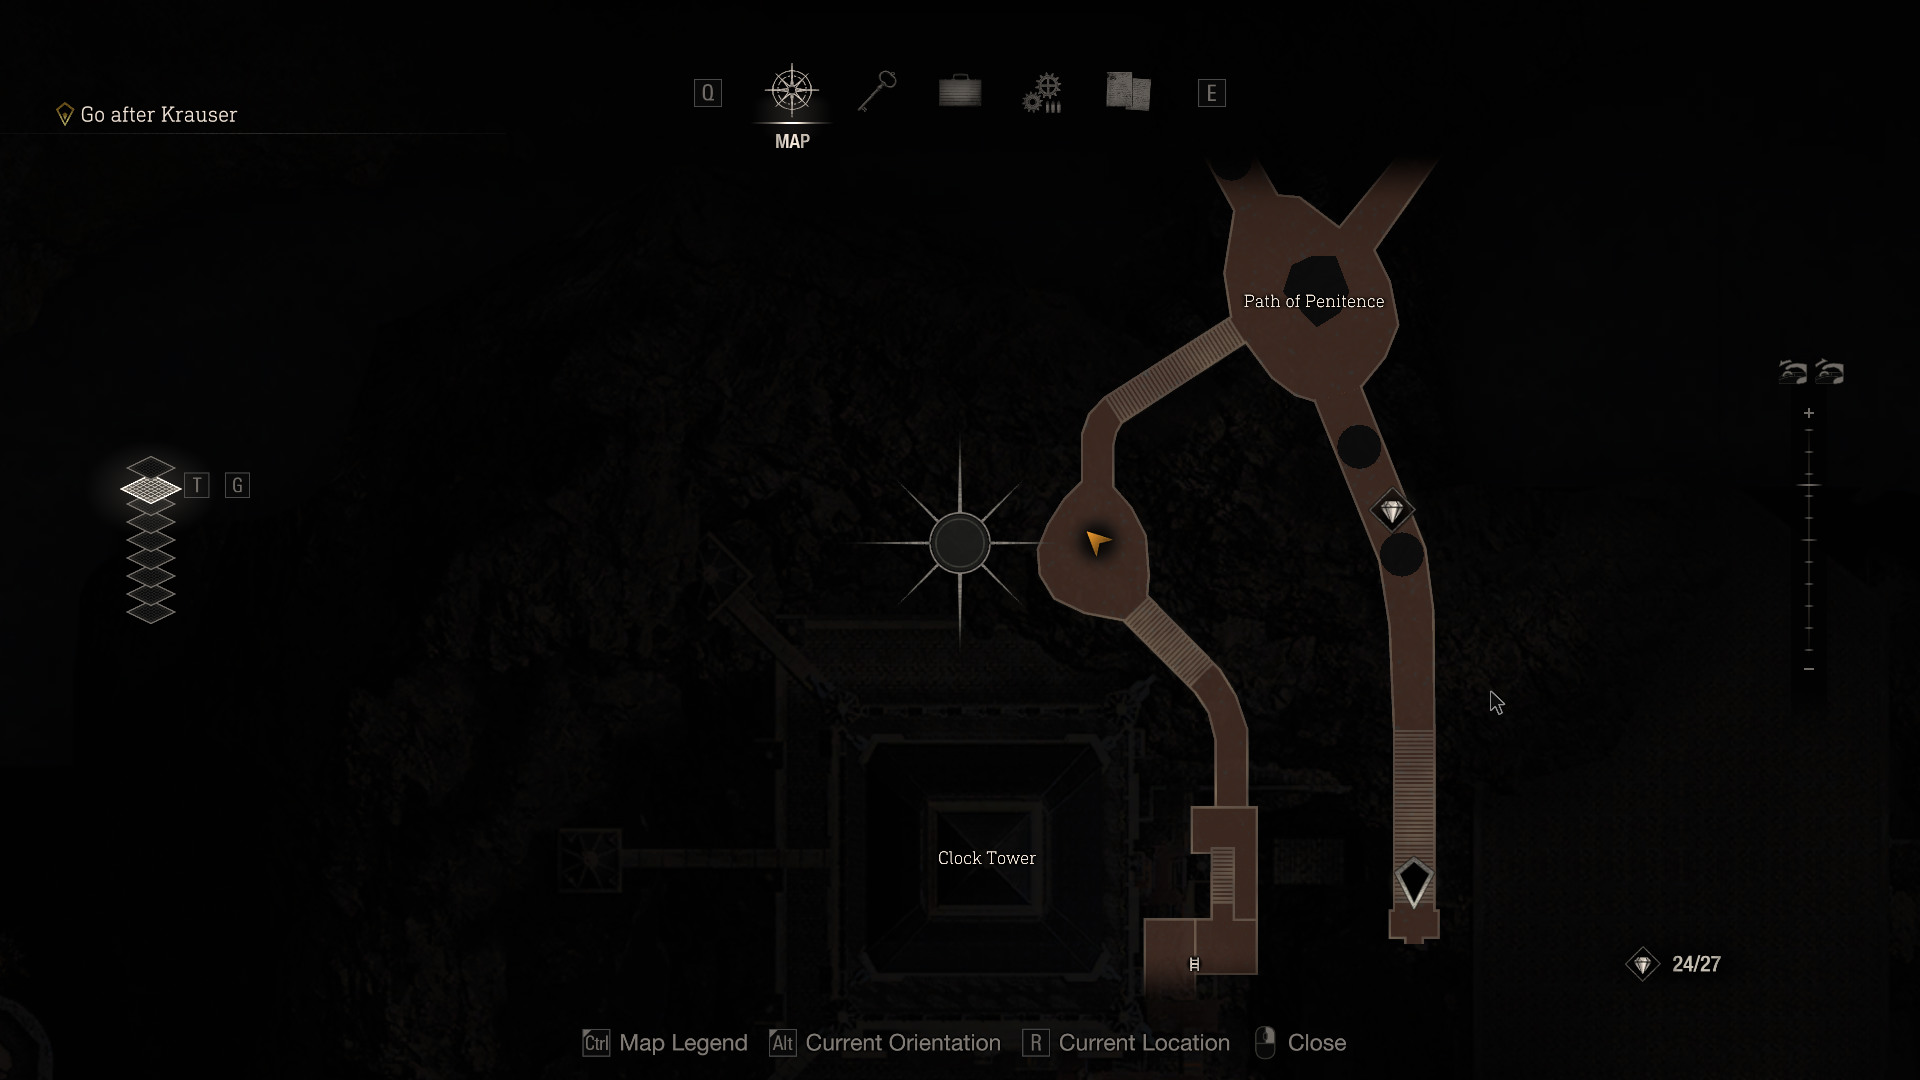
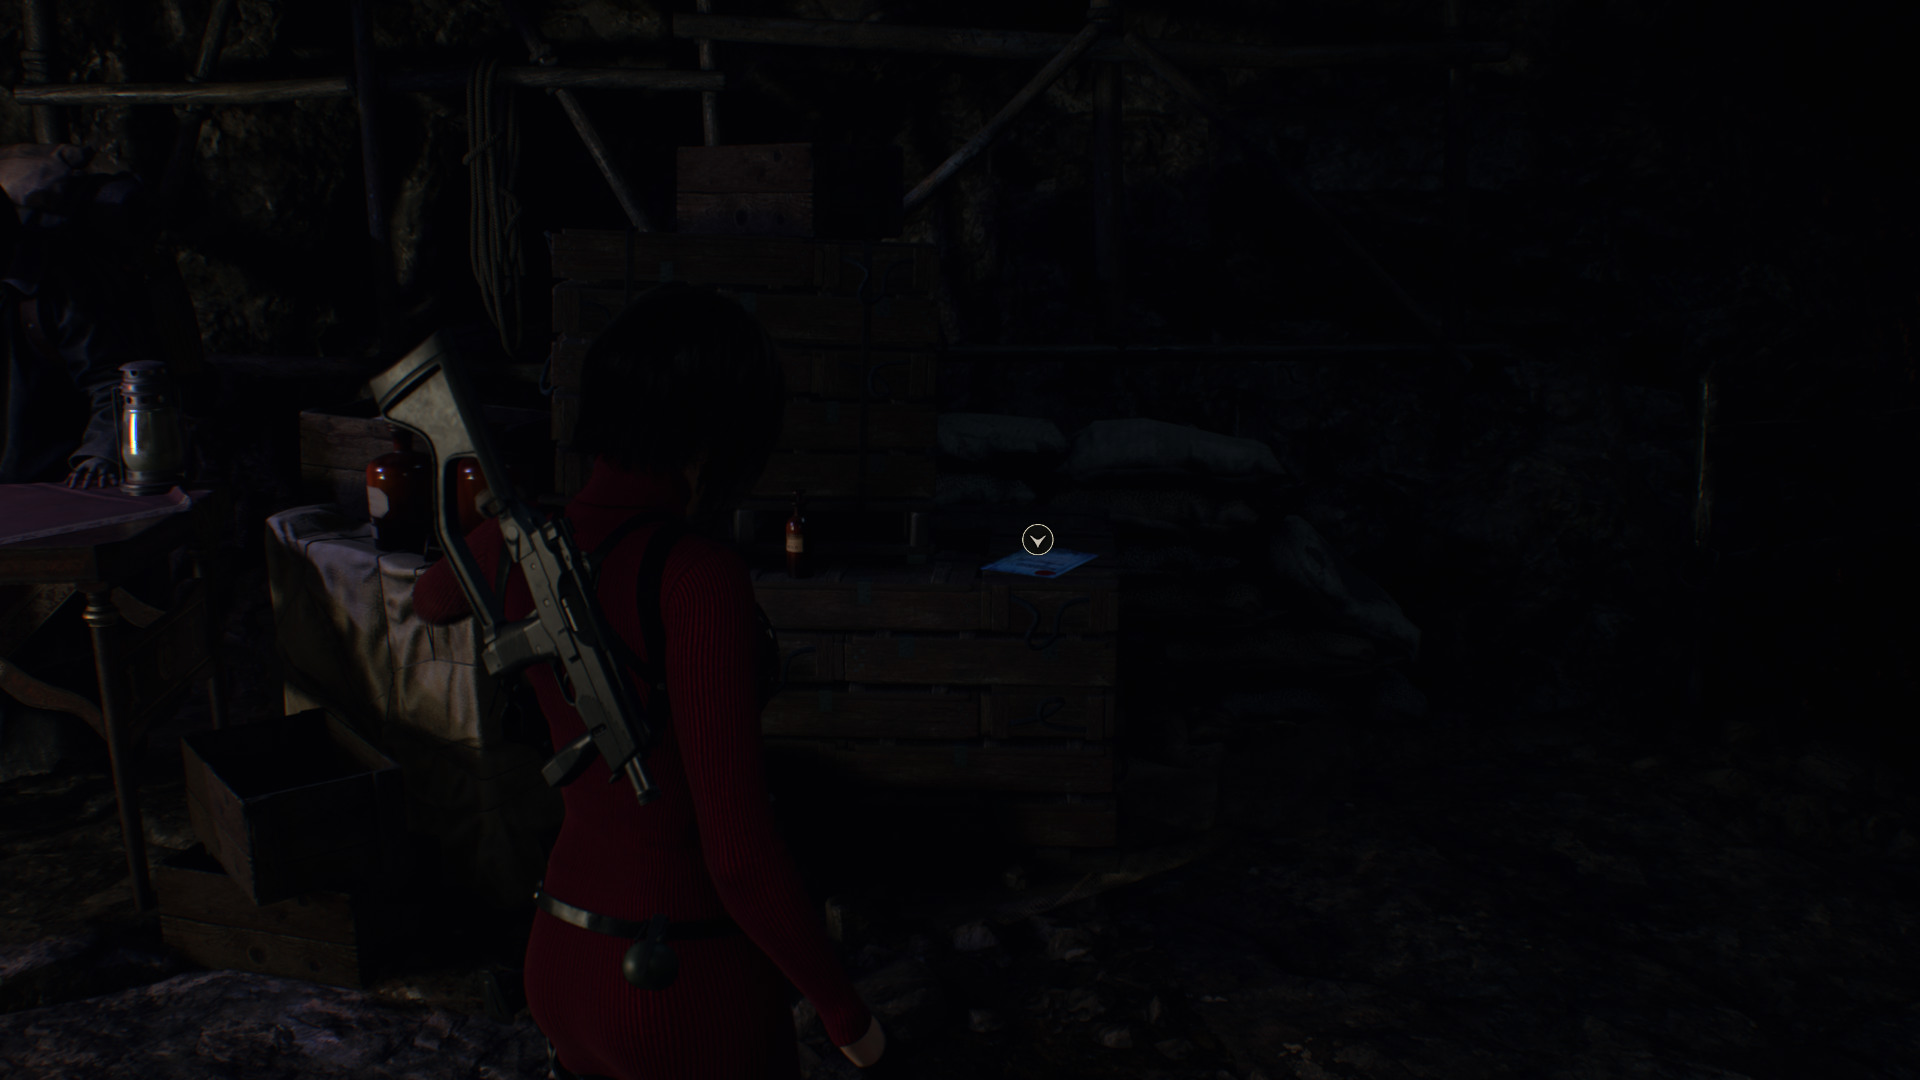 Novistador 1
After pulling the lever located at the sealing after the moving boulder.
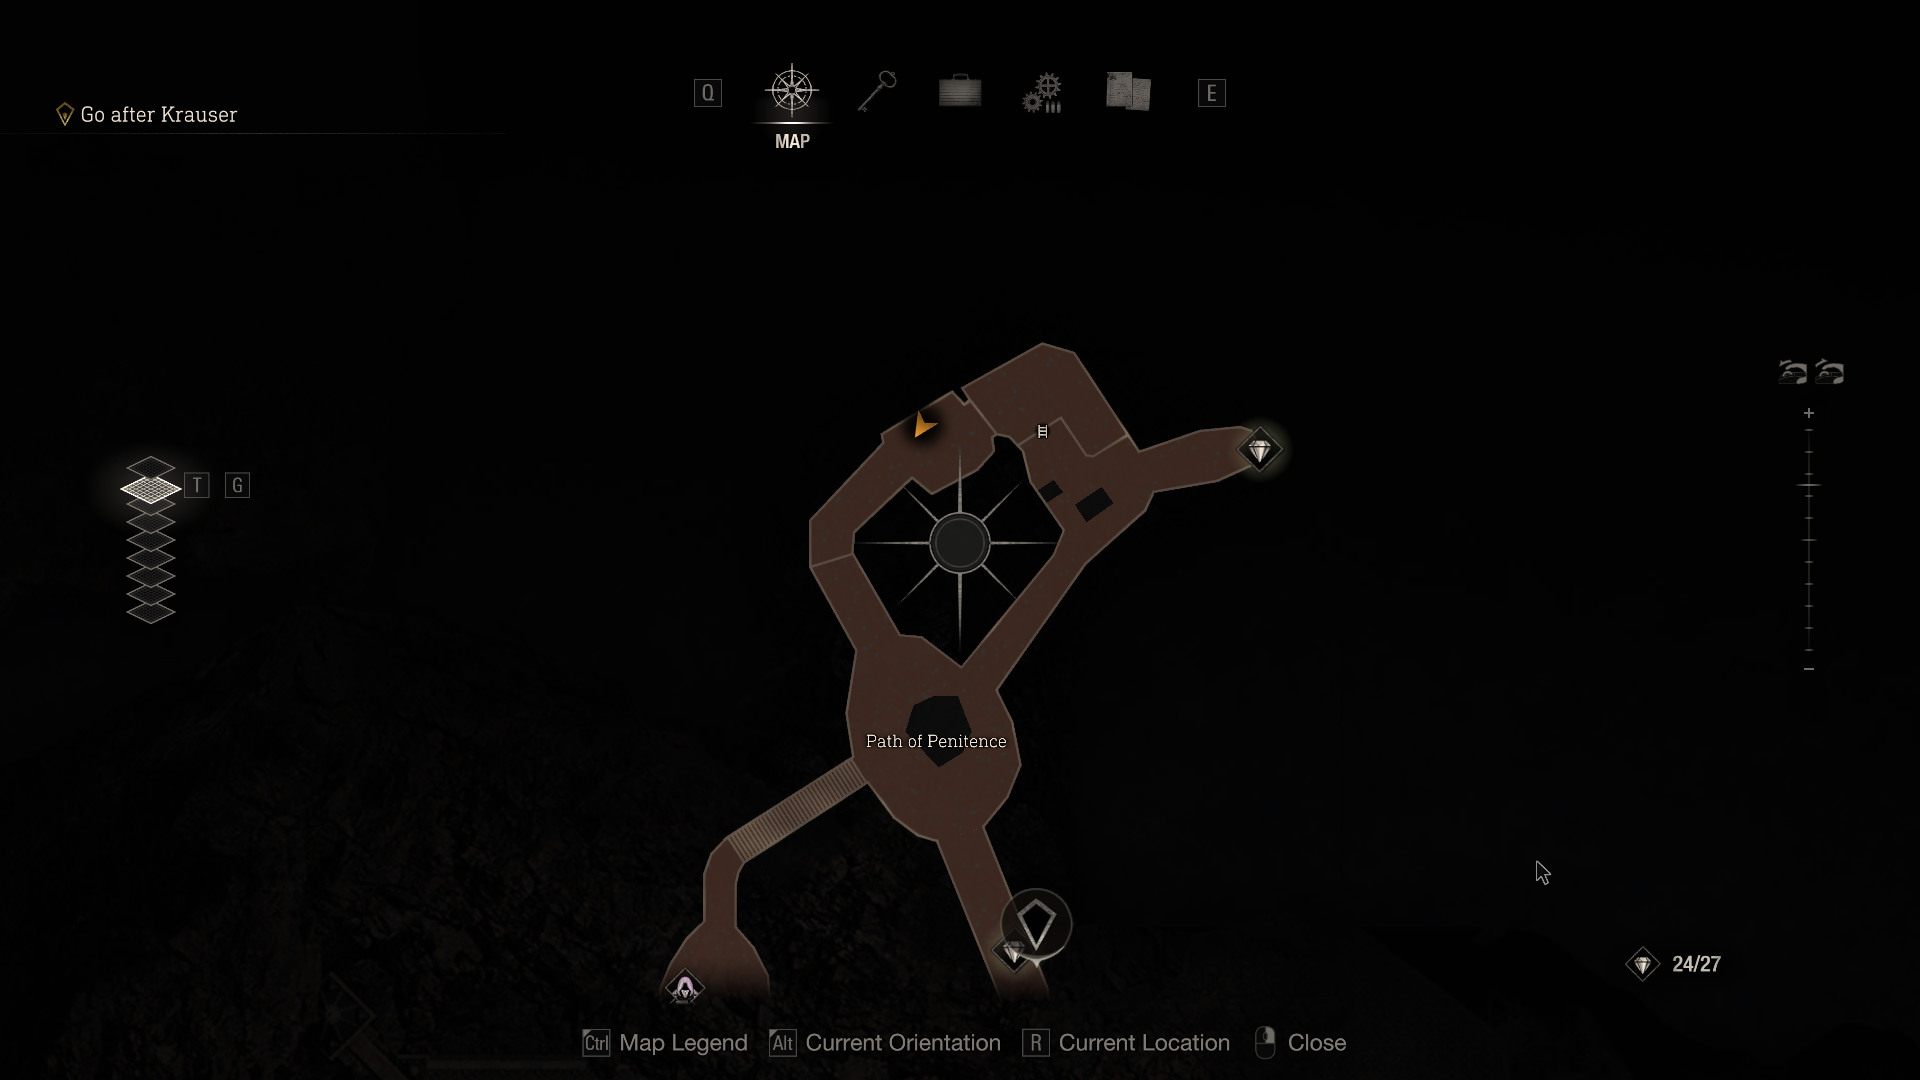
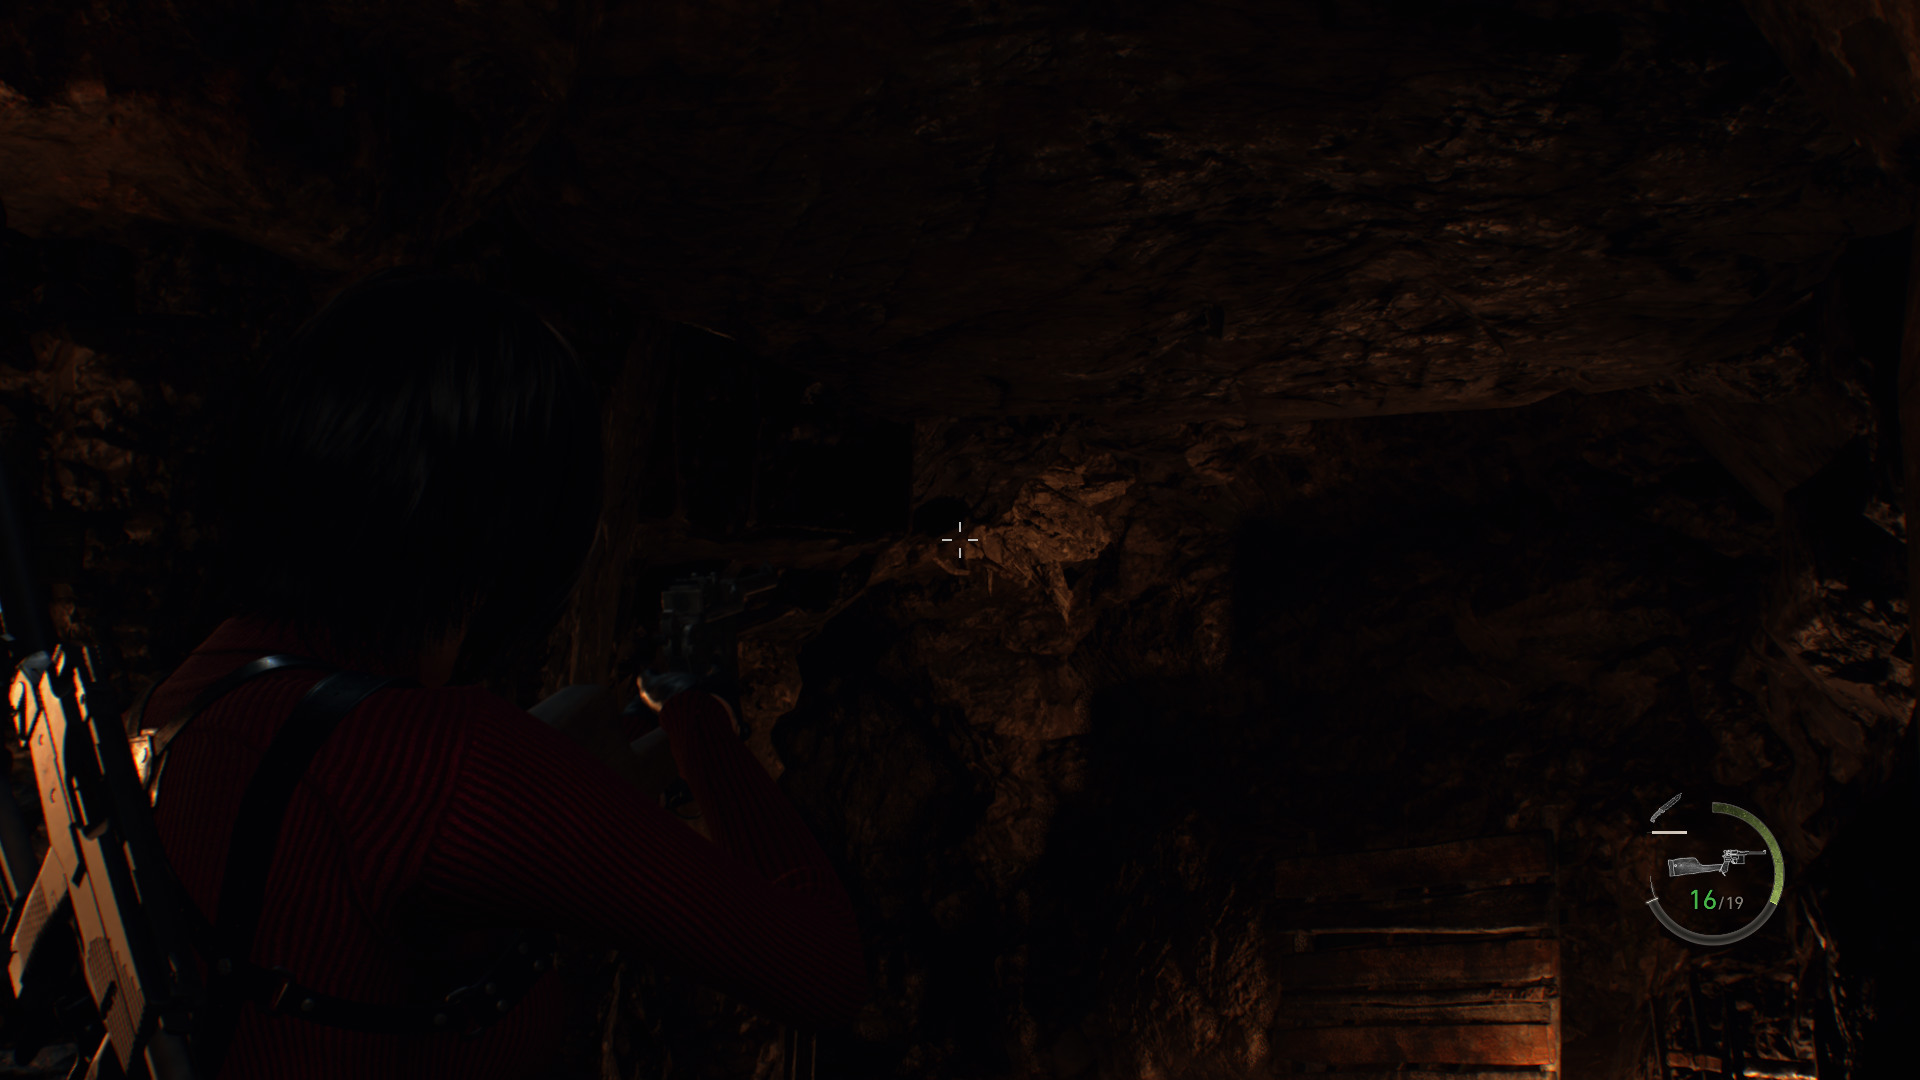 Treasure: Depraved Idol
Located behind the moving blouder.
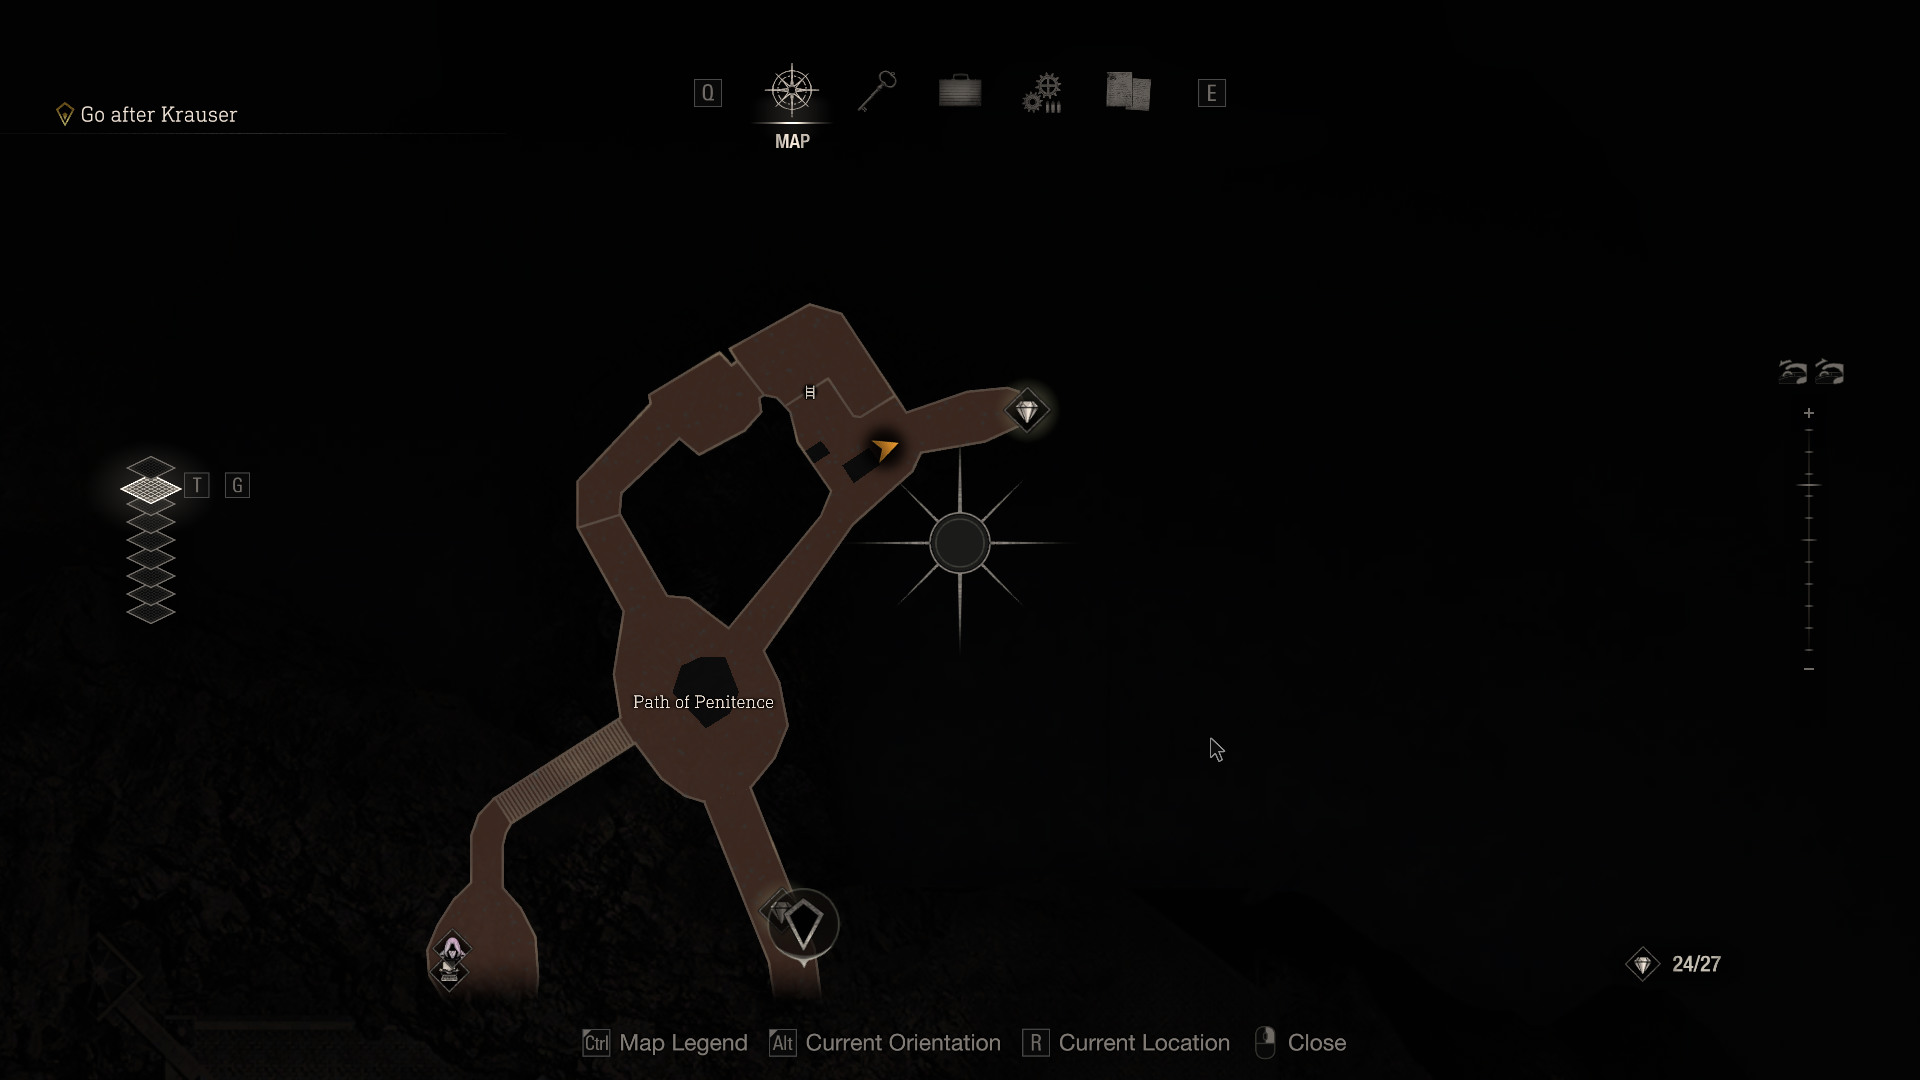
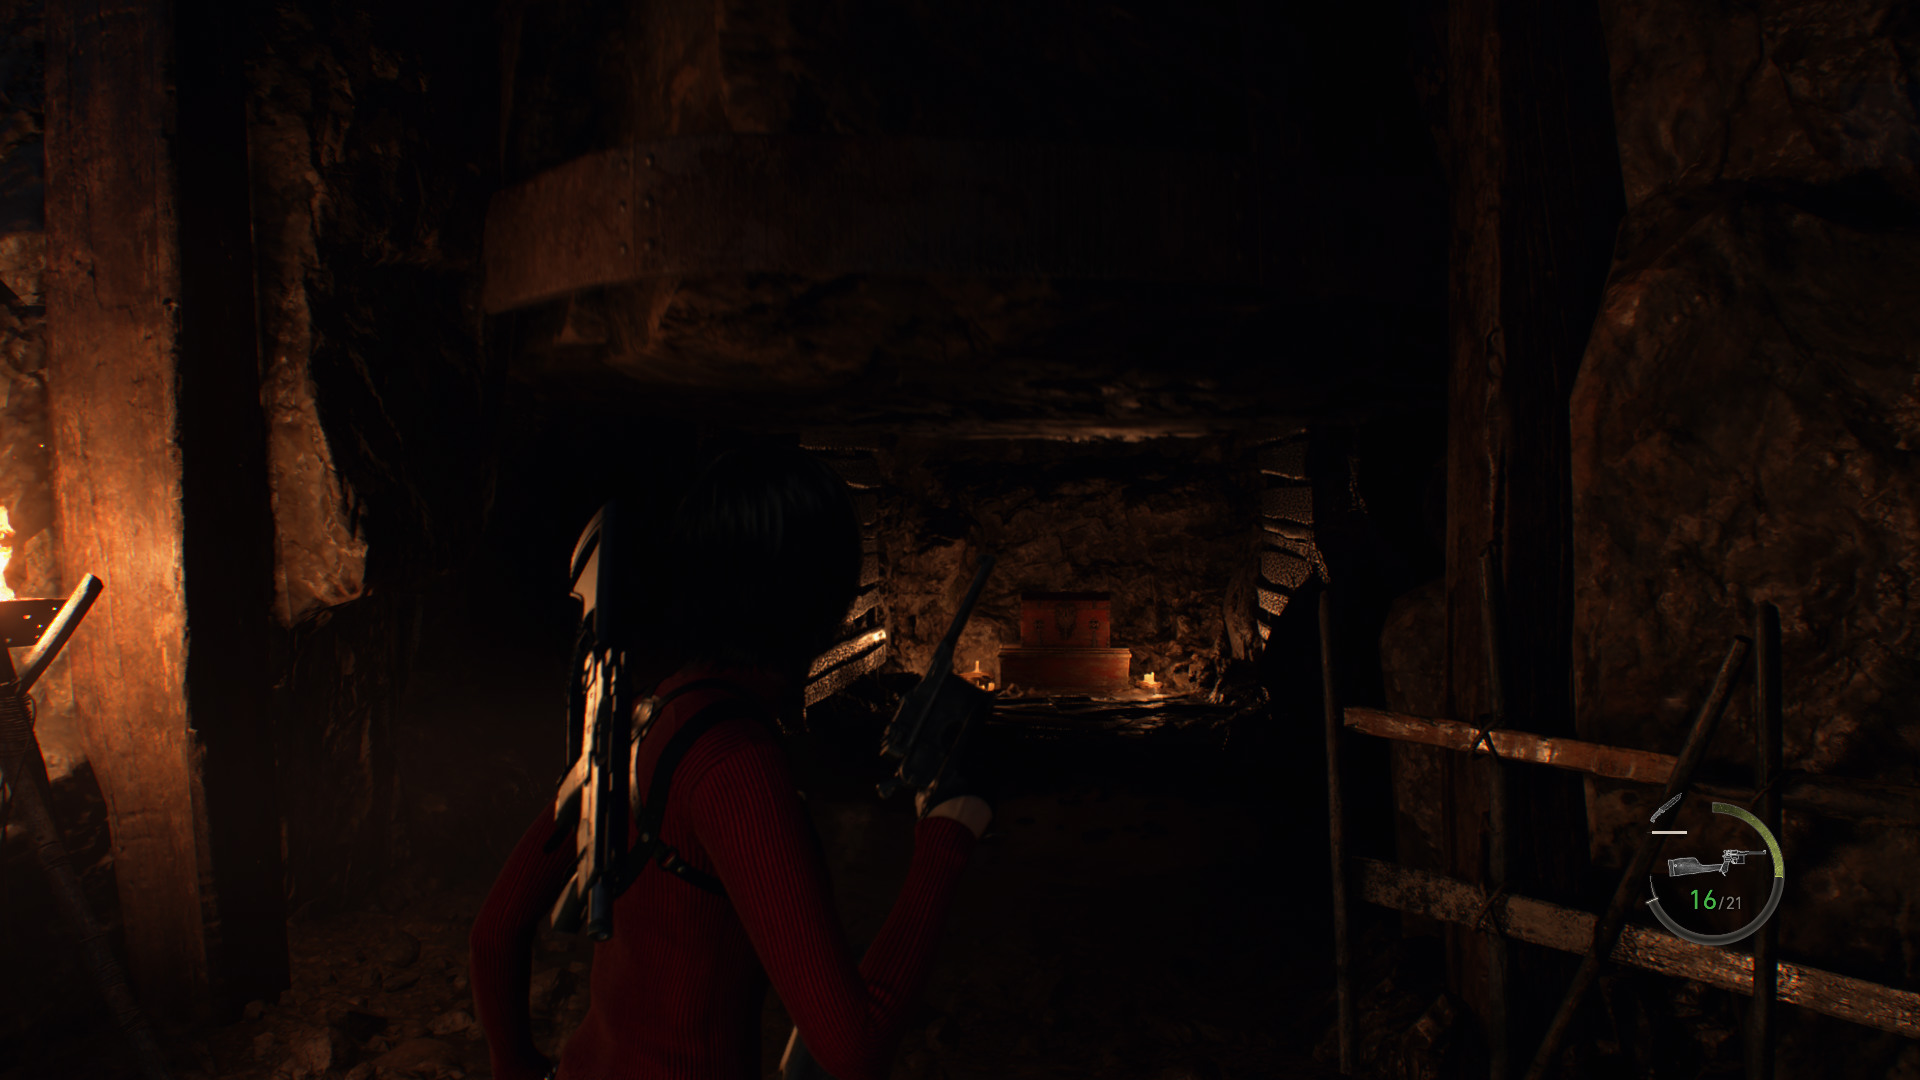 Treasure: Emerald
Located inthe middle of 2 moving boulders.
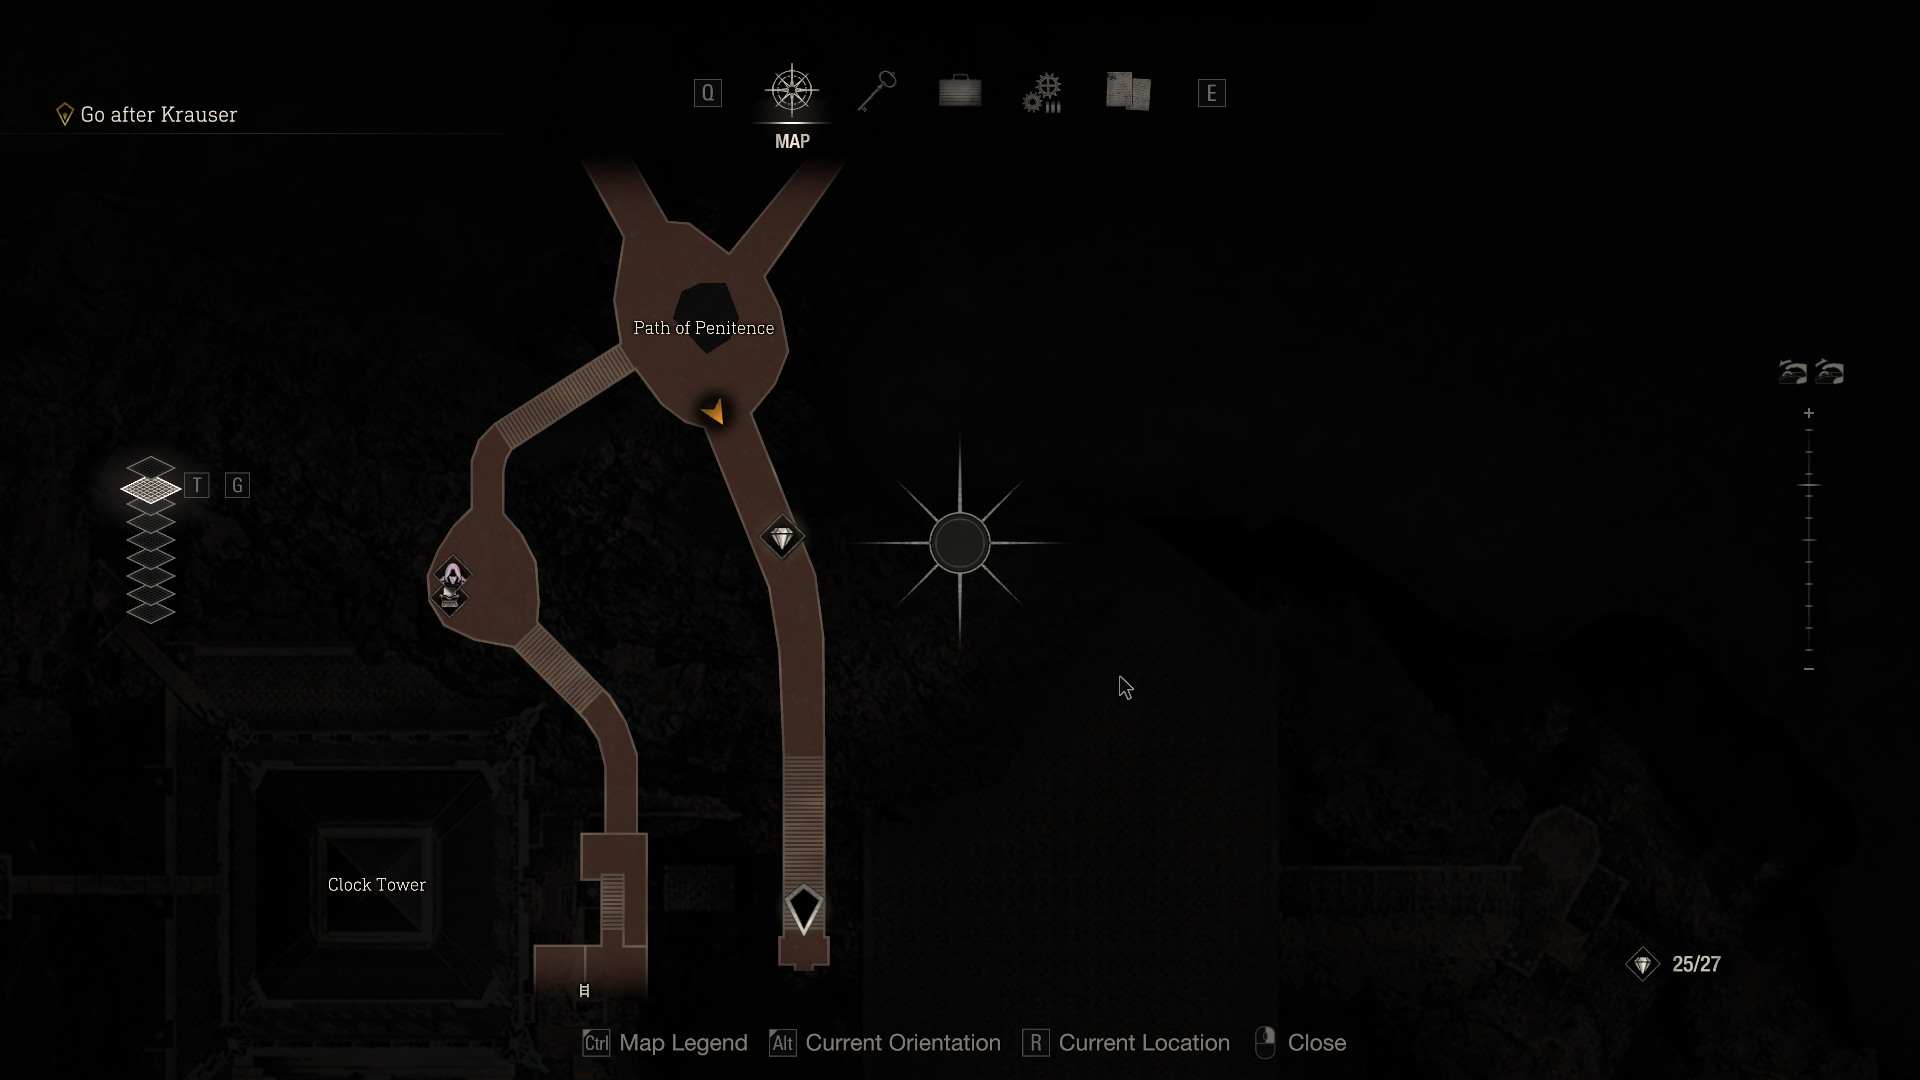
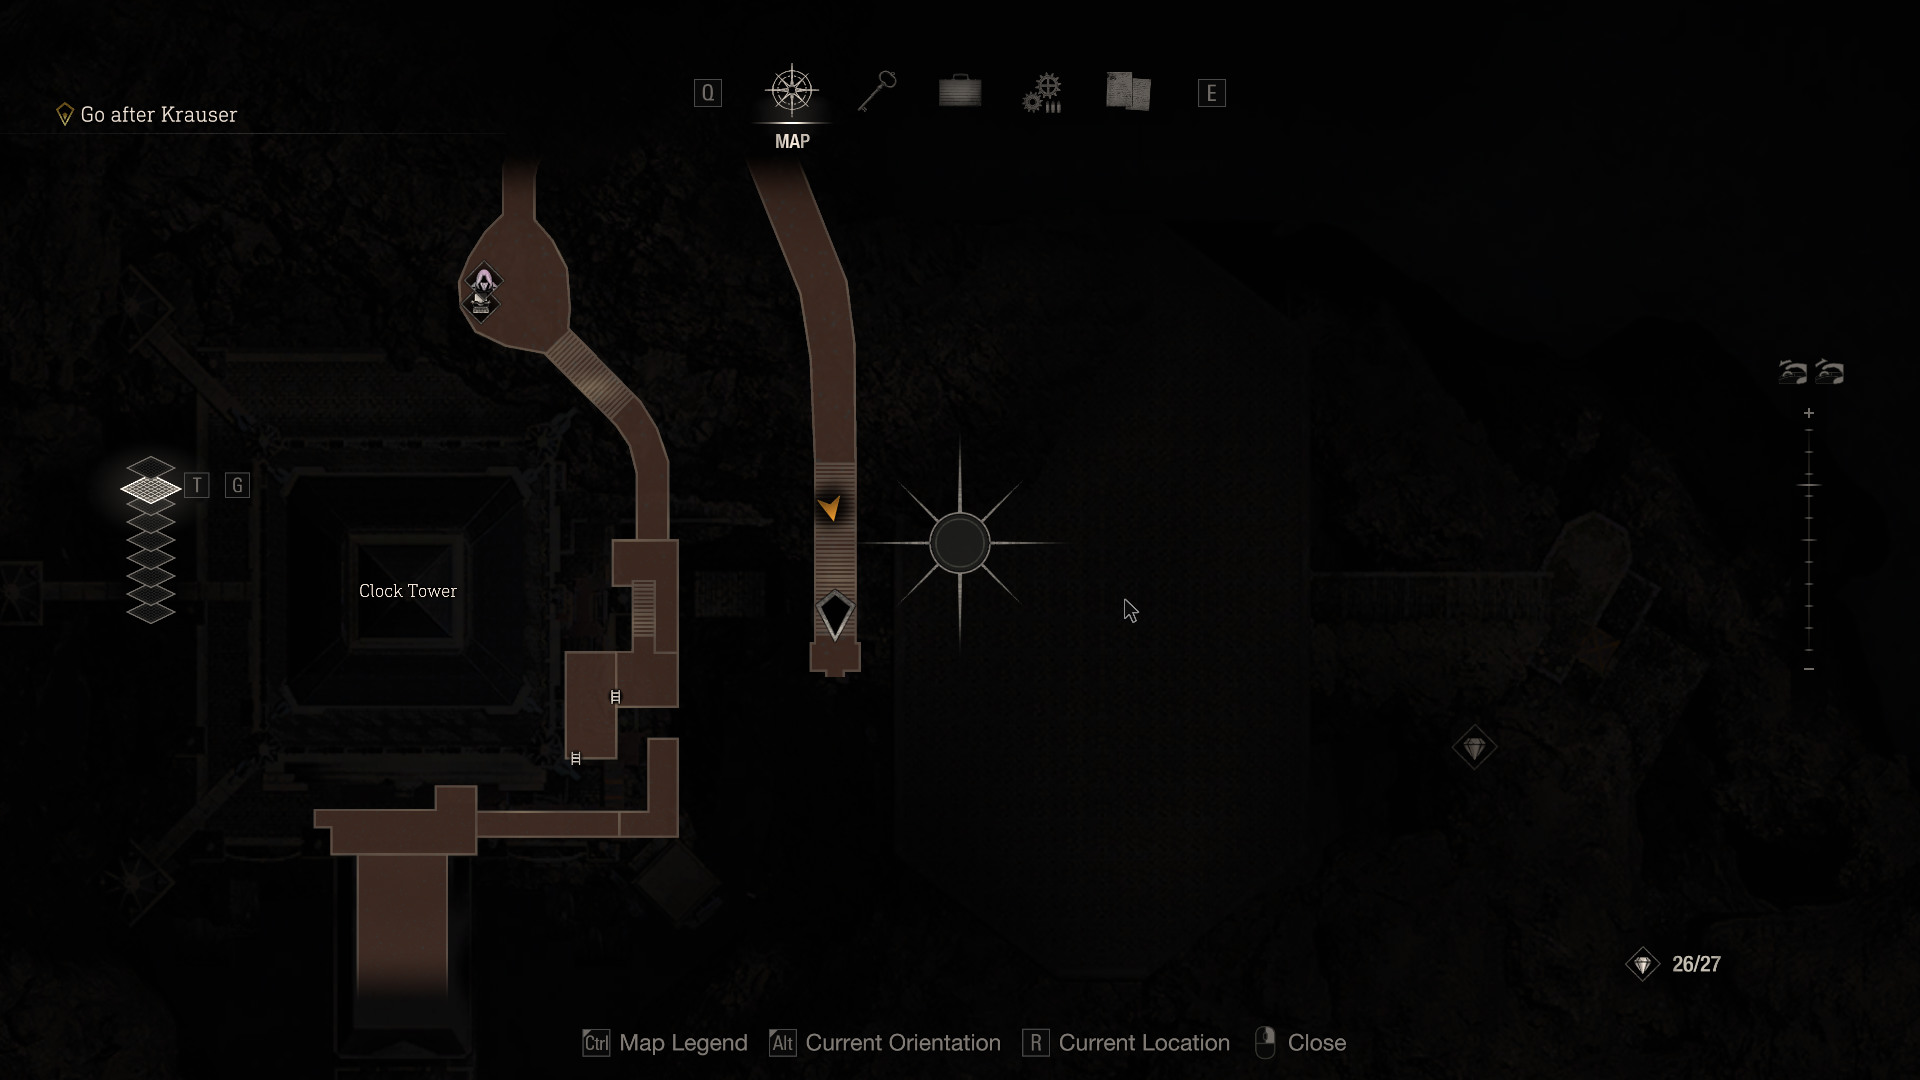
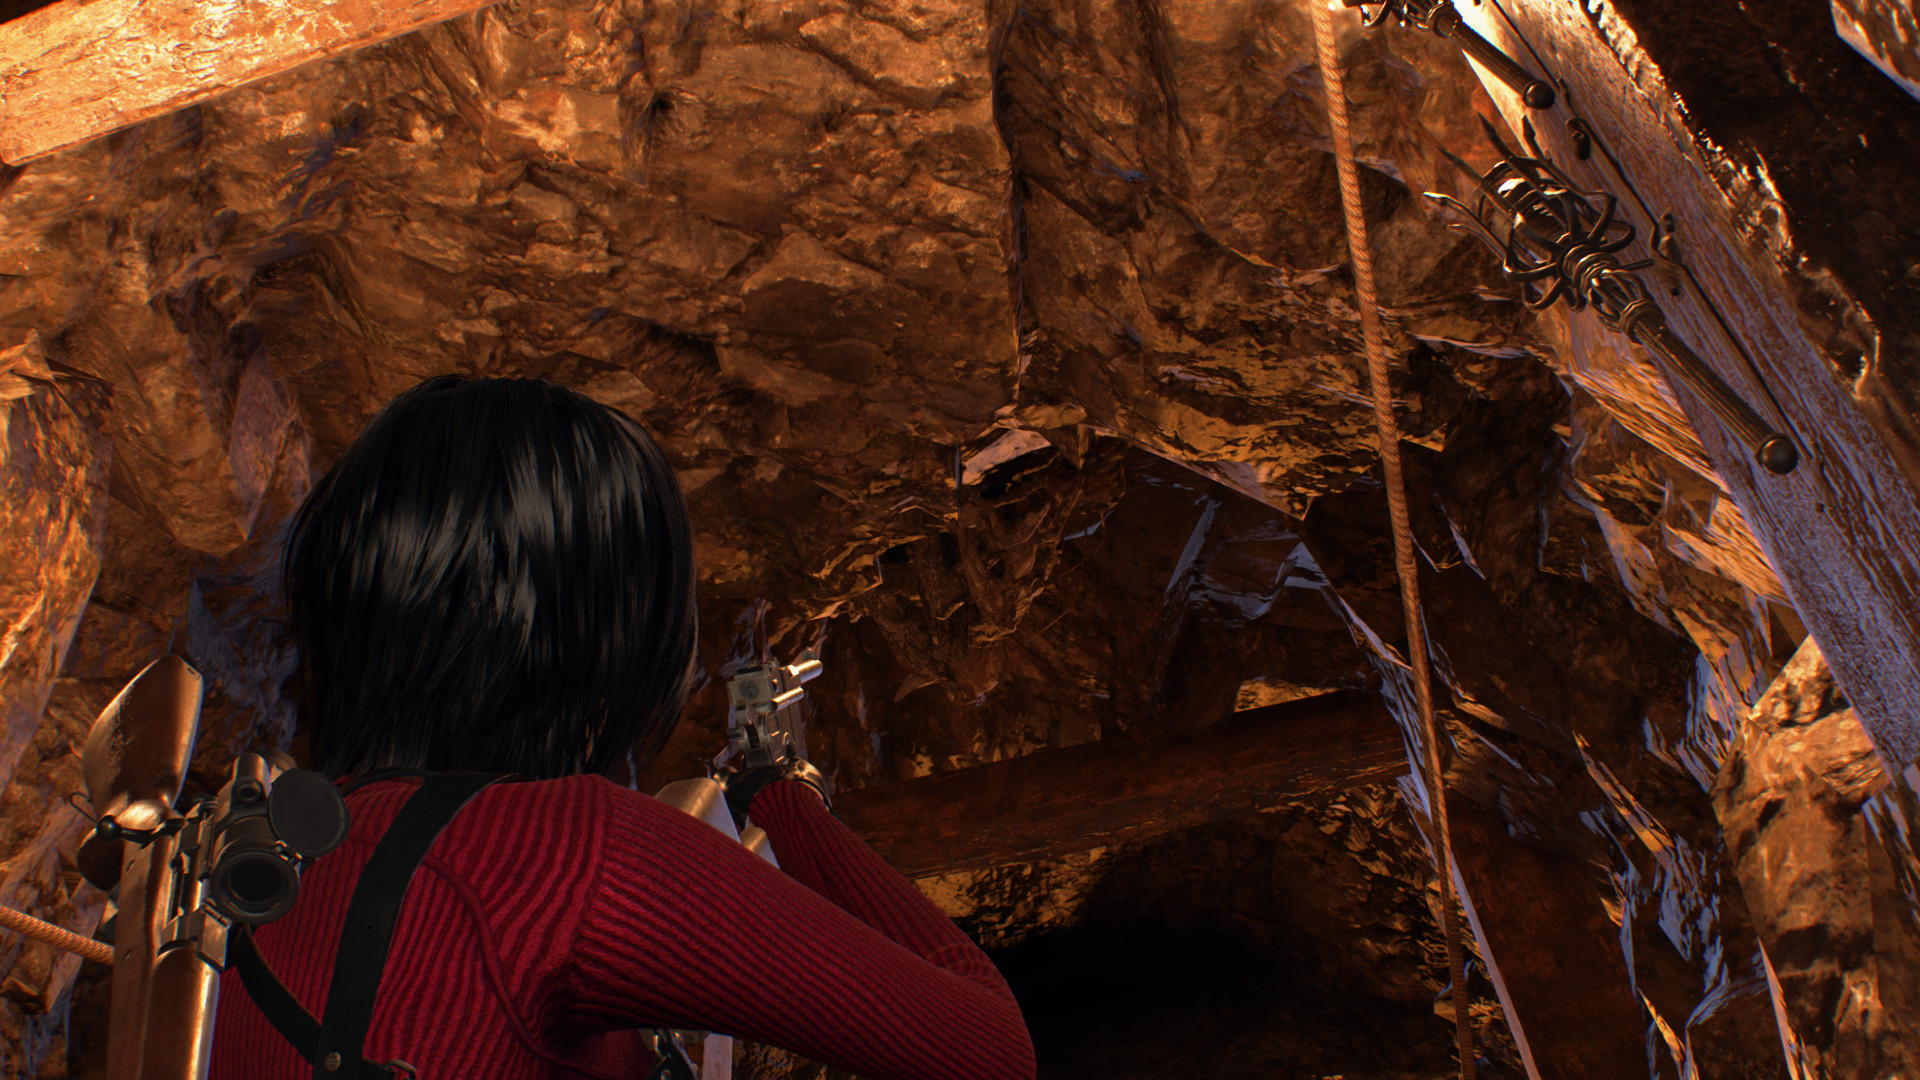
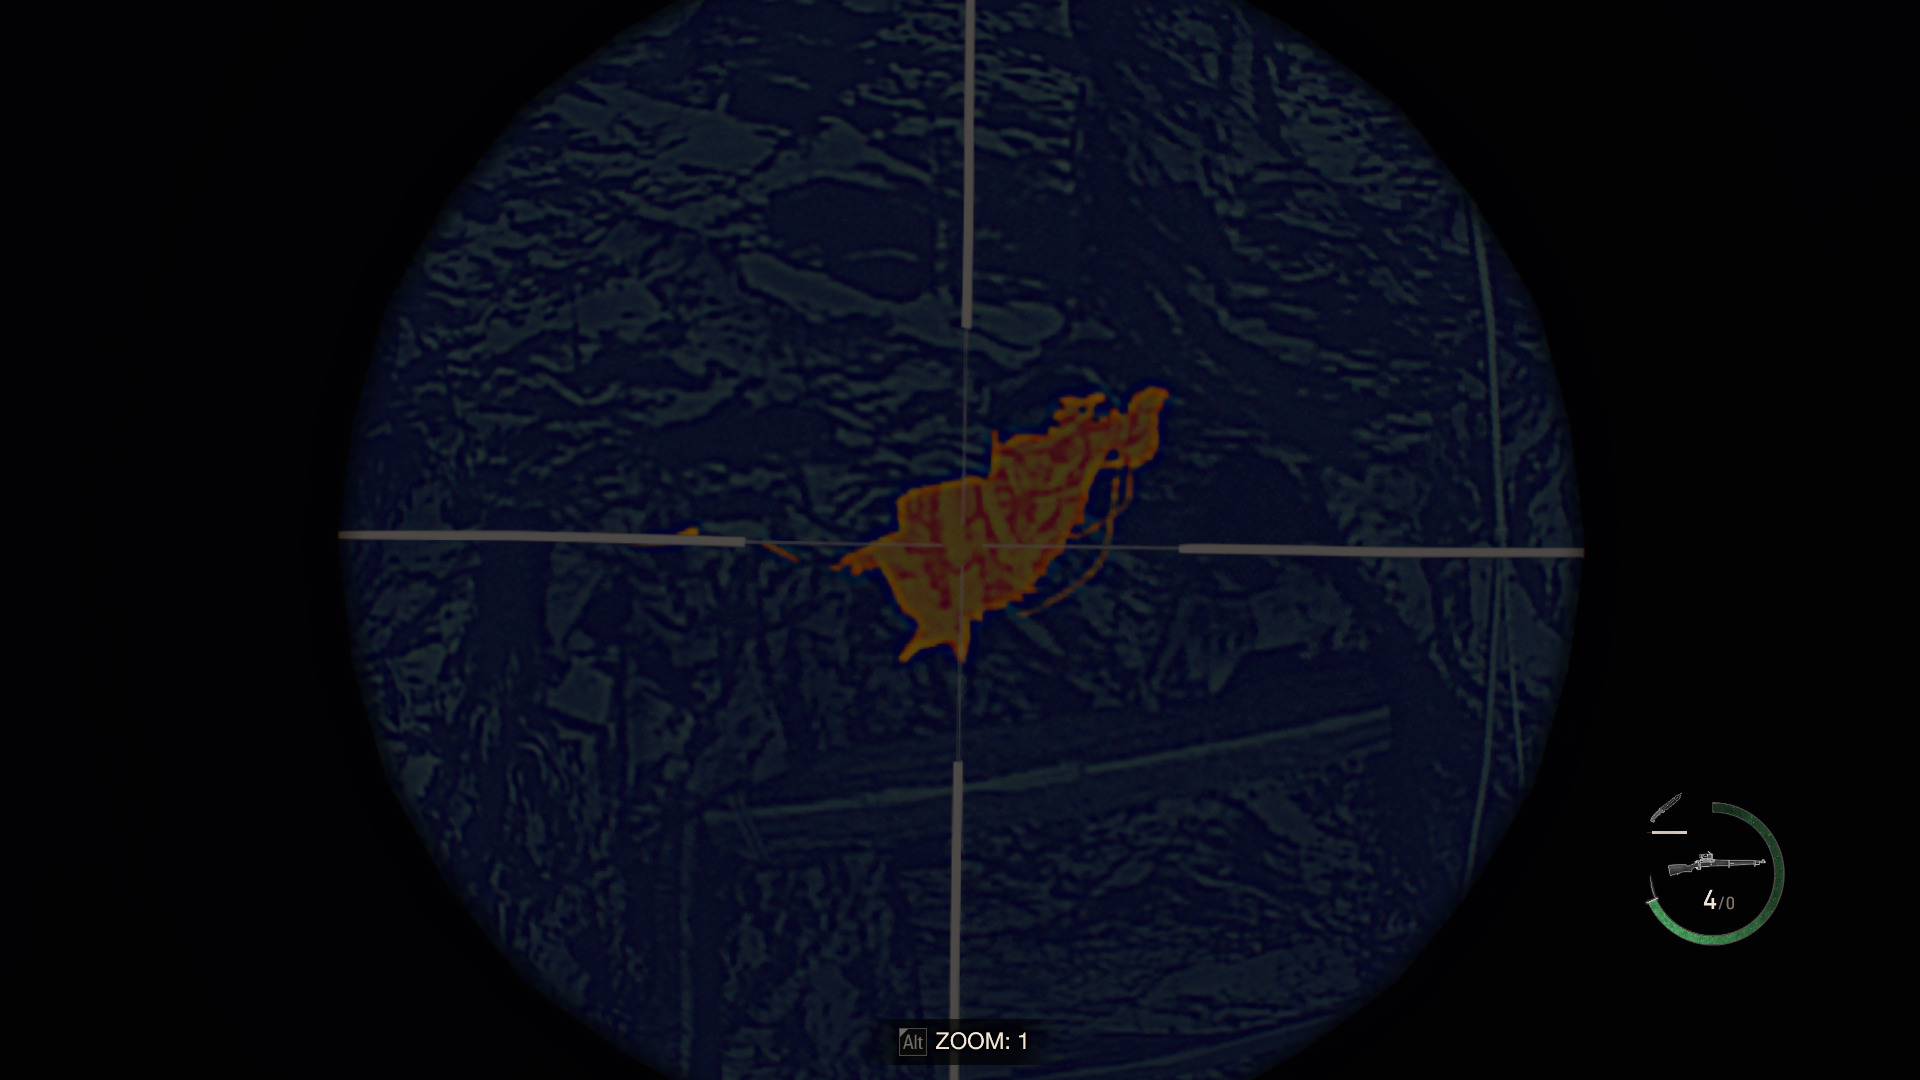
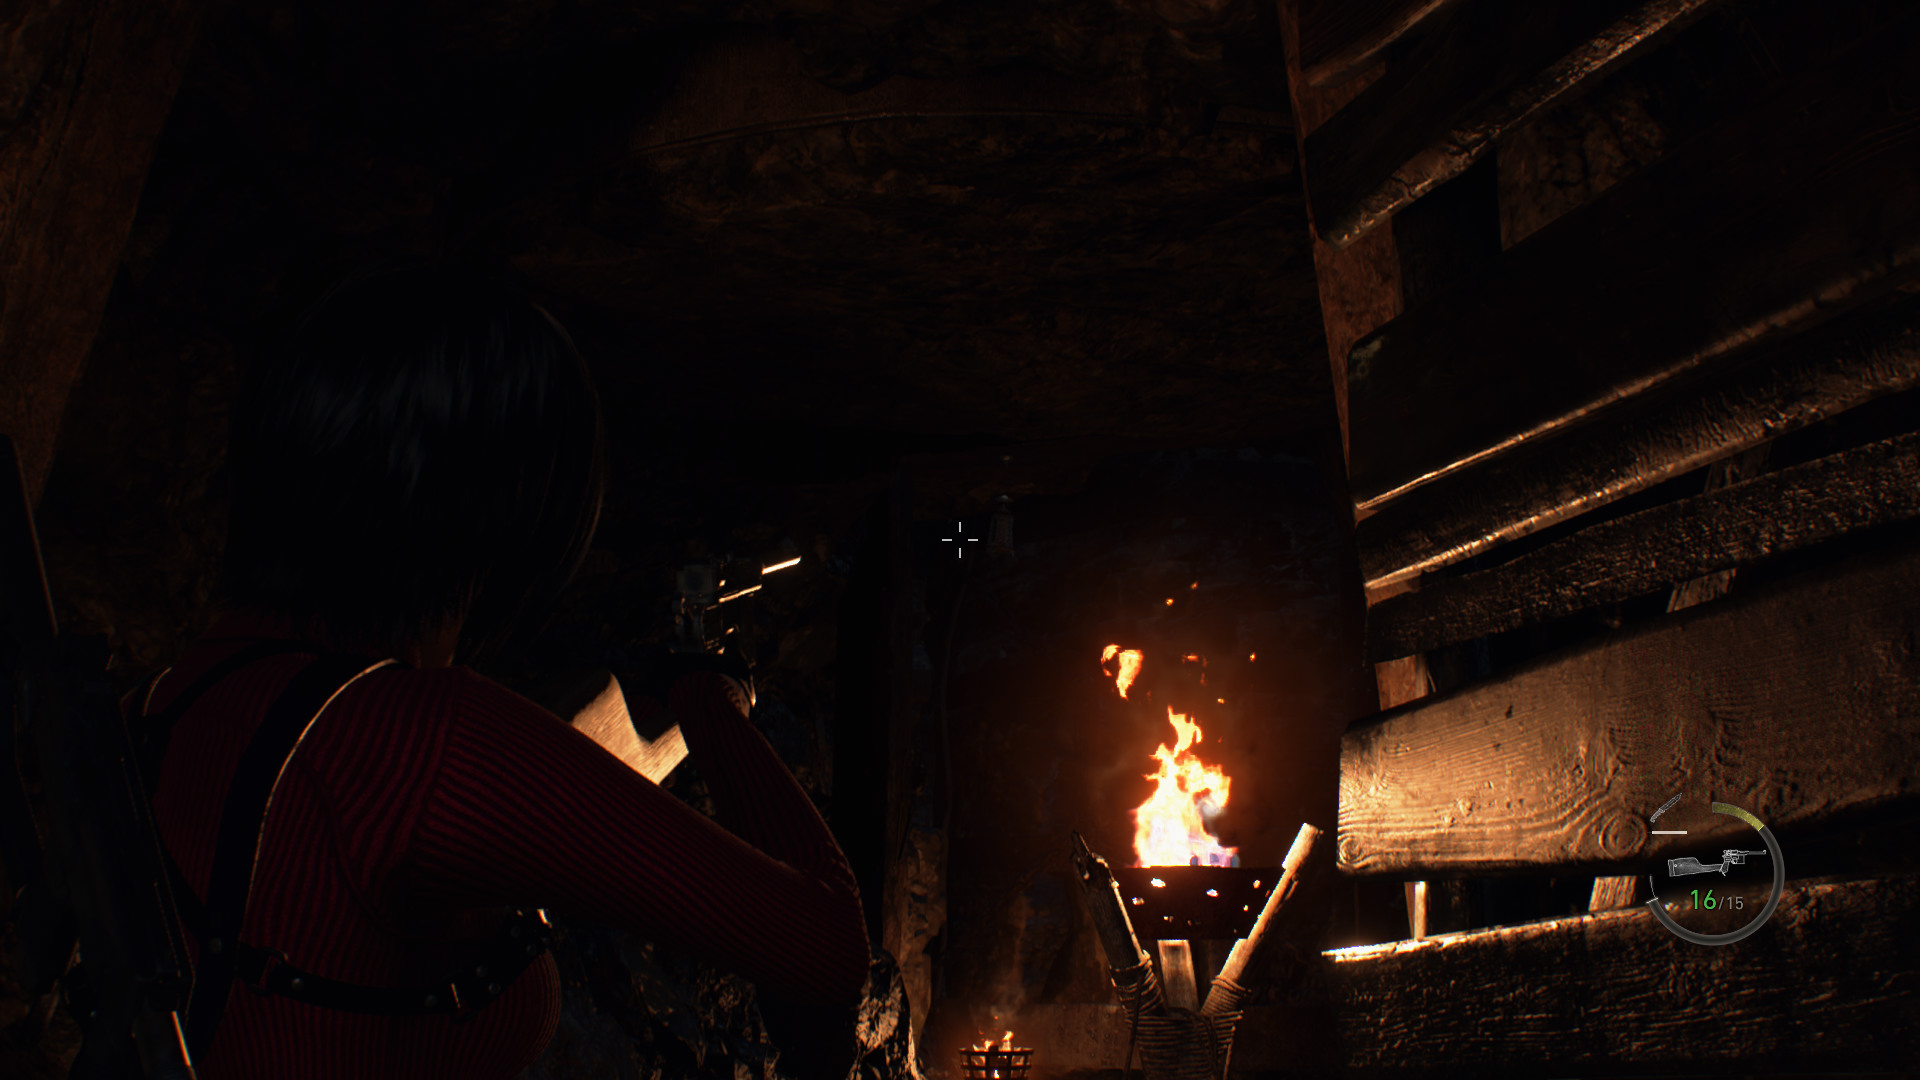 Novistador 2
located above the stairs on the sealing infont of a wooden beam.
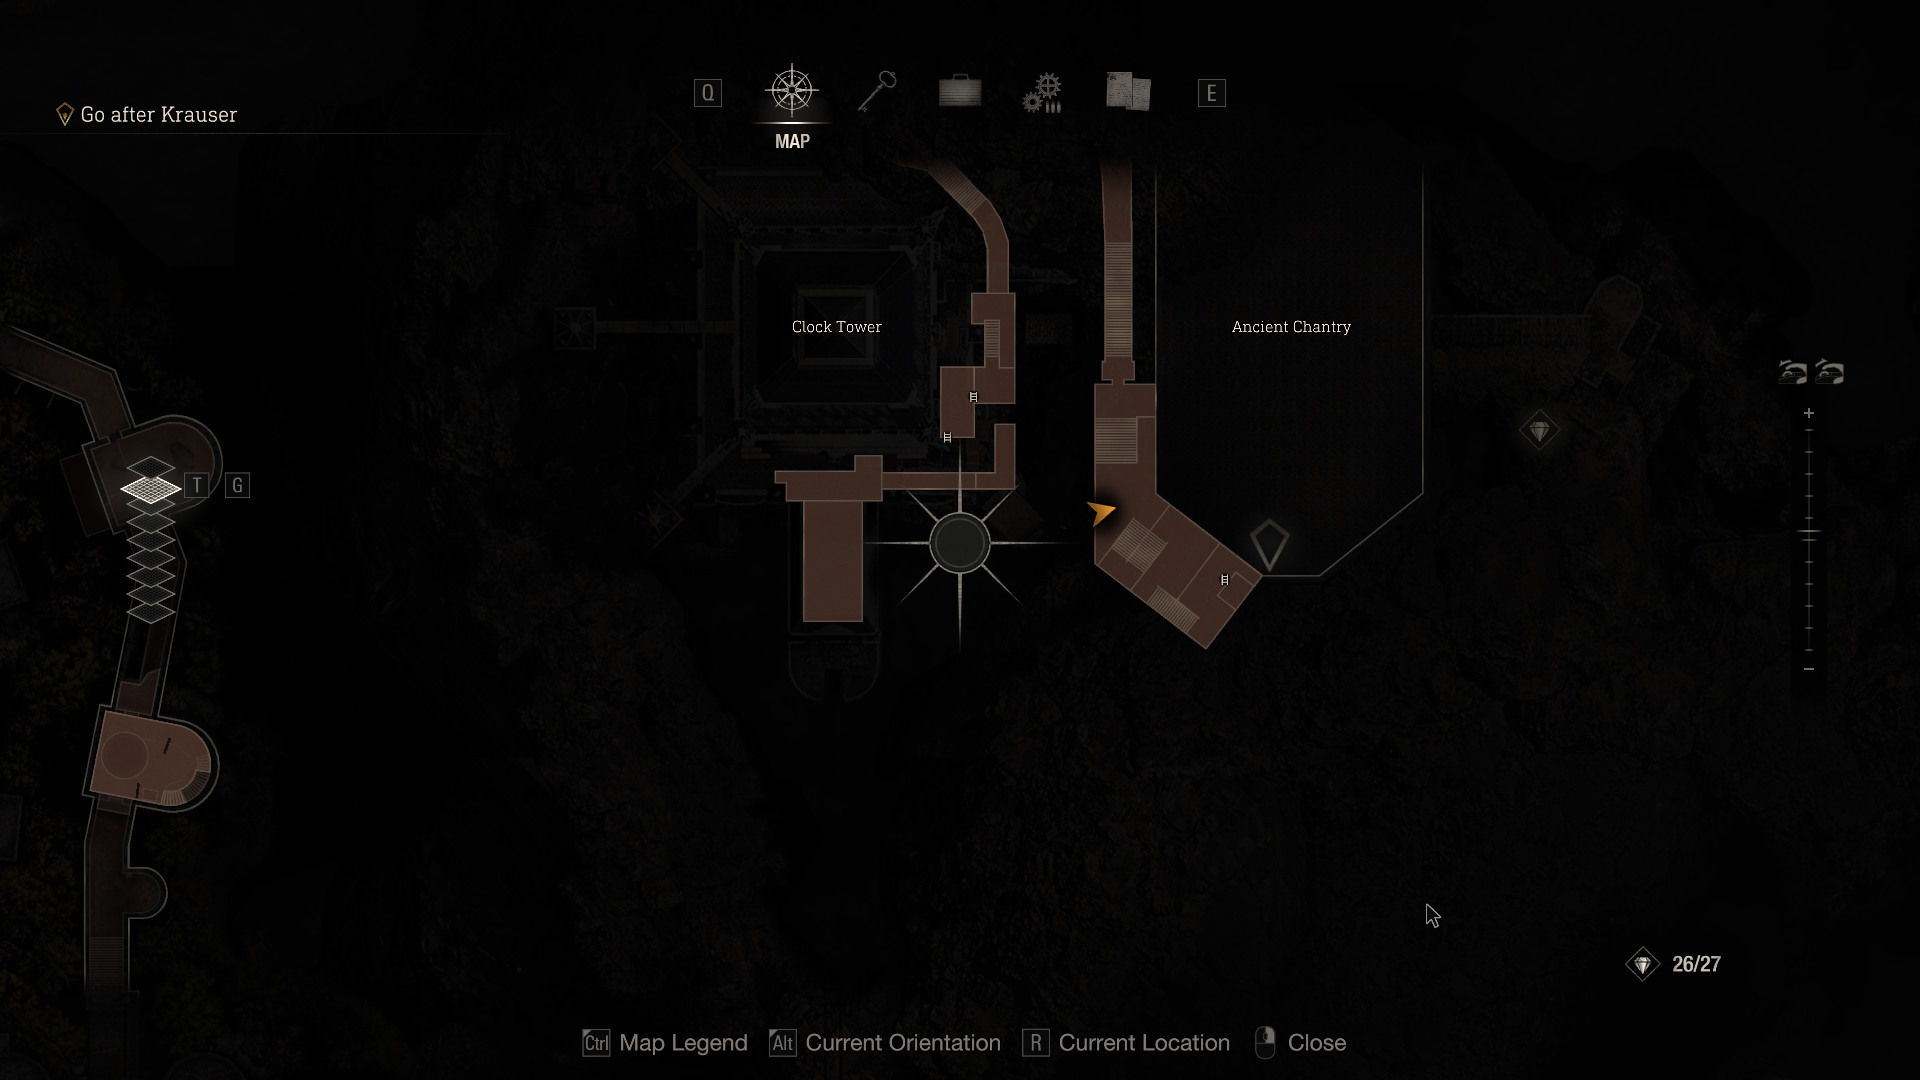
 Novistador 3
Located on the side of the Ancient Chantry corner.
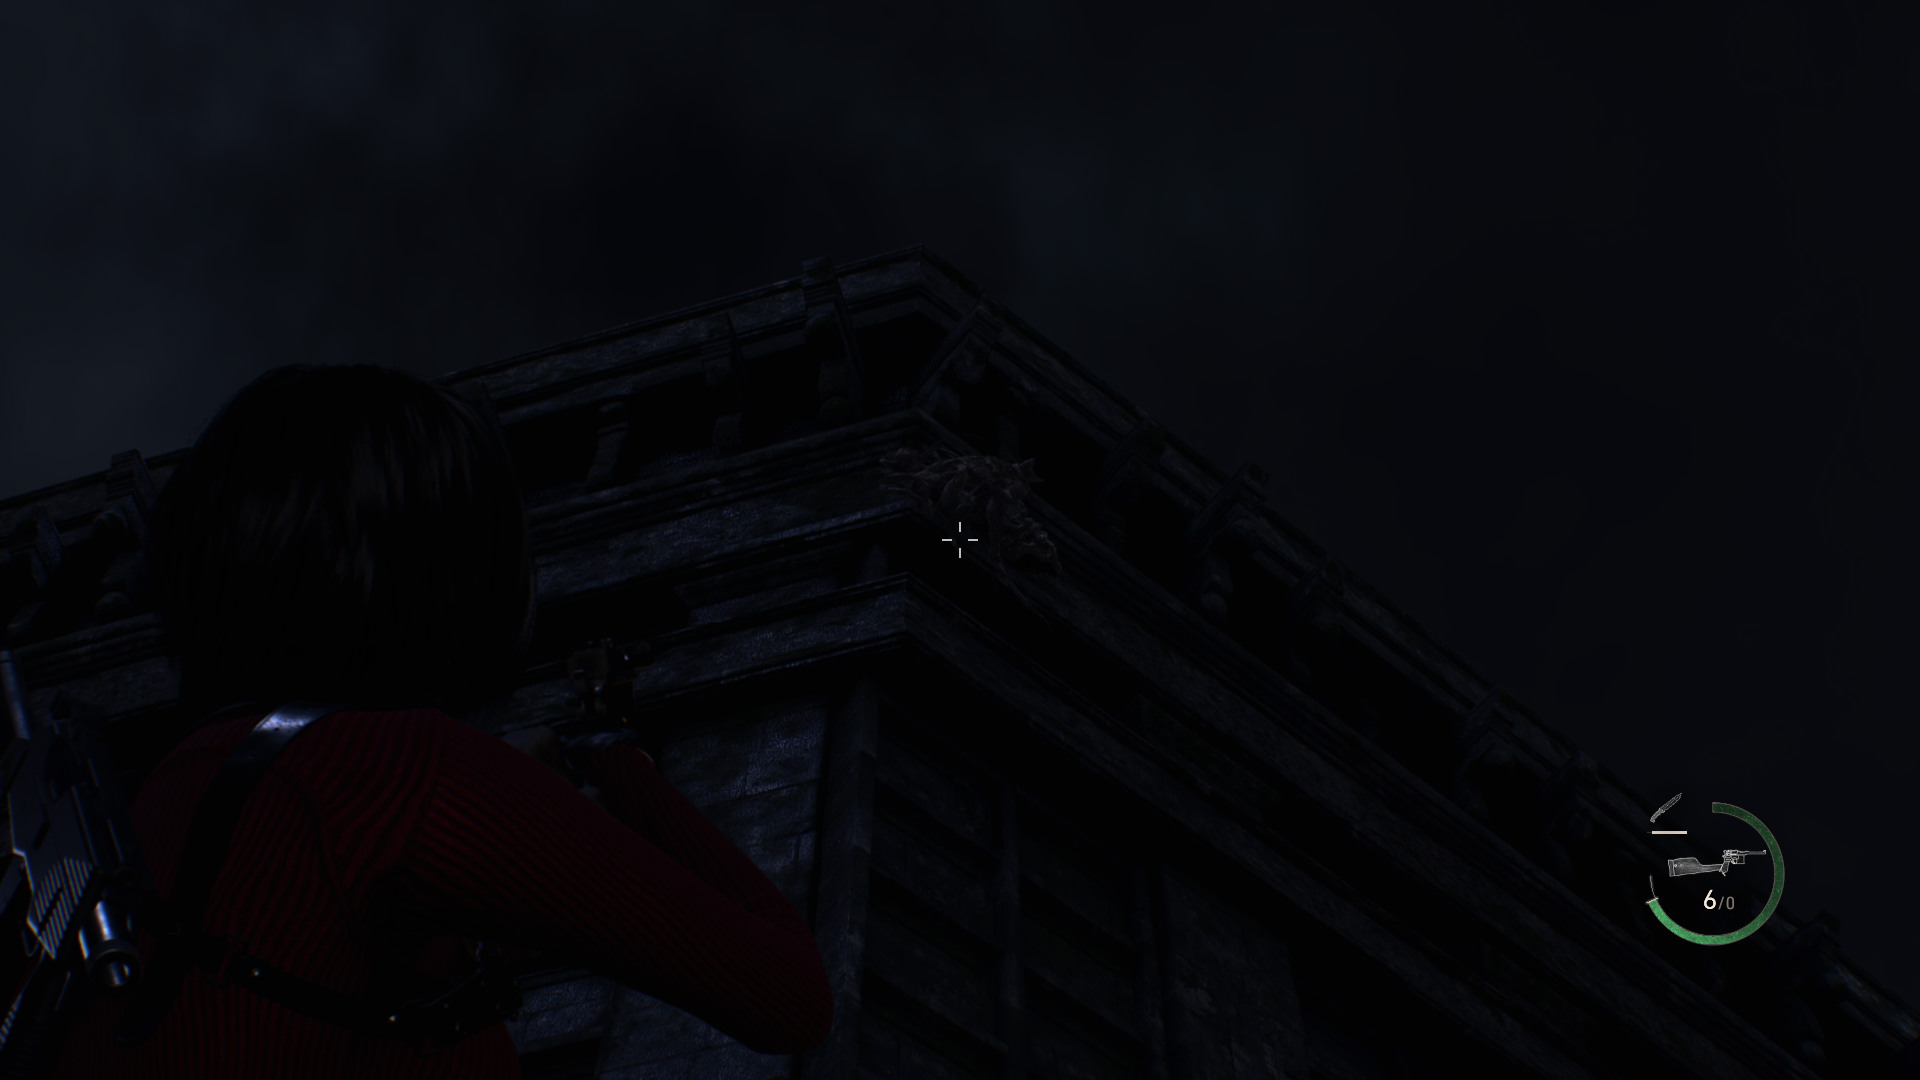 Treasure: Brass Pocket Watch
After going down the elevator, in the same room, the right side in a corner on the sealing.
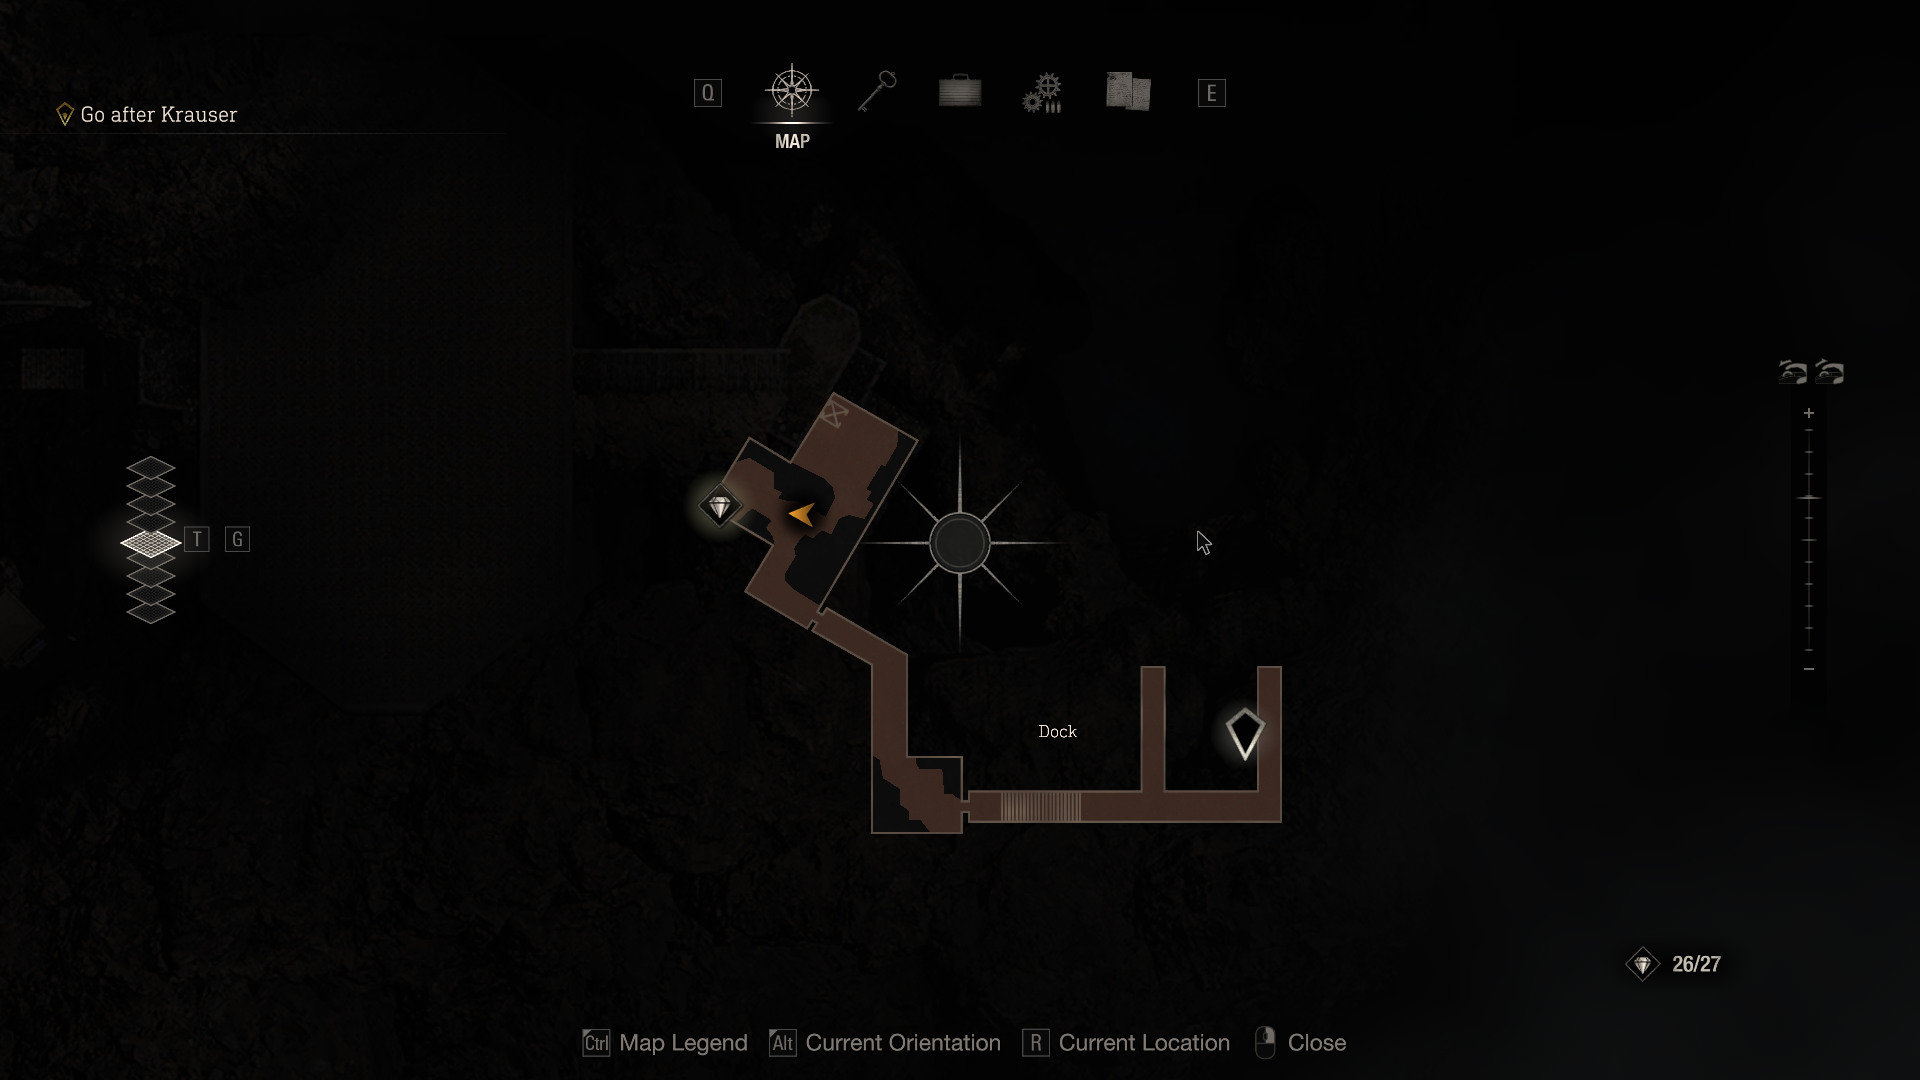
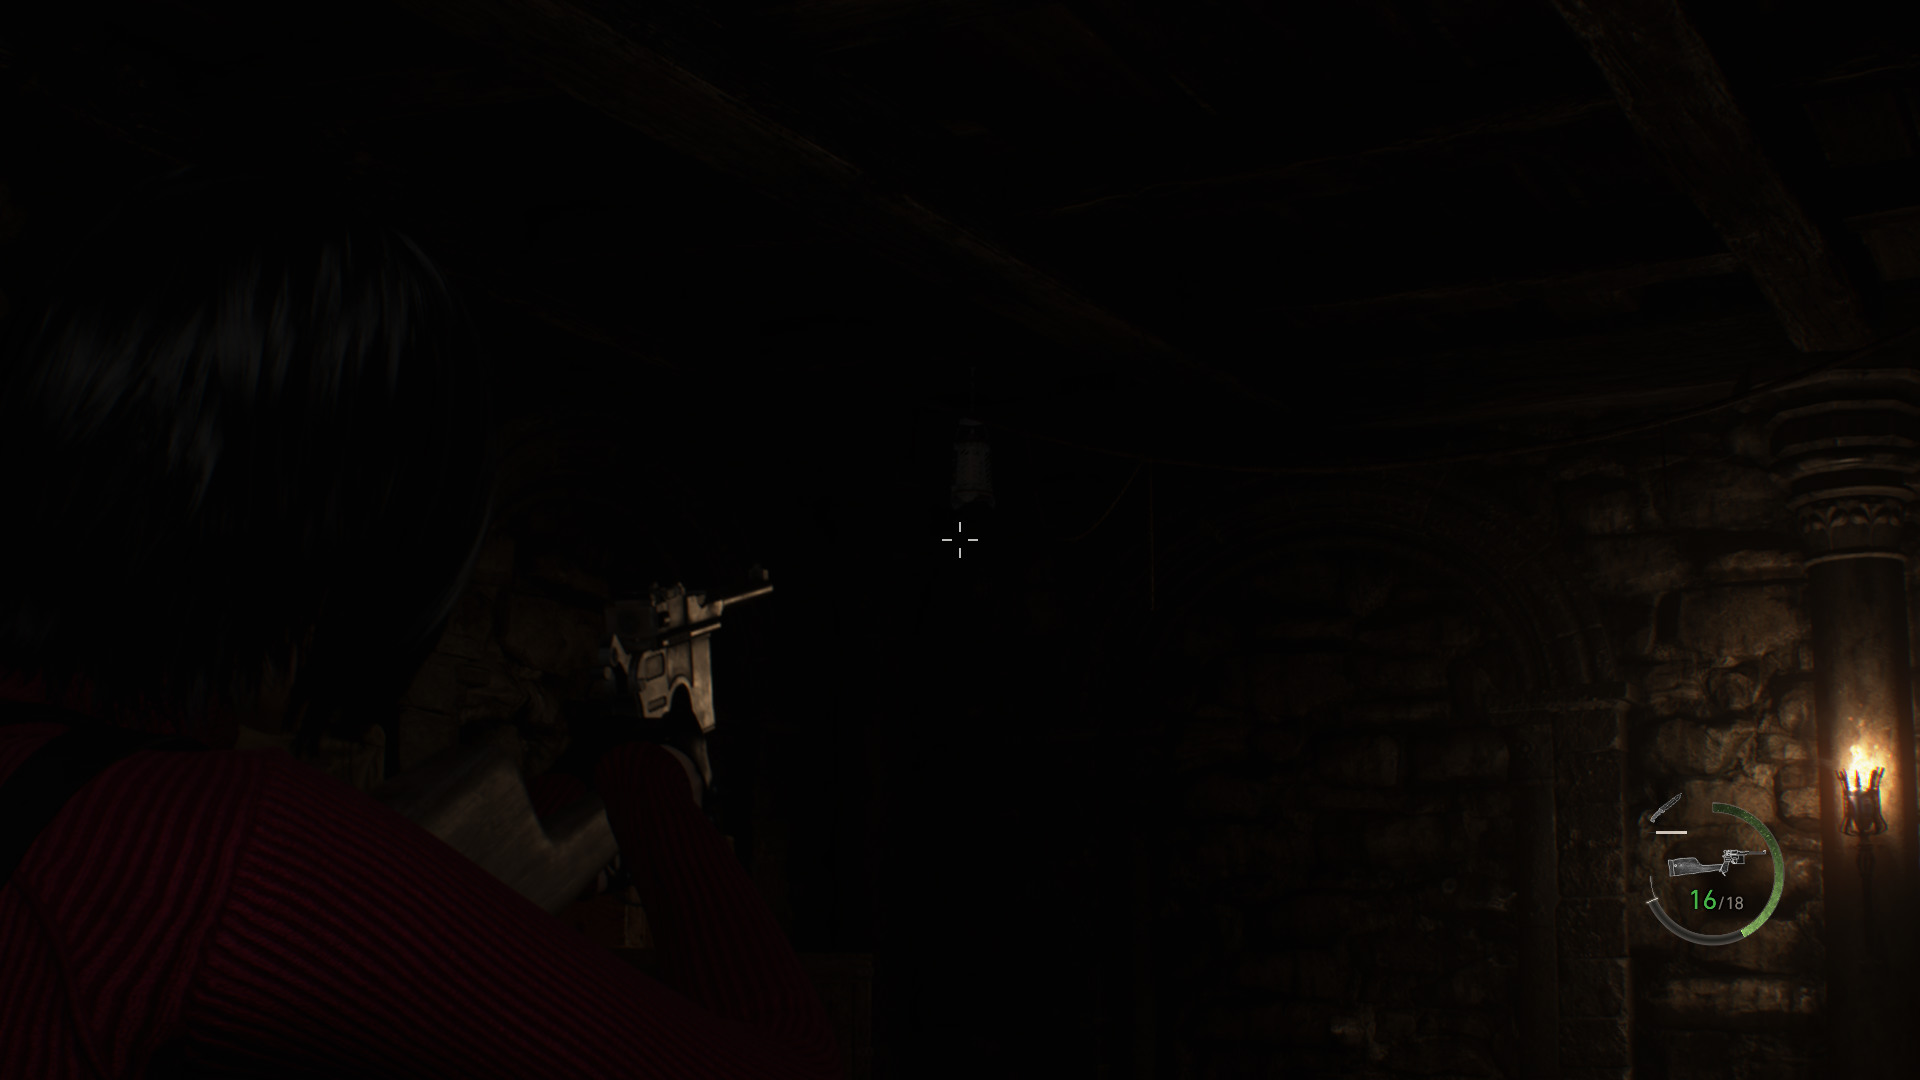
(Separate Ways: Chapter 6)
Objective: Head for the comms facility
Treasure: Crystal OreAfter entering the Amber Storeroom, located on the right side of the room.
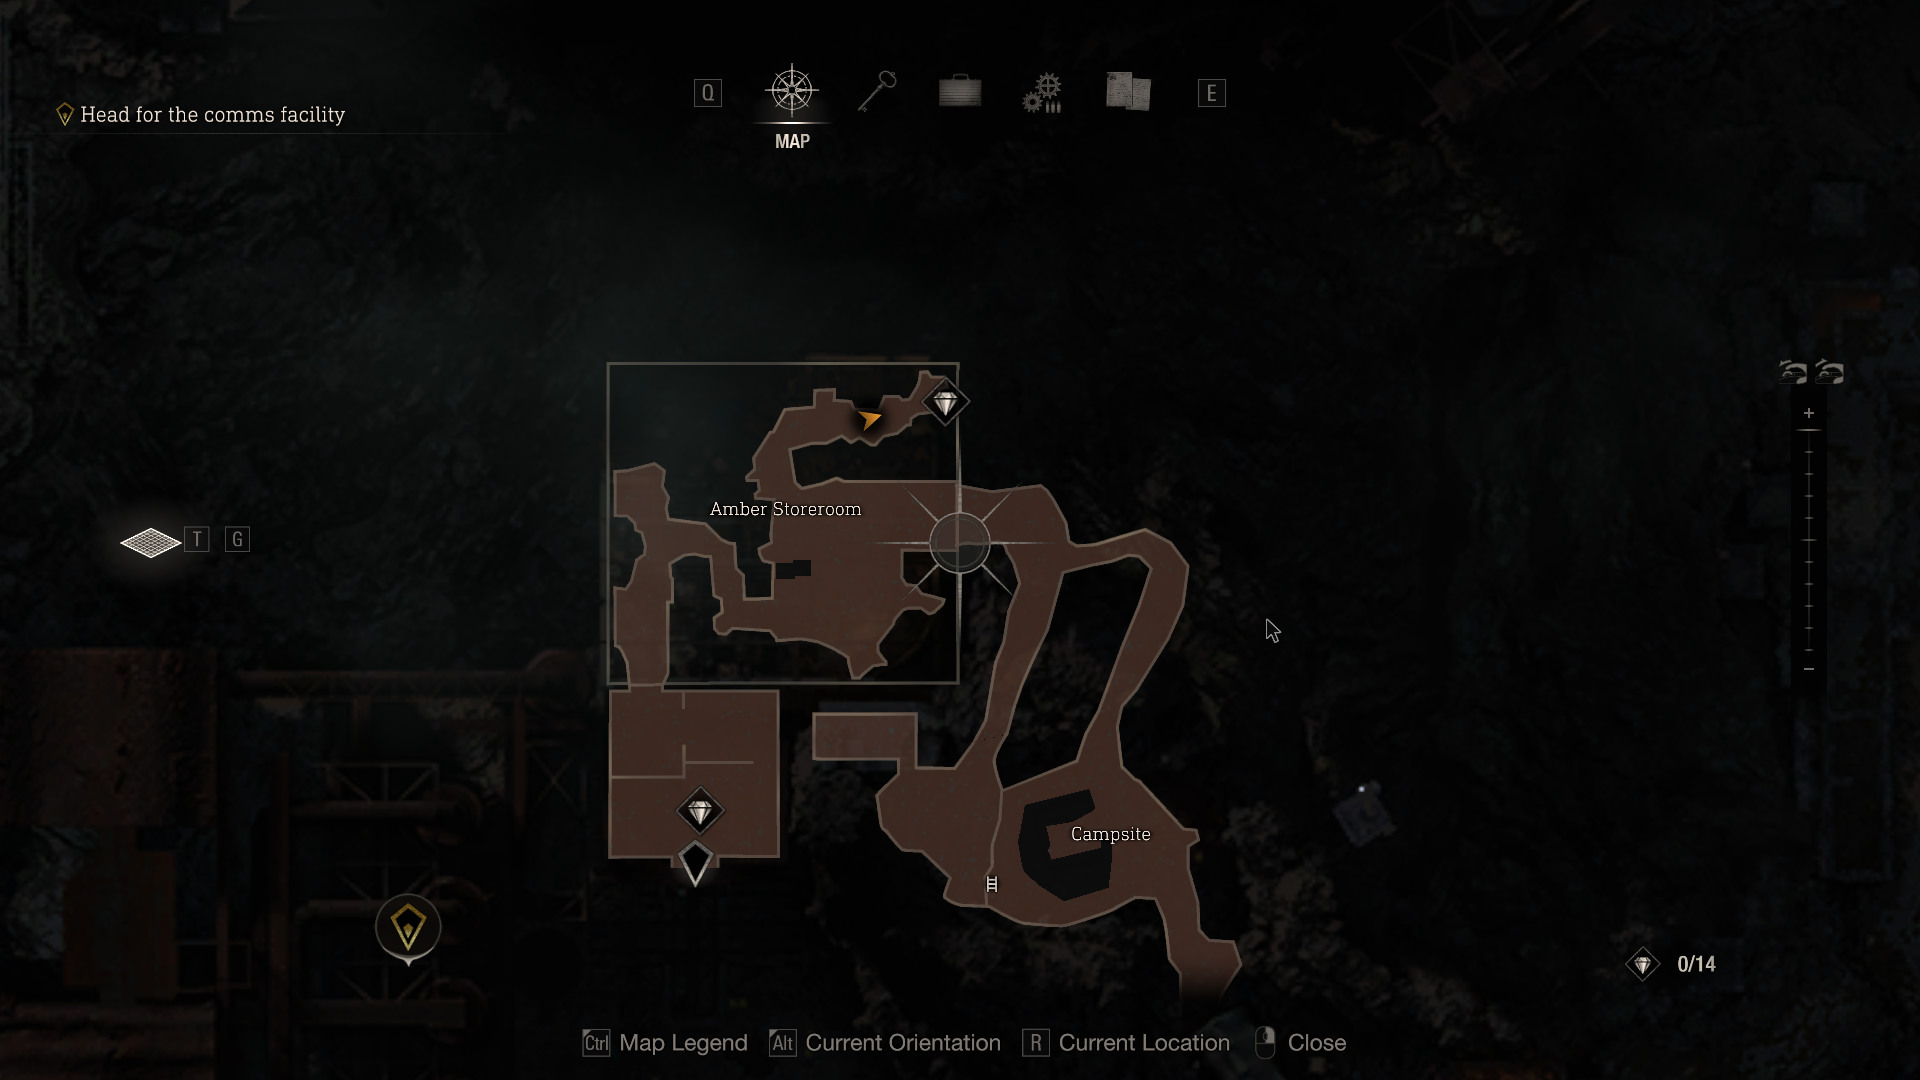
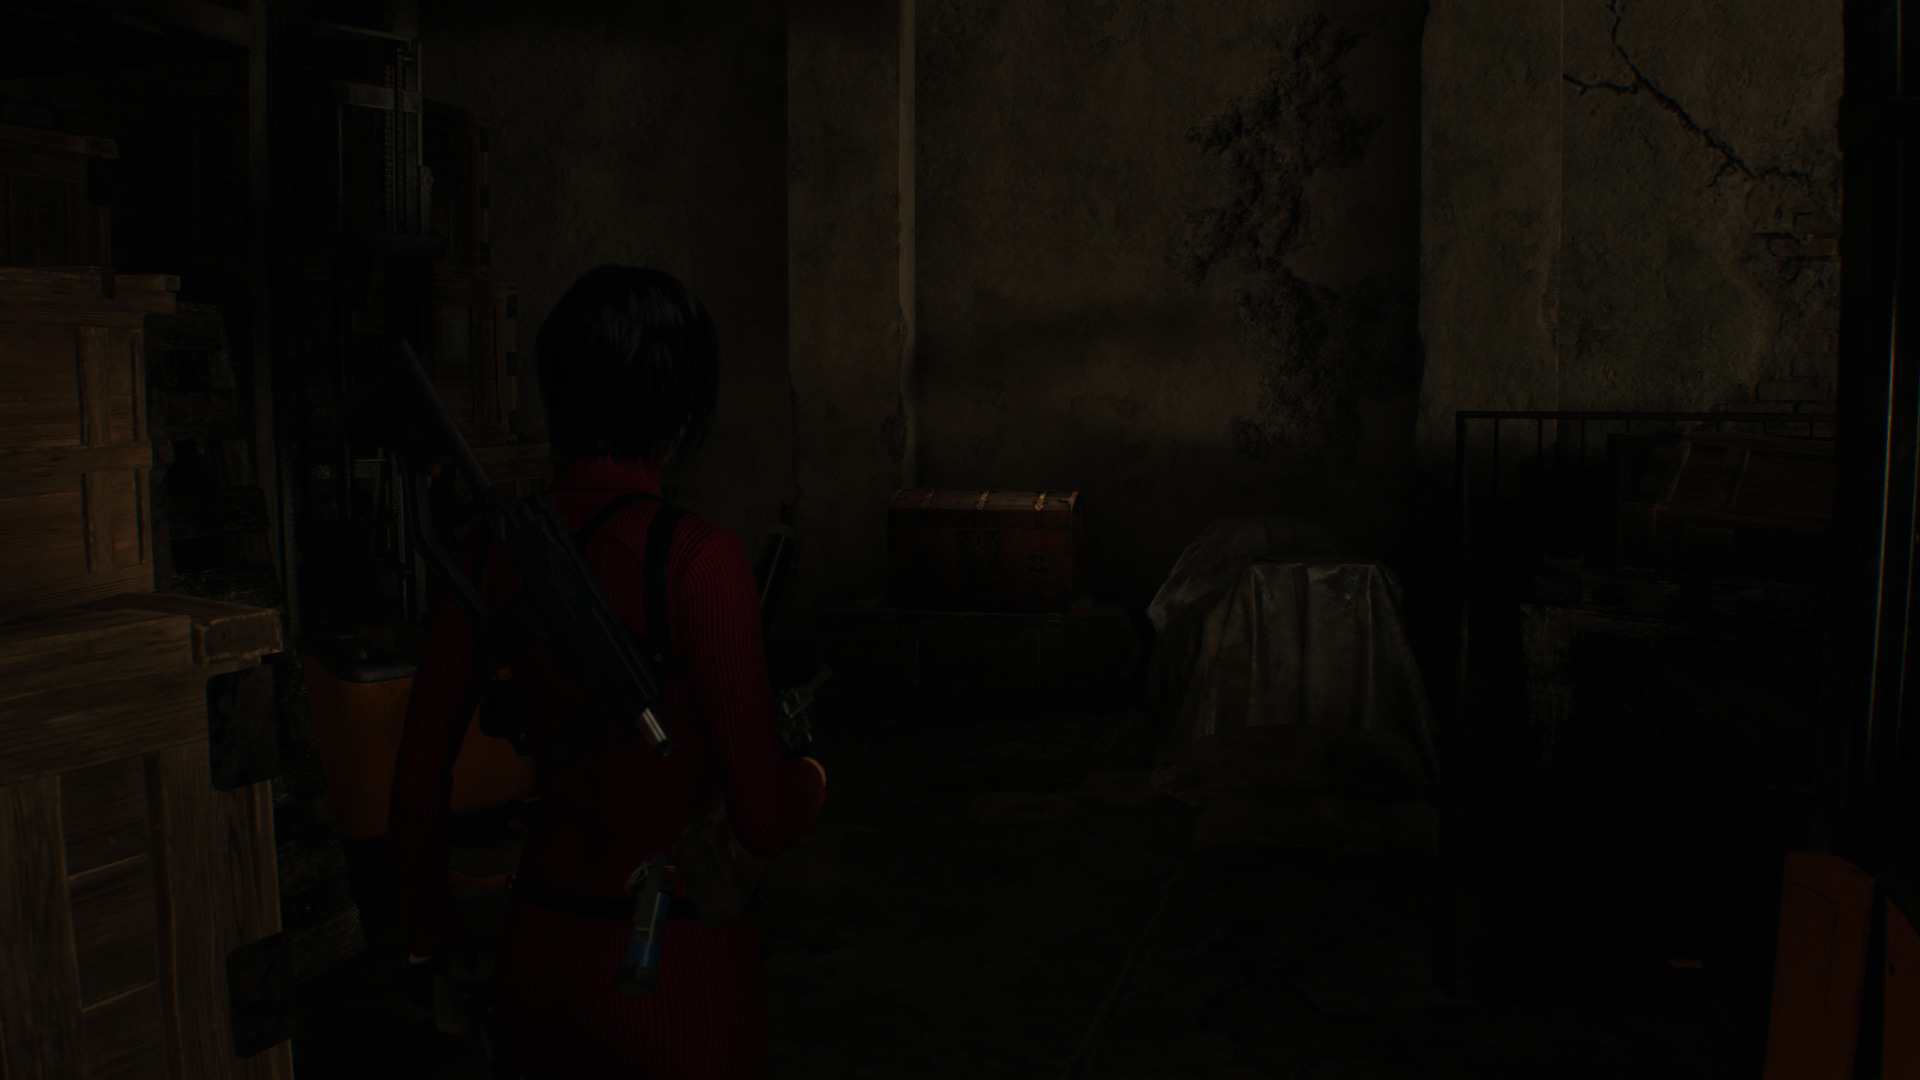 Treasure: Alexandrite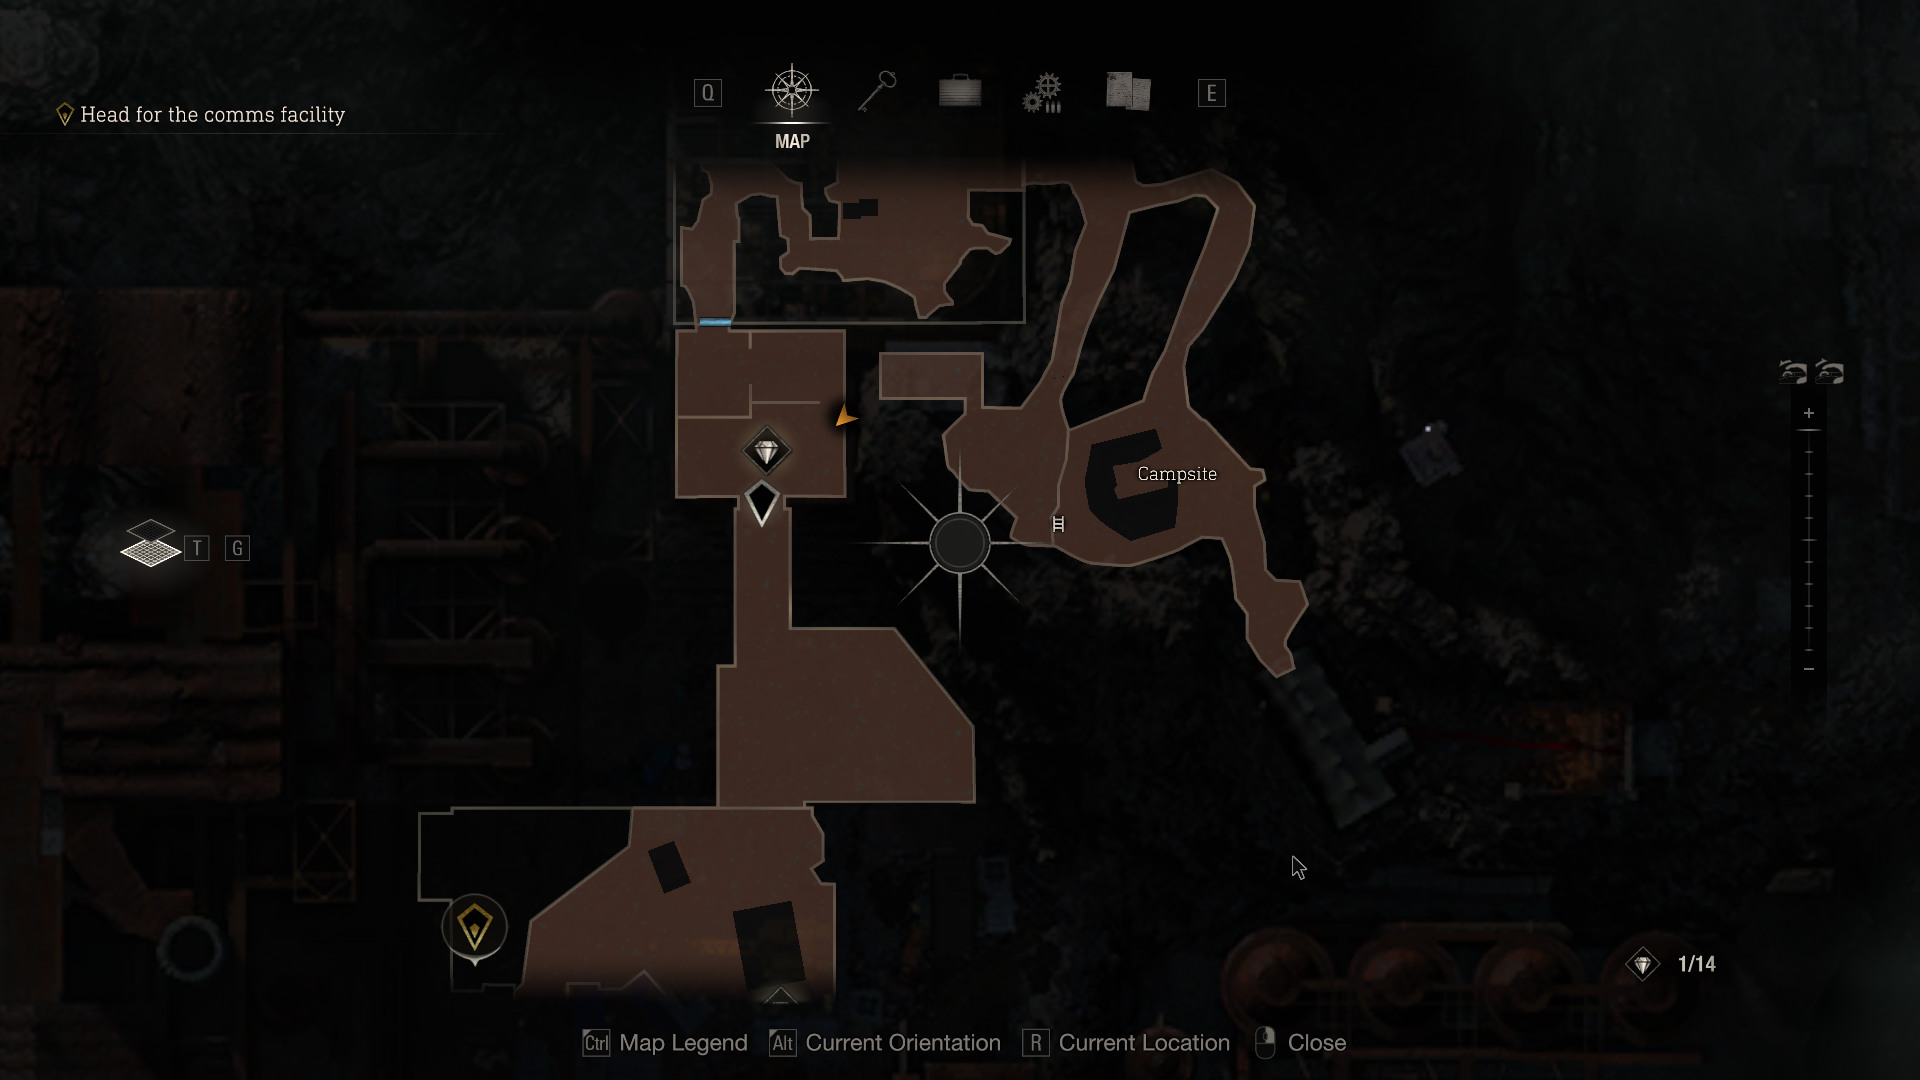
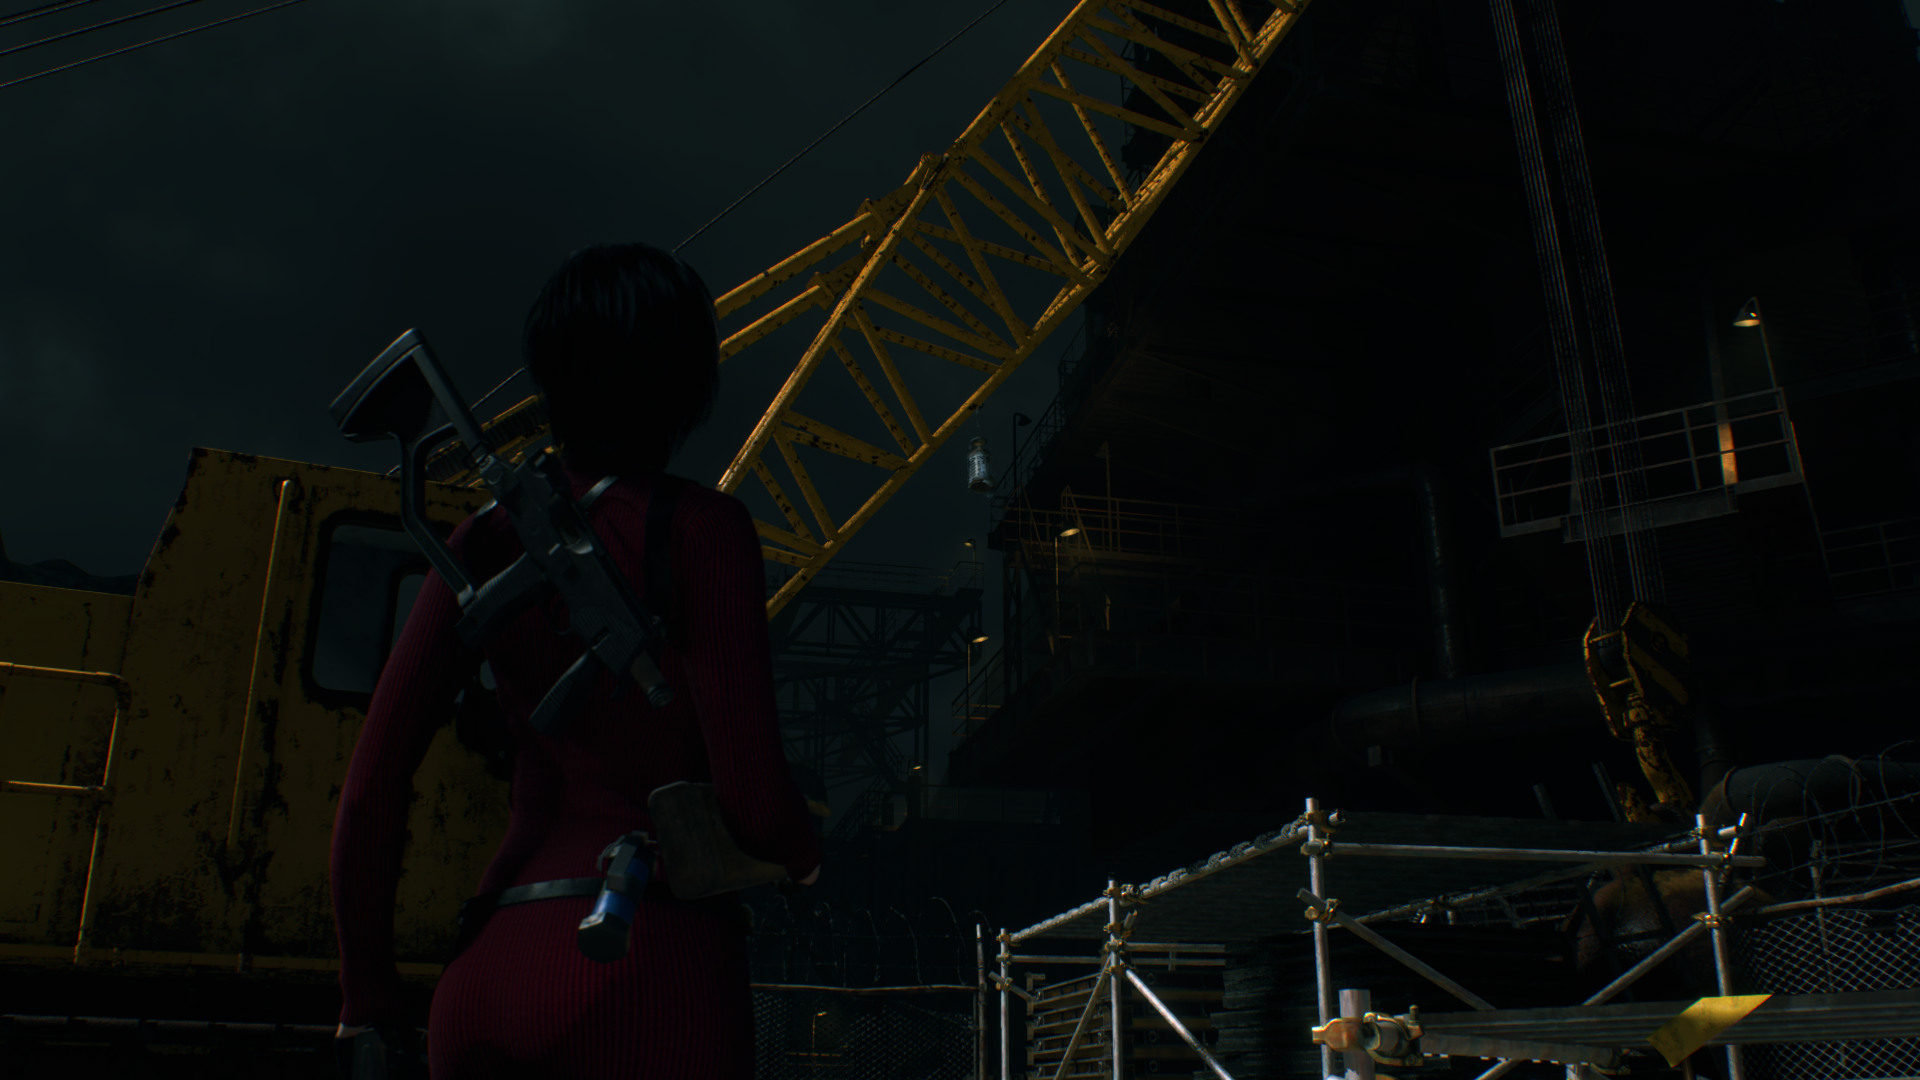
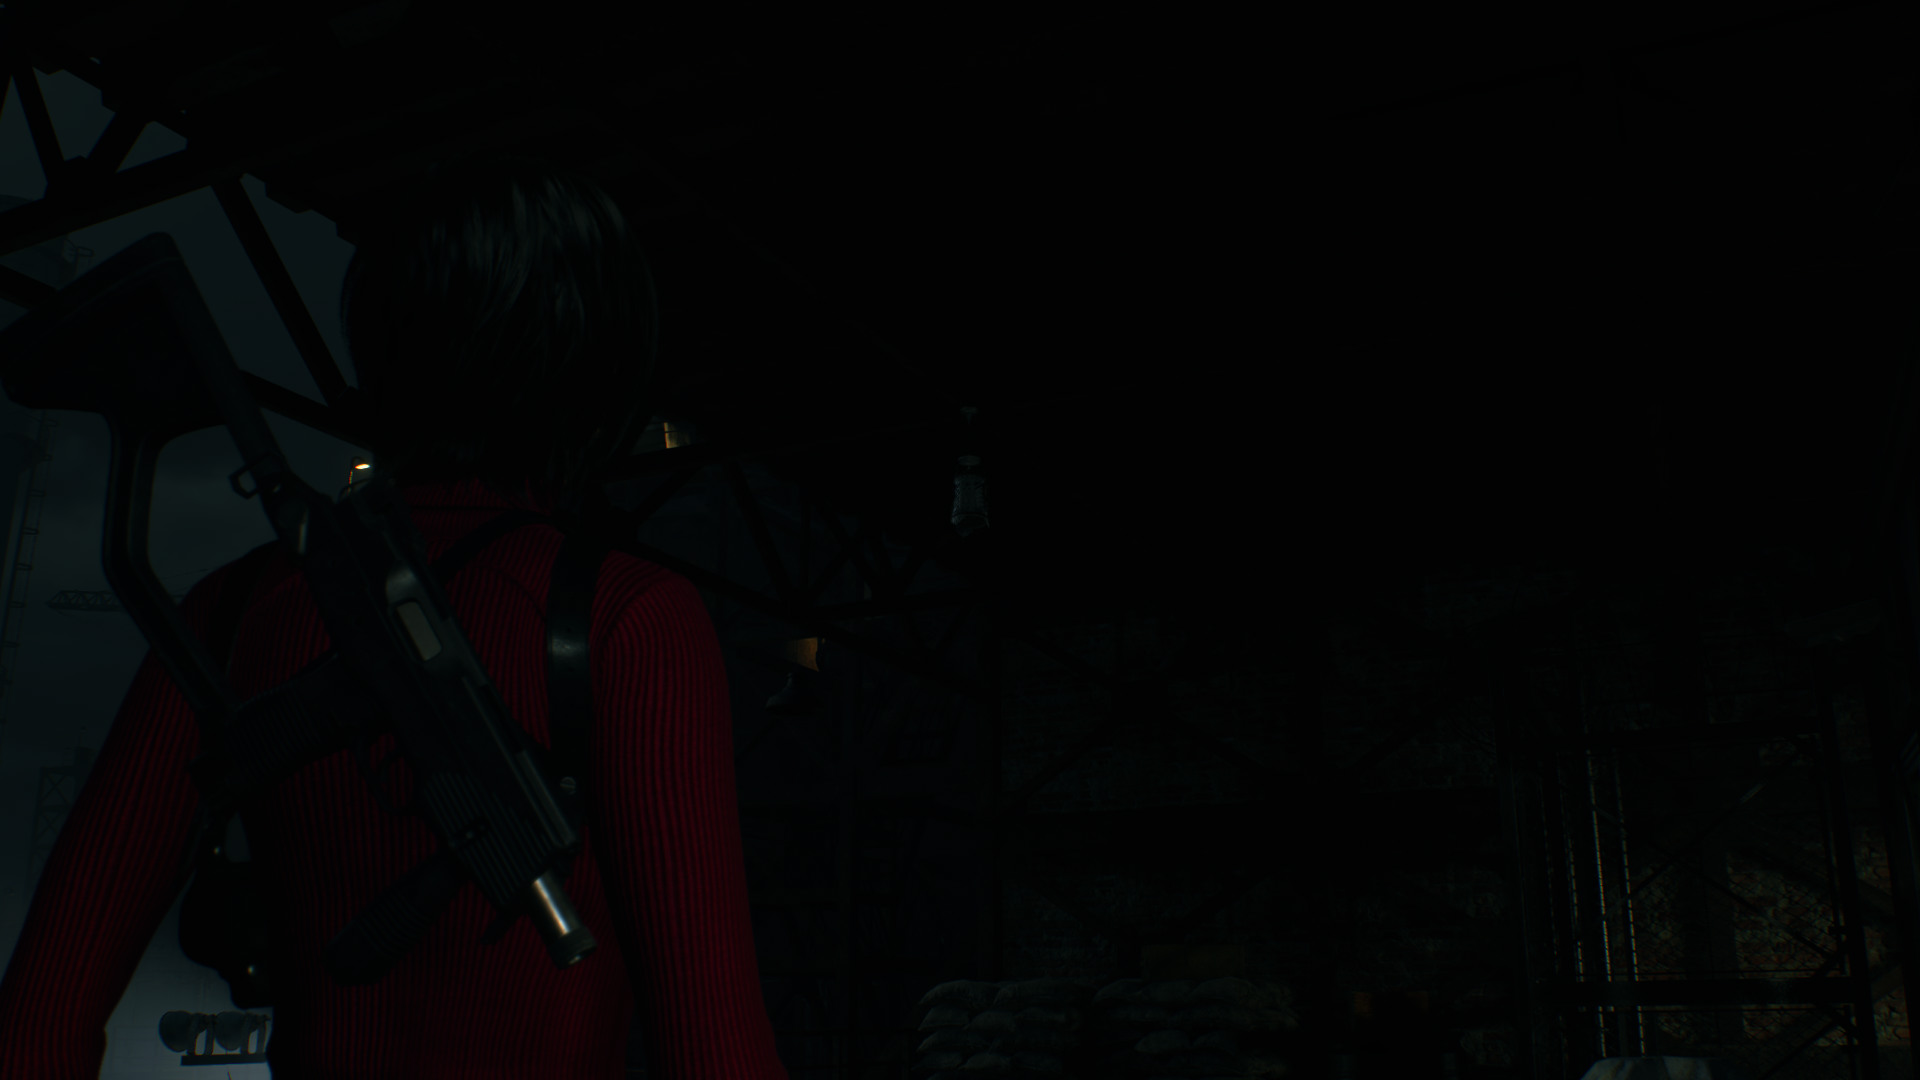 Treasure: Red Beryl
Located on the crane's arm.
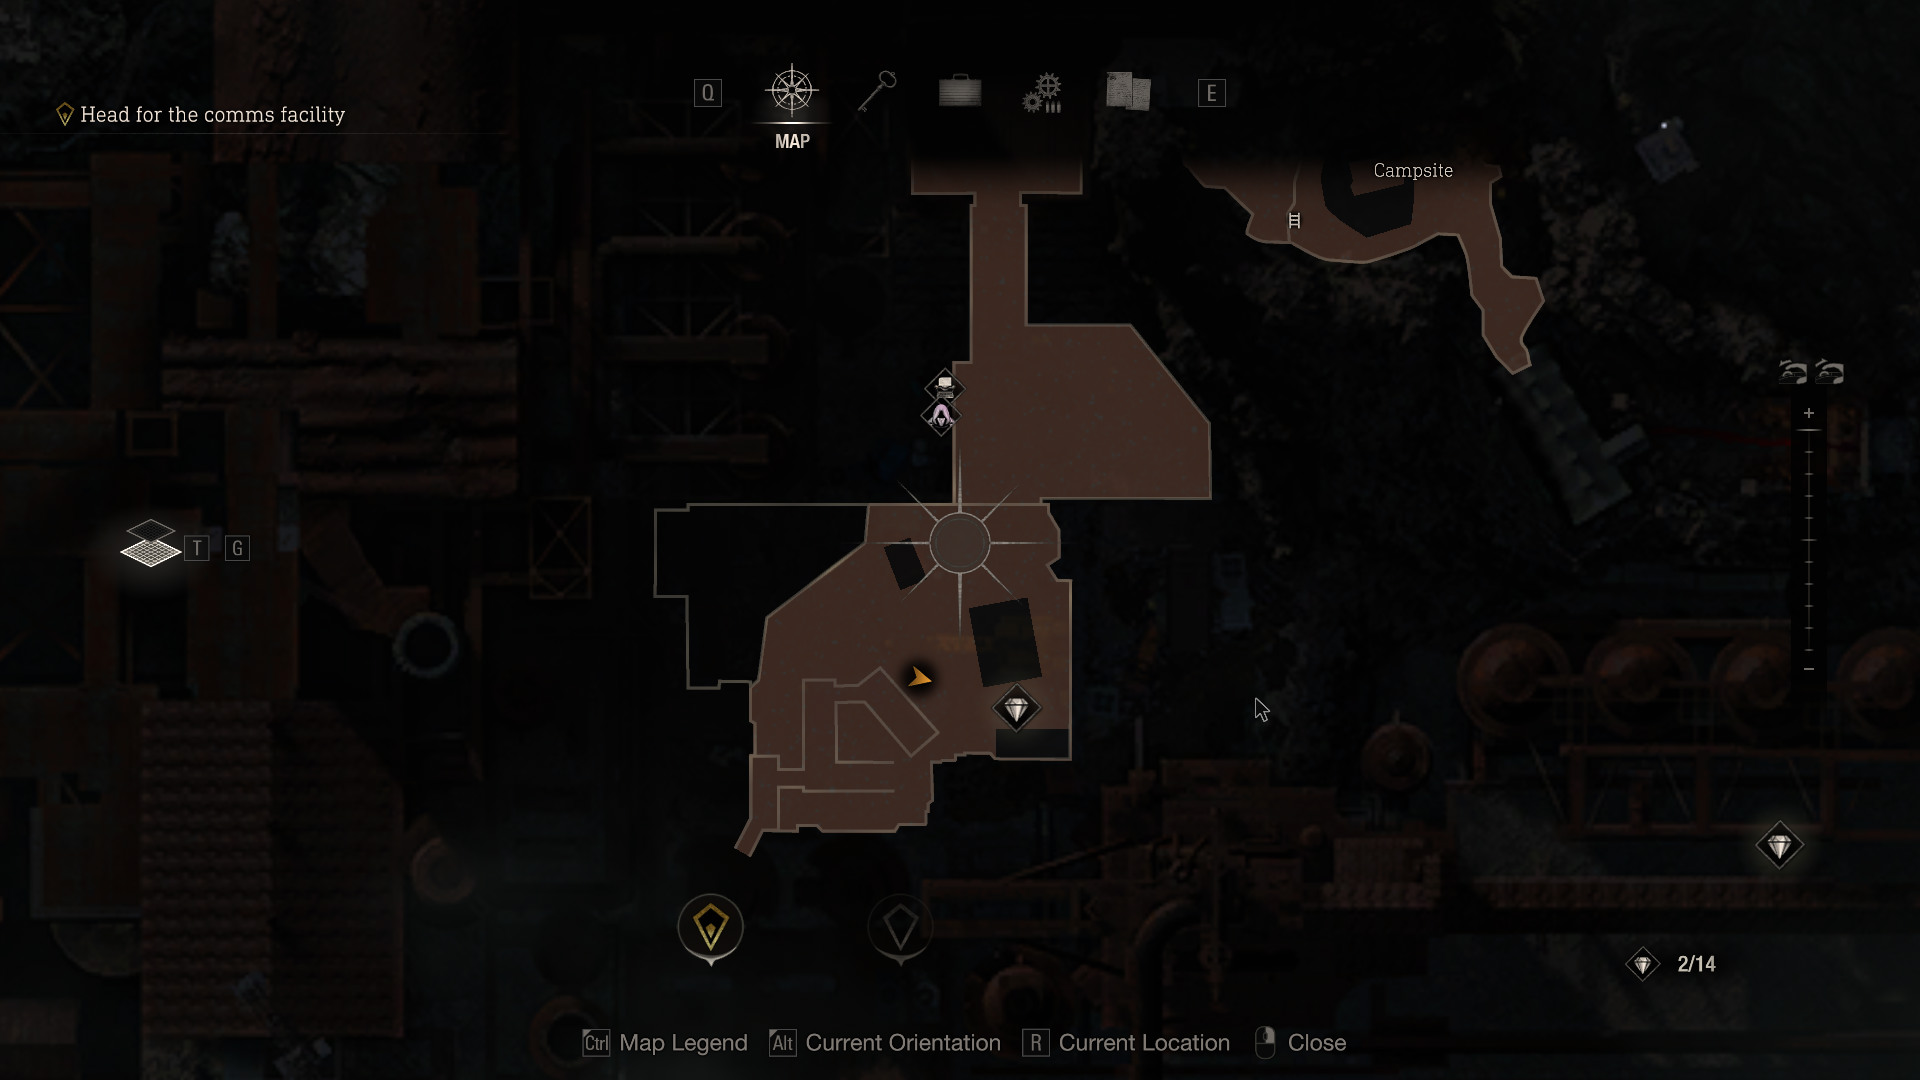
 Merchant Request: Beautiful Beetles
After jumping down, located to the left of the merchant.
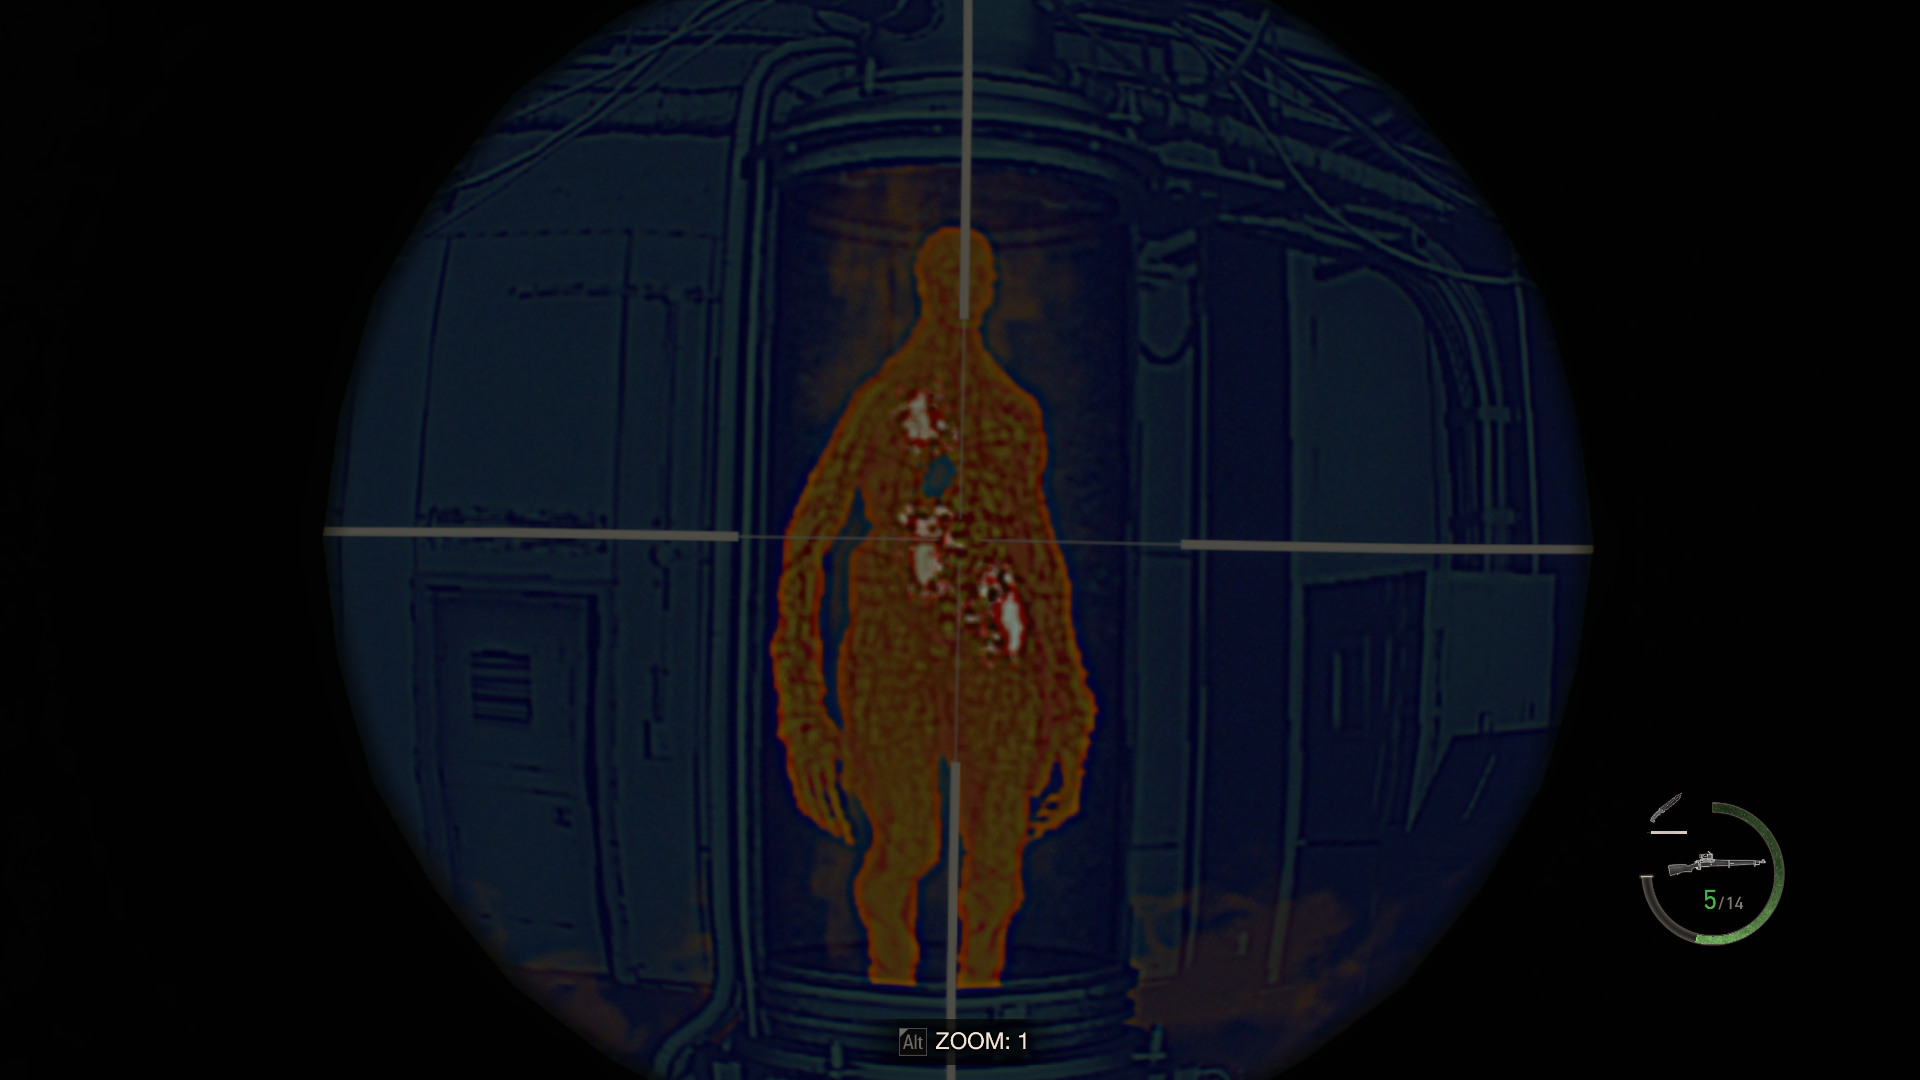
Also Biosensor scope needed for this part.
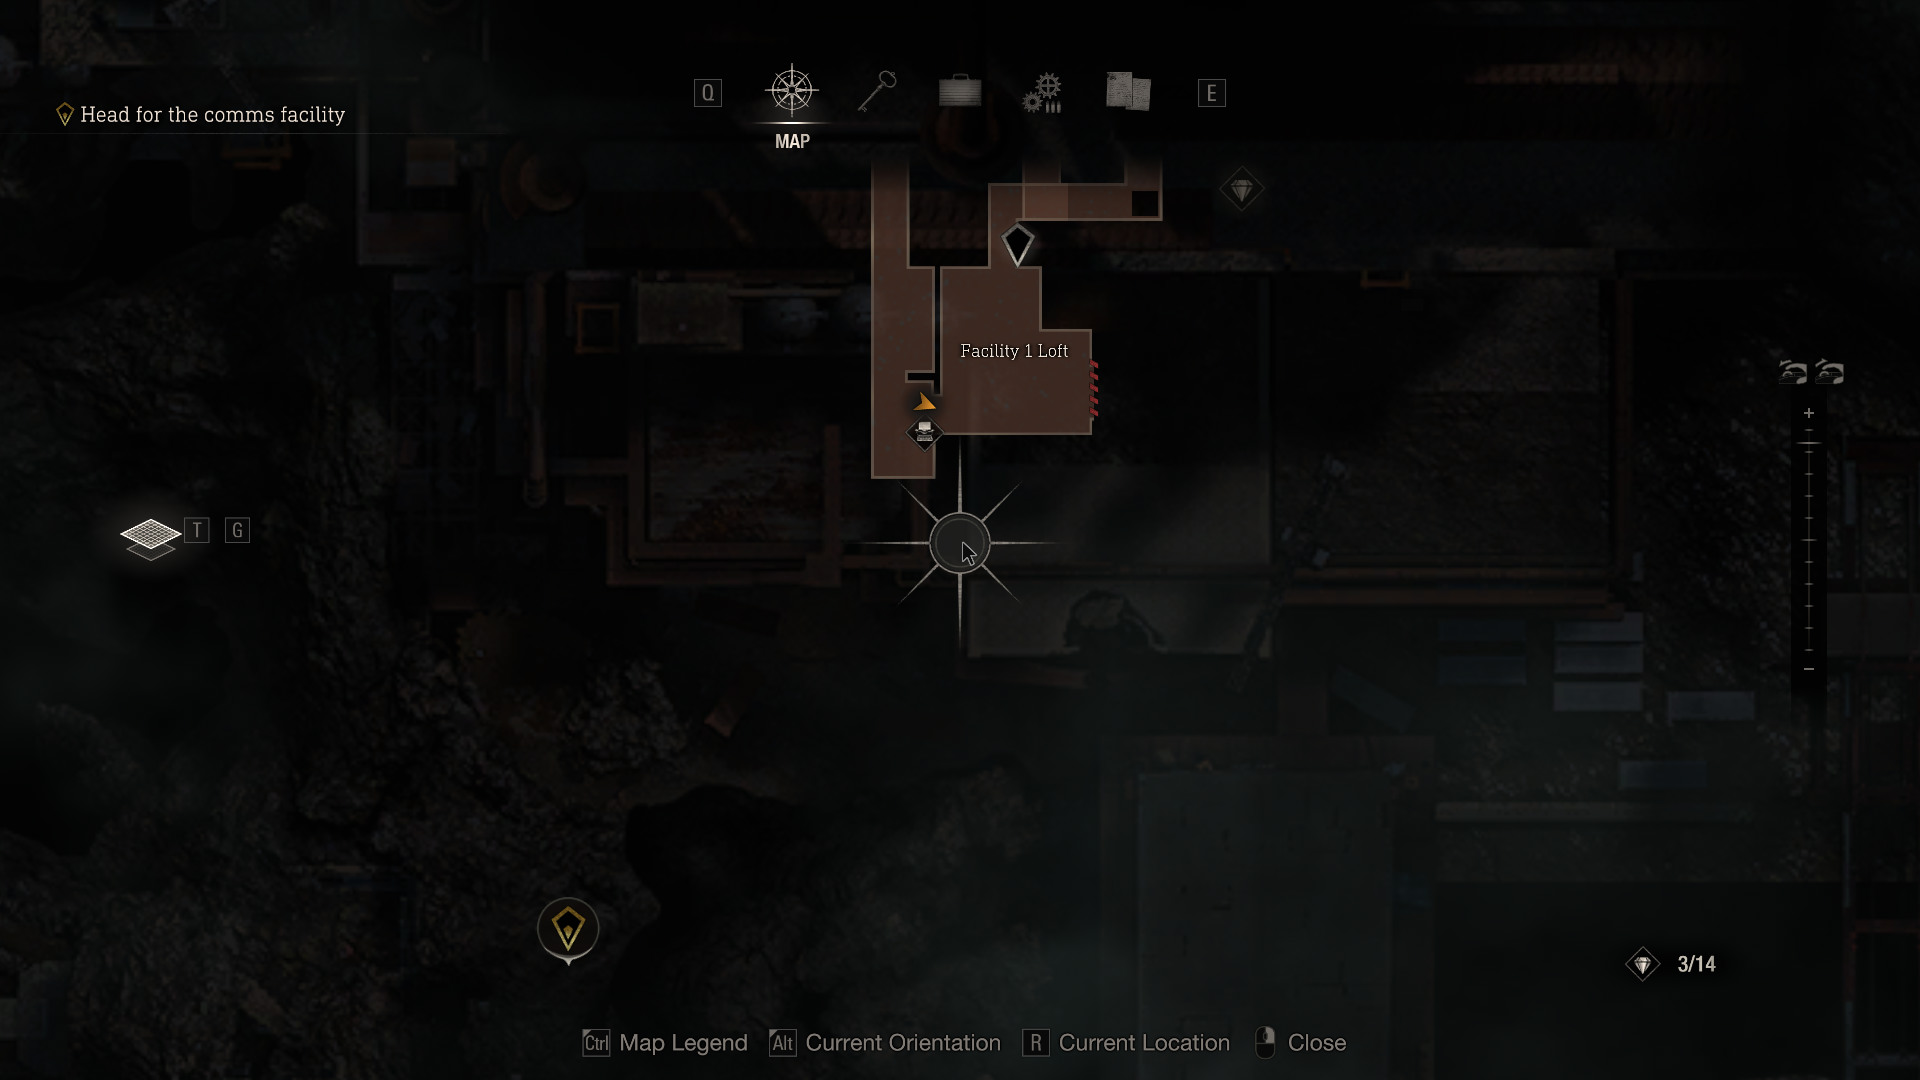
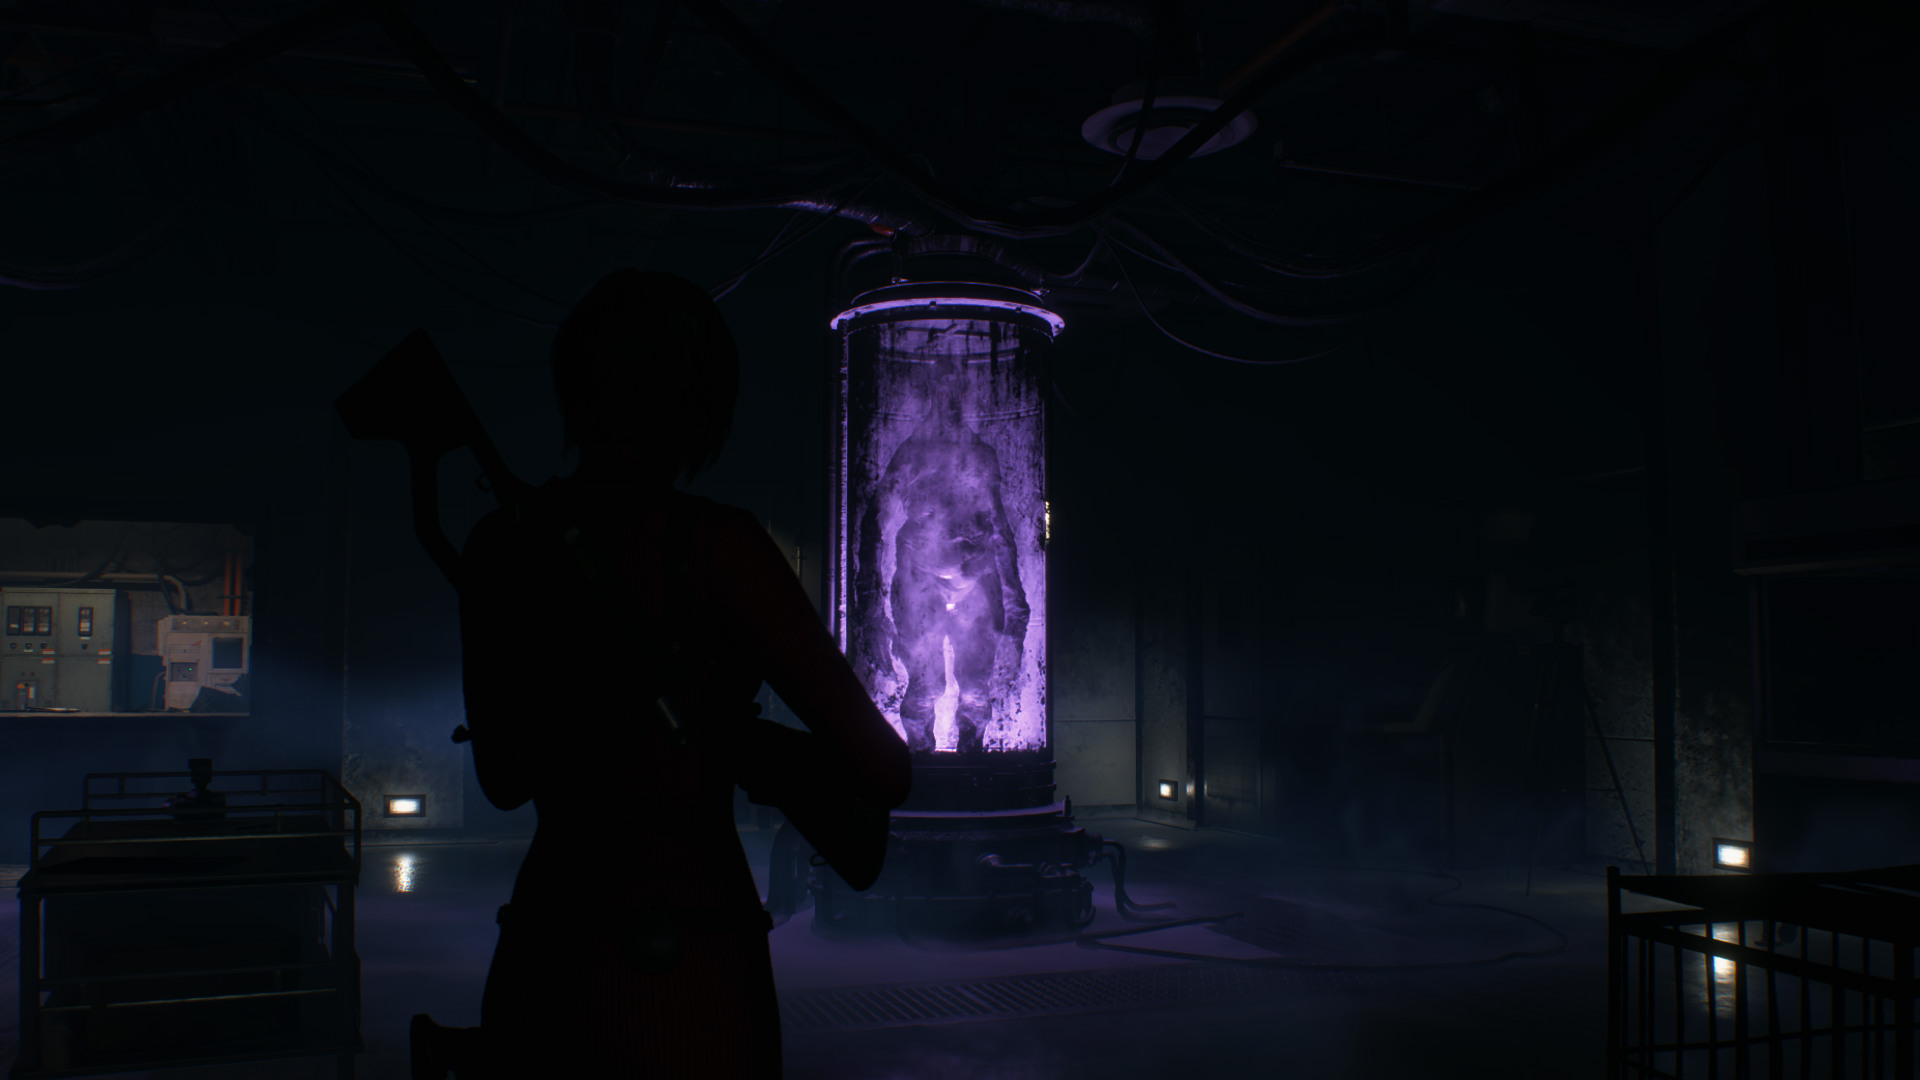
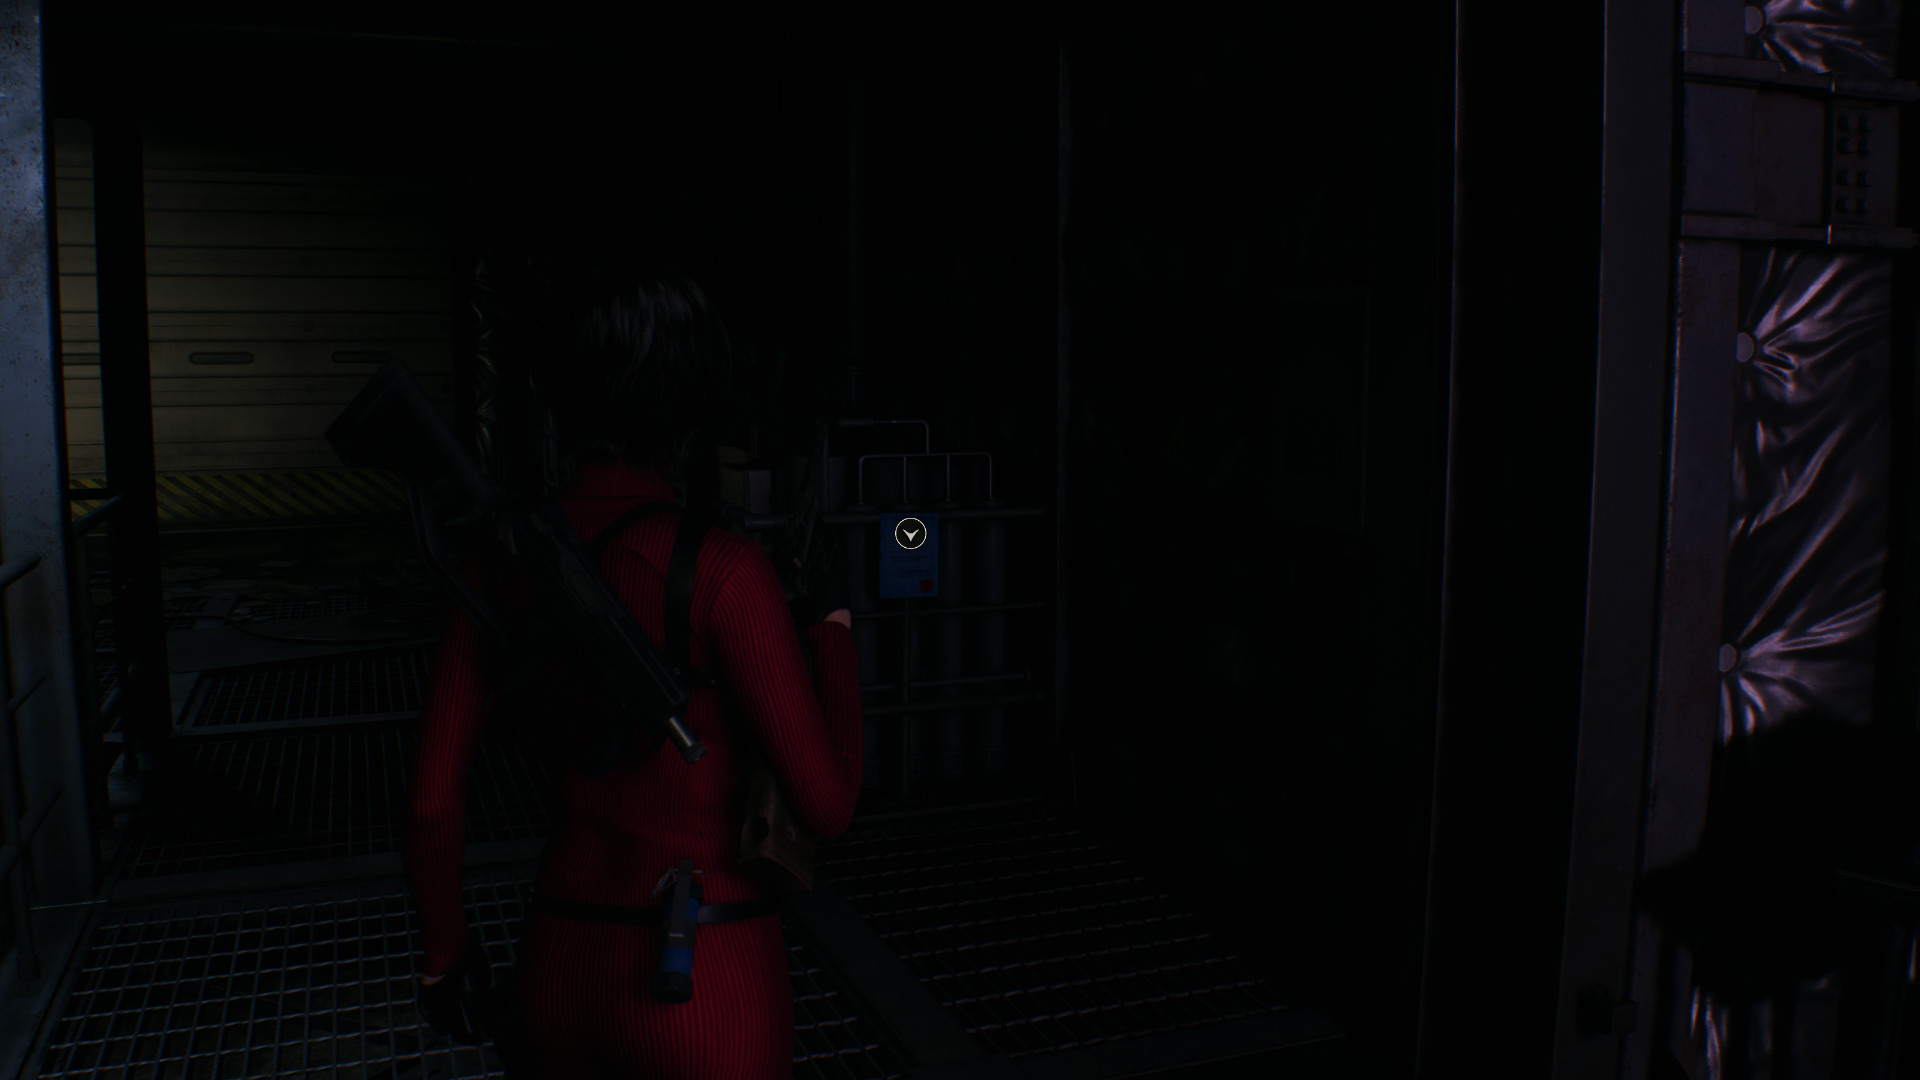 Ornate Beetle 1
Located inside of the regenerator that is inside the incubation pod.
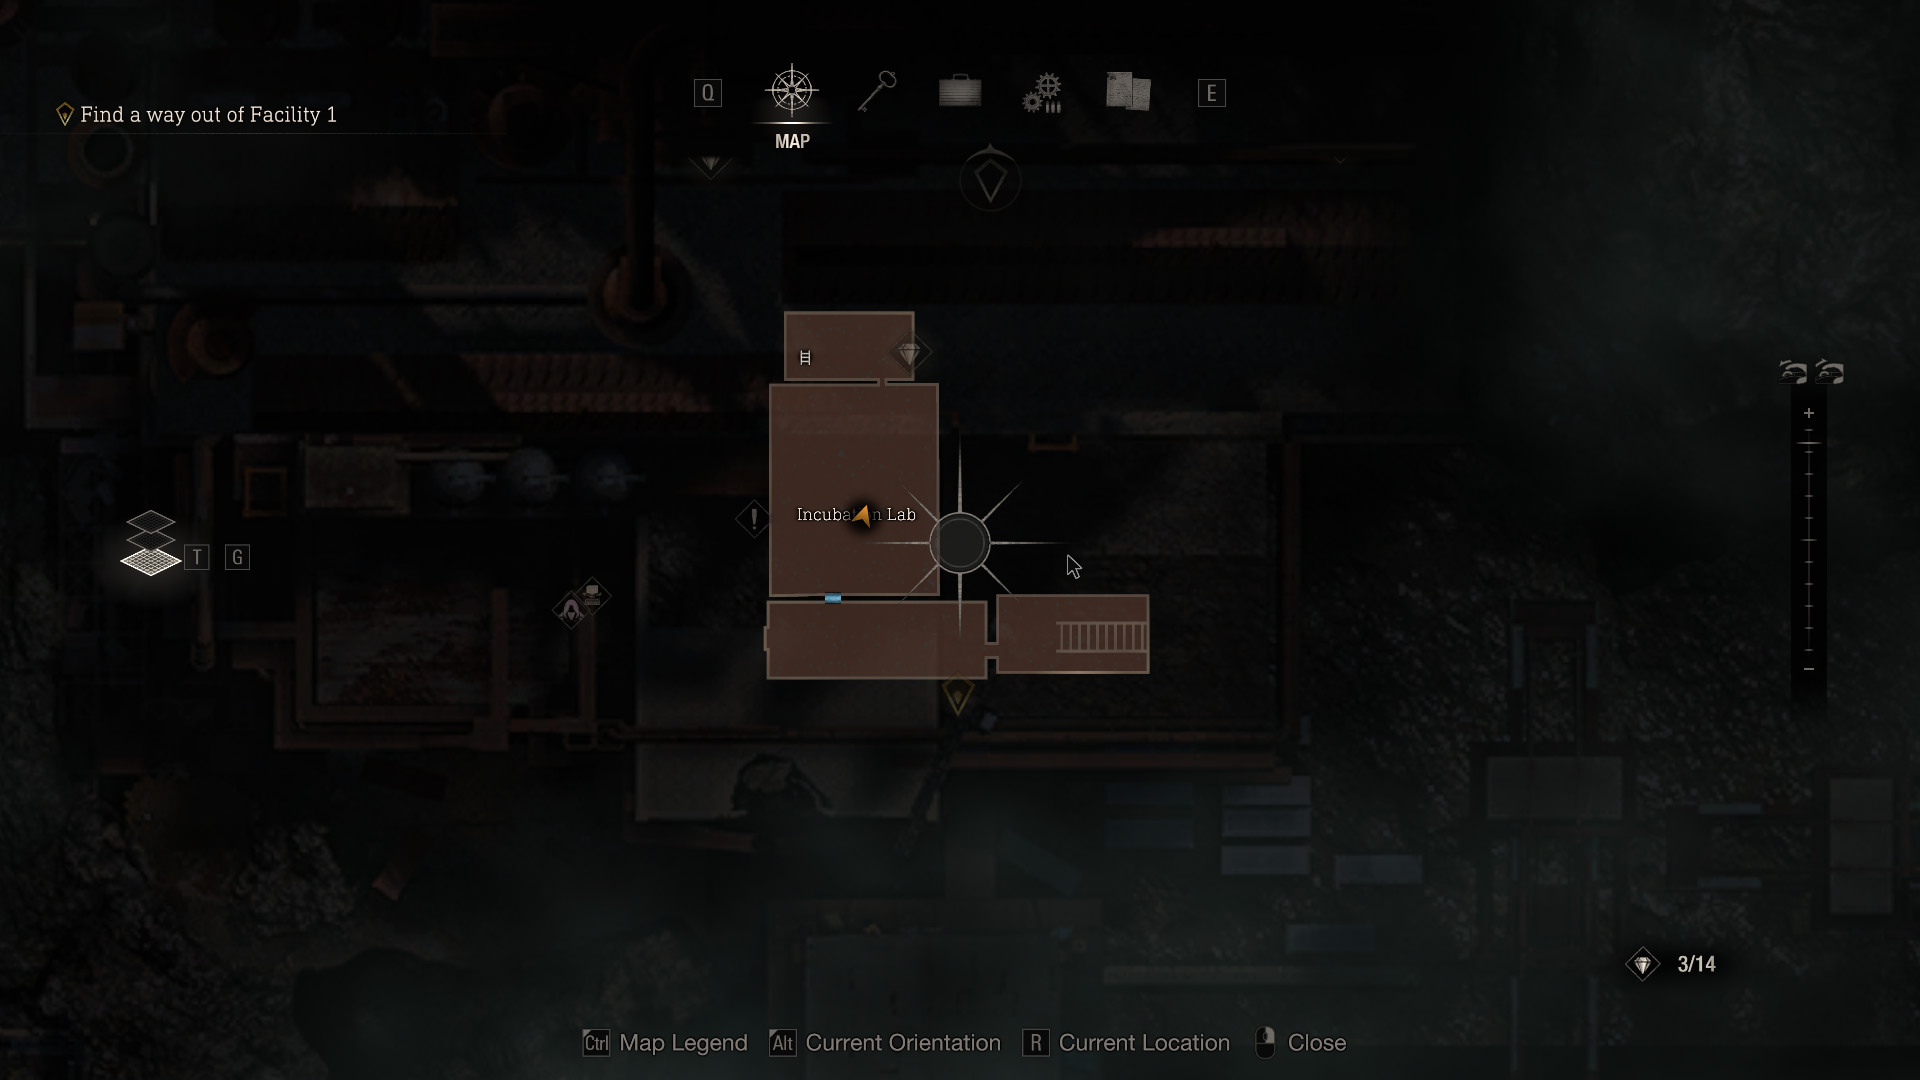
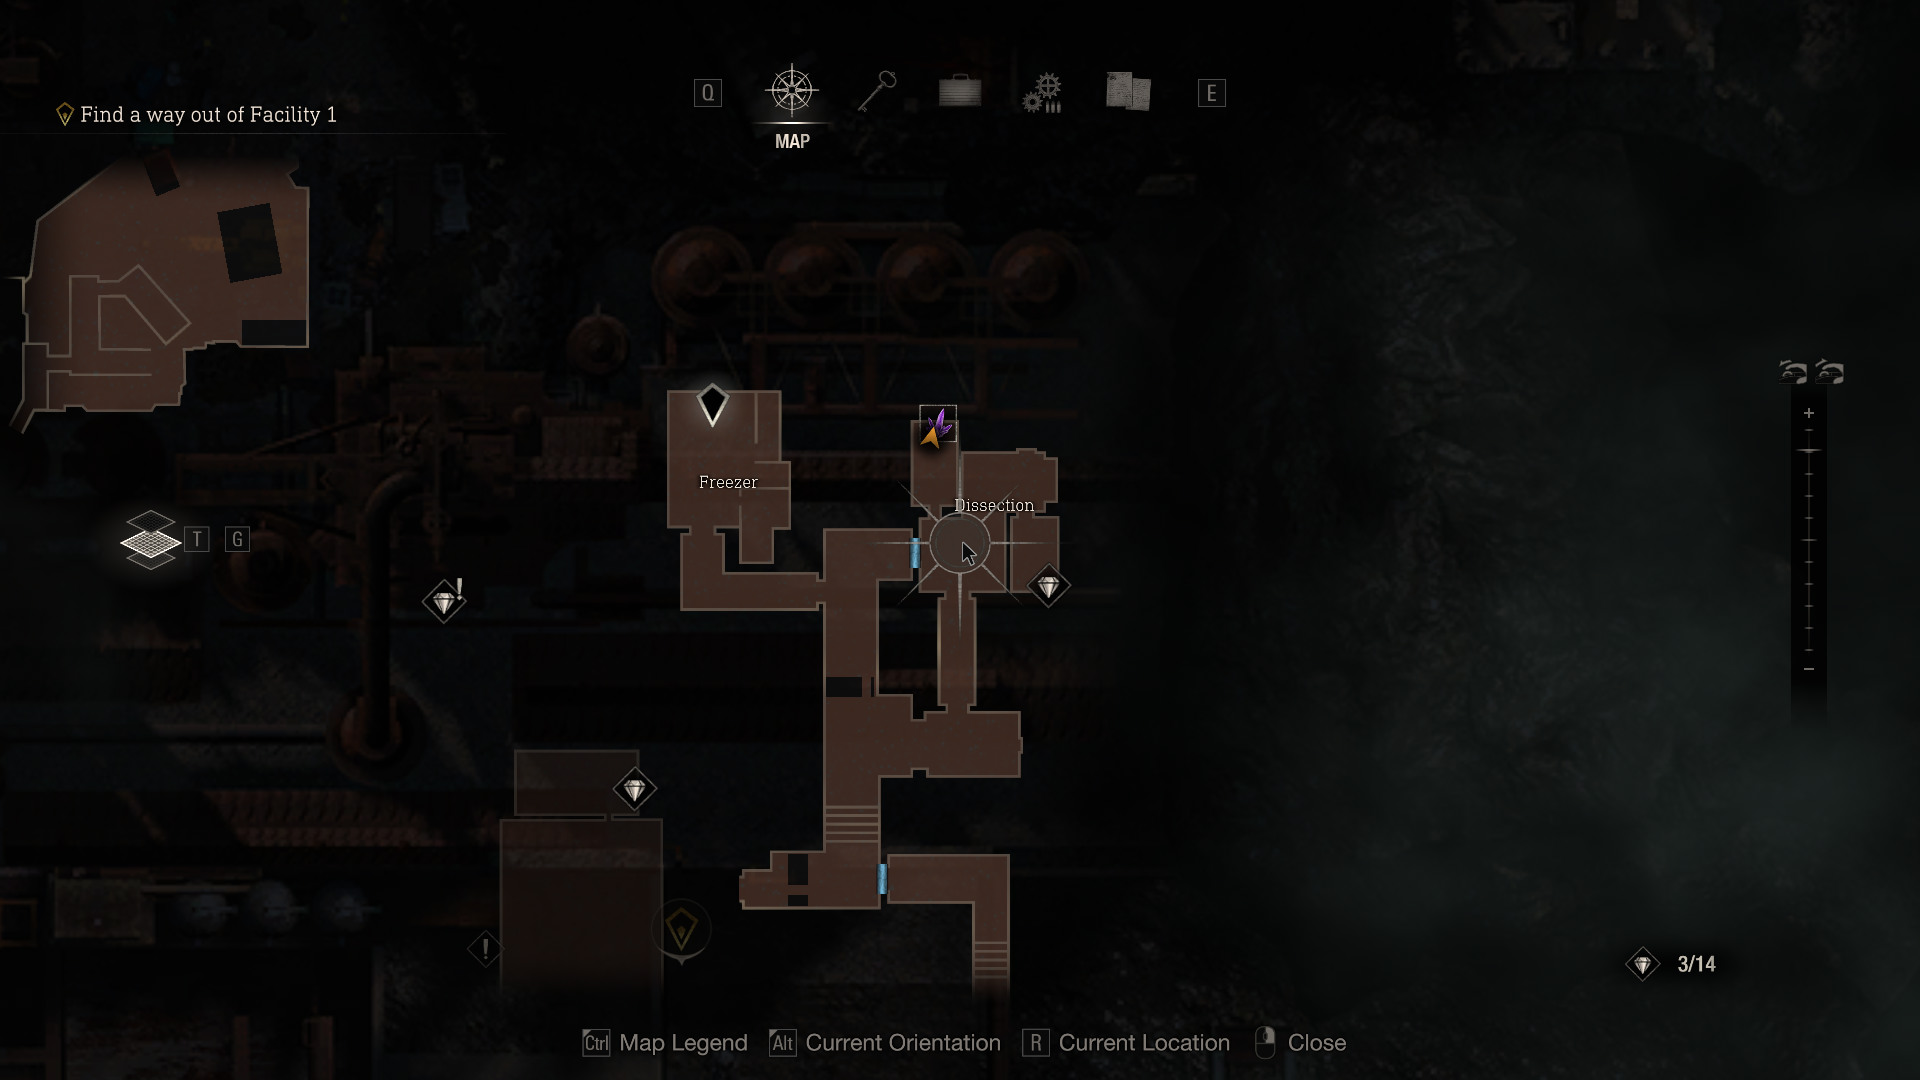
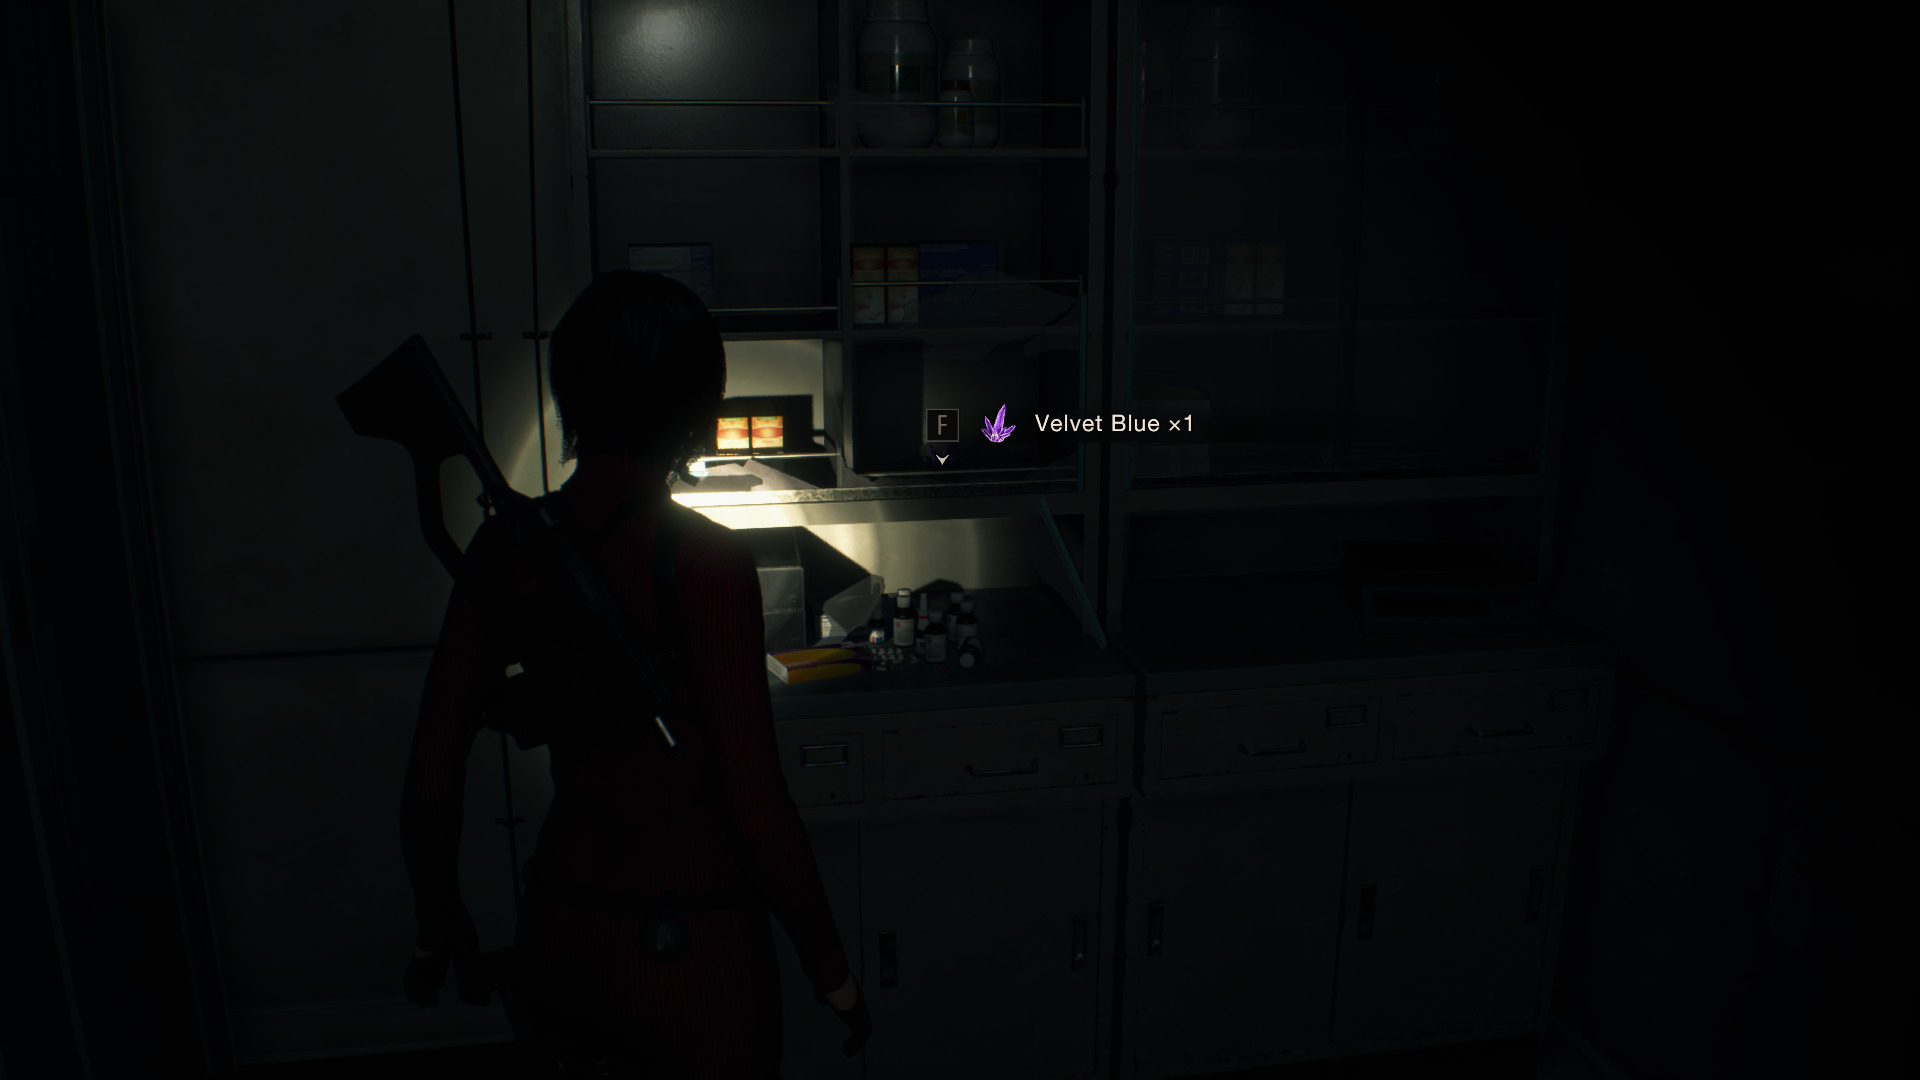
 Treasure: Velvet Blue
Located in the top left room of the Dissection section of the map.
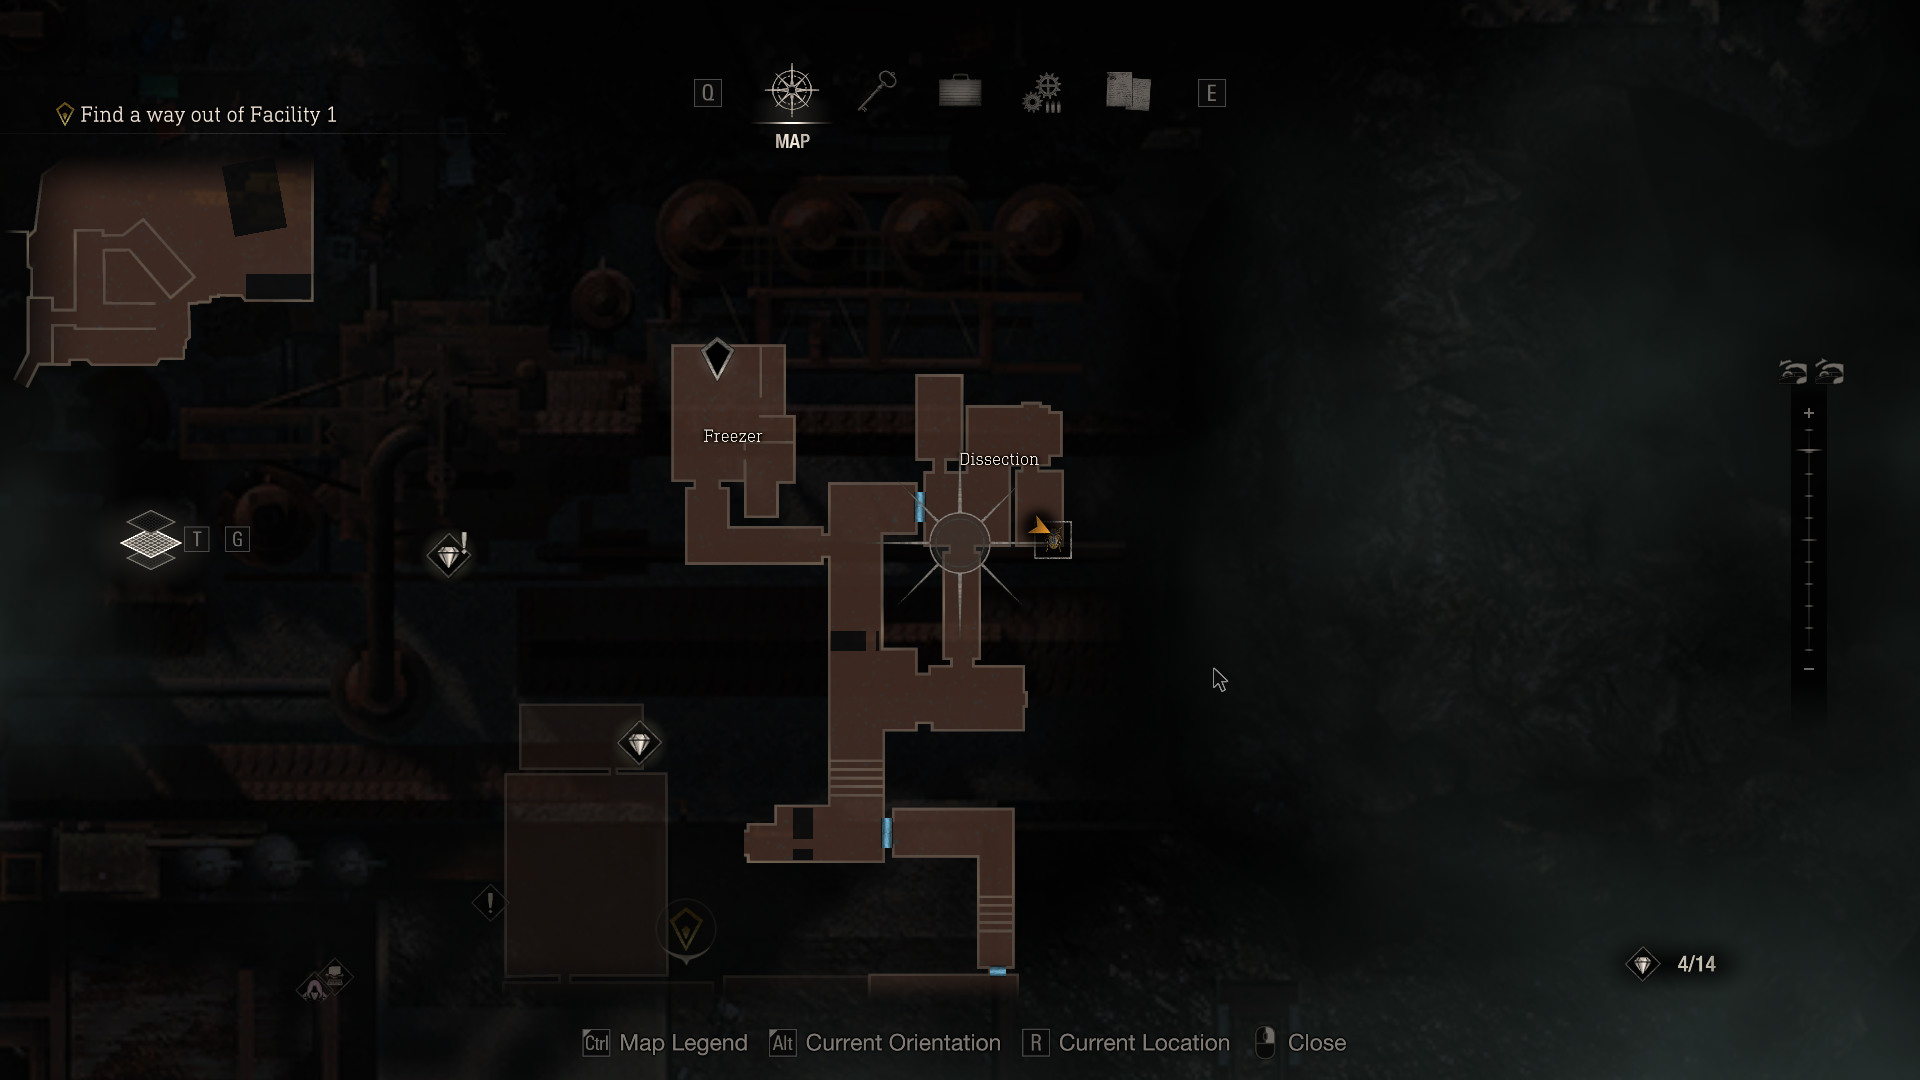
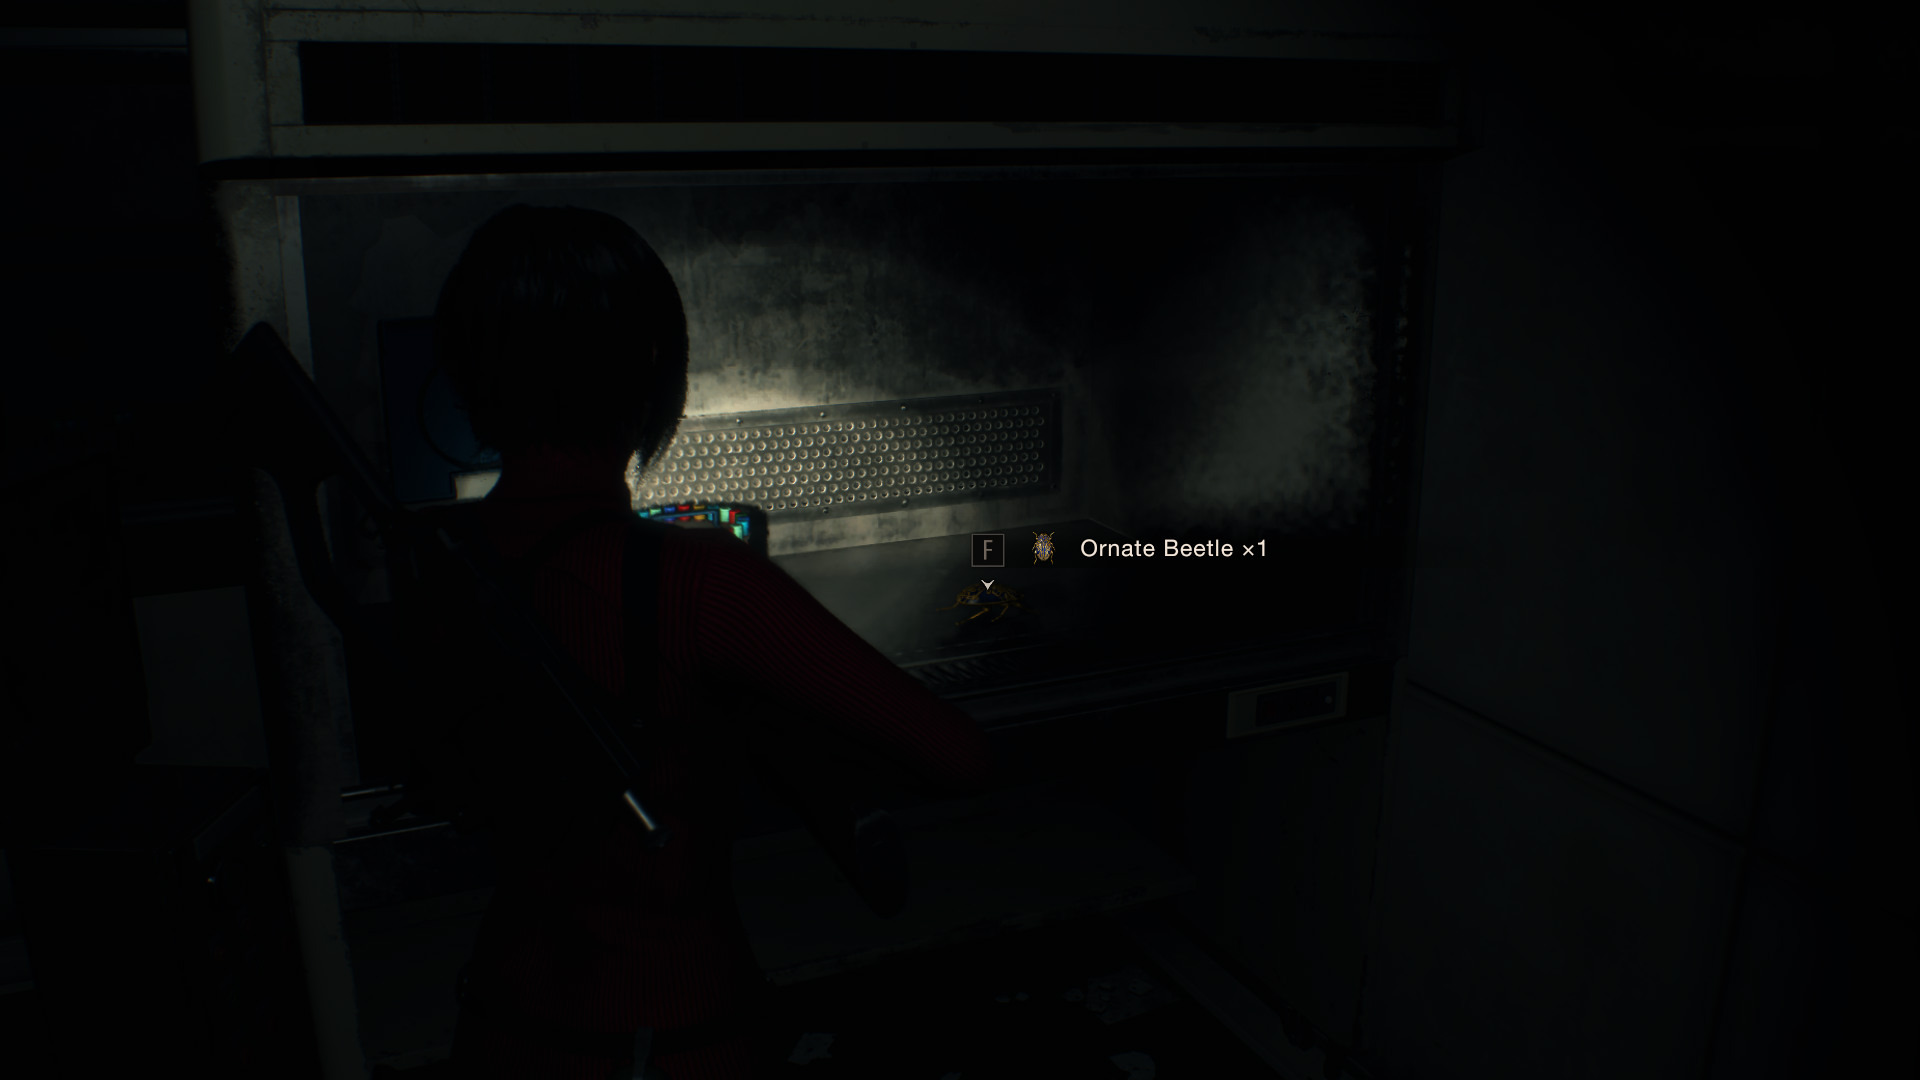
 Treasure/merchant request item: Ornate Beetle 2
After killing the only regenerator in the Dissection area, located in the same southeastern room where the regenerator was, inside the glass case.
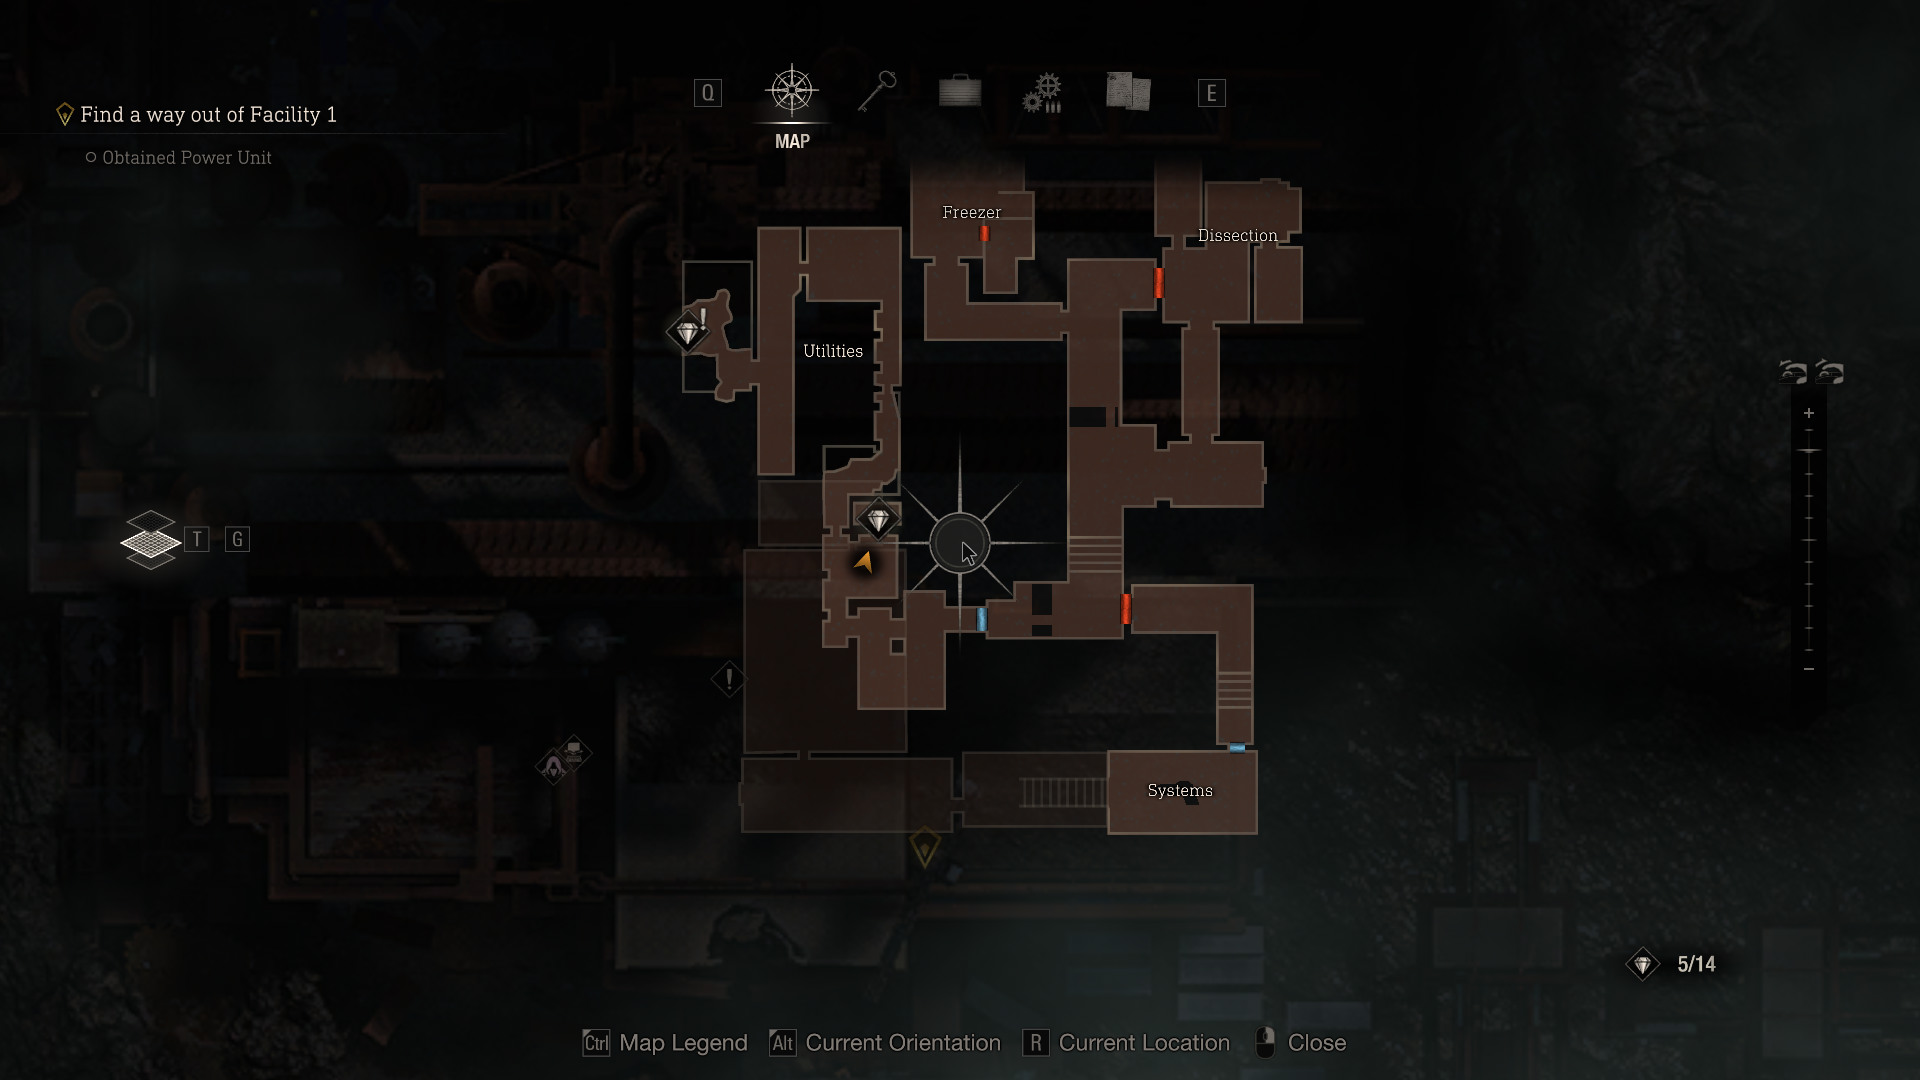
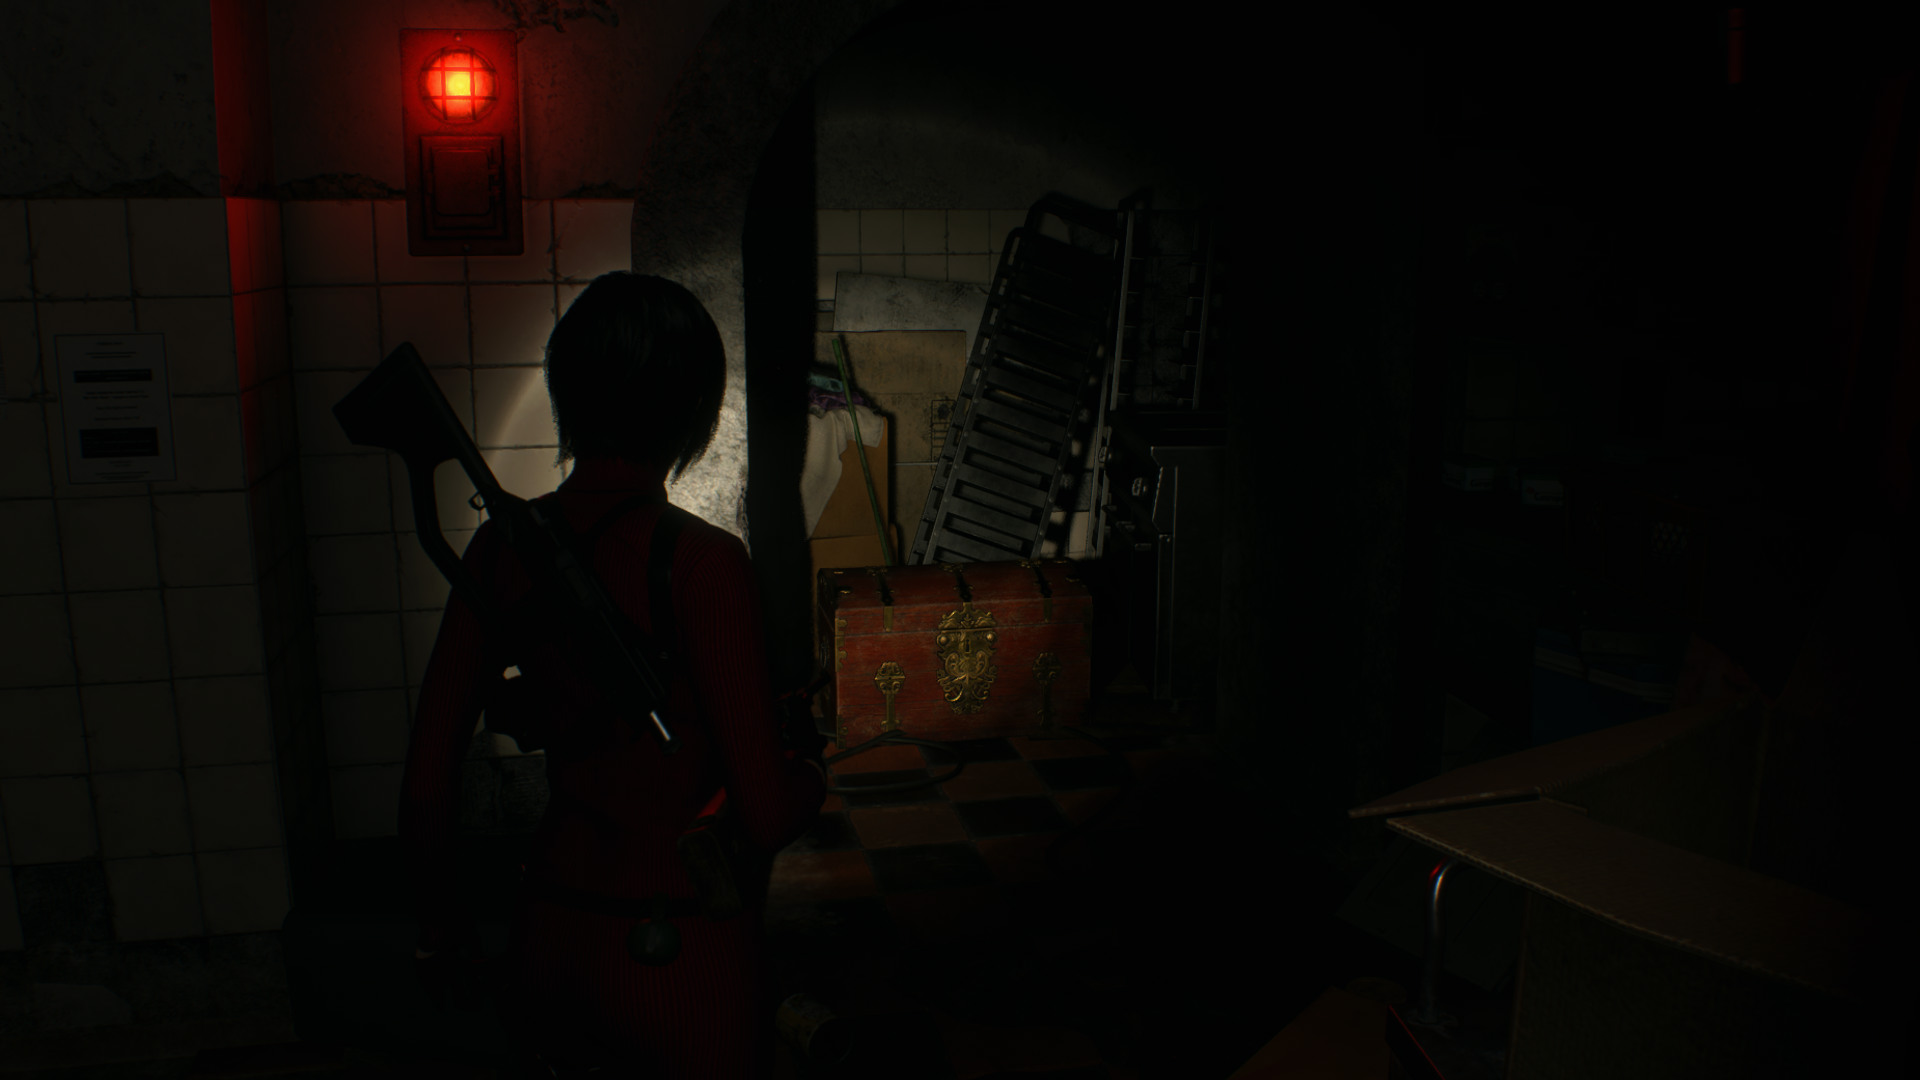
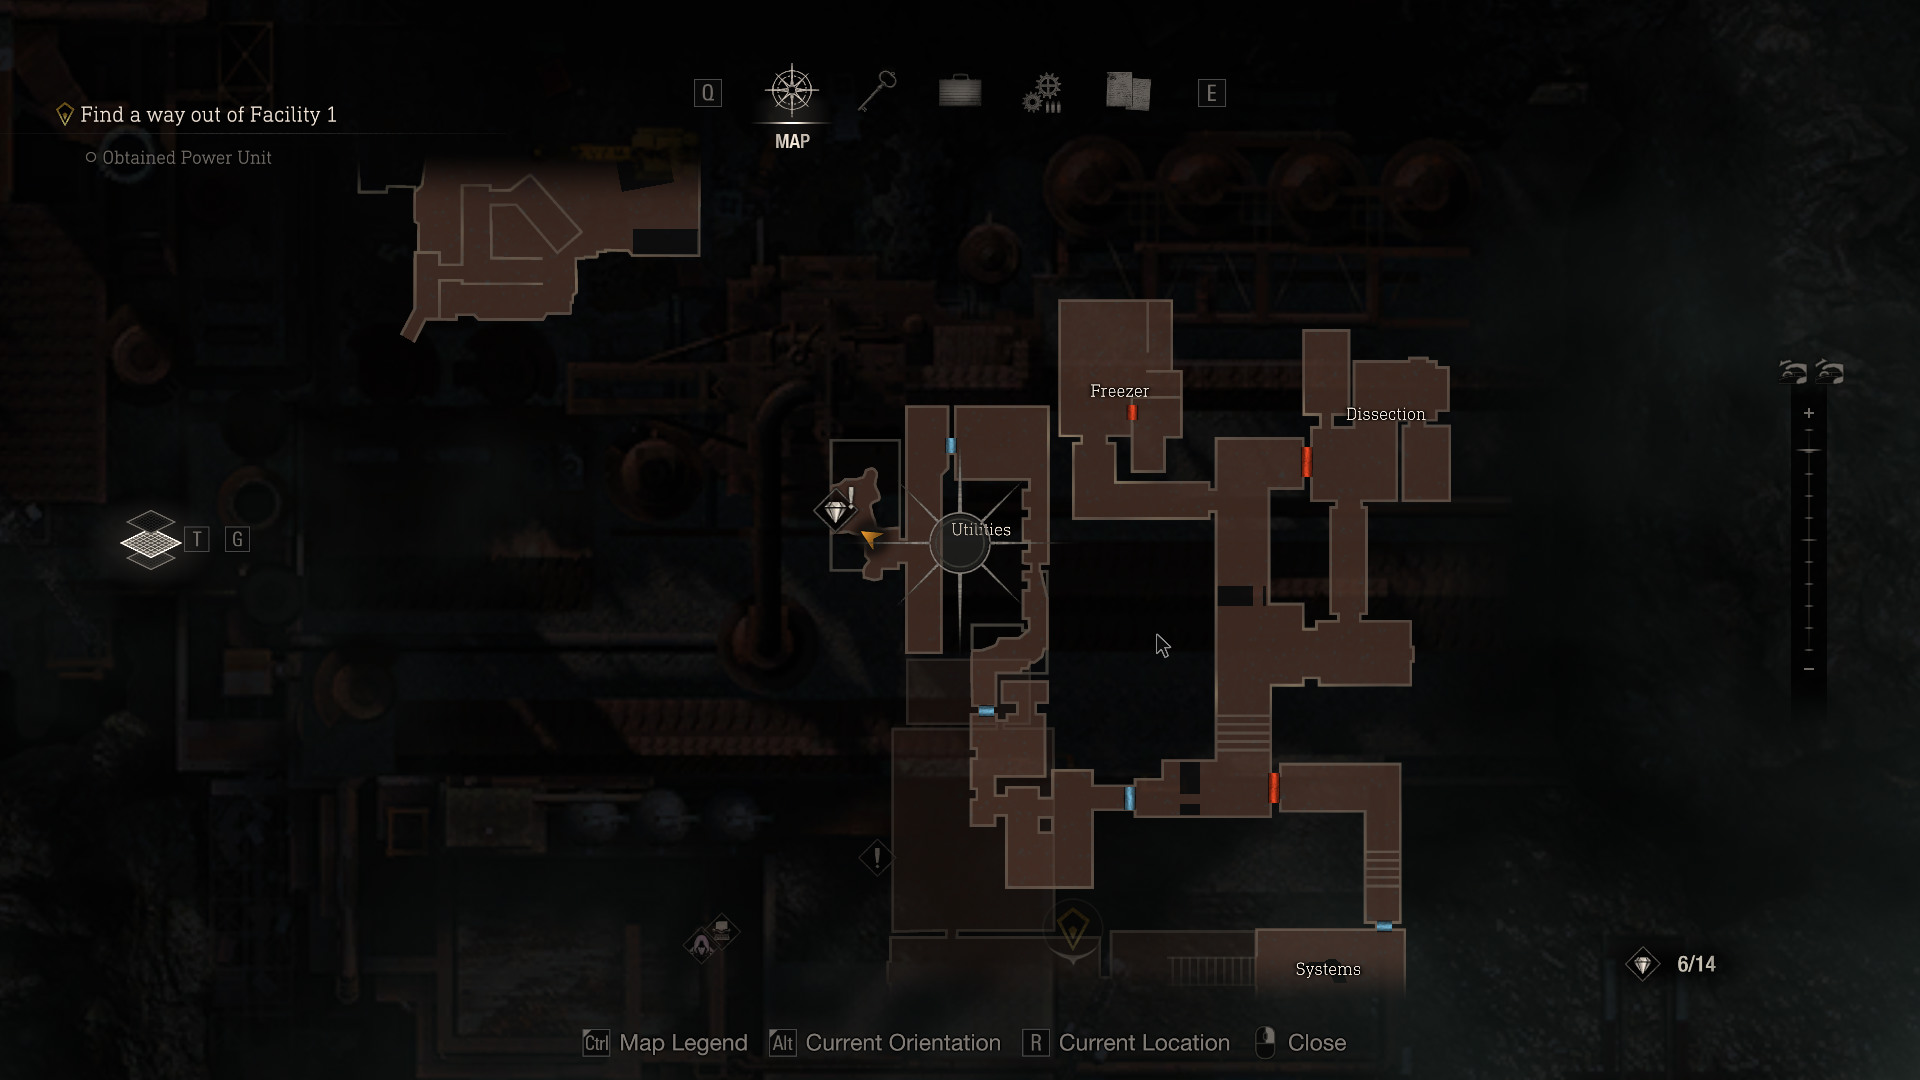
 Treasure: Golden Lynx
Before continuing towards Utilities turn right to the small room where its inside the chest.
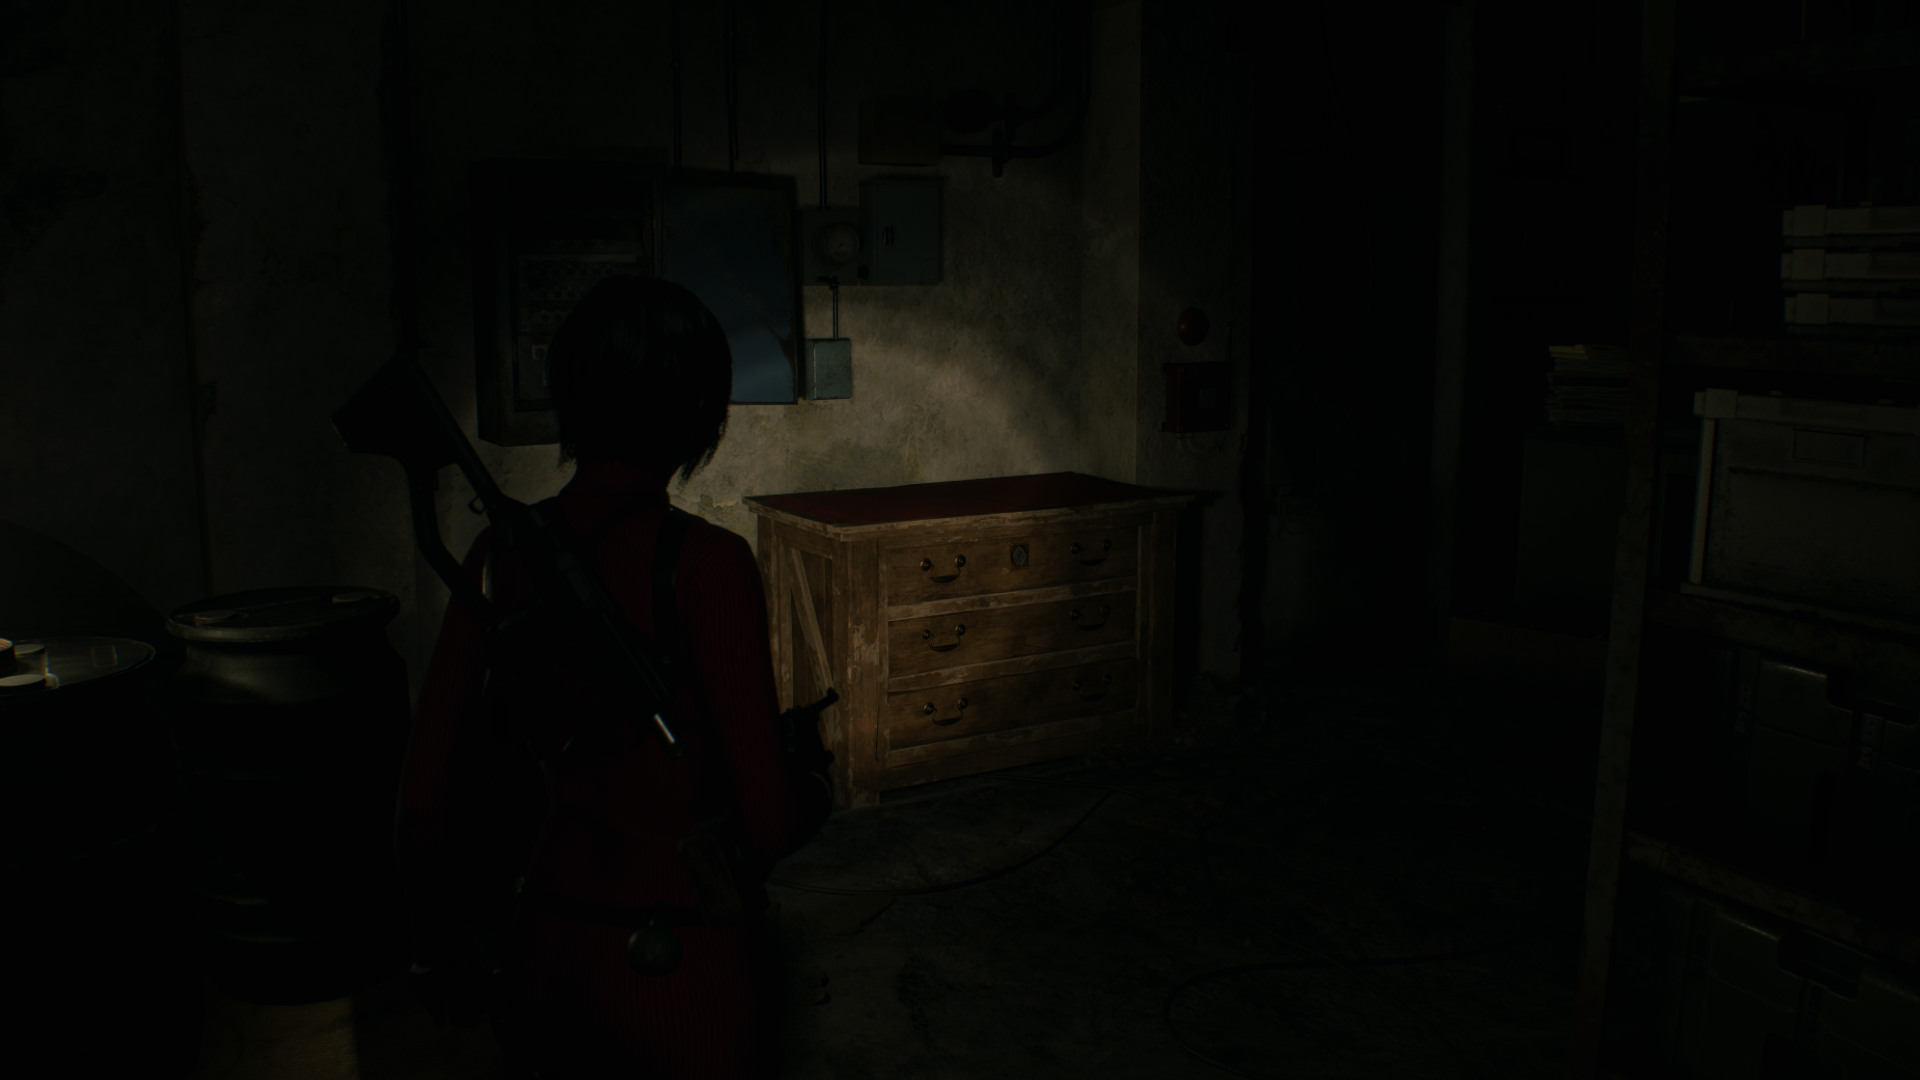
 Treasure: Gold Ingot
After continuing past the Iron Maiden Regenerator inside the left room locked in a dresser.
Objective: Head for the comms facility
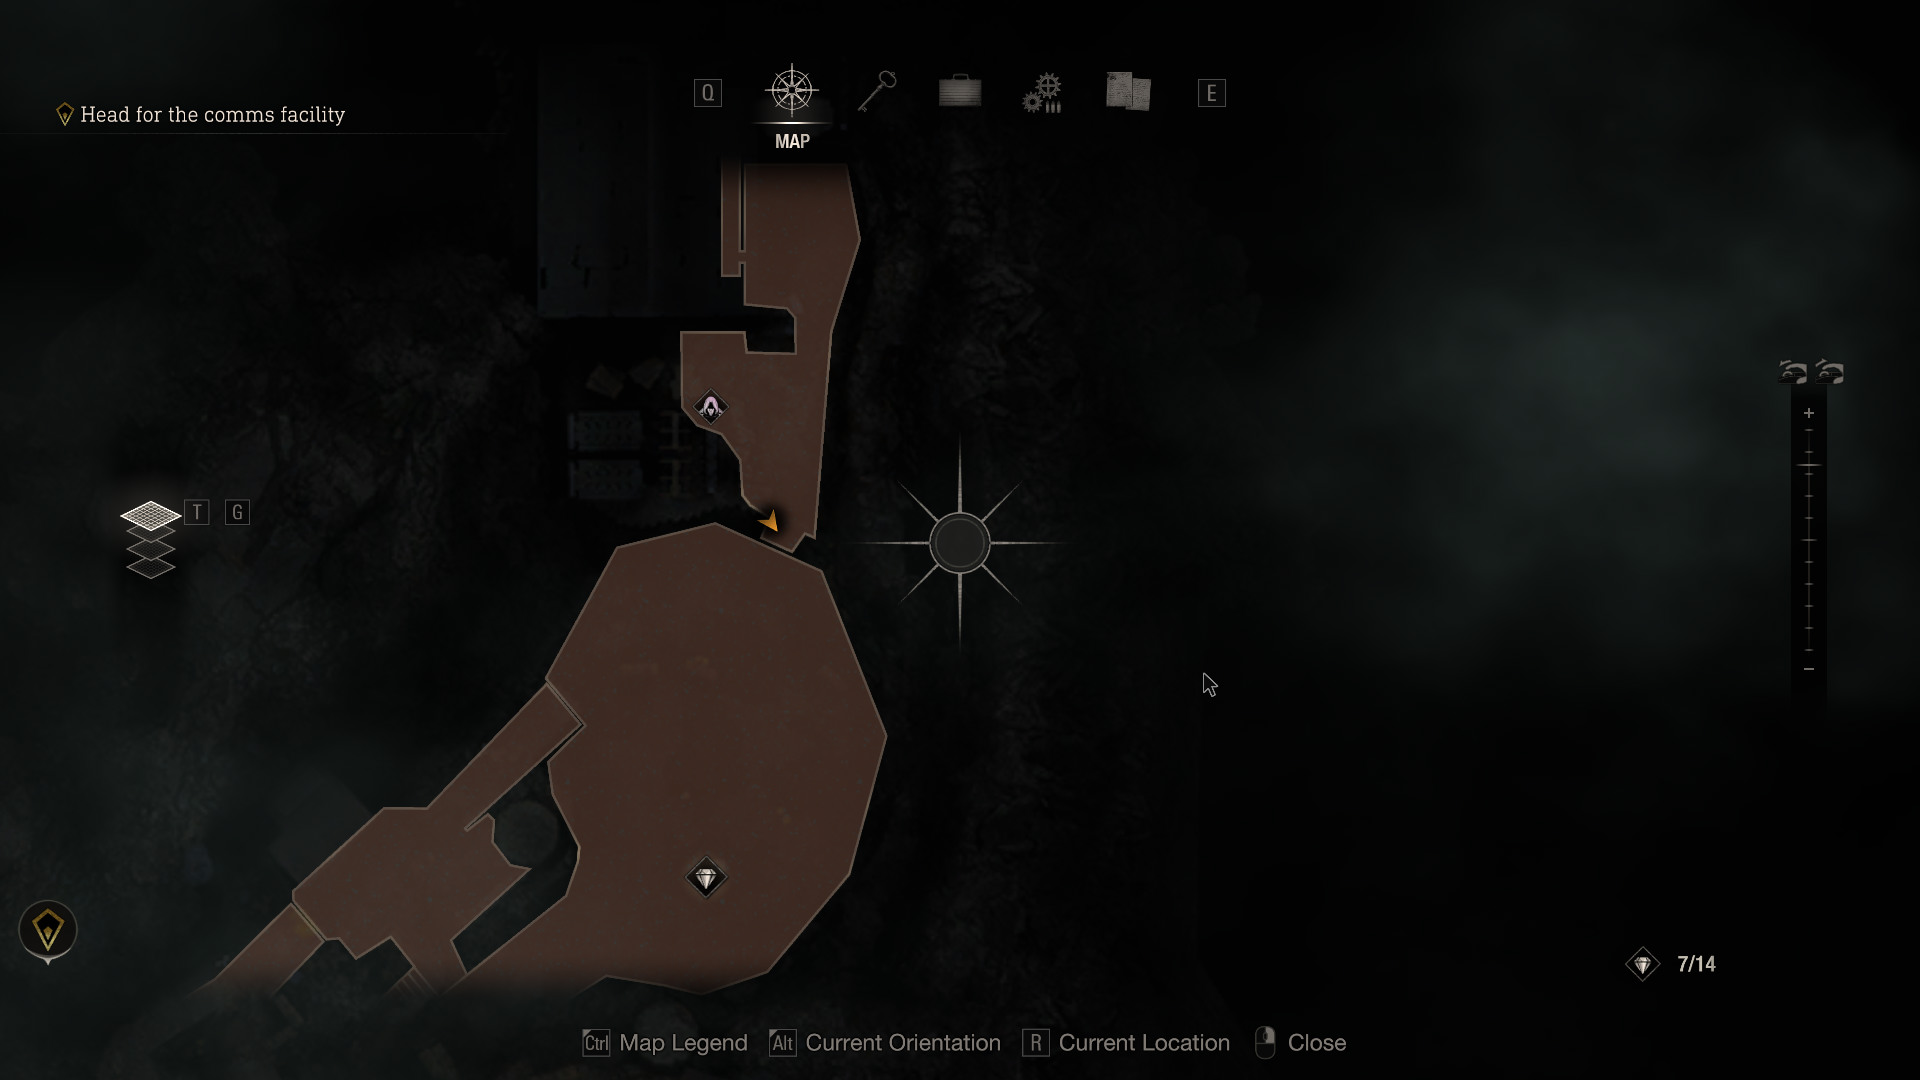
Merchant Request: Bug Buster 2After going down down the trolley next to the merchant at the vantage point.
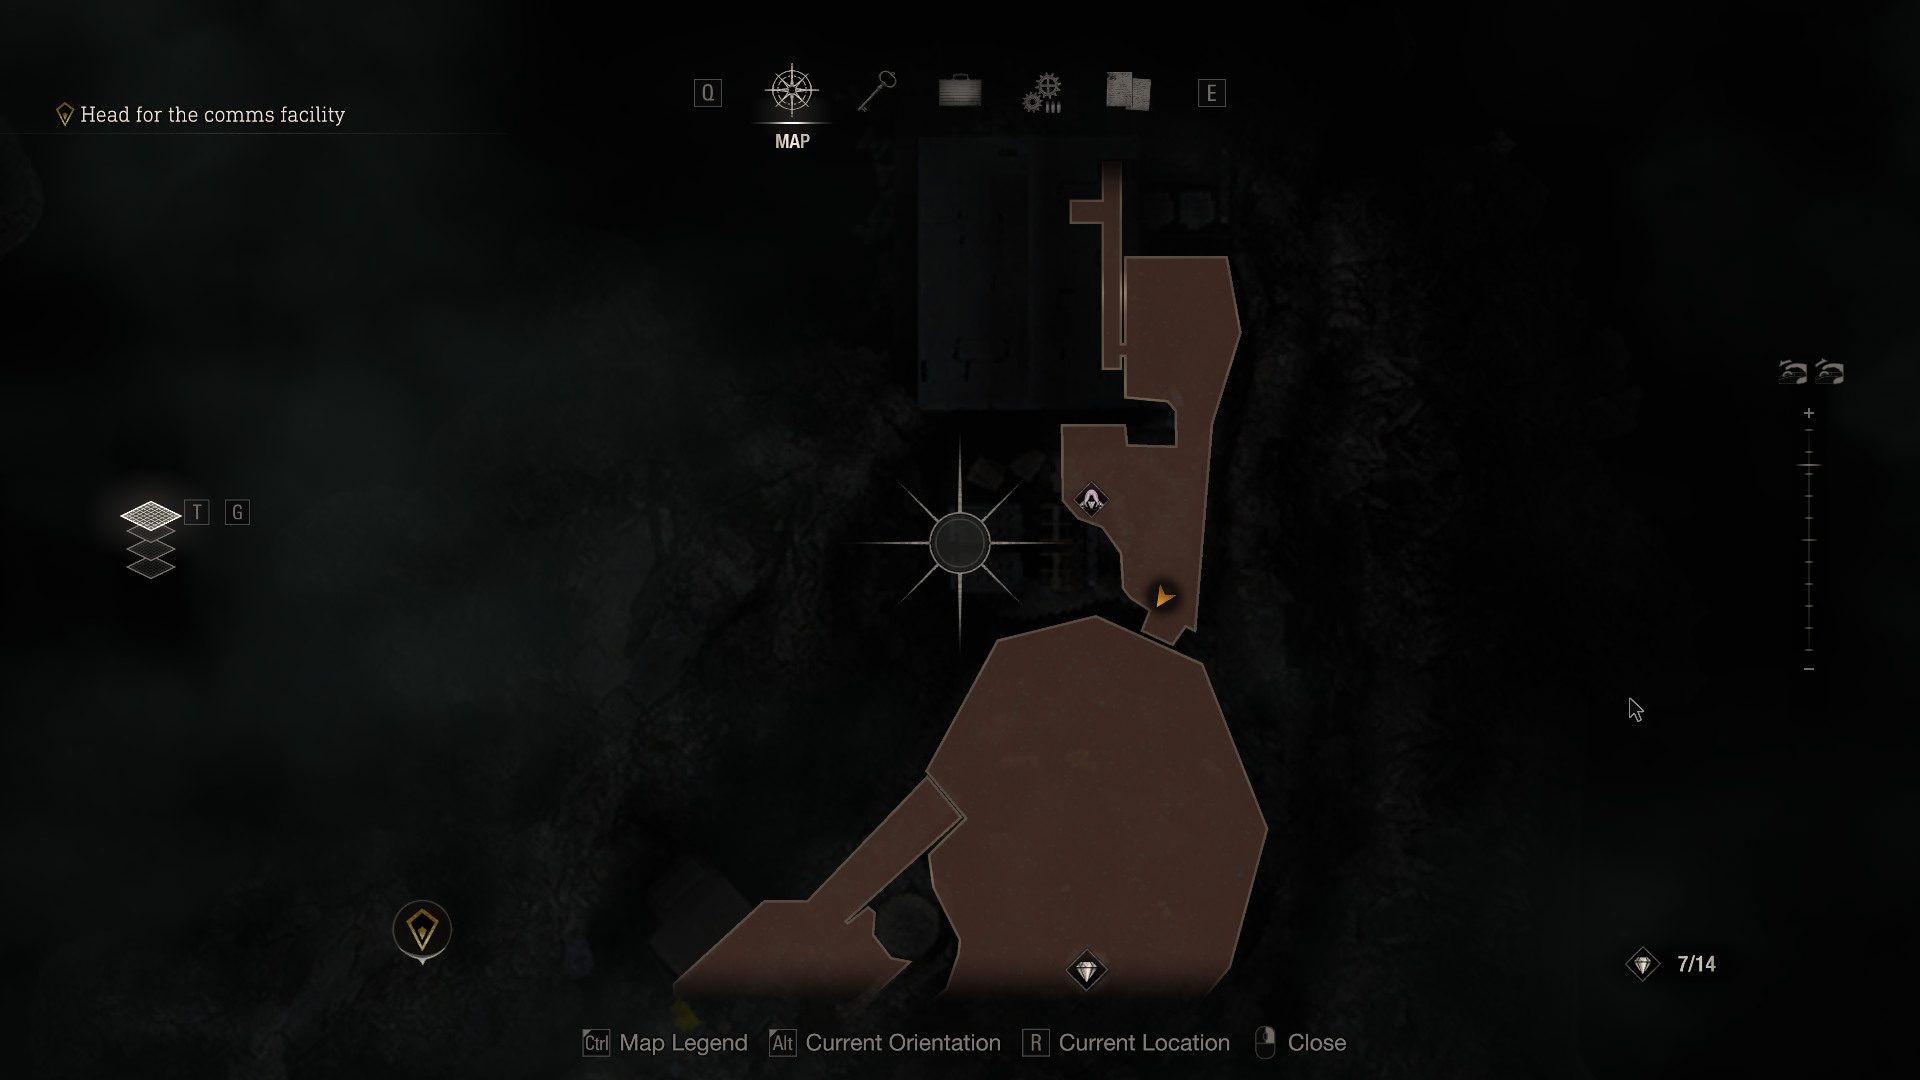
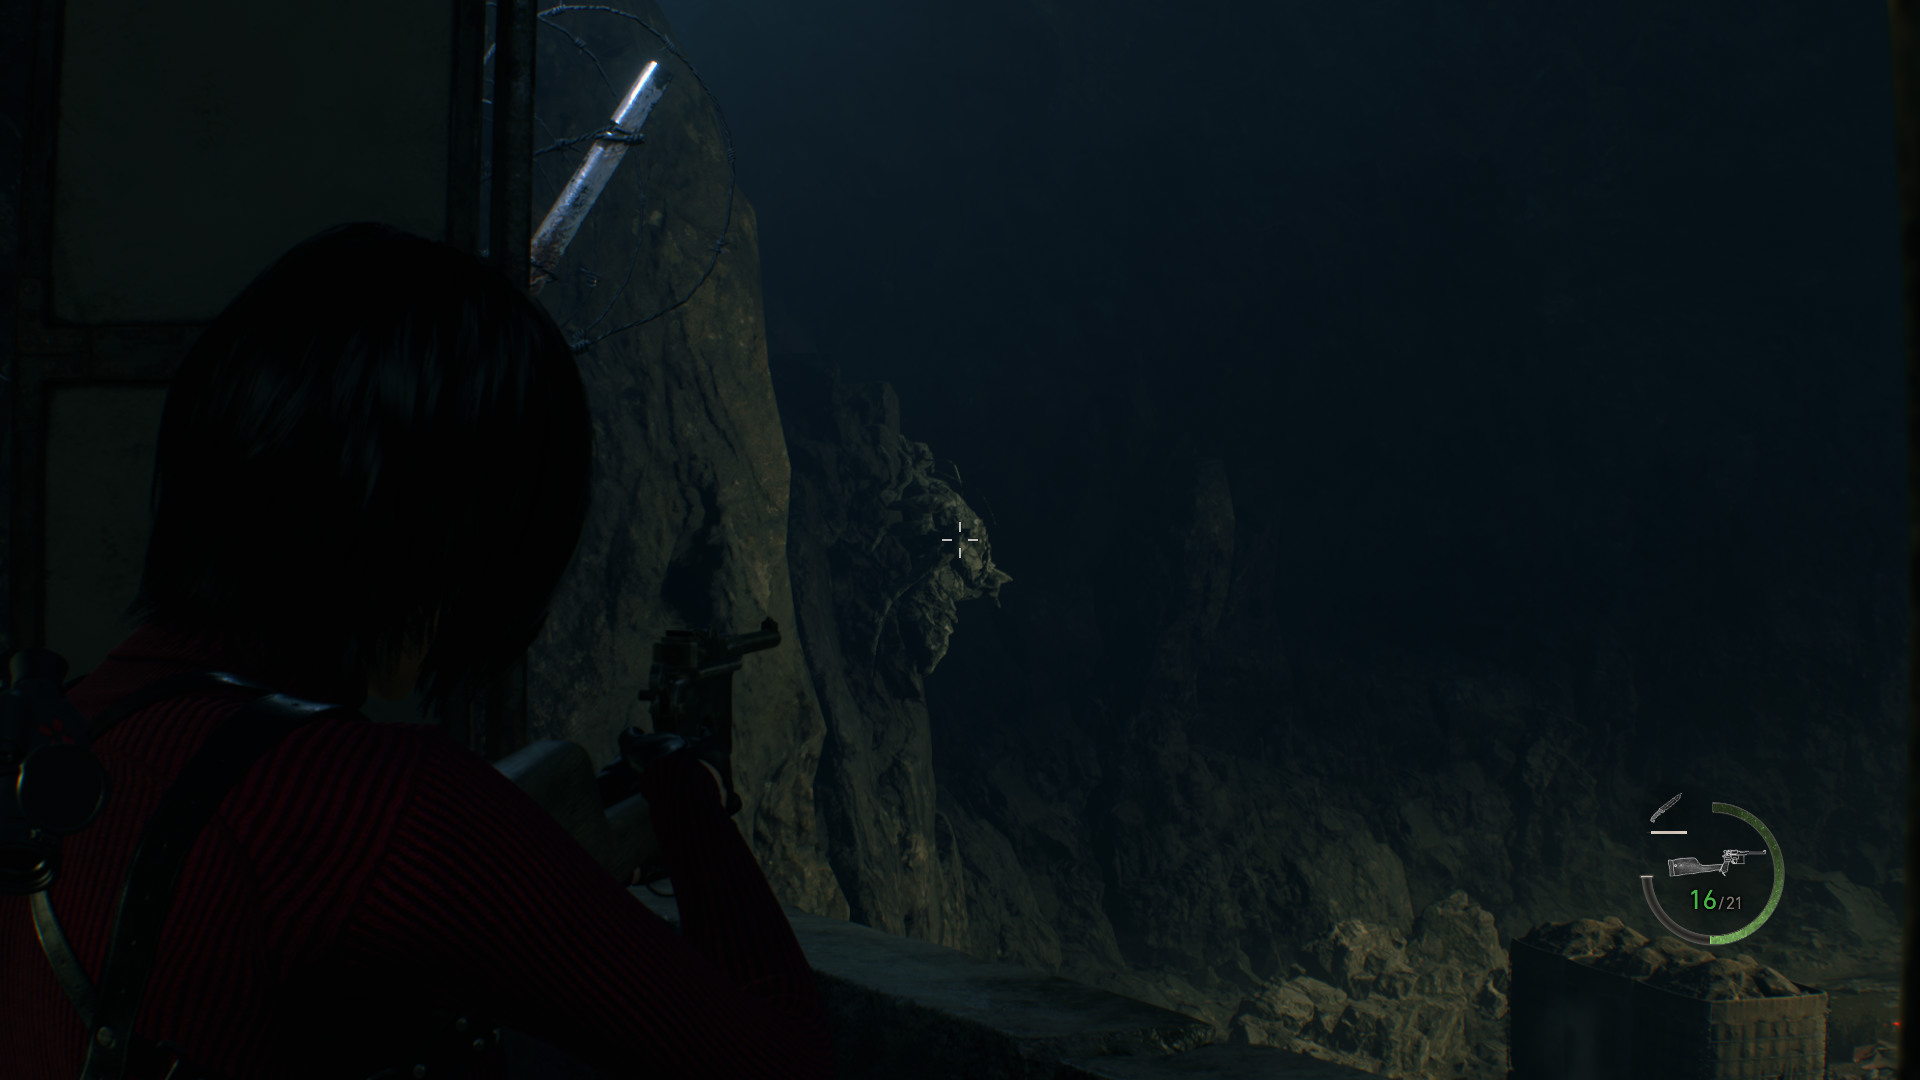
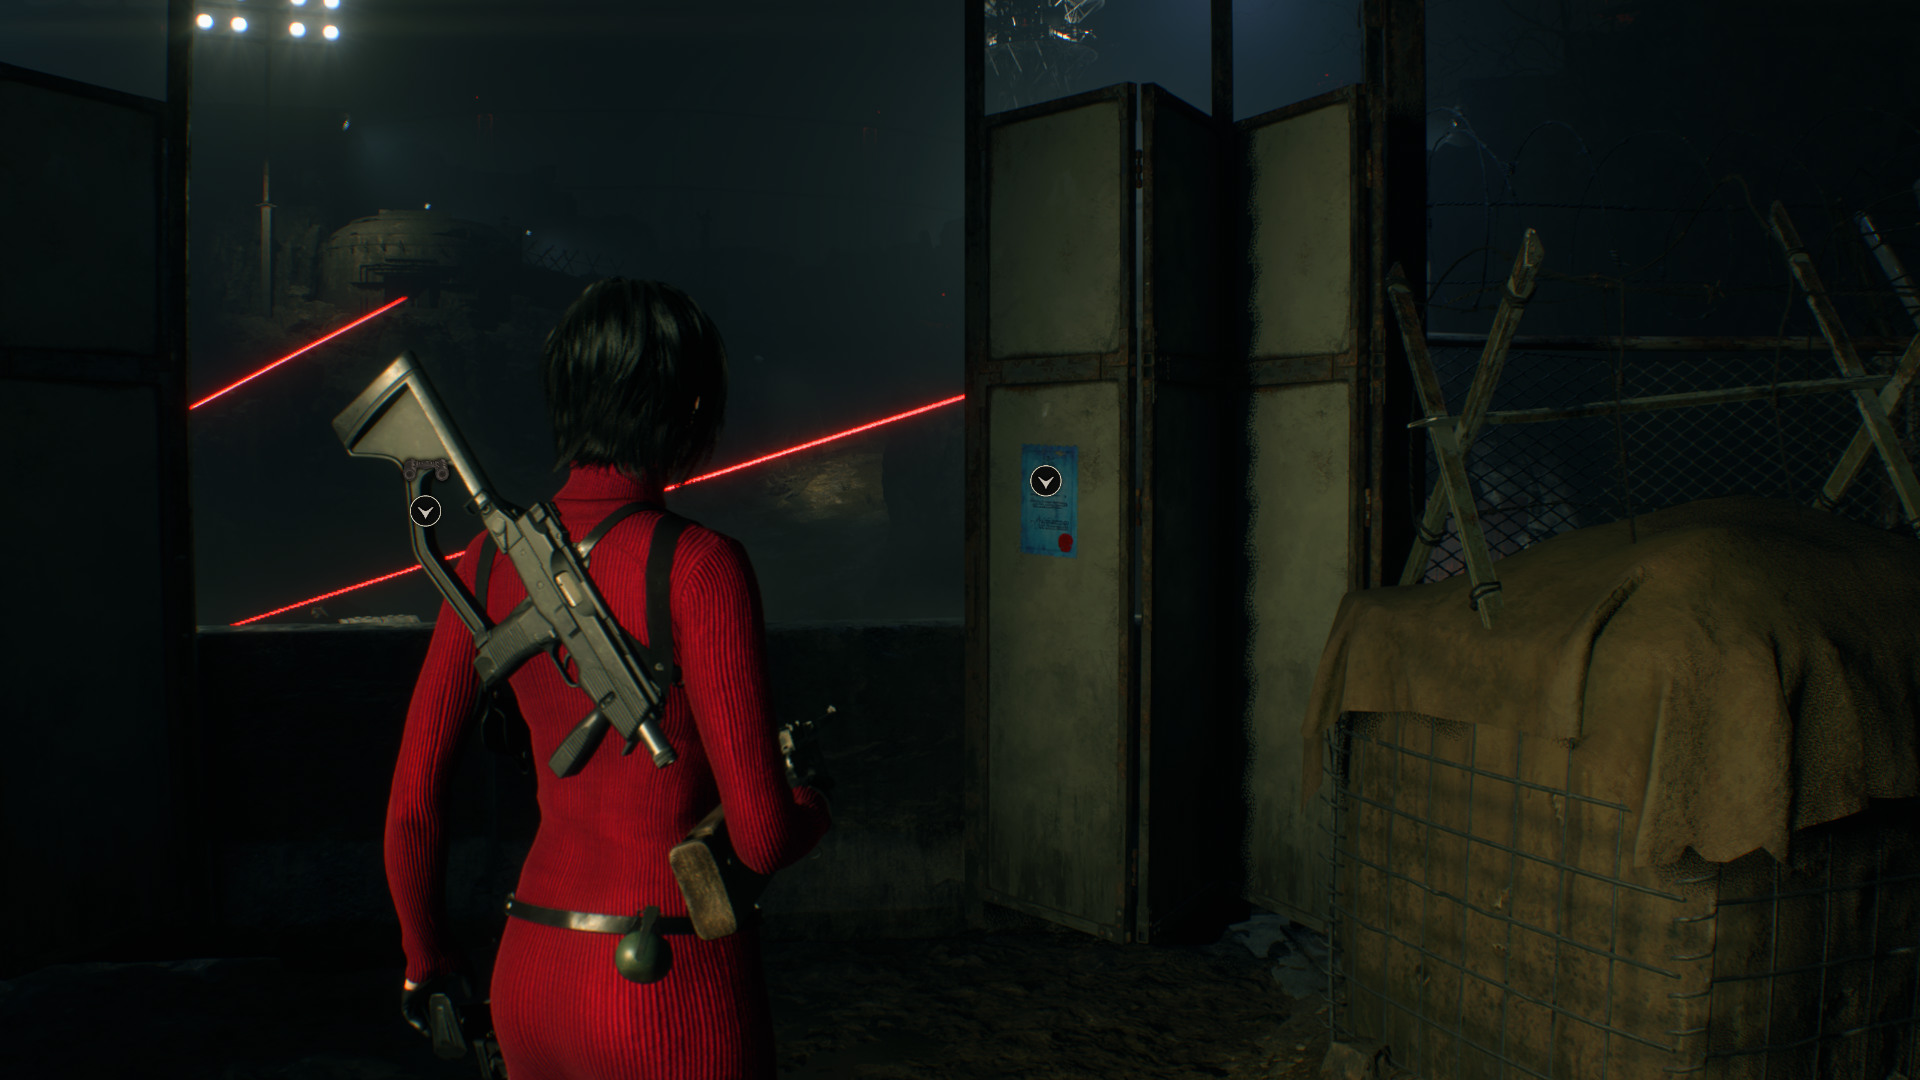 Novistador 1
Located next to the vantage point on the cliff side.
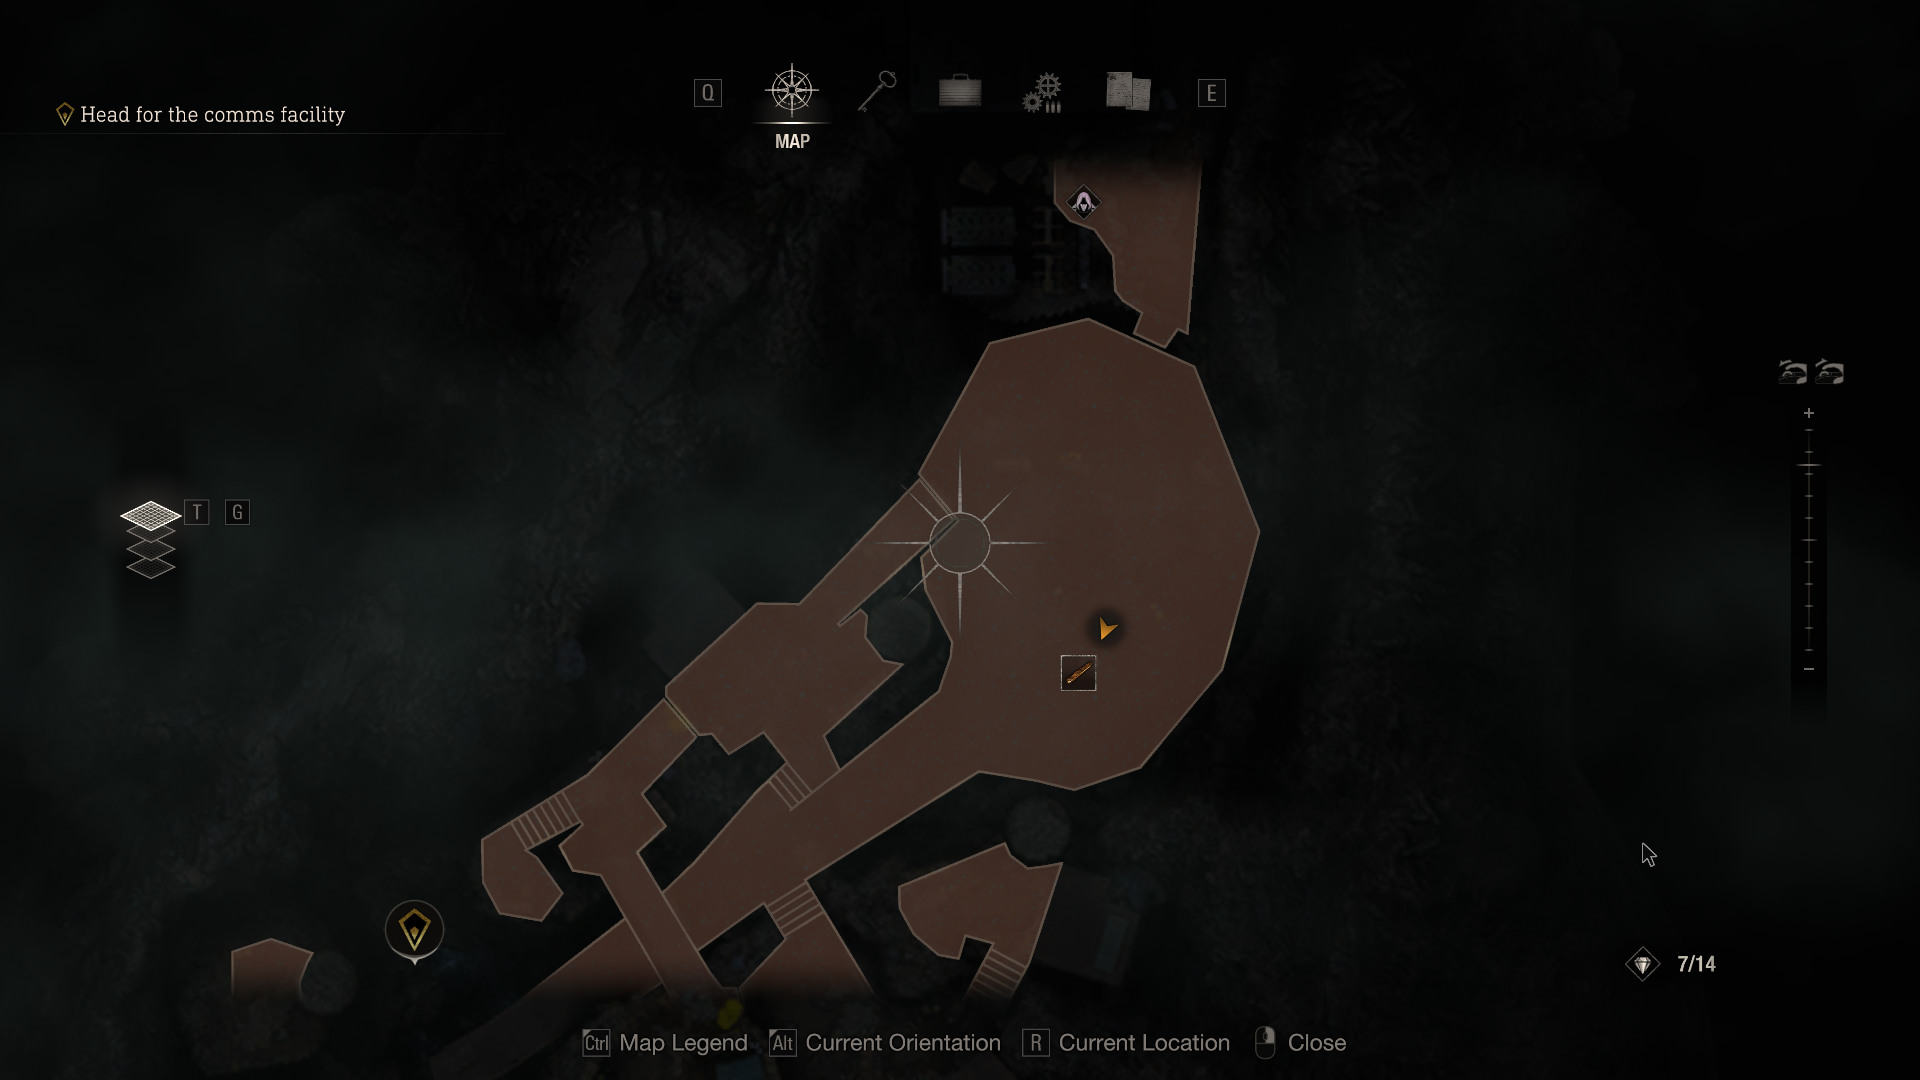
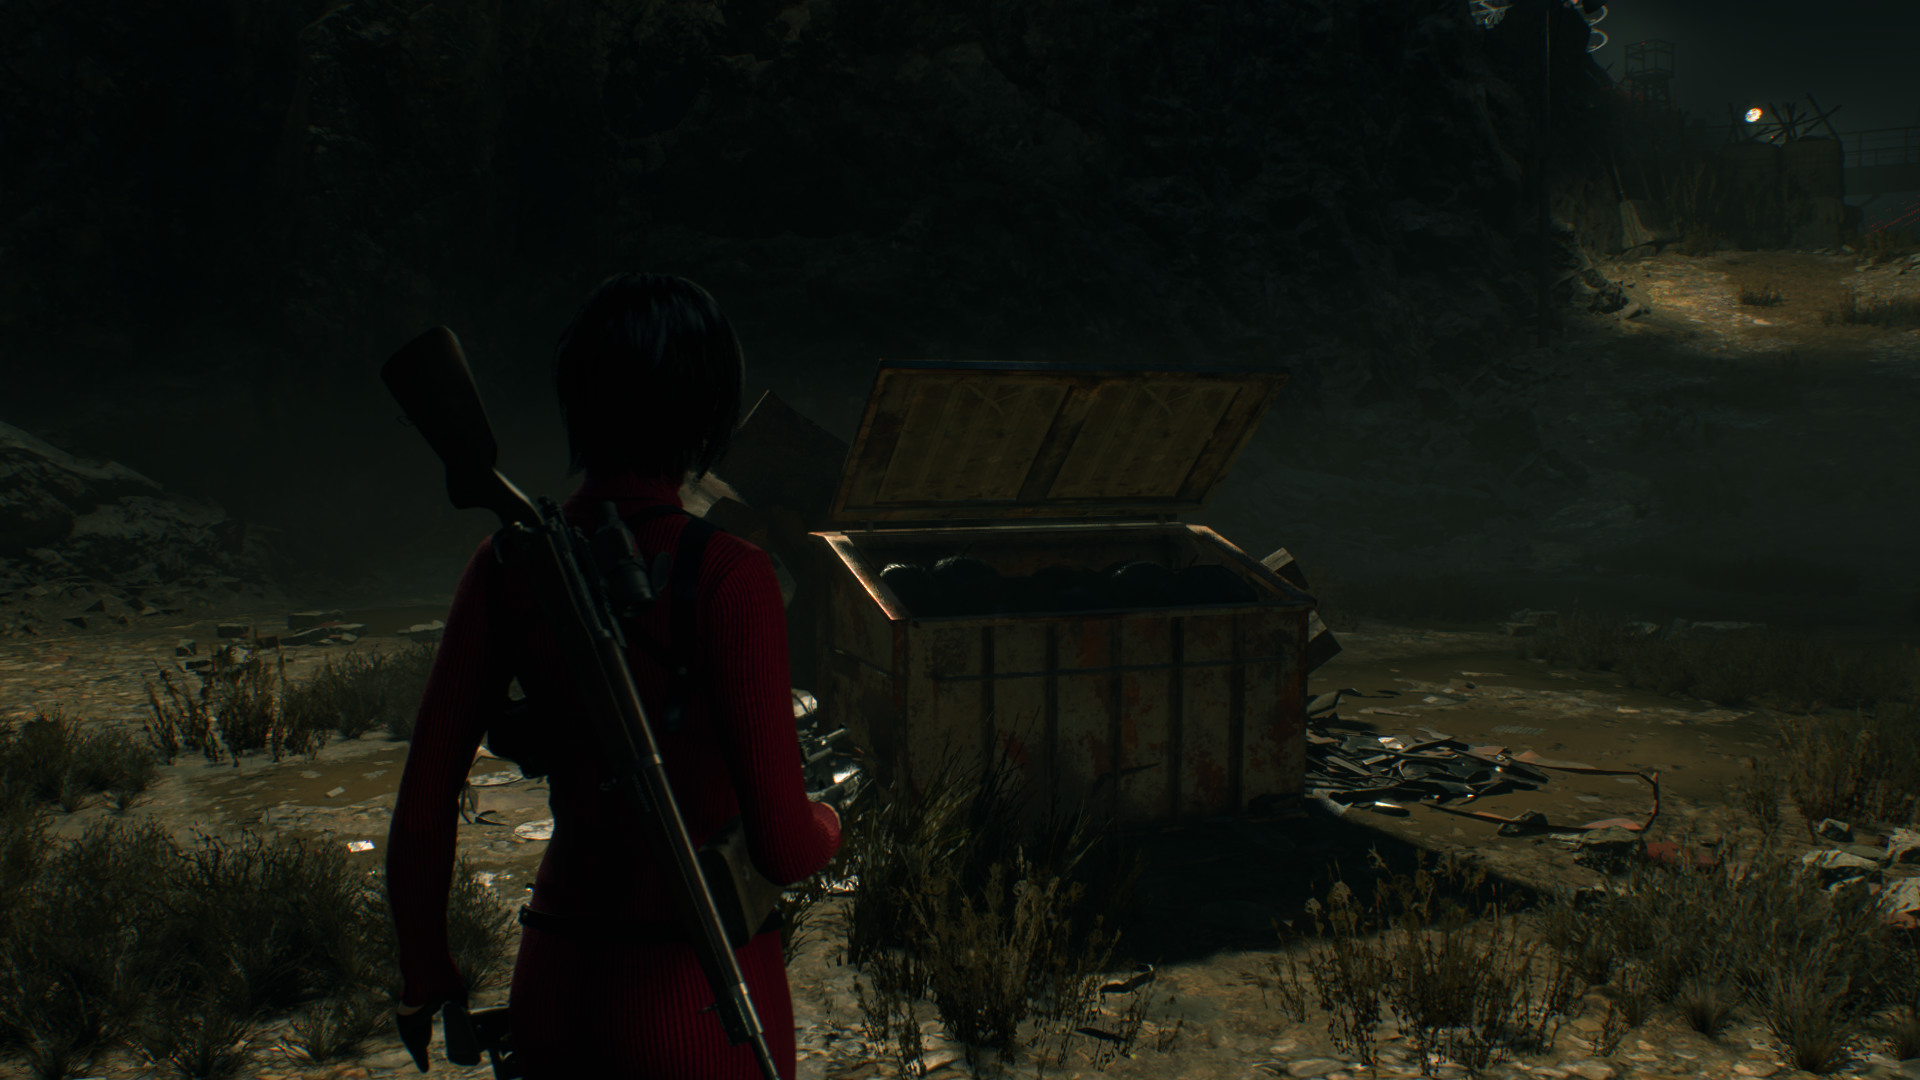
 Treasure: Gold Bar (L)
Located inside the dumpster of the defensive line.
 Novistador 2
Located on the side of the watchtower beyond the Defensive Line.
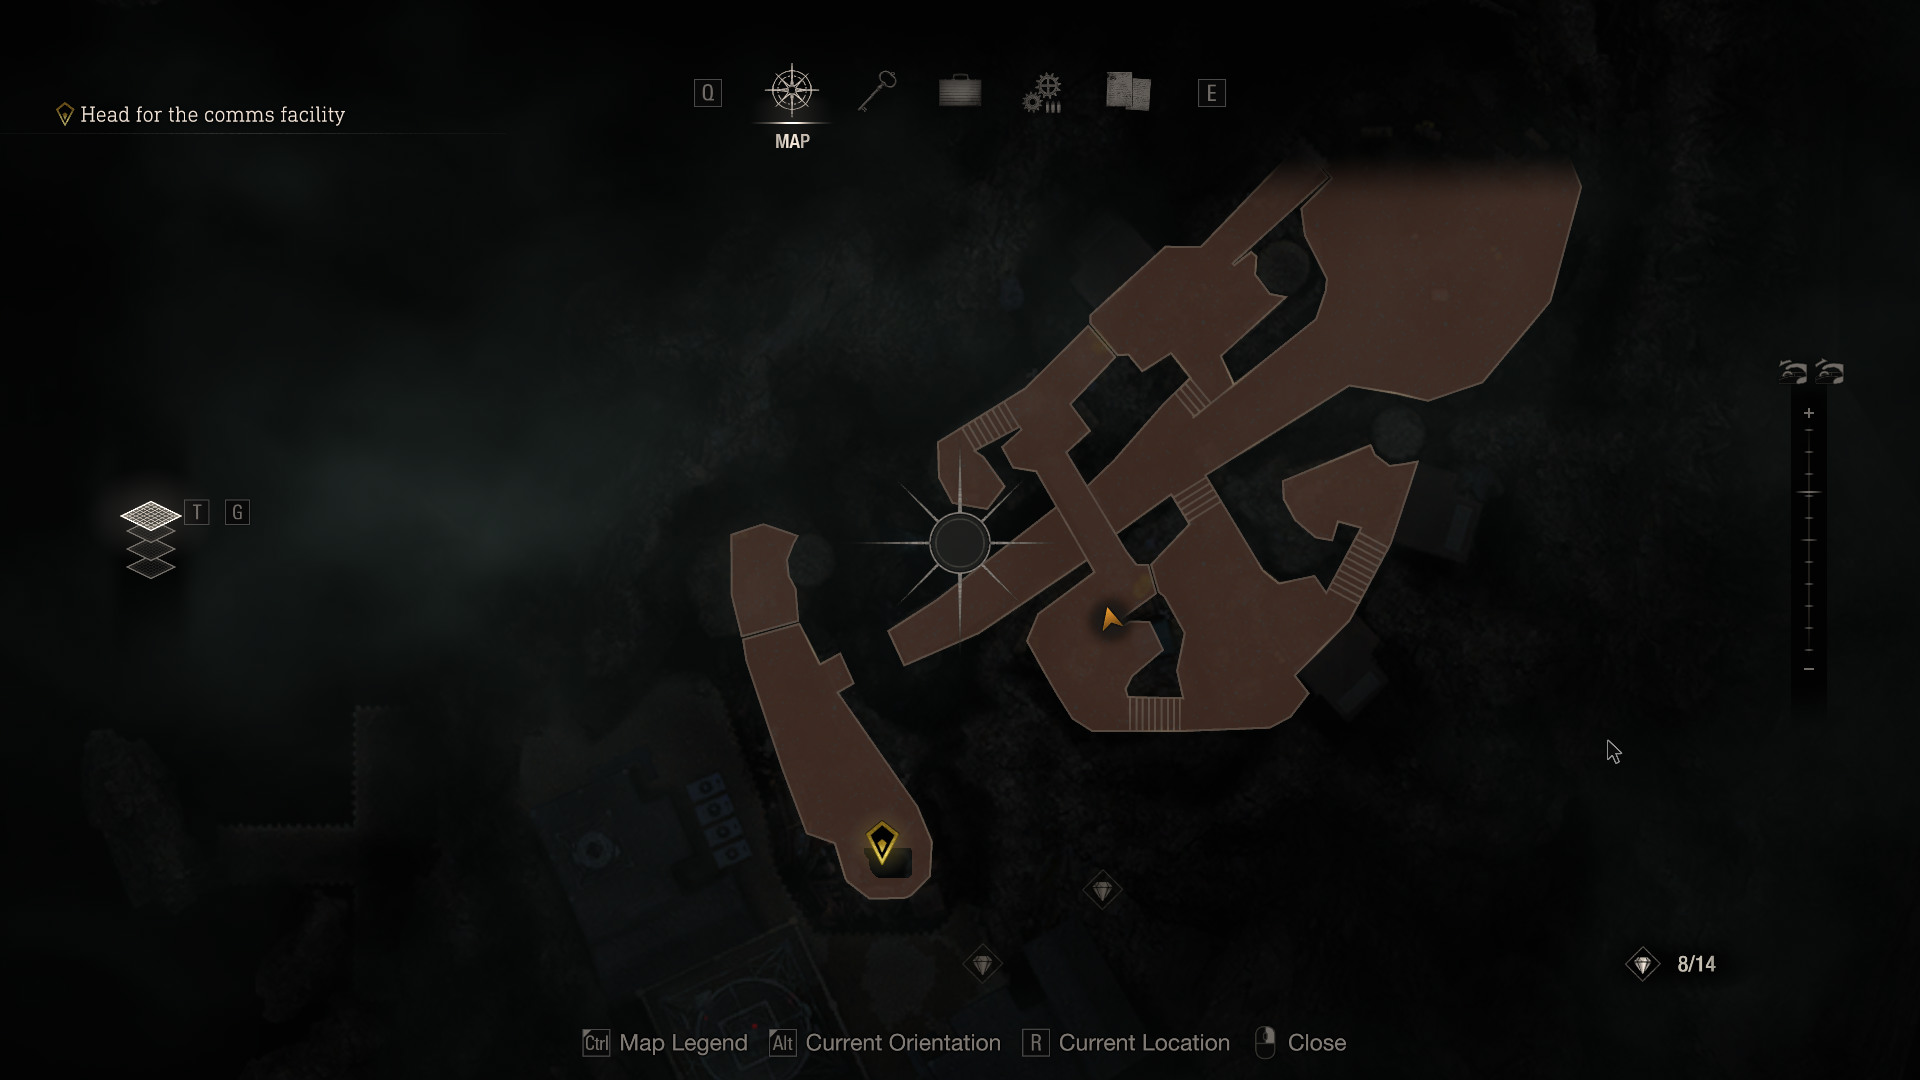
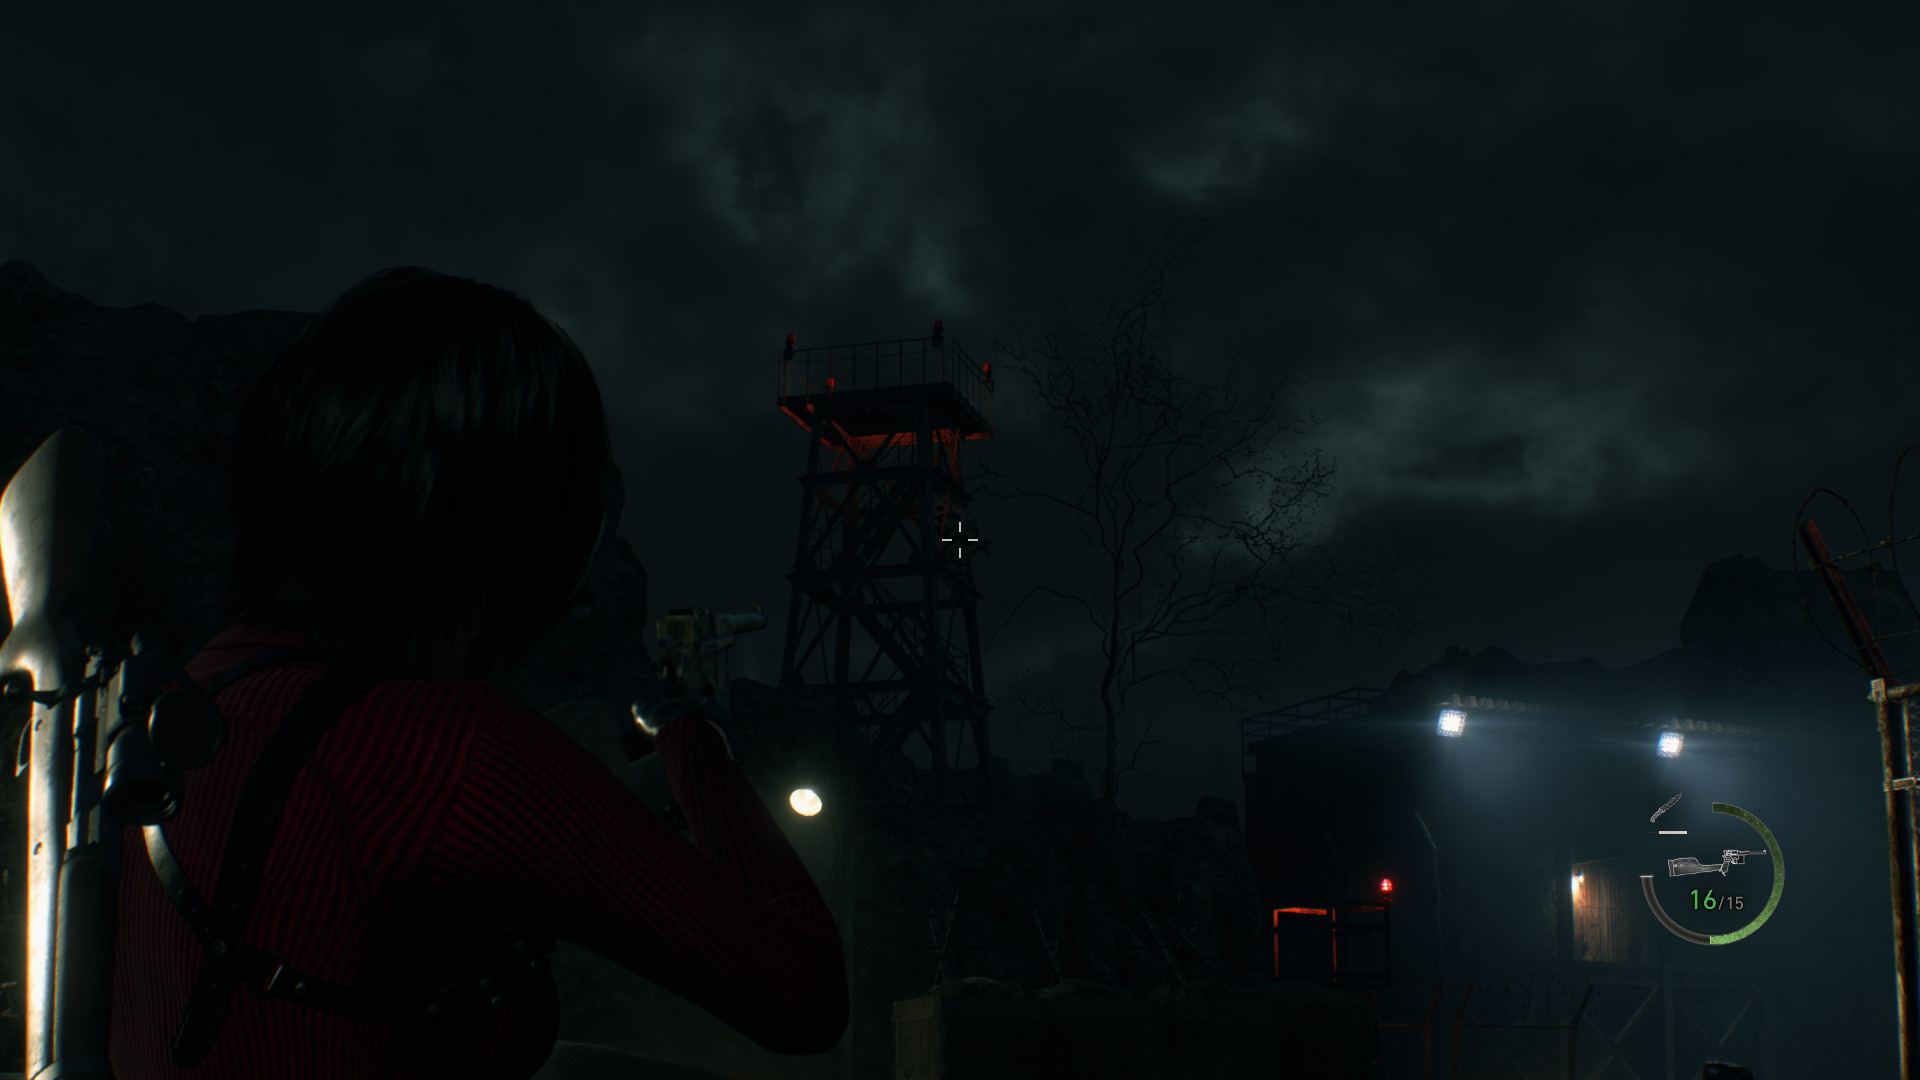 Novistador 3
Located on the side of the cliff after sprinting across the southwestern bridge to grapple across the chasm then climbing up the ladder thats on the right.
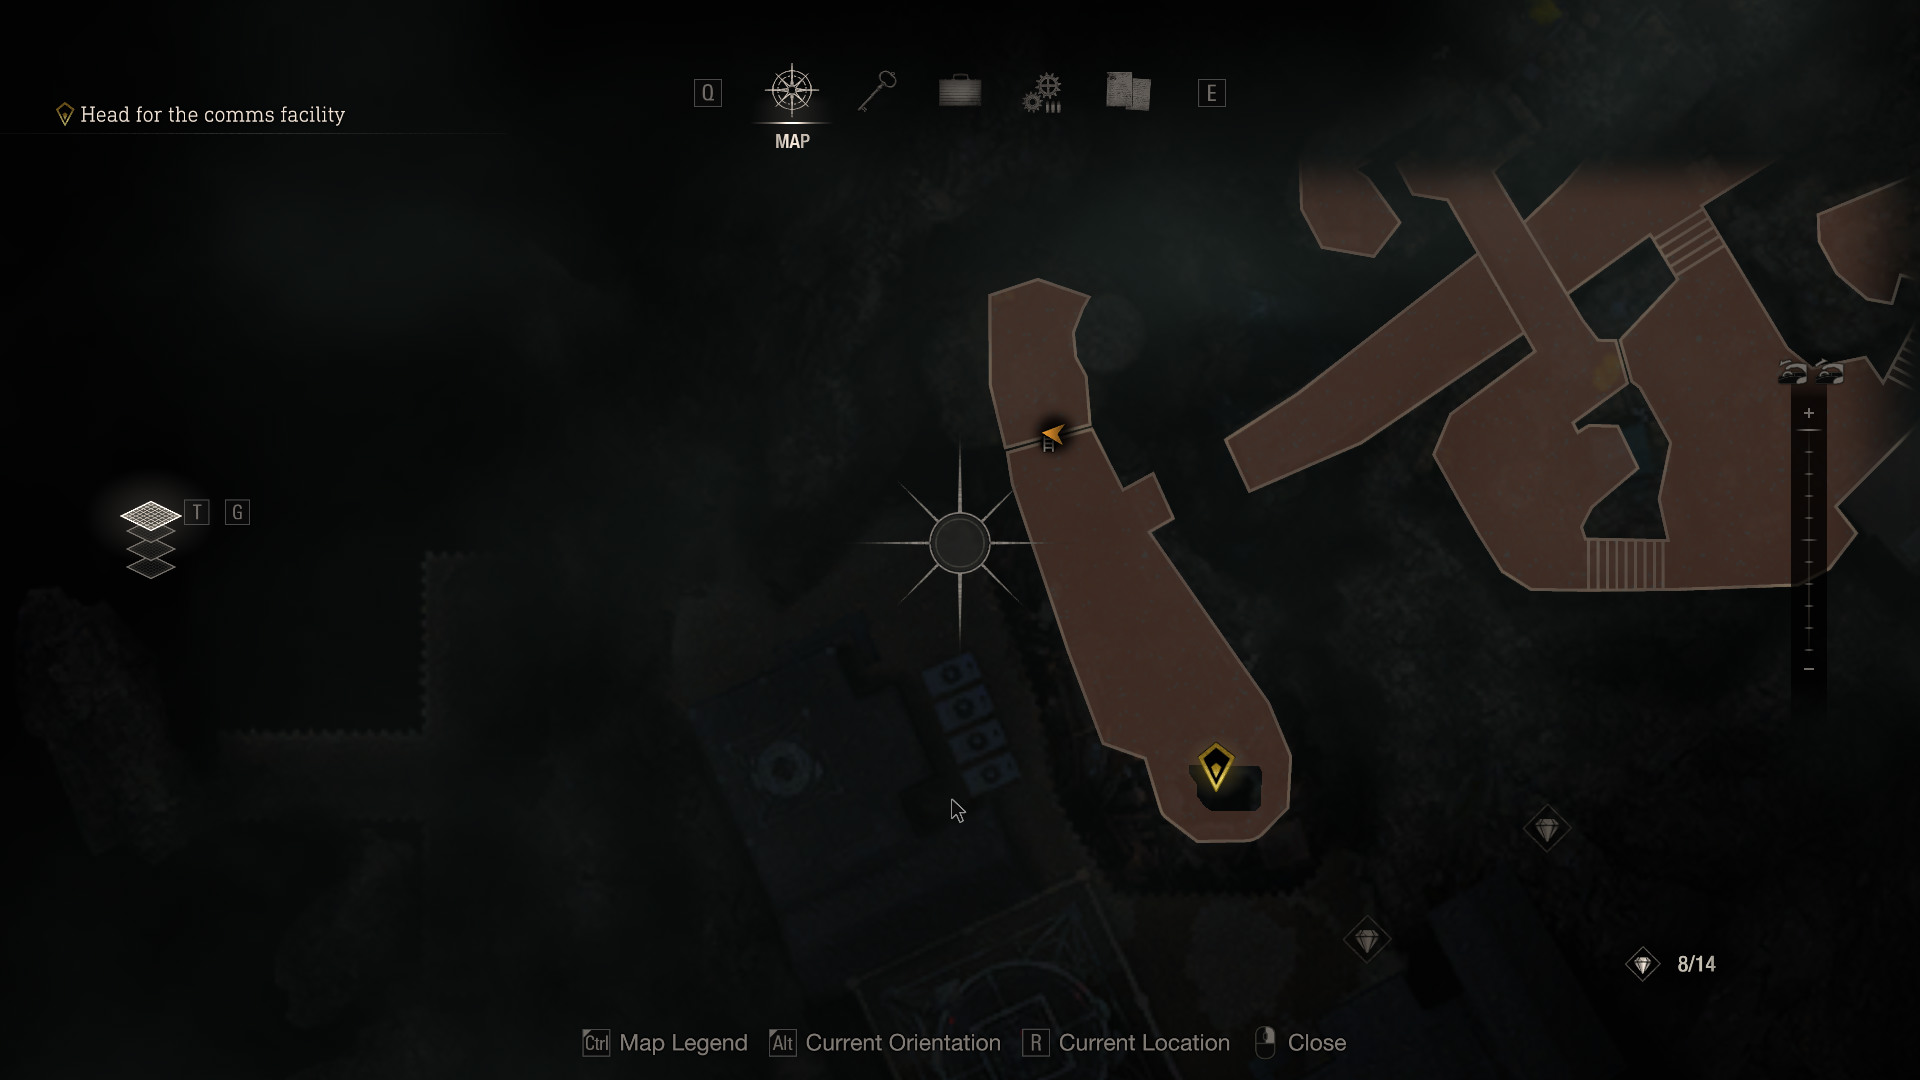
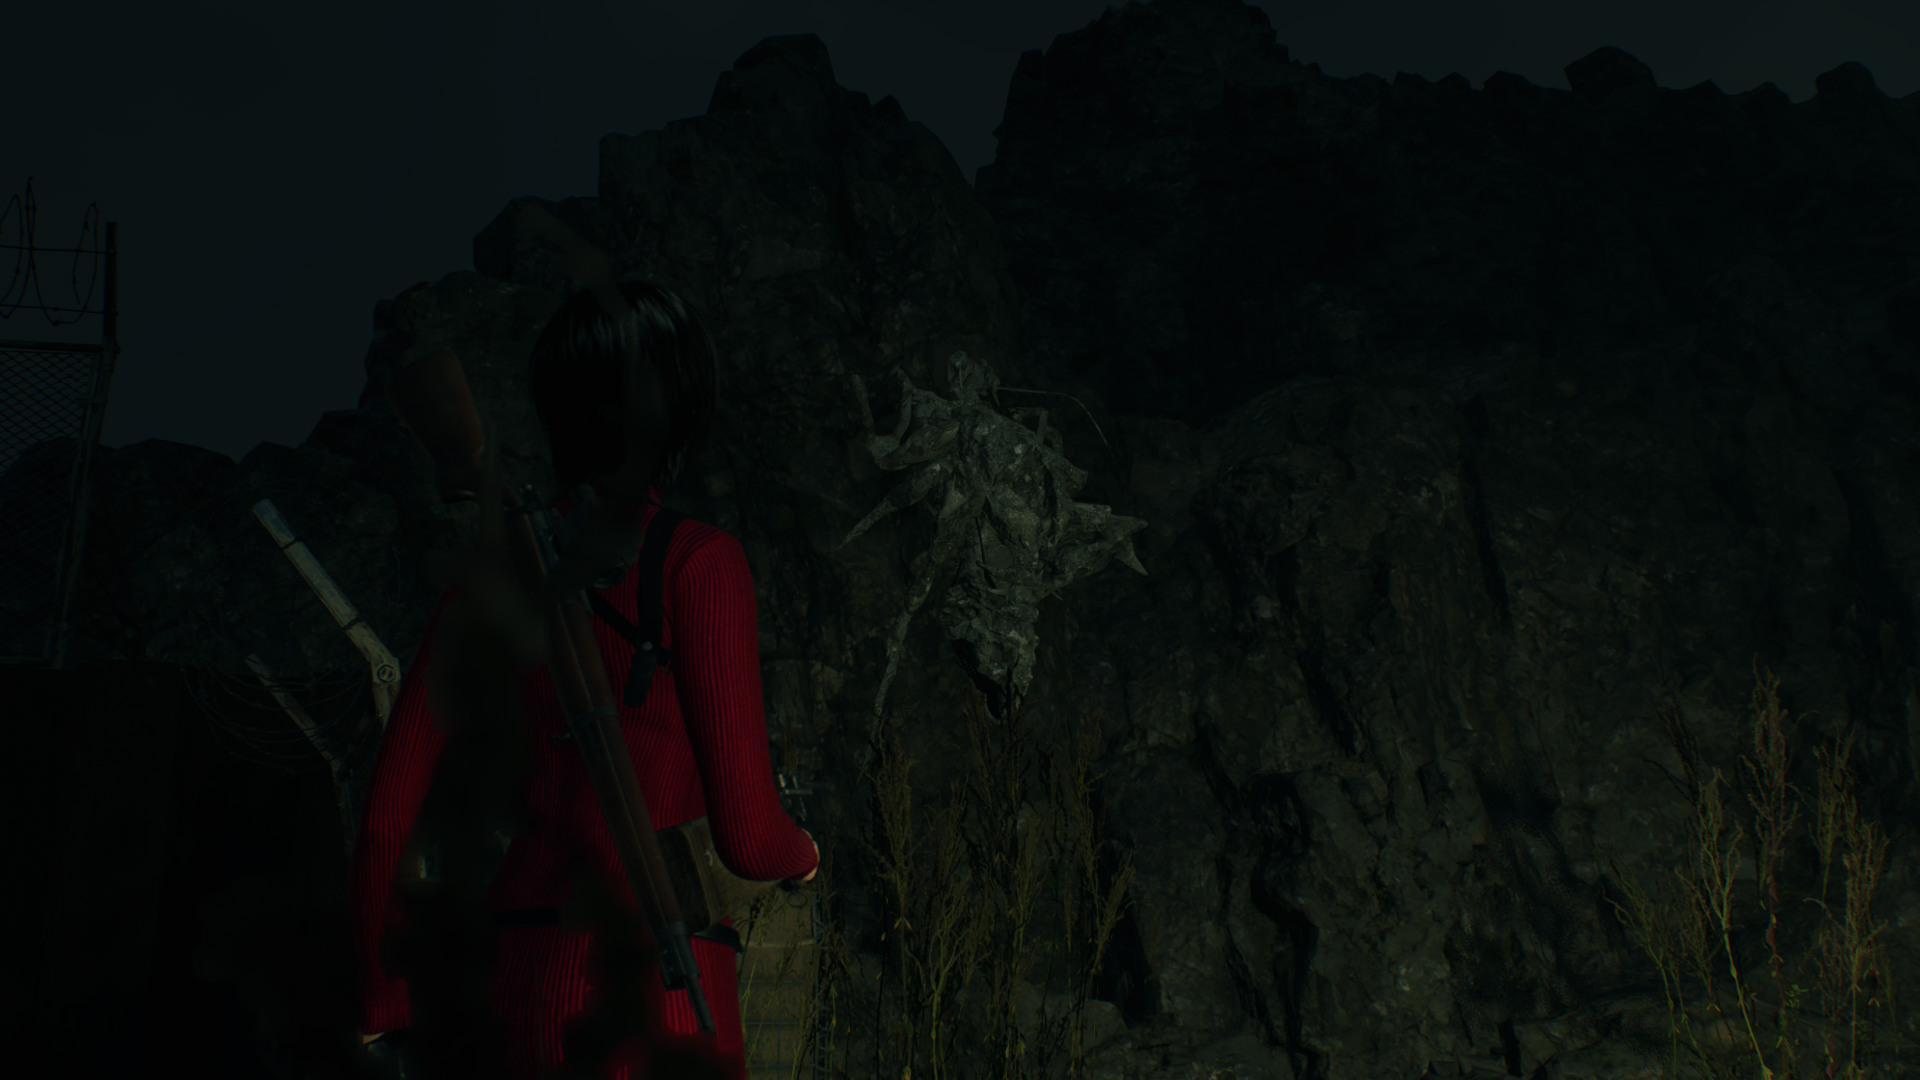
Objective: Connect the device
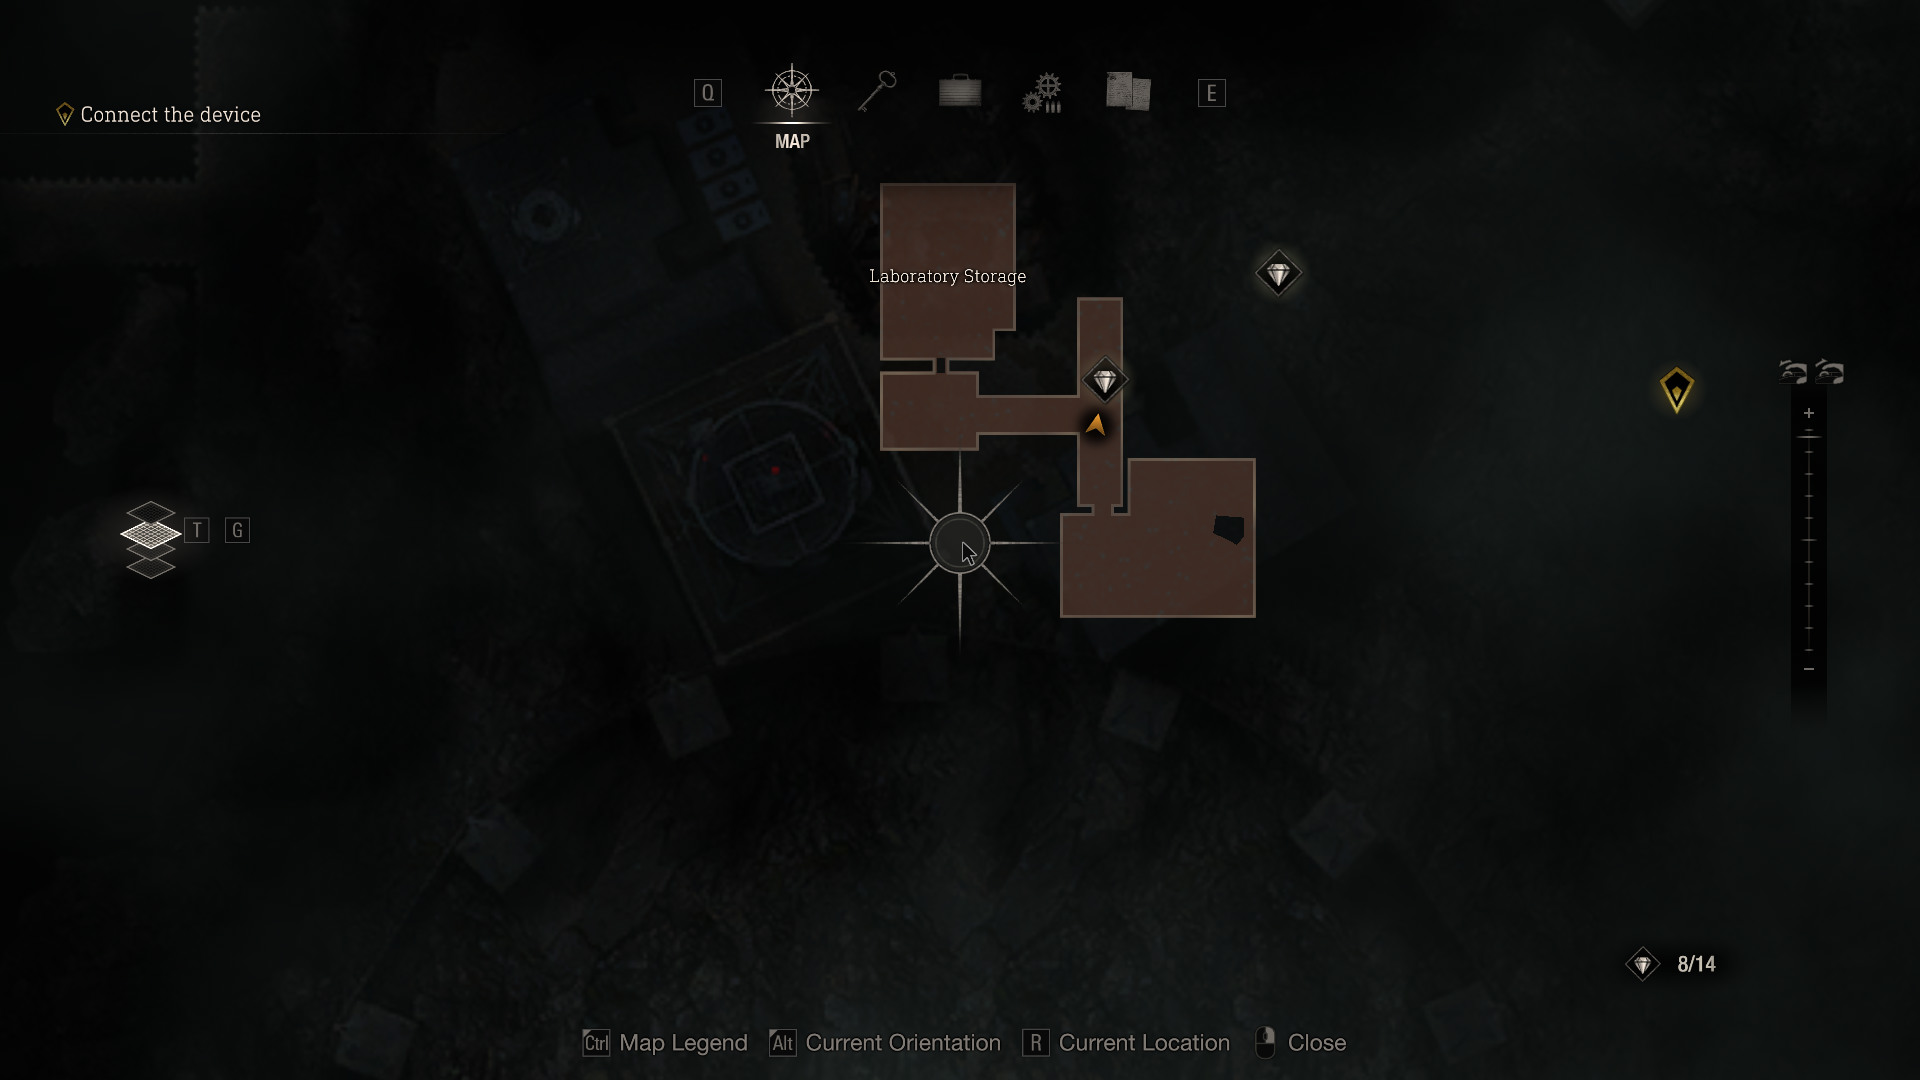
Treasure: SapphireLocated on the sealing to left of the window after moving the wreckage.
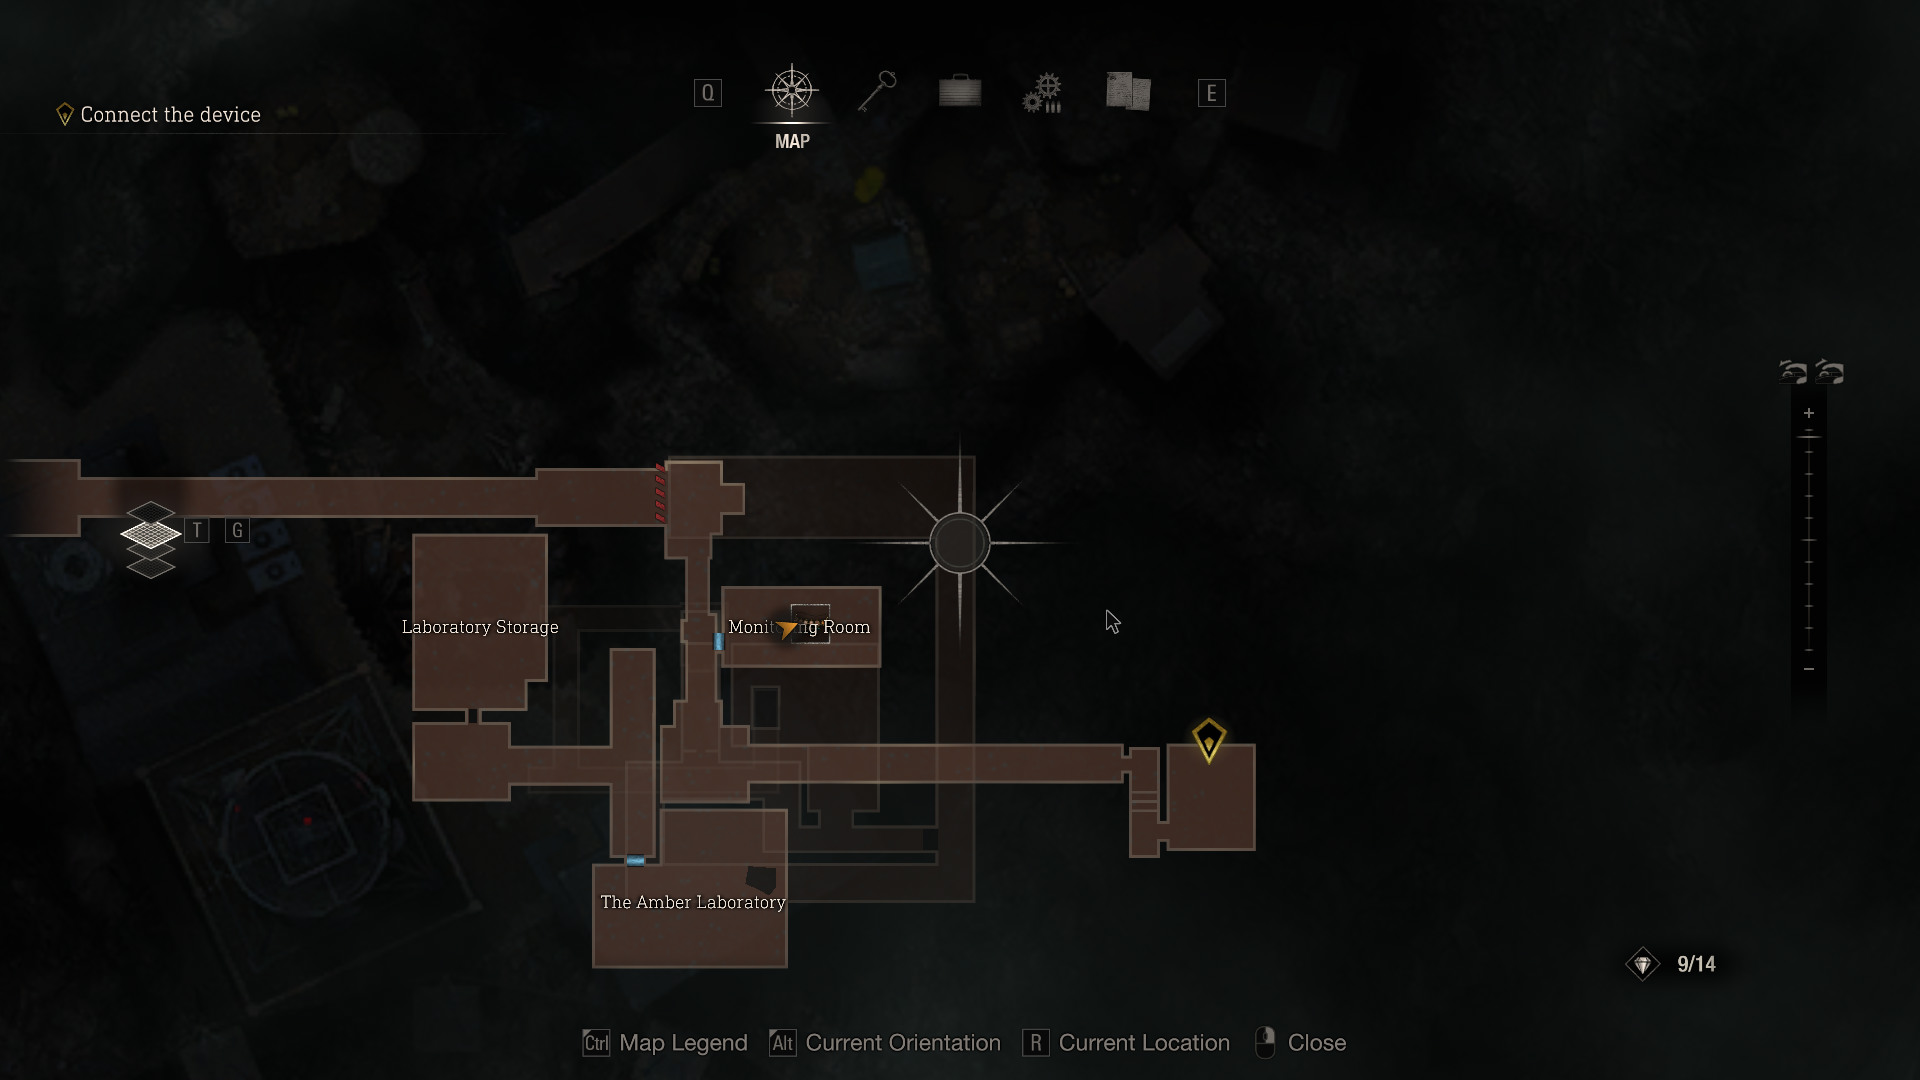
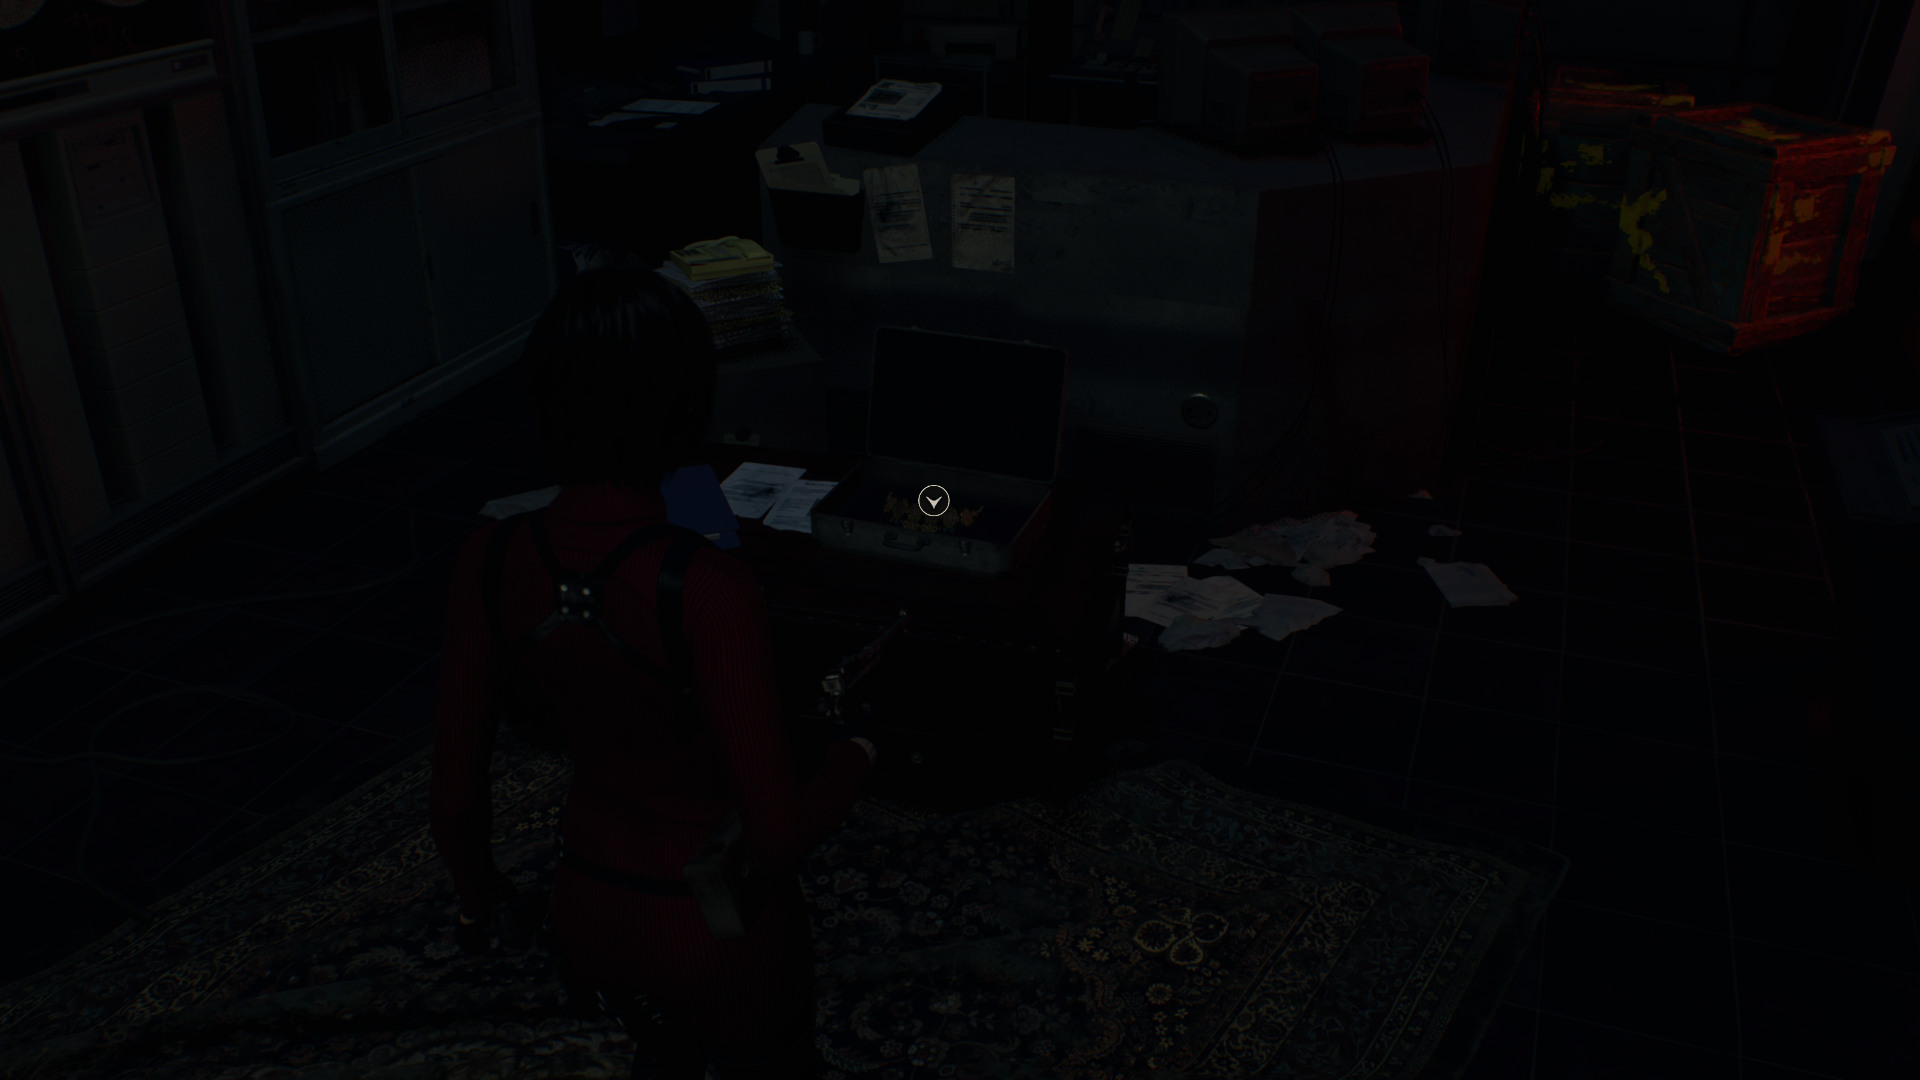
 Treasure: Ornate Necklace
After grappling to safety at the upper floor to escape the beast, located inside the case atop of the table in the Monitoring Room before going towards the objective.
(Separate Ways: Chapter 7)
Objective: Take the Amber back from Saddler
Treasure: Velvet BlueLocated just above the elevator's entrance of the elevator you arrive to the top with.
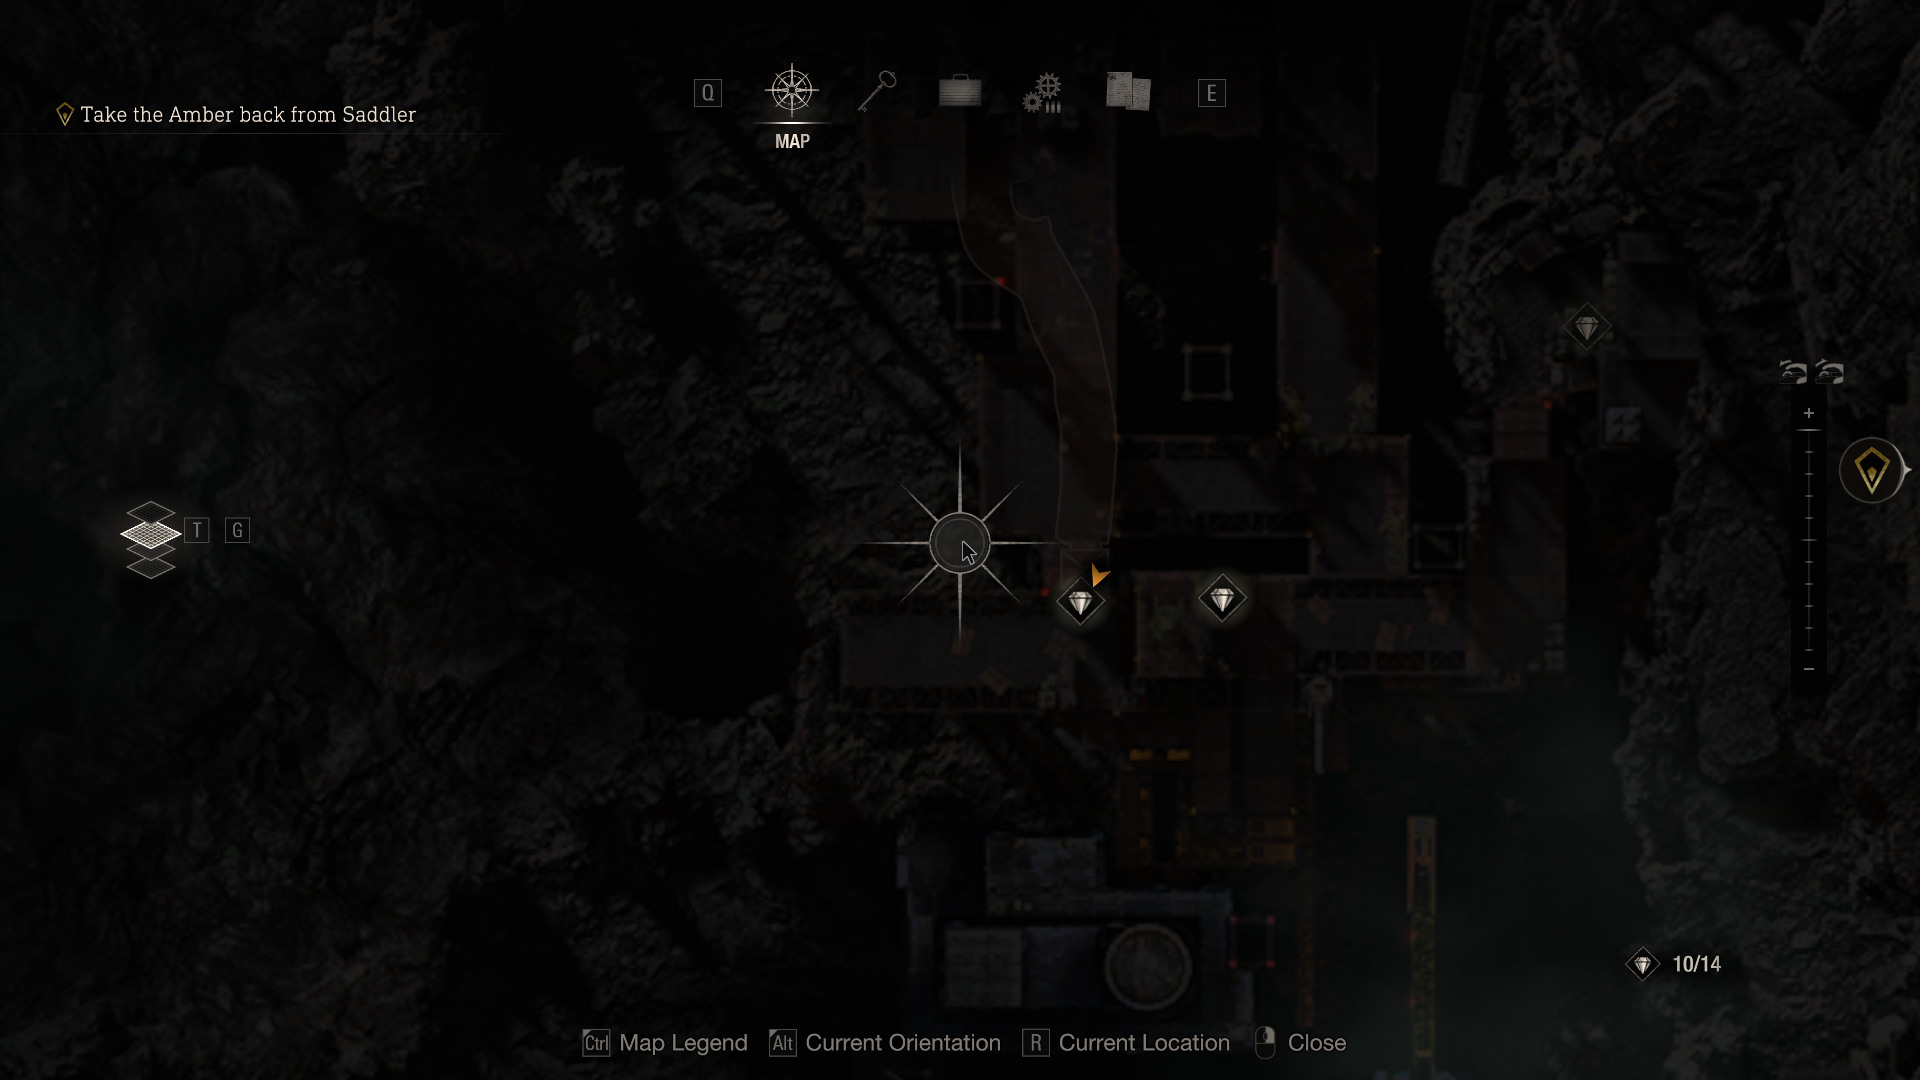
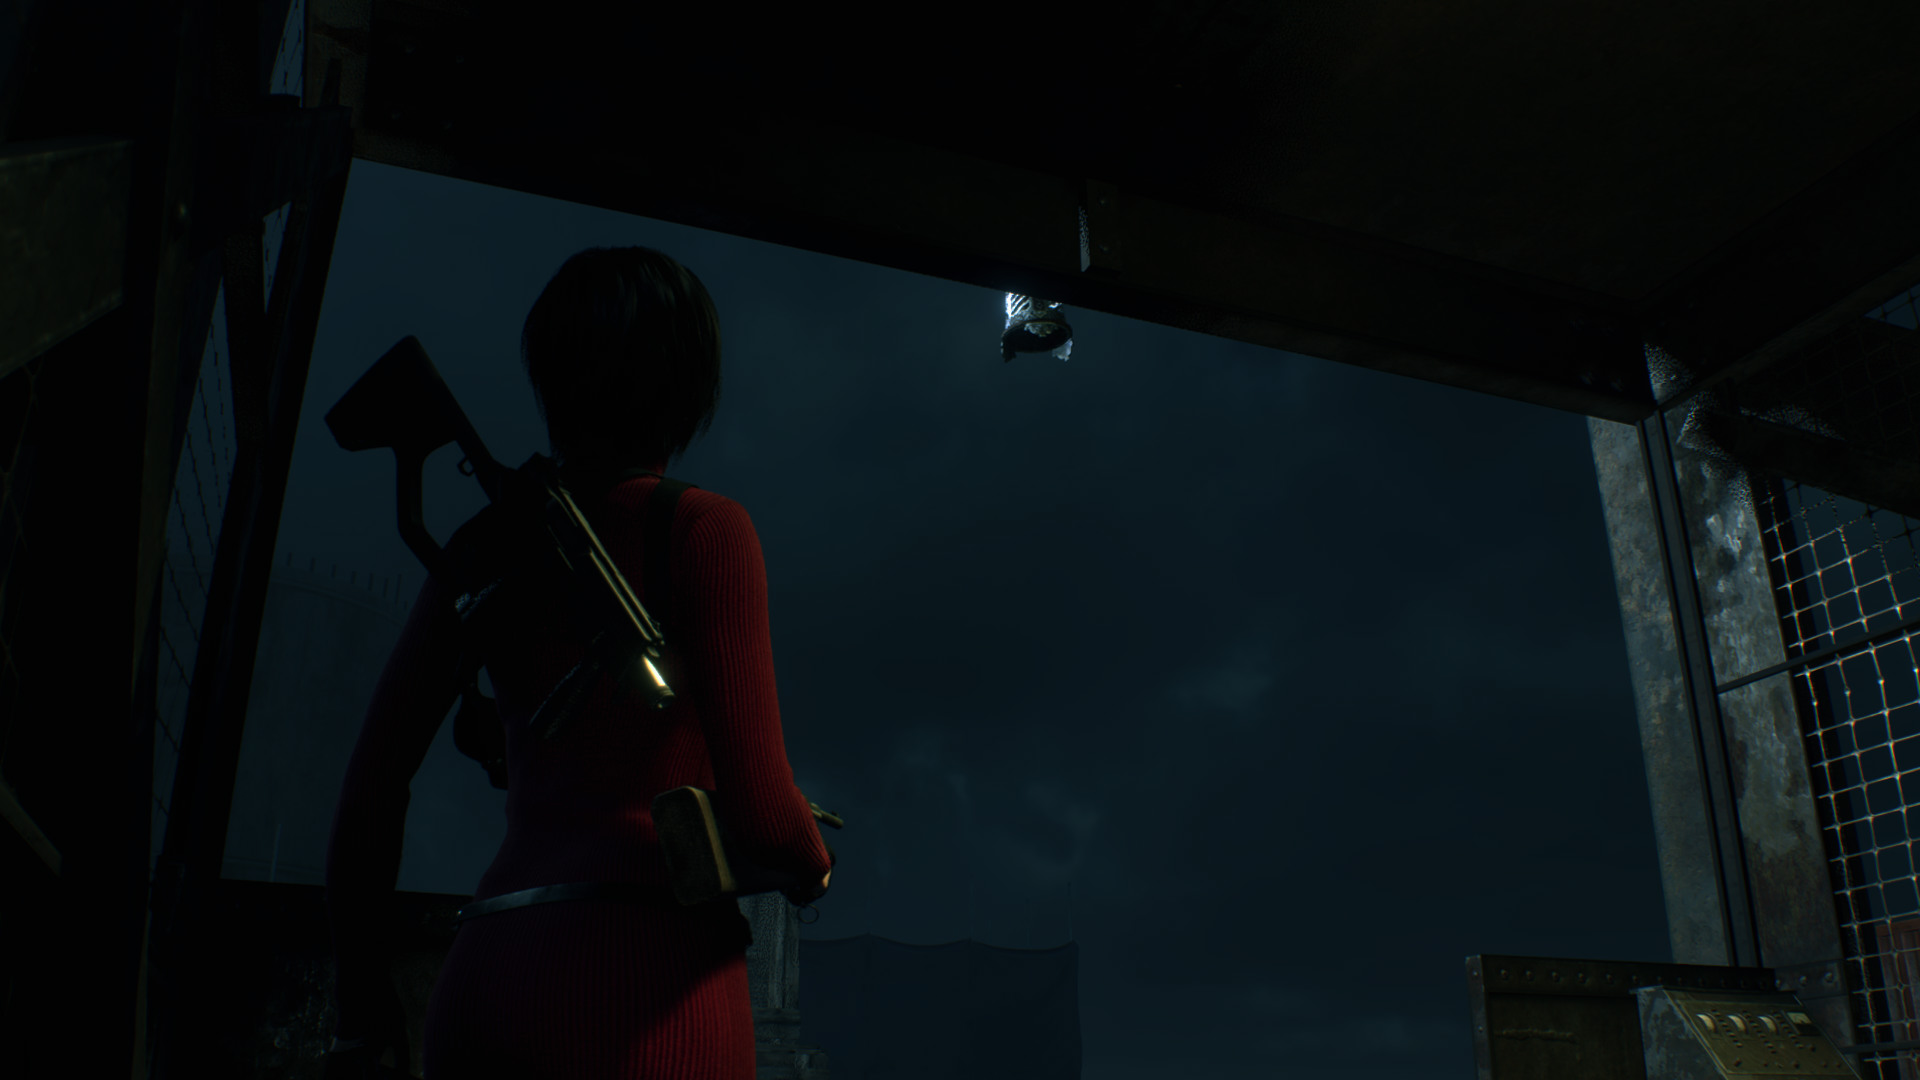 Treasure: Staff of Royalty
After going down the stairs before going towards the right side to the lift look left, located inside the chest.
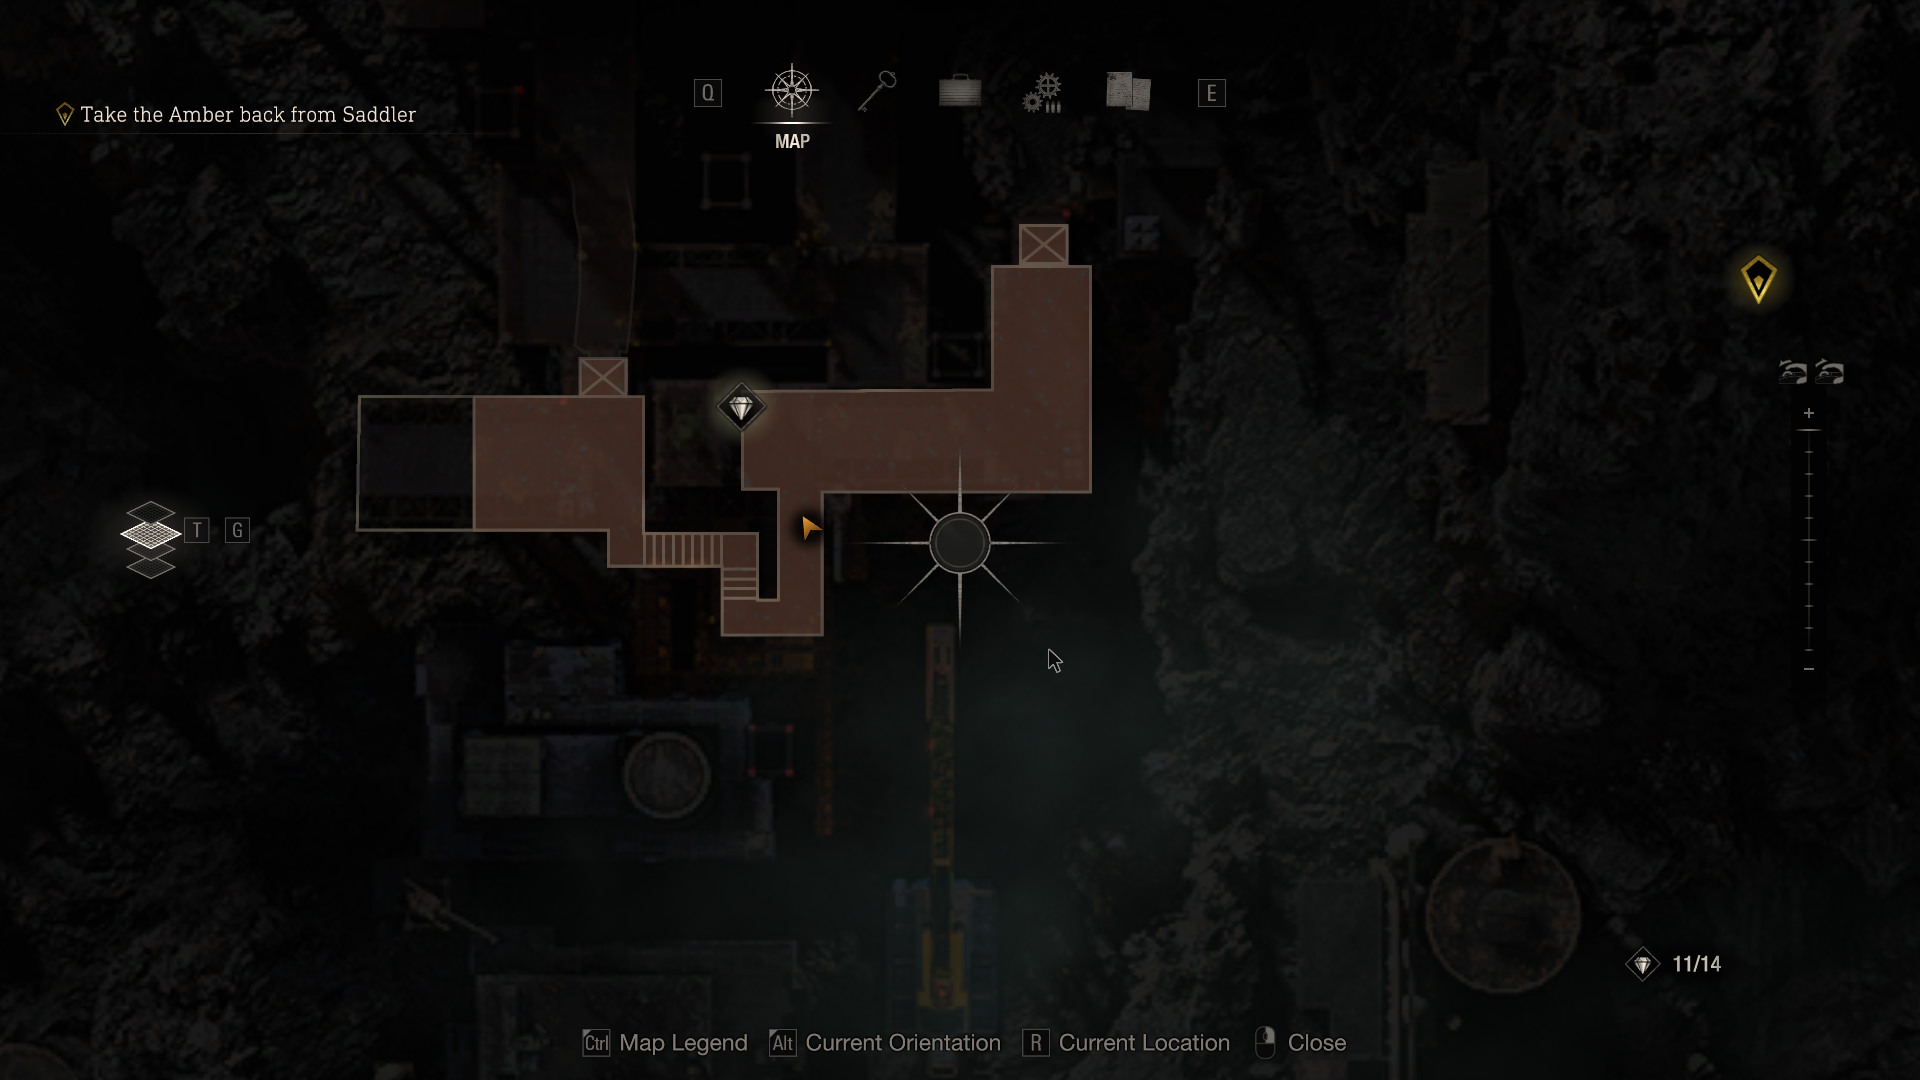
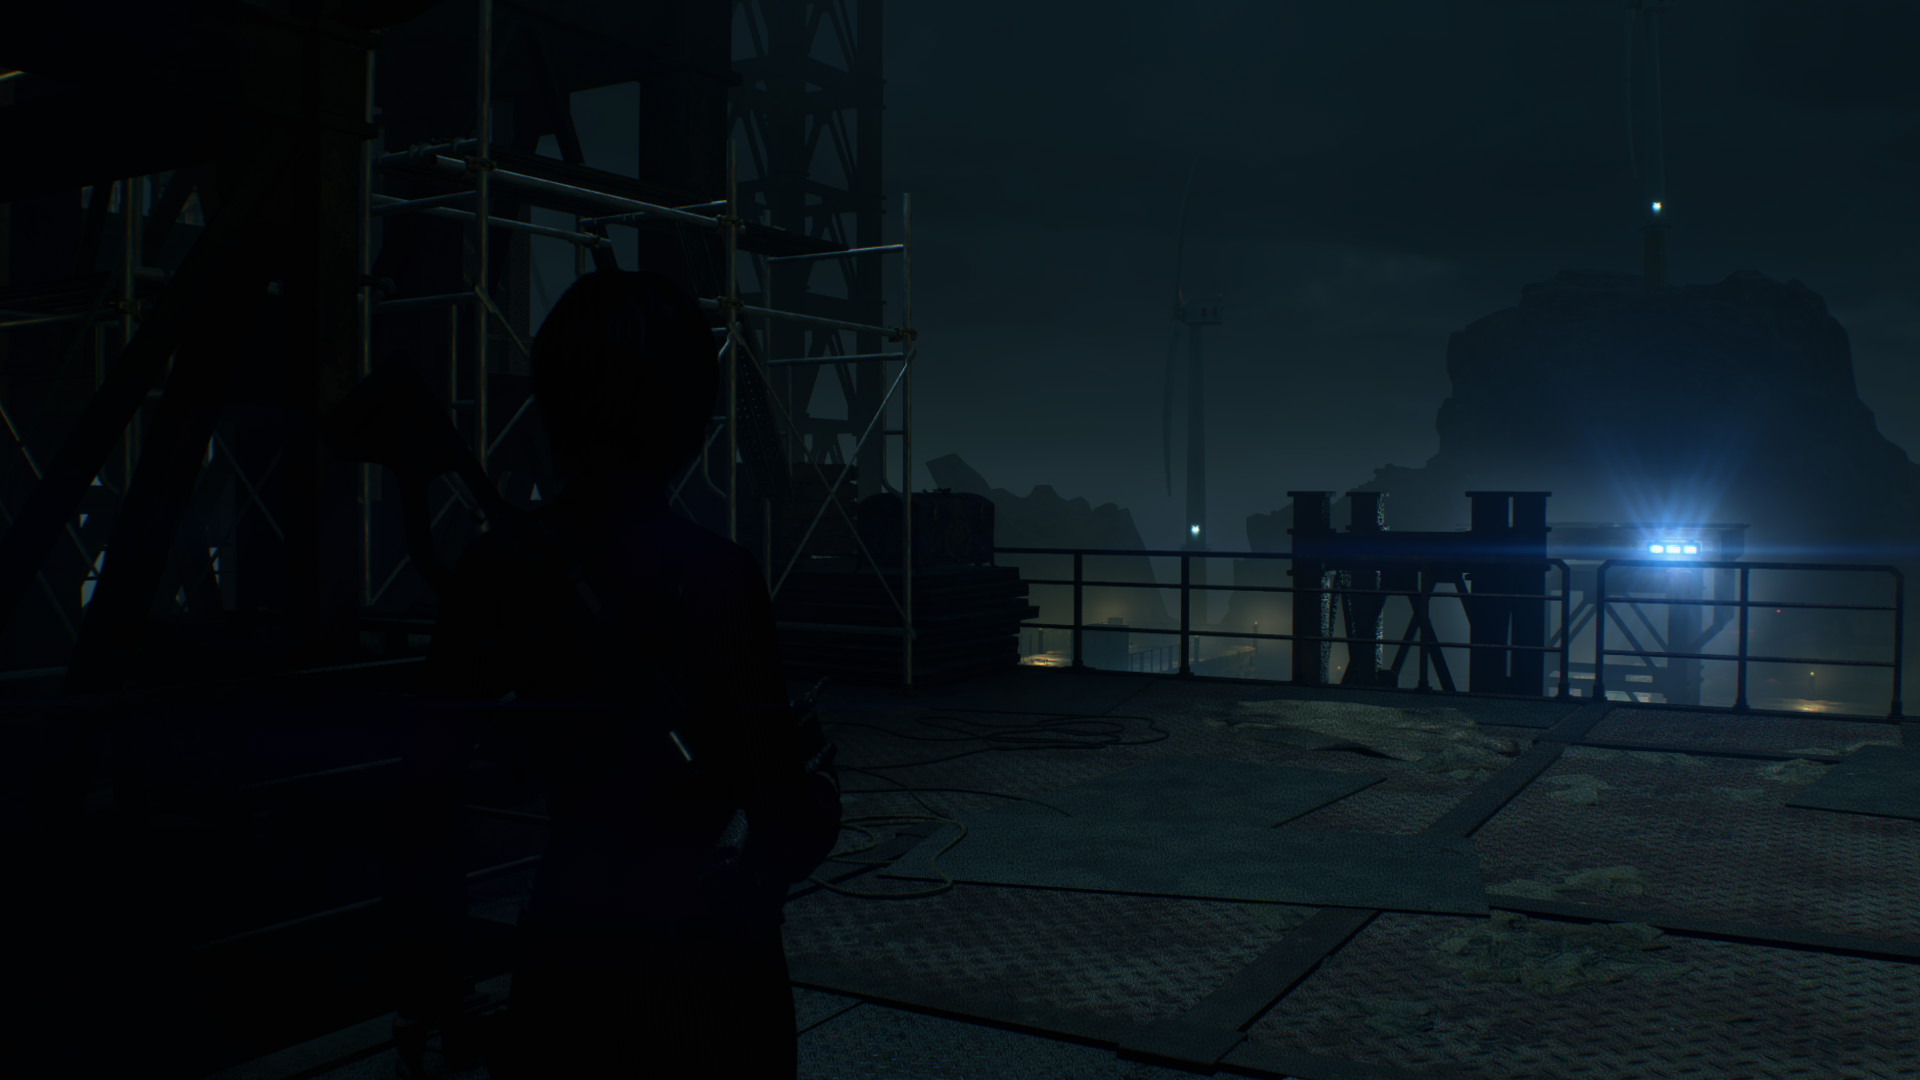 Treasure: Justitia Statue\
After going up with another lift before going thou the doorway to the merchant look right, located inside the chest.
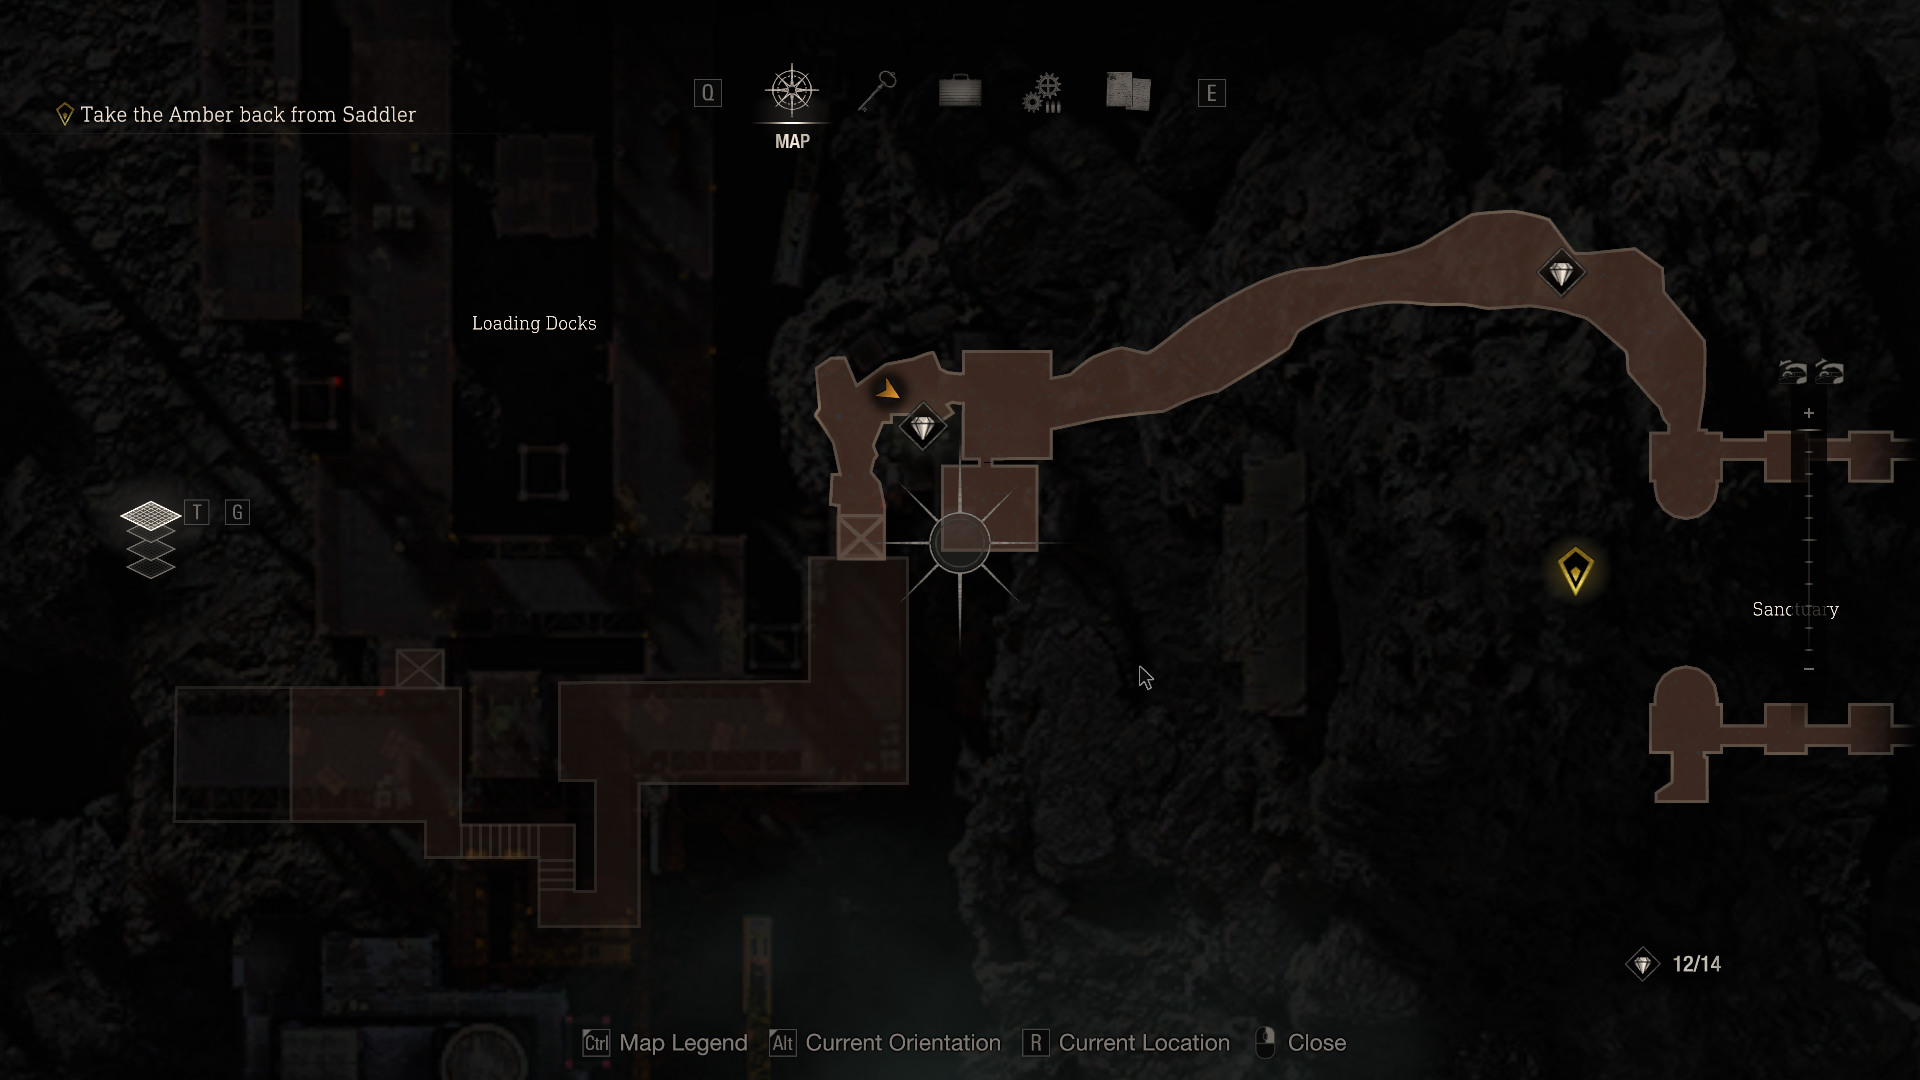
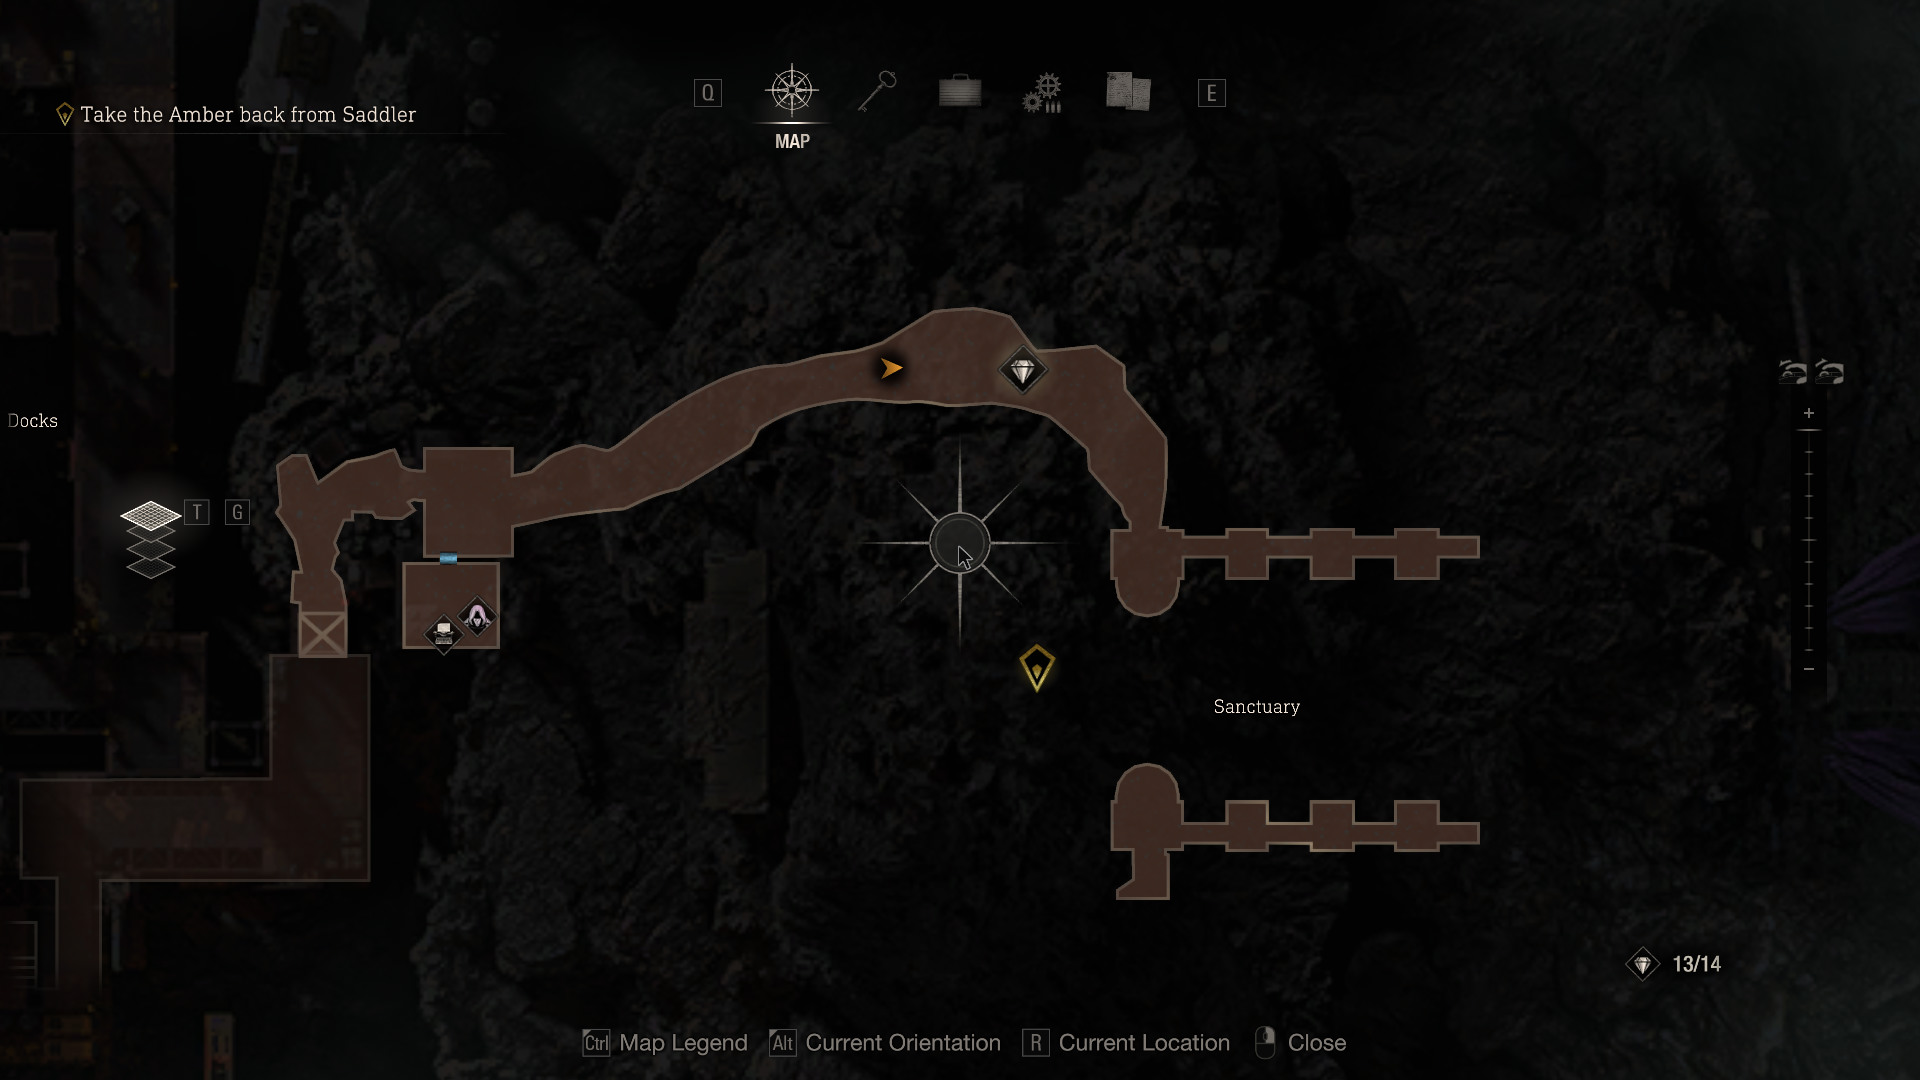
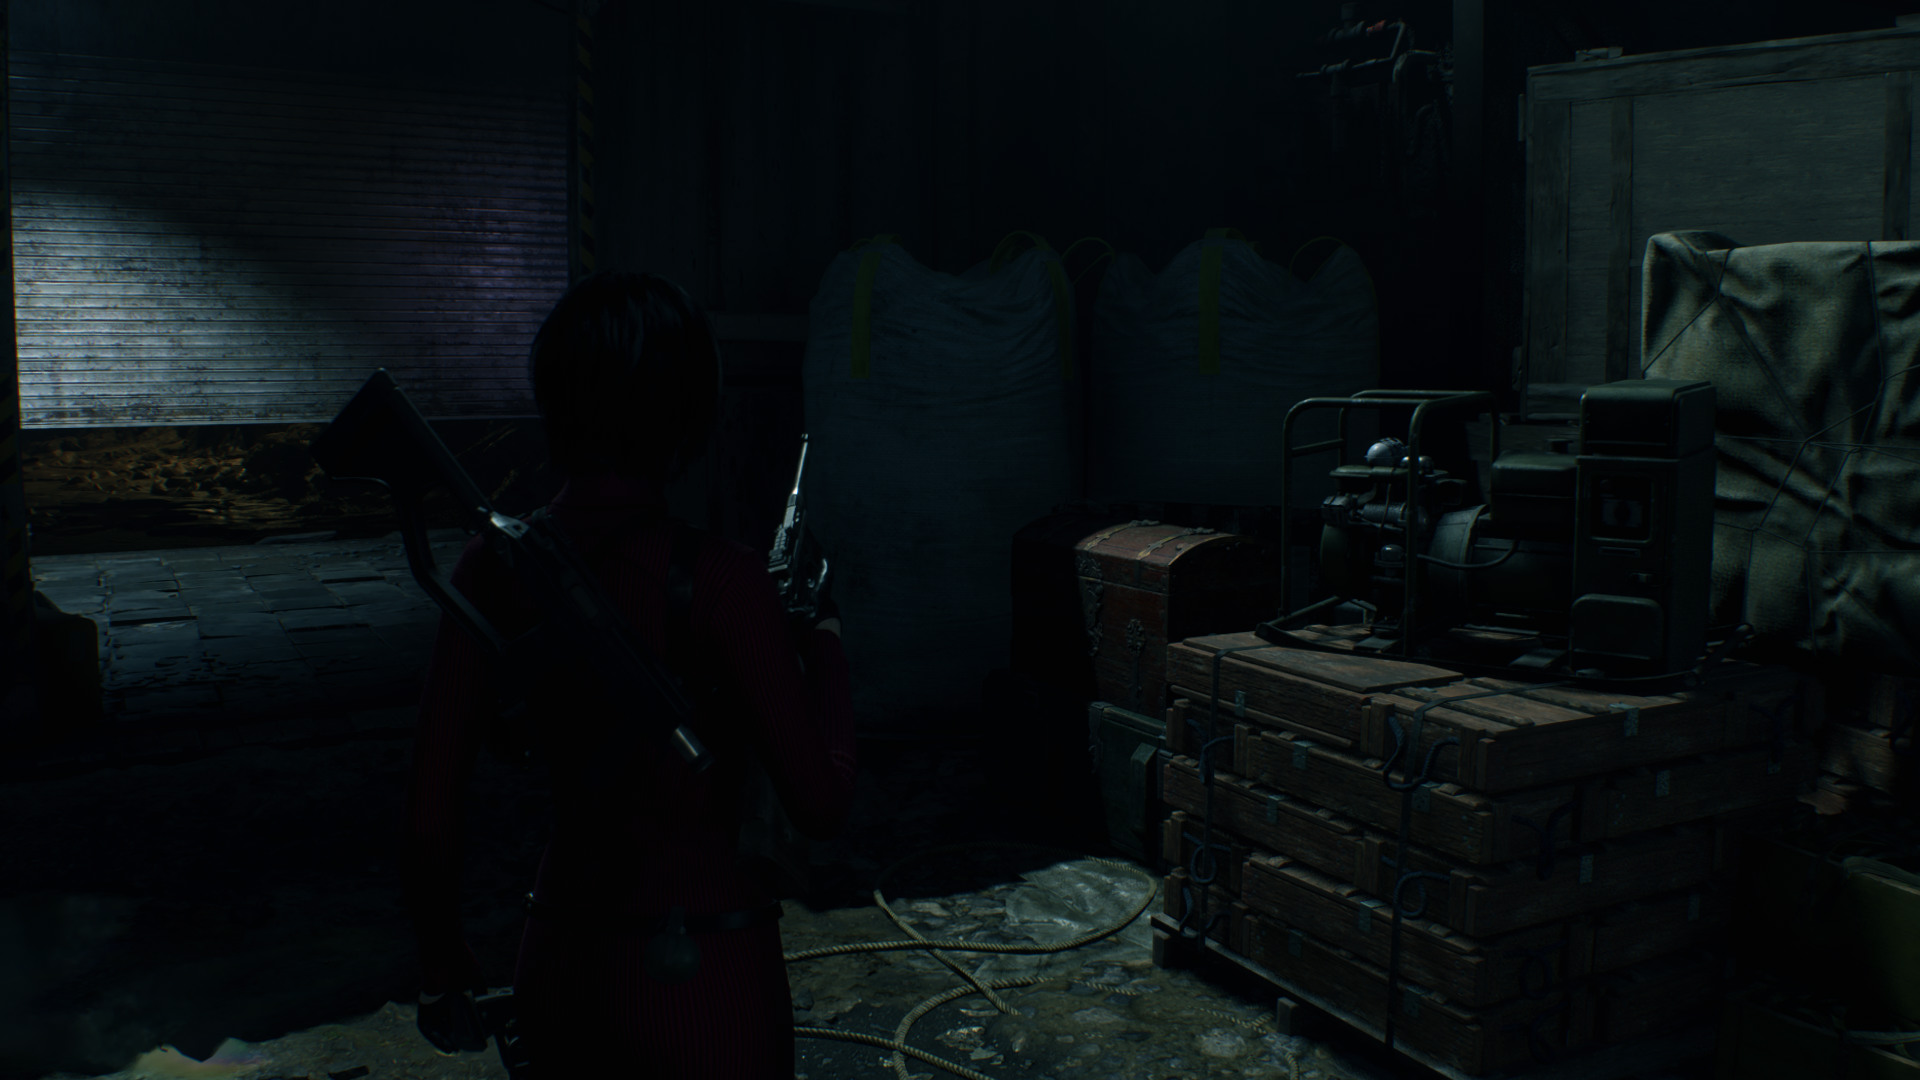 Treasure: Ruby
After crouching underneath the rubble blocking your path located above you in a cage.
And this is the end of the guide thank you for using it! If you found problems with the guide let me know!
🏆
Beat Resident Evil 4's 100% run?
Flex it — let your friends know you pulled it off.
More Resident Evil 4 guides
- Resident Evil 4 Remake + DLC 100% Achievement Guide★ 5 (1.3k)65k views3.2k ♥29 minUpdated Sep 23, 2023
- Resident Evil 4: Достижения и Коллекции★ 5 (1.7k)37k views3.9k ♥60 minRussianUpdated Jun 29
- How to Casually Unlock Everything (Updated for Mercenaries)★ 5 (945)36k views2.3k ♥17 minUpdated Apr 8, 2023
- Достижения Resident Evil 4 | Головоломки | Коллекции★ 5 (697)29k views1.8k ♥22 minRussianUpdated Sep 21, 2023
- RE4R Weapons Max Stat Comparison Table★ 5 (520)25k views841 ♥3 minUpdated Apr 21, 2023
- Treasure and Gem Combination Guide★ 5 (409)24k views1.1k ♥27 minUpdated Jan 24



🔥 Popular guides
- Upgrading to PremiumTeam Fortress 2★ 5 (20k)1441k views11k ♥6 minUpdated May 11, 2022
- No More Room in Hell Official ManualNo More Room in Hell★ 5 (2.8k)569k views2.1k ♥29 minUpdated Apr 22, 2019
- NMRiH Community Hosting GuidesNo More Room in Hell★ 5 (526)351k views653 ♥1 minUpdated Aug 10, 2022
- ULTIMATE GUIDE FOR GAME DEV TYCOONGame Dev Tycoon★ 5 (5.8k)326k views10k ♥4 minUpdated 23 Jan, 2014
- How to 'Git Gud' Soon™MORDHAU★ 5 (2k)318k views3k ♥68 minUpdated Nov 16, 2024
- Лучшие кооперативные игры SteamPAYDAY 2★ 5 (1.5k)315k views2.1k ♥56 minRussianUpdated Apr 27, 2025






This guide was created by its original author on the Steam Community. Are you the author and want it removed? Request removal.