Dimension of the Past Secrets
Useful Information



Quake Secrets Guide Contents
- Quake Secrets
- Scourge of Armagon Secrets
- Dissolution of Eternity Secrets
- Dimension of the Past Secrets
- Dimension of the Machine Secrets
- Horde Mode Secrets
Introduction
 This guide will help you find all the secrets in the 3rd Quake expansion pack: Dimension of the Past.
This expansion has a total of 44 secrets across all 11 levels, as well as several unmarked secrets (which don't count as official secrets but often have substantial rewards).
Dimension of the Past consists of one episode.
Items
Unlike the previous two expansion packs, there are no new weapon or items in this expansion:Weapons

Axe

Shotgun

Double-Barreled Shotgun

Nailgun

Super Nailgun

Grenade Launcher

Rocket Launcher
Thunderbolt
Ammo

Small Shells

Large Shells

Small Nails

Large Nails

Small Rockets

Large Rockets

Small Cells

Large Cells
Powerups

Green Armor

Yellow Armor

Red Armor

Small Health

Large Health

Megahealth

Quad Damage

Pentagram of Protection

Ring of Shadows

Biosuit
START: Dimension of the Past
Extra Secret
Finding the hidden Nightmare Difficulty portal doesn't count as an in-game secret. If you want to find it start by heading in any of the difficulty selection teleporters. Ahead of you will be the red Slipgate that will take you to the main levels but instead keep to the left and go past the Slipgate. Drop down in to some shallow water ( ) and take a left to find a hidden corridor to the Nightmare Difficulty portal.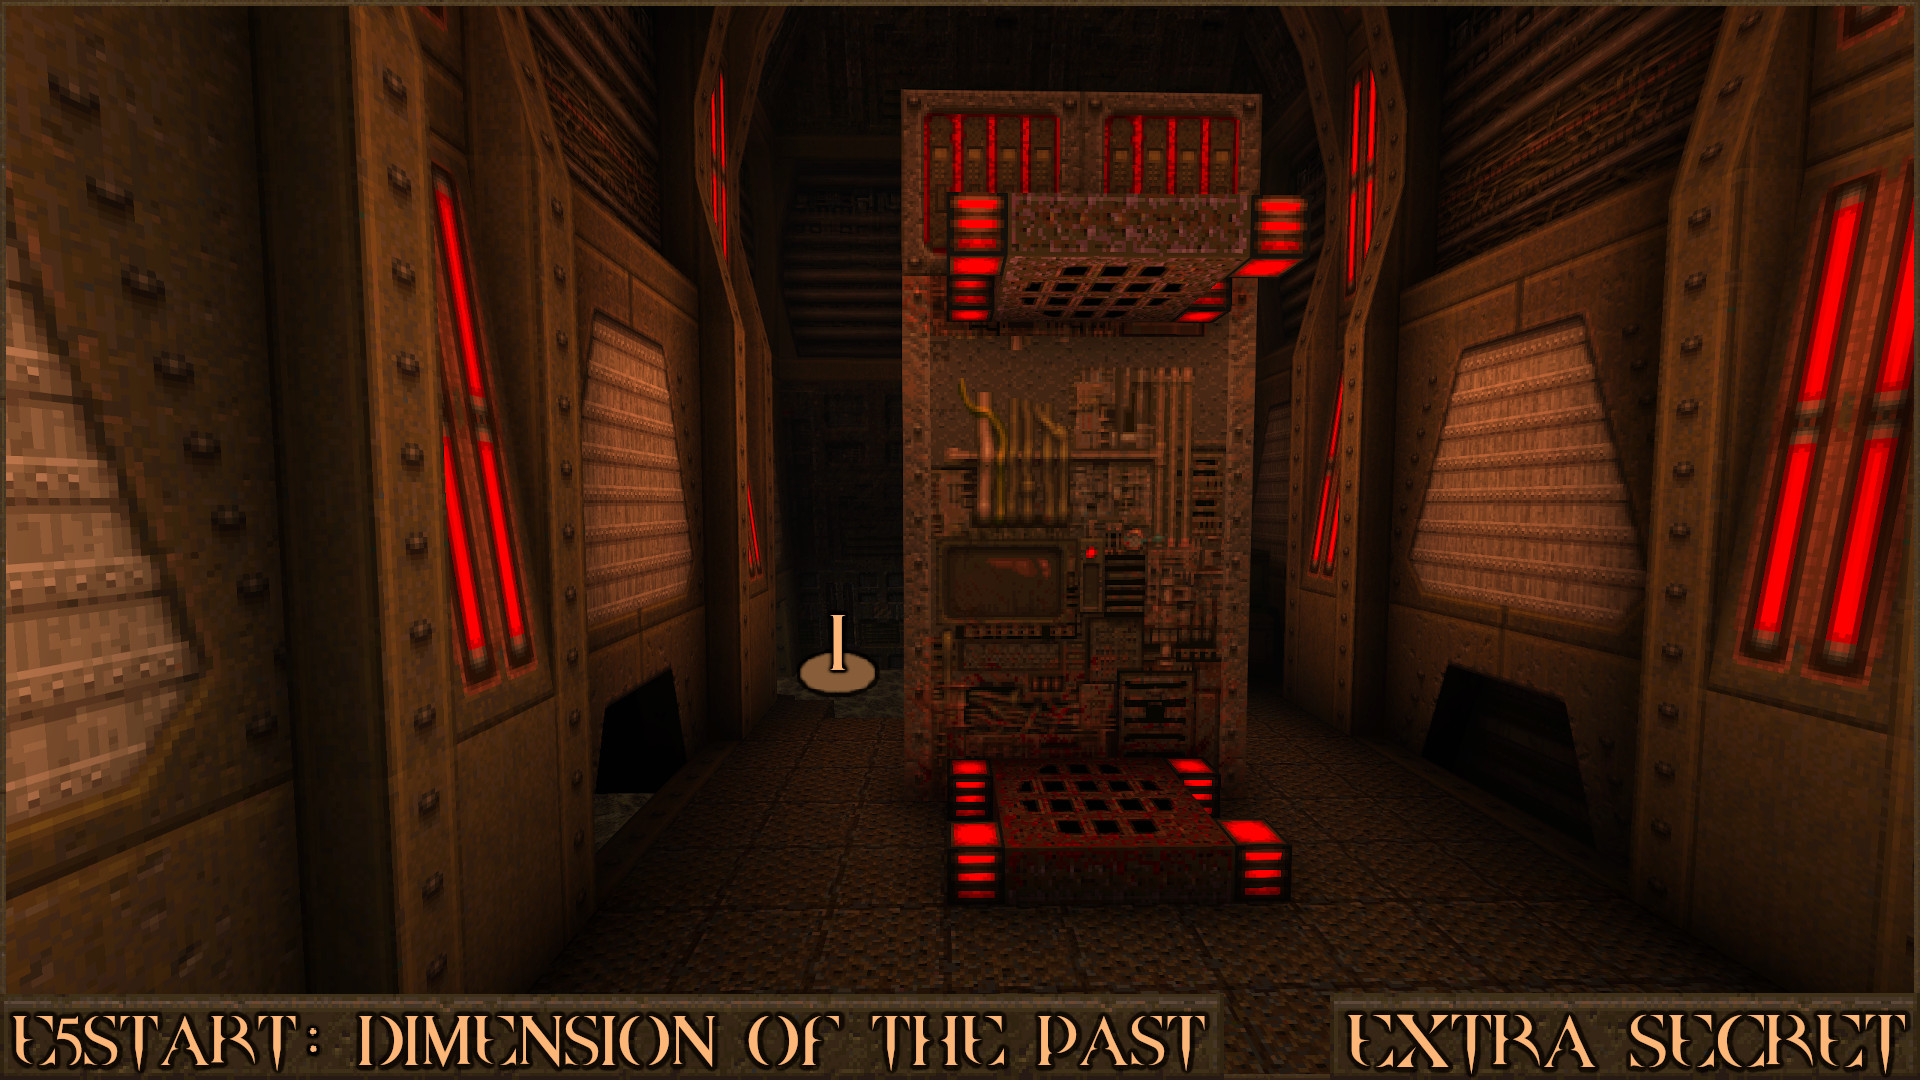
Reward: Nightmare Difficulty
E5M1: The Military Base
Secret 1 of 6
As soon as you start the level take a right through a door. Look to your left to see a stack of brown crates. Jump up them to find a hidden area and some Green Armor.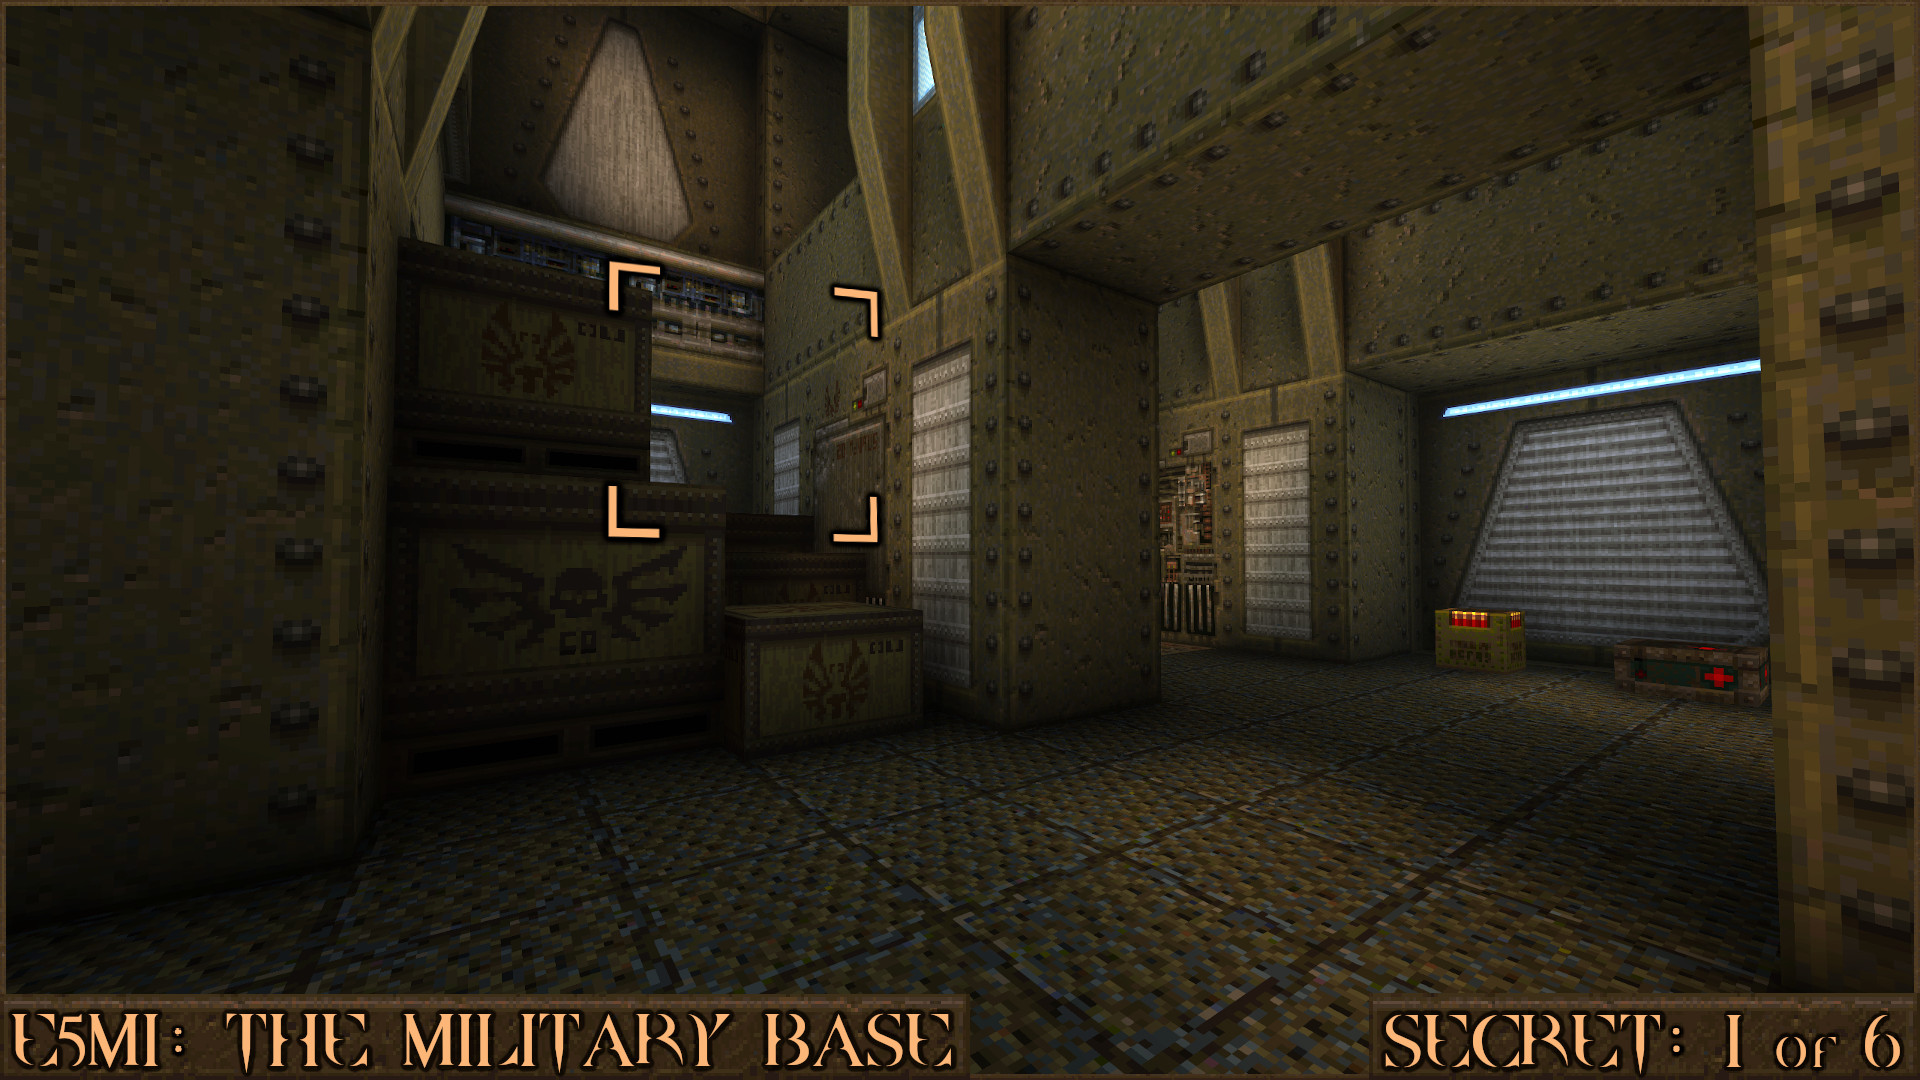
Reward:
Secret 2 of 6
After you've taken the elevator down to the lower level walk off the left side of the platform () and you should land straight on to this secret. It is in some shallow water behind some more crates.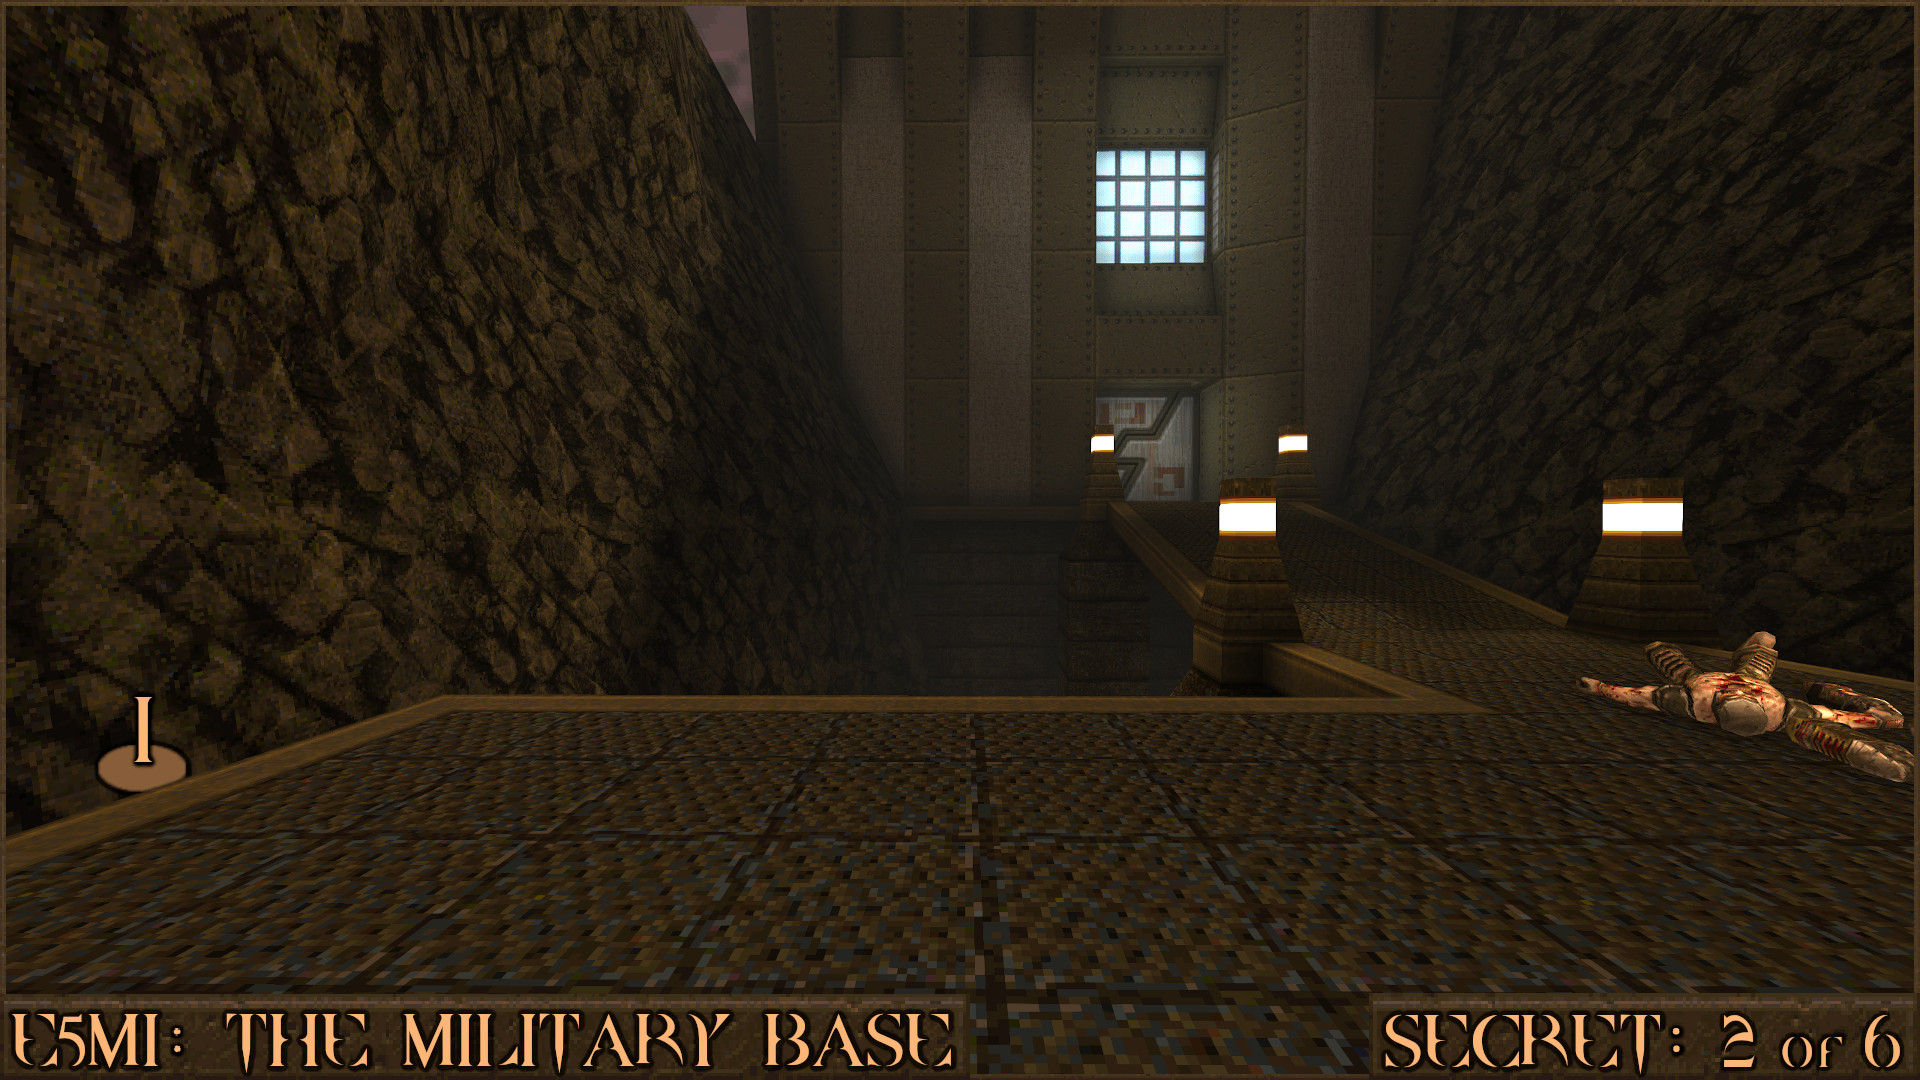
Reward:
Secret 3 of 6
After you find Secret 2 you will need to get out of the shallow water and return to the upper platform. Head in to this tunnel to find this secret and a small elevator that will take you back to the start of the level.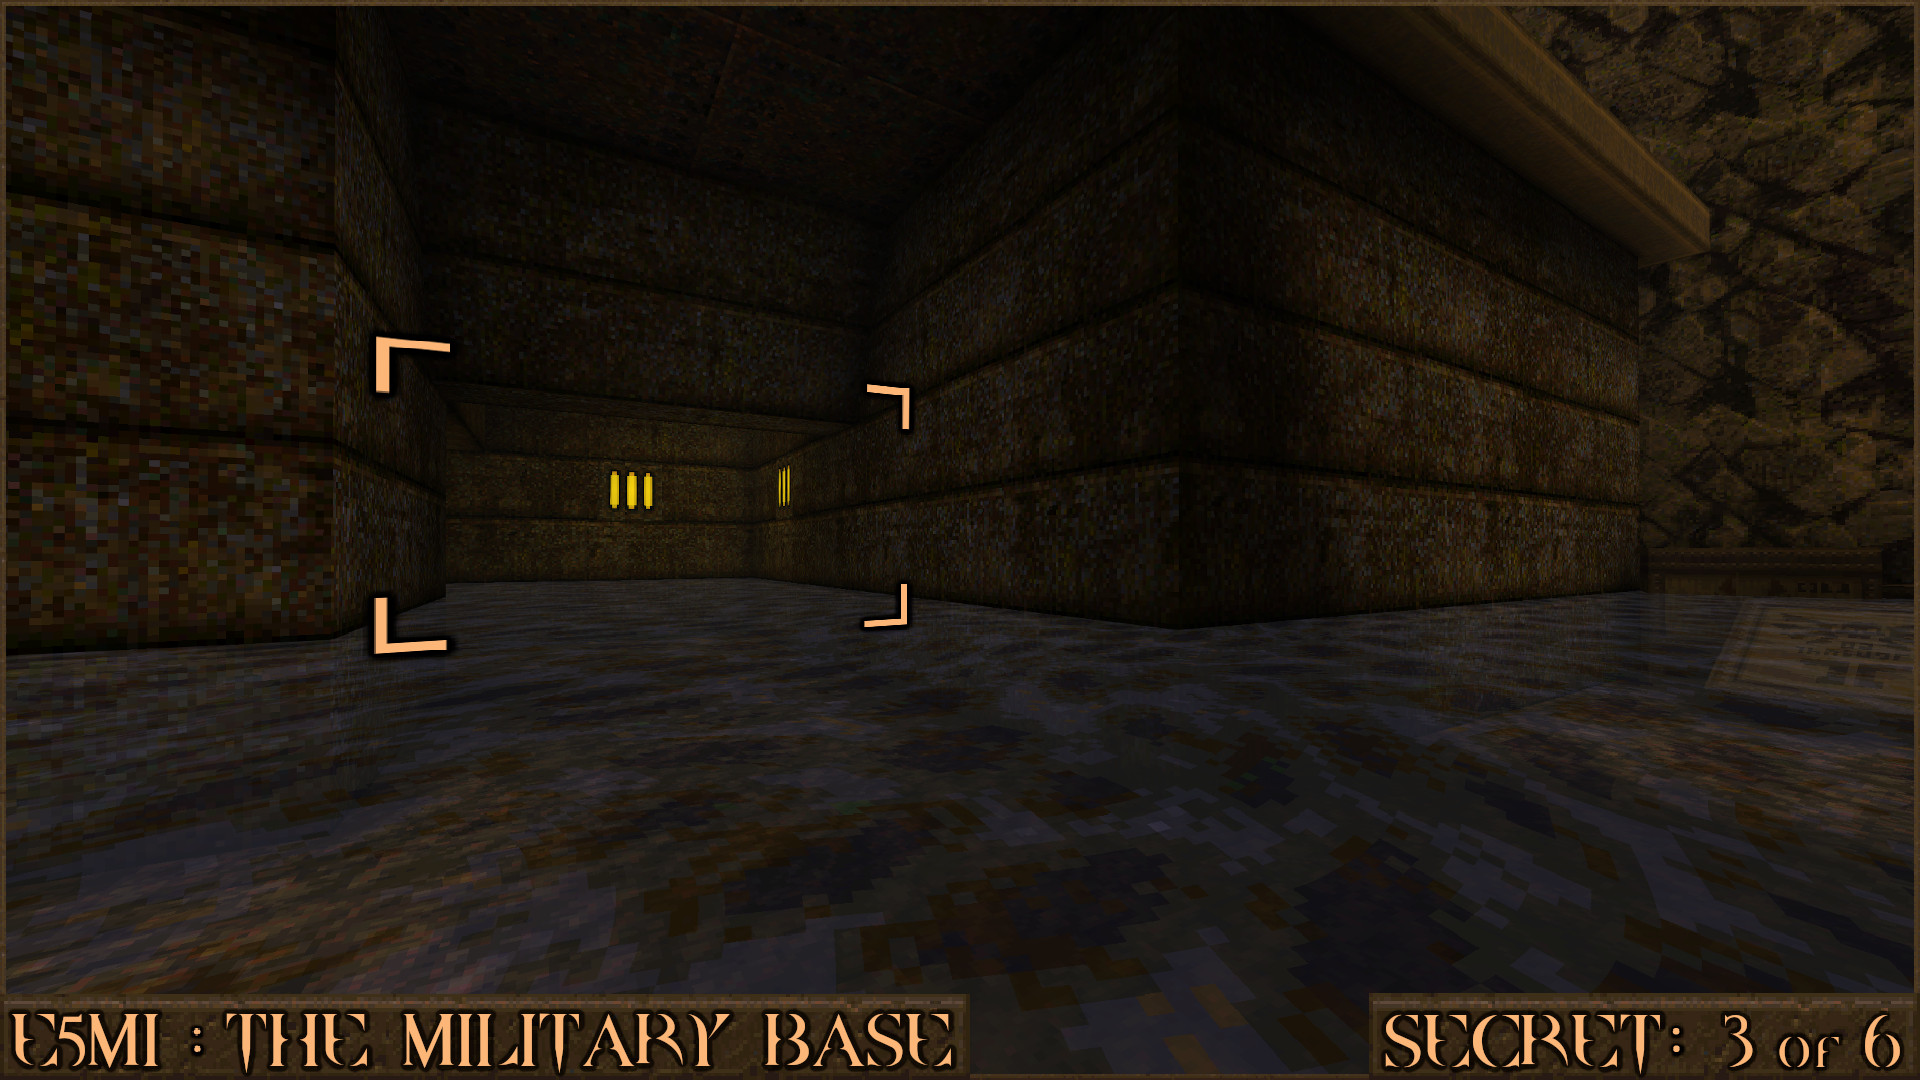
Reward:
Secret 4 of 6
After you press two buttons to lower a bridge over some slime, look to the left of the bridge to see a dark vent covered in some blood. Shoot it to make it move out of the way and quickly jump down in to the slime and through the hatch. Here you'll find a teleporter that will take you straight to the secret.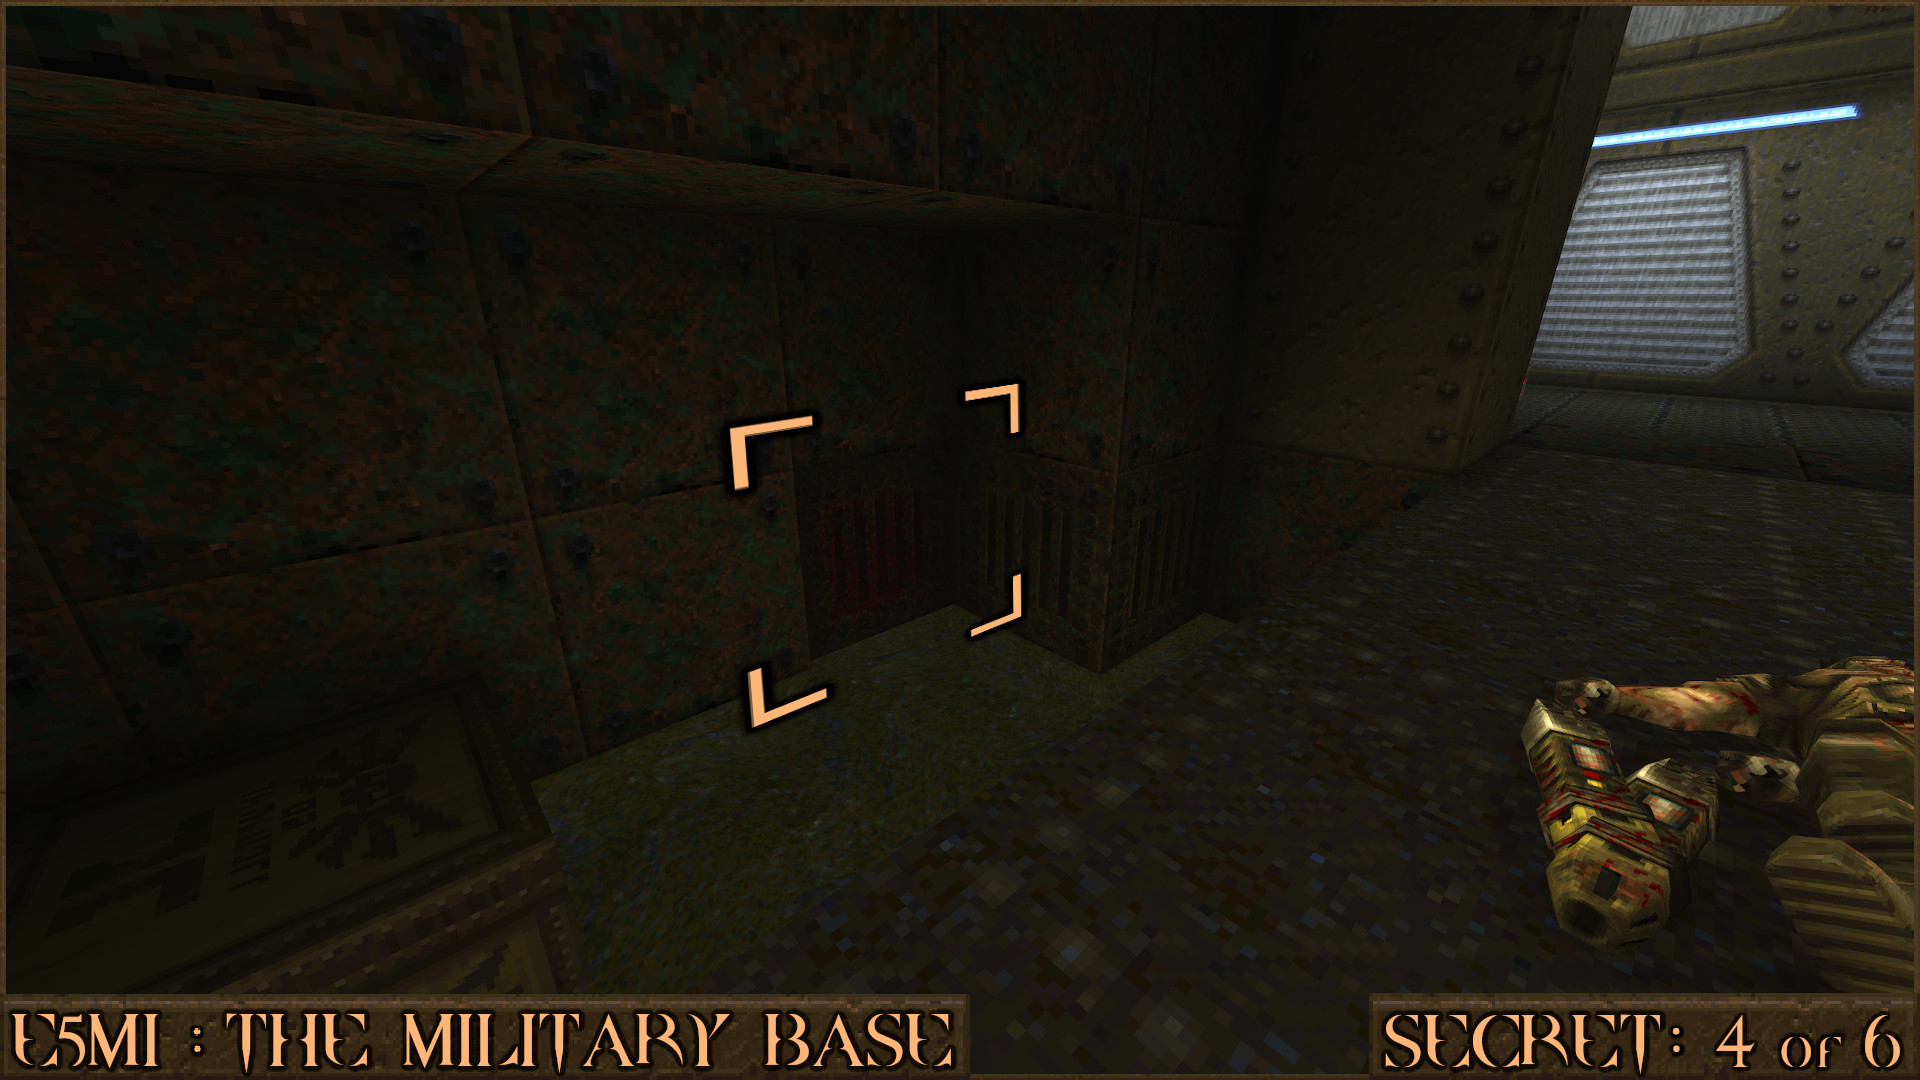
Reward:
Secret 5 of 6
Immediately after you open the Silver Keycard Door look at the right side of the next corridor. Go through this small tunnel to find a secret containing a Double-Barreled Shotgun.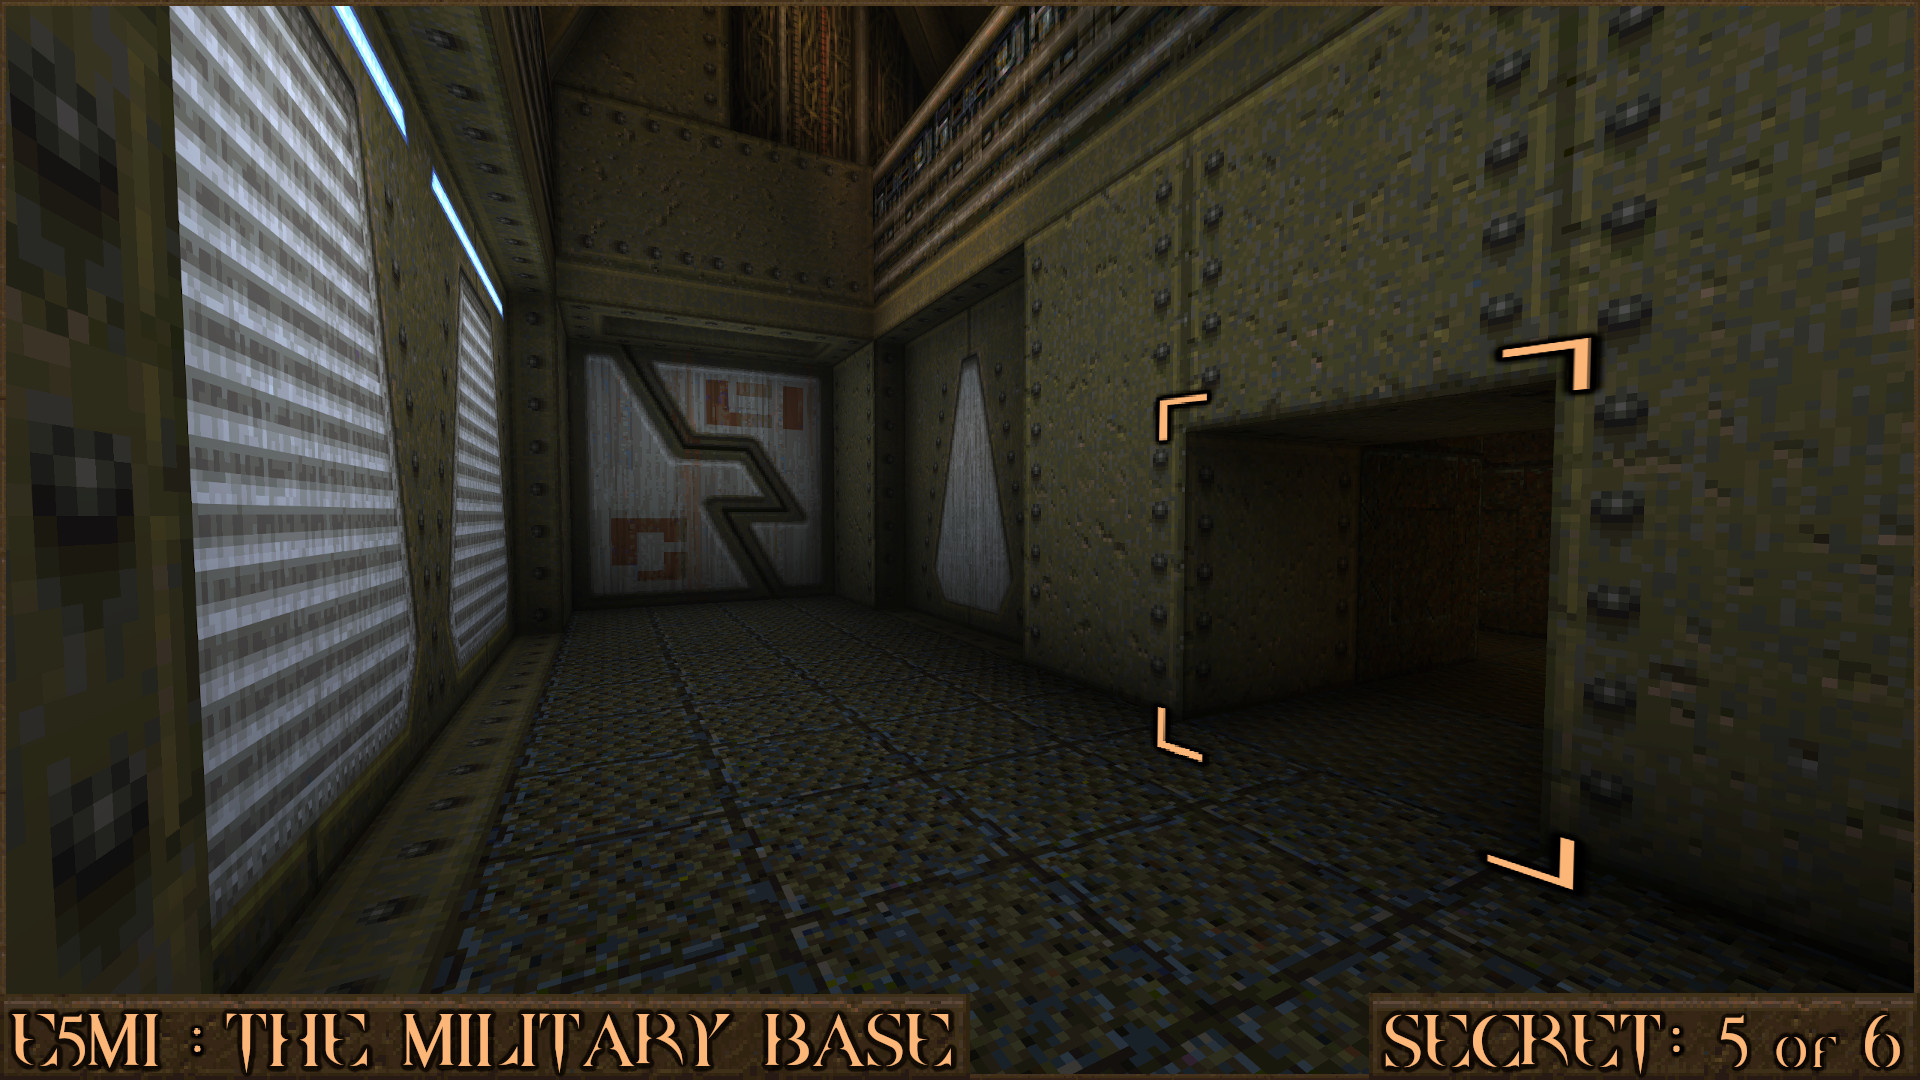
Reward:
Secret 6 of 6
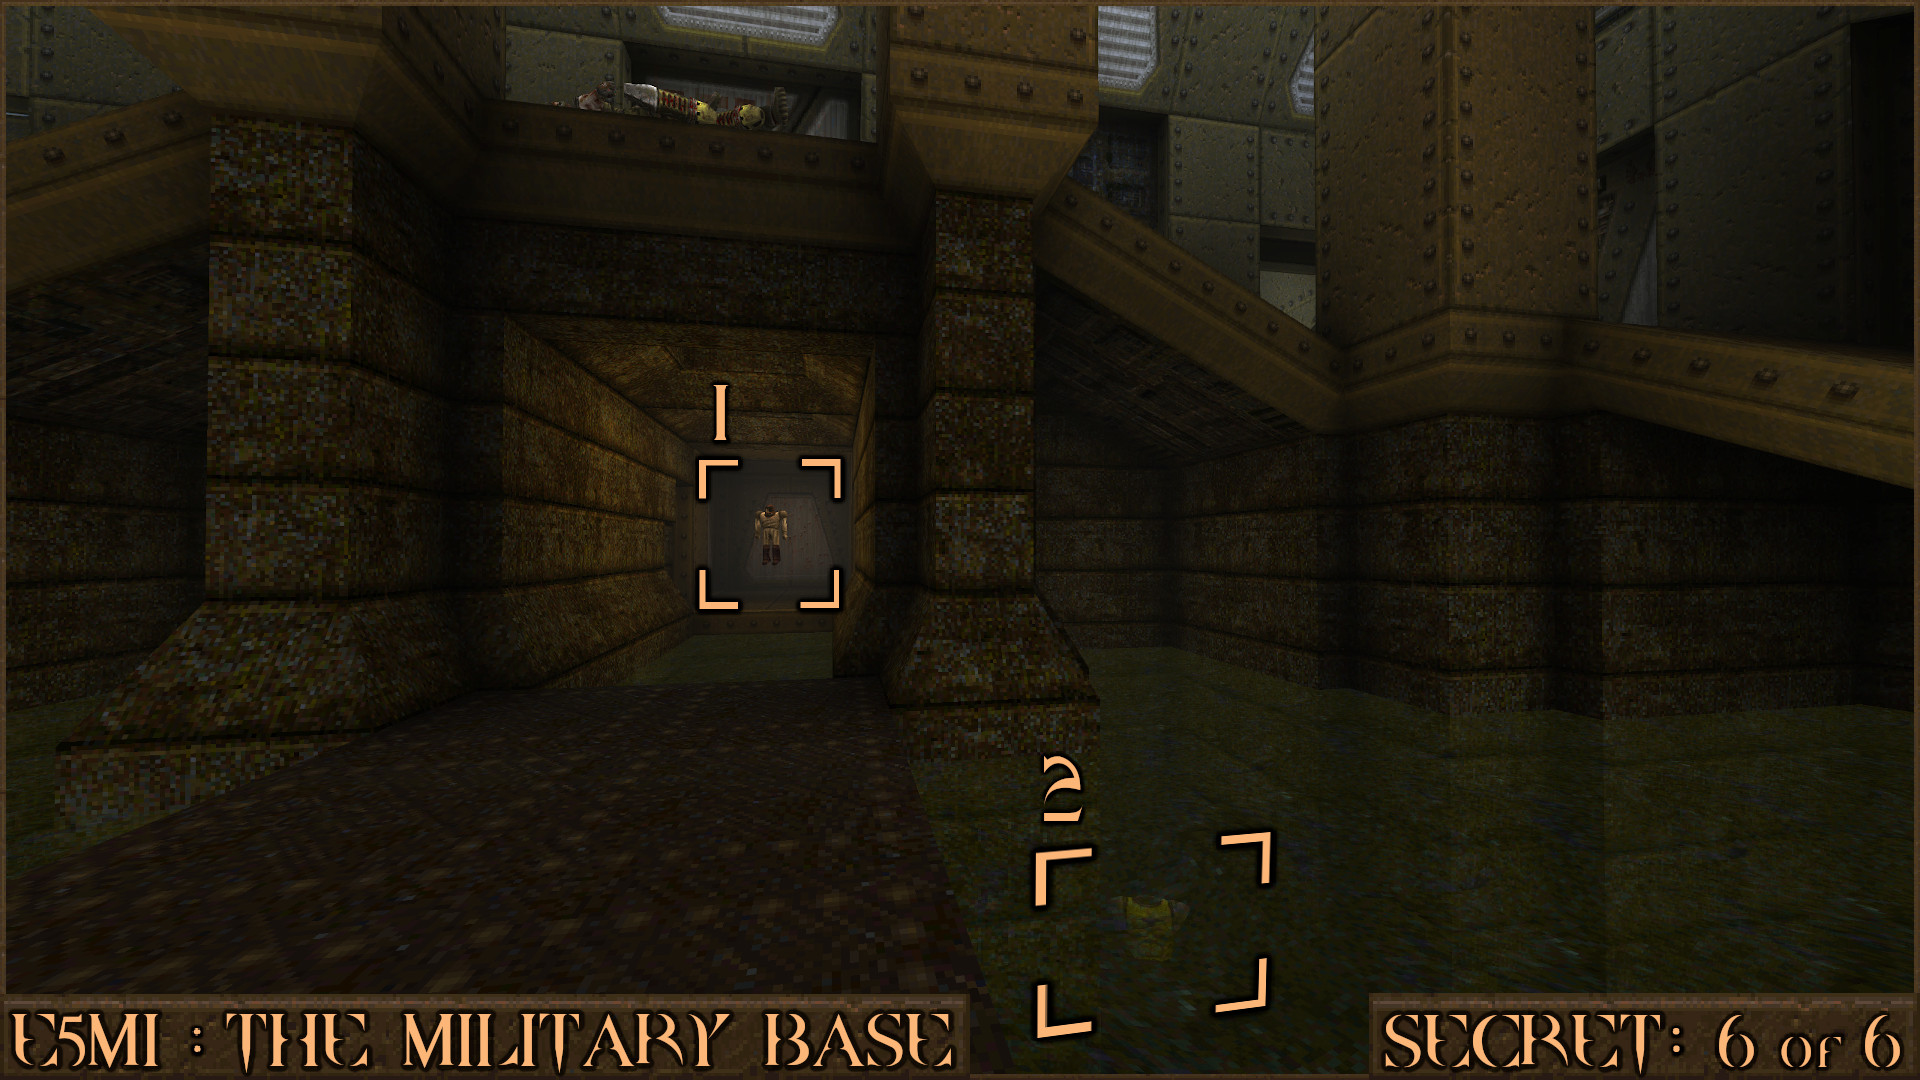
Near the end of the level you'll enter a large room with several walkways above a pool of slime. In the distance you will see a Biosuit () which will help you avoid damage while finding the secret. After you've picked up the Biosuit jump in to the slime to find several items but the secret will only trigger when you approach the Yellow Armor ( ).
).
Reward:
E5M2: The Power Supply
Secret 1 of 5
This secret is directly underneath where you start the level. Head forward down the ramp and then jump in to the water to get under the ramp and in to the secret.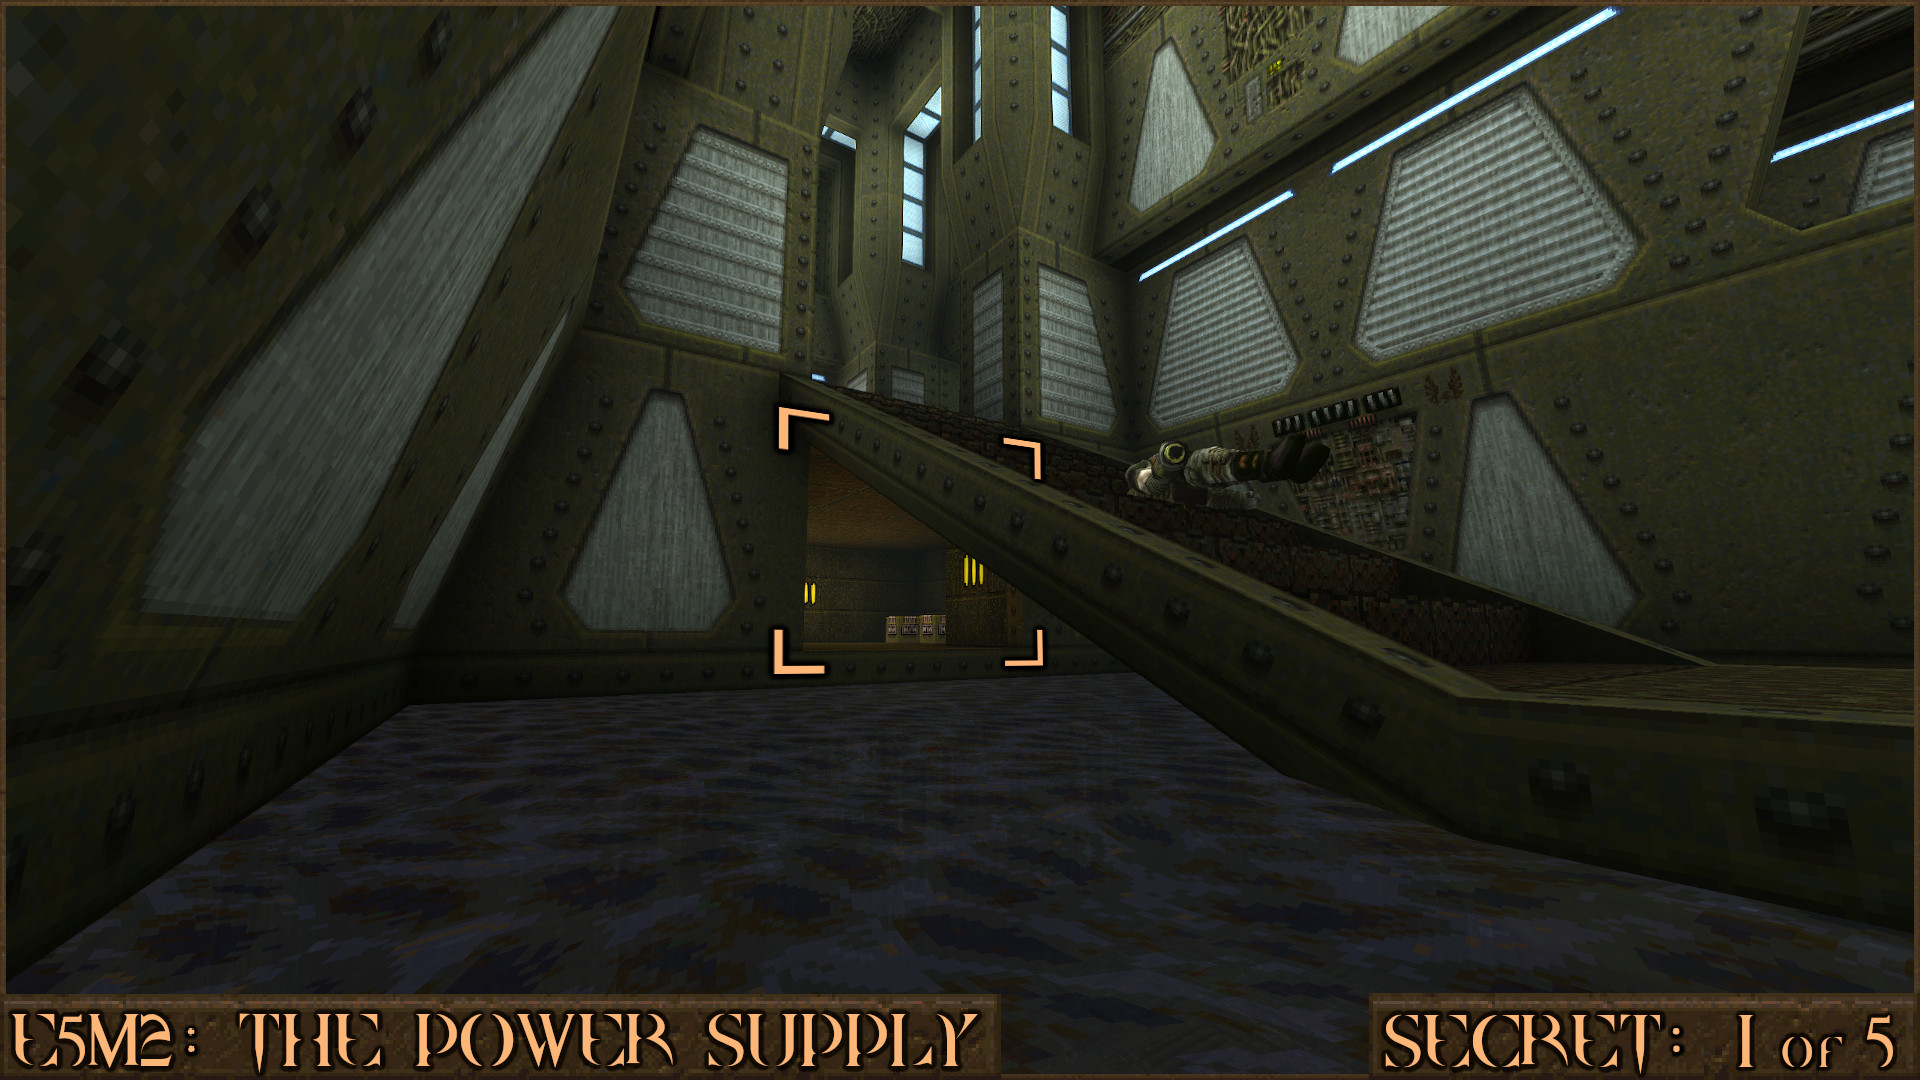
Reward:
Secret 2 of 5
From the start of the level turn right and you'll go through a room filled with explosive boxes. Past this room is a small corridor with a blood splattered wall panel next to a Small Shells. Shoot it and it will move and allow you access to the secret.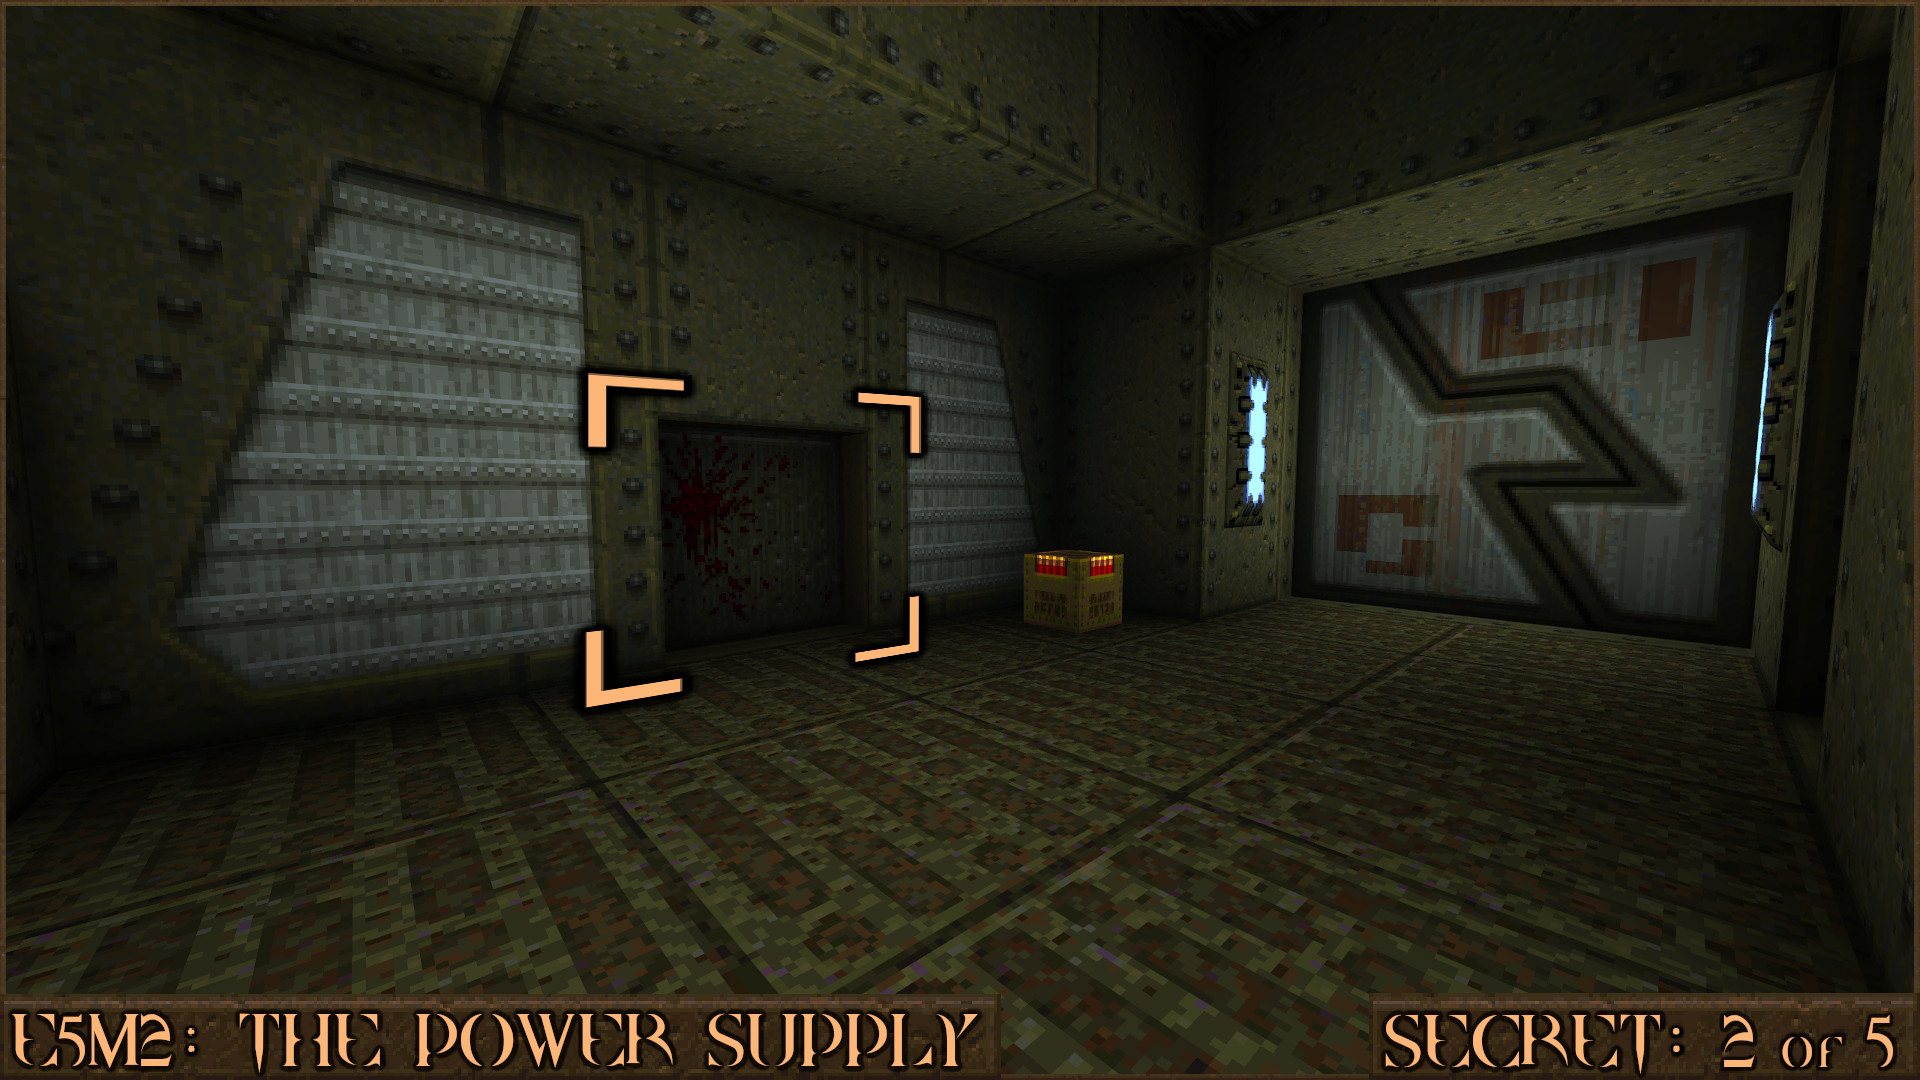
Reward:
Secret 3 of 5
At some point you will emerge out of the water in to a very dark room. Turn on the lights with a red floor switch and then look to the left of the floor switch to find a hidden nook behind some crates to find the secret.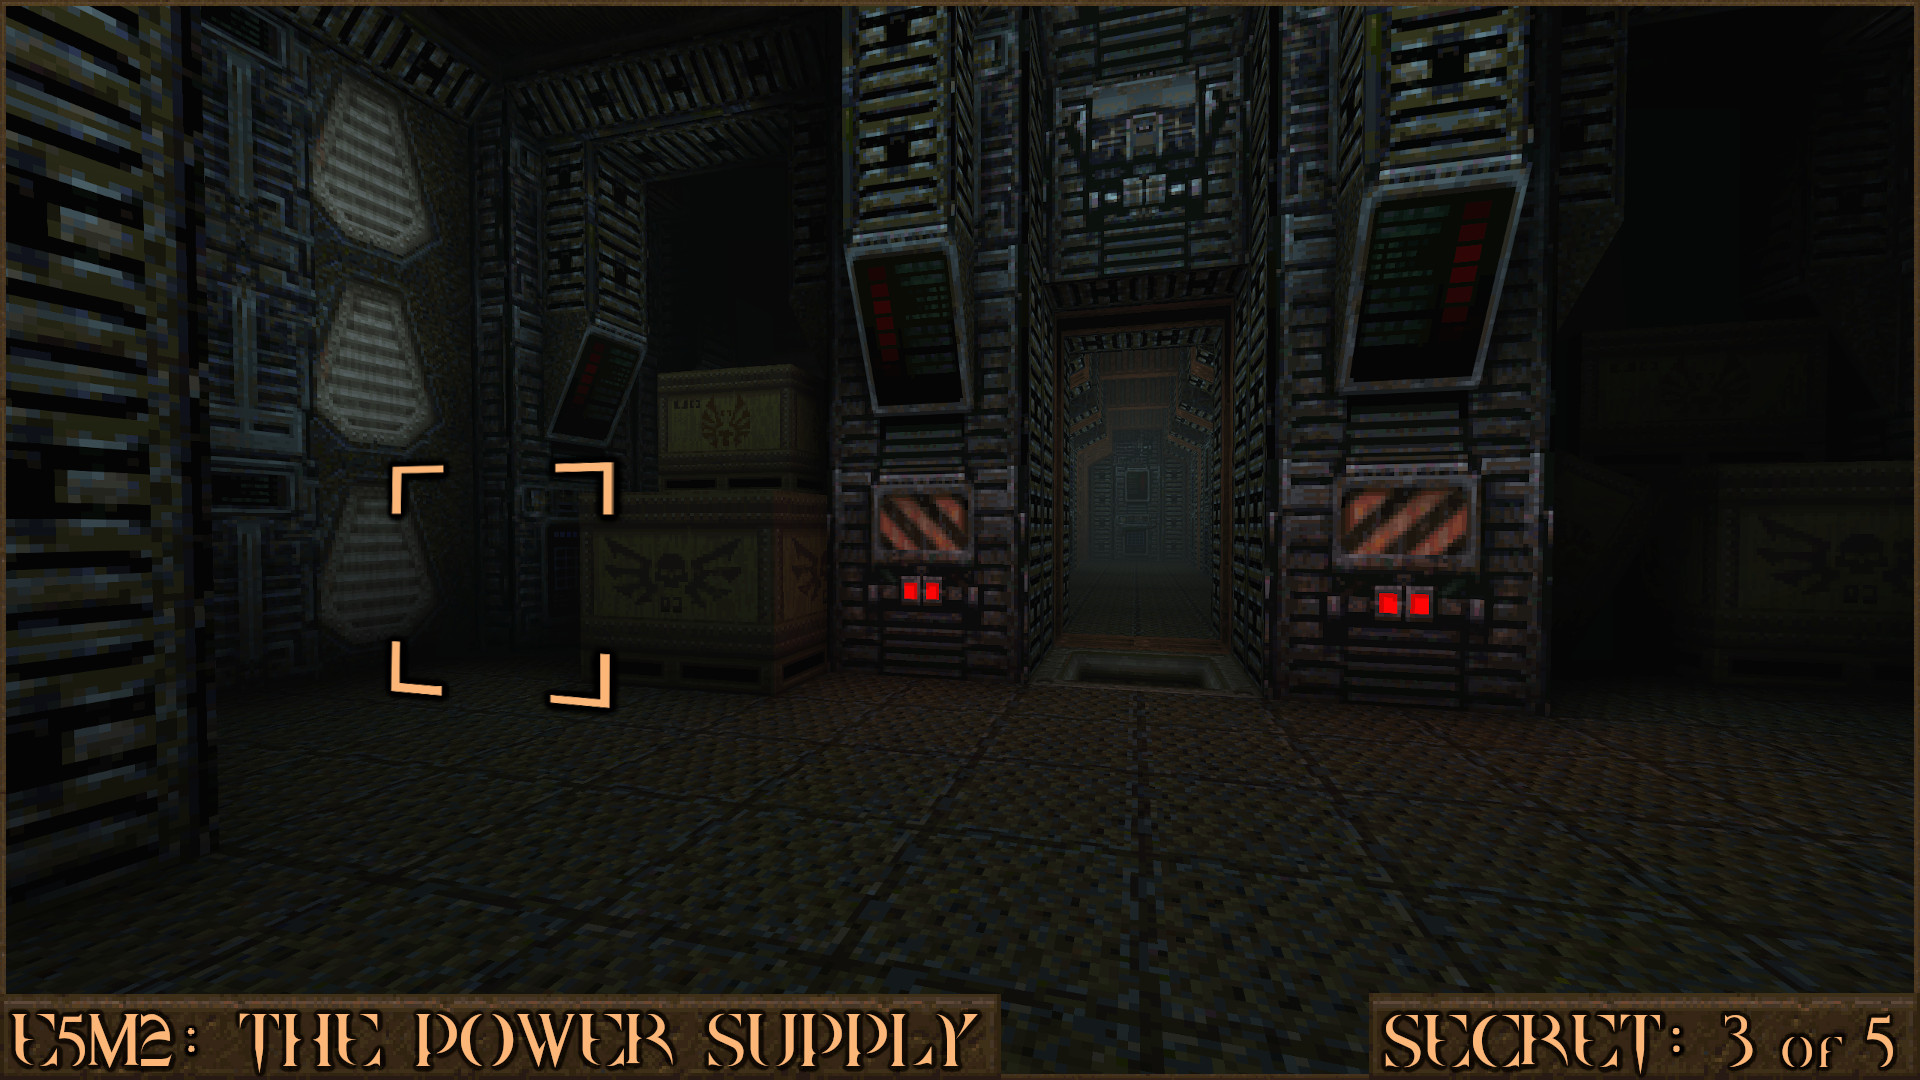
Reward:
Secret 4 of 5
Shortly after the room containing Secret 3 you will enter a large room filled with enemies. Look to the back of the room to find a broken platform that is now filled with crates. Enter the gap on the left to get behind the crates and find the secret.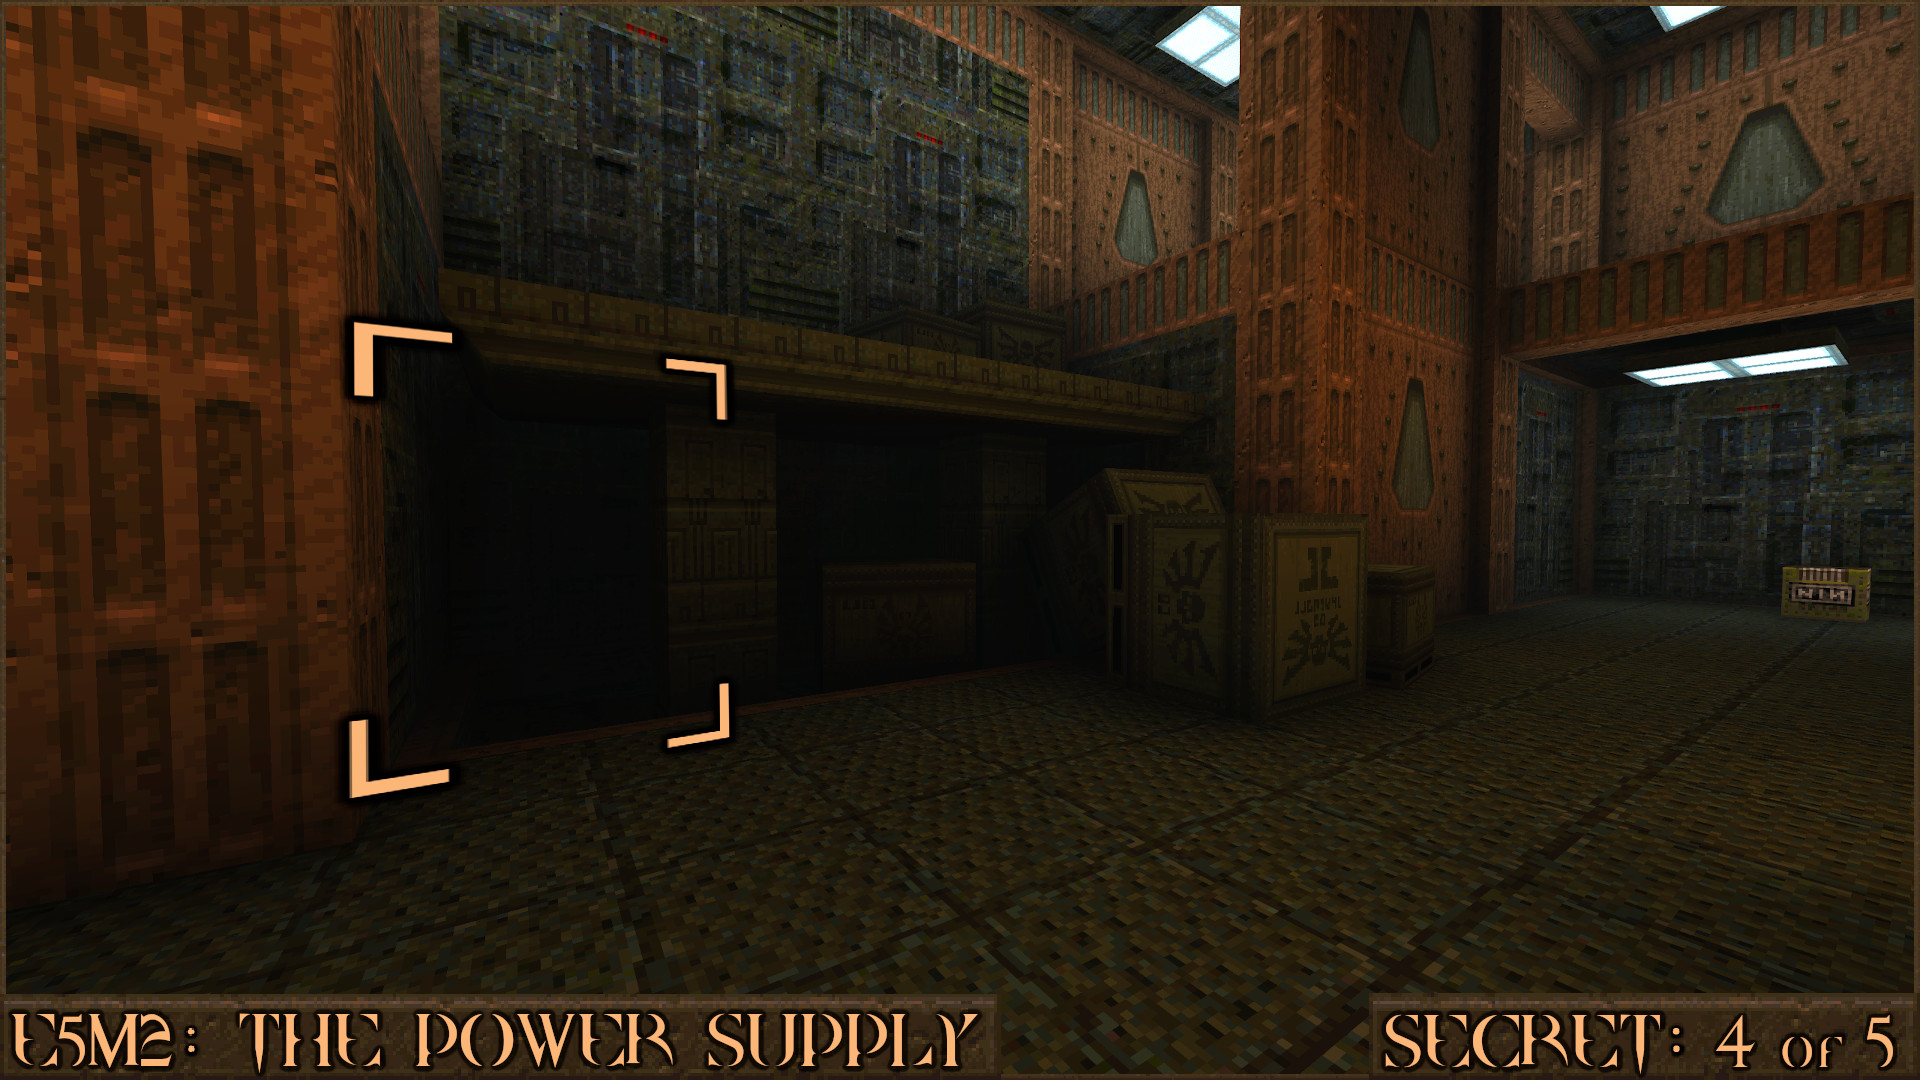
Reward:
Secret 5 of 5
You will approach this fortified position which contains many enemies and the Gold Keycard. Simply jump off the side of the bridge () to the lower area to find a secret.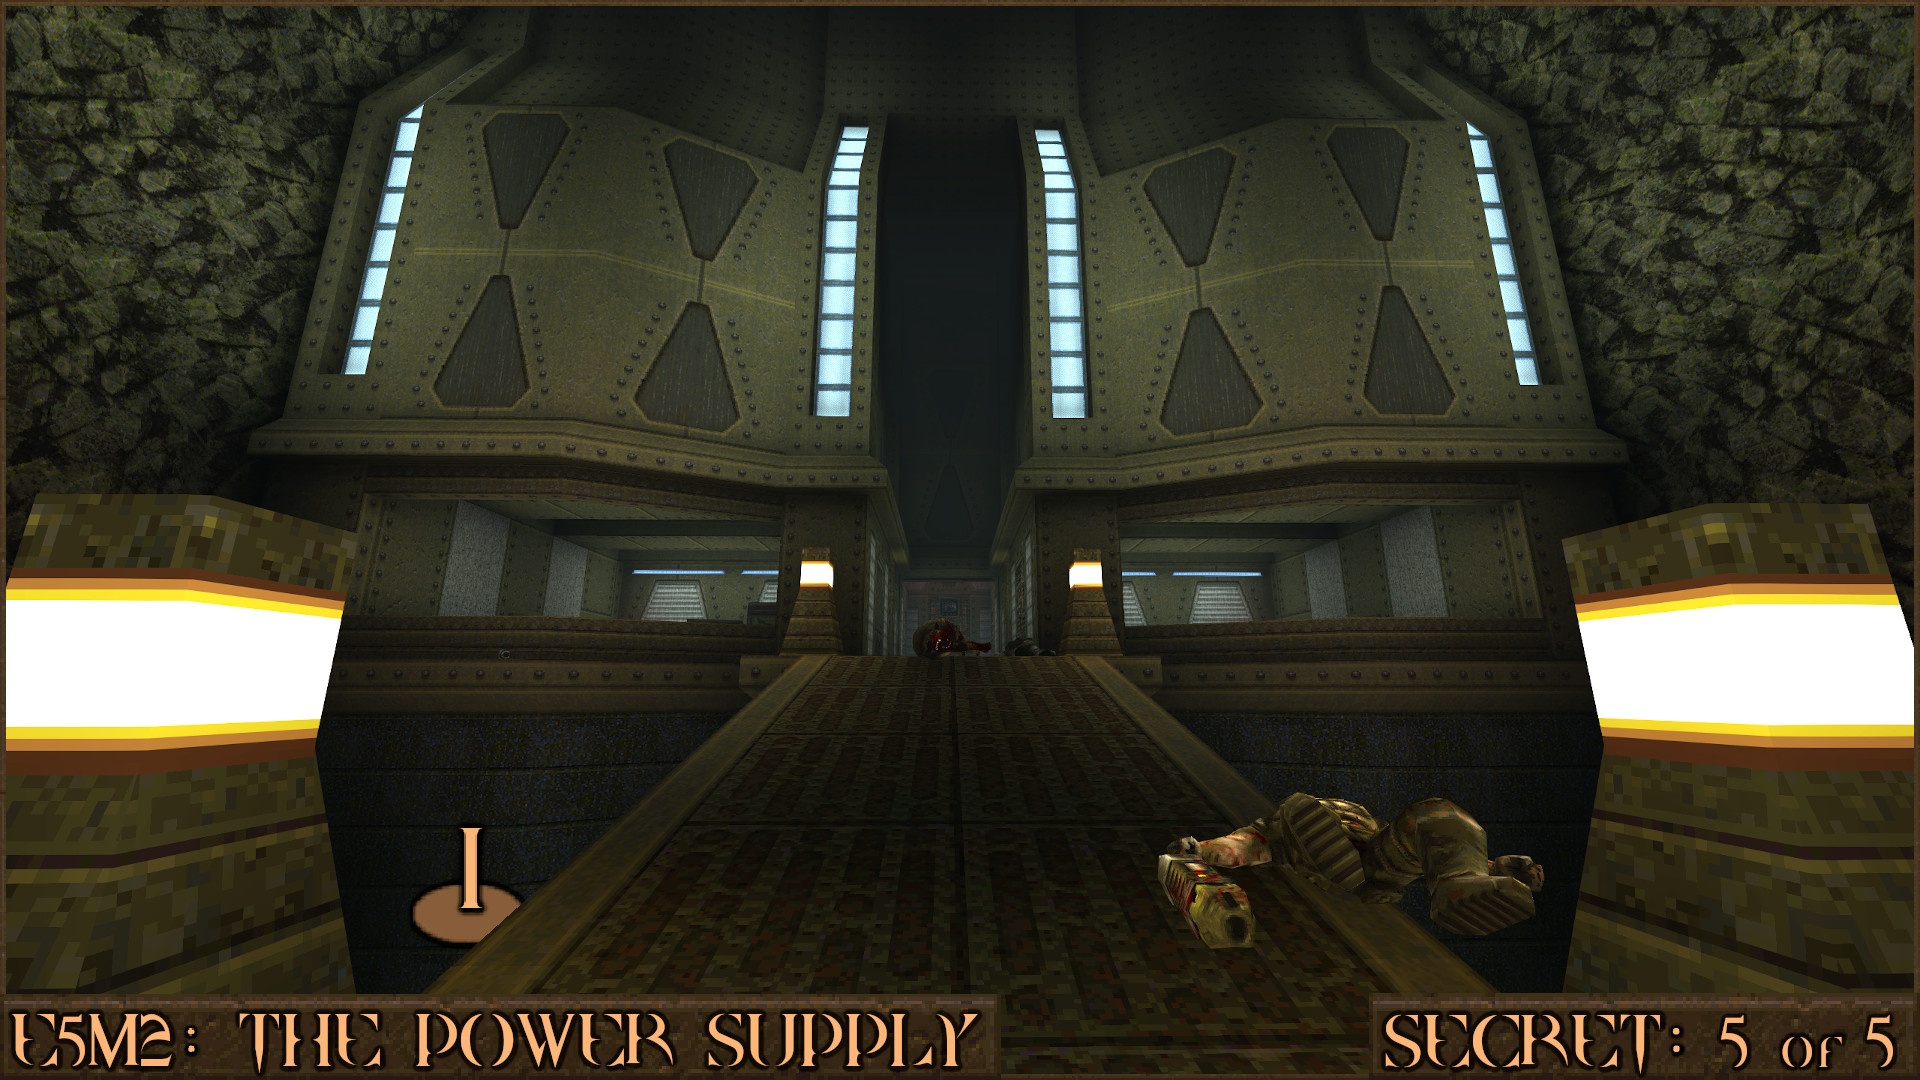
Reward:
E5M3: The Dark Days
Secret 1 of 5
Near the start of the level you can find a locked door in a dark corner () just past a Double-Barreled Shotgun.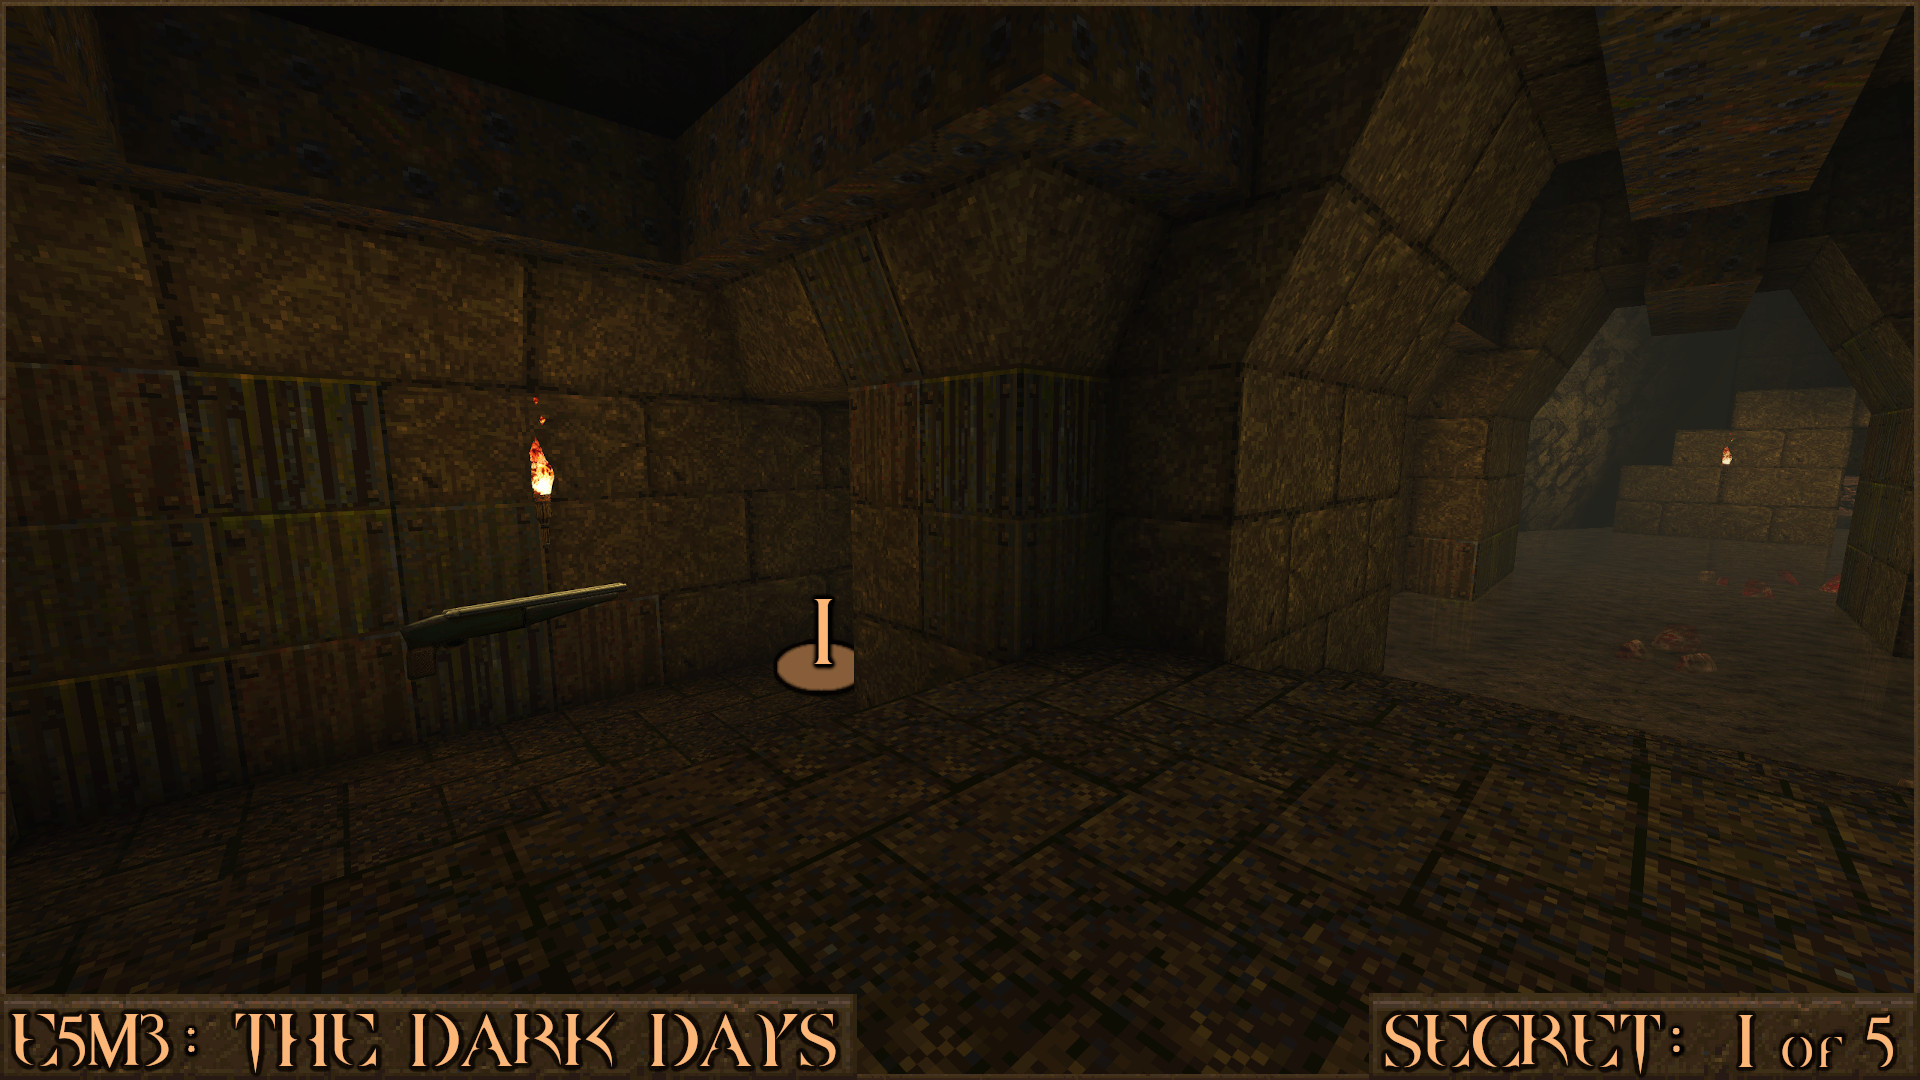
Look at the ceiling to upper right of the door and you can faintly see a red shootable switch (
). Shoot it to open the door and gain access to the secret.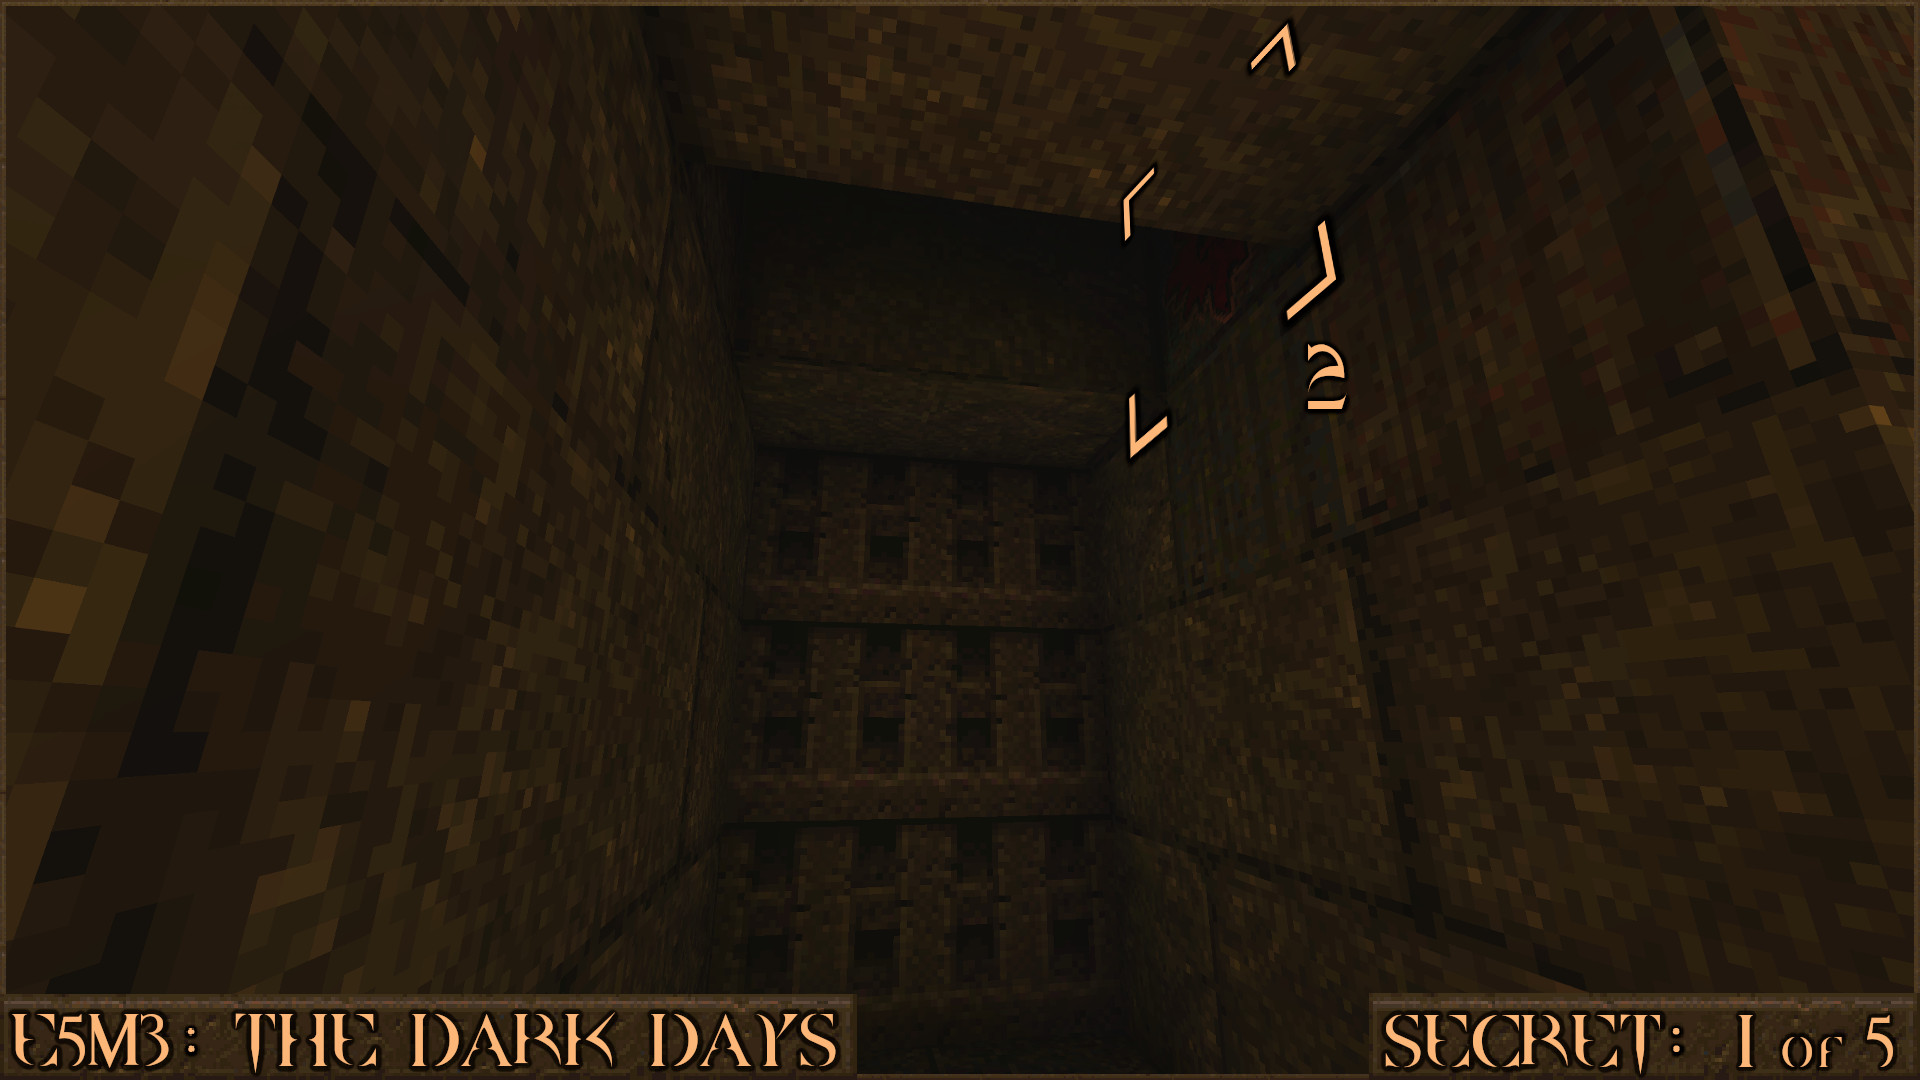
Reward:
Secret 2 of 5
Shortly after you pick up the Silver Key you will notice a nearby ledge with two packs of Small Shells on it (). Make your way over and jump up on to the ledge.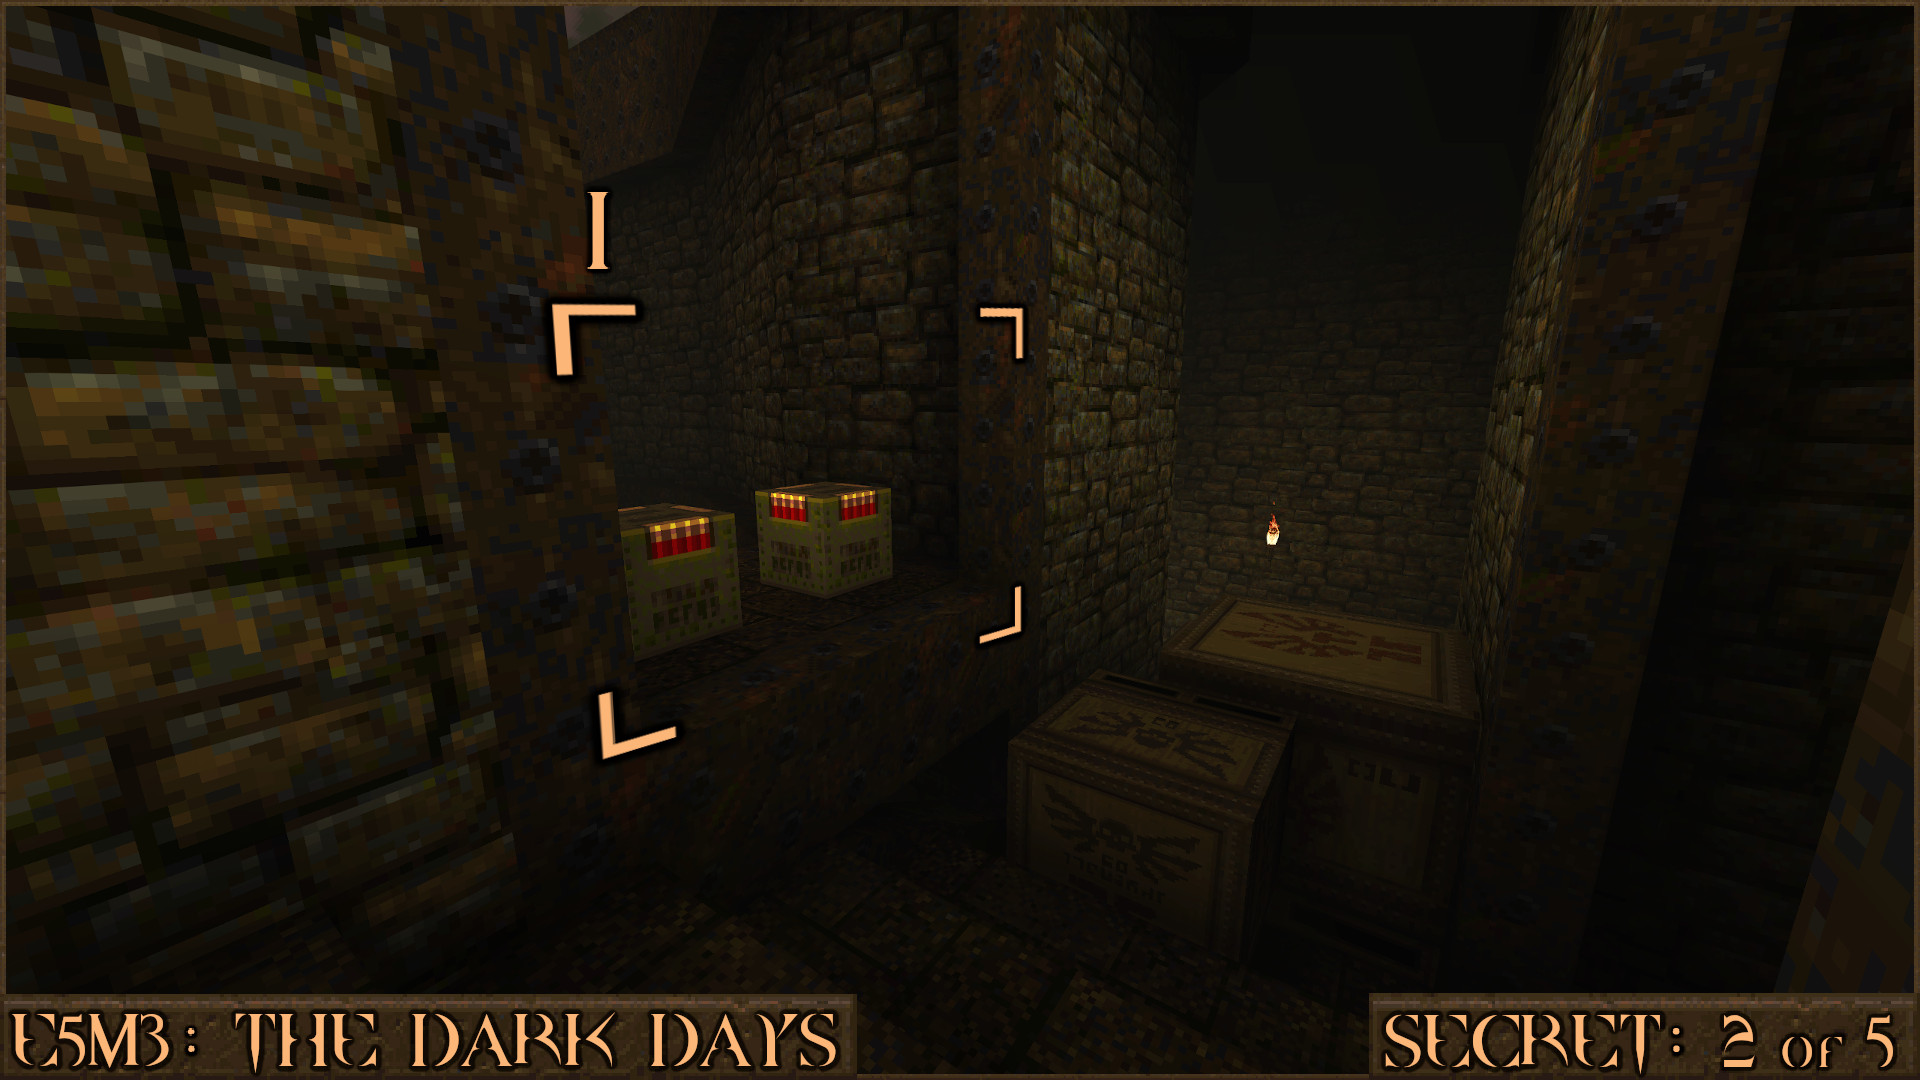
Notice a very thin metal bar that is attached to the wall. Carefully follow it around the edge to find the secret containing a useful Red Armor (
) and activate the secret.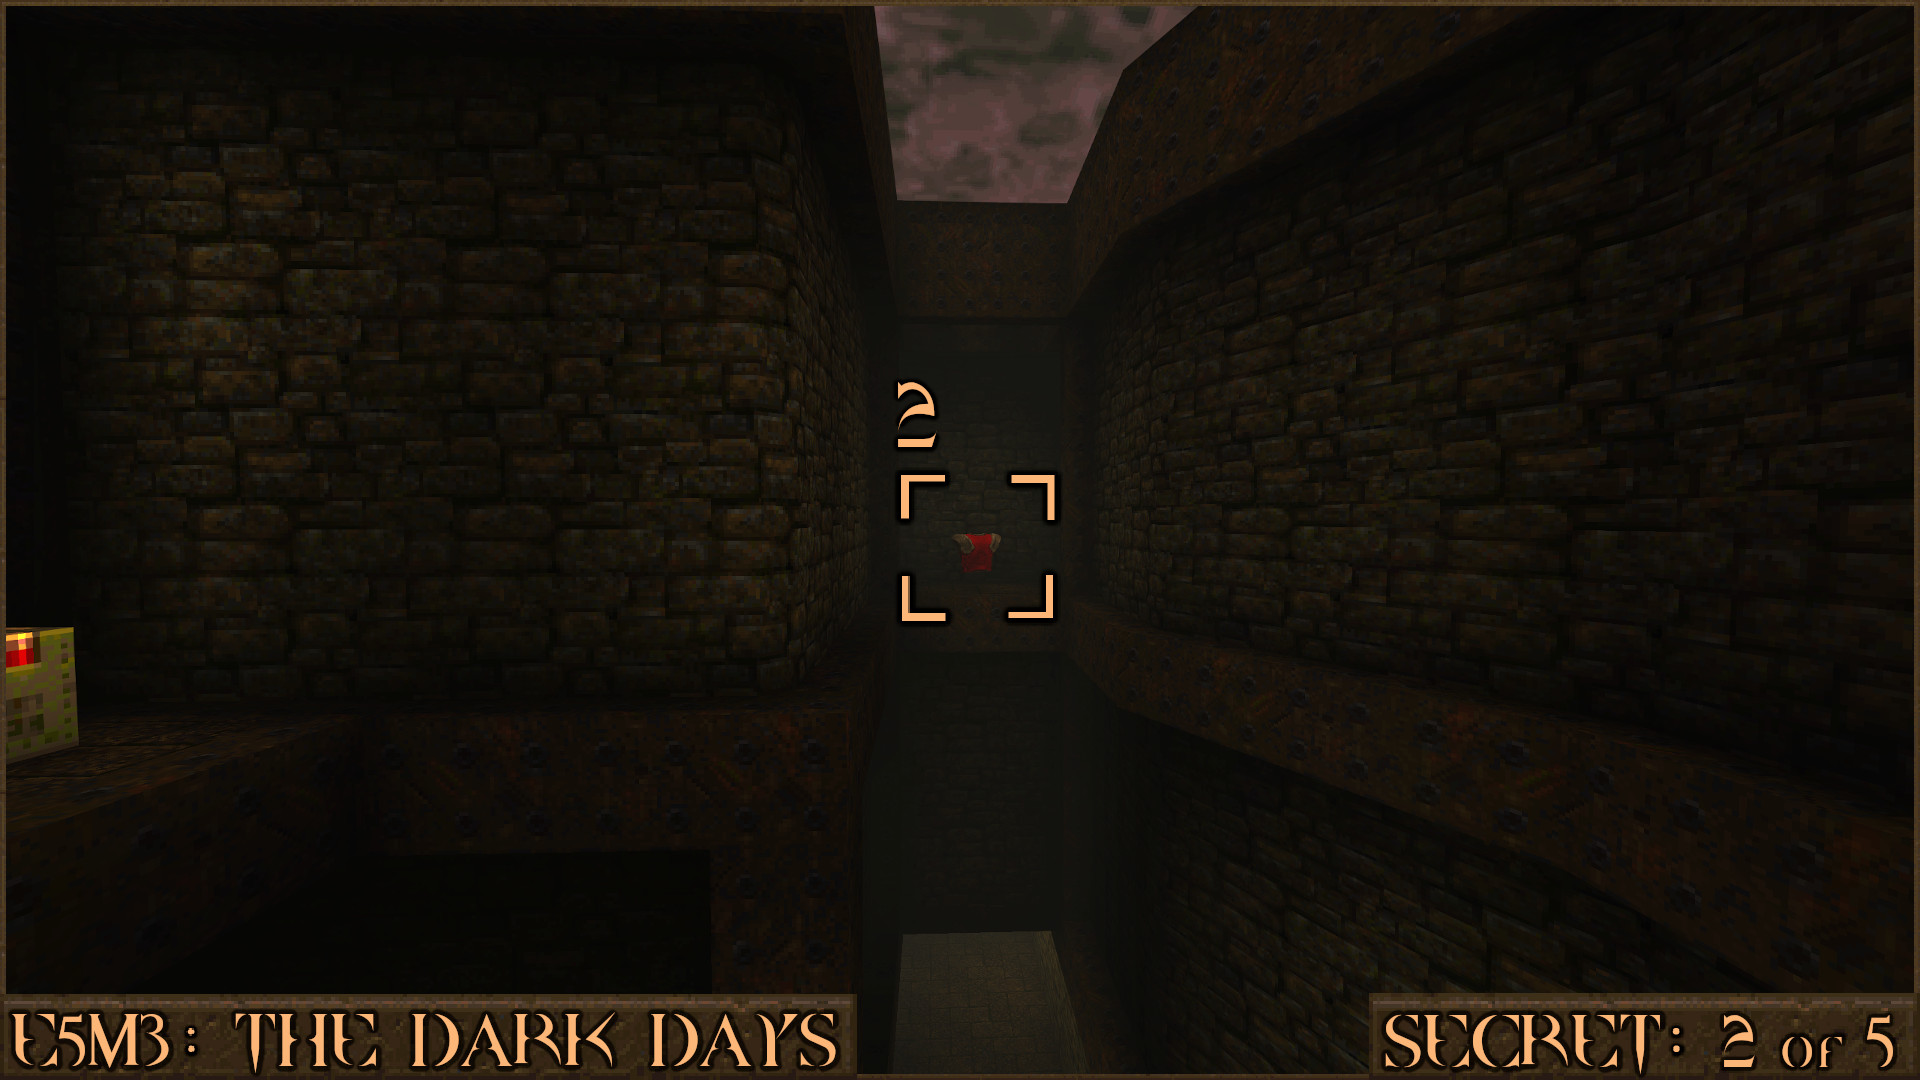
Reward:
Secret 3 of 5
After you open the Silver Key Door and press the switch the text "An underwater gate has been raised..." will appear. Head back in to the water and you will see a Biosuit and just beyond it a small tunnel you can enter. Go through it and surface out of the water to find the secret.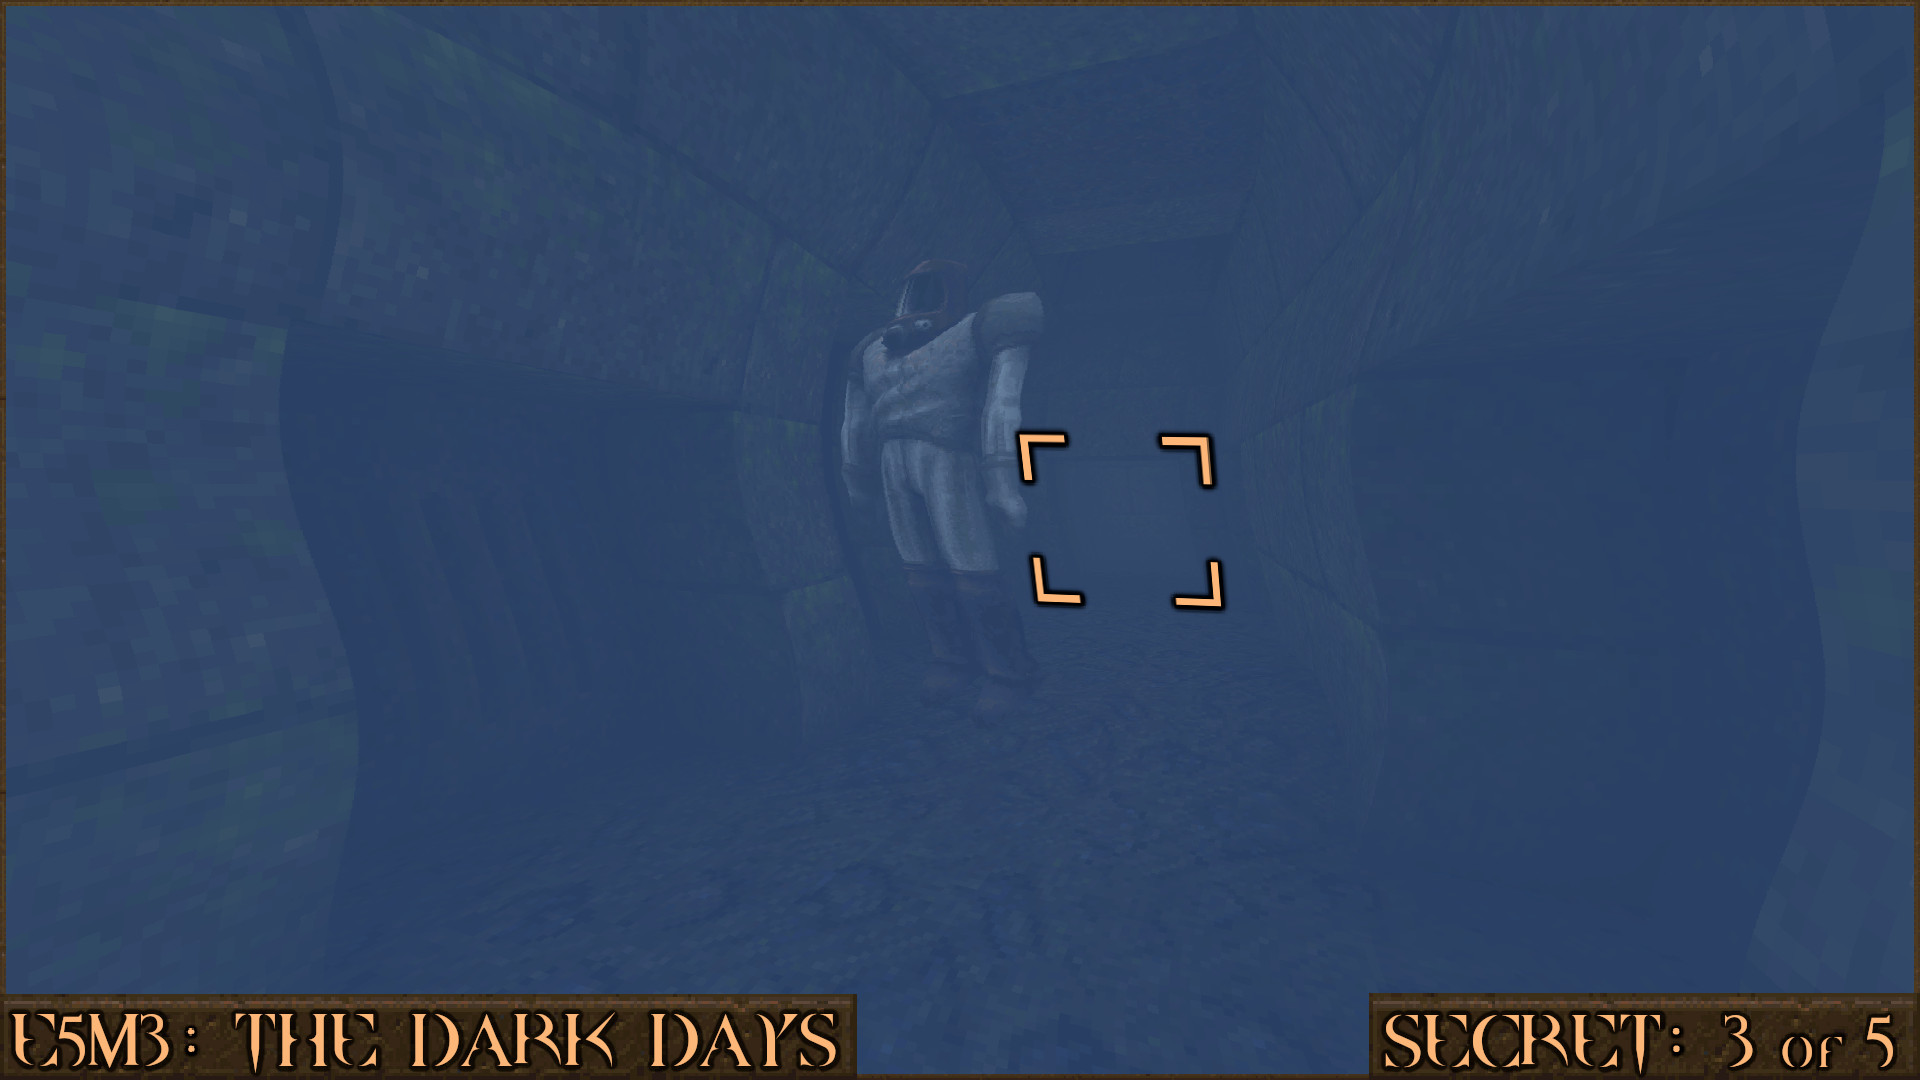
Reward:
Secret 4 of 5
Later in the level after getting ambushed you will need to press a rune pillar to continue the level. Before you do that, look to the left of the pillar to see several mossy bricks in the wall. Shoot the bricks and the wall will move and allow access to this secret.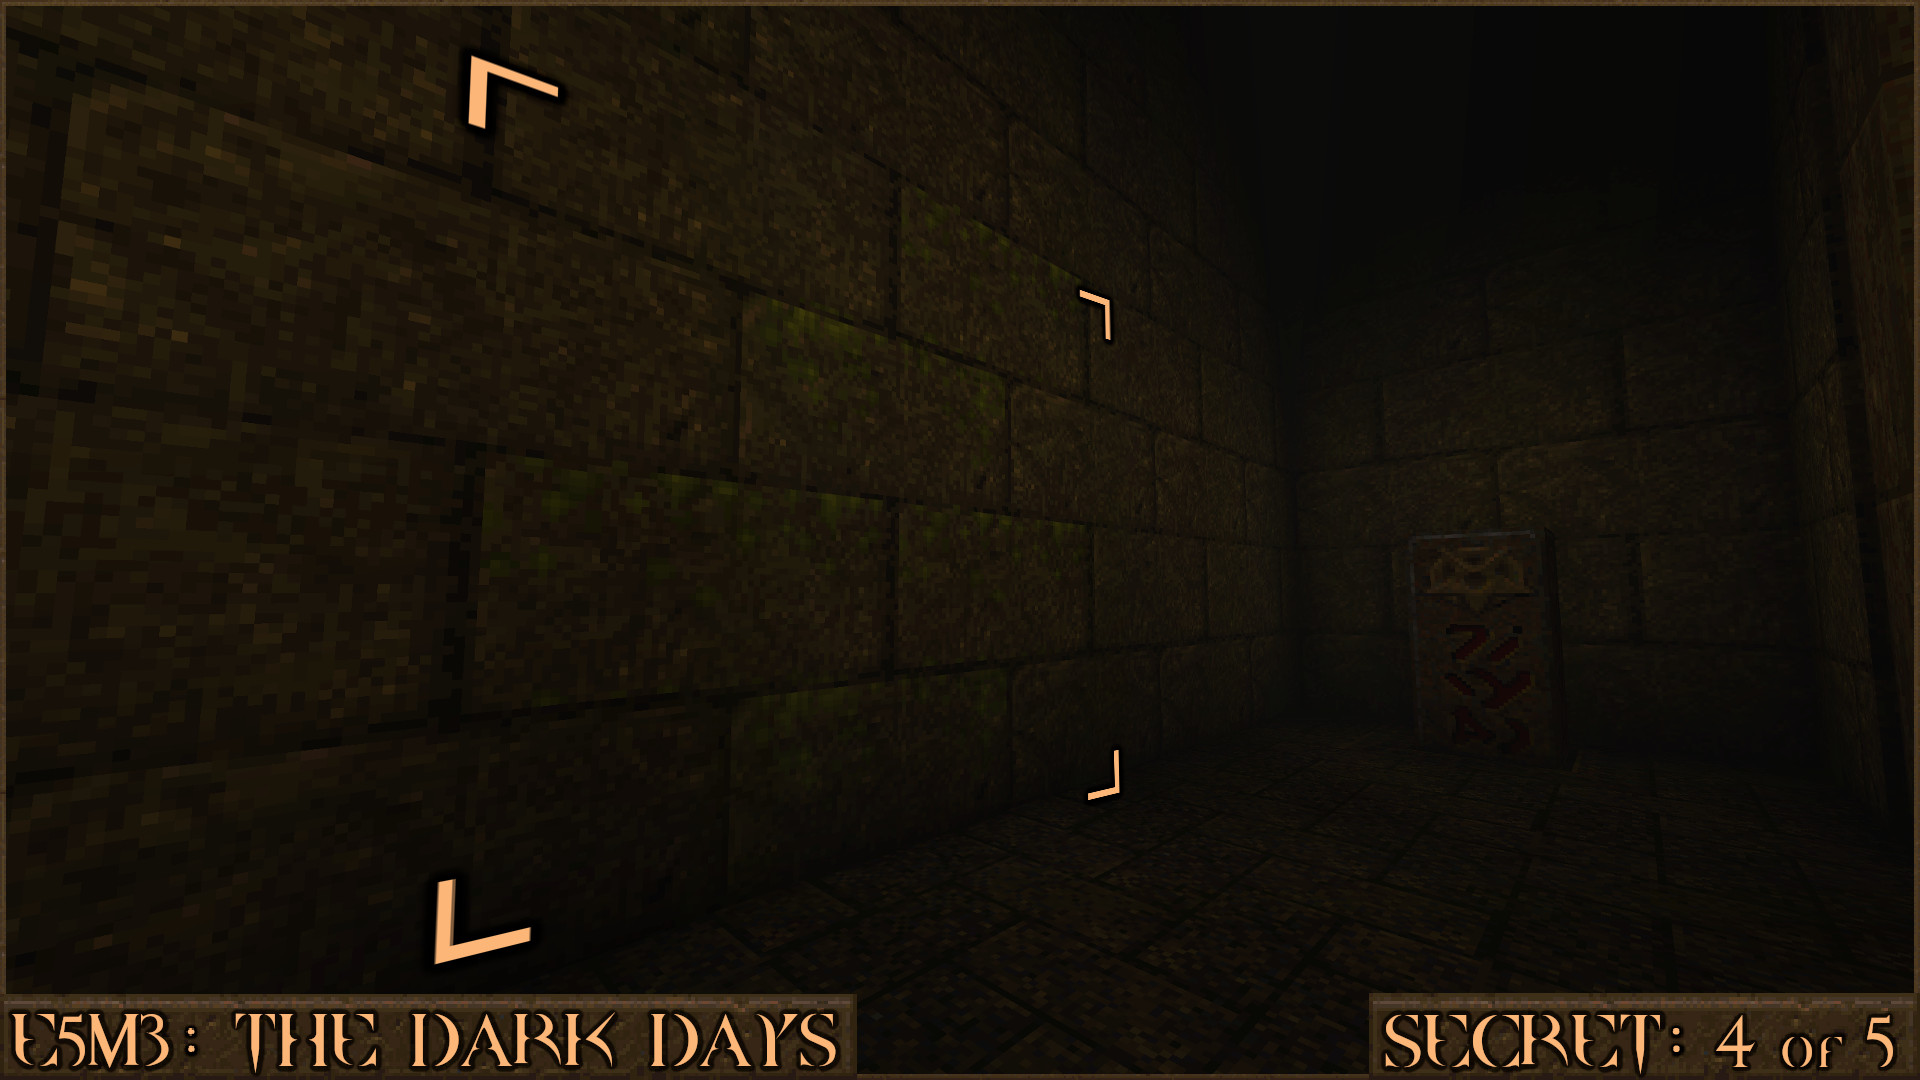
Reward:
Secret 5 of 5
Near the end of the level you will ride an elevator up in a room containing the Super Nailgun and an enemy ambush. Turn around to face the elevator your rode up in to the room and look above it for the first of two secret switches that you can shoot.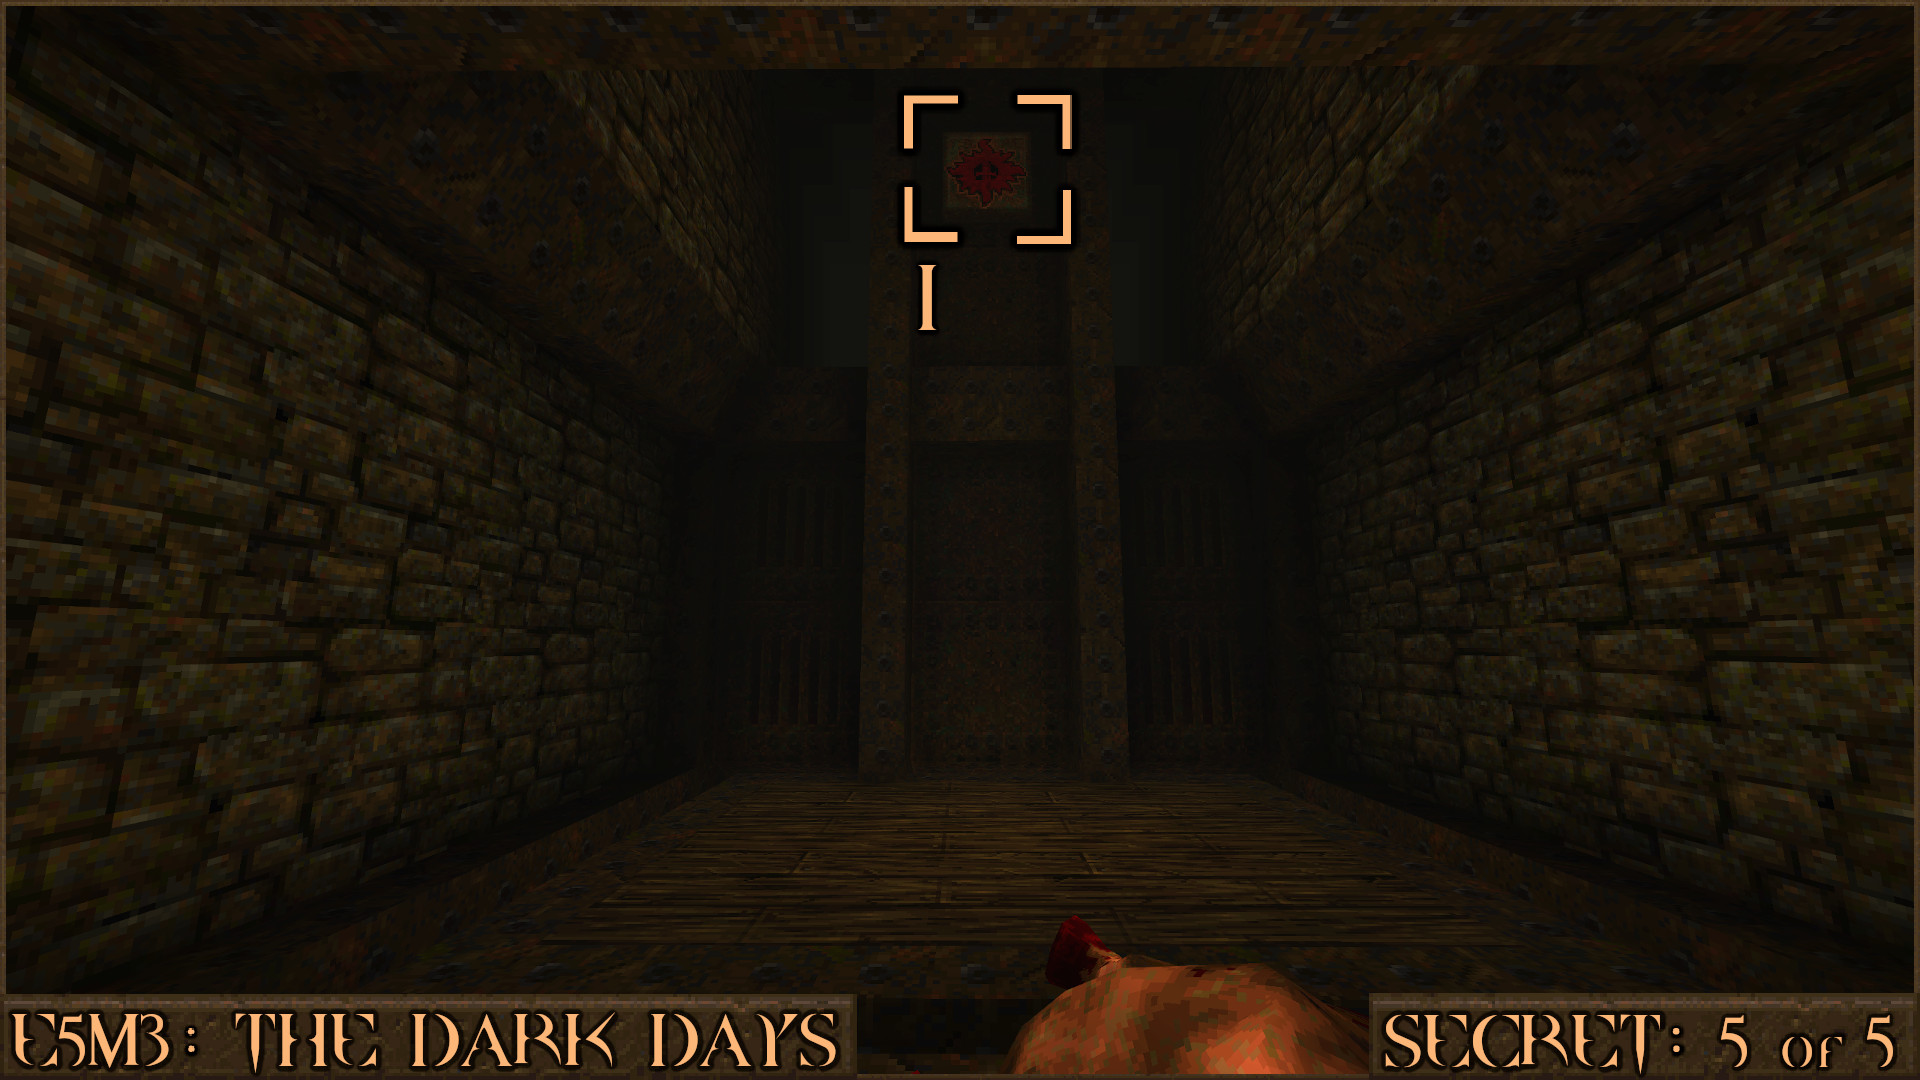
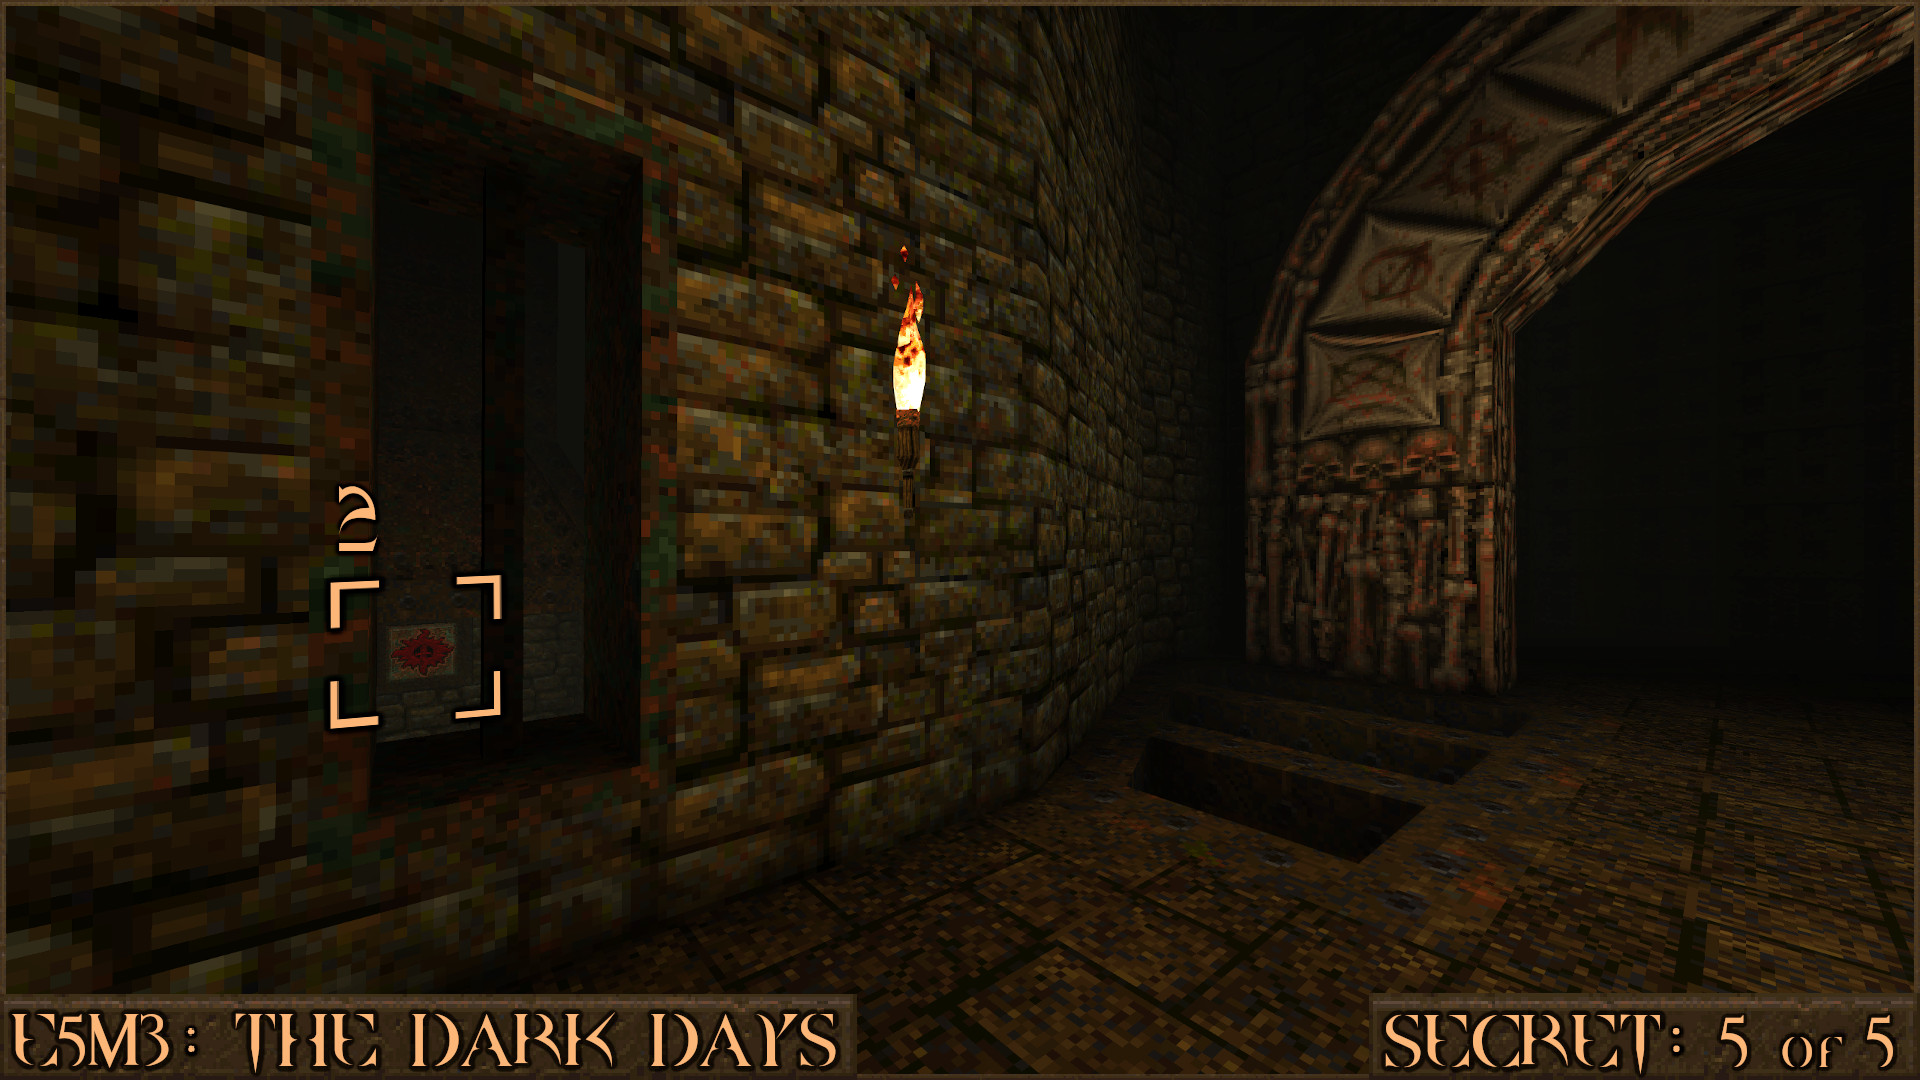
Continue forward to find the large exit door of this level but don't go through it. Look to the left to see a small window with bars on it. Through the bars you can see the second switch so shoot it and the message "A floor hatch has opened..." will appear.
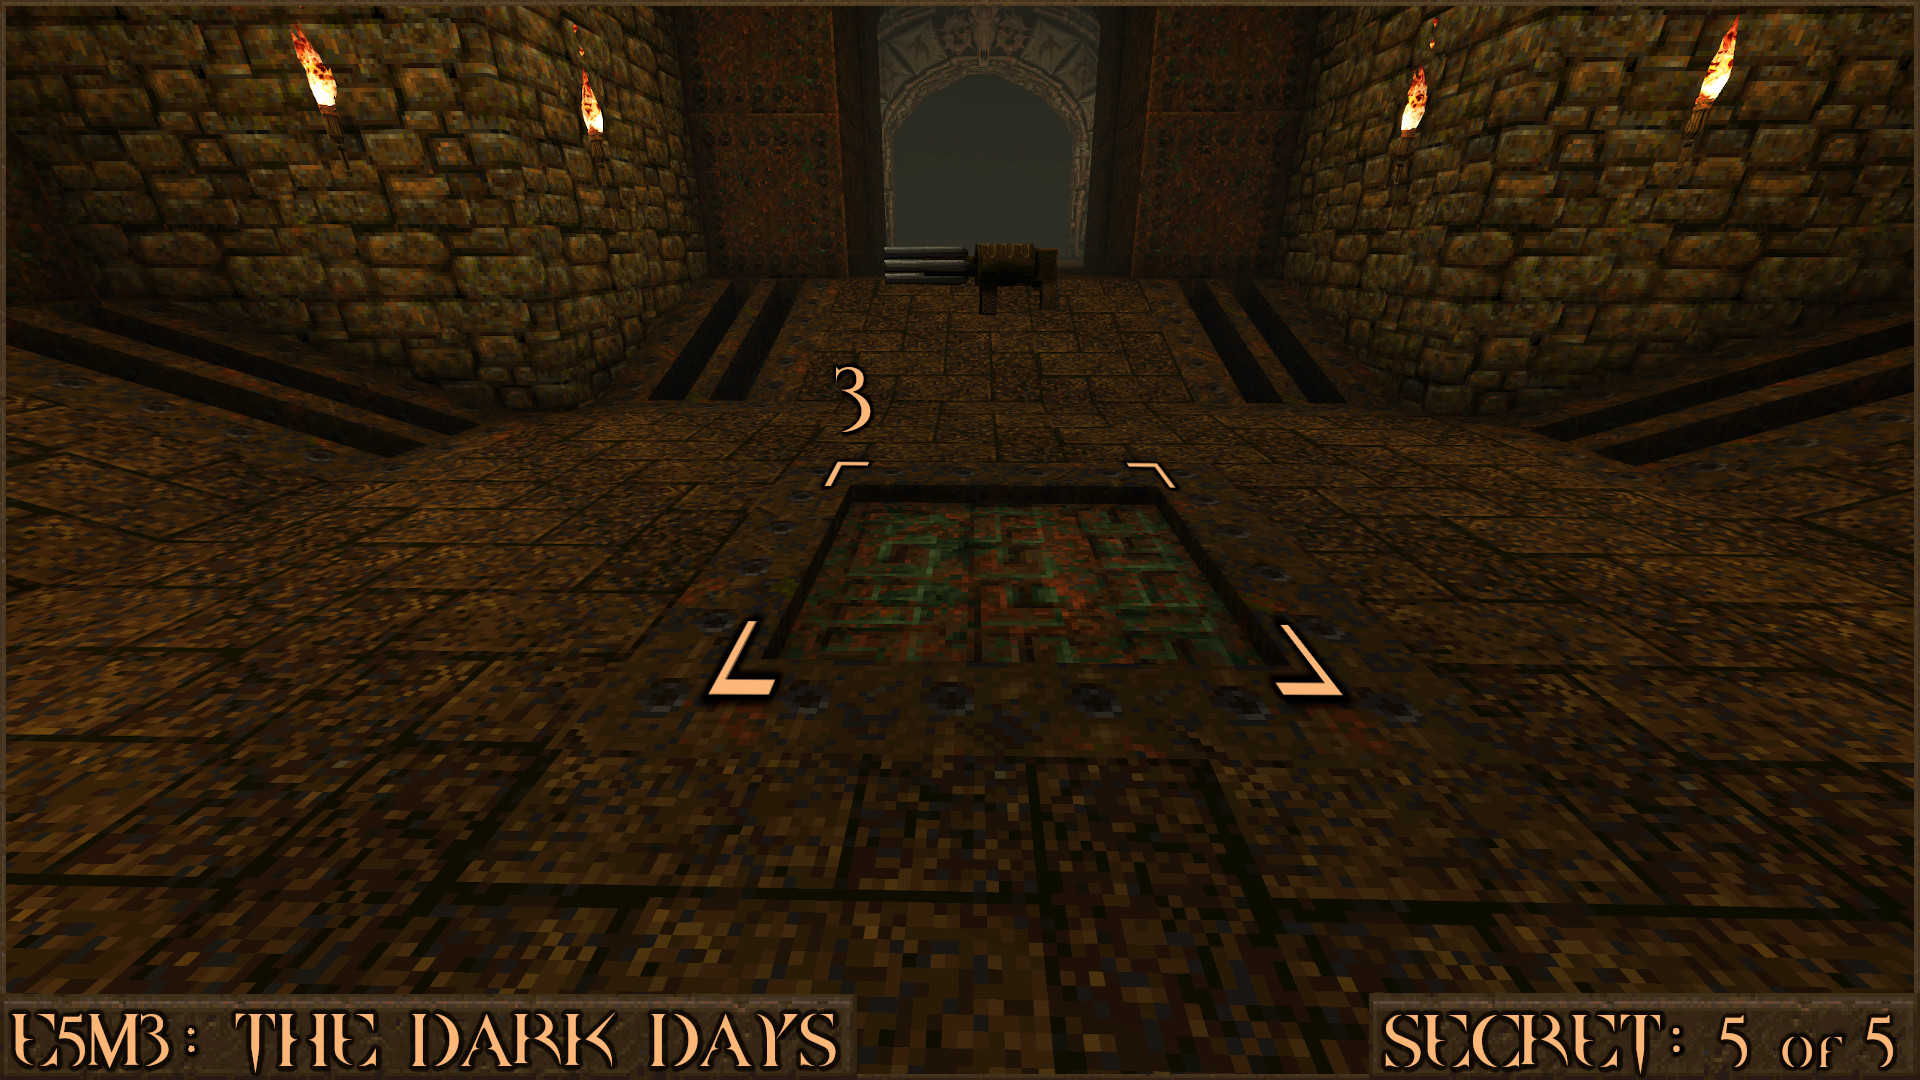
Return to where the Super Nailgun was in the ambush room to find a square hatch that will now open to reveal a way down in to the water.
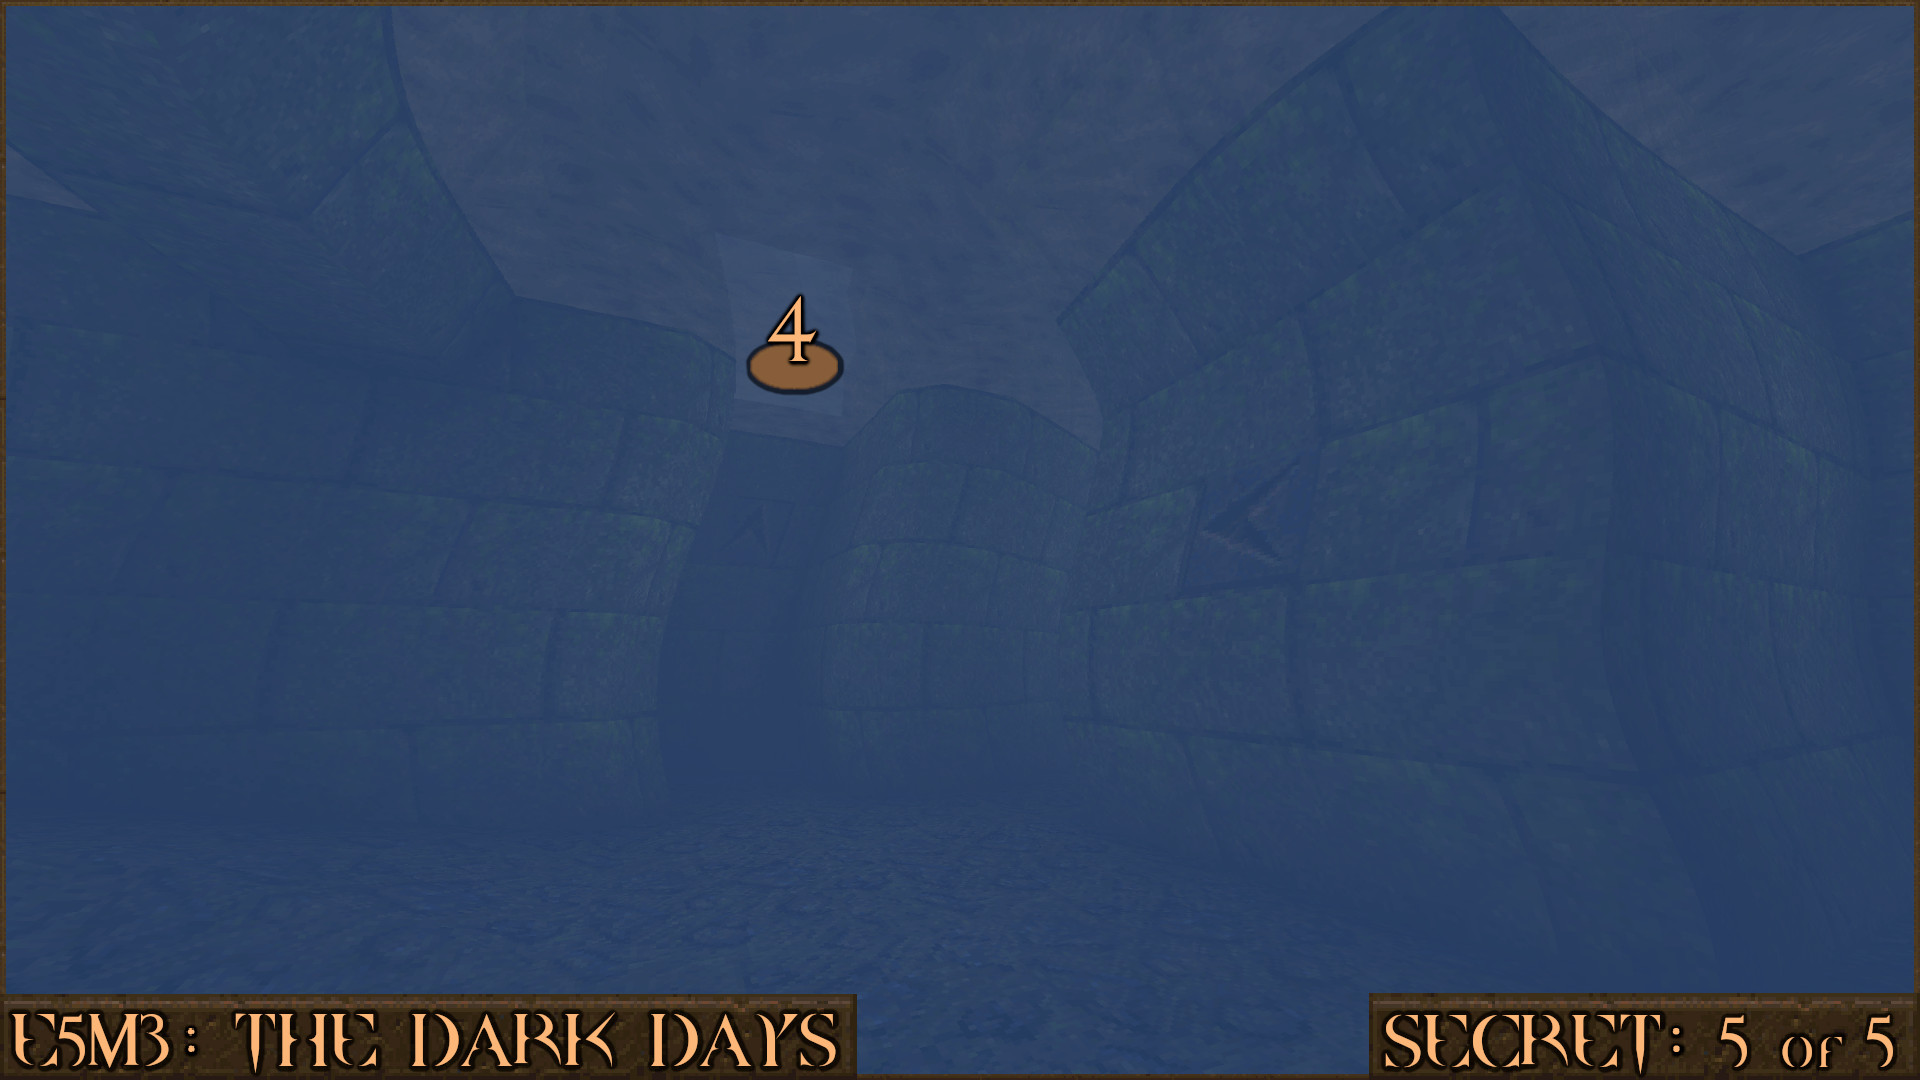
Swim around this area to find a Large Shells and Large Nails but what you are really looking for is some arrows that will point you to a way out of the water. Surface and the message "You found a secret wind tunnel!" will appear. Jump up in to the wind tunnel to be taken to the first secret level of this episode: E5SM1: The Forgotten Castle.
Reward:
SECRET LEVEL
E5SM1: The Forgotten Castle [Secret Level]
Secret 1 of 4
After taking the large elevator down to the lower floor, look carefully at the crates in the corner. By jumping up on to them you can jump through a small window and in to the secret.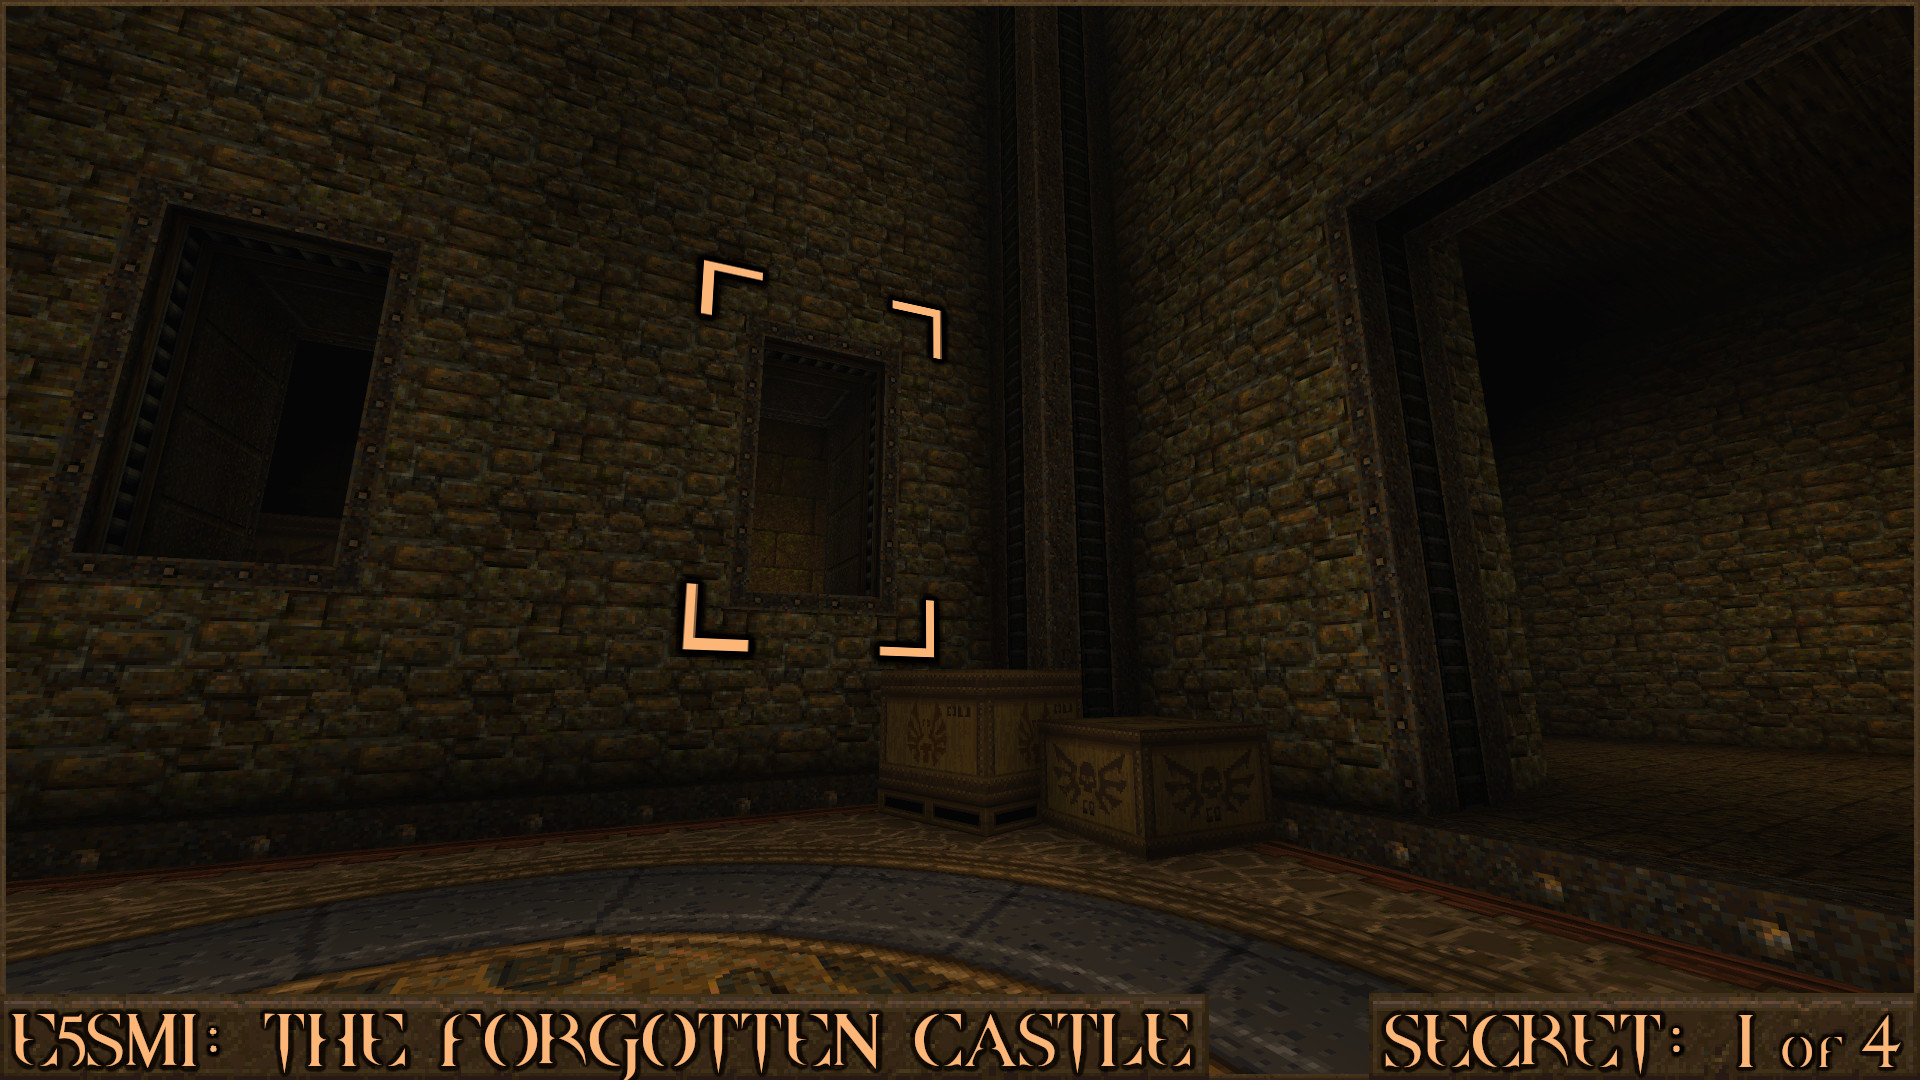
Reward:
Secret 2 of 4
After going through the exit door from Secret 1 continue forward to enter a room with several pillars and another pile of crates in the corner near a Small Health. Jump up these crates and follow the narrow corridor to find the this secret.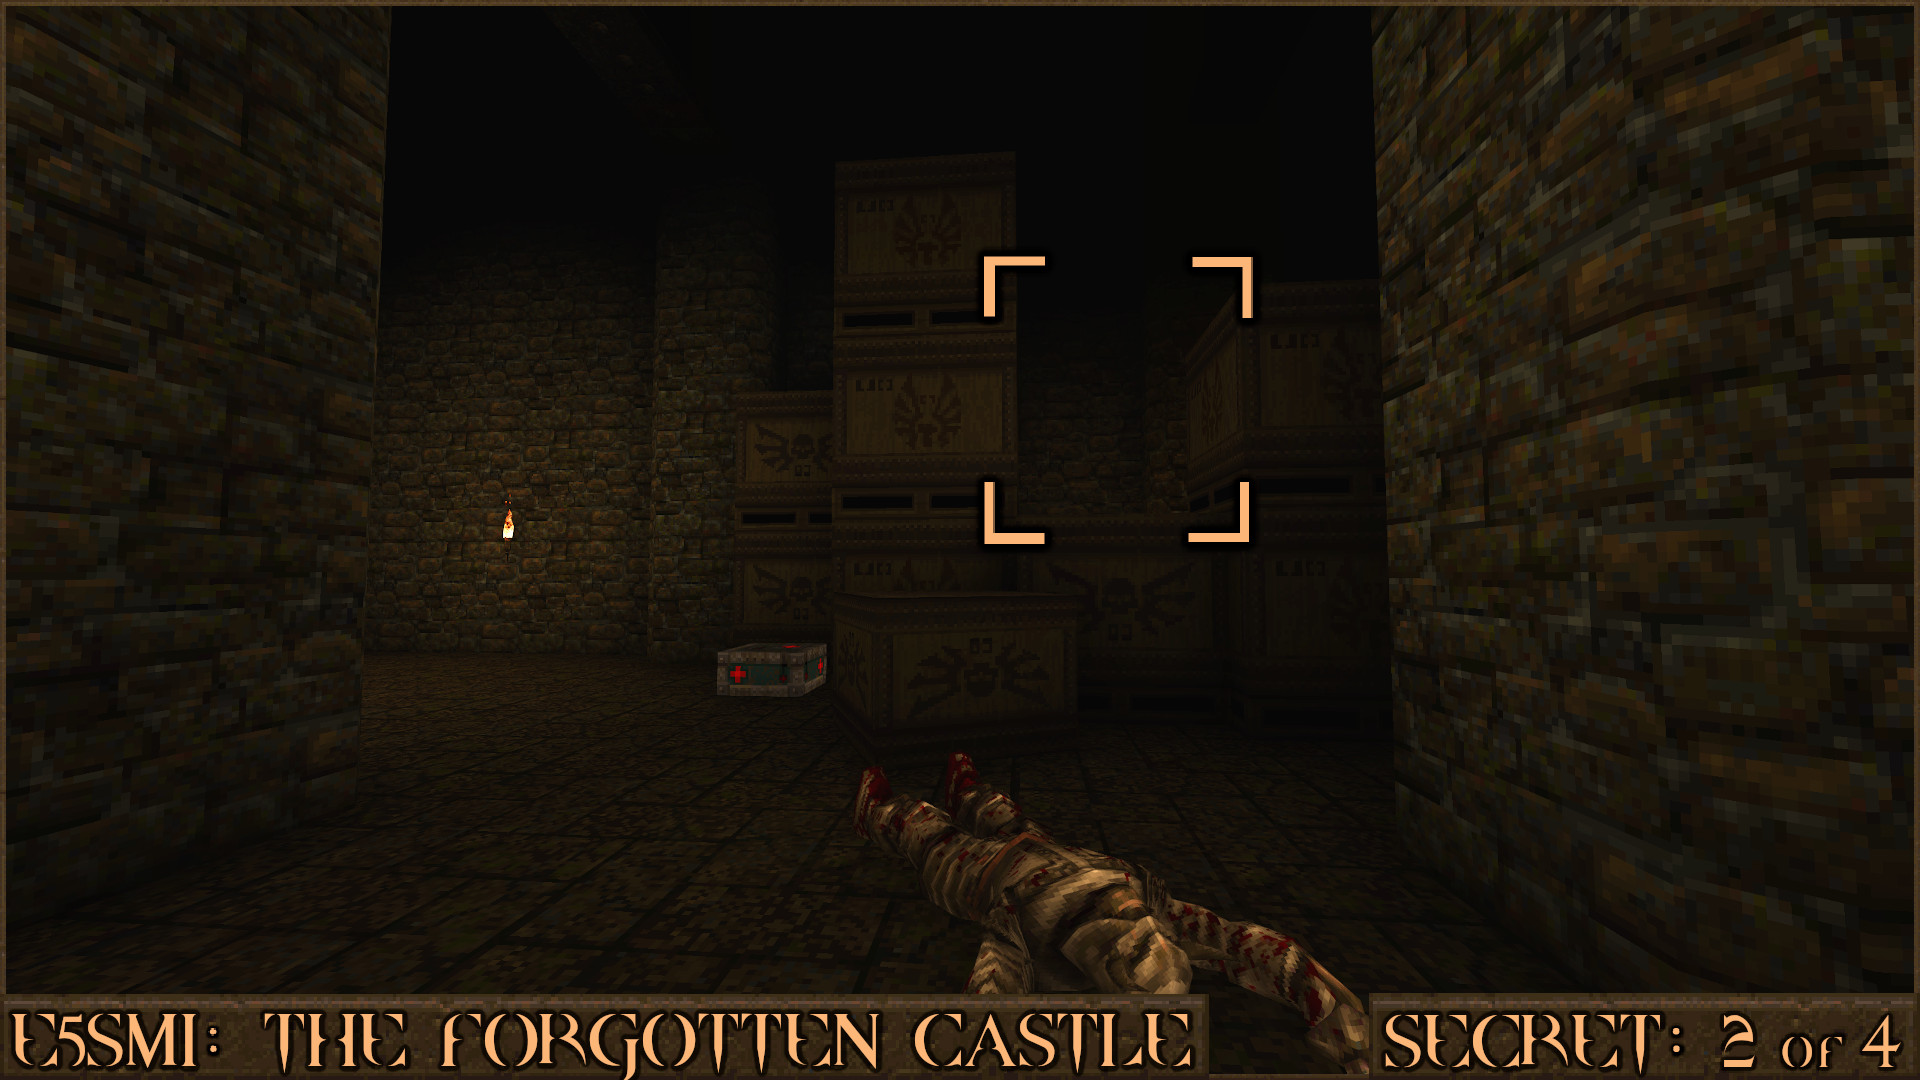
Reward:
Secret 3 of 4
When you enter a large room filled with slime you will see a Biosuit () to help you get through it. Grab the Biosuit and quickly swim through the exit under the slime ().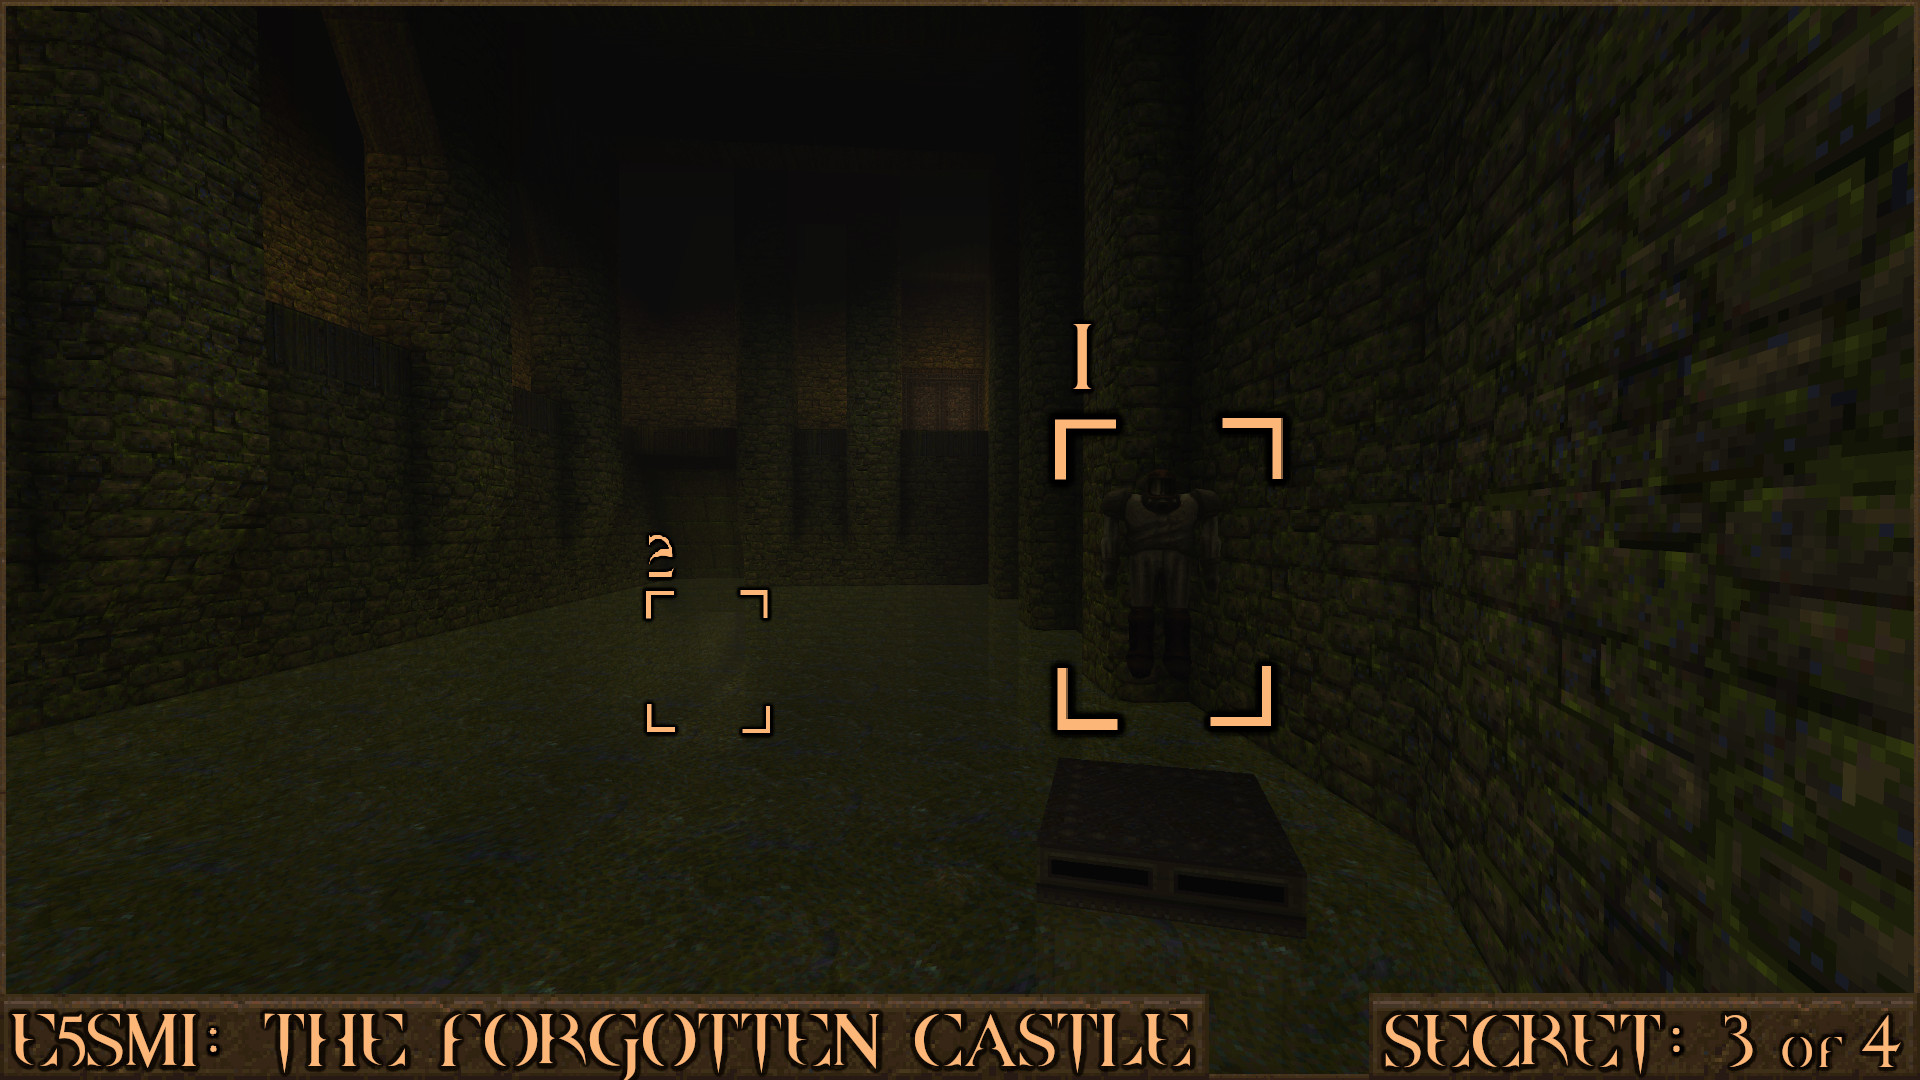
You will find yourself in a corridor with a bridge over the slime. Hopefully the Biosuit hasn't expired yet so drop down in to the slime and look under the bridge (
 ) to find a secret stash of items.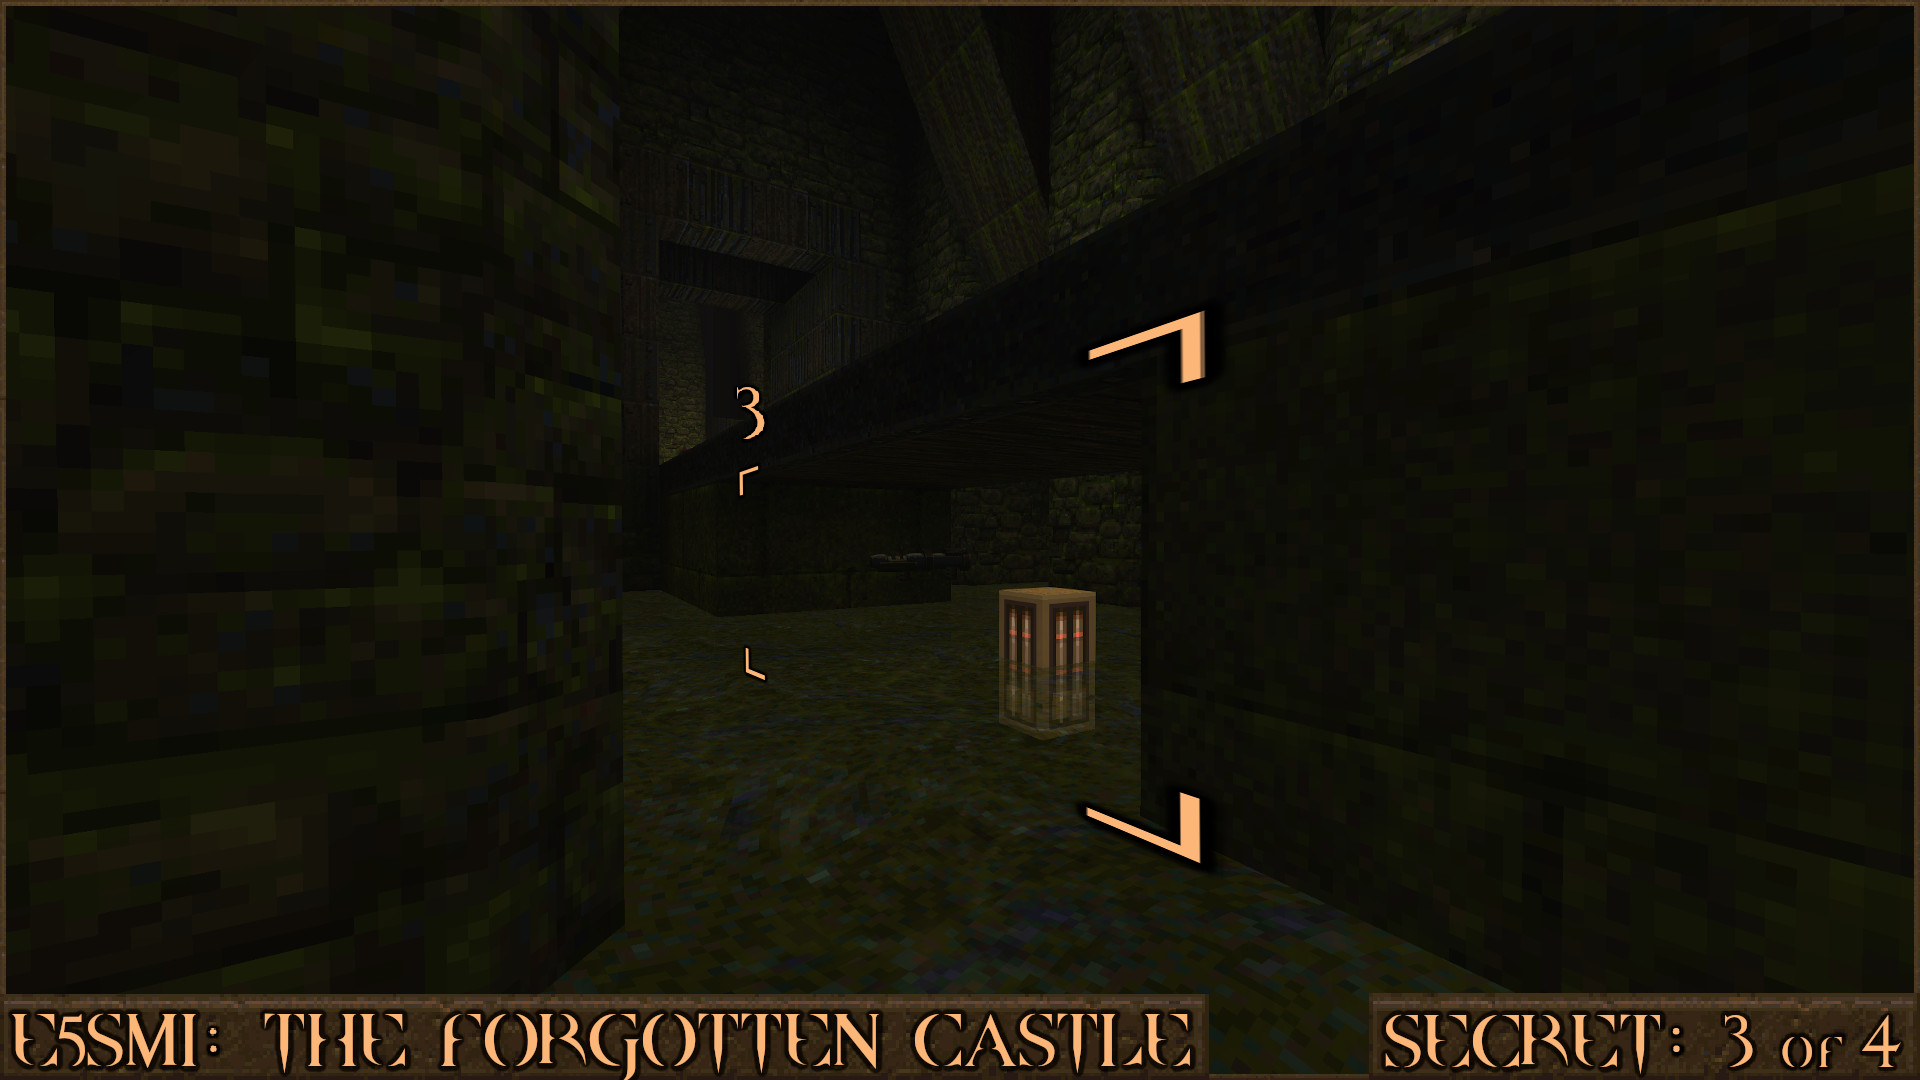
Reward:
Extra Secret
You may notice a Yellow Armor () trapped behind some bars. It doesn't count as a secret but is easy to overlook. To get it press the nearby rune pillar () to open a door in the distance and quickly go through it.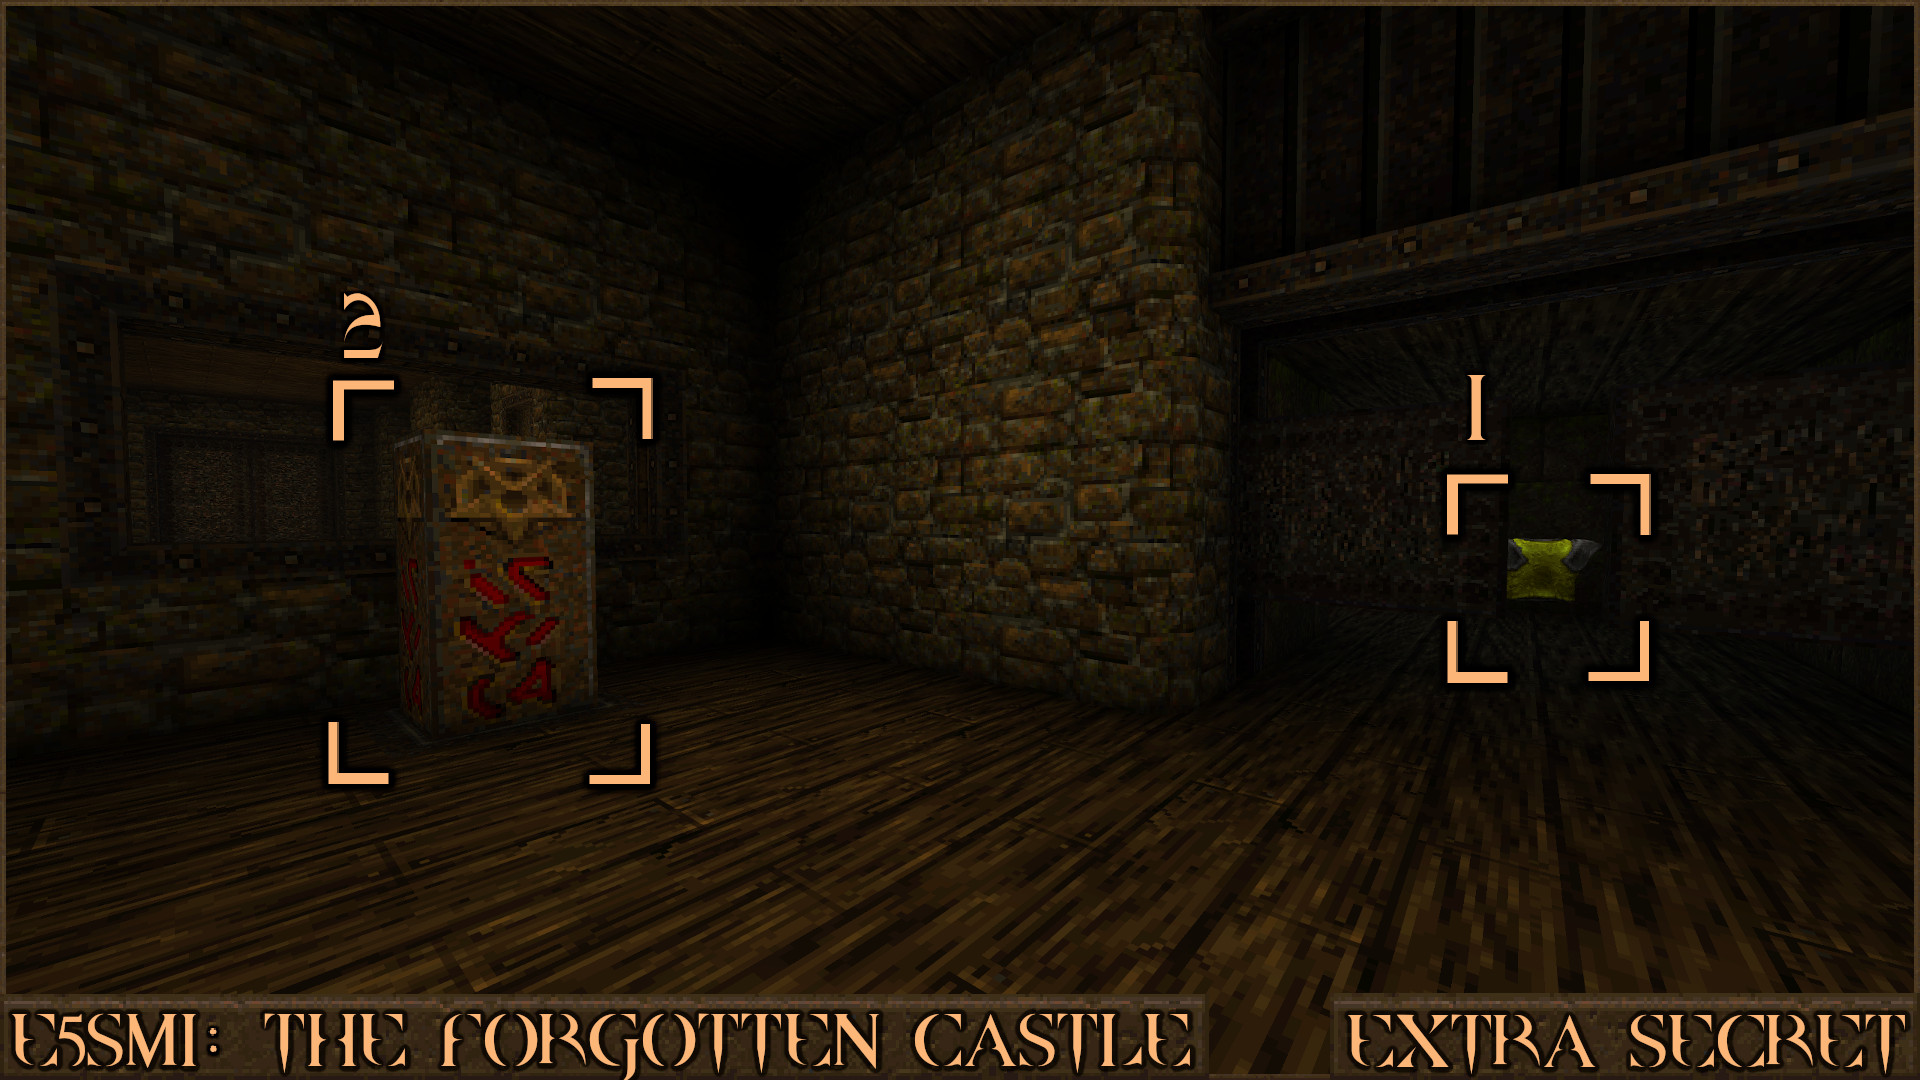
Head up the stairs and take a right at the top and you find another rune pillar (
). Press it open a door far in the distance ( ) and inside you will be able to get the Yellow Armor.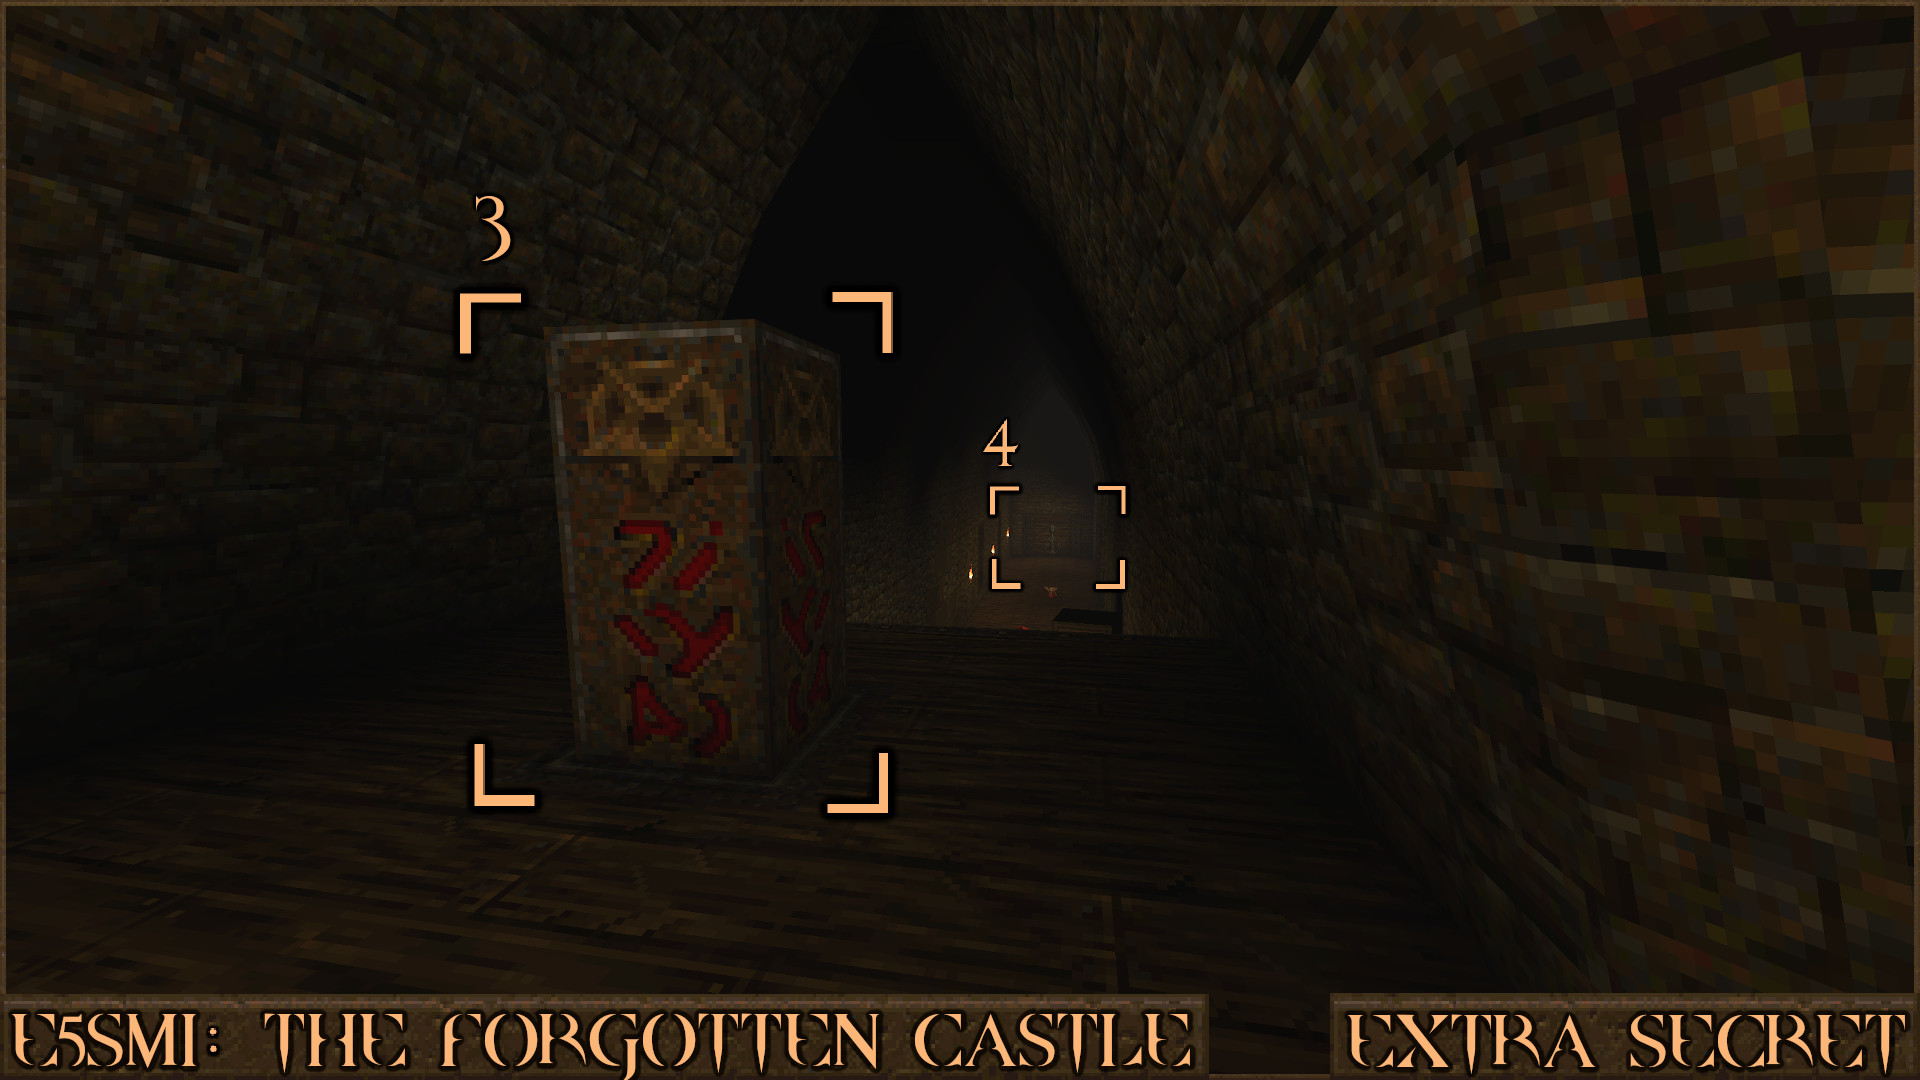
Reward:
Secret 4 of 4
After you enter a room with several yellow lights on the right wall look to the left to see a Red Armor () over a gap. Move to the left of the crates () near the Small Nails to find some stairs in the darkness. Make a big running jump over the gap to find the secret.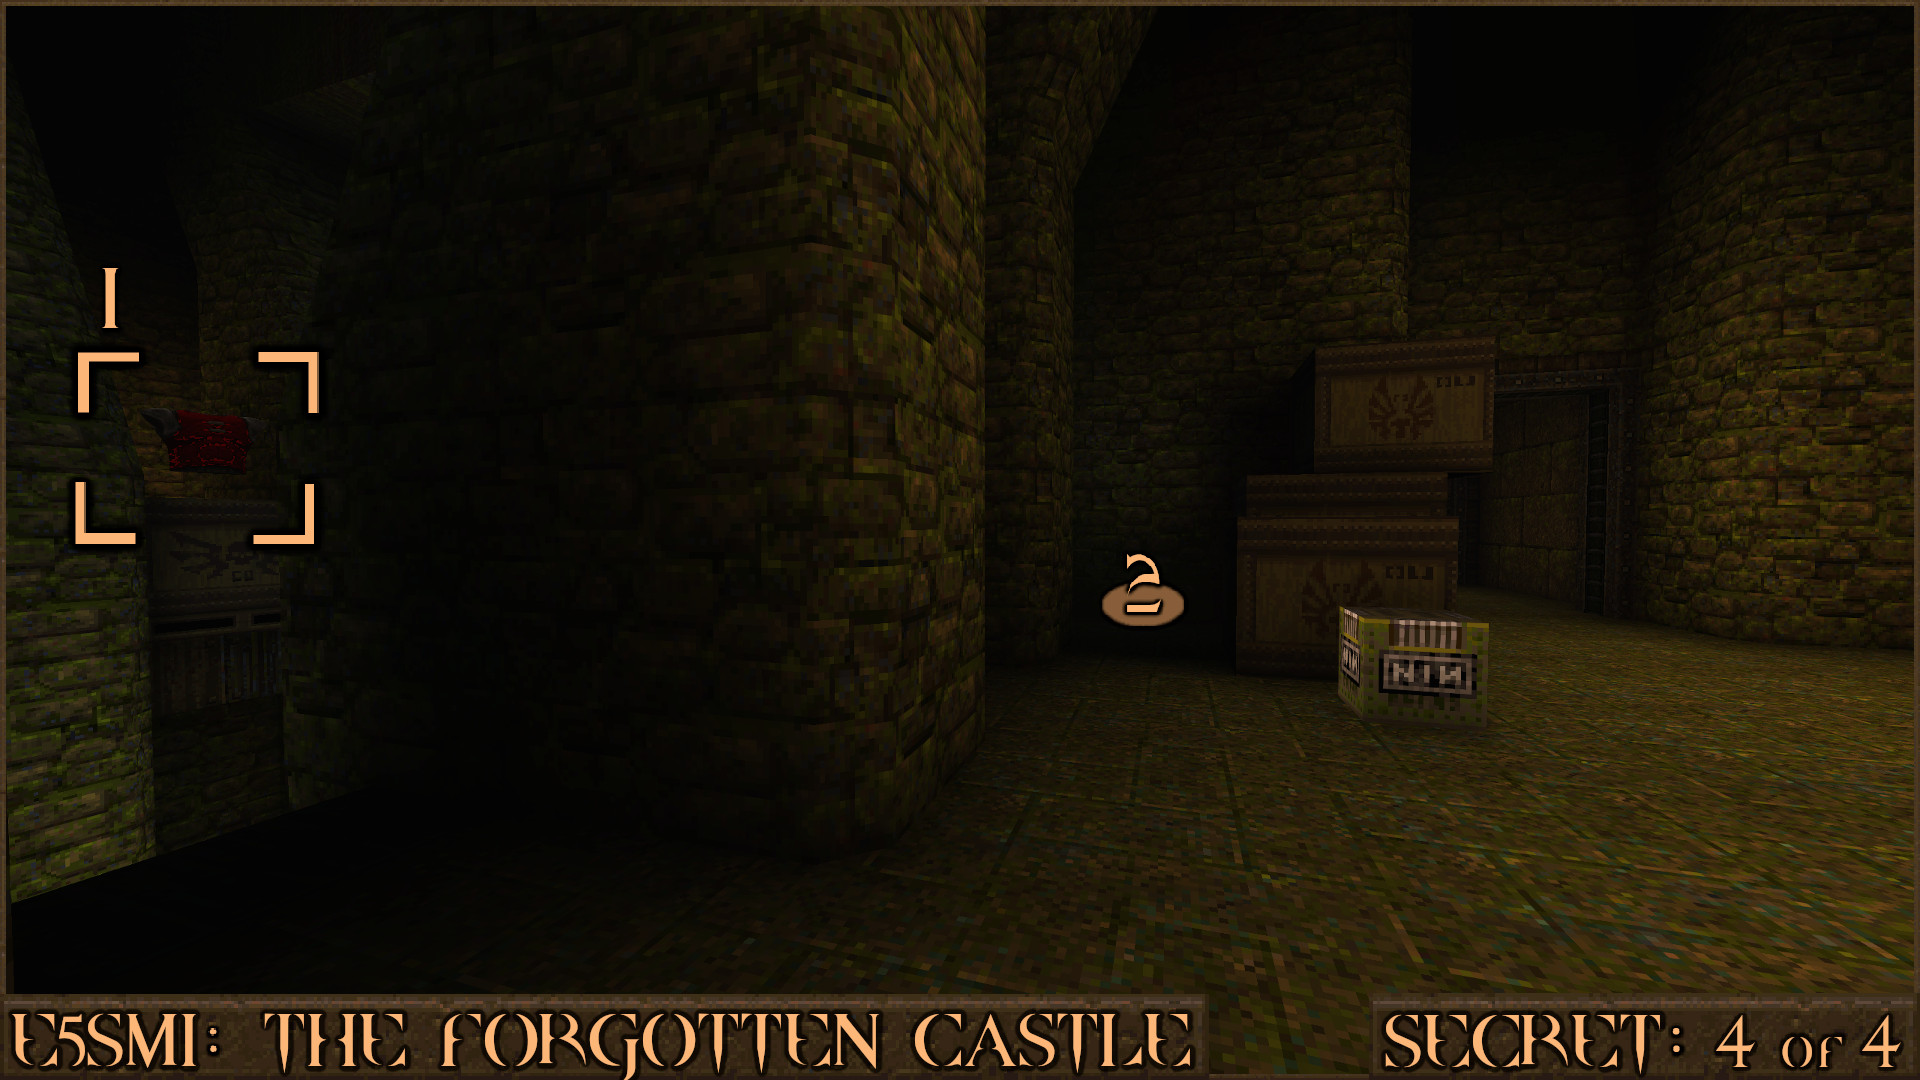
Reward:
E5M4: The Catacombs
Secret 1 of 7
After you have dropped down in to the shallow water, head down the left passageway. Eventually you will come to an elevator () with a strange panel nearby. Walk on to the elevator then immediately pull backwards () to jump off it. Look underneath the elevator to see some water you can swim through and find the secret.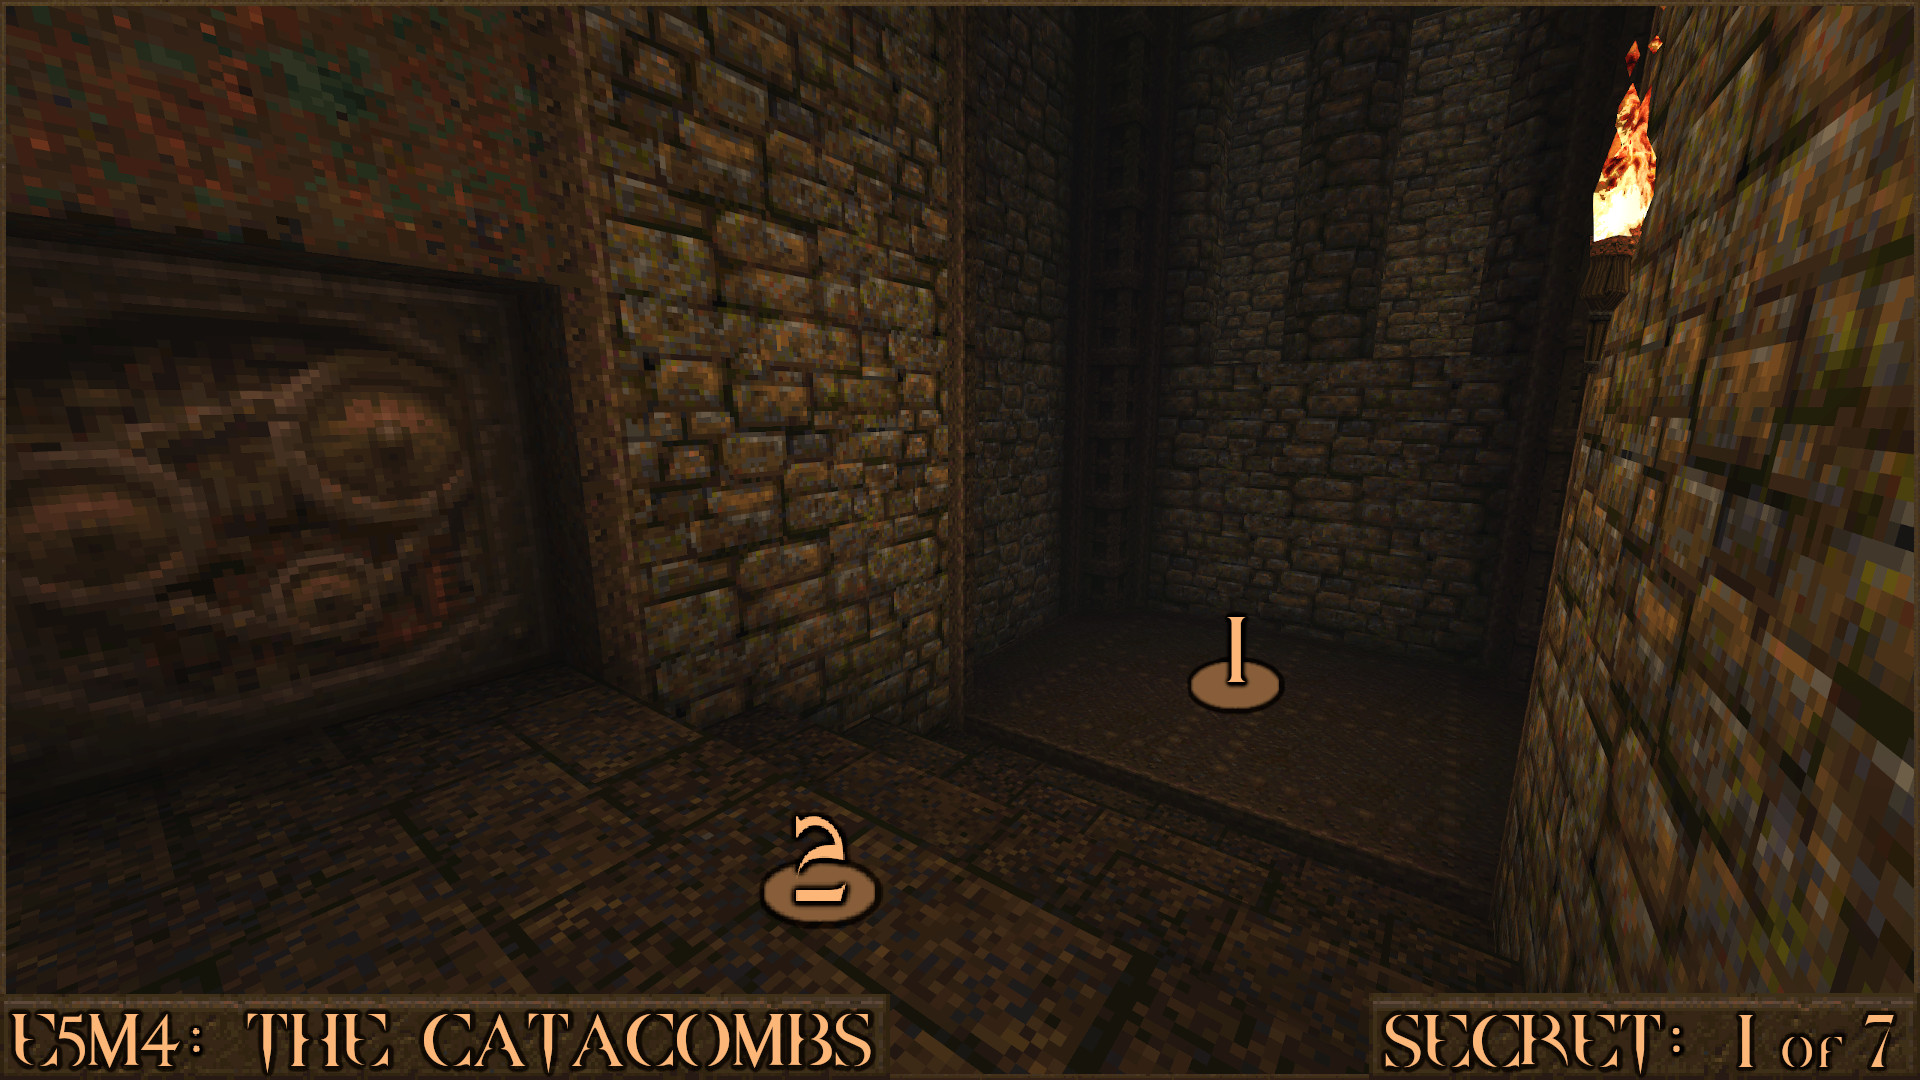
Reward:
Secret 2 of 7
After taking the elevator up from near Secret 1 you will walk in to a room with several Knights. Some doors will open revealing even more monsters. After they have been dealt with explore the hidden room and at the back is a slim passage containing the secret.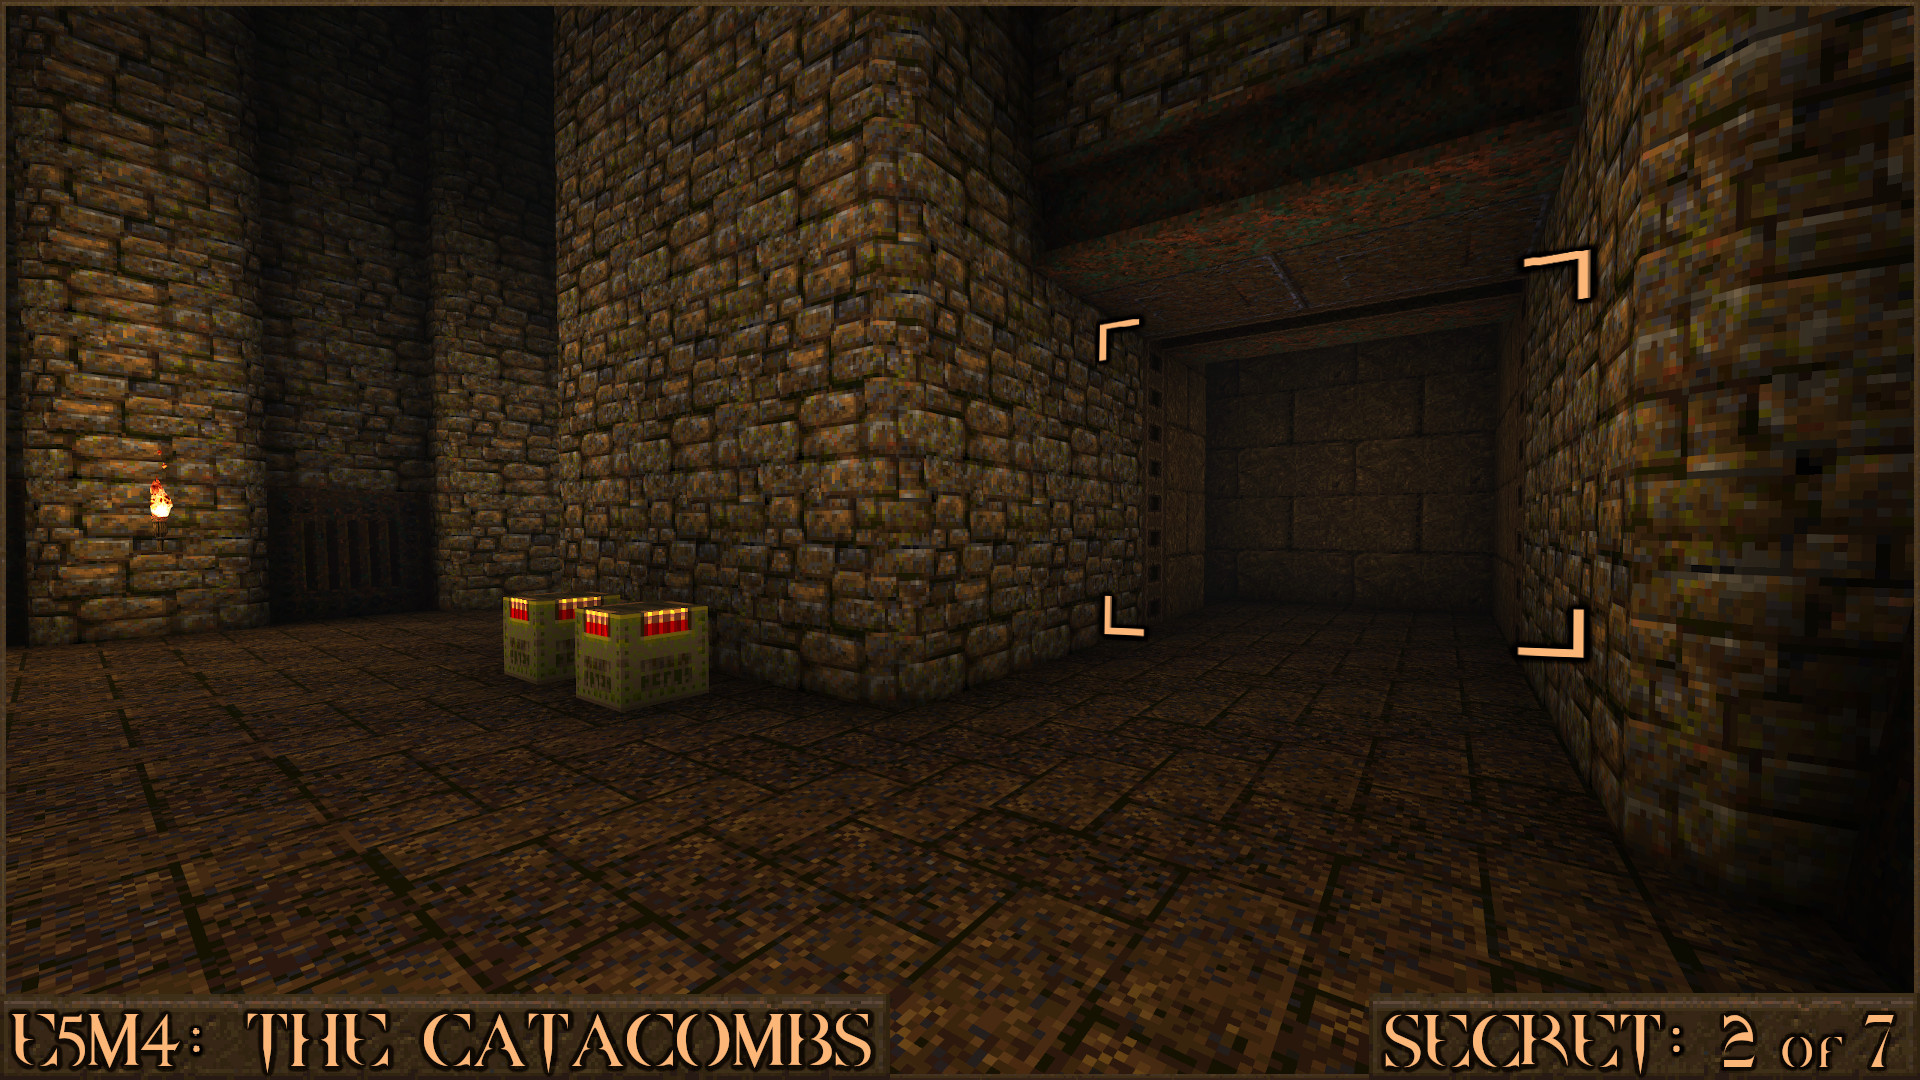
Reward:
Secret 3 of 7
After returning to the shallow water under the bridge at the start of the level head down the right passageway. Just after the crushing machine is a room with several silver monster faces on the wall. Here you will find another elevator (). It has hidden water underneath it just like in Secret 1 so jump on and pull back () to reveal the water. Jump in to immediately find the secret.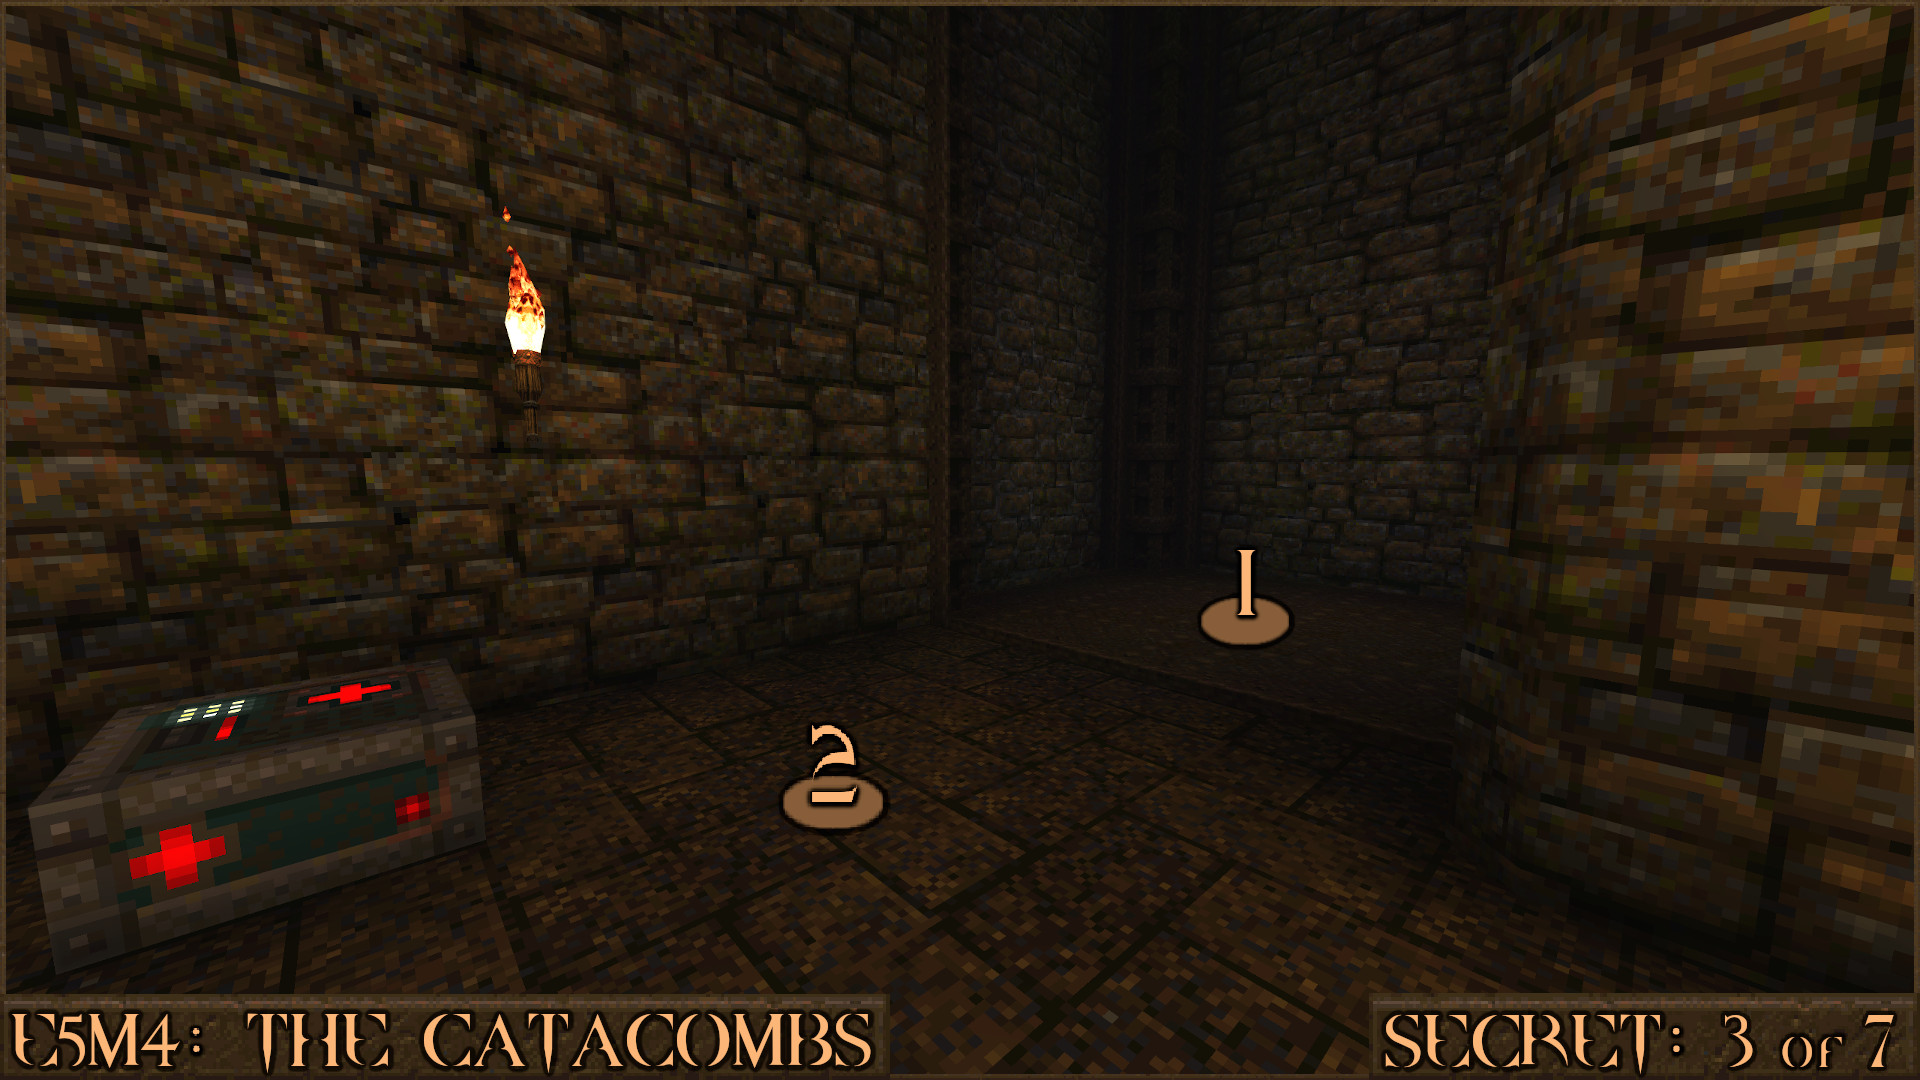
Reward:
Secret 4 of 7
As soon as you take the elevator up from Secret 3 keep to the right to find a broken floor over a spike pit. Make a running jump from the right side () all the way over to the other side () and you'll find the secret and be able to get the items.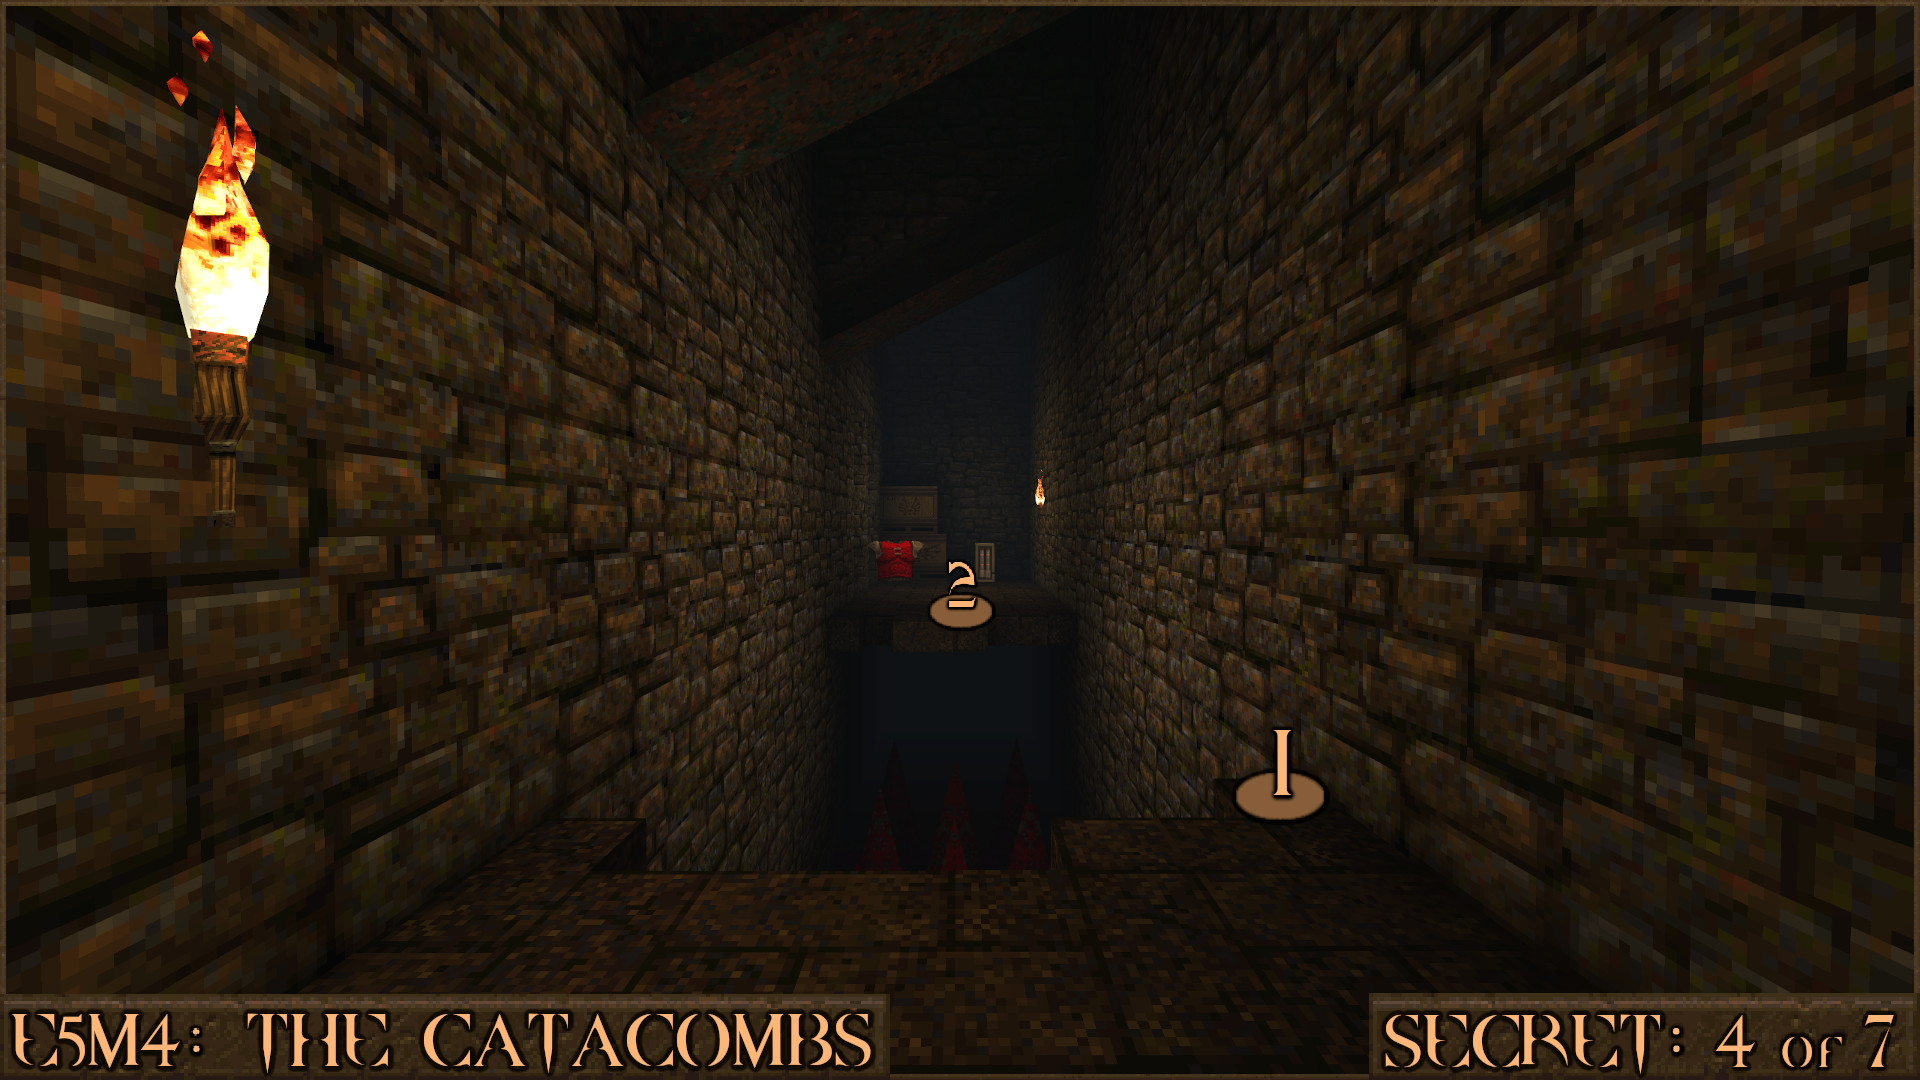
Reward:
Secret 5 of 7
Immediately after you open the Silver Key Door you will see an arrow on the wall pointing to the right. Ignore it and instead head to the left () and you will find the secret round the corner.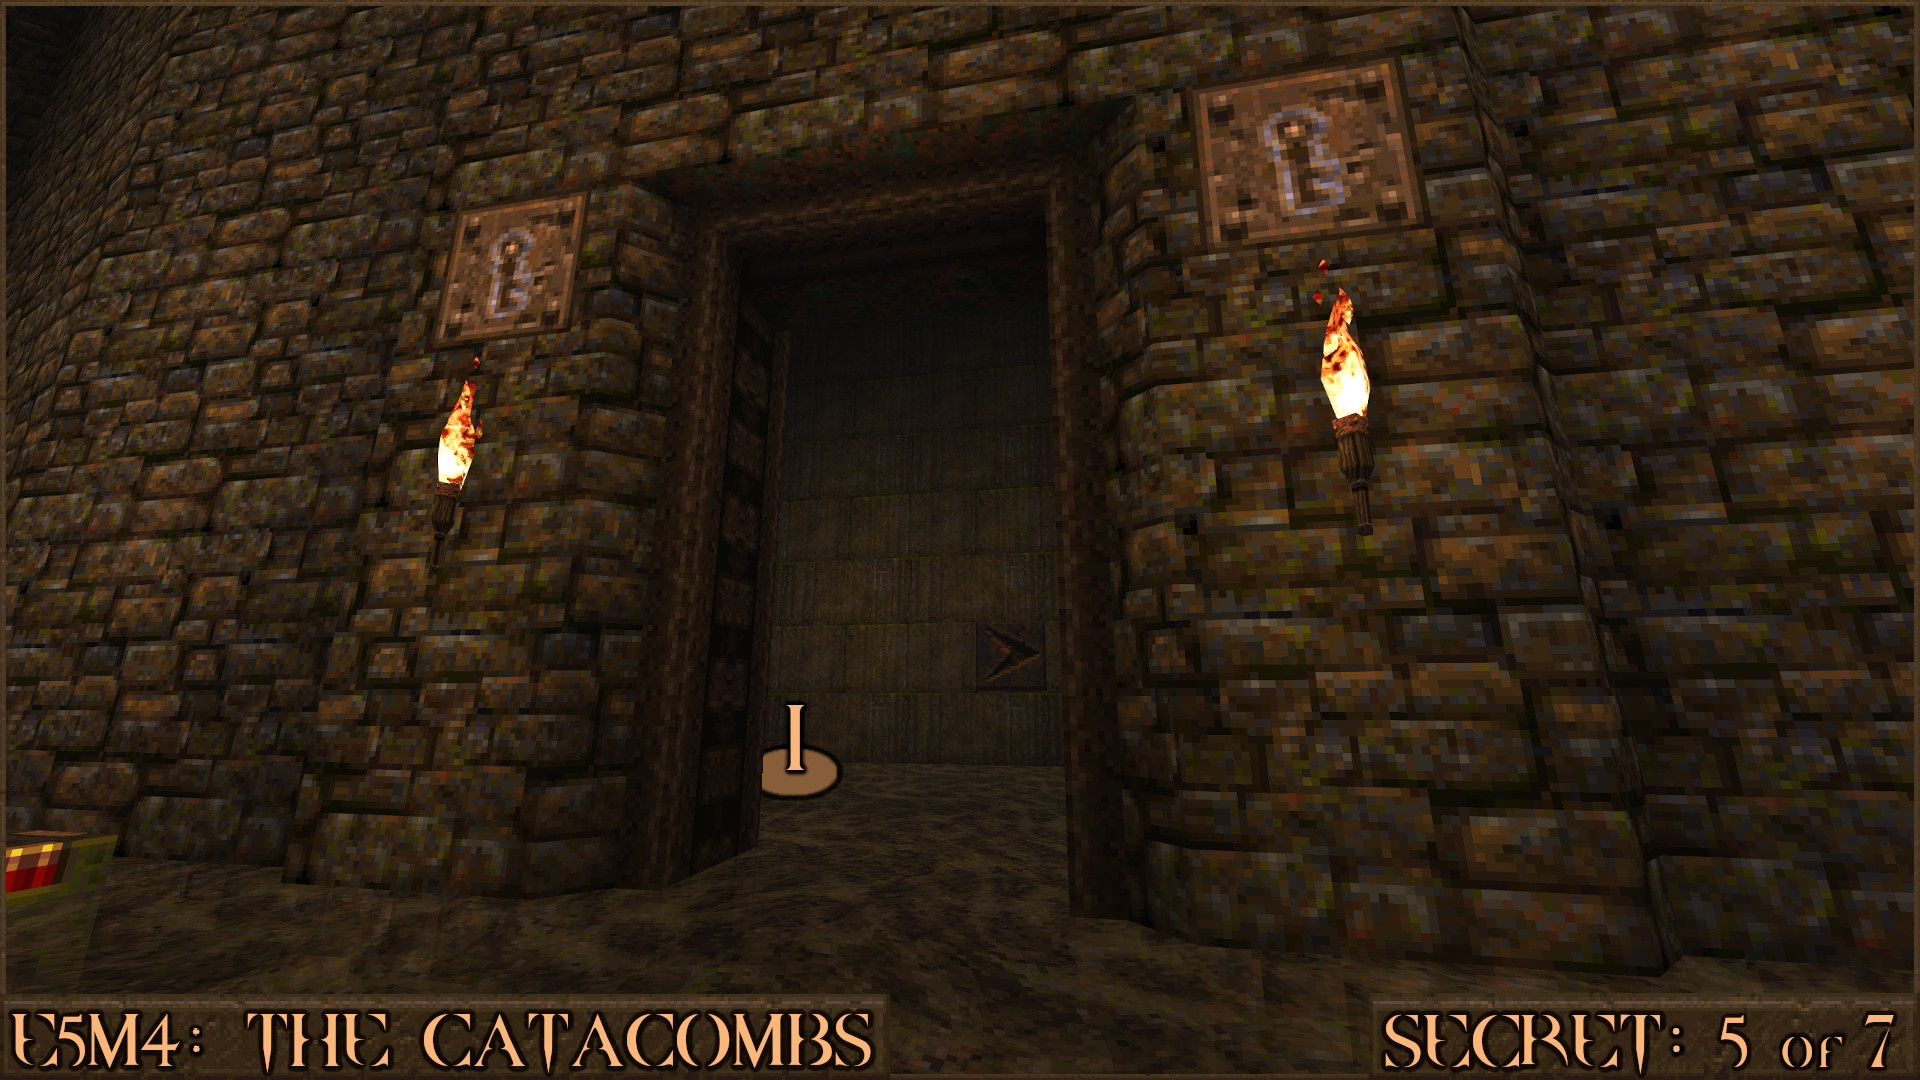
Reward:
Secret 6 of 7
When walking through a U-shaped corridor that is flooded with shallow water look for this rune pillar (). Just above it you can faintly see a red shootable switch (). 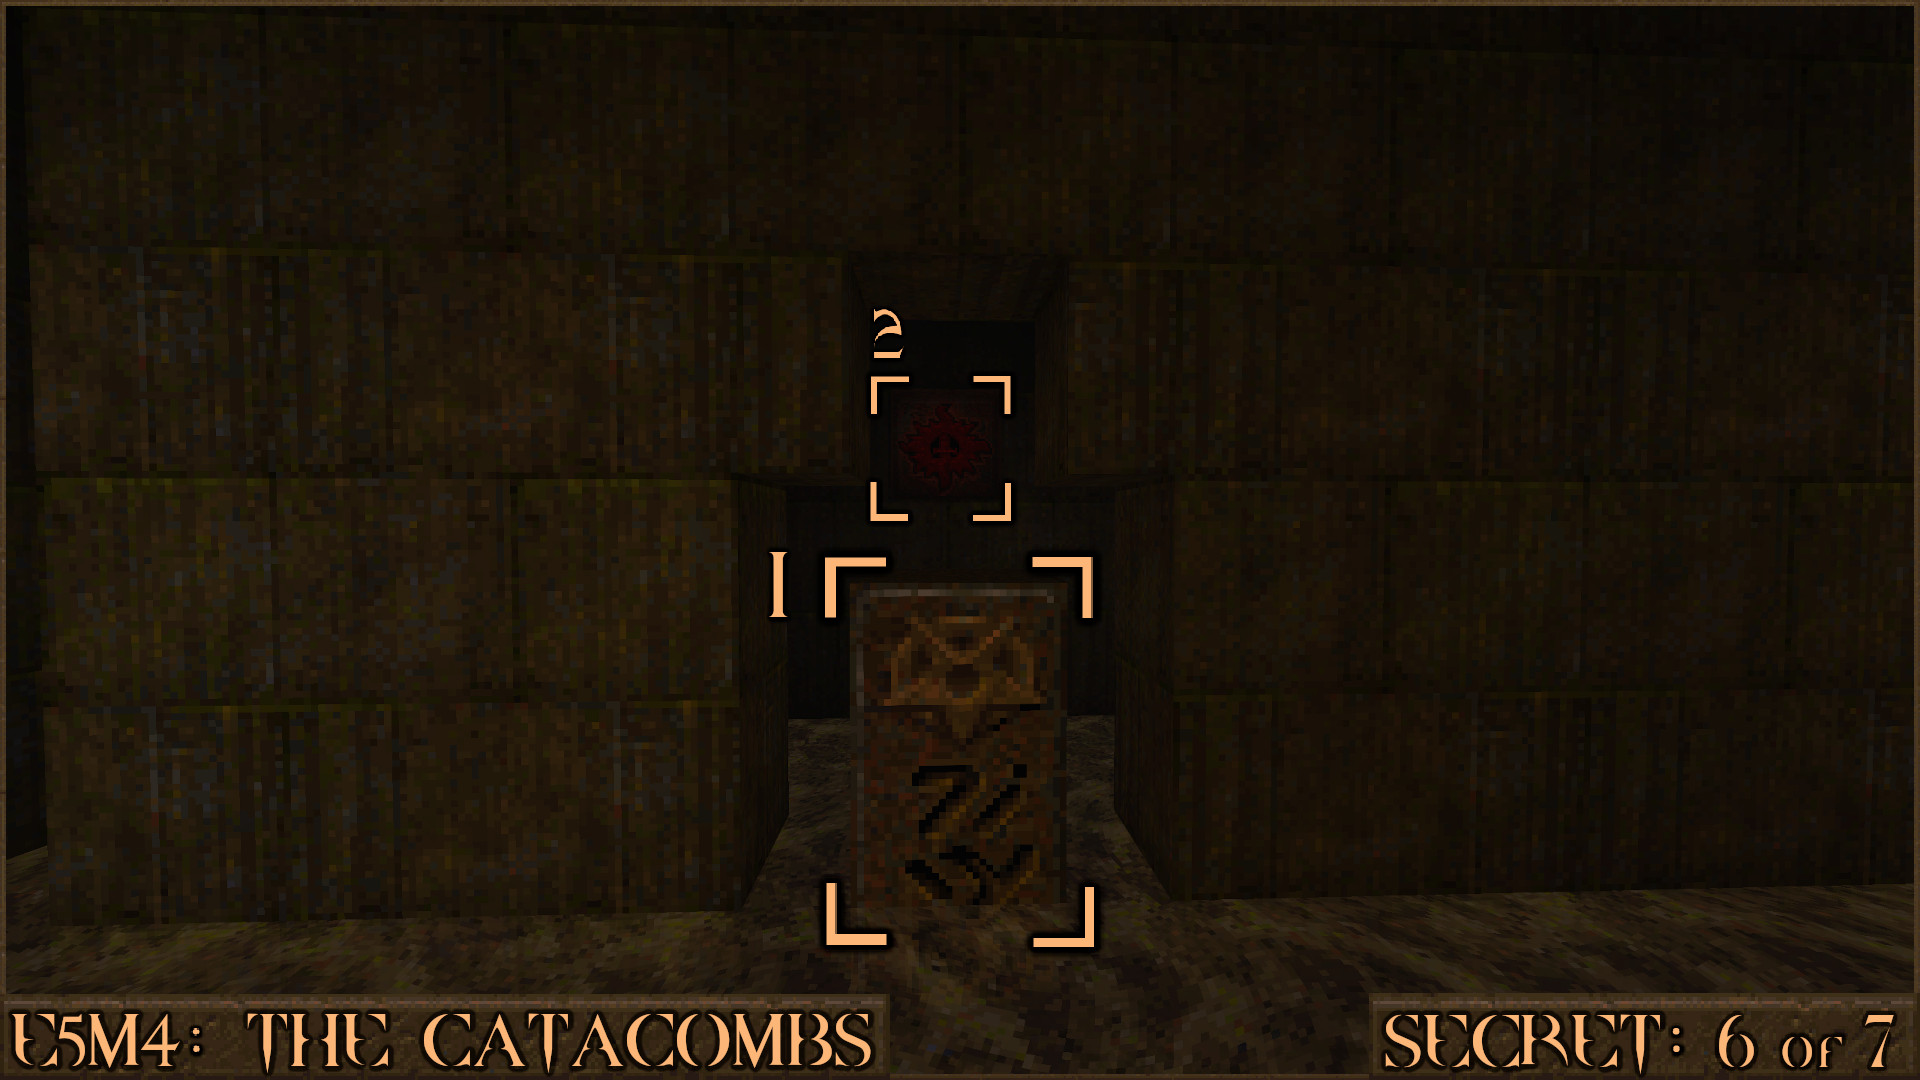
After shooting the switch return the way you came to the curved corner of the corridor and look straight up. Another faint red shootable switch (
) is embedded in the upper part of the wall and has now been revealed. Shoot it to lower the rune pillar from earlier which will allow access to the secret.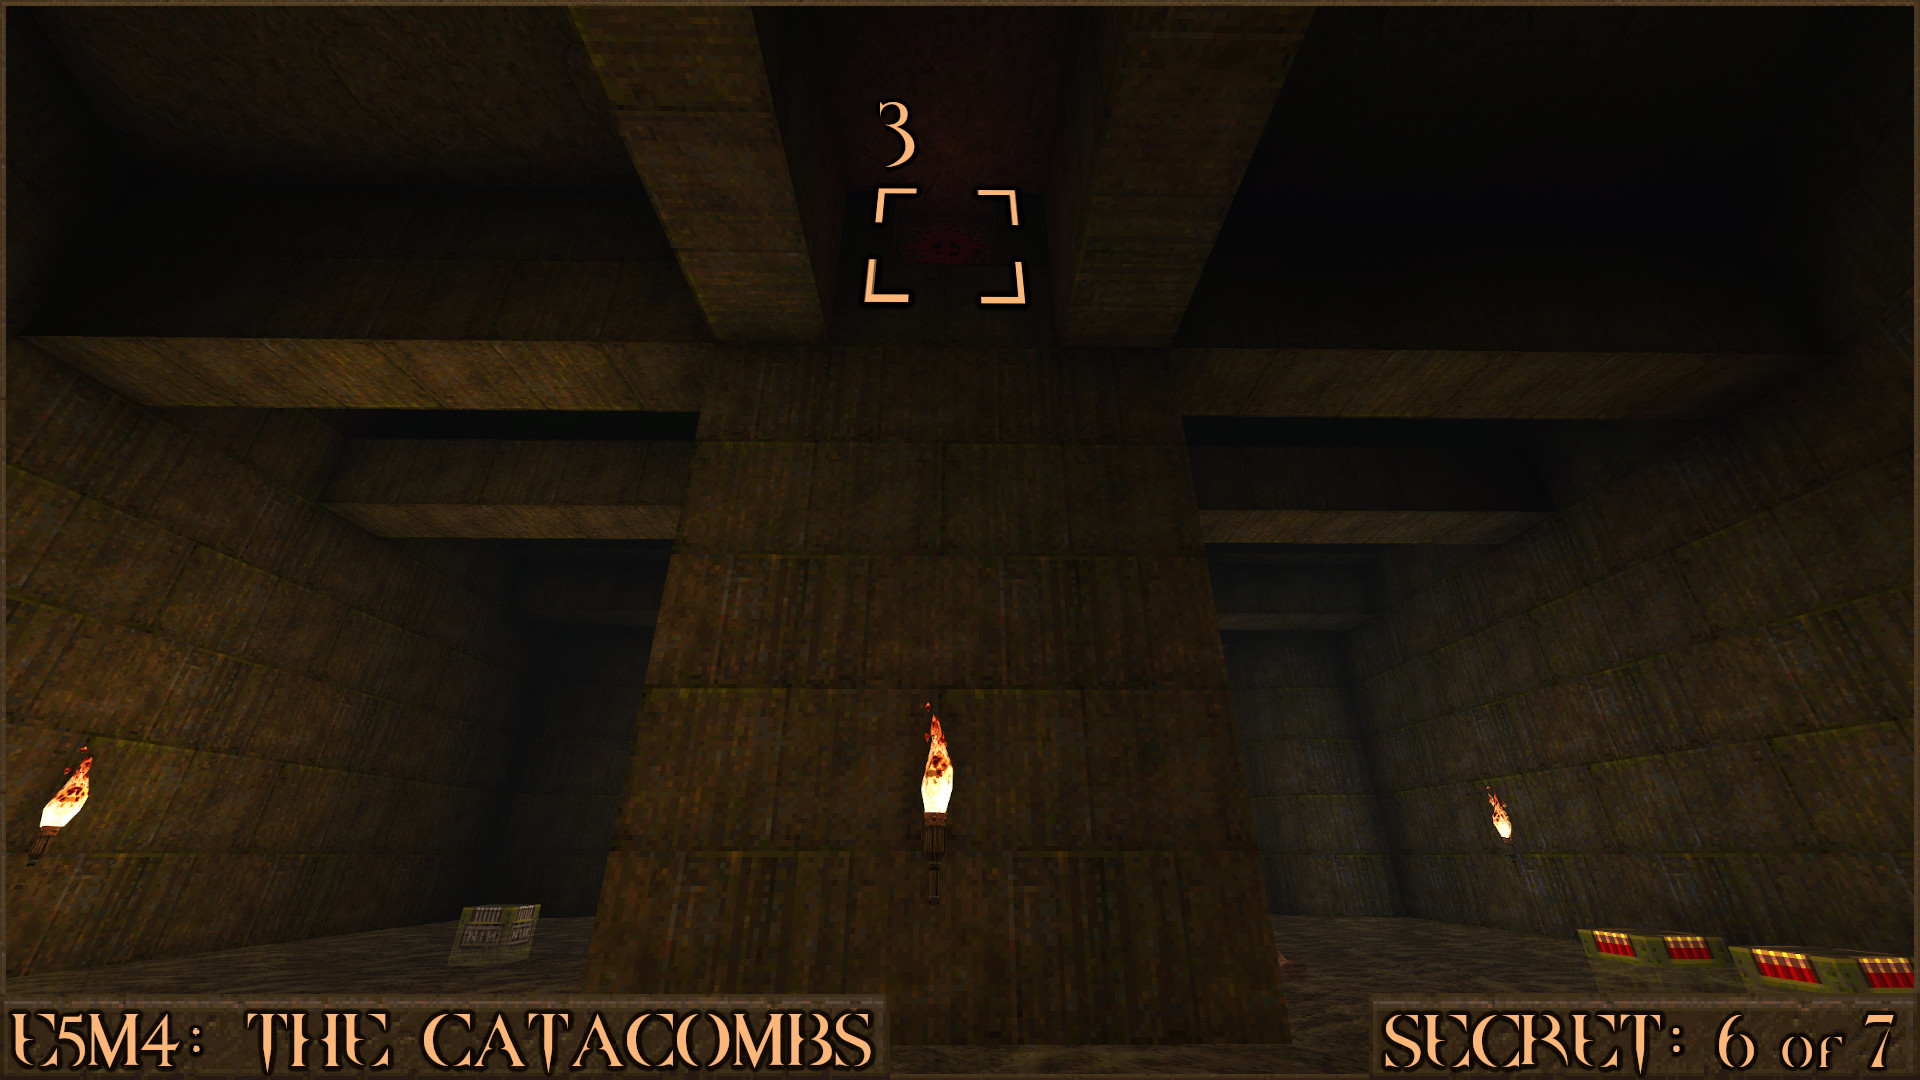
Reward:
Secret 7 of 7
After dropping down in to a trap a large spiky wall will begin chasing you through a corridor filled with Zombies. Quickly out run the trap and follow the bloody floor all the way round, ignoring any exits you see along the way. Eventually you will loop all the way round and will see this secret in plain sight.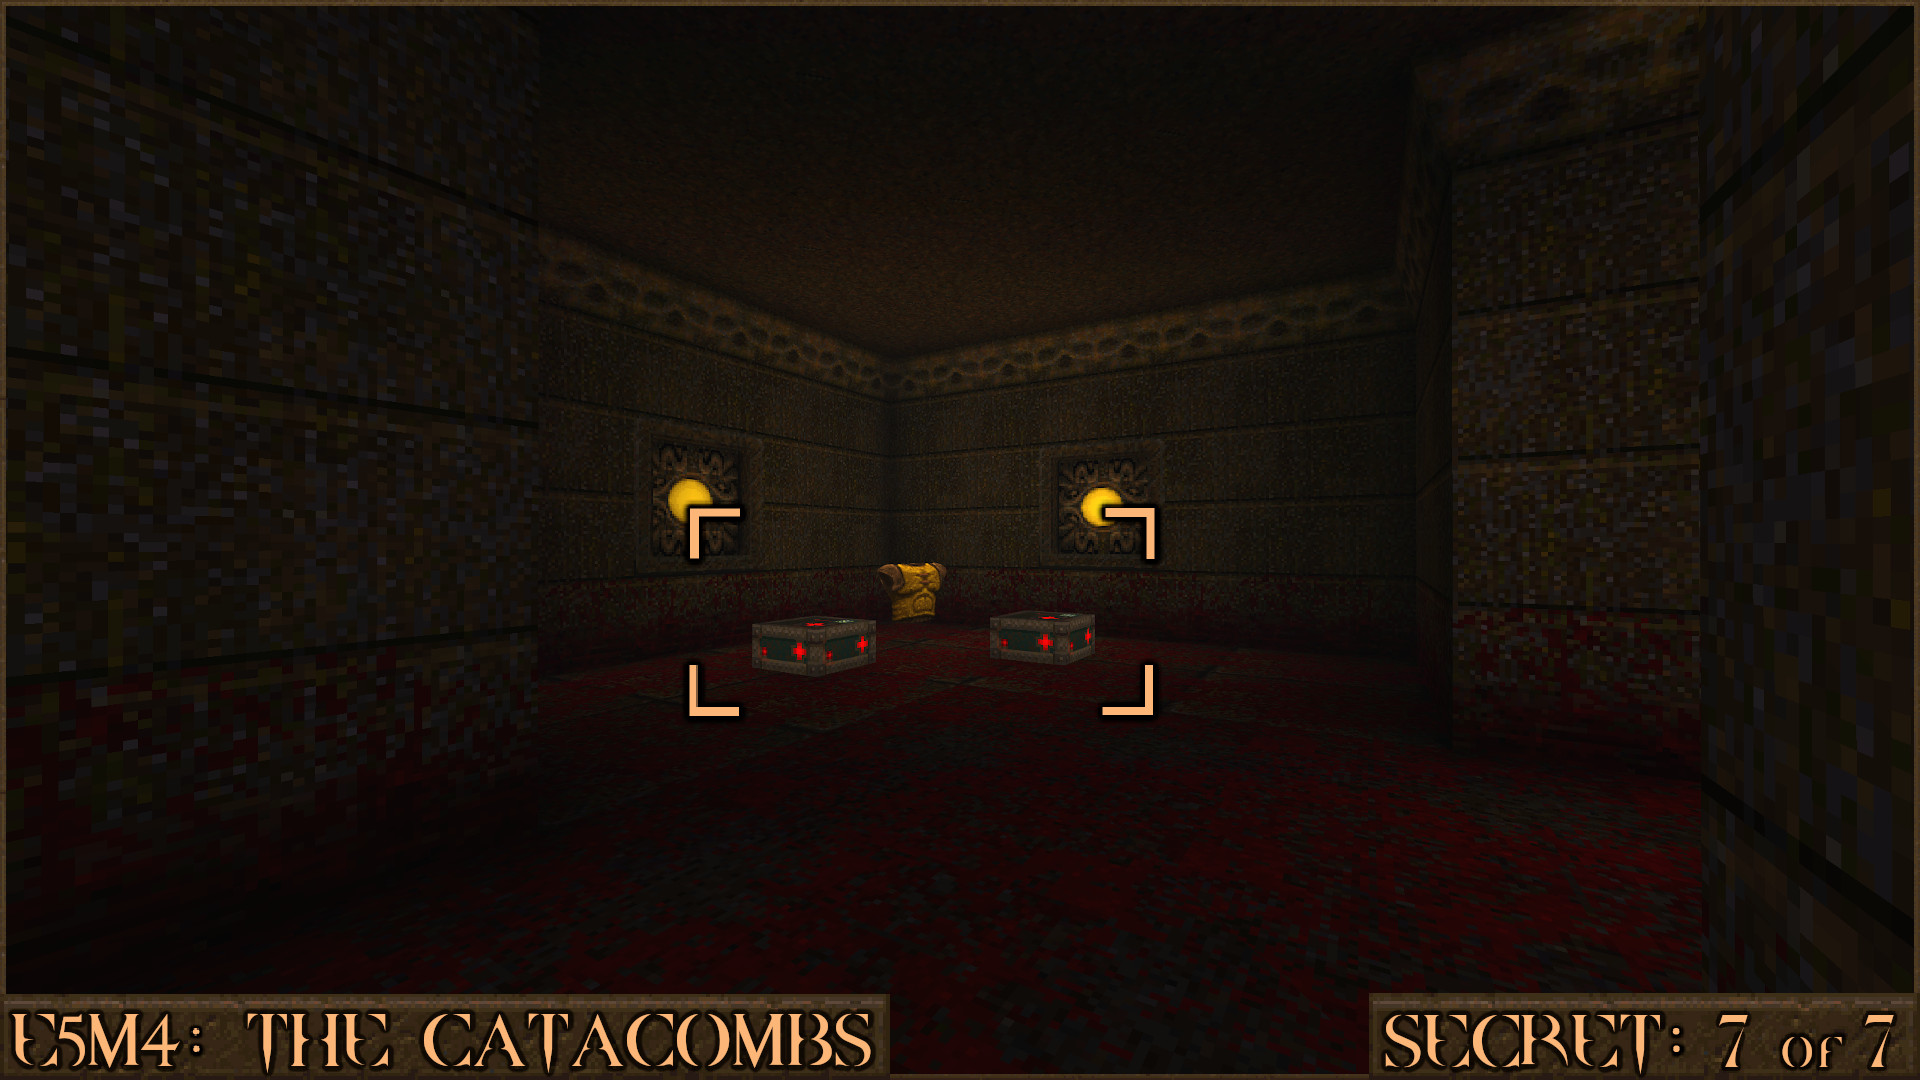
Reward:
E5M5: The Stronghold
Secret 1 of 5
Near the start of the level you will take an elevator down in to some shallow water. Jump off the elevator, turn around and patiently wait for it to return up to it's original position. Then you can walk to the back of the area underneath the elevator () and find this secret.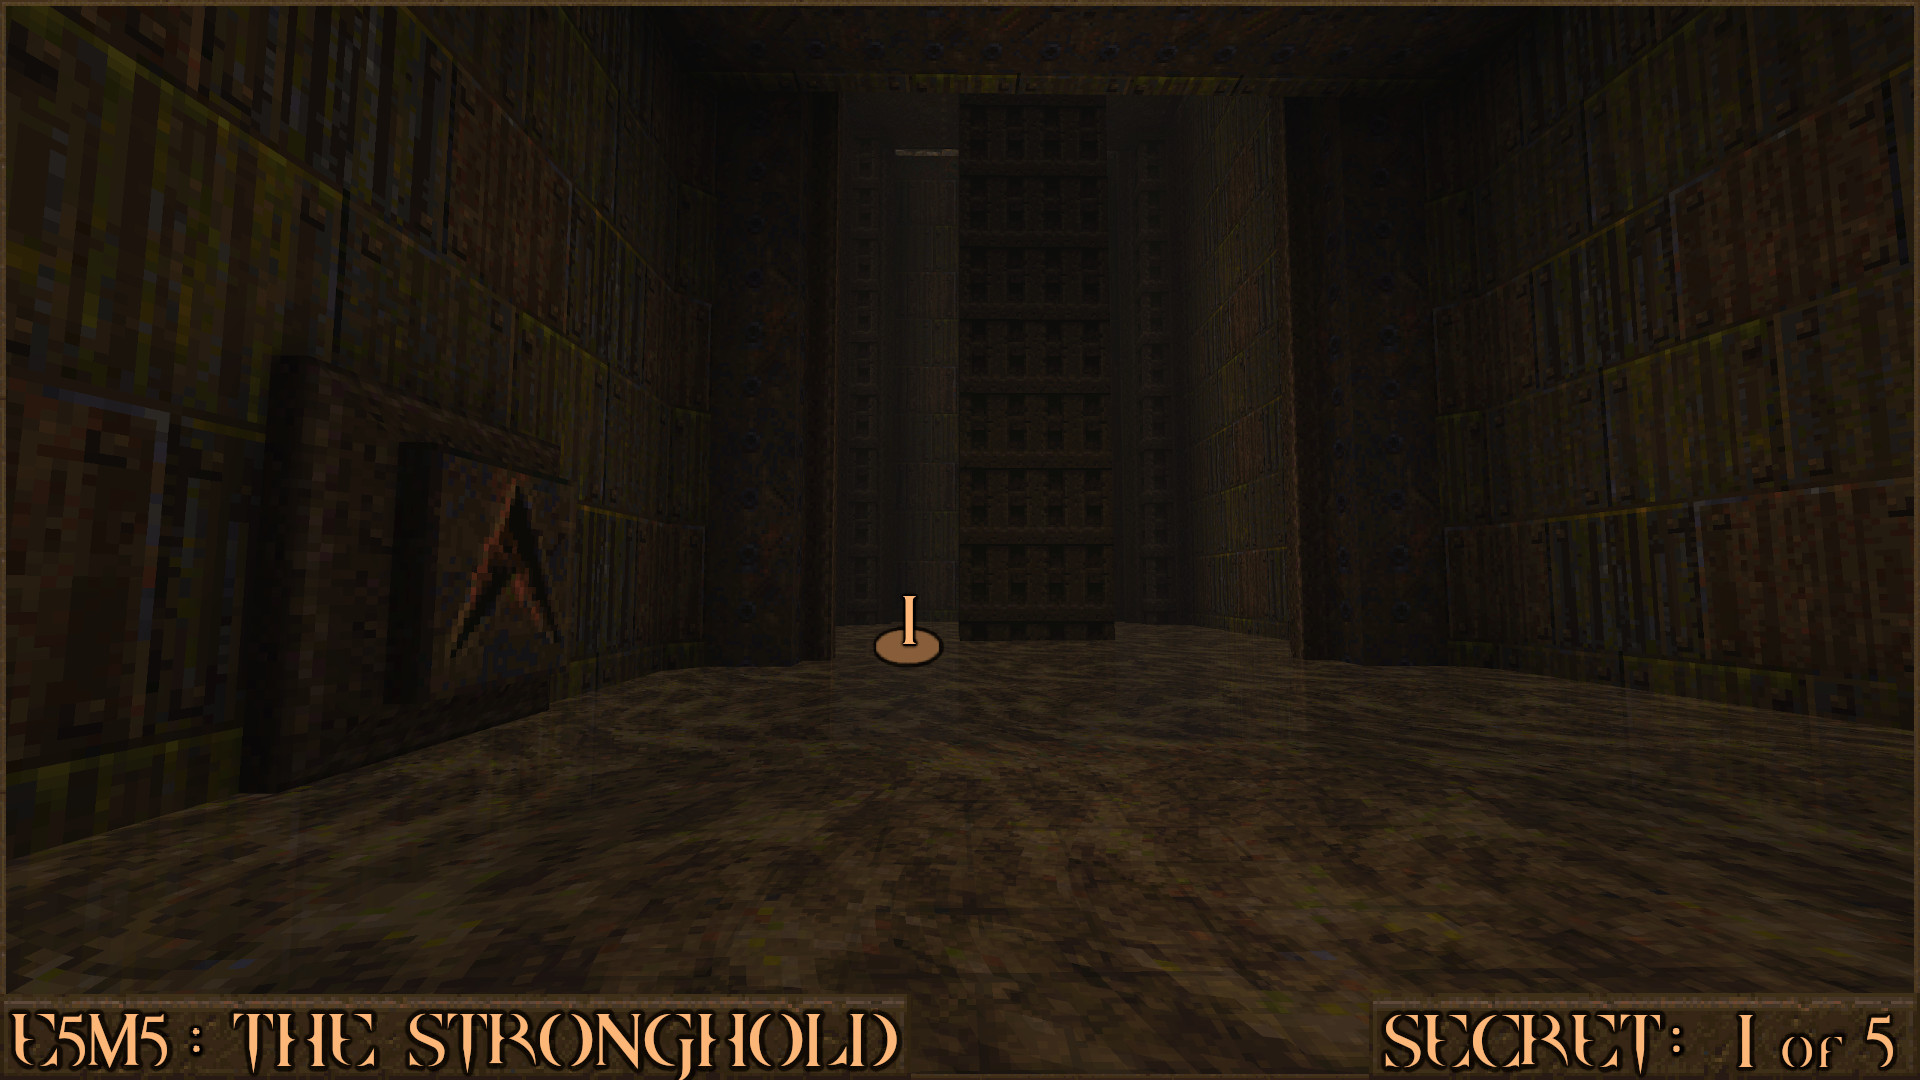
Reward:
Secret 2 of 5
After you come out of the shallow water you'll come to a corridor which has damaged, blood covered holes in the wall on your right. Carefully look through the holes in the wall and you can just see a red shootable switch. Shoot it to open a door that is directly in front of the switch.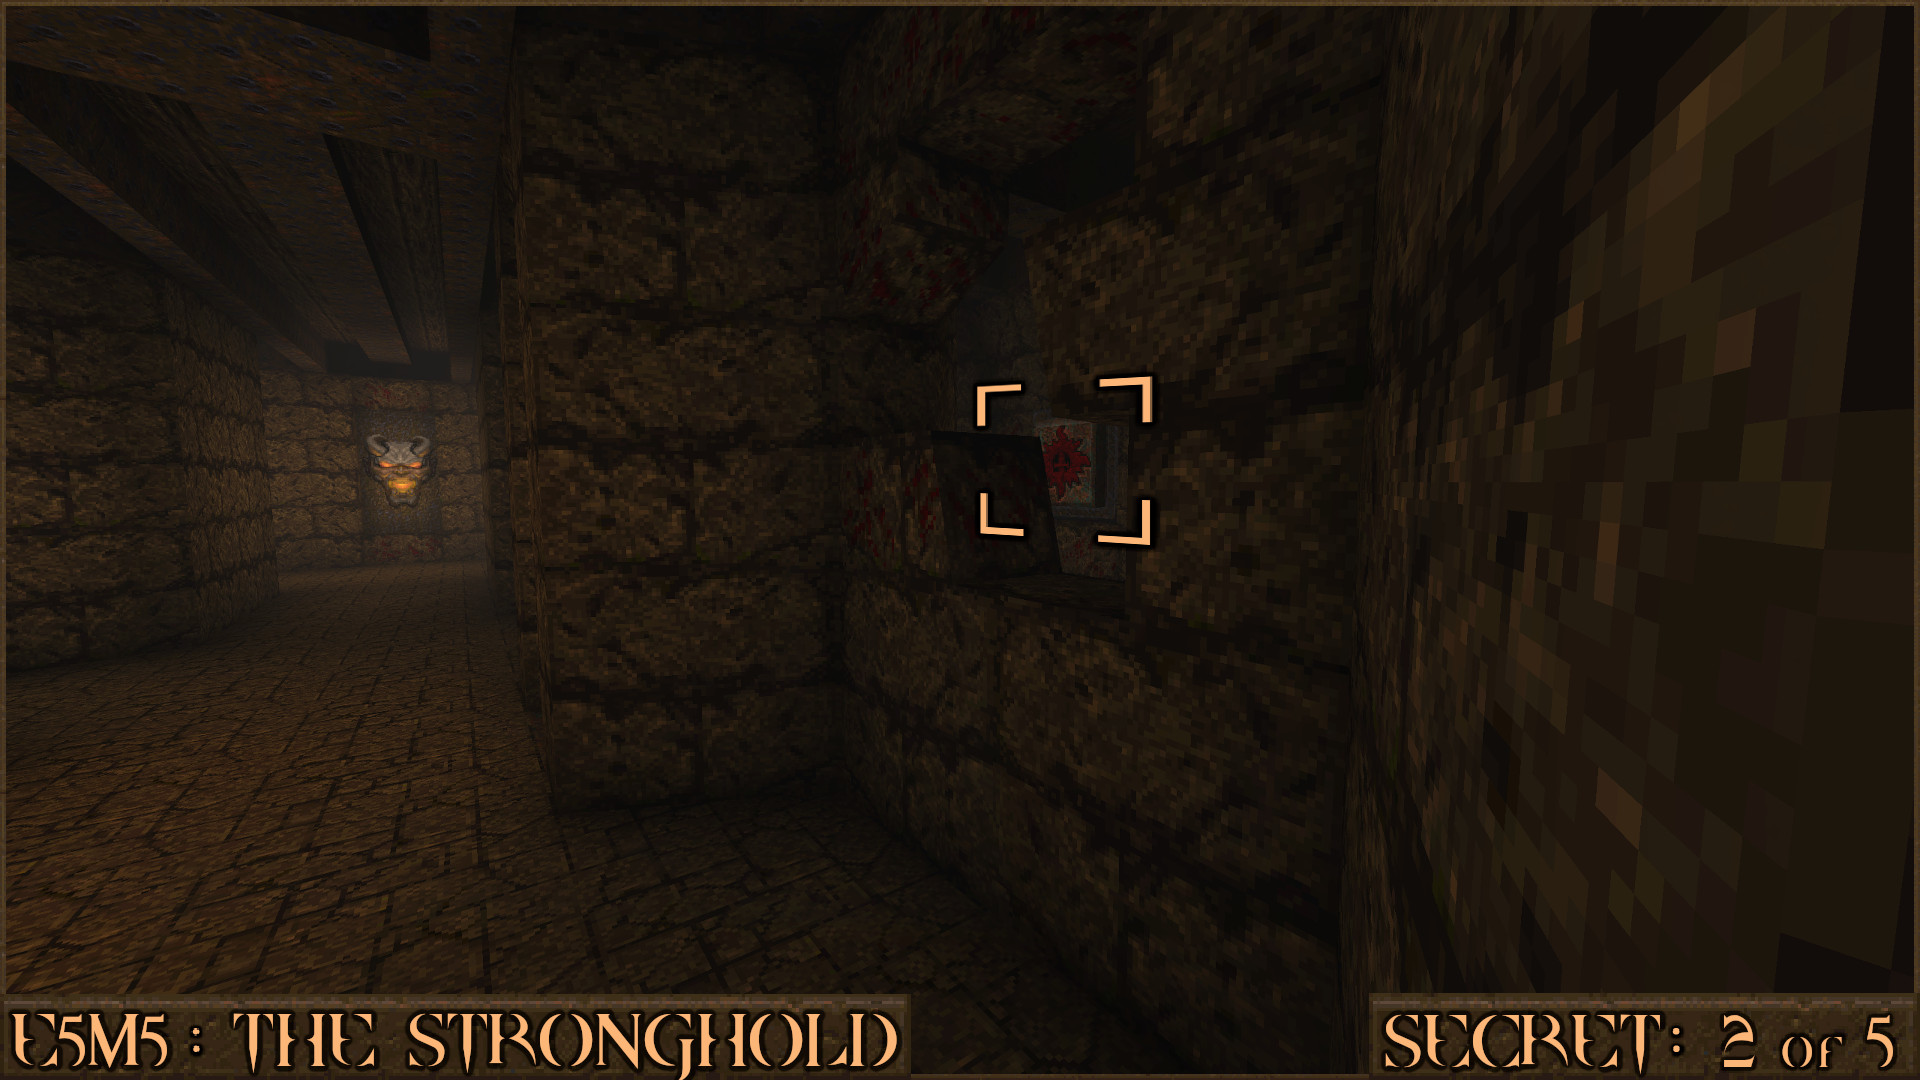
Reward:
Secret 3 of 5
Several Zombies will be in the flooded area here. Instead of heading left to the outside area you should head right and enter this small vent (). Follow this small tunnel and you will come out in to another corridor with some stairs.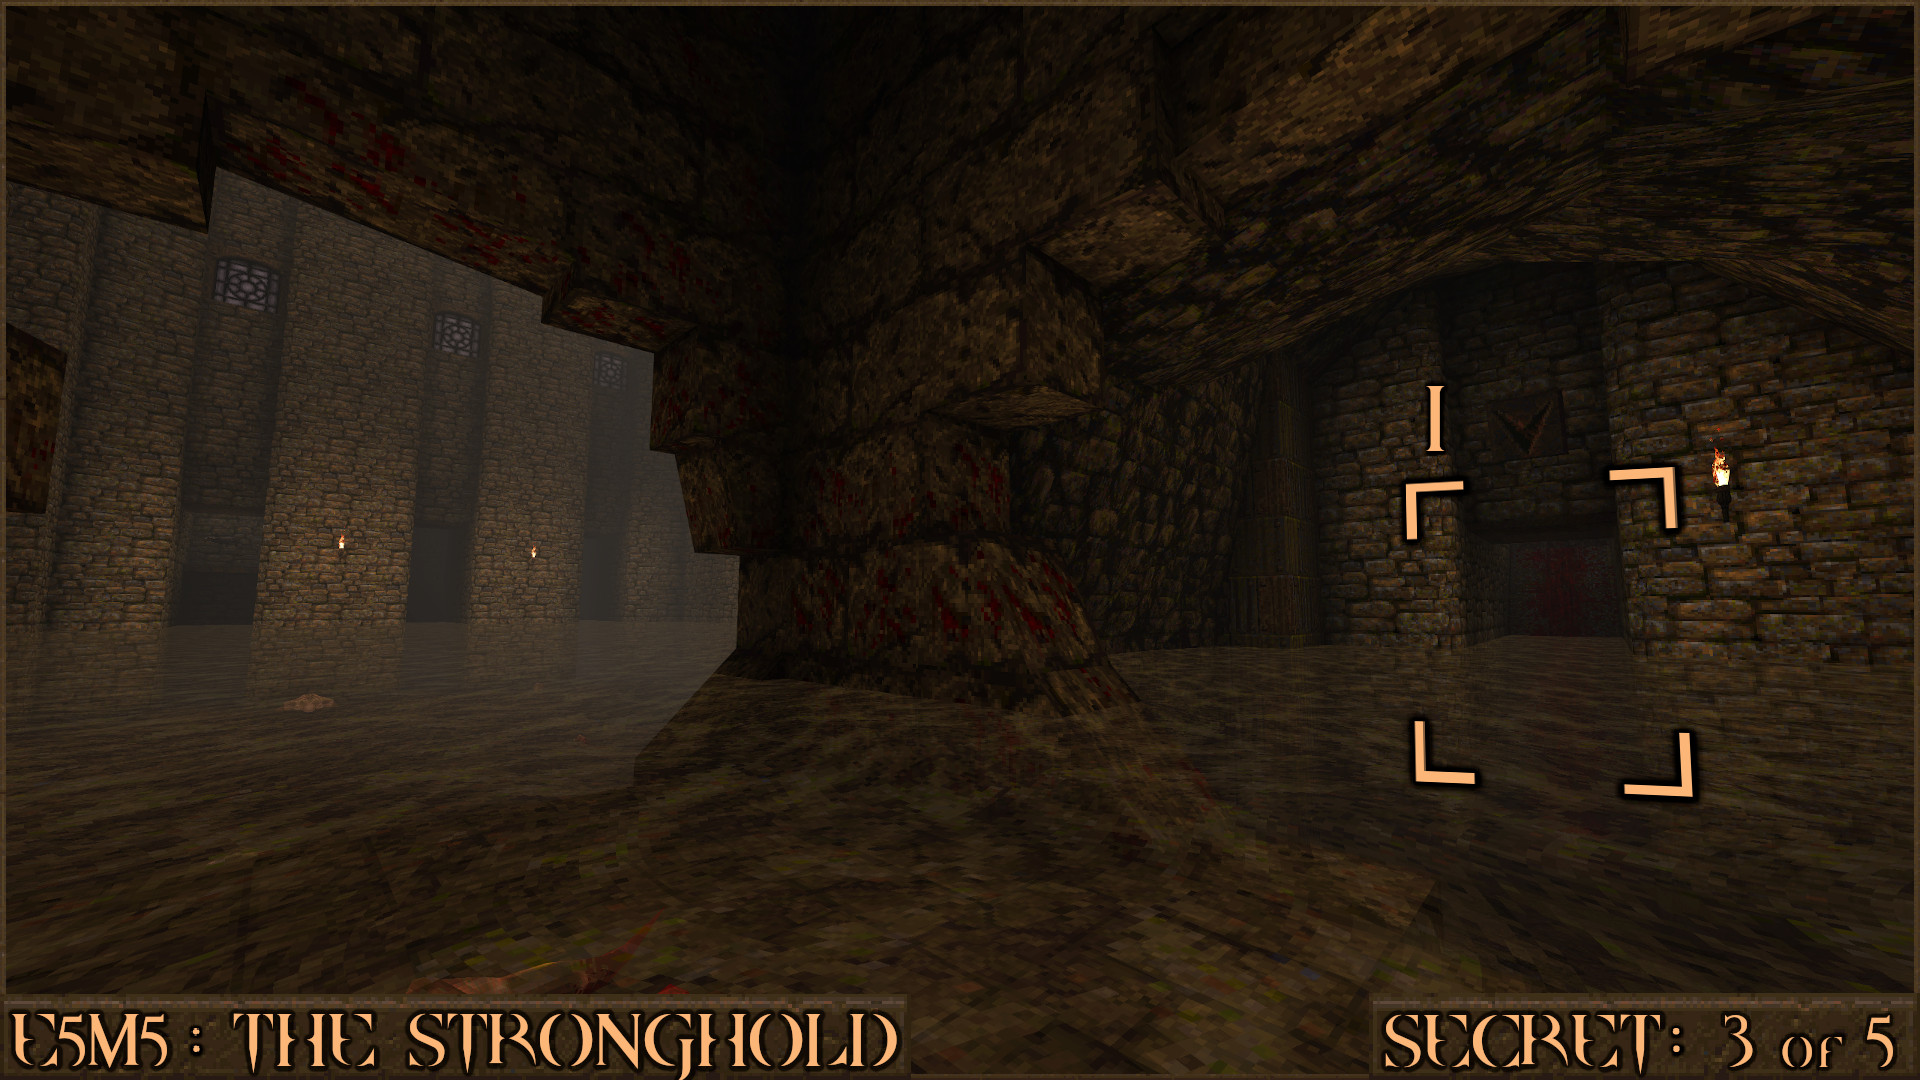
After heading up the stairs you will see a room on your left filled with Knights and a stack of crates on your right (
). Jump up and climb over the crates.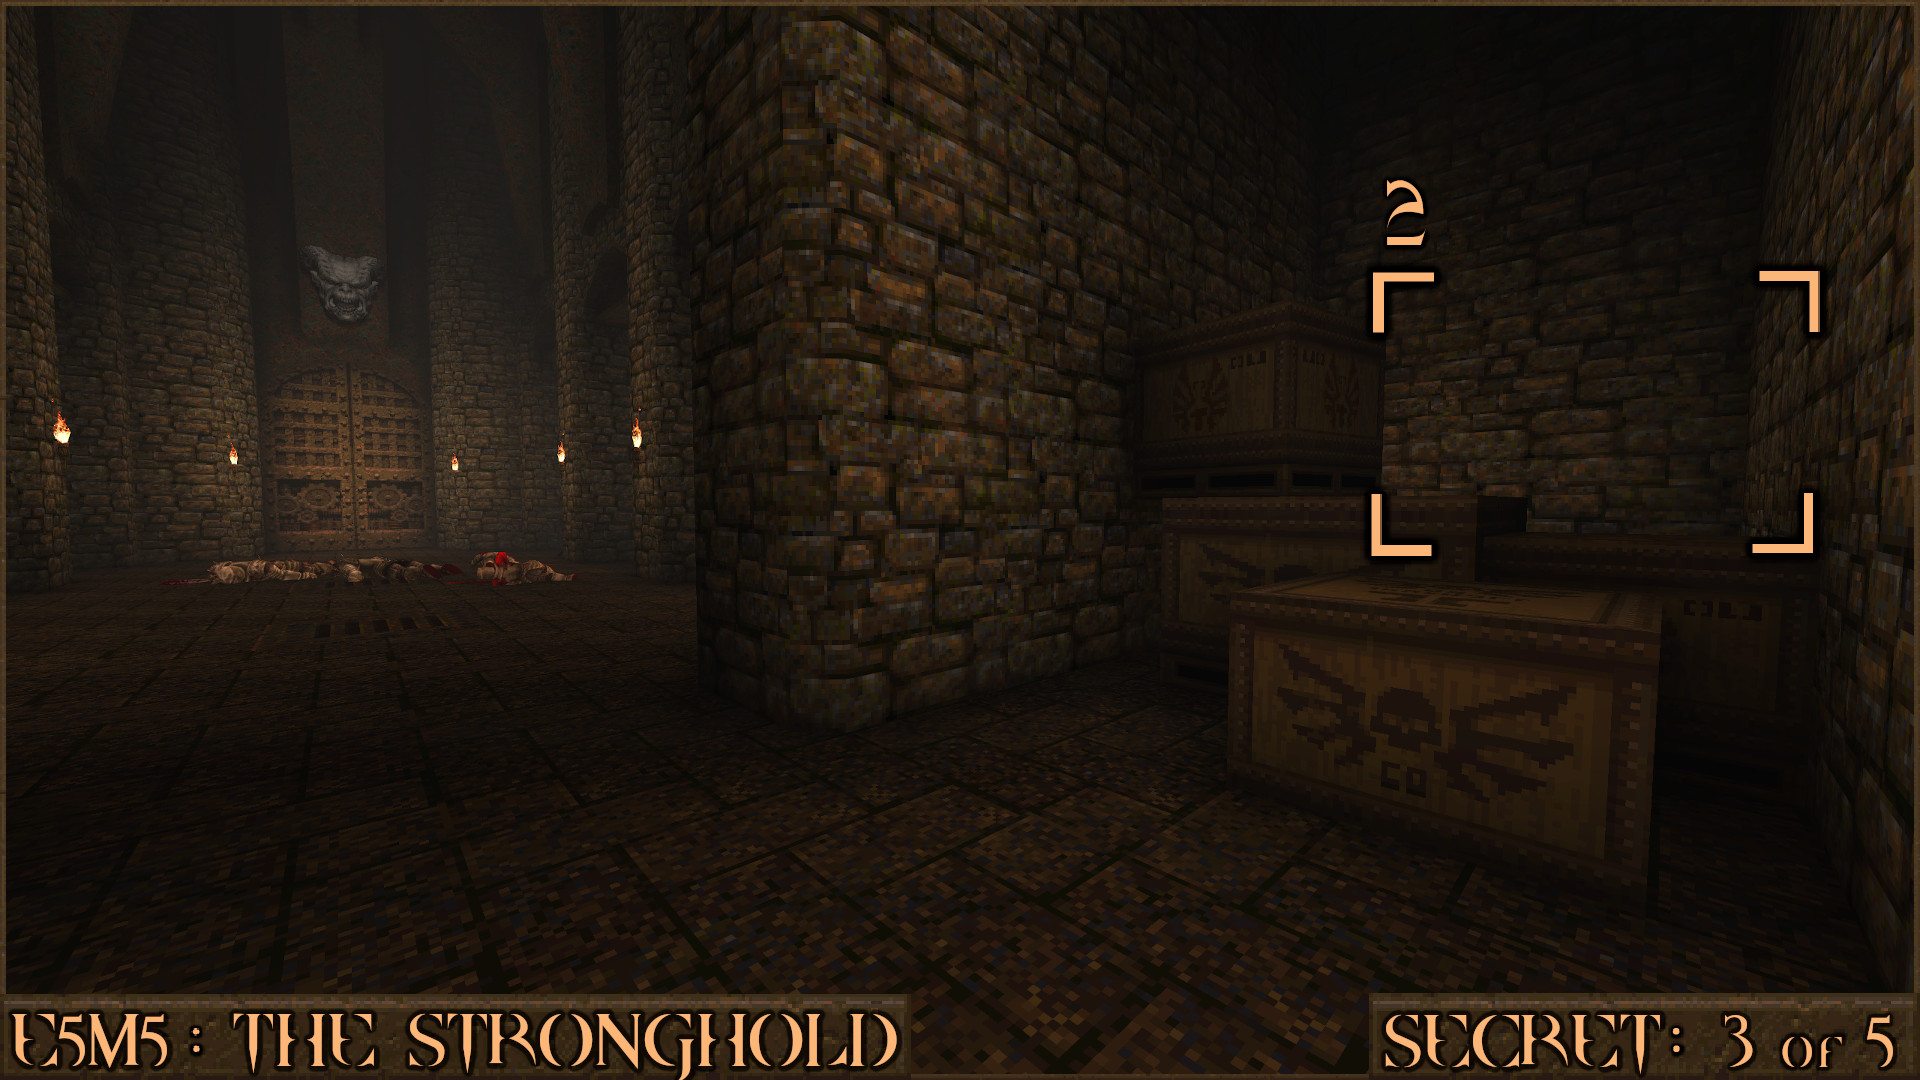
Look for this bloody vent (
) embedded in to the floor. Shoot it to reveal a hidden tunnel that will take you to the secret.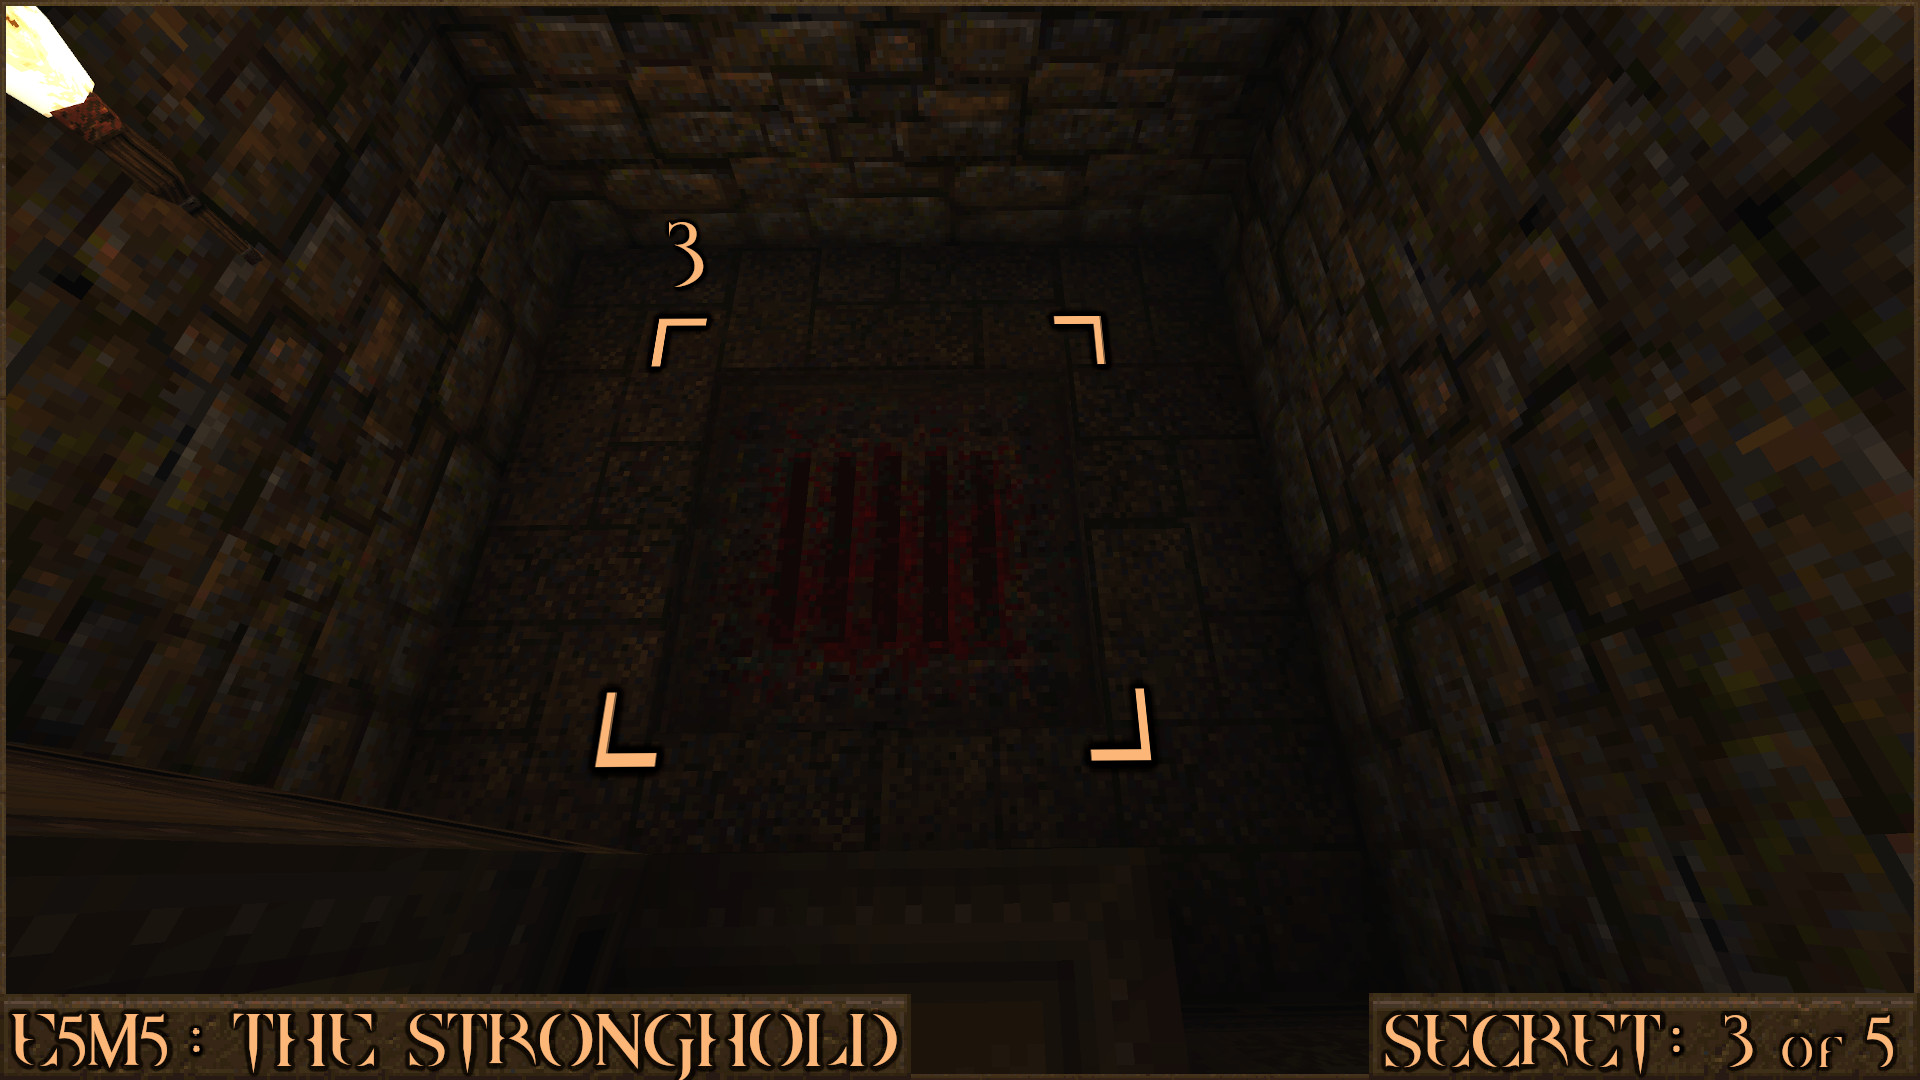
Reward:
Secret 4 of 5
After emerging from the exit of Secret 3 take the left door to go back in to the room from before that was filled with Knights. Look carefully at all the vents around the room that are beneath the blue windows. The one near a pack of Large Shells is actually a small hole you can fall down in to that will take you to the secret.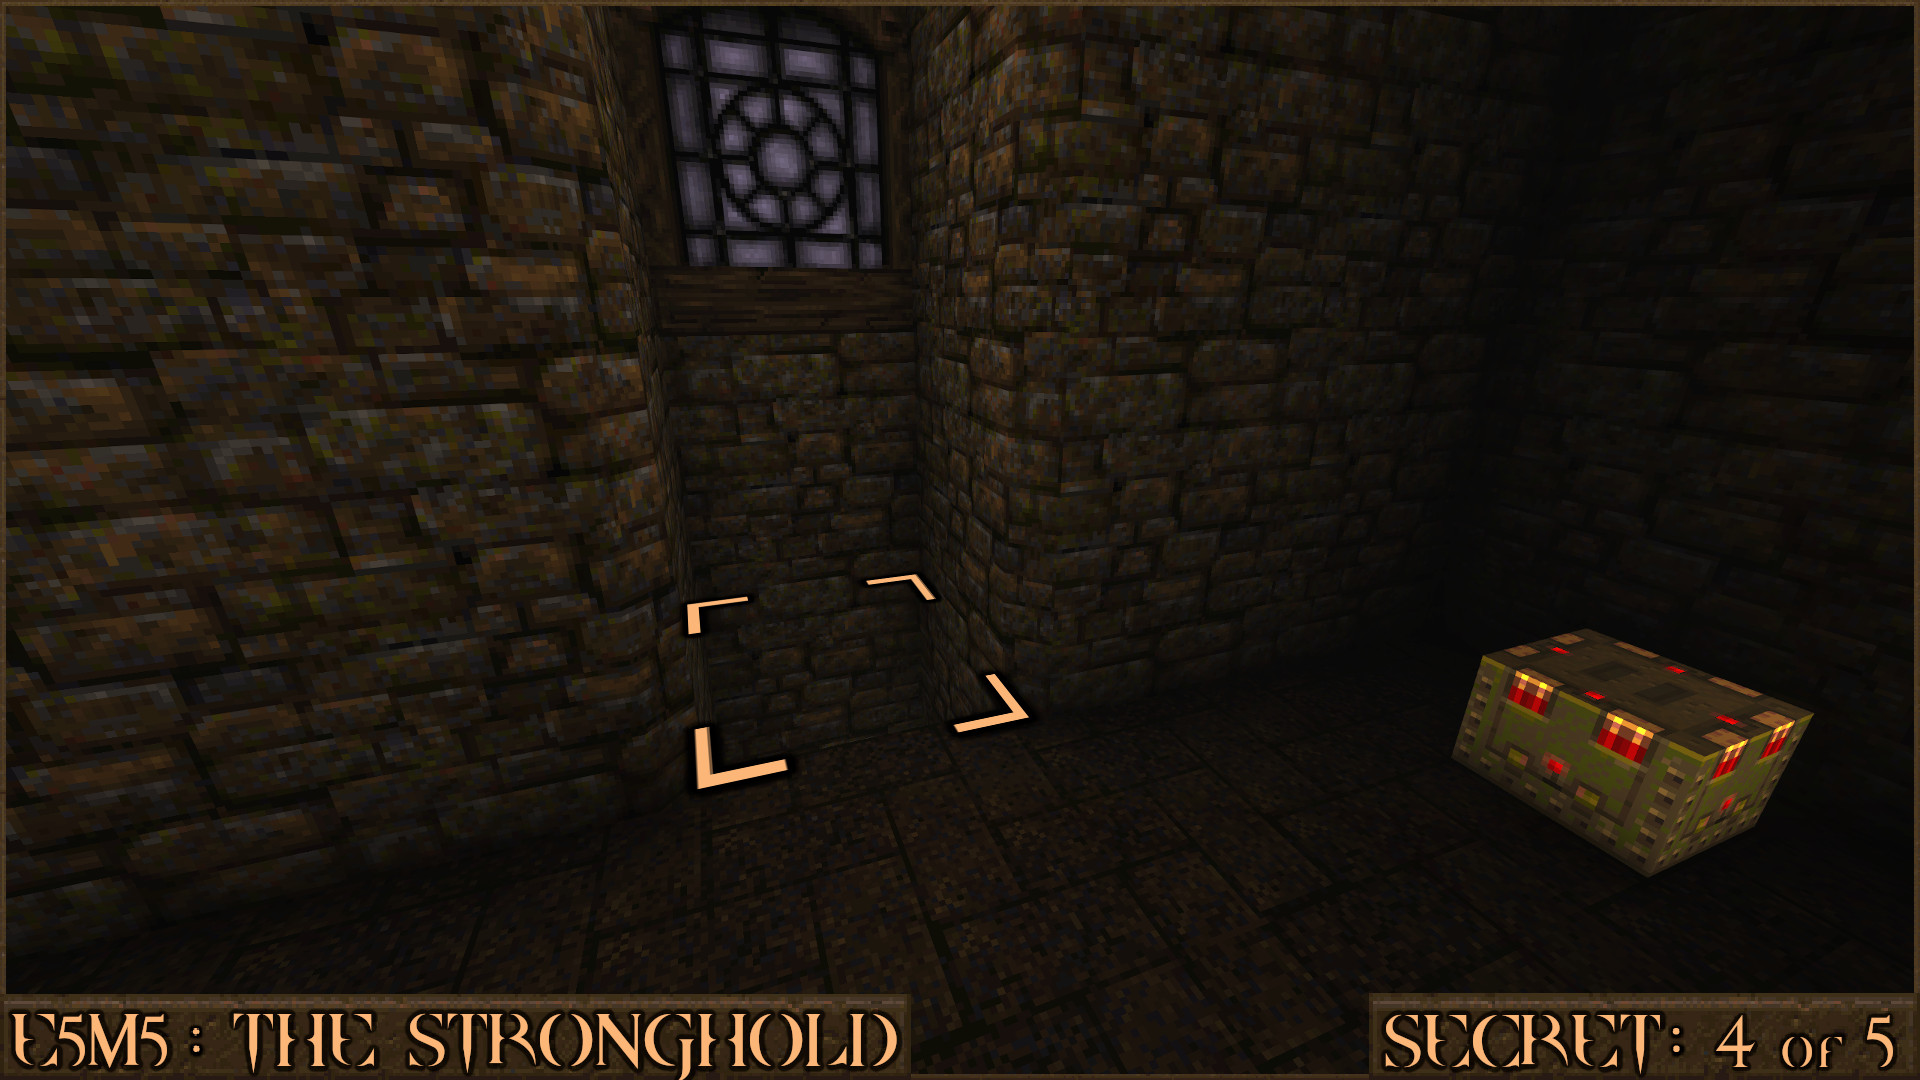
Reward:
Secret 5 of 5
As soon as you pick up the Golden Key jump off the bridge and look for an entryway underneath the bridge that you were just on. Inside is a secret that contains a Quad Damage item that will be very helpful with the enemies beyond the nearby Gold Key Door.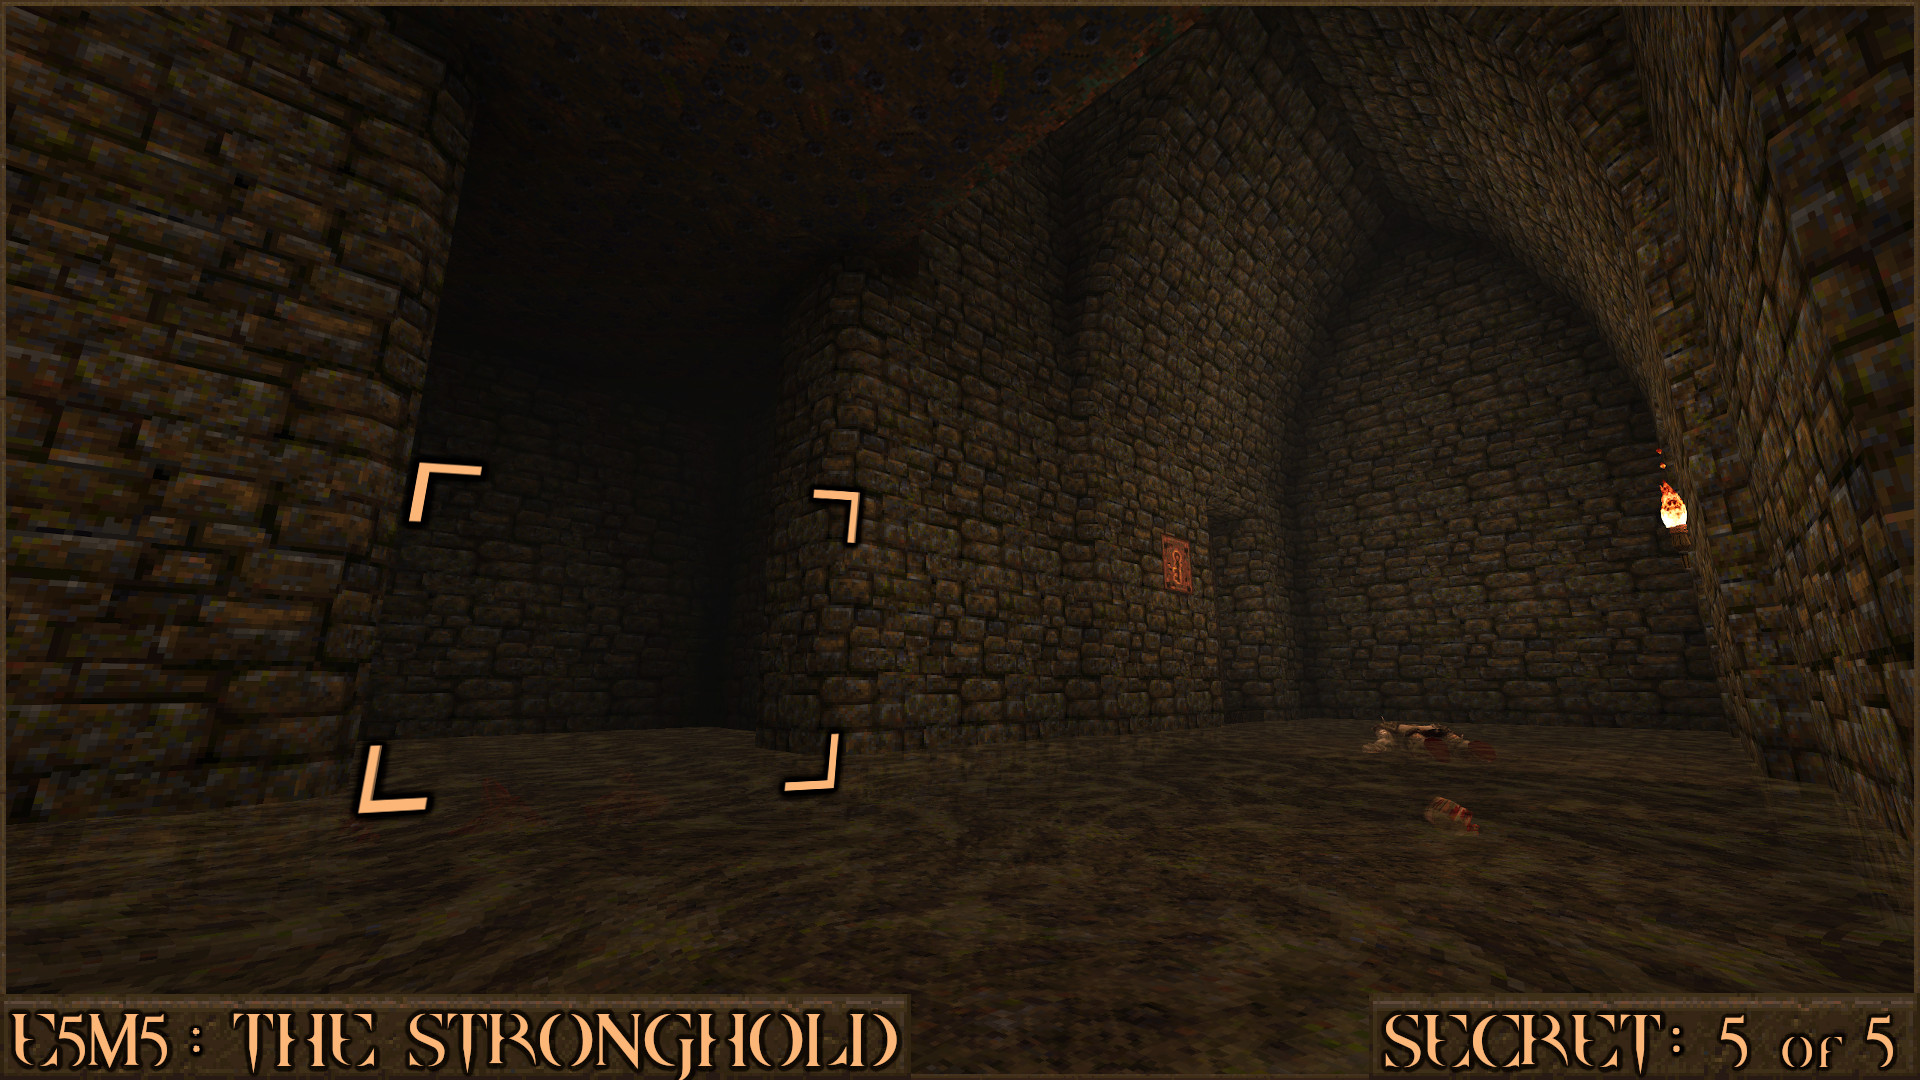
Reward:
E5M6: The Underworld
Secret 1 of 4
After walking up some small stairs you'll see a pack of Large Shells in a small alcove with a yellow light on each wall. Head inside this alcove.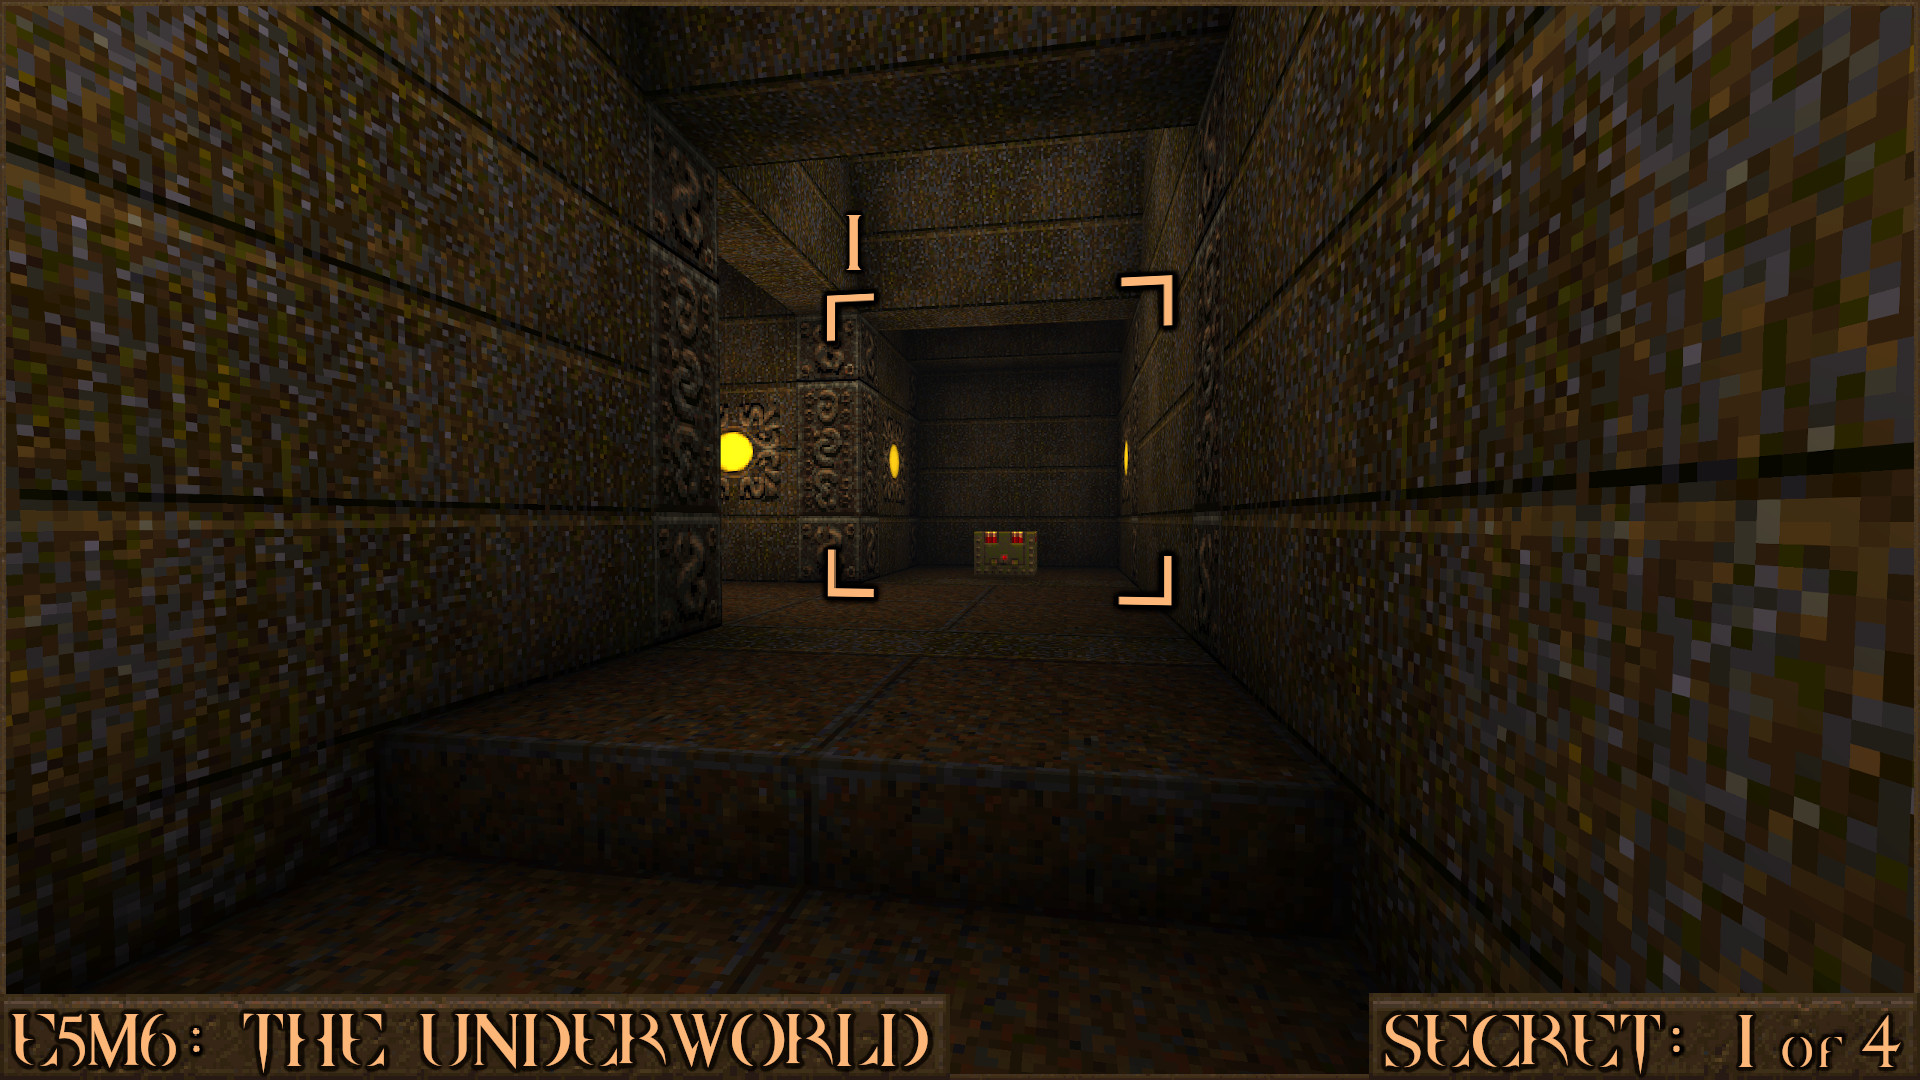
Once inside look straight up to see a bloody vent. Shoot it and the message "A secret door has been raised..." will appear.
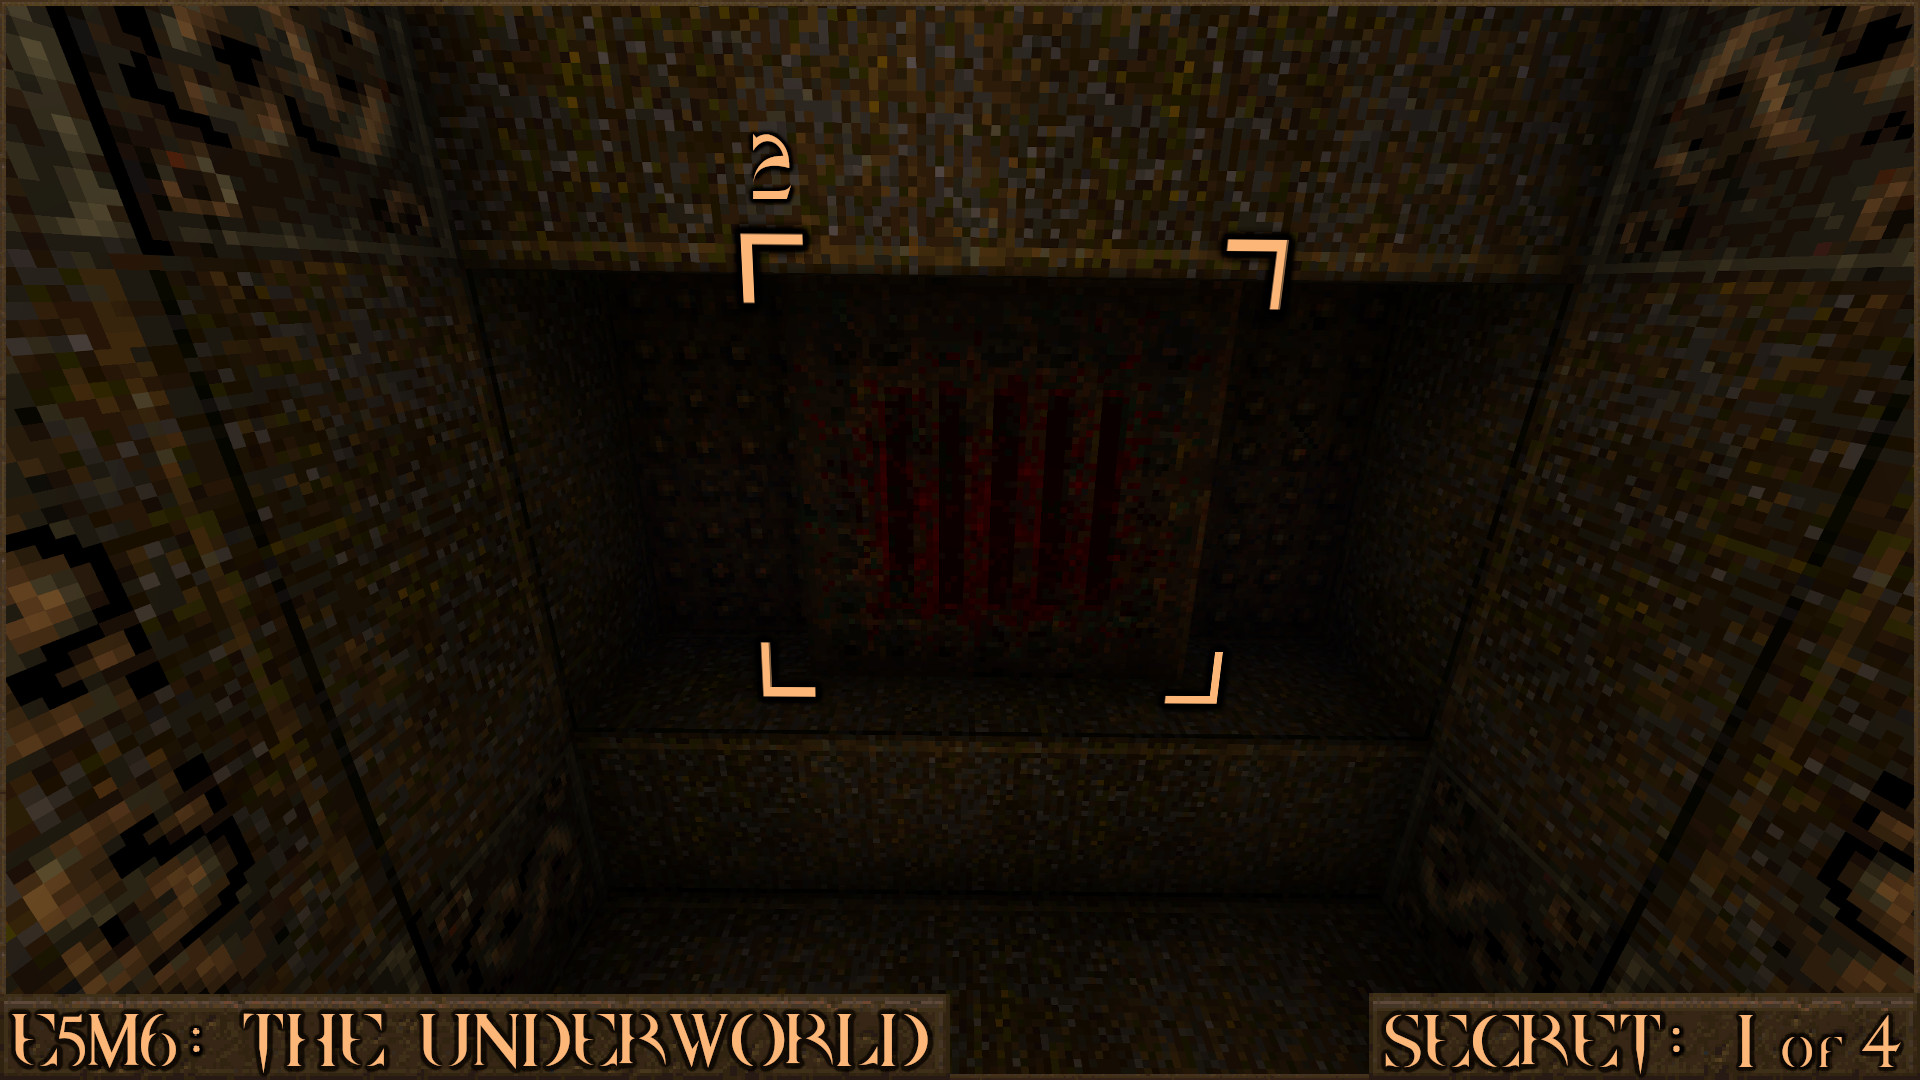
Turn around looking back down the stairs you came from. This door with strange symbols on it should now be open and will allow access to the secret.
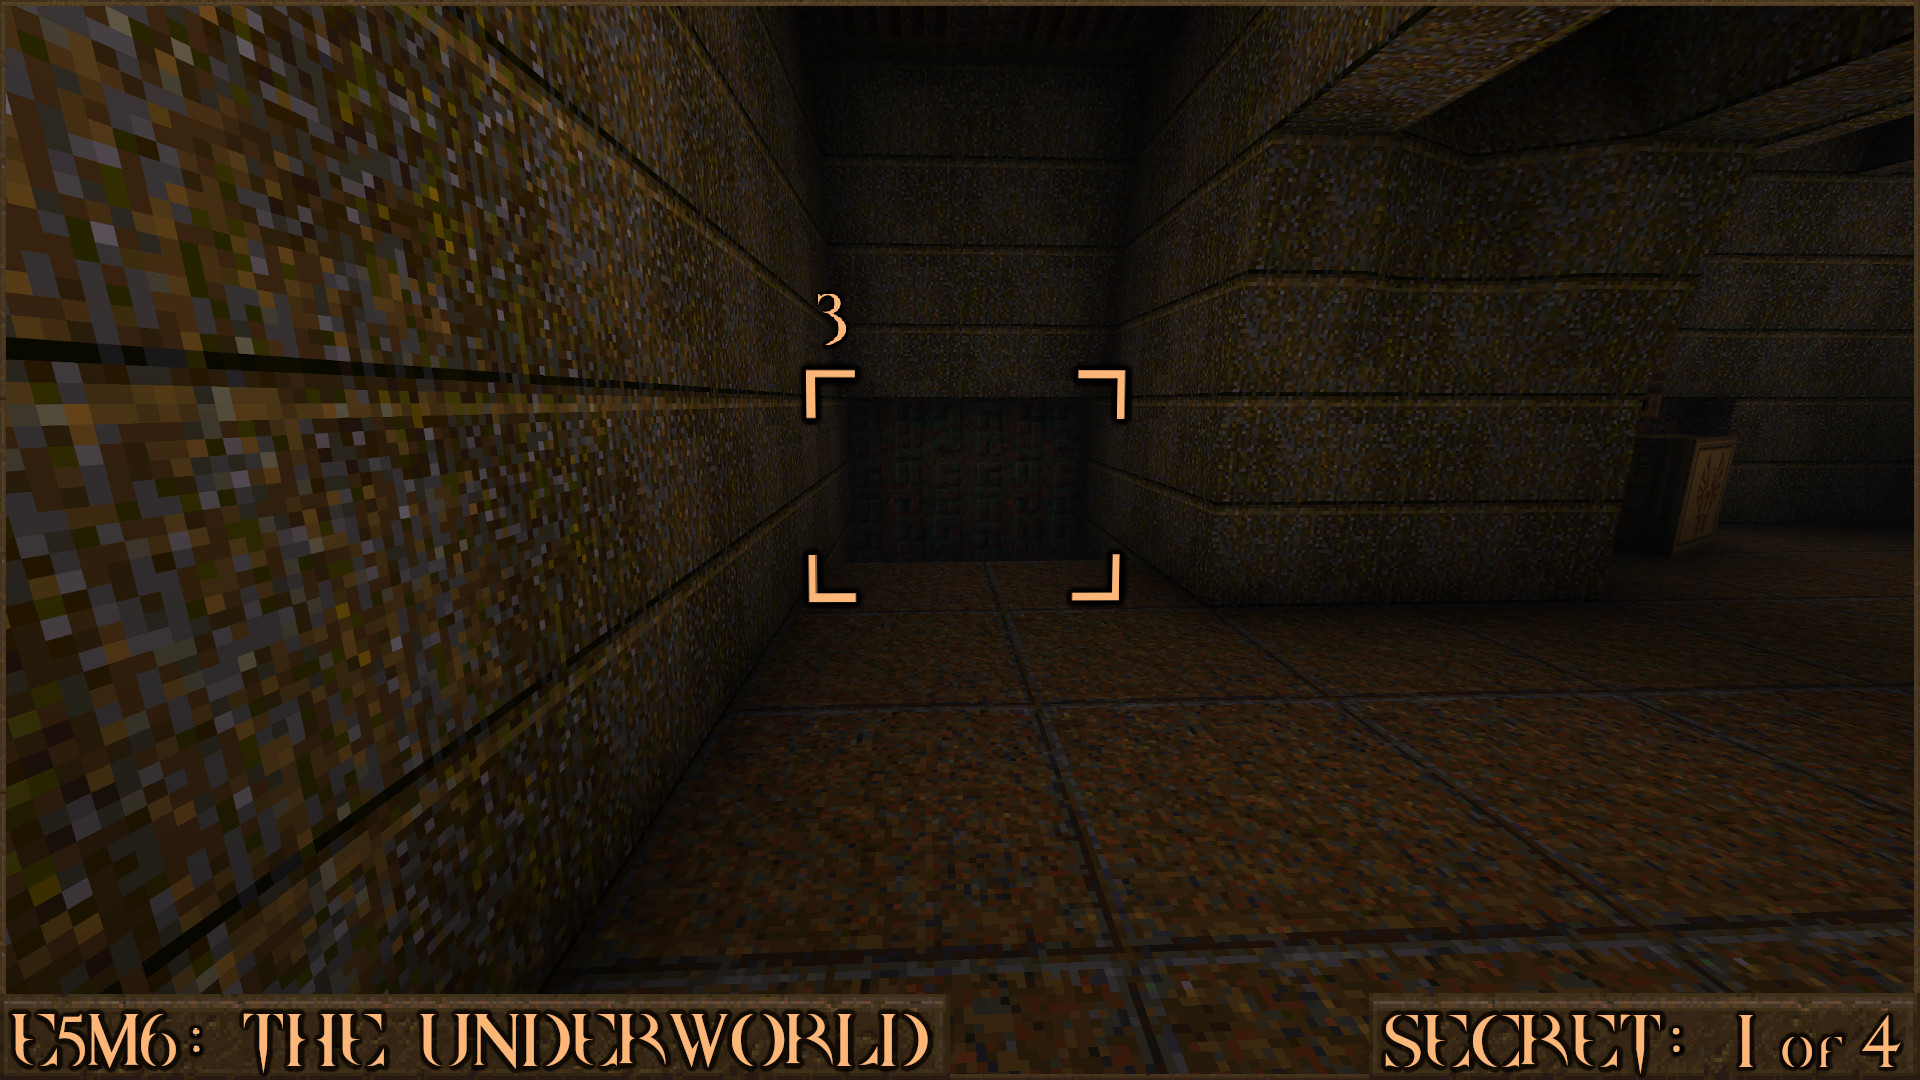
Reward:
Secret 2 of 4
After exiting a wind tunnel pipe later in the level you will find yourself in front of the Gold Key. Turn around and look underneath the wind tunnel pipe you just came though to see a Quad Damage. Approach it to claim this secret.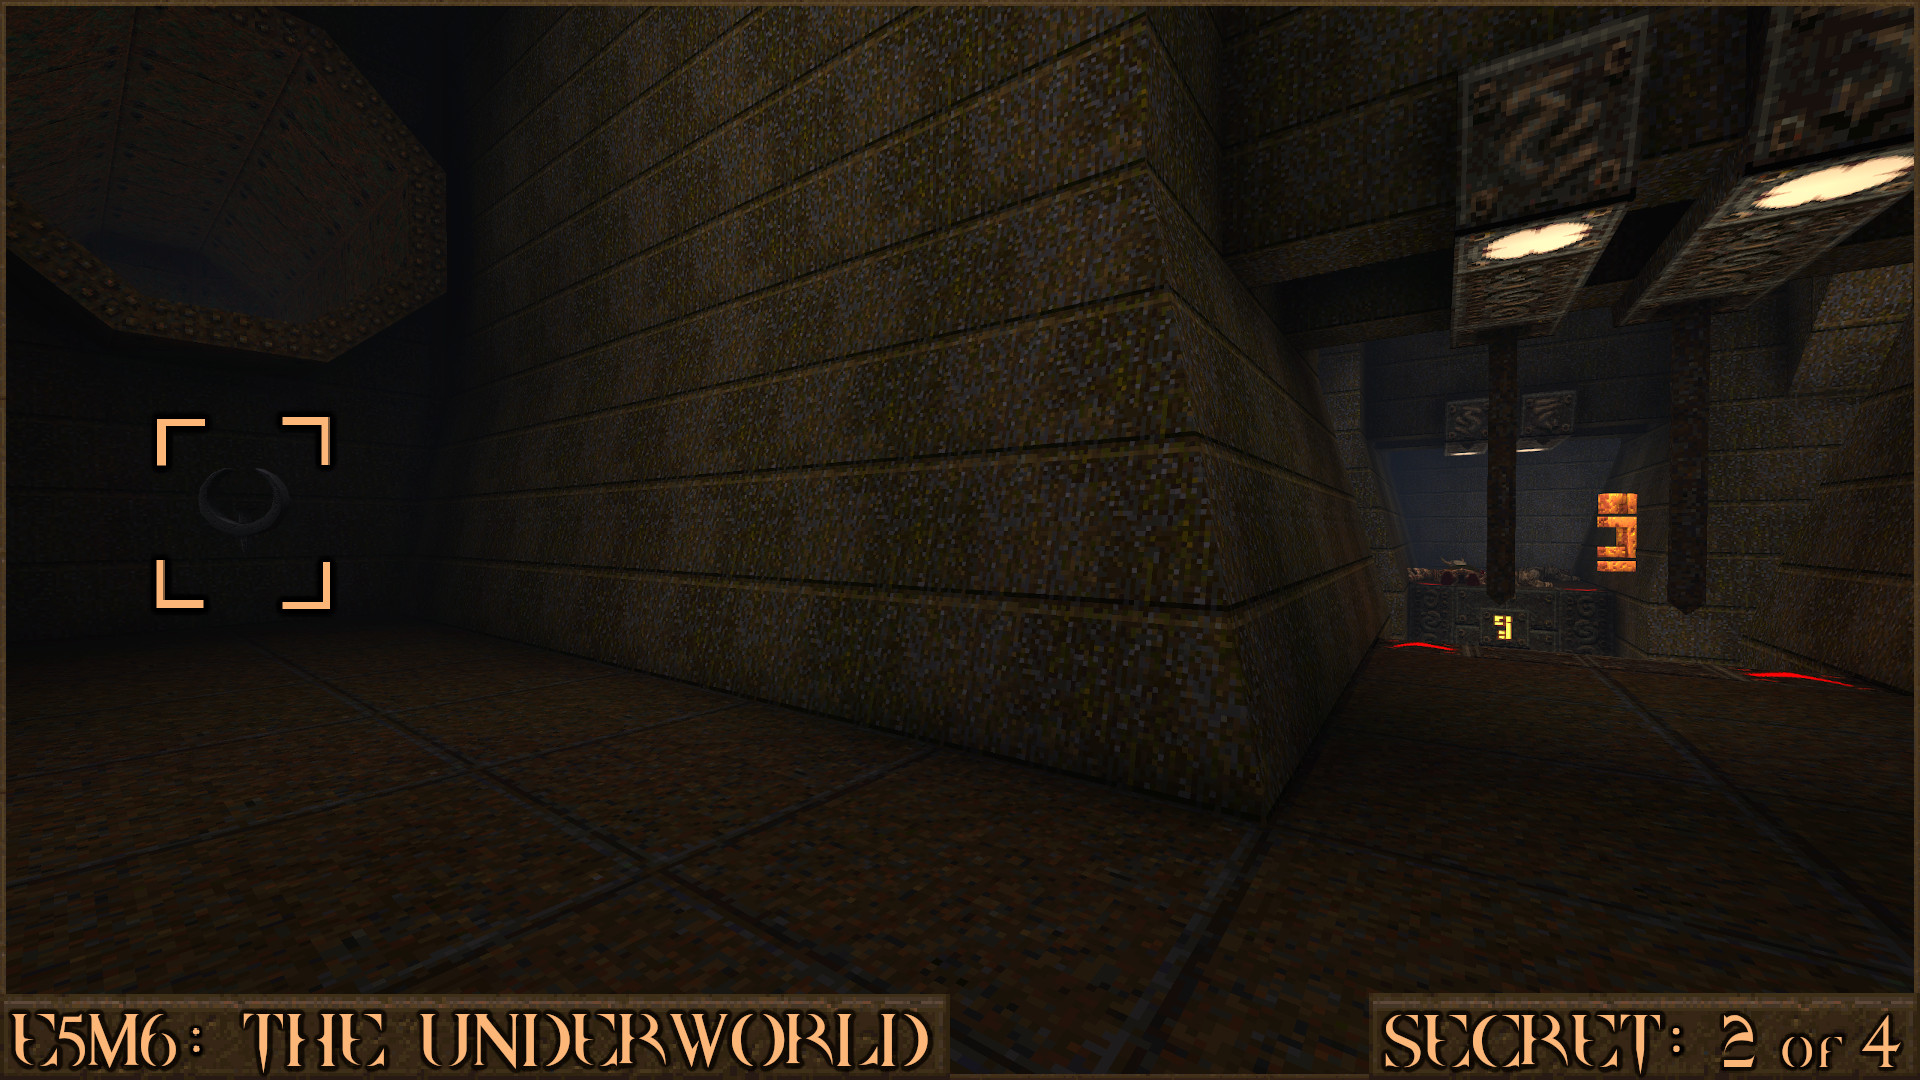
Reward:
Secret 3 of 4
Not long after you open the Gold Key Door you will enter a room in which two doors on an upper ledge open and Vores will ambush you. After the enemies have been killed look carefully at the upper area where they were located. A shootable red switch () can be seen on the far wall that when shot will open up a nearby door (). Go through the door to find the secret area.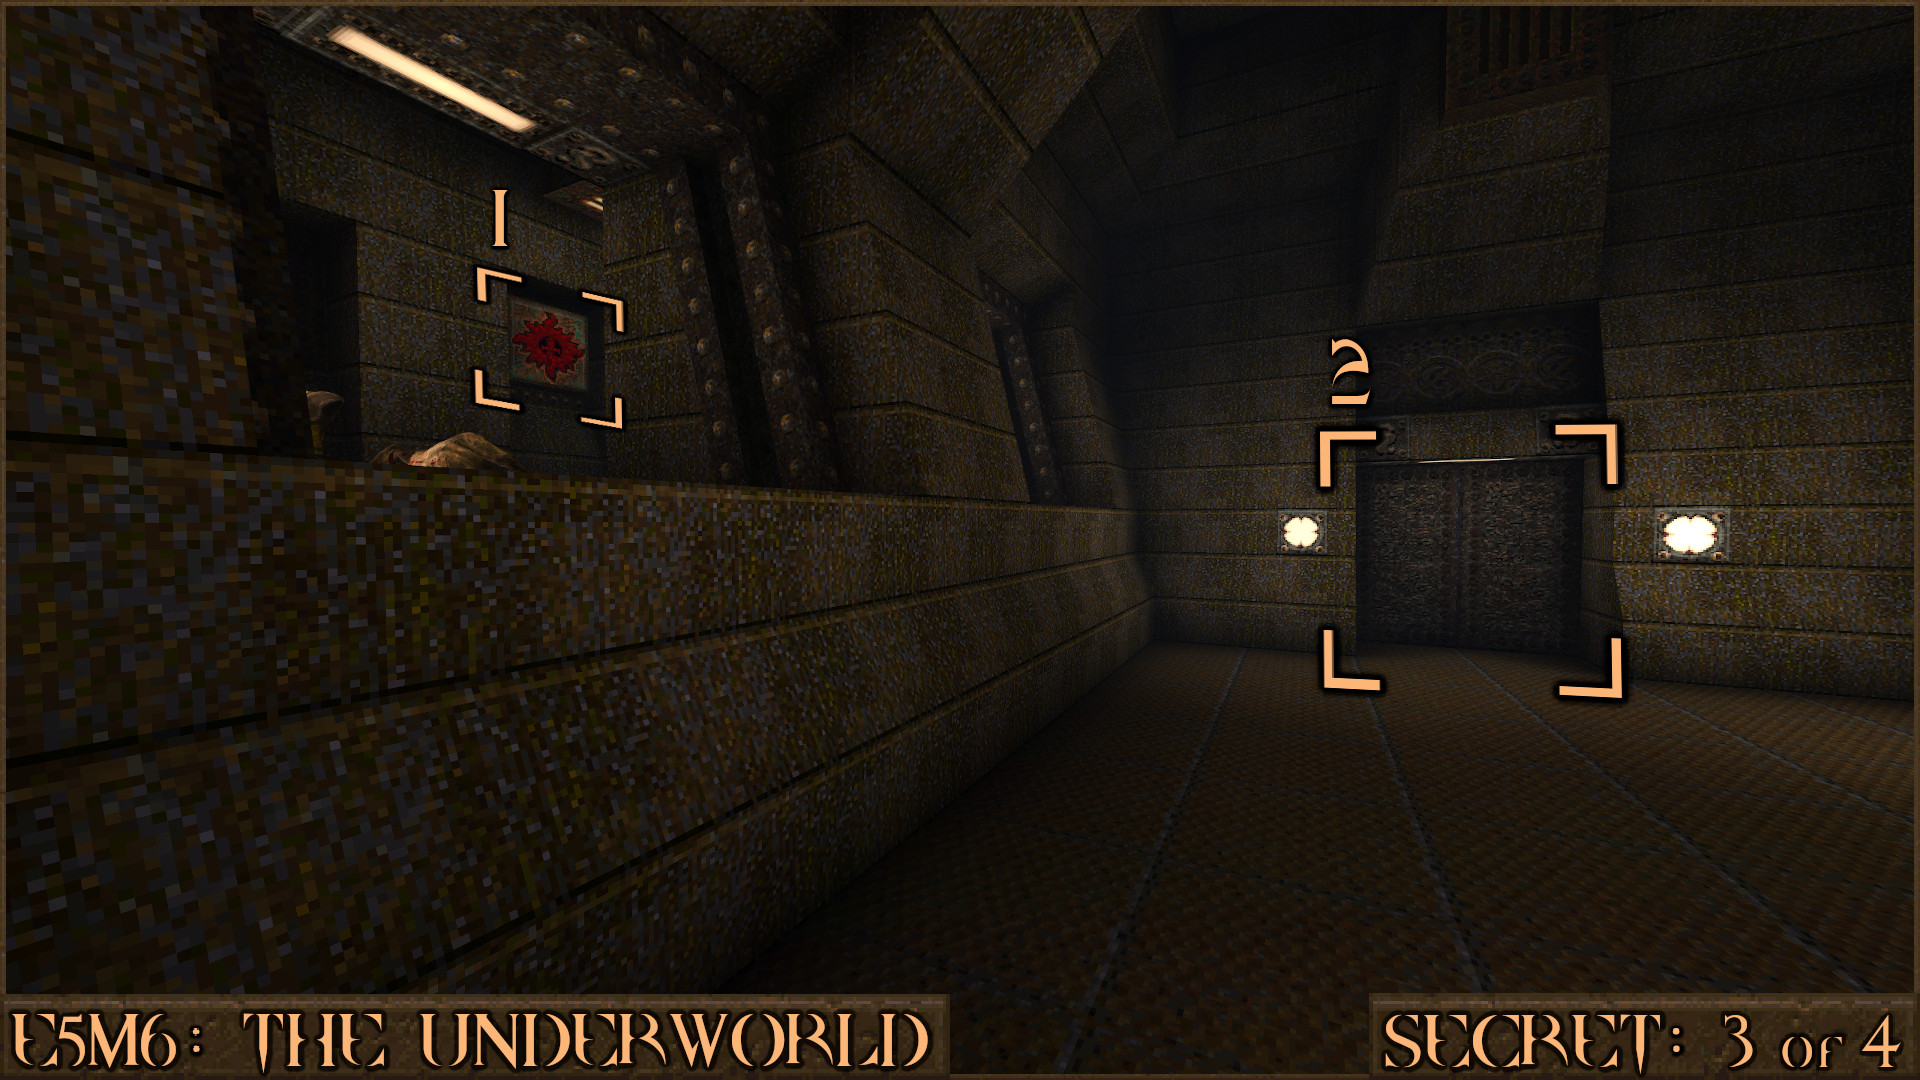
Reward:
Secret 4 of 4
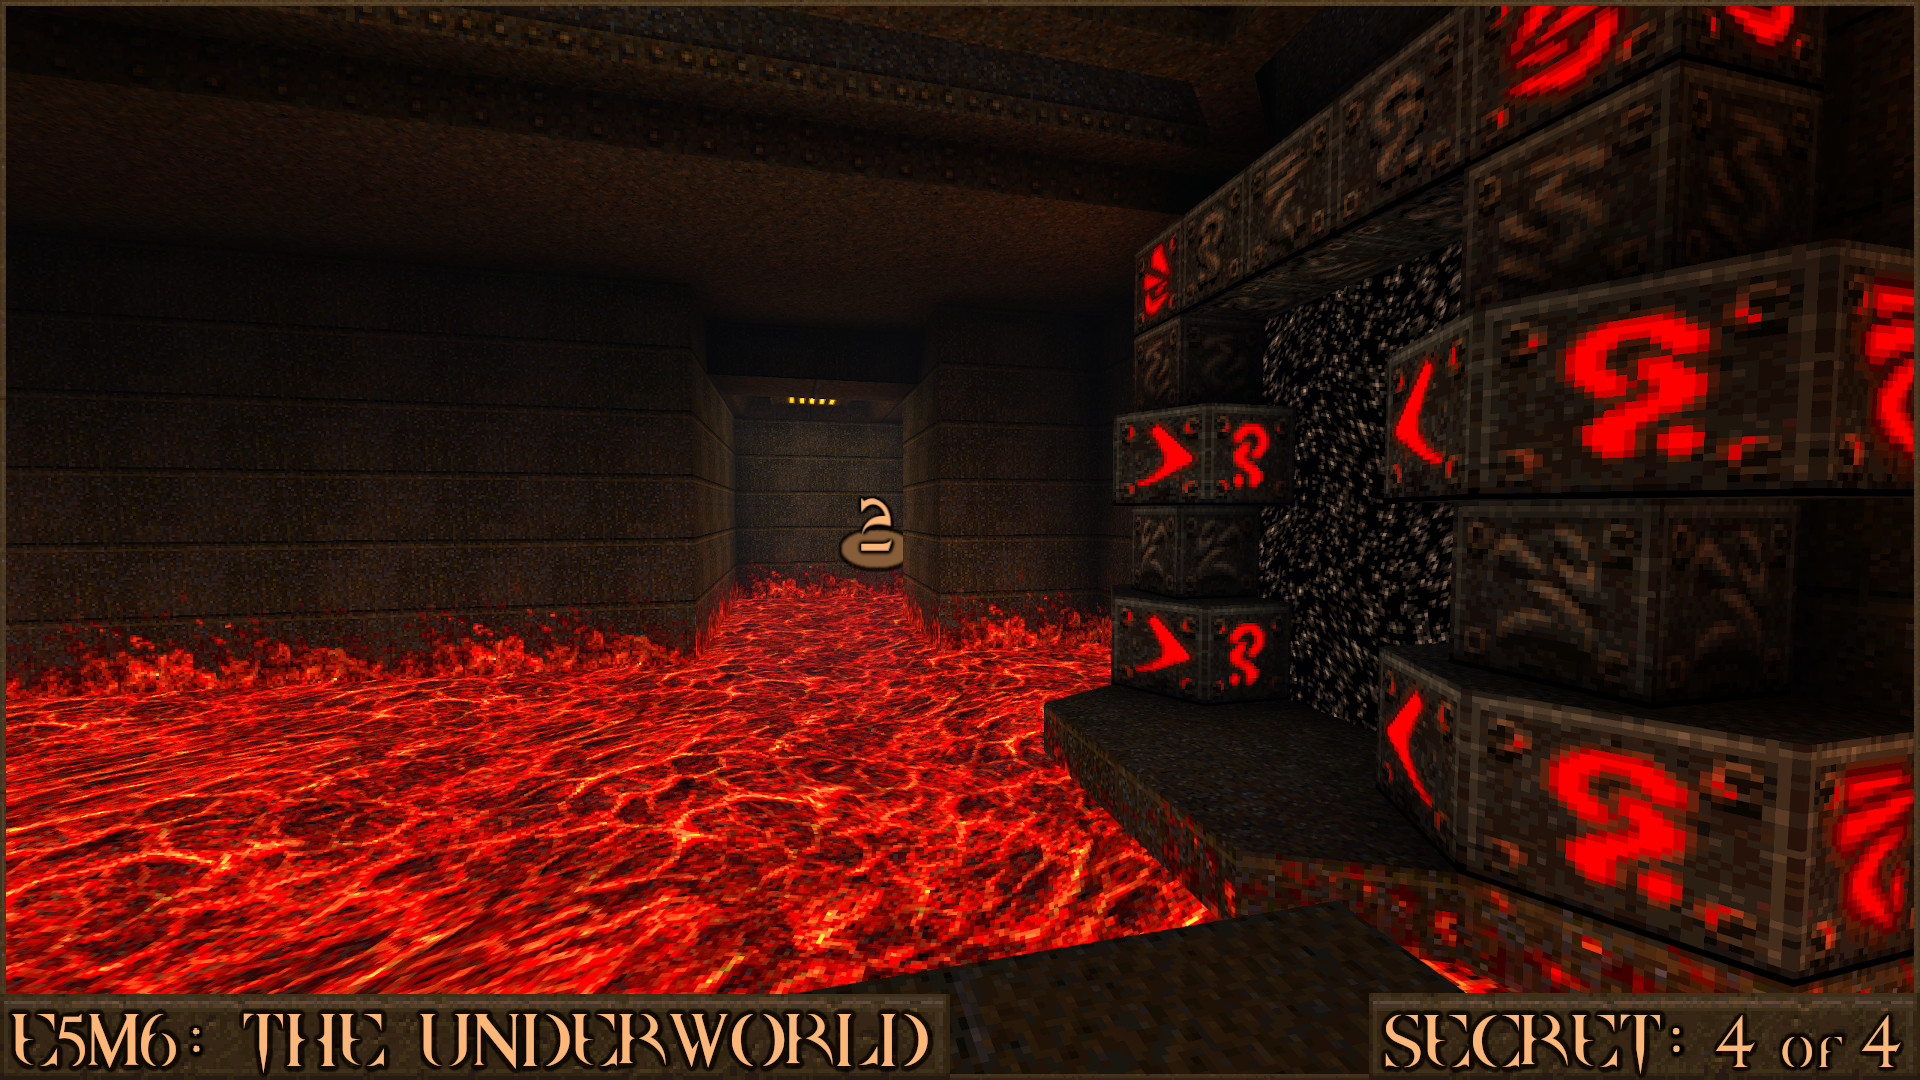
You will eventually come across a room with a lava moat and a floating platform that circles around it (). Jump on to the platform but be careful of an enemy ambush. However if you found Secret 1 then you may have already been able to kill all the enemies that would normally ambush you.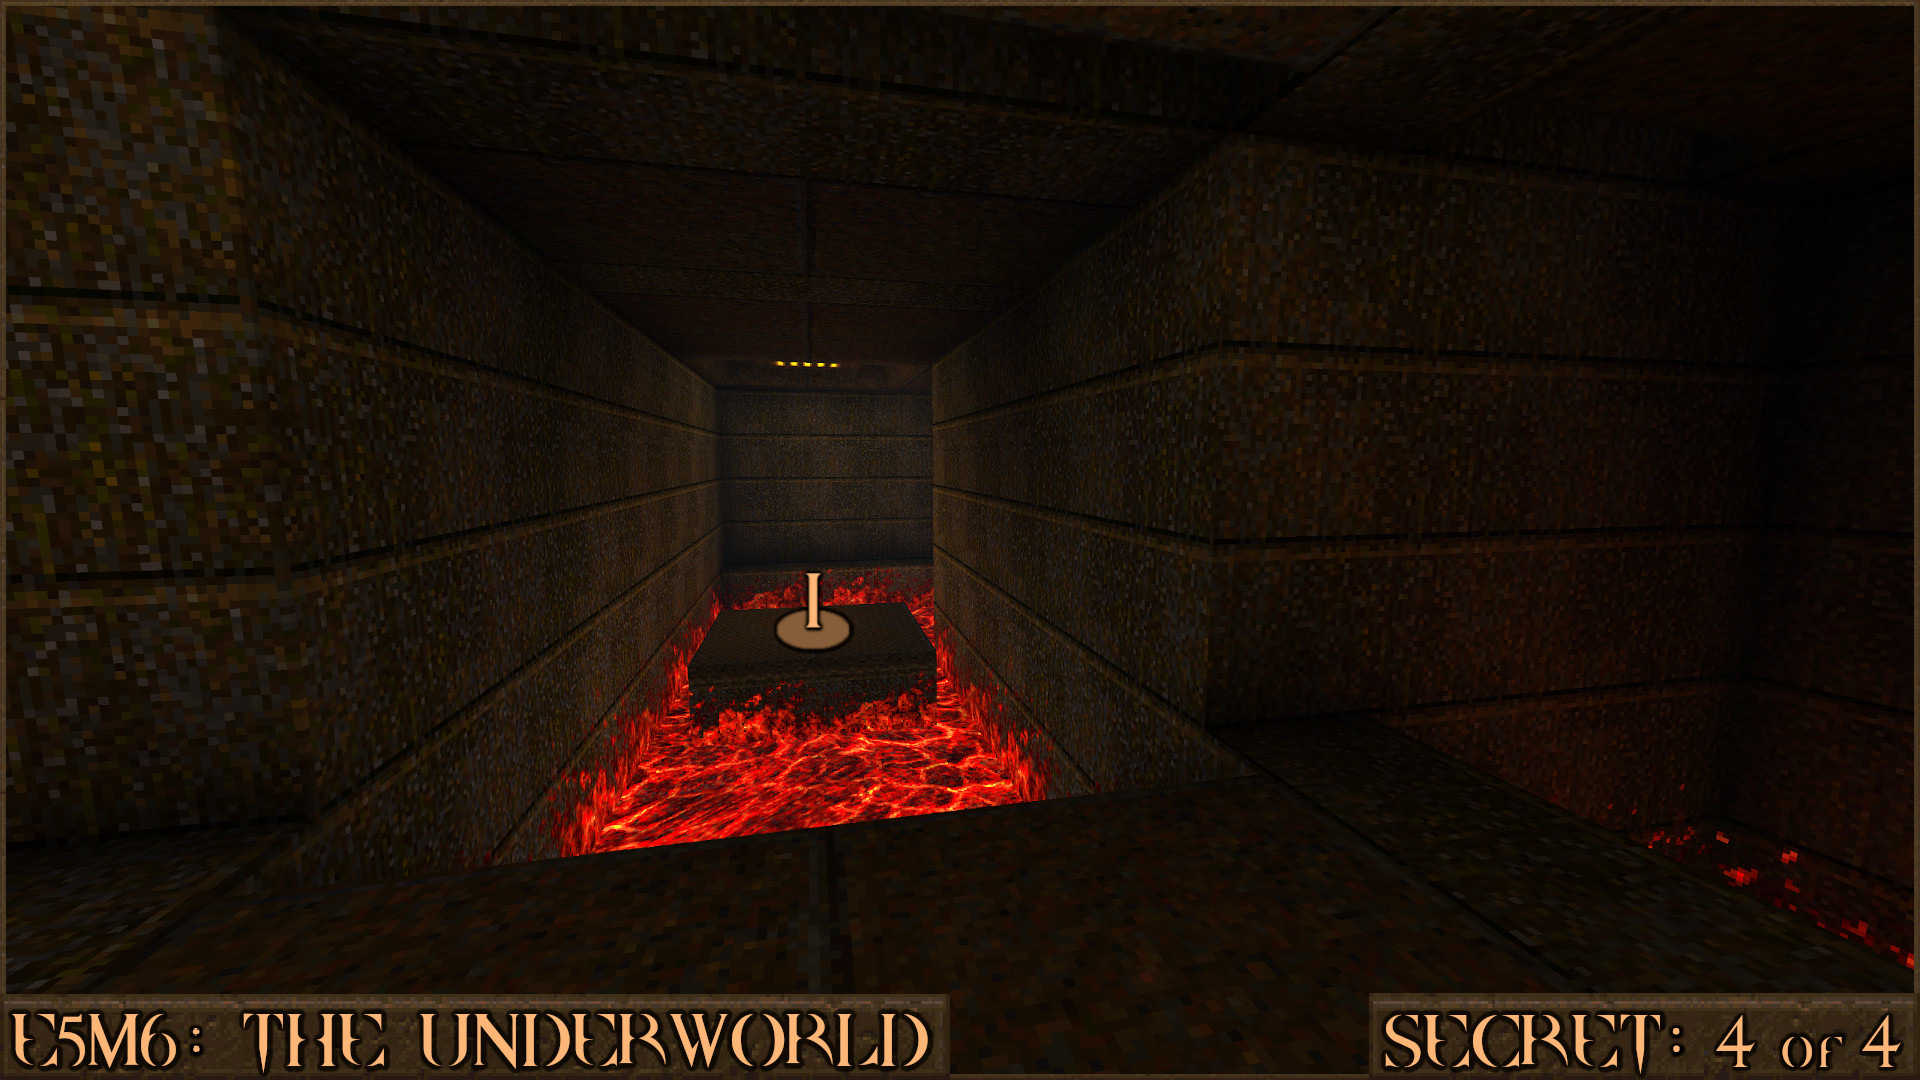
Follow the floating platform as it hovers over the lava. You will see the normal exit on your right but do not jump in to it. Instead stay on the floating platform as it travels around another corner (
).
Once you're round the corner carefully jump up on to the nearby metal floor before you get knocked off in to the lava. The message "You found a secret Rune Gate!" will appear and in front of you will be the secret exit portal (
) that will take you to the second secret level of this episode: E5SM2: The House of Doom.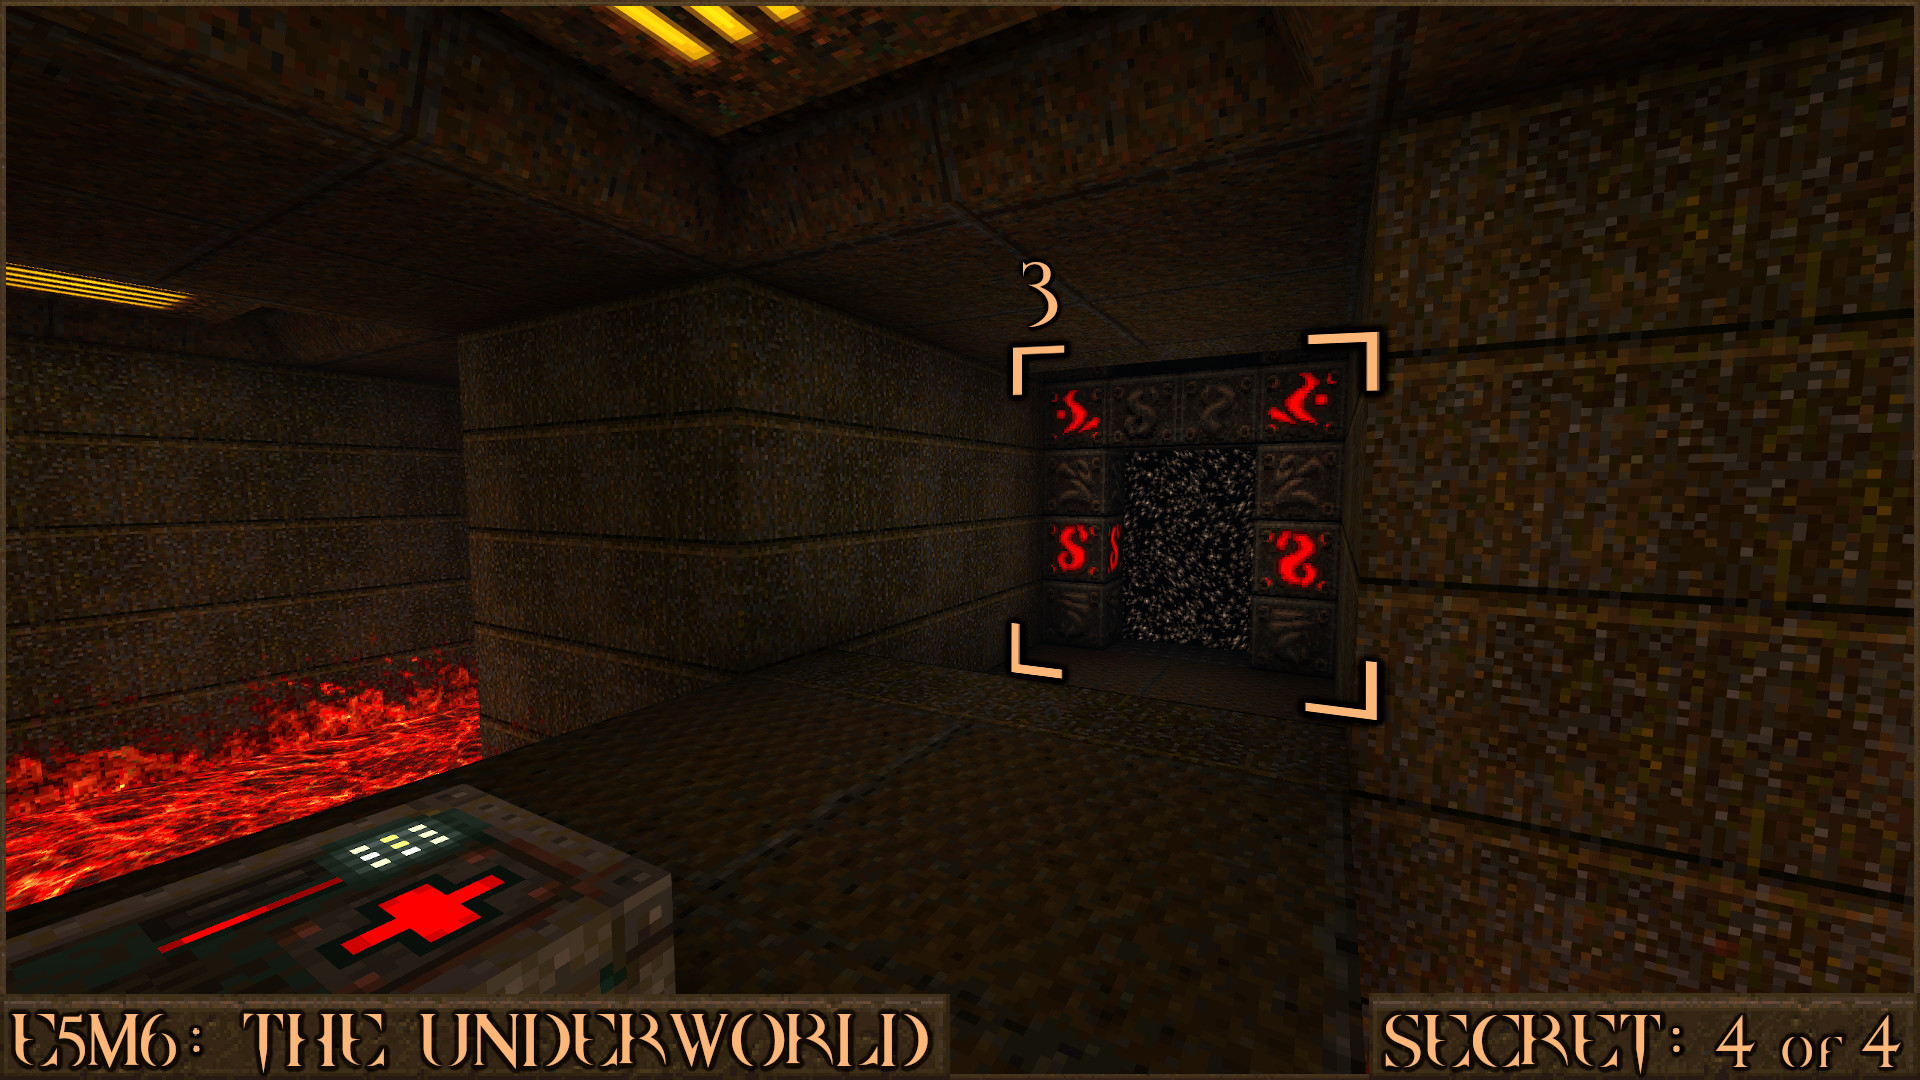
Reward:
SECRET LEVEL
E5SM2: The House of Doom [Secret Level]
Secret 1 of 1
During this level you need to find and activate several rune pillars to continue. Opposite one of the rune pillars () is a locked door () that we need to open to get to the secret area. 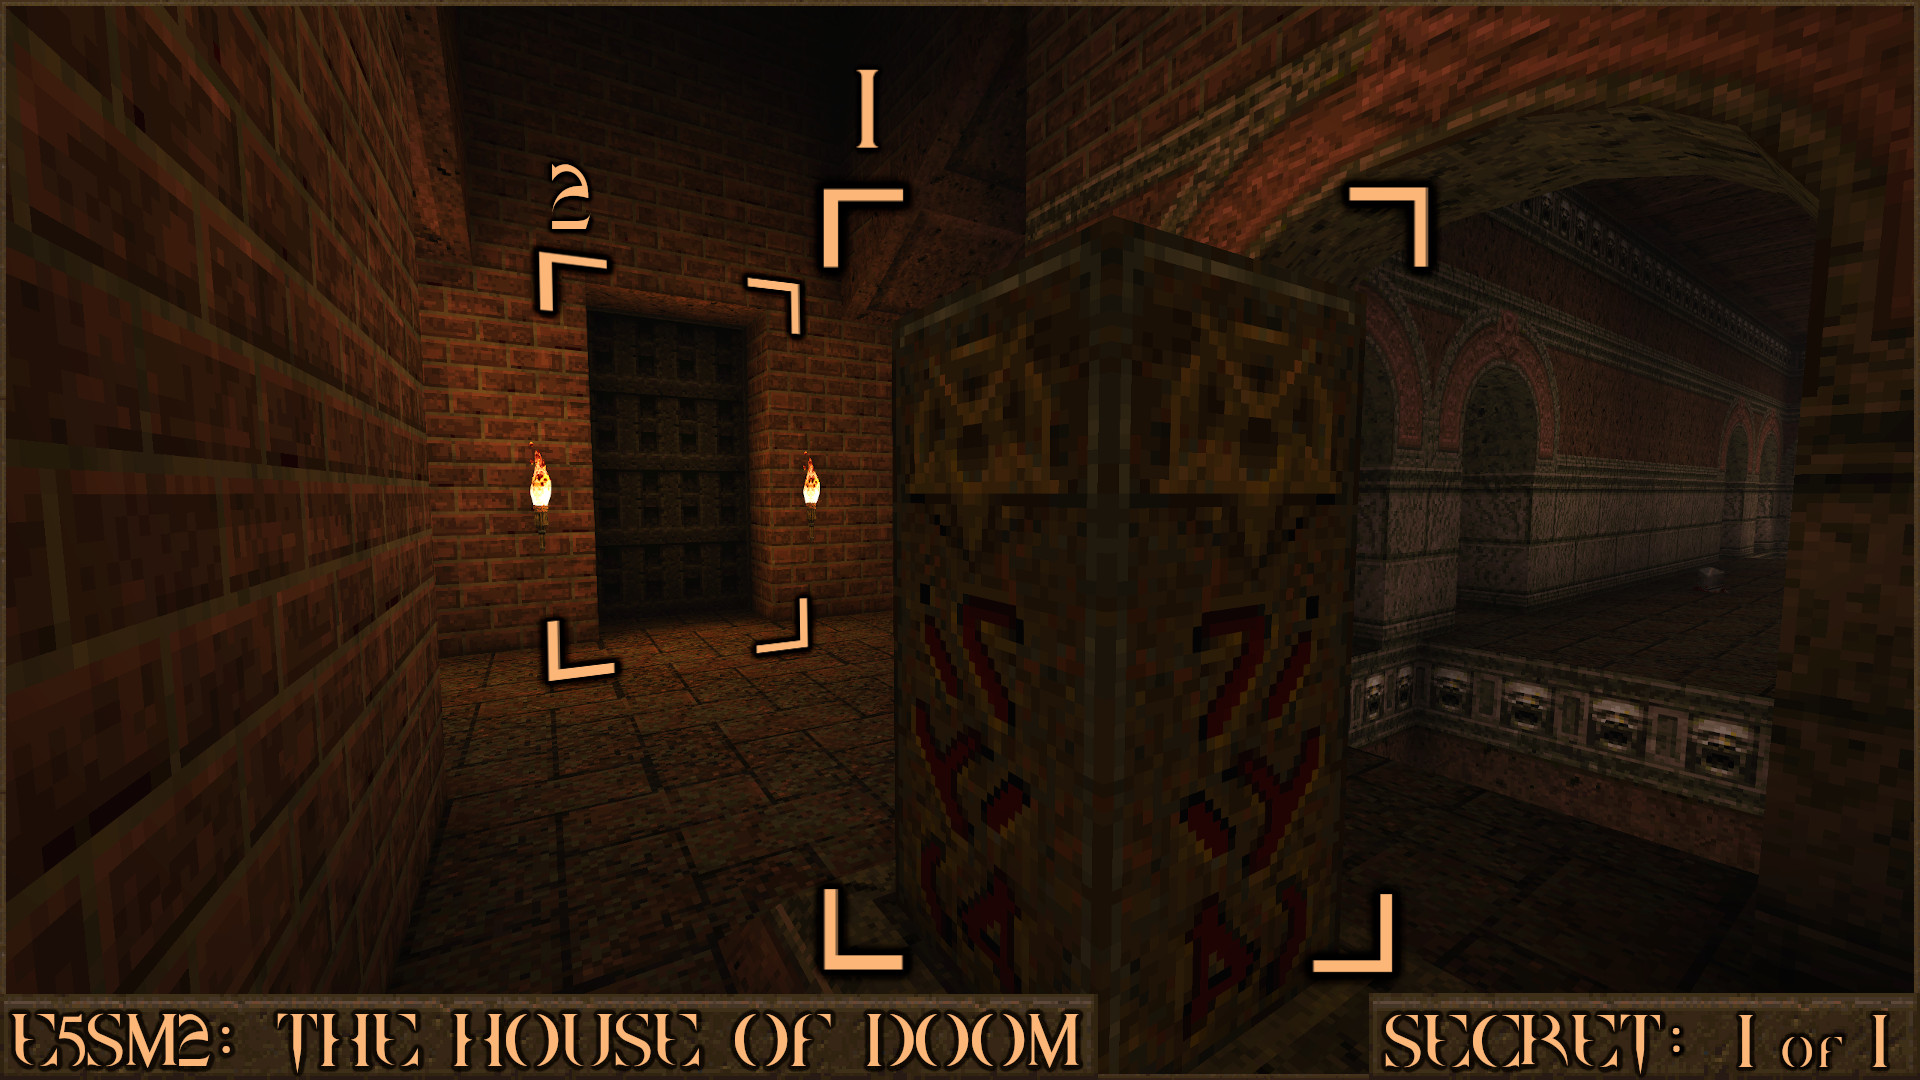
Position yourself next to the rune pillar and look straight up to see a shootable red switch (
) embedded in to the ceiling. Activating it will open the door and let you in to the secret.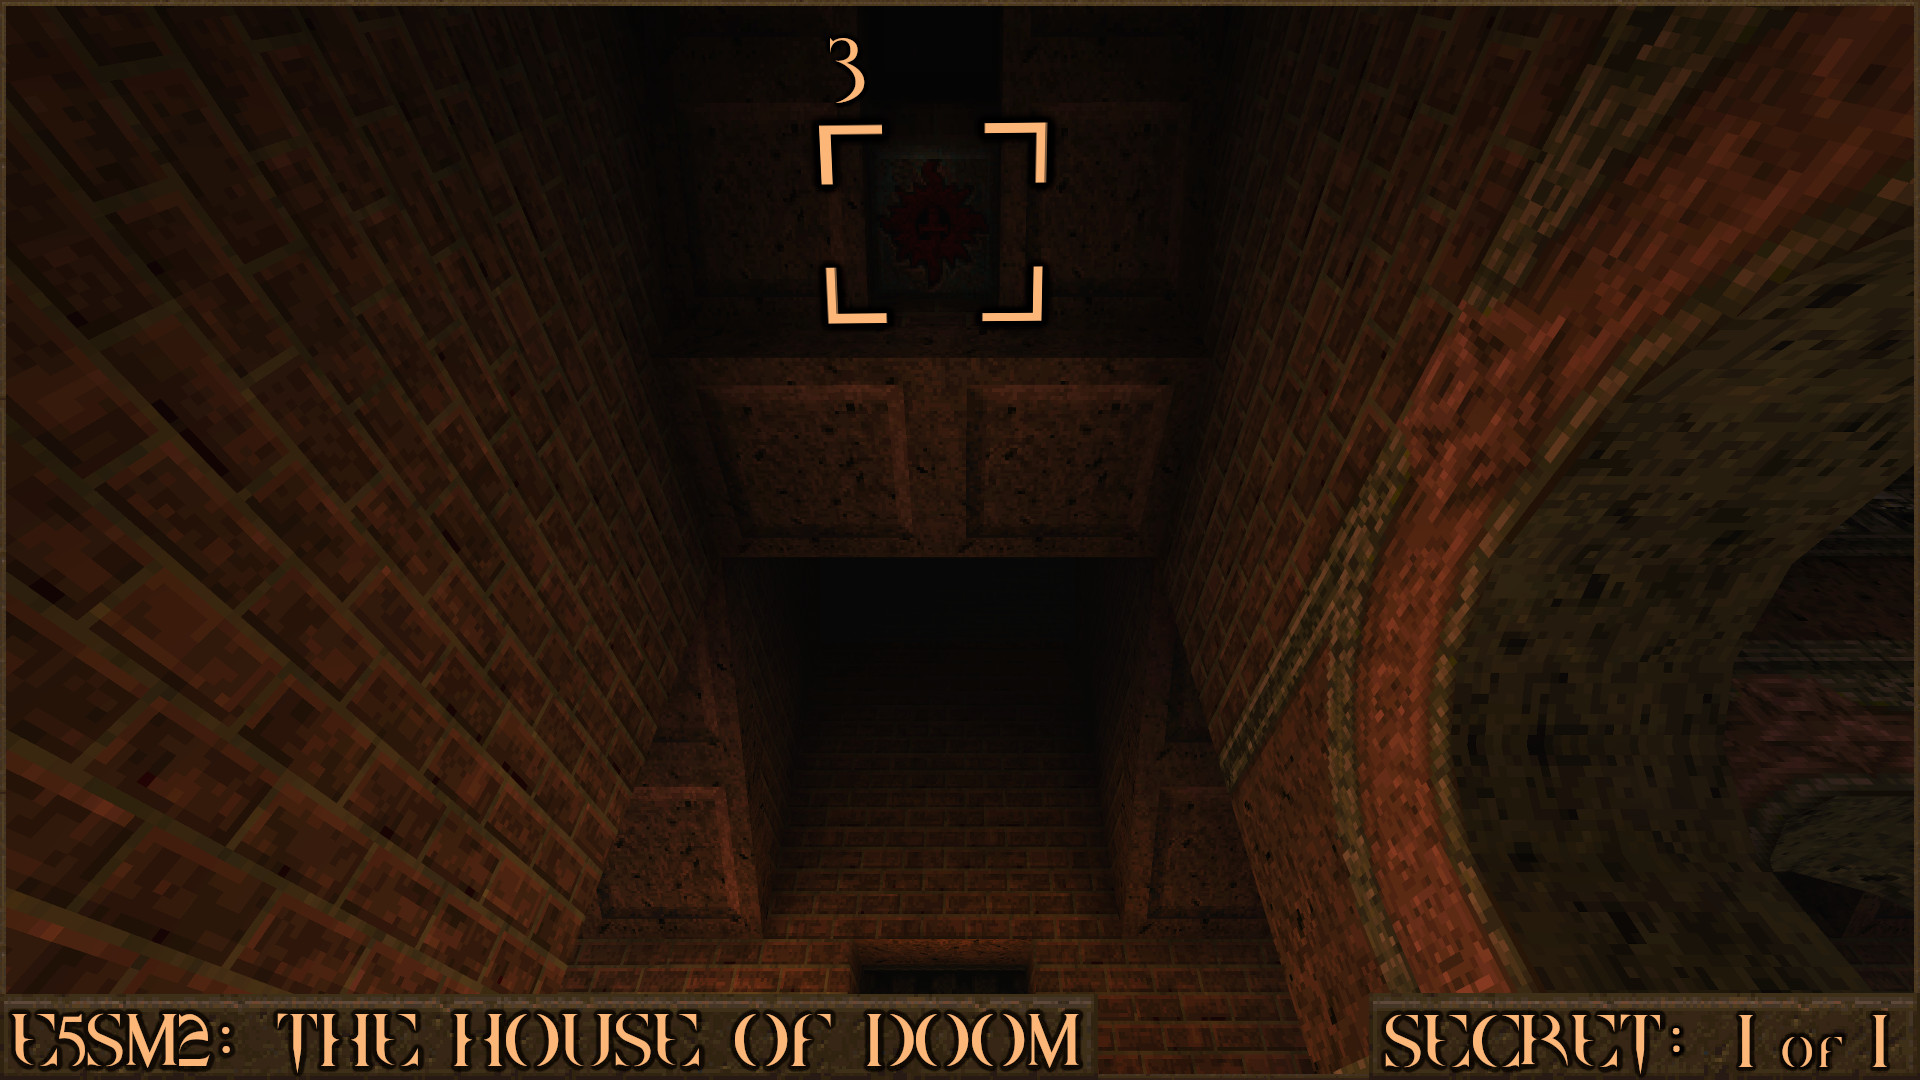
Reward:
E5M7: The Otherworld
Secret 1 of 5
After escaping the double crusher trap near the start of the level you will be dropped in to shallow water. At the end of this area is an elevator to take you out but don't go up it yet. Look for two bloody vents (+) nearby embedded in the wall. Shoot either one to reveal access to the secret area.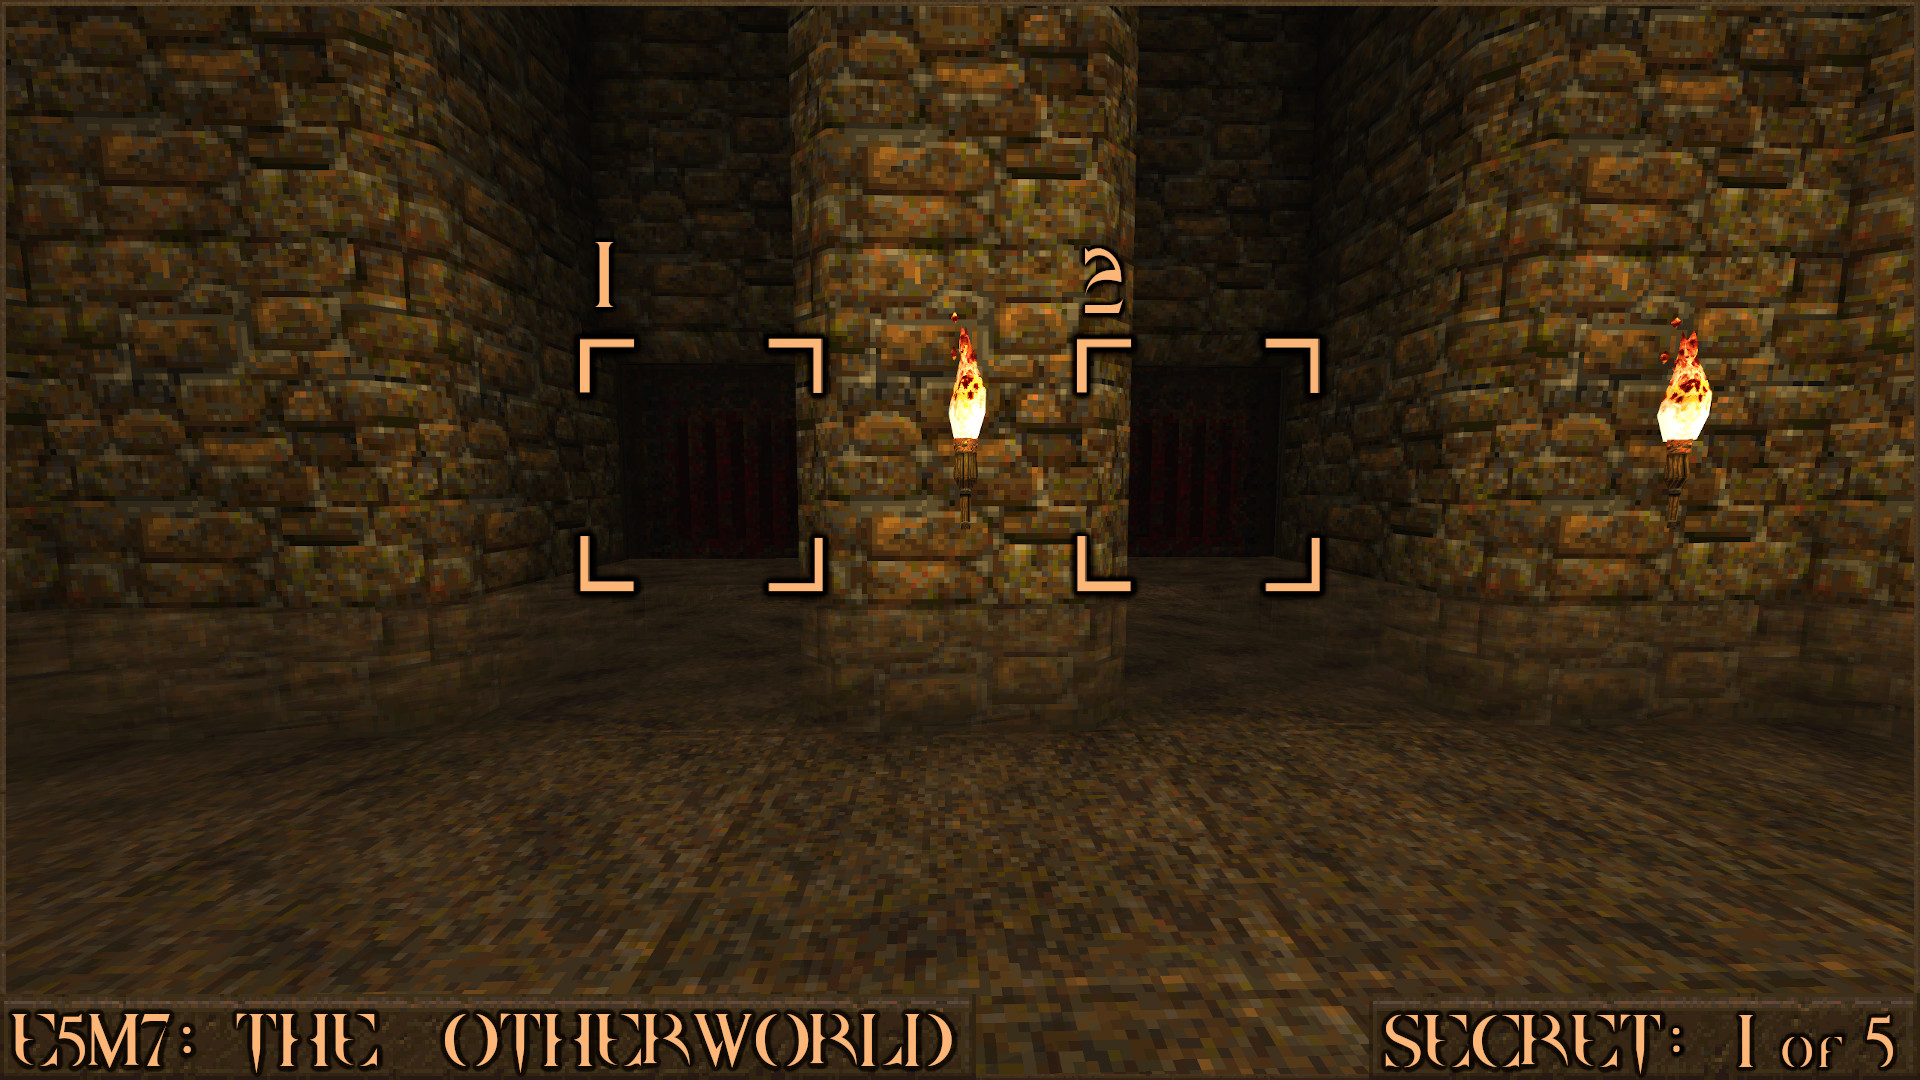
Reward:
Secret 2 of 5
Shortly after taking the elevator up that was near Secret 1 you will see a set of steps taking you up a corridor. Look carefully at the wall on your left. You can see another bloody vent that when shot will move to let you in to the secret.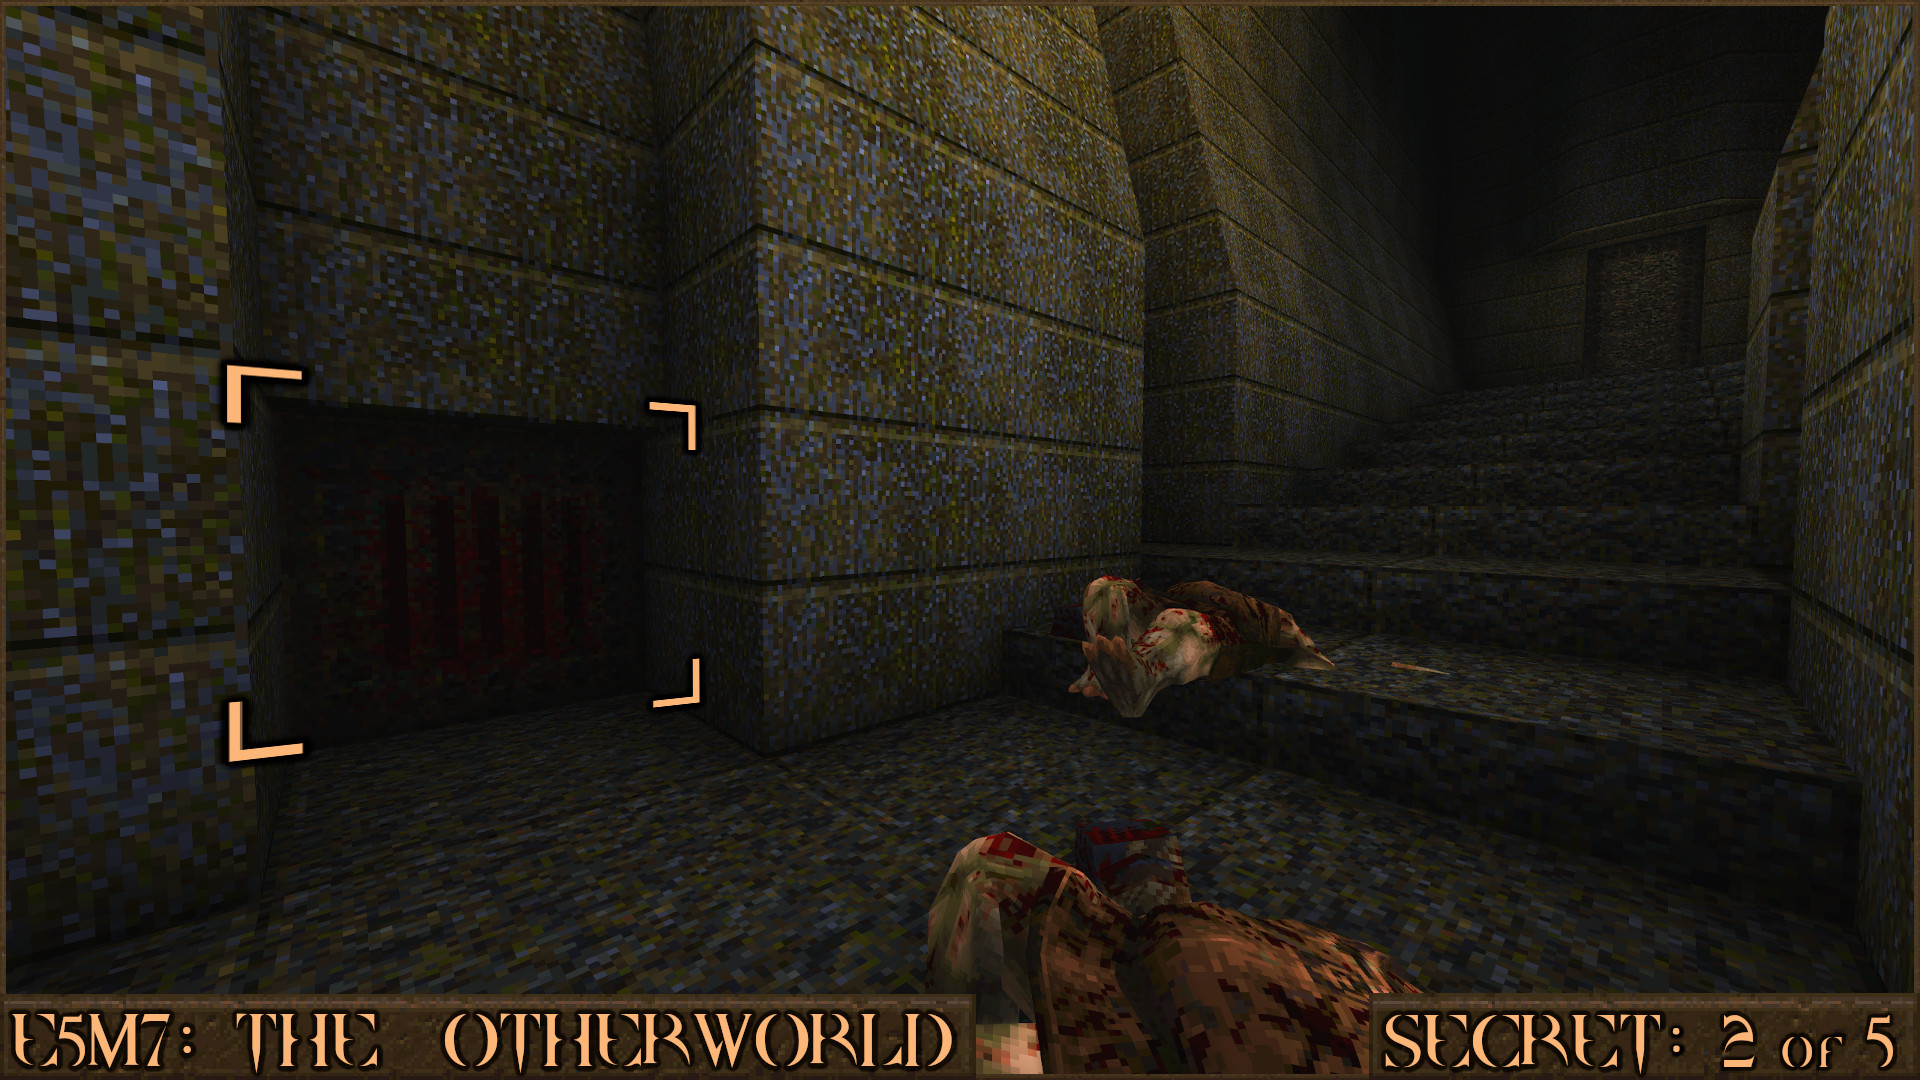
Reward:
Secret 3 of 5
After you pick up the Gold Key you will drop down in to some shallow water with a Grenade Launcher. Look to the right to see yet another bloody vent in a dead end. Shoot to gain entry to this secret. This secret also helps you bypass the dangerous ceiling crusher trap you would normally have to pass through.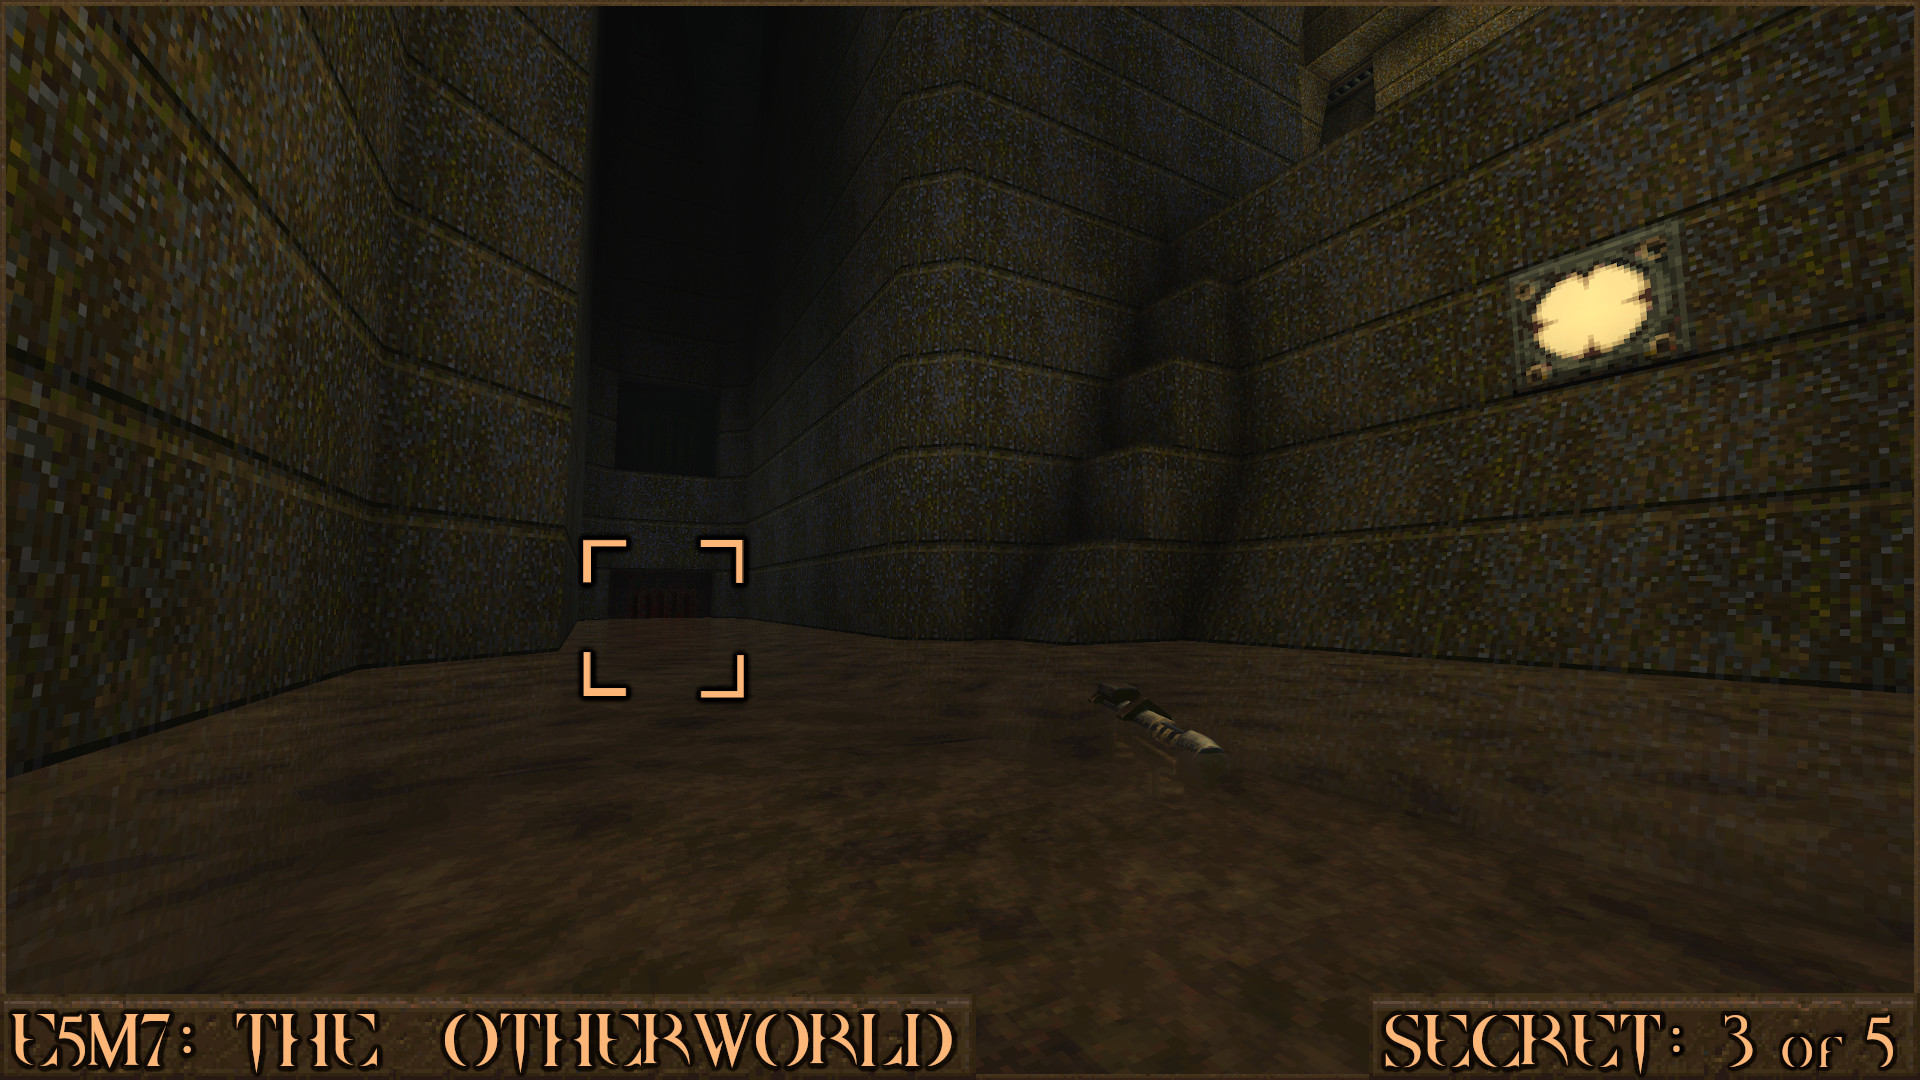
Reward:
Secret 4 of 5
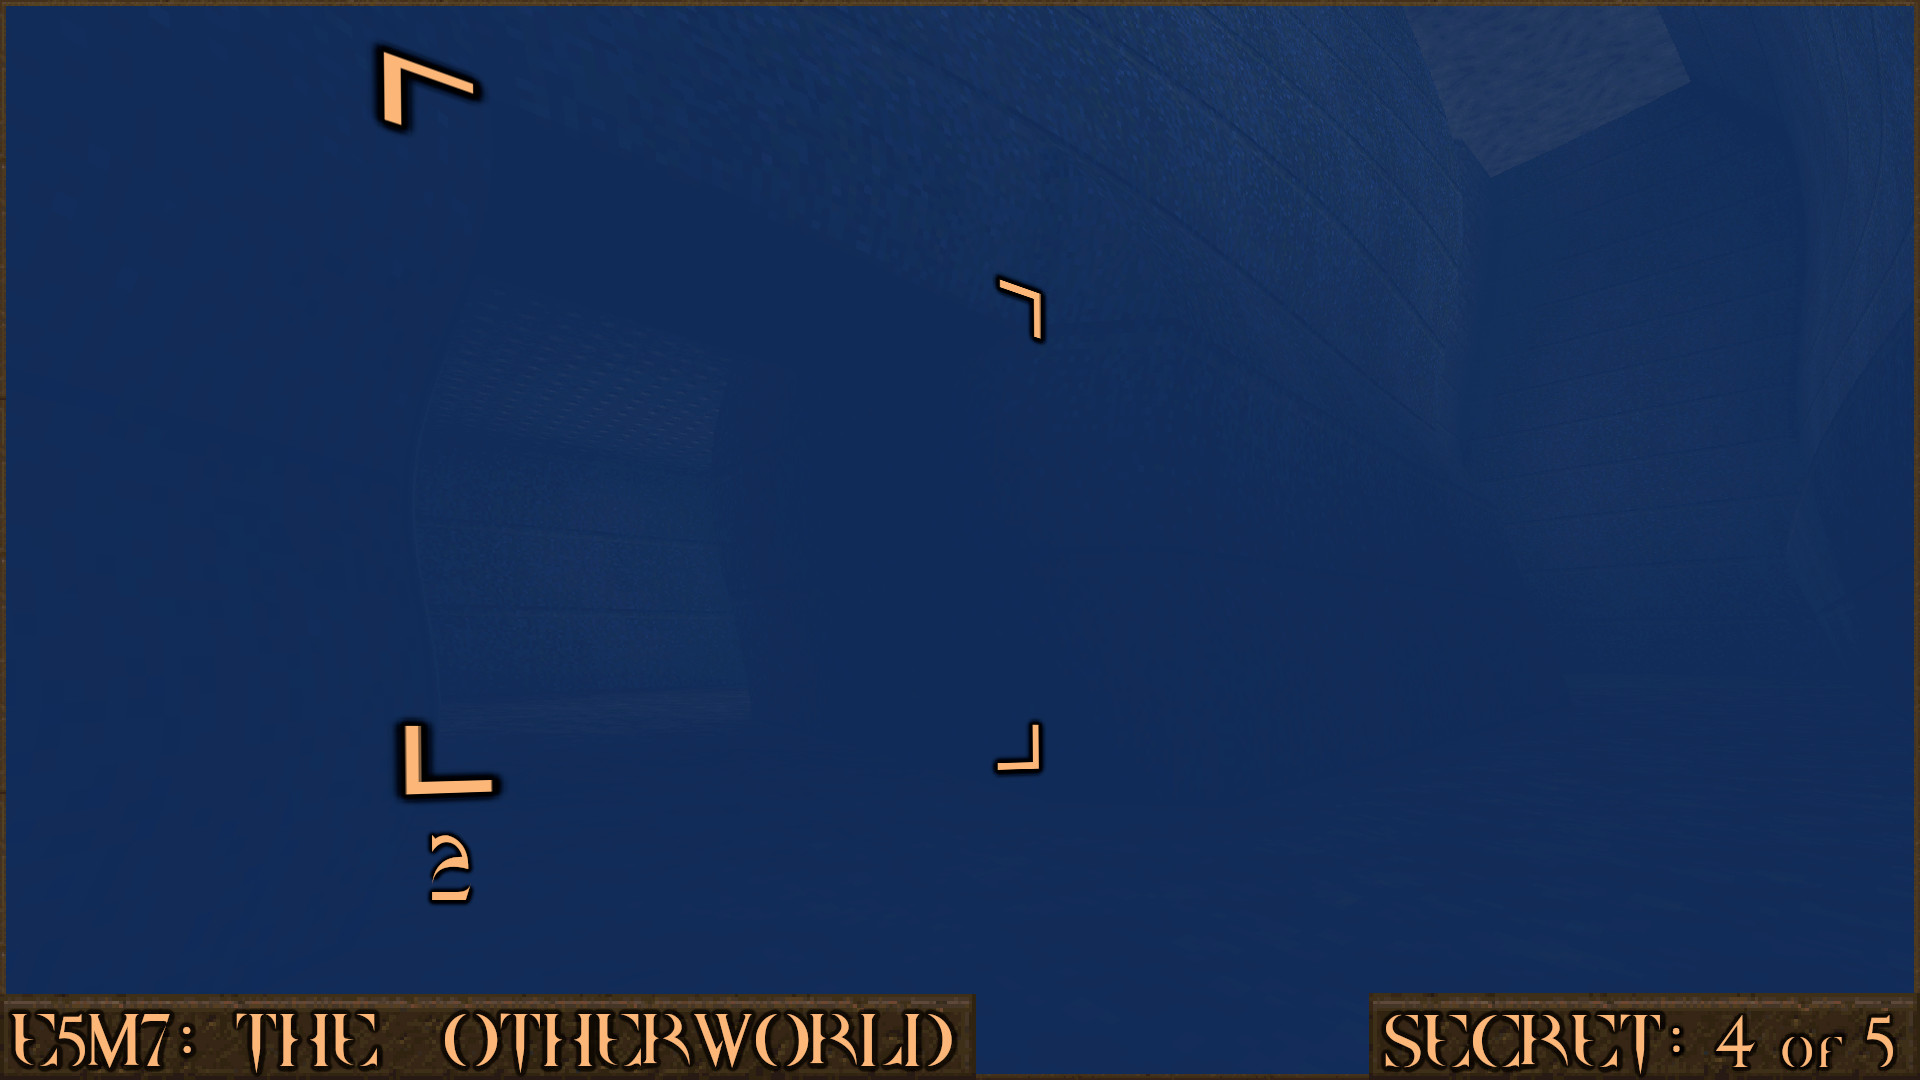
Immediately after dropping down from the exit to Secret 3, or after you get through the ceiling crusher trap, you will see a small hole with water in it. Jump in to it.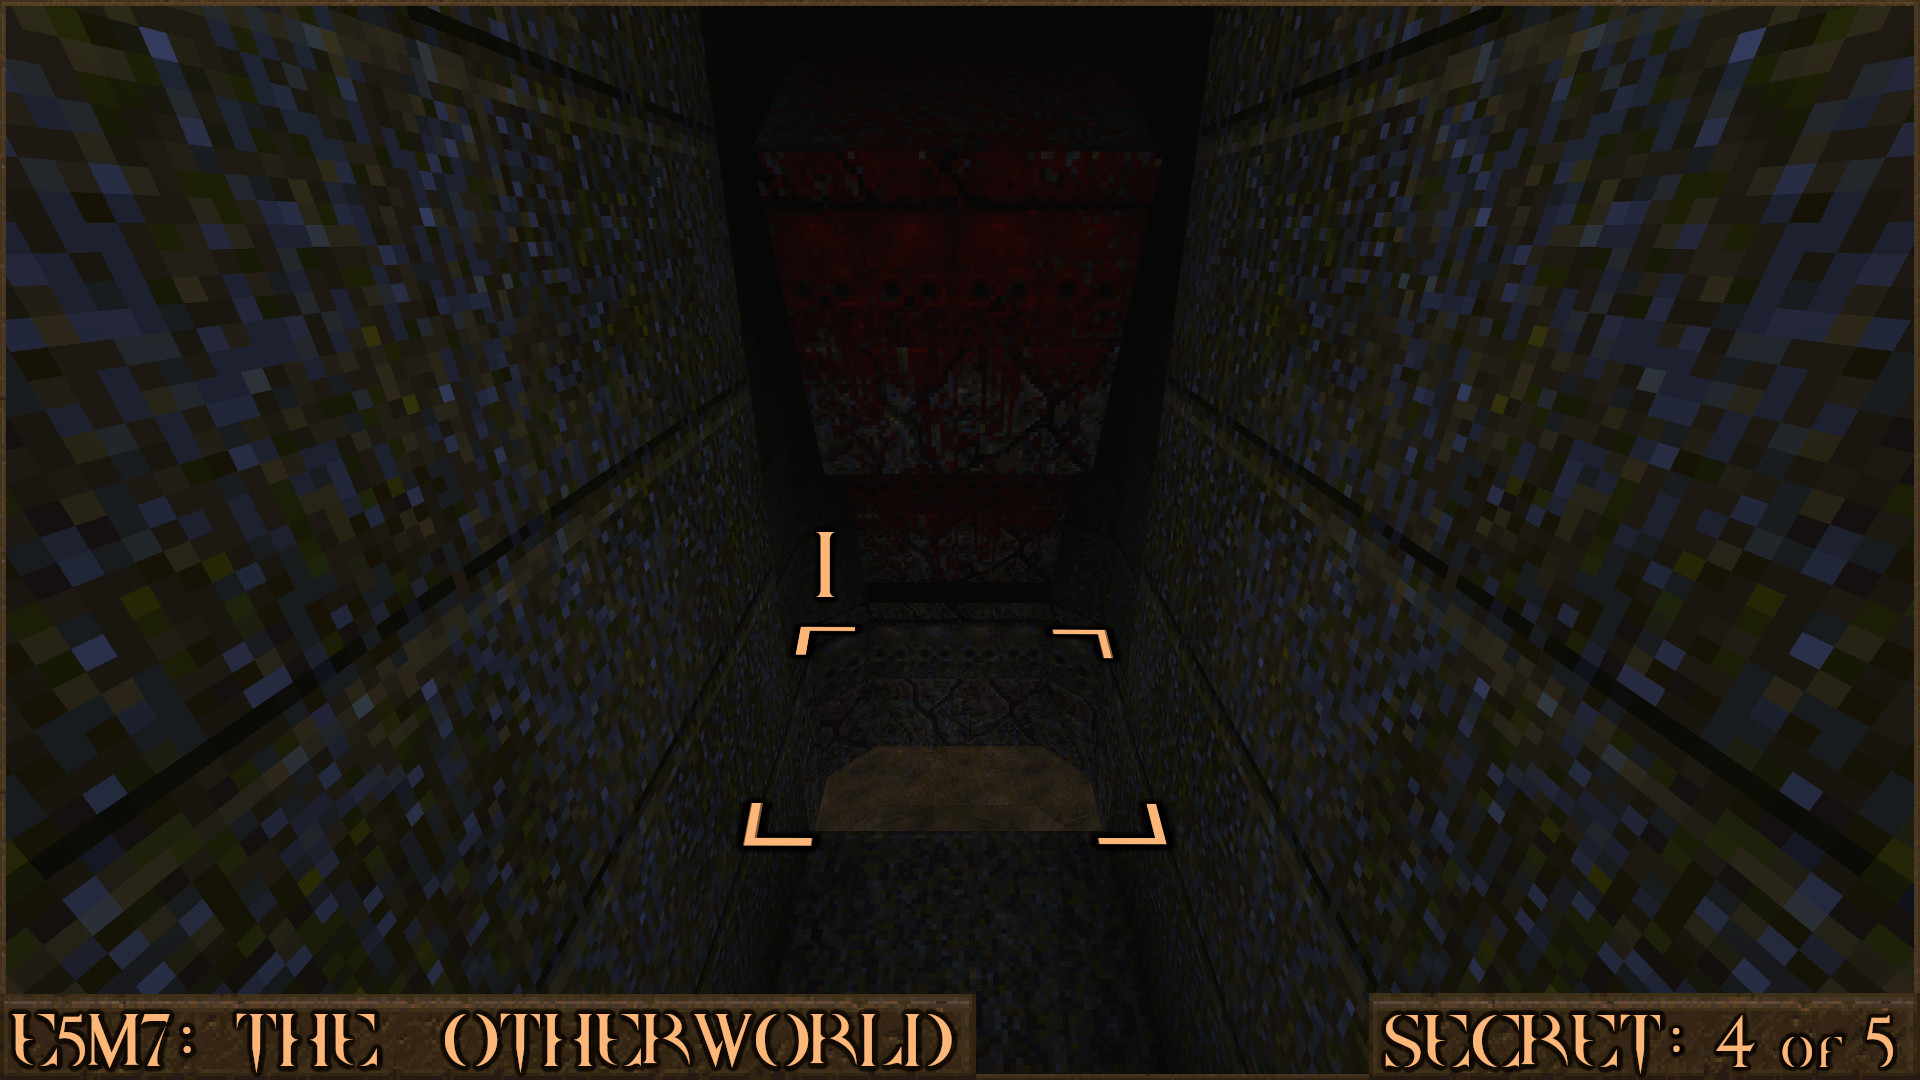
Immediately swim straight down and look for a small hole at the bottom of this water. Swim through and then surface to find your way in to the secret.
Reward:
Secret 5 of 5
A few rooms later you can see a Quad Damage () high up on a ledge beneath a blinking light. Head over next to the wall () and then turn around.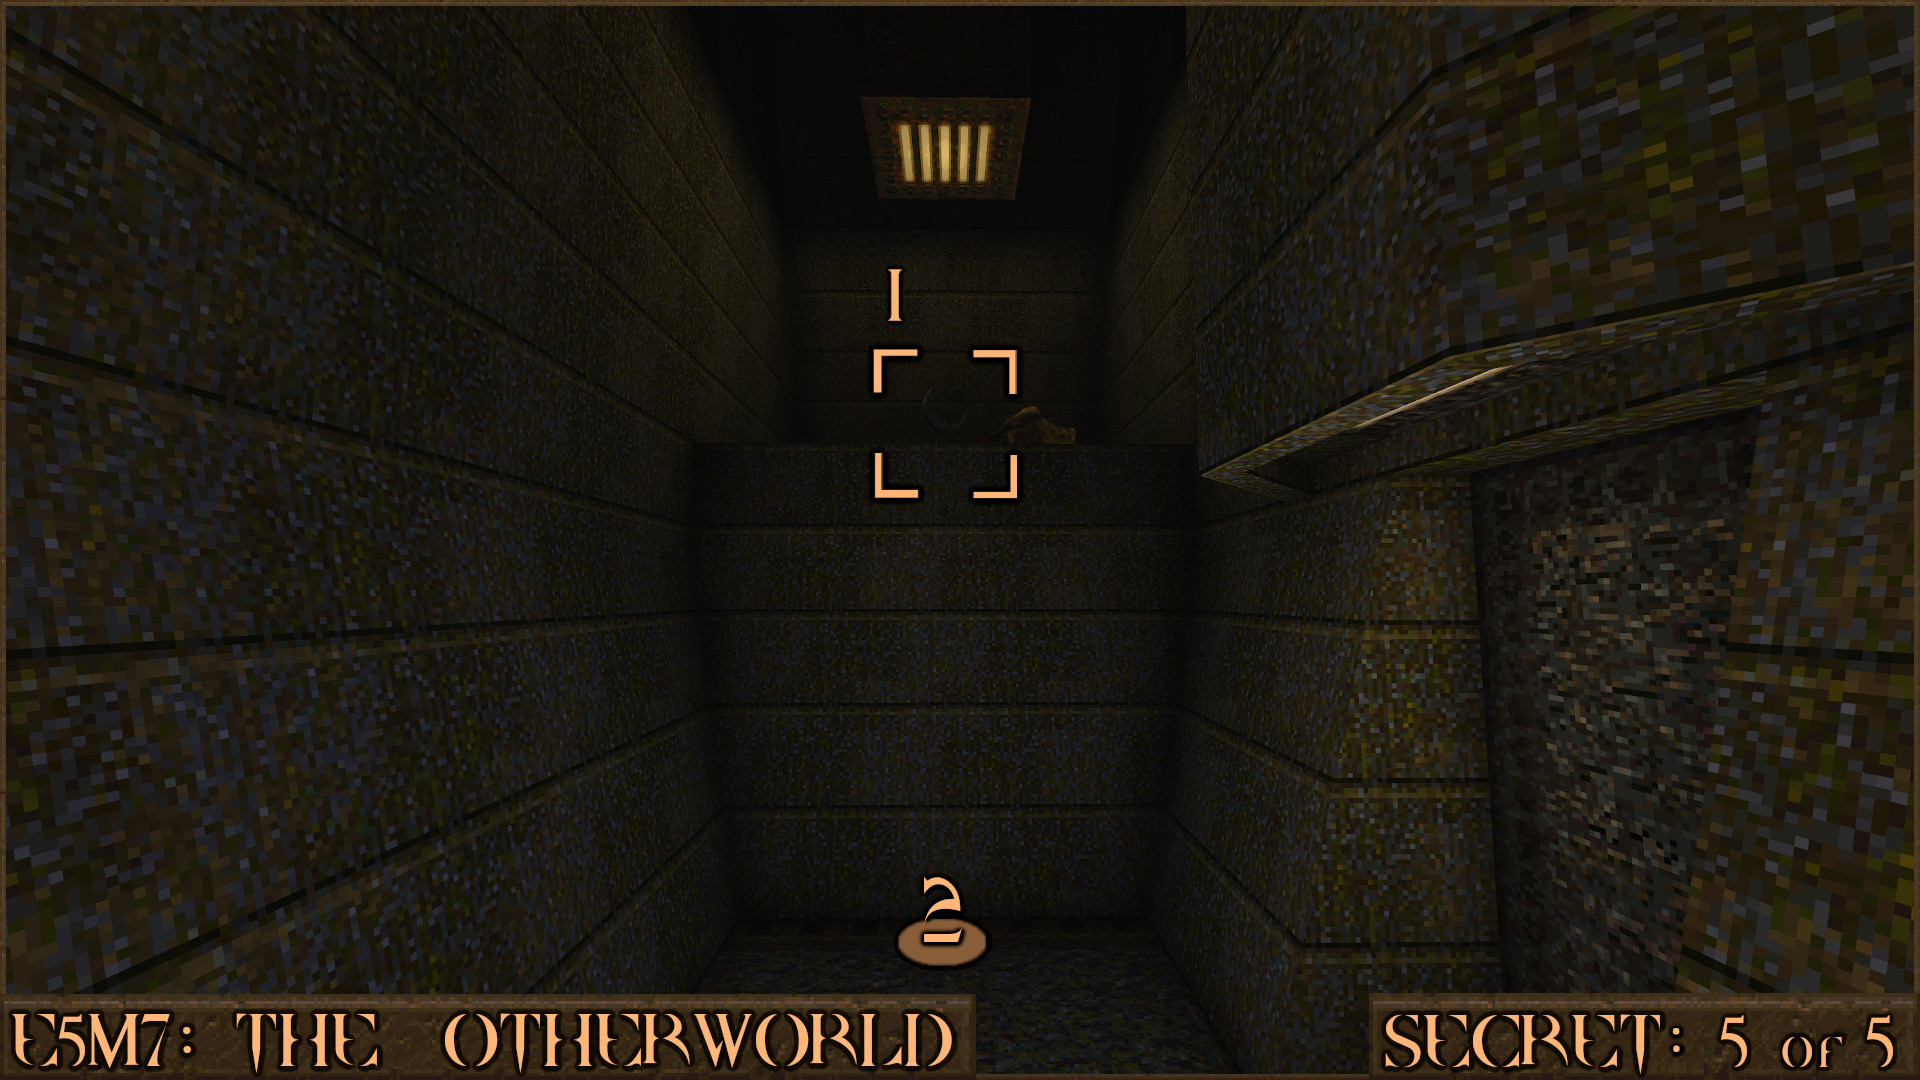
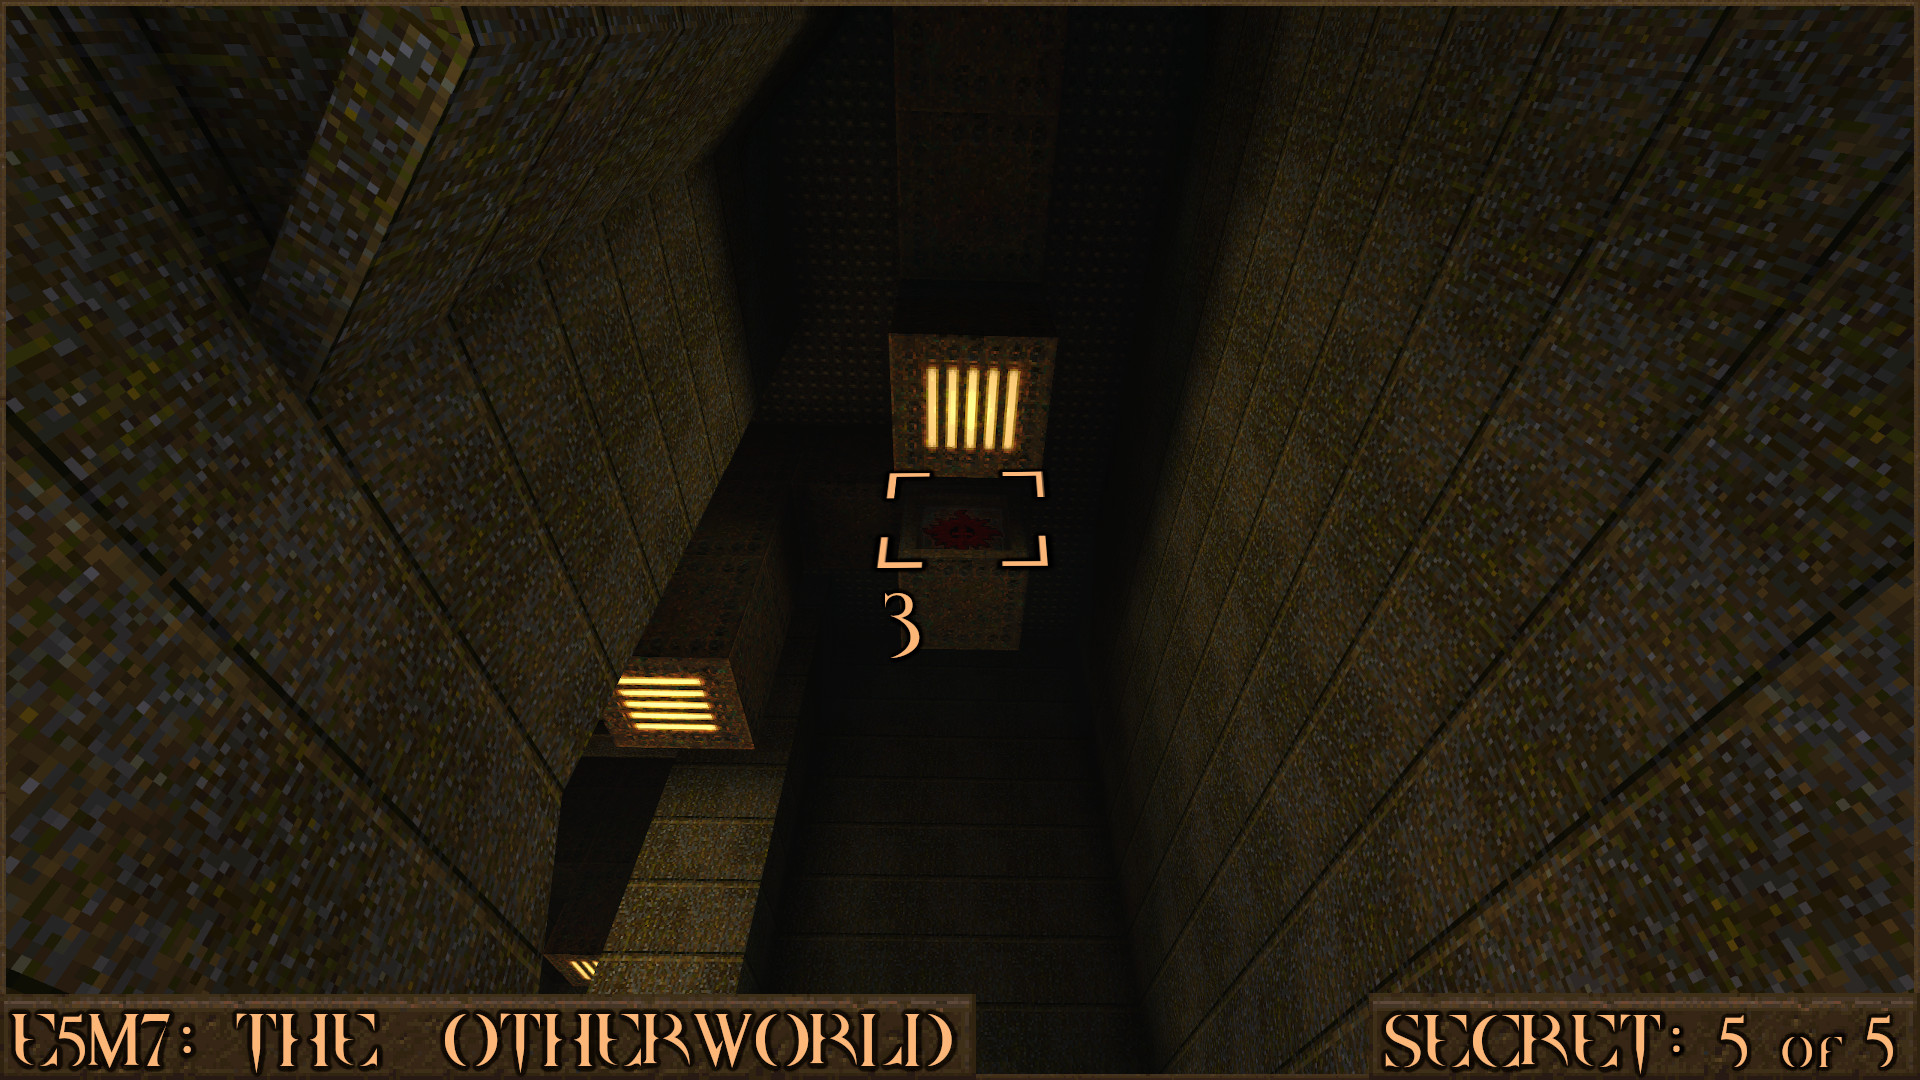
Look up to the ceiling to see a shootable red switch that when activated will turn the wall in to a set of thin steps you can jump up to claim the secret.
Reward:
Extra Secret
There is one more extra secret to be found in this level. Continue through to the end of the level until you see the large circular exit portal. Don't go in to it, but instead go round the back and enter the reverse side of the portal ().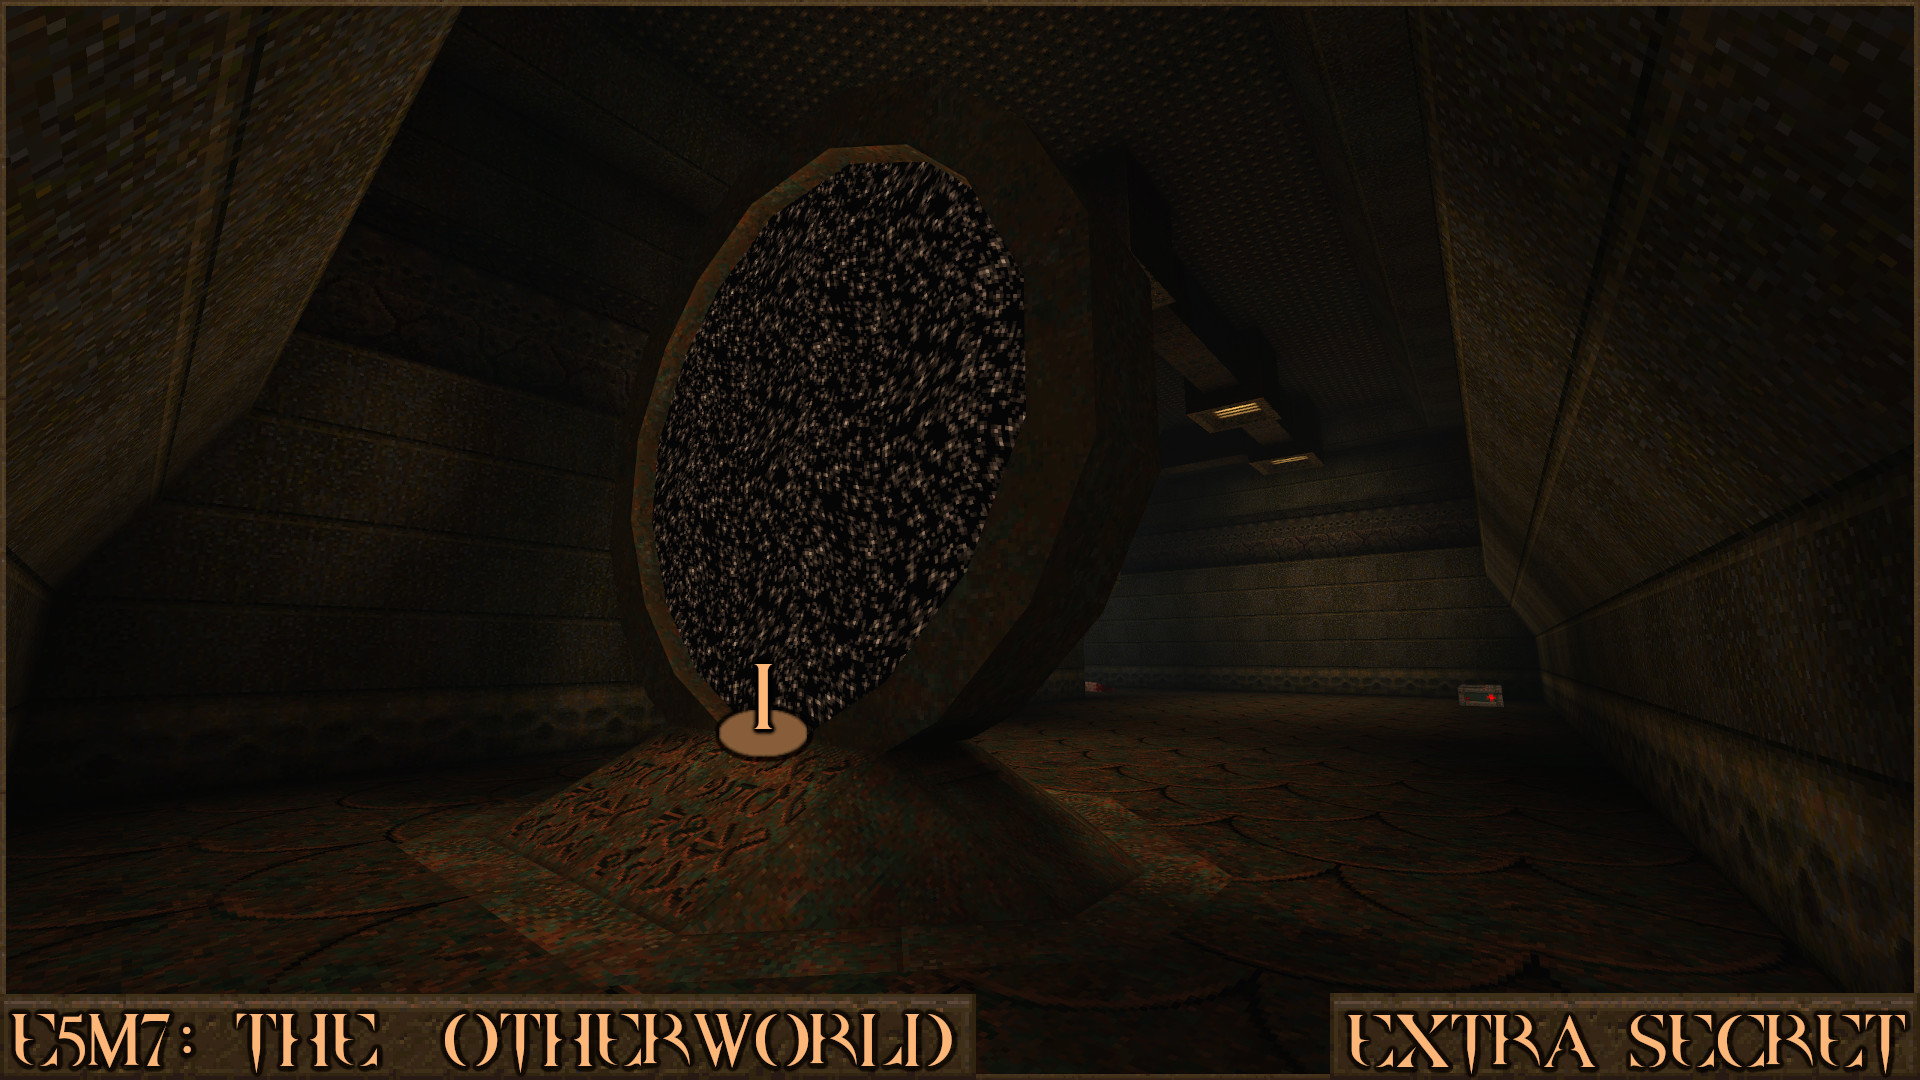
You will be teleported back in to the level but part of the floor will open to reveal some water (
). Jump in and swim to the back part of the pool of water and look for a very thin tunnel to find an old friend, Dopefish! After you've finished looking at the Dopefish swim out and return to the exit to complete the level.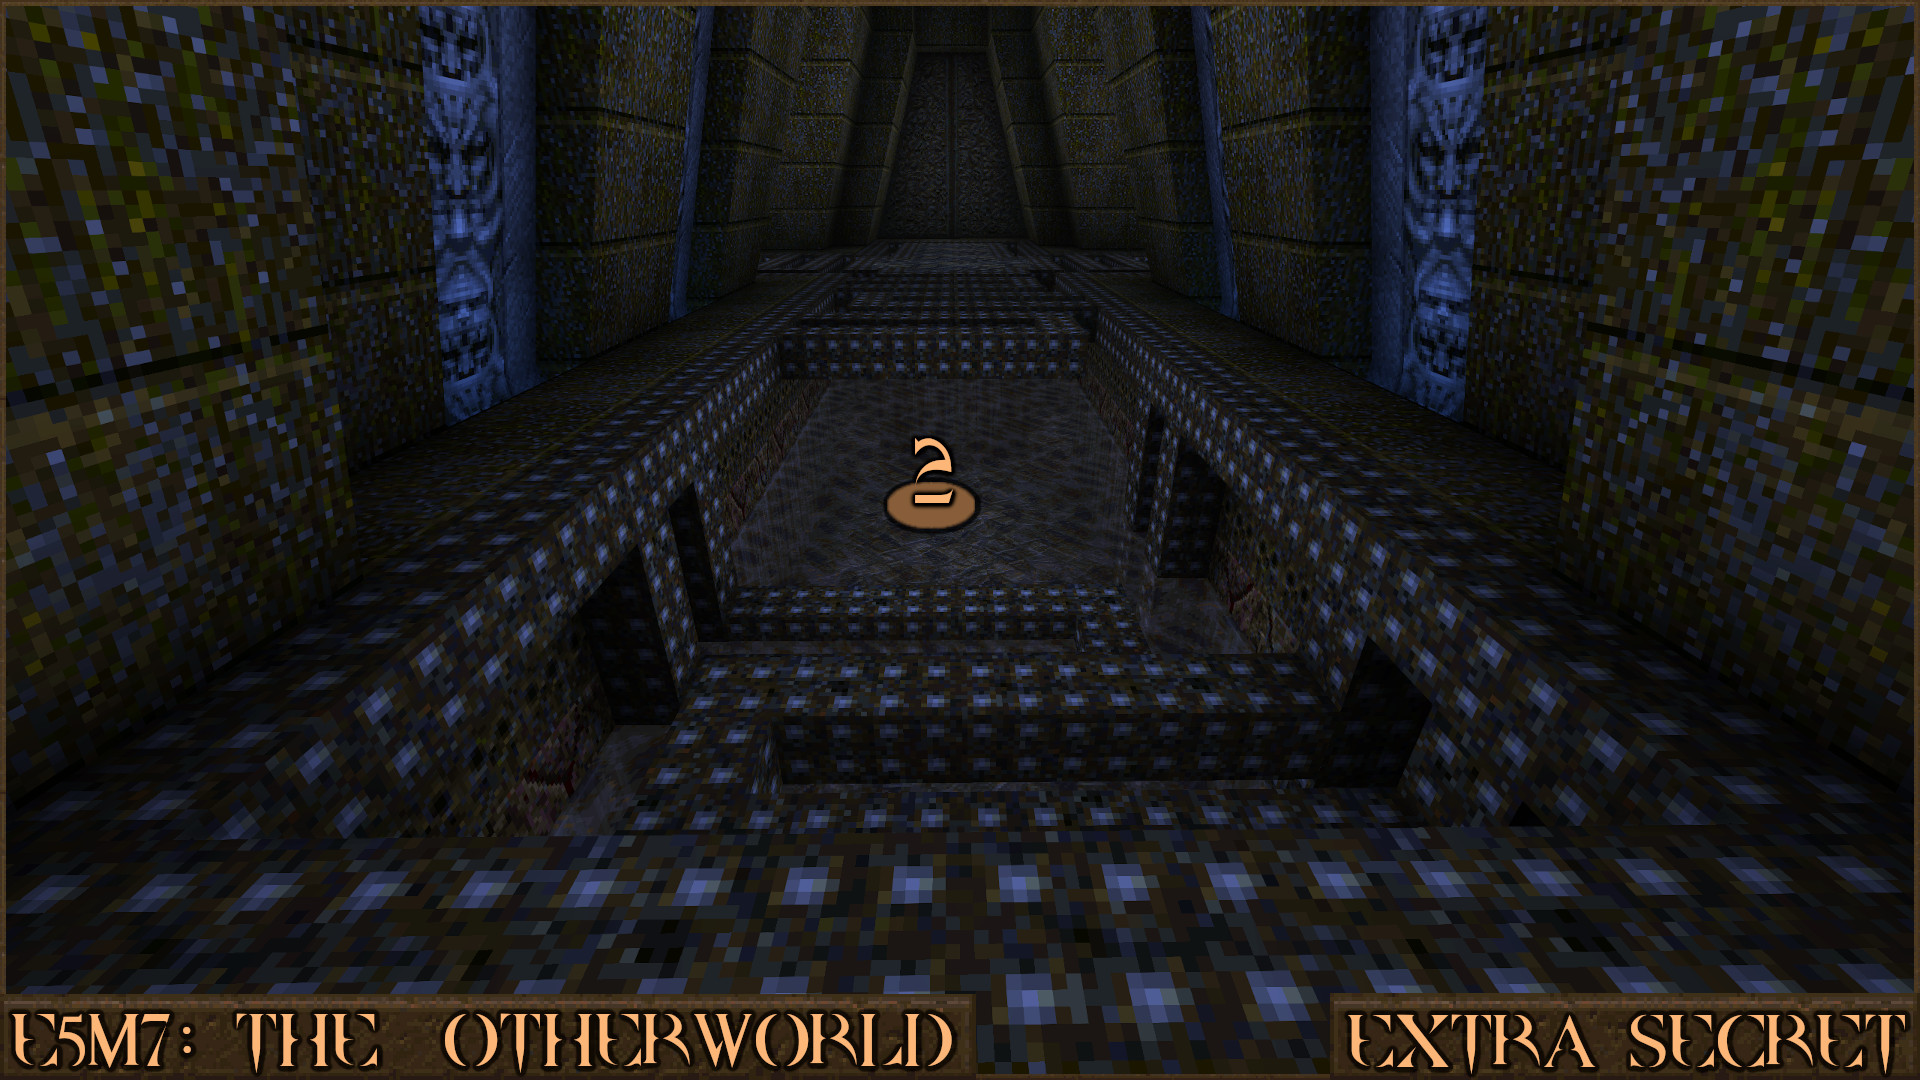
Reward: NONE
E5END: The Year Zero
Secret 1 of 2
As soon as you start the level you will be dropped in to a pool of water. Turn around and look carefully at the nearby wall to see many bricks are missing from one section which forms a large hole. Swim through it to find several items and the secret will activate when you approach the Yellow Armor.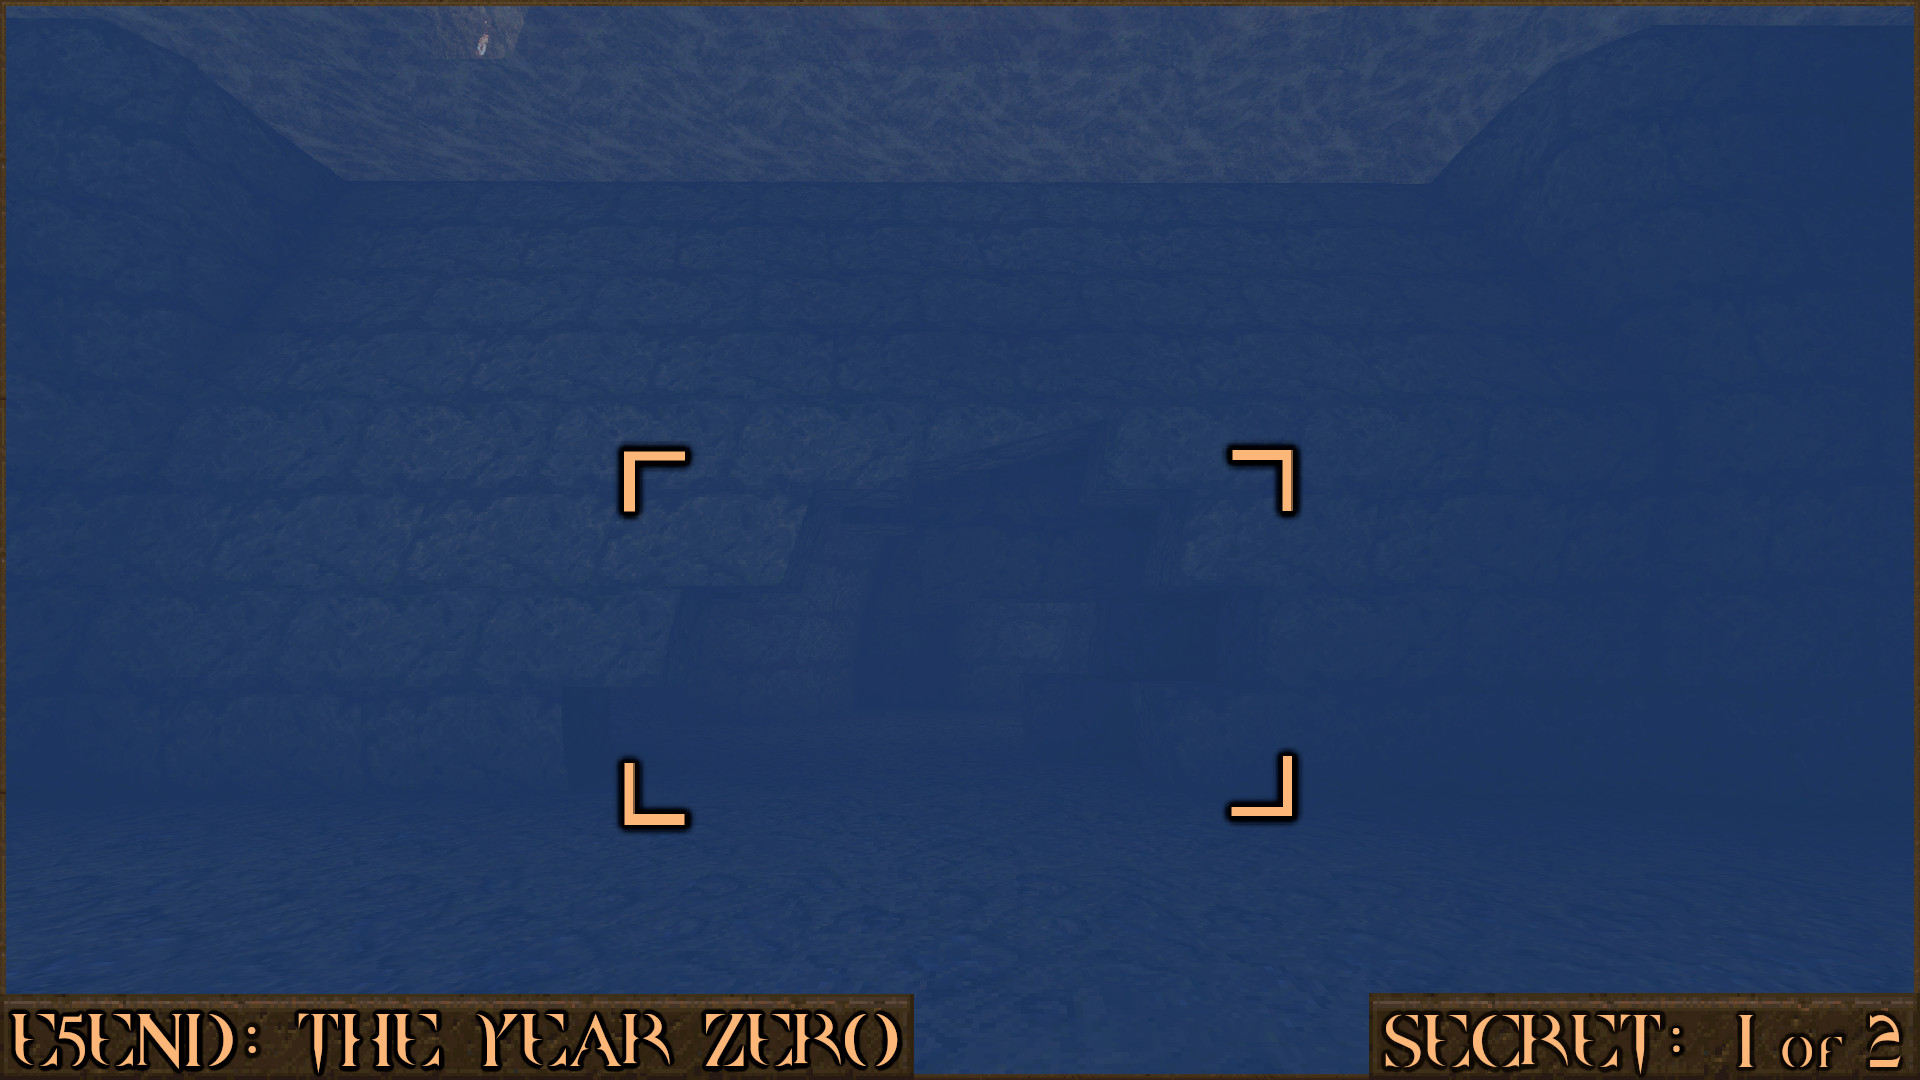
Reward:
Secret 2 of 2
In the same pool of water you will swim through a small hole. After doing so turn around to see a Quad Damage hiding in a dark corner on a small ledge. This Quad Damage is extremely useful on this level due to the abundance of difficult enemies throughout so I recommend trying to get the most out of it while it lasts.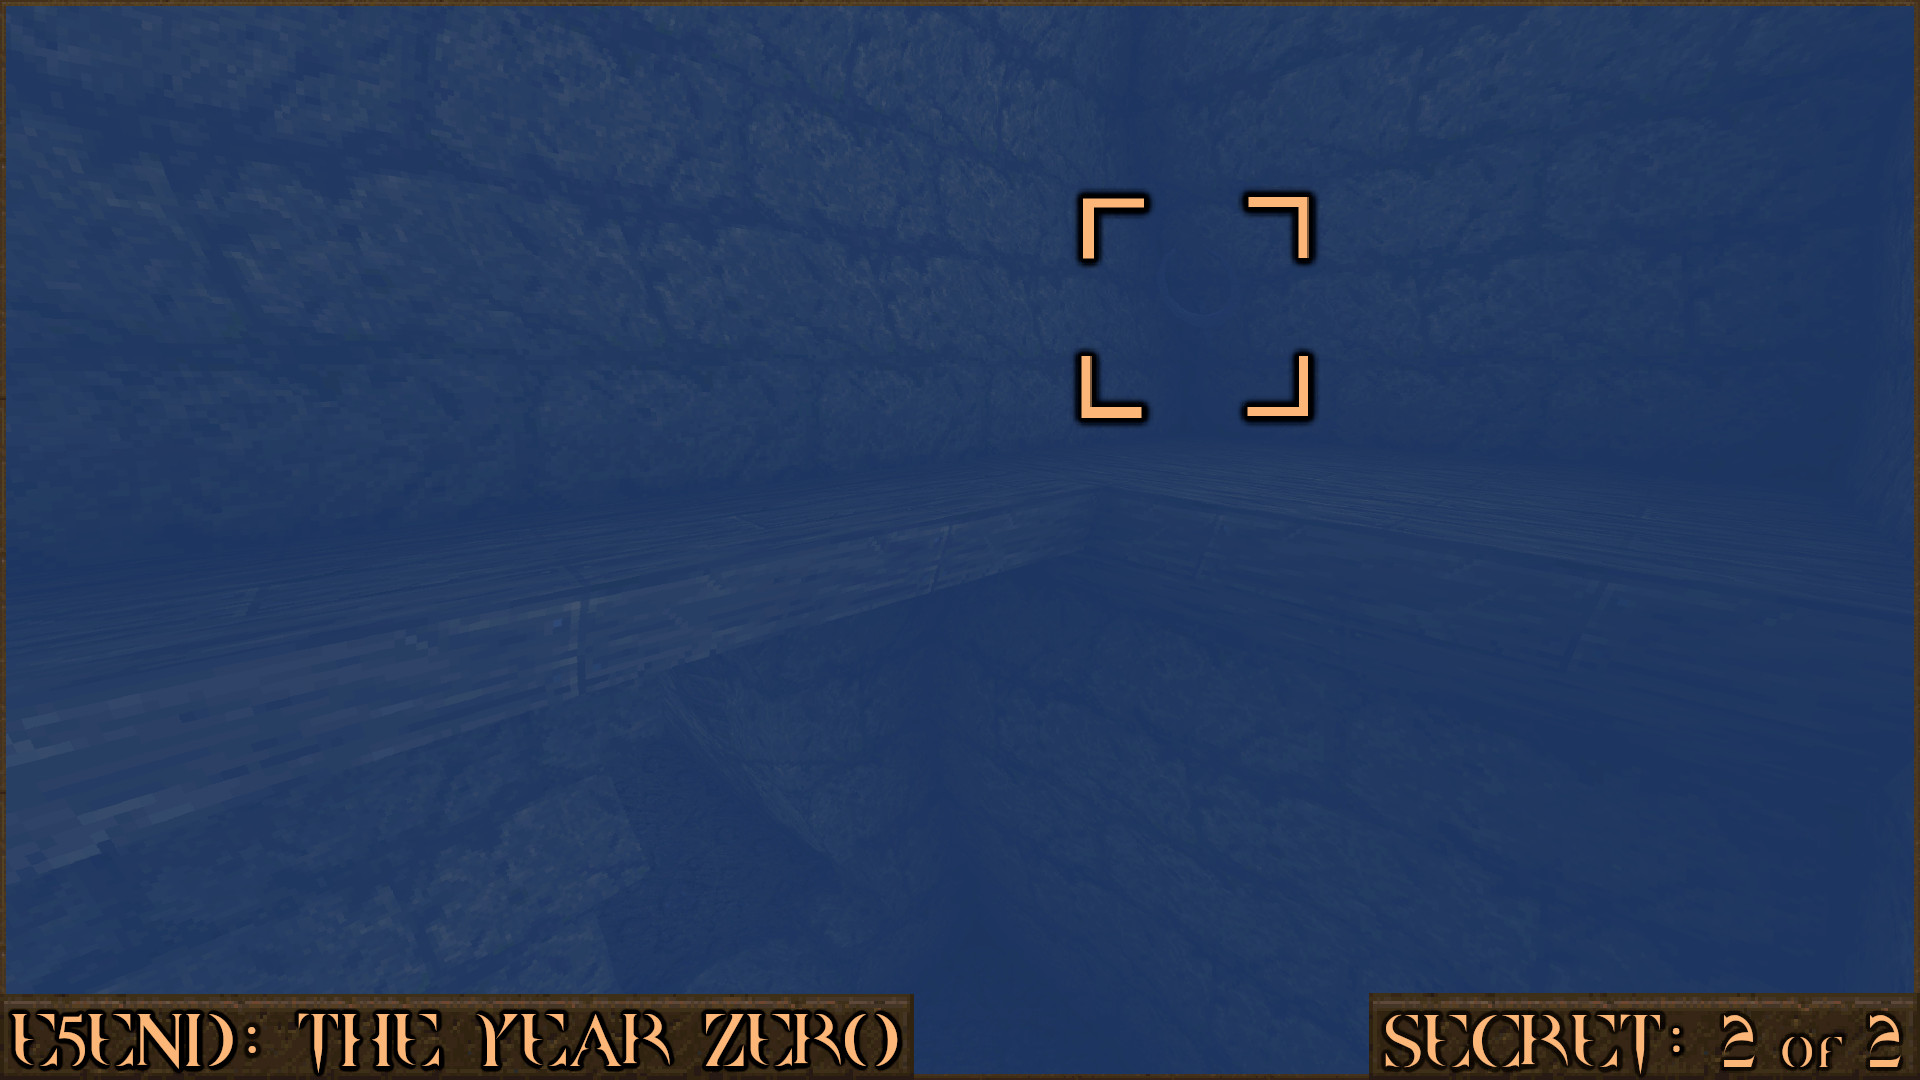
Reward:
More Quake Secrets Guides

Now you've beaten the 3rd expansion pack for Quake you can continue the hunt for secrets in the 4th: Dimension of the Machine.
These guides cover the rest of the secrets available in Quake:
https://steamcommunity.com/sharedfiles/filedetails/?id=620893331https://steamcommunity.com/sharedfiles/filedetails/?id=2585506034https://steamcommunity.com/sharedfiles/filedetails/?id=2585506770https://steamcommunity.com/sharedfiles/filedetails/?id=2585508012https://steamcommunity.com/sharedfiles/filedetails/?id=2803162869
There are more secrets to be found in the sequel Quake II:
https://steamcommunity.com/sharedfiles/filedetails/?id=3025659929
More Quake guides
- Quake Soundtrack Solutions★ 5 (822)34k views1.1k ♥15 minUpdated Apr 2, 2020
- How I play Quake in the Current Year (2023 update: Use Ironwail or Quakespasm-Spiked instead of Quakespasm)★ 5 (903)23k views1.3k ♥8 minUpdated Nov 12, 2023
- List of Quake 1 clones on the Steam store★ 5 (457)20k views854 ♥2 minUpdated May 20
- Quake Achievements★ 5 (1k)16k views1.5k ♥29 minUpdated Nov 4, 2025
- Quake Secrets★ 5 (1.1k)14k views1.8k ♥39 minUpdated Feb 23
- Quakespasm: How to activate CHUNKY MODE★ 5 (303)9.6k views357 ♥2 minUpdated Sep 23, 2023




This guide was created by its original author on the Steam Community. Are you the author and want it removed? Request removal.