Fires of Defeat Walkthrough
Overview
Starting Out
This gamestart has an awful starting ship even compared to the other starting vessels. Its a jaguar with only the following:
• 1x Split travel engine mk2
• 1x Split shield mk1
• 1x Split neutron gatling gun mk1
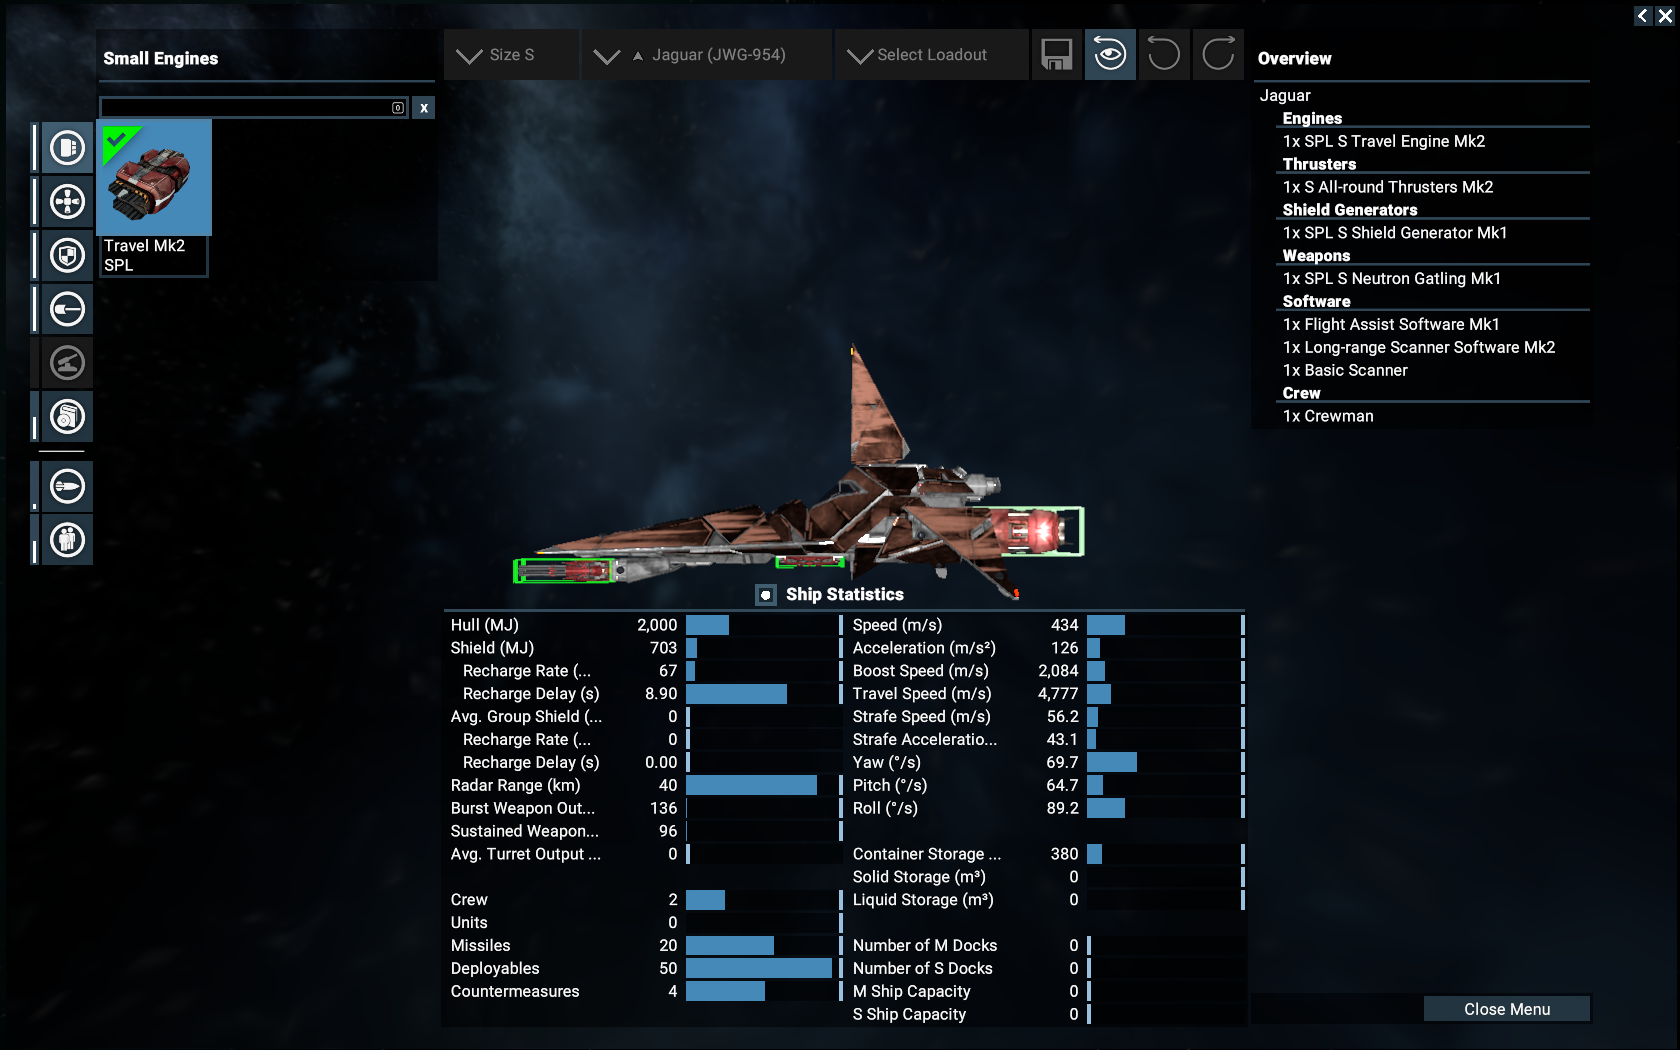
But what this ship lacks in ability it more than makes up for it with charm, speed and a lovely red interior that makes it that touch faster. The player relations are equally not great with the Free Families at -5 and Zyarth at -21 meaning the Zyarth Patriarchy will shoot your combat ships (the starting Jaguar also falls into this category). It’s a good thing the jaguar is nimble and fast enough avoid gettin cleaned up by the slightest burst from a pulse laser. Now to get a better ship and reclaim that honour.
A Better Ship
Once a lonesome ship (fighters are generally better but if you’re brave you could go for a Dragon or a Cobra) has been identified stay out of range of any weapons (5km at a minimum if unsure) and get behind the ship. Now just gently remove the shielding and most of the hull integrity. From there only shoot the ship once it is already regenerating its shields so there’s less risk of destroying it. It may take a while as every time the ship gets hit there is a chance for the pilot to eject with a 30 second cooldown but eventually the pilot should bail. The second-hand ship may now be claimed and I recommend selling the jaguar to have a little more credits. Upgrading from a scout to a fighter is probably not enough to take on the Expeditionary Fleet so I recommend repeating the process with a Dragon (Dragon raiders are okay too but they aren’t particularly resilient and you don’t want to annoy the Free Families).
Preparations
Destroying the Fleet
Destroying the fleet is best split into two stages as the ship will have to get refitted once in the middle. First is the destruction of the escorts and second is the destruction of the destroyer (see the next section for the destroyer component). The fleet has a fair few escorts considering there is just one destroyer to protect and consists of 4 Dragon corvettes, 4 Chimera heavy fighters and 8 Asp fighters packed into a “point guard formation”.
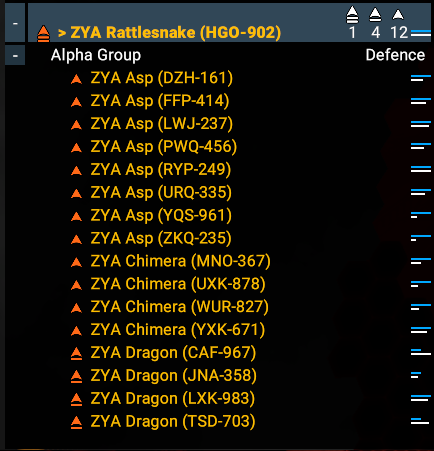
A good strategy is to rush in headfirst using travel drive and hope some of the ships will breakoff to follow. Once some of the ships turn to follow, drop back to cruise speed and lure them out further (Leaving travel drive on causes them to lose interest). Once there at a sufficient distance from the destroyer and the other escorts flip the ship around and engage them.
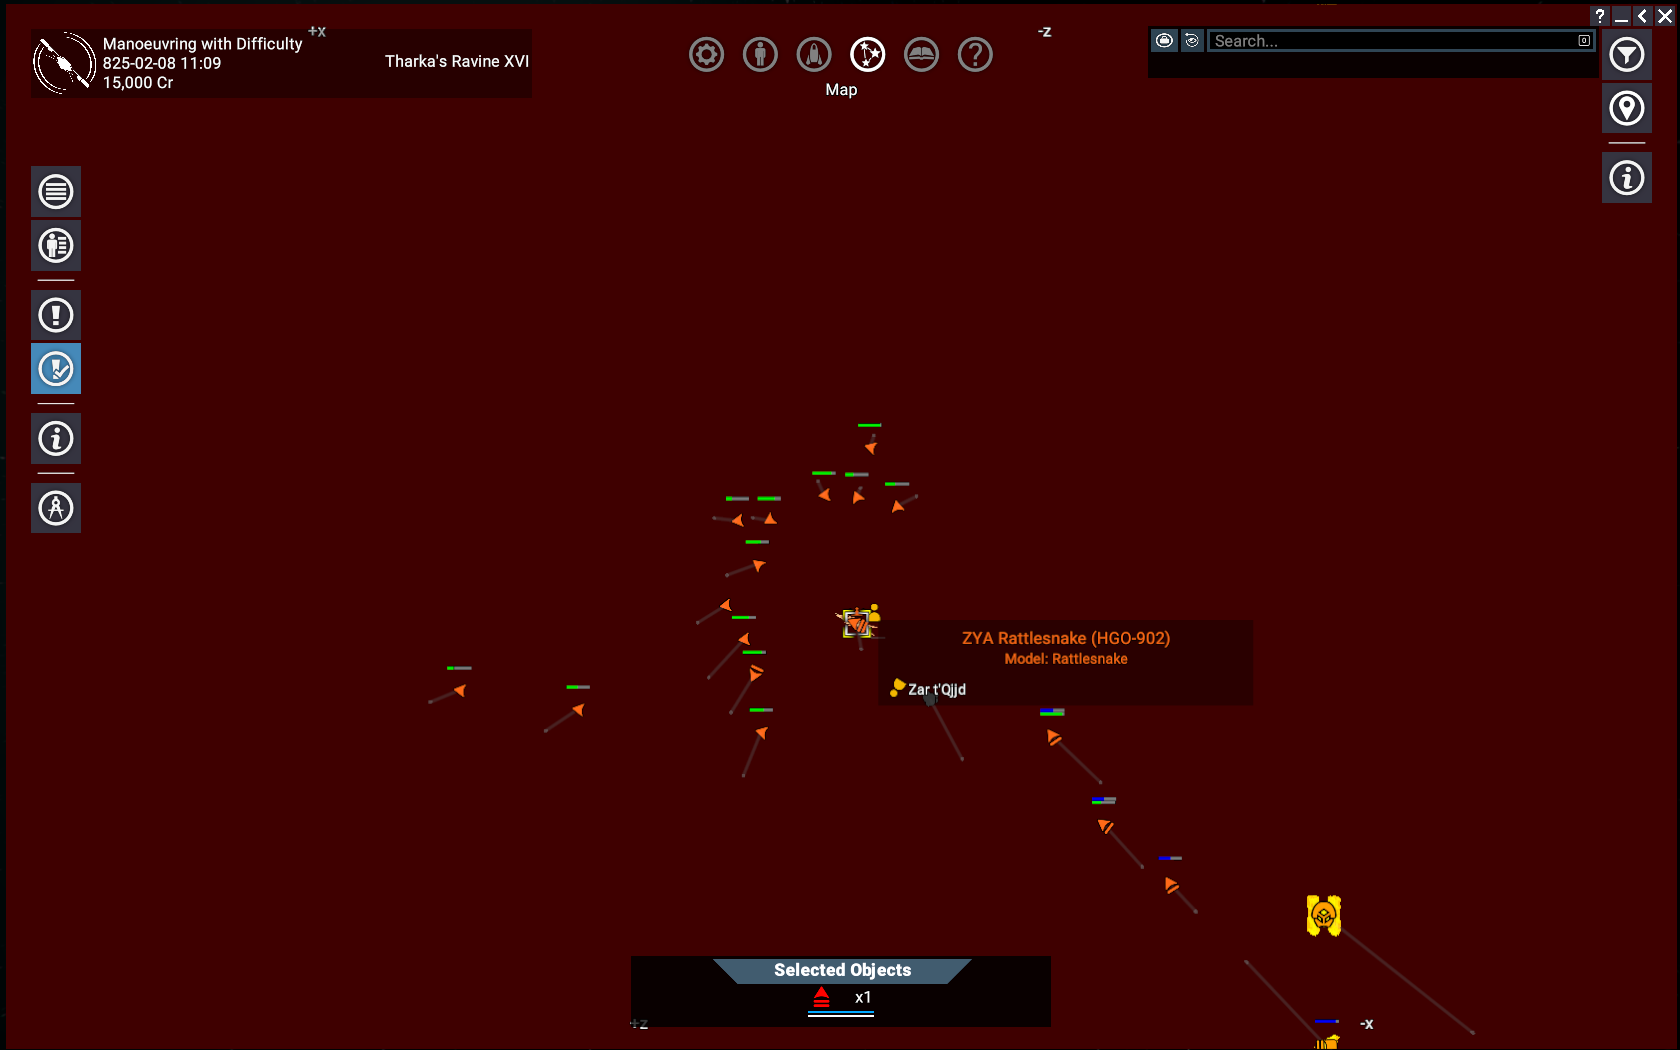
This process can be repeated with increasing ease until all the escorts are destroyed. Now its refitting time.
Destroying the Destroyer
Time to become a Destroyer destroyer. Simply refit at a wharf or equipment dock that is +10 from all those missions and switch out all weapon emplacements for torpedo tubes using money from all those gifted ships (it doesn’t really matter which version of torpedo tube but the mk2 version carries more torpedoes which is more fun). Now with enough torpedoes (a fully kitted dragon can hold 52) that inadvertently setting them off would make a flash brighter than Akeela’s Beacon its time to take the fight to the destroyer.
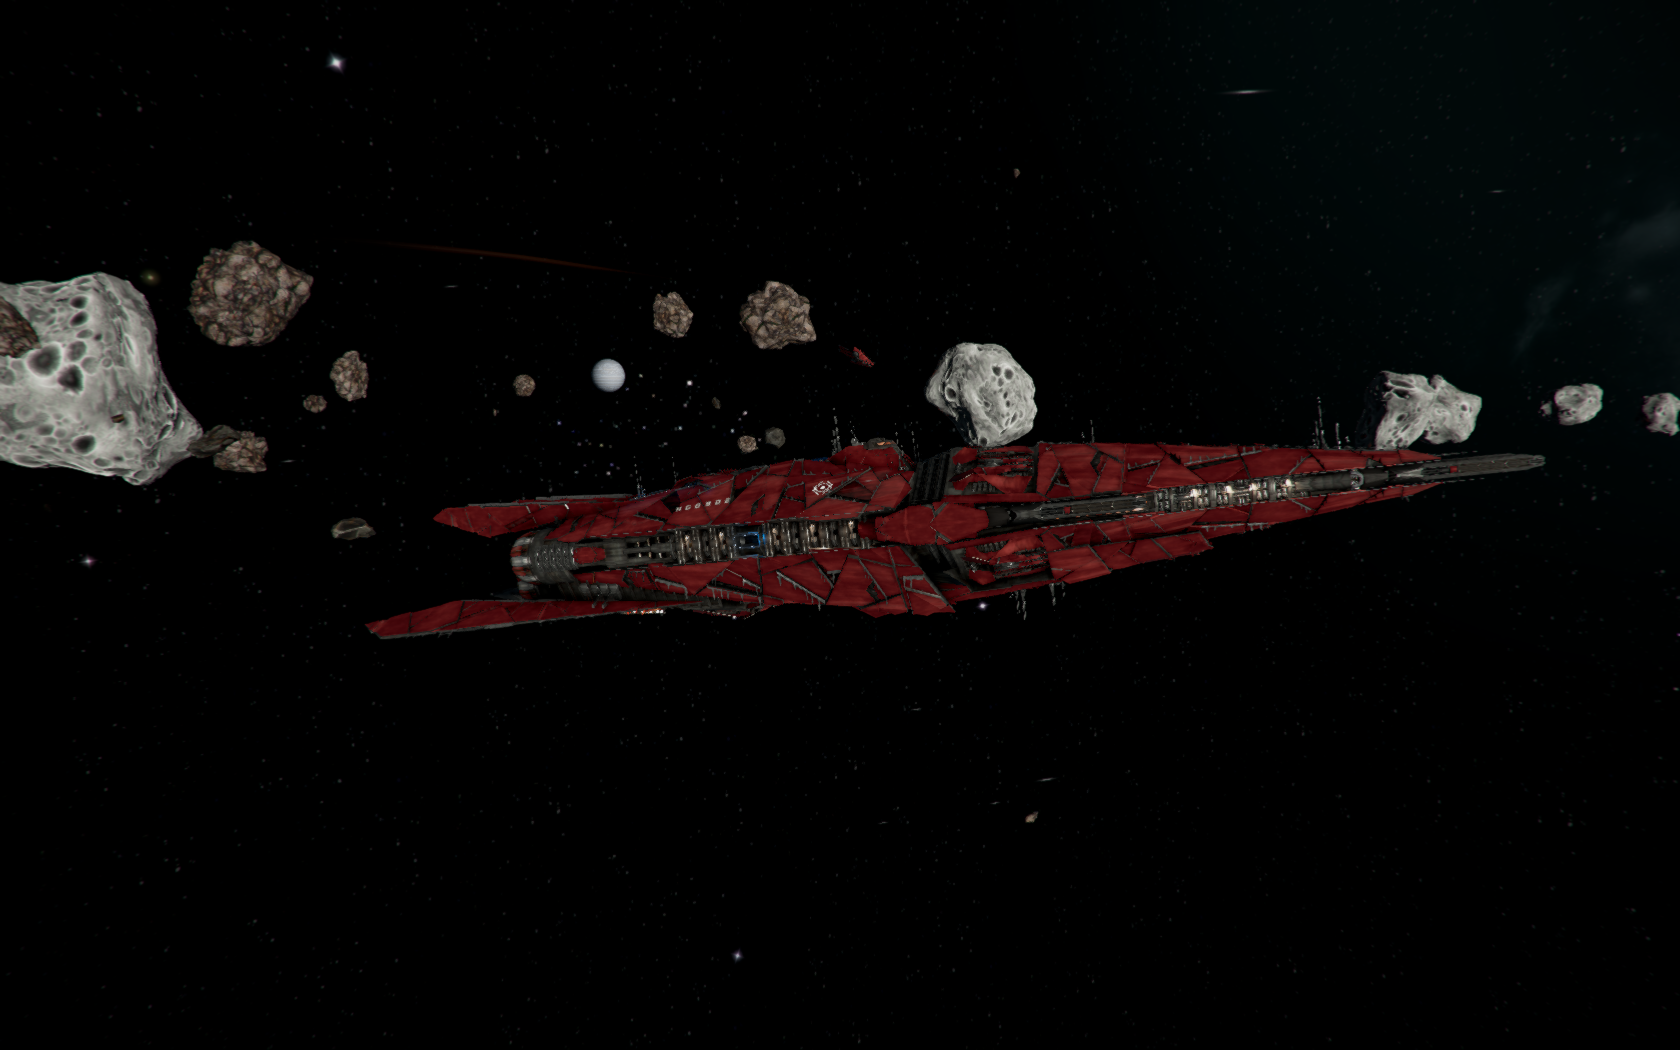
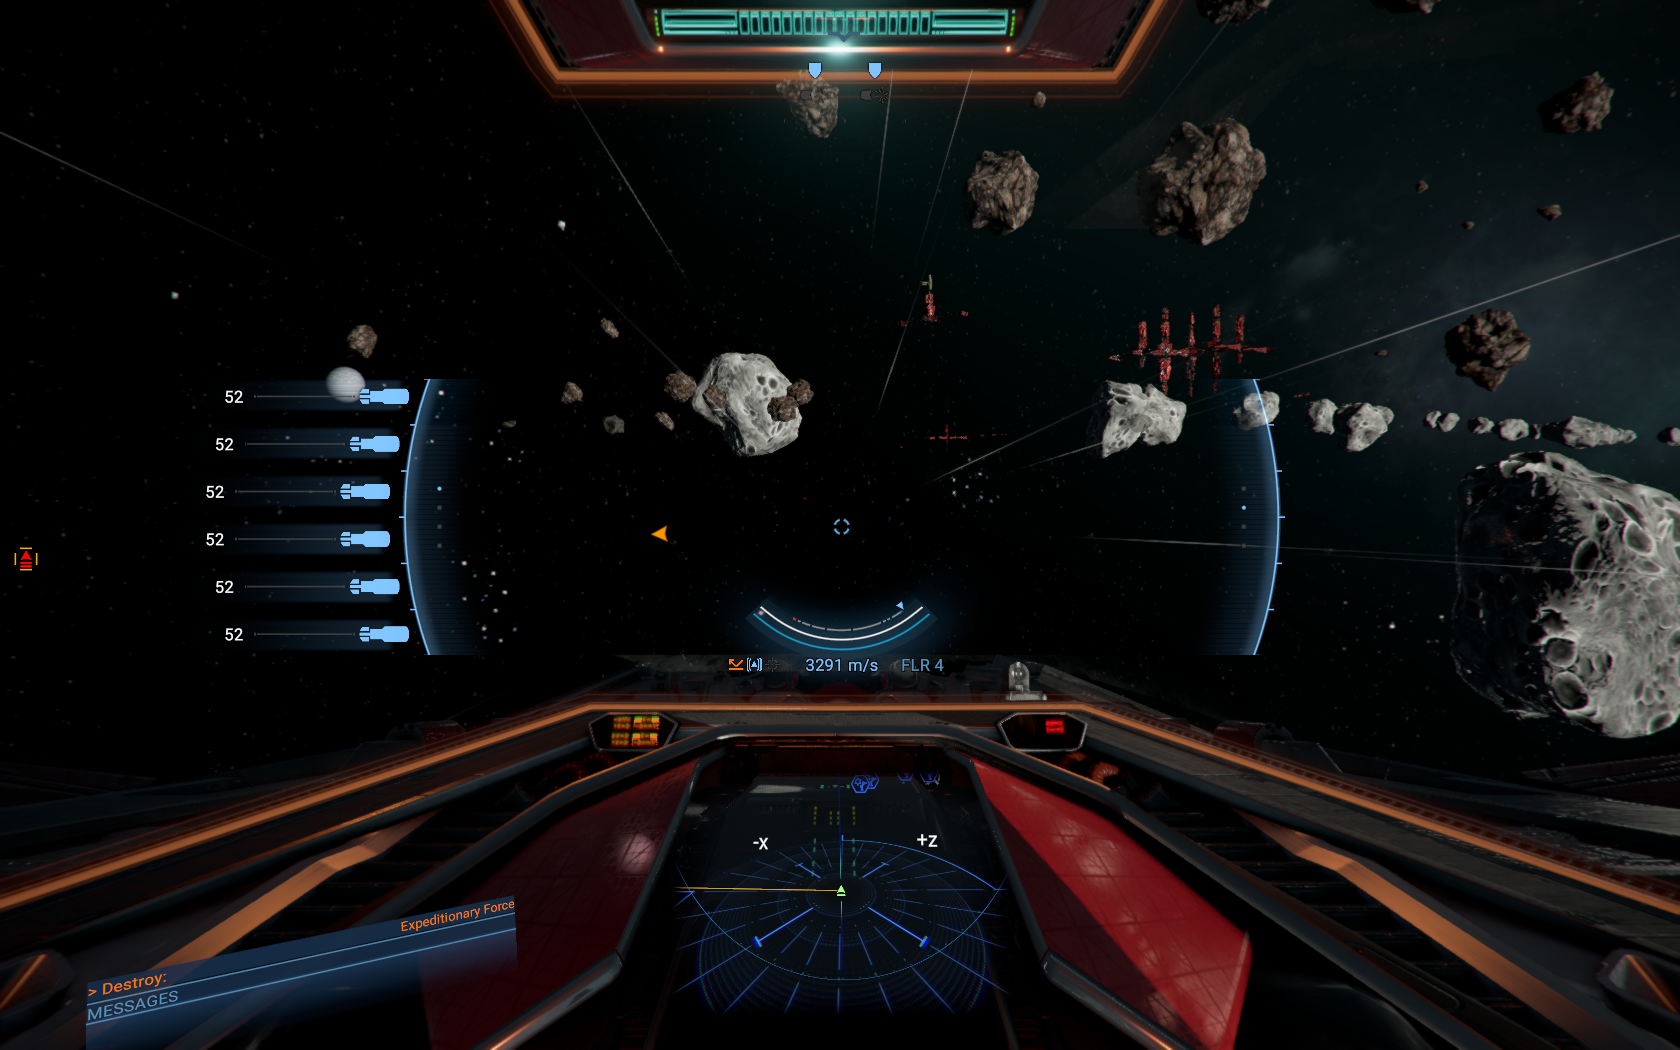
Blowing up the destroyer isn’t that much different from the tactics to take out the fighters except turning flight assist off is mandatory. Point the ship so that the ship is inclined just underneath the Rattlesnake’s belly and engage travel drive (corrections can be made if the ships aren’t close enough to colliding without actually colliding). After everything is aligned correctly switch off flight assist while leaving travel drive on and point the nose of the ship to face the destroyer and release the torpedoes. It is very easy to miss or have the ship hit the destroyer before firing but that’s okay because There’s plenty of torpedoes to spare. Before beginning another pass with the torpedoes just check that the torpedoes are reloaded. Make as many passes as necessary to destroy the rattlesnake, in my dragon it only took 18 torpedoes used 6 at a time in 3 passes but I’m sure it can be achieved with less.
Concluding
- X4 Full Map [Timelines][7.0]★ 5 (579)46k views1.2k ♥1 minUpdated 22 Jun, 2024
- A Guide to Game Starts★ 5 (209)28k views437 ♥27 minUpdated 7 Jan
- X4 Beginner Guide 5.1★ 5 (393)27k views1.2k ♥22 minUpdated 7 Mar, 2023
- All Ownerless Ships in X4: Foundations (9.00 Base Game + All DLCs)★ 5 (453)27k views1.1k ♥10 minUpdated 10 Jun
- X4 Ultimate Weapons Guide. [NOW ON THE WIKI]★ 5 (343)23k views768 ♥104 minUpdated 8 Jul, 2024
- X4 sector map★ 4 (146)22k views207 ♥1 minUpdated 6 Dec, 2018


- Upgrading to PremiumTeam Fortress 2★ 5 (20k)1441k views11k ♥6 minUpdated May 11, 2022
- No More Room in Hell Official ManualNo More Room in Hell★ 5 (2.8k)569k views2.1k ♥29 minUpdated Apr 22, 2019
- NMRiH Community Hosting GuidesNo More Room in Hell★ 5 (526)351k views653 ♥1 minUpdated Aug 10, 2022
- ULTIMATE GUIDE FOR GAME DEV TYCOONGame Dev Tycoon★ 5 (5.8k)326k views10k ♥4 minUpdated 23 Jan, 2014
- How to 'Git Gud' Soon™MORDHAU★ 5 (2k)318k views3k ♥68 minUpdated Nov 16, 2024
- Лучшие кооперативные игры SteamPAYDAY 2★ 5 (1.5k)315k views2.1k ♥56 minRussianUpdated Apr 27, 2025






This guide was created by its original author on the Steam Community. Are you the author and want it removed? Request removal.