How to enable 20th anniversary developer commentary in Half-Life 2: MMod
Preface
This guide was made with Windows 11 in mind. Windows 10 should work too, but I cannot make any guarantees the steps will work exactly as expected.
I may add steps for Linux to this guide at a later date as well.
This guide also assumes you already have a working Half-Life 2: MMod installation. I may add the steps required to install MMod to this guide later, but that is outside of its scope for the time being. You can find MMod installation guides elsewhere online.
Please ensure Half-Life 2 is closed before continuing.
Installing VPKEdit
VPKEdit is an open-source successor to GCFScape used to open, view, and extract the contents of *.vpk files. GCFScape will work too, but VPKEdit is preferred as the former is no longer maintained.
If you already have either of these installed, you may skip this section, but keep in mind that this guide is written assuming you are using VPKEdit.
If you already have either of these installed, you may skip this section, but keep in mind that this guide is written assuming you are using VPKEdit.
Install VPKEdit using Windows Terminal (PowerShell or Command Prompt)
- Open a Windows Terminal (PowerShell or Command Prompt) window.
- Enter the following command: winget install craftablescience.VPKEdit
- Click Yes on the User Account Control popup.
Extracting required (developer commentary) files
Extract text files
- Open File Explorer and navigate to your Half-Life 2 installation folder. By default this is: C:\Program Files (x86)\Steam\steamapps\common\Half-Life 2
- Navigate into the hl2 folder and open hl2_pak_dir.vpk with VPKEdit.
- In the left pane, expand the hl2_pak\maps folder and select everything ending with *_commentary.txt.
(Left-click the first item in the list, then scroll down and Shift+Left-click the last item. This will select both items and everything in between.) - Right-click any of the selected items, then click Extract Selected...
- Extract the selected files to C:\Program Files (x86)\Steam\steamapps\sourcemods\HL2MMod_HL2\maps
Extract audio files
- Open File Explorer and navigate to your Half-Life 2 installation folder. By default this is: C:\Program Files (x86)\Steam\steamapps\common\Half-Life 2
- Navigate into the hl2 folder and open hl2_sound_misc_dir.vpk with VPKEdit.
- In the left pane, expand the hl2_sound_misc\sound folder.
- Right-click the commentary folder, then click Extract Folder...
- Extract the selected files to C:\Program Files (x86)\Steam\steamapps\sourcemods\HL2MMod_HL2
Enabling developer commentary in-game
- Open Half-Life 2: MMod (Half-Life 2) from your Steam library.
- Start a new game or continue an existing one.
- Open the developer console with ~ and type the following command: commentary 1You should see the following response in the console that confirms the developer commentary data has been loaded successfully:Commentary: Loading commentary data from maps/<map_name>_commentary.txt.
Enabling commentary mode will persist through level transitions and game reboots, so there should be no need to run the command again on the same save.
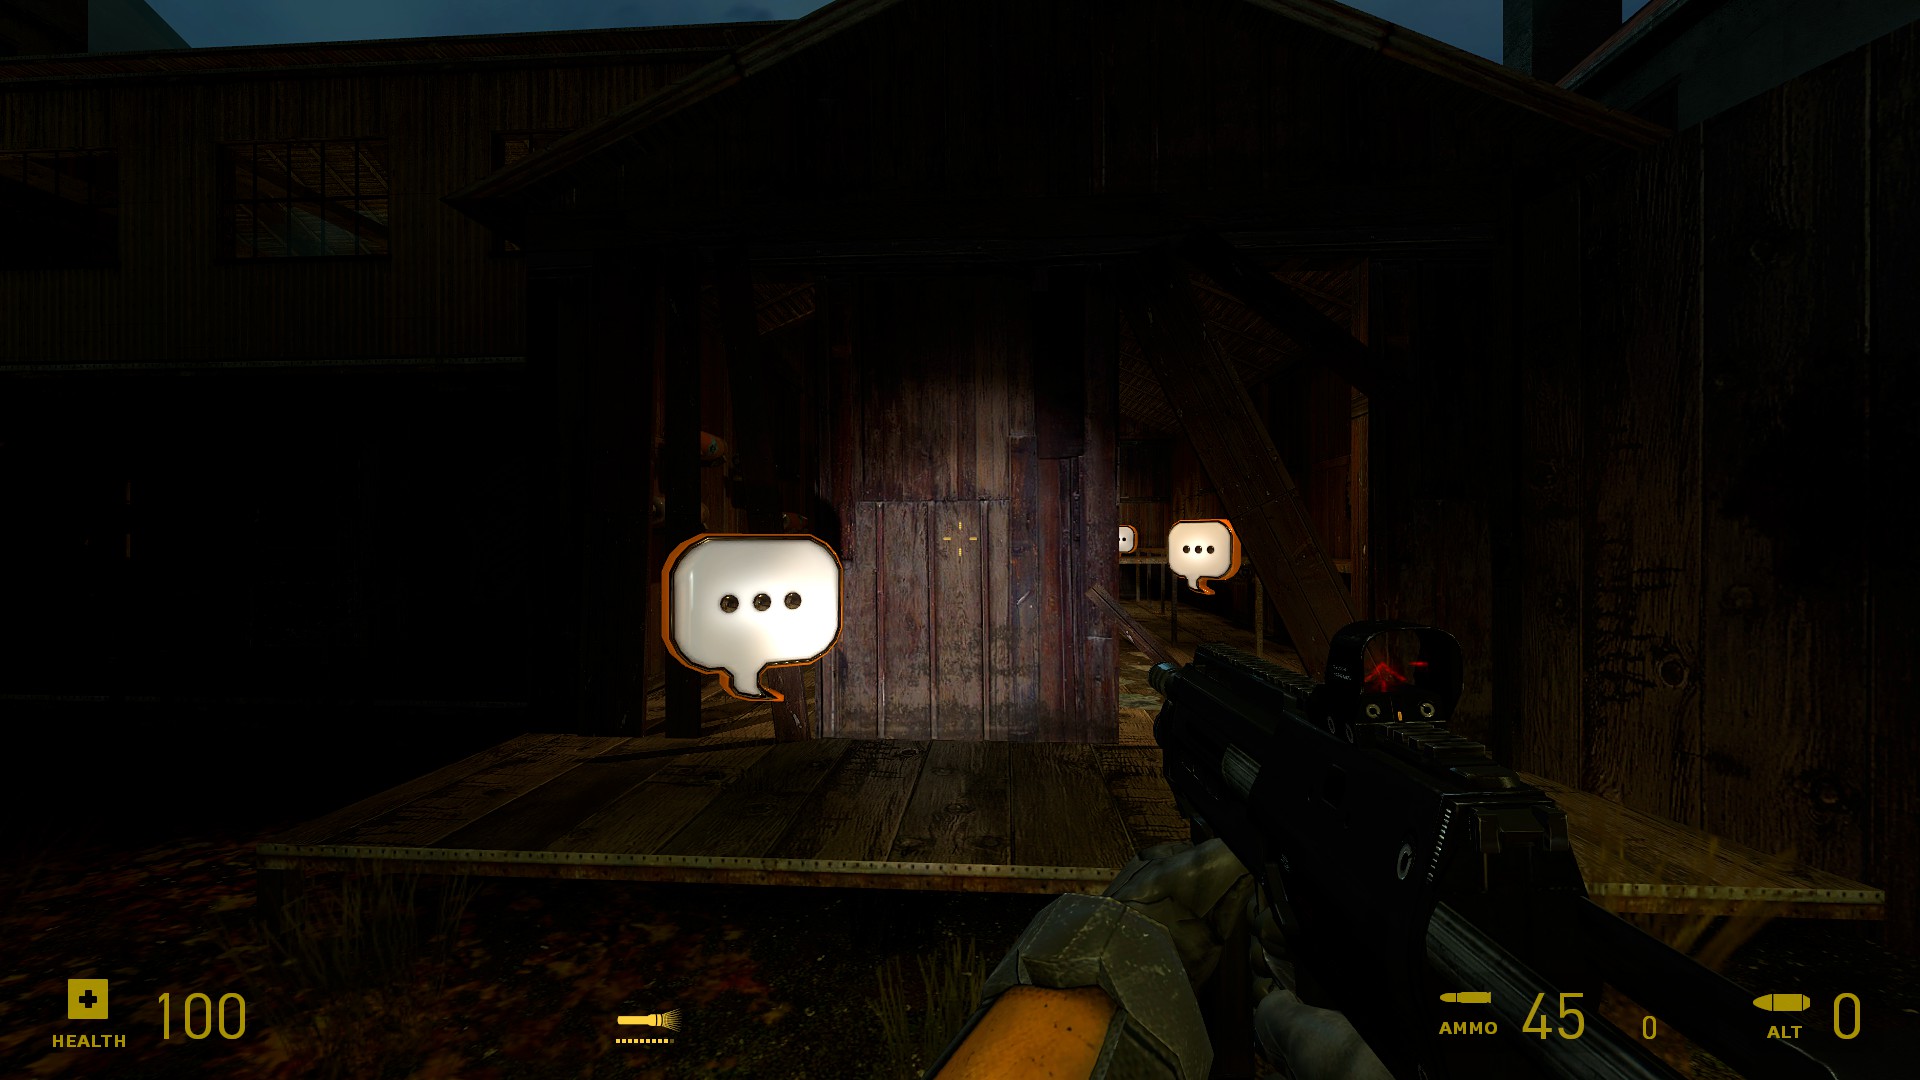
- To disable commentary mode, simply run the following command: commentary 0
Closing remarks
If you have any trouble, if the guide wasn't clear in some place, if I missed a step, or if you have a recommendation for improvement, feel free to leave a comment and let me know and I'll get back to it when I am able.
Thank you, and enjoy!
Thank you, and enjoy!
More Half-Life 2 guides
- Half life 2 Cheats & commands (works for other source games too)★ 5 (1.5k)152k views2.9k ♥13 minUpdated Dec 4, 2024
- Lambda Locator★ 5 (8k)117k views9.3k ♥14 minUpdated Feb 25, 2016
- Half-Life 2 — Чит коды и консольные команды★ 5 (831)62k views1.5k ♥58 minRussianUpdated Dec 29, 2024
- Half-Life 2 100% Achievement Guide★ 5 (1.1k)40k views1.6k ♥5 minUpdated Nov 16, 2024
- 100% Achievement Guide: Half Life 2★ 5 (1.3k)24k views2.6k ♥103 minUpdated May 13
- 🏆 Lambda Locator - All Locations Detailed★ 5 (1.9k)24k views2.9k ♥17 minUpdated Aug 19, 2021





🔥 Popular guides
- Upgrading to PremiumTeam Fortress 2★ 5 (20k)1441k views11k ♥6 minUpdated May 11, 2022
- No More Room in Hell Official ManualNo More Room in Hell★ 5 (2.8k)569k views2.1k ♥29 minUpdated Apr 22, 2019
- NMRiH Community Hosting GuidesNo More Room in Hell★ 5 (526)351k views653 ♥1 minUpdated Aug 10, 2022
- ULTIMATE GUIDE FOR GAME DEV TYCOONGame Dev Tycoon★ 5 (5.8k)326k views10k ♥4 minUpdated 23 Jan, 2014
- How to 'Git Gud' Soon™MORDHAU★ 5 (2k)318k views3k ♥68 minUpdated Nov 16, 2024
- Лучшие кооперативные игры SteamPAYDAY 2★ 5 (1.5k)315k views2.1k ♥56 minRussianUpdated Apr 27, 2025






This guide was created by its original author on the Steam Community. Are you the author and want it removed? Request removal.