🔴DOOM 2016 All figures + Locations 🔴
Introduction
Feel free to coment, like and award!
Figures
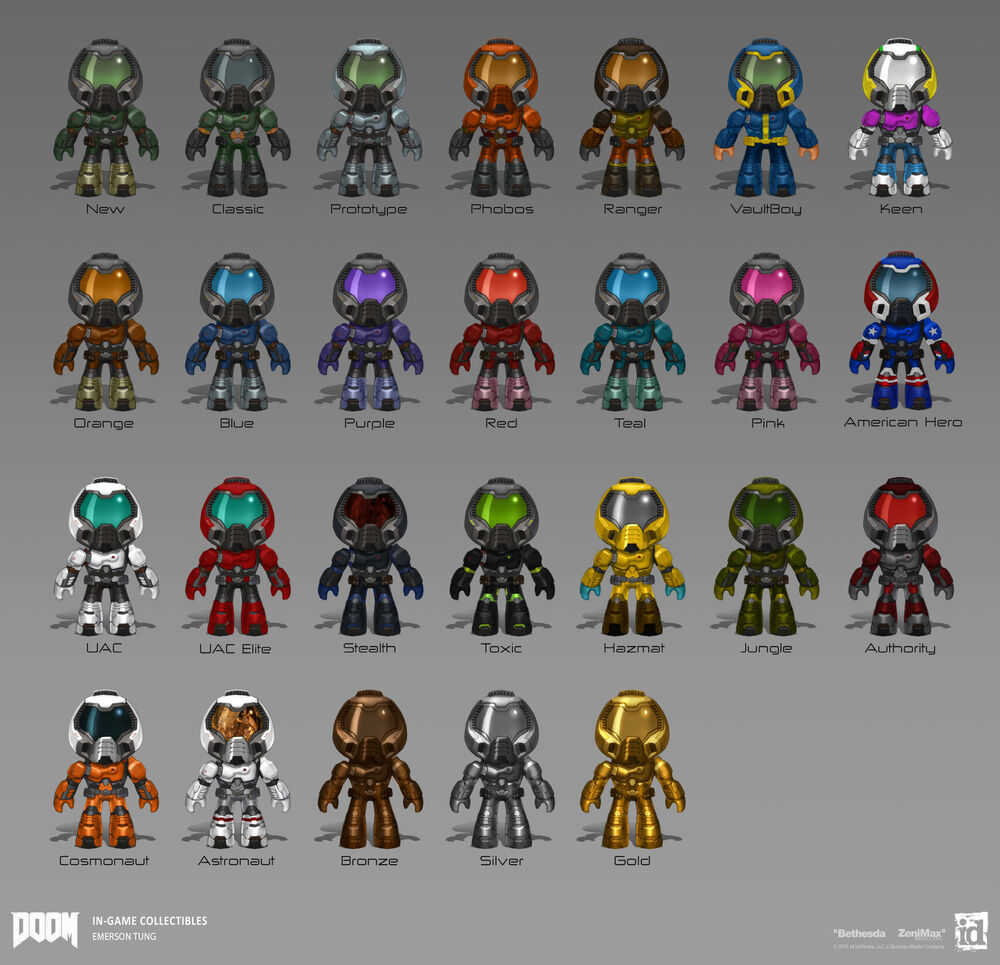
The UAC Figures
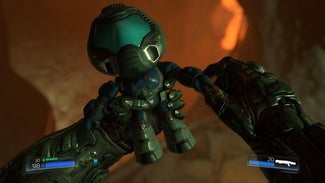
First UAC Figuer:
You'll find the first figure hidden on this ledge just above the body holding the Blue Keycard.
Figure view:
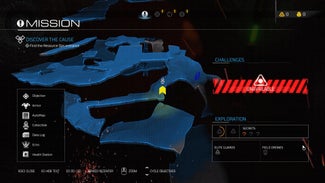
Map view:
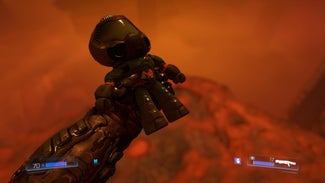
Second UAC Figuer:
The second trophy is hidden in a small alcove to the left as you approach the ascent to the base at the level's end.
Figure view:
Map view:
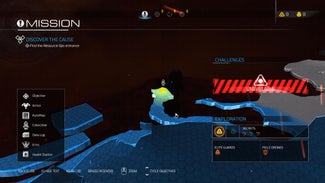
Resource Operations Figures
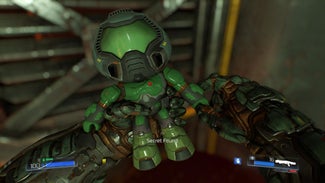
First Resource Operations Figure:
The first figure is tucked away on the outdoor rooftop just beyond the hatch you use to reach the satellite control room.
Figure view:
Map view:
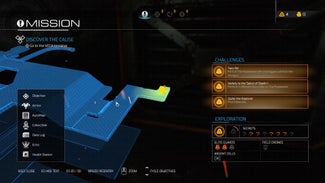
Second Resource Operations Figure:
The second figure can be reached by ascending these crates just before entering the room where you acquire the first Argent Shard.
Figure view:
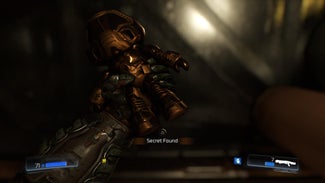
Map view:
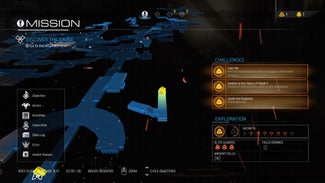
Foundry Figures
First Foundry Figure:
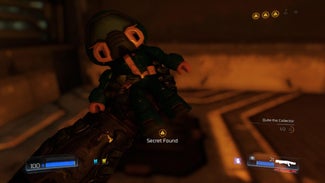
The first figure is located in a hidden area just above lave pool.
Figure view:
Map view:
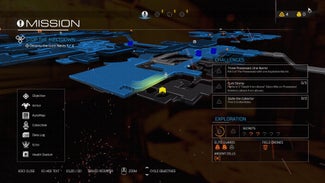
Second Foundry Figure:
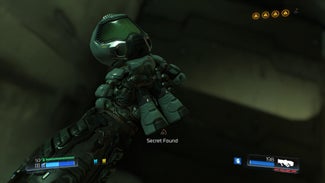
The second figure is hidden in an open-topped crate near two robotic arms.
Figure view:
Map view:
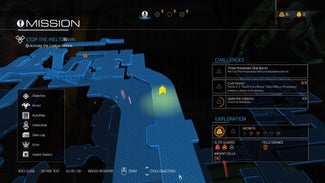
Argent Facility Figures
First Argent Energy Tower Figure:
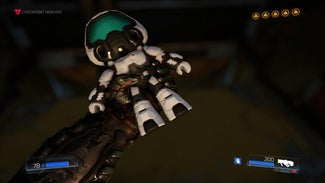
The first figure is located in a hidden area in a hidden track above crates. The figure is concealed in a hidden narrow area. Reach it by leaping up from the crates.
Figure view:
Map view:
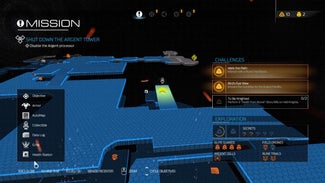
Second Argent Energy Tower Figure:
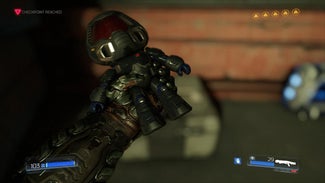
The second figure is above and to the left of a track leading outside on Mission 4 you'll see alcove. A narrow ledge wraps around the cliff from this point. Follow it to a hidden room.
Figure view:
Map view:
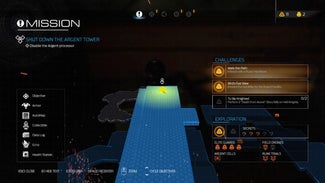
Argent Energy Tower Figures
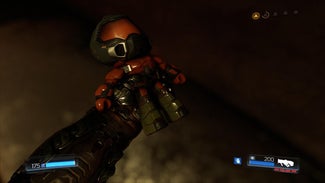
First Argent Energy Tower Figure:
You'll locate the first figure by climbing the walls along both sides of the transport rail until you reach the hidden alcove near the top.
Figure view:
Map view:
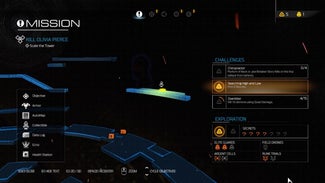
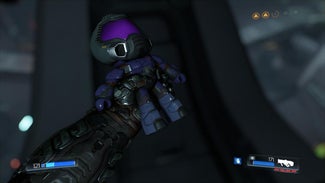
Second Argent Energy Tower Figure:
The second figure is concealed beneath a rail high up during the tower ascent. You can reach it by balancing on a wire and then double-jumping out, then returning to safety the same way.
Figure view:
Map view:
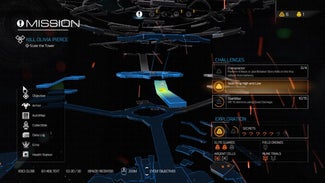
Kadingir Sanctum Figures
First Kadingir Sanctum Figure:
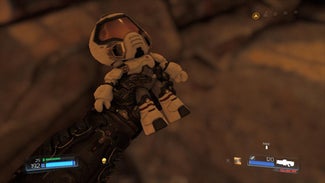
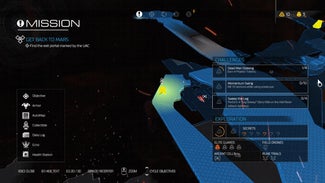
You'll pass the first figure in mission 6 early in the stage, but you won't be able to reach it for a time. The skull switch panel that opens the door is inaccessible until you complete several other mission parameters, including opening the yellow door with the yellow skull much later on. The figure is behind a massive locked door. The panel to open this door is high above, and you won't pass this way until you've completed other portions of the map and activated a series of floating stone panels. So don't worry about this one for a while.
First map view:
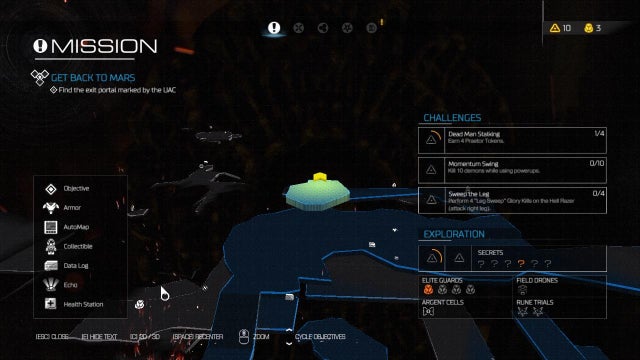
Figure view:
Map view:
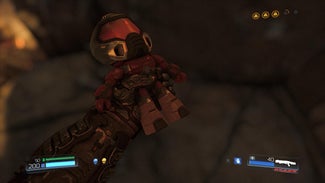
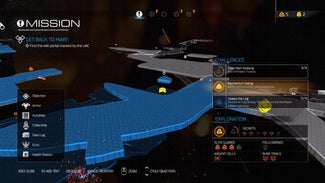
Second Kadingir Sanctum Figure:
The second figure is located in a stone outcropping. You can easily reach it with a double jump.
Figure view:
Map view:
Argent Energy Tower (Destroyed) Figures
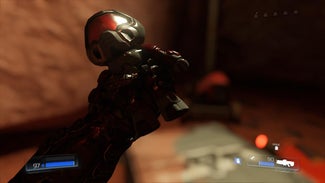
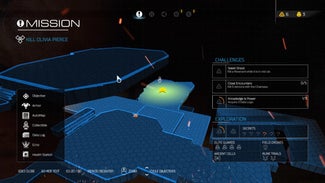
First Argent Energy Tower (Destroyed) Figure:
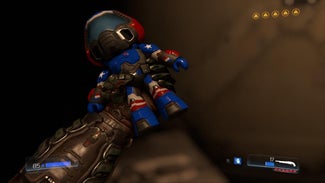
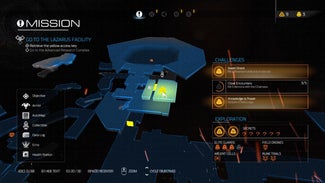
The first figure is located fairly early in the stage. The figure is tucked away inside an alcove.
Figure view:
Map view:
Second Argent Energy Tower (Destroyed) Figure:
The second figure is hidden in an alcove in the ceiling in this section. When below it on the map, look up and you'll see a narrow area to jump to.
Figure view:
Map view:
Advanced Research Complex Figures
First Advanced Research Complex Figure:
You'll find the first Mission 8 model in a small hidden room tucked above ledge.
Figure view:
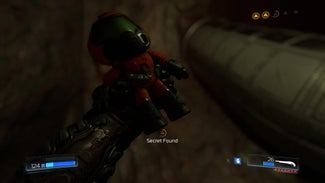
Map view:
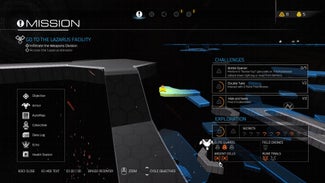
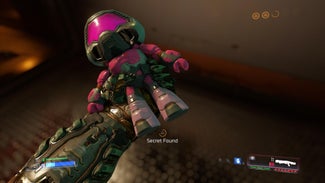
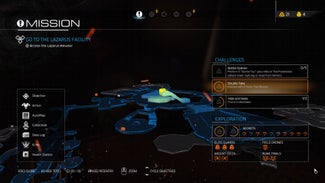
Second Advanced Research Complex Figure:
The second figure is located in the ring of offices surrounding the BFG. You can find the figure by climbing through the pictured vent an dropping own into the area below.
Figure view:
Map view:
Lazarus Labs Figures
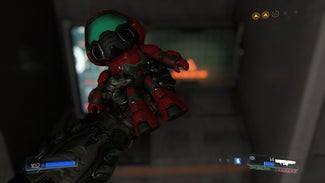
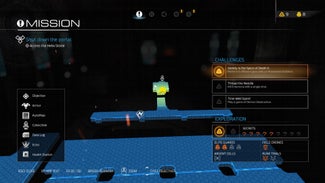
First Lazarus Labs Figure:
The first Mission 9 figure is tucked away in this alcoved chamber just off one of the battle arenas. The area is hidden in a crawlspace behind the hangings against one wall.
Figure view:
Map view:
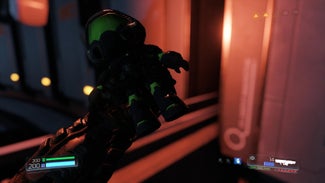
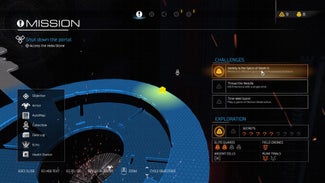
Second Lazarus Labs Figure:
The second model is hidden in a file cabinet along the wall of the large round chamber near the artifact shard. To reveal it, stand very close and press the action button.
Figure view:
Map view:
Titan's Realm Figures
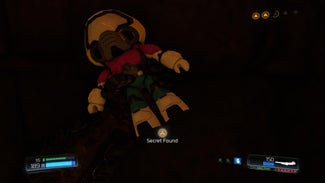
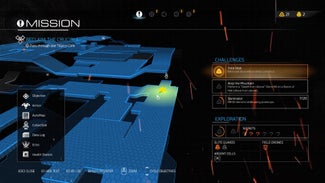
First Titan's Realm Figure:
The first Mission 10 figure is located off one of the larger hell arenas behind a closed panel. To find it, first clear the area of enemies to open the panel. Then step up to collect the model.
Figure view:
Map view:
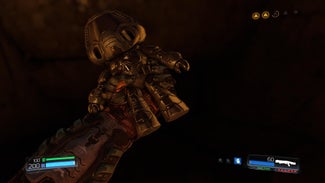
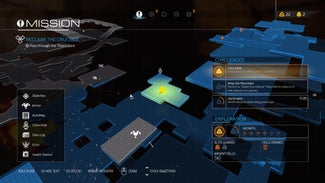
Second Titan's Realm Figure:
The second figure is tucked away in alcove.
Figure view:
Map view:
The Necropolis Figures
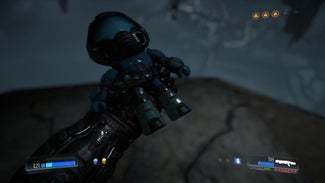
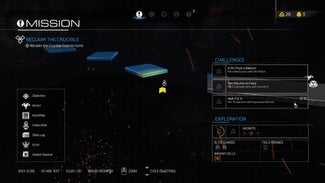
First The Necropolis Figure:
You'll find this figure tucked under one of the floating platforms across the abyss.
Figure view:
Map view:
Second The Necropolis Figure:
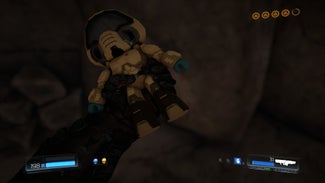
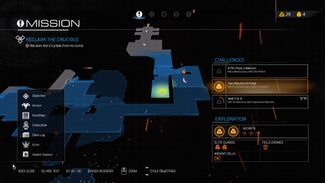
The second figure is specially hidden. behind a glowing red sigil in the forehead of the huge skull. Shooting the sigil with a rocket will release a cube.
Figure view:
Map view:
VEGA Central Processing Figures
First Vega Central Processing Figure:
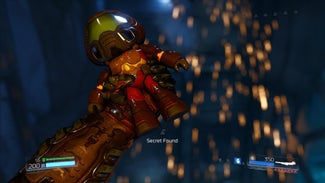
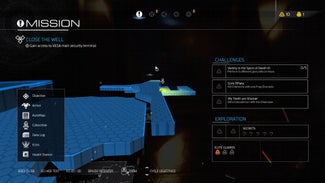
This small ventilation room hides a trophy.
Figure view:
Map view:
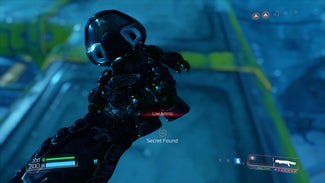
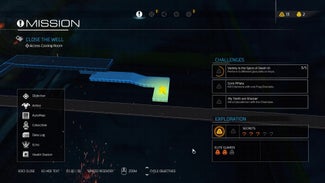
Second Vega Central Processing Figure:
The second figure is located in an outdoor area tucked behind this pole. You'll find it the first time you step outside and see the tram track.
Figure view:
Map view:
Argent D'Nur Figures
First Argent D'Nur Figure:
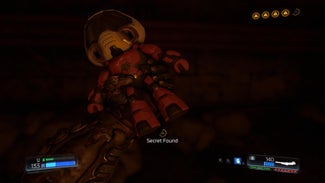
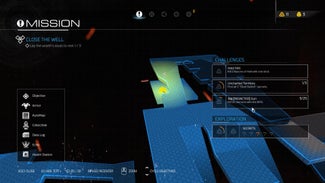
In this level is only one figure!
This figure is hidden beneath the stairs near one of the Wraith Souls. Step through the crack in the stairs to find it.
Figure view:
Map view:
The final model, Spider Mastermind, is obtained after completing the game.
End
Thank you everyone for reading this guide! Hope it was useful for somebody!
I welcome all comments & questions!
In the future, I will be adding more guides in DOOM 2016 and other games, so feel free to award, like and share!
- DOOM Written Guide/Walkthrough for all secrets on each mission including Doomguy locations.★ 5 (4.8k)101k views9.3k ♥45 minUpdated 22 May, 2025
- DOOM 100% Achievement Guide★ 5 (1.5k)65k views2.8k ♥19 minUpdated 30 Nov, 2023
- Все секреты★ 5 (2.8k)54k views4.8k ♥14 minRussianUpdated 6 Jan, 2022
- DOOM Secrets & Collectibles★ 5 (1.2k)49k views2.1k ♥4 minUpdated 4 Dec, 2022
- Secret Doom Classic Level Locations + Easter Eggs★ 5 (1.5k)47k views2.1k ♥13 minUpdated 29 Jan, 2021
- Как уменьшит объем игры(лайфхак)?★ 5 (729)44k views343 ♥1 minRussianUpdated 25 May, 2017



- Upgrading to PremiumTeam Fortress 2★ 5 (20k)1441k views11k ♥6 minUpdated May 11, 2022
- No More Room in Hell Official ManualNo More Room in Hell★ 5 (2.8k)569k views2.1k ♥29 minUpdated Apr 22, 2019
- NMRiH Community Hosting GuidesNo More Room in Hell★ 5 (526)351k views653 ♥1 minUpdated Aug 10, 2022
- ULTIMATE GUIDE FOR GAME DEV TYCOONGame Dev Tycoon★ 5 (5.8k)326k views10k ♥4 minUpdated 23 Jan, 2014
- How to 'Git Gud' Soon™MORDHAU★ 5 (2k)318k views3k ♥68 minUpdated Nov 16, 2024
- Лучшие кооперативные игры SteamPAYDAY 2★ 5 (1.5k)315k views2.1k ♥56 minRussianUpdated Apr 27, 2025






This guide was created by its original author on the Steam Community. Are you the author and want it removed? Request removal.