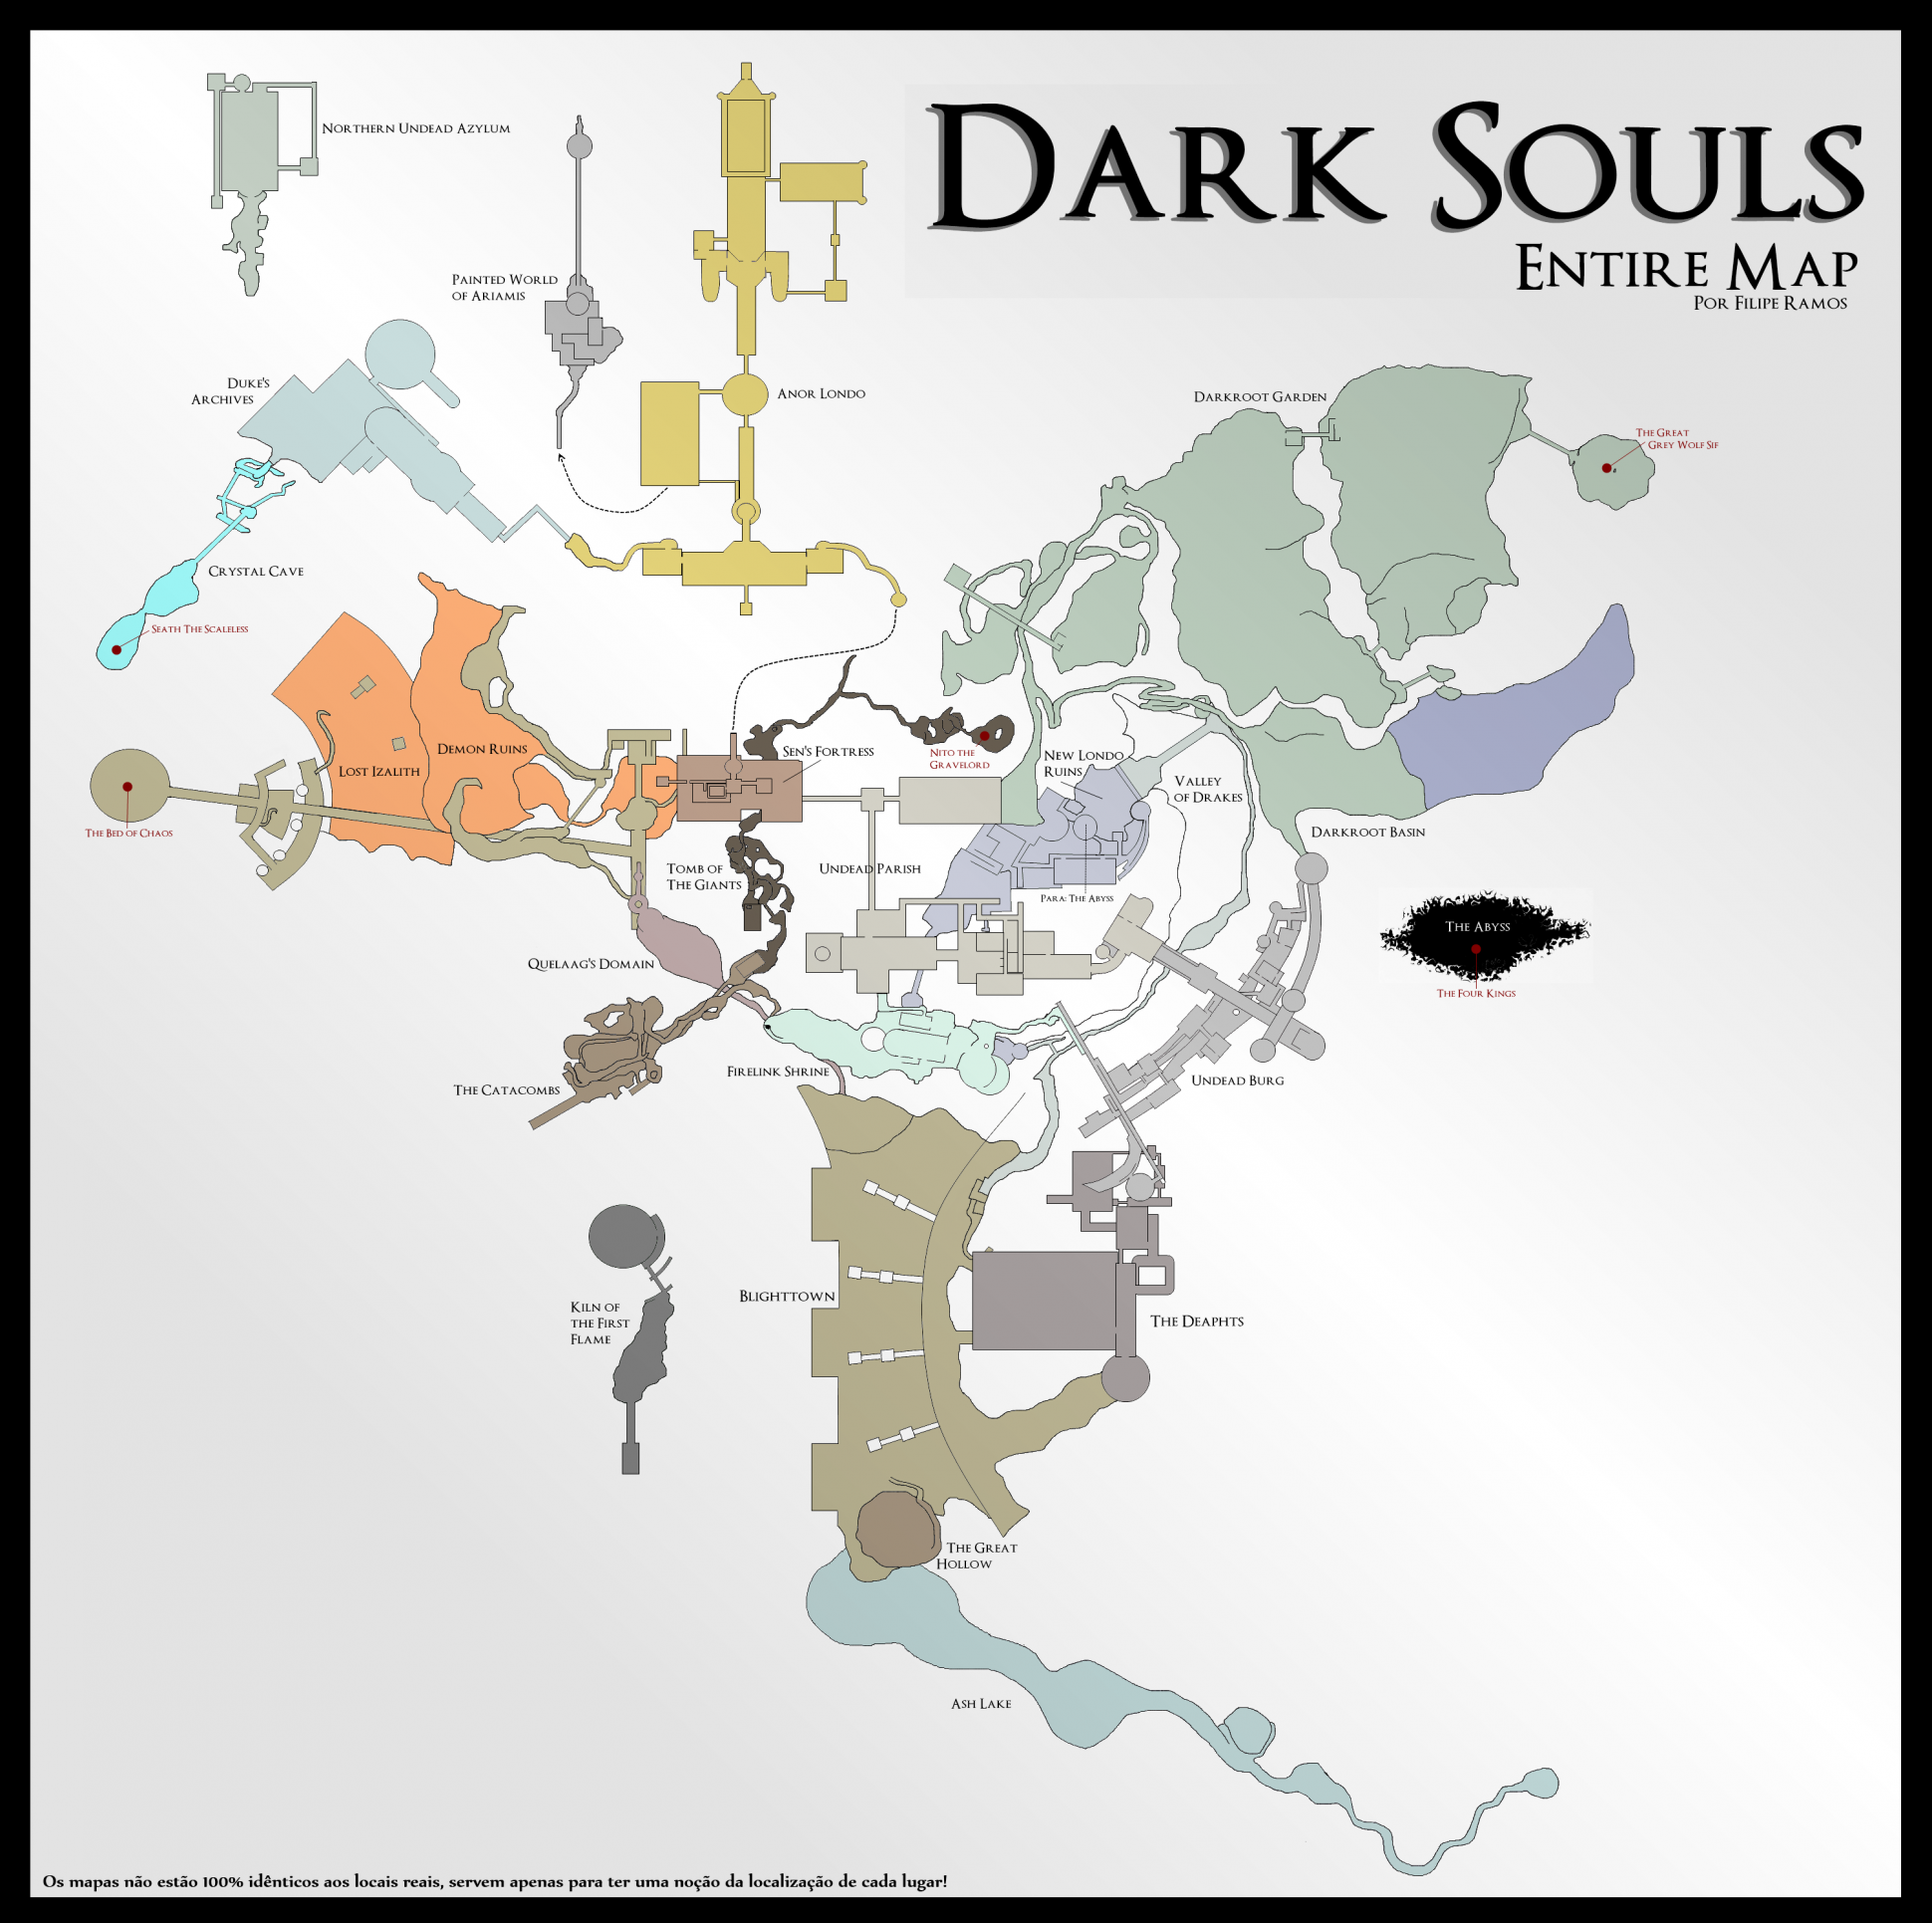
The Asylum Demon is a slow, high-damage boss designed to teach positioning, stamina management, and patience. He has a limited moveset with clear wind-ups, meaning every attack can be avoided consistently once you recognize the animations. The fight becomes simple if you stay behind him, avoid using all your stamina, and only attack during safe openings.
Preparing Before the Fight
When you first drop into the arena, you are holding a Broken Straight Sword and have no proper shield. Fighting him at this point is inefficient for a normal playthrough. Immediately turn left and sprint along the wall toward the small doorway. Do not stop to attack. Even if he jumps or swings, keep running until you exit.
After escaping, progress through the Undead Asylum. Defeat hollow enemies carefully by fighting one at a time. Avoid rushing groups. When you reach Oscar, speak to him to obtain the Estus Flask and the key to continue. Make sure you rest at the bonfire when you reach it so you respawn there if you die.
When you obtain your starting class weapon and shield:
Open the Equipment menu.
Equip the weapon in the right-hand slot.
Equip the shield in the left-hand slot.
Remove the Broken Straight Sword if it is still equipped.
Check your equip load to ensure you are not above 70% (to avoid slow rolling).
Return to the boss arena only after confirming your gear is properly equipped.
Escaping the First Encounter
The first encounter is not meant to be a fight. As you step into the arena, the demon will trigger automatically. Your goal is to reach the small doorway along the left wall. Keep your movement steady and deliberate, hugging the wall to minimize the chance of being hit by his initial jump or swing attacks. Do not hesitate or backtrack, as this increases the risk of being struck. Once you reach the doorway, continue forward to leave the arena entirely. The escape introduces you to timing, stamina conservation, and positioning, even without engaging in combat. Completing this escape allows you to gather resources and prepare properly for the actual fight.
Acquiring Your Starting Gear
After escaping, follow the game’s path to find your class-specific starting weapon and shield. This includes speaking with Oscar to obtain your Estus Flask, which will allow you to heal during combat. Once you have your weapon and shield, open your inventory and equip them properly. Place the weapon in your right-hand slot and the shield in your left-hand slot. Remove the Broken Straight Sword, as it is too weak to handle the fight effectively. Check your equip load to ensure you are below 70%, which allows medium or fast rolls. Make sure you understand how to use your equipped weapon and shield before returning, as these are critical to survival.
Returning to the Boss Arena
With your gear prepared, return to the arena by following the same path you escaped from. As you enter, you can trigger the demon again by walking forward slightly. Immediately locate the ladder on the left side of the room and climb it without locking on, as locking can sometimes interfere with ladder movement. At the top of the ladder, cross the wooden platform carefully, making sure not to fall prematurely. Position yourself directly above the demon, lock on to him, and prepare for your first attack. This controlled re-entry ensures that you start the fight with the tactical advantage.ay.
Performing the Plunging Attack
The plunging attack is the most effective way to start the fight. Stand directly above the demon, lock on, and walk off the platform. Press the light attack button while falling to execute the plunge. If done correctly, this attack will remove a significant portion of the demon’s health before the main fight begins. After landing, immediately roll to create space, as the demon may attempt to counterattack. If you miss the plunge, do not panic. Move back, reposition, and wait for the next safe opening. The fight remains manageable without it, but landing the plunge simplifies the encounter considerably.
Understanding the Asylum Demon’s Moveset
The Asylum Demon has three primary attacks: the horizontal swing, the vertical overhead slam, and the jump slam. The horizontal swing involves a wide, sweeping motion that covers a large area in front of him. Roll through or slightly to the side to avoid it. The vertical slam occurs when he lifts his weapon overhead and brings it down. Roll sideways at the last moment; this attack has a long recovery time that allows two to three safe hits afterward. The jump slam happens when he jumps slightly and crashes down, creating an area-of-effect shockwave. Roll backward twice or sprint away immediately to avoid it. Learning these moves and recognizing their animations is crucial to staying safe while dealing damage.
Positioning and Movement Strategy
Maintaining the correct position is essential. Always aim to stay behind the demon, as most of his attacks are directed forward. Circle around him clockwise or counterclockwise to maintain a safe angle and keep distance from his swings. Attack only after he has finished an animation. Do not attack while he is mid-wind-up, as this increases the risk of getting hit. Locking on can help maintain orientation, but if the camera becomes difficult to manage, unlock temporarily and manually adjust your position. Constant movement and awareness of spacing are more effective than trying to trade hits or stay in one place.
Stamina Management
Every attack and roll consumes stamina, which is critical in this fight. Never attack until your stamina is low enough that you still have a portion left for emergency rolls. Limit yourself to two hits per opening if using a medium-speed weapon, or one heavy hit if your weapon is slow. Always leave enough stamina to roll at least once in case the demon’s next attack comes unexpectedly. Avoid holding up your shield continuously, as this reduces stamina regeneration and can leave you vulnerable.
Safe Damage Windows
The best times to attack are immediately after a horizontal swing has been dodged, after a vertical overhead slam has finished, or after a successful plunging attack. These windows are predictable, and attacking during them ensures minimal risk. If you are unsure whether it is safe to strike, prioritize repositioning over attacking, as survival is the most important factor.
Build-Specific Tips
For Knight or other heavy armor classes, blocking early attacks can help, but don’t rely on it entirely. Pyromancers can use ranged fireballs during openings but must respect his jump slam. Light classes like Deprived or Thief need to focus heavily on positioning and dodging, as their health and stamina are lower. Weapon choice also affects the number of hits you can safely perform per opening. Adjust your strategy according to your build.
Final Strategy Recap
Start the fight with the plunging attack from above. Maintain distance and stay behind the demon, circling to avoid his swings. Attack only during safe windows and limit hits to avoid running out of stamina. Roll through or away from horizontal swings, dodge sideways for vertical slams, and roll back from the jump slam. Manage stamina carefully, reposition constantly, and repeat the pattern until the boss is defeated. Following this step-by-step approach ensures a consistent and controlled victory.