DOOM - A Quick Guide.
Learning the Basics.
When playing, it is necessary to take into consideration the basic mechanics that the game offers.
Remember that practice makes perfect, and learning from your mistakes will determine if your final strategy will be useful.
Movement:
Hell devours the indolent.
Move around the environment to dodge enemy attacks, find cover, and loot. A key element of Doom is the ability to move quickly and freely throughout the levels. Use the WASD keys to move forward, back, strafe left, and strafe right. To jump, press the spacebar, and to crouch, press the C key.
Shooting:
If an enemy has a head, it's a weak spot.
Use your arsenal of weapons to take out hordes of demons. Remember to use the right weapon for the job - shotguns are great for close-range combat, while assault rifles are good for medium- to long-range encounters. The game offers a wide variety of weapons to help you take on the demons, including the Doom Slayer's signature shotgun, heavy assault rifle, plasma rifle, and more. Using the 1-9 keys on your keyboard, or the Q key, you can switch between your weapons quickly and easily.
Glory Kills:
Glory Kills cause demons to drop more health pickups.
When an enemy is stunned, you can execute a Glory Kill by pressing the F key. This will allow you to tear the enemy apart and restore health. Glory kills are a critical part of the game combat system, as they can help you stay alive in intense combat situations. They also help you maintain your momentum and keep the pace of the game constant. If you see an enemy glowing and staggering, it's often better to get close and perform a glory kill over saving your ammo by shooting them until they die.
Chainsaw:
Demons drop more ammo pickups when killed by the chainsaw.
The chainsaw can slice through demons and regenerate ammo from their remains. It has a limited number of charges, but each use can kill demons in one shot and regenerate the player's ammunition. To use the chainsaw use the G key, get close to a demon, and press the attack button. Be careful though, using the chainsaw can leave the player vulnerable to other attacks. It's a powerful weapon that can come in clutch when you're low on ammo, but it's important to use it at the right time to maximize its potential.
- None.
Combat Shotgun.
- Charged Burst: Turns the shotgun into a three-round burst weapon, increasing its damage output.
- Explosive Shot: Allows you to shoot a powerful explosive that can travel a long distance, it also damages demons nearby the explosion.
Heavy Assault Rifle.
- Tactical Scope: The scope allows better accuracy, this modification allows the weapon to mantain a rapid and continuos fire, helping you to pick off stragglers from a safe distance.
- Micro Missiles: A grenade type modification that fires small, explosive projectiles that can seek out enemies and explode on impact. They are effective against multiple enemies.
Plasma Rifle.
- Heat Blast: It creates a damaging heat burst on impact, which can quickly kill multiple weak enemies, and deal considerable ammount of damage.
- Stun Bomb: Fires an electrified shot, causing nearby enemies to be briefly stunned, making them vulnerable to damage.
Rocket Launcher.- Lock-On Burst: Allows the weapon to lock onto a target and fire homing rockets, recommeded against quick-moving demons.
- Remote Detonation: Makes the weapon fire a rocket that can be detonated at a desired location, allowing dealing damage to groups of enemies and hit targets behind obstacles.
Super Shotgun.- None.
Gauss Canon.*- Precision Bolt: Adds a railgun scope to the weapon, enabling charged shots that penetrate multiple enemies or fortified demon armor.
- Siege Mode: Charges up the weapon, allowing to fire a high-powered energy beam that deals massive damage to enemies.
Chaingun.- Gattling Rotator: It gives the weapon the capability to fire inmediately by preemptively spinning itself up without firing.
- Mobile Turret: Enables the weapon to deploy a stationary turret, increasing its rate of fire and providing better stability.
Secondary Weapons.- Frag Grenade: A lethal explosive that deals massive damage, ideal to get rid of enemy groups, it can also be used to kill tough enemies.
- Hologram: A tactical tool that creates a holographic decoy of yourself, confusing and disorienting the enemies. Use it to draw attention away from you, take advantage of this and recover your health if it is possible.
- Siphon Grenade: A specialized grenade that creates a sphere of energy that heals you while damaging and stunning enemies in its radius. It's a great way to quickly recover health while also neutralizing threats.
Power-ups.Power-ups are special items that can find scattered throughout the game world. When collected, they provide temporary boosts to abilities such as increased damage output, speed, and the ability to instakill any enemy. There are a variety of power-ups available, which can be found on the ground.- Berserk: This power-up turns your fists into devastating weapons, allowing you to unleash devastating melee attacks. When activated, your punches become incredibly powerful, instantly killing most enemies with a single hit. It also grants you increased speed and durability, making you nearly invincible for a short duration. The Berserk Power-Up is perfect for engaging in close-quarters combat and tearing through waves of demons.
- Quad Damage: As the name suggests, this power-up quadruples the damage output of your weapons, making them incredibly lethal. It enhances the firepower of all your weapons, including the chainsaw and BFG, allowing you to annihilate enemies in the blink of an eye. The Quad Damage Power-Up is particularly useful against larger, tougher enemies or when facing crowds of demons, maximizing the damage you can dish out.
- Haste: This power-up grants you a significant boost in speed, allowing you to move faster, reload quicker, and fire your weapons at an accelerated rate. It also enhances your overall agility, making it easier to dodge enemy attacks and maneuver quickly through the environment. The Haste Power-Up helps you maintain a tactical advantage, enabling you to quickly eliminate enemies before they have a chance to react.
- Invincibility: A very rare power-up that makes you... well, invincible. Any damage you take during this period is nullified, even if it's from the biggest, nastiest demons in Hell. It's a great power-up when you need to quickly move through a large group of enemies.
Once the basics are broken down, we can move on to the general aspects, this with the intention of generating a better understanding of the game. Once these important points are understood, the gameplay will be much smoother and in a certain way, fast.
Understanding the mechanics.
Players can also use a variety of movement abilities, such as double jumping, to navigate the complex environments and gain an advantage in combat.
Here are a few tips to gain a better understating of the game's AI:
- Observe Enemy Behavior: Pay close attention to how enemies react to your movements and actions. Take note of their attack patterns, mobility, and any specific strategies they employ.
- Study Weaknesses: Each enemy type has specific weaknesses that can be exploited. Learn the weaknesses of different enemies and use the appropriate weapons and tactics to take them down.
- Use the Environment: The AI is designed to interact with the game environment. Utilize the terrain, objects, and obstacles to your advantage. For example, you can use the explosive barrels to deal greater damage and eliminate enemies more efficiently.
- Be Agile: The AI in this game is very aggresive, so being stationary can make you an easier target. Keep moving and stay alert to avoid incoming enemy attacks and create openings for counterattacks.
- Monitor Health and Ammo: Keep an eye on your health, armor and ammo supplies. The AI in this game sense when yyou're low on health and ammo and may become even more aggresive. Make sure to manage your resources effectively to stay prepared for intense combat scenarios.
- Experiment with Different Strategies: The AI is designed to adapt to your playstyle. Therefore, it can be beneficial to experiment with different strategies in combat to keep the game play fresh and challenge the AI to adjust.
- Prioritize Targets: When facing multiple enemies, prioritize your targets based on their treat level. Some enemies may deal more damage or have special abilities, so taking them out first can make a significant difference in your survival.
One common tactic is to use cover to block incoming enemy fire and to avoid taking damage. This can be especially helpful when dealing with large numbers of enemies, such as the Imps or Soldiers, which can overwhelm the player with their numbers.
Here are some tips to build some tactics:
- Utilize Glory Kills: Glory Kills not only provide a satisfying finishing move but also replenish your health. Use them strategically to finish off weaker enemies and regain health in the process, but keep in mind that sometimes executing this move will leave you vulnerable to incoming enemy attacks that might be lethal.
- Weapon Selection: Experiment with different weapons, find the ones that suits your playstyle and helps you to adapt to the stuation. Each weapon has strenghts and weaknesses.
- Environmental Awareness: Pay attention to your surroundings, it is well known that the environment can be used in your advantage, but it can also be turned against you. Acid spilled around the floor, lava, cryogenic floor and a fall from the map, could be the cause of certain death.
- Resource Scavenging: Explore levels throughly to find additional health, armor, and ammo pickups. Hidden areas contain valuable resources that can greatly aid you in tough battles.
- Ammo Management: Ammo can be scarce, especially during intense battles. Keep an eye on your ammo reserves and switch between weapons accordingly to conserve ammunition. Utilize the chainsaw to instantly kill enemies and receive ammo drops.
- Optimize Chainsaw Usage: The chainsaw is a powerful tool that can instantly kill enemies, but consumes fuel. Save the chainsaw for tougher enemies or when you're in desperate need of ammo.
- The evasive playstyle emphasizes quick, agile movements and the use of cover to avoid enemy attacks. Players with an evasive playstyle are constantly moving, jumping, and using their abilities to stay one step ahead of the enemies. To be successful as an evasive player, it's important to have a good understanding of the map layout and terrain, and to be able to quickly adapt to changing circumstances. This playstyle is ideal for players who enjoy fast-paced action and a high level of difficulty.
- The defensive playstyle is characterized by a slower, more cautious approach to combat. Players with a defensive playstyle are content to stand their ground and let the enemies come to them, using cover and their weapons to take them down from afar. To be successful as a defensive player, it's important to have a good aim and a keen eye for weak points in the enemies' armor. This playstyle is ideal for players who enjoy a more relaxed pace of play, but who still want to take down large numbers of enemies.
- The aggressive playstyle is characterized by a fast-paced, all-out attack on the enemies. Players with an aggressive playstyle are constantly on the move, using powerful weapons and combo moves to take down enemies as quickly as possible. To be successful as an aggressive player, it's important to have excellent reflexes and a quick thinking mind, as well as a solid understanding of the game's mechanics. This playstyle is ideal for players who enjoy high-stakes action and the thrill of victory.
Balancing the three playstyles is crucial because the game requires different approaches at different times. Some moments call for aggression and action, while others require a more cautious and defensive approach. Learning to balance these three styles allows players to adapt to different situations and overcome the various challenges that the game throws at them.
Meeting the Demons.
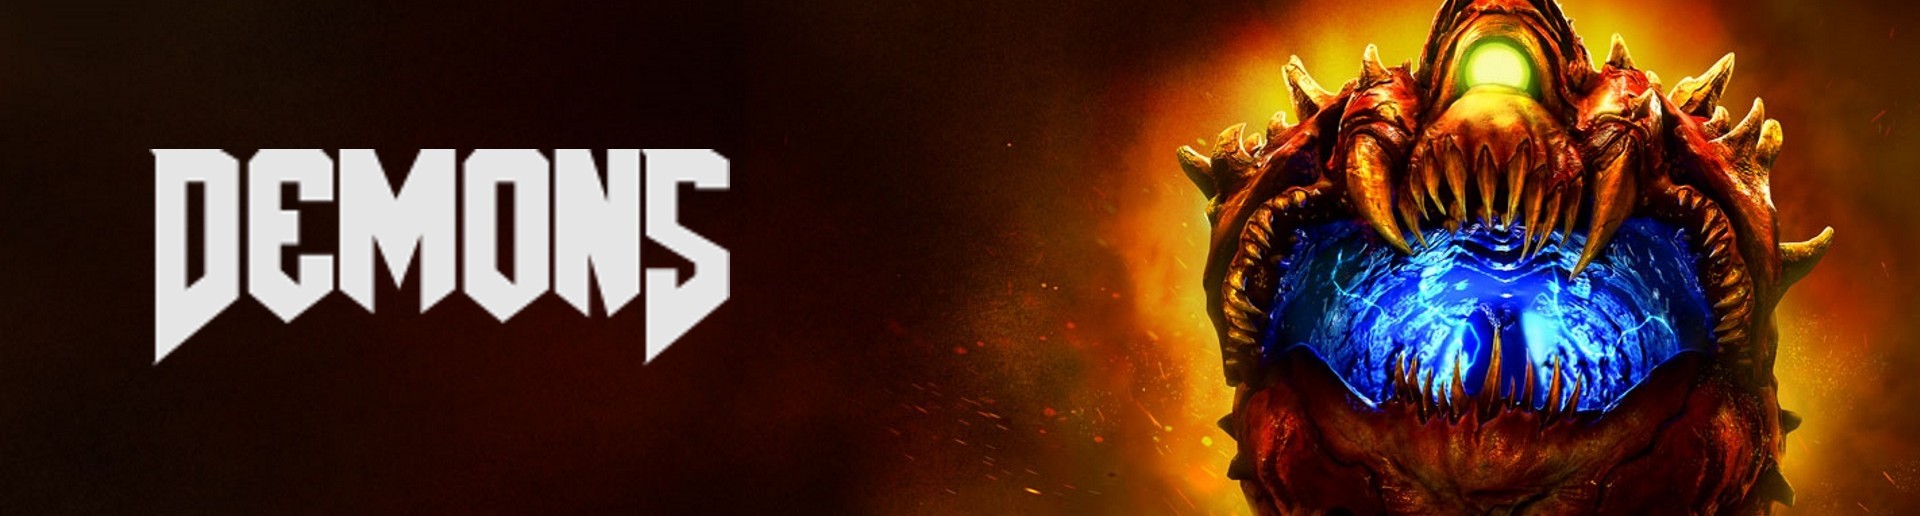
Health level: Low. Threat level: Low.
The Possessed are fragile and slow enemies that are used mainly to farm health and ammunition, they're weak and little resistant, so almost every weapon in your arsenal can kill them quickly.
The Unwilling.
Health Level: Low, Threat Level: Low.
There are no differences between The Possessed and The Unwilling beyond the appareance.
Possessed Engineer.
Health Level: Low. Threat Level: Low.
It is pretty rare to encounter with this enemy on a mission, they mostly act as a hazard because of the explosives they have on their bodies, be sure to kill them at distance. An explosion triggered by them can result in a fatal experience, even though they can be quick, its trayectory is pretty linear.
Imp.
Health Level: Low. Threat Level: Medium.
Imps are quick and agile creatures that can attack either with proyectiles or go melee. Even though their health level is not that high, this enemies can inflict a great amount of damage by using a charged fireball, and also can break your armor if they're constantly pounding. The use of the Combat Shotgun is highly recommended to get rid of them quickly.
Possessed Soldier.
Health Level: Low. Threat Level: Medium.
This enemies are slow and their attacks usually rely on proyectiles, better watch out for their charged shot, it deals quite the damage and usually are followed by two other shots. They are often encountered in groups and are among the most common enemies you'll face in the game. Weapons with high damage like the Combat Shotgun are greatly recommended.
Hell Razer.
Health Level: Low. Threat Level: Medium.
The Hell Razer is in fact an enemy that is particularly similar to Possessed Soldiers, the main difference between them is their main attack, while soldiers tend to use proyectiles, the Hell Razer attacks with a beam that travels across the area, always be aware of them and try to notice when the beam is charging to avoid it quickly.
Possessed Security.
Health Level: Medium. Threat Level: Medium.
A variant of the Possessed Soldiers, the Possessed Security alludes to its name because of the energy shield they use to protect themselves, its attacks are mostly proyectiles but unlike the soldiers, its weapon acts more similar to a shotgun than a plasma rifle, so the distance is not a big problem, but the damage is. Since the shield protects the enemy, the chainsaw is a recommended tool to deal with them, or using weapon mods such as Stun Bomb or Remote Detonation can deal severe damage to them.
Hell Knight.
Health Level: Very High. Threat Level: High.
The Hell Knights are imposing, melee combat focused, and highly aggressive demons, that serves as formidable foes, capable of shredding foes up close with powerful moves. They move really fast and will always try to reach your position, keep in mind that jumping to avoid Hell Knights ground pounding is crucial for survival, also, weapons like the Gauss Canon, Rocket Launcher and Super Shotgun are highly recommended to get rid of them.
The Revenant.
Health Level: High. Threat Level: Very High.
The Revenant is a tall, skeletal humanoid with two large shoulder mounted rocket launchers. It's a strong, agile enemy that can cause heavy damage in melee attacks. It can fire rockets that deal high damage when they impact, making it a dangerous foe. Its primary weakness is that its movement is slow and it must stand still to fire its rockets, making it vulnerable to attack. But don't get too comfortable, as its high health and aggressive behavior make it a tough opponent to take down.
Mancubus.
Health Level: High. Threat Level: High.
A massive, hulking, and extremely aggressive demon. These brutes are equipped with a deadly flamethrower that can rapidly consume you in mere moments, and can also shoot proyectiles from their cannons. If you are nearby a Mancubus, it will use its vent attack to push the player away while also dealing damage. The main weakness of this demon is its stomach, the Plasma Rifle, Gauss Cannon and Rocket Launcher are the best weapons to use against this enemy.
Lost Soul.
Health Level: Low. Threat Level: High.
The Lost Soul is a flying, demonic, skull-headed spirit that attacks by flying straight into a target and exploding in a burst of fire. Hearing their scream and not seeing where a Lost Soul is coming from is extremely dangerous, try to locate them as best as possible to eliminate them quickly.
Cacodemon.
Health Level: Medium. Threat Level: High.
Cacodemons are extremely aggressive enemies, a serious threat in the game. These flying demons are capable of hurling deadly orbs of plasma, which can be difficult to dodge. They also possess a powerful melee attack that can shred through your health bar which is its bite. By using the Gauss Cannon you can cause the demon daze, heavy ammo weapons are recommended.
Baron of Hell.
Health Level: Very High. Threat Level: Very High.
Fearsome and formidable, with the ability to fight both at close range and from a distance. The Baron of Hell, is one of the strongest and most lethal demons to appear in the game. Their main abilities consist of powerful melee attacks that can quickly tear a player's health bar apart, as well as an array of ranged attacks that can cause significant damage to players from a distance.
The Summoner.
Health Level: Medium Threat Level: Very High.
As it name suggest, it can summon other demons to help it in battle, making it a powerful adversary. The Summoner moves extremely fast, leaving a red trail behind. It mostly attacks at long range, shooting concentrated hell energy waves at you and dealing a lot of damage. Be sure to prioritize this demon at all costs, if it is not eliminated in time, the hordes of demons will become increasingly overwhelming and the encounters will take longer than necessary. You'll know a summoner is nearby when a shrill scream is heard in the area.
Cyber-Mancubus.
Health Level: Very High. Threat Level: Very High.
Cyber Mancubus is a highly advanced and deadly version of the Mancubus that possesses advanced armor and weapons, it is capable of firing corrosive bile via grenades and poison the floor with it. In the other attacks, everything remains the same, although it is also worth noting that it can shoot twice as much and twice as fast as its normal version. The Rocket Launcher and the Heavy Assault Rifle are highly recommended weapons to take down this beast.
Pinky.
Health Level: High. Threat Level: Medium.
The Pinky is a large and imposing enemy with powerful attacks, that can charge at the player and cause immense damage. It possesses thick armor on the front of his body, and its weak point is on the back, where its flesh is exposed, a shot from a powerful weapon such as the Gauss Cannon can kill it with one shot. Due to its linear attacks and lack of attack variety, it doesn't pose much of a threat.
Spectre.
Health Level: High. Threat Level: Very High.
Despite not having notable differences with the Pinky. These creatures bear this name because they are invisible, posing a greater threat.
Walking Around.
- Plasma Rifle.
You can find this weapon on the Resource Operations map, accesing a secret area after collecting the Yellow Keycard. - Rocket Launcher.
The Rocket Launcher can be found on the Foundry map, located on a desktop in a secret area. - Super Shotgun.
Located on the Argent Facility map, can be found on a easy to miss path holded by a corpse. - Gauss Cannon.
The Gauss Cannon can be found in a tricky location on the Argent Tower map. - Chaingun.
This weapon can be found on the Kadingir Sanctum map, located inside a little cave.
The UAC facility scenarios are characterized by their industrial environments, advanced technology, and the pervasive threat of demonic presence. As players progress through these scenarios, they uncover the extent of the UAC's experiments and the chaos unleashed by the demonic invasion. As players delve deeper into the facility, they encounter various research areas and industrial sectors, each filled with their own challenges and enemies. The corridors are littered with the remnants of the UAC's personnel, hinting at the scale of the disaster. The advanced technology present throughout the facility provides both opportunities and obstacles, with security systems and environmental hazards adding to the complexity of navigation. Most of the time, these maps are kind of linear, which means it is hard to get lost.
Hell.
After leaving Mars, players enter the Hell dimension itself. This environment is a twisted, nightmarish realm filled with ancient ruins and demonic architecture. Hell’s environments are designed to evoke a sense of both awe and terror. The realm is filled with sprawling ruins, ancient temples, and colossal structures that seem to defy the laws of physics. The architecture is a mix of demonic and archaic designs, with jagged, organic shapes and blood-red hues dominating the landscape. The ground is often cracked and molten, with rivers of lava and pools of blood adding to the atmosphere. Unlike the advanced and sterile environments of the UAC on Mars, Hell is depicted as a place of decay, corruption, and primordial power. In contrast with the industrial maps, Hell maps are not linear and you might often get confused if not paying enough attention.
Even in a seemingly linear map, using the automap, exploring areas thoroughly, and paying attention to the environment are crucial for maximizing your gameplay experience. While the primary path may guide you through the essential objectives, the game's meticulously crafted environments often hide valuable secrets, upgrades, and lore. Exploration rewards players with advantages that can make challenging battles more manageable and enrich the overall experience.
Wrecking the Bosses.
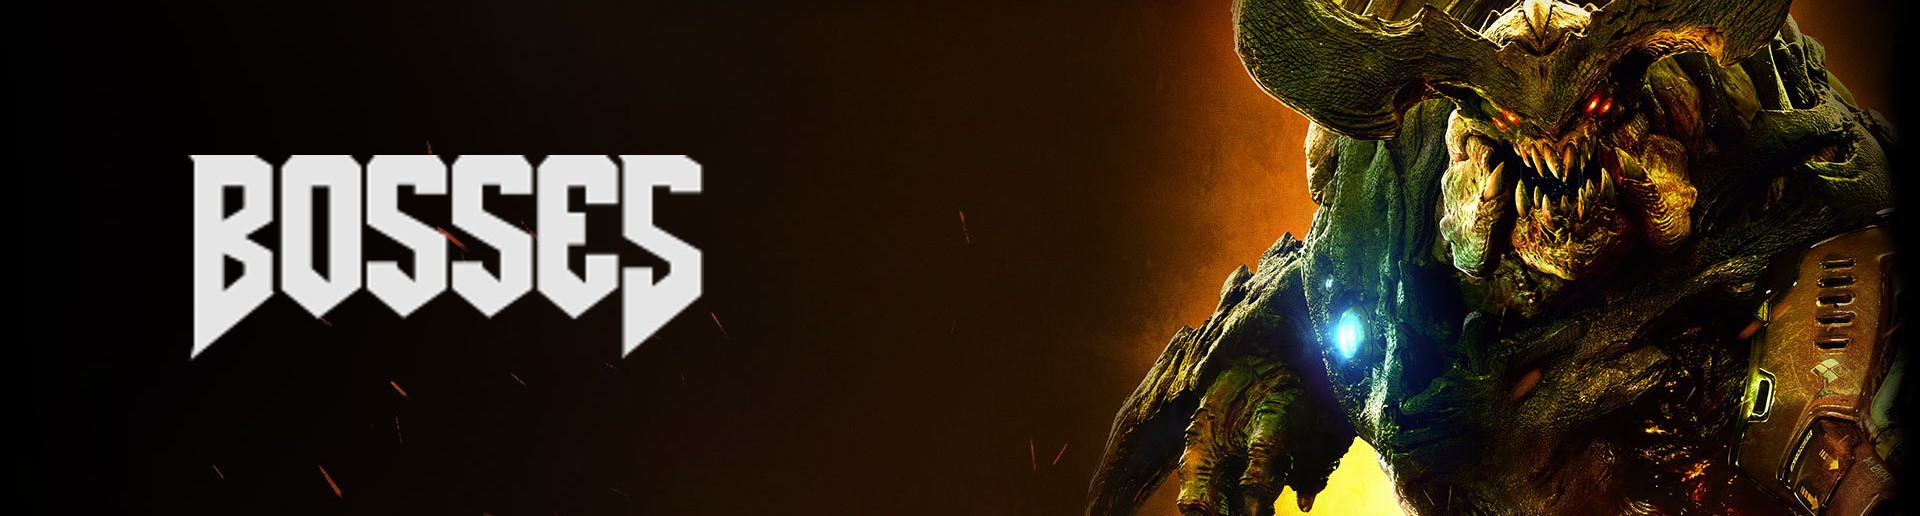 Here are some reasons why understanding how the bosses work is important:
- Increased Survivability: By understanding the bosses' abilities, players can anticipate their attacks and take steps to avoid being hit. They can also exploit the bosses' weaknesses to take them down more quickly, decreasing the risk of being overwhelmed or taken down.
- More effective Tactics: With a better understanding of the boss' behavior, players can choose more effective tactics to take the enemies down. This may involve focusing on specific weak points or using certain weapons and abilities to gain an advantage.
- Improved Performance: Understanding the bosses' behavior can lead to faster and more efficient kills, allowing players to progress through the game more easily and to achieve higher scores and performance levels.
The Cyberdemon.
The Cyberdemon is a powerful and challenging behemoth, combining immense strength and advanced technology to become a truly formidable opponent. As you fight the Cyberdemon, it will use its powerful laser cannon to rain down devastating projectiles or a poweful beam at you from a distance, and its rocket-powered fists to smash you to bits if you get too close. Be careful and always pay attention to the blades it has in its right arm, it can summon Hell Waves and throw them right at the player's position. It's also important to save your strongest weapons like the Chaingun and the Gauss Cannon for this fight. Don't be afraid to use every tool at your disposal, including the BFG.
The Hell Guards.
The Hell Guards are formidable enemies, a trio of undead knights. Each guard is armed with a unique weapon and has its own fighting style, making this fight a real challenge.
To defeat the Hell Guards, you'll need to identify which foe is holding which weapon and adapt your tactics accordingly. The shield knight is the first one you'll face, it is highly defensive and will wrap in an energy field to protect itself. Be sure to watch carefully whenever energy spheres are created, so the player can shoot at them and destroy them, leaving the guard stunned and vulnerable. The mace knight is the most aggressive and will charge straight at you with his mace held high, while the spear knight has a longer reach and will constantly attack you with fireballs that travels across the area.
The Spider Mastermind.
The Spider Mastermind is a massive spider-like entity, with a powerful plasma cannon mounted on its body. The Mastermind is the final boss of the game, and defeating it requires the use of all your arsenal. With its powerful cannon, the Mastermind can inflict heavy damage from a distance. It can electrify the floor, and also drain your health if you're still on the ground, to avoid this attack, some platforms will eventually appear, so the player can go up to stay on them. Be careful, because it also can cause spikes to appear on the platform the player is on. The cannon mounted on the Mastermind's body, will start glowing red, that means it's getting ready to fire a devastating energy strike. Getting caught in the blast will not only deal significant damage but can also destroy parts of the arena, making it harder to avoid attacks and deal damage. Also, the BFG deals a lot of damage and stuns it, it is highly recommended to use from one to four shots to end the fight quickly.
Overall, analyzing the bosses can help you become a better player, improve the quality of your gameplay experience, and give you a greater appreciation for the game's story and world.
End of the Path.

Another important aspect of Doom gameplay is resource management. Players are required to manage their health, armor, and ammo. As the game progresses, different types of enemies will require different strategies to defeat them effectively, meaning that players must stay on their toes and adapt their tactics constantly.
While the game is primarily focused on fast-paced action and combat, there are also moments of tension and suspense, such as when you must navigate through dark and twisted corridors, avoiding traps and potential ambushes.
Familiarize yourself with the hazards: Keep an eye out for acid spills, lava puddles, and other dangerous obstacles that can cause significant damage and even death. You can avoid these hazards by jumping over them, or finding alternate routes.
Use cover to your advantage: Cover can come in many forms, including walls, and other obstacles. Protect yourself from enemy attacks and to get a better angle on your targets.
Manage your weapons and ammo: You’ll want to be strategic about which weapons you choose and how you use them. Be aware of the strengths and weaknesses of each weapon and try to conserve ammo for future encounters.
Be aware of the level layout: Before engaging in a battle, take the time to survey the level layout and identify choke points, alternate routes, and other key features. This can help you plan your approach to combat and maximize your chances of success.
Utilize your upgrades wisely: Throughout the game, you’ll have the opportunity to upgrade your weapons, armor, and other equipment. Be strategic about upgrading and choose options that complement your playstyle and the challenges you’re facing.
Gear up, soldier, and prepare to delve into the chaos.
- DOOM Written Guide/Walkthrough for all secrets on each mission including Doomguy locations.★ 5 (4.8k)101k views9.3k ♥45 minUpdated 22 May, 2025
- DOOM 100% Achievement Guide★ 5 (1.5k)65k views2.8k ♥19 minUpdated 30 Nov, 2023
- Все секреты★ 5 (2.8k)54k views4.8k ♥14 minRussianUpdated 6 Jan, 2022
- DOOM Secrets & Collectibles★ 5 (1.2k)49k views2.1k ♥4 minUpdated 4 Dec, 2022
- Secret Doom Classic Level Locations + Easter Eggs★ 5 (1.5k)47k views2.1k ♥13 minUpdated 29 Jan, 2021
- Как уменьшит объем игры(лайфхак)?★ 5 (729)44k views343 ♥1 minRussianUpdated 25 May, 2017



- Upgrading to PremiumTeam Fortress 2★ 5 (20k)1441k views11k ♥6 minUpdated May 11, 2022
- No More Room in Hell Official ManualNo More Room in Hell★ 5 (2.8k)569k views2.1k ♥29 minUpdated Apr 22, 2019
- NMRiH Community Hosting GuidesNo More Room in Hell★ 5 (526)351k views653 ♥1 minUpdated Aug 10, 2022
- ULTIMATE GUIDE FOR GAME DEV TYCOONGame Dev Tycoon★ 5 (5.8k)326k views10k ♥4 minUpdated 23 Jan, 2014
- How to 'Git Gud' Soon™MORDHAU★ 5 (2k)318k views3k ♥68 minUpdated Nov 16, 2024
- Лучшие кооперативные игры SteamPAYDAY 2★ 5 (1.5k)315k views2.1k ♥56 minRussianUpdated Apr 27, 2025






This guide was created by its original author on the Steam Community. Are you the author and want it removed? Request removal.