Halo 3 Weapon Stats
Forward - Welcome to the Armory
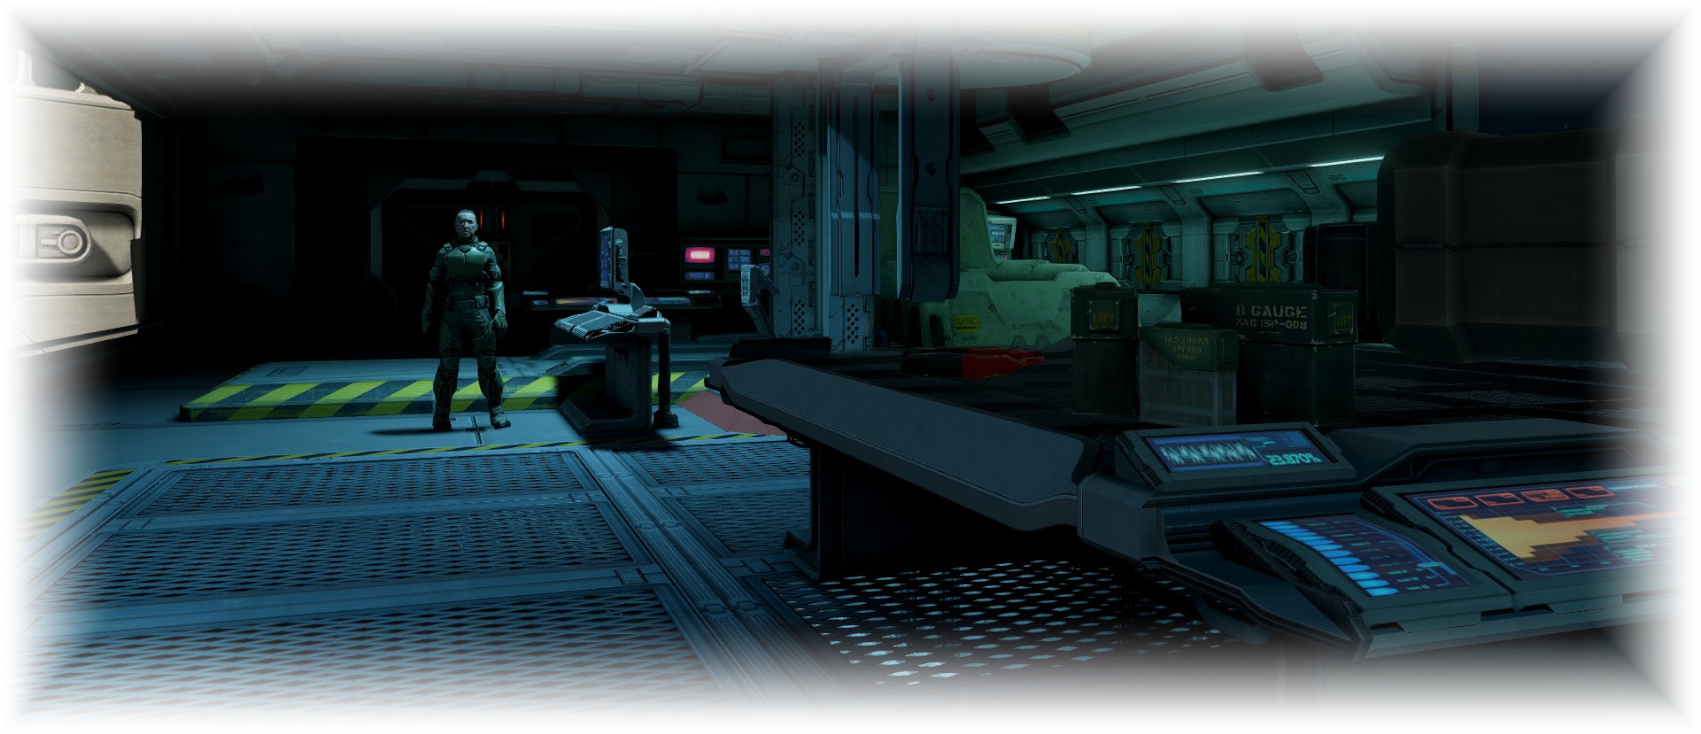
"Pay attention, 'cause I'm only going over this once."
-----------------------------------------------------------------------------------------------------
-- Two Handed Guns --
Attributes
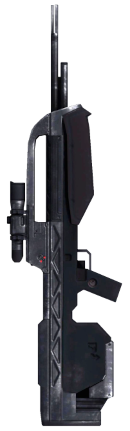
- Damage Type(s): The general and specific damage types used by a weapon's projectile. These are useful when calculating final damage with the damage table[www.halopedia.org]. If a weapon only has one type listed then it is the general damage.
- Damage: Damage done by a projectile. If a weapon has two numbers, the damage starts at the higher number and falls off to the lower one over the range of the projectile.
- Rounds Per Second: The number of "firing effects" created per second. Usually bullets.
- Velocity: The max speed a projectile moves through the air, expressed in world units per second (wu/s).
- Range: How far a projectile will travel before despawning, expressed in world units (wu).
- First Shot Error: Determines the cone your bullet can be within during your first shot, most important for dualies, expressed in degrees (deg).
- Cone of Fire: The minimum and maximum cones around the desired path a bullet can be offset by RNG during sustained fire, expressed in degrees (deg).
- Bloom Growth Time: The time it takes to reach a weapon's maximum cone of fire under constant fire, expressed in seconds (sec).
- Bloom Recovery Time: The time it takes to reach a weapon's minimum cone of fire when not firing, expressed in seconds (sec).
max-min
7.264(adj)†
2.421(fips)*
min-max↓
↓ Lower is better.
↑ Higher is better.
* Rounds Per Second stats marked with a star are derived by the following formula: 1/(fireRecoveryTime+burstDuration) = firesPerSecond aka "fips"
This was done because these weapons do not have rates of fire defined in their tags and instead use fire recovery time stats to space out their fires. I also use the term "fire" instead of "shot" here because those are actually 2 different things in the code. A "shot" is the projectile expelled from the barrel while a "fire" is whatever happens when the trigger is pulled.
† The BR's rounds per second of 15 is the rate of fire during a burst. I've opted to also display the adjusted (adj) rounds per second when including bursts as well as the fires per second (fips). It's not very important to get into the weeds on this as the weapon's headshot ttk is equal to the carbine.
Aim Assist
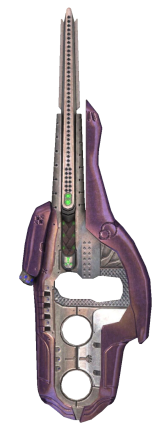
- Autoaim Angle: Defines the area around a target where "red reticle range" triggers. Controls reticle stickiness for controllers, expressed in degrees (deg).
- Autoaim Range: Defines the farthest range to a target where "red reticle range" triggers. Controls reticle stickiness for controllers, expressed in world units (wu).
- Autoaim Falloff Range: The distance beyond which autoaim begins to fade in strength. Controls reticle stickiness for controllers, expressed in world units (wu).
- Magnetism Angle: Defines the area around a target where bullets are allowed to bend to hit a target. Controls bullet magnetism, expressed in degrees (deg).
- Magnetism Range: Defines the furthest range to a target where bullets are allowed to bend to hit a target. Controls bullet magnetism, expressed in world units (wu).
- Magnetism Falloff Range: The distance beyond which bullet magnetism begins to fade in strength. Controls bullet magnetism, expressed in world units (wu).
-----------------------------------------------------------------------------------------------------
-- One Handed Guns --
Attributes
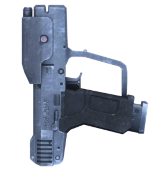
- Damage Type(s): The general and specific damage types used by a weapon's projectile. These are useful when calculating final damage with the damage table[www.halopedia.org]. If a weapon only has one type listed then it is the general damage.
- Damage: Damage done by a projectile. If a weapon has two numbers, the damage starts at the higher number and falls off to the lower one over the range of the projectile.
- Rounds Per Second: The number of "firing effects" created per second. Usually bullets.
- Velocity: The max speed a projectile moves through the air, expressed in world units per second (wu/s).
- Range: How far a projectile will travel before despawning, expressed in world units (wu).
- First Shot Error: Determines the cone your bullet can be within during your first shot, most important for dualies, expressed in degrees (deg).
- Cone of Fire: The minimum and maximum cones around the desired path a bullet can be offset by RNG during sustained fire, expressed in degrees (deg).
- Bloom Growth Time: The time it takes to reach a weapon's maximum cone of fire under constant fire, expressed in seconds (sec).
- Bloom Recovery Time: The time it takes to reach a weapon's minimum cone of fire when not firing, expressed in seconds (sec).
- "Dual" Stats: The stats used when the weapon is held while also holding something in the other hand. It doesn't matter which hand is holding the weapon, spartans are ambidextrous.
max-min
400 charged
max-min
400 charged
12 charged
min-max↓
min-max↓
* Rounds Per Second stats marked with a star are derived by the following formula: 1/(fireRecoveryTime+burstDuration) = firesPerSecond aka "fips"
This was done because these weapons do not have rates of fire defined in their tags and instead use fire recovery time stats to space out their fires. I also use the term "fire" instead of "shot" here because those are actually 2 different things in the code. A "shot" is the projectile expelled from the barrel while a "fire" is whatever happens when the trigger is pulled.
Aim Assist
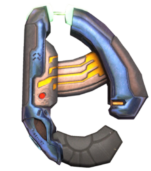
- Autoaim Angle: Defines the area around a target where "red reticle range" triggers. Controls reticle stickiness for controllers, expressed in degrees (deg).
- Autoaim Range: Defines the farthest range to a target where "red reticle range" triggers. Controls reticle stickiness for controllers, expressed in world units (wu).
- Autoaim Falloff Range: The distance beyond which autoaim begins to fade in strength. Controls reticle stickiness for controllers, expressed in world units (wu).
- Magnetism Angle: Defines the area around a target where bullets are allowed to bend to hit a target. Controls bullet magnetism, expressed in degrees (deg).
- Magnetism Range: Defines the furthest range to a target where bullets are allowed to bend to hit a target. Controls bullet magnetism, expressed in world units (wu).
- Magnetism Falloff Range: The distance beyond which bullet magnetism begins to fade in strength. Controls bullet magnetism, expressed in world units (wu).
-----------------------------------------------------------------------------------------------------
-- Needler --
Attributes
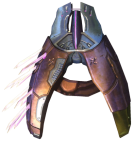 The needler is a rather unique weapon that has it's damage spread across 3 different damage effect files. Please refer to the master spreadsheet for their various damage types. I've opted to place it in its own section so it doesn't make any other tables look too ugly.
- Impact Damage: Damage done by a needle sticking to a target.
- Super Detonation Damage: The splash damage around a supercombine target.
- Super Attached Detonation Damage: Damage that only affects the supercombine target. This makes sure your target is dead.
- Rounds Per Second: The number of "firing effects" created per second. Usually bullets.
- Velocity: The max speed a projectile moves through the air, expressed in world units per second (wu/s).
- Range: How far a projectile will travel before despawning, expressed in world units (wu).
- First Shot Error: Determines the cone your bullet can be within during your first shot, most important for dualies, expressed in degrees (deg).
- Cone of Fire: The minimum and maximum cones around the desired path a bullet can be offset by RNG during sustained fire, expressed in degrees (deg).
- Bloom Growth Time: The time it takes to reach a weapon's maximum cone of fire under constant fire, expressed in seconds (sec).
- Bloom Recovery Time: The time it takes to reach a weapon's minimum cone of fire when not firing, expressed in seconds (sec).
min-max↓
Aim Assist
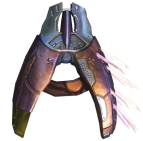
- Autoaim Angle: Defines the area around a target where "red reticle range" triggers. Controls reticle stickiness for controllers, expressed in degrees (deg).
- Autoaim Range: Defines the farthest range to a target where "red reticle range" triggers. Controls reticle stickiness for controllers, expressed in world units (wu).
- Autoaim Falloff Range: The distance beyond which autoaim begins to fade in strength. Controls reticle stickiness for controllers, expressed in world units (wu).
- Magnetism Angle: Defines the area around a target where bullets are allowed to bend to hit a target. Controls bullet magnetism, expressed in degrees (deg).
- Magnetism Range: Defines the furthest range to a target where bullets are allowed to bend to hit a target. Controls bullet magnetism, expressed in world units (wu).
- Magnetism Falloff Range: The distance beyond which bullet magnetism begins to fade in strength. Controls bullet magnetism, expressed in world units (wu).
-----------------------------------------------------------------------------------------------------
-- Explosive Launchers --
Attributes
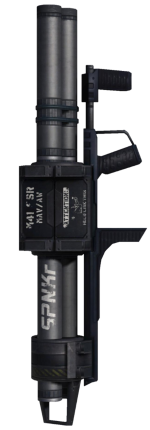
- Damage Type(s): The general and specific damage types used by a weapon's projectile. These are useful when calculating final damage with the damage table[www.halopedia.org]. If a weapon only has one type listed then it is the general damage.
- Damage: Damage done by a projectile. If a weapon has two numbers, the damage starts at the higher number and falls off to the lower one over the range of the projectile.
- Rounds Per Second: The number of "firing effects" created per second. Usually bullets.
- Velocity: The max speed a projectile moves through the air, expressed in world units per second (wu/s).
- Range: How far a projectile will travel before despawning, expressed in world units (wu).
- First Shot Error: Determines the cone your bullet can be within during your first shot, most important for dualies, expressed in degrees (deg).
- Cone of Fire: The minimum and maximum cones around the desired path a bullet can be offset by RNG during sustained fire, expressed in degrees (deg).
max-min
min-max↓
* These projectiles do not have damage falloff. The ranges here show the falloff of the explosion AOE.
† These projectiles change speed as they fly through the air.
Aim Assist
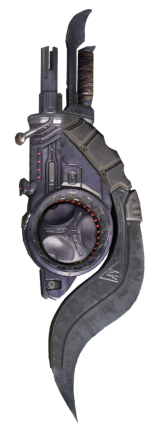
- Autoaim Angle: Defines the area around a target where "red reticle range" triggers. Controls reticle stickiness for controllers, expressed in degrees (deg).
- Autoaim Range: Defines the farthest range to a target where "red reticle range" triggers. Controls reticle stickiness for controllers, expressed in world units (wu).
- Autoaim Falloff Range: The distance beyond which autoaim begins to fade in strength. Controls reticle stickiness for controllers, expressed in world units (wu).
- Magnetism Angle: Defines the area around a target where bullets are allowed to bend to hit a target. Controls bullet magnetism, expressed in degrees (deg).
- Magnetism Range: Defines the furthest range to a target where bullets are allowed to bend to hit a target. Controls bullet magnetism, expressed in world units (wu).
- Magnetism Falloff Range: The distance beyond which bullet magnetism begins to fade in strength. Controls bullet magnetism, expressed in world units (wu).
-----------------------------------------------------------------------------------------------------
-- Grenades --
Attributes
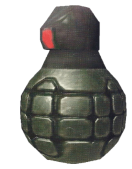
- Damage: Damage done by an explosion. Damage starts at the higher number and falls off to the lower one over the range of the radius.
- Rider Transfer Damage: Multiplier applied to the damage done to a vehicle's occupants when the vehicle's hull is hit.
- Arming Time: The time it takes for a grenade to be able to explode.
- Fuse Time: The time it takes for a grenade to automatically explode after being armed.
- Core Radius: The area where a grenade's damage is at it's maximum.
- Falloff Radius: The area where a grenade's damage is subject to falloff.
- Instantaneous Acceleration: The amount of knockback applied to target.
- Boarding: The explosion created by the grenade when planted on a vehicle during boarding.
- Spike Frags: The spikes that eject from the spike grenade.
- Spike Directional: The "volcano" of damage that comes out of the tip of the spike grenade during detonation.
max-min
Aim Assist
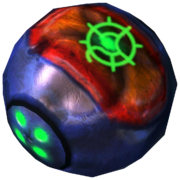 Grenades do not have aim assist components. Enjoy this png of a plasma grenade instead.
-------------------------------------------------------------------------
-- Lasers --
Attributes
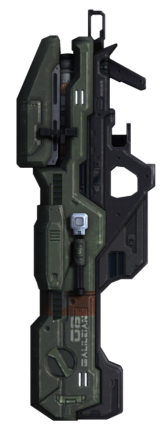
- Damage Type(s): The general and specific damage types used by a weapon's projectile. These are useful when calculating final damage with the damage table[www.halopedia.org]. If a weapon only has one type listed then it is the general damage.
- Damage: Damage done by a projectile. If a weapon has two numbers, the damage starts at the higher number and falls off to the lower one over the range of the projectile.
- Rounds Per Second: The number of "firing effects" created per second. Usually bullets.
- Velocity: The max speed a projectile moves through the air, expressed in world units per second (wu/s).
- Range: How far a projectile will travel before despawning, expressed in world units (wu).
- First Shot Error: Determines the cone your bullet can be within during your first shot, expressed in degrees (deg).
- Cone of Fire: The minimum and maximum cones around the desired path a bullet can be offset by RNG during sustained fire, expressed in degrees (deg).
min-max↓
* These beams travel instantaneously to their target.
† The Spartan Laser fires multiple beams that each persist for a few game ticks. This means targets can be hit by the same beam multiple times resulting in massive damage when all 5 beams hit. However, a single tick of damage received from a single beam is actually quite low. When combined with resistances, this explains how players are able to occasionally walk "out" of poorly aimed beams.
Aim Assist
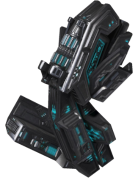
- Autoaim Angle: Defines the area around a target where "red reticle range" triggers. Controls reticle stickiness for controllers, expressed in degrees (deg).
- Autoaim Range: Defines the farthest range to a target where "red reticle range" triggers. Controls reticle stickiness for controllers, expressed in world units (wu).
- Autoaim Falloff Range: The distance beyond which autoaim begins to fade in strength. Controls reticle stickiness for controllers, expressed in world units (wu).
- Magnetism Angle: Defines the area around a target where bullets are allowed to bend to hit a target. Controls bullet magnetism, expressed in degrees (deg).
- Magnetism Range: Defines the furthest range to a target where bullets are allowed to bend to hit a target. Controls bullet magnetism, expressed in world units (wu).
- Magnetism Falloff Range: The distance beyond which bullet magnetism begins to fade in strength. Controls bullet magnetism, expressed in world units (wu).
-----------------------------------------------------------------------------------------------------
-- Melee --
Attributes
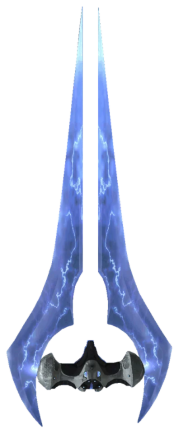
- Damage Type(s): The general and specific damage types used by a weapon's projectile. These are useful when calculating final damage with the damage table[www.halopedia.org]. If a weapon only has one type listed then it is the general damage.
- Damage: Damage done by a weapon.
- Equip Time: The time it takes for the weapon to be ready to attack. This does NOT include the stow time of the weapon you're switching from.
- Energy Sword (dash): A sword's attack when it has power.
- Energy Sword (clang): A sword's attack when 2 powered sword collide or when a powered sword is parried. This only hurts shields and cannot kill.
- Gravity Hammer (explosion): The shockwave when a powered gravity hammer is "fired".
- Gravity Hammer (crush): The physical impact of a powered gravity hammer when it is "fired". What I call, the super bonk.
- Gravity Hammer (smash): The physical impact of an unpowered gravity hammer or the impact of the pommel of the hammer when pressing "melee" instead of "fire" with a powered hammer. What I call, the baby bonk.
* Unpowered energy swords use the standard "strike" damage.
Aim Assist
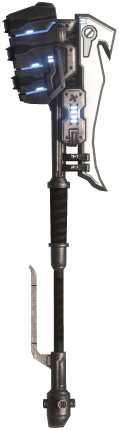
- Autoaim Angle: Defines the area around a target where "red reticle range" triggers. Controls reticle stickiness for controllers, expressed in degrees (deg).
- Autoaim Range: Defines the farthest range to a target where "red reticle range" triggers. Controls reticle stickiness for controllers, expressed in world units (wu).
- Autoaim Falloff Range: The distance beyond which autoaim begins to fade in strength. Controls reticle stickiness for controllers, expressed in world units (wu).
- Magnetism Angle: Defines the area around a target where bullets are allowed to bend to hit a target. Controls bullet magnetism, expressed in degrees (deg).
- Magnetism Range: Defines the furthest range to a target where bullets are allowed to bend to hit a target. Controls bullet magnetism, expressed in world units (wu).
- Magnetism Falloff Range: The distance beyond which bullet magnetism begins to fade in strength. Controls bullet magnetism, expressed in world units (wu).
-----------------------------------------------------------------------------------------------------
-- Heavy Weapons --
Attributes
The Missile Pod can be found in the Explosive Launchers section.
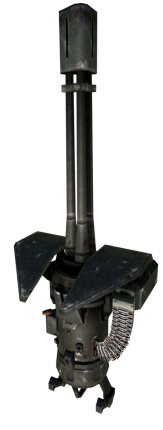
- Damage Type(s): The general and specific damage types used by a weapon's projectile. These are useful when calculating final damage with the damage table[www.halopedia.org]. If a weapon only has one type listed then it is the general damage.
- Damage: Damage done by a projectile. If a weapon has two numbers, the damage starts at the higher number and falls off to the lower one over the range of the projectile.
- Rounds Per Second: The number of "firing effects" created per second. Usually bullets.
- Velocity: The max speed a projectile moves through the air, expressed in world units per second (wu/s).
- Range: How far a projectile will travel before despawning, expressed in world units (wu).
- First Shot Error: Determines the cone your bullet can be within during your first shot, most important for dualies, expressed in degrees (deg).
- Cone of Fire: The minimum and maximum cones around the desired path a bullet can be offset by RNG during sustained fire, expressed in degrees (deg).
- Bloom Growth Time: The time it takes to reach a weapon's maximum cone of fire under constant fire, expressed in seconds (sec).
- Bloom Recovery Time: The time it takes to reach a weapon's minimum cone of fire when not firing, expressed in seconds (sec).
- Movement Speed Multiplier: Used to slow the player down when carrying heavy weapons. E.g. a value of 1 means normal speed, while 0.5 would mean half speed.
min-max↓
Aim Assist
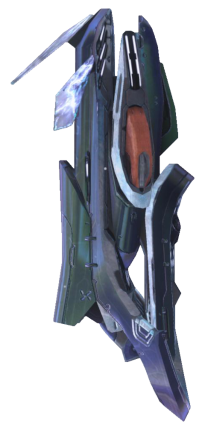
- Autoaim Angle: Defines the area around a target where "red reticle range" triggers. Controls reticle stickiness for controllers, expressed in degrees (deg).
- Autoaim Range: Defines the farthest range to a target where "red reticle range" triggers. Controls reticle stickiness for controllers, expressed in world units (wu).
- Autoaim Falloff Range: The distance beyond which autoaim begins to fade in strength. Controls reticle stickiness for controllers, expressed in world units (wu).
- Magnetism Angle: Defines the area around a target where bullets are allowed to bend to hit a target. Controls bullet magnetism, expressed in degrees (deg).
- Magnetism Range: Defines the furthest range to a target where bullets are allowed to bend to hit a target. Controls bullet magnetism, expressed in world units (wu).
- Magnetism Falloff Range: The distance beyond which bullet magnetism begins to fade in strength. Controls bullet magnetism, expressed in world units (wu).
-----------------------------------------------------------------------------------------------------
-- Etc. --
Distance Examples
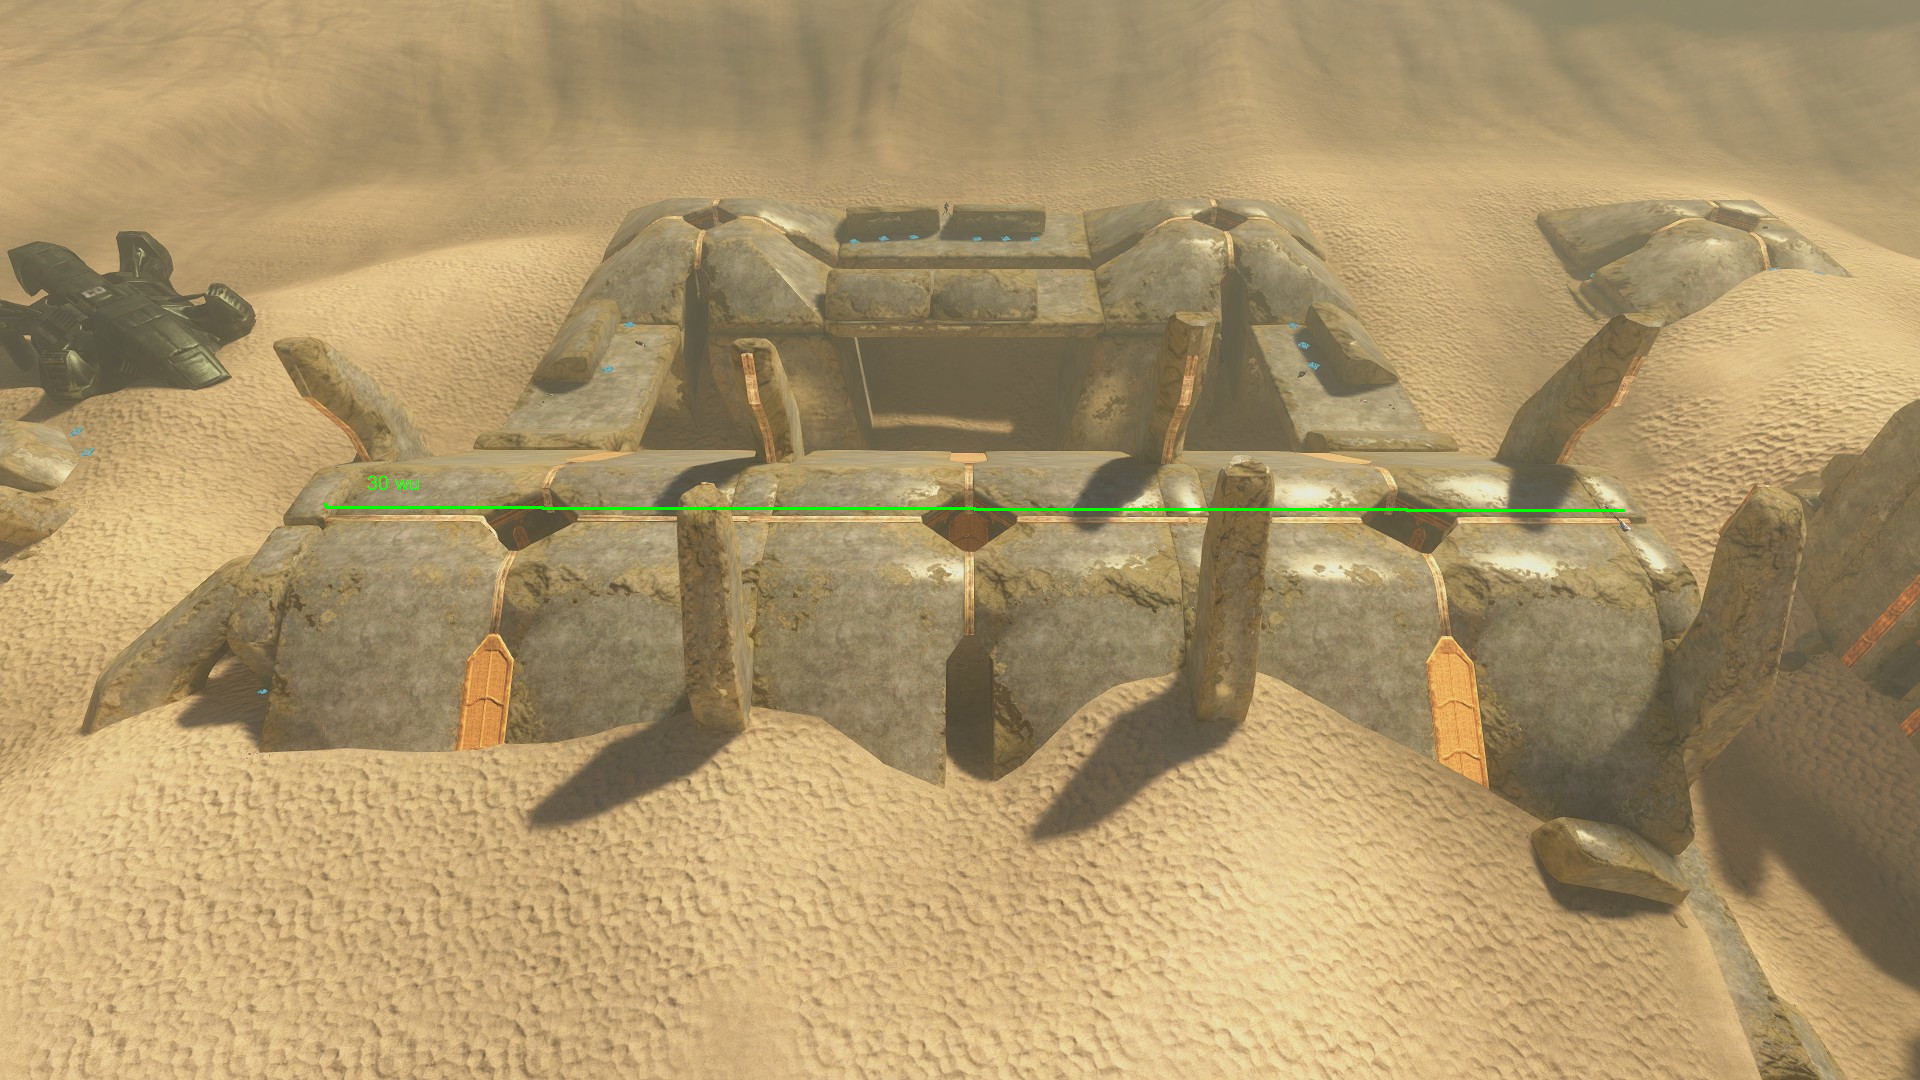
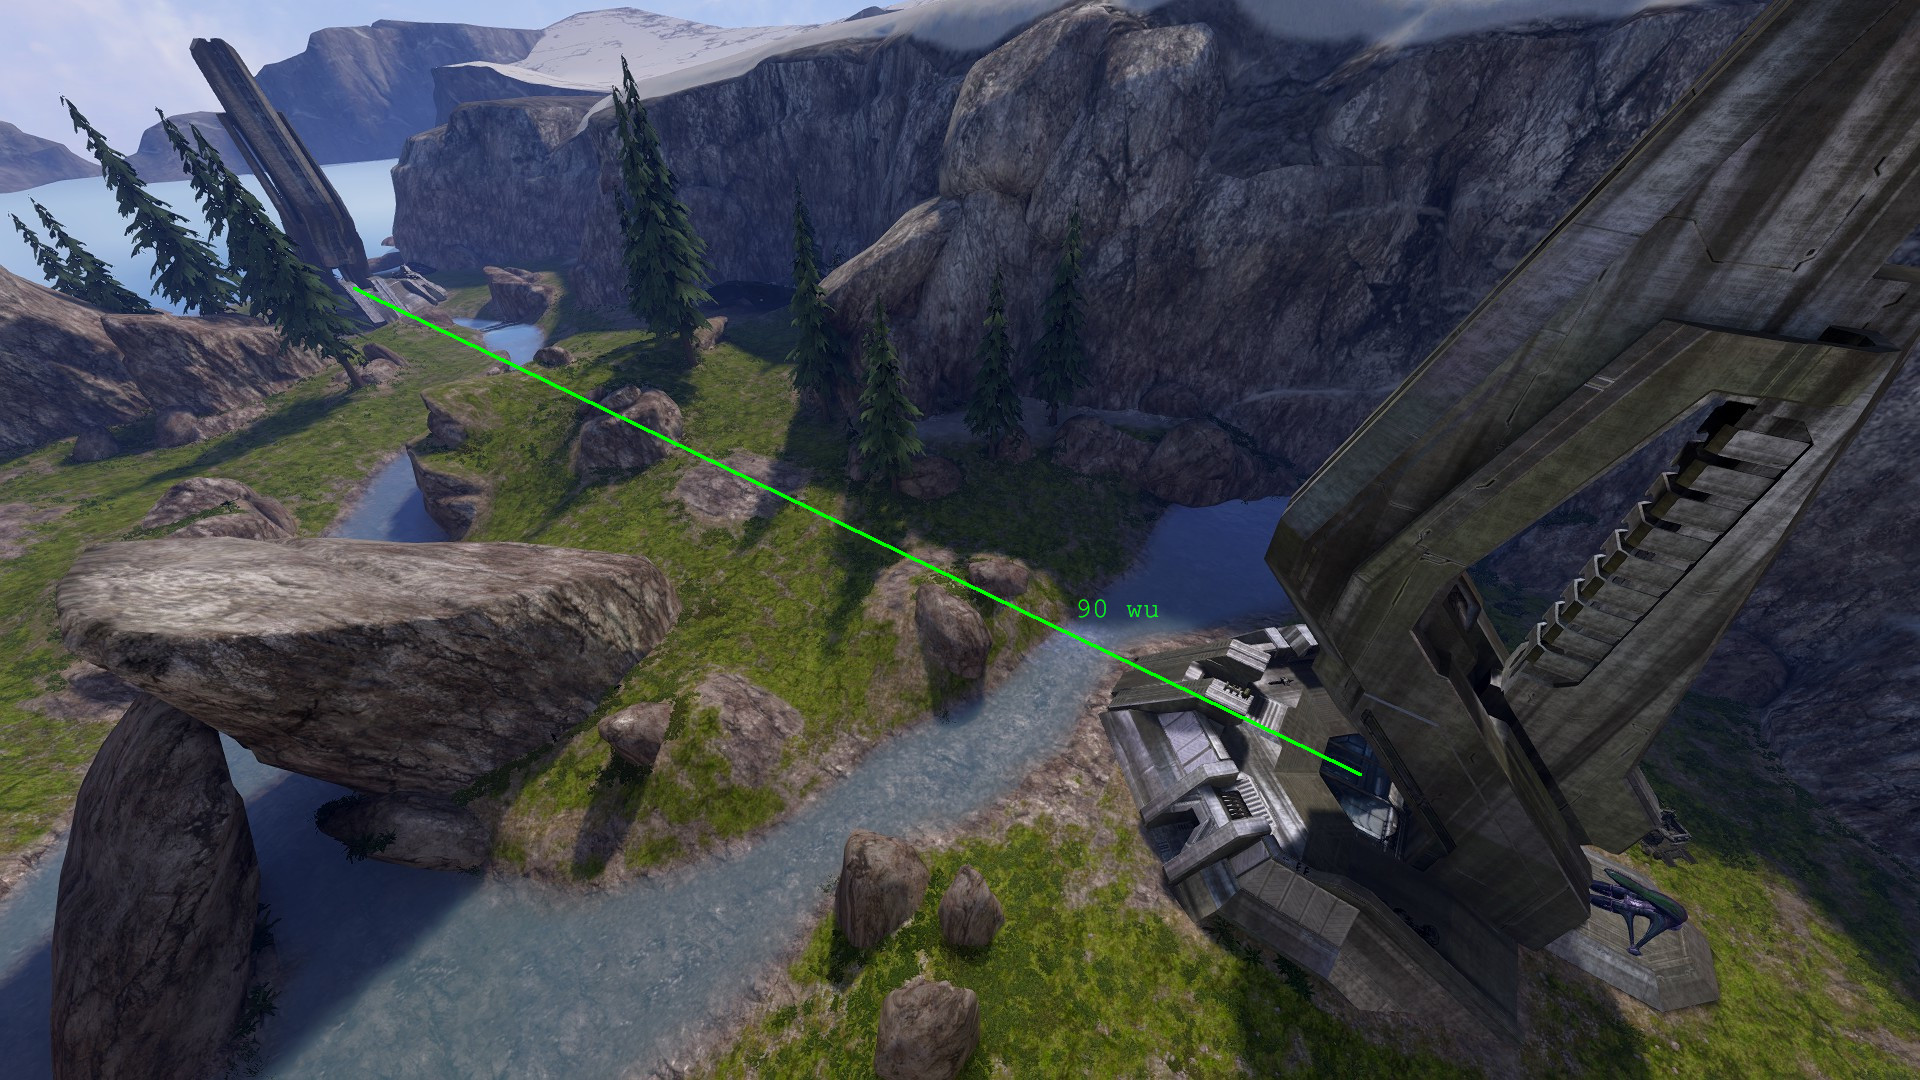
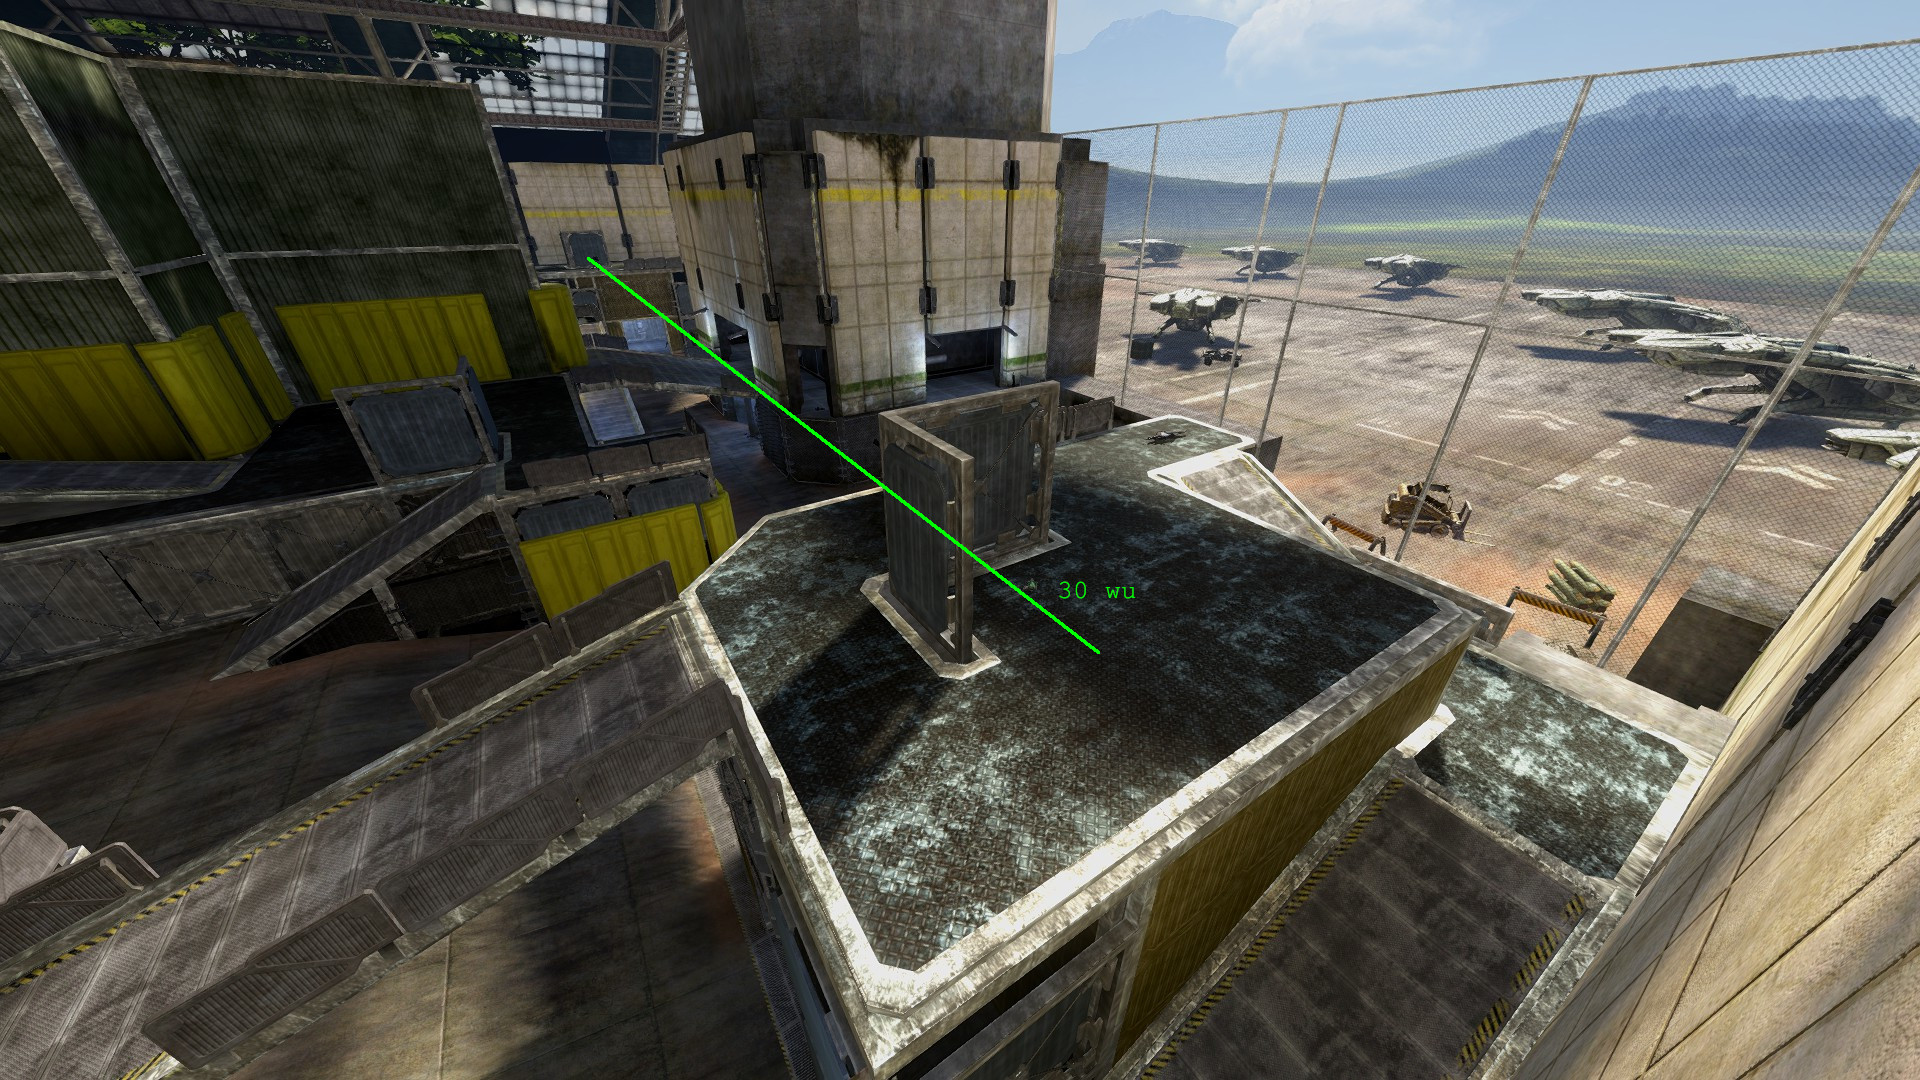
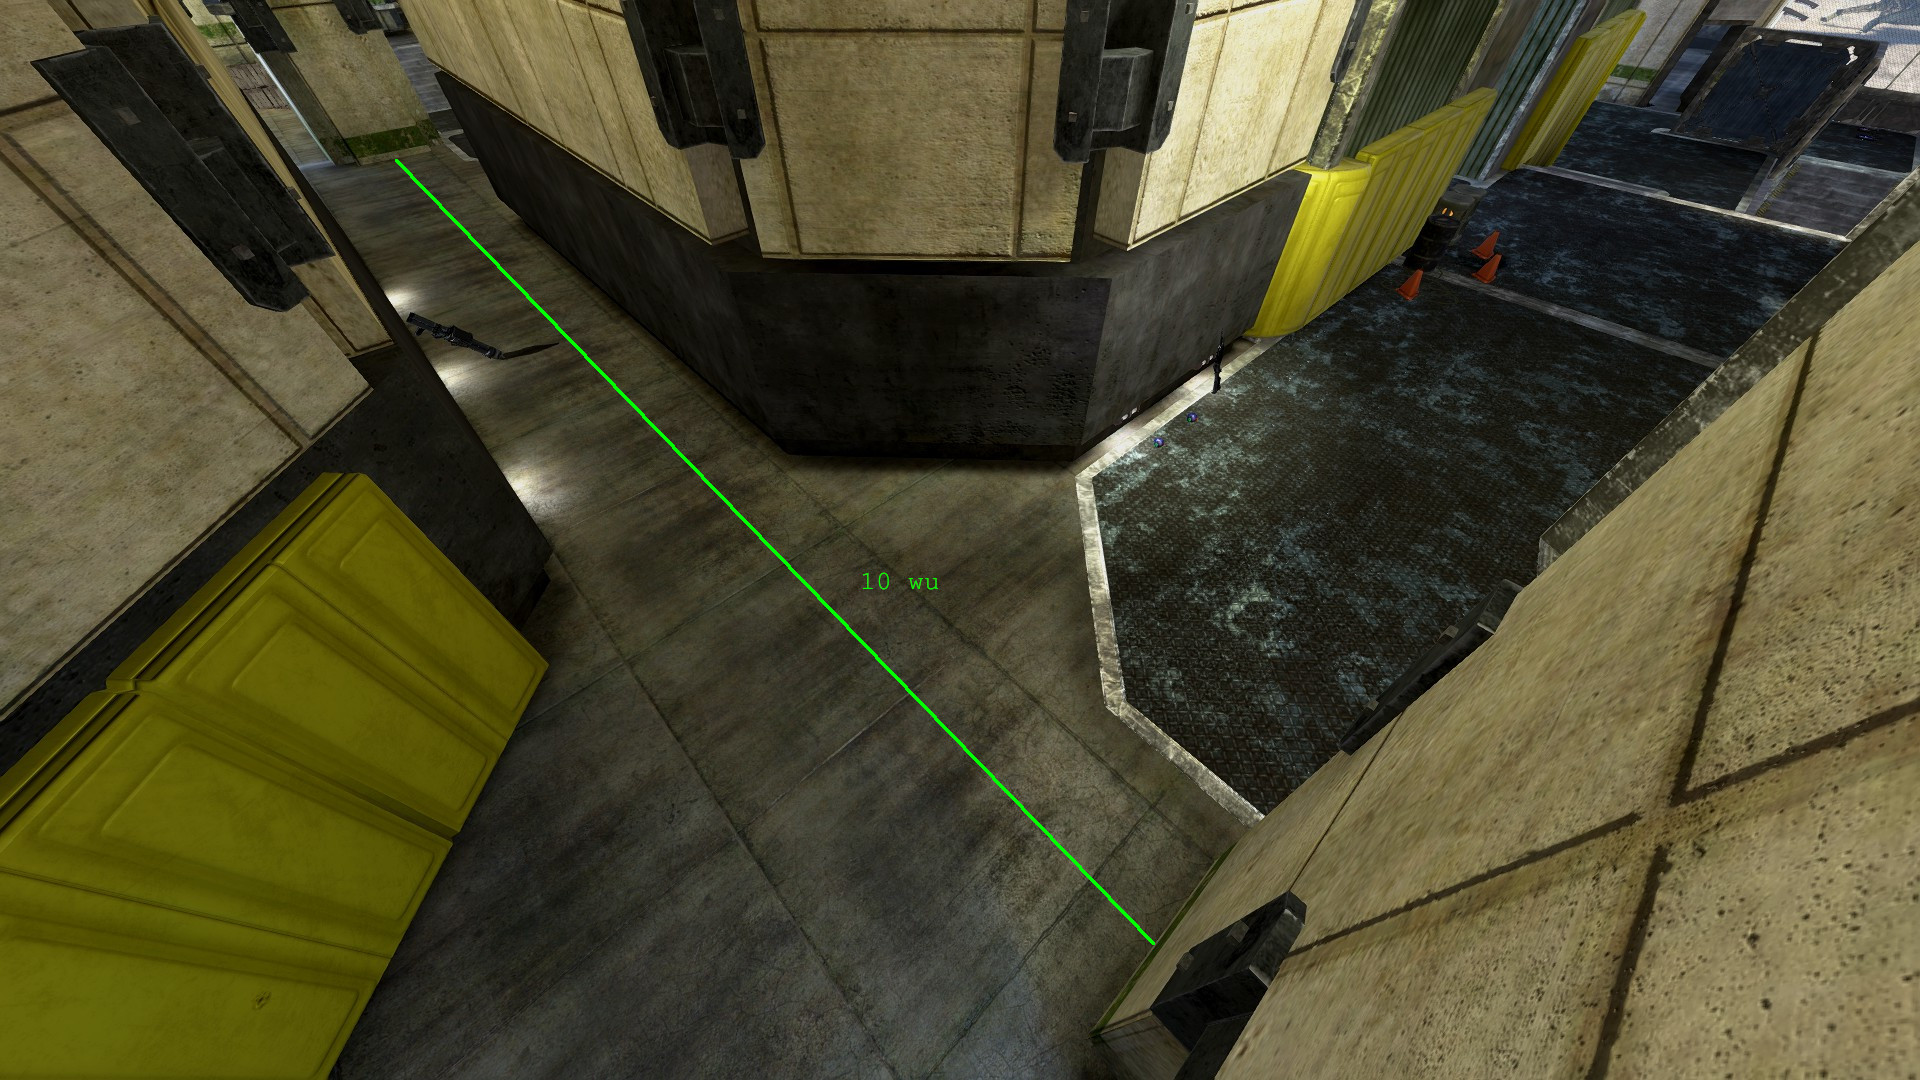
Here are some images to help you get a grasp of what a "world unit" looks like in-game.
Sandtrap: The length of the orange beam the lines the top of the central tunnel is 30 wu. The space between the "pylons" is 10 wu (10.2 if you want to be a nerd about it).
Valhalla: The distance between the flag pedestal of each base is 90 wu. The distance between the flag pedestals to the spartan laser hill spawn is 45 wu.
The Pit: The distance between the flag pedestals of each snipe tower is 30 wu. The length of rocket hall is 10 wu.
Health and Material Examples
These are base stats, unmodified by things like ranks or powerups. I've opted to only display the target's general material as Halo 3 rarely uses any of the specific definitions. Some NPCs can also use different materials on different parts of their bodies and armor. This system gets very complex very fast and I suggest anyone looking for more info on a target to look at their .model tag file directly. These are only simple examples showing core body materials.
* Recharges to 45% of max HP after 10 seconds of not being hit.
You might notice that players have uneven health and shield pools that use different materials. This can produce some odd looking BTK values when comparing tested values to calculated ones. Bleedthrough damage is also affected by the health material but actually takes the base damage of the projectile and then runs it through the resistance calculation twice. Remember that if a damage value here seems wrong then it is likely that you're accustomed to the damage done to a target AFTER resistances are applied and there are A LOT of possible resistance interactions in Halo 3.
- Halo Reach: Collectibles★ 5 (1.2k)33k views2.3k ♥9 minUpdated Jul 4, 2021
- Halo: Reach - Full Achievement Guide★ 5 (823)28k views1.7k ♥12 minUpdated May 9, 2025
- MCC - Master Achievement Guide (Complete)★ 5 (479)19k views1.2k ♥5 minUpdated Aug 8, 2020
- Halo Combat Evolved: Collectibles★ 5 (1k)17k views2k ♥8 minUpdated Nov 20, 2020
- Halo: Combat Evolved - Full Achievement Guide★ 5 (504)16k views1.1k ♥7 minUpdated Jun 2, 2022
- Golden Moa Location Guide★ 5 (476)13k views878 ♥13 minUpdated 28 Nov, 2021





- Upgrading to PremiumTeam Fortress 2★ 5 (20k)1441k views11k ♥6 minUpdated May 11, 2022
- No More Room in Hell Official ManualNo More Room in Hell★ 5 (2.8k)569k views2.1k ♥29 minUpdated Apr 22, 2019
- NMRiH Community Hosting GuidesNo More Room in Hell★ 5 (526)351k views653 ♥1 minUpdated Aug 10, 2022
- ULTIMATE GUIDE FOR GAME DEV TYCOONGame Dev Tycoon★ 5 (5.8k)326k views10k ♥4 minUpdated 23 Jan, 2014
- How to 'Git Gud' Soon™MORDHAU★ 5 (2k)318k views3k ♥68 minUpdated Nov 16, 2024
- Лучшие кооперативные игры SteamPAYDAY 2★ 5 (1.5k)315k views2.1k ♥56 minRussianUpdated Apr 27, 2025






This guide was created by its original author on the Steam Community. Are you the author and want it removed? Request removal.