Speed Bump's Guide for Everything XP
Introduction
So you want to gain levels more quickly? I have everything for your XP grinding needs! I can help those in need of attaining high levels using the most efficient methods. Remember that this stuff can be used for getting through Normal Mode, and preparing for Insane Mode. XP farming is a great way for getting to high levels for your characters.
Throughout the meta for Castle Crashers, we've been finding out the best ways to make your character level up faster. The veteran players use methods that we consider to be inconceivable! So let me, being the extreme XP grinder that I am, teach you how to level your characters up fast!
How the XP System Works
Your XP bar is the pink bar next to the two letters (like it wasn't obvious enough). It grows during gameplay, and you gain levels when it's full. Levels are required to make progress and make your character stronger. Without them, you wouldn't get very far.
The XP system does not work based on the damage you're delivering. Instead, it's based on how many hits you land on enemies. How many points of damage you're dealing to an enemy that has a number of health, you will get the divisible number of XP. Remember that you get XP only when you're dealing damage to an enemy as long as he stays alive. I mean, hitting a dead enemy will not reward any XP since their health has already been depleted. I will go over the amount of health each enemy and boss in the game have in the last few sections (besides the Giant Troll in Parade and the Active Volcano in Lava World, where you don't get XP even when you're damaging them).
If you keep juggling your target(s) when they're dead, and you are maintaining it for a while, you are wasting time. You can tell that the XP bar doesn't go any higher when juggling dead enemies. For level 99 characters, this can be hard to tell because your XP bar doesn't go up and the game doesn't tell you when your targets are dead until you stop your juggle. Refer to the Enemy Health sections for more information.
In the next section, we'll take a look at the best places to farm XP.
The Best Locations to Gain XP
There are plenty of locations to get XP! Why, you can get XP almost anywhere! I'm gonna tell you the best locations to go for farming. Do note some of them aren't perfect - they have at least one flaw, so pick a meth that suits you the most. If you don't like a specific way, then try another. But if you're curious it works, go ahead and try it anyway.
When you see some debris between two dead Gray Knights, move a little bit until you see two Thieves appear. Kill them (because if you don't, the game will lock you into one part of the level, and you can't do anything about it) and then continue until you see a Barbarian punching a downed Gray Knight. Hit him off, and then quickly juggle the Barbarian that is being targeted by the NPC Gray Knight. Once you clear out the wave, do not go back even further. Instead, go forward through the level as normal. Enter the exit to the bridge leading to the boss door, kill the Barbarians, rinse and repeat until you are at a good level.
The only problem with this method is that it becomes useless after like level 10-15.
The problem with this method is that it requires repeated playthroughs of Thieves' Forest.
He'll often do his twister magic when he gets on the same line as you. The small problem is that his Animal Orb Rammy can knock you down, but it's nothing major since the food that the other Bears drop can nullify the small damage.
Right when it lands on its back, shoot another arrow. The Volcanic Dragon will lower its jaw, and breathe fire upon the little guy, finishing him off with the rock trampling onto him. If the Fire Demon rolls towards you, it'll be invulnerable during the animation. As such, just kill it off with arrows to make another one spawn in.
The problem with this is that it takes a while to do, particularly an hour or more to go from level 30 to 45 with this trick. That's not too bad, but still kinda slow.
Press the Item button, and then quickly get on the same line as the spire that has risen. You'll see constant 1s. Hold your shield up if it's one of the four that shoot electric spheres. The middle Spire gives a little shock when its meter gets to the top, so you'll need to jump for that. Repeat until the five Spires are completely destroyed.
Juggling - The Fastest Way to Accumulate!
This is mandatory to know because juggling is gonna be your primary method of both offense and XP farming. It's the best type of offense to drain the health of enemies and bosses.
To juggle an enemy, jump and then press either the Light or Heavy attack buttons at an enemy, and just wail away! As long as your character isn't close to the ground when he starts losing altitude (is in falling down slowly as he's hitting the enemies), just add in a Heavy attack as long as you have an even number of Light attacks going before adding in the Heavy attack.
If it's an odd number, you'll notice your character do an uppercut (which you get at level 8). For that case, try to do input a second Heavy attack for your character to rise upwards to stay in the air. I will abbreviate the Light and Heavy attack words as L and H, respectively.
I'm not the best at explaining juggling, but at least you get the idea. Just remember to practice the best you can. Here are the four best places to go to train your juggling.
-Stable Door
-Industrial Castle Door (don't worry, the Industrial Prince will go to the hospital after laughing for so long)
-Flooded Temple Door
-Broken Icicle Forts in Snow World
The two most used combos are the Infinite Juggle (LLHH) and Rising Uppercut (LHH). These will be important to know for both Normal and Insane Mode if you want to make the game hella easy! Also keep in mind that you can have a lot of enemies in your juggle! The max I've been able to get is 20, which I believe is the max enemy limit that the Troll Mum can spawn. The more enemies, the bigger your XP reward.
You can find a more detailed explanation of juggling here: https://castlecrashers.wikia.com/wiki/Juggling
Minimal Strength Means More XP!
If you upgrade your Strength and/or Magic when leveling up, you'll do more damage to enemies, killing them faster. However, this will make a significant difference in your XP farming ways. More offense power means less XP.
You'll understand why that is in the sweet Algebra section.
It's better to give more points to your Agility and Defense so that you live longer. Having max Strength and Magic HEAVILY hinders your ability to farm. If you have any points allocated in Strength, I'd advise that you use a weapon that decreases Strength. Most notably, the Glowstick - the best weapon for XP farming. And while the Shock effect may add some additional Strength when it goes off, it's actually more of a blessing than a curse.
Because in the original version of Castle Crashers on the Xbox 360 and PlayStation 3, it has a Critical Hit effect, which quadruples the melee damage you do.
If, for any reason, you don't have the Glowstick, you can always go to the Wizard Castle Interior. It's more beneficial than unlocking the Cultist. Just keep killing them until a weapon bag drops (you must be level 20 to wield it).
This is what it looks like.
One important thing to note that every time you get to a level that is the equivalent of 10, you get a PERMANENT additional point of offense in both your melee and magic damage output. While this may seem like it hinders your XP farming, it's nothing major. You can't really lower that in any way, shape or form. Even if you're using a weapon that takes Strength and Magic away with no points added in Strength, you cannot get rid of that additional point of damage you do. The last additional point of melee and magic damage you gain will be at level 90.
Just don't upgrade your Strength to get lots of XP. I mean yeah, it takes a lot longer to kill enemies, but you're leveling up fast. That's the point.
Here's a challenge for you - try getting through the game without Strength! It is possible, I've done it numerous times!
And now, let's move on to the Animal Orbs!
Animal Orbs
These are the only two Animal Orbs (or if you go by the term 'Pets', then you need to get a life) that make any visible impact on farming XP. So what do they do? Well, if you haven't paid attention to what the girl tells you in the Stable, I can tell you.

Hawkster attacks fallen enemies. He pecks them a few times before returning to you. You can find him after obtaining the Horn, and then using it near one of the first few houses in Tall Grass Field. Many consider Hawkster to be better than Giraffey because he can give 3-4 extra hits of XP. Plus, he can pick up and double the capacity of food for you. Useful for Insane Mode!

Giraffey gives a +10% boost for leveling up. I use this little guy, personally, because it boosts the XP speed. Instead of getting 1 point of XP per hit, you'll get 1.1 points. You can find him after acquiring the Shovel in the Desert, and then dig him up later in the level when you start seeing slabs and a clear view of the pyramids in the background. Again, great for accelerating the speed of leveling up!
Many consider Hawkster to be better, since he attacks fallen enemies. But not one instance I'd seen my XP bar go up from his pecks. I'm not sure if him pecking them works, or if this isn't the case... Tell me below if you'd like, but it's just kind of strange to me.

You can also use Rammy, but the problem is that he doesn't attack very often. However, that's not the reason why he's in this section. He's in this section because provided that you hit the enemies first, you can just run right through them with Rammy. This is great against beefies and Slimes, though this is only good for levels 5-20. In that case, you might want to take another Animal Orb than Rammy.

The best Animal Orb for Insane Mode is part of the janky section for XP farming. Why? Well, simple. If you go up to the Painter boss and get his health down (make sure it's not at 11% or less), begins running around, and then mauls the paintings, it's so bad, it's good. Good for farming XP in a bad way, since you are doing nothing, afk, and stuffz.
The Leveling System's XP Table
At level 1, it takes 190 hits to get up to 2. The more levels you gain, the longer it will take to level up. Simple as that. So you may think that the XP requirement increases the more you level up. And you'd be right!
Since level 1 required 190 hits to get to level 2, the requirement to get to level 3 will take 20 hits more than it took to get to level 2, which means it'll take 210 hits this time. Every level you ascend to will ALWAYS require 20 more hits to get to the next.
You can find the complete XP Table here: https://castlecrashers.wikia.com/wiki/XP_Per_Level
Credit goes to Aichomancer for making the table!
The Sweet Algebra
So after all that stuff about everything, it's time for some Algebra (or Math in simpler terms). I hope you're fairly decent at this subject in school! I know I was really good at it because it's so seeemple, I don't know how some other people are bad at it. ...Not saying that ALL of you are. Anyways...
When you hit an enemy, you get 1 point of XP. With Giraffey, you'll get 10%, meaning you get 1.1 XP per hit. A decimal next to the number will give off the percentage in math. Like, .5 is +50%, .75 is +75%, and so on. Let's talk about percentages.
+100% means a multiplier of 2. So you're gonna get 2 XP per hit with two enemies in your juggle. Let's say that you have 5 enemies that you're juggling. You're gonna get a 5X, or +400% boost of getting XP. So since you can have multiple enemies in your juggle, you can add in a multiplier of one per enemy. Remember that 1X1 = 1, 1X5 = 5, etc.
But that's right. The damage that you do can make a difference. As mentioned, the more melee damage you deal when upgrading Strength, the less XP you'll get. Simple. With no Strength points, more XP.
For example, you're doing 5 points of damage to an enemy Bear, which has 100 health in Single Player, Normal Mode. Doing the Infinite Juggle combo once in the air will do 5 hits, making it 25 damage per Infinite input (not including the fall damage they take on the first input). Bears with you doing constant 5s to them will take four Infinite Juggle combos to kill. That's like 20 XP per Bear kill with this combo. I'll show you in a math formula.
D = Damage you're dealing to enemy
H = Enemy's health
XP = Experience you'll get for defeating enemy
Or you can keep counting your damage until you get to, or surpass the enemy's health. If you use a calculator with the formula, you may end up getting decimal numbers. For that case, round to the NEXT 1. Not the nearest.
Let's calculate the enemy Cultist's health with something like 7 damage you're dealing to.
Now when you put this in a calculator, you will end up getting a decimal answer. More specifically, 27.14. Well, the result is actually 28 because the enemy Cultist will have 1 more health before he goes down, which will require one more hit. That's why you round to the next 1, and not the nearest if you get a decimal answer. For easy proof, keep adding the damage you're dealing to said enemy until you either get to, or pass by the health it had. If you pass it, then subtract the last piece of damage you added. In this case, it's 7. So 196 - 7 = 189 Health.
With Giraffey, you can just multiply the XP you get by 1.1. Let's add that in...
You'll notice that it's more than what you get. That 1.1 is for 1 enemy. How about we add in like 5 enemies in the juggle?
Good stuff, huh? You do the math at what you're getting. Now let's look at the health points each enemy has.
Enemy Health Points
Every enemy has a limited number of health. I'm going to go by the order you encounter them in the main game. The bosses get their own individual section because, well, they're obviously not regular enemies. Bats and Aliens found in the Desert and Alien Ship levels aren't present because they only require one hit to take down.
Insane Health will not be listed because you can simply multiply their Normal Health by 10 (but there will be exceptions for most enemies). Arenas will not be listed in the Location(s) sections because you don't get any XP in Arena.
Also, keep in mind that most of these numbers, especially the ones for the Multiplayer health, may be misleading. As such, those are going to be placeholders as of now. If any of you can find out what their actual health numbers are for 2, 3, and 4 players, please let me know in the comments ASAP. I will update the guide as much as possible.
LEGEND
-Name of enemy-
<picture of said enemy>
Health
-One to three Health details, depending on the enemy.
Location(s): Where to find enemy
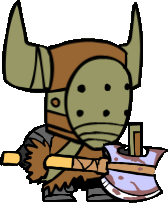
-Single Player: 50, 150 (Necromancer)
-Multiplayer: 60 (2 players), 70 (3 players), 80 (4 players)
-Multiplayer (Necromancer): 180 (2 players), 210 (3 players), 240 (4 players)
Location(s): Home Castle, Castle Keep (temporarily), Barbarian War, Barbarian Boss, Forest Entrance, Wizard Castle Interior (Necromancer)
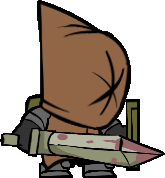
-Single Player: 50 (Regular), 200 (Beefy), 150 (Necromancer)
-Multiplayer: 60 (2 players), 70 (3 players), 80 (4 players)
-Multiplayer (Necromancer): 180 (2 players), 210 (3 players), 240 (4 players)
Location(s): Barbarian War, Forest Entrance, Thieves' Forest, Rapids Ride (as obstacles), Tall Grass Field, Parade, Cyclops' Cave, Wizard Castle Interior (Necromancer), Final Battle (Barracks)
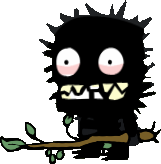
-Single Player: 50
-Multiplayer: 60 (2 players), 70 (3 players), 80 (4 players)
Location(s): Thieves' Forest, Marsh
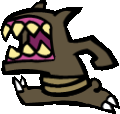
-Single Player: 50
-Multiplayer: 60 (2 players), 70 (3 players), 80 (4 players)
Location(s): Thieves' Forest, Cyclops' Cave, Marsh (requires a bag of Gold for them to appear in each location)
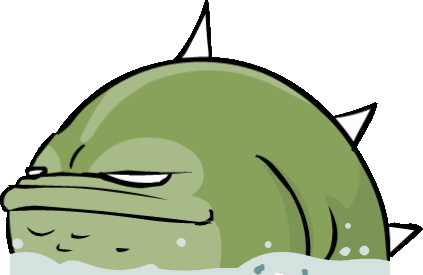
-Single Player: 60
-Multiplayer: 72 (2 players), 84 (3 players), 96 (4 players)
Location(s): Rapids Ride, Tall Grass Field (in the background)
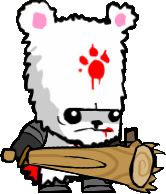
-Single Player: 100, 200 (Necromancer)
-Multiplayer: 120 (2 players), 140 (3 players), 160 (4 players)
-Multiplayer (Necromancer): 240 (2 players), 280 (3 players), 320 (4 players)
Location(s): Catfish (Level, as part of the boss), Tall Grass Field, Wizard Castle Interior (Necromancer)
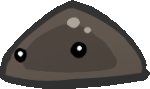
Location(s): Pipistrello's Cave, Cyclops' Cave
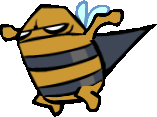
Location(s): Flowery Field
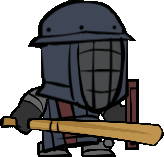
-Single Player: 150
-Multiplayer: 180 (2 players), 210 (3 players), 240 (4 players)
Location(s): Flowery Field
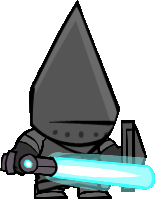
-Single Player: 170 (Regular), 190 (Beefy), 270 (Necromancer)
-Multiplayer (Regular): 204 (2 players), 238 (3 players), 272 (4 players)
-Multiplayer (Beefy): 224 (2 players), 258 (3 players), 297 (4 players)
-Multiplayer (Necromancer): 324 (2 players), 378 (3 players), 432 (4 players)
Location(s): Flowery Field, Wedding Crash, Parade, Cyclops' Cave, Cyclops' Fortress, Wizard Castle Interior (Necromancer)
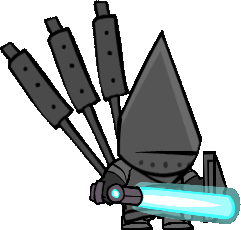
Location(s): Cyclops' Fortress
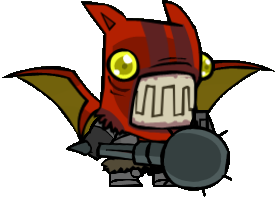
-Single Player: 200, 300 (Necromancer)
-Multiplayer: 240 (2 players), 280 (3 players), 320 (4 players)
-Multiplayer (Necromancer): 360 (2 players), 420 (3 players), 480 (4 players)
Location(s): Cyclops' Fortress, Lava World, Wizard Castle Interior (Necromancer)
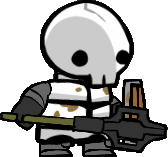
Location(s): Lava World, Marsh
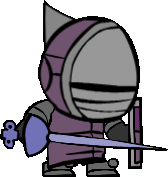
-Single Player: 190, 290 (Necromancer)
-Multiplayer: 228 (2 players), 266 (3 players), 304 (4 players)
-Multiplayer (Necromancer): 348 (2 players), 406 (3 players), 464 (4 players)
Location(s): Forest Entrance (Cutscene only), Industrial Castle, Wizard Castle Interior (Necromancer)
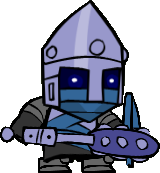
-Single Player: 220
-Multiplayer: 264 (2 players), 308 (3 players), 352 (4 players)
Location(s): Industrial Castle
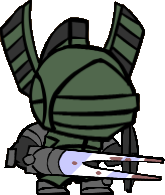
-Single Player: 300, 350 (Necromancer)
-Multiplayer: 365 (2 players), 430 (3 players), 495 (4 players)
-Multiplayer (Necromancer): 420 (2 players), 490 (3 players), 560 (4 players)
Location(s): Lava World (as a Skeleton), Industrial Castle, Wizard Castle Interior (Necromancer)
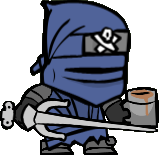
-Single Player: 150, 250 (Necromancer)
-Multiplayer: 180 (2 players), 210 (3 players), 240 (4 players)
-Multiplayer (Necromancer): 300 (2 players), 350 (3 players), 400 (4 players)
Location(s): Pirate Ship, Wizard Castle Interior (Necromancer)
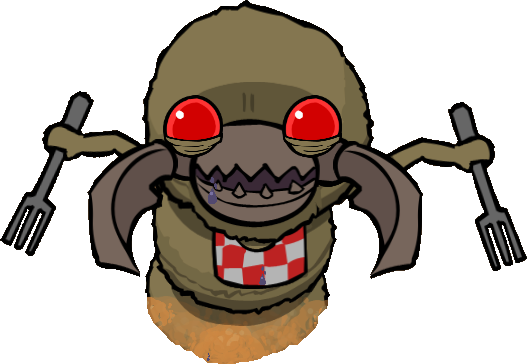
Location(s): Desert
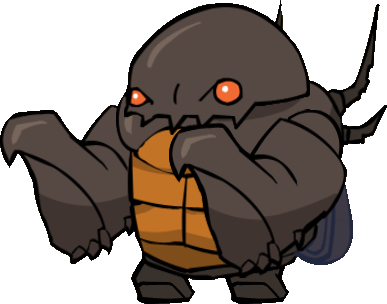
Location(s): Desert
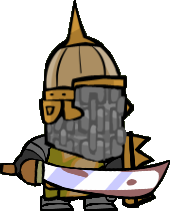
-Single Player: 220 (Regular), 370 (Beefy), 320 (Necromancer)
-Multiplayer (Regular): 264 (2 players), 308 (3 players), 352 (4 players)
-Multiplayer (Beefy): 279 (2 players), 323 (3 players), 367 (4 players)
-Multiplayer (Necromancer): 384 (2 players), 448 (3 players), 512 (4 players)
Location(s): Desert, Desert Chase, Sand Castle Interior (Beefy only), Sand Castle Roof, Wizard Castle Interior (Necromancer)
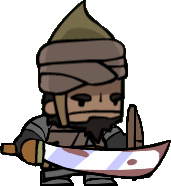
-Single Player: 190, 340 (Beefy), 290 (Necromancer)
-Multiplayer (Regular): 228 (2 players), 266 (3 players), 304 (4 players)
-Multiplayer (Beefy): 243 (2 players), 281 (3 players), 320 (4 players)
-Multiplayer (Necromancer): 348 (2 players), 406 (3 players), 464 (4 players)
Location(s): Desert Chase, Sand Castle Interior, Sand Castle Roof, Wizard Castle Interior (Necromancer)
Enemy Health Points Cont.
(continued from the previous section due to the Guide Editor not having enough space to occupy every enemy health data)
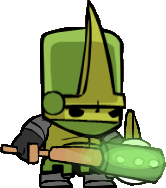
-Single Player: 250, 350 (Necromancer)
-Multiplayer: 300 (2 players), 350 (3 players), 400 (4 players)
-Multiplayer (Necromancer): 420 (2 players), 490 (3 players), 560 (4 players)
Location(s): Marsh, Medusa's Lair, Wizard Castle Interior (Necromancer)
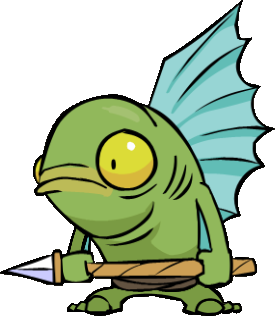
Location(s): Flooded Temple, Medusa's Lair
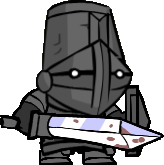
-Single Player: 330 (Regular), 530 (Beefy)
-Multiplayer (Regular): 396 (2 players), 462 (3 players), 528 (4 players)
-Multiplayer (Beefy): 416 (2 players), 482 (3 players), 548 (4 players)
Location(s): Full Moon
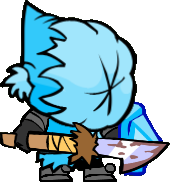
-Single Player: 330, 430 (Necromancer)
-Multiplayer: 396 (2 players), 462 (3 players), 528 (4 players)
-Multiplayer (Necromancer): 516 (2 players), 602 (3 players), 688 (4 players)
Location(s): Full Moon, Snow World, Ice Castle, Wizard Castle Interior (Necromancer)
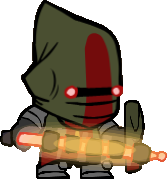
-Single Player: 190
-Multiplayer: 228 (2 players), 266 (3 players), 304 (4 players)
Location(s): Wizard Castle Interior, Final Battle (Evil Wizard's Spider Form only)
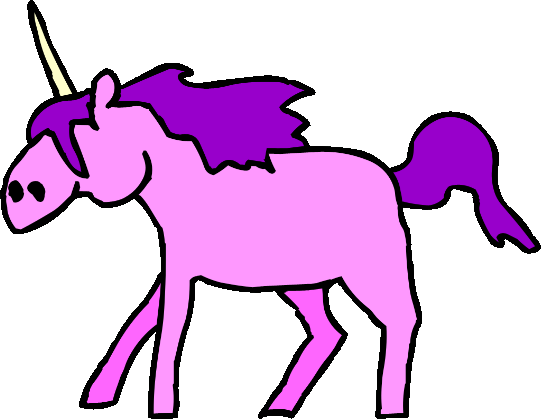
-Single Player: 300
-Multiplayer: 400 (2 players), 500 (3 players), 600 (4 players)
Location(s): Wizard Castle Interior (Painter)
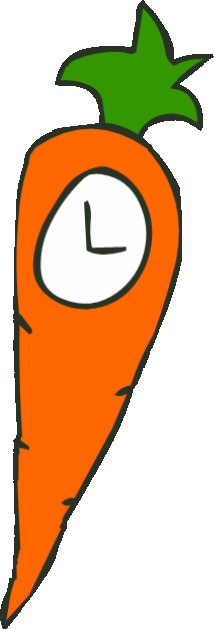
-Single Player: 600
-Multiplayer: 800 (2 players), 1000 (3 players), 1200 (4 players)
Location(s): Wizard Castle Interior (Painter)

-Single Player: Varies (any health of other paintings)
-Multiplayer: Varies (any health of other paintings)
Location(s): Wizard Castle Interior (Painter)
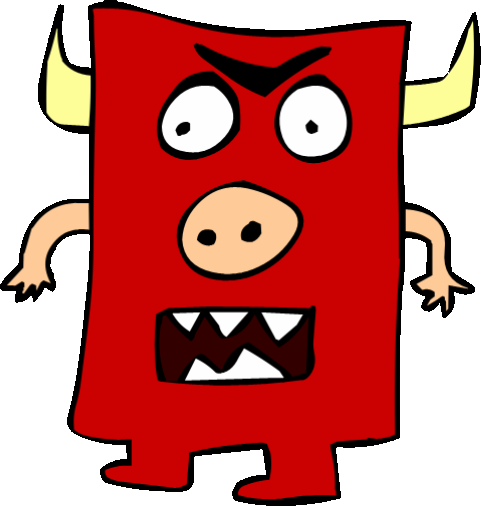
-Single Player: 600
-Multiplayer: 800 (2 players), 1000 (3 players), 1200 (4 players)
Location(s): Wizard Castle Interior (Painter)
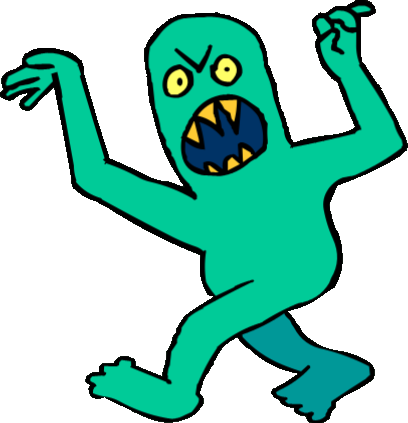
-Single Player: 400
-Multiplayer: 500 (2 players), 600 (3 players), 700 (4 players)
Location(s): Wizard Castle Interior (Painter)
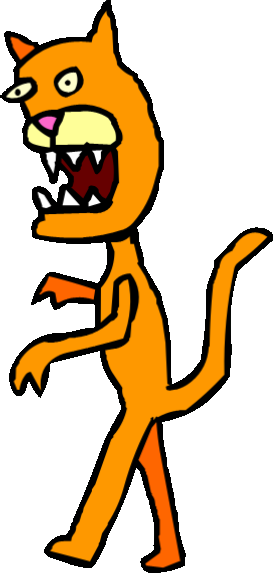
-Single Player: 400
-Multiplayer: 500 (2 players), 600 (3 players), 700 (4 players)
Location(s): Wizard Castle Interior (Painter)
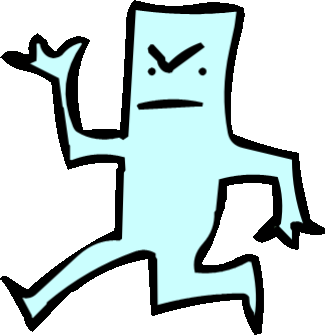
-Single Player: 400
-Multiplayer: 500 (2 players), 600 (3 players), 700 (4 players)
Location(s): Wizard Castle Interior (Painter)
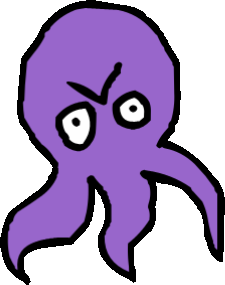
-Single Player: 300
-Multiplayer: 400 (2 players), 500 (3 players), 600 (4 players)
Location(s): Wizard Castle Interior (Painter)

-Single Player: 600
-Multiplayer: 800 (2 players), 1000 (3 players), 1200 (4 players)
Location(s): Wizard Castle Interior (Painter)
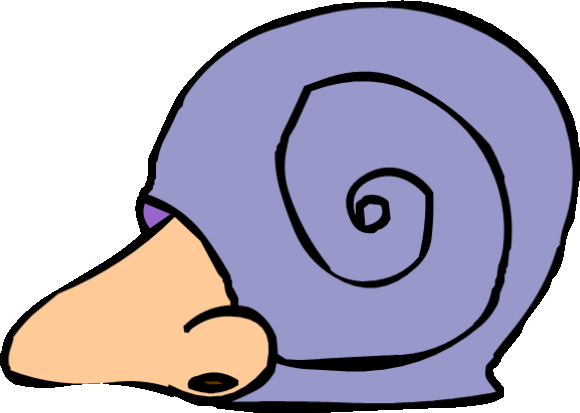
-Single Player: 400
-Multiplayer: 500 (2 players), 600 (3 players), 700 (4 players)
Location(s): Wizard Castle Interior (Painter)
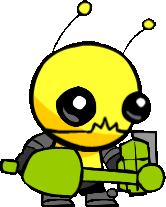
Location(s): Wizard Castle Interior (Necromancer)
And that's all of them. Yeah, it was a long list, but at least you know how much health they all have. And remember that the Multiplayer Health isn't final. They are placeholders, and it would be nice if people would help out with them, too. Now, we gotta move to the bosses!
Boss Health Points + End
The following bosses aren't going to be listed...
-Giant Troll
-Active Volcano
Reason why is because you don't gain any XP from these two, no matter what you do. This makes those two bosses completely useless for that case, and you're better off just ignoring them. Why don't they give XP when you hit them, I have no clue. It's probably a consistent bug in the game. If someone knows why this is happening, please tell me in the comments.
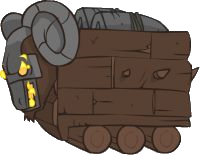
Health
-Single Player: 350
-Multiplayer: 450 (2 players), 550 (3 players), 650 (4 players)
Location(s): Barbarian War Husky Barbarian
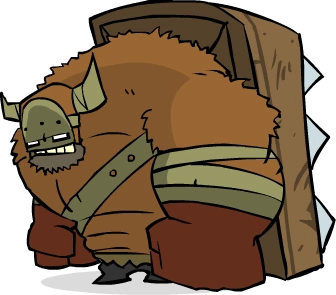
Health
-Single Player: 350
-Multiplayer: 450 (2 players), 550 (3 players), 650 (4 players)
Location(s): Barbarian Boss Troll Mum
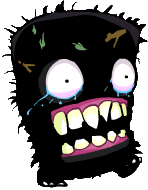
Health
-Single Player: 350 (Thieves' Forest), 400 (Marsh)
-Multiplayer (Thieves' Forest): 450 (2 players), 550 (3 players), 650 (4 players)
-Multiplayer (Marsh): 480 (2 players), 560 (3 players), 640 (4 players)
Location(s): Thieves' Forest, Marsh (as a regular Enemy) Catfish
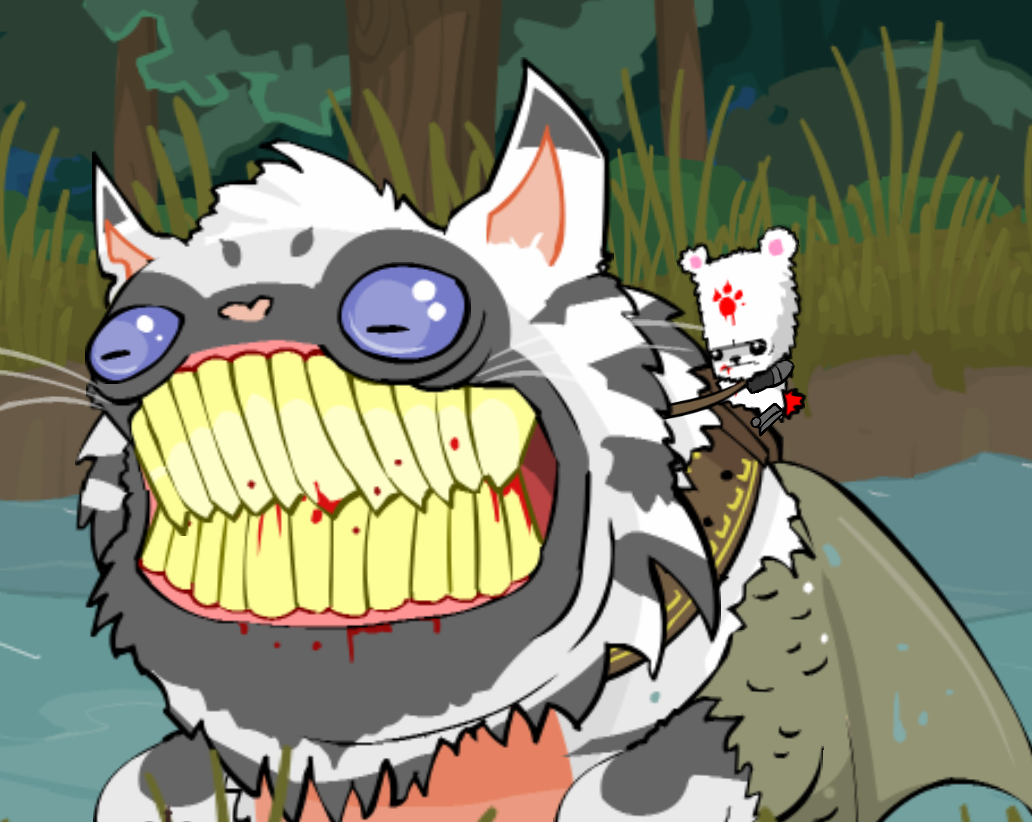
Health
-Single Player: 600
-Multiplayer: 900 (2 players), 1200 (3 players), 1500 (4 players)
Location(s): Catfish (Level) Bear Elder
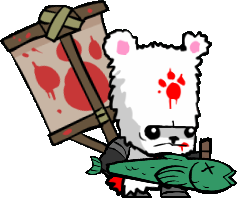
Health
-Single Player: 350
-Multiplayer: 450 (2 players), 550 (3 players), 650 (4 players)
Location(s): Tall Grass Field Pipistrello
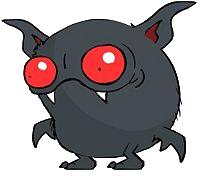
Health
-Single Player: 600
-Multiplayer: 850 (2 players), 1100 (3 players), 1350 (4 players)
Location(s): Pipistrello's Cave Conehead Groom
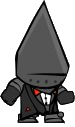
Health
-Single Player: 400
-Multiplayer: 500 (2 players), 600 (3 players), 700 (4 players)
Location(s): Wedding Crash Cyclops
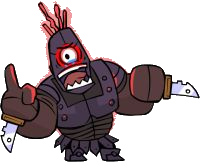
Health
-Single Player: 800
-Multiplayer: 1000 (2 players), 1200 (3 players), 1400 (4 players)
Location(s): Cyclops' Fortress Volcanic Dragon
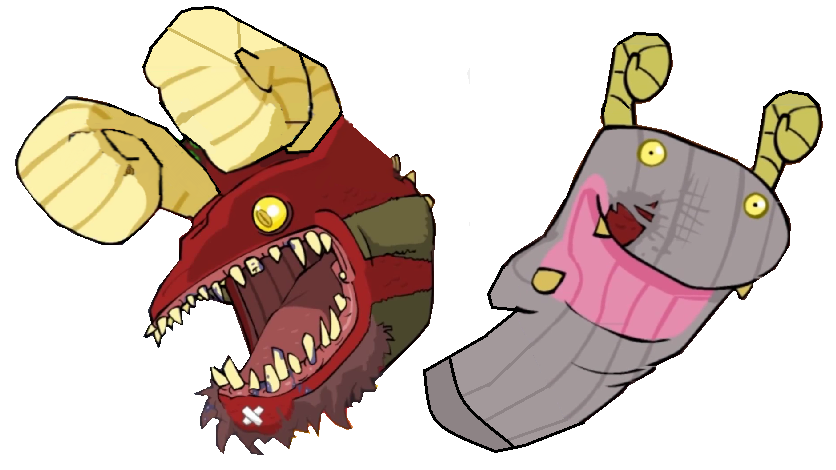
Health
-Single Player: 950
-Multiplayer: 1200 (2 players), 1450 (3 players), 1700 (4 players)
Location(s): Lava World Industrial Machine
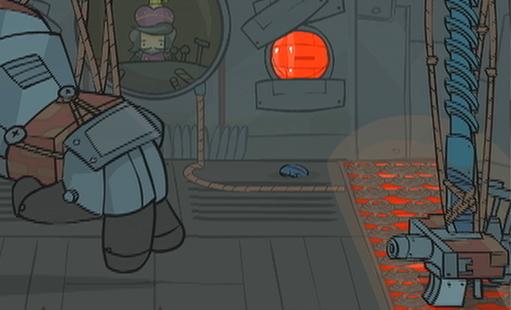
Health
-Single Player: 1900
-Spires: 200 (all five of them)
-Finger: 400
-Turret: 500
-Multiplayer: 2300 (2 players), 2700 (3 players), 3100 (4 players)
-Spires: 200 (all five of them, does not change)
-Finger: 600 (2 players), 800 (3 players), 1000 (4 players)
-Turret: 700 (2 players), 900 (3 players), 1100 (4 players)
Location(s): Industrial Castle Alien Ship
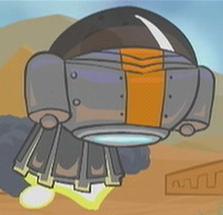
Health
-Single Player: 400
-Multiplayer: 500 (2 players), 600 (3 players), 700 (4 players)
Location(s): Desert Killer Corn
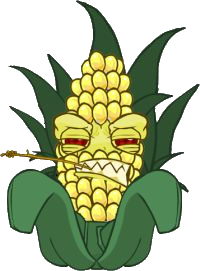
Health
-Single Player: 3000
-Multiplayer: 3500 (2 players), 4000 (3 players), 4500 (4 players)
Location(s): Corn Boss Medusa
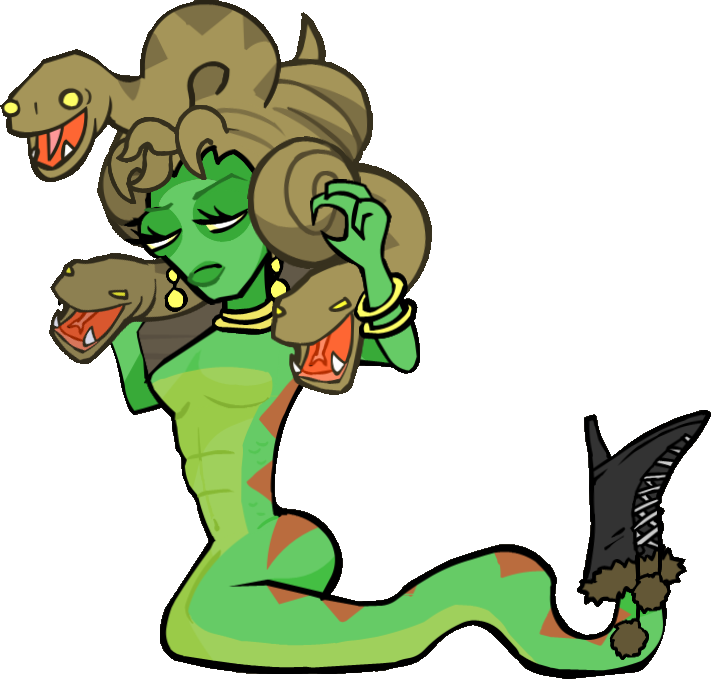
Health
-Single Player: 2250
-Multiplayer: 3000 (2 players), 3750 (3 players), 4500 (4 players)
Location(s): Medusa's Lair Frost King
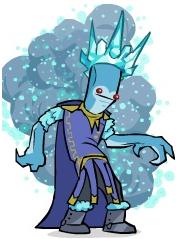
Health
-Single Player: 5000
-Multiplayer: 6000 (2 players), 7000 (3 players), 8000 (4 players)
Location(s): Ice Castle Painter
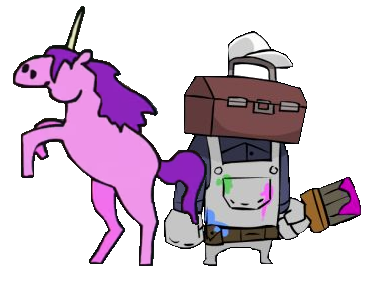
Health
-Single Player: 3000
-Multiplayer: 3500 (2 players), 4000 (3 players), 4500 (4 players)
Location(s): Wizard Castle Interior (Painter) Undead Cyclops
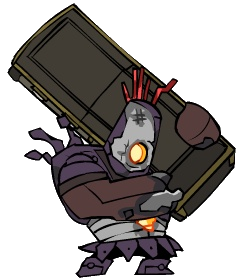
Health
-Single Player: 3000
-Multiplayer: 4000 (2 players), 5000 (3 players), 6000 (4 players)
Location(s): Wizard Castle Interior (Undead Cyclops) Necromancer
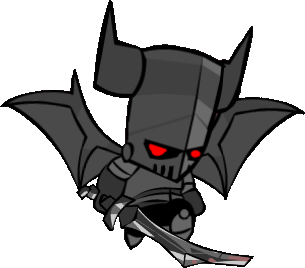
Health
-Single Player: 4000
-Multiplayer: 5000 (2 players), 6000 (3 players), 7000 (4 players)
Location(s): Wizard Castle Interior (Necromancer) Evil Wizard (sorry I couldn't get all the images of his forms. The wiki didn't have those in good quality as of the time I was making this)
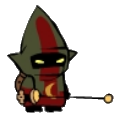
Phase 1: Gems
Health
-Single Player: 1600 (400 for each)
-Multiplayer: 2000 (2 players), 2400 (3 players), 2800 (4 players)
Location(s): Final Battle (Phase 1)
Phase 2: Bubble
Health
-Single Player: 800
-Multiplayer: 1300 (2 players), 1800 (3 players), 2300 (4 players)
Location(s): Final Battle (Phase 2)
Phase 3 & 5: Balloon
Health
-Single Player: 700
-Multiplayer: 1000 (2 players), 1300 (3 players), 1600 (4 players)
Location(s): Final Battle (Phases 3 and 5)
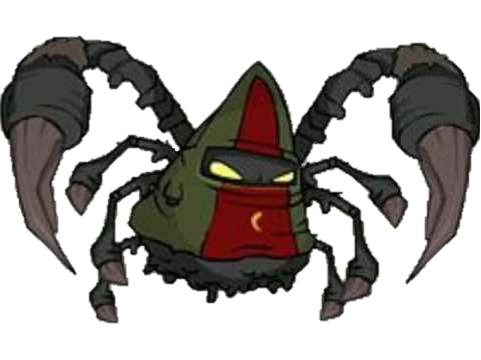
Health
-Single Player: 1050
-Multiplayer: 1500 (2 players), 1950 (3 players), 2400 (4 players)
Location(s): Final Battle (Phase 4)
Phase 6: Sword
Health
-Single Player: 900
-Multiplayer: 1200 (2 players), 1500 (3 players), 1800 (4 players)
Location(s): Final Battle (Final Phase)
Man, that's a lot! And like I said, most of the numbers are just estimates for these baddies. So you may not get exactly what the sum is for that specific enemy or boss.
And that'll do it for this guide! My very first guide on here, so please go easy on me. Hope I don't get a lot of negative ratings on this, since there hasn't been an XP farming guide on the Steam version of Castle Crashers.
Oh, and speaking of negative ratings, if you didn't like this guide, go ahead and give this a thumbs down. Or if you did like it, go ahead and give this a thumbs up. Either way helps me out the same, and I appreciate the feedback!
Questions or comments? Hit me up!
Regards to cheating and why you shouldn't do it
I feel it’s very important to talk about this, because it is common for people to want level 99 characters so badly that they will skip directly to the end result by cheating their way there with an engine. Yes, that is a thing specifically for this version of the game, there are ways to do so, but I do not recommend it!
Although it may be fun having a maxed out character, or perhaps an entire roster full of level 99s within a very short amount of time... but really, what do you actually gain from that? What satisfaction would you feel from it? You might think it’s cool for a little while, but since you didn’t get there the intended way, it will have no meaning. You’ll know those characters with level 99 weren’t legitimately obtained.
Think of it as cheating on a test - if you just get the answers from one of your classmates, you’re not doing the work yourself. And even though you may pass the test, you won’t be any smarter for it. You won't get any credit as a result.
Part of what makes grinding fun is the rewarding feeling of actually getting to level 99! You set a goal for yourself, you put in time to achieve that goal and eventually, through your own persistence, you accomplish that goal. You’ll actually feel accomplishment from it.
I don't know anything about the cheat engine, but I'm not gonna tell you who to ask for that either. Please do the work yourself. I do not promote, nor encourage the use of cheating just to get to a max level cap within a much shorter amount of time. I just do not encourage that.
Save file searching for Level 99s
Searching for a save file that has all level 99s, especially when one, if not all 31 characters have Gold Skulls, is also a sorry excuse for completing something that's grindy. Not only do people who have no common sense in them cheat their way to getting all 31 characters to level 99, there are also people who would go out of their way to make duplicates of their save file. If that's what they wish to do for their own enjoyment, be my guest, but it gets scummy when that person shares their 100% save file(s) to other people expecting legitimately obtained Level 99s.
Due to this, you should always be wary when searching for a save file for all 31 characters at level 99; it's very plausible that the save file you may be looking for might have been cheated, although it's extremely hard to tell the difference between legitimately obtained 99s and cheated 99s.
It's also mandatory to consider whether you should even search for a save file for Level 99s in the first place. It's like the above section about cheating - by simply getting a hold of a save file for all 31 characters at level 99, there's no sense of accomplishment. You just have the maxed out characters, without putting in the time and work to get them. Sure, what you obtained might have had some kind of value to it, but it's also extremely likely that the person you got the save file from may not have gotten all 31 characters to level 99 legitimately. Whether they did or not, though, you didn't put in the work to get that goal complete.
That's why I advise staying away from people who are willing to lend over their saves to other people, as you never know that the file could contain malicious viruses to kill your computer as well. However, if you're grinding with one or multiple friends and can trust that they're playing legitimately as well, you can get to Level 99 that way - although that sense of accomplishment will be less rewarding than solo'ing it, it's still a decent gesture.
Now in the case of you not having any time to do such a tedious, mindlessly lengthy grind and have to cheat your way to it because there's tons of things going on in your life such as tight work schedules, family matters, or even not wanting to grind at all, then to be as fair as I possibly can, that is more understandable. But, the fact still stands that you yourself did not put in the actual effort regardless. It doesn't matter if you didn't legitimately do it in the first place and had to use a save file due to your current life conditions. Just a little friendly reminder for ya.
- How to unlock all characters in Castle Crashers★ 5 (815)51k views1.5k ♥2 minUpdated Apr 18, 2021
- The Ultimate Guide To Castle Crashers★ 5 (1.2k)50k views2.3k ♥79 minUpdated Jul 6, 2024
- The Complete Animal Orbs Guide★ 5 (1.4k)39k views2.4k ♥7 minUpdated Sep 24, 2020
- Character Unlock Guide★ 5 (753)39k views1.3k ♥2 minUpdated Aug 8, 2025
- Castle Crashers - персонажи★ 5 (1.2k)37k views1.6k ♥4 minRussianUpdated Oct 1, 2018
- How to Unlock All Castle Crashers Characters★ 5 (861)34k views1.4k ♥1 minUpdated Aug 11, 2025


- Upgrading to PremiumTeam Fortress 2★ 5 (20k)1441k views11k ♥6 minUpdated May 11, 2022
- No More Room in Hell Official ManualNo More Room in Hell★ 5 (2.8k)569k views2.1k ♥29 minUpdated Apr 22, 2019
- NMRiH Community Hosting GuidesNo More Room in Hell★ 5 (526)351k views653 ♥1 minUpdated Aug 10, 2022
- How to 'Git Gud' Soon™MORDHAU★ 5 (2k)318k views3k ♥68 minUpdated Nov 16, 2024
- Лучшие кооперативные игры SteamPAYDAY 2★ 5 (1.5k)315k views2.1k ♥56 minRussianUpdated Apr 27, 2025
- Desert Eagle Heat Treated | Blue GemCounter-Strike 2★ 5 (1.6k)293k views1.5k ♥2 minUpdated Jan 16





This guide was created by its original author on the Steam Community. Are you the author and want it removed? Request removal.