DOOM 2D Audio Sequencer Guide
Introduction
This guide covers the basics of using the DOOM Audio Sequencer Snapmap.
The current release is version one, Snapmap code (ETCAVB3L)
Due to burnout with the editor and lack of interest in the map, I haven't updated it. However, I figured out a way to save memory to add more save states and possibly a new feature on the offchance that anyone would want such things.
If you find typos in the guide, bugs in the map, or have any questions, please leave a comment below!
This tool uses 798 of the non-looping 2D Audio sound samples. It offers a fun way to experiment and create with these sounds, and I hope it inspires snapmap makers to try and create their own custom music and SFX!
Controls
General- (Always available)
Use equipment: Toggle player speed
Melee: Toggle HUD
Use key: Toggle beats, interact with buttons
Selecting Sounds- (Only available when standing in a column's ground box trigger)
User input 1: Next sound- Can press and hold
- Can press and hold
Secondary fire: Load sound
*User defined input 1 default key is "G", input 2 is "R". I use numpad+ and numpad-, change these keys to something intuitive as you will use them a lot.
Overview
The sequencer can be broken down into several components:
- The HUD
- The tempo and flow settings
- The notes
- The in-game save/load system
The HUD changes as you move from area to area to try and show relevant information for current available actions. It can be manually changed with the 'melee' key.
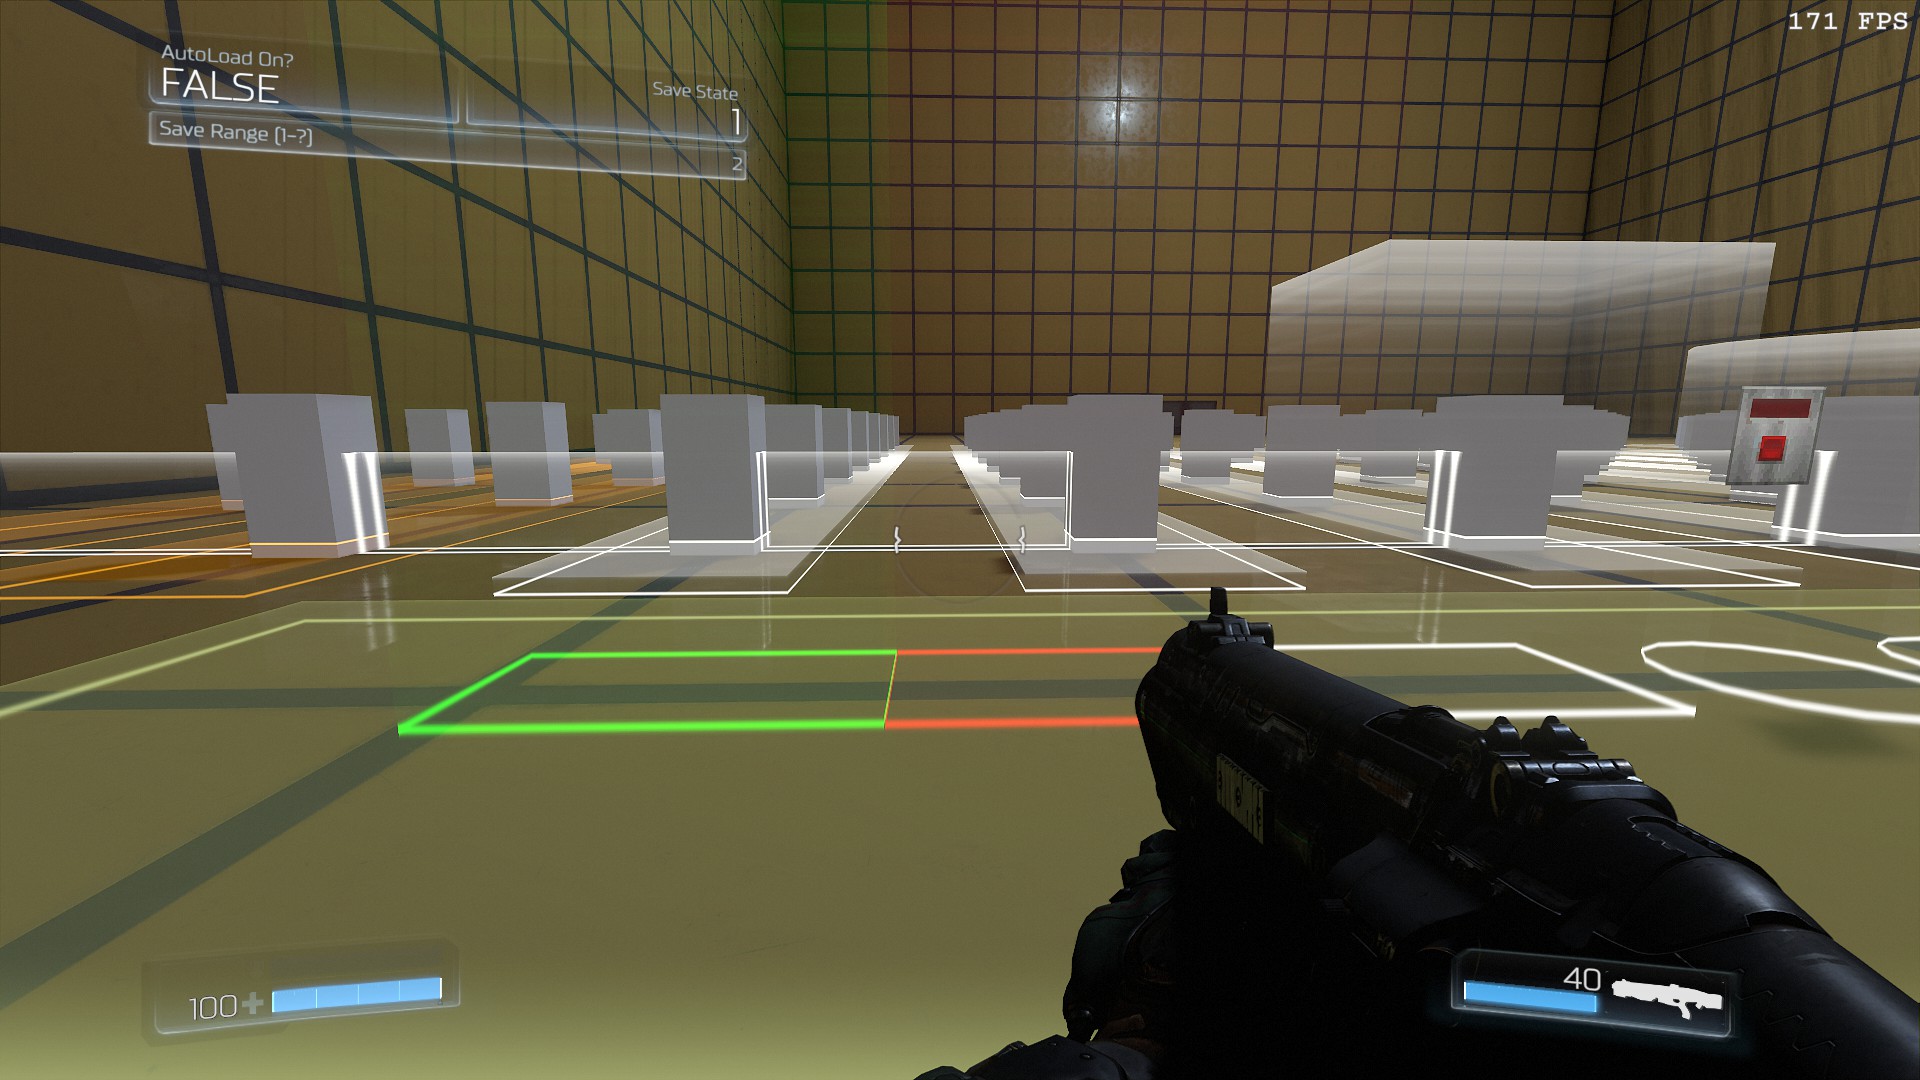
The large transparent green and red blocks shown allow you to start and pause the sequencer. Once started, it will advance the beat by the current tempo. The smaller transparent white block can be used to jump to the start of the sequence from any position. The current beat is indicated by the thin transparent white bar that extends across the sequencer.
 These controls, from left to right, are -
- Move sequence one step back
- Move sequence one step forward
- Clear all enabled blocks
- Decrease tempo
- Increase tempo
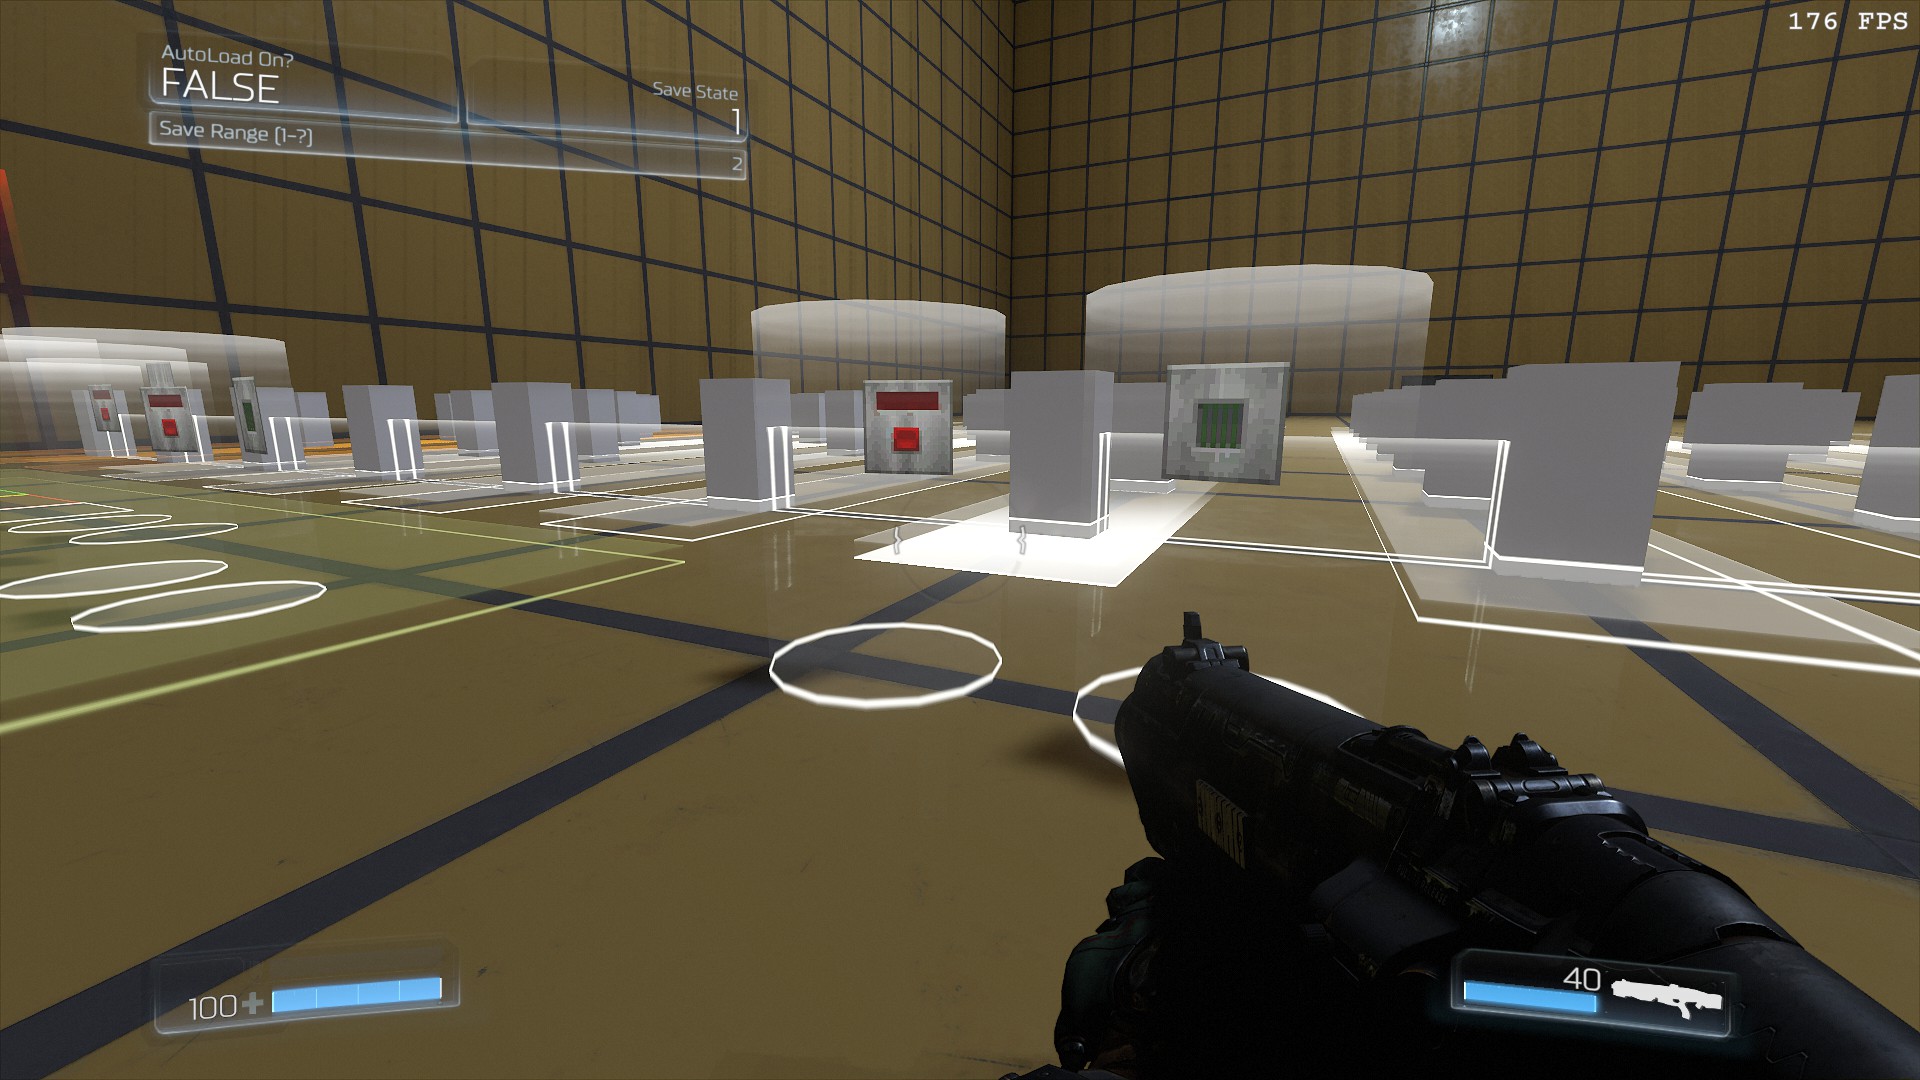
All the way to the right are two buttons that control the maximum beats in a sequence (default is a full 8, this number can be reduced all the way to 1). There is no indicator as to current max beat, however, it should be visible if adjusted while sequencer is running.
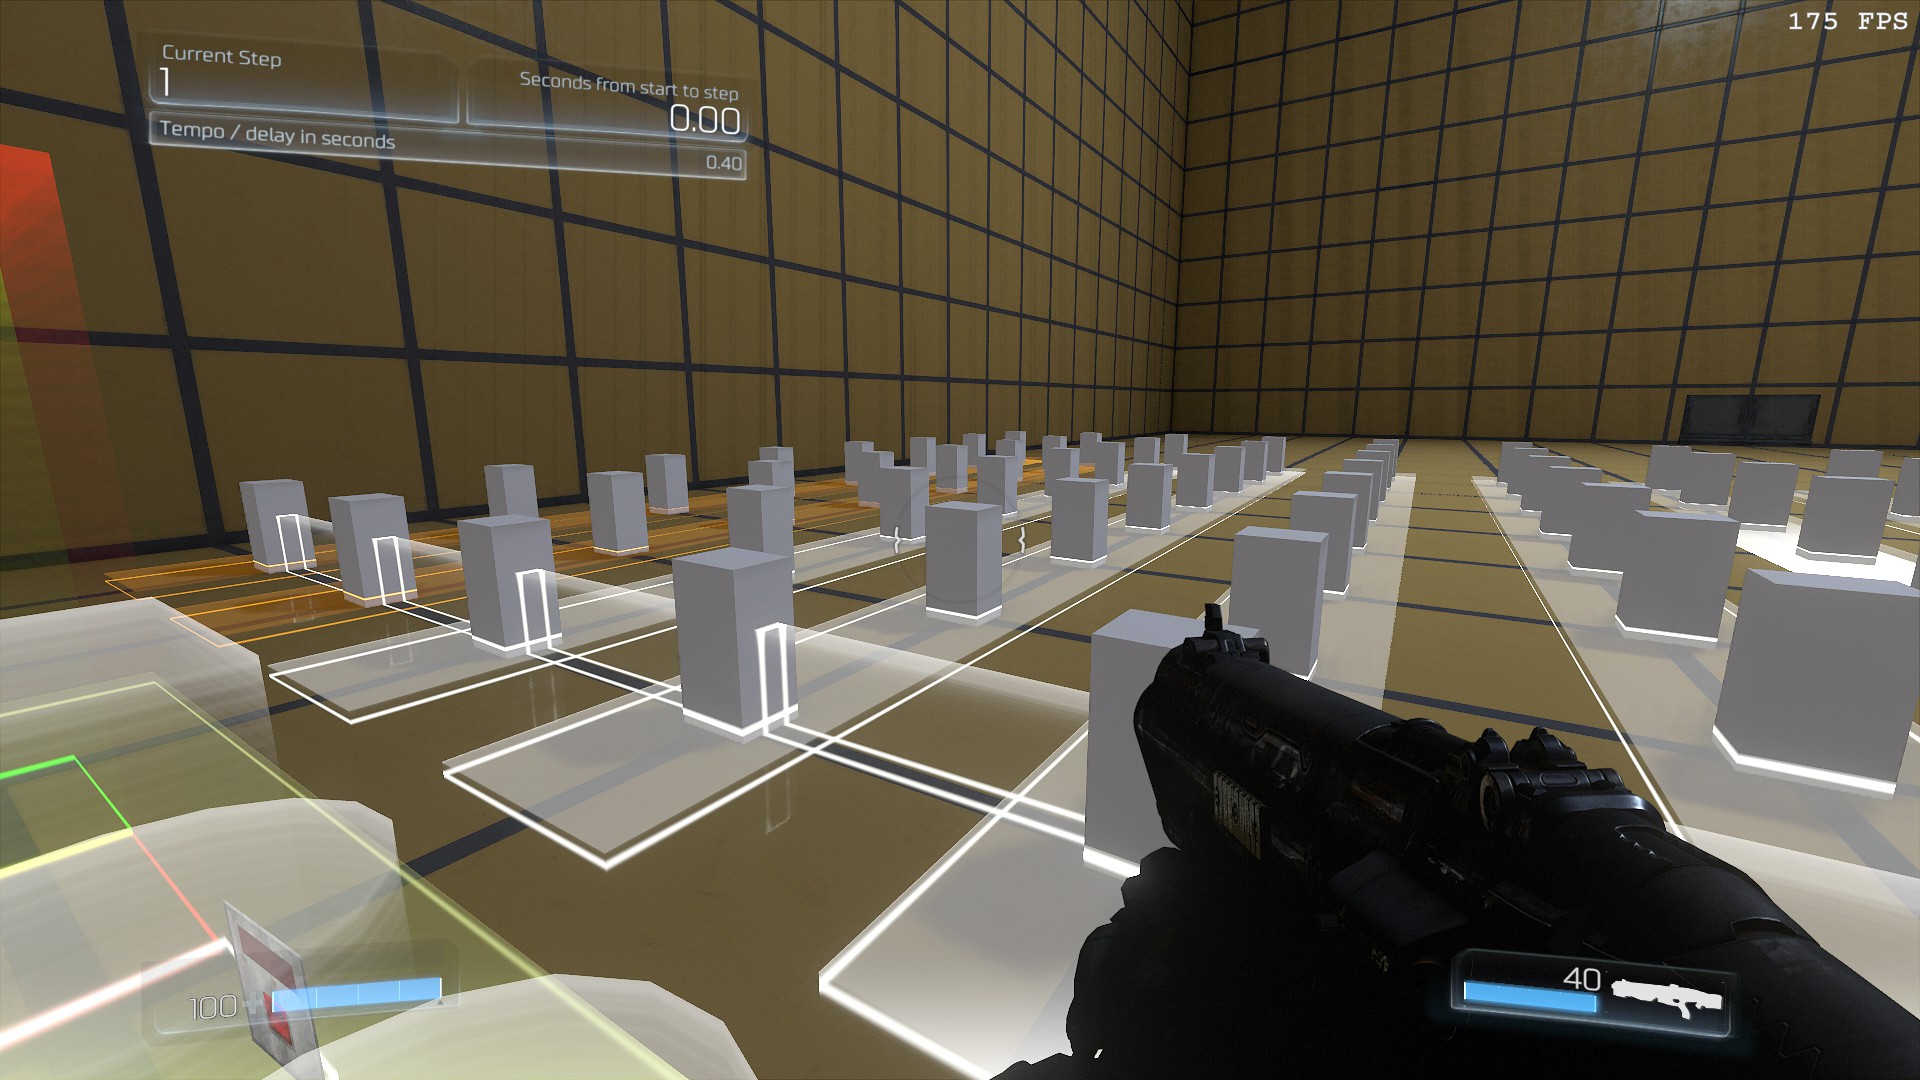
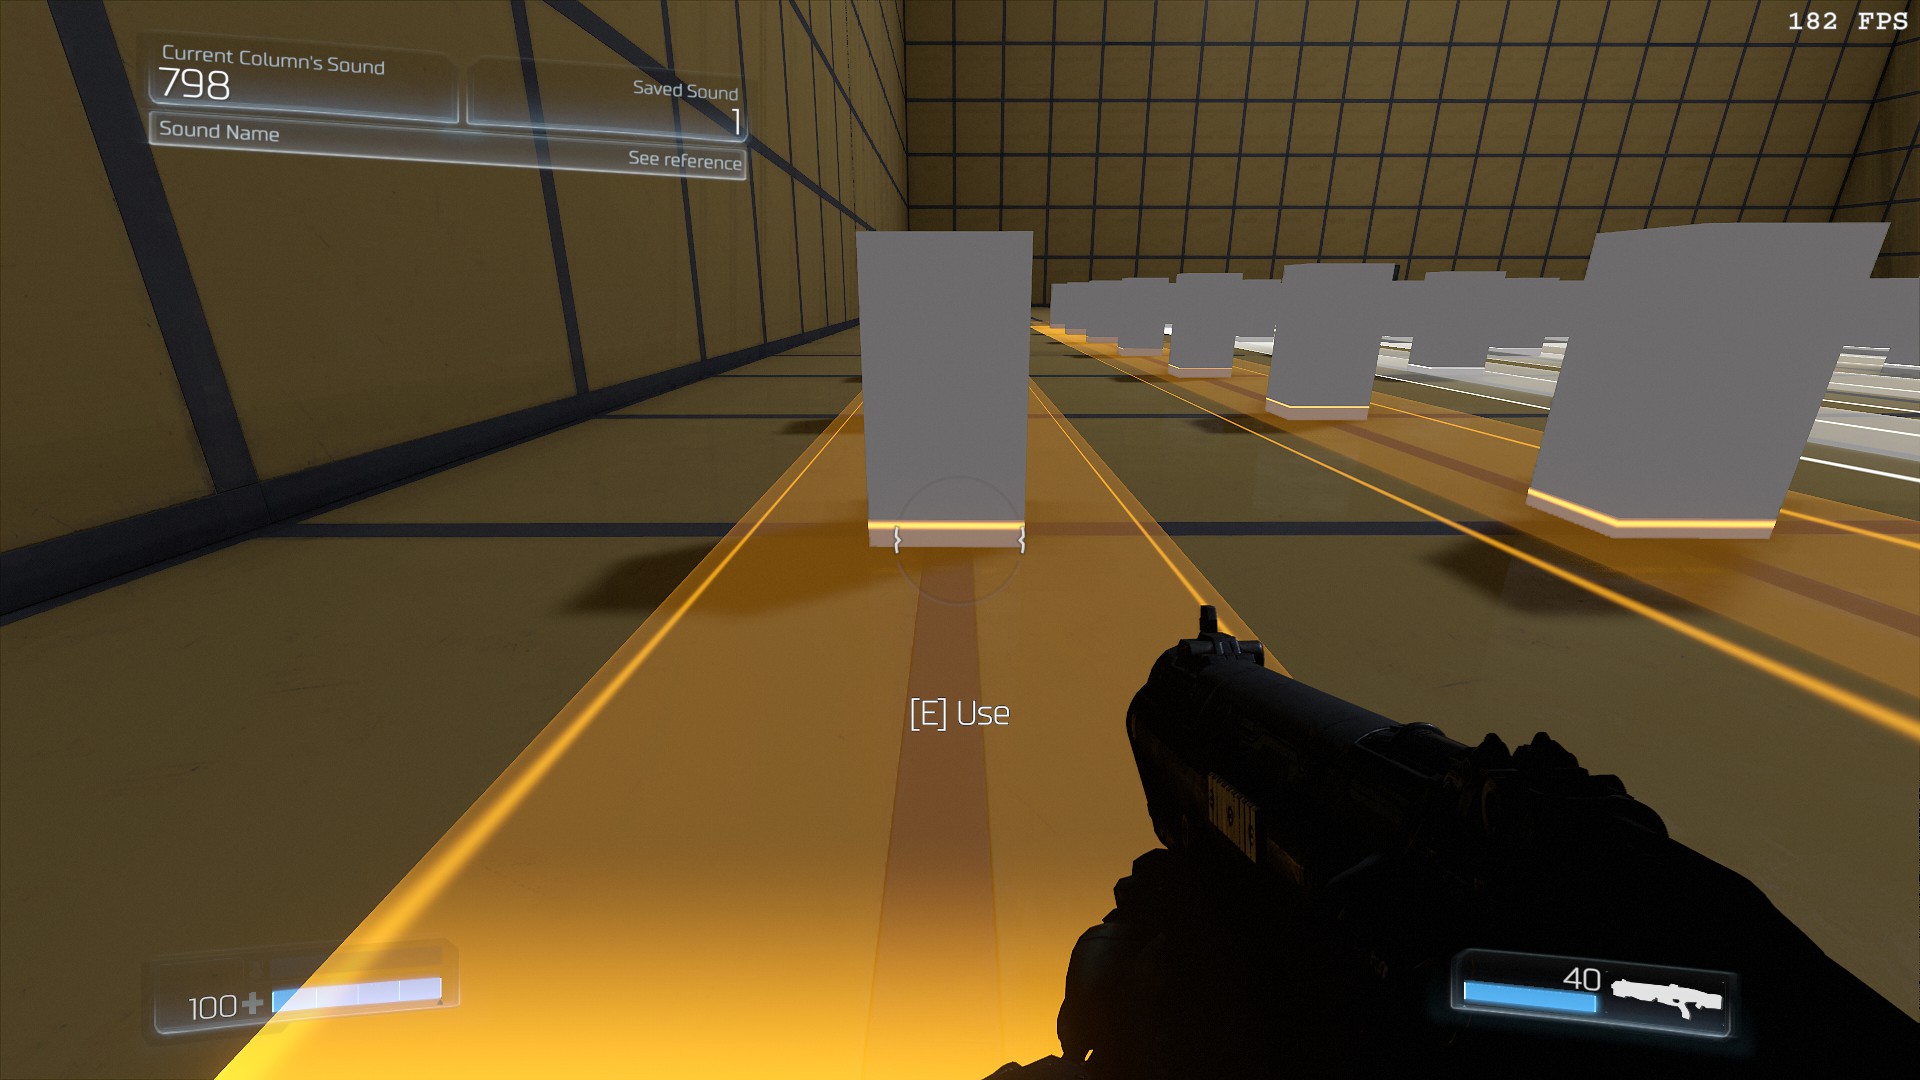
The solid white blocks are 'off', no sound will play when that beat is reached. The blocks can be enabled by walking to them and pressing the use key, upon which the current selected sound will play and the block will change to green. When standing in the translucent trigger that spans each column, you can change the selected note. The current note name and number is given in the HUD, user defined inputs 1 & 2 are used to select different notes. You may press and hold down the button to scroll quickly through sounds. The saved sound can be set to the current note with primary fire. The saved sound can be recalled in any column with alternate fire.
Take note of the color of the translucent ground trigger. The two orange ones on the left can have their sound changed with each new save state, which is explained in the next section.
Remember to take advantage of the 'use equipment' button, which allows you to cover much more ground.
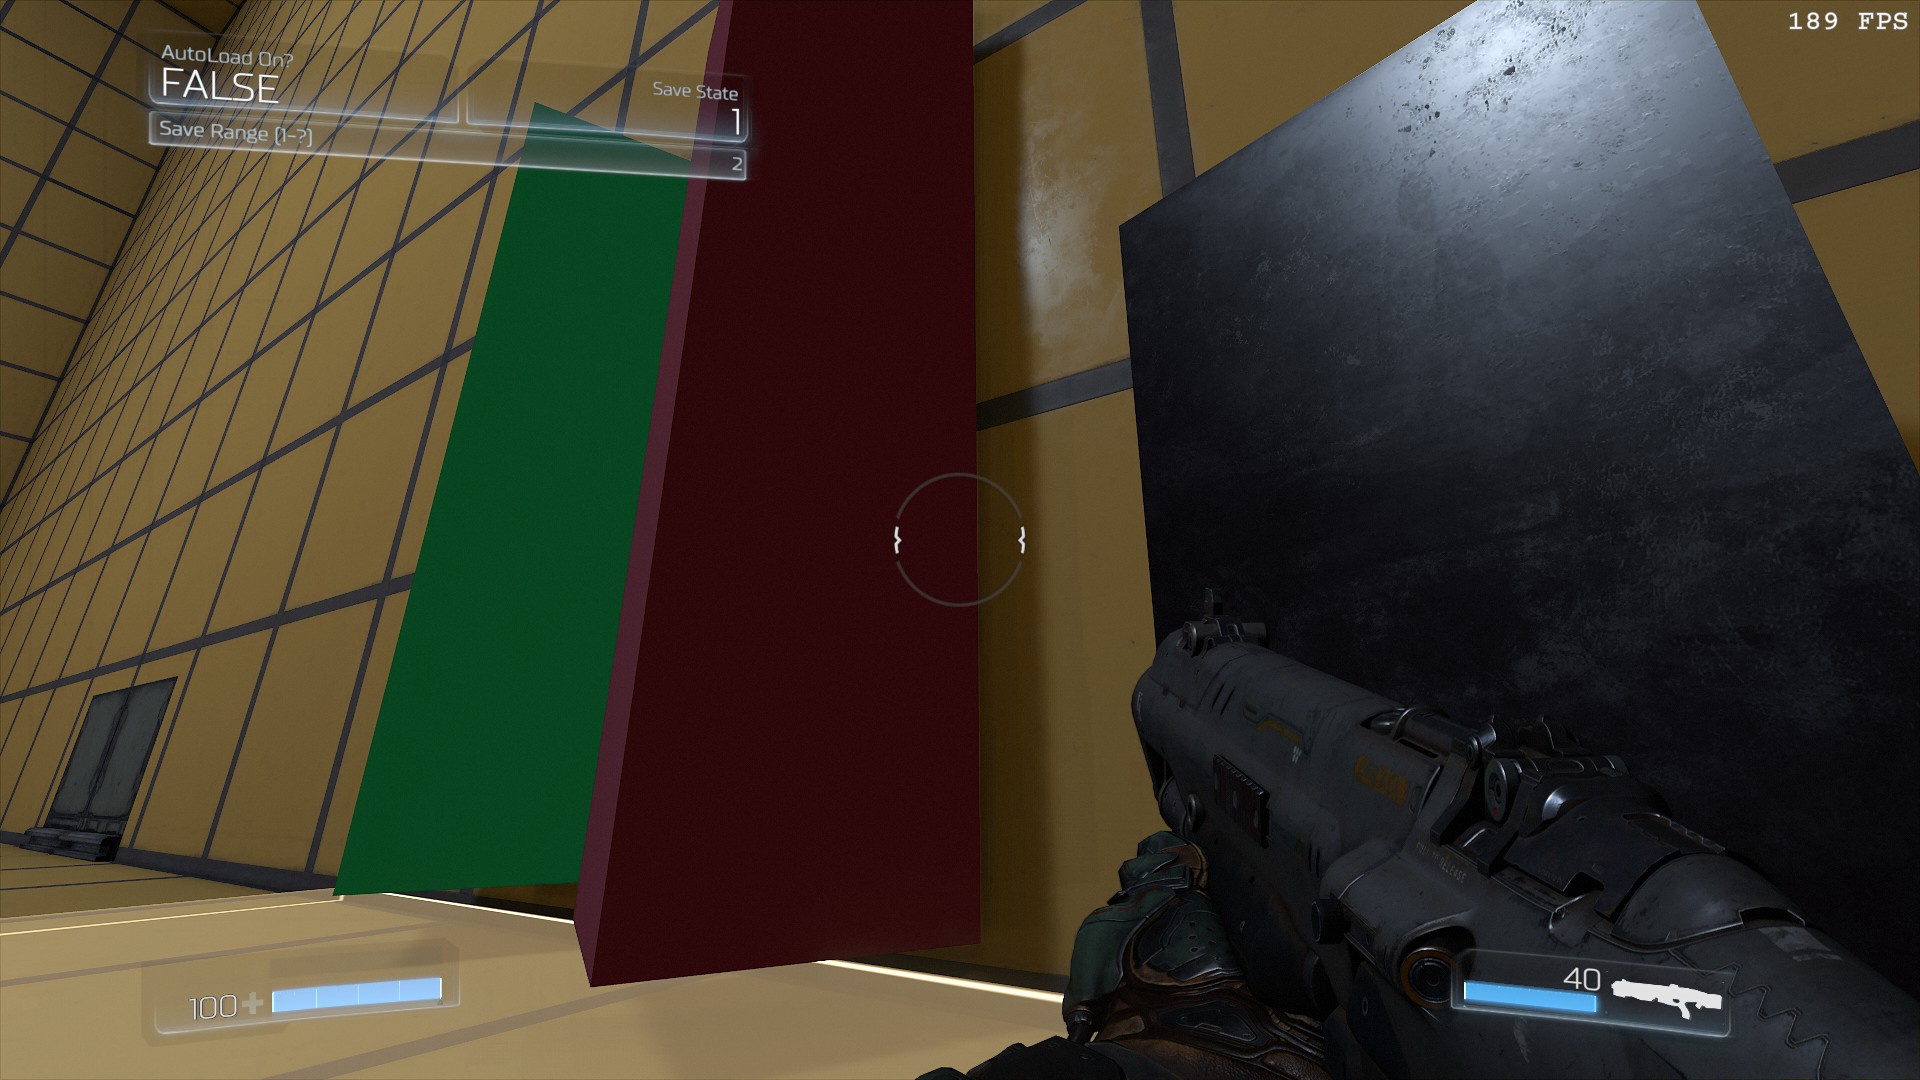
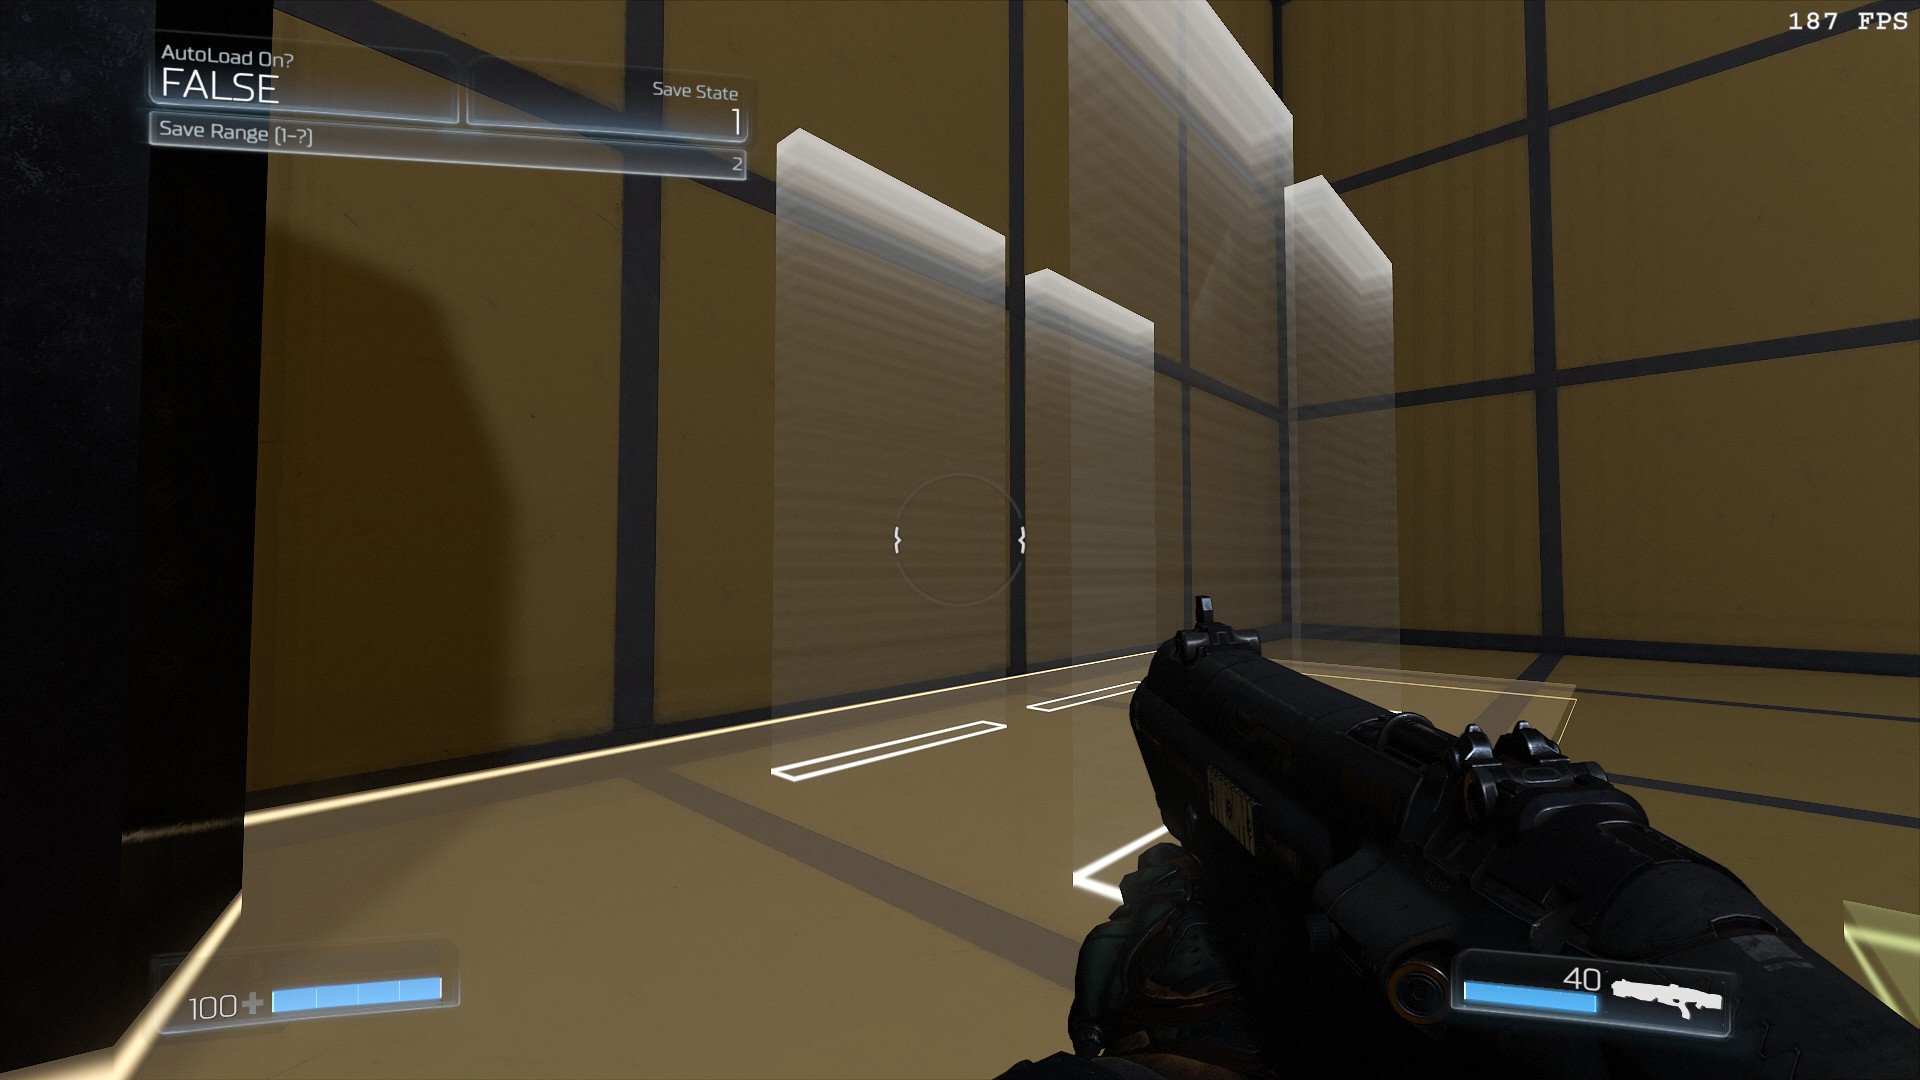
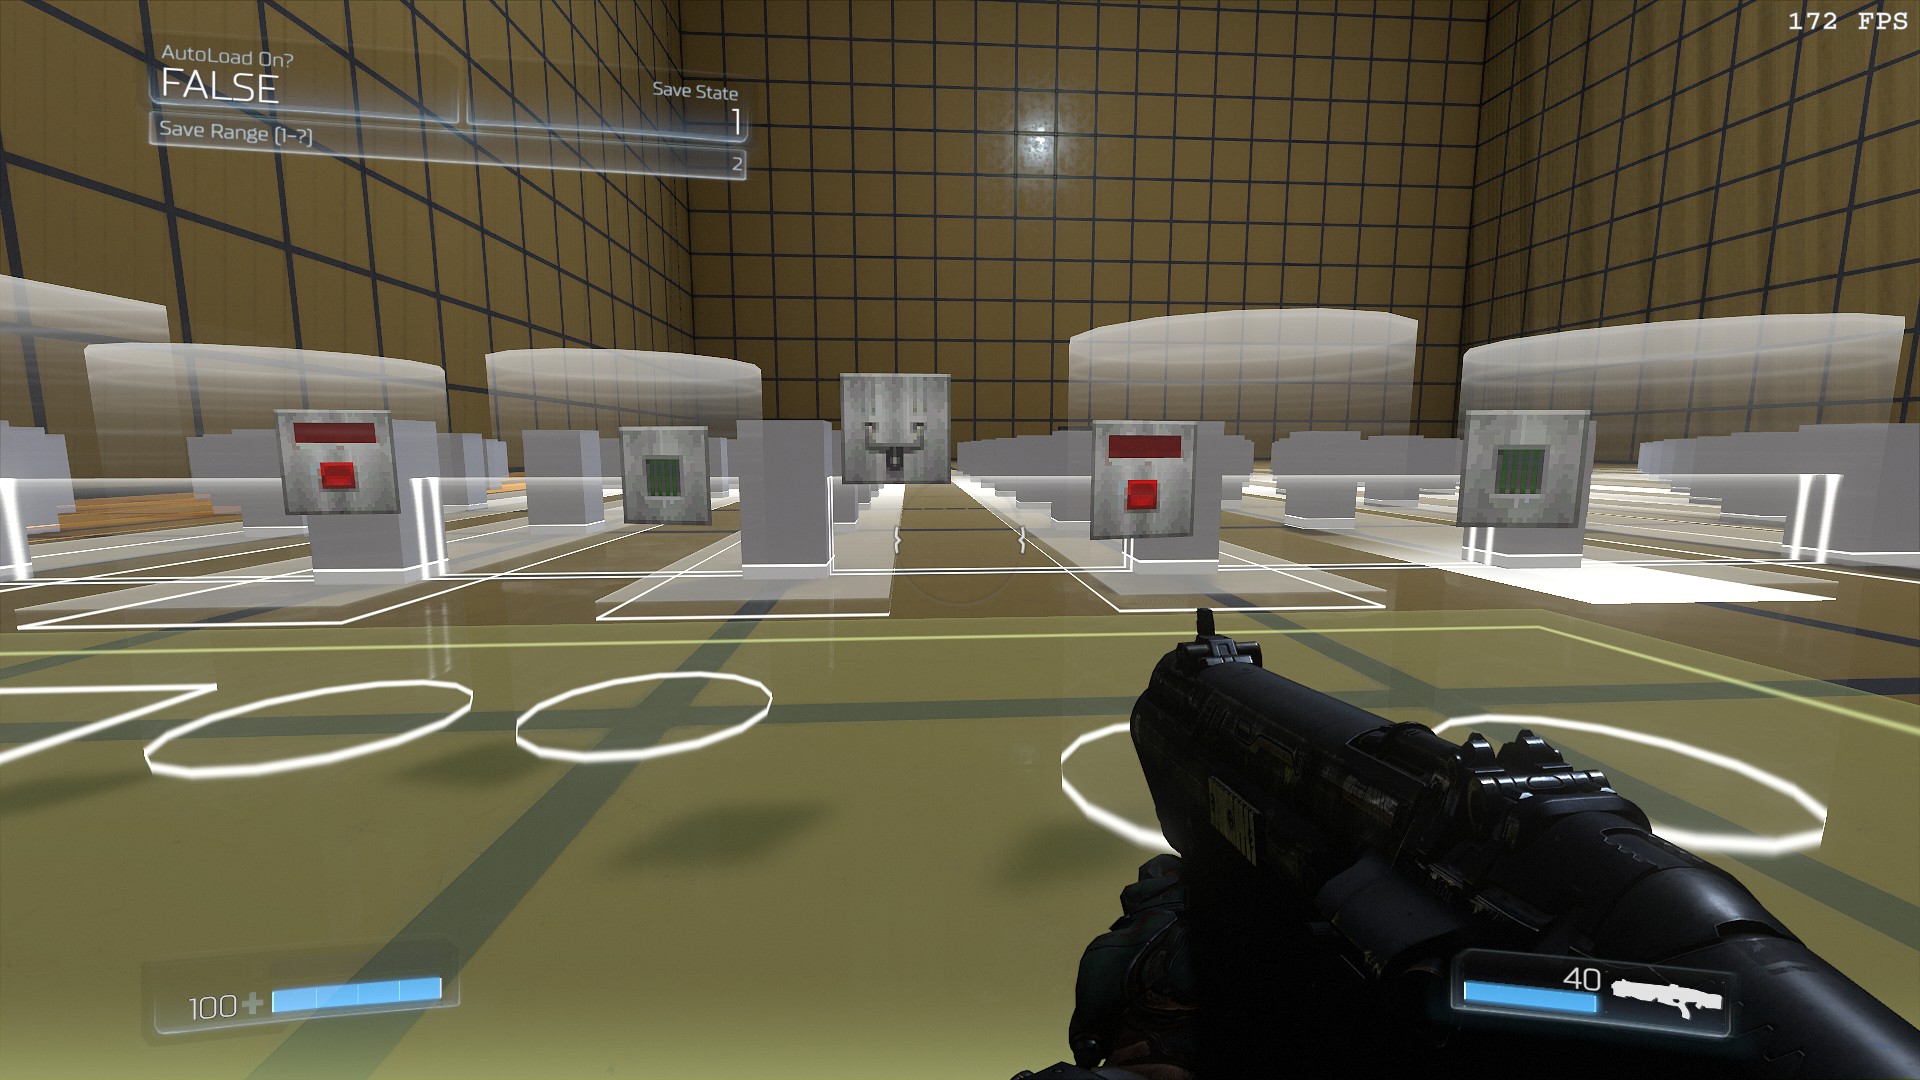
These controls allow you to switch between save states. A save state represents the current layout of the sequencer, specifically, which blocks are on or off. It also represents the sound of each of the orange columns. Note that tempo and other information is not contained in a save state.
The 4 thin white translucent blocks allow you to choose how many save states you work with and which one is currently selected. You can have between 1 and 4 states active.
The black obelisk toggles auto-loading. When auto-load is enabled, the next state will automatically load when the last beat in the sequence is reached, 1 - 4 looping back to 1.
The towers of save and load are used to save the sequencer state and to manually load it. Note that the default state is that all blocks are off, this can be used as an alternate way to clear the sequencer before working on the next state.
Sound References
- Sound range (596 - 607) = Strings
Includes distorted guitar sounds - Sound range (608 - 634) = Synths
Includes distorted bass sounds - Sound range (635-743) = Classic SFX
Sounds from the classic DOOM games - Sound range (744-775) = UI
- Sound range (776-788) = Explosions
- Sound range (789-798) = Gore
Known bugs and shortcomings
If you are changing a sound and step outside of the columns box trigger, your next change will leap higher than 1 value
Sounds that play and sustain for a length of time (horns, violins, etc.) can become muddy and cannot be forcibly shortened within the tool. I actually tried including a way of forcing the sound to stop before the start of the next beat, but the result was buggy. Note that when you're making sounds and songs in your own personal snapmap, you can use end sound triggers to achieve better flexibility.
Also, a little worn out as I write this guide, I appreciate any suggestions as to where I need to elaborate, I know this is all a bit terse.
The pentatonic scale!
Limit your notes to - C, Eb, F, G, Bb, C - and you should be able to get something nifty sounding
- DOOM Written Guide/Walkthrough for all secrets on each mission including Doomguy locations.★ 5 (4.8k)101k views9.3k ♥45 minUpdated 22 May, 2025
- DOOM 100% Achievement Guide★ 5 (1.5k)65k views2.8k ♥19 minUpdated 30 Nov, 2023
- Все секреты★ 5 (2.8k)54k views4.8k ♥14 minRussianUpdated 6 Jan, 2022
- DOOM Secrets & Collectibles★ 5 (1.2k)49k views2.1k ♥4 minUpdated 4 Dec, 2022
- Secret Doom Classic Level Locations + Easter Eggs★ 5 (1.5k)47k views2.1k ♥13 minUpdated 29 Jan, 2021
- Как уменьшит объем игры(лайфхак)?★ 5 (729)44k views343 ♥1 minRussianUpdated 25 May, 2017




- Upgrading to PremiumTeam Fortress 2★ 5 (20k)1441k views11k ♥6 minUpdated May 11, 2022
- No More Room in Hell Official ManualNo More Room in Hell★ 5 (2.8k)569k views2.1k ♥29 minUpdated Apr 22, 2019
- NMRiH Community Hosting GuidesNo More Room in Hell★ 5 (526)351k views653 ♥1 minUpdated Aug 10, 2022
- ULTIMATE GUIDE FOR GAME DEV TYCOONGame Dev Tycoon★ 5 (5.8k)326k views10k ♥4 minUpdated 23 Jan, 2014
- How to 'Git Gud' Soon™MORDHAU★ 5 (2k)318k views3k ♥68 minUpdated Nov 16, 2024
- Лучшие кооперативные игры SteamPAYDAY 2★ 5 (1.5k)315k views2.1k ♥56 minRussianUpdated Apr 27, 2025






This guide was created by its original author on the Steam Community. Are you the author and want it removed? Request removal.