The ULTIMATE Doom Ultra-Nightmare Guide
Ultra-Nightmare: The Path of Perpetual Torment
"In the first age, in the first battle, when the shadows first lengthened, one stood. Burned by the embers of Armageddon, his soul blistered by the fires of Hell and tainted beyond ascension, he chose the path of perpetual torment."
Ultra-Nightmare is a challenge and committing to it can feel like perpetual torment. However, through a combination of trial and error, solid strategy, and in-depth level and game knowledge, you can beat Ultra-Nightmare.
Basic Setup
- Run the game at a graphical setting that allows 60 frames per second easily.
- Set your field of view (FOV) to around 114 (my preference) to allow for better reaction and evasion in battle.
- Bind weapons to keys and mouse buttons that you can easily reach and switch between.
Argent Cells
Health, Health, Health, Health, Ammo, Ammo, Ammo, Ammo, Armor, Armor, Armor, Armor is a particularly good upgrade order. Make sure you know where every Argent Cell is.
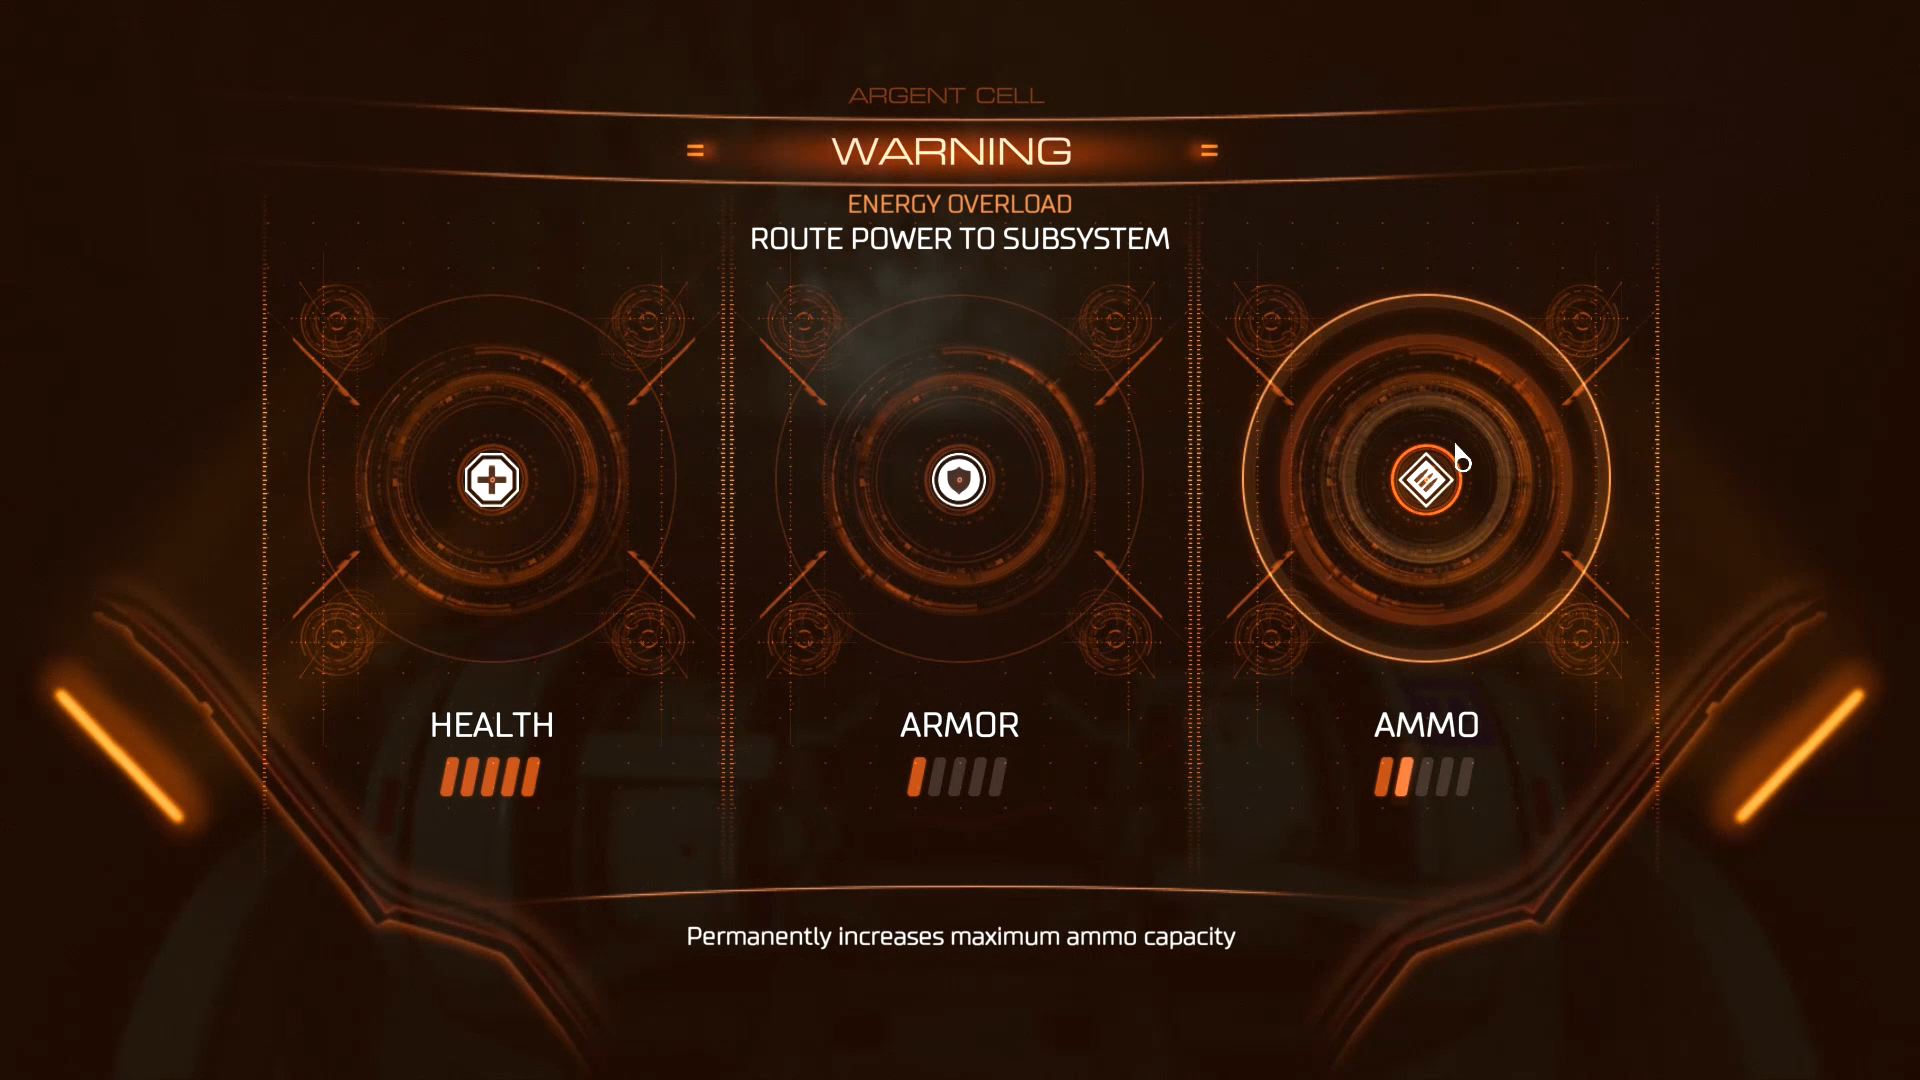 Argent Cell order is crucial. There are around 3*10*2 = 60 different ways you could approach filling out the 12 slots. Health should be heavily weighted in your selections at the beginning because HP is abundant and easily refillable. Armor is rare and capped very low. Megahealths, which can be acquired in level 05 and on, mitigate the need for armor upgrades and even exceed its max cap of 150 (a Megahealth is +200HP, +200 armor). Armor upgrades should be your last four picks. Your health/ammo order in the beginning is up to you, but I swear by Health, Health, Health, Health, Ammo, Ammo, Ammo, Ammo, Armor, Armor, Armor, Armor.
Praetor Suit
Rushing Environmental Resistance completion first is widely agreed upon to be the best initial strategy. Make sure you know where every Elite Guard is.
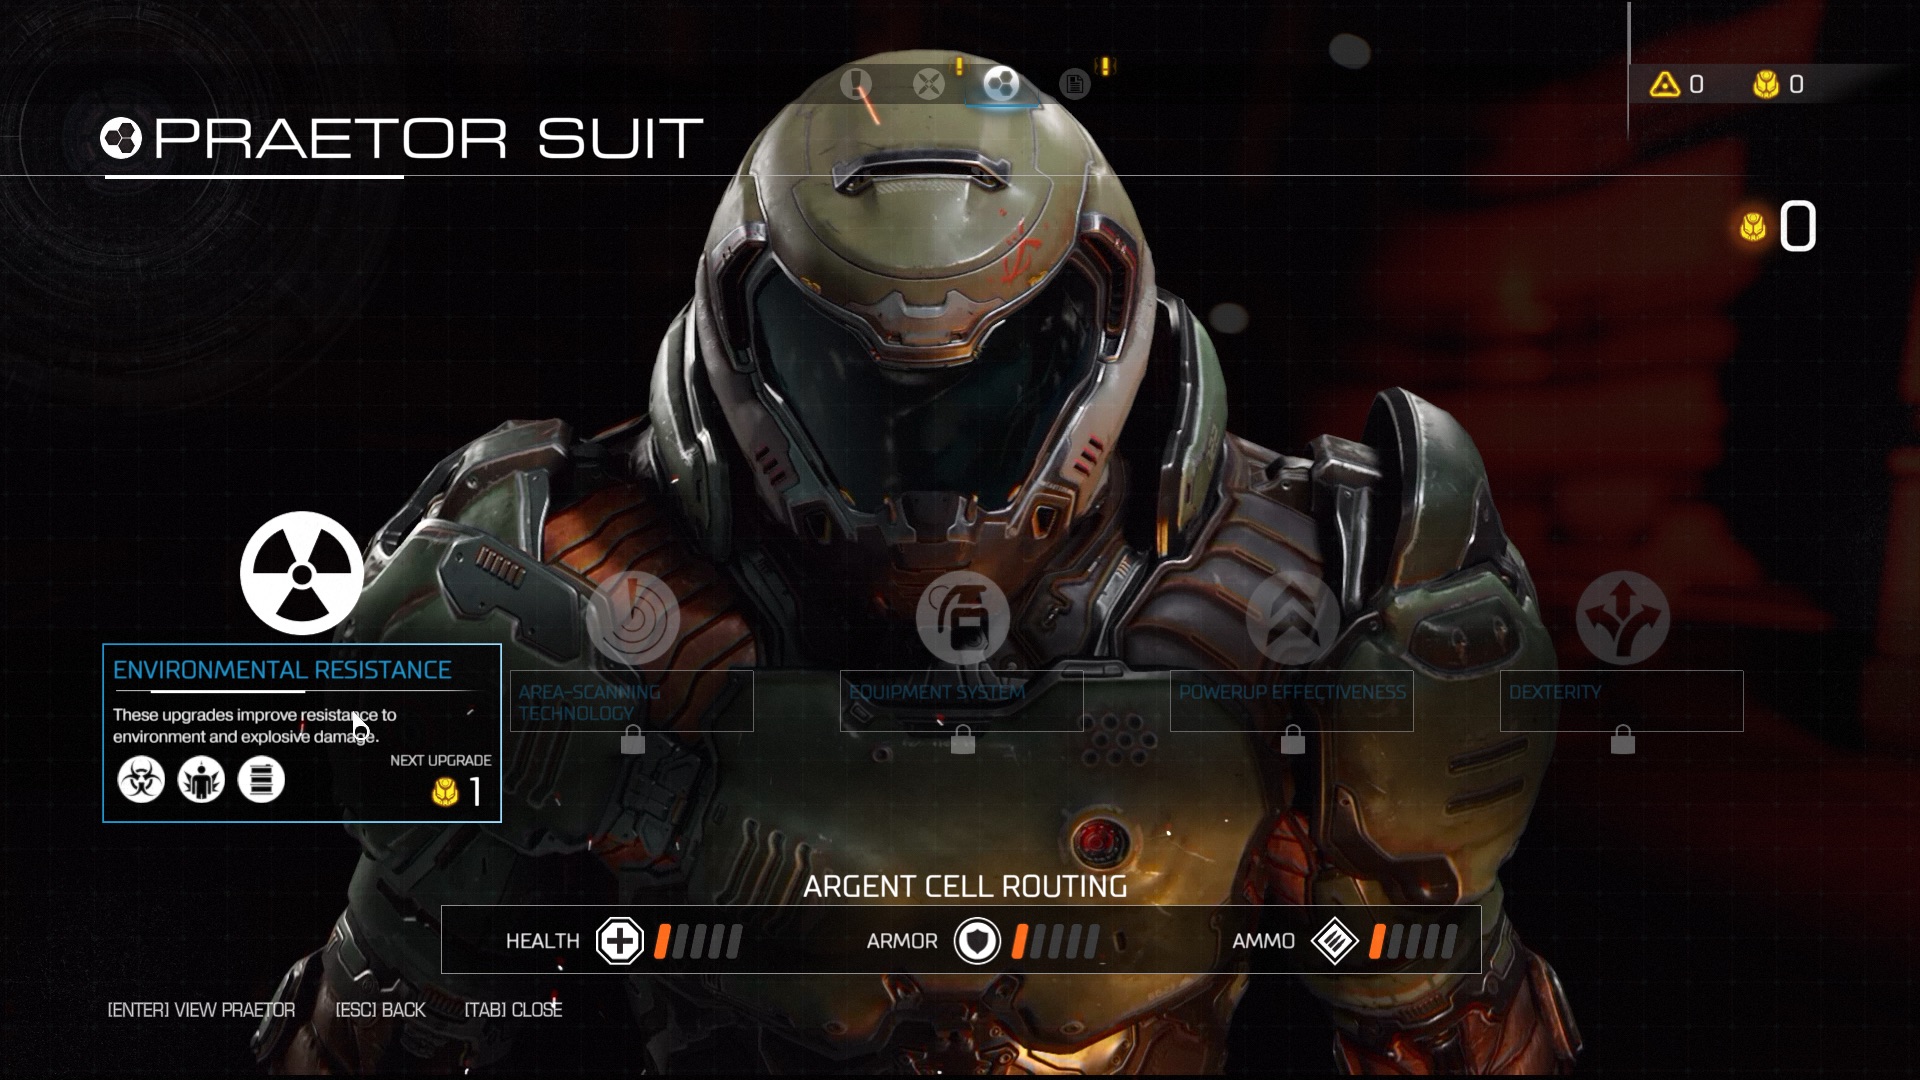 Best to start off with because it eliminates damage from explosions that are out of your control and also limits self-damage.
- Hazard Protection (1 token): Damage taken from explosive barrels and environmental sources is reduced.
- Self-Preservation (2 tokens): Self-inflicted damage from weapons is reduced.
- Barrels O' Fun (3 tokens): Immunity to damage from explosive barrels.
- Quick Charge (2 tokens): Equipment recharge duration is reduced.
- Stock Up (3 tokens): The total number of equipment charges is increased.
- Rapid Charge (4 tokens): Recharge duration is further reduced.
- Power Surge (1 token): A blast wave is unleashed when a power-up expires.
- Healing Power (2 tokens): Health is restored to maximum when a power-up is activated.
- Power Extender (3 tokens): Power-up durations are increased.
- Adept (2 tokens): Weapon changing time is reduced.
- Quick Hands (3 tokens): Ledge grabbing speed is increased.
Hazard Protection, Self-Preservation, Barrels O' Fun, Quick Charge, Power Surge, Healing Power, Power Extender, Stock Up, Adept, Rapid Charge, Quick Hands
Runes
Completing 1, 4, or 7 rune trials gives you 1, 2, or 3 active rune slots respectively. Make sure you know where all the rune trials are, especially the ones you want to use.
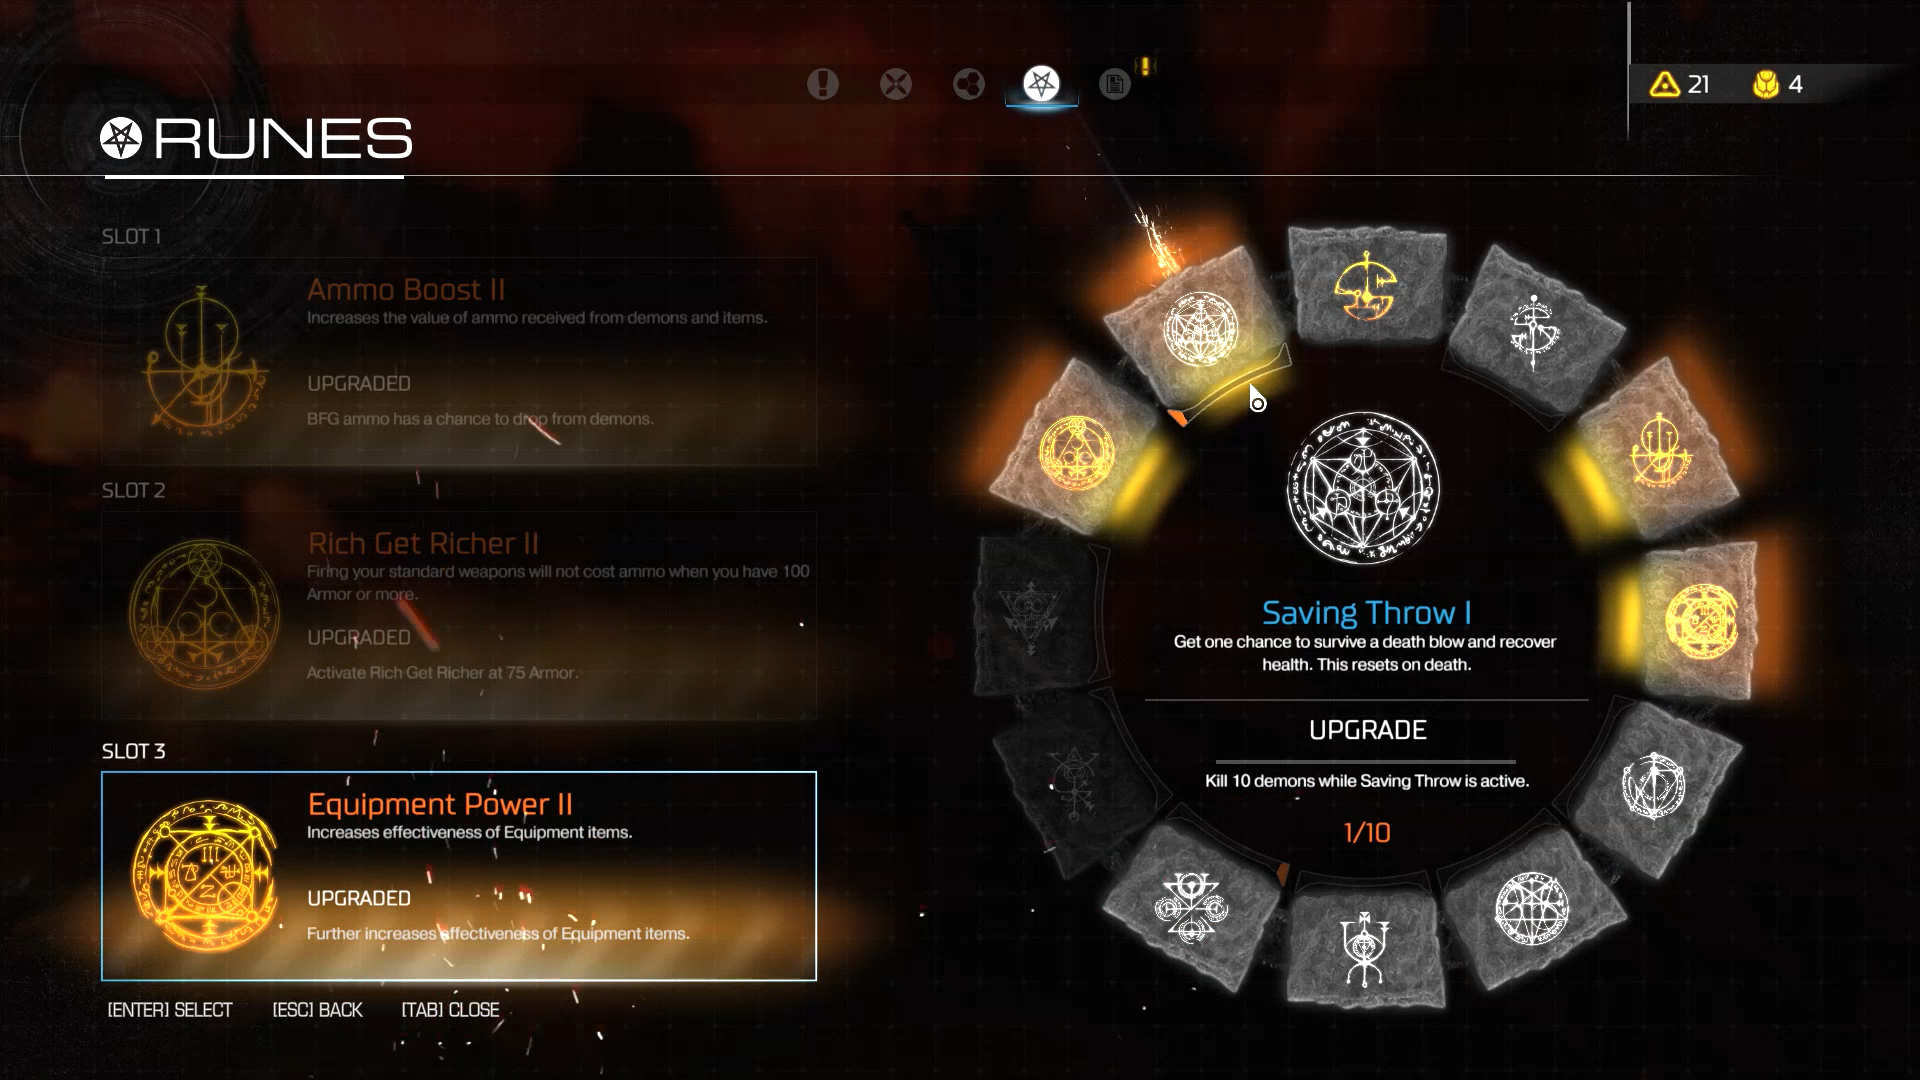 There are many useful runes in the game. Some runes will be good for you but not for others. I stray away from glory kill runes, for example, because I think glory killing is not safe in the mid to late game, so I wouldn't want to incentivize it. Below are the runes that I believe are the most effective.
Weapons, Mods, and Upgrades
Some mod choices are up to debate, but some are no-brainers. Some masteries are worth it, some aren't.
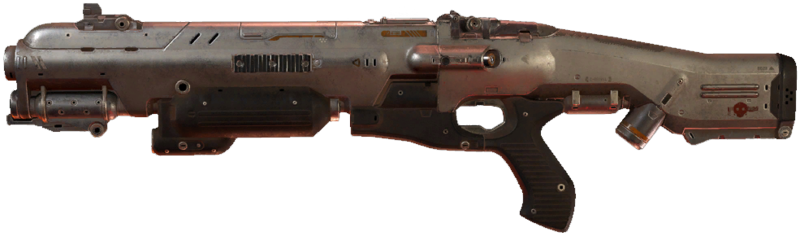
Ammo Pool: Shotgun Shells
Modding Reccommendation: Explosive Shot and mastery
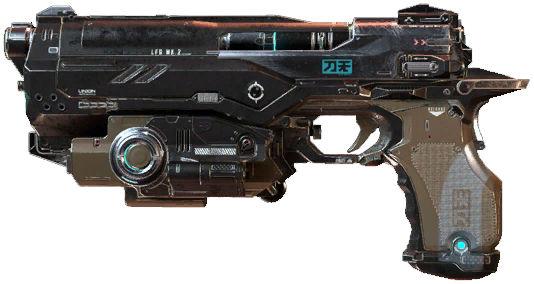
The Combat Shotgun with Explosive Shot is a versatile weapon, good until the very end of the game. It one-shots low-level demons on level 01, which is extremely valuable. It can be used to great effect in cleaning up glory killable demons from close, mid, and even long range. The mastery, Cluster Strike, is great on direct hits on mid-level demons such as the Hell Knight or Revenant. The alternative Charged Burst mod is perhaps the worst mod in the entire game and makes Ultra-Nightmare significantly more difficult. It is also immediately overshadowed in its application by the Super Shotgun.
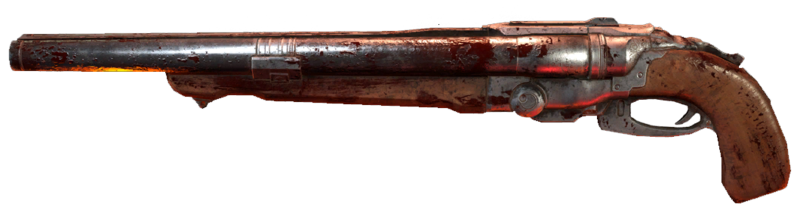
Ammo Pool: Shotgun Shells
Modding Reccommendation: Do not upgrade
The Super Shotgun is excellent at killing lower-level demons in just one shot, such as Possessed, Imps, Soldiers, and Hell Razers. Its other valuable use is cleaning up staggered or "glory killable" demons from close to mid range. If any demon is staggered, you can finish the job with a single shot and move on to your next threat. It is also great for killing Pinkies in the back. The Super Shotgun's upgrades are a waste of weapon points. It's great on its own. The level 1 upgrade makes reloading faster, which is useless, since we don't reload. You'll have to spend 9 weapon points just to get piercing rounds, which results in rare double kills. The mastery takes 30 double kills and is not worth it in the slightest.
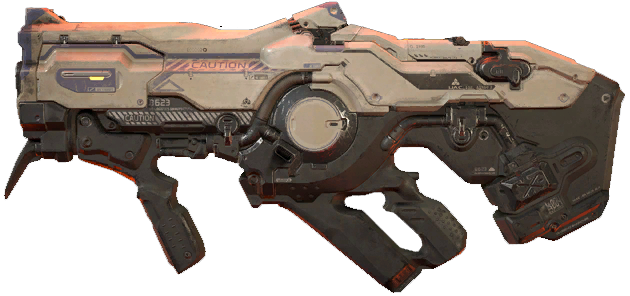
Ammo Pool: Plasma
Modding Reccommendation: Either and mastery
The Plasma rifle unmodded is one of the worst weapons in the game. Because the rounds are so slow, it is only effective against pursuit-type AI, such as the Hell Knight. A downside to the Plasma Rifle is that is draws from the same ammo pool as the best weapon in the game, the Gauss Cannon, so when both are acquired, the Plasma Rifle is only used for one of its two mods in mod-specific occasions only. The two mods are both good. Stun Bomb allows you to freeze Pinkies and shoot them in the back. This creates great peace of mind, mitigating a big threat in the game substantially. Heat Blast has a large advantage early on in that Expanded Threshold can be bought with one weapon point, allowing for big damage by 02. It's like a mini BFG that can get you out of a bad situation where you're overwhelmed. It's amazing under 4x, too.
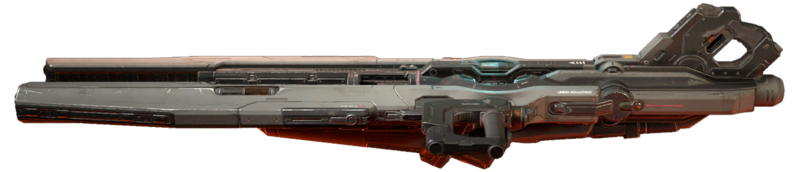
Ammo Pool: Plasma
Modding Reccommendation: Siege Mode and mastery
The Gauss Cannon with Siege Mode is the best weapon in the game, and it isn't close. Gauss Cannon with Siege Mode one-shots and mutli-kills 82% of demons and 100% under 4x. Unmodded, the Gauss Cannon one-shots Security through the shield.
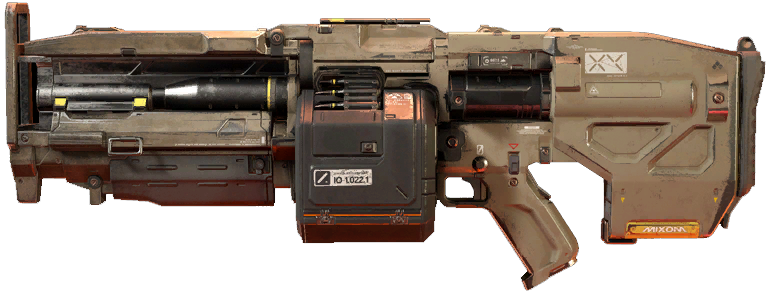
Ammo Pool: MG
Modding Reccommendation: Micro Missiles and mastery
The HAR is bad on its own. It is weak at mid range and not useful beyond 03 or so. The Micro Missiles mod's homing quality and splash damage makes for an effective long-range weapon with excellent hit stun on all demons, and is perhaps one of the best and most satisfying weapons to use under Haste and 4x. Micro Missiles is also the easiest mod to master in the game. You can master it by killing four demons with the missiles in five seconds, which gives you fully automatic Micro Missiles. Pair that with Rich Get Richer and you have an infinite missile stream. Mastered Micro Missiles also do great splash damage to distant charging Pinkies. Tactical Scope is just not that useful. Limiting your FOV by using the scope can also lead to a lack of awareness, resulting in combat and platforming deaths.
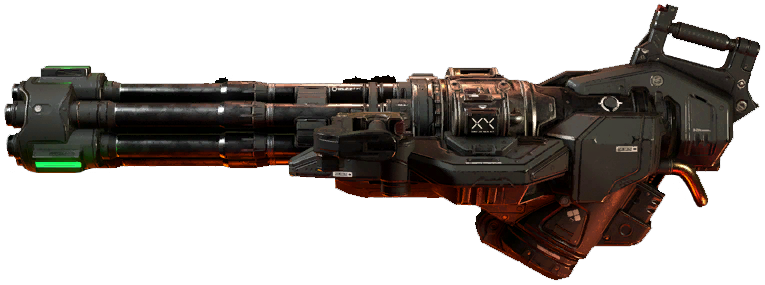
Ammo Pool: MG
Modding Reccommendation: Mobile Turret and mastery
The Chaingun with Mobile Turret is massively underrated. It is excellent at quickly killing Cacodemons as well as saving ammo for the Gauss Cannon and Rocket Launcher. It is incredible under Haste or 4x, quickly killing anything it's pointed at. When mastered with Rich Get Richer, unending fire is possible. Mobile Turret is particularly effective against mid-level demons, Pinkies' backsides, and in boss battles. Gatling Rotator doesn't suit the high octante quick switching playstyle at all, so it's not particularly useful.
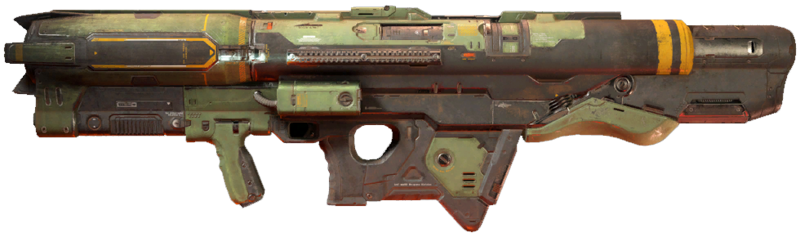
Ammo Pool: Rockets
Modding Reccommendation: Remote Detonation and mastery
The Rocket Launcher with Remote Detonation is probably the second-best weapon in the game. The Rocket Launcher should be saved for and immediately maxed on 03 in my opinion. It makes the early game much easier. This mod allows you to deal damage en masse, out of the line of sight. The mastery causes damage to continue after the detonation, resulting in even more damage after evasion. The Gauss Cannon quick switch to Remote Detonation and back again technique is a devastatingly quick way to deal with heavies and bosses. Remote Detonation is more versatile than Lock-On Burst in my opinion. Others will disagree. The big caveat to Remote Detonation is it takes discipline. You can end your run easily with a bad detonation self-damage. If you don't trust yourself, pick Lock-On Burst.
Special Weapons and Equipment
Alternative weapons are largely underused by non-Ultra-Nightmare players.
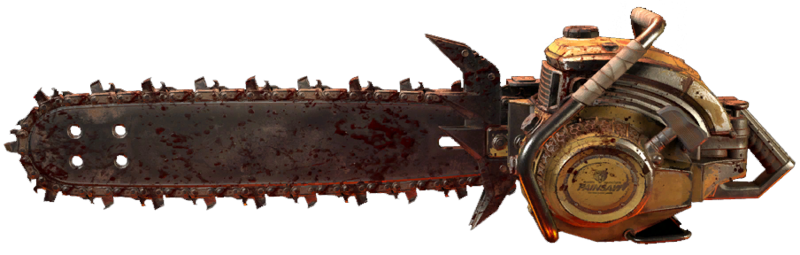
The Chainsaw is sort of the BFG of the early game. The Chainsaw is excellent at gaining ammo and dispatching Hell Knights in 03-04, making the game significantly easier. Using the Chainsaw constantly early on also makes the Health-first Argent Cell strategy possible. Stun Bomb + Chainsaw can take down a Baron with zero threat later in the game.
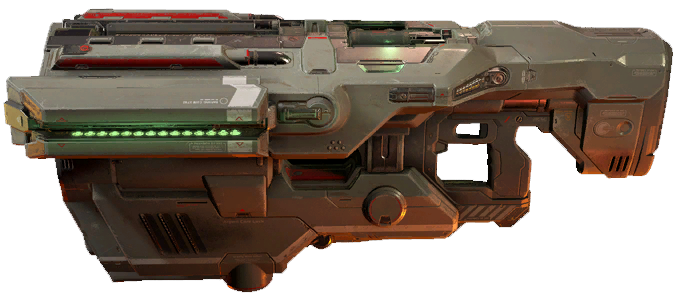
Use the BFG to its full capacity. Know all the BFG ammo locations. The BFG is a part of why 07-13 is easier than 01-06. The BFG has been cast as an "oh sh--" weapon that you only use in a bind. It is good in a bind, but you should actually use the BFG all the time, even when you're not in trouble.
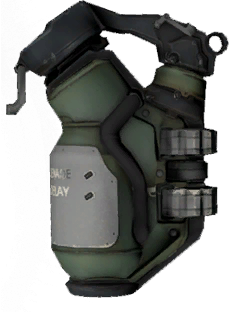
The Grenade is useful from 01-05 before you get the Hologram. Early on in 01-03 it is comes in handy for evasion or for when you're overwhelmed with a weak arsenal. However, unlike Doom Eternal, you have to stop firing to throw the Grenade, making it a questionable choice mid to late game.
Irreplaceable. It makes every battle easier because it constantly takes at least a few demons off your trail. Combining it with teleports, lunch pads, and vaulting is an even greater advantage. It shoots at demons, doing no damage, but in turn reveals demon locations. With the Equipment Power rune and the Equipment System Praetor upgrades, it's game-breakingly good and renders the Grenade obsolete. Drop Holograms in an elevated, central location if possible, or at least a location with high visibility.
The Siphon Grenade is good for bosses in my opinion, since Grenades and Holograms don't really affect bosses much. If you're busting it out in the thick of battle to get health or even armor back it can actually be more trouble than it's worth. It has outstanding synergy with Rich Get Richer, but you have to be smart about it.
Quick Switching
The ability to quick switch between weapons without thinking is a huge advantage in Ultra-Nightmare.
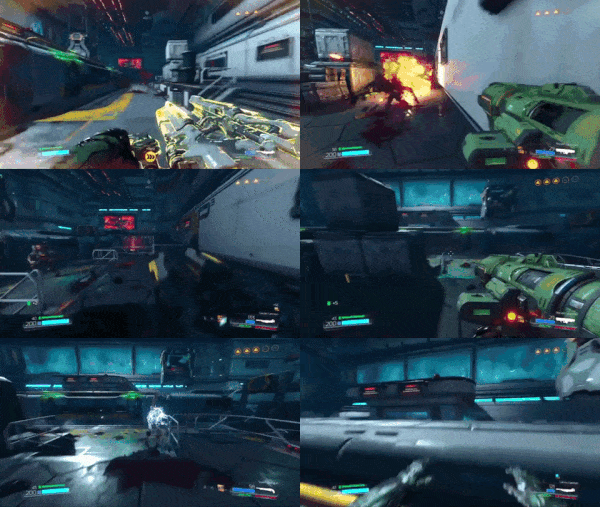 Quick switching is when you fire one weapon and then immediately switch to another weapon, and so on, killing animation or rate of fire lag. This technique creates tons of incredible combos, particularly between the Rocket Launcher, Gauss Cannon, and Super Shotgun. However, it demands that you have a key for every weapon in the game. I bind keys around my left hand and on my mouse. I do not recommend using the weapon wheel.
Demon Threat Hierarchy
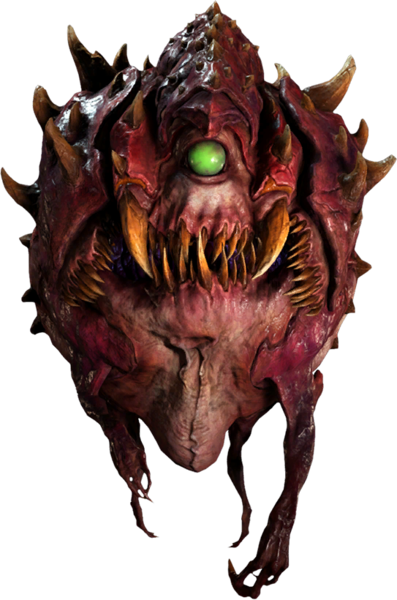
- Urgent Threats: Lost Soul, Cacodemon, Baron of Hell, Summoner
- High Threats: Cyber Mancubus, Spectre, Pinky
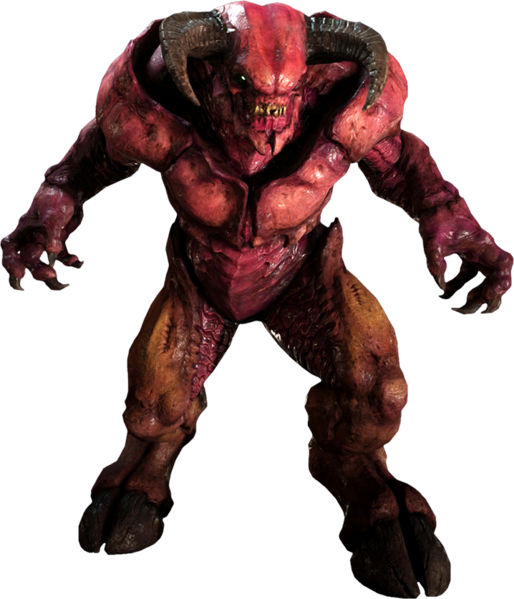
- Threats: Hell Knight, Revenant, Mancubus, Possessed Security
- Fodder+: Hell Razer, Possessed Soldier, Imp, Possessed Engineer
- Fodder: Possessed, Unwilling
- The unmodded Gauss Cannon one-shots: Possessed, Unwilling, Hell Razer, Possessed Soldier, Imp, Possessed Engineer, Possessed Security, and Lost Soul (Technically).
- Gauss Cannon Siege Mode one-shots (and multi-kills): Cacodemon, Summoner, Revenant, and Hell Knight. You can include the Pinky/Spectre if shot in the back.
The Ultra-Nightmare Campaign
Playing without glitches, speedrunning, or exploits, your campaign will be between 3.5 hours and 5 hours. That's one reason why the mode is hard—it's tough not to die or mess up over hours and hours of gameplay.
After 06, you begin the middle part, 07-09. 07 Argent Facility Destroyed and 08 Advanced Research Complex (where you acquire the BFG) are among the easiest levels in the game, and are a nice break from difficulty between the two hardest levels in the game, the first being 06 and the second being 09 Lazarus Labs. 09 is the longest level in the game, and culminates with the Cyberdemon boss battle. The Cyberdemon's demise marks another hurdle, the end of the middle part.
After defeating the Cyberdemon, you begin the home stretch of the final four levels, which are more nervous than difficult, because of the high stakes. In these last four levels, you can use Saving Throw, giving you two or three lives per level. You also have max Praetor Suit upgrades, near max Argent Cell Upgrades giving you max Health, max Armor, and max ammo, 3 active rune slots, and the entire modified arsenal at your disposal. This part features the last two boss fights, the Hell Guards at the end of 11 Necropolis and the Spider Mastermind at the end of 13 Argent D'Nur.
01 The UAC
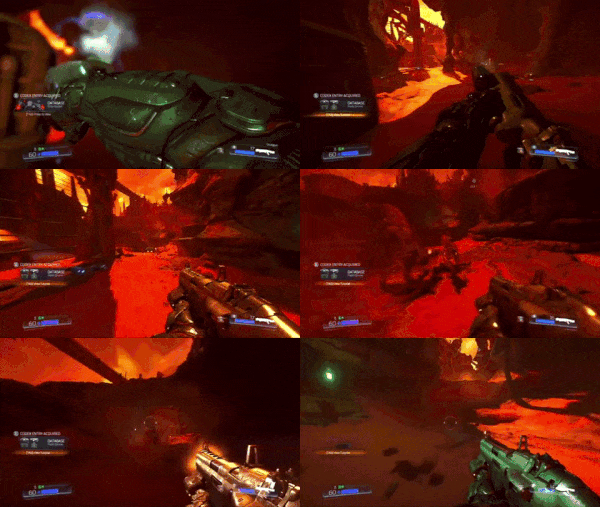
You can just run to the end of the level and ignore almost all demons after the first canyon arena. I've done this level in 3:30. This level will quickly become a mere formality.
Elite Guards: 1
Worthwhile Secrets: get the 2 collectibles for the weapon point.
02 Resource Operations
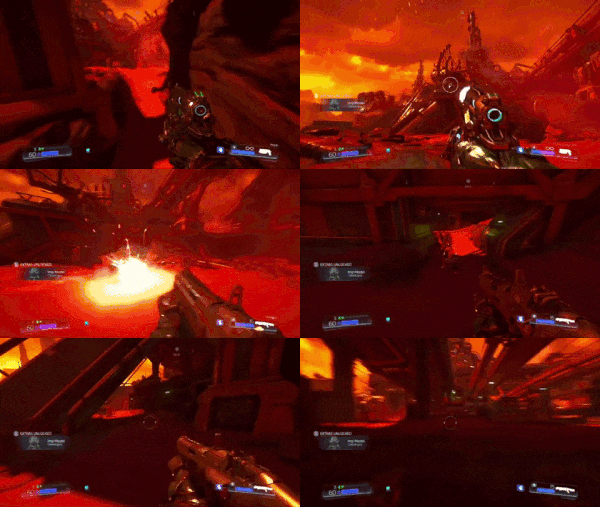
This is one of the most frustrating levels of the run because you're going to be playing it many times. It isn't easy, and it has a long exposition at the end courtesy of Samuel Hayden. Start off by upgrading Explosive Shot with Speedy Recovery, and upgrading Environmental Resistance with Hazard Protection if you haven't already.
Argent Cells: 1
Elite Guards: 3
Weapons: Chainsaw, Heavy Machine Gun, Plasma Rifle (early)
Worthwhile Combat Challenges: kill 2 Possessed with one Combat Shotgun shot, perform 5 different glory kills on Possessed, find three secrets (you should get this naturally just by getting all the Praetor tokens and the Plasma Rifle)
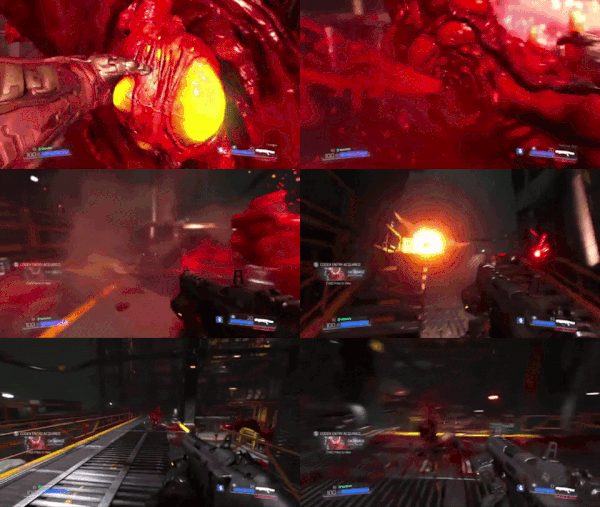 The Gore Nest battle outside the elevator is actually one of the most difficult and overwhelming battles in the entire game, so try to go into it with 20 shotgun shells, 100HP, and a little armor. The key here is to constantly move, vault, and check your peripherals. Stay up on the catwalk and drop down for health and ammo when needed. Beware of hanging Imps; refrain from engaging them. Try to explode them instead. Grenades are probably at their peak most valuable during this battle. There are several cans to launch Explosive Shot towards at the right time. Ignore the Upgrade Module at the top of the elevator for now, since we don't double mod.
 In the room where you get the Heavy Assault Rifle, push the control panel on the wall. Go to the yellow keycard room and touch the control panel there. Open the floor hatch in the hall on the right and get the Elite Guard in the corridor and the Plasma Rifle in the elevator shaft. Take the elevator back up to the third floor and modify either your Plasma Rifle or your Heavy Assault Rifle. After the Upgrade Module, there's a new yellow keycard door you can go through on the right. Go through the vent and drop down to get the second Elite Guard. All these secrets will also give you a weapon point.
"You may not agree with our research, but know this: we exploited Hell and its resources because it was in mankind's best interest to do so. What you now see in this facility is the cost of progress. Hmph. But none of that matters now."
03 Foundry
This is the level most runners hit a wall and quit. There's a sharp increase in difficulty and complexity, and the environment is one of the more treacherous in the game (The base floor of the level is an inescapable lava pit). A big change is the introduction of the Hell Knight, which I outline how to deal with. Make sure to save your weapon points to max out the Rocket Launcher.
Argent Cells: 1
Elite Guards: 3
Weapons: Rocket Launcher (early), Plasma Rifle
Worthwhile Combat Challenges: kill 3 possessed with one barrel (This can be done at the very beginning next to the Turbine door), Death From Above 3 Possessed Soldiers, find 2 collectibles (They're not out of the way)
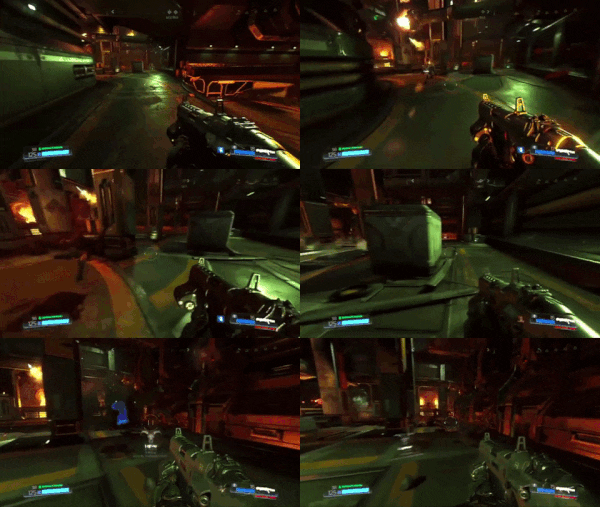 A lot of deaths occur here. Use Explosive Shot to kill the guard rail Imp, point-blank blast the other, grenade the Security and follow up with an Explosive Shot. Then keep moving. Grab the yellow keycard, get the collectible, and head back where you came. There's a trigger that brings a Hell Knight, two Imps, and a distant Possessed Soldier and Security. Chainsaw the Hell Knight immediately. Head down the stairs after the skirmish is over.
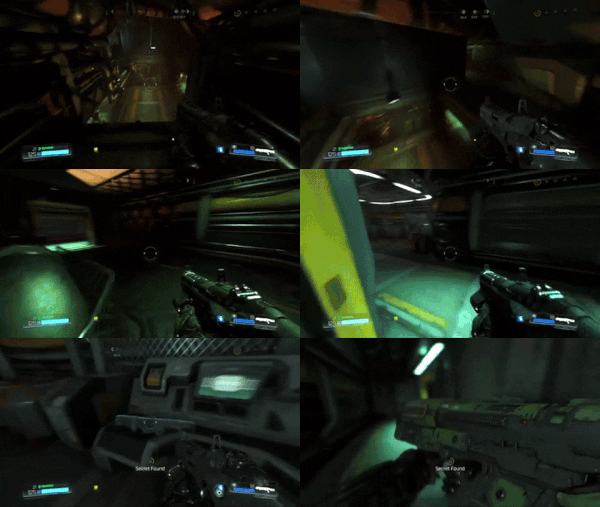 In the lower facility, there's a room you drop into with lots of Possessed. Before you drop down, jump across the room to get the secret Rocket Launcher.
Get the Chainsaw refill by the vent.
"You could not have saved them, anyway."
04 Argent Facility Destroyed
Another precarious level.
Argent Cells: 1
Elite Guards: 4
Weapons: Rocket Launcher, Super Shotgun (early)
Worthwhile Combat Challenges: touch the Rune Stone, touch the Automap
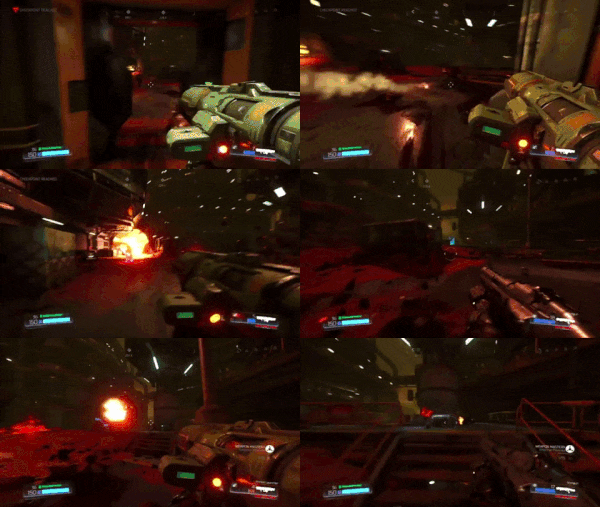 Coming outside to the first batch of demons is one of the most chaotic and dangerous moments of the game. It helps to eliminate the Possessed and Possessed Soldier (Who turns into Security if you're not quick enough) first. There's also an Imp close to the right that is ready to fire. Then explode the cans and move to the pillar. To the right of the pillar, there is a small gap to another platform. Getting on this platform puts railings and gaps between you and the demons, making the fight a little easier. After it calms down a bit, a Hell Knight breaks the far fence. You should have the gas to just chainsaw it. Or Stun Bomb + Chainsaw if you have it.
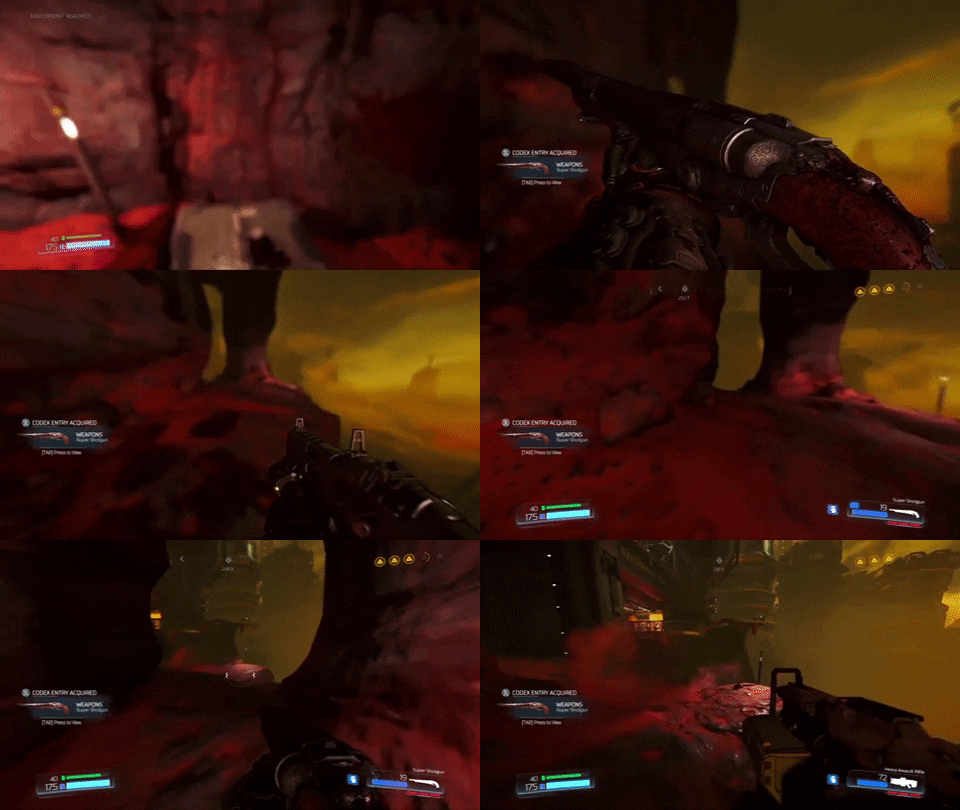 Past the entrance to the cooling facility is a cliff side. At the end is a dead guard with the Super Shotgun in hand. Try to start using it at super close range on lower-end demons, and also for cleaning up staggered demons.
"Carefully remove the hinges..."
05 Argent Tower
This level is a platforming level first and foremost. Know the platforming patterns by memory. Never jump late on a cycle. Never take a single risk.
Argent Cells: 2
Elite Guards: 3
Megahealths: 1
Rune Trials: Ammo Boost, Equipment Power
Weapons: Super Shotgun, Hologram, Gauss Cannon (early)
Worthwhile Combat Challenges: kill 15 demons under Quad Damage.
06 Kadingir Sanctum
Argent Cells: 1
Elite Guards: 4
Megahealths: 1
Rune Trials: Seek and Destroy, Savagery
Weapons: Gauss Cannon, Chaingun (early)
Worthwhile Combat Challenges: get 4 Praetor tokens, kill 10 demons under powerups.
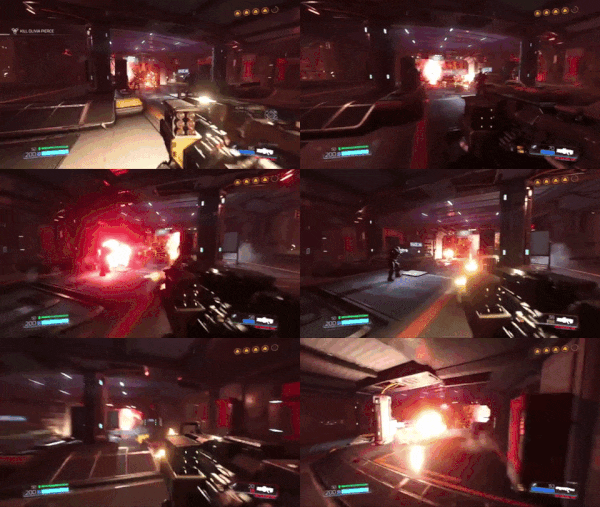
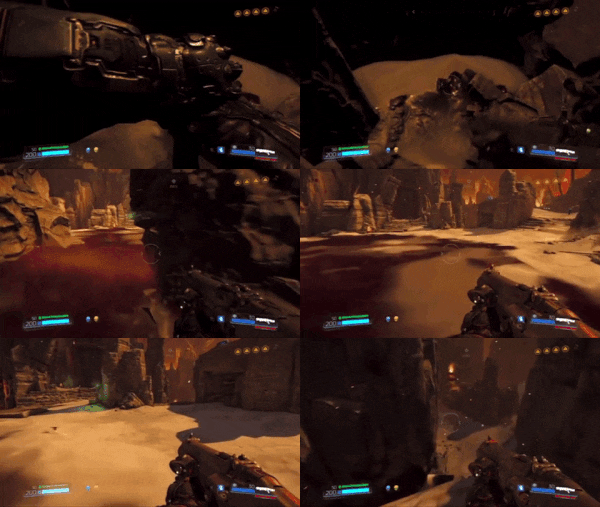
 This arena is huge, and the pillars in the blood gulch are perfect for platforming and planting Holograms in a central location. Take the Haste in the low tunnel. After the battle, you'll run across an Upgrade Module. Upgrade the Gauss Cannon and fully mod it if you can.
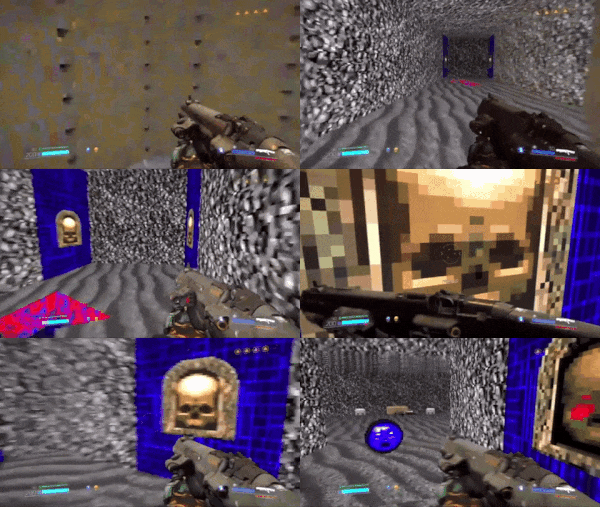
07 Argent Facility Destroyed
This is perhaps the easiest level in the game due to ample Megahealths and no hard battles. Watch out for the surprise Cacodemon at the beginning, but that's all you really need to worry about.
Argent Cells: 1
Elite Guards: 4
Megahealths: 2
Rune Trials: In-Flight Mobility, Armored Offensive
Weapons: Chaingun
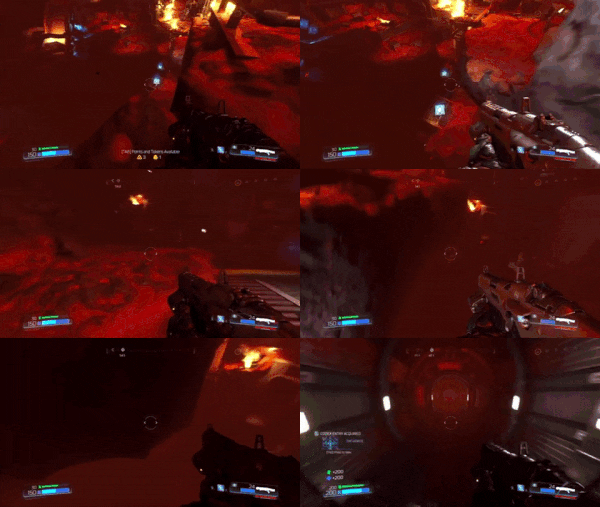 After speaking with Samuel Hayden, you'll come outside to a bit of chaos. Be mostly concerned about the Cacodemons that spawn in the far sky. Just a reminder that Siege Mode kills Cacodemons in one shot, so you can kill them on spawn.
"God rested on the seventh day. But imagine how much further along we would be if he hadn't? The UAC is committed to excellence, that's why we implemented the seven day work week. Now you can achieve greatness alongside your coworkers every day. Let's never stop achieving."
08 Advanced Research Facility
This level is one of the easiest in the game, especially with the BFG.
Argent Cells: 1
Elite Guards: 3
Megahealths: 1
Rune Trials: Blood Fueled, Intimacy is Best
Weapons: BFG
09 Lazarus Labs
I would rank this level the second most difficult in the game. It's really long—so long it has a loading screen in the middle. To make it even longer, it has a boss battle afterward.
Argent Cells: 1
Elite Guards: 4 (only 1 is necessary)
Megahealths: 2
Rune Trials: Rich Get Richer, Saving Throw
Weapons: Siphon Grenade
Worthwhile Challenges: play "Demon Destruction", kill 10 demons with a single shot (BFG in the cargo hold)
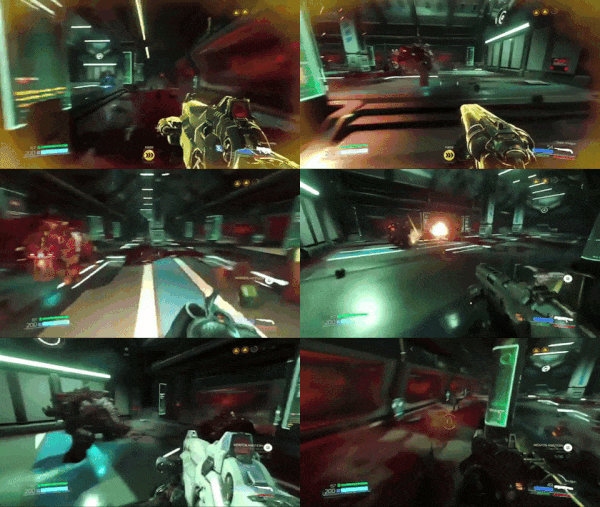 There's an ammo box before the Pinky door. You'll probably need it.
The Cyberdemon
The Cyberdemon is a difficult boss. It has a few attacks that are very difficult to dodge without practice. I'll remind you that you need to practice boss battles. Activate Saving Throw and Vacuum for this one.
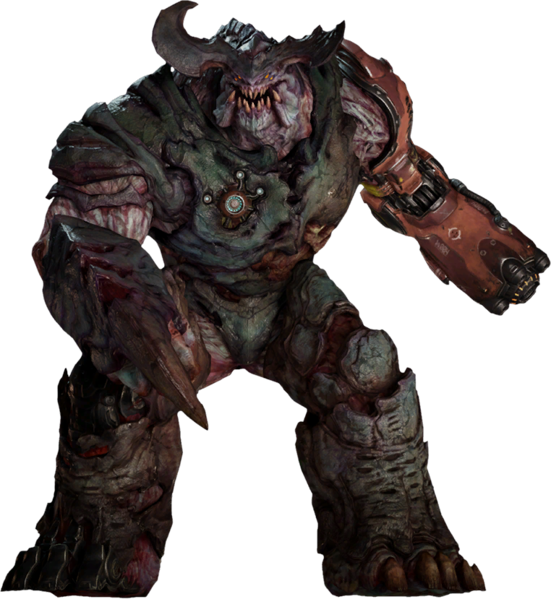 This is a run ender if you get hit by it. The Cyberdemon charges a beam and tracks you with it, before locking on and firing. There are ways to dodge this consistently. You can do it by strafing one way while the Cyberdemon is charging the beam and tracking you, then when the beam changes from yellow to red, change your strafing direction. You could also back strafe and Gauss Cannon away.
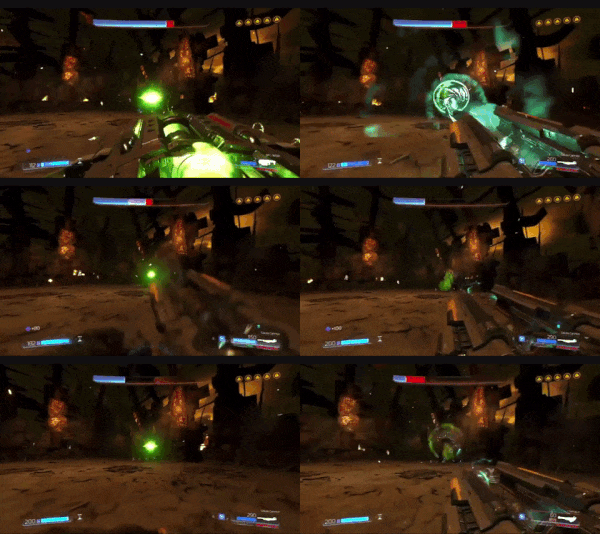 You're coming into stage II with 3 BFG rounds and one in the arena for a total of 4 BFG shots. Jump the hurdles as you do damage (I use the Micro Missiles). When the walls drop, circle strafe your way to the BFG round as you jump the next set of hurdles. By the BFG ammo, pull out your BFG and BFG, Siege Mode, BFG, Siege Mode, BFG, Siege Mode, BFG, Siege Mode. The Cyberdemon should be just about dead if not dead already.
Levels 10-13
10-13 are the home stretch. If you've made it this far, you don't need that much of my guidance, just some quick info.
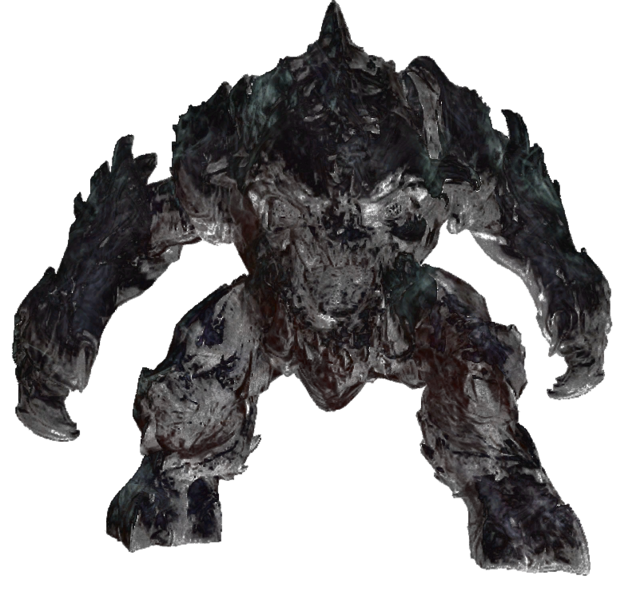
10 Titan's Realm
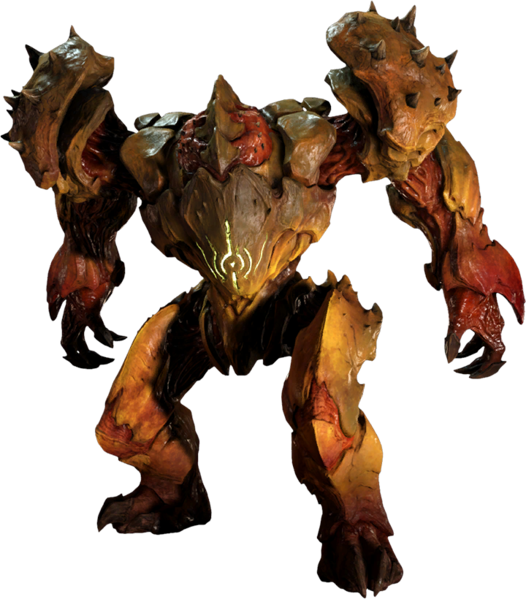
The second phase of the Hell Guard battle is the only hard one. Stun the ranged guard (the one that raises its arm) and BFG the other while the ranged guard is stunned. Repeat.
"They promised me so much."
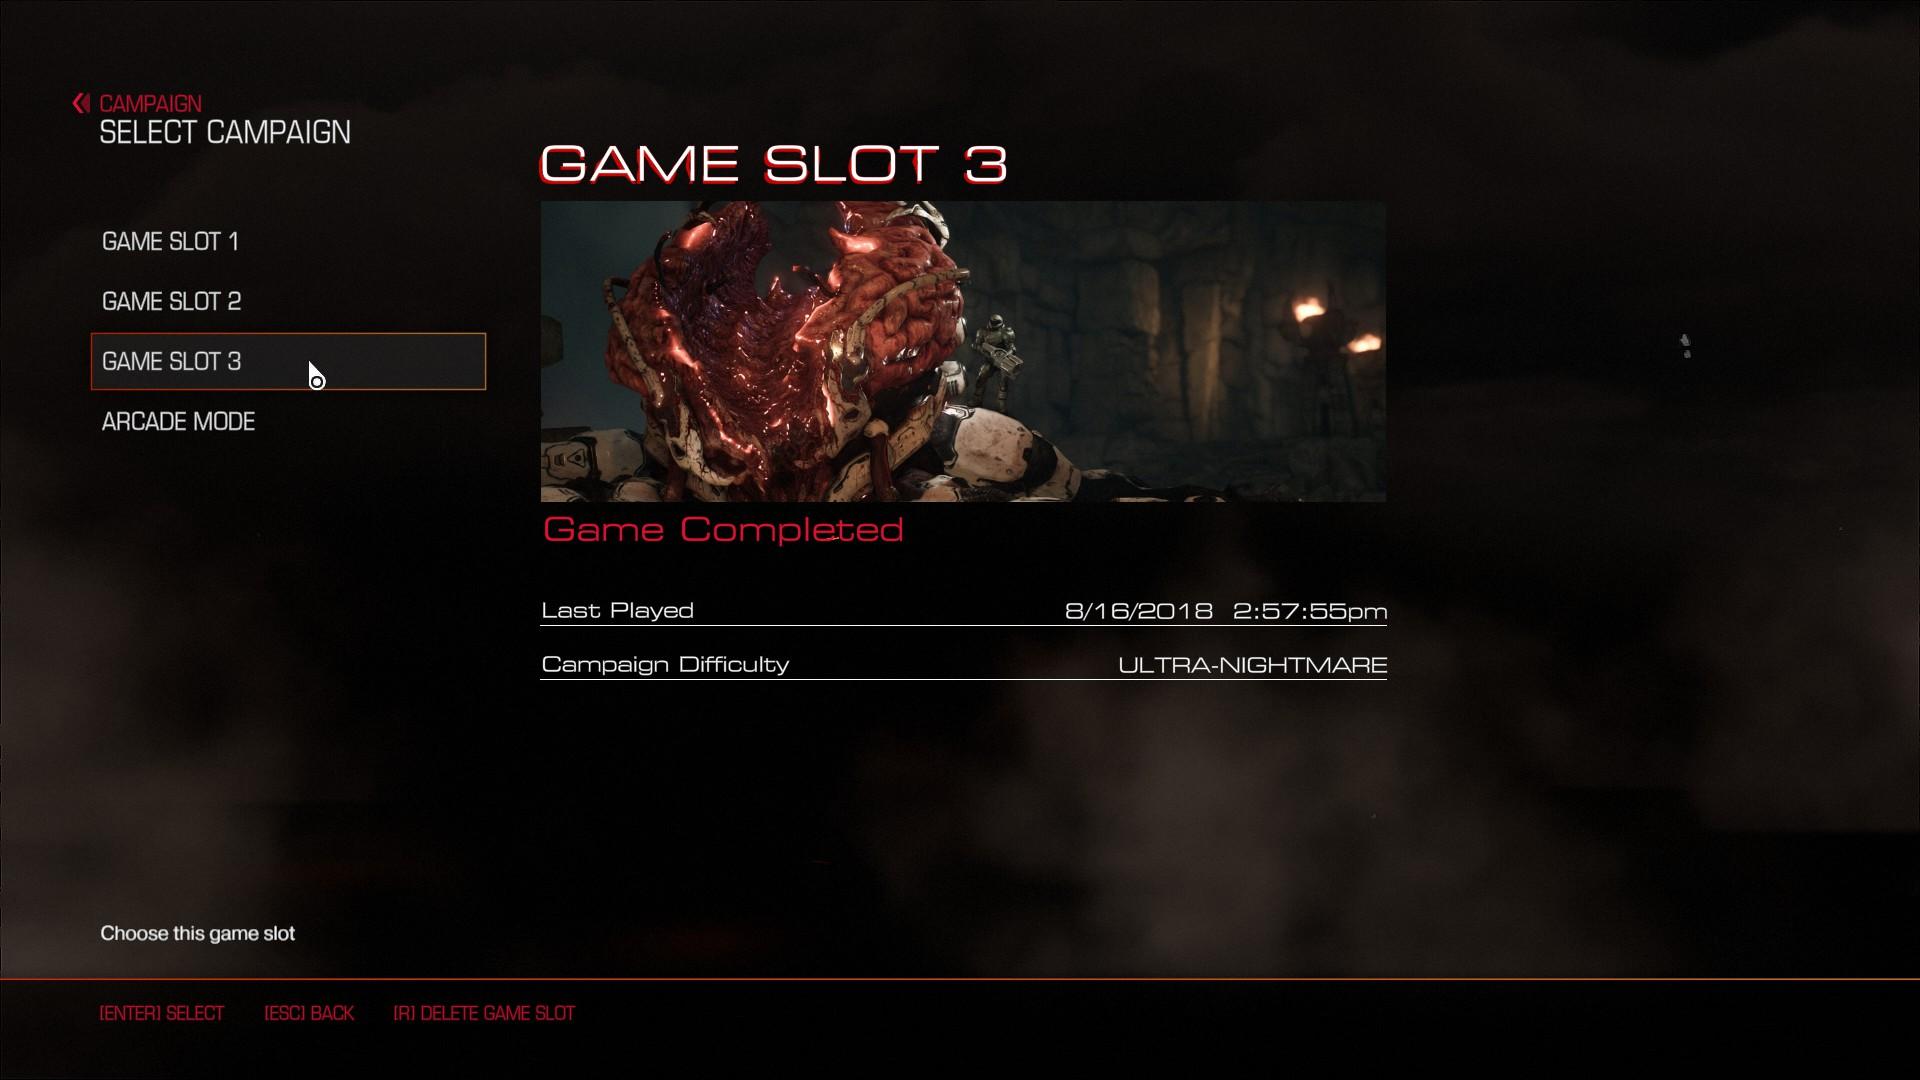
"You've won. It's over. You stopped the invasion and closed the portal—but it's come at a price."
Hard-Learned Lessons and Advice
- 01-06 is the hard part.
- Run a parallel Nightmare campaign to practice each level once you get a deep run (06 and on)
- Don't stand still or walk in a straight line.
- Increase your FOV to around 114 (my preference). This higher FOV gives you some peripheral vision, making your reactions and evasions much better. Don't go too high on FOV or you'll misjudge how far things are away.
- Do not go for combat challenges after 03 Foundry unless they are super easy like "Touch the Automap." These extra challenges cloud your mind and alter your playstyle often resulting in death. They also add play time.
- Some masteries are dangerous and not worth it. Some of these masteries will change your playstyle and preoccupy you. A prime example is Double Trouble for the SSG. 30 double kills will likely get you killed and the benefits aren't worth it. You also probably won't get it until 07-09. Double Trouble is awesome, sure, but 30? If it were 10-15 it would be worth it, perhaps.
- Do not go for levers or secrets. Getting half or all secrets in a map only gives you 1 or 2 weapon points which will not make the difference in life or death. Again, they add danger and play time. It's also frustrating to repeat them after a failed run.
- Do not climb toward demons, generally.
- Do not glory kill unless you are in a dire situation. Try not to. If you love glory kills, just don't do them in traffic. Most UN players don't typically glory kill in general.
- Get all the argent energies. They aren't out of the way and are worth it.
- Teach yourself not to self-damage.
- Don't engage hanging Imps. They are significantly more accurate and will hit you if you approach 99% of the time.
- Take platforming very seriously. Doom is a platforming game, and it's the worst way to die.
- You need to have an individual key/button for each weapon and practice switching to any gun you think of on command. This makes you damage demons faster. Quick switching is extremely OP. More on this later.
- Know where Megahealths are.
- Know where every powerup is and the best time to use them. Berserk is not always helpful.
- The Hologram is OP.
- Bosses have to be thoroughly practiced. Check my video for all the gravestones at the Spider Mastermind. People actually die there.
- Play 2-3 levels at a time, max. Playing a ton of levels back to back puts you on autopilot, often resulting in dangerous play.
- Use and abuse teleports and launch pads.
- Lapping and vaulting around the arena is almost never a bad idea.
- Runes are worth it. Do 7.
- Learning how to instinctively dodge and not take damage is just as important as learning how to deal damage.
- Only pick 1 upgrade per weapon. You might accidentally switch mid fight and blow yourself up. Switching mods mid battle is never better than switching weapons instead.
- Use different rune loadouts for different moments. Vaccuum, Saving Throw, and RGR are good runes for a boss fight, but maybe not for a gore nest.
- You can use the Argent Energy grenade against bosses.
- You're going to die a lot in 01-06 so you don't dare die in 07-13.
Video Reference
- DOOM Written Guide/Walkthrough for all secrets on each mission including Doomguy locations.★ 5 (4.8k)101k views9.3k ♥45 minUpdated 22 May, 2025
- DOOM 100% Achievement Guide★ 5 (1.5k)65k views2.8k ♥19 minUpdated 30 Nov, 2023
- Все секреты★ 5 (2.8k)54k views4.8k ♥14 minRussianUpdated 6 Jan, 2022
- DOOM Secrets & Collectibles★ 5 (1.2k)49k views2.1k ♥4 minUpdated 4 Dec, 2022
- Secret Doom Classic Level Locations + Easter Eggs★ 5 (1.5k)47k views2.1k ♥13 minUpdated 29 Jan, 2021
- Как уменьшит объем игры(лайфхак)?★ 5 (729)44k views343 ♥1 minRussianUpdated 25 May, 2017




- Upgrading to PremiumTeam Fortress 2★ 5 (20k)1441k views11k ♥6 minUpdated May 11, 2022
- No More Room in Hell Official ManualNo More Room in Hell★ 5 (2.8k)569k views2.1k ♥29 minUpdated Apr 22, 2019
- NMRiH Community Hosting GuidesNo More Room in Hell★ 5 (526)351k views653 ♥1 minUpdated Aug 10, 2022
- ULTIMATE GUIDE FOR GAME DEV TYCOONGame Dev Tycoon★ 5 (5.8k)326k views10k ♥4 minUpdated 23 Jan, 2014
- How to 'Git Gud' Soon™MORDHAU★ 5 (2k)318k views3k ♥68 minUpdated Nov 16, 2024
- Лучшие кооперативные игры SteamPAYDAY 2★ 5 (1.5k)315k views2.1k ♥56 minRussianUpdated Apr 27, 2025






This guide was created by its original author on the Steam Community. Are you the author and want it removed? Request removal.