Quake: In Depth Scourge of Armagon Secrets (+ Achievements) Guide
Quake: Scourge of Armagon Introduction
This guide WILL be image heavy, but I will also provide text to make sure things are completely clear, so the guide is very noob friendly.
Scourge of Armagon is the first official mission pack/expansion for Quake, developed by Hipnotic Software and released on March 5th, 1997. There are 17 Maps total throughout this mission pack, with a grand total of 77 Secrets to find throughout them and this will guide you on where to find each one of them. With the new remaster (in 2021) there are now also 8 Achievements associated with Scourge of Armagon.
The graphics in this guide were made by myself, using assets from Quake, which is owned by id Software. The descriptions of the Episodes and the Maps themselves are taken directly from the Quake wiki.
Programs used to create this guide:
Steam, Quake, GCFScape, Blender, and Photoshop.
Achievements

These are the 8 Achievements associated with Scourge of Armagon, assuming you play from the beginning to the end, they are in the order you will obtain them.
All achievements can be done in any difficulty, with the exception of Scourge Done Slick which you can only obtain through beating Scourge of Armagon on Nightmare. To access Nightmare difficulty can be found further below in the Nightmare Difficulty Select section of the guide.


Nightmare Difficulty Select
To play the game on Nightmare, which is required for the Achievement Scourge Done Slick, the portal is hidden in the difficulty select.
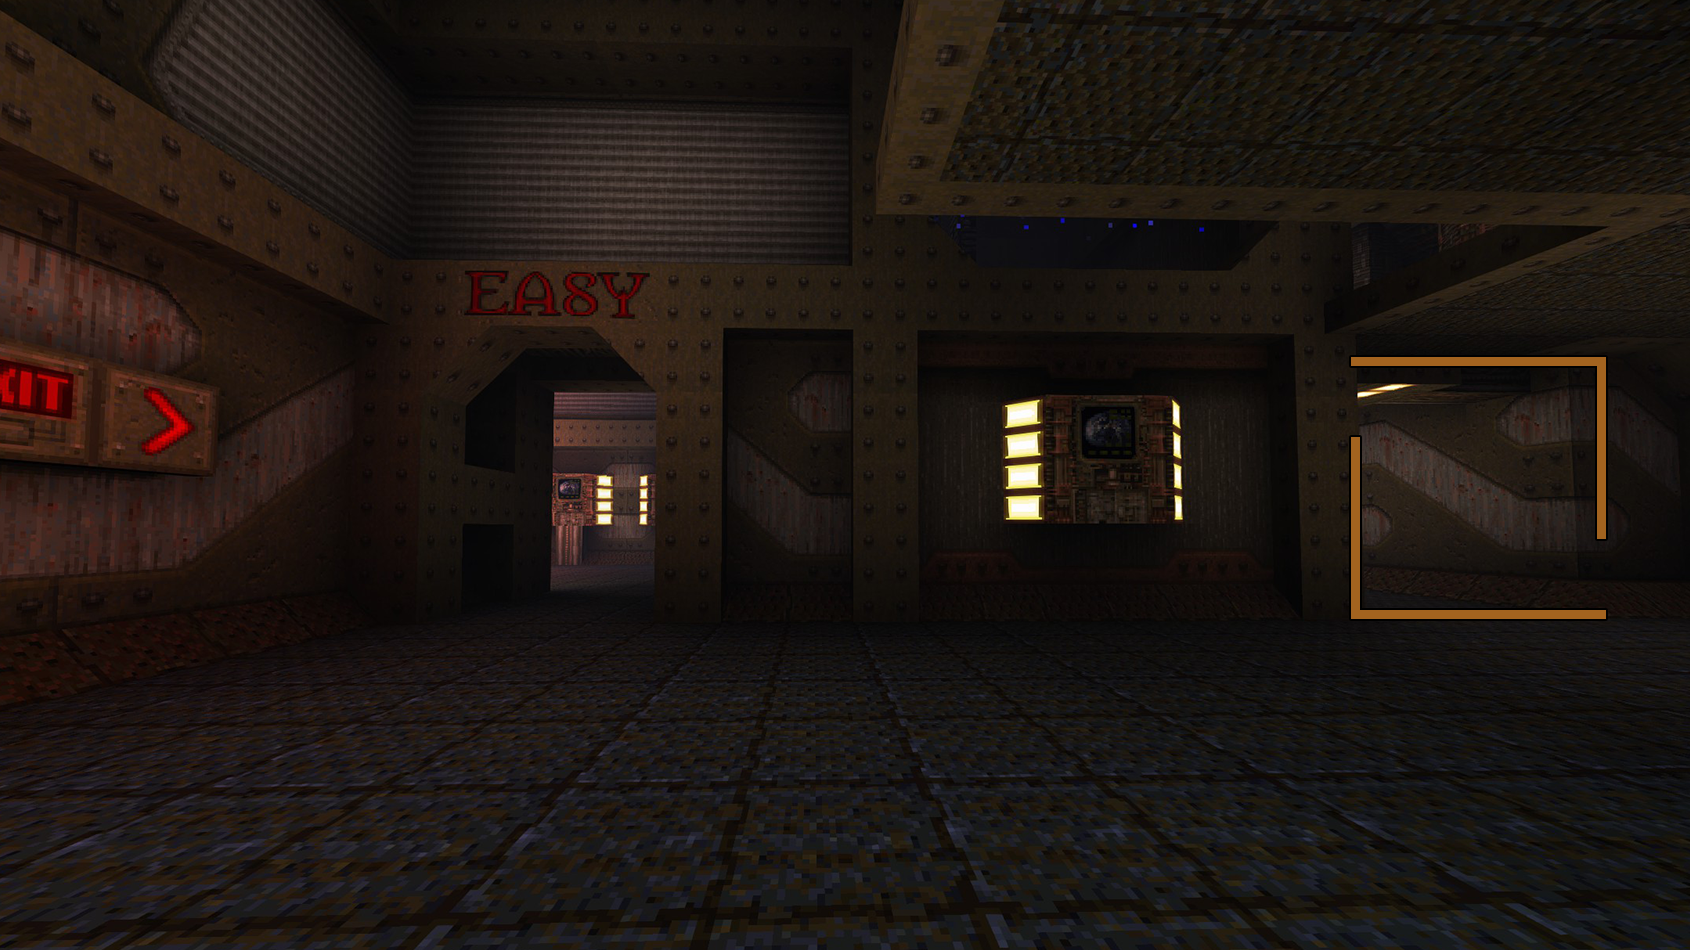
To find the portal, start the game and head towards the Easy difficulty room. Instead of entering the Easy doorway, go to the right and down the hallway.
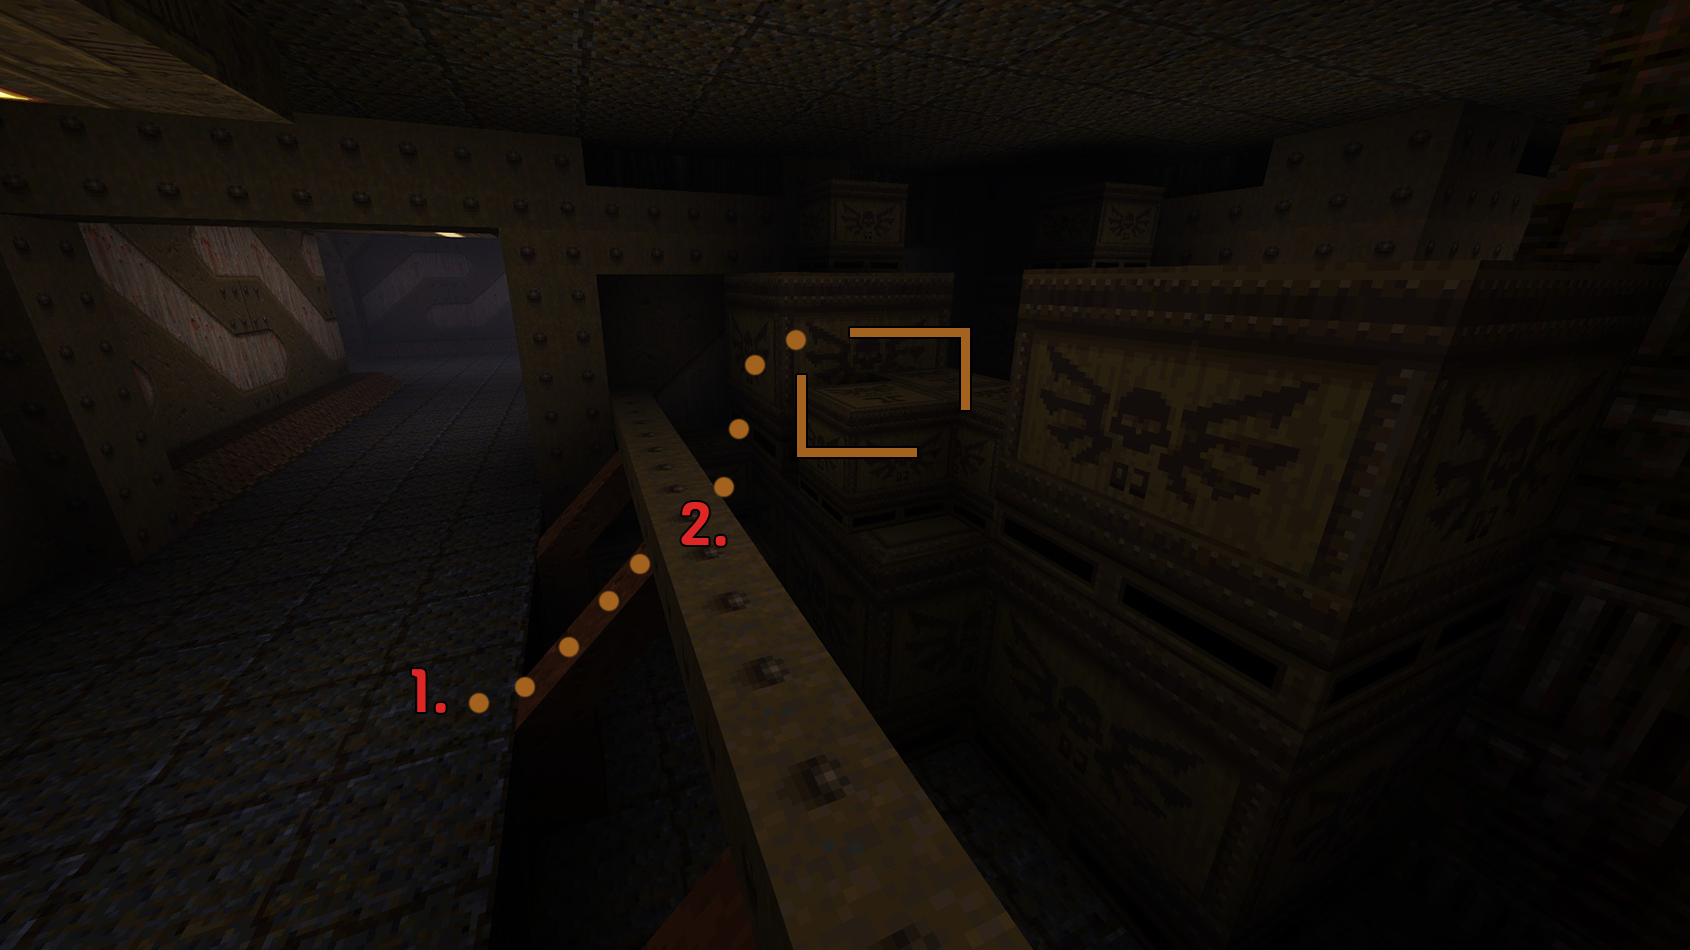
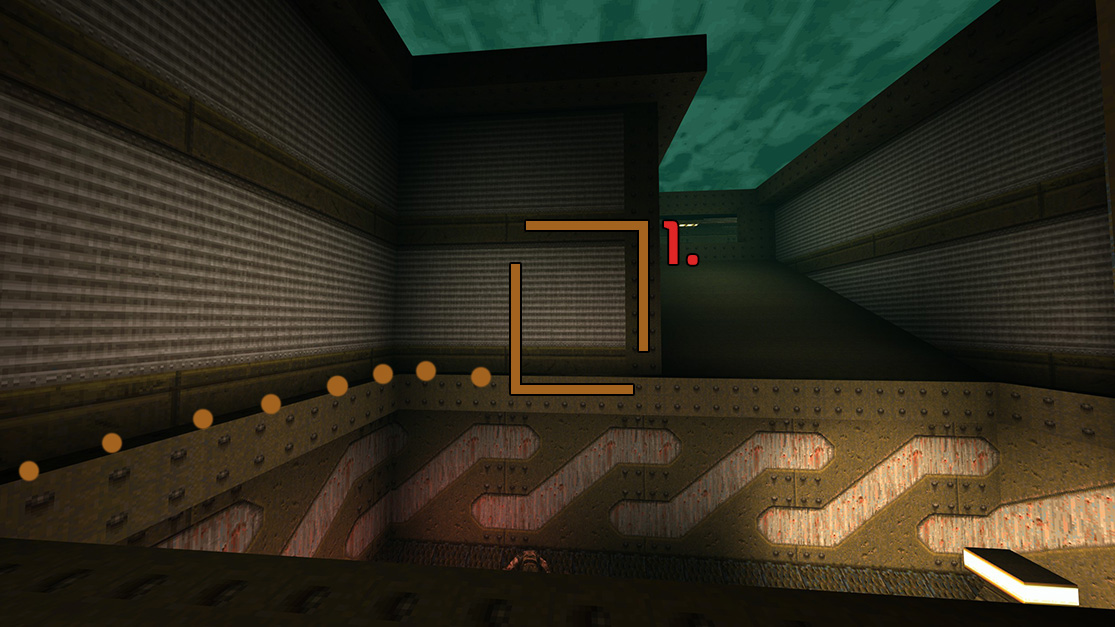
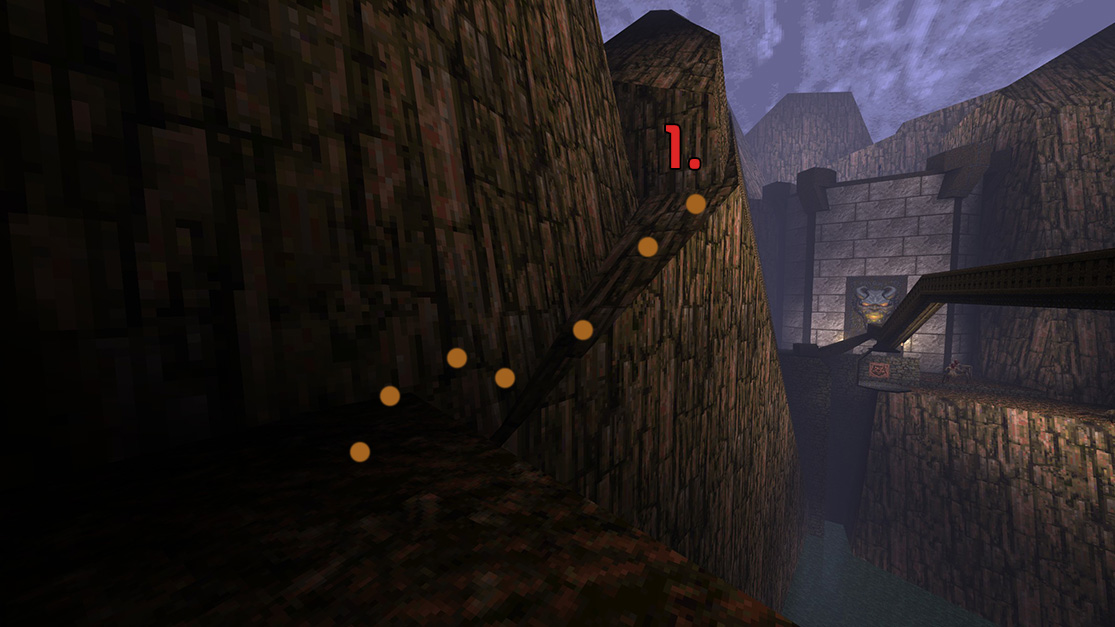
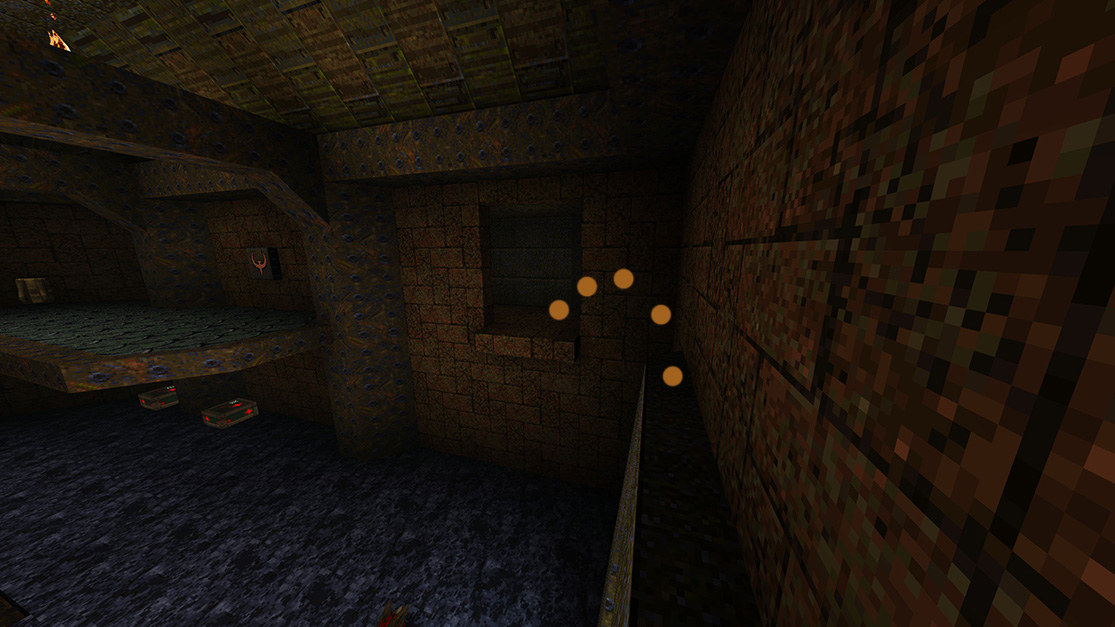
 When you reach the end of the hallway where the room opens up, there is a railing on your left. Run up the railing.
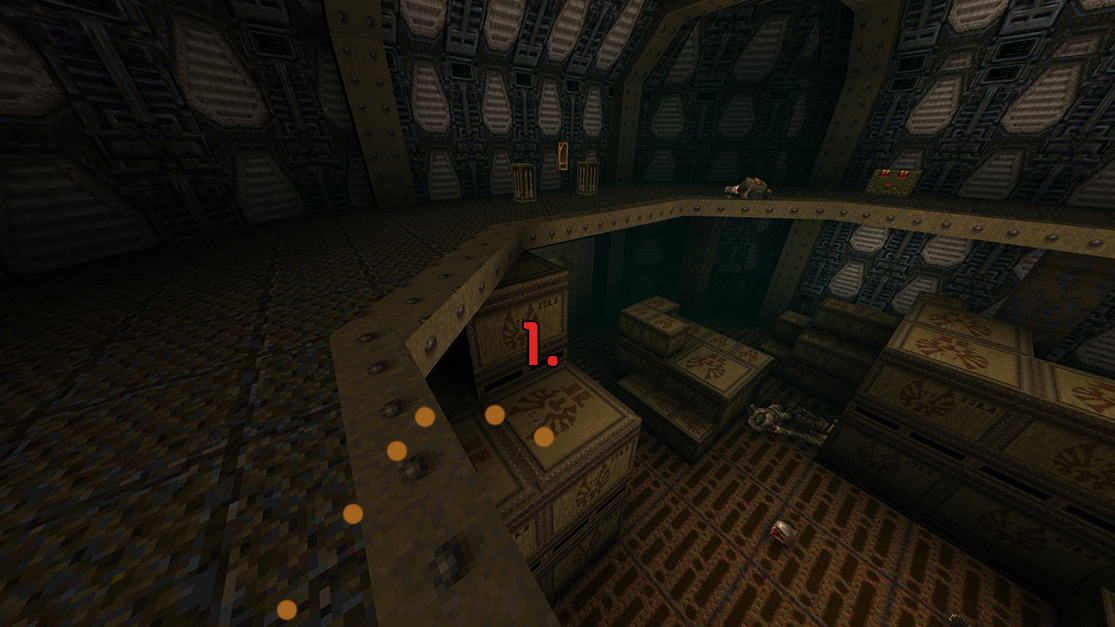
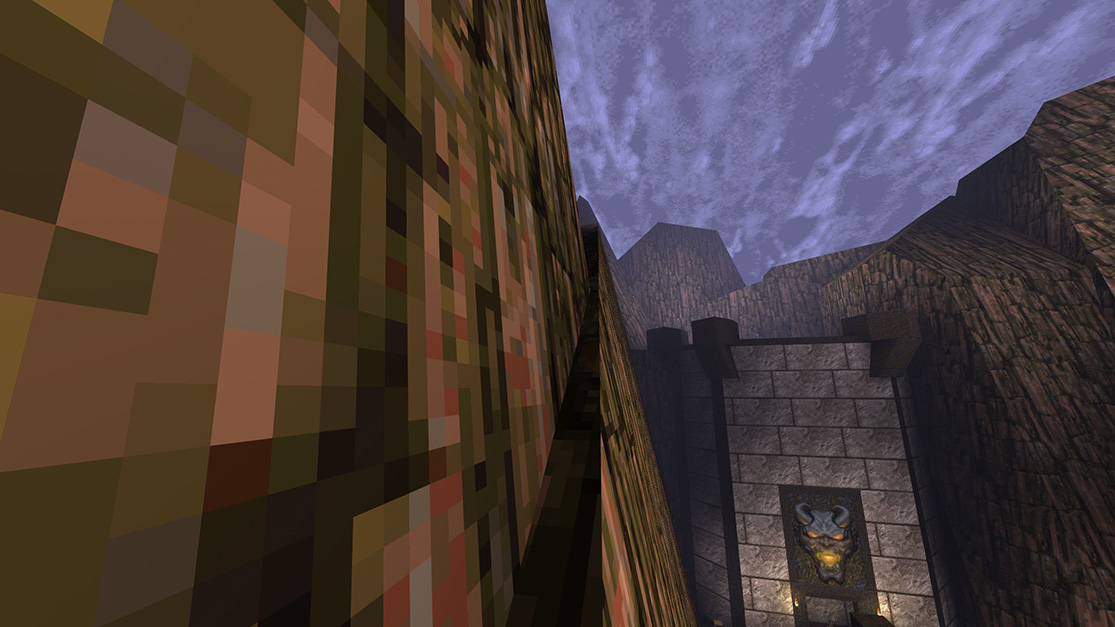
 Jump across the gap onto the boxes.
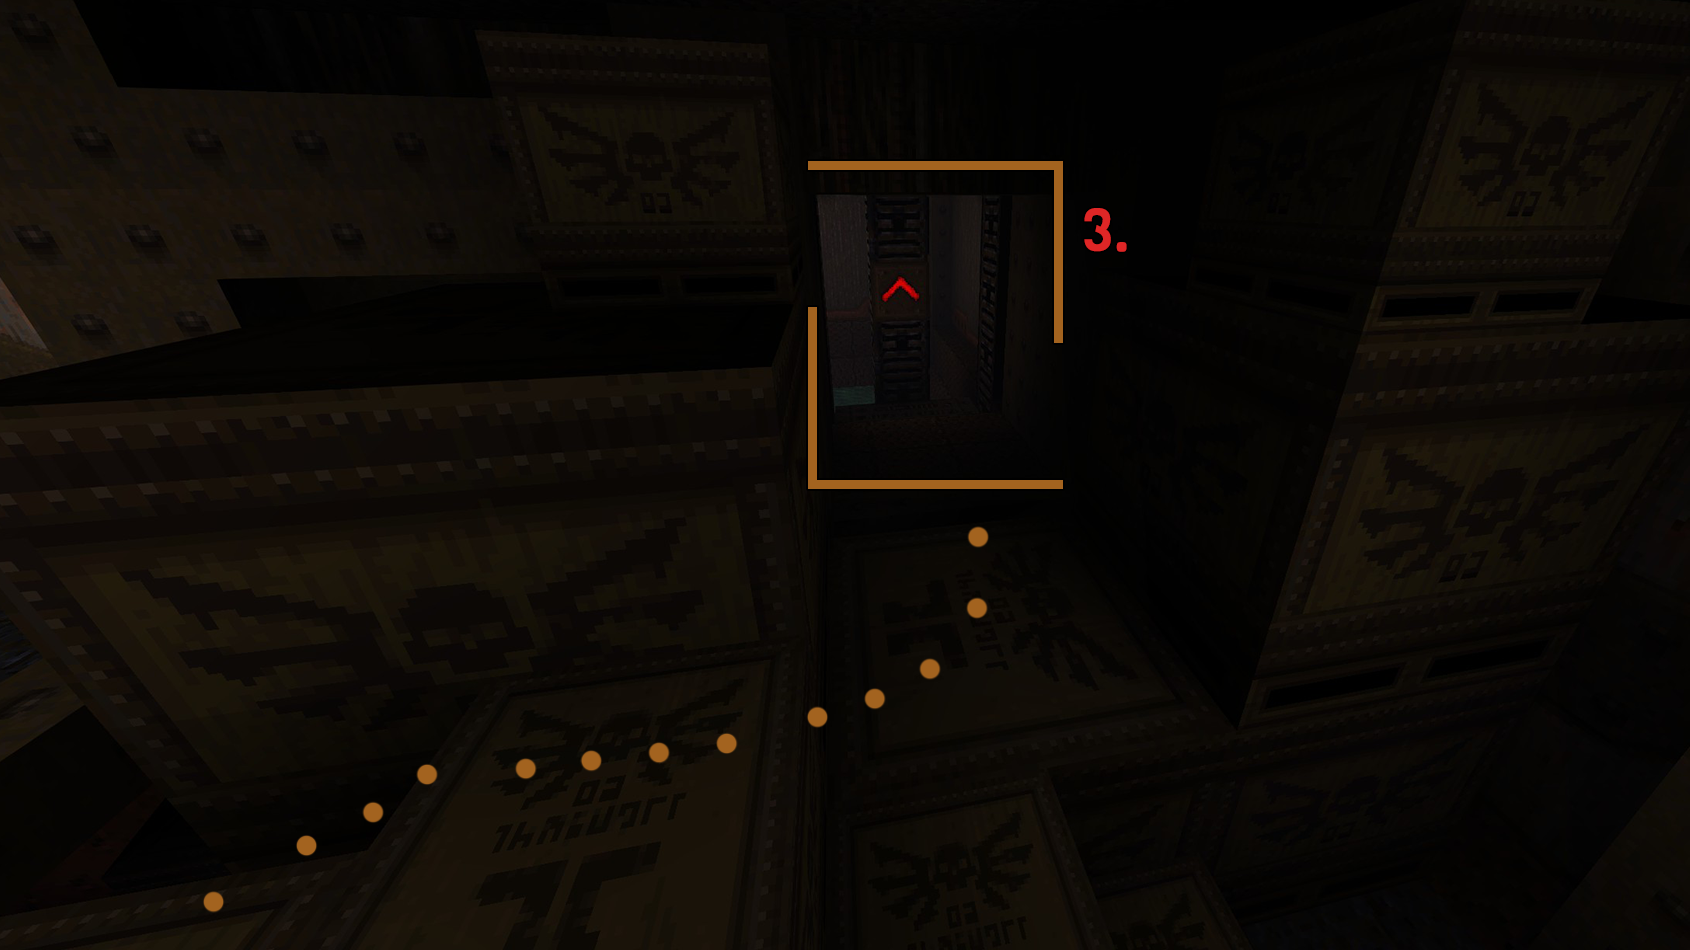
 On the boxes, instead of jumping down jump to the opening on your left. There will be an elevator where the red arrow is. Ride the elevator up.
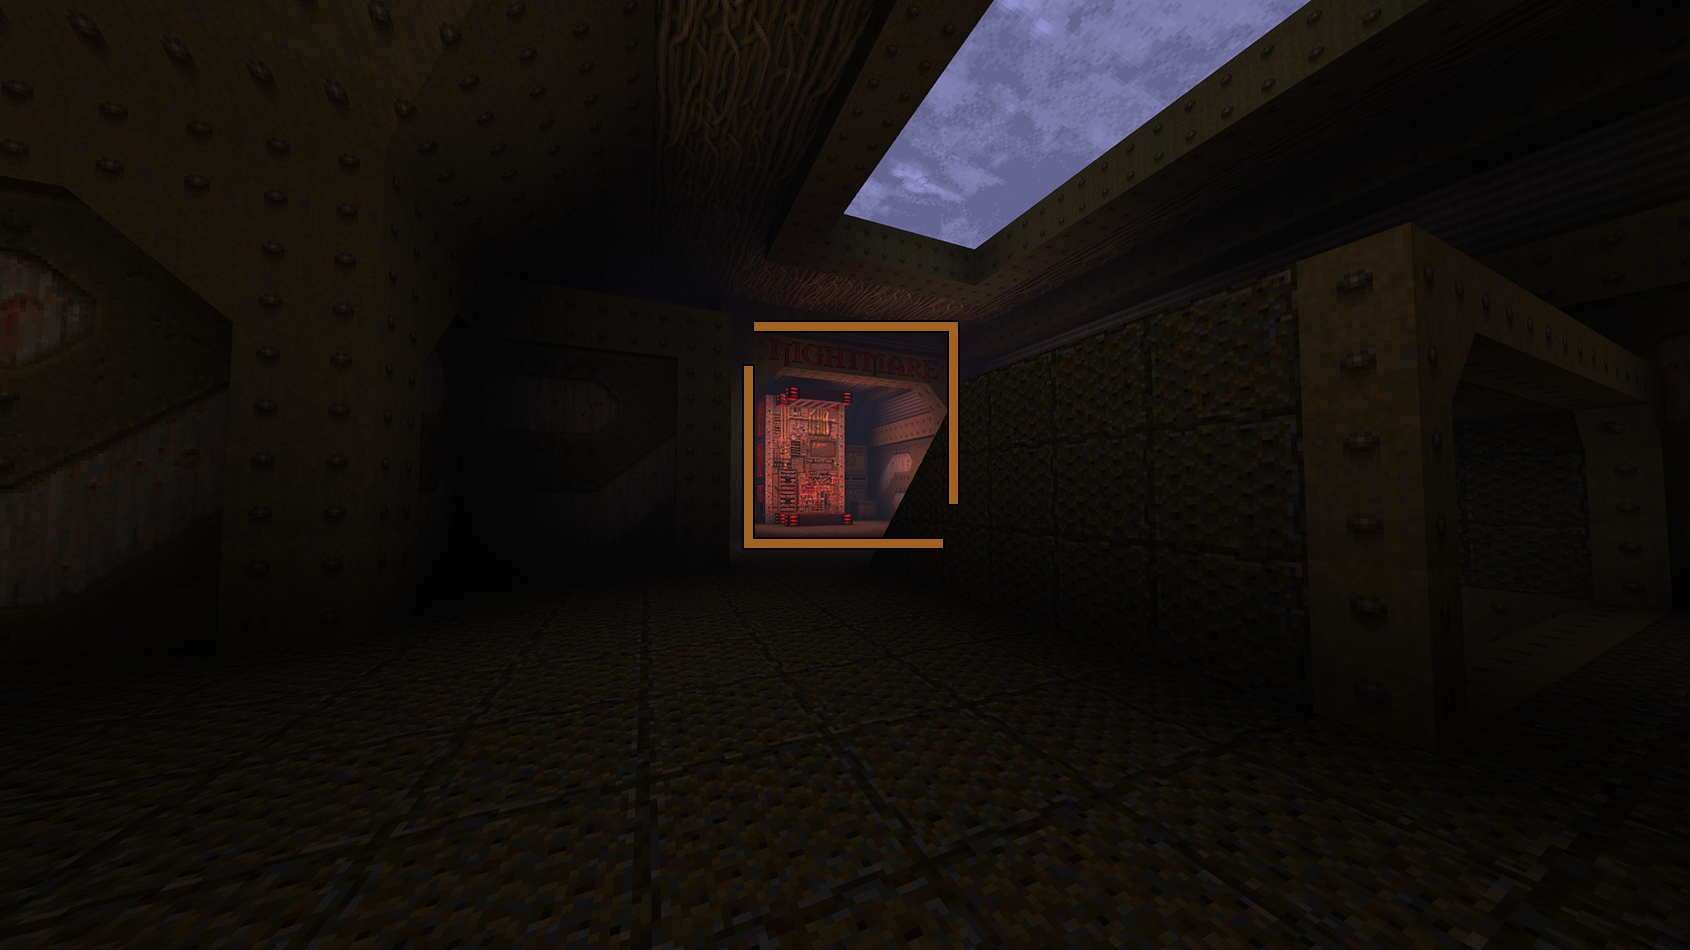
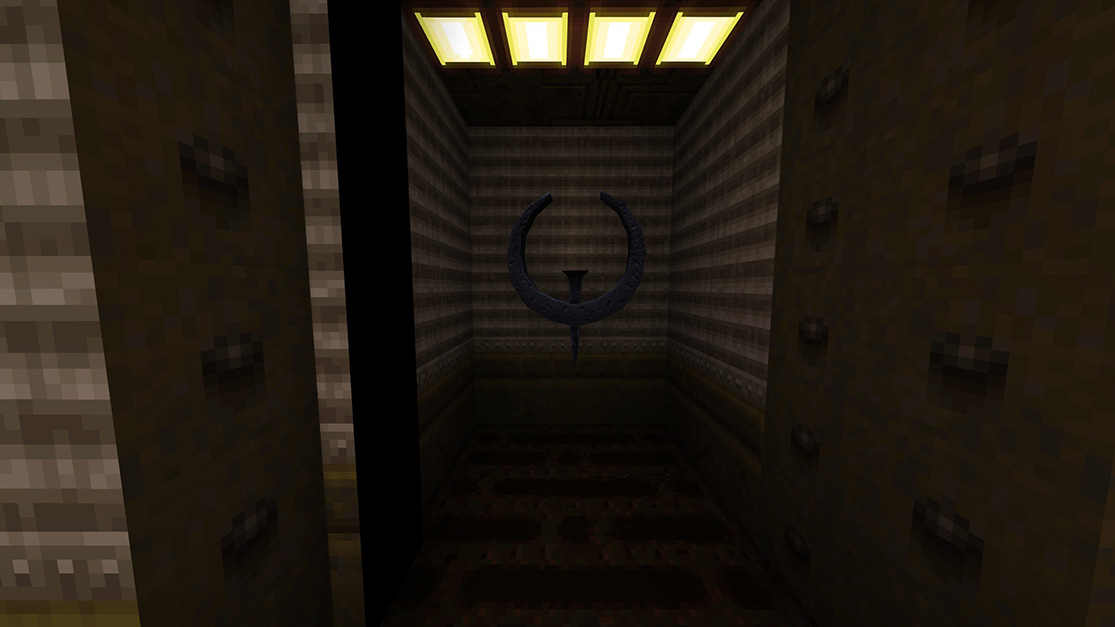
Behind where you come off the elevator, will be the Nightmare difficulty select.

---- [Episode 1: Fortress of the Dead]
Fortress of the Dead, Episode 1 of Scourge of Armagon, is made up of 5 maps set in a military base. The player must make their way through the base to reach the Slipgate that will return them to the realm of Quake. There they can stop Armagon.
There is a total of 21 secrets and two Achievements during the first episode, Fortress of the Dead.
HIP1M1: The Pumping Station
The Pumping Station is the first level of Fortress of the Dead. True to its name, the level features a Water canal and a reservoir. There are two simple scripted events related to accessing and disabling the Pump room, which is necessary in order to unlock several Doors. The level introduces the player to one of the new visual effects in Scourge of Armagon - the force field.
There are 5 total secrets in The Pumping Station.
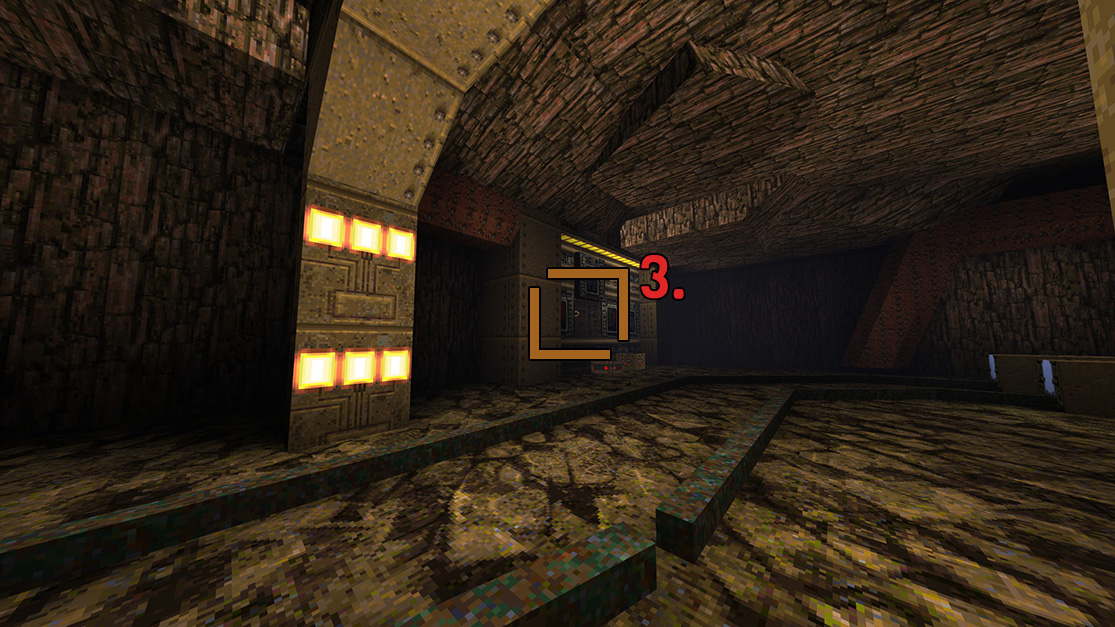
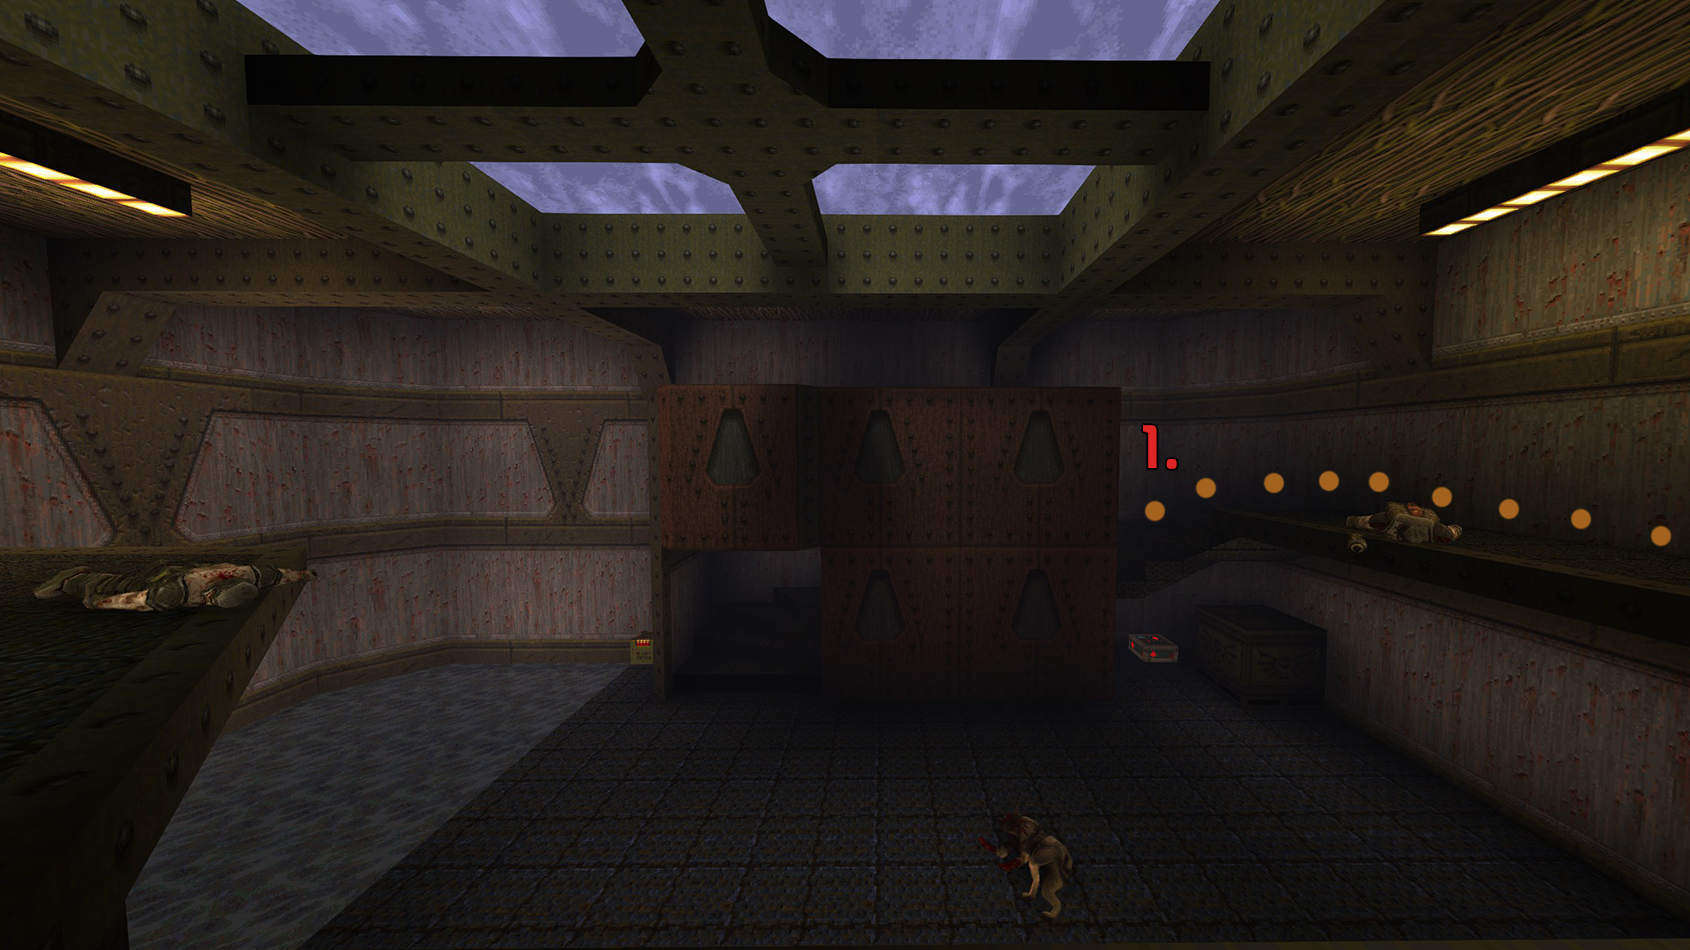 While still on the balcony, follow it to the building across the way by going right until you get to the stairs.
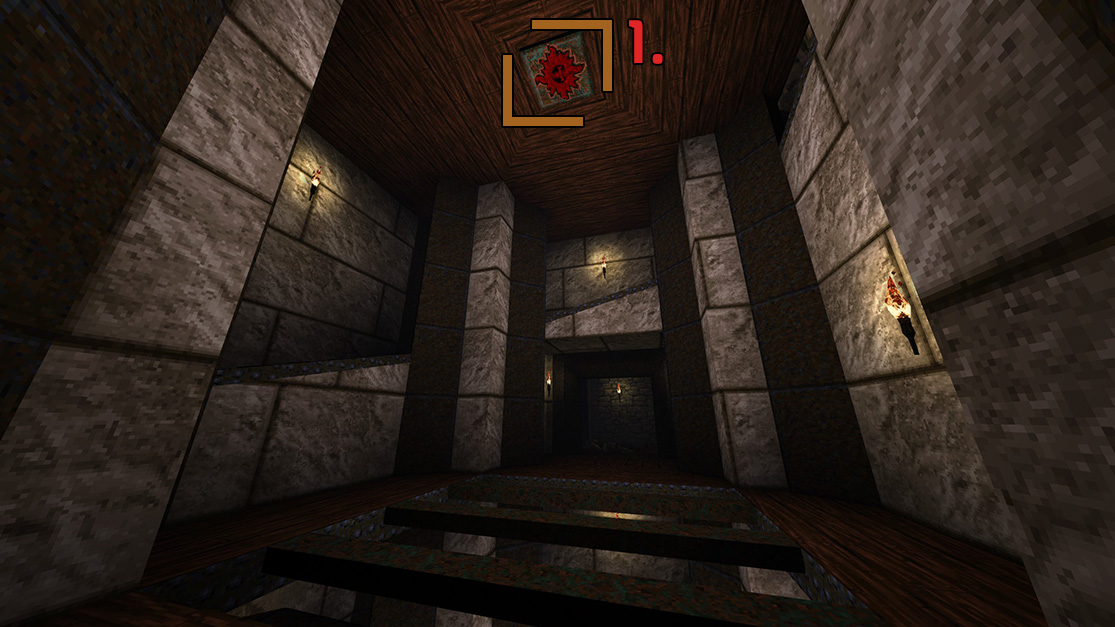
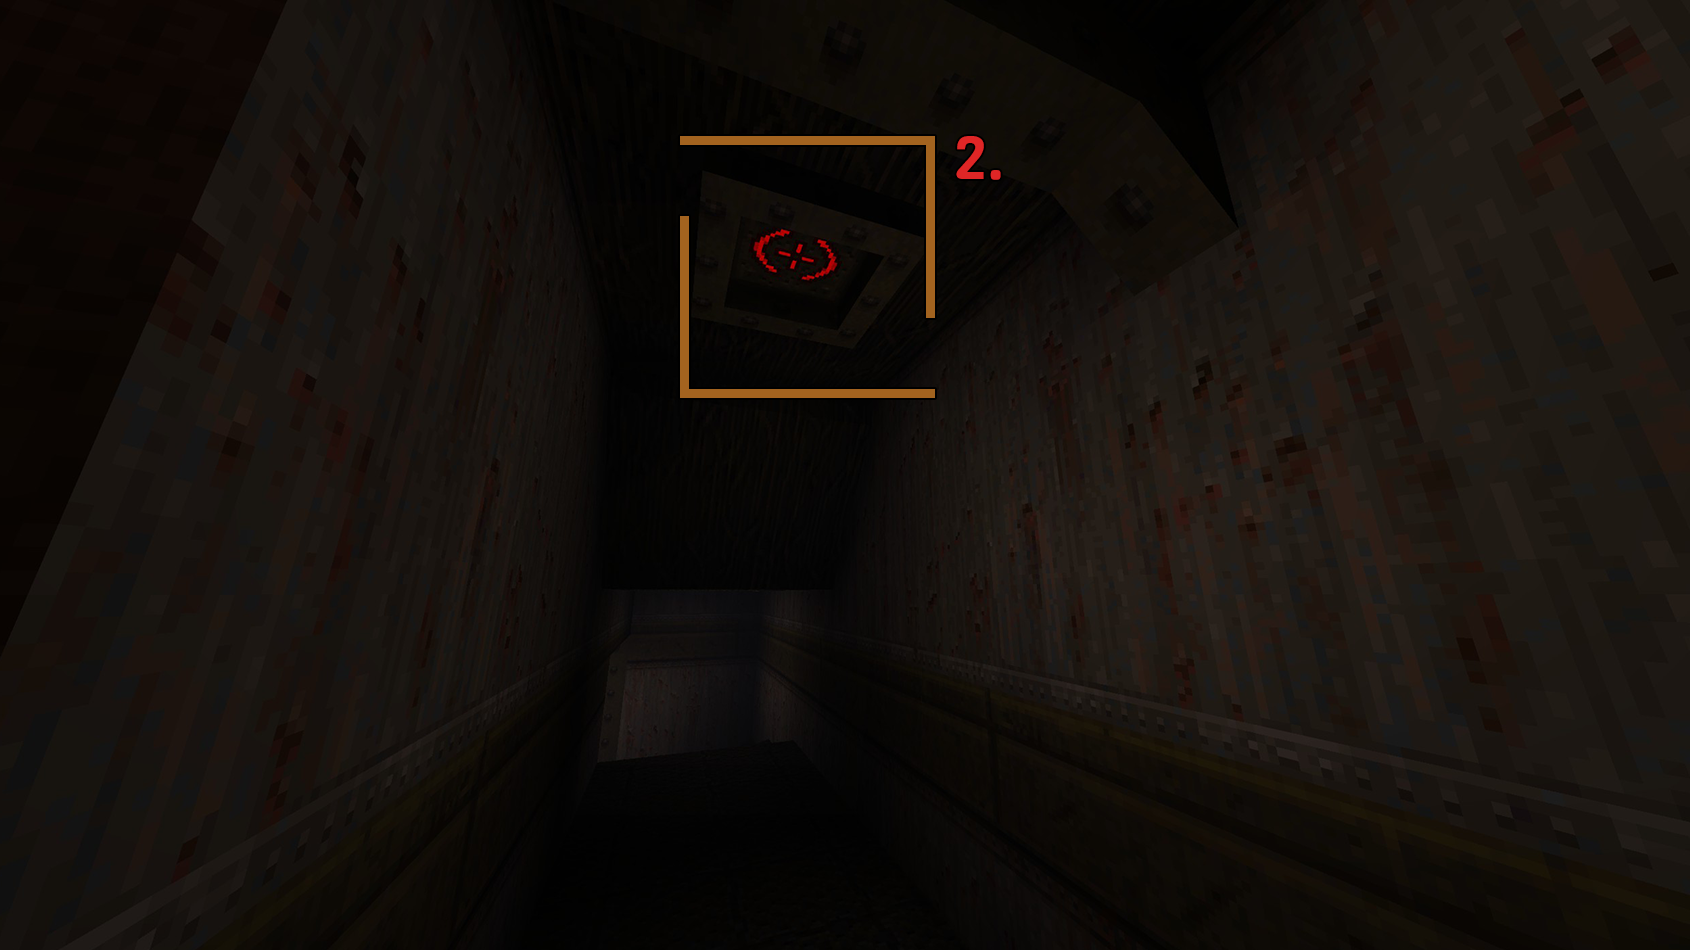 Look up to find a target on the ceiling, shoot at it.
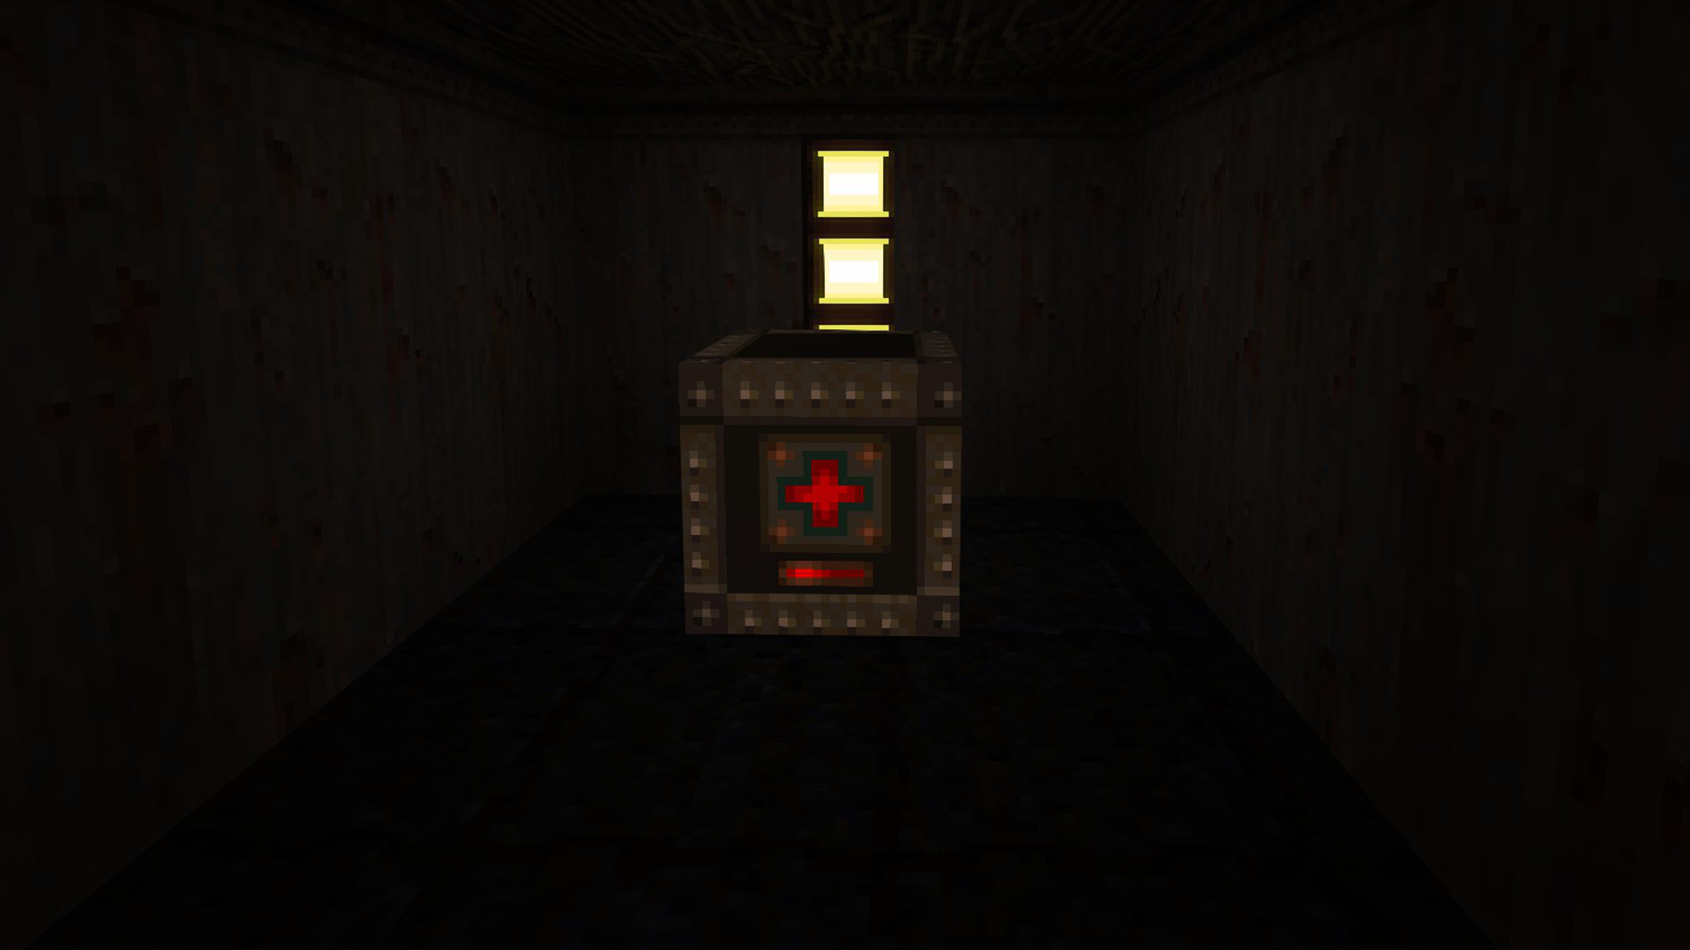
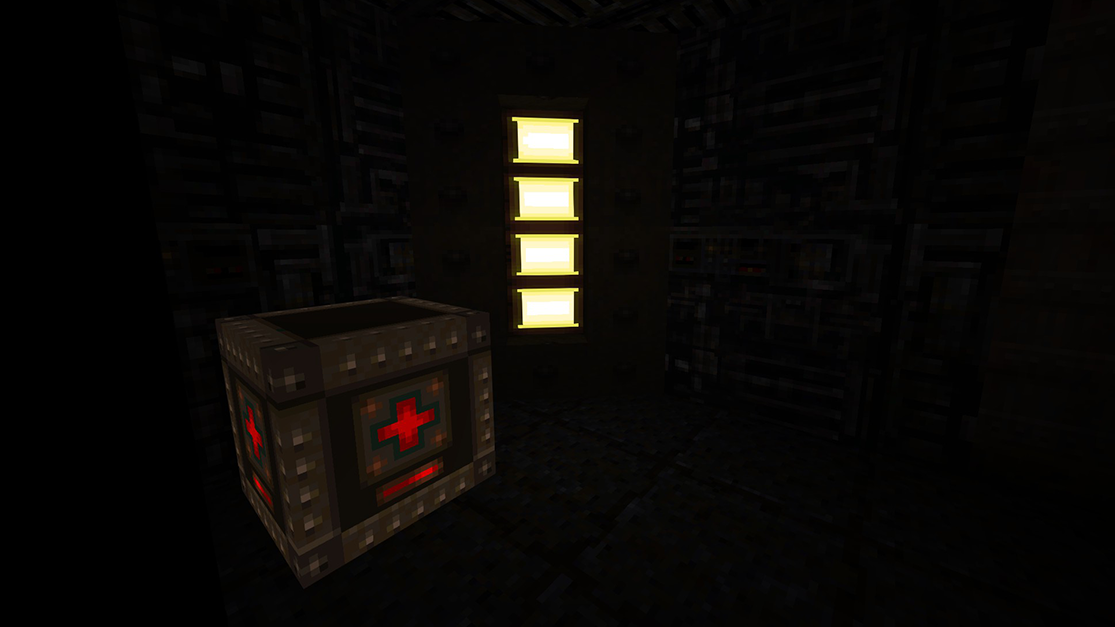
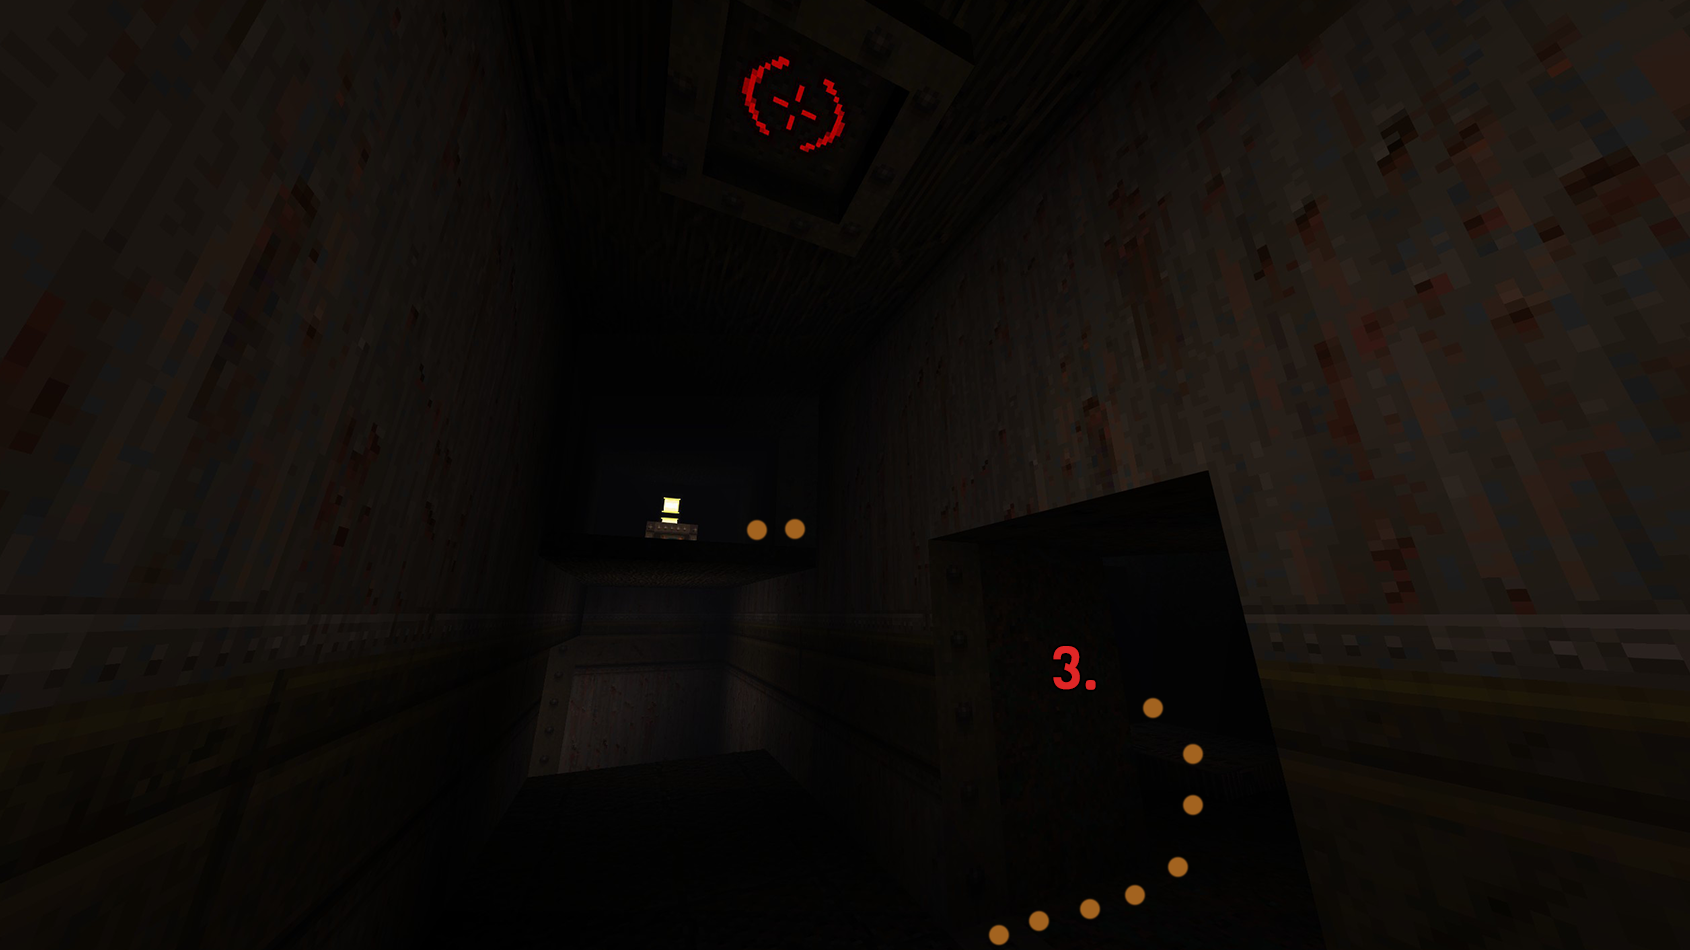 A wall will open up into a dark passage that has a short elevator going up. Enter and there you will be presented with a Megahealth.
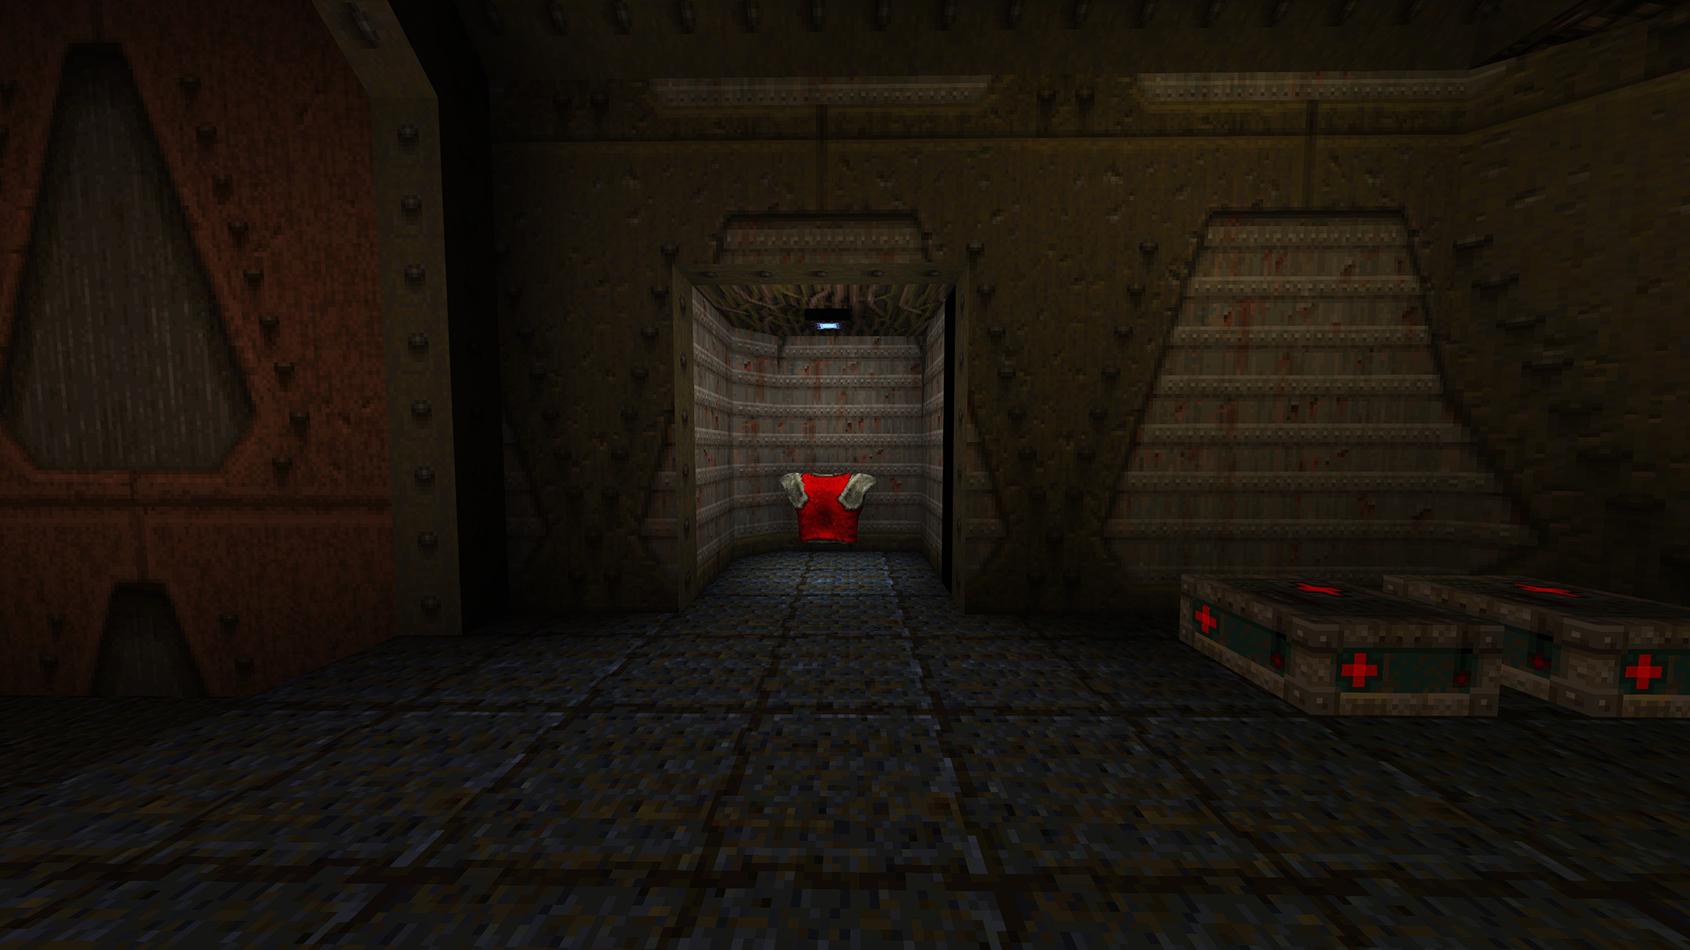
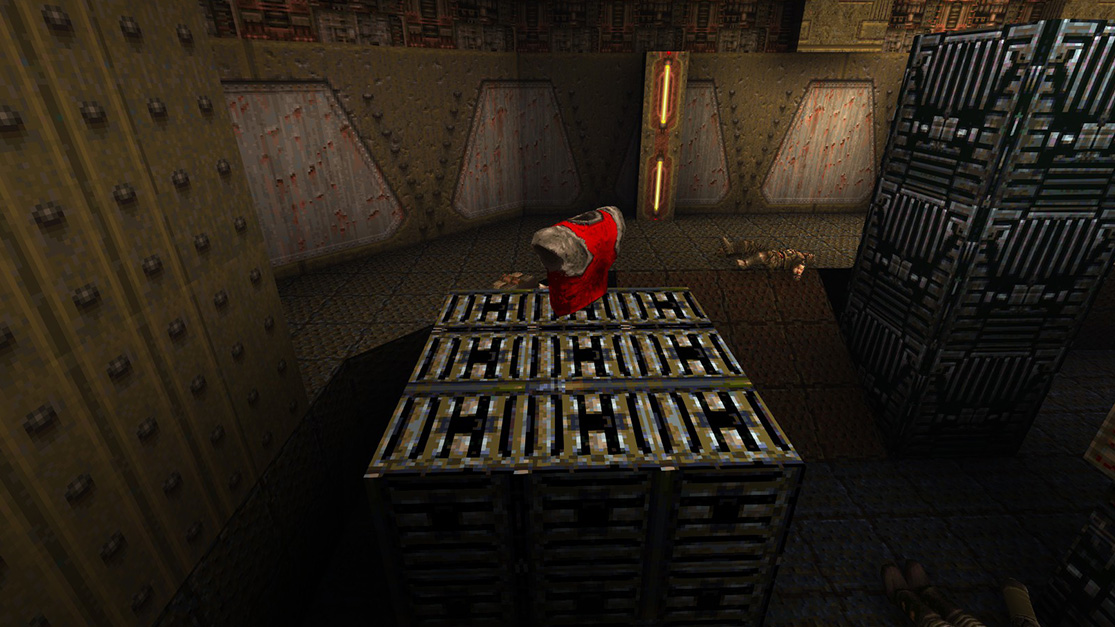
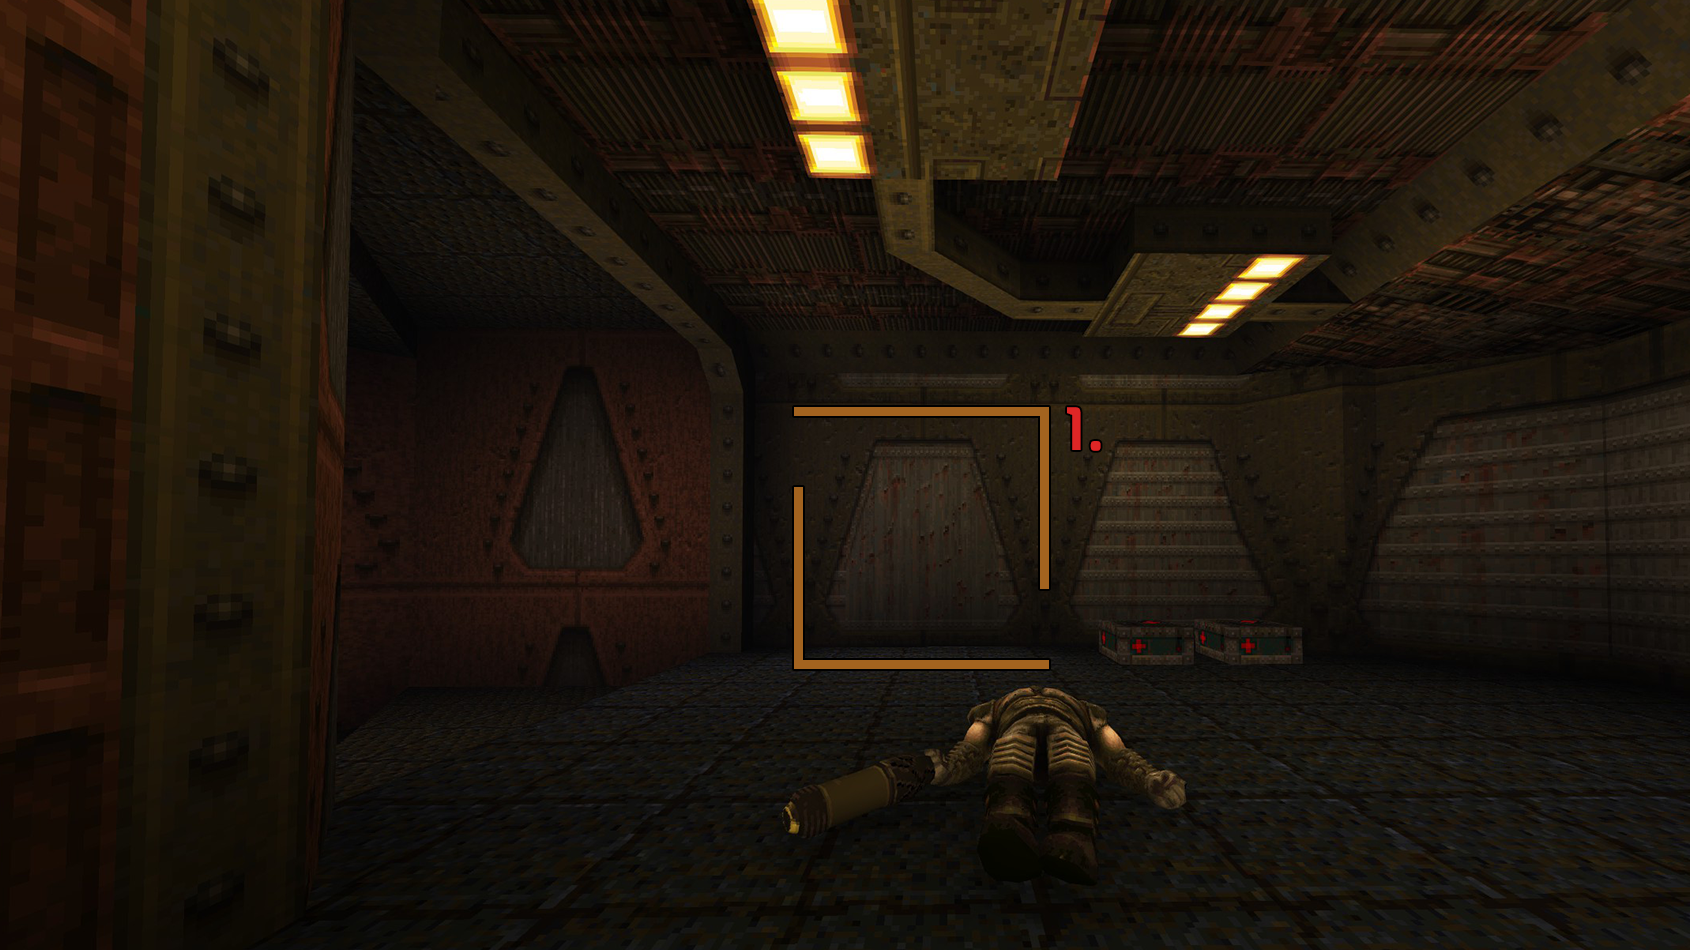 Once down the stairs, look towards your left. There is a wall that is textured differently than the rest of the room, shoot at it. The wall will open and you will be presented a Red Armor.
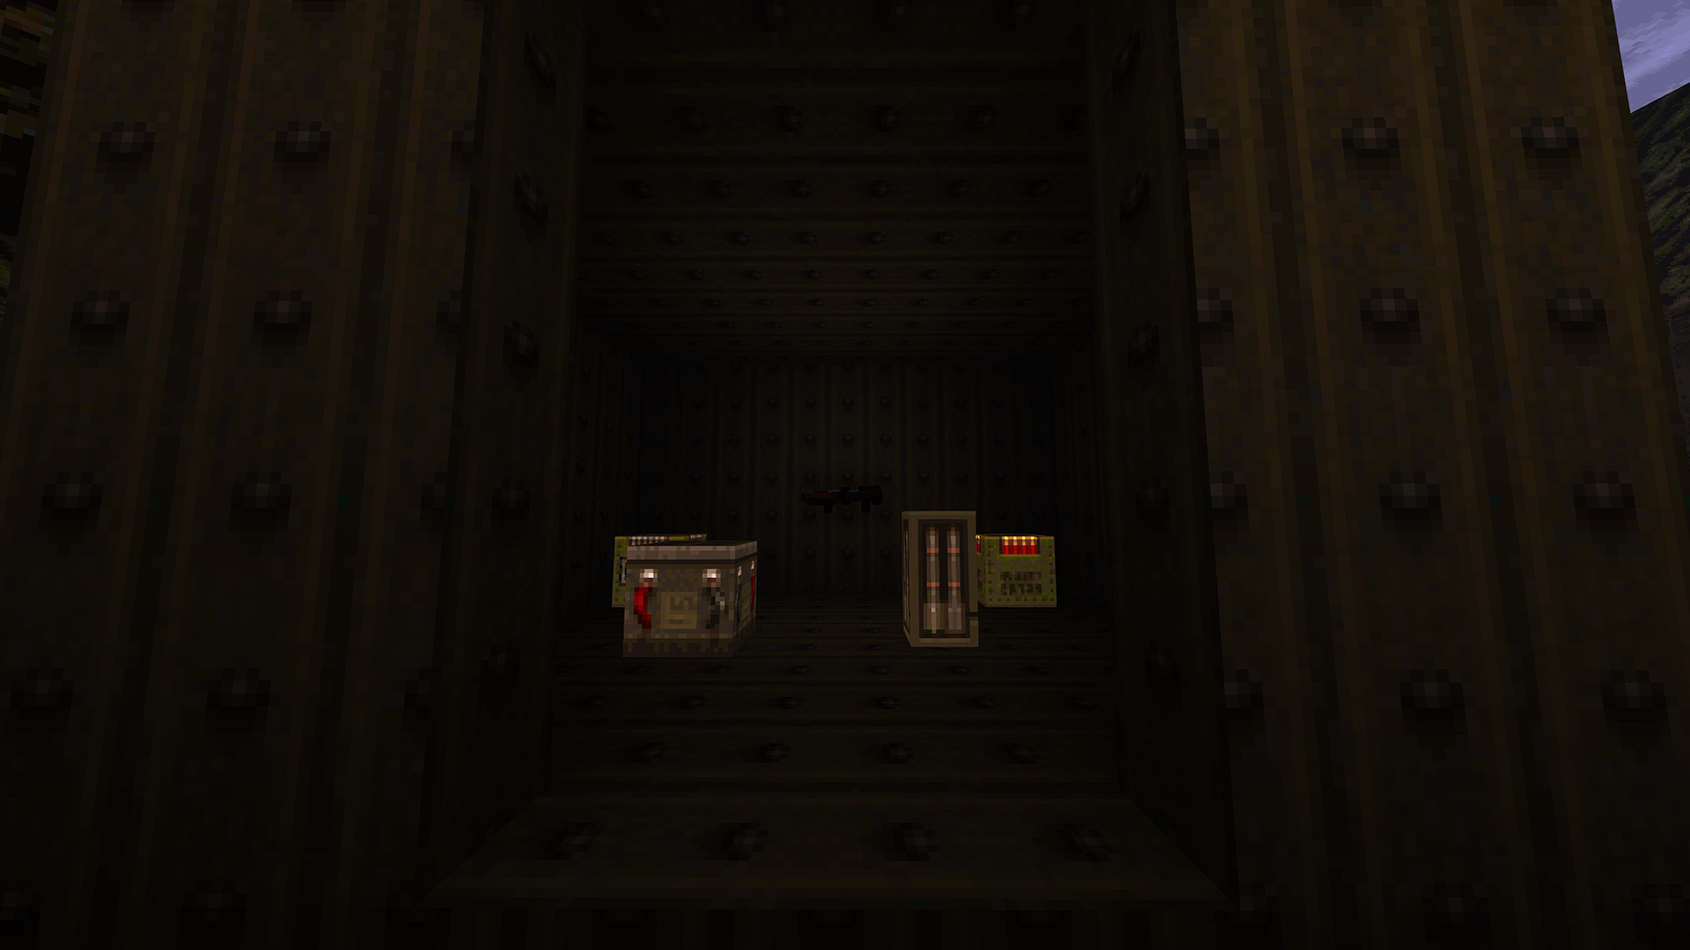
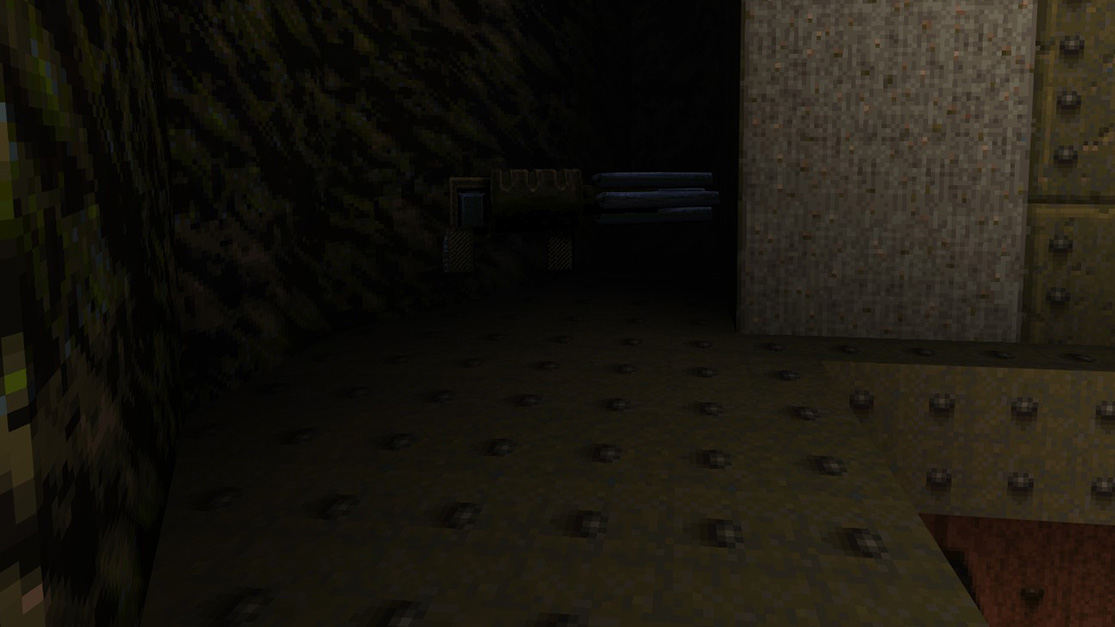
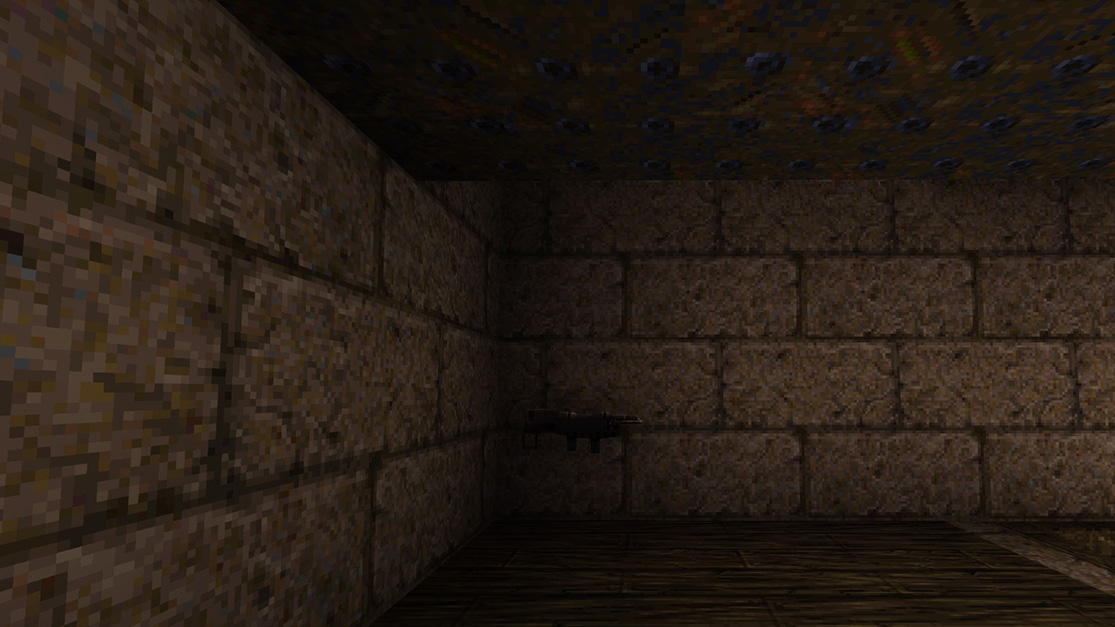
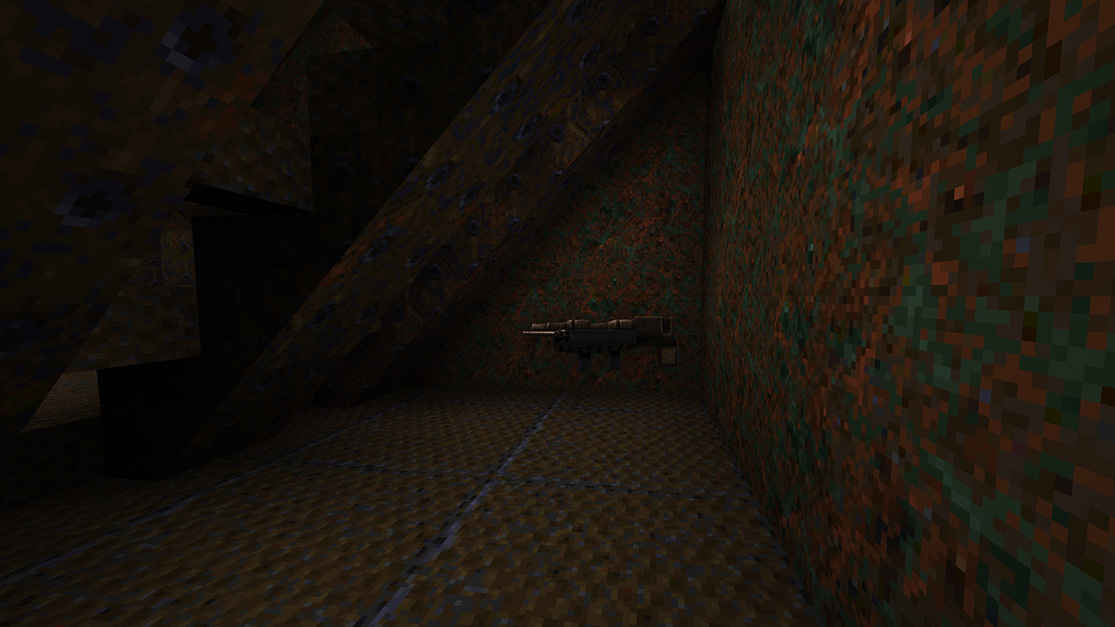
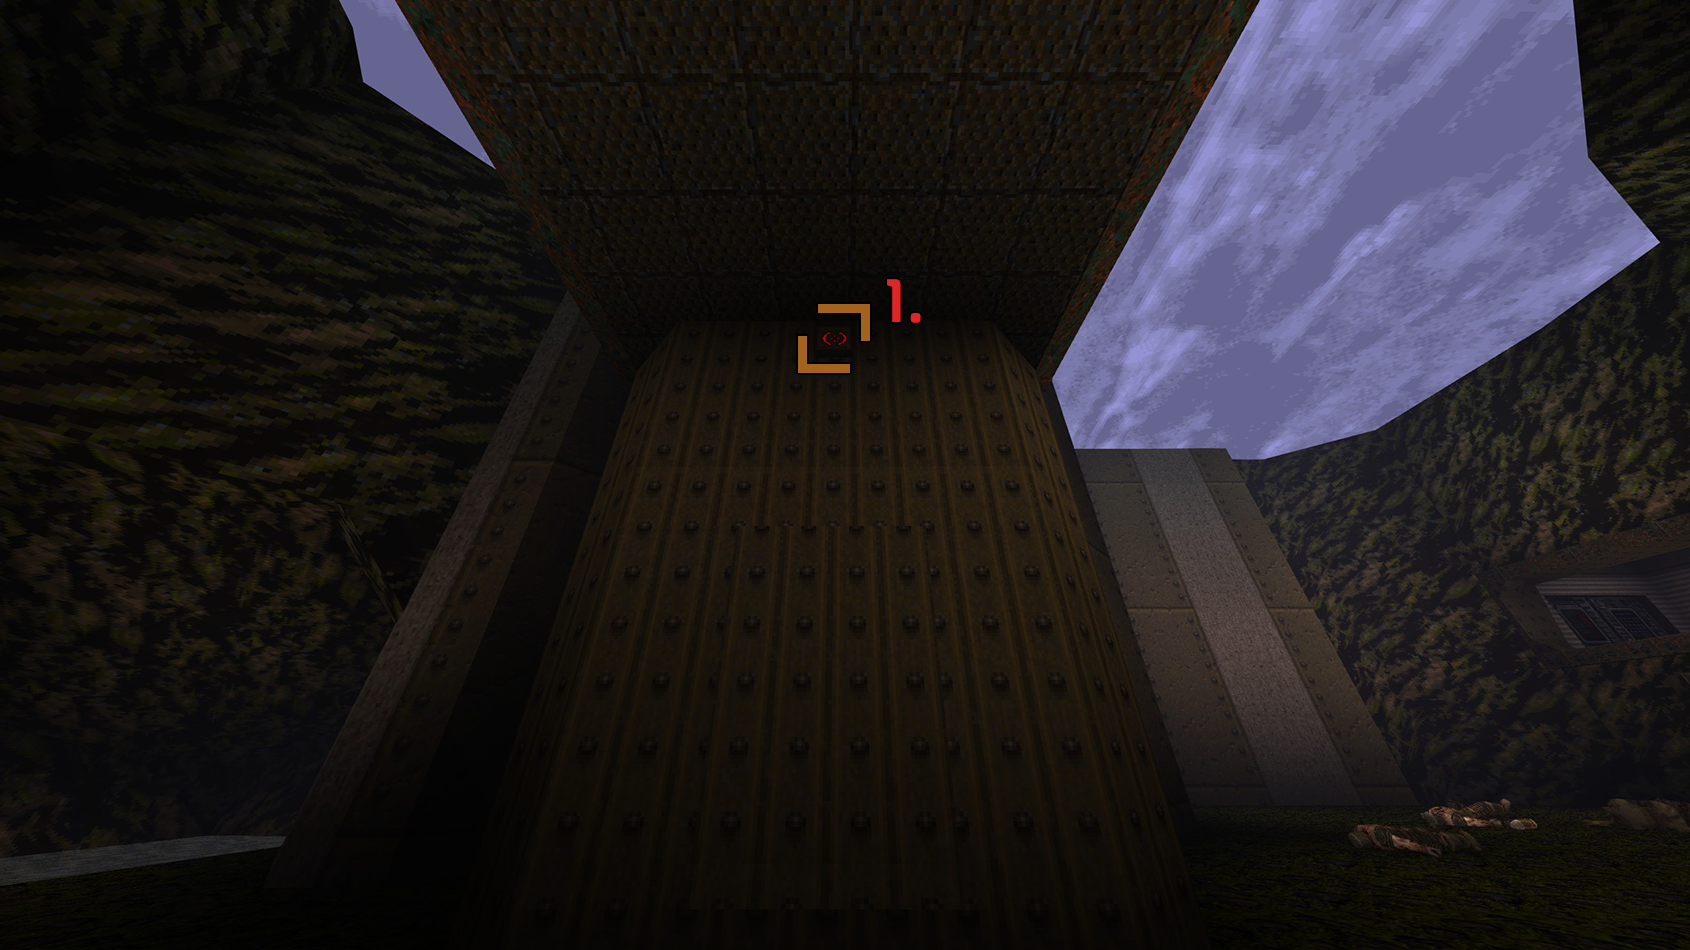 Look up to find a button high up on the wall, shoot at it. The wall will open and you will find various Cells, Nails, Shells, and Rockets, as well as the newly added to Scourge of Armagon weapon, the Proximity Launcher.
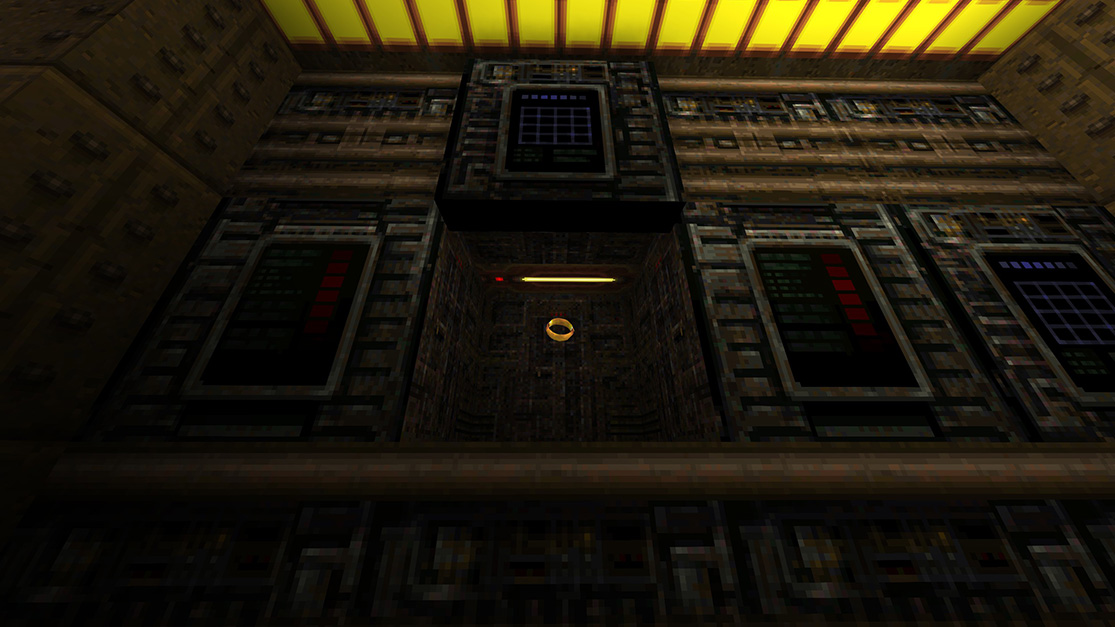
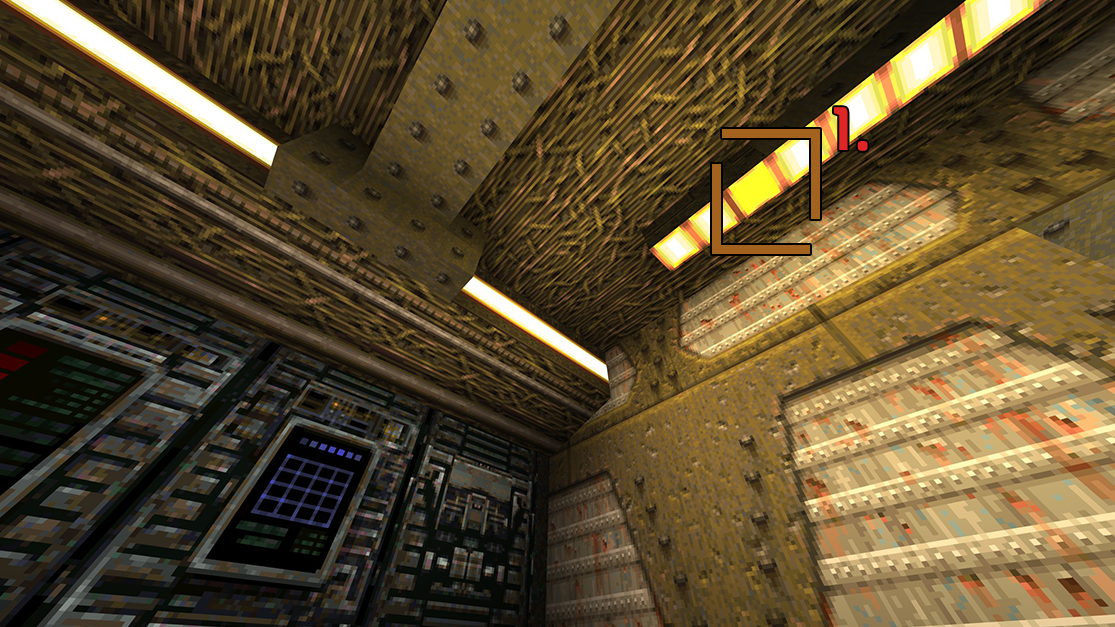 Look up on the ceiling where you can see one light is brighter than the rest, shoot at it. The wall will open and you will be find a Ring of Shadows.
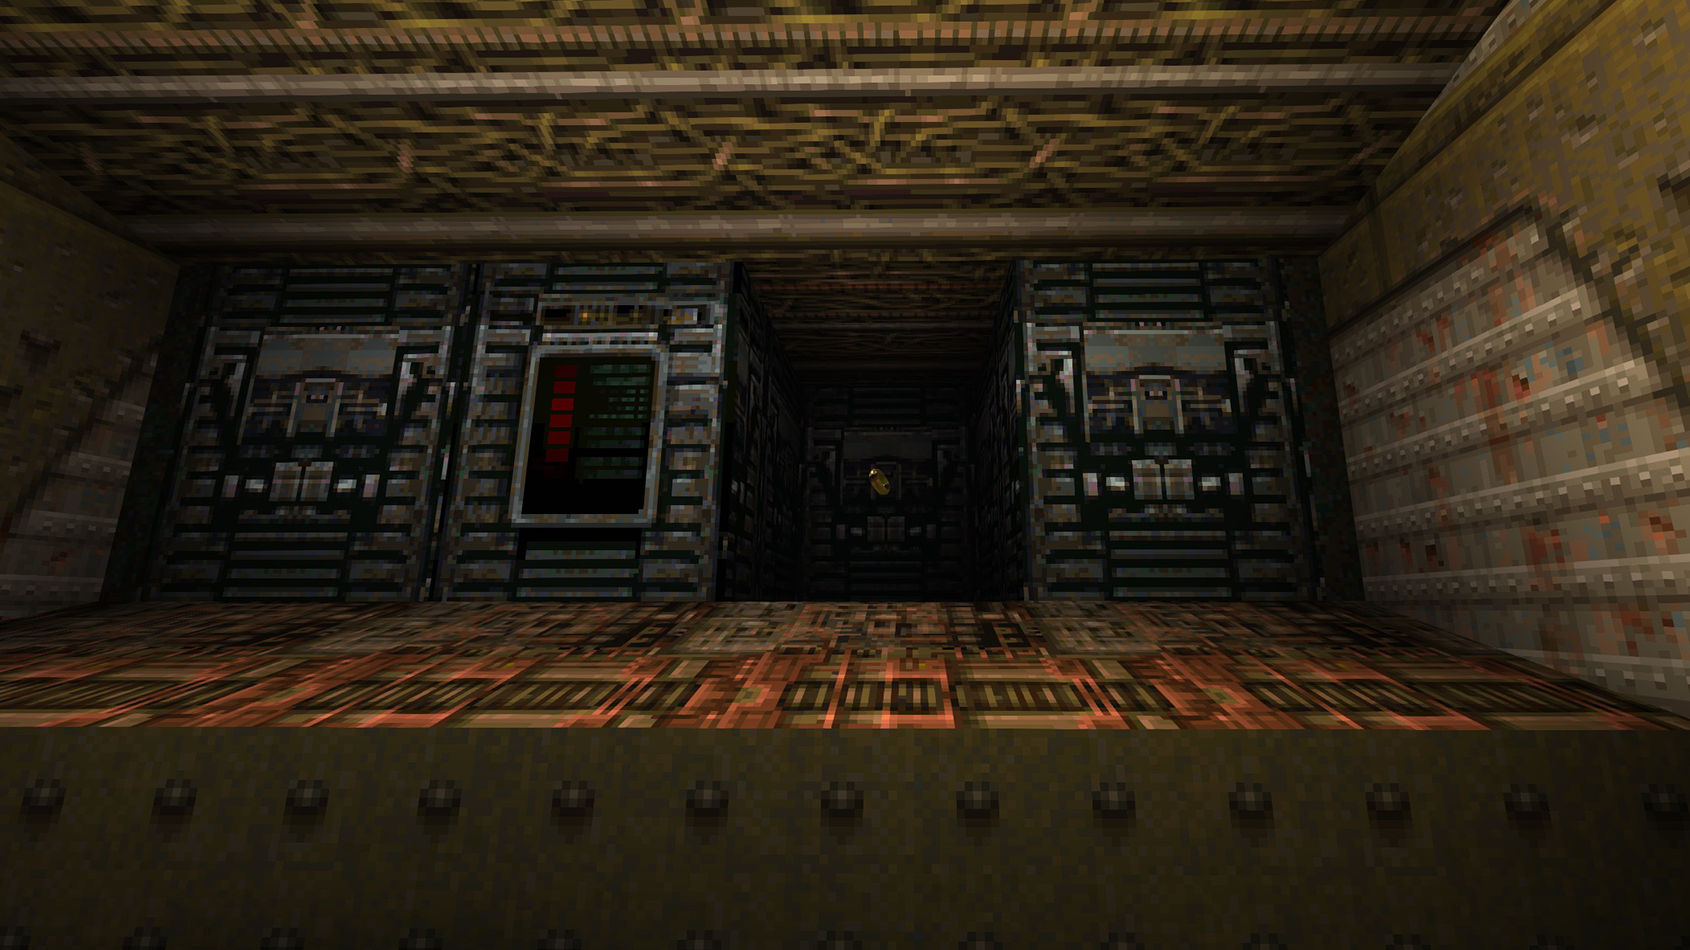
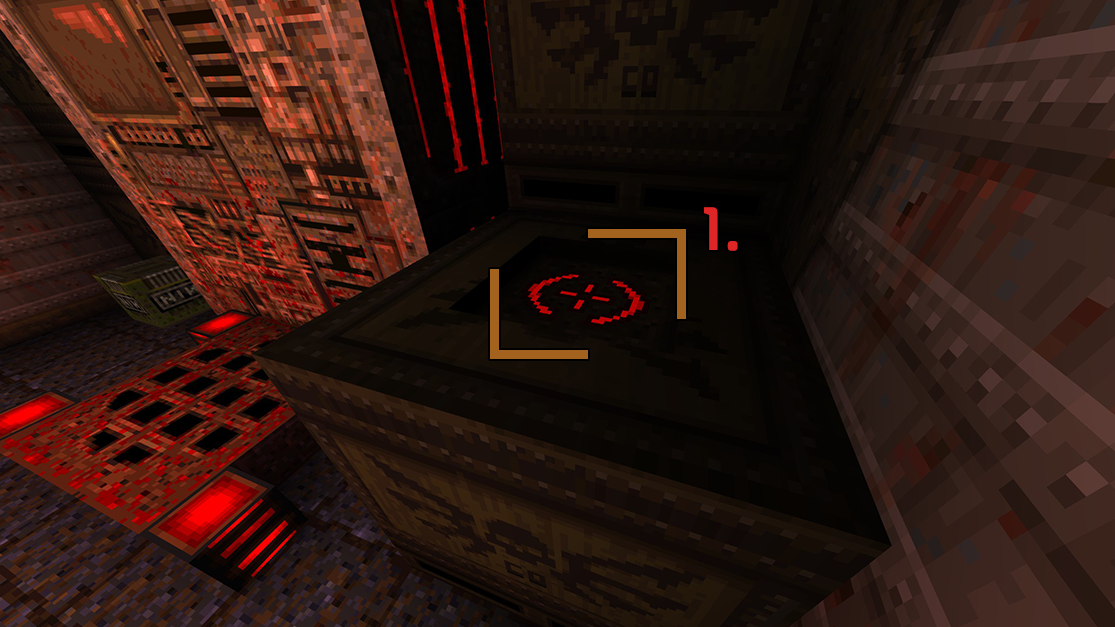 Walk up to the large box on the right side. Jump and you are able to see a target in the middle of the box, shoot at it.
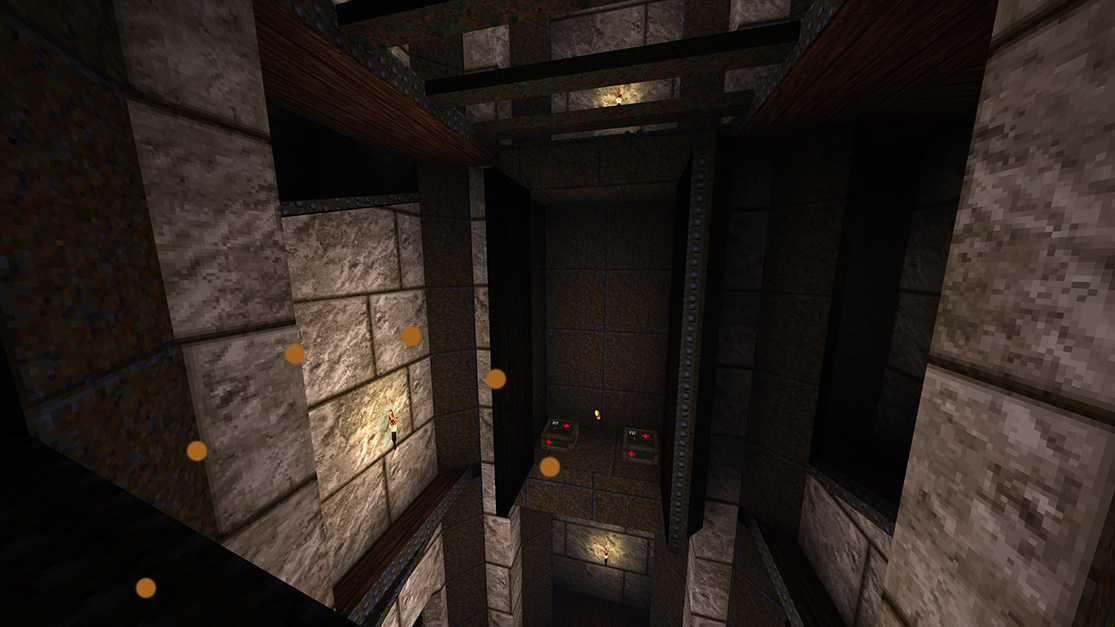
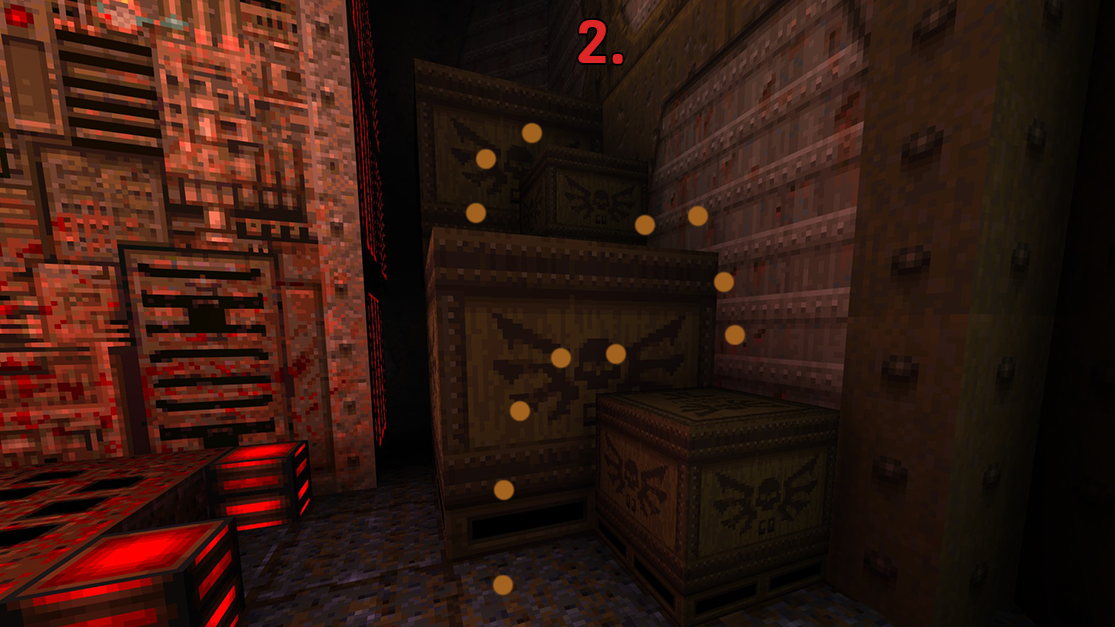 The boxes will open up and form stairs. Scale them until you reach the top, drop down on the other side behind the slipgate and that is where you will find a Megahealth.
HIP1M2: Storage Facility
Storage Facility is the second level of Fortress of the Dead. It consists of several storage rooms with crates and a series of corridors. There is also a pool of Water, featuring moving platforms and a deadly ventilator fan near the bottom, and several underwater tunnels. The level's most impressive feature is a force field bridge that one must activate in order to reach another area.
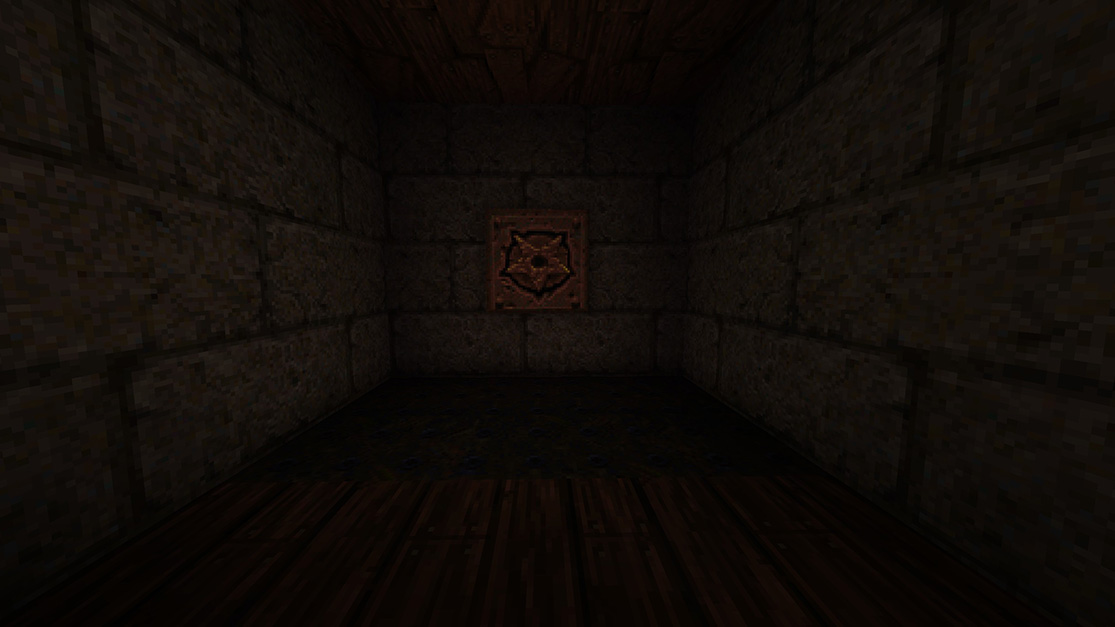
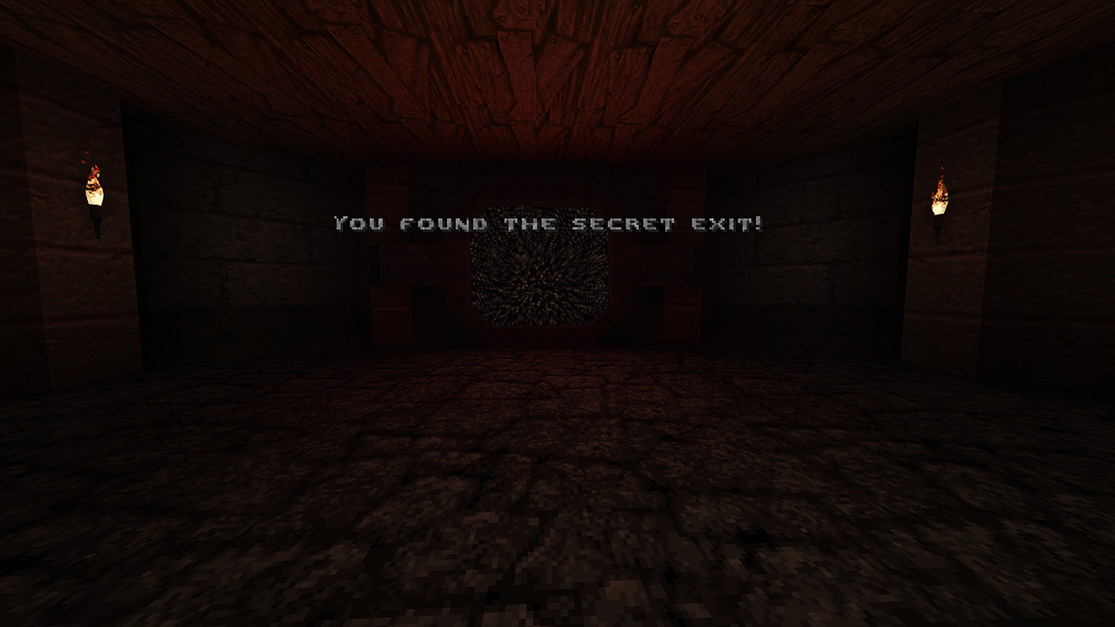
There are total of 3 secrets and one Achievement in Storage Facility. The 3rd secret is a secret exit which will give you an achievement as well as take you to episode 1s secret level, Military Complex.
 There is a small section of the wall close to the pillar, shoot at it. The wall will open and reveal a Quad Damage.
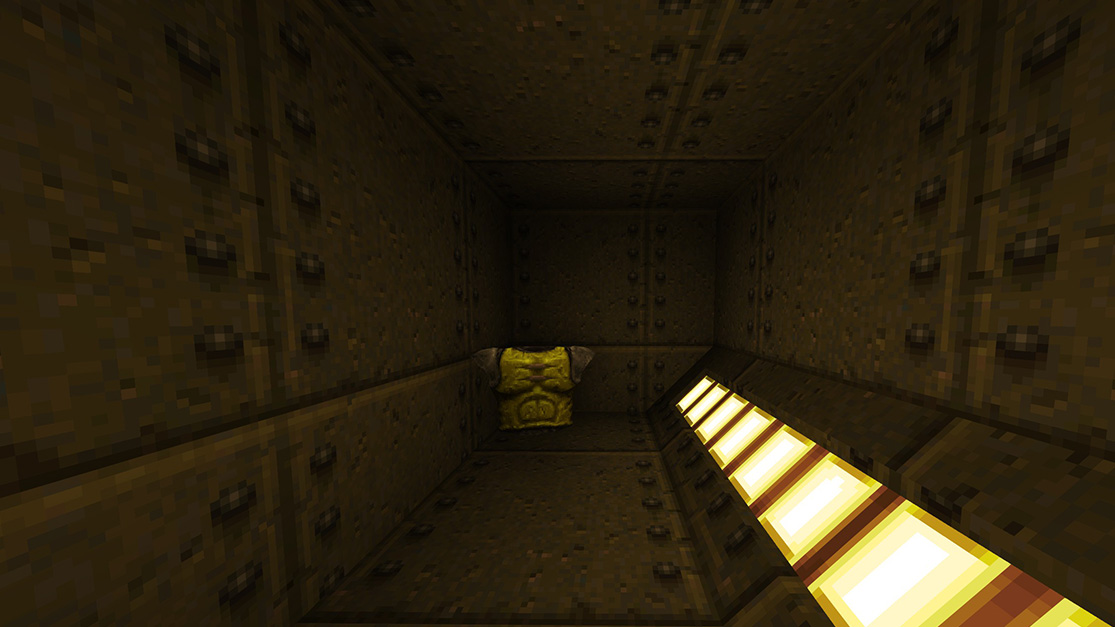
 Look down to the boxes, jump down and go into the opening. You will be rewarded with a Yellow Armor.
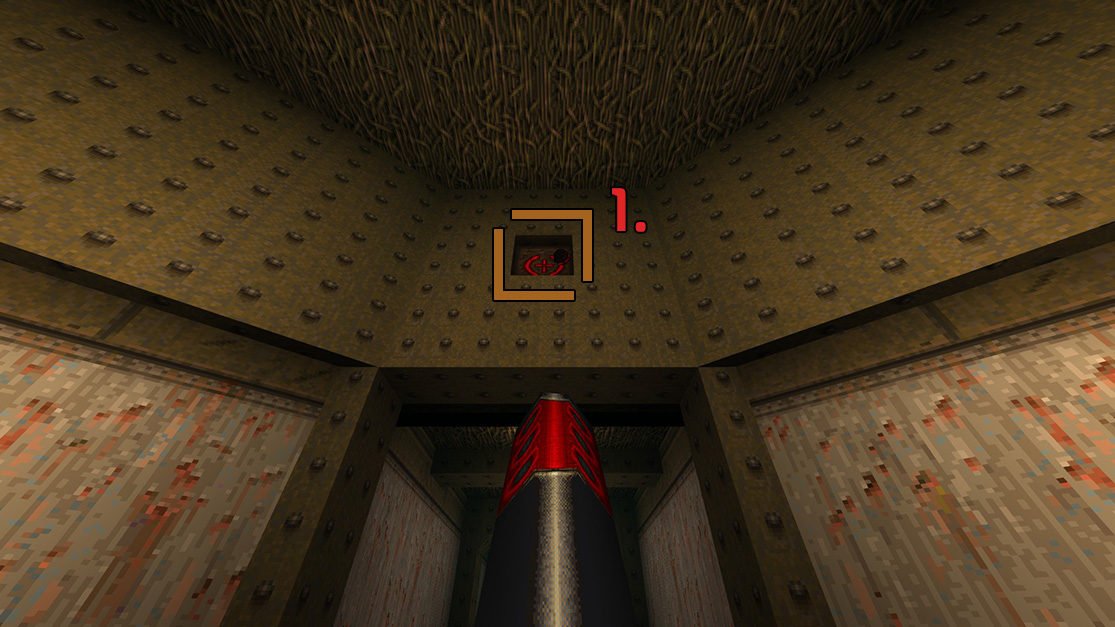
THIS SECRET REQUIRES THE PROXIMITY LAUNCHER
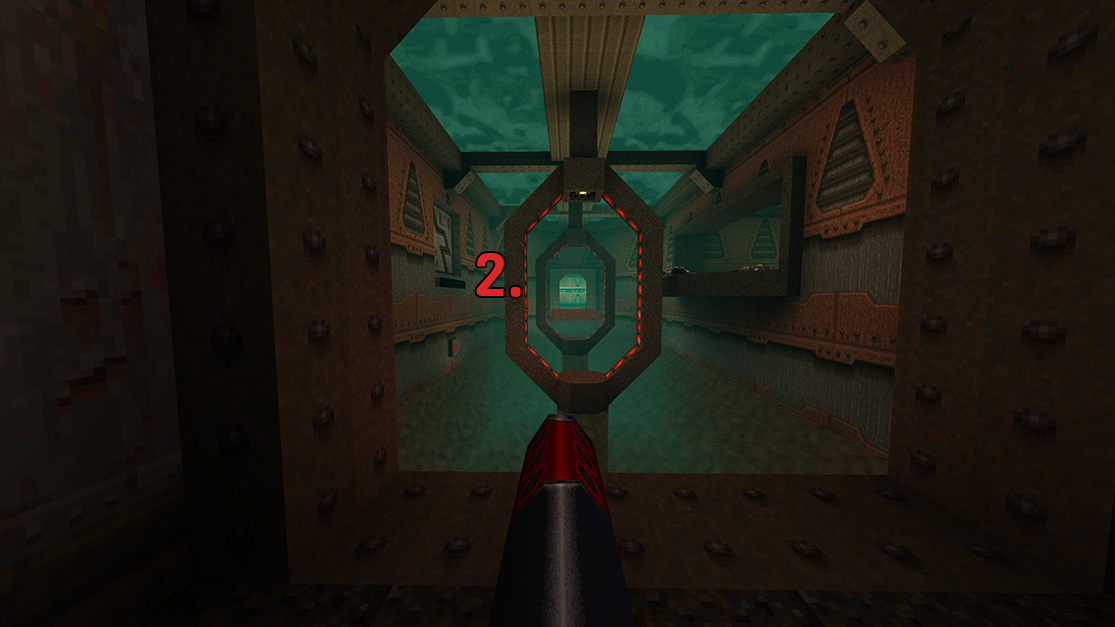
 You will find a button high up on the wall, here you will use the Proximity Launcher, and shoot a mine right on the button. You have about 15 seconds before the mine explodes which triggers the button. As soon as you shoot the button start running down the hallway, across the holo bridge, up the stairs, and wait for the bridge to be triggered.
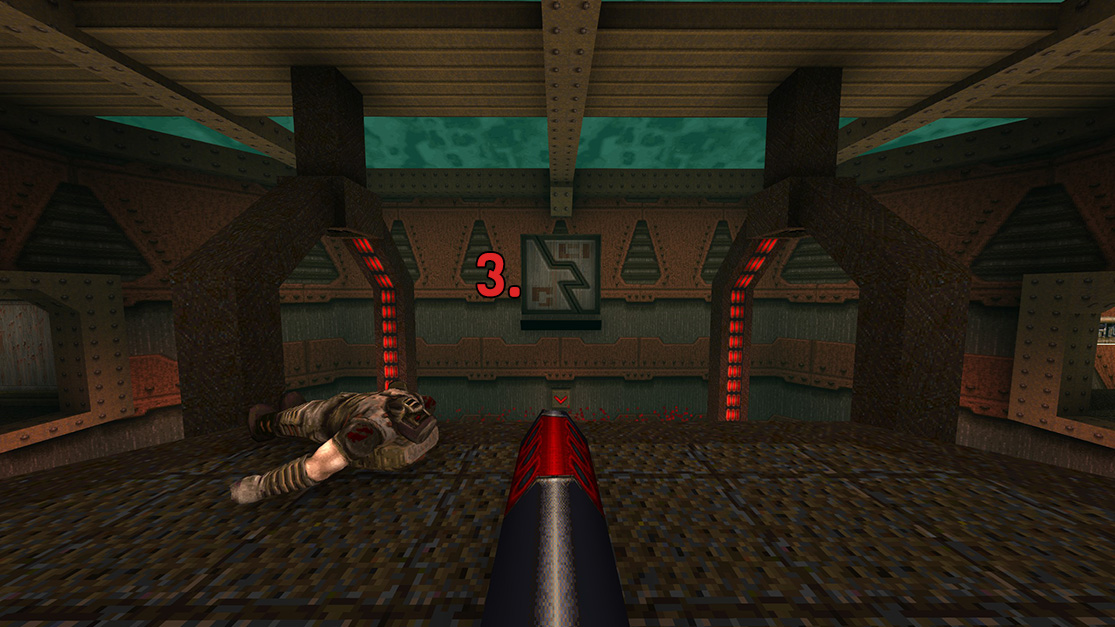
 Run across this energy bridge to the new hallway, and up the stairs.
 Across the way, there is a door and an area that will spawn a bridge as soon as your proximity mine explodes on the button.
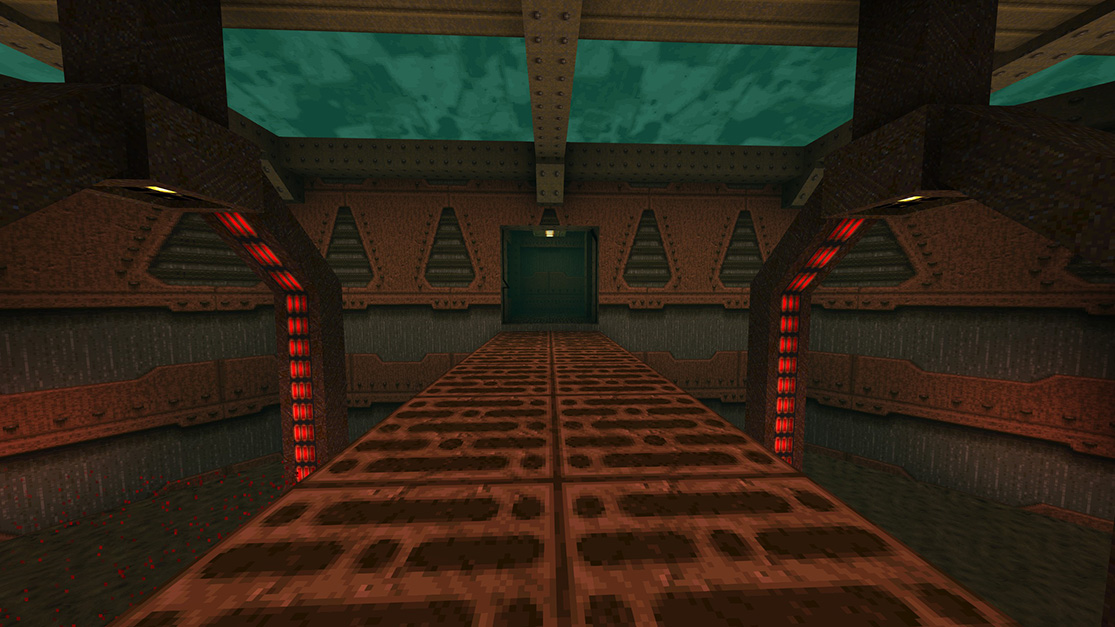
Cross the bridge and you will find the secret exit, which will take you to this episodes secret level, HIP1M5: Military Complex.
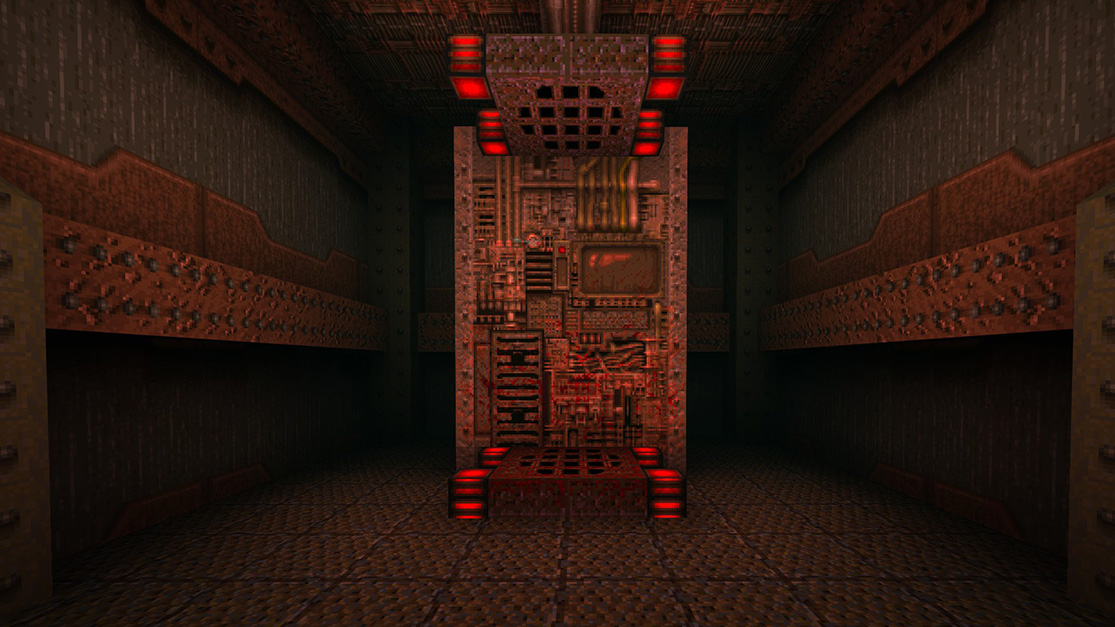
[Secret] HIP1M5: Military Complex
The Military Complex is the secret level of Fortress of the Dead. It consists of a series of connected buildings, numerous water canals, and several outdoor areas. There is also a large underground area, which includes a small warehouse and a system of sewers.
There are a few ways to approach this level, a few guides do it a few different ways but I'm not that big a fan of doubling back into areas I was already in if I can avoid it. You can choose the order you want to do them in, but this way is one straight shot from beginning to end.
There are 7 total secrets in Military Complex.
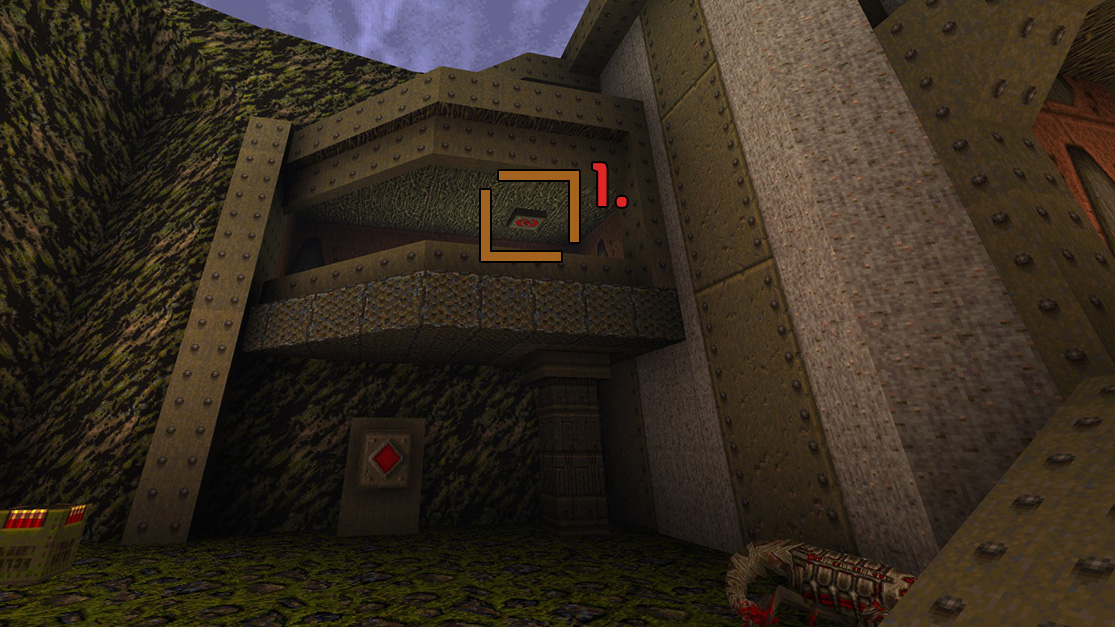 If you look up in the tower next to the second button you have to press, you will find a button on the ceiling, shoot at it. This will lower an elevator for you to ride up into the tower, and reward you with a Megahealth.
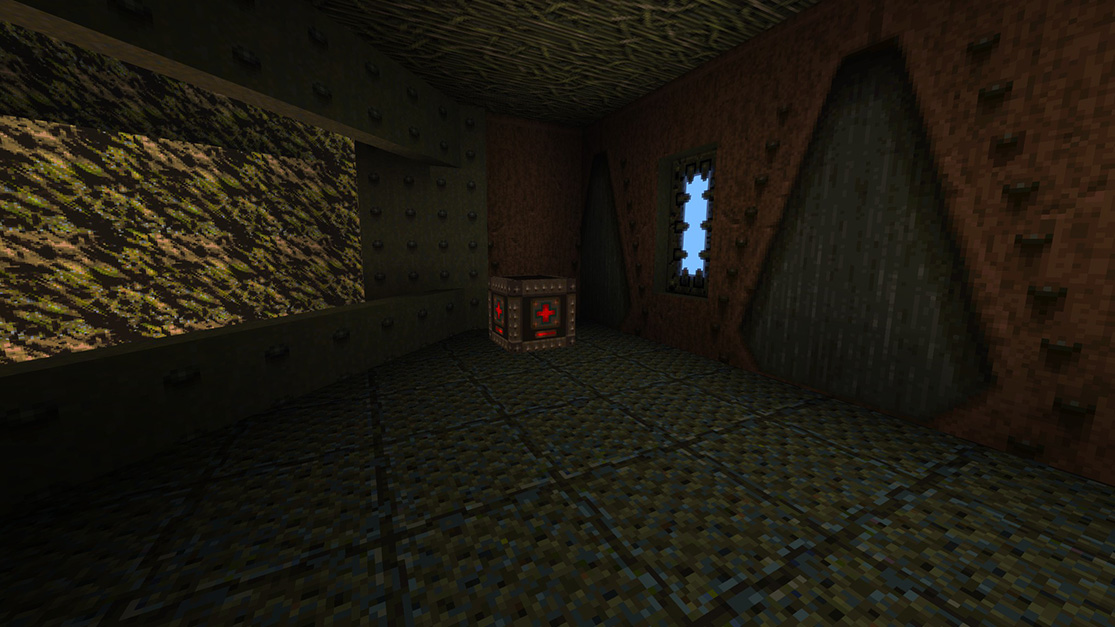
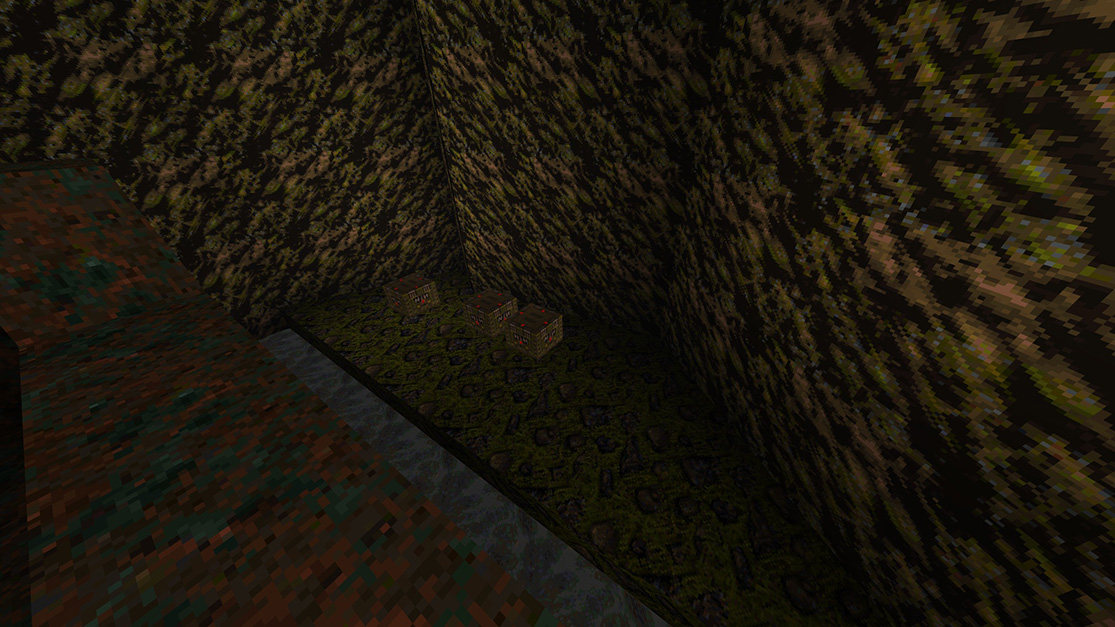
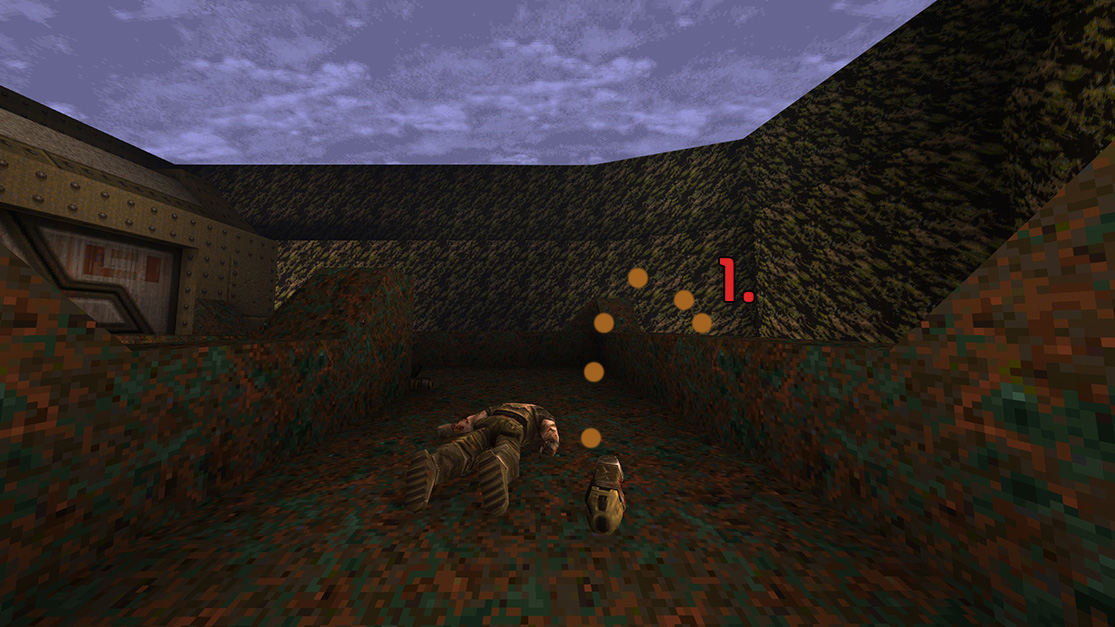 Instead of going into the next area, jump onto the railing of the bridge and then jump across, where you will find 3 boxes of Nails.
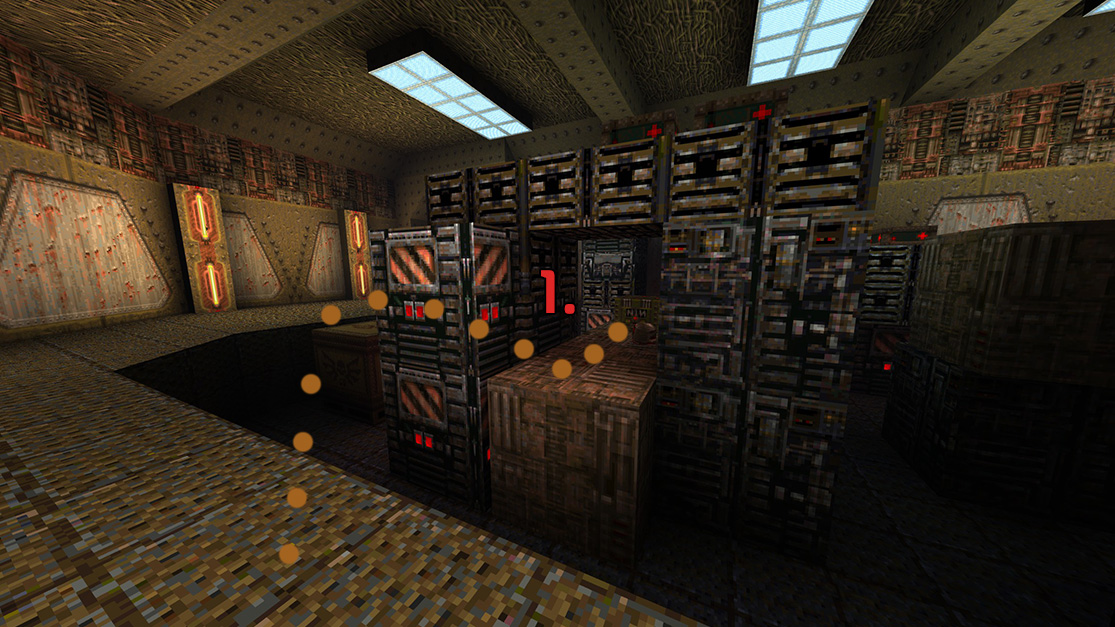 Jump across the gap into this opening in the crates, there will be a crate immediately to your right. Jump on top of it.
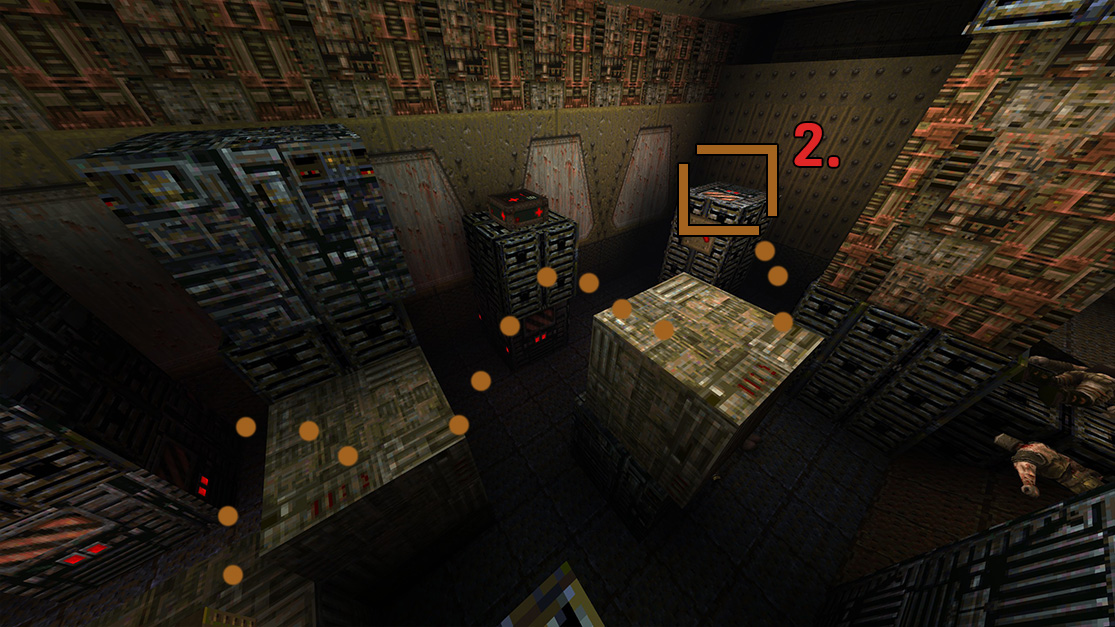 Jumping across the next 2 crates you will land on the platform with an arrow on it. Landing on it will reveal a Red Armor right in front of you.
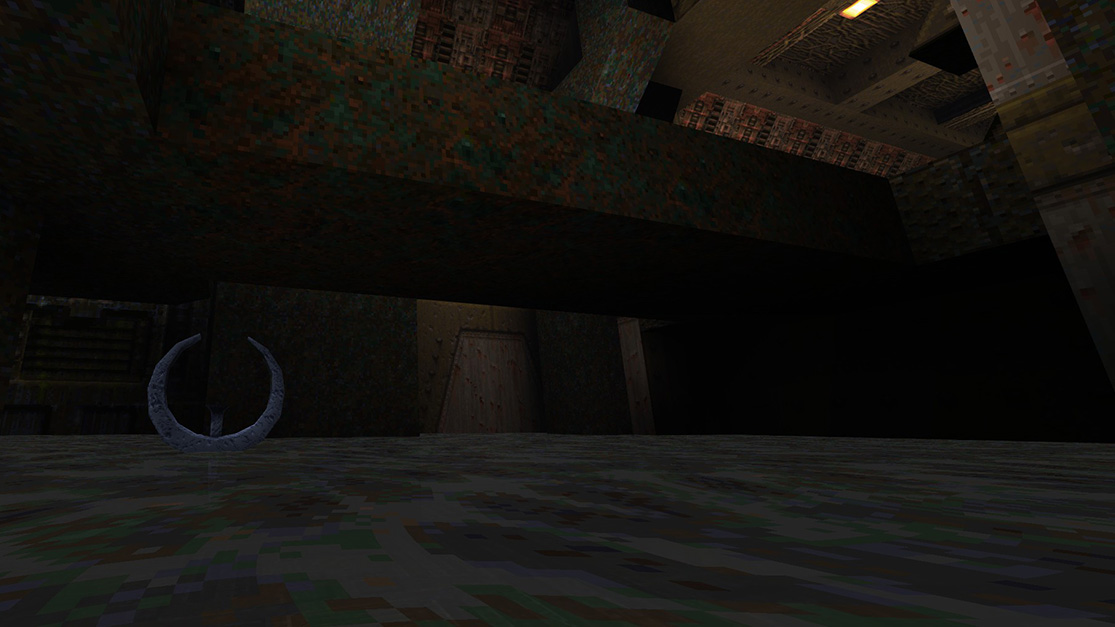
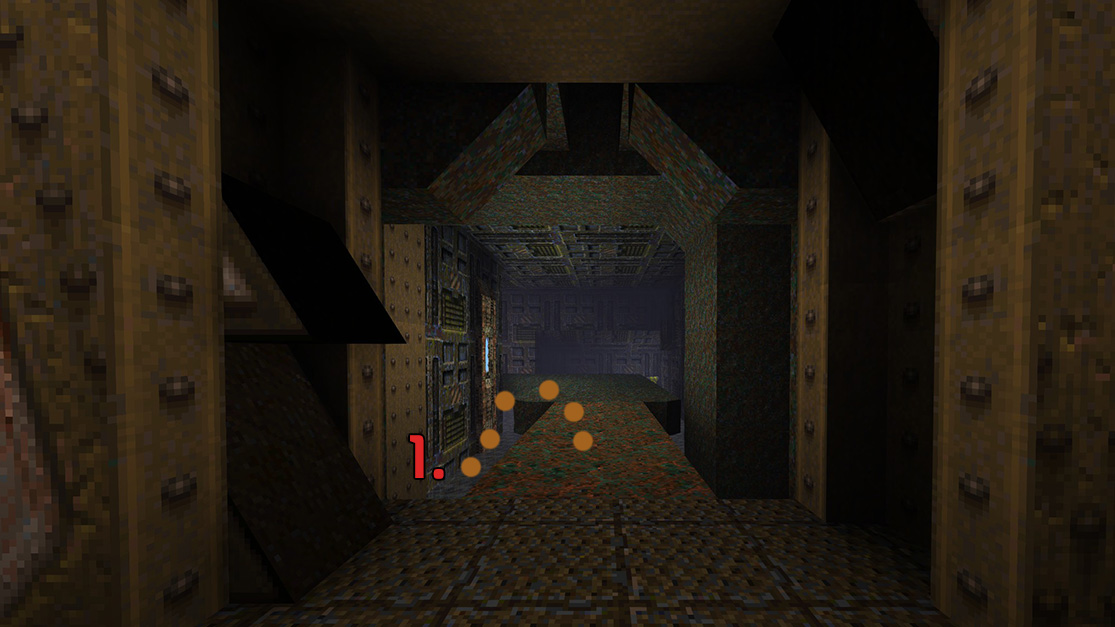 Stop as soon as you go through the doorway and jump below into the water. Behind you will be a Quad Damage.
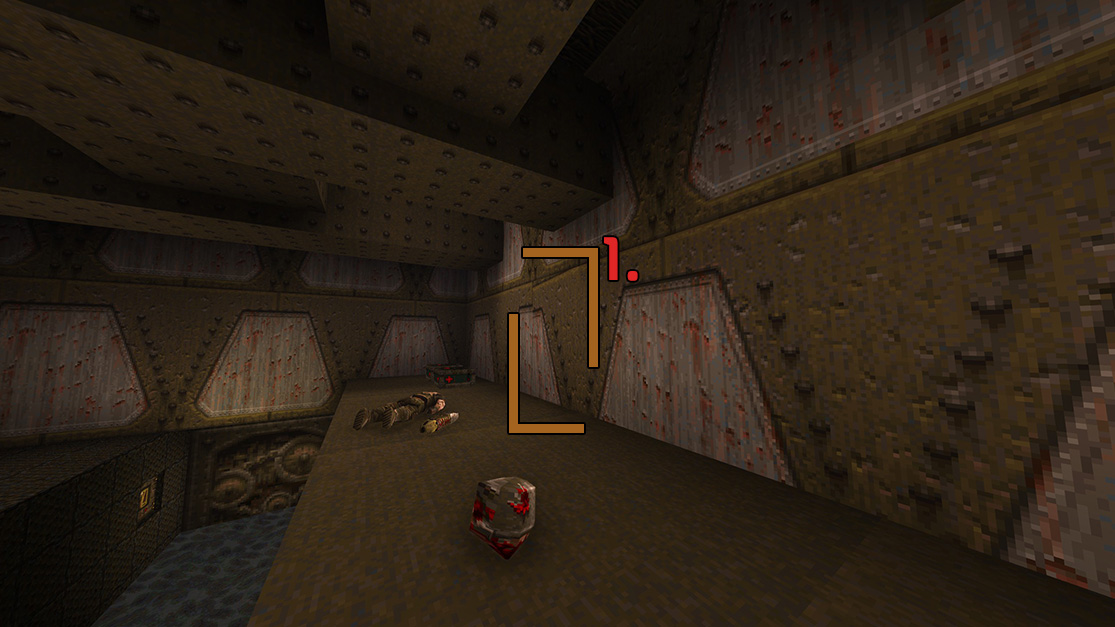 Find the area of the wall with the wonky texture, and shoot at it. It will then open a hole in the wall. Enter and you fill find a Yellow Armor.
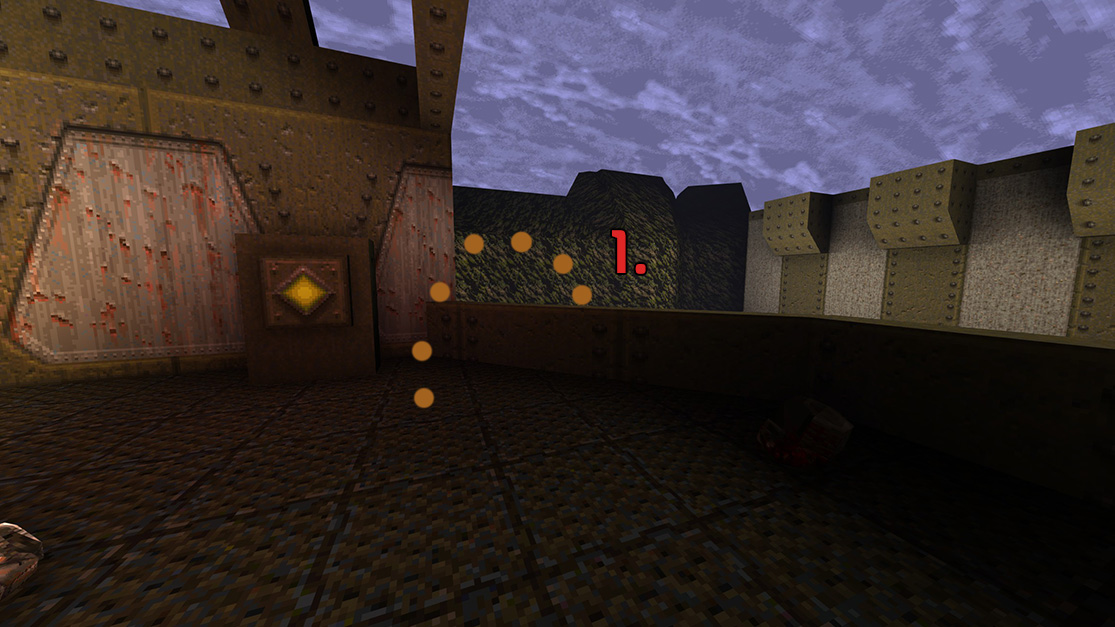 Jump on the railing of the balcony, and then look towards your left.
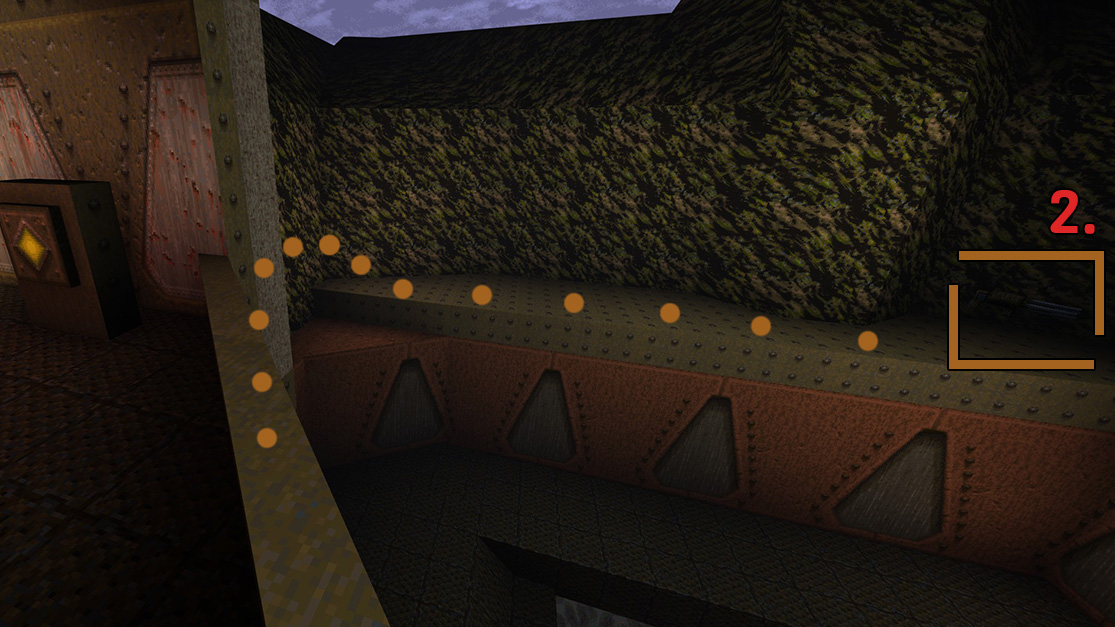 Across the way there is a small walkway where you can see a Super Nailgun. Jump across the gap and get the Super Nailgun.
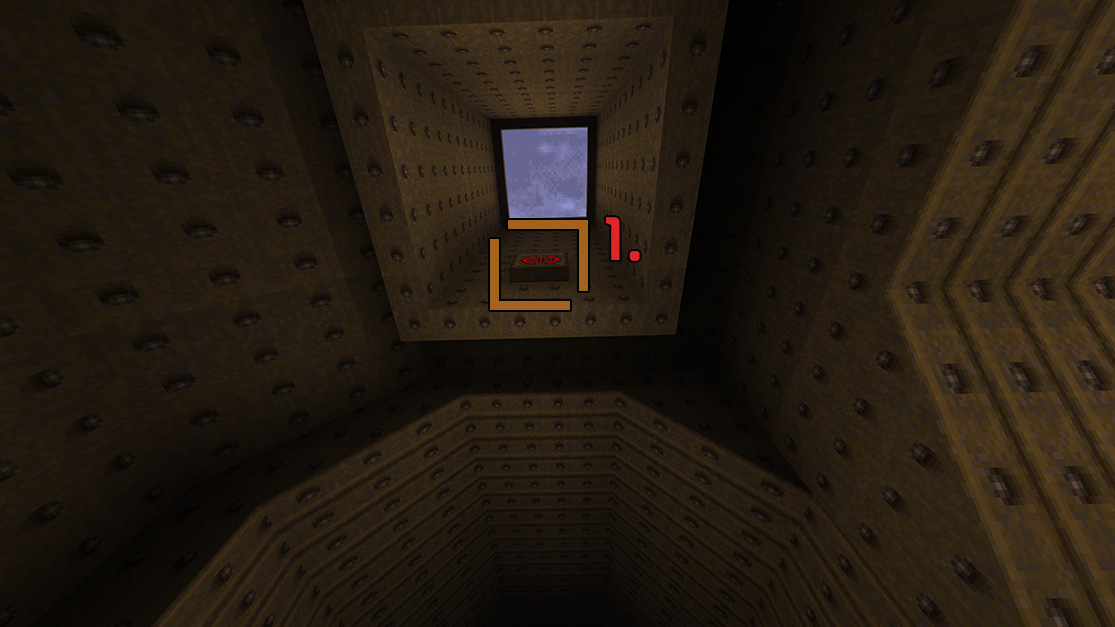 At the end of the tunnel, instead of going right you should stand in the middle of the water. Look up to find a button, shoot at it. This will cause the elevator at your feet to push you up to a hole in the wall, and present you with a Megahealth.
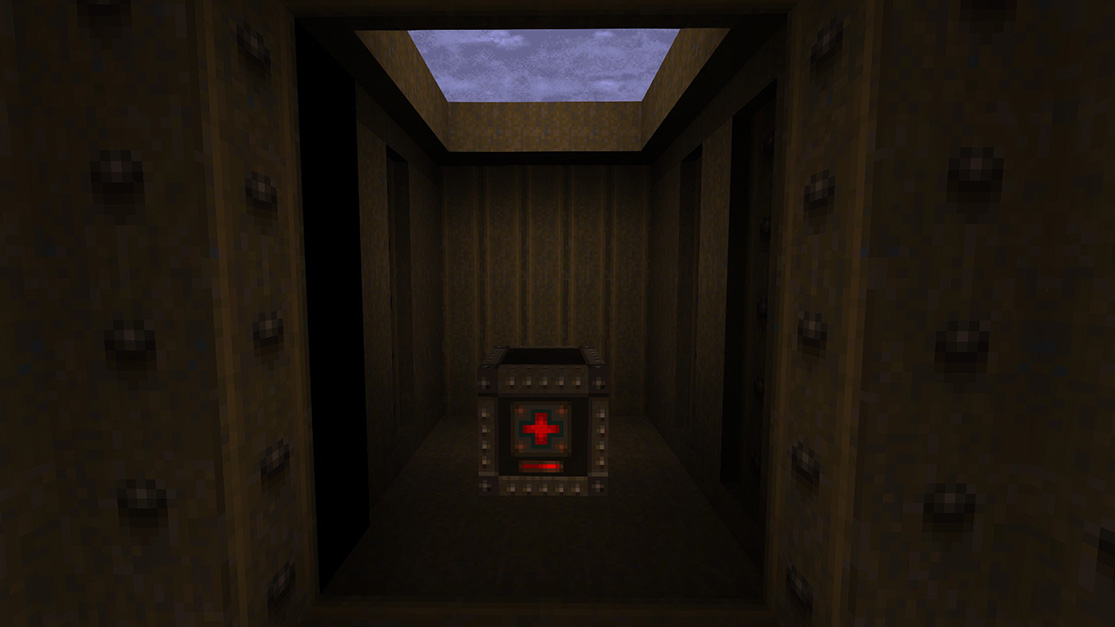
From here you can continue through the tunnel and straight into the golden keycard room, and then complete the level.
HIP1M3: The Lost Mine
The Lost Mine is the third level of Fortress of the Dead. It consists of two small buildings on the surface and a series of tunnels underground. The level introduces a new type of hazard — rolling boulders that can crush a careless player. The mine tunnels are littered with debris and there are occasional Earthquakes, which are dangerous if the player is near a Lava pit. The lowest level of the mines is infested with Zombies and also features a convenient express elevator that takes somebody all the way back to the surface.
There are 3 total secrets in The Lost Mine.
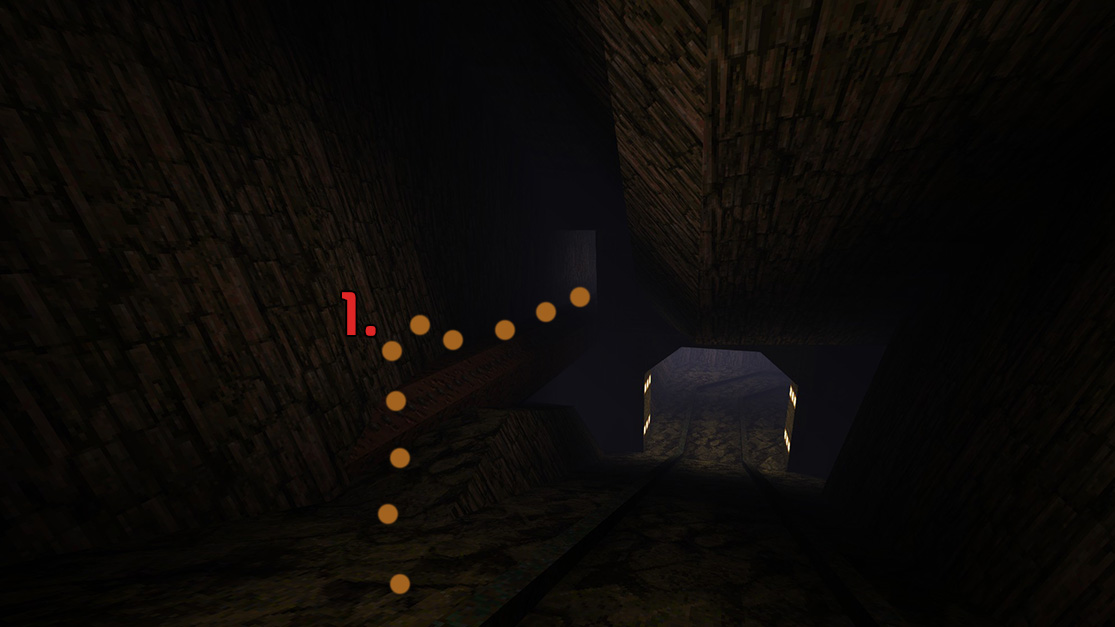 You will come across a pipe going into the wall with an obvious doorway you can fit through. Jump on the pipe and follow it through.
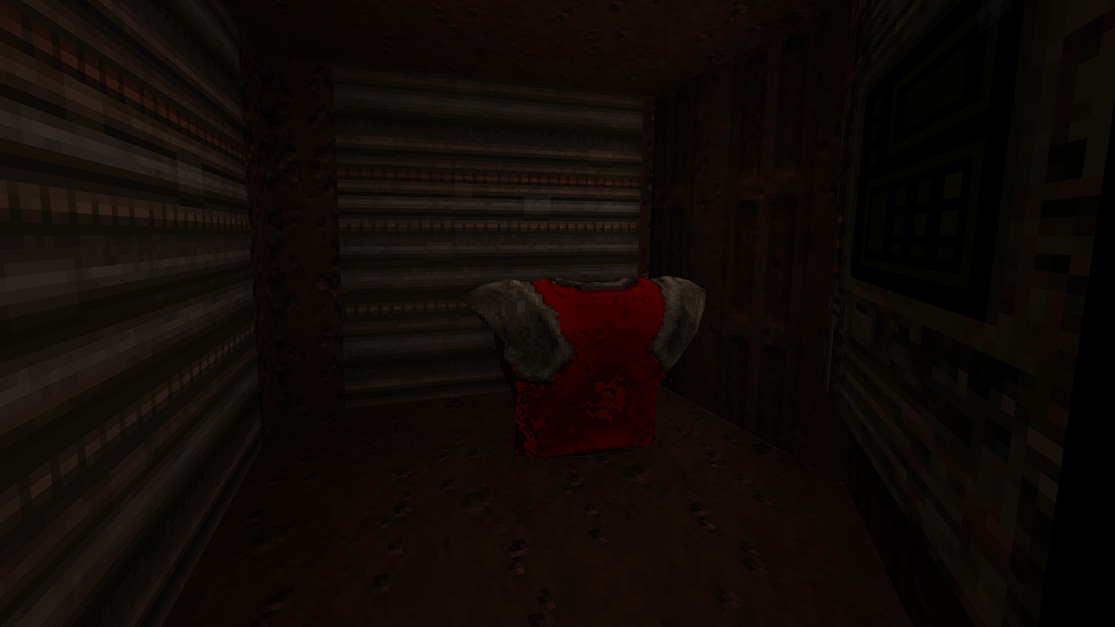
 At the end of the pipe is a door that will open when you get close enough to it. Walk up to the wall, it will open and reveal a Red Armor.
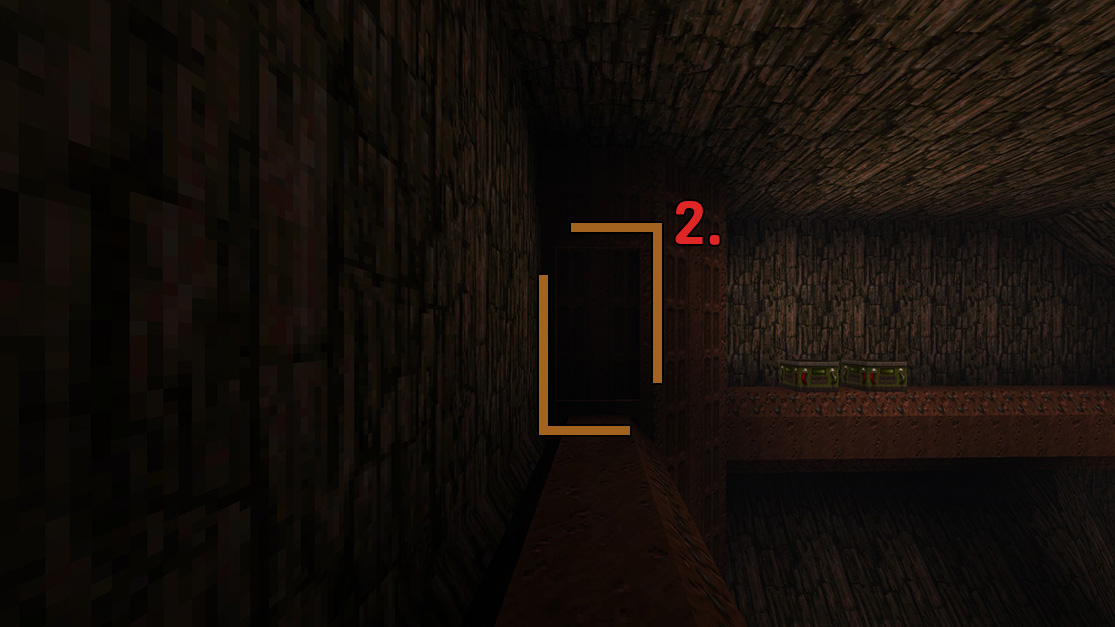
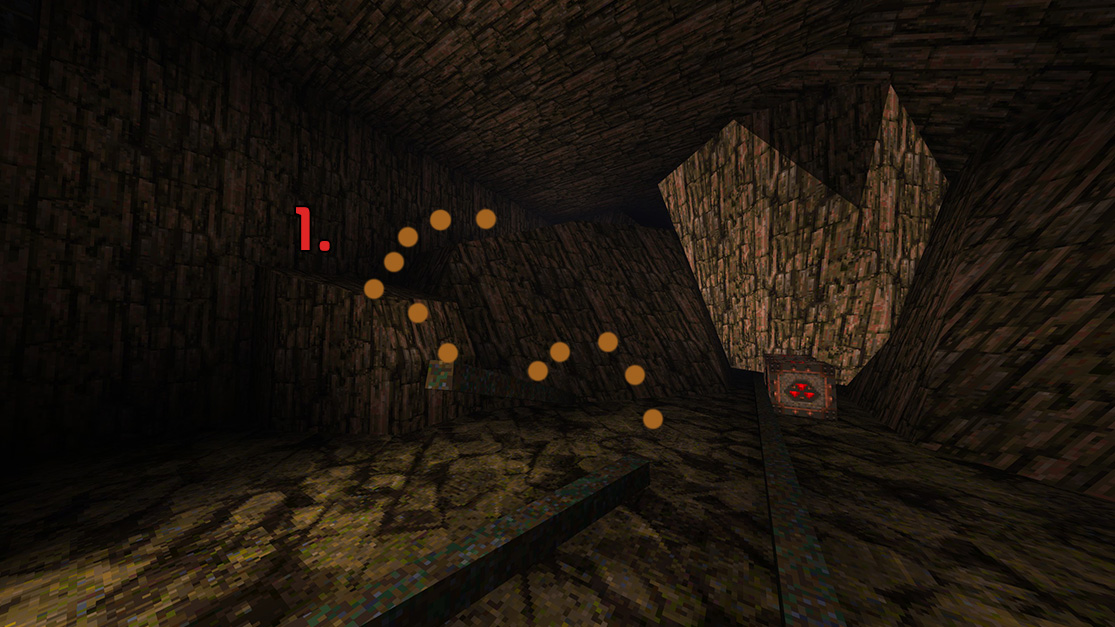 Looking at the rail sticking out of the ground, jump on the rail, then jump across to the rock, and then once more jump to the higher rock area.
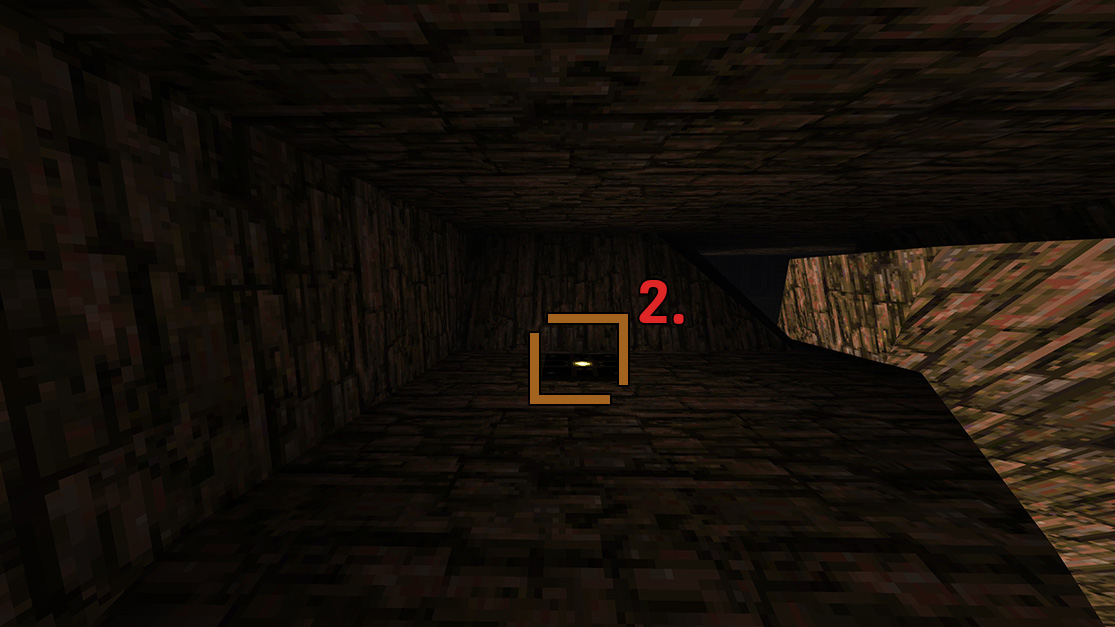 Here you just have to walk into the dark area onto this little button in the ground, which will trigger the secret. You can jump back on the ground.
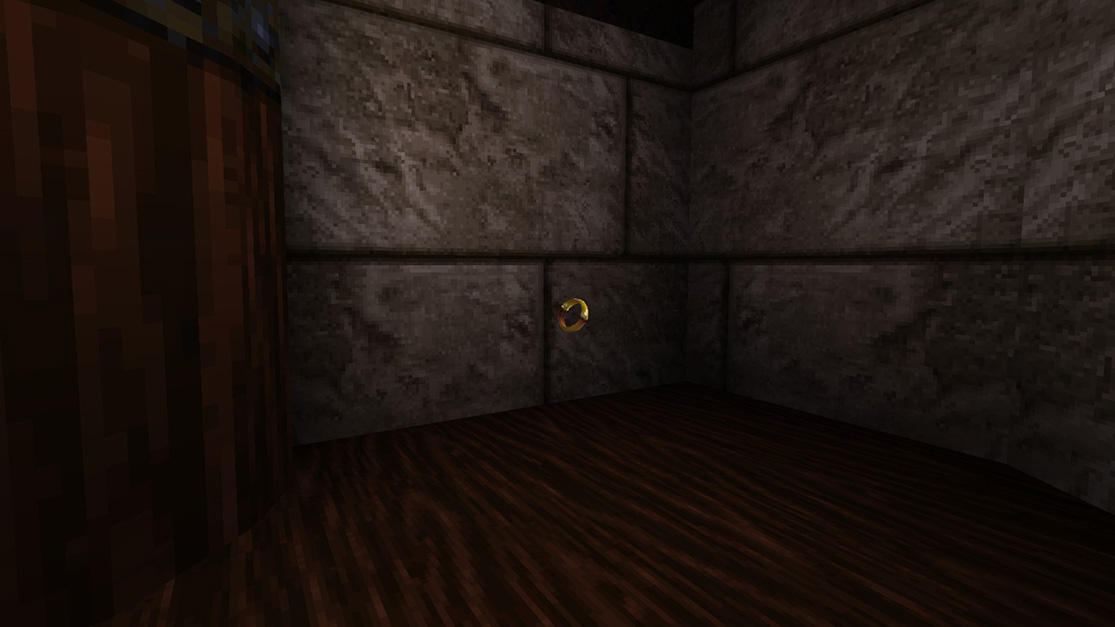
 Looking back the way you came, a panel has opened in the wall that is full of electronics and computers. Run towards this new opening and you will be presented a Ring of Shadows.
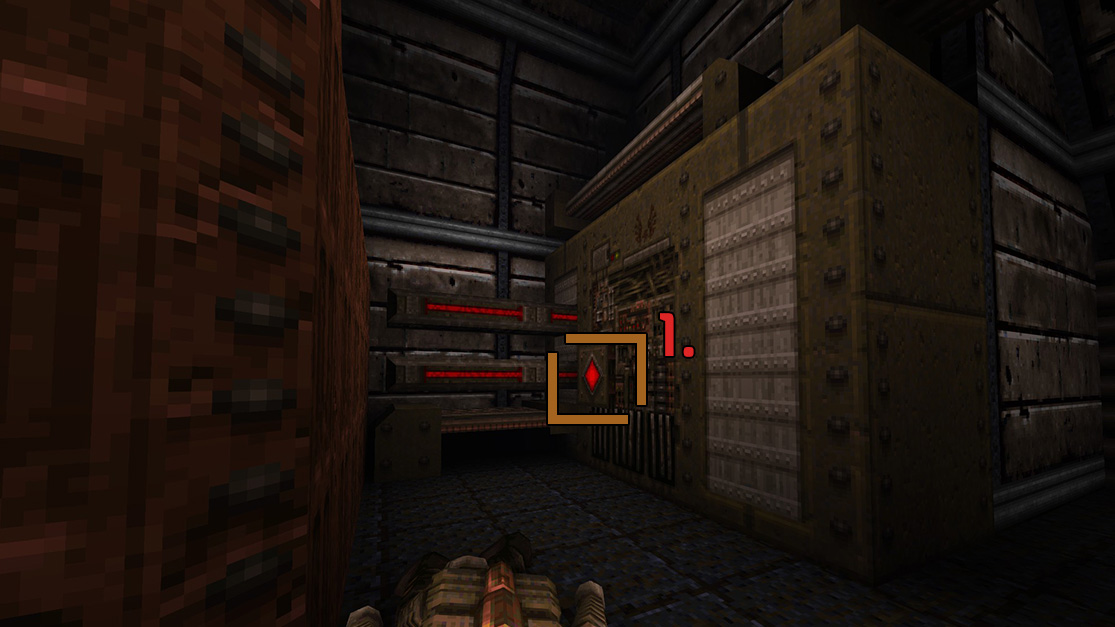 Run up to the button on the wall which will then will trigger the stairs to open up.
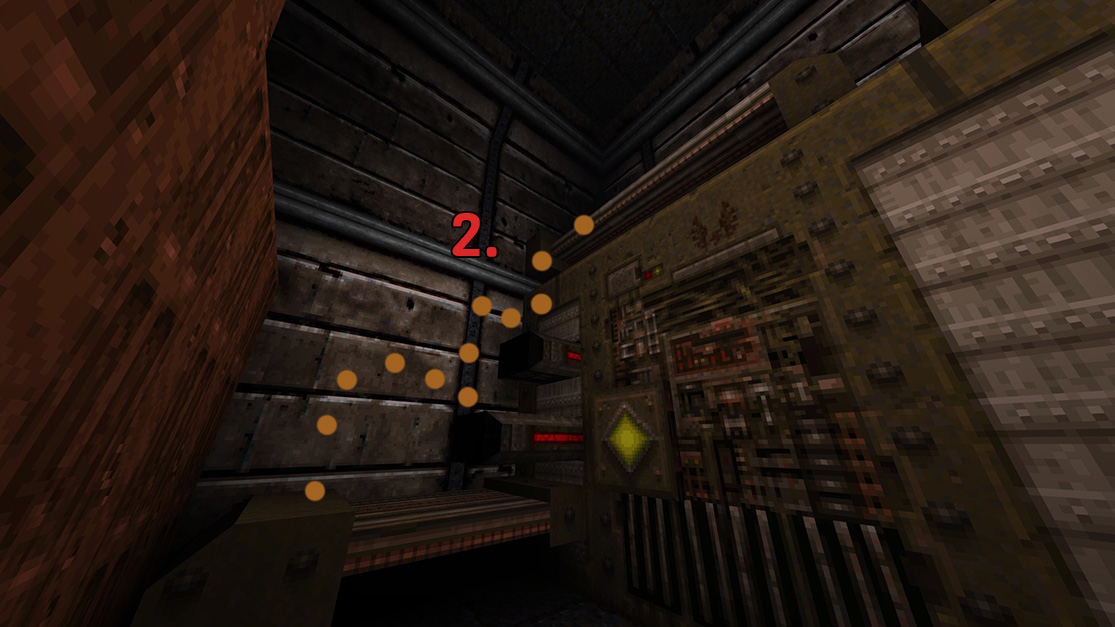 The stairs are open for a few seconds, jump up each one and climb to the top, where you will find another long pipe.
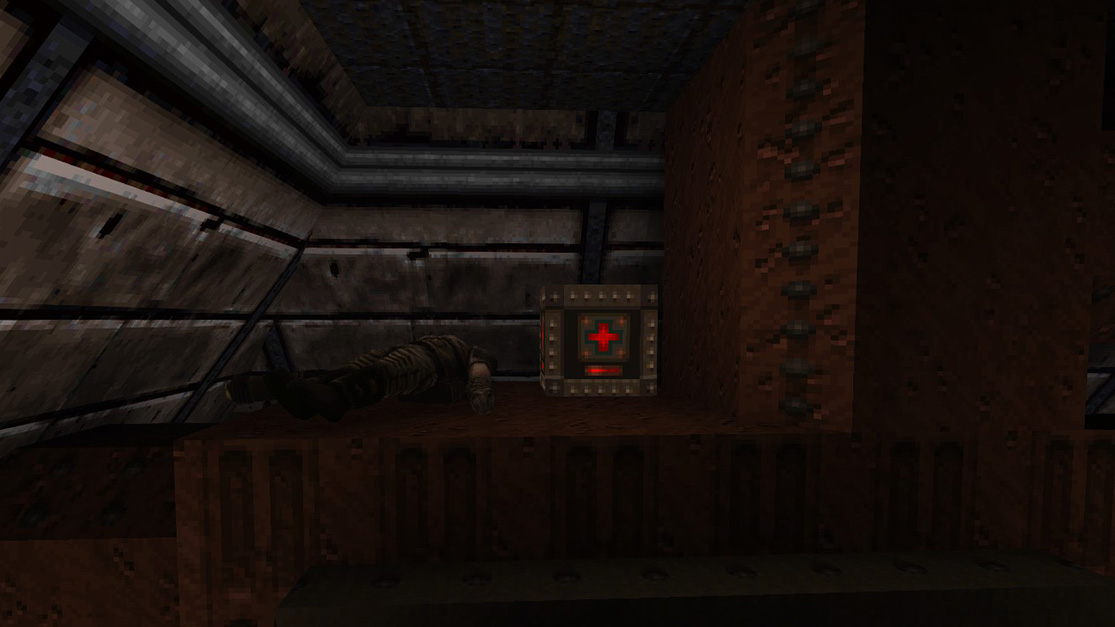
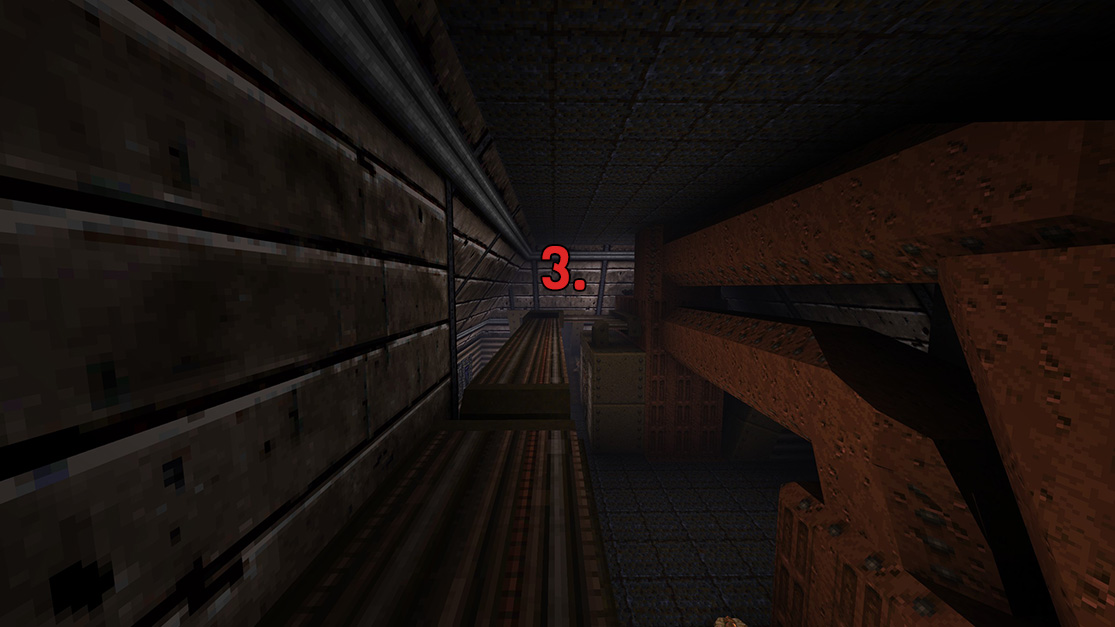 Run to the very end of the pipe and look to your right. There you will find a Megahealth.
HIP1M4: Research Facility
The Research Facility is the final level of Fortress of the Dead. It's mostly indoors and has multiple floors connected by elevators and stairs. Some areas of the base have been infiltrated by monsters from the other dimension. The level's ending is particularly spectacular - it's a huge dimensional gateway which the player has to pass through.
There are 3 total secrets in Research Facility, and when you complete the map you will gain an Achievement for beating Episode 1 of Scourge of Armagon.
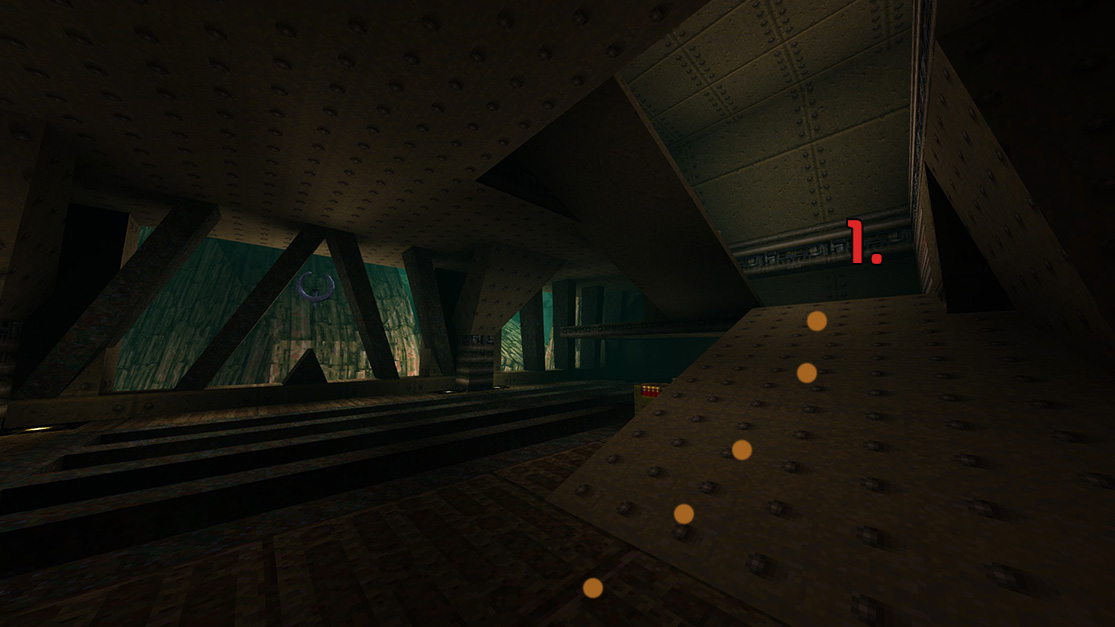 Run up the ramp to your right as soon as you enter the room.
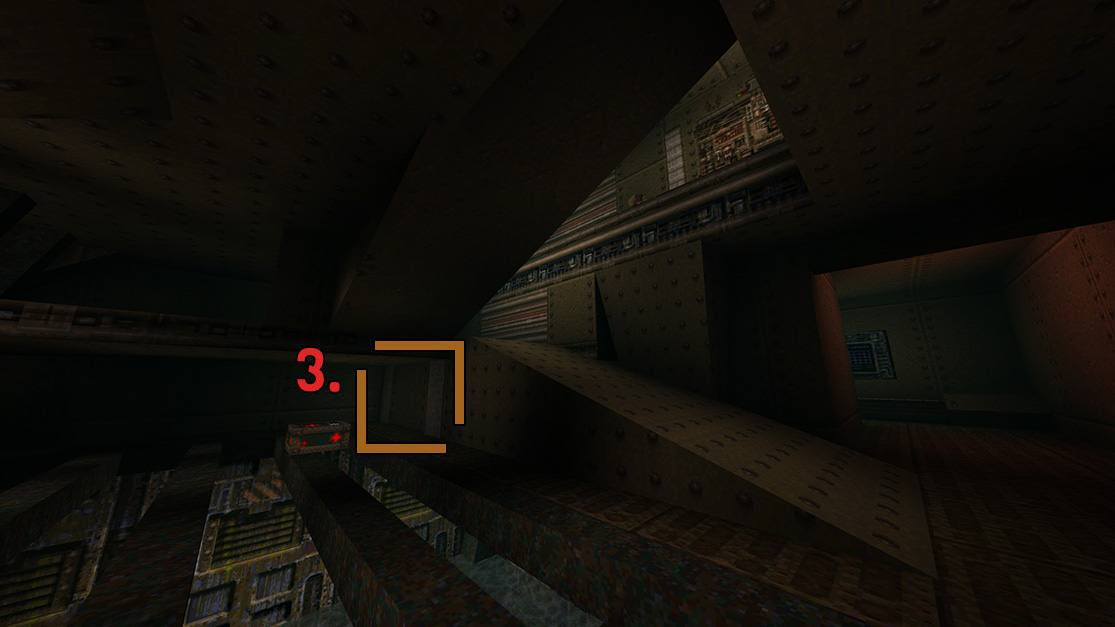
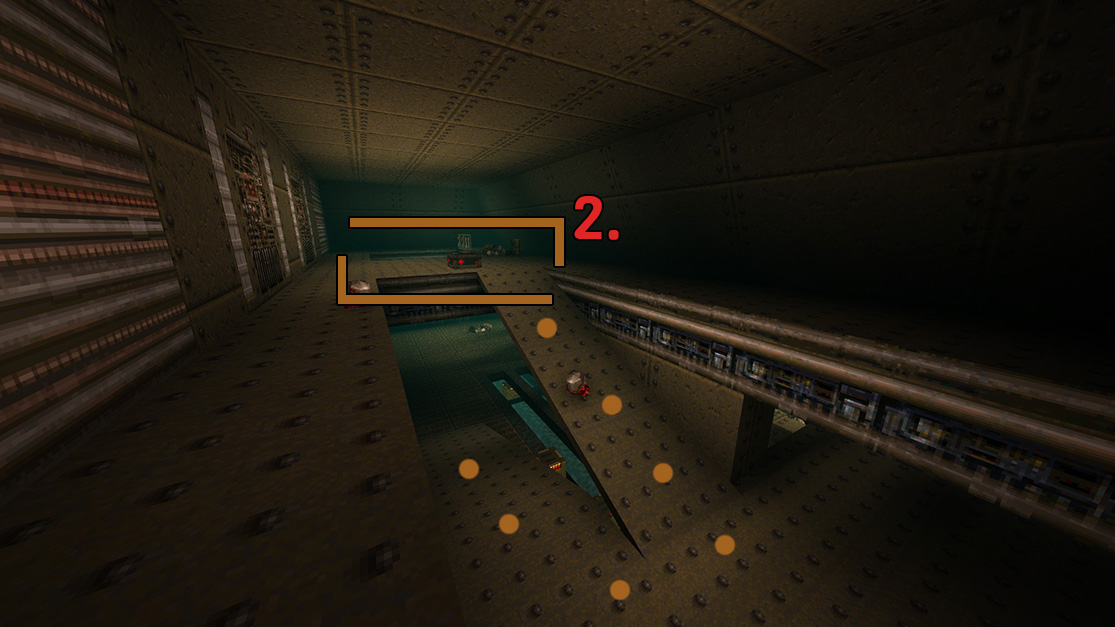 Follow the two ramps up to the very top of the room, which will then trigger a door in the bottom room. You can hear it open.
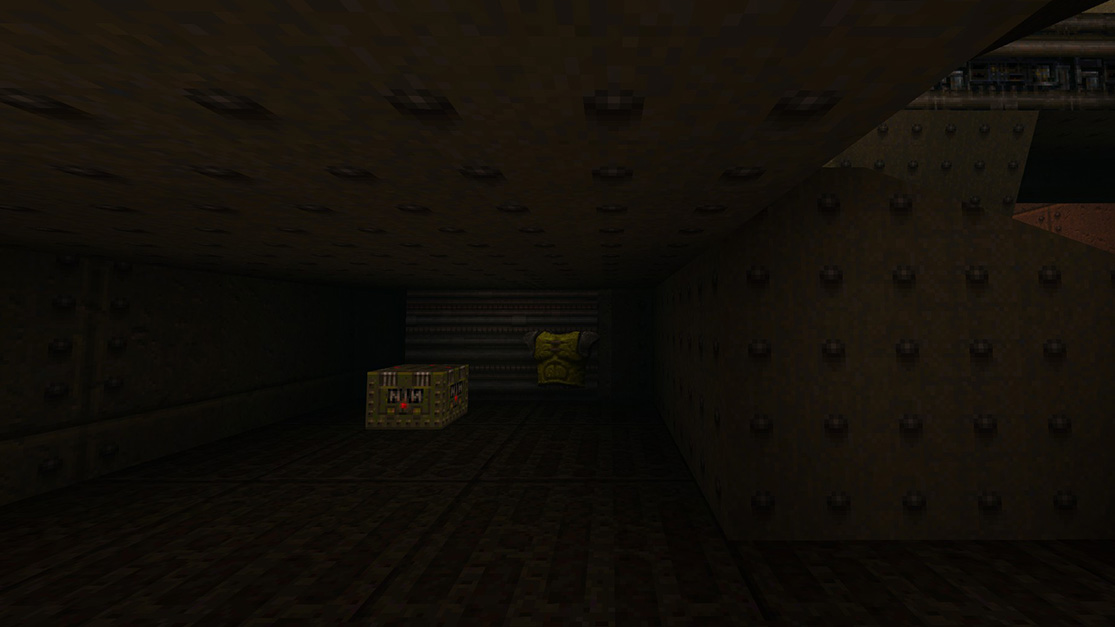
 Tucked away in the corner, underneath the ramp, the door will open up and it will present you with a Yellow Armor and some Nails.
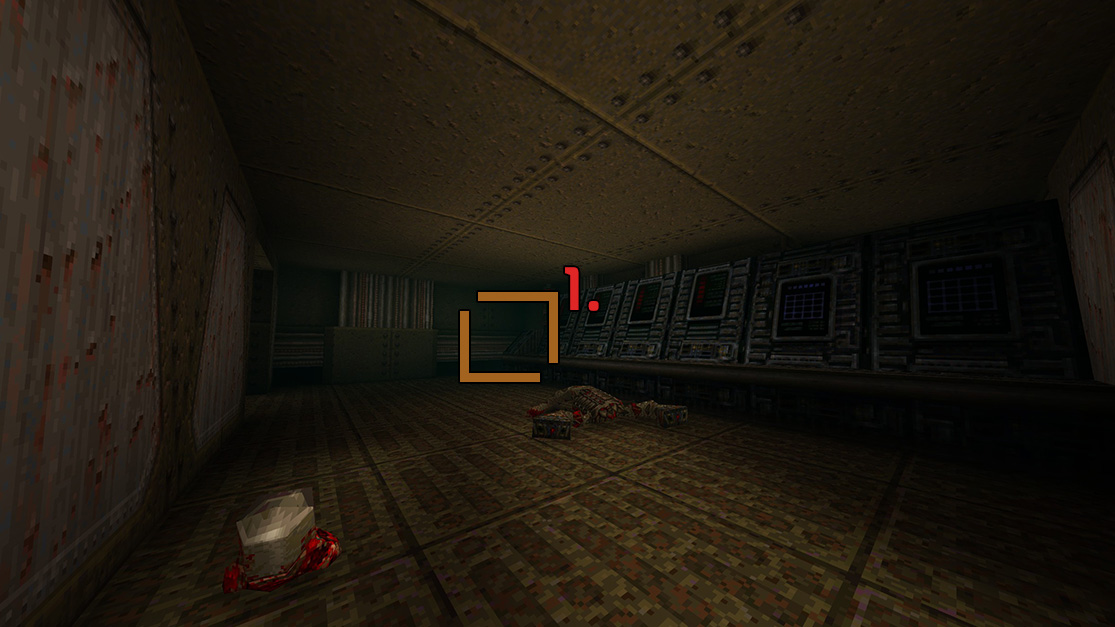 In the corner, on the side of the row of computers you will find a button.
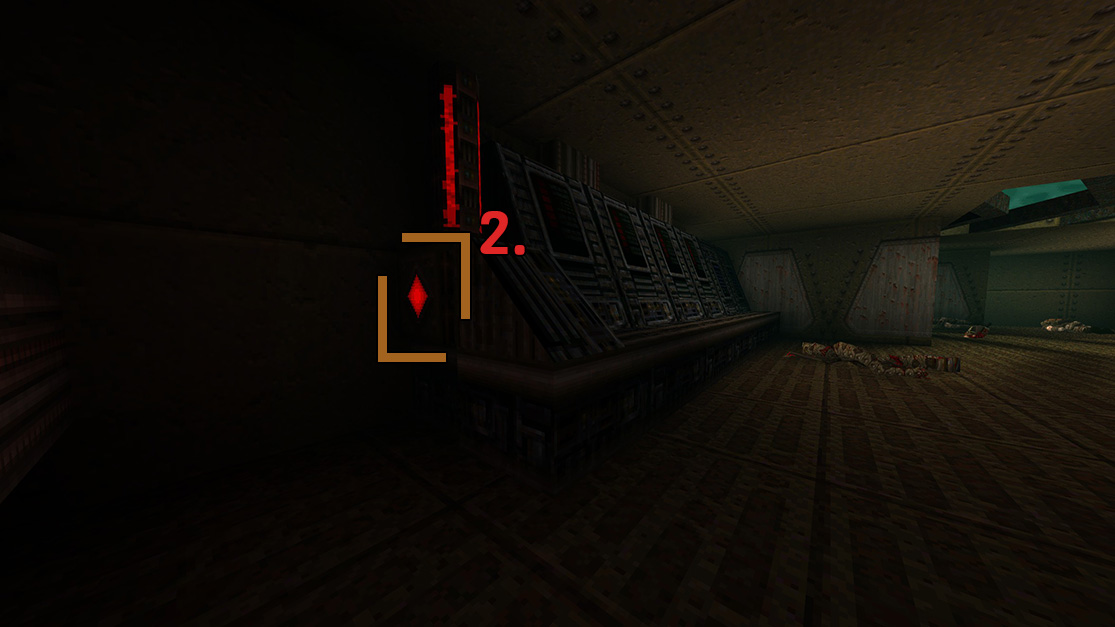 Run up to the button to hit it, which will then trigger one of the computers to move.
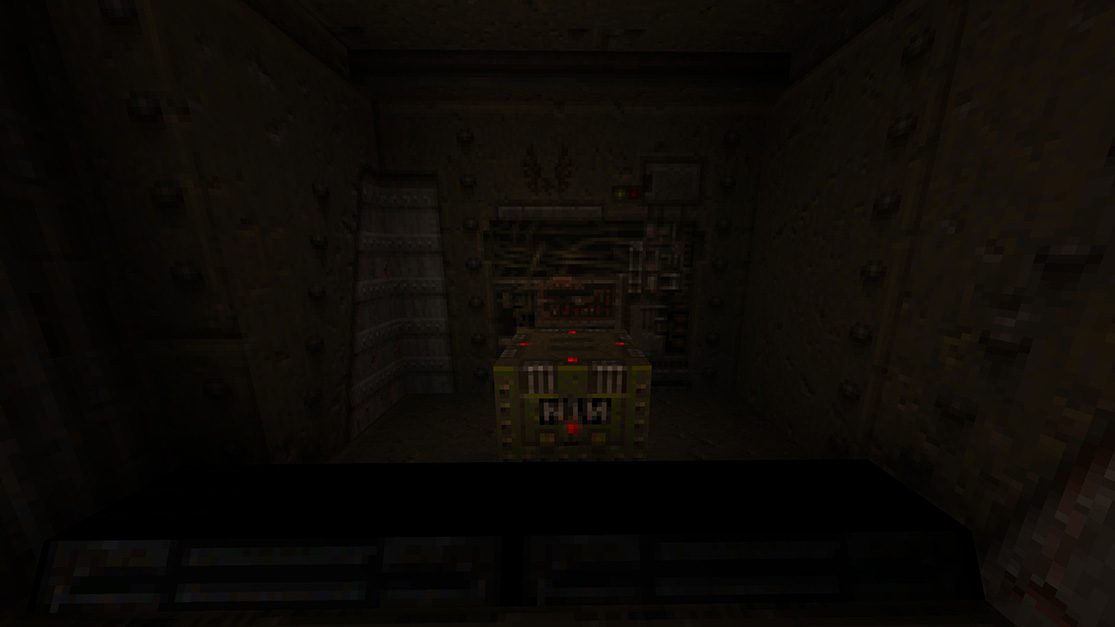
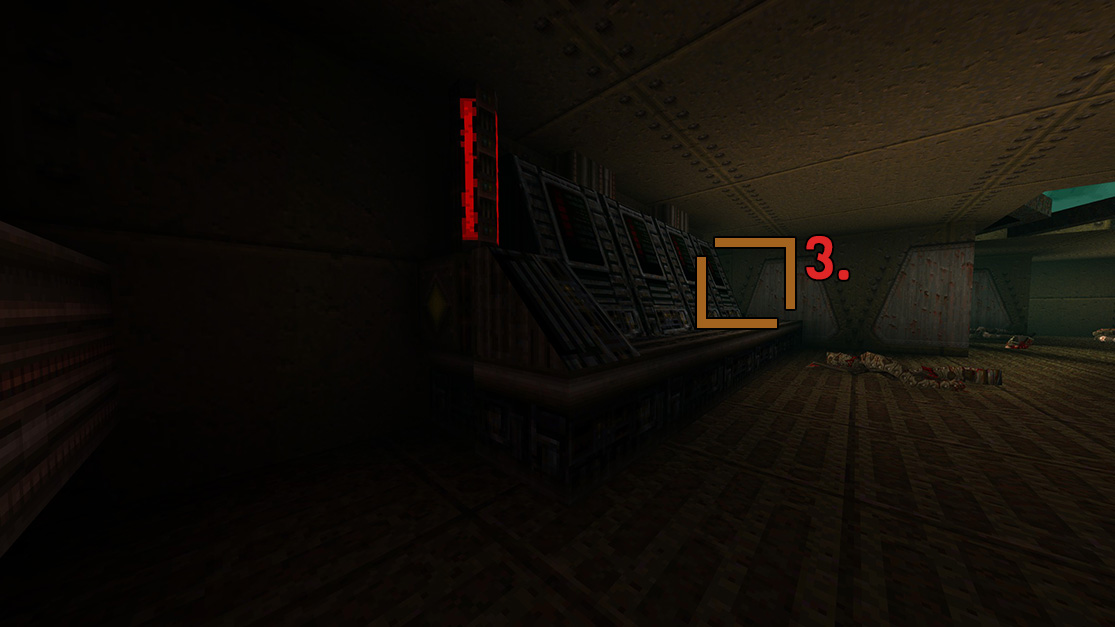 At the other end of the row of computers, you will see a new opening. Run up to it and you will find a box of Nails.
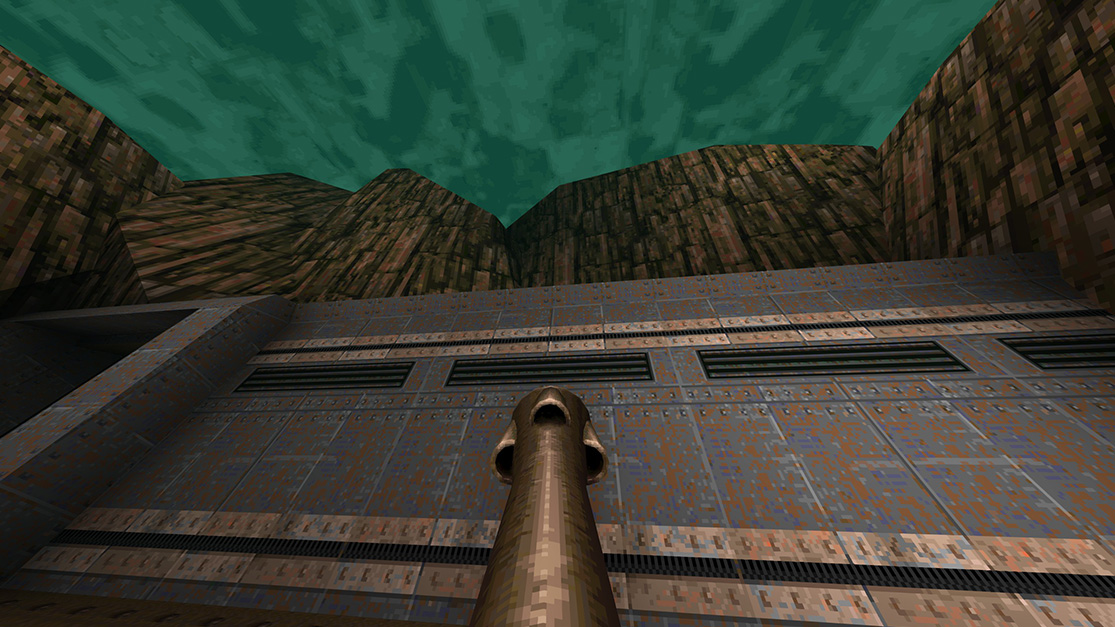
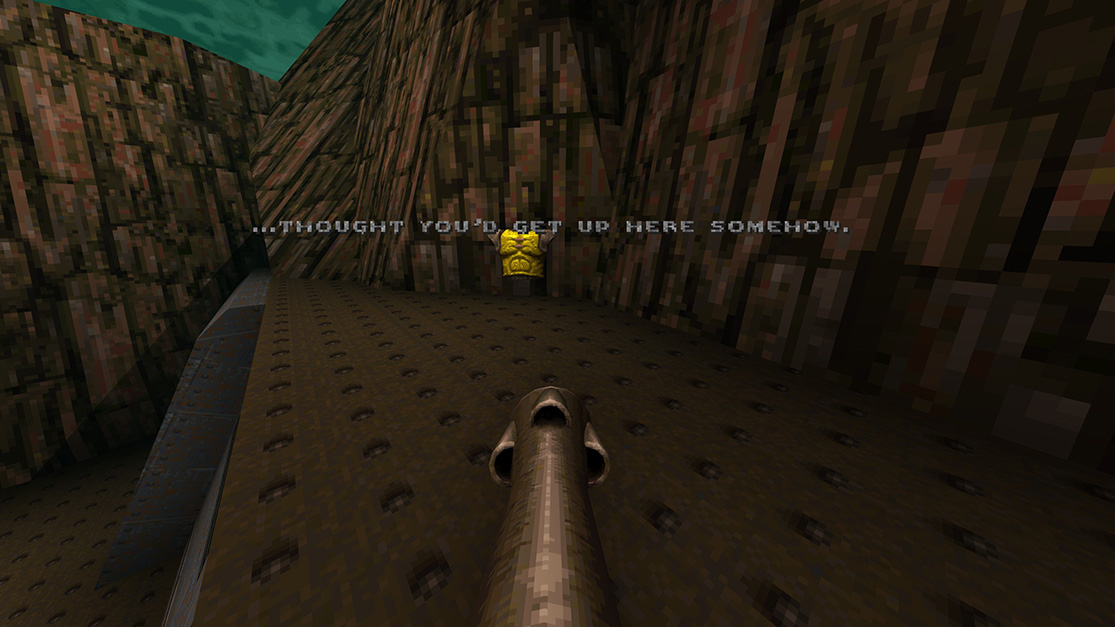
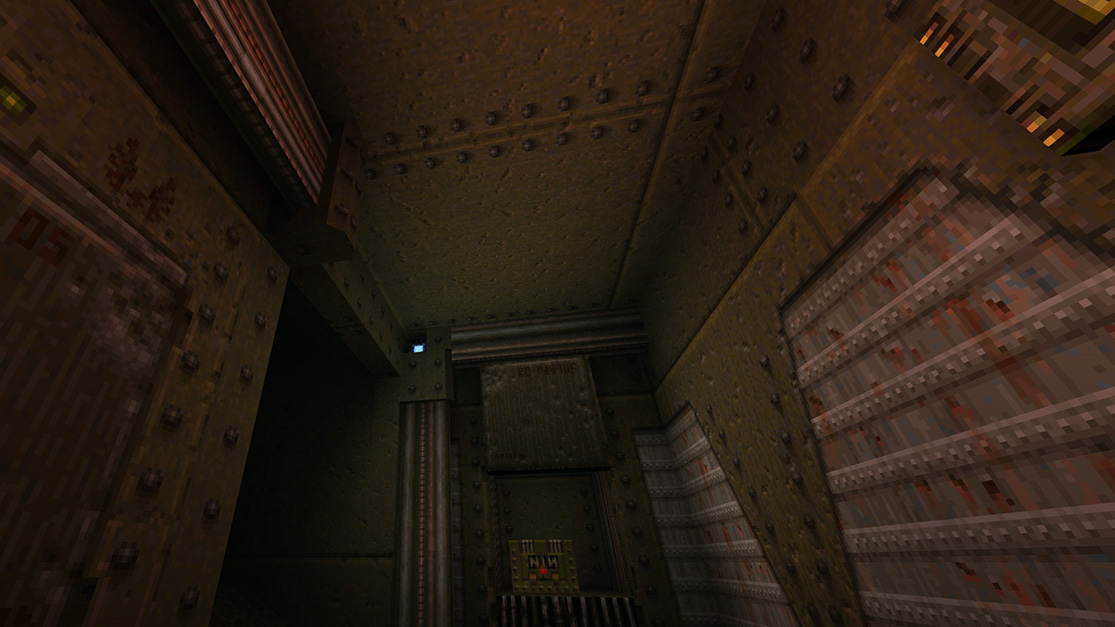
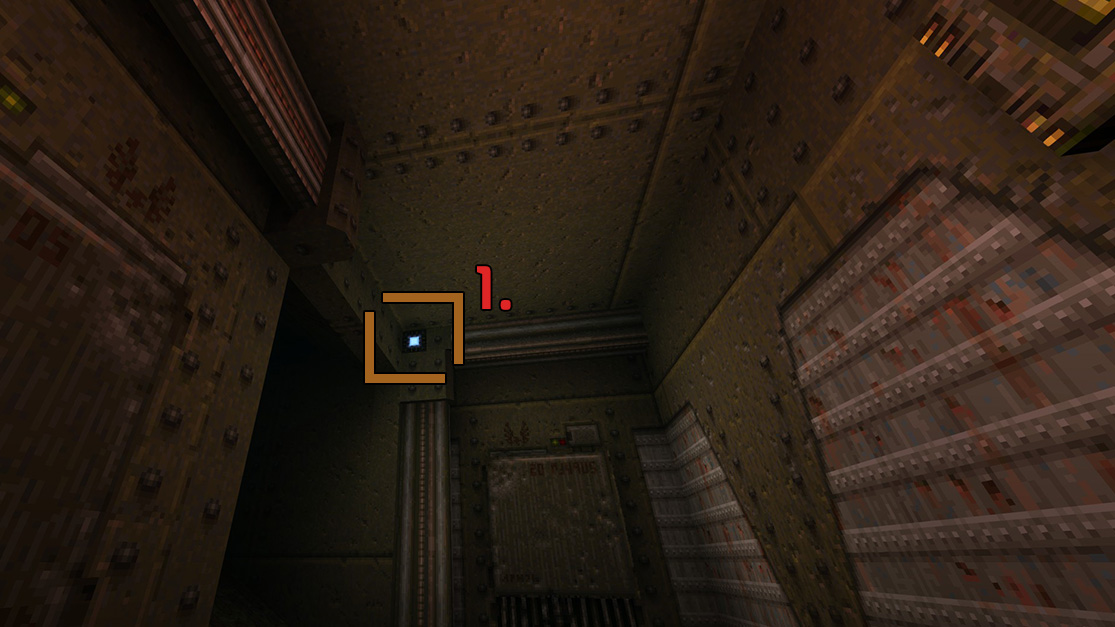 There is a bright light high up in the corner of the wall. Shoot at it, it will open the wall and reveal a box of Nails.
Continue through the rest of the level and you will get an Achievement for finishing episode one.
---- [Episode 2: Dominion of Darkness]

Dominion of Darkness, Episode 2 of Scourge of Armagon, has the player disabling the power source and finding out who is behind this new threat, Armagon. The episode is, as a whole, in the Medieval style with some elements of Runic and Wizard in some levels.
There is a total of 35 secrets and two Achievements during Episode 2, Dominion of Darkness.
HIP2M1: Ancient Realms
Ancient Realms is the first level of Dominion of Darkness. Having passed through the gateway, the player once again finds himself in the hostile other dimension. Ahead lies a small castle, full of new enemies and artifacts to discover. Somewhere within the castle is a hidden portal to the Gremlin's Domain.
There are a total of 8 secrets and one Achievement in Ancient Realms. The 8th secret is a secret exit which will give you an achievement as well as take you to episode 2s secret level, The Gremlin's Domain.
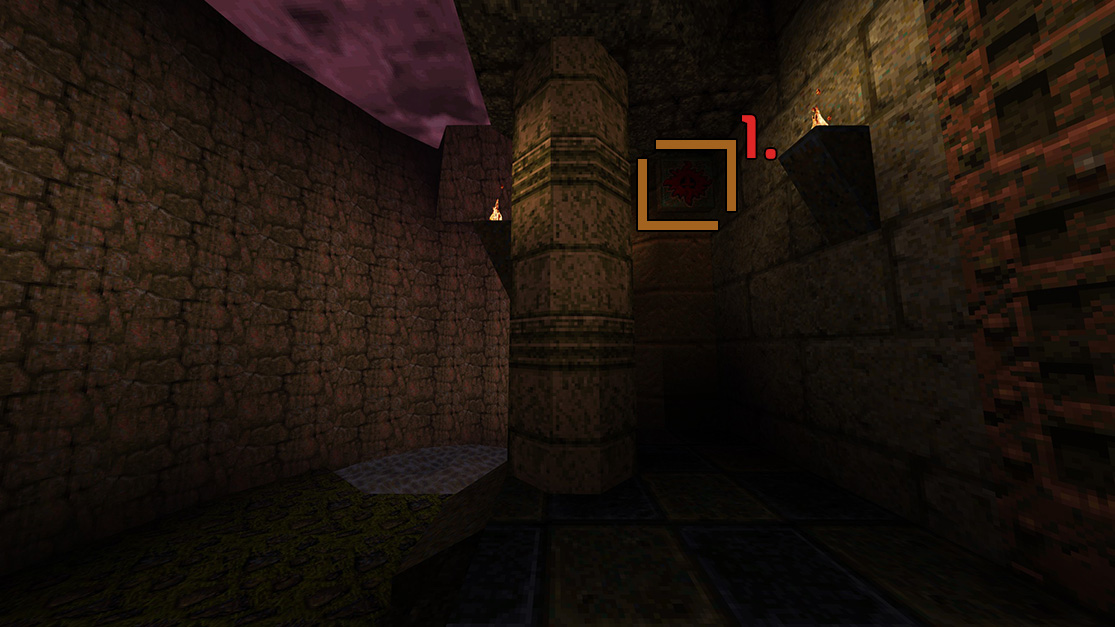 Behind the pillar you will see a button high up on the wall, shoot at it. This will reveal an area in the water to open.
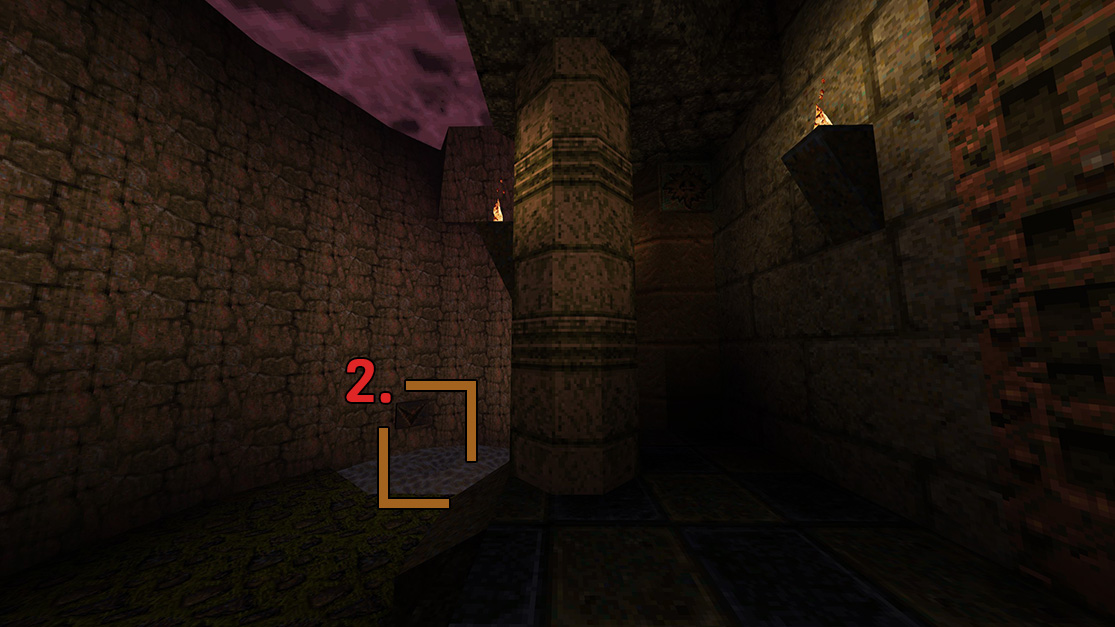 Run towards the water, find the opening, and swim through the tunnel until you reach the cave. Inside the cave you will find a Megahealth and some Shells.
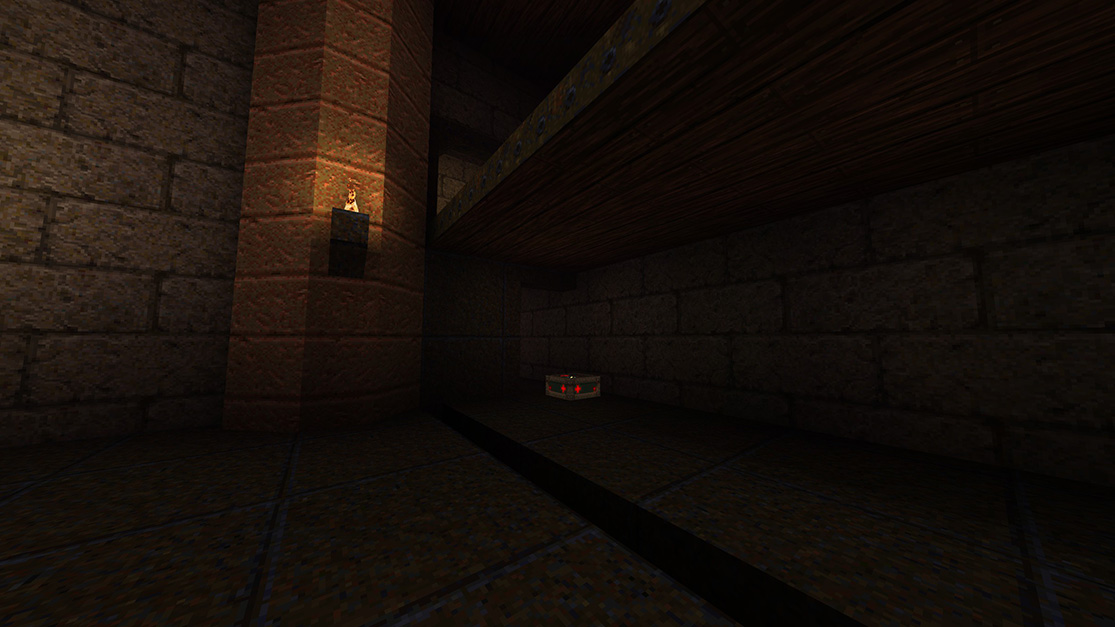
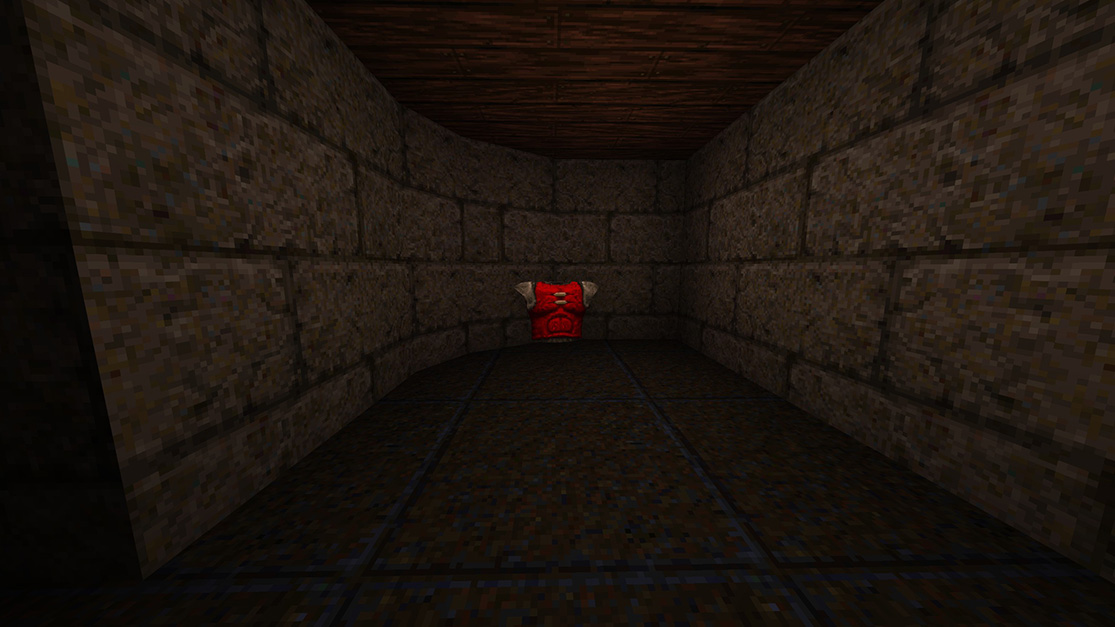
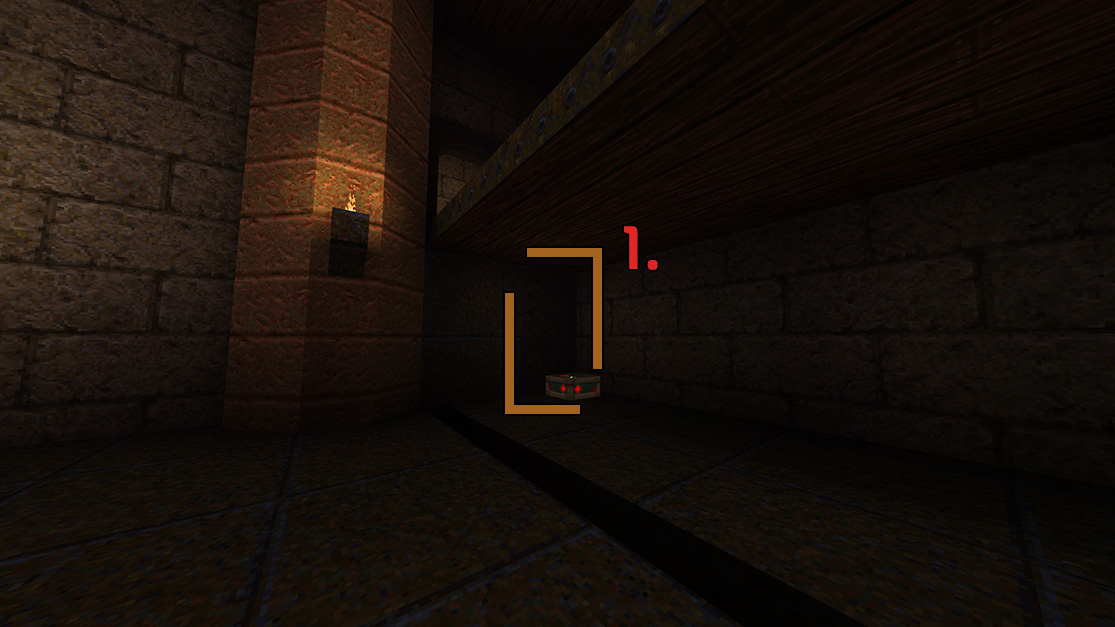 In the corner you will notice a wall that is different color from the rest. Shoot at it. It will then open a small door, revealing a secret room to you with a Red Armor inside.
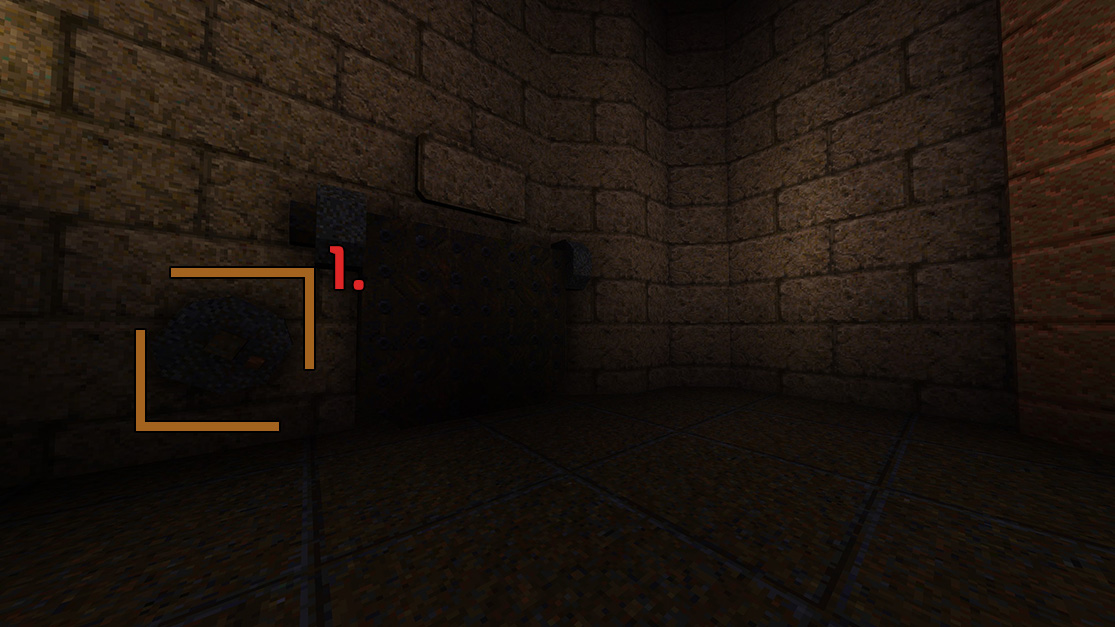 Make sure the metal door is positioned upwards, hit this switch to do so.
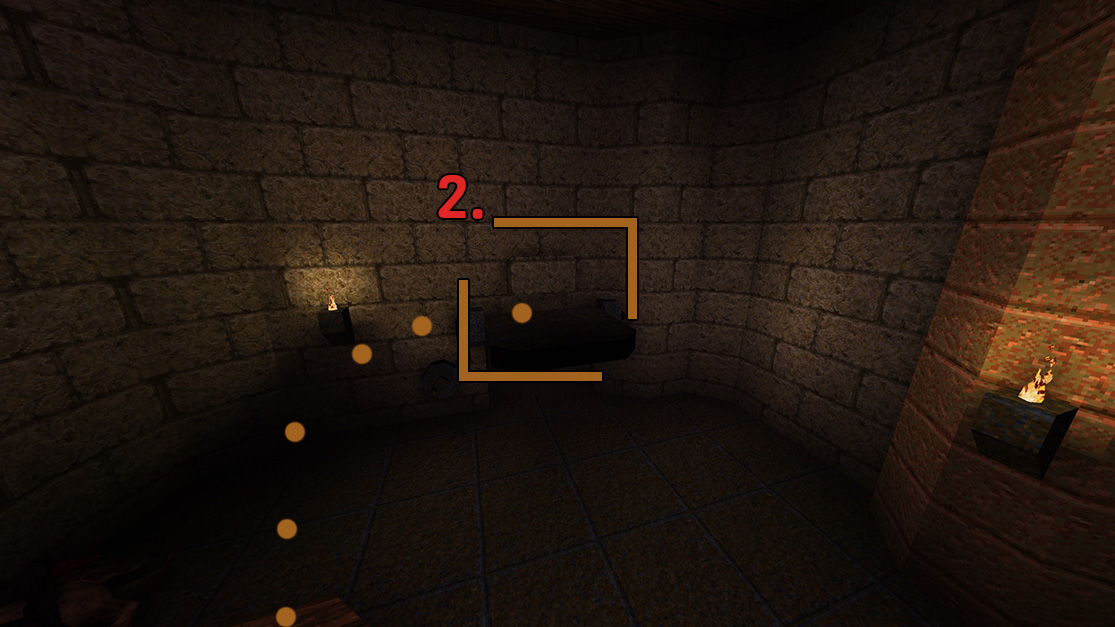 Run back up to the elevated area you came in at, and jump across on top of the door. There is a button that needs to be hit into the wall, you will most likely hit it while landing on the door. Look to your right to see a new door was opened in the wall. Jump across and there you will find a Proximity Launcher.
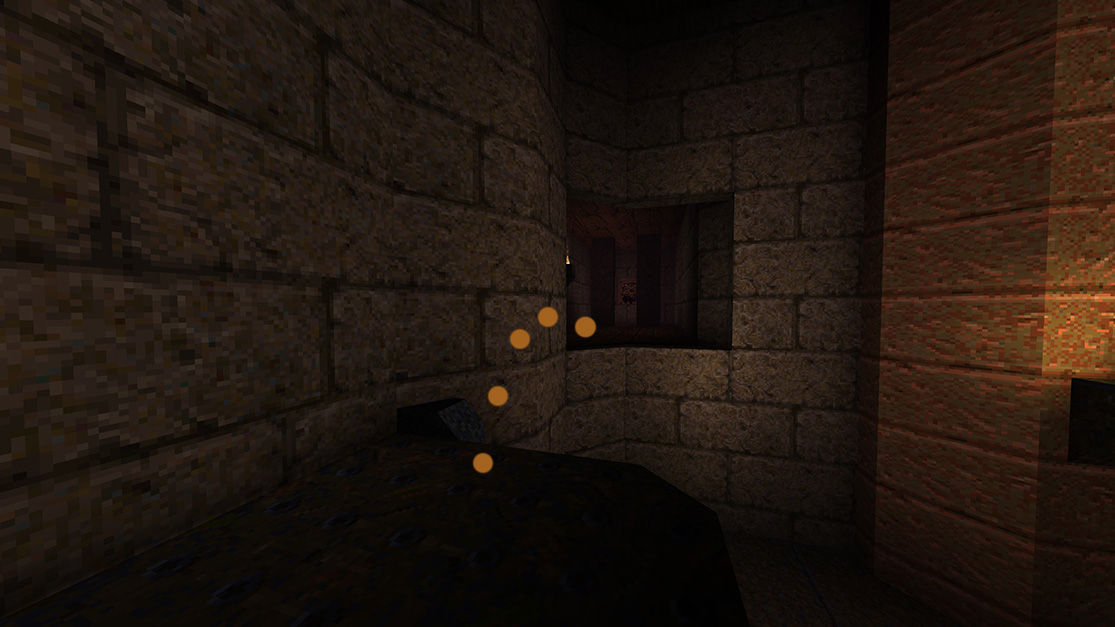
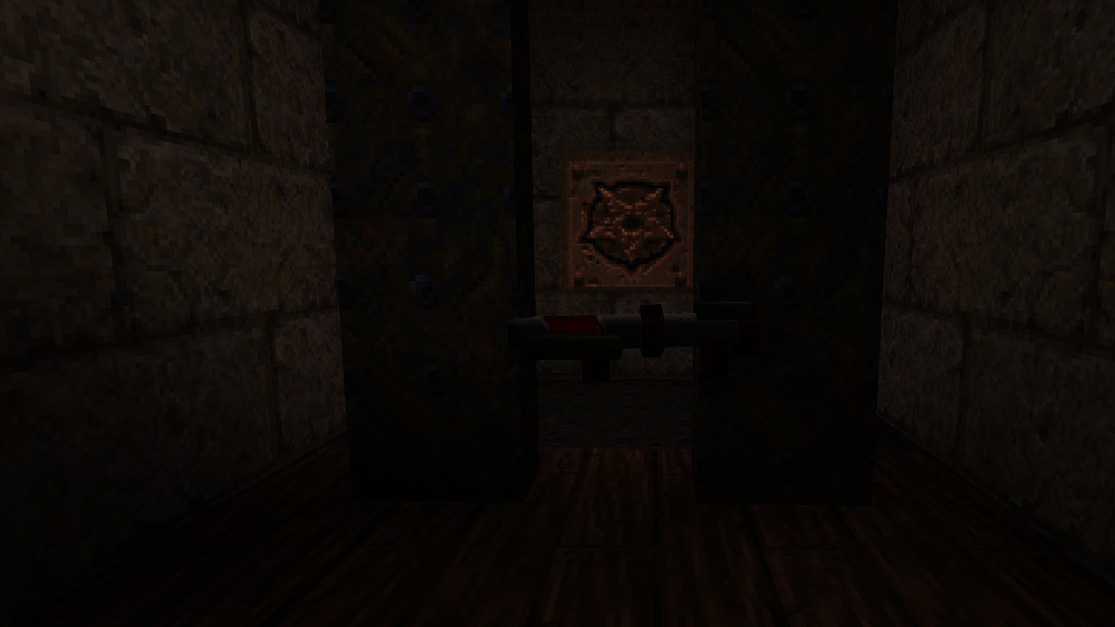
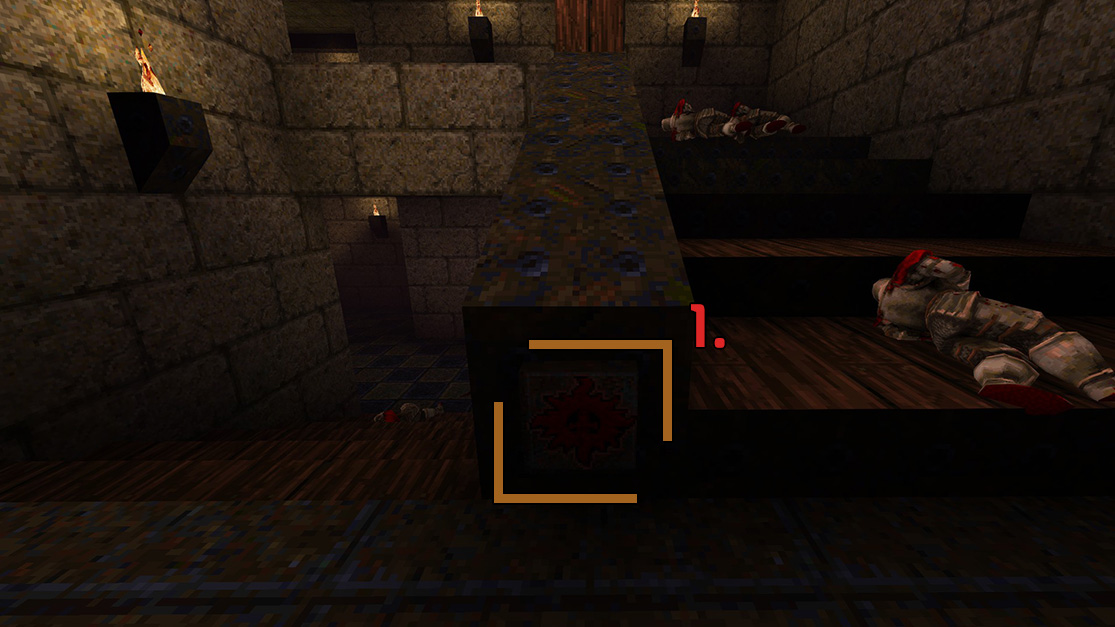 Shoot the small button on the staircase, and immediately look to your left. The wall will open and reward you with a Quad Damage.
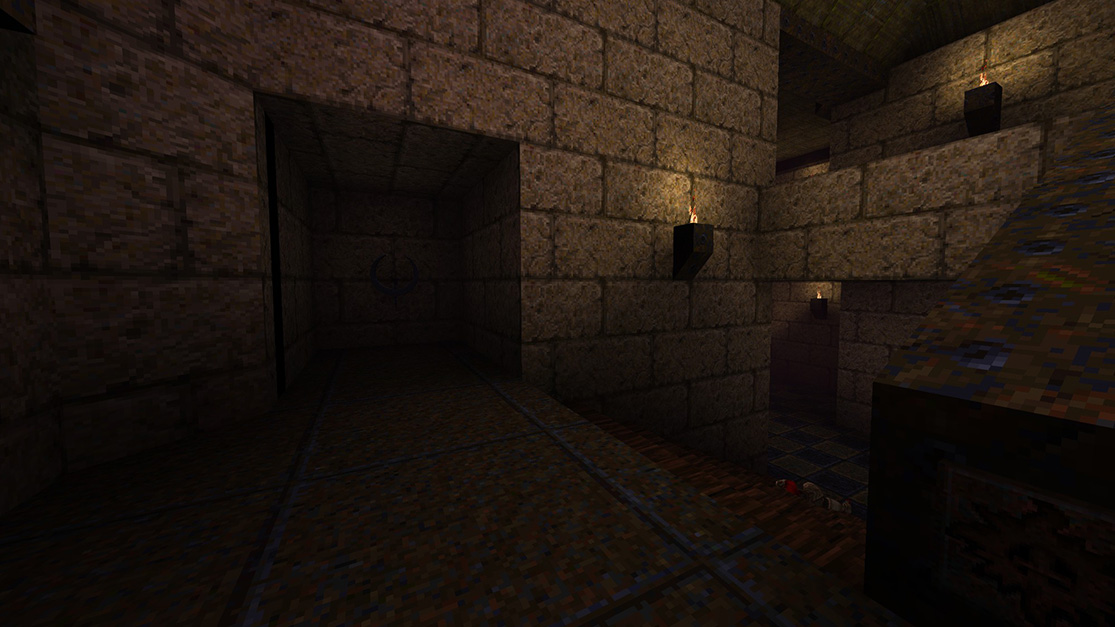
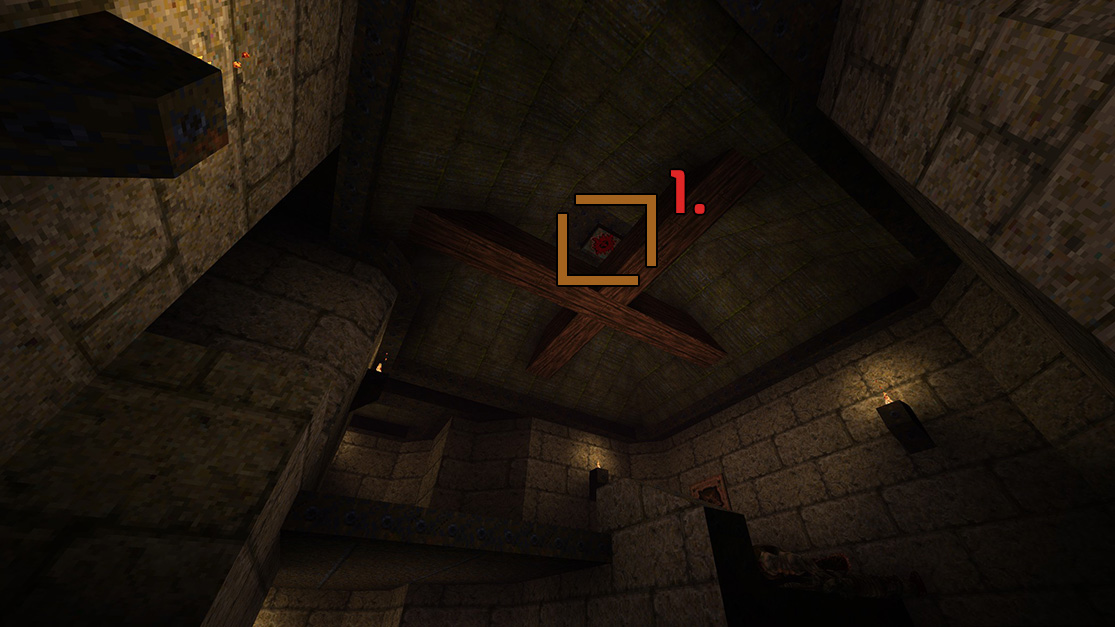 In the rafters of this room, you will see a shootable button on the ceiling, shoot at it.
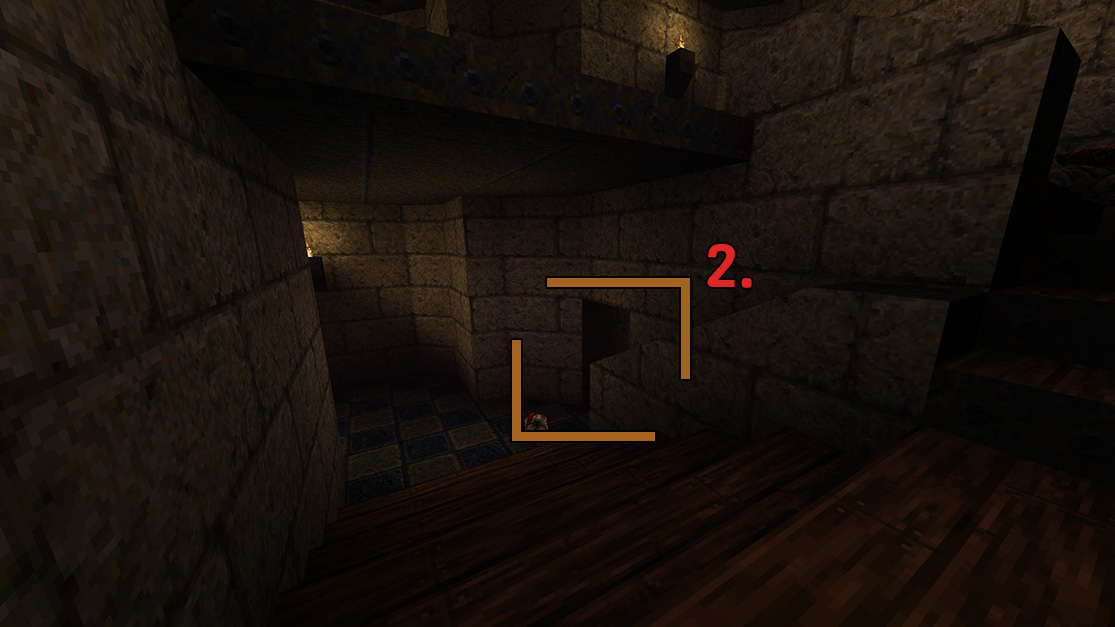 This will cause a small door to open down the stairs (in this same room), where you can find a Megahealth.
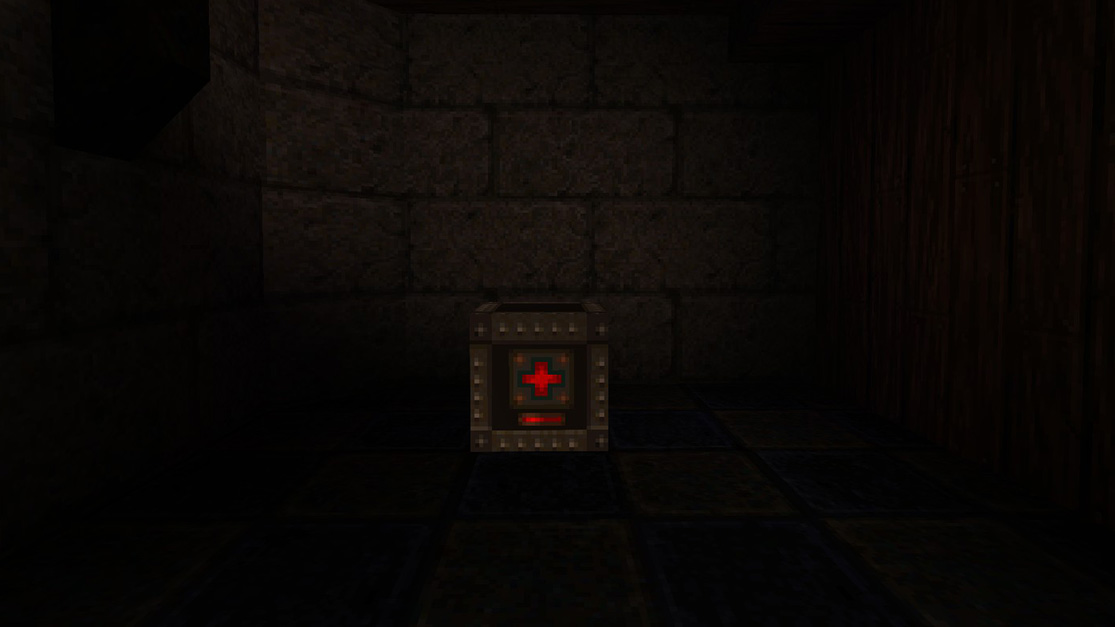
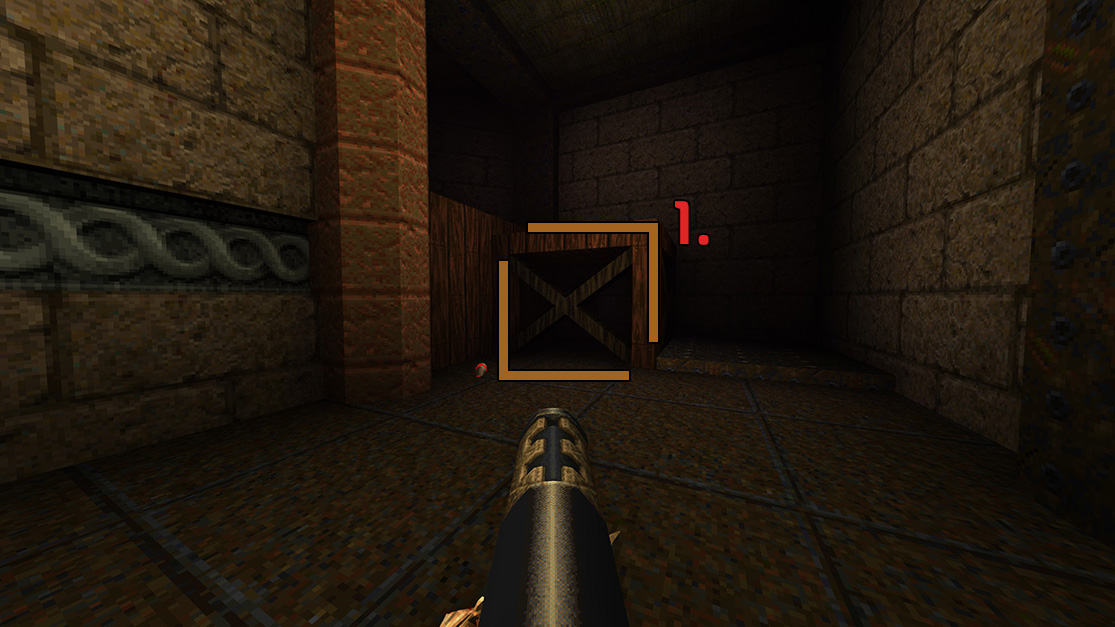 Use a grenade launcher (or any explosive) and shoot the cross section, it will explode and then it will reveal an Empathy Shield underneath, just run into the small area. (did not provide screenshot because it's pitch black)
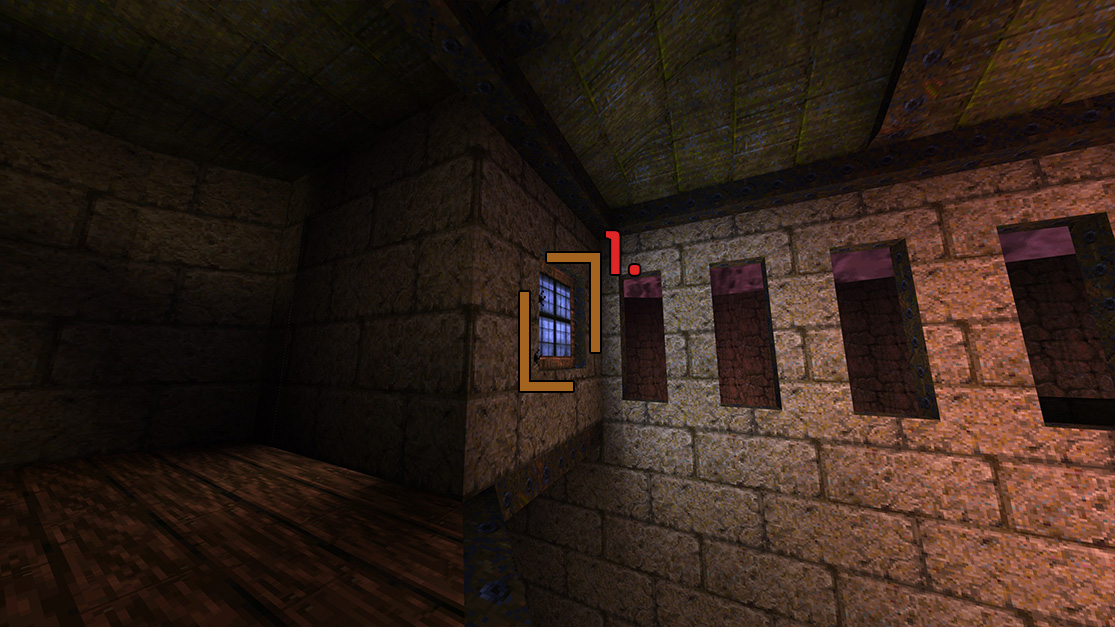 Shoot the glass window, which will then open a door to the left of it. Walk inside and there you will find a Ring of Shadows
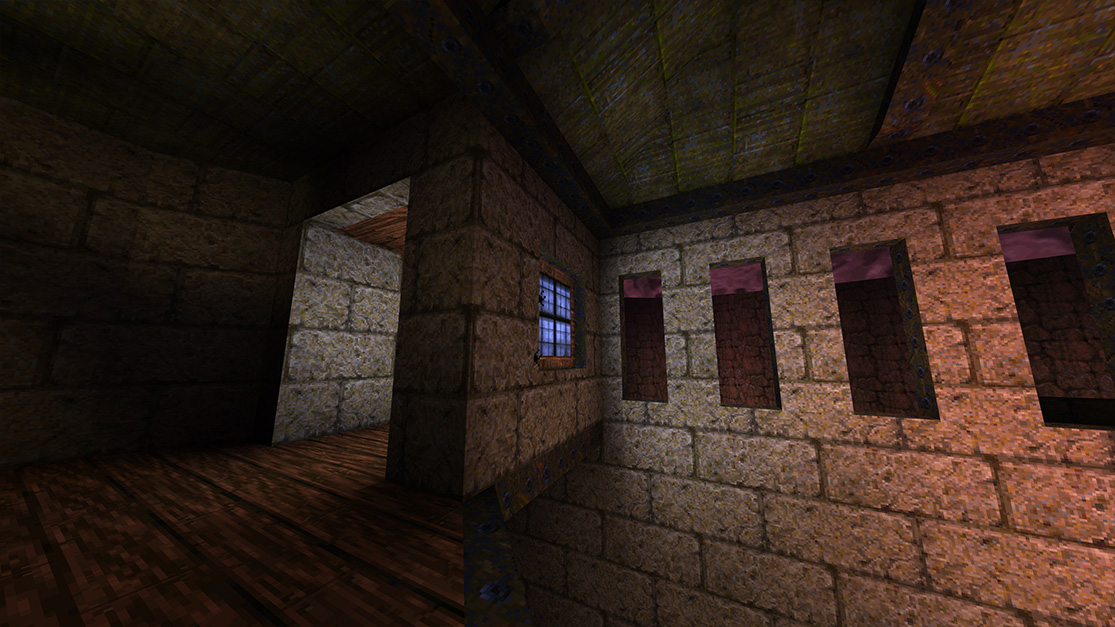
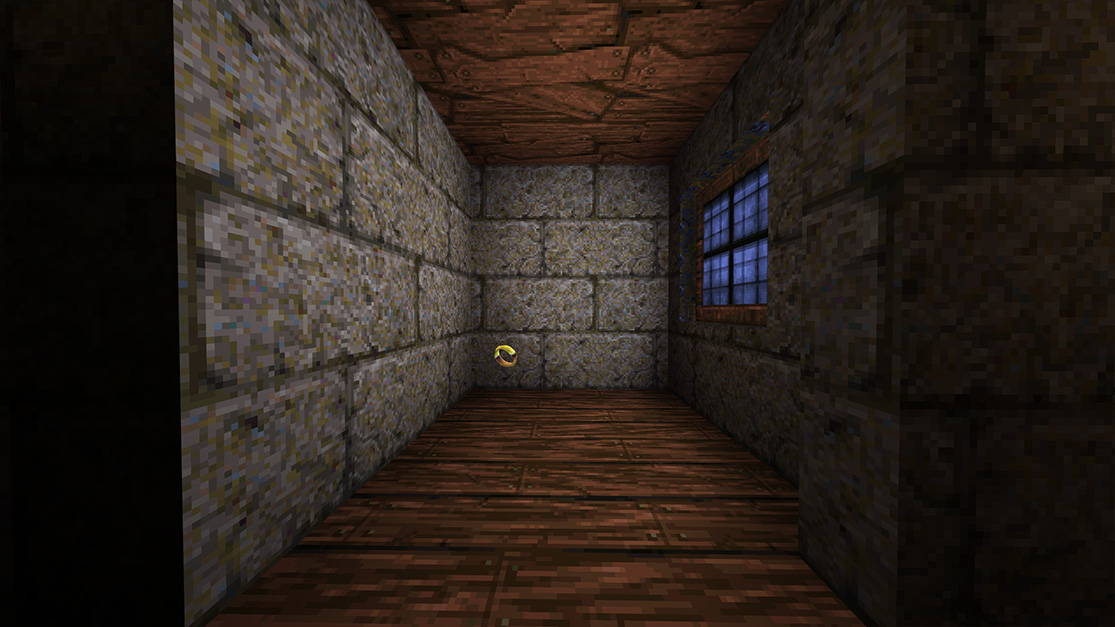
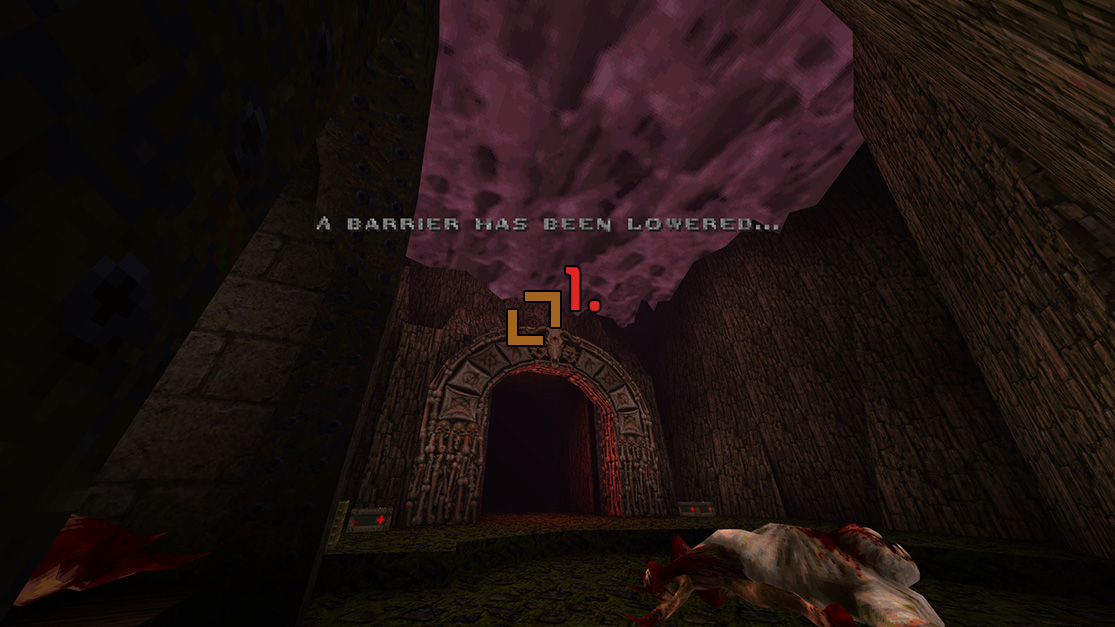 At the very end of the level, instead of exiting the level back yourself into the corner and look for a small shootable button above the exit gate. Shoot at it, and then we are going to backtrack in the level back where the metal door is.
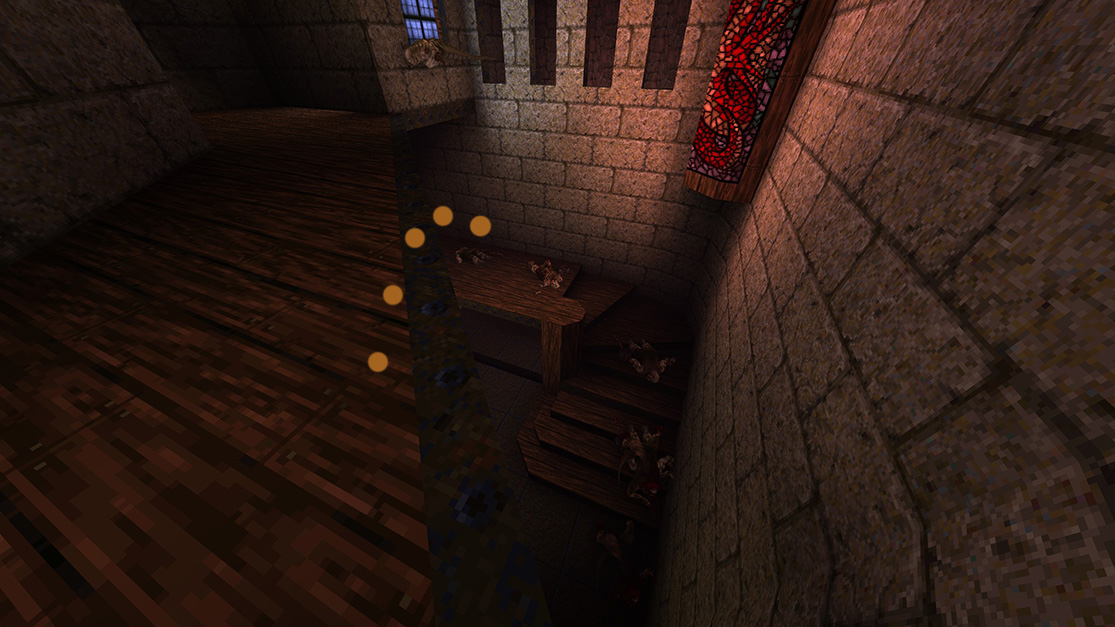
Jump down from the balcony straight into the room we need to be in.
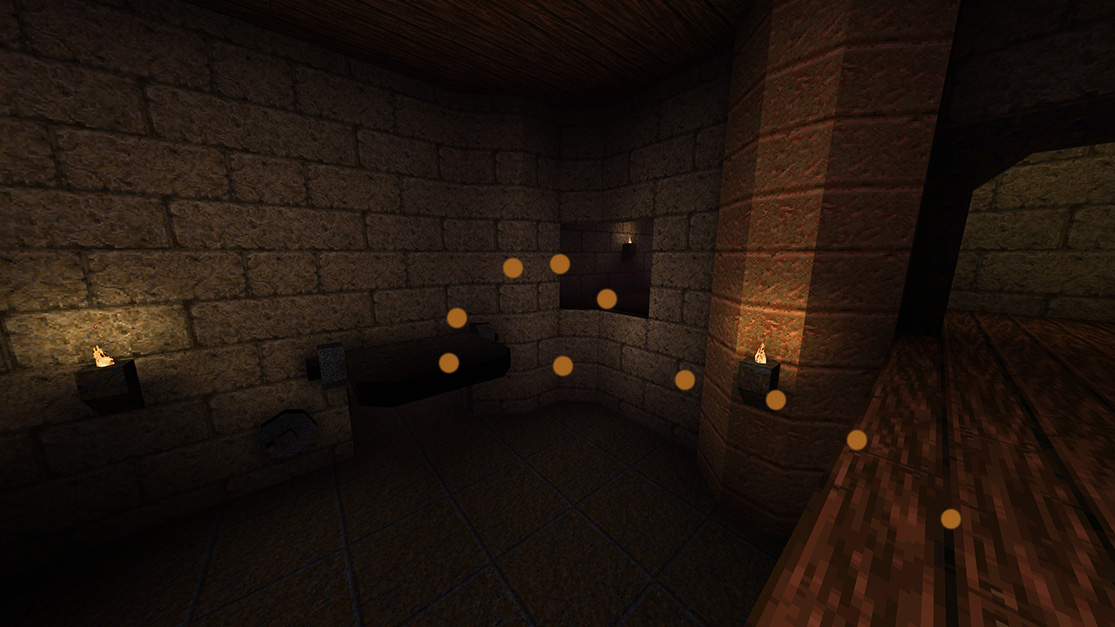
Jump across to the metal door, and once more into the open wall from the secret that we unlocked earlier.
[Secret] HIP2M6: The Gremlin's Domain
The Gremlin's Domain is the secret level of Dominion of Darkness. The level takes place within a large castle and features several outdoor areas. Despite its name, Gremlins are not the predominant enemy and there are plenty of Knights and other evil creatures patrolling the hallways.
There are 6 total secrets in The Gremlin's Domain.
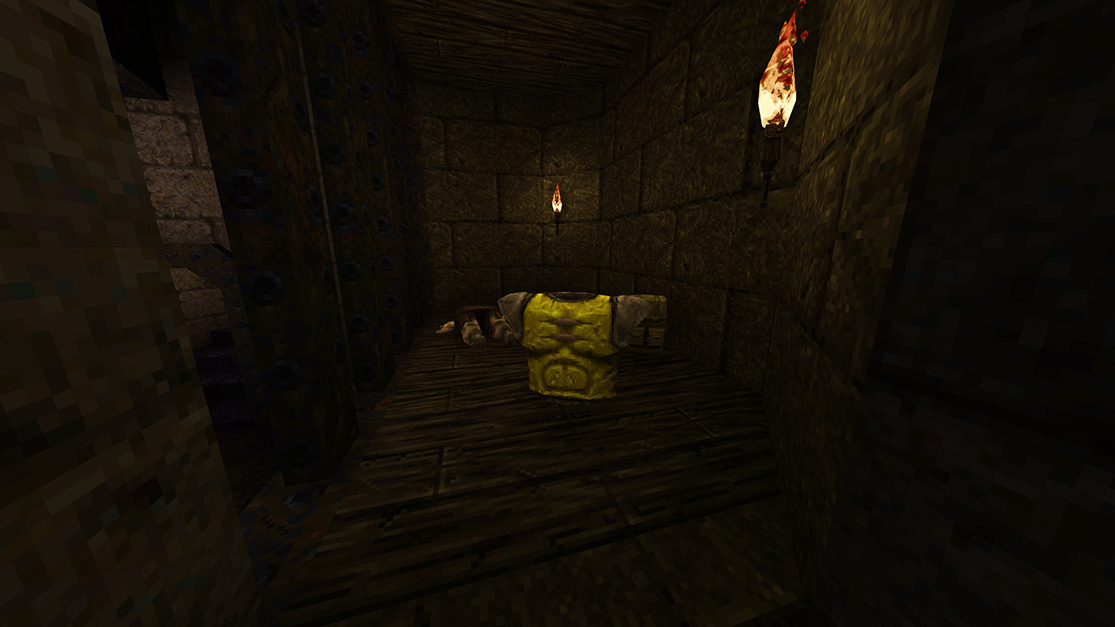
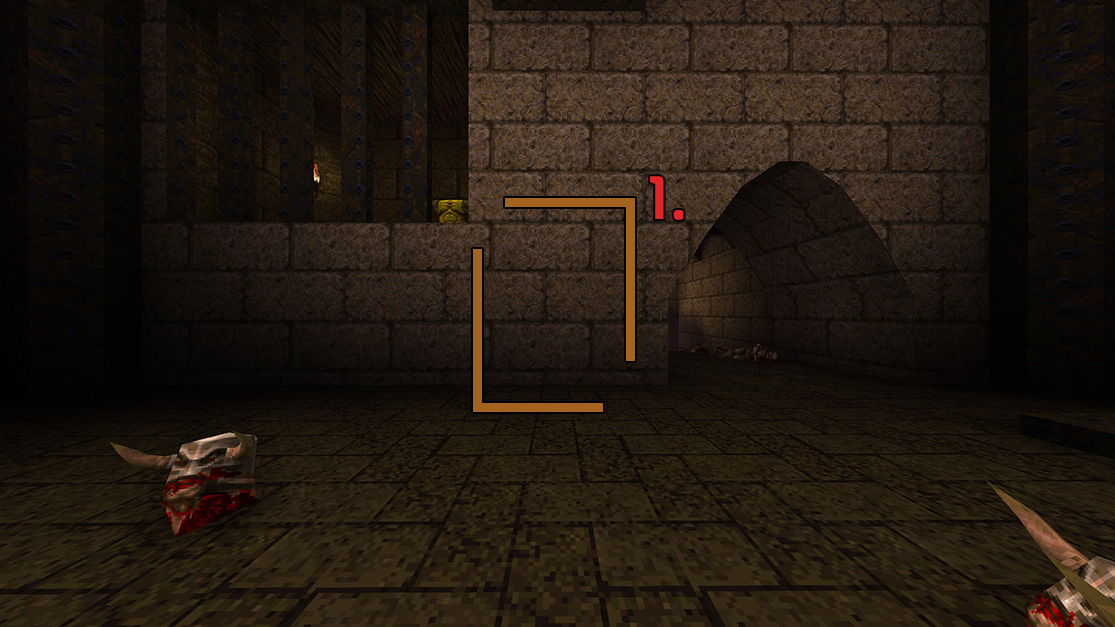 There is a section of wall to the left of the doorway, shoot at it to reveal an elevator. There you will be presented with a Yellow Armor.
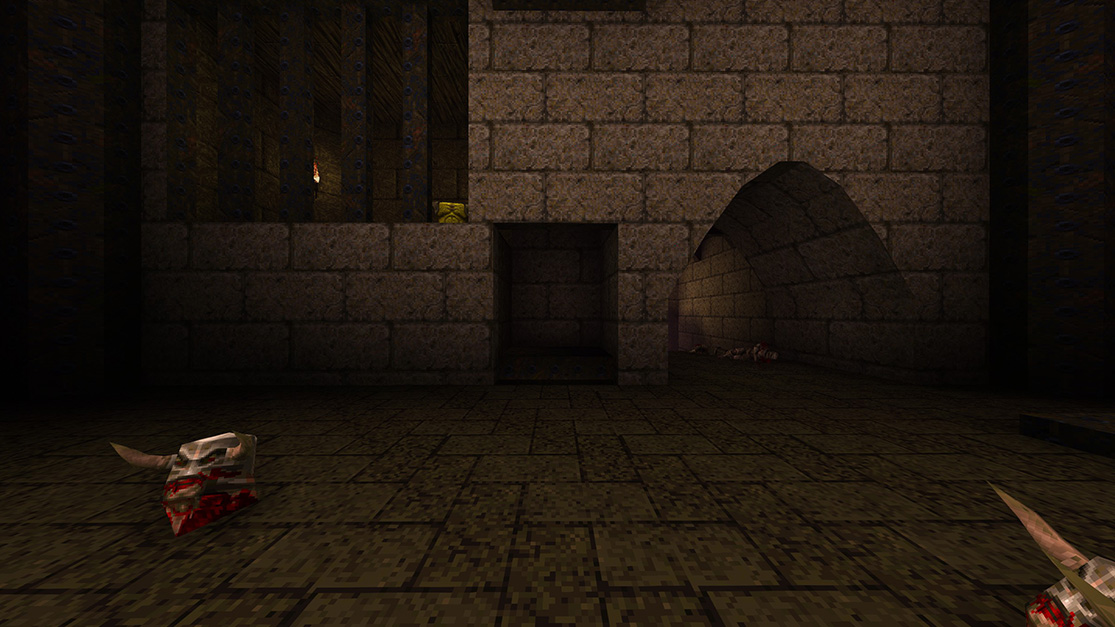
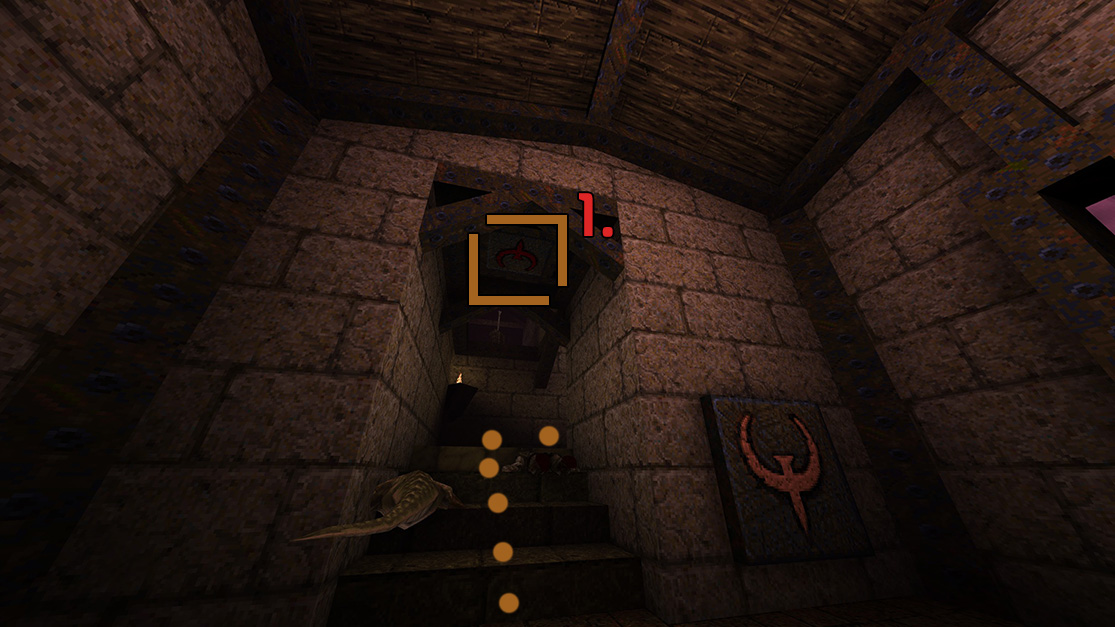 On the ceiling of the stairway you just came down there is a button, shoot at it. This button will lower a pillar in the room right up the stairs.
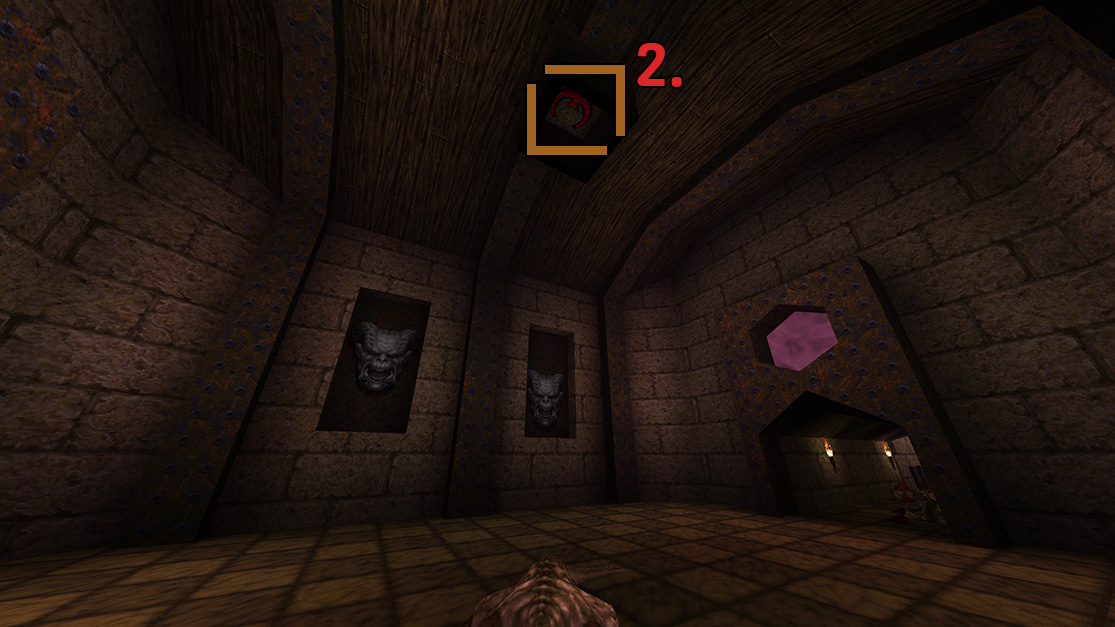 In the next room look on the ceiling in the pillar to find yet another button, shoot at it. This will then open a section of the wall. Go into this newly opened door and you will find a Lightning Gun.
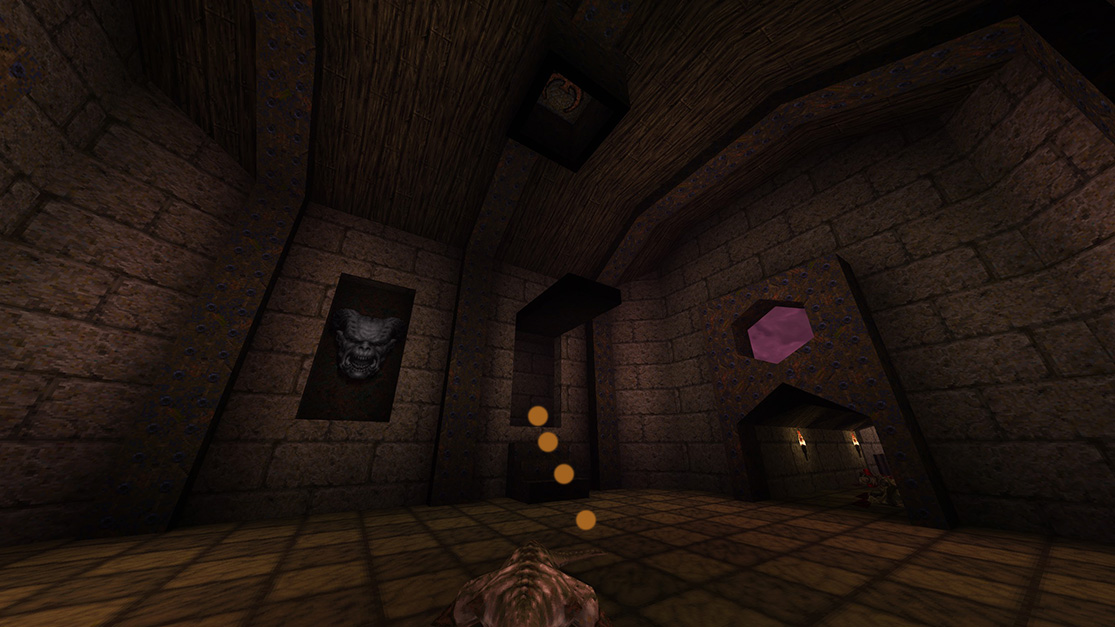
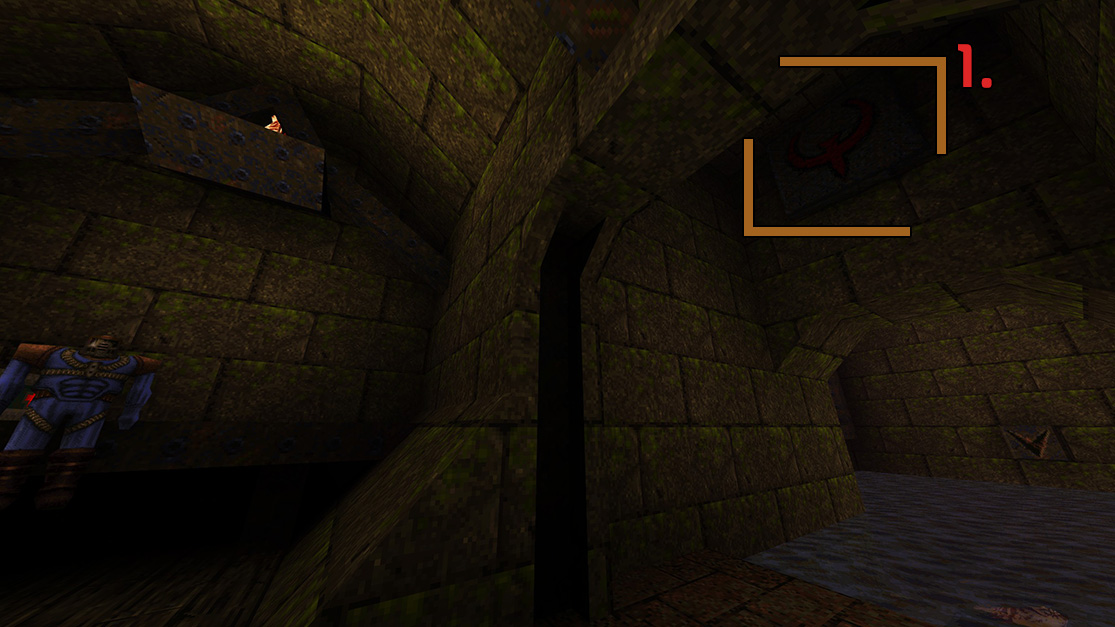 Immediately through the door, look up and find a button, shoot at it.
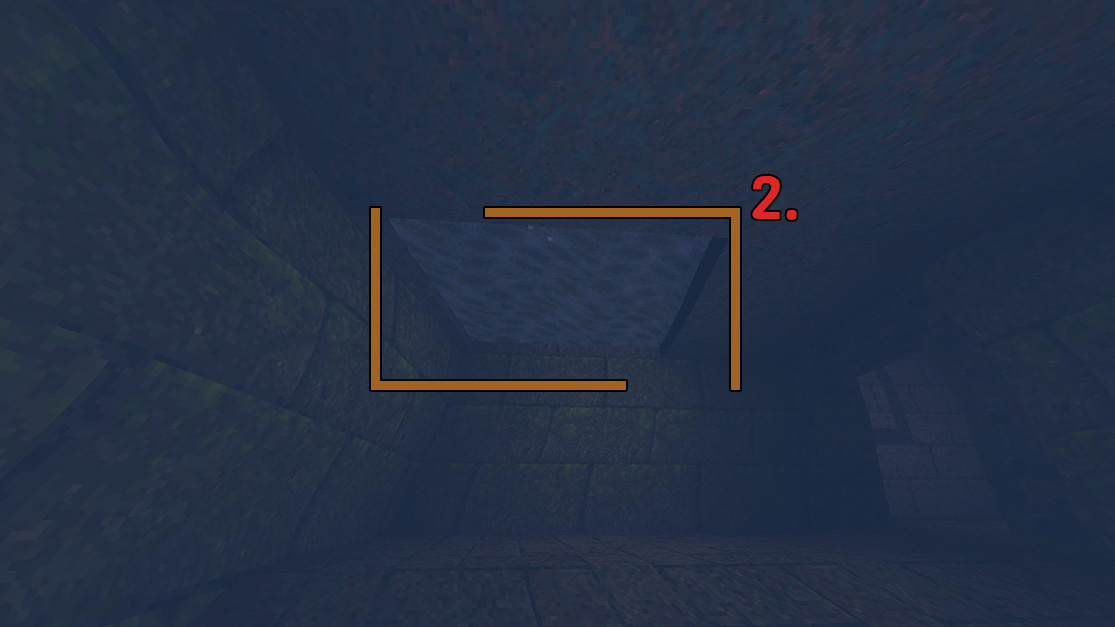 This opening in the ceiling of the water is where you'll find your secret, waiting for you is a Quad Damage.
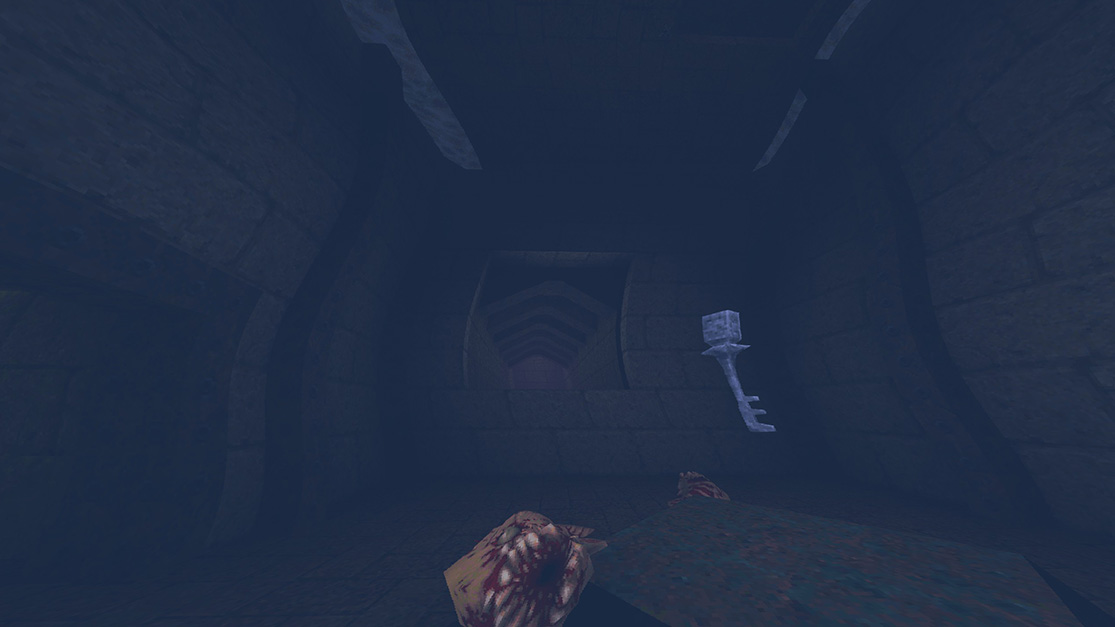
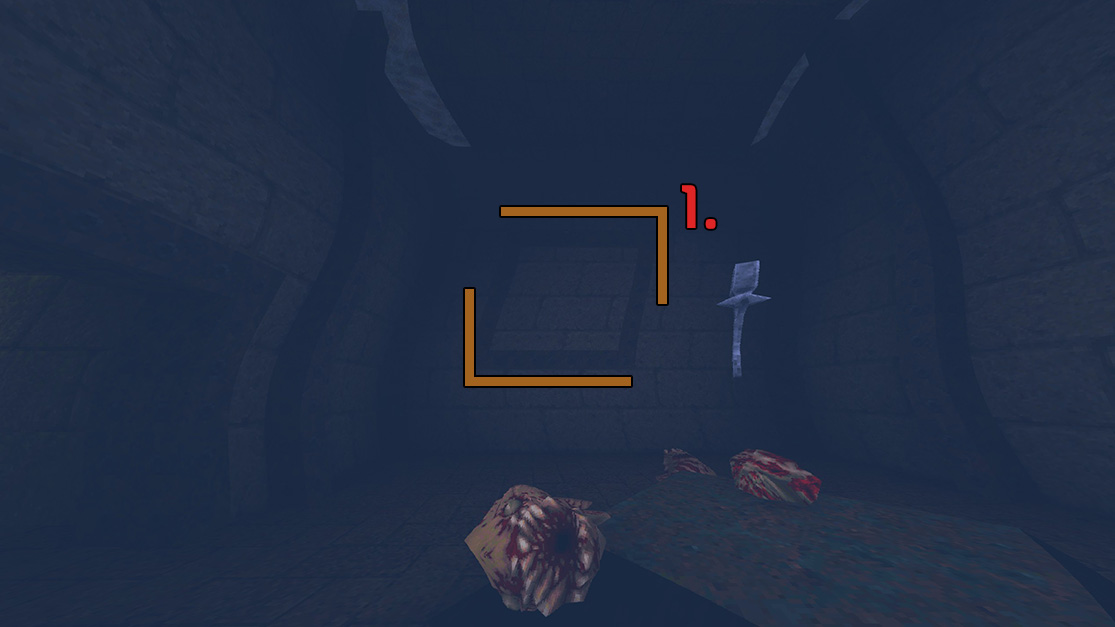 In the room with the Silver Key, you will find a wall with a square texture. Shoot at it, this will reveal a door to swim through.
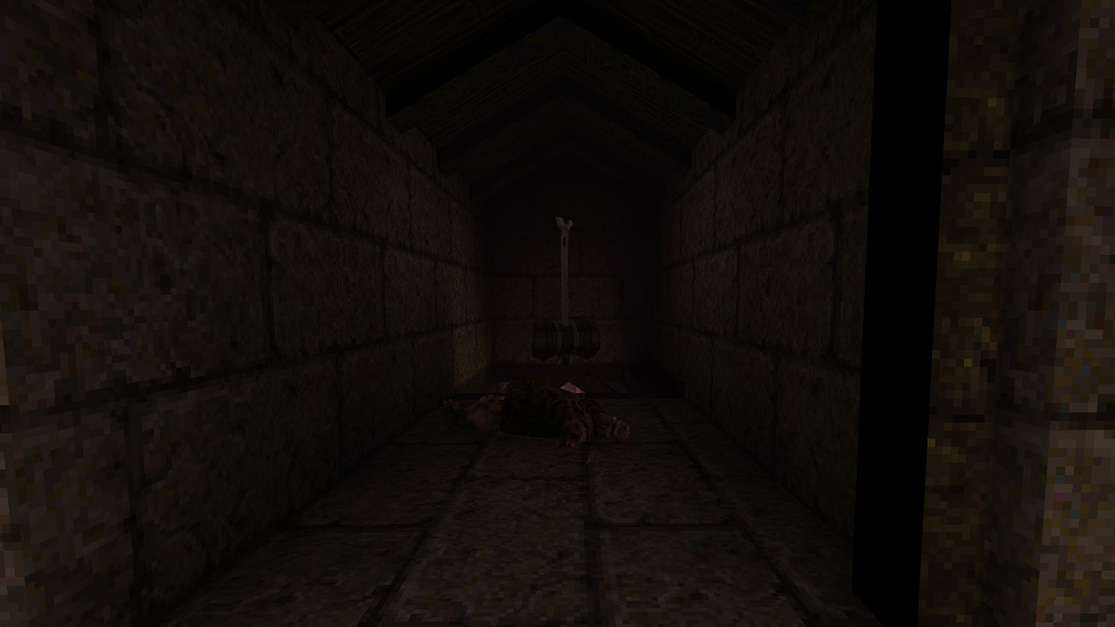
At the end of the tunnel and up an elevator, you will find a Mjolnir waiting for you.
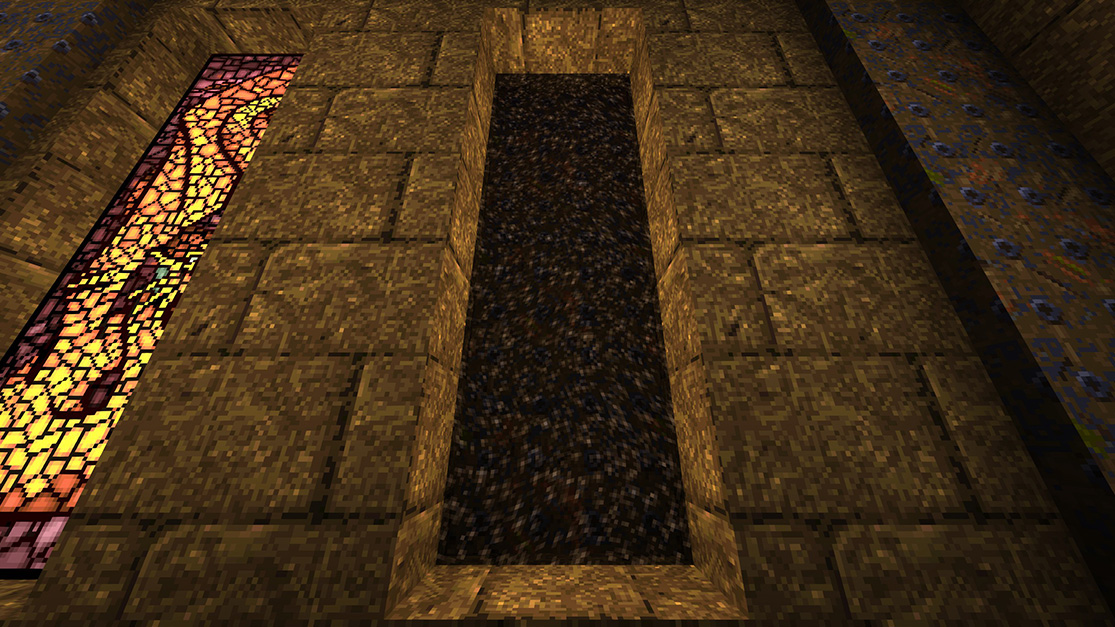
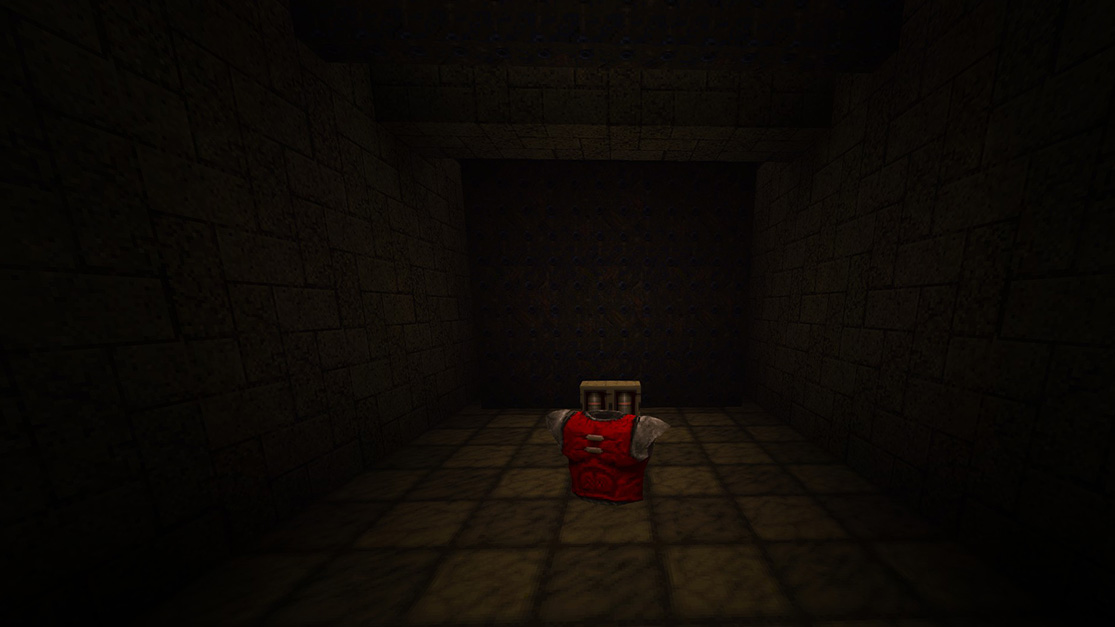
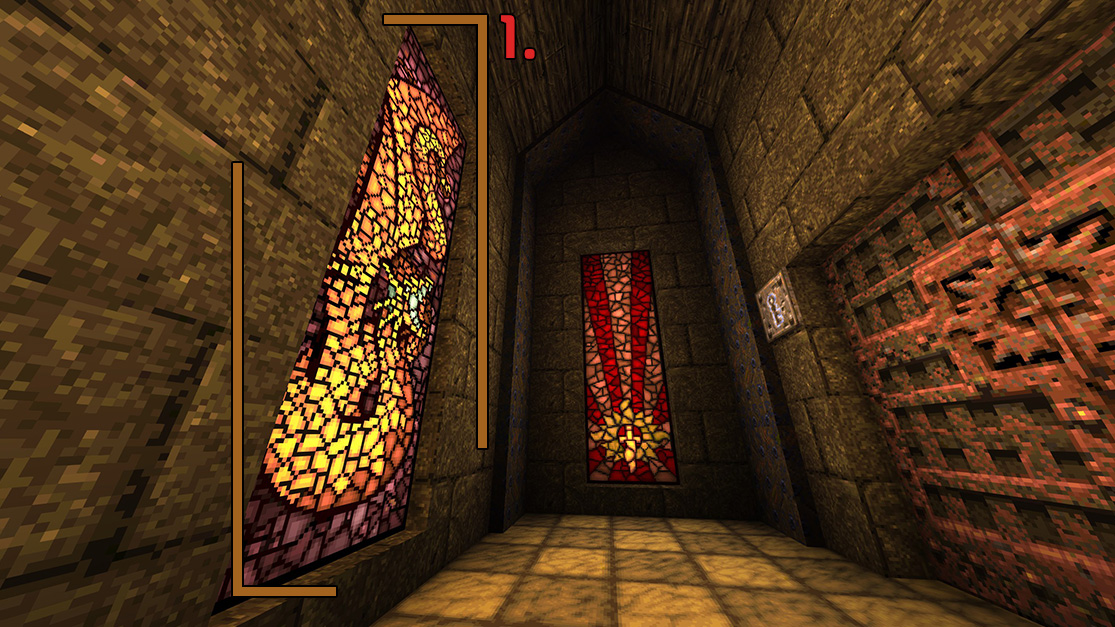 Across from the Silver Key door is a large stained glass window, shoot at it and it will open a portal. Through the portal you will find a Red Armor and some Rockets.
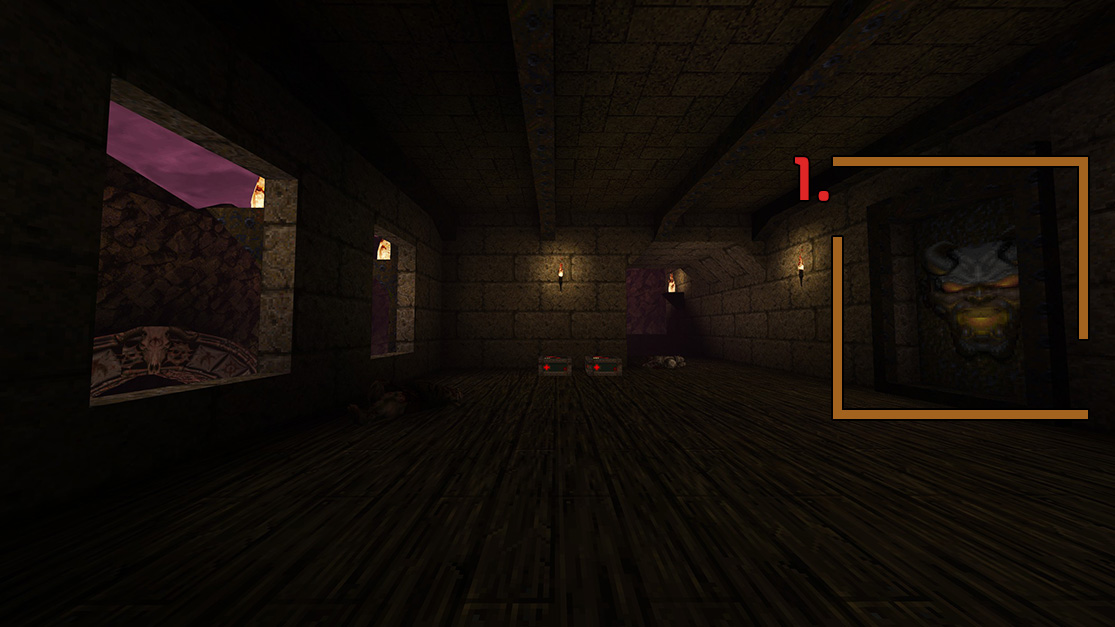 Across from the windows you will find a stone faced texture, shoot at it and it will open which will reveal a Ring of Shadows.
HIP2M2: The Black Cathedral
The Black Cathedral is the second level of Dominion of Darkness. True to its name, the level's layout is similar to a cathedral - with a large central chamber, a series of corridors and rooms around it, stained glass windows, a library, and a belltower-like structure. A particularly interesting design feature is the clock above the entrance, which ticks in real time. The level starts with the clock at 7:50 on the dot, and the cathedral bell chimes every hour.
There are a total of 5 secrets in The Black Cathedral.
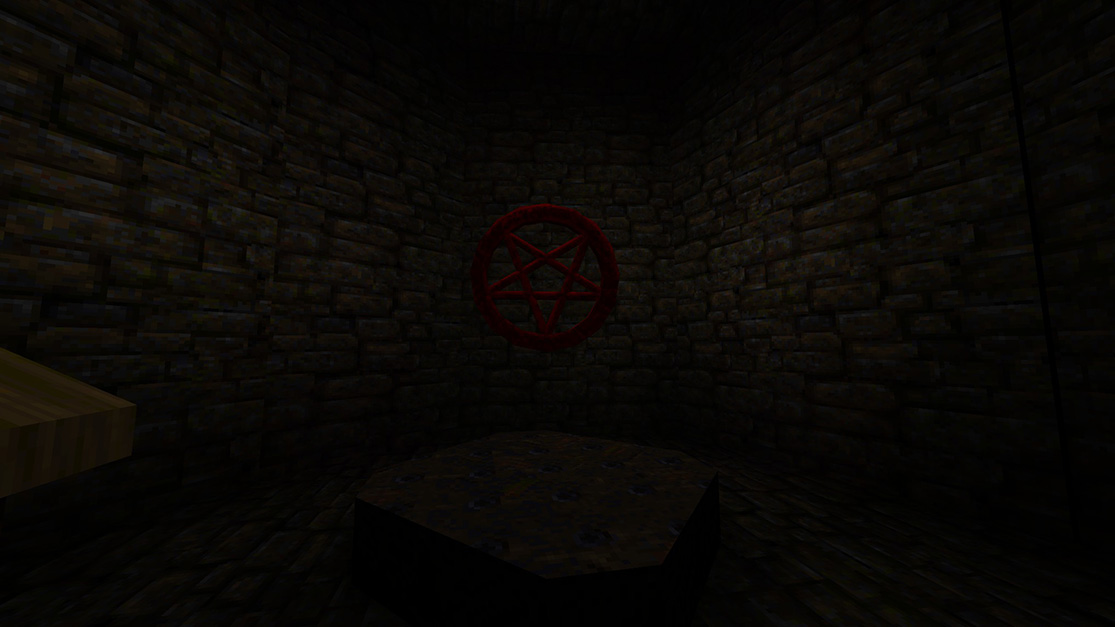
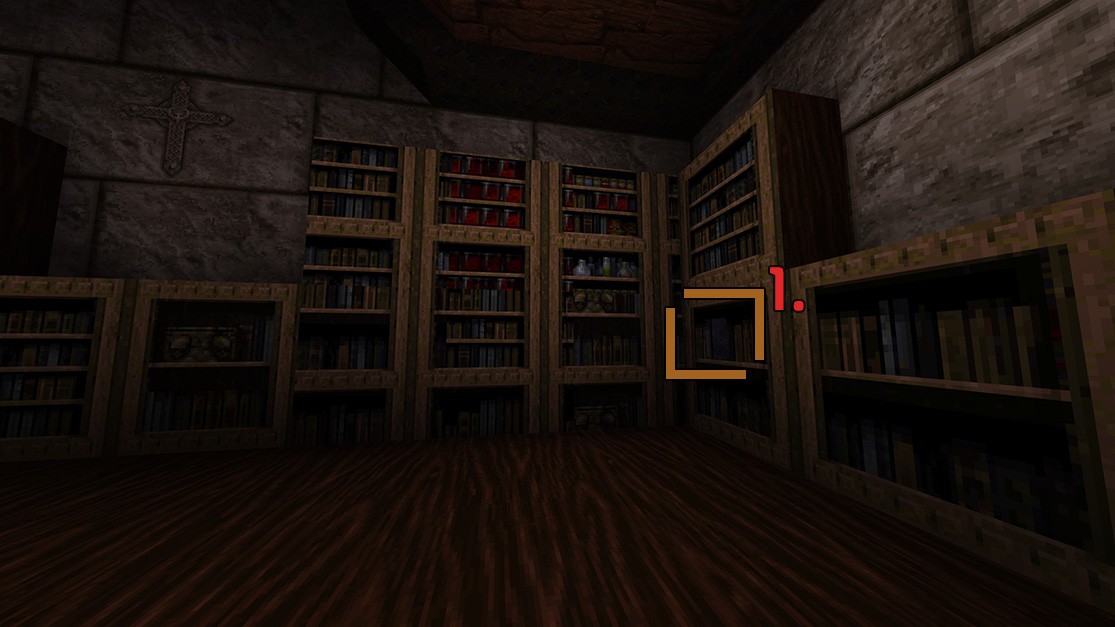 In the corner there are bookshelves and one bookshelf has a small book sticking out of it. Run to it, to trigger the bookshelves to open, which will then reveal a Pentagram of Protection.
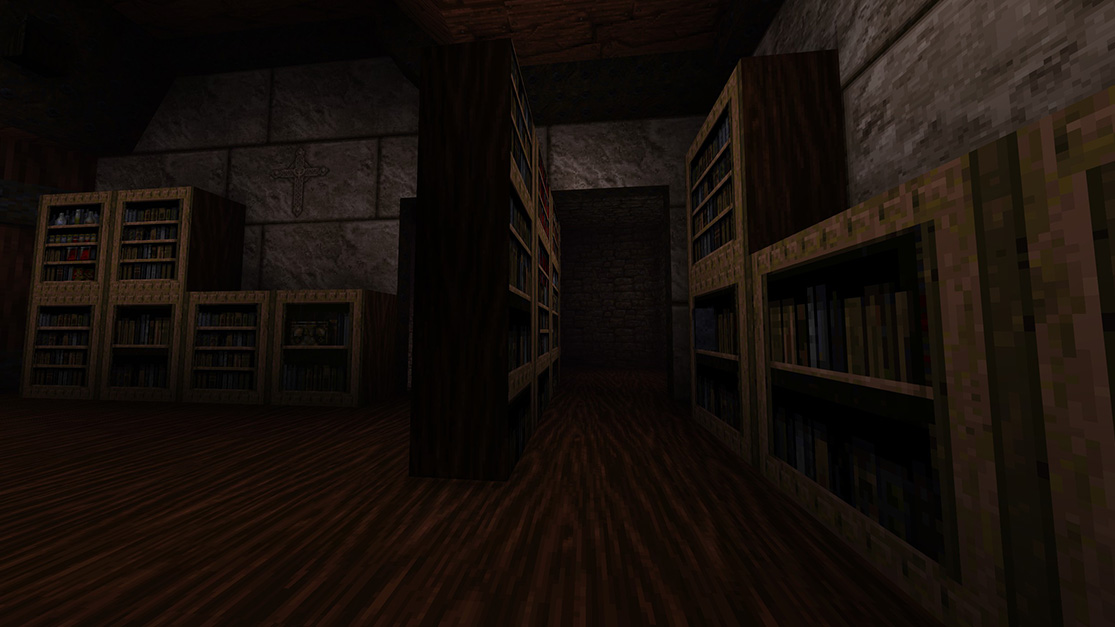
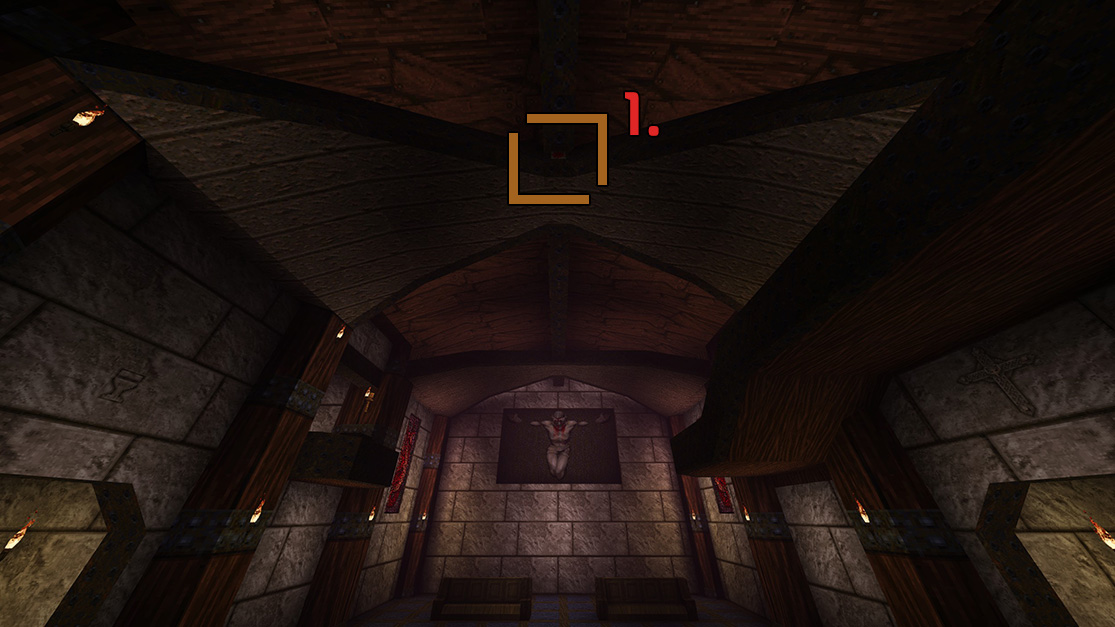 Look up in order to find a button, shoot it, this will then move one of the pews and reveal a portal to jump into.
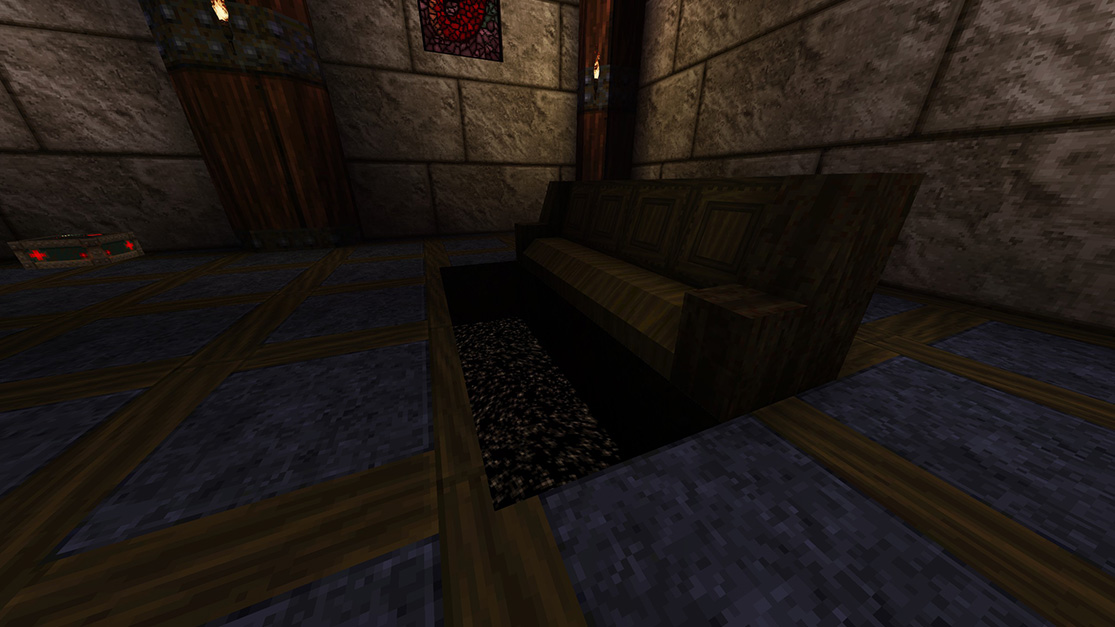
Going through the portal will reward you with a Megahealth.
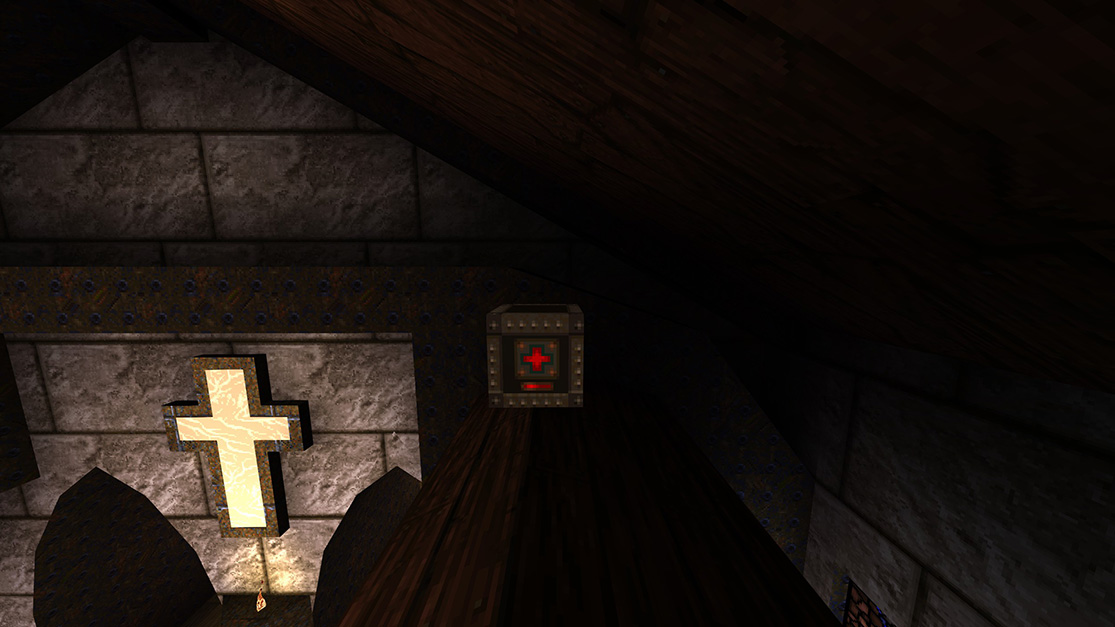
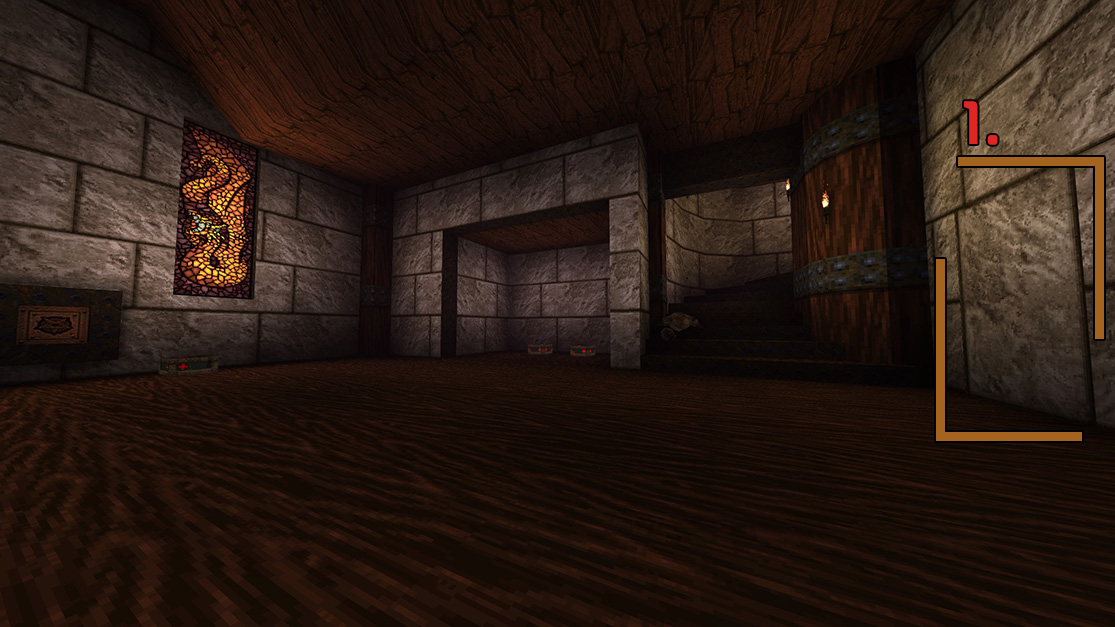 Before going up the next set of stairs, on your right is a texture different from the rest of the room. Shoot at it. This will reveal a room that will give you a Ring of Shadows.
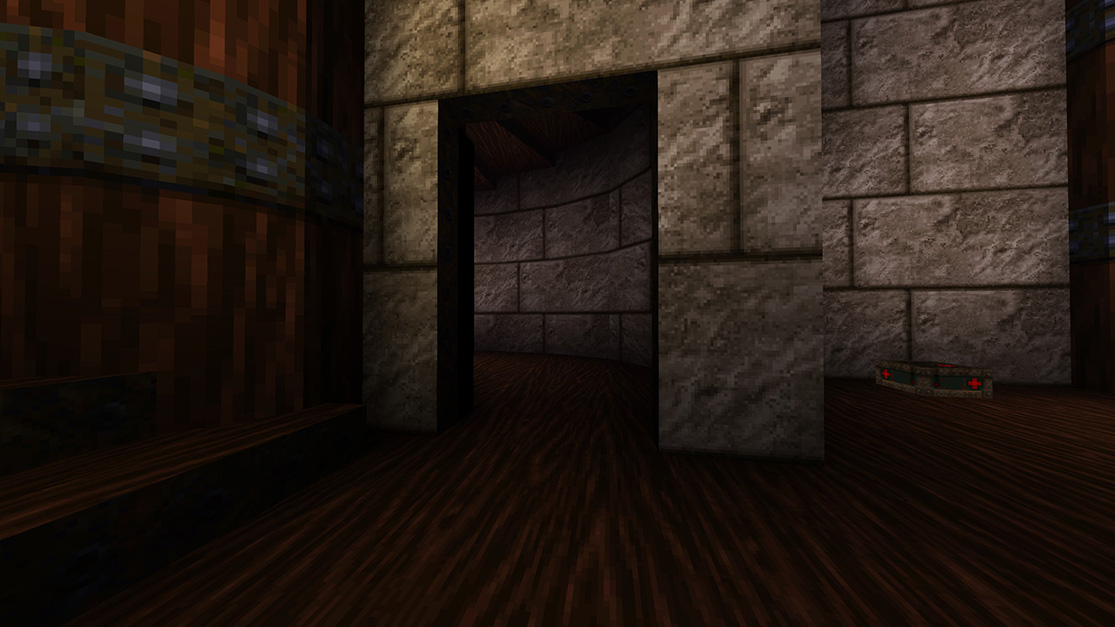
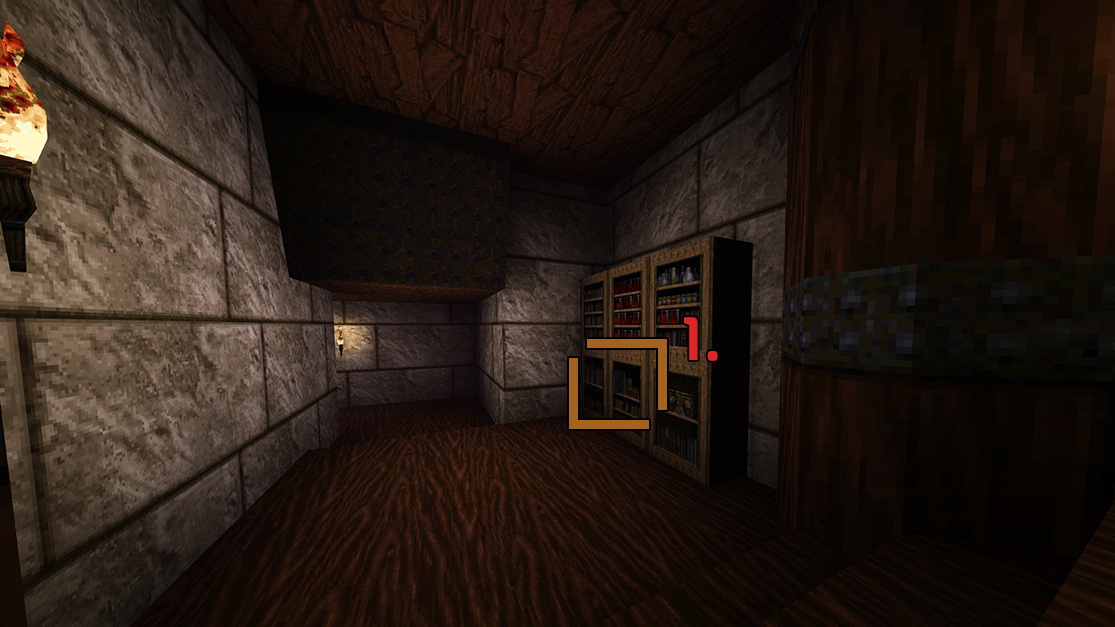
Assuming you didn't take the portal at the top of the tower and instead turned around jumping down the way you came - as soon as you exit the doorway take a right and head down that doorway instead. As soon as you get down the winding stairs, look your left to find a bookshelf with another book sticking out of it.
 Run into the bookshelf, hitting the book which will cause it to open and reveal a small room with a Quad Damage.
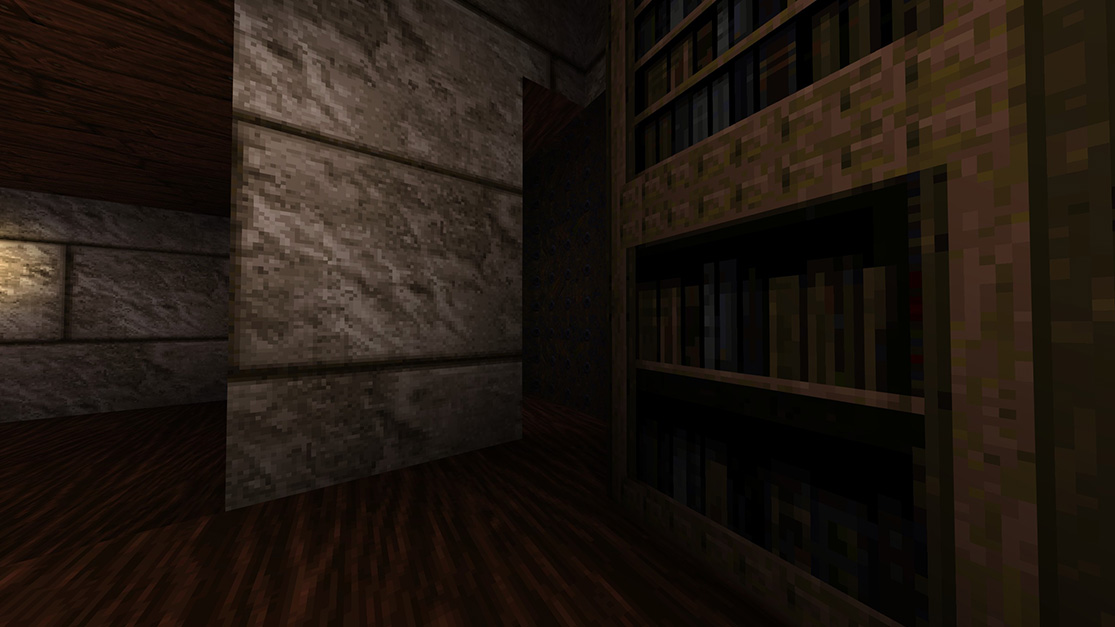
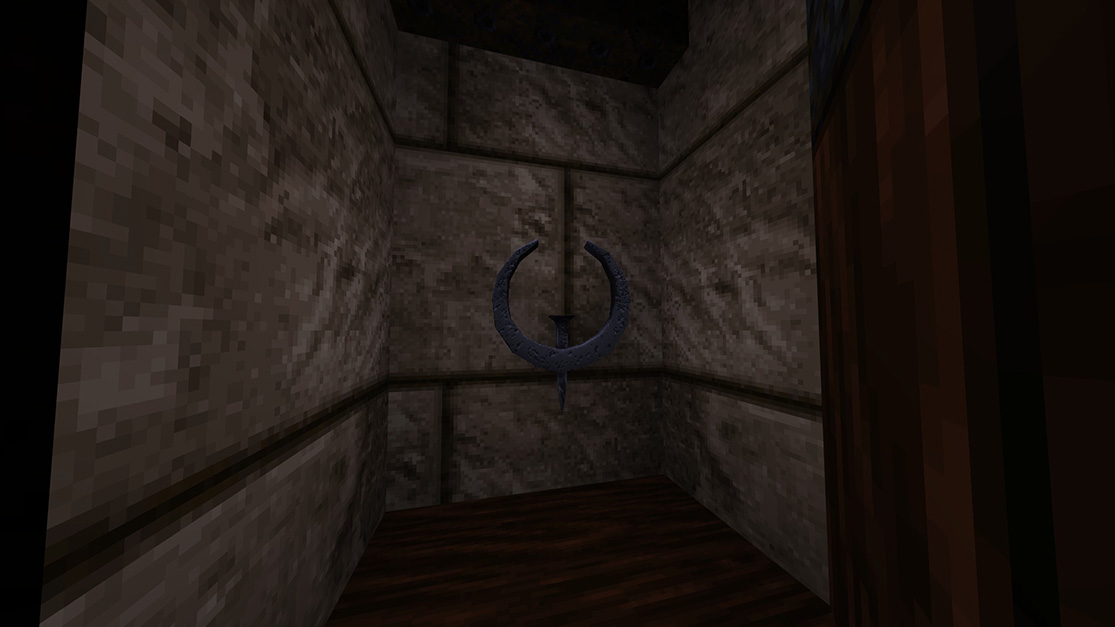
Note: If you continue out of this room you will be on a balcony that you can jump back into the cathedral from. I recommend doing this as the golden door is just right across the way in the next room - which is where your final secret will be.
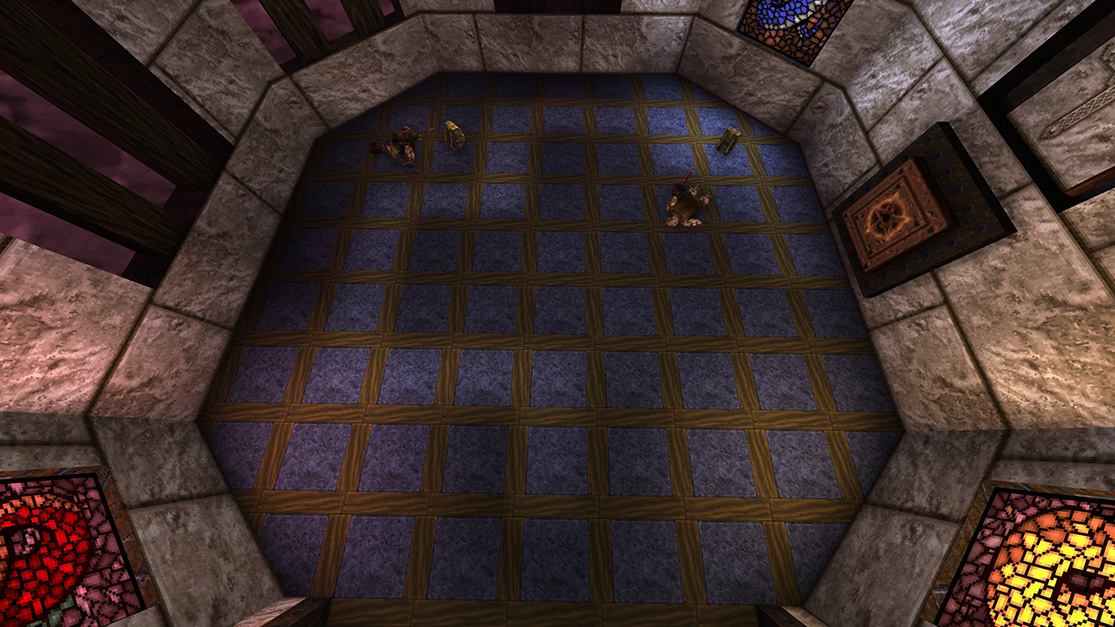
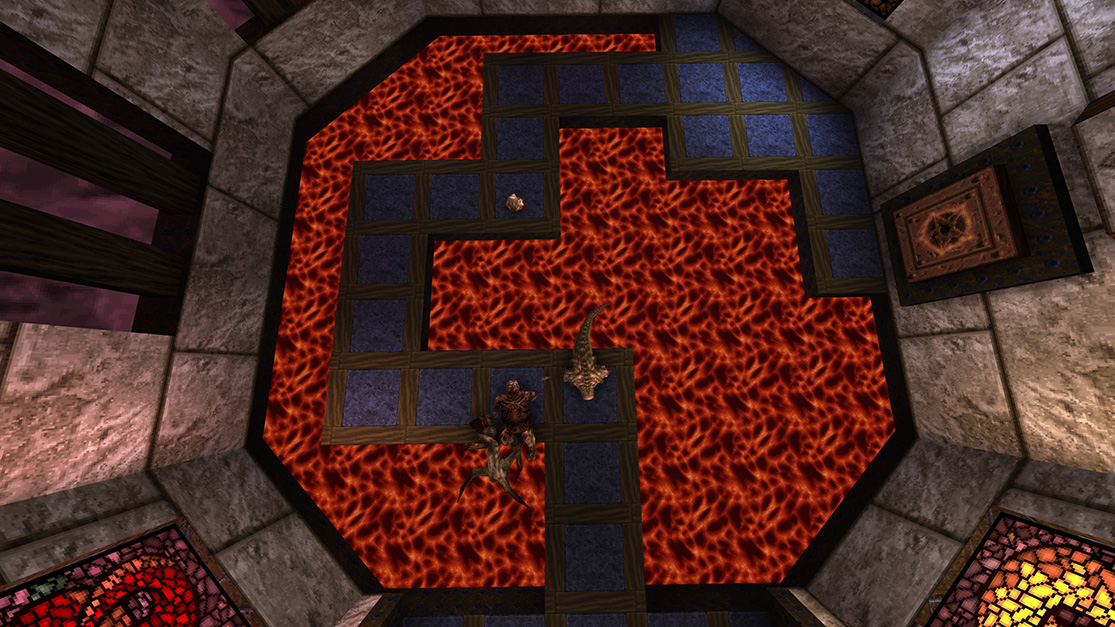
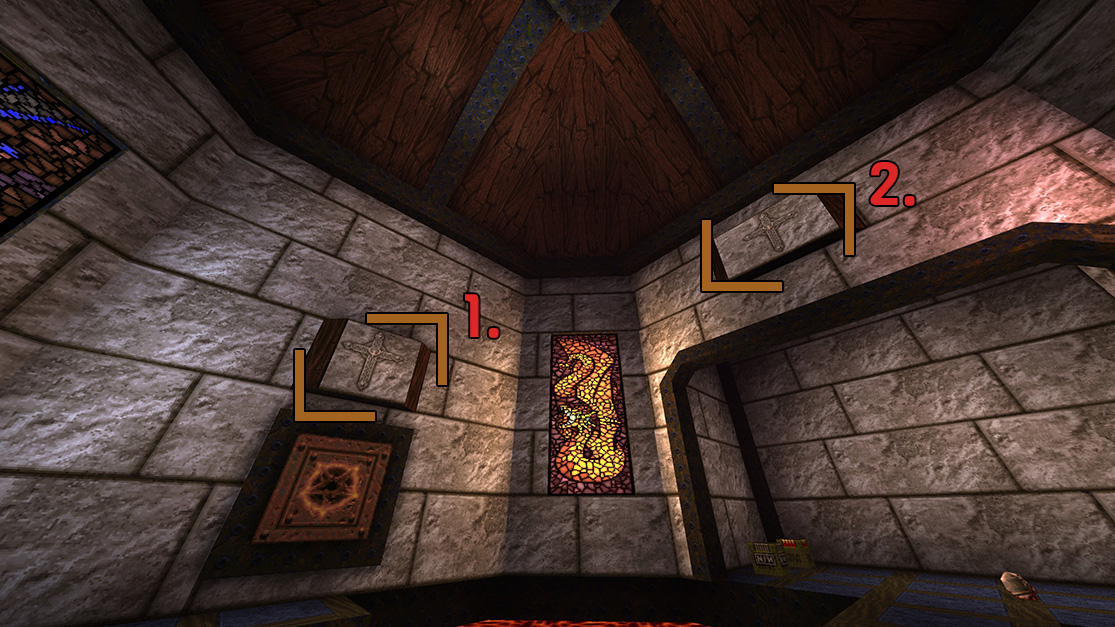 This first button when you enter the gold key door will light up your path that is safe to walk on.
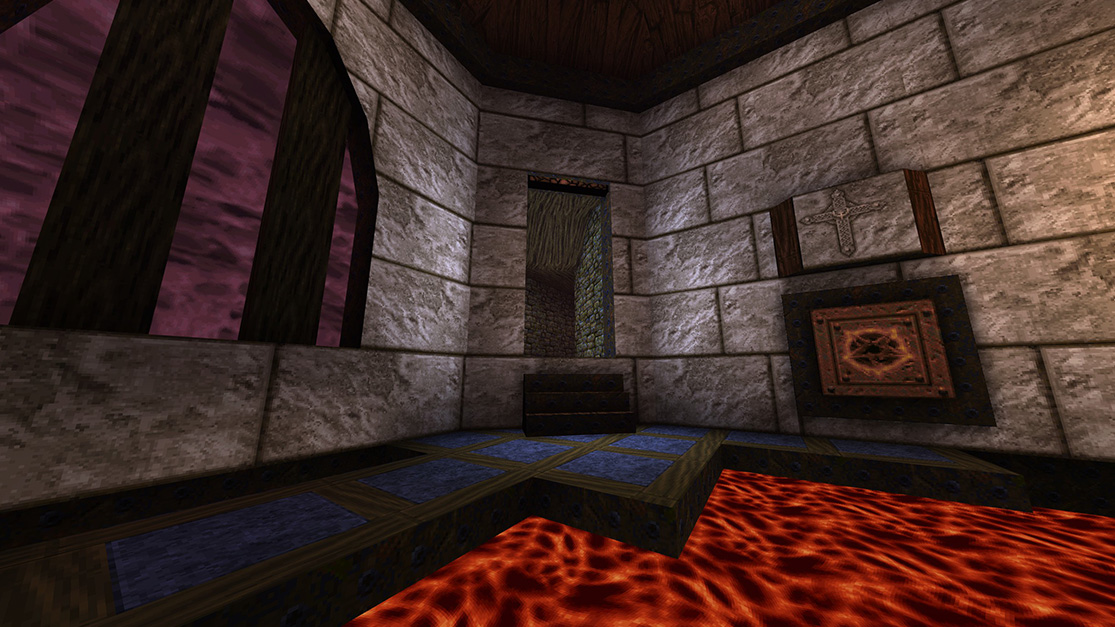
Above where you came in, is another similar looking button. Shoot at it, and it will reveal an opening in the wall that takes you directly to the level exit.
This first button when you enter the gold key door will light up your path that is safe to walk on.
Above where you came in, is another similar looking button. Shoot at it, and it will reveal an opening in the wall that takes you directly to the level exit.
Be sure to hit the button on the wall or else the exit to The Catacombs will not be there!
HIP2M3: The Catacombs
The Catacombs are the third level of Dominion of Darkness. The level is entirely indoors and takes place in a large lava-filled cavern, a castle built entirely underground, and a series of flooded catacomb tunnels. In order to finish the level, the player will have to enter a large coffin.
There are 4 total secrets in The Catacombs.
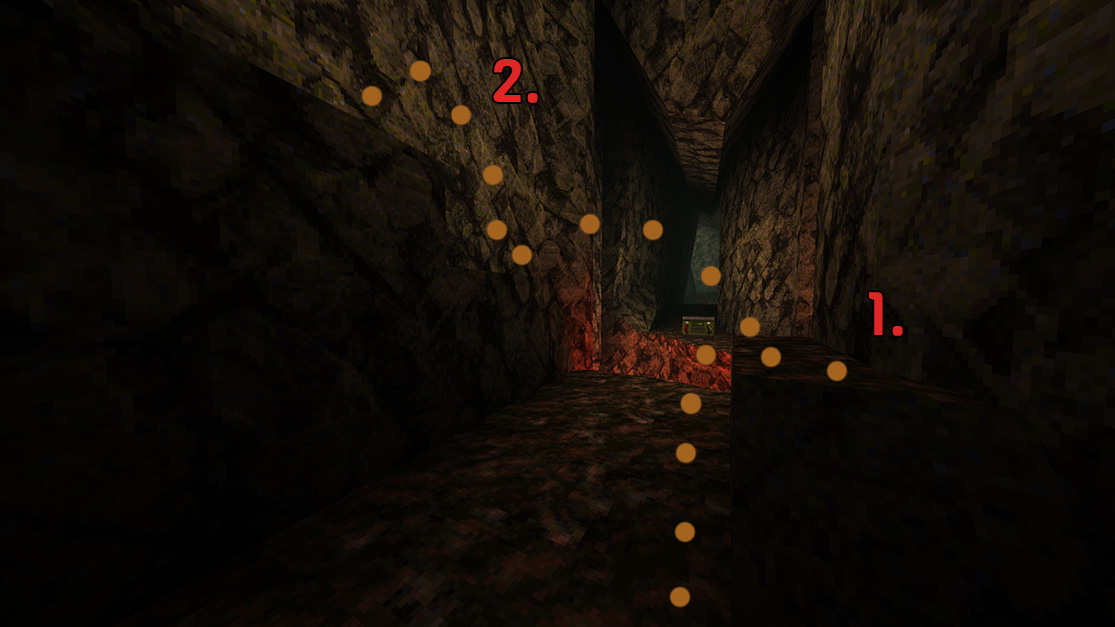 Before clearing the lava gap, we are going to jump up on the stair sticking out of the wall.
Jump across to the other wall, and take the next step up where you will pick up Cells.
Before clearing the lava gap, we are going to jump up on the stair sticking out of the wall.
Jump across to the other wall, and take the next step up where you will pick up Cells.
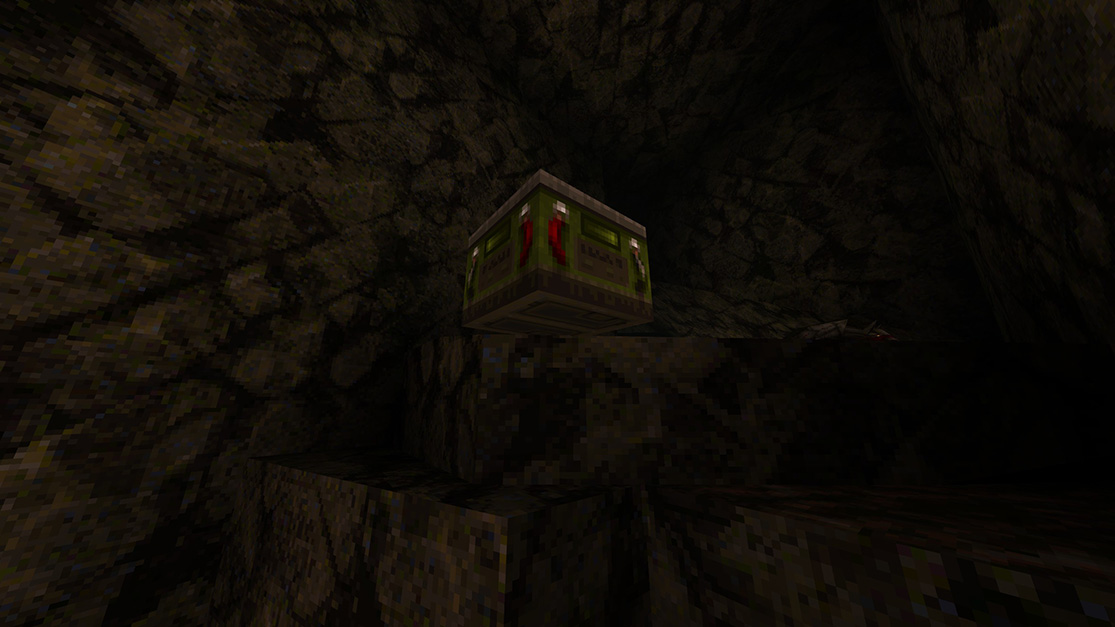
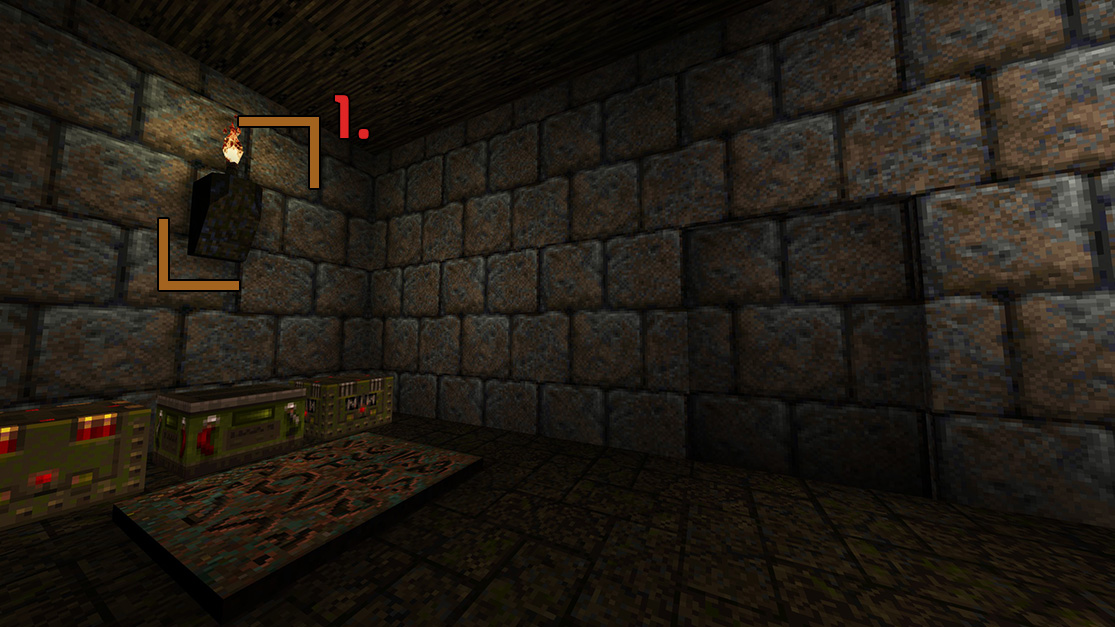 There is a torch on the wall at the very end of this hallway, you have to jump and hit your head on it which will then open a door directly to your right. Going through it is an ambush waiting for you, but you will gain a Megahealth.
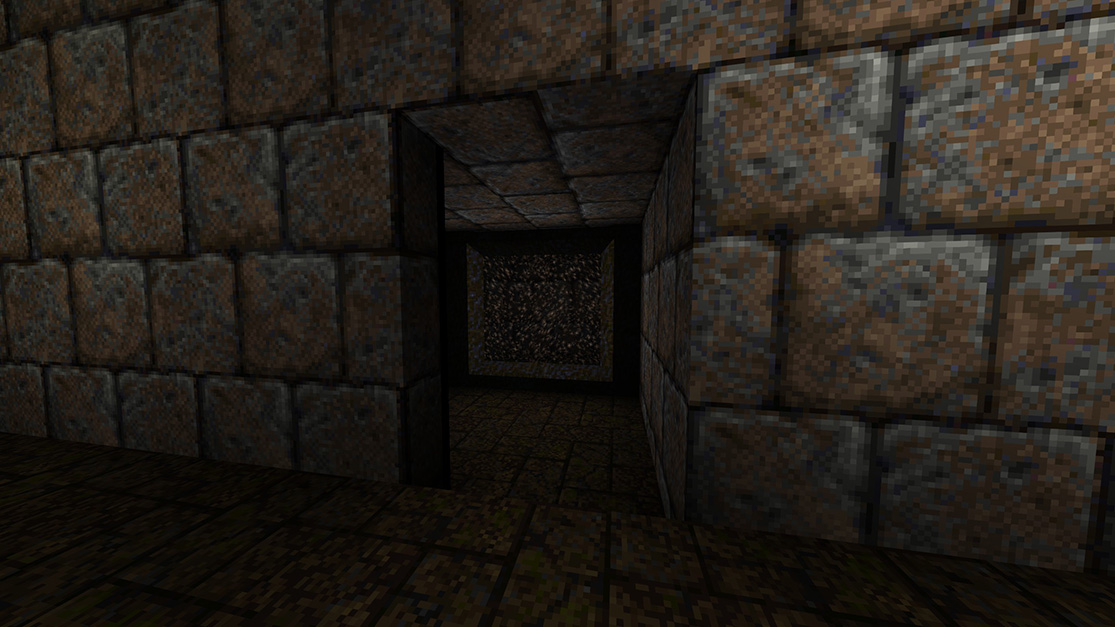
Beware the ambush!
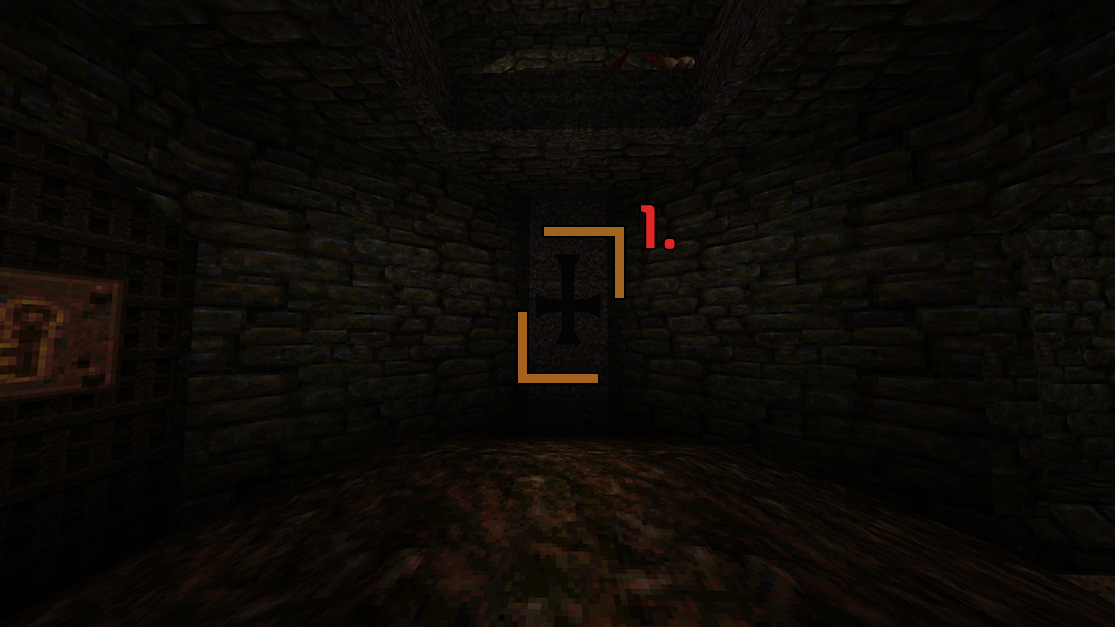 Shoot into the cross, this will cause a Megahealth to spawn in the ceiling and fall on top of you.
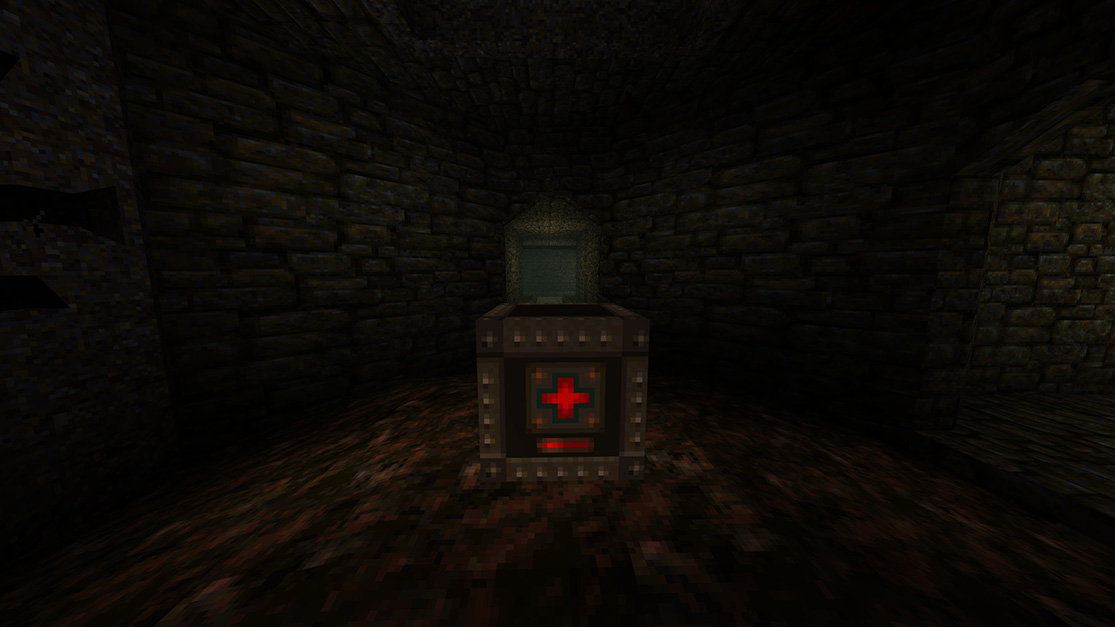
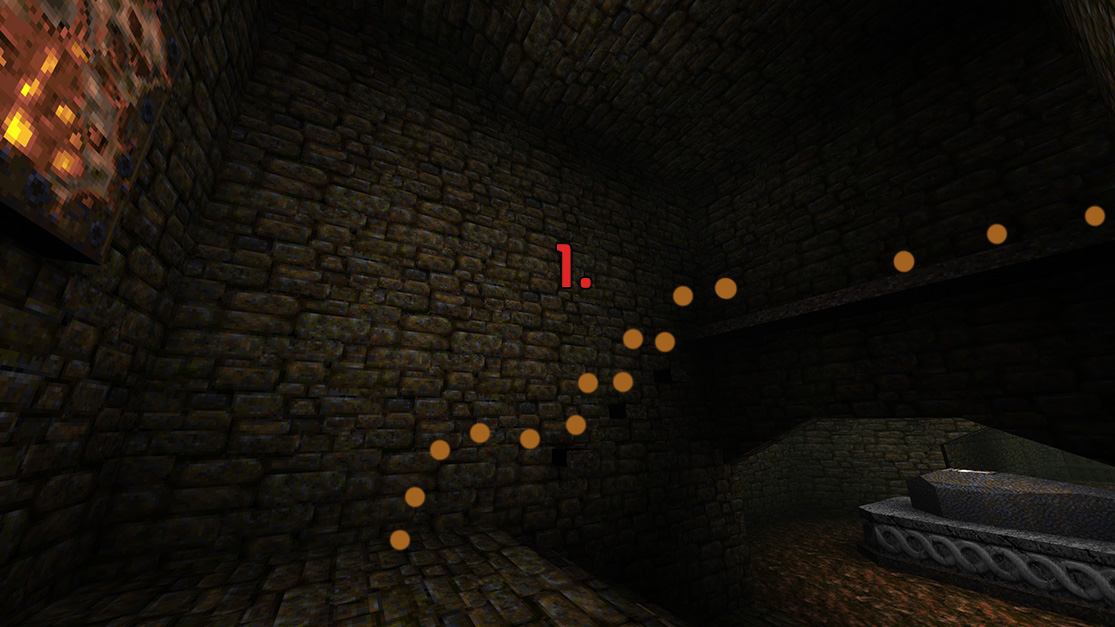 Jump up these small steps that spawned out of the wall and follow the walkway into a little dropdown, there you will be rewarded with an Empathy Shield.
HIP2M4: The Crypt
The Crypt is the fourth level of Dominion of Darkness. Emerging from the same coffin where the previous level ended, the player finds himself in an eerie burial ground, where numerous Spike Mines lurk in the shadows. The level is mostly indoors and features several tomb-like rooms, a tombstone workshop, and several large spacious halls.
There are 6 total secrets in The Crypt. There are again several ways to approach this map, and this way will reduce the route so you don't have to double back repeatedly.
On easy difficulty there will be a small stepladder to get you to the part you need. In every other difficulty, you have to rocket jump.
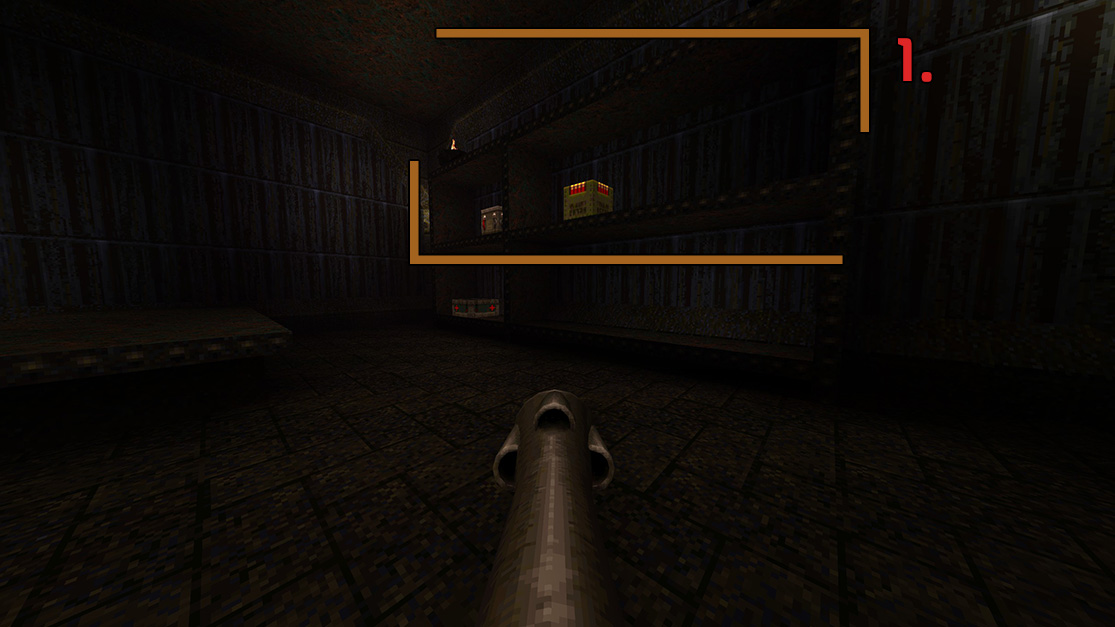 There is a few shelves with ammo on it, you need to rocket jump ontop (or on the 2nd shelf) which will then open a secret.
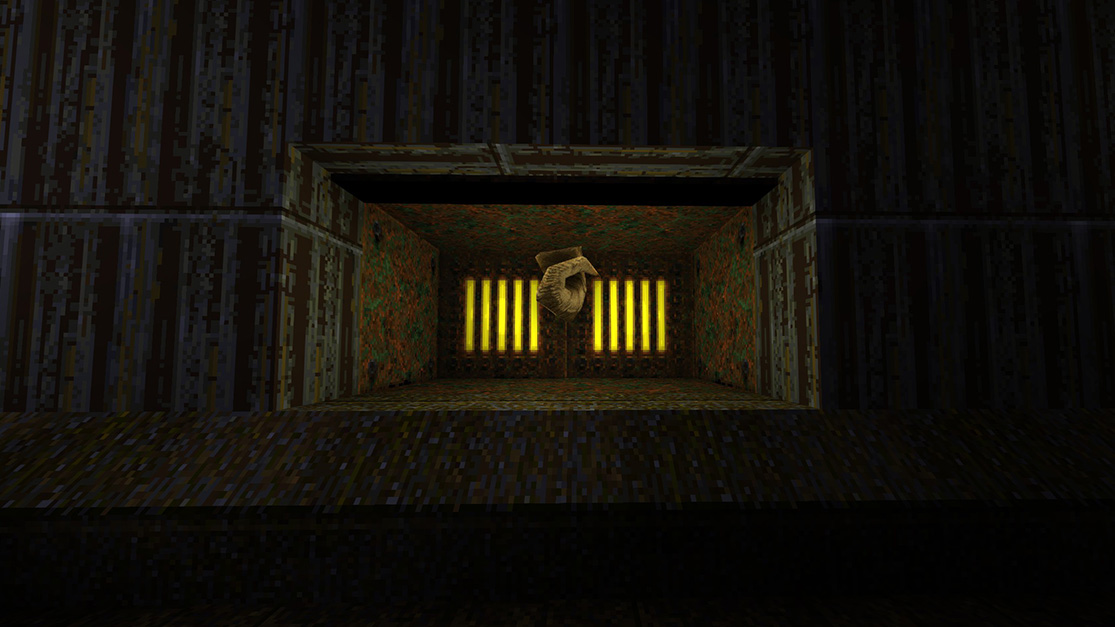
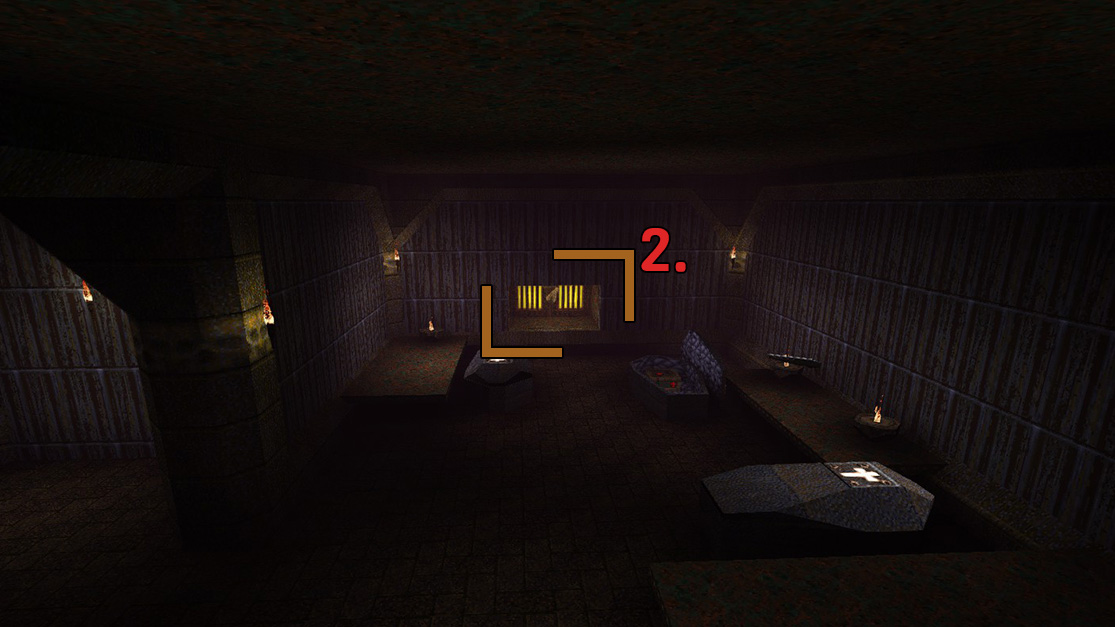 Across the room on the opposite wall, a little area opened, run to it and there you will find a Horn of Conjuring.
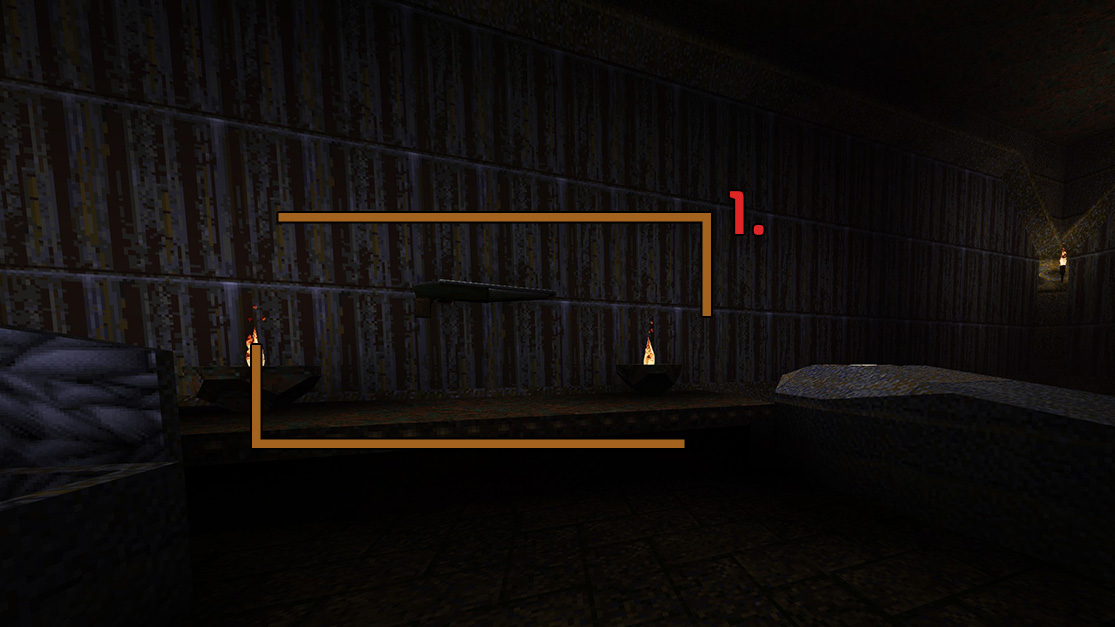 Run up on the platform to pick up the Double-Barreled Shotgun. This will cause two coffins to open behind you.
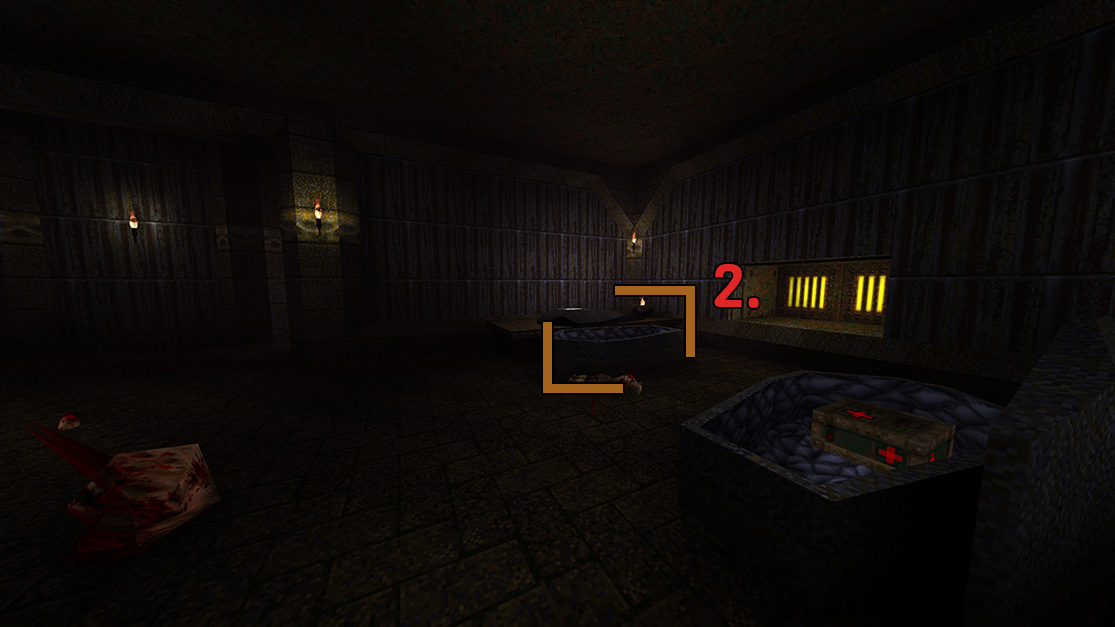 The further coffin will have a little skull symbol on it, step on the symbol to be teleported to a new area.
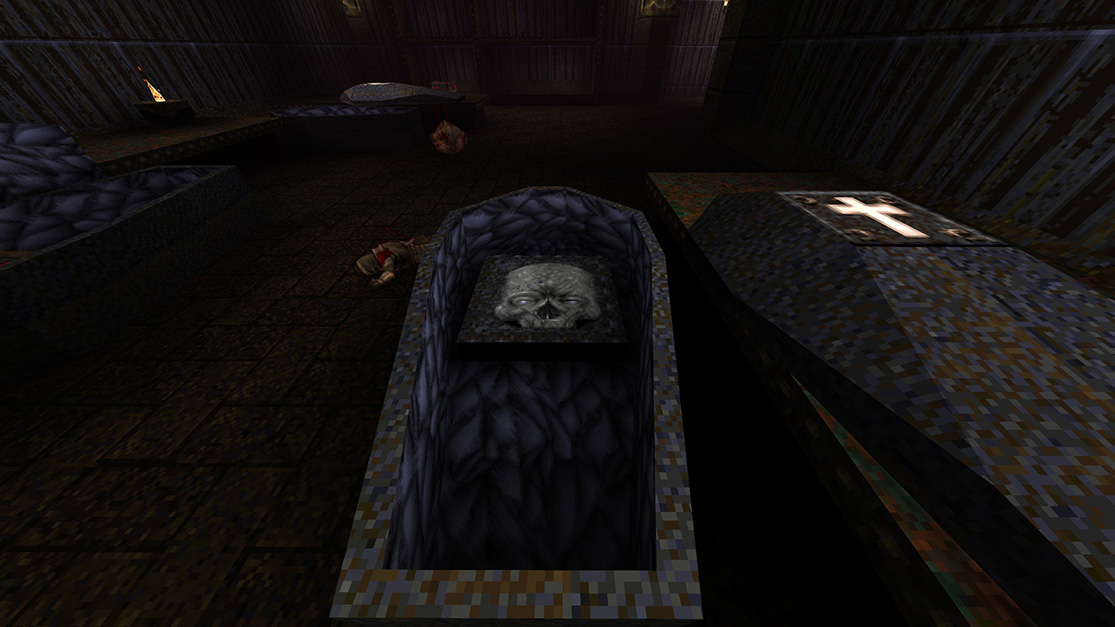
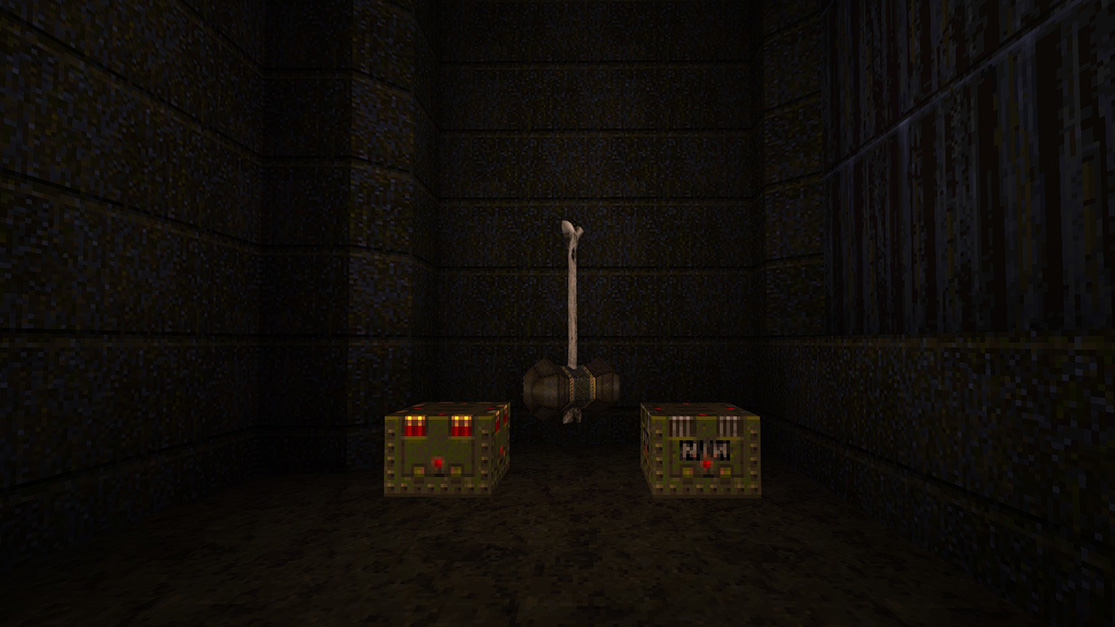
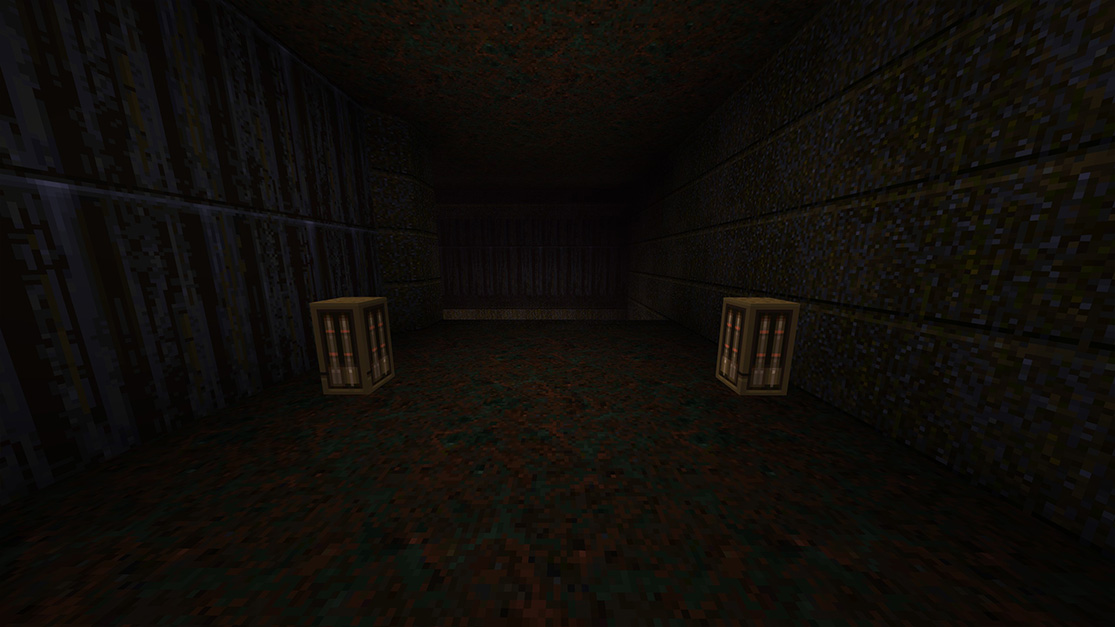
Here you will find Shells, Nails, and a Mjolnir.
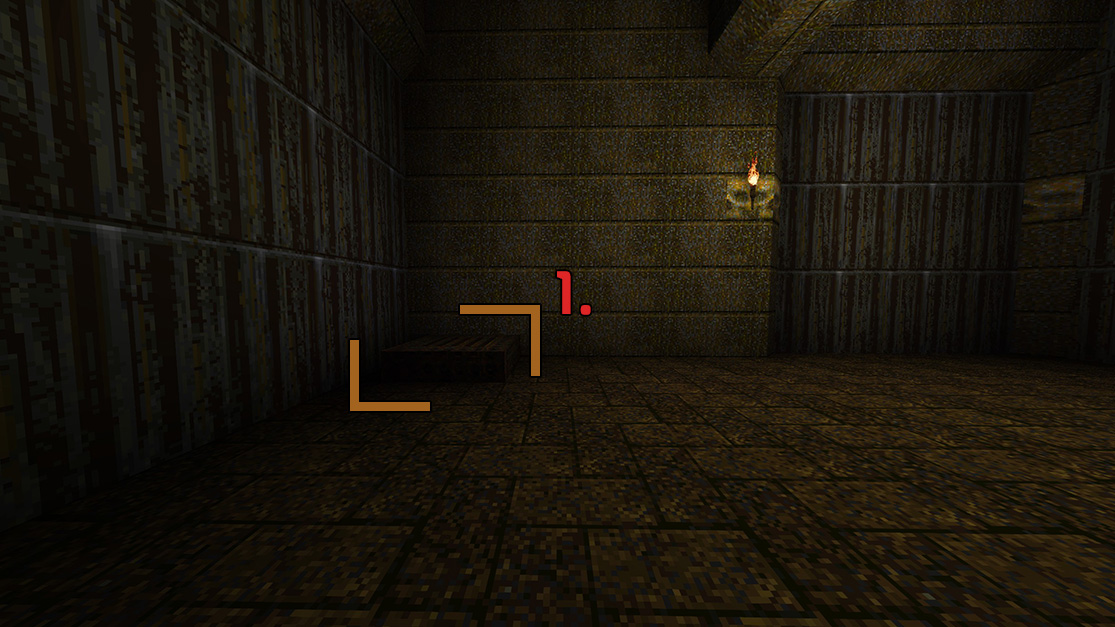 Take the jump pad up and instead of running forward, turn to your right/behind you.
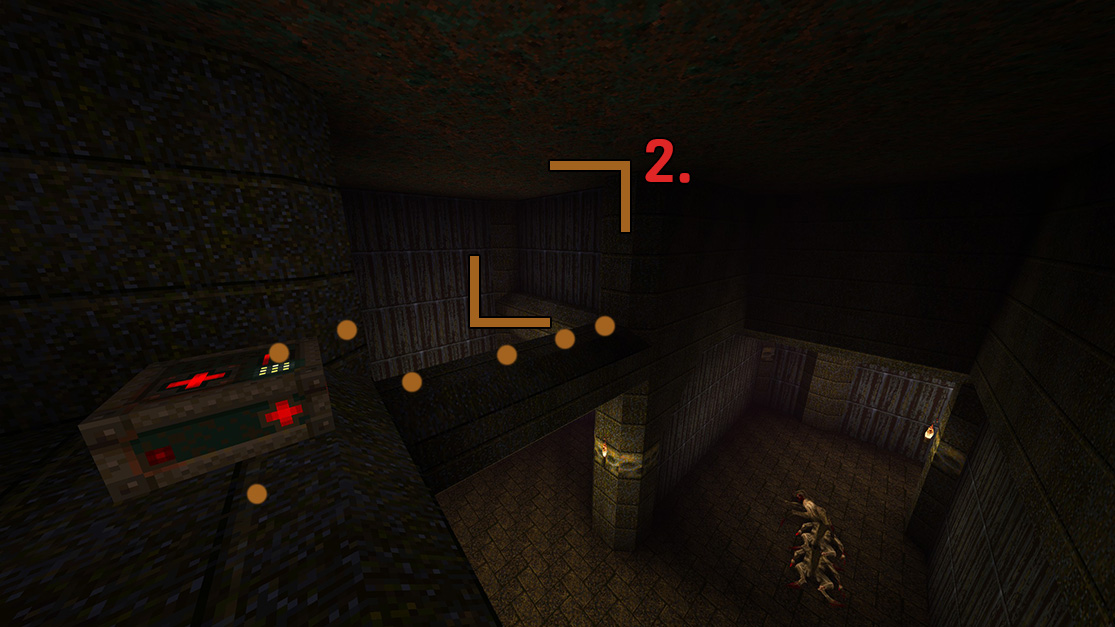 Jump across the pathways until you get to the wall on the other side, touching the wall will open and you will be presented with two Rockets.
 On the same jump pad we took during Secret 3 of 6, take it up and this time walk forward.
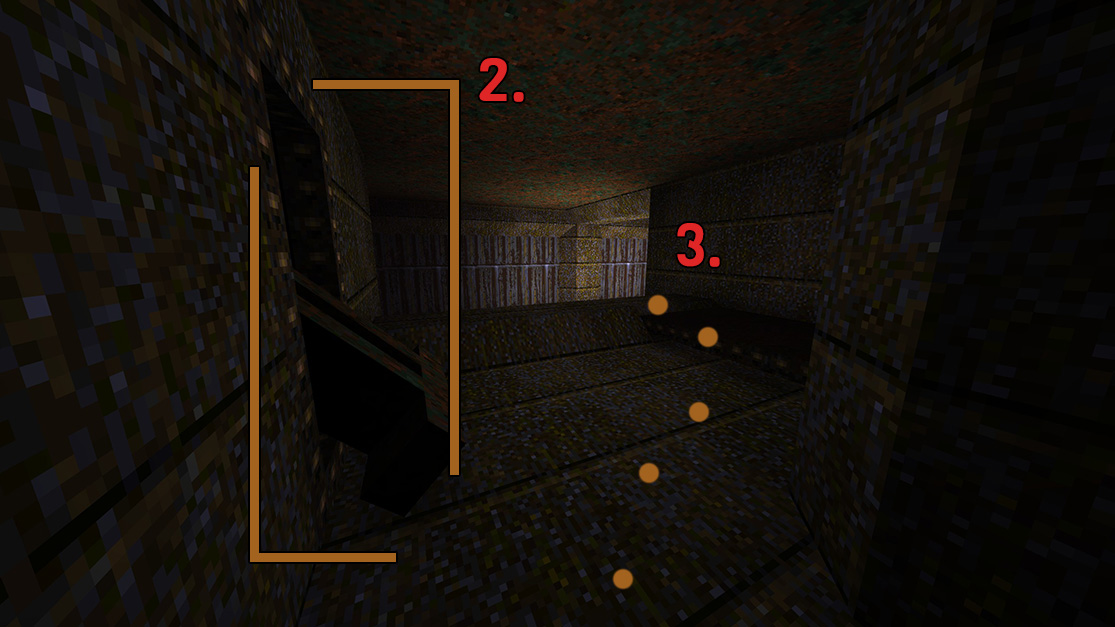 There is a large lever on the wall right in front of you, run into it to trigger the small bridge.
Run on this bridge that just extended out, turn to your left to find a Pentagram of Protection. We need this to quickly get the secret.
There is a large lever on the wall right in front of you, run into it to trigger the small bridge.
Run on this bridge that just extended out, turn to your left to find a Pentagram of Protection. We need this to quickly get the secret.
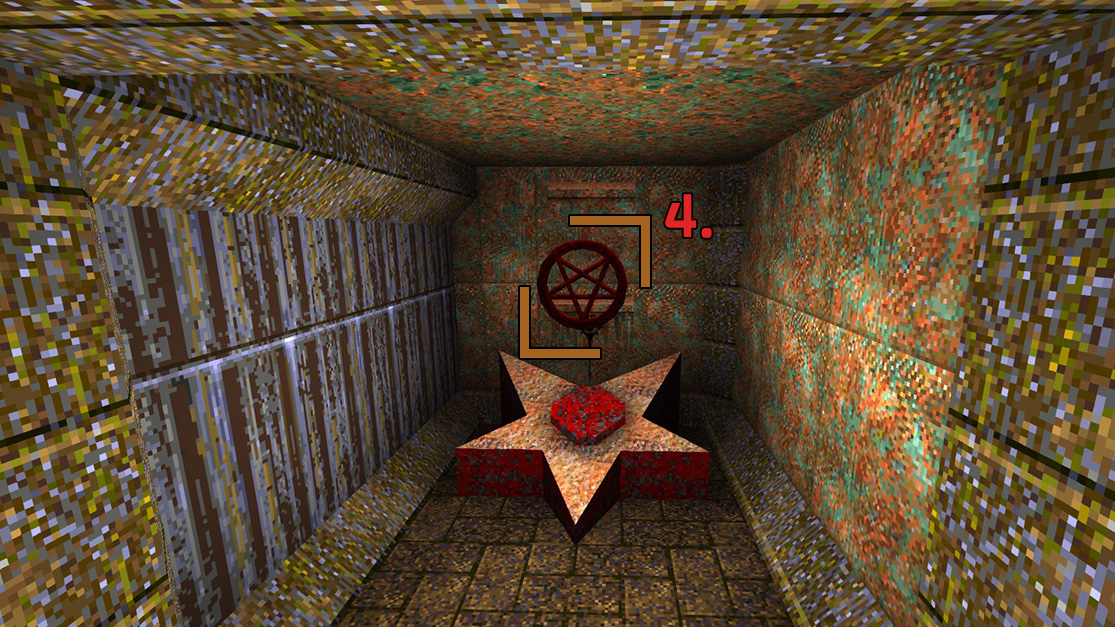
 Pick up the Pentagram of Protection, turn around and run to metal walkway behind you/down the hallway.
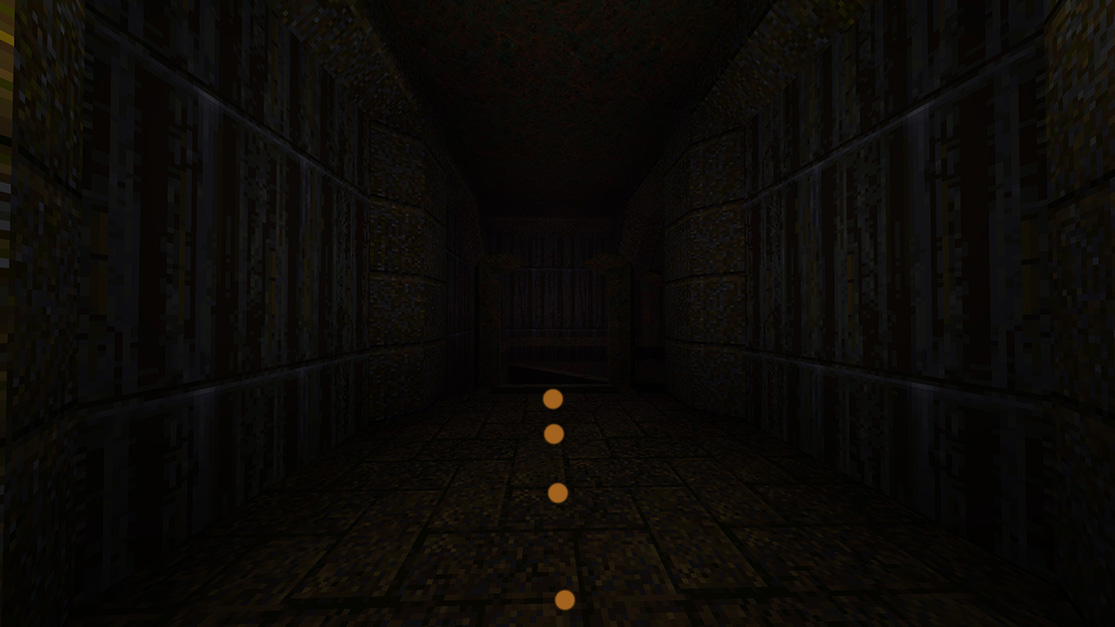
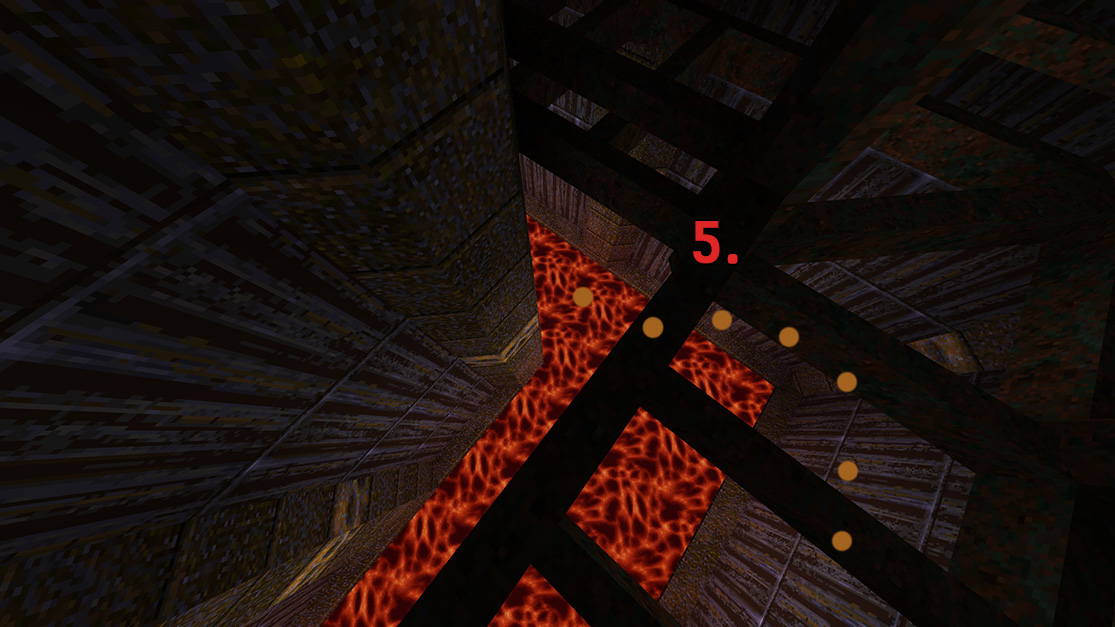
 On this metal walkway, the first turn to the right, if you look down you will see lava. Jump down into the lava while still having the invulnerability on. Swim behind you. (basically underneath where you just jumped down). There you will find a door has opened and you will see a Megahealth.
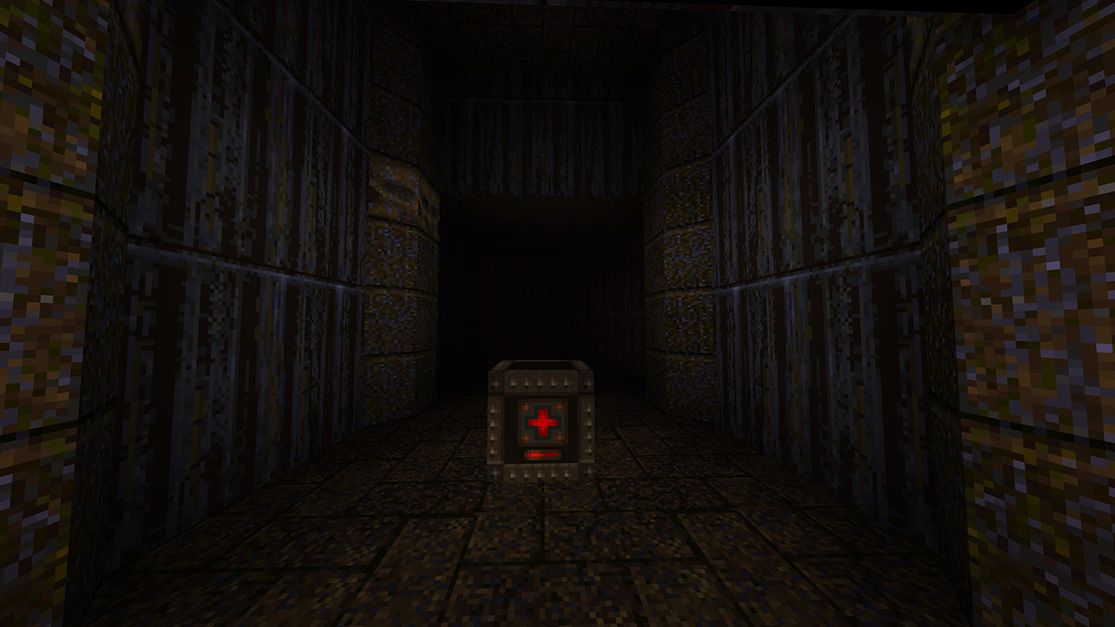
The Levelord is impressed!
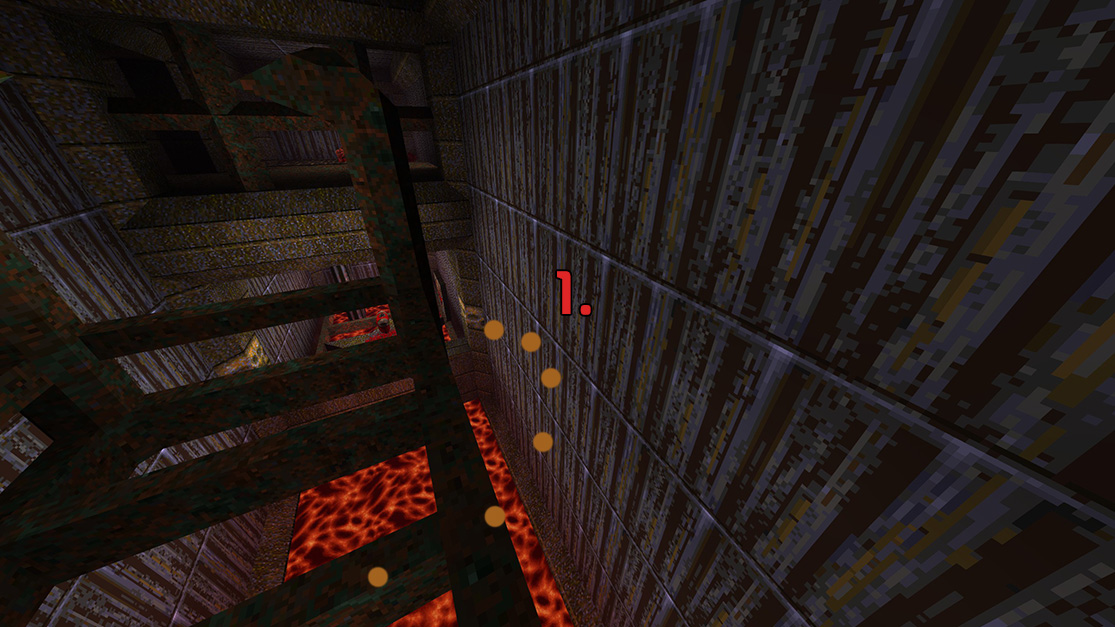 We are going to run to the edge of the metal walkway and jump up on the railing. Here we are going to strafe jump around over the lava and onto the little platform you can see with the Red Armor. If you don't know how to strafe jump you can technically do it by just jumping and turning a bit, I would quicksave first if you don't know how.
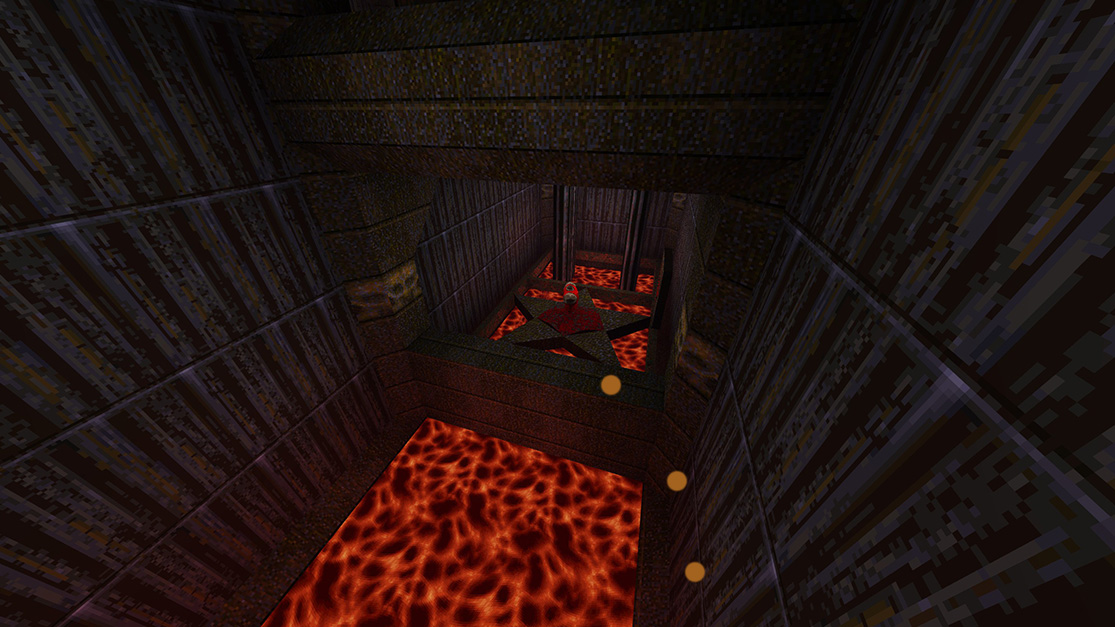
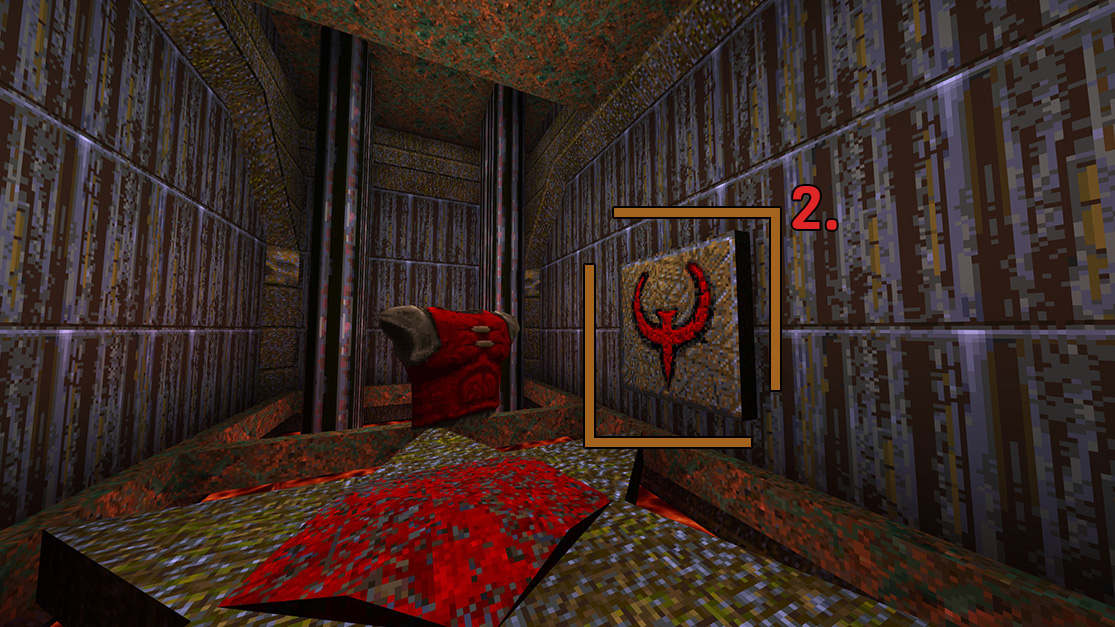 When you land where the Red Armor is, run into the button on the wall to trigger an elevator. Going up you will find a Laser Cannon, Shells, and and Nails as well. In the dark room you can see a faint door, run to it and it will open which triggers the secret.
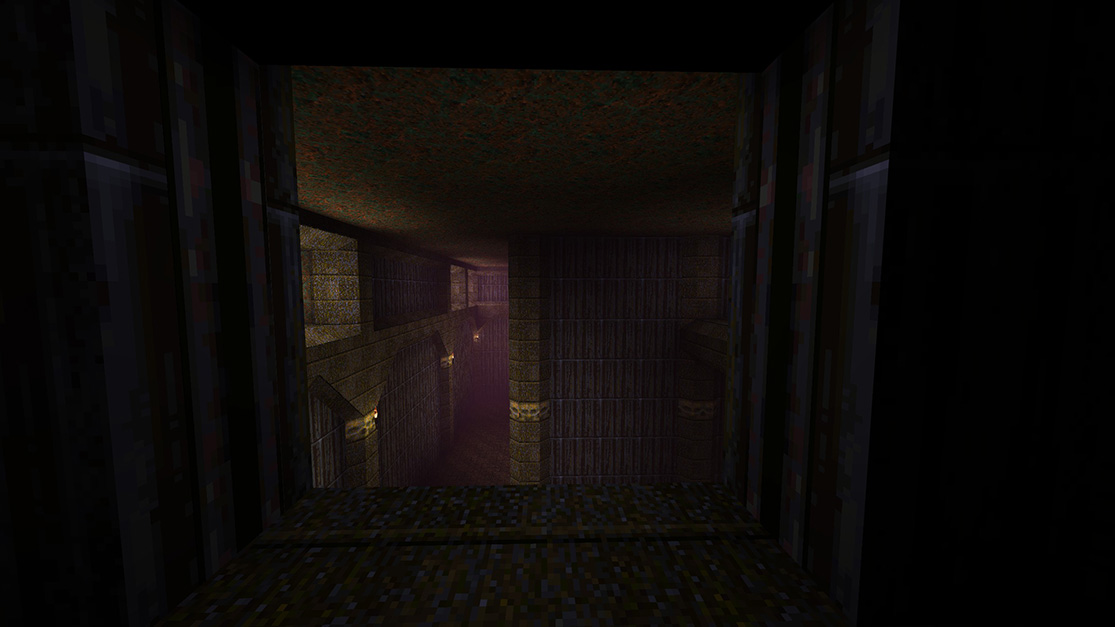
Bonus: Jump down and to the right and it will have a jump pad in the corner to get the silver key.
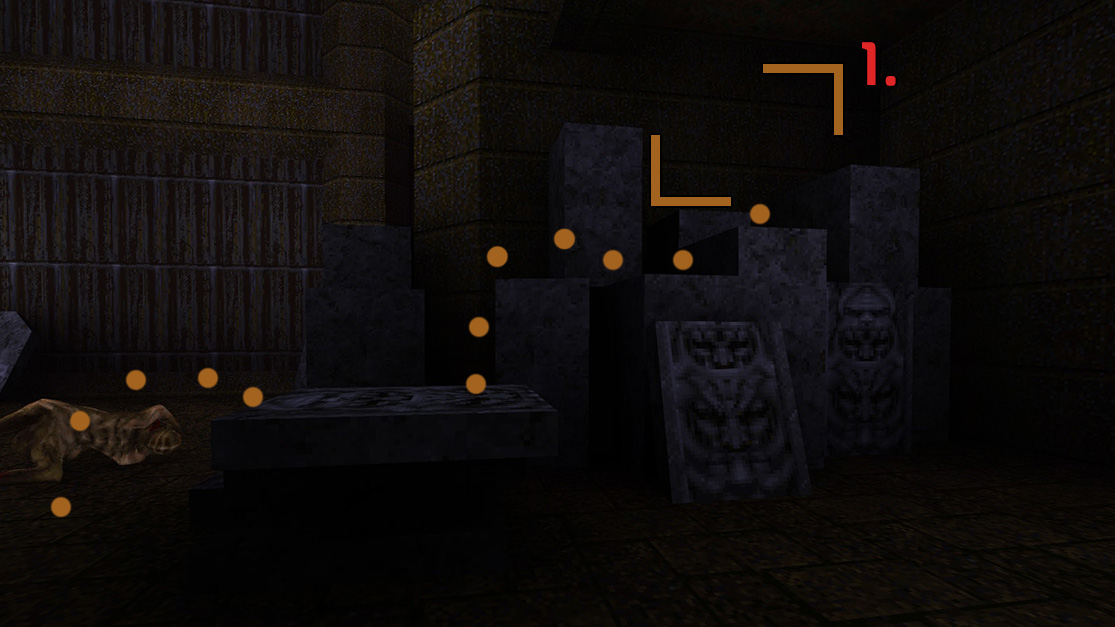 In a corner there is a stack of tombstones making stairs, climb to the top and run to the wall. It will open and reveal an Empathy Shield.
HIP2M5: Mortum's Keep
Mortum's Keep is the fifth and final level of Dominion of Darkness. Most of the level takes place within a castle, yet there are also some outdoor areas and flooded Zombie-infested tunnels. There is a large power generator at the end of the level, which must be shut down by the player, in order to foil the enemy plans.
There are 6 total secrets in Mortum's Keep and an Achievement for completing this episode.
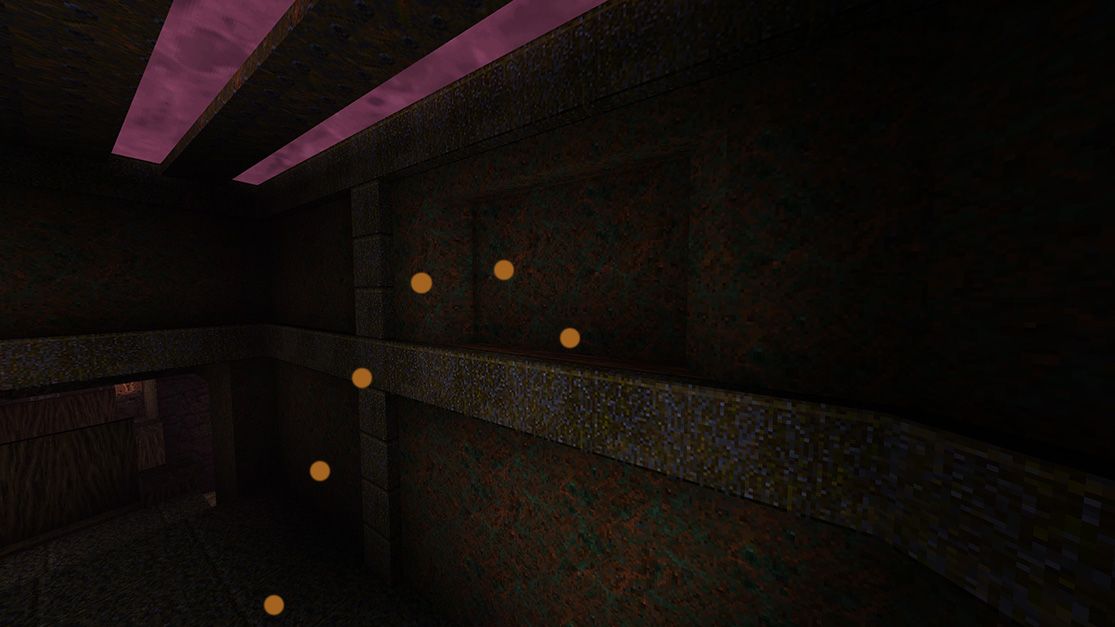
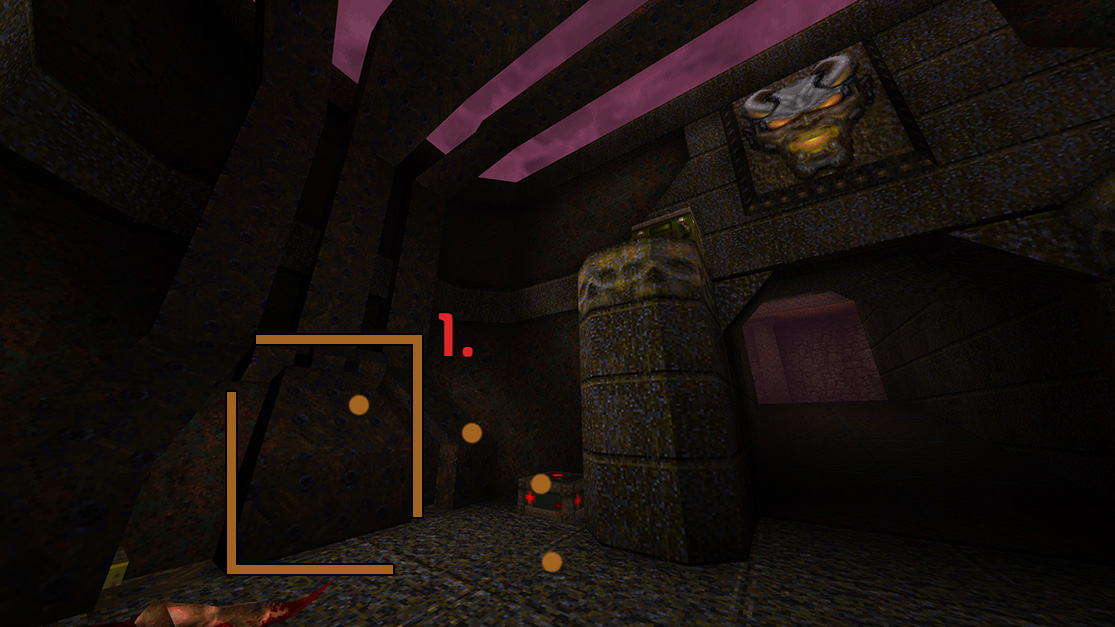 When you come to the first room, look to your right. There is a strange grate over some water. Stand on the center part of the grate and turn around.
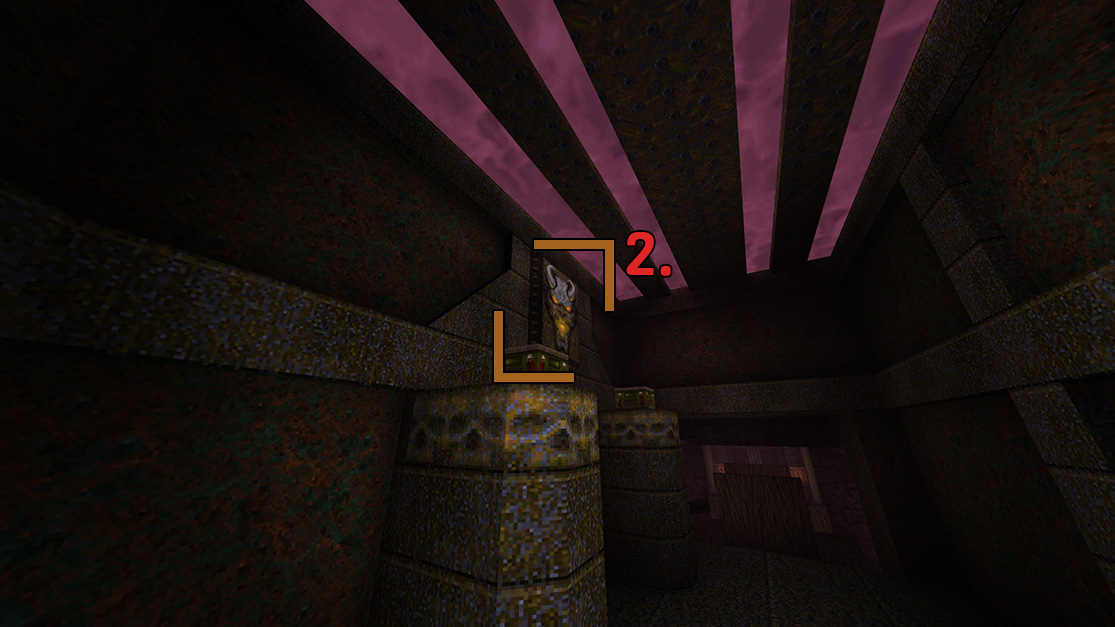 Shoot this face above the entrance, which will cause that sewer grate to elevate upwards. From here, turn to your right and see a wall that is different from the rest of the wall. Jump across to it.
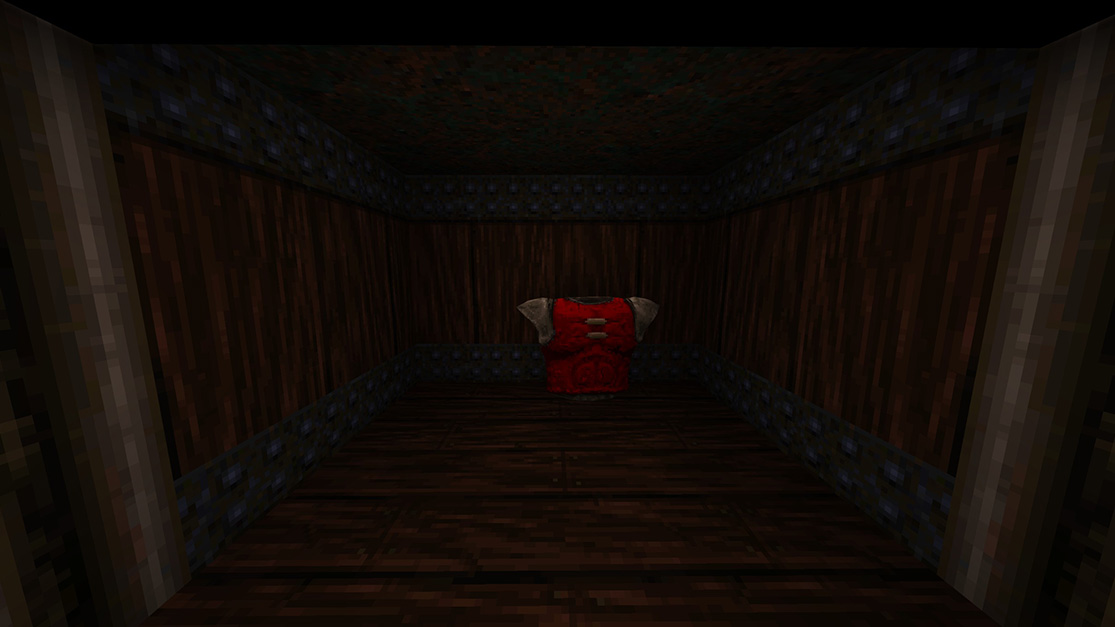
You will be presented with a Red Armor. From here you can jump across to the face and get the Cell ammo if you'd like.
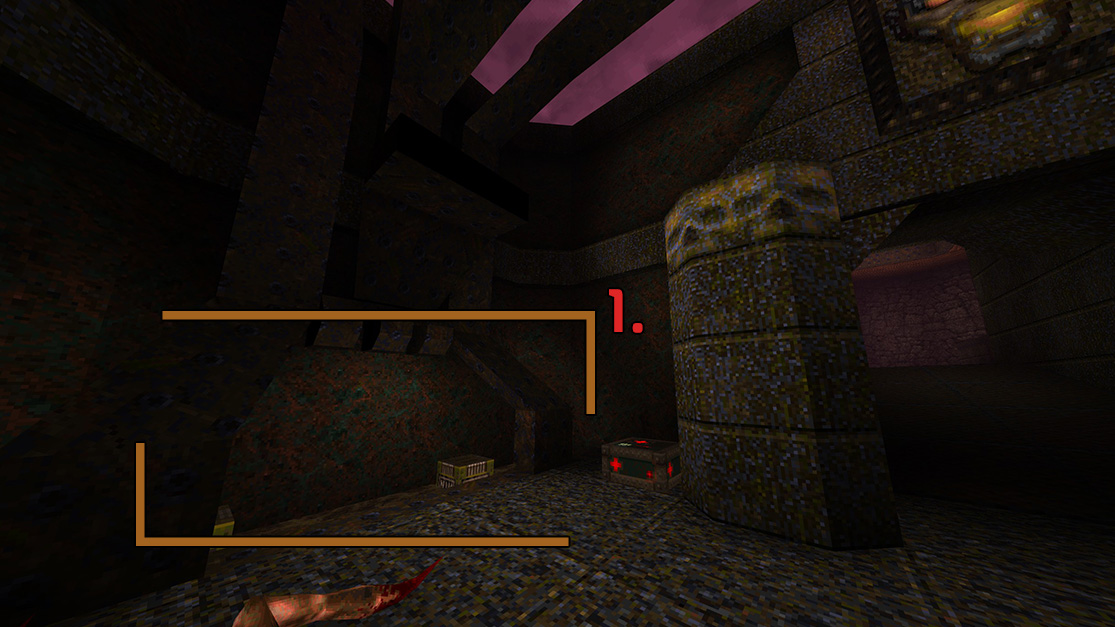 Run underneath the grate and into the small watered area, where you will find some Nails.
I advise to ignore the bridge on the other side of this room for now, but you can enter it and the water if you'd like. There are no secrets down this way and we will come back here later.
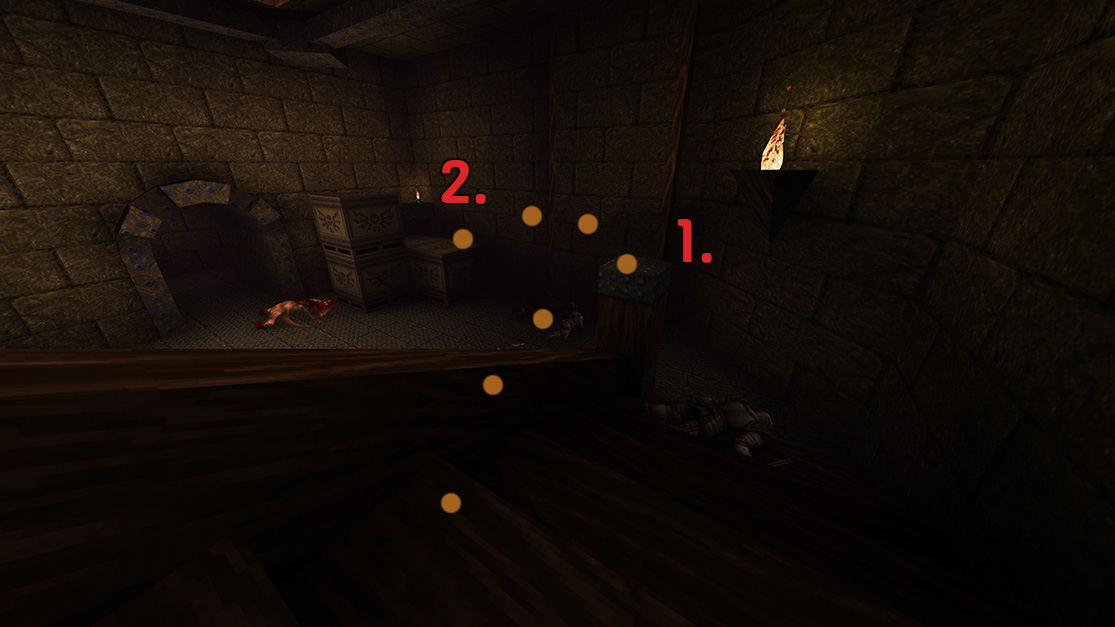 On the staircase, turn around and jump on the railing, and then turn to the left to see the boxes in the corner.
Jump across to the boxes.
On the staircase, turn around and jump on the railing, and then turn to the left to see the boxes in the corner.
Jump across to the boxes.
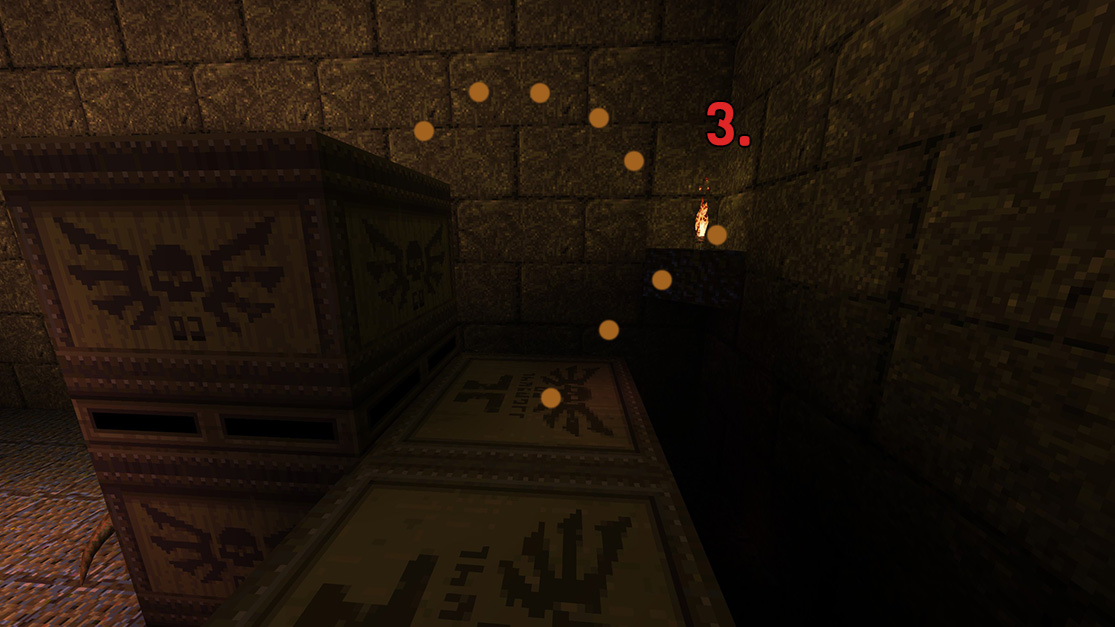 Jump on the torch holder in the corner, then jump on top the box. Landing will trigger a portal behind you. Go through the portal and find a Quad Damage.
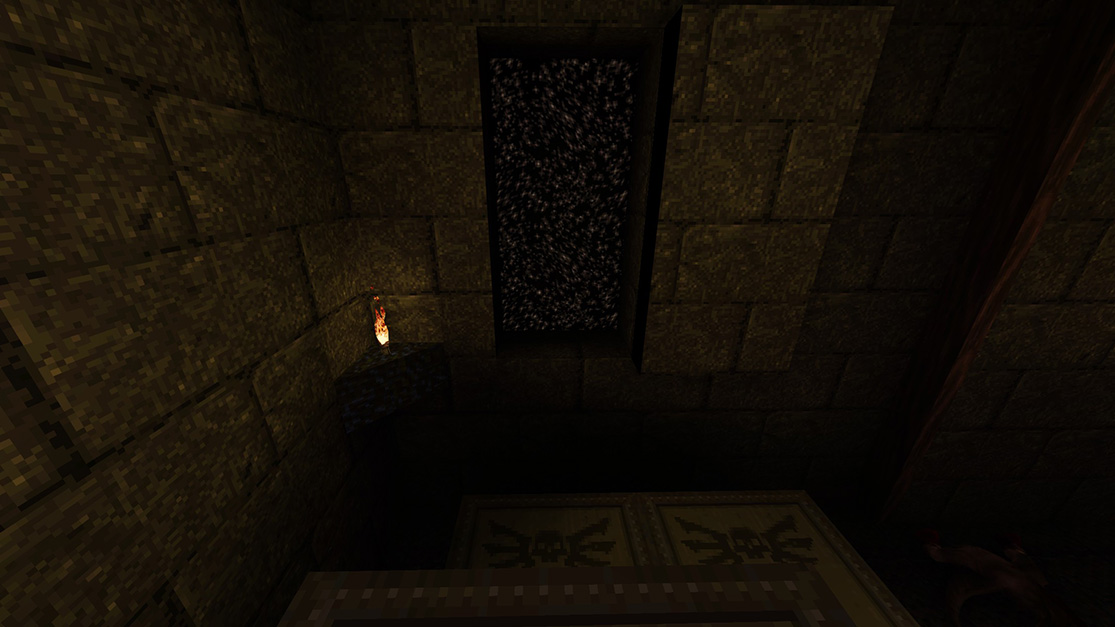
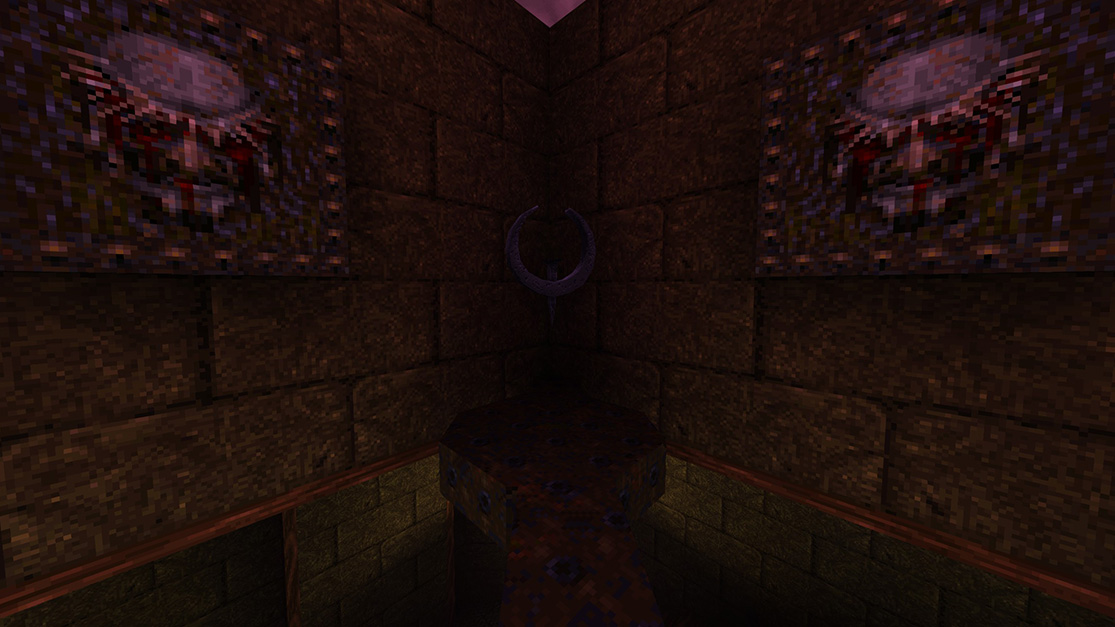
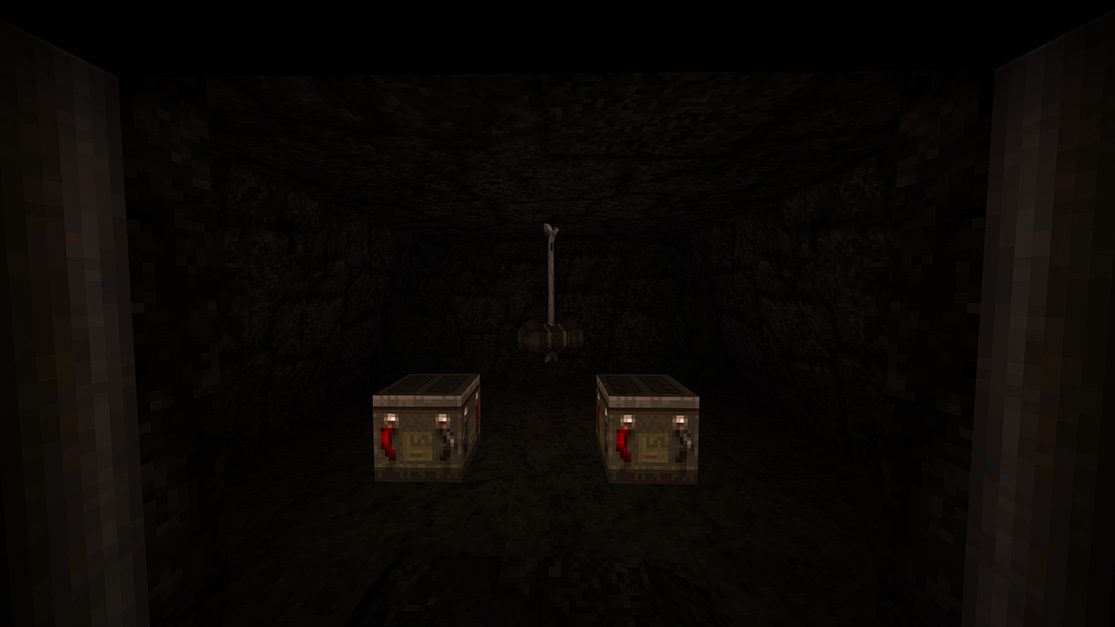
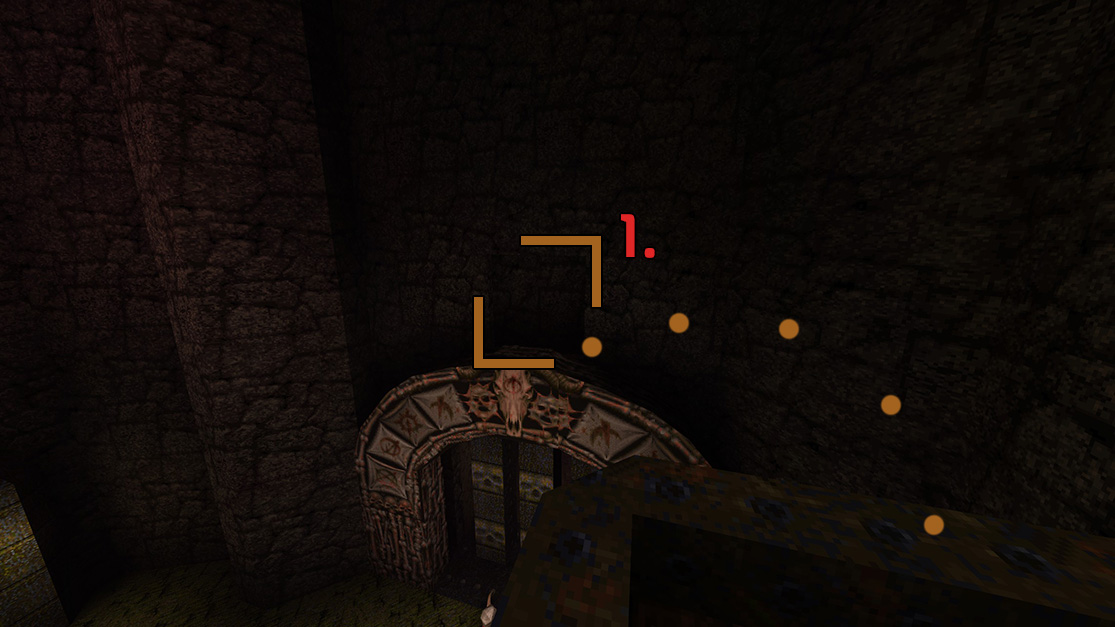 When on the balcony outdoors (above your spawn), jump across on top of the spawn portal. Inside this secret door you will find a Mjolnir and some cells.
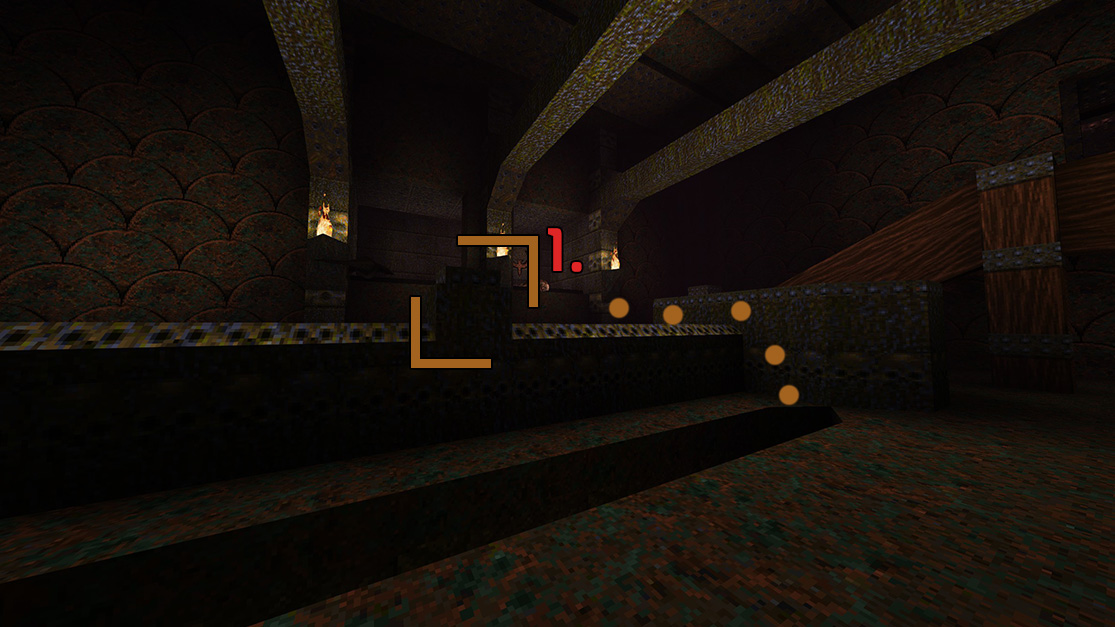 Jump on the centerpiece and find a button right in the middle that you can jump on. Jump on it.
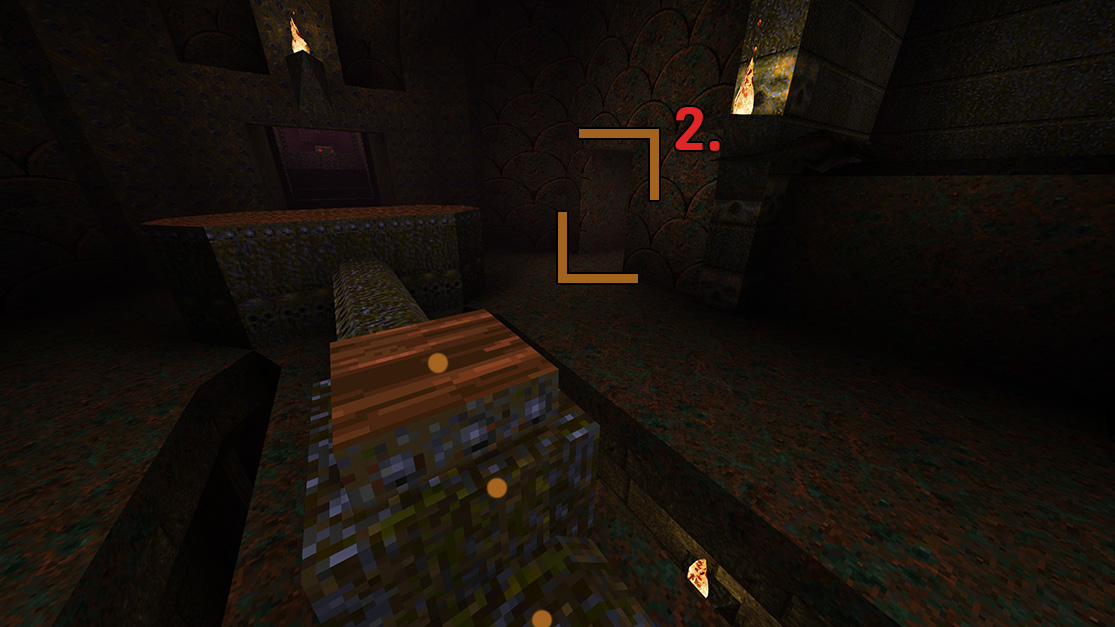 From the button you will see a door open in the wall further to the right in the room. Run to it and you will find a Megahealth waiting for you.
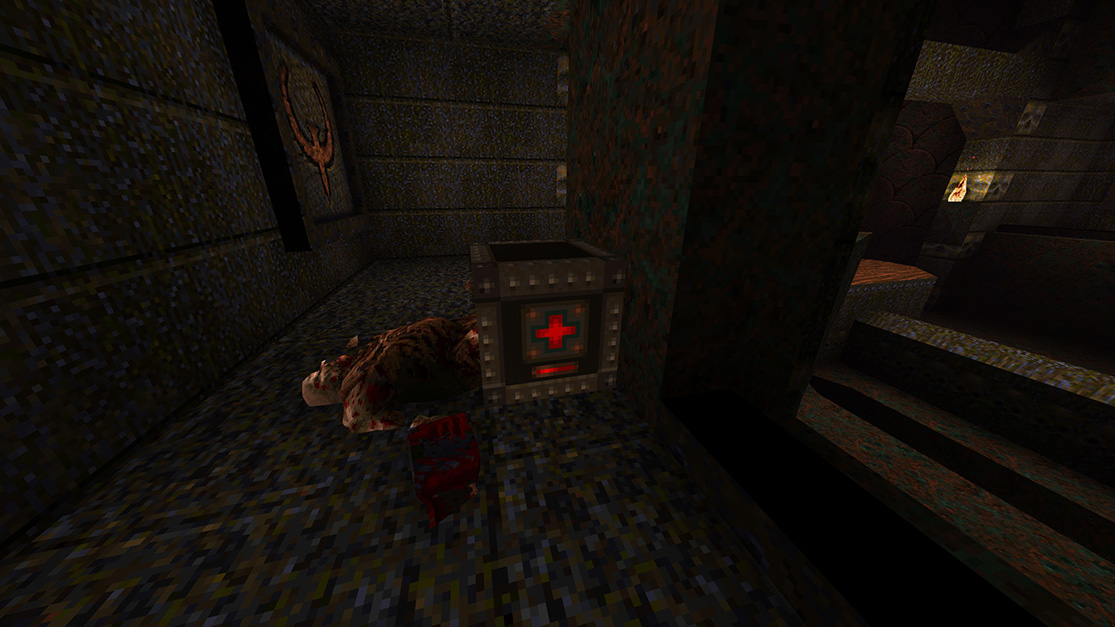
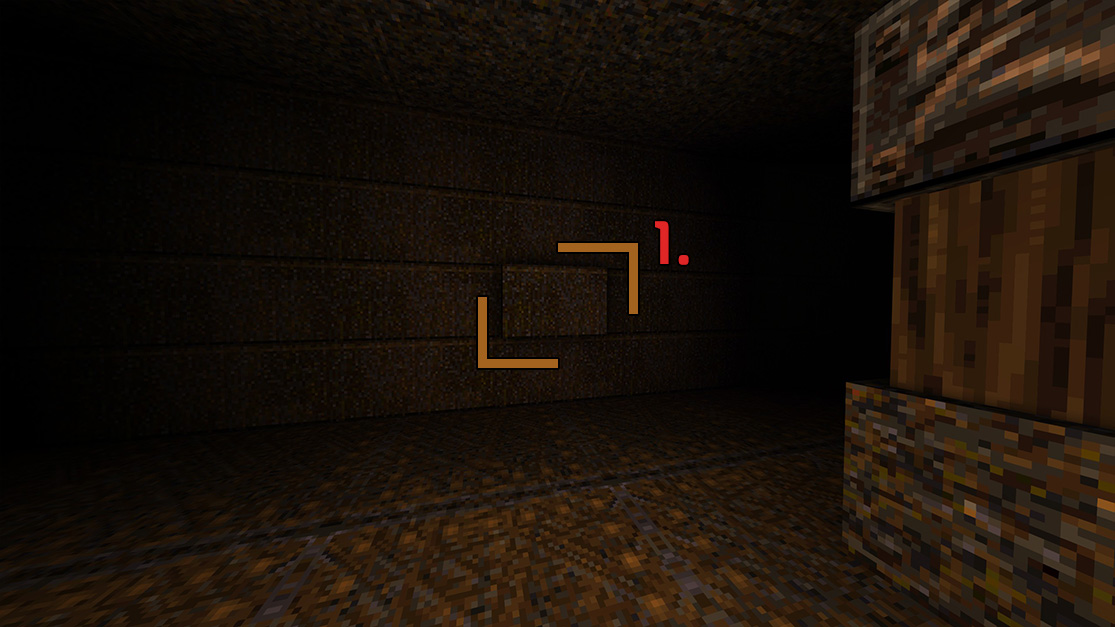 In this room on one of the walls underneath a walkway you will find a button sticking out. Run into it to trigger a door, and then look behind you on the opposite side of the room.
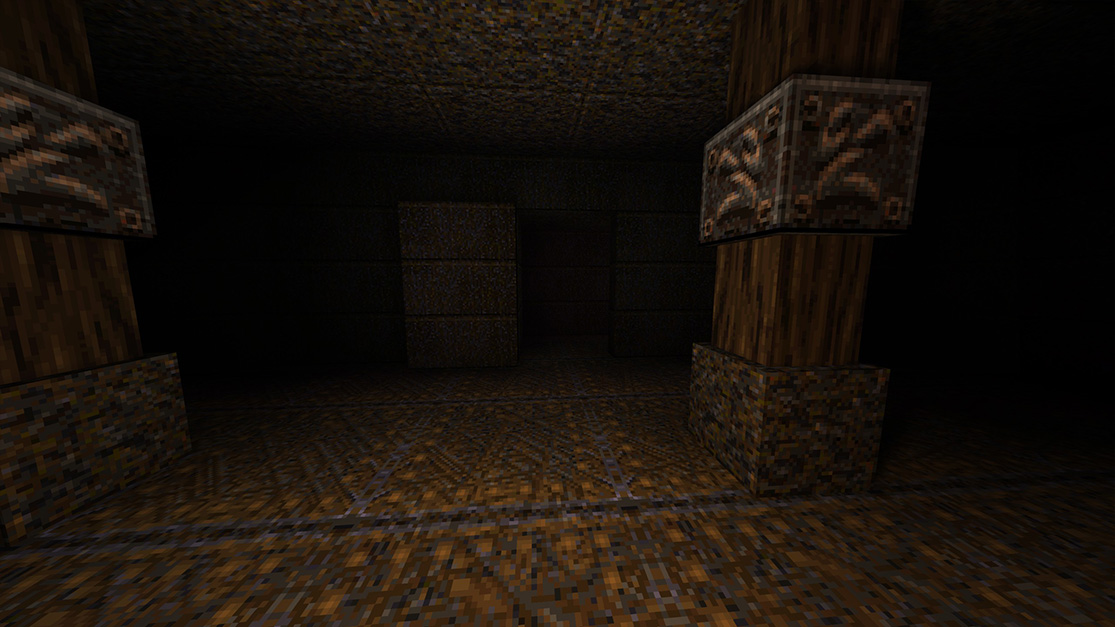
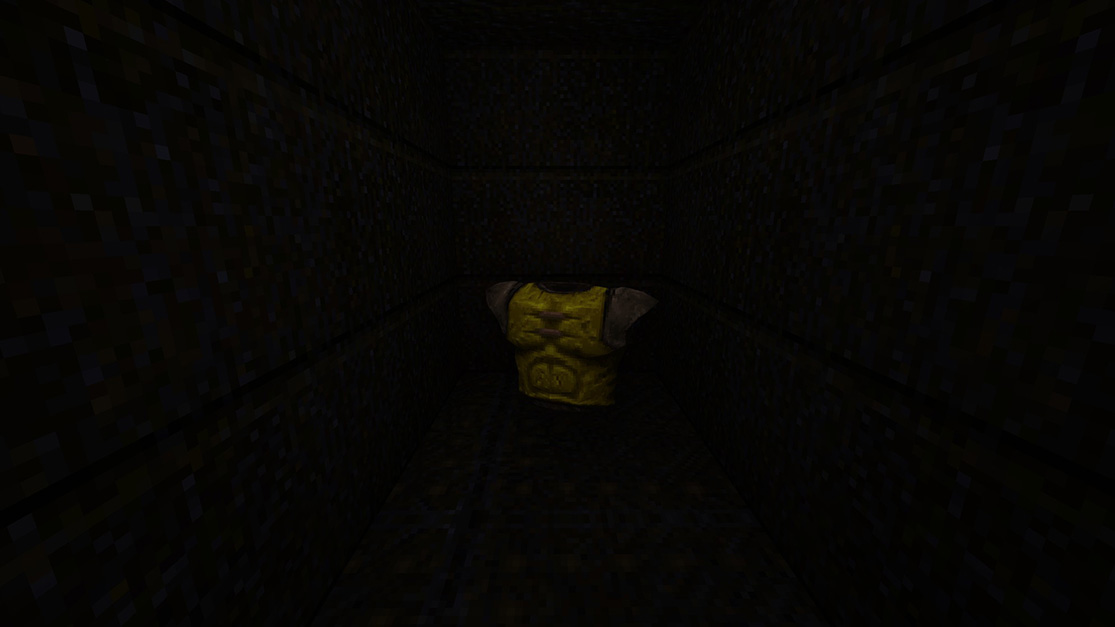
Run through said door and you will find your final secret, a Yellow Armor.
Finish the level to gain an achievement.
---- [Episode 3: The Rift]
The Rift is Episode 3 of Scourge of Armagon. The episode's style is almost entirely Runic with elements of Wizard. This is the player's final journey towards the battle with Armagon.
There is a total of 21 secrets and four Achievements during Episode 3, The Rift.
You will only get three Achievements if you are not playing on Nightmare.
HIP3M1: Tur Torment
Tur Torment is the first level of The Rift. Its main features are a large outdoor area with a tram-like contraption, a tower-like structure, and a number of large spacious hallways. Outside the main structure is a lake of Slime infested with Zombies. This level is also notable in which collecting the Horn of Conjuring will summon a Shambler.
There are 6 total secrets in Tur Torment, as well as one Achievement.
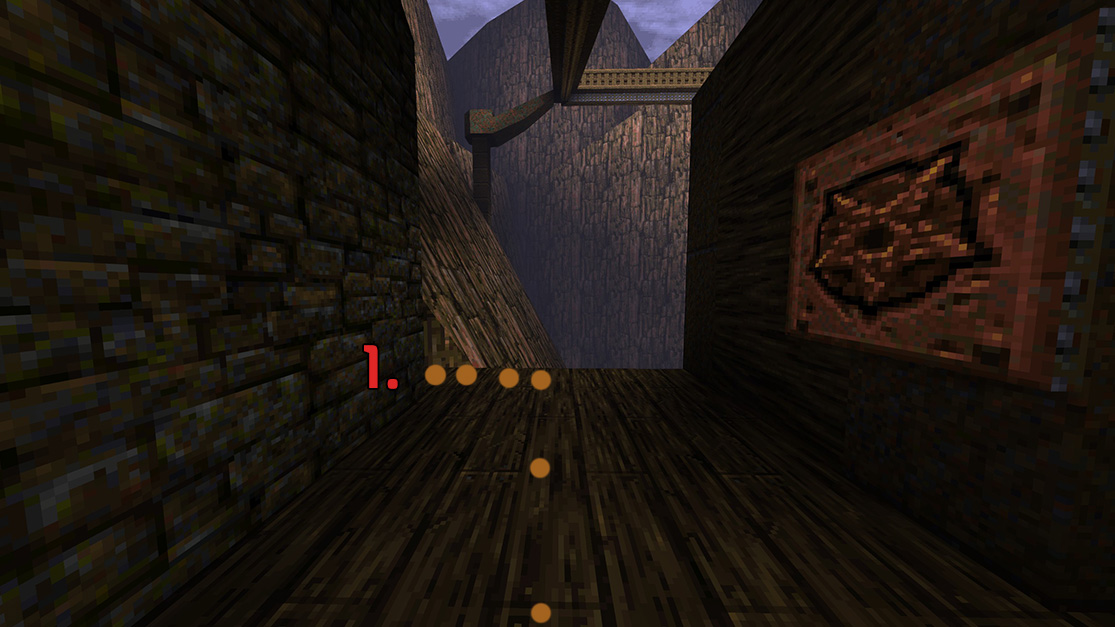 At this edge waiting for the lift to come down, turn to the left.
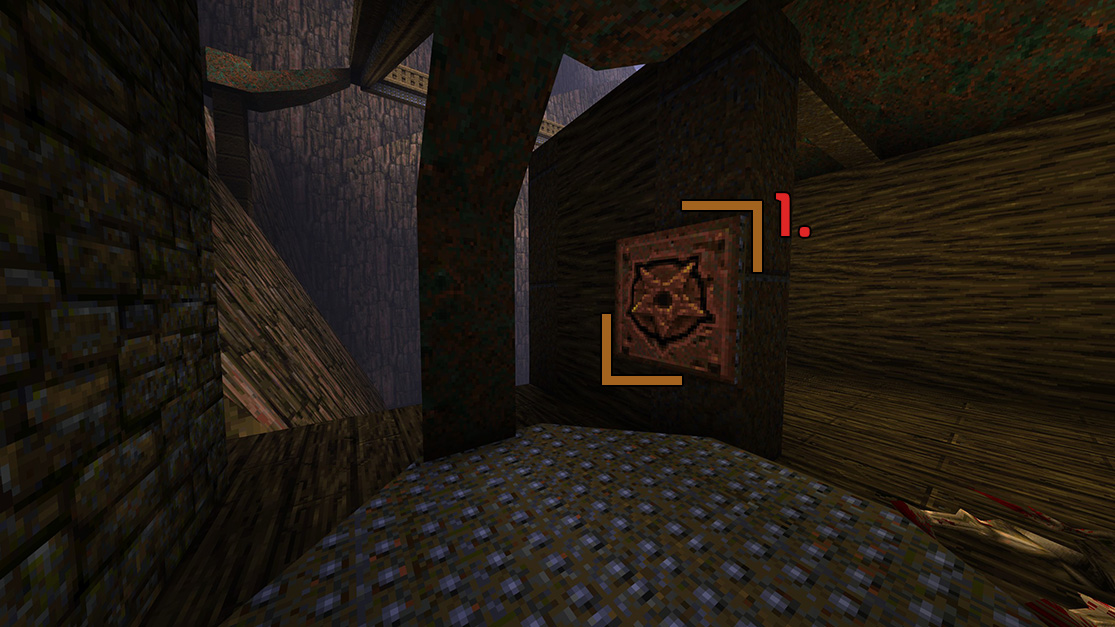
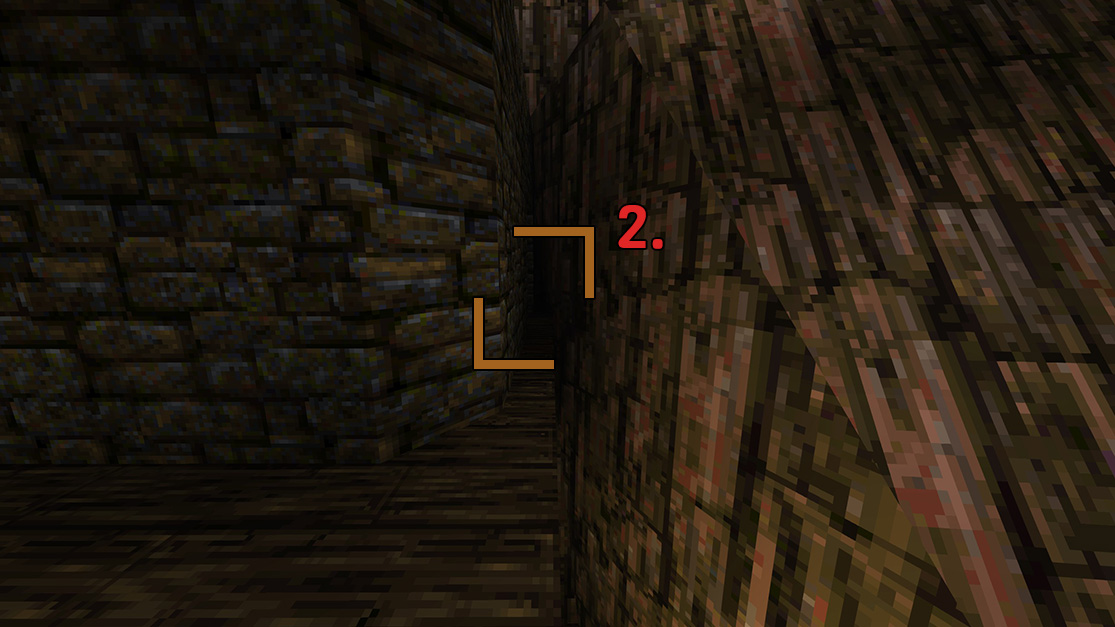 Further down this small ledge you will find a wall that will open and it will reward you with some Rockets.
 Hit the button to make the lift start moving along the track.
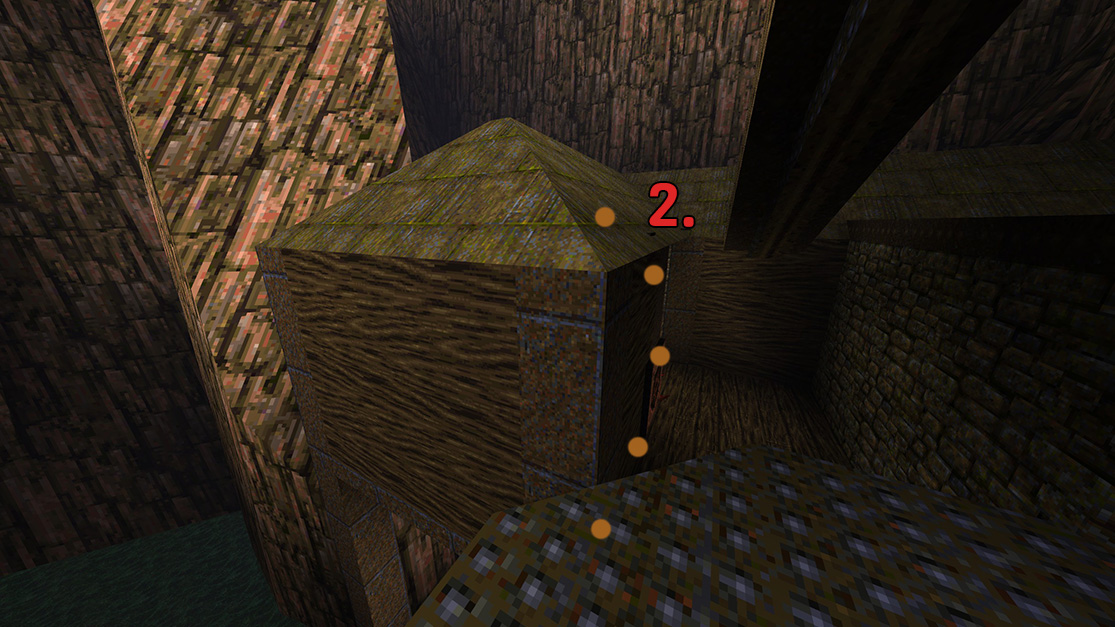 Turning around, you will see a rooftop. Jump across to it.
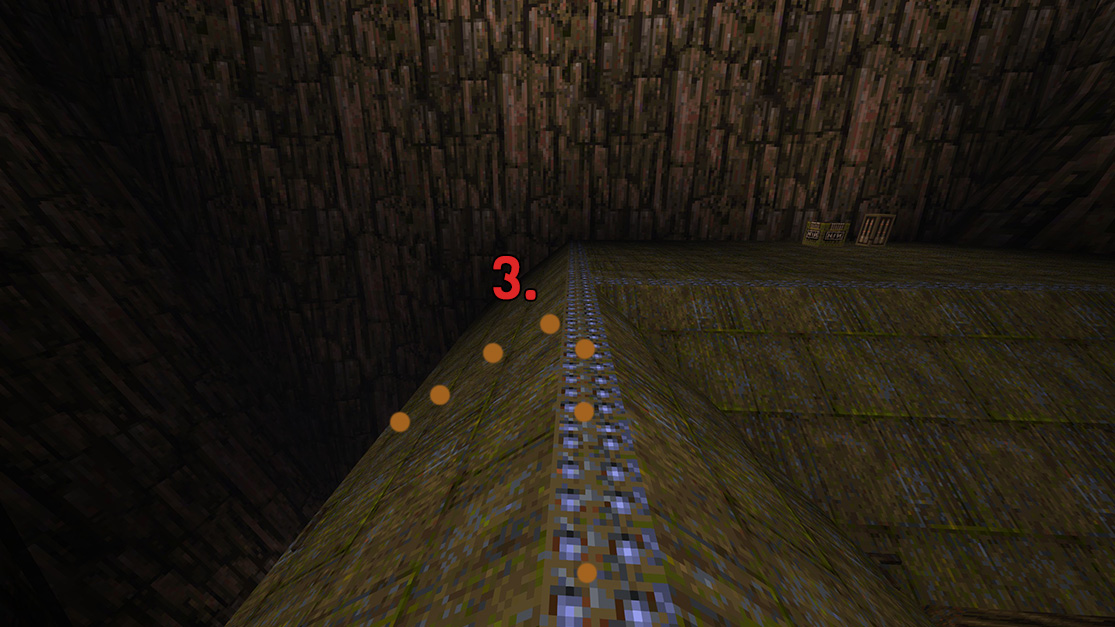 On this roof you can find some ammo, but our secret is down the side of the roof. You have to walk to the edge and jump off, to be presented with a Megahealth.
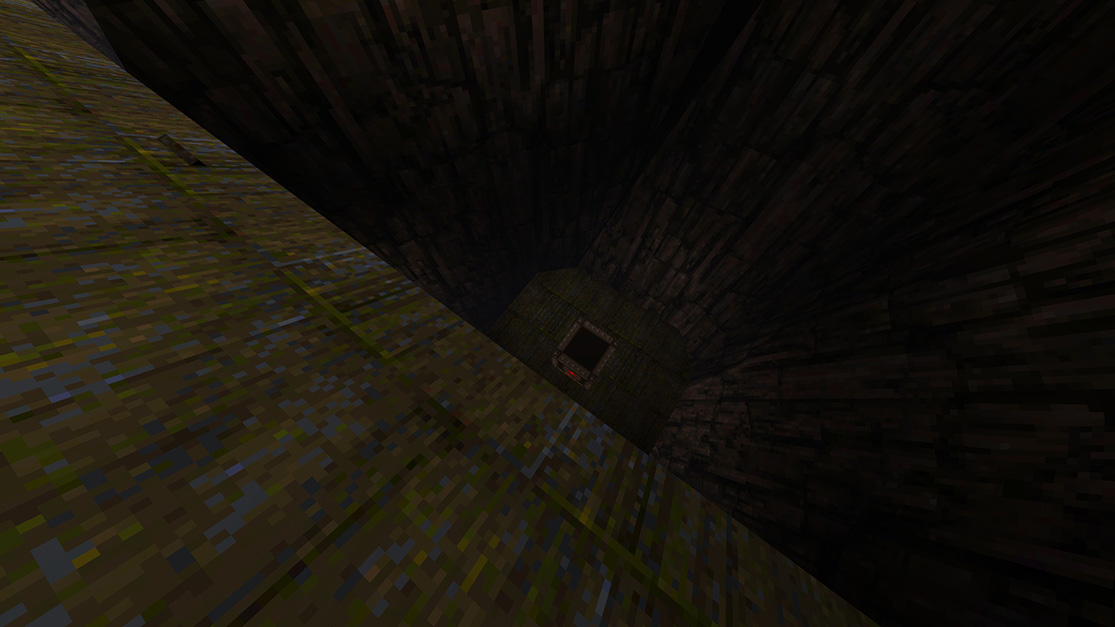
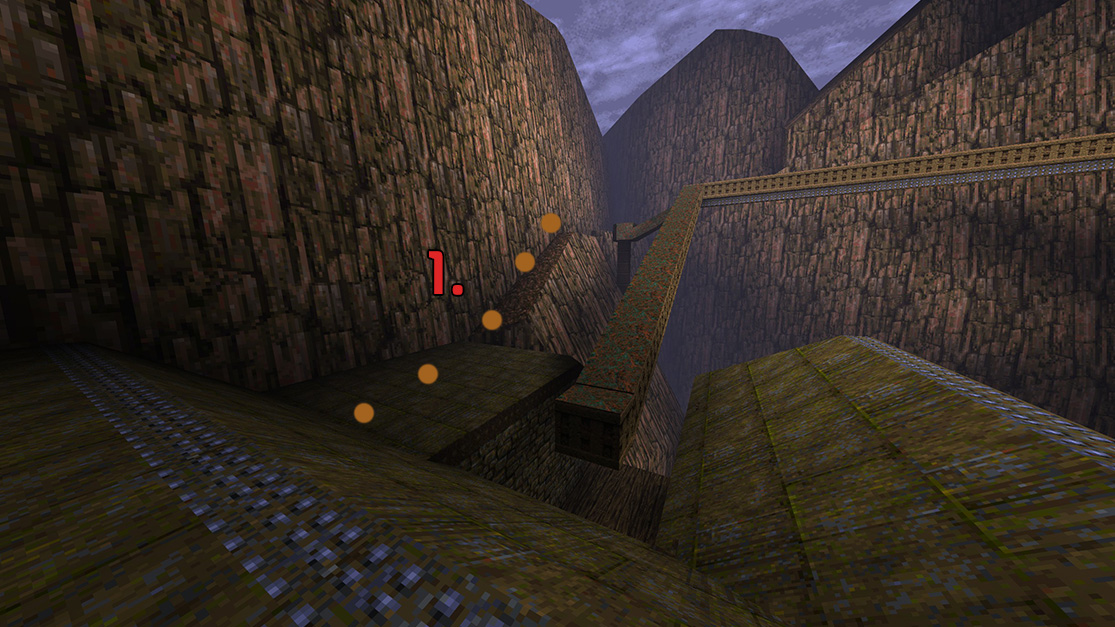 On the same roof from the last secret, if you follow the wall going towards the direction that the lift would take you, there is a small pathway. Run up to it until you get to a gap.
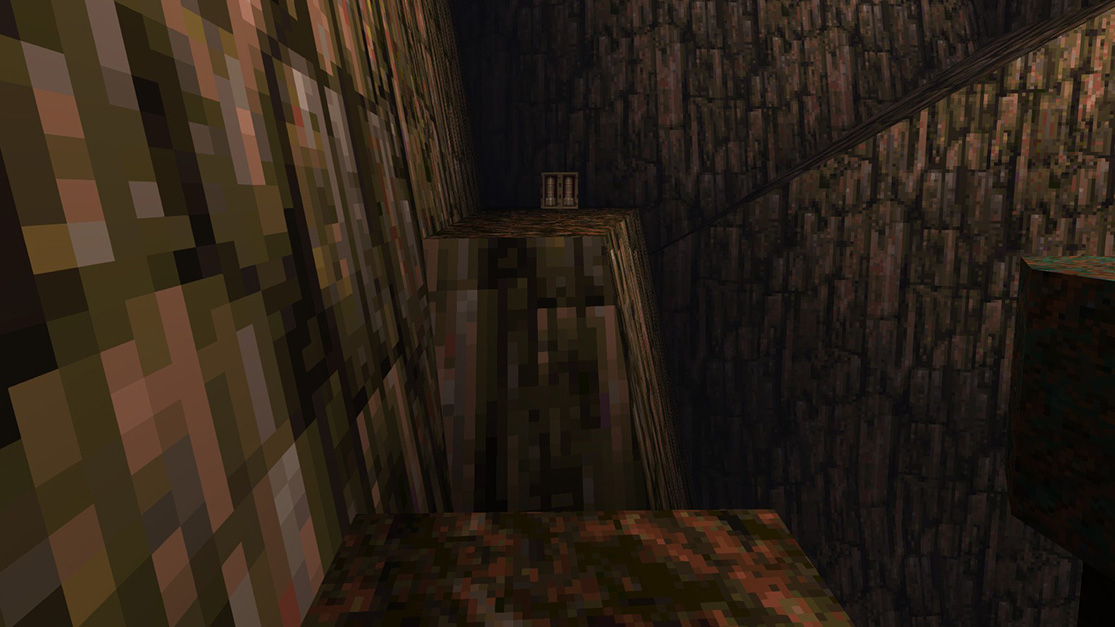
Jump across the gap and here you will be presented with your secret AND some rockets.
>>From here we can get to the Achievement area as well.<<
 From the spot you just got Secret 3 of 6 at, look to your right to find yet another pathway leading up the wall. You will come to an area that has a very small lip you can just barely walk around. Follow the lip around and up and you will come to our achievement and a secret message!

 Look above the grate in the floor to find a button on the ceiling, shoot at it. This will open up a wall on the floor underneath you (it is very noticable) where our secret lies, a Ring of Shadows. Jump across from the stairs to obtain it.
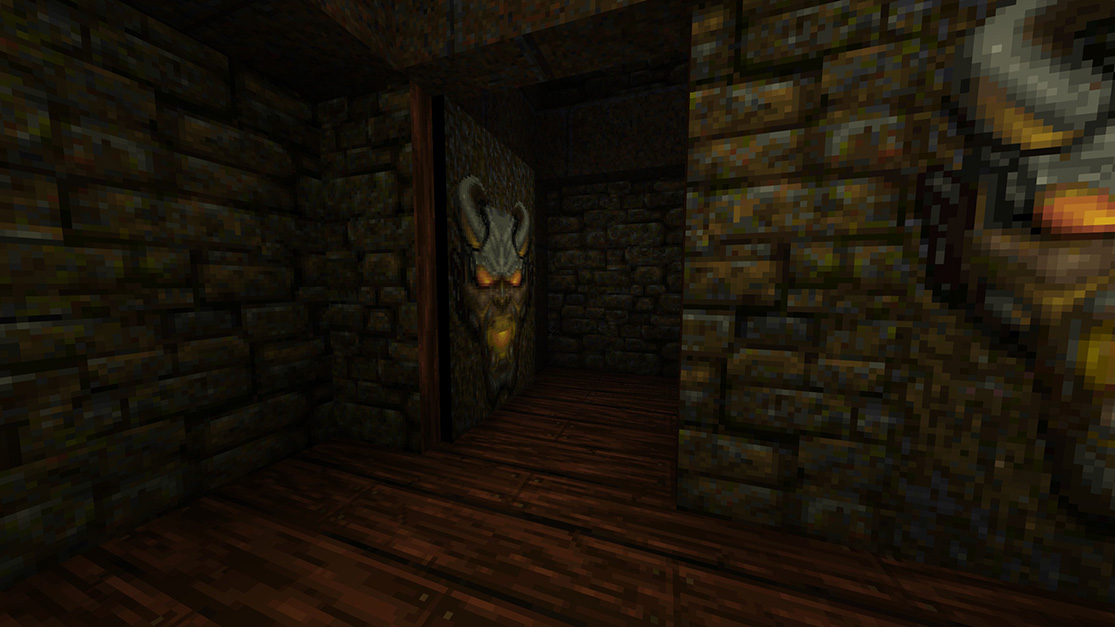
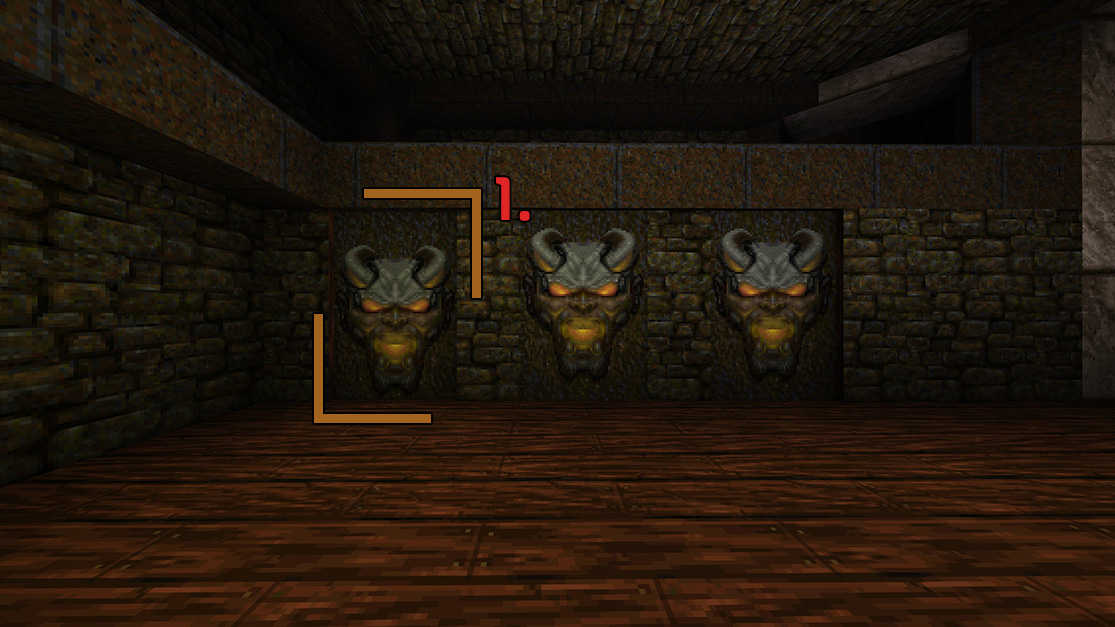 The furthest left face will open if you run into it, revealing a door. Take the door up the stairs and find a Quad Damage.
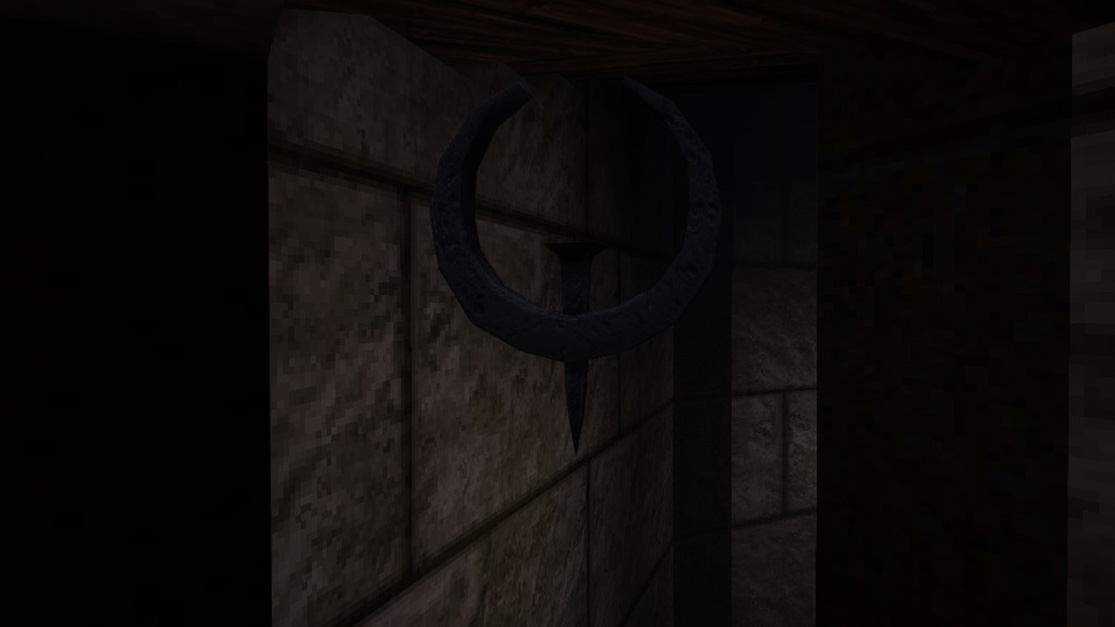
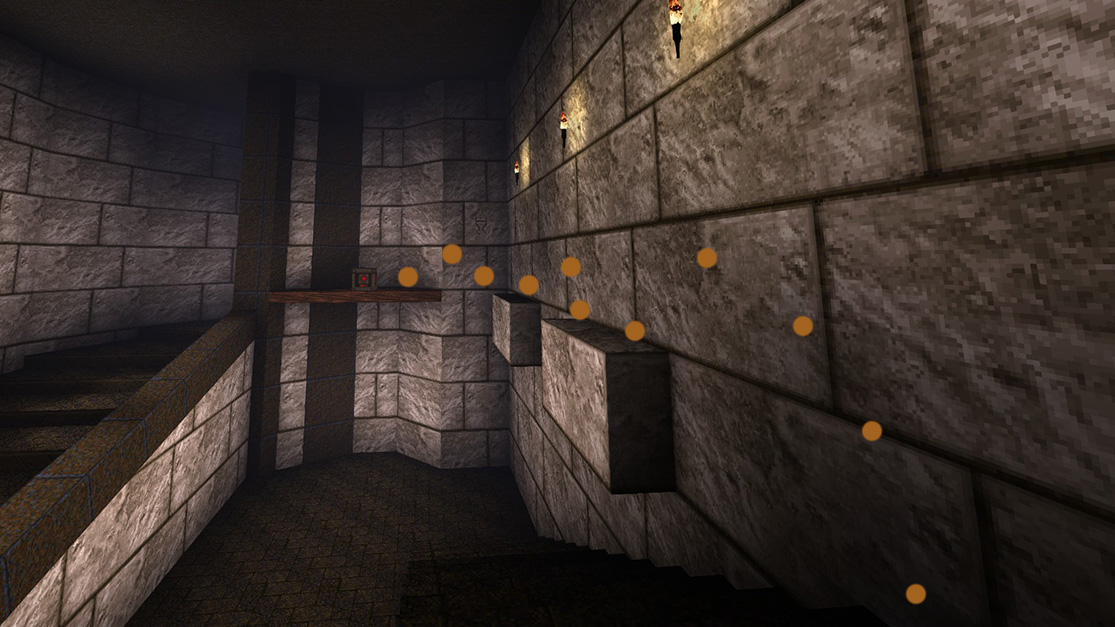
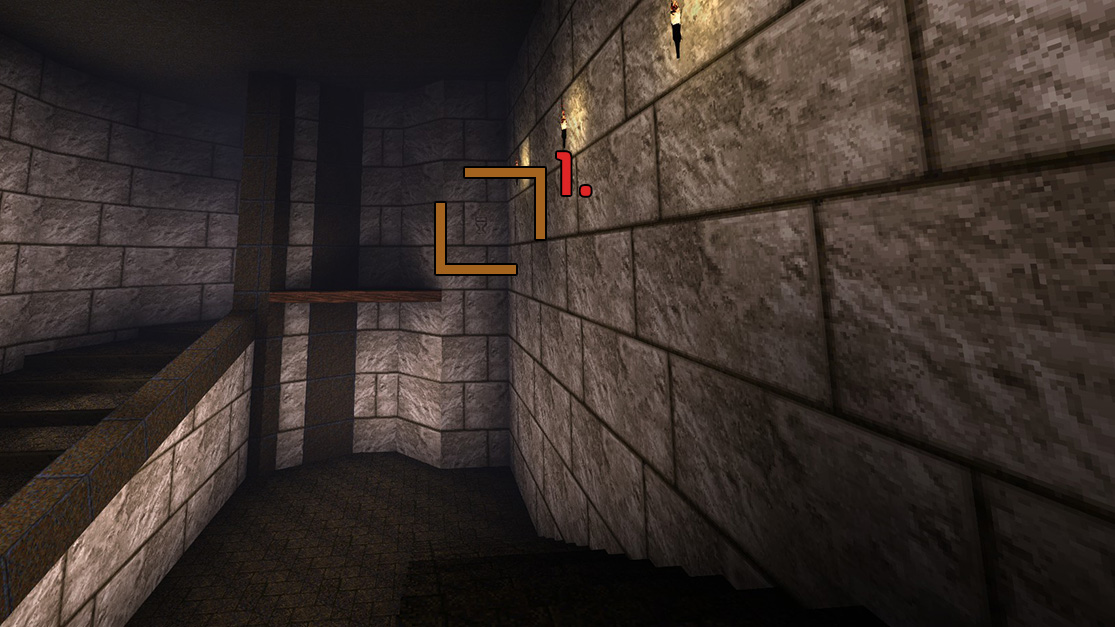 When entering this room with the two large sets of stairs, if you look all the way to the wall opposite side of you, you will find a little cup symbol in a brick. Shoot at it, this will cause a pathway that you can jump across to open up and you can pick up a Megahealth.
HIP3M2: Pandemonium
Pandemonium is the second level of The Rift. It is a dark and dangerous place, populated by numerous monsters and riddled with pools of lava. The level is very similar in style to the maps in The Netherworld from Quake.
There are 5 total secrets in Pandemonium.
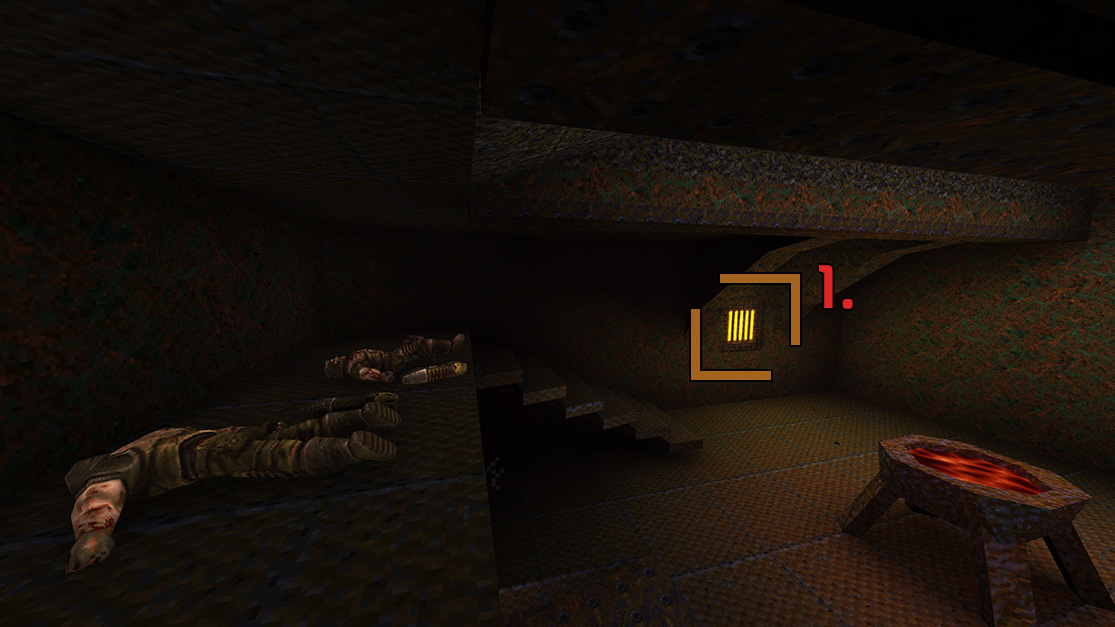 Turn and look on the left wall for a yellow little window-light. Shoot at it. Behind you a wall will open for a limited amount of time and offer you a Nail Gun.
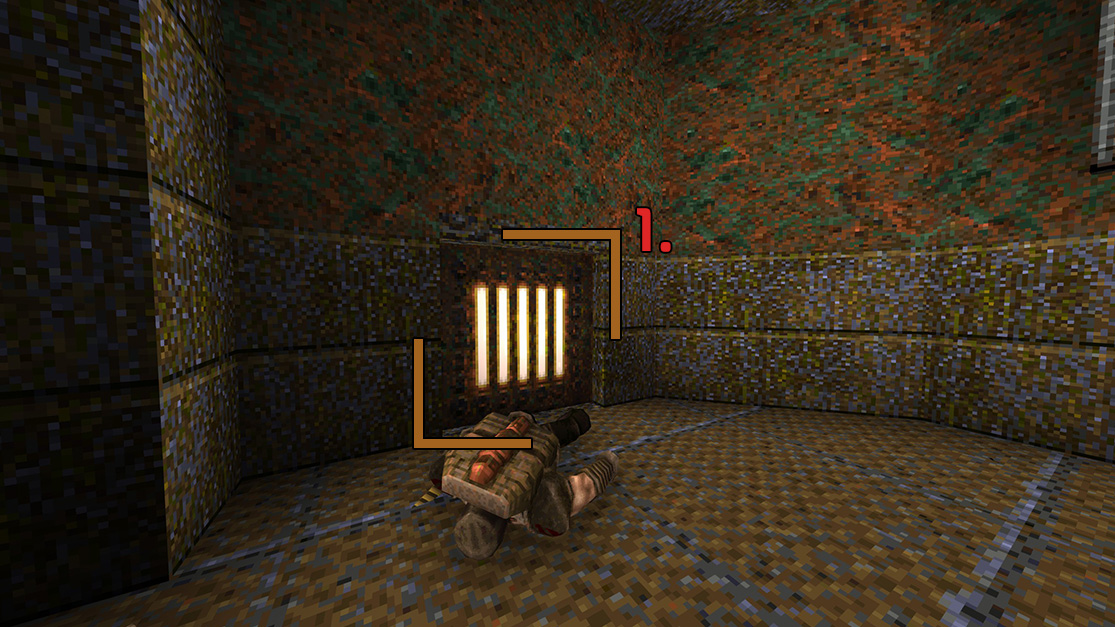 You will see this glowing panel to your left. Shoot at it. It will open and reveal some Shells.
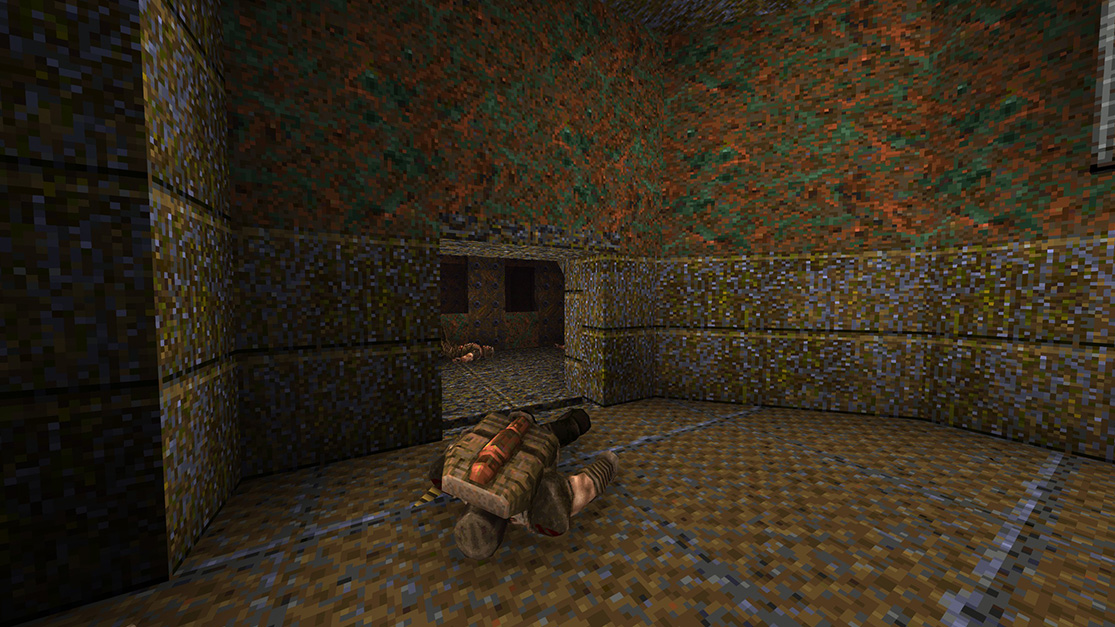
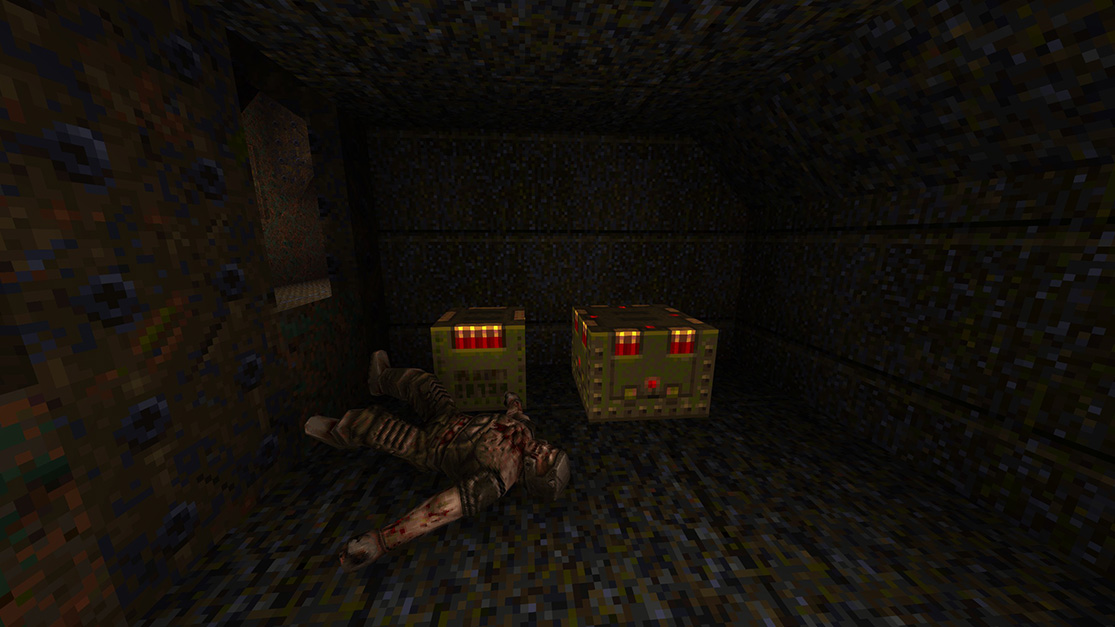
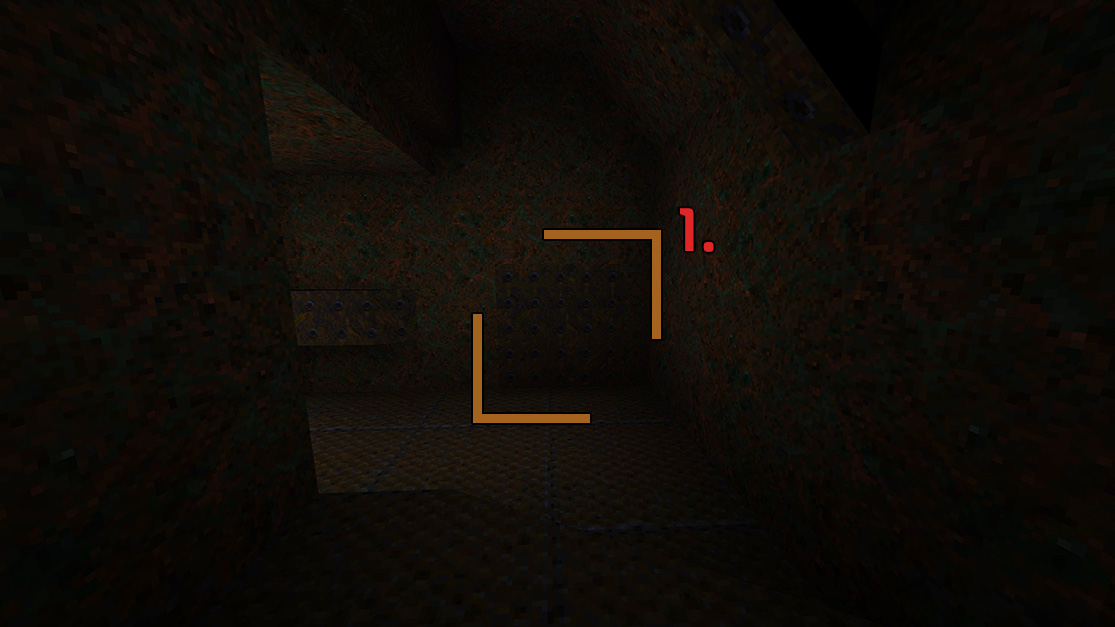 Shoot the metal texture on the wall, which will cause it to open and you will be rewarded with a Lightning Gun.
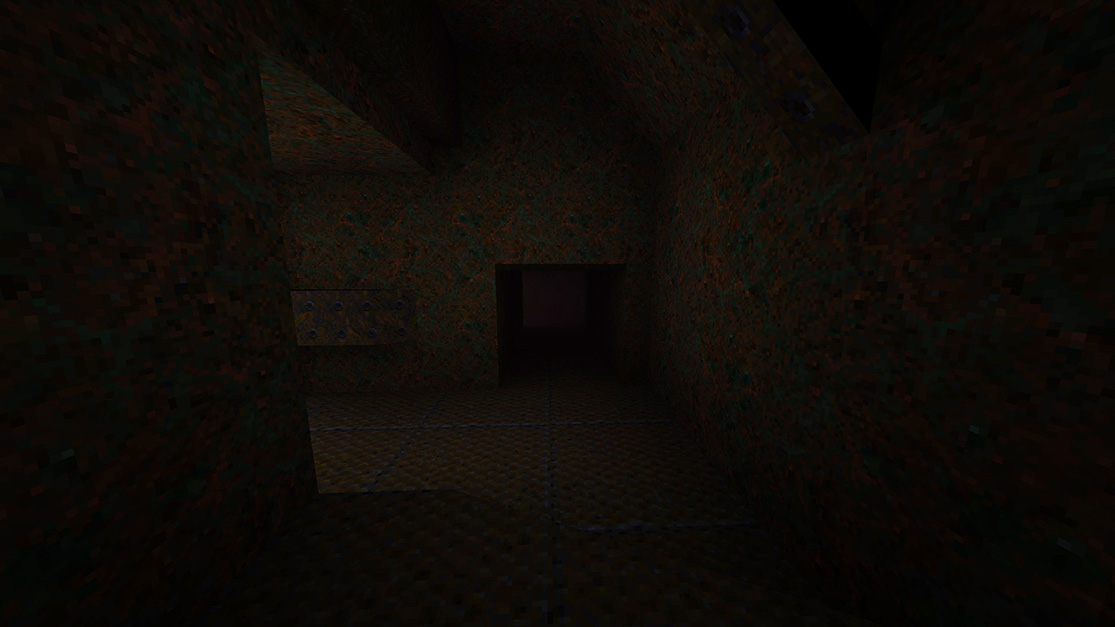
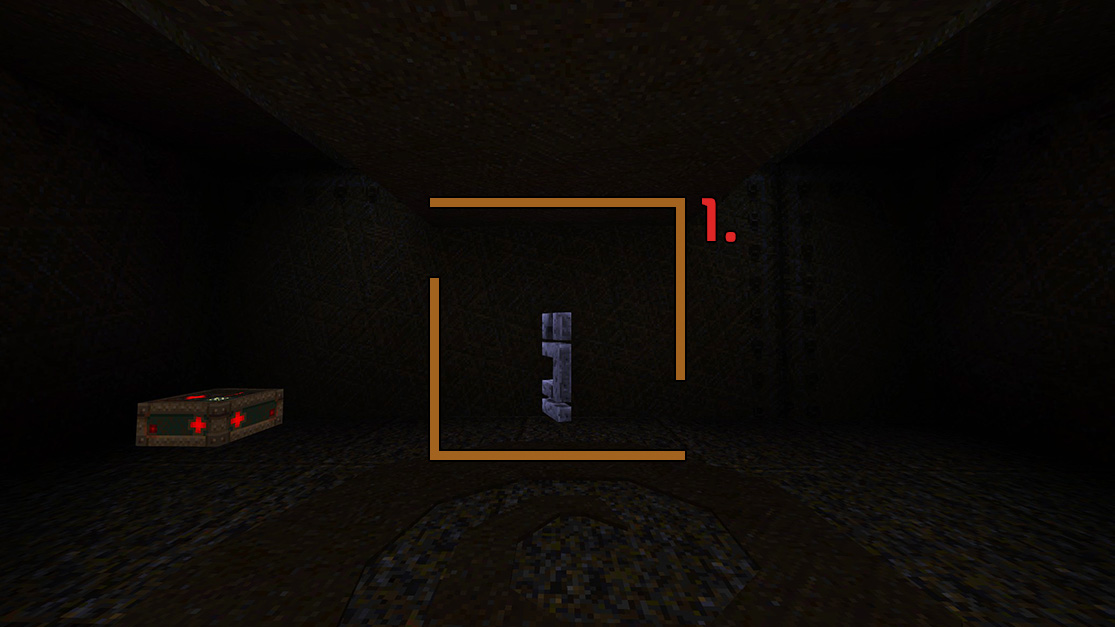 Directly behind the Silver Runekey there is a section of the wall that is shootable. Shoot it until it reveals a portal.
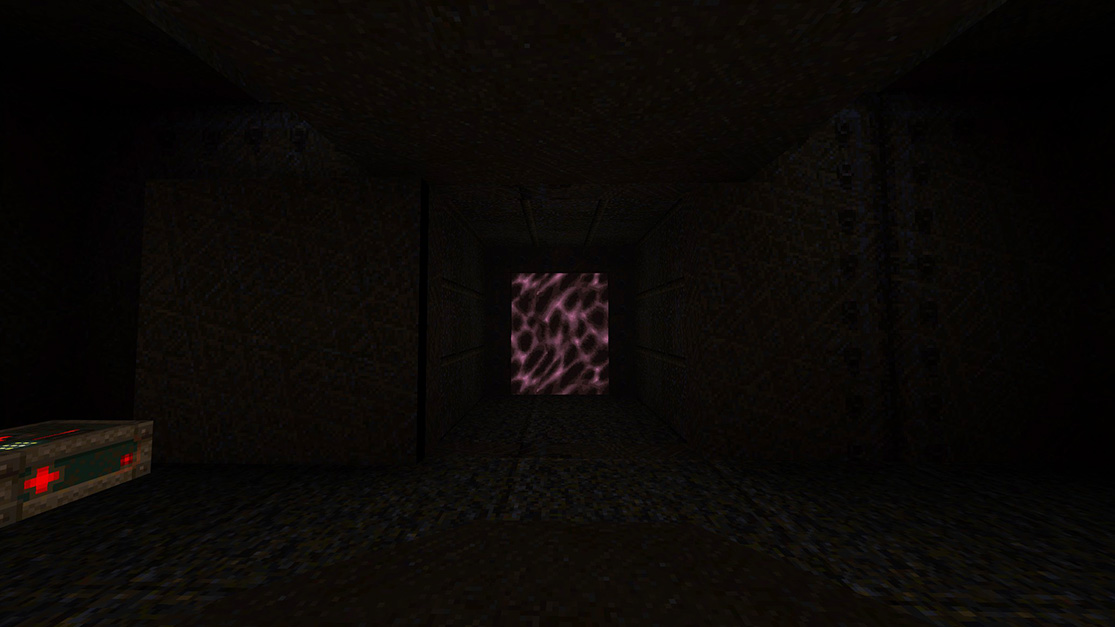
Take the portal to find some health, Rockets, and Cells.
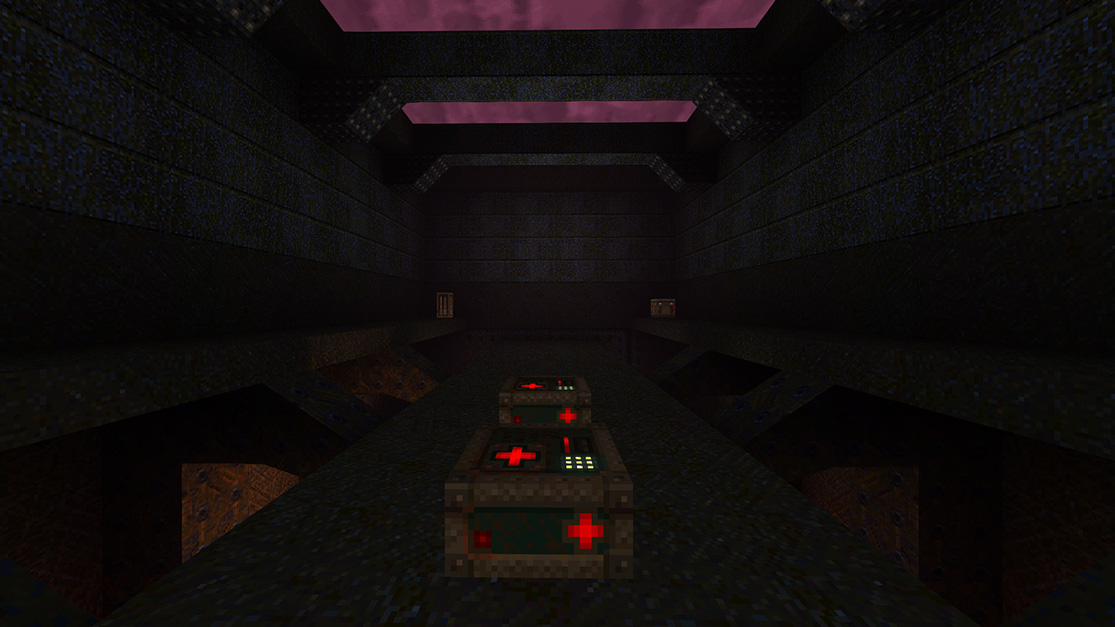
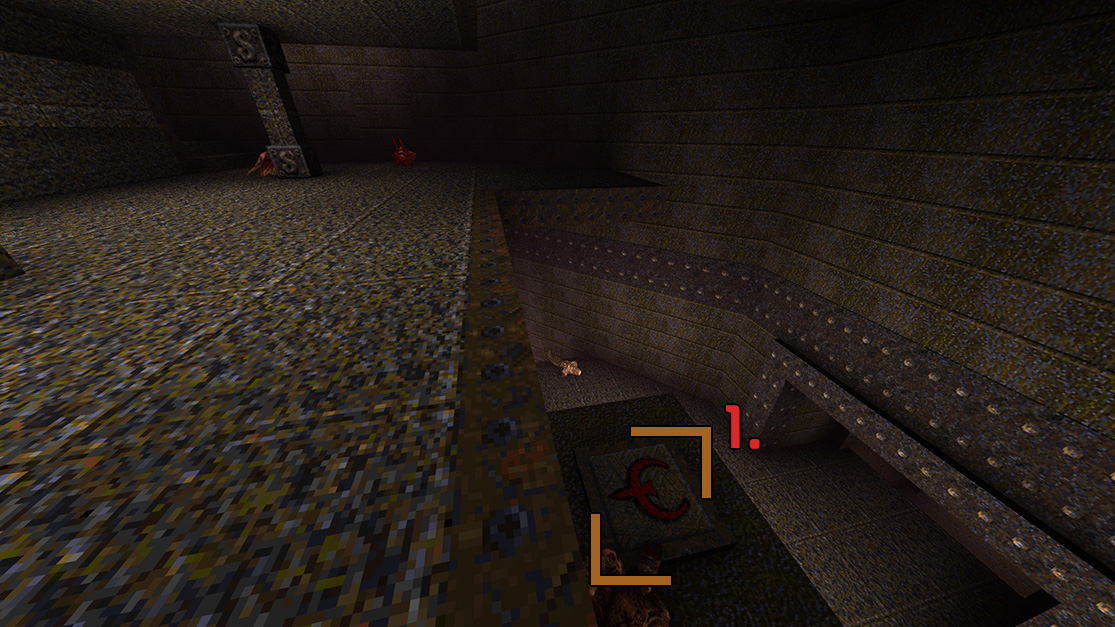 Look down and you will see a button, shoot at it. This will open a wall on the far side of the room.
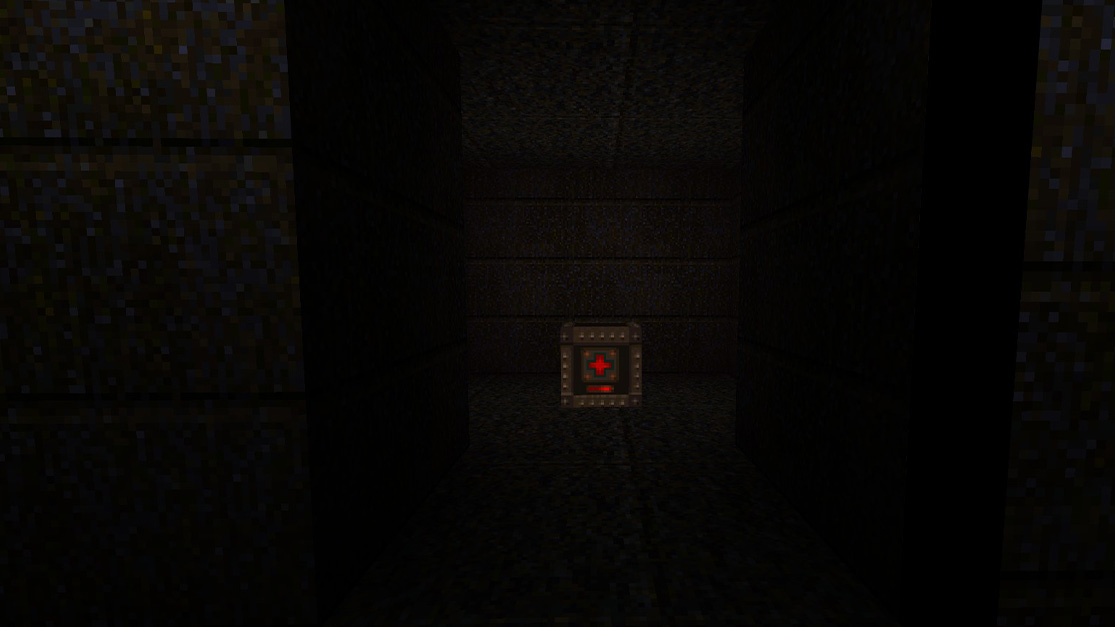
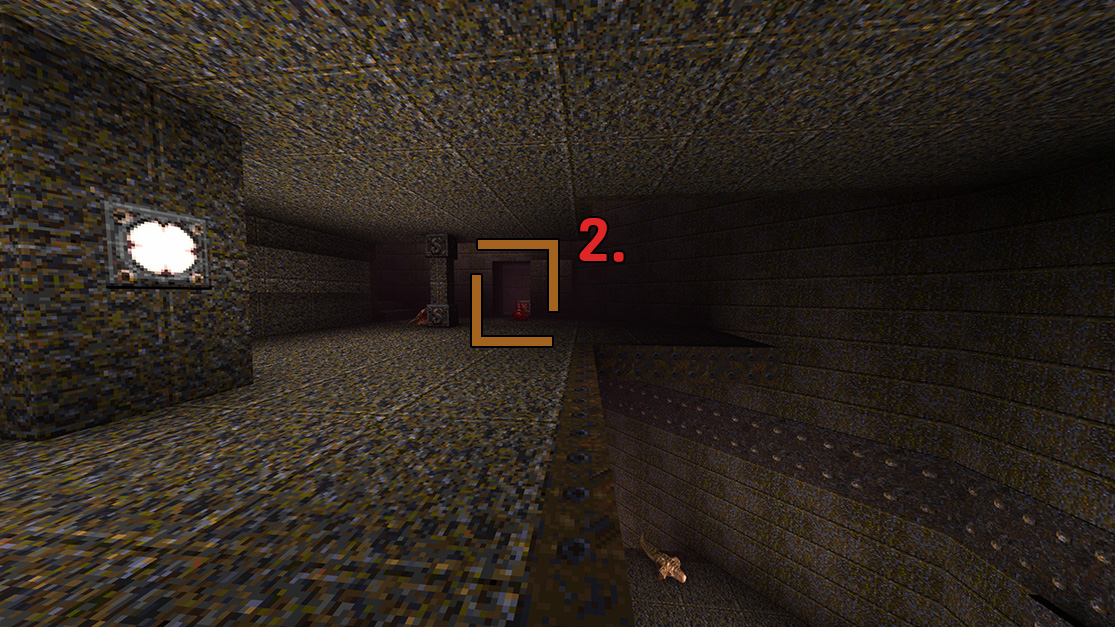 Run to the newly open door, there you will find a Megahealth.
HIP3M3: Limbo
Limbo is the third level of The Rift. The map consists of a series of corridors and rooms, populated by numerous powerful enemies. A part of the level is occupied by a water canal that players can swim through, as well as a system of walkways above it. Somewhere within Limbo is the secret portal to the Edge of Oblivion.
There are 4 total secrets in Limbo. The last secret is the secret exit which will give you an achievement as well as take you to episode 3s secret level, The Edge of Oblivion.
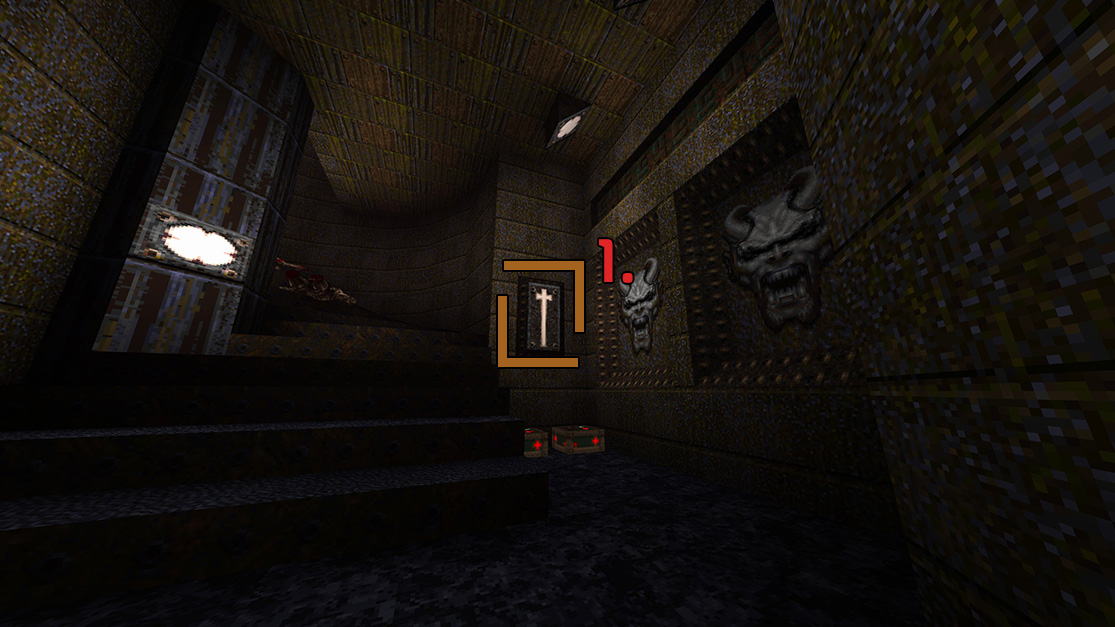 Coming down the stairs, turn around to find a cross on the wall. Shoot at it, this will open a wall to your left and present you with a Mjolnir, Shells, Nails, and Cells.
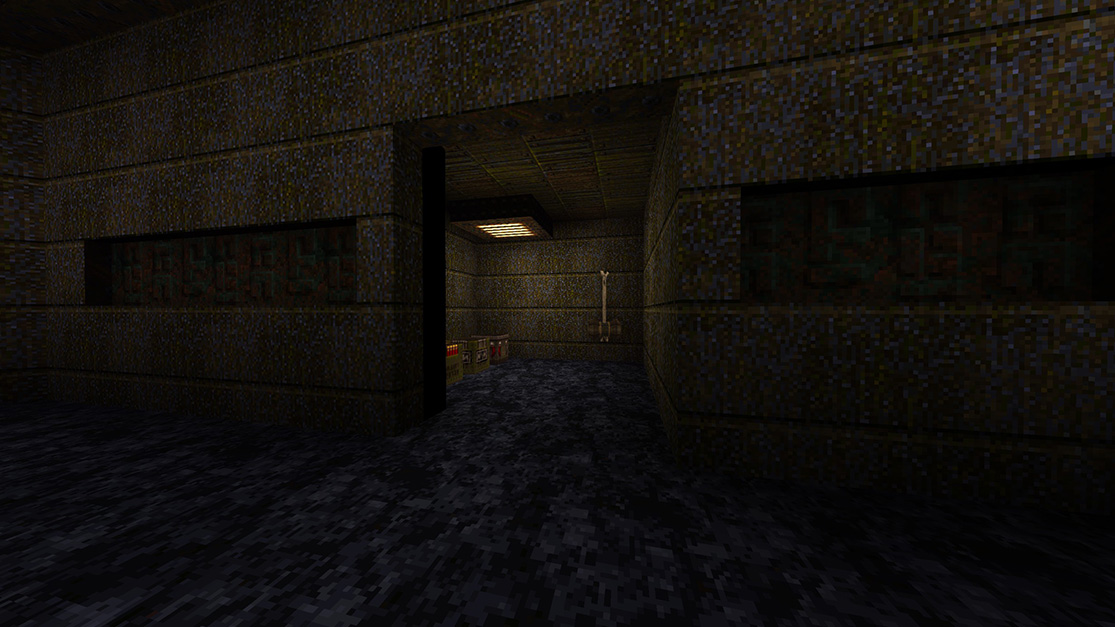
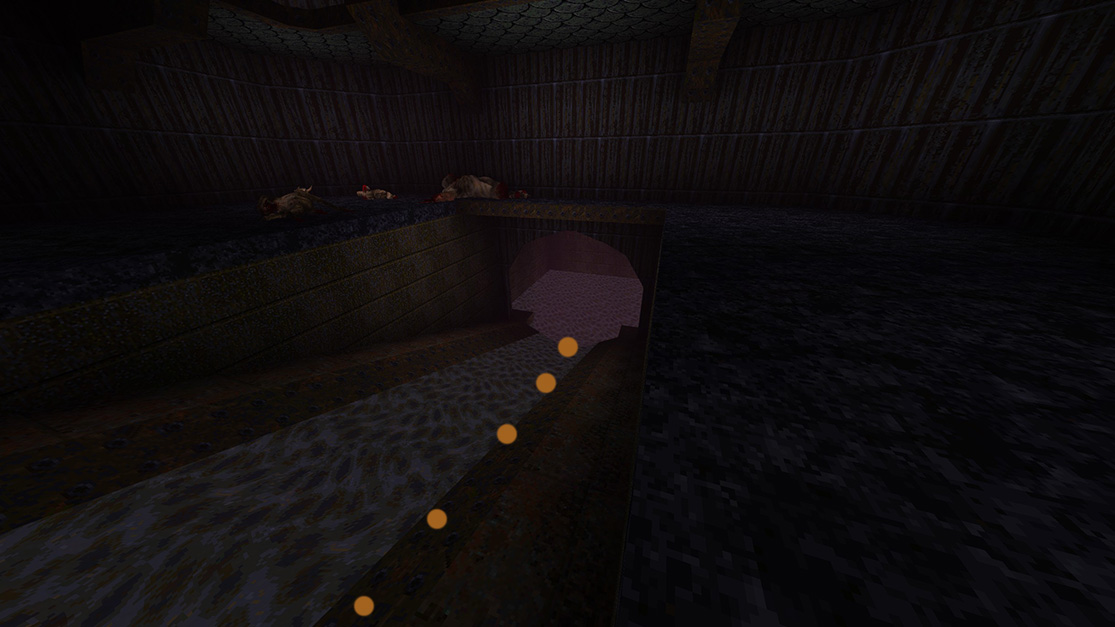
Run down the ramp from the Silver Key.
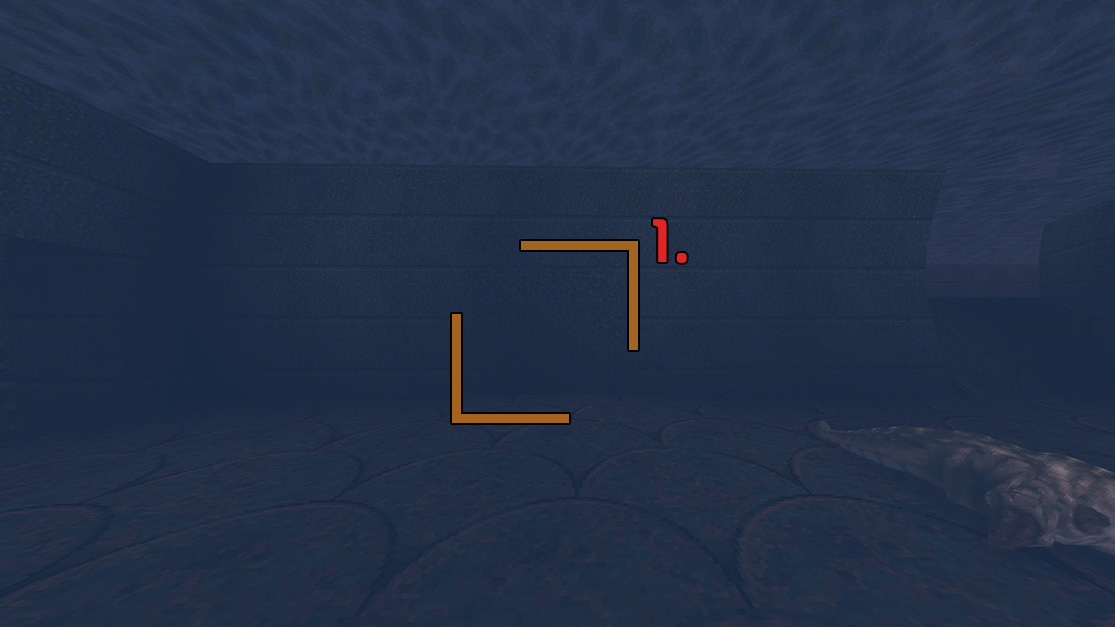 Under the water down the ramp, there is a section in the wall that is a different color. Shoot at it so it opens.
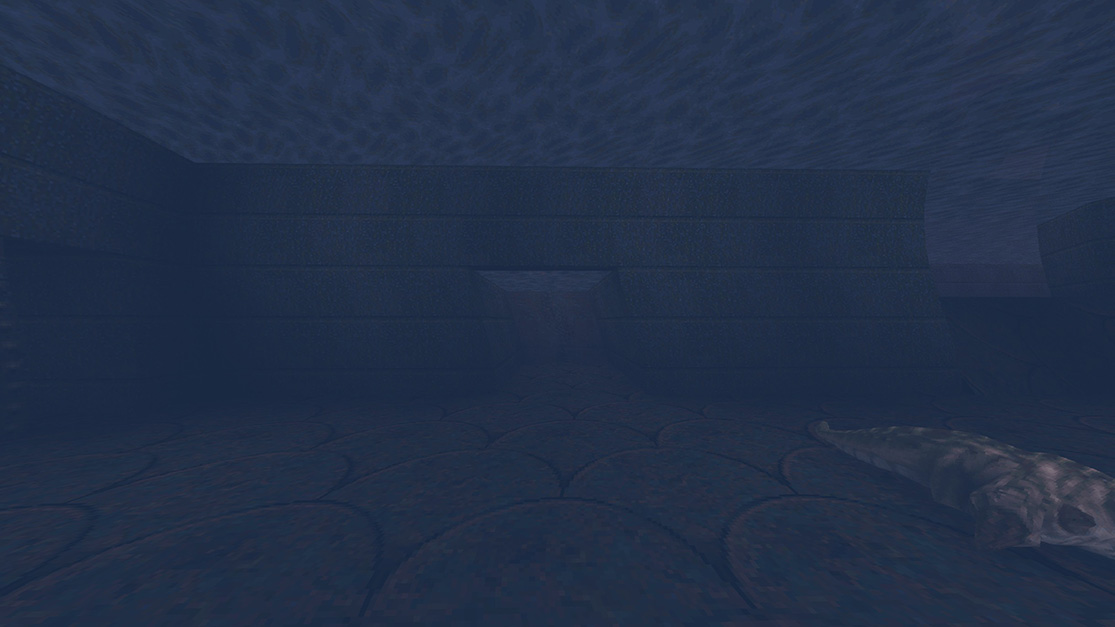
Swim through the door and gain a Megahealth.
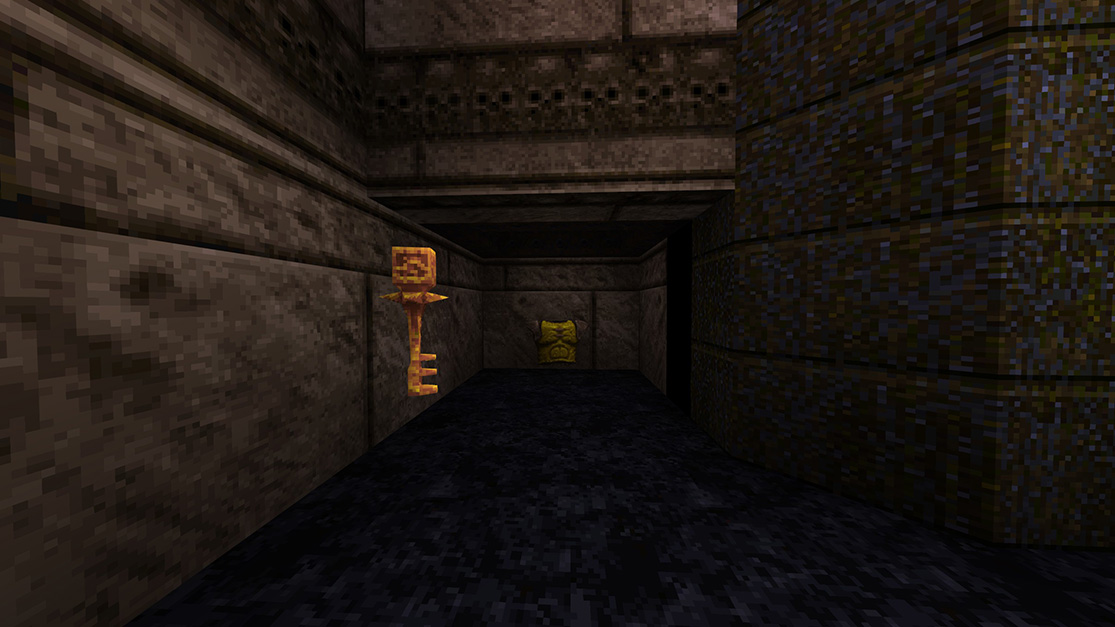
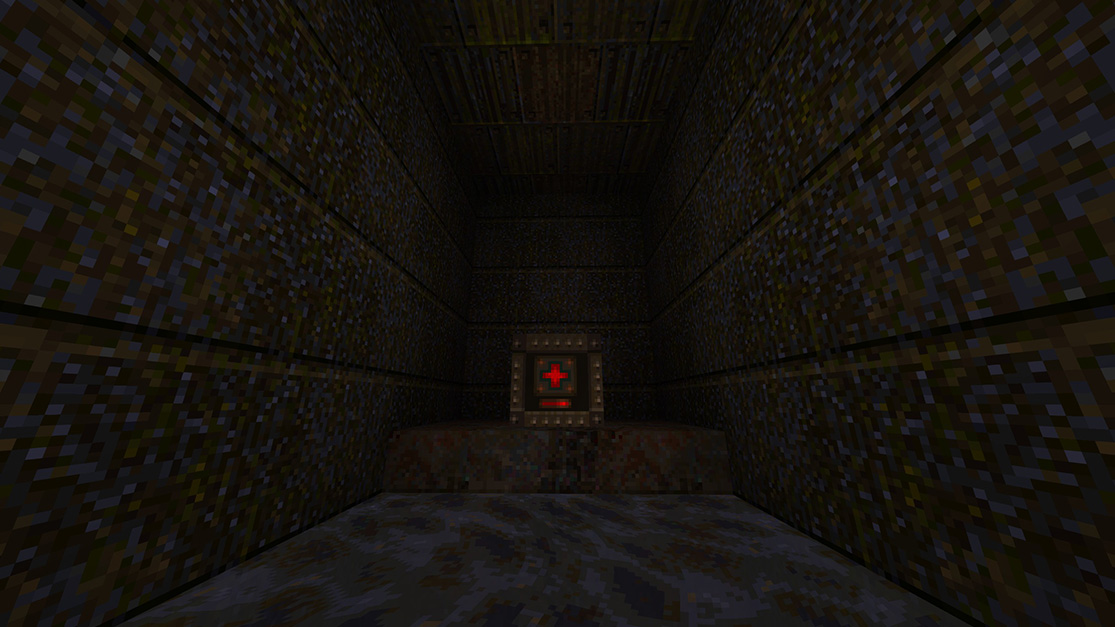 Behind the Gold Key, there is a section here of the wall that you can shoot. Shoot at it to reveal a Yellow Armor.
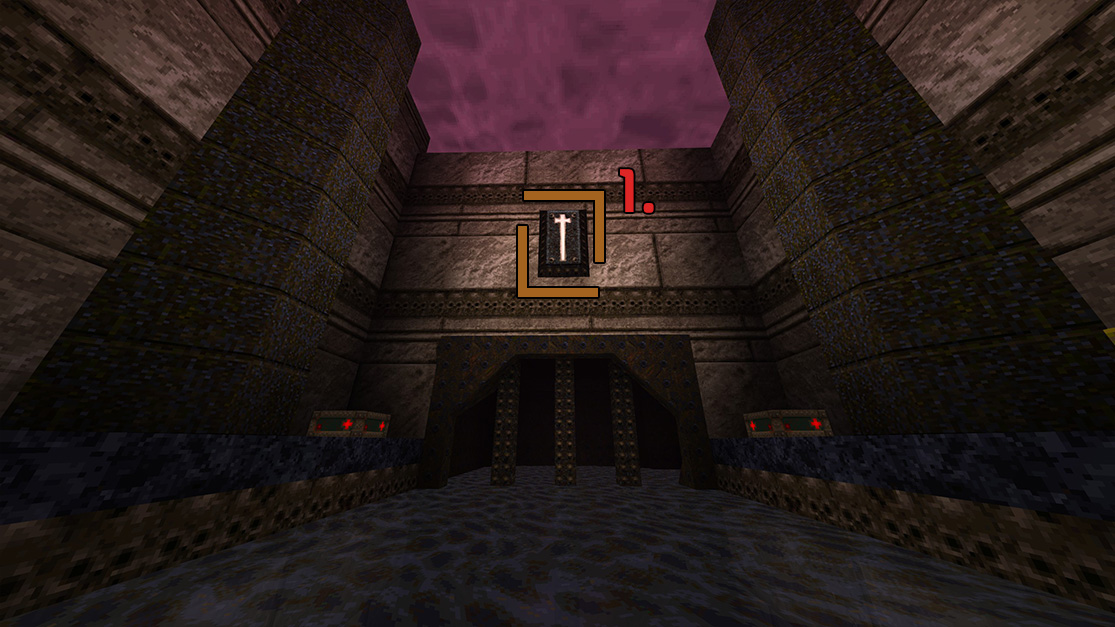 There will be a cross high up on the wall, shoot at it. This will then lower the metal grate and you can swim through to be greeted by the Secret Exit portal.
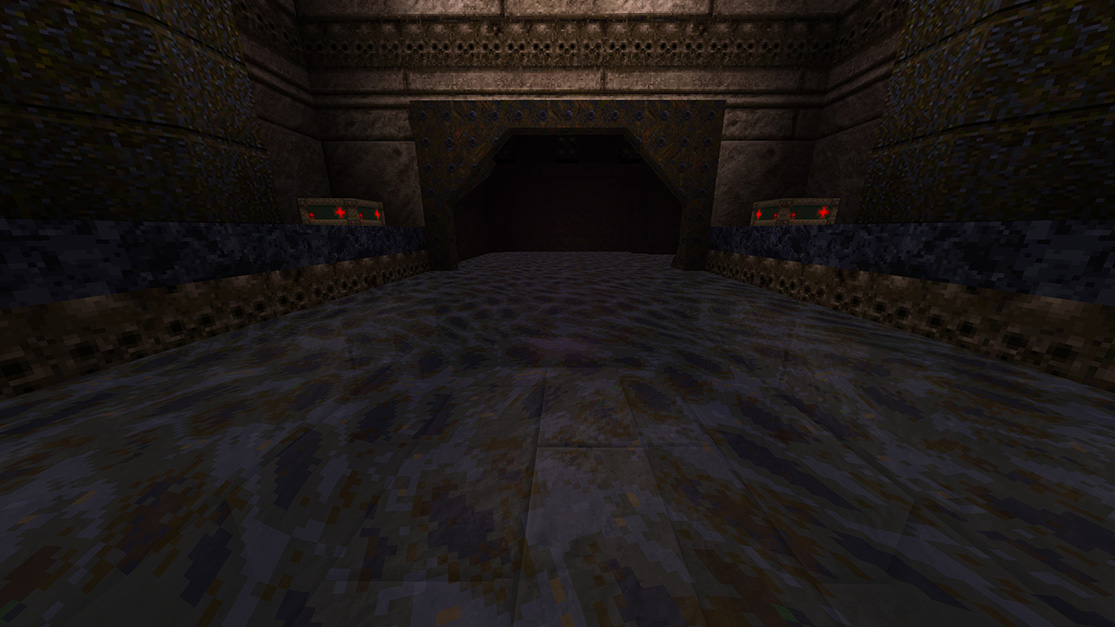
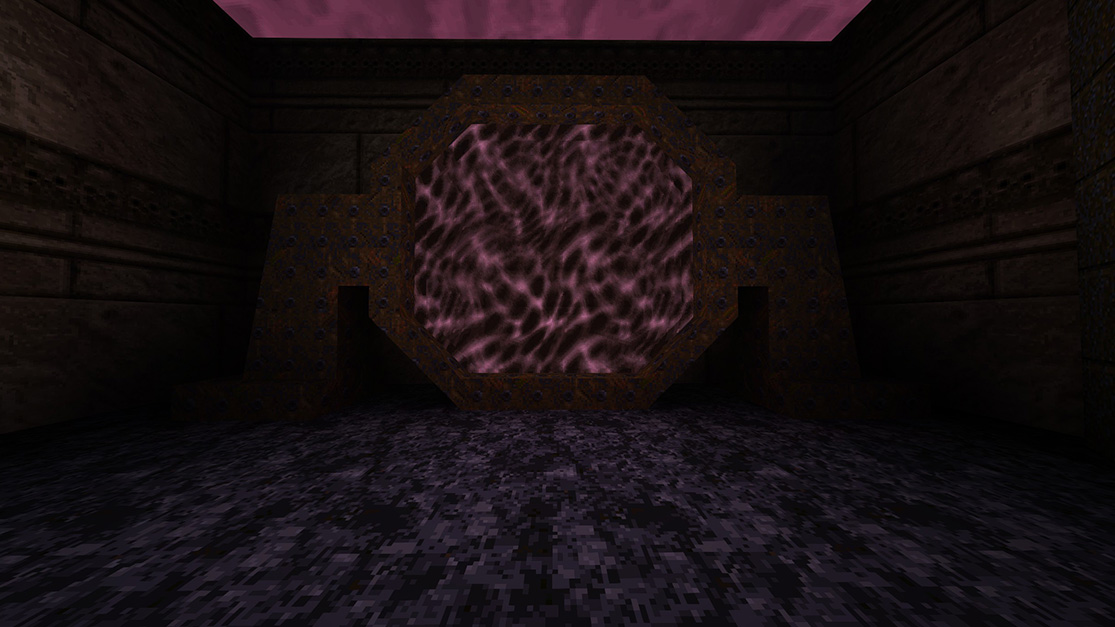
There are actually no secrets in The Edge of Oblivion, just a large dm map and plenty of baddies to kill.
HIP3M4: The Gauntlet
The Gauntlet is the fourth level of The Rift. As its name suggests, the level consists of a series of tests for the player - monster encounters and deadly traps. A part of the level includes a river of blood. If they survive, players will reach the portal that will take them to the final showdown with Armagon.
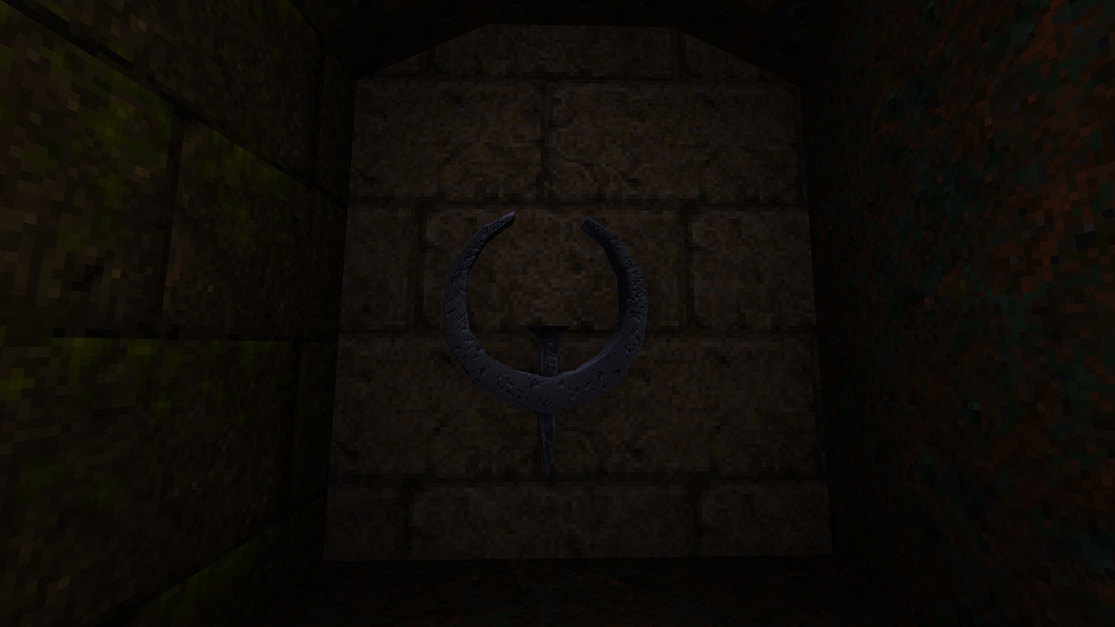
An interesting feature of this level is the hidden logo of Hipnotic Software within one of the secret areas.
There are 6 total secrets in The Gauntlet, which are your final 6 secrets for this mission pack for Quake.
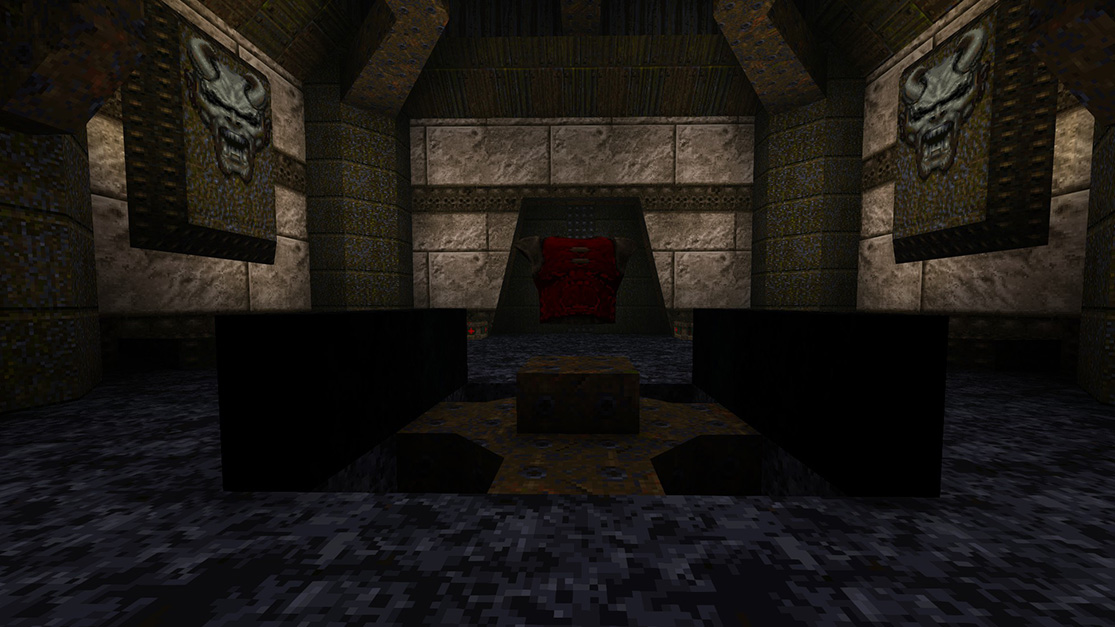
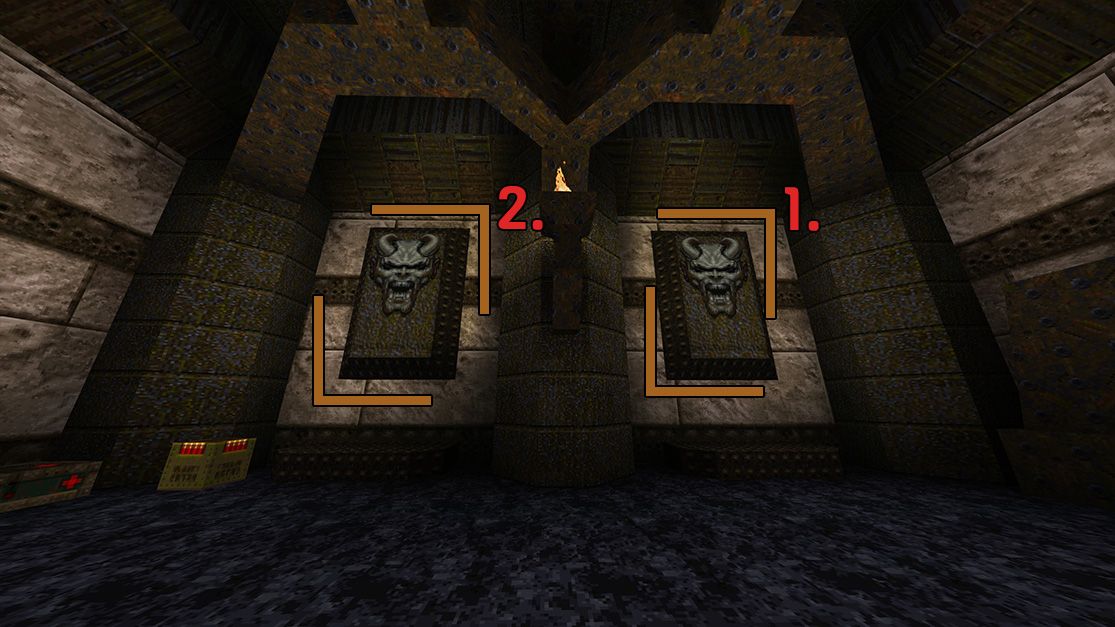 + Shoot each face on one side of the wall, then turn around.
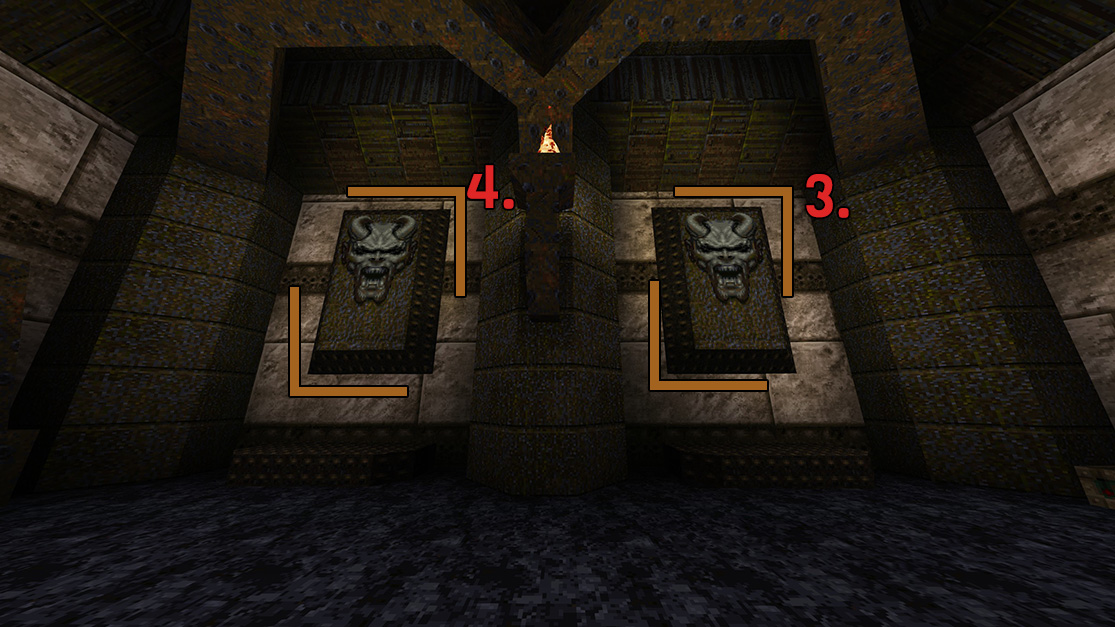 + Shoot both of these faces on the other wall as well.
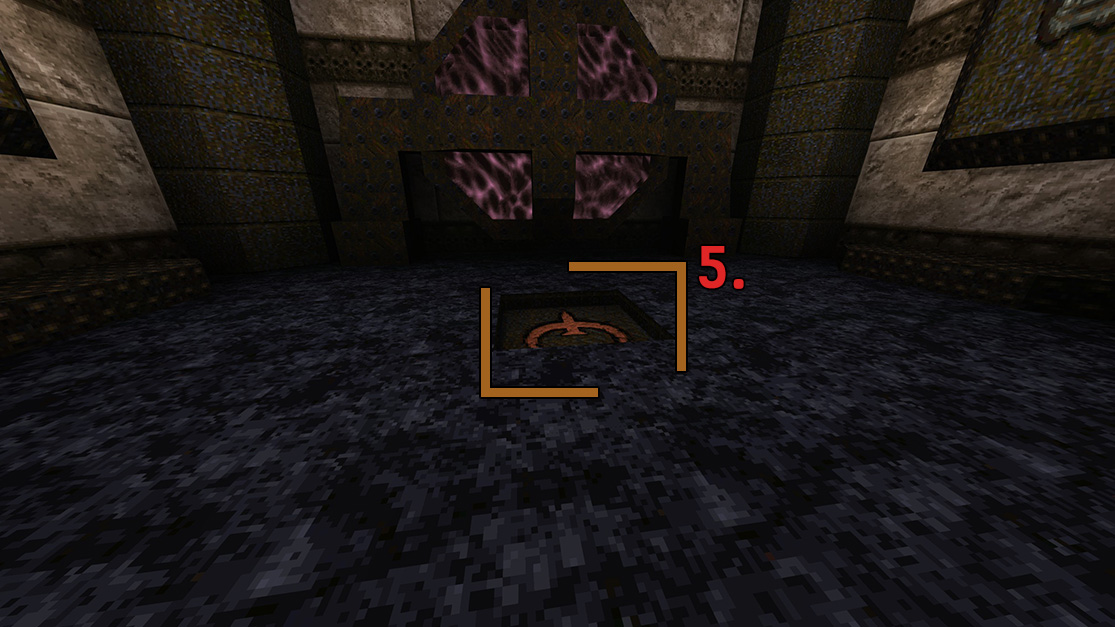 This has caused a button to spawn in the floor. Go stand on it, this will cause a Red Armor to lift out of the floor.
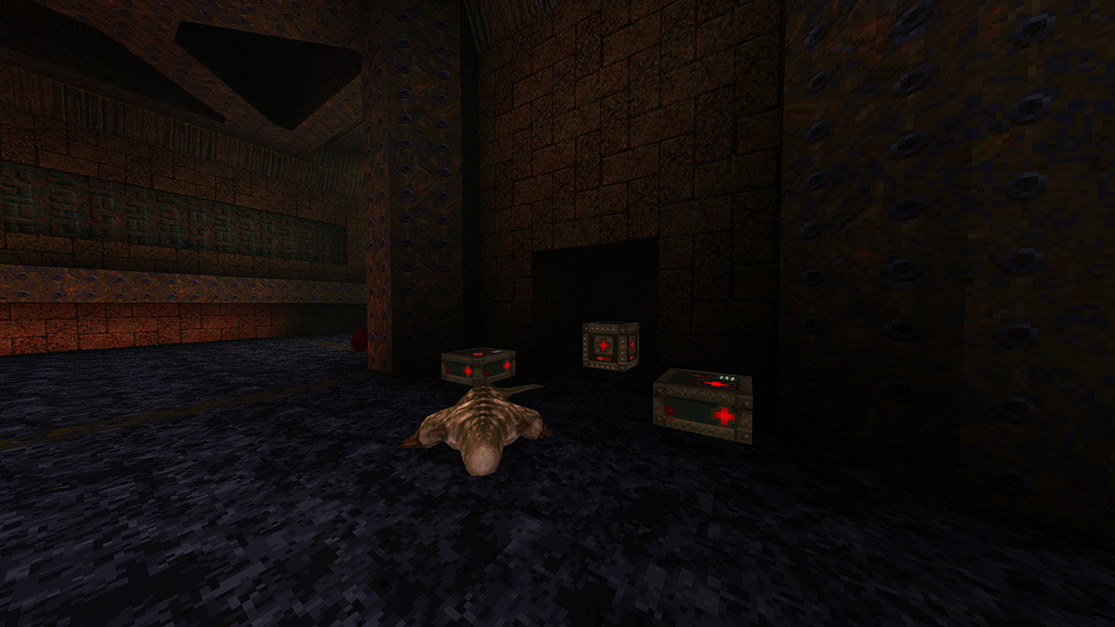
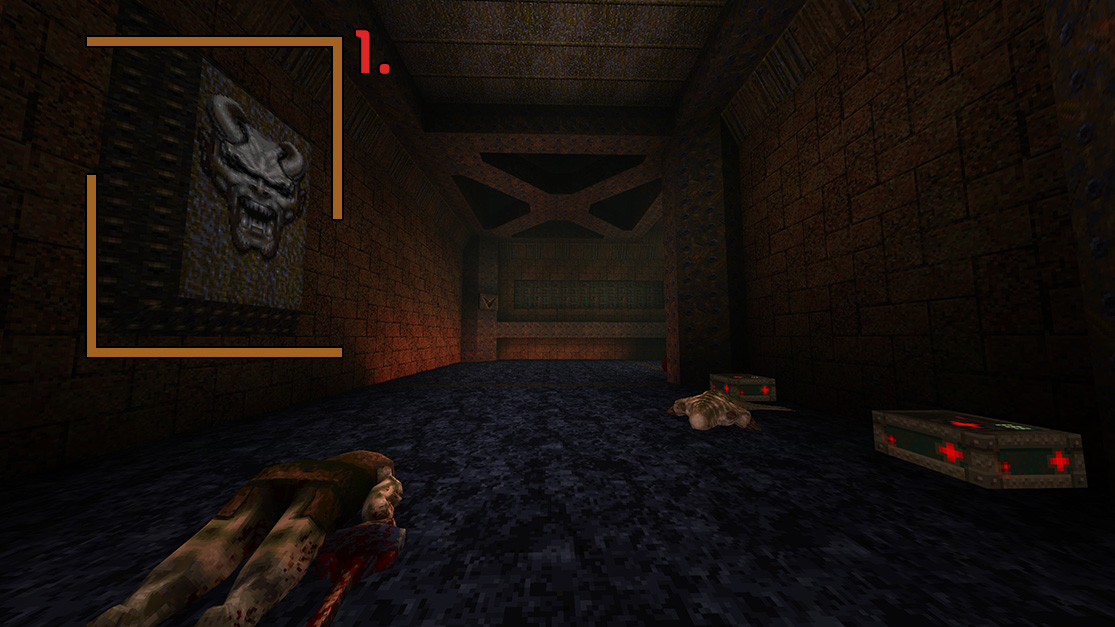 To the left there is another face on the wall, shoot at it. Directly across from it on the right wall will open and you will find a Megahealth.
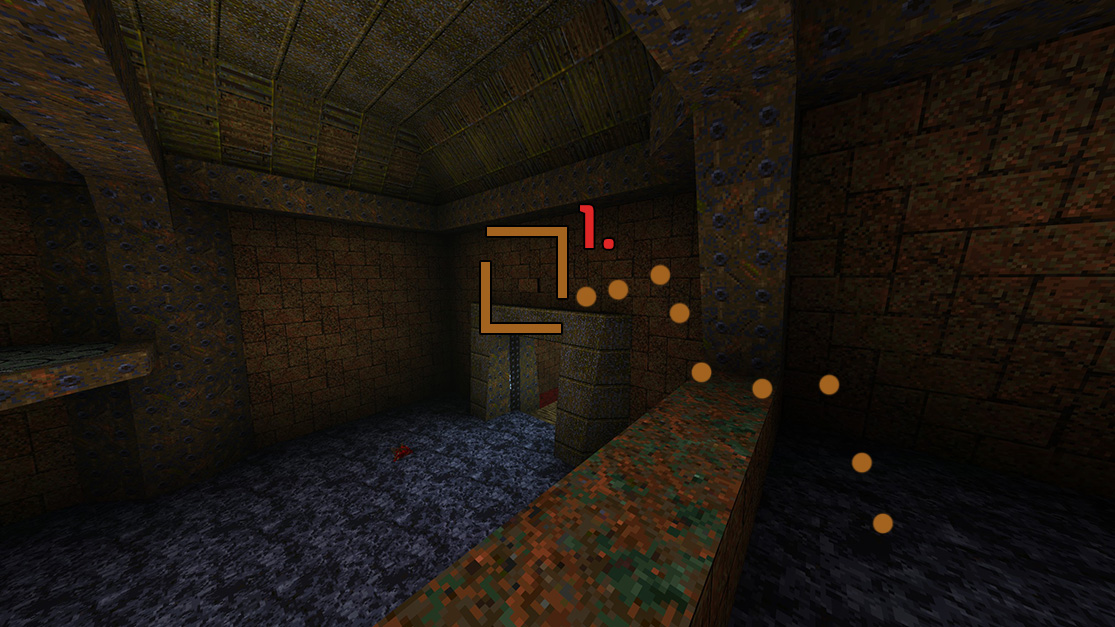 Jump on the railing of the stairs, then across the way you will see a button sticking out of the wall. Jump across to it, and touch the button. This will open a door in the wall right in front of you.
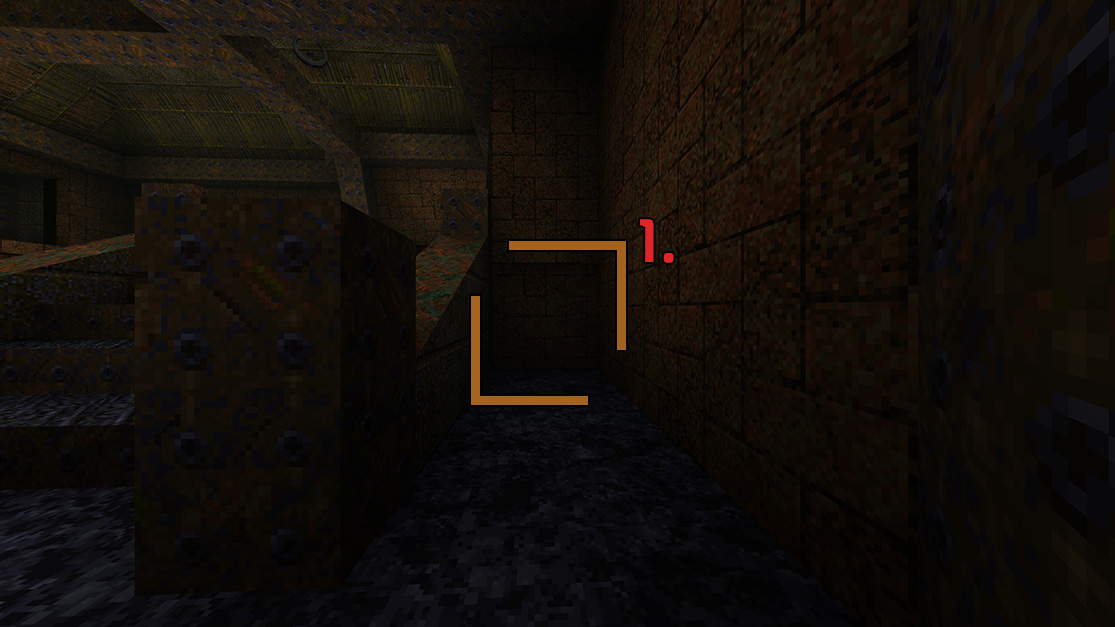
Jump across and run to the end, where you will find a Pentagram of Protection.
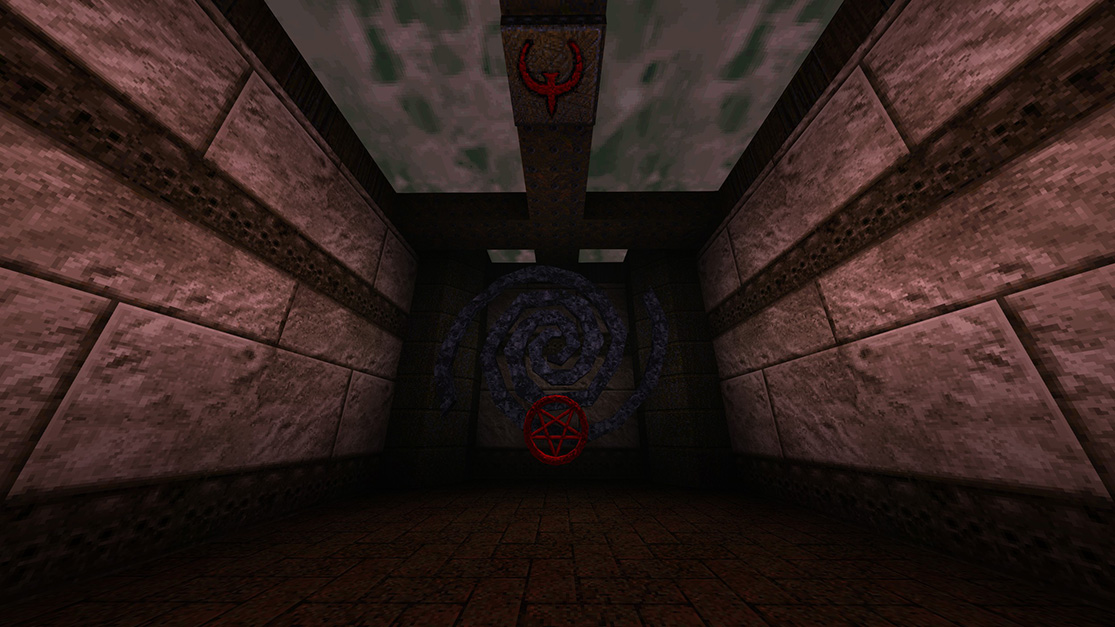
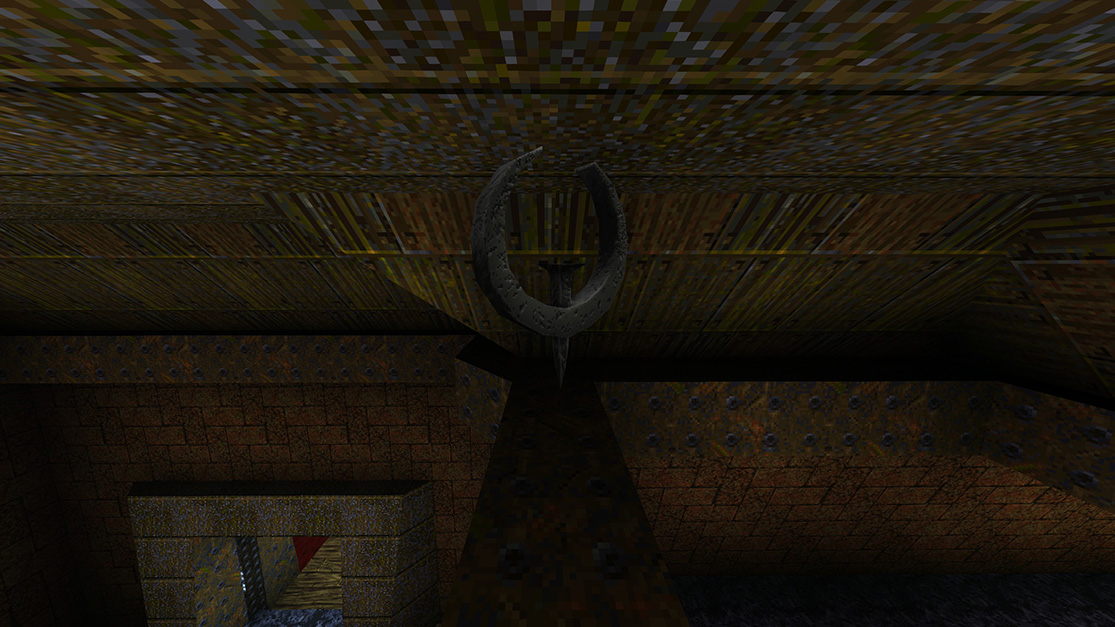
Bonus: This is the Hipnotic Software logo, and if you shoot the button on the ceiling it will make it spin :)
 You will see a section of the wall that is clearly shootable. Shoot it, which will open up and reveal a portal that you can take.
Going through the portal you will find a Quad Damage just ahead of you.
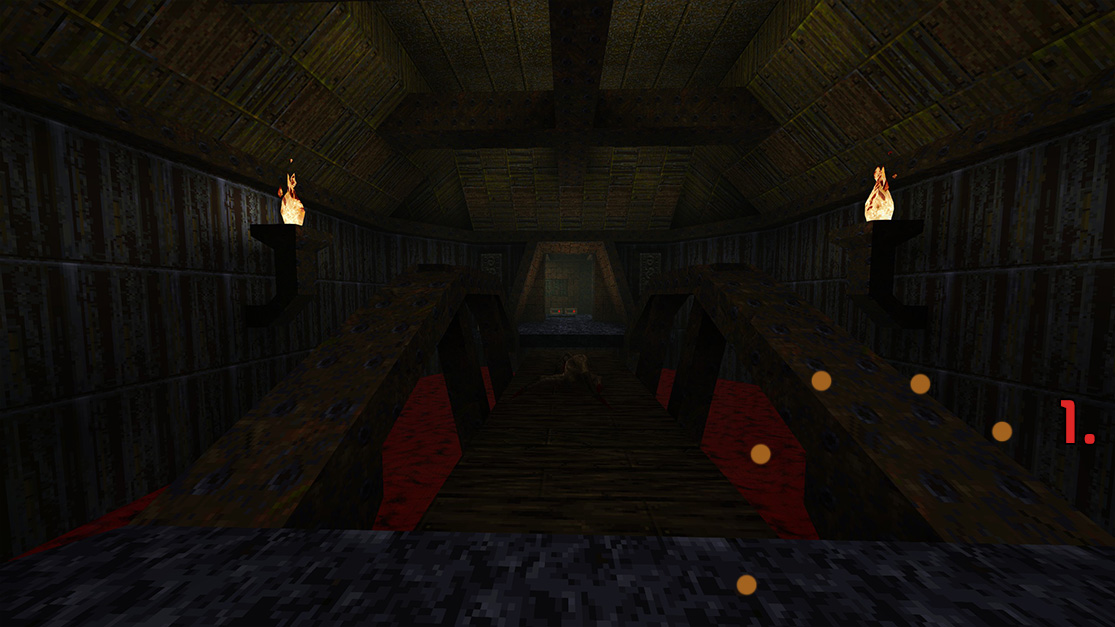 Jump over the railing and into the bloody water on the right side of the bridge.
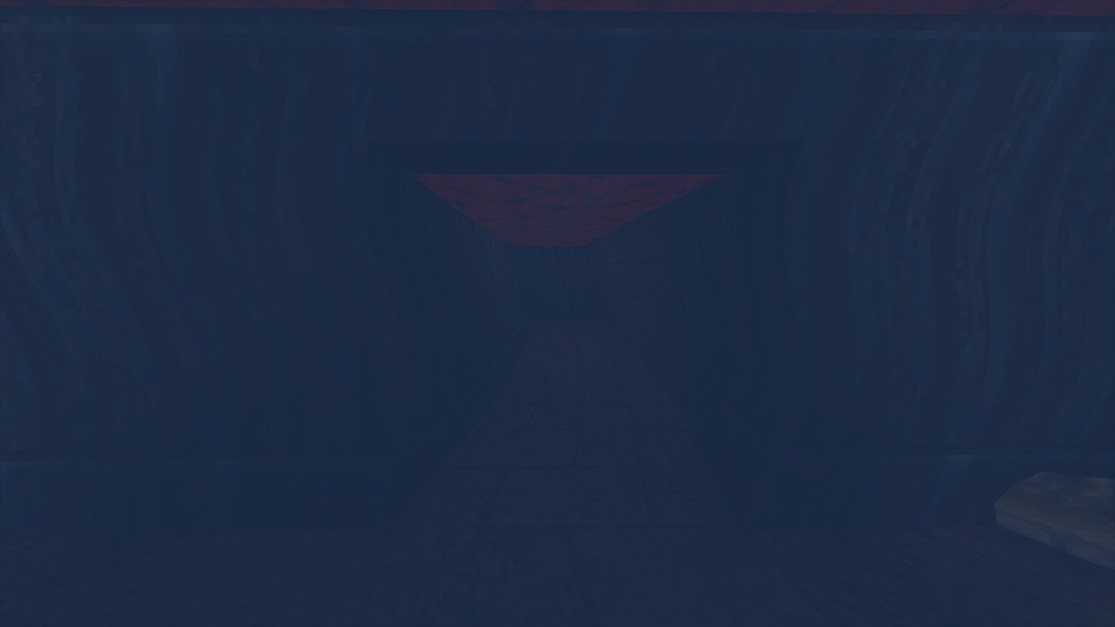
You will find an entrance and right inside is a Yellow Armor and some Rockets.
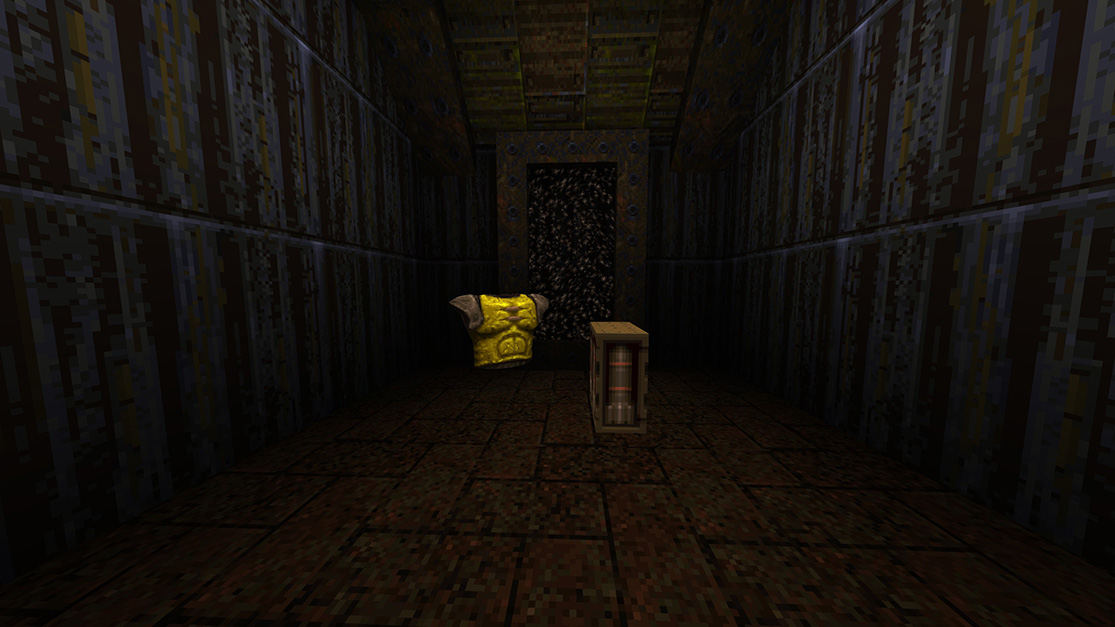
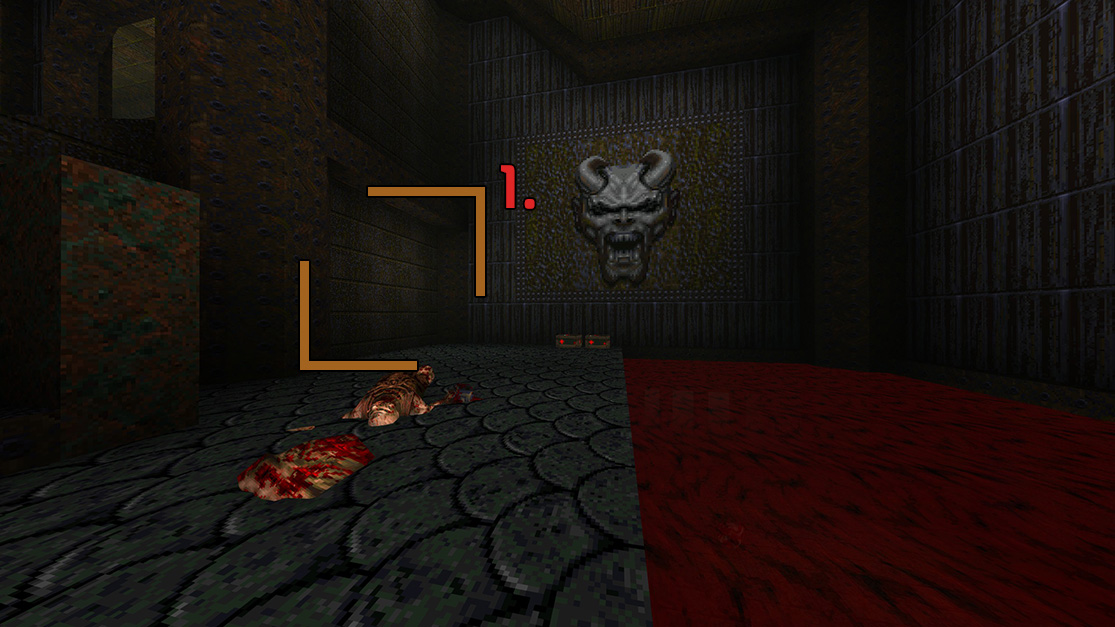 To the left of the large face on the wall, there is a section of the other wall you can walk right up to and it will open like a garage. Open it and go inside to find a Megahealth and two boxes of Nails.
Armagon's Lair & Final Achievements
Armagon's Lair is the final level of The Rift. It is here that the final battle with Armagon himself takes place. In the level's center is the dimensional rift that the creature intends to use to invade Earth.
The game ends when the boss is defeated. In a scripted sequence, the rift closes and a Teleporter is revealed, taking the player back to Command HQ.
The last two achievements are to complete the rest of the mission pack. One achievement you can only obtain on Nightmare difficulty, like mentioned before.
The boss is fairly easy, even easier than Shub-Niggurath from the base game of Quake. Honestly Just circle strafe around him, you have so much room in his boss arena that he'll never make it to you. Blast him with everything you got, you should have plenty of ammo from previous secrets and all the ammo you spawn into on this map!
Thank you for using this guide, I hope I have made everything as clear and precise as possible. A few maps I wanted to optmize the routes to minimalize doubling back into areas and I hope I have succeeded.
Please let me know in the comments if there is anything better you think I could do, or if you spot anything in the guide that needs to be fixed.
Beat Quake's achievements?
Flex it — let your friends know you pulled it off.
- Quake Soundtrack Solutions★ 5 (822)34k views1.1k ♥15 minUpdated 2 Apr, 2020
- How I play Quake in the Current Year (2023 update: Use Ironwail or Quakespasm-Spiked instead of Quakespasm)★ 5 (903)23k views1.3k ♥8 minUpdated 12 Nov, 2023
- List of Quake 1 clones on the Steam store★ 5 (459)20k views858 ♥2 minUpdated 20 May
- Quake Owner's Manual★ 5 (438)17k views627 ♥59 minUpdated 23 Nov, 2017
- Quake Achievements★ 5 (1k)16k views1.5k ♥29 minUpdated 4 Nov, 2025
- Quake Secrets★ 5 (1.1k)14k views1.8k ♥39 minUpdated 23 Feb




- Upgrading to PremiumTeam Fortress 2★ 5 (20k)1441k views11k ♥6 minUpdated May 11, 2022
- No More Room in Hell Official ManualNo More Room in Hell★ 5 (2.8k)569k views2.1k ♥29 minUpdated Apr 22, 2019
- NMRiH Community Hosting GuidesNo More Room in Hell★ 5 (526)351k views653 ♥1 minUpdated Aug 10, 2022
- How to 'Git Gud' Soon™MORDHAU★ 5 (2k)318k views3k ♥68 minUpdated Nov 16, 2024
- Лучшие кооперативные игры SteamPAYDAY 2★ 5 (1.5k)315k views2.1k ♥56 minRussianUpdated Apr 27, 2025
- Desert Eagle Heat Treated | Blue GemCounter-Strike 2★ 5 (1.6k)293k views1.5k ♥2 minUpdated Jan 16





This guide was created by its original author on the Steam Community. Are you the author and want it removed? Request removal.