Infinity Initialization Fix
The Issue
You need to know
To understand what we are doing and what we are working with, keep in mind that:
In my case, the game is installed on the “C” drive. If you have Steam on a different drive, the path will be different. Usually it is D:\SteamLibrary\
The folder where mods are downloaded, aka the default Steam download folder is
C:\Program Files (x86)\Steam\steamapps\workshop\content\108600
The folder where the game gets mods for the server
C:\Program Files (x86)\Steam\steamapps\common\ProjectZomboid\steamapps\workshop\content\108600
C:\Users\<your-username>\Zomboid ,
you can find the coop-console.txt file, and if you open it and scroll down a bit, you can find
LOG : General> Workshop: item state CheckItemState -> DownloadPending ID=<id of the mod>
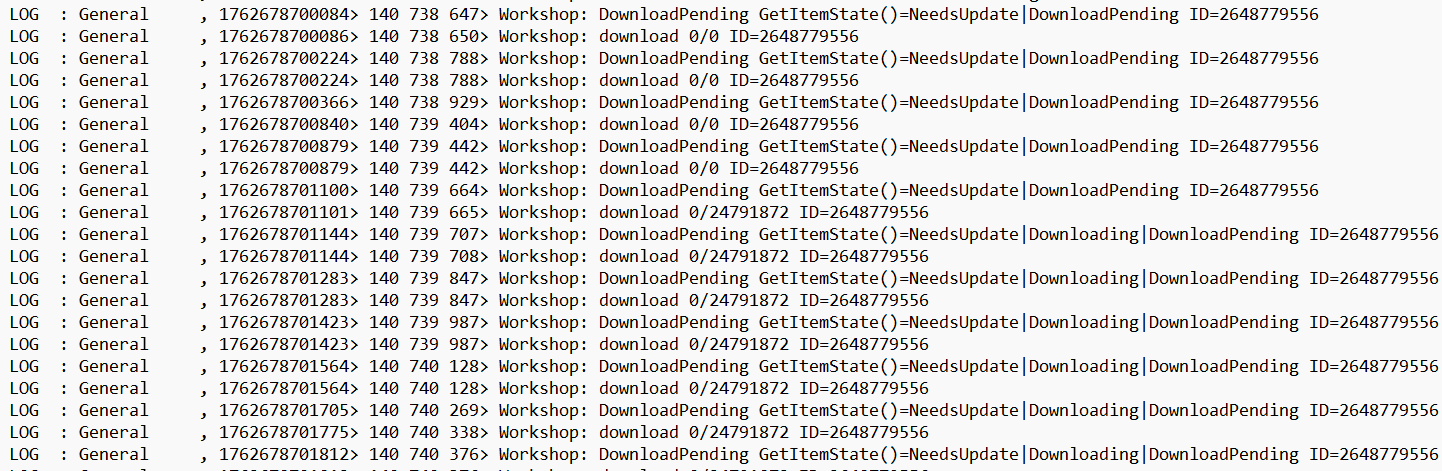 This confirms that certain mods are simply being downloaded, which especially affects the time in large builds. In theory, you can just wait, but most likely it will take you A LOT of time.
Solving the Issue
To solve the problem, you need to tell the server that the mods have already been downloaded. Then it will skip re-downloading and re-checking them and proceed directly to launch. After using this method, the “Initialization” message will still be there, but it will mean that the server has already launched with the mods and is loading the territory.
The method:
- Go to C:\Program Files (x86)\Steam\steamapps\workshop\content\108600
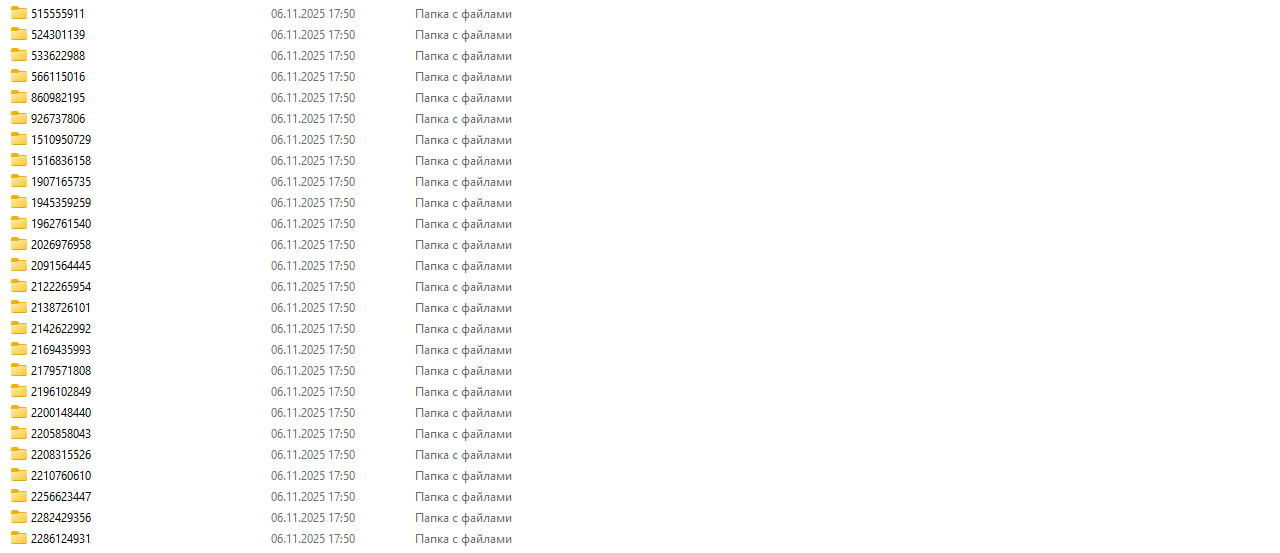 3. Go to C:\Program Files (x86)\Steam\steamapps\common\ProjectZomboid\steamapps\workshop\content\108600
- Paste the previously copied folders
The next step is the most important! This file contains the verification and loading of all mods:
- Go to C:\Program Files (x86)\Steam\steamapps\workshop
 7. Go to C:\Program Files (x86)\Steam\steamapps\common\ProjectZomboid\steamapps\workshop
- Paste the copied appworkshop_108600.acf there
The End
If you found this guide helpful or liked it, please give it a like and 5 stars. So that many people know about this problem with the logic of the Project Zomboid!

- Modding Policy★ 5 (397)133k views208 ♥9 minUpdated Nov 8, 2022
- 80 tips and tricks for Project Zomboid (If you have over 100 hours in this game some of these will probably be new to you too)★ 5 (1.6k)82k views3.1k ♥28 minUpdated Aug 29, 2021
- Топ 100 лучших модов на "project zomboid"★ 5 (415)68k views1.1k ♥10 minRussianUpdated Jul 28, 2024
- [B41] Лучшие места для базы★ 5 (477)61k views1.3k ♥6 minRussianUpdated Nov 30, 2025
- Первая помощь ❤★ 5 (628)49k views1.4k ♥5 minRussianUpdated Jan 20, 2025
- The Basics of Base Building★ 5 (704)48k views1.5k ♥17 minUpdated Dec 24, 2021





- Upgrading to PremiumTeam Fortress 2★ 5 (20k)1441k views11k ♥6 minUpdated May 11, 2022
- No More Room in Hell Official ManualNo More Room in Hell★ 5 (2.8k)569k views2.1k ♥29 minUpdated Apr 22, 2019
- NMRiH Community Hosting GuidesNo More Room in Hell★ 5 (526)351k views653 ♥1 minUpdated Aug 10, 2022
- ULTIMATE GUIDE FOR GAME DEV TYCOONGame Dev Tycoon★ 5 (5.8k)326k views10k ♥4 minUpdated 23 Jan, 2014
- How to 'Git Gud' Soon™MORDHAU★ 5 (2k)318k views3k ♥68 minUpdated Nov 16, 2024
- Лучшие кооперативные игры SteamPAYDAY 2★ 5 (1.5k)315k views2.1k ♥56 minRussianUpdated Apr 27, 2025






This guide was created by its original author on the Steam Community. Are you the author and want it removed? Request removal.