Microphone MacOS fix in Project Zomboid
Introduction
Fixing Microphone Issues in Project Zomboid on MacOS
Today I'll help you solve the problem with a non-working microphone on MacOS in Project Zomboid.
The problem is that when Project Zomboid is launched, even though all the settings allowing the use of a microphone are enabled, it still doesn't work.
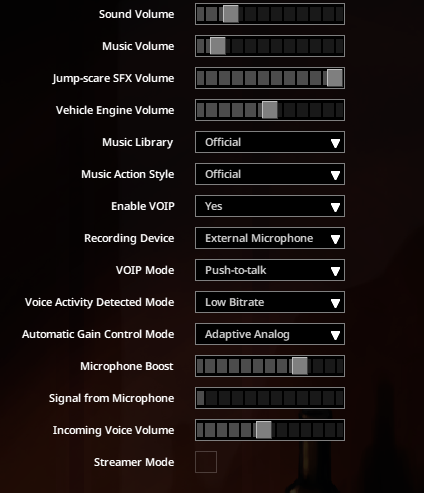
All you need to do is allow the microphone to work when you launch the application.
Step 1
Step 1: Find the Game Executable File
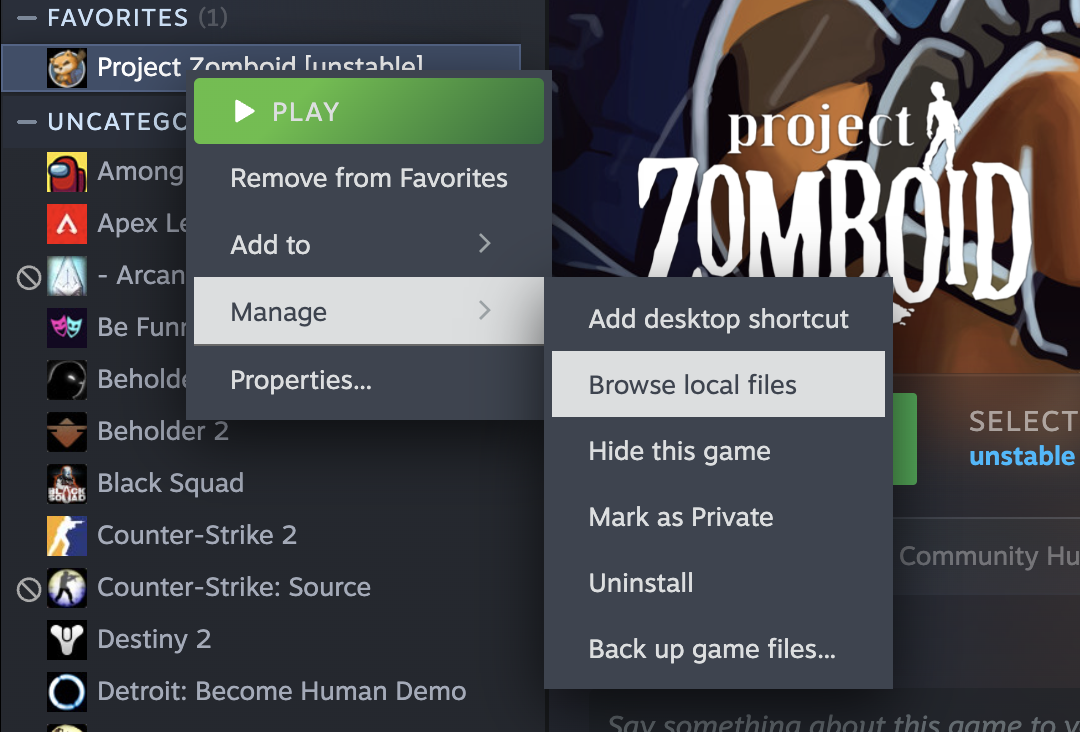
Open Steam, right-click on Project Zomboid in your library, and select "Manage" > "Browse local files."
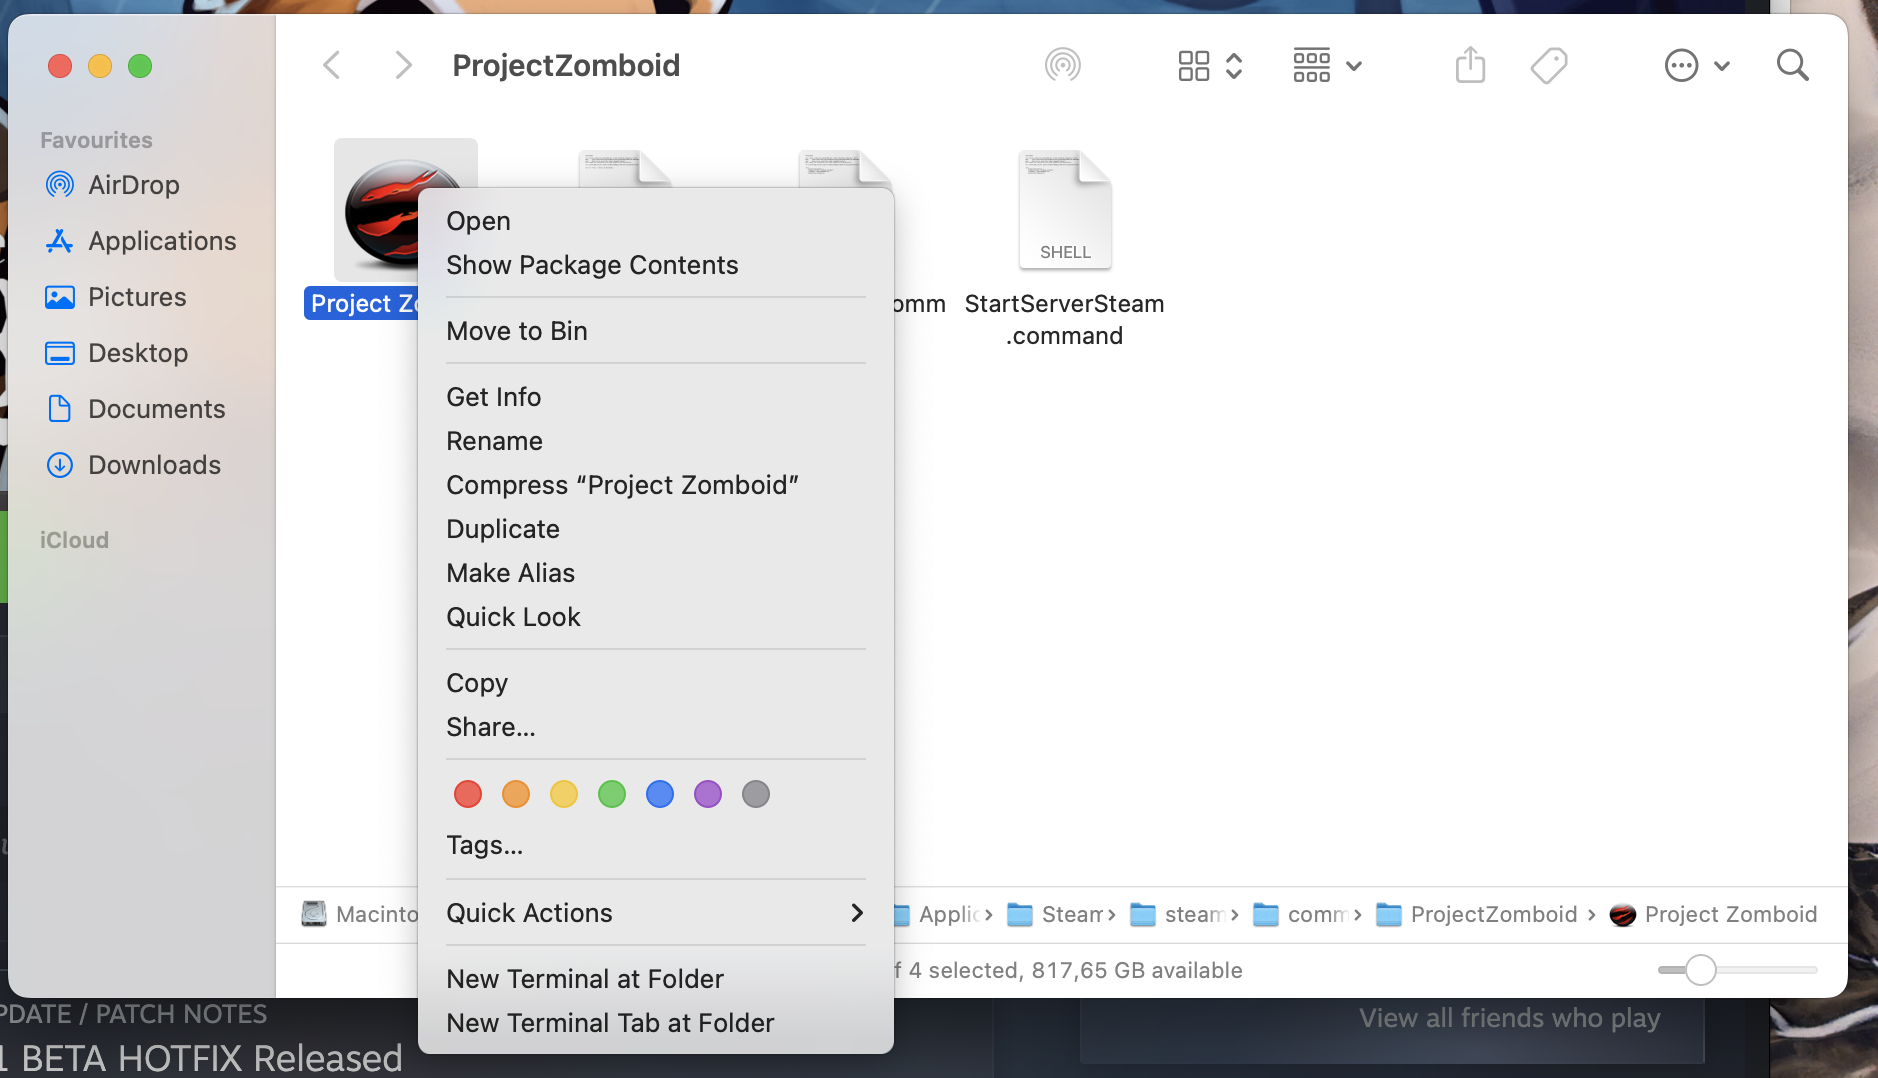
This will open a Finder window. Right-click on "Project Zomboid.app" and select "Show Package Contents," then navigate to the "Contents" folder.
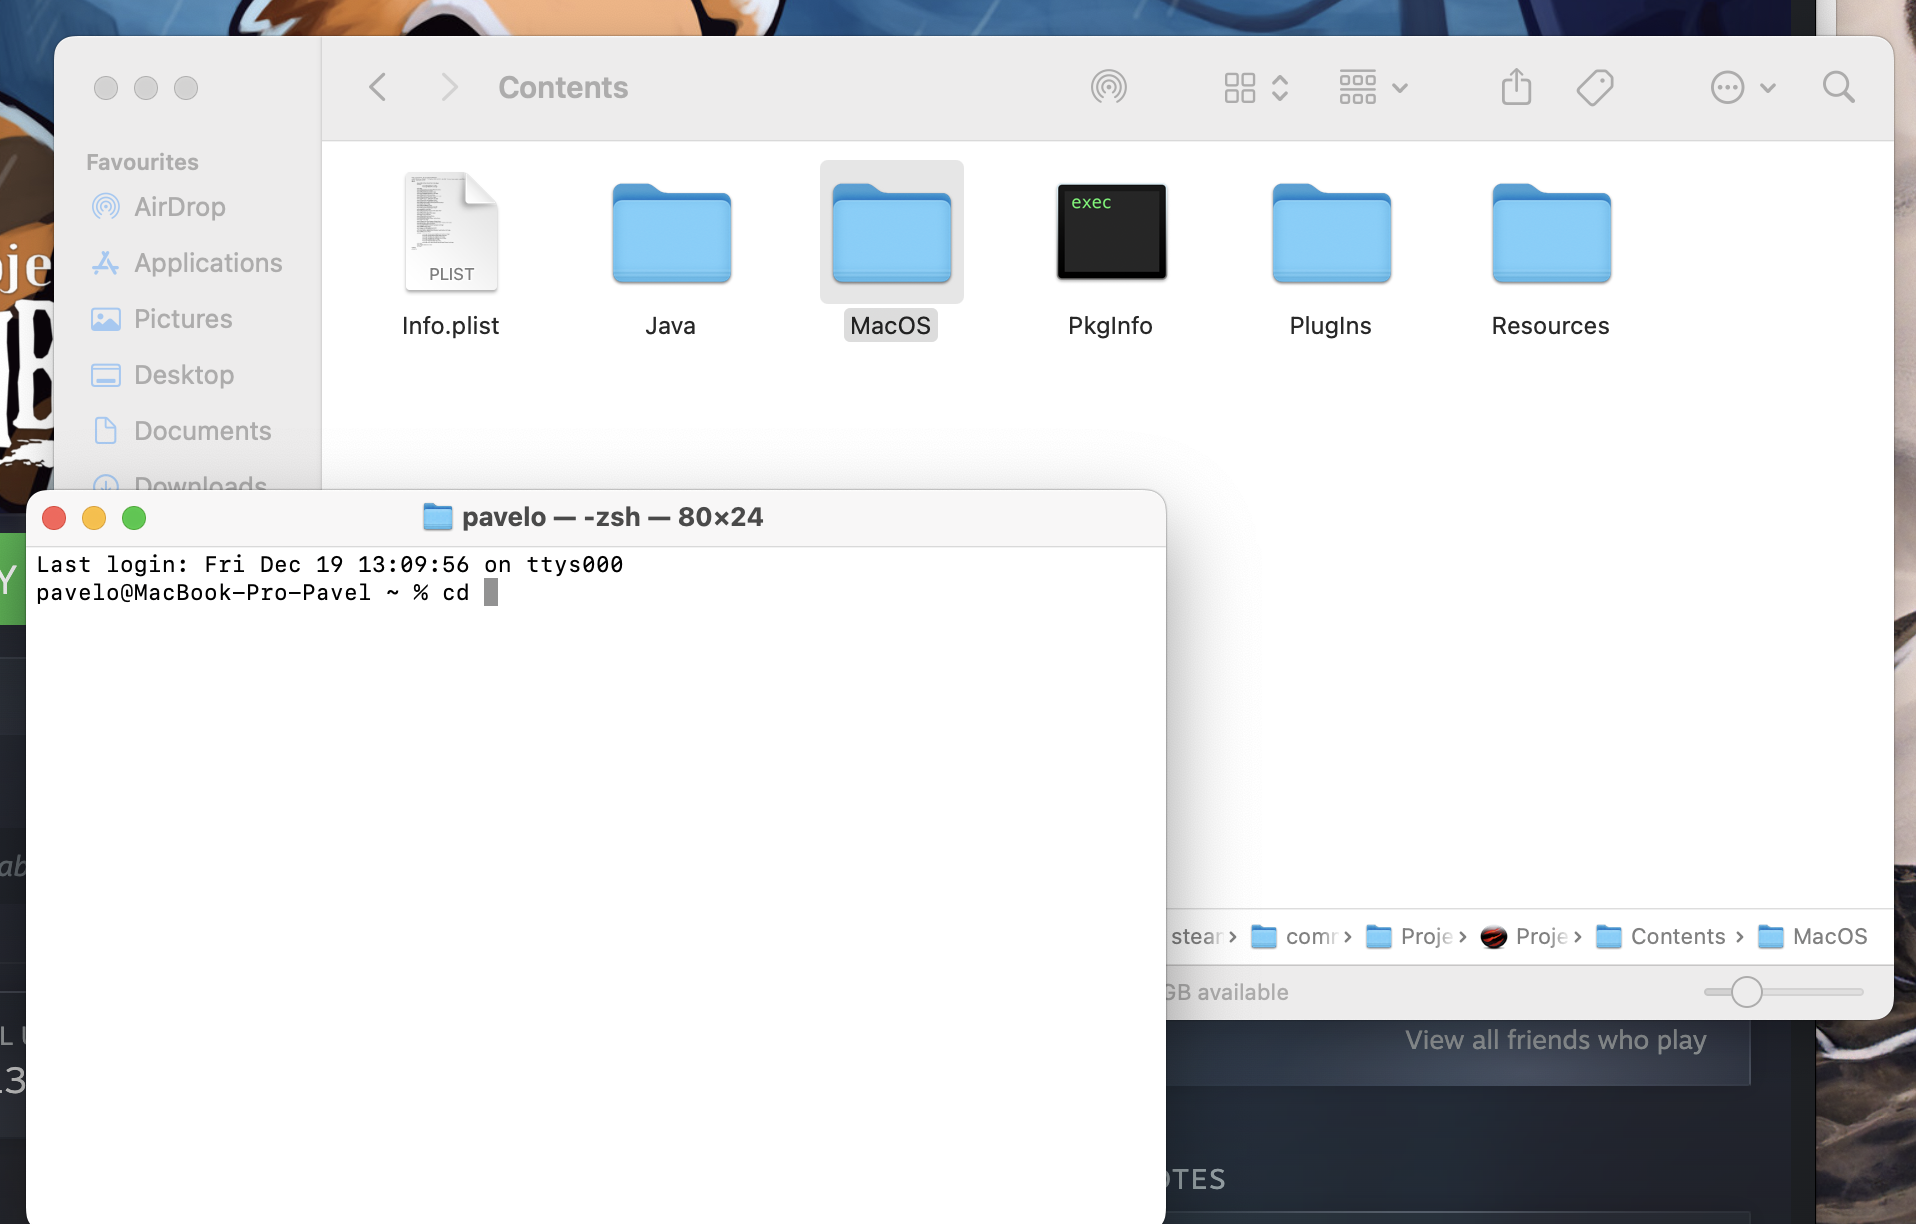
Open the "MacOS" folder - this is where our executable file is located.
Step 2
Step 2: Launch the Game via Terminal to Grant Permissions
- Open Terminal (Applications > Utilities > Terminal)
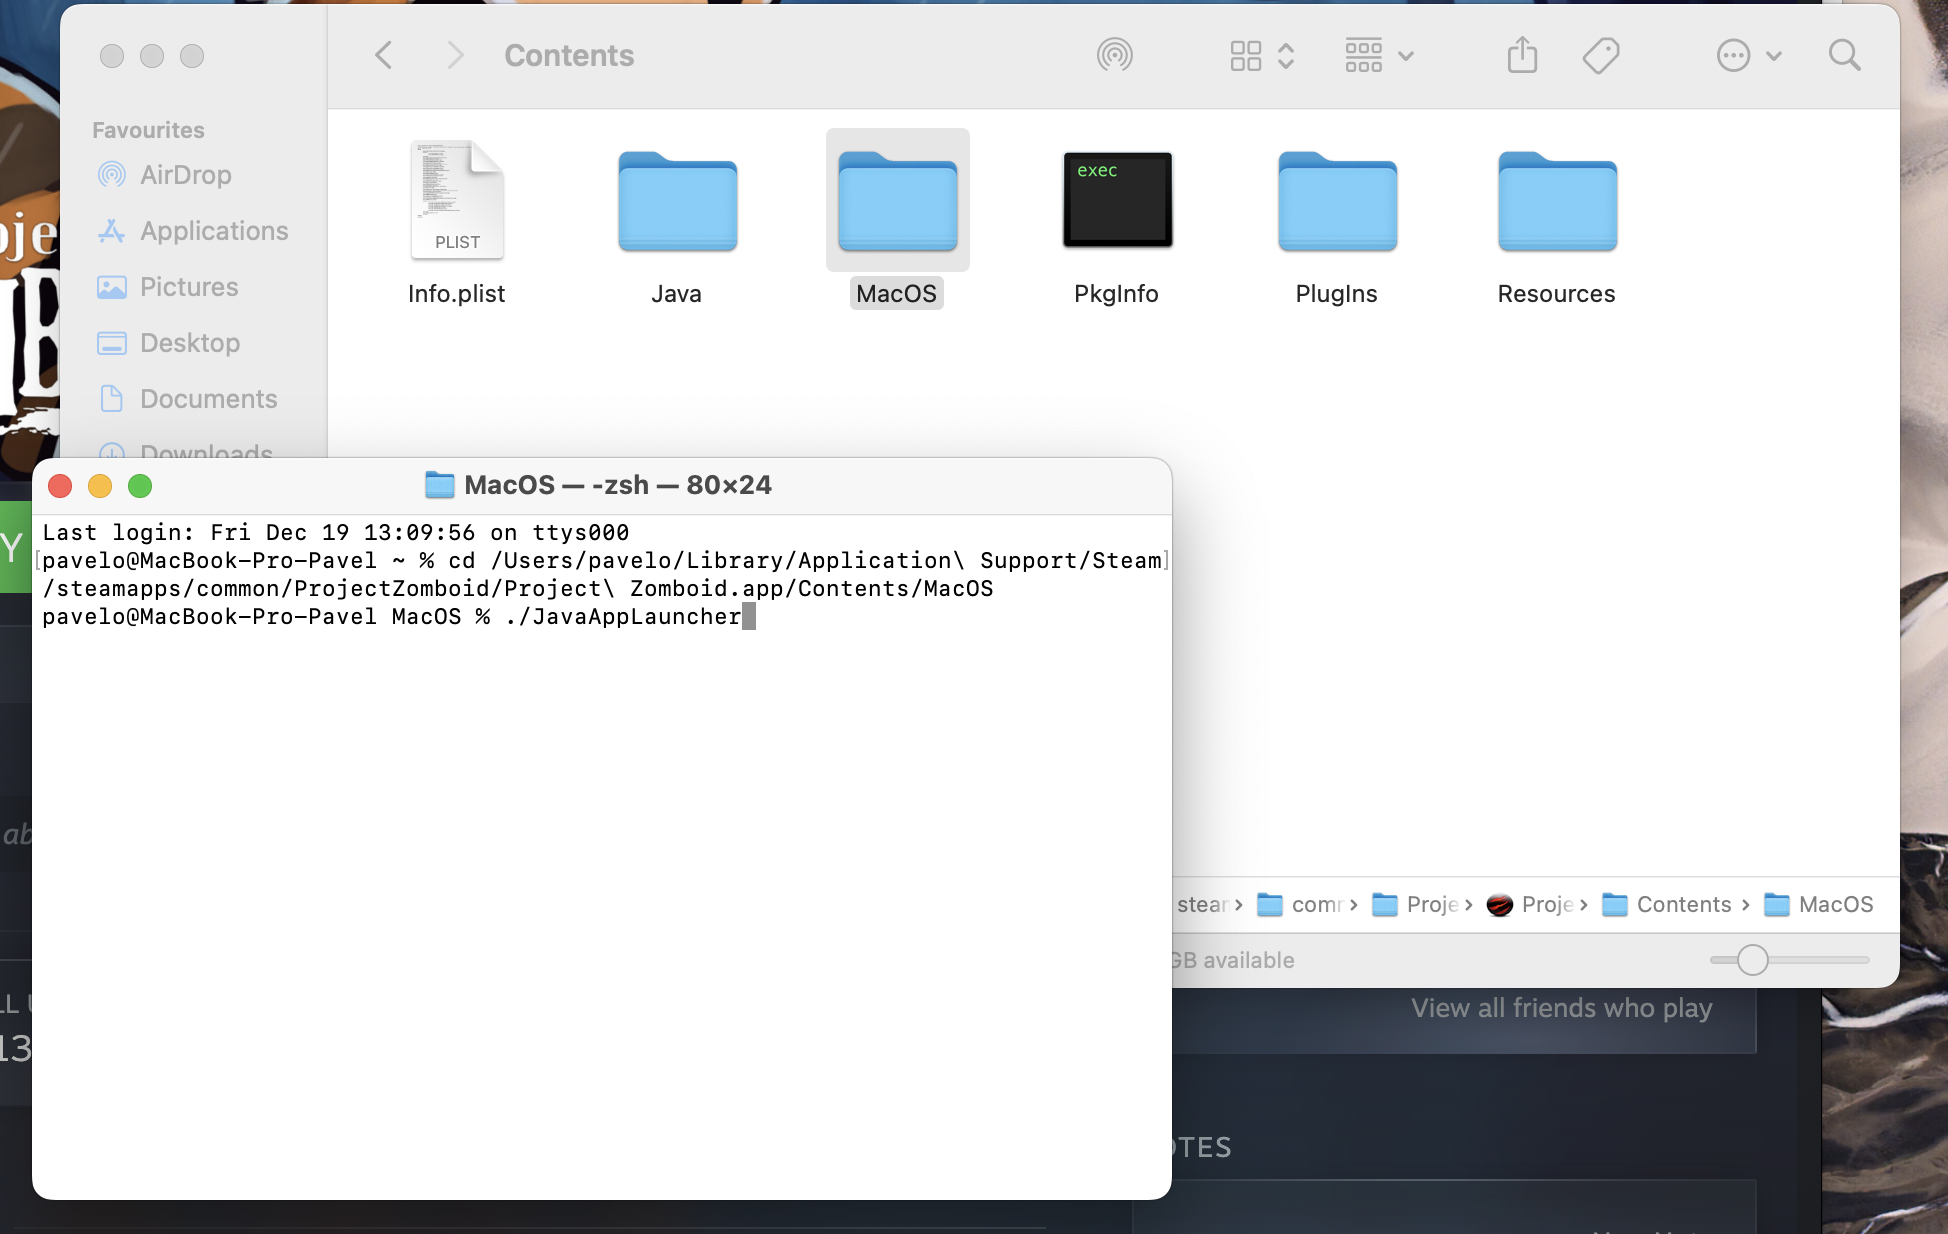
- Type `cd ` (with a space after cd), then drag the "MacOS" folder into the Terminal window
- Press Enter
- Type `ls` and press Enter to see the list of files
- You should see "JavaAppLauncher" in the list
- Type `./JavaAppLauncher` and press Enter to launch the game
The system will now prompt you to allow Terminal access to your microphone. Click "Allow."
After confirming the permissions, close the game completely.
*Note: In build 41, launching through JavaAppLauncher allowed microphone access and enabled all multiplayer features. In build 42.13, the standard launch method bypasses these permissions.*
Step 3
Step 3: Get the Full Path to the Executable
- Again open Terminal
- Type `cd ` (with a space) and drag the "MacOS" folder into Terminal
- Press Enter
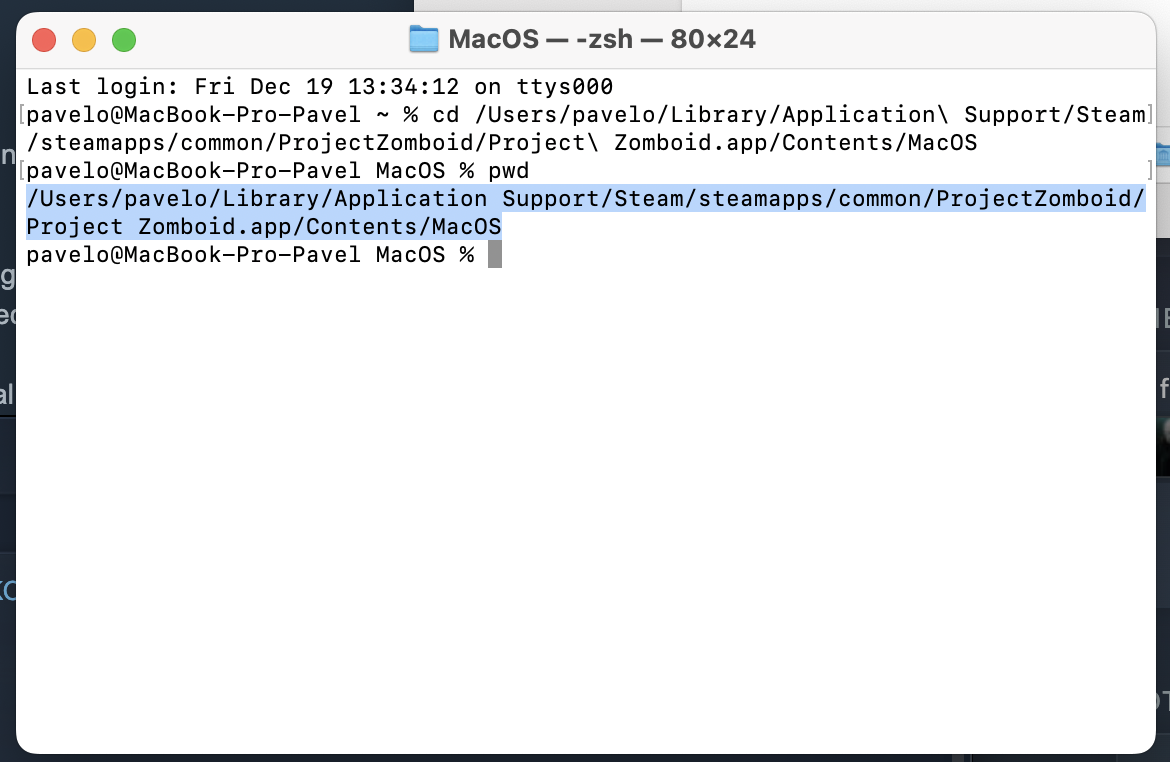
- Type `pwd` and press Enter
- Copy the full path that appears (it should look something like: "/Users/yourusername/Library/Application Support/Steam/steamapps/common/ProjectZomboid/Project Zomboid.app/Contents/MacOS"
Step 4
Step 4: Configure Steam to Always Launch via Terminal
- In Steam, right-click Project Zomboid and select "Properties"
- Under the "General" tab, find "Launch Options"
- Paste the path you copied, then add `/JavaAppLauncher` at the end
- Enclose the entire path in quotation marks
- Add `%command%` at the end
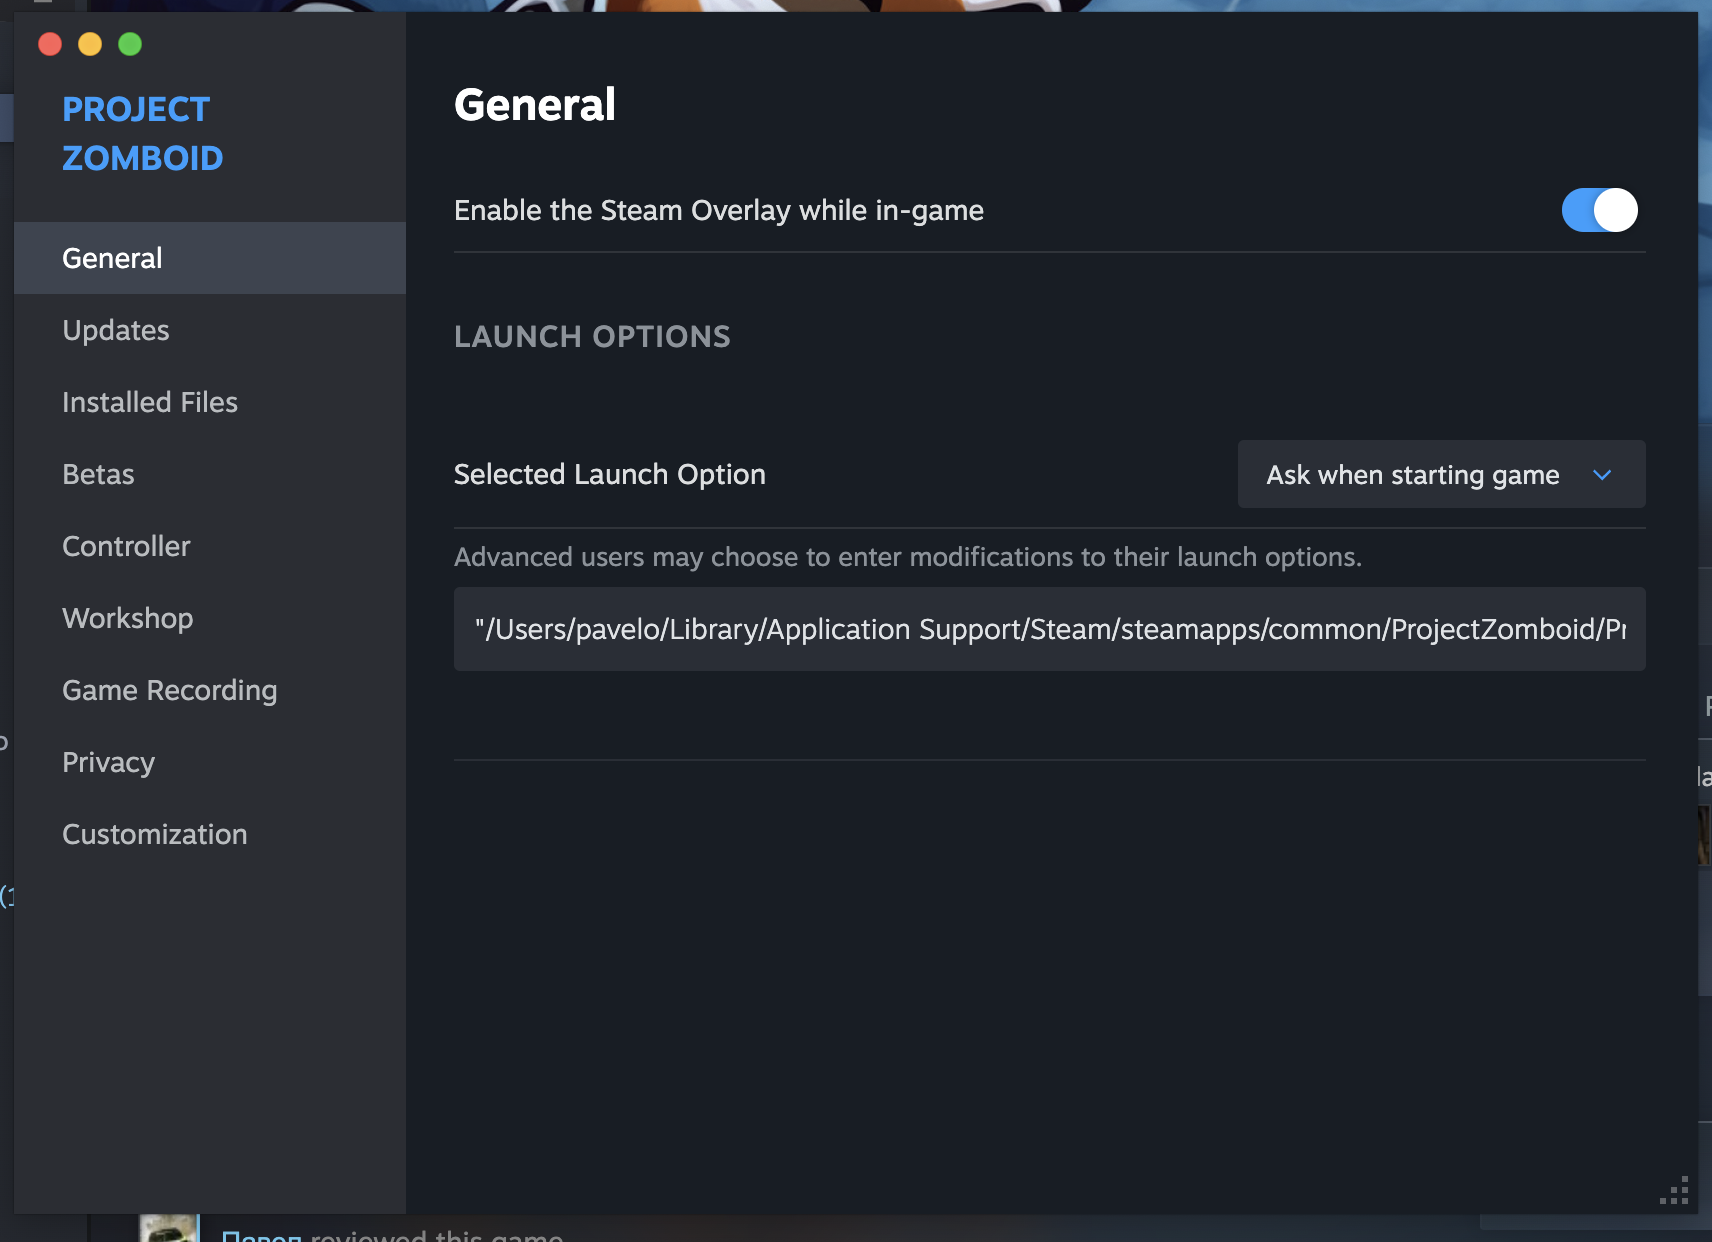
Your launch options should look like this:
```
"/Users/yourusername/Library/Application Support/Steam/steamapps/common/ProjectZomboid/Project Zomboid.app/Contents/MacOS/JavaAppLauncher" %command%
```
That's It!
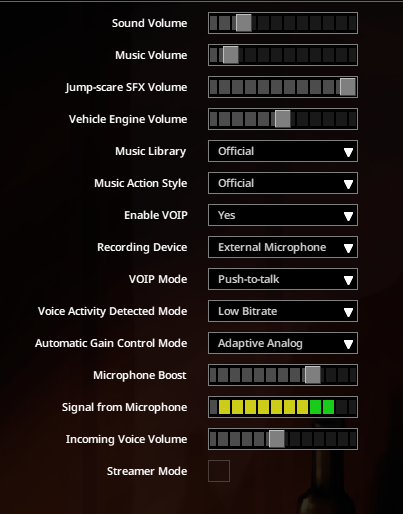
Now when you launch Project Zomboid through Steam, it will use the Terminal method with proper microphone permissions. You'll be able to use voice chat with friends, join multiplayer servers, and host your own server with voice communication enabled.
Enjoy your fully functional microphone in Project Zomboid!
- Modding Policy★ 5 (397)133k views208 ♥9 minUpdated Nov 8, 2022
- 80 tips and tricks for Project Zomboid (If you have over 100 hours in this game some of these will probably be new to you too)★ 5 (1.6k)82k views3.1k ♥28 minUpdated Aug 29, 2021
- Топ 100 лучших модов на "project zomboid"★ 5 (415)68k views1.1k ♥10 minRussianUpdated Jul 28, 2024
- [B41] Лучшие места для базы★ 5 (477)61k views1.3k ♥6 minRussianUpdated Nov 30, 2025
- Первая помощь ❤★ 5 (628)49k views1.4k ♥5 minRussianUpdated Jan 20, 2025
- The Basics of Base Building★ 5 (704)48k views1.5k ♥17 minUpdated Dec 24, 2021





- Upgrading to PremiumTeam Fortress 2★ 5 (20k)1441k views11k ♥6 minUpdated May 11, 2022
- No More Room in Hell Official ManualNo More Room in Hell★ 5 (2.8k)569k views2.1k ♥29 minUpdated Apr 22, 2019
- NMRiH Community Hosting GuidesNo More Room in Hell★ 5 (526)351k views653 ♥1 minUpdated Aug 10, 2022
- ULTIMATE GUIDE FOR GAME DEV TYCOONGame Dev Tycoon★ 5 (5.8k)326k views10k ♥4 minUpdated 23 Jan, 2014
- How to 'Git Gud' Soon™MORDHAU★ 5 (2k)318k views3k ♥68 minUpdated Nov 16, 2024
- Лучшие кооперативные игры SteamPAYDAY 2★ 5 (1.5k)315k views2.1k ♥56 minRussianUpdated Apr 27, 2025






This guide was created by its original author on the Steam Community. Are you the author and want it removed? Request removal.