Atlas Path JSON Edits
Preperation
[!] If you have never used the goatfungus Save Editor (on github), I'm sorry but this guide is NOT for you. You must be 100% comfortable not only using the Editor but making edits to the RAW JSON (text) data. A LOT of edits...
[!] If you inadvertently delete a "," you will render your save file unreadable and complete garbage. Not even the save editor will be able to load/read it...
-------------------------------------------------------------------------------------------------------
If you feel confident, here we go:
* Launch the game; load and save every save slot that you want to edit. This ensures the file is up to date and has any added data from the v5.5x update.
NOTE: Tested & Confirmed for Worlds Pt II Update 01/29/2025
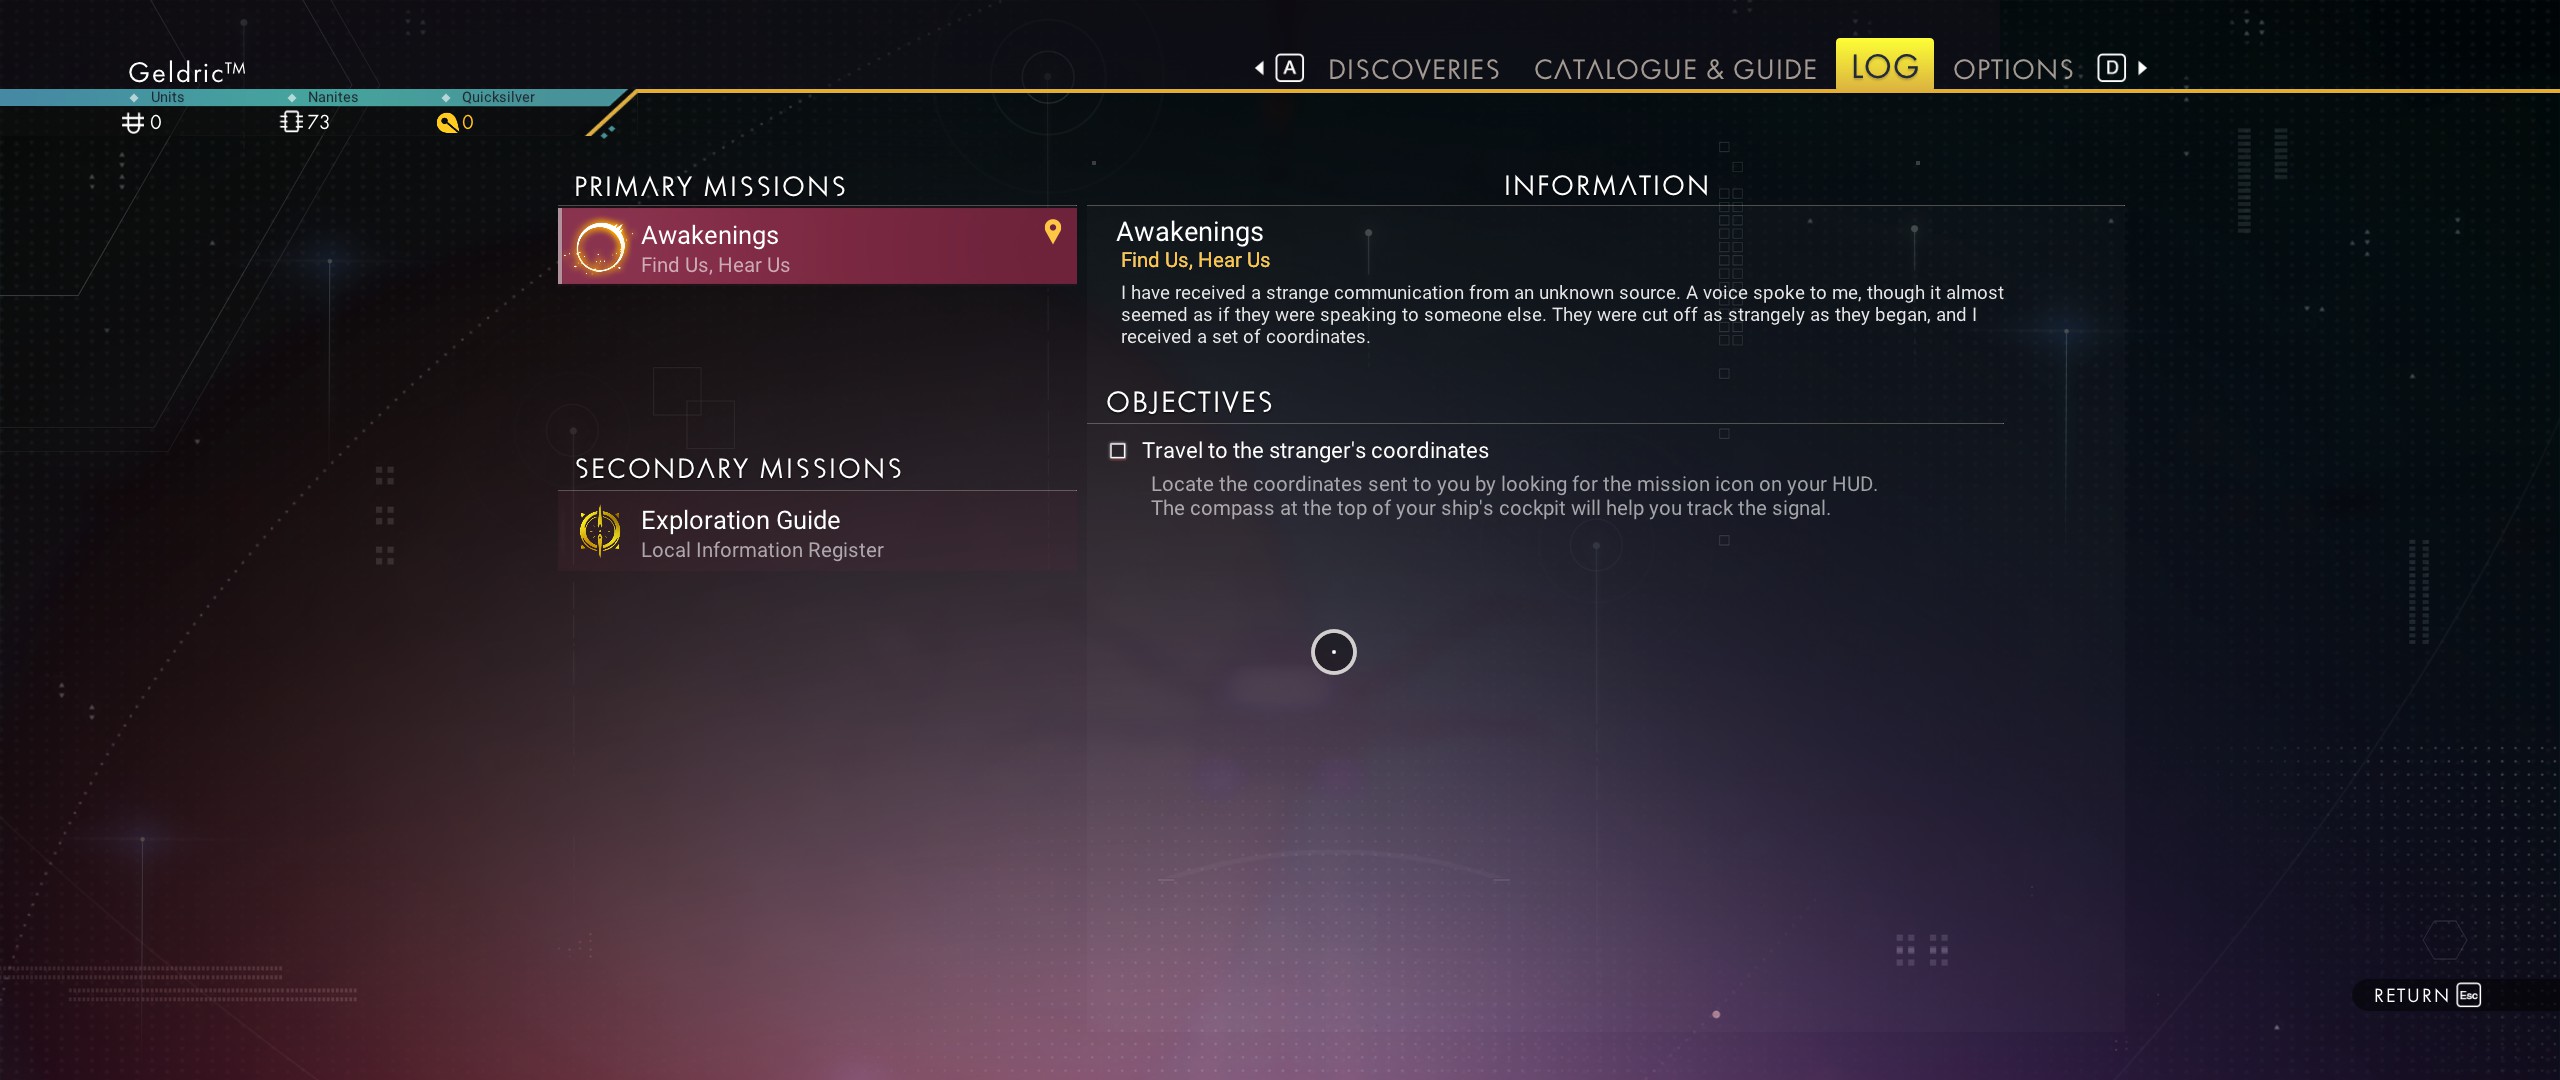
* Enter the Anomaly and complete the tutorial and now exit the Anomaly
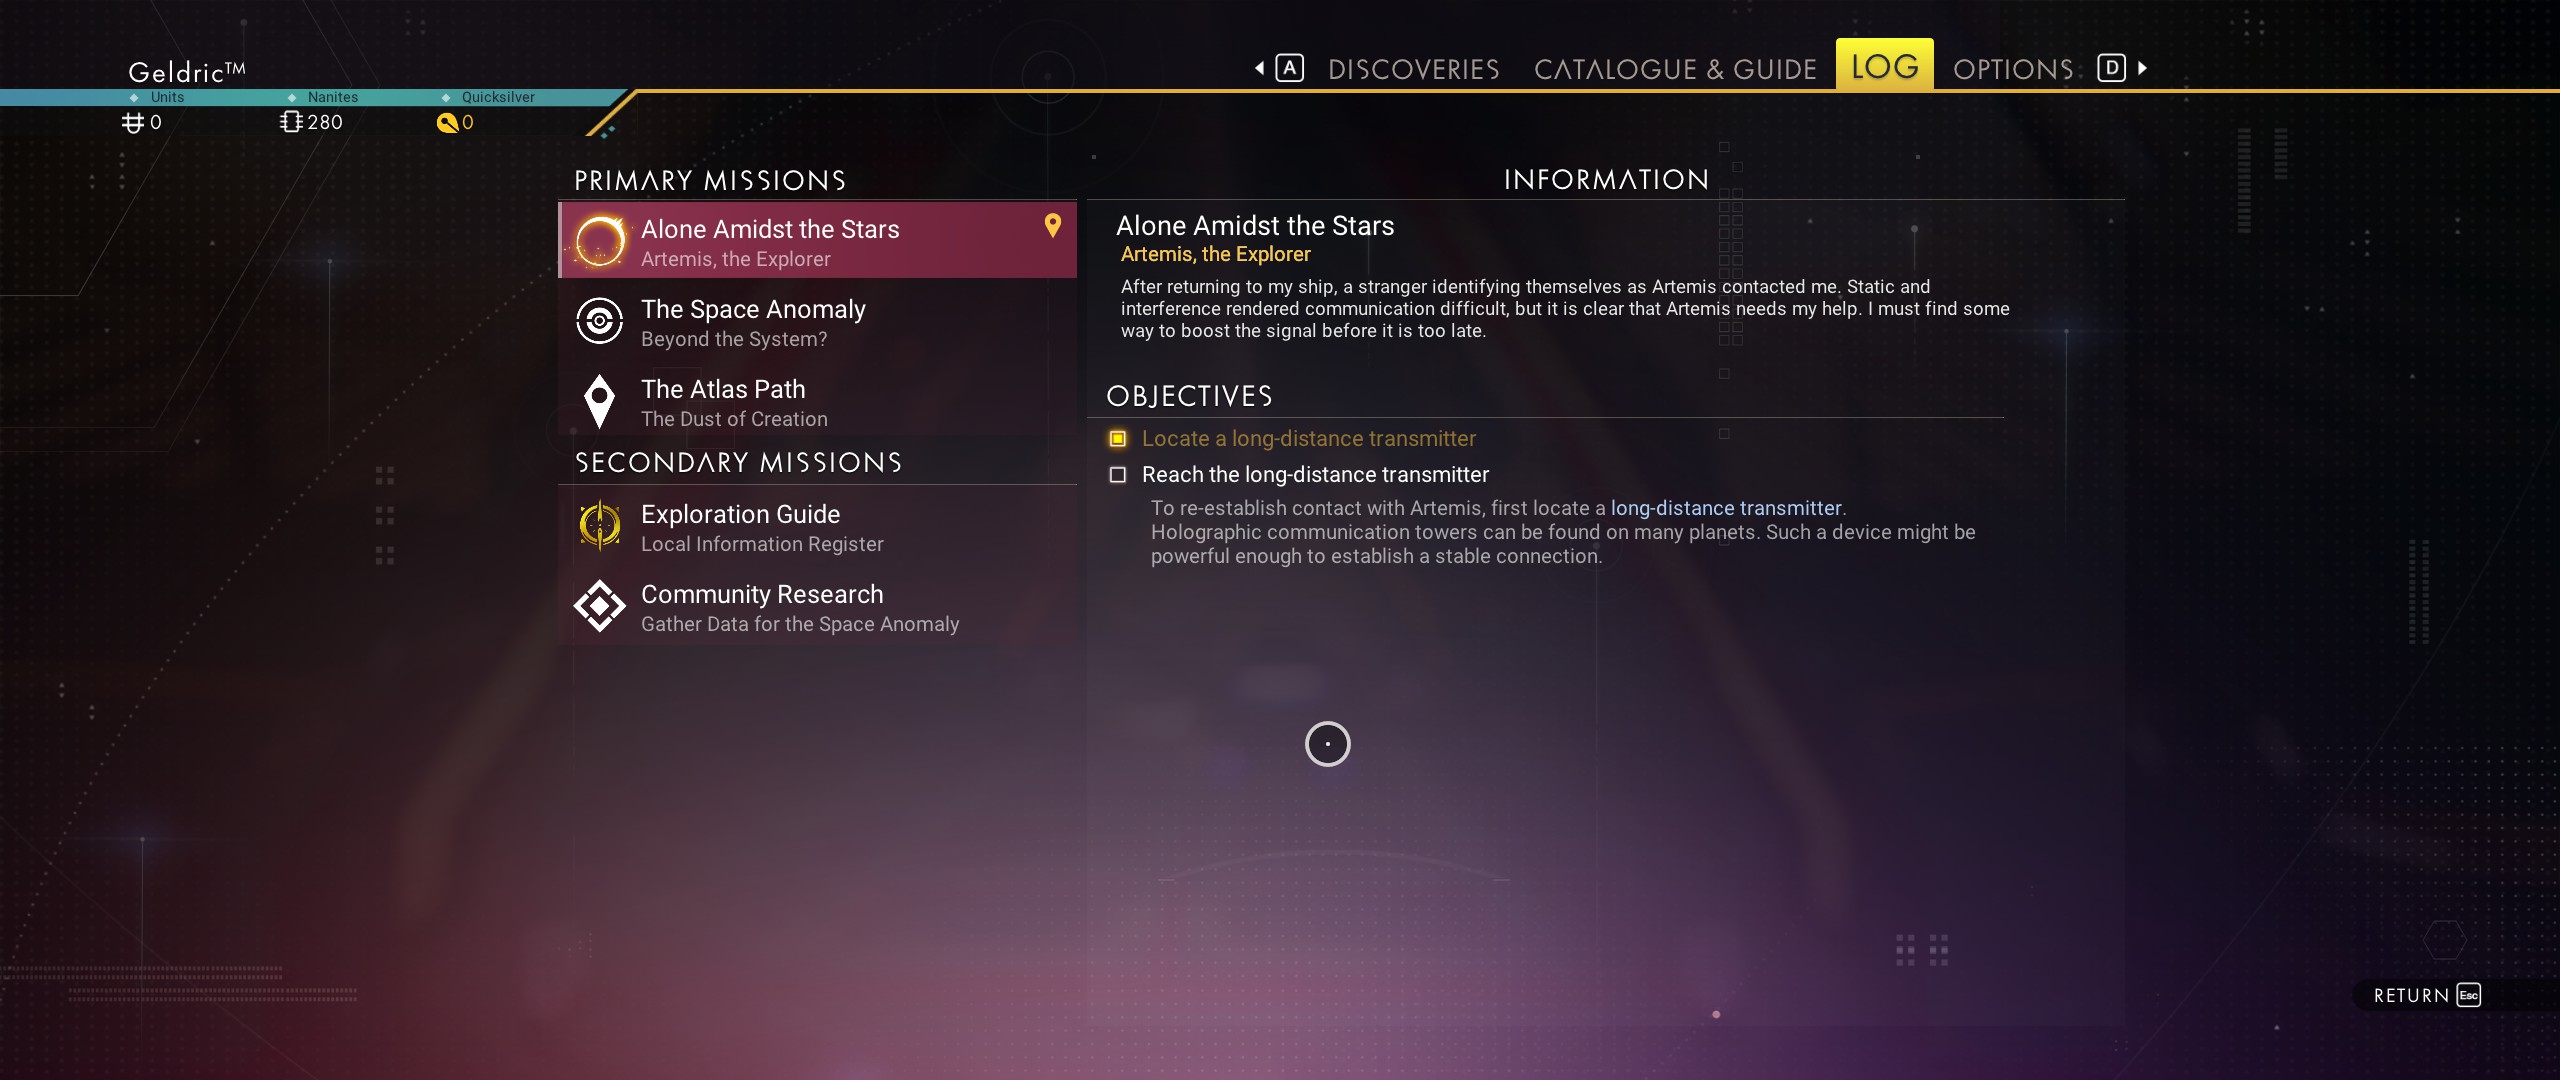
* Fly to the space station, make a save and exit to the select menu
> this allows the game to add the other two story missions to your log and ensures a standard base for starting the edits (see image below) <
[!!!] BACKUP YOUR FILES [!!!]
* Make a copy/backup of your entire save folder.
Honestly, if you don't know where your save files are, this guide IS NOT intended for you, I'm very sorry
Version: 1.0
JSON Data Edits
[!!!] DO NOT PROCEED UNLESS YOU HAVE MADE A COPY OF YOUR SAVES [!!!]
______________________________________________________
Notes: Okay, I cannot tell you "which" entry has your data because the game adds them kind of when events happen and also whether or not you disabled the tutorial. I can tell you once you are inside the "MissionProgress" section you can probably skip to [175] or so... The nice thing is "usually" they continue in order so it's fairly easy to follow.
Note: My test data started around Row 182
The data is structured as follows:
NAME / Progress
So for "ATLAS1 / Progress = 12" it will be listed as:
ATLAS1 / 12
A second example, for "ATLAS10 / Progress = 11" it will be listed as:
ATLAS10 / 11
You MUST also click the Yes button on EVERY entry so the data is saved. If you click No, your data will NOT be saved.
The main key is named: "MissionProgress"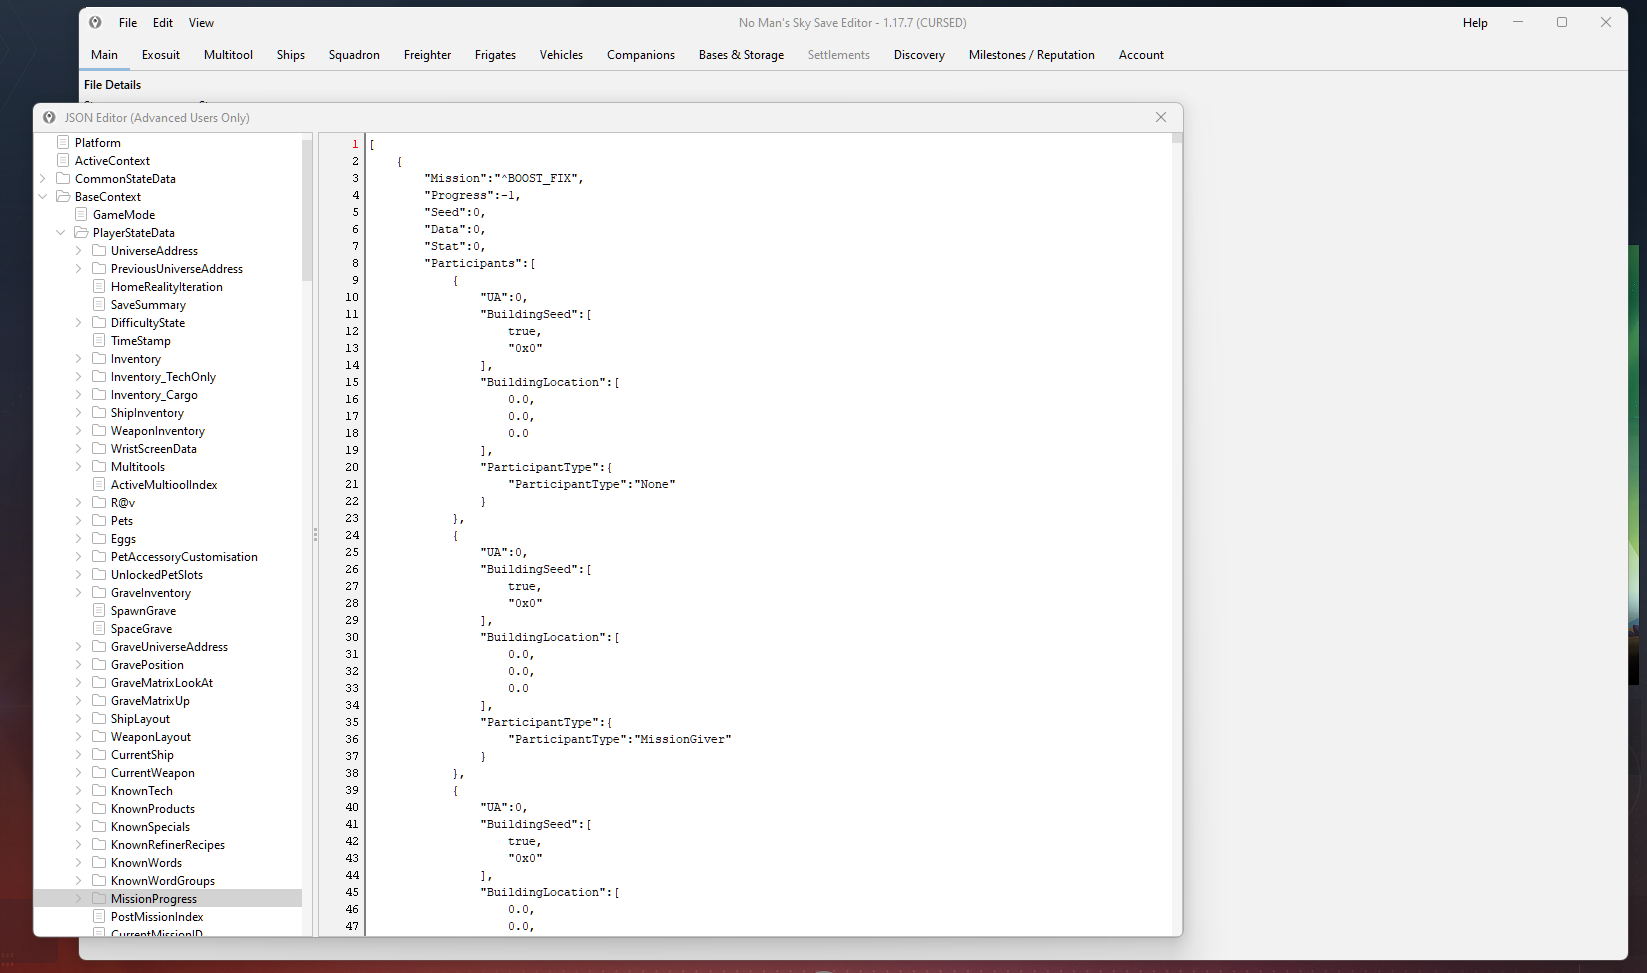
Okay, I think you got it, here are all the JSON data edits:
NAME / Progress
------------------------------------------------
ATLAS1 / 12
ATLAS2 / 11
ATLAS3 / 11
ATLAS4 / 11
ATLAS5 / 11
ATLAS6 / 11
ATLAS7 / 11
ATLAS8 / 11
ATLAS9 / 11
ATLAS10 / 11
ATLAS11 / 36
ATLAS_LOOP_STAR / 5
ATLAS_LOOP_DENY / 3
ALERT!!! NOTICE!!!
This next key changes BOTH PROGRESS and the DATA key
AP_SEEDCHECK / PROGRESS 0
AP_SEEDCHECK / DATA 59
You should use CTRL+F to search for ATLAS_LORE
ATLAS_LORE / 24
NOTICE: On one of my tests I did not have the key "ATLAS_LORE". This did not affect the final outcome at all.
CREDIT: @RangerOk1777
Close (make sure to save) the JSON window and reopen it. Now click on the key named "BaseContext" and the "+" to expand it.
Now click on "PlayerStateData", now click inside the right section and press CTRL+F to open the Find window.
You are searching for this valueFirstAtlasStationDiscovered
and set it's value to "true". It should look like this
Thanks again to @RangerOk1777
The above edit helps resolve the "unable to select Atlas Path" in the galaxy map
After all those edits. close the JSON data window and SAVE your file. Nearly done...
Edits Done - DISCOVERY Edits Are Next
ADD the following PRODUCT
Heart of the Sun
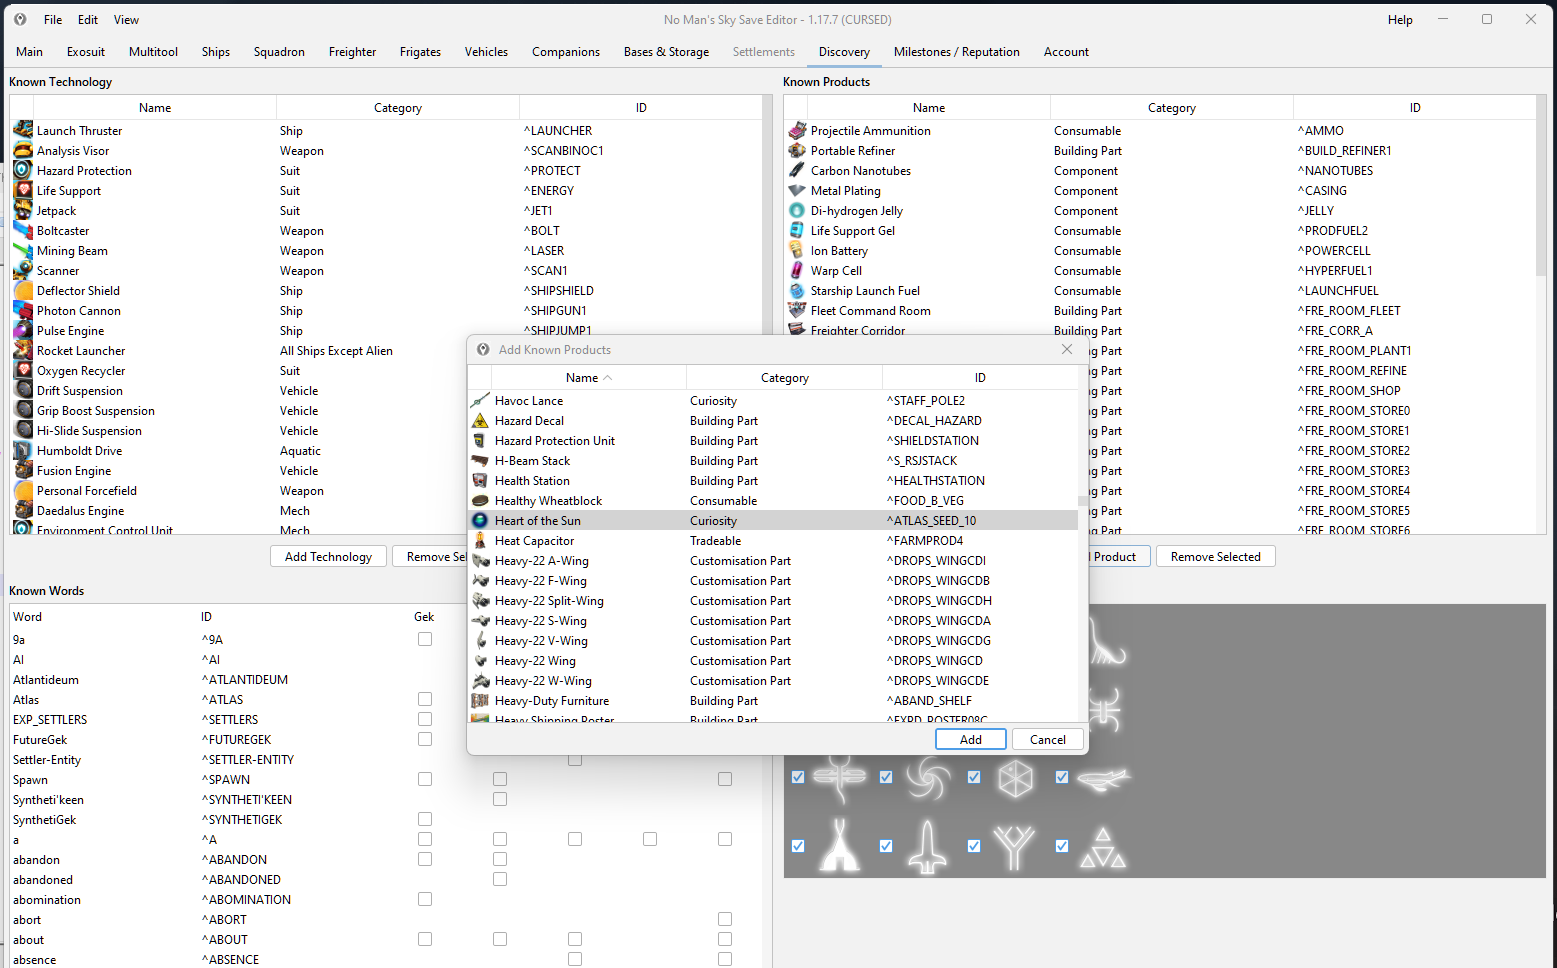
ADD the following TECHNOLOGY
Mark of the Denier
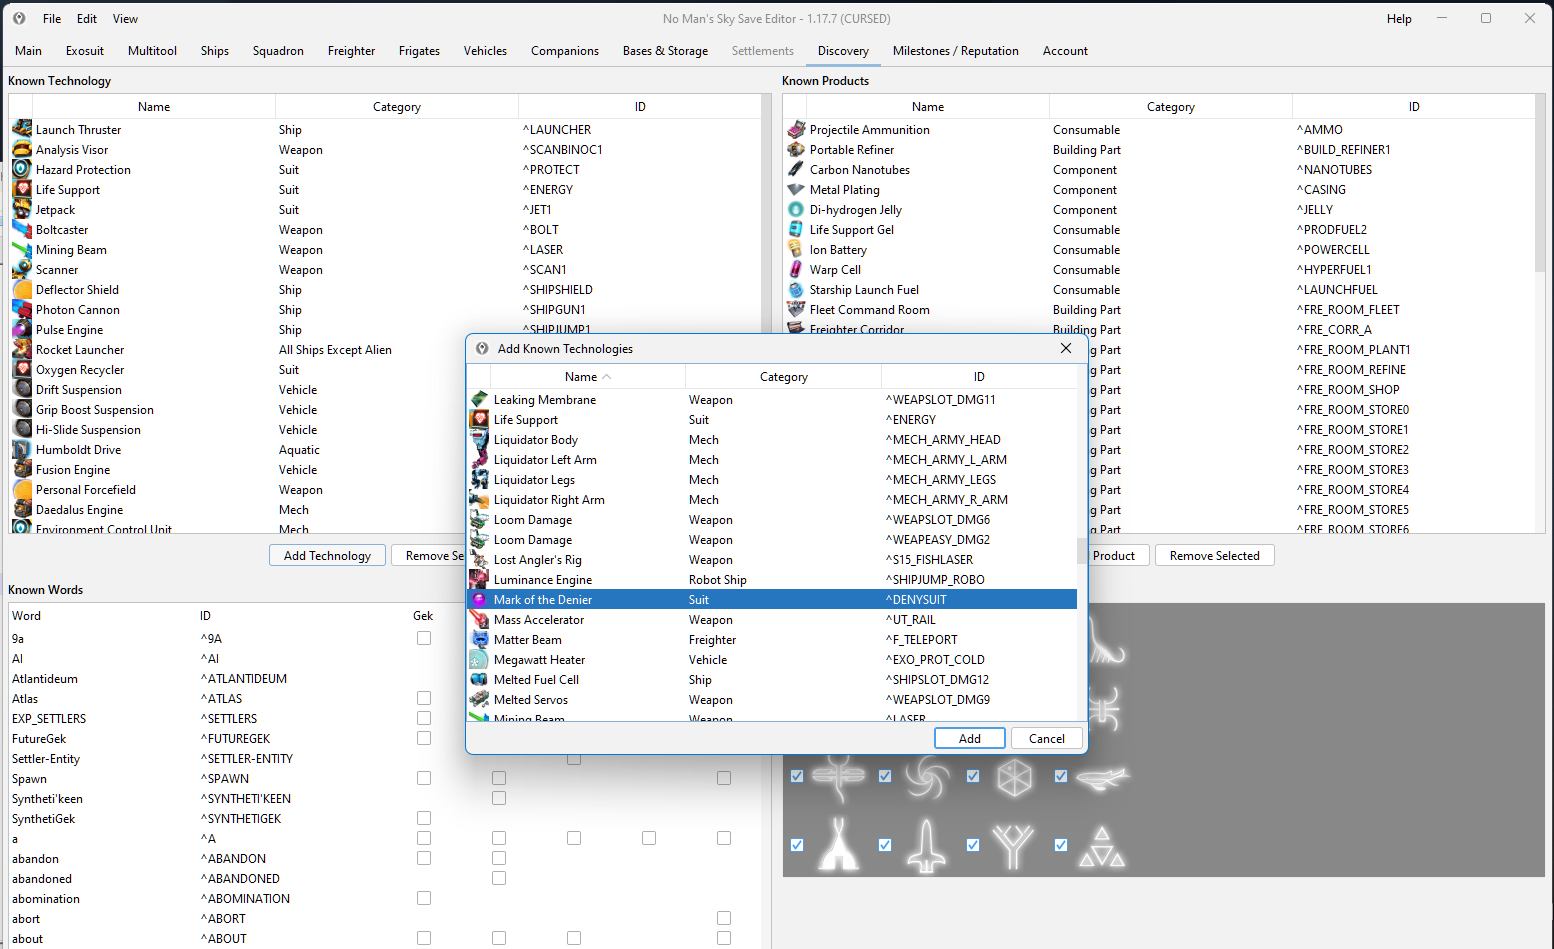
Exosuit Technology
Looks like this
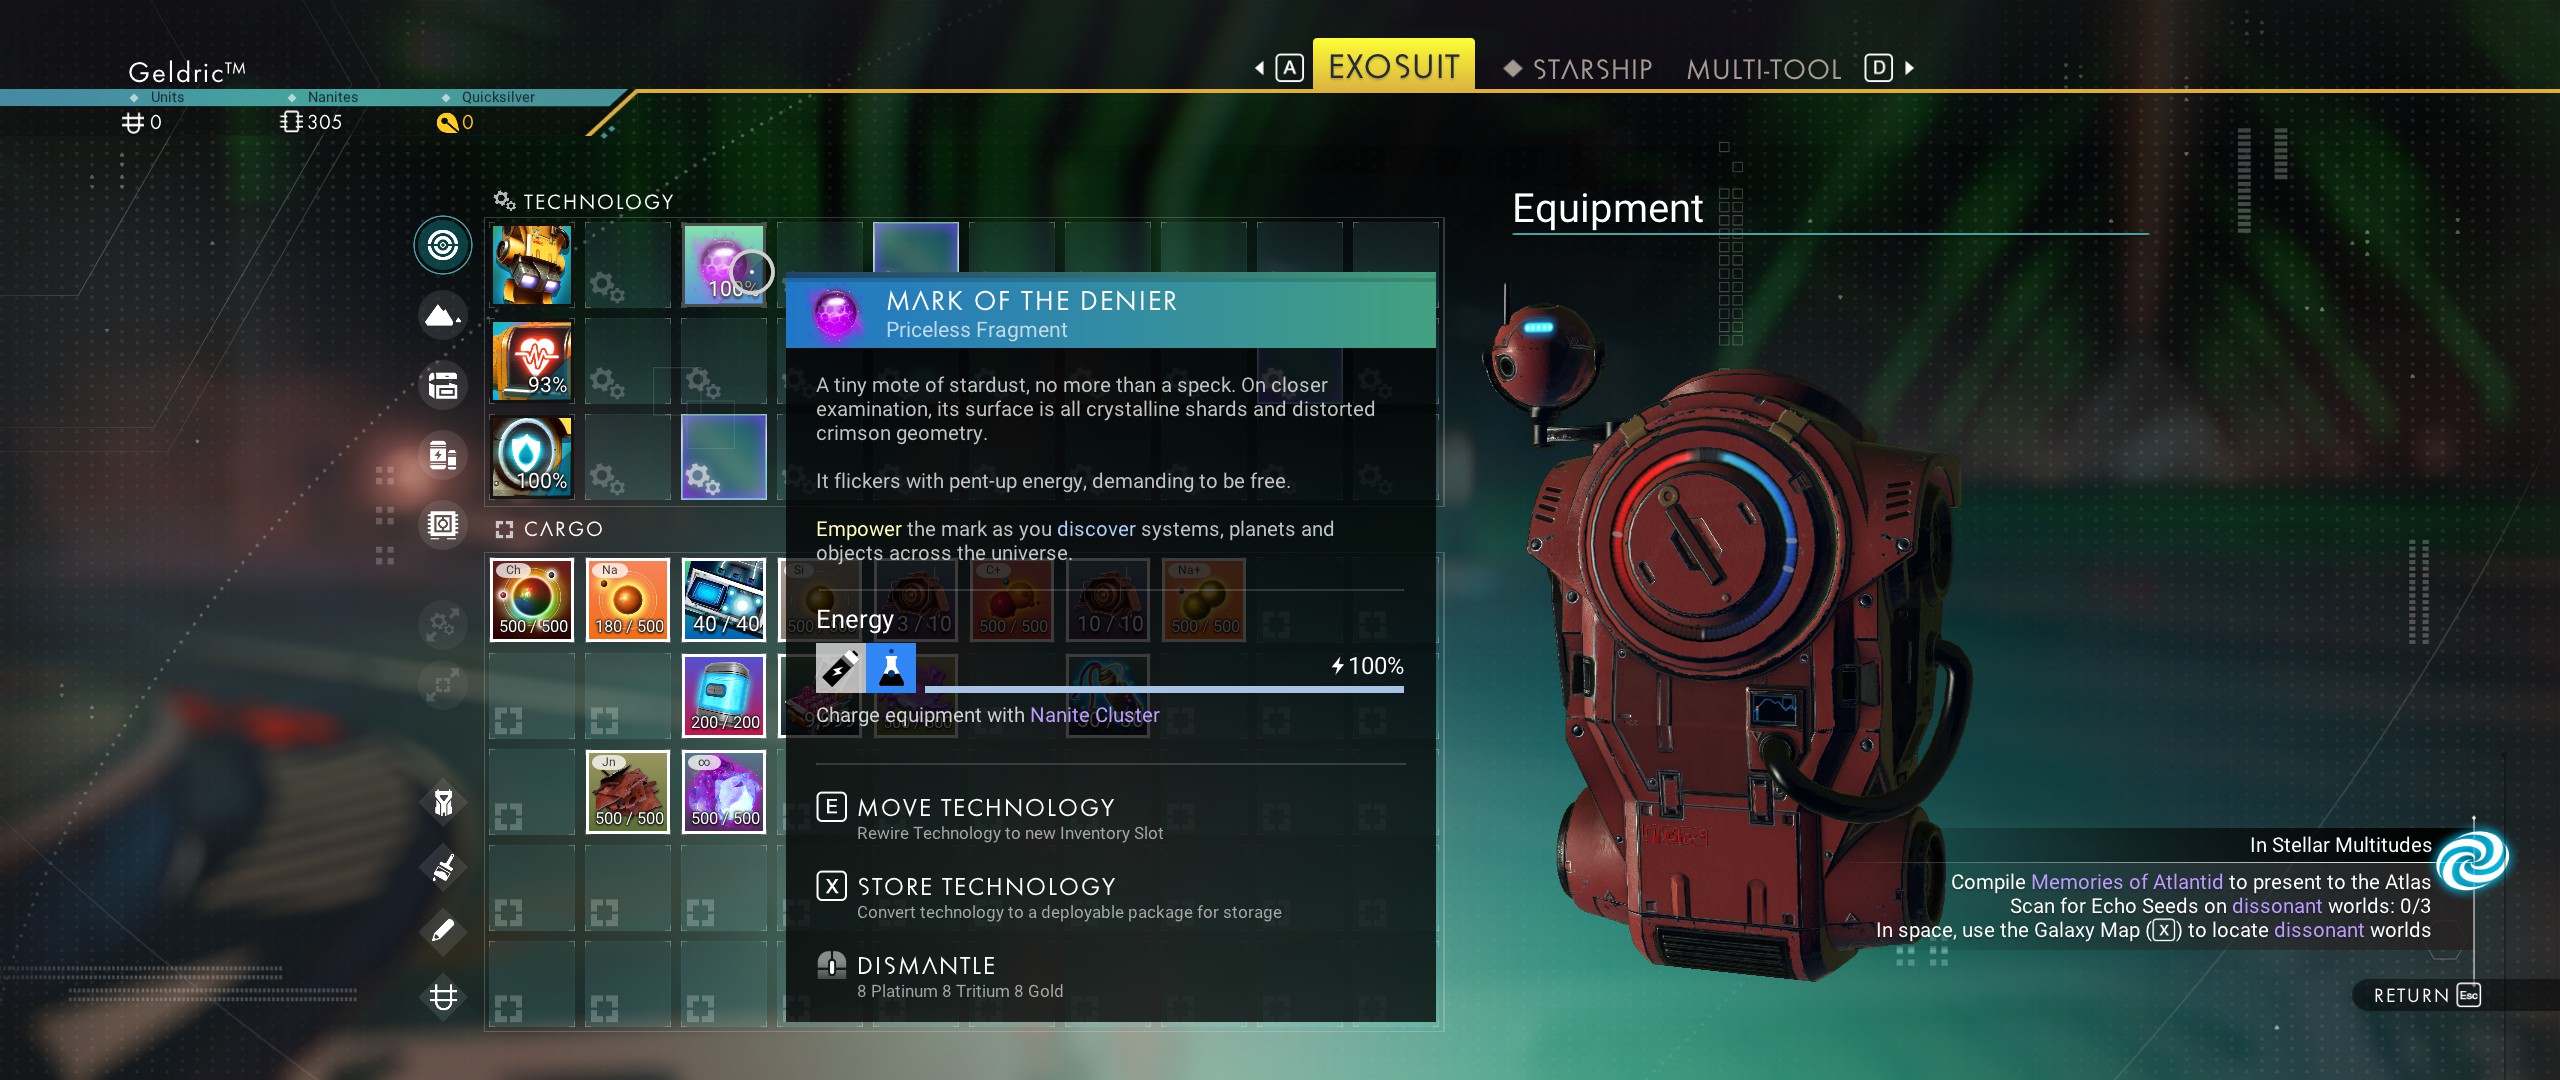
Note: the "Mark of the Denier" should be fully (100/100) charged upon installation. If it is not, please recharge it.
Optional - Missing B/P's
This is optional and may even be pointless since several of these b/p's are added automatically as you play the game and learn other new b/p's
Example: You learn the Economy Scanner b/p from a crashed ship debris sphere and one of these missing b/p's will pop-up
Here's the complete listing:
1st Atlas interface - learned Captured Nanode
2nd Atlas interface - learned Englobed Shade
3rd Atlas interface - learned Noospheric Orb
4th Atlas interface - learned Dark Matter
5th Atlas interface - learned Dawn's End
6th Atlas interface - learned Photic Jade
7th Atlas interface - learned State Phasure
8th Atlas interface - learned Novae Reclaiment
9th Atlas interface - learned Modified Quanta
10th Atlas interface - learned Heart of the Sun
Final Save & Load In Game
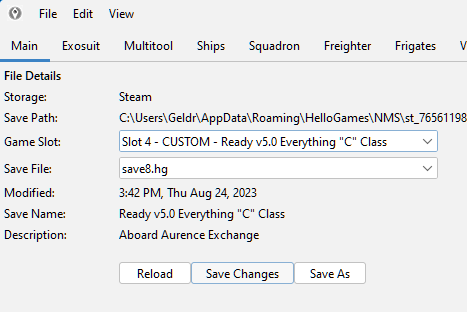
Close the Editor and load your save in the game.
Your Mission Log should look like this
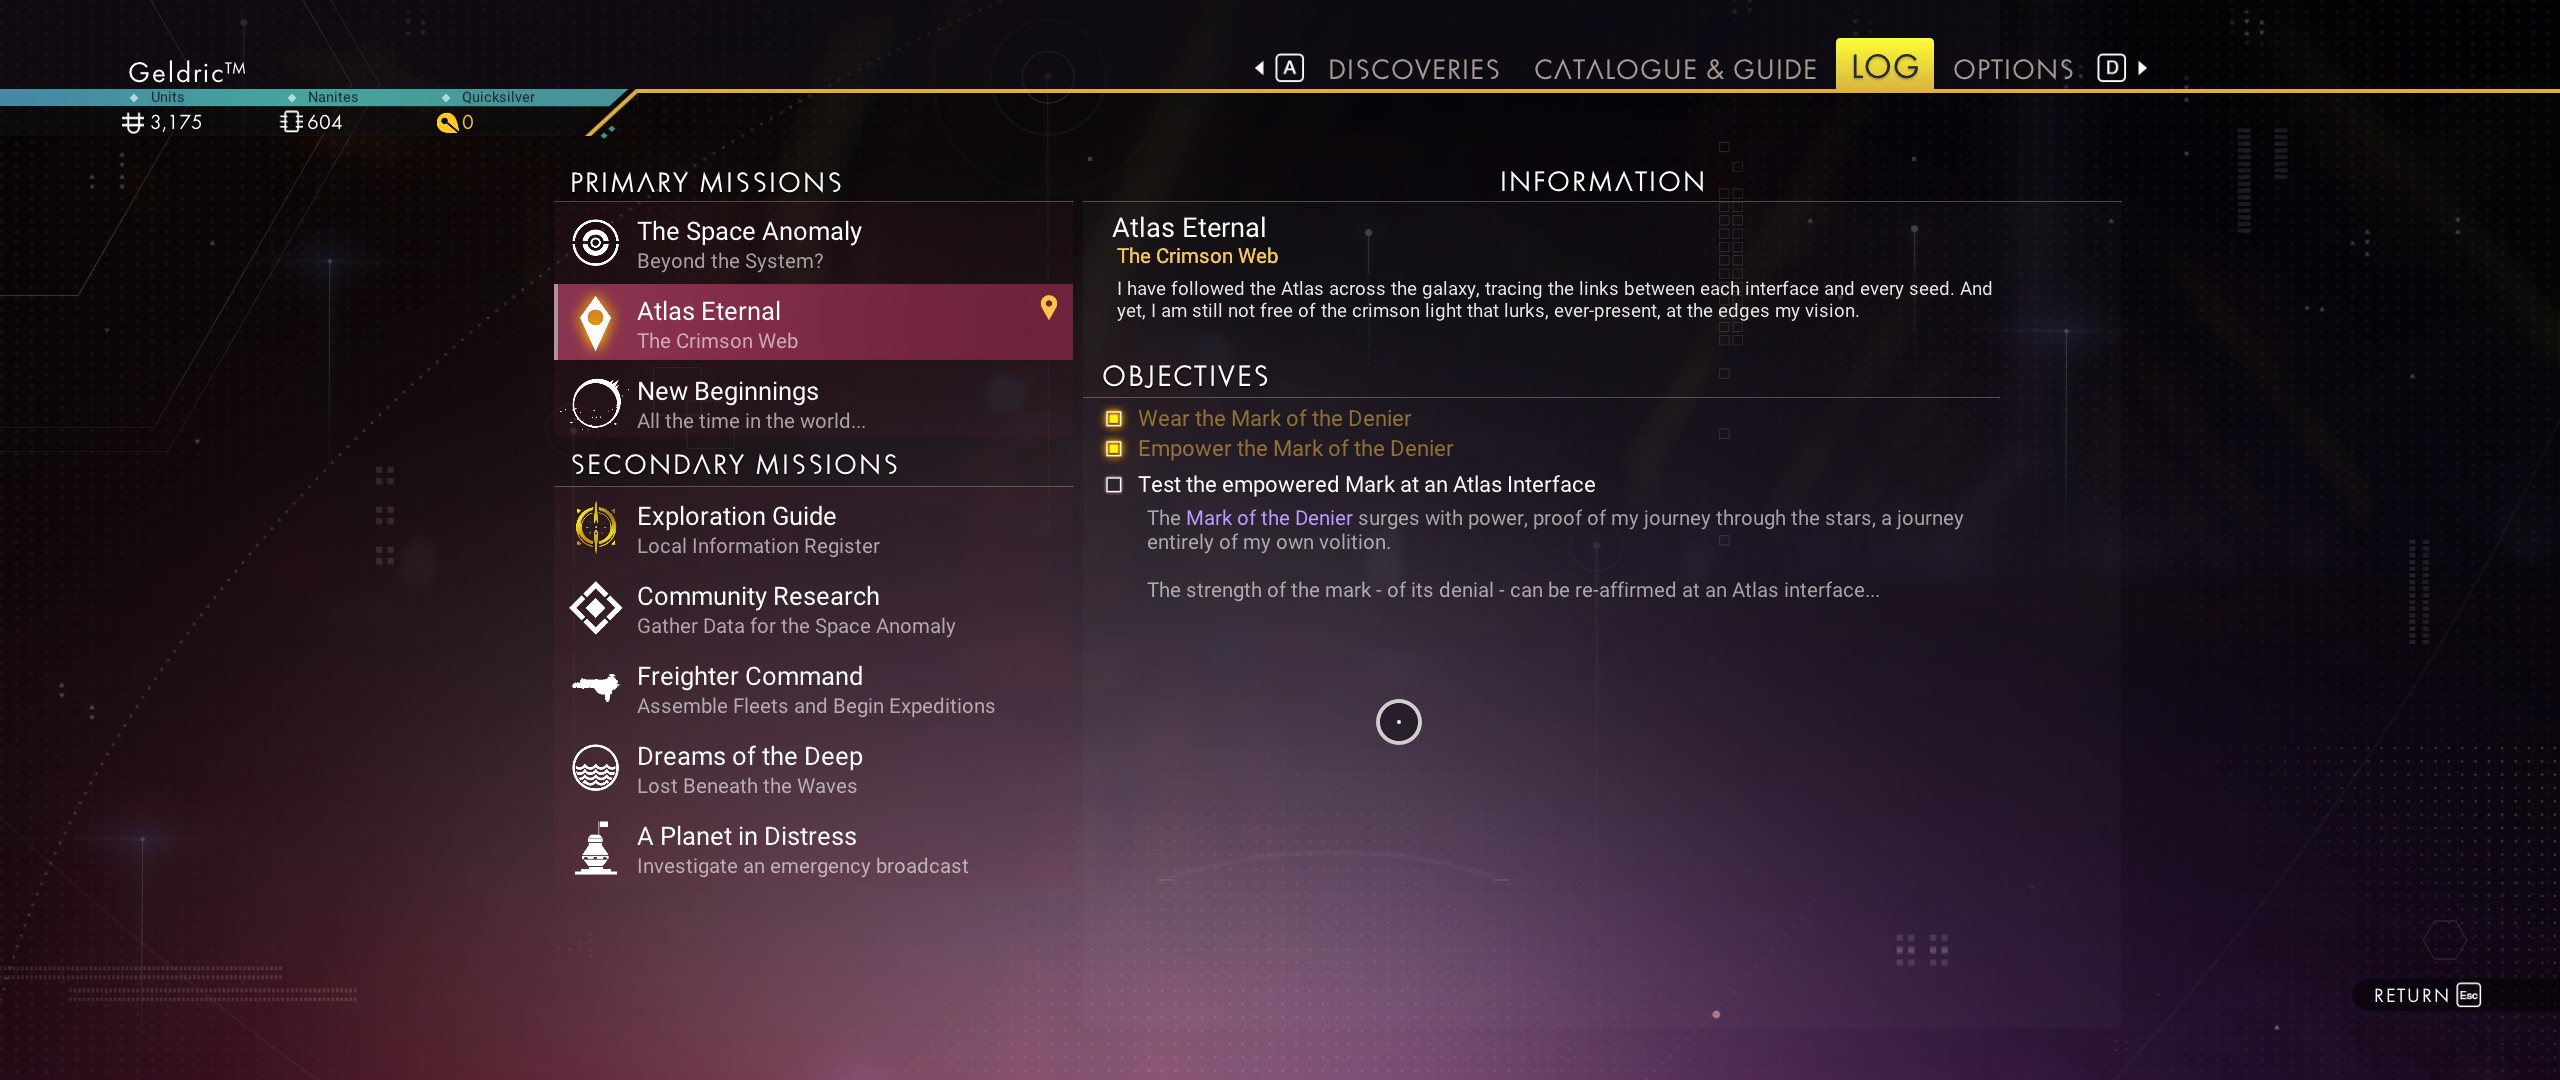 The "Atlas Path" mission is now complete
Addendum
Revisions / Updates / Comments will be added here
v1.0 - 30/12/2025 Created
v1.1 - 04/02/2025 Added edits for "FirstAtlasStationDiscovered"
_________________________
Testing Log:
(5) New Survival v5.5 saves
Comments:
* I revised the Artemis JSON guide to allow you to NOT reset the galaxy <- still completes the mission
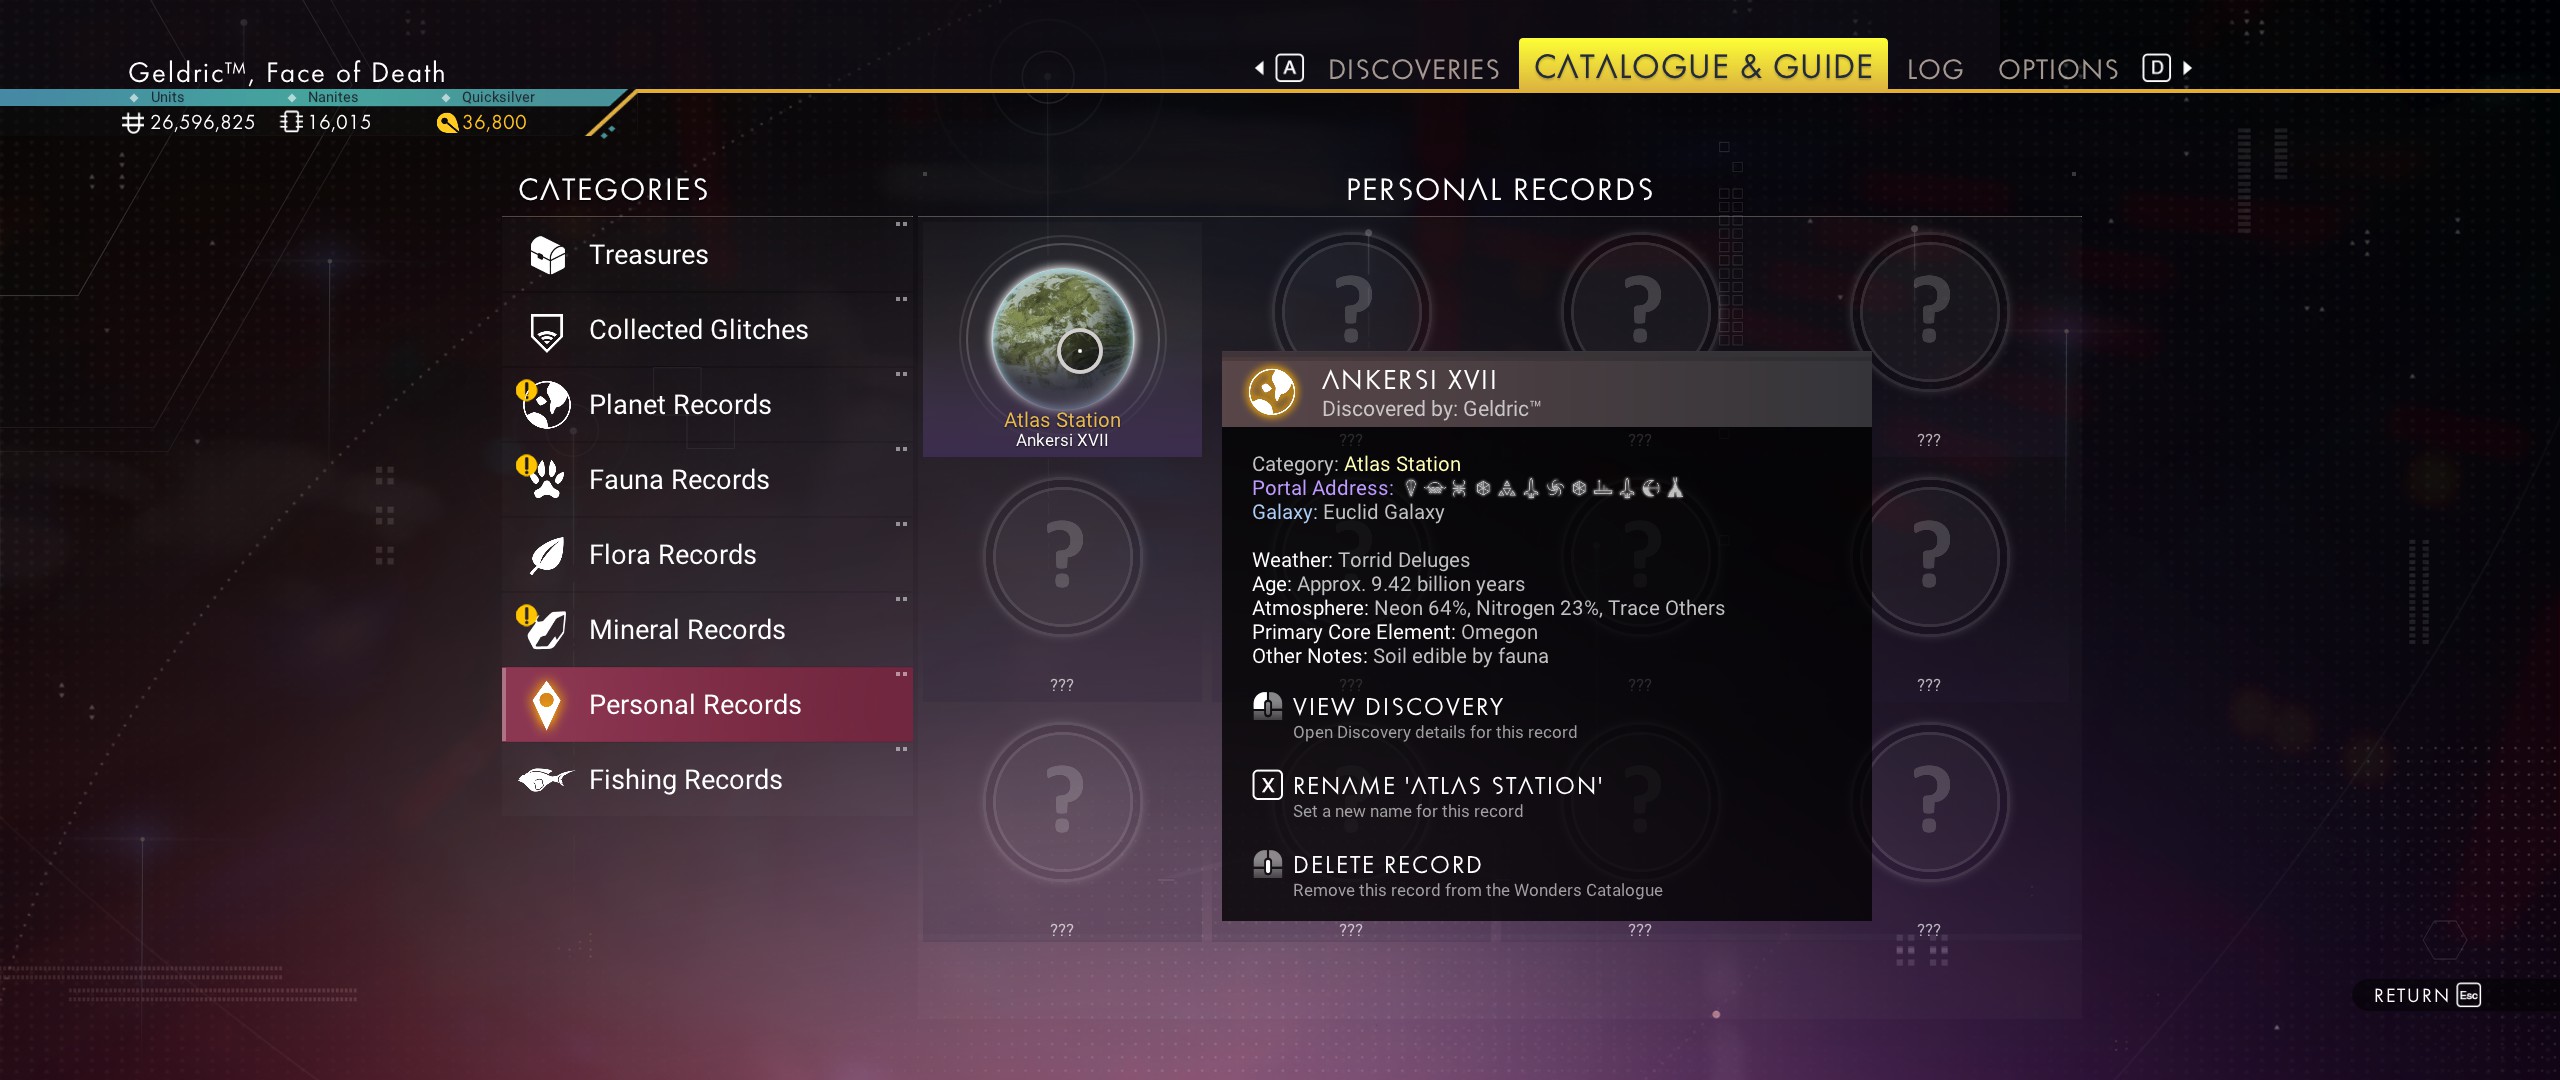
Glyphs for Atlas Station
Well, since you have all the glyphs, you can use this system when you need to access an Atlas station
- No Man's Sky Access Codes★ 5 (880)43k views2.1k ♥1 minUpdated 14 Apr
- Refining – The Magic Of Alchemy★ 5 (1.2k)41k views3.6k ♥5 minUpdated 24 Mar, 2022
- How to get RICH in NMS SUPER FAST★ 5 (501)32k views1k ♥2 minUpdated 7 Sep, 2022
- Multi-Tools: Types, Statistics, Weapons, Layouts★ 5 (550)27k views1.3k ♥7 minBulgarianUpdated 3 Jul, 2025
- Starship Guide: Types, Statistics & Roles★ 5 (461)25k views924 ♥8 minBulgarianUpdated 30 May
- Звездолеты СТРАЖЕЙ★ 5 (220)24k views519 ♥7 minRussianUpdated 9 Feb, 2025



- Upgrading to PremiumTeam Fortress 2★ 5 (20k)1441k views11k ♥6 minUpdated May 11, 2022
- No More Room in Hell Official ManualNo More Room in Hell★ 5 (2.8k)569k views2.1k ♥29 minUpdated Apr 22, 2019
- NMRiH Community Hosting GuidesNo More Room in Hell★ 5 (526)351k views653 ♥1 minUpdated Aug 10, 2022
- ULTIMATE GUIDE FOR GAME DEV TYCOONGame Dev Tycoon★ 5 (5.8k)326k views10k ♥4 minUpdated 23 Jan, 2014
- How to 'Git Gud' Soon™MORDHAU★ 5 (2k)318k views3k ♥68 minUpdated Nov 16, 2024
- Лучшие кооперативные игры SteamPAYDAY 2★ 5 (1.5k)315k views2.1k ♥56 minRussianUpdated Apr 27, 2025






This guide was created by its original author on the Steam Community. Are you the author and want it removed? Request removal.