Guide for Low-Resources-Used Multi-Galaxy Jumping (End Game)
Before You Start
- Two ships
- Two multi-tools
- Copious Cargo space in your Exosuit
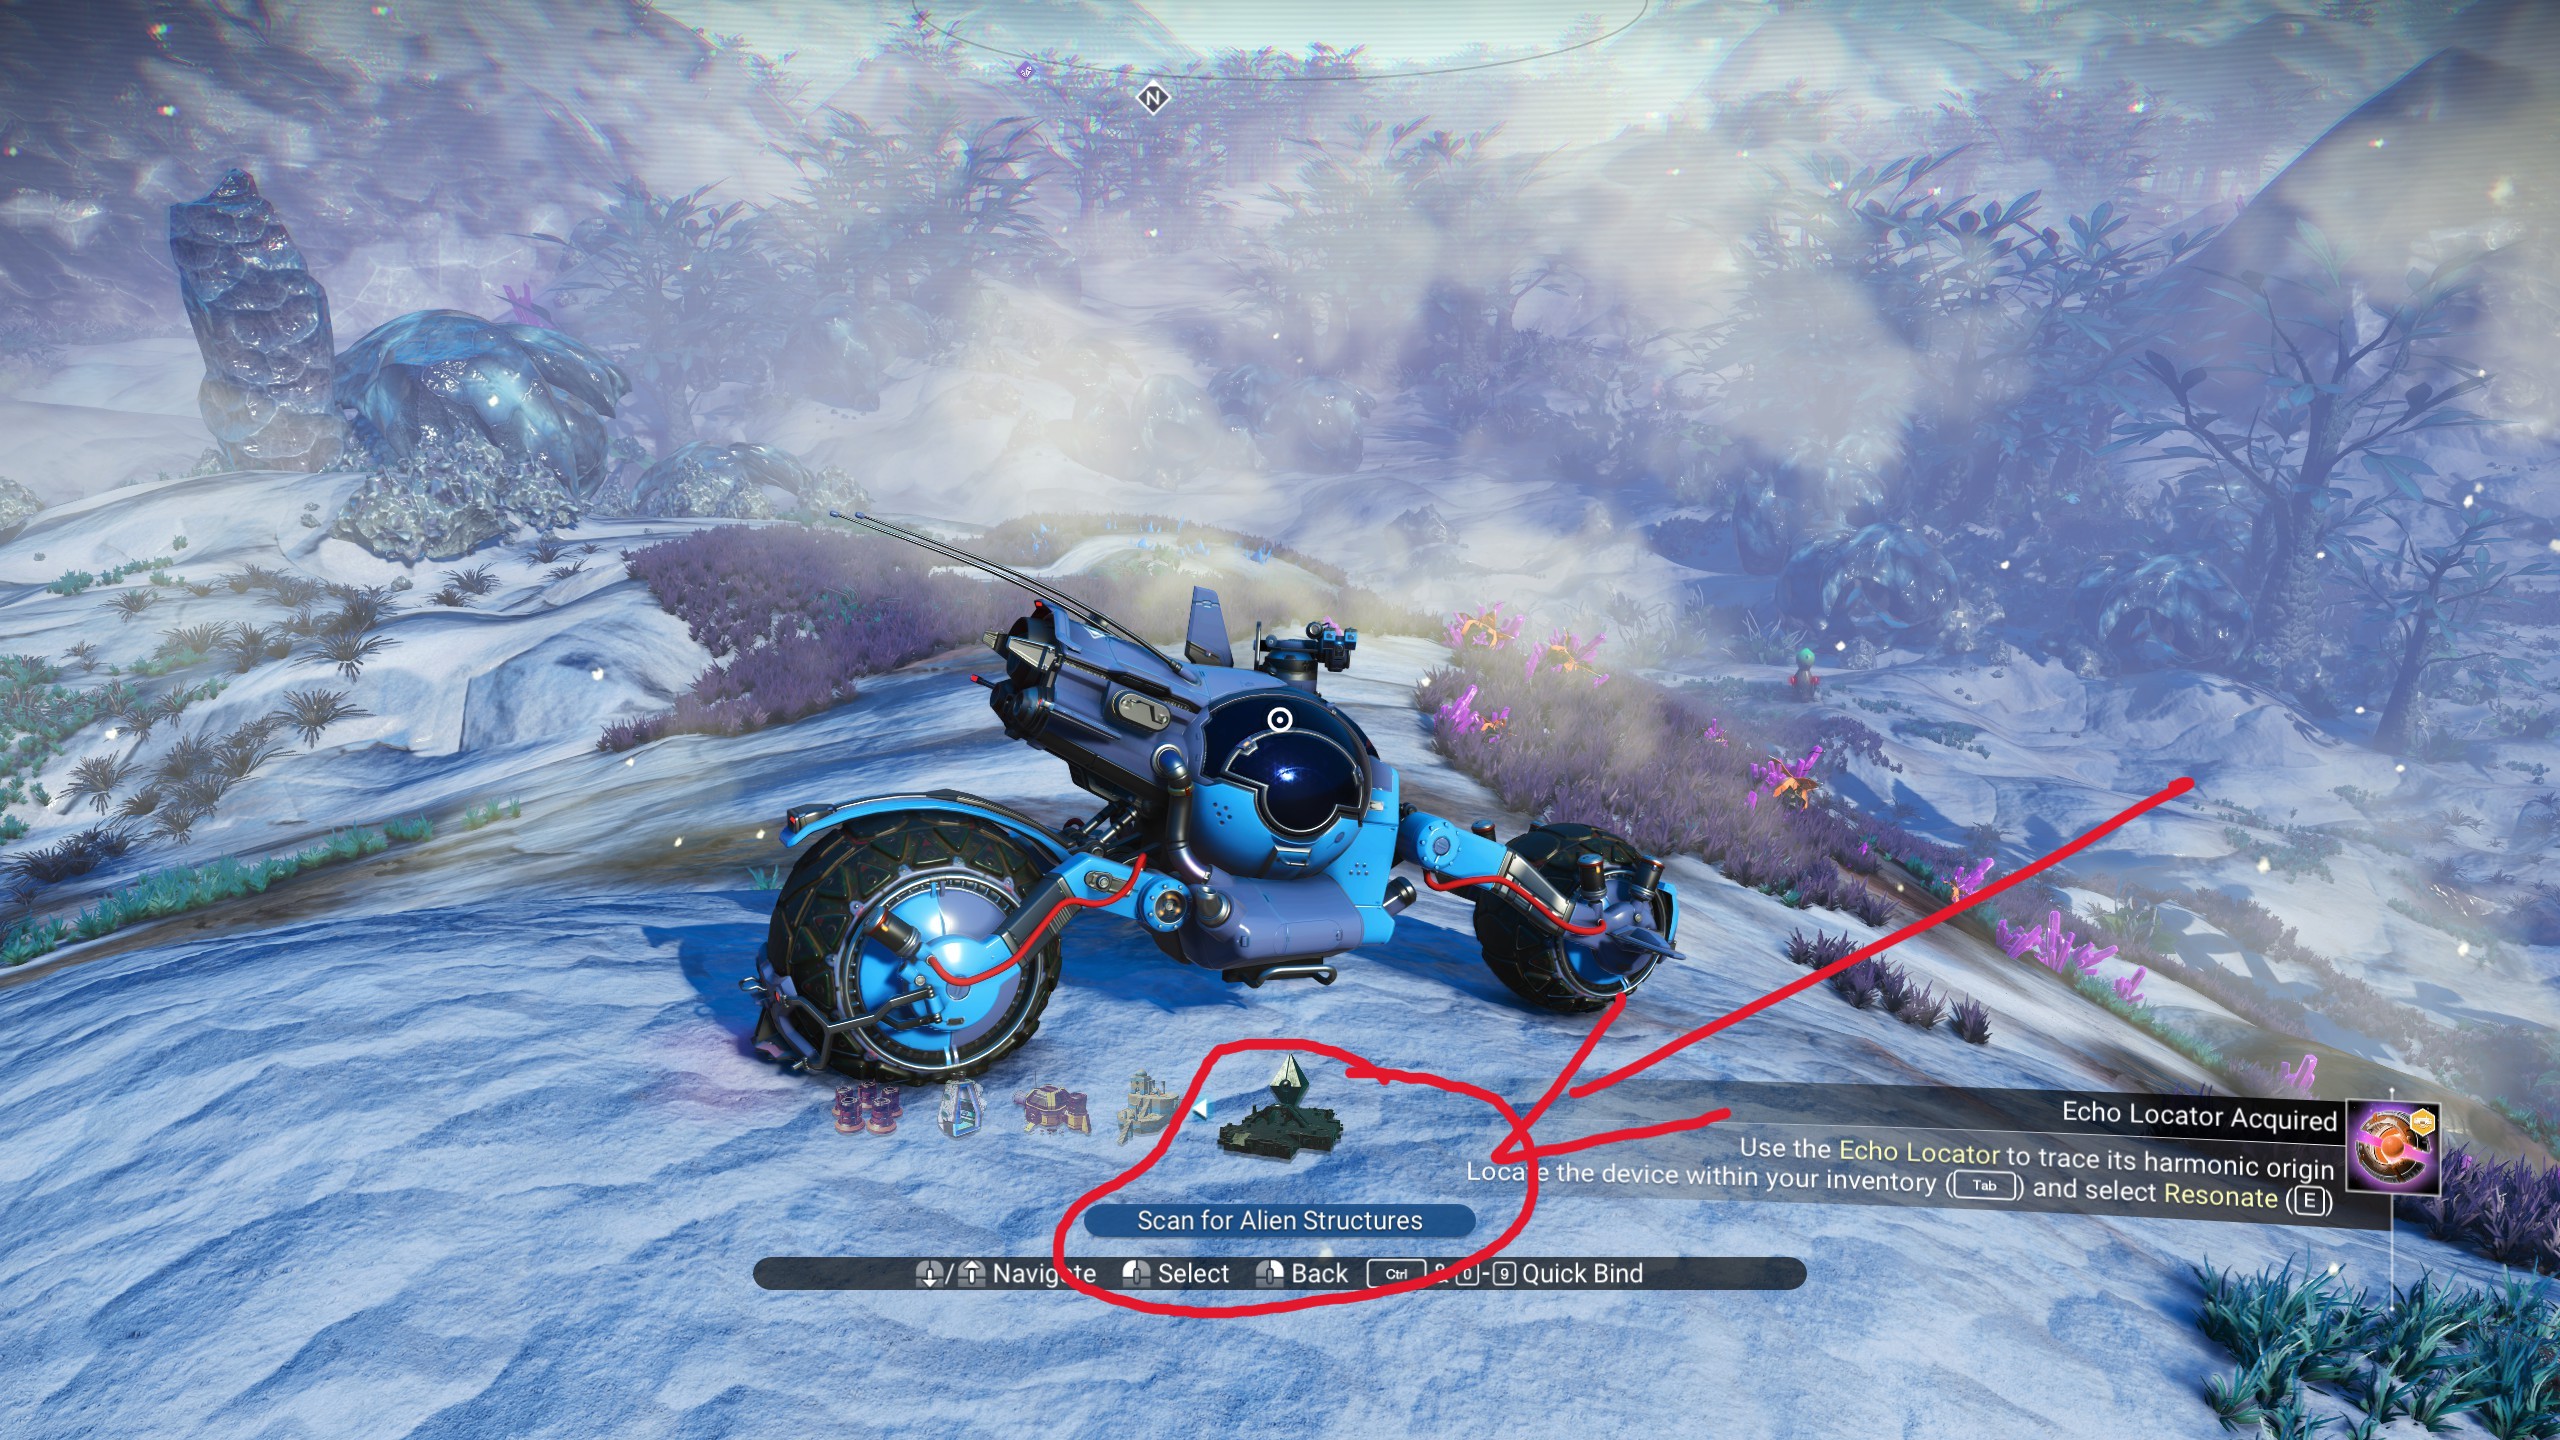
- A method to scan for monoliths
- General resources for portal and fixing modules
- A freighter
It is recommended to fully read this guide before you start, so you can understand each step and what it requires, before you commit to the jump(s).
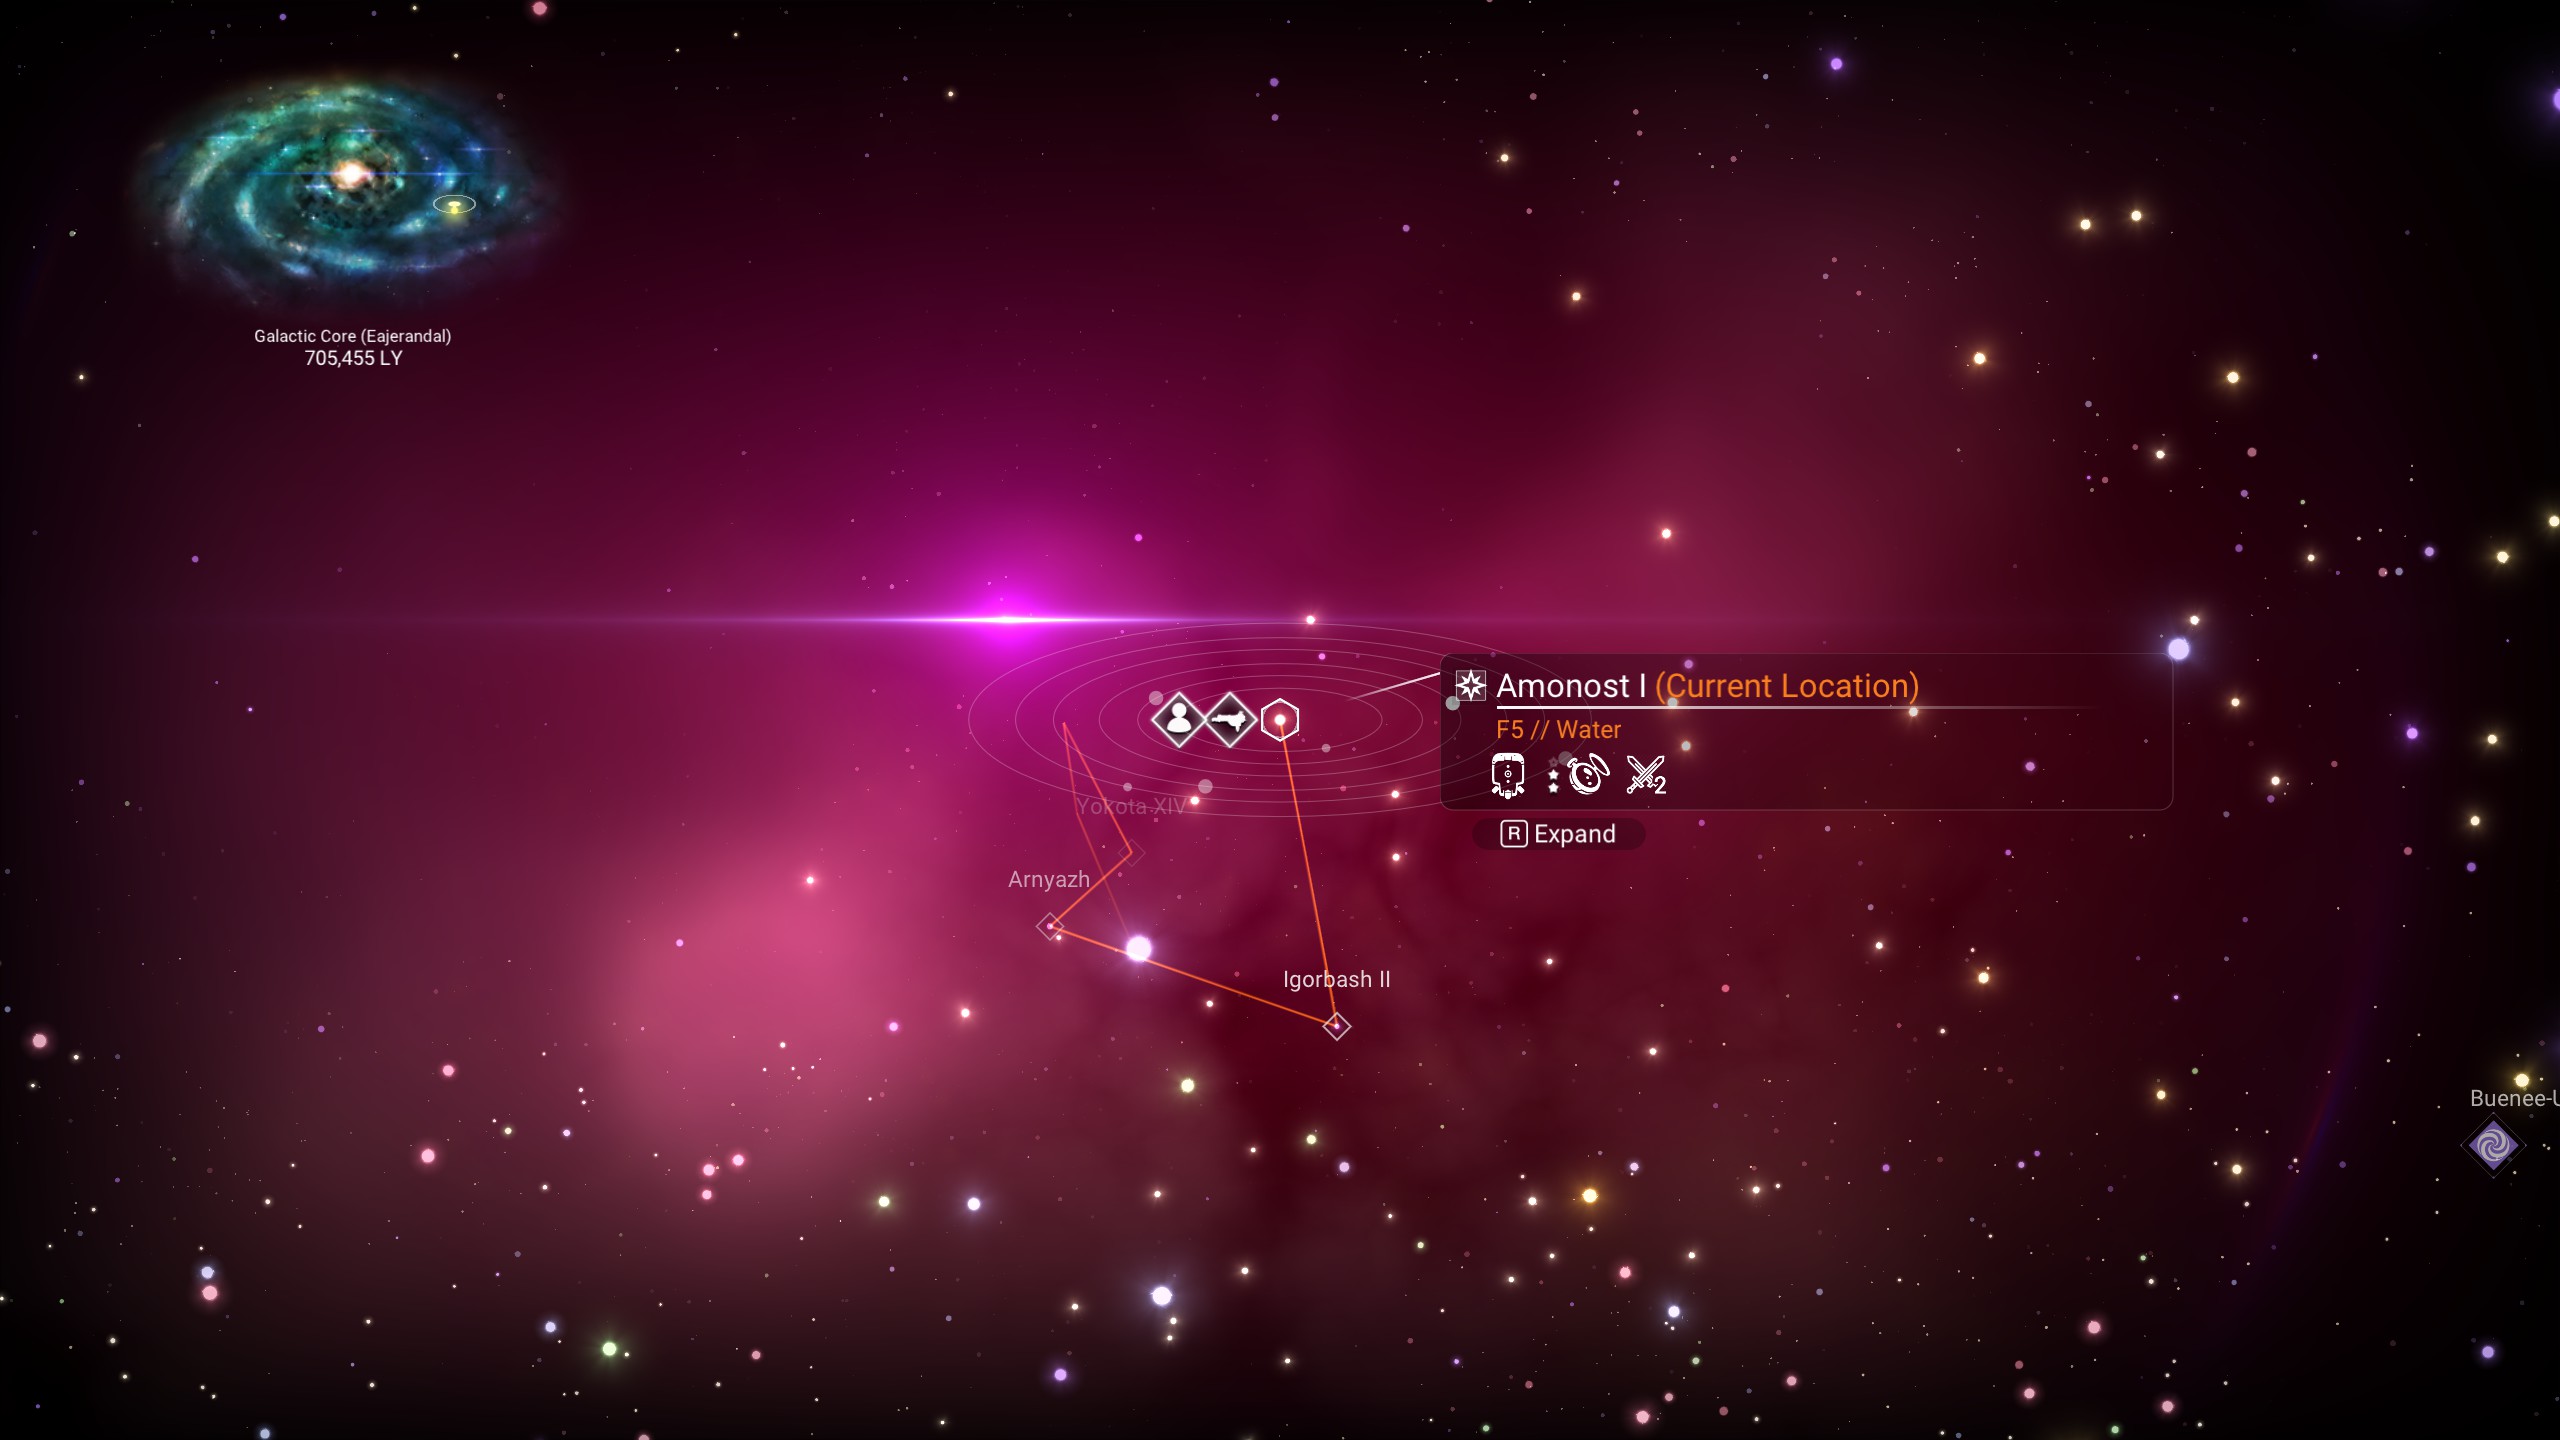
1. Get to the Center of a Galaxy
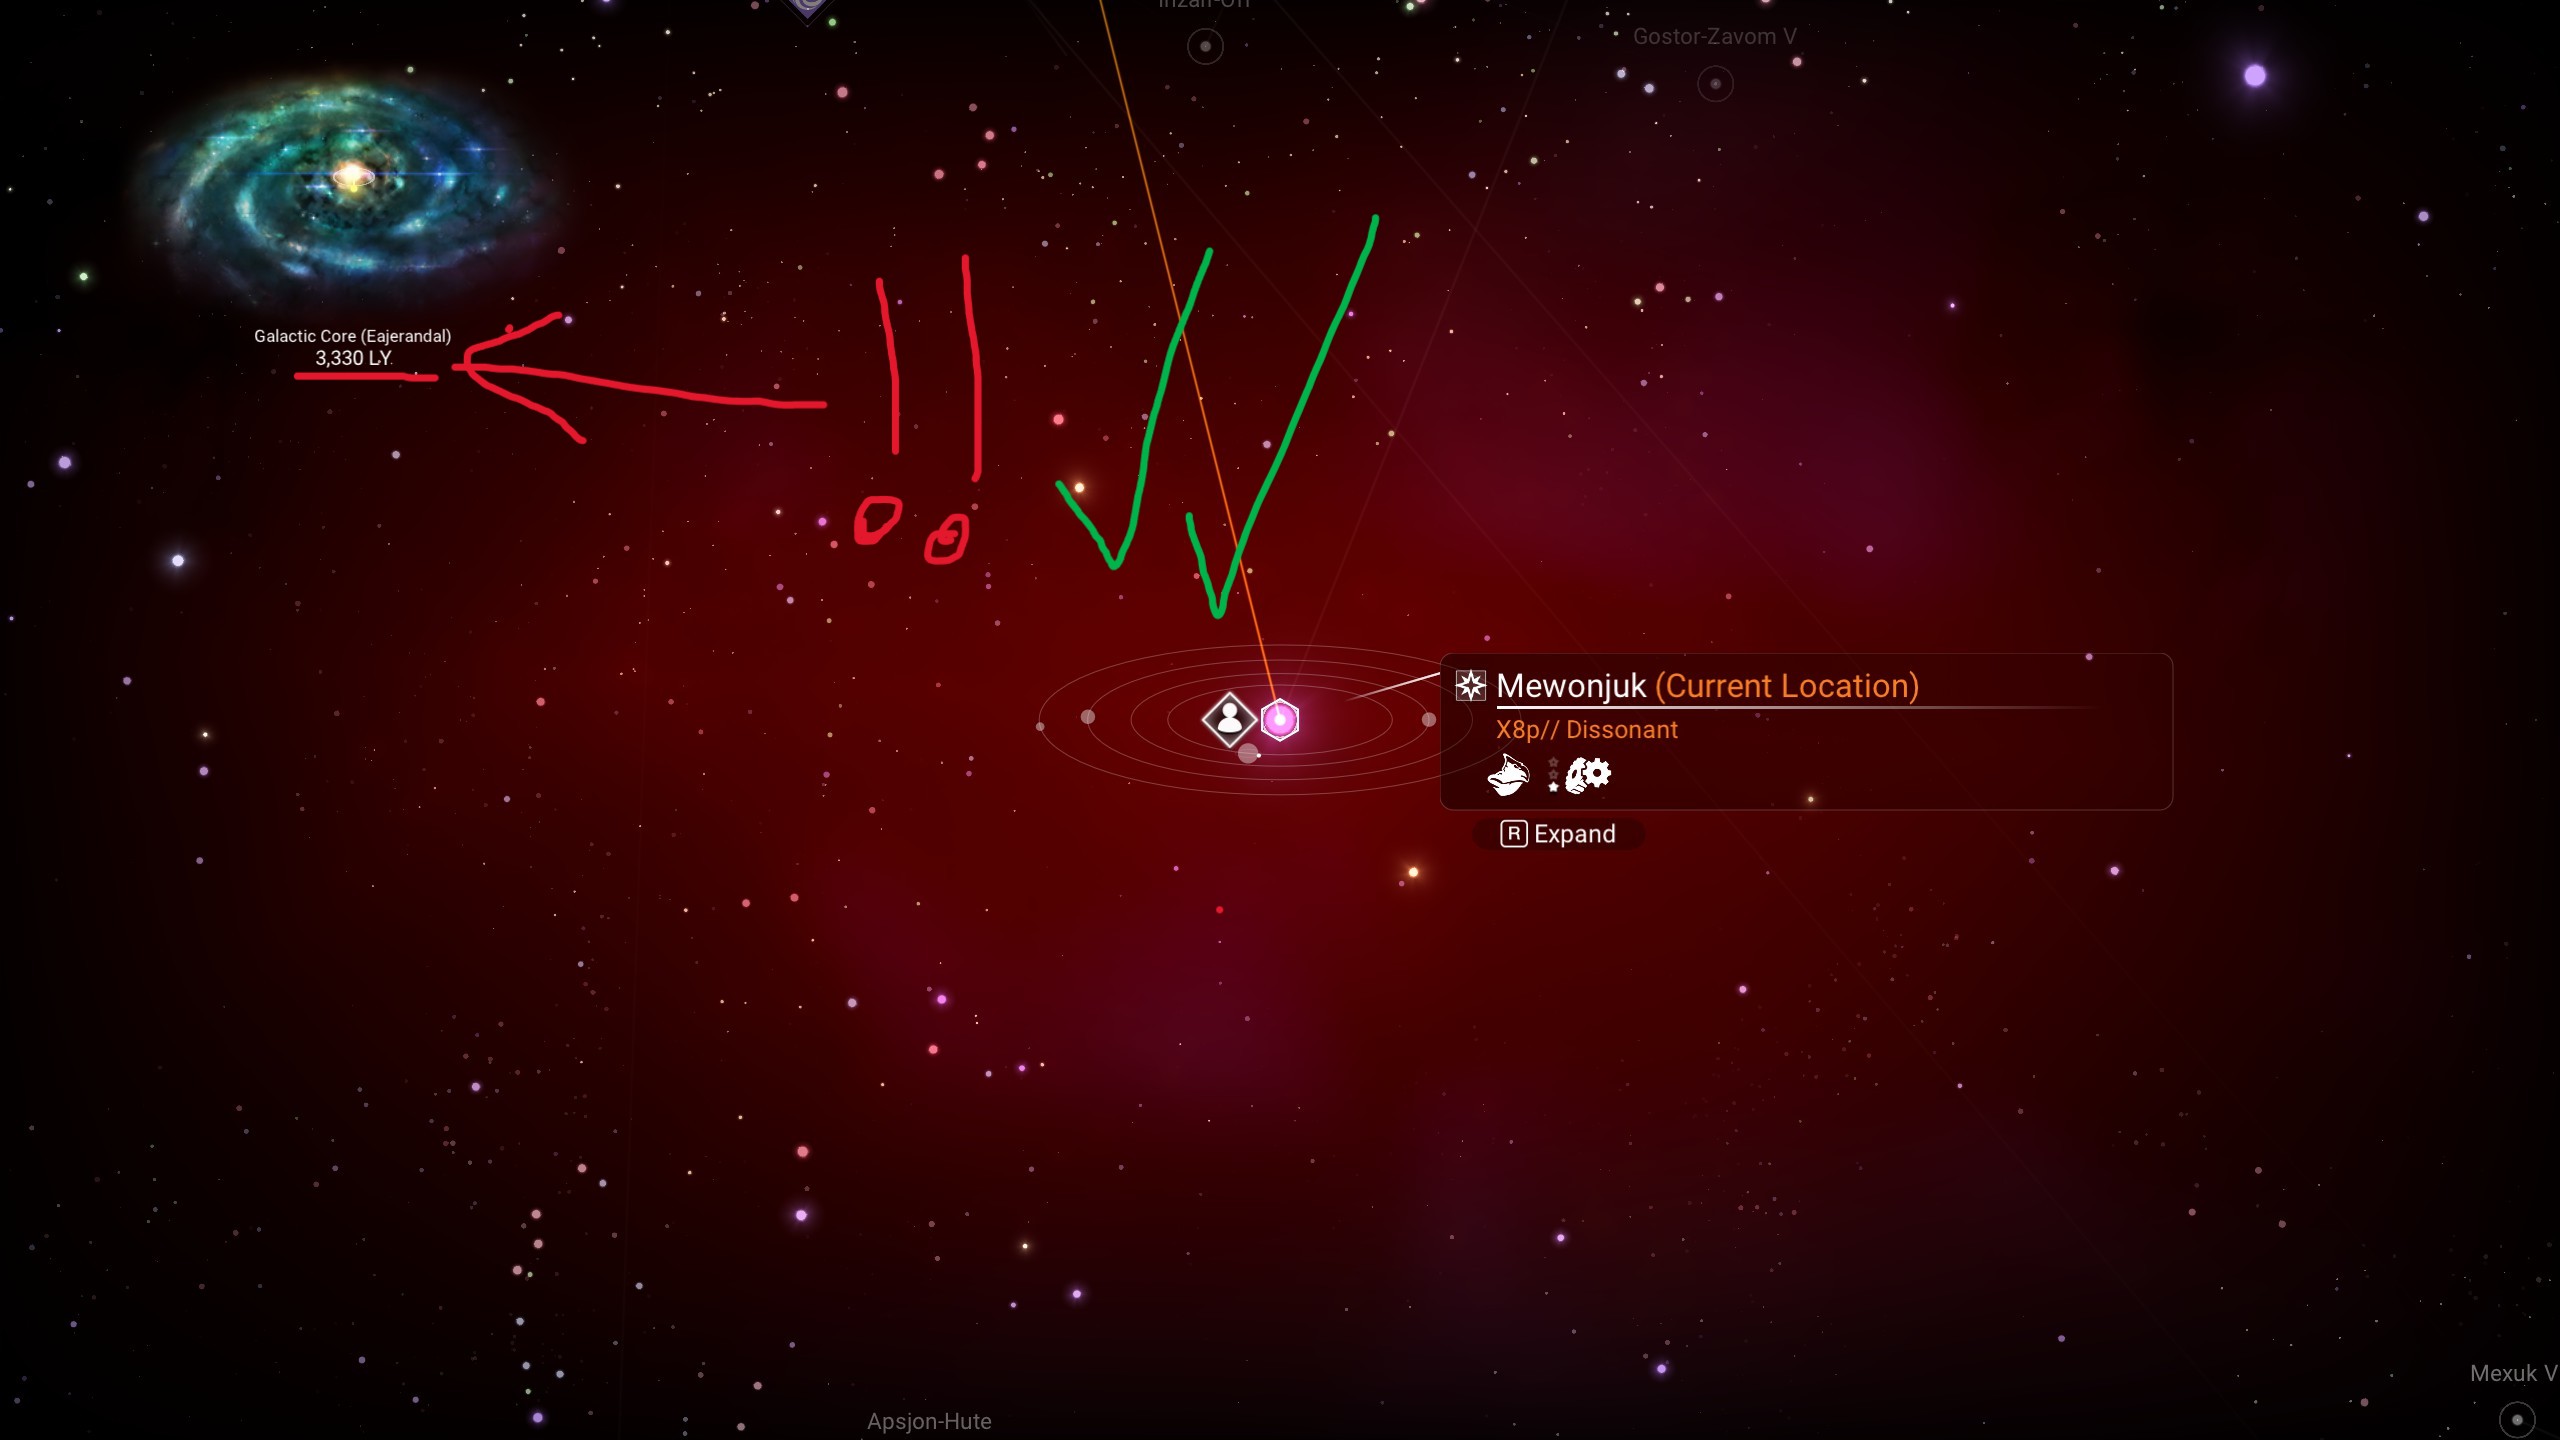
Find a system where you could jump to the Galactic Core (next galaxy) in single jump, but don't do it yet! (example below)
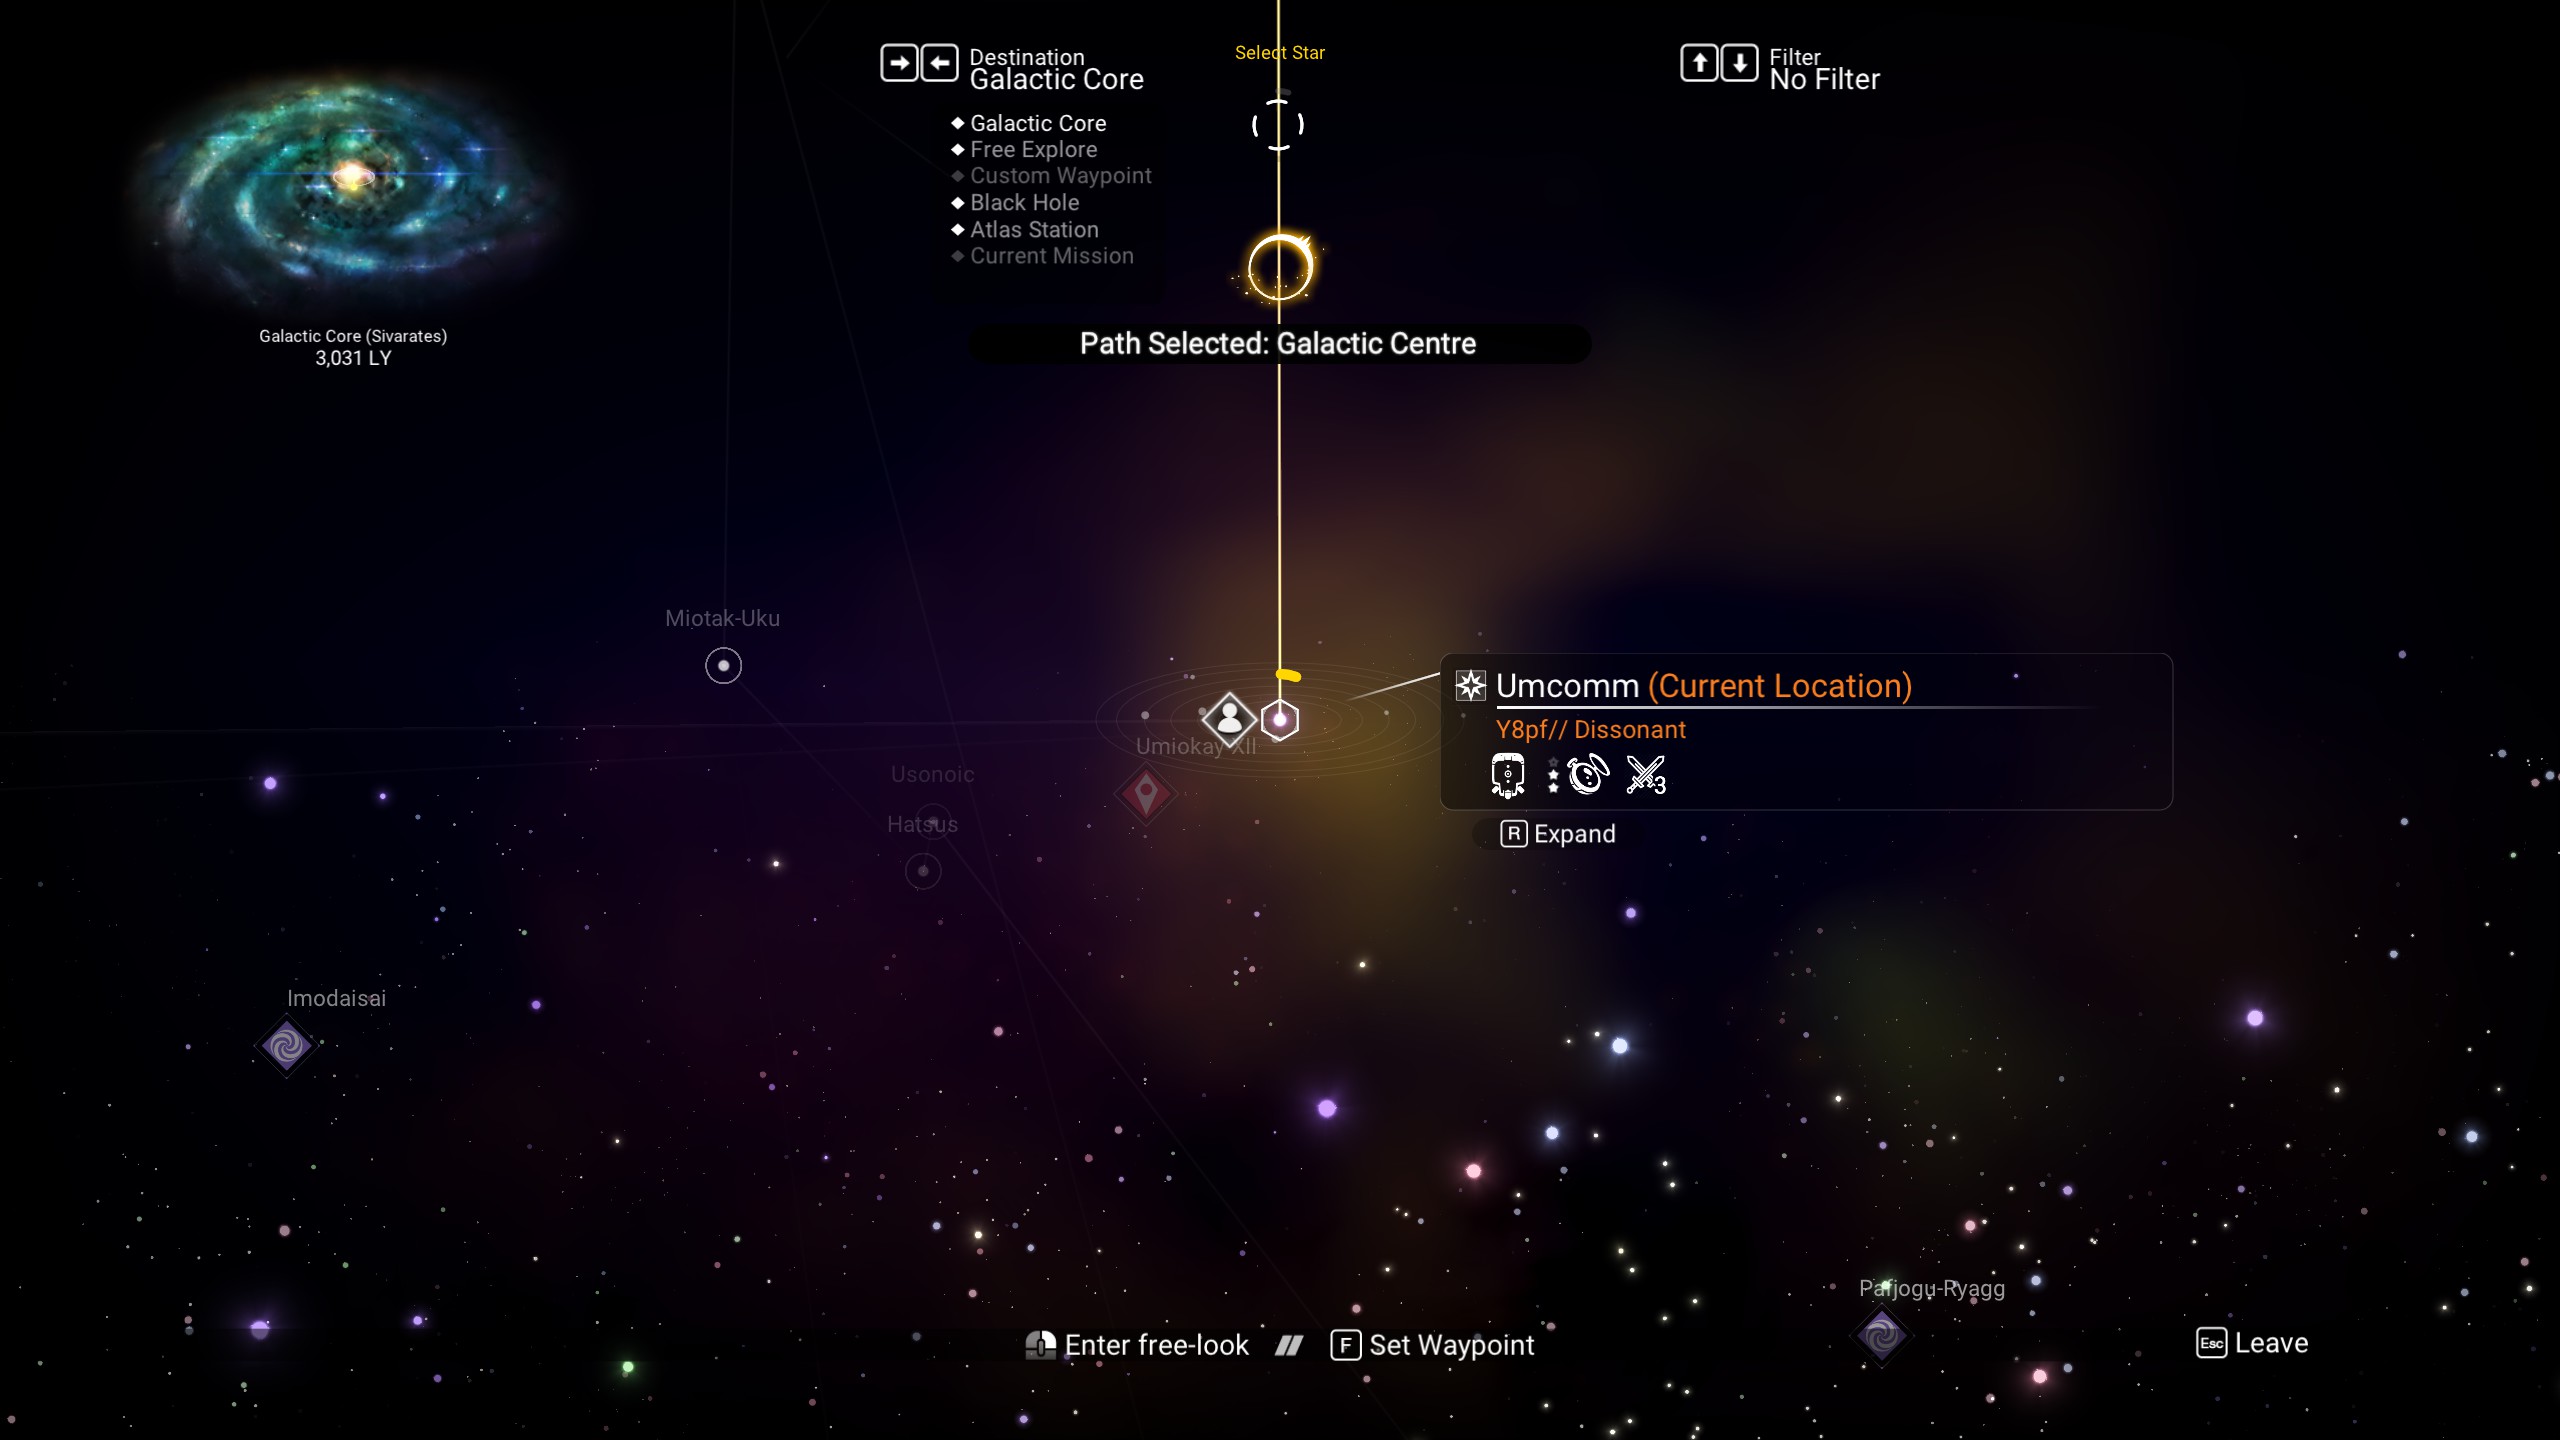
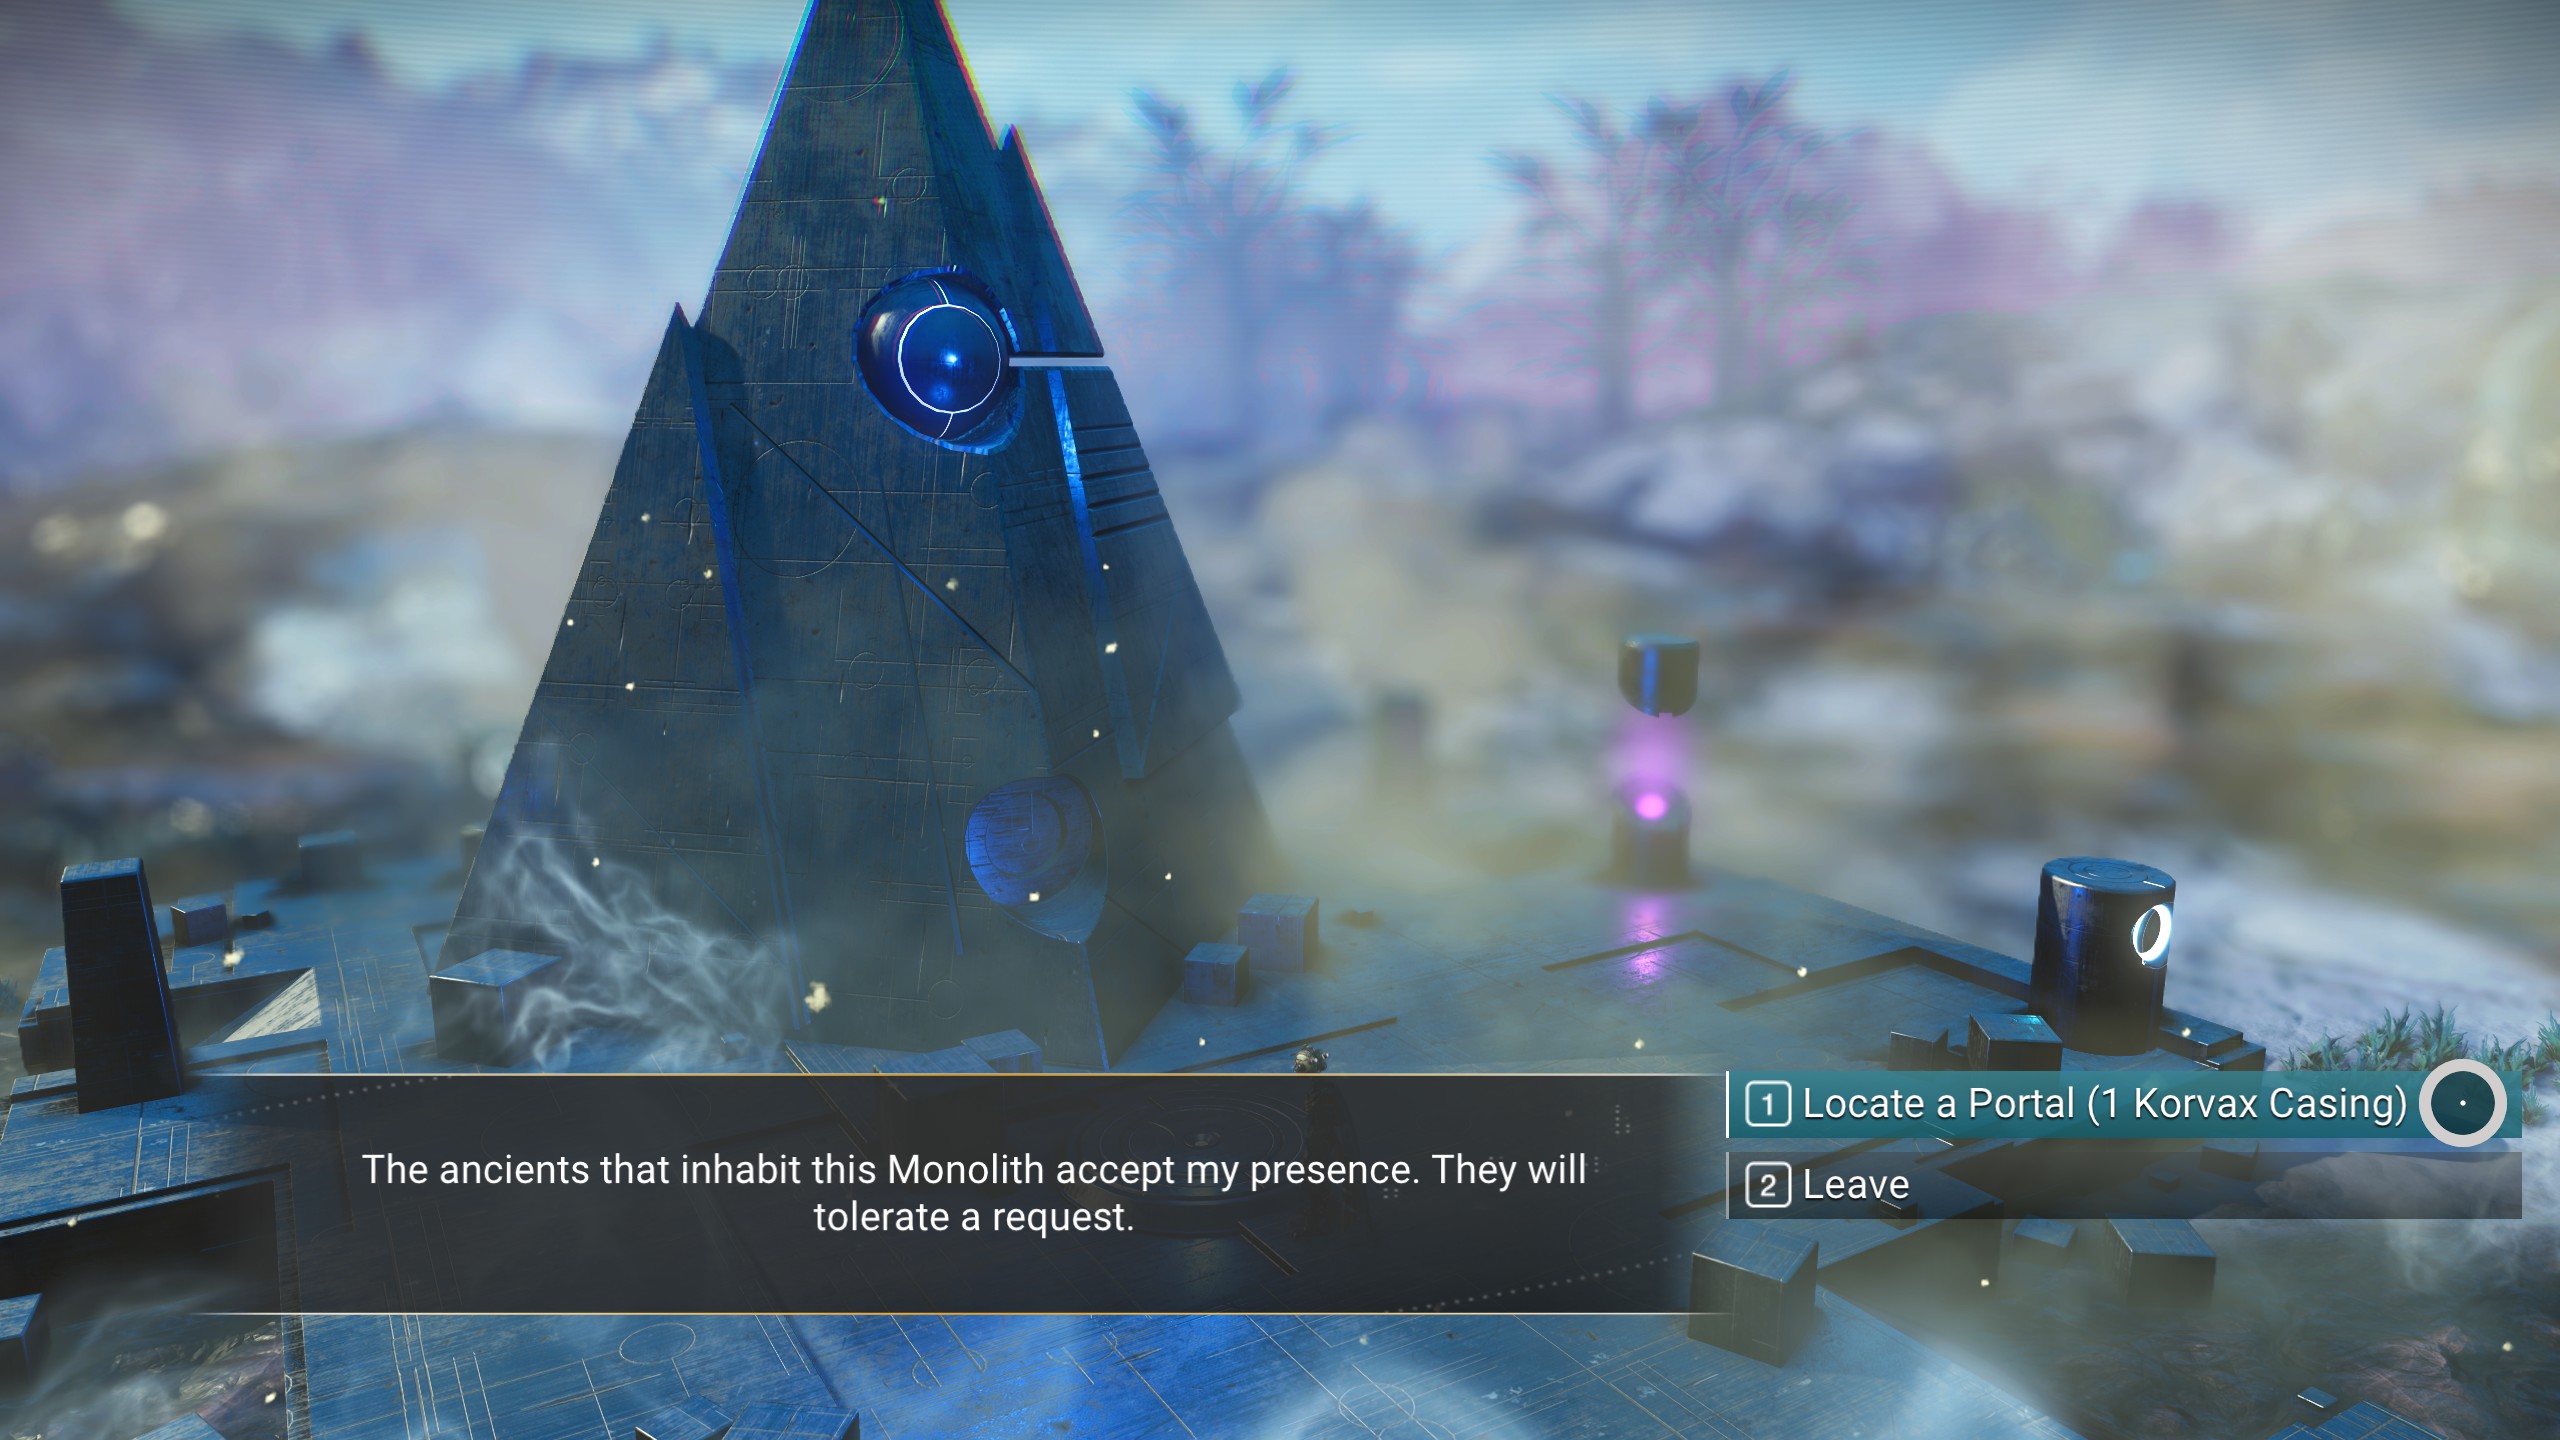
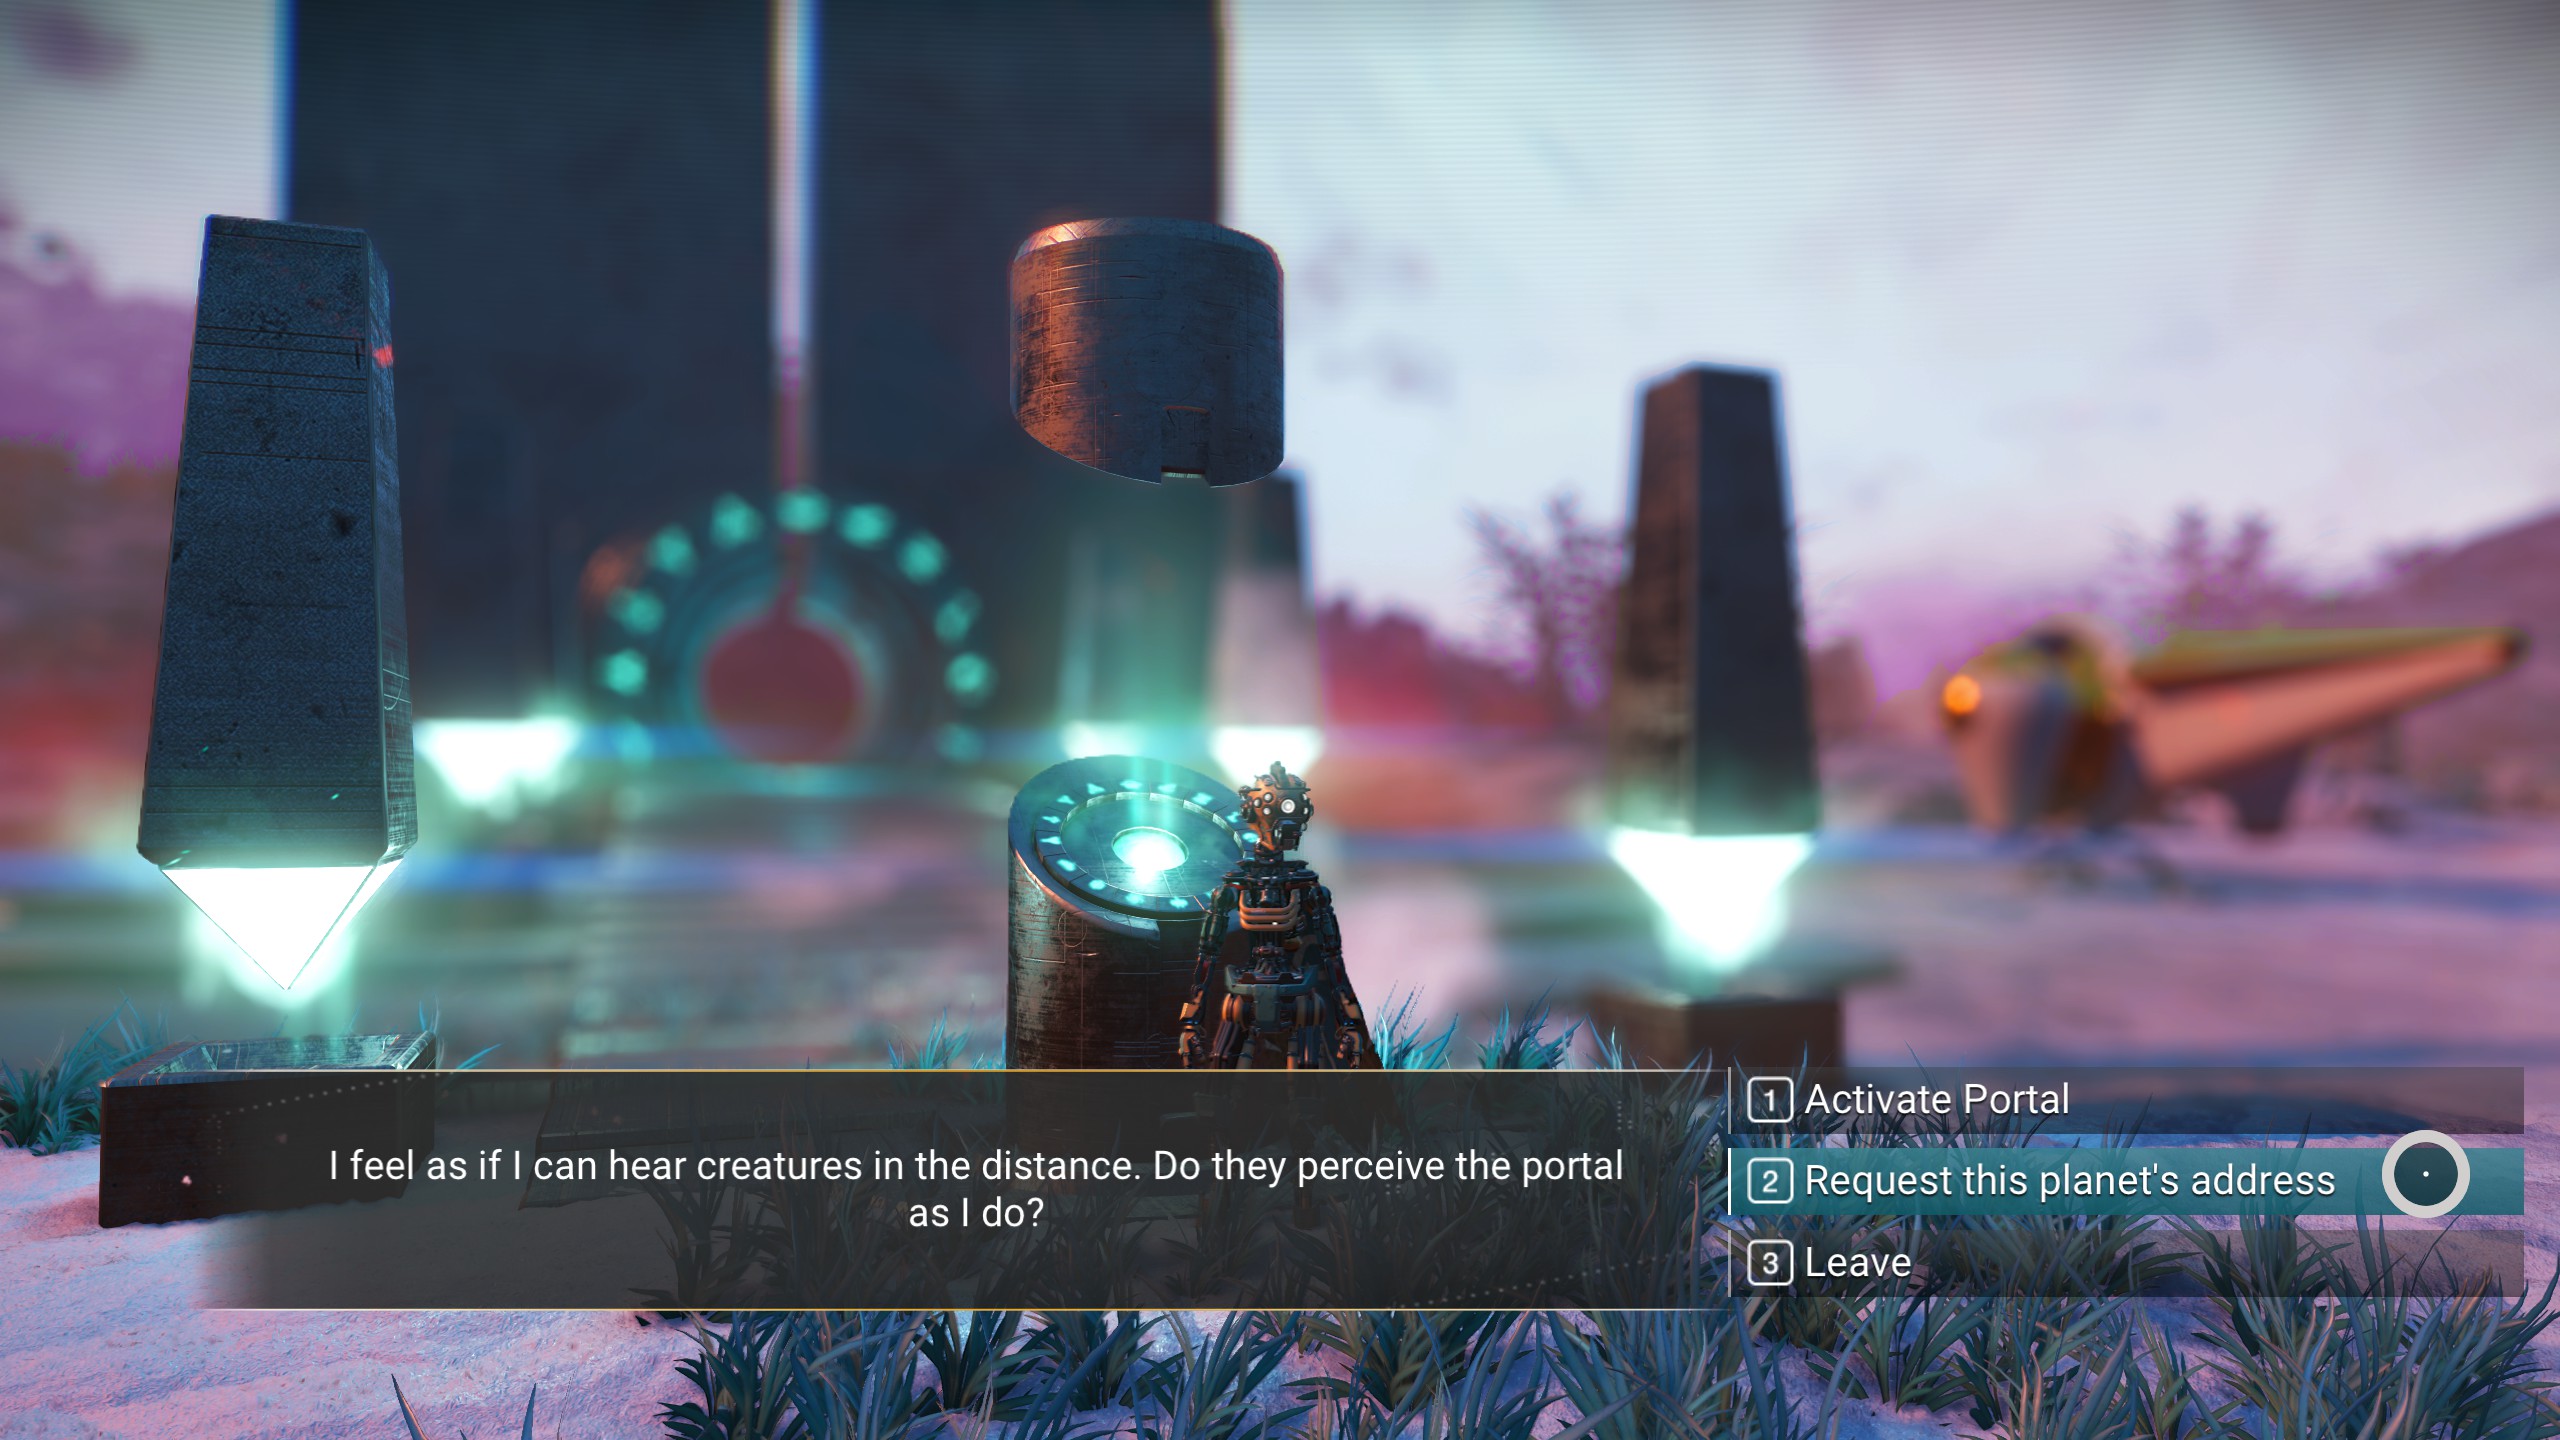
2. Find a Portal, Record the Glyphs
Hot tip! Each galaxy's coordinate system uses the relative system, so we are going to find a glyph location near the center/core, to allow us to get to the same relative position in the next galaxy, and save us traversing the galaxy through regular ship hyperjumps. You won't land in the exact the same spot, since the planet locations in the next galaxy will be different, but it will be close. Neat! Spa~a~ace voodo~oo~oo! (16/16/16... kzzzt?)
You will only need to find a set of glyphs near the core once, and you can keep reusing the glyphs you discovered for each subsequent jump!
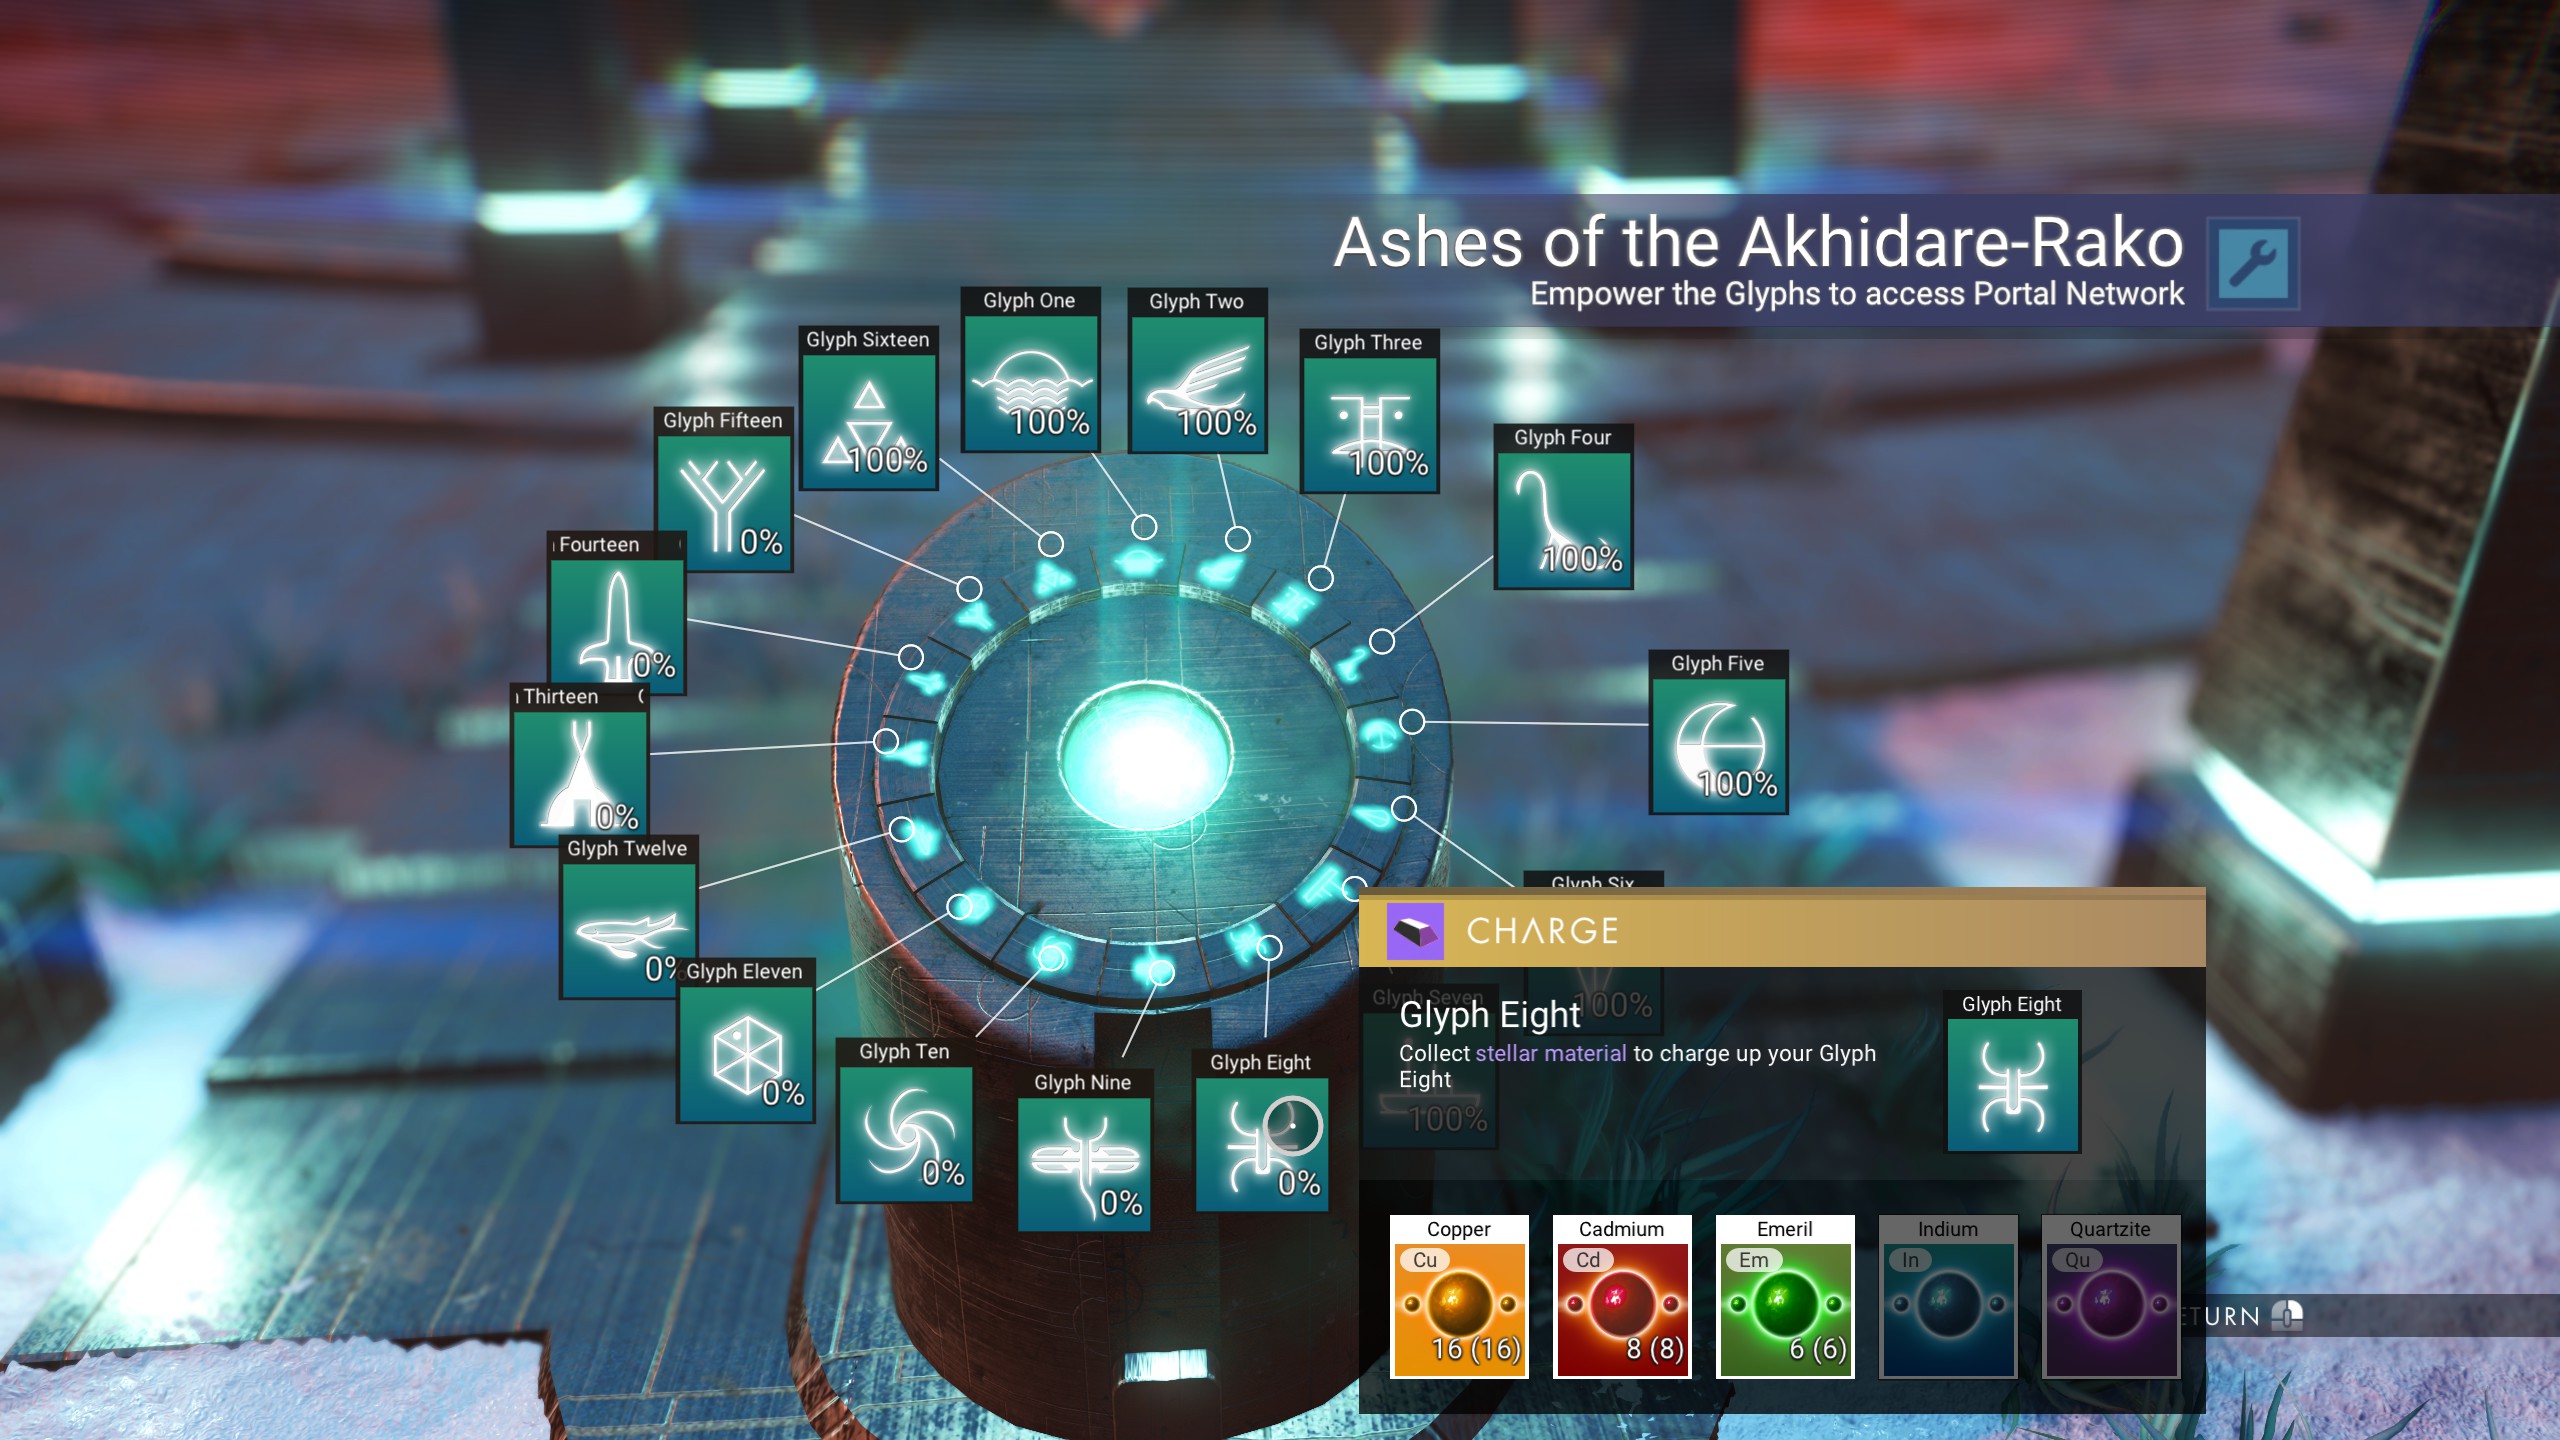
- Four glyphs are charged with certain earth elements: 16 Cobalt, 16 Deuterium, 16 Di-hydrogen, 4 Ionised Cobalt, or 16 Salt per glyph.
- Four glyphs are charged with fuel elements: 16 Carbon, 6 Condensed Carbon, or 8 Oxygen per glyph.
- Four glyphs are charged with catalyst elements: 8 Sodium or 4 Sodium Nitrate per glyph.
- Four glyphs are charged with stellar elements: 16 Copper, 8 Cadmium, 6 Emeril, 4 Indium or 8 Activated Copper per glyph.
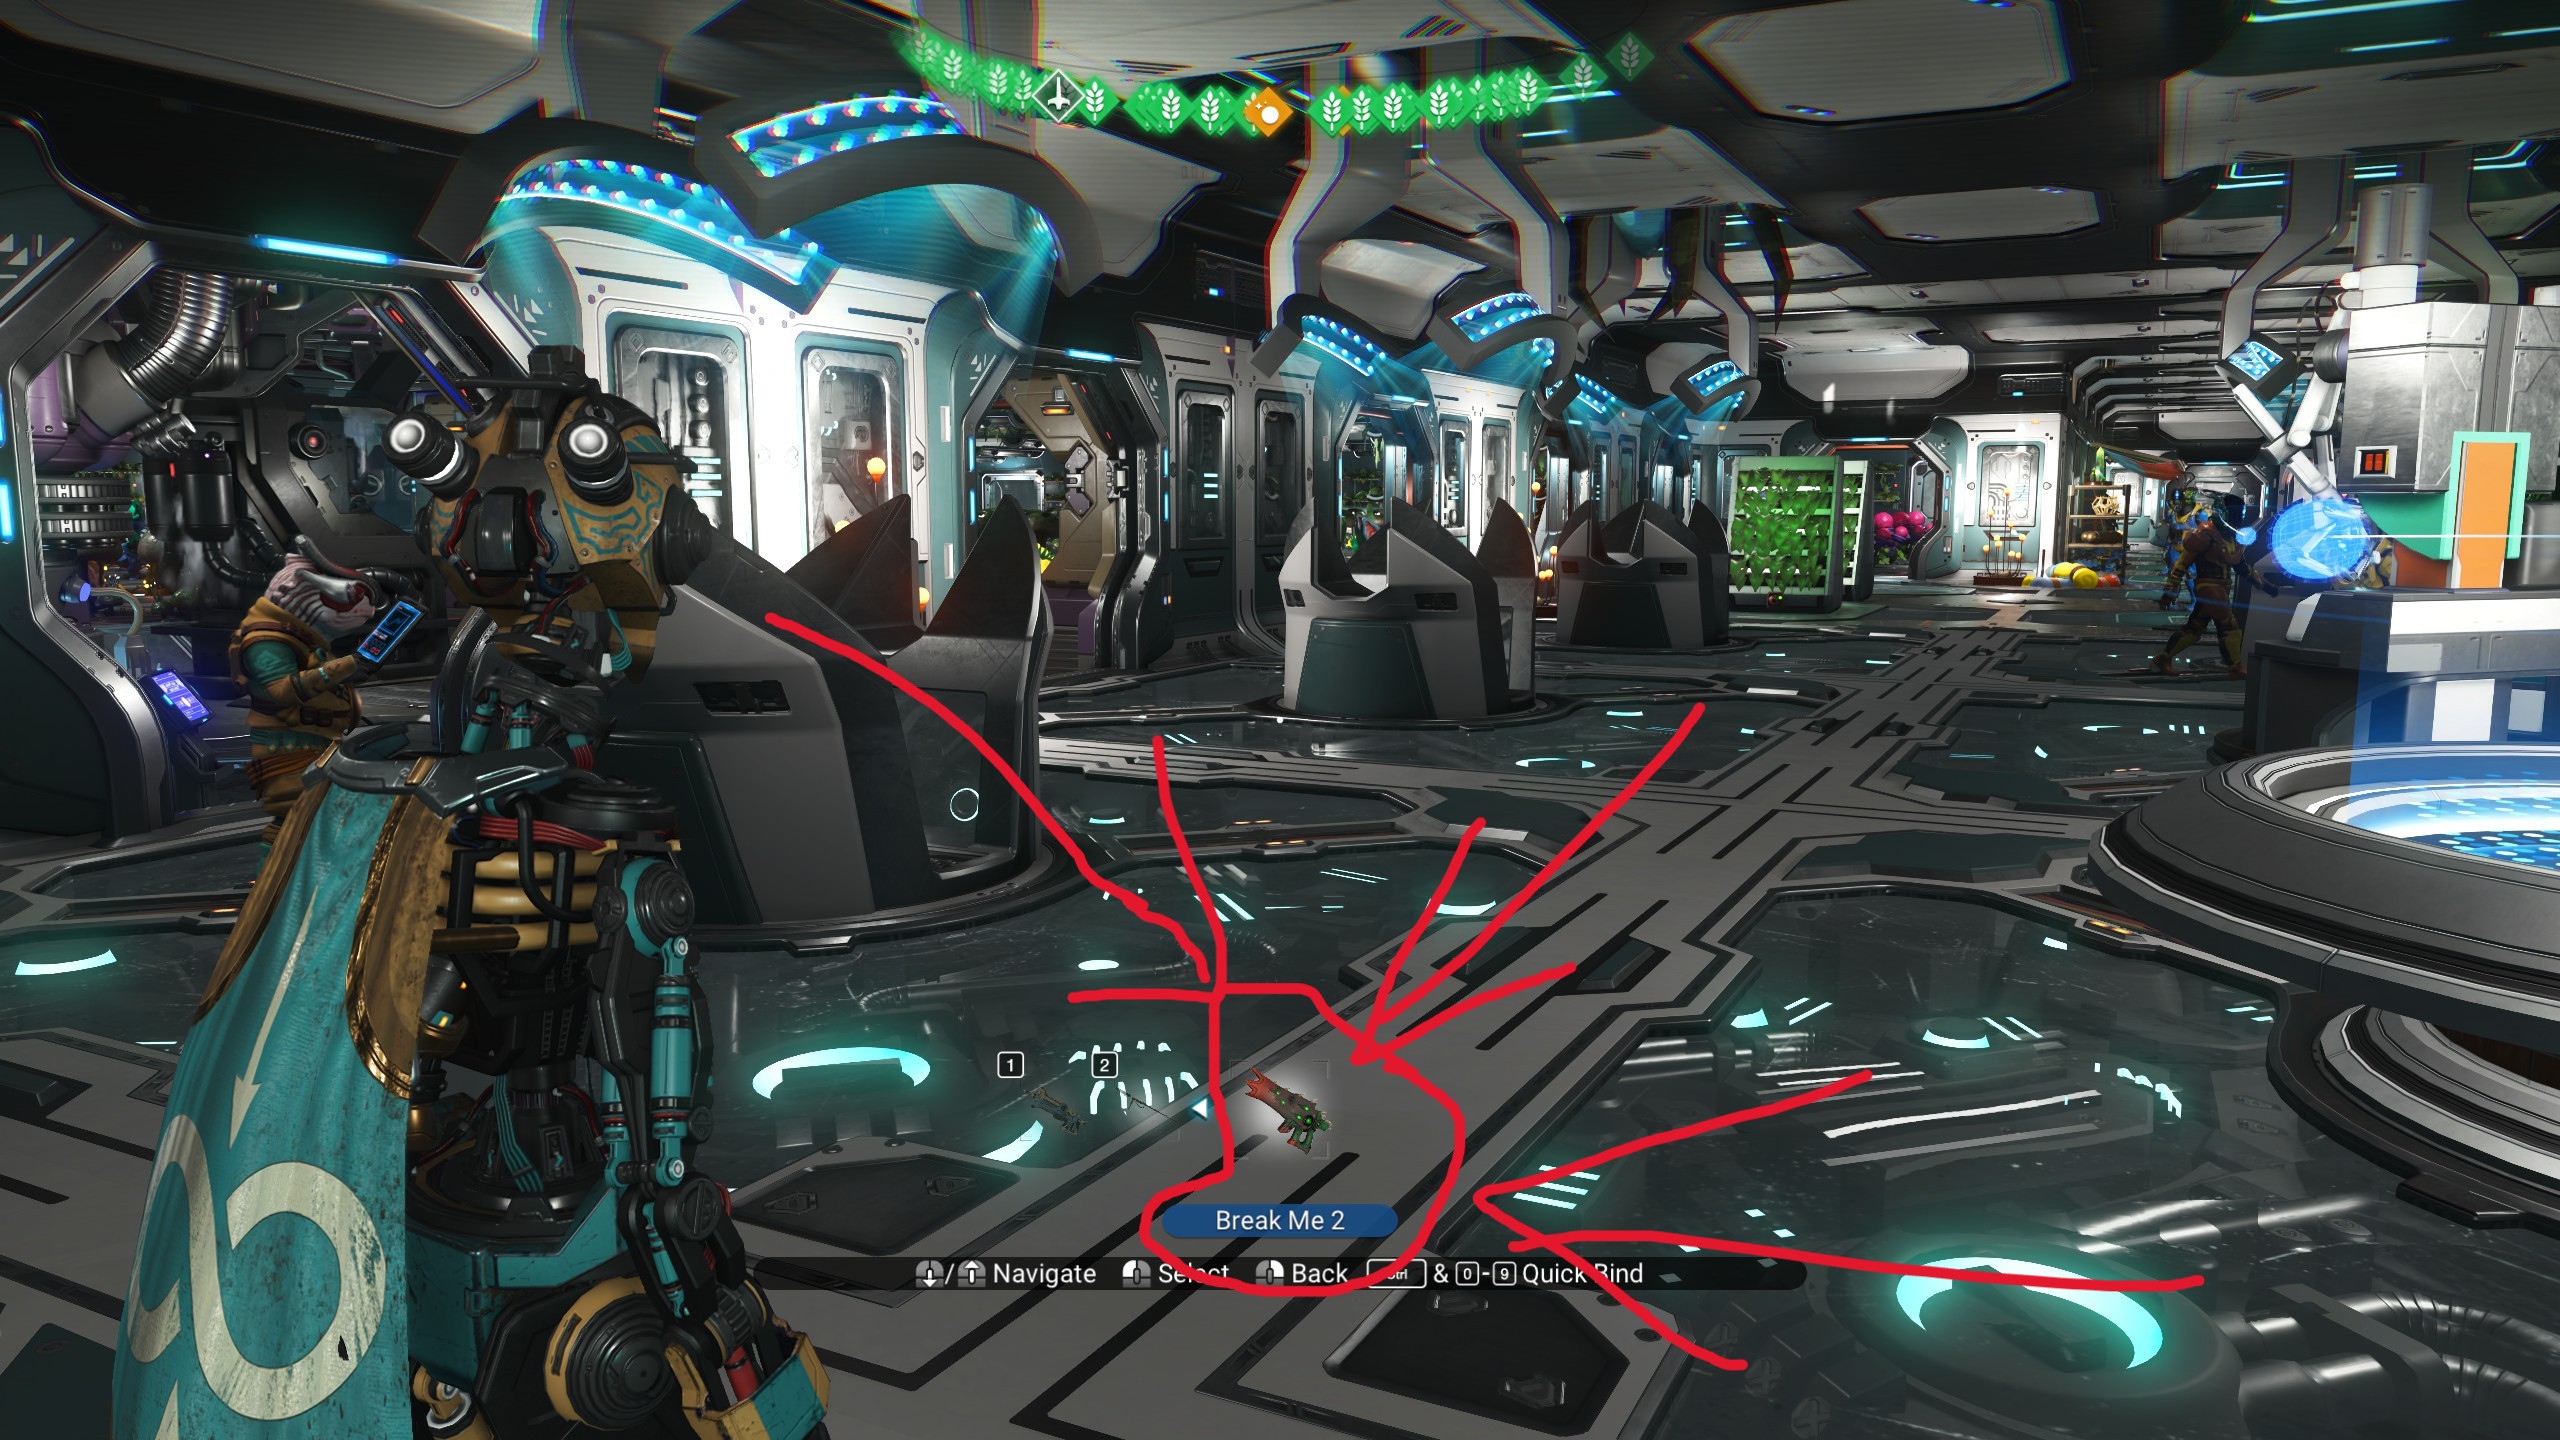
3. Prep Your Multi-Tool
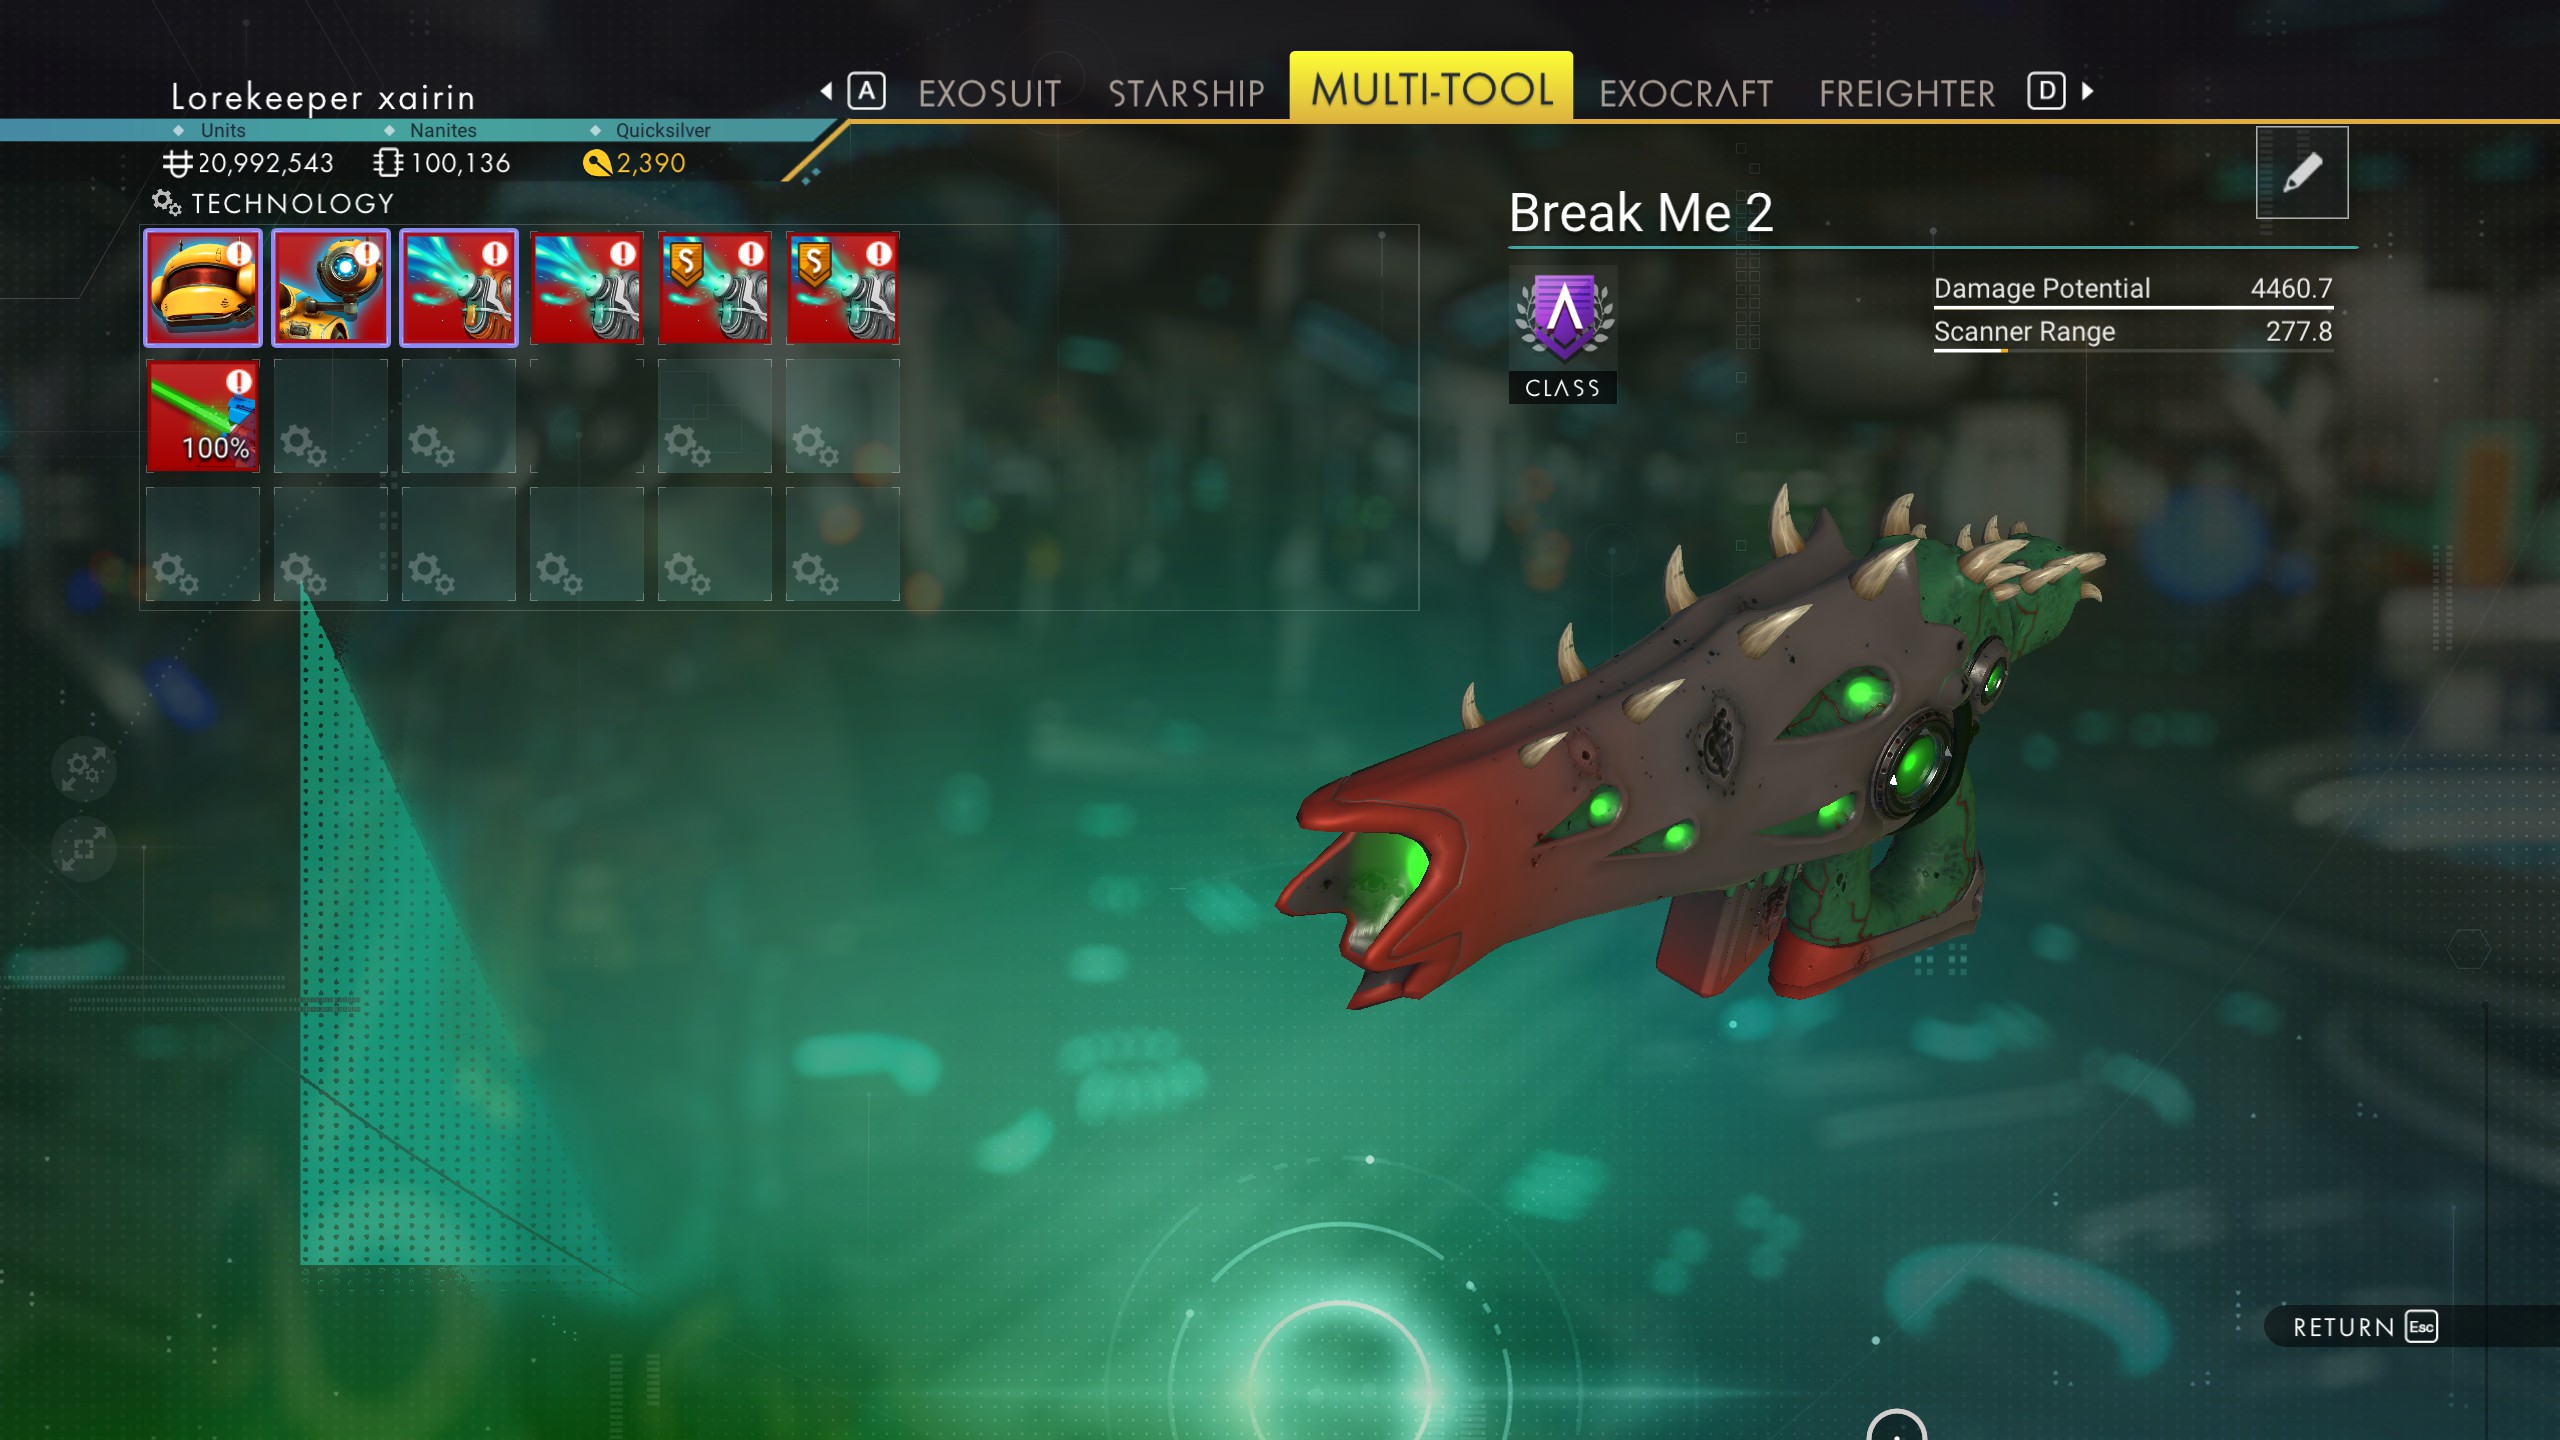
4. Prep Your Exosuit
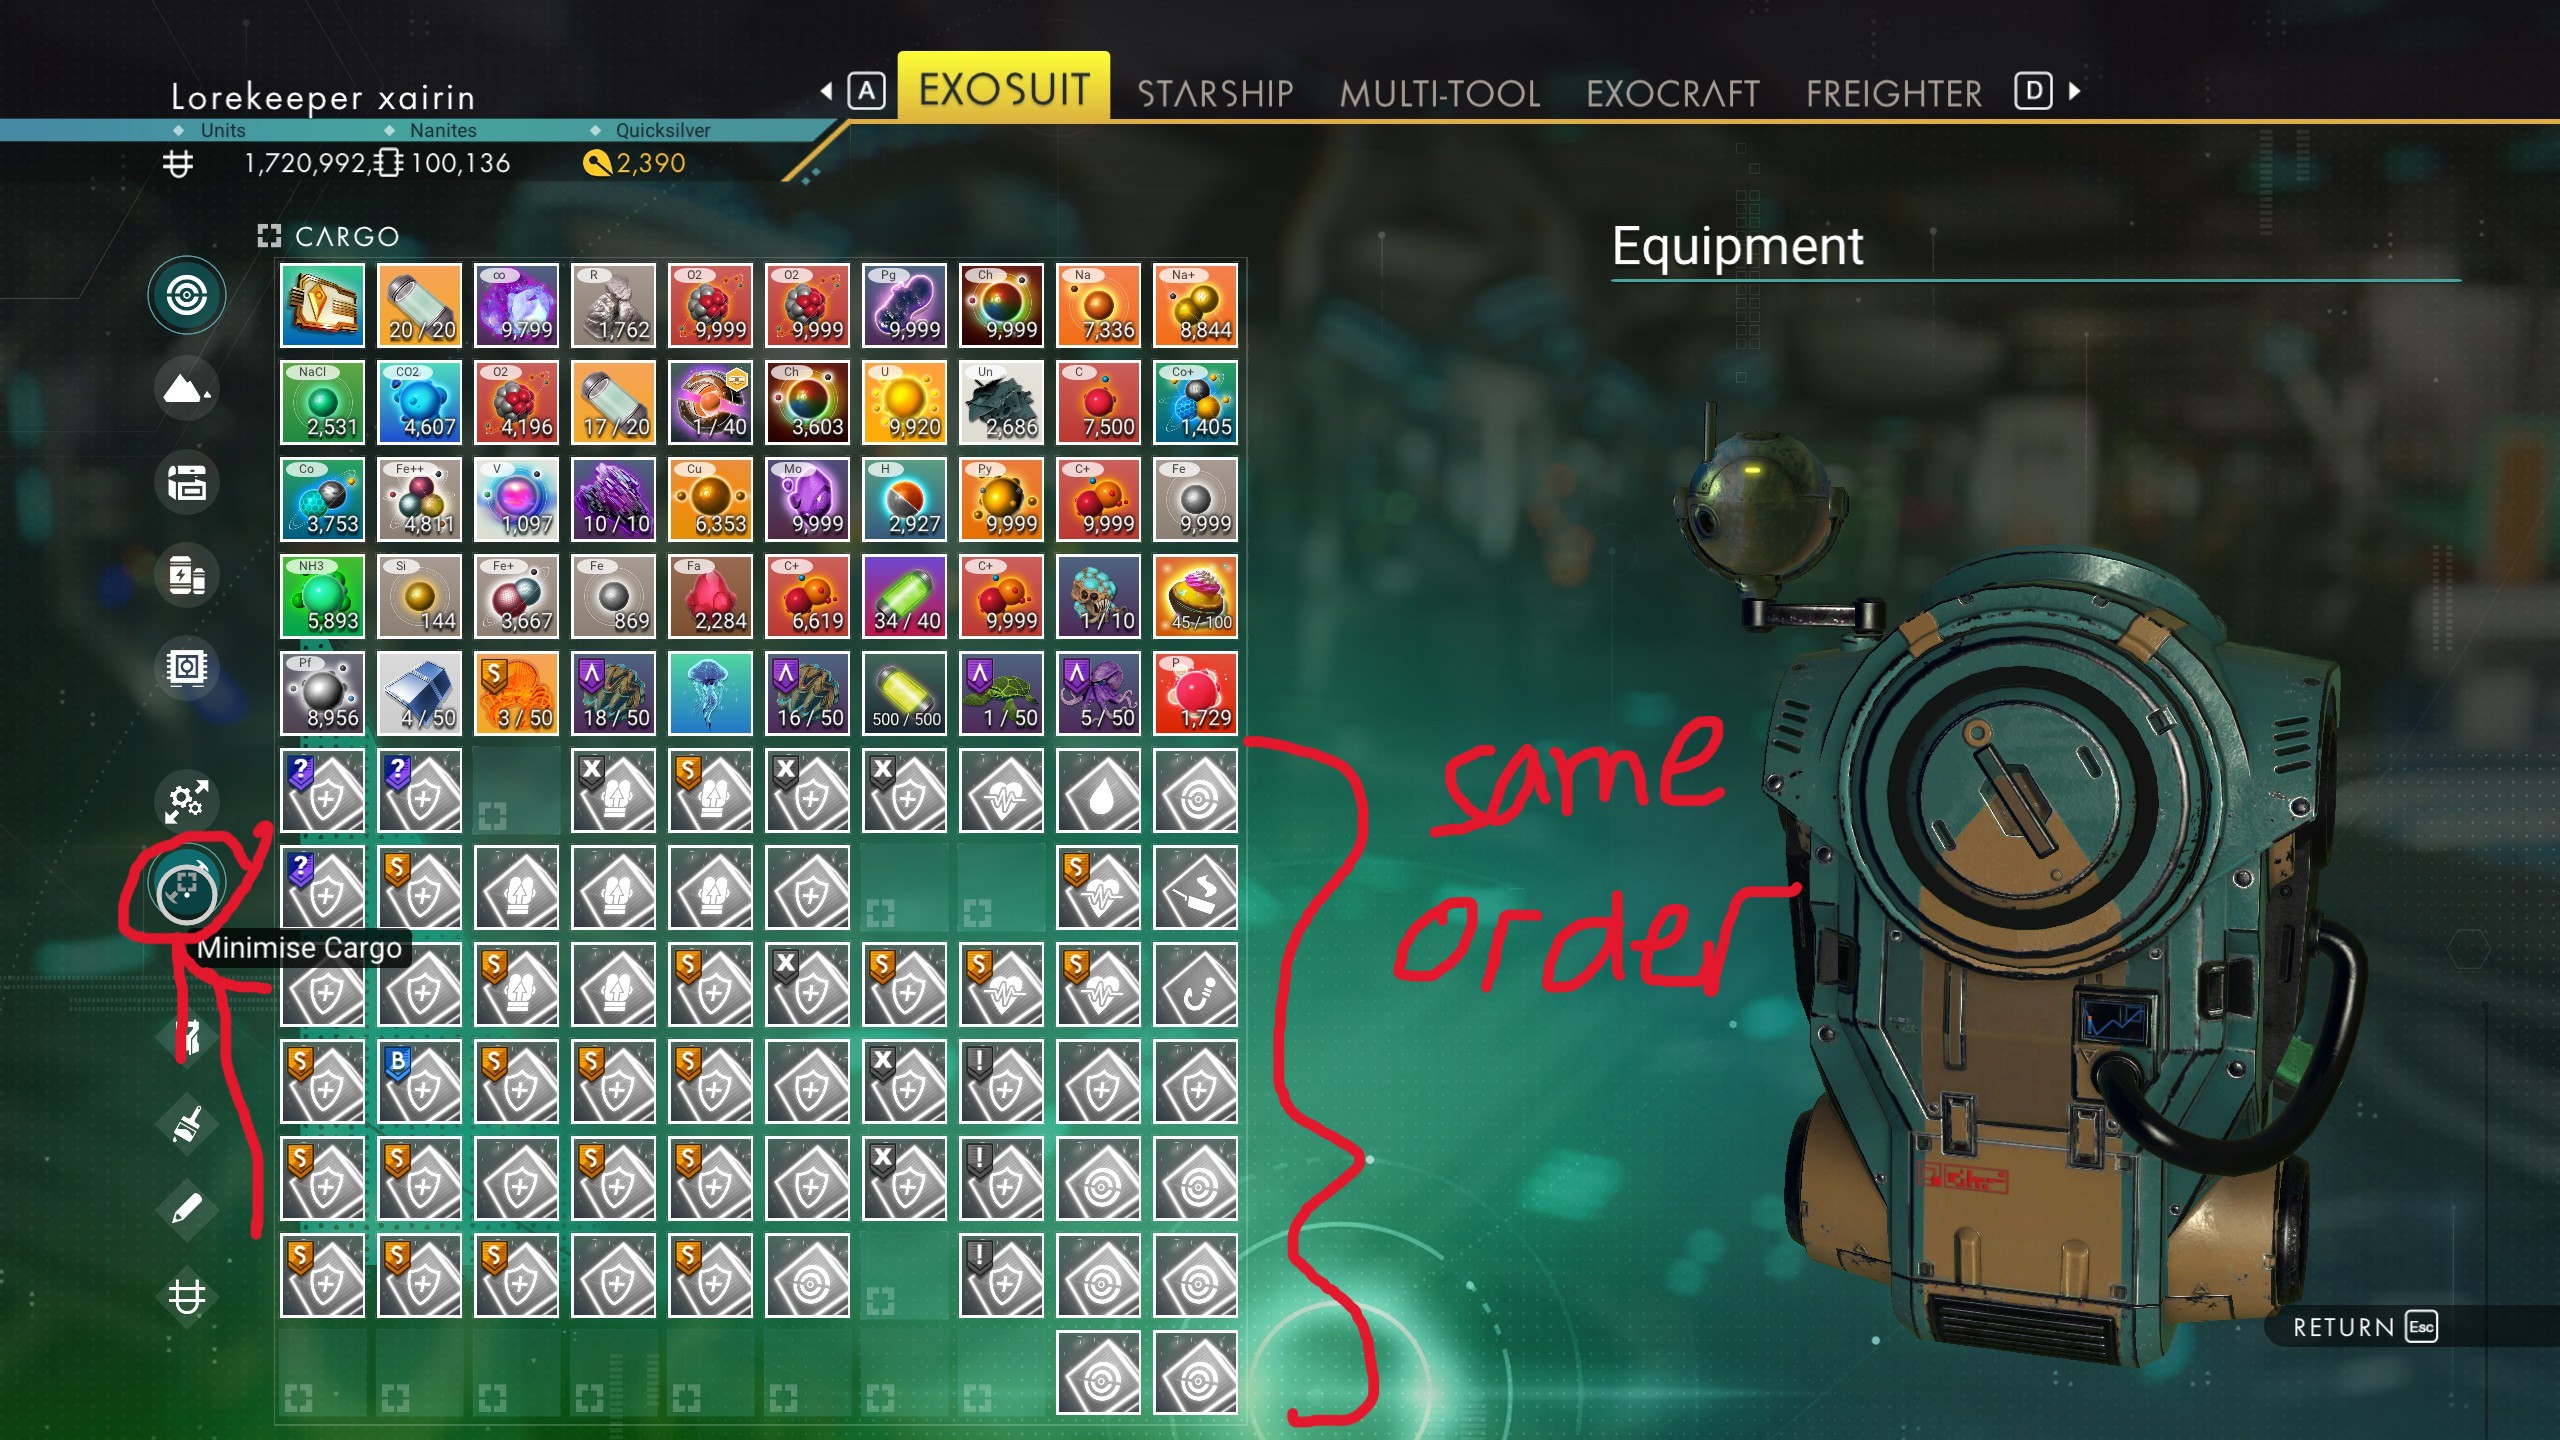
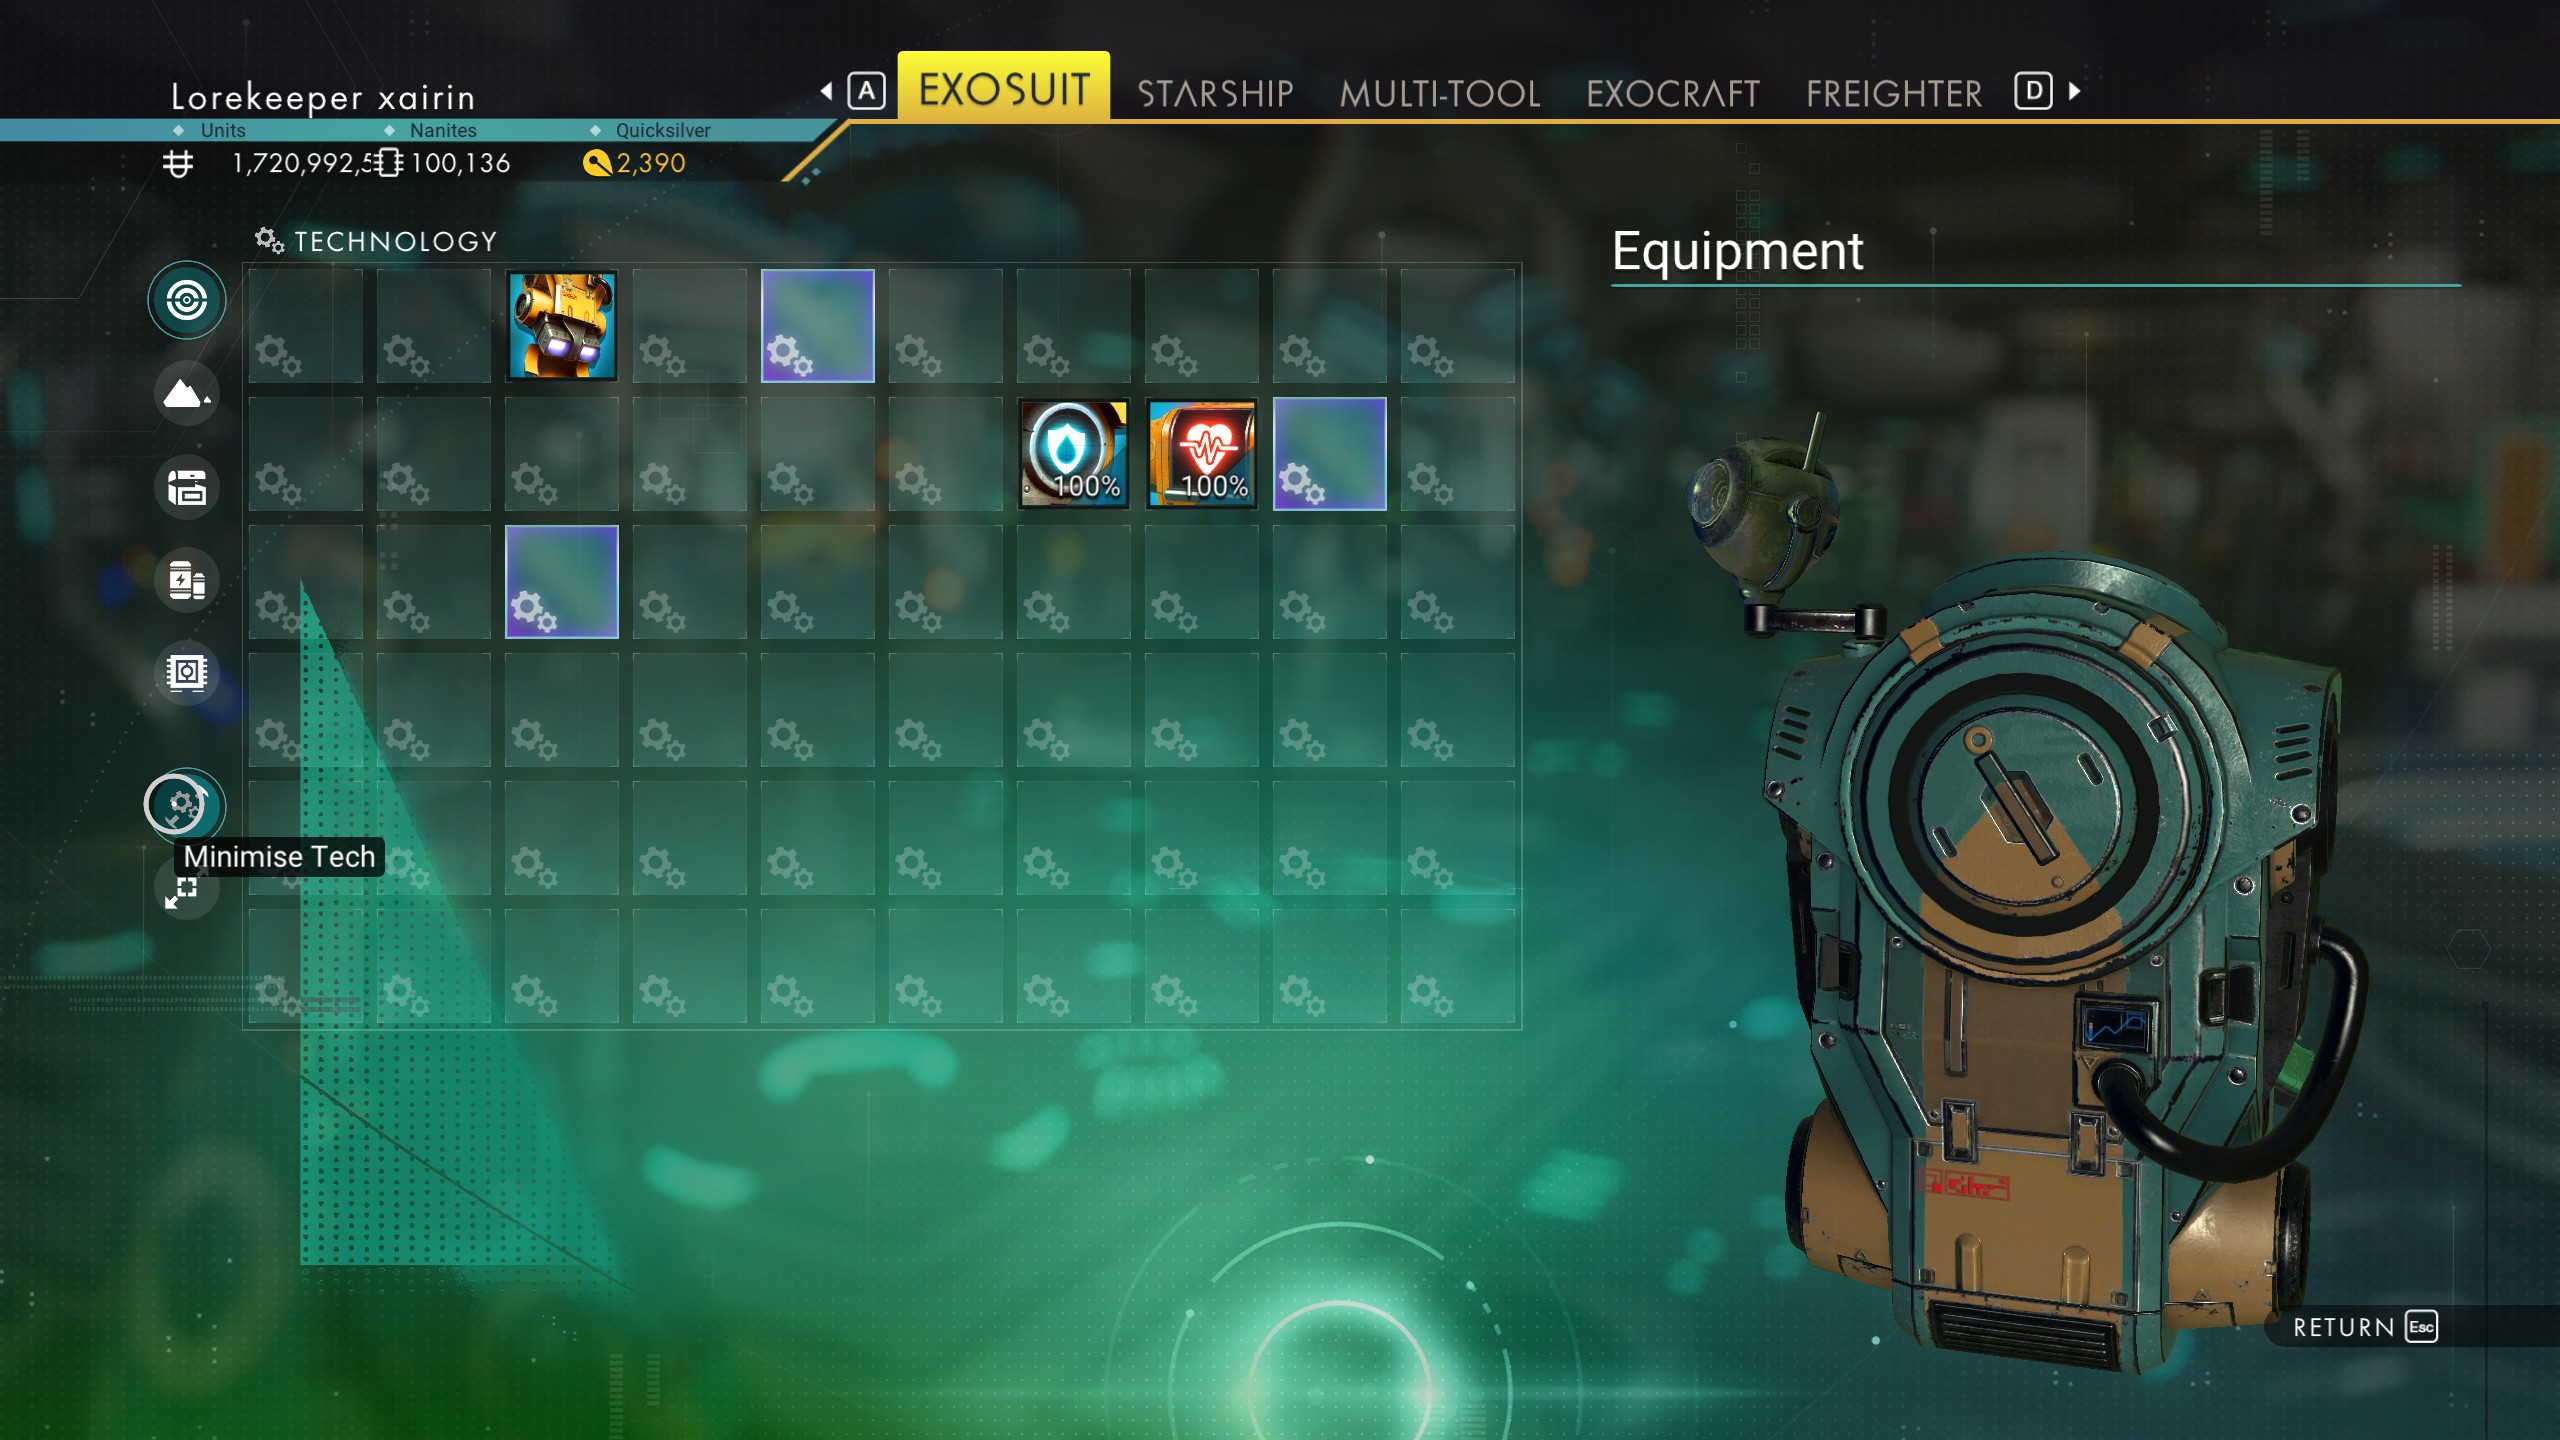
5. Prep Your Ship
- Launch Thrusters & Pulse Engine (to take off from the planet)
- Hyperdrive - Fuel to 100% - (for the general core warp you are doing)
- The Warp Drive of the system color you are currently in (to be able to directly jump to the core from the system)
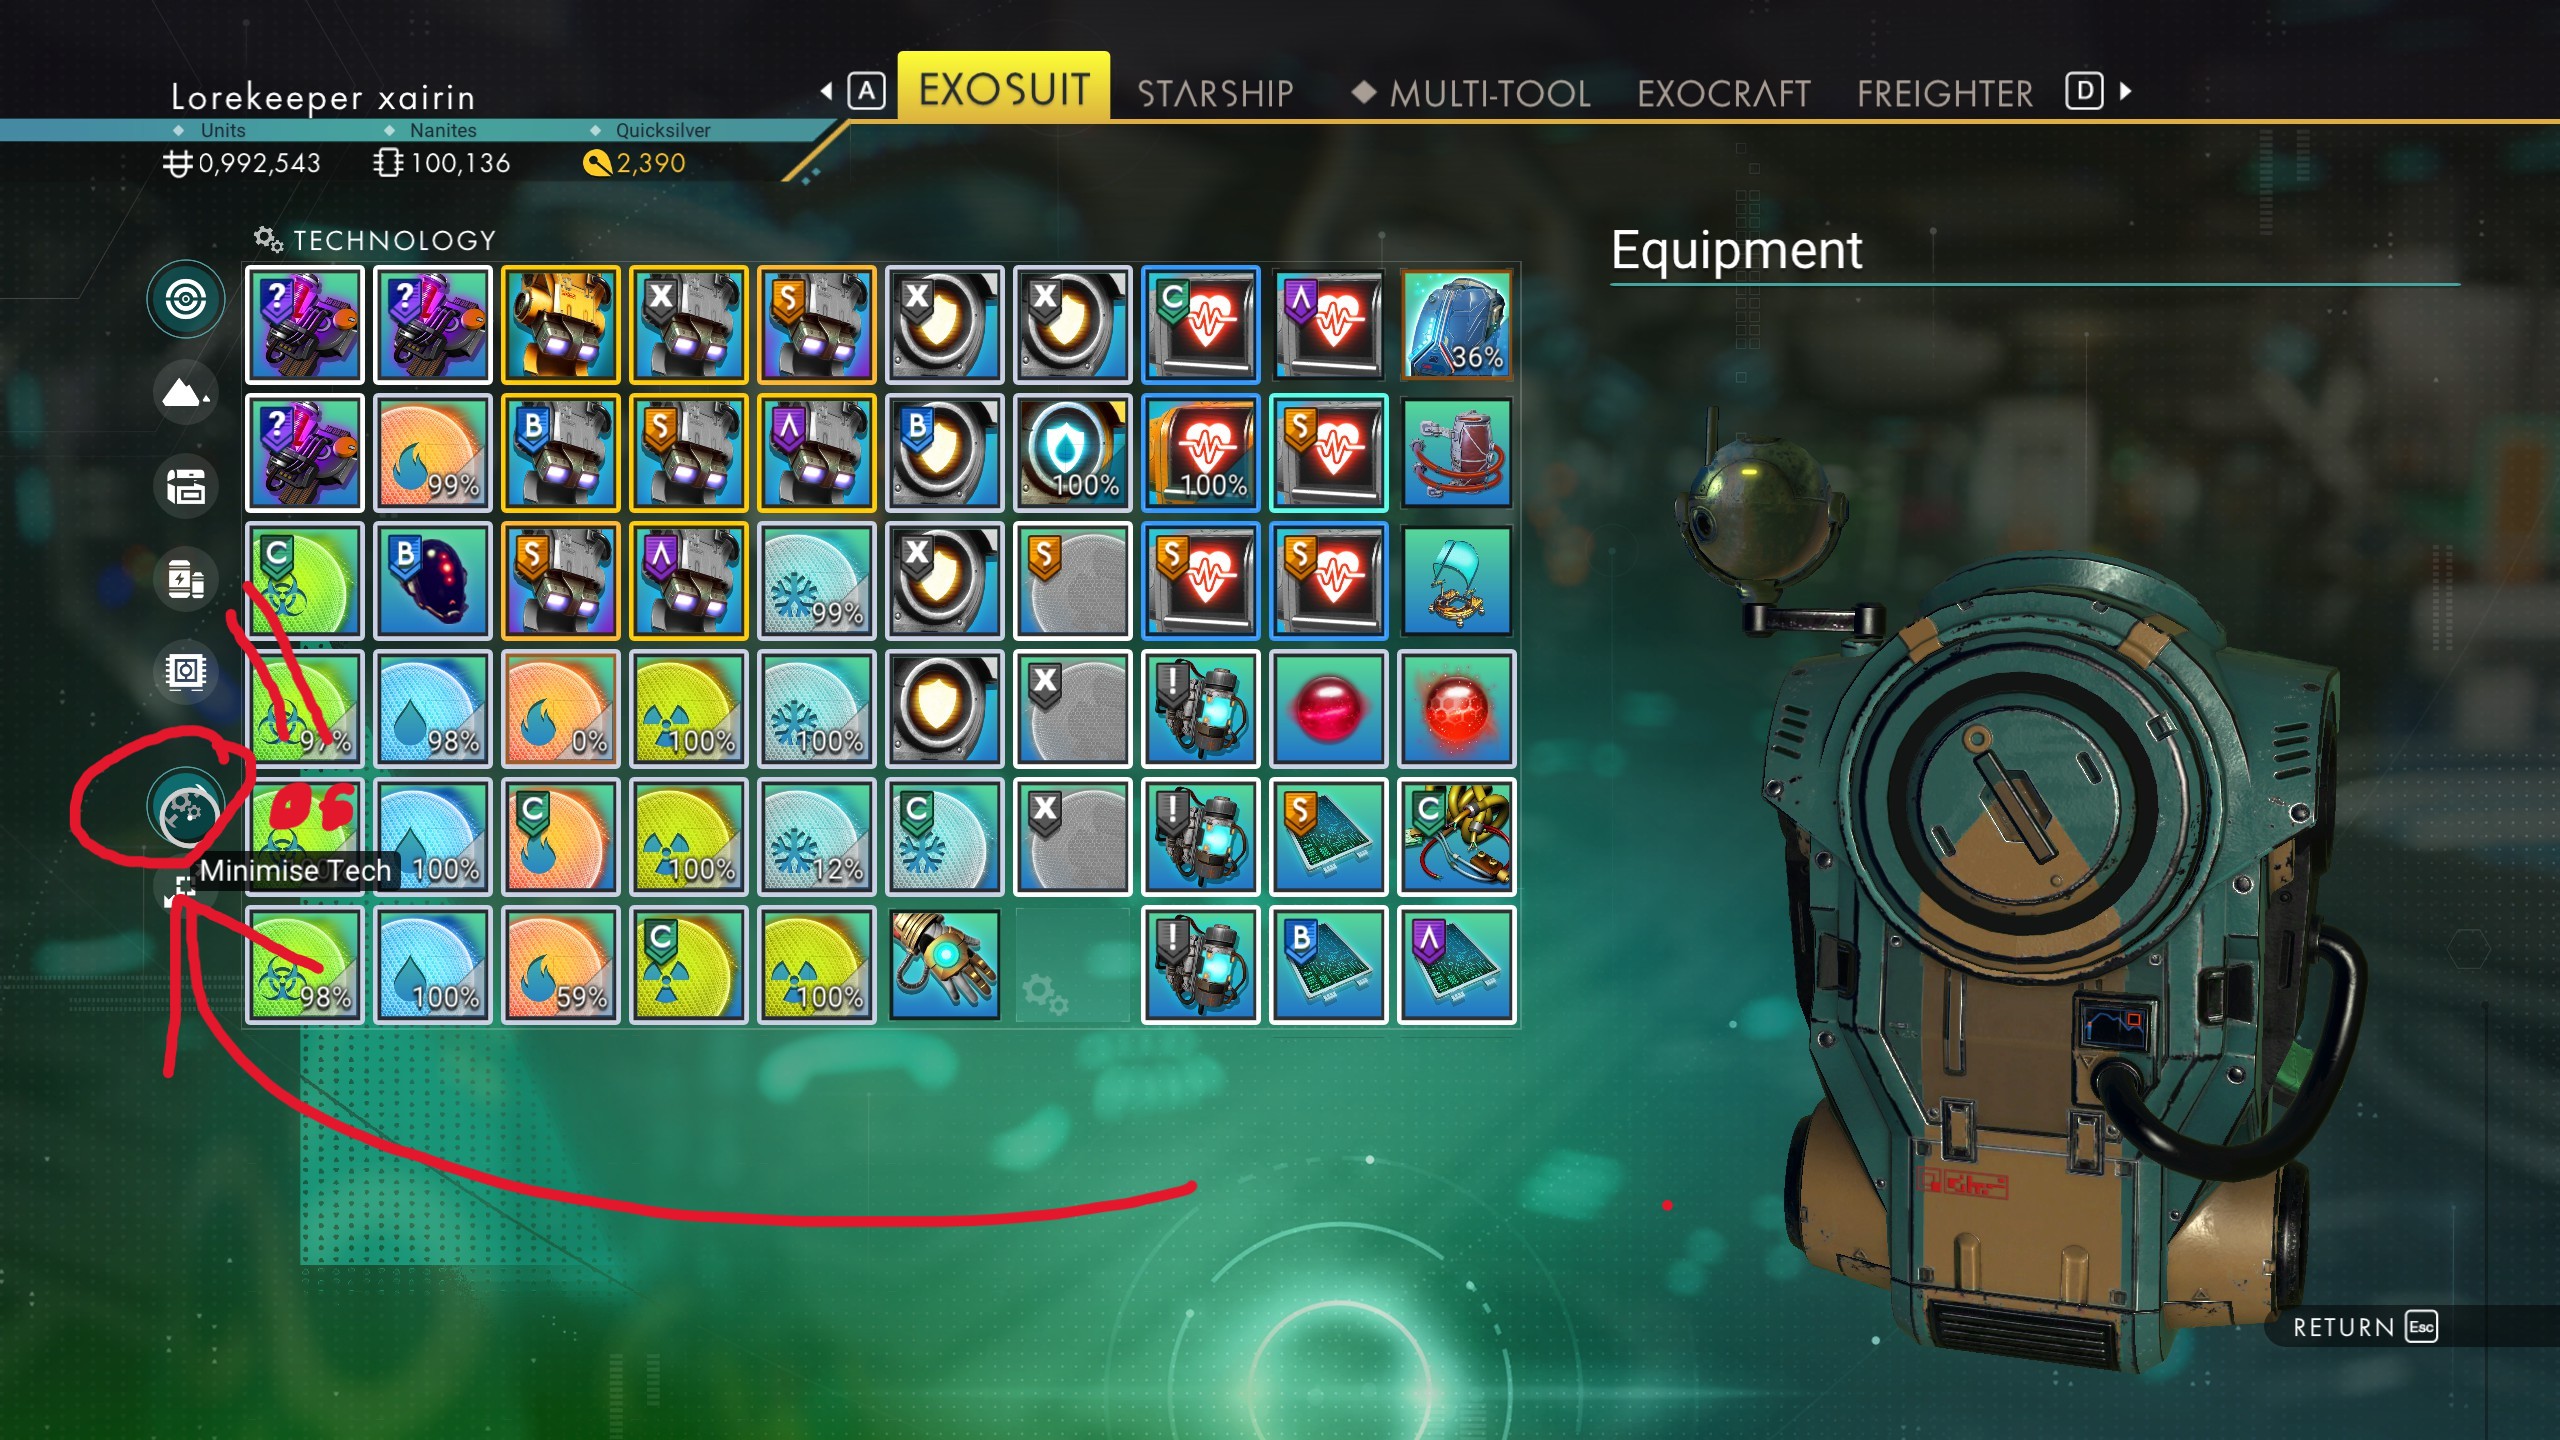
Here is the ship I use, I named it so its obvious its my jumping ship. :D
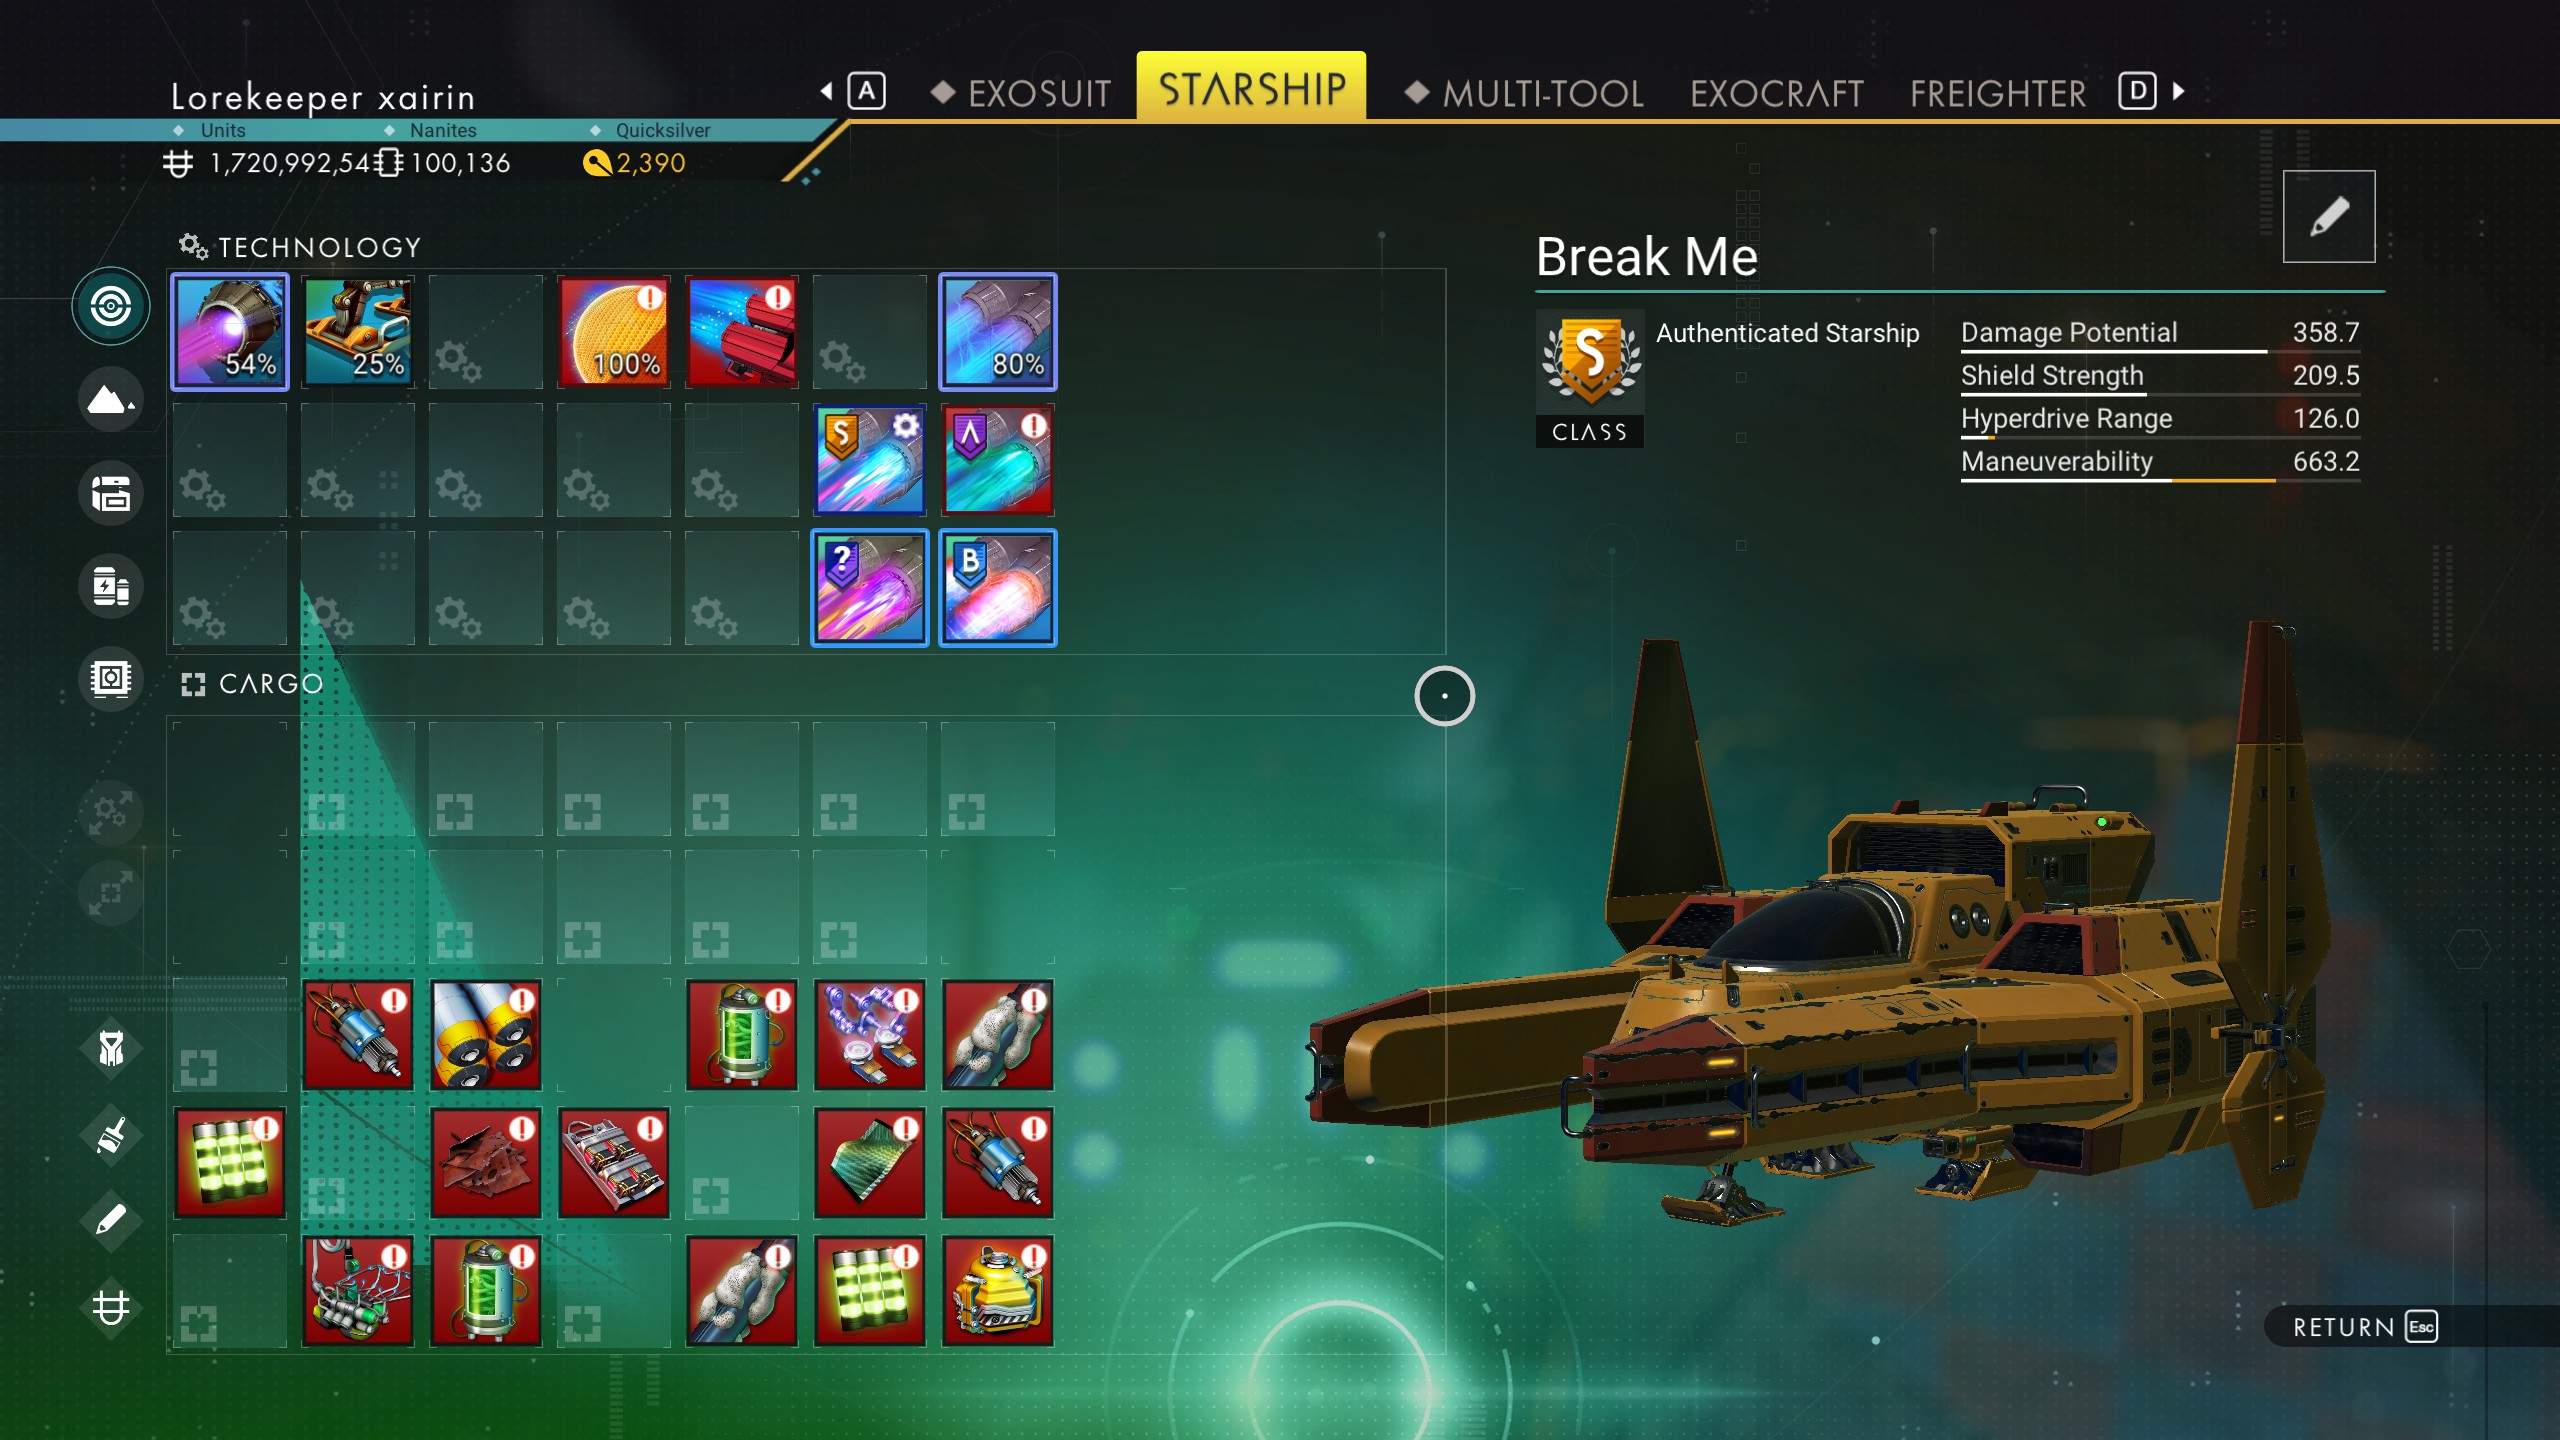
Note: If you accidentally do not fix the right warp drive that matches the system color you are currently in, the Galactic Core path in the Galaxy Map will try to route you to a system you do have access to. If you see this, go back to the ship and fix the right color warp drive for the system you are in.
6. Time to Jump to the Next Galaxy!
Make sure you double check that you did steps 3-5:
- Your jumping ship is primary.
- Your jumping multi-tool is primary.
- Your exosuit is prepped with modules moved from the Tech area.

7. New Galaxy: Find a Portal Again
Reinstall your exocraft summoning module on your exosuit or summon your freighter if you have exocraft summoning installed there (my preferred method) or you can use maps also in lieu of the exocraft.
Use this to scan for a monolith.
Summon your non-broken primary ship to get to the monolith.
Similar to step 2, use a monolith to find a portal. This time, we are going to "Activate Portal" and enter the portal glyphs we found from step 2, instead of requesting the address: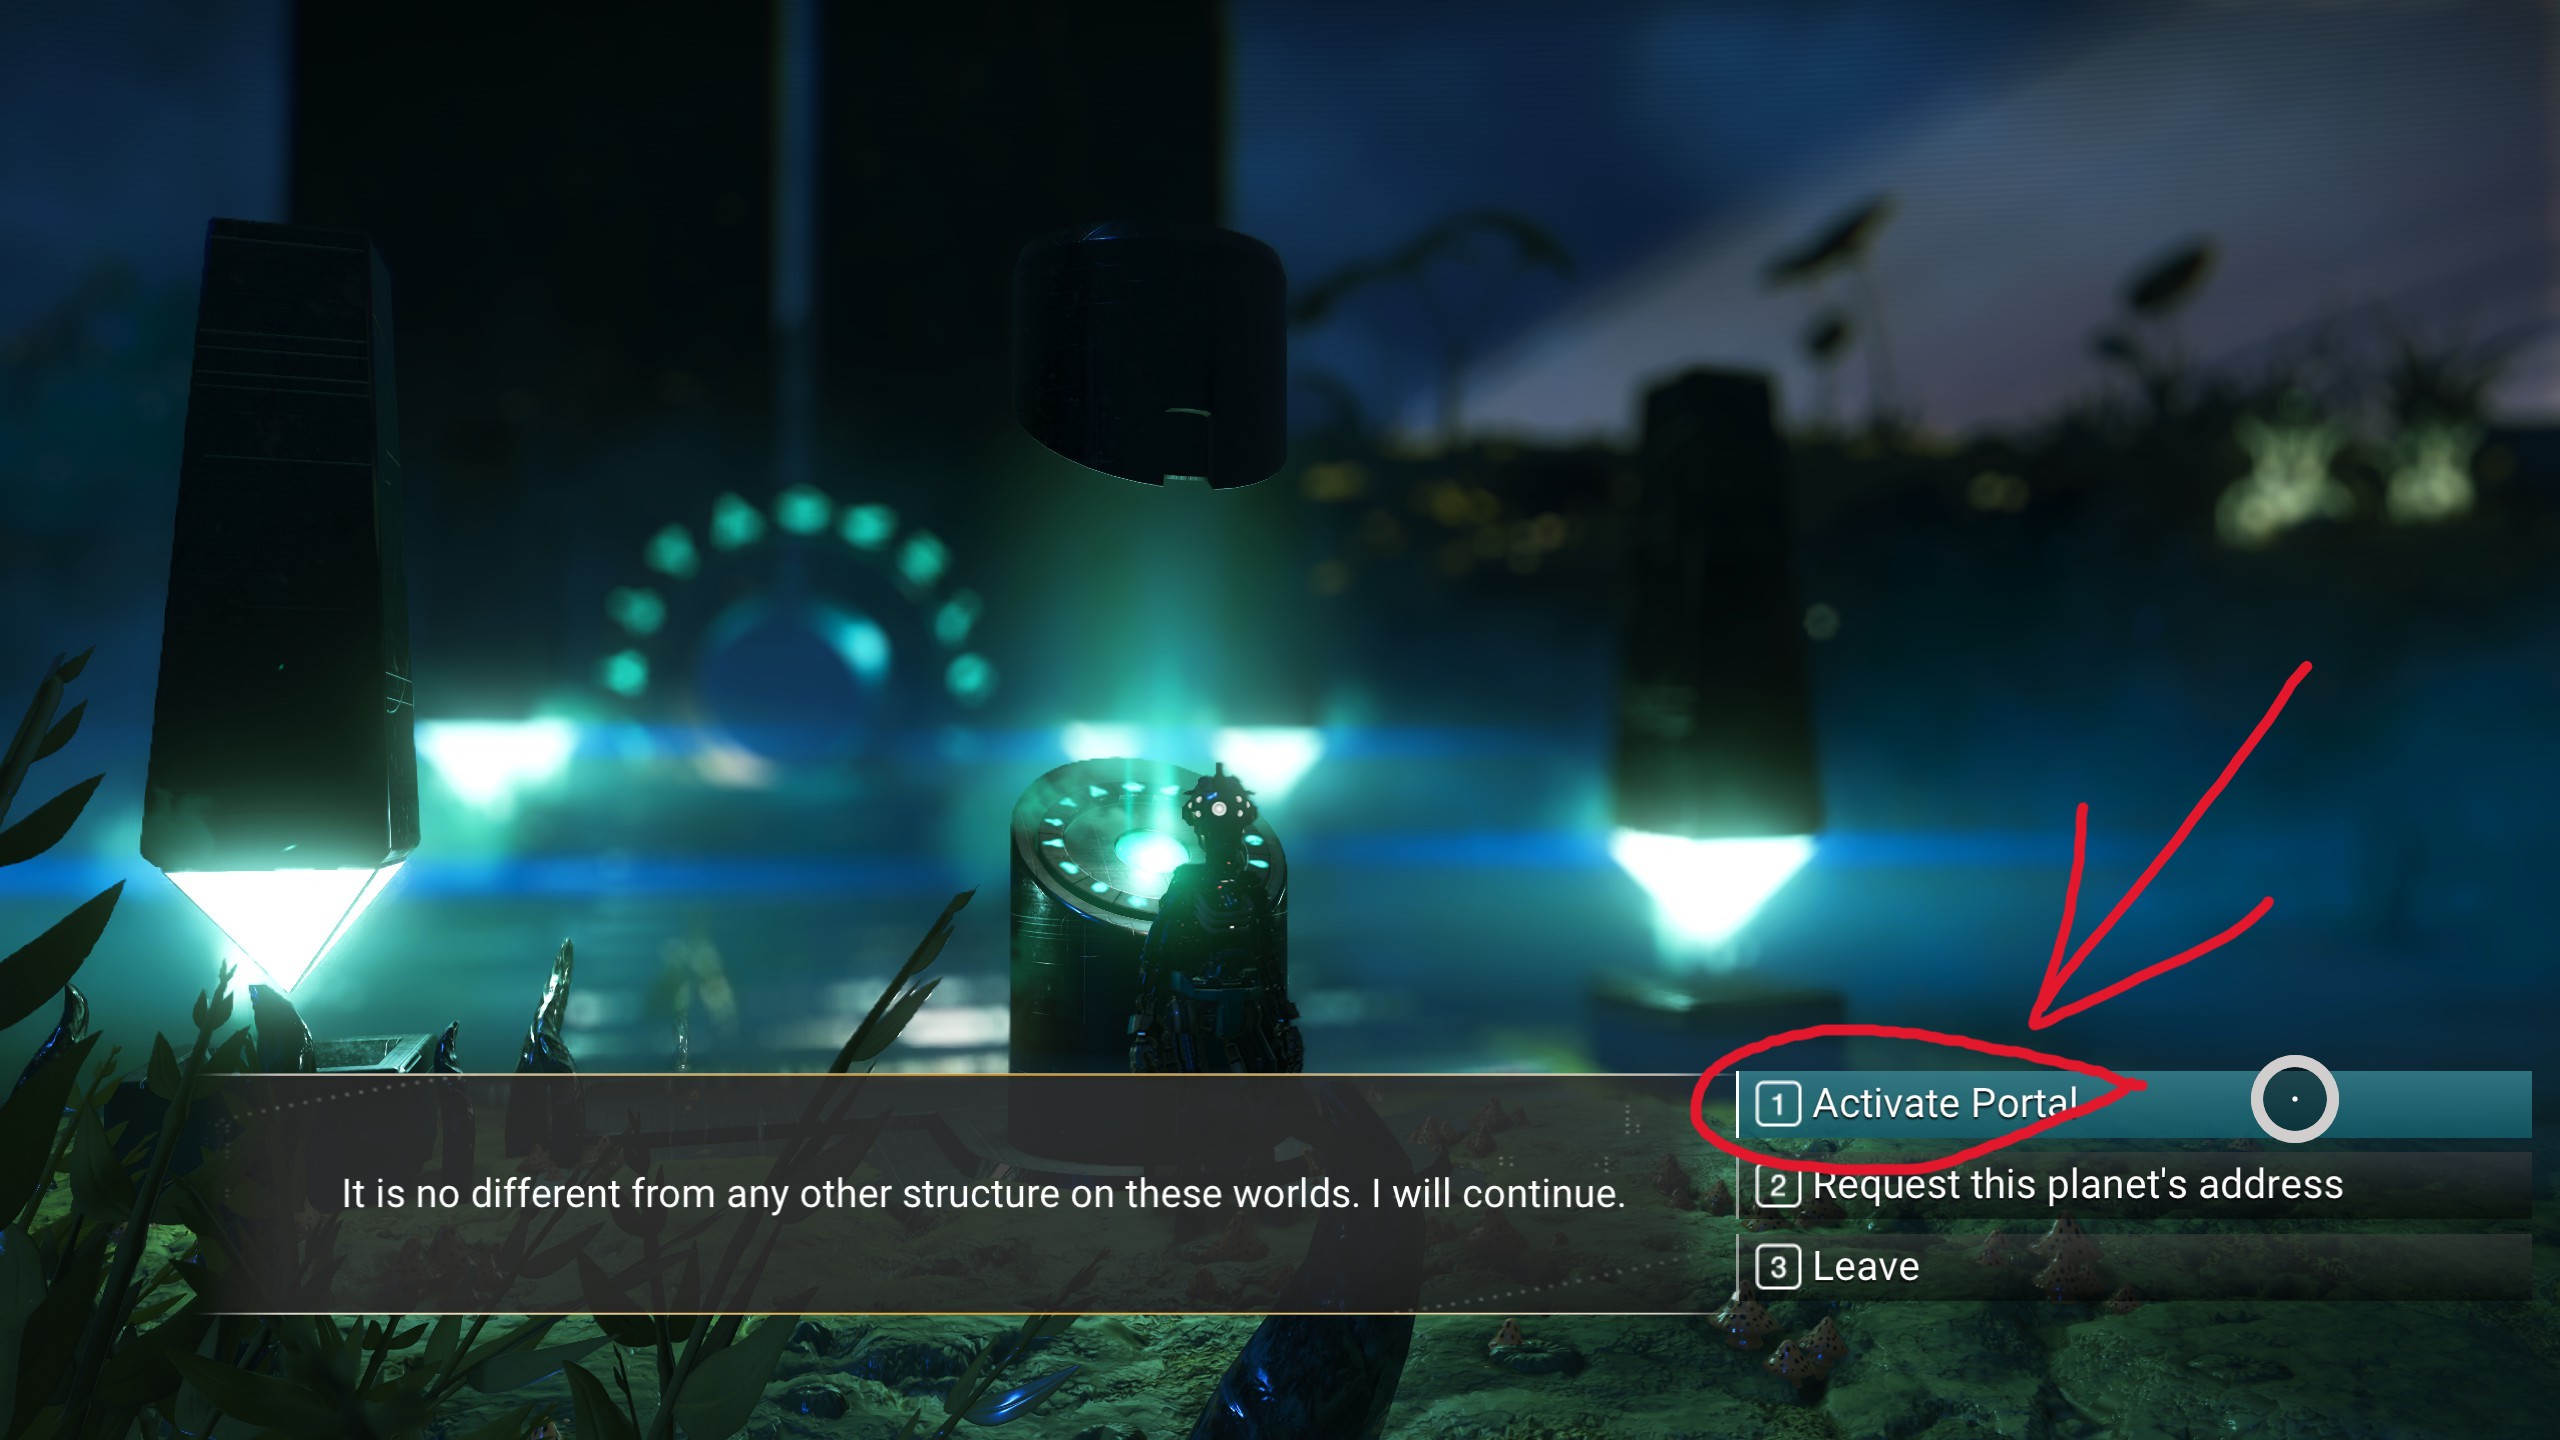
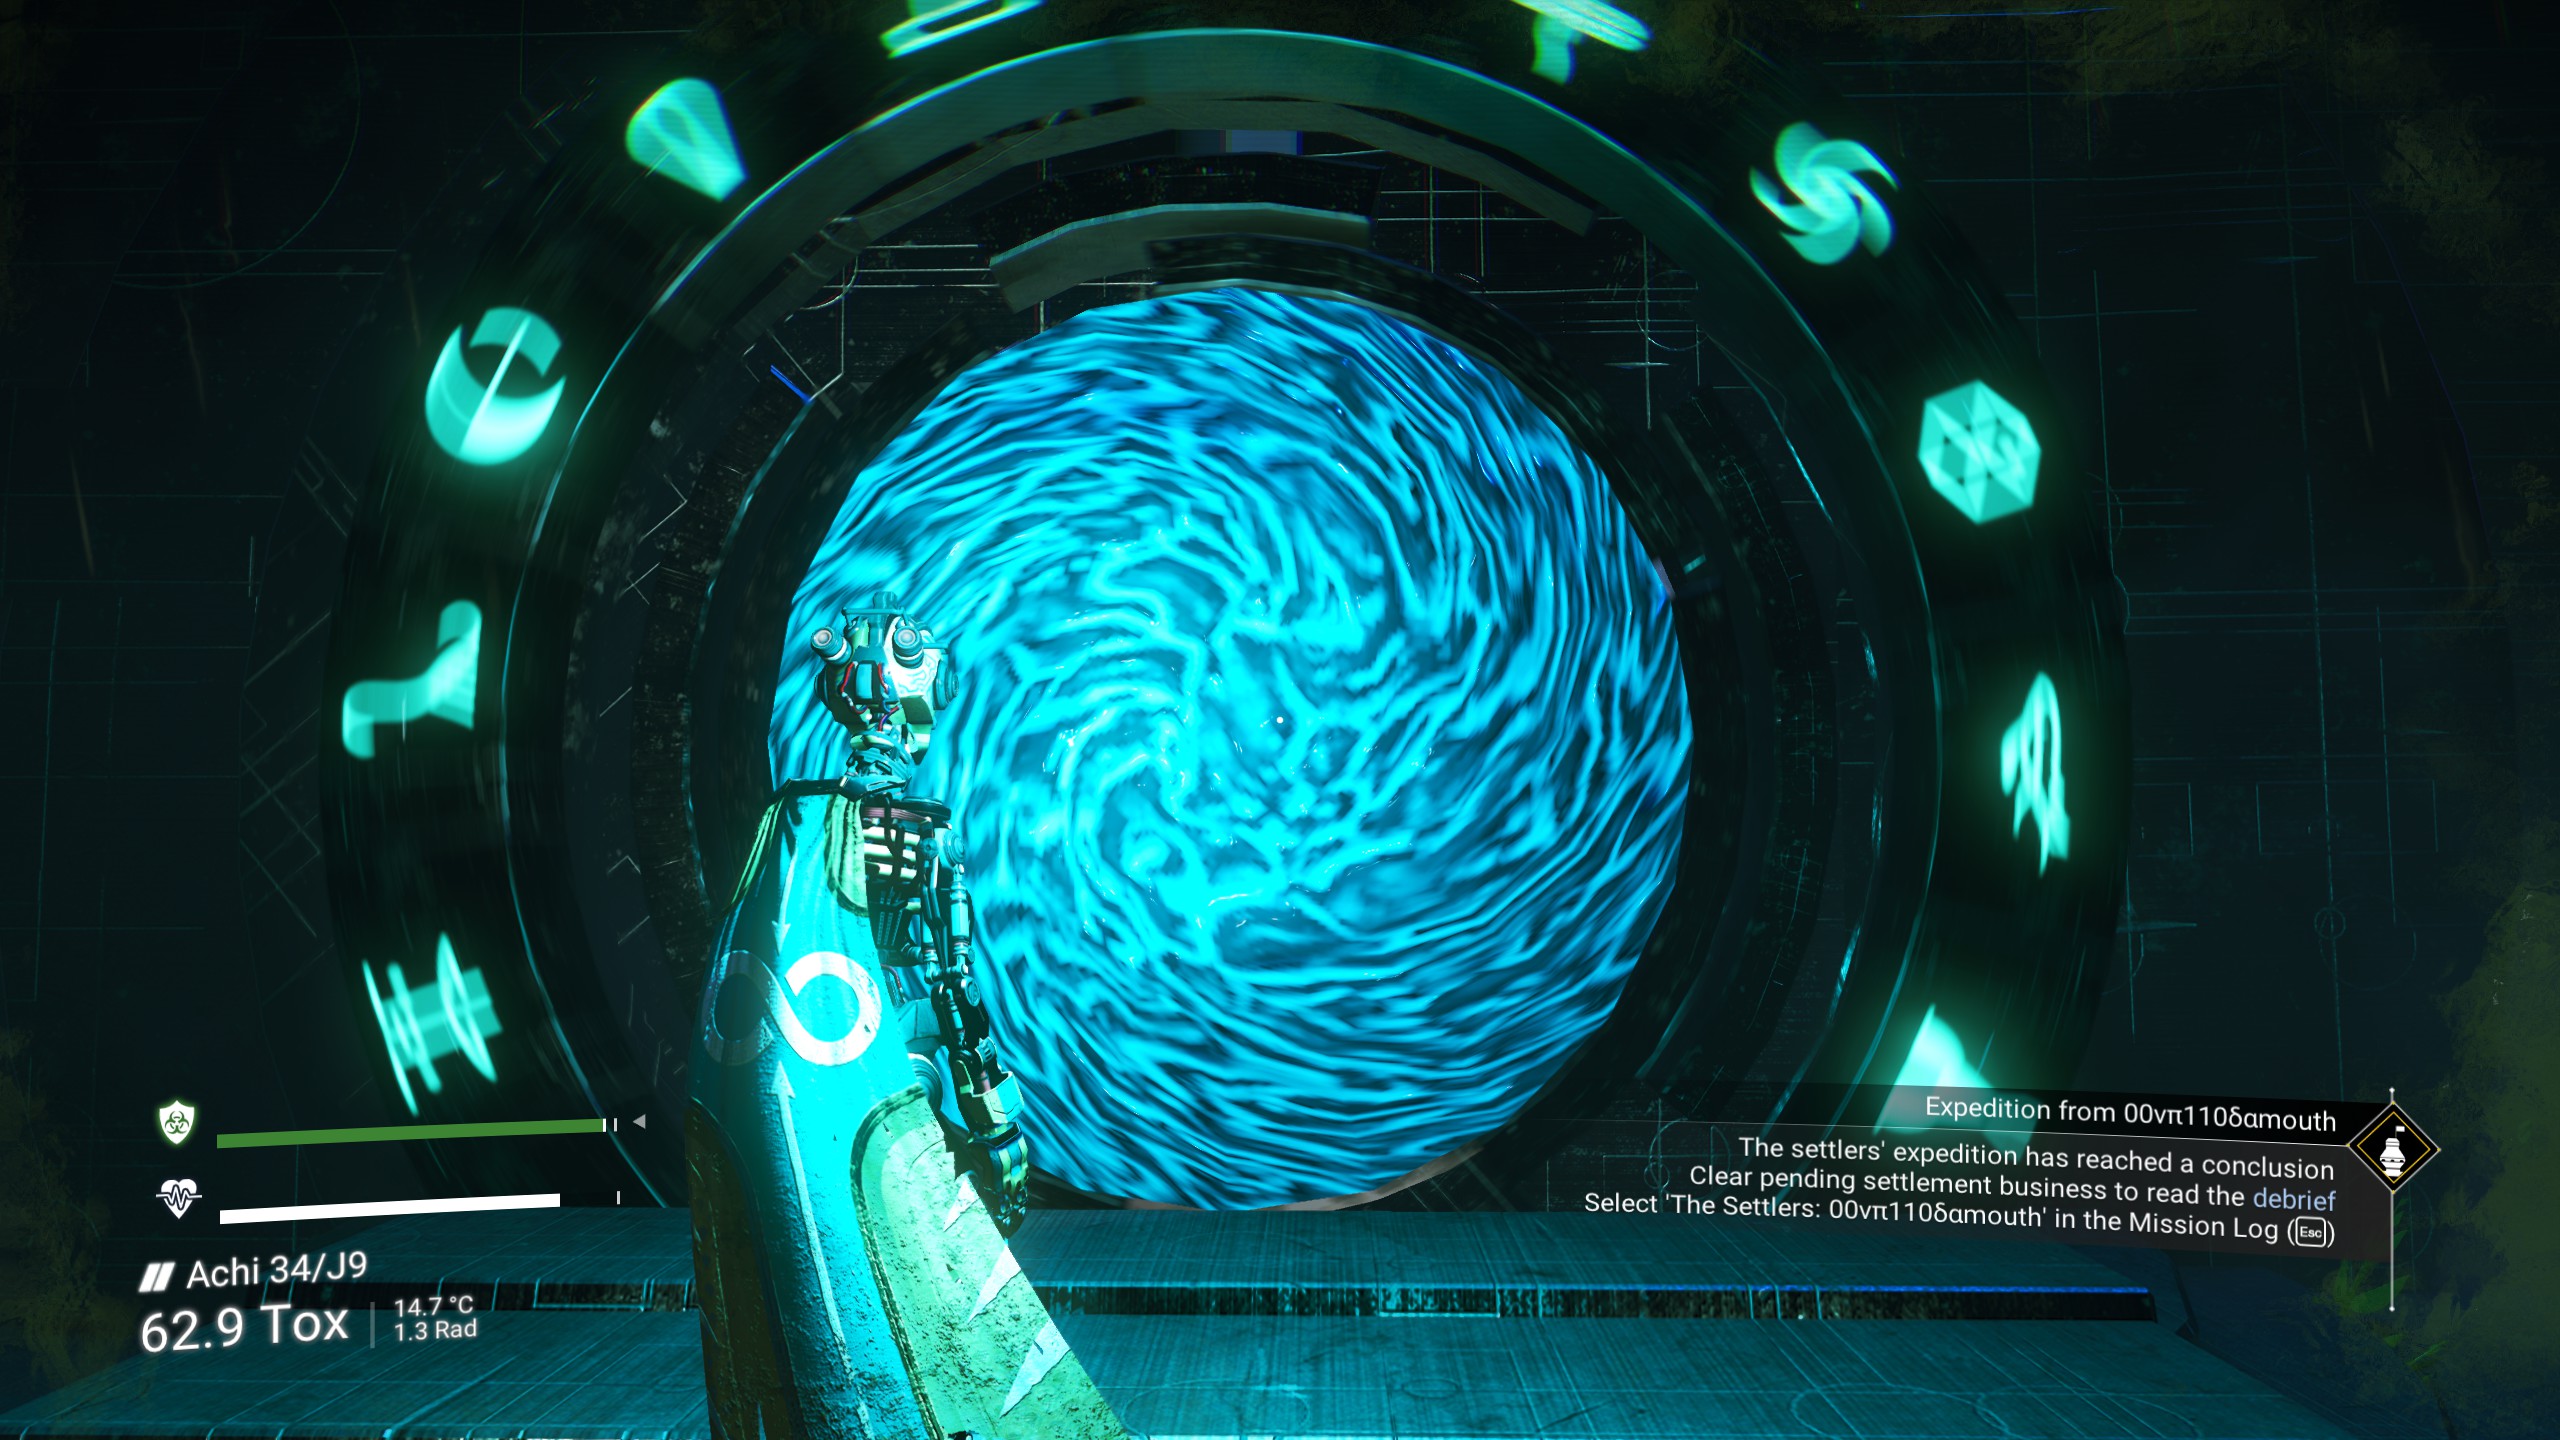
8. Check Your New Location
Once you portal jump using your glyph set from step 2, if you did it right, you should now be close to the new galaxy's center area (~2000/3000 LY from the core).
WOW! Space magic! The gloriousness that is alternate simulations of the galaxy! πui o0a0i1a1!
Before you leave, you can go and fix your jumping ship pulse engine and launcher thrusters and hyperdrive, so its easier to summon later. You can re-summon while its broken later, but sometimes requires some portaling manuvuers. Try summoning the freighter and then your exocraft for quickness.
Then when you are ready to leave:
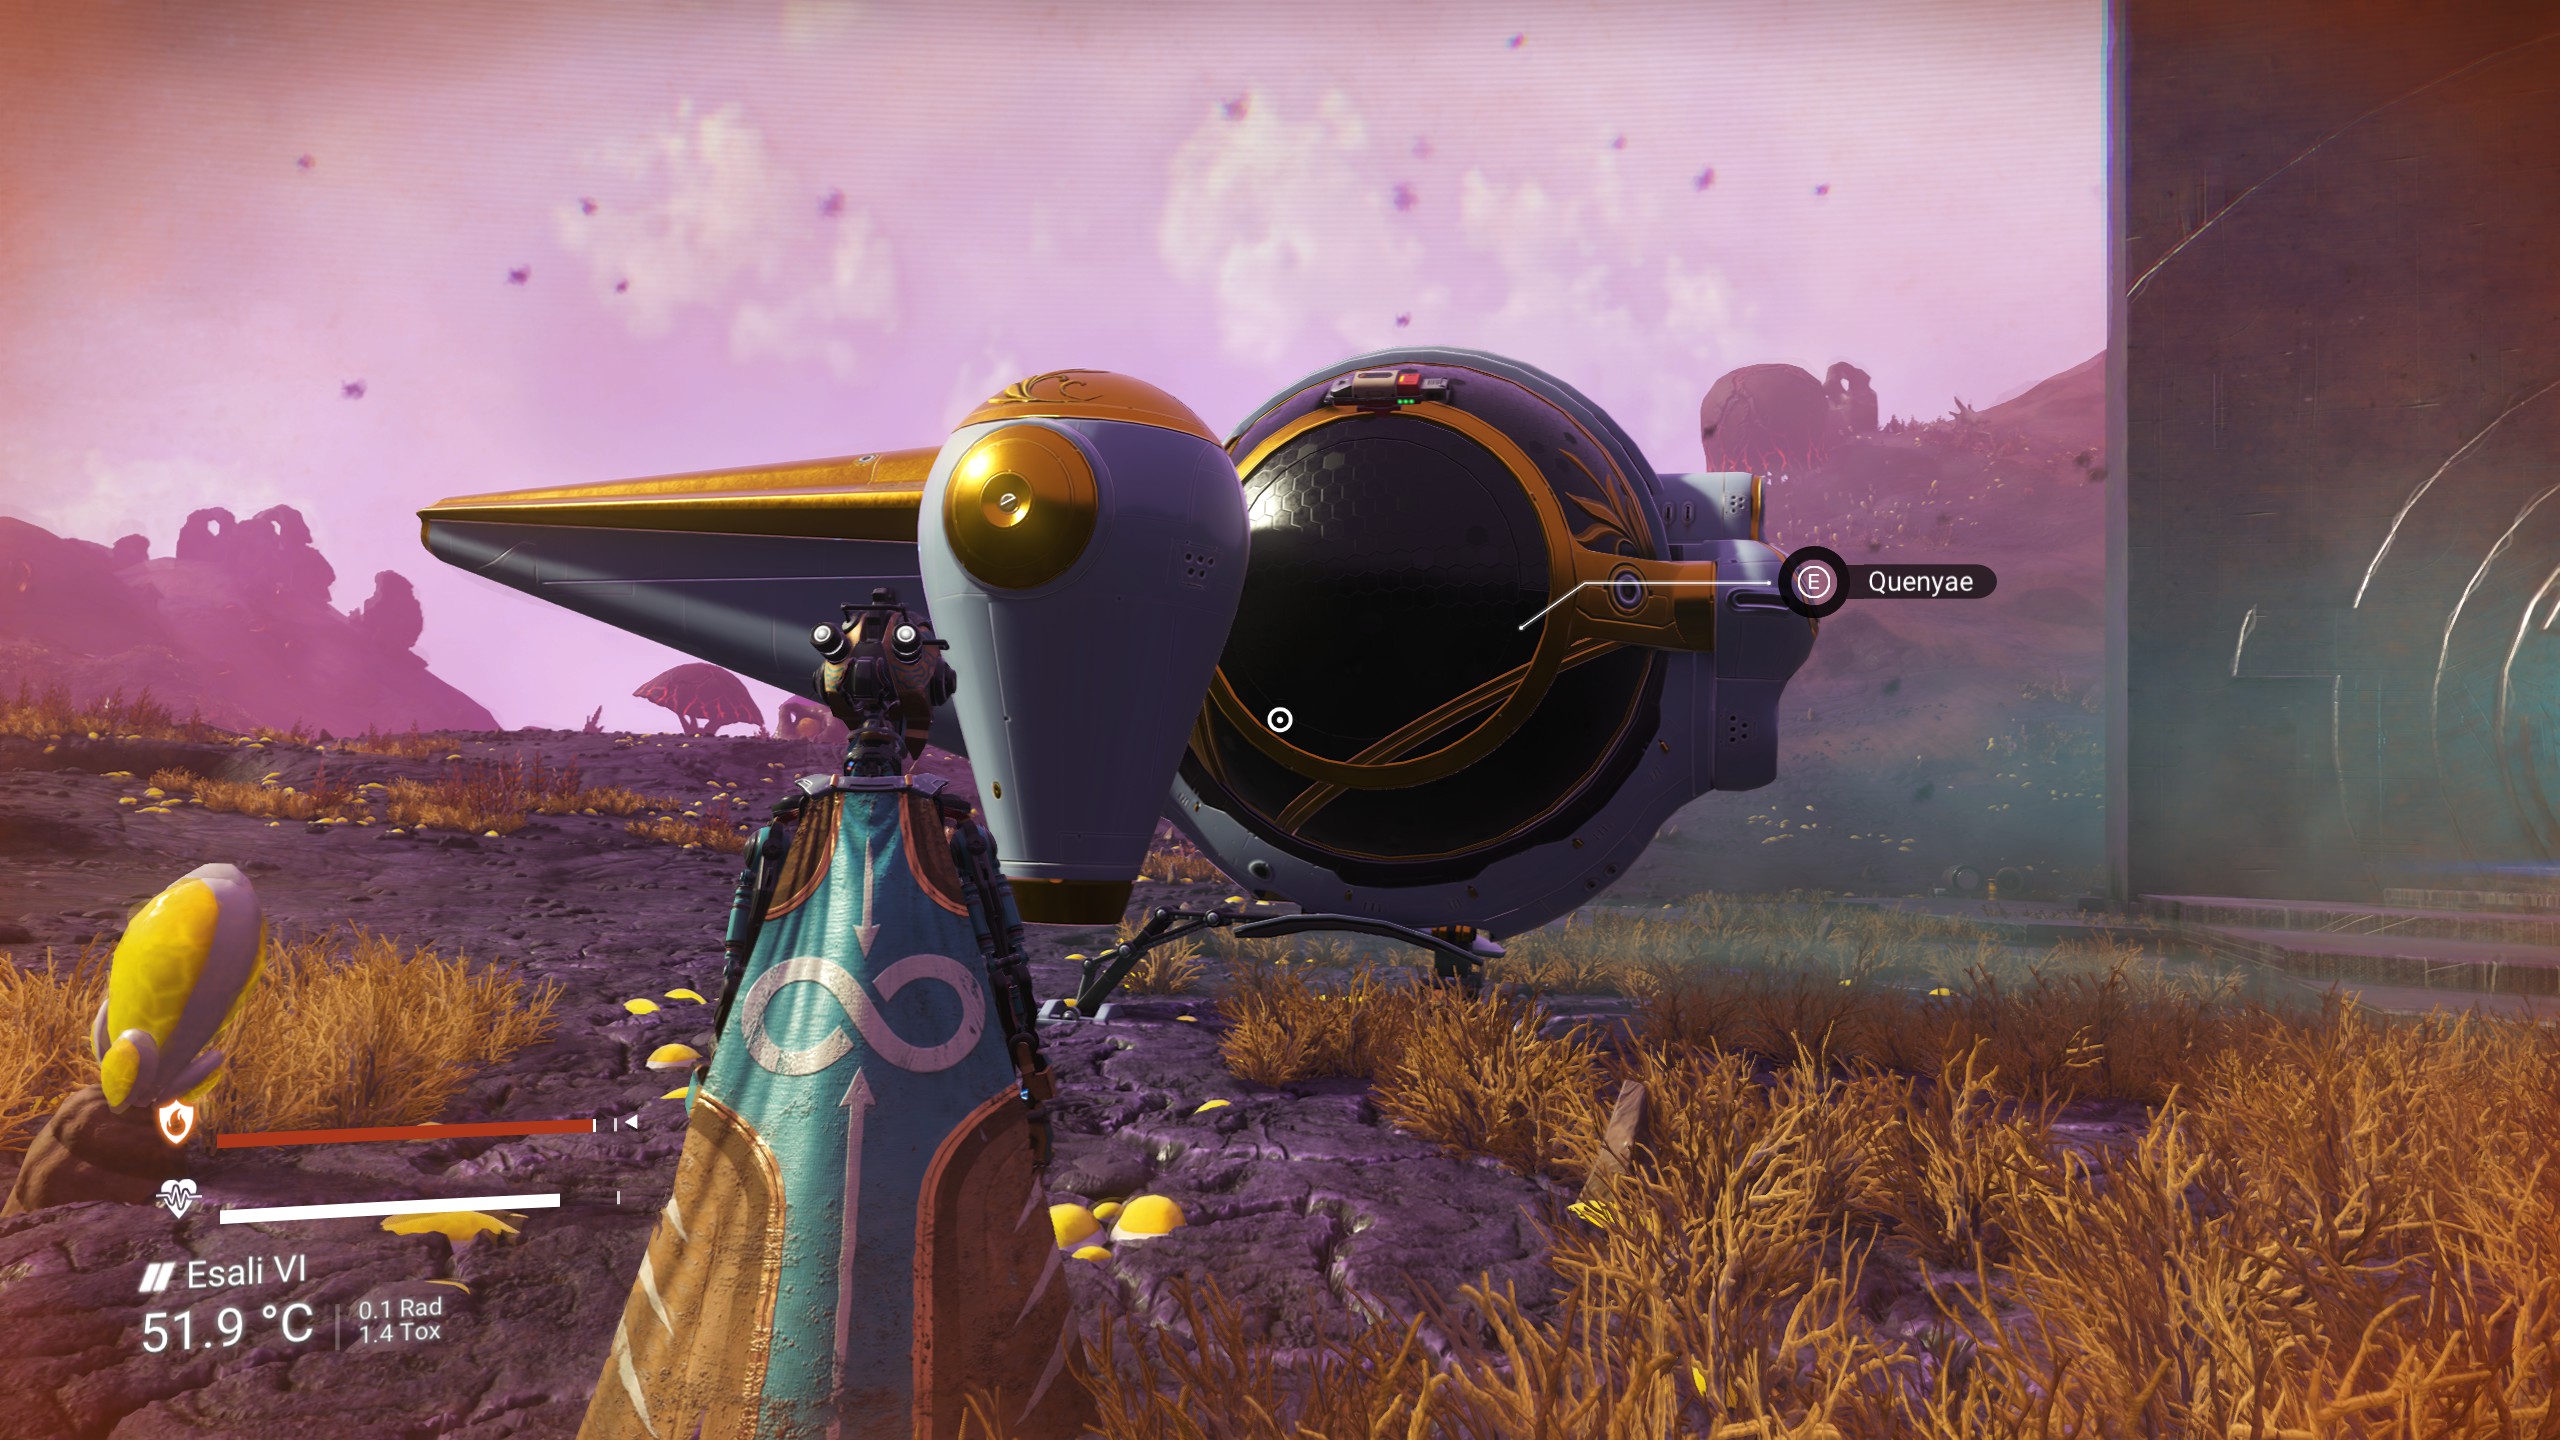
9. Galaxy Center Base, Then Do it Again!
I usually choose a planet that is immediately adjacent to the next Galactic Core warp.
If you are up against the build limit on a single save file, remember to use the pre-built houses to save on wires and # of parts in your bases! (and always clean up any parts you don't need as you journey!)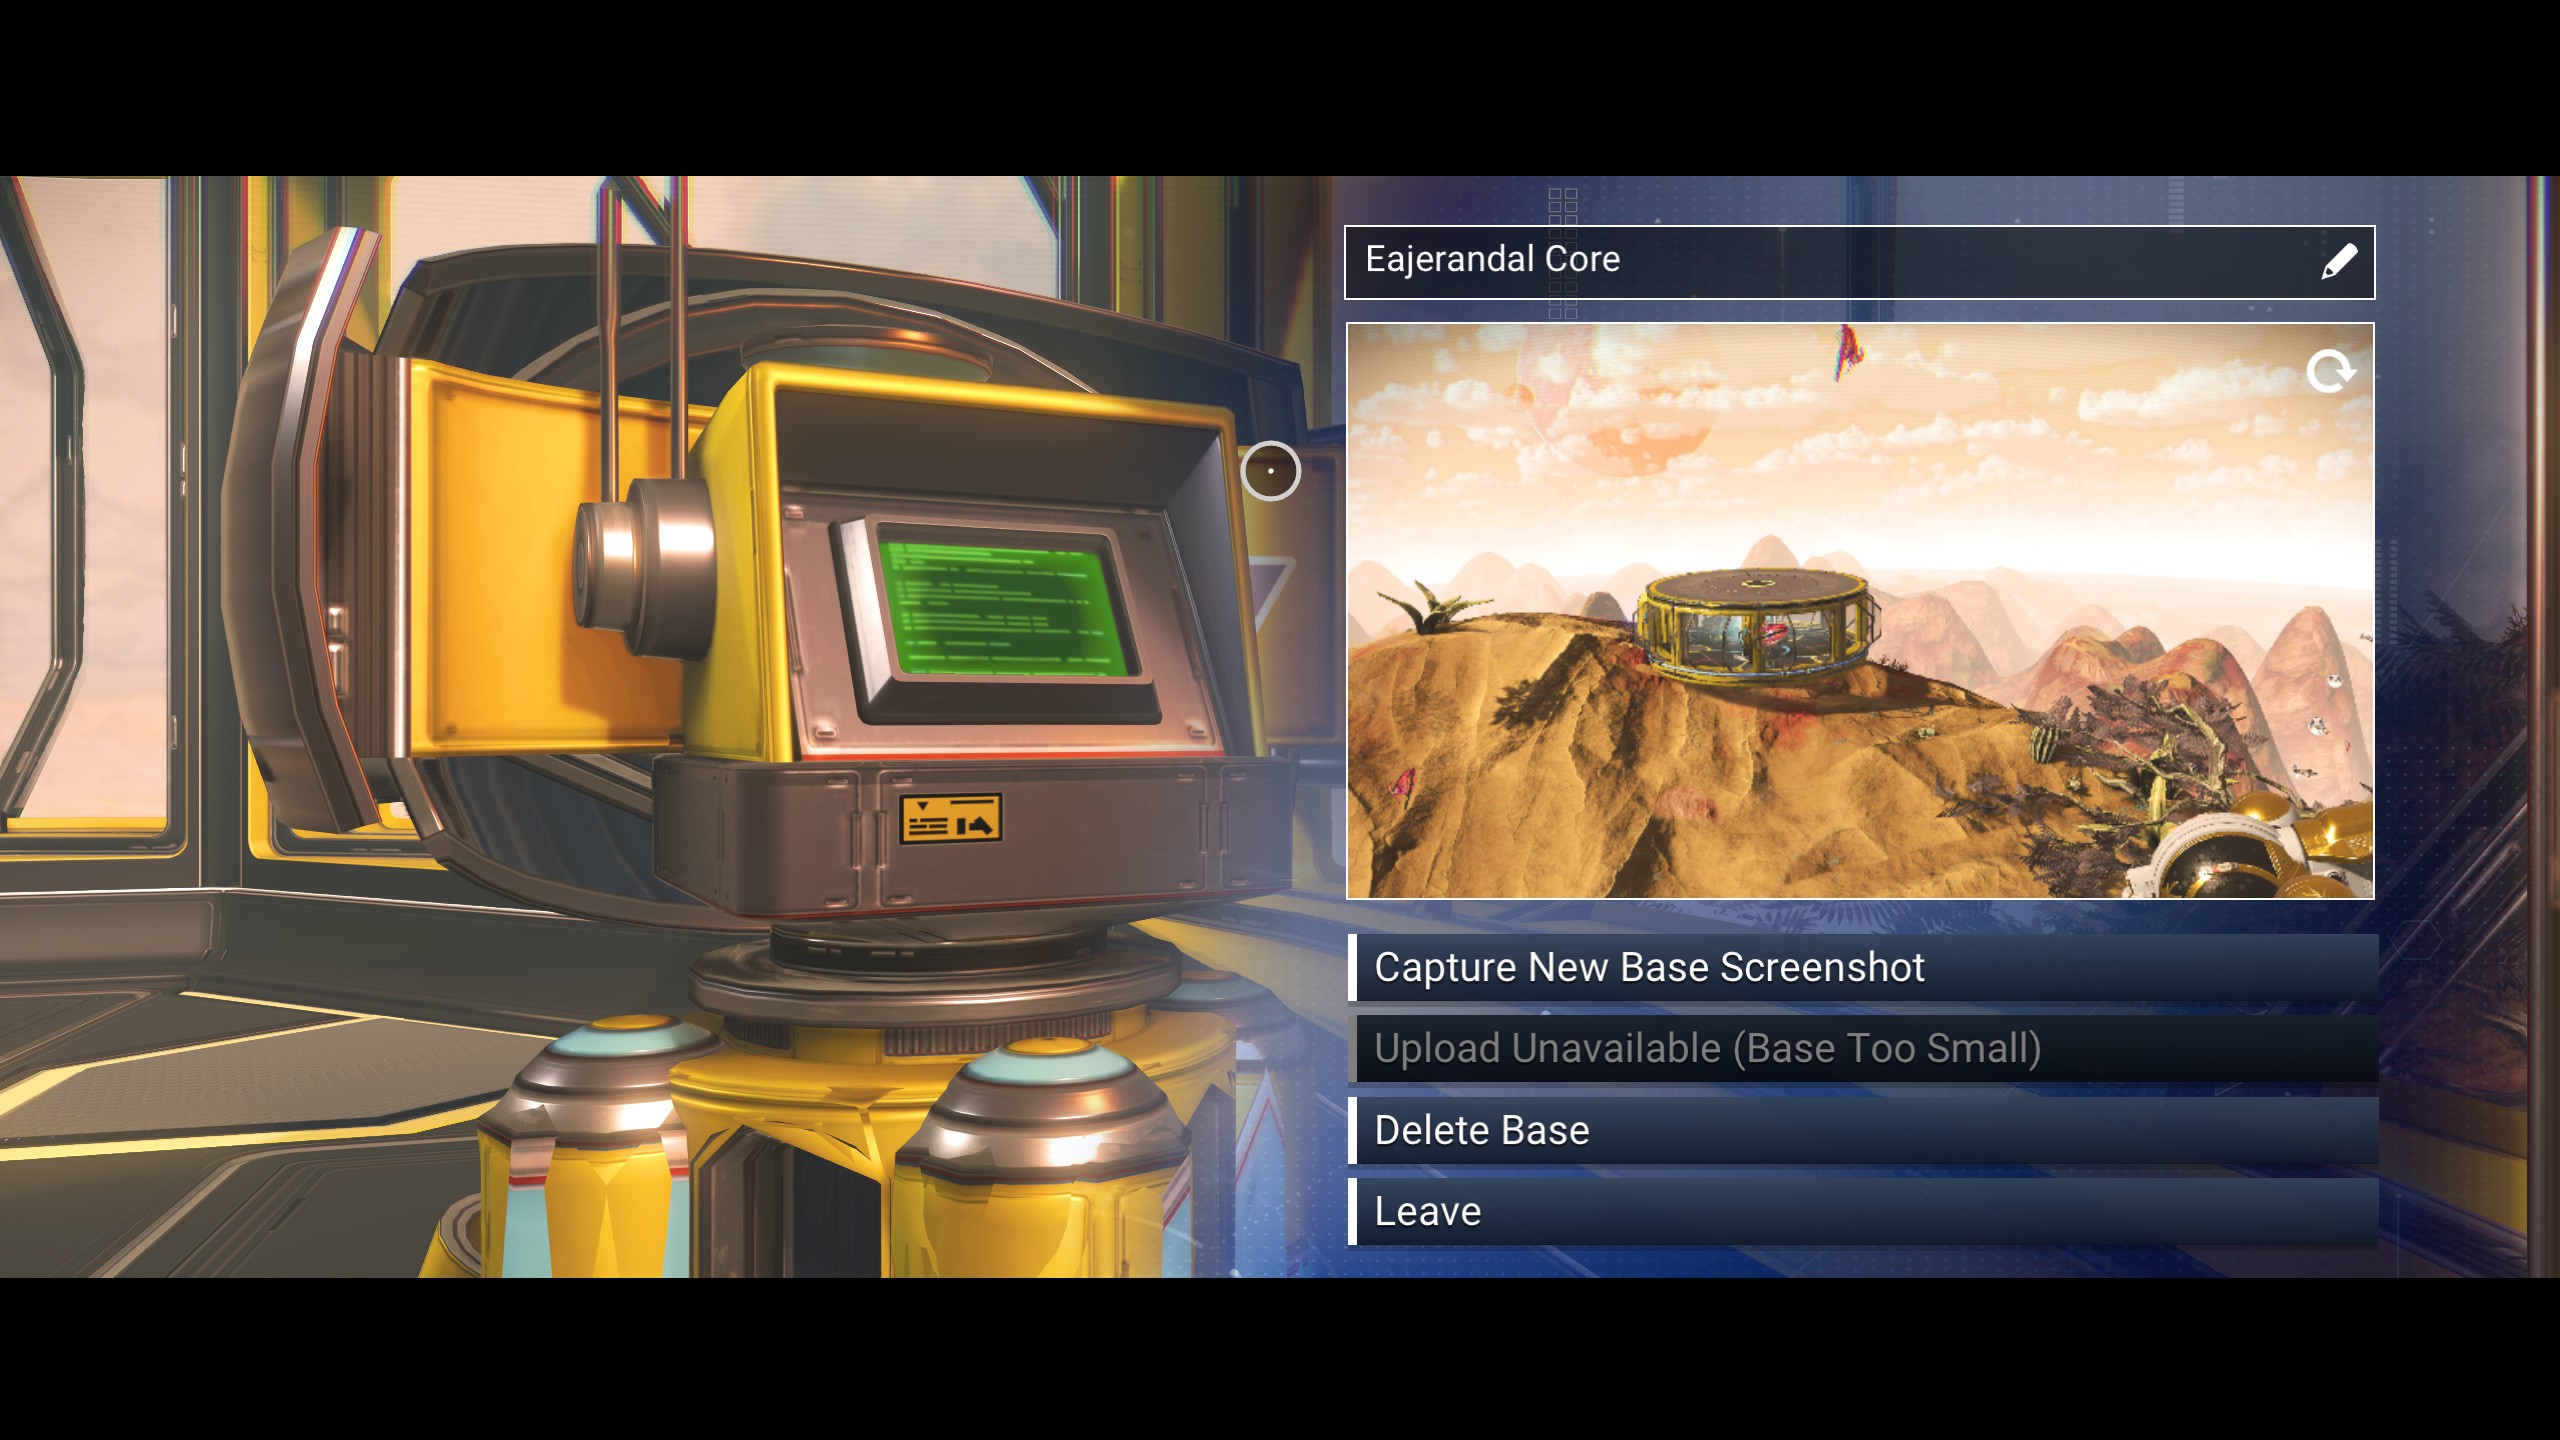
Tip: If you are having trouble summoning your broken ship, easiest way to get back to it is to call your freighter and find it on your freighter. You might need to portal back and forth a bit for it to show up there.
Congrats Traveller! oλoδ00o1γλa0iμo11!
Now you have the knowledge to go forth and continue multi-galaxy jumping from step 1 and journey ever onward, if you choose! Safe travels!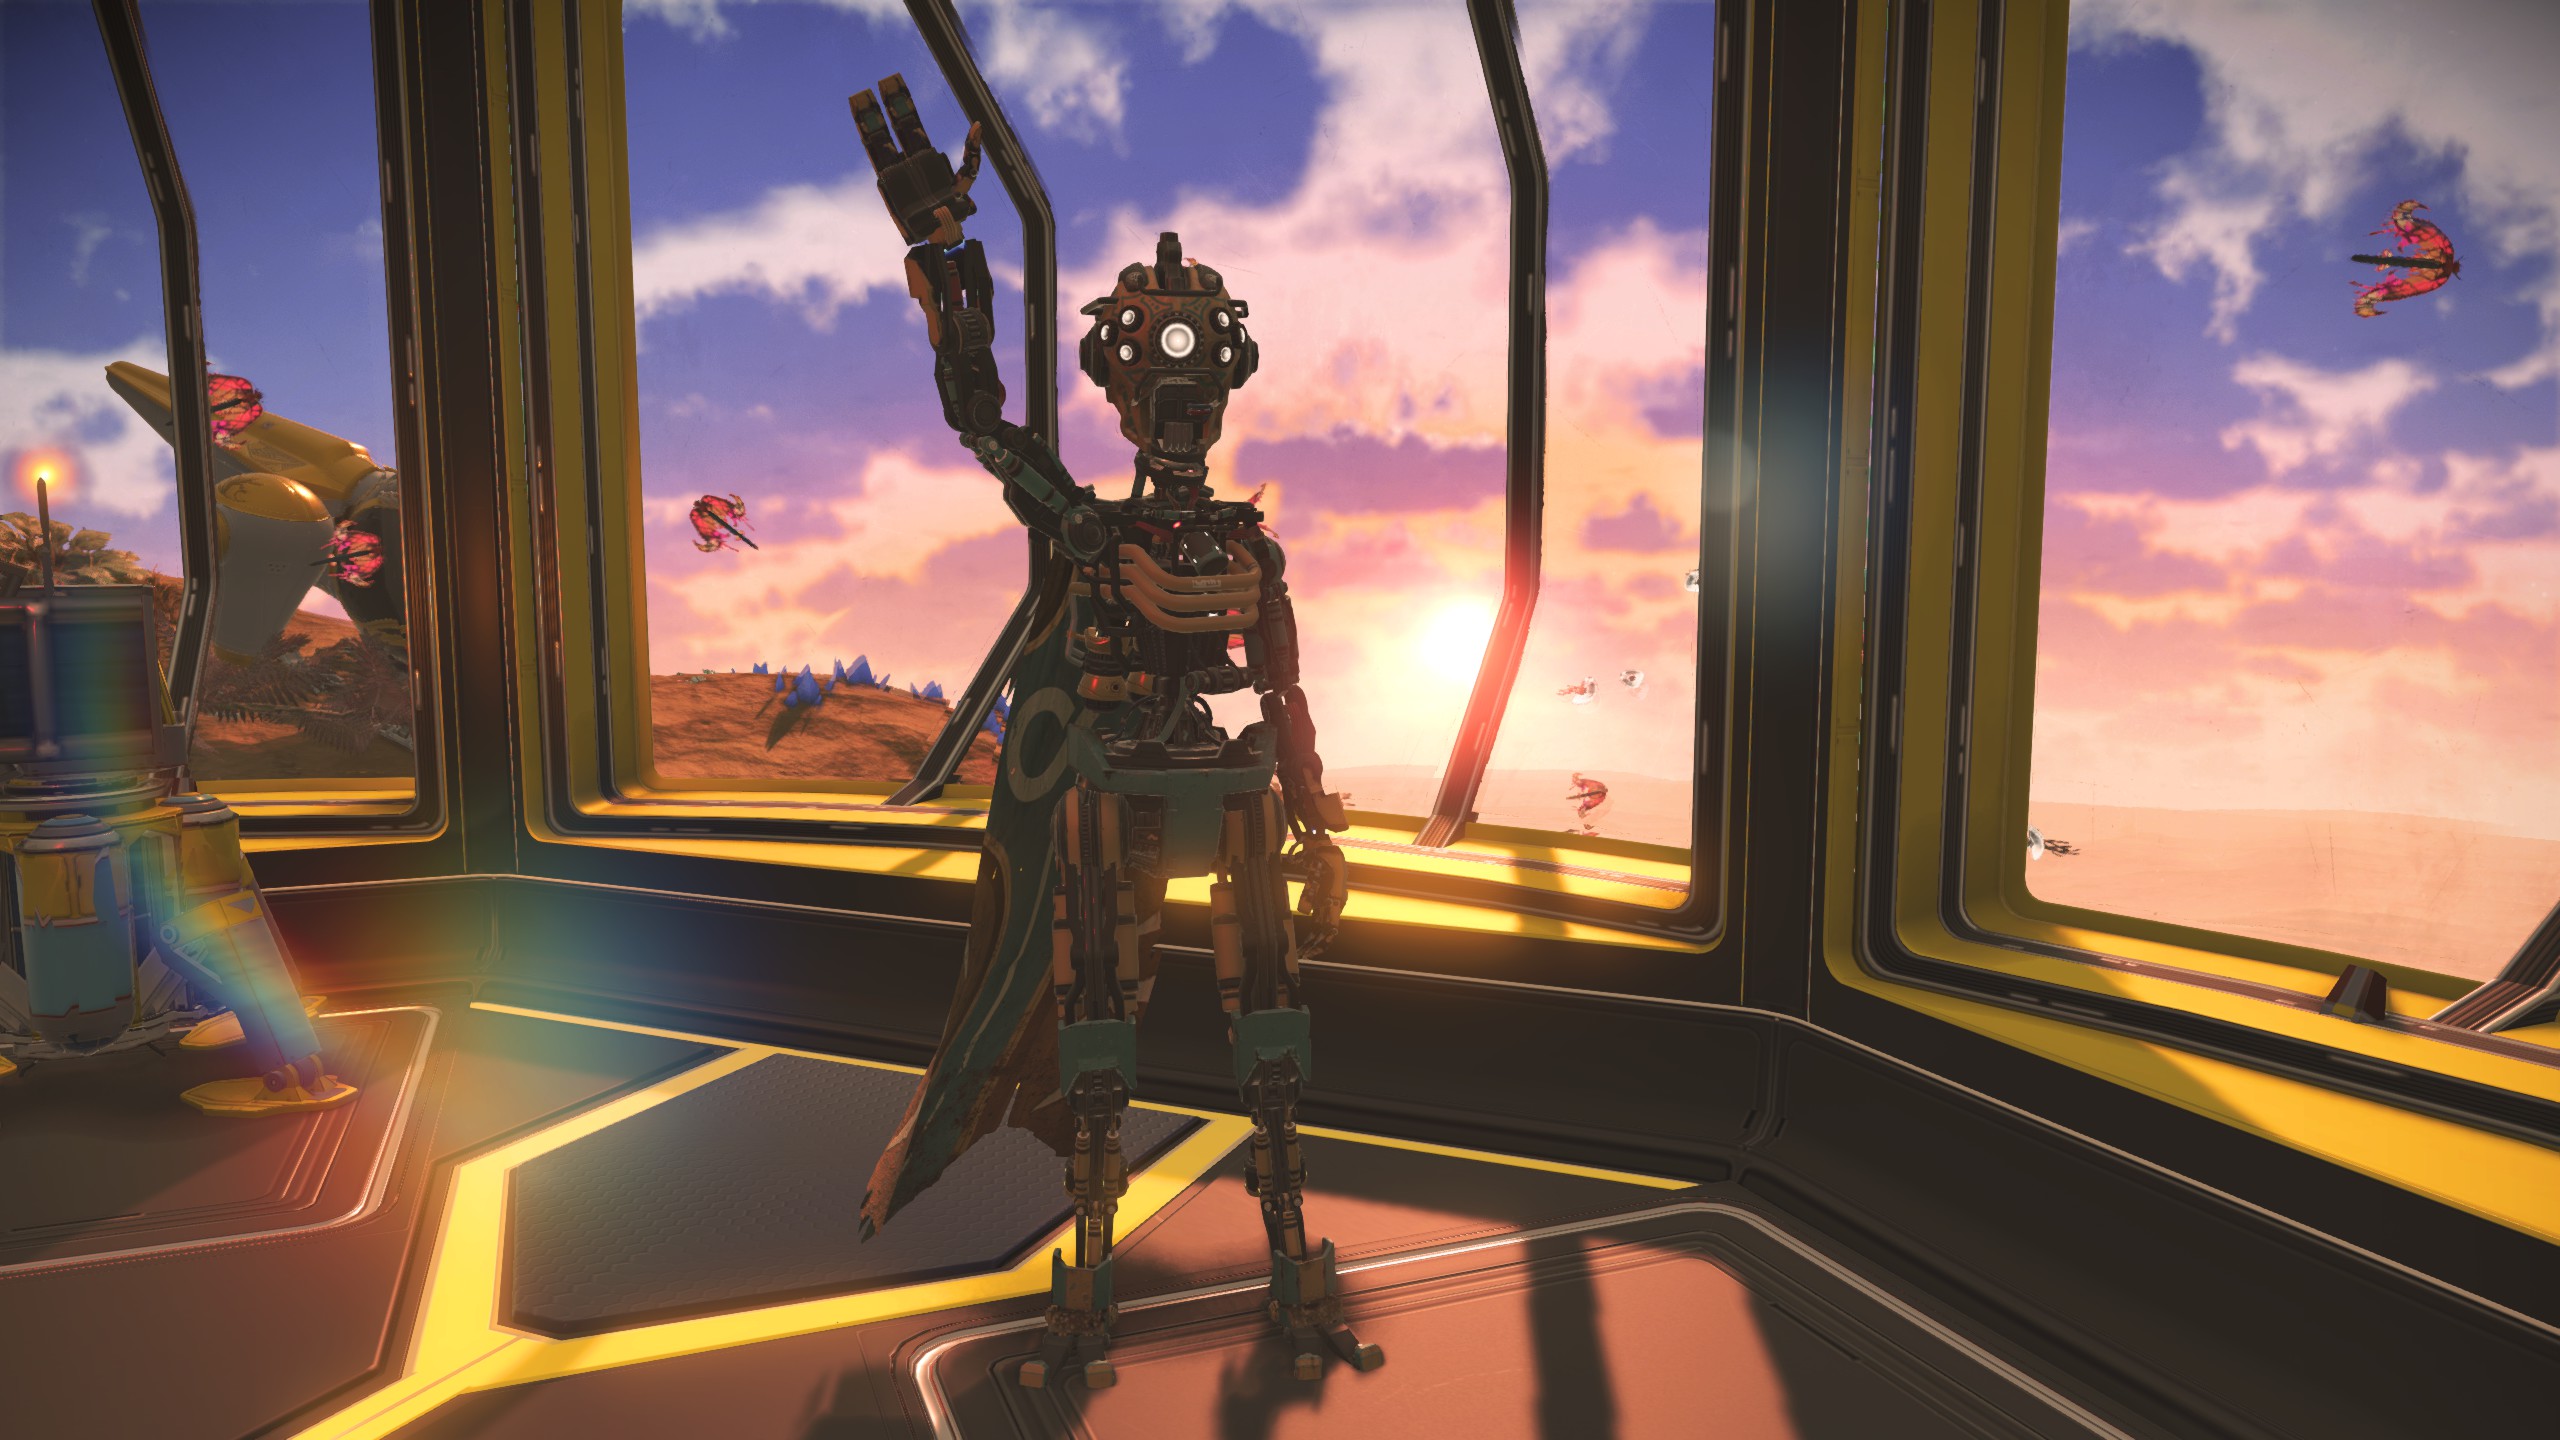
- No Man's Sky Access Codes★ 5 (880)43k views2.1k ♥1 minUpdated 14 Apr
- Refining – The Magic Of Alchemy★ 5 (1.2k)41k views3.6k ♥5 minUpdated 24 Mar, 2022
- How to get RICH in NMS SUPER FAST★ 5 (501)32k views1k ♥2 minUpdated 7 Sep, 2022
- Multi-Tools: Types, Statistics, Weapons, Layouts★ 5 (550)27k views1.3k ♥7 minBulgarianUpdated 3 Jul, 2025
- Starship Guide: Types, Statistics & Roles★ 5 (461)25k views924 ♥8 minBulgarianUpdated 30 May
- Звездолеты СТРАЖЕЙ★ 5 (220)24k views519 ♥7 minRussianUpdated 9 Feb, 2025




- Upgrading to PremiumTeam Fortress 2★ 5 (20k)1441k views11k ♥6 minUpdated May 11, 2022
- No More Room in Hell Official ManualNo More Room in Hell★ 5 (2.8k)569k views2.1k ♥29 minUpdated Apr 22, 2019
- NMRiH Community Hosting GuidesNo More Room in Hell★ 5 (526)351k views653 ♥1 minUpdated Aug 10, 2022
- ULTIMATE GUIDE FOR GAME DEV TYCOONGame Dev Tycoon★ 5 (5.8k)326k views10k ♥4 minUpdated 23 Jan, 2014
- How to 'Git Gud' Soon™MORDHAU★ 5 (2k)318k views3k ♥68 minUpdated Nov 16, 2024
- Лучшие кооперативные игры SteamPAYDAY 2★ 5 (1.5k)315k views2.1k ♥56 minRussianUpdated Apr 27, 2025






This guide was created by its original author on the Steam Community. Are you the author and want it removed? Request removal.