Resource Extraction and Farming: Fast Simplified Base Building For the Lazy
Intro
This guide is focused on faster and easier base building for mineral and gas extractors so you can get stacks of resources with no more effort than necessary. It also covers some stuff about plant farming, including how to "unofficially" use a Bio-Dome to harvest hundreds of plants at once instead of just 16.
This guide assumes that you already know how to use the Survey Device and know how Mineral Extractors and Gas Extractors work. If not, please see the Industrial guide linked to below.
If you don't like building bases, don't worry. The absolute most minimal resource extraction setups will be covered first. When I first started the game I really didn't want to spend any more time than necessary to set up mineral/gas extractors, and I'm assuming lots of others are in the same situation. So this is actually the top priority of the guide.
Later I decided to make some improvements and, similarly, this guide also describes minimal improvements I ended up making to my bases later on. Only at the very end are there some decorative tips and ideas.
The stuff in this guide was originally part of "Become a Lazy Billionaire Industrial Tycoon in No Man's Sky, Detailed Guide", but it was becoming too large and too off-track to keep as part of that guide. Thus I moved the relevant parts to its own guide here.
https://steamcommunity.com/sharedfiles/filedetails/?id=3647979303
Required and Recommended Blueprints
To buy the blueprints mentioned below, you must have reached the Space Anomaly[nomanssky.fandom.com]. This is a special space station that you find relatively soon by doing the main missions. So if you haven't found that yet, just keep doing main missions.
Another thing that I recommend is doing the "Expanding the Base" (the "Base Overseer") missions. This mission track is triggered by the mission "Ghosts In The Machine", the third part of the Artemis Path. "Expanding the Base" will branch-spawn a bunch of missions that give you a lot of useful blueprints, though not the ones listed below.
These aren't handed out by any missions and you just have to buy them.
Since these are base construction parts, you will need at least 21 Salvaged Data[nomanssky.fandom.com] to buy the Mineral Extractor[nomanssky.fandom.com], the Supply Depot[nomanssky.fandom.com], and the Supply Pipes[nomanssky.fandom.com] blueprints from the Construction Research Station[nomanssky.fandom.com] in the Space Anomaly. Notice that you can not buy these from the Construction Research Unit in your base. You have to get them from the Space Anomaly.
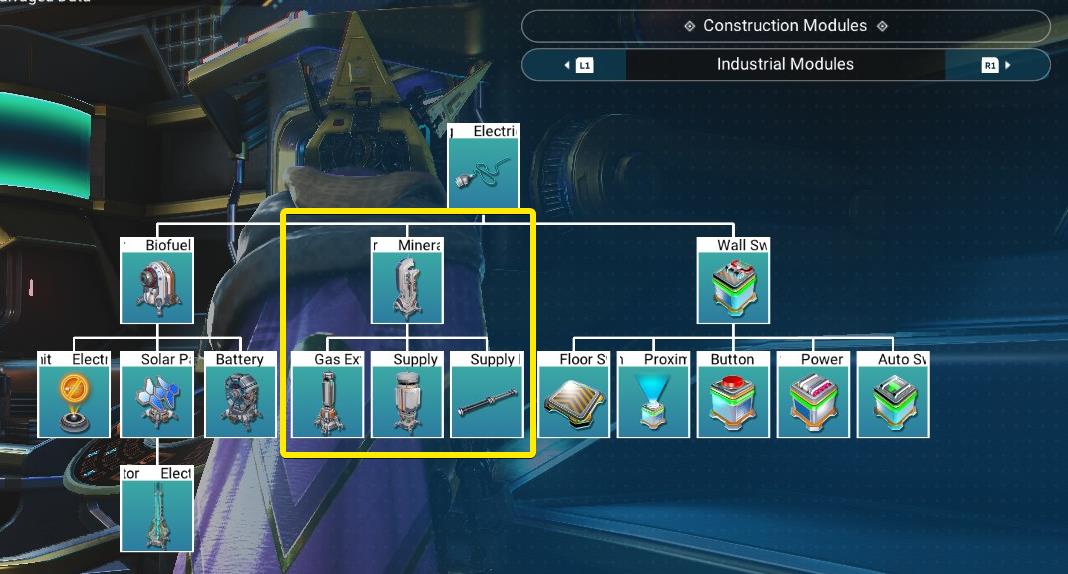
You will also want the Gas Extractor[nomanssky.fandom.com] for another 10 Salvaged Data, but you don't have to have that at first. Gas can be very helpful though and is necessary to make high value items so you will want to get into collecting gas pretty soon. The Gas Extractor works exactly the same way as the Mineral Extractor, so everything you learn setting up a Mineral Extractor will work exactly the same way with the Gas Extractor. So if you have the extra Salvaged Data for it then buy it now, but otherwise it's fine to wait and buy it later when you can.
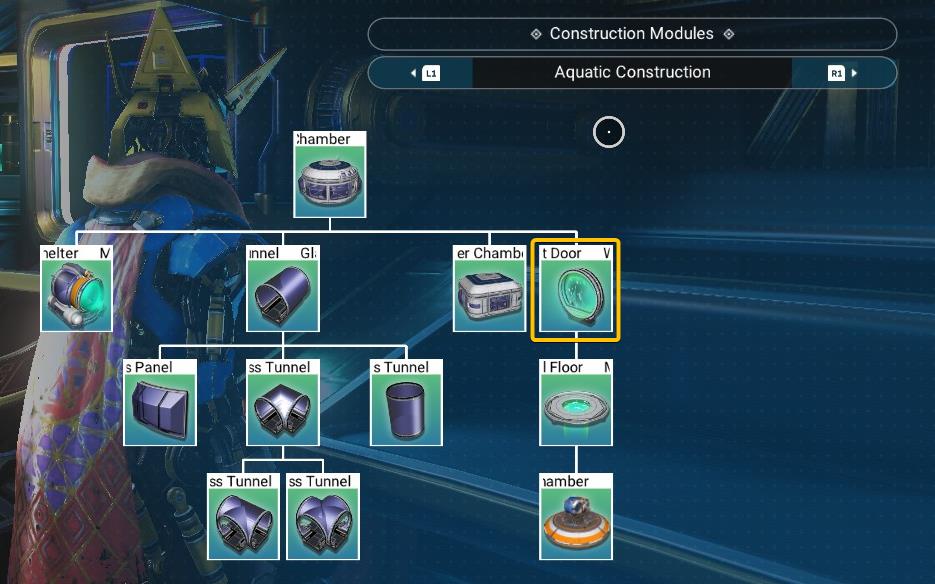
You also get these at the Construction Research Station[nomanssky.fandom.com] in the Space Anomaly.
These are not required at first but you will eventually want at least two of them just to make setting up a simple yet better-than-crap base as quick and easy as possible. The important ones are the ones marked in yellow, and the green ones are nice to have.
So first buy the ones marked in yellow, then buy the ones marked in green, then buy any others that you like.
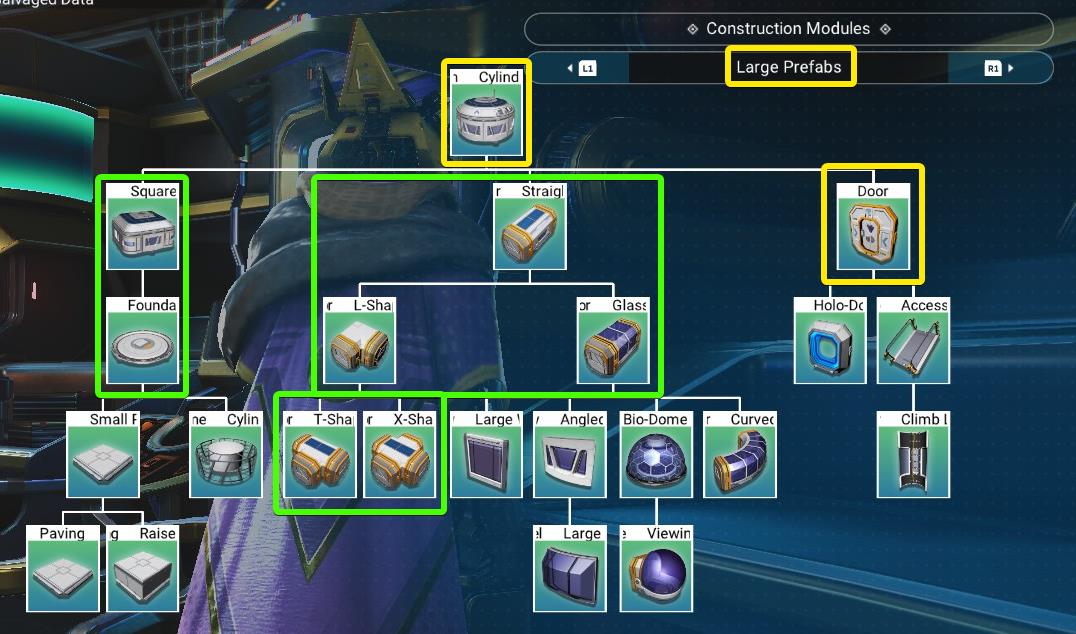
The cylindrical and square rooms have no openings unless you place a door, so the door is absolutely required. You don't need corridors if placing just one room, but they can be useful for some unconventional purposes as you will see later. The Foundation is not required but is one option for supporting a prefab room off the ground. And I think the Square Room is nicer than the Round one because of the extra space in the corners which can be used as you will see.
Also note that the Large Prefab rooms conduct electricity on their own so they save a lot of trouble with wiring.
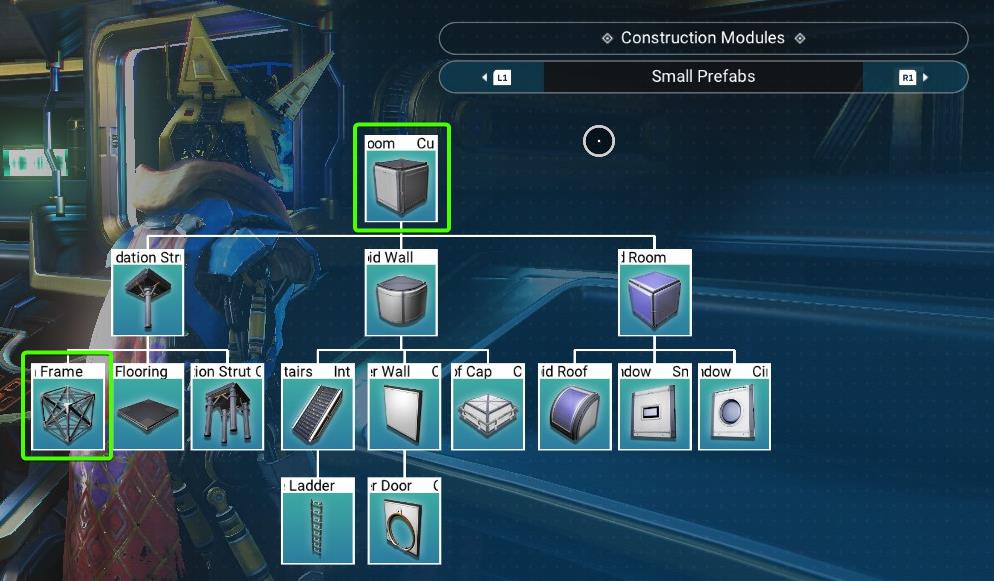
I mostly don't recommend the Small Prefabs because the Cuboid Rooms that they're based on use too much power (twice as much per unit of space) and they can be rather glitchy and difficult to deal with if you start trying to use internal floors. So I'd recommended messing with those only after buying whatever Large Prefab blueprints you want first, and after you have tons of extra materials.
The only exception would be the Cuboid Room Frame which is the space frame made of trelliswork. This is a better alternative to the "Foundation" for easily lifting a Large Prefab Room off of the ground. It can also be helpful for other stuff like lining up extractors on top of each other.
Another very useful block that's the same size as the Cuboid Room Frame (and snaps to it) is the Solid Cube that is listed under Primitive Shapes.
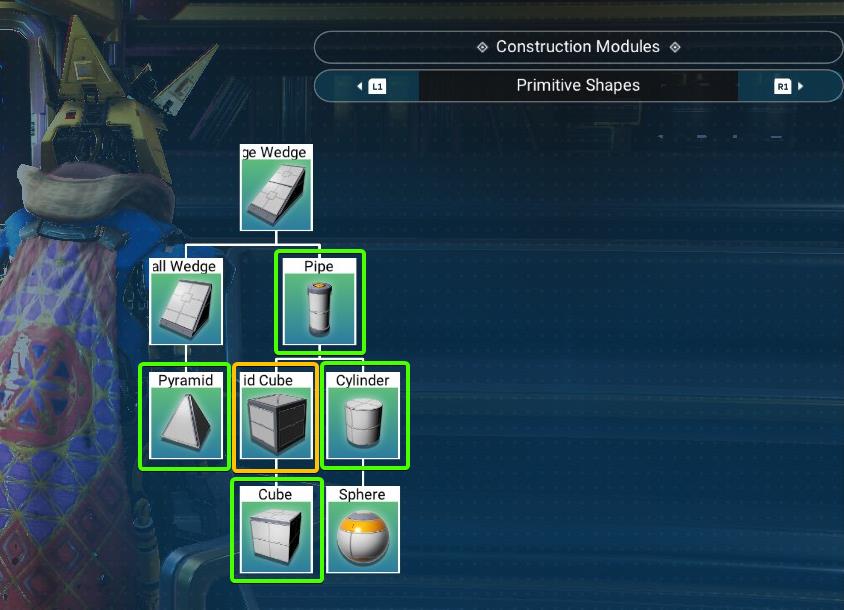
The ones marked in green come in handy mostly for decorative purposes, but the Solid Cube can save time and trouble. Costing only 20 Ferrite Dust to build one, it's also inexpensive for creating a flat "deck" without terrain editing, and more easily than with floor tiles.
The guide uses Cuboid Room Frames and Solid Cubes in a few places and only shows some special uses for the Cuboid Room.
I don't really cover underwater bases specifically because it's pretty much the same except for a few tips mentioned below.
For underwater bases the only absolute requirement is the Watertight Door because other doors can't be placed underwater at all. Its also recommended to use the special underwater rooms because other stuff can be glitchy (“leaky”) or not work. (In particular, cuboid room areas wider than two cubes and the normal prefab rooms have some weird "leaky" behavior.)
Important Tips
- Avoid Flattening or Editing Terrain - This is because your save file has a very limited amount of space allocated for terrain edits, and you don't want to use all that up on crappy mini-bases. Save that for nicer stuff. Also, when the storage limit is exceeded for terrain edits, the least recently used terrain will get filled in. So constantly editing terrain in new bases can delete more important terrain edits at other bases. Build a “deck” using floor tiles if you need a flat area.
- Avoid Clearing Rocks and Plants - These will respawn inside your structures after a while. Same for anything else that can respawn. Use Solid Cubes or other parts to elevate structures above any of these respawning features if you can’t find a clear area in a good location. If you accidentally end up with one of these spawning inside your structures you’ll have to “ding” the terrain with the smallest possible terrain edit to stop it from spawning, and eventually you’ll have to re-ding the terrain when the edit disappears.
- Name The Base for the Resources Extracted - I tried cute names for a little while but it will make your life much easier if you just name your base something like "Pyrite Mine" or "Ammonia and Nitrogen" (if it has extraction for multiple resources). Otherwise it will tend to waste time. Note that shorter names will show up better in the UI than very long ones.
- Mineral and Gas Extractors Don't Have to Be on Terrain - It's important to know that the only thing that matters for the mineral and gas extractors is their 2D plane proximity to the hotspot center. They can be placed on top of floor tiles, buildings, or each other. They can be buried under dirt or underwater, or way up on a tower. It may not make much sense that a gas extractor works buried under 100u of dirt, but it works. So just worry about keeping them close to the hotspot center, and stacking multiple extractors on top of each other is a good way to do that if multiple are needed.
- Just Buy Metal Plates - The Supply Depot tanks in particular take 10 Metal Plates each to build, and you're probably going to want to build 10 of those tanks. That's 100 Metal Plates just for the tanks, and you're eventually going to want four gas extraction grids plus one mineral extraction grid for each of the six biome minerals. On top of that you probably want at least one for some other mineral. So that's an eventual 11 extraction grids, 10 tanks each, and 100 metal plates each. Getting all that ferrite dust is more trouble than it's worth, so just buy the metal plates for 1,000 units each or less. I tend to keep 100-200 in my main starship all the time, and buy more when the ship's inventory gets low.
- Adding More Extractors Doesn't Necessarily Help - Adding more only causes your tanks to fill faster, and if they're going to fill up anyway before you come back adding more extractors won't do any good. There is also a sort of "soft cap" at 1,000/hr enforced by some pretty extreme diminishing returns after that point, so if you need more than 1,000/h you will have to go through some extra trouble to create a separate extraction grid. Typically this is not needed for one person though.
- Biofuel Reactors are Sufficient (even if solar is more ideal) - This is because you can teleport to a base even if the teleporter is unpowered, and you'd only need to add one carbon or oxygen to the reactor to get it running long enough to teleport away. As long as the one powering the Mineral or Gas Extractor is full, it will be running for 2 days which is more than long enough to fill up even 10 Supply Depot tanks even if the hotspot is C class with only one extractor on it. I always switch to solar when I can but technically the biofuel reactors could work fine forever.
Multiple Hotspots Per Base
For the examples I didn't try to combine multiple hotspots into one base. Some people think you "should" do this for some reason but I don't know why. Trying to find 3 hotspots that you actually need that are in close proximity gets to be very time consuming. (It took me 2+ hours when I tried once.) Running long wires and pipes also takes up lots of time even if you locate your main building in the middle.
This heavy time consuming amount of surveying is also not very conducive to the "lazy" strategy of just looking for hotspots as you play the game. And by that I mean looking for hotspots along whatever path you're already traveling for other reasons anyway.
I have made some bases that collect both a mineral and a gas. This is because I found a mineral or gas that I wanted, and another useful mineral/gas happened to be not too far away. Even then I'm still not entirely sure it was worth it after running two 300u-400u long (typical) power and supply pipe lines, but I think it is worth it in this case.
Most often, if you do easily and quickly find two resource extraction hotspots pretty close together, it's going to be a mineral and a gas. The nature of the Survey Device makes this easier to do.
The only real advantage of having multiple minerals extracted in one base is that you might save 30 seconds of load wait time on teleporting when collecting multiple materials, but the time saved on that is much less than the extra time needed for setup. This is because you won't actually need to collect minerals that often, especially if you have 20 or more tanks per grid. It would take a tremendous number of visits (240+) for the extra 15 seconds here and there to add up to something larger than the 2+ extra hours of survey work needed to find multiple hotspots of the needed type and run long wires and pipes. For me that's unlikely to ever happen. But anyway, this isn’t universally agreed upon because different people are faster at slower at different things, or just like things one way or the other.
The limit on the number of bases you can have is around 400, so creating 10 or 20 mini-bases is no big deal at all and doesn't appear to have any real disadvantages.
Solar Panels and EM Generators
If you start out creating minimal extraction bases using Biofuel Reactors, you will probably get sick of them eventually and just want to use solar panels as soon as you have enough resources for those.
To figure out how many batteries and solar panels you need, the rule is "2 solar panels and 1 battery per 50kP power needed".
This is because, during the daytime, one panel is needed to supply 50kP to equipment and the other is needed to fully charge the battery. After the panels shut off at night, a full battery will supply 50kP for the whole night. Thus you get a sustained 50kP from two 50kp solar panels and one battery. (Think of one panel as the battery charger.)
I recommend just always powering things in 50kP increments to make things easy. So if you need 60kP, just round up to 100kP. If you need 110kP, round up to 150kP. In table form, the numbers for solar power look like:
Note that I didn't use the Electromagnetic Generator for these examples. While you can do that if you want, I haven't found any drawback to using solar panels until the power requirements get much higher than what's needed for 2 or 3 extractors. Running a long 500u wire takes a while as well.
I don't really want to deal with more than 16 solar panels. That's how many you can fit on top of large prefab easily. So somewhere around 16 solar panels is where I give up on solar panels and go find an electromagnetic hotspot.
This means I have to have a power need of close to 400kP before I think tracking down the closest EM hotspot (which is usually 500u away) and running the necessary long wire is worth it.
Bare Bones Example Extraction Base
The next few sections show how to create an extraction base starting from the bare minimum and making incremental improvements.
I decided to split my examples into "phases" based on the amount of effort needed and the features provided. The first phase is the absolute bare minimum, which is how all my bases started out. In the beginning I really didn't want to spend any time building bases and just wanted the minerals so I could eliminate as much manual mining as possible. So I started out with the absolute minimum and made improvements later.
Here's the portal address if you'd like to visit the example base for some reason:

Portal code link: 5038014ABF40[nmsportals.github.io]
Feel free to show up for some free minerals and plant products.
You're likely to want something a little more than this but here is the absolute minimum.
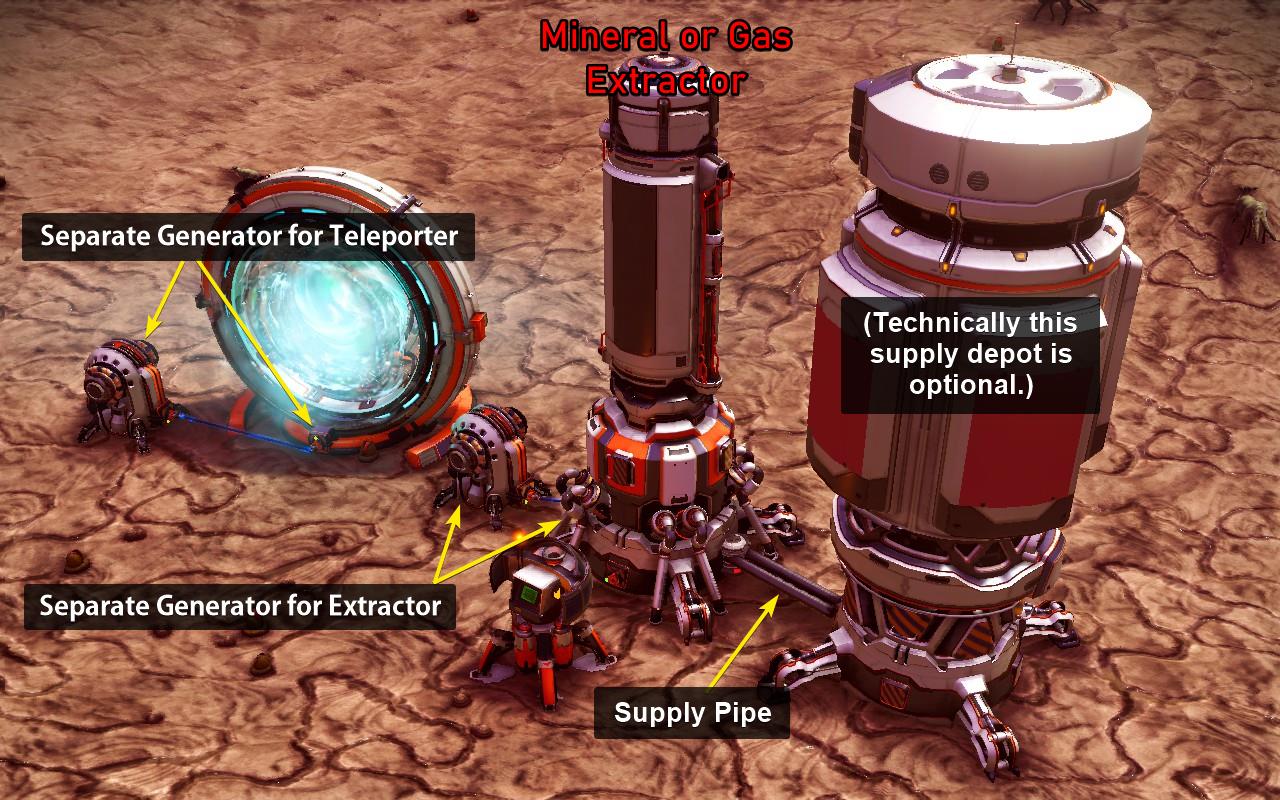
That is all that is really needed. Technically you could do without even one Supply Depot (tank) but the extractors only have an internal storage of 250, which is pretty poor considering that you'd eventually like to get a full stack or more out of one of these.
Phase 1 Extraction Base: Super Minimal
First I find a hotspot that I want to extract minerals or gas from and if everything else looks good then I try to place the scan visor's Navigational Marker at the exact center.
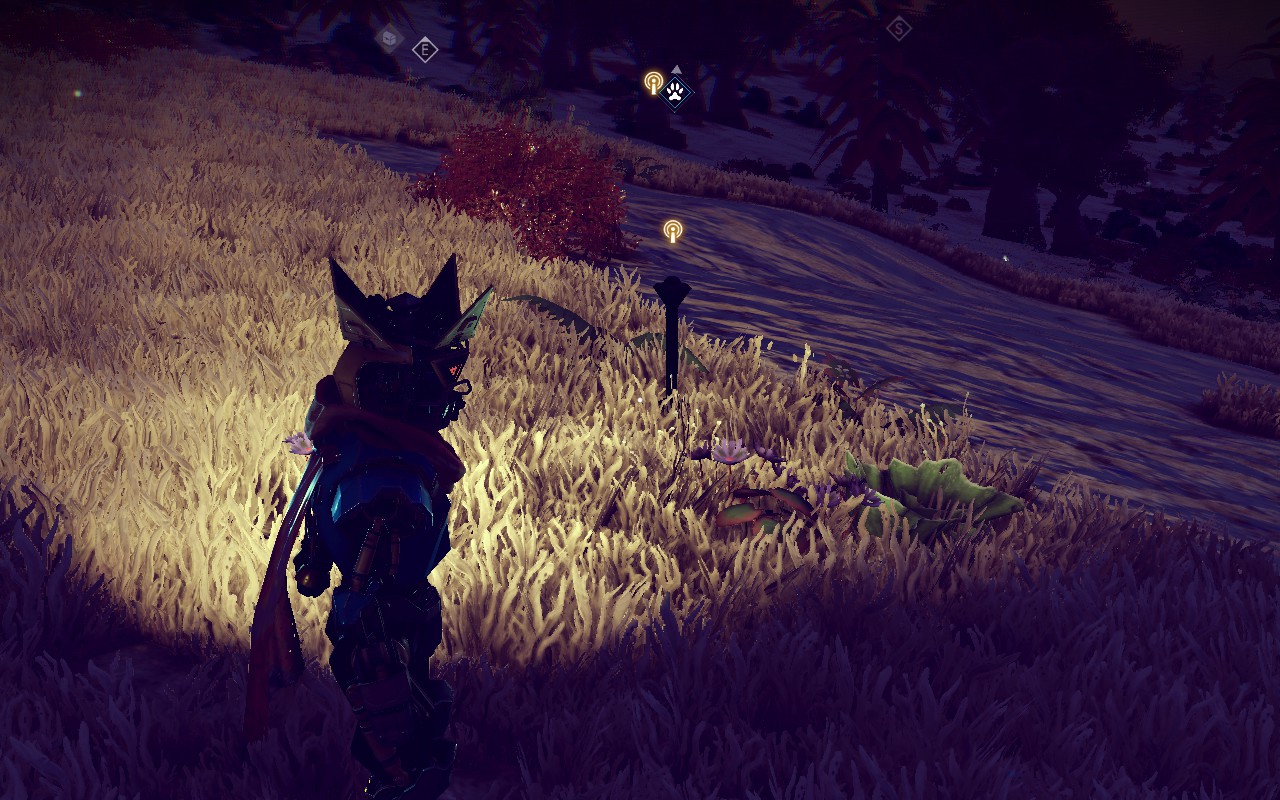
This is actually a little bit difficult to do because the game doesn't really show you where the center is and you can't aim at your feet where the survey scanner's Underfoot percentage is.
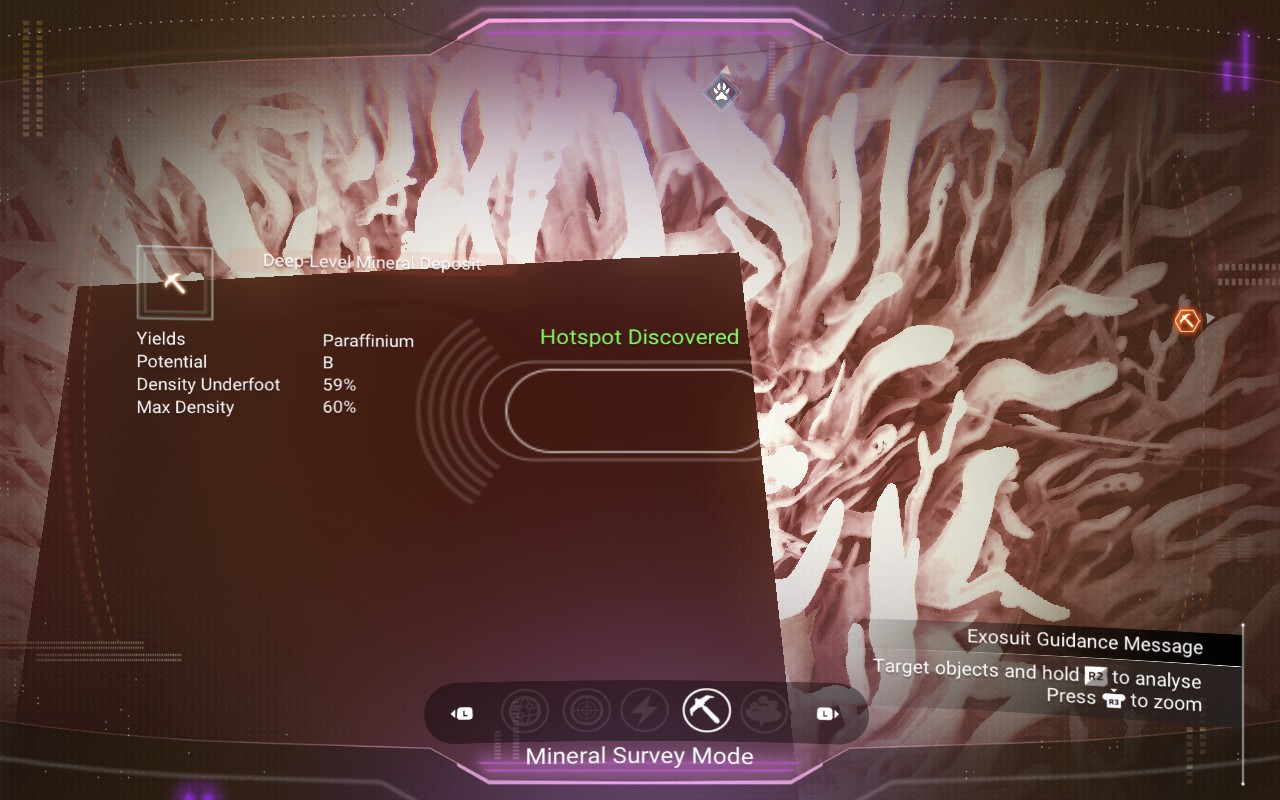
So what I do is try to place it accurately, then go stand on the exact spot of the marker, then check the survey scanner to see if its 1-2 percentage points below the maximum, then move the marker and repeat if necessary.
In the end it's pretty much impossible to find the exact center, so 1% below the maximum is close enough and 1% or even 2-3% below ultimately won't matter much anyway.
You can just skip building this and put everything on terrain, but sometimes the terrain is pretty bad yet you want to avoid flattening it due to the save file's limited storage for terrain edits. The solution is to build a "deck" of floor panels to put everything on, so I'm showing this in the example.
This can be done with whatever material you want, which can be something cheap like Stone or Timber floor panels. I'd recommend using whatever material you have the most of, so if you have lots of Silicon Powder that you don't need then use Stone panels. If you have enough ferrite dust and the Solid Cube blueprint, those are an even better choice for reasons that you'll see later.
Note that the deck should be built so that it overlaps the hotspot center because it won't block the extractor and it will tend to make the extractor easier to place.
To start I place a temporary wall, for snapping purposes, right at the edge of where I want the deck.
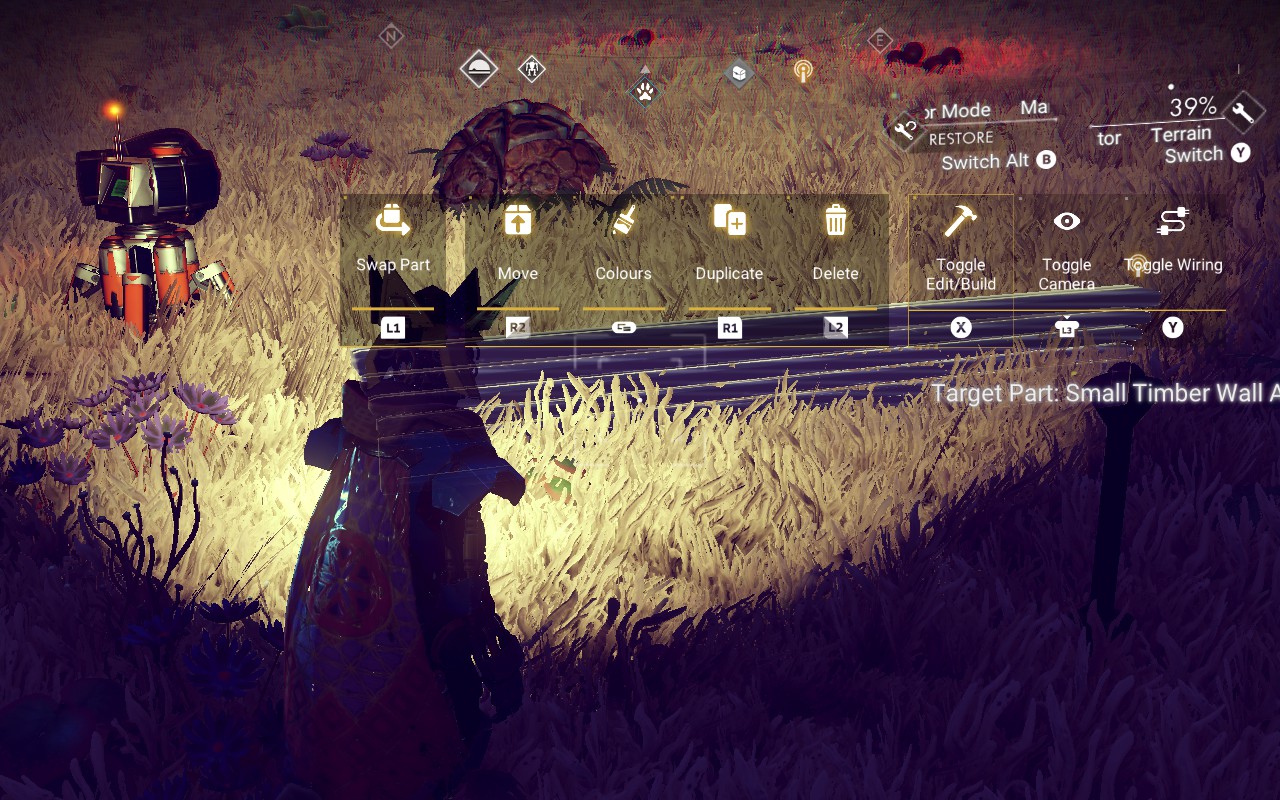
The purpose of this is so I can snap place a floor tile without it sinking into the terrain and digging it out.
Then I put down a 5x5 grid of floor panels (in this case, Timber) using snapping mode and then remove the temporary wall.
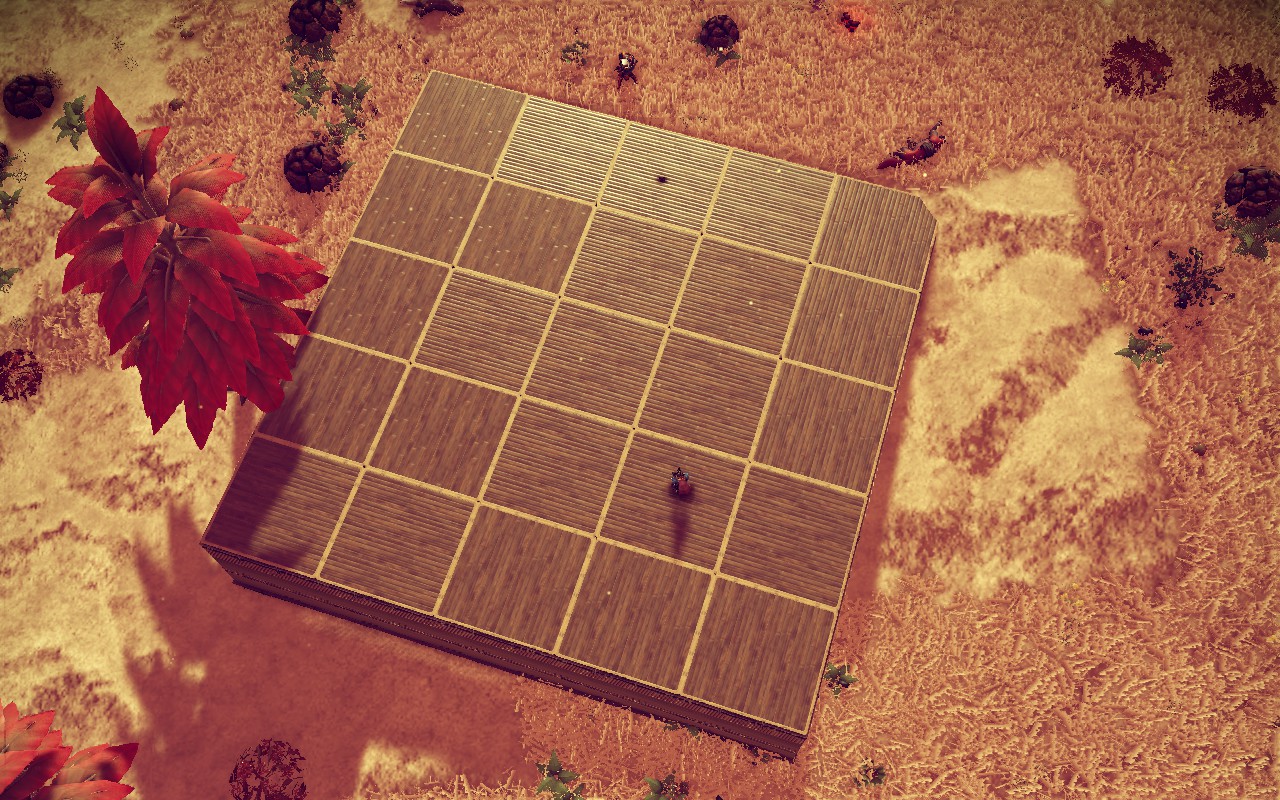
Really I could have done 5x3 and that would have been enough for 10 tanks, but for the example I overdid it a bit just to make absolutely sure I could space the tanks out reasonably well. So if you do this yourself, you might just do 5x3 if you want 10 tanks to start with. You can easily enlarge it later.
I also put walls around the outside of the deck so it doesn't look like it's hanging off the side of the hill levitating in midair, but strictly speaking that isn't required by any game mechanics.
This can be a bit tricky because even when you have the navigational marker in the right place it can be difficult to line up an extractor on the navigational marker. Using the Build Camera from up high makes it easier.
I place the extractor and then interact with it to check to see what density it sees below it.
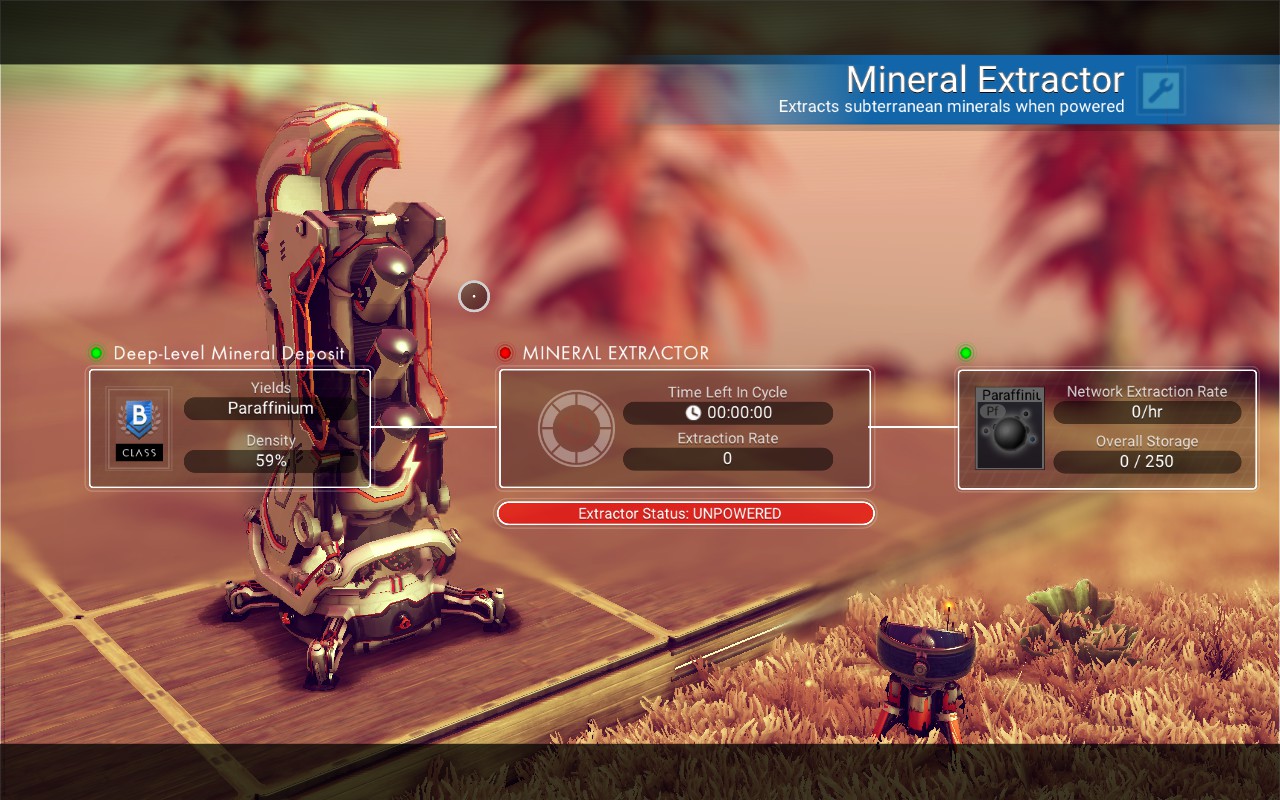
59% is as good as I can do (without major luck) if the maximum is 60% so this looks good.
So now I can place some Supply Depot tanks and try to space them out as evenly as possible. It will help a lot if you can space them enough that you can walk between them, otherwise they get more difficult to connect and can get in the way of other things you want to edit later on.
I also put down a teleporter and two biofuel reactors for now, and move the base computer onto the deck.
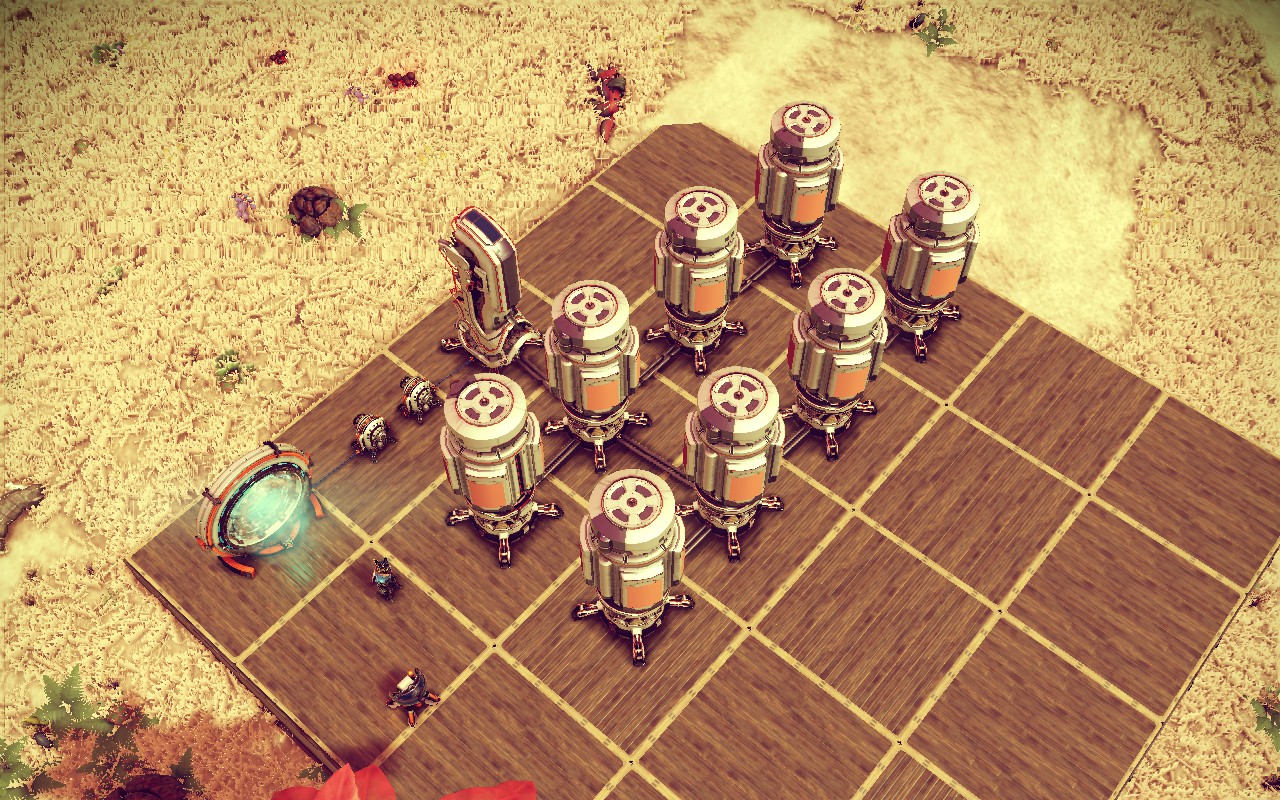
I connect up pipes between the tanks and connect one tank to the mineral extractor.
It's hard to see, but I wired the teleporter and extractor to separate biofuel reactors. This is because the portal can lose power and you can still teleport to it, but the extractor needs to run for a while to fill the tanks up.
I interact with one of the tanks to check that they're connected and getting filled:
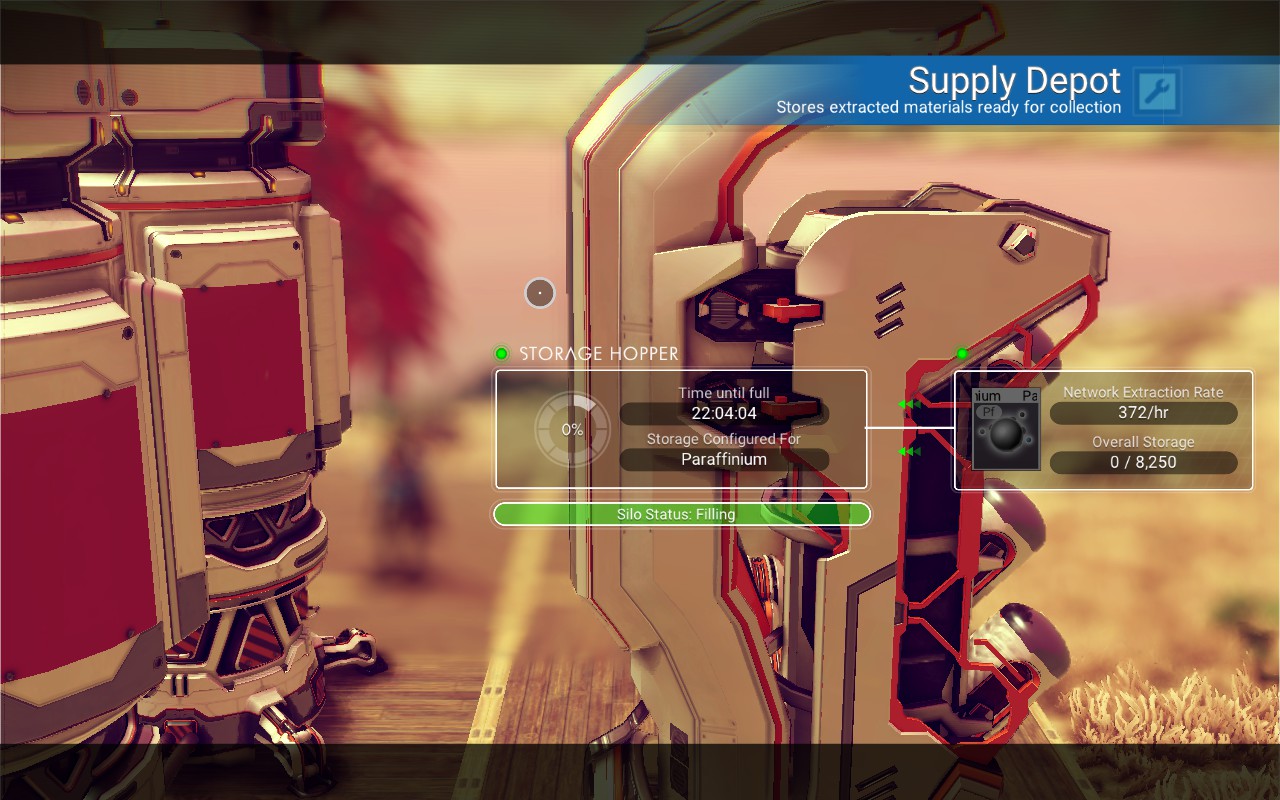
As long as the biofuel reactor has at least 22 hours plus a few minutes of fuel then that will be enough power to fill the tanks. The main problem is that you have to remember to refuel the one for the extractor every time you pick up minerals.
Even though biofuel reactors can work, using solar panels removes the whole need to refuel anything for power which means you can't forget to refuel because you don't need to. I mostly showed that just in case you're missing the materials for solar panels and want to set one of these up anyway, but solar is more convenient.
Two panels and one battery are needed for every 50kP which looks like:
So in this case we need 4 panels and 2 batteries.
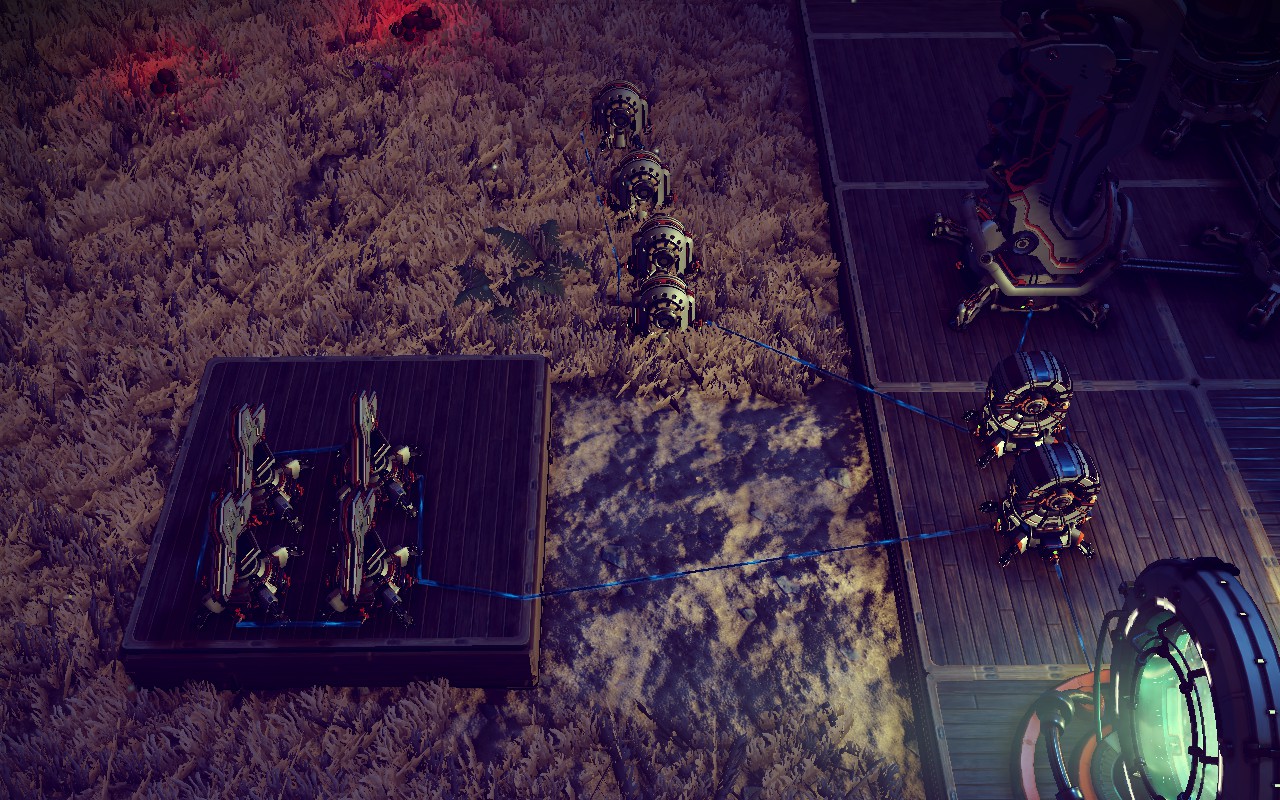
For some reason I always seem to end up setting up solar power at night, so I temporarily put down some biofuel reactors to charge the batteries up some, keep things running, and then I removed them after a few minutes to recoup the materials.
I also made another "deck" for the solar panels but that isn't really necessary.
Note that I didn't use the Electromagnetic Generator. Our power requirements are too low to make that worth the extra trouble.
Interact with any solar panel and it will show you how much Day or Dark hours are left.
Interact with any Battery and it will show you how long all of the batteries will take to charge, or how long until they're depleted if they're being drained.
By comparing those values, you can tell that everything will work continuously. Just make sure minutes of daylight is greater than minutes left to full charge, and that minutes of darkness is less than minutes of battery charge left.
If this doesn't match then you probably forgot to wire something.
This is all we really need for extracting a stack or more of this mineral. If we add more tanks and it takes more than whatever amount of time we want them filled by, then we just need to add another extractor. If we add more tanks and they take 2 days to fill, but we don't plan to empty the tanks more often than every 2 days, then we don't need another extractor.
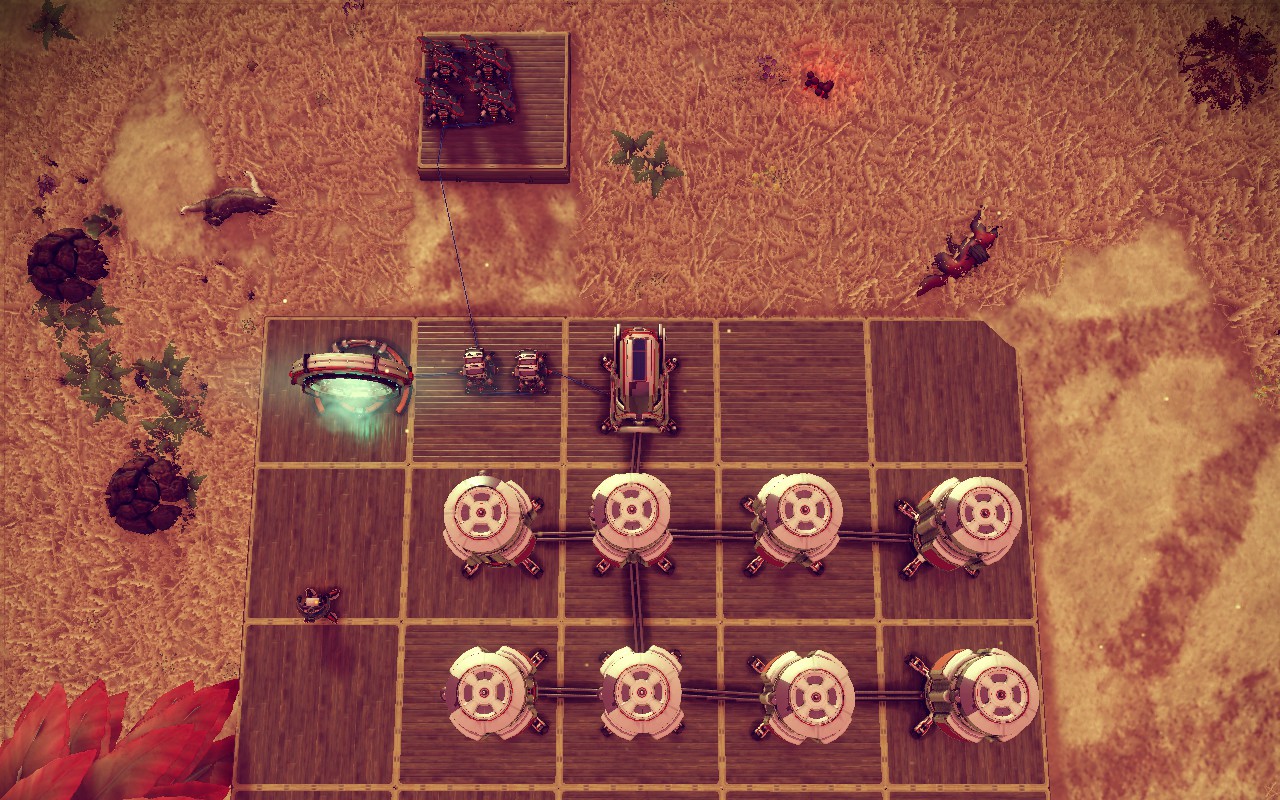
Phase 2 Extraction Base: Prefab Room
Eventually you will have more materials and blueprints, and it would be nice to not teleport directly into extreme weather, predators, or hostile sentinels.
So if you want something that actually provides some shelter when you teleport in, but still don't want to have to spend much time building it, that's what this section is about.
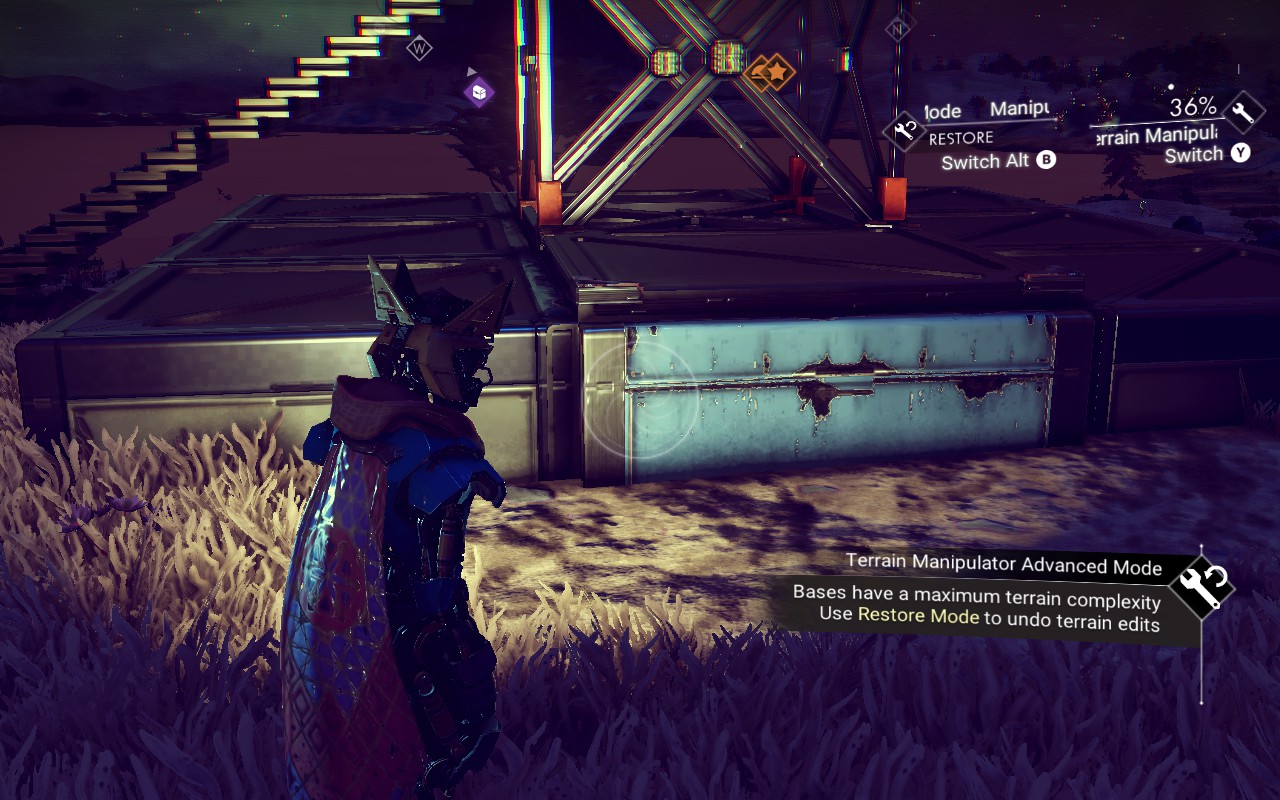
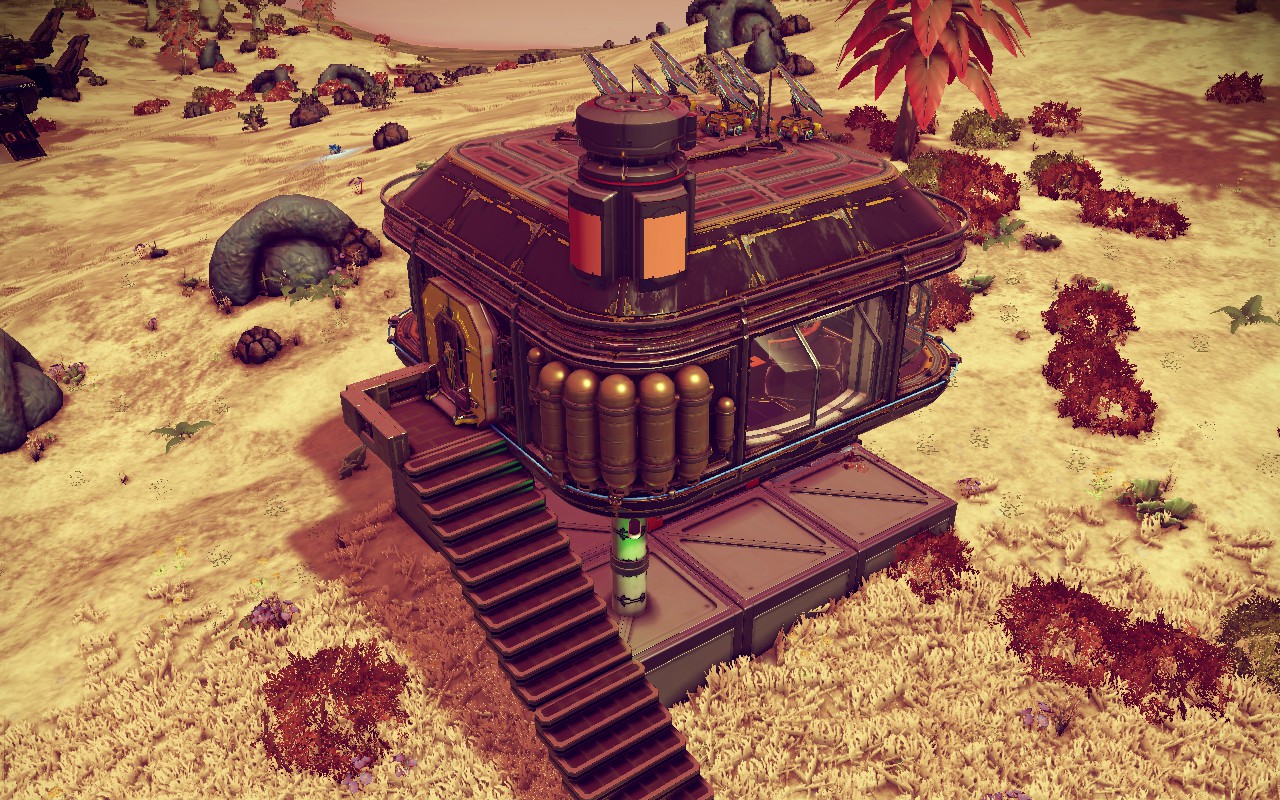
Here I'm going to put down an elevated Square Prefab Room. I'm going to start by creating a temporary terrain bump and placing a Cuboid Room Frame on it. The terrain bump is just there to lift this block up a little bit.
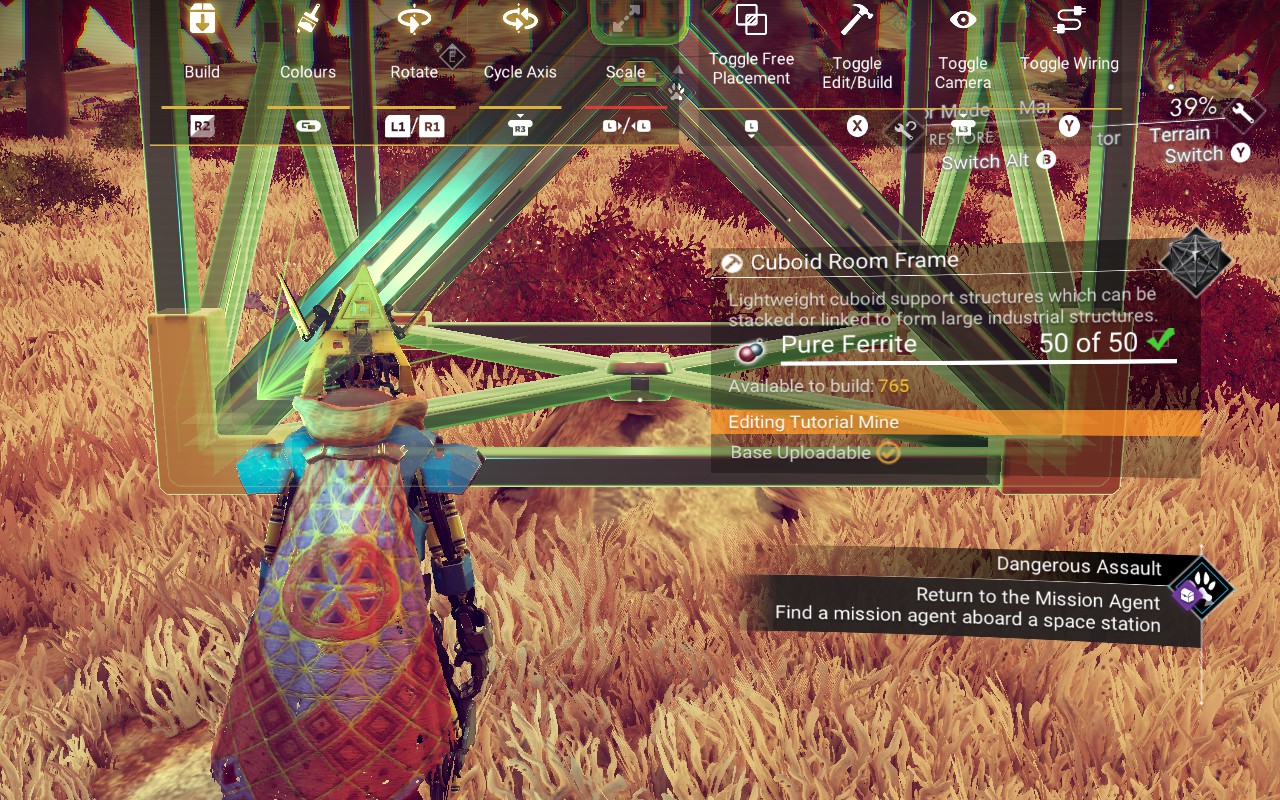
Then I use Restore to remove the bump, place Solid Cubes under the trellis frame thing, and put a square prefab room on top of it.
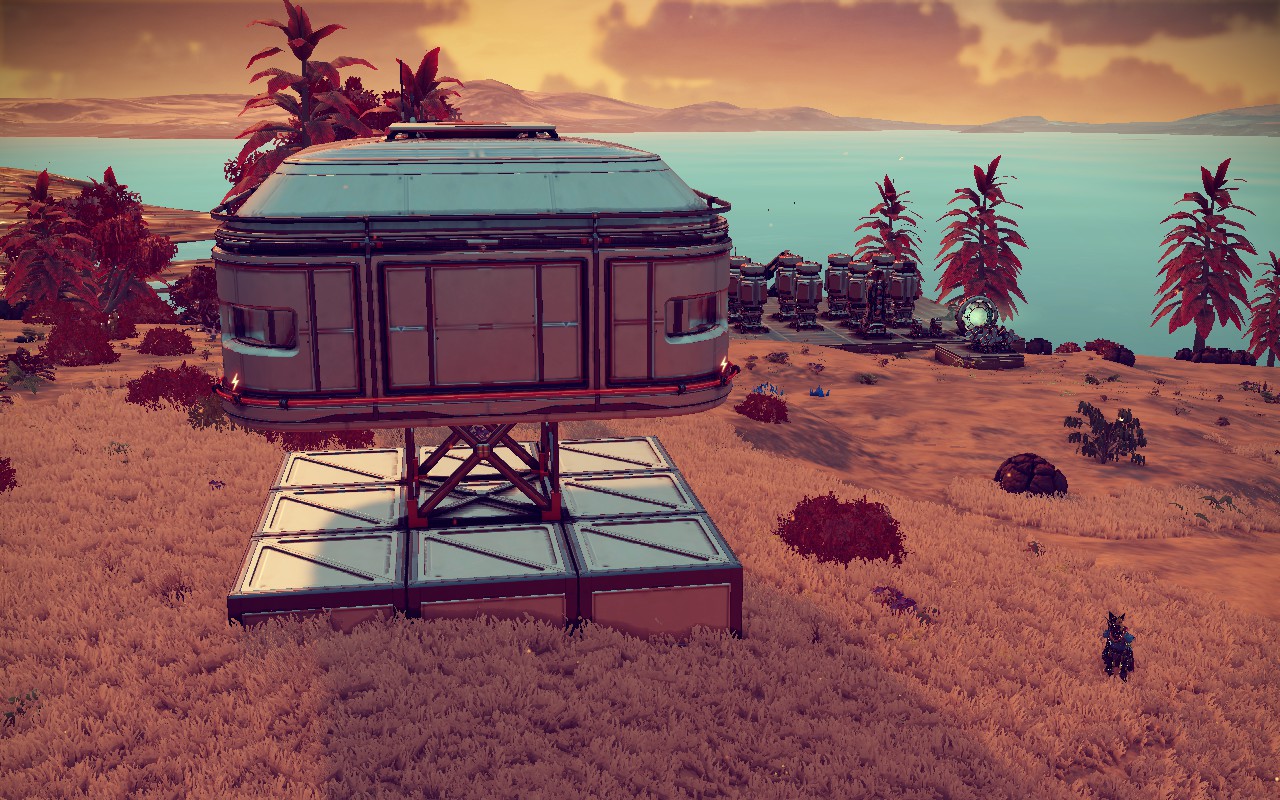
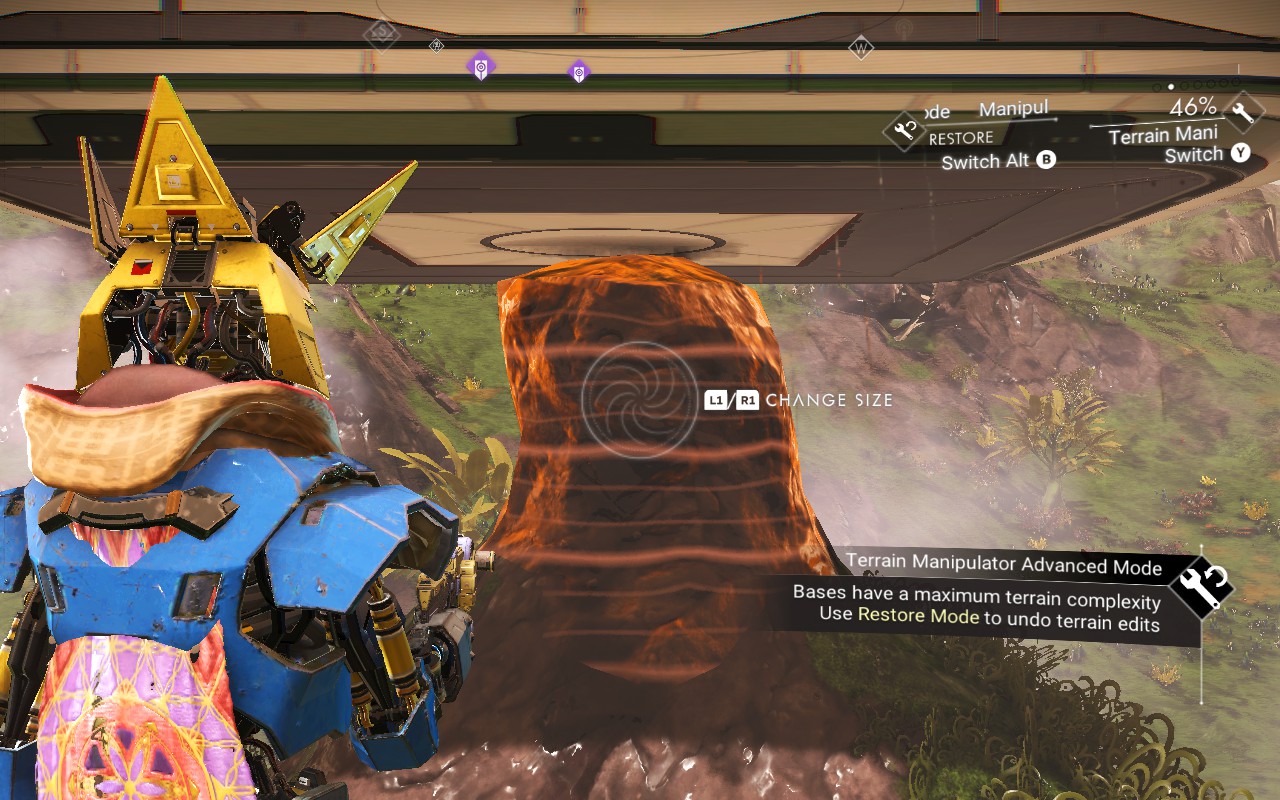
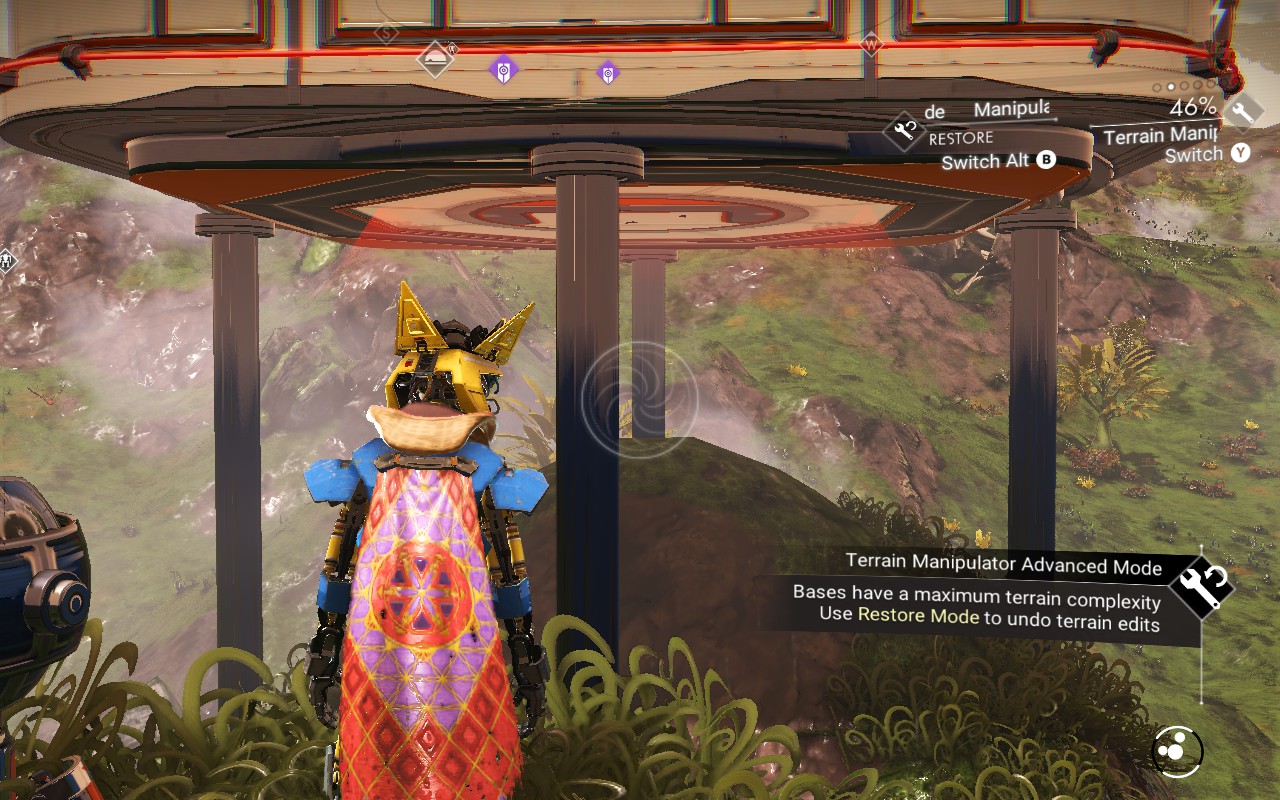
This is not the only way to do this though. An alternative way of lifting things off the ground would be to put down a prefab room on the dirt, put another prefab room on top of it, and then delete the prefab room under it. Or, make a really large terrain bump, put the prefab room on that, and erase the bump. Either way, you can then snap support structure stuff on the underside.
Lifting up the prefab room first on a bump:
Example underside using the Foundation:
Using one of the Cuboid supports:
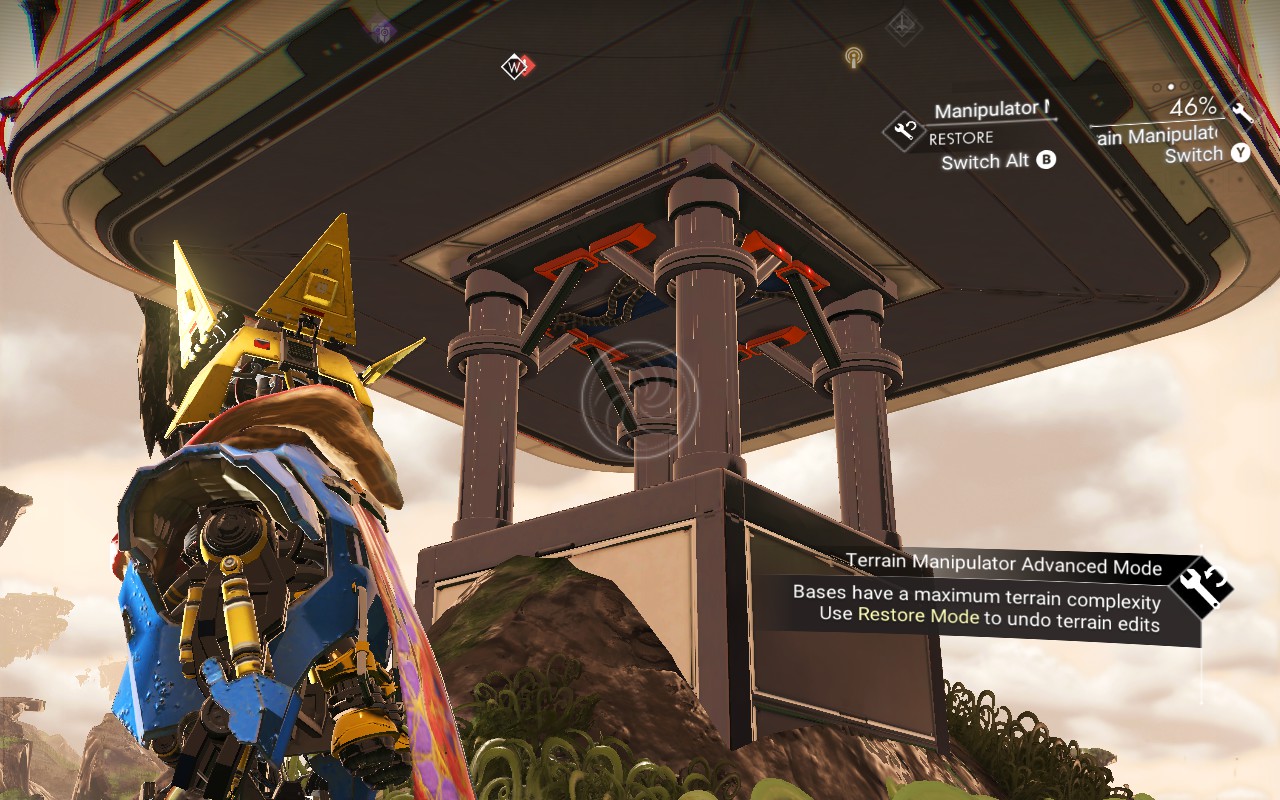
Snapping a Cuboid Room Frame and Solid Cube to the underside:
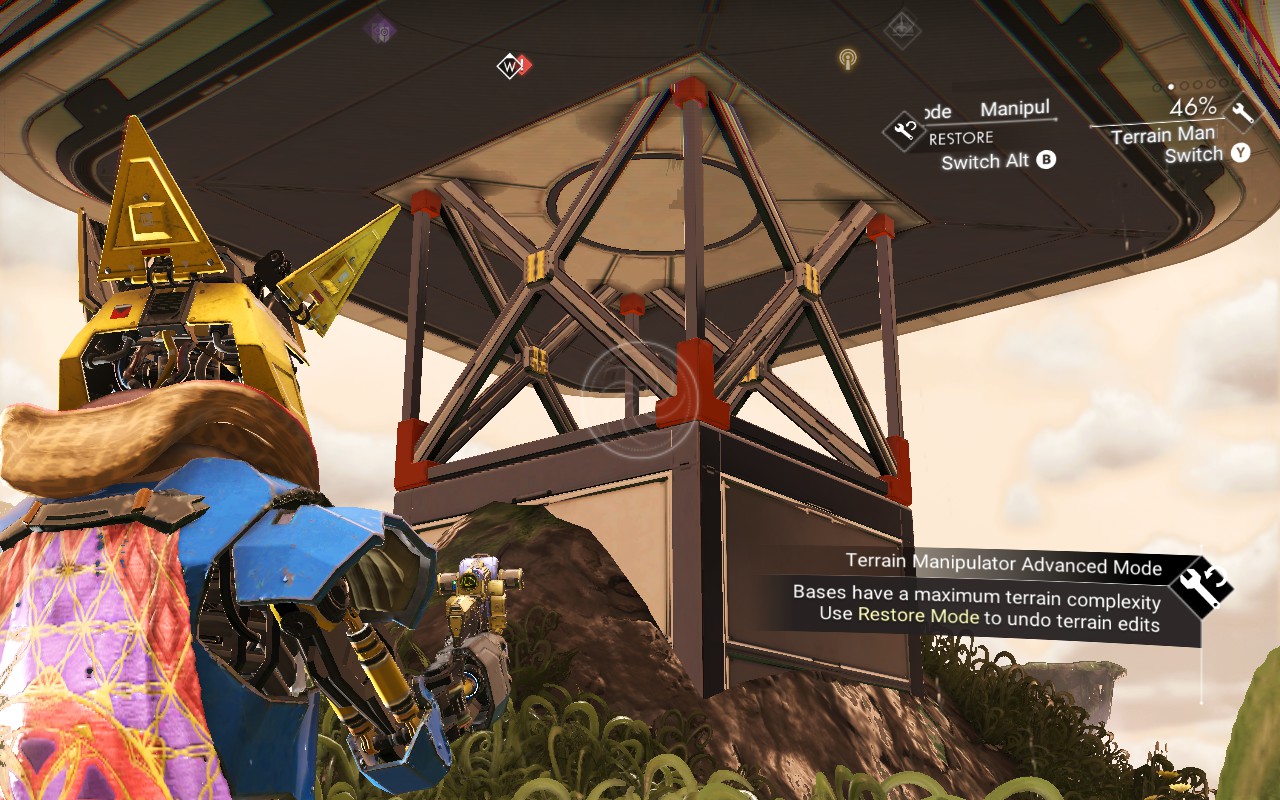
But in this example I build from the bottom up.
I put a door on and want some way to just walk up to it. You could use the Access Ramp, which is the only thing that will snap to this, but for things up this high I don't like it because it gets too long due to its slope being too gradual.
So I use the build camera and freely place a single small floor tile. It takes some effort to line it up properly, but after this I can just snap the basic narrow stairs to it. (See the video at the end for some ways to do this using snapping workarounds, I just didn’t bother with that for the example.)
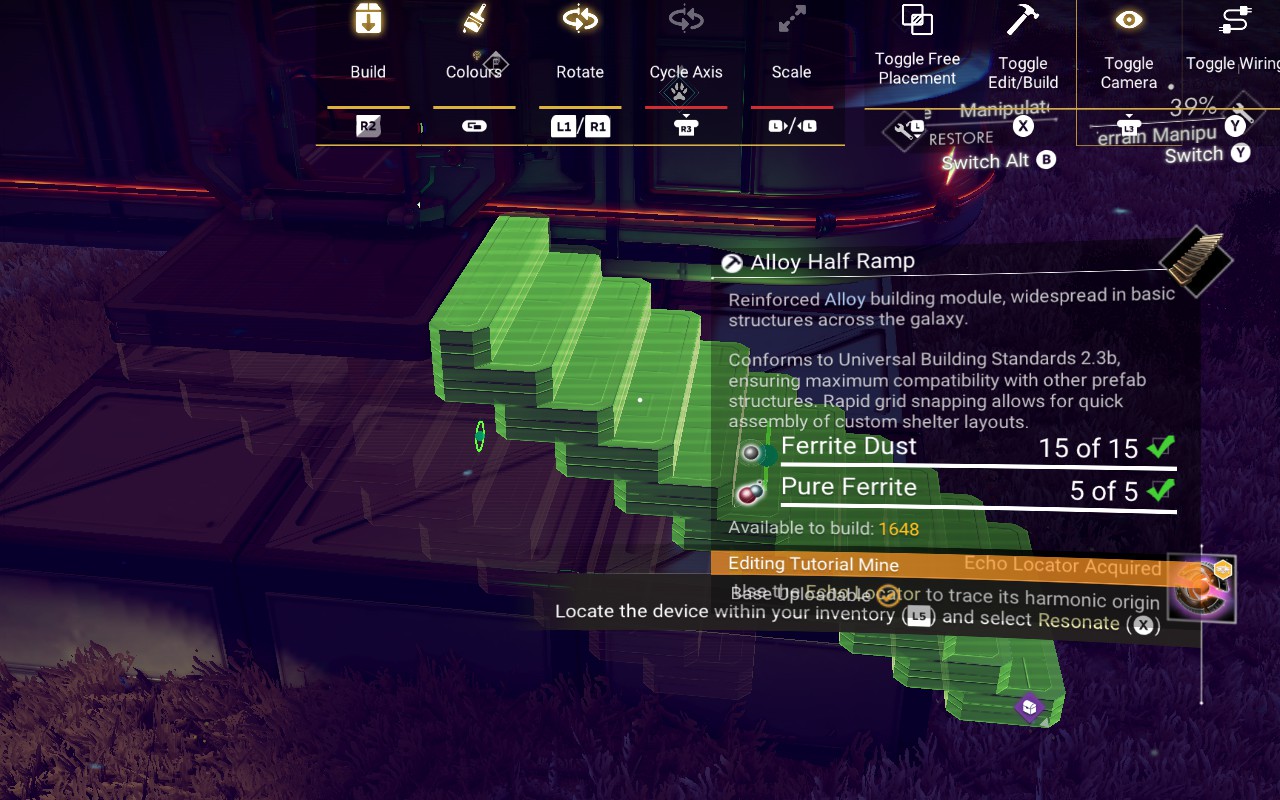
The stairs will look a bit unsupported so I tried to add some junk to look like support posts. I didn't like how this turned out though so I ended up redoing it later.
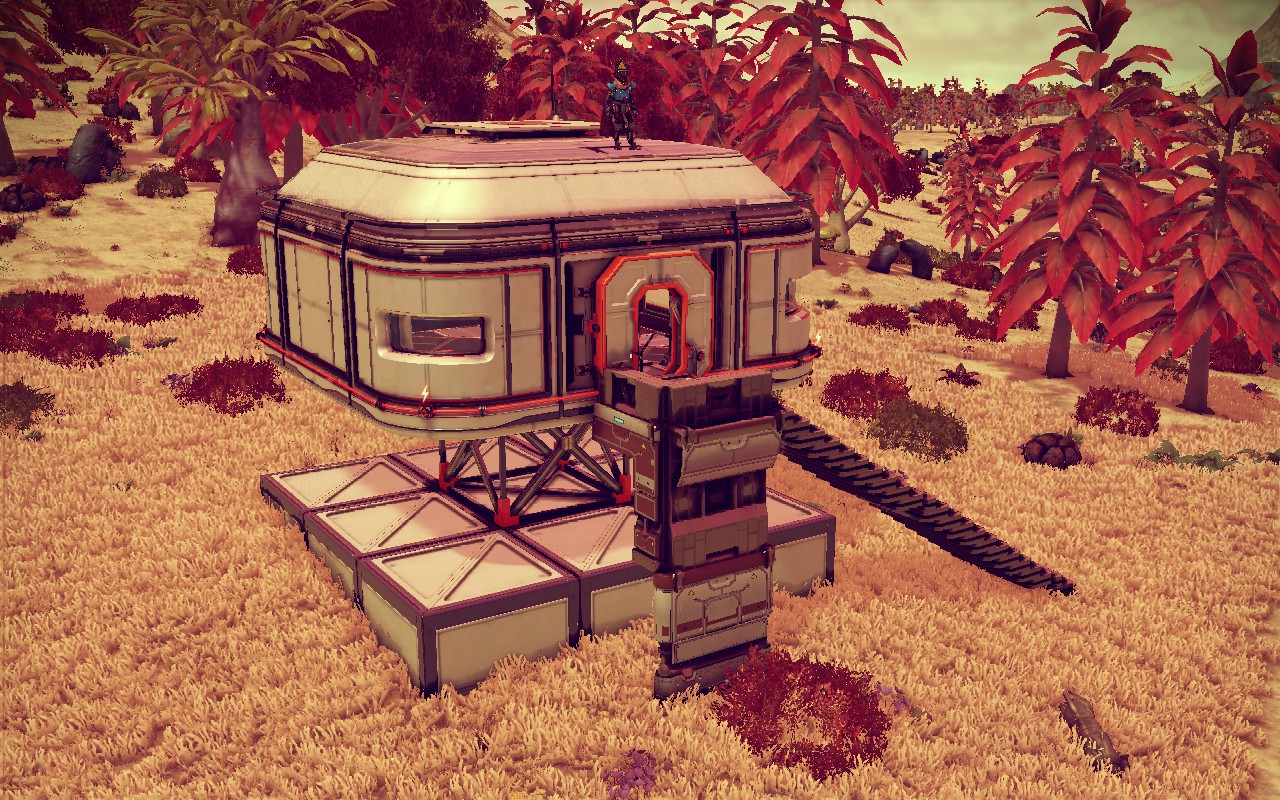
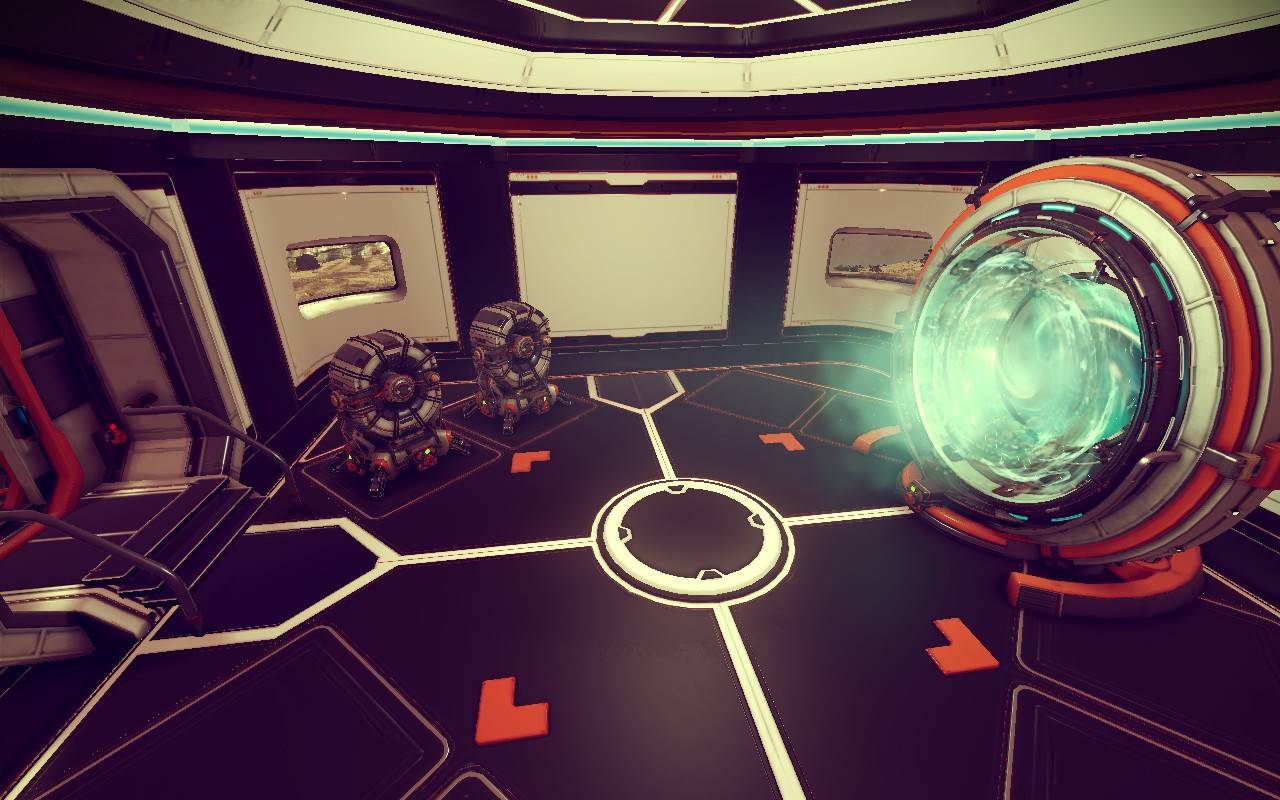
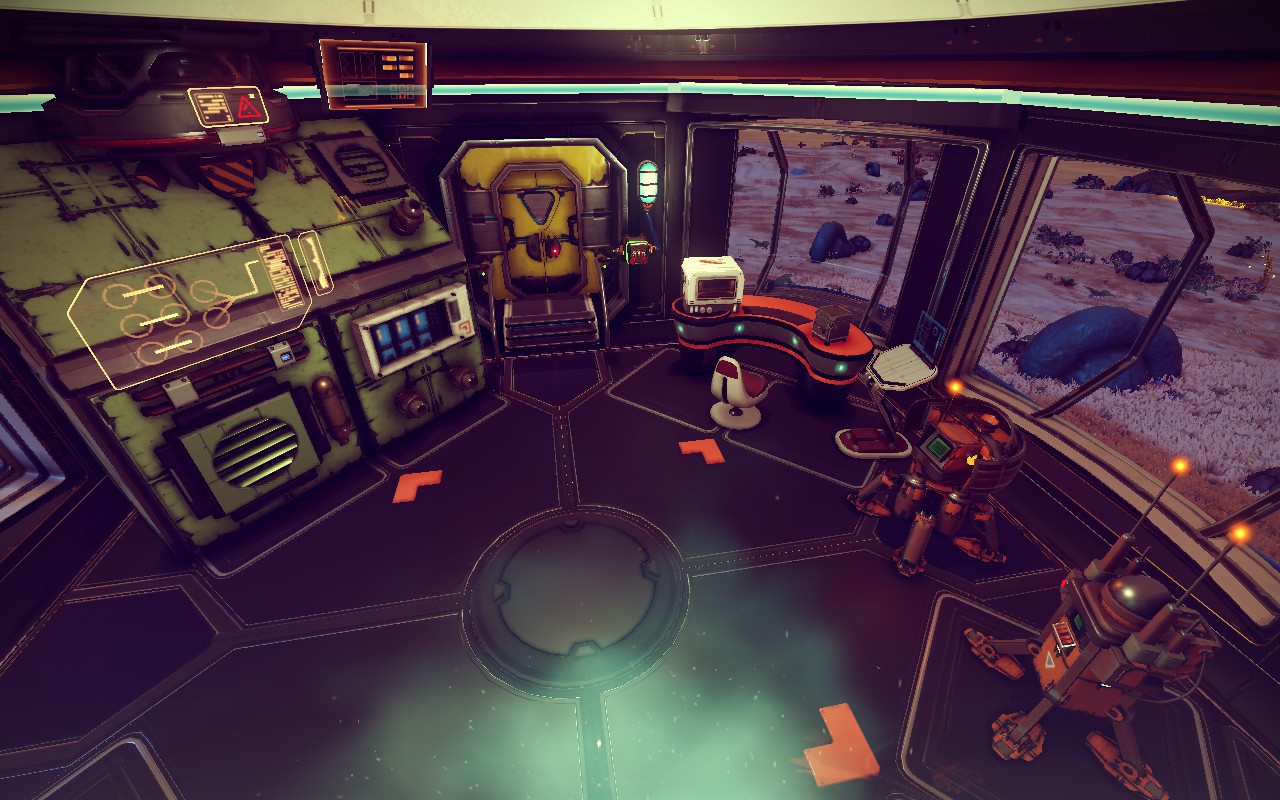
Inside, I move the Teleporter, two Batteries, and the Base Computer off the deck into the prefab room. I also move the 4 solar panels to the roof of the prefab where they don't need wiring because they will conduct electricity through the prefab. (I forgot to screenshot that.) Then I delete the deck they were on.
Then I place a Storage Depot tank inside and embed it in the wall somewhat. It will stick out the top of the roof but still looks reasonable, and it will allow picking up the minerals immediately upon arrival through the teleporter (once I connect it).
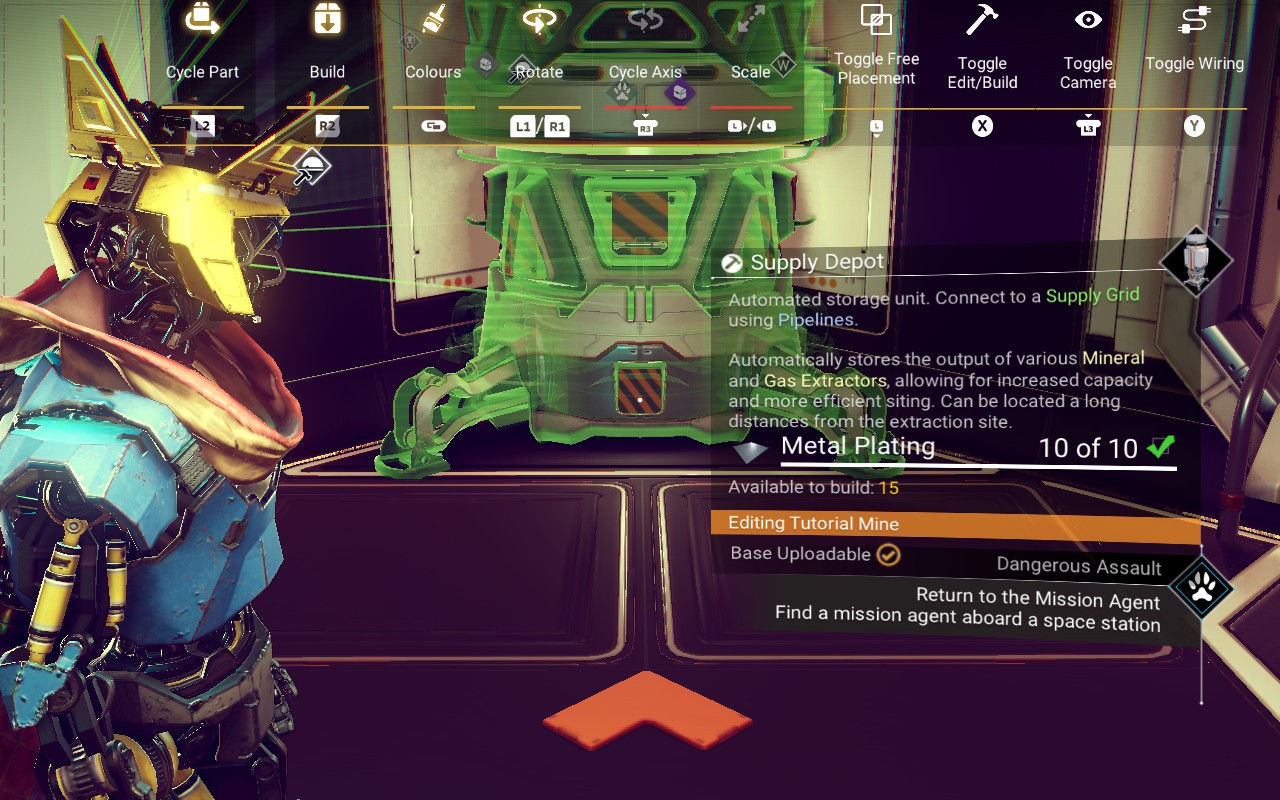
I can still snap Supply Pipes to the Supply Depot connectors through the wall from the outside.
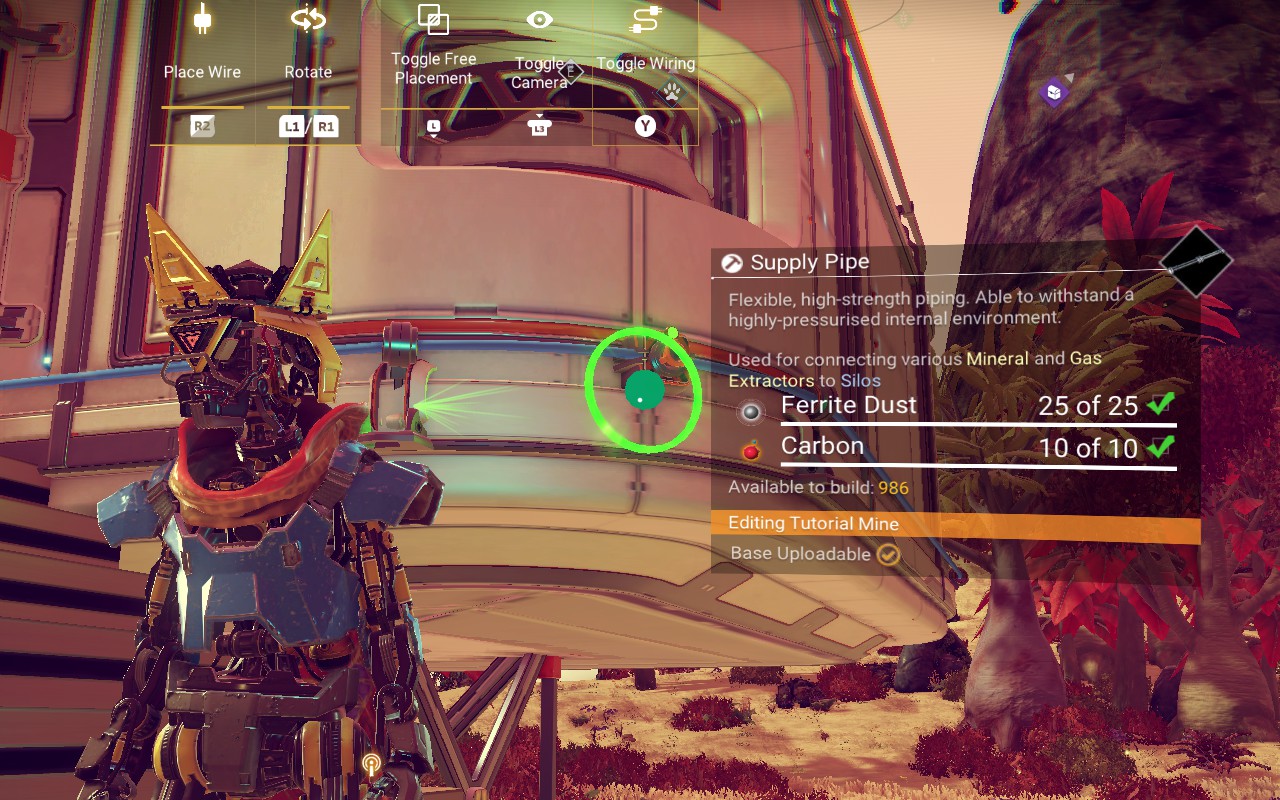
I then put down some Half Arch parts to use as utility poles. In this case I also put some temporary floors on top because Supply Pipes in Snapping mode won't let you terminate them on anything but terrain or floor, but as it turns out all I needed to do was enable Free Placement Mode while placing the pipe segments and that would have worked too.
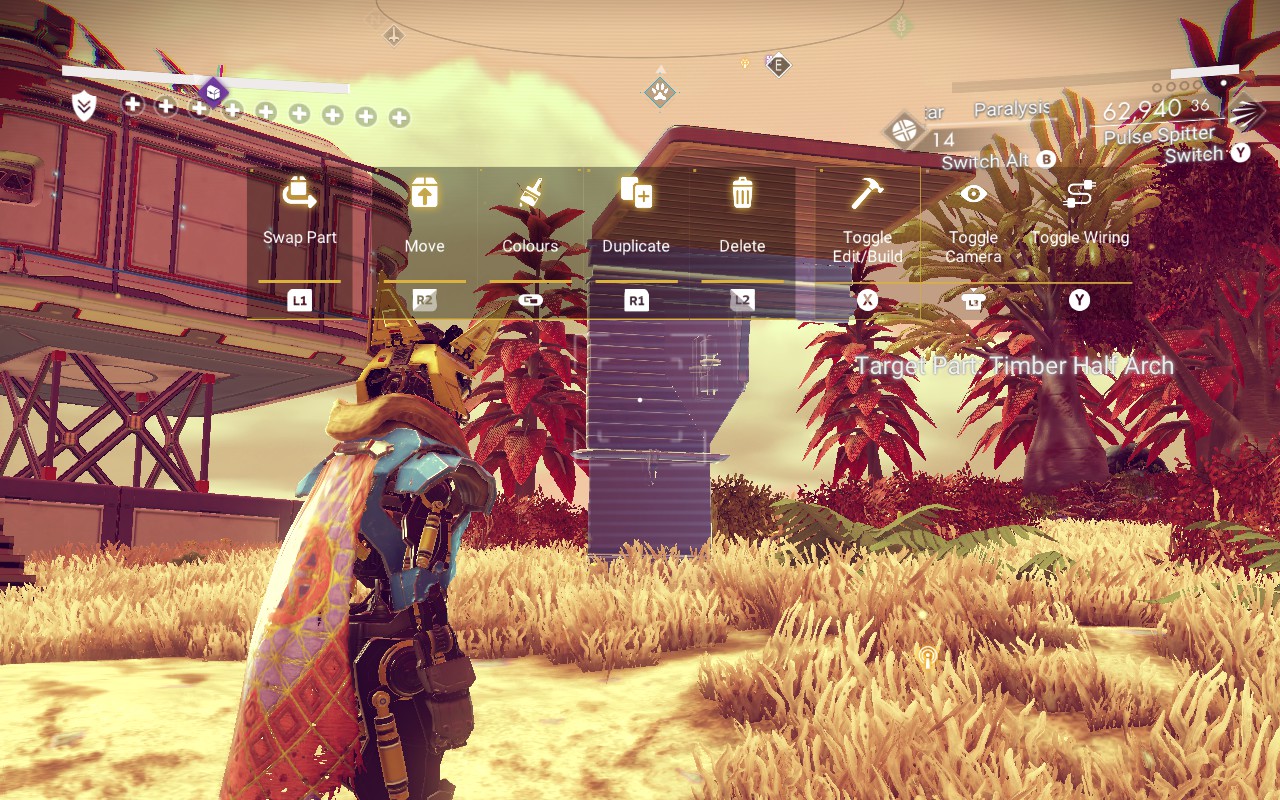
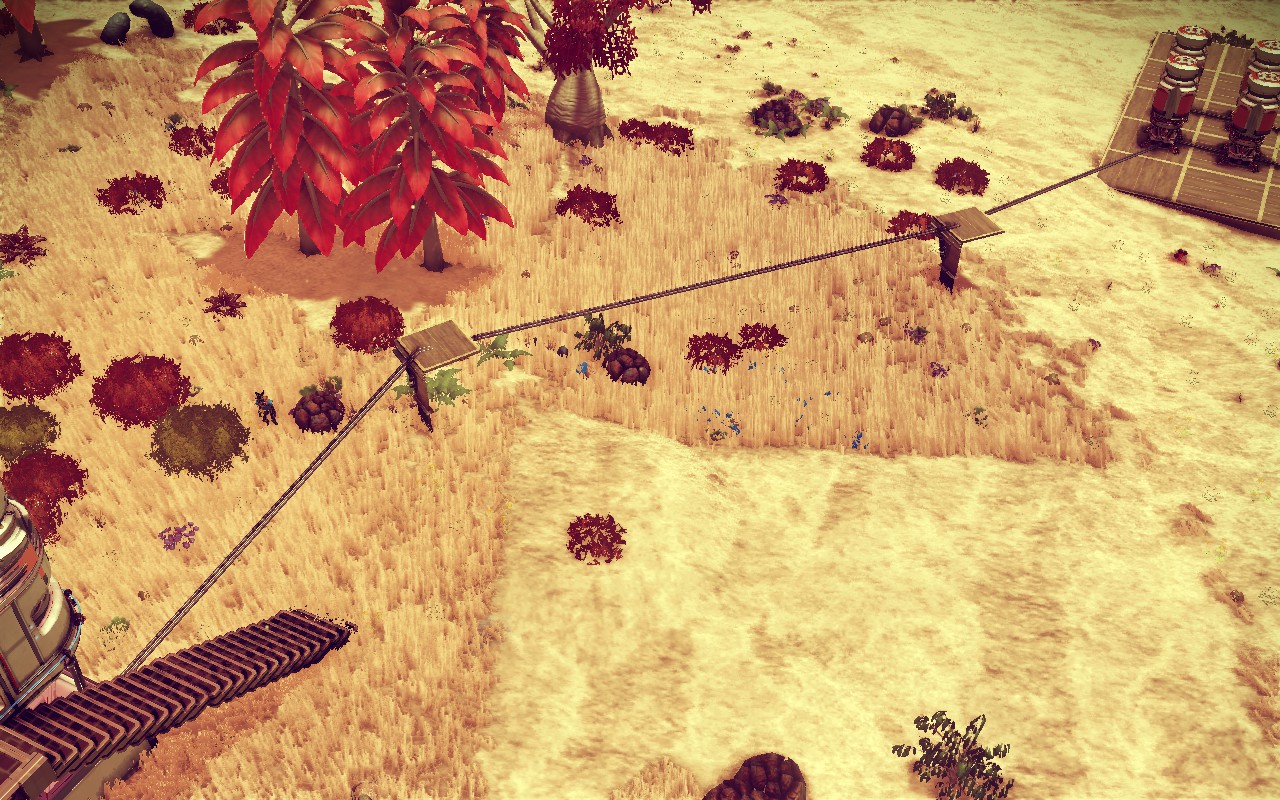
I remove those floor tiles and run electrical wires through the ends of the half arches.
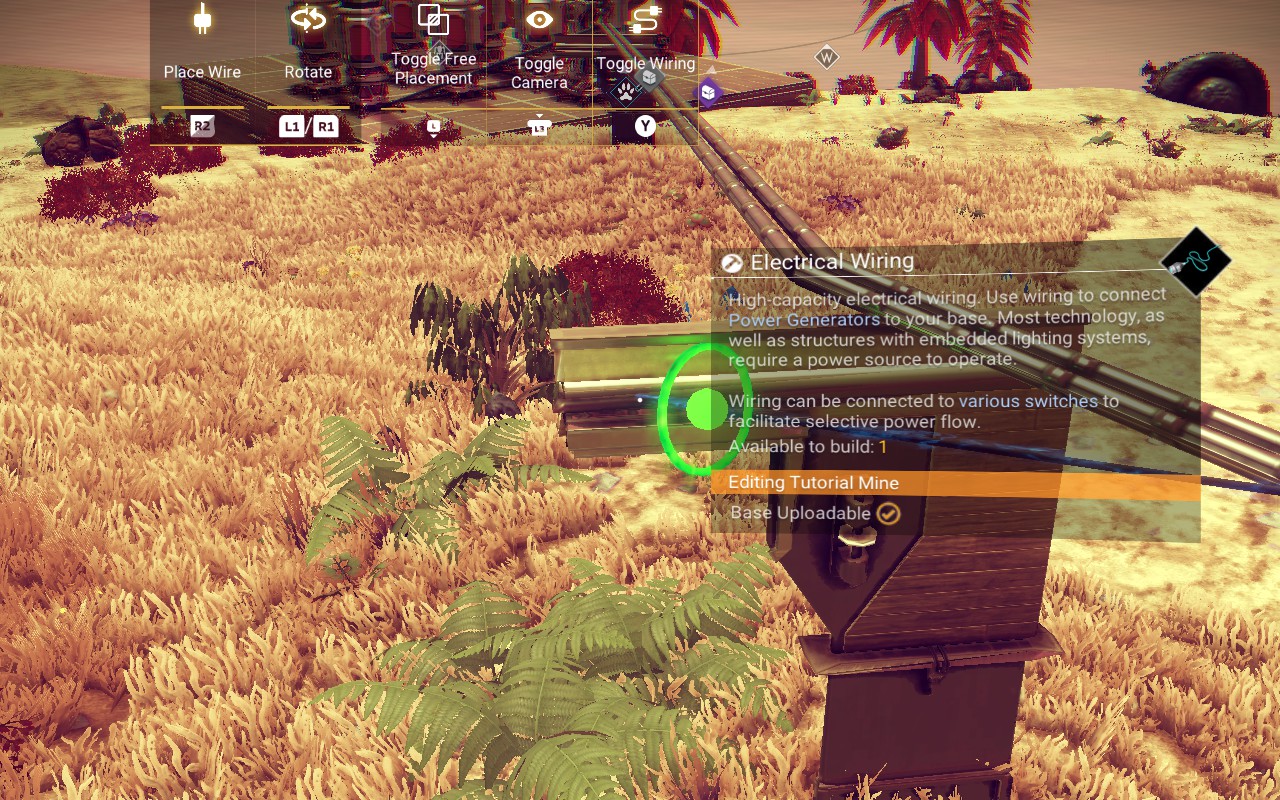
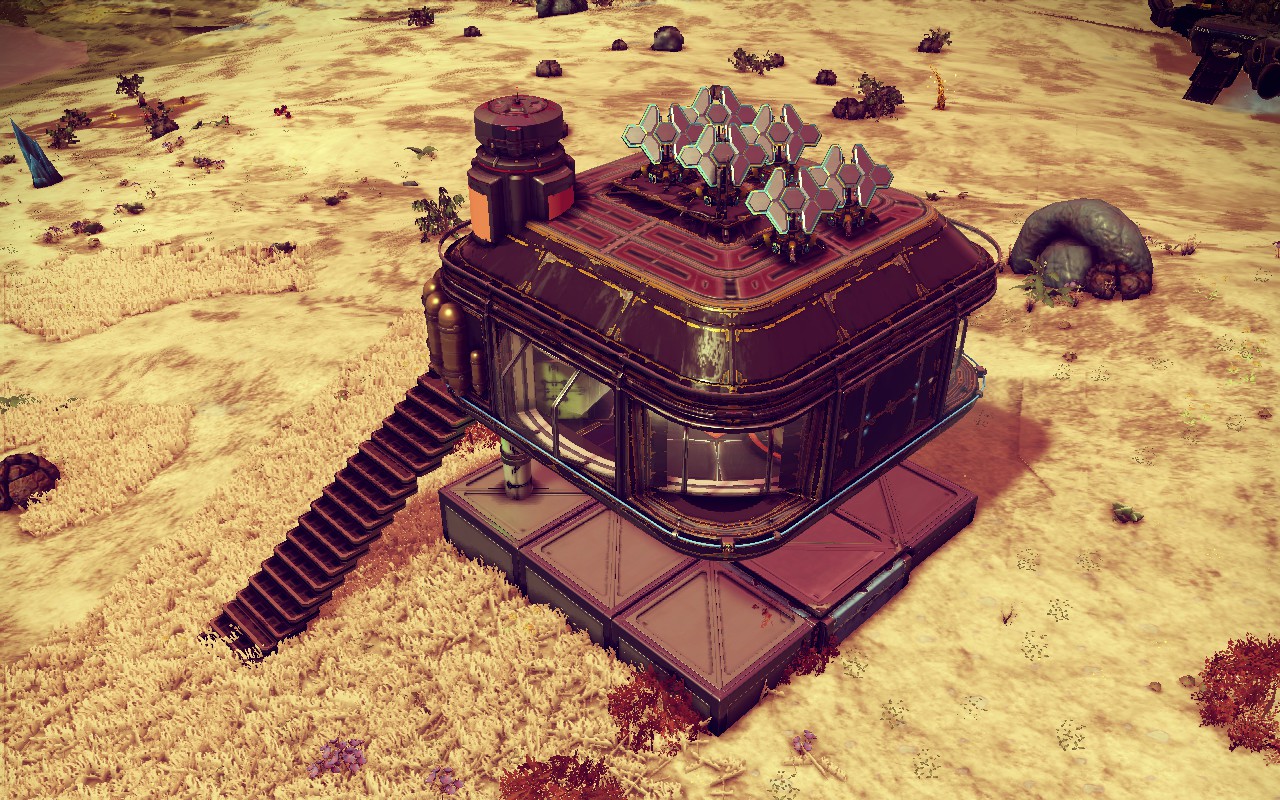
In the end it looks like this:
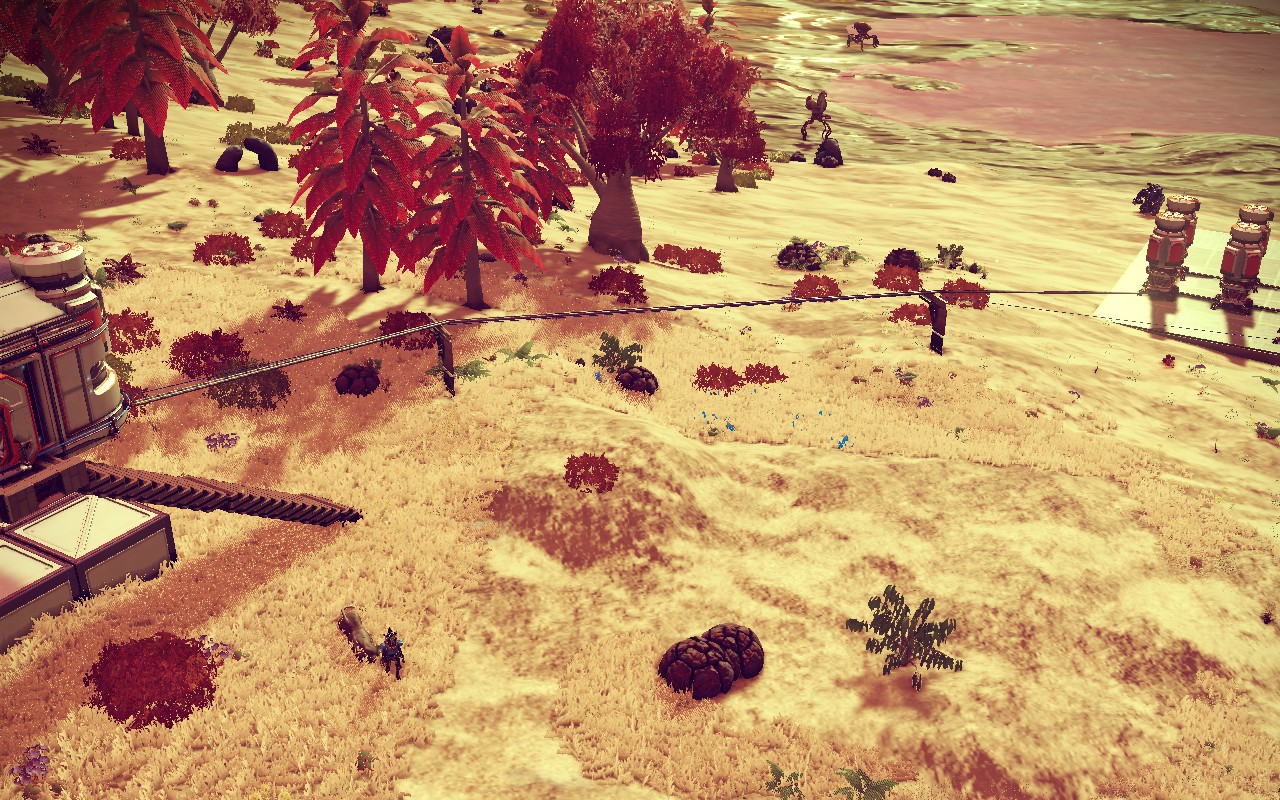
The reason for using "utility poles" is just that it keeps the wies/pipes up off the ground so you can see how they're connected, and this is easier to do than burying them. Just attaching them to the ground is possible but it looks worse and can sometimes cause confusion.
Finally I access the supply depot from inside the prefab to confirm that everything is working.
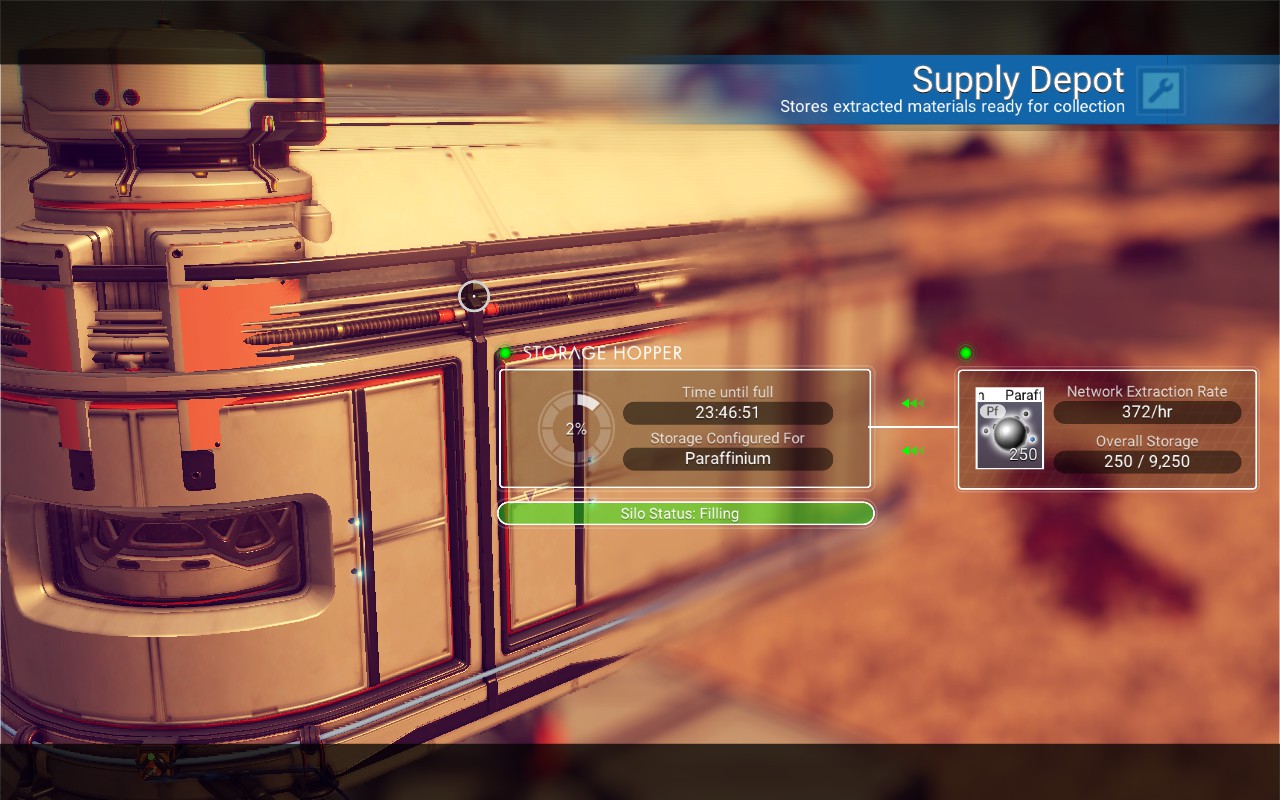
If I want to check the power, I can point at the ceiling and interact with a solar panel through the roof or interact with a battery. So I never have to leave this room except to change something from outside.
Also, for now I just left the door open all the time. This doesn't seem to have any game disadvantage, but later I'll show a decent way to wire a wall switch to close it.
The main point of this section is not to recommend specific parts, but to show that the Phase 1 base of equipment sitting around on terrain can be easily and quickly improved using prefabs. Prefabs conduct electricity, eliminating the need to wire batteries and solar panels. The “utility poles” can also be eliminated (wires and pipes can be attached to the ground), but I wanted the connections to be clear for the example.
Phase 3 Extraction Base, Part 1: Getting Fancy
Phase 3 is where we stop being totally minimal. Part 1 is mostly about some simple improvements that are mostly cosmetic, but Part 2 has some tips for making it easier to line up supply depots and extractors.
Part 1:- Using colors and materials.
- Ways to make the interior Supply Depot look like something else.
- Fancy Decorations
- Hiding Batteries
- Wiring a wall switch for a power-controlled door.
- Using Solid Cubes for a Supply Depot deck.
- Burying and concealing wires and supply pipes.
- Stacking extractors on top of each other.
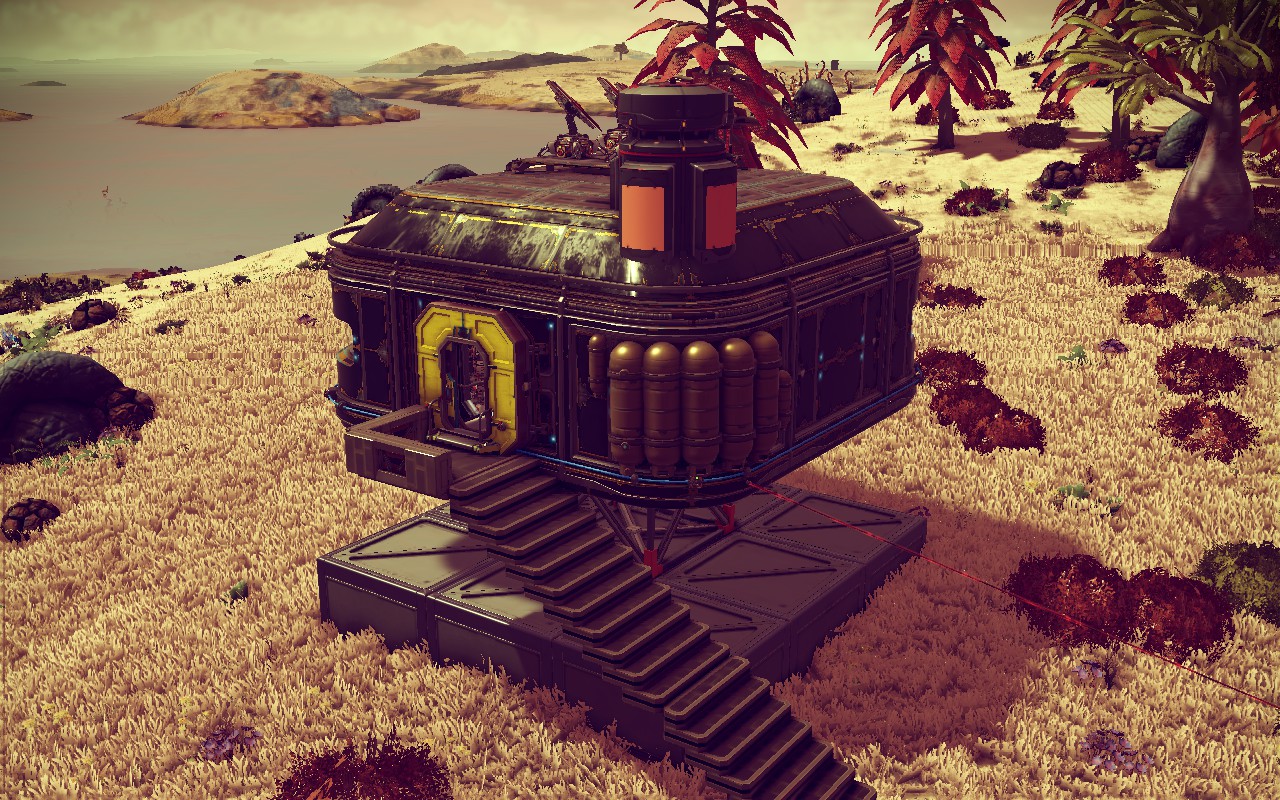
First I'm just going to put some decorative gas cannisters on the outside corner where the Supply Depot tank is to hide the window and make the building look more industrial. I don't put much effort into this though. Note that the Gas Cannister will scale and I enlarge most of them to the maximum.
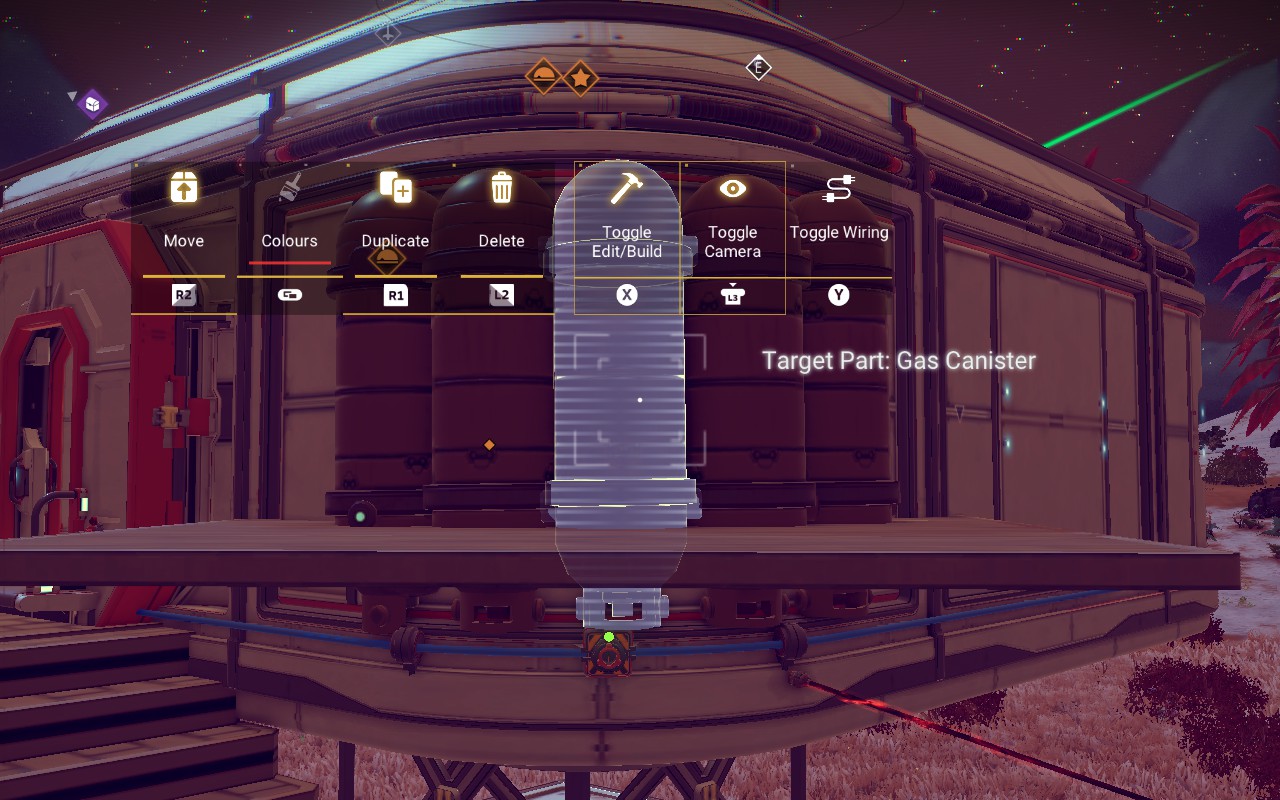
I put a temporary floor panel here just to help with alignment, but if I turned off Free Placement mode it would help me space the gas tanks away from the wall to make them look attached instead of embedded.
The main point of this is not to recommend this specific decoration, but to show that you can stick things to the wall of the prefab. So please come up with something that looks better.
On the inside I'm going to hide most of the supply depot tank inside some Primitive Shapes, but I'm also going to raise it up some.
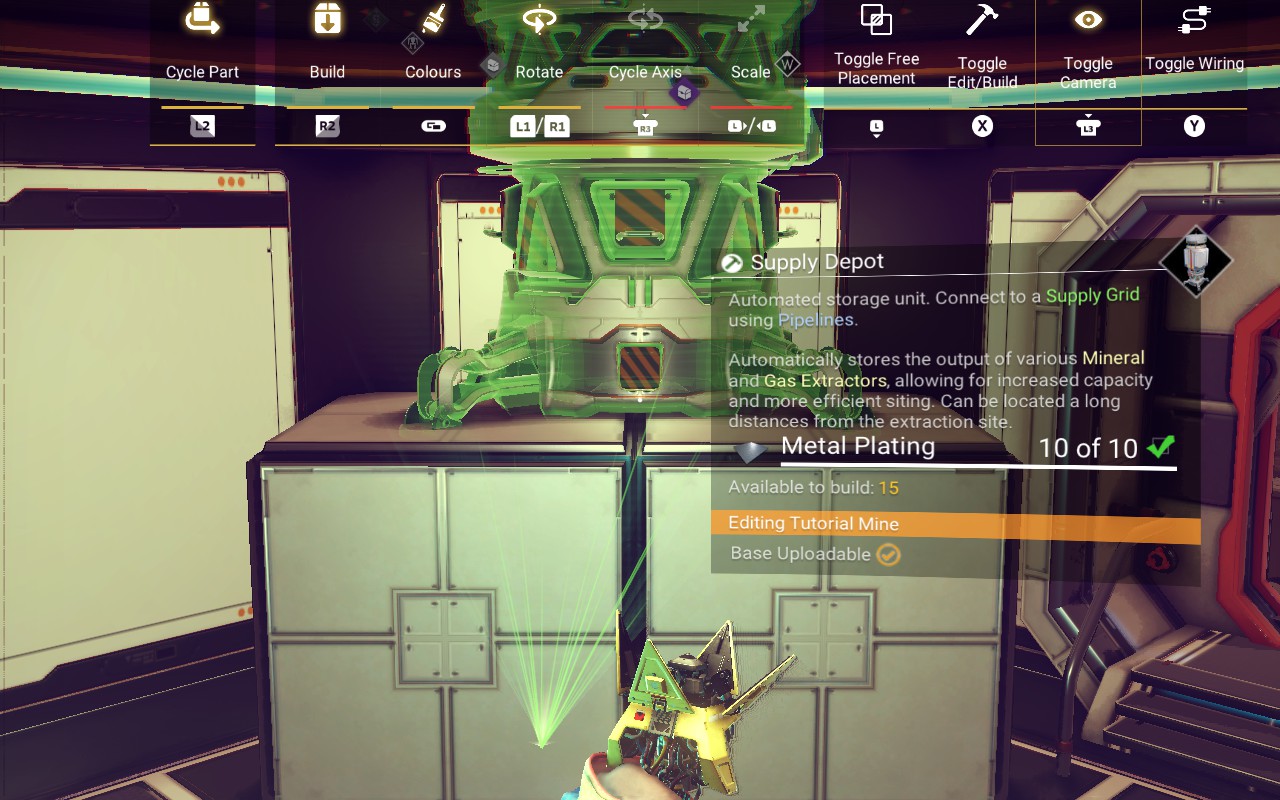
I also change some colors and materials to Green and Rust.
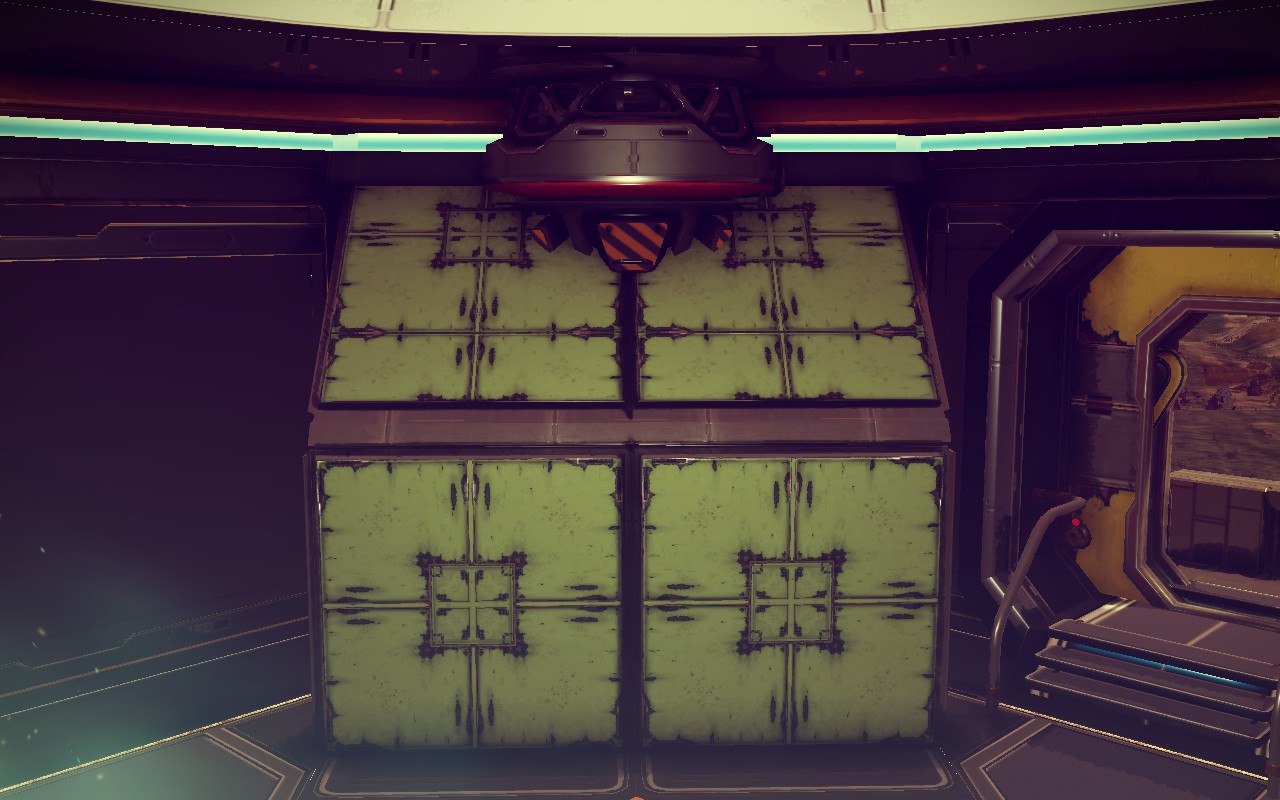
Outside looks like this now:
And finally I add some decorative junk to make it look like a pump unit. Note that most decorations will scale.
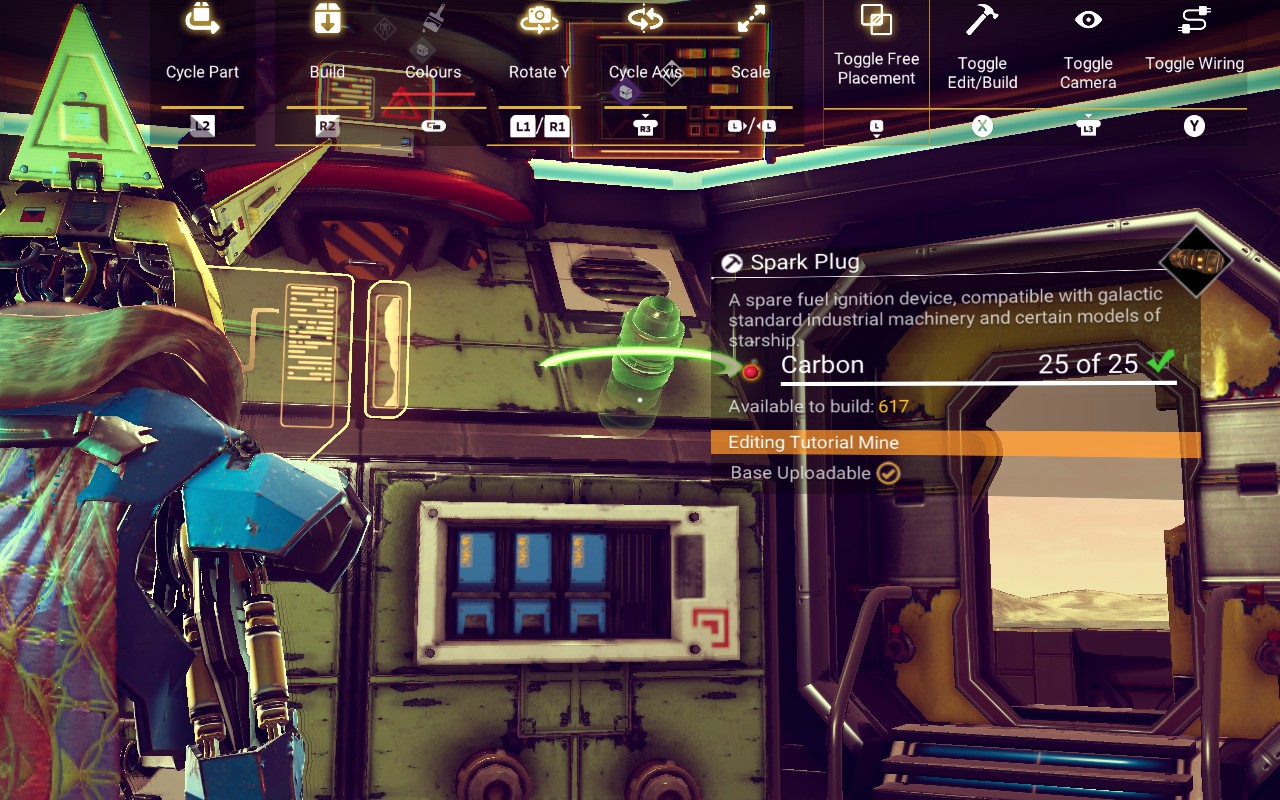
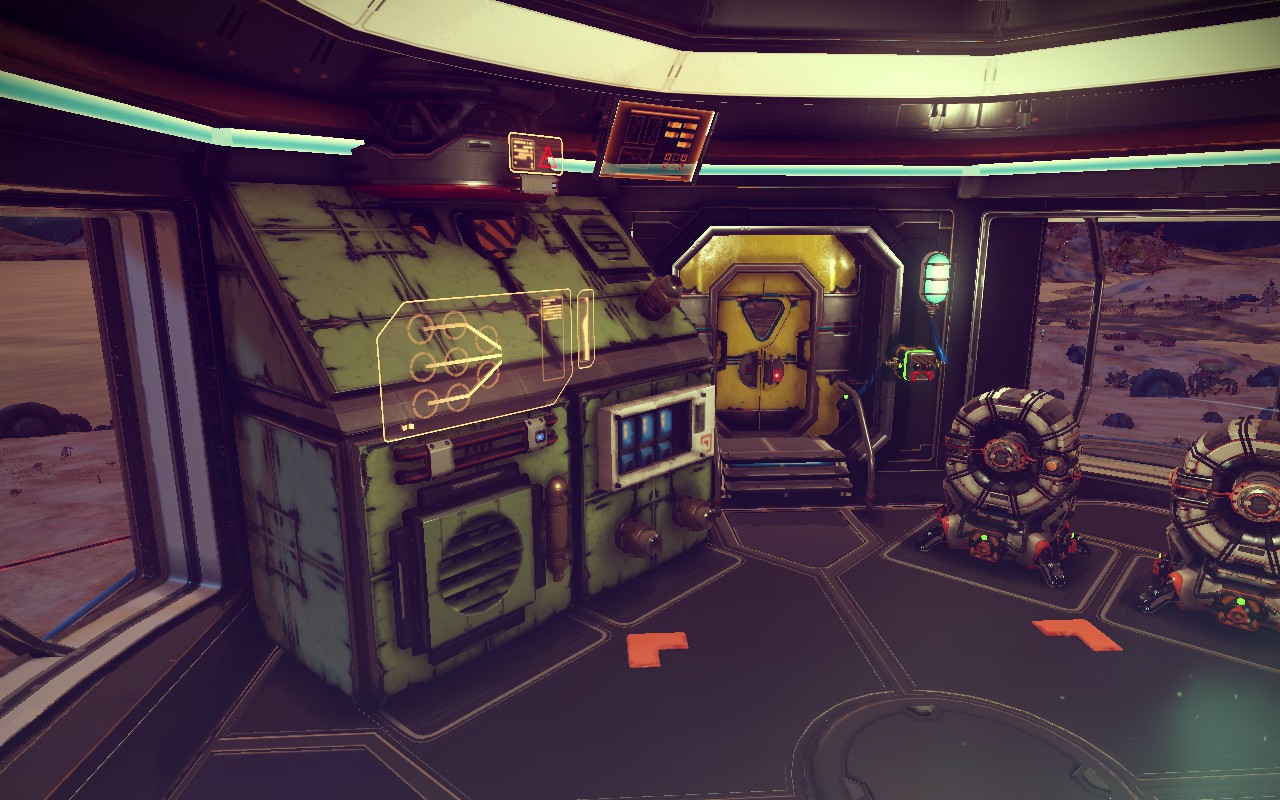
Also notice some things can look like something other than originally intended, like the "spark plugs" can look like hose connectors.
The end result is that this looks more like pumping equipment and not a tank clipping through the wall.
As before, this is shown not so much to recommend this particular look but to show that you can build parts on top of each other to change the appearance of things, and some ways to do that.
I decide to hide the batteries inside a Cuboid Room. So I remove one Solid Cube in the back center of the foundation, and temporarily dig out the area it occupied:
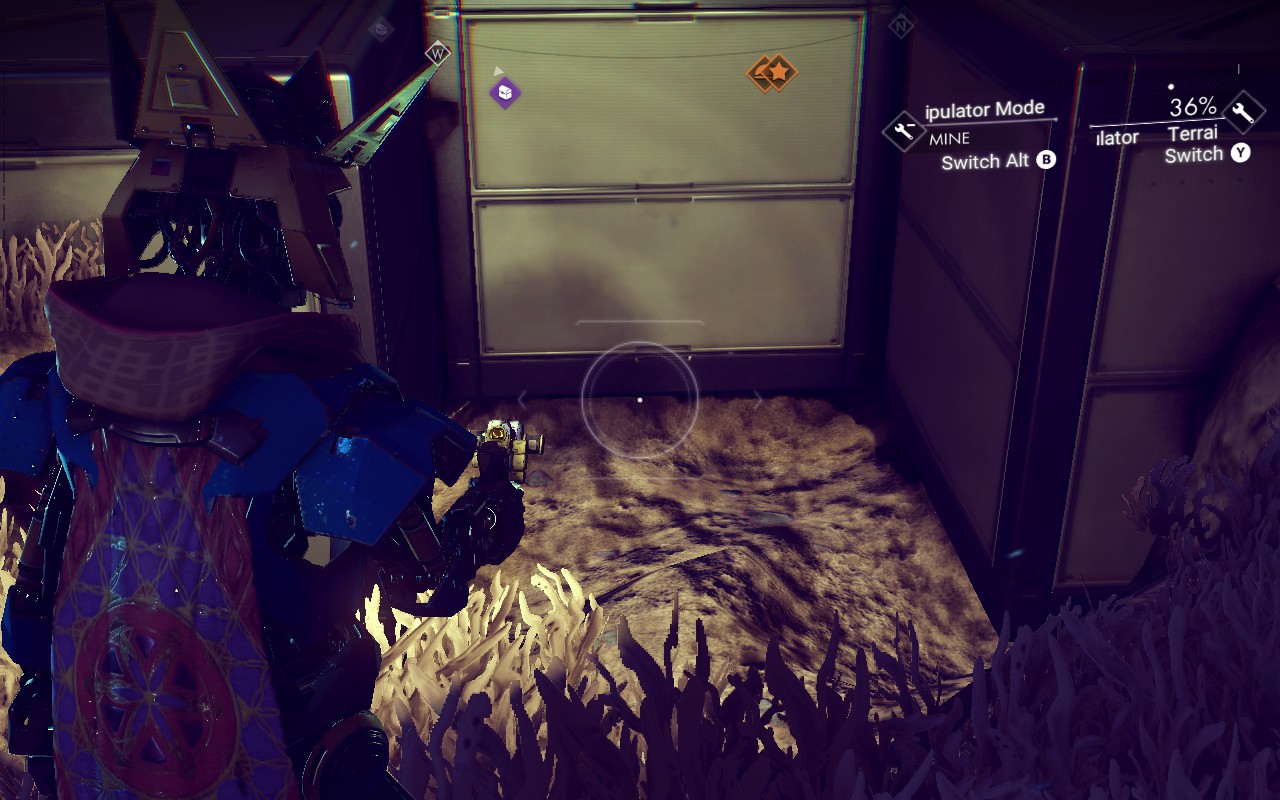
Then I add the cuboid room, a temporary door, and 4 batteries. I don't need 4 yet, but I don't want to have to dig this out again and I estimate that 4 is the most I will need for this any time soon.
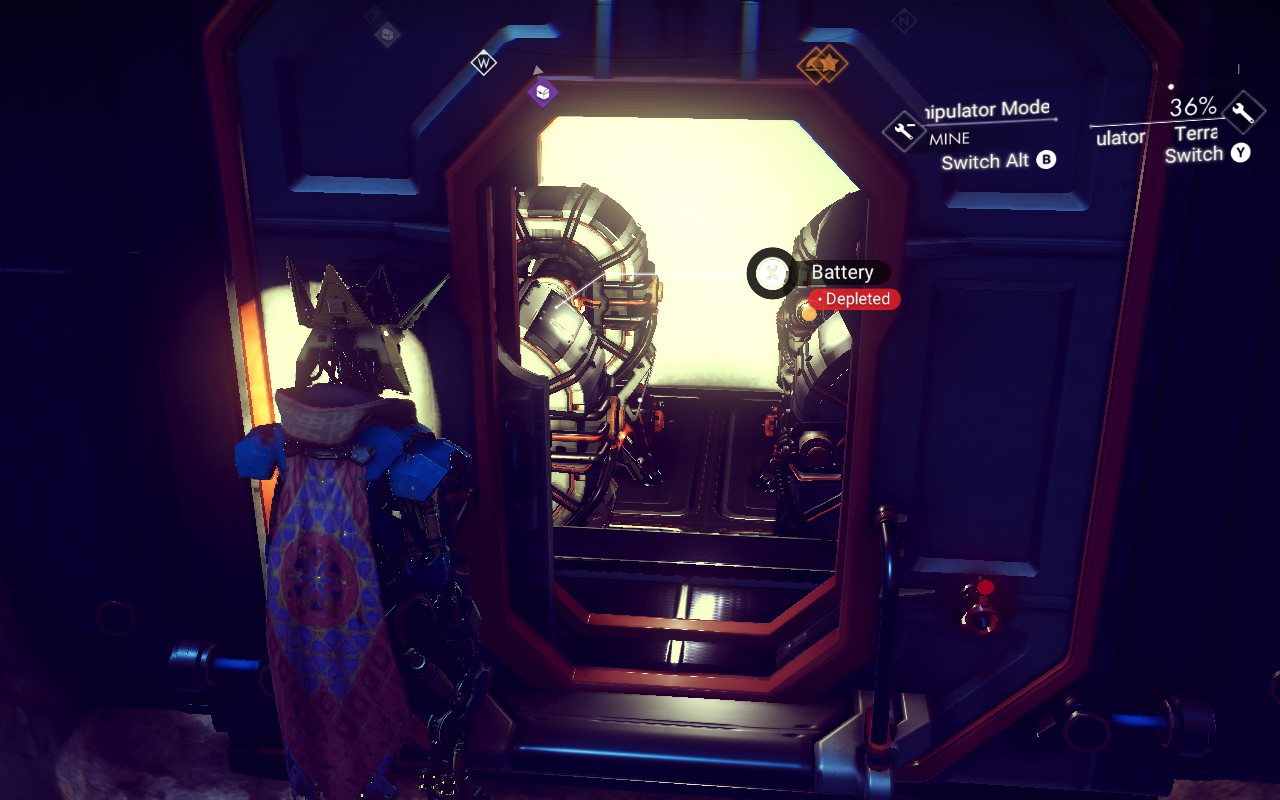
Note that the Cuboid Room somehow seems to conduct power through the Cuboid Room Frame to the Prefab. Not sure if it's because of edges touching or proximity, but I don't seem to need to wire it.
Also note that you can pack tons of batteries in one of these if needed, especially in Free Placement Mode. Any stacked on top of the others need to be wired to the ones on the bottom though.
I remove the door and zap the terrain with the Restore tool.
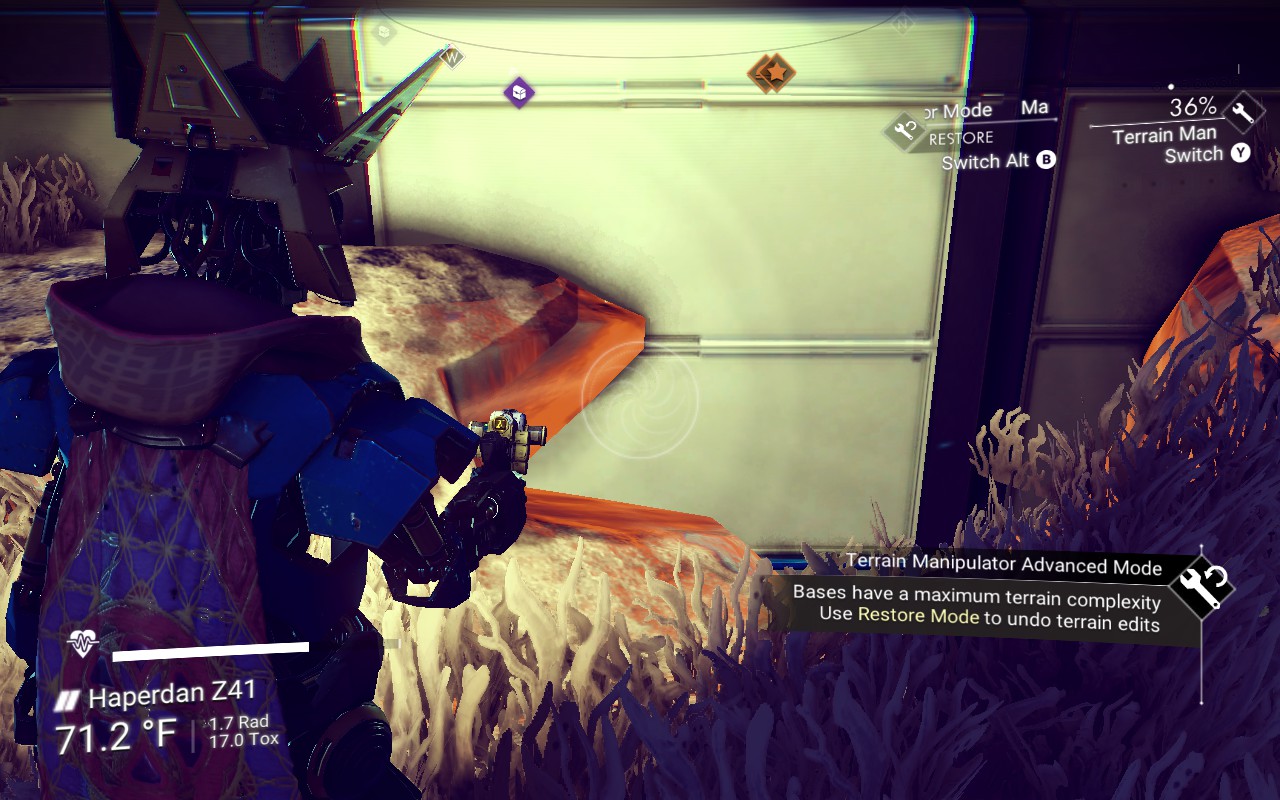
This is of course not the only way to hide the batteries somewhere. They could just be buried in dirt, but as shown the cuboid room can be used to replace a bunch of troublesome wiring and act as concealment with or without a door.
Here's how I wire wall switches for these power-controlled doors. I don't use the Wire Cloaking Device because it hides all wires any time you're not in build mode and some wires I really want to see all the time so I know they have power. So I usually just keep them neat and concealed and use prefabs that conduct electricity without needing so much wiring.
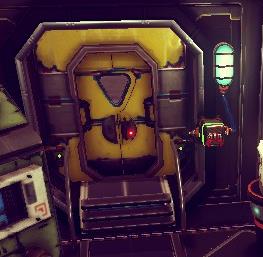 Explanation: I put a light on the prefab which gets powered just by being placed on the prefab, and that gives me a decent powered wire connector next to the Wall Switch. The wire only looks slightly messy but not enough to bother me.
Note that this isn't strictly needed on the outside of the door because you can flip the wall switch through a closed door from the outside. So I just save myself some trouble and don't do the same on the outside.
As usual there are lots of ways to do this but I wanted to show the easiest method that I usually use.
Phase 3 Extraction Base, Part 2: Burying the Pipes
I'm going to bury the pipes and wires underground. But in preparation for that I'm first going to....
I want to rebuild the supply depot deck using Solid Cubes. Part of the reason for this is that they're easy to align extractors and Supply Depots on and they're spaced apart pretty well too.
First I delete the entire old deck, but I leave the extractor in place and use a Cuboid Room Frame to make it look supported and help me snap another frame under it. This will be handy later when I want to stack extractors.
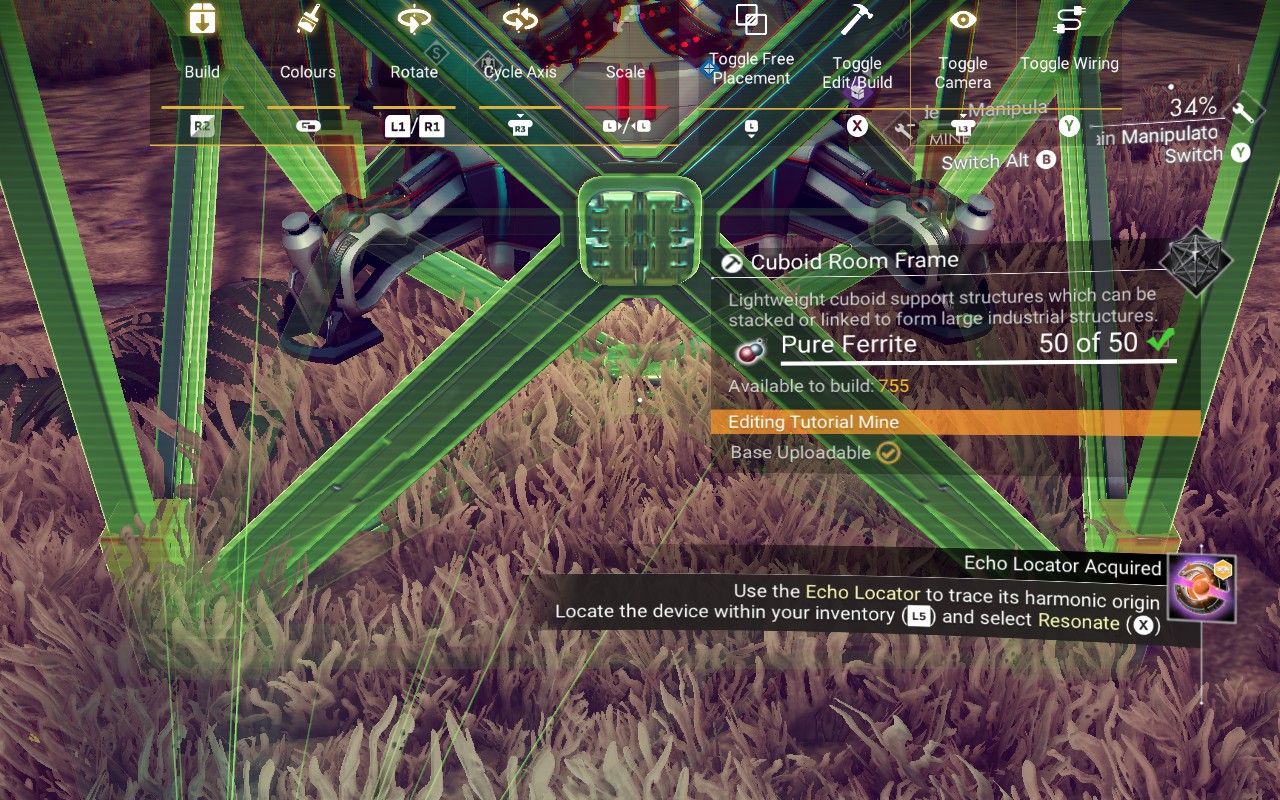
I use some temporary Solid Cubes to space out the new supply depot deck from the extractor and set the elevation to something decent.
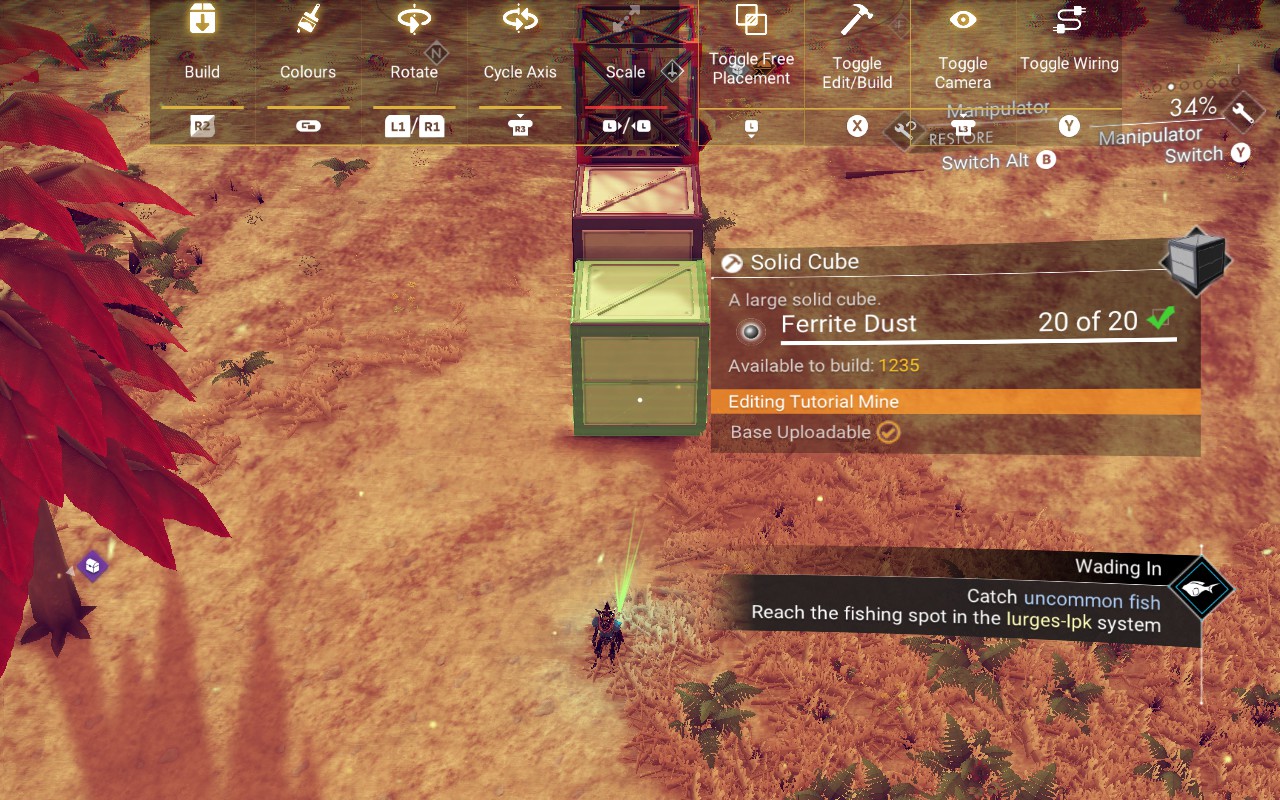
Then I snap a solid cube under the previously selected solid cube shown above, create a 3x5 grid of them, and then delete the temporary solid cubes.
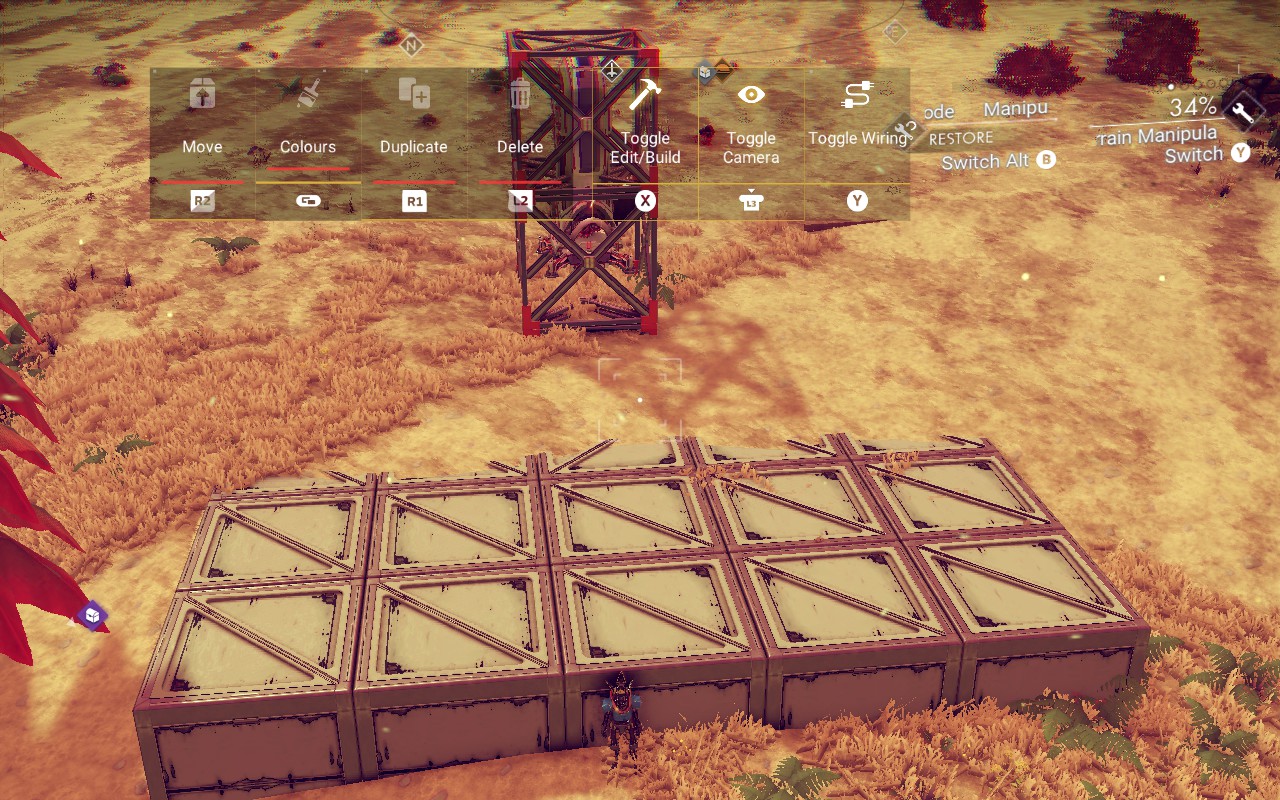
Then I set Supply Depots on 10 of them with the Solid Cubes making them easier to visually align.
It’s not always worthwhile to bother with creating a platform out of solid cubes. (I still have lots of supply depots sitting around on terrain in different places.) But I wanted to show how well these things line up because it comes in handy sometimes.
Now to bury these wires and pipes. I put down a temporary supply pipe at the prefab supply depot going as straight down as I can manage....
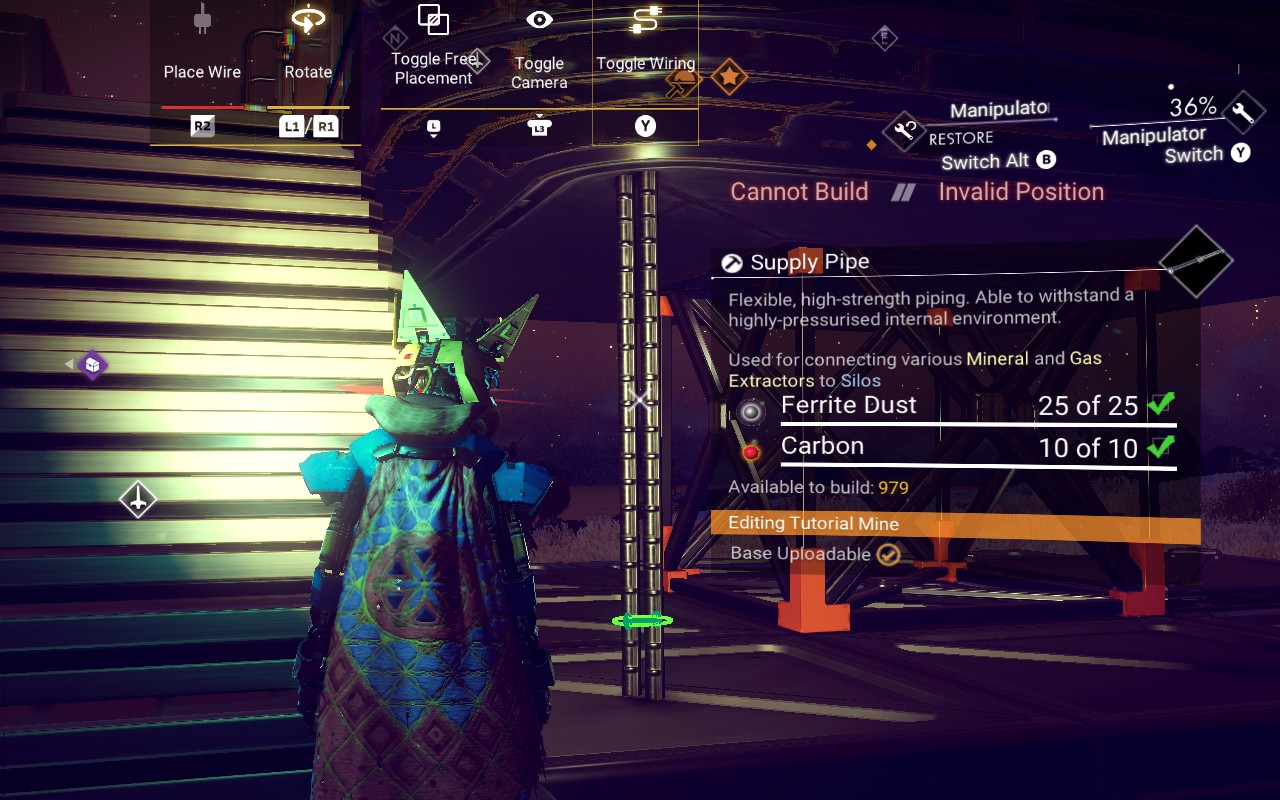
...to help me align the purely decorative a non-functional Pipe (decoration) to conceal it.
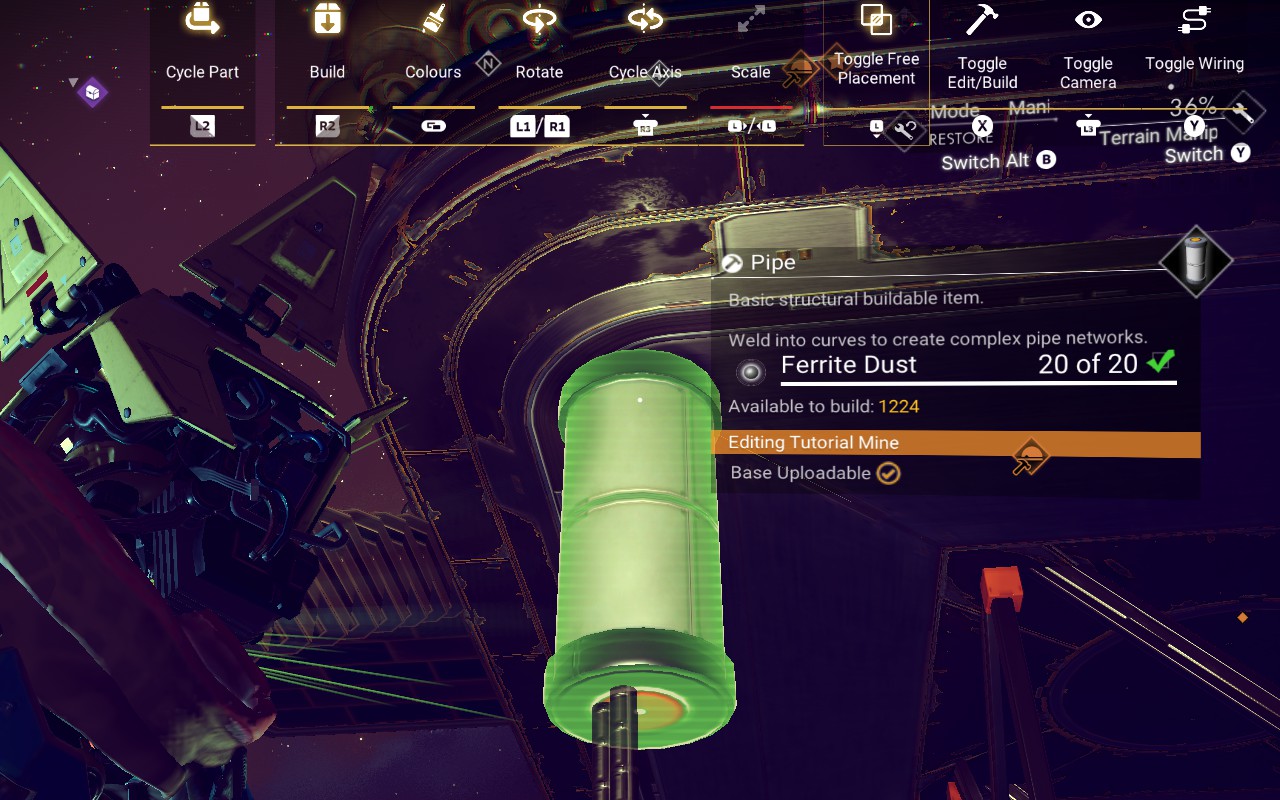
Then I remove the cube under it and dig a deep enough temporary hole. In the hole I'm just going to attach pipes and wires to the bottom of the hole.
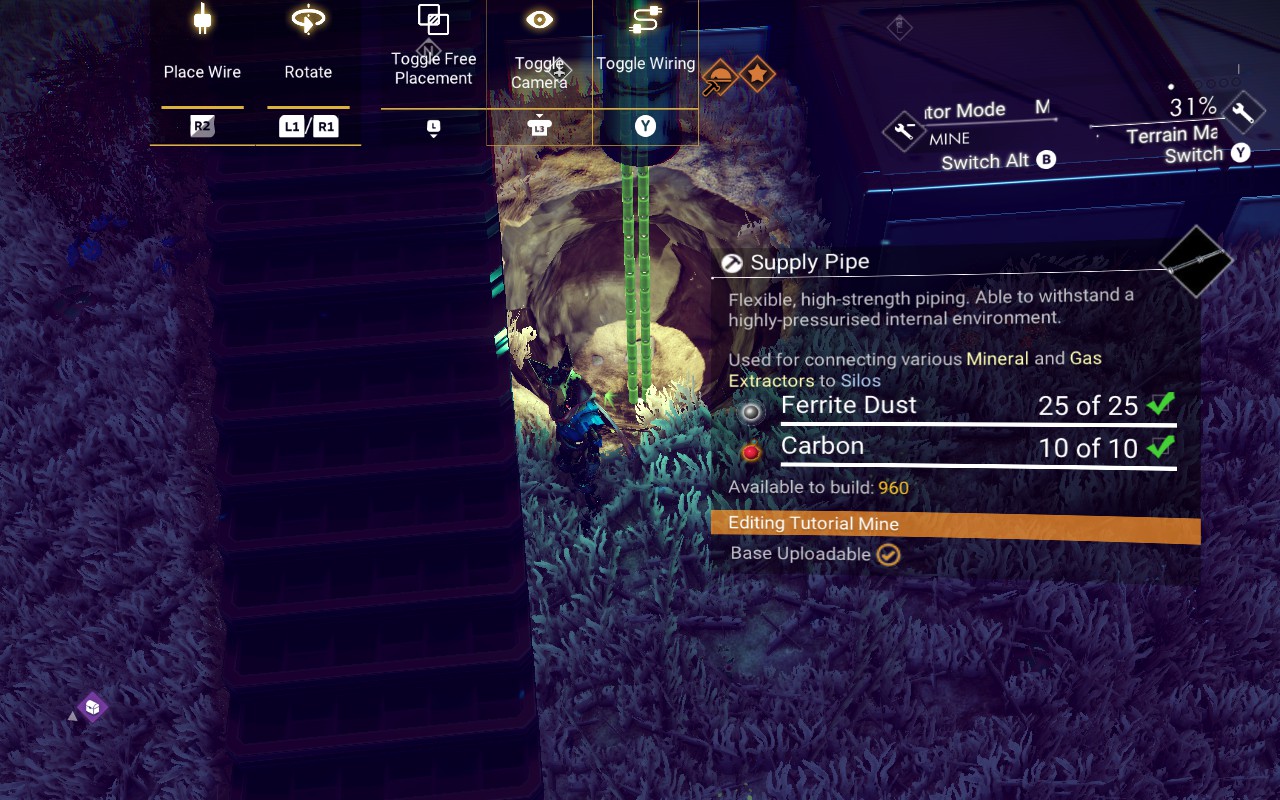
For the wire I'm going to use a little trick to get a power connector almost anywhere on a prefab. I put a green light on the underside of the prefab with the connector sticking into the decorative pipe. Then I run a wire from that connector to the bottom of the hole.
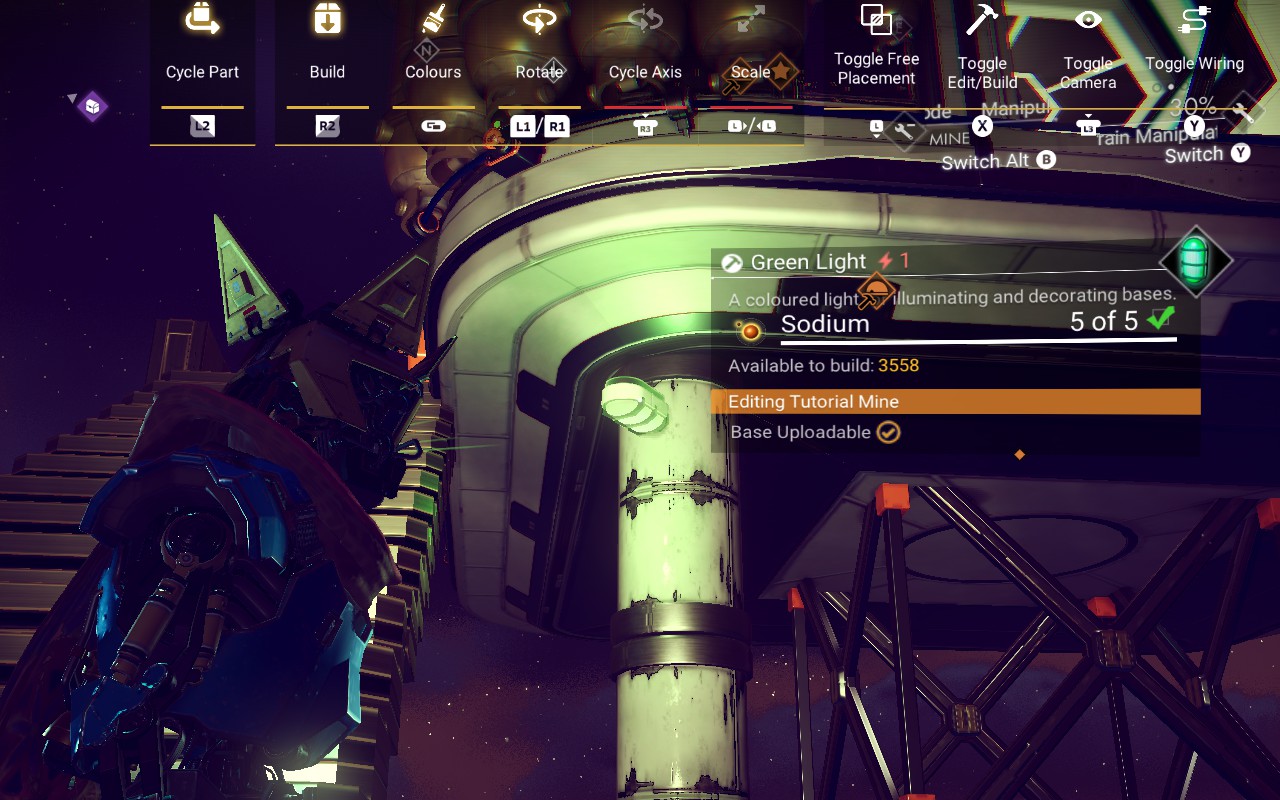
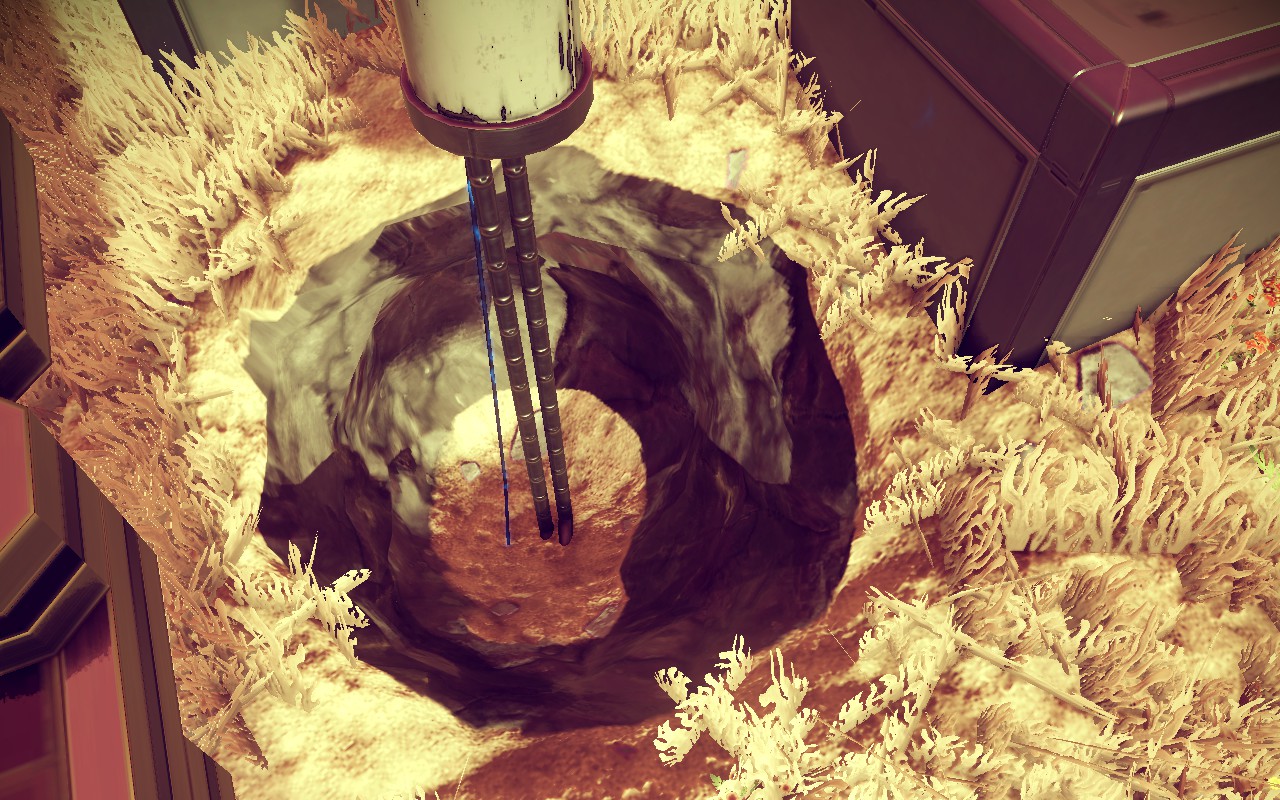
The Light will receive power from prefabs that it's placed on, and instead of sucking power from it's power connector it will now supply it.
Now I need to dig another hole at the lowest terrain point between the prefab and the extractor, otherwise the wire and pipe will come out of the ground.
After that I connect wire/pipe segments between the first hole and the bottom of this one. After that I run wire/pipe segments to other holes near the extractor.
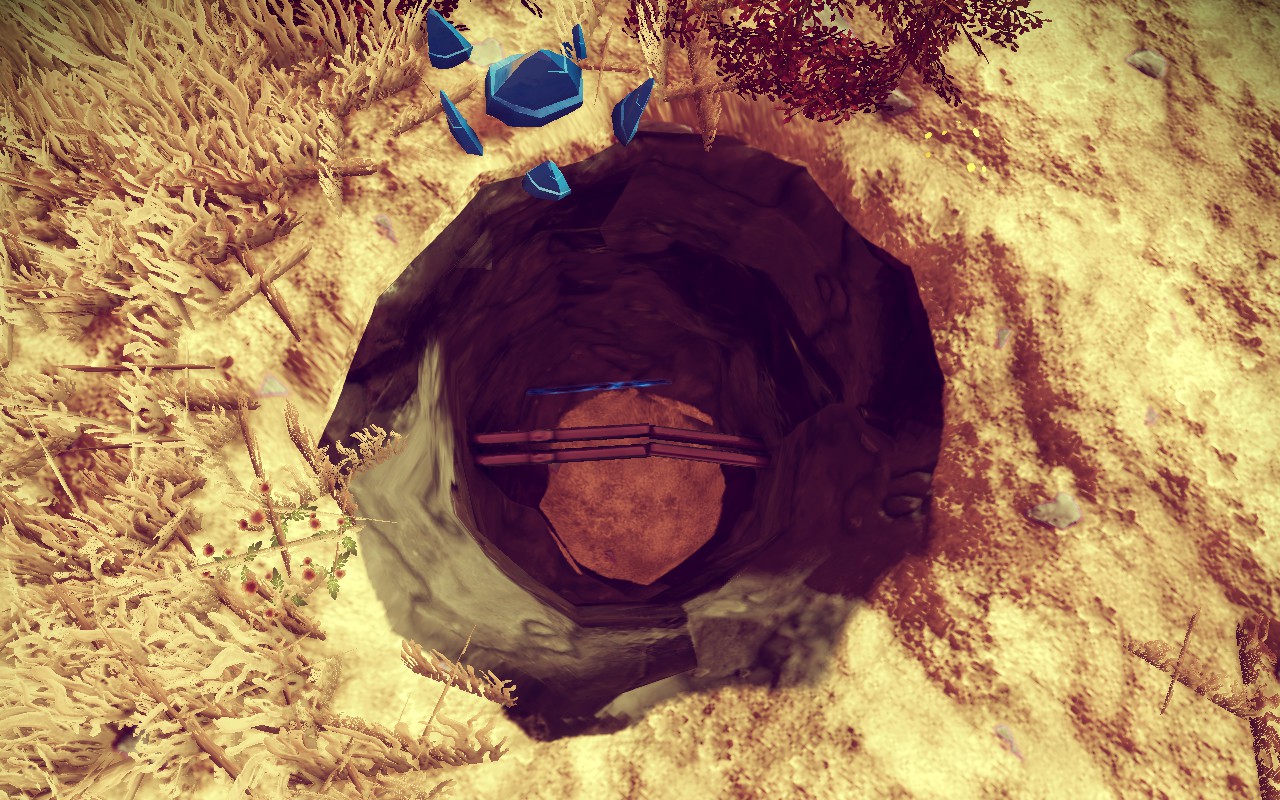
Note that several holes will be needed for longer runs (100u+) of wire. There is a 100u maximum segment length and terrain is also usually uneven enough to need several.
I dig a little hole near the extractor to connect power to that.
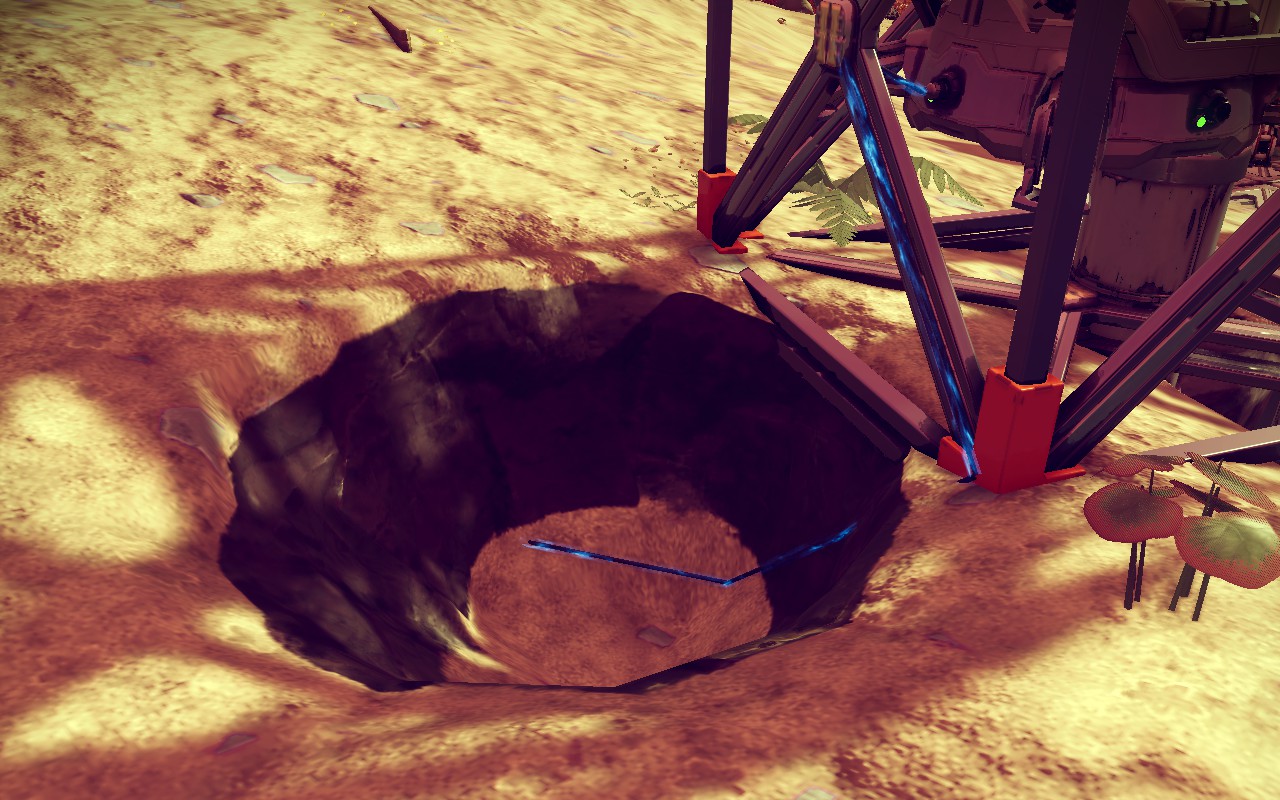
I remove a cube and dig out the area between extractor and supply depots. Then run pipes from the building to a supply depot and from the extractor to the same supply depot. I also use cosmetic pipes to cover up some jank.
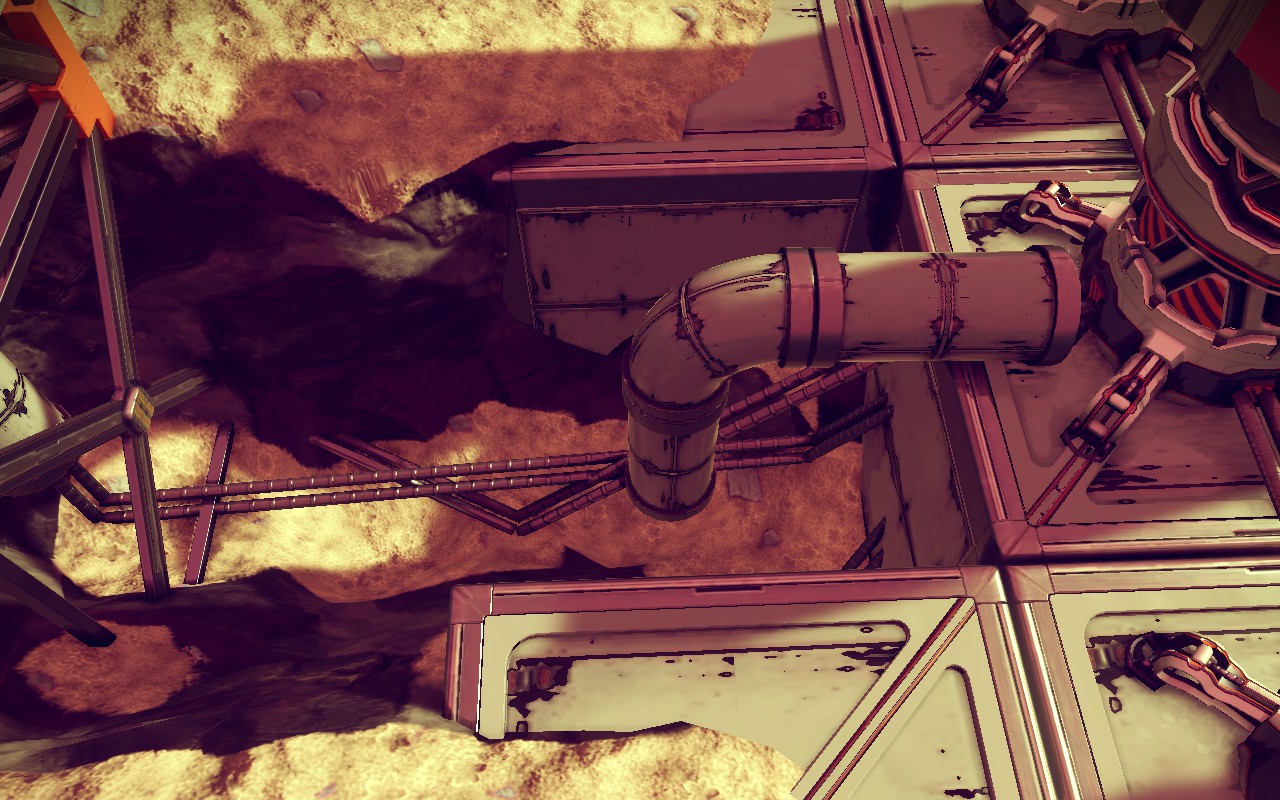
Before using the Restore tool to bury everything, I want something to mark the connections just in case they need changes or more wire connections later. So I put Cylinders in the ground where the two isolated holes are. These look kind of like manholes with color and rust material. Other things can be used though, like I've used Pillar Lights and Pyramids both as "utility poles" and to mark buried connections.
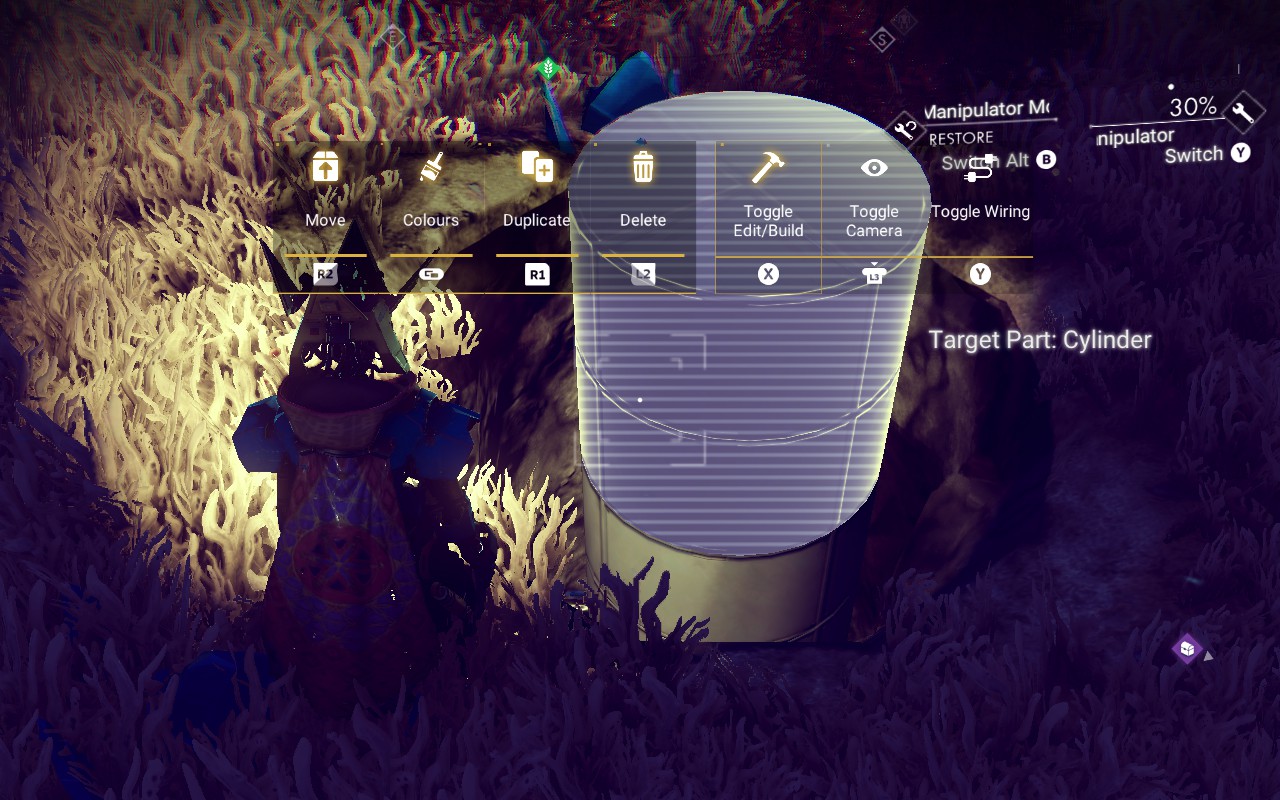
Then I replace the Solid Cubes I removed and bury everything with Restore. Using Restore deletes the terrain changes from memory and recovers the space that would get wasted if I didn't use Restore to bury all this.
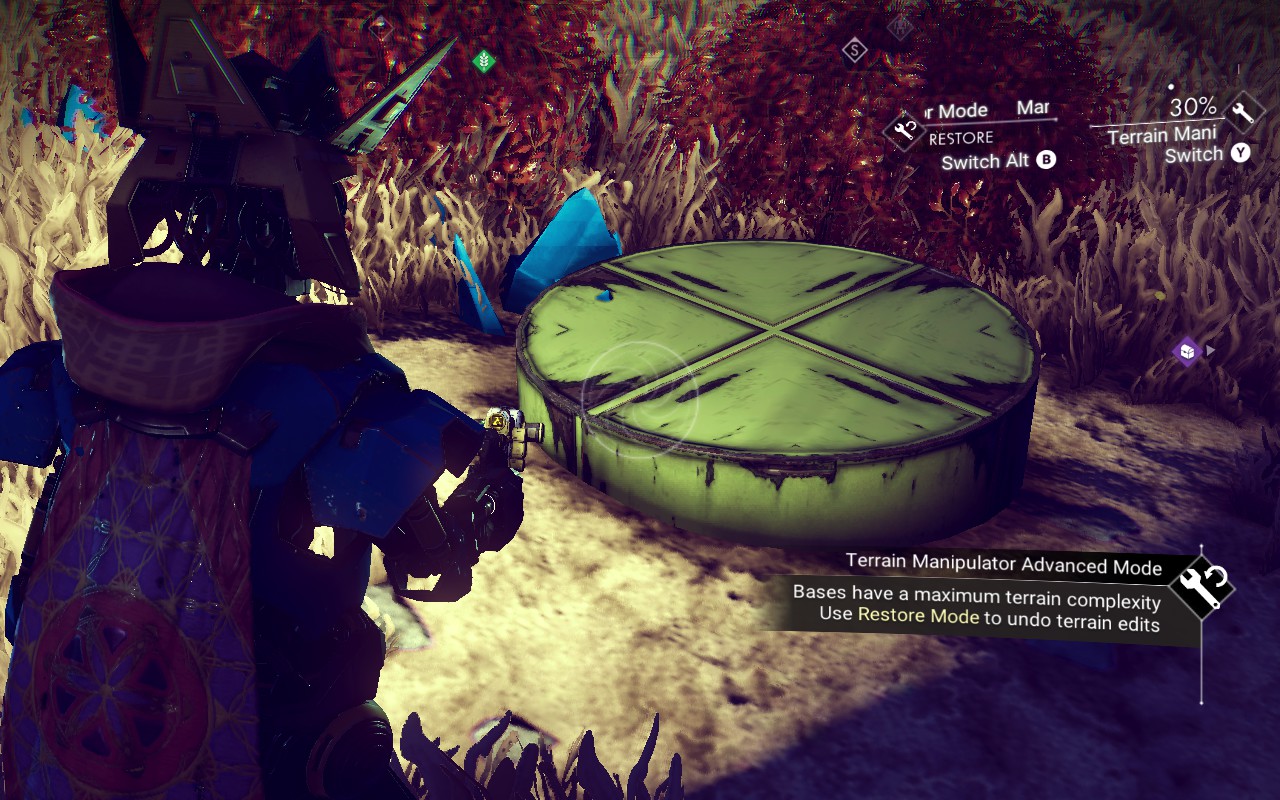
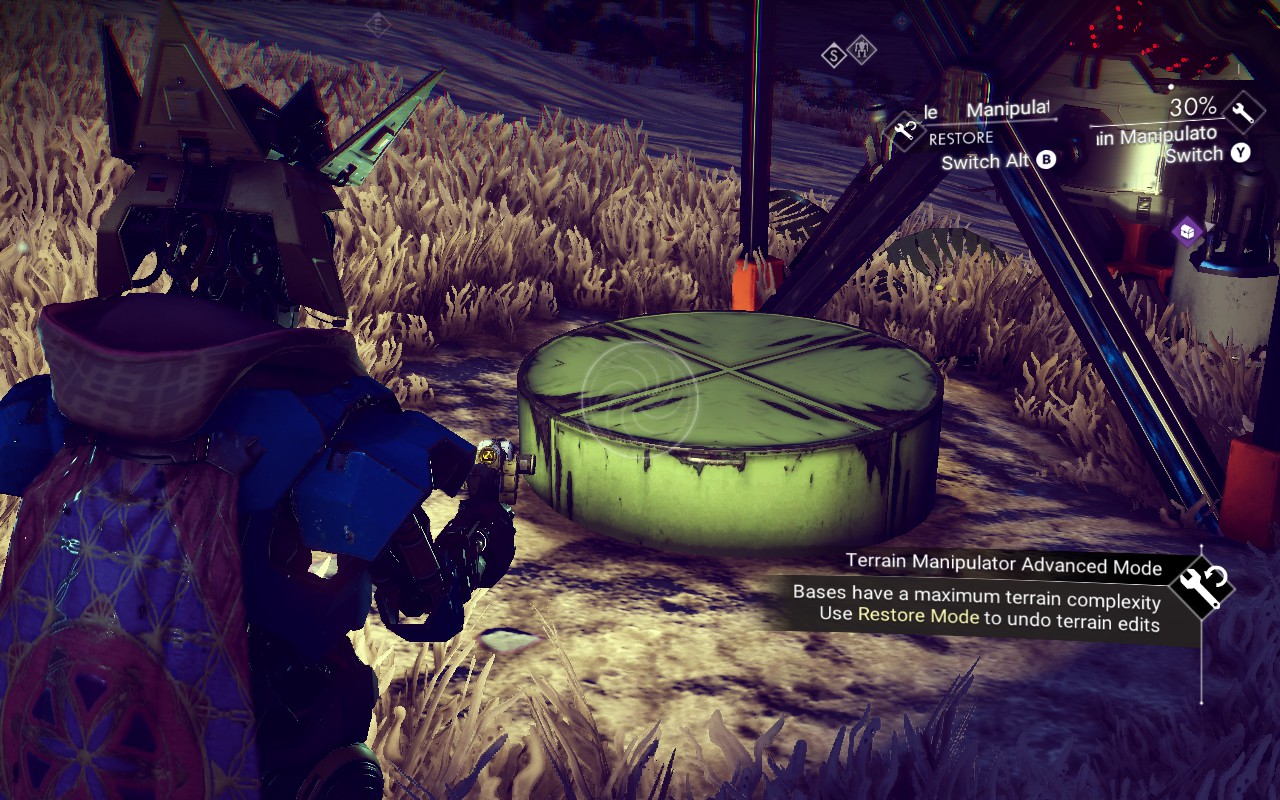
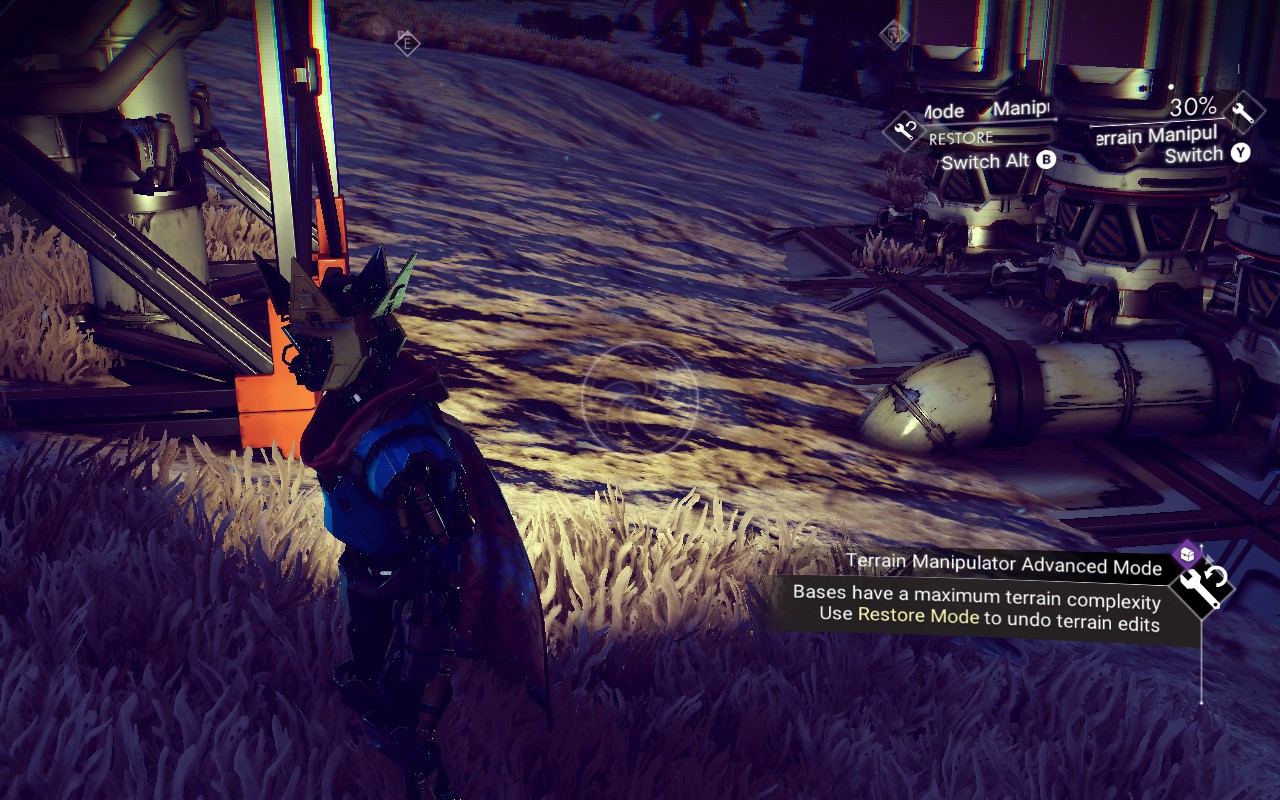
I’m sure there is a lot more material about how to bury pipes and wires out there, but it’s not that difficult once you’re familiar with how.
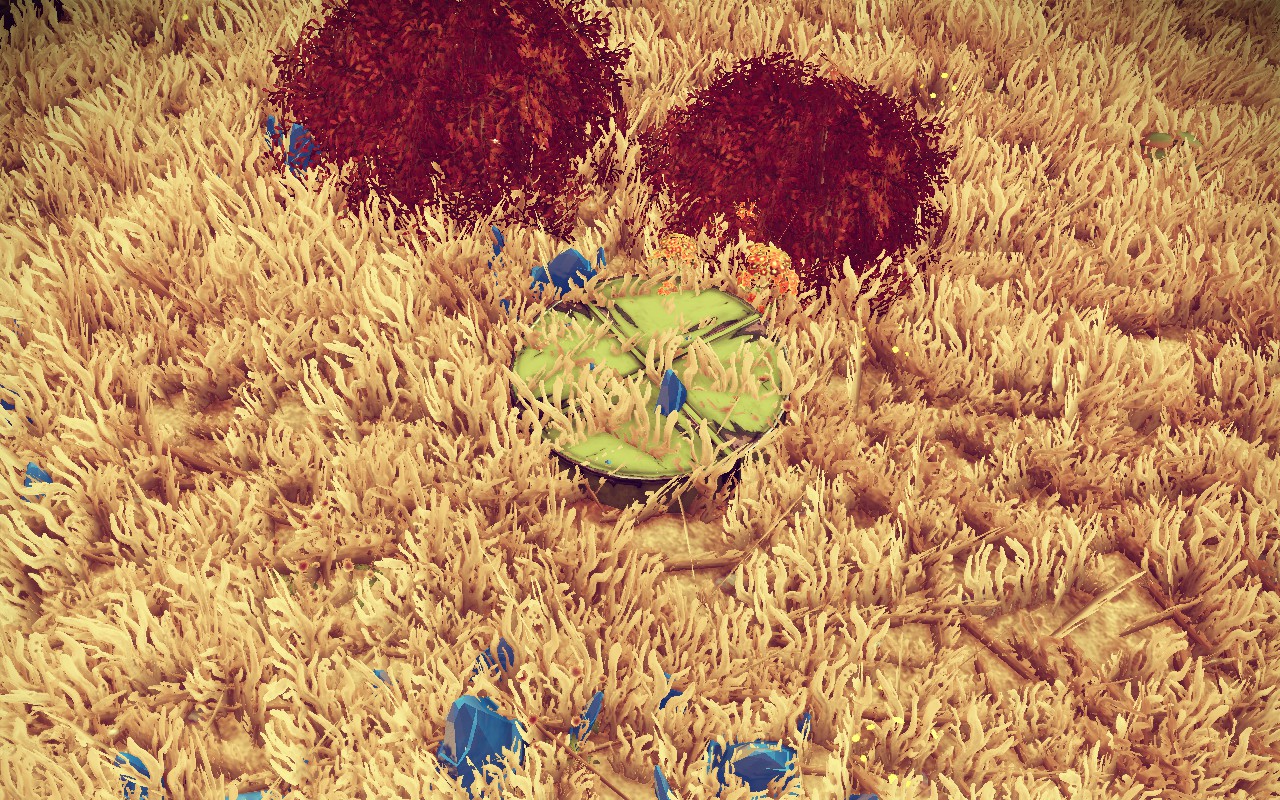
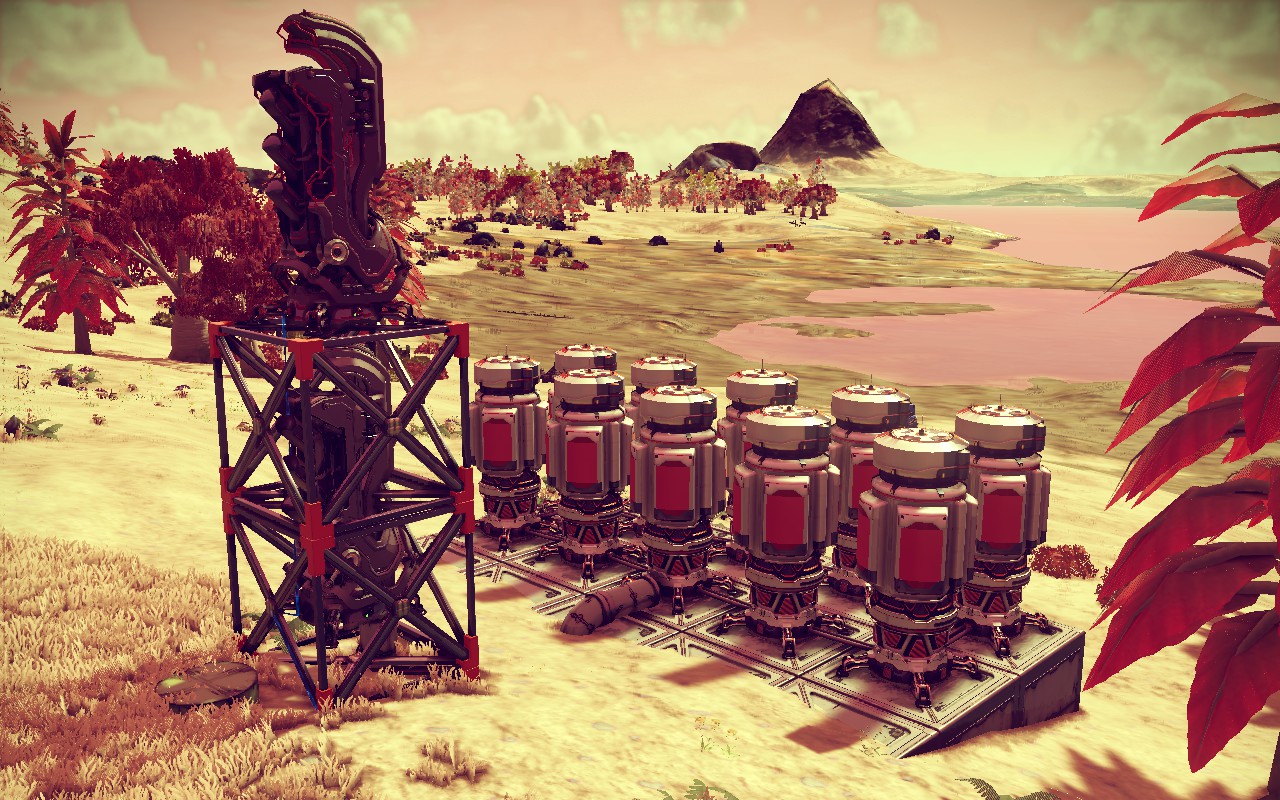
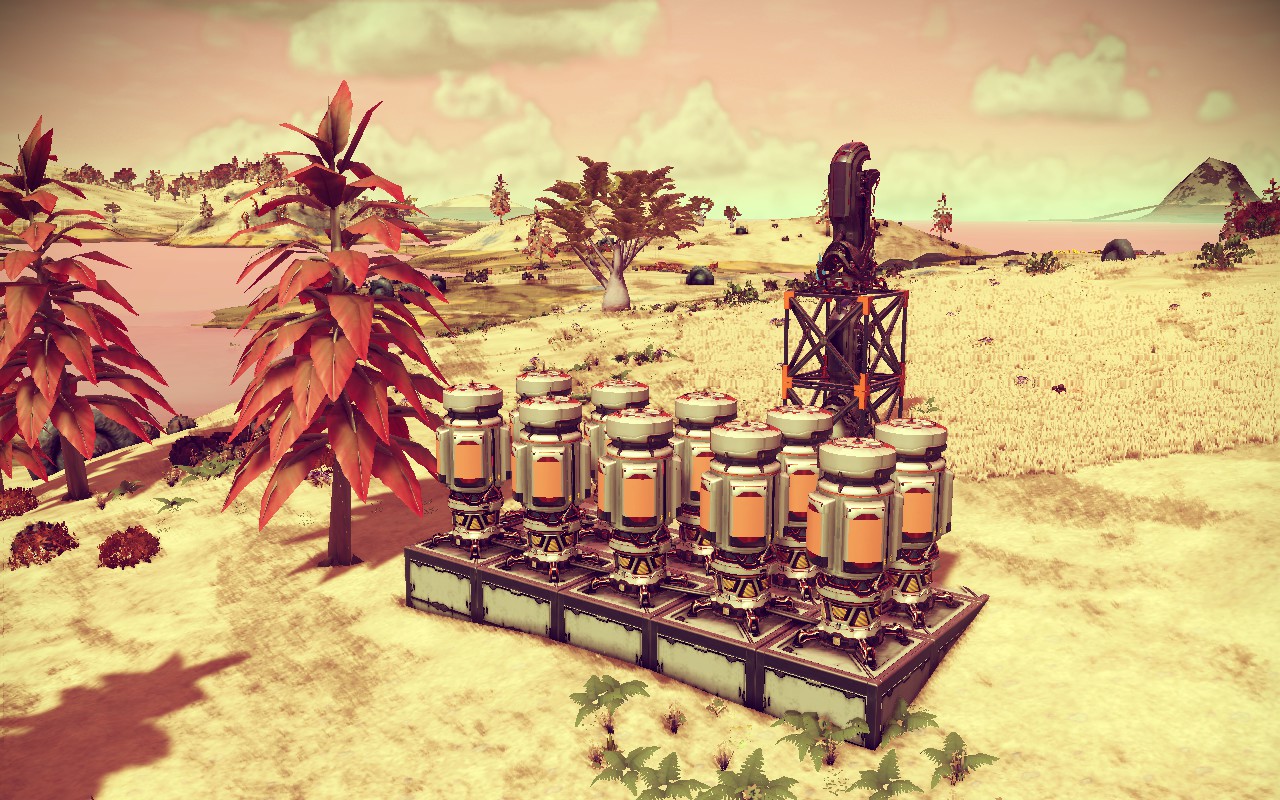
Right now I don't need another extractor for this particular setup, but I wanted to show a way to do this easily.
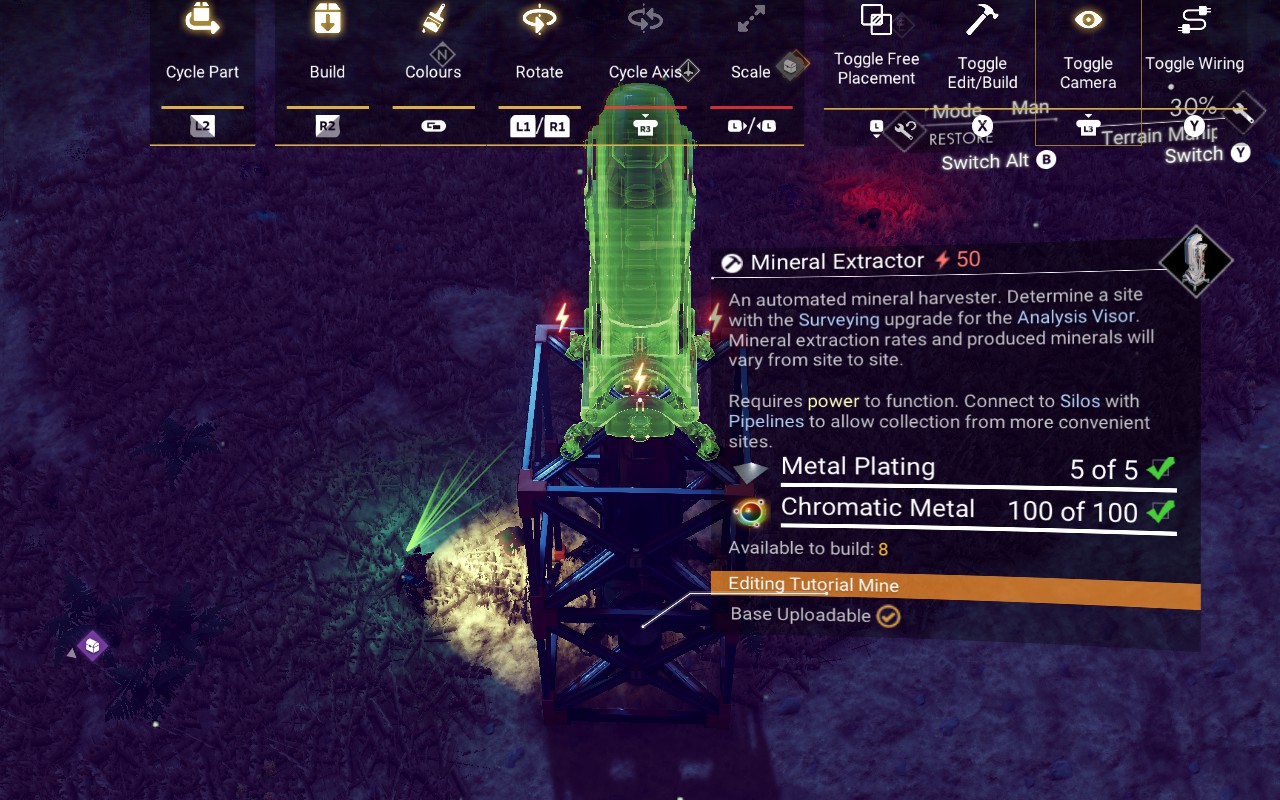
If the extractor is sitting on a Solid Cube or Cuboid Room Frame, you can snap a Cuboid Room Frame so it overlaps the extractor. Then you can snap another on top of that.
Just put down two Cuboid Room Frames in Snapping mode, and align the new extractor on top using the “X” of the frame. Make sure the new extractor’s pipe connector faces the same way as the old, and then just wire the power and supply pipe in one segment directly from the top connectors to the corresponding bottom ones. The wire and supply pipe will be barely visible.
Repeat process for more extractors if needed. The Build Camera will help.
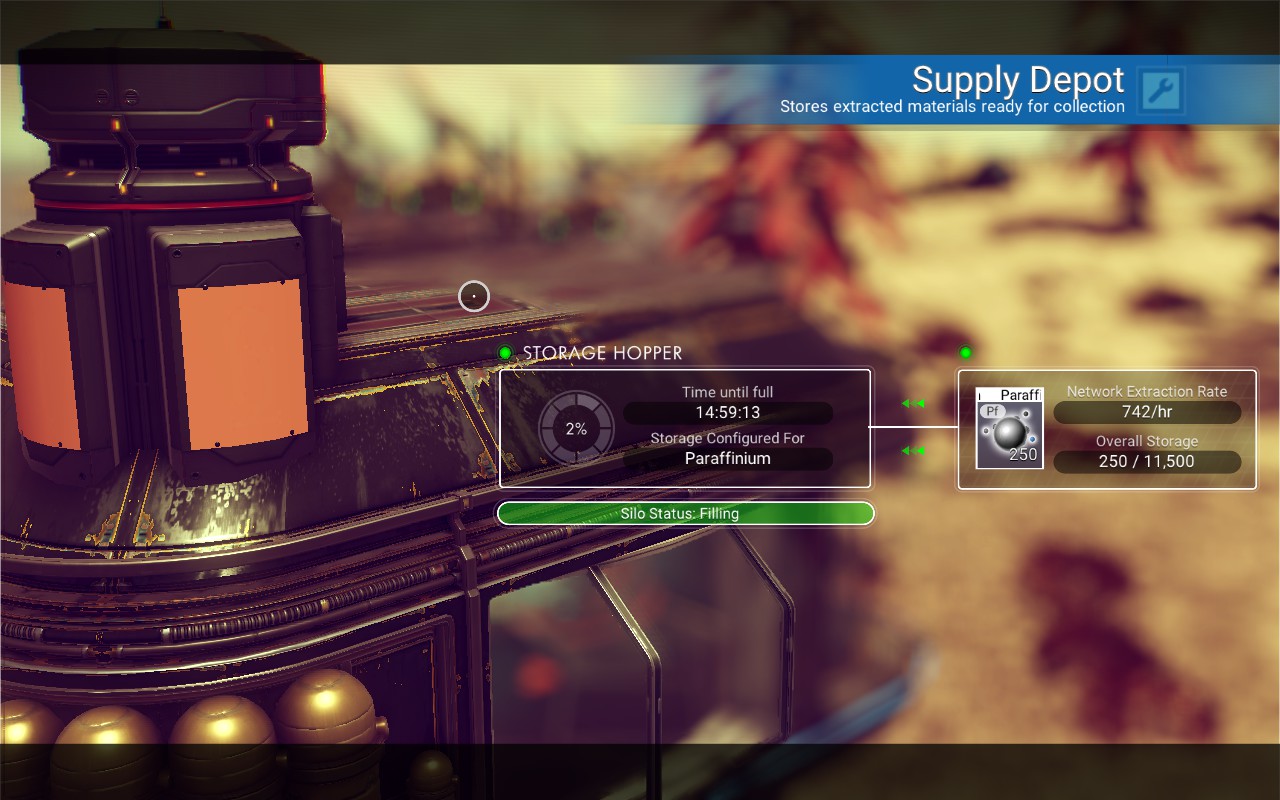
Optional: Trade Terminal
This section is mostly here to point out that the Trade Terminal will snap to the walls of prefabs and cuboid rooms like this:
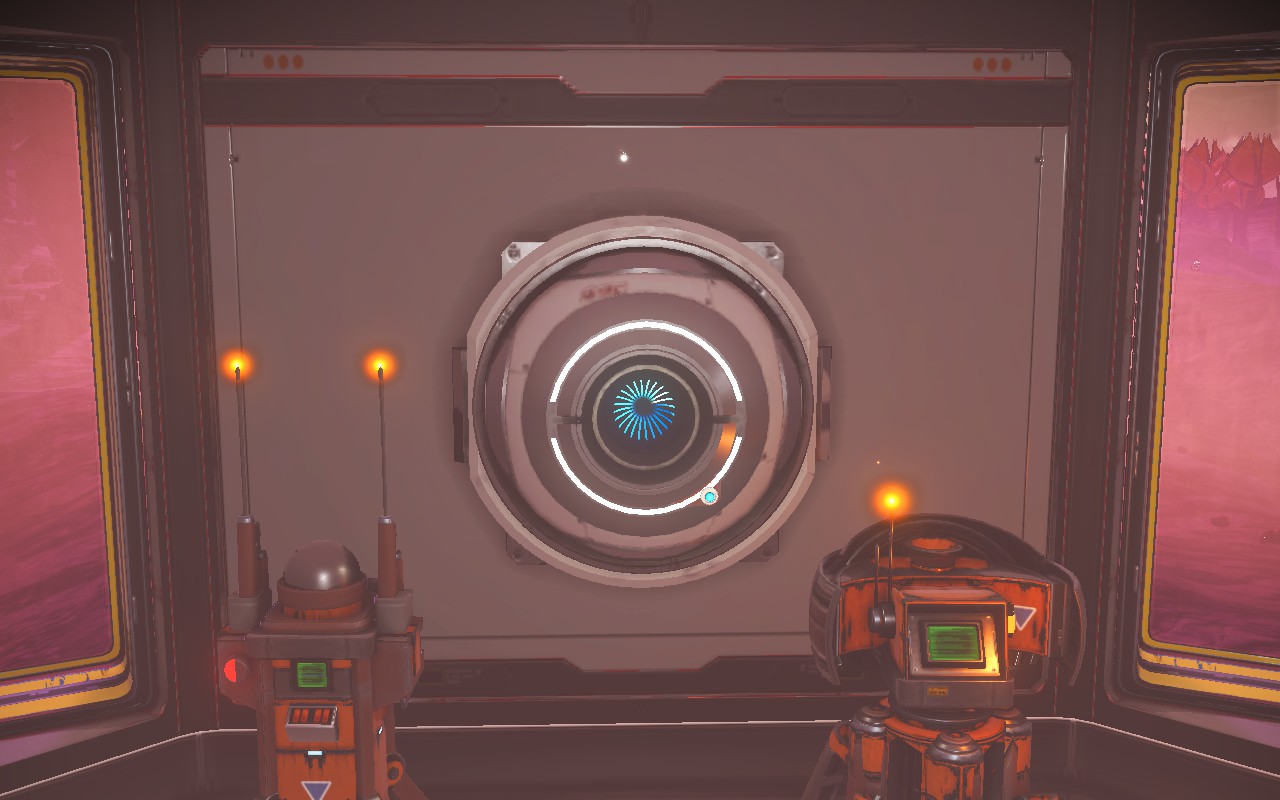
They actually snap to the corners of square prefab rooms, but will end up floating in space. if you don't like the way that looks then just use small solid cubes to create a wall behind them like this:
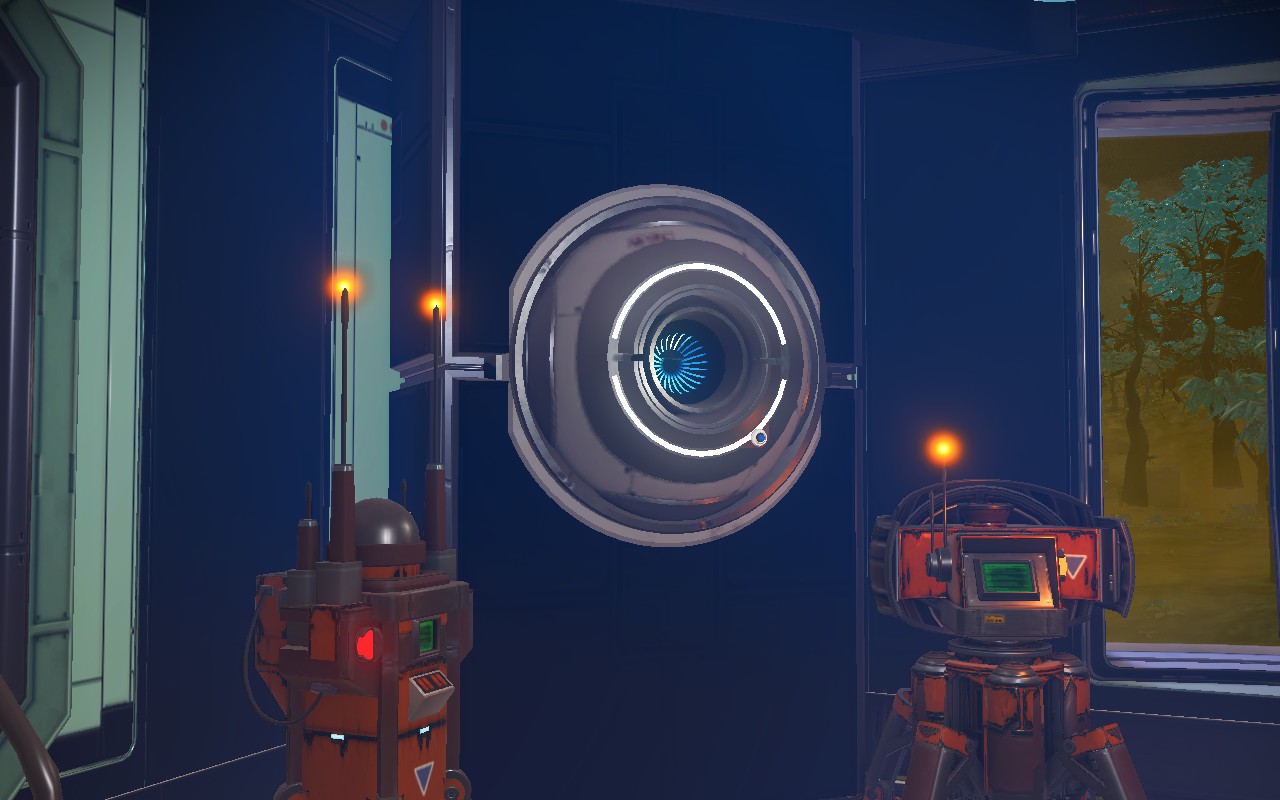
The reason why trade terminals are useful is that occasionally you might still need alloys or trade goods for something. If you have trade terminals everywhere then it can be easier to find whatever you need.
An ideal setup for your mineral/gas extraction bases is to put them all in wealthy systems with each being in a different economy type. Then, in addition to the mineral/gas supply, you also end up with trade terminals with access to all trade goods.
With that said though I don't usually bother with this and I seem to get by just fine without it, but it could be kind of convenient.
Optional: Landing Pad
This mostly shows a few useful things about snapping with landing pads.
Originally I didn't use landing pads because I was using a corvette 99% of the time and landing pads don't help any with corvettes. But later I decided to use a regular hauler starship to contain all the industrial resources to keep those separate from other inventories. With regular starships, landing pads do help keep the starship from getting placed in a bad spot around the base when you teleport in.
The standard Landing Pad[nomanssky.fandom.com] is pretty obvious as to how to place on the ground, but the snapping behavior for prefabs is not so obvious.
You can just snap a standard landing pad (but not the Alternative Landing Pad[nomanssky.fandom.com]) directly to the side of a prefab room if you have space, but this isn't always desirable. Fortunately it does snap to straight Corridors (not X or T) and Cuboid Rooms as well. It will also snap to some full width basic panel walls with doors.
Snapping is more important than usual here because it not only positions the landing pad but also causes a small walkway with rails to appear around the entry point.
The easiest way to place one is to stand inside the prefab room, then place zero or more corridors (ending with a straight one), then place the landing pad at the end of any corridors from inside. This should orient the call terminal in the correct direction.
Note: Corridors seem to snap to landing pads just fine but for some reason landing pads don’t like snapping to corridors. In this case, use a temporary Cuboid Room to get the landing pad to snap, then replace the cuboid room with a corridor after placing the landing pad.
Apparently a door isn't even required if you use a corridor because snapping the landing pad into place will open the corridor end.
For the example base, I wanted to move the landing pad over a little bit so I used two glass roof corridors.
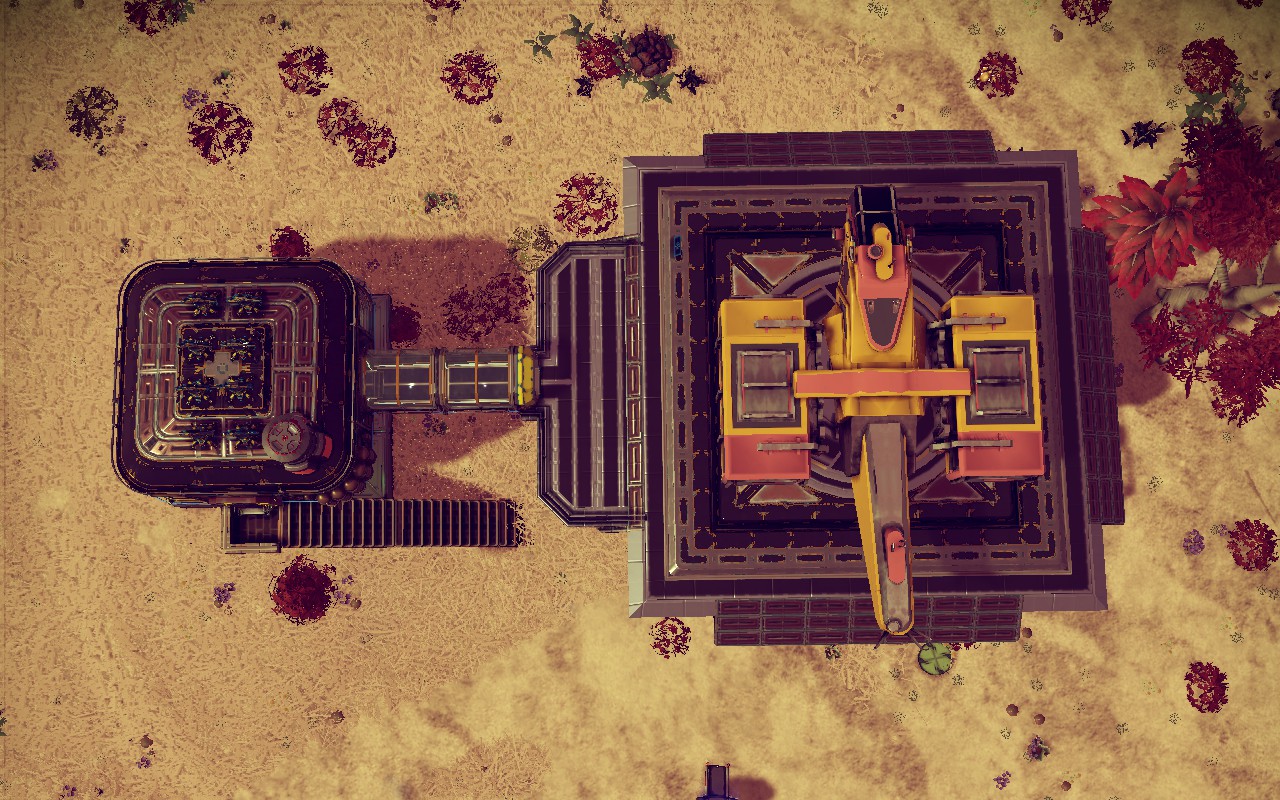
If you don't care if the landing pad is just hanging off the side then you can stop here, and adding a landing pad is as easy as adding one or two snapping prefabs. But if you want to make it look supported, here's a tip for building some structure on the underside.
Cuboid Rooms will snap directly to the side of the landing pad the same way they do to large prefab rooms, but unfortunately it seems like cuboids don't snap under the landing pad. So here's a trick to help line those up,
Just snap a cuboid room of some sort to the center of one side. (In this case I was experimenting and replaced a corridor with one, but you can do this to an empty side as well.)
After that, place a Solid Cube or Cuboid Room Frame under the Cuboid Room.
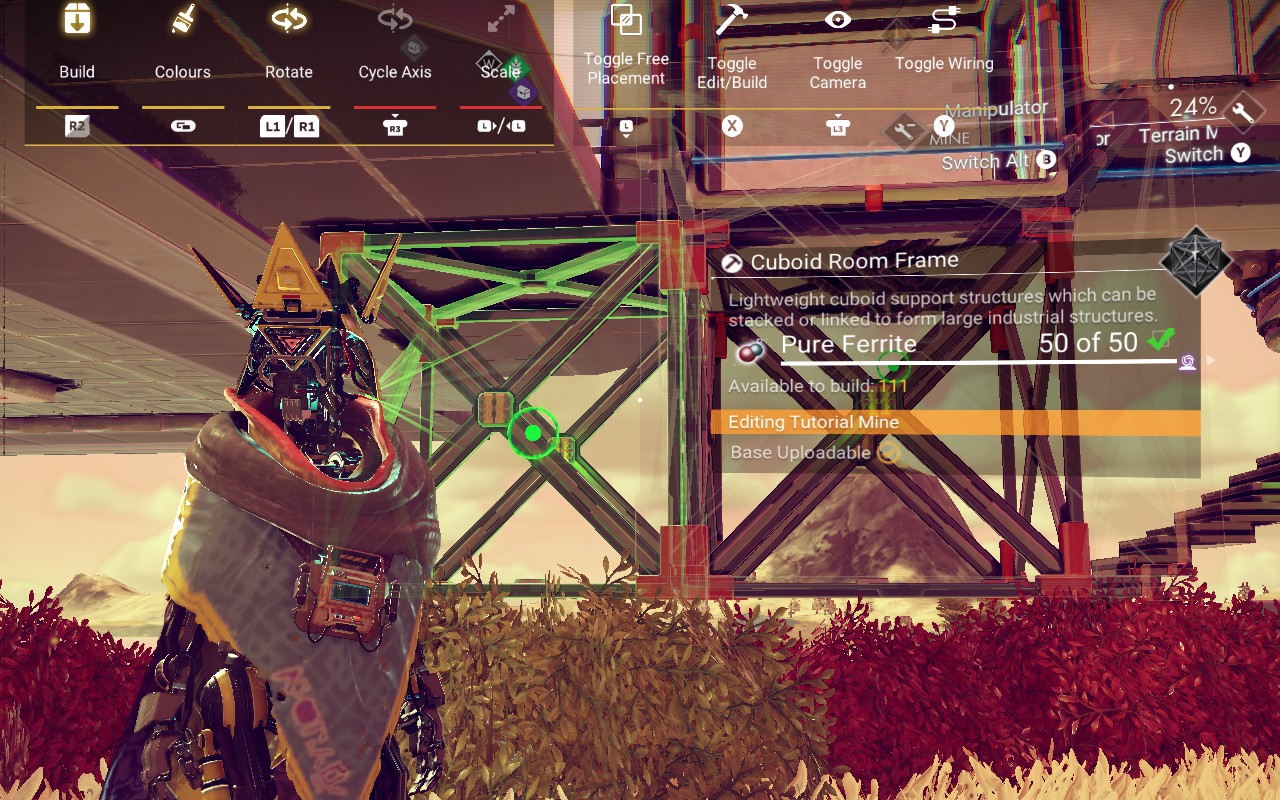
Then build cuboid room frames or solid cubes to the side toward the center of the pad. This is just to start up the cuboid snapping grid so you can build some sort of support under the landing pad. Then just remove the unnecessary cuboids:
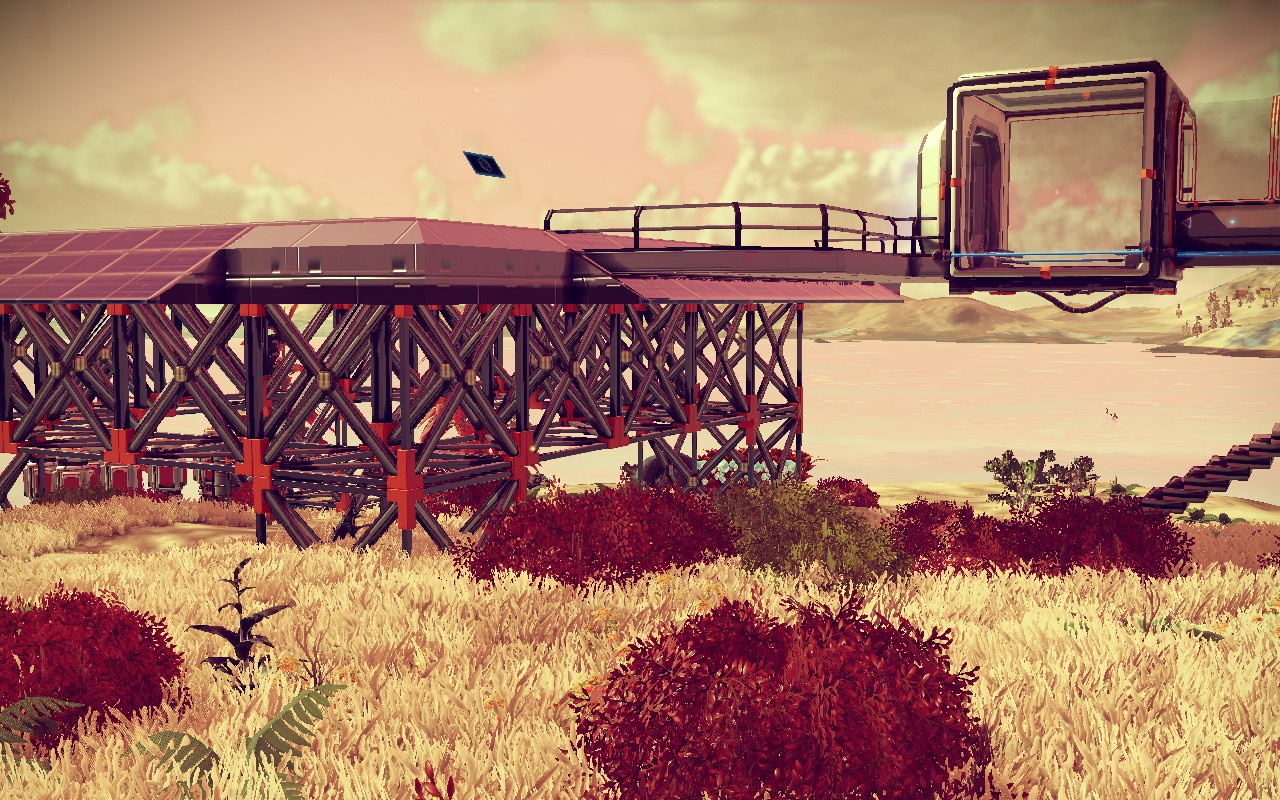
And then remove the cuboid room or replace it with the corridor:
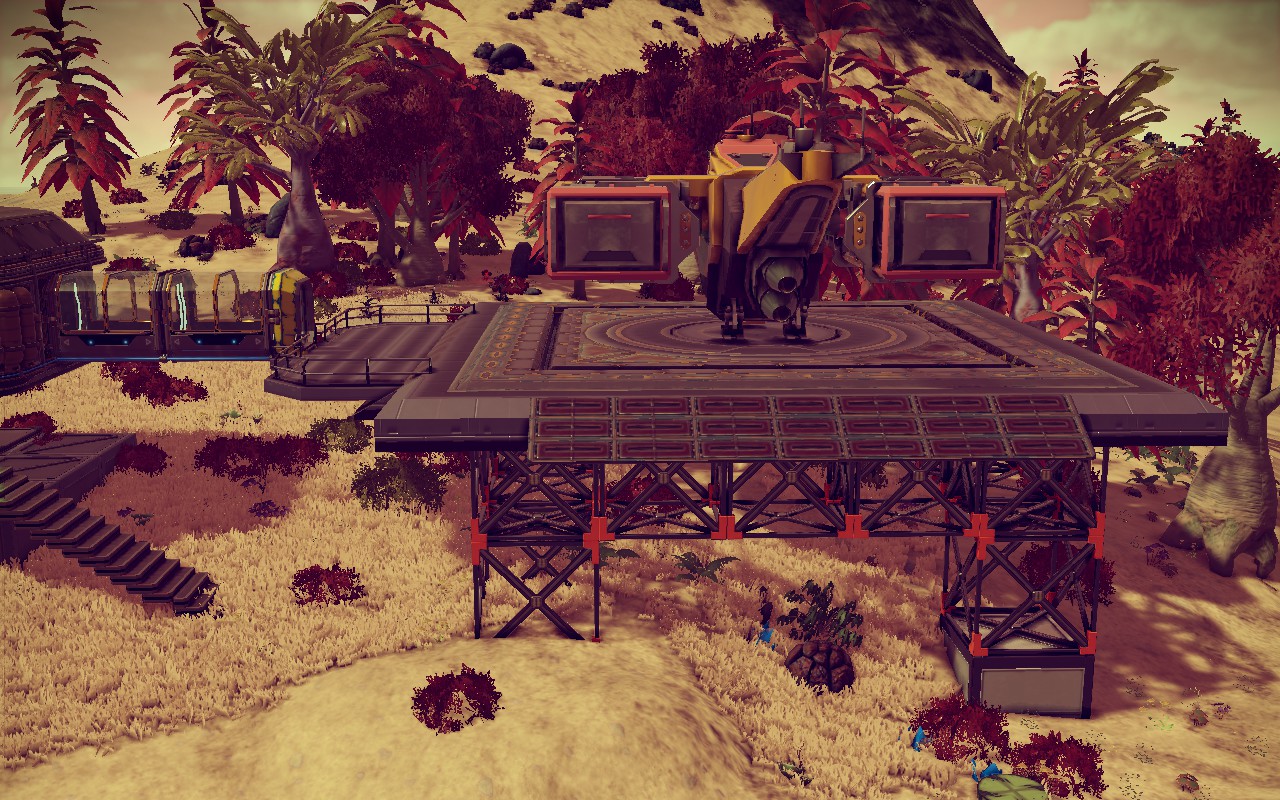
Another trick that looks a bit lighter weight is to temporarily put Solid Cubes or frames on the top part, snapping them from the prefab for alignment purposes, and then use the Cuboid Room Foundation Strut[nomanssky.fandom.com]. Example:
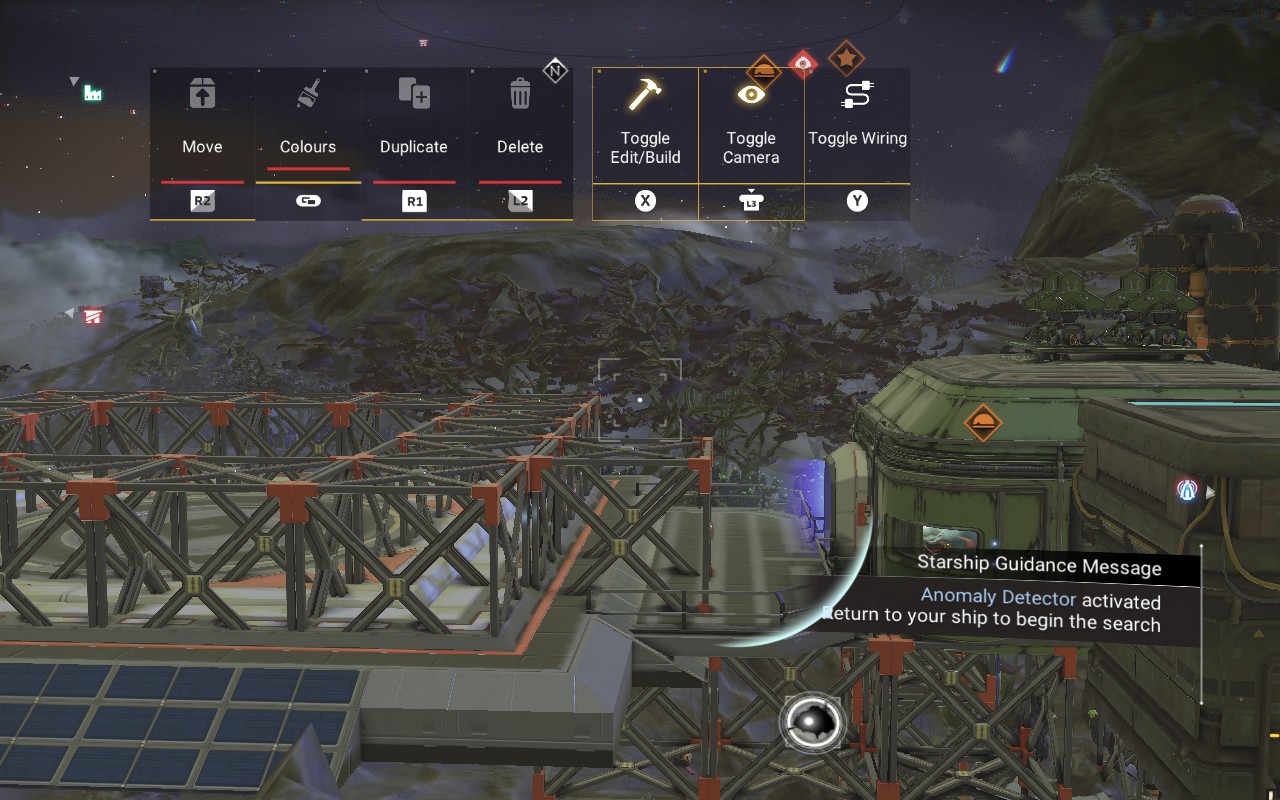
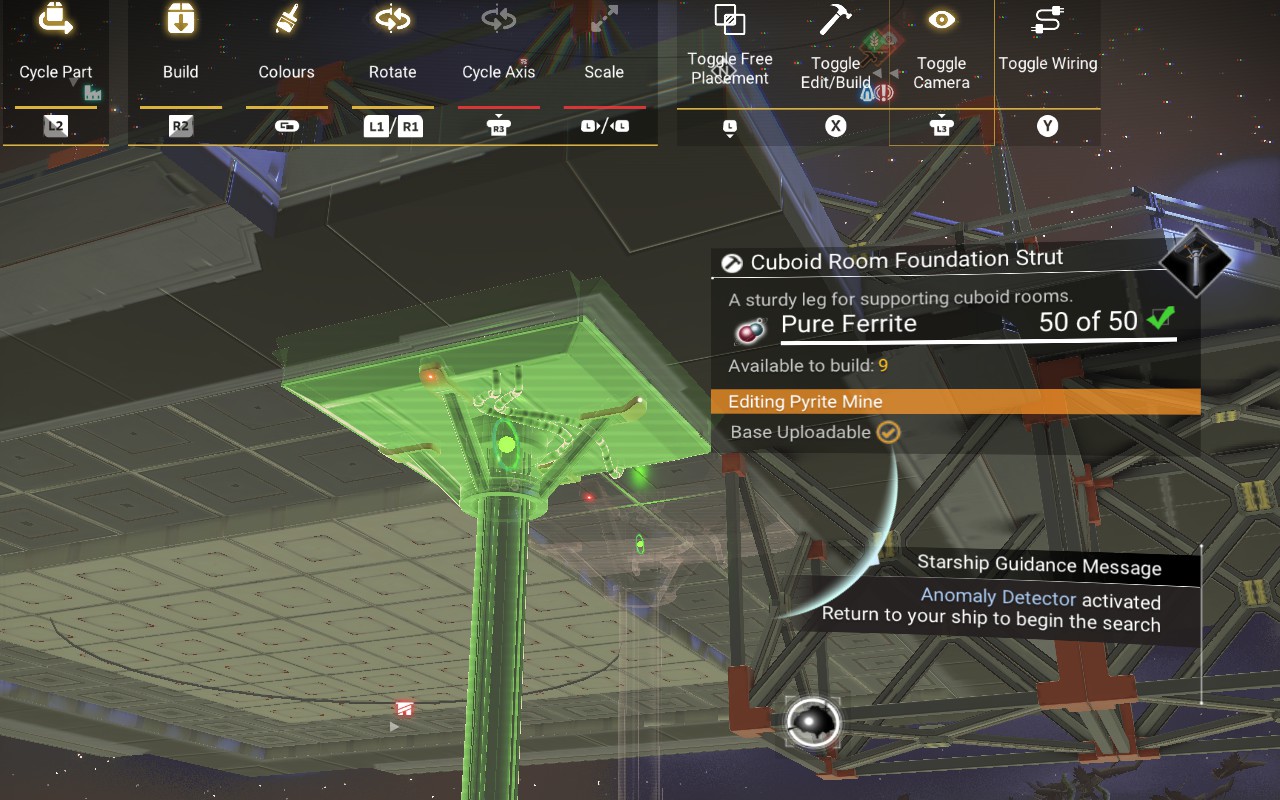
Then just remove the unwanted solid cubes or cuboid room frames.
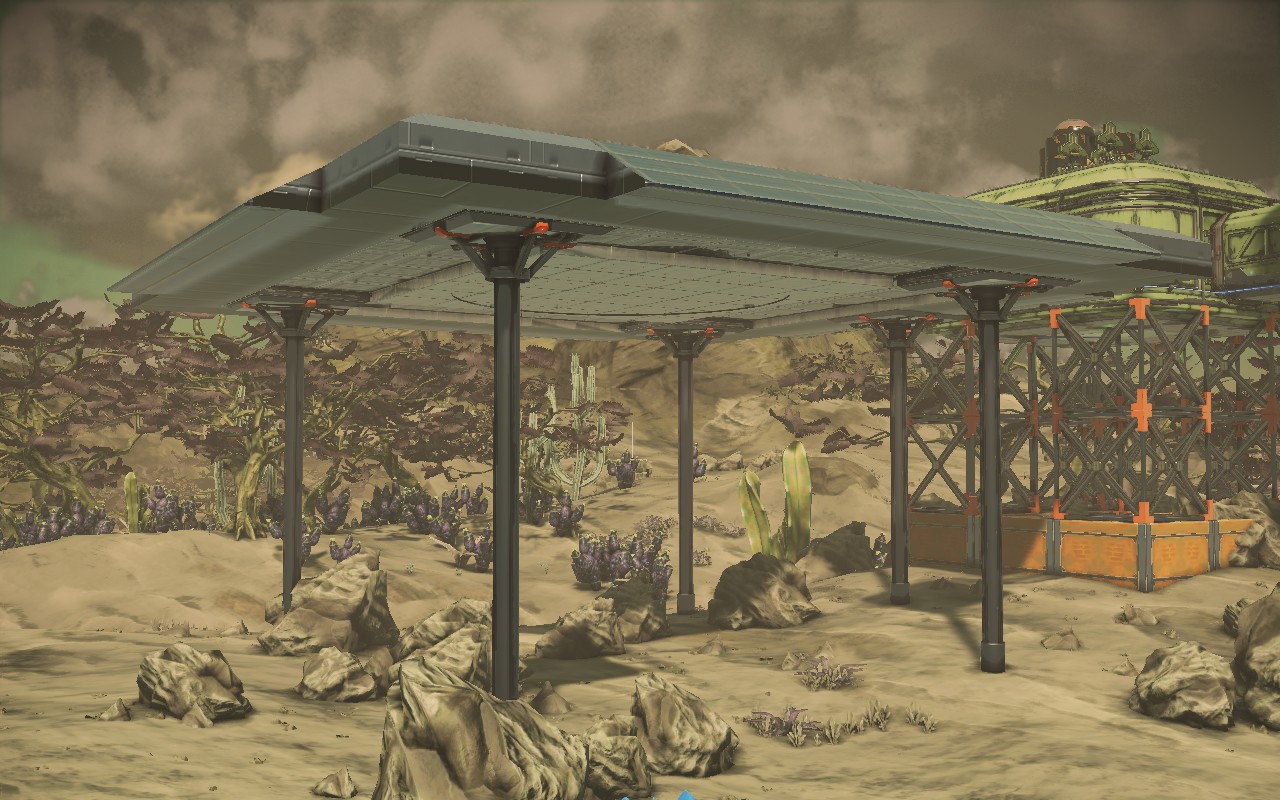
The Alternative Landing Pad[nomanssky.fandom.com] won't snap to anything, but it is a little better designed for placement on flat floor tiles and such. So as an example, for this base which I already had surrounded with a flat deck, I just extended the deck somewhat and placed an Alternative Landing Pad on that.
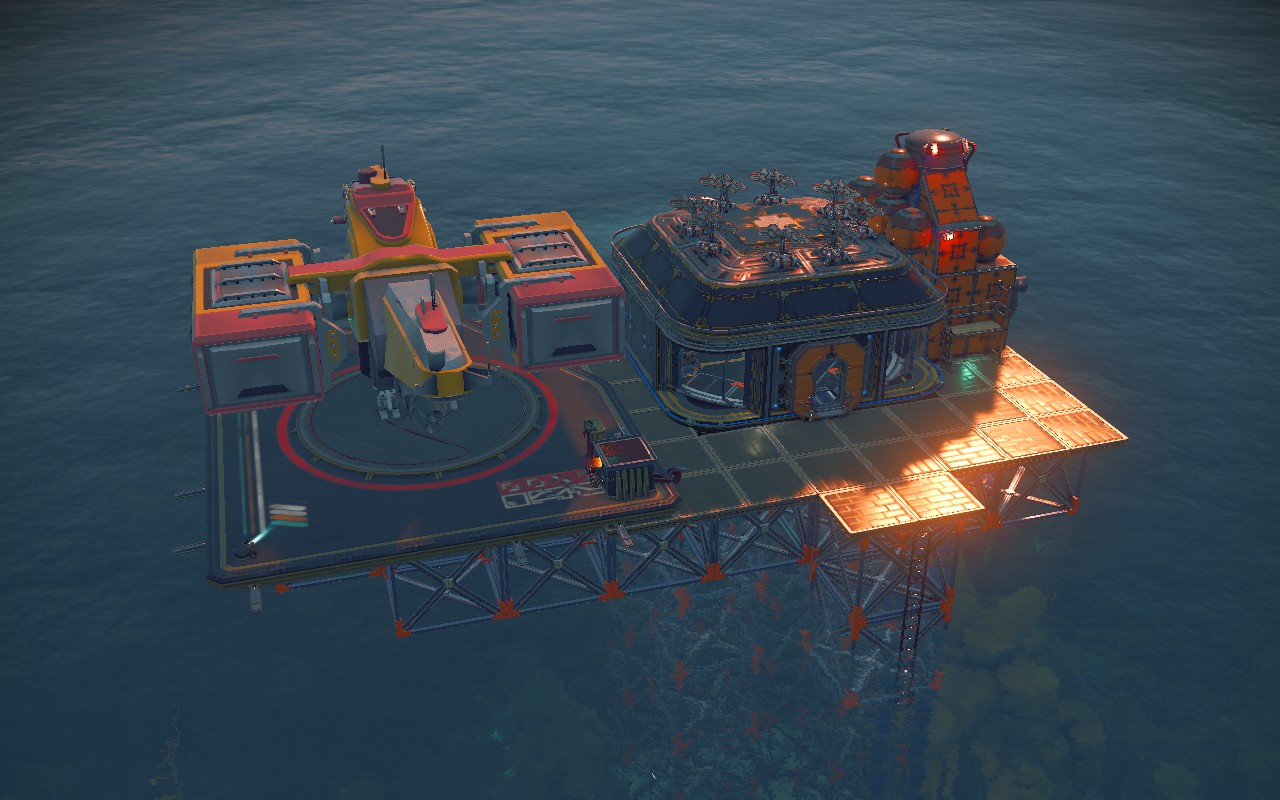
Random Base Construction Tricks/Ideas
You can also make a pyramid-style deck using ramps and roof corners on the sides. This makes it easier to walk across the edges. (I didn't use this in the simple example because it requires more materials.)
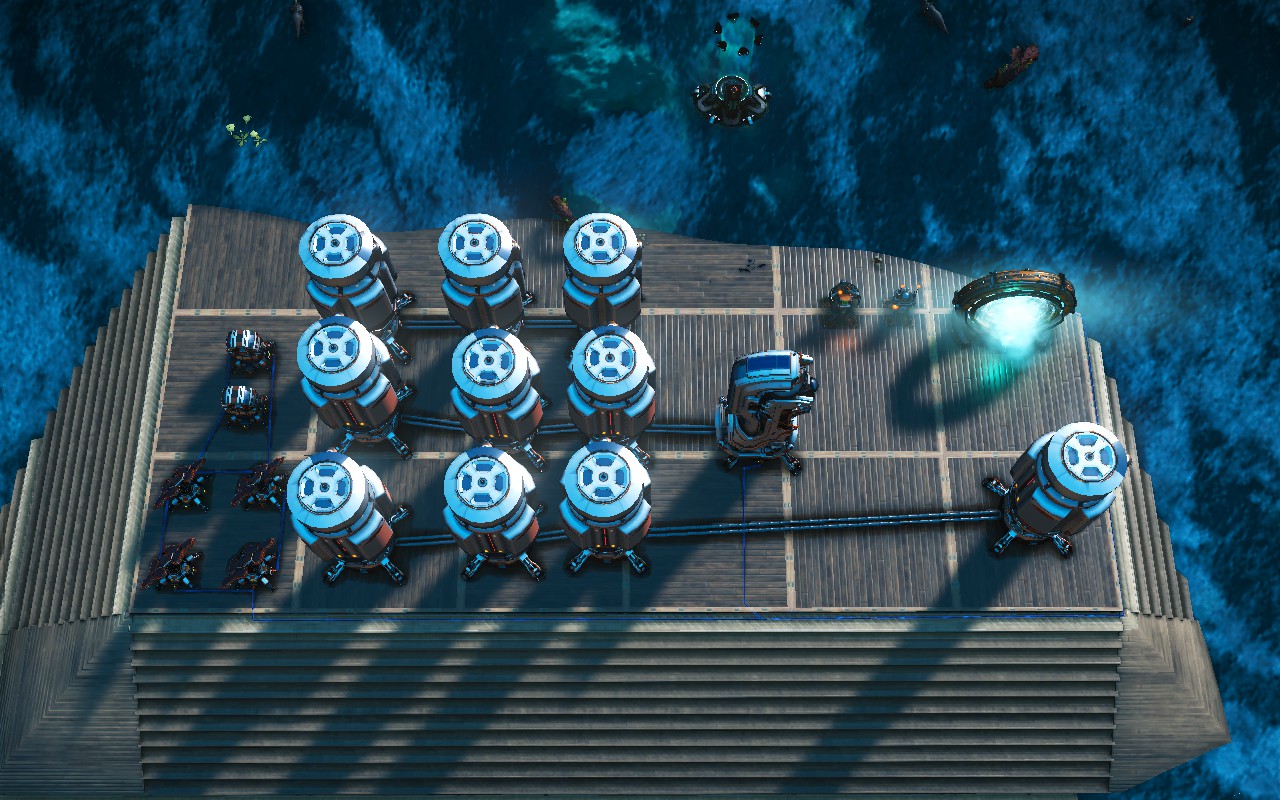
Corridors can be used like tiny rooms for things, such as tanks. Here are some examples.
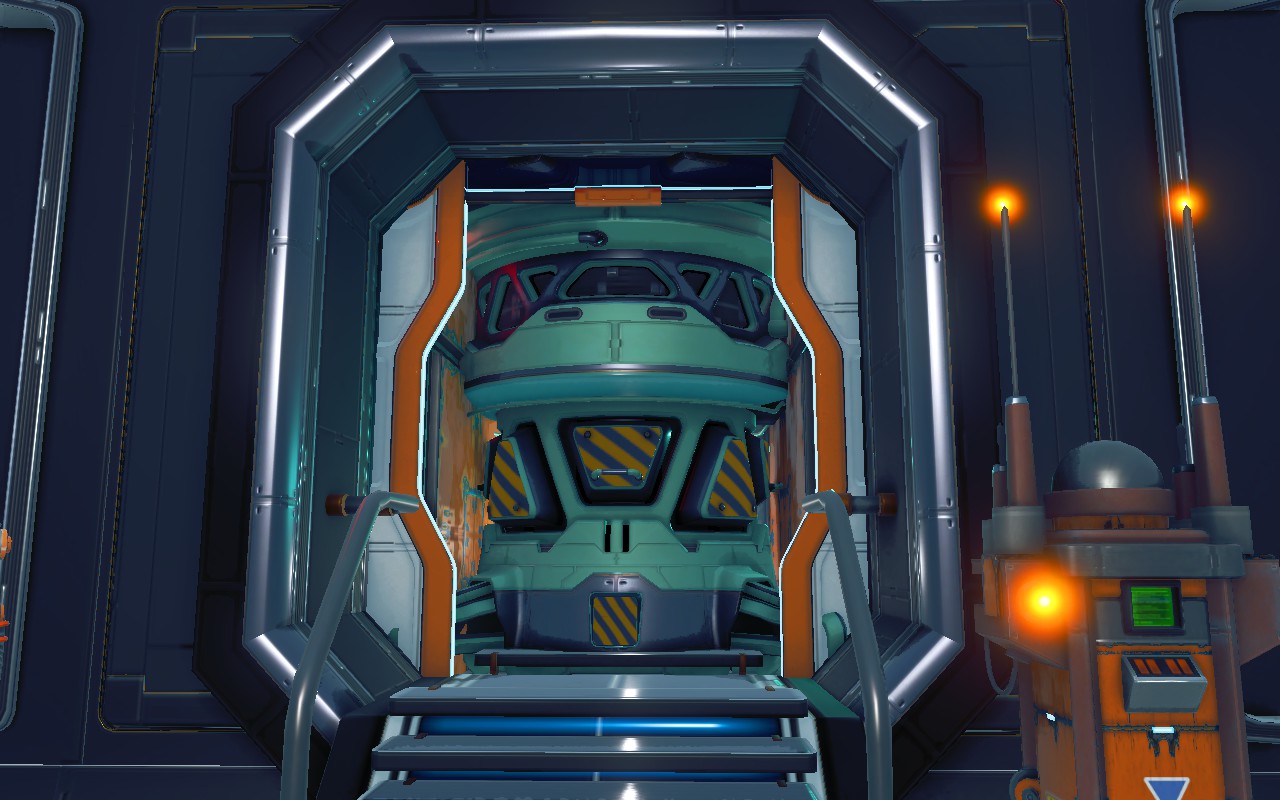
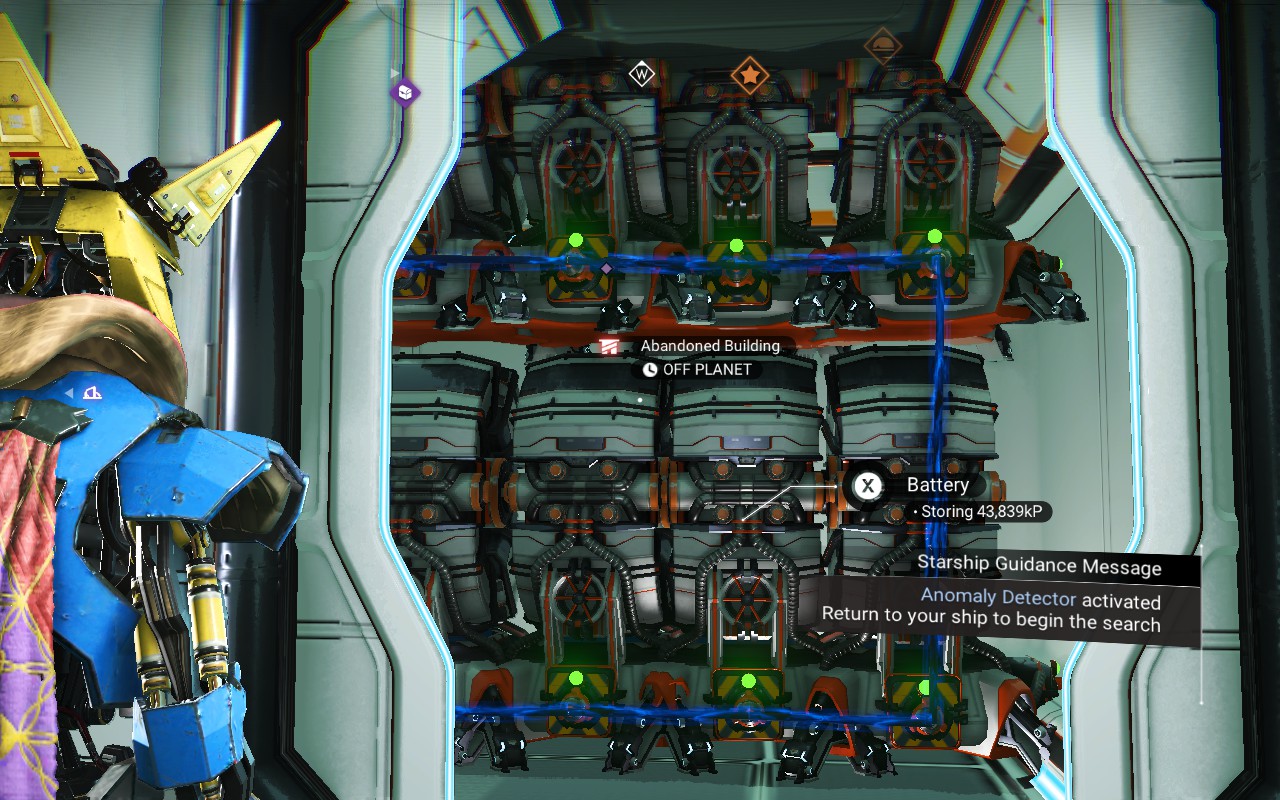
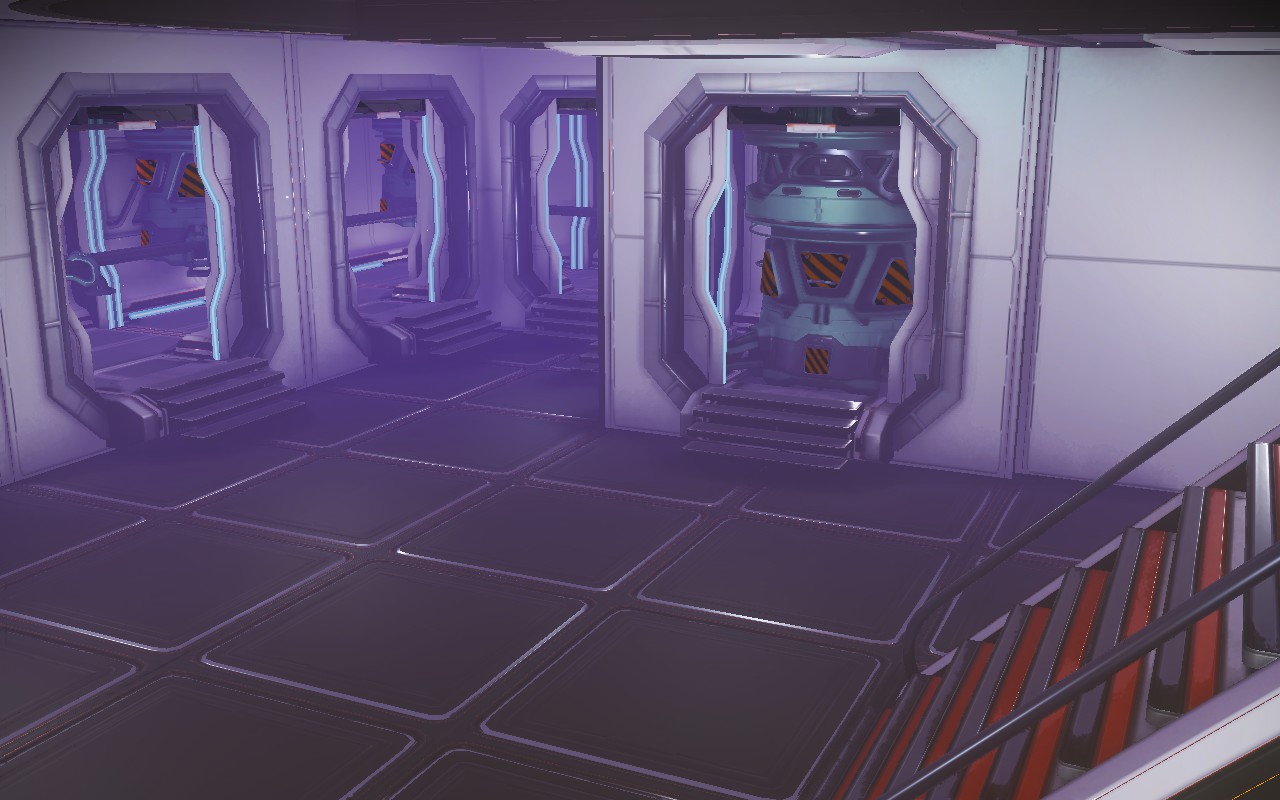
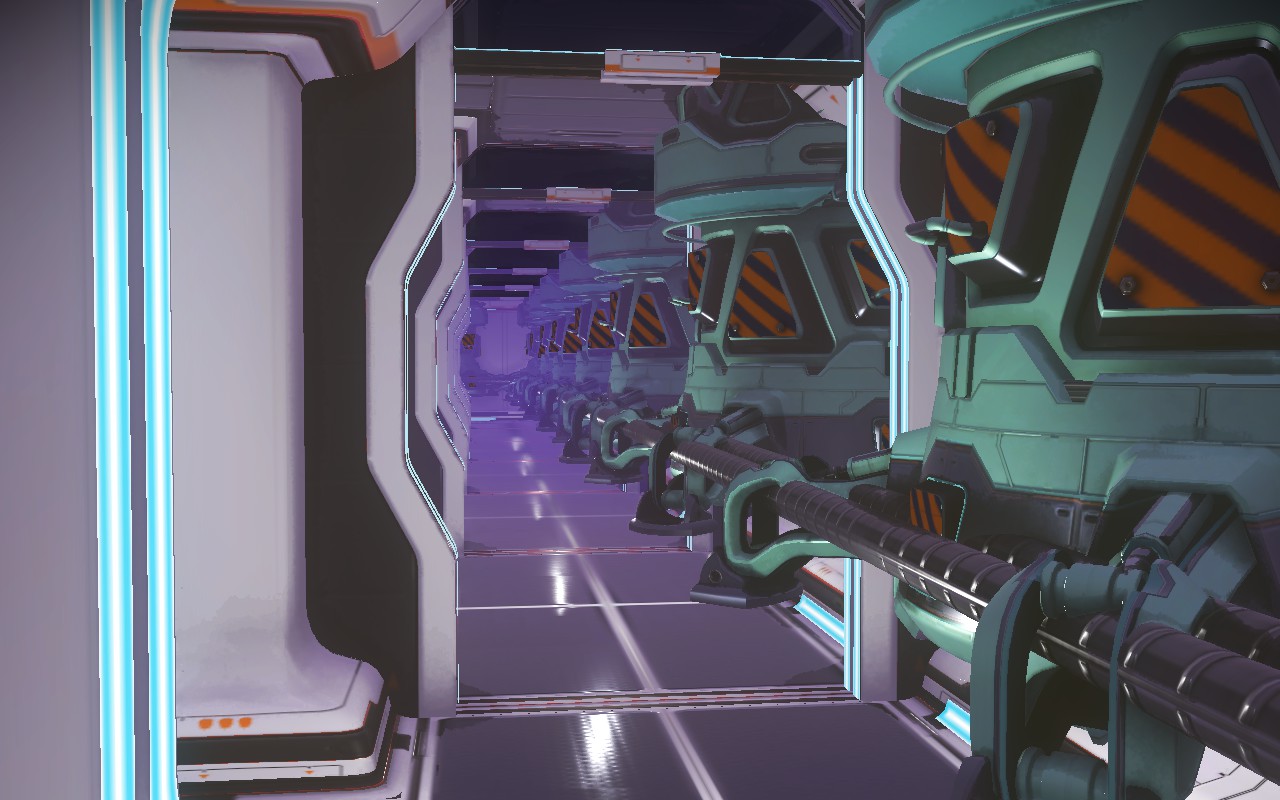
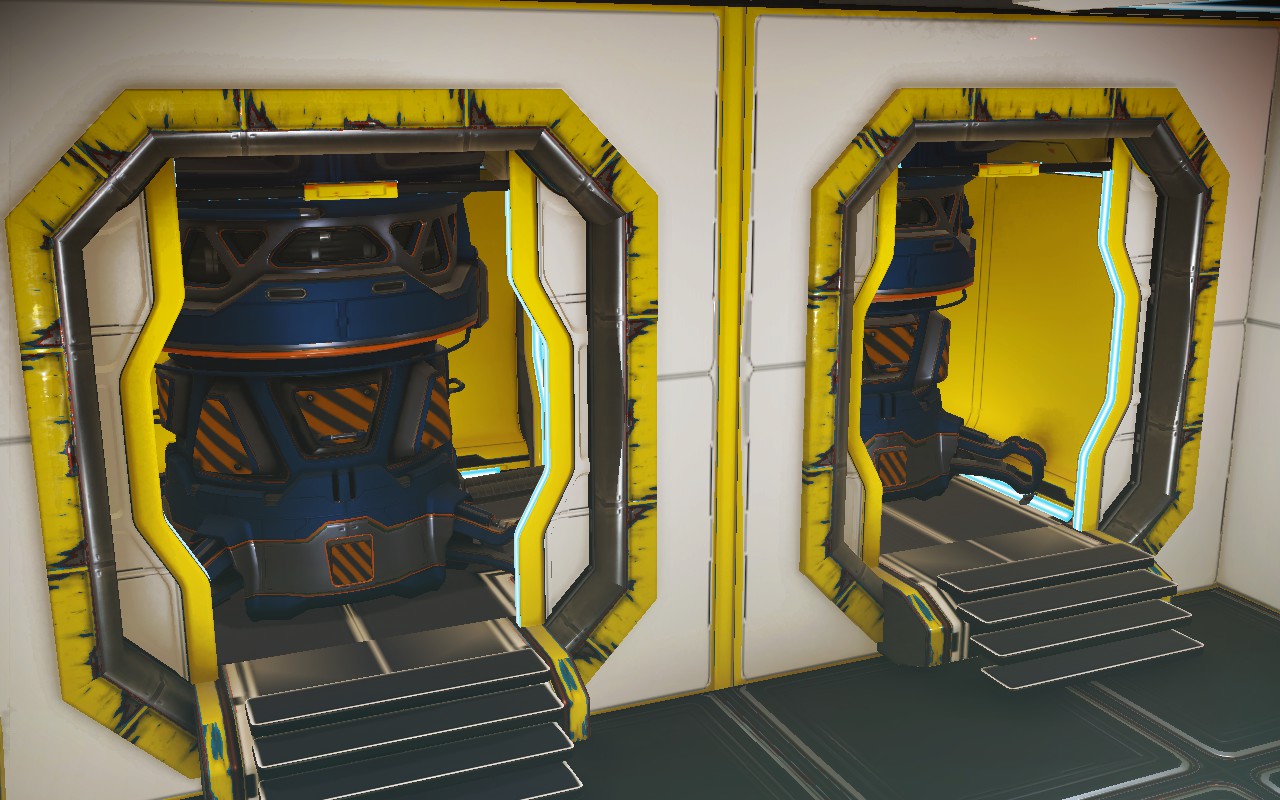
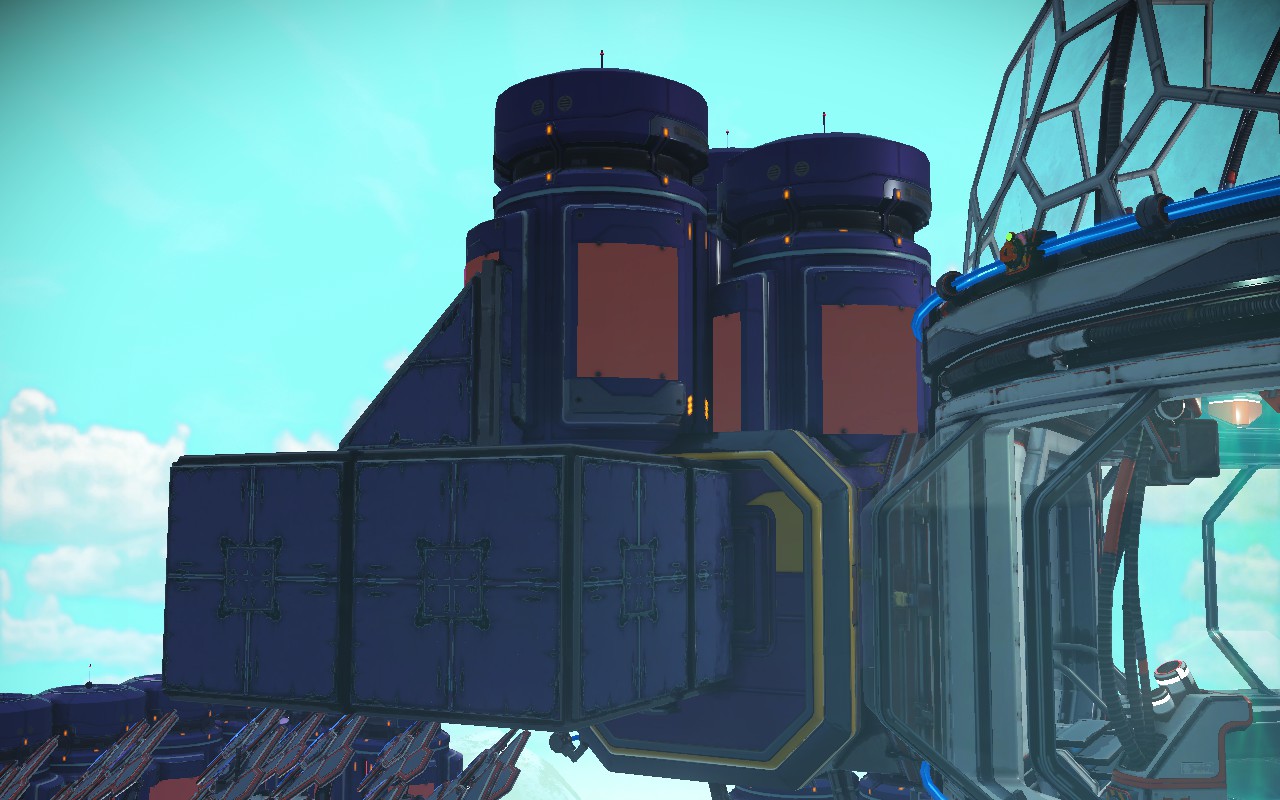
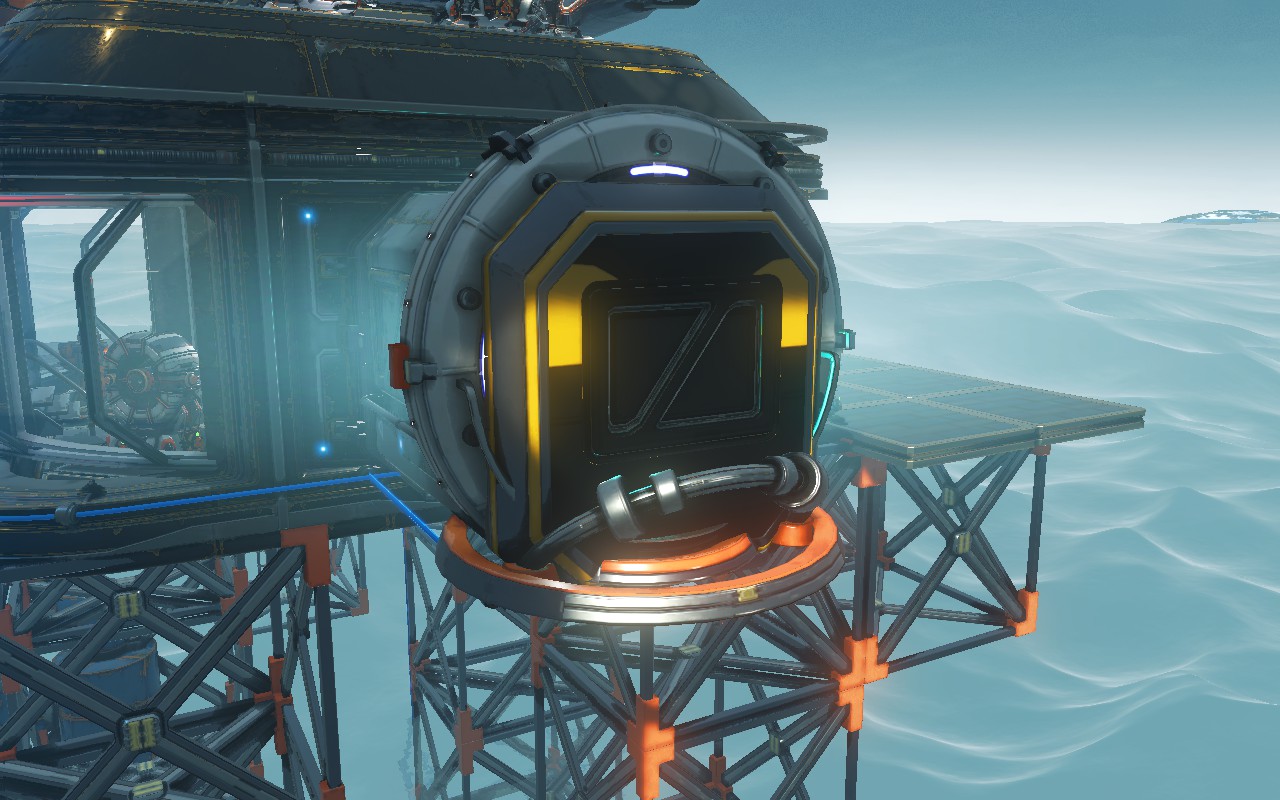

Notice that T and X shaped corridor intersections have more space.
Corridors will snap to some basic walls, specifically the full size wall types like Arches and Doors:
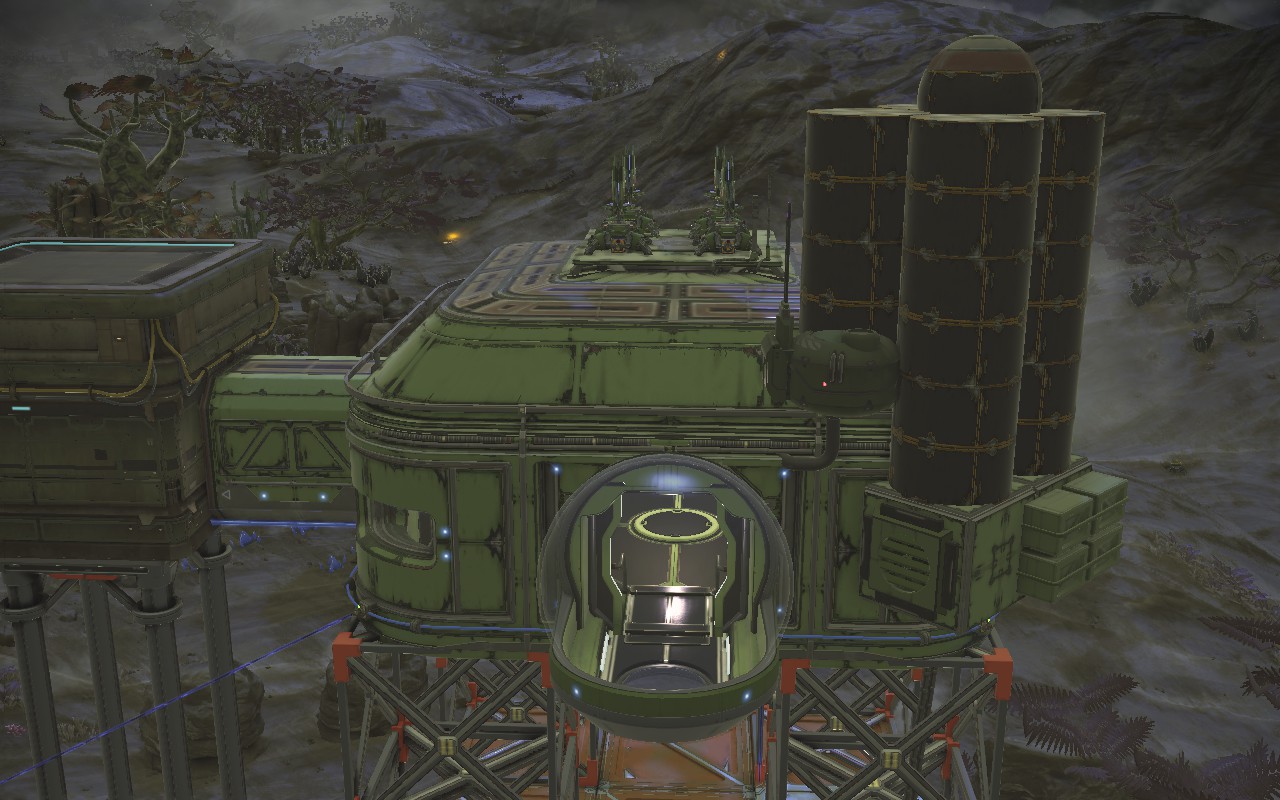
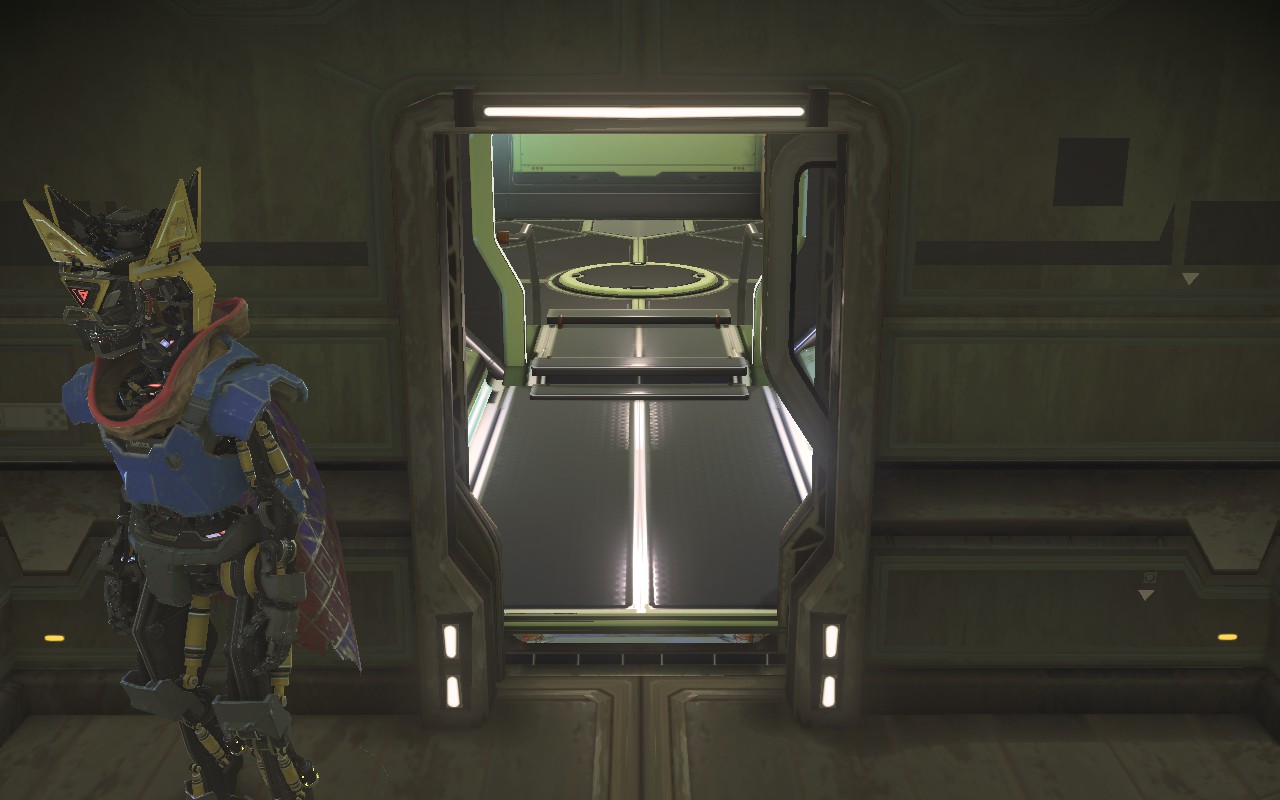
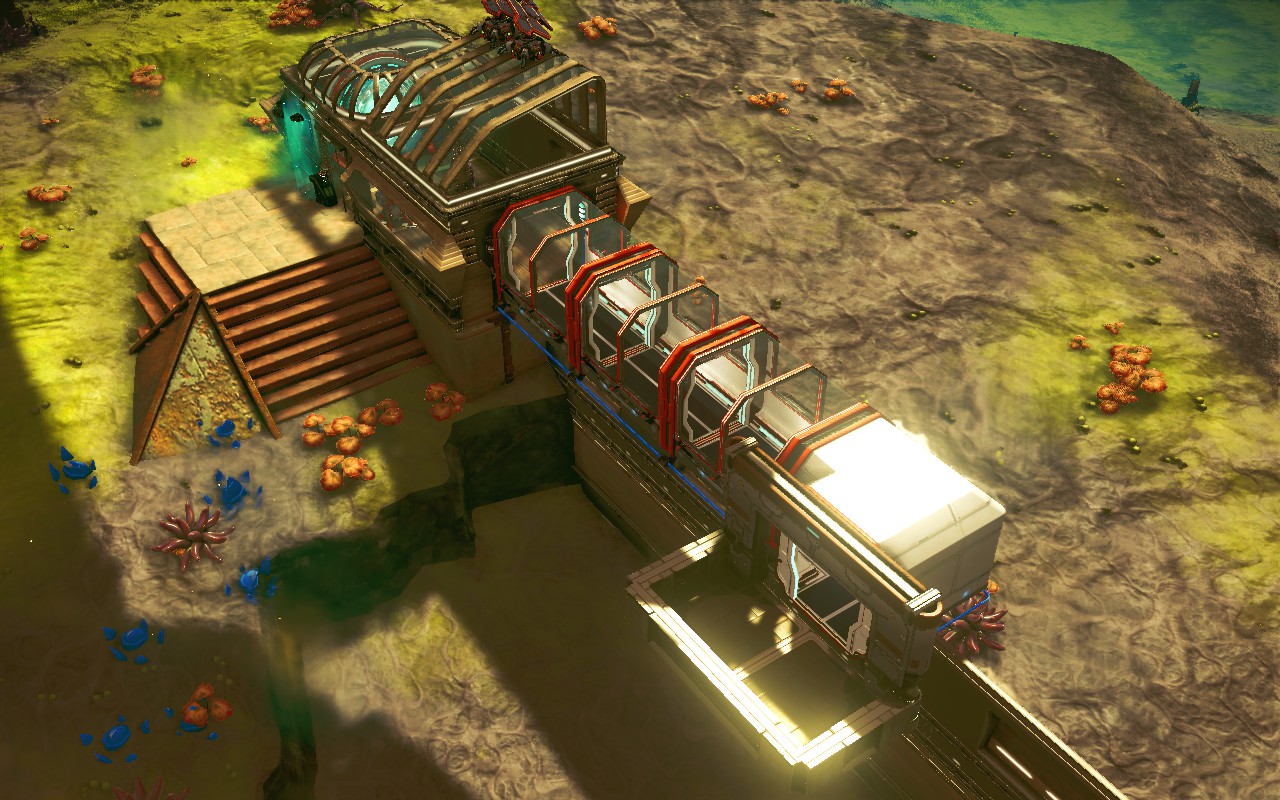
The half-width walls don’t snap though. I think corridors will snap to them but they won’t snap to corridors. See workarounds in the (not from me) snapping video linked to at the end.
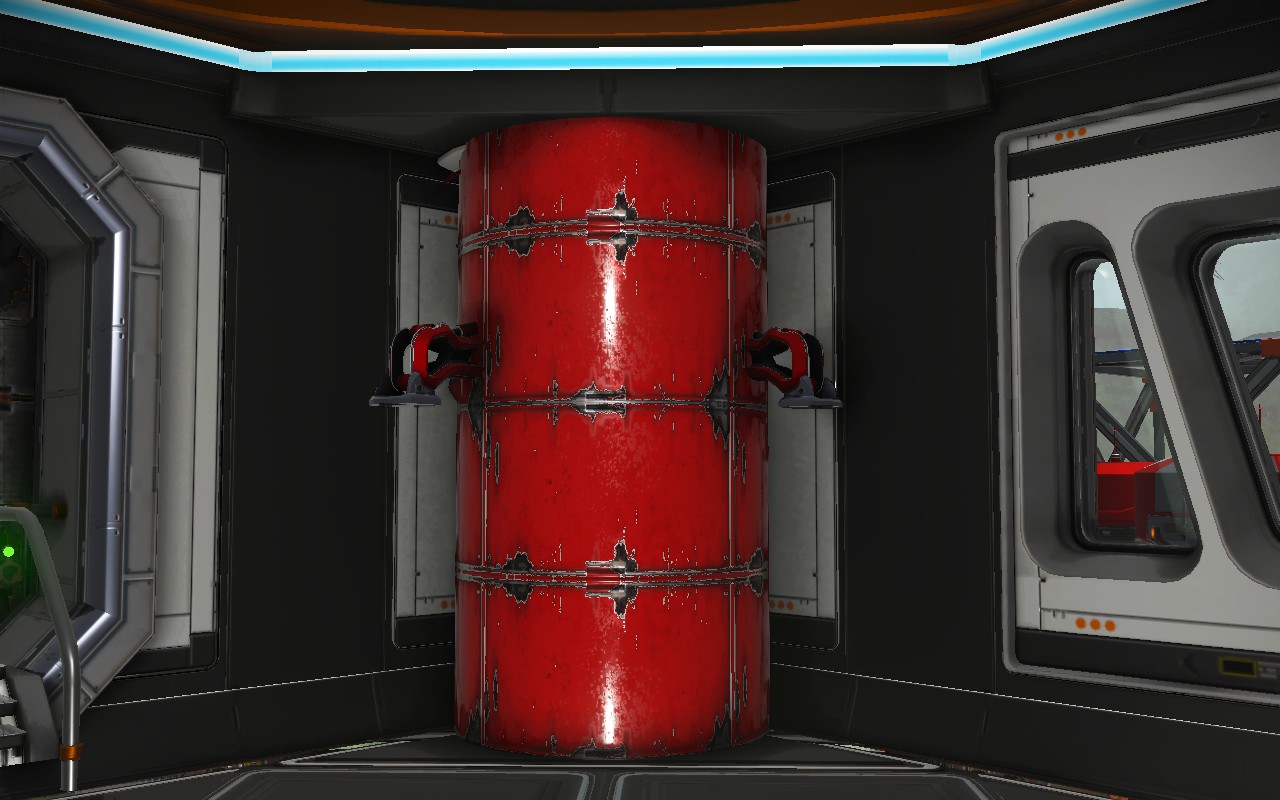
Other ways to conceal the interior Supply Depot:
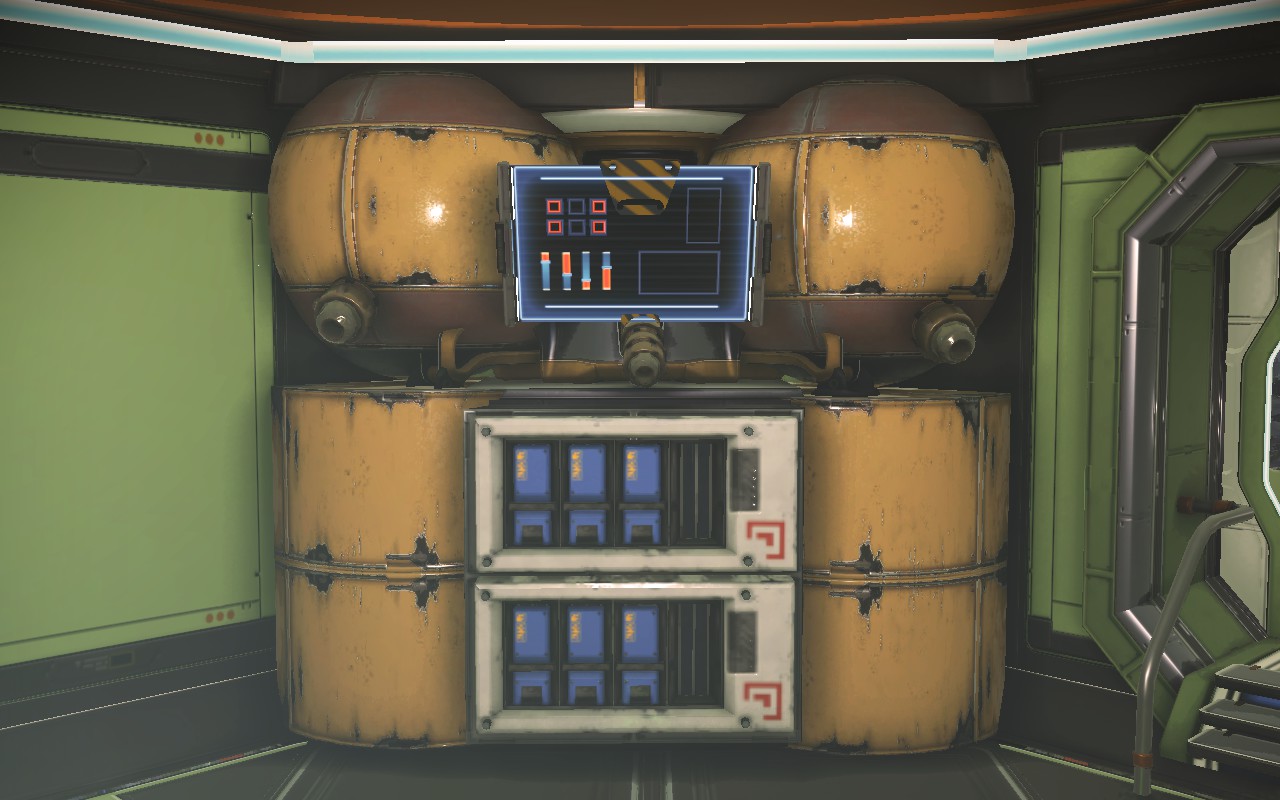
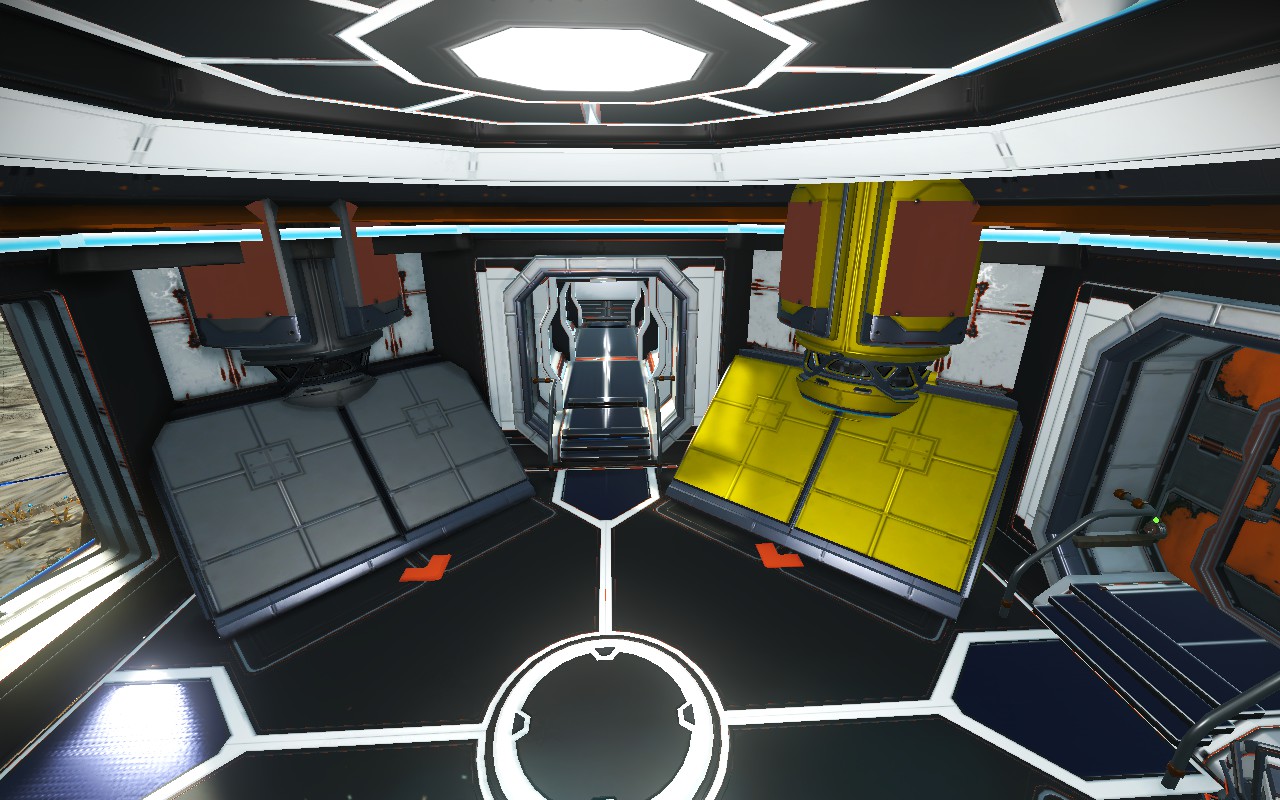
Fancier examples of decorating an interior Supply Depot:
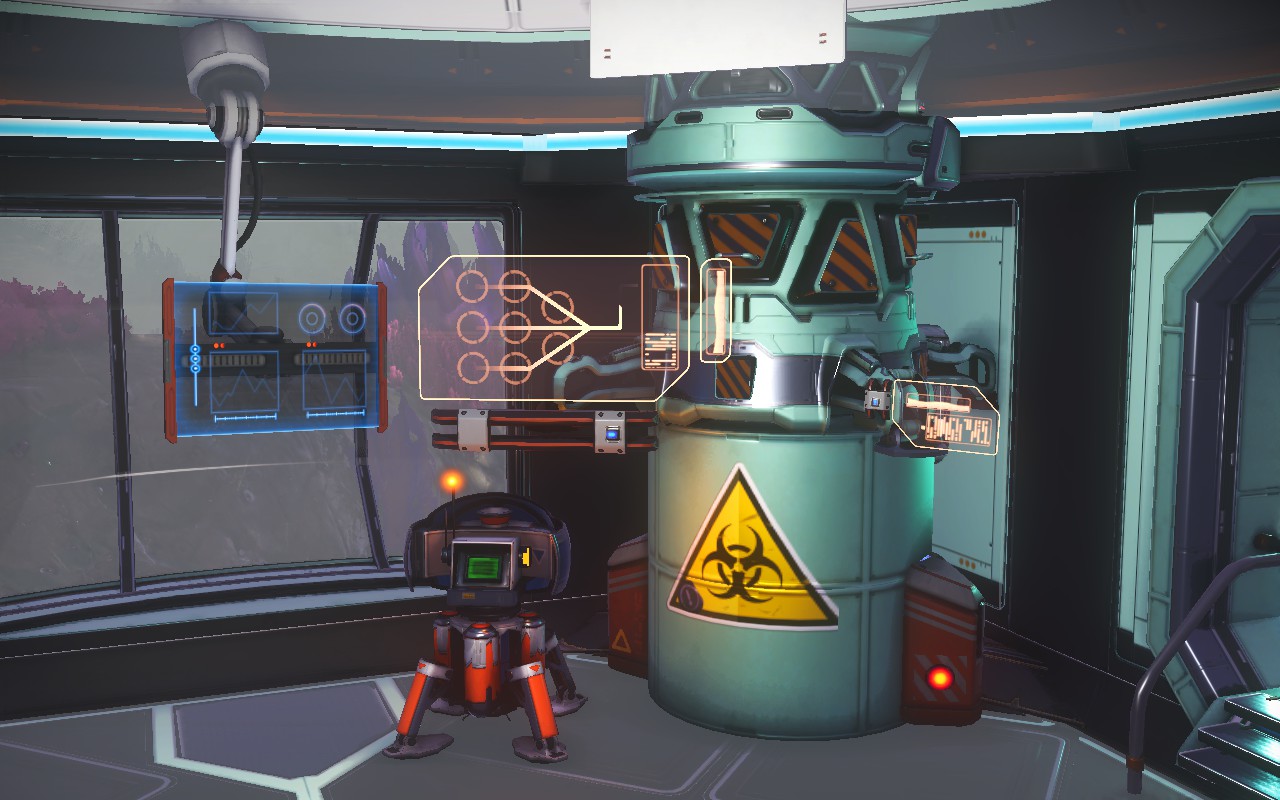
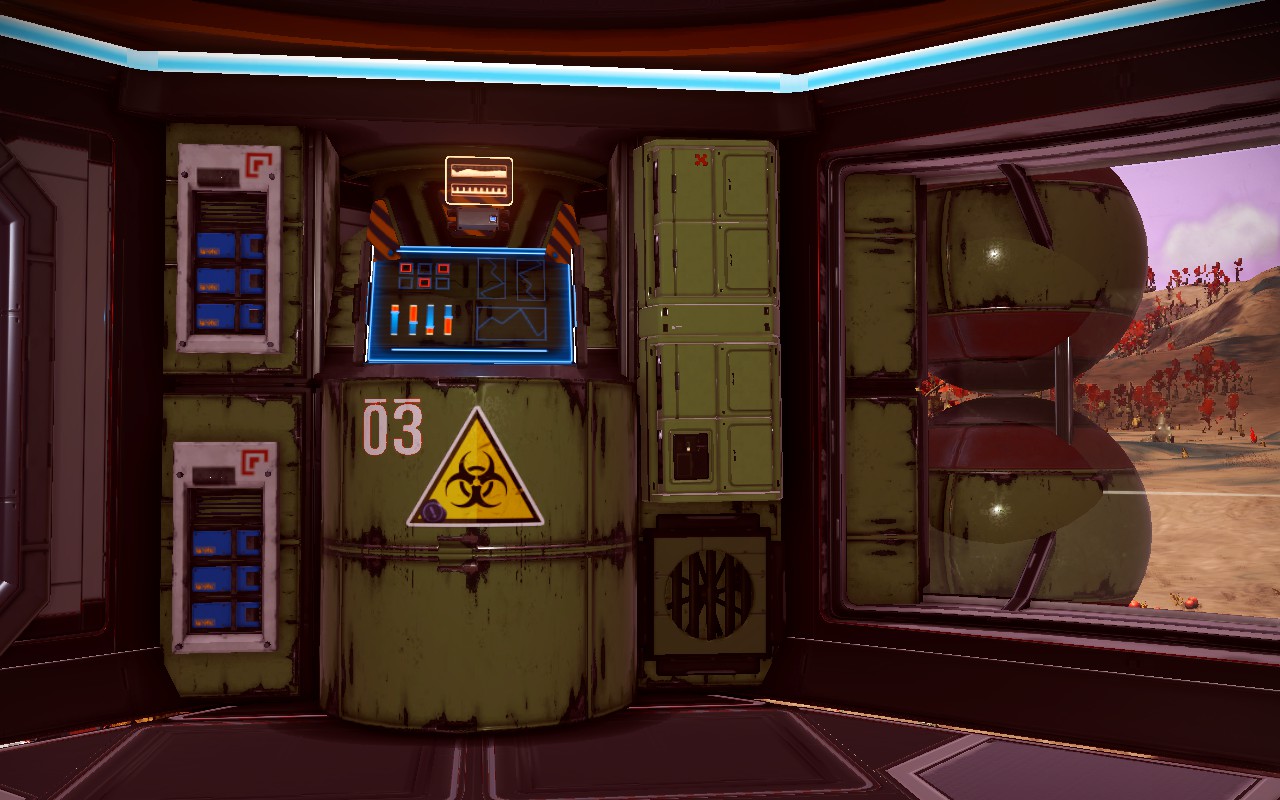
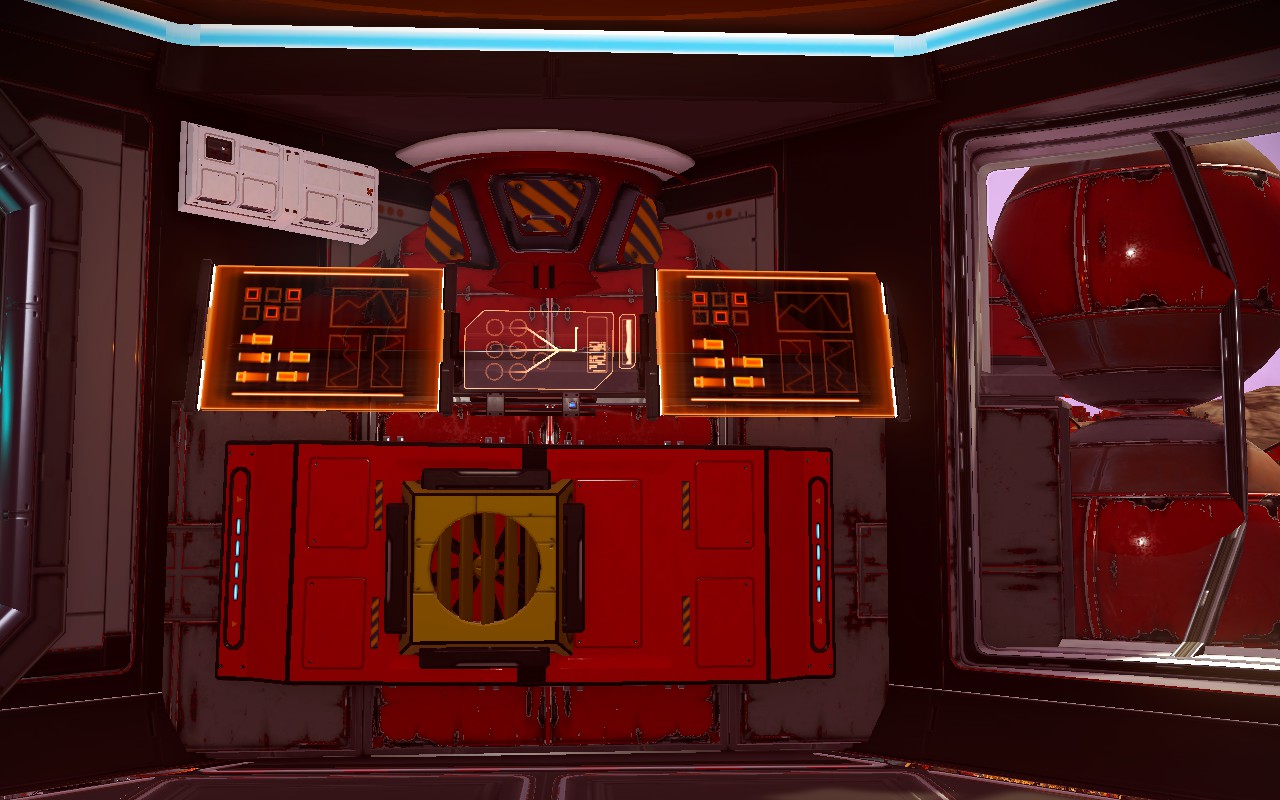
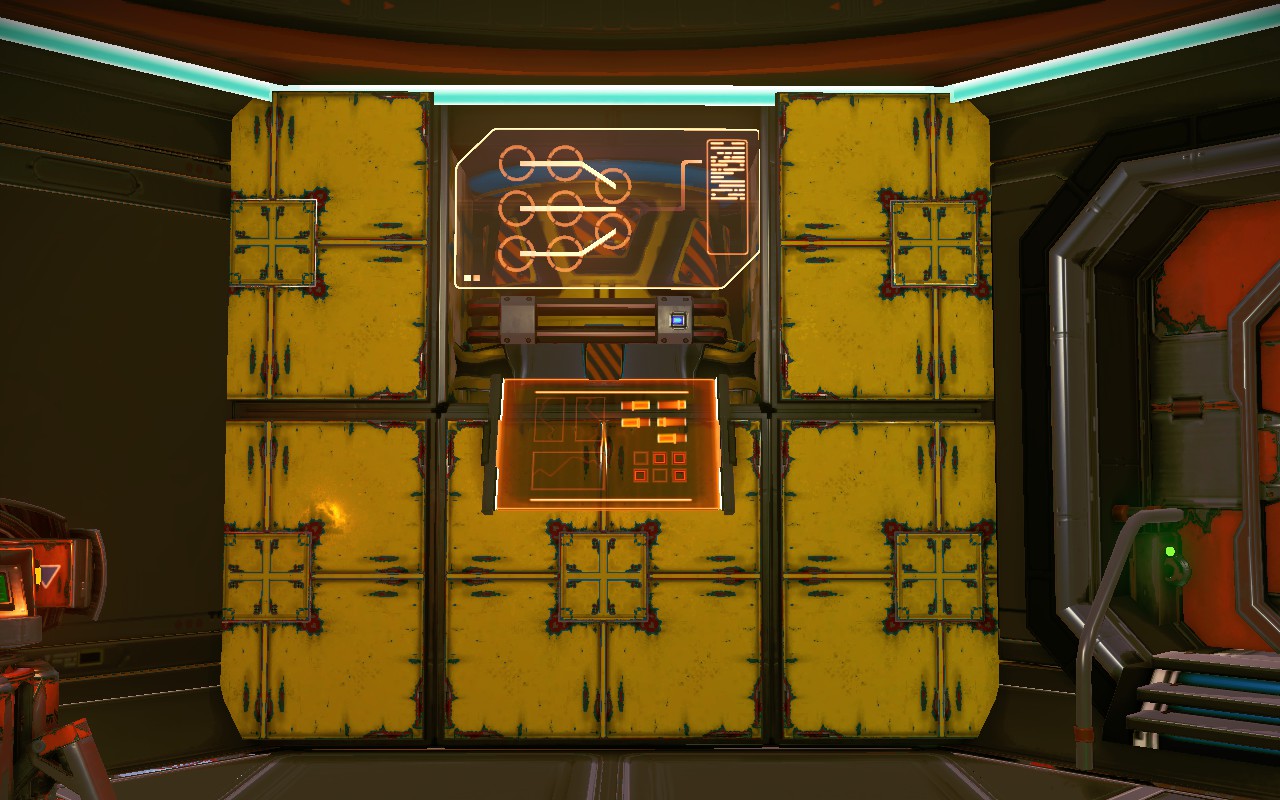
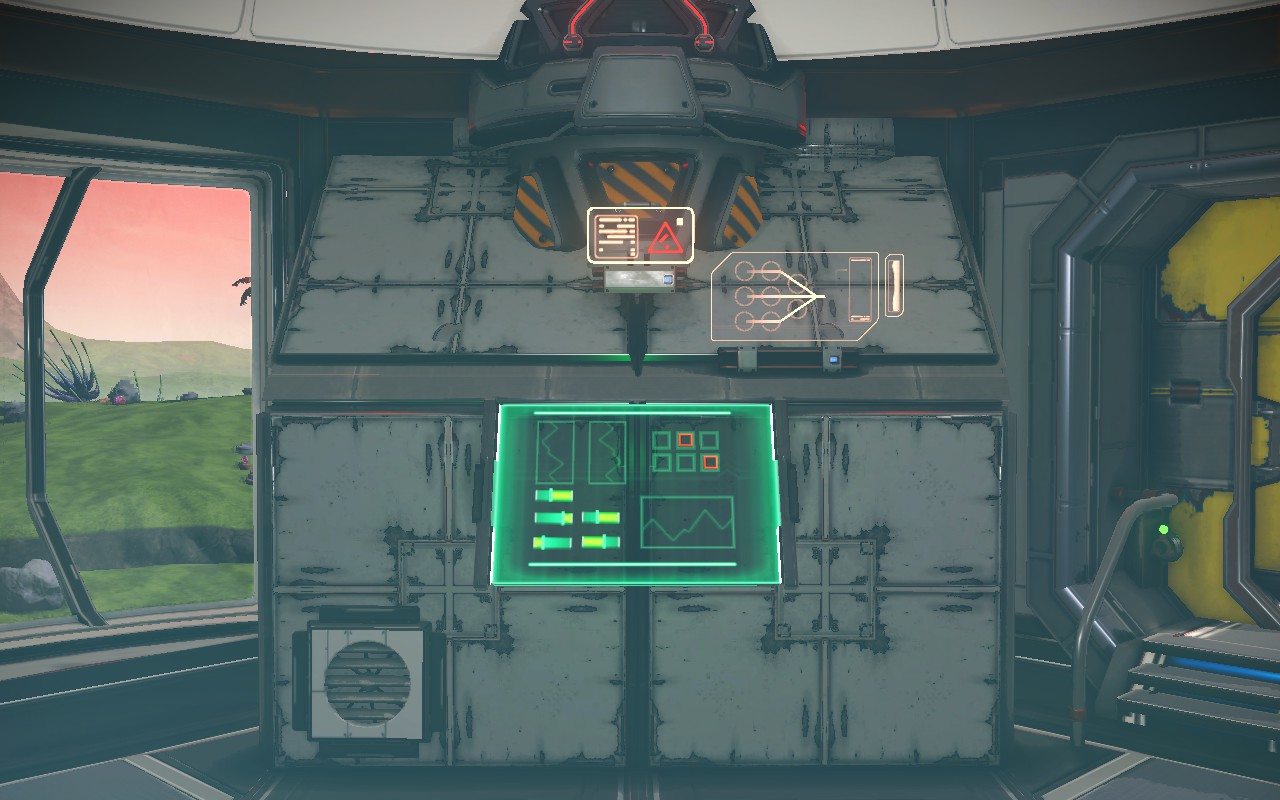
Plant Farming
It's not clear to me if it's better to manufacture plant products or just grow them by "building" plants and harvesting them periodically. Both methods require some effort, but the type of effort is a different even if the overall amount of effort is about the same.
Ultimately it may just be a personal preference as to what sort of mechanics each player prefers. So here are some tips on growing plant products. See later sections for an "unofficial" way to abuse a Bio-Dome for mass-harvesting.
Even if mostly creating plant products with refining, growing some plants is a good idea so you can always get some minimal plant products to jump start plant refining when you’ve used up all your plant products.
Growing plants on terrain allows for a much higher density than hydroponics.
You can pack the plants very close together with no disadvantages. For example:
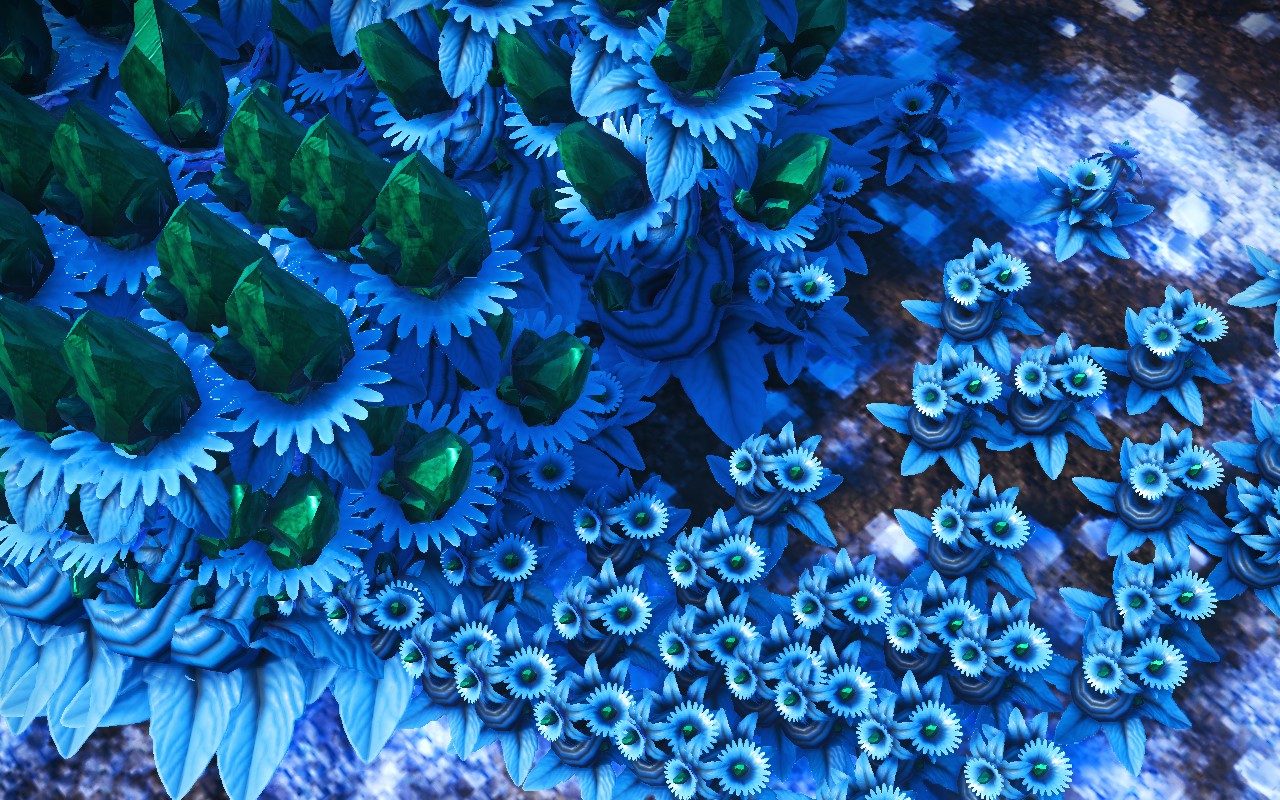
You can get something like 100 plants or more in the area of a large floor tile, and harvesting them takes about a minute of holding down the interact button with minimal movement.
Some people also prefer to just create 4 or so long rows of plants crammed together so they can only have to move forward when harvesting.
The Hydroponic Trays are no good! Use the Bio-Dome[nomanssky.fandom.com] or the Freighter Double Cultivation Chamber[nomanssky.fandom.com]. It's much easier to place a lot of these units, and they both have a "button" that can be activated to harvest all of their plants.
After experimenting with every method, my final conclusion is that the best way to grow plants when possible is to just plant them on terrain in a dense bunch in the required biome. You’re going to want at least one base per major biome anyway just to extract minerals, so you already have or will have bases in each biome to double as farms. You can also combine this with the to-be-described Bio-Dome trick for even faster harvesting.
Growing on a freighter isn’t too bad and harvesting takes a similar amount of time (without the unofficial bio-dome trick), but it does require the resources needed to place lots of double cultivation chambers. This is my second favorite method due to easier setup.
Using bio-domes, even without any tricks, allows for theoretically faster harvesting since one activation of the center terminal harvests 16 plants, but each dome needs 50 power, significant build resources, and moving between the domes can be awkward. So when used normally I’m not convinced that it’s really much faster for harvesting 100 plants and there is a lot more setup involved. This is more trouble than freighter rooms since you need to worry about power, corridors, terrain, etc.
Hydroponics trays are the worst because you have to build space for them first, then they take up resources to build, have to be wired to power, and have zero speed advantage for harvesting.
Also see the Farming[nomanssky.fandom.com] wiki page which also discusses the quickest Advanced Agricultural Products to grow for the most money.
Extreme Plant Farming: “Fully Utilizing” the Bio-Dome
I put this in its own section because it exploits an intended behavior of the Bio-Dome[nomanssky.fandom.com] for unintended purposes. Specifically, it seems that the "harvest all plants" terminal will harvest everything inside a circular area marked by the ring of planting holes around the edge, even if it's not really supposed to be there.
As this experiment shows, you can "glitch" plants (that were planted on terrain) through the floor and the "harvest all plants" function of the center ceiling terminal will harvest them.
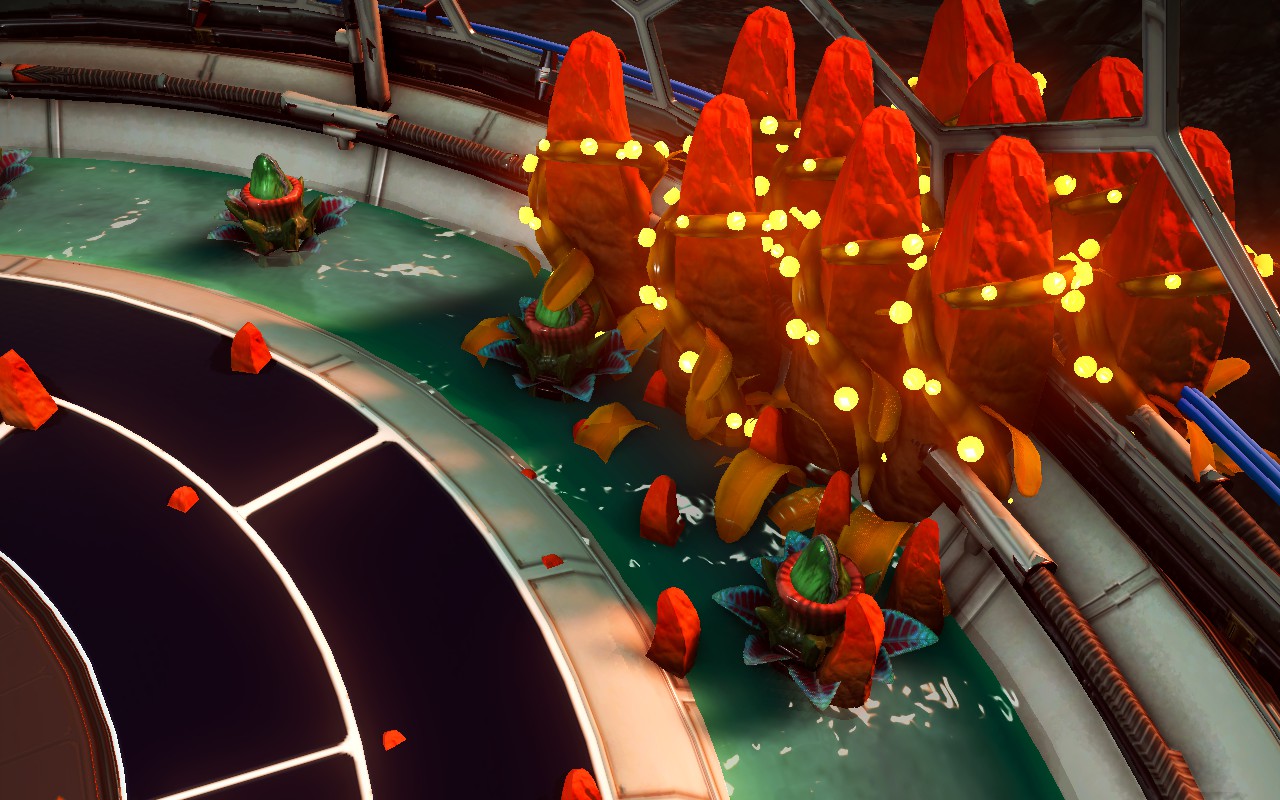
The above shows you about where the border is. The tricky part is removing the dome and still having some way to figure out where to plant the plants under it but still inside the radius.
Warning! The "harvest all plants" area is also the "remove all plants when this Bio-Dome is removed" area. If you place a Bio-Dome onto an existing patch of plants and remove it, it will remove all plants intersecting this area. This might be useful if you do actually want to remove lots of plants though.
Find a reasonably flat area of terrain and just place a bio-dome on it without bothering to power it up. For now it's only here so we can mark the area to plant the plants in.
At first I just used small timber floor panels, placed from outside, to mark the circle. This sort of works, and you could try that method as well, but later I realized another way of marking the circle that seems to work better. (Screenshots show both methods just in case you want to consider both methods.)
Just put a door on the dome so you can get in, then stand inside the dome, remove any doors/corridors, and use unpowered electrical wires to make a nice glowing red circle. Put the wire connections inside the little planting holes.
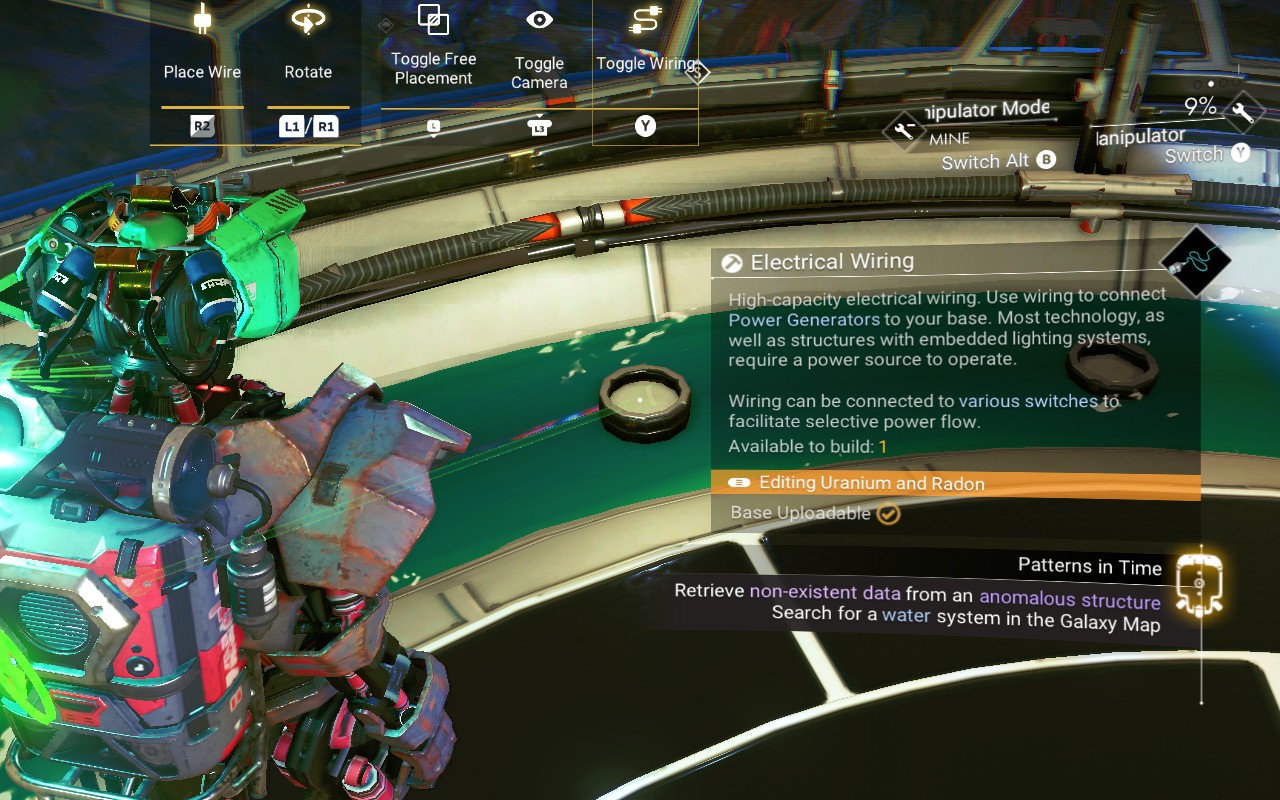
Once that's done, place a temporary corridor on any side of the bio-dome to help save it's position after we remove it. The corridor will snap to the bio-dome, and the bio-dome will snap to the corridor. So the corridor can be used as a snapping object just to save its previous position.
No need to put a door on it because we're going to remove the dome.
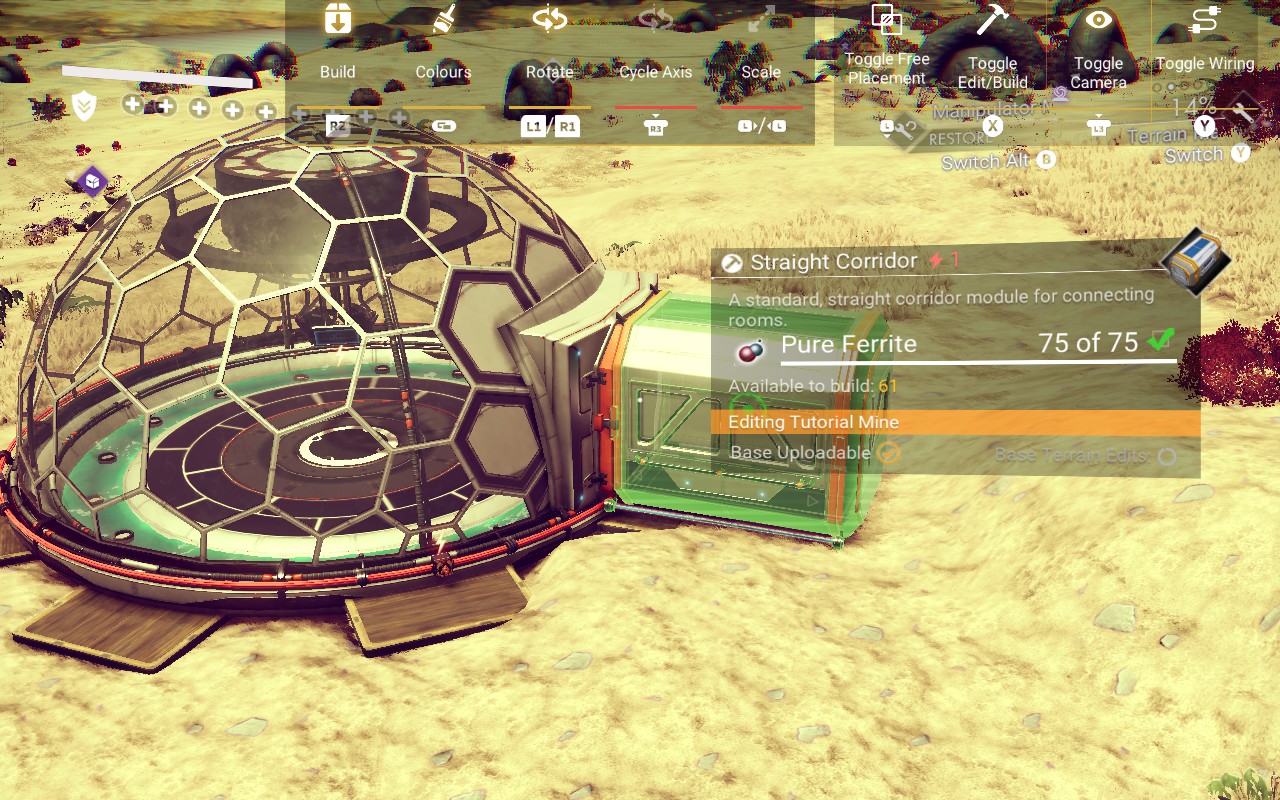
Now remove the dome...
With wire marking: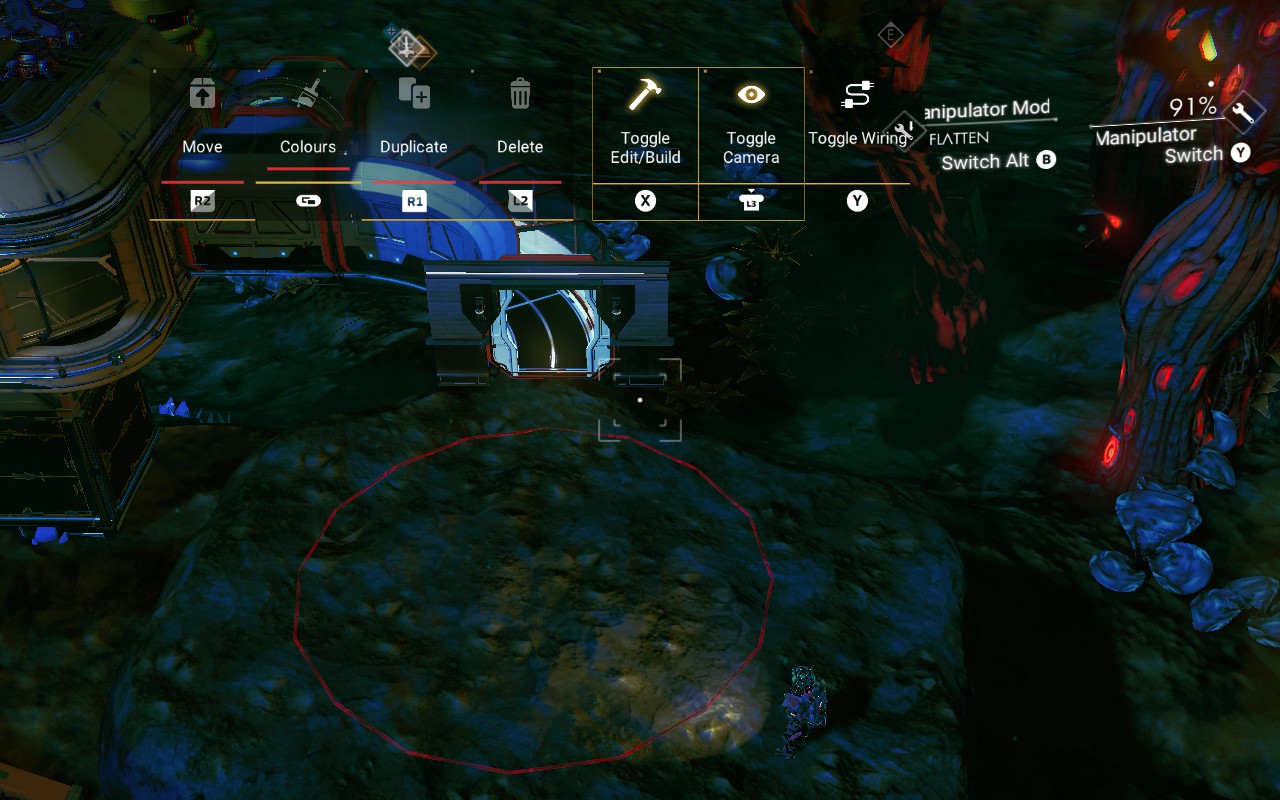 With floor panels: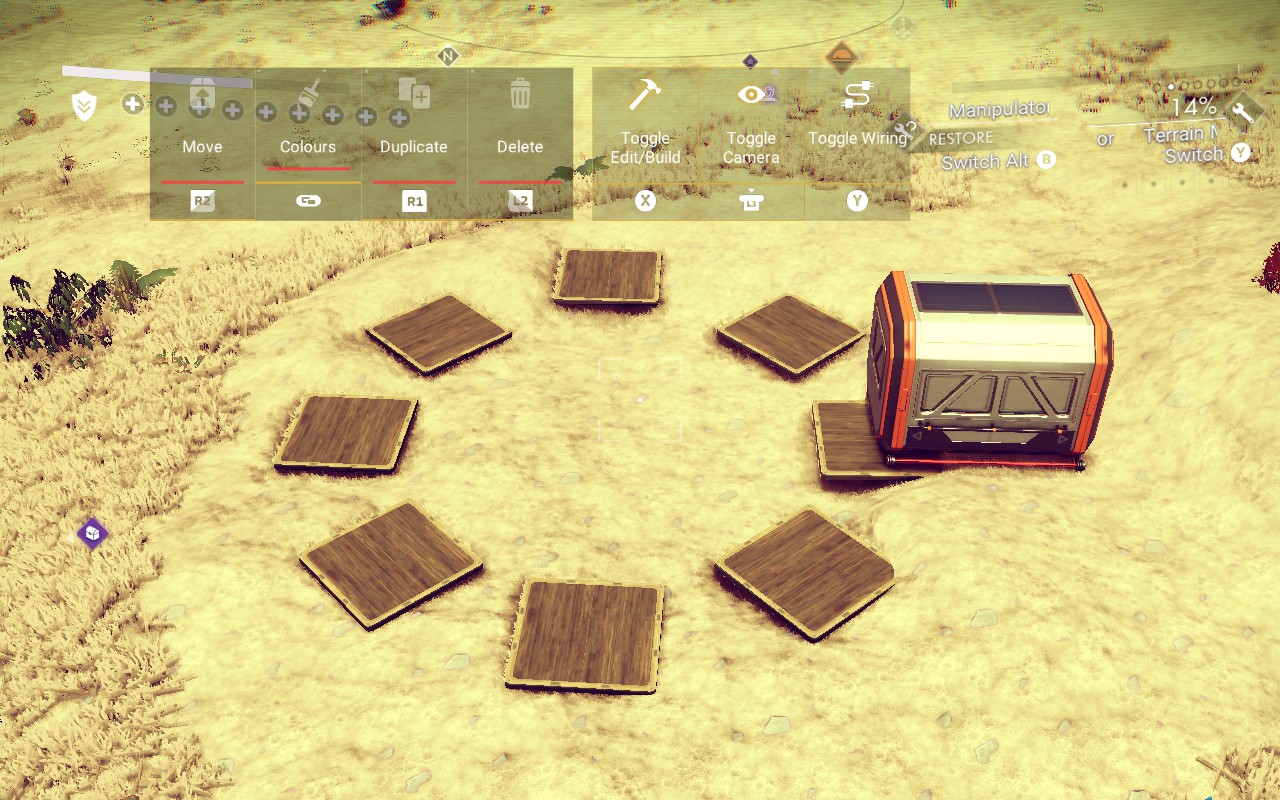
Plant a circle of plants around the edge of the marled circle:
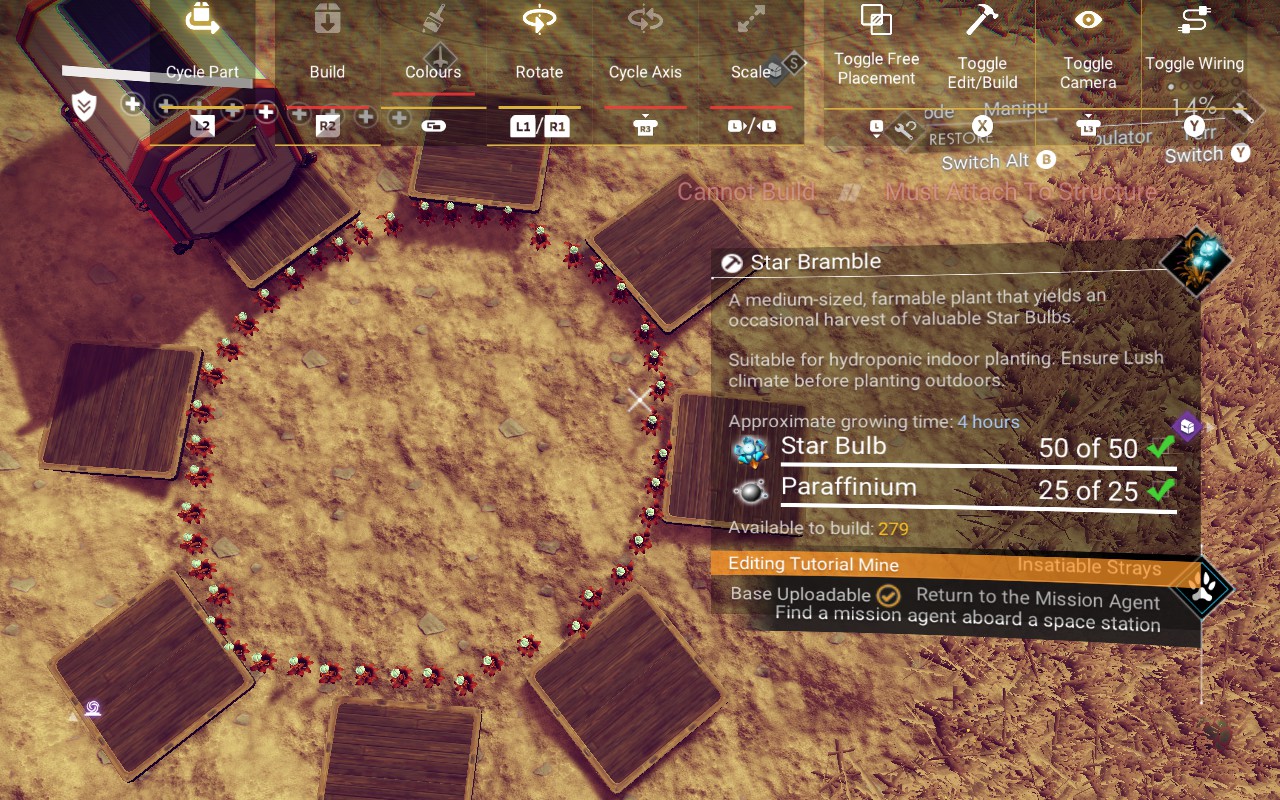
If you used floor panels to mark the circle then just remove them. If you used wires then it’s pretty harmless to just leave them there because they won’t end up being visible later.
Now, as best you can, fill in the circle with plants as dense as you can get them. I didn't try that hard to do it very perfectly and I still got 120 or so of this particular plant planted total. Note that plants seem to have different sizes so with some other plant types you might be able to get 200 to 400.
I had worse results with floor panels: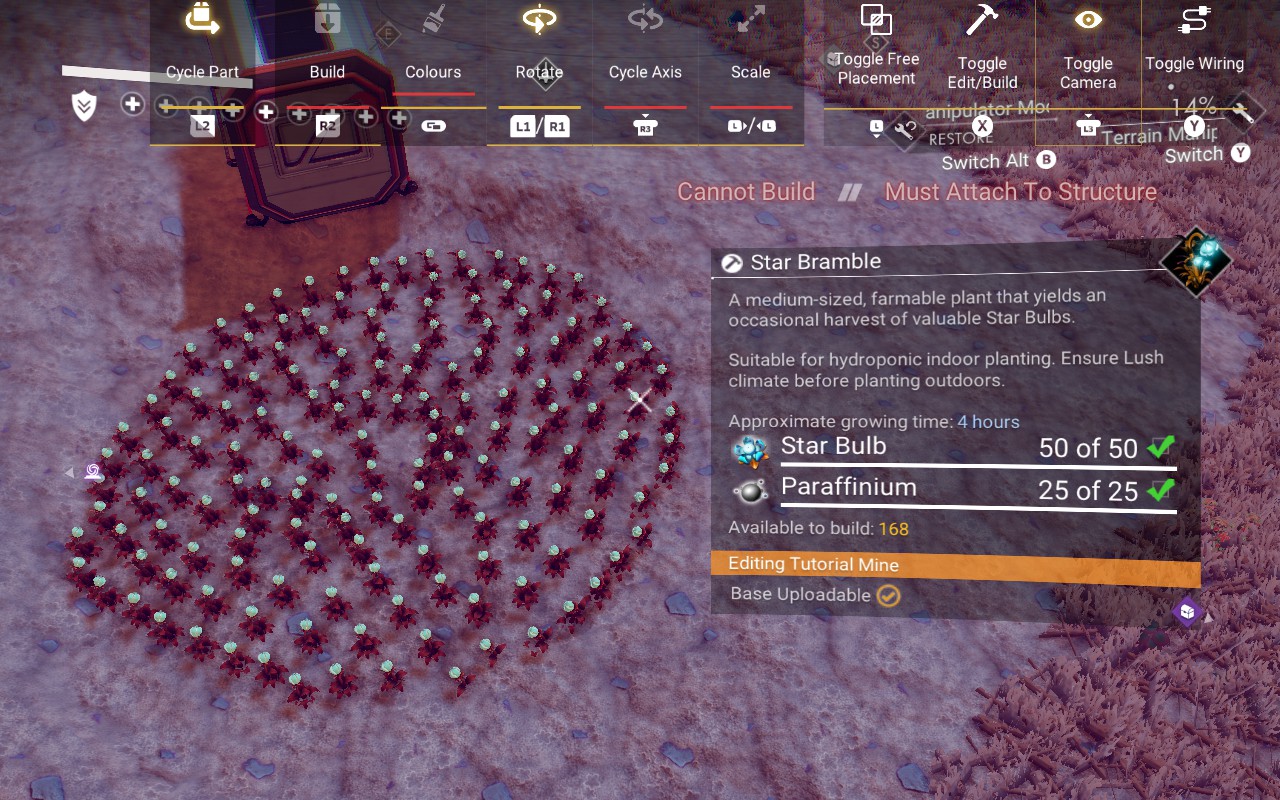 Wires seem to help do a better job: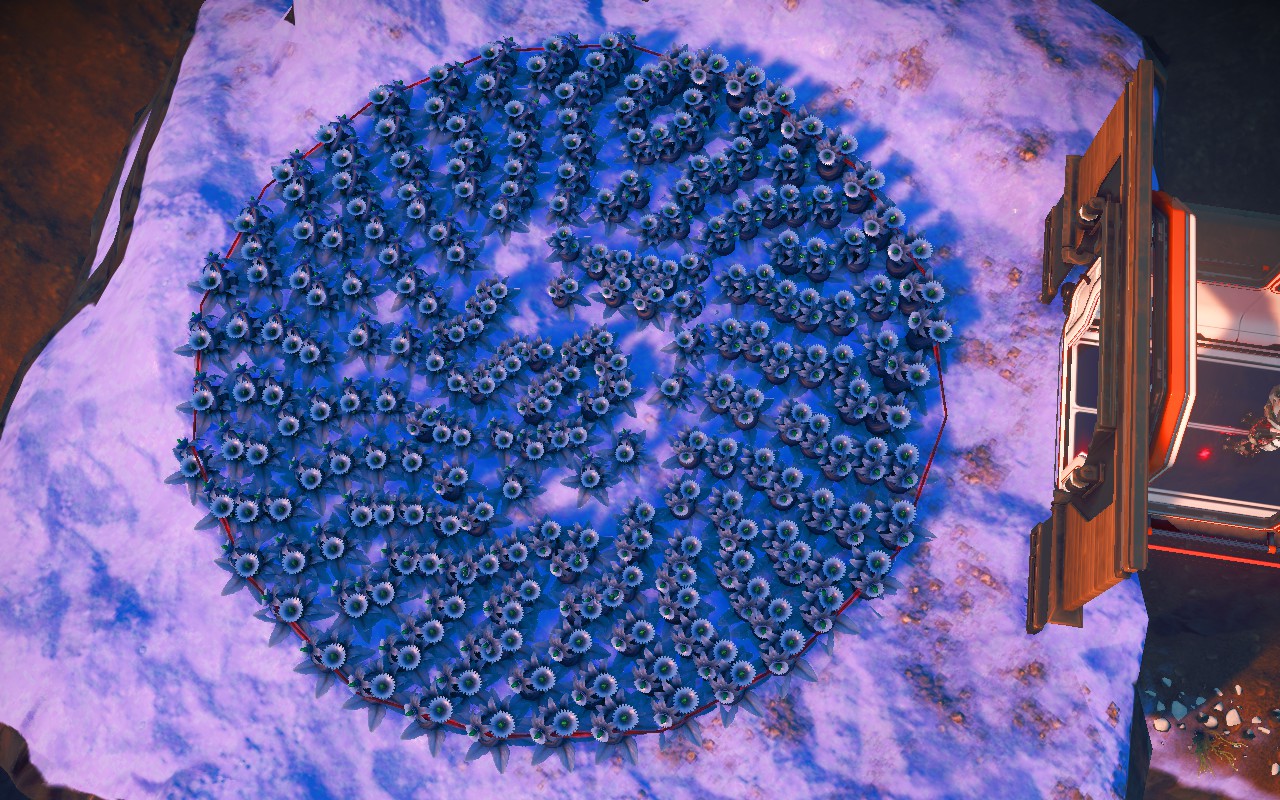
Tip: If you use the build camera and “face plant” it in the dirt between plants, you can clip past some collision bounds and plant plants where you otherwise couldn’t. (It might also be possible to use the “wire glitch” but that’s a bit beyond my glitch tolerance in this situation.)
Now, since the corridor is there, we can use it to snap the bio-dome back into exactly the same spot with almost zero effort:
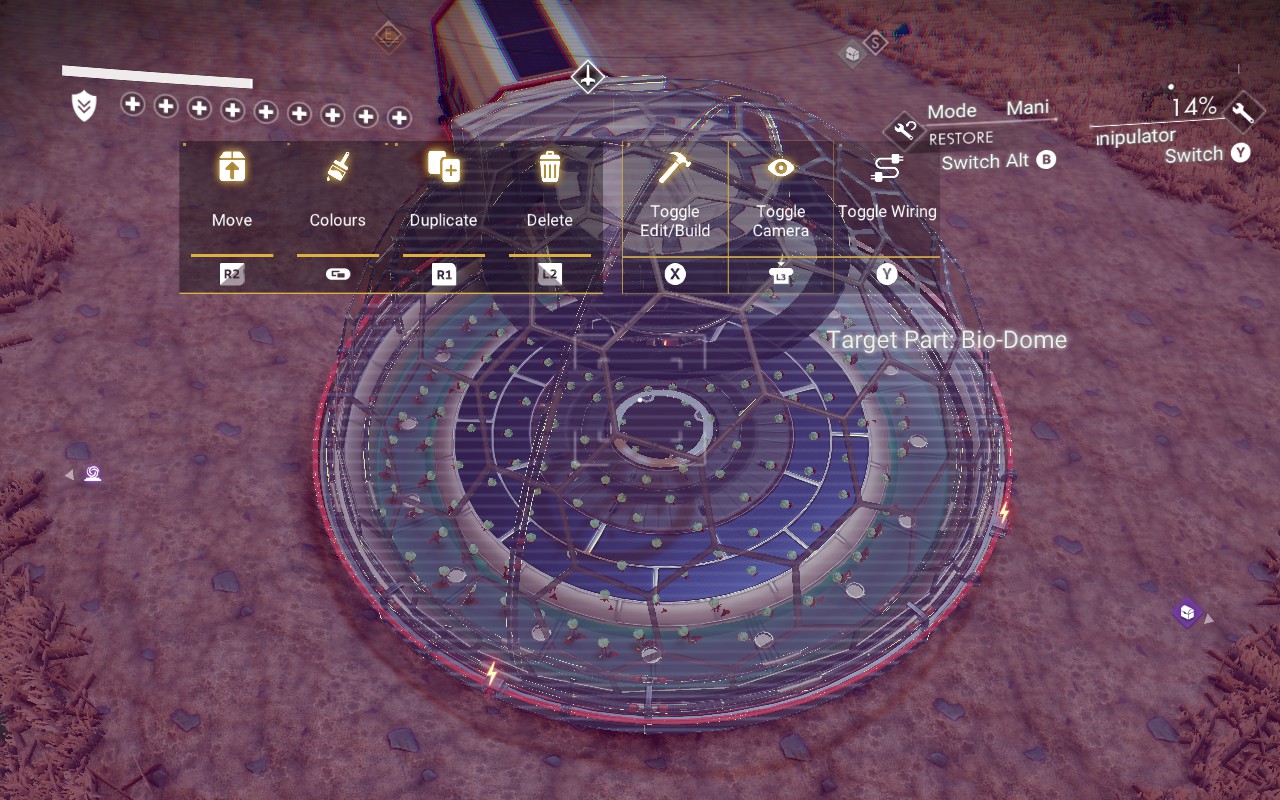
After that we can do whatever we want for access. Here I removed the corridor and put a Holo-Door[nomanssky.fandom.com] on the side.
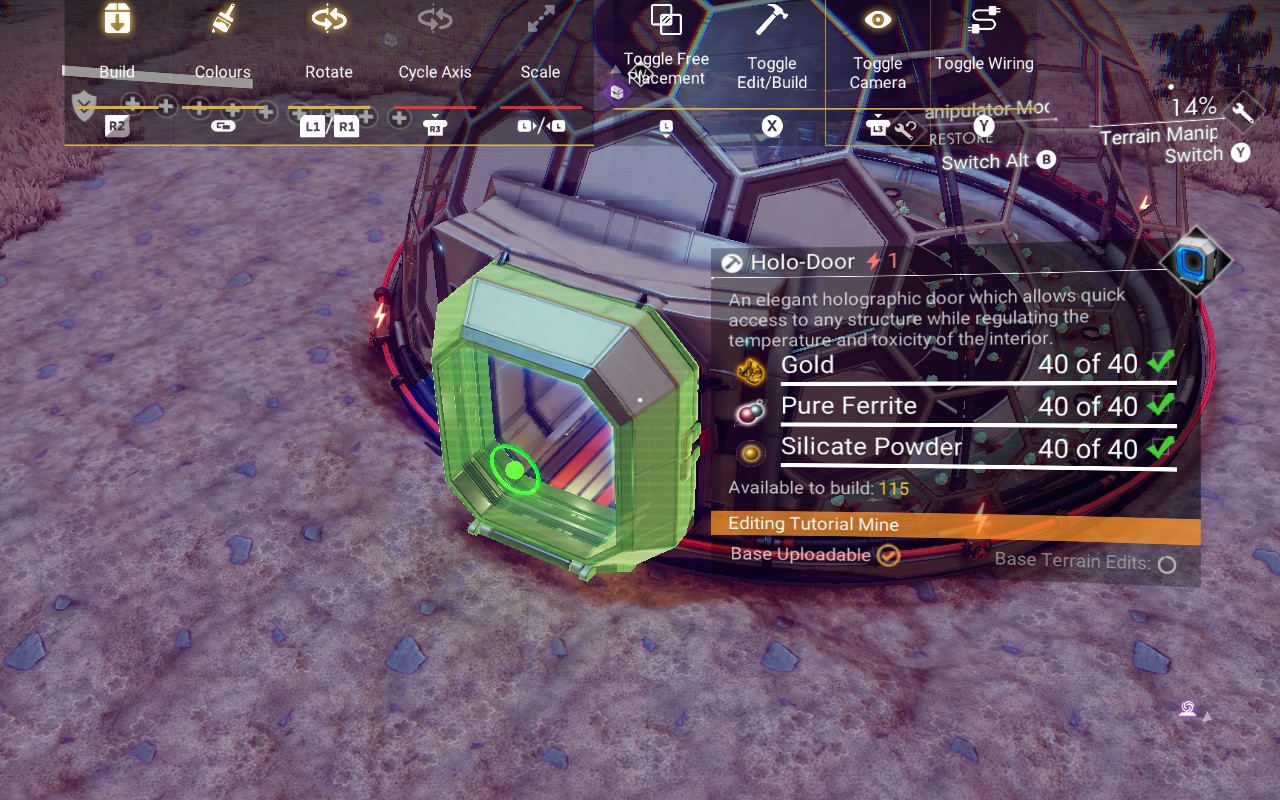
Keep in mind that bio-domes need 50 kp of power, so this might require adding solar panels. (I'm adding this to the previously shown example base and I do in fact need to add two solar panels and a battery for another 50 kp.)
I want to make sure any changes to the terrain are erased, so I set the Restore tool to the largest size beam and blast everything with it:
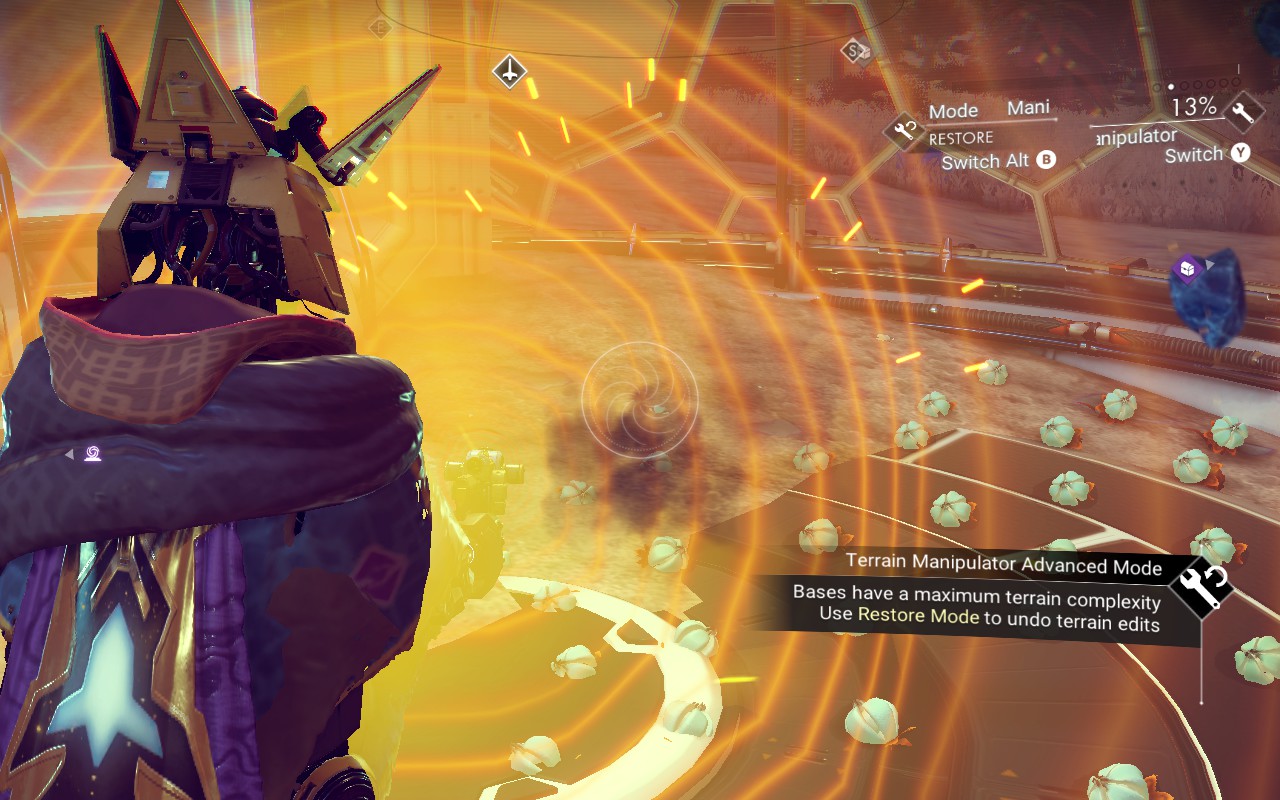
I don't really care if some dirt comes through the floor because this is going to look like a mess of plants most of the time anyway.
Finally I decide to plant illegal Gek drugs in the hydroponic slots just for the heck of it. (Of course you could also just plant more of the same stuff you just planted.)
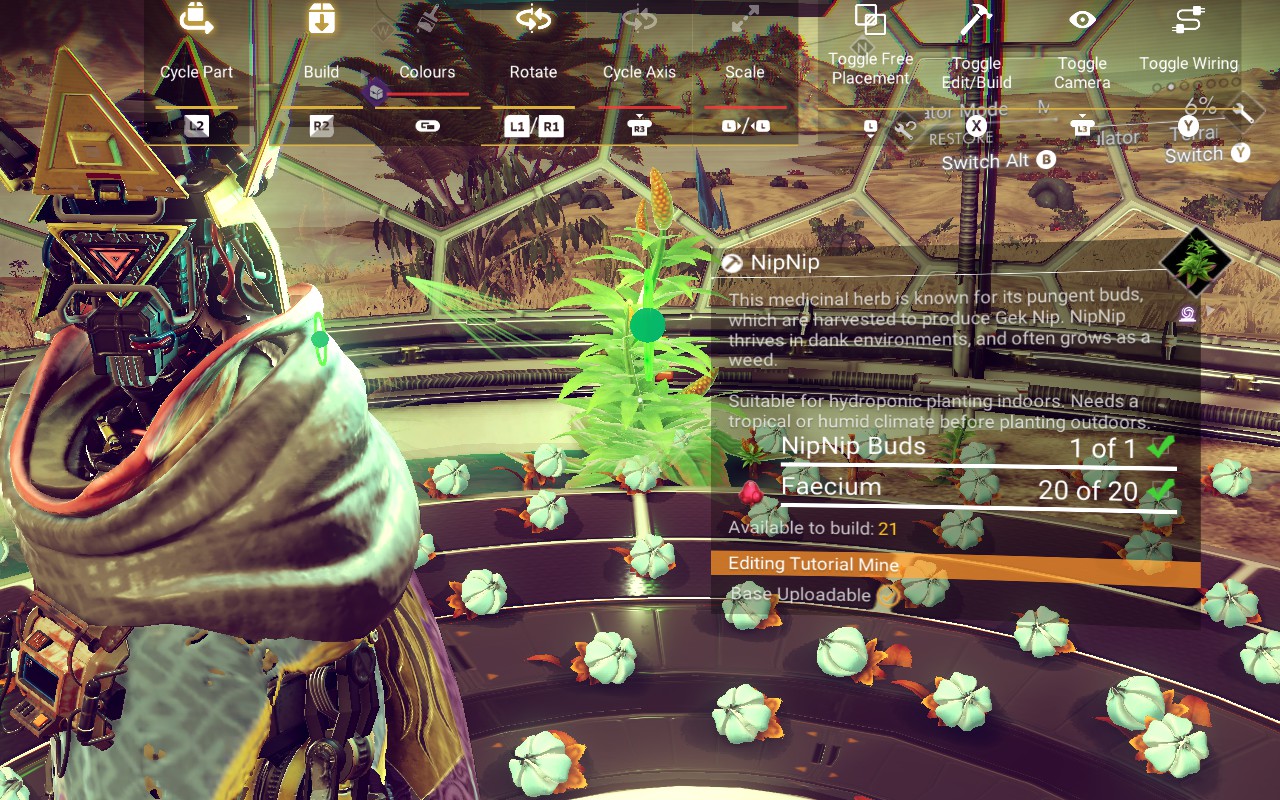
Now I just have to wait for the plants to grow and see if any fail to get harvested by the bio-dome due to ending up outside the circular area of effect. if so I can either leave them there and harvest manually, or just remove them.
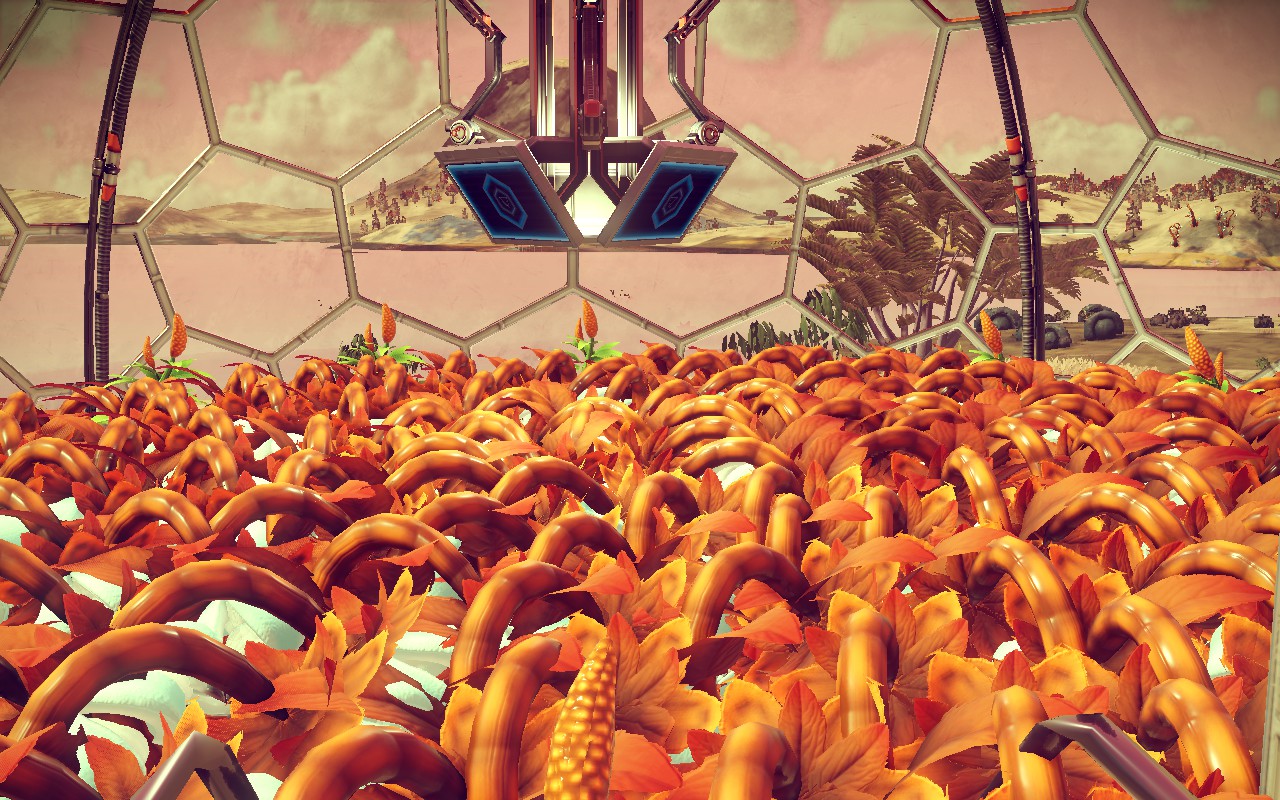
Bang!
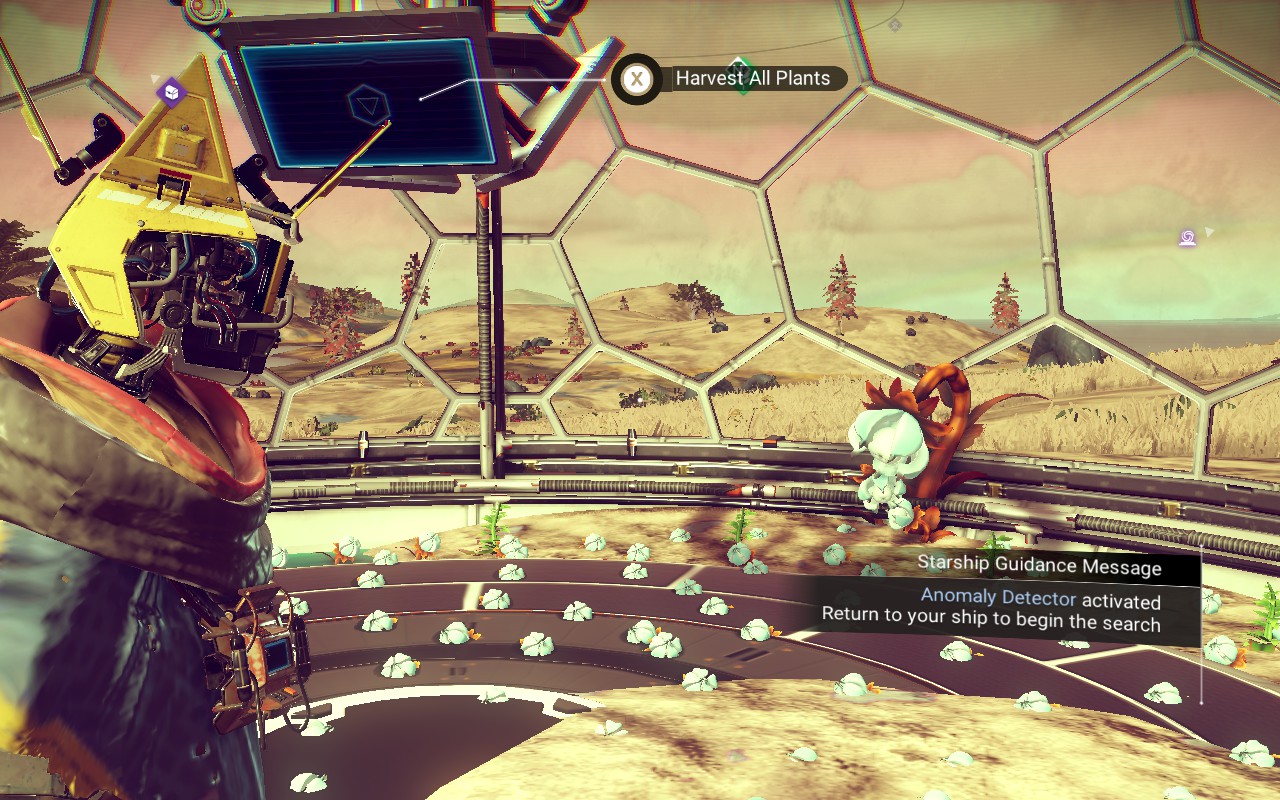
Well that's pretty good. Only one is misplaced, so I just remove it.
And that's how you get 120-400 plants harvested in one action (unless this gets "fixed" one day).
There are some other ways to do this too. I tried just placing a Bio-Dome on top of an existing plant patch to see how well it would get covered and coverage was pretty good in some cases like this:
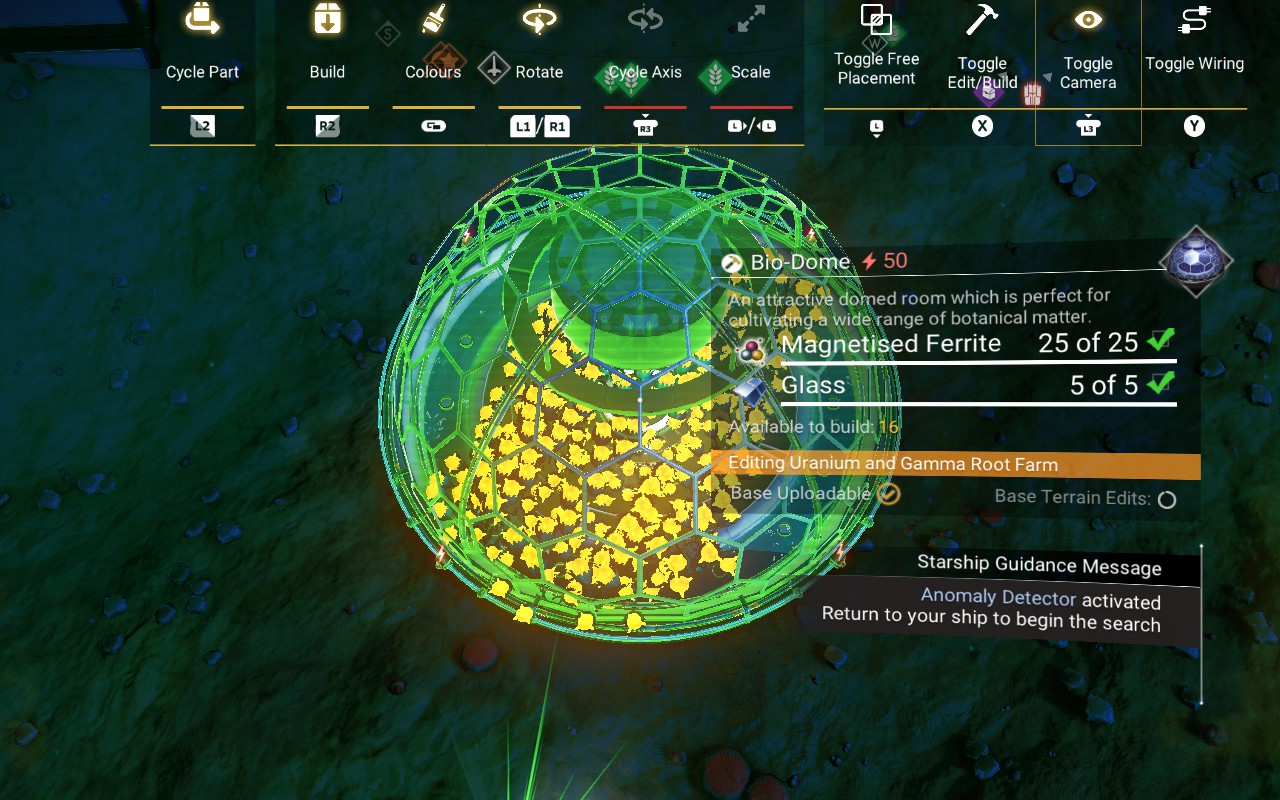
I found that placing one in this manner sometimes also caused it to "float" a bit above the ground like this:
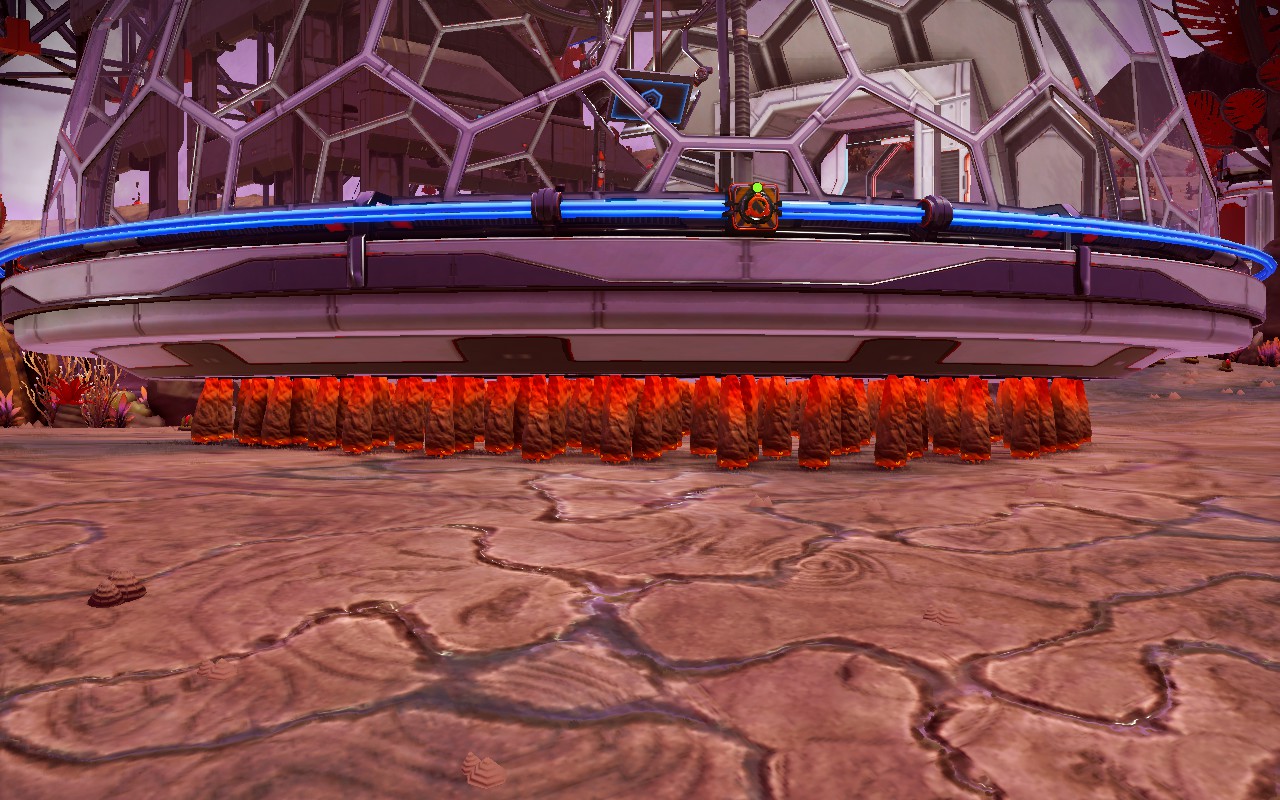
In that case I could get in there with the build camera and add more plants. So apparently it's possible to build one of these so that it floats a tiny bit, and maybe still get under it to plant plants.
Note! The plants do need to come through the dome floor about 1/3rd to 1/4th of the way when fully grown. They don’t need to as newly-planted seedlings though.
Extreme Plant Farming: Bio-Dome Air Gardening
It is also possible place the Bio-Dome up off the terrain (perhaps connected to an existing prefab), mark a wire circle in the dome, use the Create function of the terrain manipulator to temporarily create dirt under the dome, remove the dome, flatten the dirt so the wire is visible, plant plants, replace the dome, and then Restore (delete) the terrain without removing the plants.
Build the dome where you want it. Mark the circular area with wire from inside the dome as shown in the previous section. It’s easier to place the wire circle if it’s done before dirt is added.
After the wire circle is done. create the temporary dirt on the underside of the dome. This will require creating at least a thin trail of dirt from the ground to the dome underside since the create function of the terrain manipulator will only create dirt next to existing dirt. After that you can just make wide rows of dirt on top of the thin column of dirt. (I created more dirt than necessary in the below screenshot.)
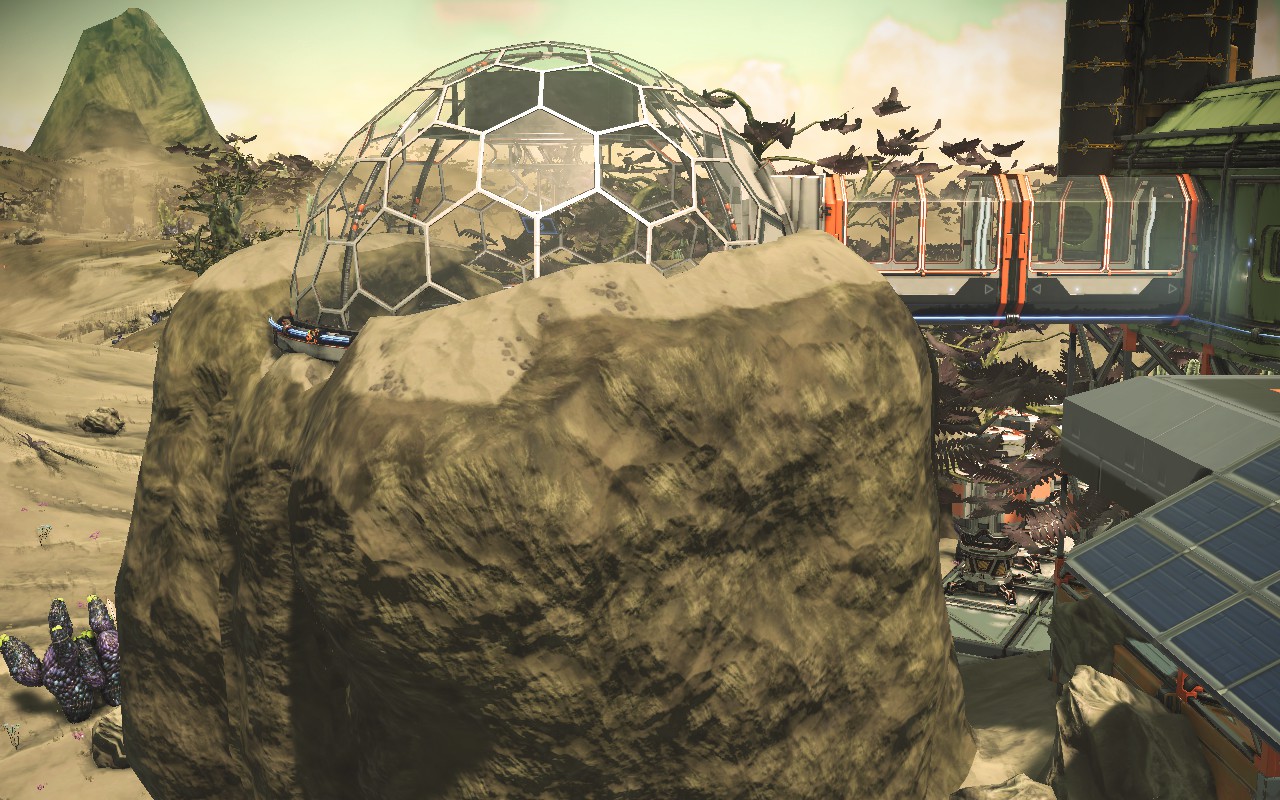
Then remove the dome and flatten the dirt just barely below the marking wire, enough to make the wire visible.
Fill in the circle with plants.
Put the dome back.
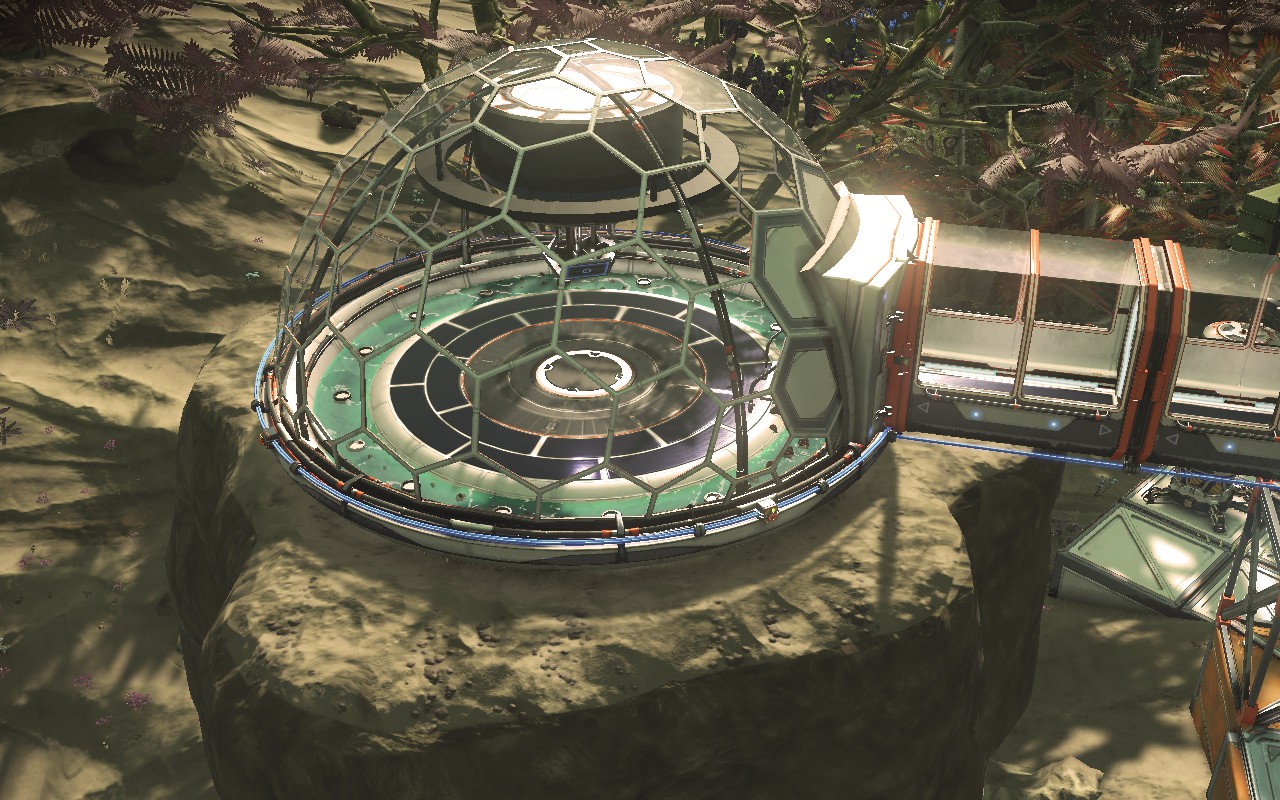
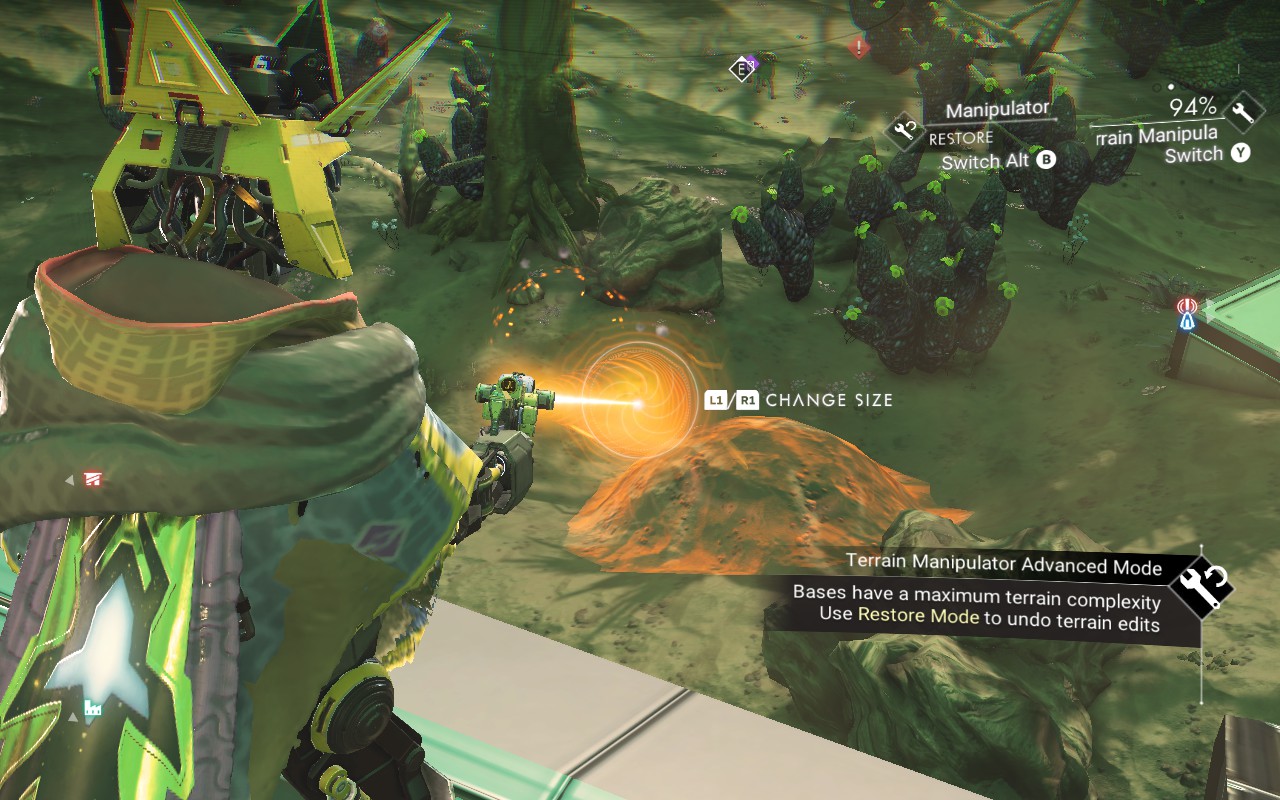
Use the terrain manipulator Restore function to erase all the dirt you added since it’s no longer needed and will just waste terrain modification storage.
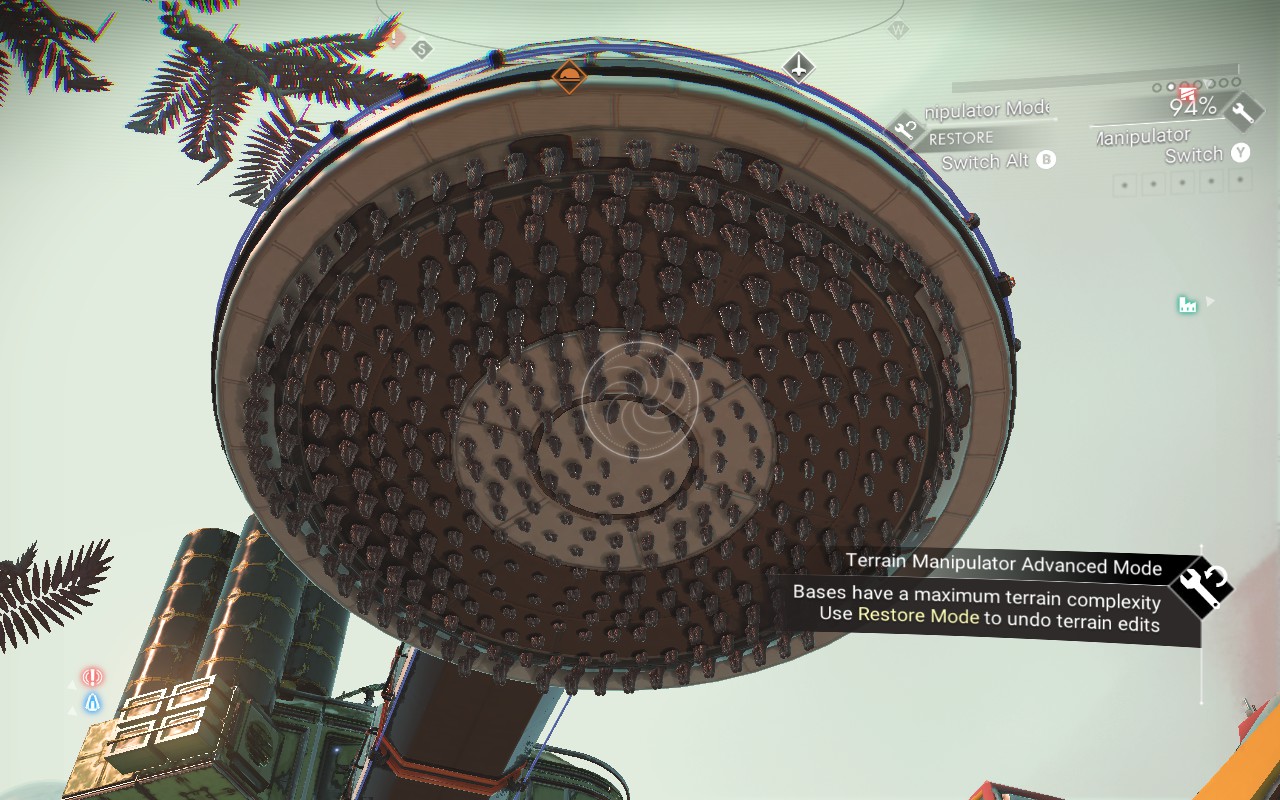
Optionally add some sort of foundation to the underside.
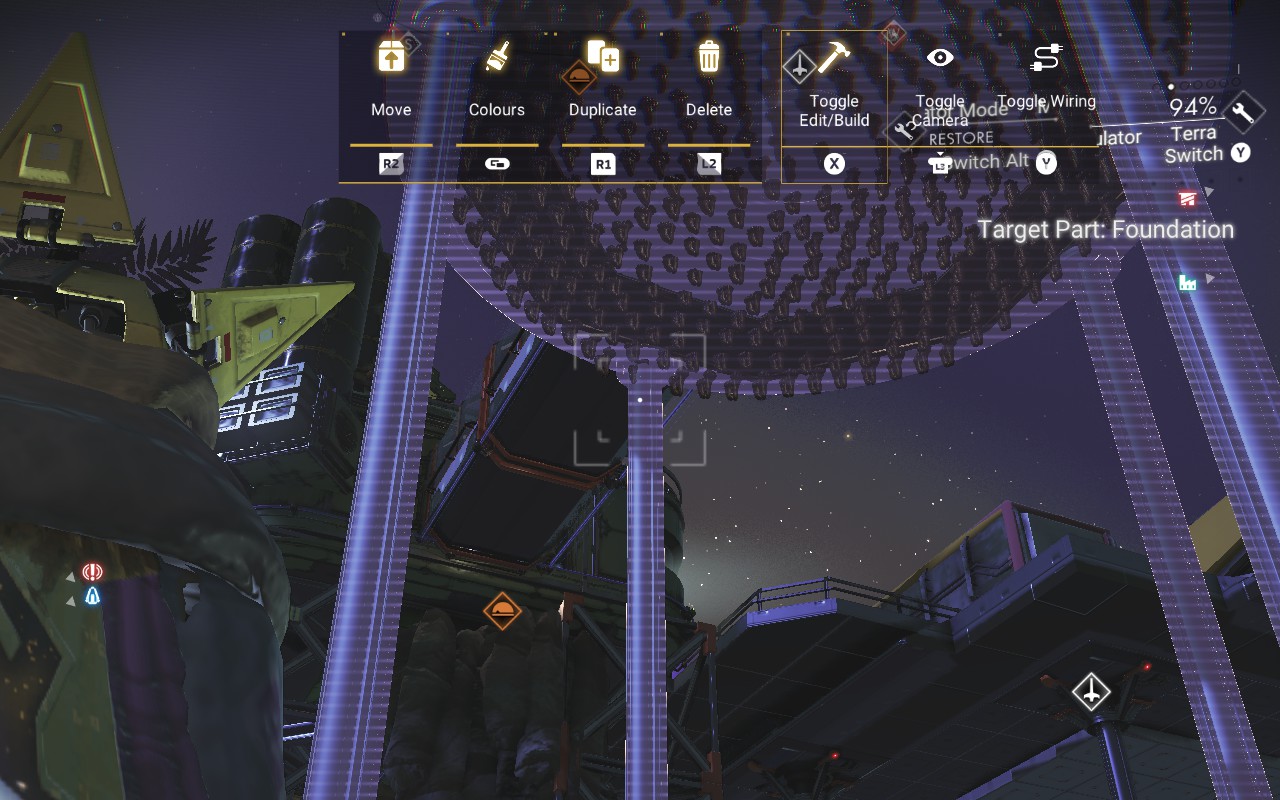
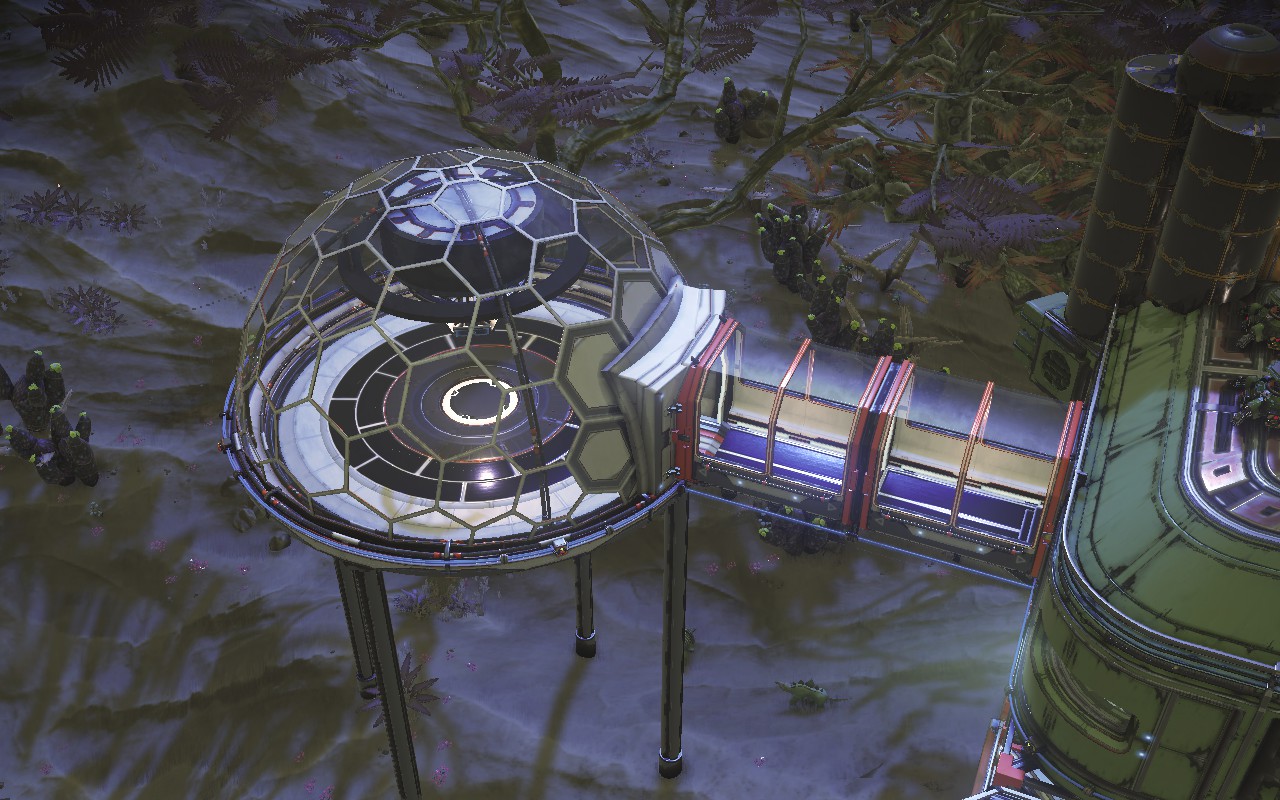
Until this changes, plants will grow just fine being planted in air.
The bio-dome will harvest them as long as they're in it's affected area. (They need to come though the floor substantially when fully grown, but not as seedlings.l
Extreme Plant Farming: Crop Yields
I did some testing to help figure out how many plants can be packed into the harvest area of a bio-dome and whether you really need to pack it completely full for each plant type.
Each plant has a different radius so the number of plants that will fit is different for each plant type, and plants also yield different numbers of plant products.
I used the bio-dome trick to plant plants under the floor of bio-domes in each of the six major biome types. The area to plant plants was marked off using electrical wires by connecting them at the outer edge of the planting holes as shown in previous sections.
I then used the “build camera face plant” trick (for lack of a better term) to force a few more plants in just in case I didn’t do a good job of positioning them, but only enough to better estimate a perfect job of packing in plants.
After that I snapped each dome back in place as previously described, waited a day or so, then harvested a whole packed dome and took a screenshot of the totals.
Here are the per-harvest results (from activating the harvest terminal one time each) for a fully grown dome-patch.
Harvest
Max #
of Plants
The dome floor area will hold so many plants you don’t really need to pack them completely full, so plant fewer than the maximum, especially for the cactus, otherwise you’ll be suffocating under a pile of plant products.
So you can be pretty sloppy with the planting except maybe for the Star Bramble since it has a low yield per plant. With the cactus, solar vine, and gamma weed it’s easy to overplant if you’re not counting. so especially with those count out the number of plants you need and no need to worry about packing those in at all.
Other Base Design Example Screenshots
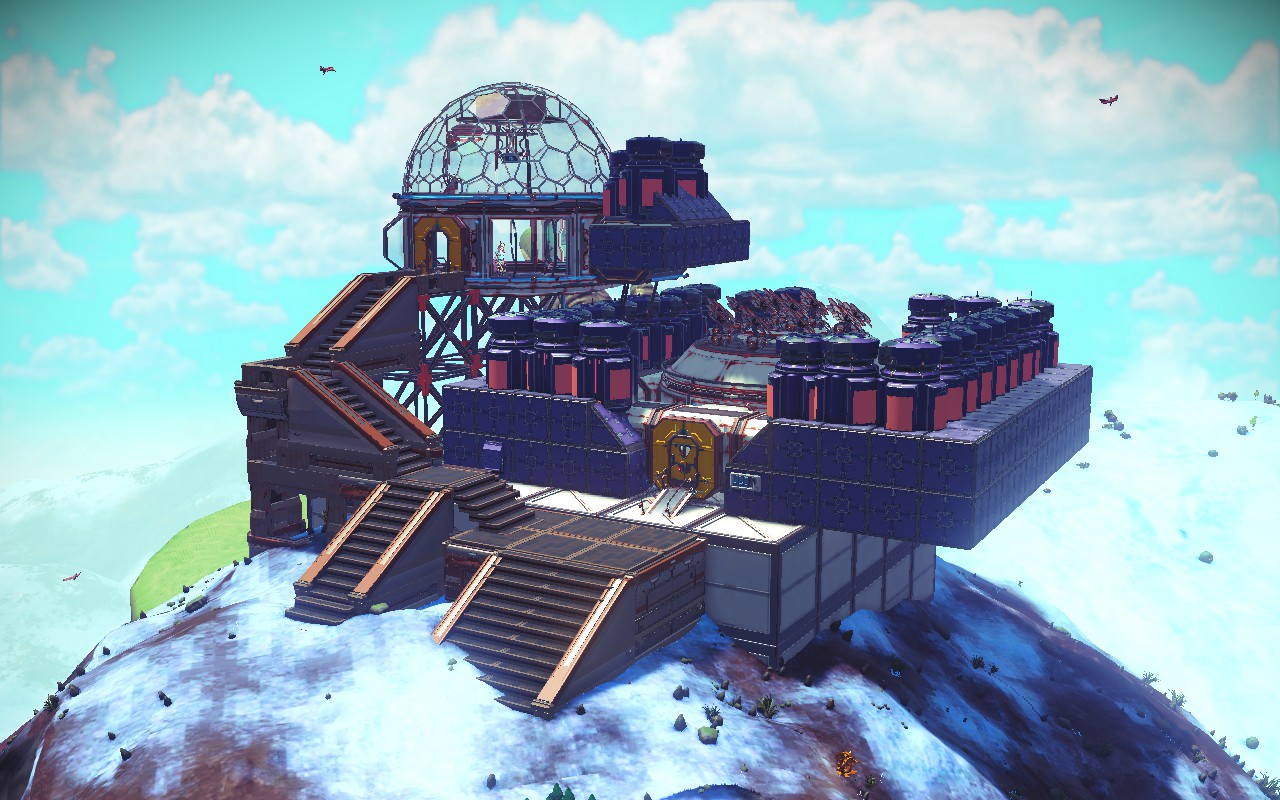
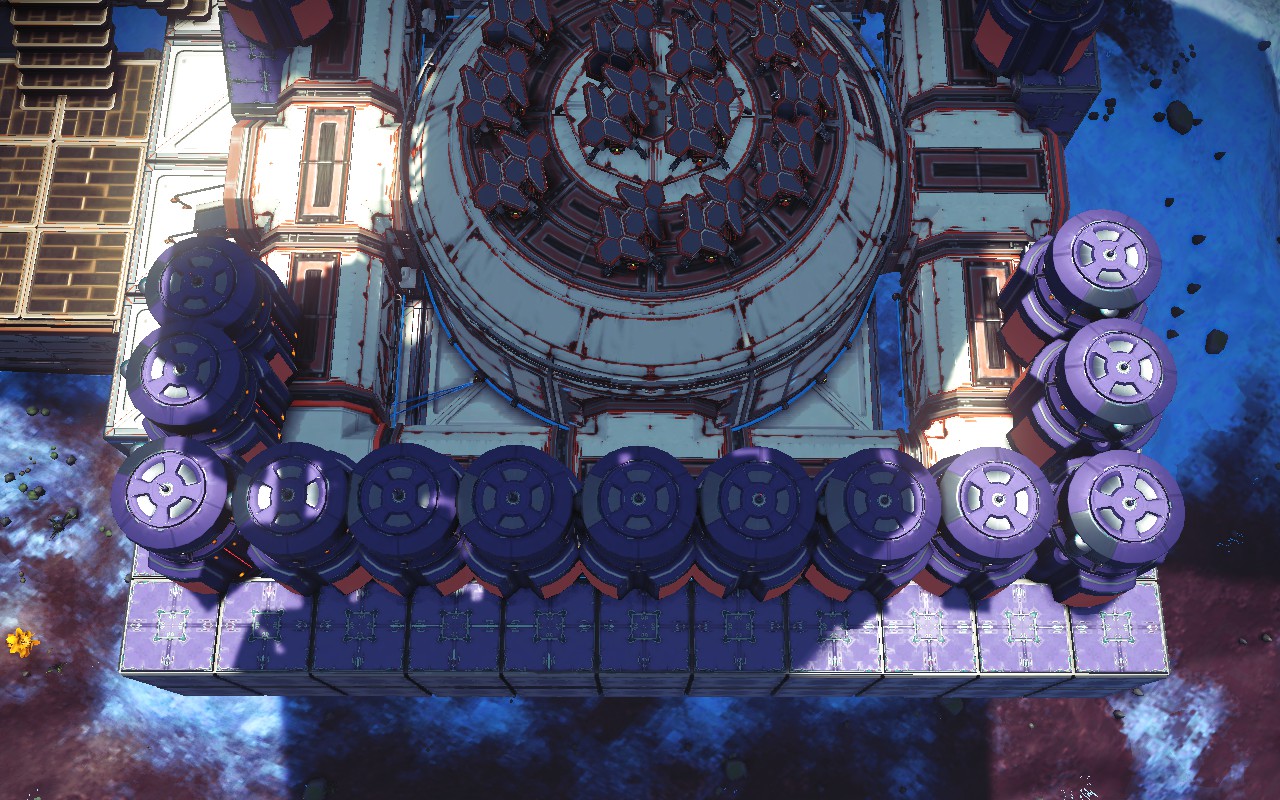
These are screenshots of stuff I've built just in case you want ideas. Most of this stuff is cosmetic.
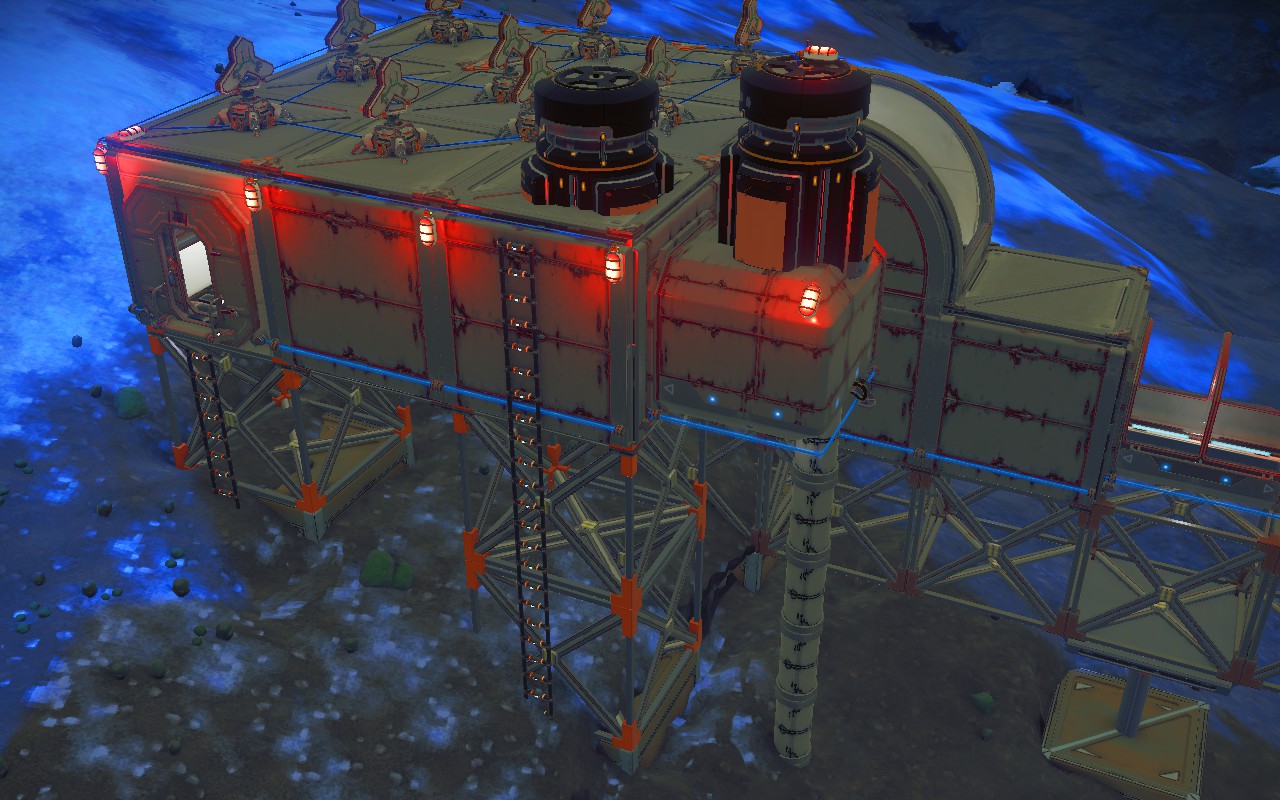
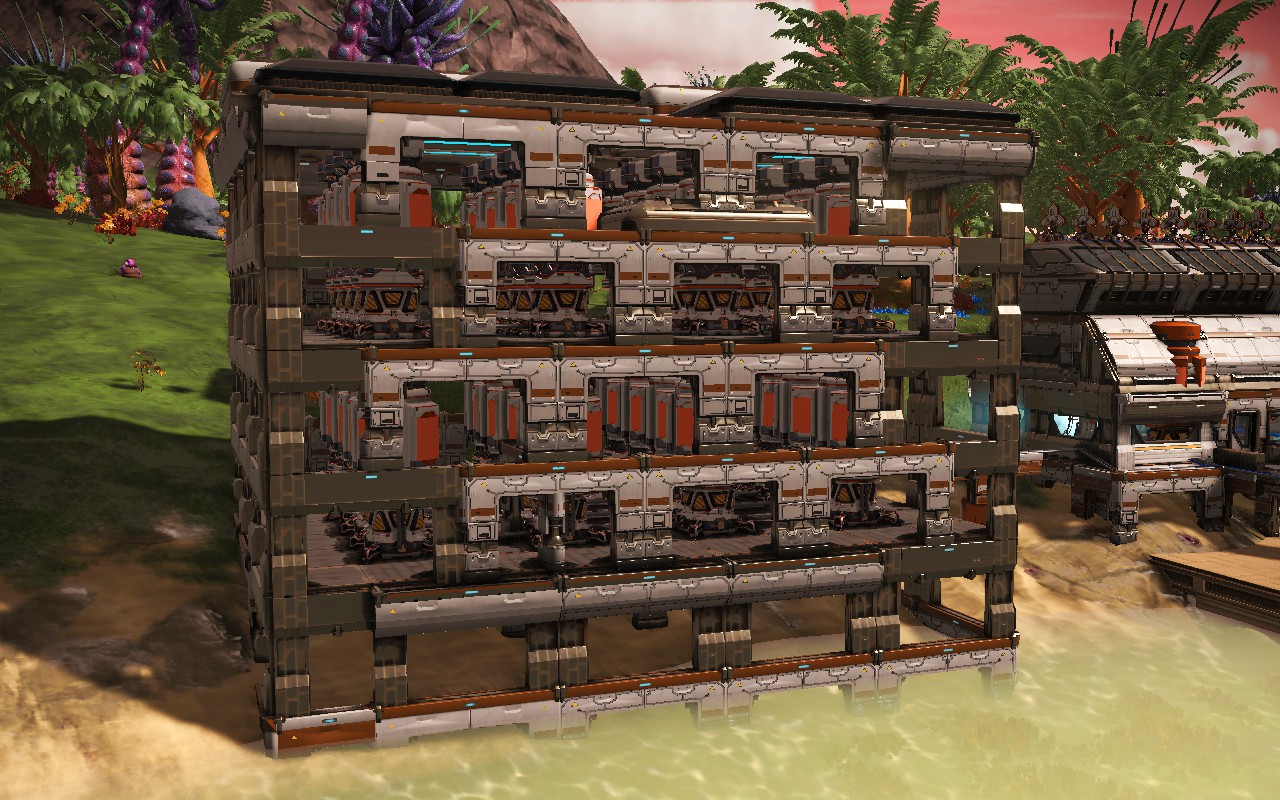
Going nuts with the Cuboid Room Frames in an attempt to look industrial:
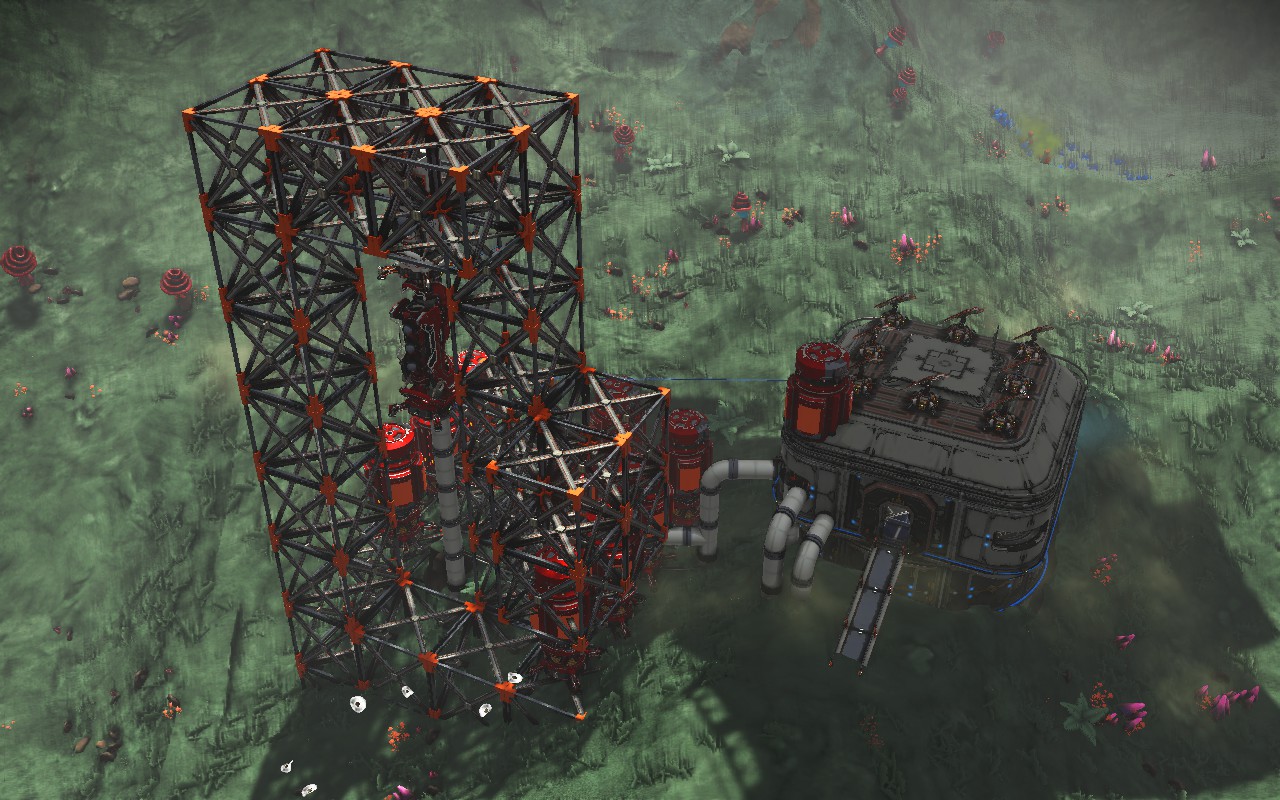
Trying to look more like an industrial rig of some sort. Uses Cuboid Rooms that waste lots of power.
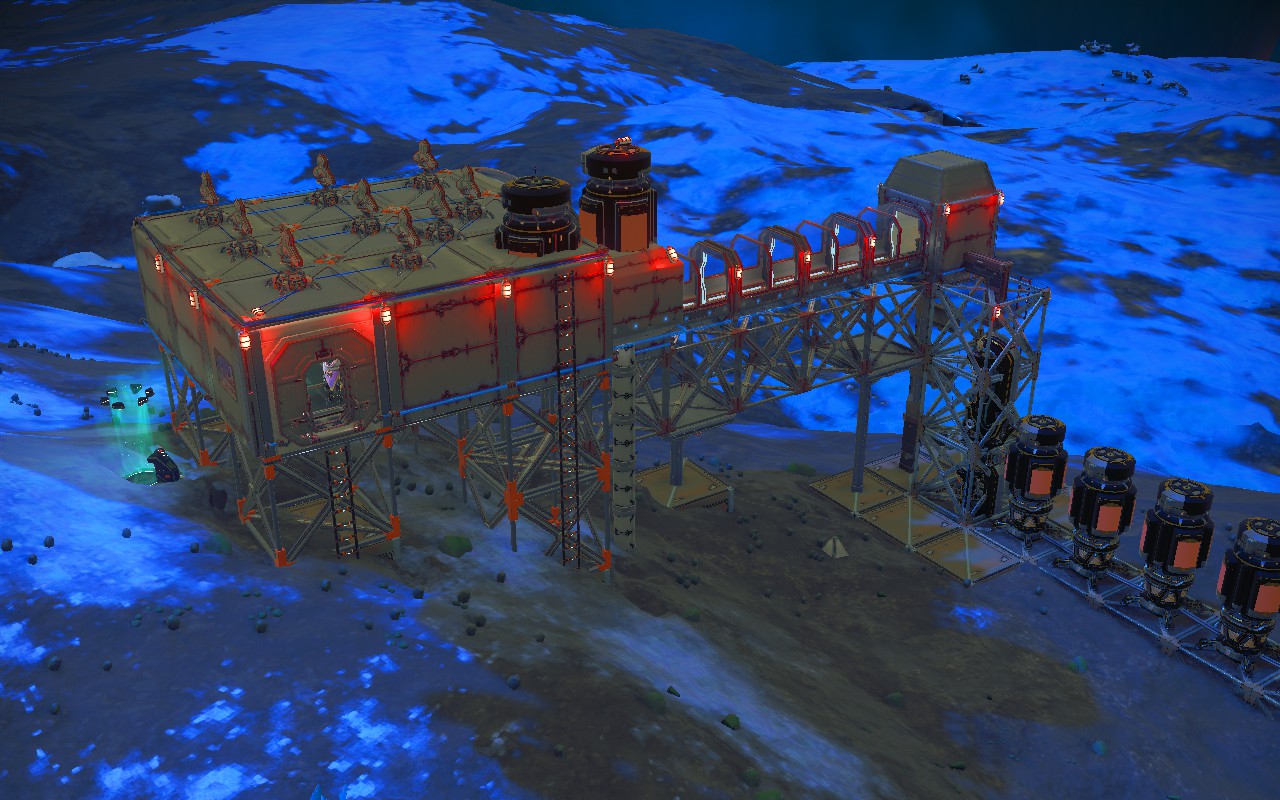
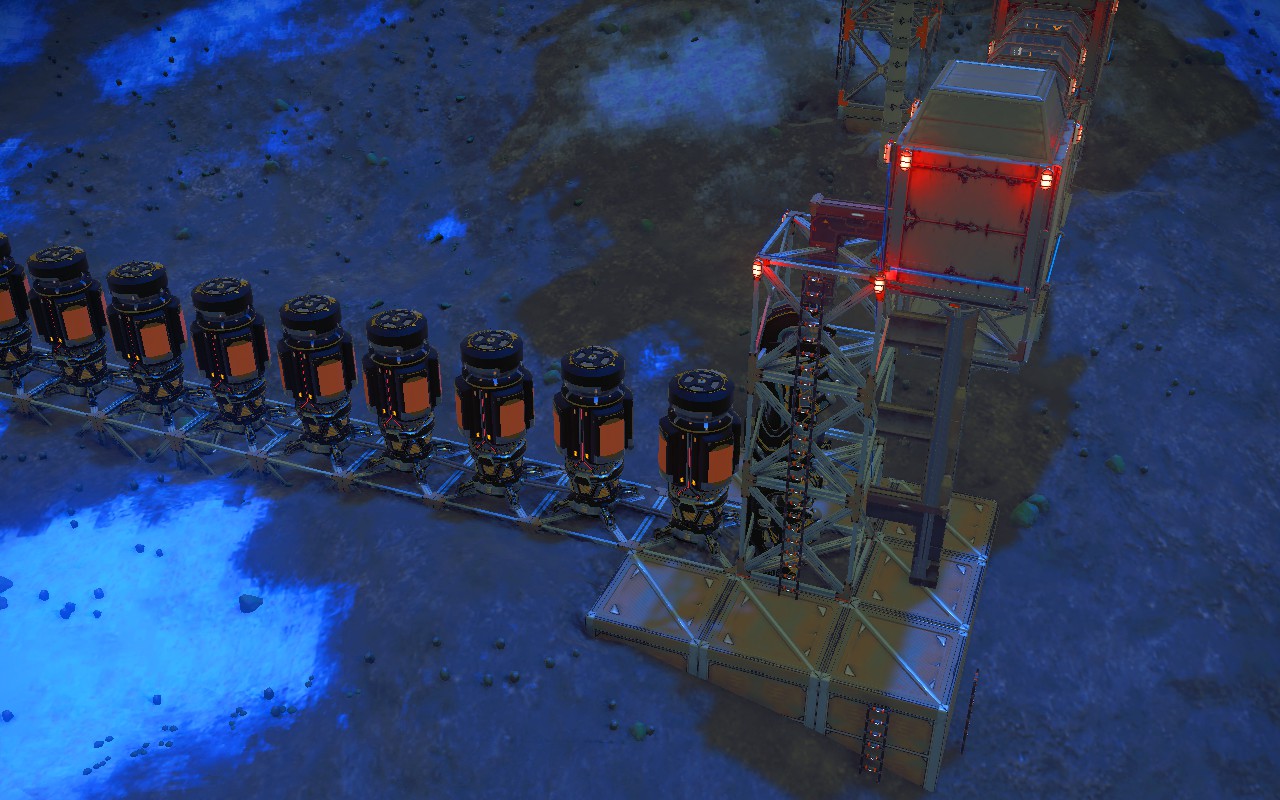
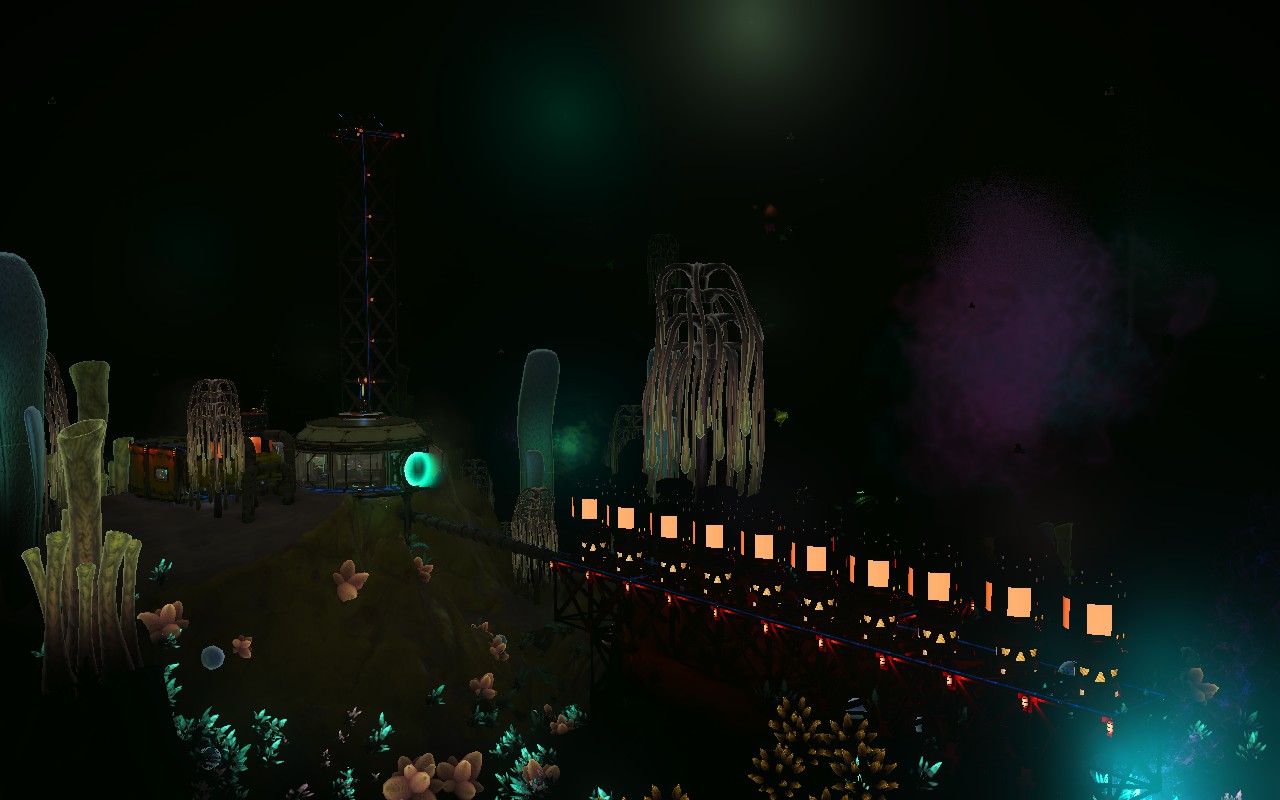
Elaborate underwater base that shows using corridors like rooms for Supply Depots.
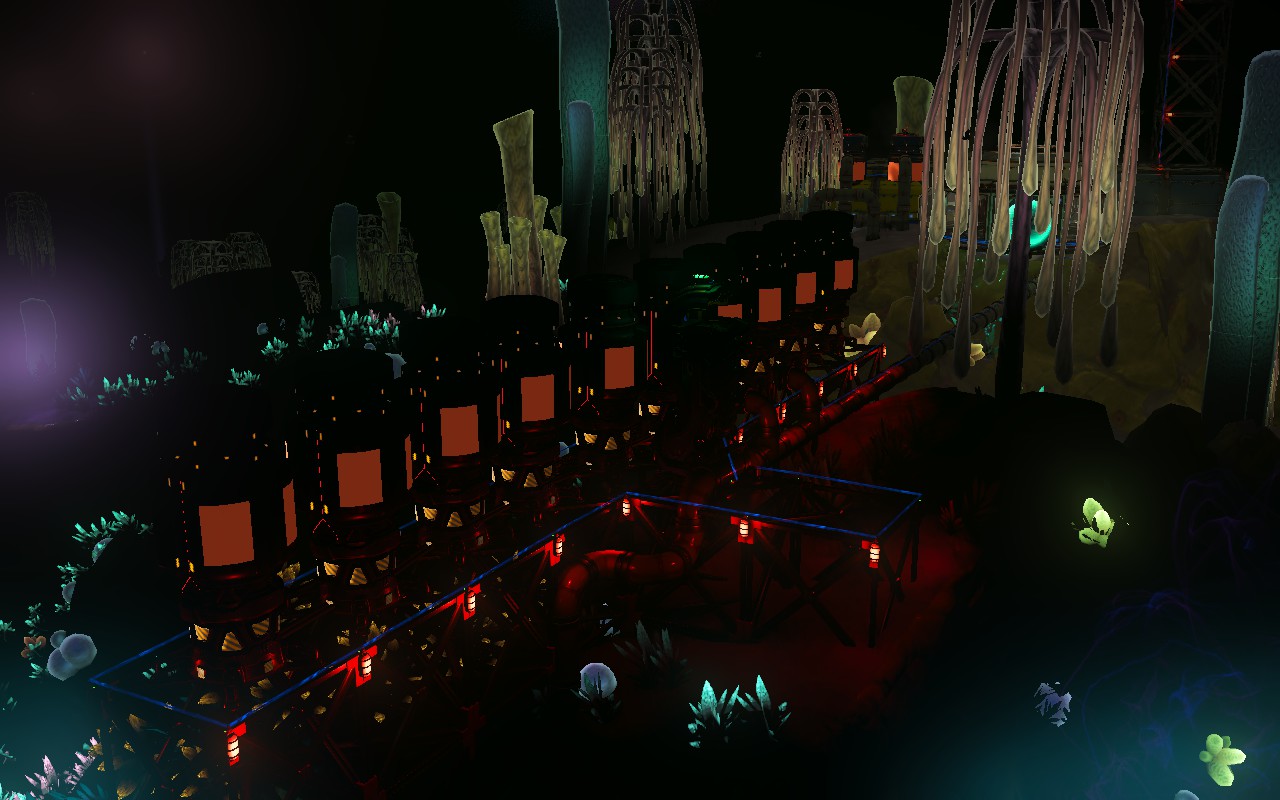
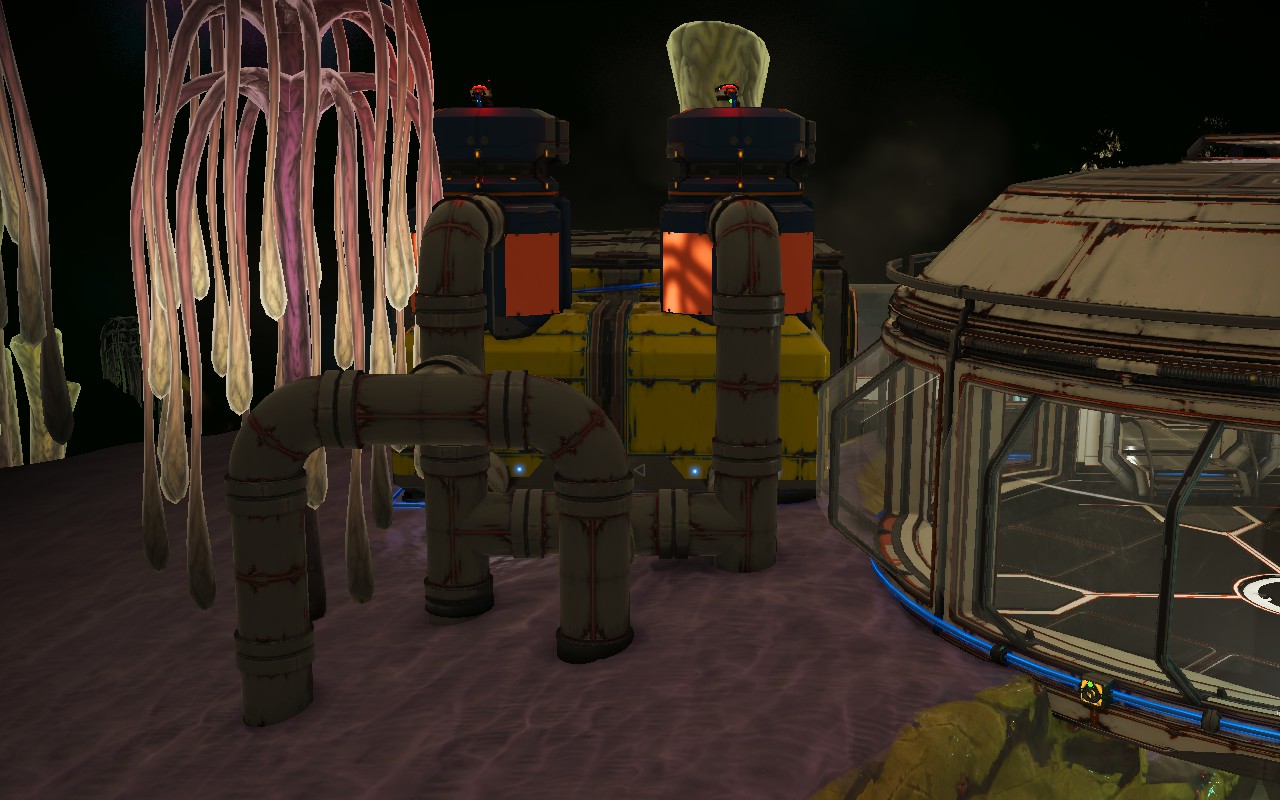
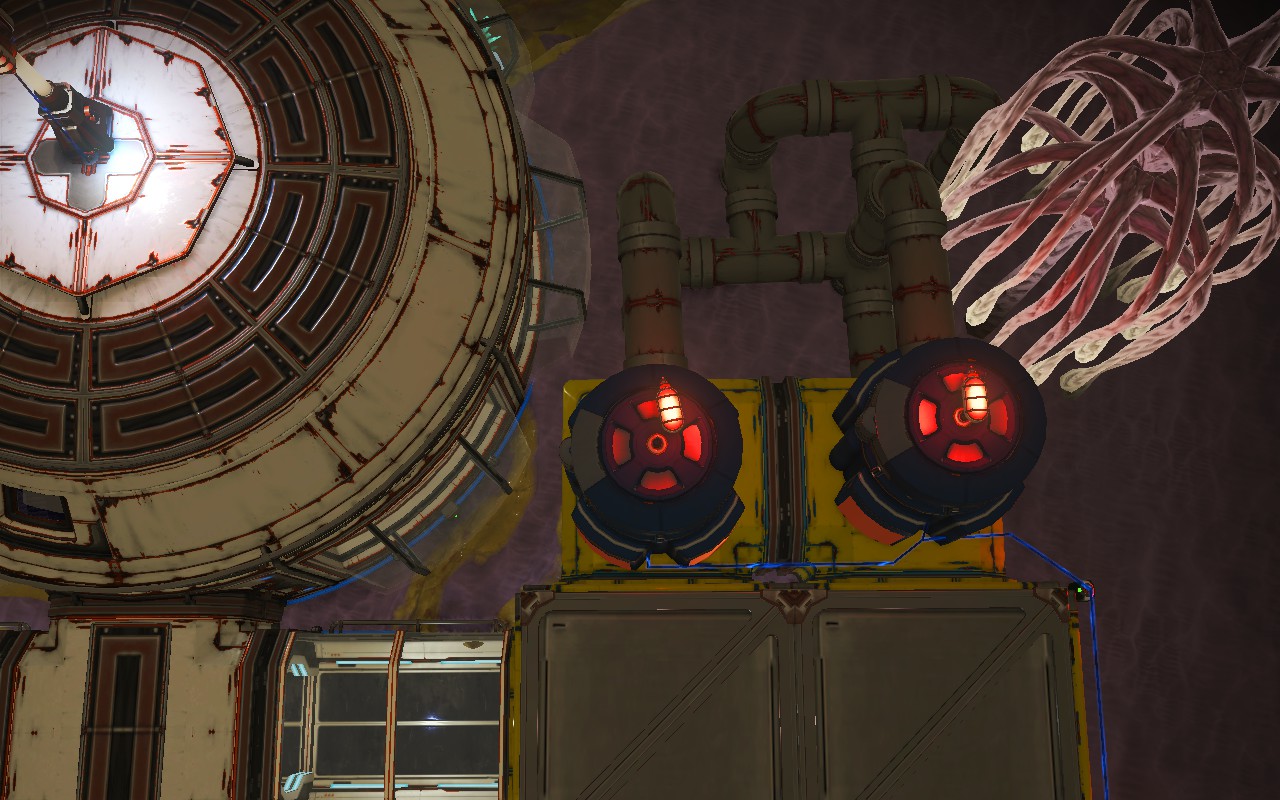
An oil rig style design with tons of tanks packed into corridors used like rooms:
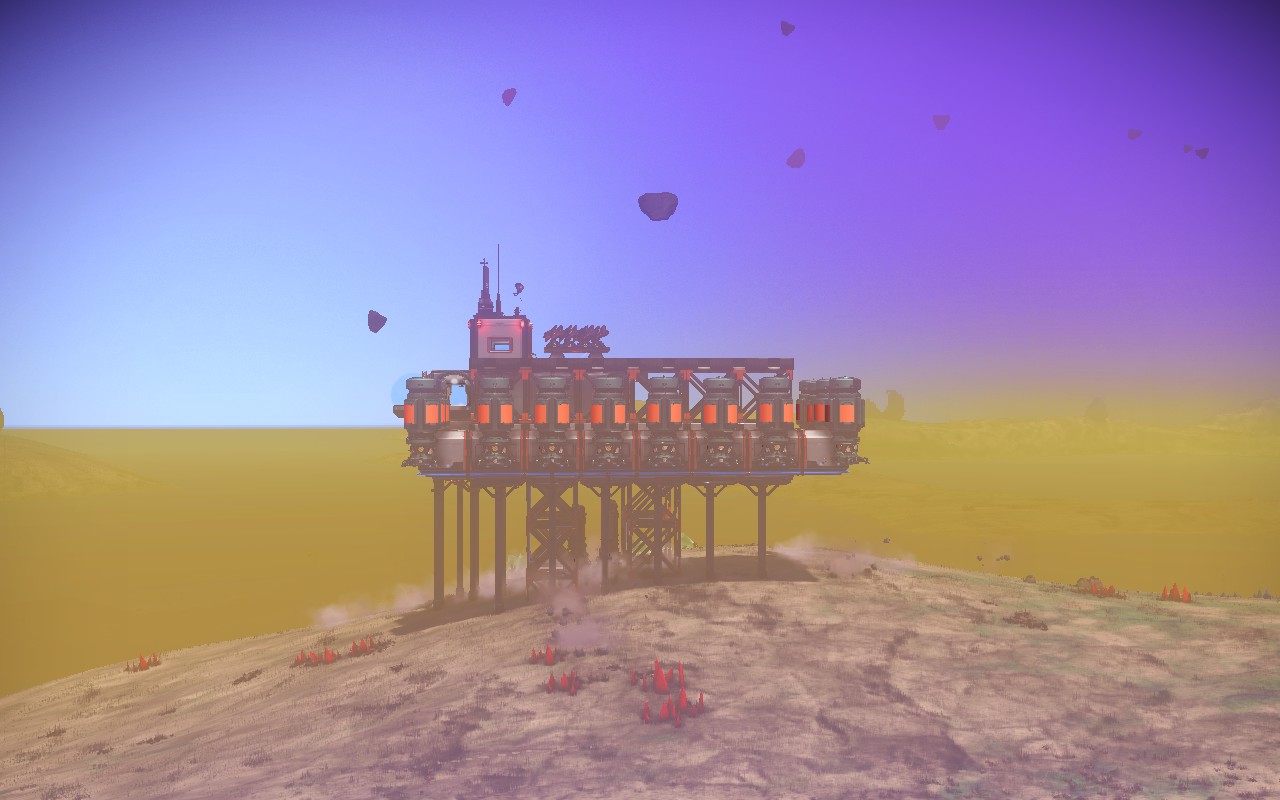
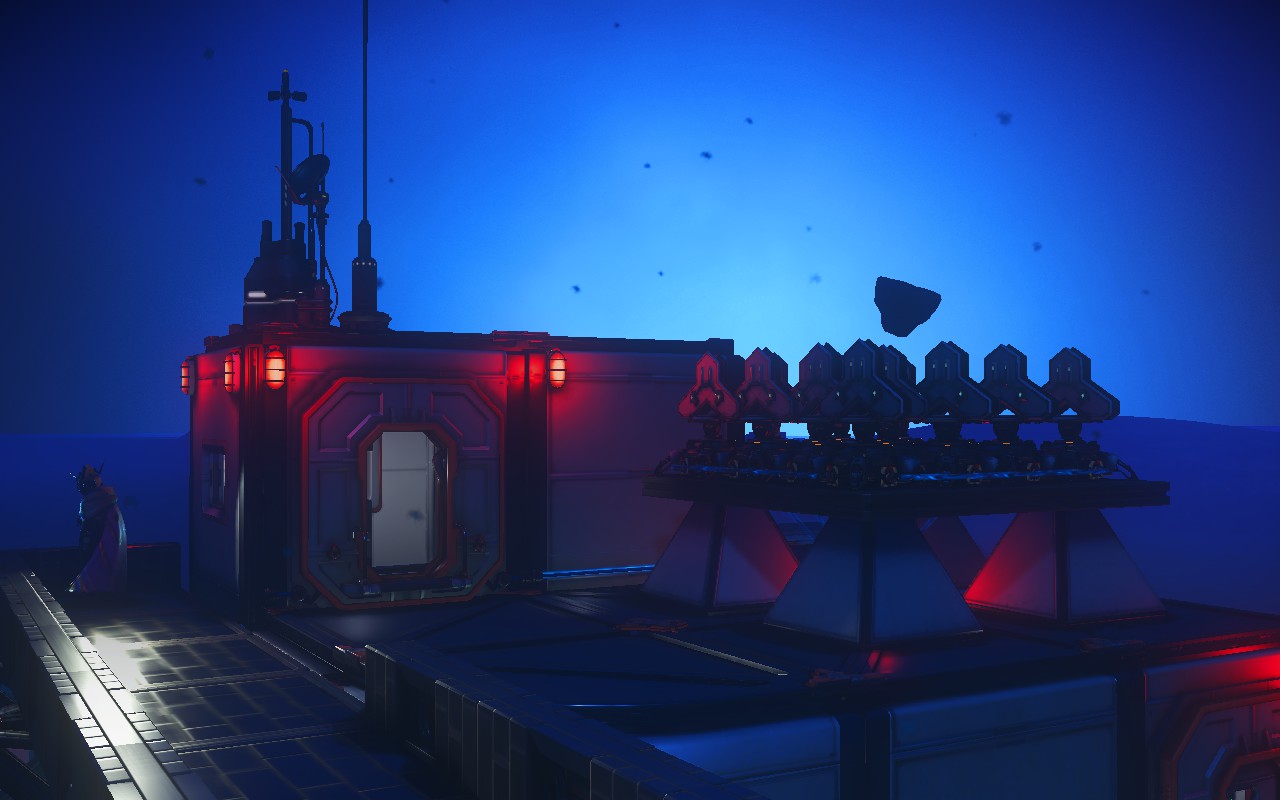
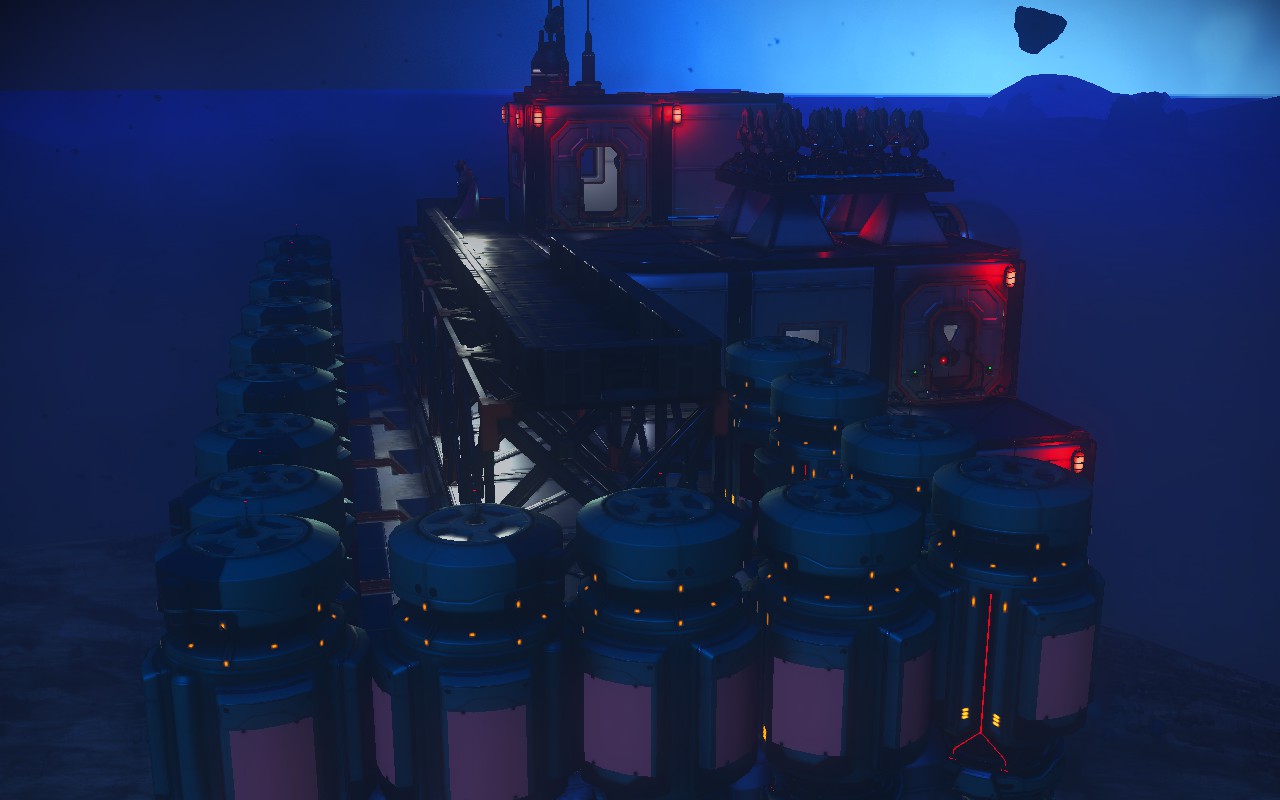
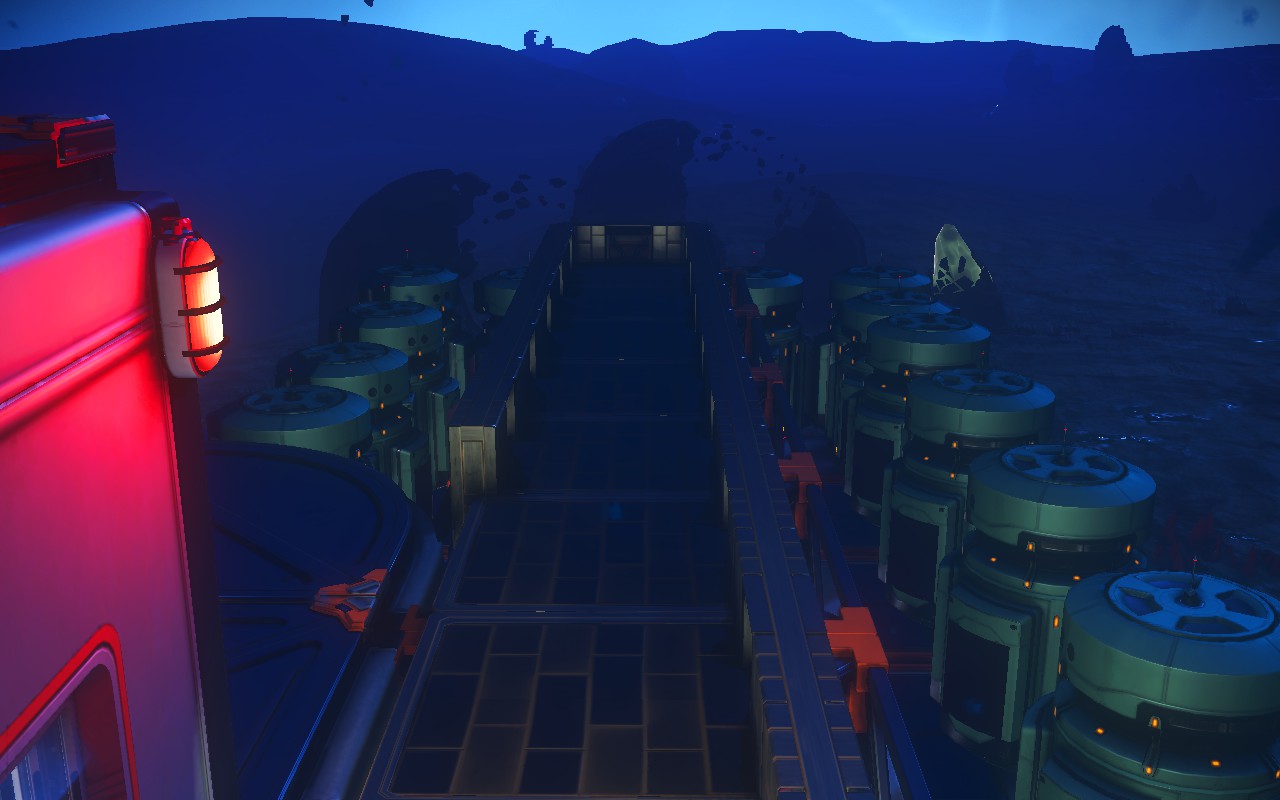
Ladder access, more extreme utility pole stuff:
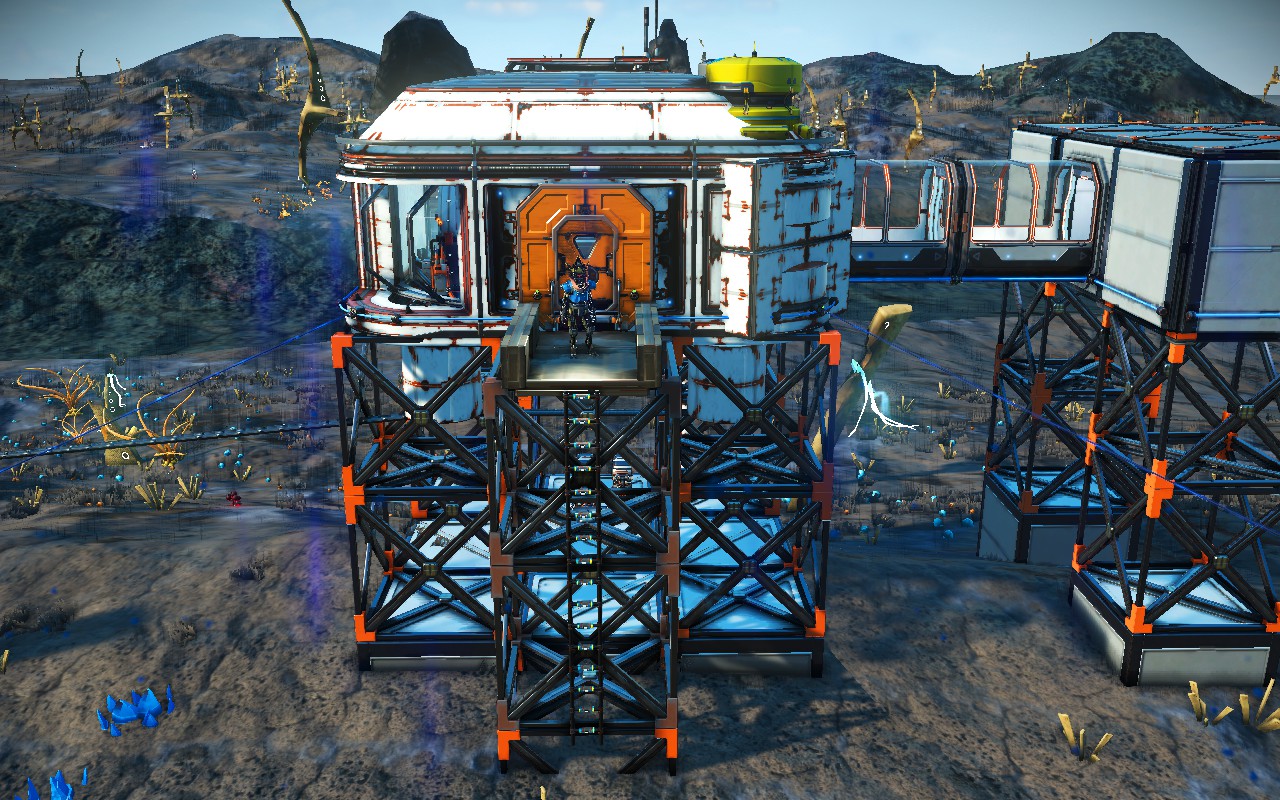
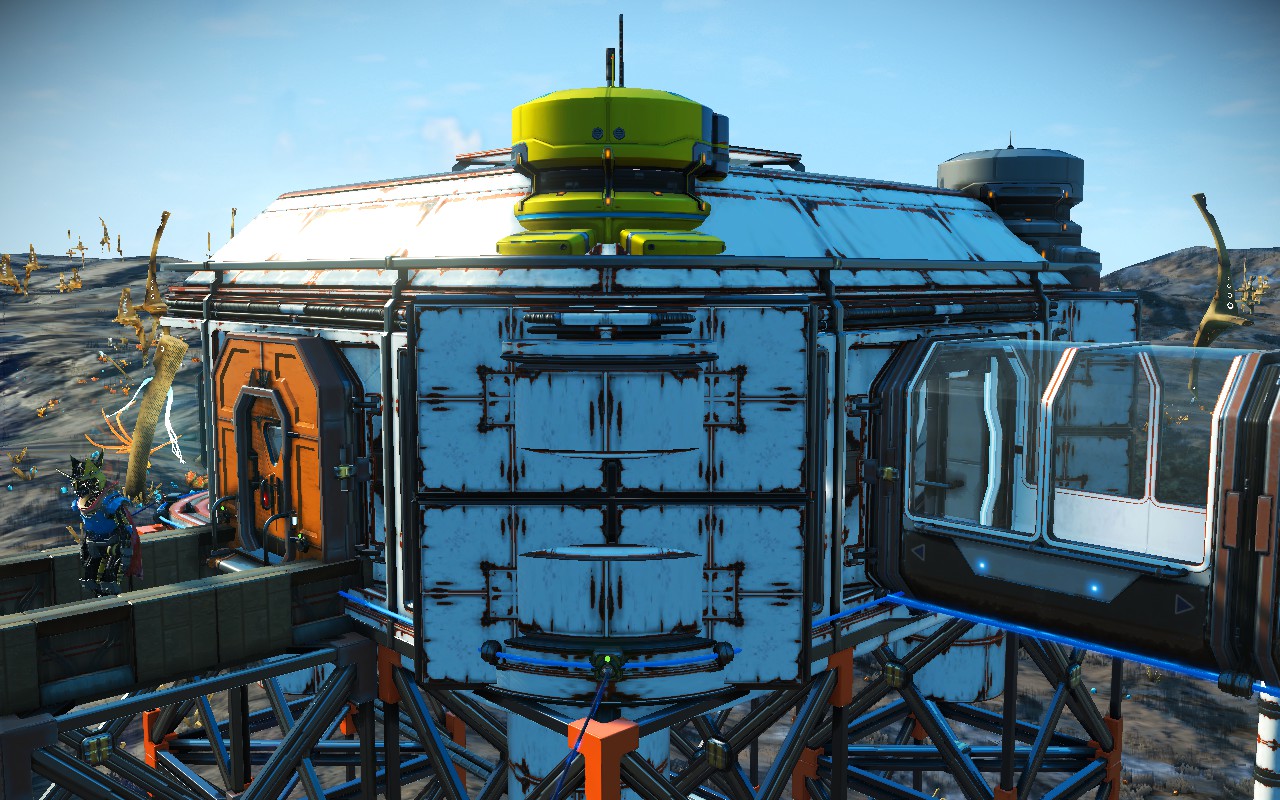
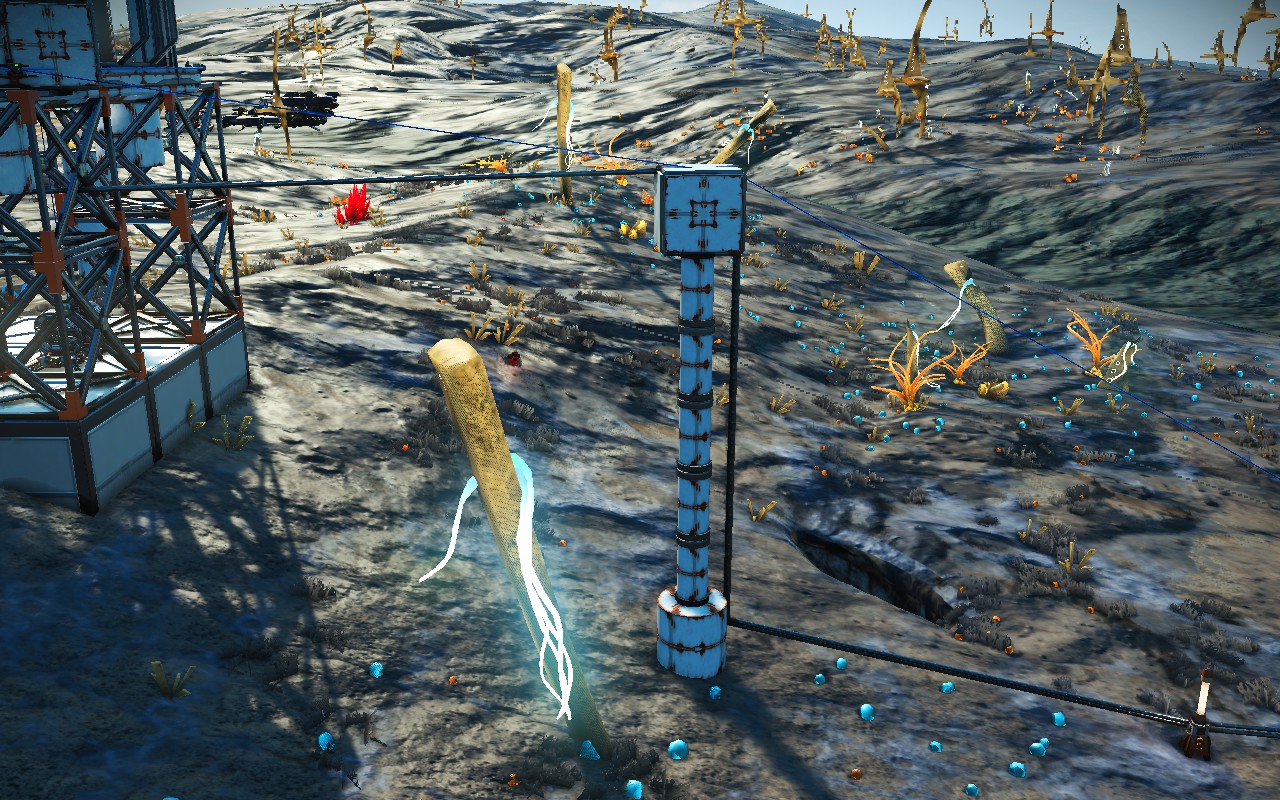
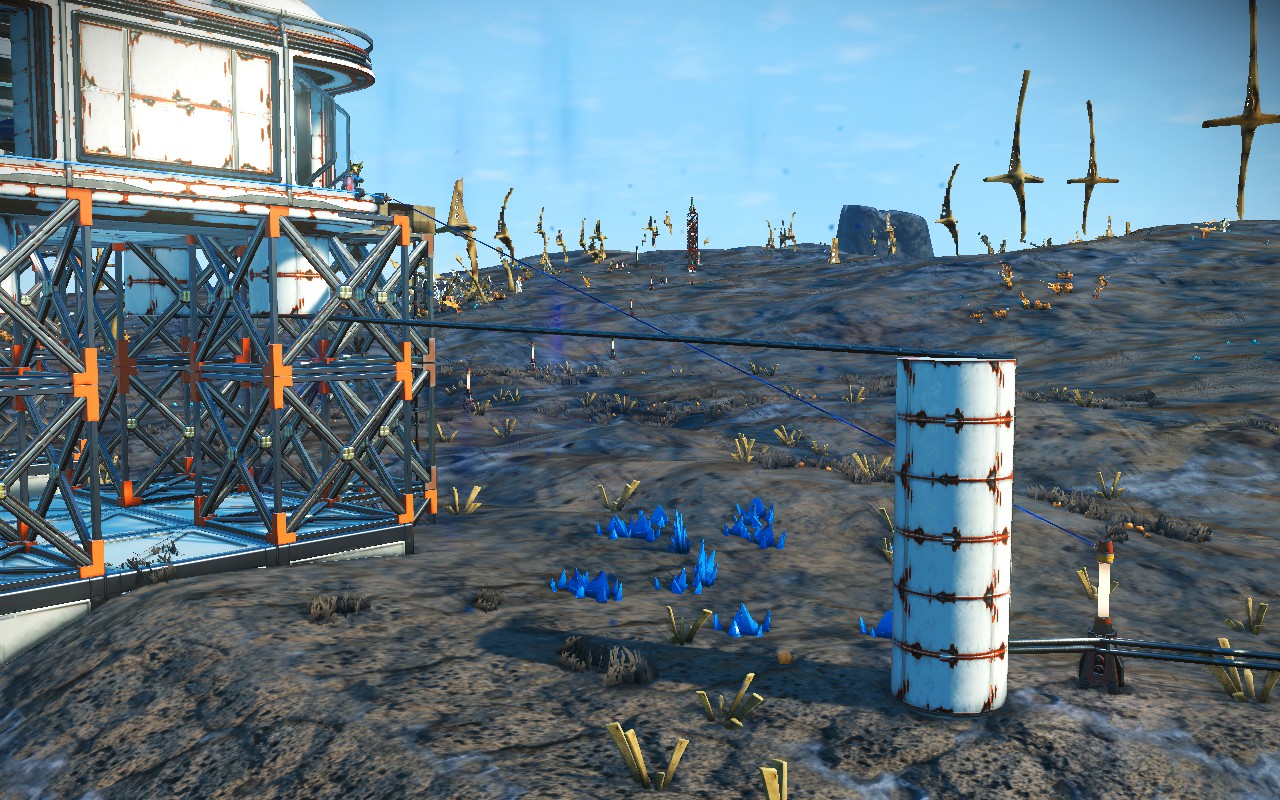
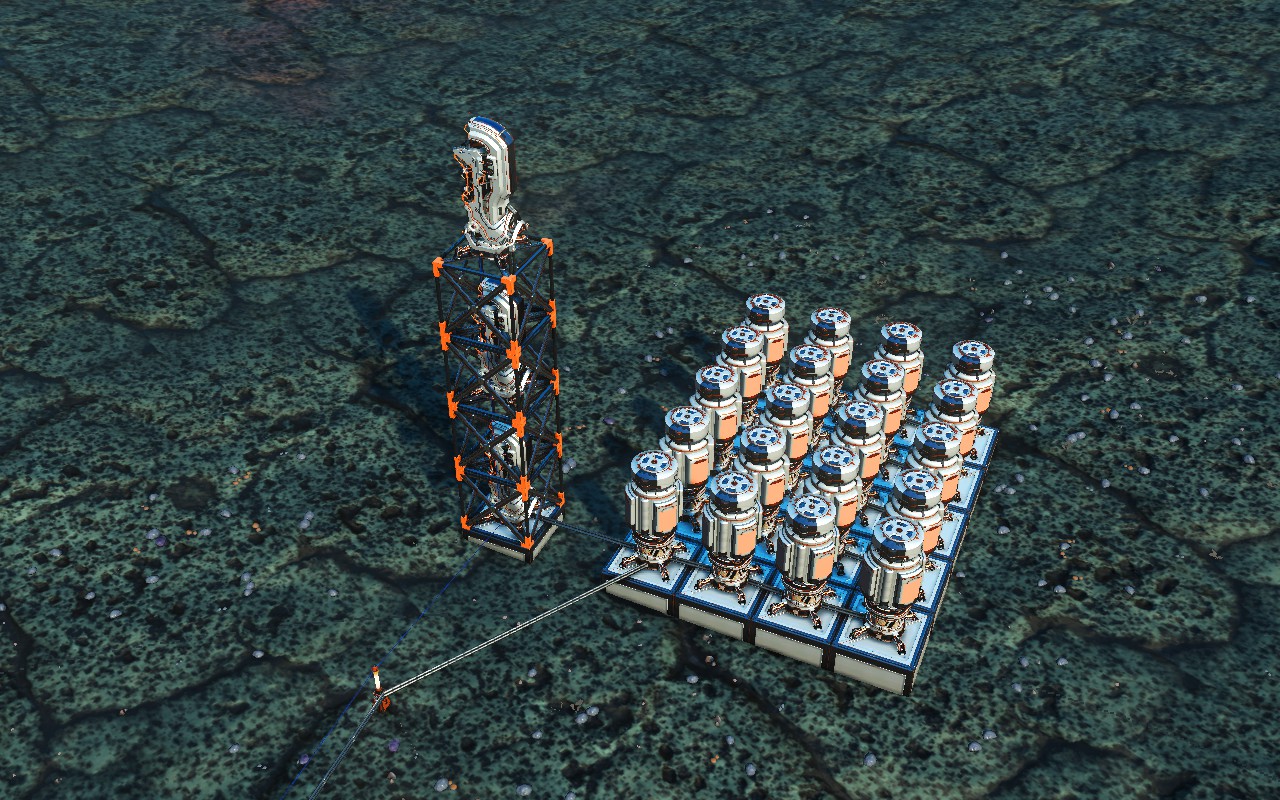
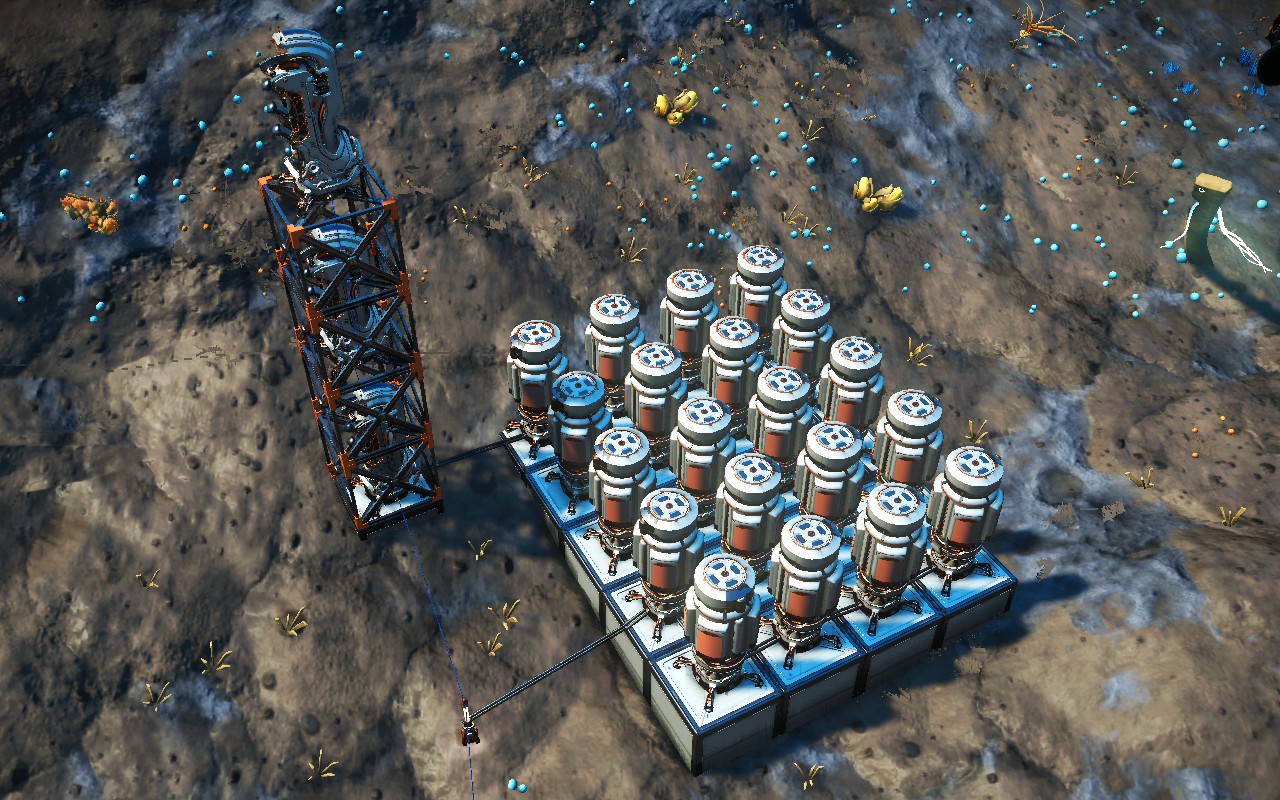
Solid cube grids with stacked extractors:
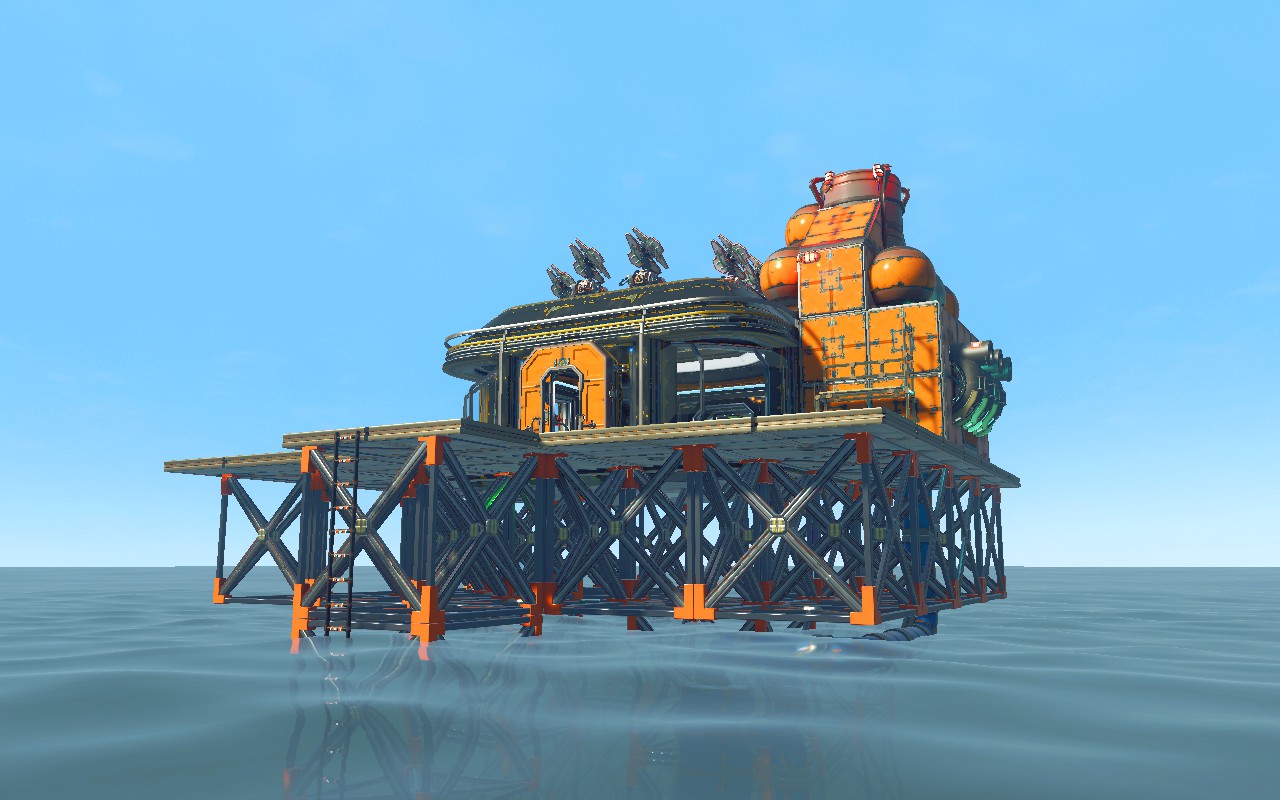
Above water base, underwater extractors, completely obscured supply depot. The tank on top is actually a Water Tower (decoration)[nomanssky.fandom.com].
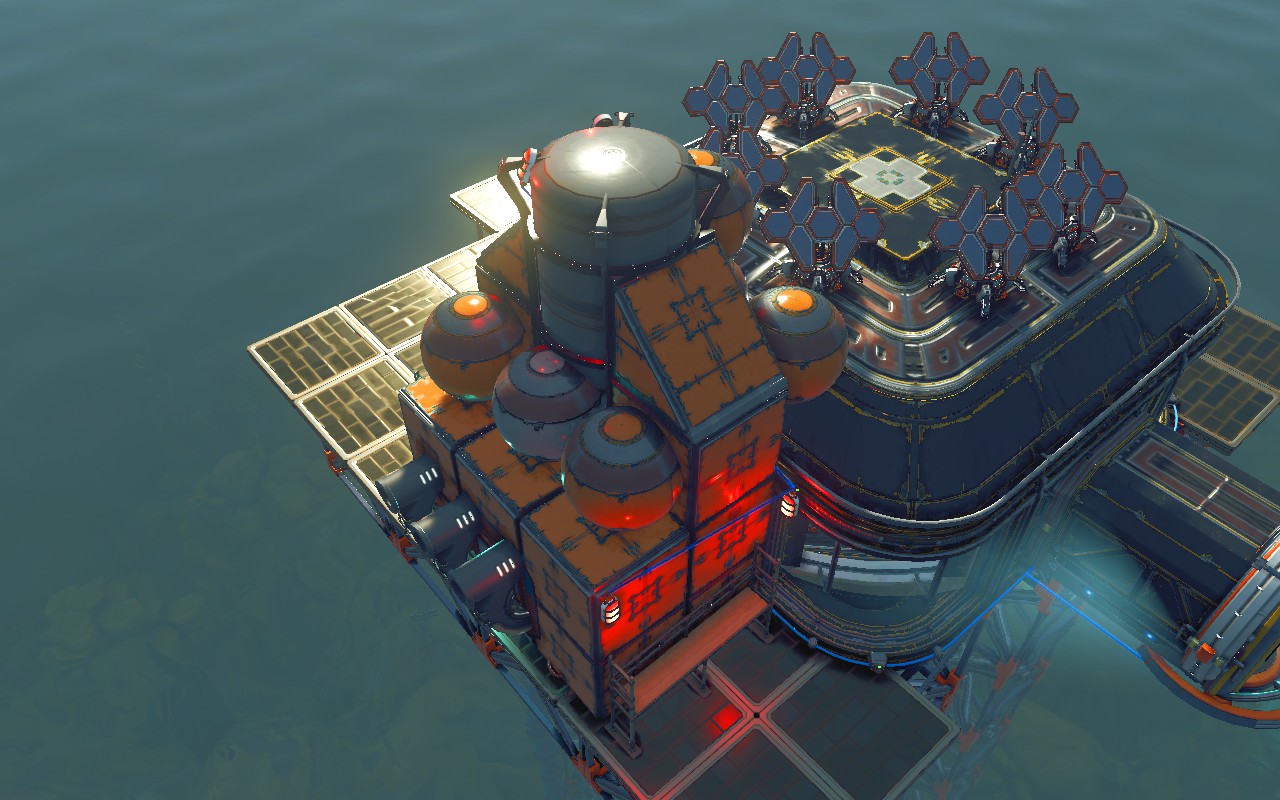
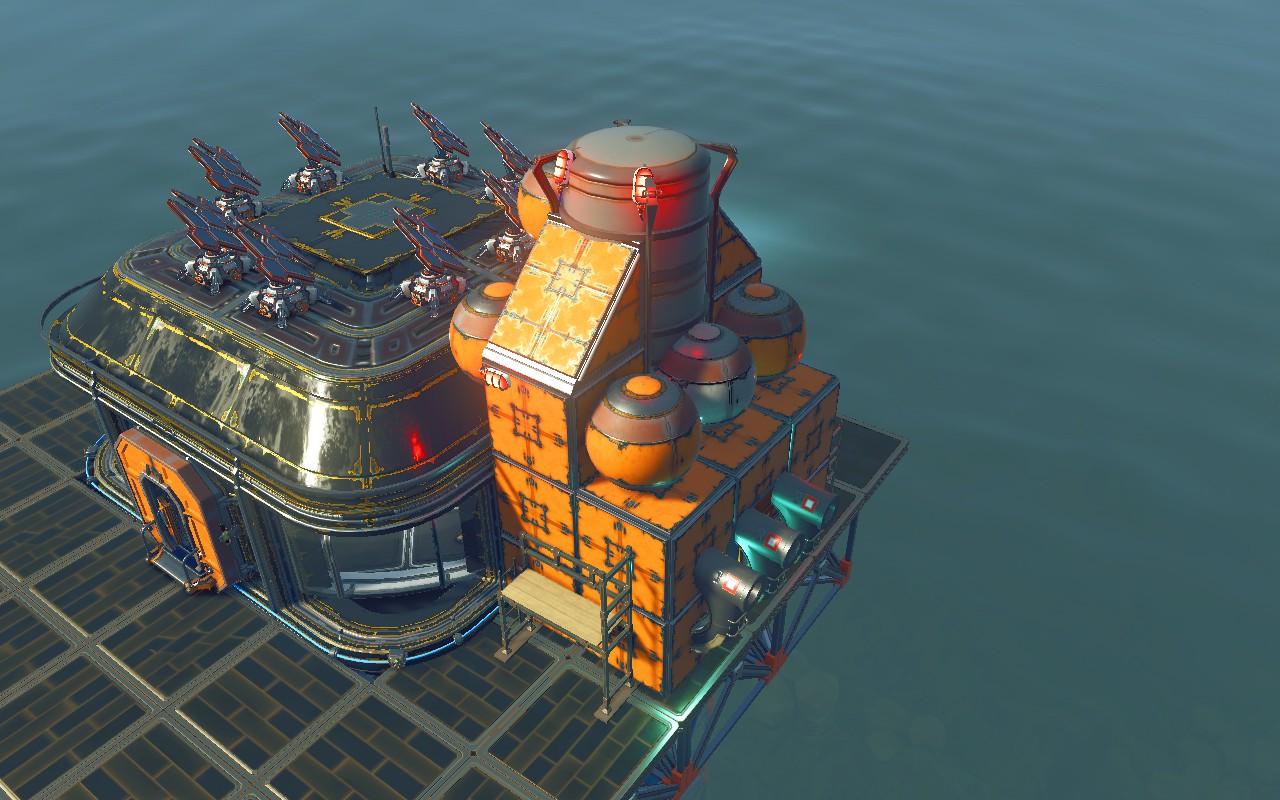
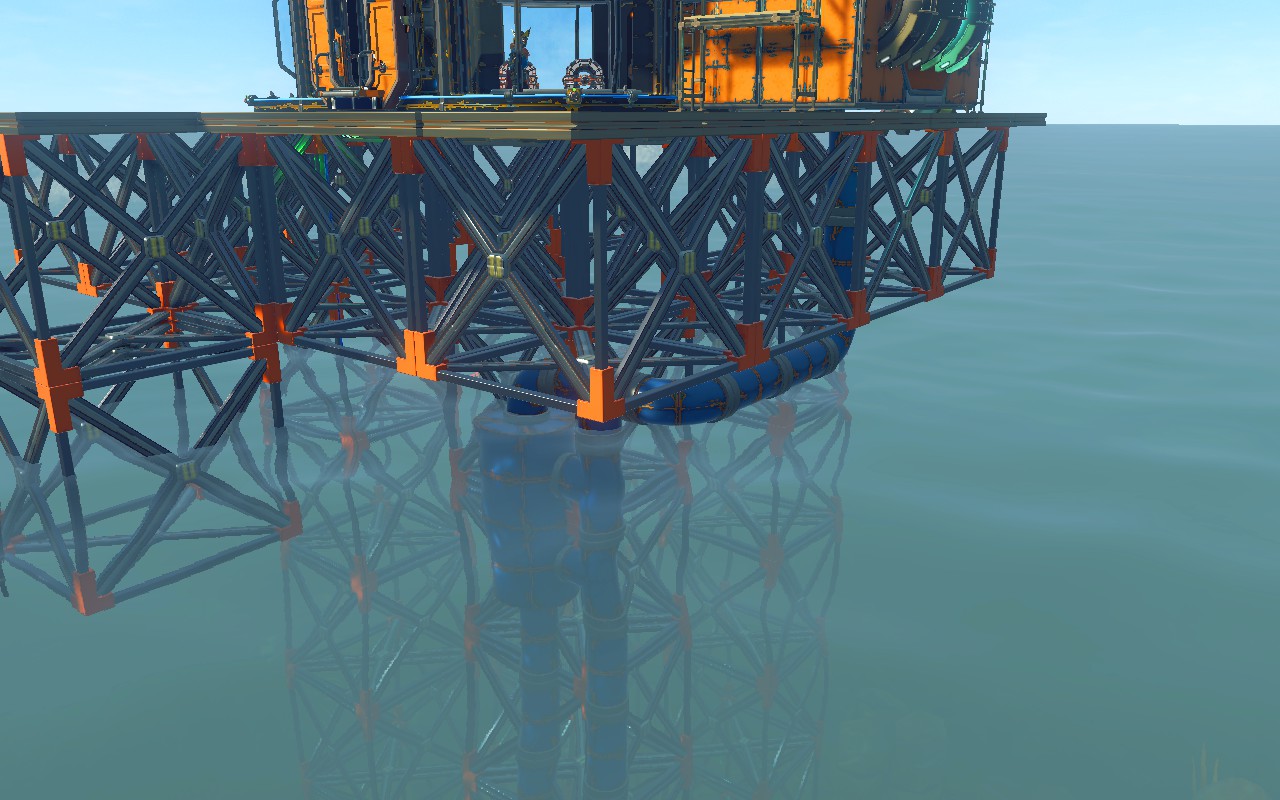
This one has some basic panels snapped to a corridor as the entrance area:
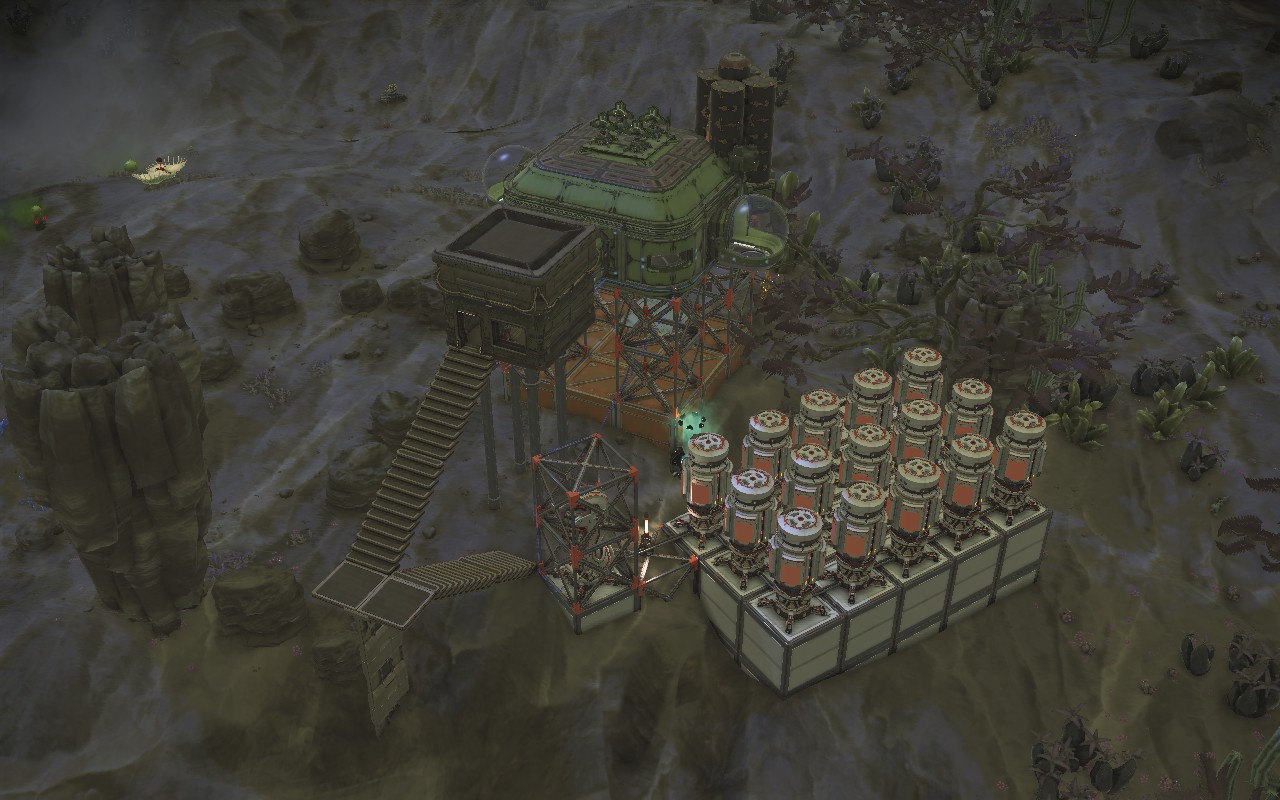
More packing of supply depot tanks into corridors:
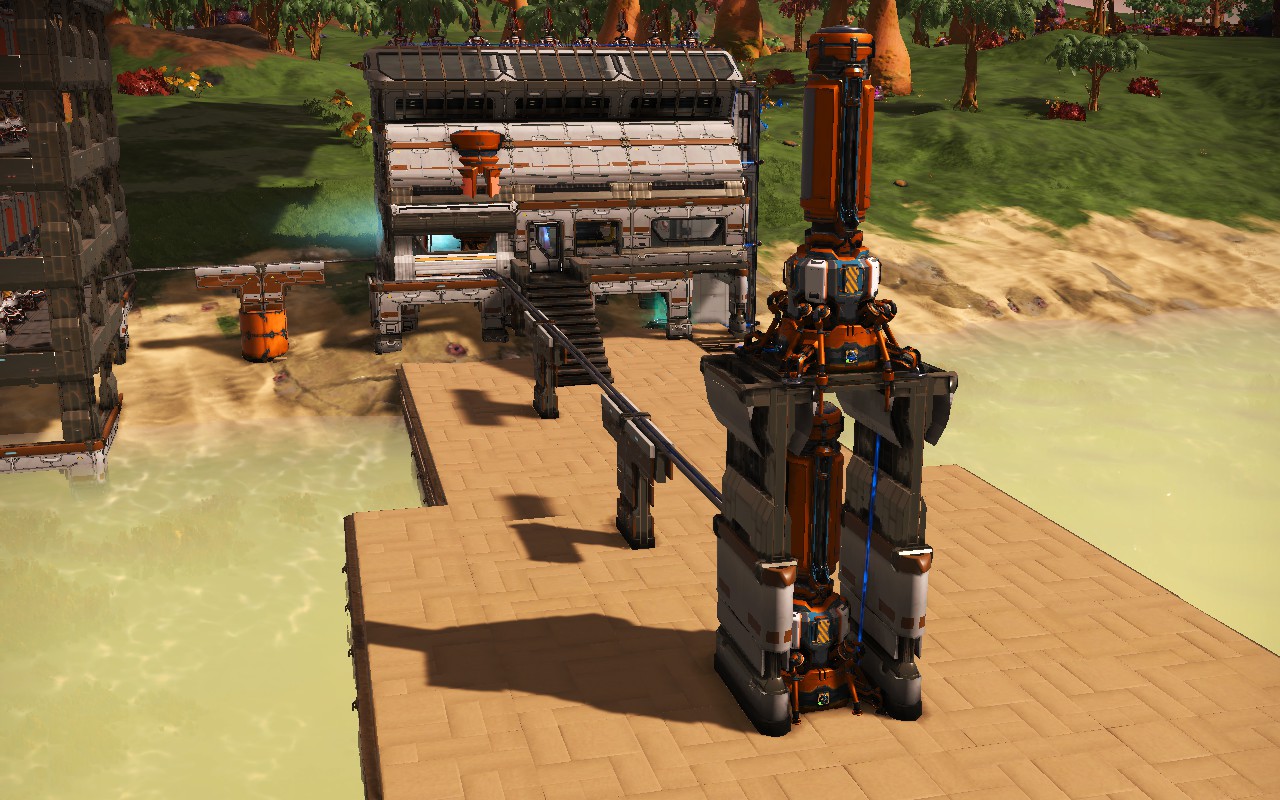
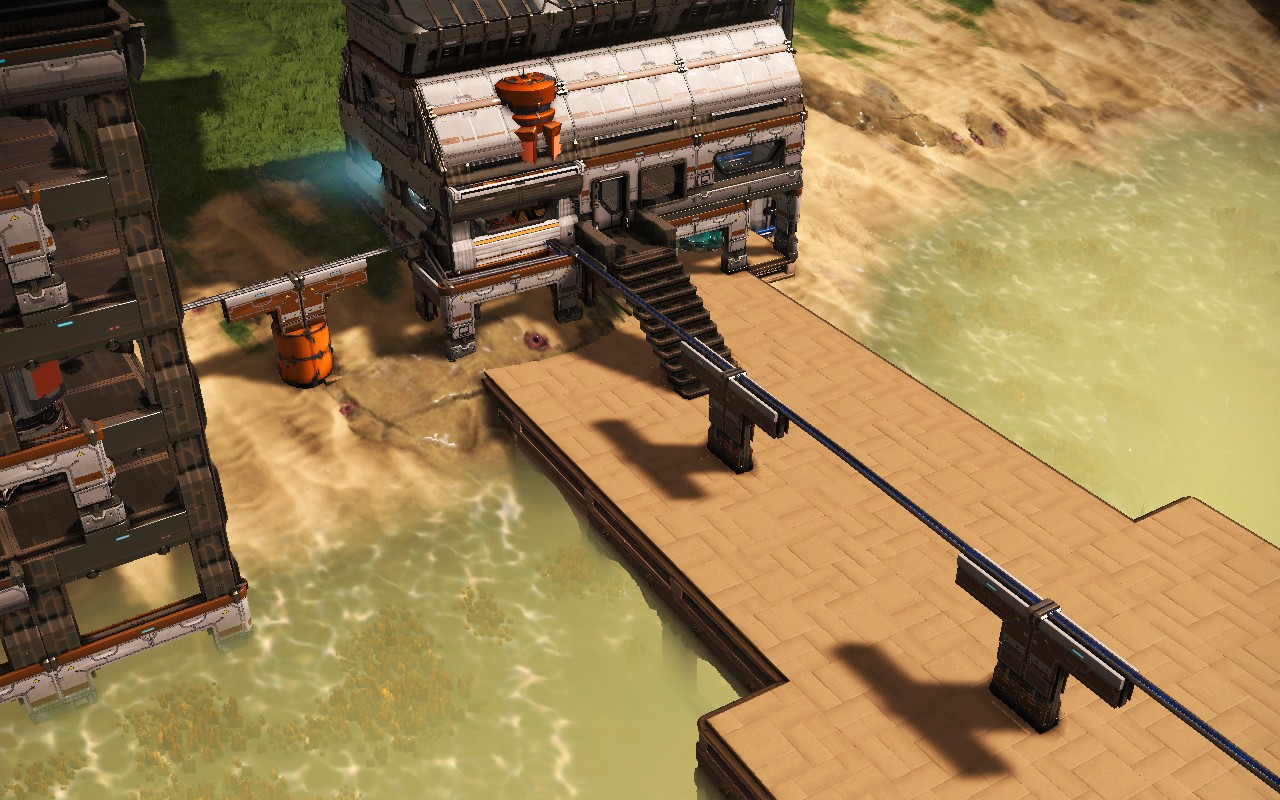
Here's an example made of only basic panels. This takes way too long, doesn't look that good, and isn't worth the trouble. But it does have an interesting aquaduct-style for the supply pipe and electrical connections using half-arches. Full arches would look more like an aquaduct.
See Also
For more info on industry and crafting, also see the original guide that spawned this one:
https://steamcommunity.com/sharedfiles/filedetails/?id=3647979303
For a lot more detail about using temporary parts to get useful snap points, and better examples than what I showed, see this video from (someone else who isn't me) Beeblebum:
There are also some techniques you could make use of that are typically referred to as "glitch building". I'm not expert enough at this to be able to describe it properly, and it is kind of tricky and complicated, but here's a video from Beeblebum about the "wire glitch" which can help with things like alignment and building the unbuildable if you can get used to it:
Copyright and License
This work © 2026 by NimrodX on Steam Community is licensed under CC BY-NC-SA 4.0[creativecommons.org]
Some content from the Fandom-hosted No Man’s Sky Wiki[nomanssky.fandom.com] used under CC BY-NC-SA.
Anyone who wants to translate this guide to any language is free to do so based on the license mentioned above, but please let everyone know about your translation in comments below and link to the original English guide somewhere in your translation.
Videos linked to on YouTube are by @Beeblebum on YouTube and not affiliated with this guide.
My Other Guides
- No Man's Sky Access Codes★ 5 (880)43k views2.1k ♥1 minUpdated 14 Apr
- Refining – The Magic Of Alchemy★ 5 (1.2k)41k views3.6k ♥5 minUpdated 24 Mar, 2022
- How to get RICH in NMS SUPER FAST★ 5 (501)32k views1k ♥2 minUpdated 7 Sep, 2022
- Multi-Tools: Types, Statistics, Weapons, Layouts★ 5 (550)27k views1.3k ♥7 minBulgarianUpdated 3 Jul, 2025
- Starship Guide: Types, Statistics & Roles★ 5 (461)25k views924 ♥8 minBulgarianUpdated 30 May
- Звездолеты СТРАЖЕЙ★ 5 (220)24k views519 ♥7 minRussianUpdated 9 Feb, 2025





- Upgrading to PremiumTeam Fortress 2★ 5 (20k)1441k views11k ♥6 minUpdated May 11, 2022
- No More Room in Hell Official ManualNo More Room in Hell★ 5 (2.8k)569k views2.1k ♥29 minUpdated Apr 22, 2019
- NMRiH Community Hosting GuidesNo More Room in Hell★ 5 (526)351k views653 ♥1 minUpdated Aug 10, 2022
- ULTIMATE GUIDE FOR GAME DEV TYCOONGame Dev Tycoon★ 5 (5.8k)326k views10k ♥4 minUpdated 23 Jan, 2014
- How to 'Git Gud' Soon™MORDHAU★ 5 (2k)318k views3k ♥68 minUpdated Nov 16, 2024
- Лучшие кооперативные игры SteamPAYDAY 2★ 5 (1.5k)315k views2.1k ♥56 minRussianUpdated Apr 27, 2025






This guide was created by its original author on the Steam Community. Are you the author and want it removed? Request removal.