They Who Returned - JSON Edits
Preface
TL;DR - this quest line does not take that much time, please consider doing it in game instead of using this guide.
After creating the guides for Trace of Metal, the Artemis Story and the Atlas Path.... I've become rather intimate with the way HG tracks quests and missions.
The Trace of Metal used keys named "SENTINELS_x" which made it easy to log and follow.
The Artemis Story was easy to track and made complete sense, keys were clearly identified as "ACTx_STEPx" and followed a numeric sequence.
The Atlas Path was also straight forward with "ATLASx" keys and a numeric sequence.
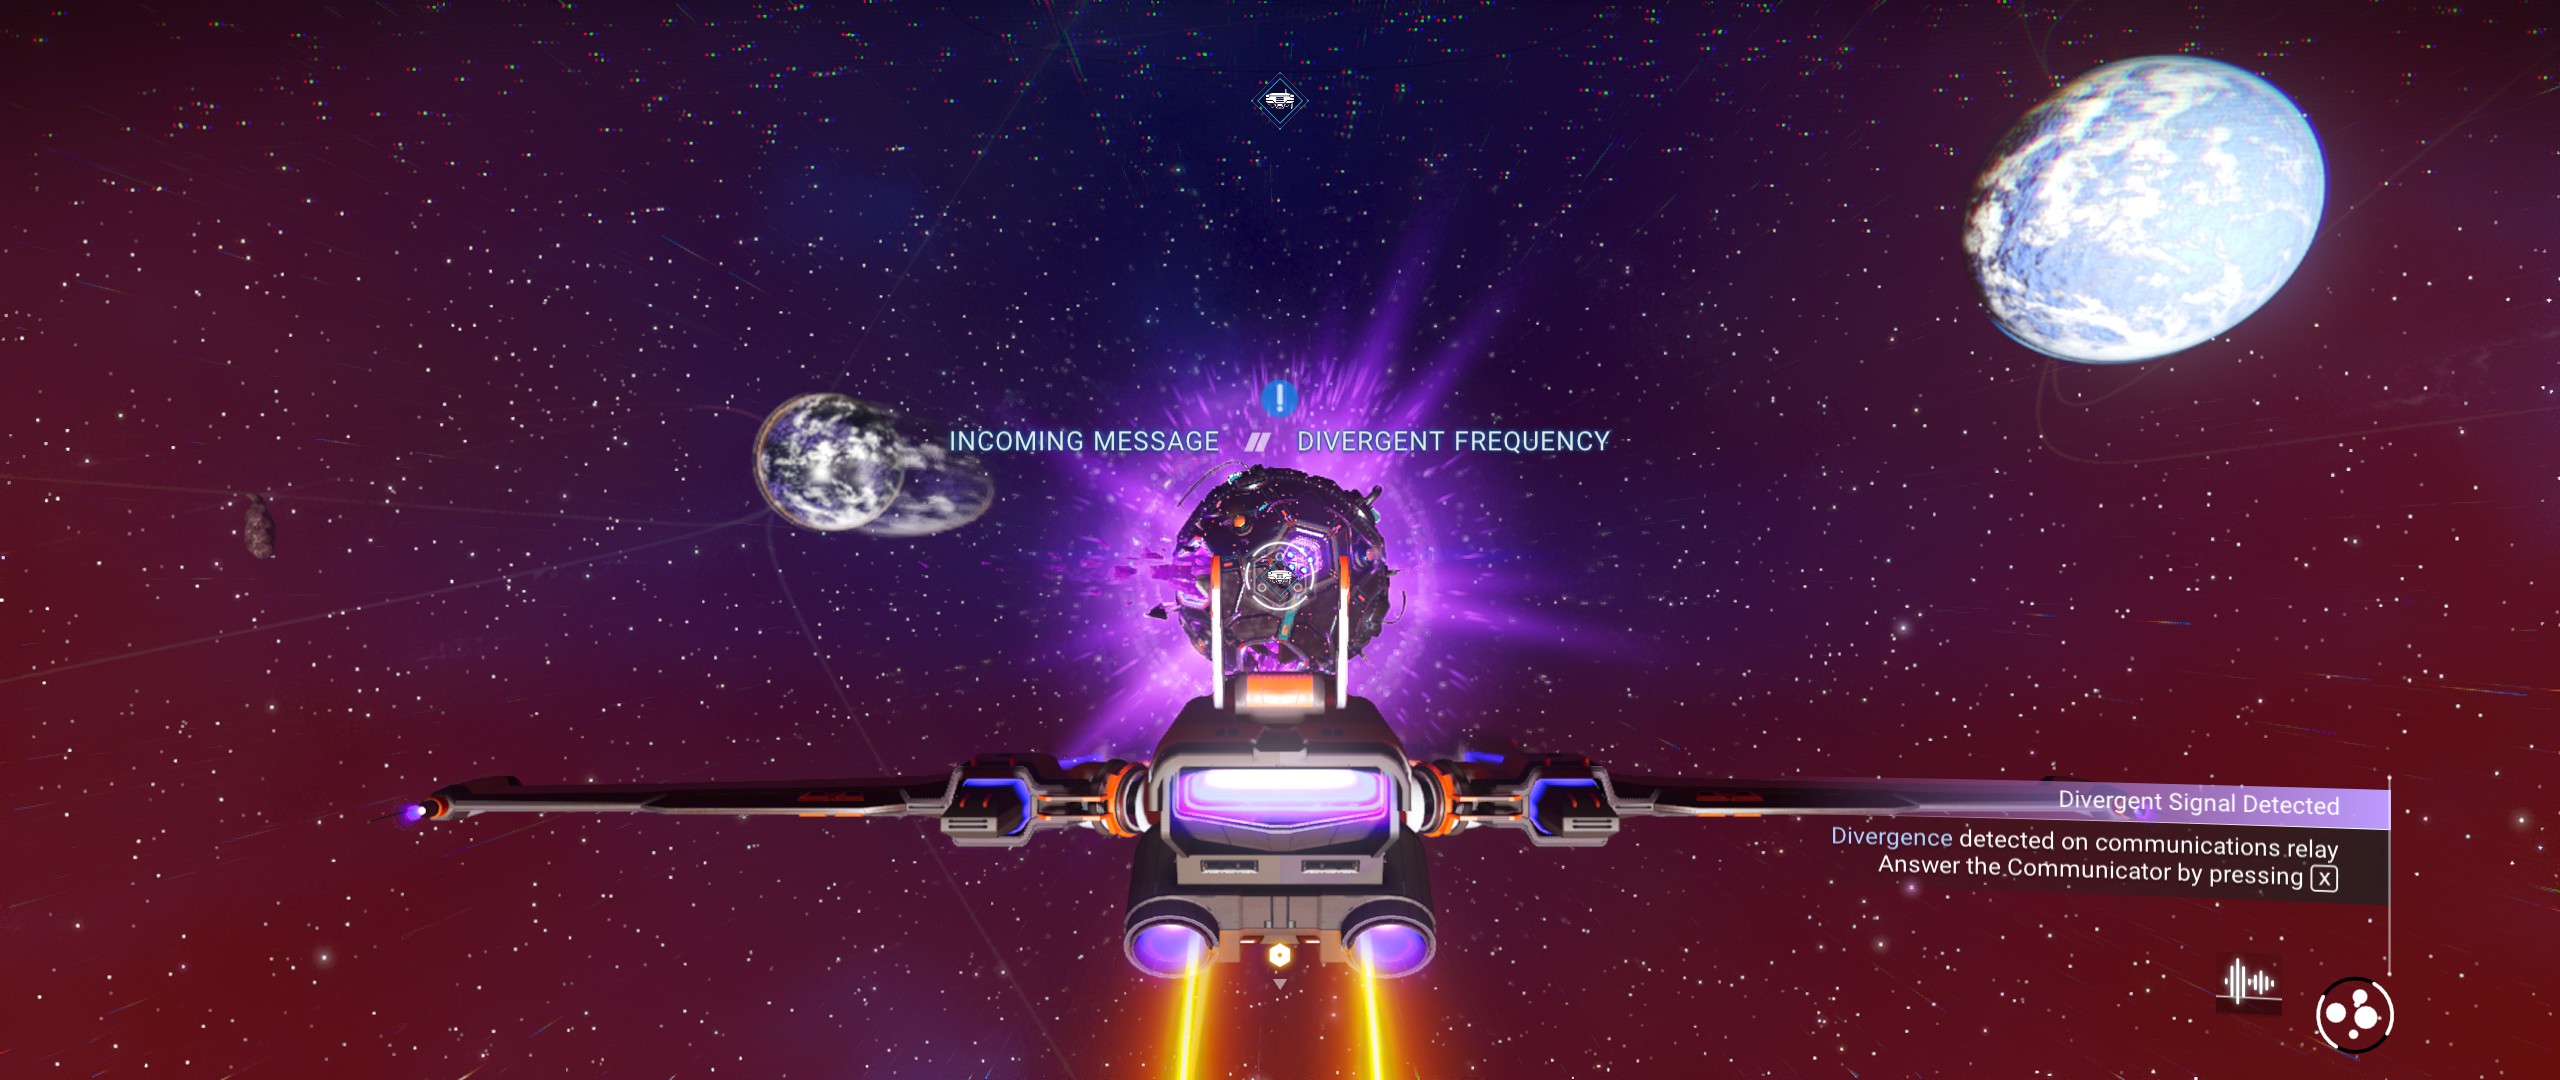
Now we get to "They Who Returned". You start the mission, meet your first Autophage and the quest line splits off into TWO new missions. Once you complete both of those, they are removed from your log never to be seen again. Complete the last step (locate & use a Portal) and you're done. All traces of this quest line are gone save for if you have, or rather once you obtain Void Motes, a new mission is added to seek out Autophage and spend your Void Motes with them.
Preparation
[!] If you have never used the goatfungus Save Editor (on github), I'm sorry but this guide is NOT for you. You must be 100% comfortable not only using the Editor but making edits to the RAW JSON (text) data. A LOT of edits...
[!] If you inadvertently delete a "," you will render your save file unreadable and complete garbage. Not even the save editor will be able to load/read it...
Make Your Edits Very Carefully
-------------------------------------------------------------------------------------------------------
If you feel confident, here we go:
* Launch the game; load and save every save slot that you want to edit. This ensures the file is up to date and has any added data from the v5.5x update.
NOTE: Tested & Confirmed for Worlds Pt II Update 01/29/2025
BACKUP YOUR SAVES
[!!!] BACKUP YOUR FILES [!!!]
* Make a copy/backup of your entire save folder.
Honestly, if you don't know where your save files are, this guide IS NOT intended for you, I'm very sorry
Version: 1.0
Editing JSON Data
[!!!] DO NOT PROCEED UNLESS YOU HAVE MADE A COPY OF YOUR SAVES [!!!]
______________________________________________________
Notes: For the keys we need to edit, we are going to use the "FIND" function. Be very careful using the PASTE (CTRL+V) function. We will be entering all our edits and THEN saving the JSON data. Good thing you have made a backup of your saves.... right? :)
NEVER, EVER EDIT YOUR SAVE WHILE LOADED IN THE GAME
ALWAYS EXIT TO THE SELECT SCREEN
The data is structured as follows:
NAME / Progress
So for "MONO_NUB_DUMMY Progress = 0" it will be listed as:
MONO_NUB_DUMMY / 0
Select this text now and CTRL+C (copy) it
Let's open the Editor and get into that Raw JSON data.
Once you have opened the JSON data and located and selected the "MissionProgress" key, press CTRL+F to open the FIND window.
Click in the text box and CTRL+V and paste in the text you copied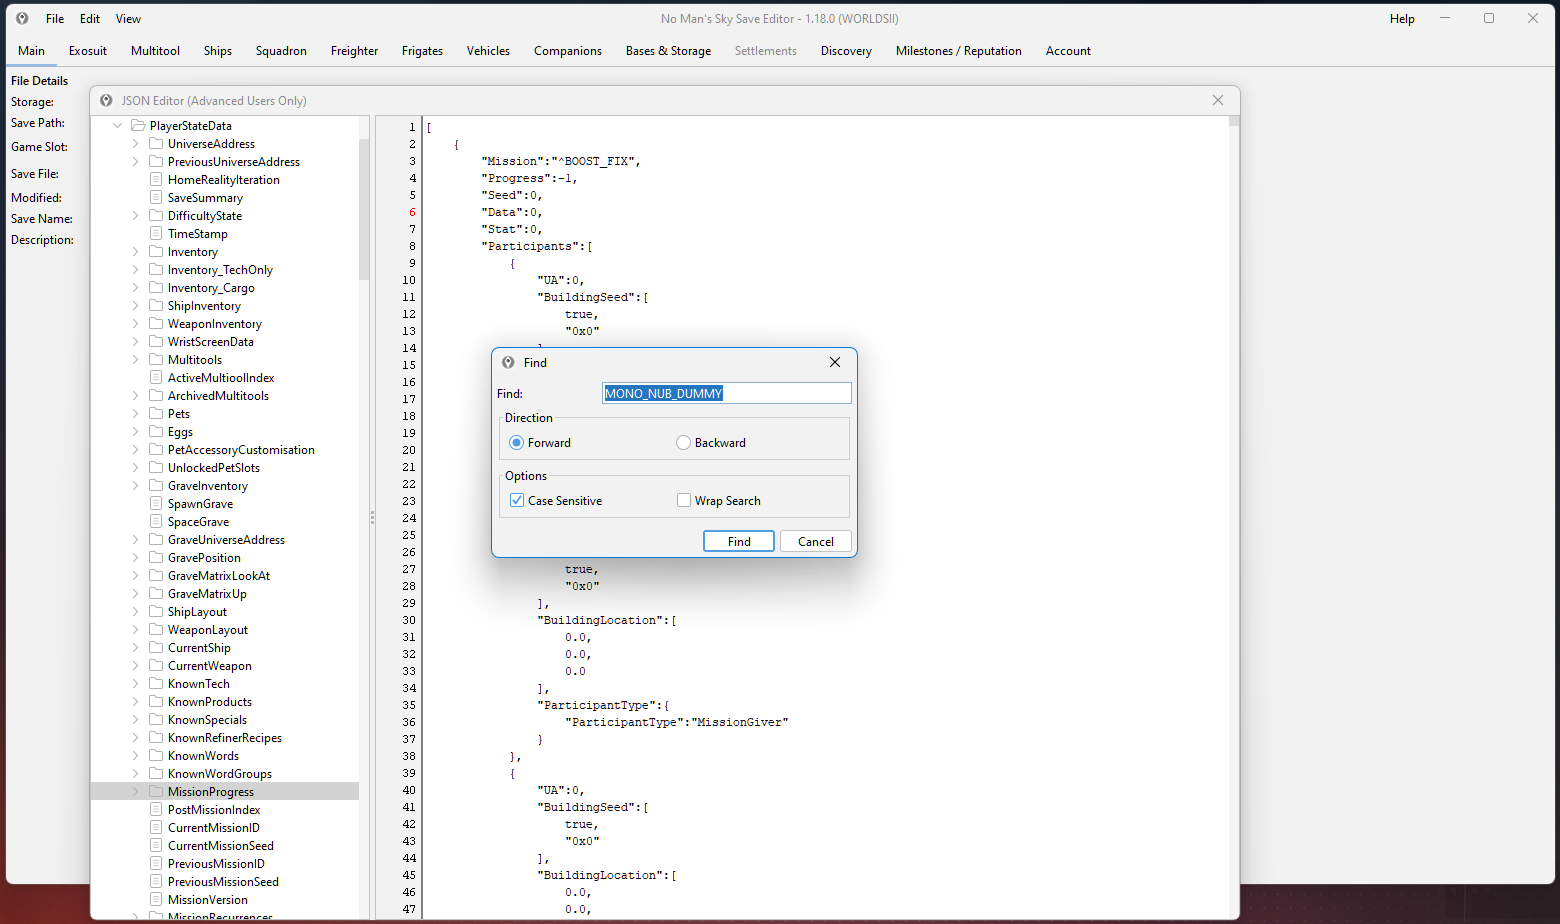
Now click the "Find" button. The text should appear at the bottom of the window as shown
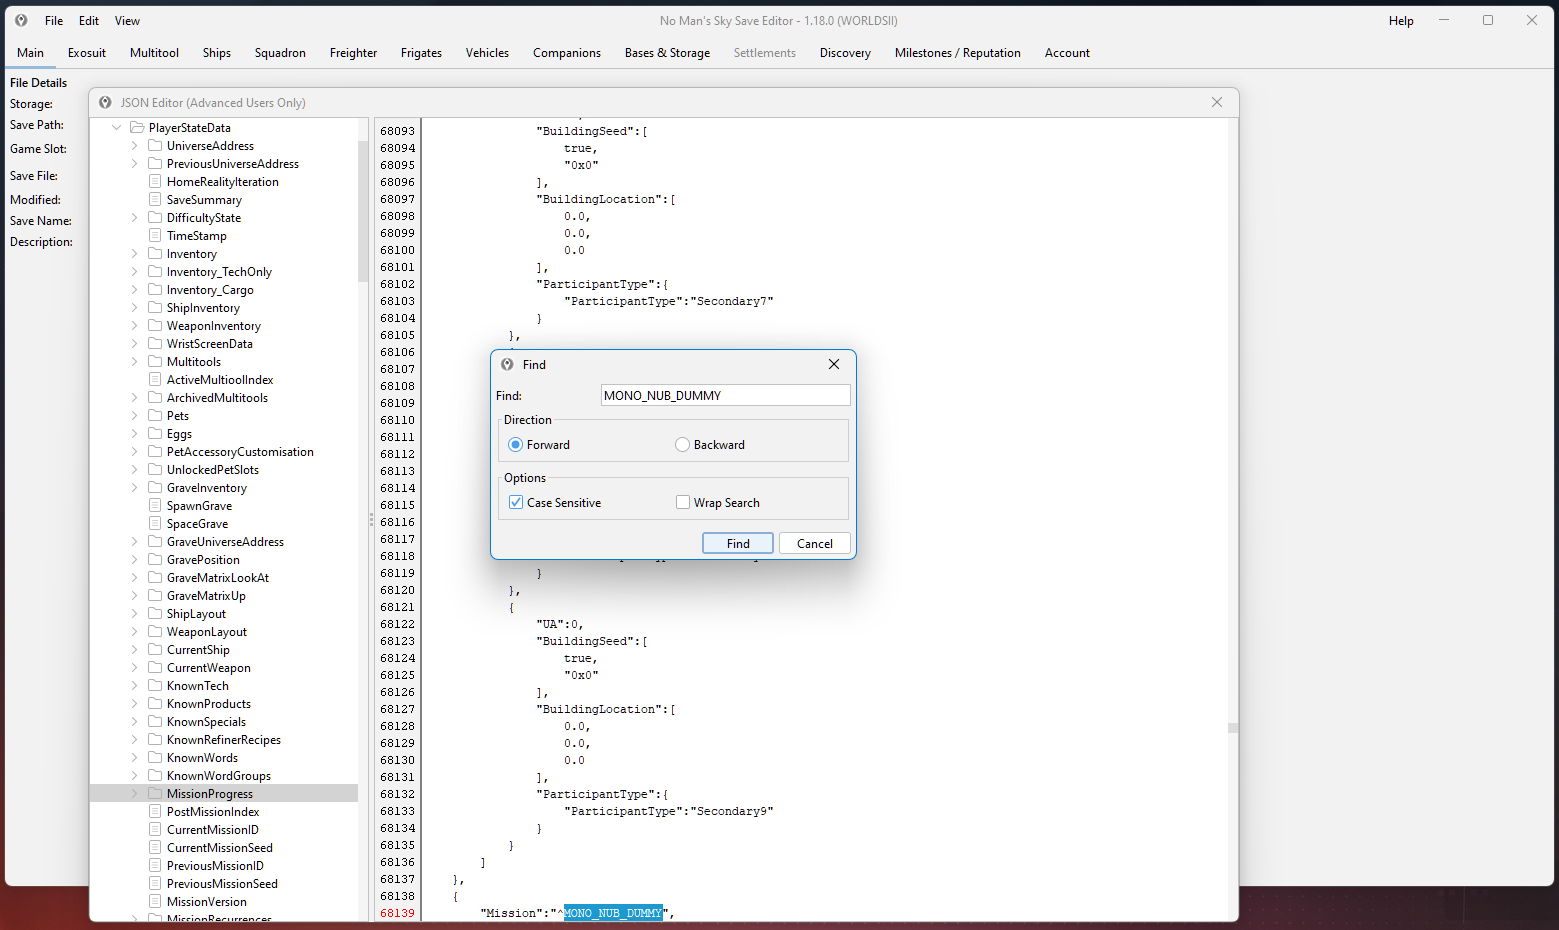
Scroll down and make your edit (change the -1 to a 0), it should look like this
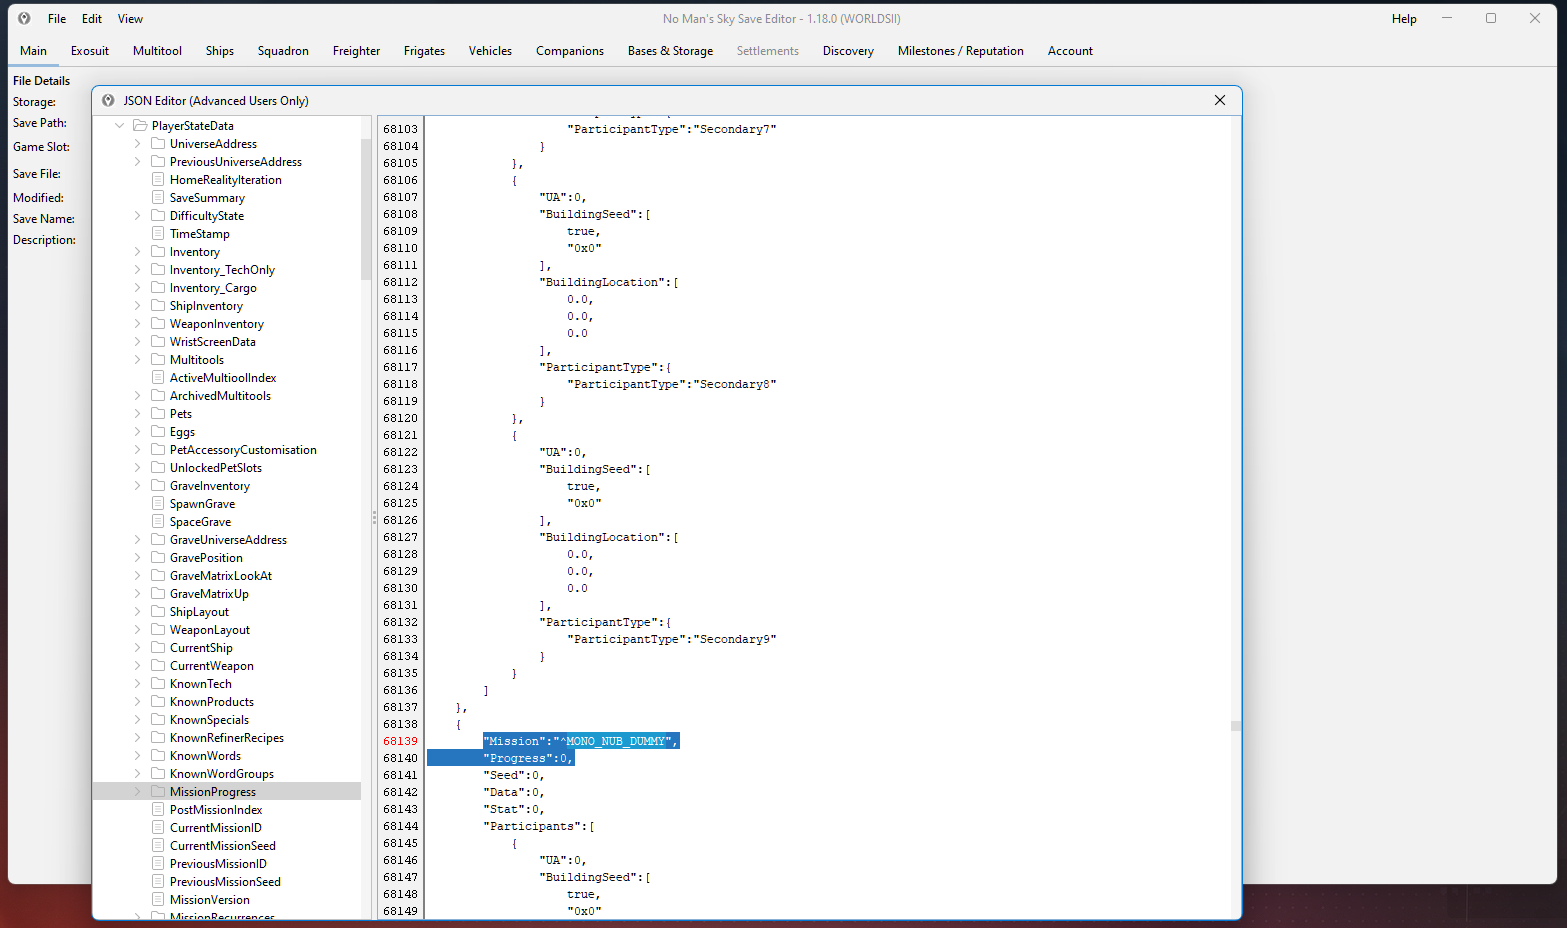
That's how all the edits are going to work.
JSON Data Edits
So using the "Find" function, search for and edit the listing below
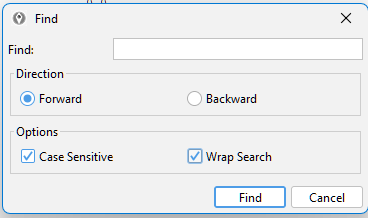
This key exists "ROBOMISS_1" This key DOES NOT exist "ROBOMISS_1 "
Reminder: The data is structured as follows:
NAME / Progress
So for "MONO_NUB_DUMMY Progress = 0" it will be listed as:
MONO_NUB_DUMMY / 0
ROBOMISS_0 / 6
ROBOMISS_1 / 22
ROBOMISS_1A / 4
ROBOMISS_3_NADA / 39 (not found)
ROBOMISS_3_BUI / 69 (not found)
ROBOM_STAFF_A / 1 (not found)
ROBOMISS_BOAT / 1 (not found)
ROBOM_STAFF_B / 1
ROBOMISS_2 / 58
ROBOM_STAFF_C / 1
BUI_SCRAP_HINT / 1
ROBOMISS_LORE_ / 2
ROBOMISS_4 / 44
PP_BUI_SCRAPPIN / 20 (not found)
ROBOM_FEAR / 0 (not found)
ROBOM_ATLAS2 / 2 (not found)
ROBOM_NADAR2 / 0 (not found)
ROBOM4_WIKI / 1 (not found)
Save your JSON data by closing the window or clicking on one of the other keys in the left column.
DISCOVERY Edits
On the Discovery tab, make the following additions
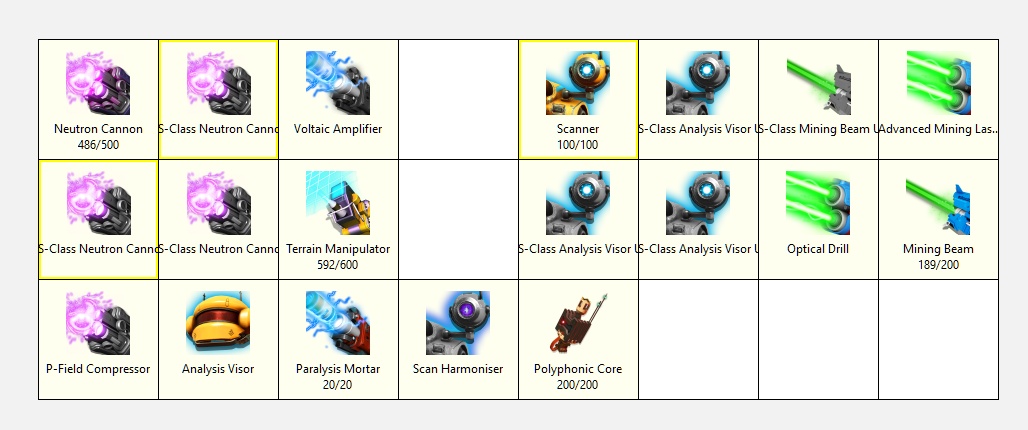
Add the following TECHNOLOGY items
Polyphonic Core
Scan Harmoniser
Atlantideum Chamber
Concentric Transducer
Fibreglass Grip
Multi-Tool Technology
Final Save & Load In Game
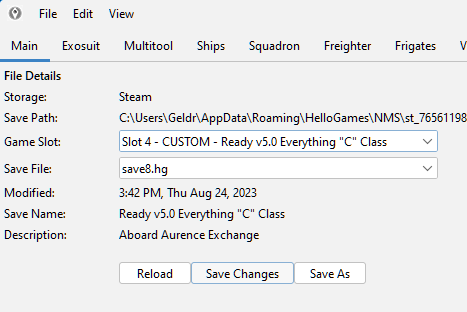
Close the Editor and load your save in the game.
Addendum
v1.0 - 01/02/2025 Created
_________________________
Testing Log:
(5) New Survival v5.5 saves
- No Man's Sky Access Codes★ 5 (880)43k views2.1k ♥1 minUpdated 14 Apr
- Refining – The Magic Of Alchemy★ 5 (1.2k)41k views3.6k ♥5 minUpdated 24 Mar, 2022
- How to get RICH in NMS SUPER FAST★ 5 (501)32k views1k ♥2 minUpdated 7 Sep, 2022
- Multi-Tools: Types, Statistics, Weapons, Layouts★ 5 (550)27k views1.3k ♥7 minBulgarianUpdated 3 Jul, 2025
- Starship Guide: Types, Statistics & Roles★ 5 (461)25k views924 ♥8 minBulgarianUpdated 30 May
- Звездолеты СТРАЖЕЙ★ 5 (220)24k views519 ♥7 minRussianUpdated 9 Feb, 2025




- Upgrading to PremiumTeam Fortress 2★ 5 (20k)1441k views11k ♥6 minUpdated May 11, 2022
- No More Room in Hell Official ManualNo More Room in Hell★ 5 (2.8k)569k views2.1k ♥29 minUpdated Apr 22, 2019
- NMRiH Community Hosting GuidesNo More Room in Hell★ 5 (526)351k views653 ♥1 minUpdated Aug 10, 2022
- ULTIMATE GUIDE FOR GAME DEV TYCOONGame Dev Tycoon★ 5 (5.8k)326k views10k ♥4 minUpdated 23 Jan, 2014
- How to 'Git Gud' Soon™MORDHAU★ 5 (2k)318k views3k ♥68 minUpdated Nov 16, 2024
- Лучшие кооперативные игры SteamPAYDAY 2★ 5 (1.5k)315k views2.1k ♥56 minRussianUpdated Apr 27, 2025






This guide was created by its original author on the Steam Community. Are you the author and want it removed? Request removal.