Kowloon Complete Map Guide (All EE Steps)
General Overview
This guide pertains to the custom zombies map "Kowloon" made by user "logical". Linked below is the workshop page for the map. I highly encourage you to leave positive feedback on their page as this is clearly a very high effort and time consuming project.
Steam Workshop Page (Download Link):
https://steamcommunity.com/sharedfiles/filedetails/?id=2370179373
If you know about something I did not cover in this guide, or if you wish to offer a correction, I encourage you to do so respectfully in the comment section below this guide, and I will update this guide the best I can.
Special thanks to users "Arthys" and "Bobgang1" for helpful forum posts and info about side easter eggs
https://steamcommunity.com/workshop/filedetails/discussion/2370179373/3109140779871400512/
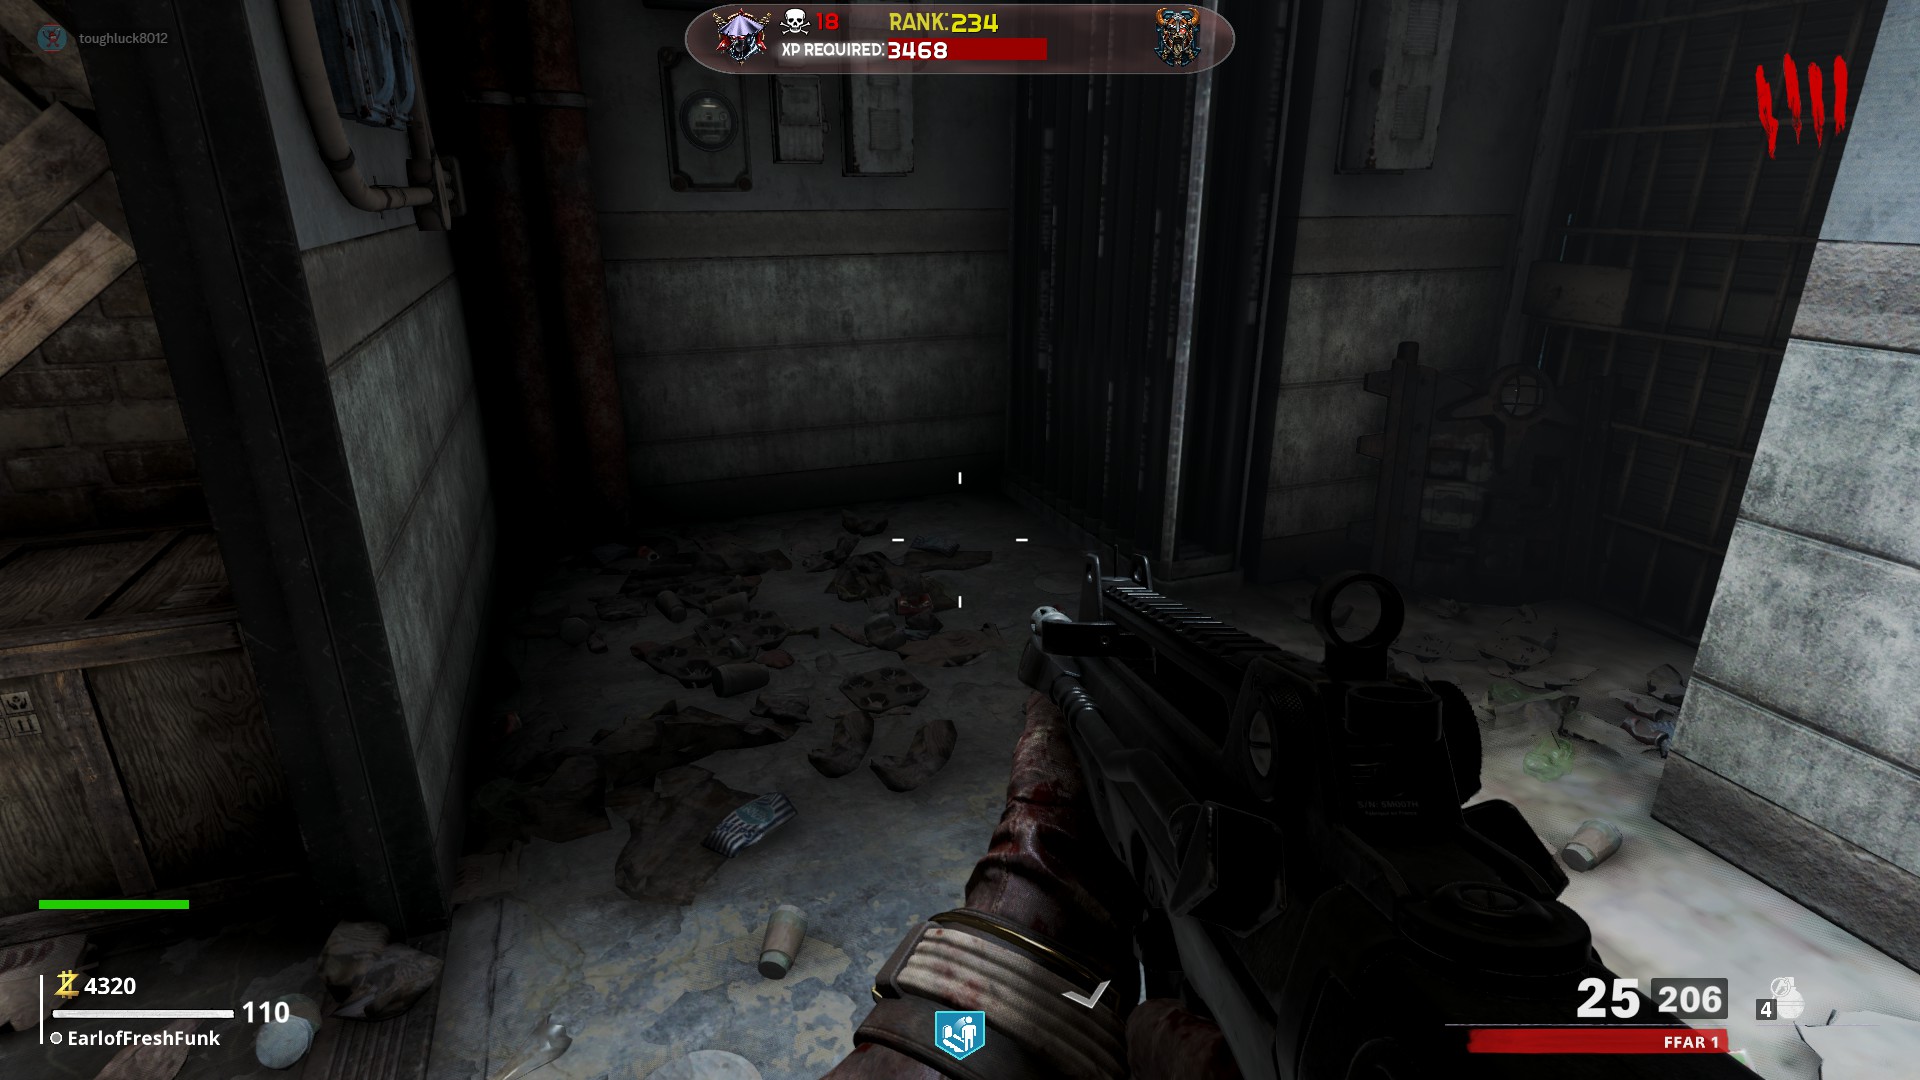
Shield
In a small alcove directly ahead after buying the door after Speed Cola, before Fighter's Fizz
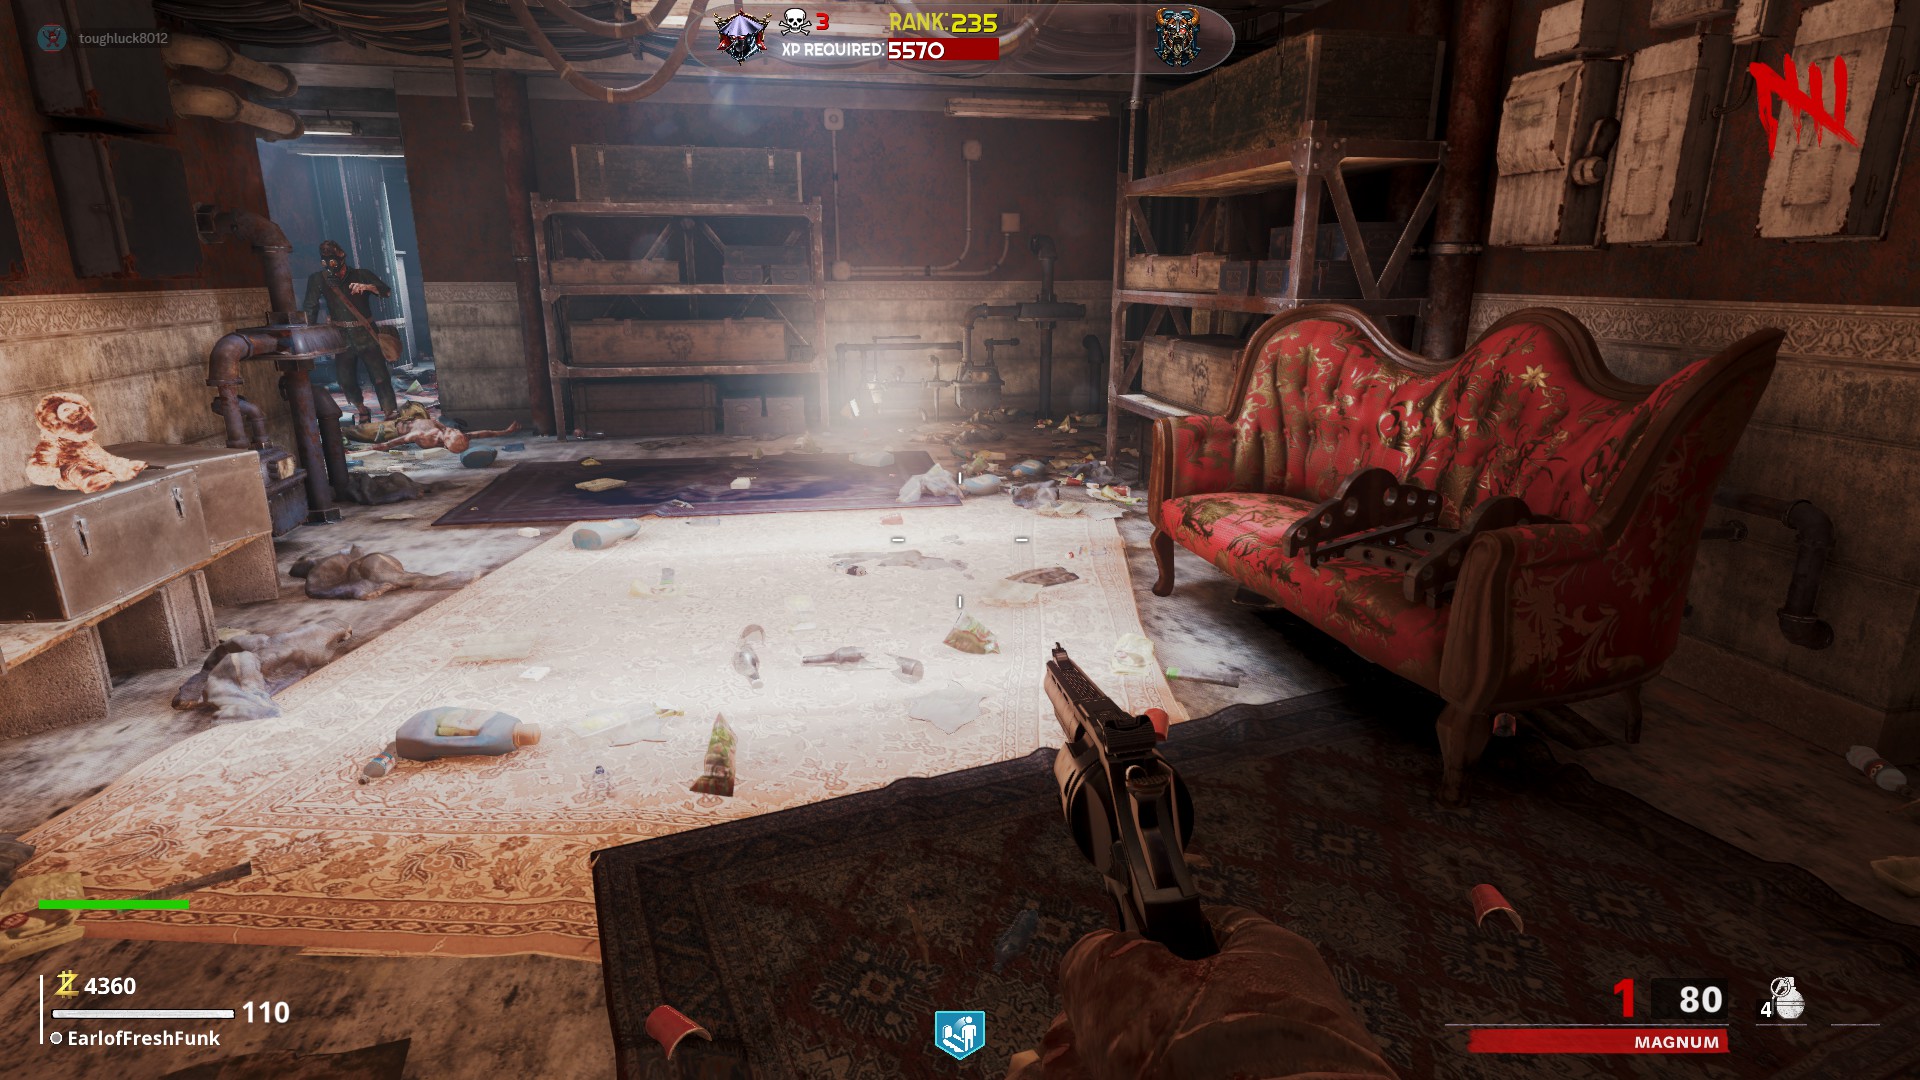
 Part B Location :
 In the residential area, between the ICU perk and the staircase with the Milano 821 wallbuy, on a red couch
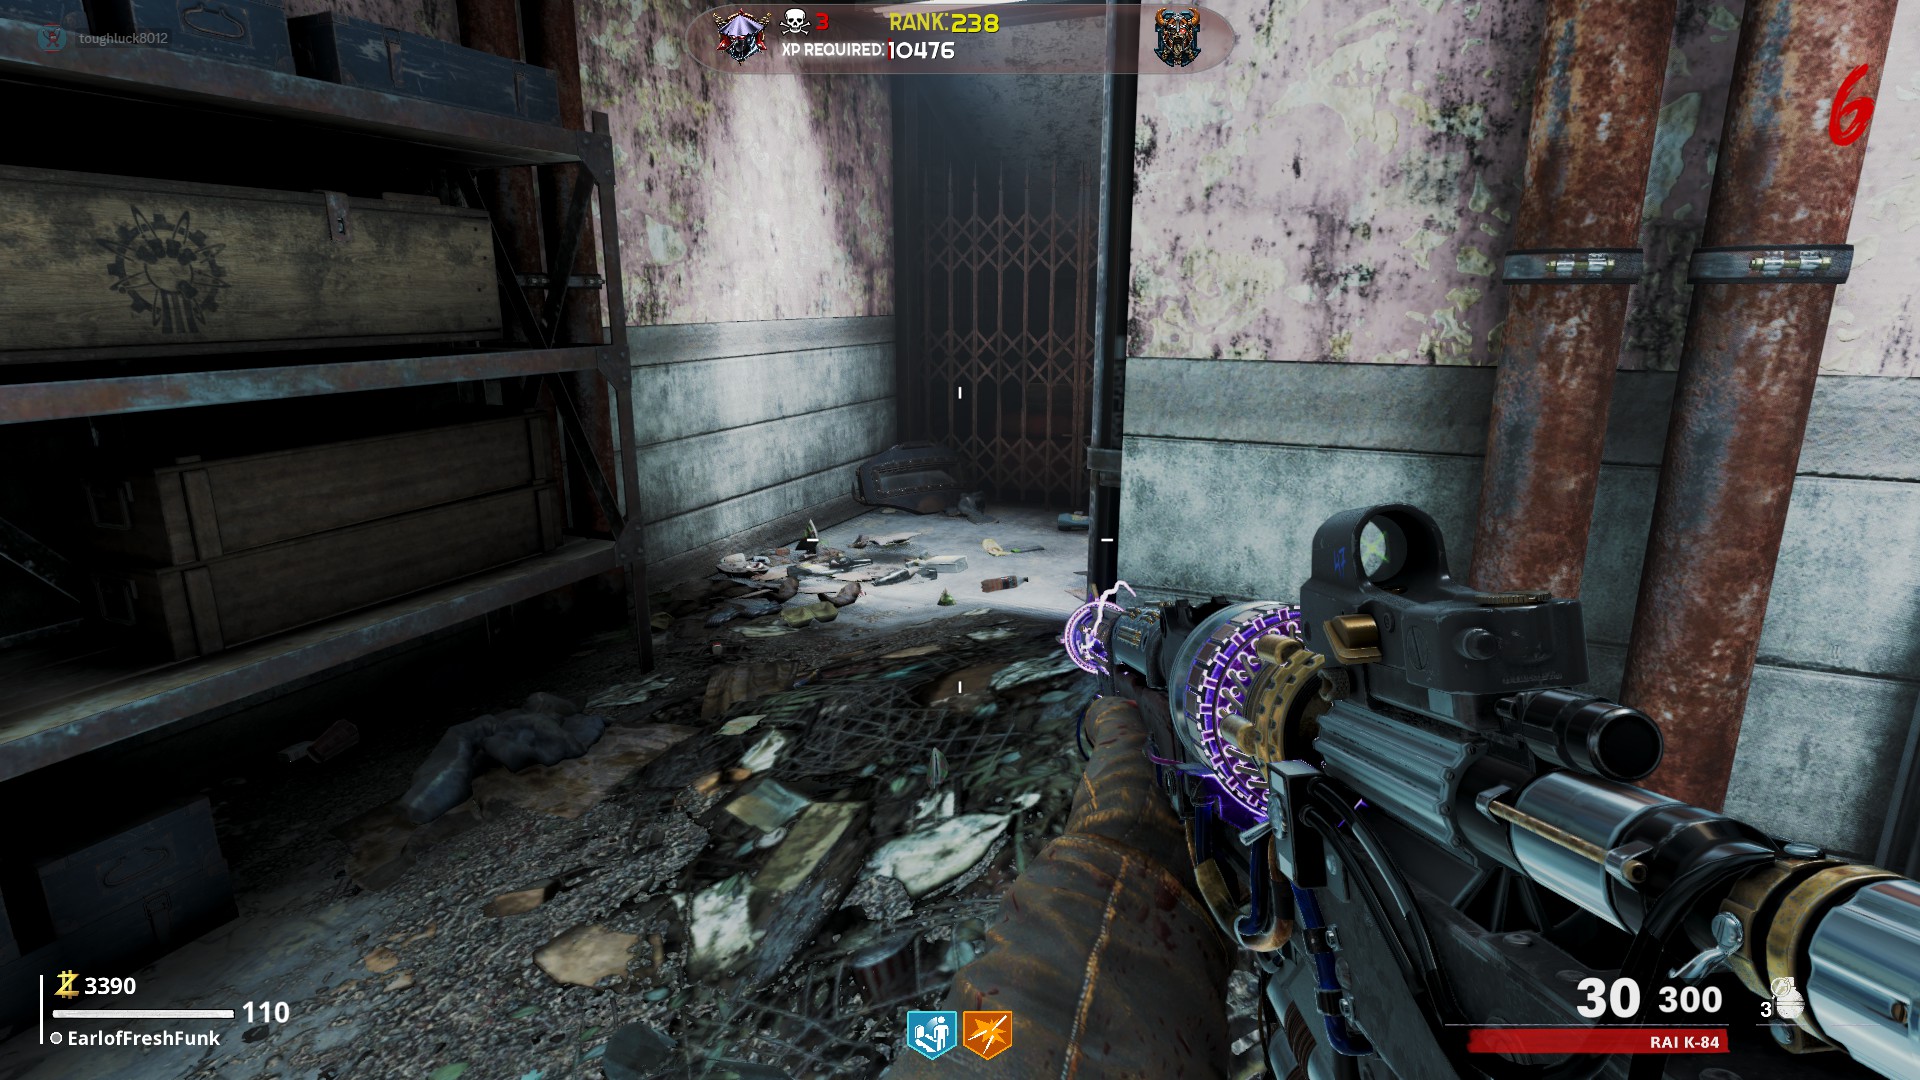
 Part C Location :
After turning on all power switches and gaining access to the upper roof, go up the stairs by Electric Cherry and look in the alcove on the right near a gate, instead of going further towards Juggernog.
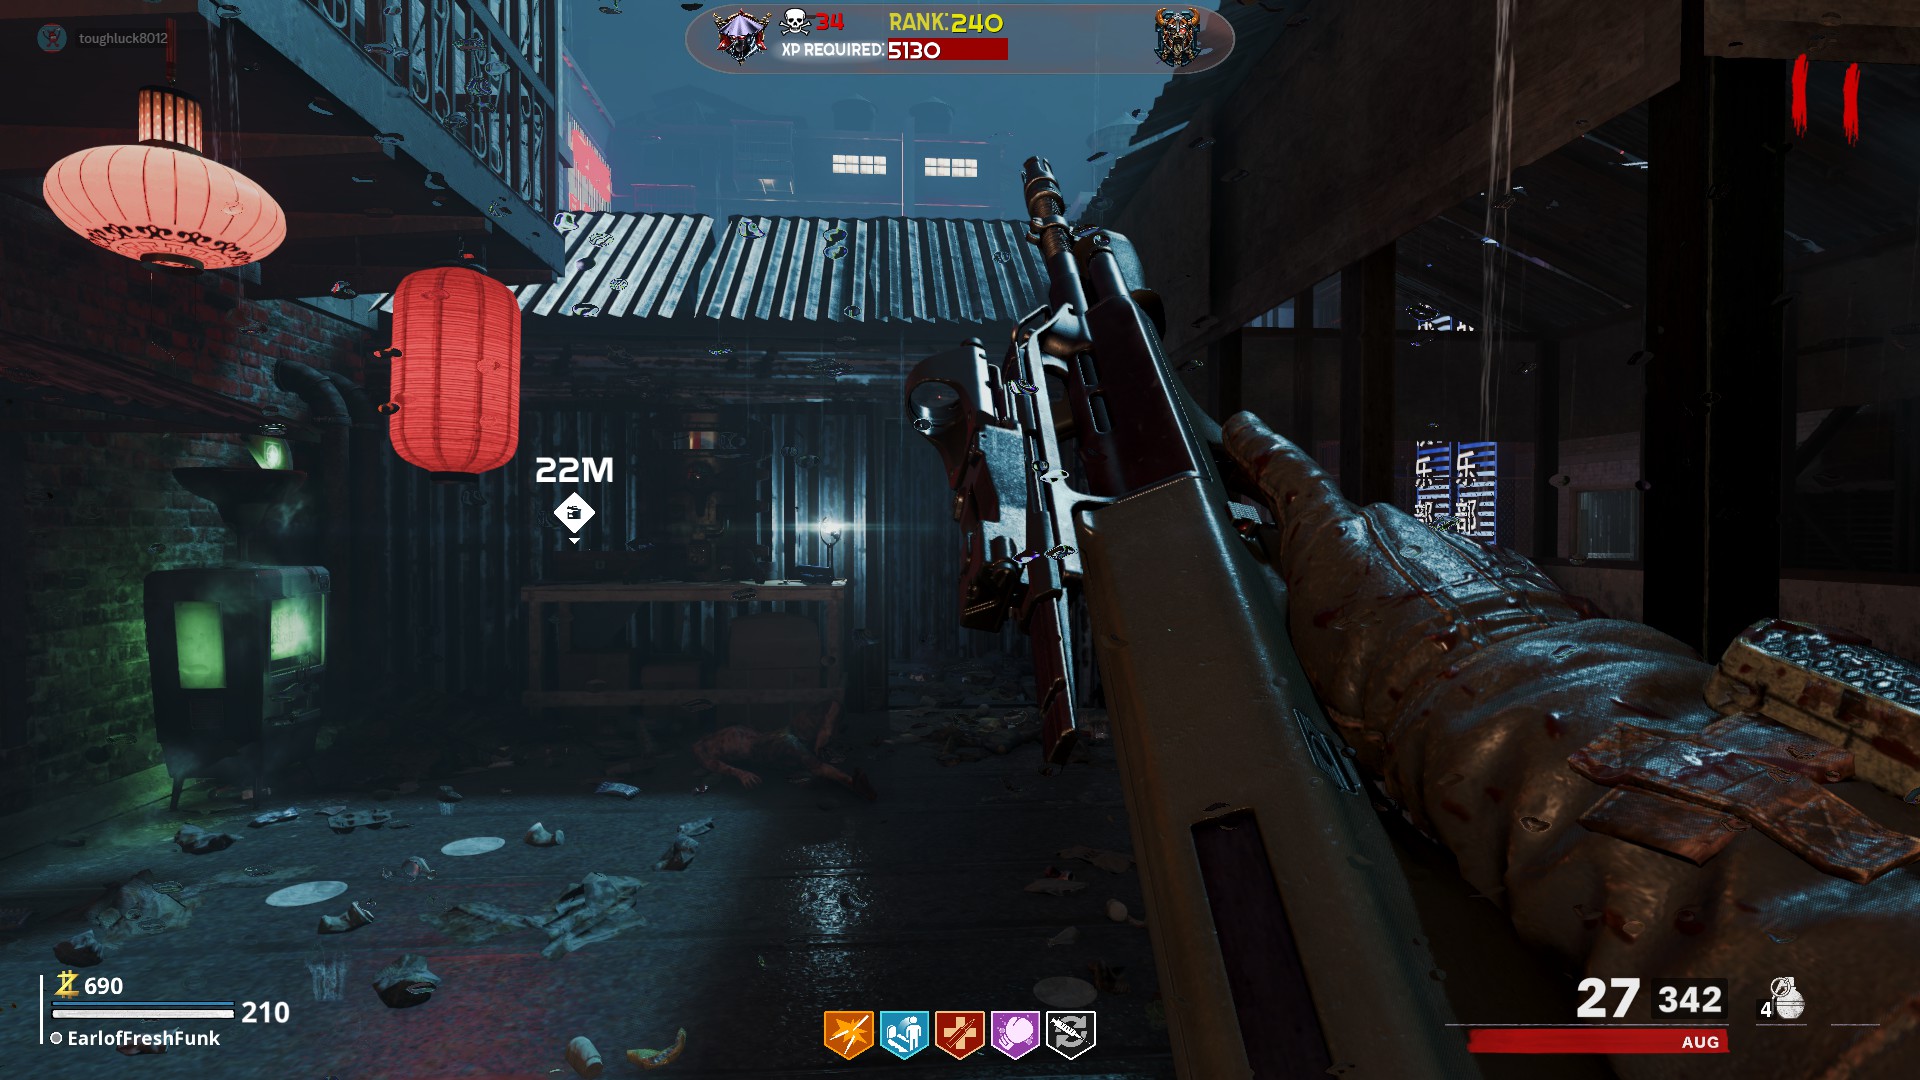
 Crafting Bench:
On the Main Roof, next to Deadshot Daquiri
Tramplesteam
The Tramplesteam is a buildable piece of equipment from Die Rise that can be placed down. If a zombie walks across it, it will be flung and killed. If a player walks across it, they will be launched forward, potentially reaching new parts of the map. It has a set health pool and will need to be replaced after moderate use.
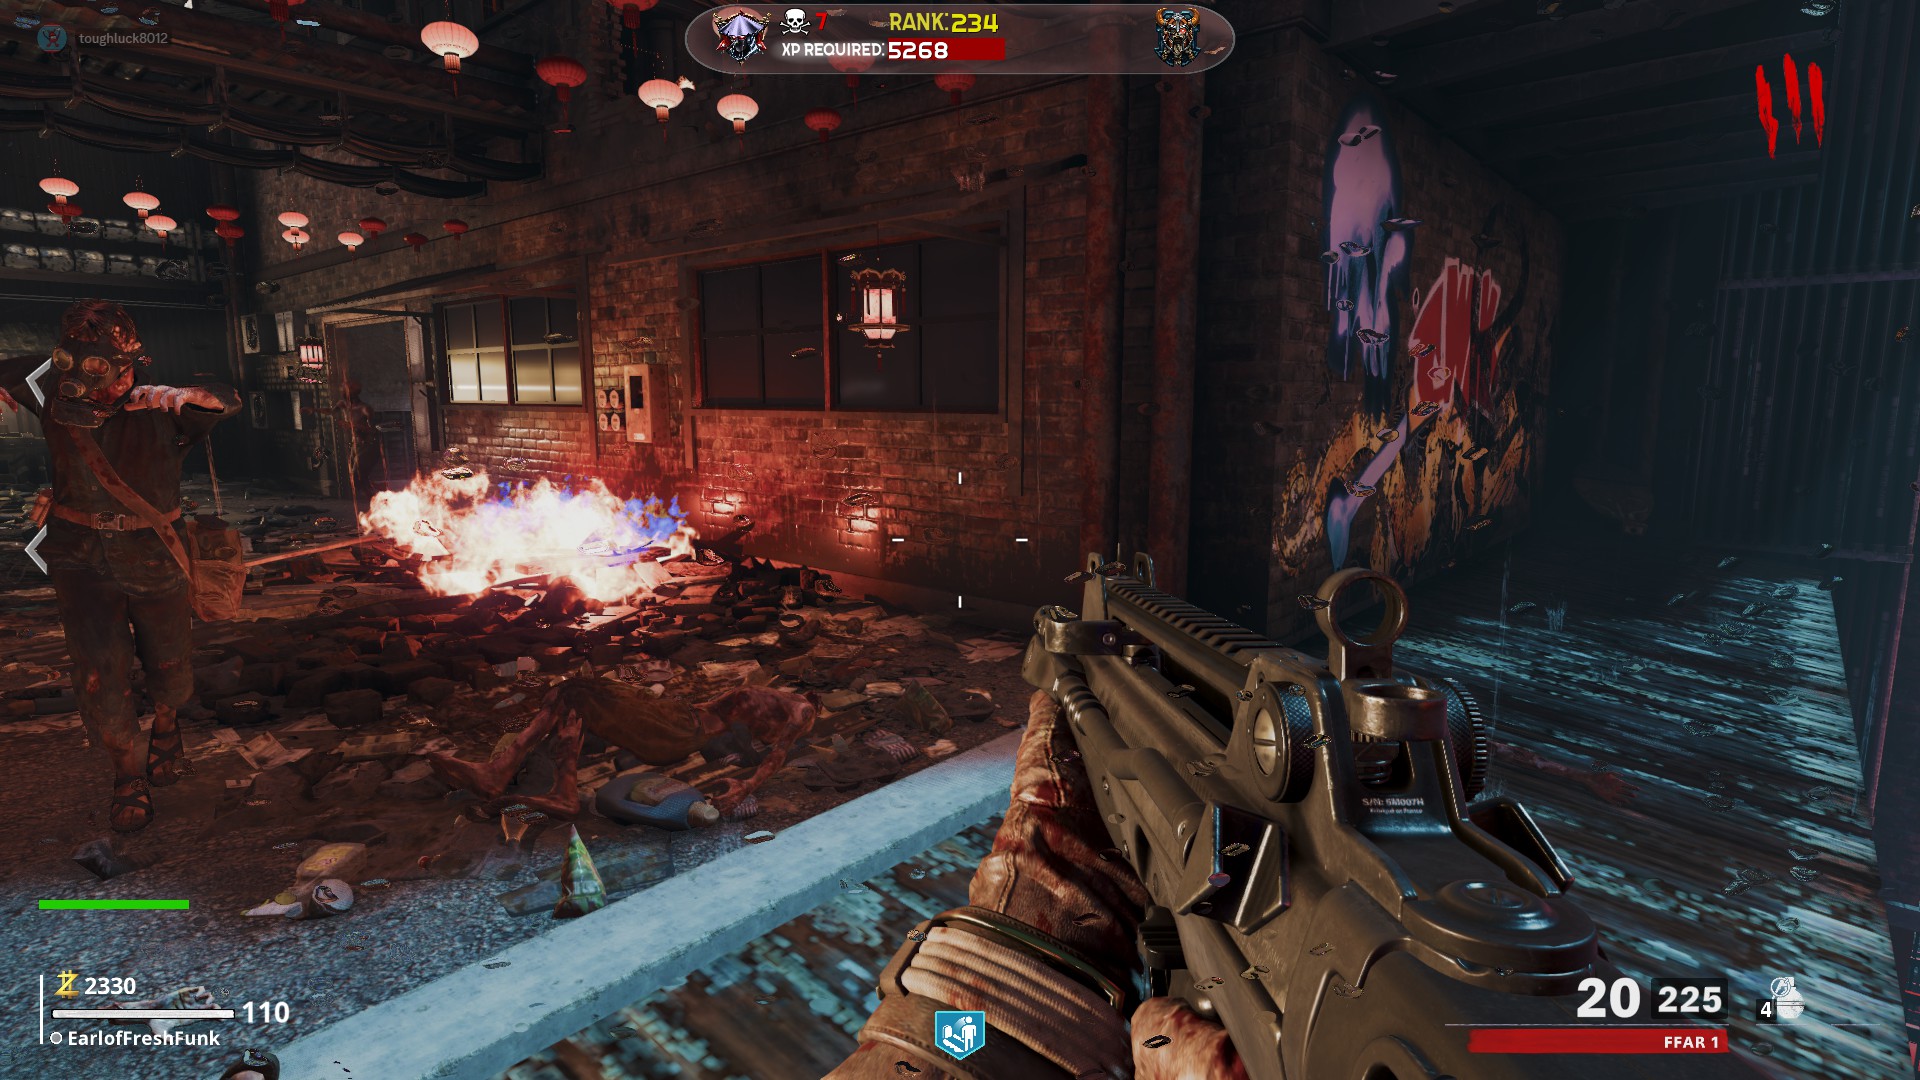
Part A Location 1On the overhanging balcony in the Speed Cola area, in the far back corner
 Part A Location 2
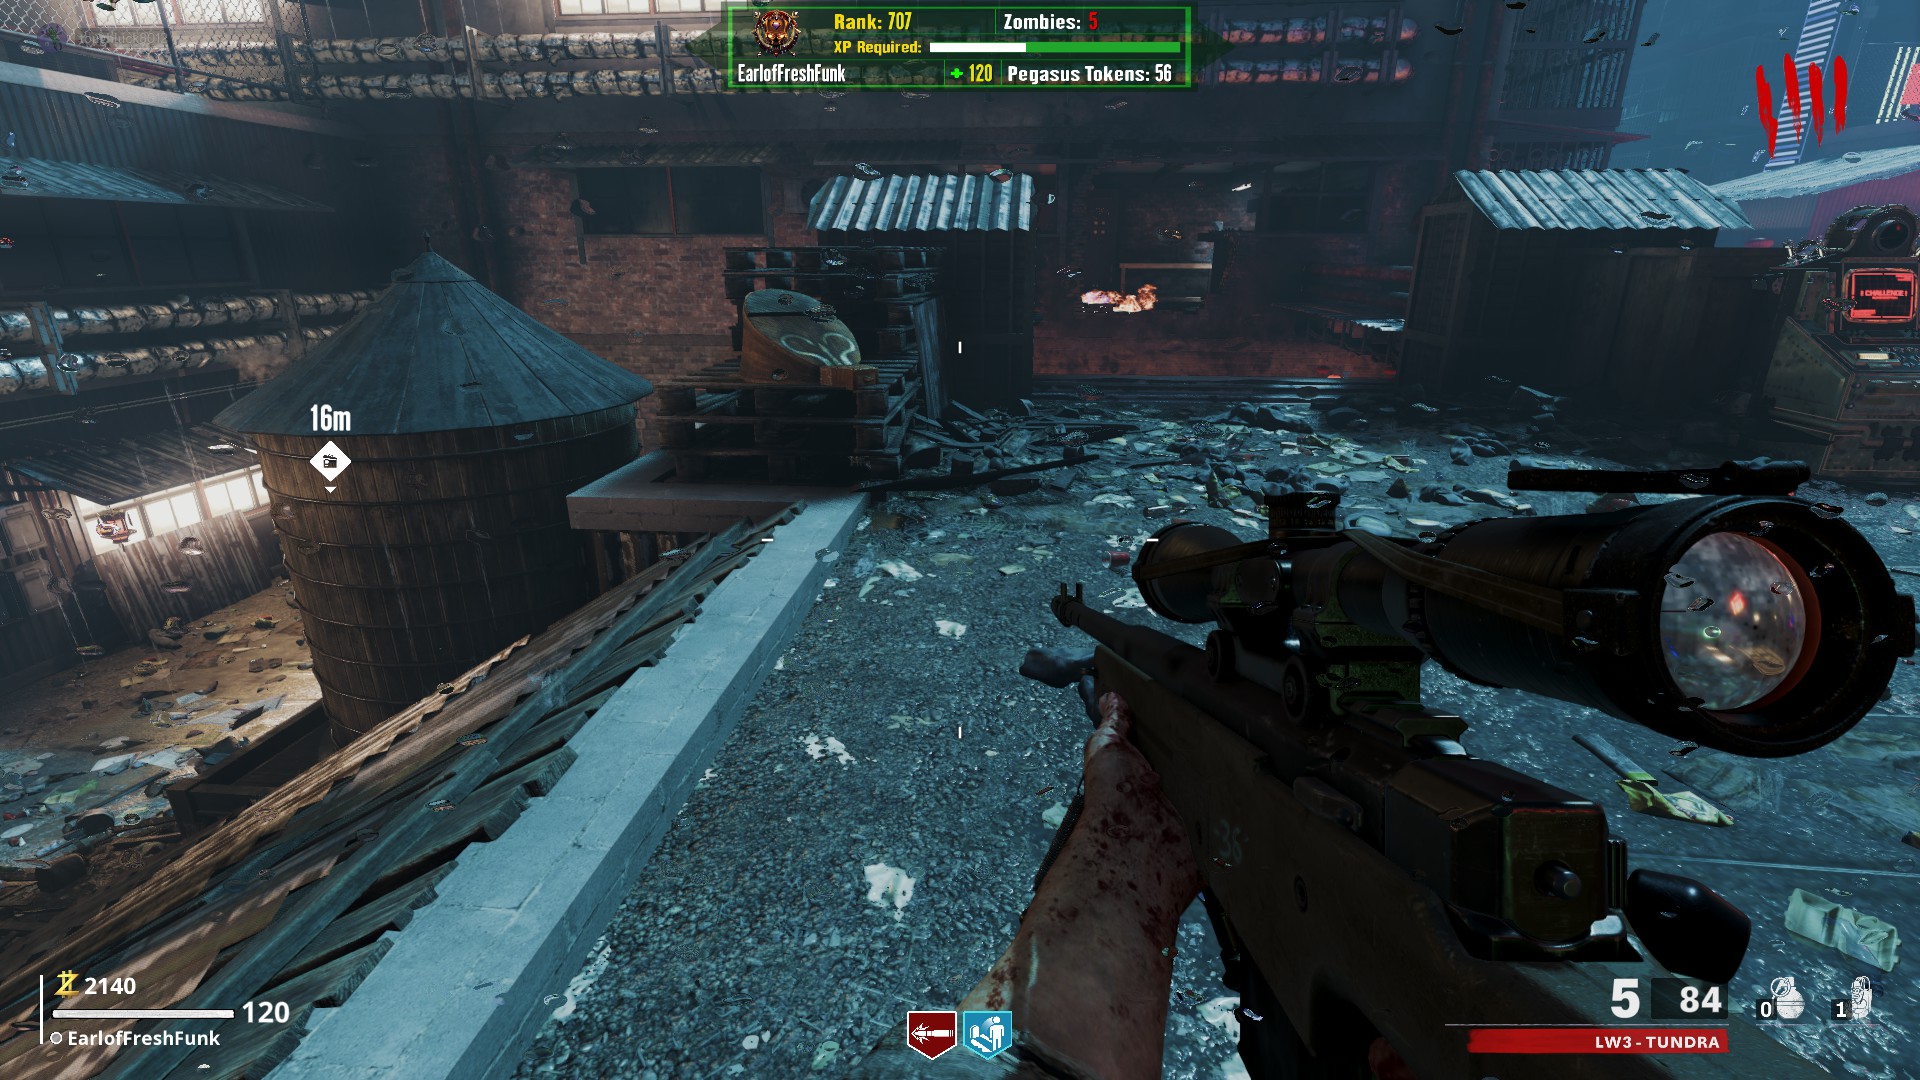
On the Speed Cola platform by the ramp, on some wooden pallets
 Part A Location 3
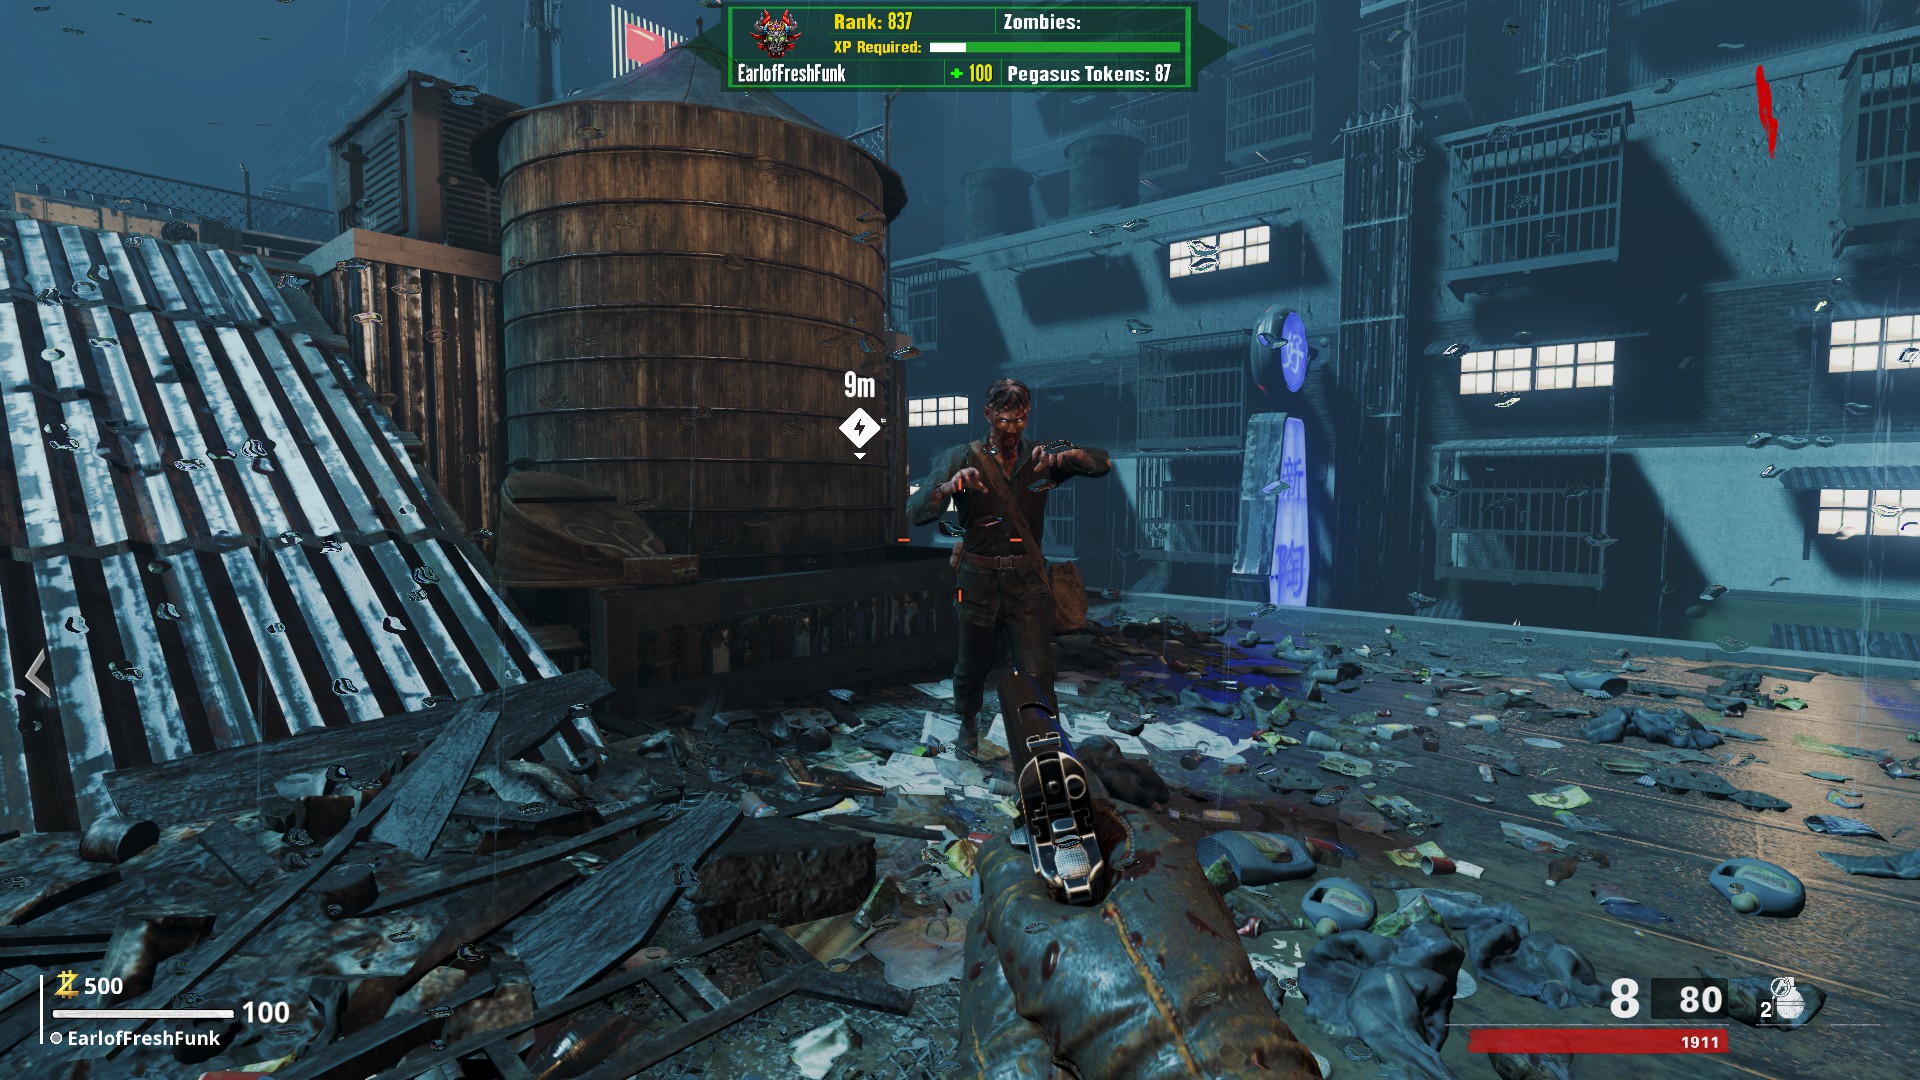
At the bottom of the Speed Cola platform ramp, on the right side, near the power switch
 Part B Location 1
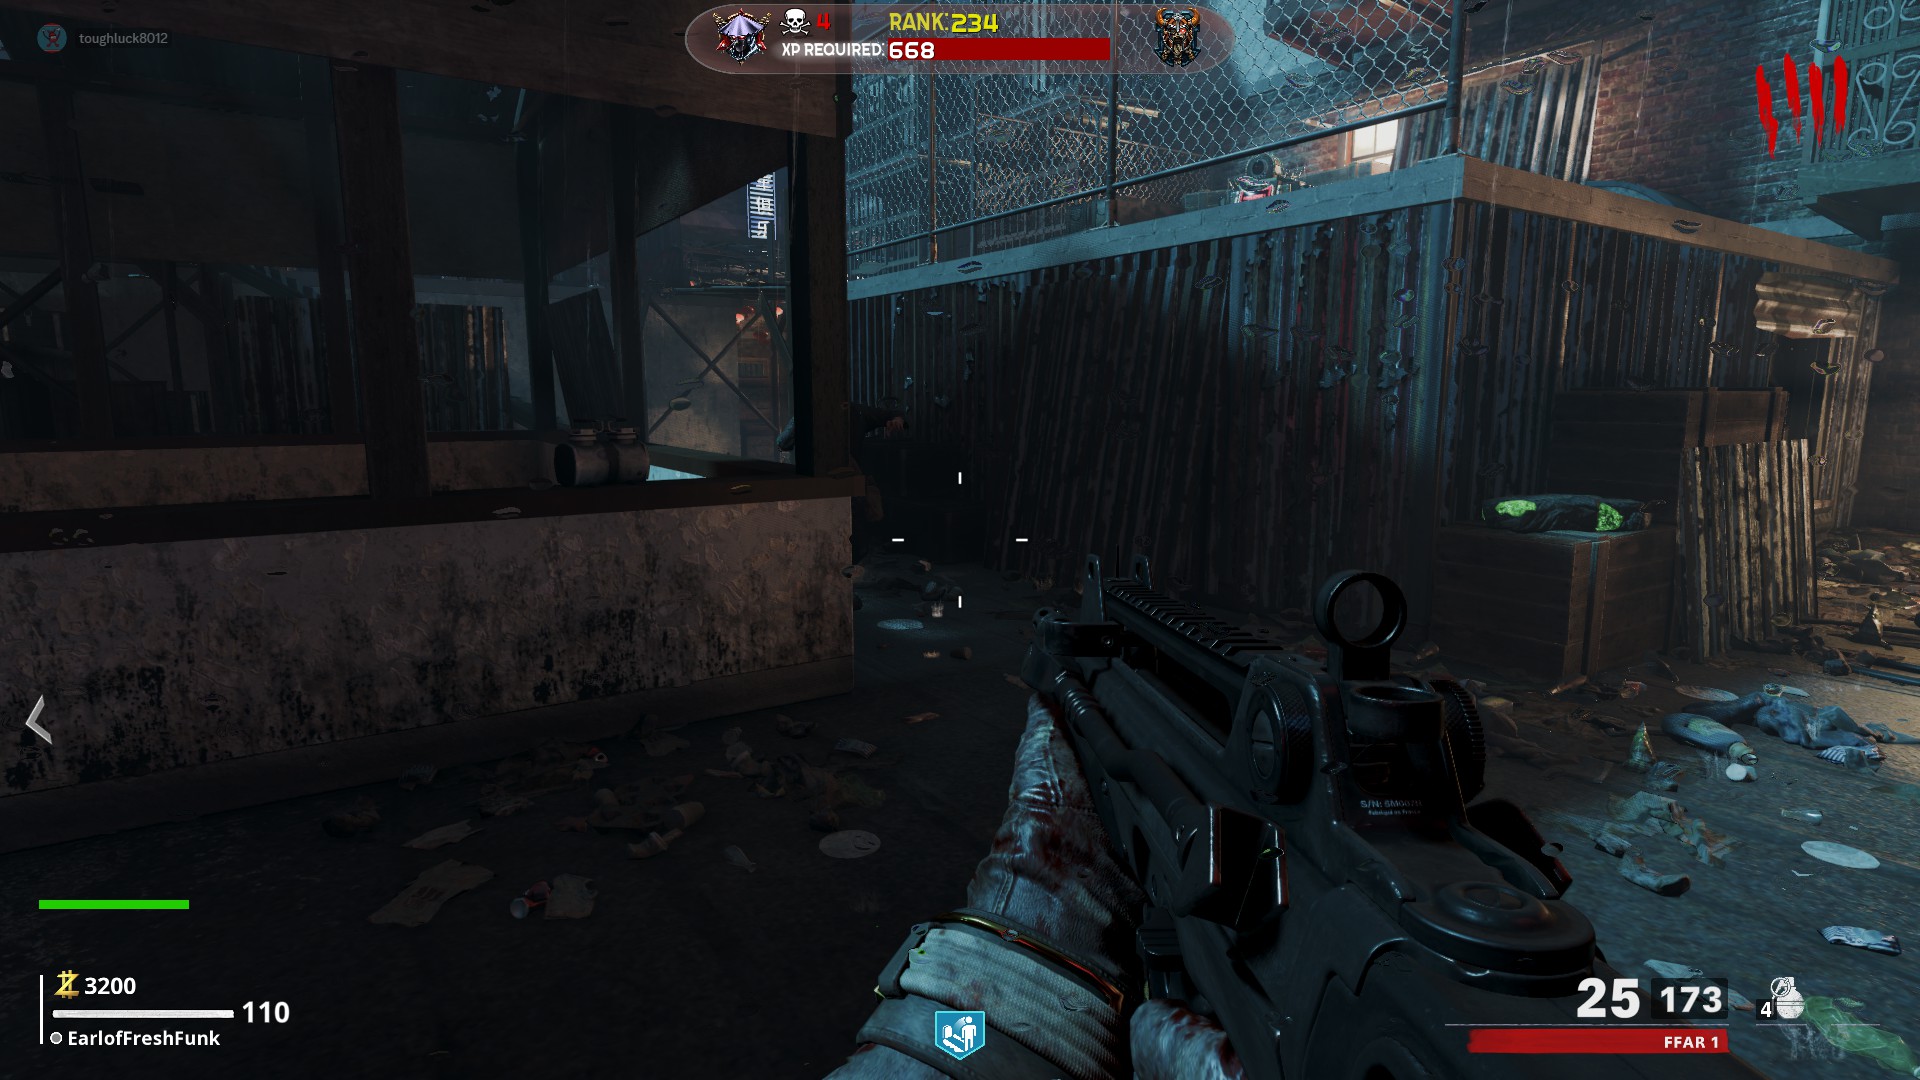
On the main roof by Deadshot daquiri and the 115 rock, on the center square wall
 Part B Location 2
On the main roof, to the right of the door leading to the residential area and Sliquifier Upgrade Workstation, on some barrels
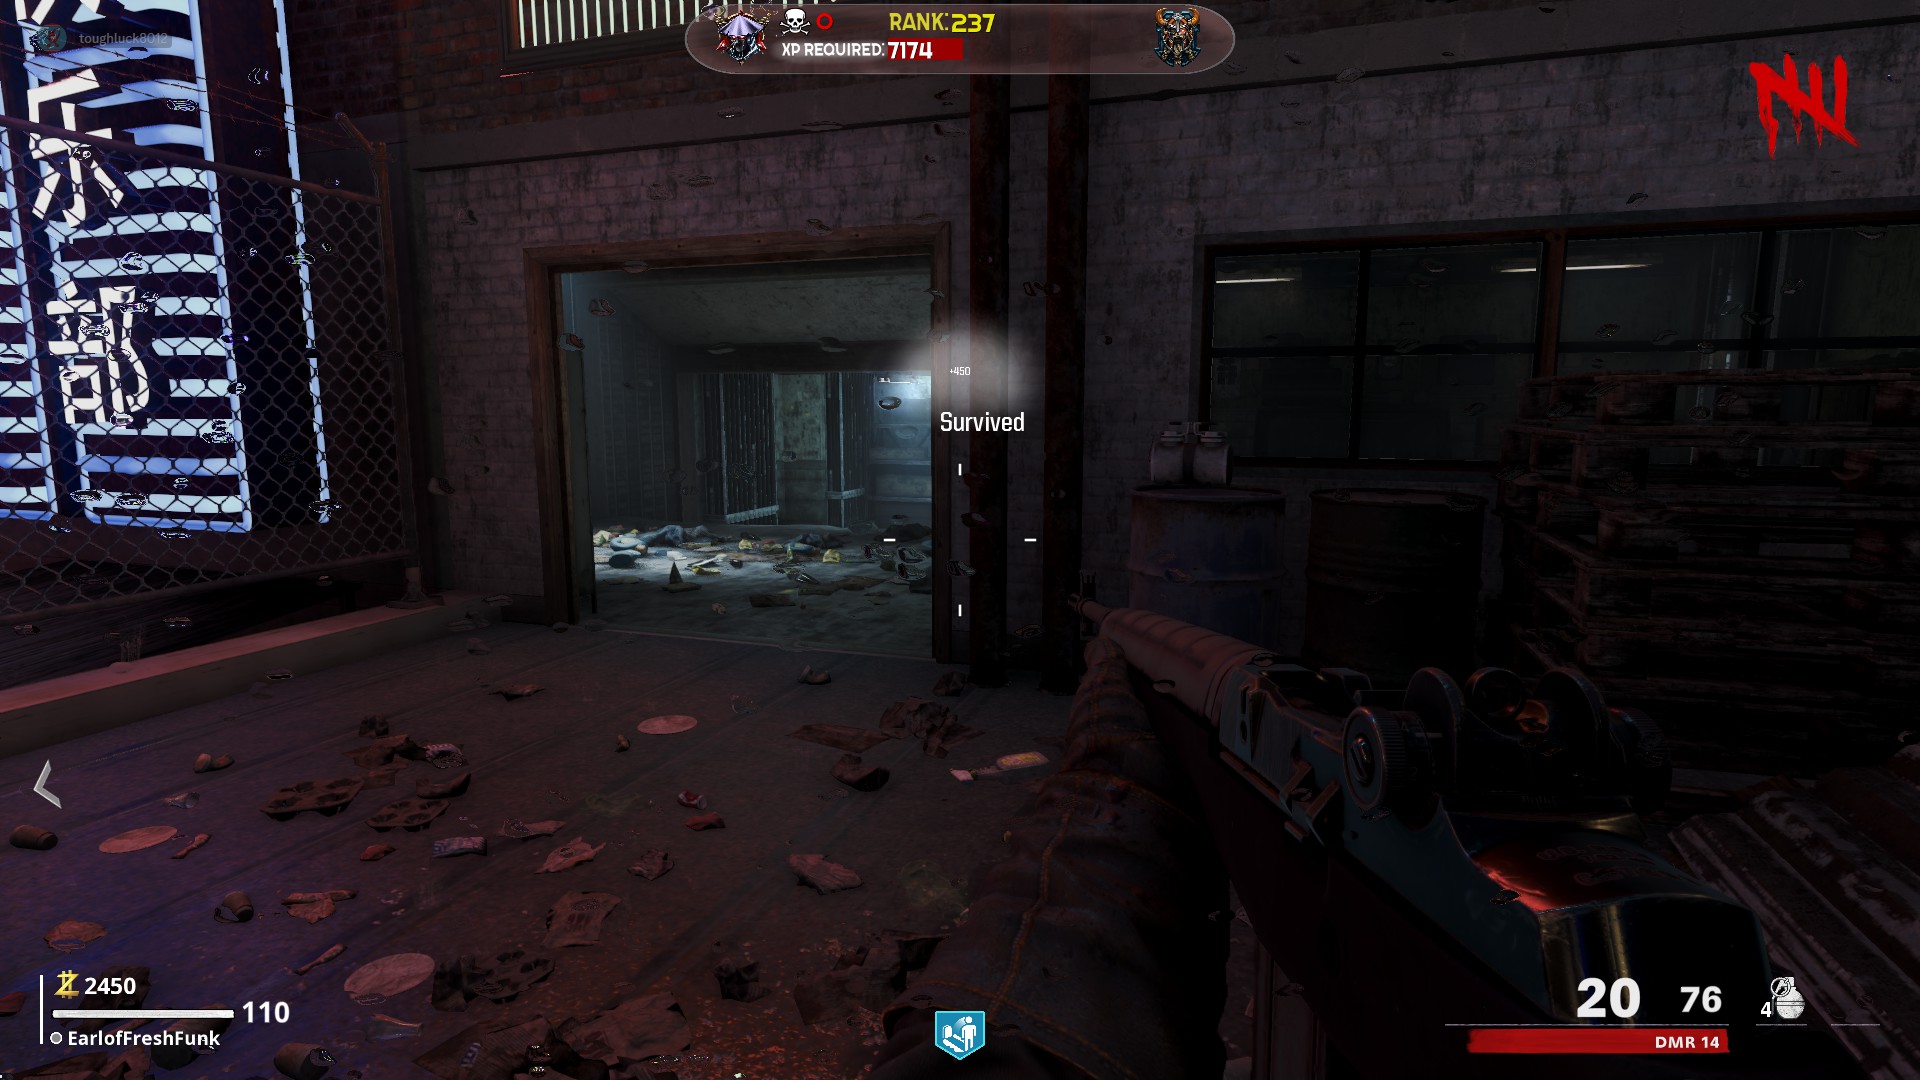 Part B Location 3
When entering the main roof from the left (Speed Cola) path, straight ahead on a box, close to the ramp up to the mystery box
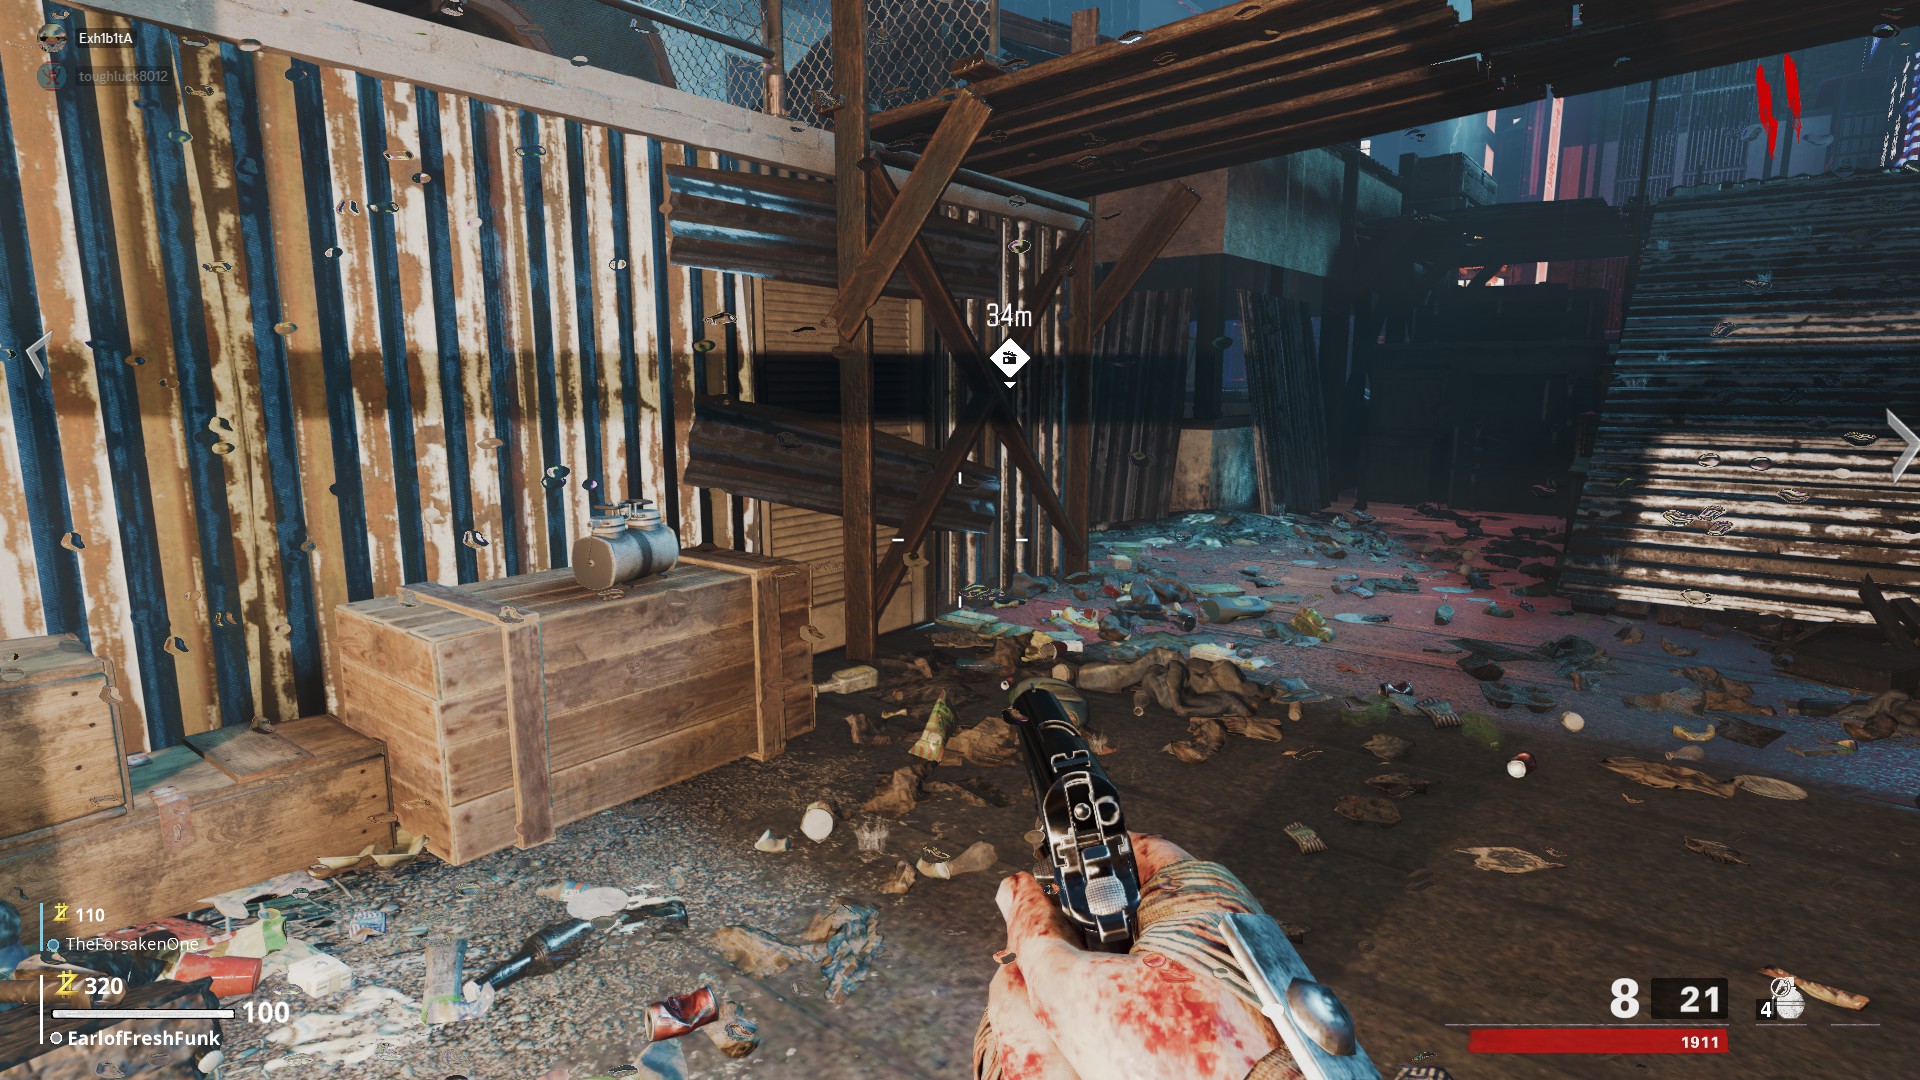 Part C Location 1
In the Sewing Room, on one of the desks in the middle of the room
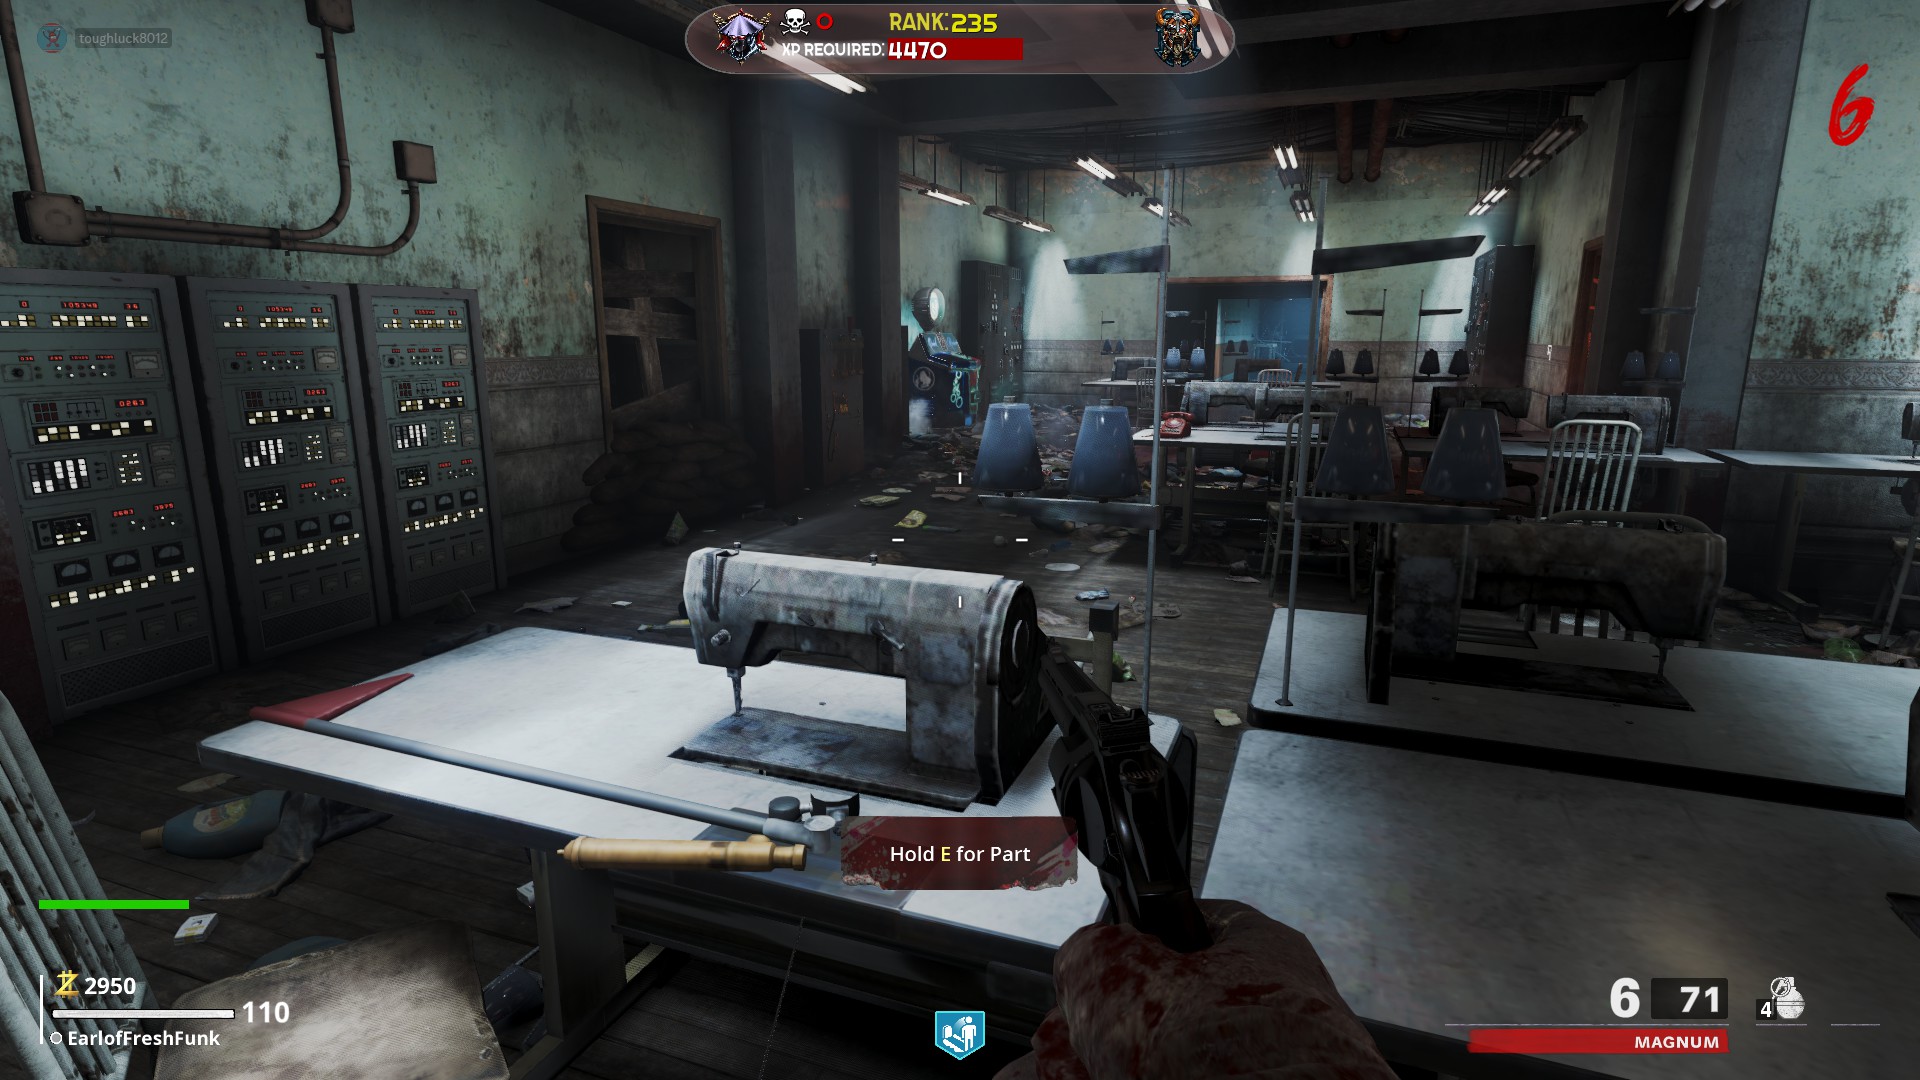 Part C Location 2
In the Sewing Room, to the right side of the door by Quick Revive in the corner
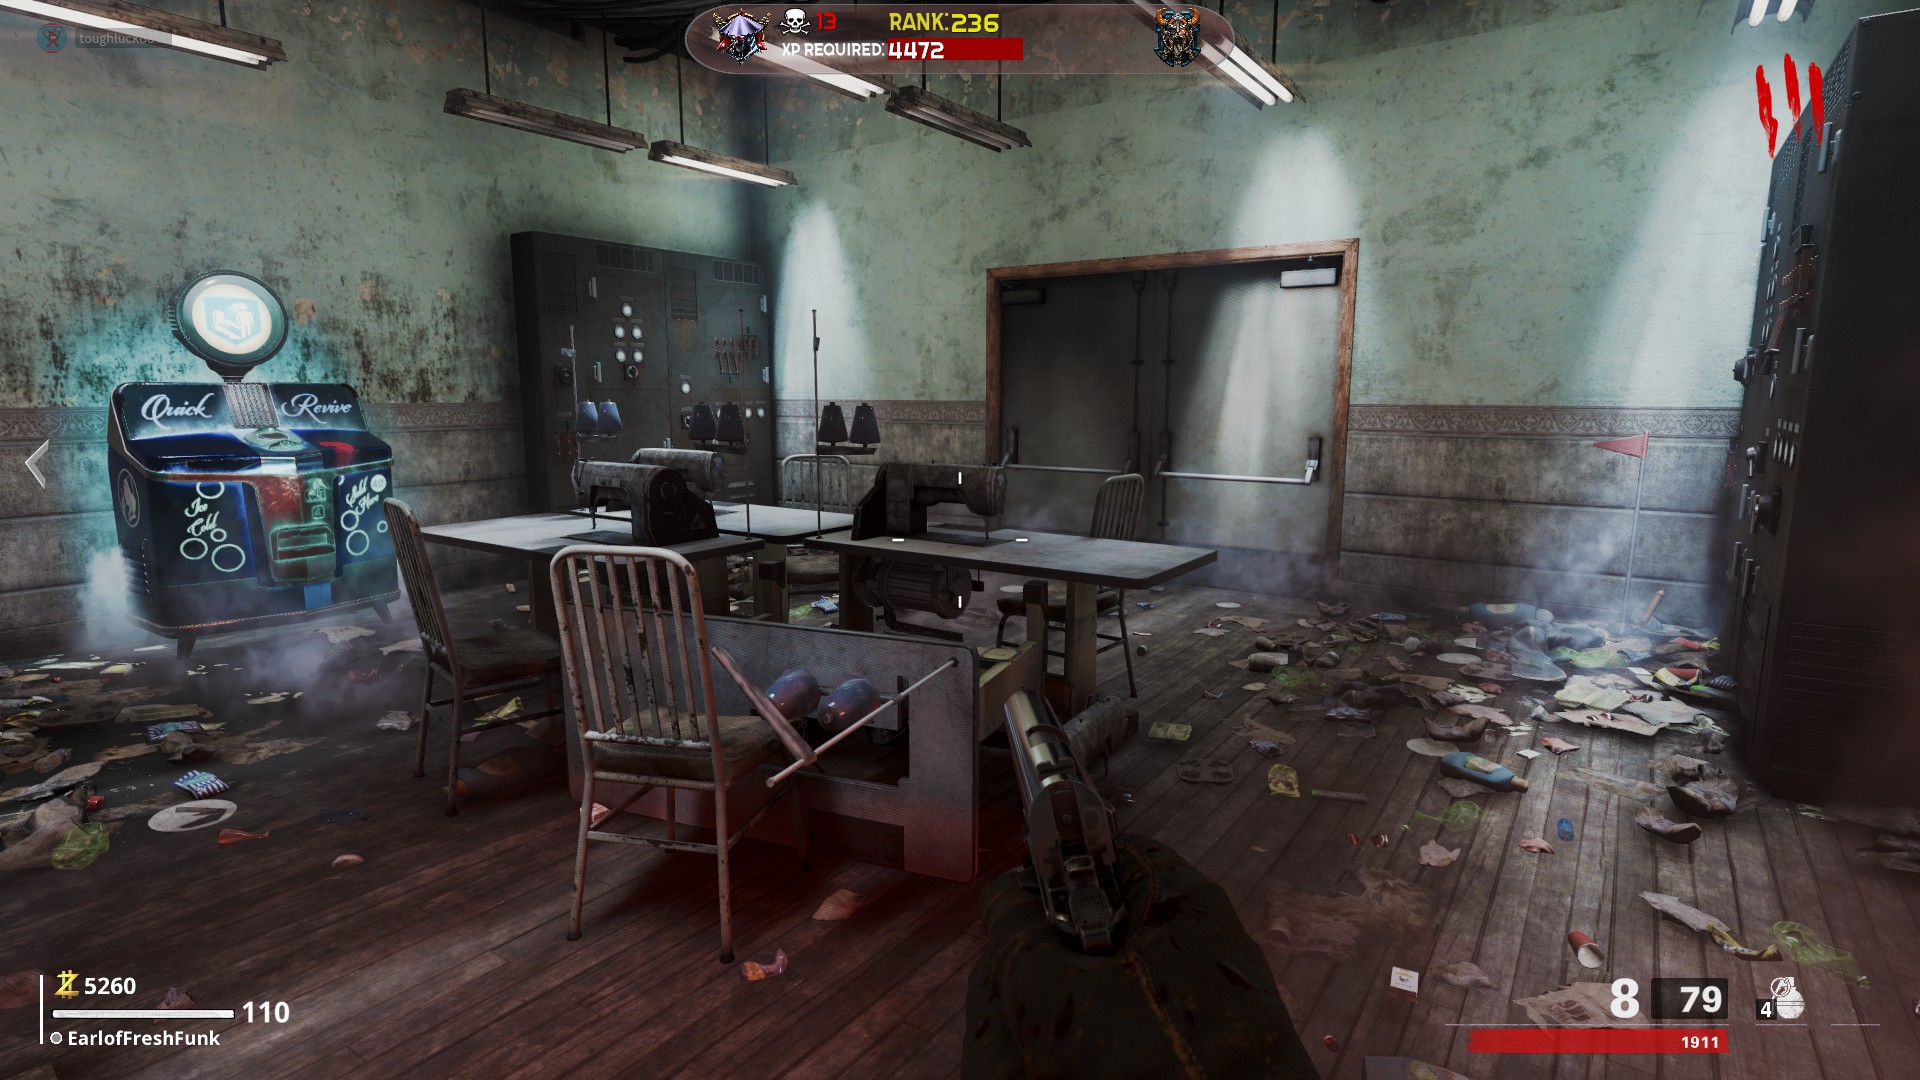 Part C Location 3
In the Sewing Room, leaning against one of the first tables when you enter from the spawn building
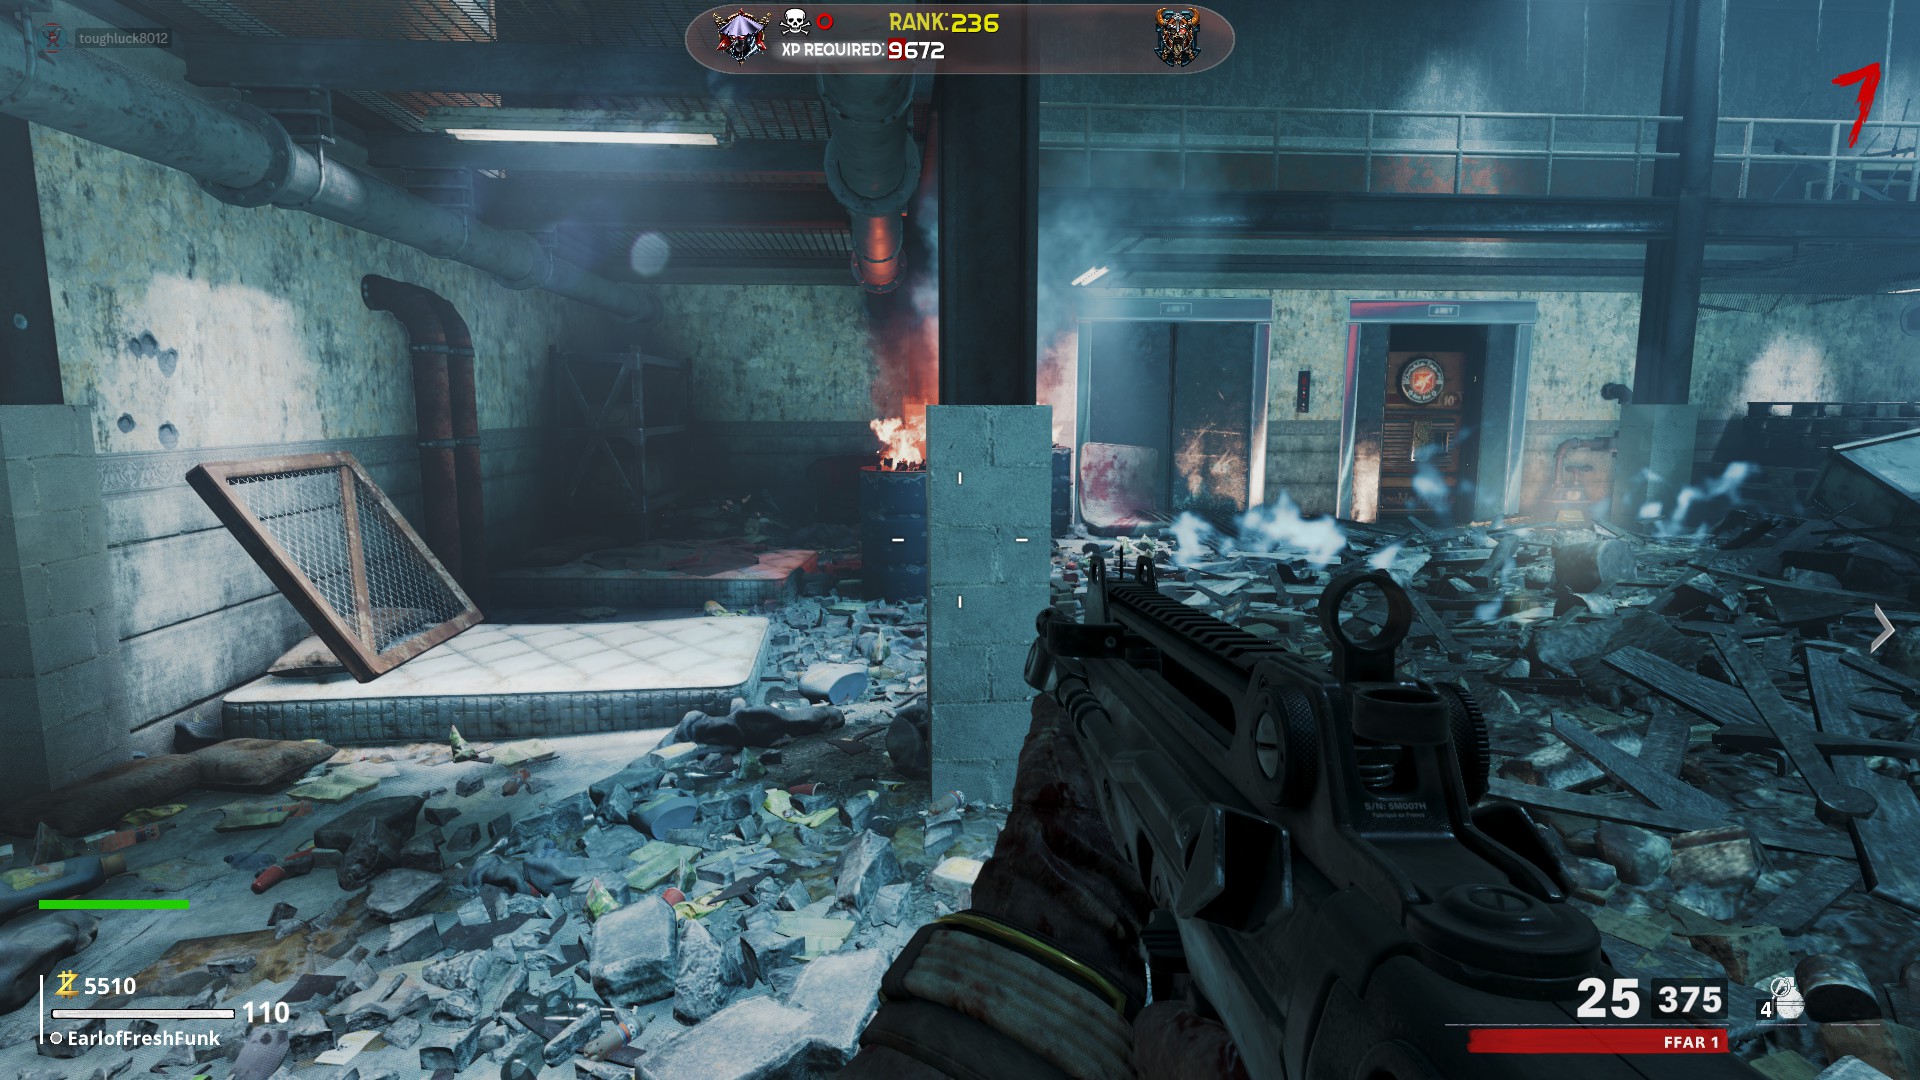
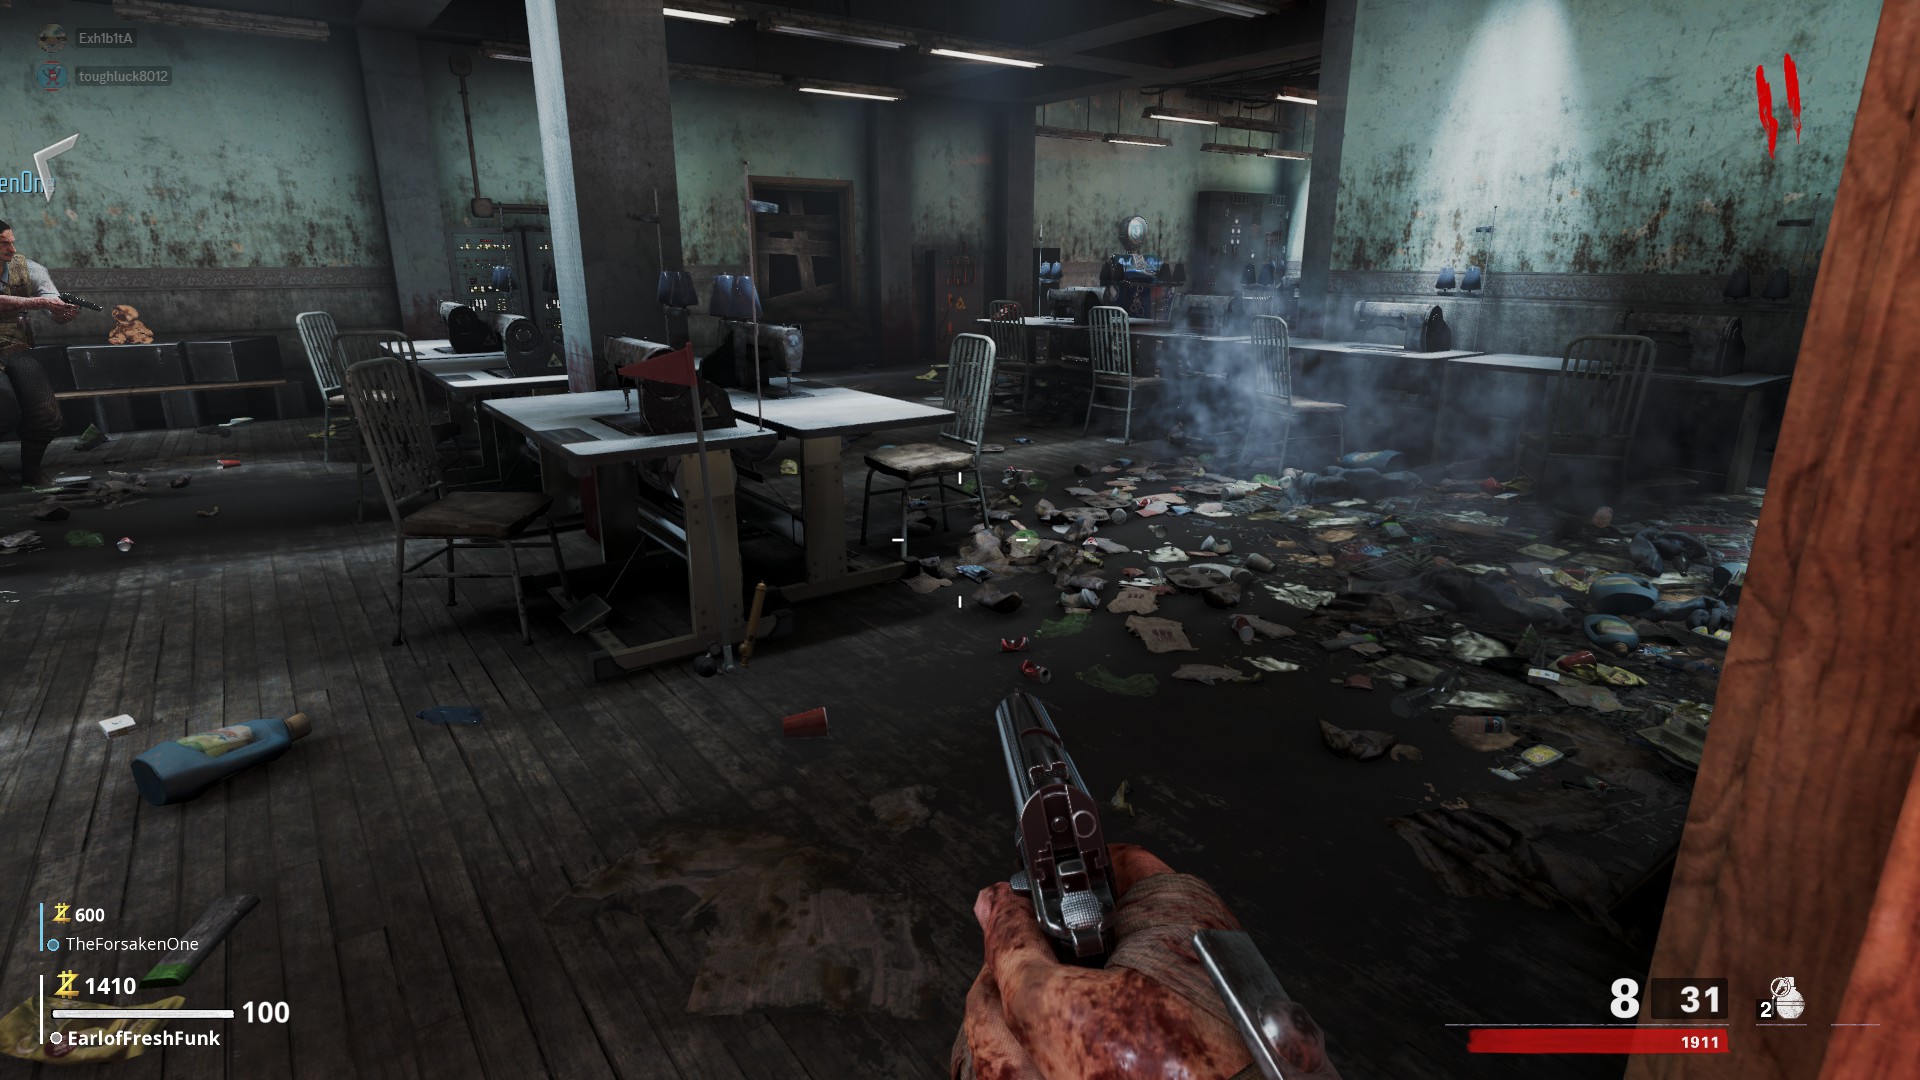 Part D Location 1
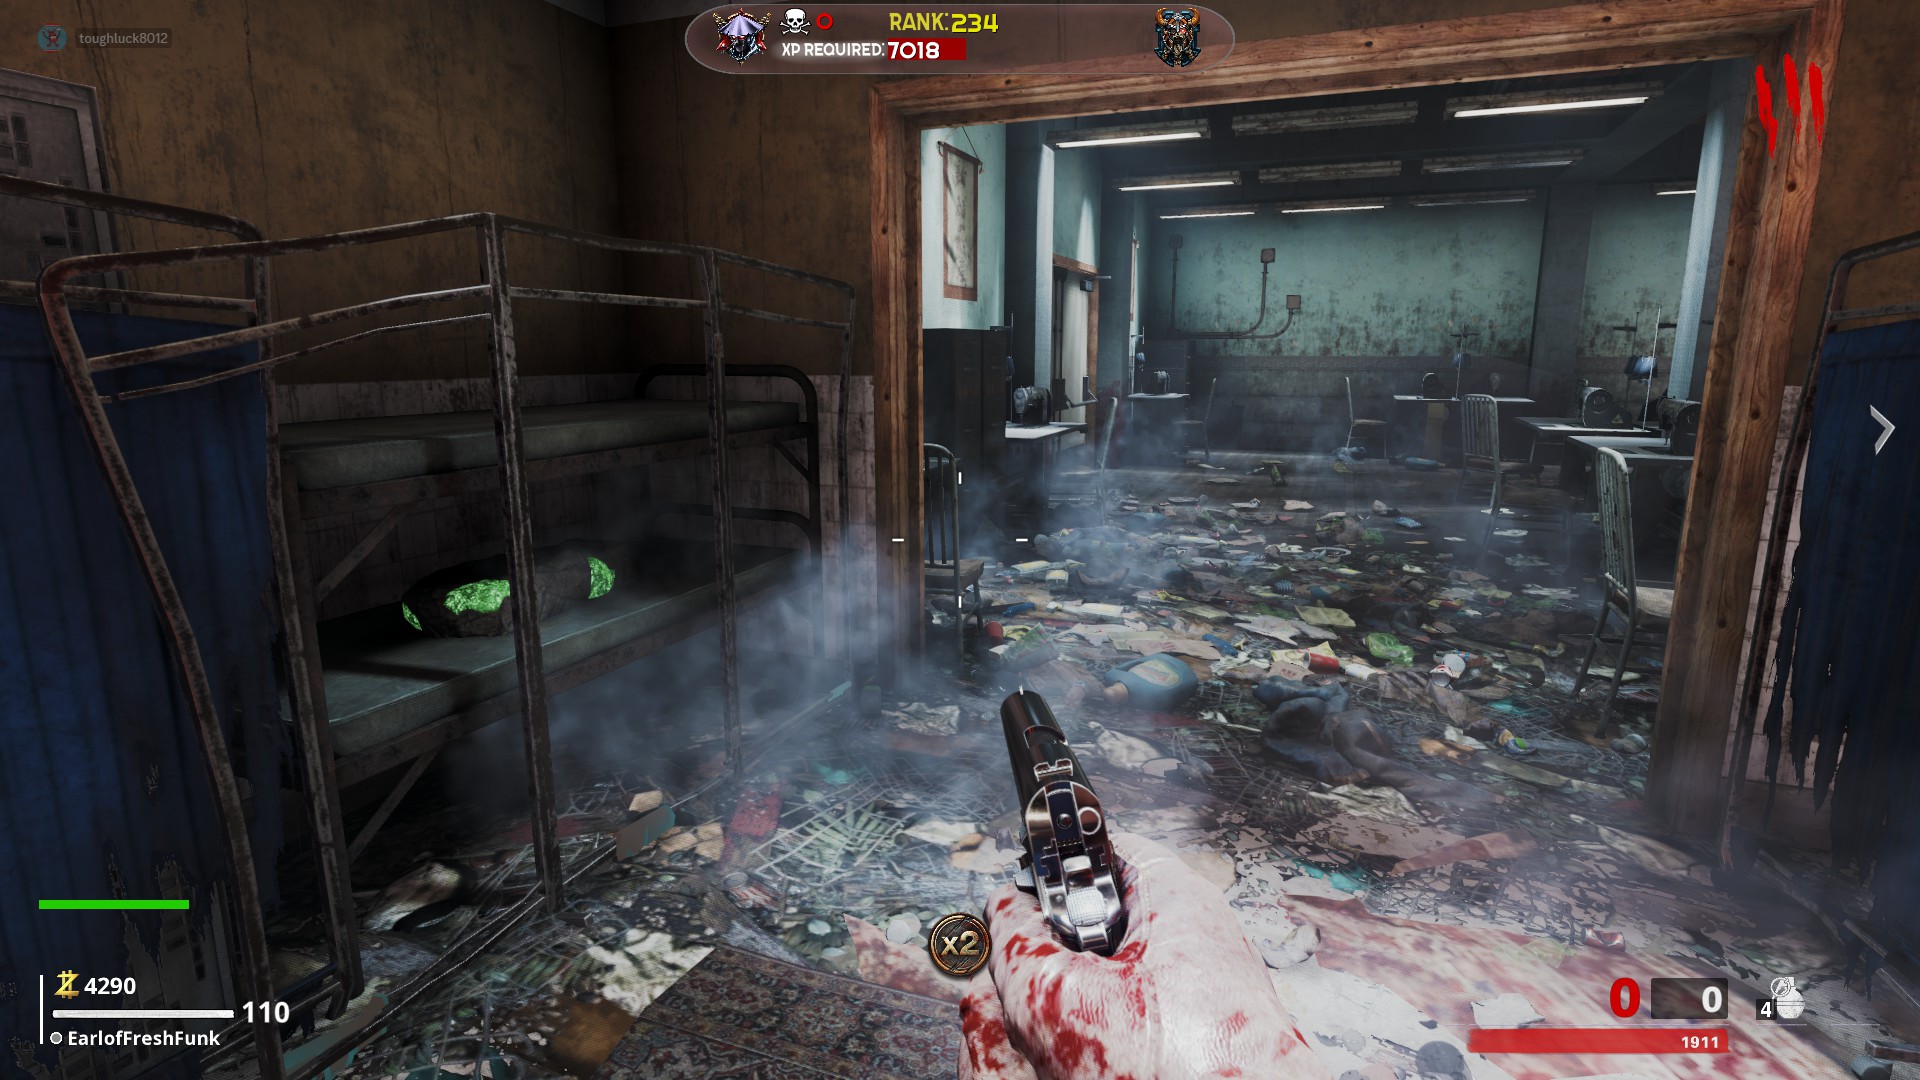
In the Double Tap/Meteor Room, to the right of the bottom doorway on a mattress
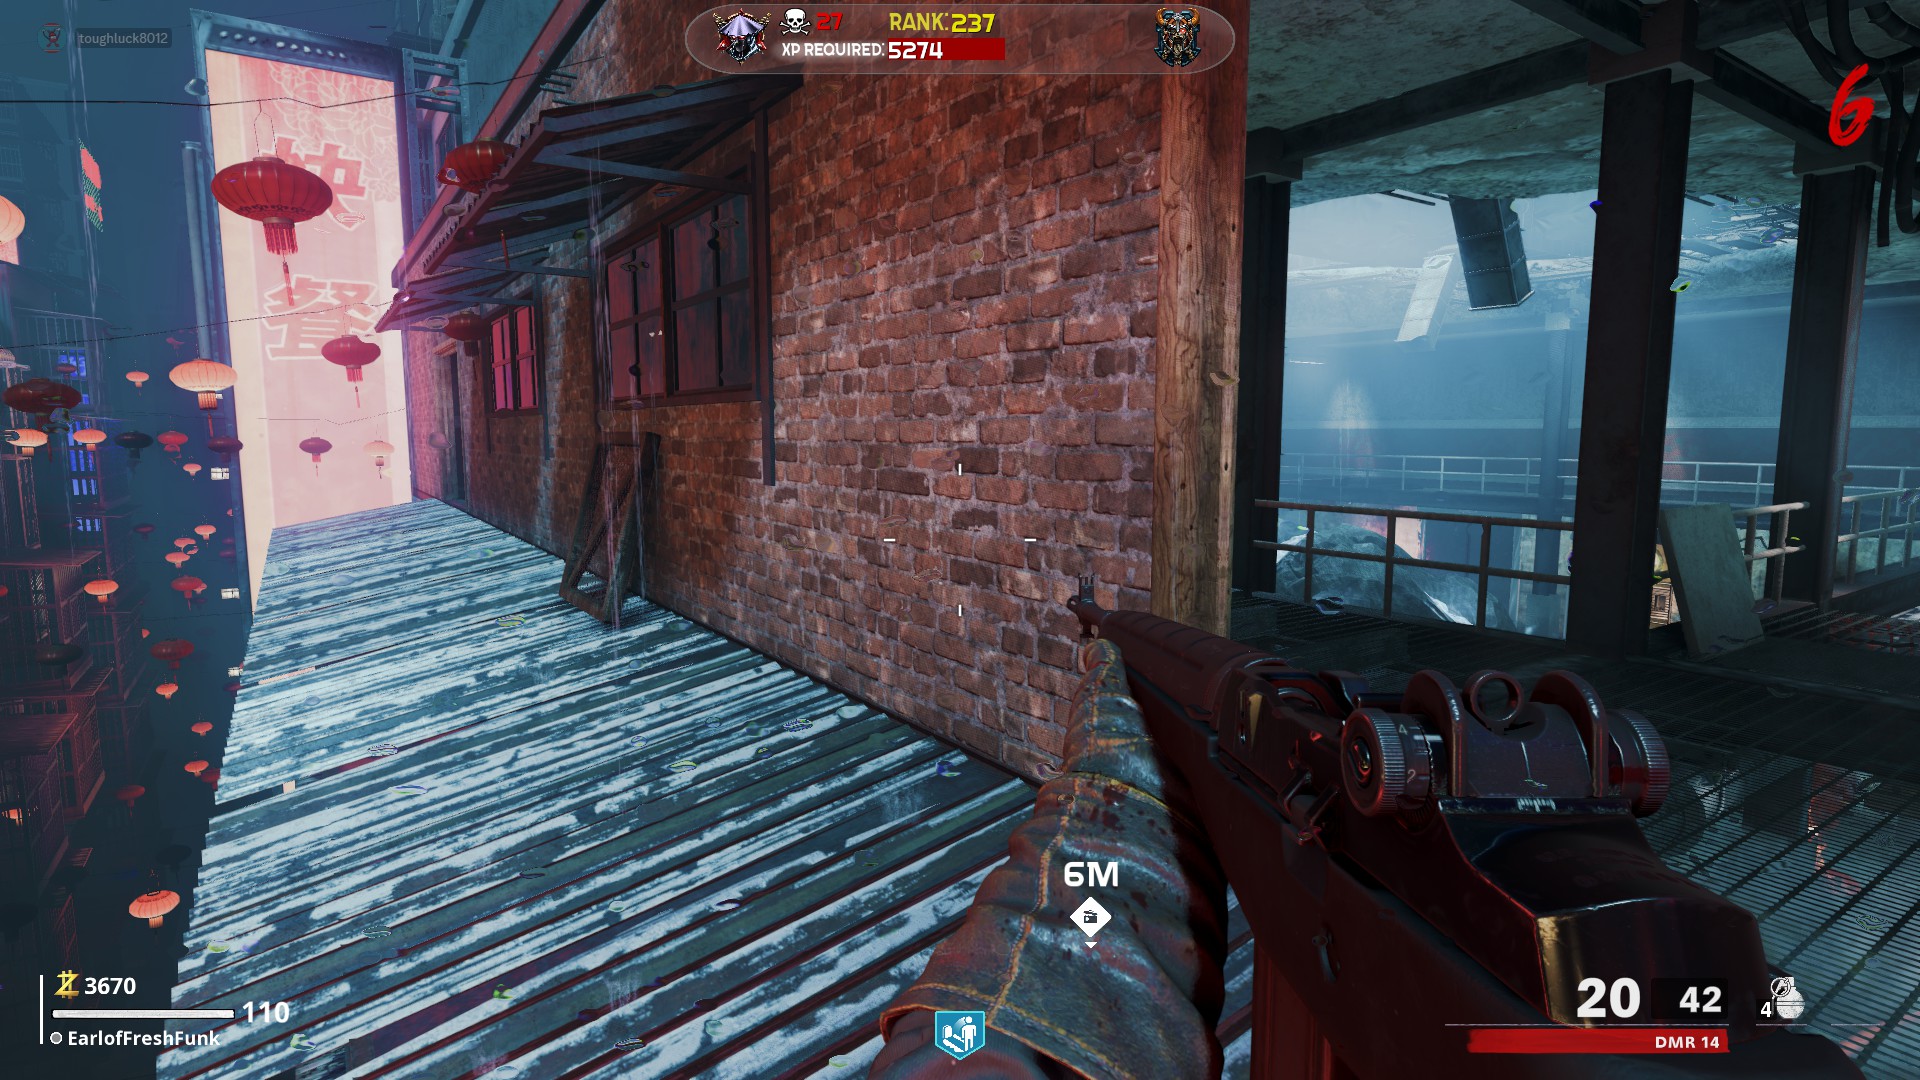
 Part D Location 2
Outside the Double Tap/Meteor Room on the extended ledge connected to the catwalk, leaning against the wall
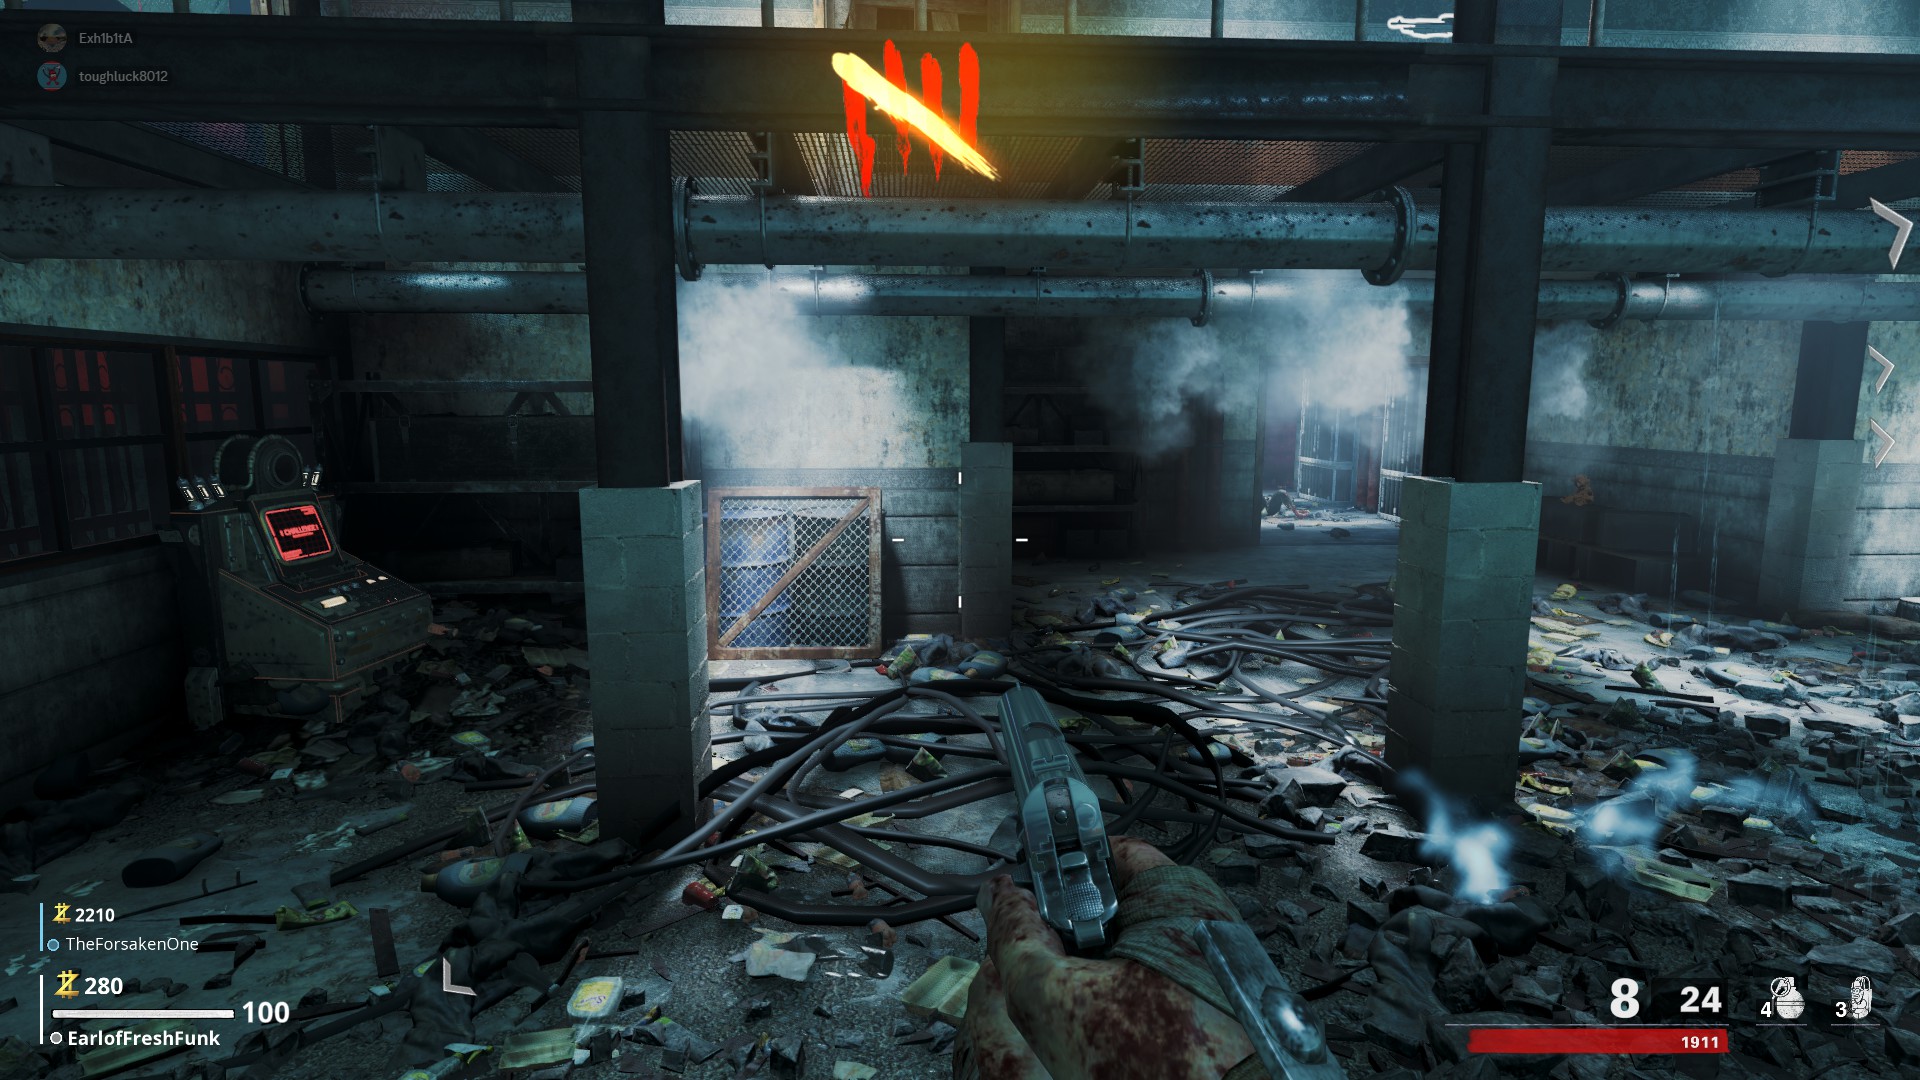
 Part D Location 3
In the Double Tap/Meteor Room, directly next to the challenge terminal on the right side
 Crafting Station
In between Juggernog and Mule Kick, on your way to the upper roof
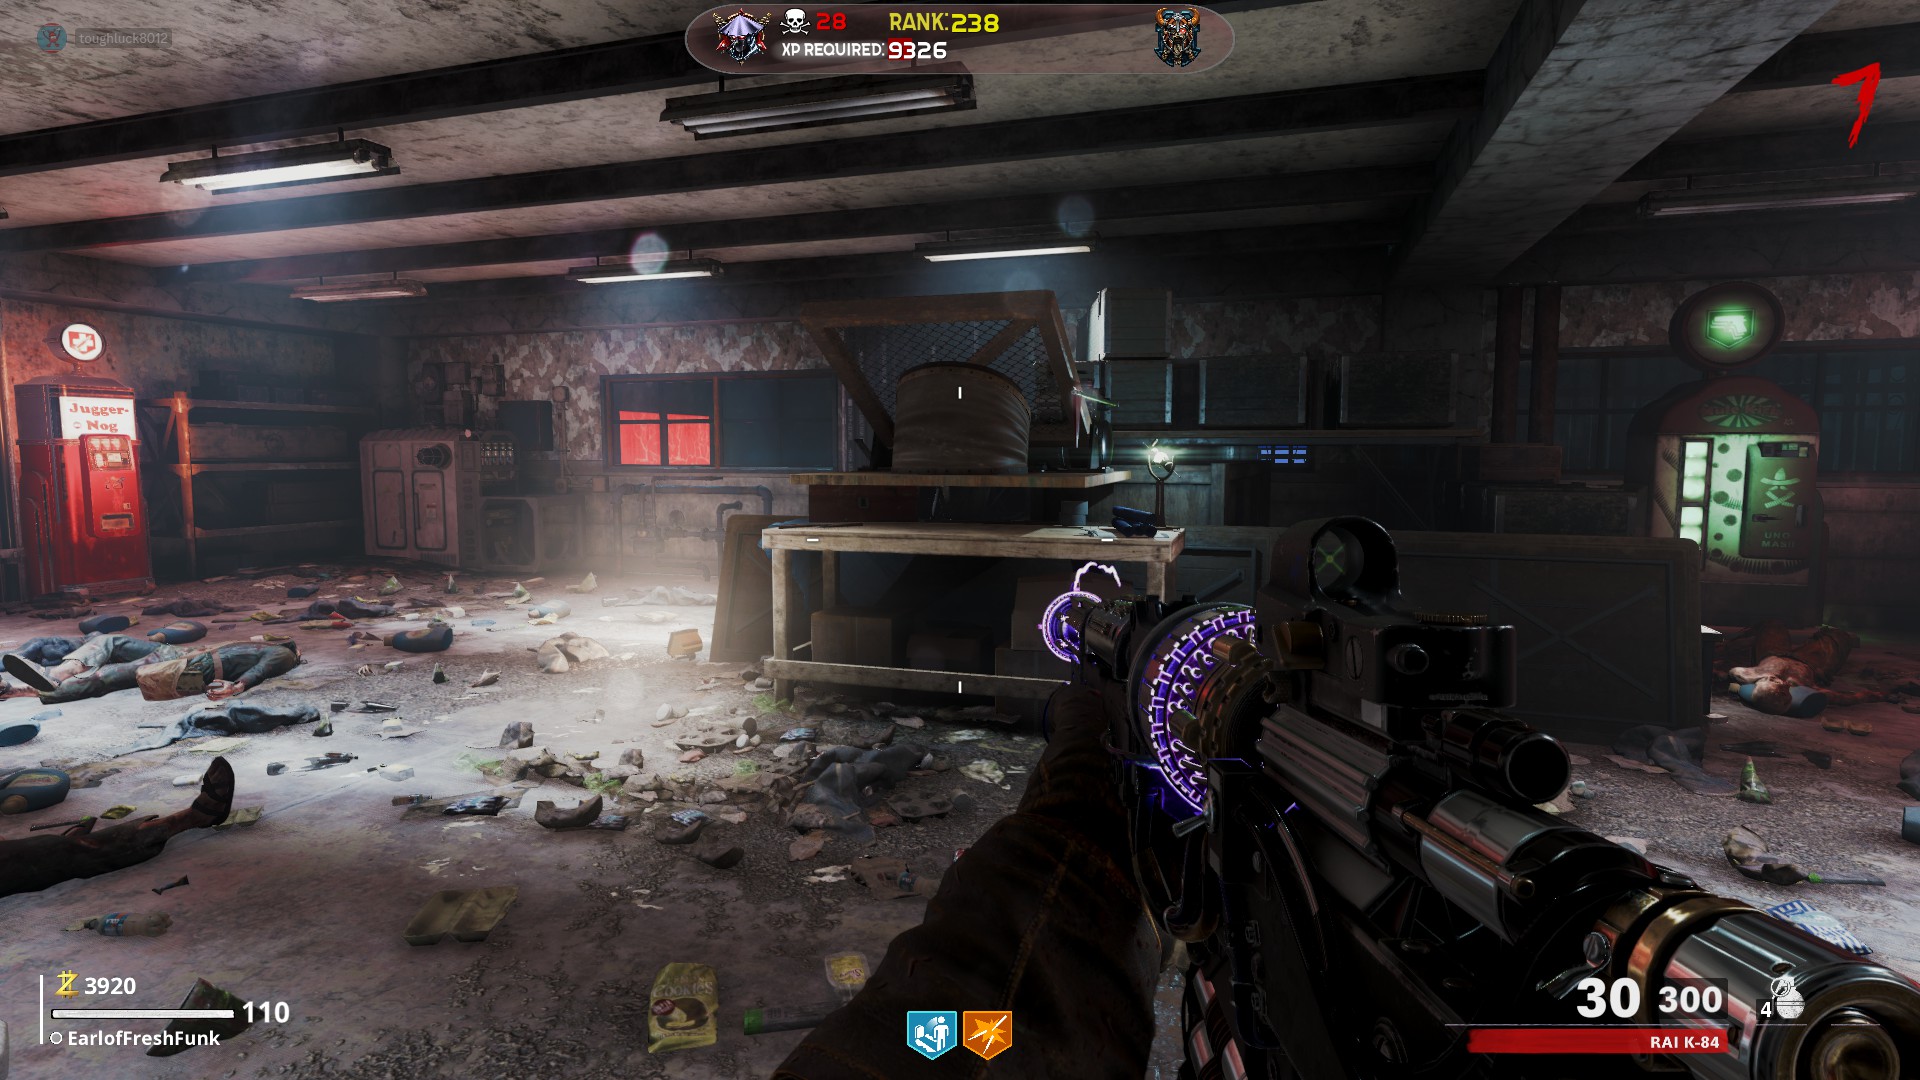
Sliquifier
On the spawn roof, directly in front of where you spawn, on a table
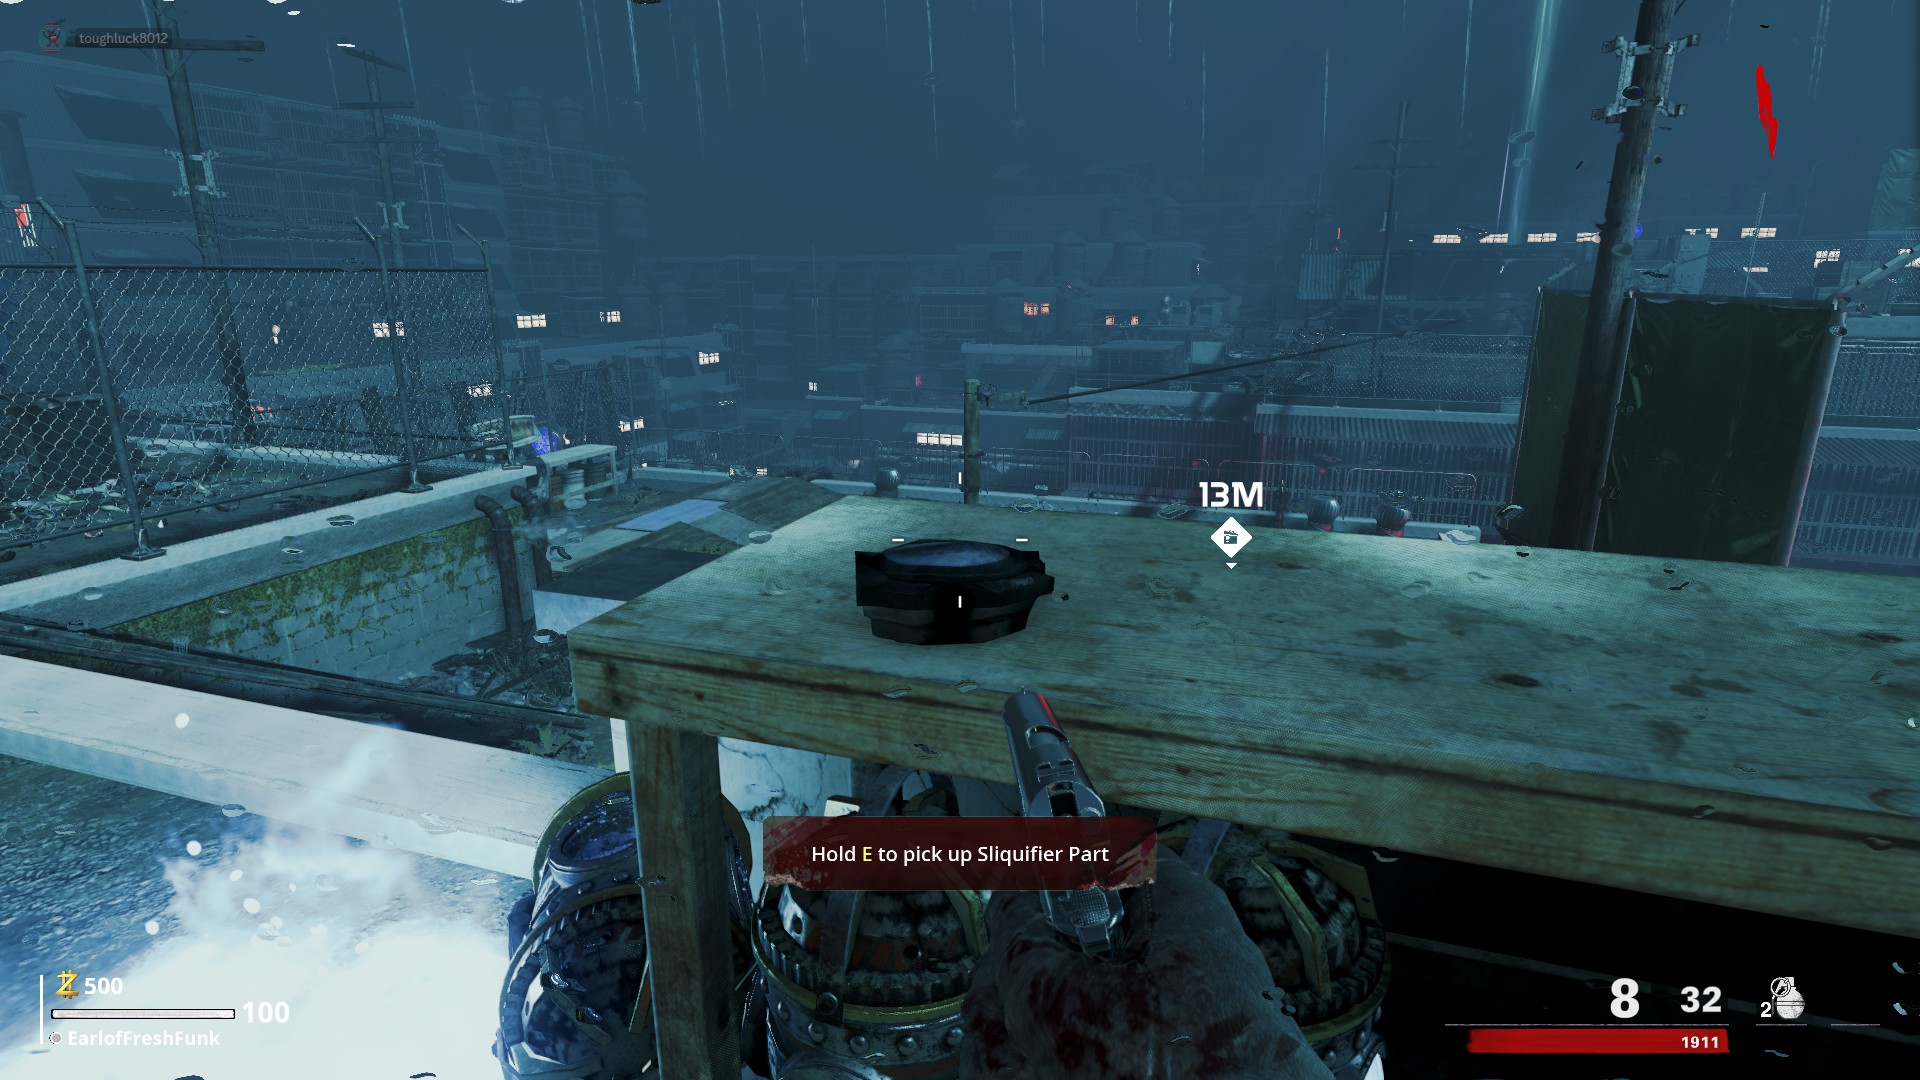 Part B Location
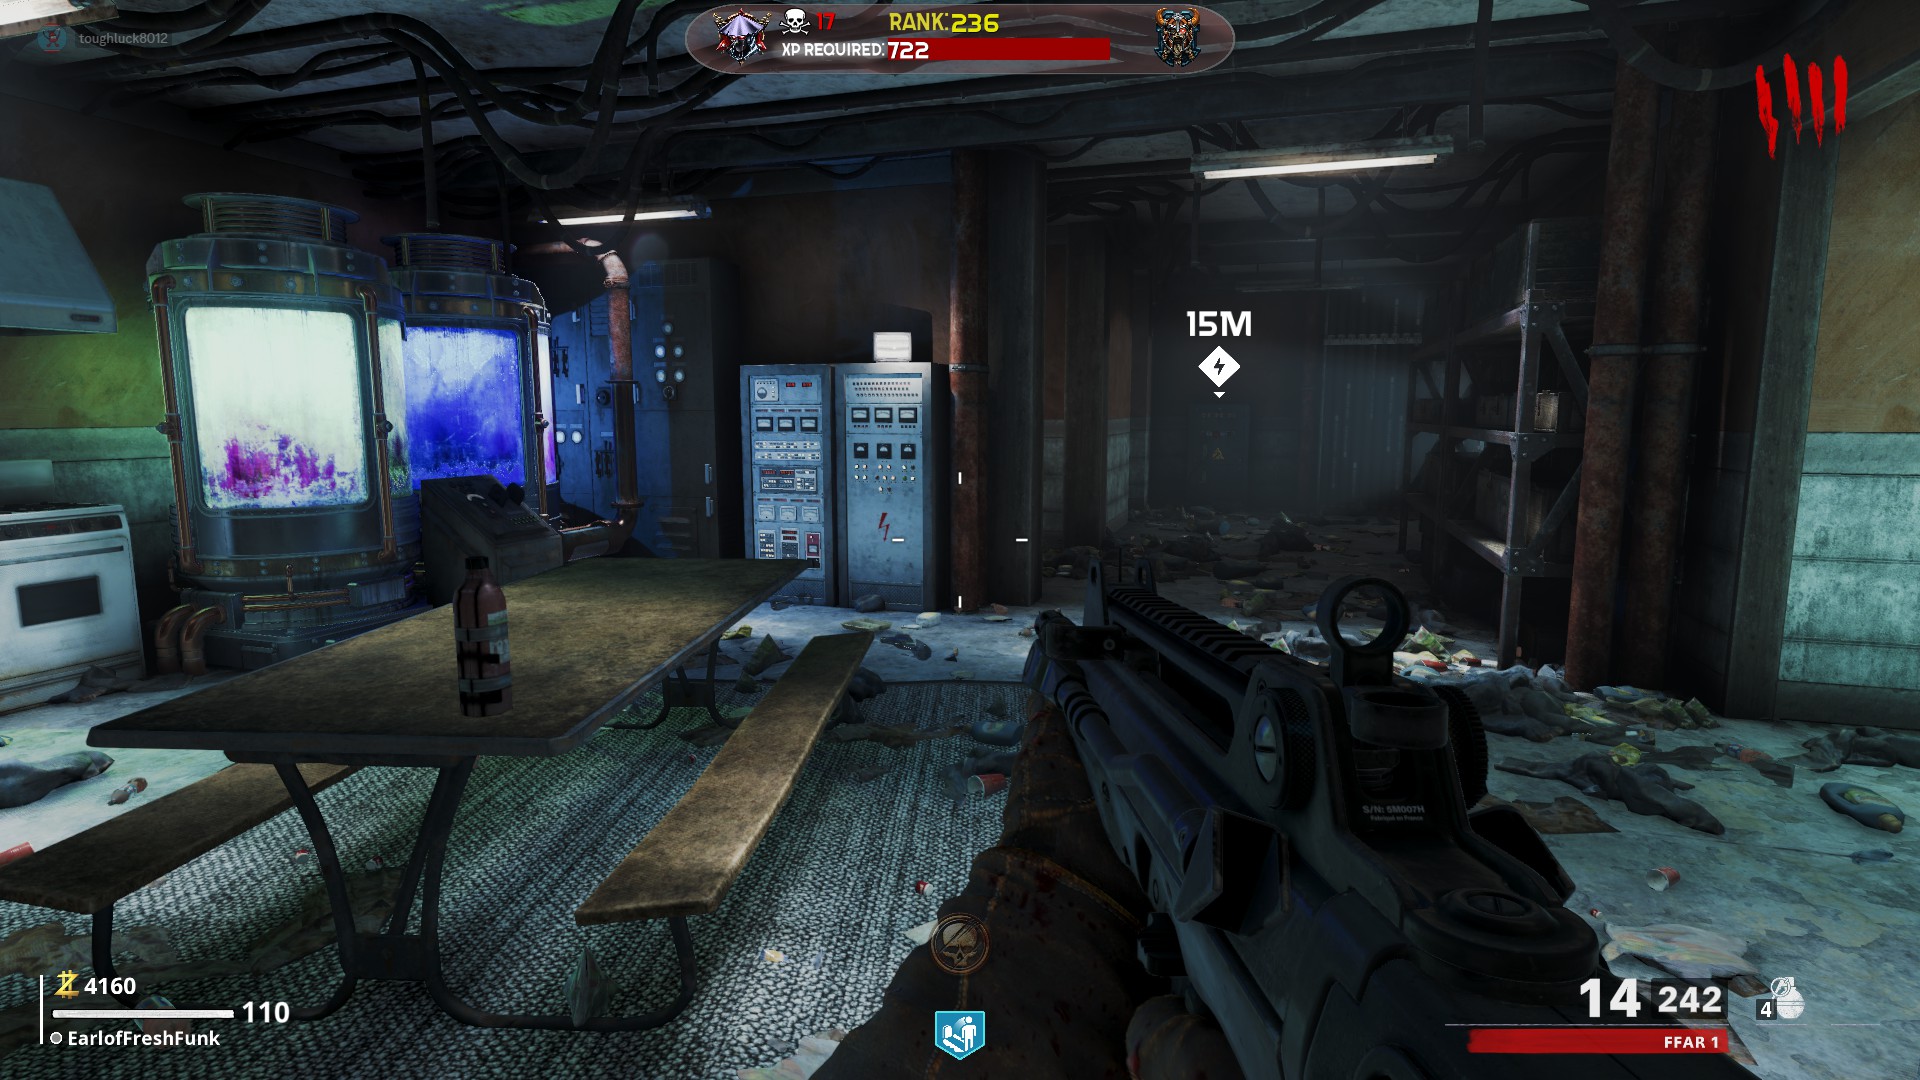
In the center of the kitchen area, on the table, by the chemical processing station
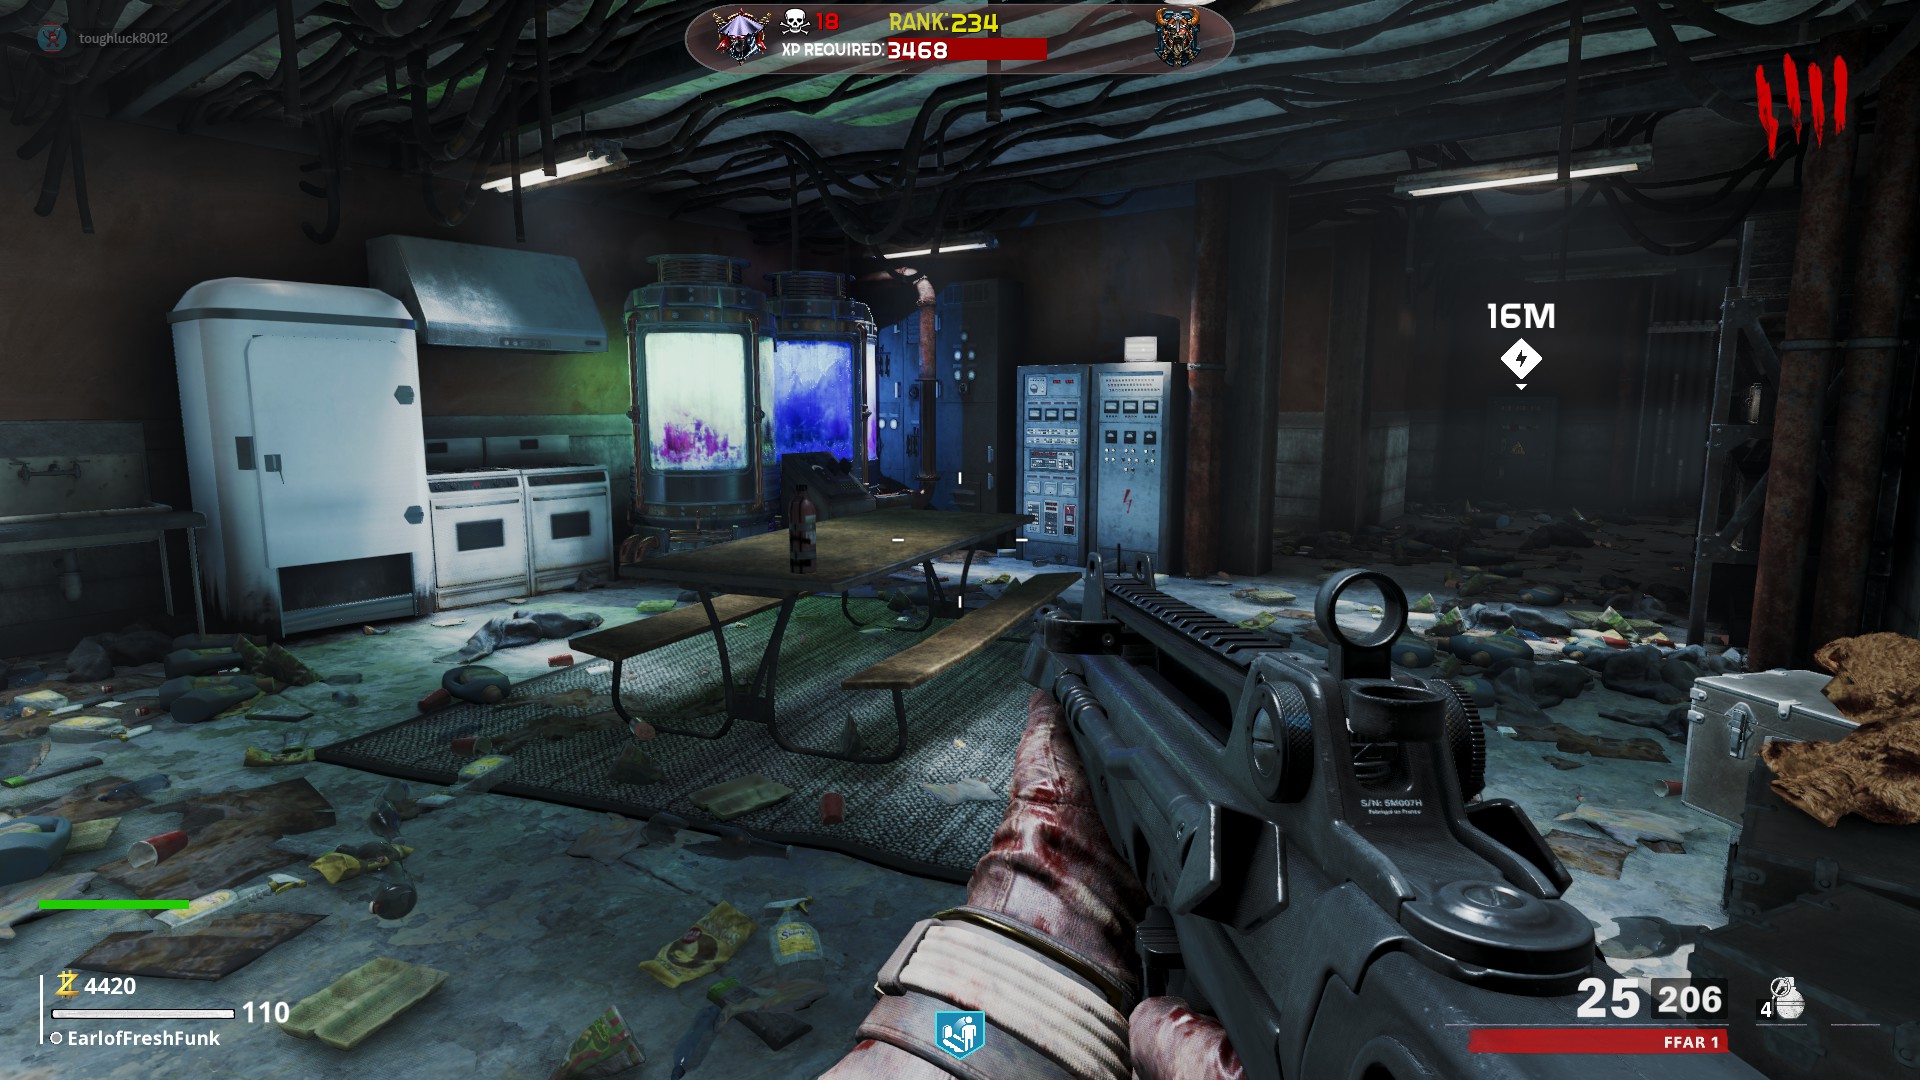 Part C Location
In the residential area, left of the staircase with the Milano 821 wallbuy, on the left countertop
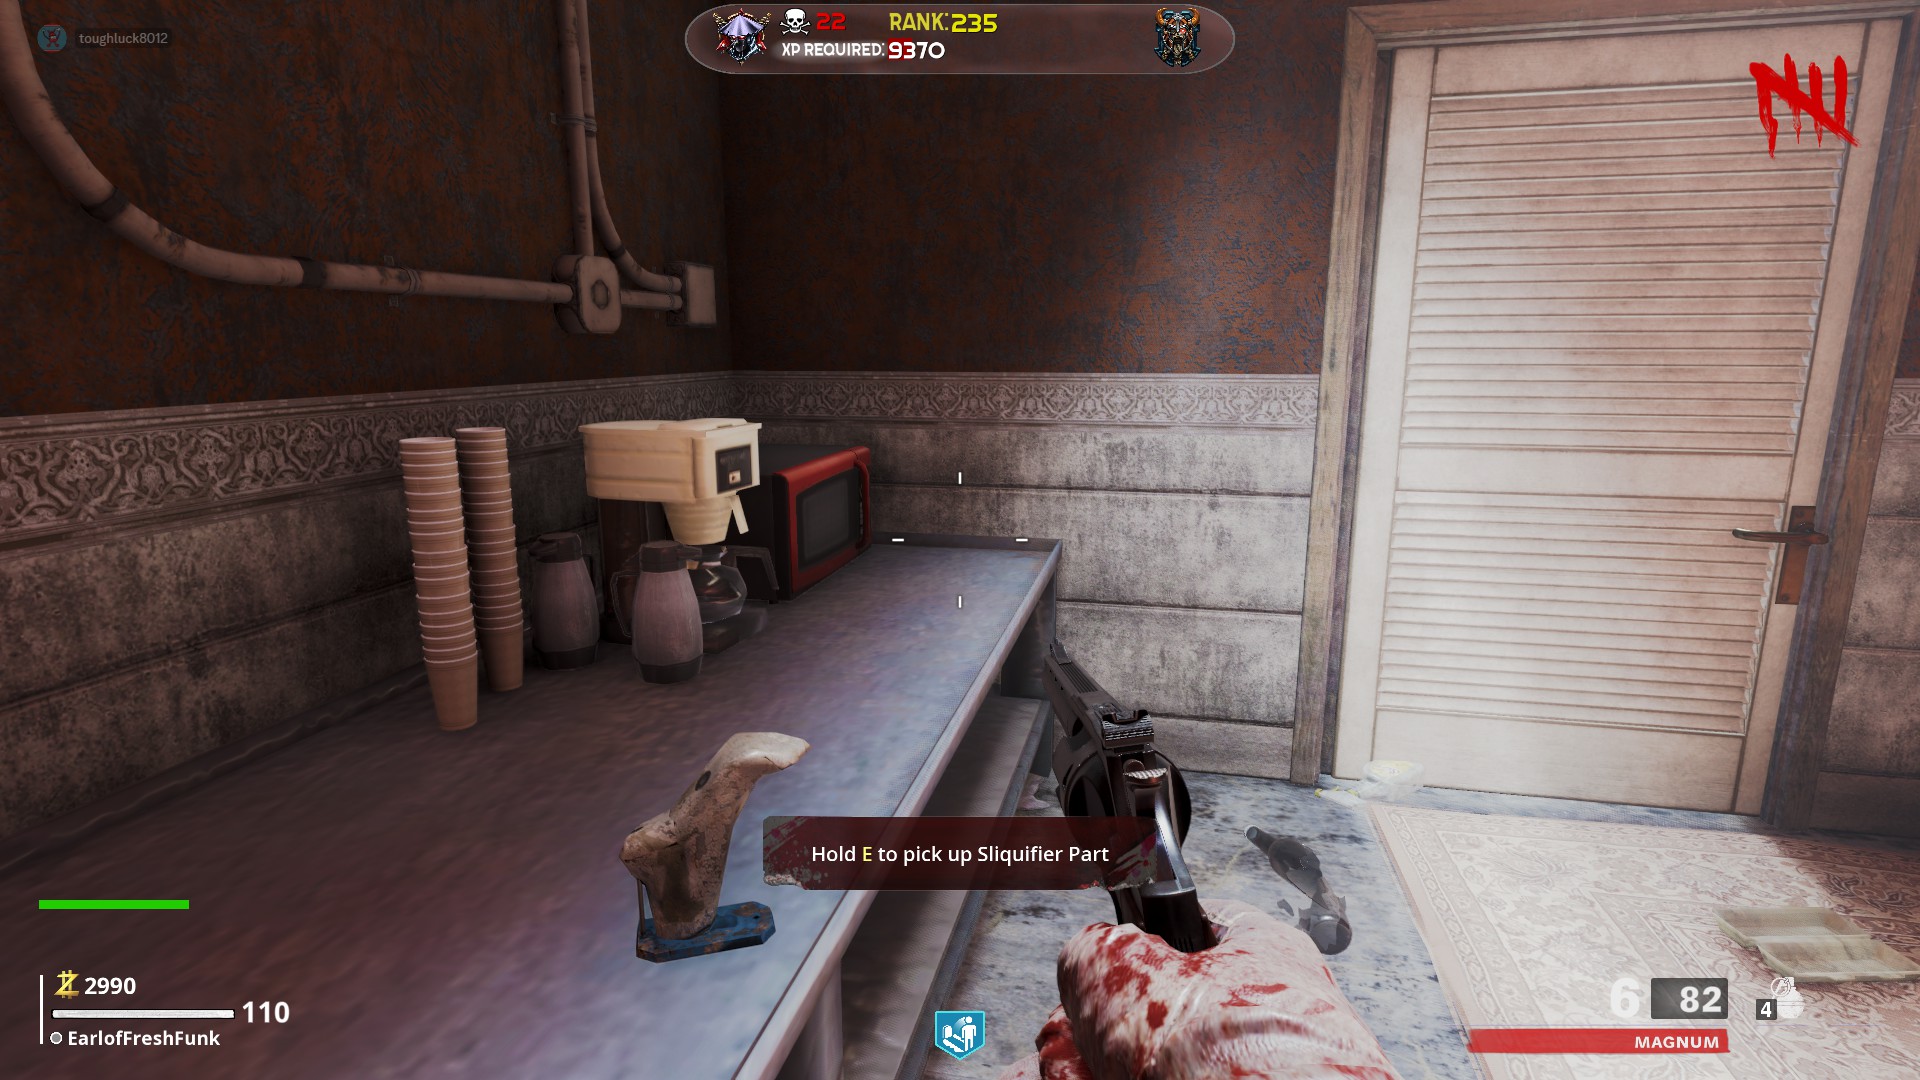 Part D Location
On the bench across from Juggernog
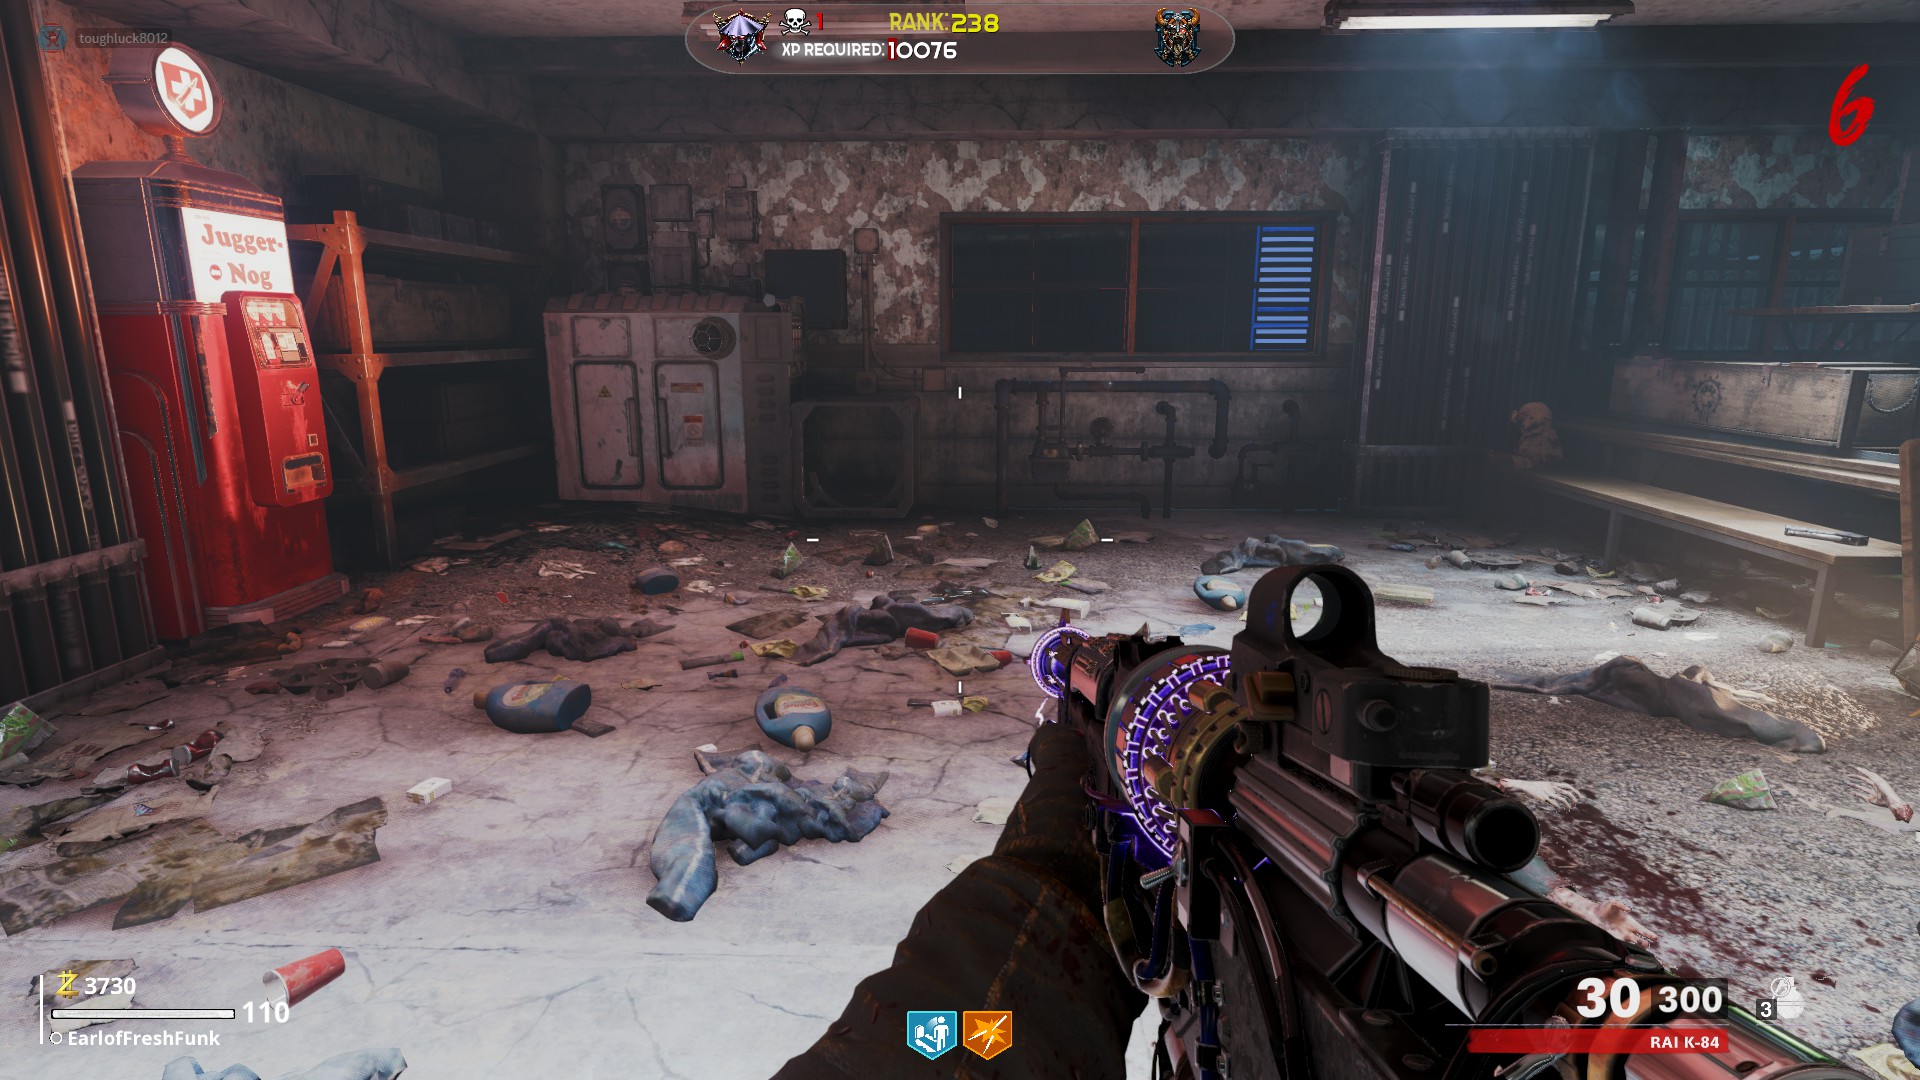 Crafting Station
On the Upper Roof, to the immediate right of the stairs, between PHD Flopper and Elemental Pops
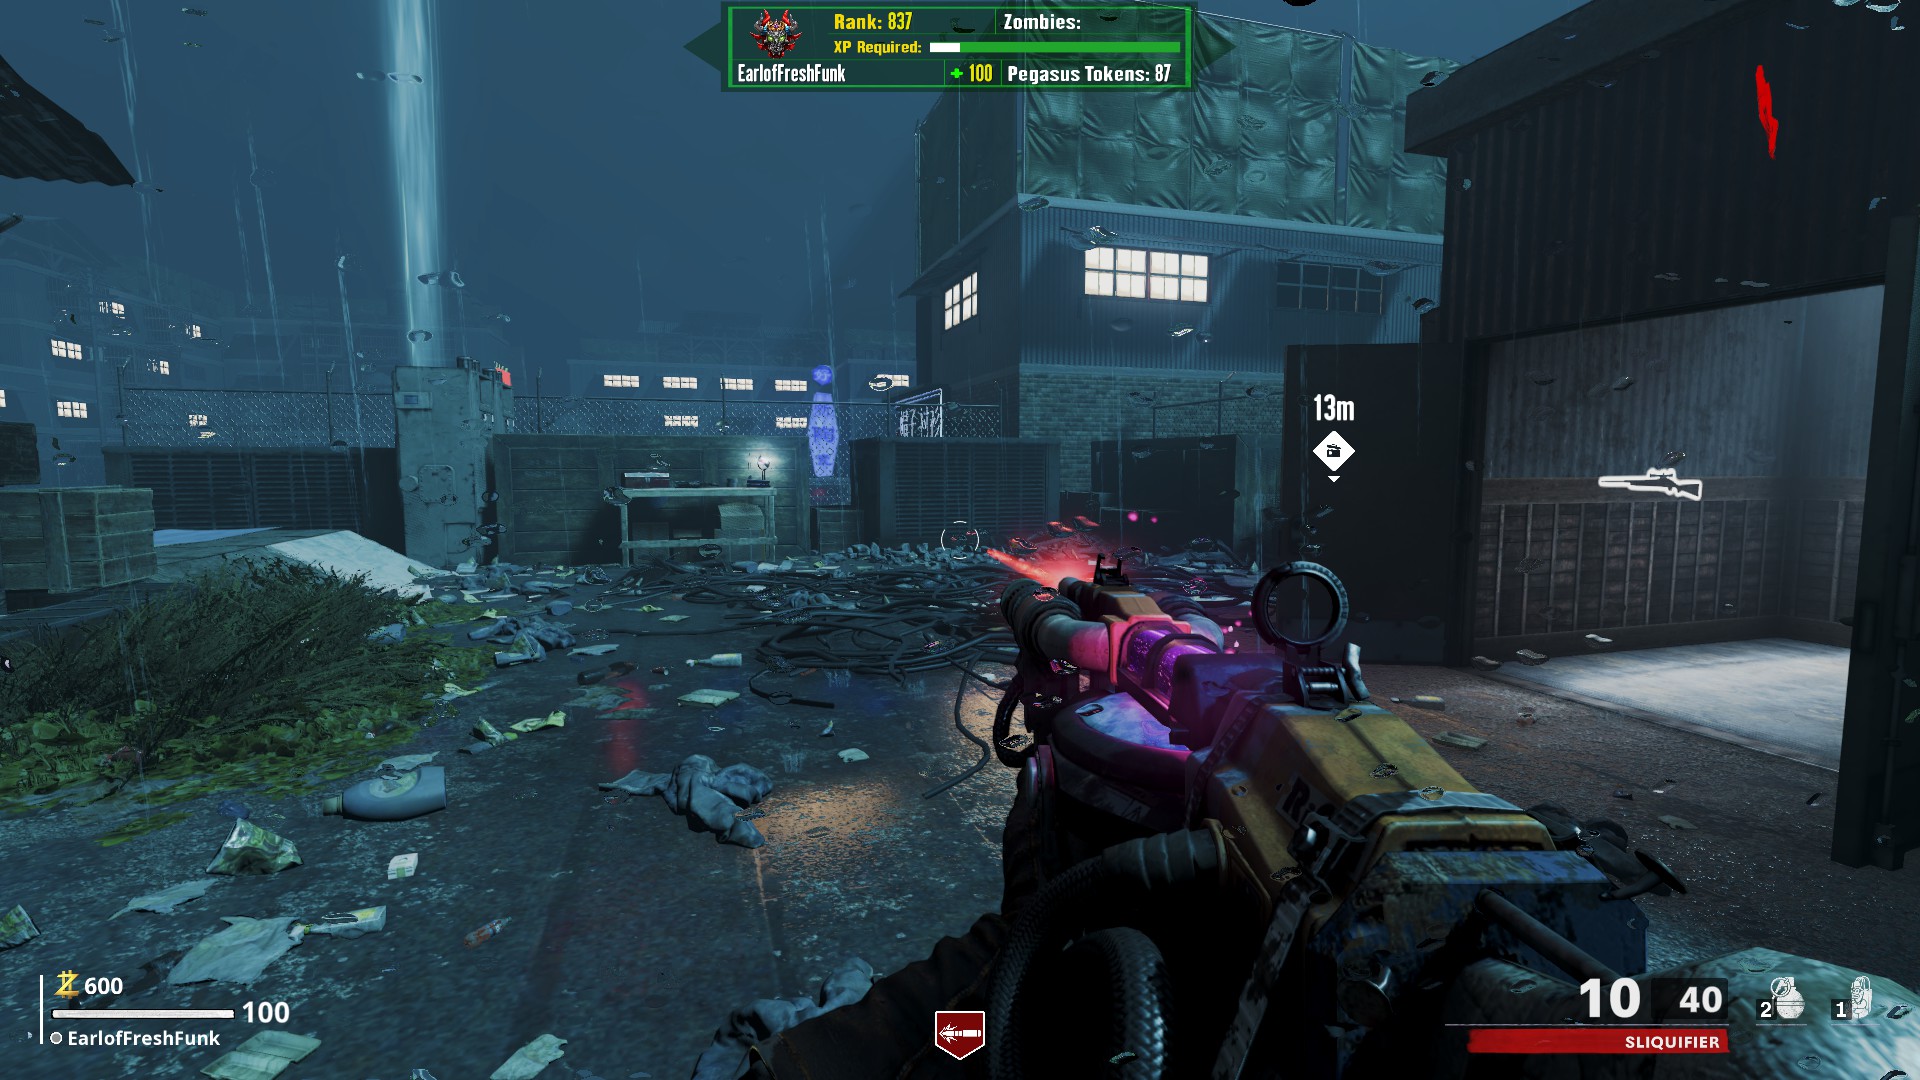
*NOTE* All players can take a sliquifier at any point throughout the game, even if they trade away or lose their first one
Upgrading the Sliquifier
To obtain the lantern, you will have to have completed all 3 challenge terminals around the map (Activate all 6 power switches, Fill all 3 Soul box Lanterns, 50 PAP kills). The door on the upper roof by Elemental Pops will now be open. Sitting on the table are several lanterns for you to pick up. Ignore the paper lanterns that look like the soul boxes from earlier, those are only ever decoration.
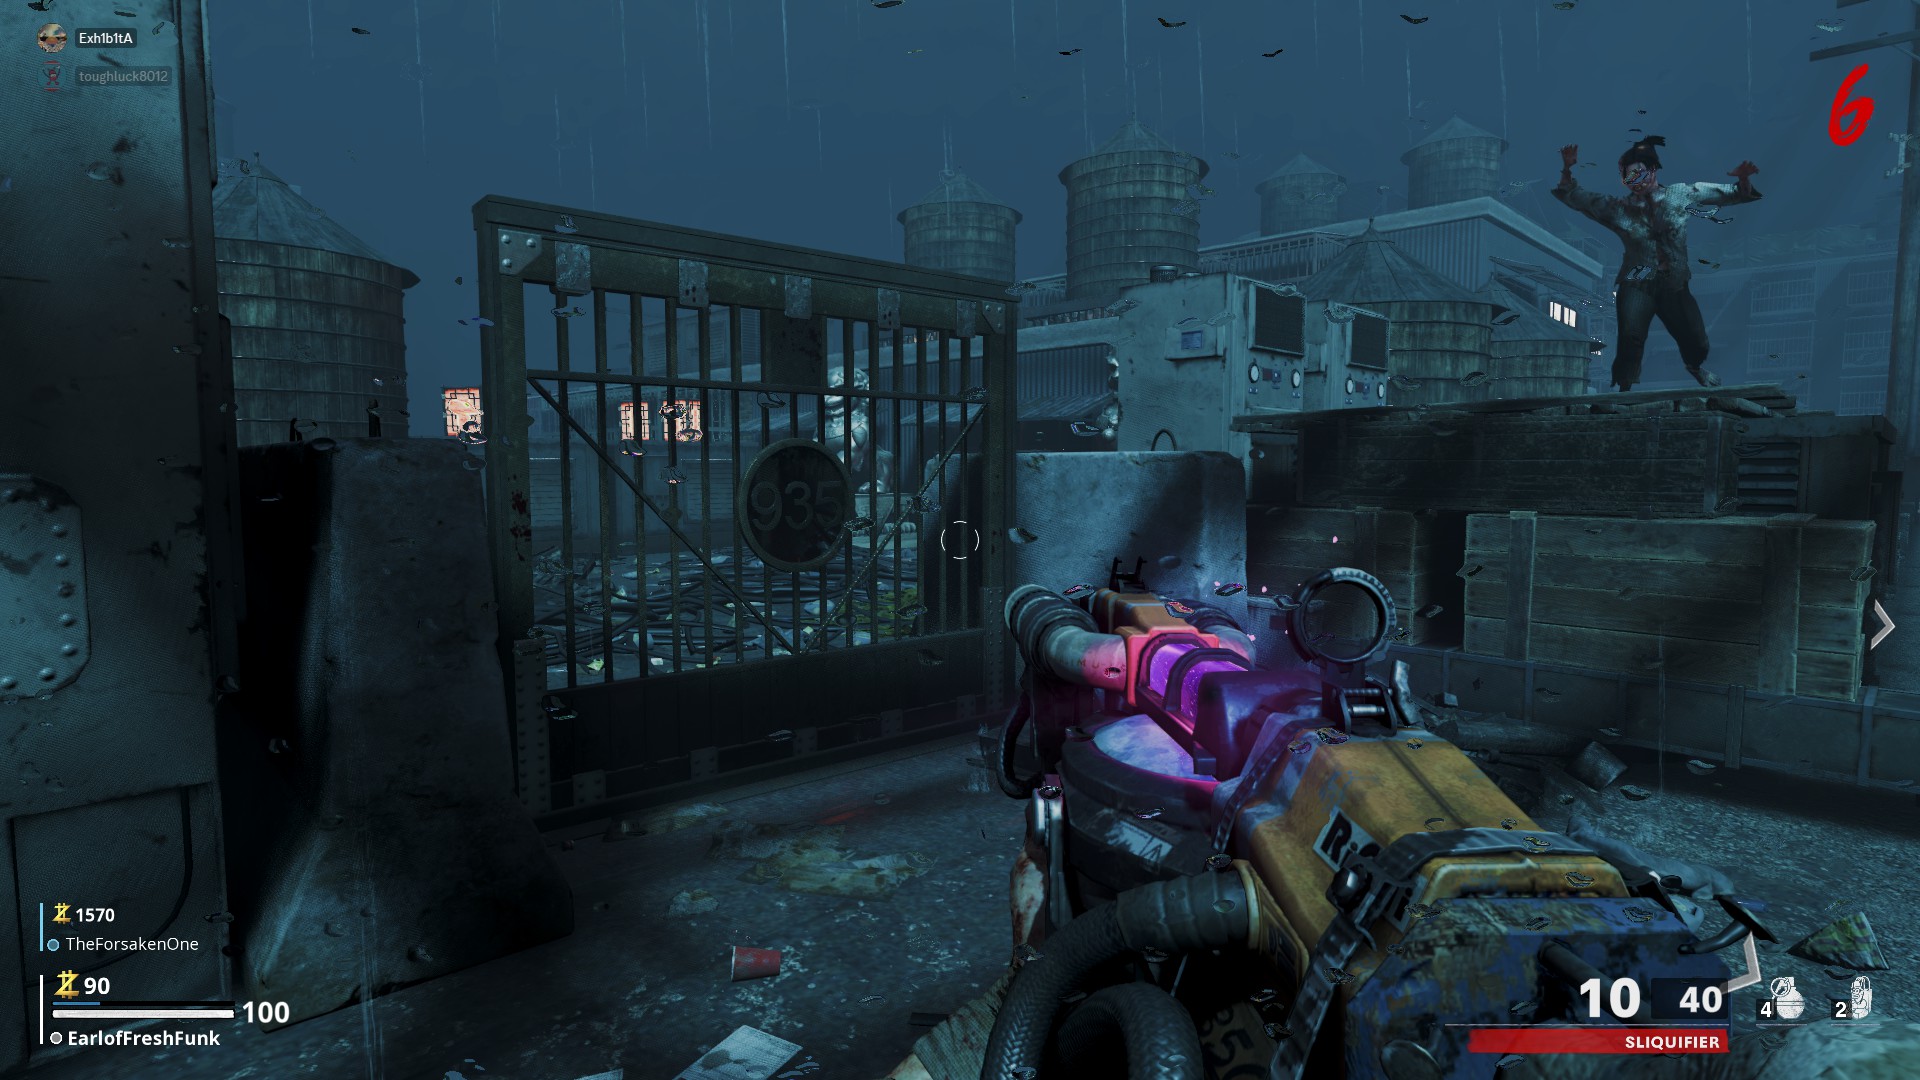
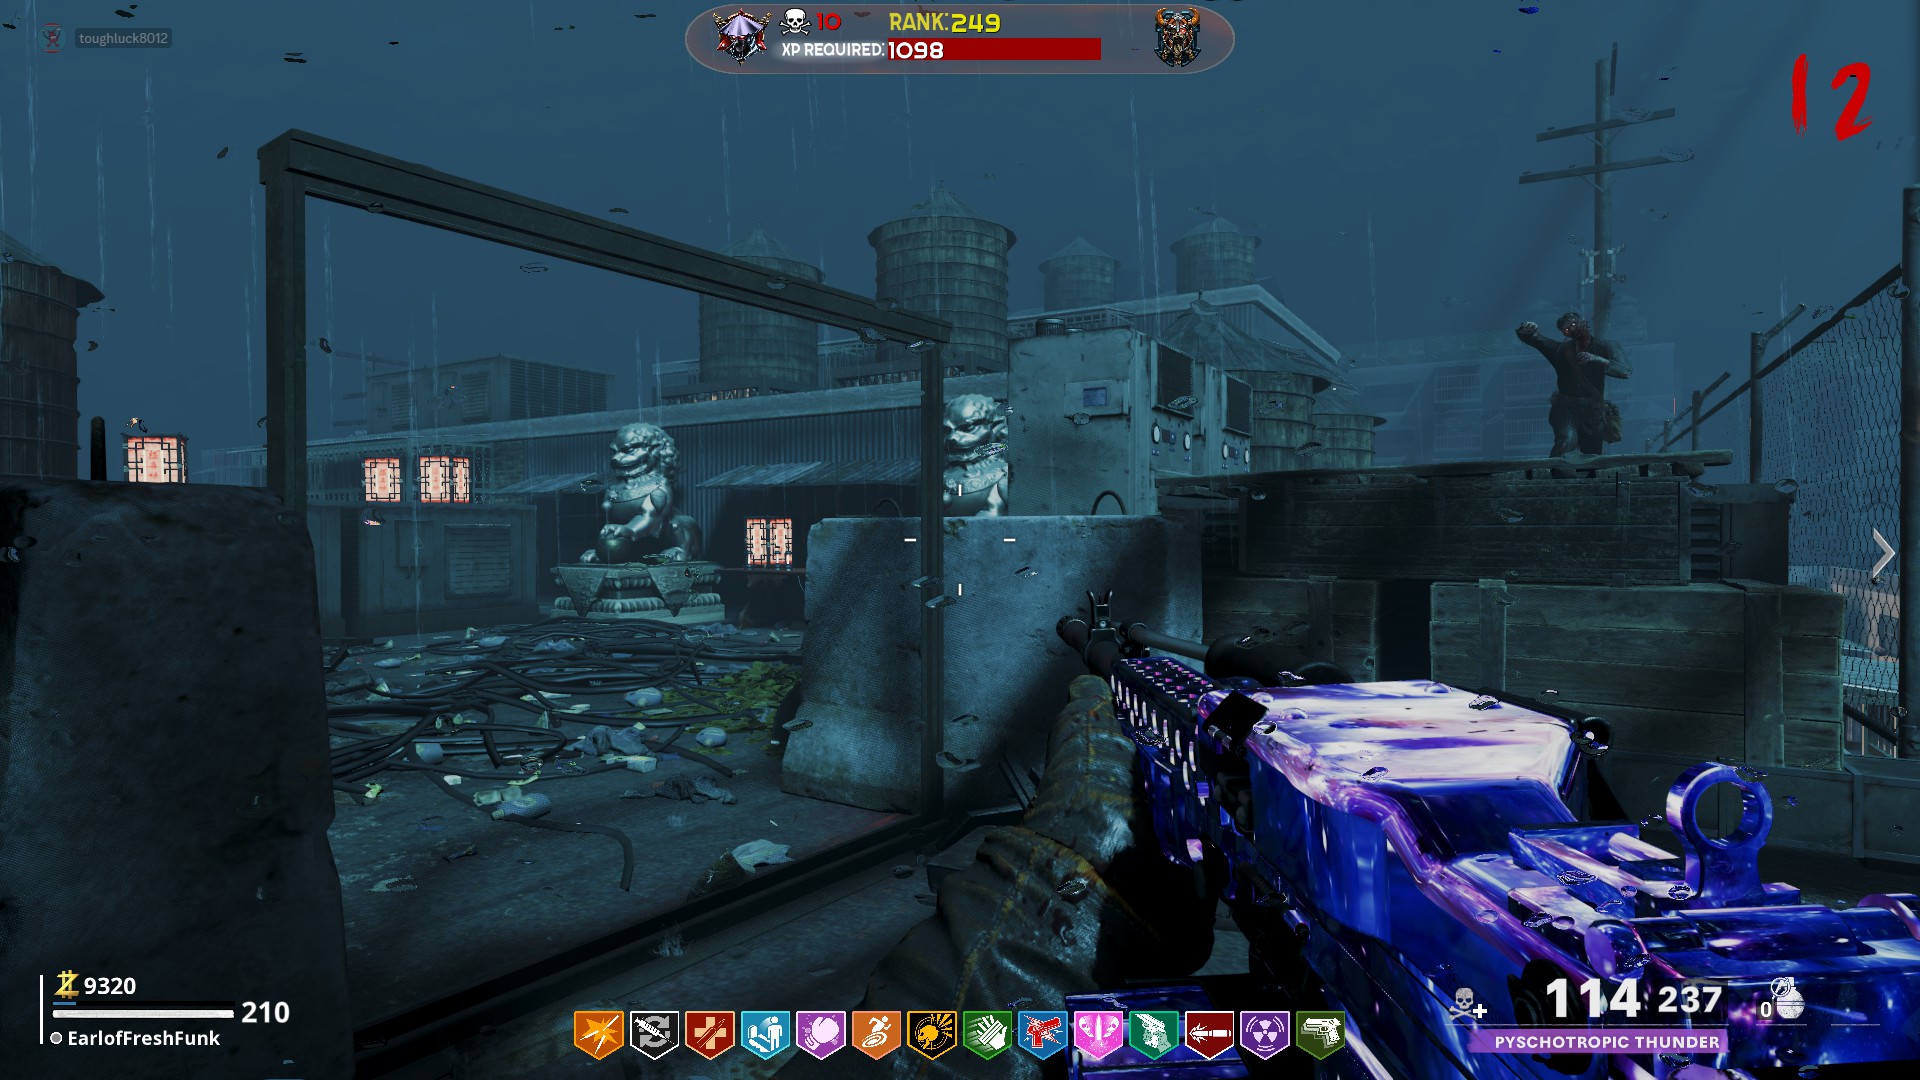 Now would be a great time to purchase Mule Kick, as the Lantern takes up a weapon slot, but does not deal any damage to zombies. It only stuns them, similar to the Skull of Nan Sapwe from Zetsubou no Shima. You will only need the lantern to obtain three parts and can swap it out for an actual weapon afterwards, never needing to return to it.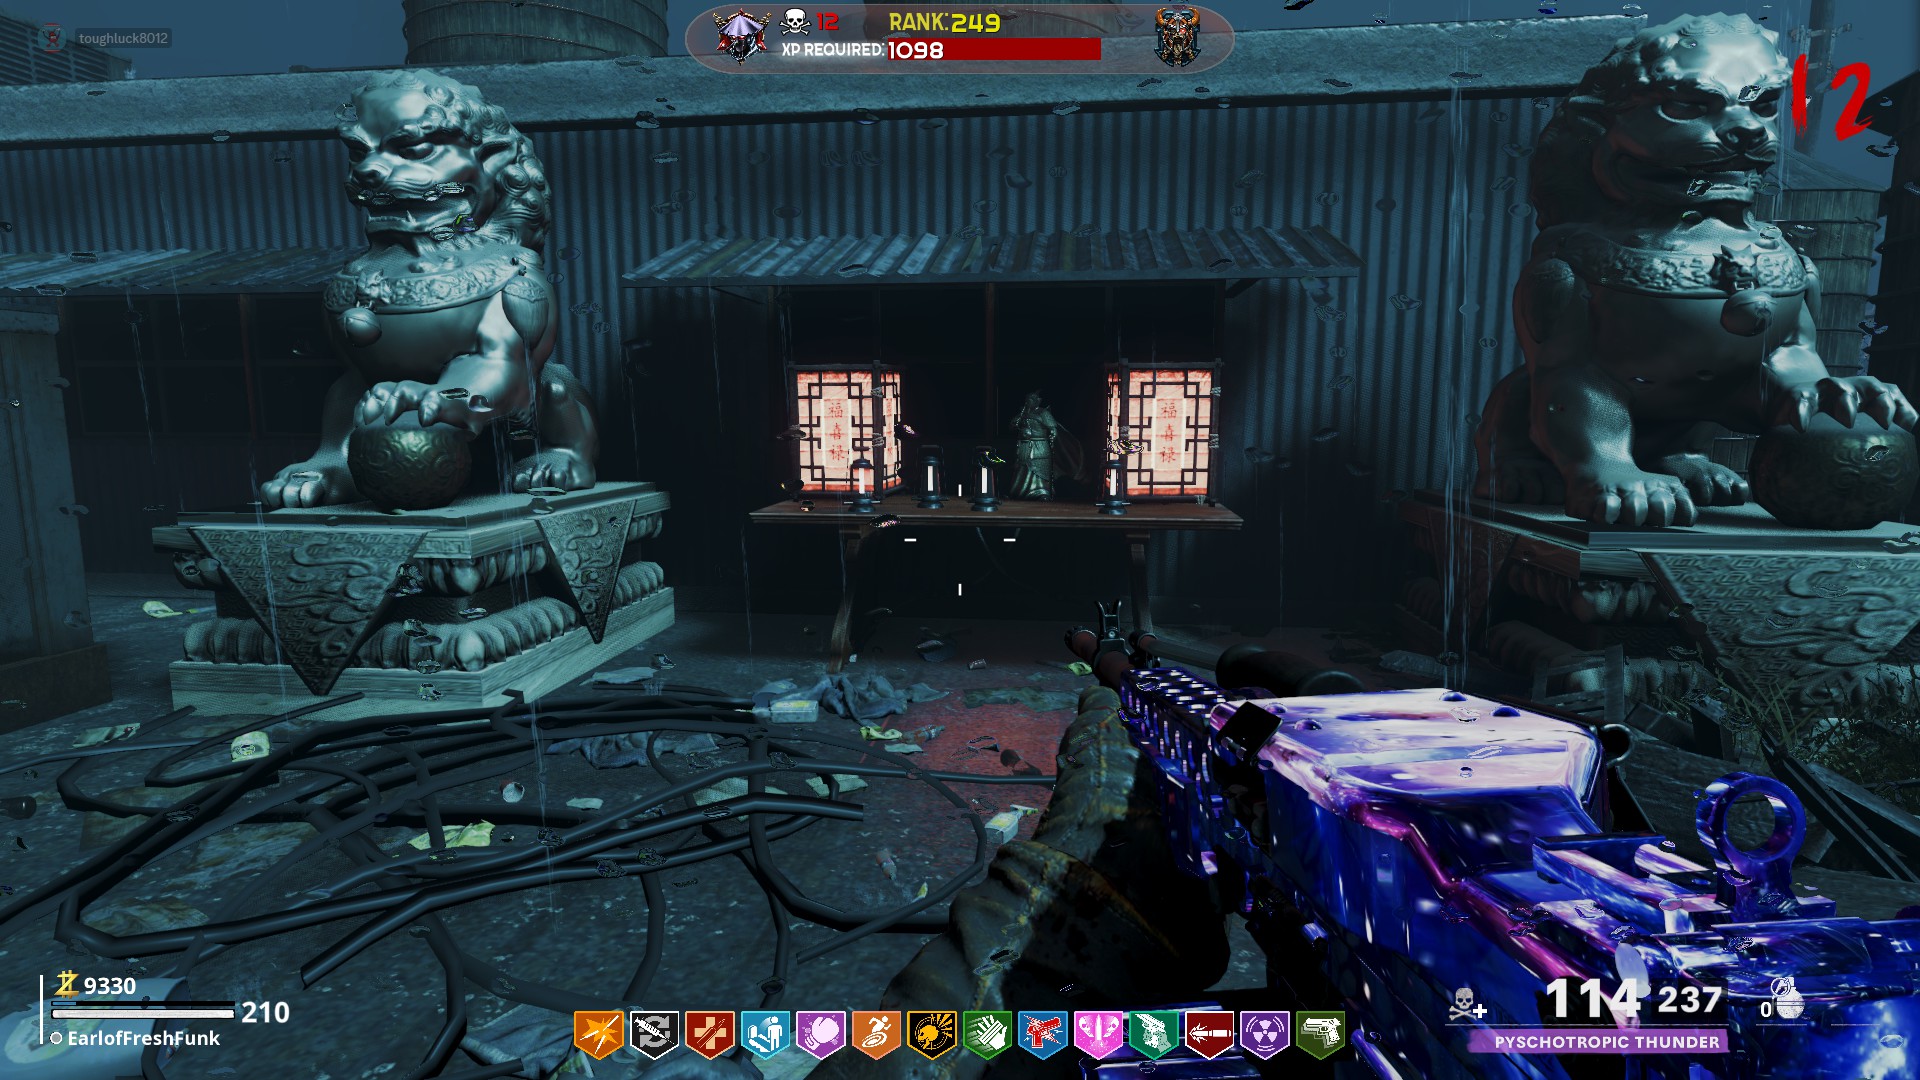
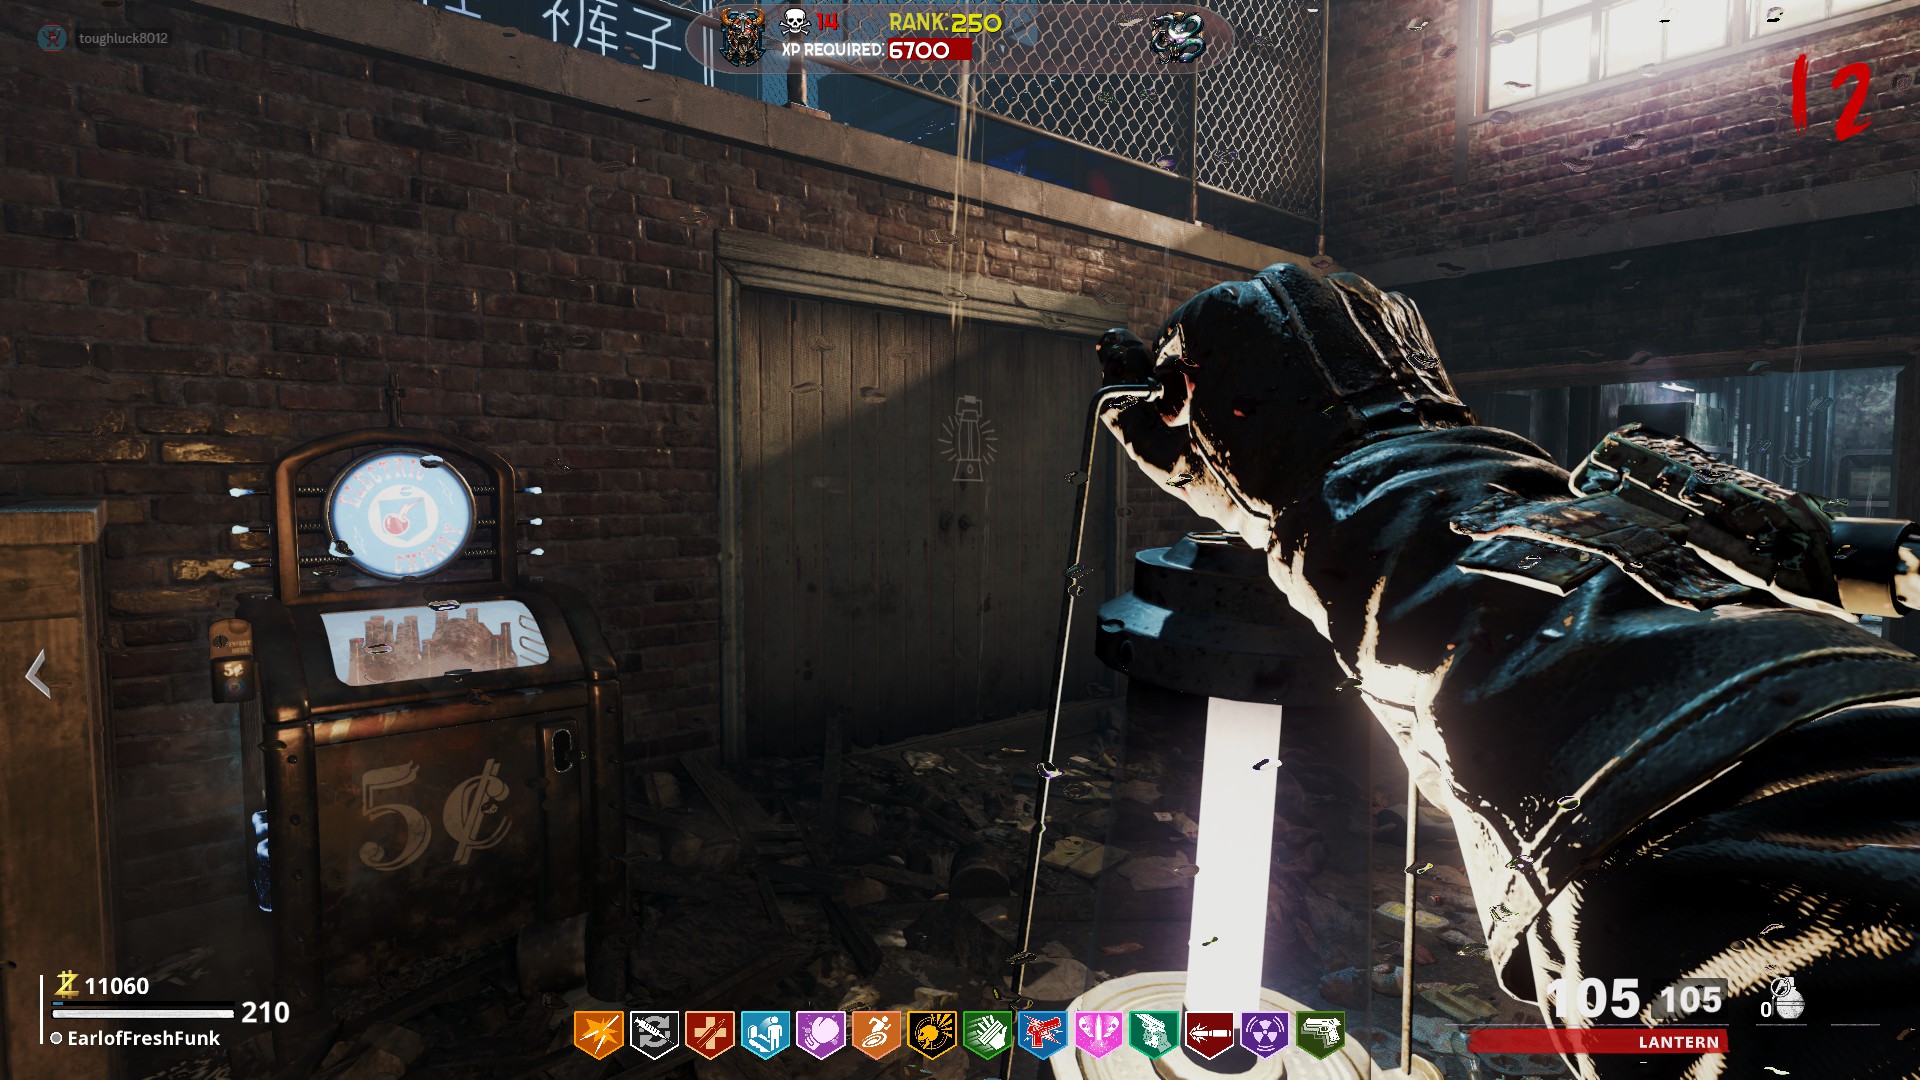
You will need to bring the lantern around the map to 3 different locations marked by a chalk drawing of a lantern. Shine your lantern on the wall to reveal a hidden room that houses Nova 6 Samples needed to upgrade the Sliquifier.
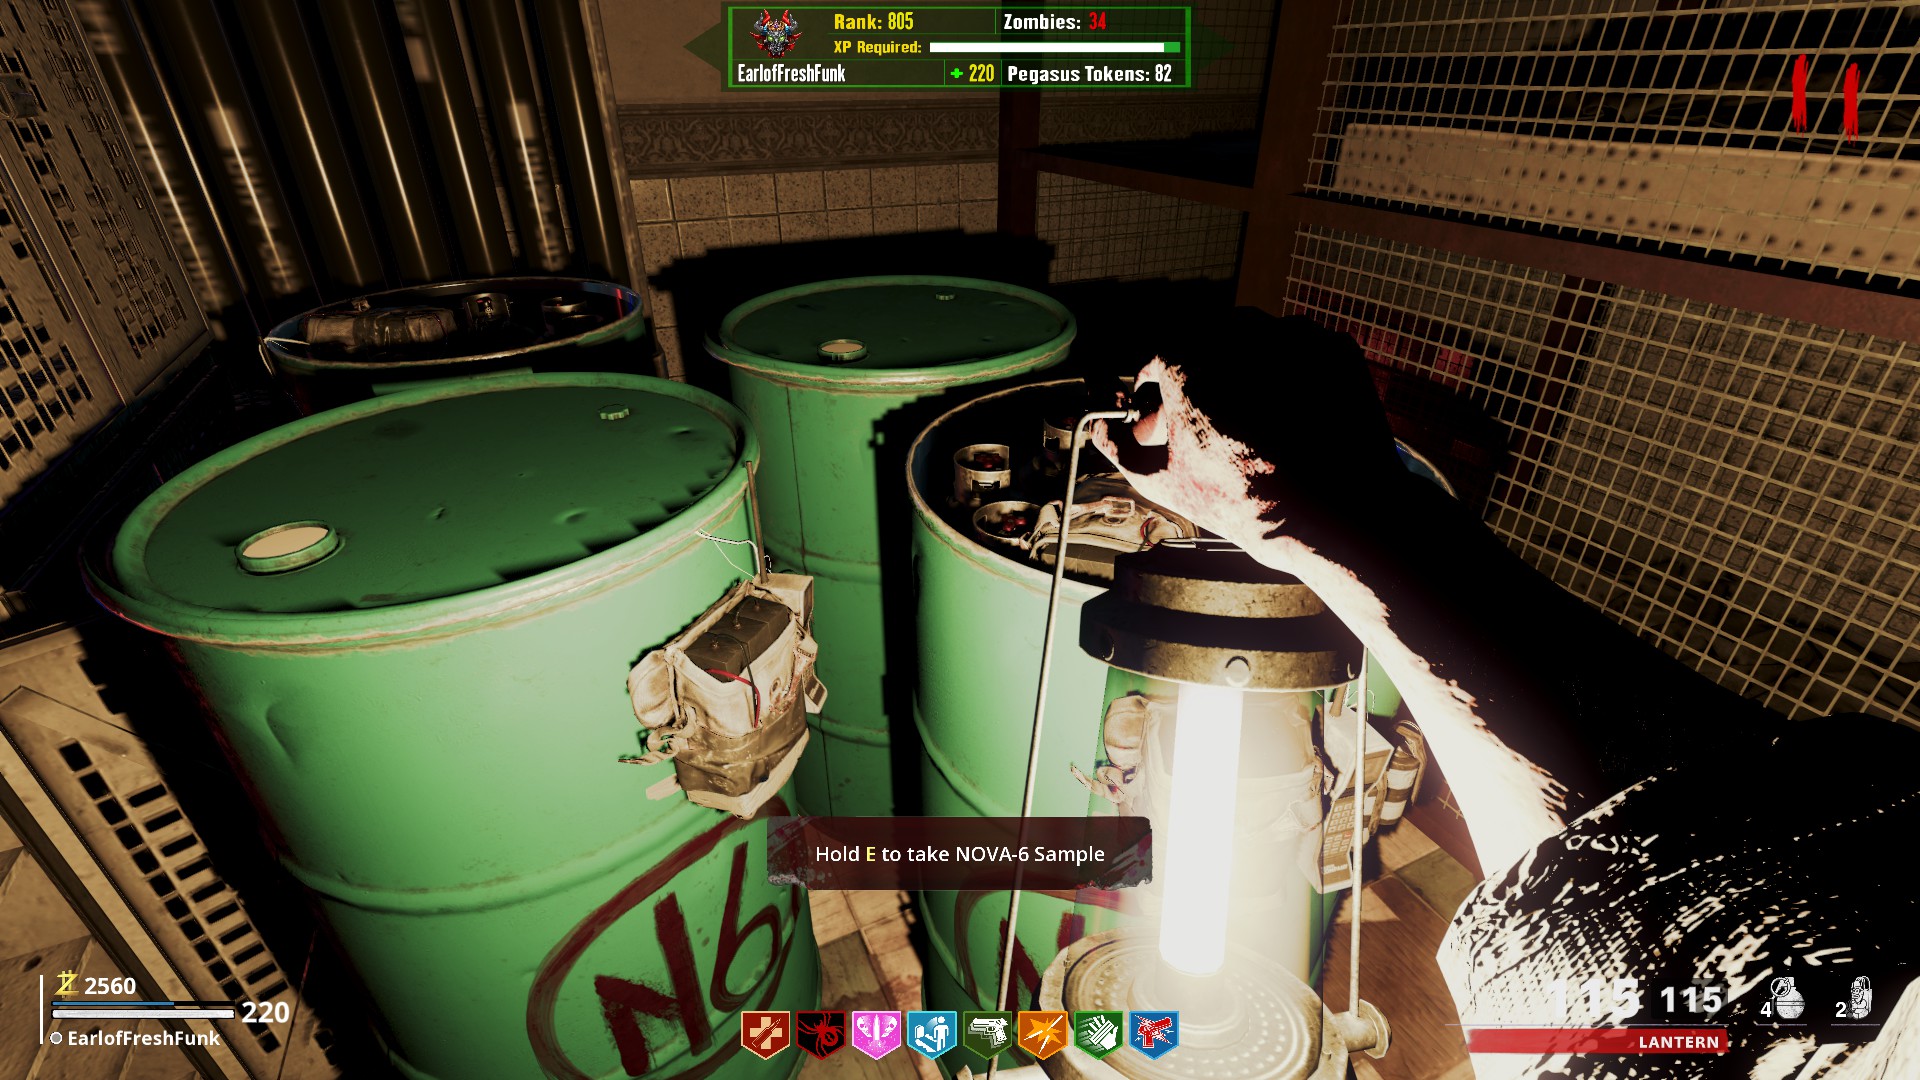 Vial 1
Outside of the Speed Cola platform
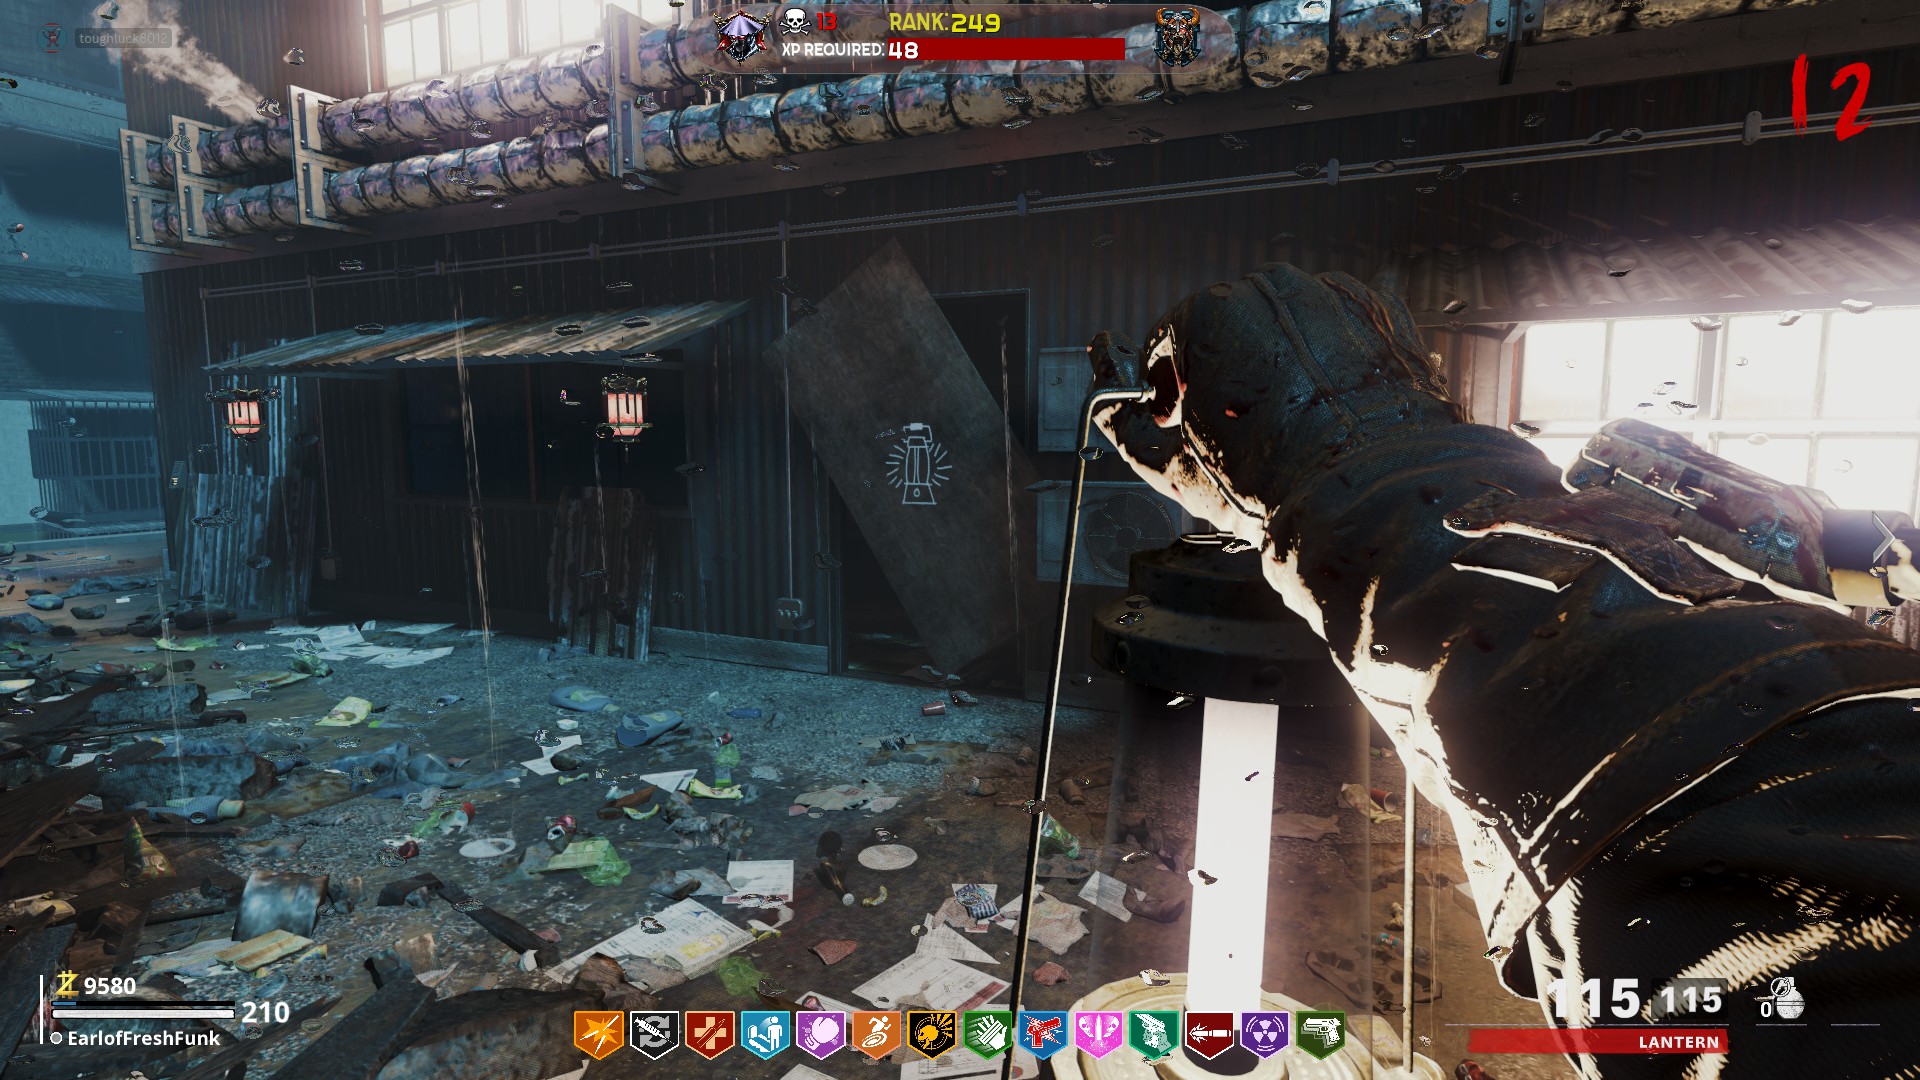 Vial 2
In the residential area, past the ICU perk and at the bottom of the Milano 821 wallbuy staircase
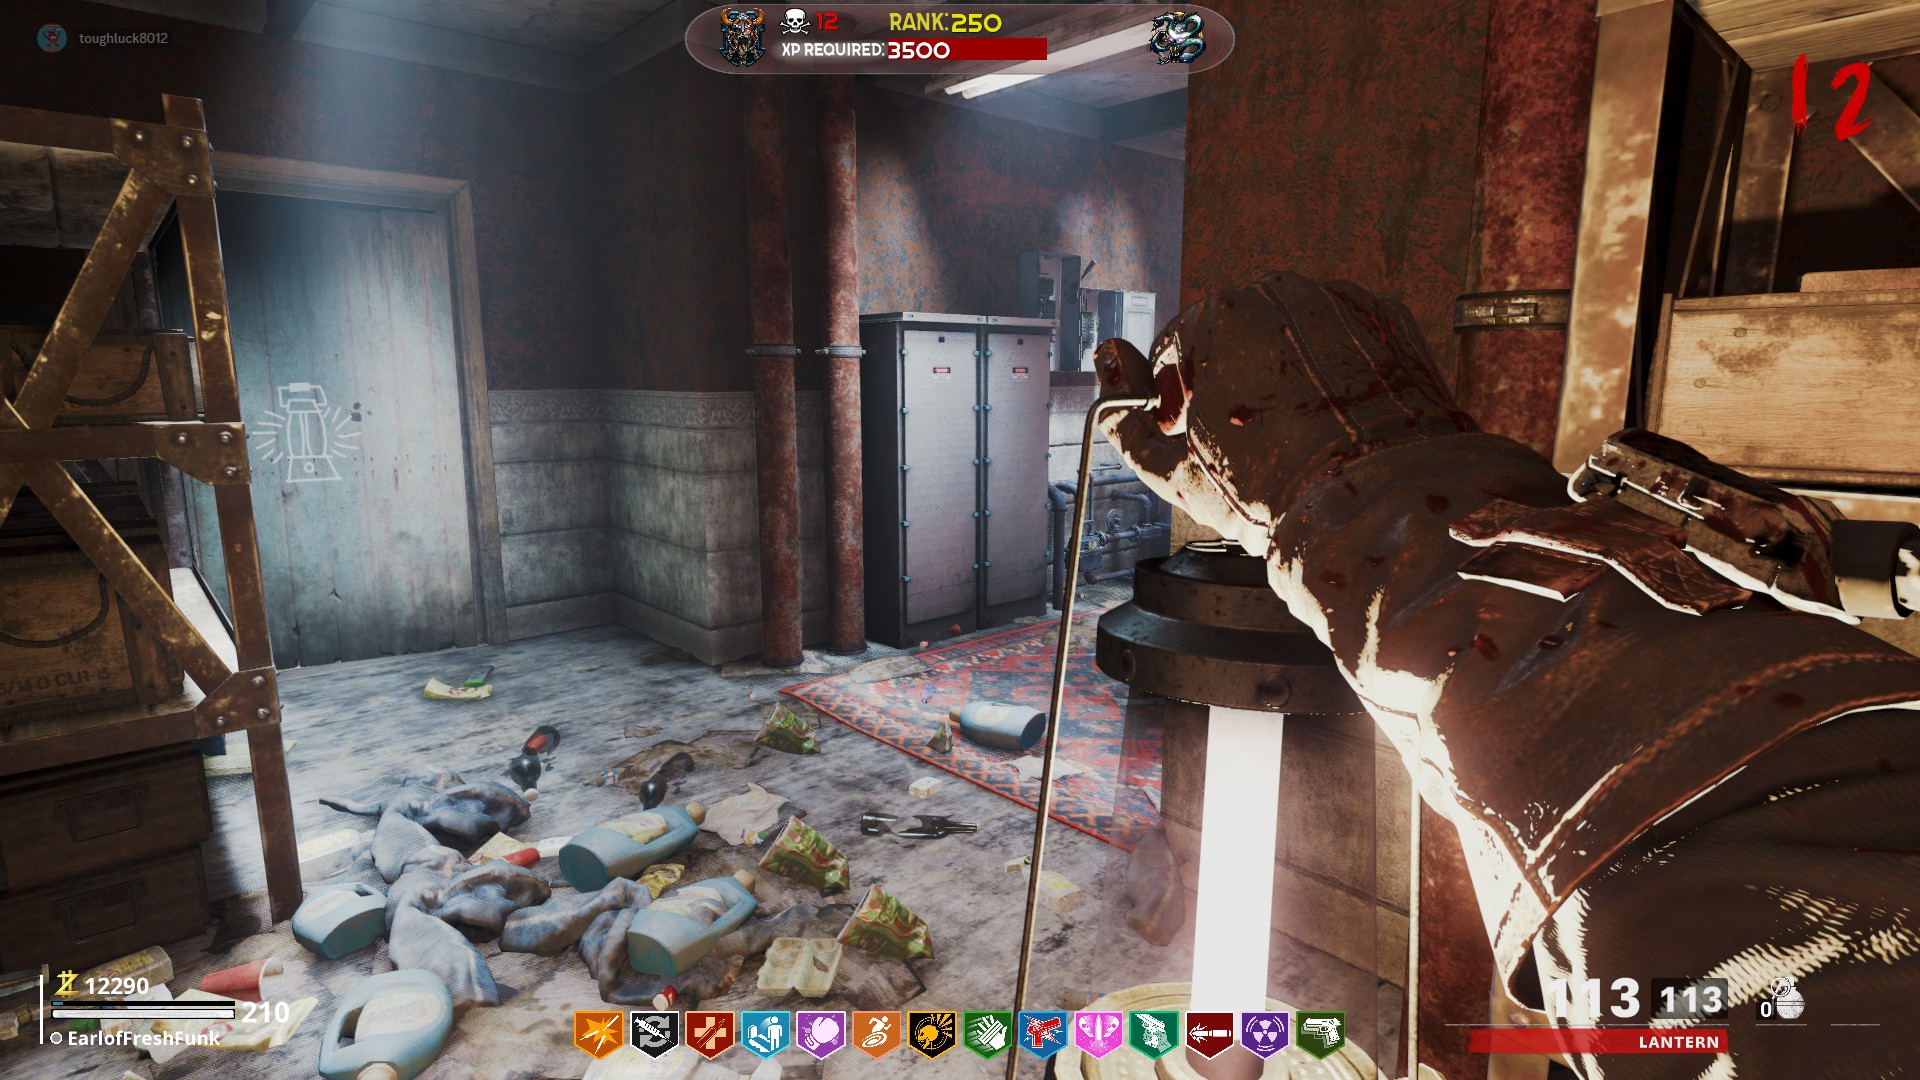 Vial 3
Right next to Electric Cherry, before the staircase leading up to the Upper Roof
The other component you will need is the 115 canister. Where to get it and how to fill it are depicted in the Main Easter Egg Step 2 section of this guide. If you have not already retrieved the 115 canister from the meteor room, now would be the time to do so.
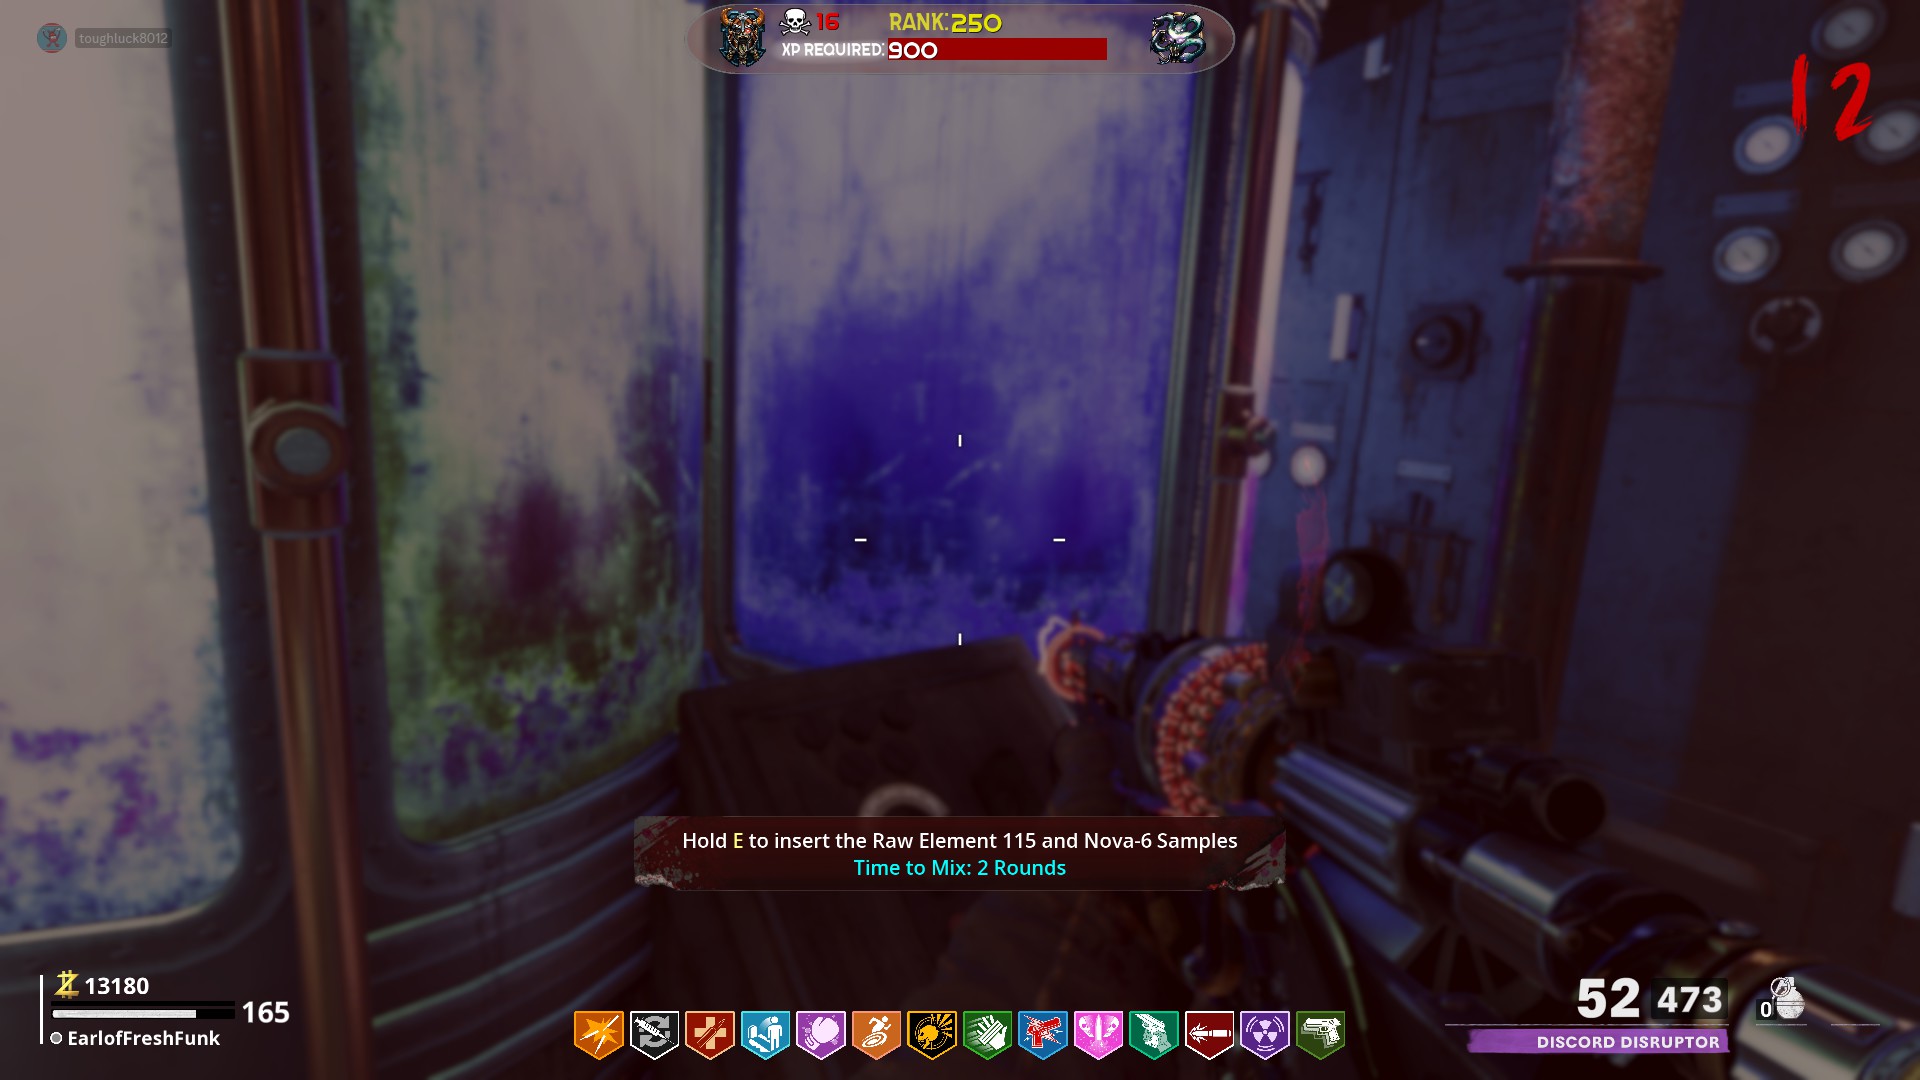
Chemical Mixing StationHead to the kitchen area between Fight Fizz and the main roof. Insert the vials you gathered and the 115 canister into the giant colored vats in the corner of the room. You will need to wait 2 full rounds for it to process. Retrieve the substance when completed.
 Sliquifier Upgrade Workstation
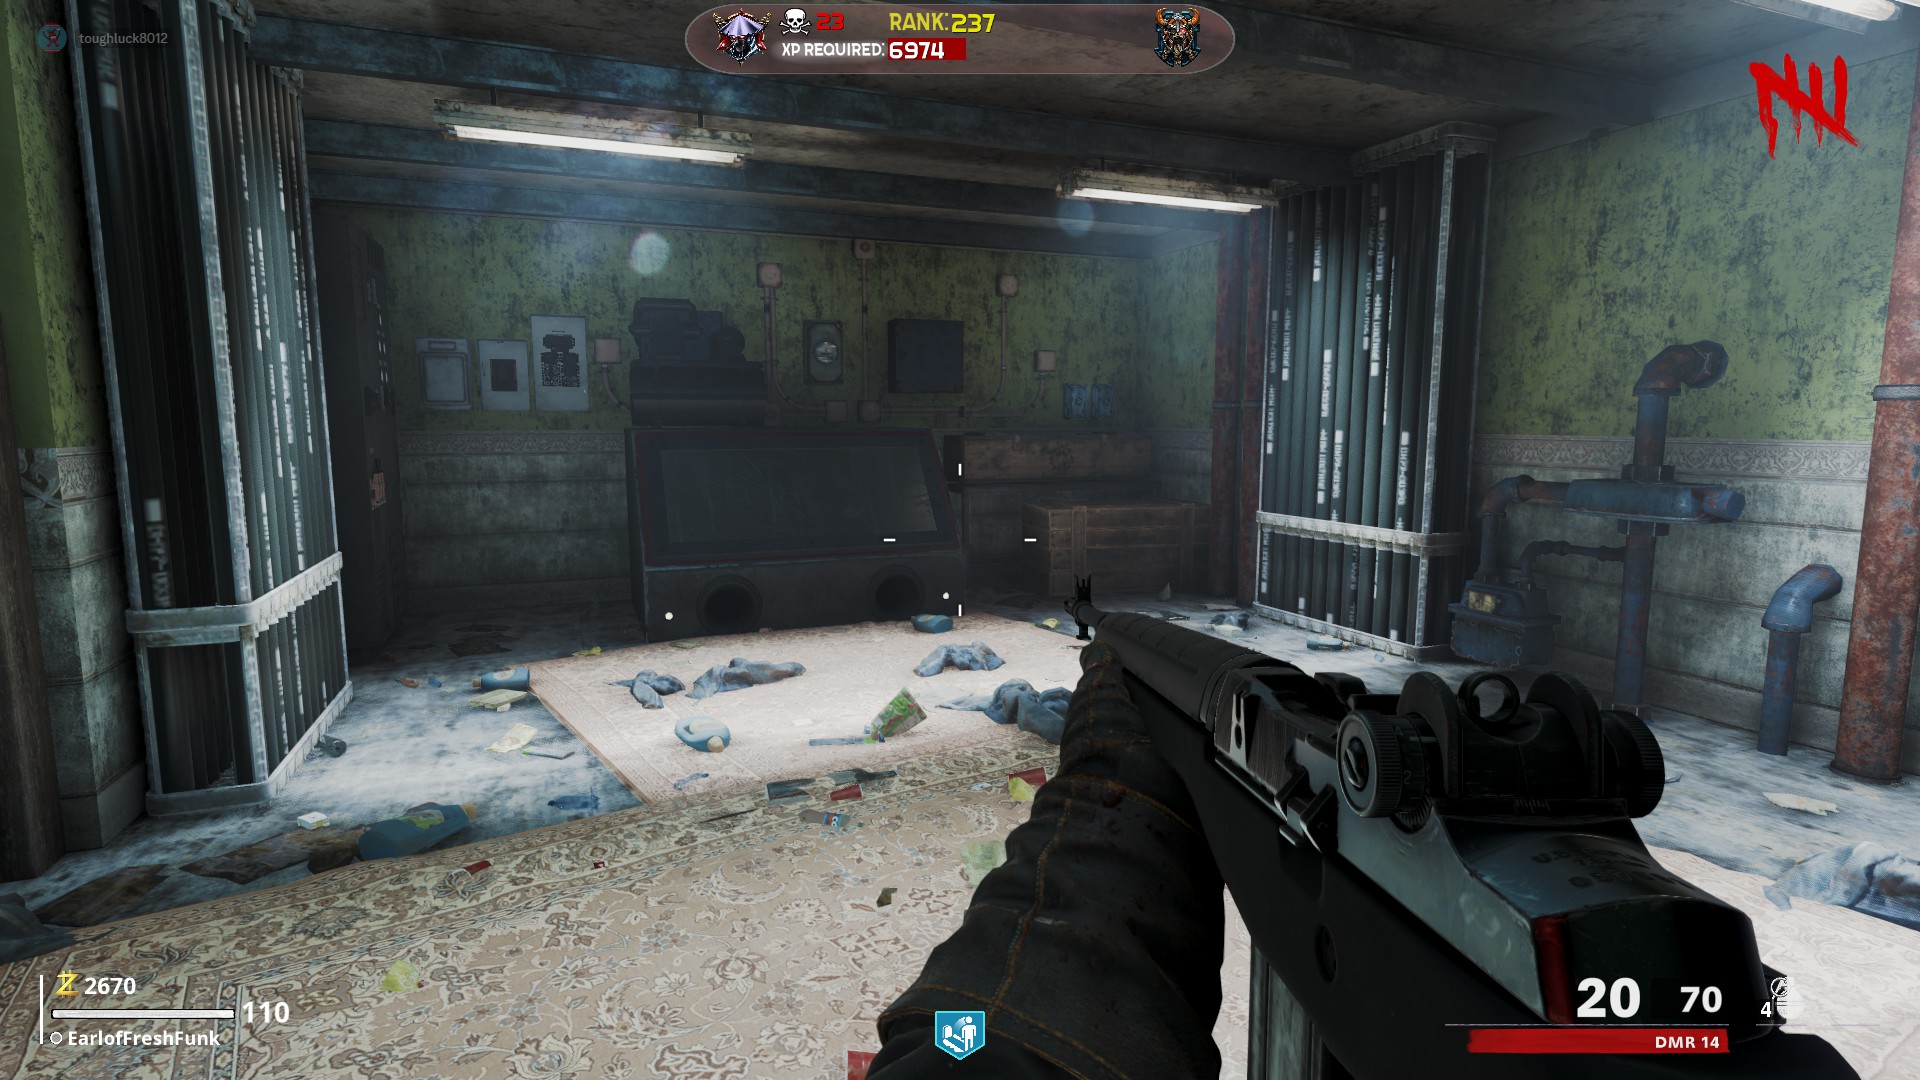
Bring the fourth vial as well as a Sliquifier to the room between the main roof and the residential area. Insert both into the hooded workstation. You will need to wait 1 full round to return here and pick up your upgraded weapon.
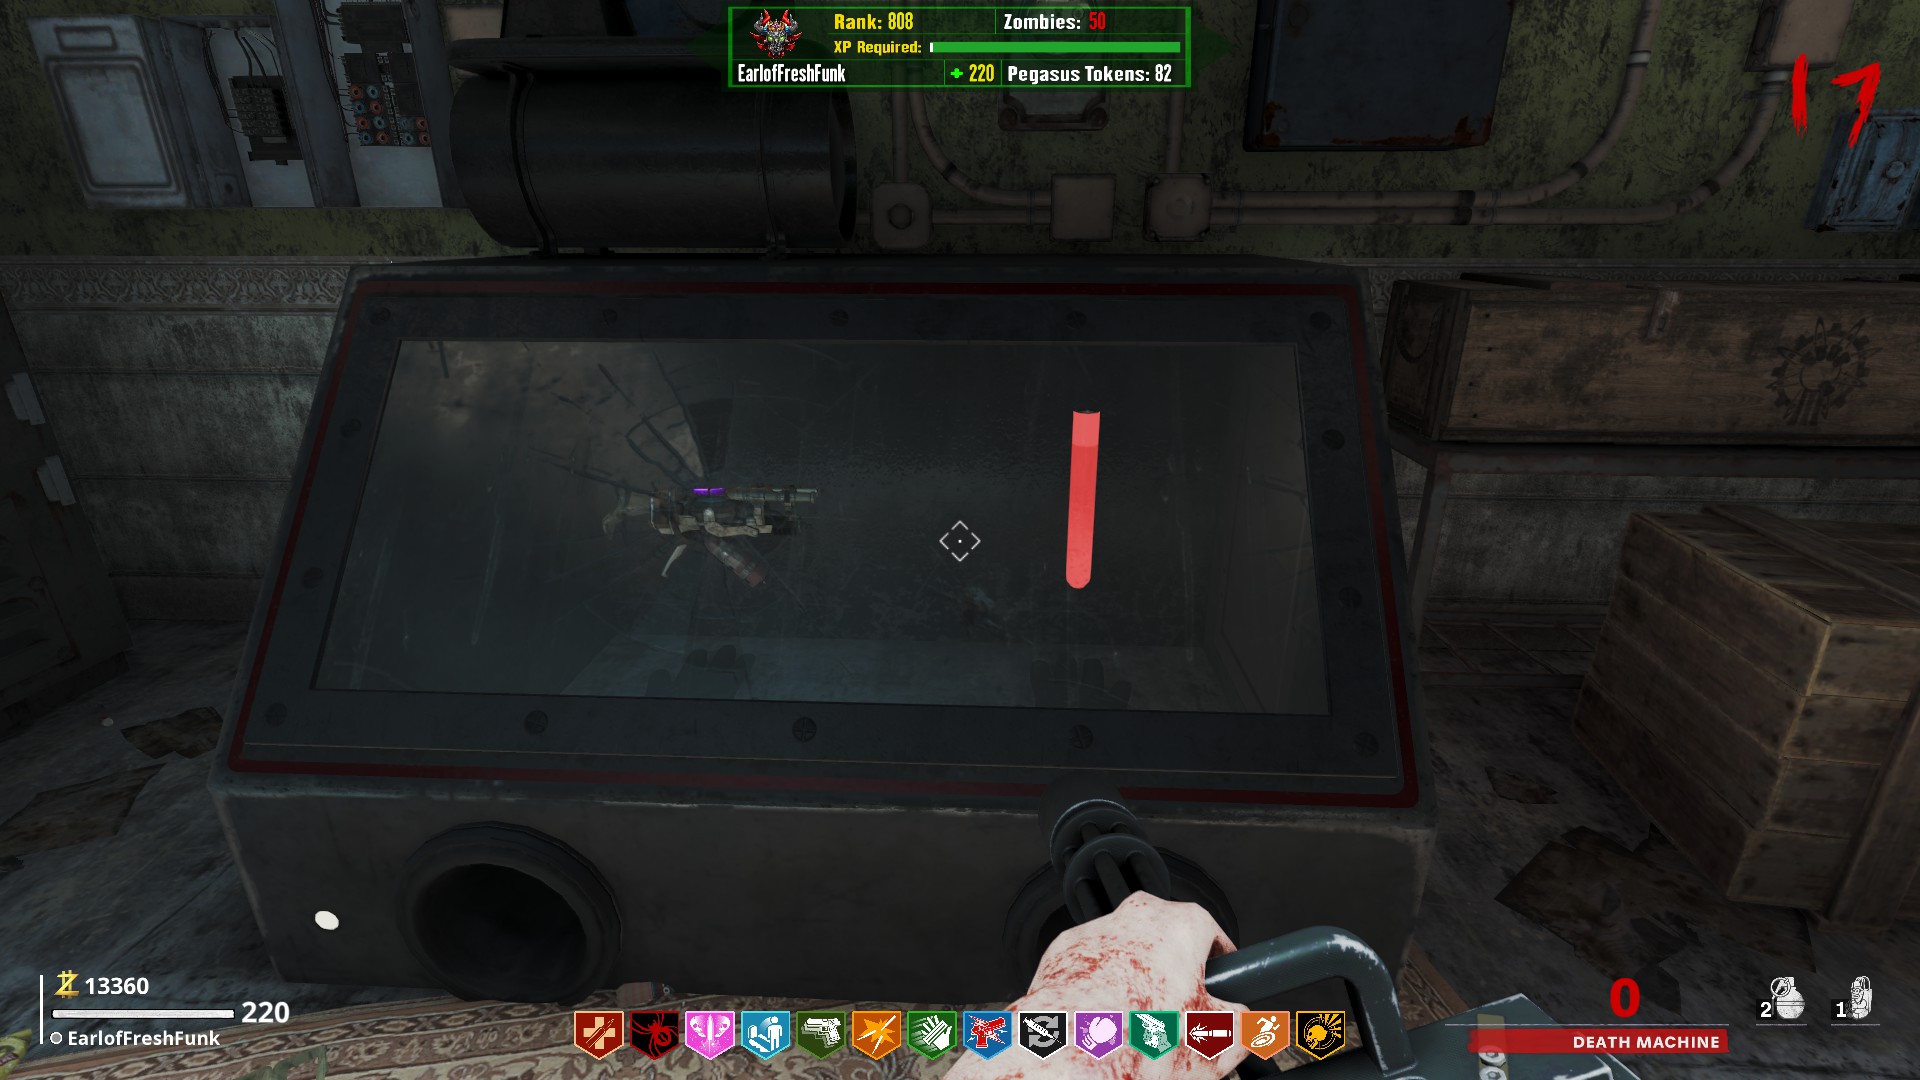
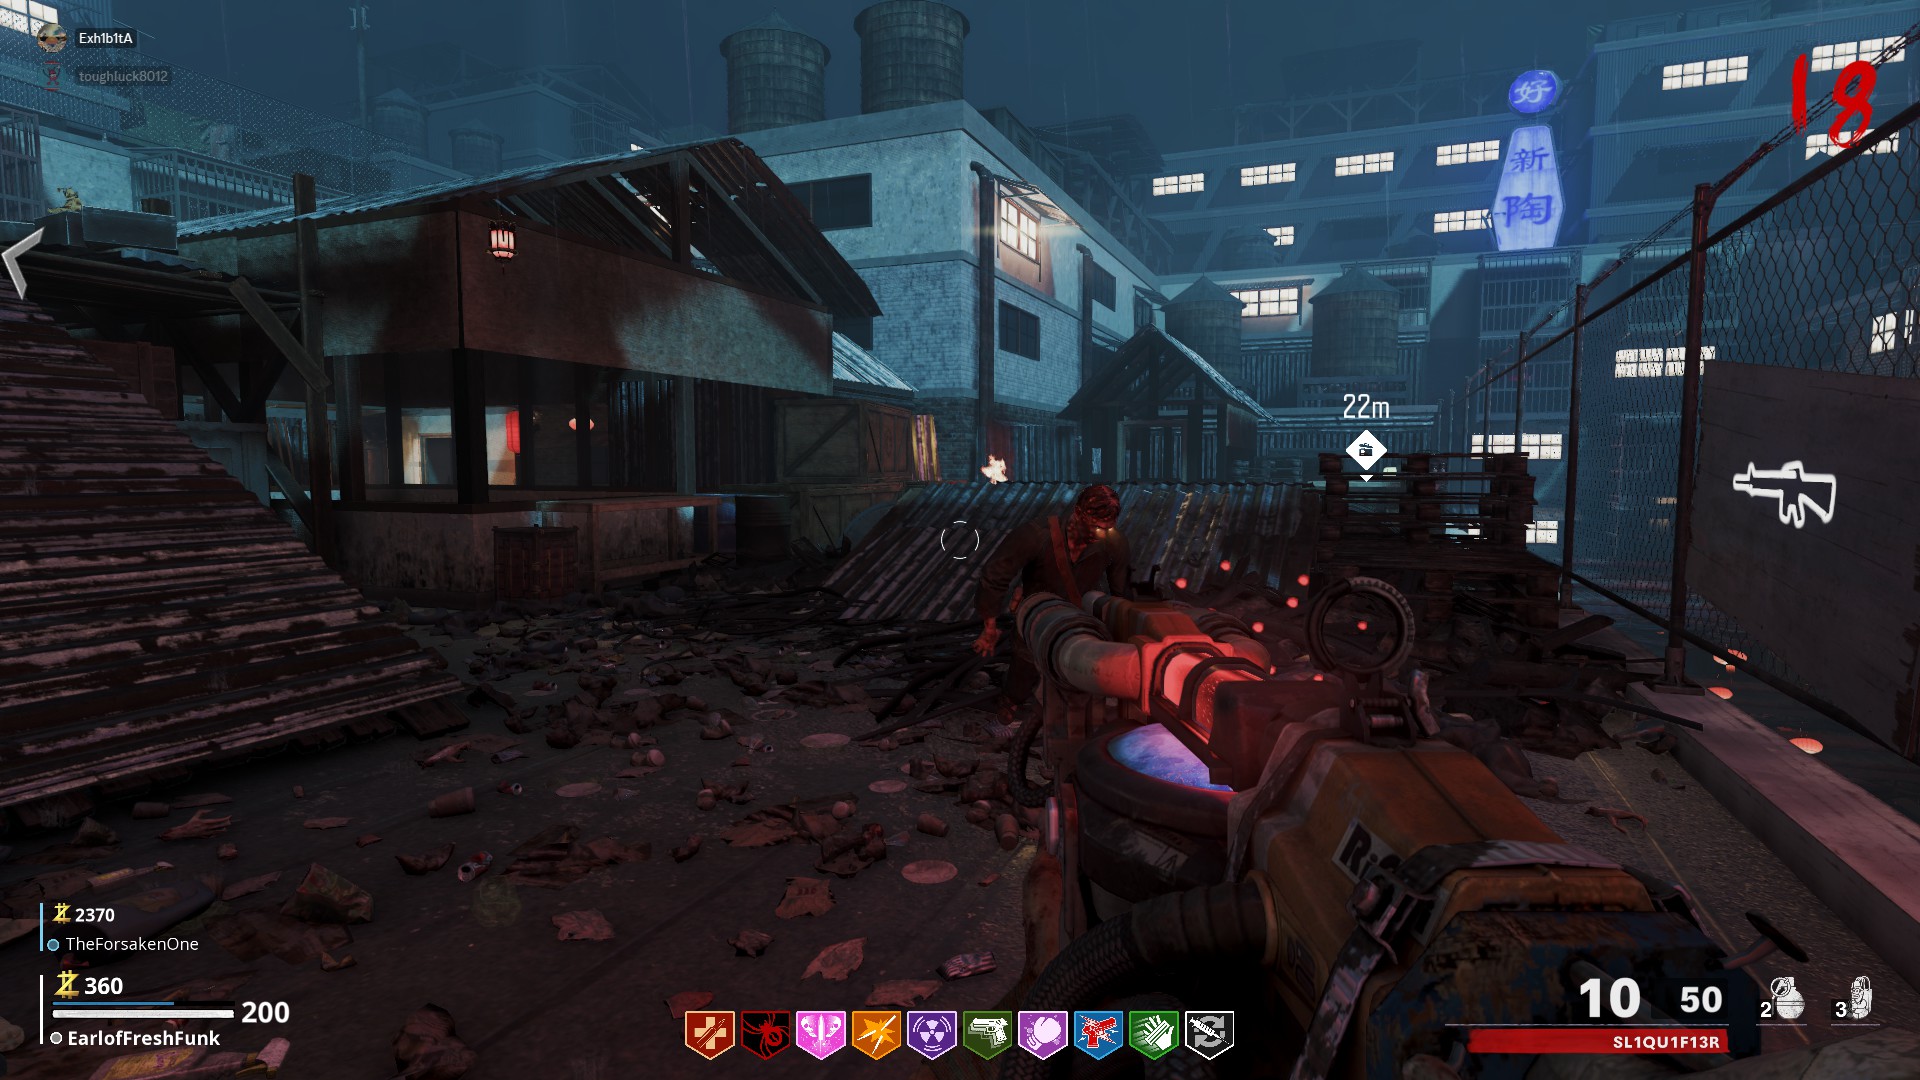
Free Perk (Red Phones)
Upon reaching round 10, red phones will begin to ring around the map. Press interact on each of the three red phones in any order to be rewarded with a free perk
On the Main Roof, next to Stamin-Up on a barrel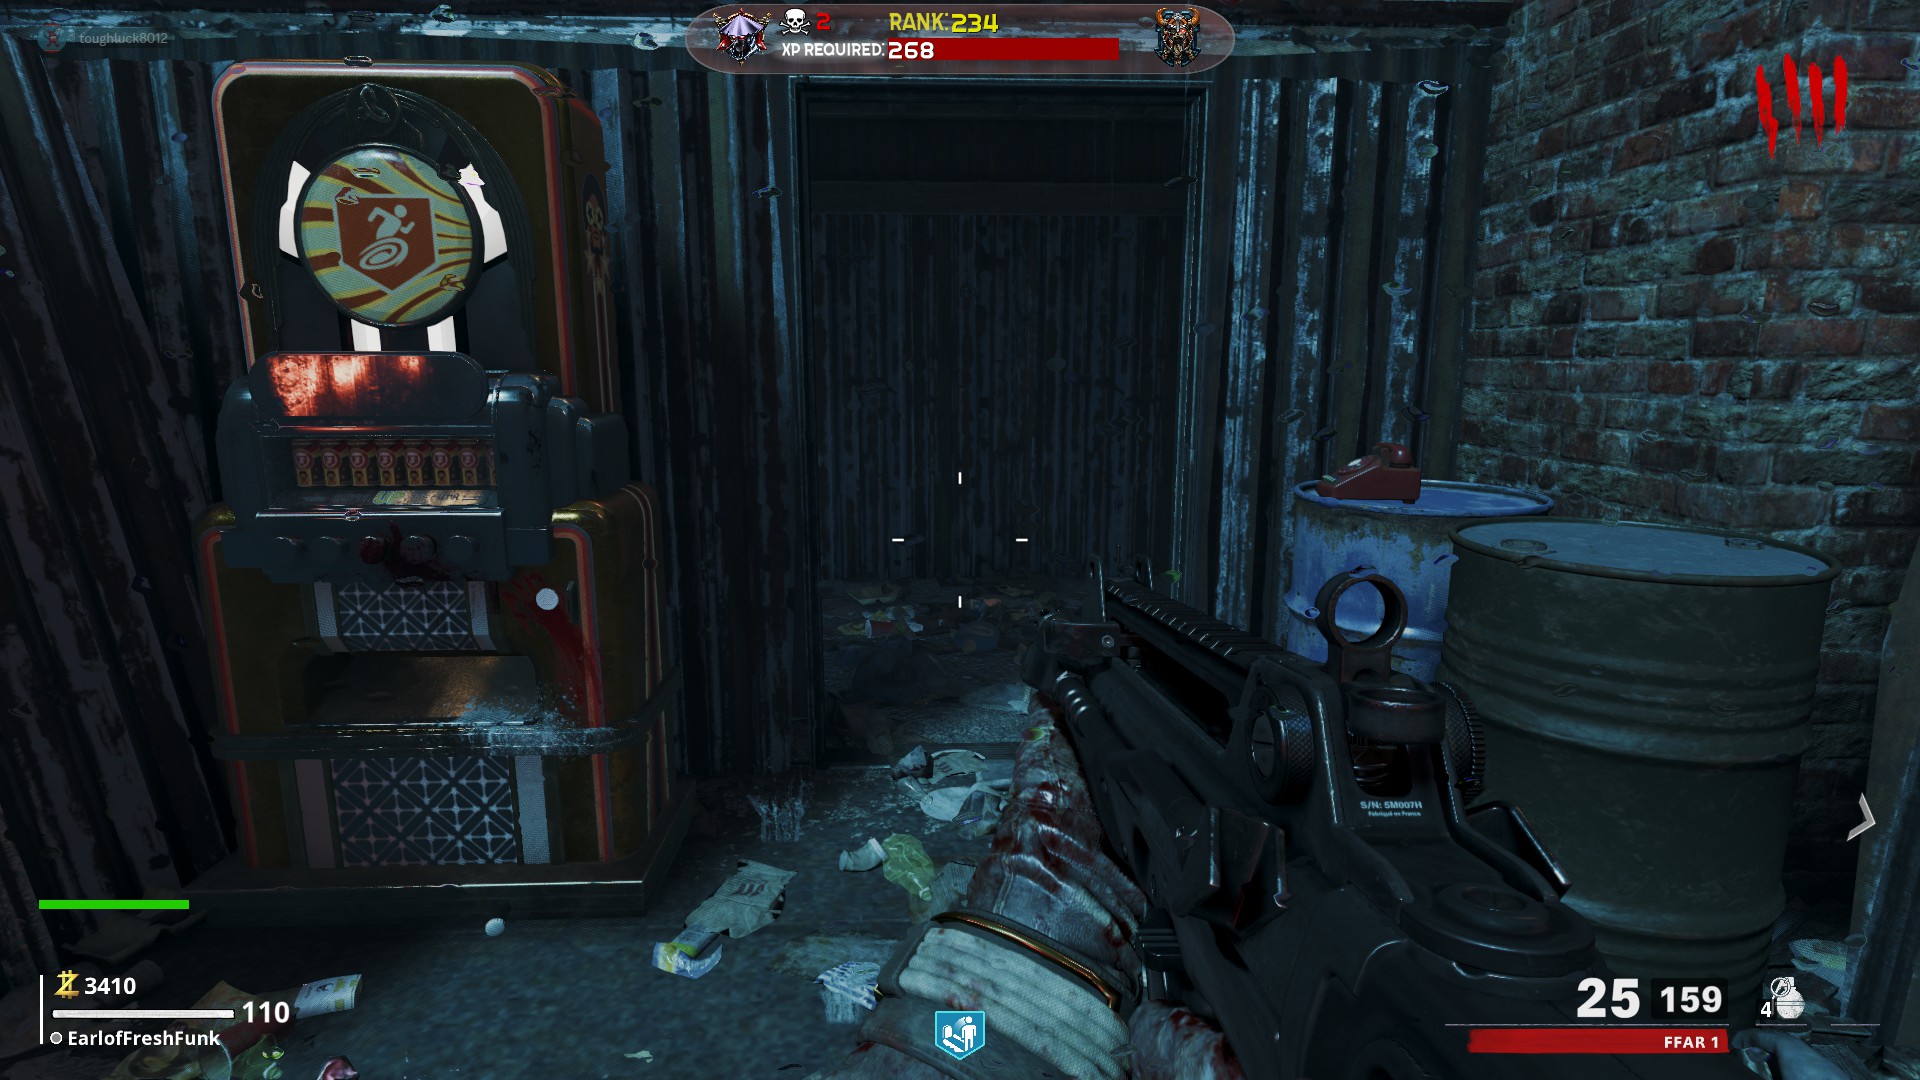 On the Spawn Roof, on a box sitting next to the ammo crate
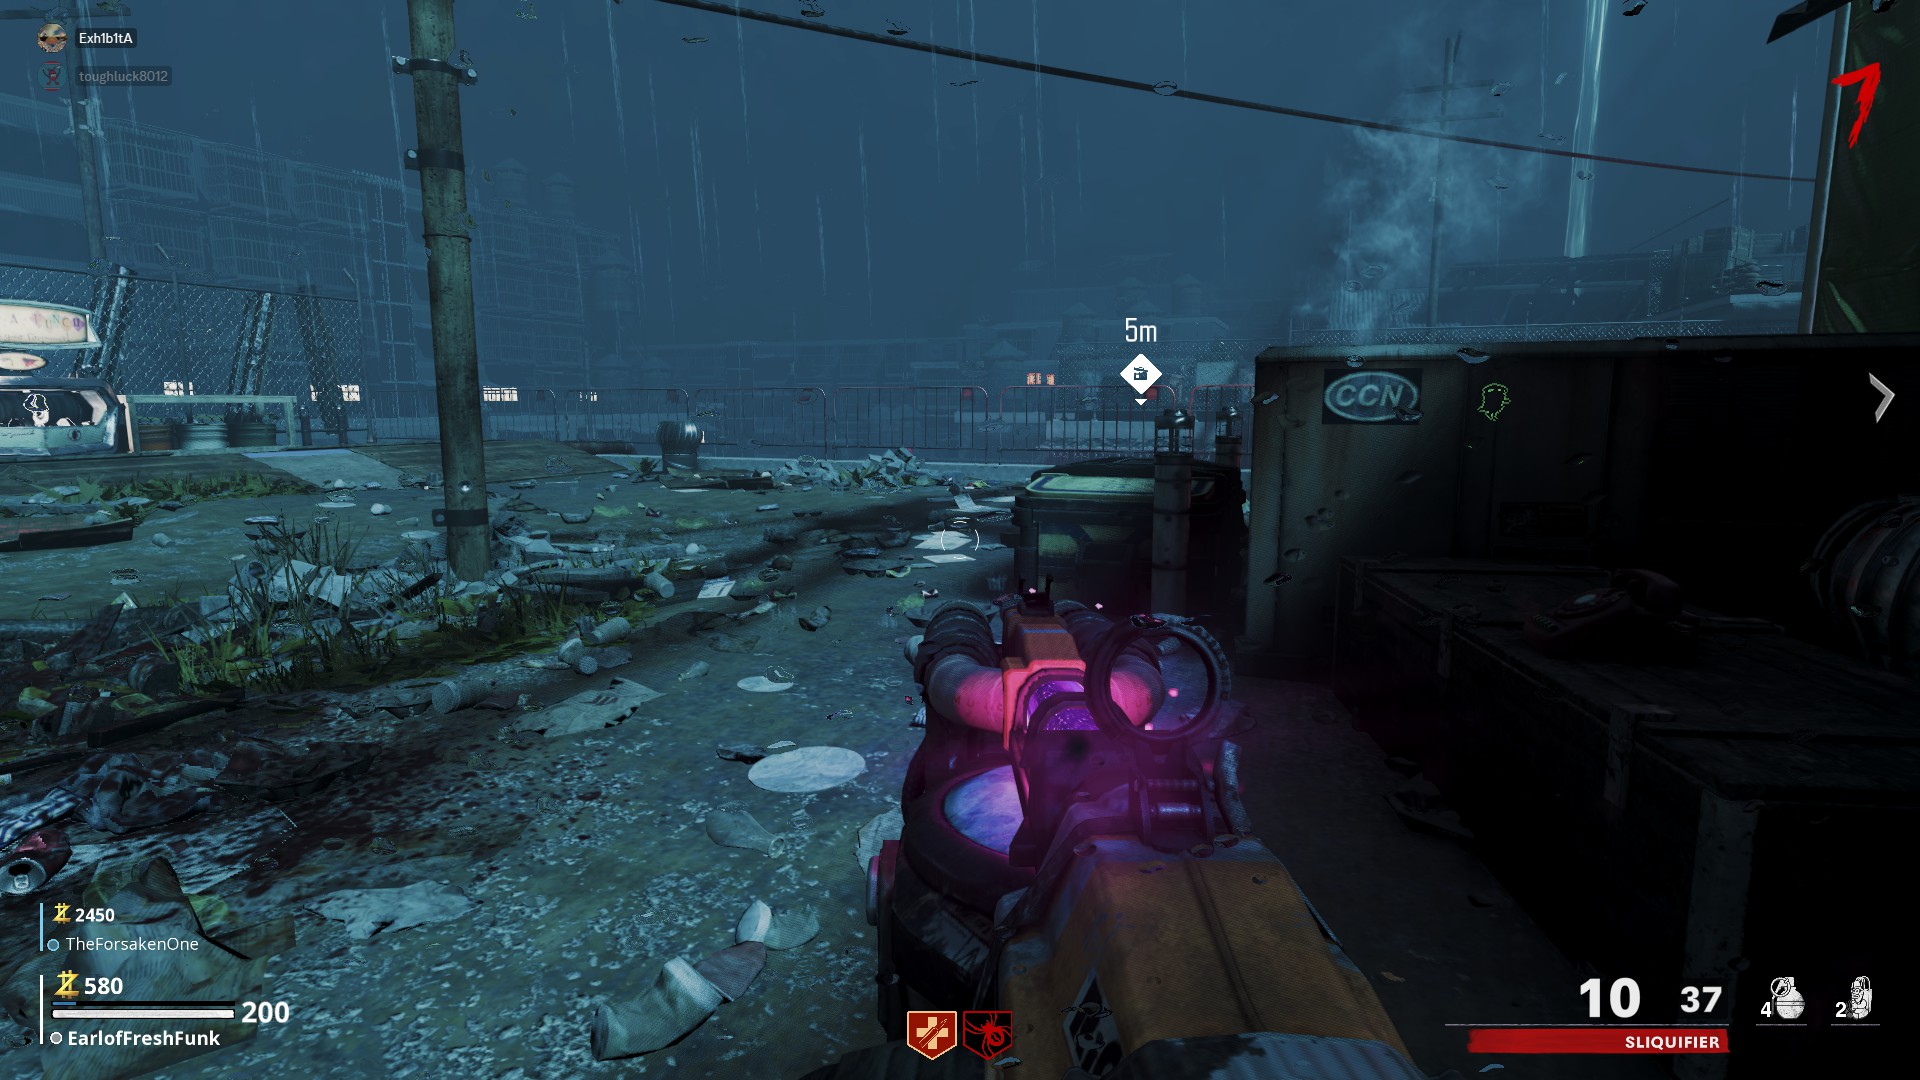 In the Sewing Room, on a desk across from Quick Revive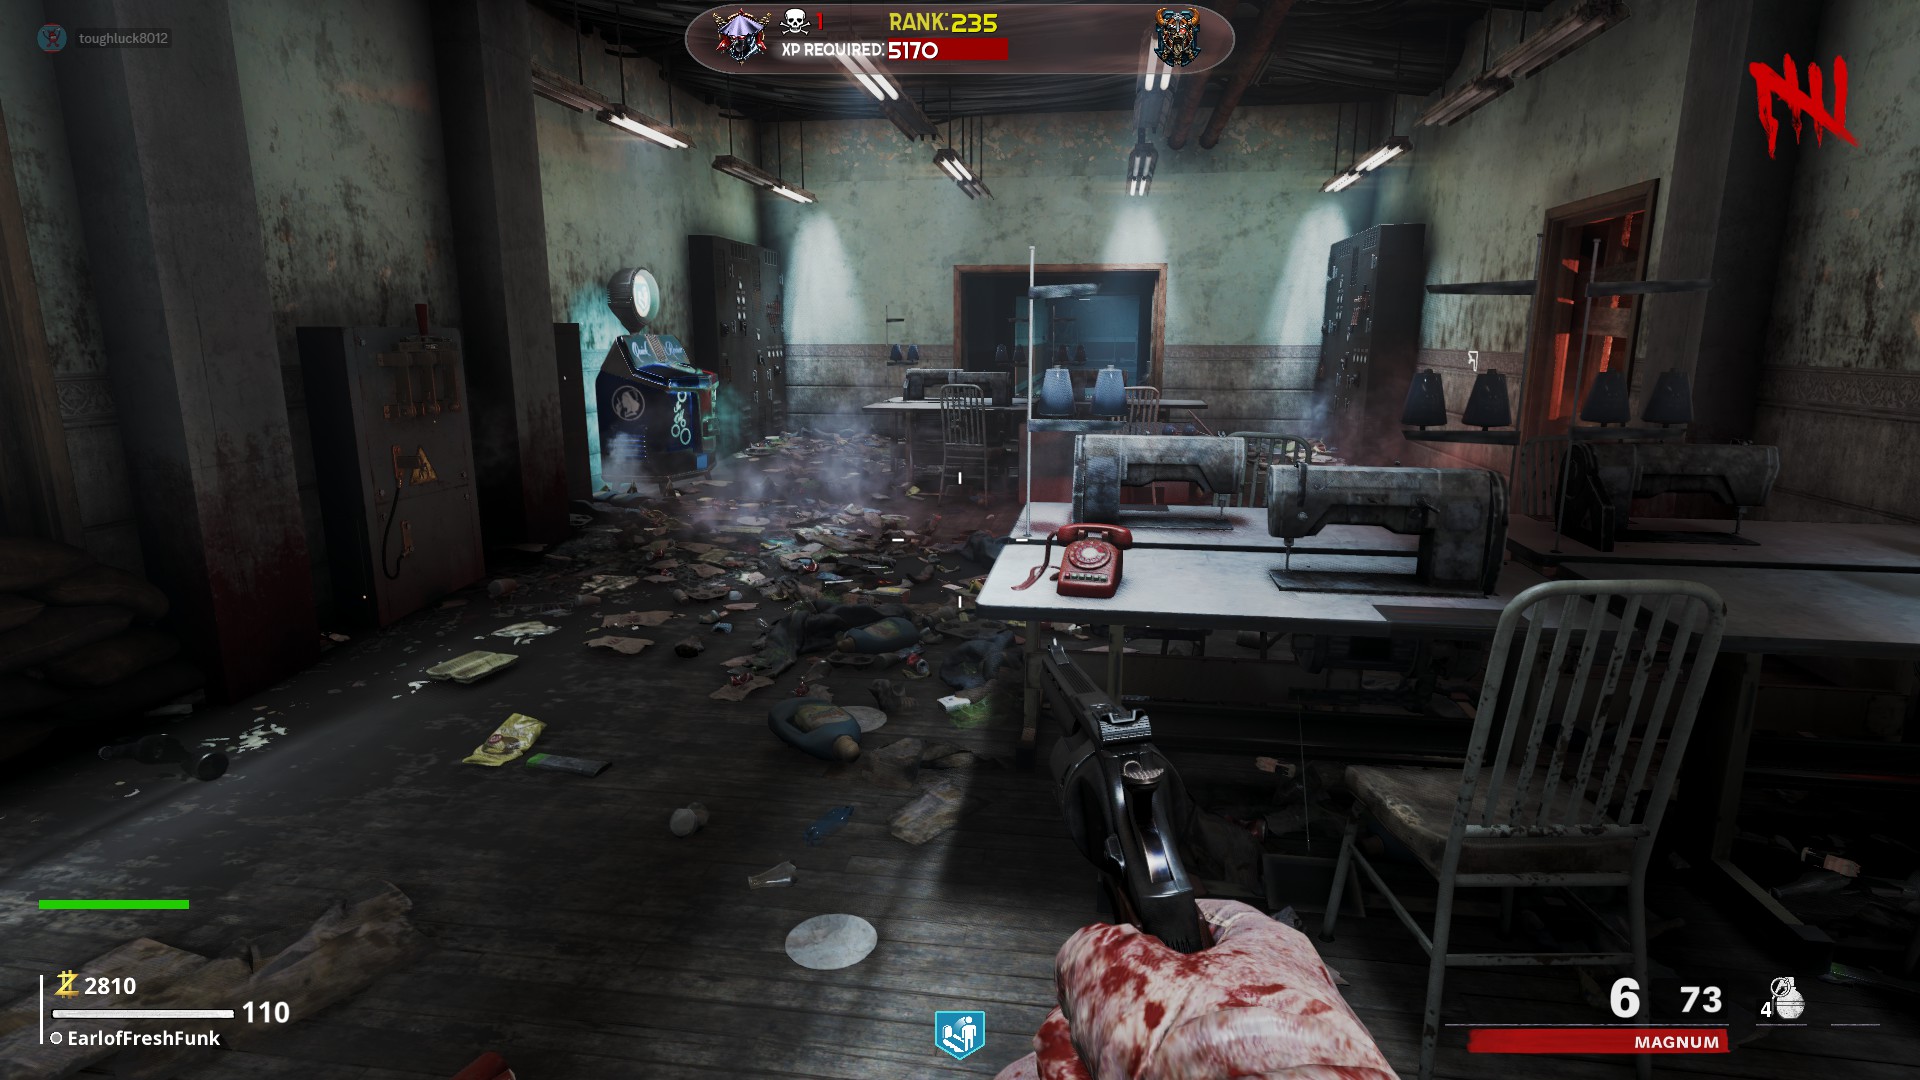
Free Perk (Gongs)
Behind the half-wall at the Spawn Roof
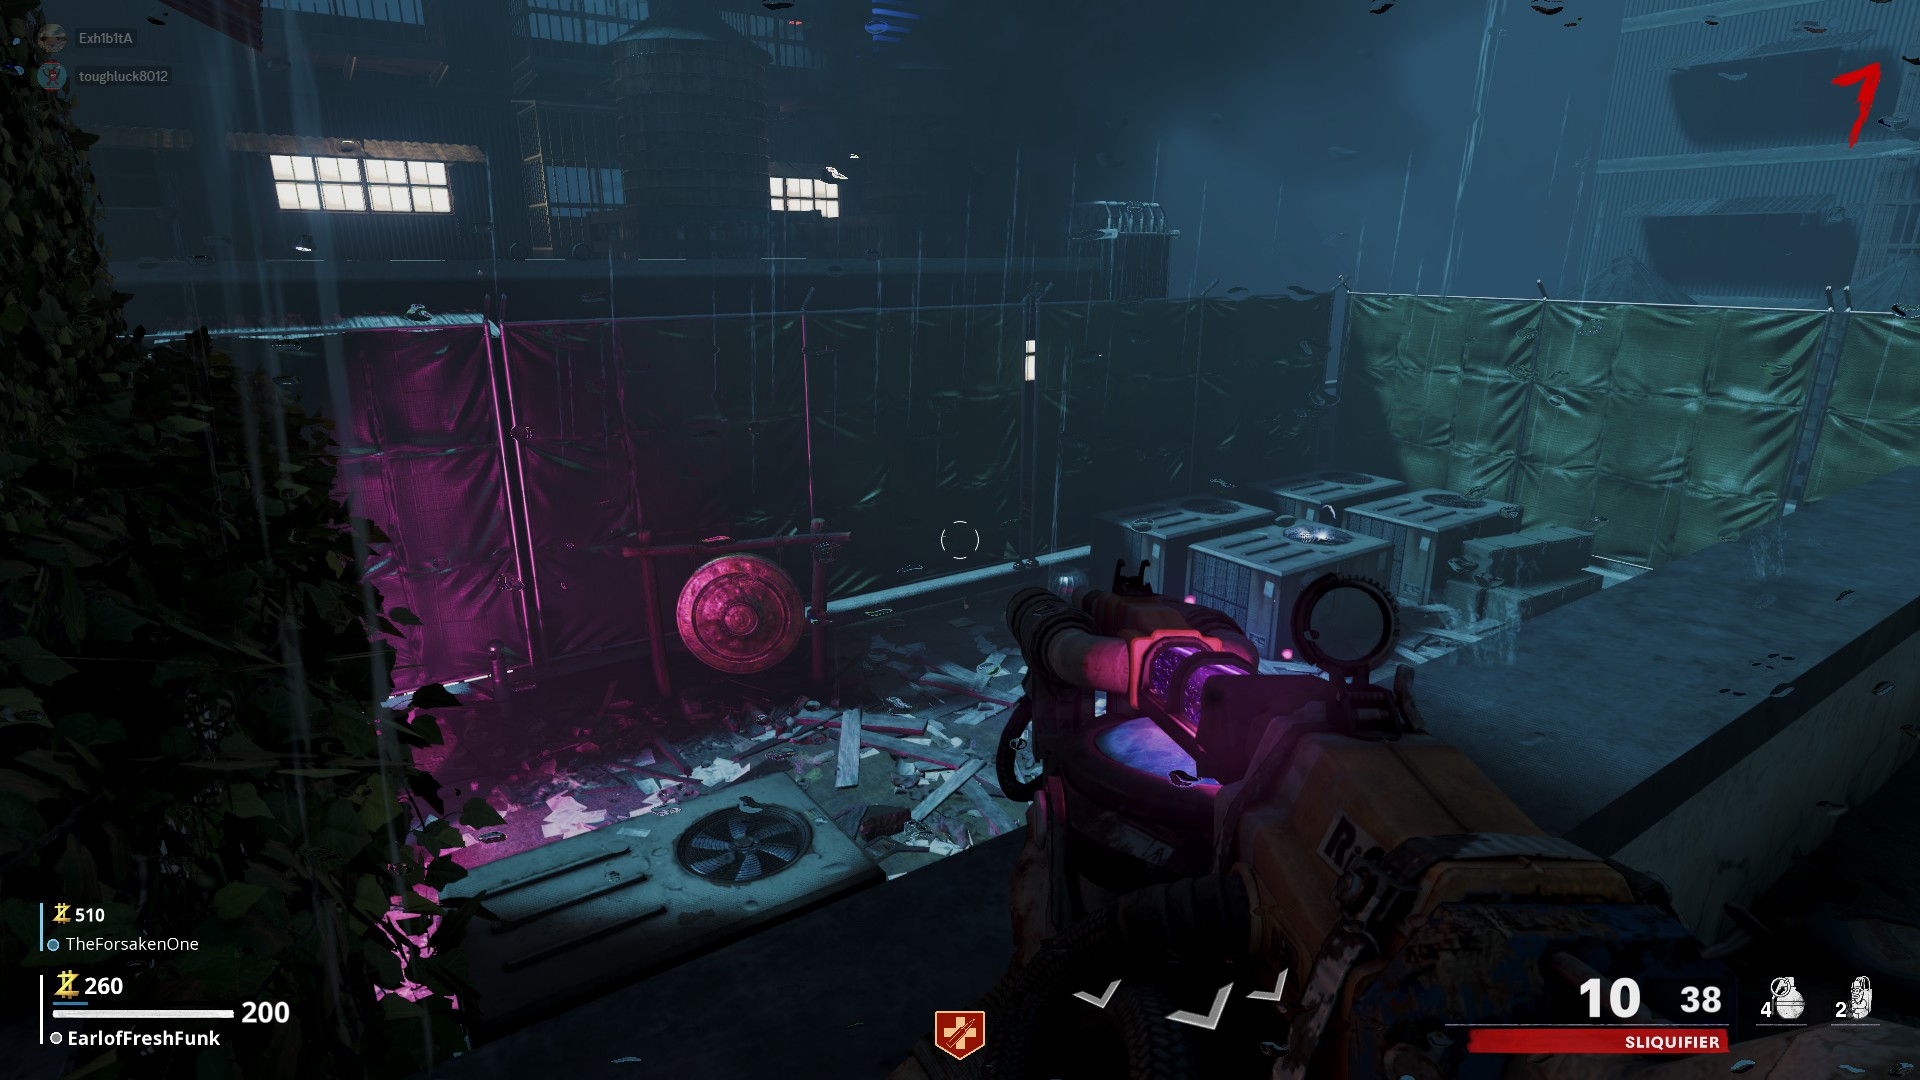
Above Deadshot Daquiri, best viewed from Elemental Pops
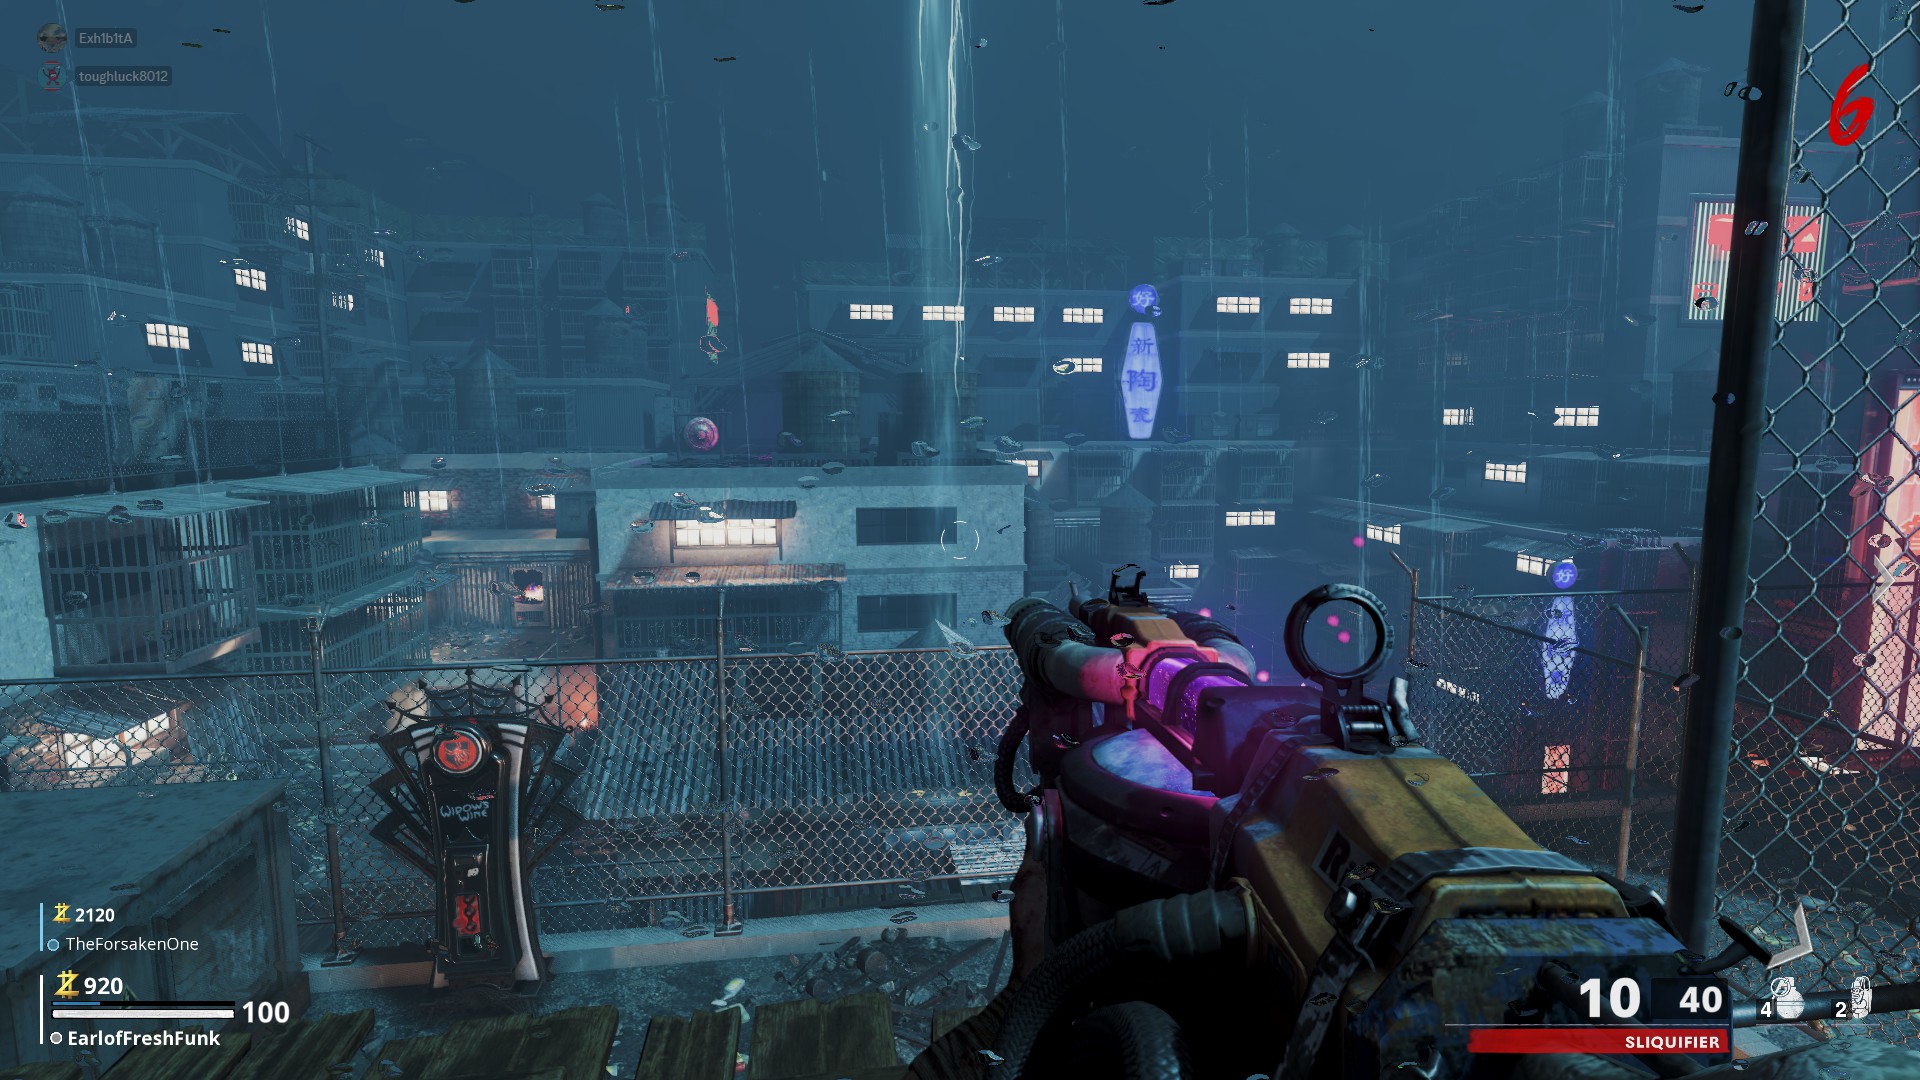
On the roof above Speed Cola, best viewed from Tactiquilla
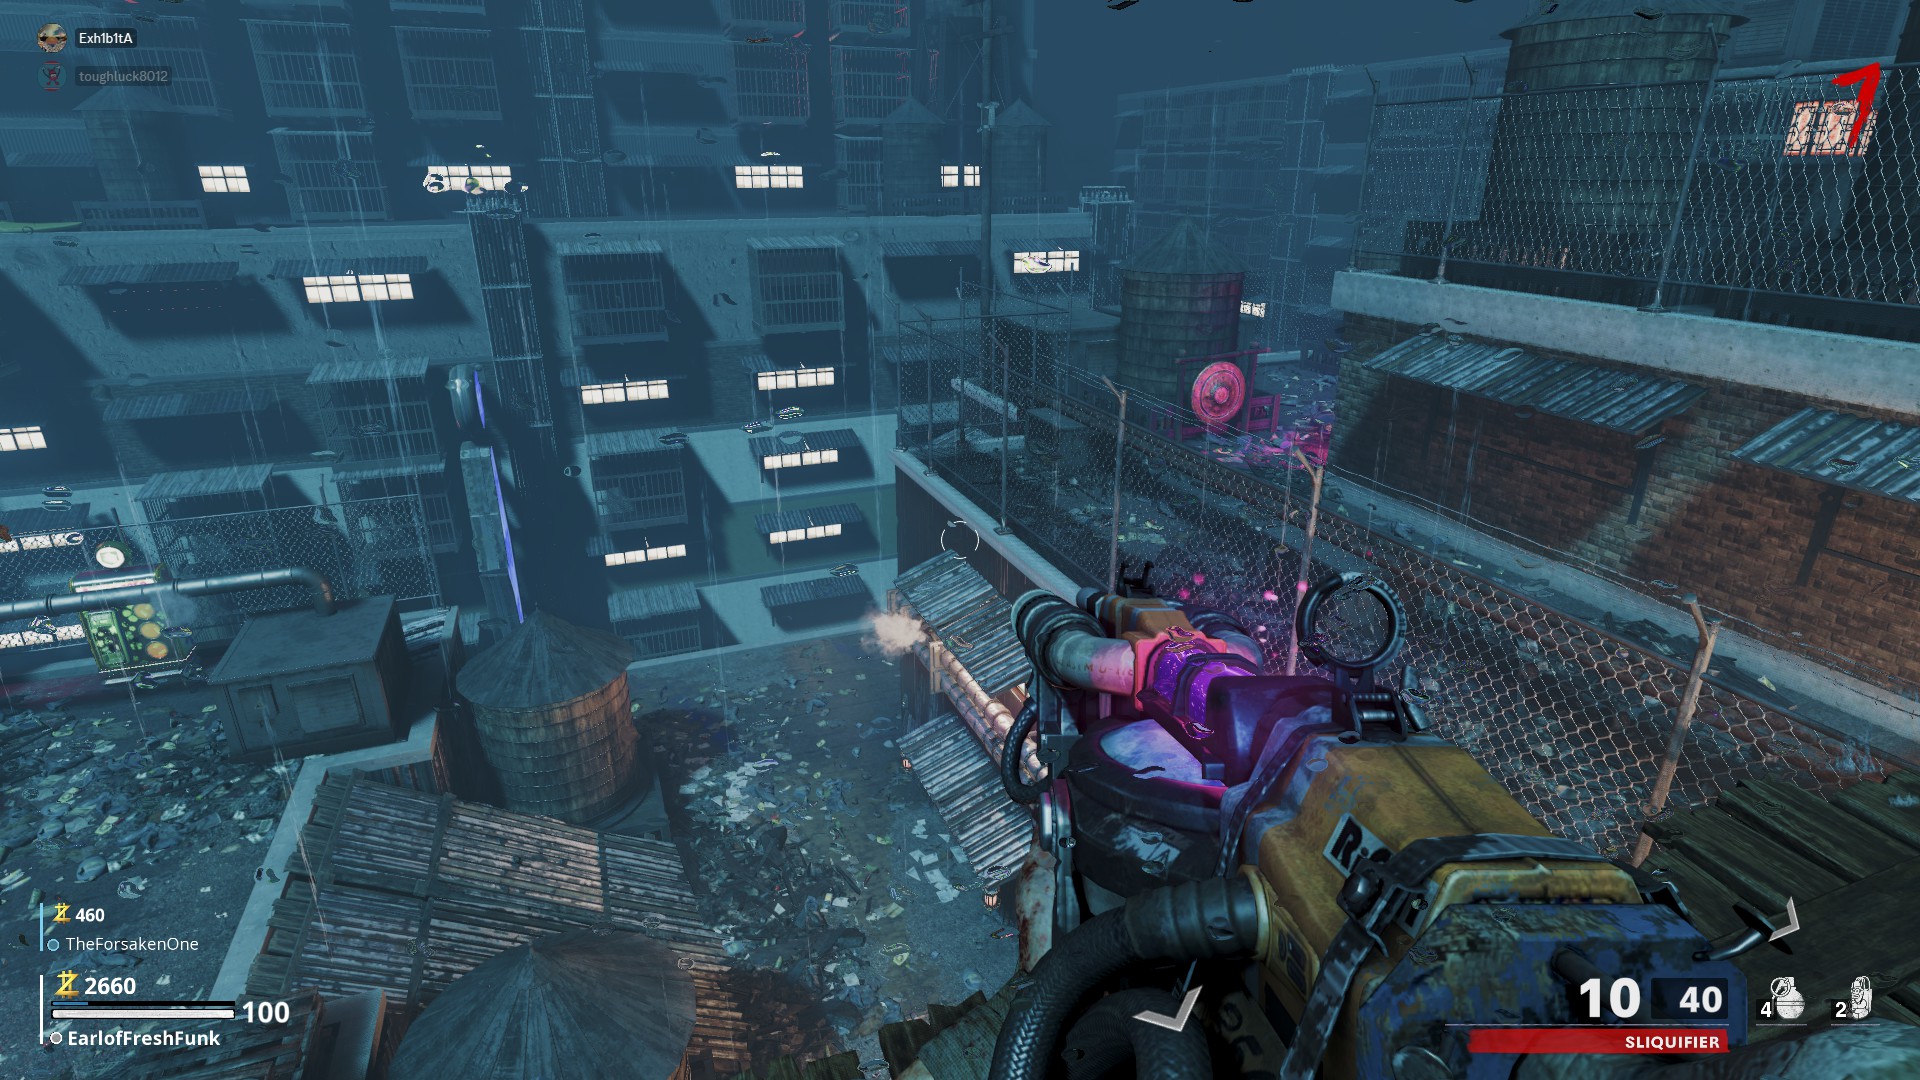
Free Perk (Elephants)
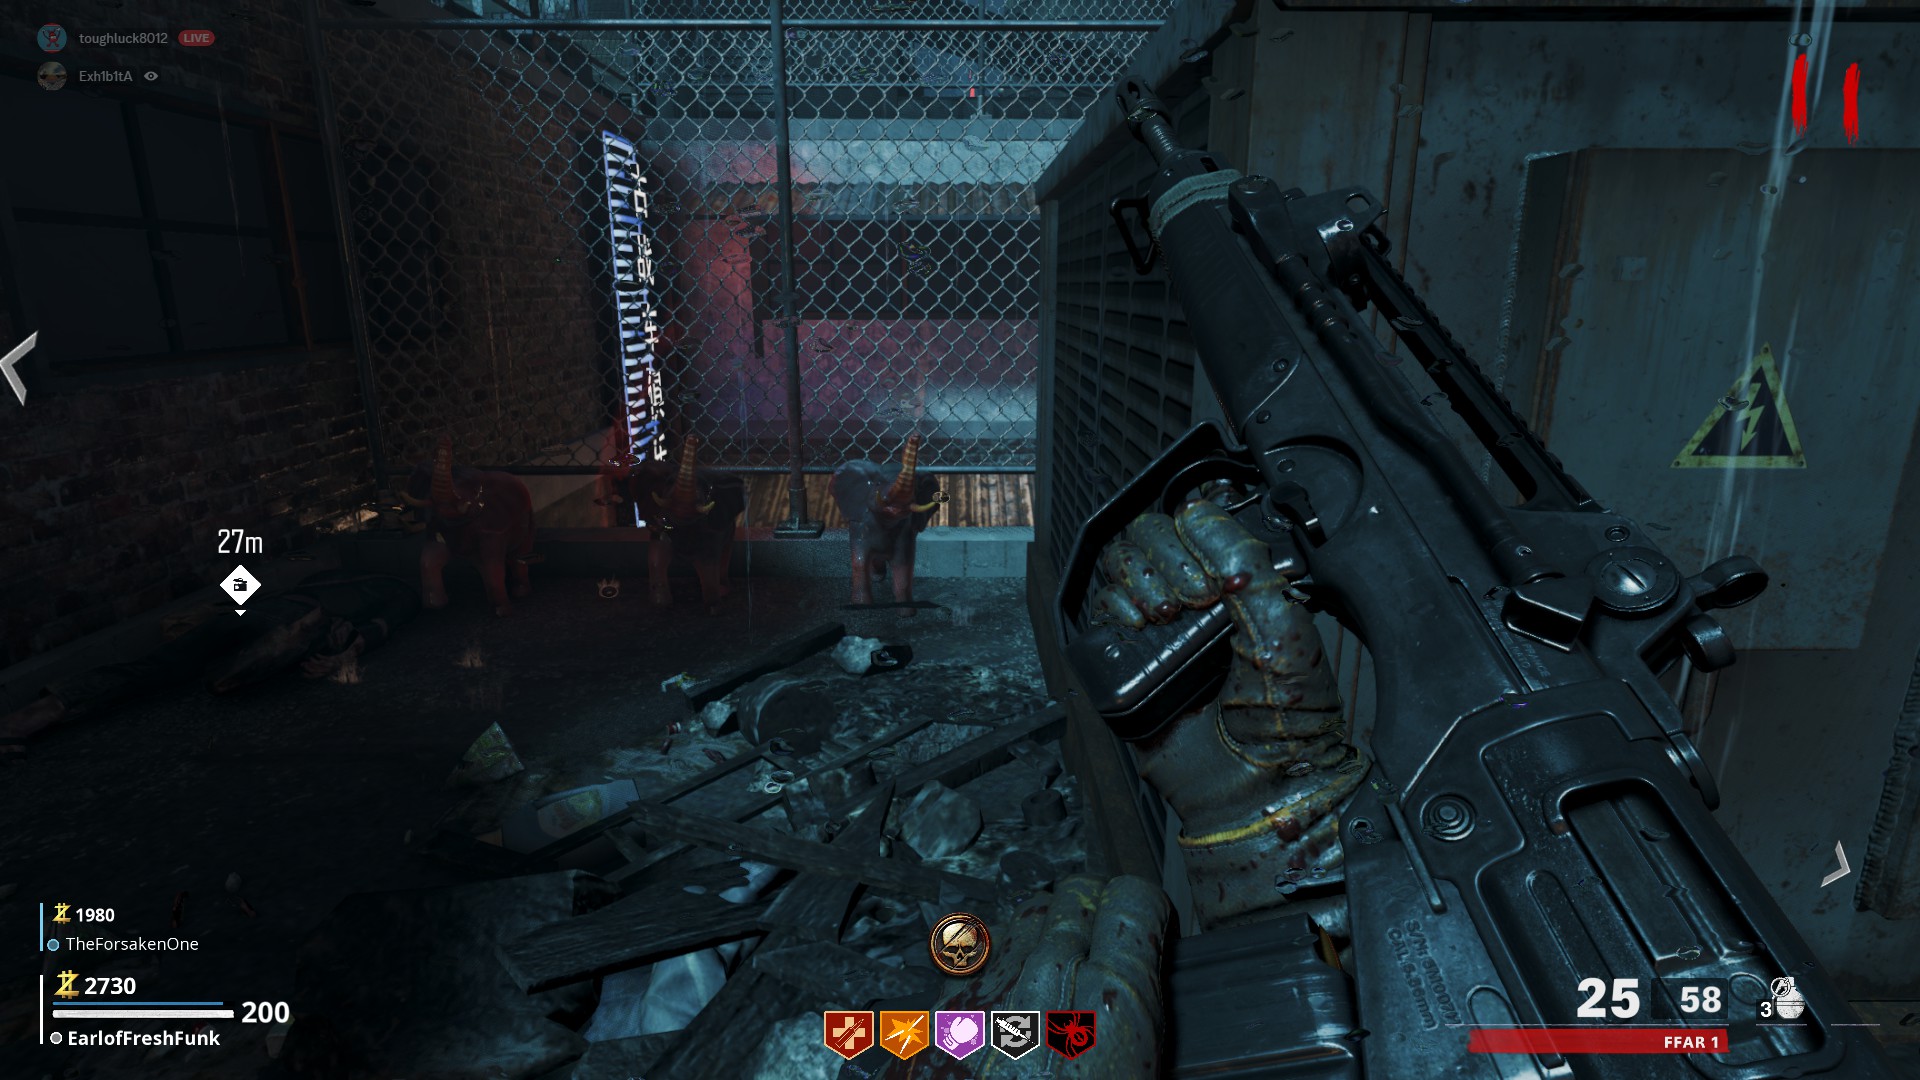
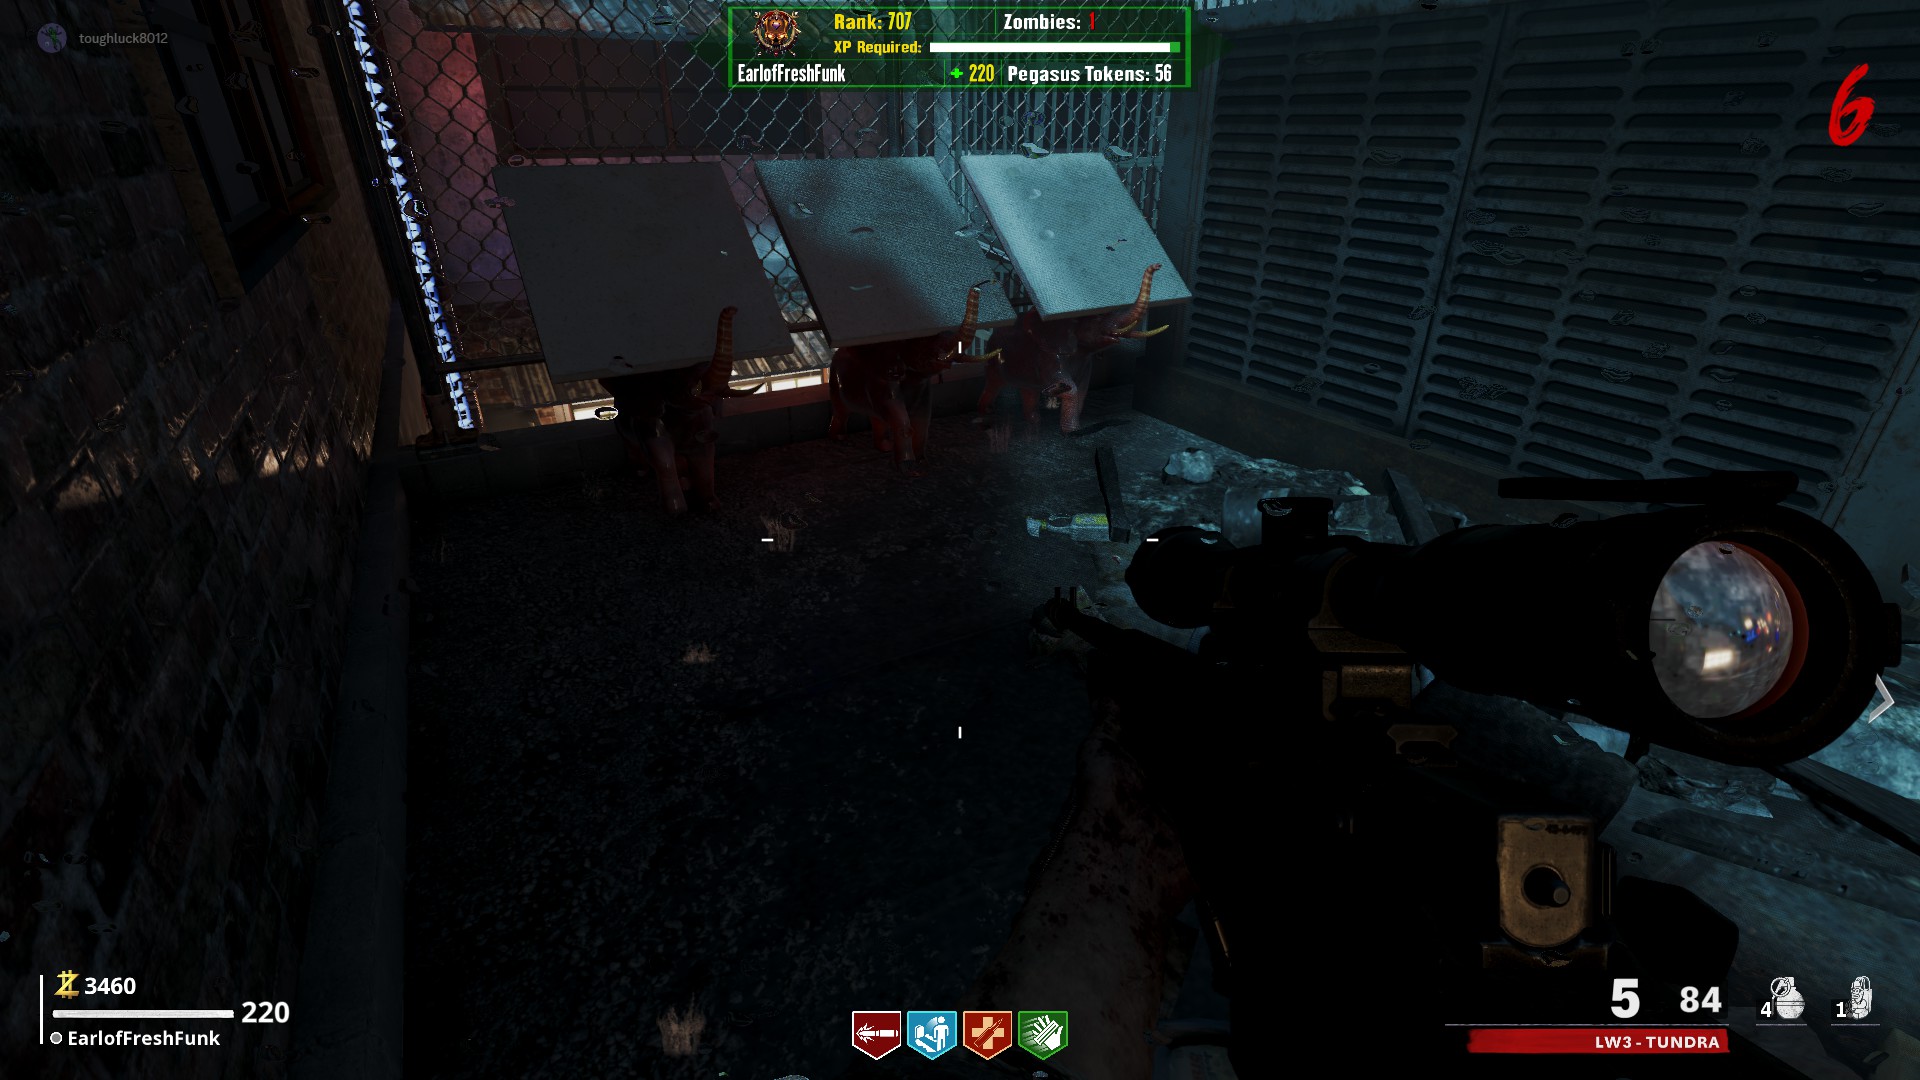
Tile 1 Location :
In the same area as Speed Cola, behind the raised platform, on the overhanging ledge
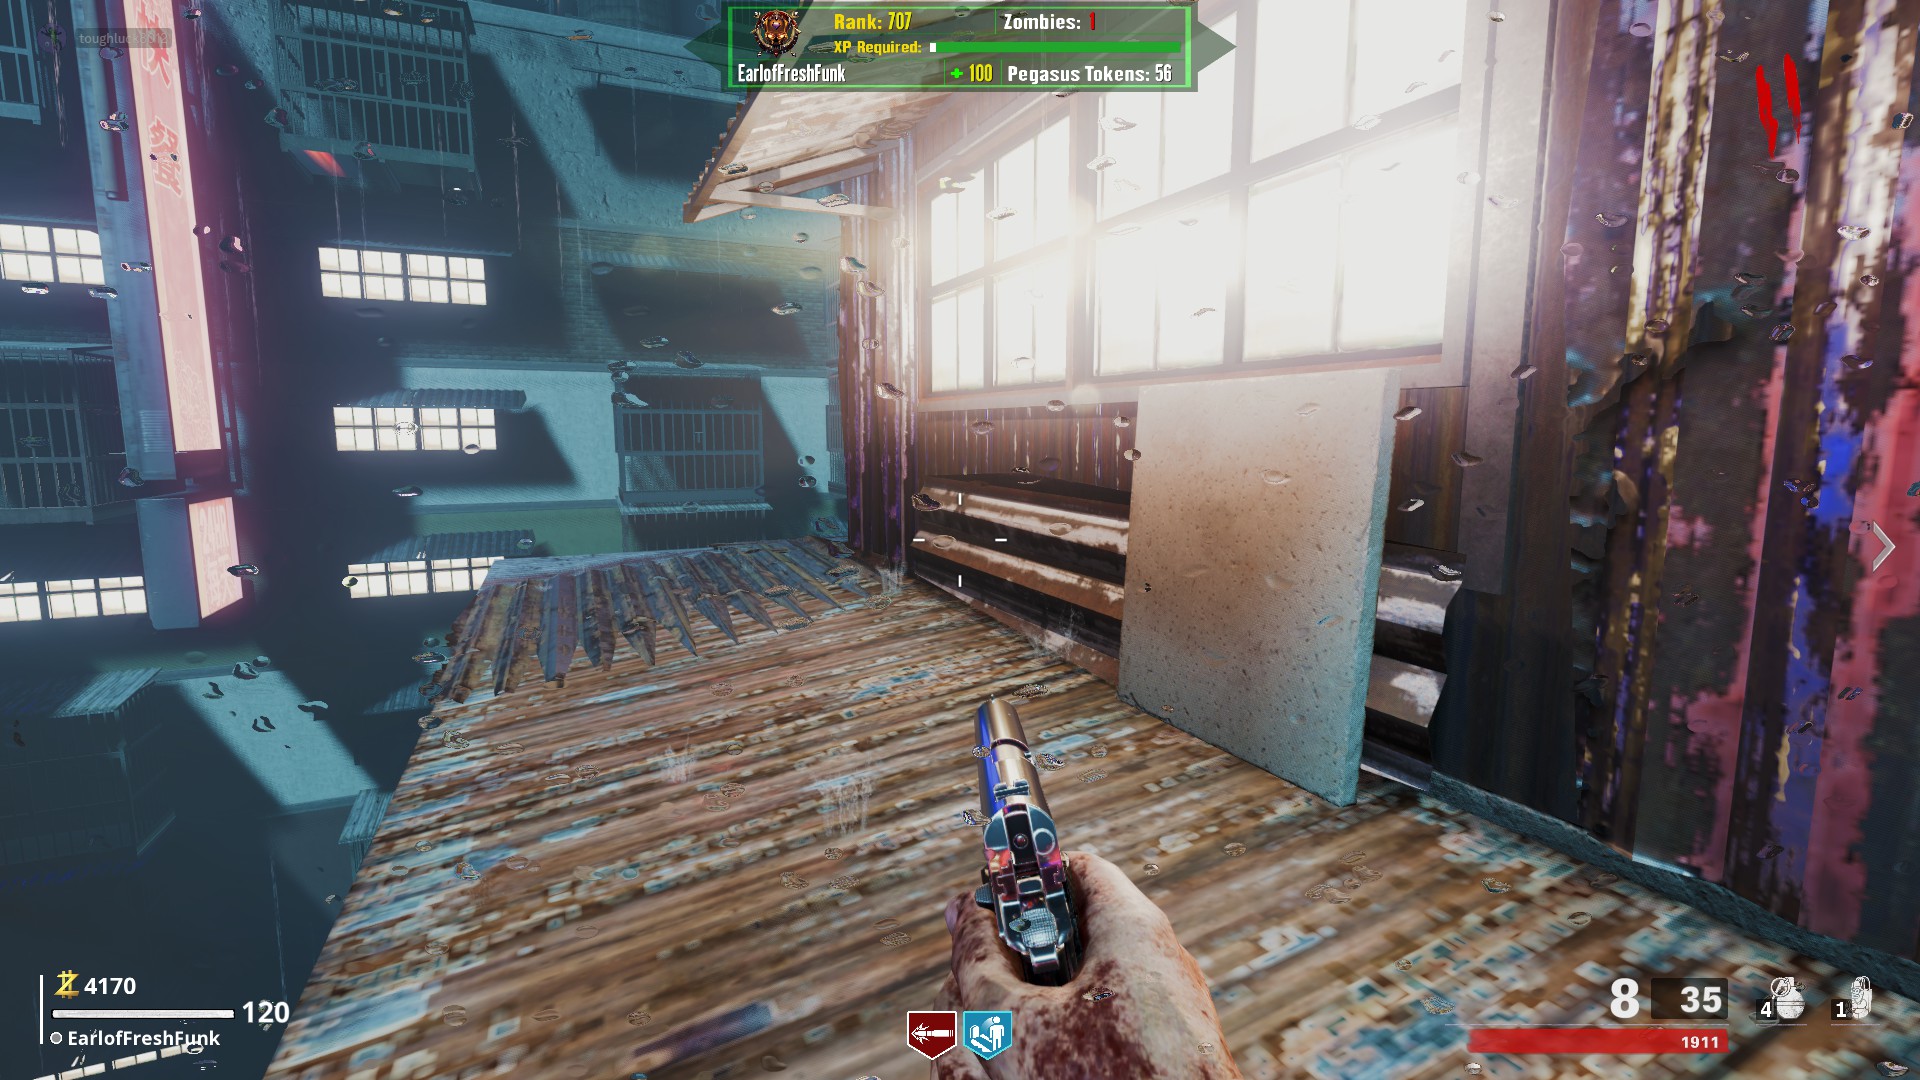
Tile 2 Location:
In the Double Tap/Meteor Room, on the catwalk next to the broken section at the top of the stairs
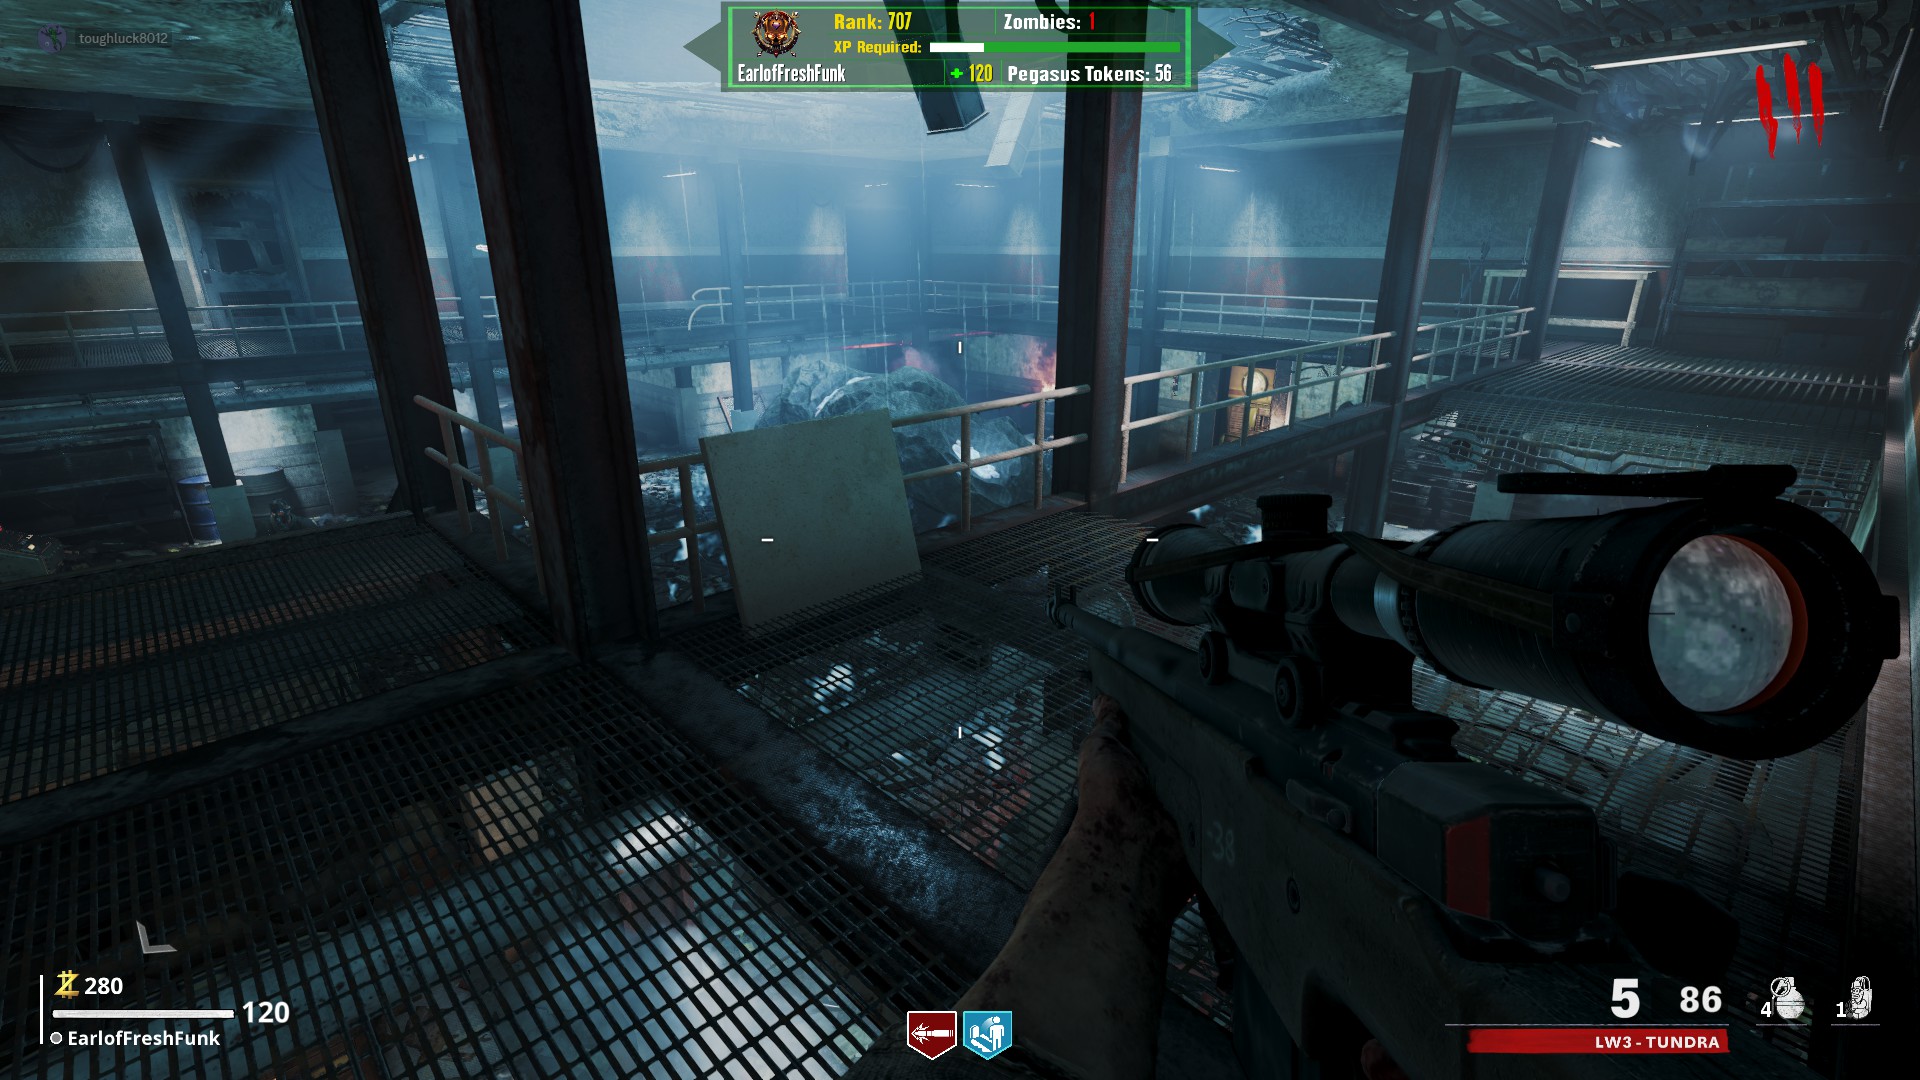
Tile 3 Location:
On the upper roof, to the immediate right of Tactiquilla, leaning against some boxes
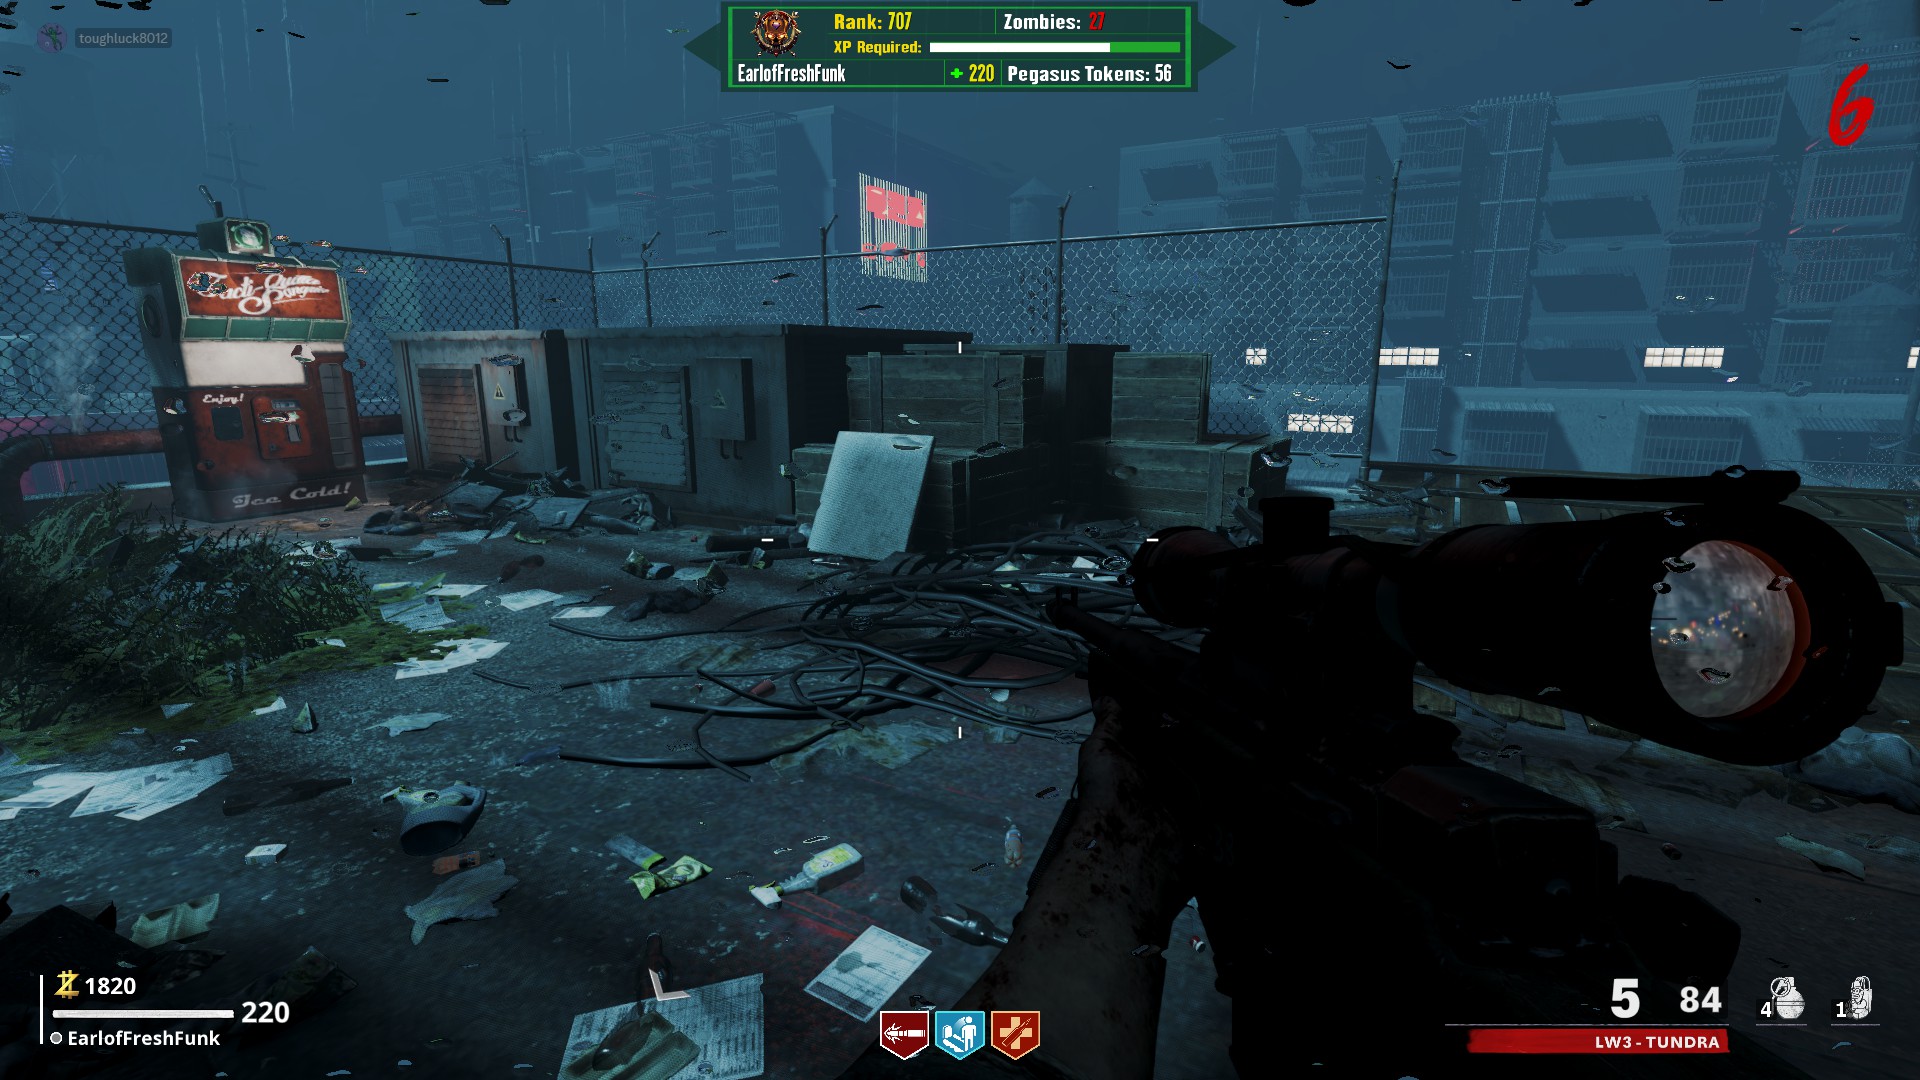
Free Wunderwaffe DG-2
On the upper roof, there are three locations that a small golden key can spawn.
On the air condition unit across from the Elemental Pops machine, by the ledge overlooking Widow's Wine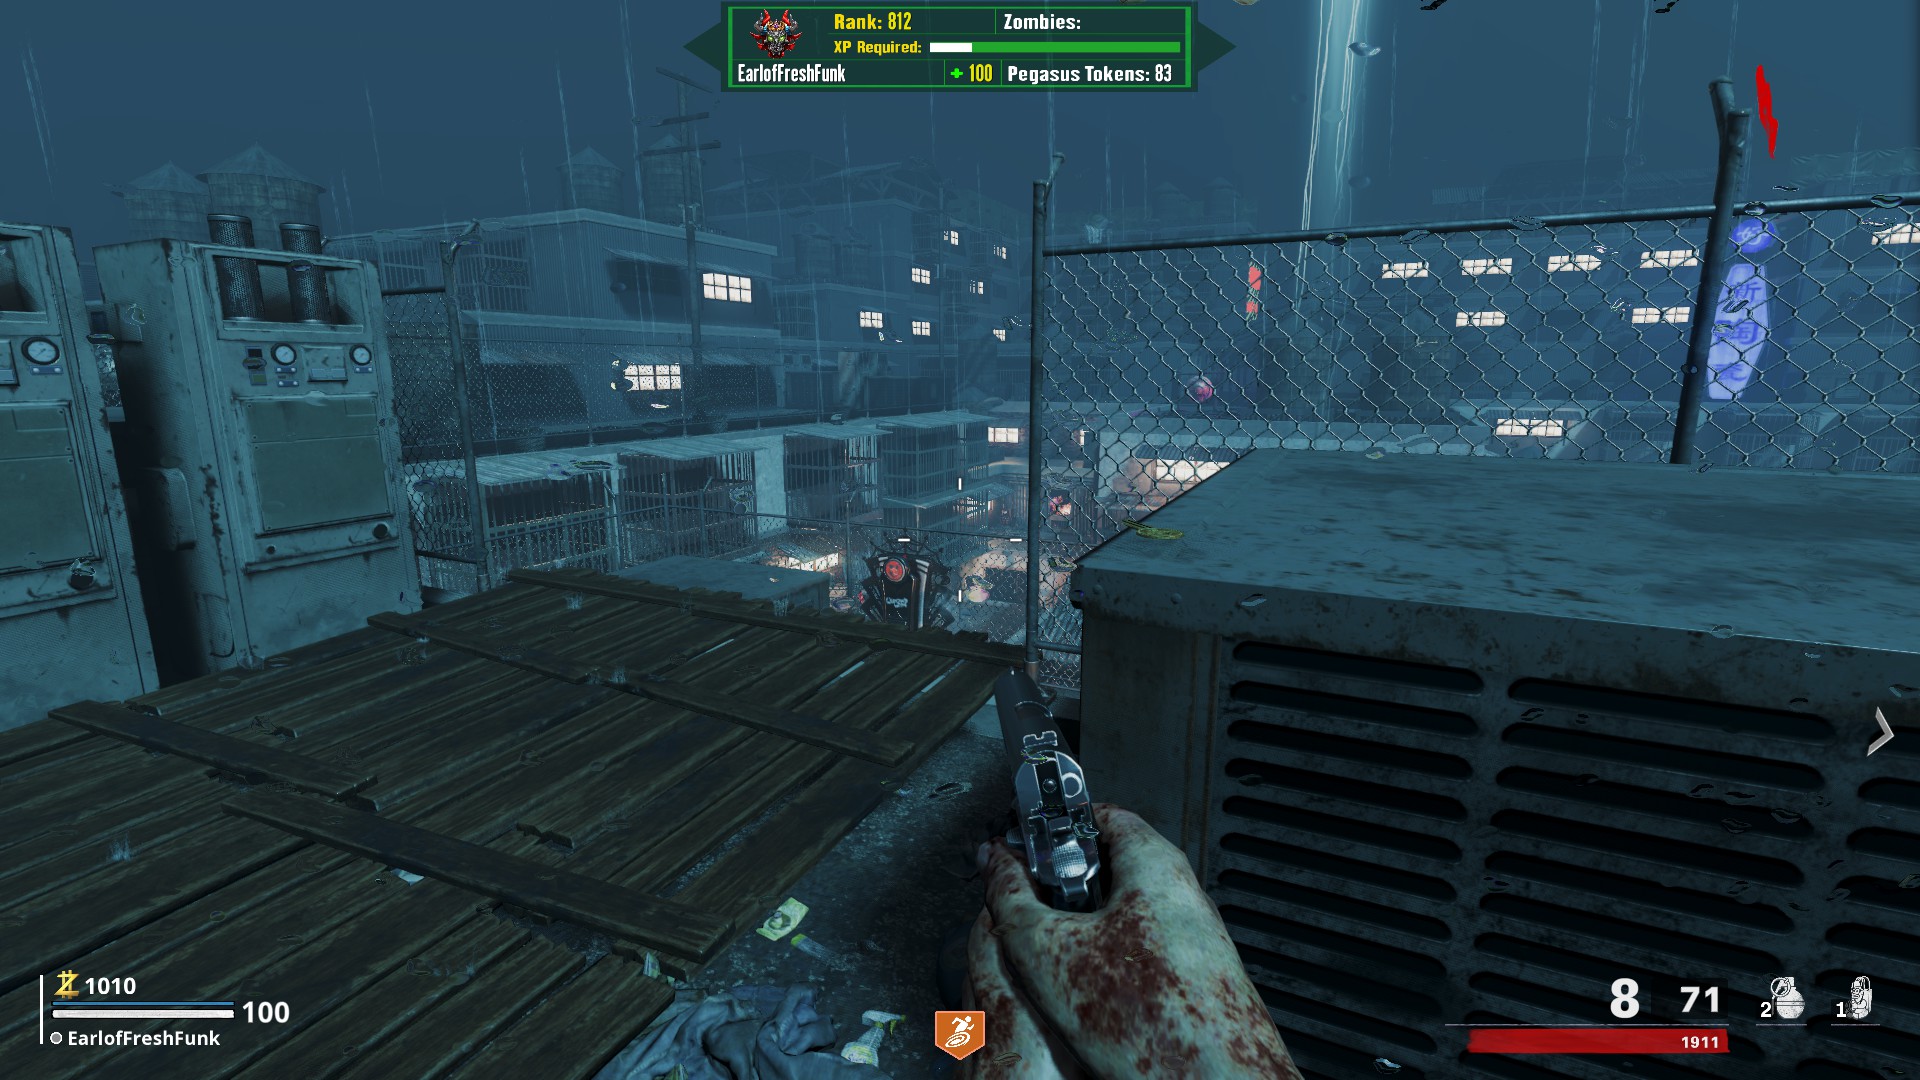
On the black ventilation shaft to the left of the challenge room door
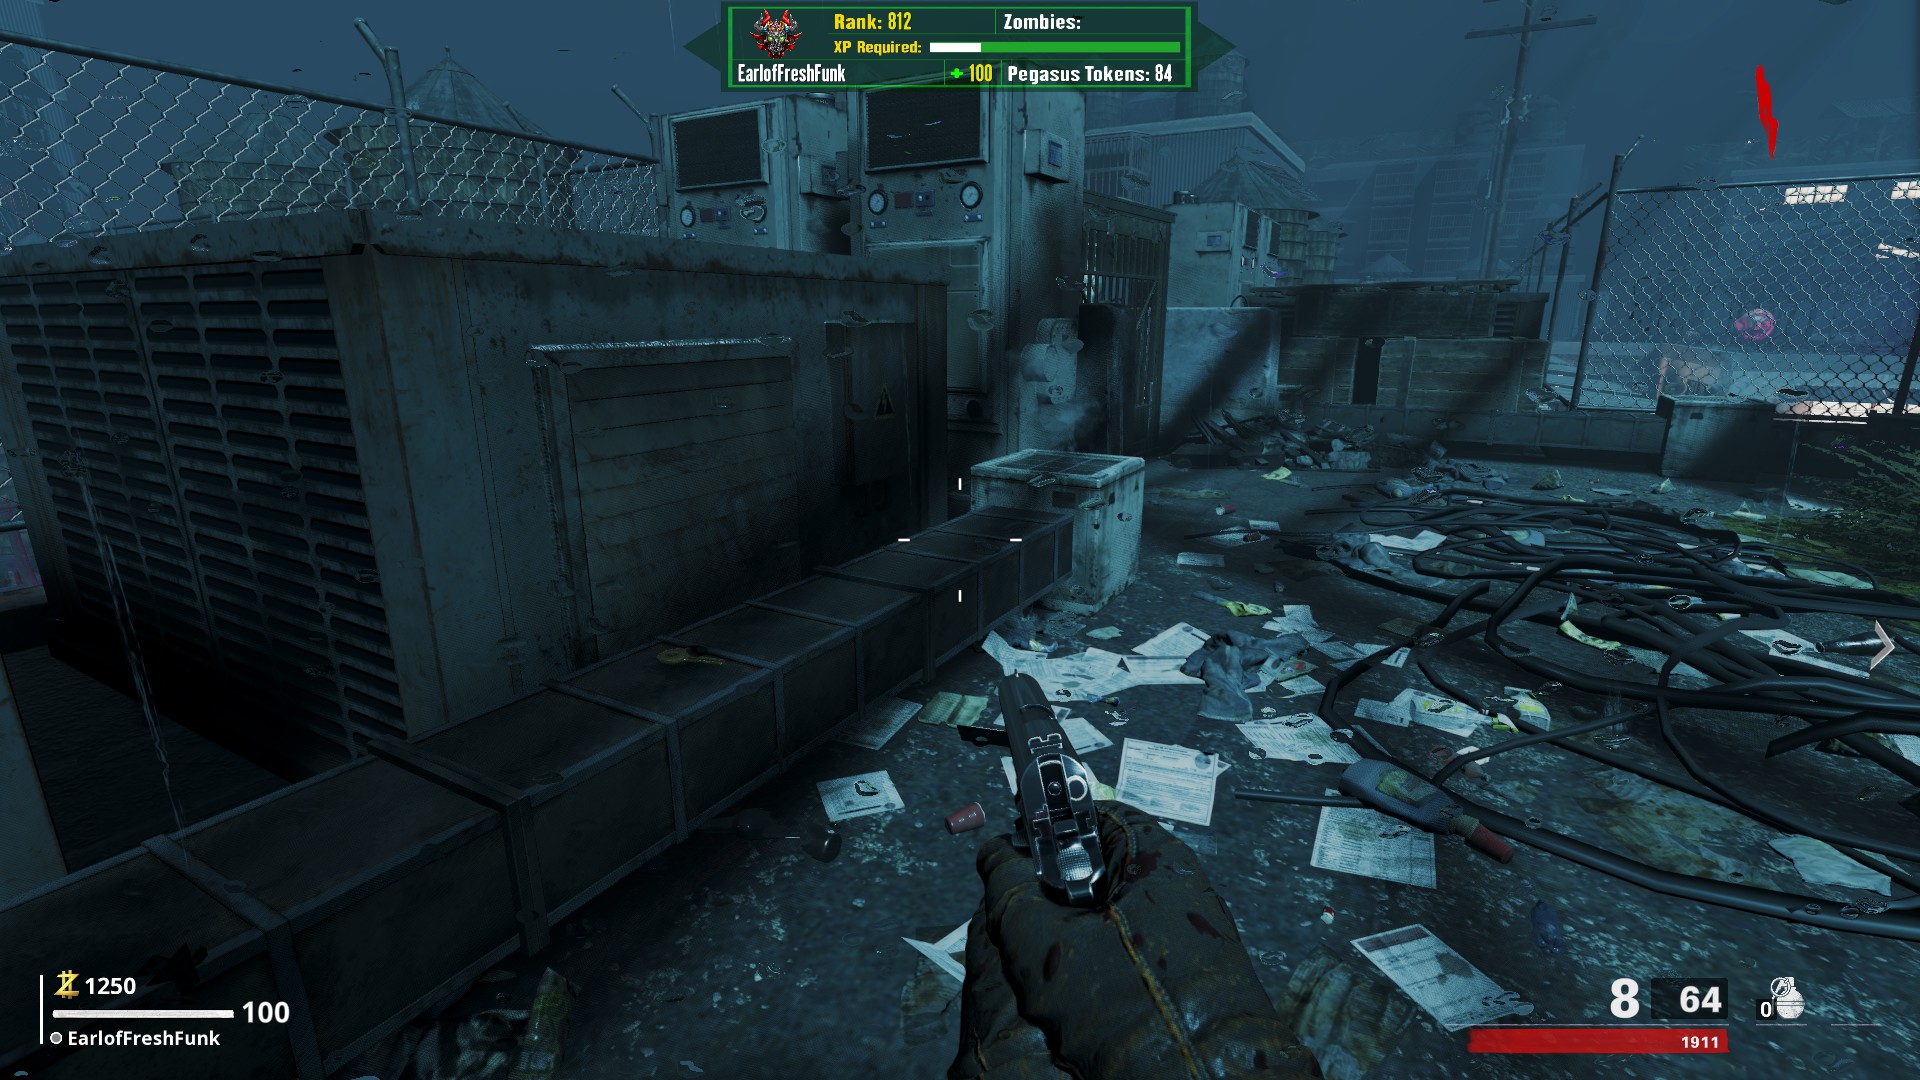
On the vent of the black metal shaft by the ziplines, next to the ramp
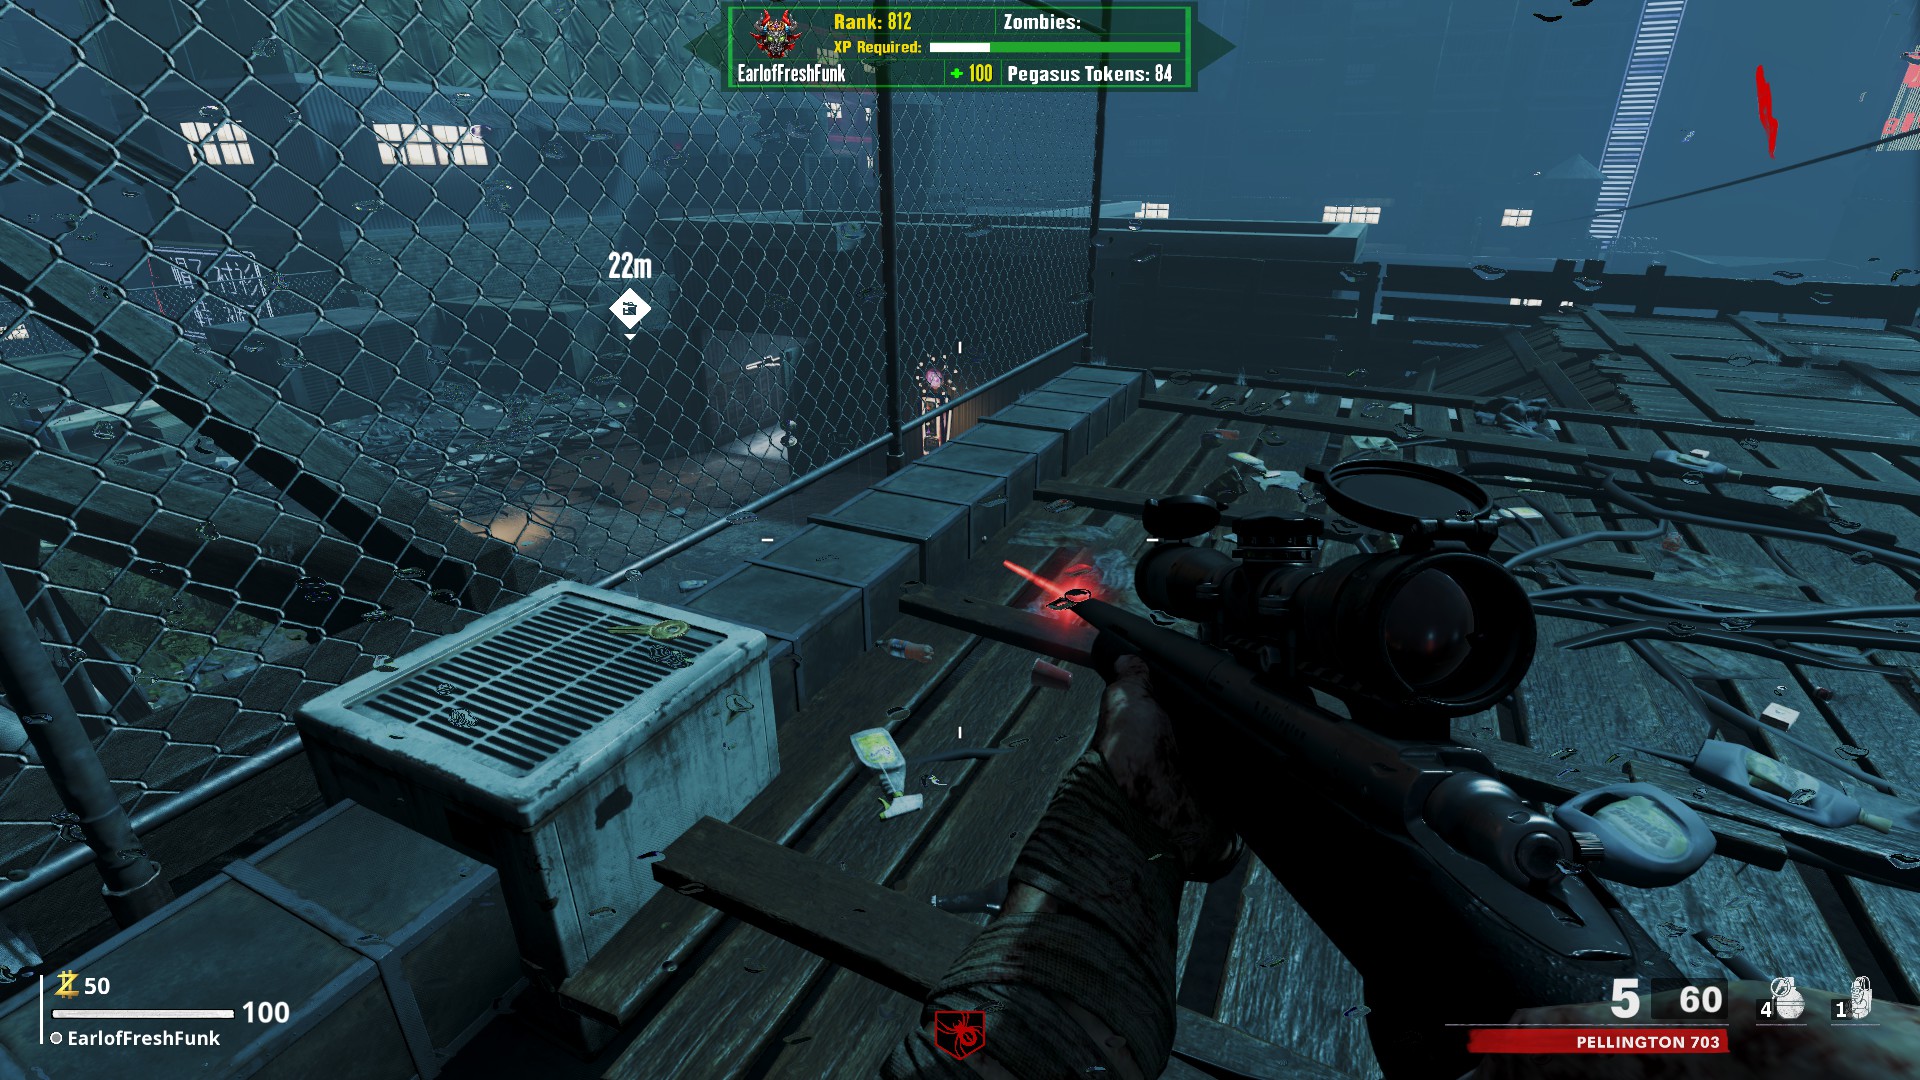
Bring this key to the meteor/Double Tap room. To the right of the power switch, there is a blue and a red tarp on the wall by the ammo crate. Between them is a small wooden gate with a dragon egg inside. Using the key, unlock the cage and take the egg
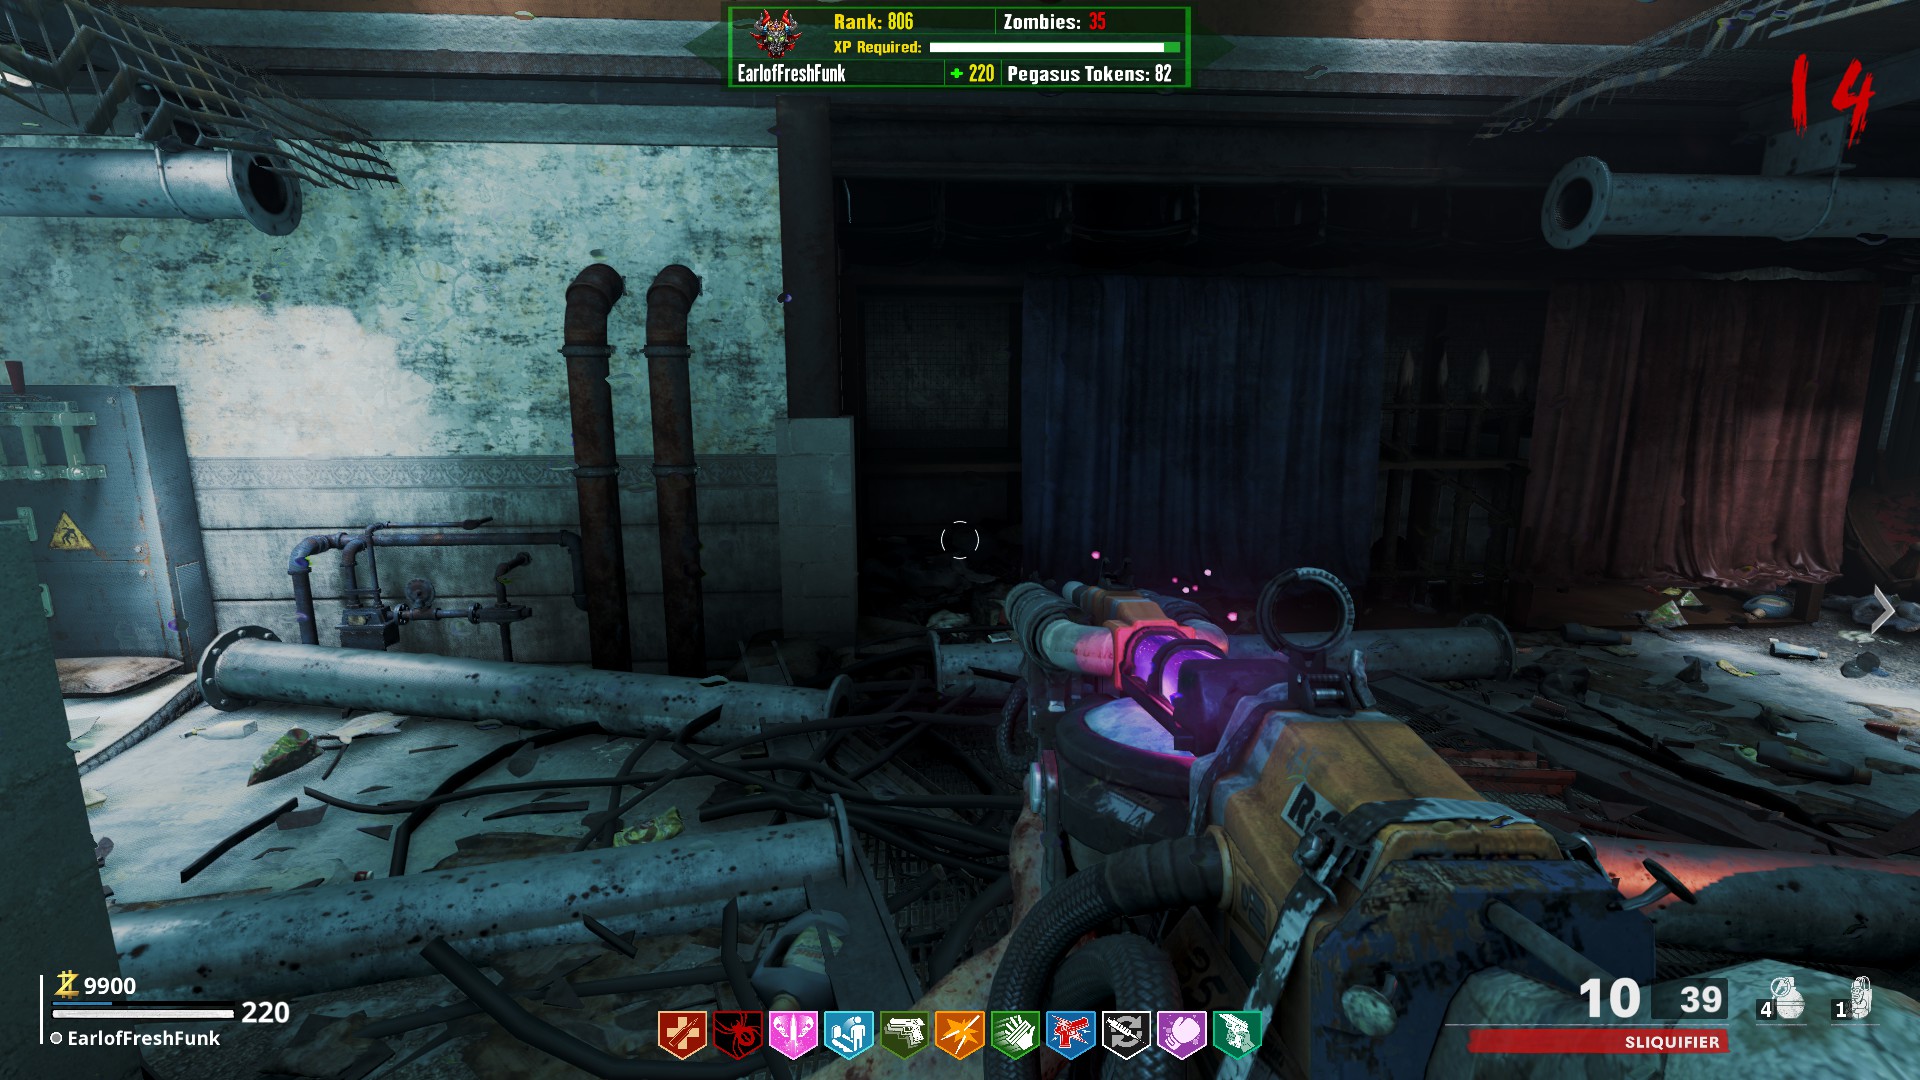
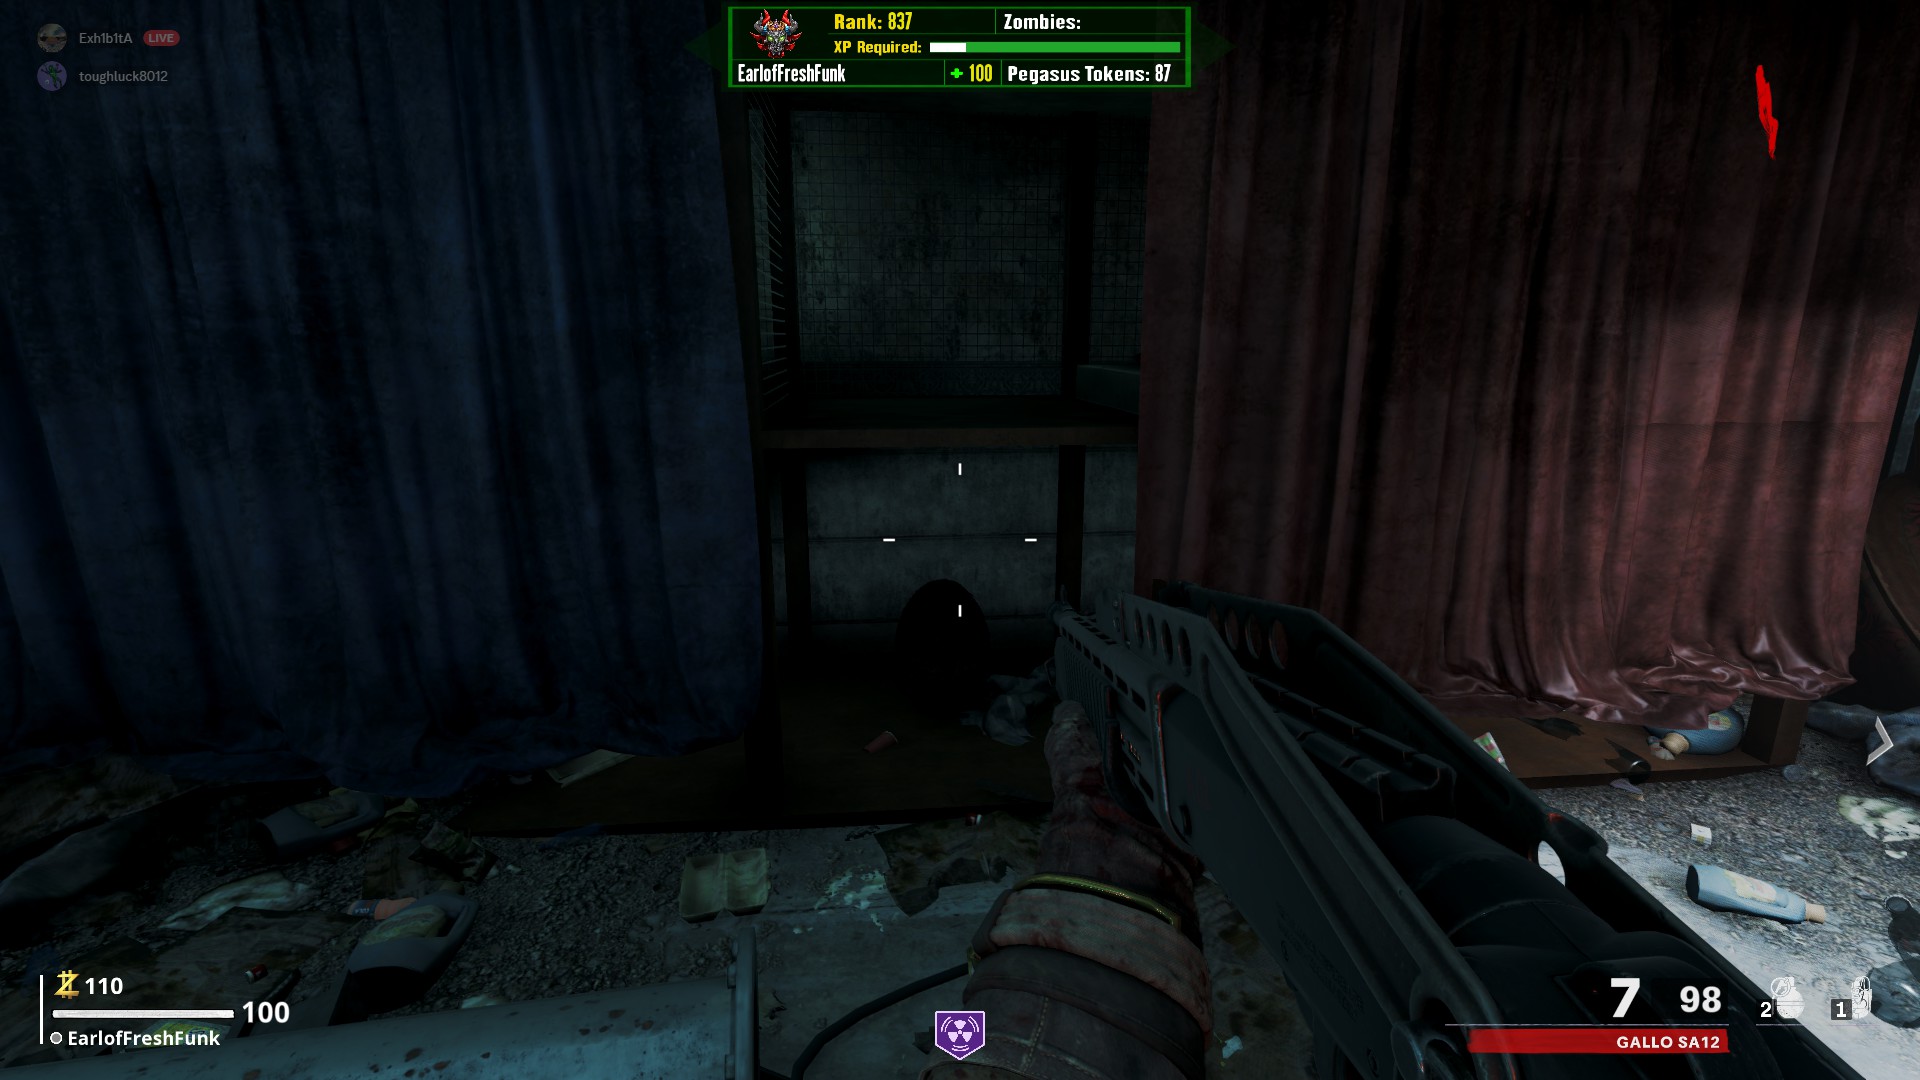
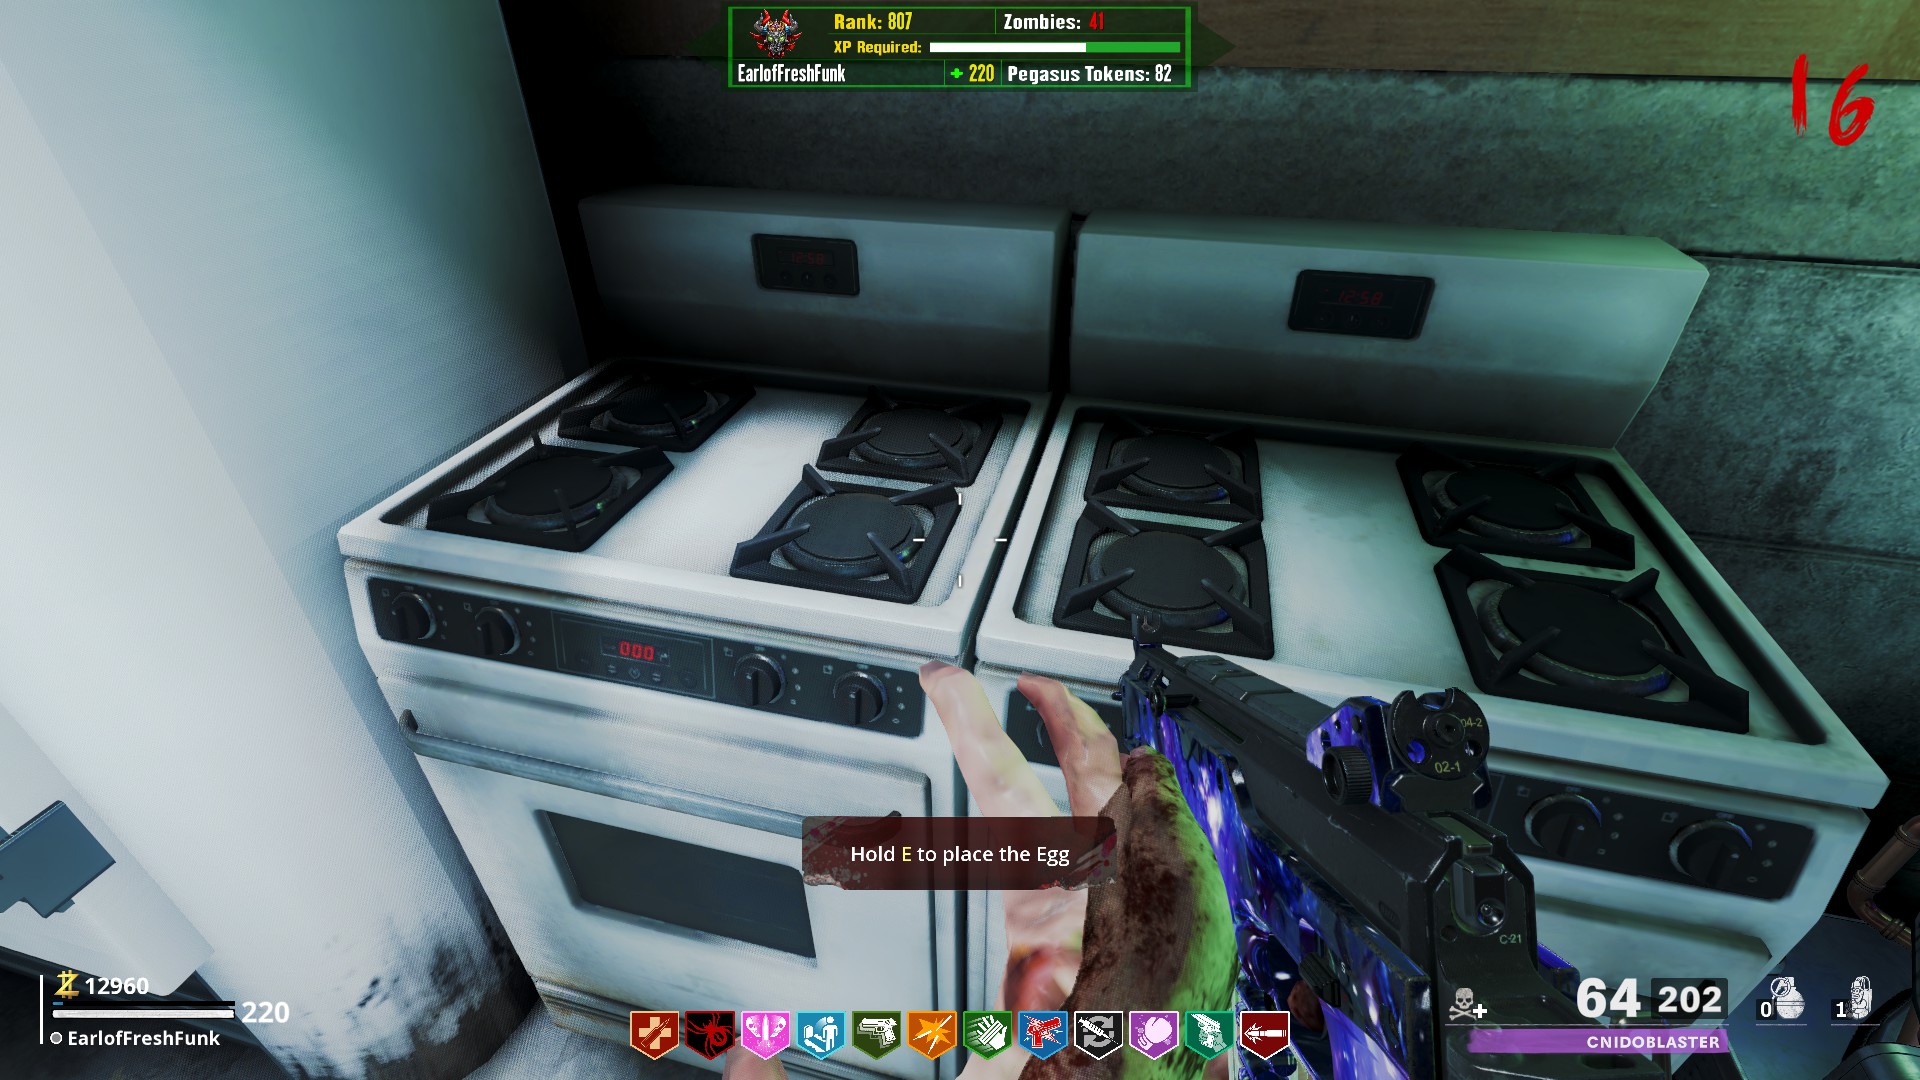
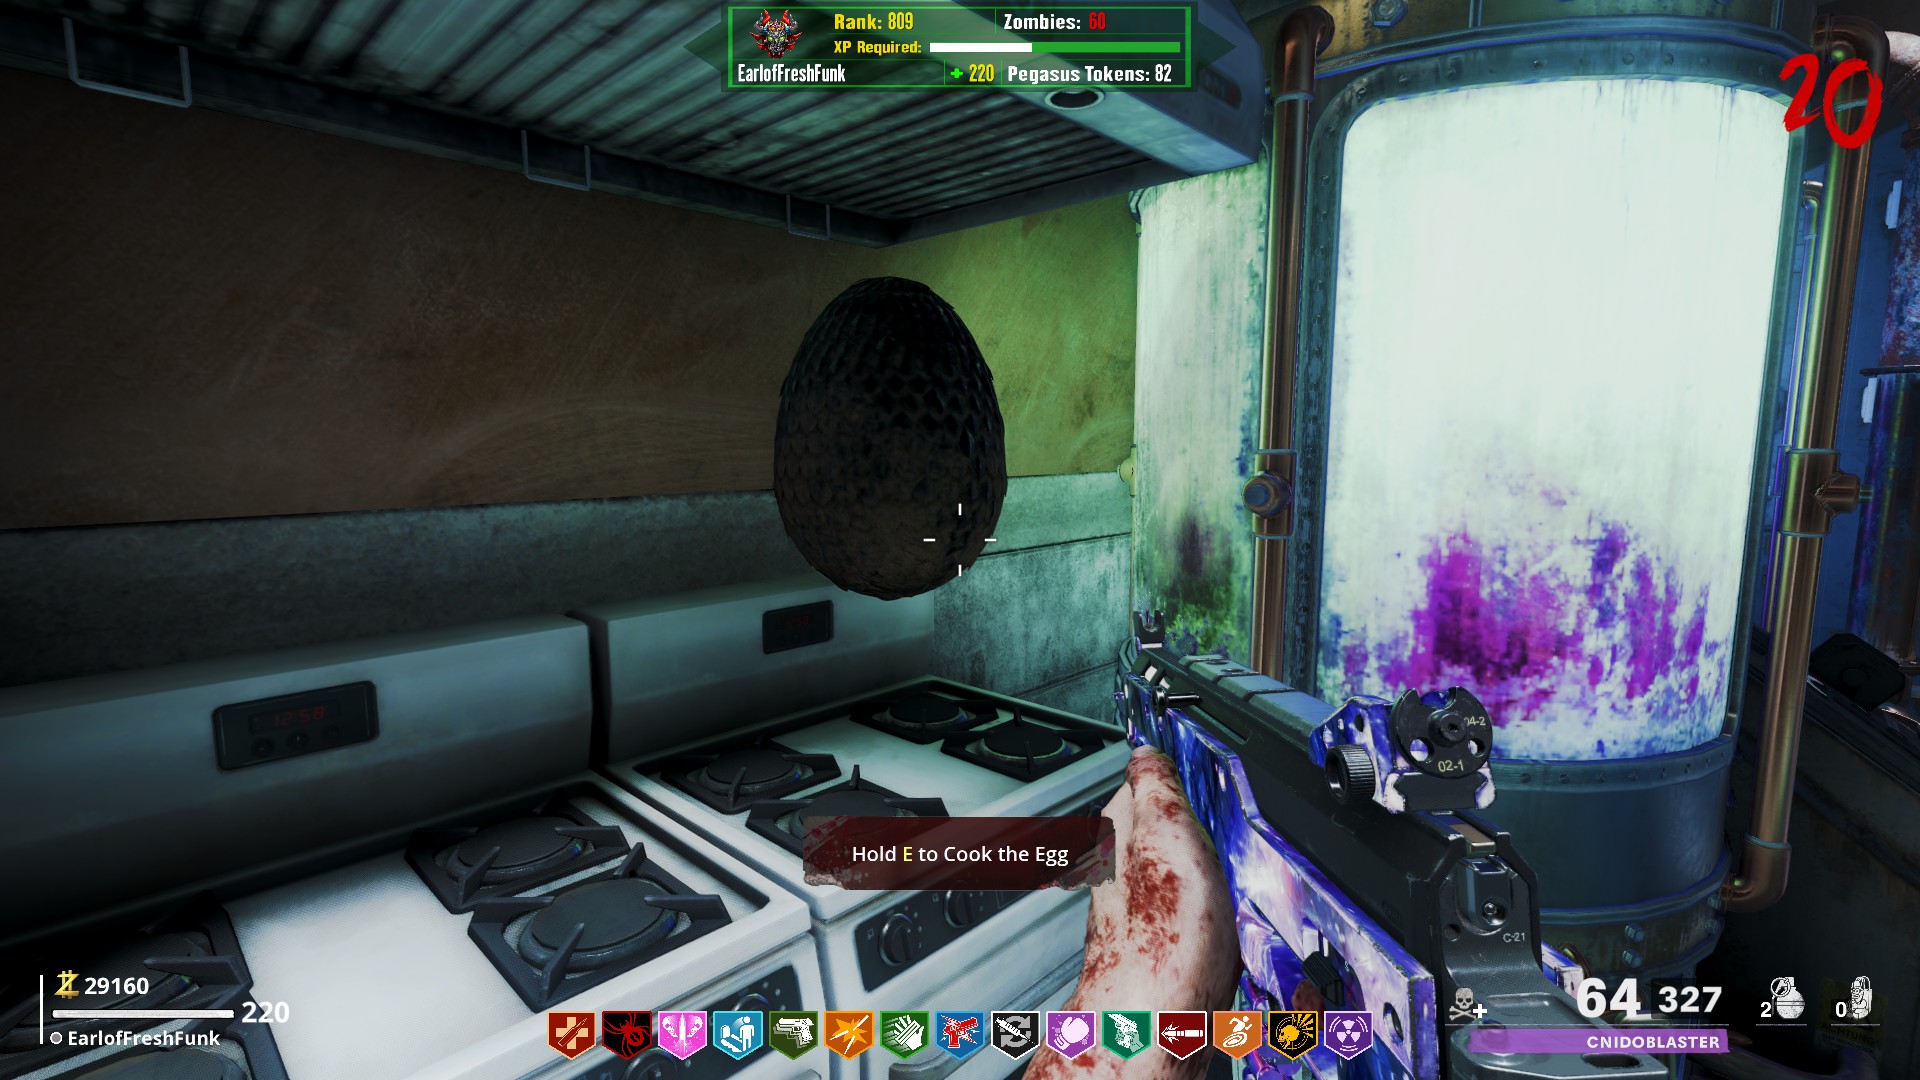
Bring the egg to the kitchen and place it on the stove right next to the chemical mixing station. Turn on the oven to begin to cook it. You are supposed to wait for the egg to finish cooking and then pick it up again, but at the time of writing this guide, you can simply proceed to the next step.
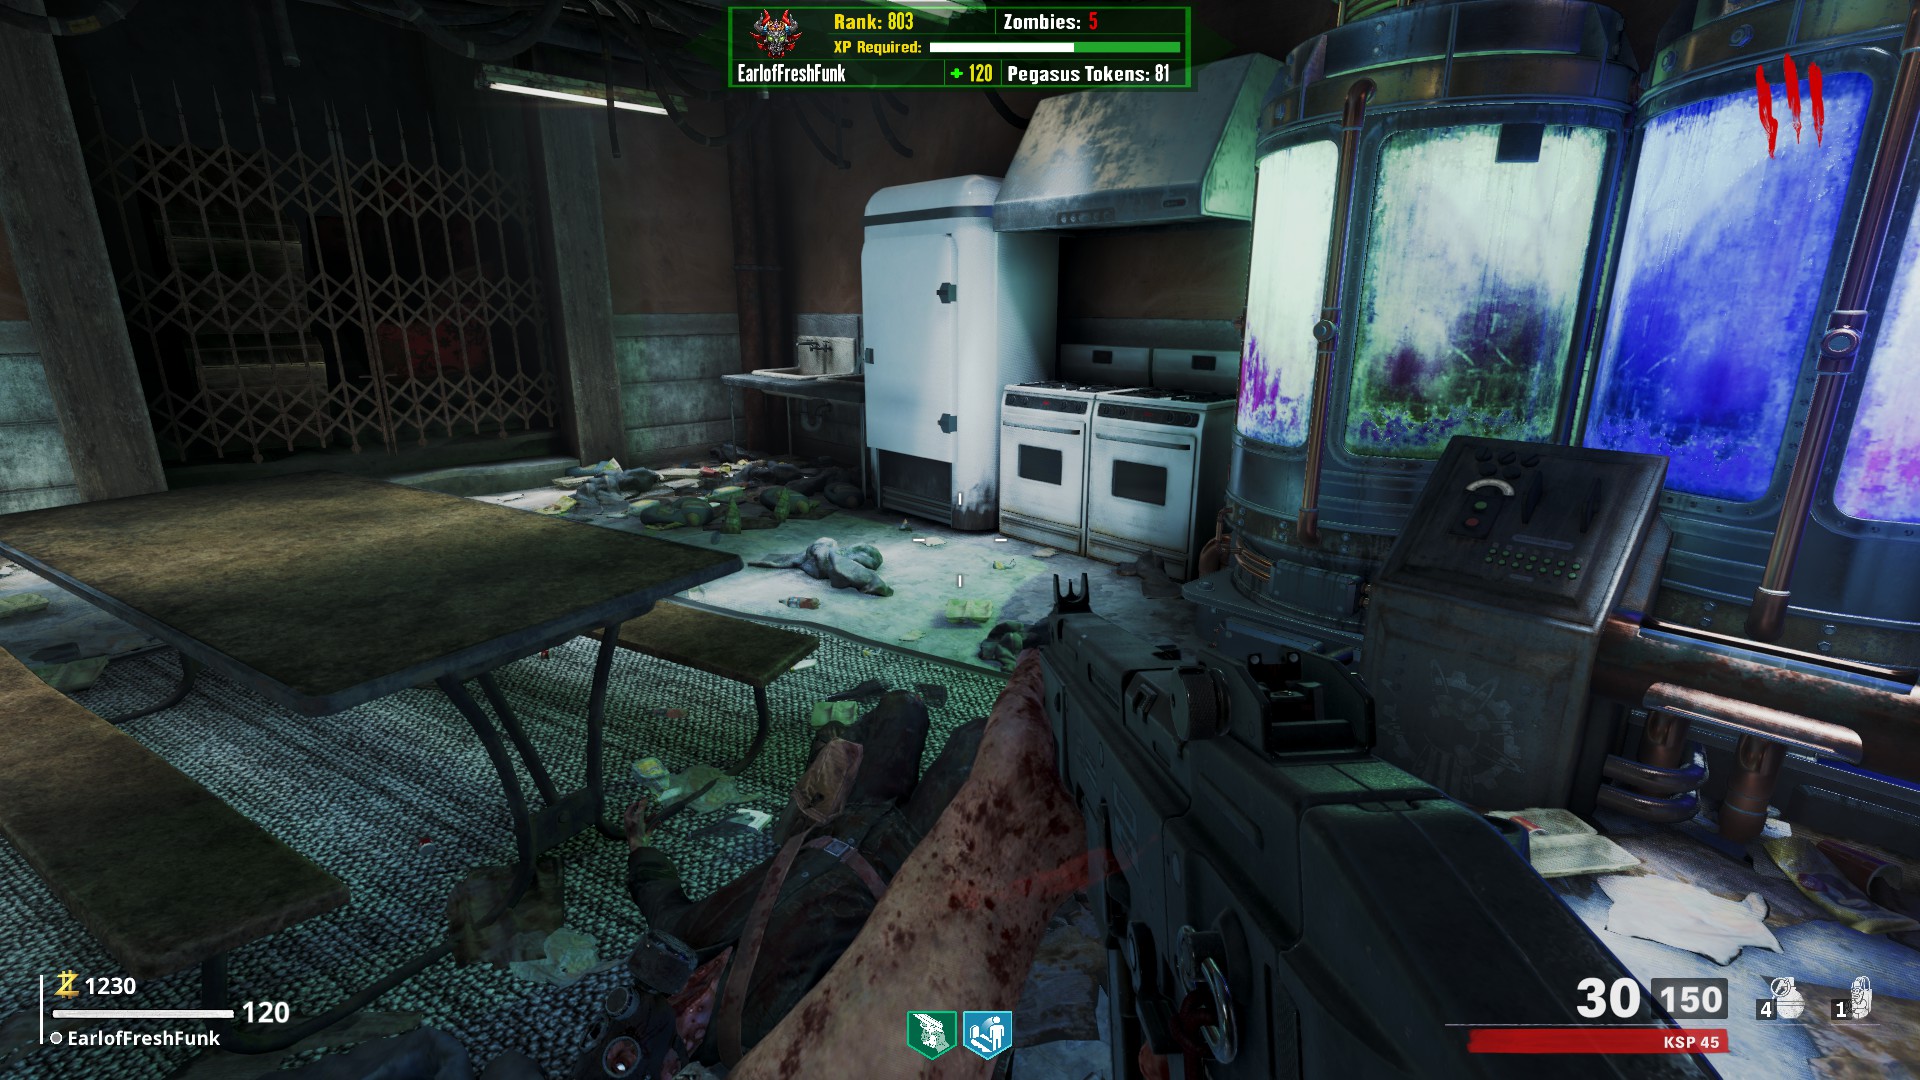
 Go back to the lower part of the spawn building roof. Along the back wall is a neon pink dragon and a pedestal. Place the egg on that pedestal and after a moment, you can pick up a Wunderwaffe DG-2 from that same pedestal.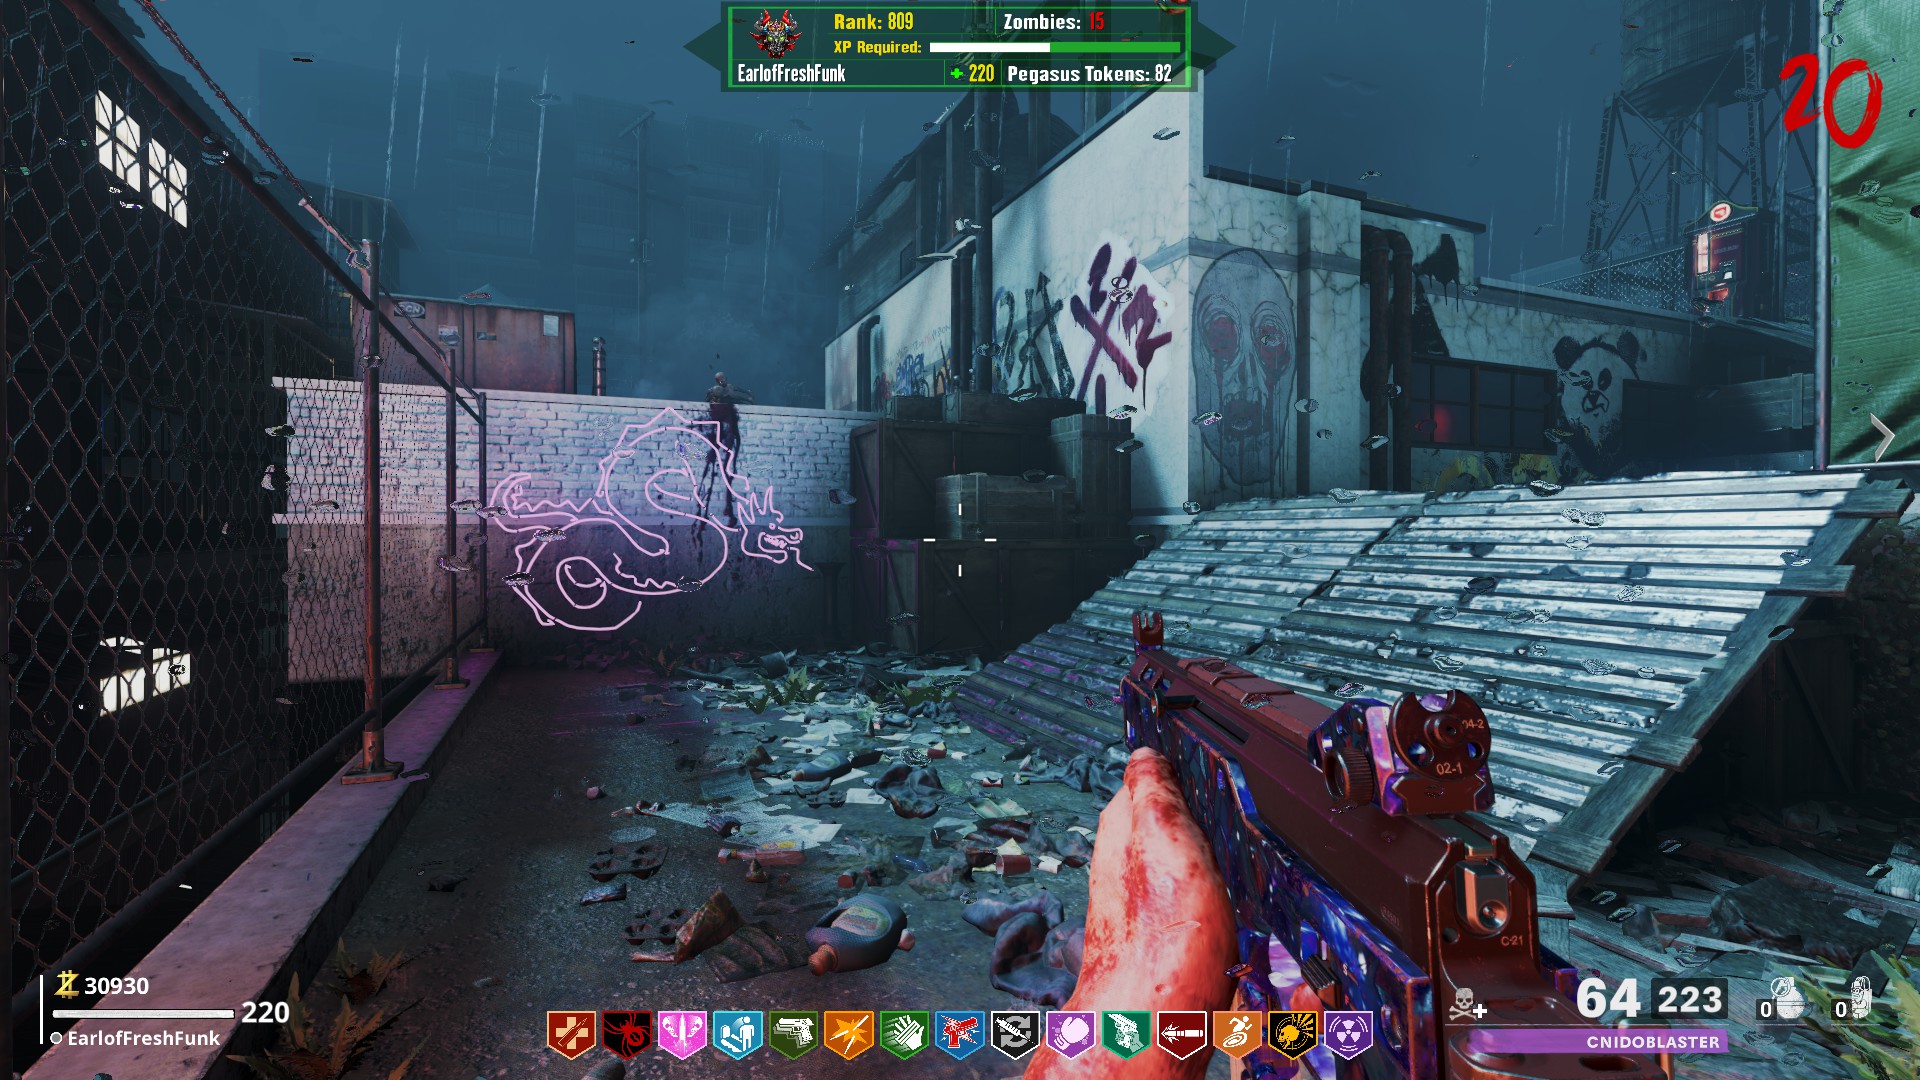
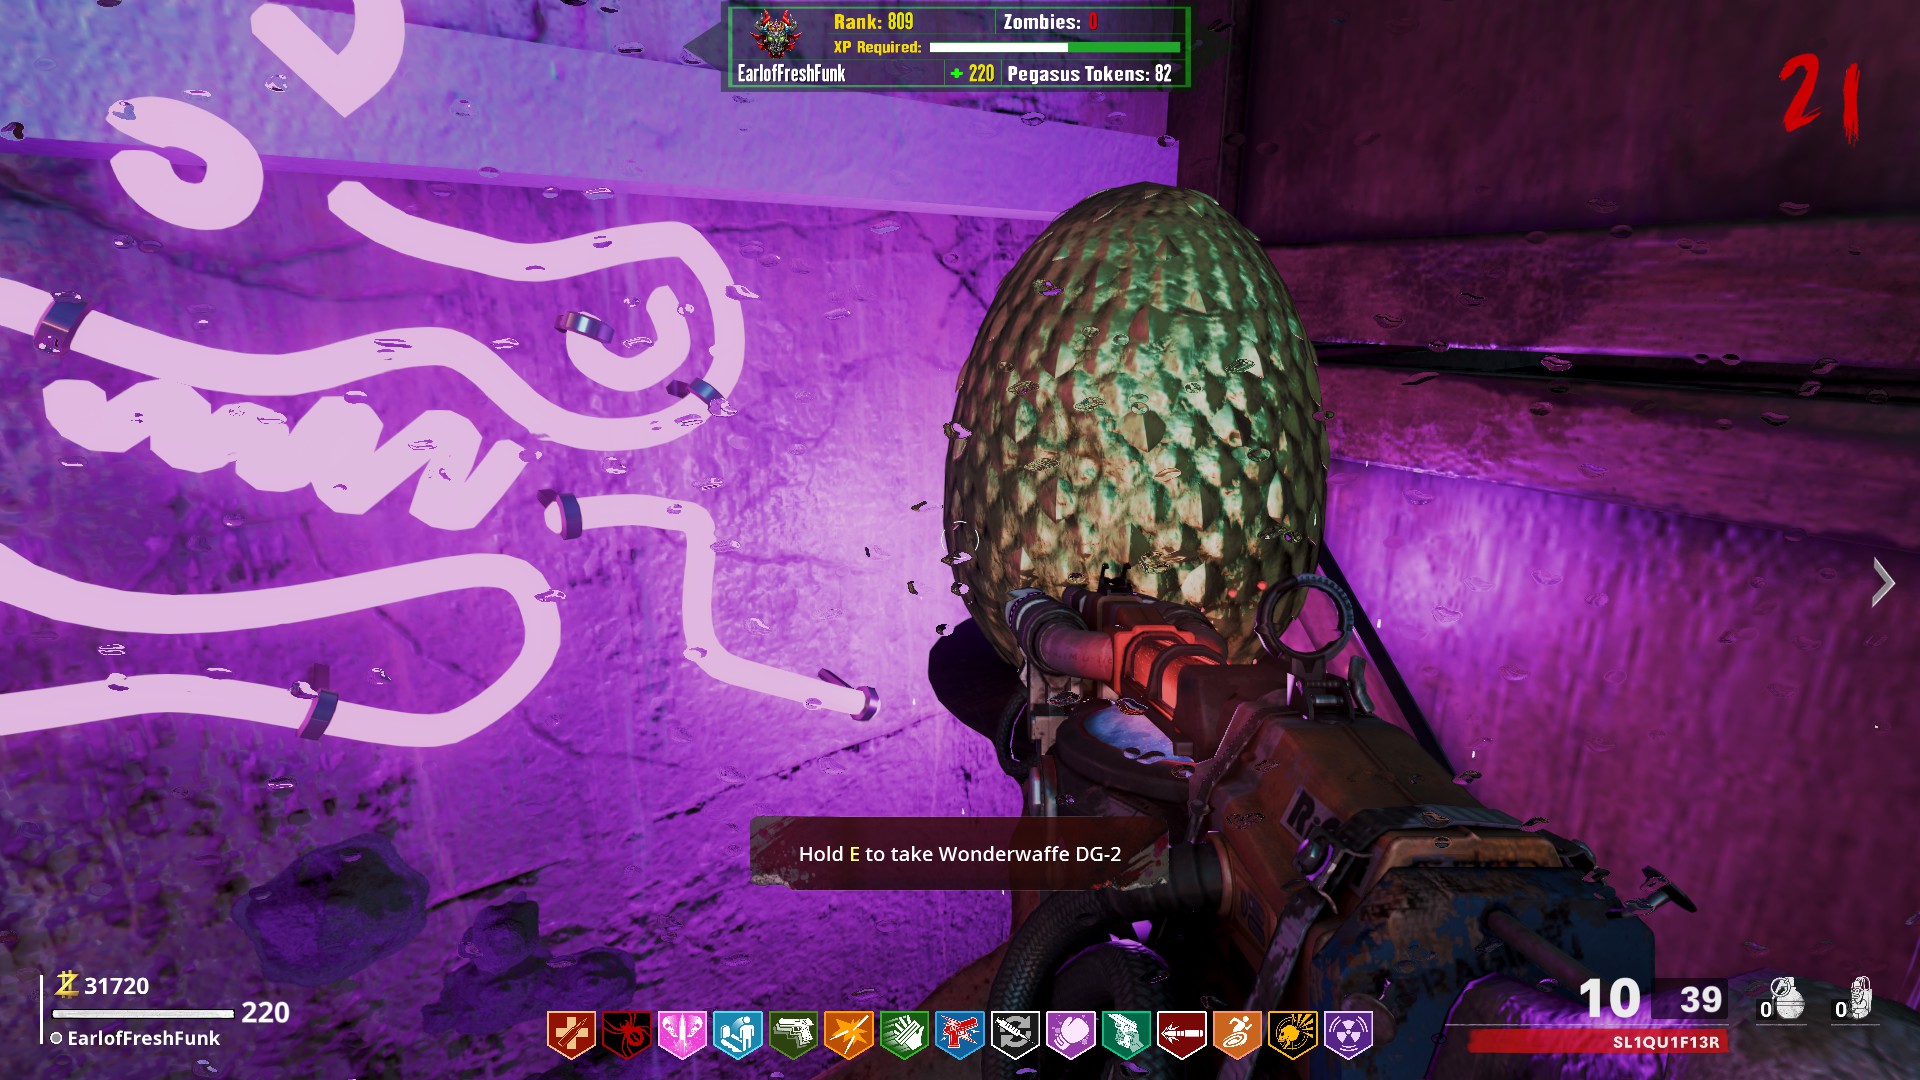
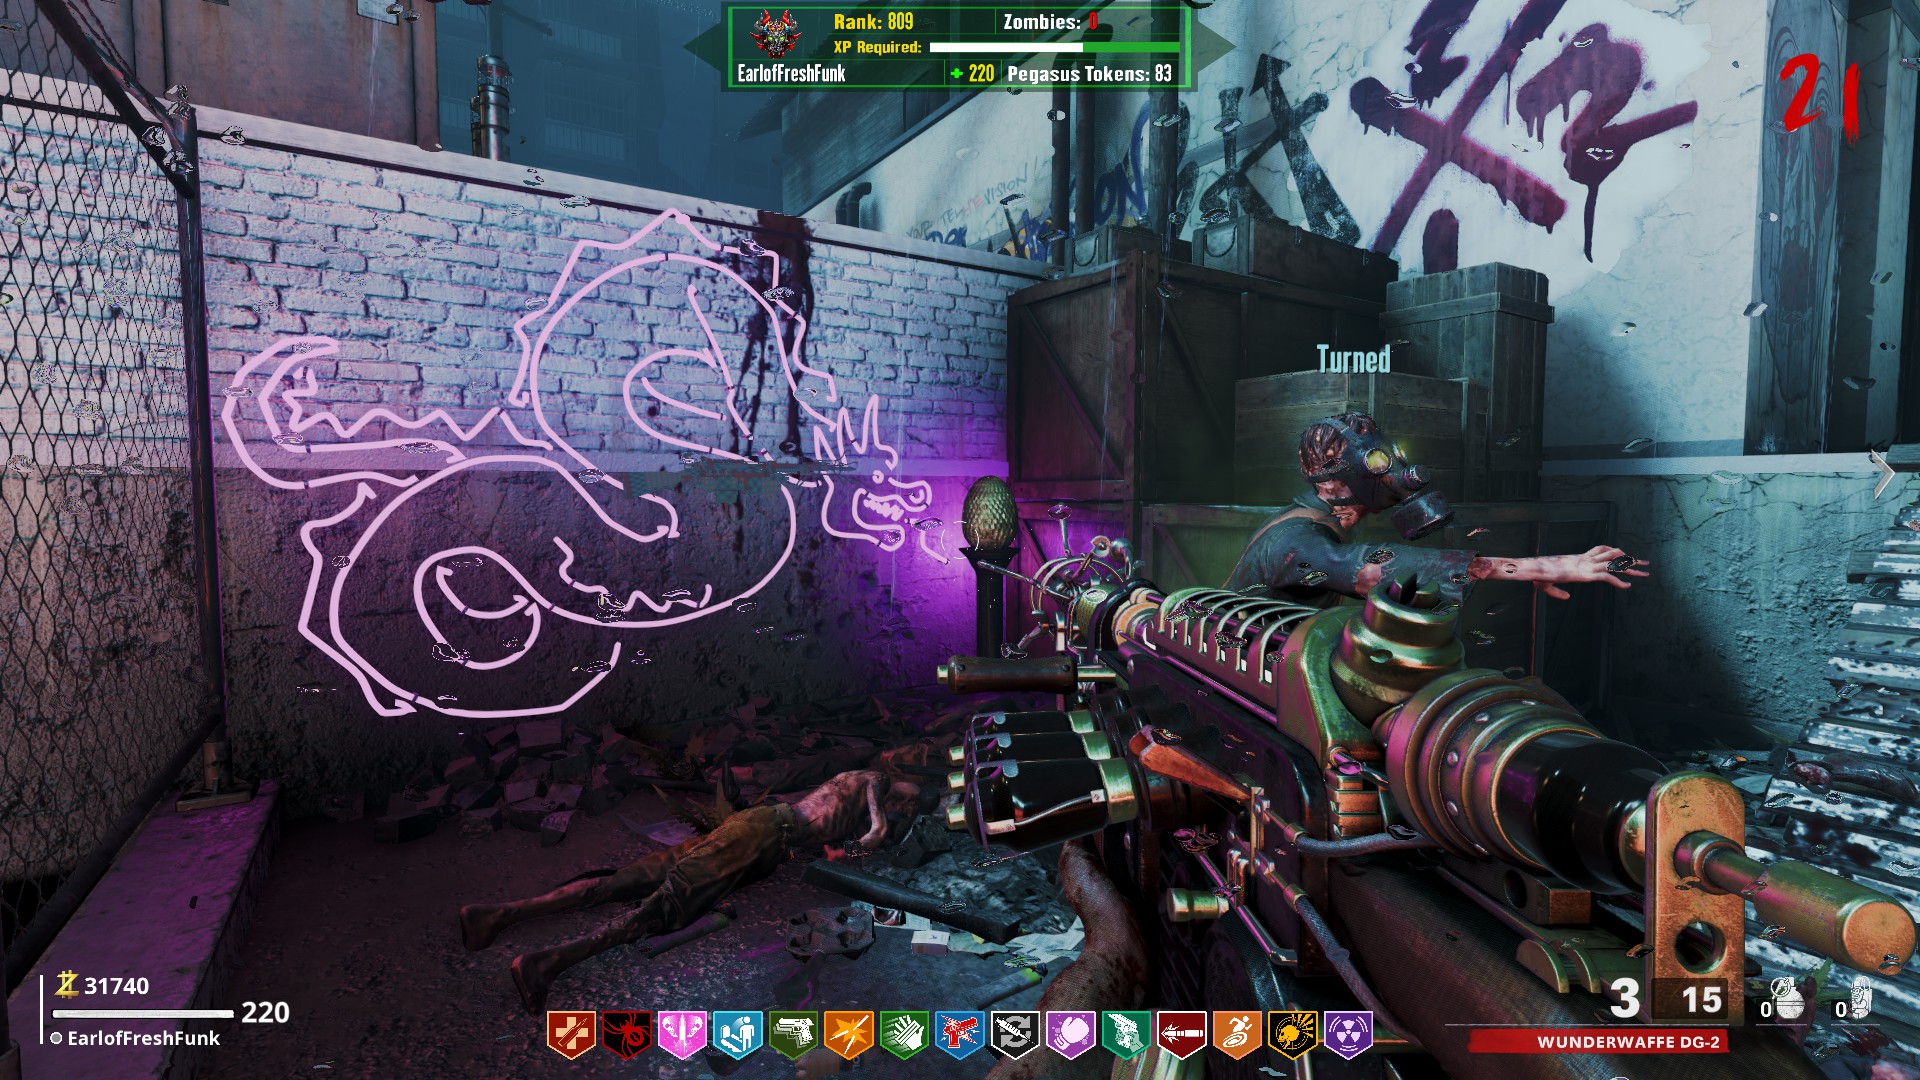
Unfortunately, the Wunderwaffe DG-2 seems to be bugged at the moment and does not have the intended effect. This makes the weapon largely unreliable.
Music EEs
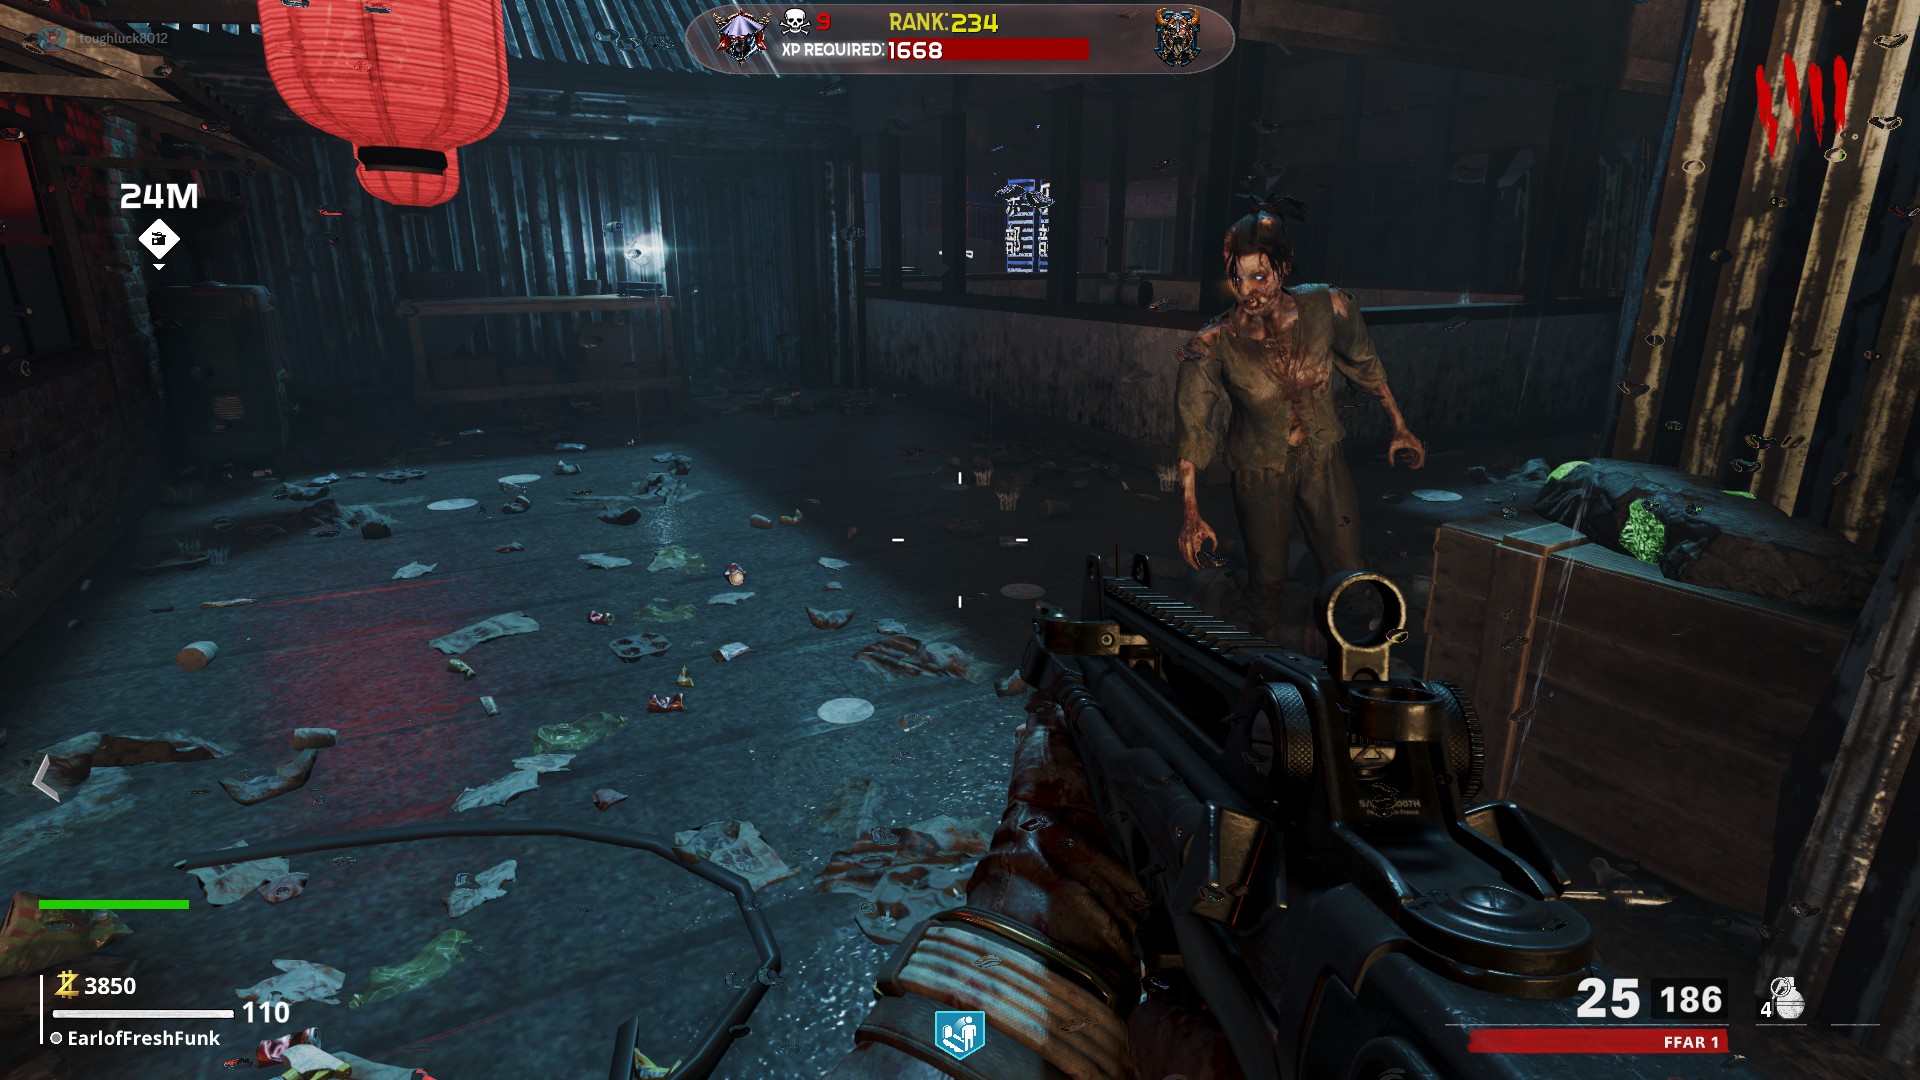
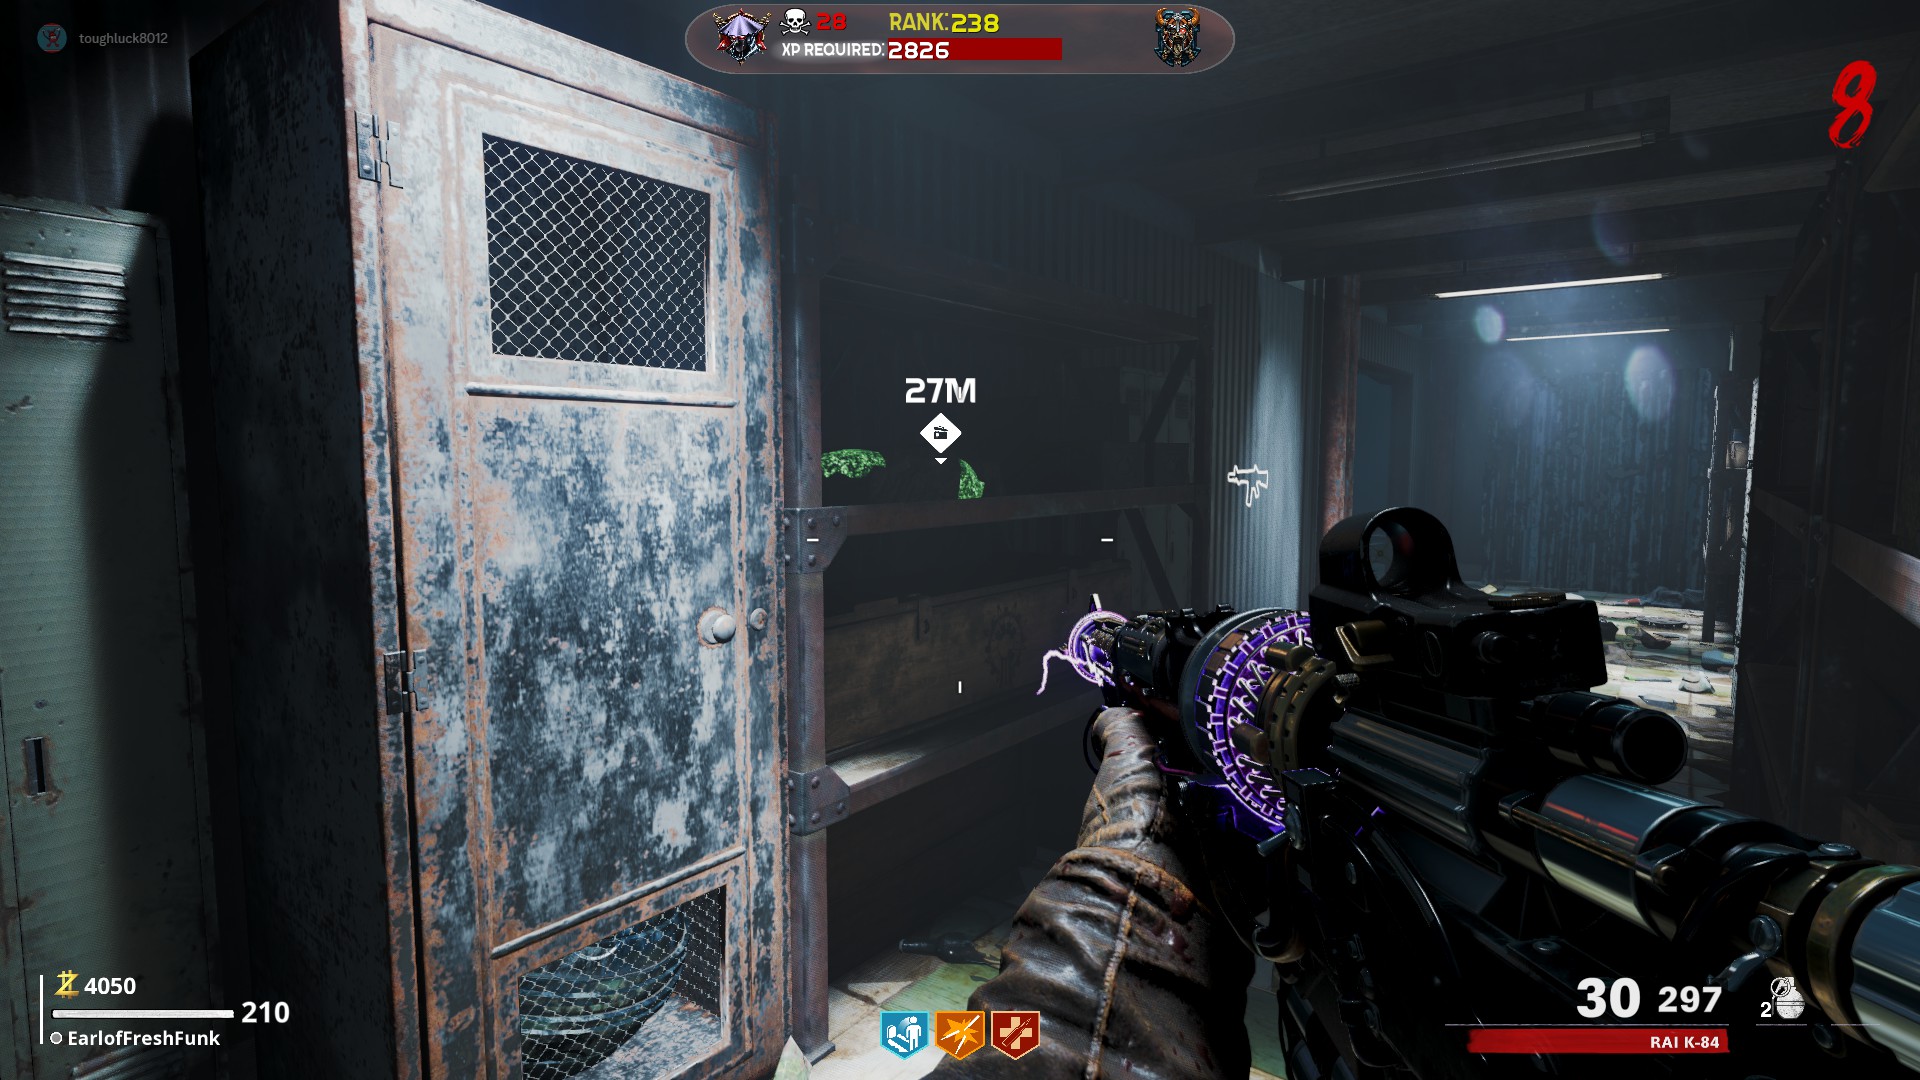
- Interact with 3 115 Rocks
 On the main roof, by the electrical power switch room and Deadshot Daquiri
 On the upper roof, in the hallway between PHD Flopper and Tactiquilla, on a shelf
 Song 2: Elena Siegman - Mystery
- Interact with 3 Teddy Bears
Directly next to the Speed Cola Machine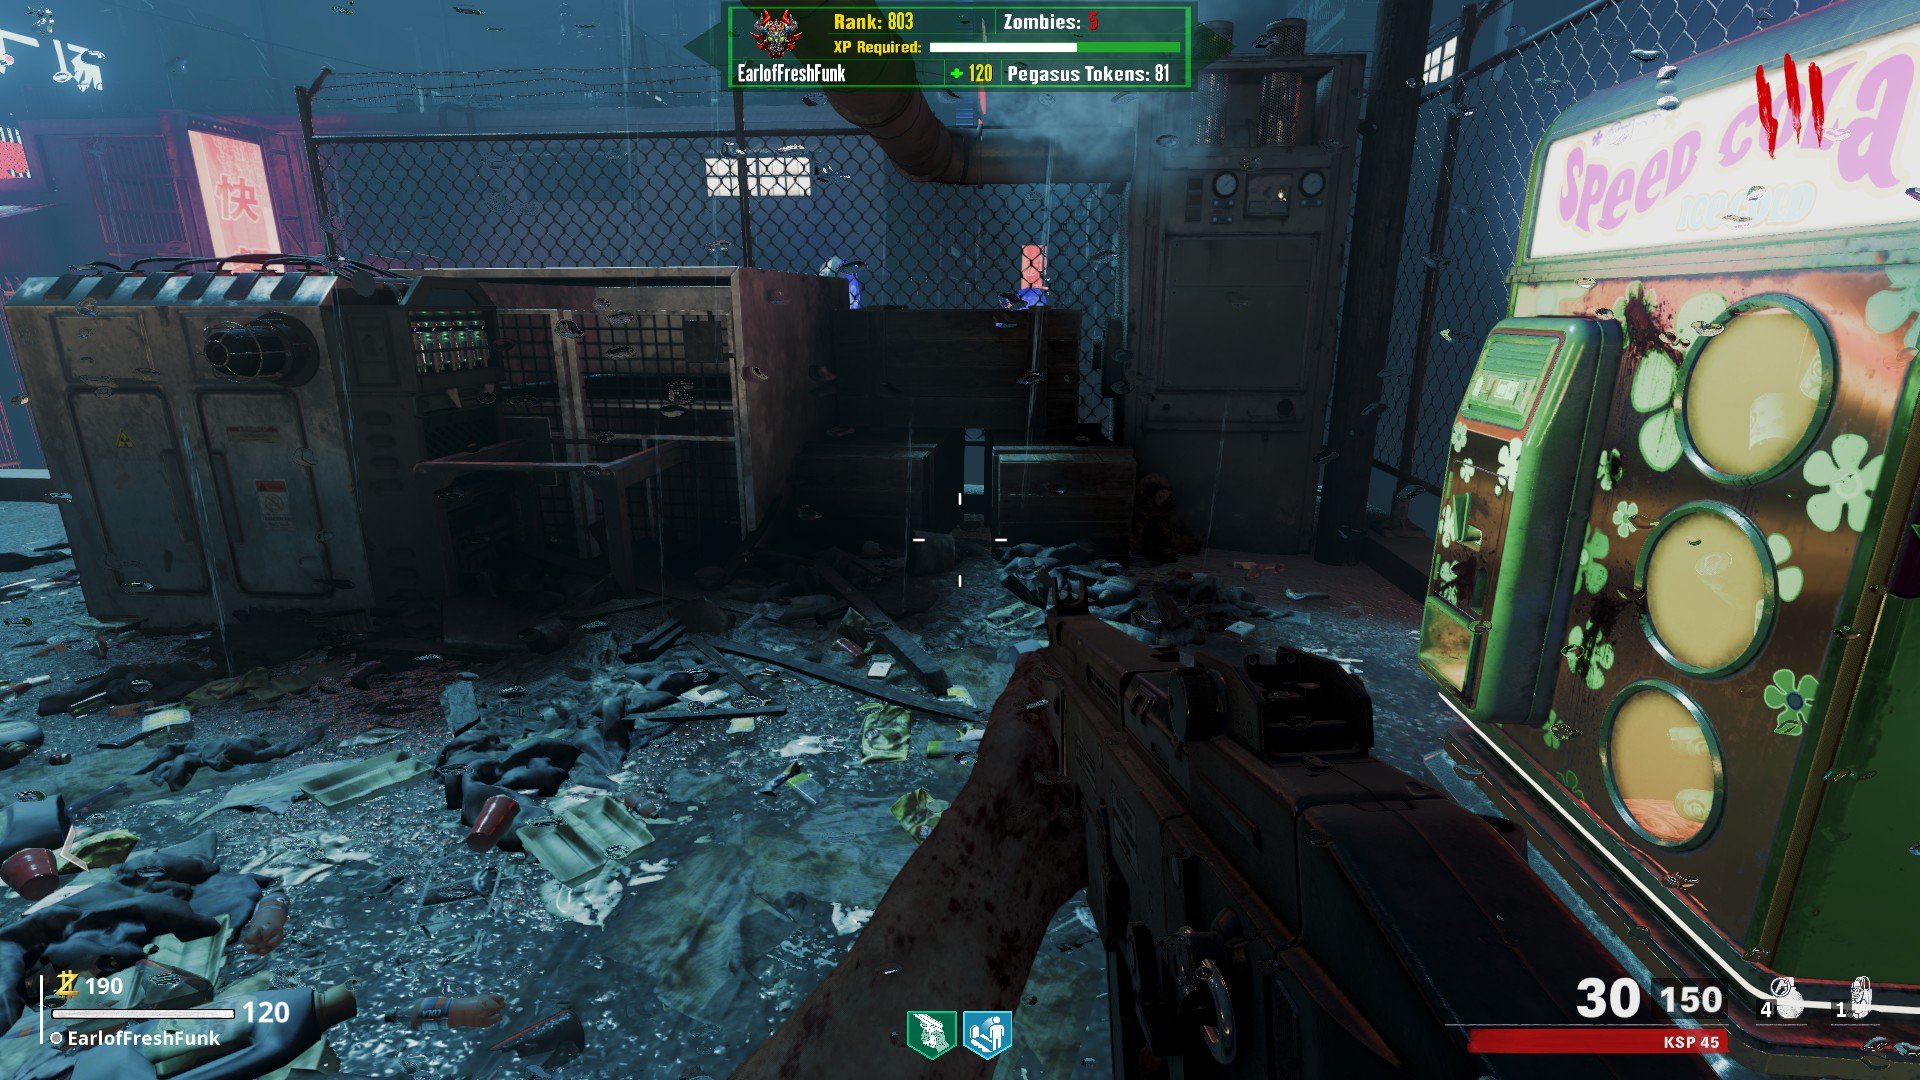 To the right of the Double Tap machine, in the corner by the power switch on a couch
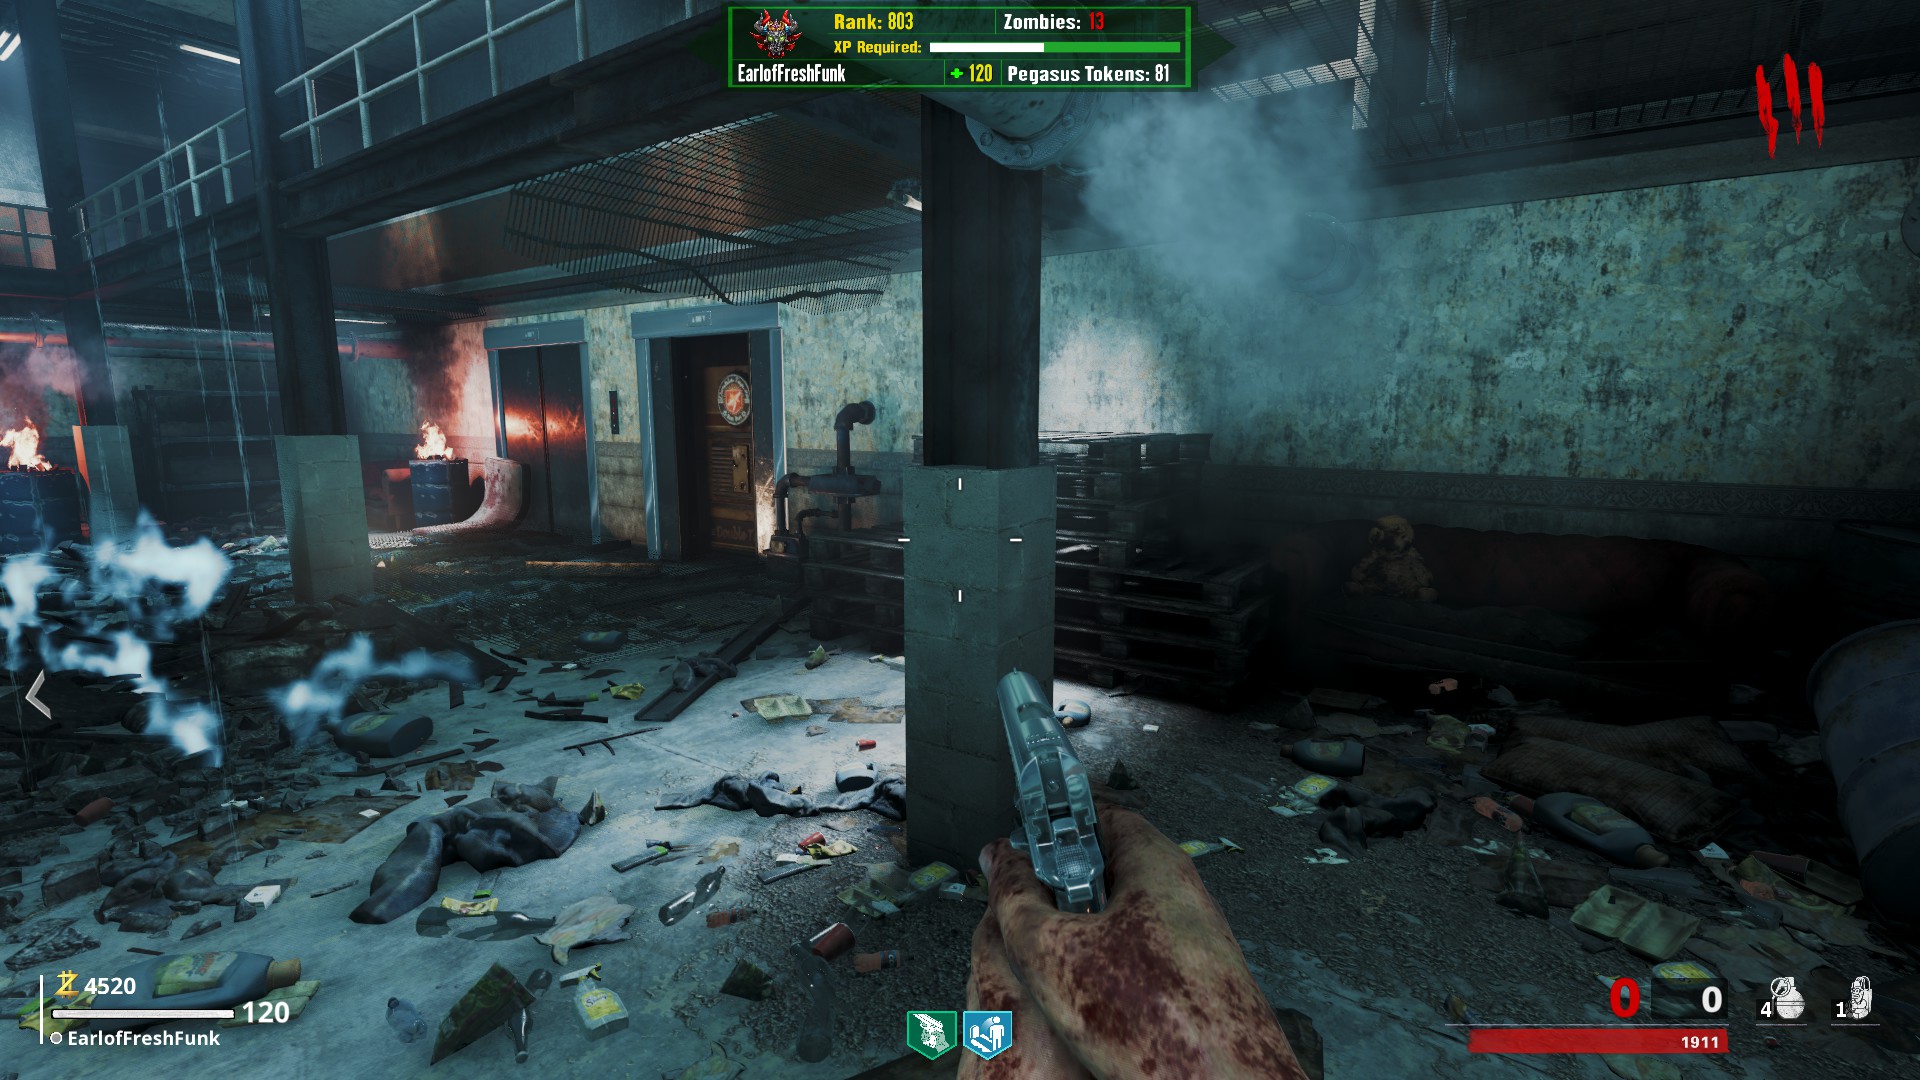 Song 3: HOMEBODIES - ADVIL
- Interact with 3 Red Records
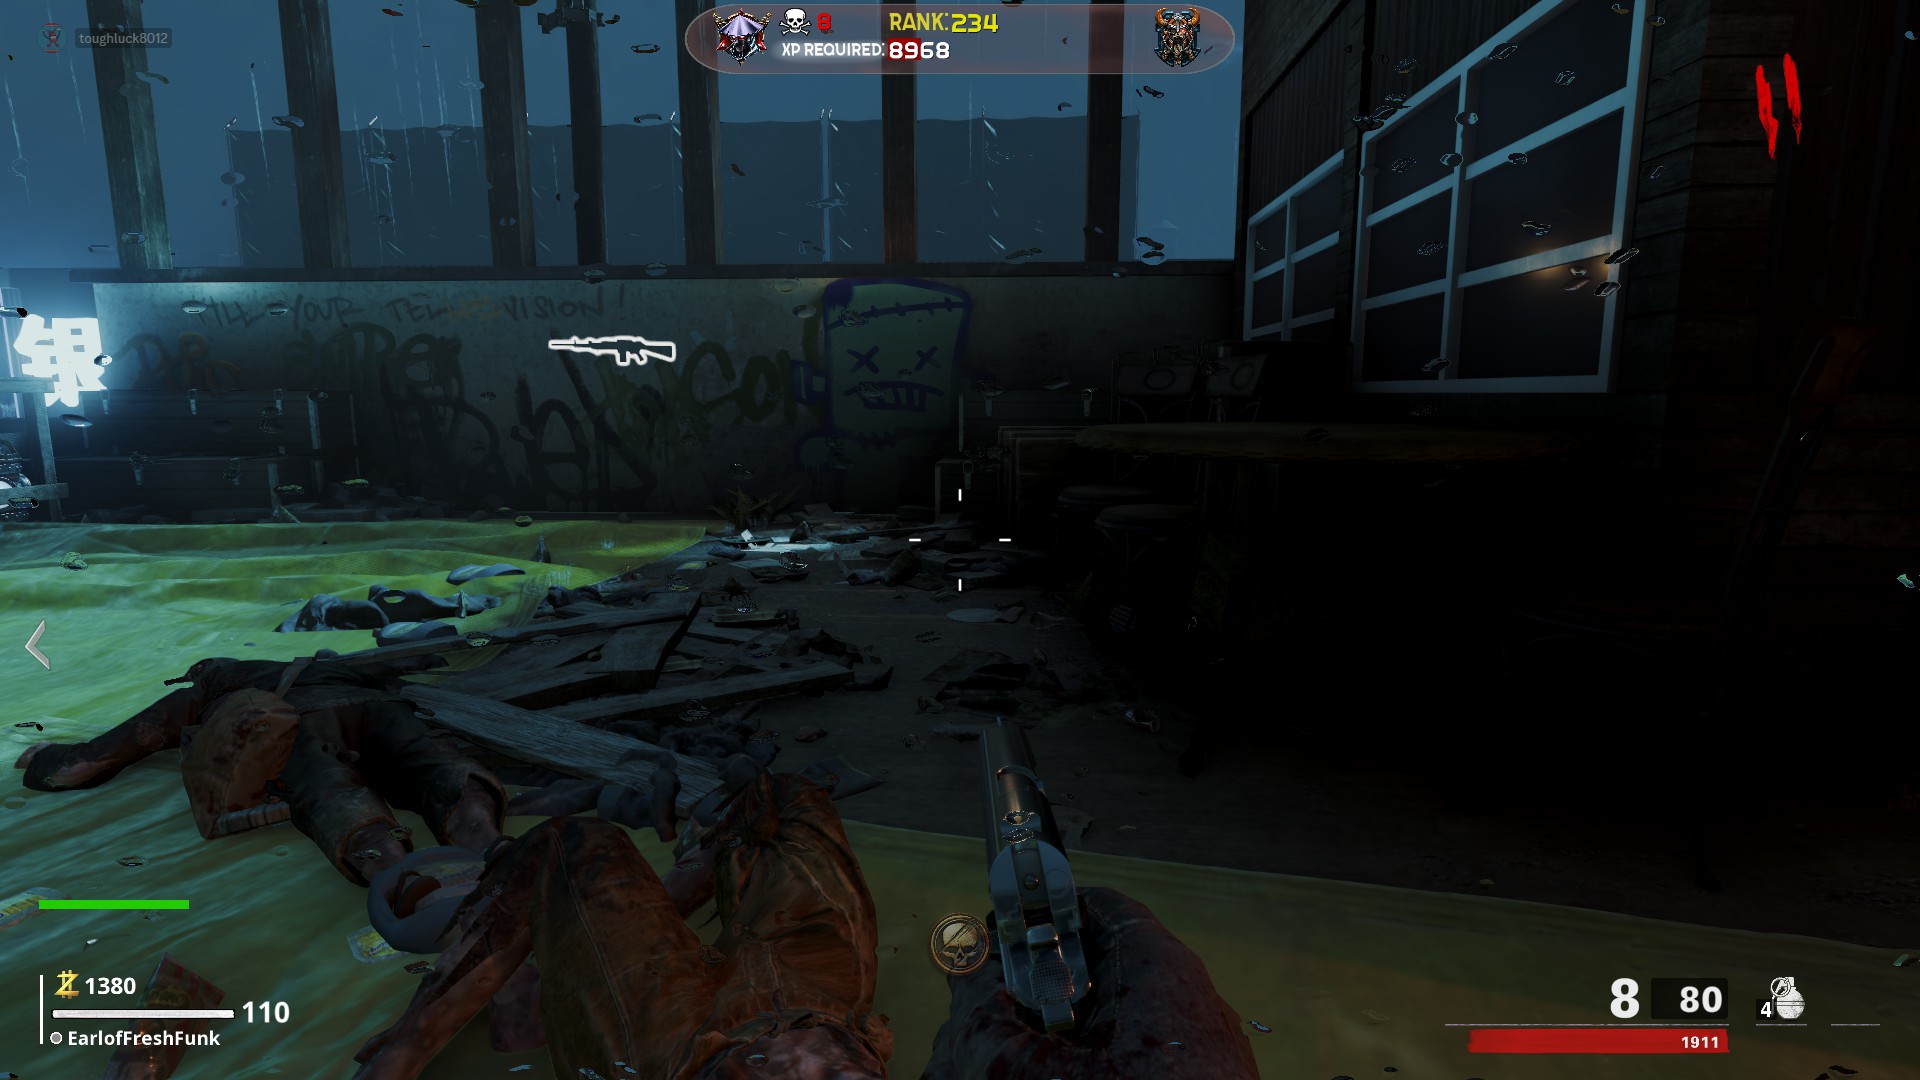 In the residential area, to the left of the staircase with the Milano 821 wallbuy, on the countertop on the right side
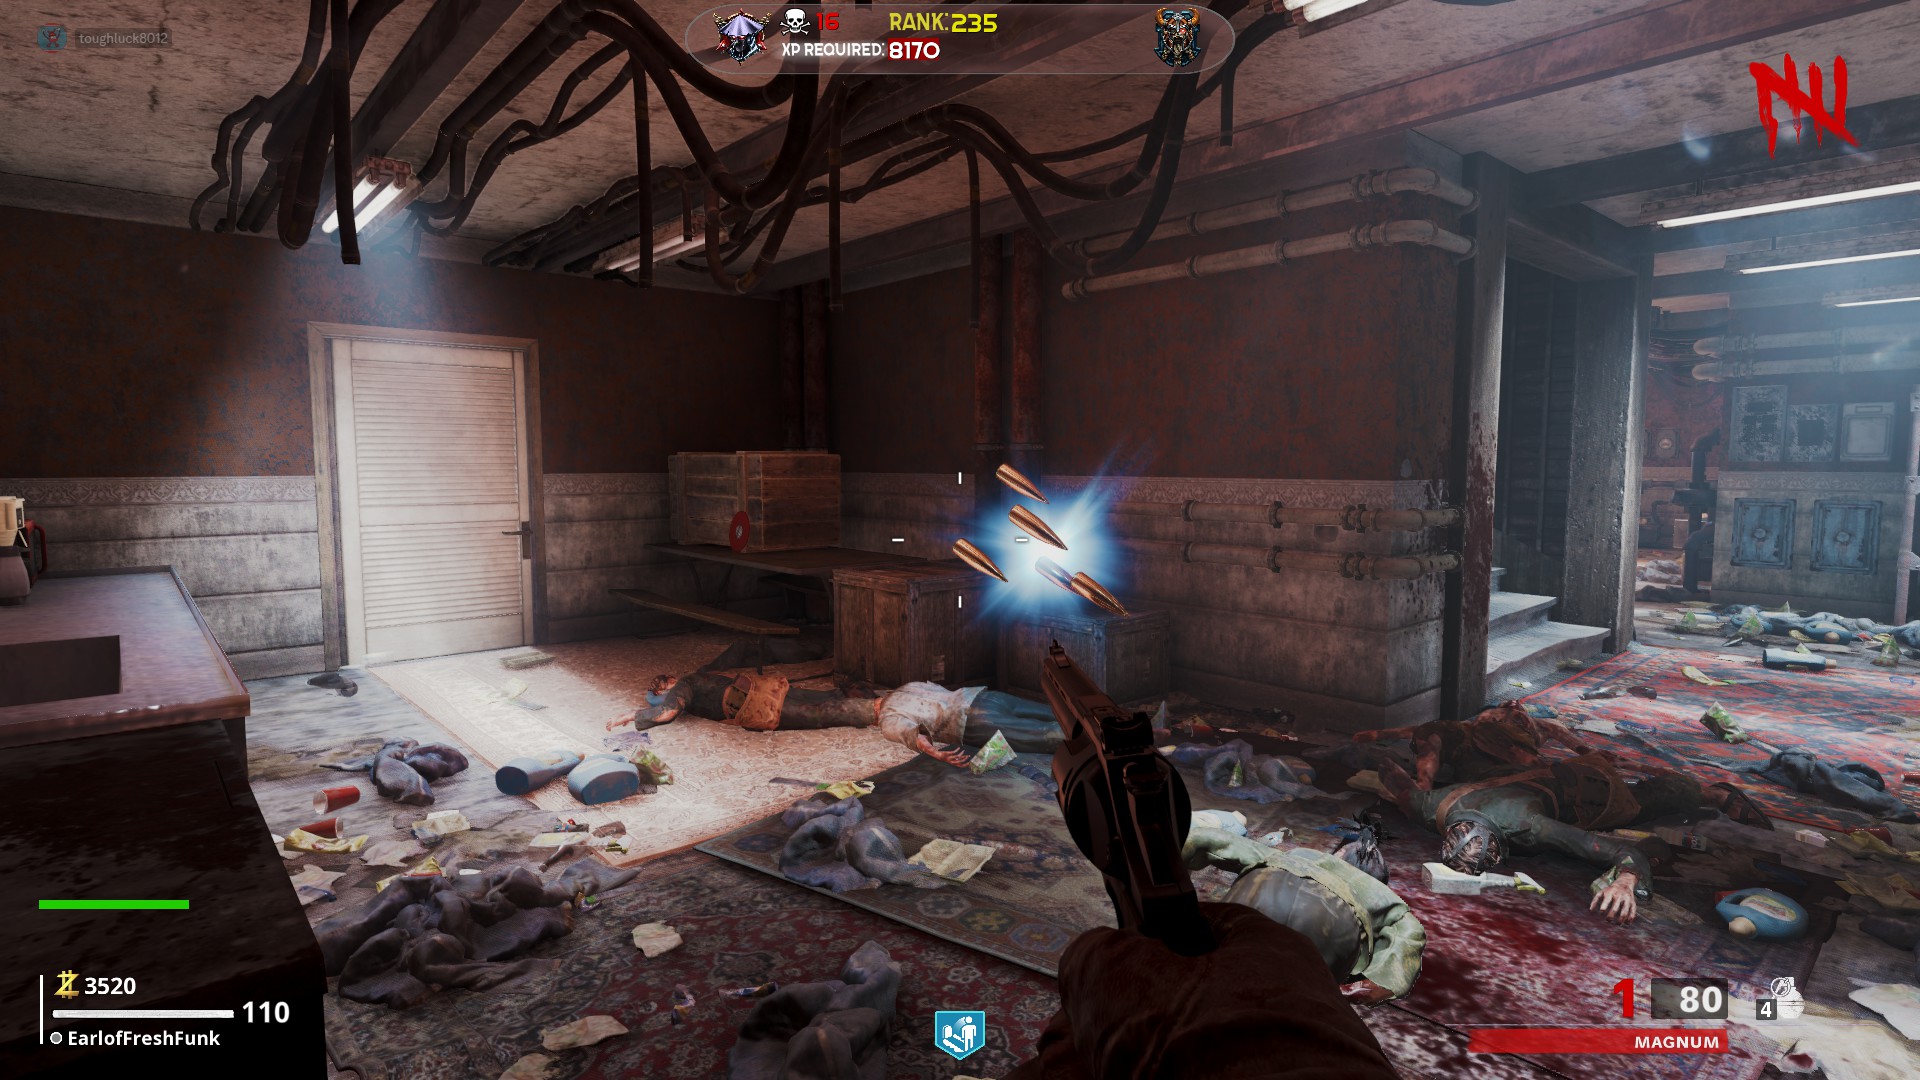 In between the kitchen area with the chemical mixing station and the main roof door, on a box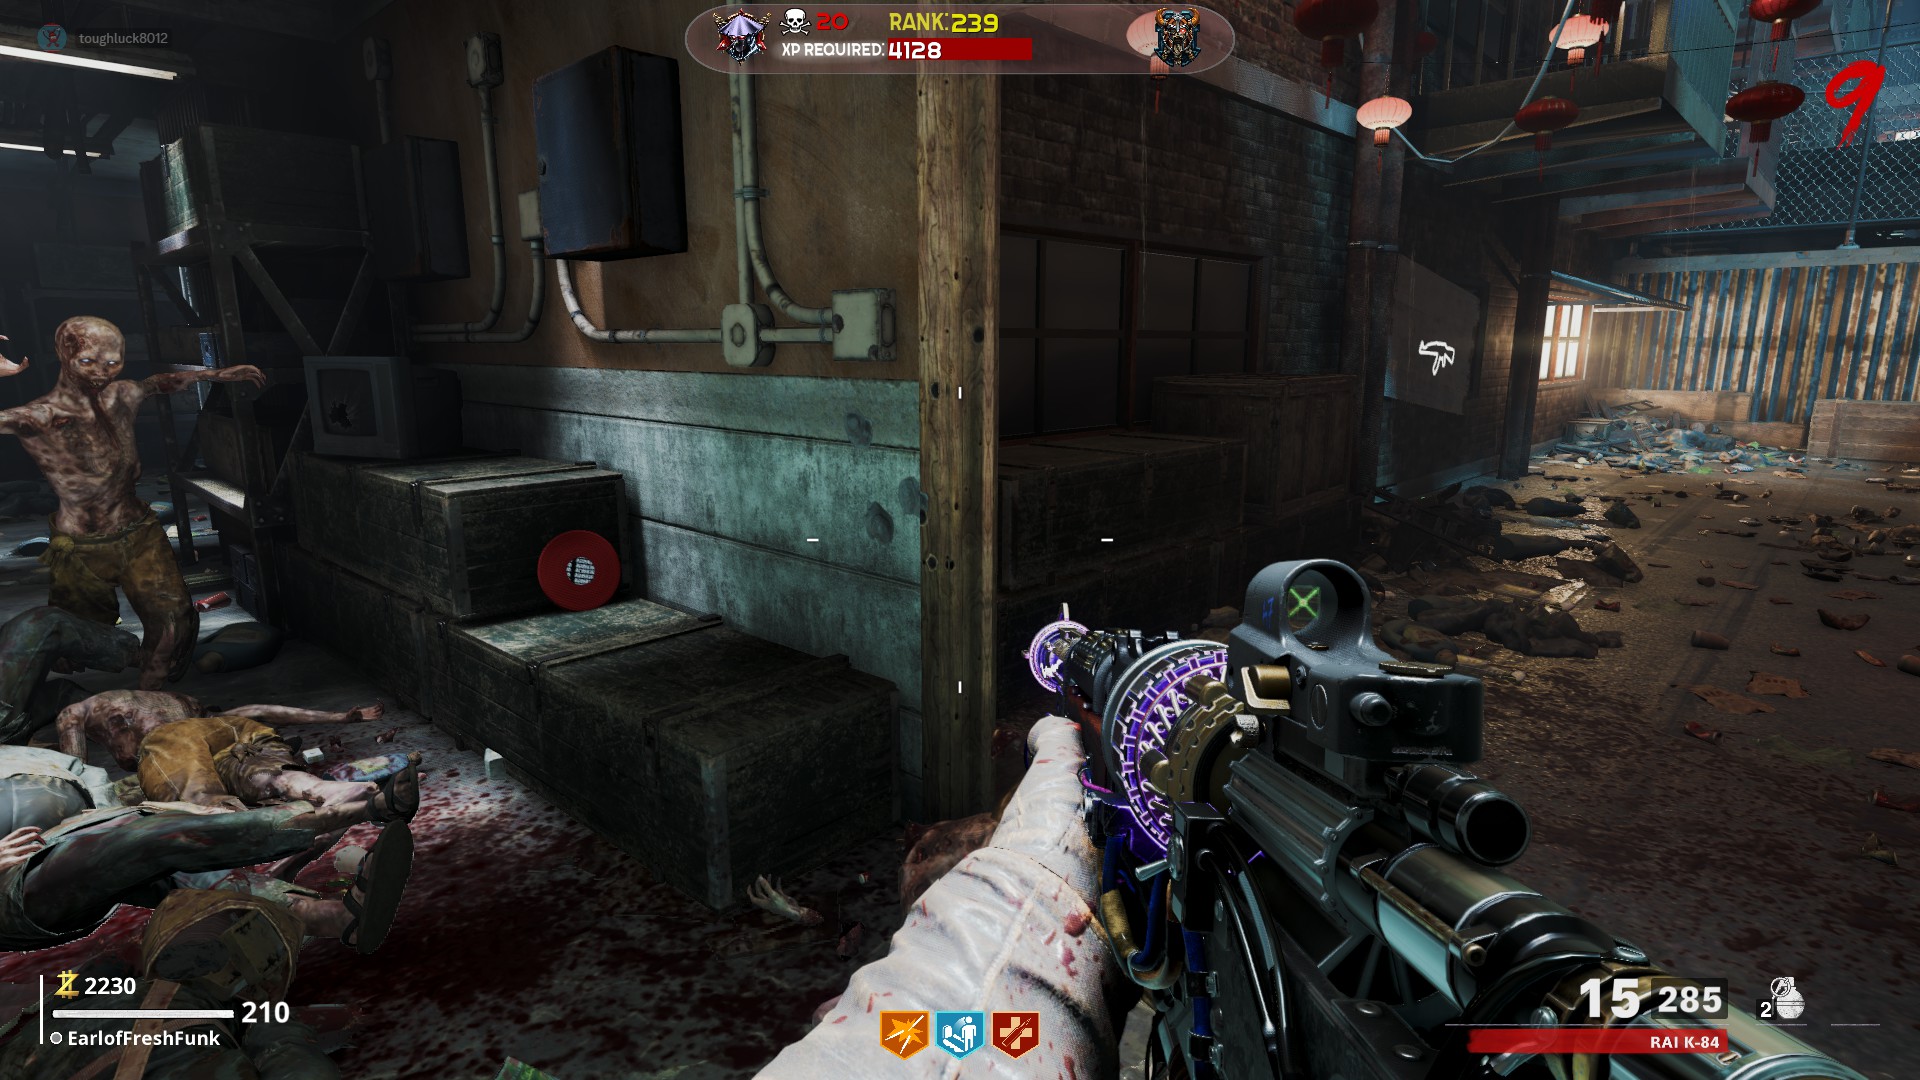
Round 200 Easter Egg
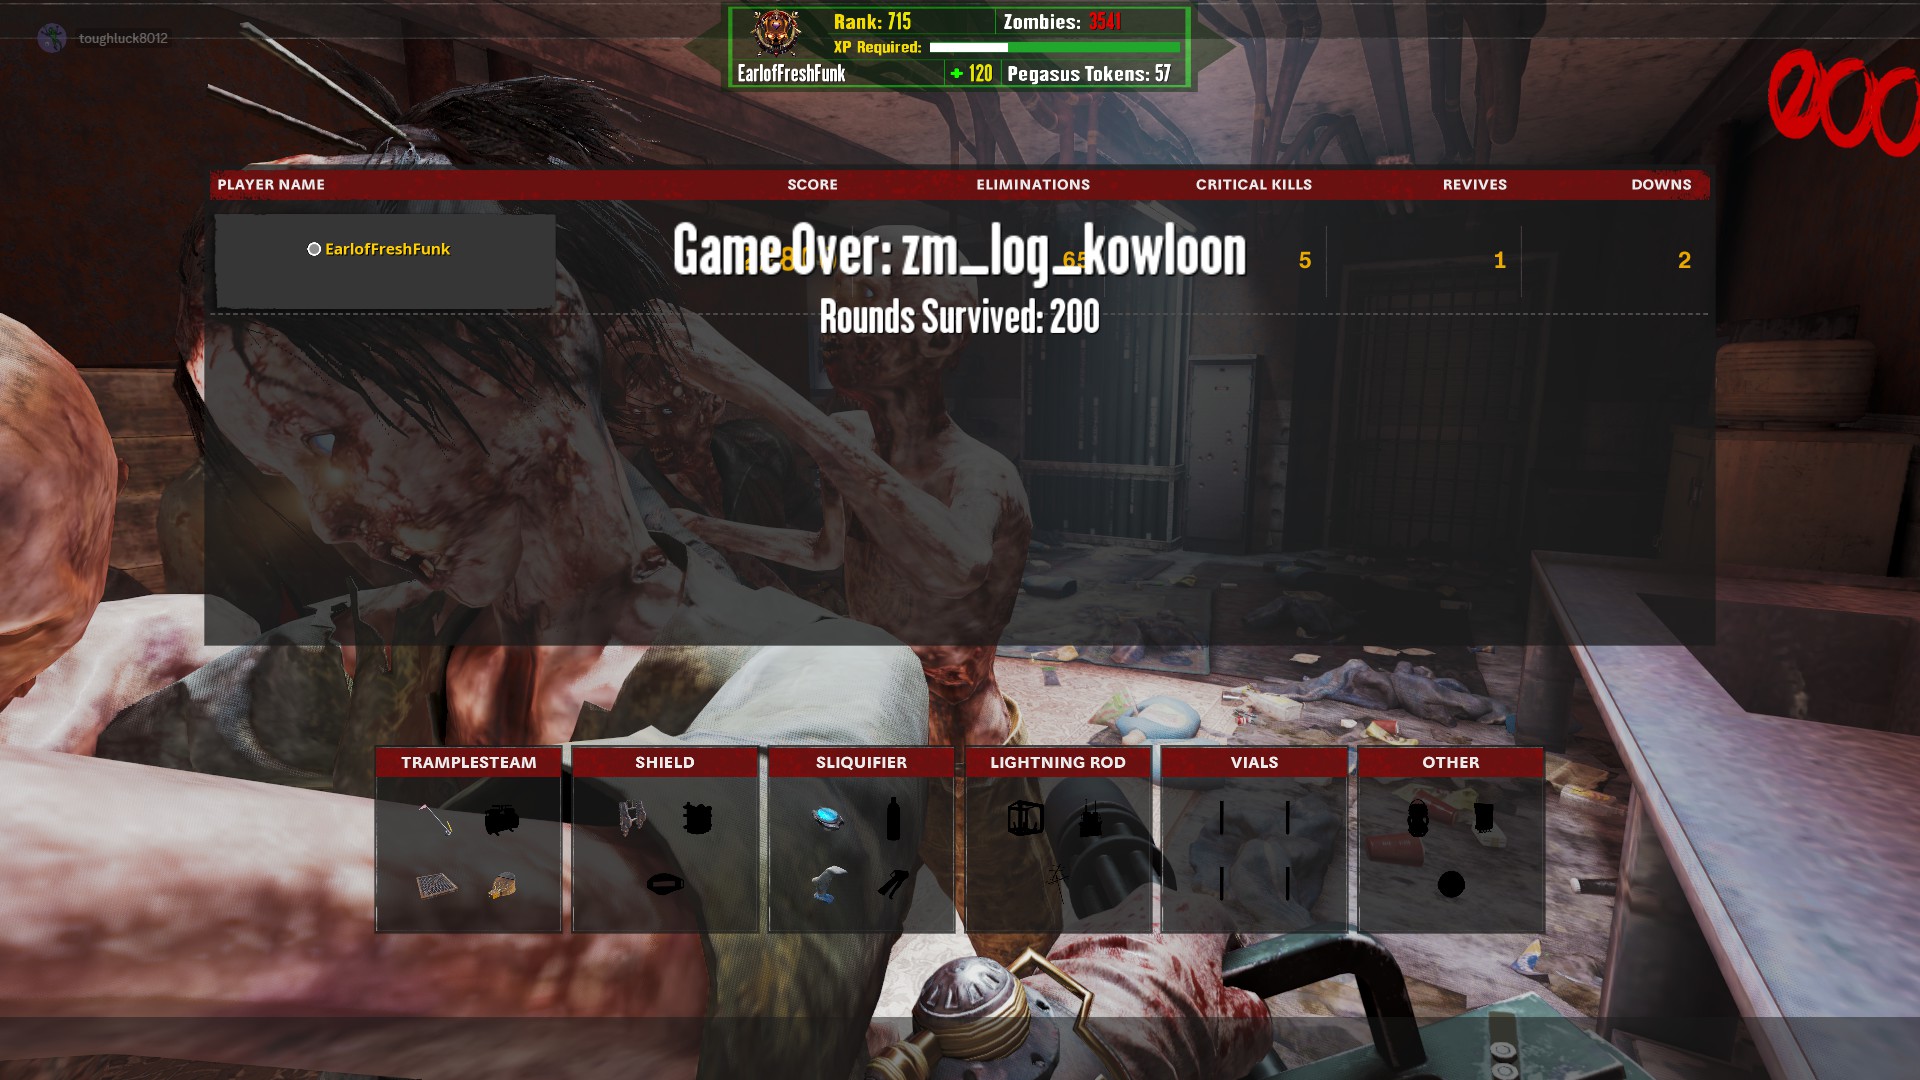
There is a very simple easter egg in the sewing machine room that will automatically put you on round 200. Why? I don't really know why you would do this other than to mess with your friends maybe. The zombies have so much health that you can continuously hold a death machine on the head of a single zombie for the full duration and not kill it.
There is a series of 8 sewing machines you need to interact with in any order. After jumping across from the spawn roof, head straight through the door and interact with the first machine on the left. You will hear a sound. Activate the machine across from it, and then the one next to it and so on, until you have activated all 8 of them in a row.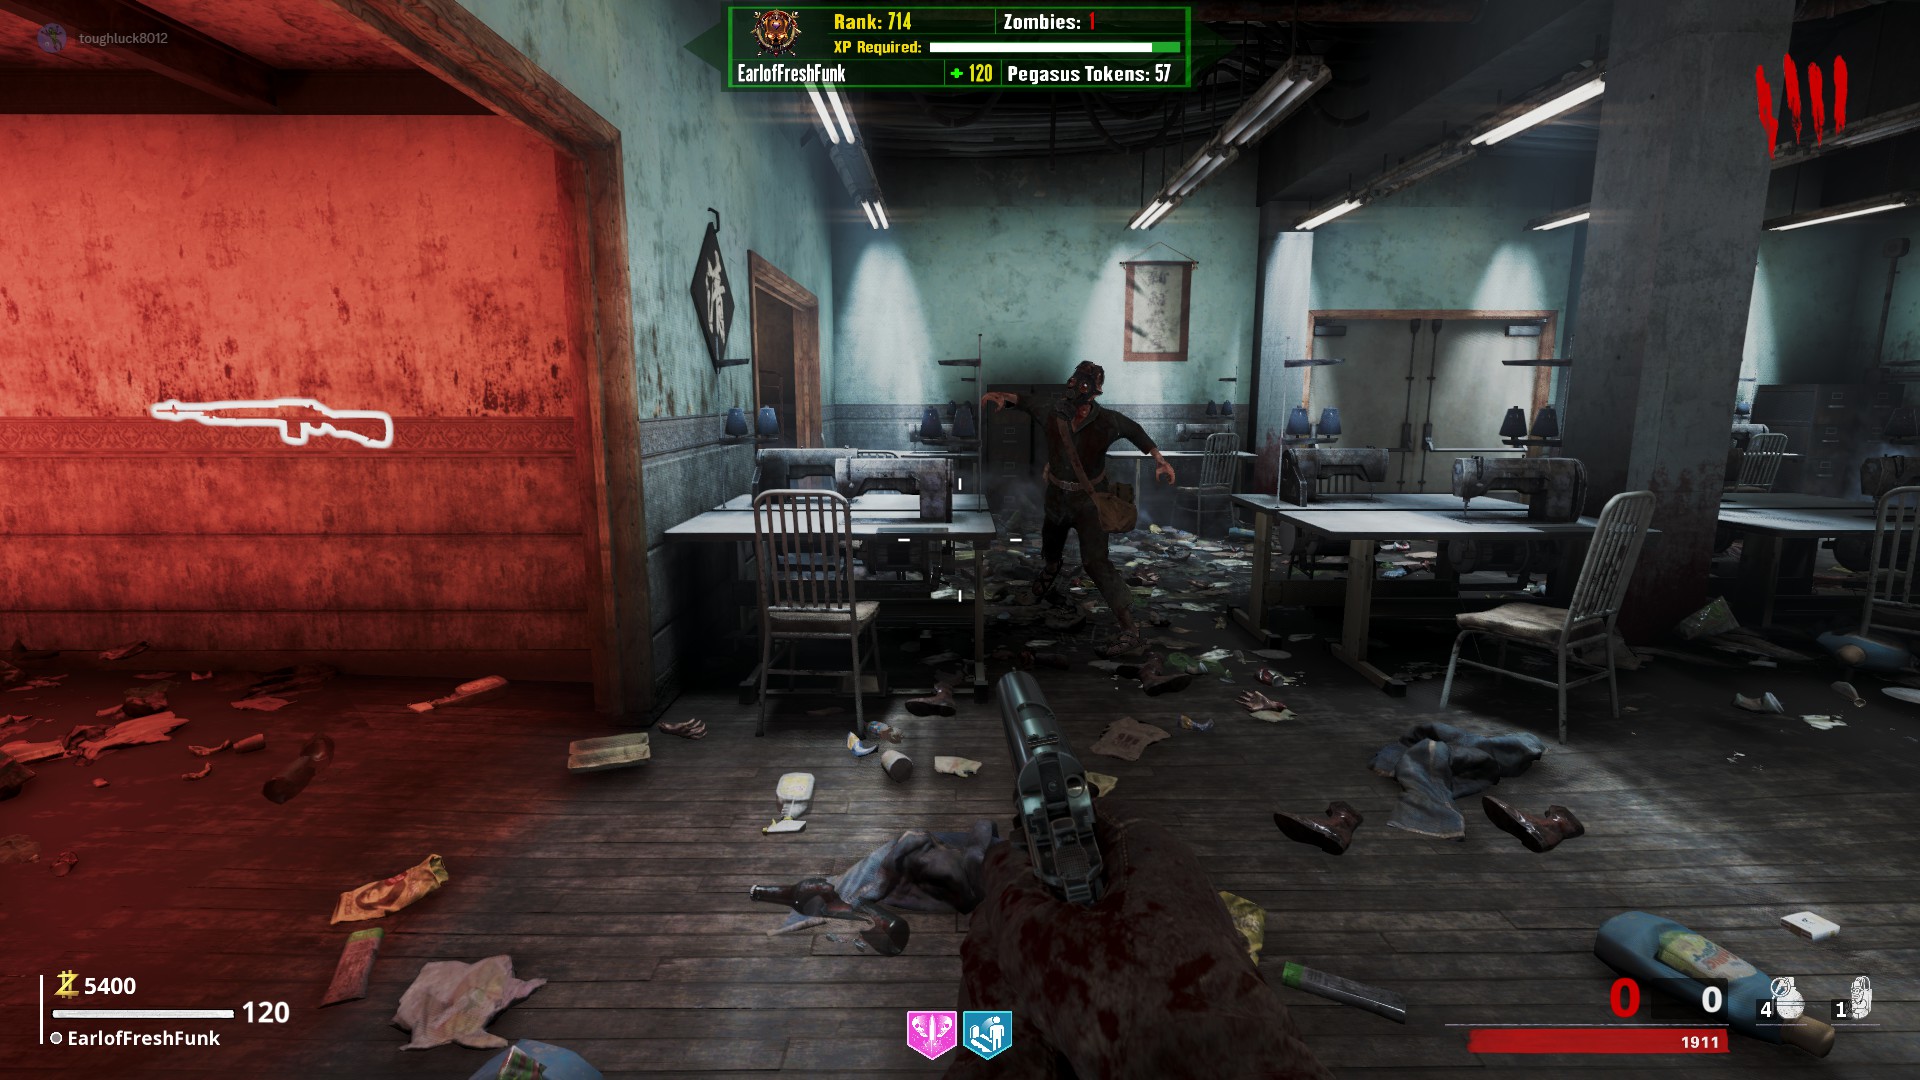
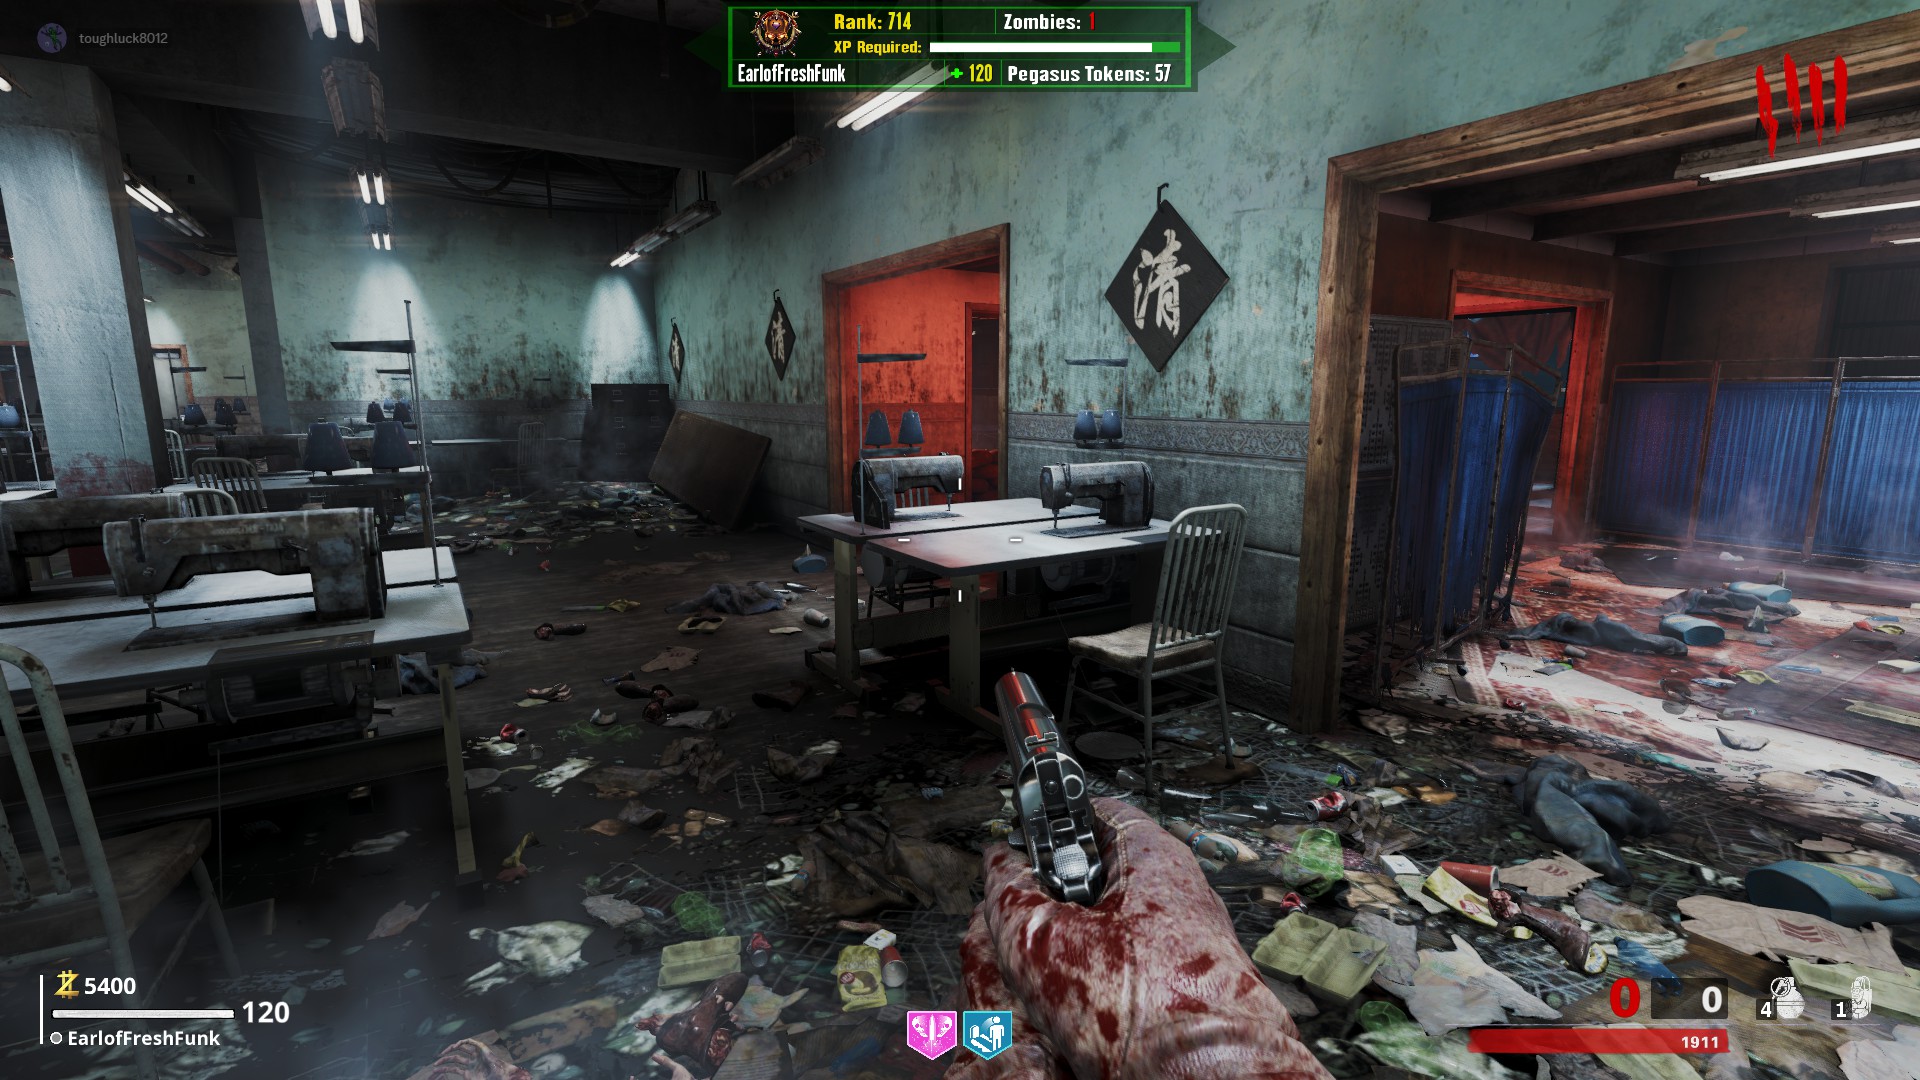
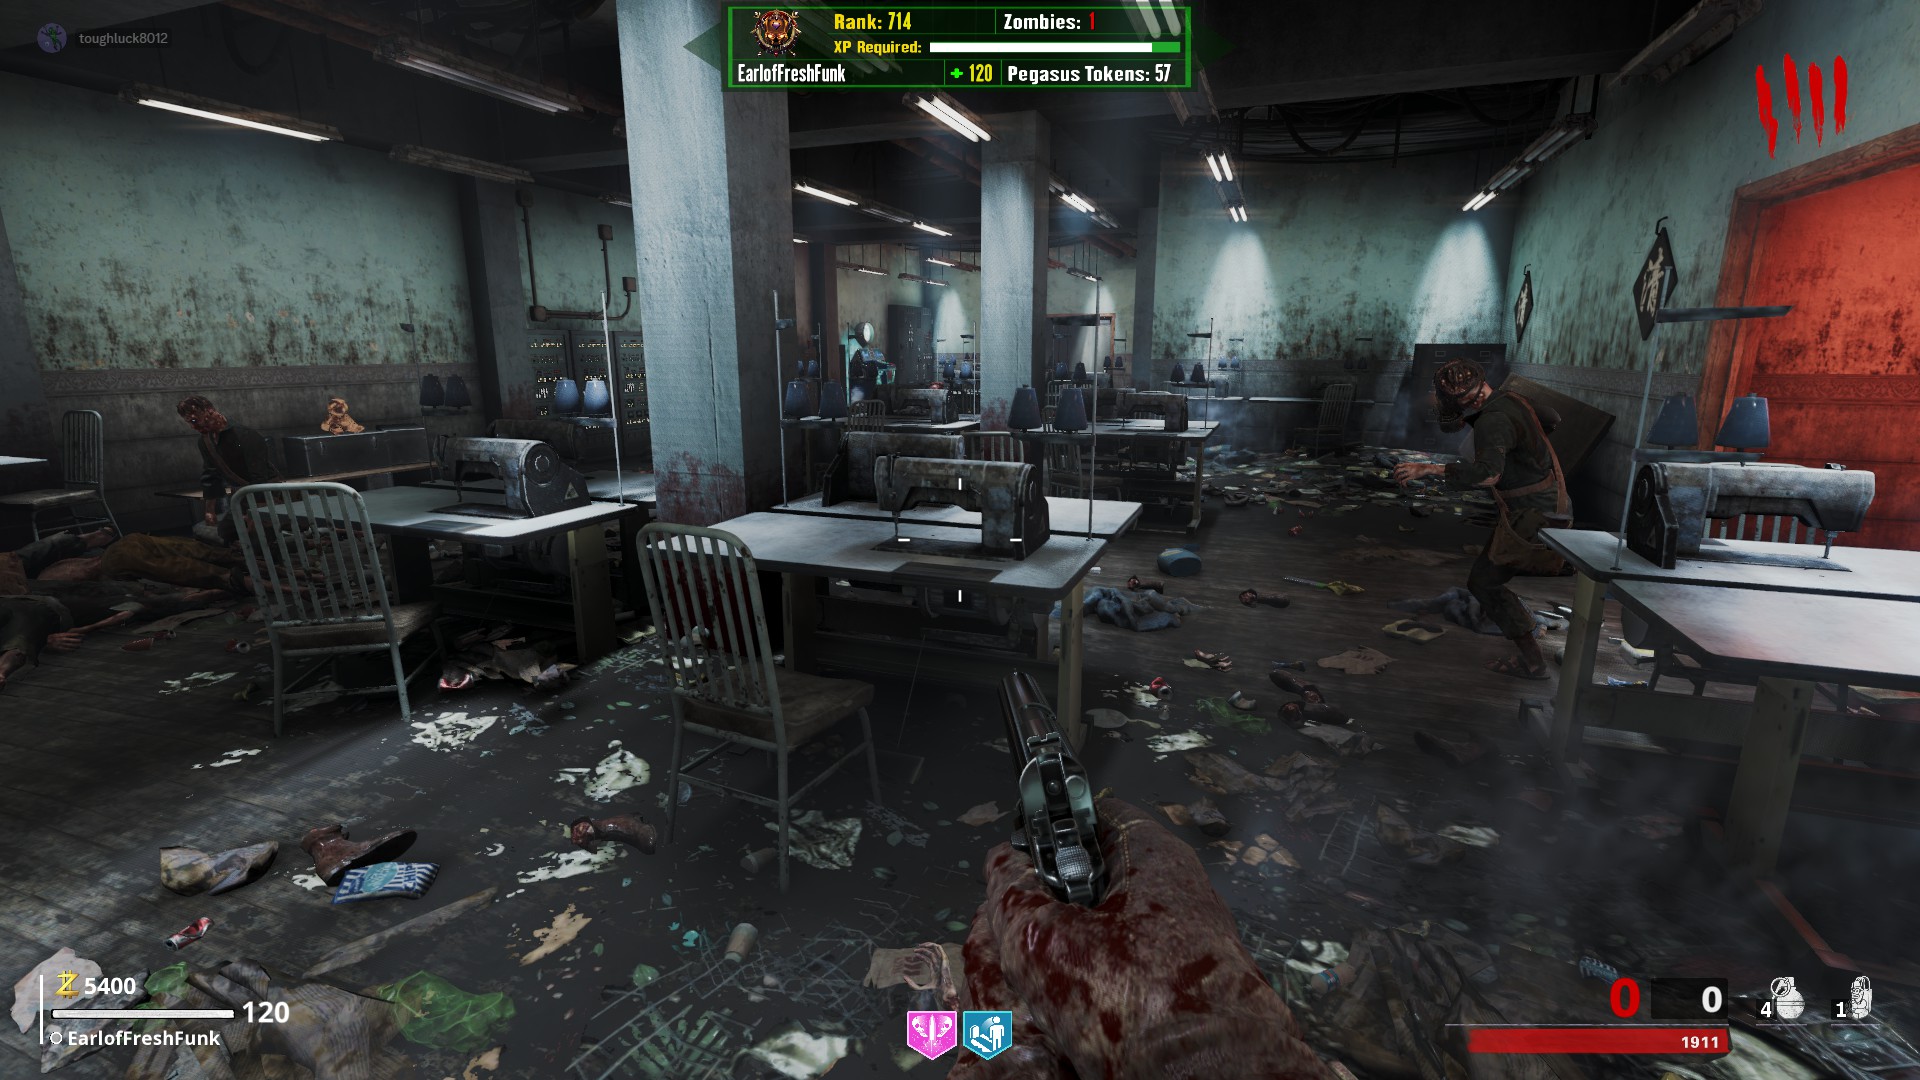
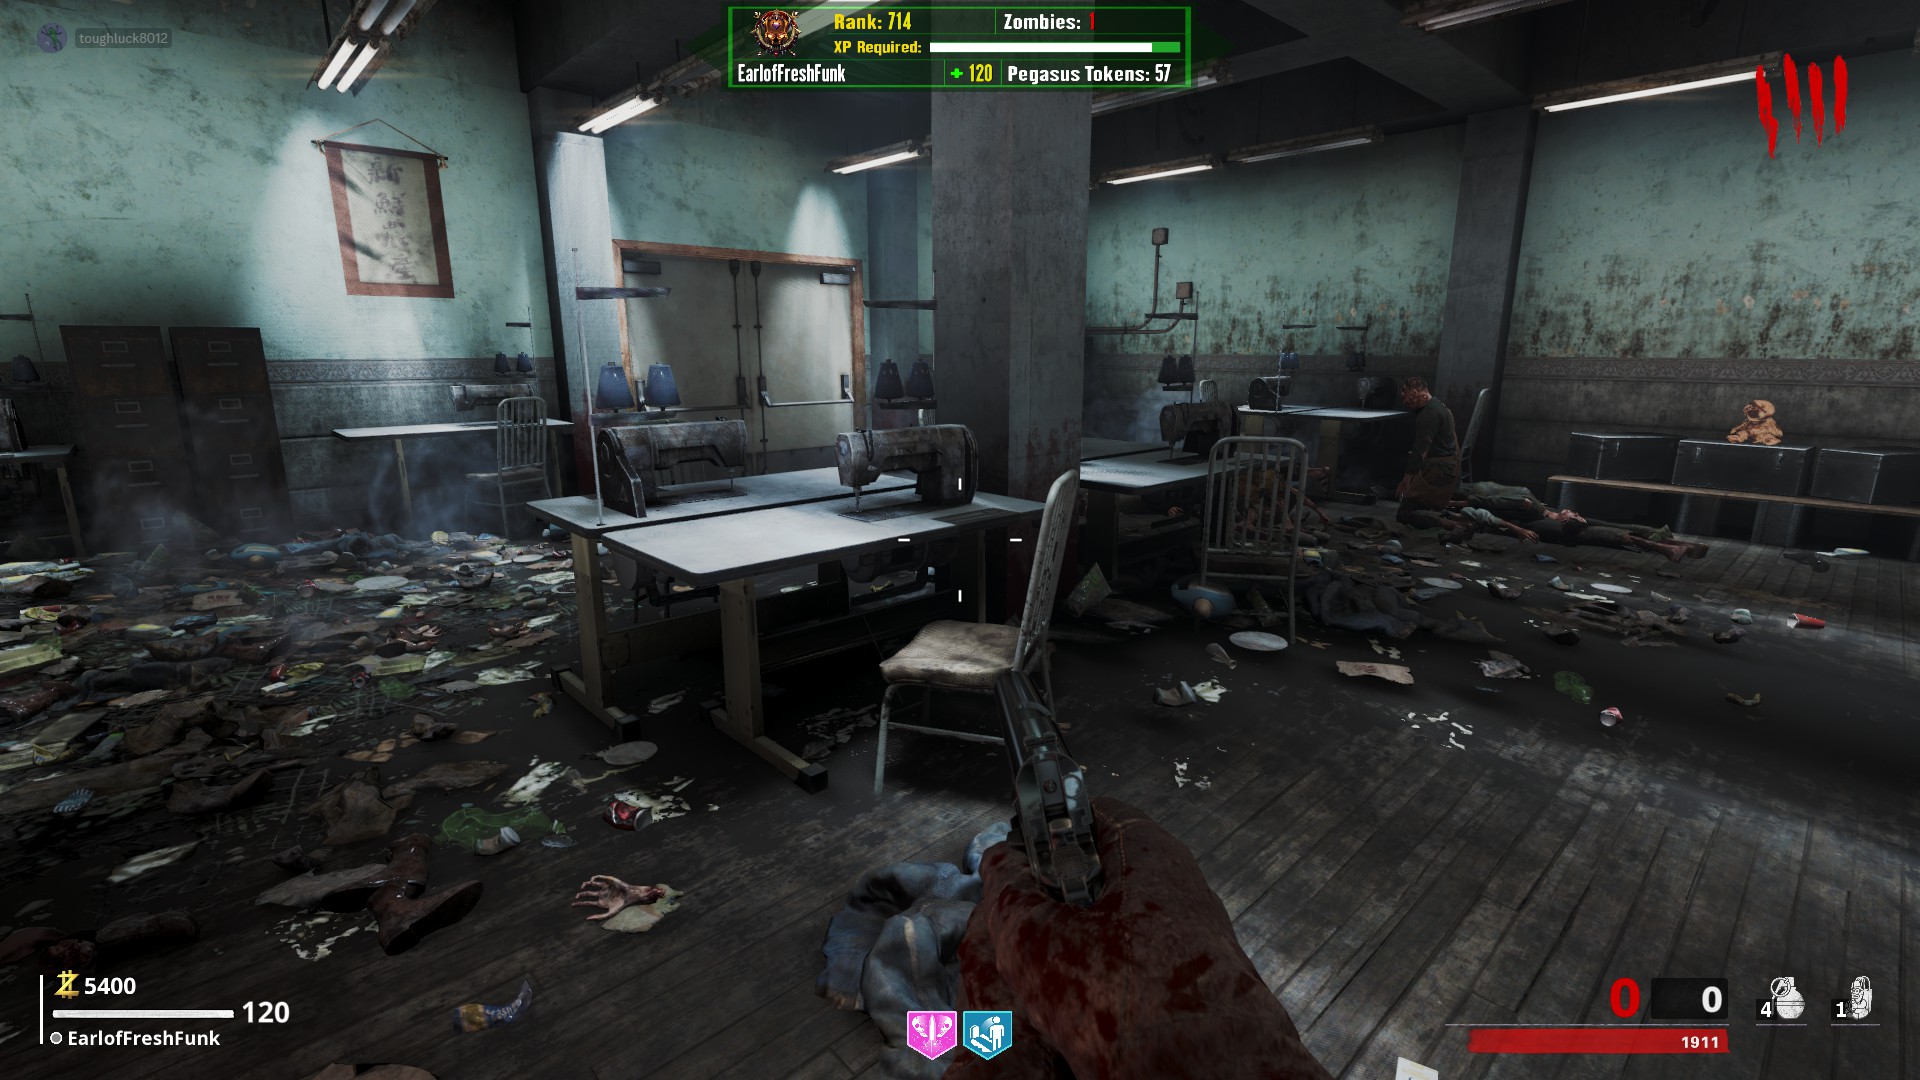
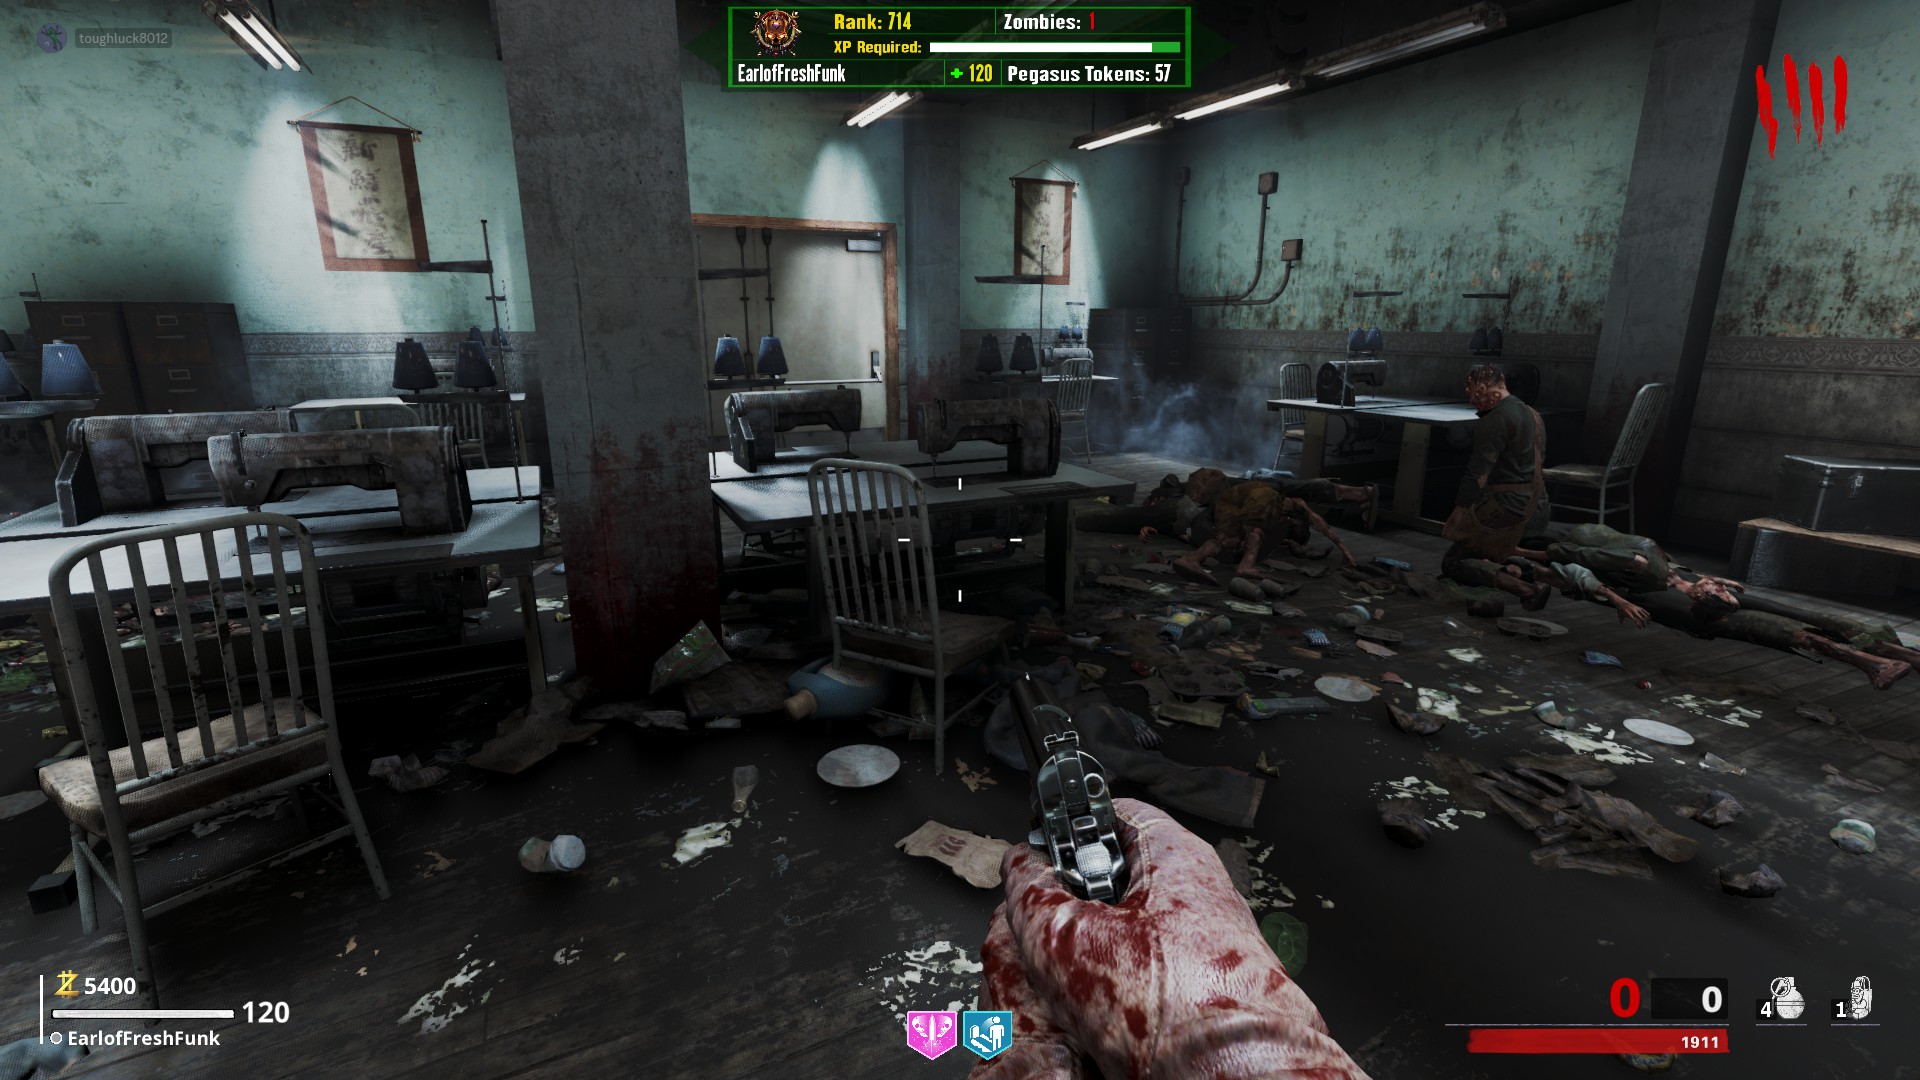
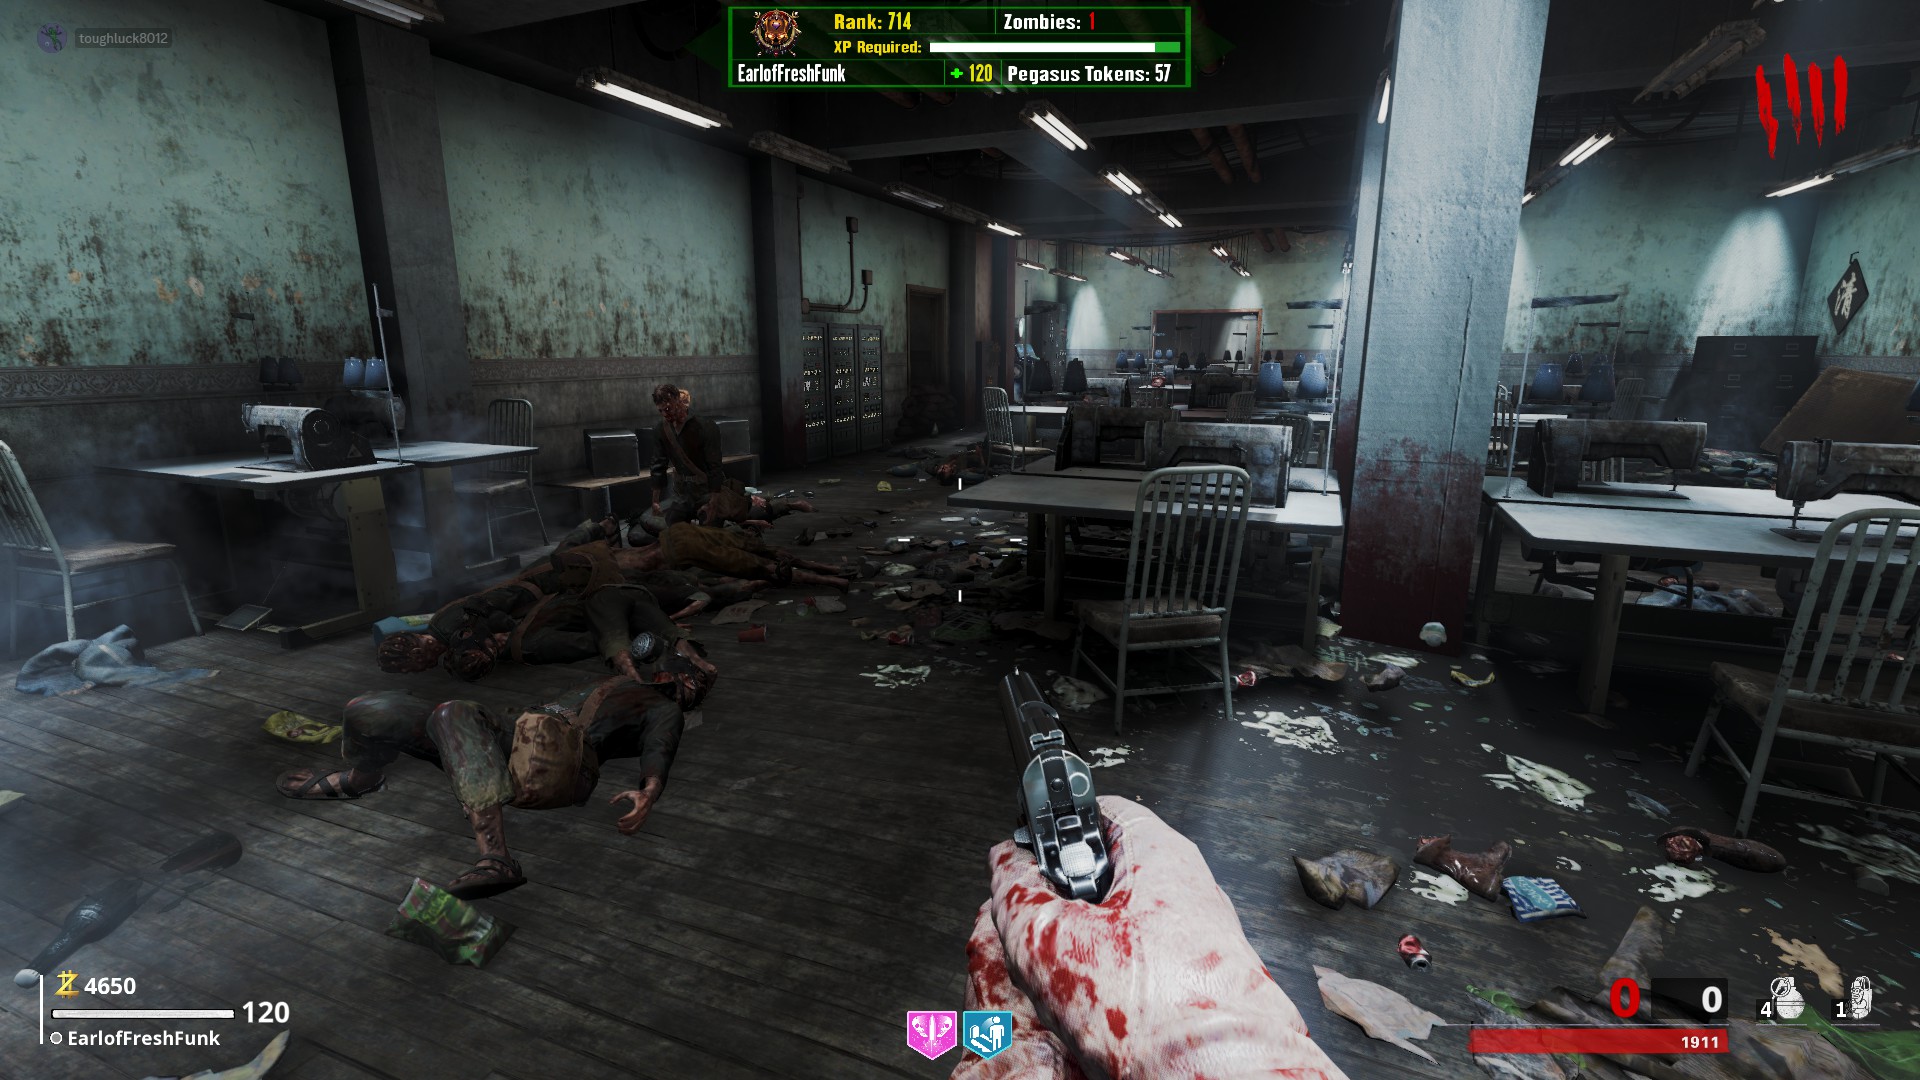
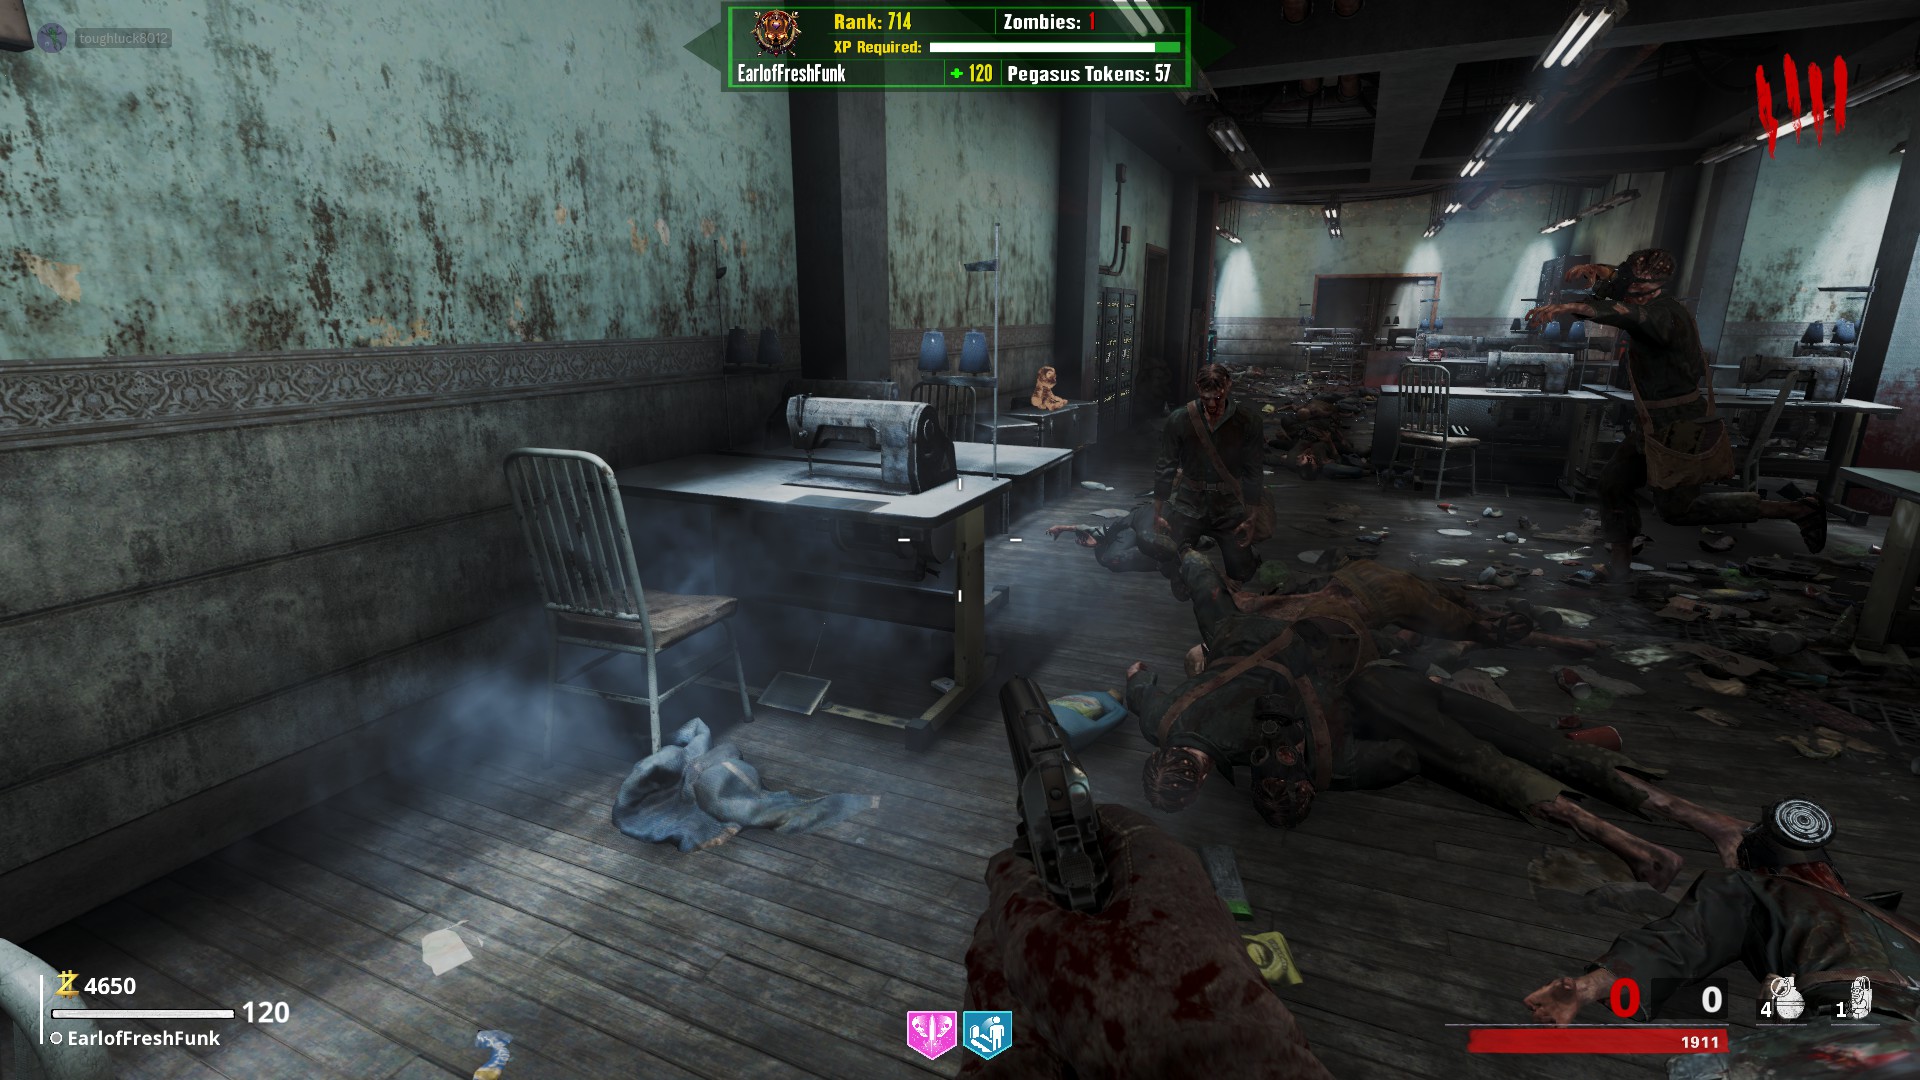
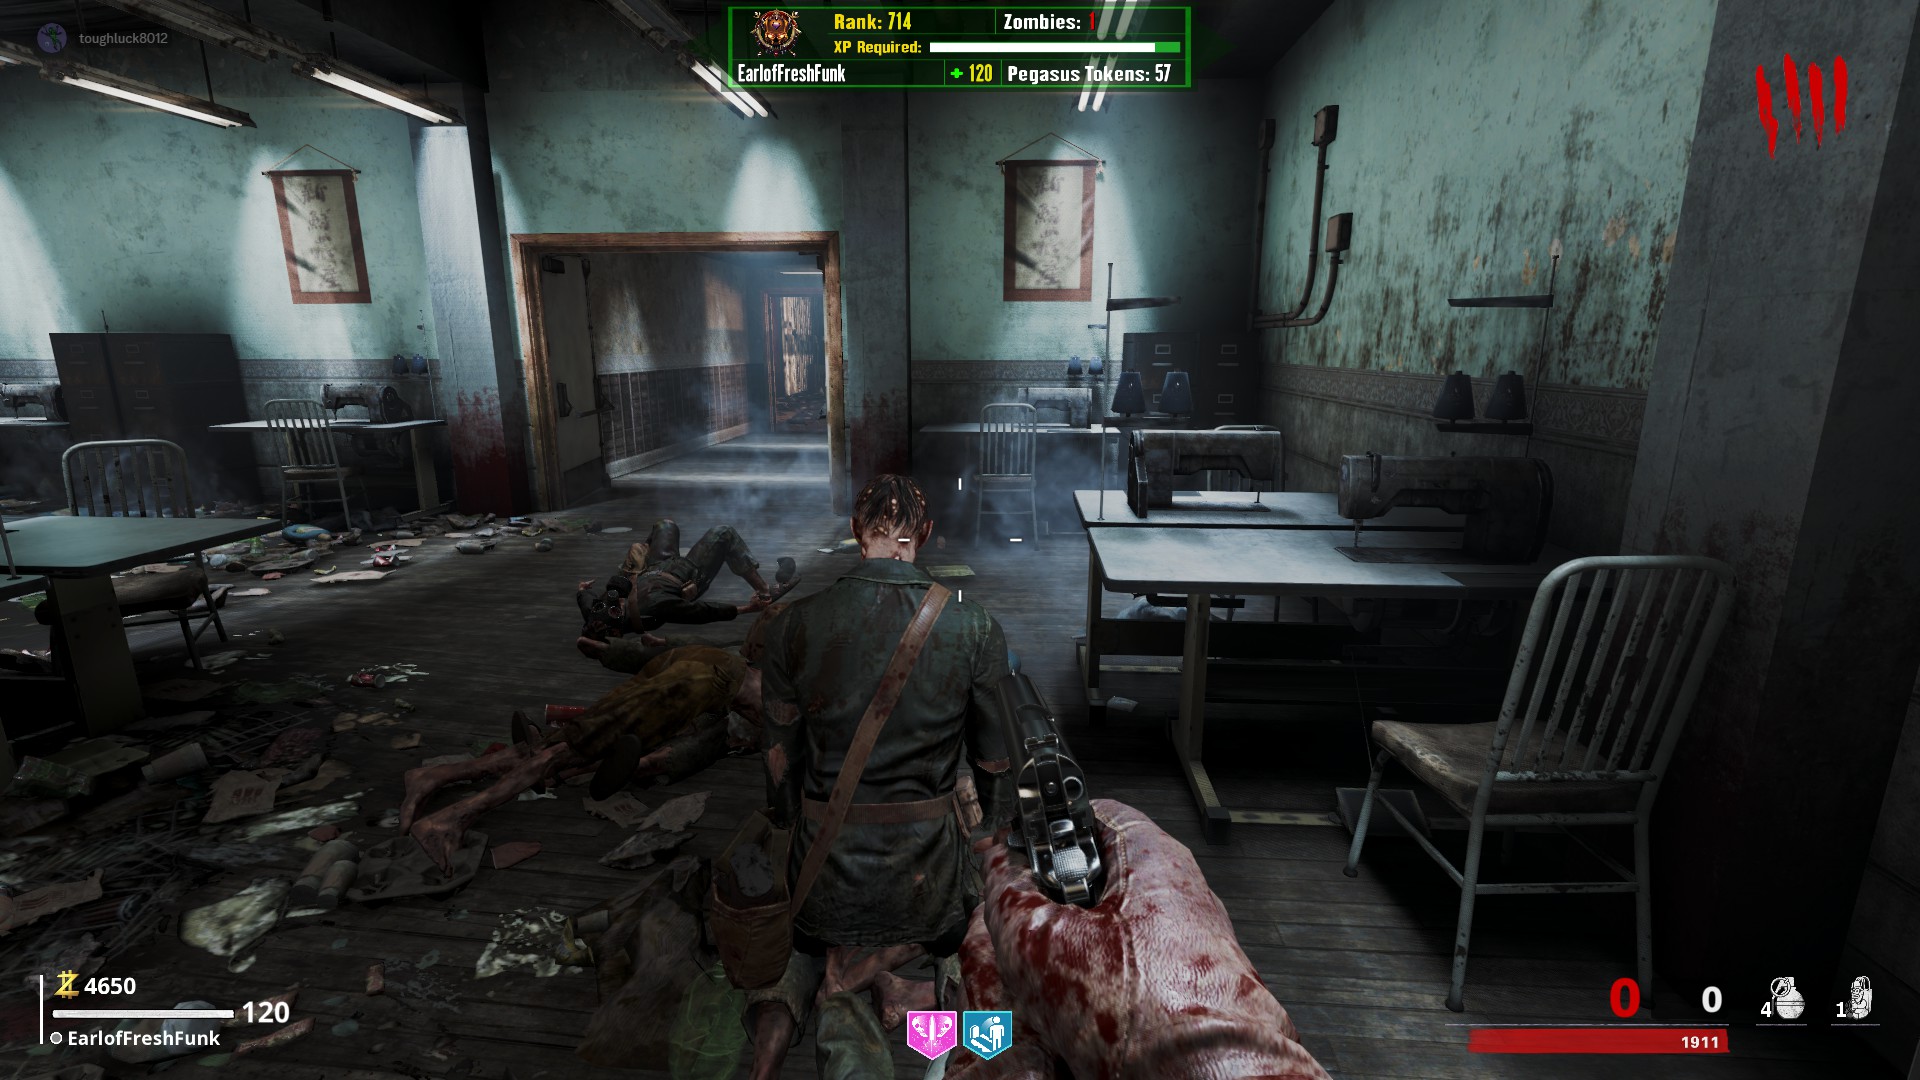 After all 8 have been interacted with, a prompt will spawn in the corner of the room next to the door to the Speed Cola area. Interact with this prompt and the screen will flash white and you will be put on round 200. Good luck!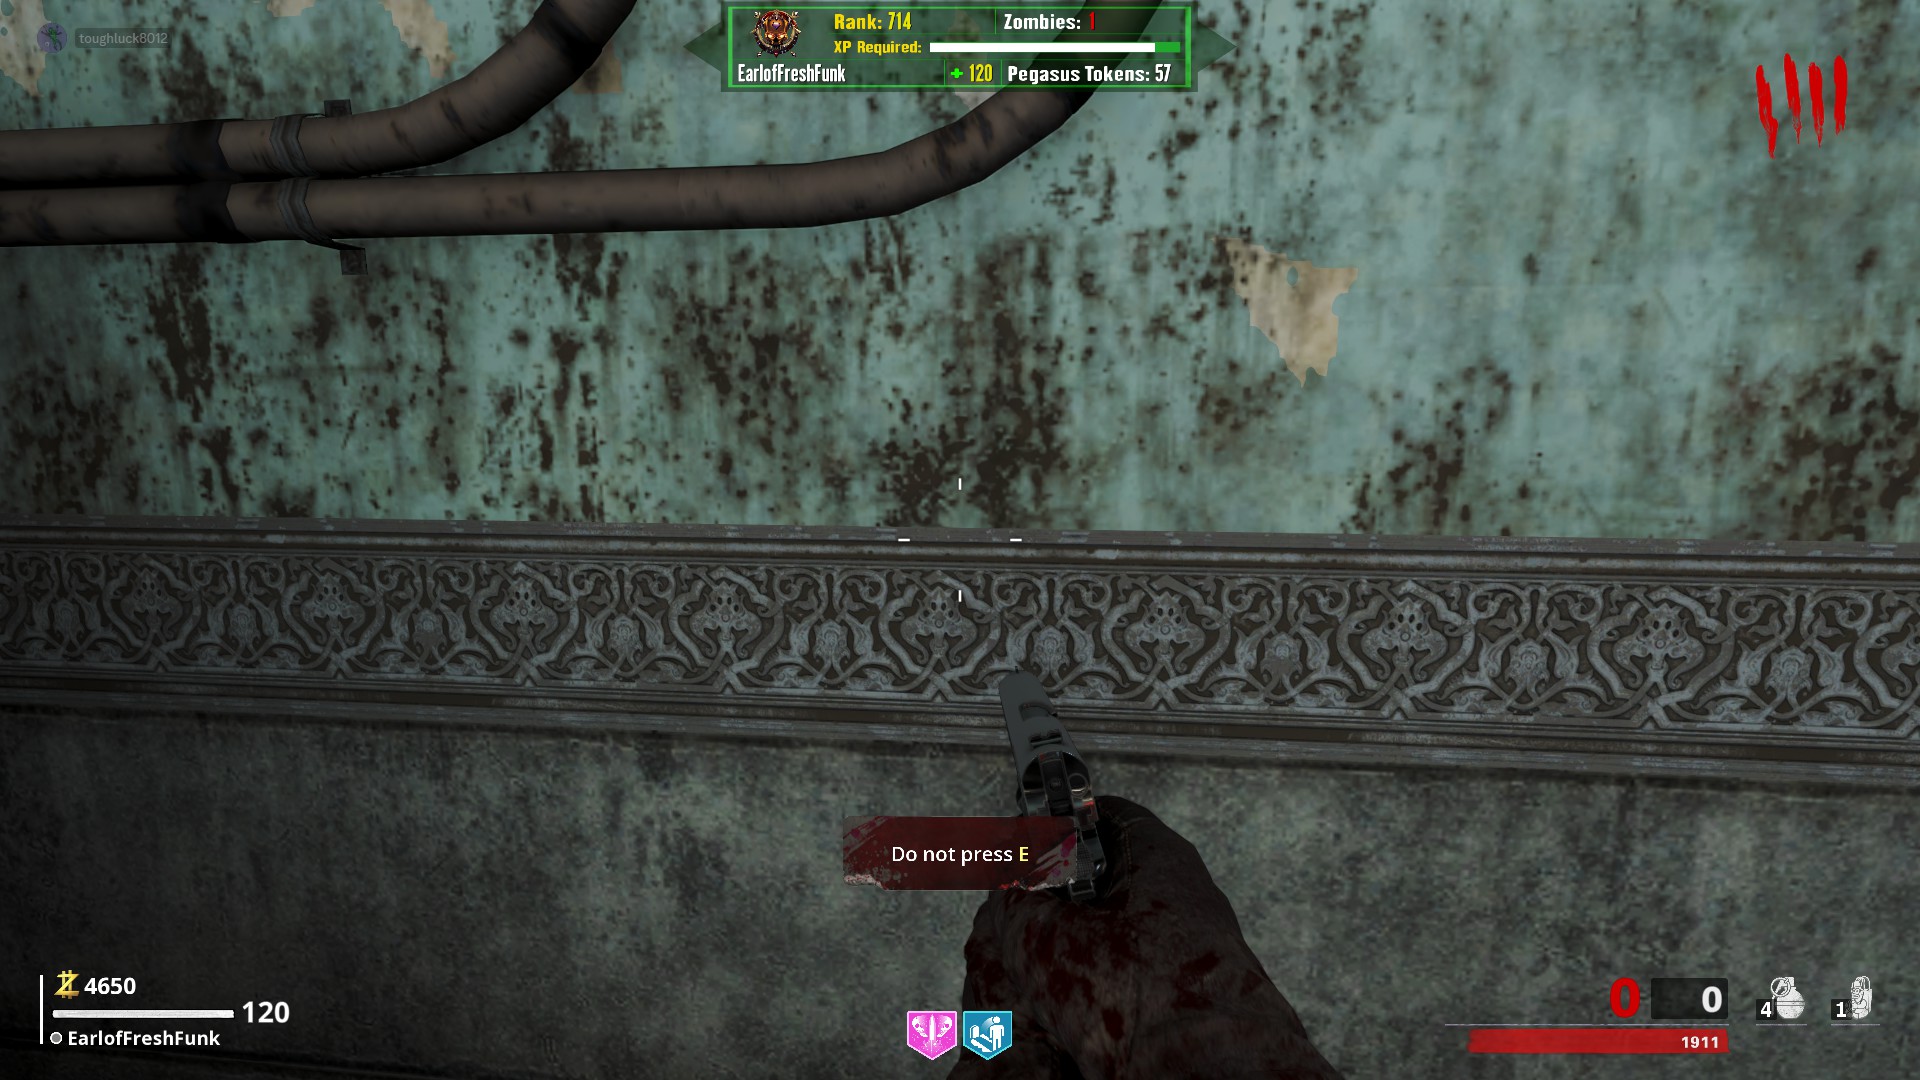
Main Easter Egg Step 1: Turn on All 6 Power Switches
Firstly, I recommend to avoid getting Mule Kick until later on in the Easter Egg. This will make sense later. Also, many of the steps for this easter egg can be done out of order, so multitasking is a good idea. I would get started on the Sliquifier Upgrade Quest ASAP, as you will need this later on in the Easter Egg.
There are 6 separate power switch locations scattered around the map, denoted by a hovering power icon when you get close to one. Turning all of them on will grant access to the upper roof.
- To the left of Quick Revive in the Sewing Room
- Underneath Speed Cola, close to the ramp
- Past the Chemical Processing Station for the Sliquifier Upgrade
- In the Electrical Room, behind Deadshot Daquiri on the Main Roof
- Between the Residential Staircase and the Sliquifier Upgrade Table, by the Milano 821 wallbuy
- Along one of the walls in the meteor/ Double Tap room
Main Easter Egg Step 2: Prep the 115 Canister
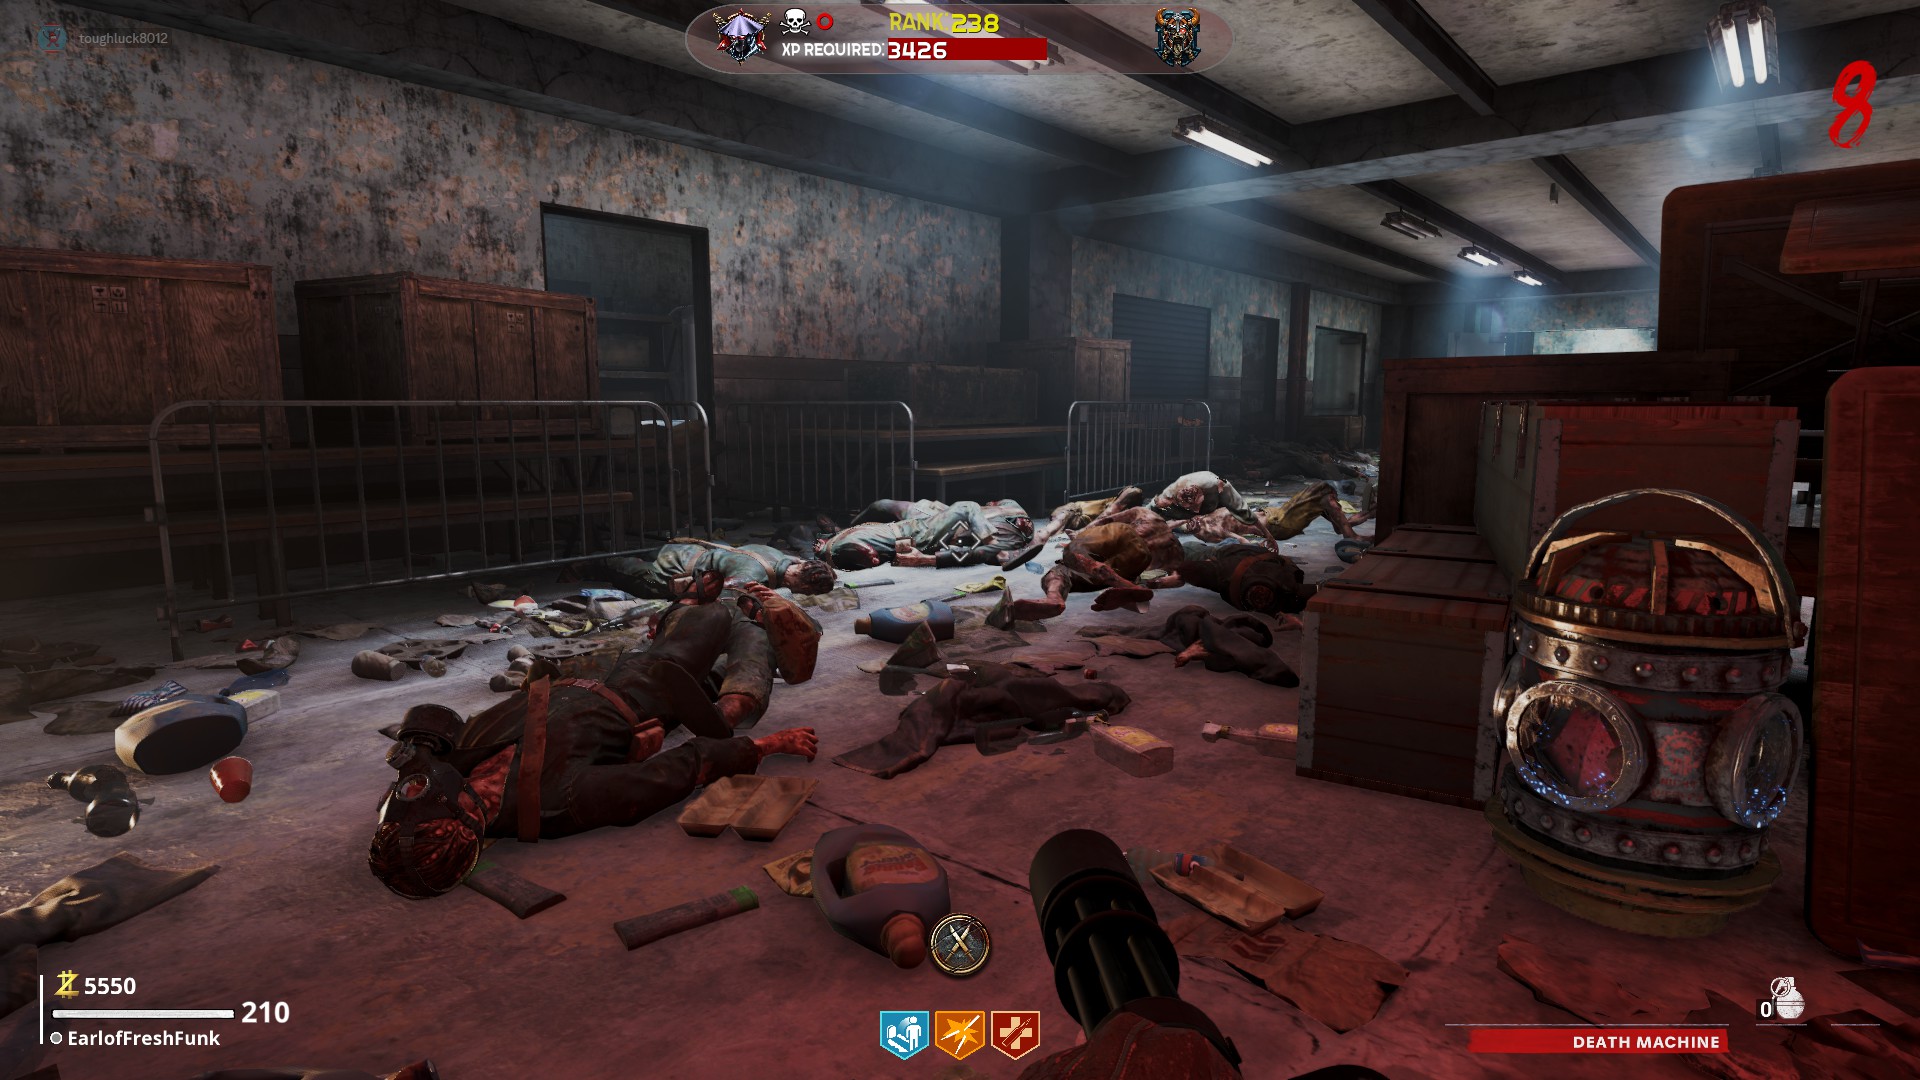
Bring the Canister to the Meteor/Double Tap Room and place it at the base of the meteor. You will need to wait 2 full rounds before returning to the canister.
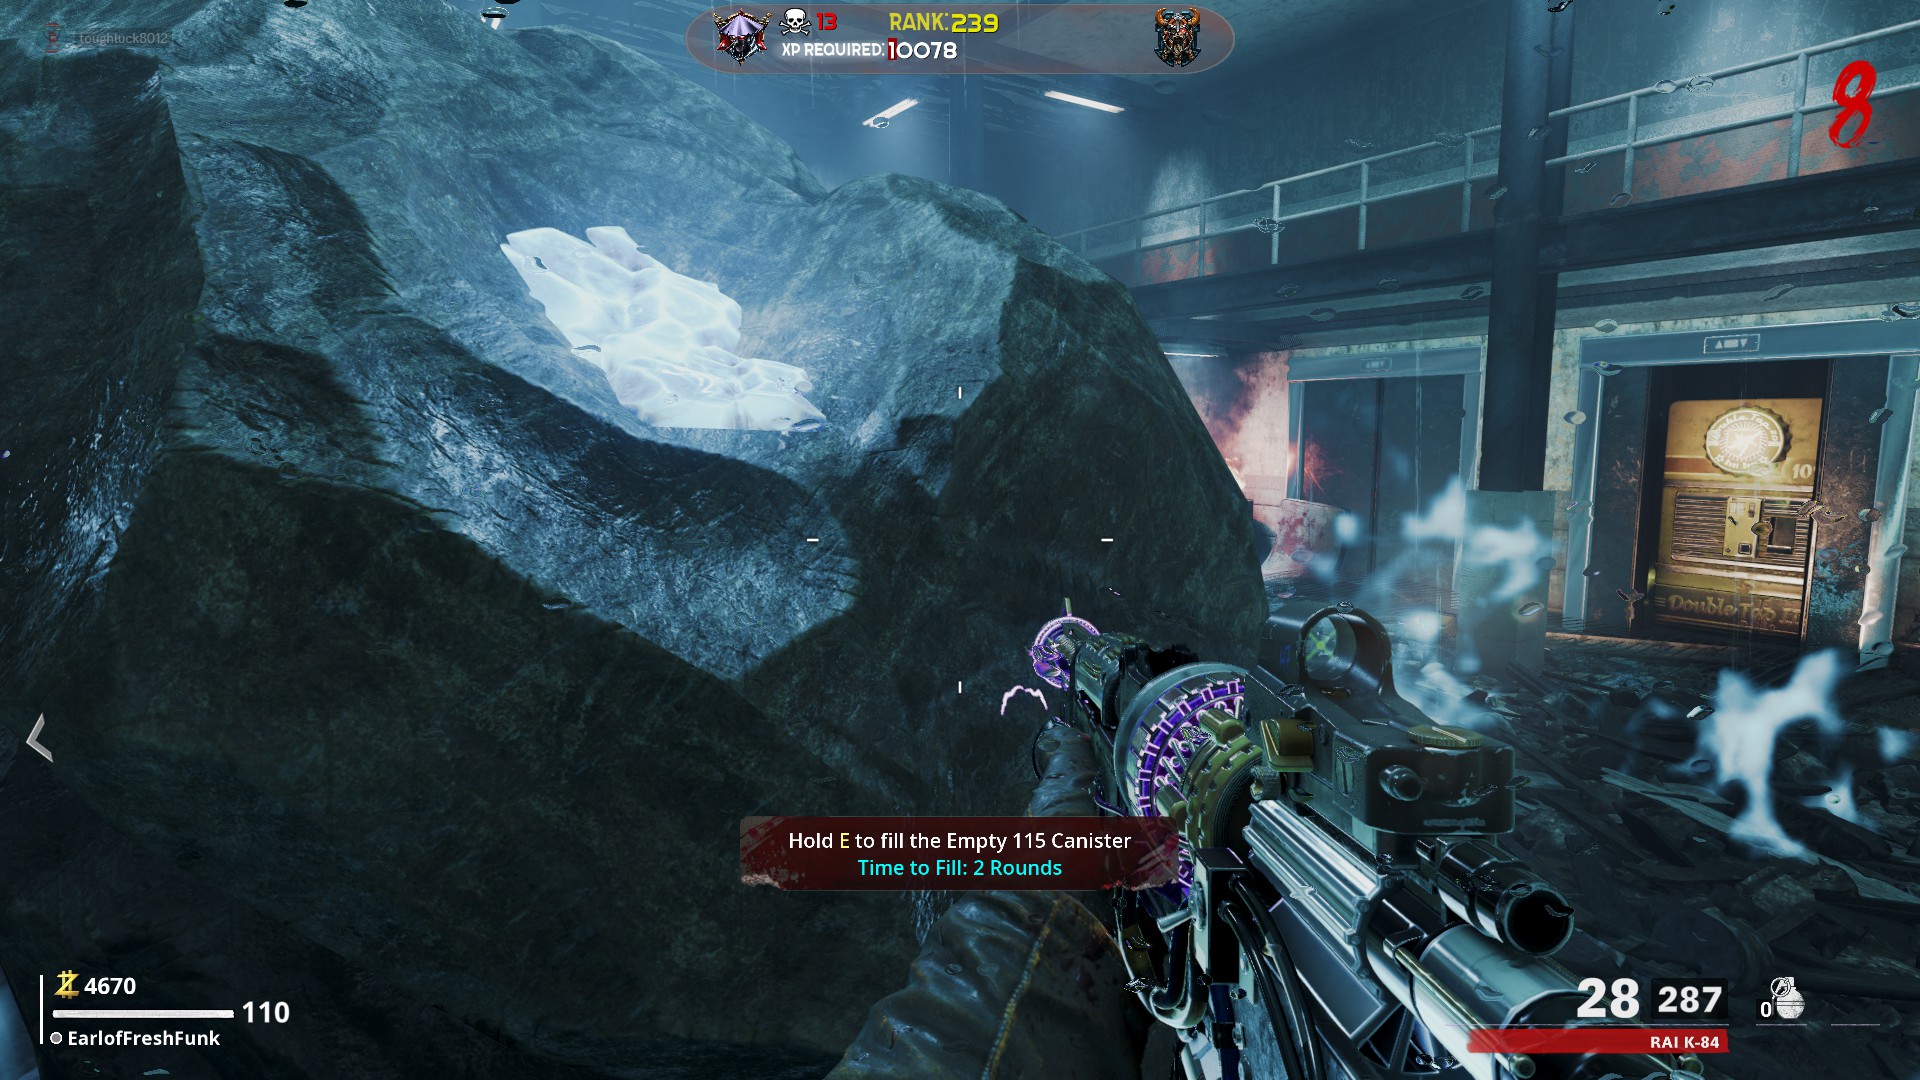
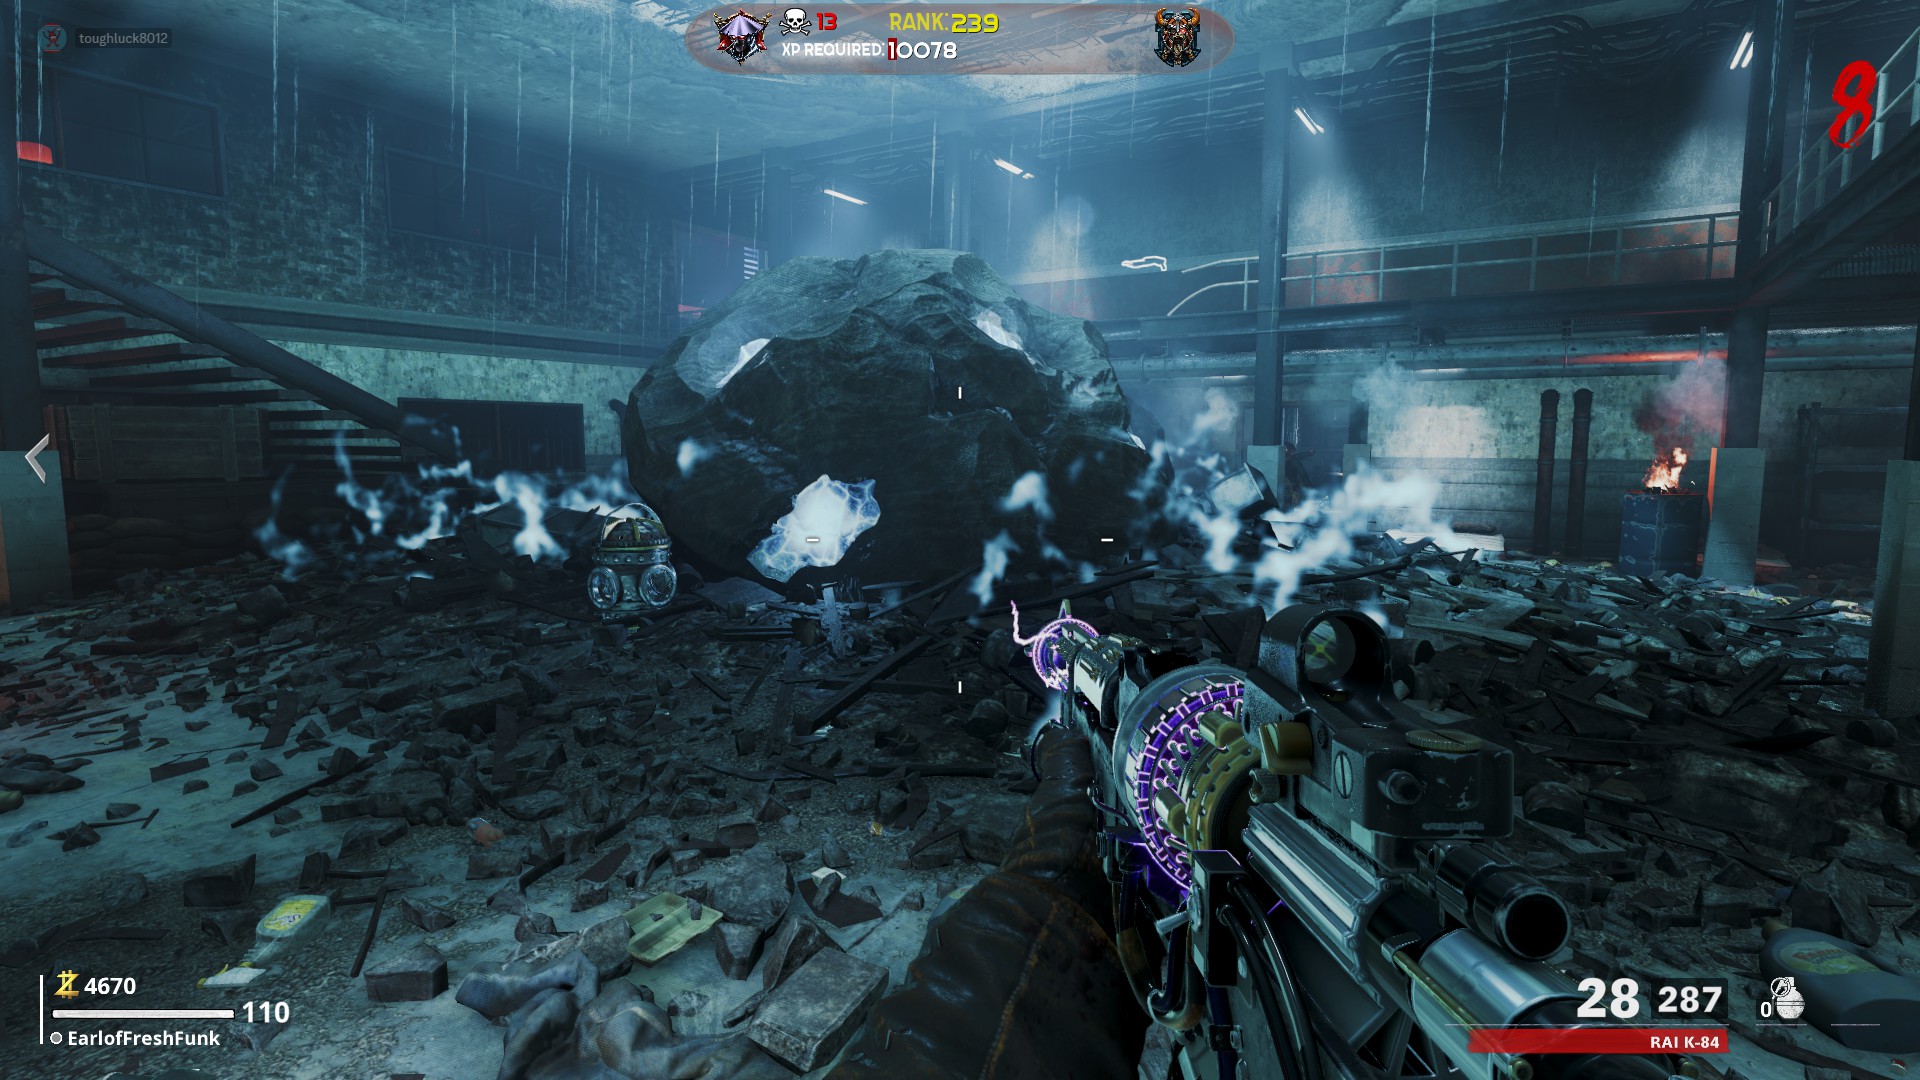
Main Easter Egg Step 3: Complete All 3 Challenges
There are three challenge terminals that can be found around the map. Progress towards these challenges should be made as early on as you can to be efficient with multitasking. You have to press interact on each of the terminals to start the challenge, but you do not have to return to the terminal once the challenge is completed.
Terminal 1-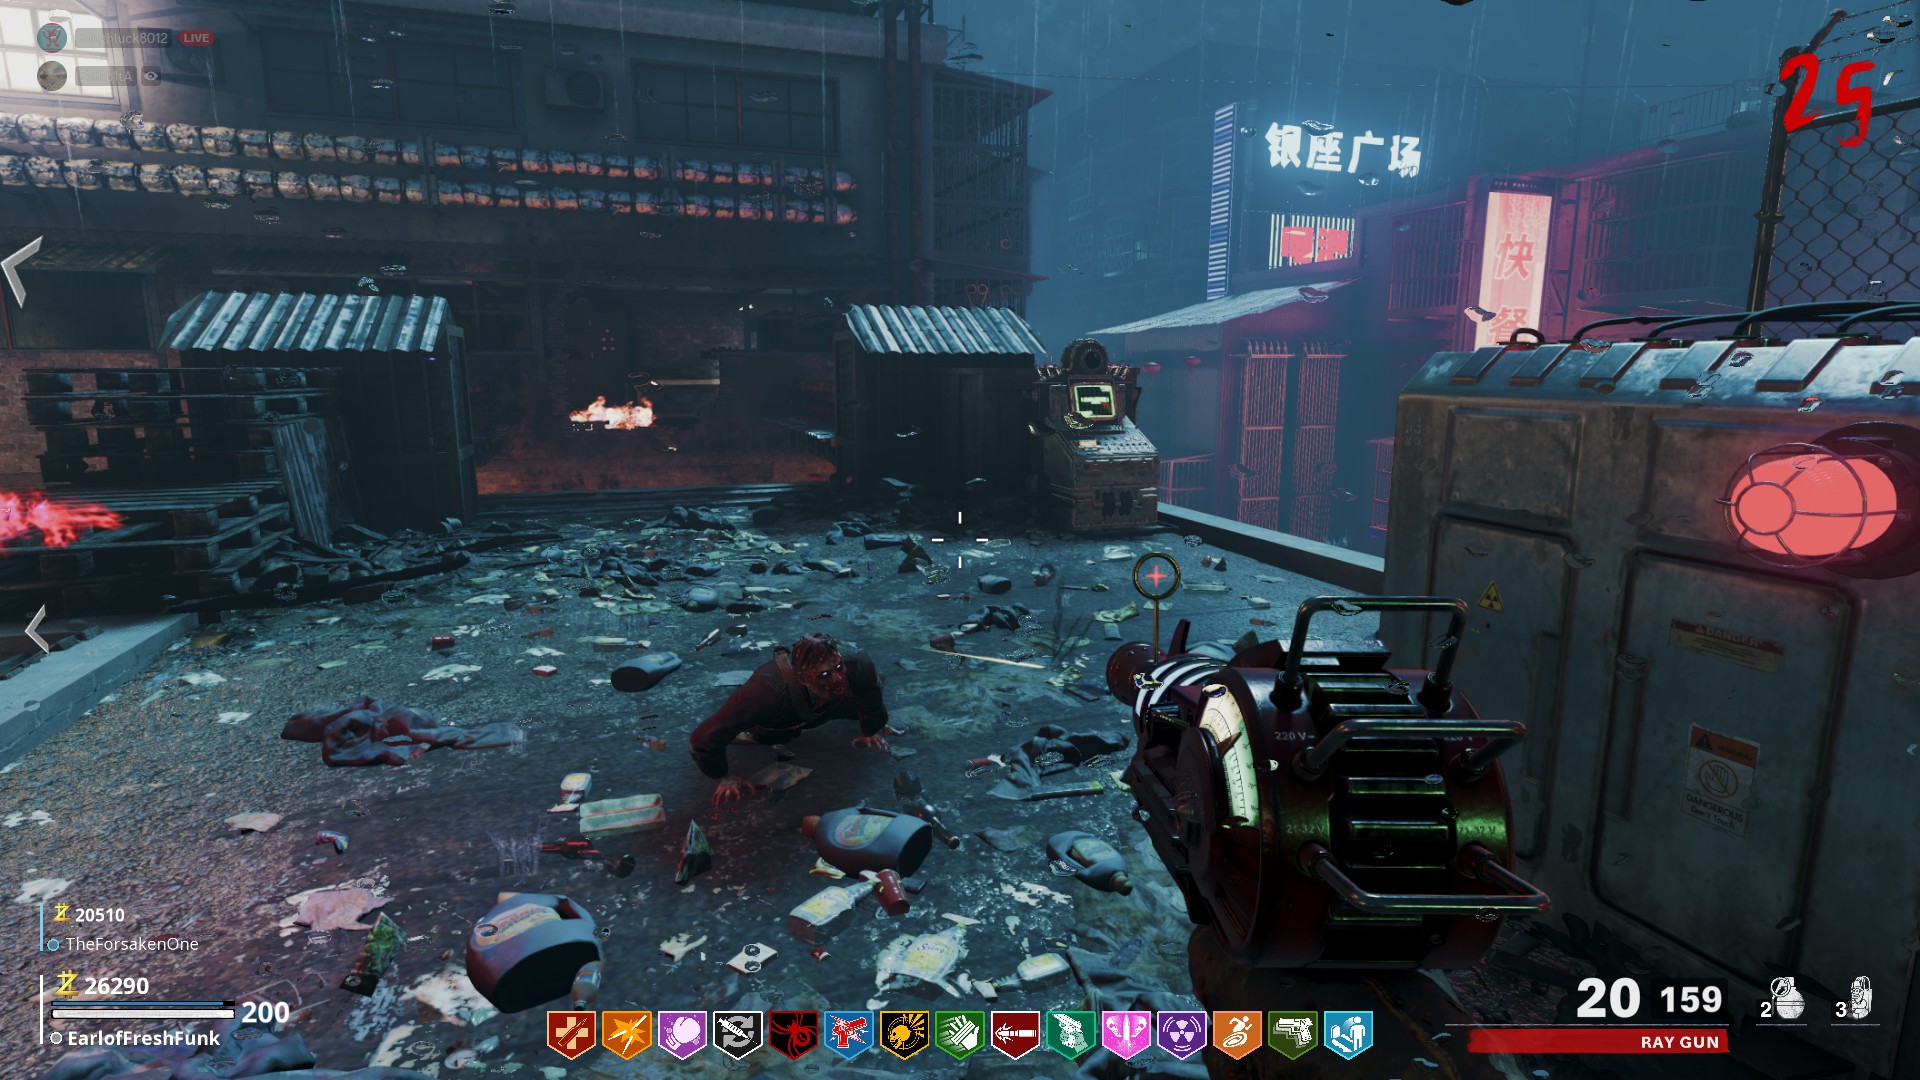
- Location : Across from Speed Cola on the raised platform
- Challenge: 50 Pack-A-Punch kills
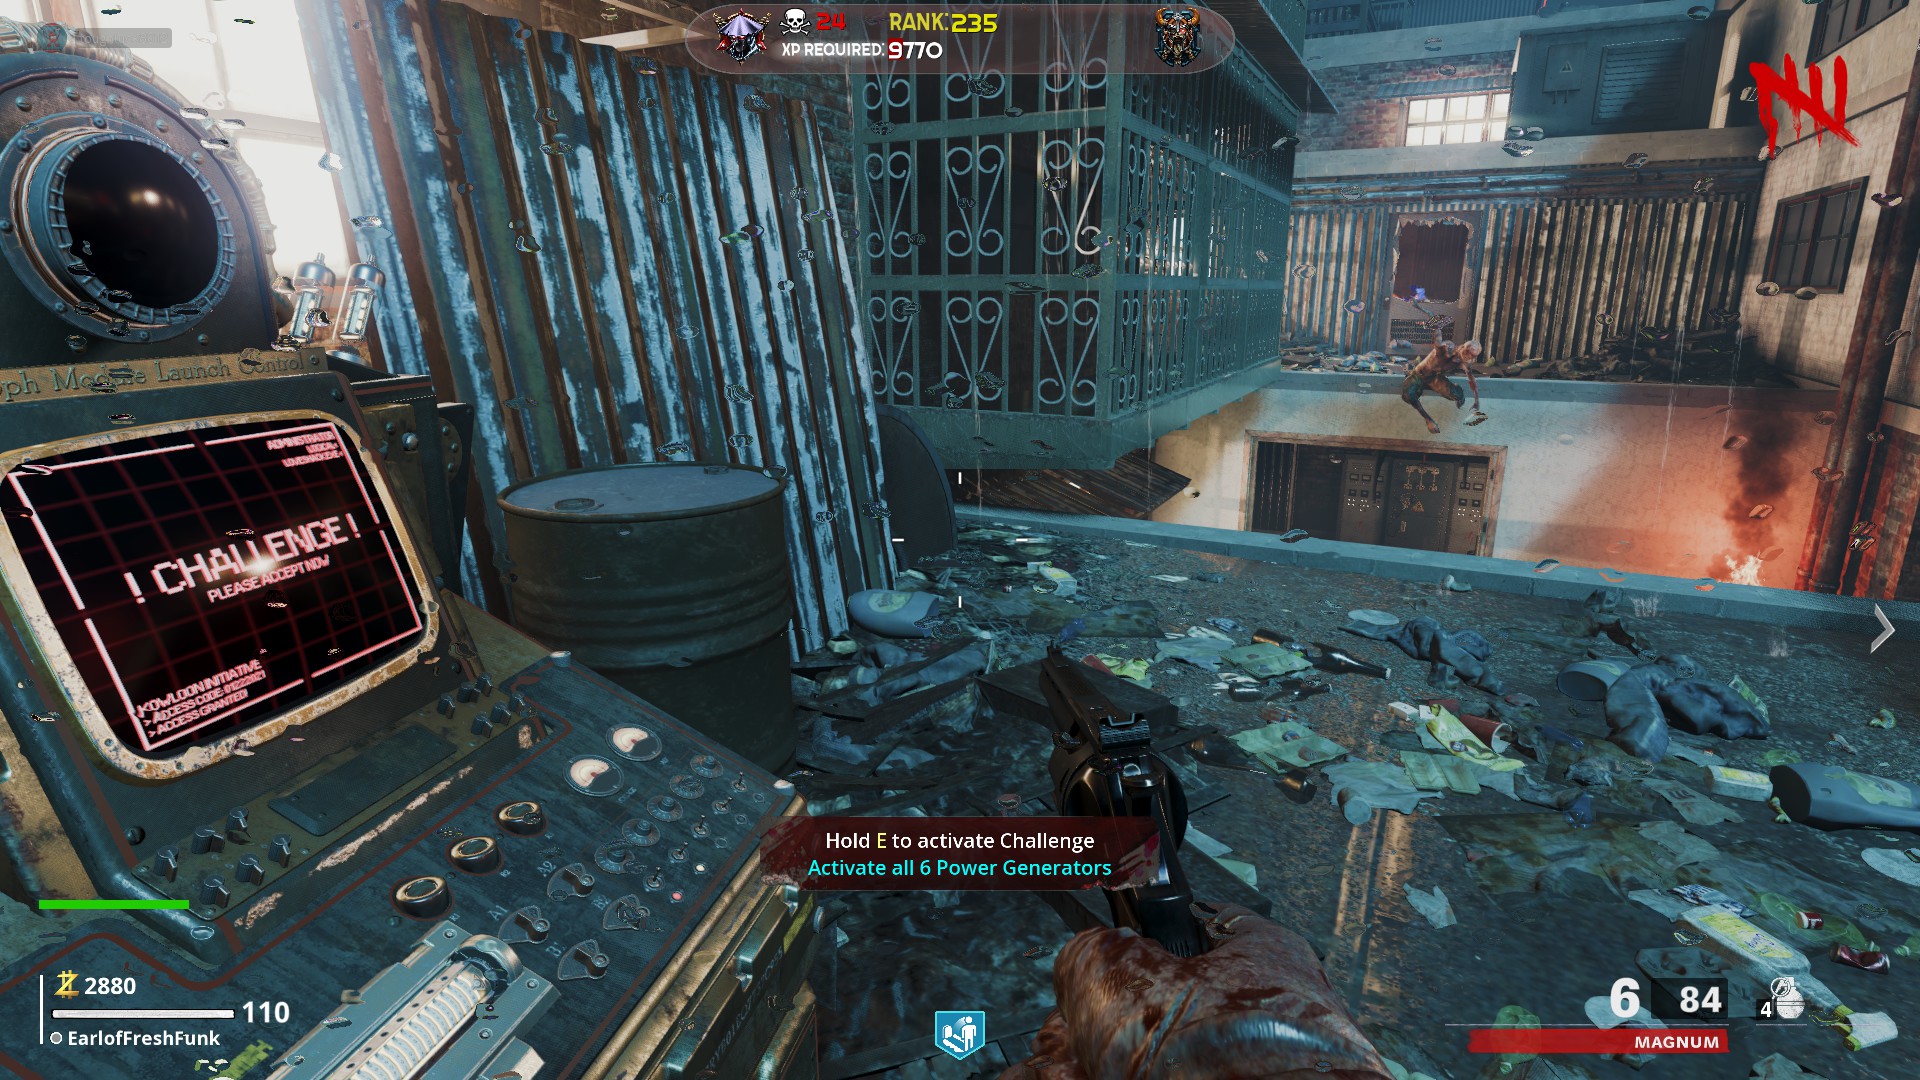
- Location : On the main roof next to the box location and above Deadshot Daquiri
- Challenge: Turn on all 6 power switches
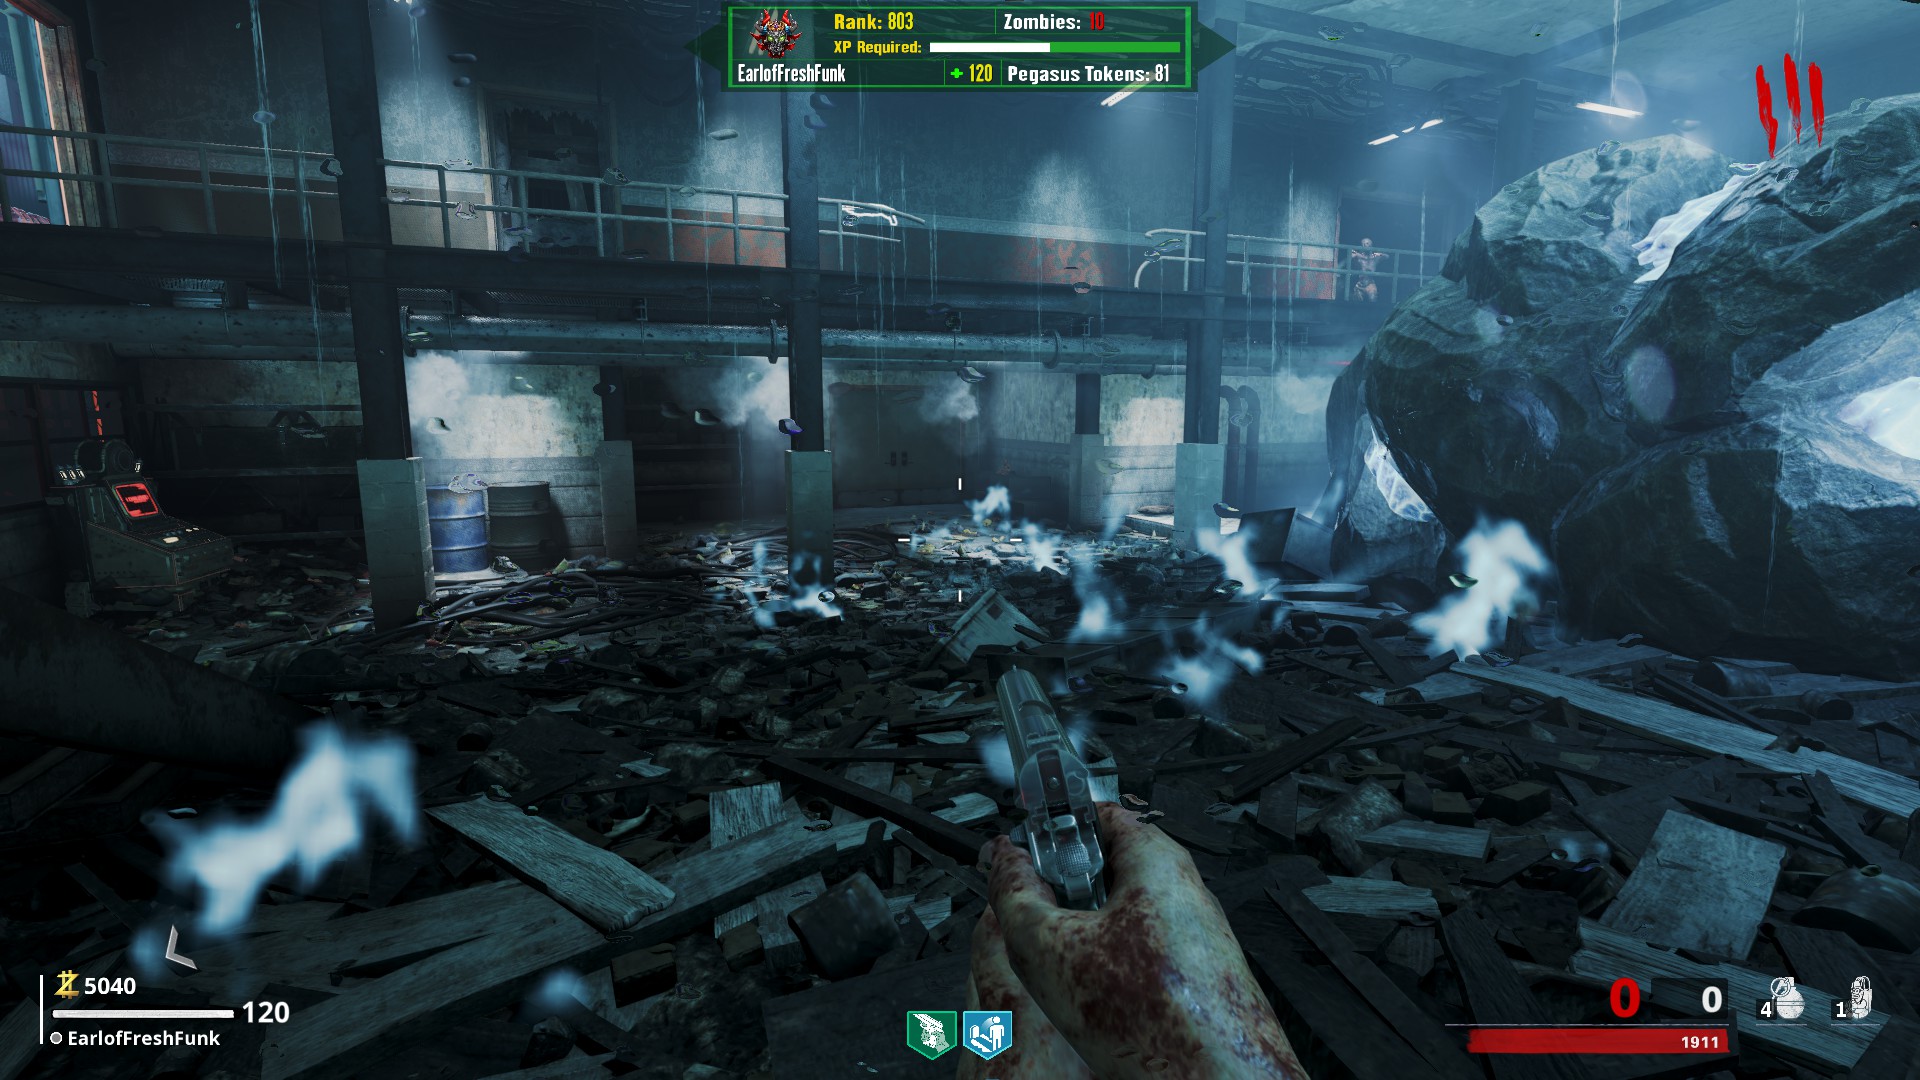
- Location : In the corner of the meteor/Double Tap Room
- Challenge: Fill 3 soul lanterns
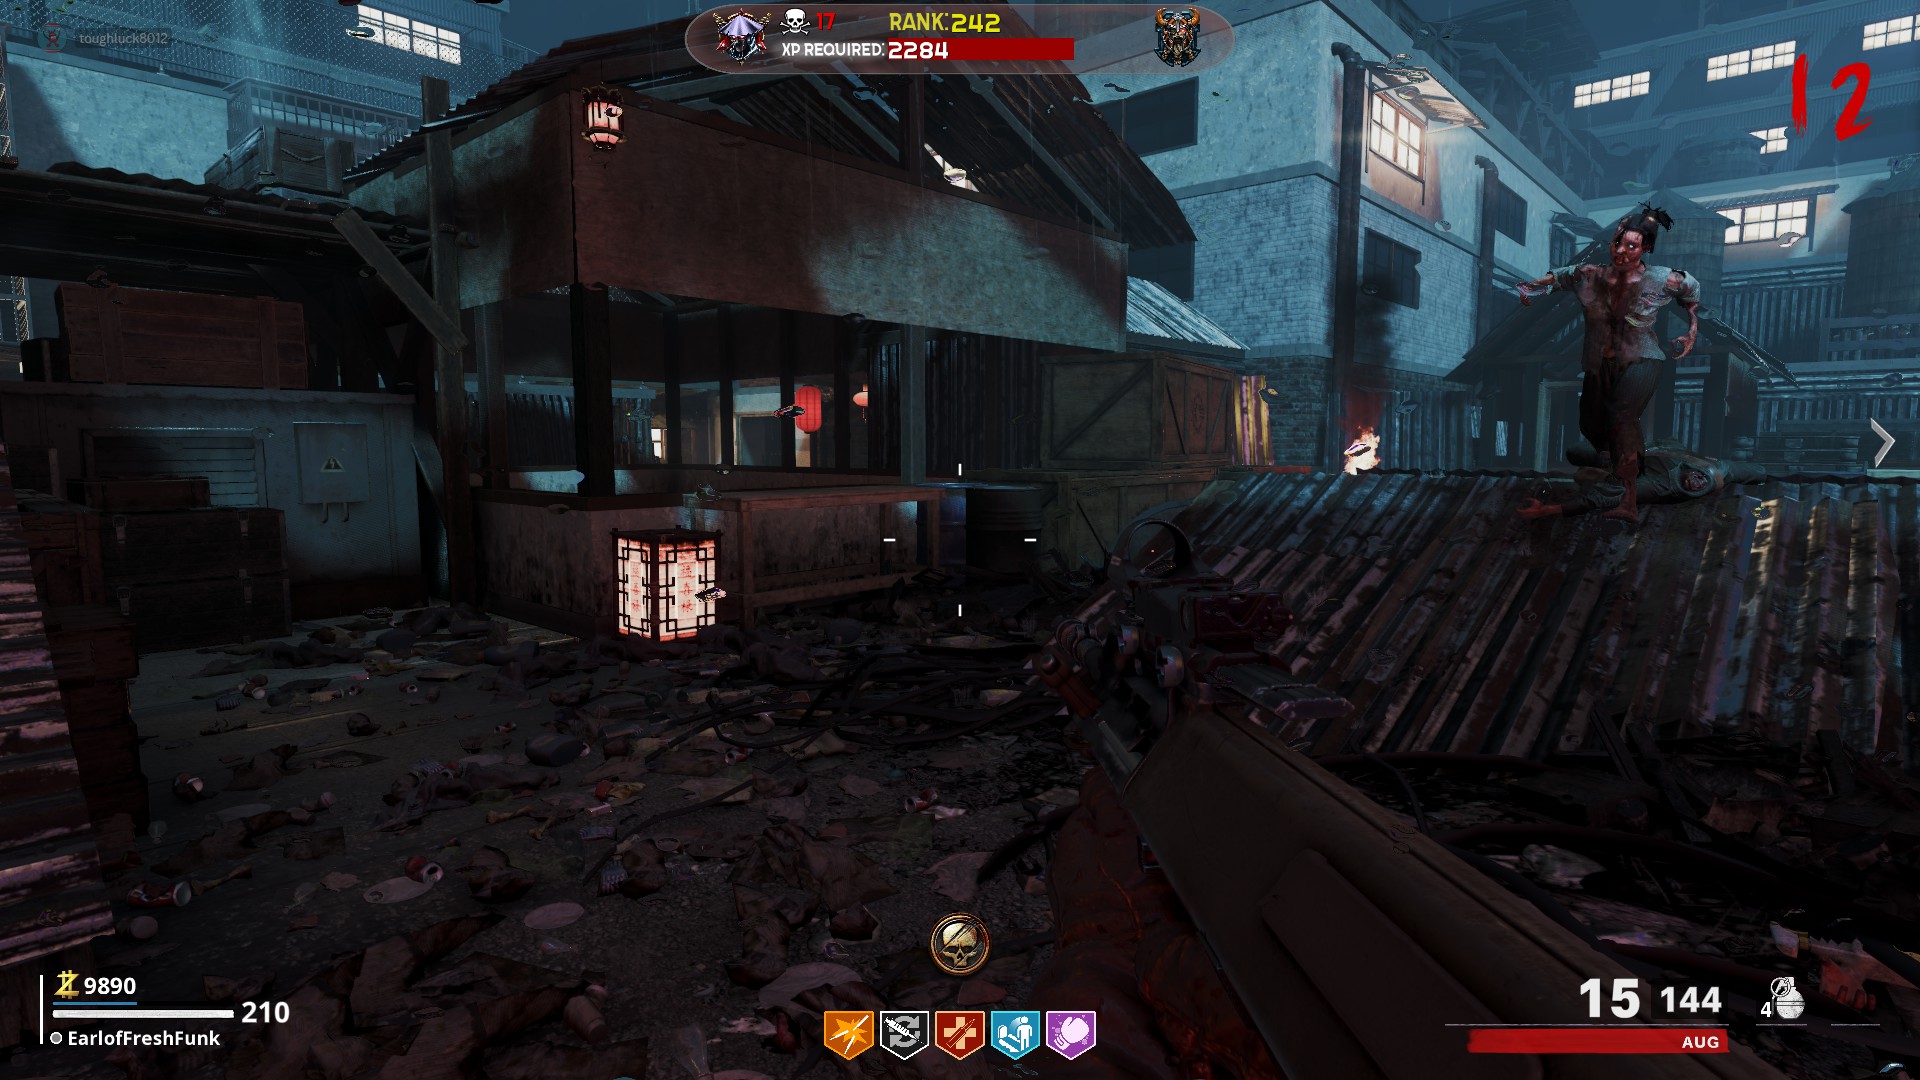
These soul lanterns are made of paper and will light up only when the soul box step has been activated. You will need to kill around 20 or so zombies to fill it. On the Spawn Roof next to the ammo crate
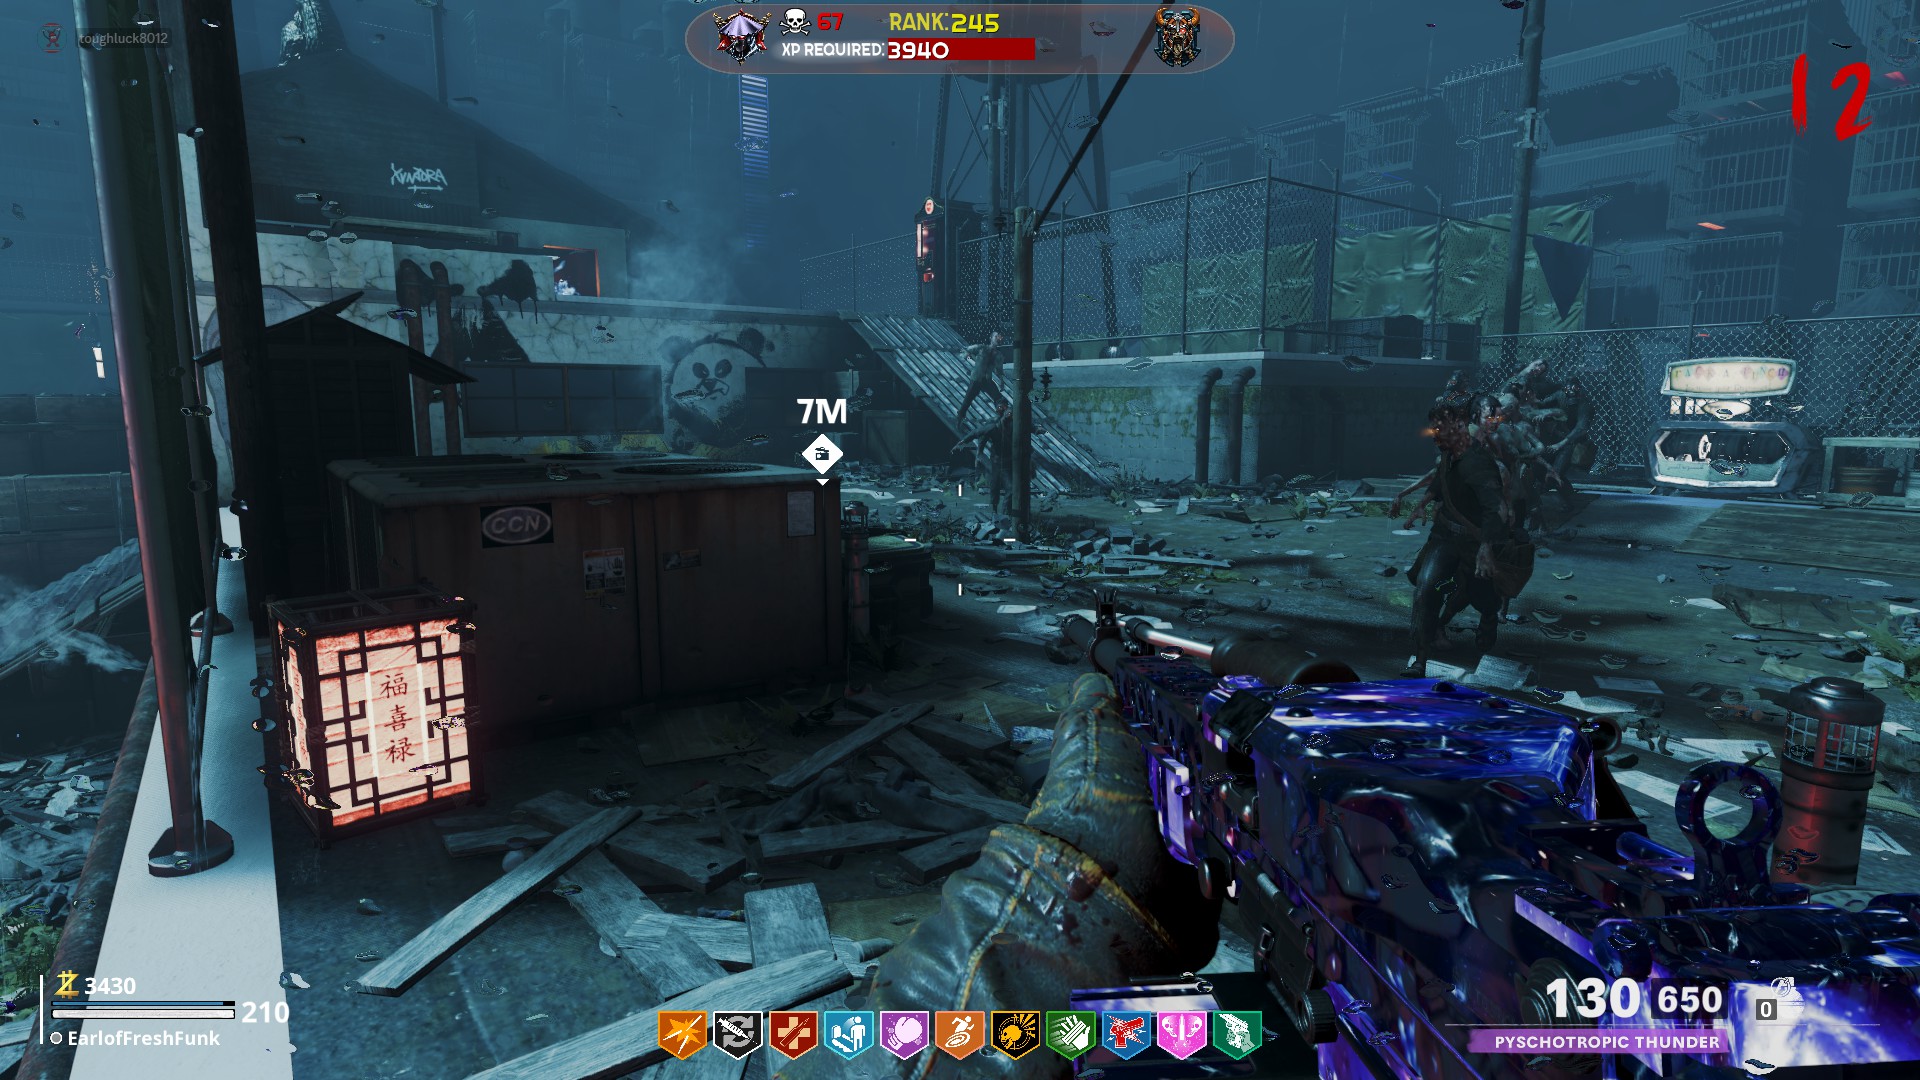 On the Main Roof between the mystery box location and the Sliquifier Upgrade Workstation
 On the Upper Roof, next to the Challenge Door, between Elemental Pops and Tactiquilla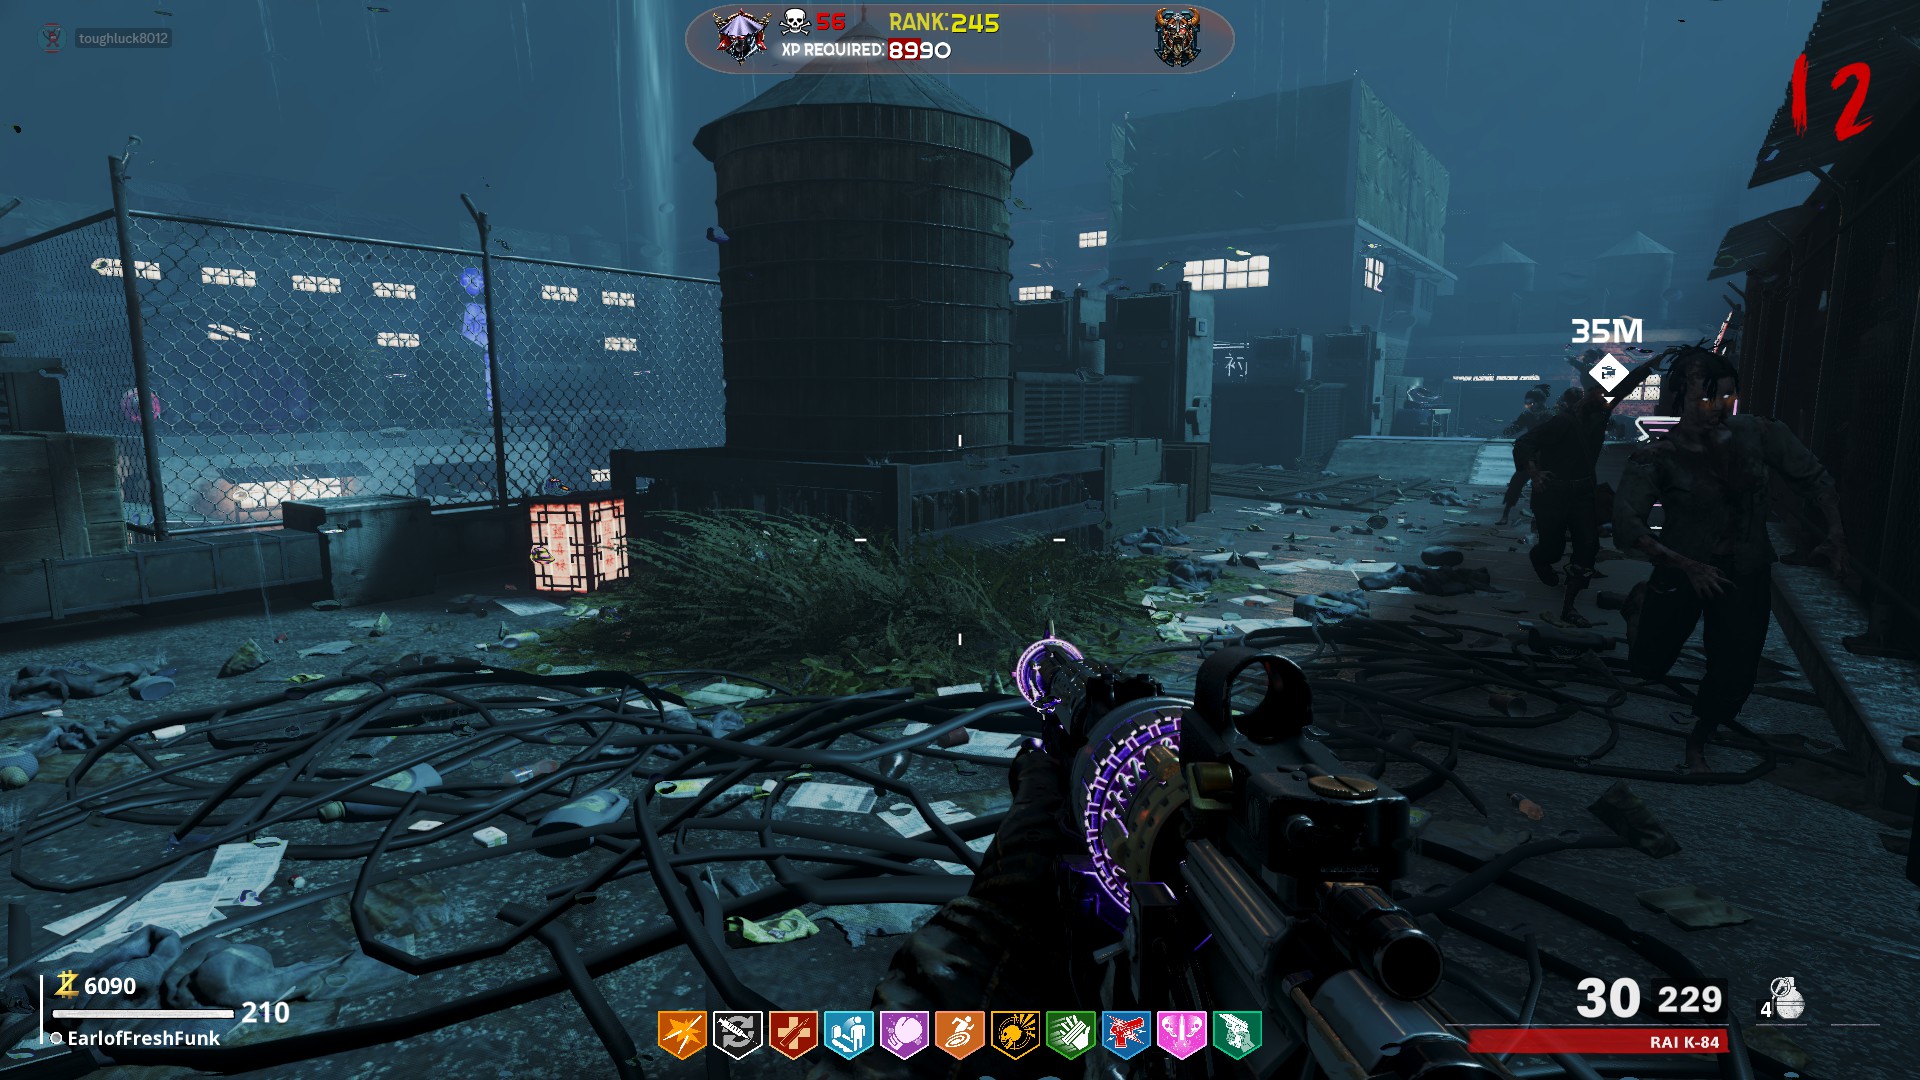
Main Easter Egg Step 4: Obtain the Orb
Go to the upper roof and to the platform above PHD Flopper. There are two ziplines. The one on the right will lead back to the spawn roof and Pack-a-Punch. If you take the one on the left, you will be dropped off in the meteor/Double Tap room.
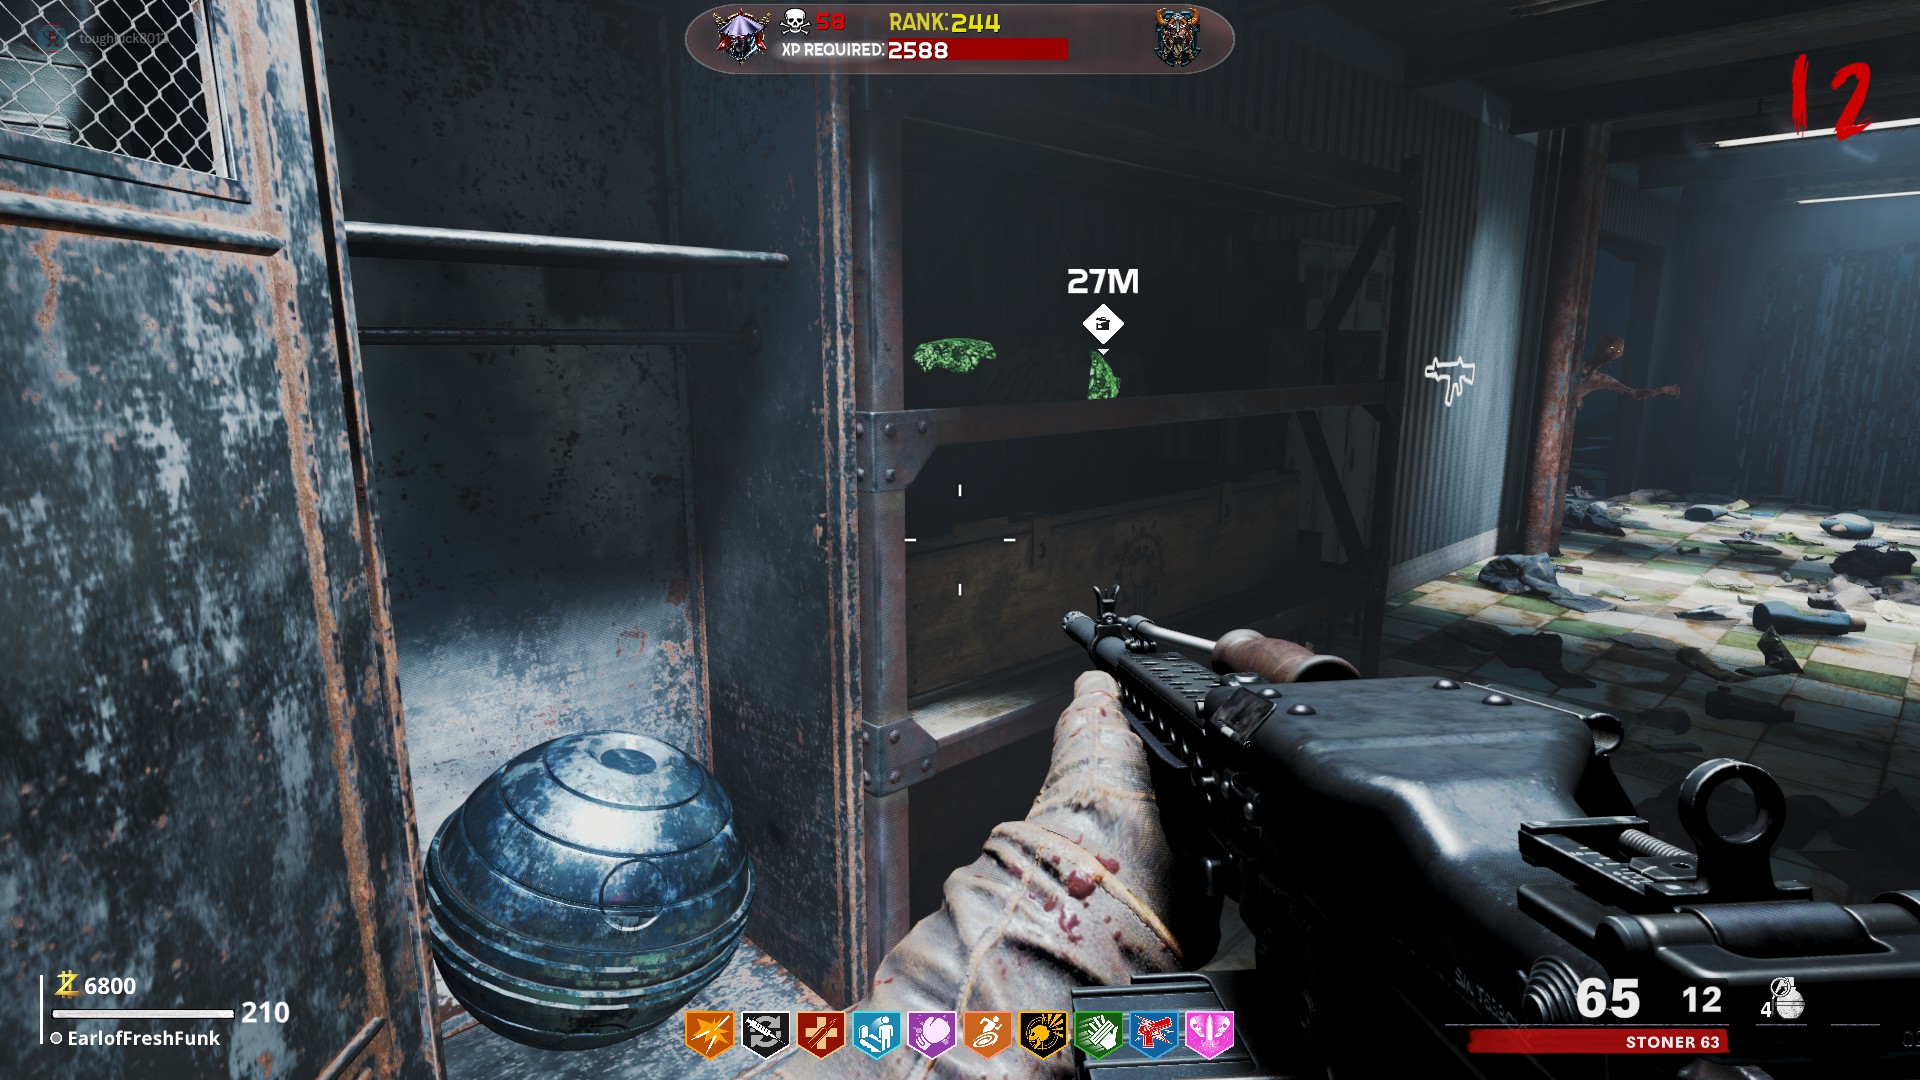
Take the left zipline and grab the blue keycard power up floating in the air. Hold interact in mid air while looking at the keycard to pick it up.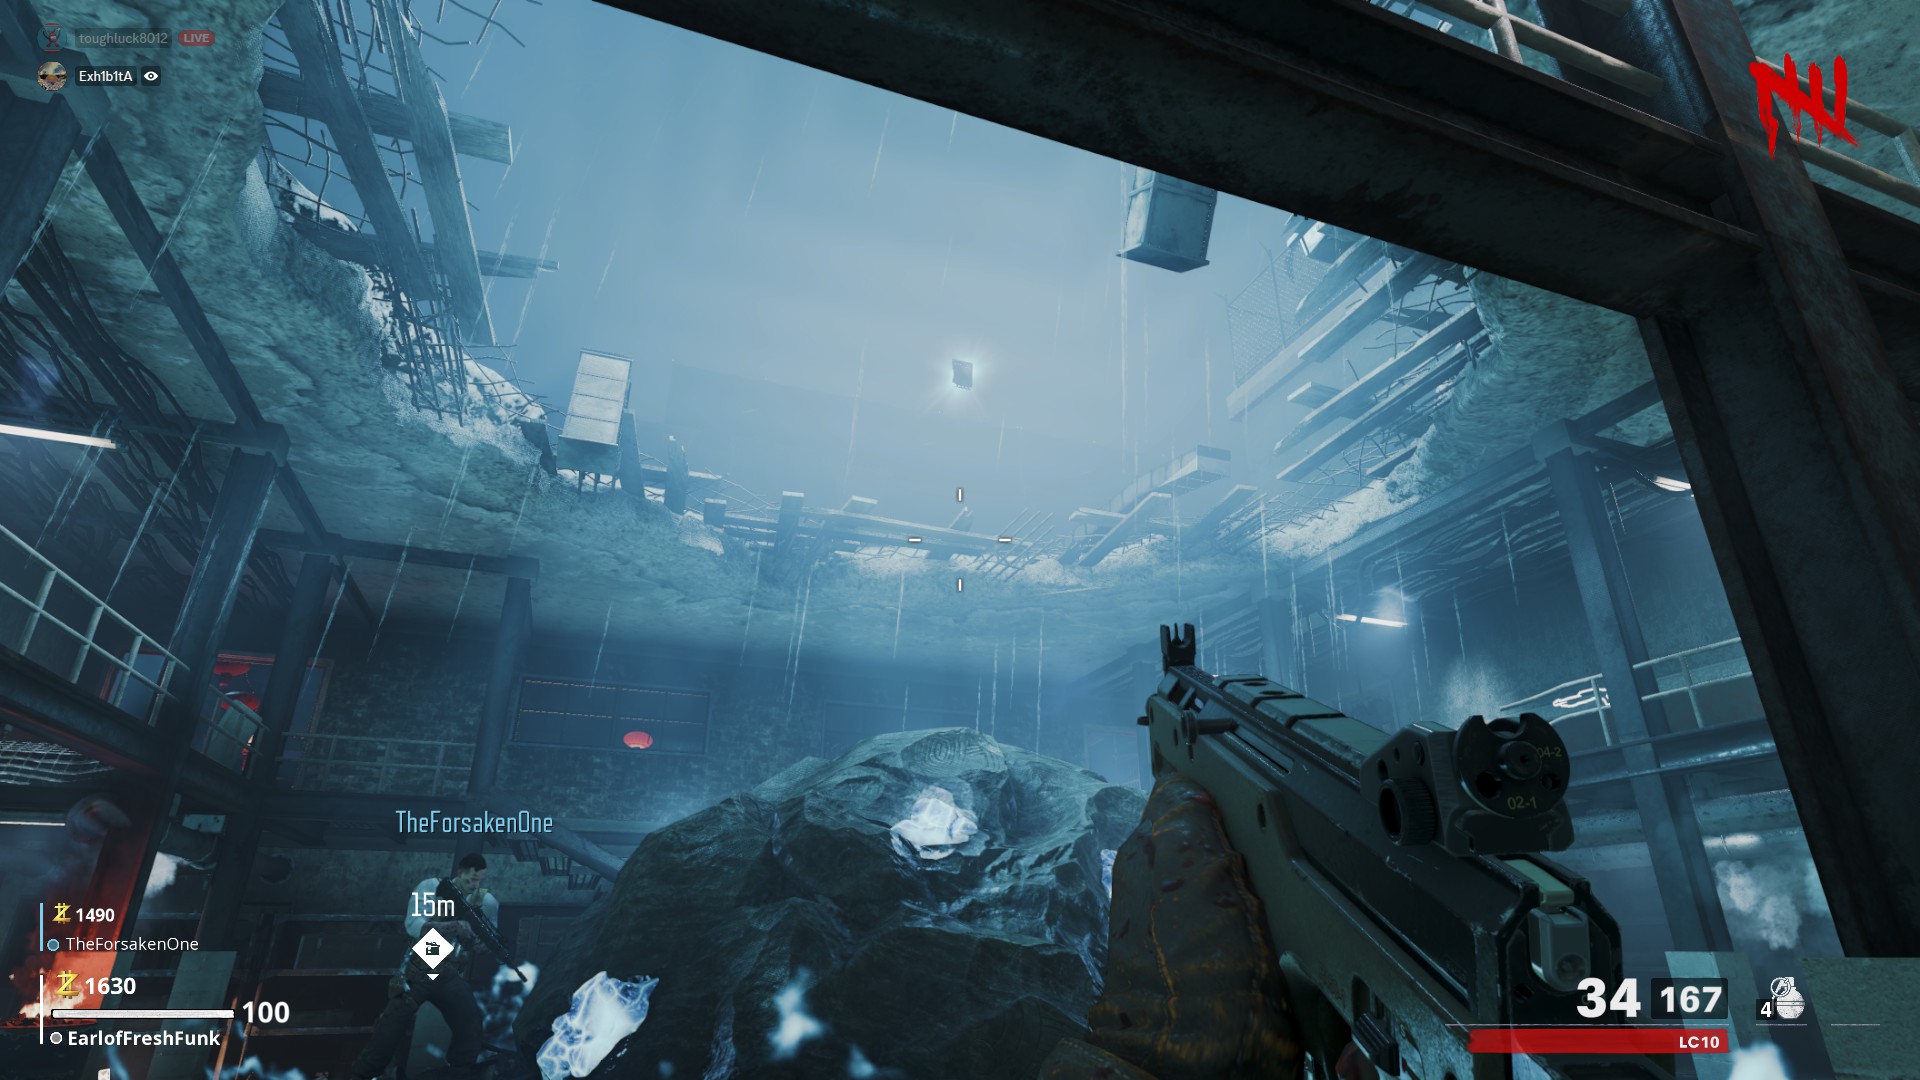 Head back up to the upper roof, to the hallway between PHD Flopper and Tactiquilla. There is a locker there that you can now unlock since you have obtained the keycard. Inside the locker is a giant metal sphere. Pick it up.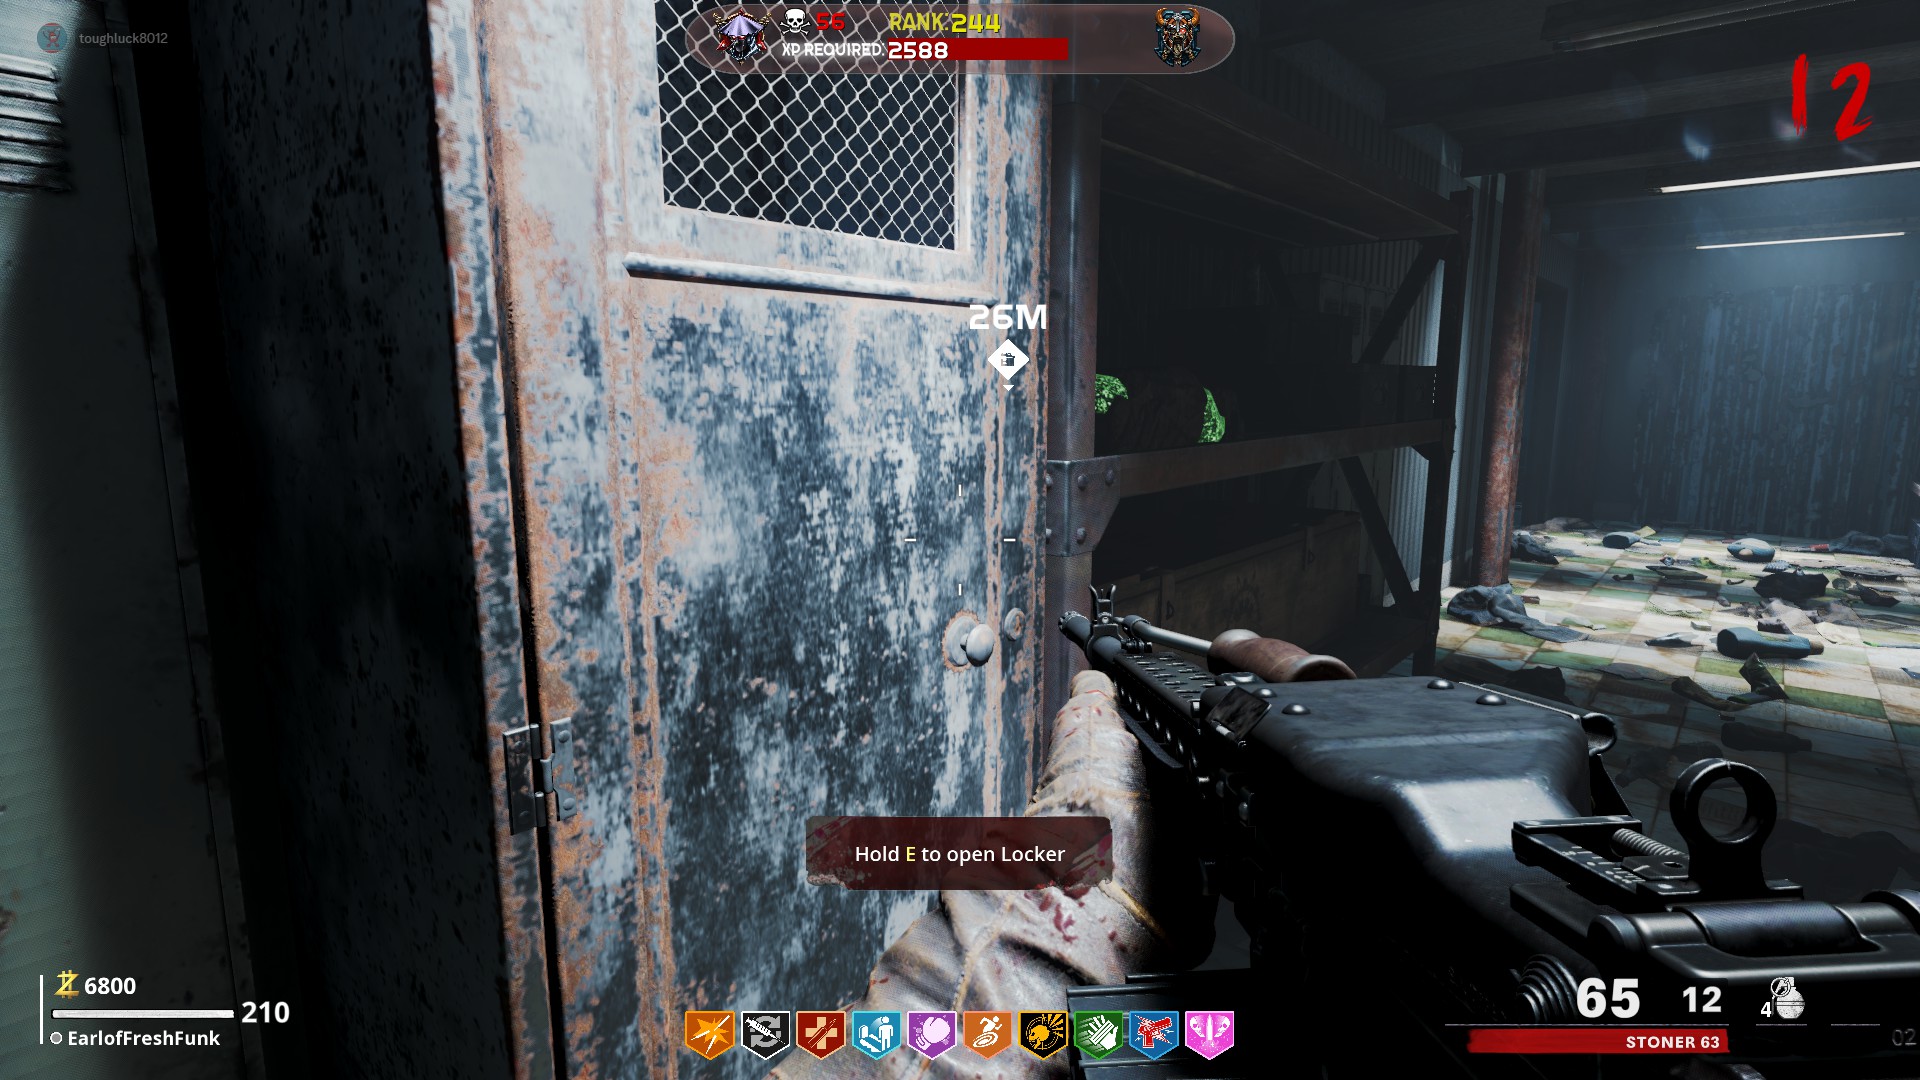
Main Easter Egg Step 5: Assemble the Lightning Rod
You will need to have crafted the Tramplesteam to gather all 3 parts for the Lightning Rod, as the location for all pieces can only be accessed this way. Note that the Tramplesteam can sometimes be a bit buggy. To pick it up, I find the most success by jumping next to it and picking it up mid air. Also, I've had instances where the Tramplesteam cannot be placed down again after being broken and picked up at the same time, so try to get all 3 pieces with the same Tramplesteam to avoid this.
Above Deadshot Daquiri and the electrical room power switch, by the power switch challenge terminal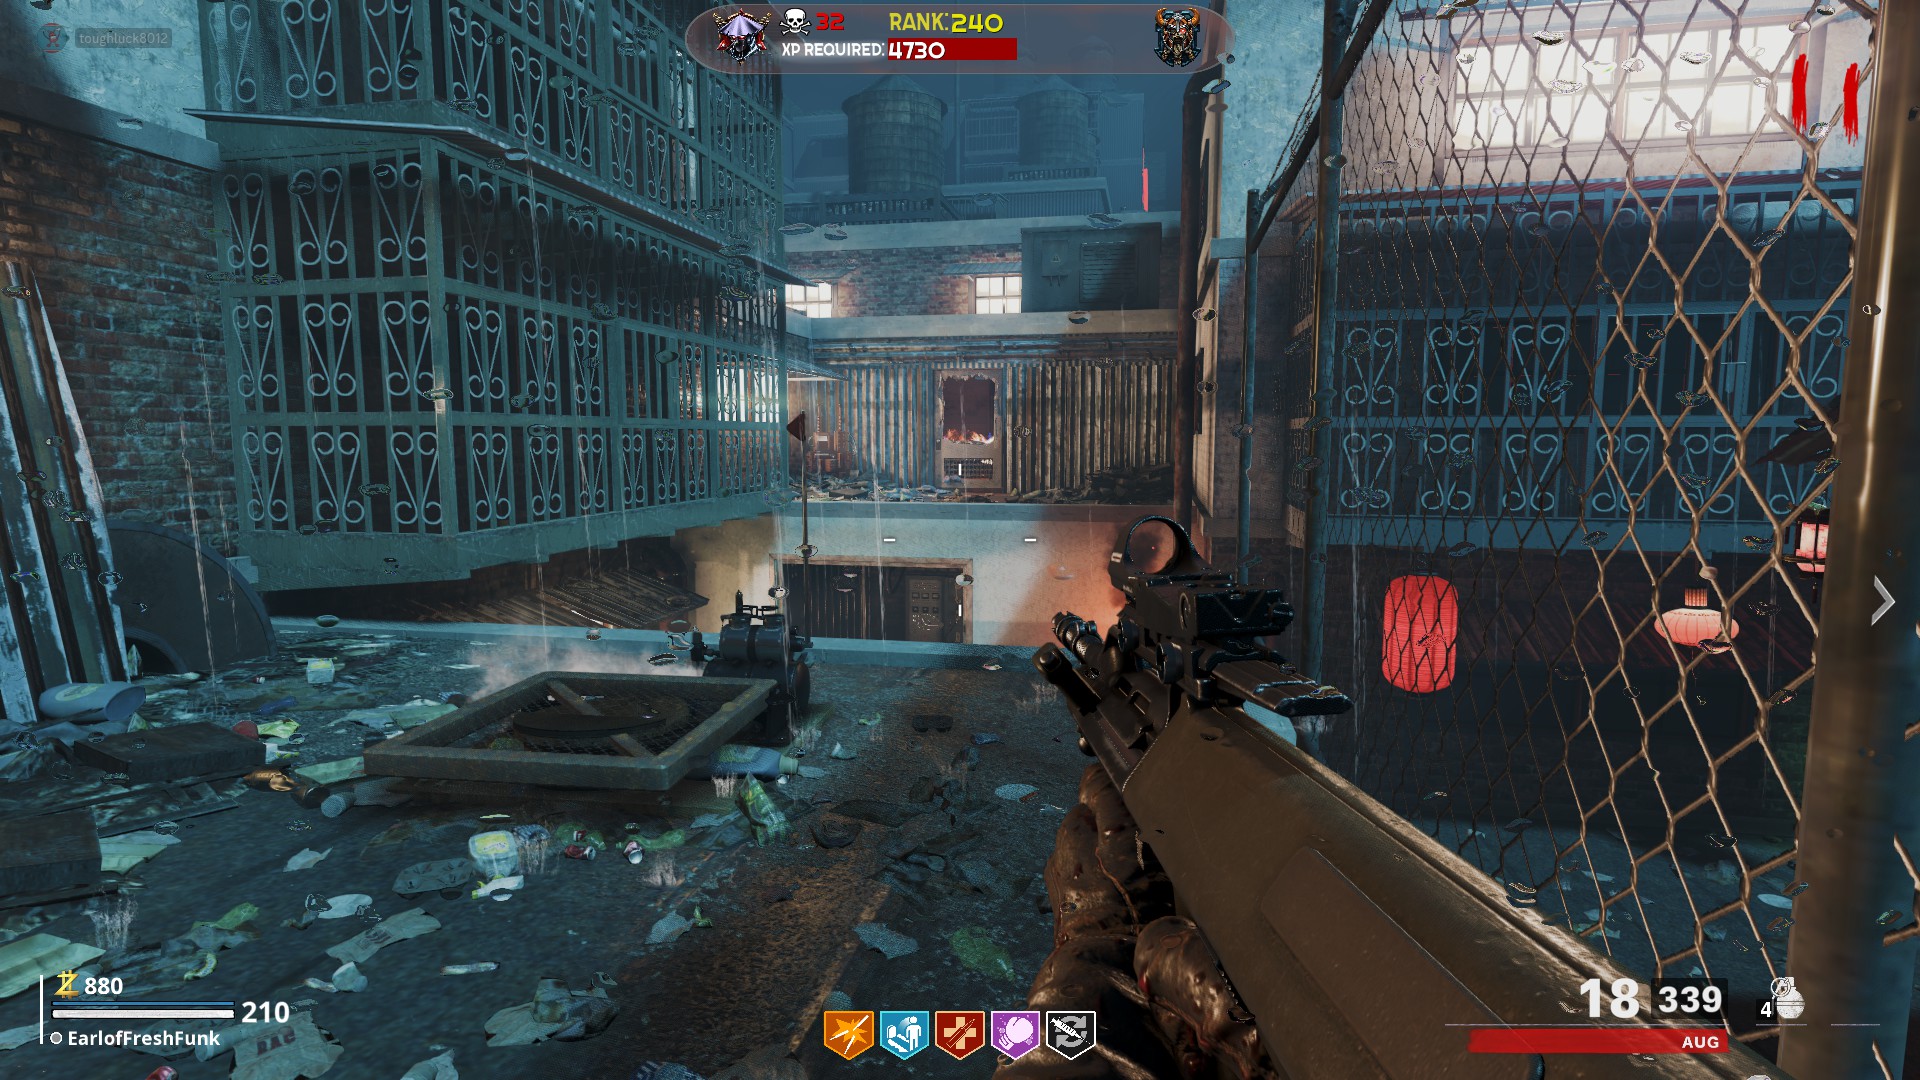
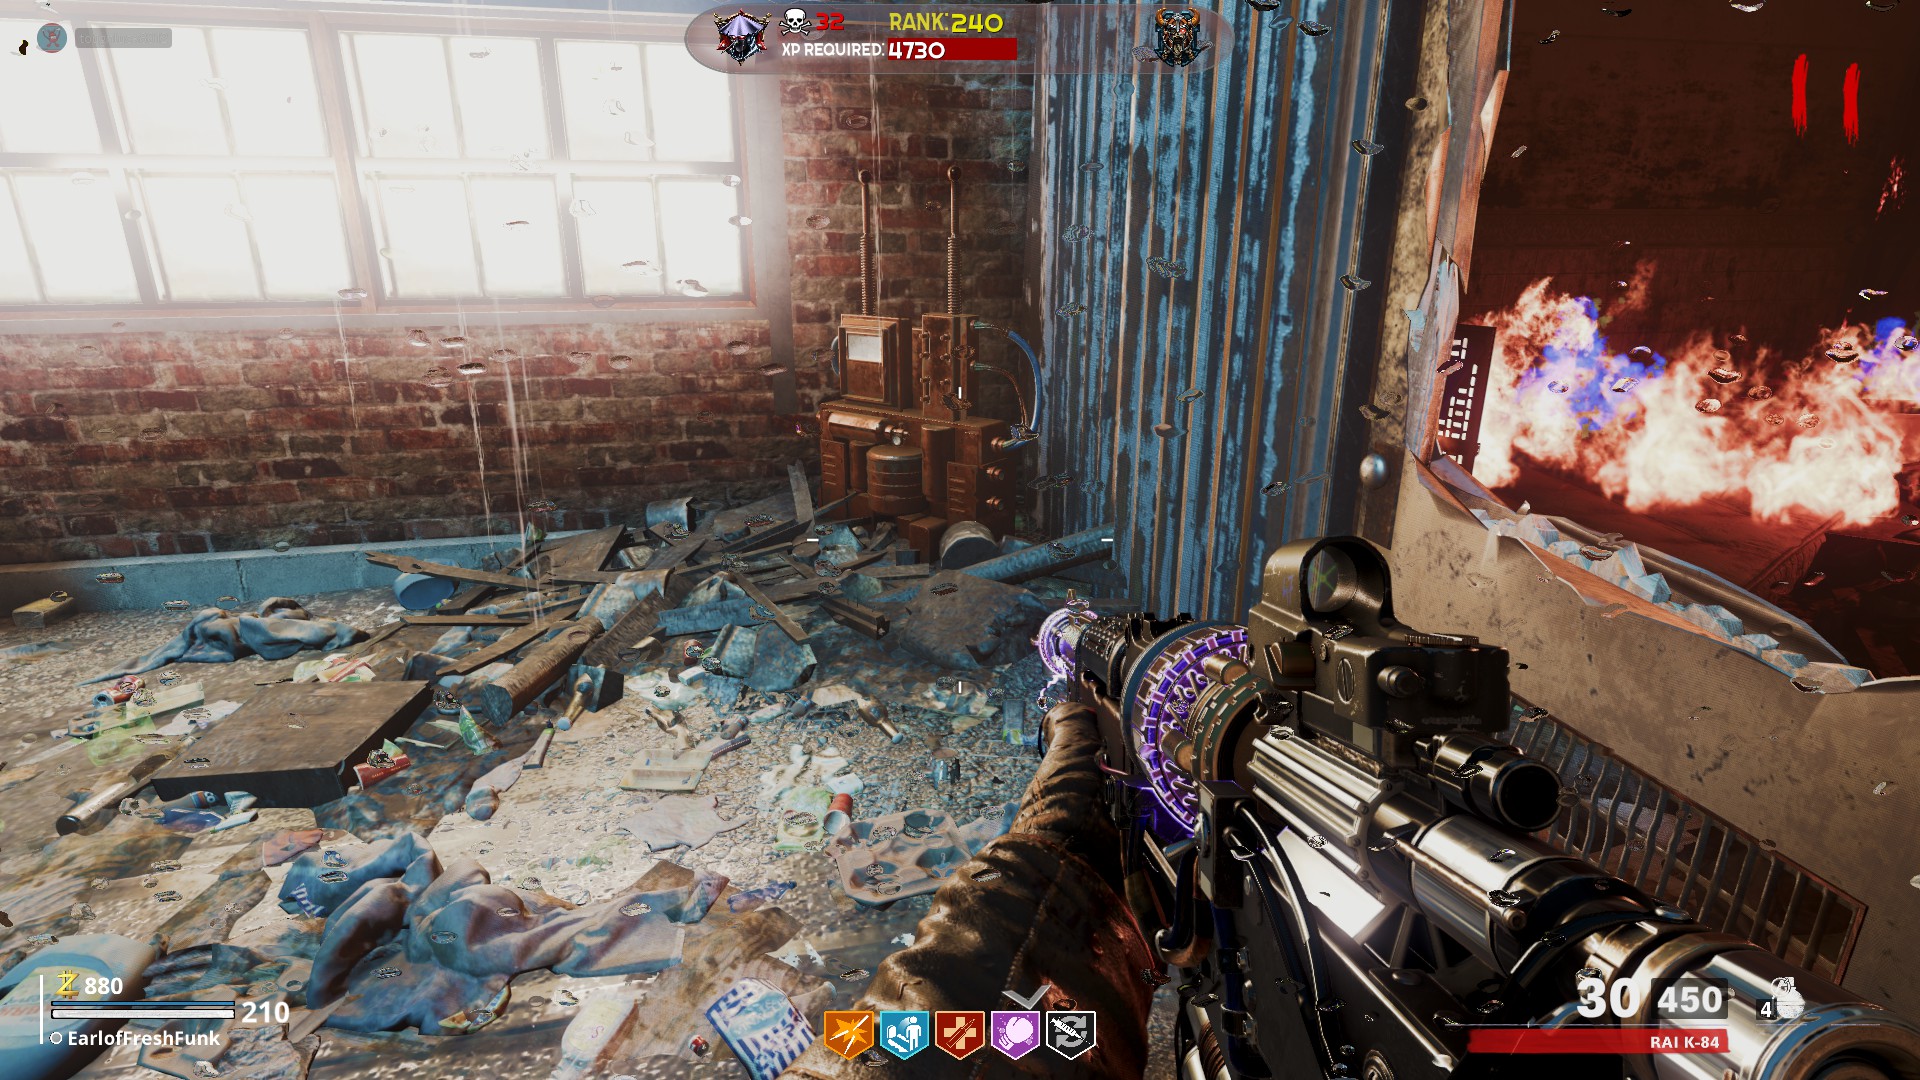 Place the Tramplesteam on the Speed Cola platform facing the hole in the wall of the Sewing Machine building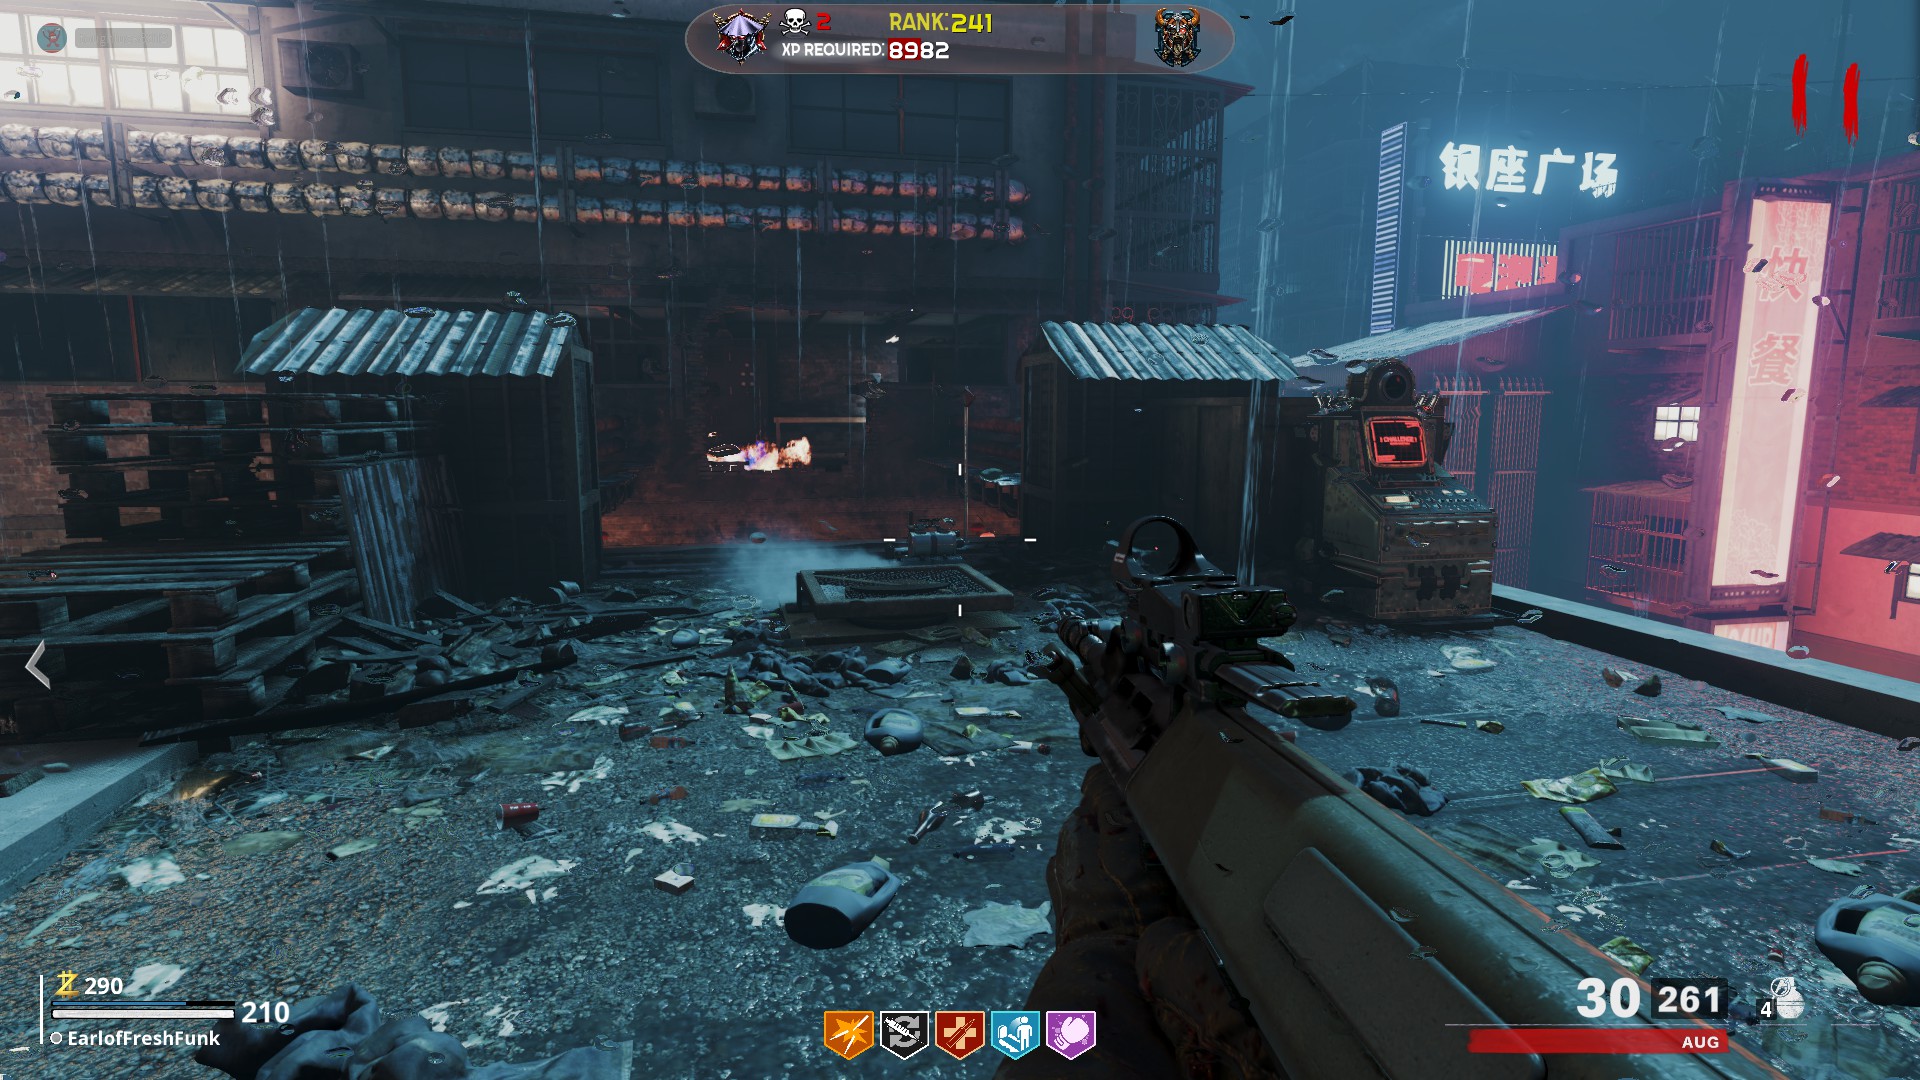
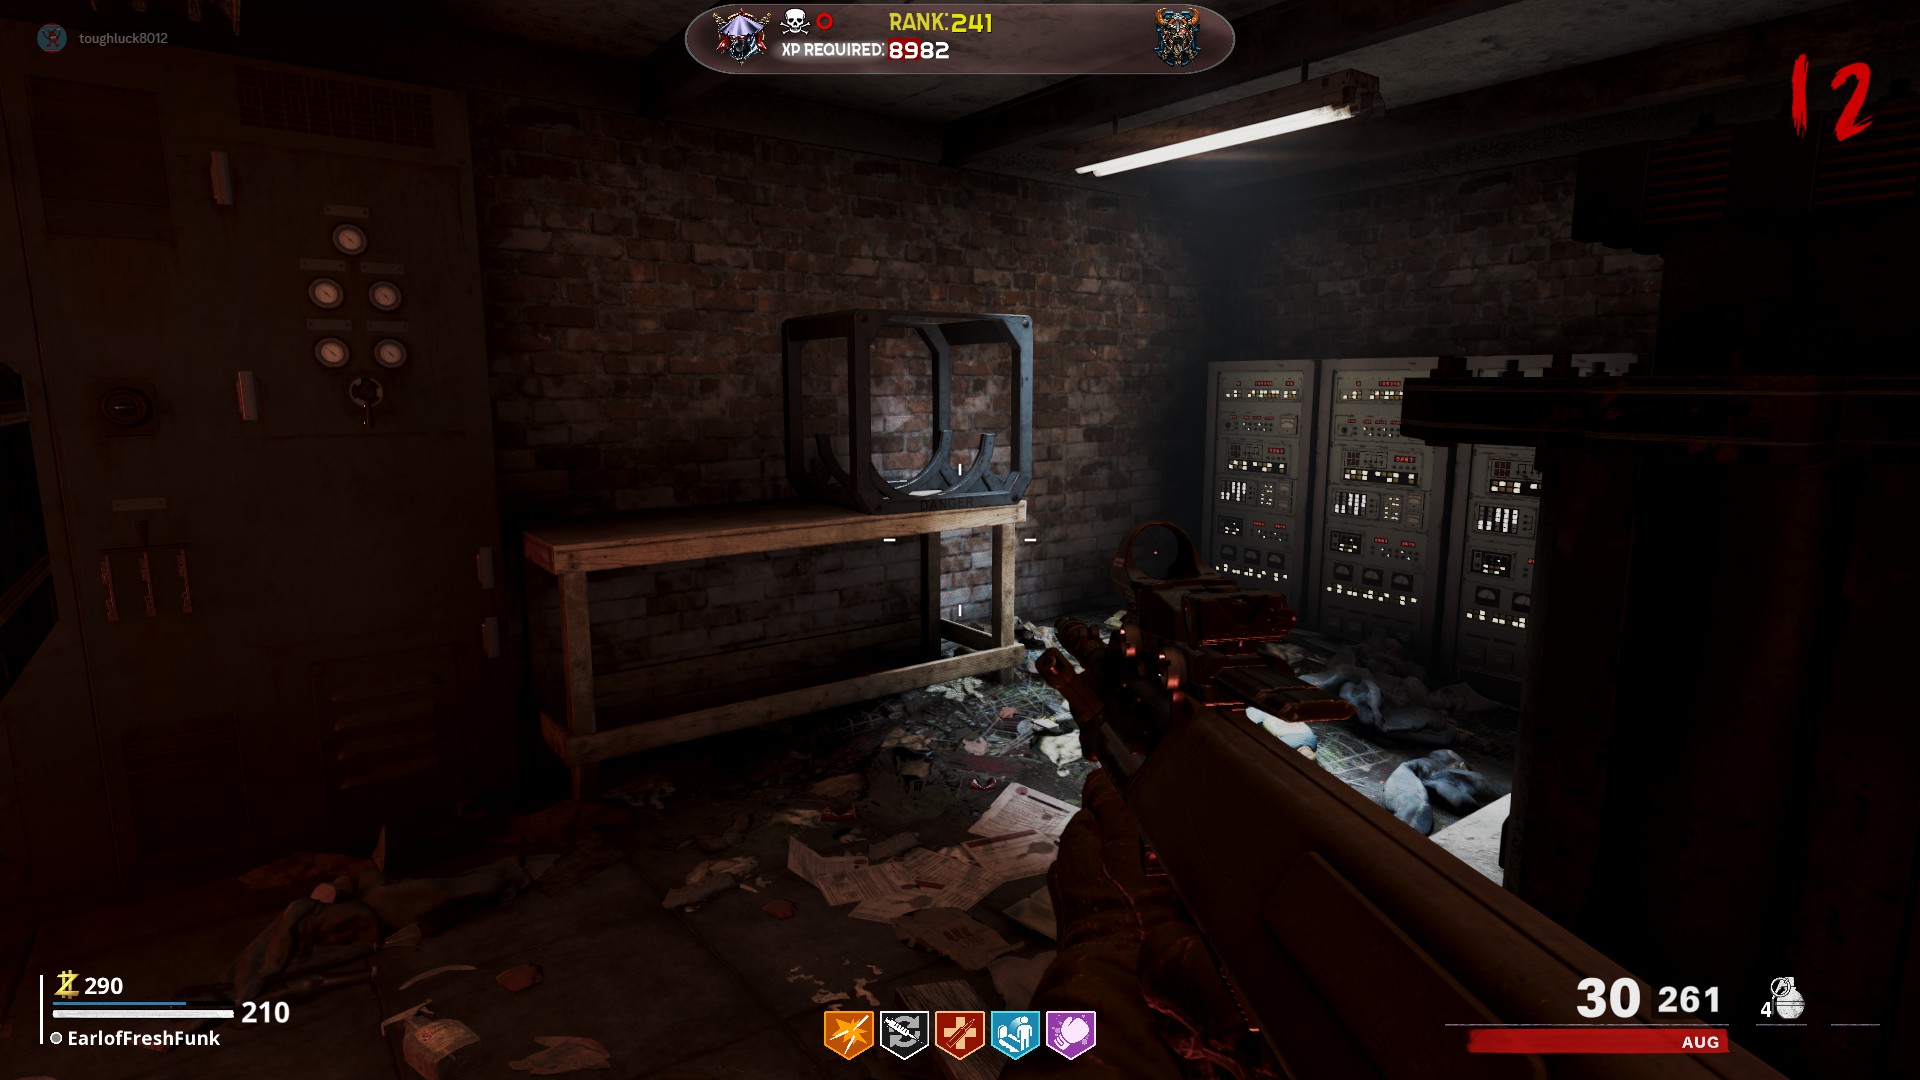 In the Meteor/Double Tap room, place your Tramplesteam on the catwalk by the outside ledge, facing the broken section of the catwalk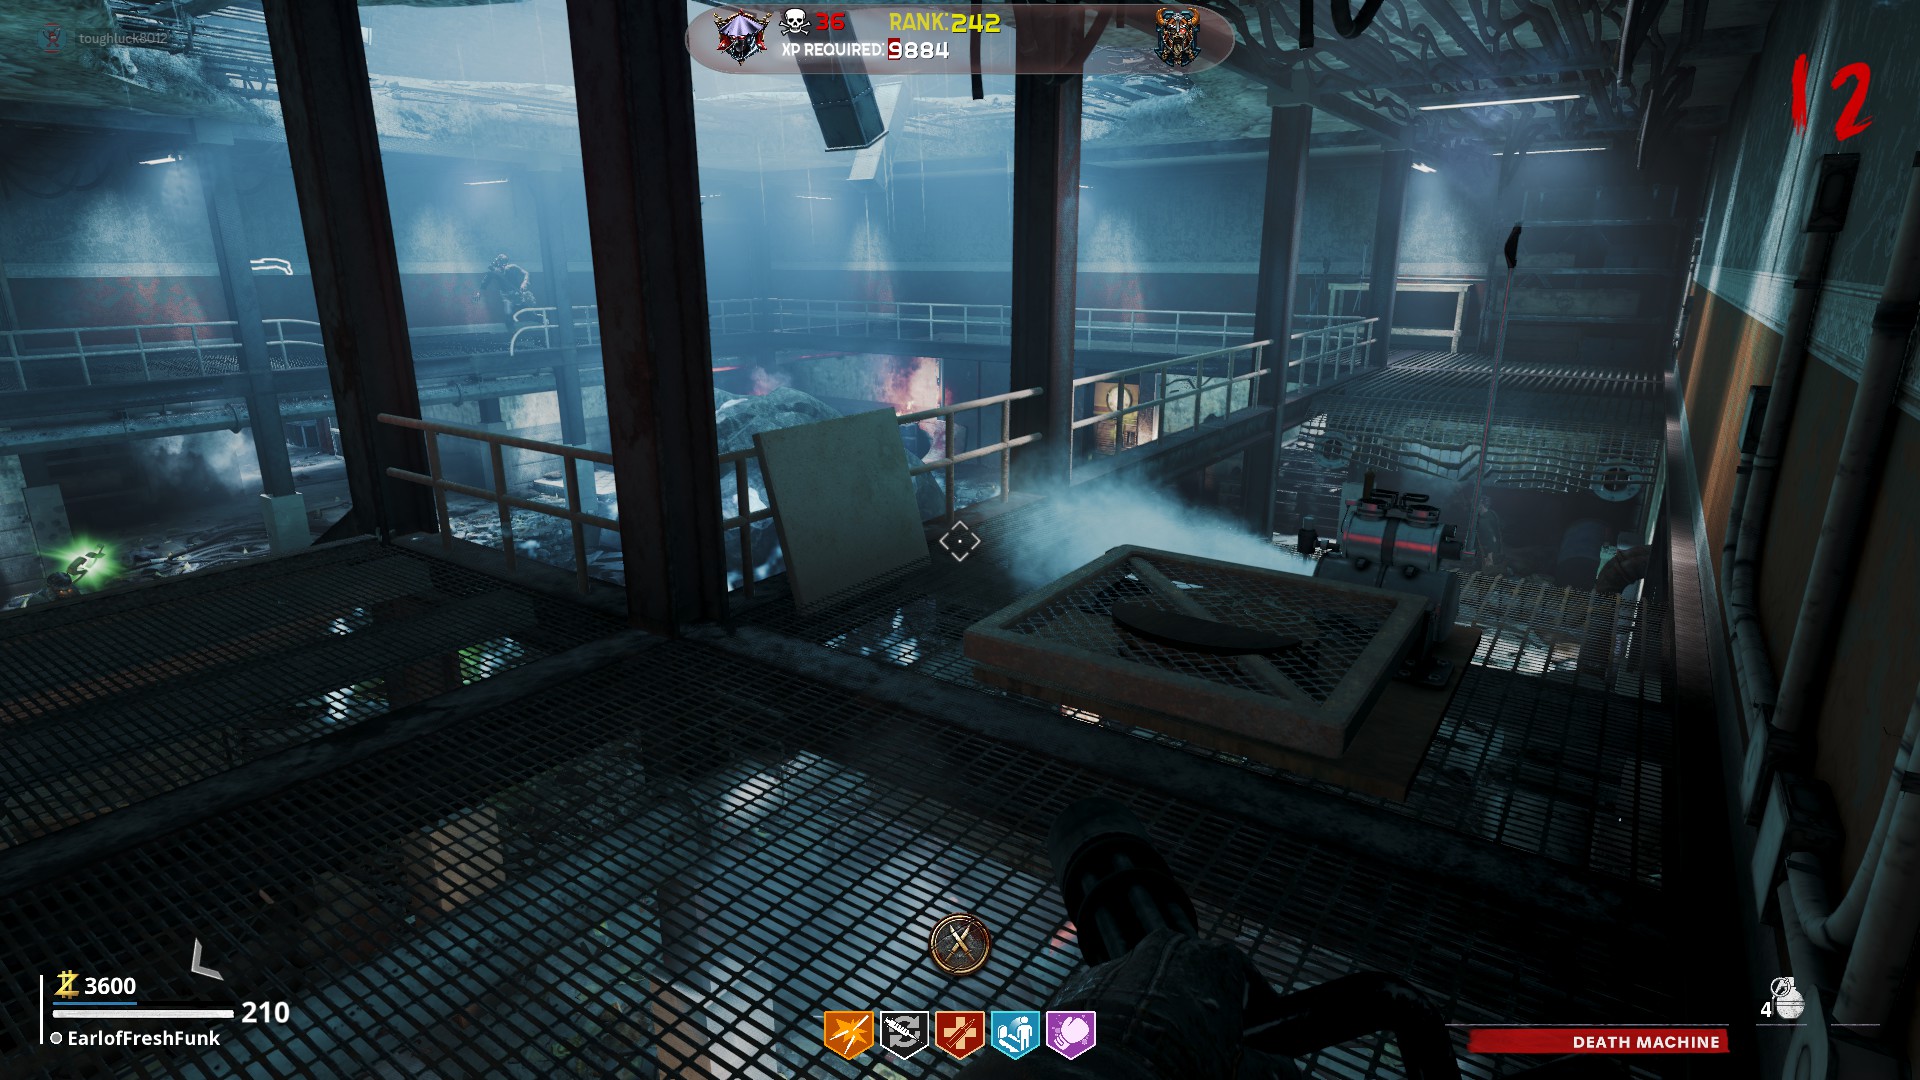
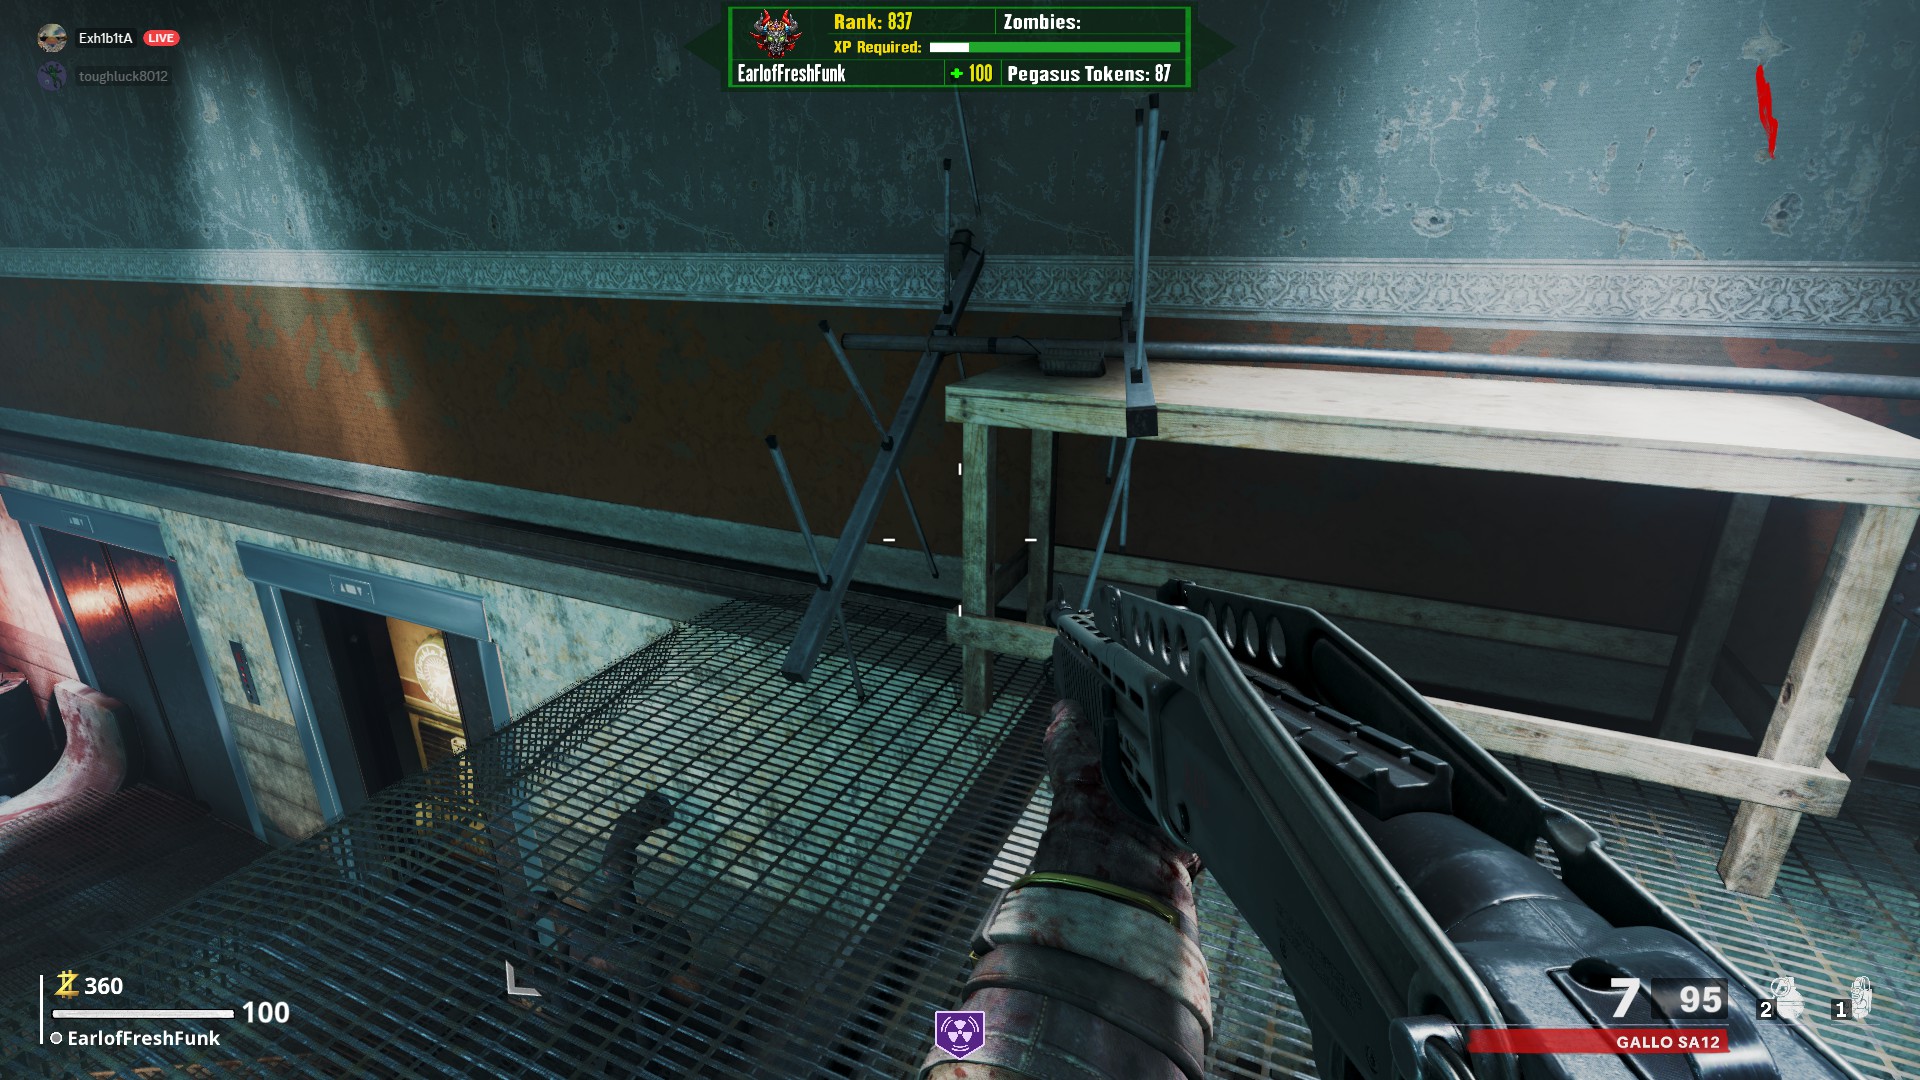
Once you have gathered all the pieces, head to the upper roof to where the ziplines are. There will be a blue outline of the lightning rod. This is where you craft it.
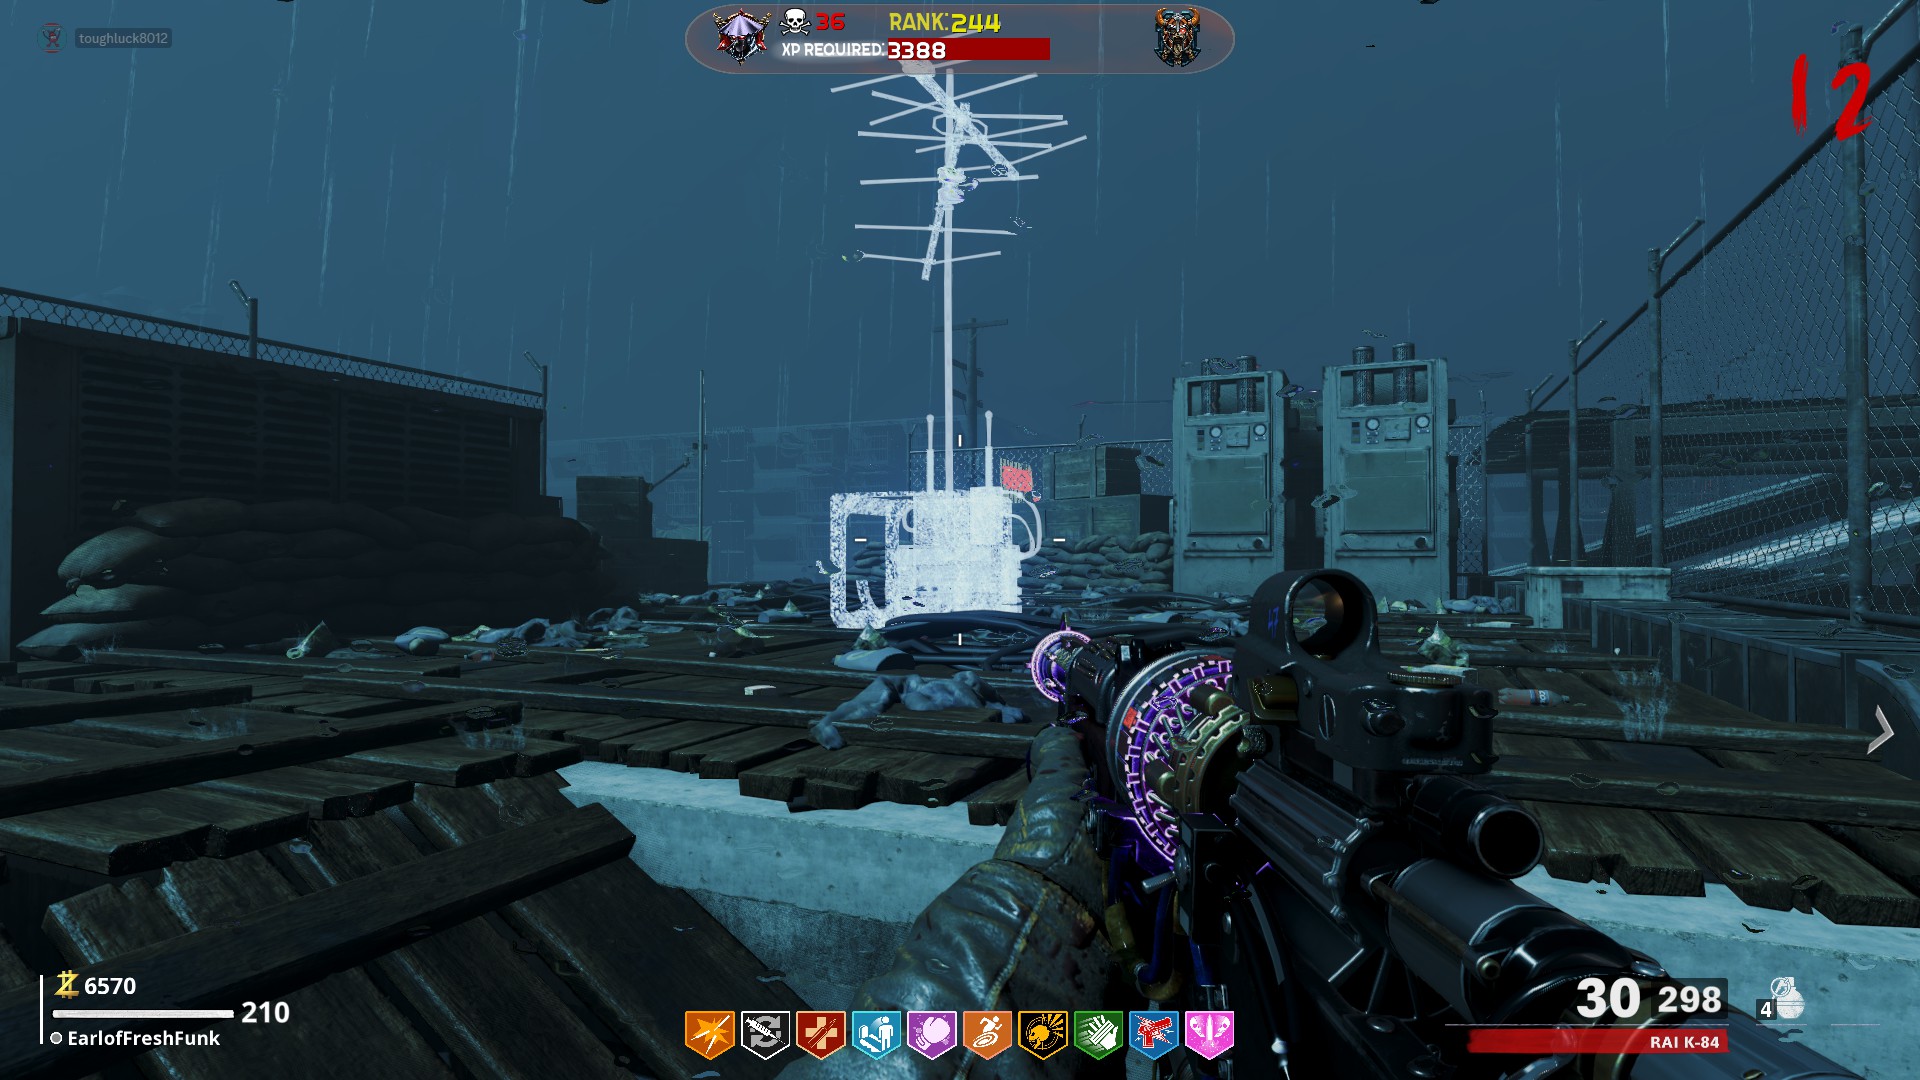
Main Easter Egg Step 6: Charge the Generators
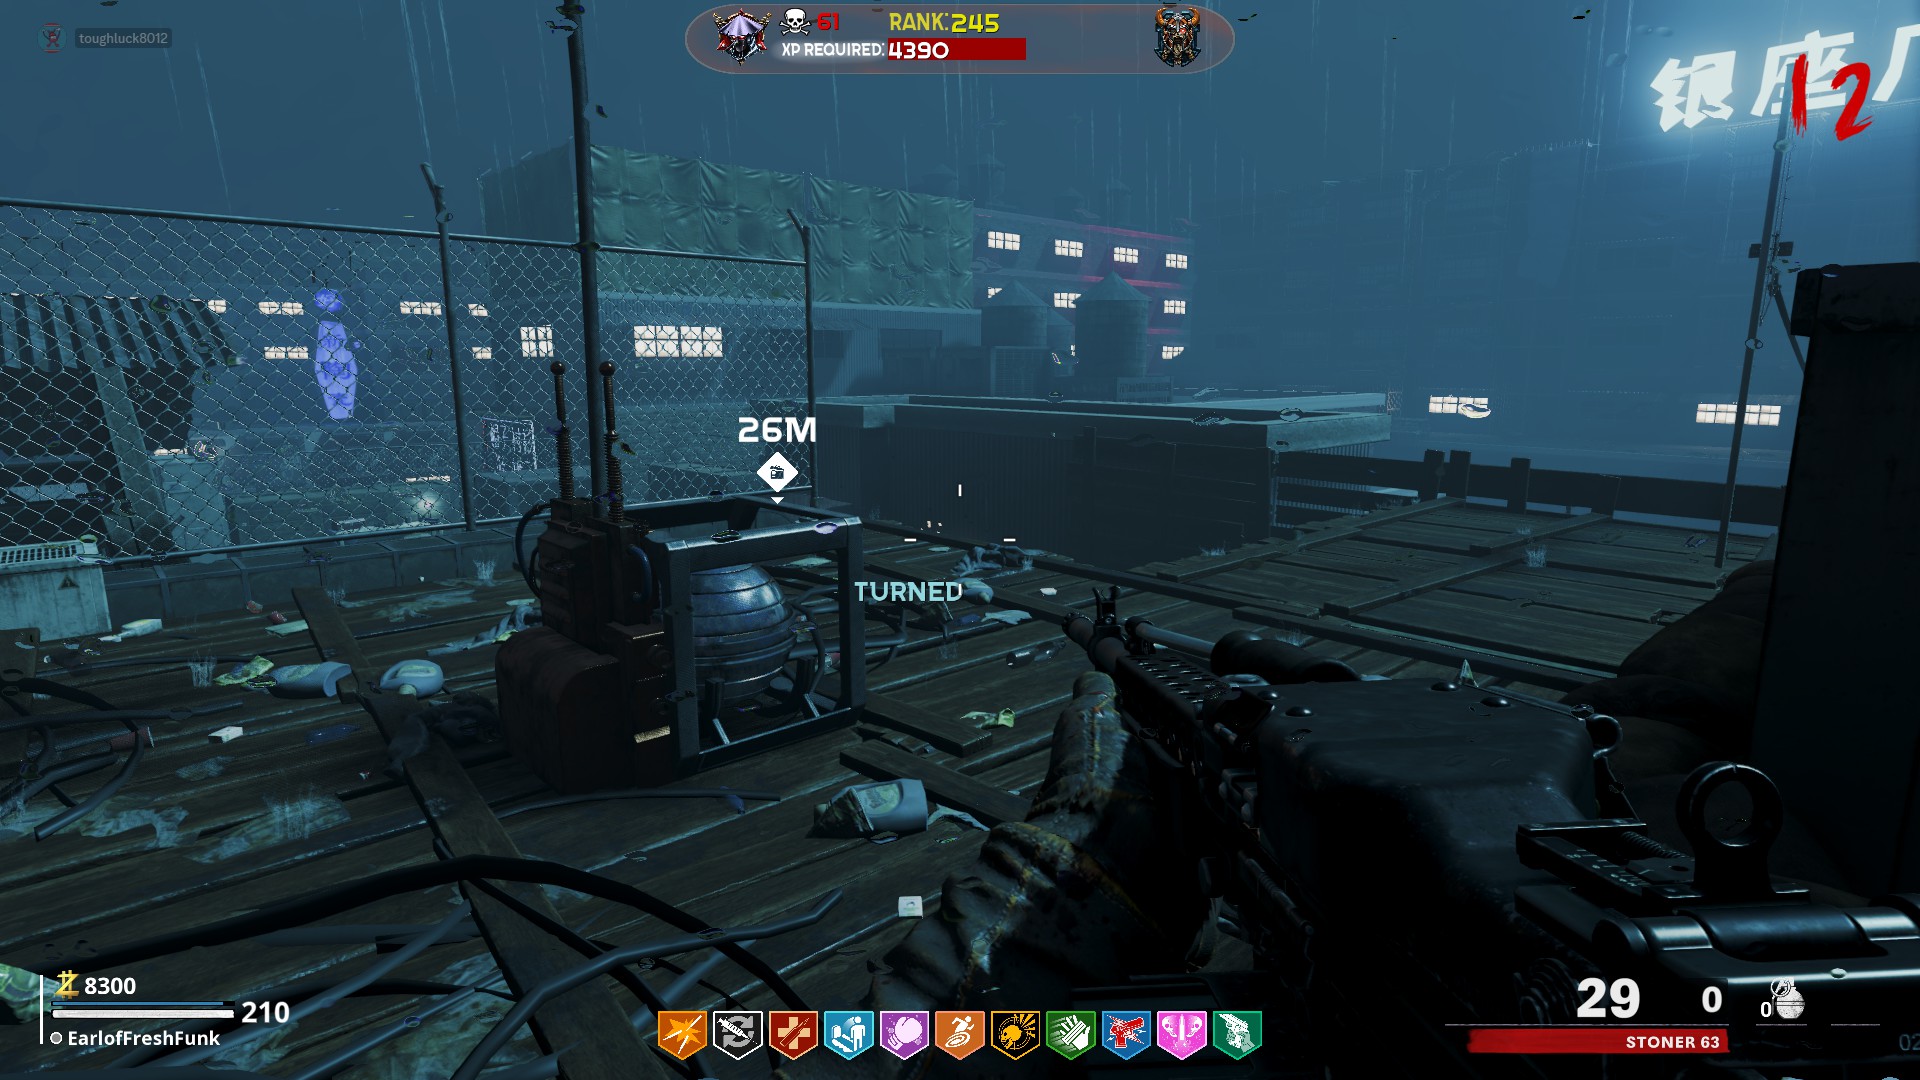
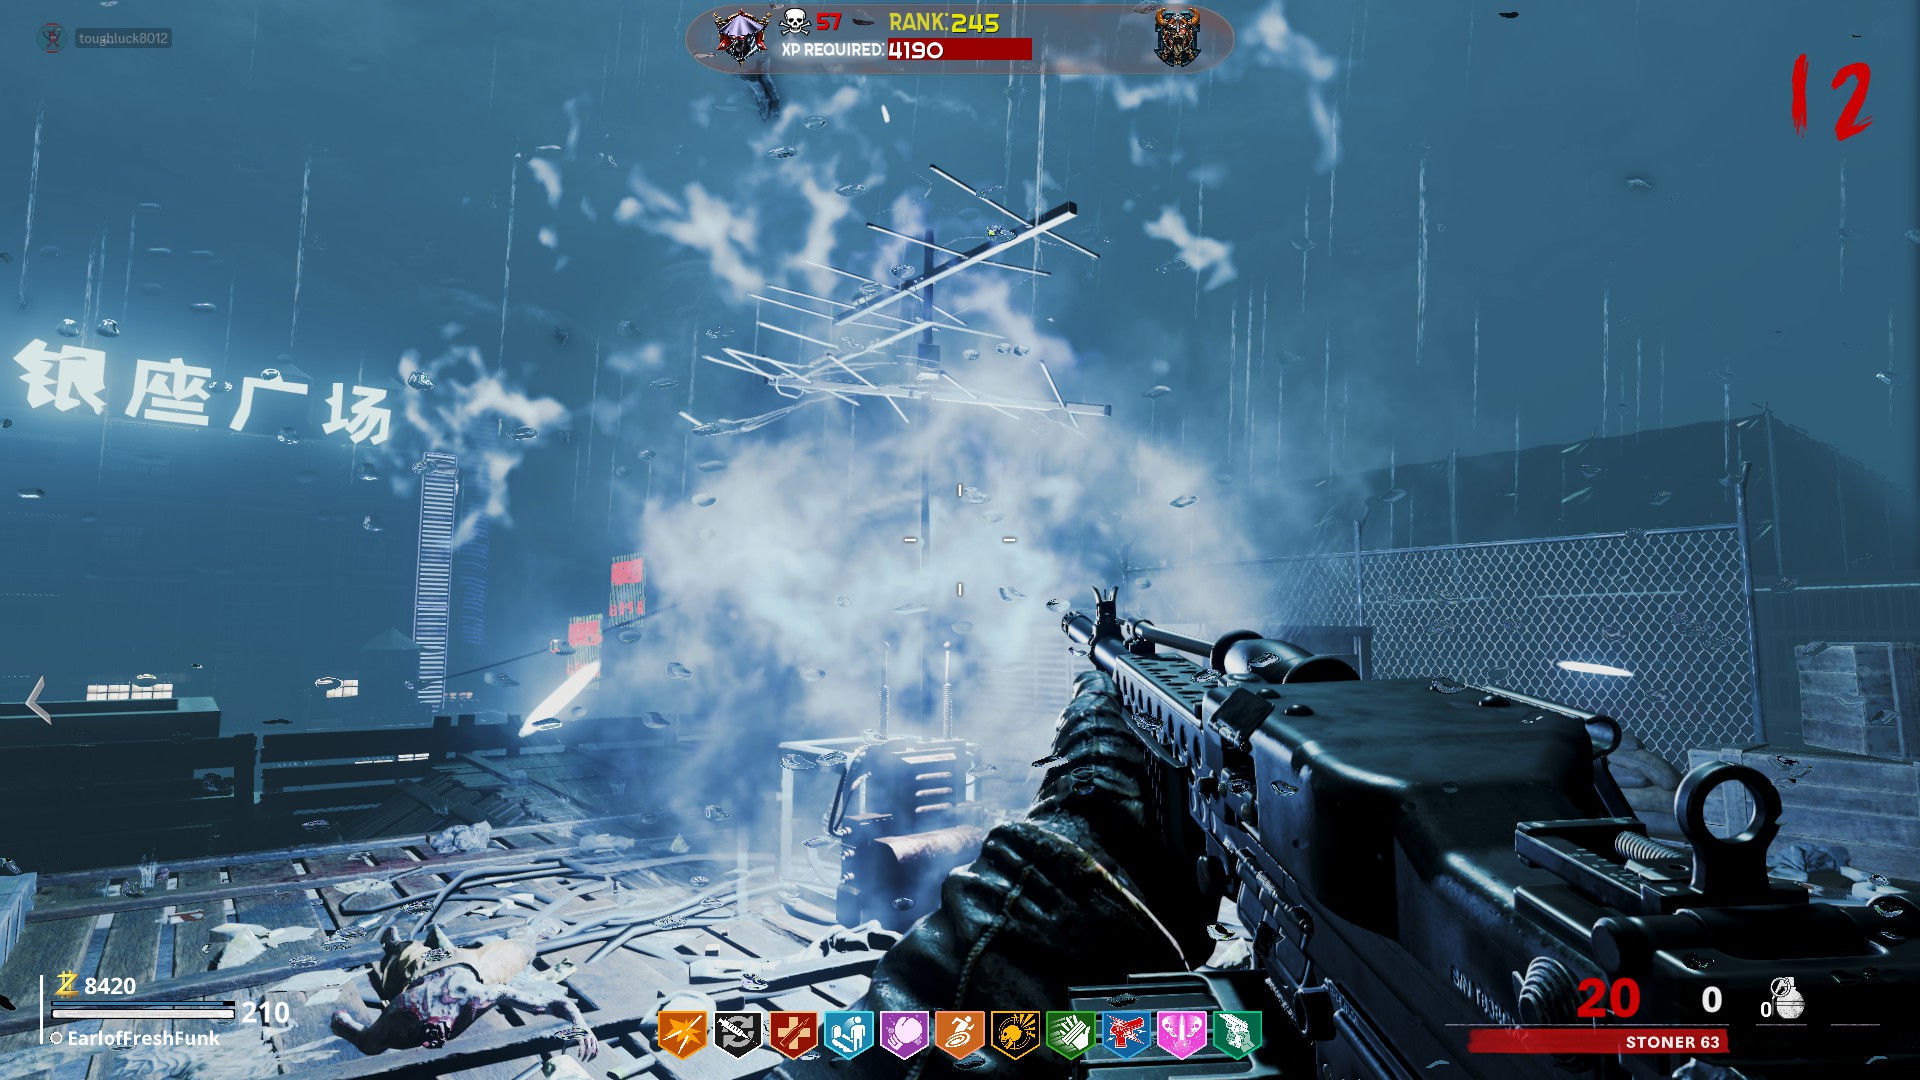 There are three generators around the map. You will need to insert the orb into the one that has a red light on it (usually in the same order as listed below). Upon doing so, a lockdown sequence will trigger, and you will be forced to survive for a short time.
 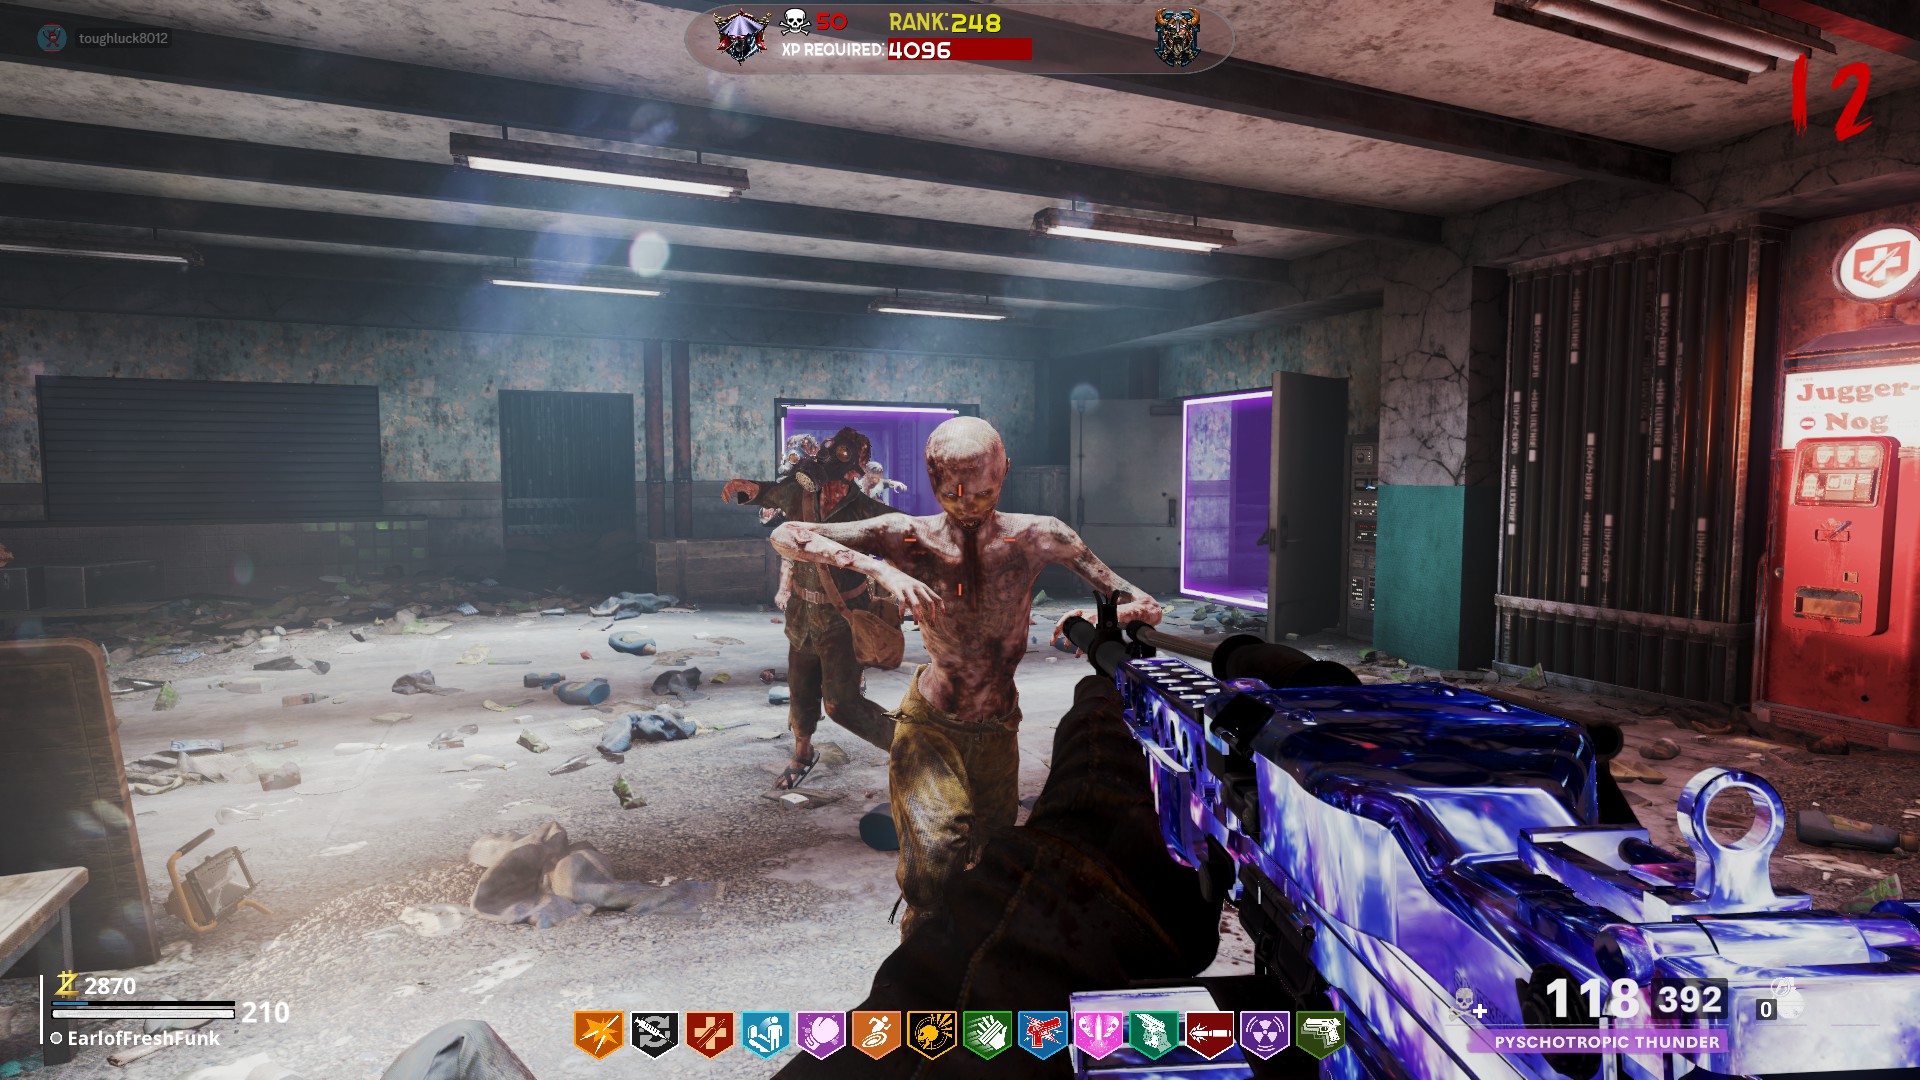 Once the barriers have been retracted, pick up the orb and bring it back to the Lightning Rod. You will need to charge the orb again in the same manner as before (more lightning strikes). This must happen for each of the generators, and again at the end to upgrade the orb into the golden orb.
Directly next to the Juggernog machine
Once the barriers have been retracted, pick up the orb and bring it back to the Lightning Rod. You will need to charge the orb again in the same manner as before (more lightning strikes). This must happen for each of the generators, and again at the end to upgrade the orb into the golden orb.
Directly next to the Juggernog machine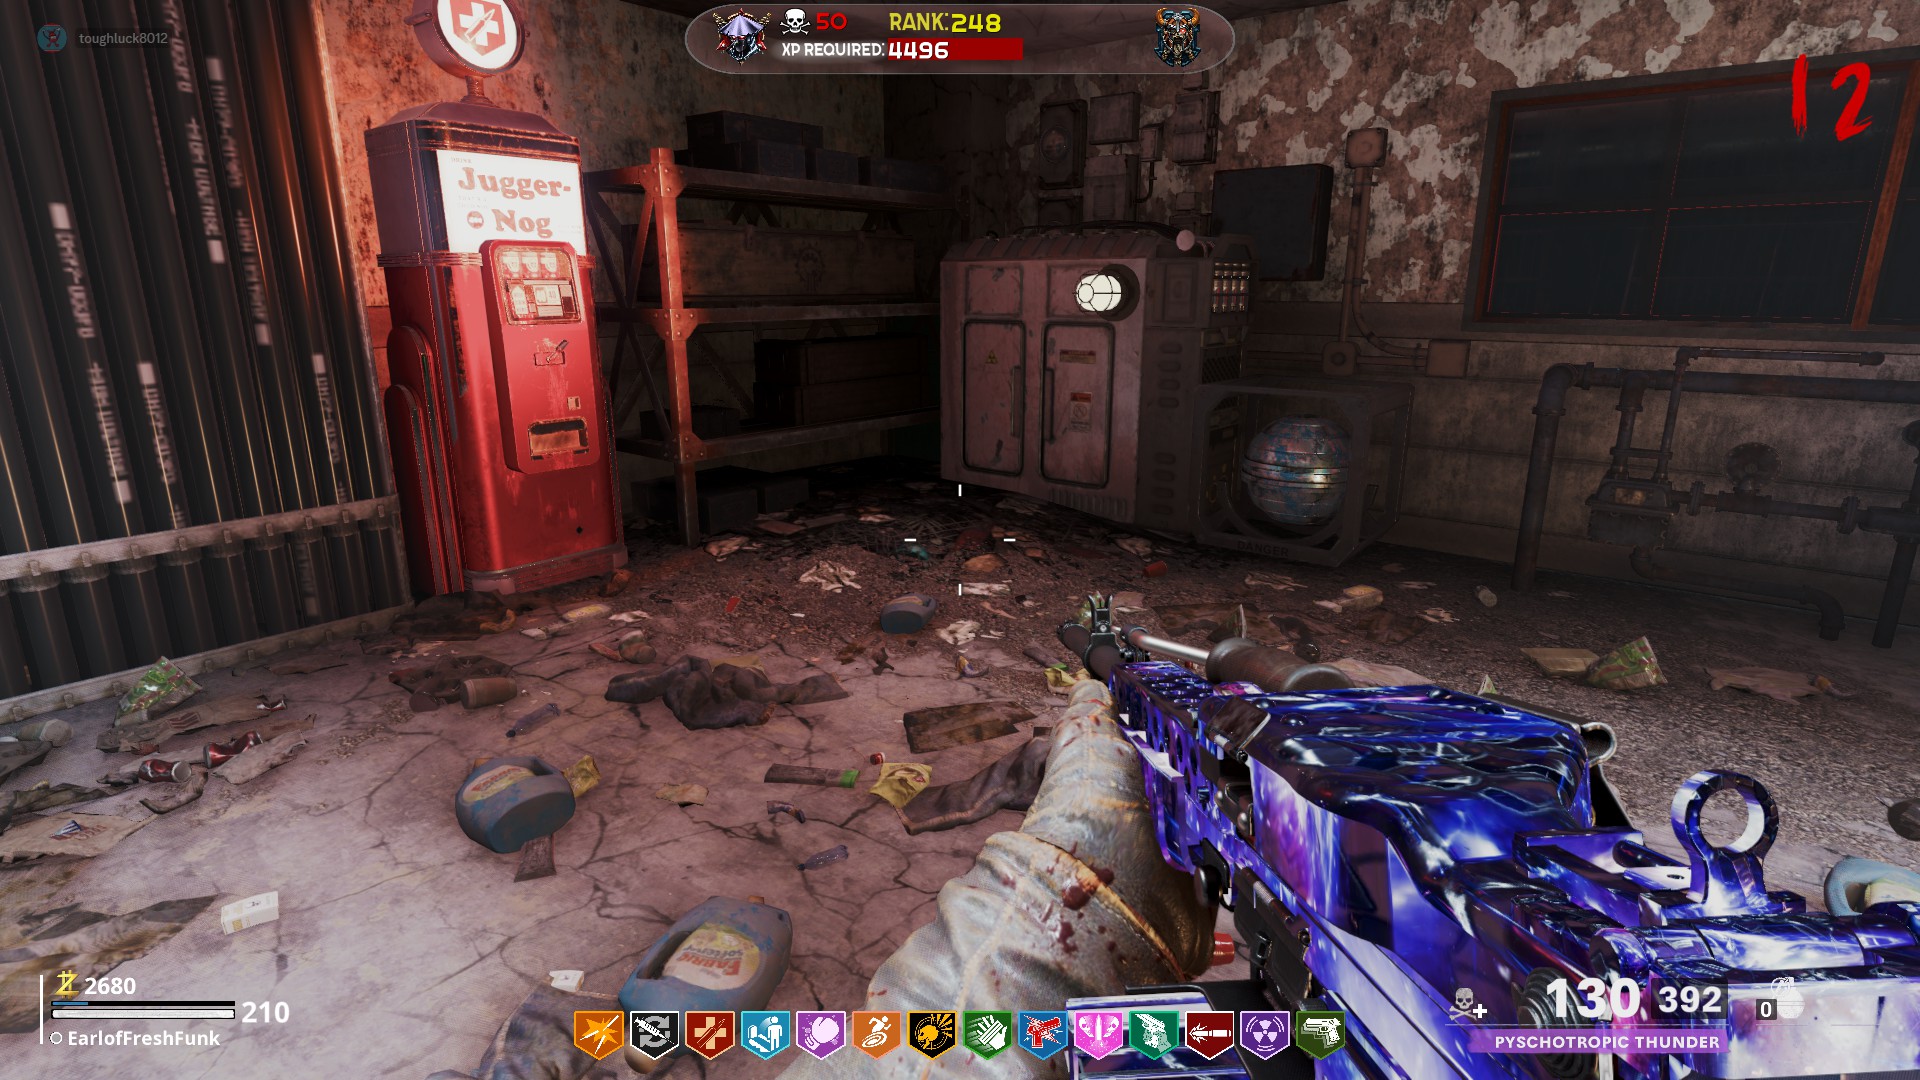 On the main roof, across from Stamin-Up by the ammo crate in the corner
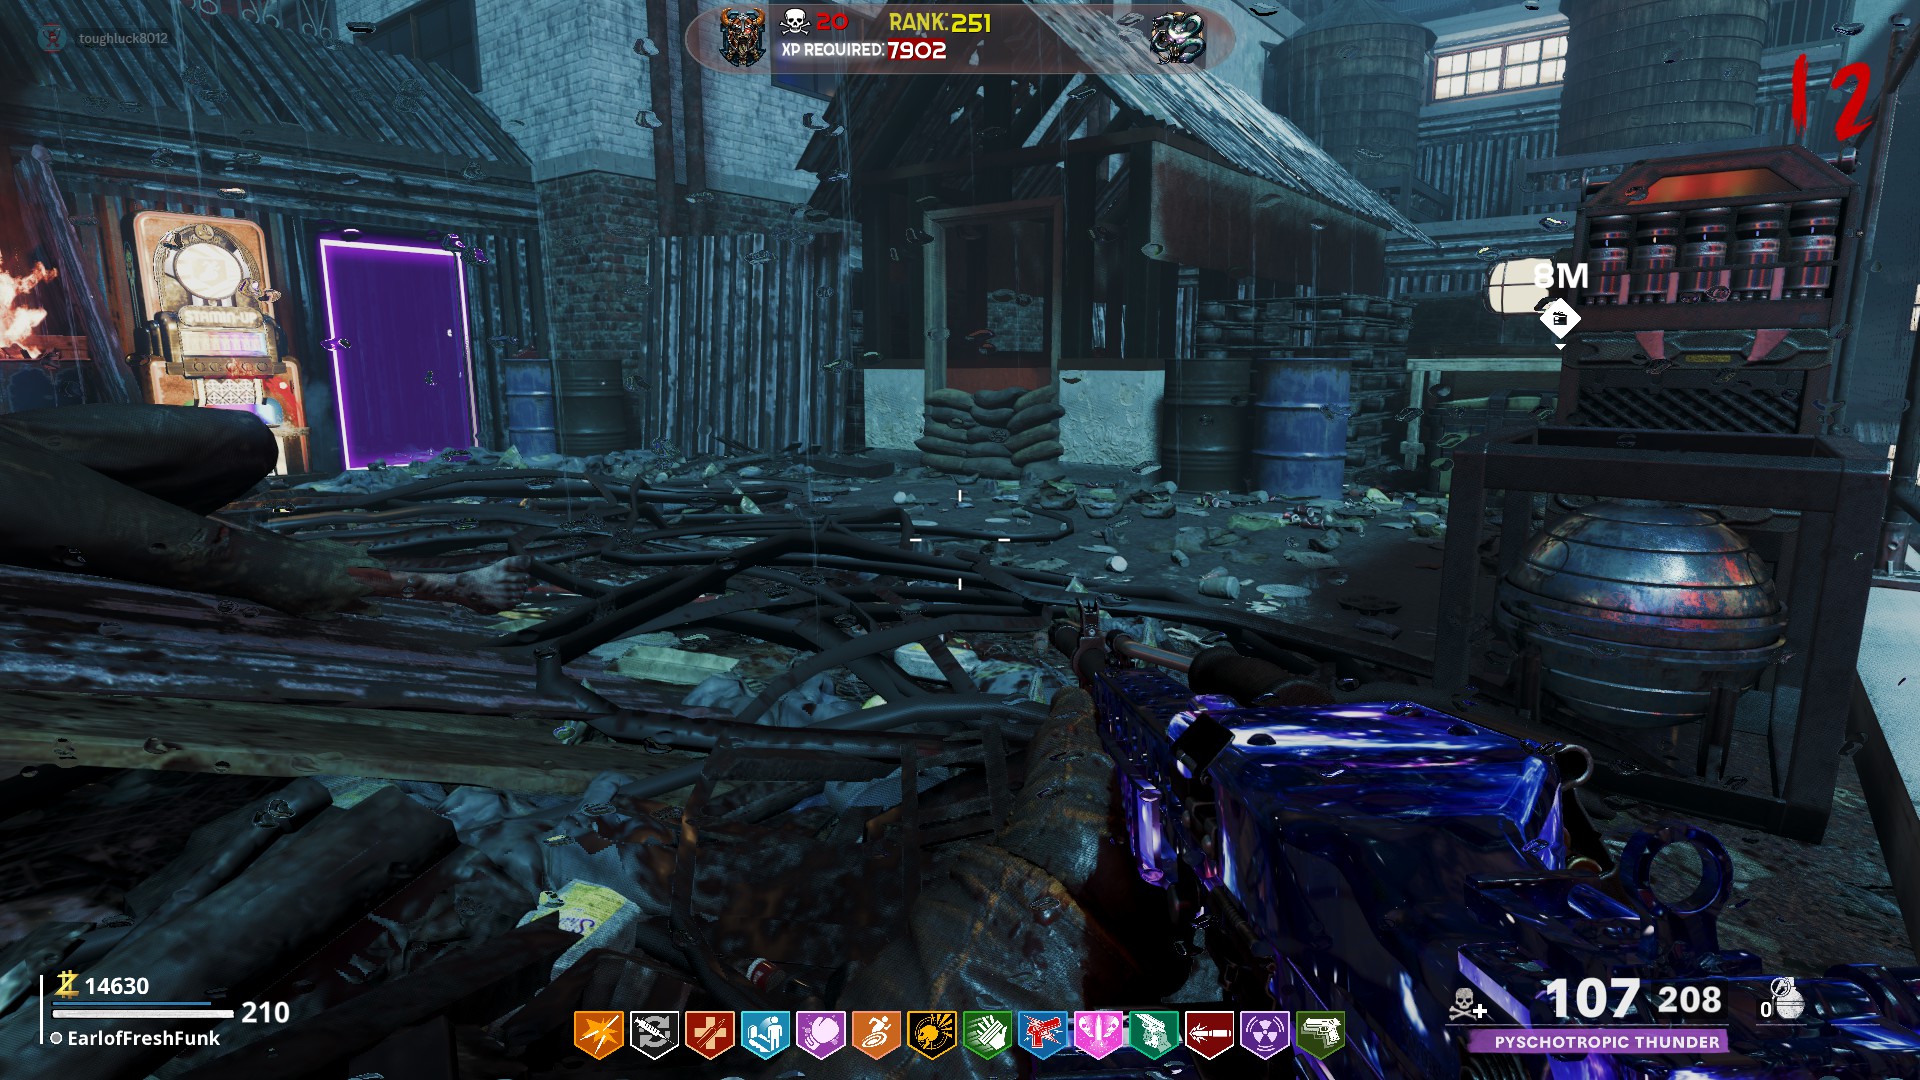 Directly next to the Speed Cola machine
Main Easter Egg Step 7: Follow the Orb
At this stage, you will need an upgraded Sliquifier (reference the section above for a tutorial).
After charging the orb again in the Lightning Rod (upgrading it to the gold orb), bring it to the part of the upper roof where you got your lantern from. Across from the lantern table is a stone pedestal. Place the orb on it.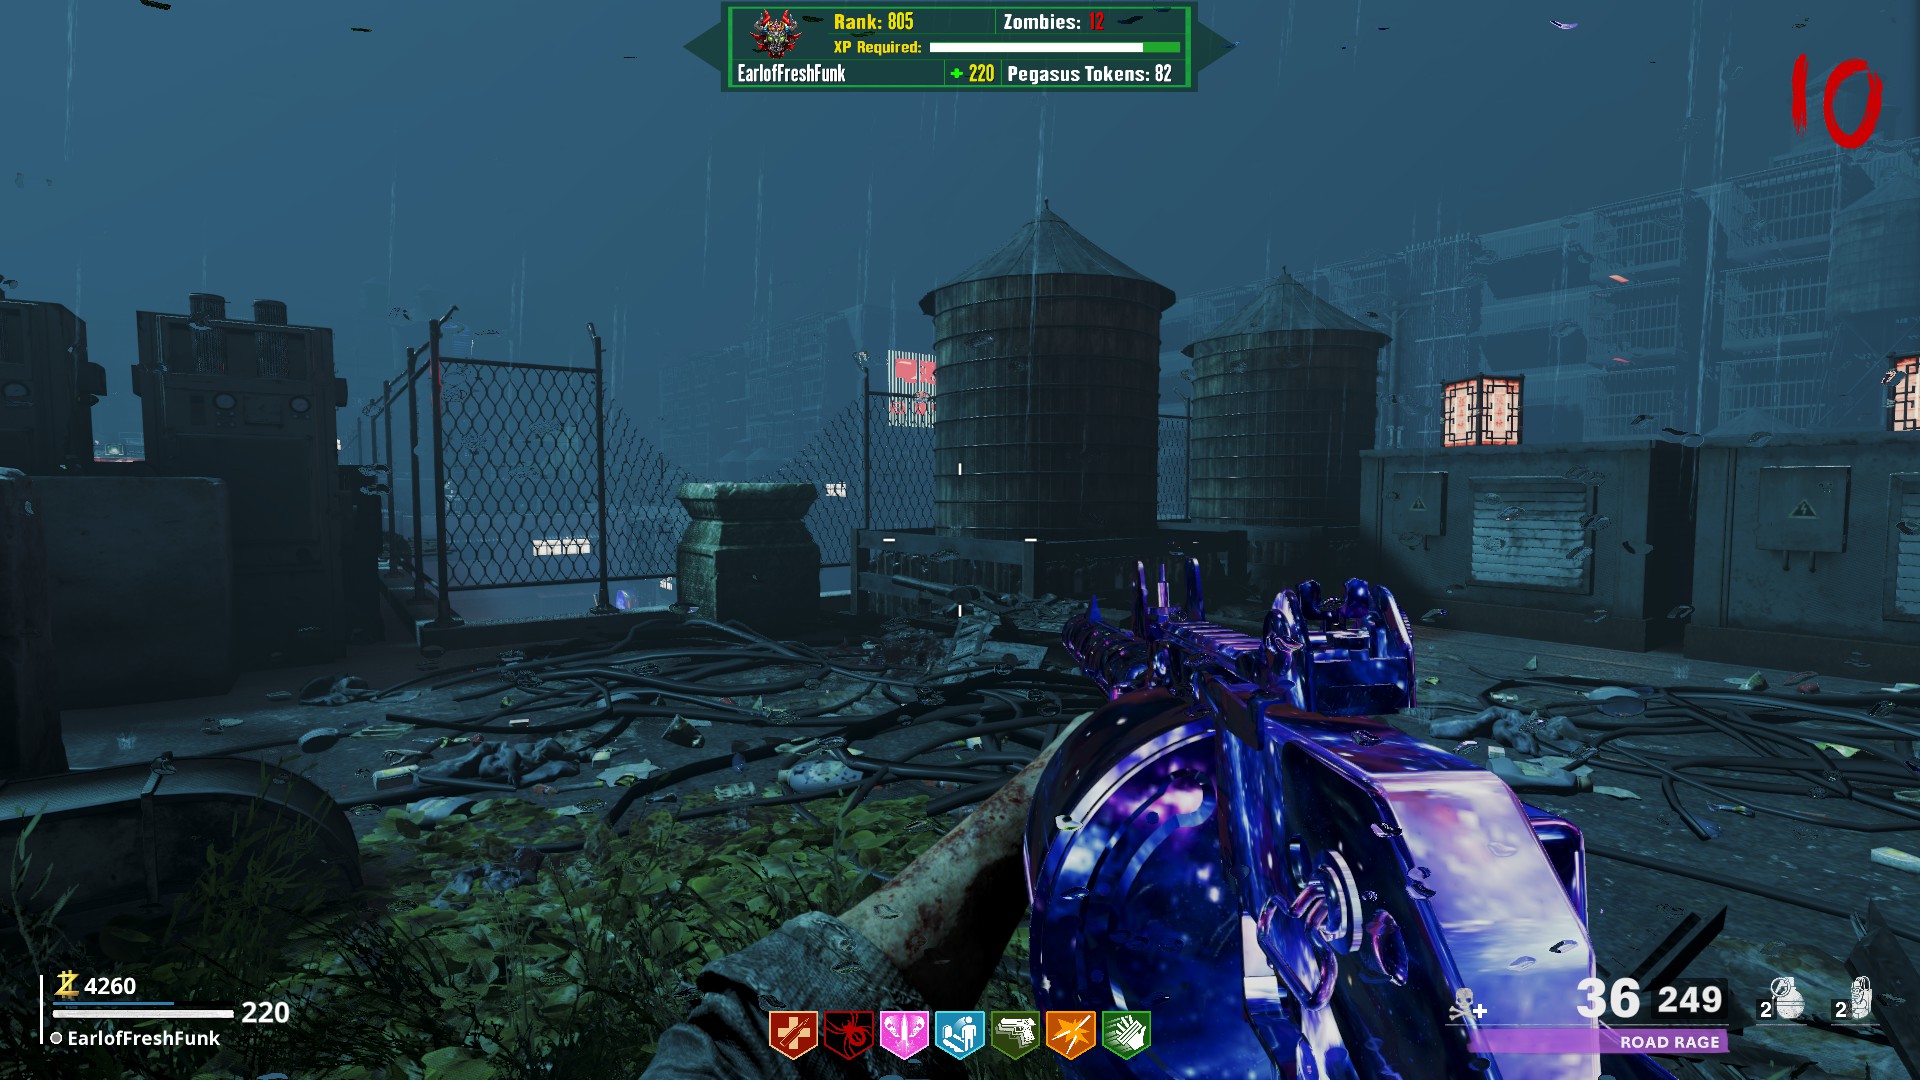
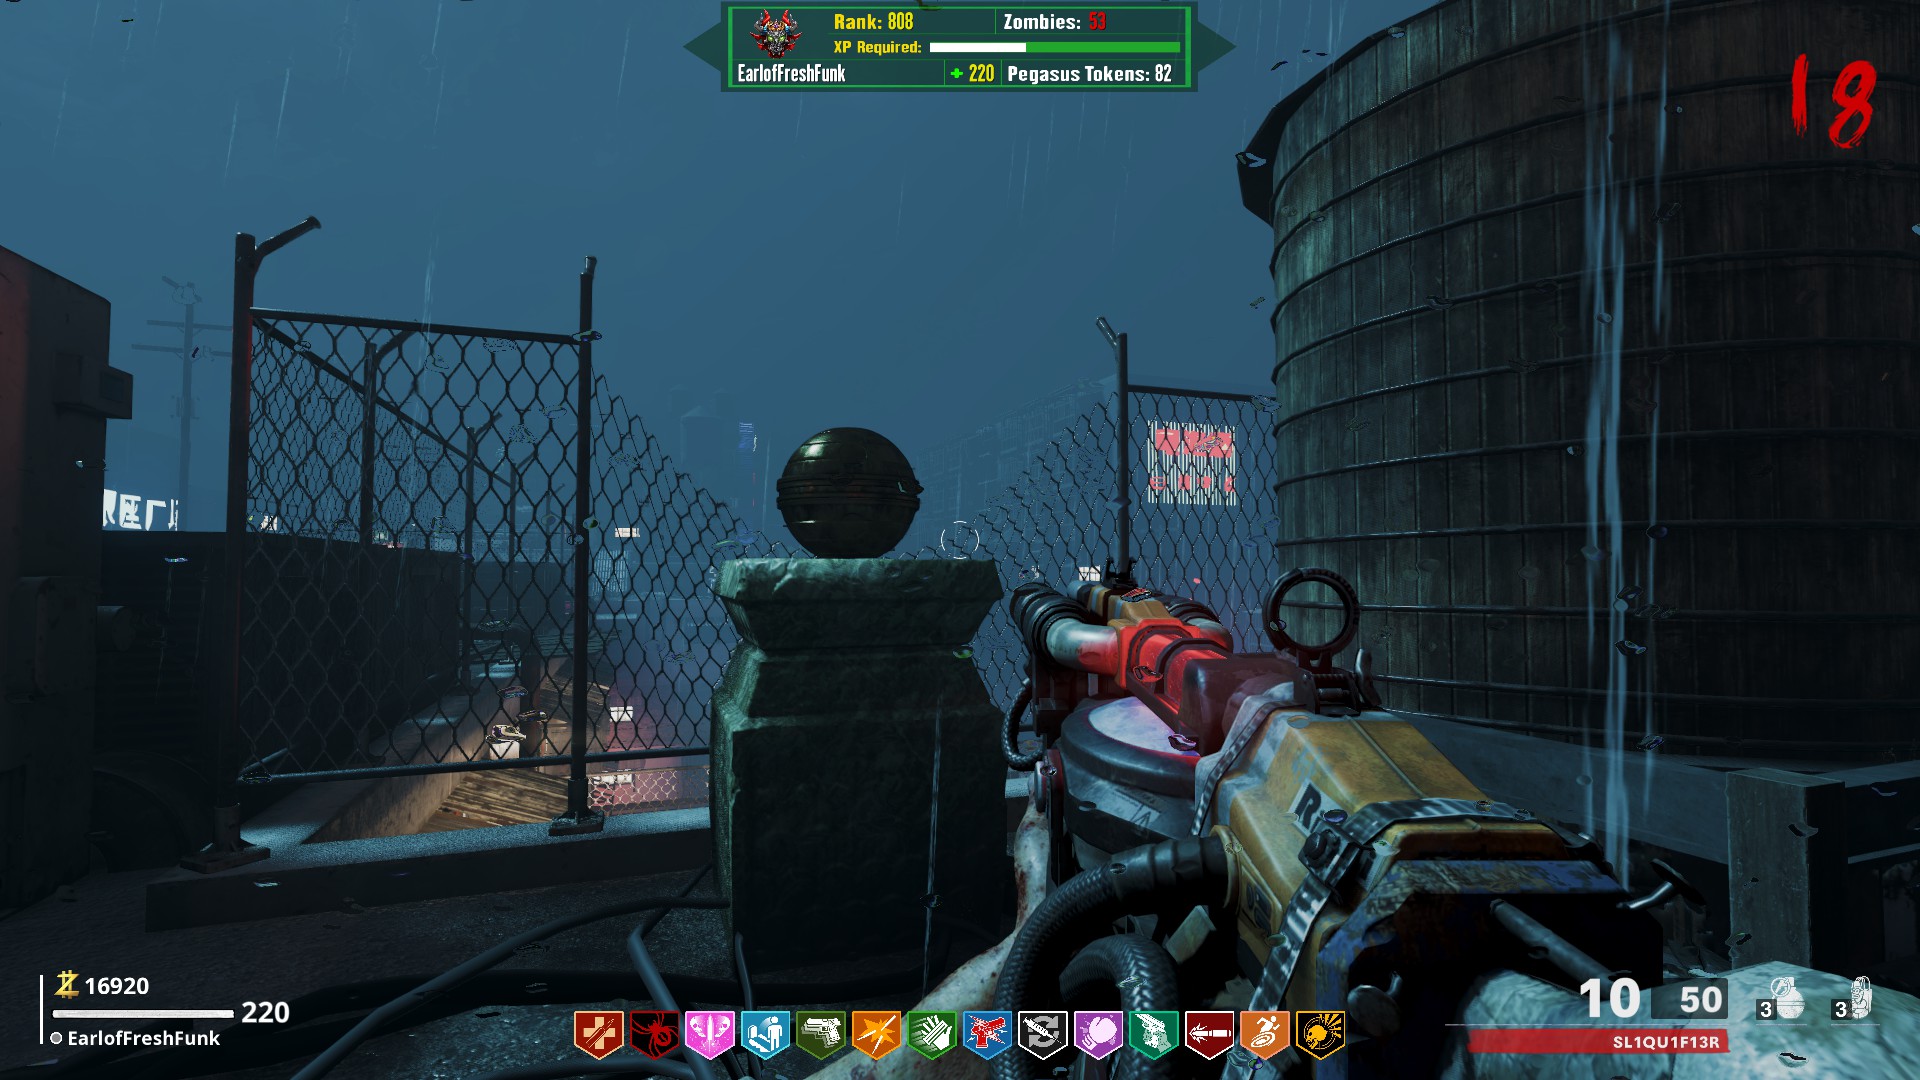
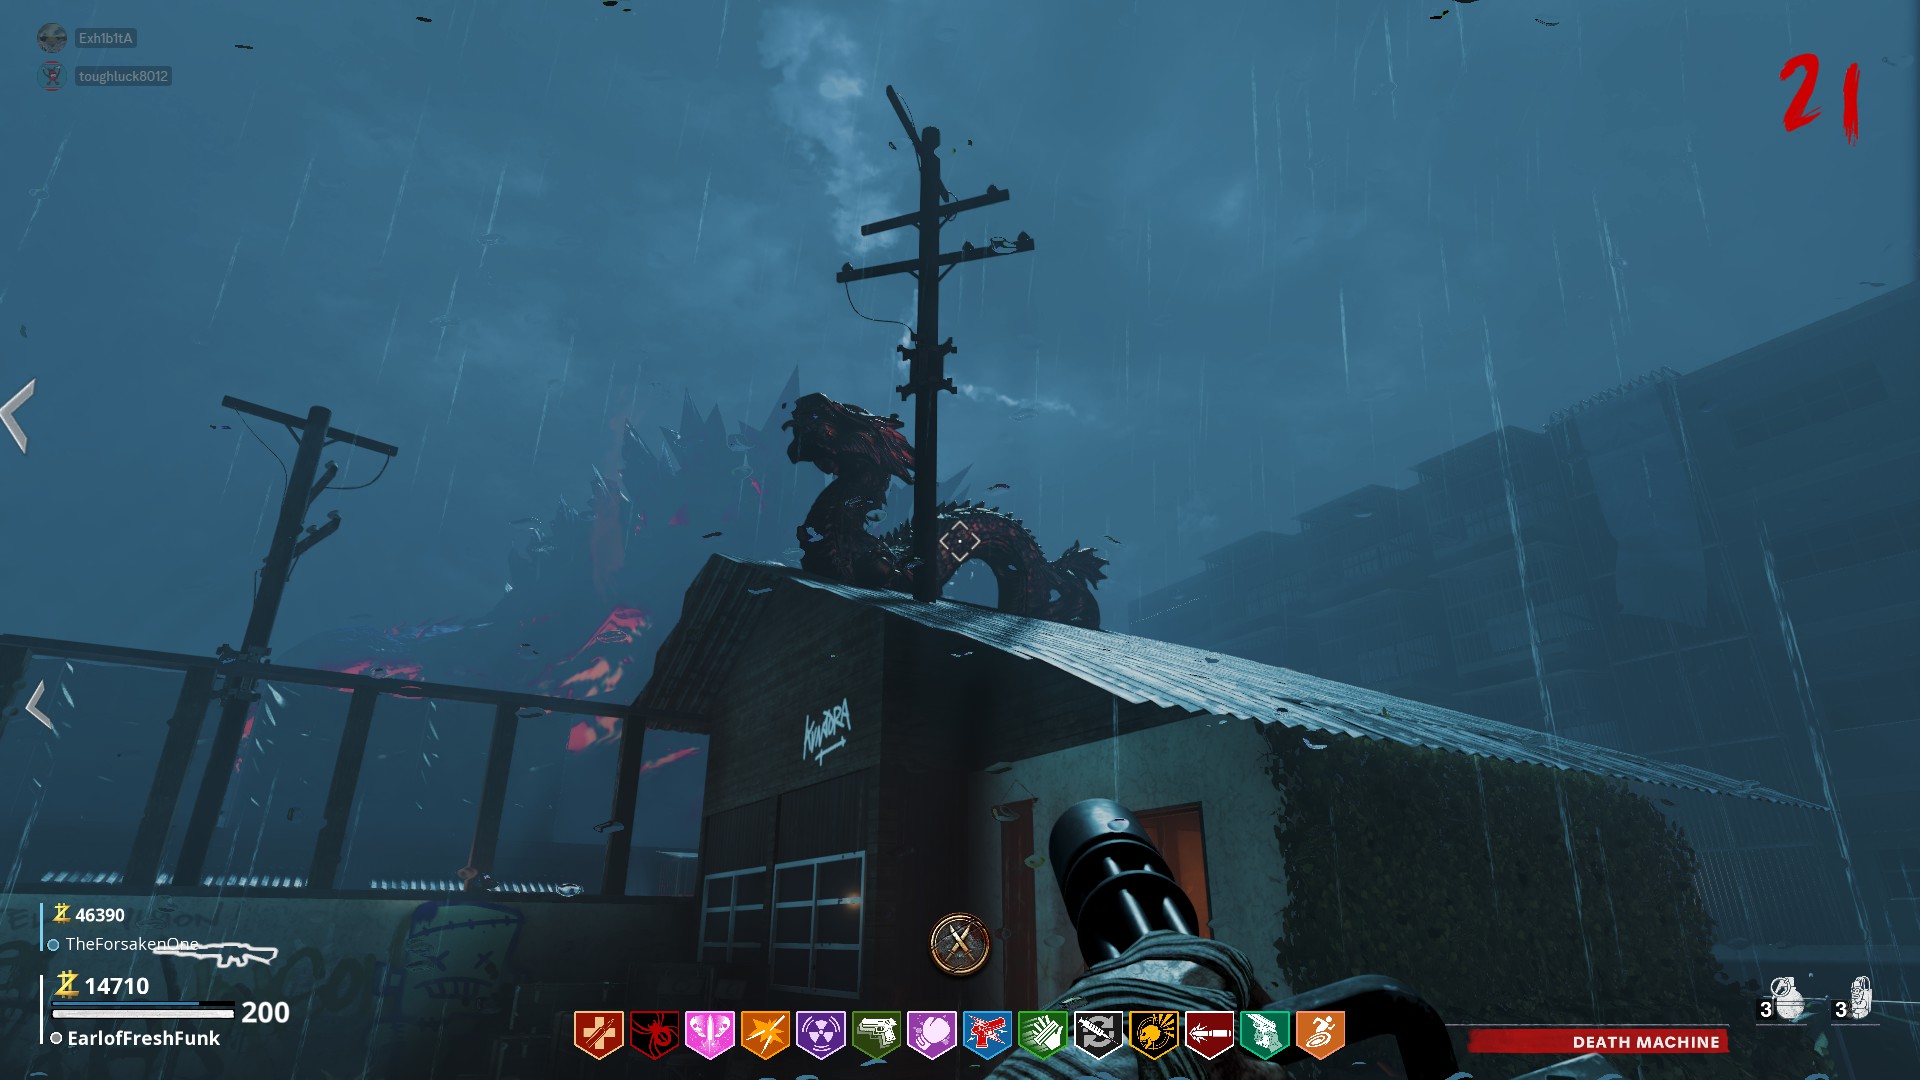
Shoot the orb with your upgraded Sliquifier. It will start to float around the map, much like in the moon easter egg. Follow it from location to location, shooting it with the upgraded sliquifier as it gets stuck. There are a total of 5 locations it will go to before finally arriving in the dragon's mouth on the spawn building roof.
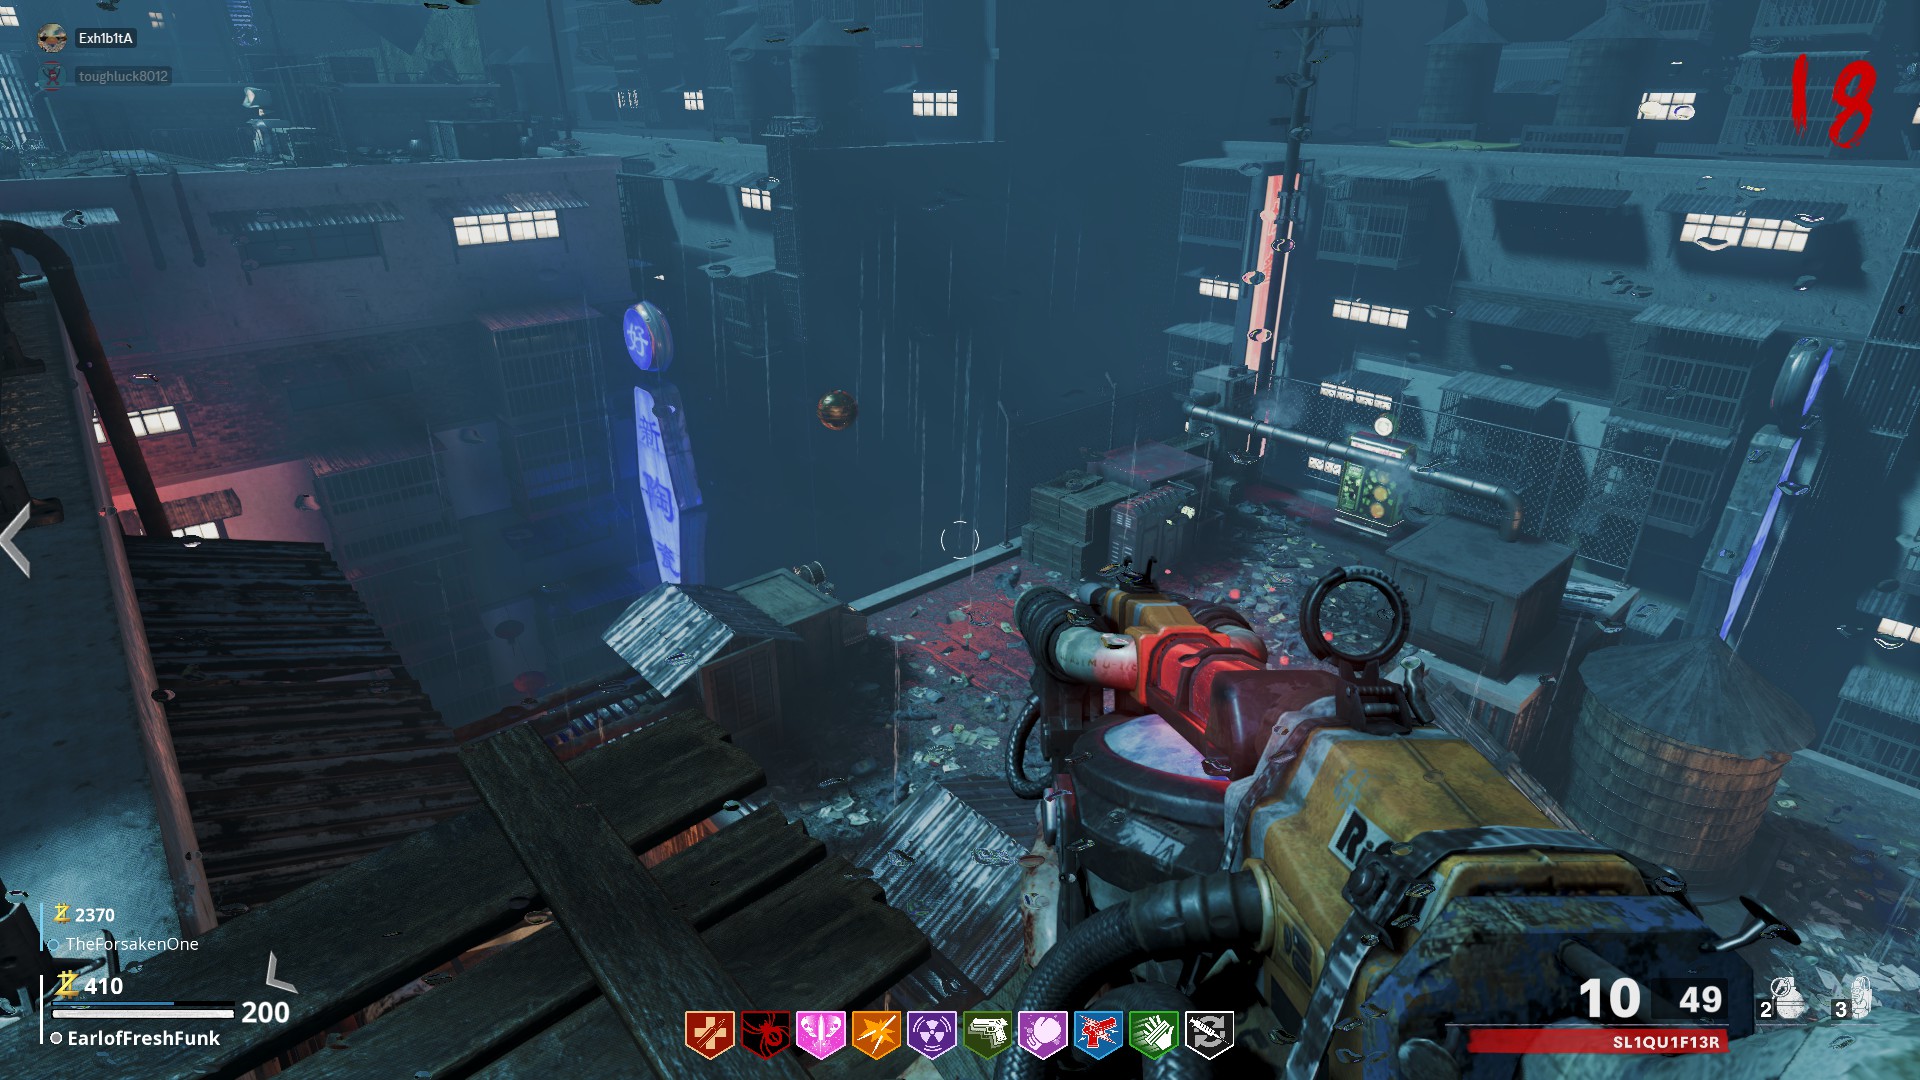
- In the hallway between Speed Cola and Fighter's Fizz, on some boxes before the shield part location
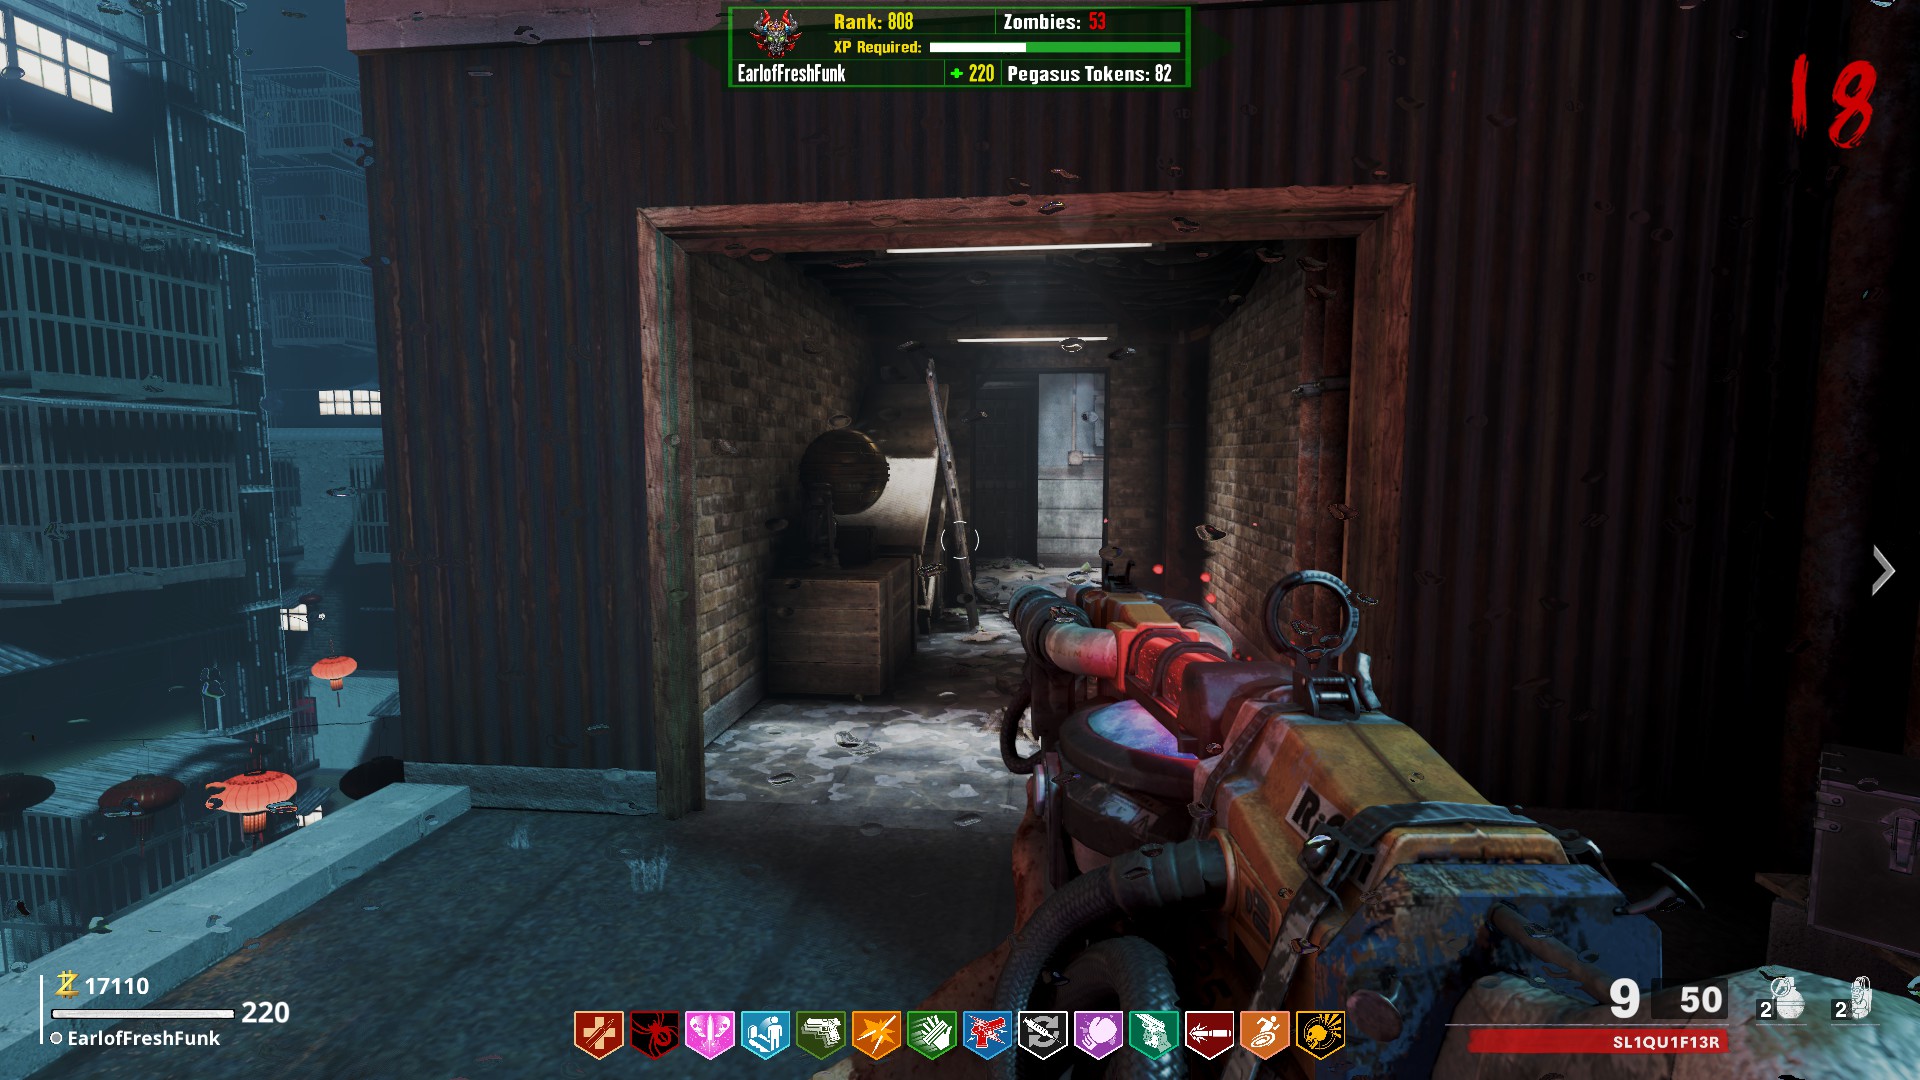
- In the hallway between Fighter's Fizz and the kitchen, on the right side of the wall
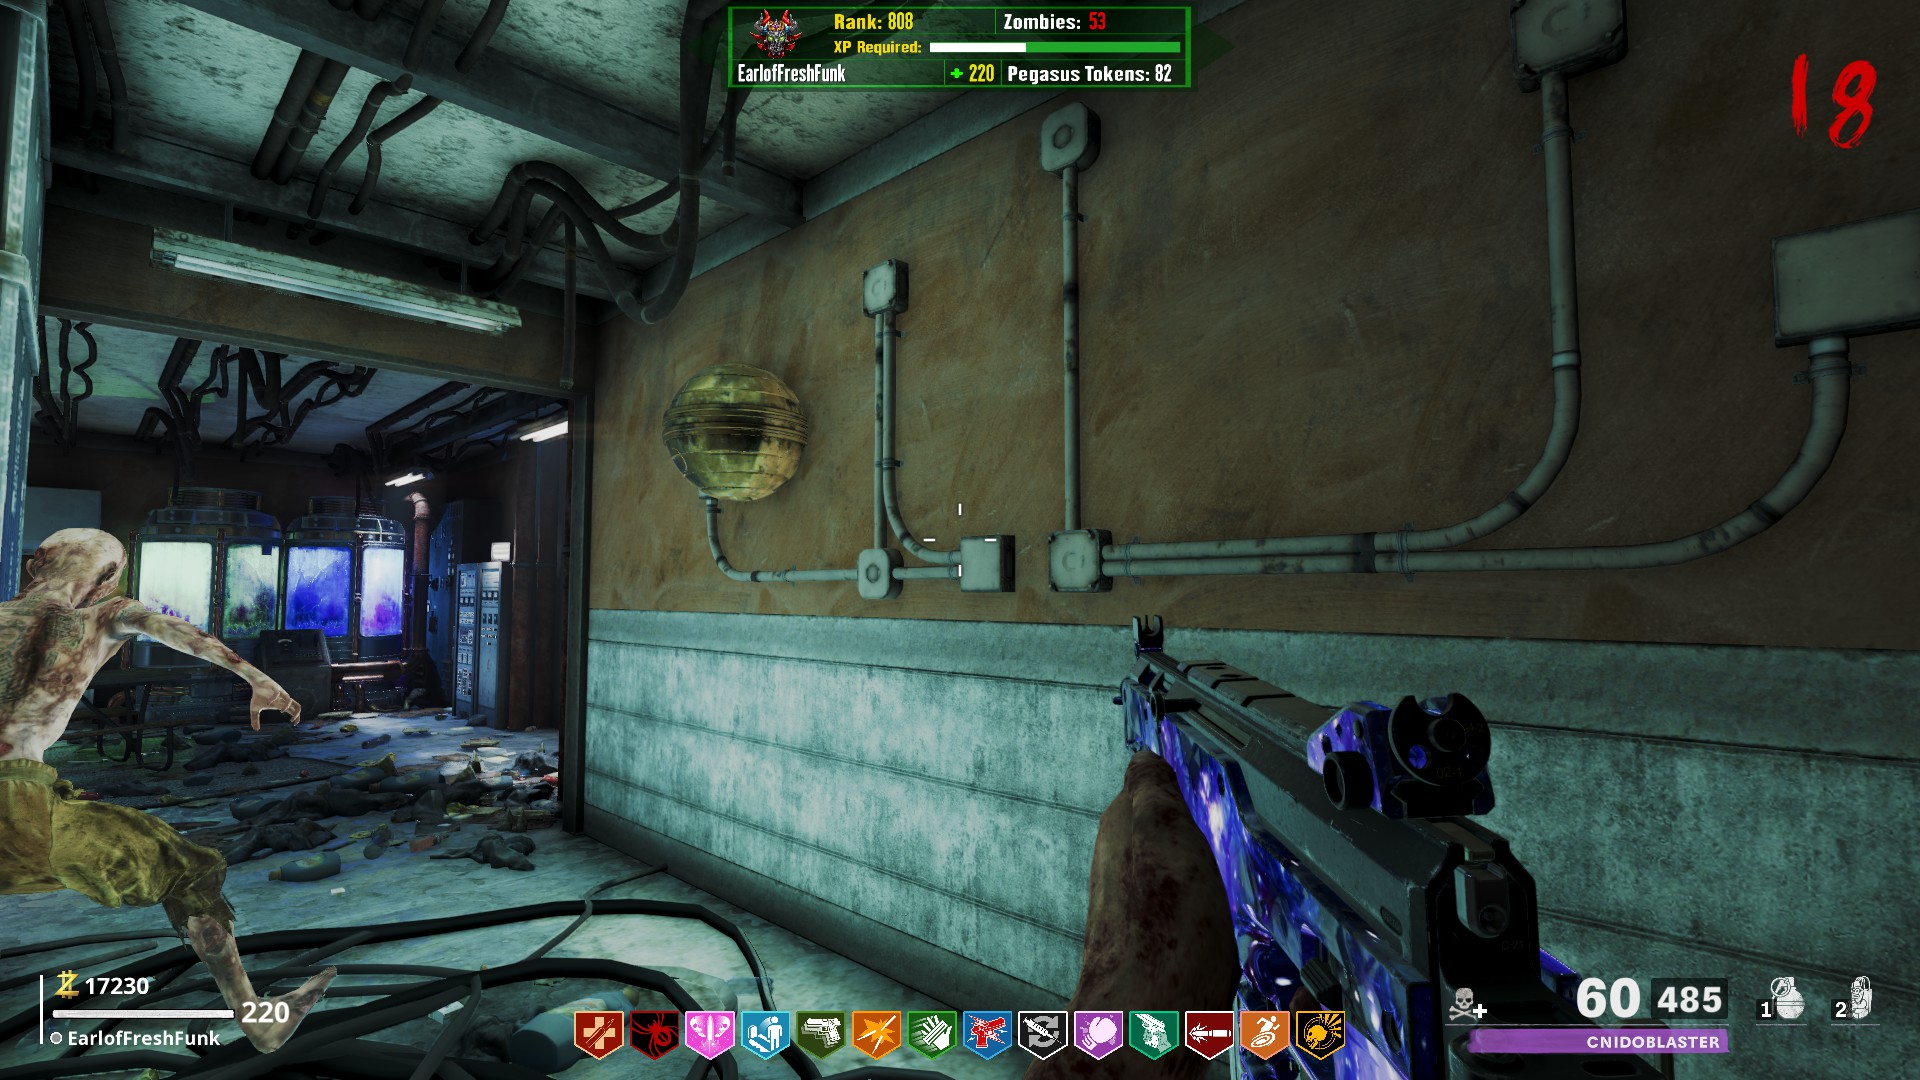
- On the right wall of the hallway between the kitchen and the main roof door, past the power switch, next to one of the red records for the music EE
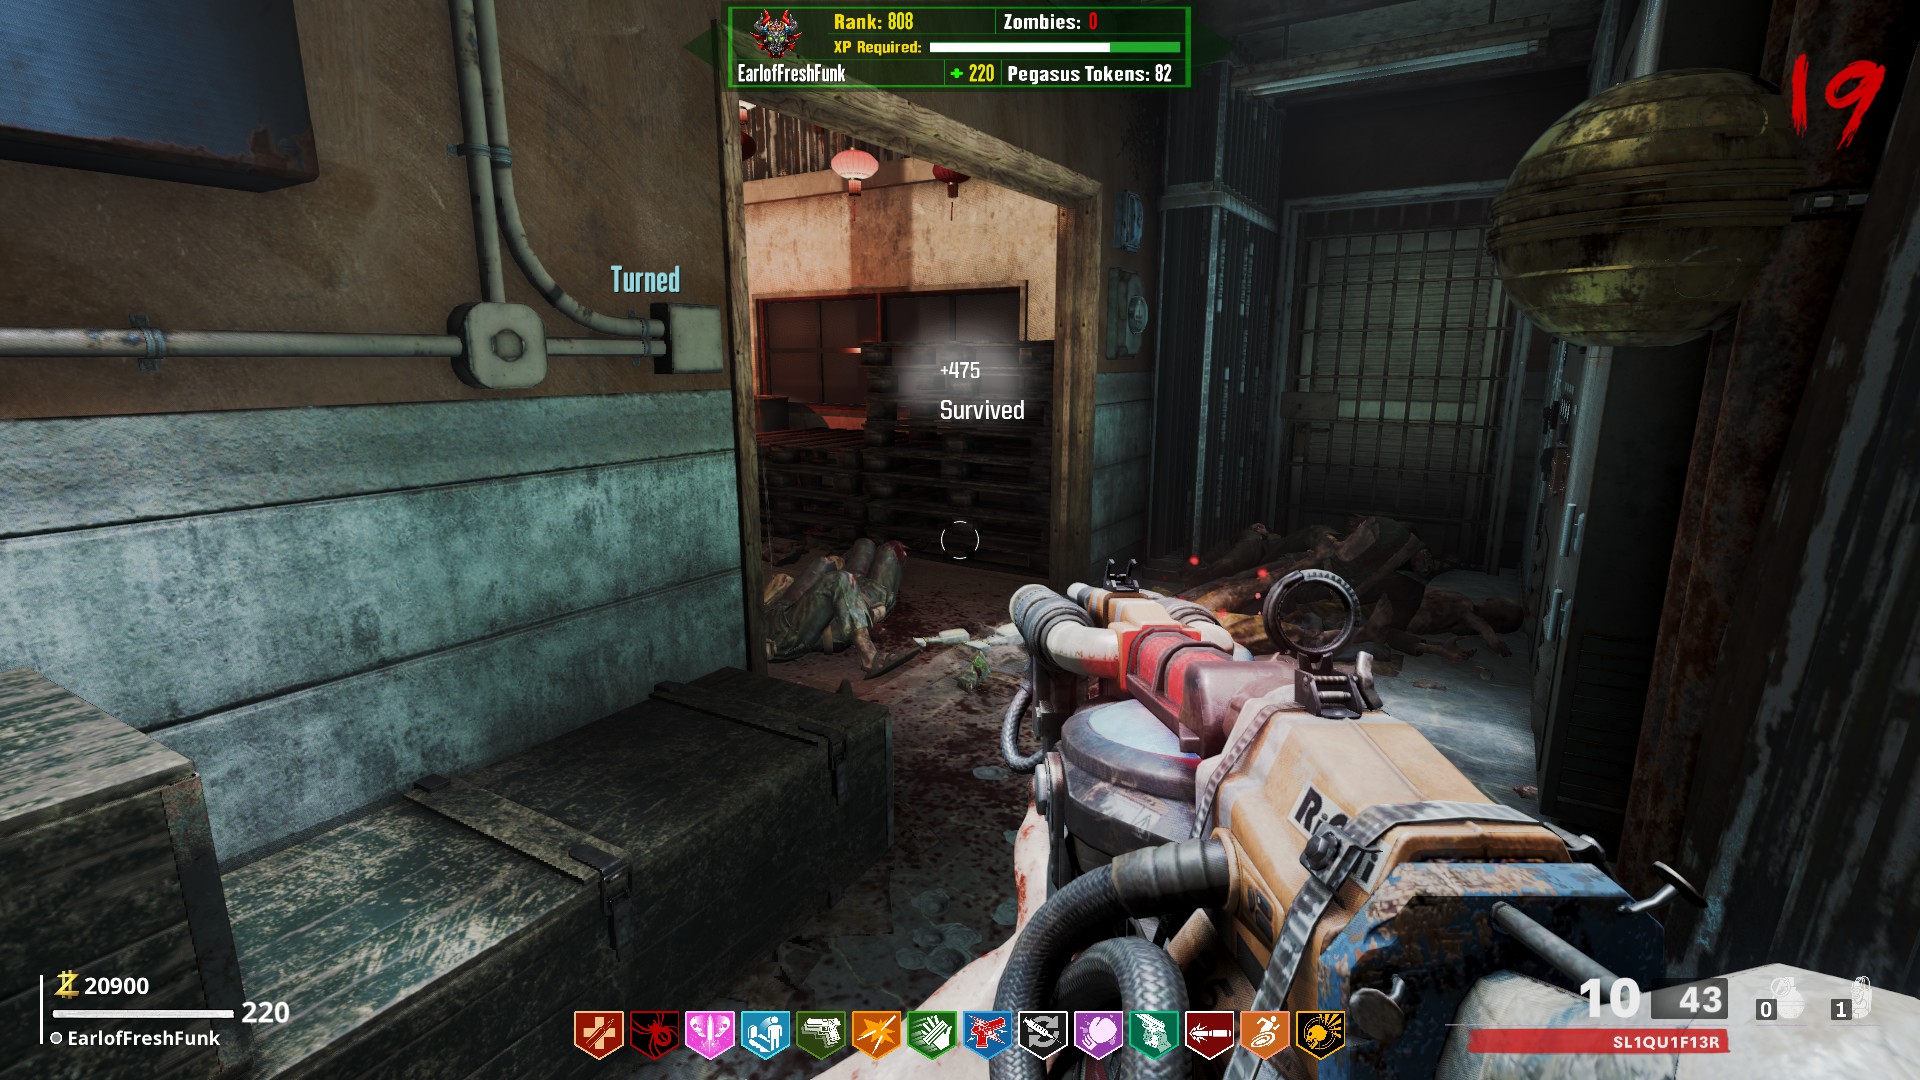
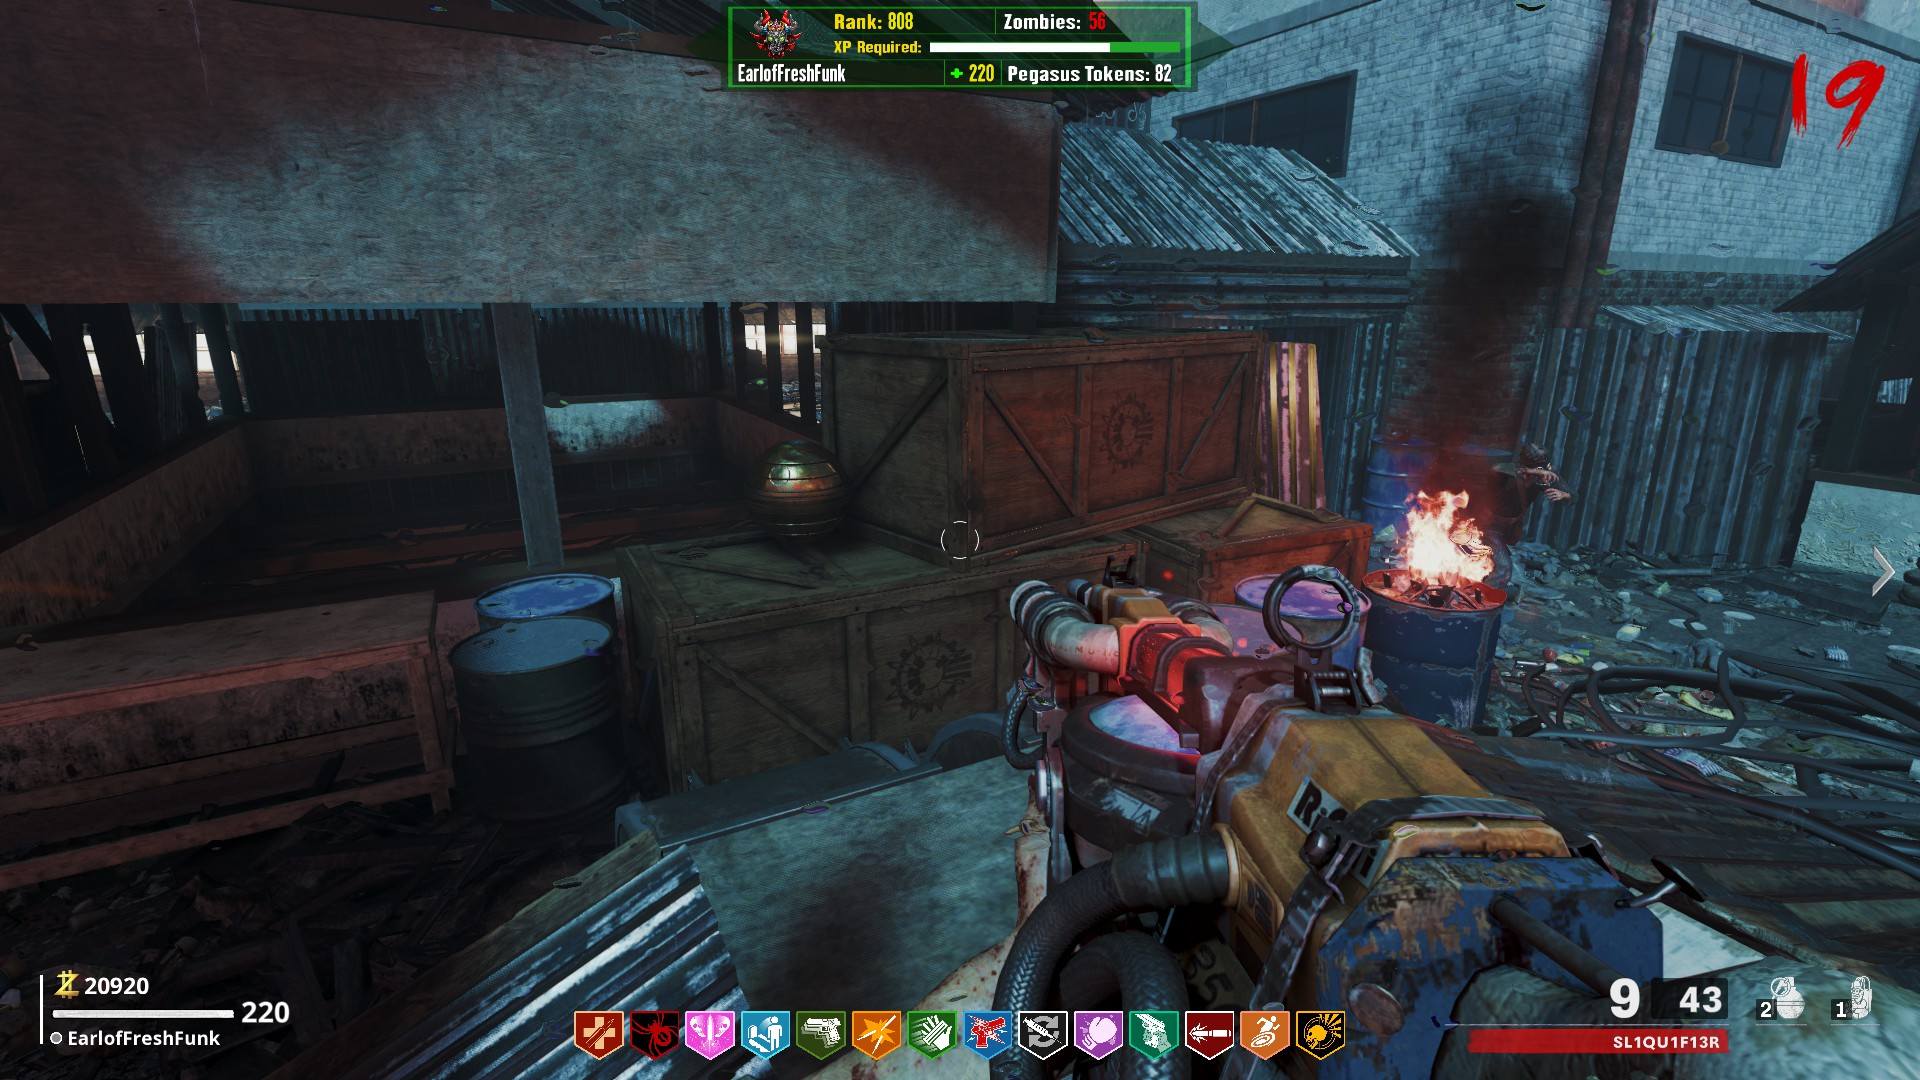
- Near the center structure of the main roof, around the corner from Stamin-Up on some boxes
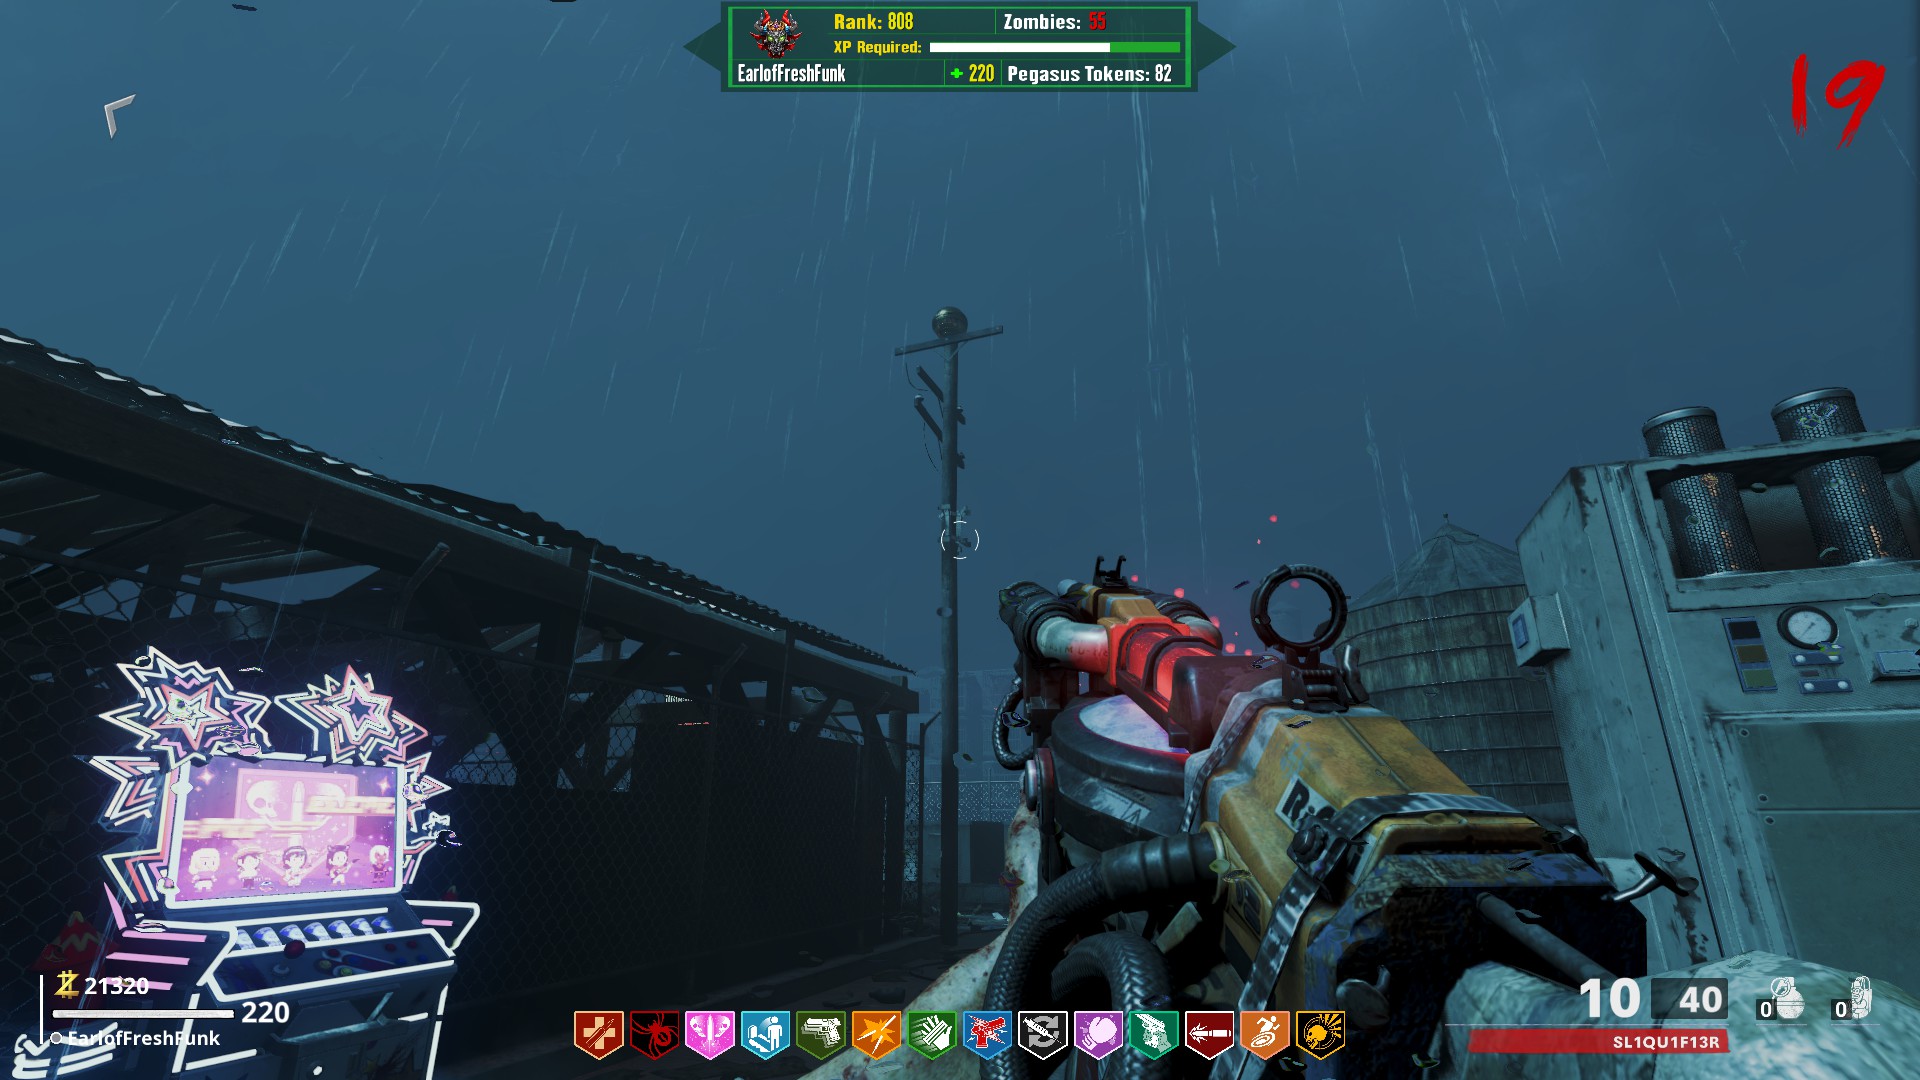
- On the upper roof, on top of the electricity pole next to Elemental Pops
Main Easter Egg Step 8: Satisfaction Trial
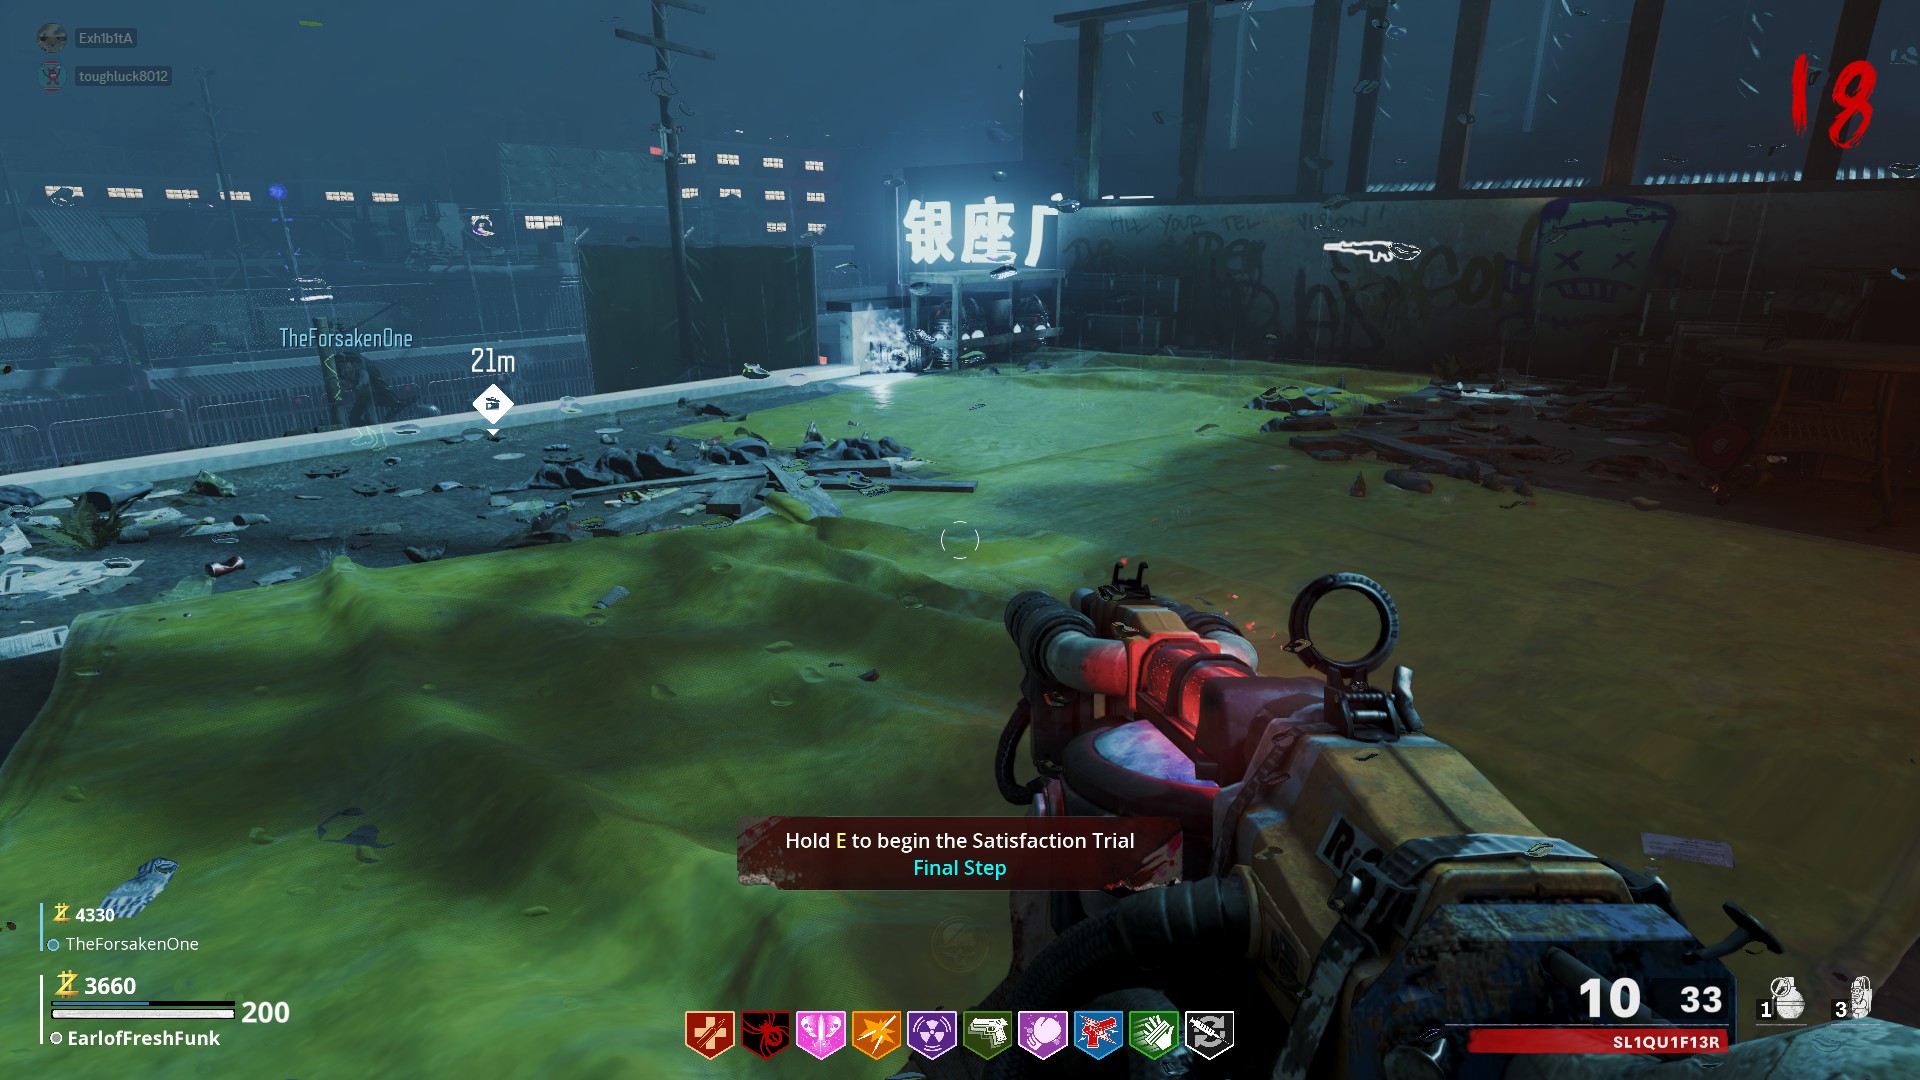
Kill zombies anywhere on the spawn roof in order to feed souls to the dragon statue above the zombie spawn barrier.
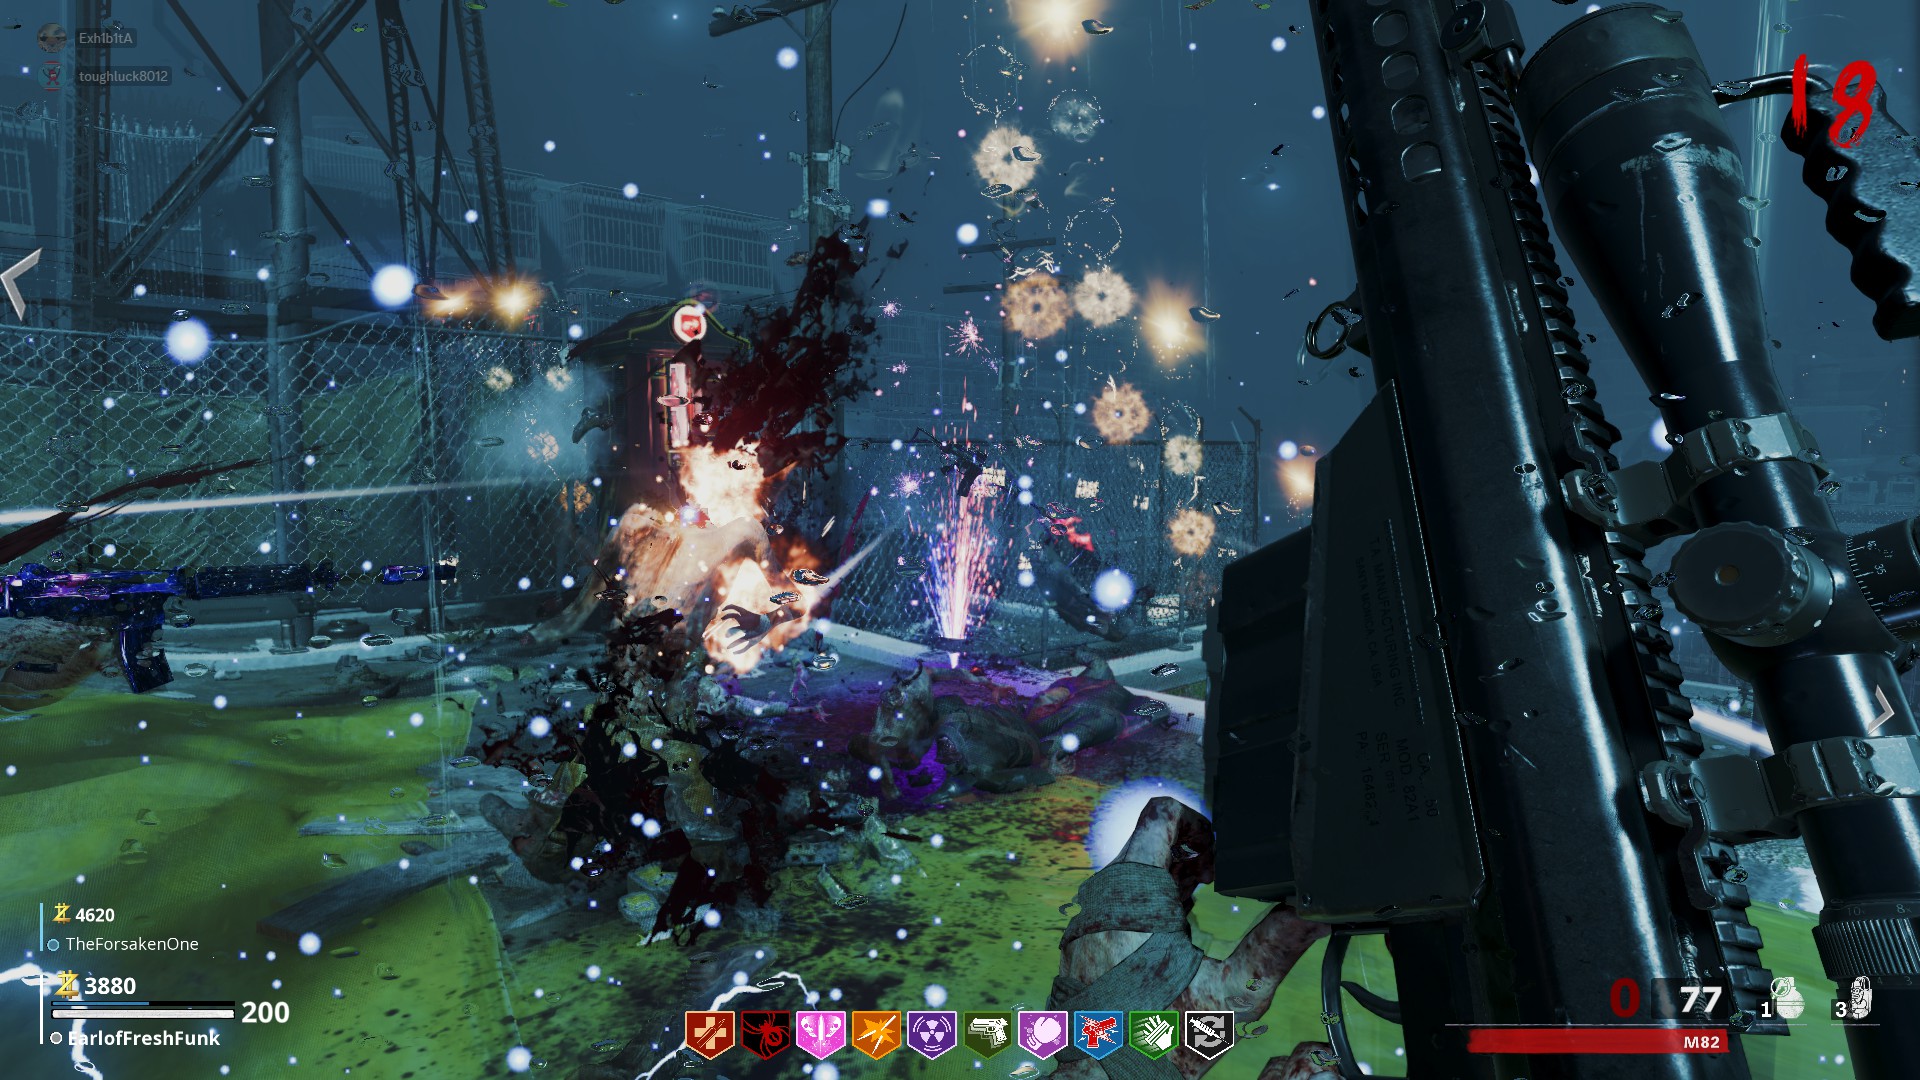
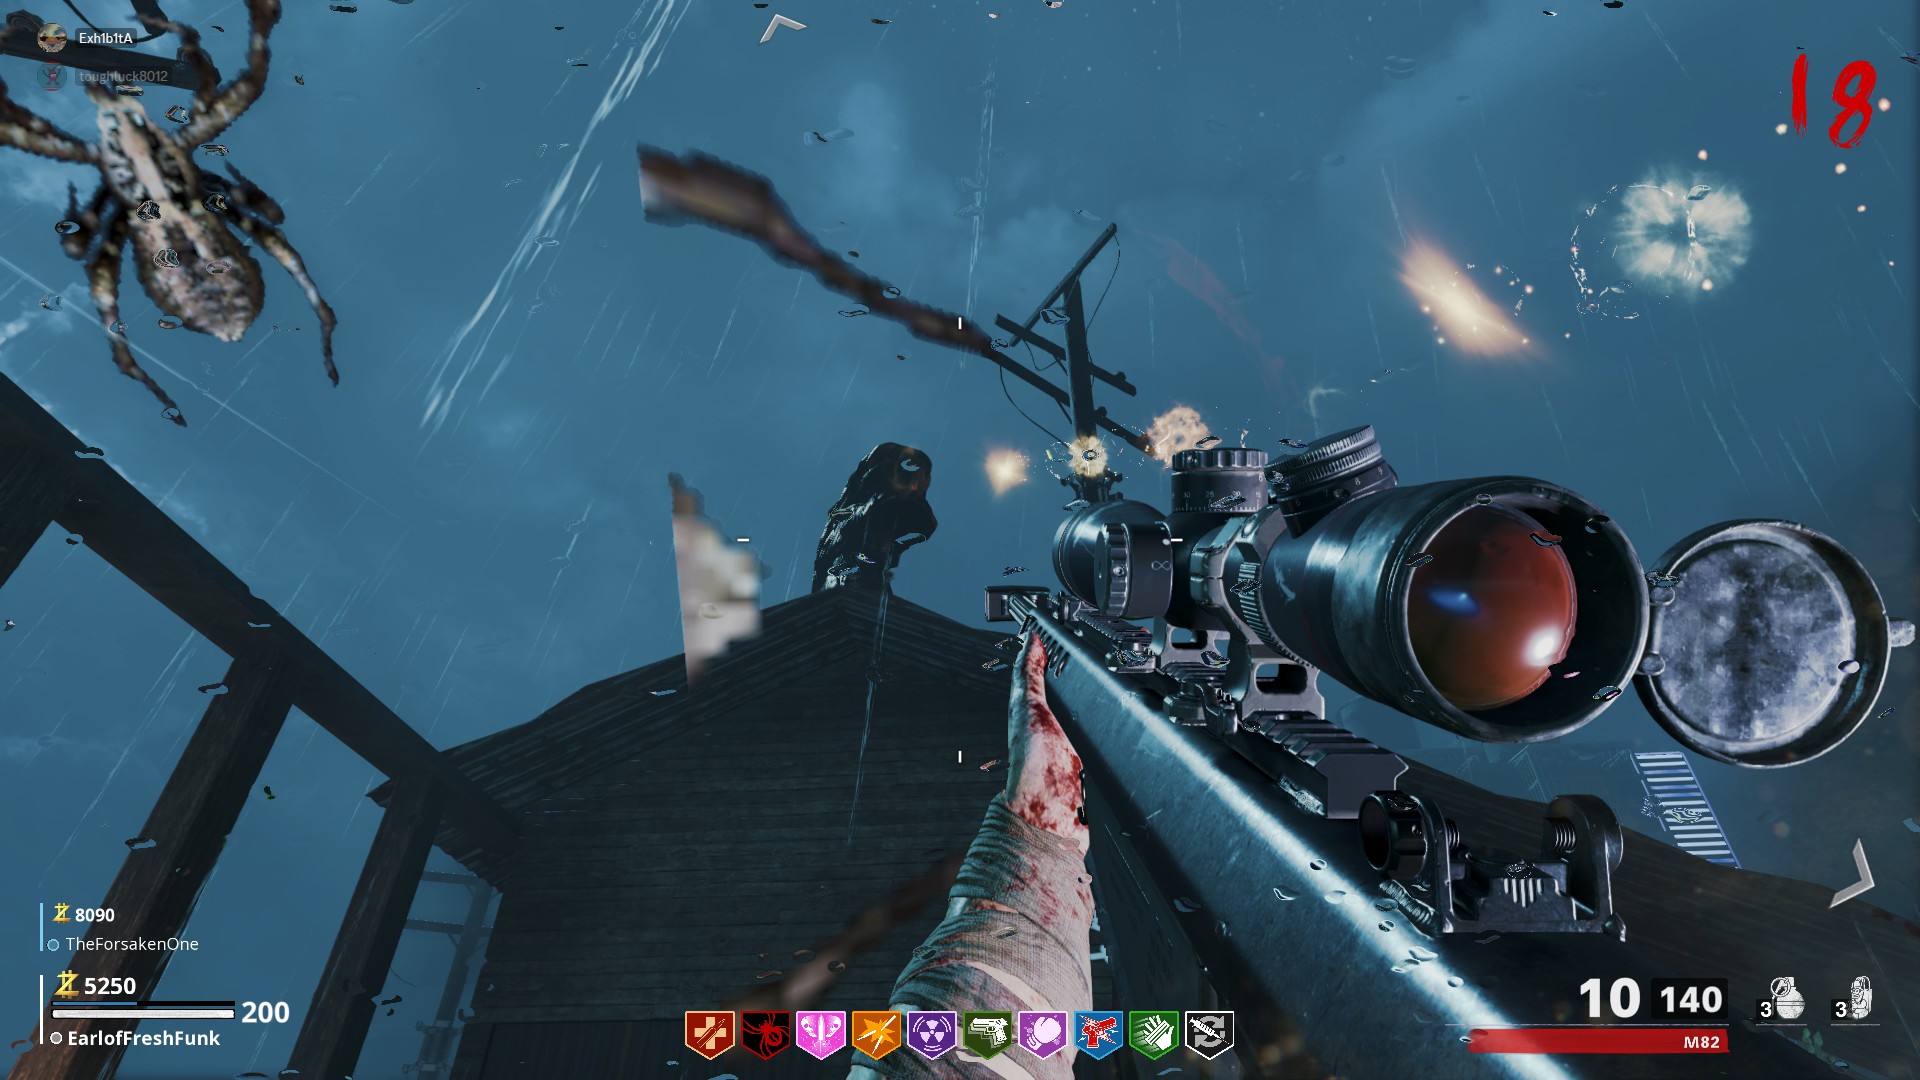 When you've gotten enough kills, the screen will flash white and you will see this prompt. You will also be granted with a free perkaholic.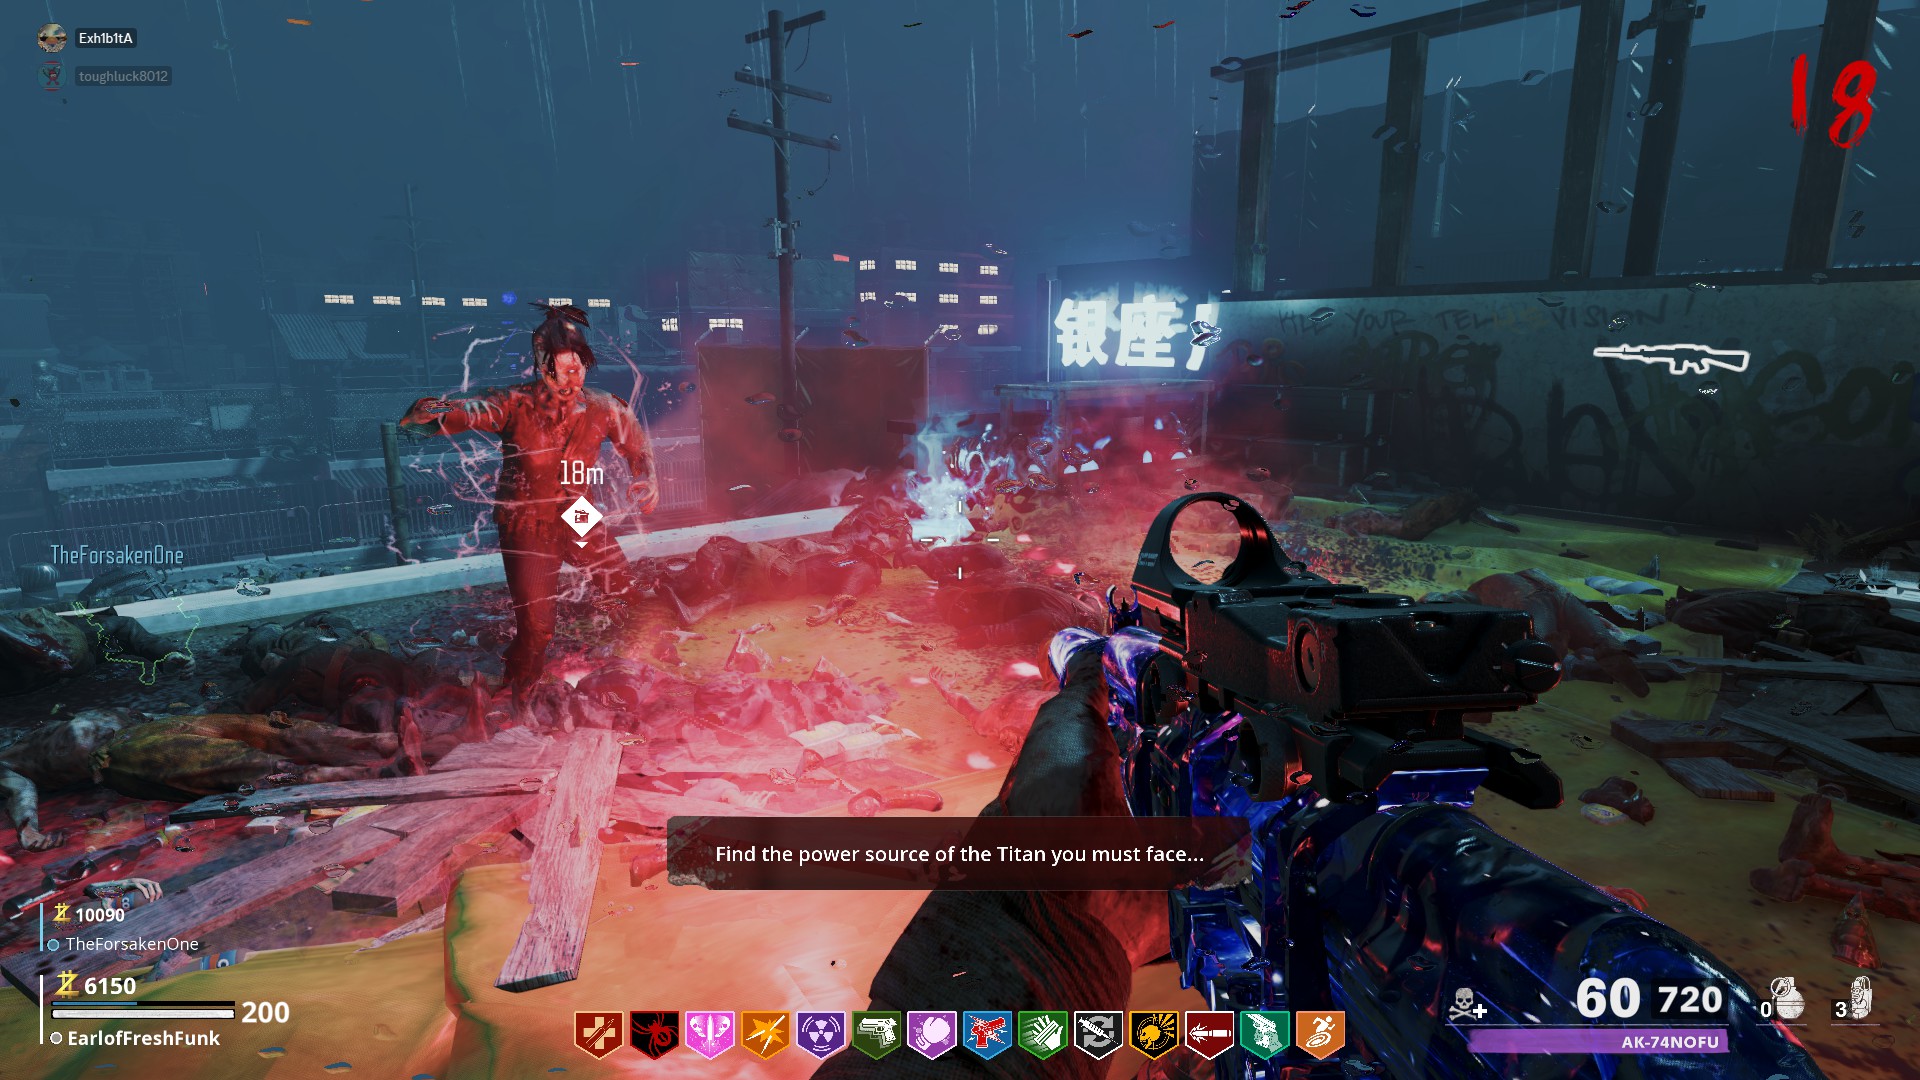
!!This is your only spoiler warning to avoid the surprise of the boss fight!!
Main Easter Egg Step 9: Boss Fight
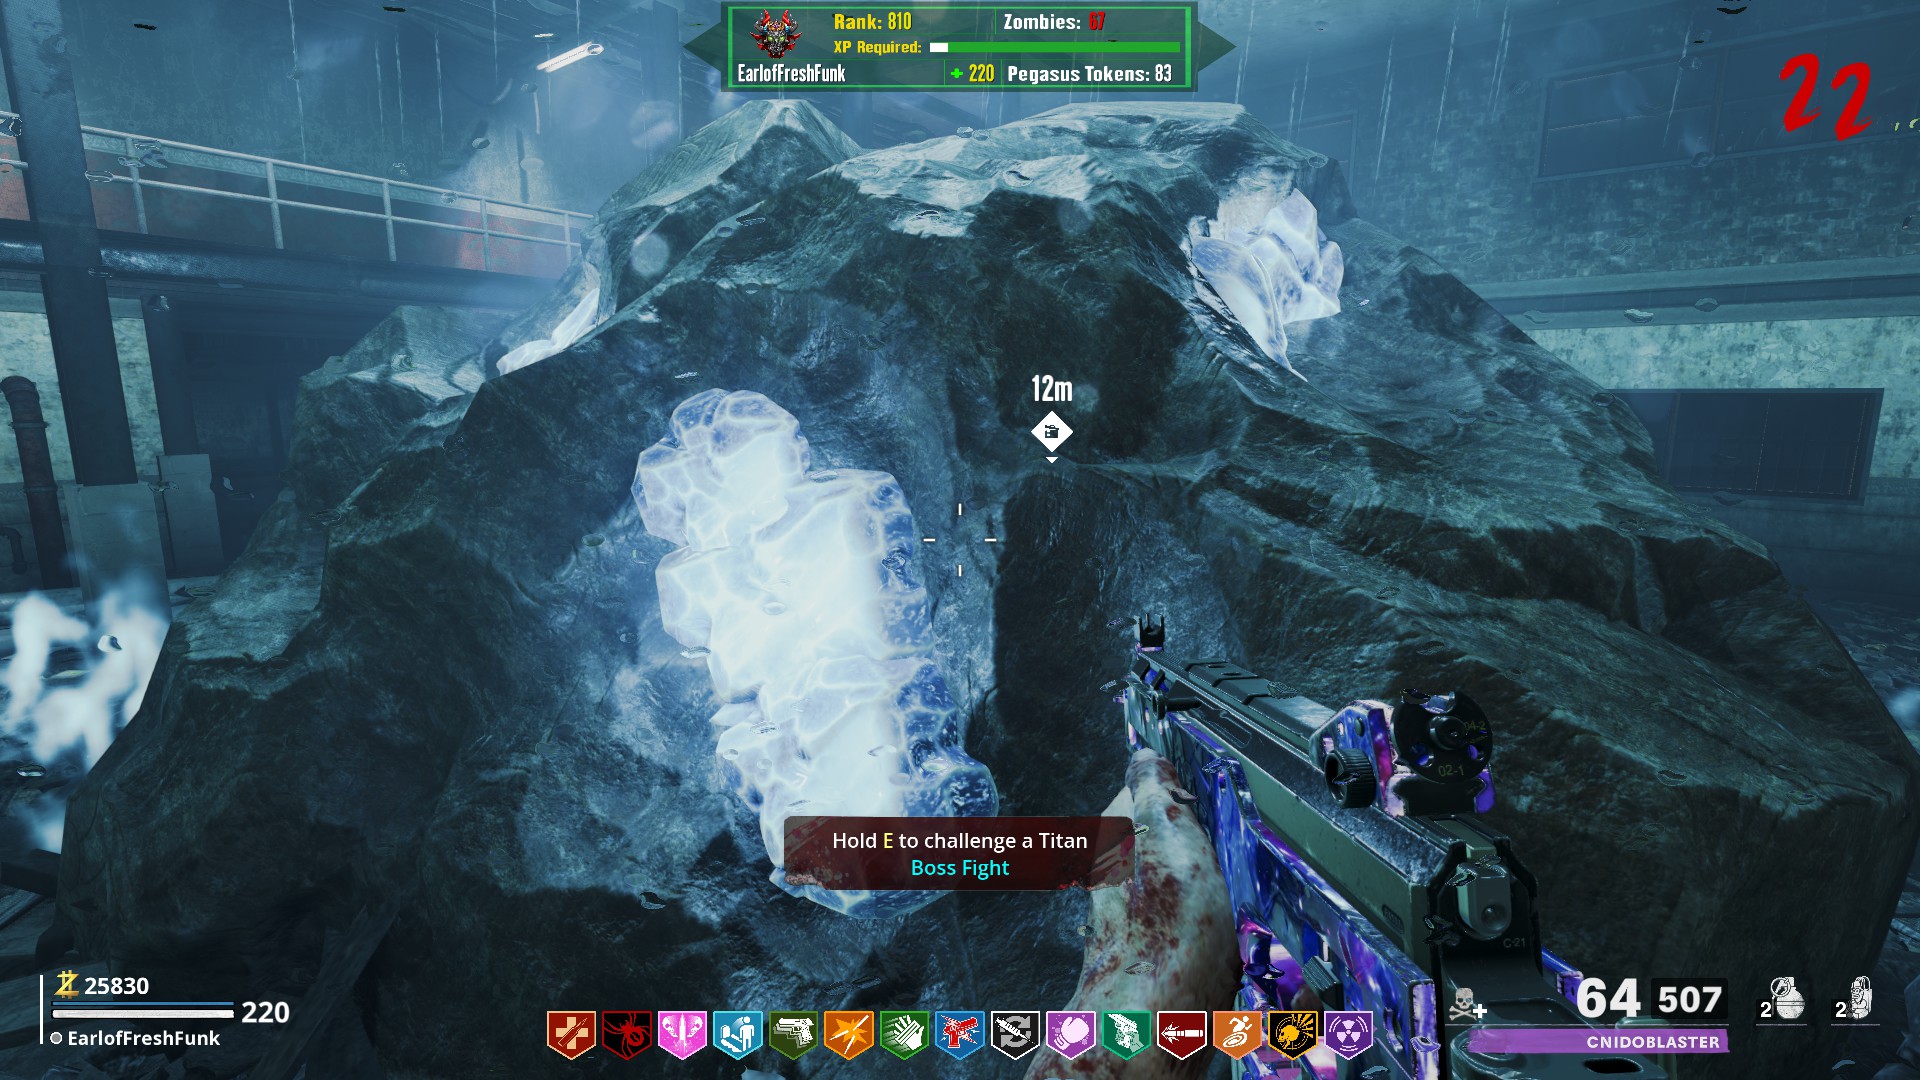
Follow the objective marker up to one of the three potential rooftops that the first stage can take place. The order in which they are selected is random.
Upon reaching the first destination you will see that Godzilla is looming over some nearby buildings. All players must gather to the central location and interact with the corruption engine to initiate the charge sequence.
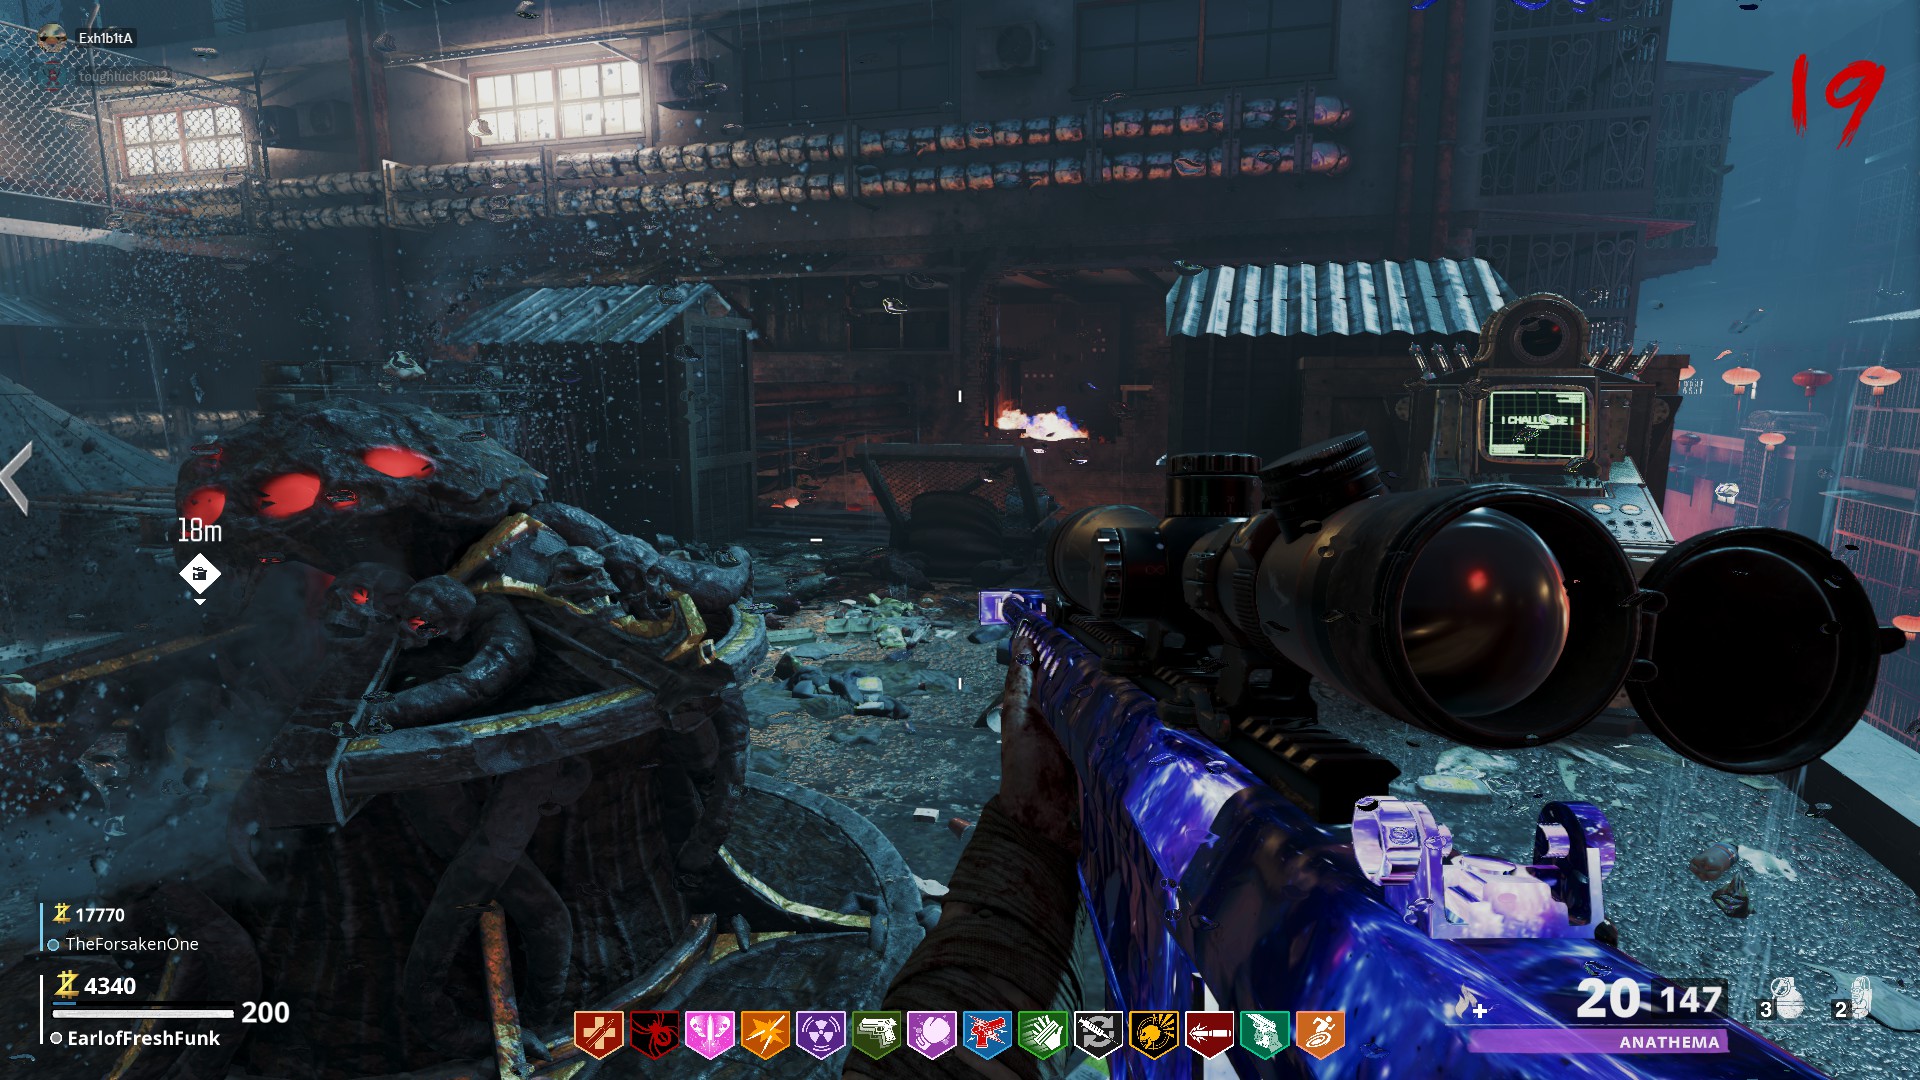 For a short while, you will have to survive an endless zombie swarm as well as laser mortars from the boss. Once you begin to hear a charging roar, you need to get to cover. The boss is about to initiate an instant kill attack. Godzilla will breathe blue fire across the entire floor, which will instantly down any player caught out in the open. It also kills all remaining zombies.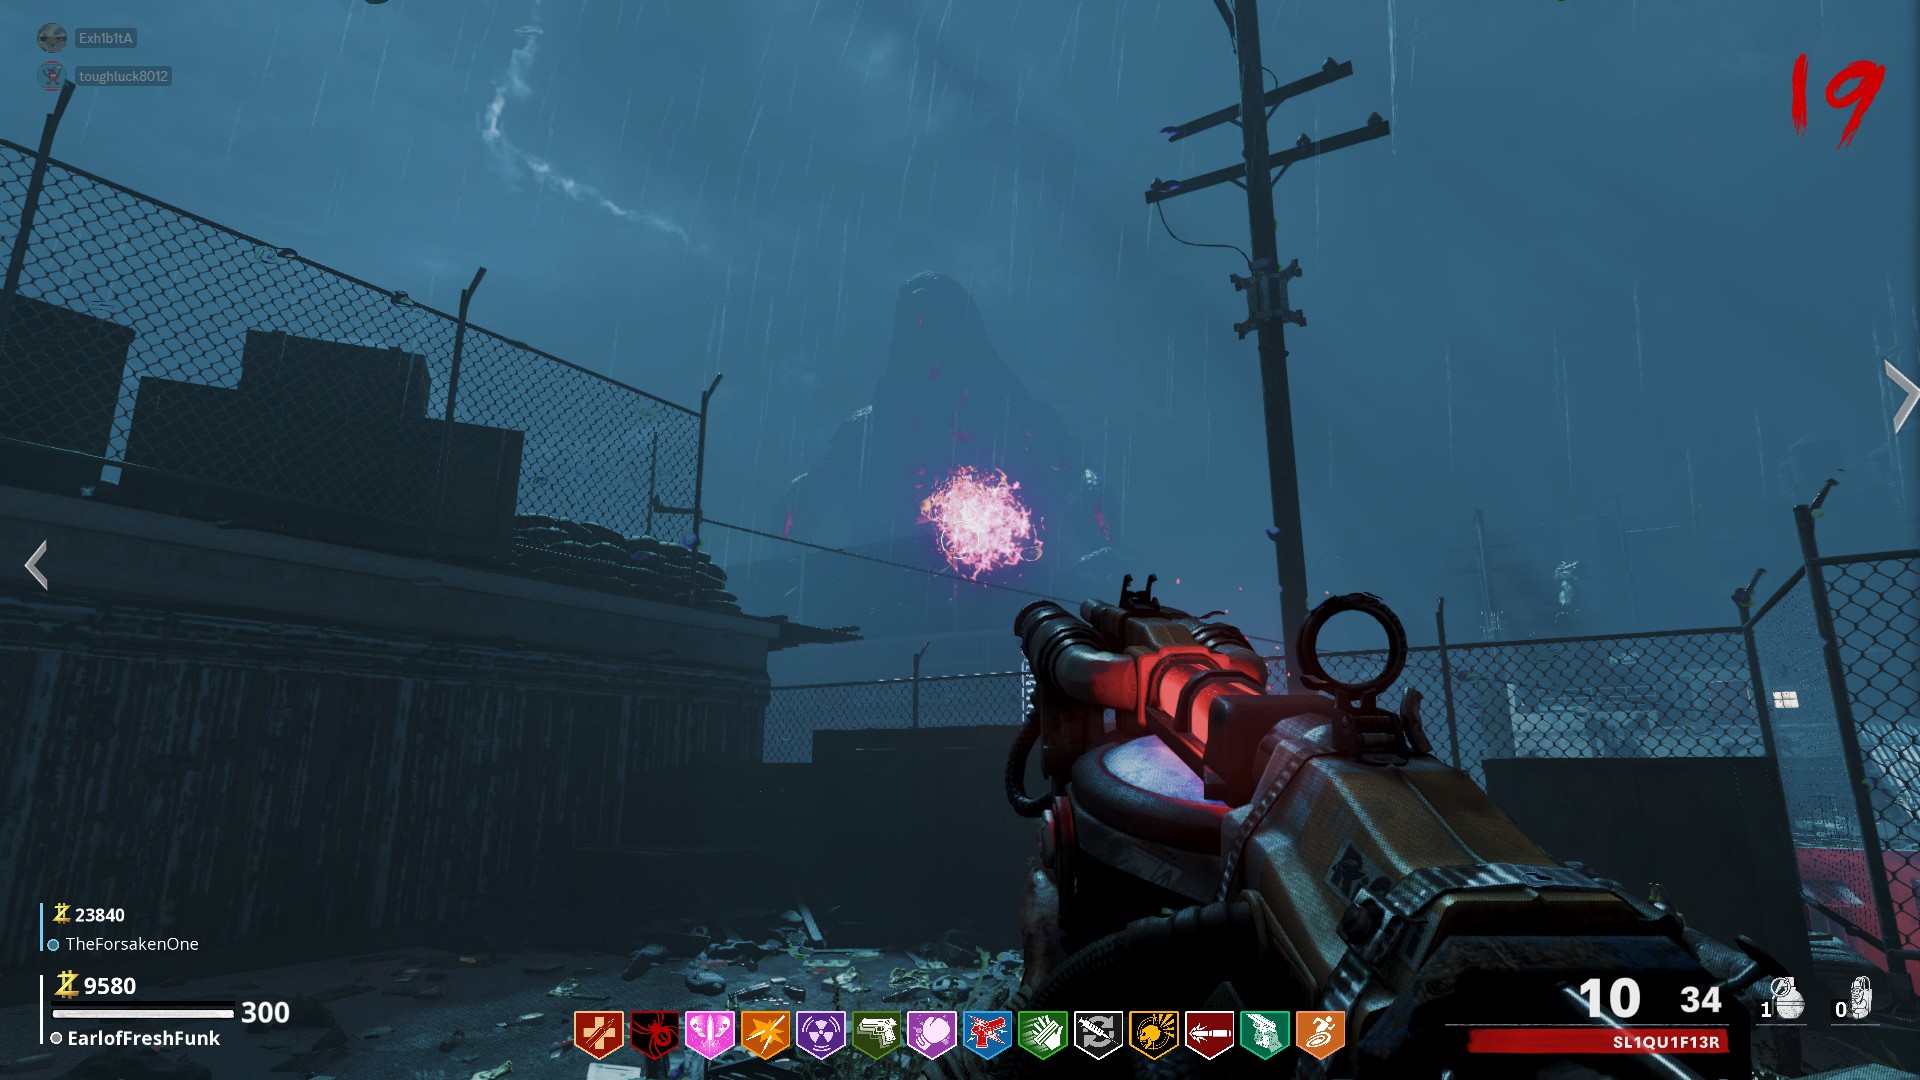
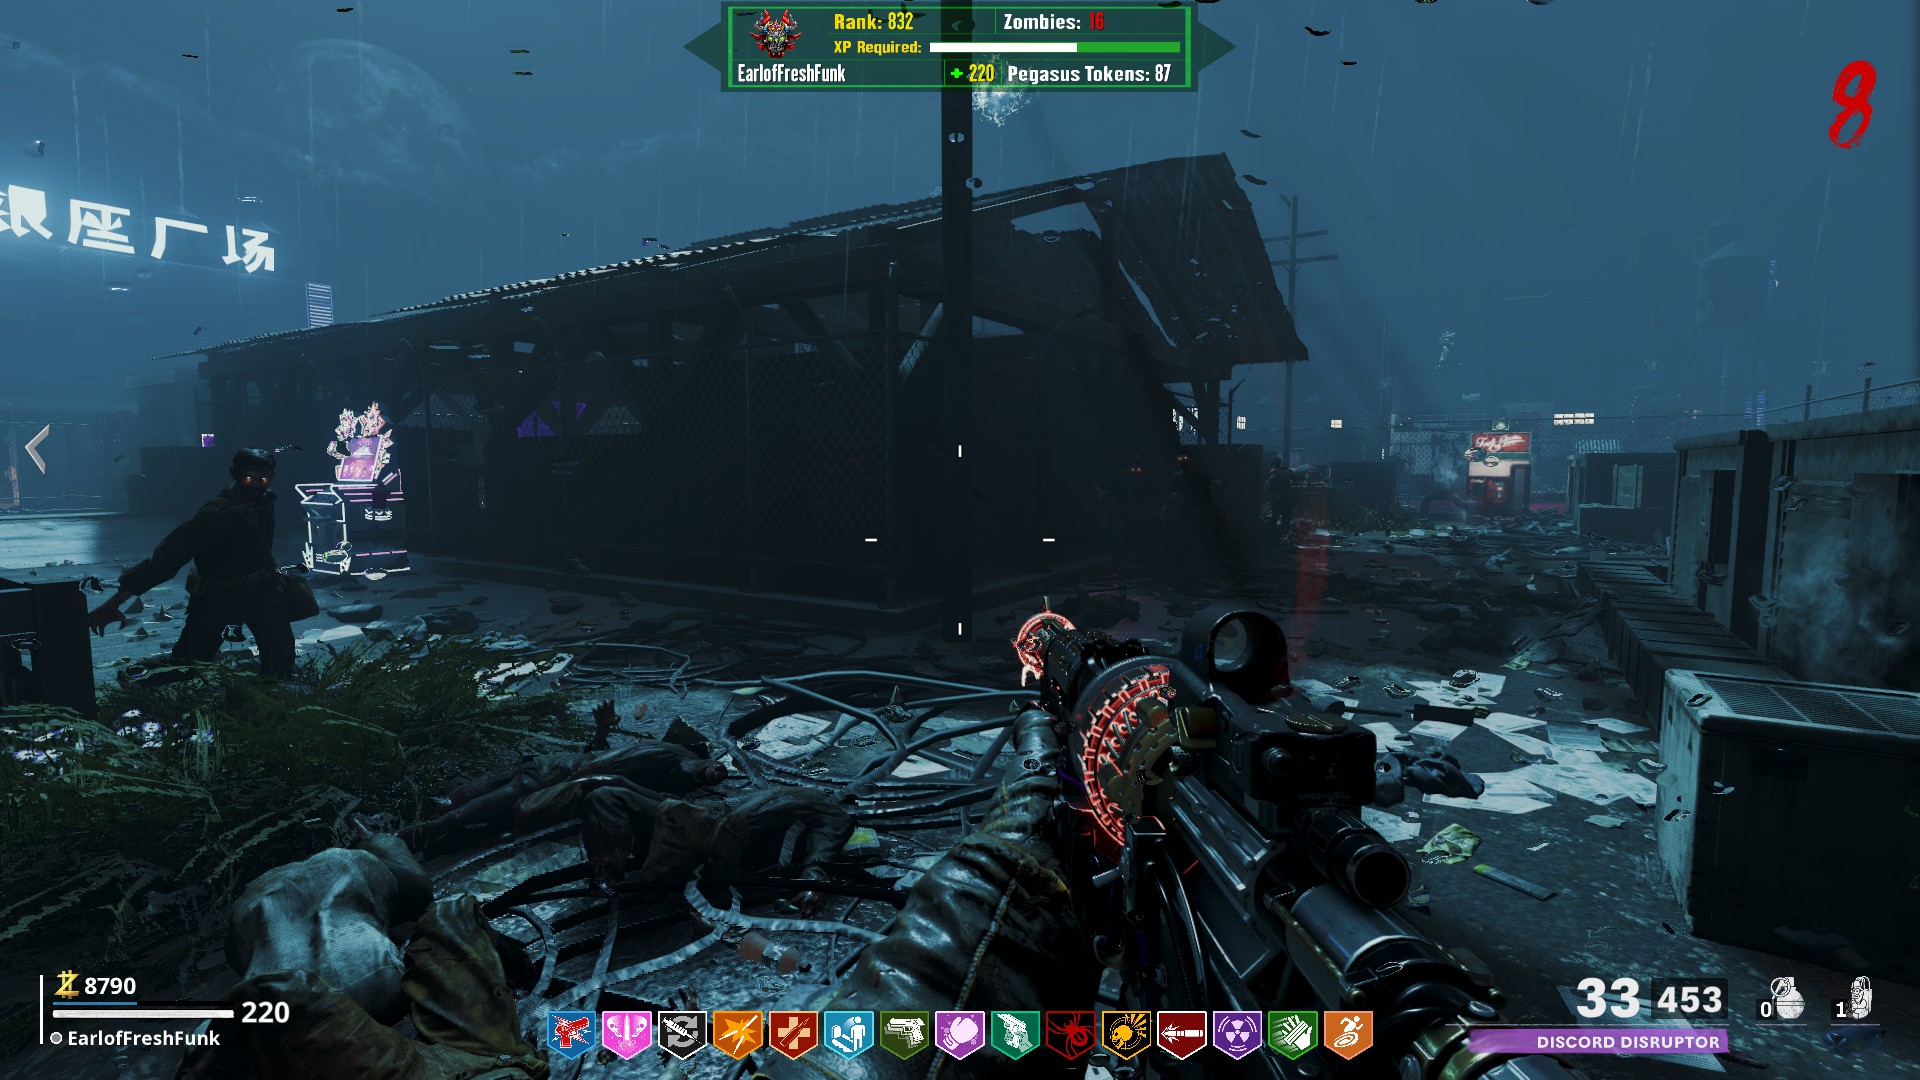
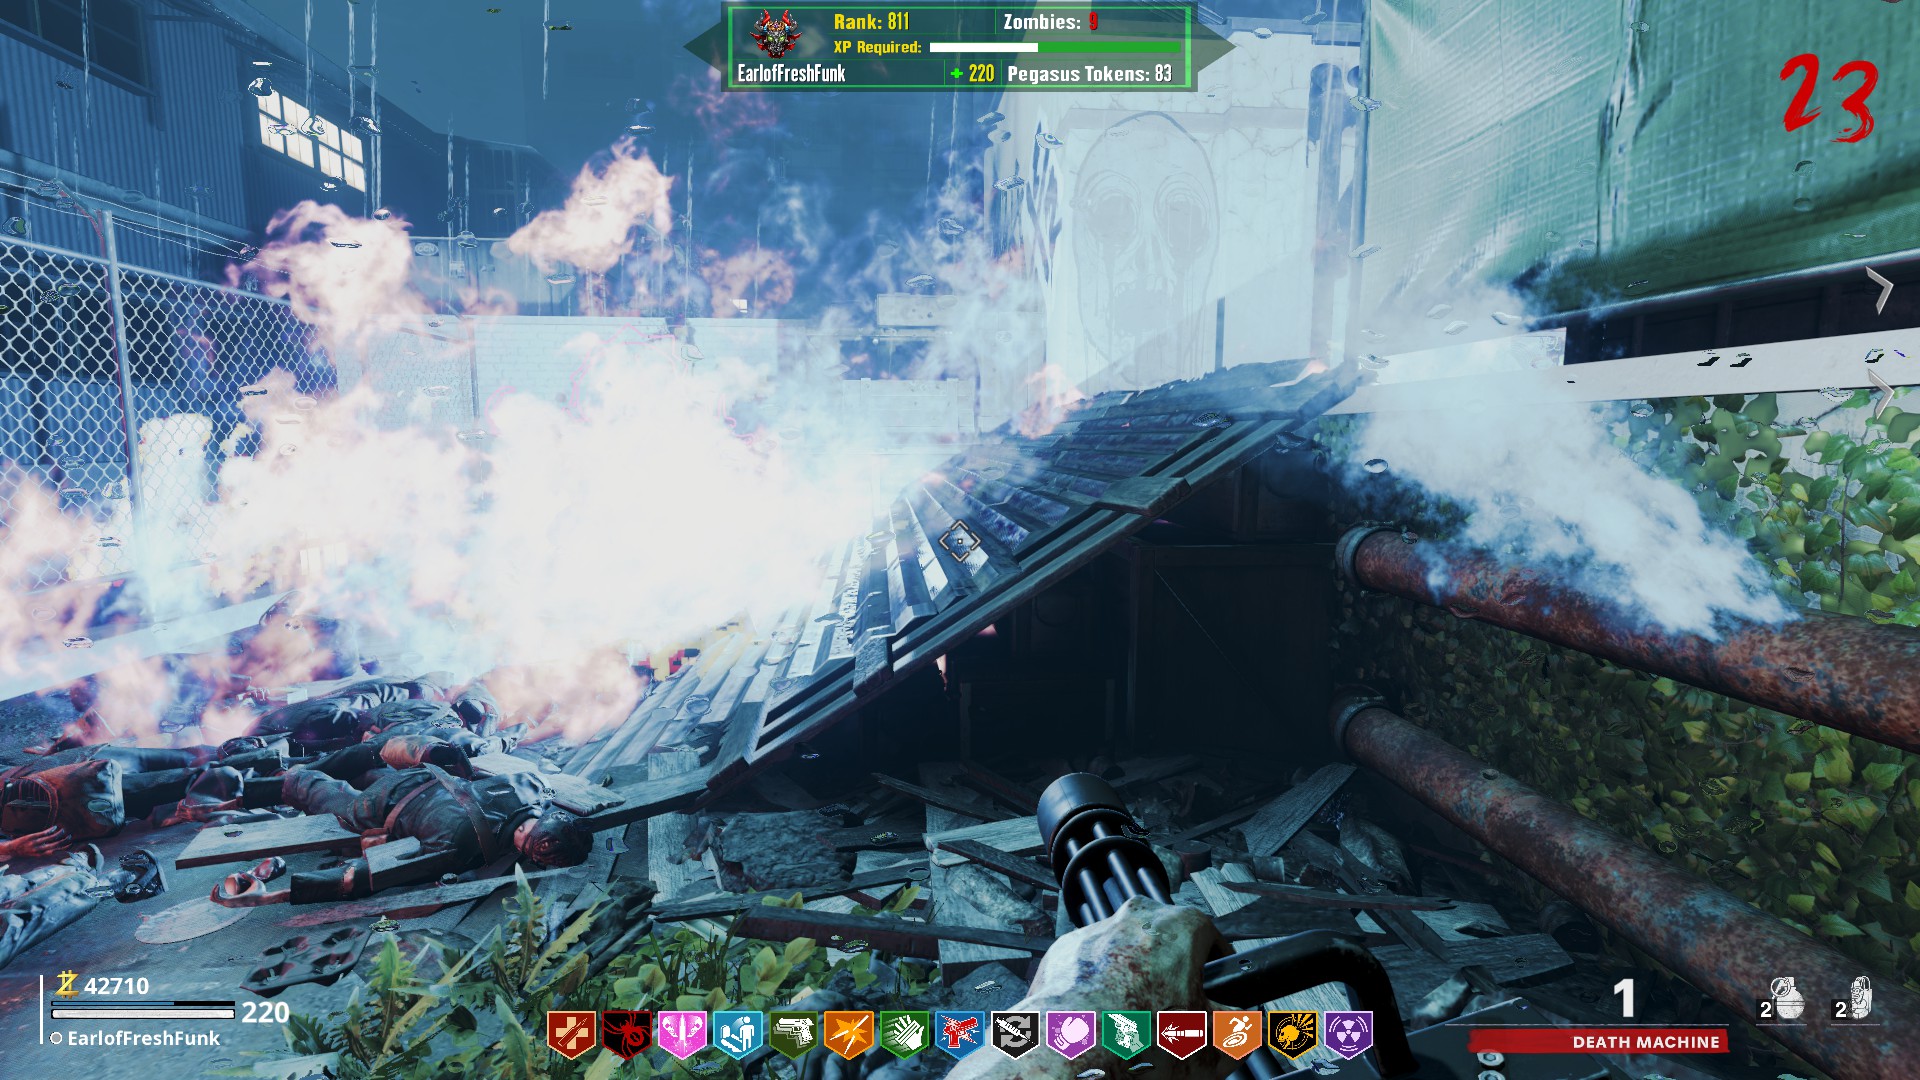 Tactiquilla Safe Location:
There are two locations that are safe to stand when the charge attack comes. You can choose to stand in the hallway by the locker and 115 rock, or you can stand around the corner of the center structure, pressed against the wall near Elemental Pops (although this one is more specific, so I recommend using the hallway).
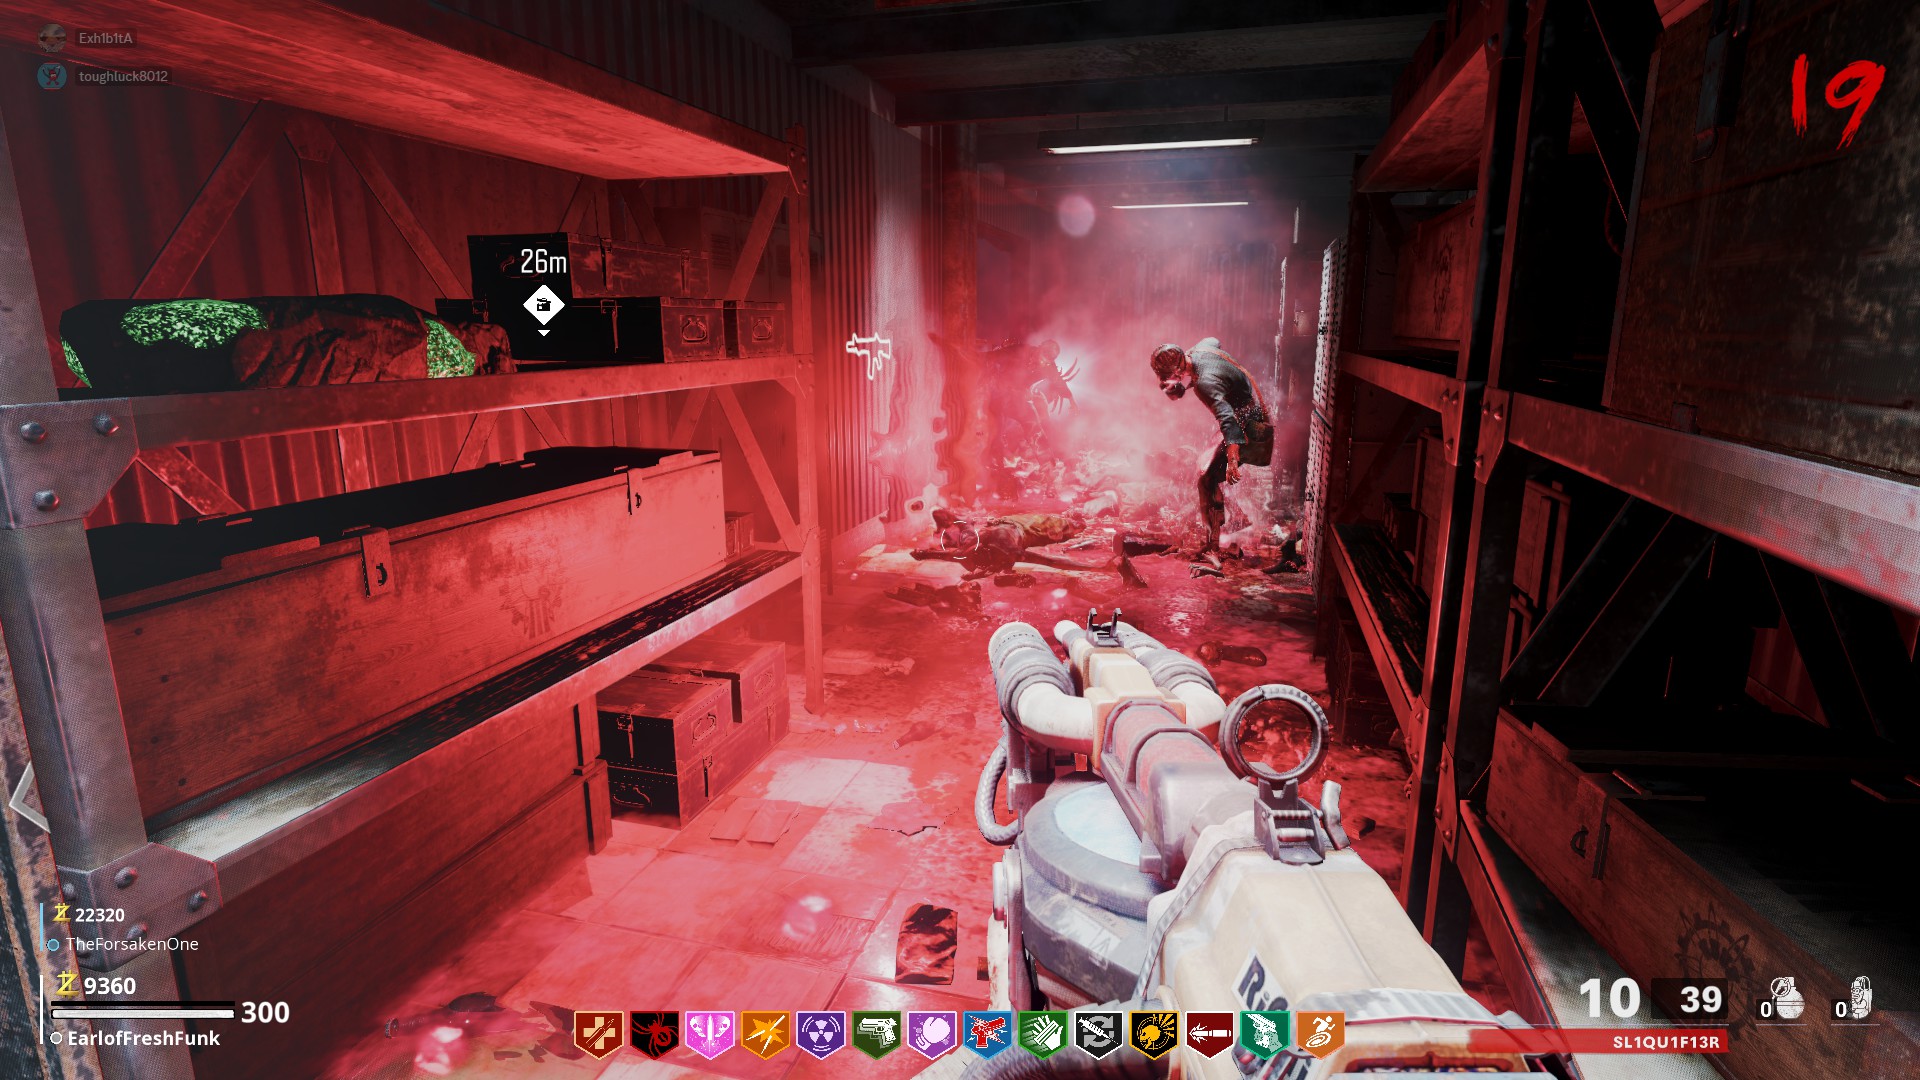
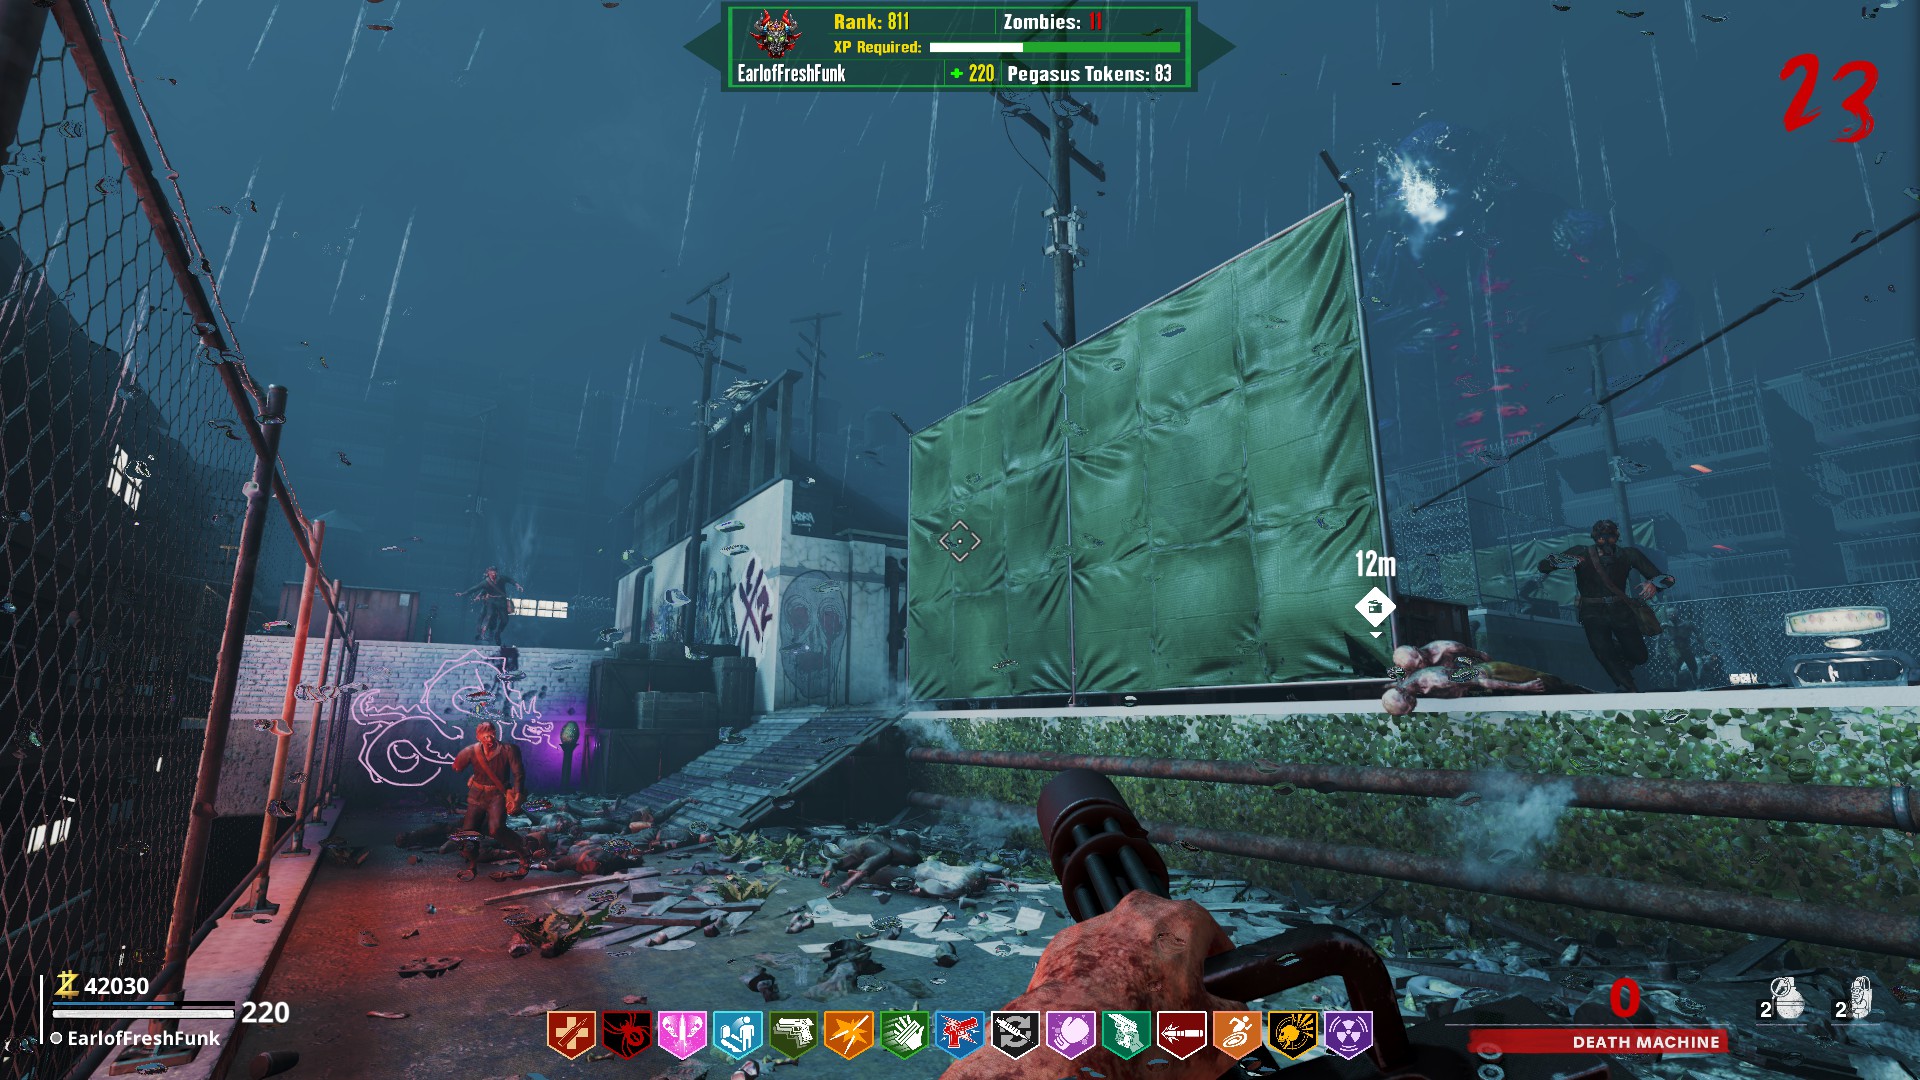
 Pack-a-Punch Safe Location:
You must stand on the lower part of the roof, behind the giant green tarp
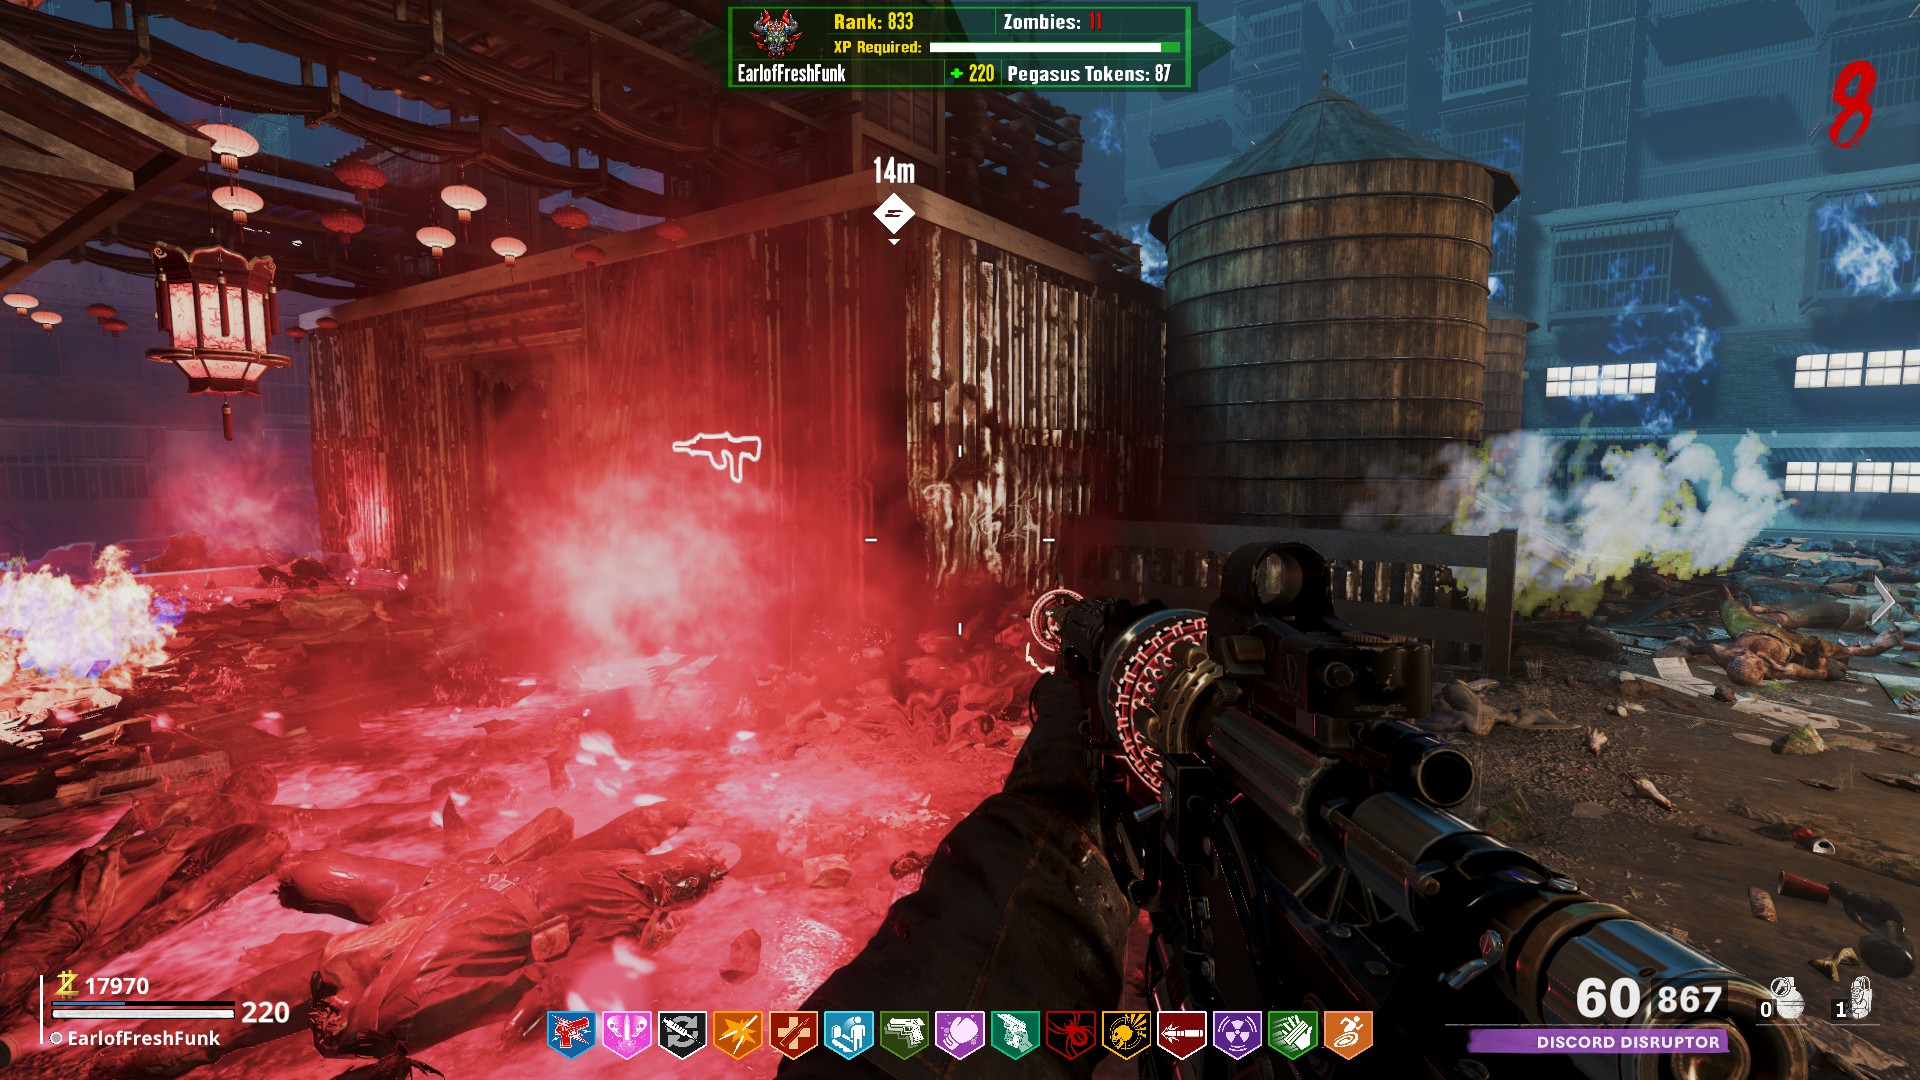
 Speed Cola Safe Location:
This is where things get kind of tricky. This spot is very specific and standing inside places that seem safe will result in a down. This is why I recommend Quick Revive and Fighter's Fizz to provide a possible second chance. Make sure to stand right next to the FFAR- 1 (Famas) wallbuy.
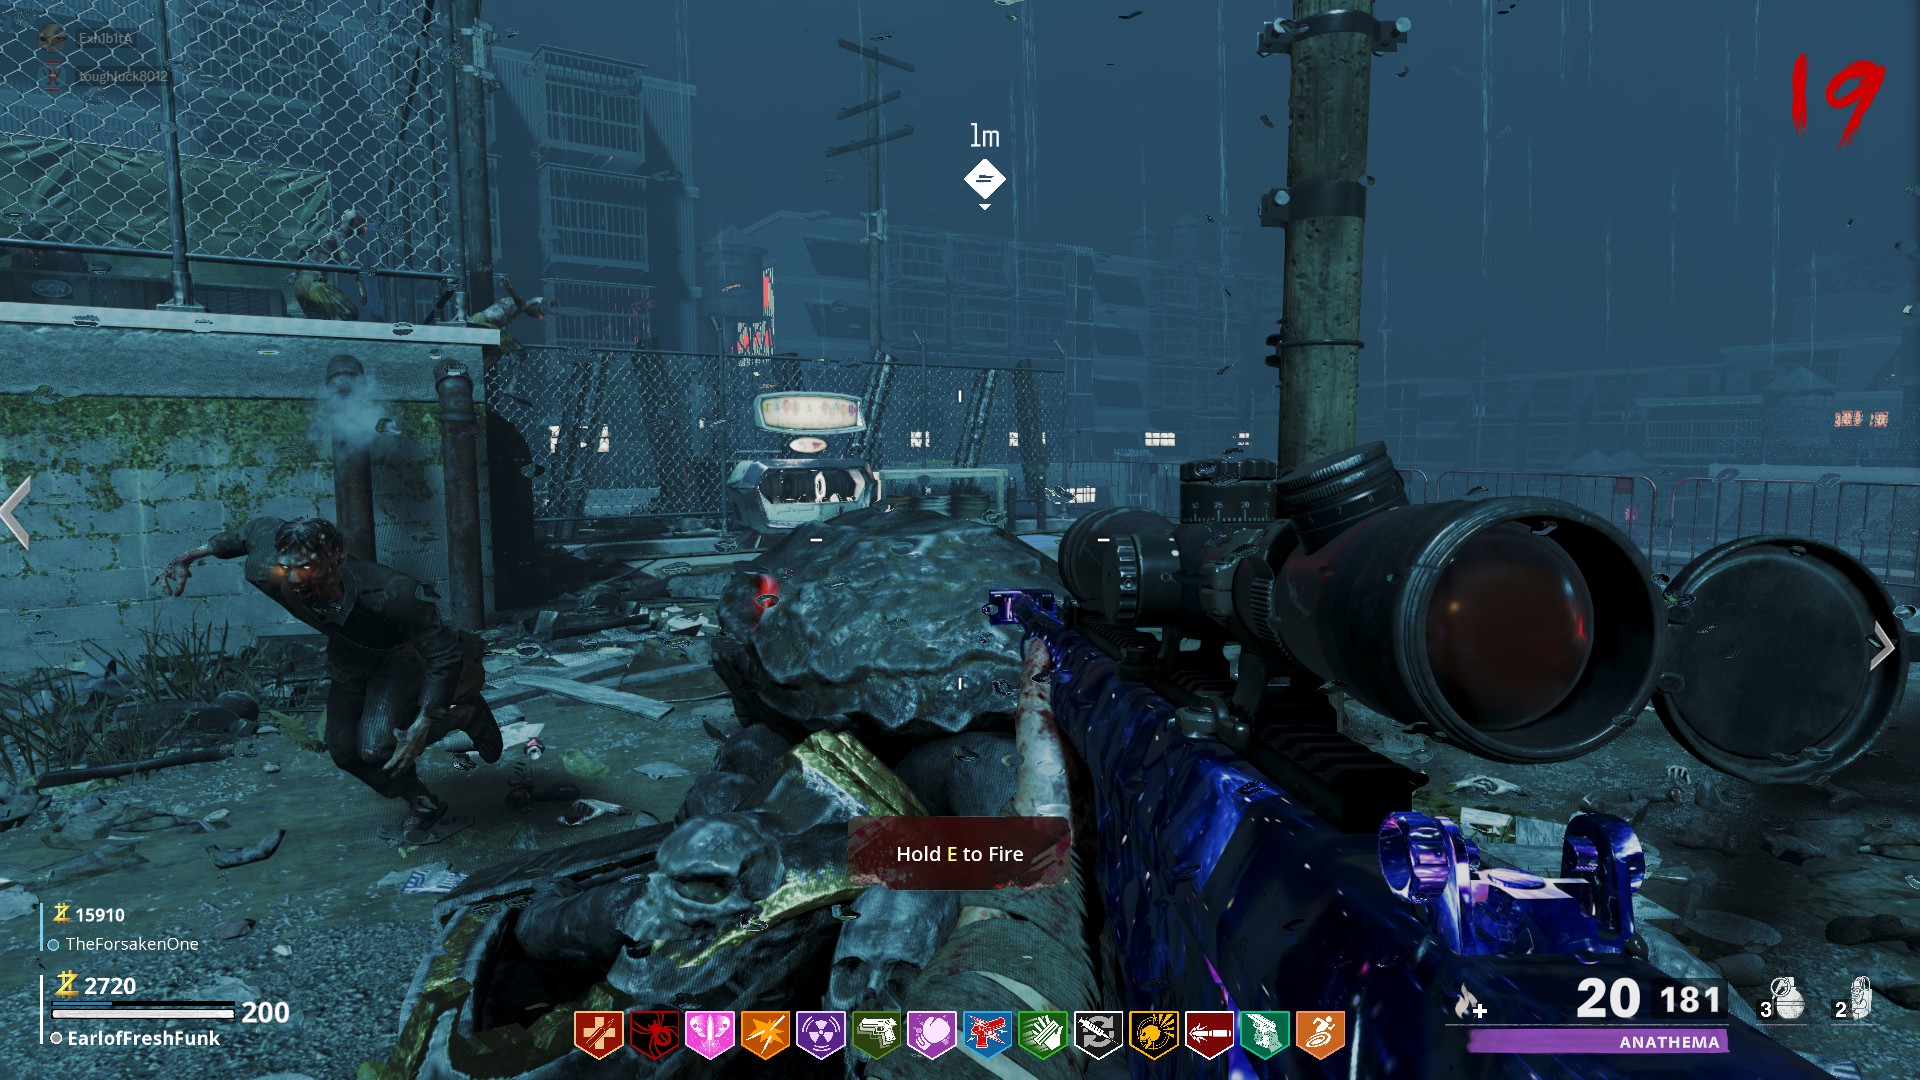
Upon surviving the charged attack and waiting for the blue fire to dissipate, run up to the corruption engine and hold interact to fire a beam of energy at Godzilla.
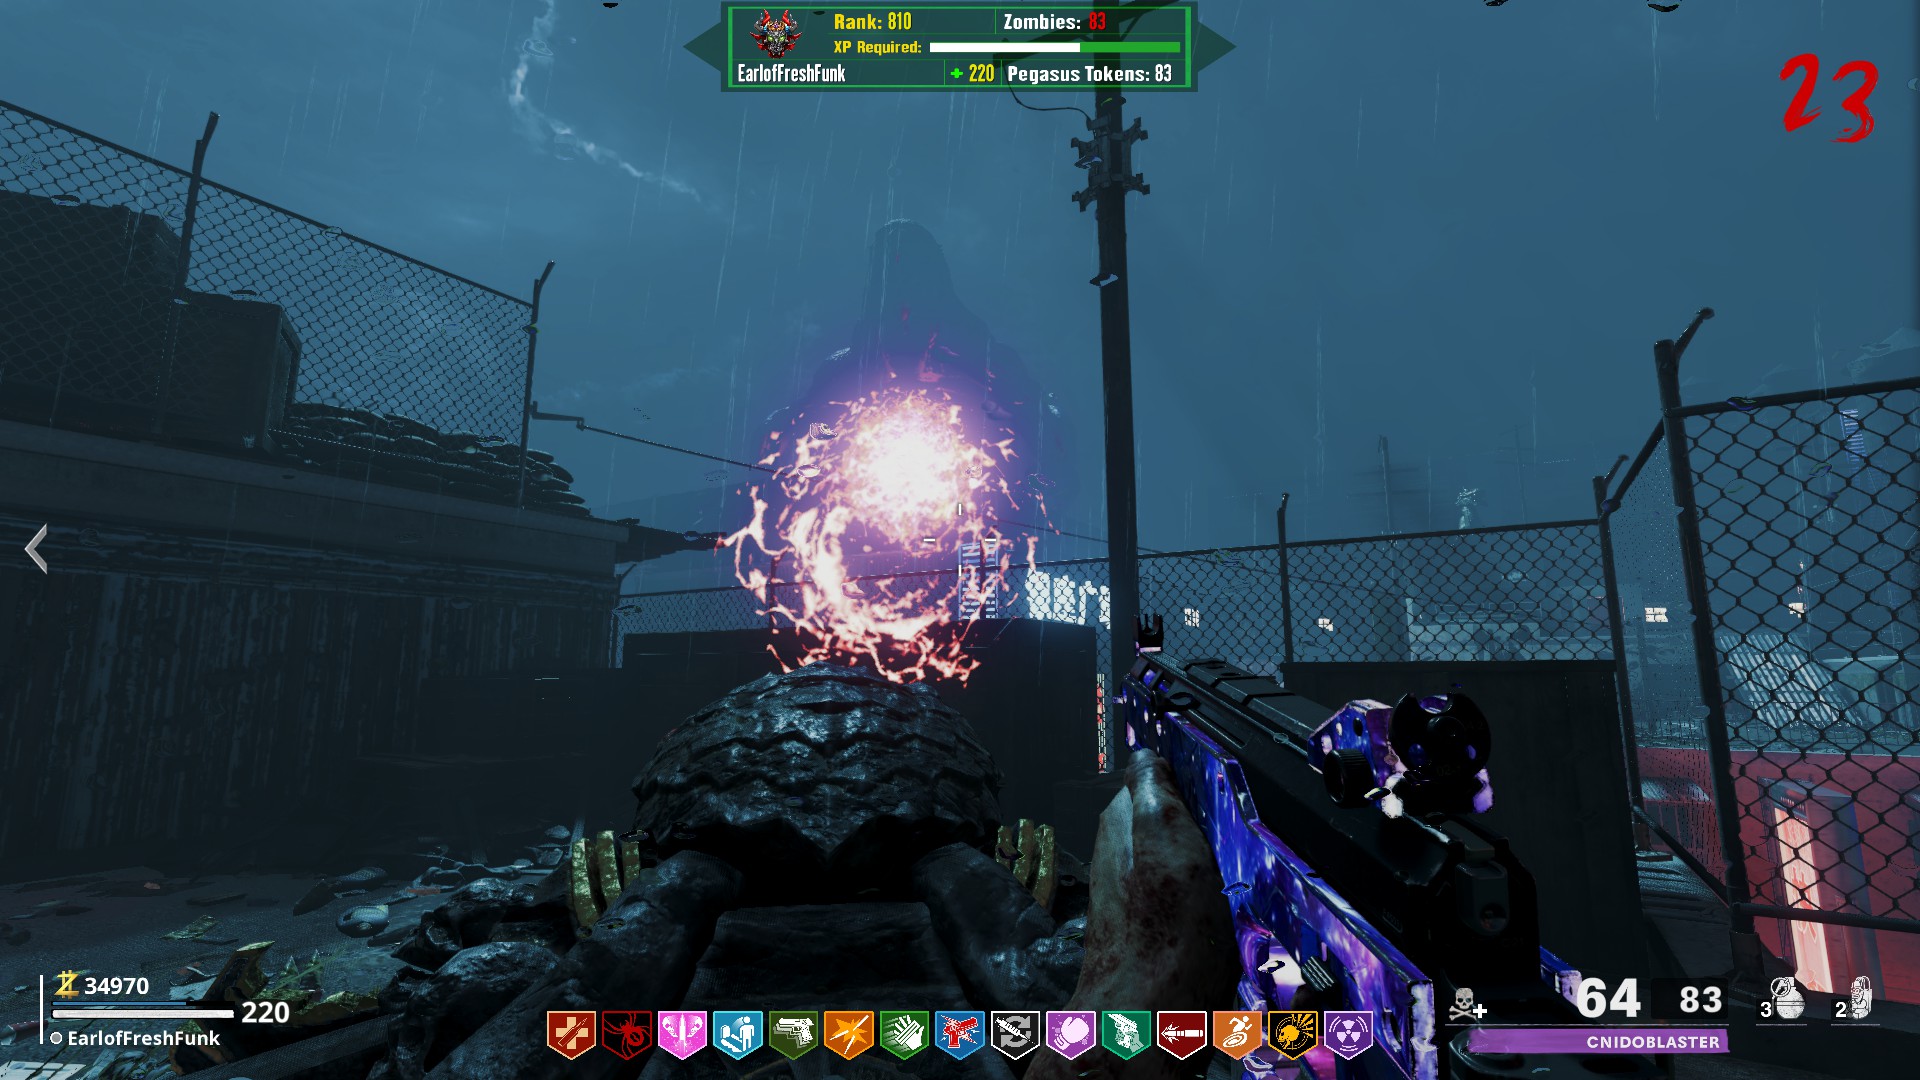 The screen will flash white, and a new objective marker will appear on your hud, guiding you to the next rooftop and the second and third stages of the boss fight. Repeat the same process using the safe locations mentioned above. Upon completing the third stage, an objective marker will be placed on all of the corruption engines. Interact with all of them to initiate a combined attack on Godzilla.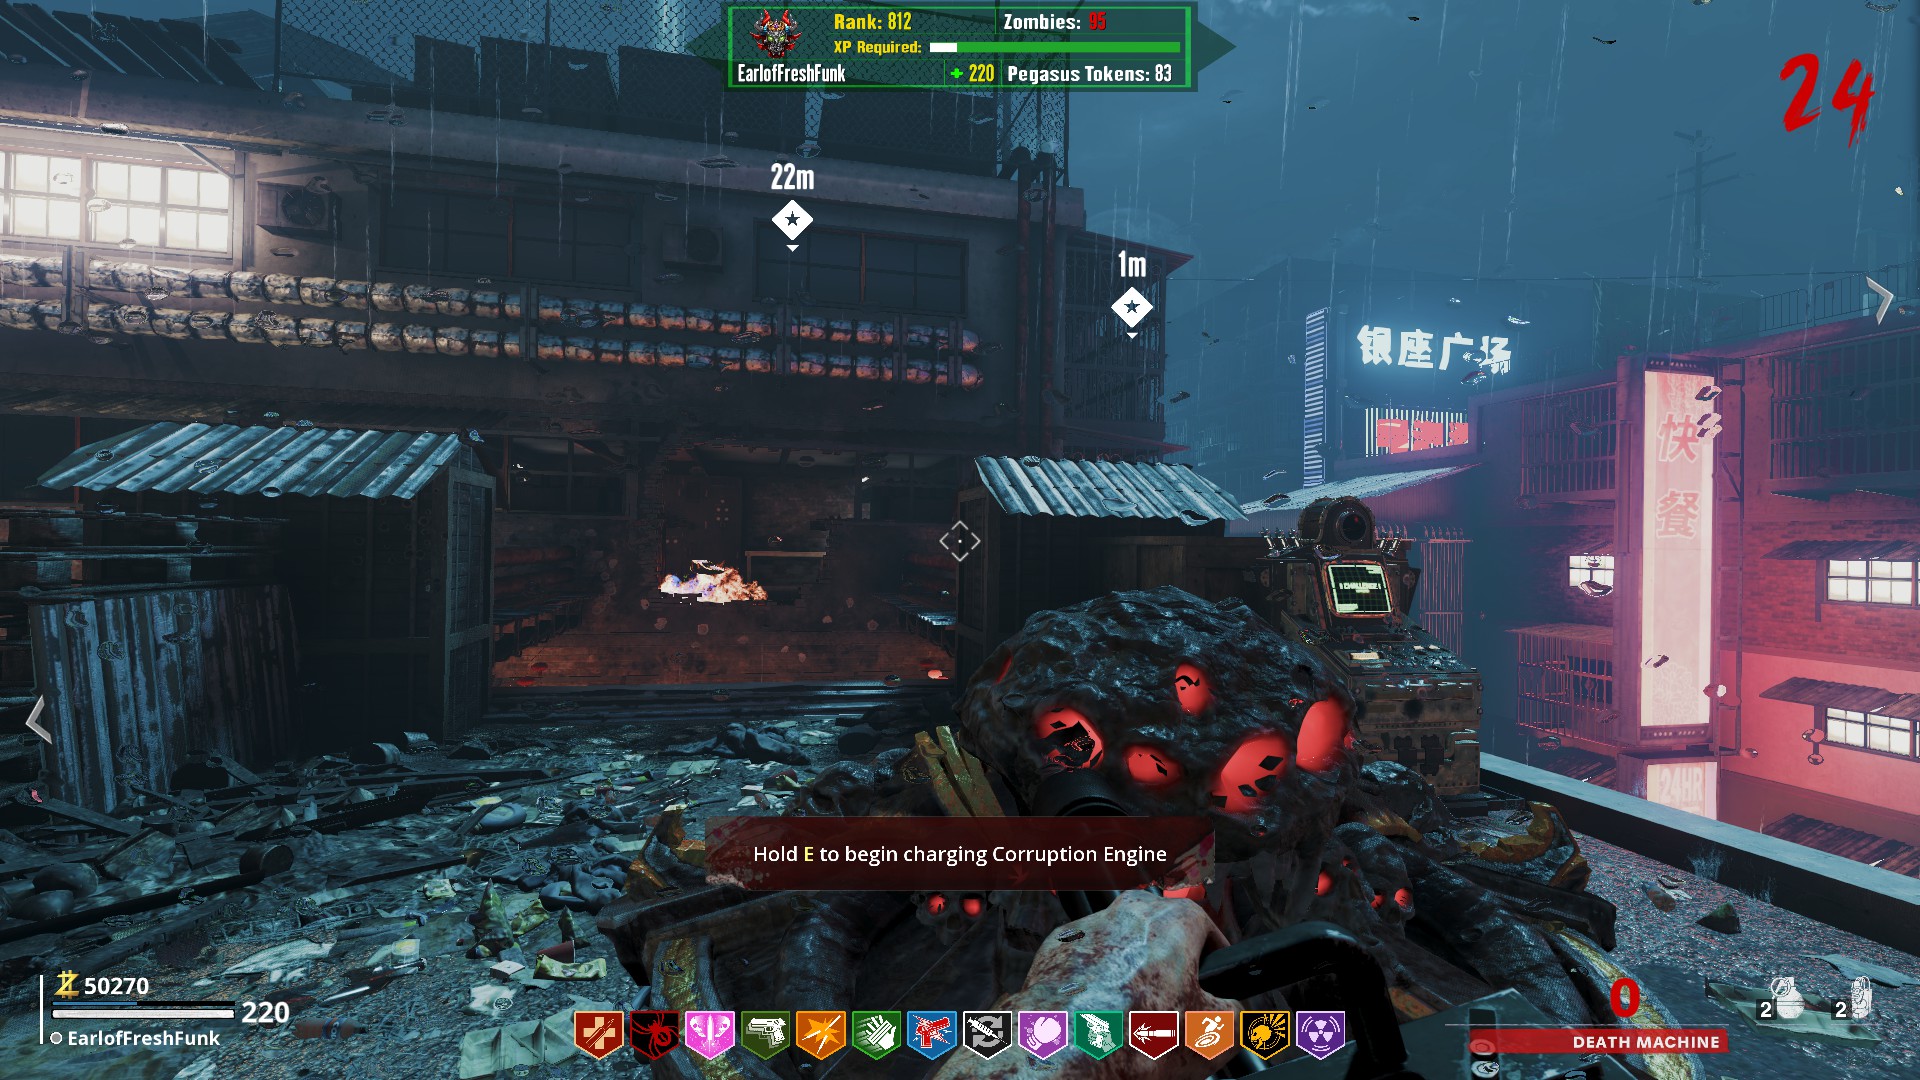
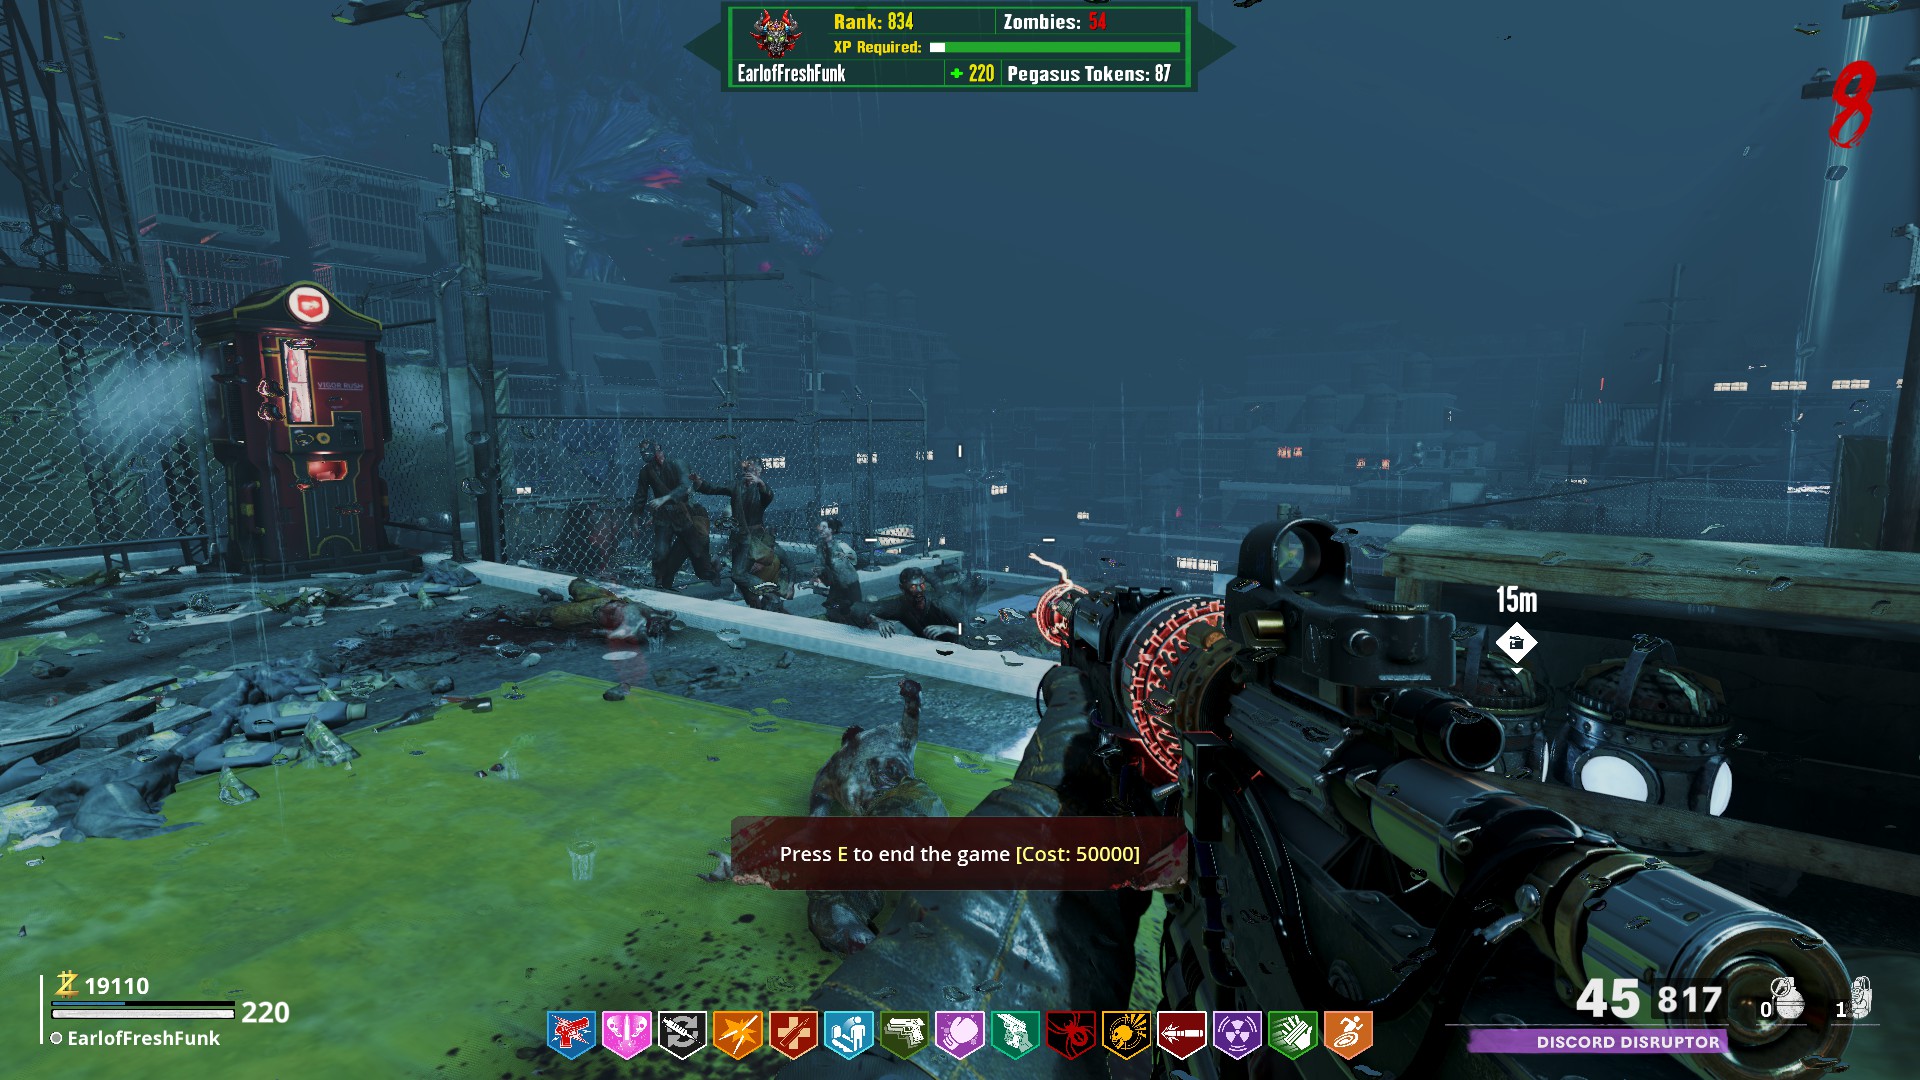
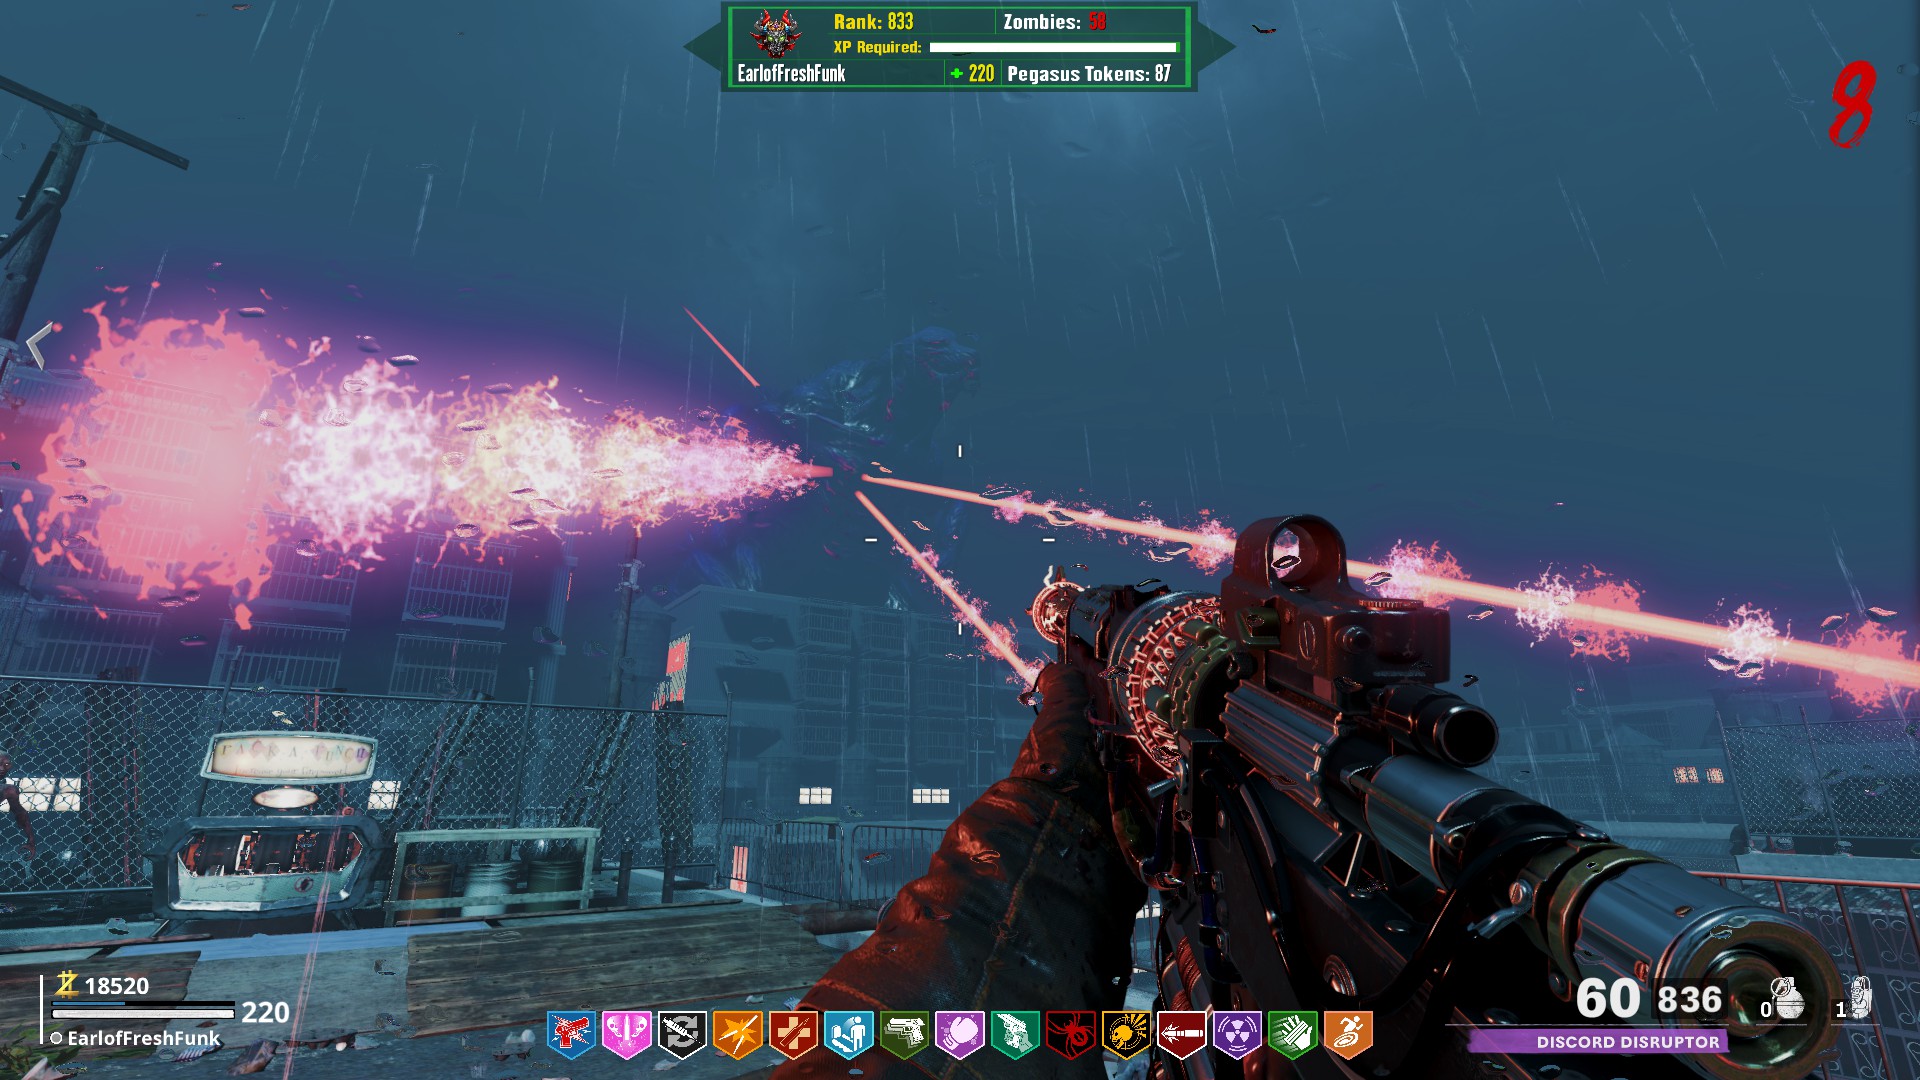 At this stage, you have completed the boss fight, and unlocked the buyable ending at the spawn building, at the same spot as the satisfaction trial. It costs 50,000 points.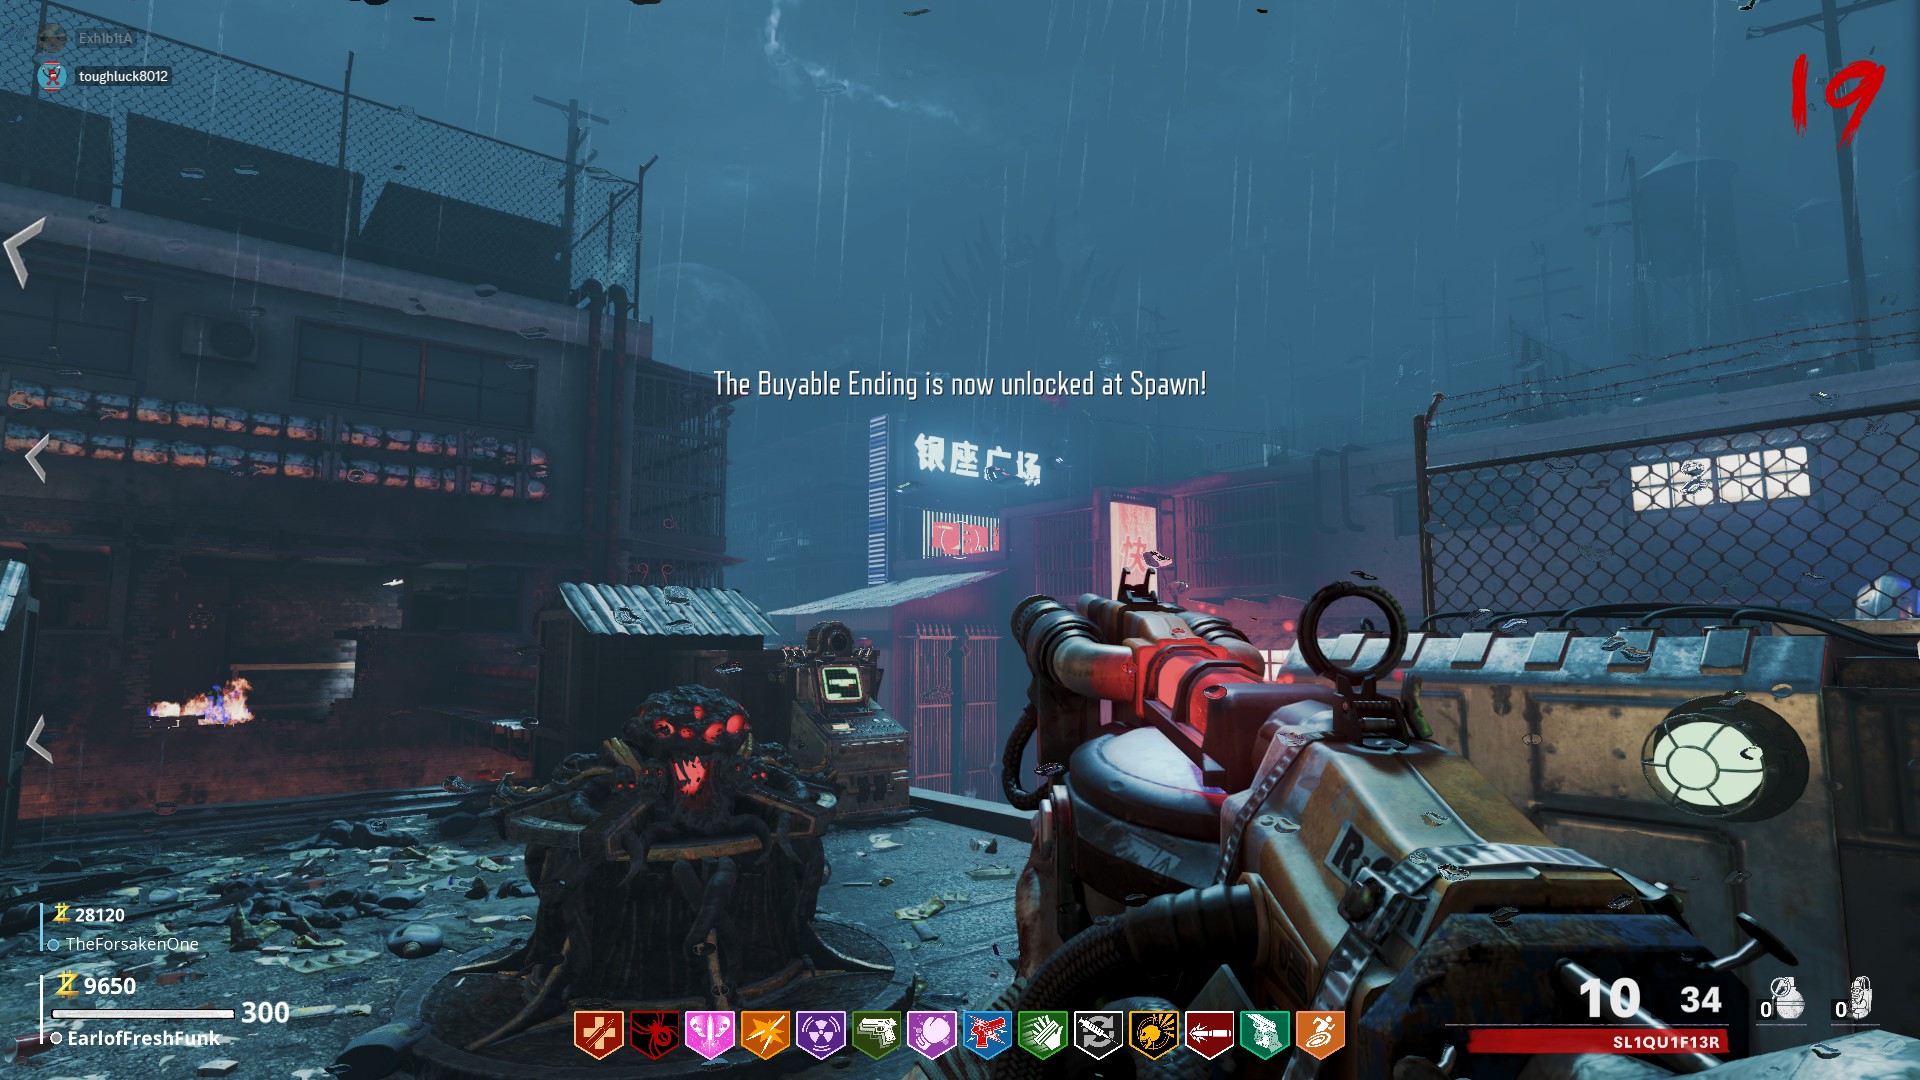
- All Around Enhancement Mod Description And Info★ 5 (597)211k views1.2k ♥34 minUpdated Aug 10, 2023
- Black Ops 3: Console Commands★ 5 (1.1k)123k views2.4k ♥7 minUpdated Feb 13, 2020
- Origins Ultimate Guide★ 5 (562)72k views1.7k ♥17 minUpdated Jun 24, 2017
- Guide for Shadows of Evil [2020 updated]★ 5 (1.4k)67k views4.5k ♥24 minUpdated Mar 22, 2024
- Guide for Der Eisendrache [2020 updated]★ 5 (1.3k)65k views4.6k ♥30 minUpdated Feb 22, 2024
- How to download the community T7patch by Serious and play online zombies safely (also FPS Fix)★ 5 (491)62k views1.2k ♥4 minUpdated Apr 30





- Upgrading to PremiumTeam Fortress 2★ 5 (20k)1441k views11k ♥6 minUpdated May 11, 2022
- No More Room in Hell Official ManualNo More Room in Hell★ 5 (2.8k)569k views2.1k ♥29 minUpdated Apr 22, 2019
- NMRiH Community Hosting GuidesNo More Room in Hell★ 5 (526)351k views653 ♥1 minUpdated Aug 10, 2022
- Лучшие кооперативные игры SteamPAYDAY 2★ 5 (1.5k)315k views2.1k ♥56 minRussianUpdated Apr 27, 2025
- Desert Eagle Heat Treated | Blue GemCounter-Strike 2★ 5 (1.6k)292k views1.5k ♥2 minUpdated Jan 16
- Treasure Hunt Puzzle SolutionsTotal War: WARHAMMER II★ 5 (6.9k)281k views15k ♥3 minUpdated Aug 19, 2021






This guide was created by its original author on the Steam Community. Are you the author and want it removed? Request removal.