WANTED Complete Map Guide (Full Easter Egg)
General Overview
WANTED is a western themed custom zombies map created by the talented Zeroy. The map is linked below so you can leave positive feedback on his page. This guide contains spoilers for various features that can be cool to stumble upon by yourself, so if you are at all sensitive to spoilers, proceed with caution. Most major spoilers will have a blackout guard on them.
Download link:
https://steamcommunity.com/sharedfiles/filedetails/?id=1663631538
If there is anything I failed to cover in this guide or information is found to be inaccurate, please let me know in the comments below and I will do my best to keep the guide updated.
NOTE: BEFORE YOU START YOUR GAME: Although it is not necessary for any step, I recommend putting on the "Fatal Contraption" Mega Gobblegum if you have any so you will be able to spawn some miniguns. It will make the boss fights a little easier.
Map Layout/Points of Interest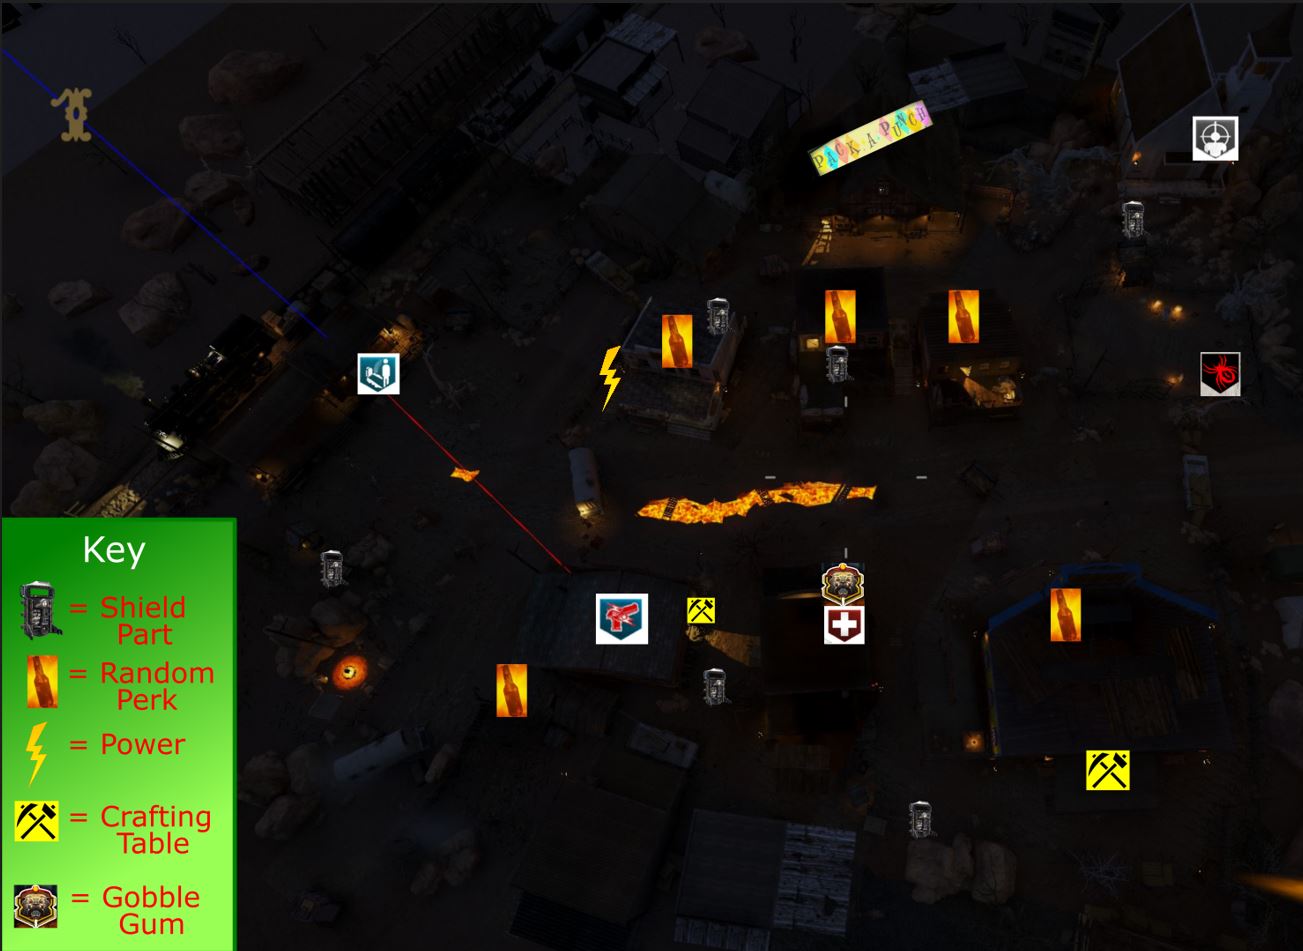
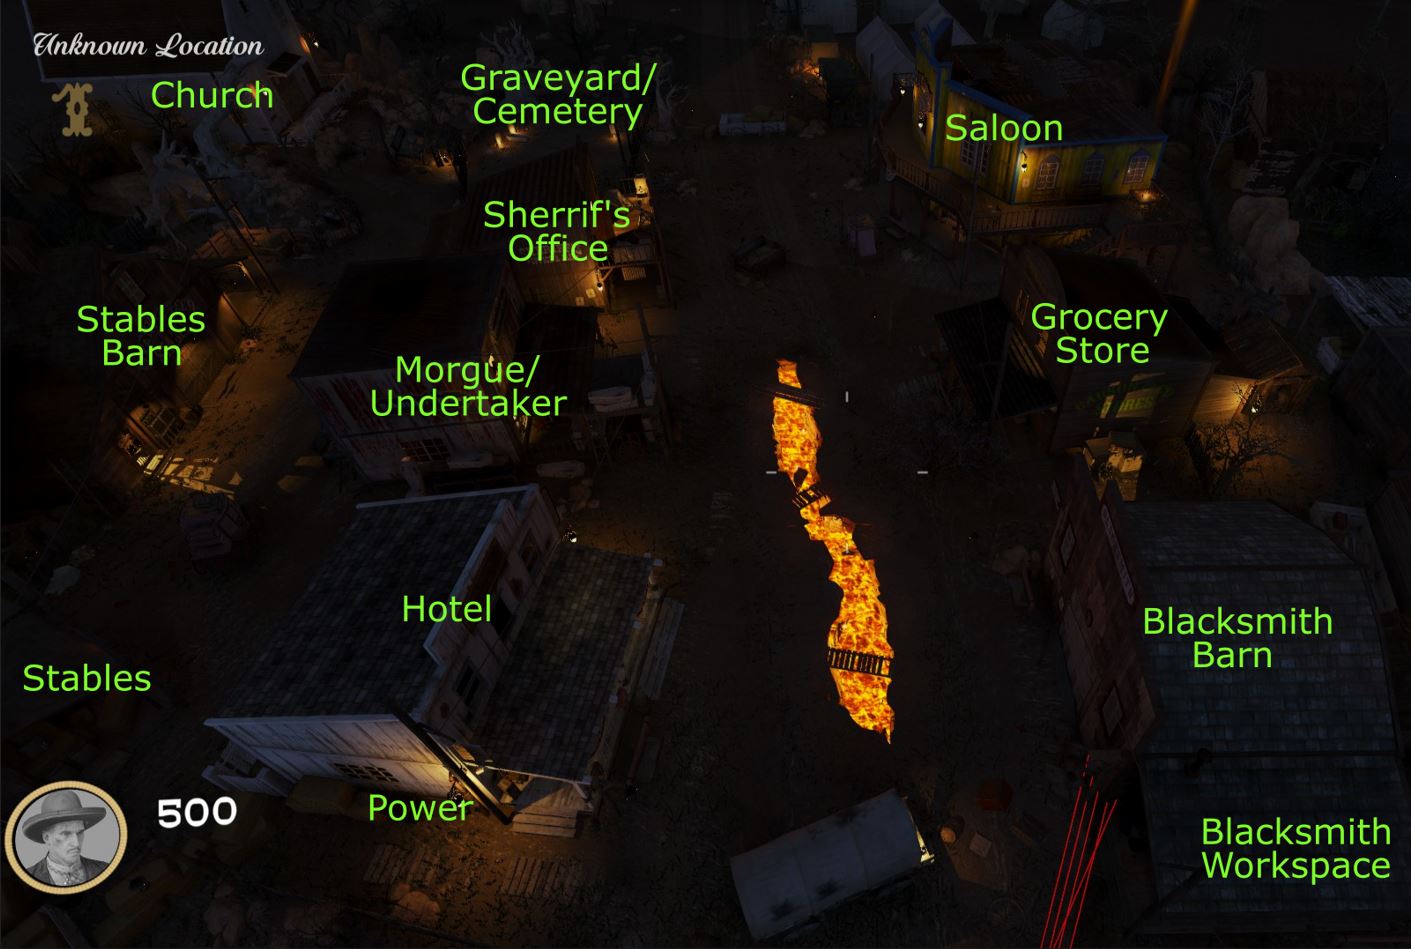
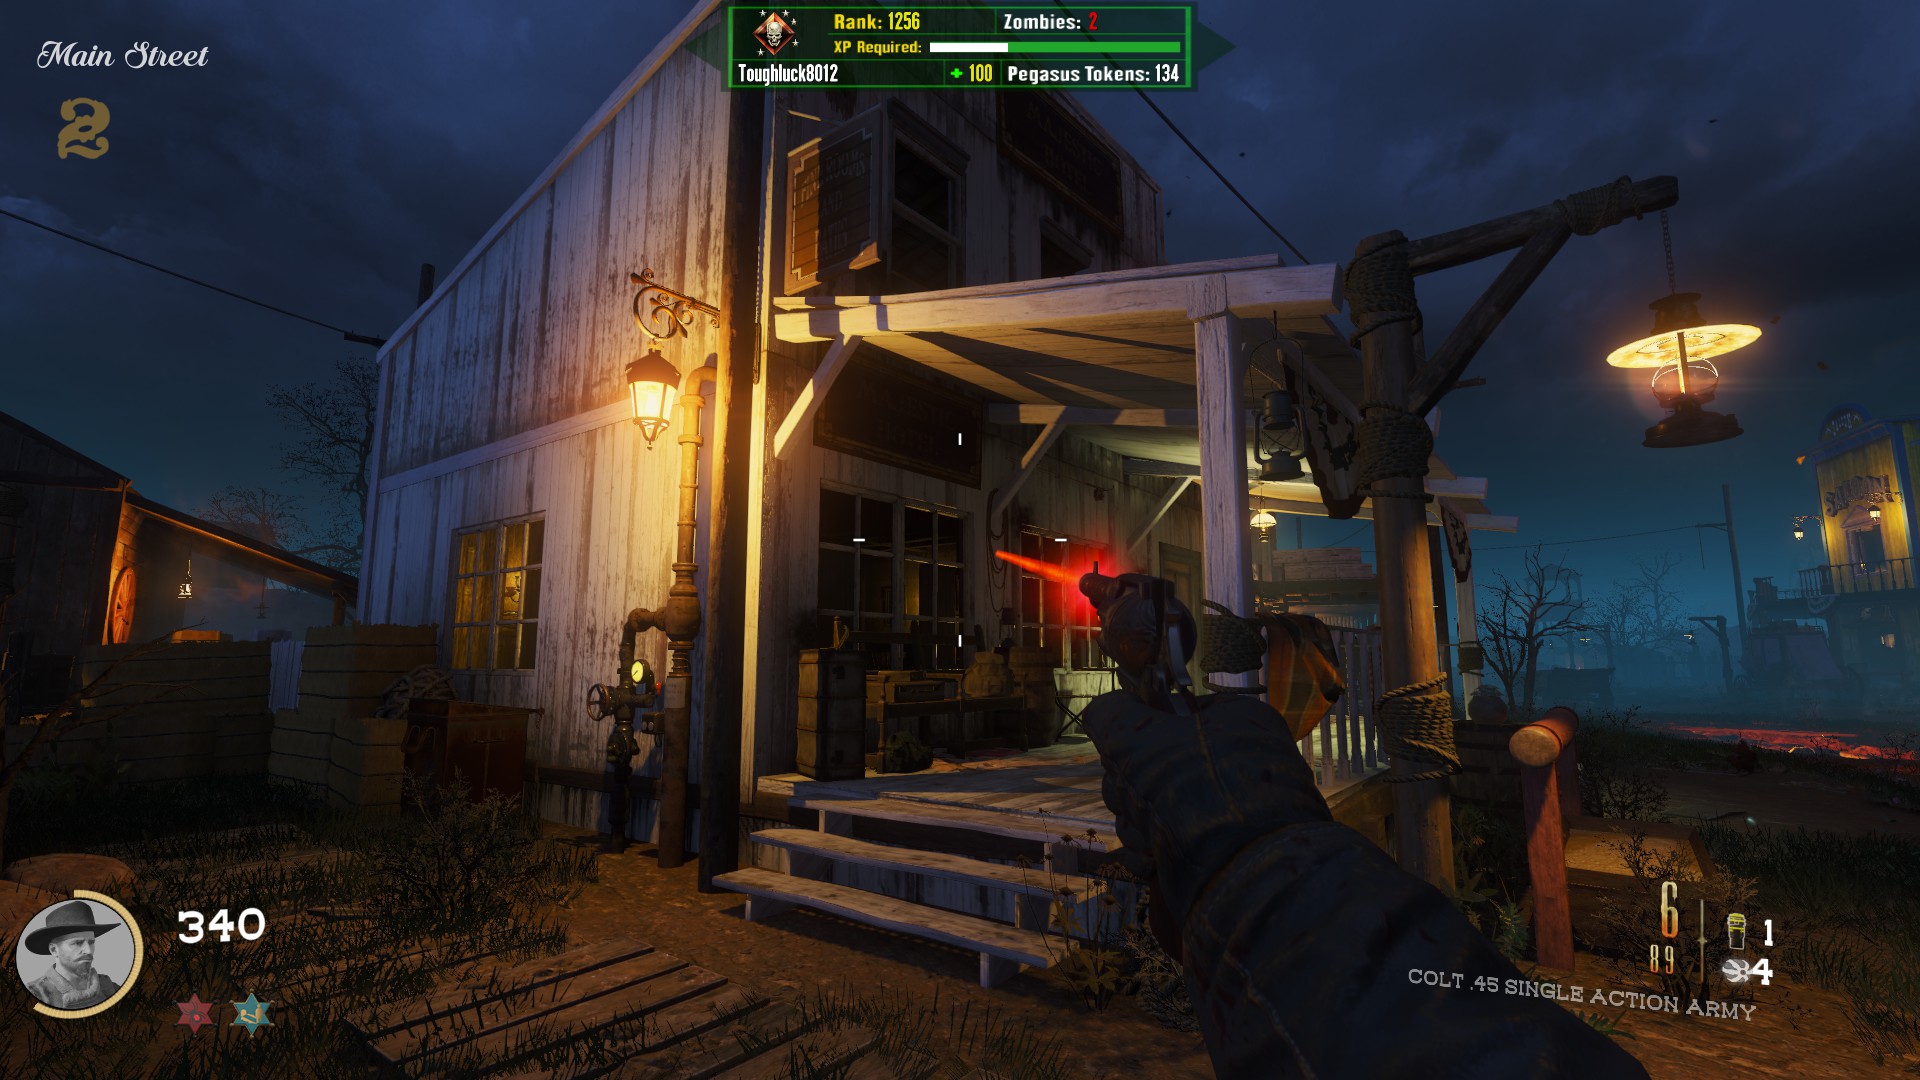
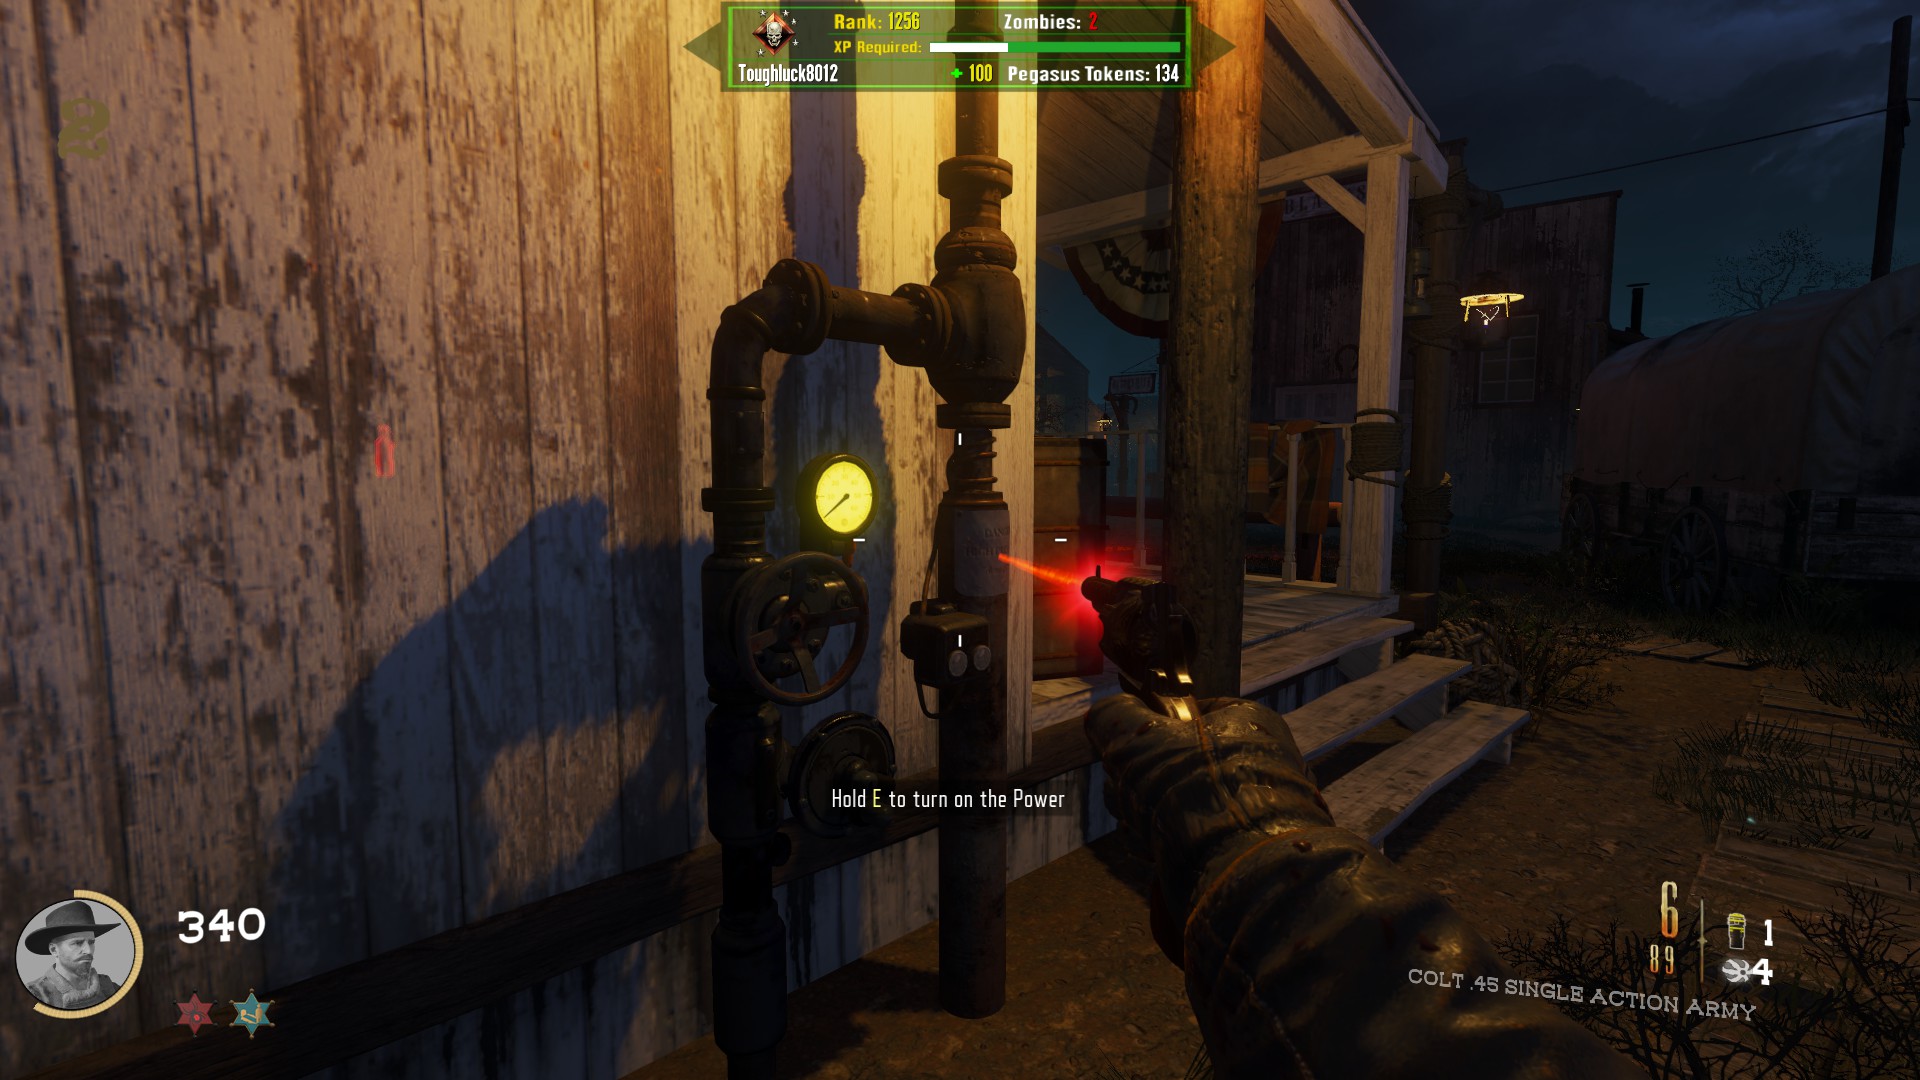
How to Turn on Power
Shovel Locations
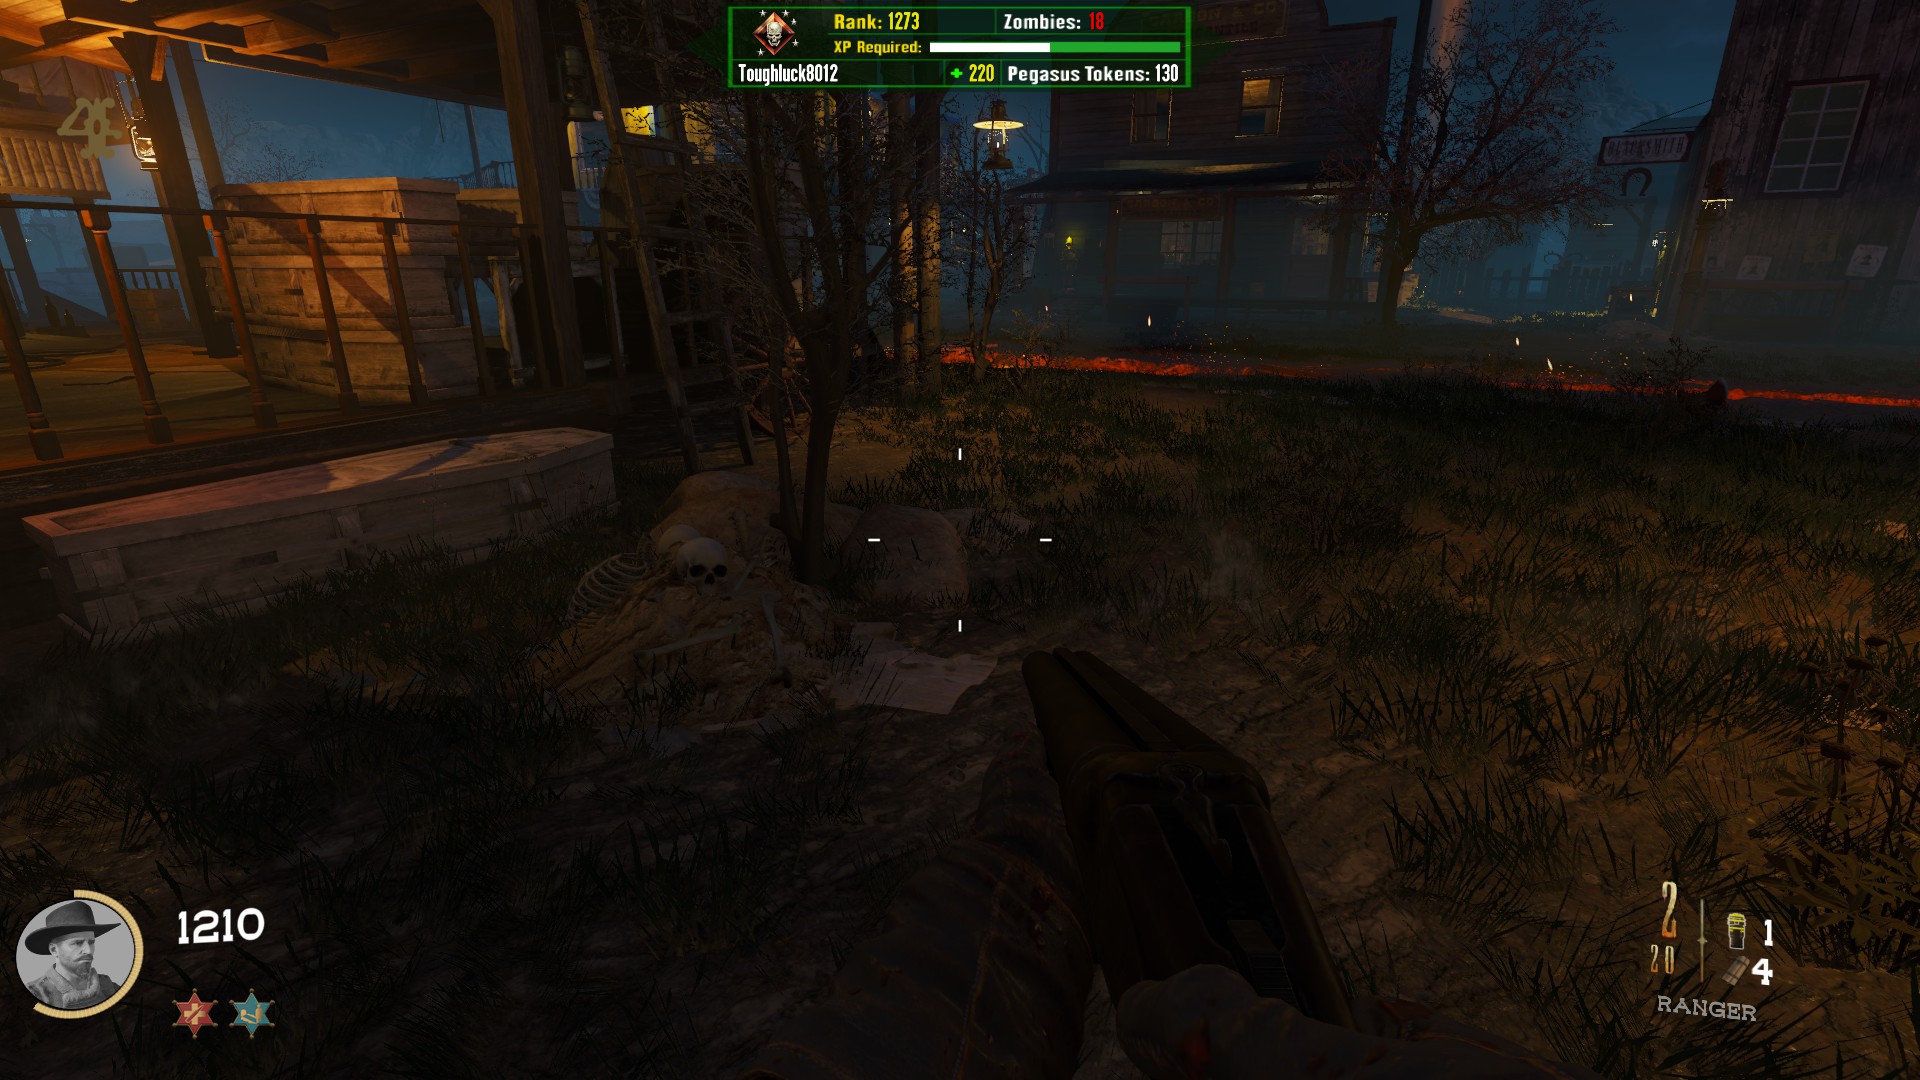
You can find the following from the dig locations:
- Double Points Power Up
- Fire Sale Power Up
- Insta-kill Power Up
- Nuke Power Up
- Max Ammo Power Up
- Carpenter Power Up
- Zombies Blood Power Up
- Bonus Point Power Up
- Live Dynamite Trap
- A Low-Tier Weapon
- Nothing
If you dig up enough dig sites, you will unlock the Golden Shovel. Just like in Origins, it grants an increased likelihood of positive rewards from digging. It is a completely optional bonus as it is not necessary for any other easter egg as far as I know.
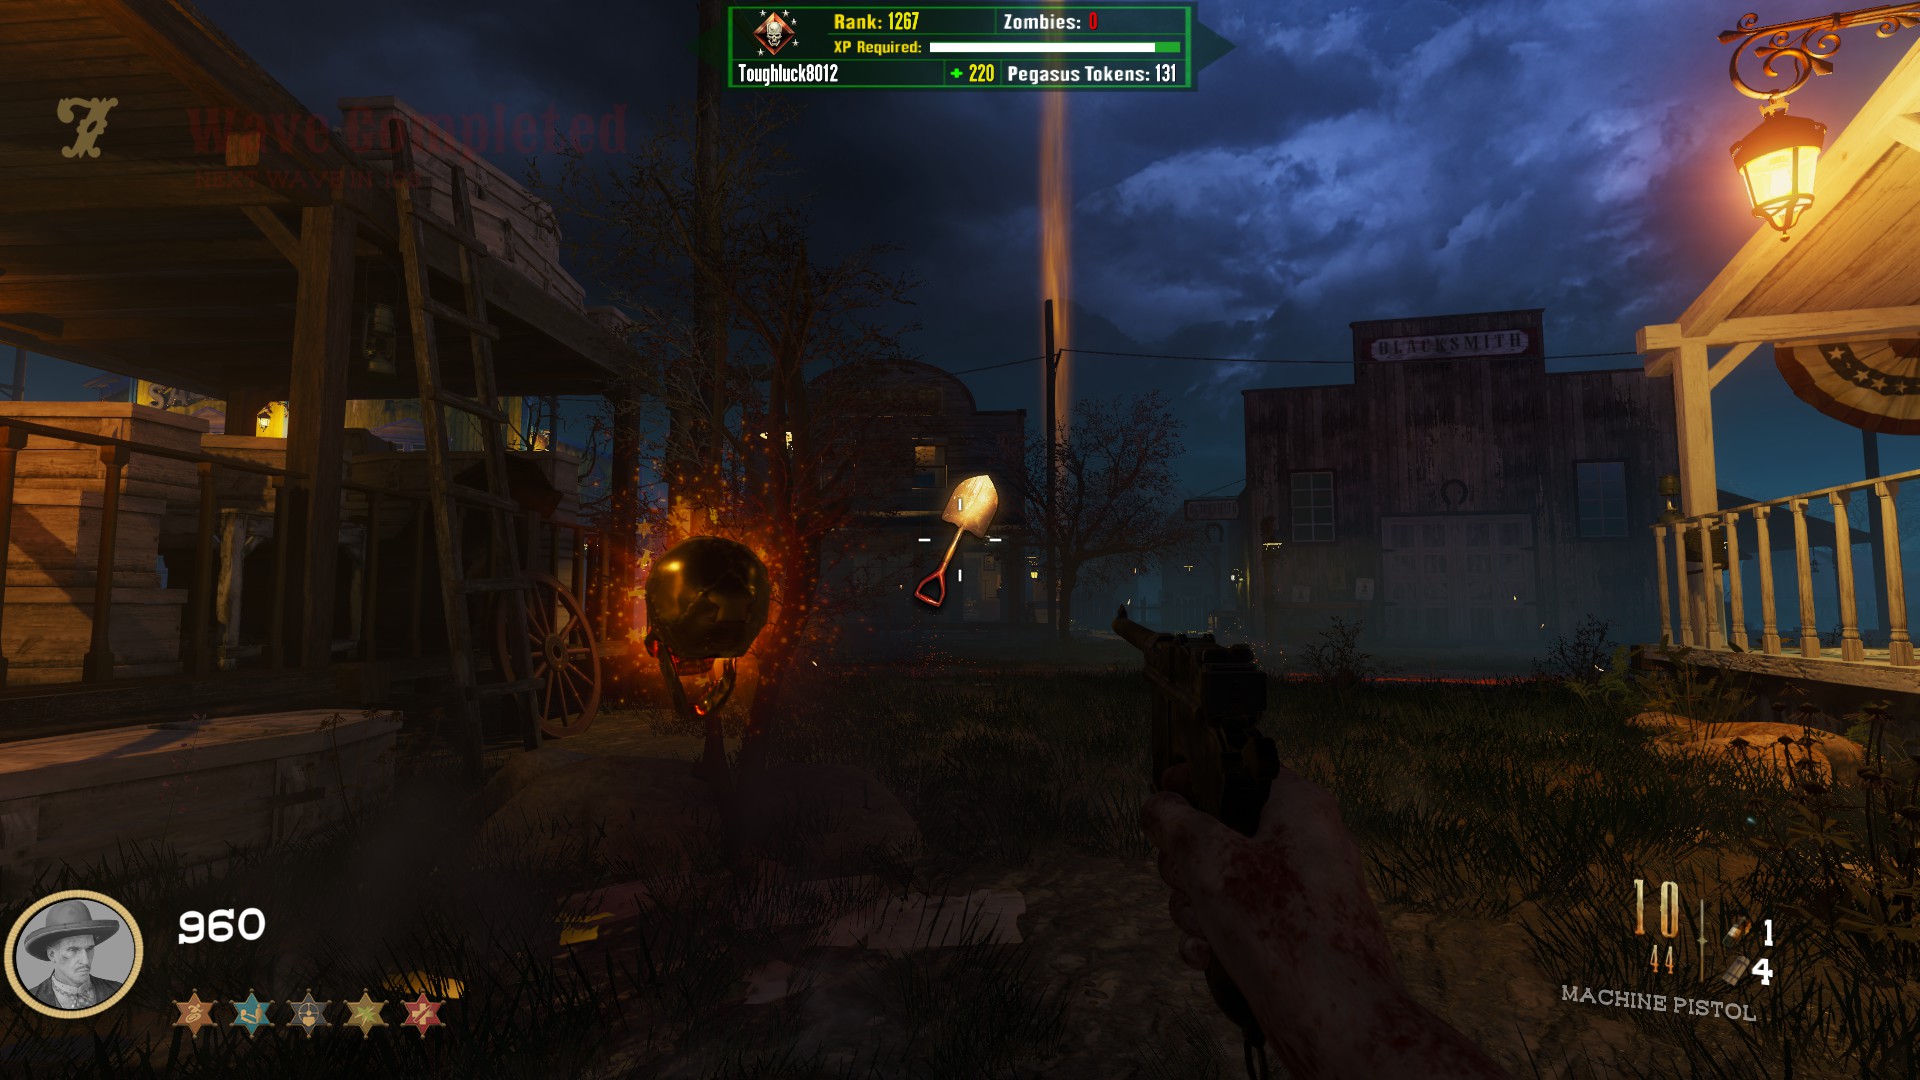
Location 1
In a small hut between the cemetery and the church
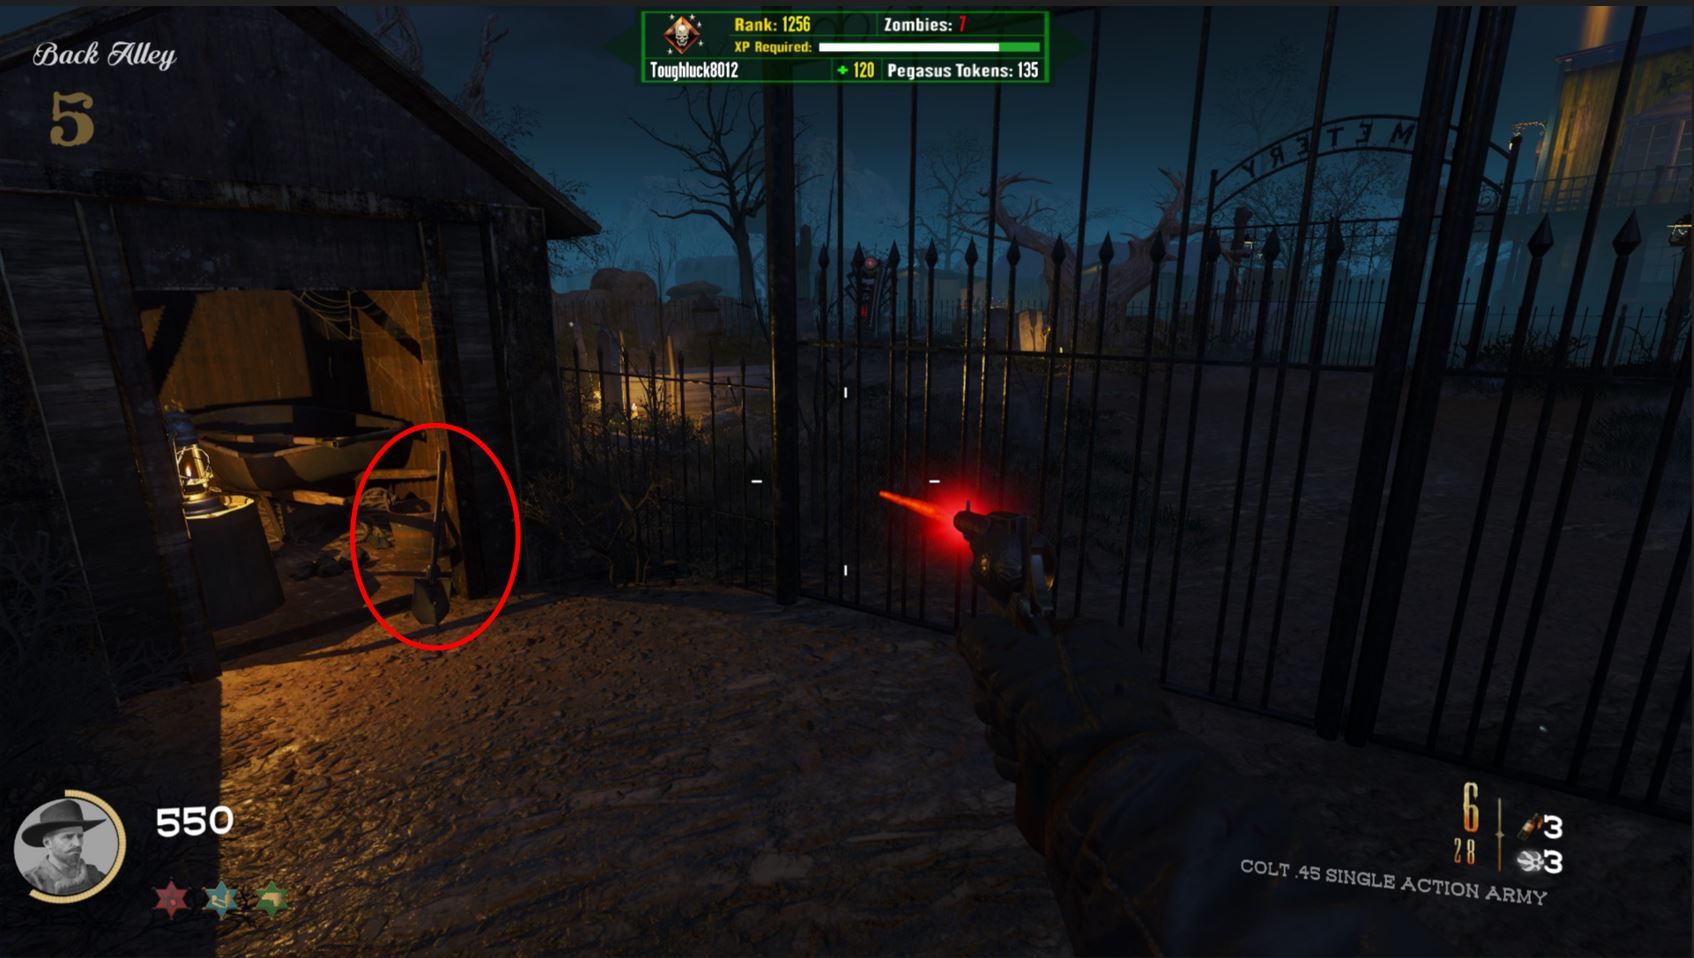
Location 2
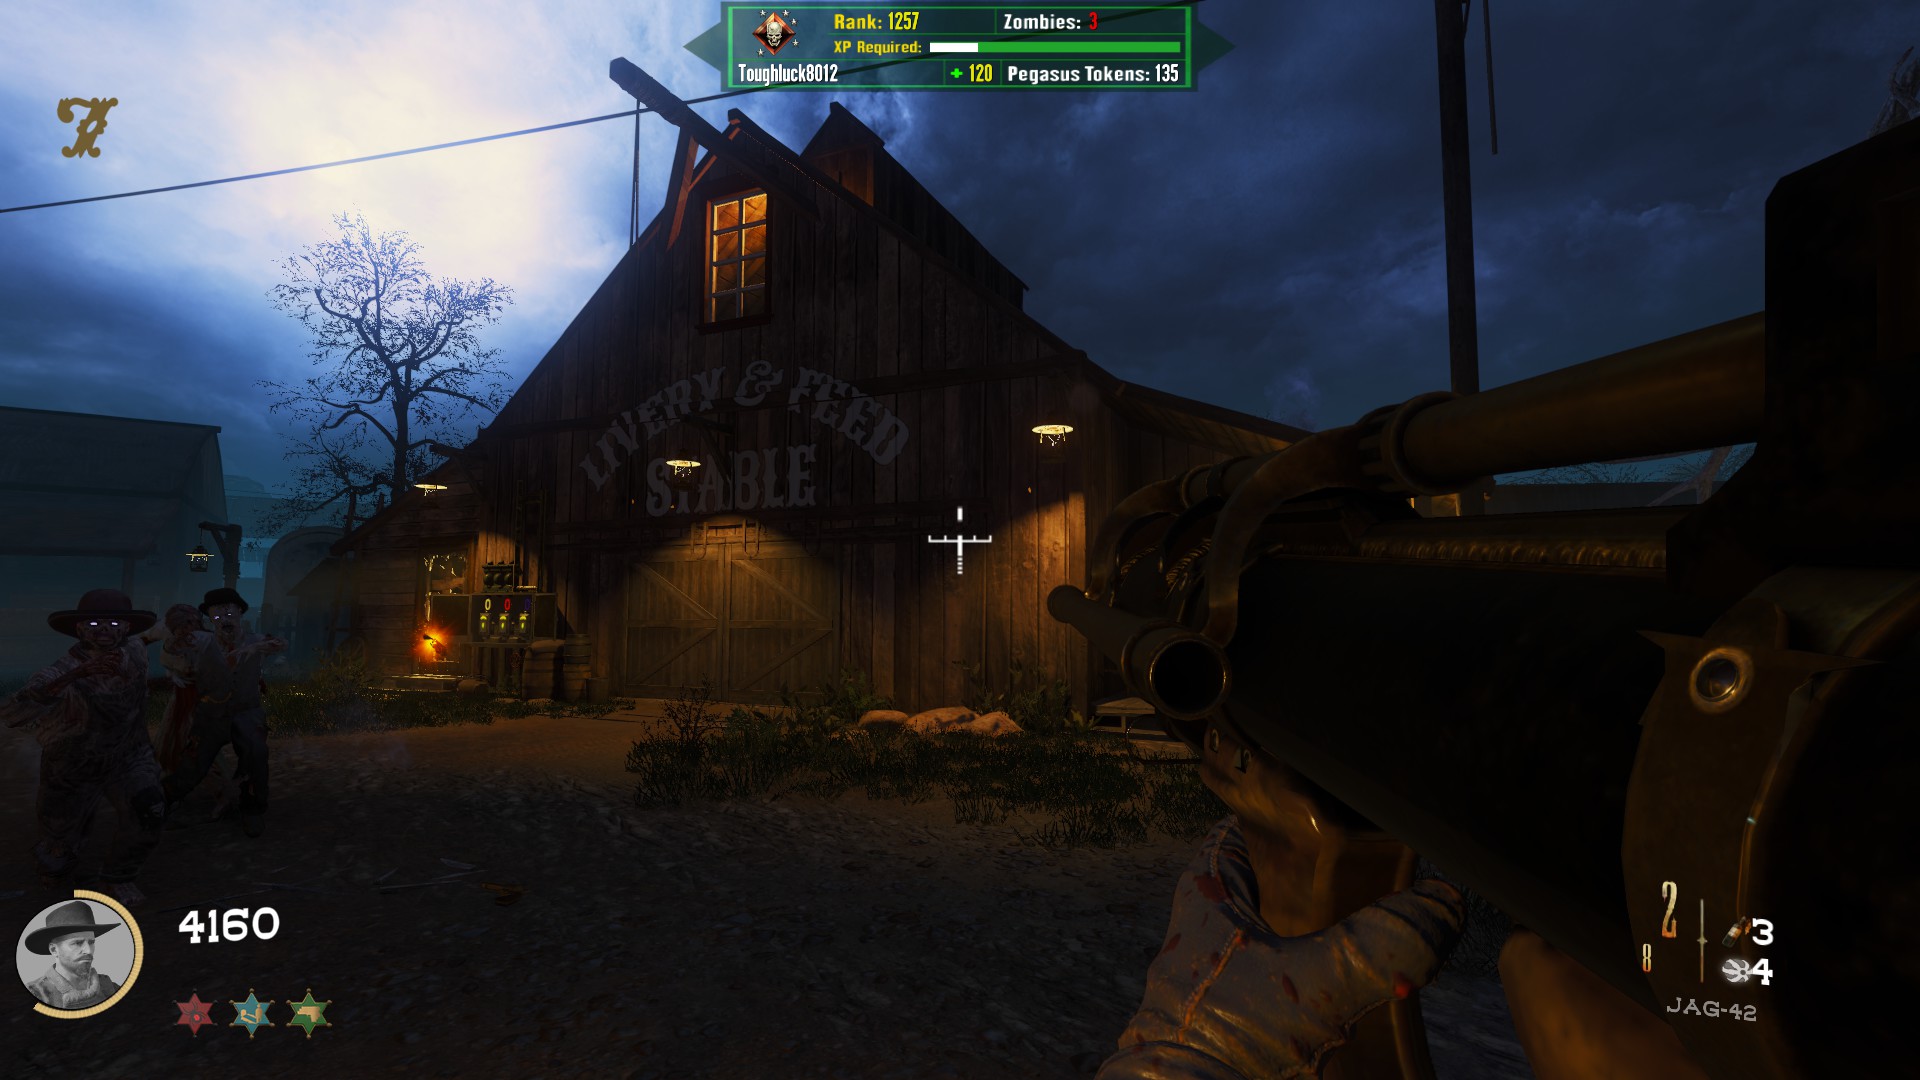
Propped up against a small red wagon at the stalls between spawn and the Stables Barn
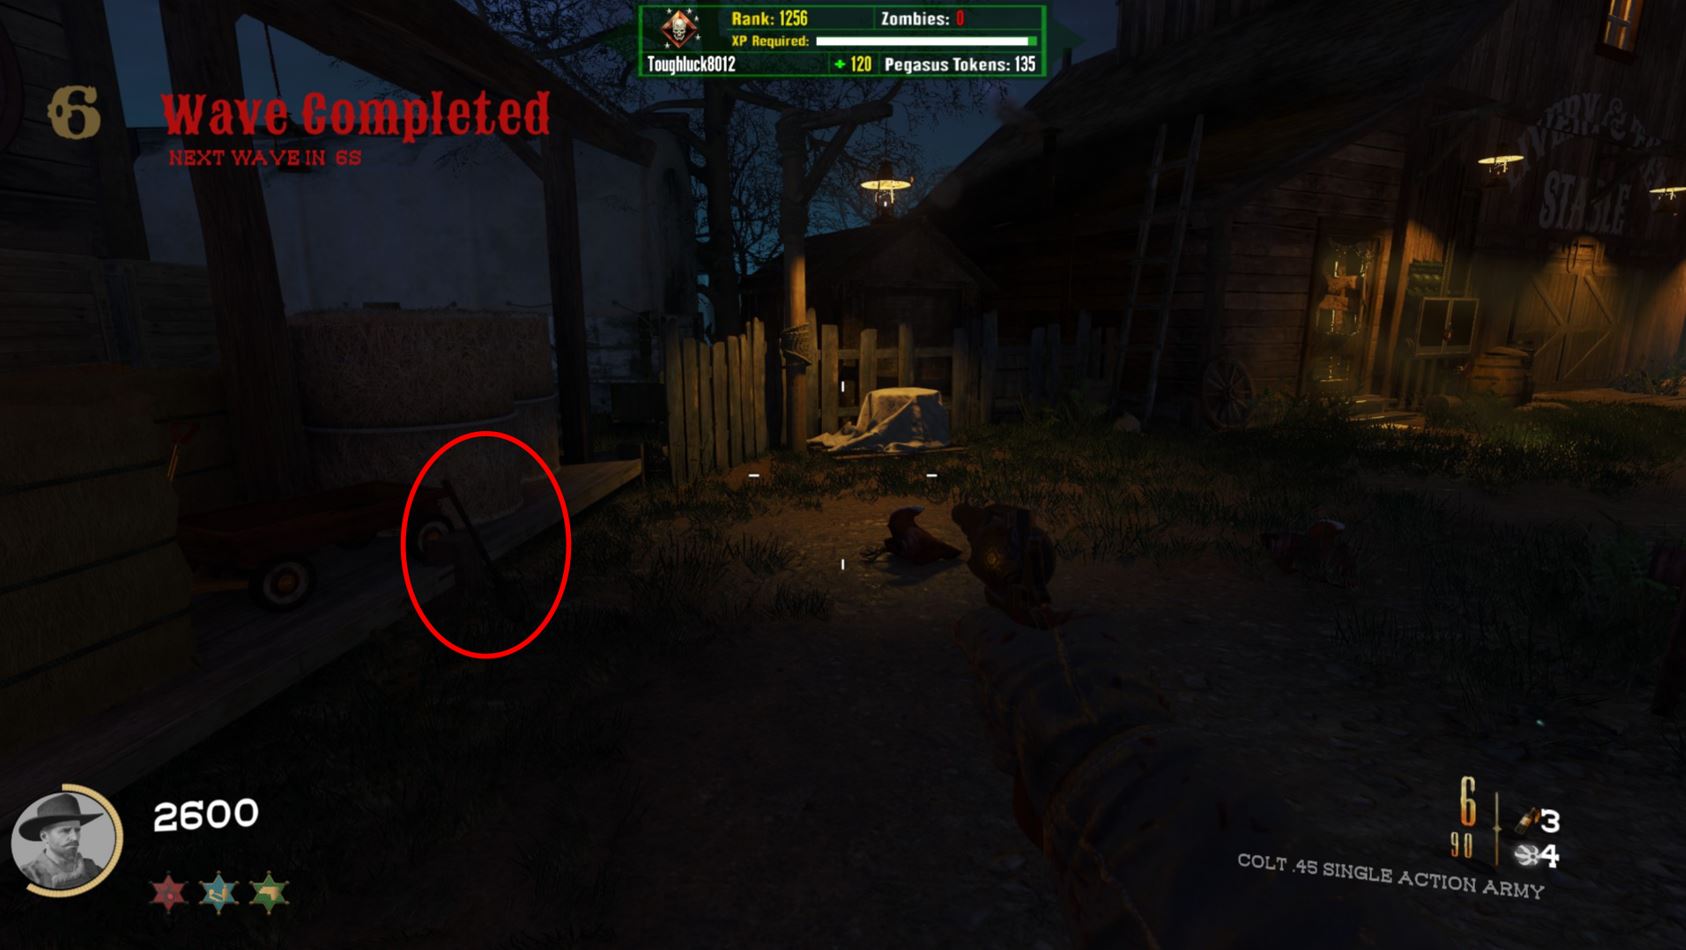
Location 3
In between the Grocery Store and the Blacksmith Barn, in the corner next to the Acid Gat Assembly Kit Crafting Table
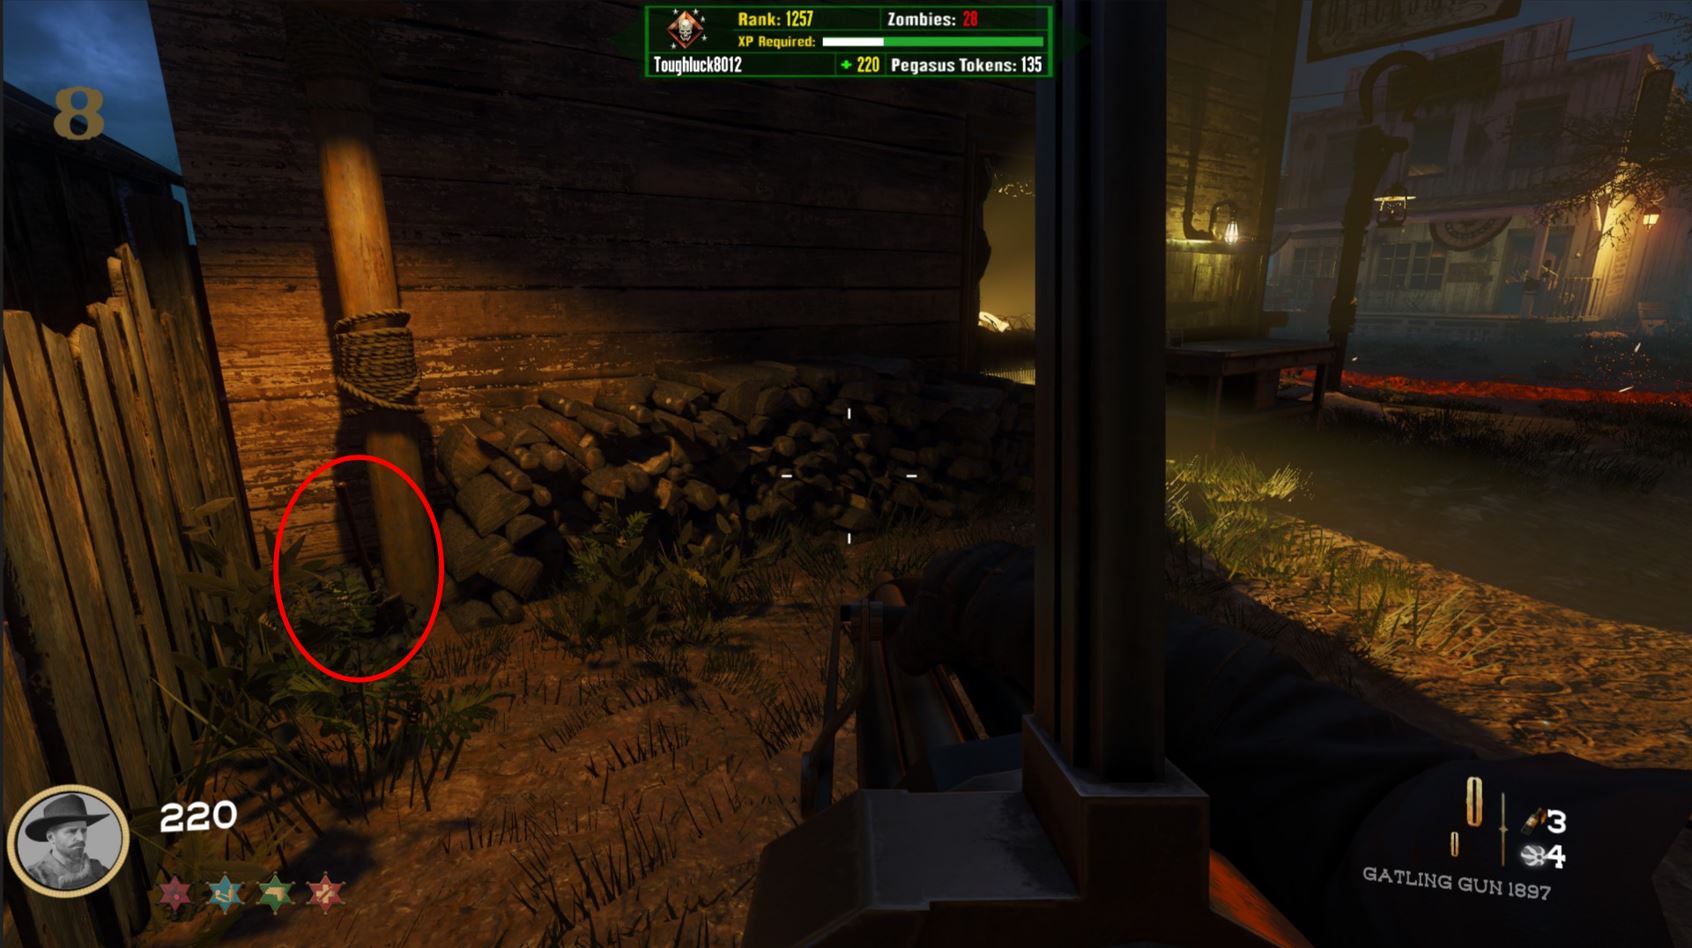
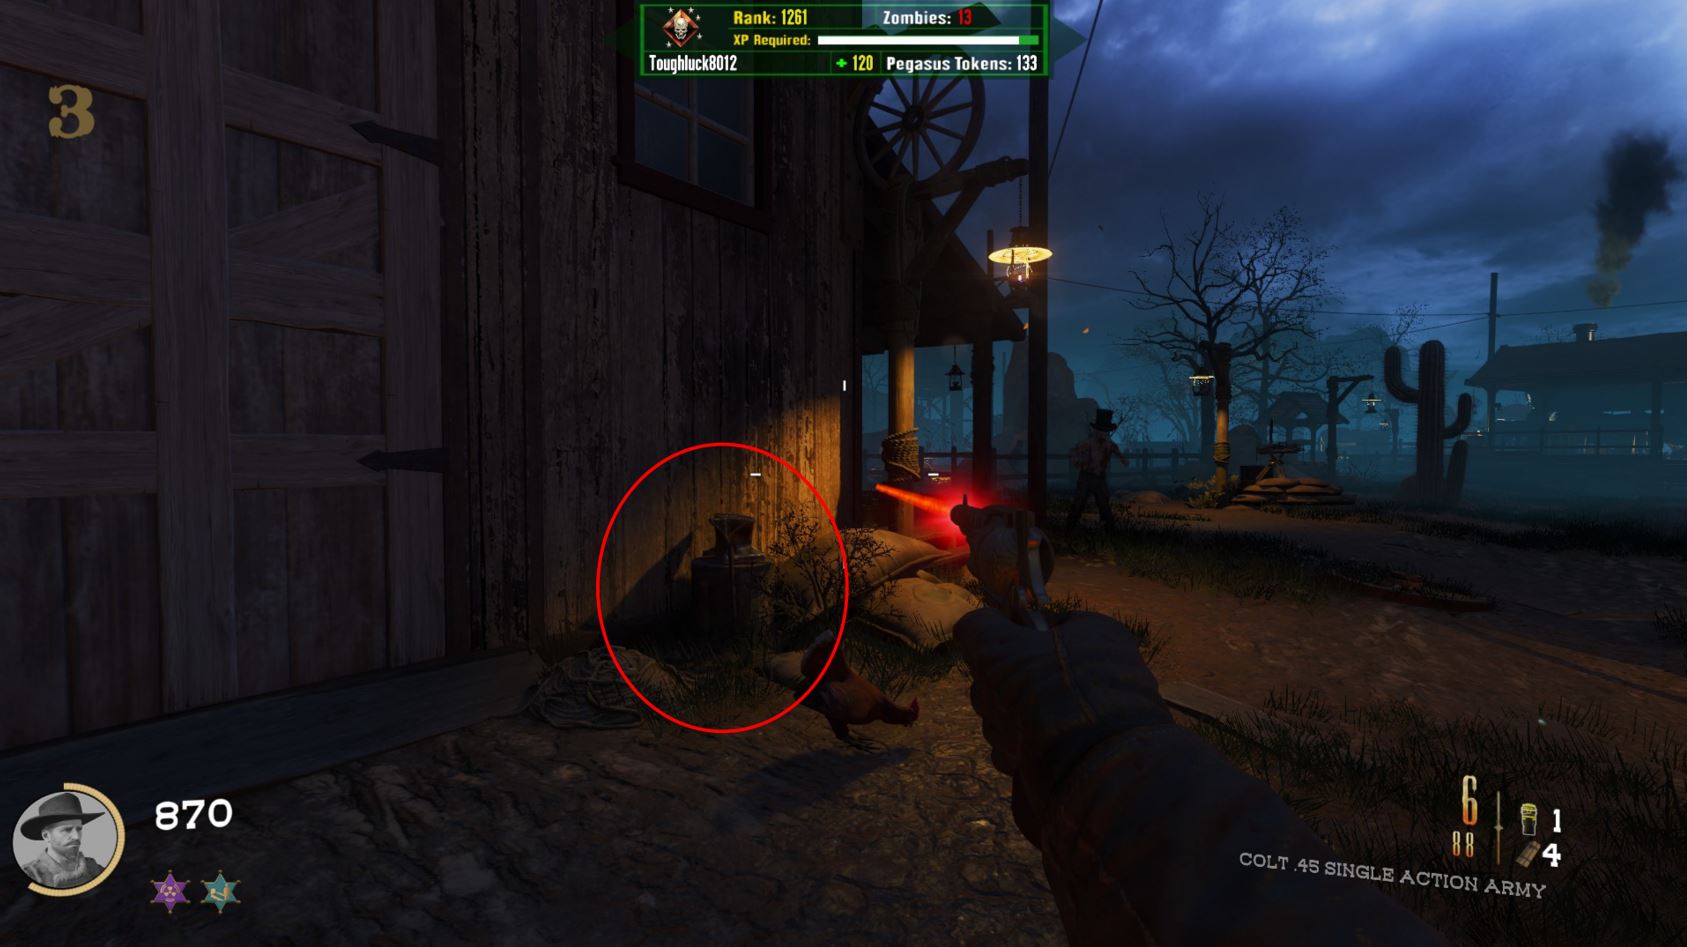
Location 4
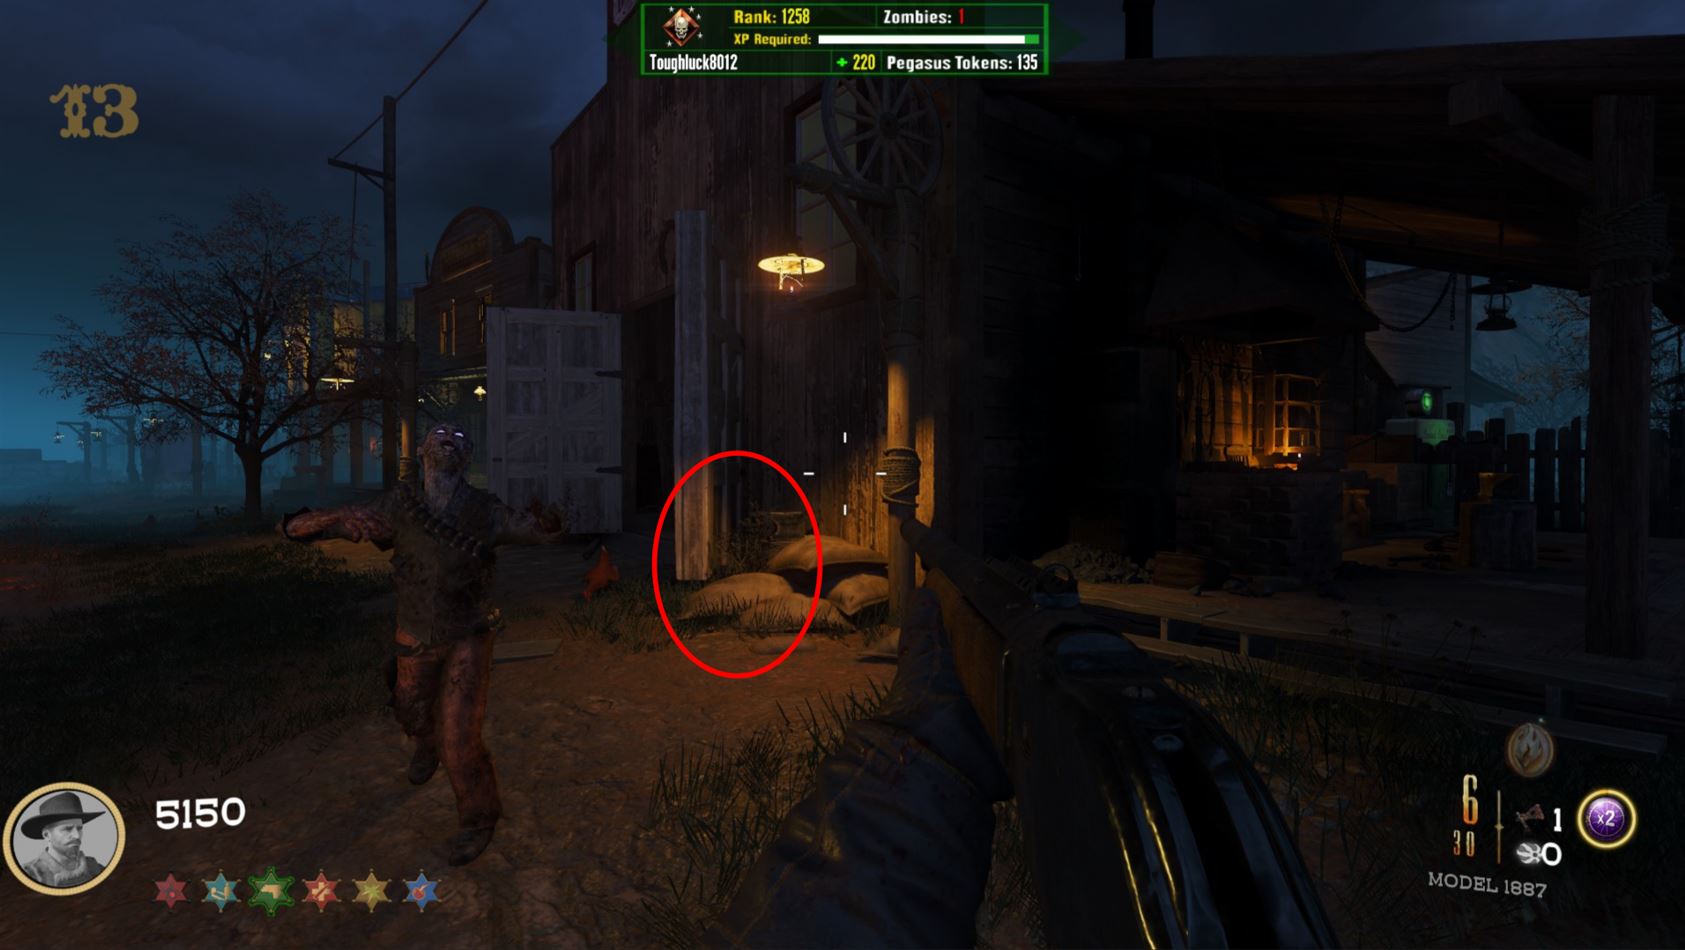
Just outside the main doors of the Blacksmith Barn (first building on the right). These doors are usually closed unless you have done the Electric Cherry easter egg
How to Unlock Gobblegums
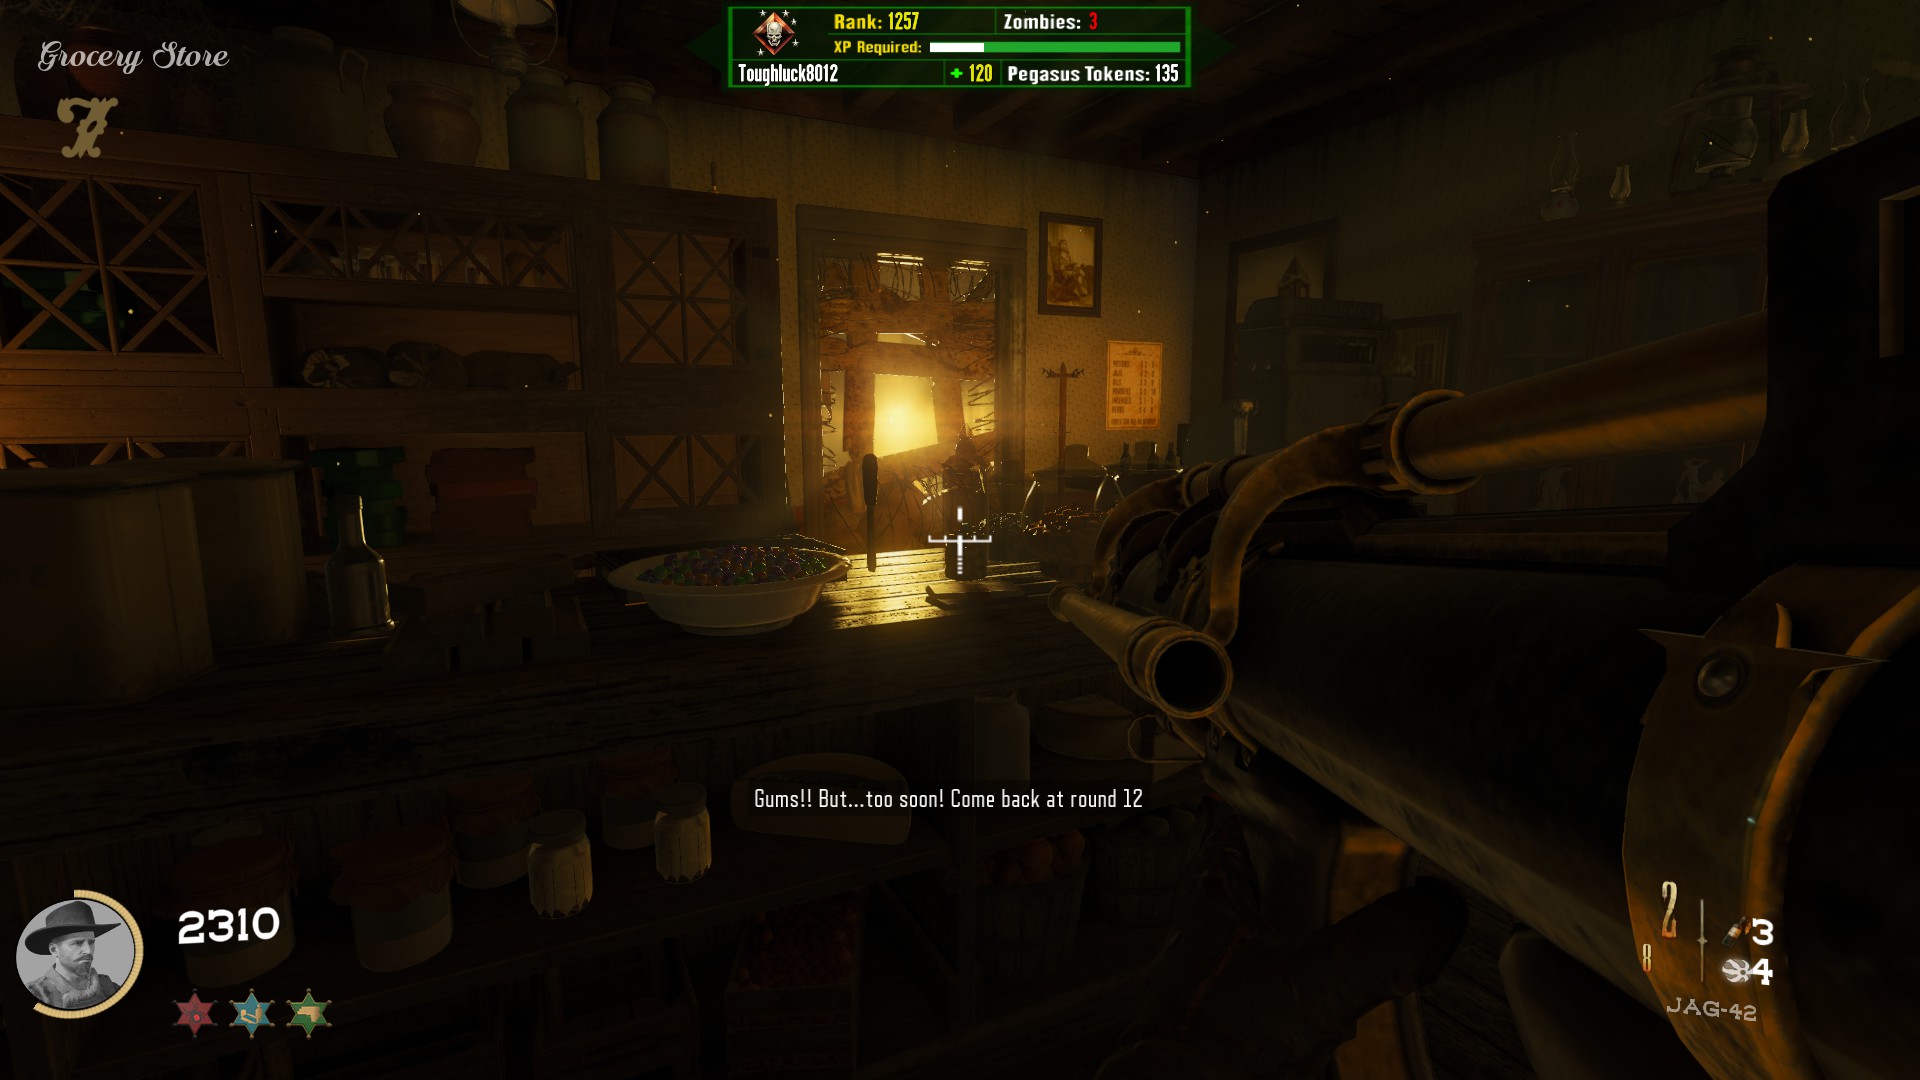
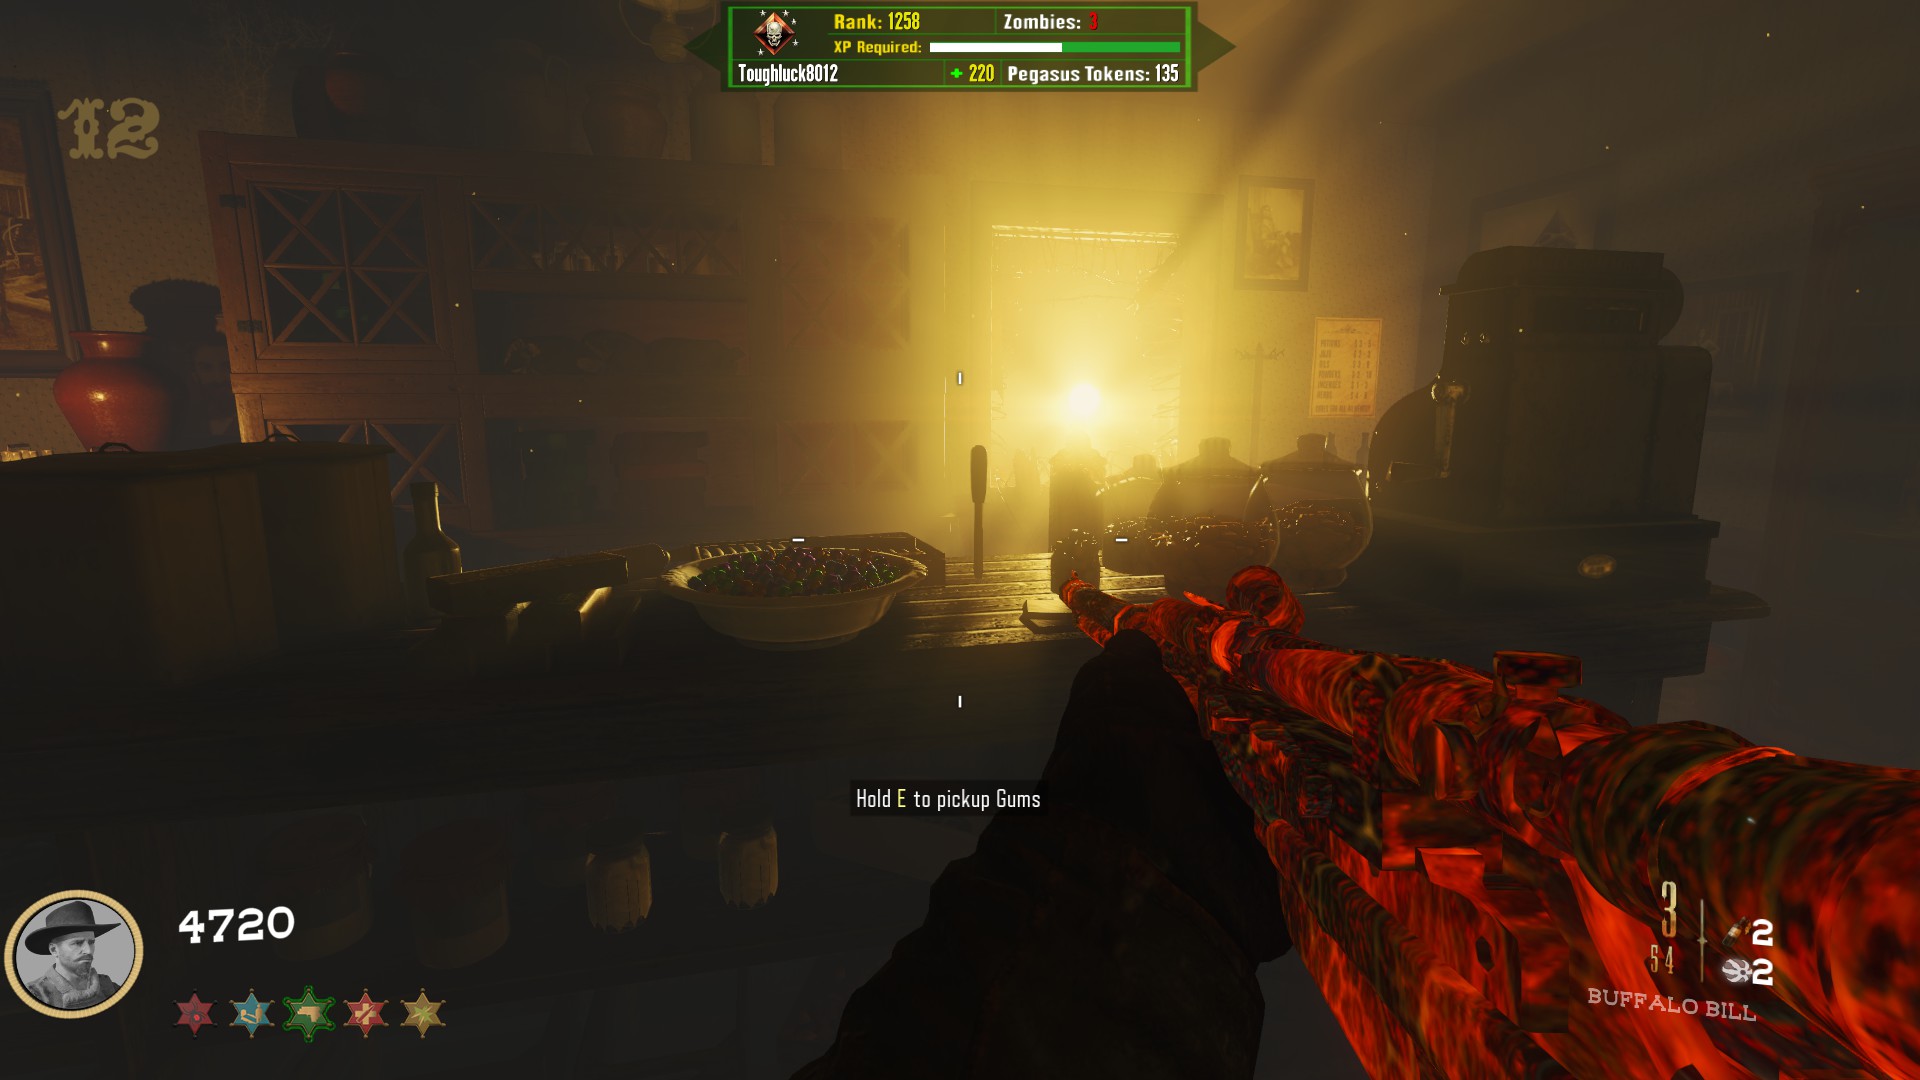
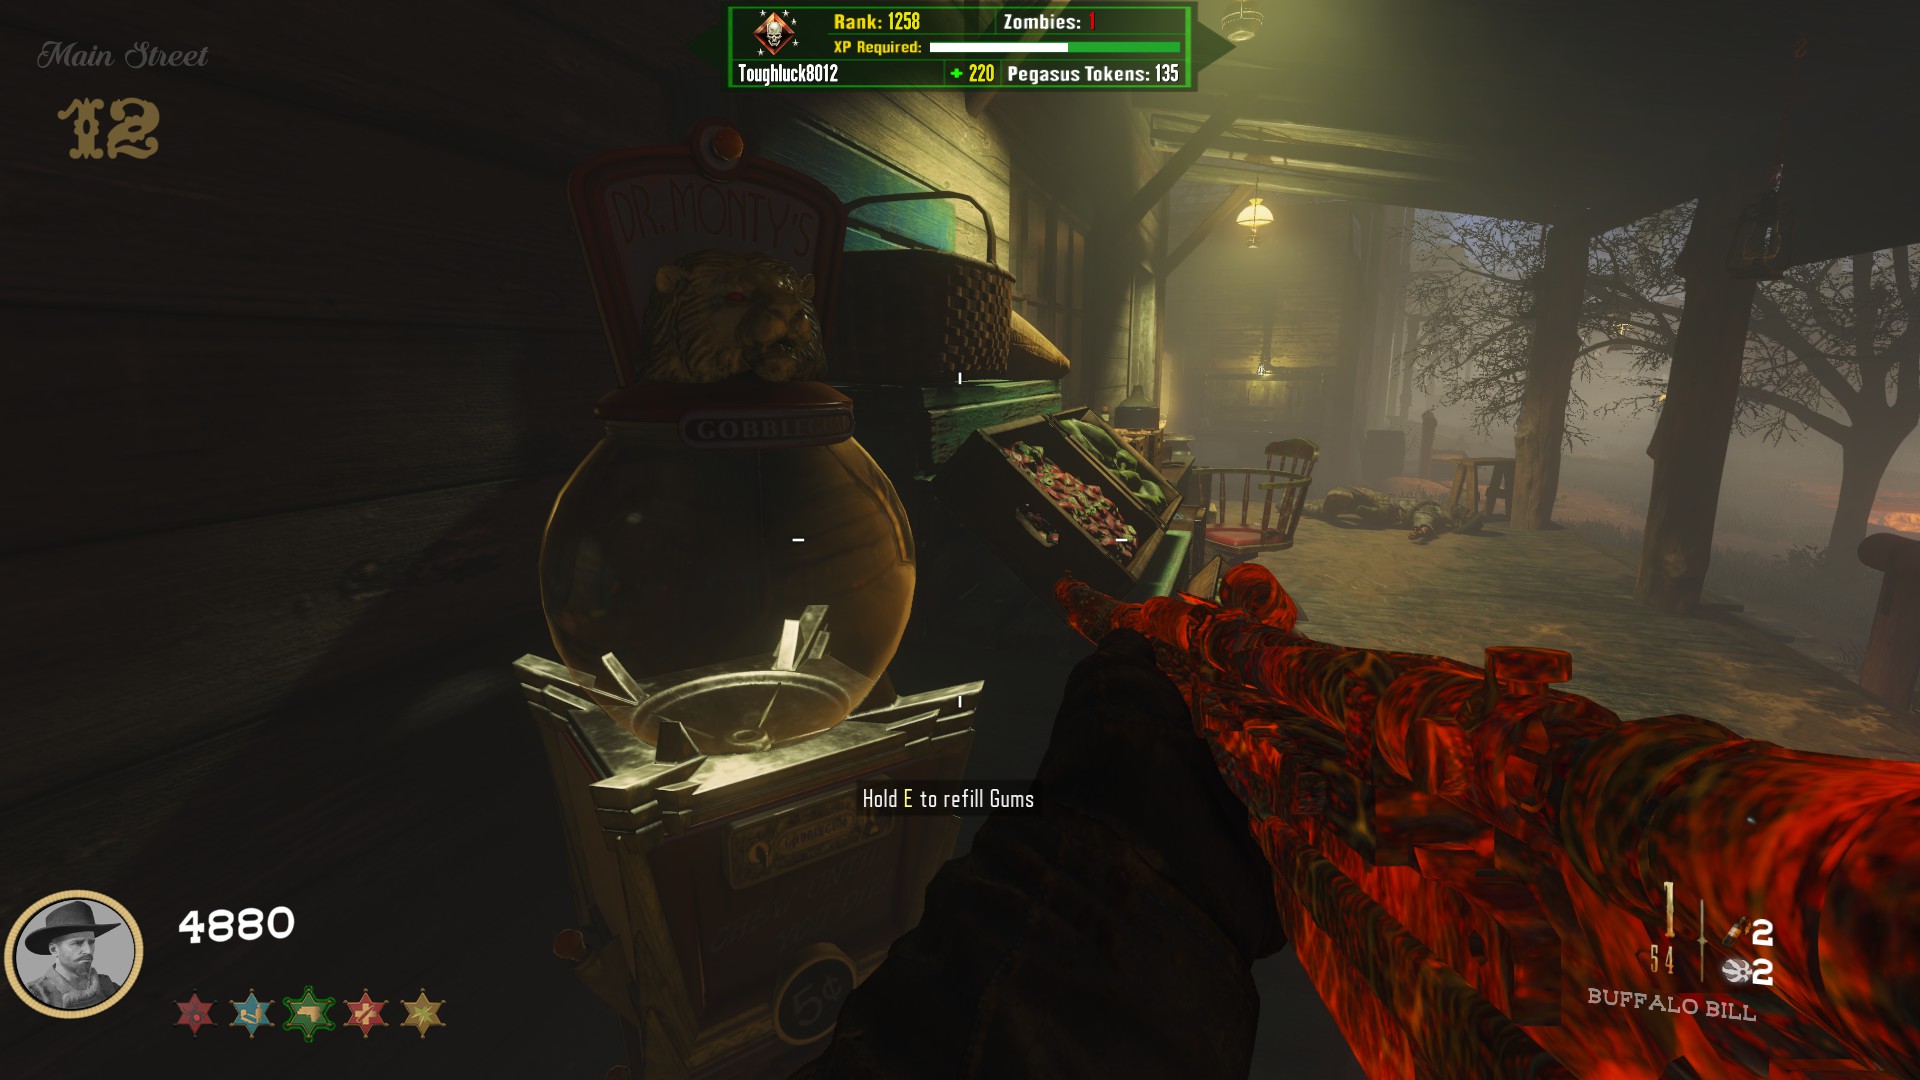
Pick up the candy bowl and bring it just outside of the Grocery Storefront, where the gobblegum machine is, where you can now fill it back up. You can get one for free every round for the rest of the game.
Crafting the Shield
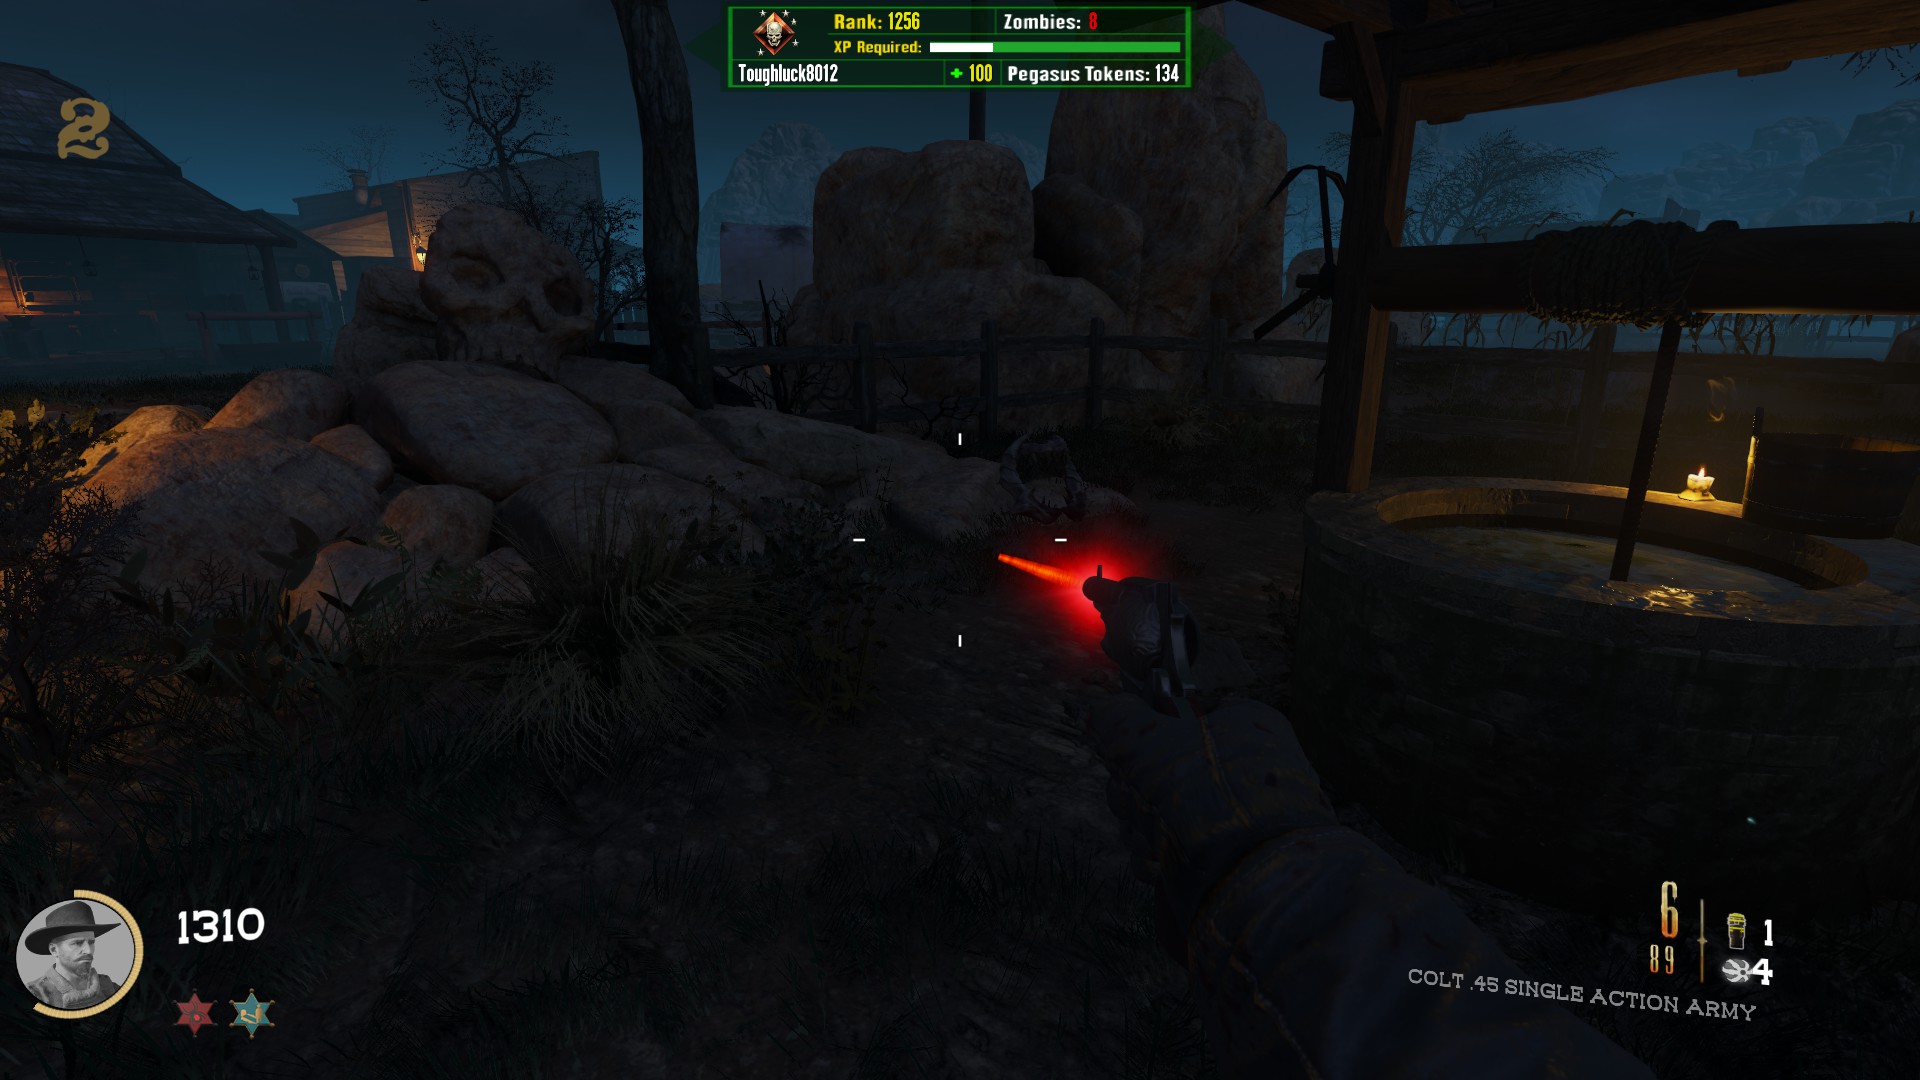
In the spawn room, against some rocks by the well
Part A Location 2
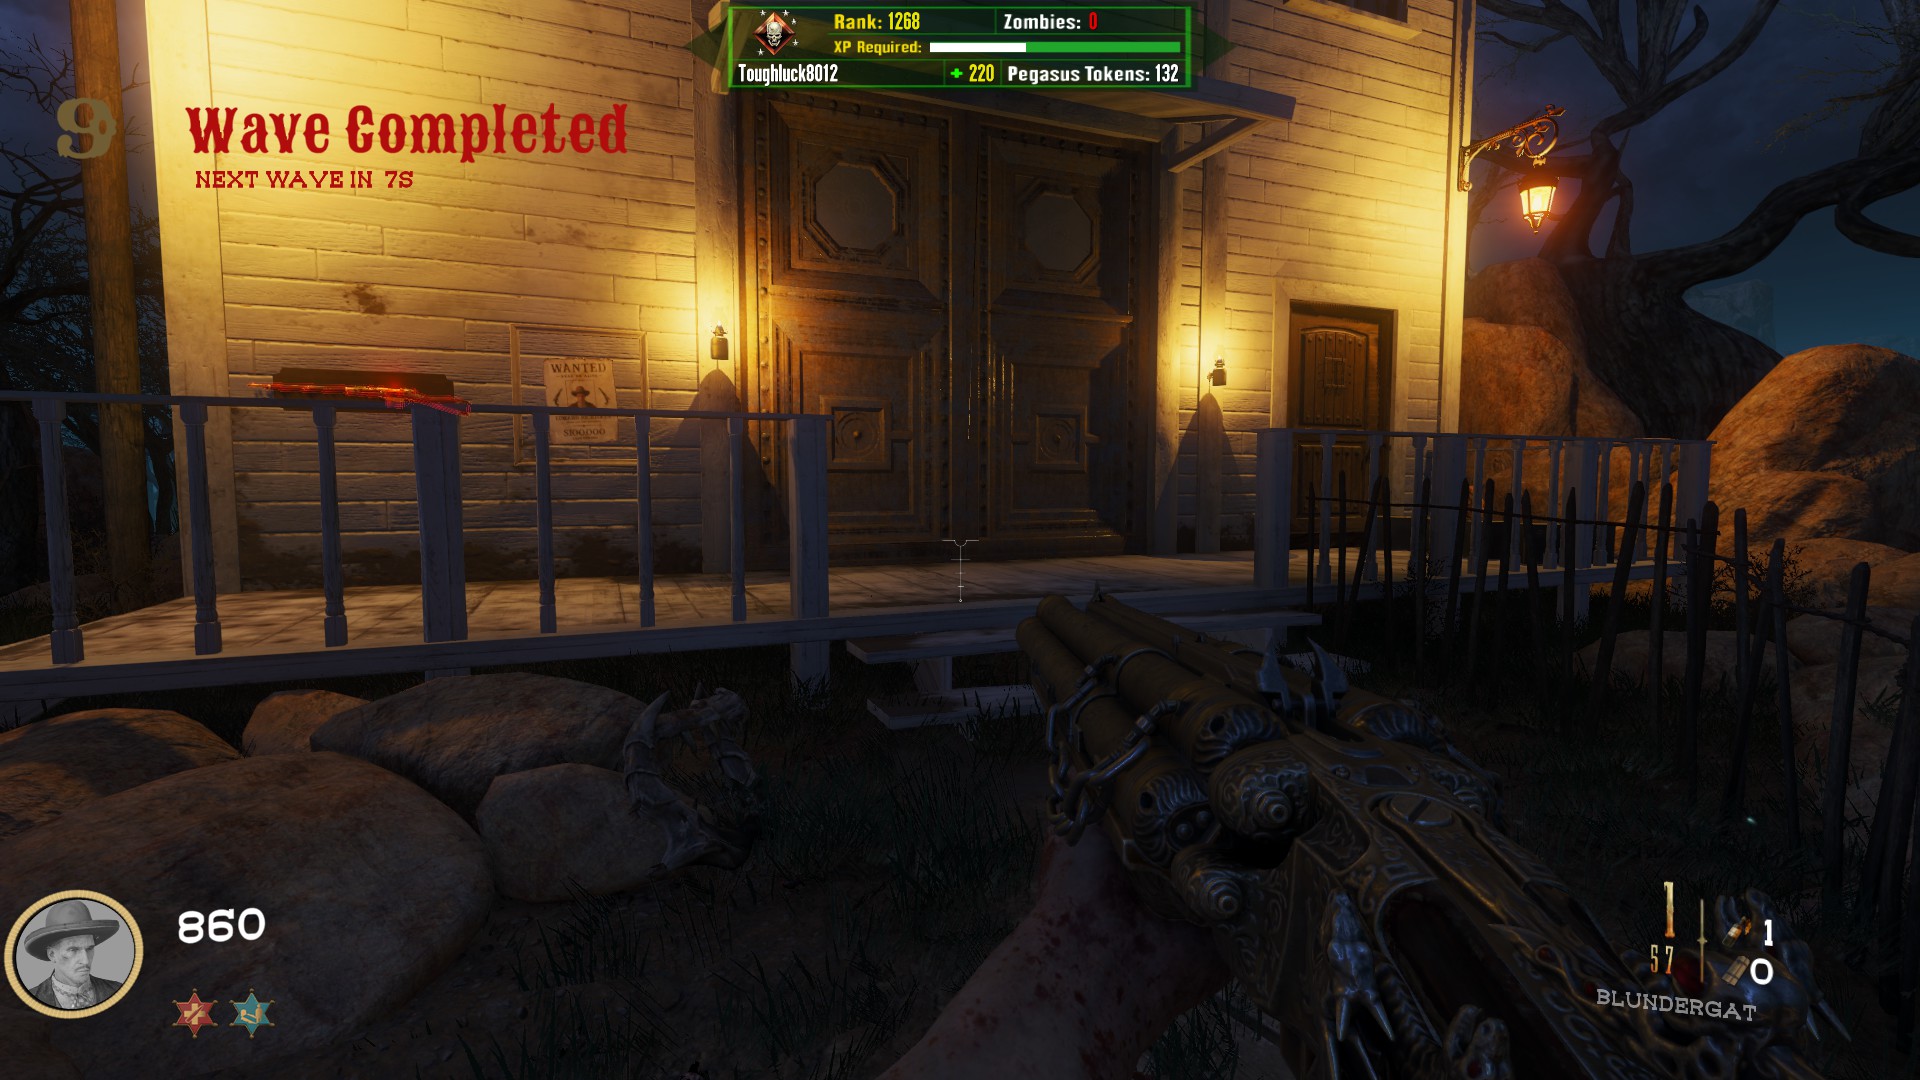
On the path leading to the Church, right before the front door
Part B Location 1
Behind the saloon (last building on the right), on a small wooden table next to the wall buy
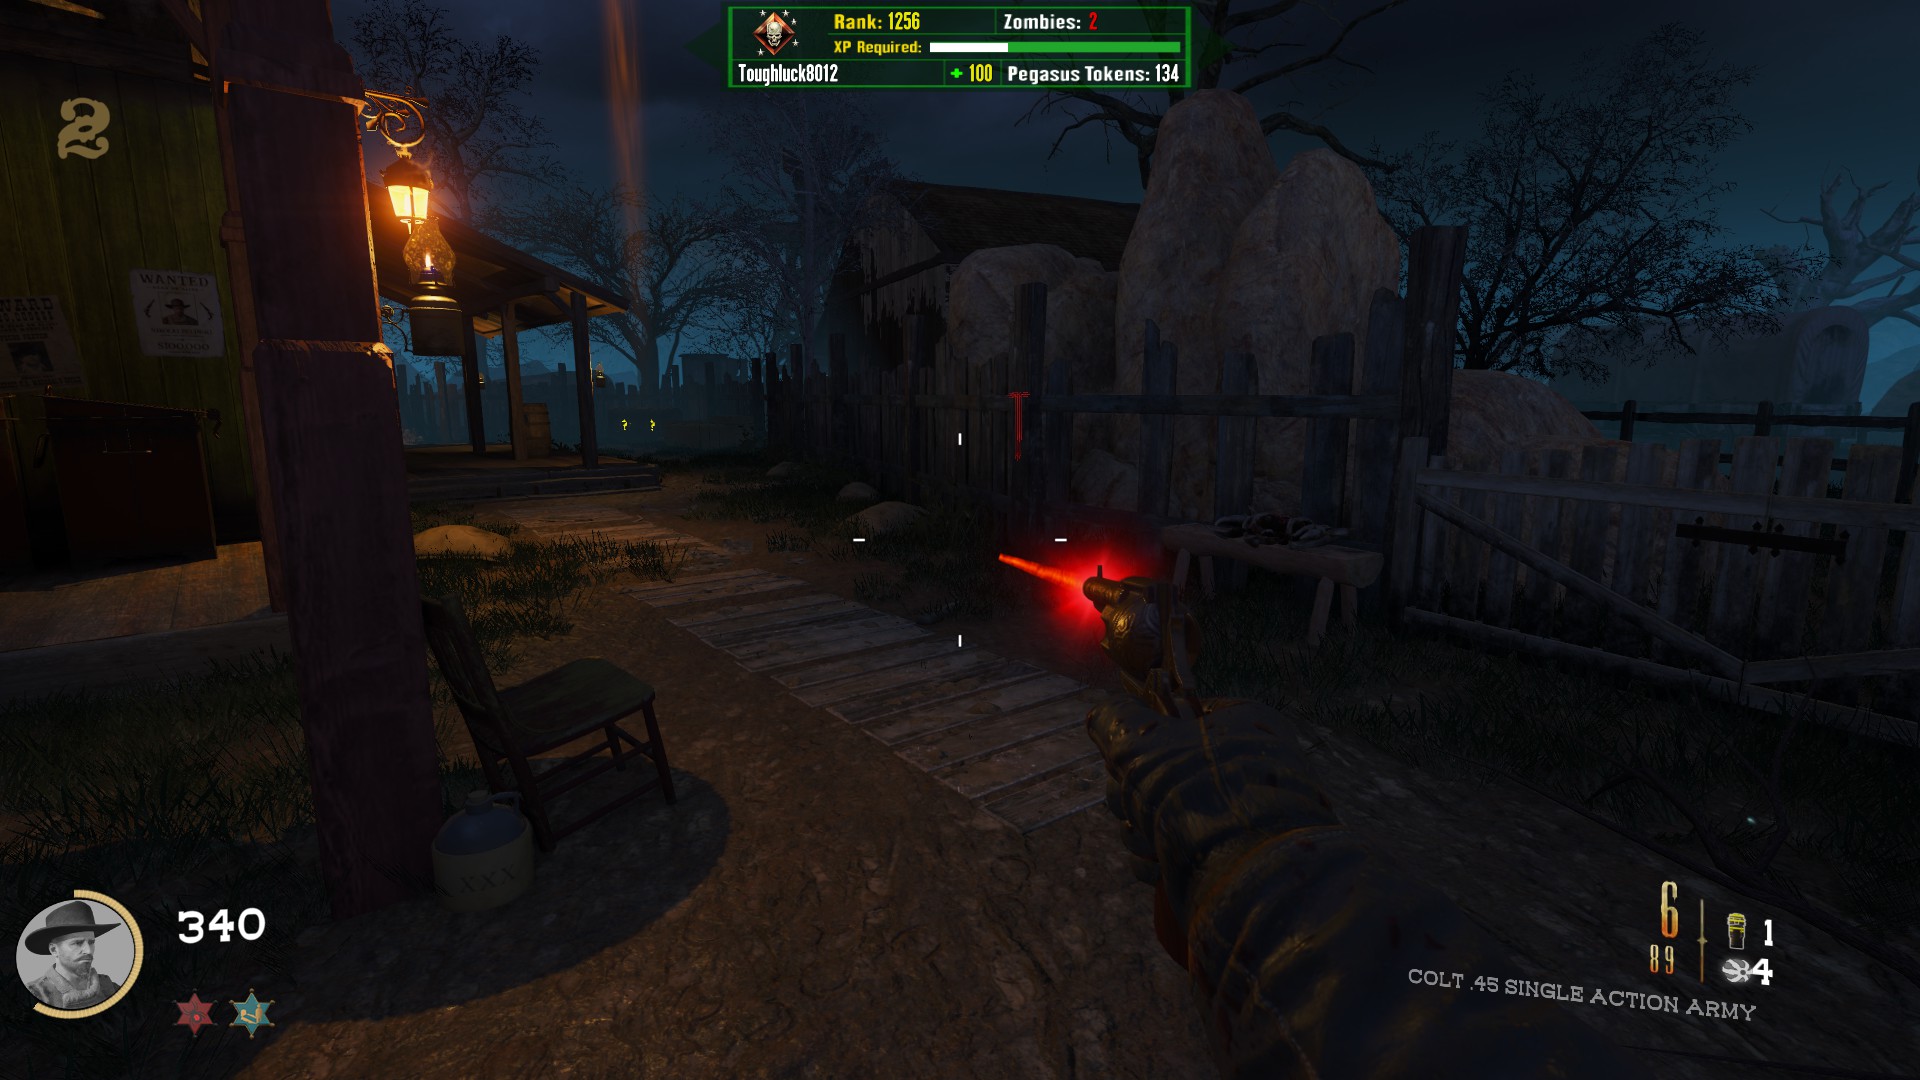
Part B Location 2
Directly behind the Hotel, in the fenced in area before you reach the stables
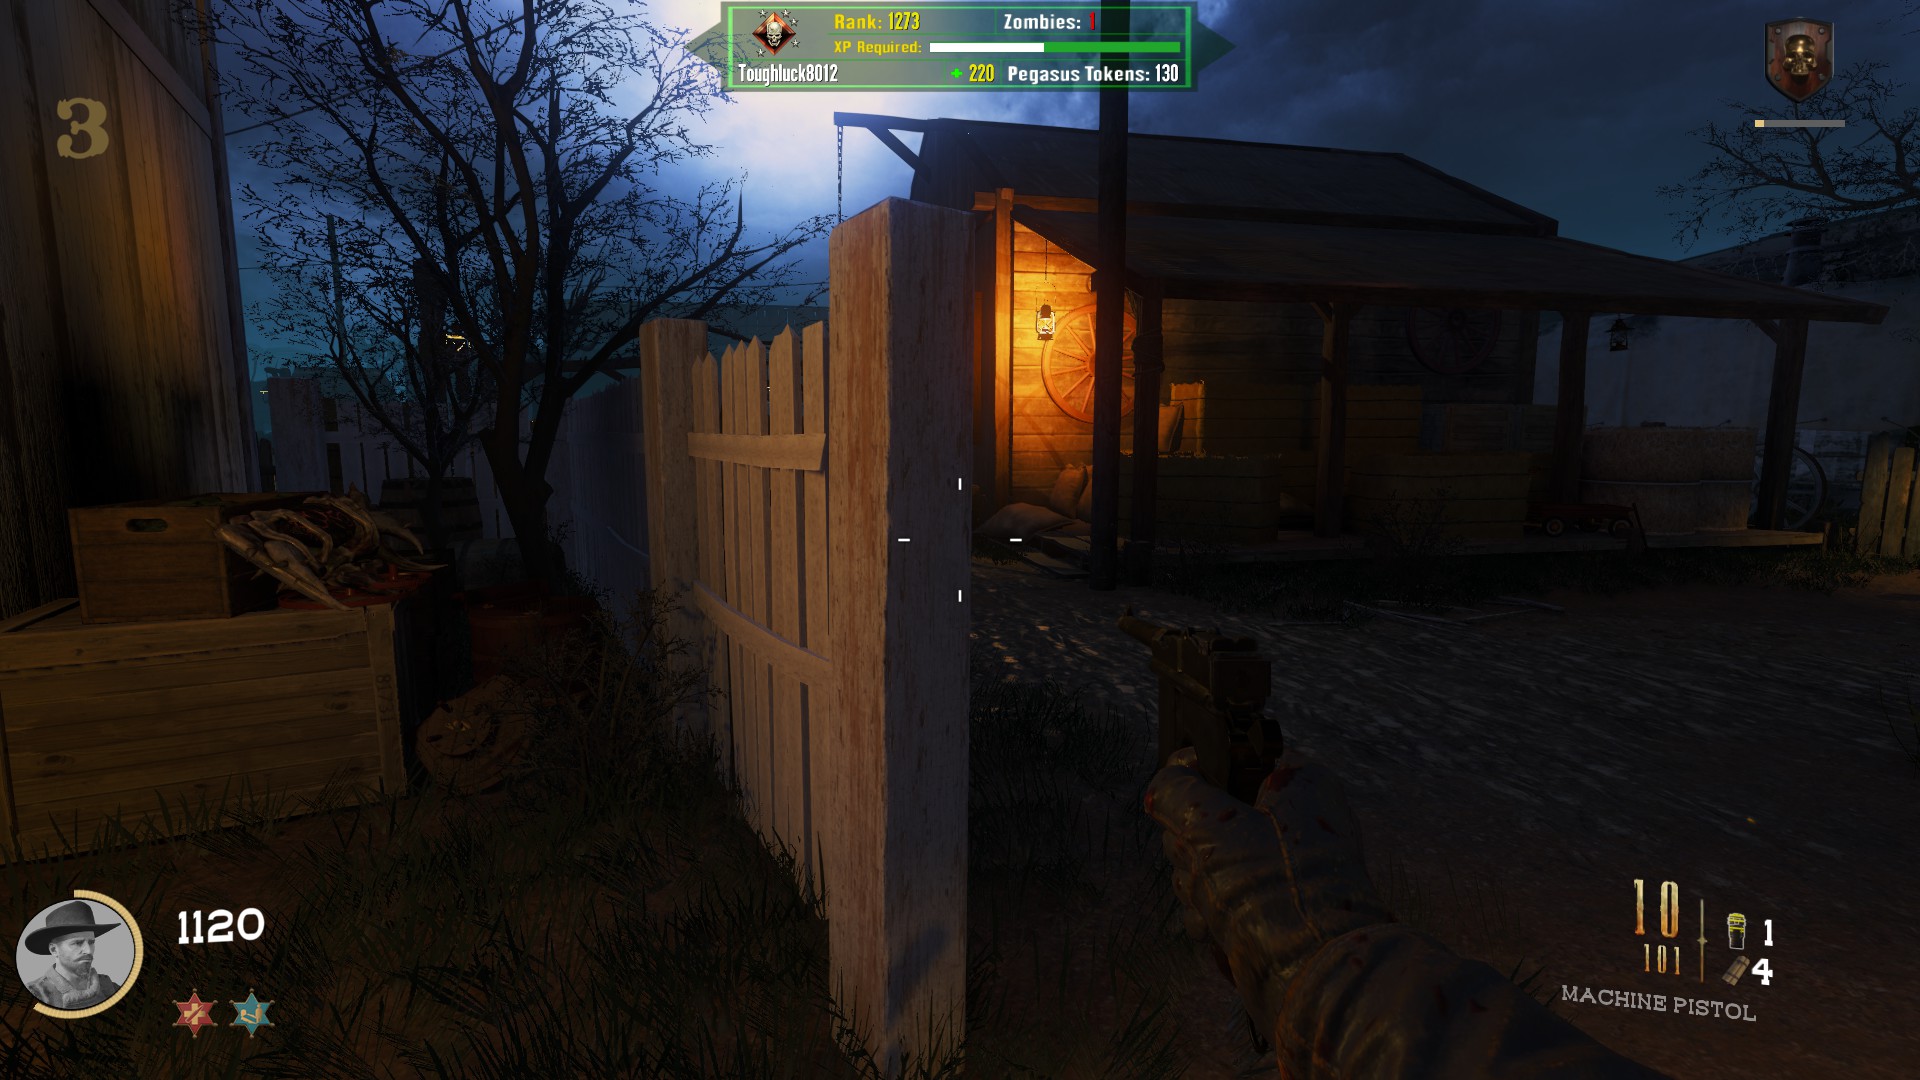
Part C Location 1
In the Morgue (middle building on the left) on some coffins near the door (not the antlers mounted on the wall next to it)
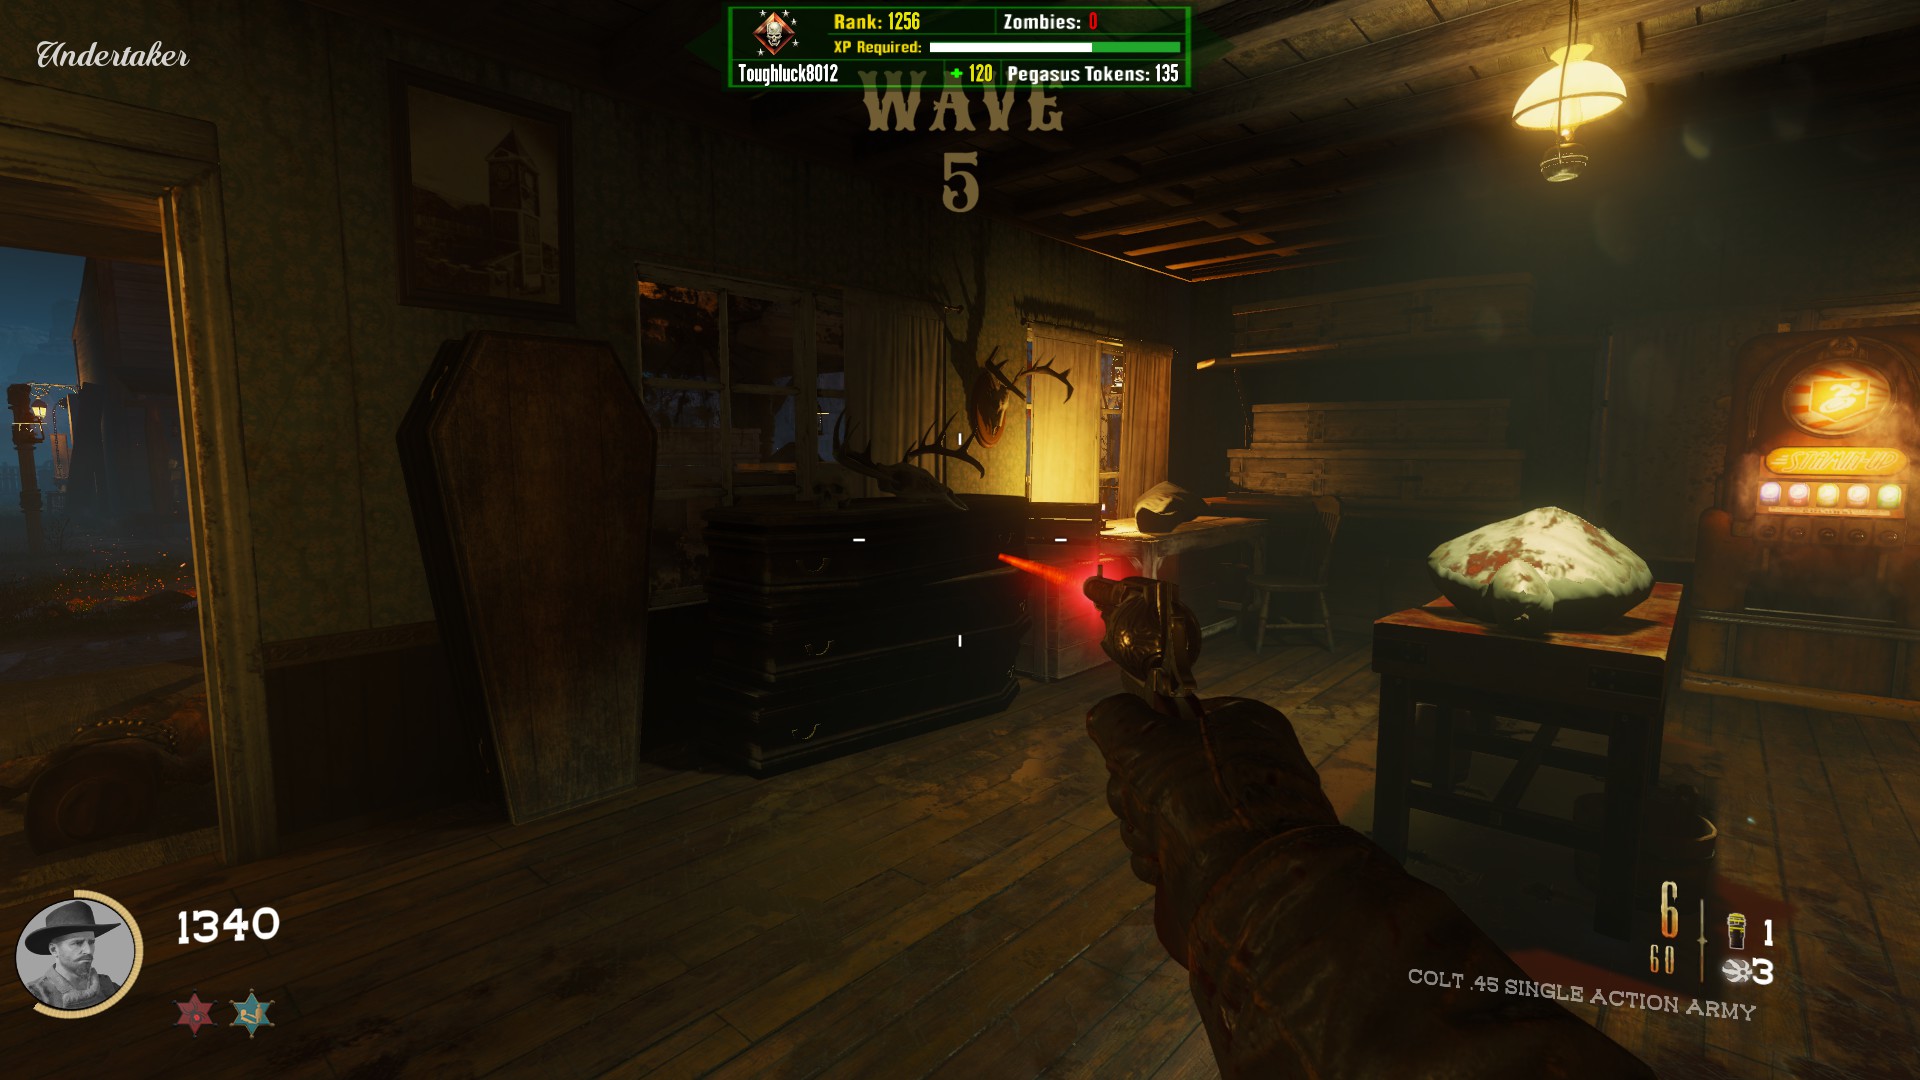
Part C Location 2
In the alley by the Acid Gat Assembly Kit Crafting Table, between the Blacksmith Barn and the Grocery Store, on a fence
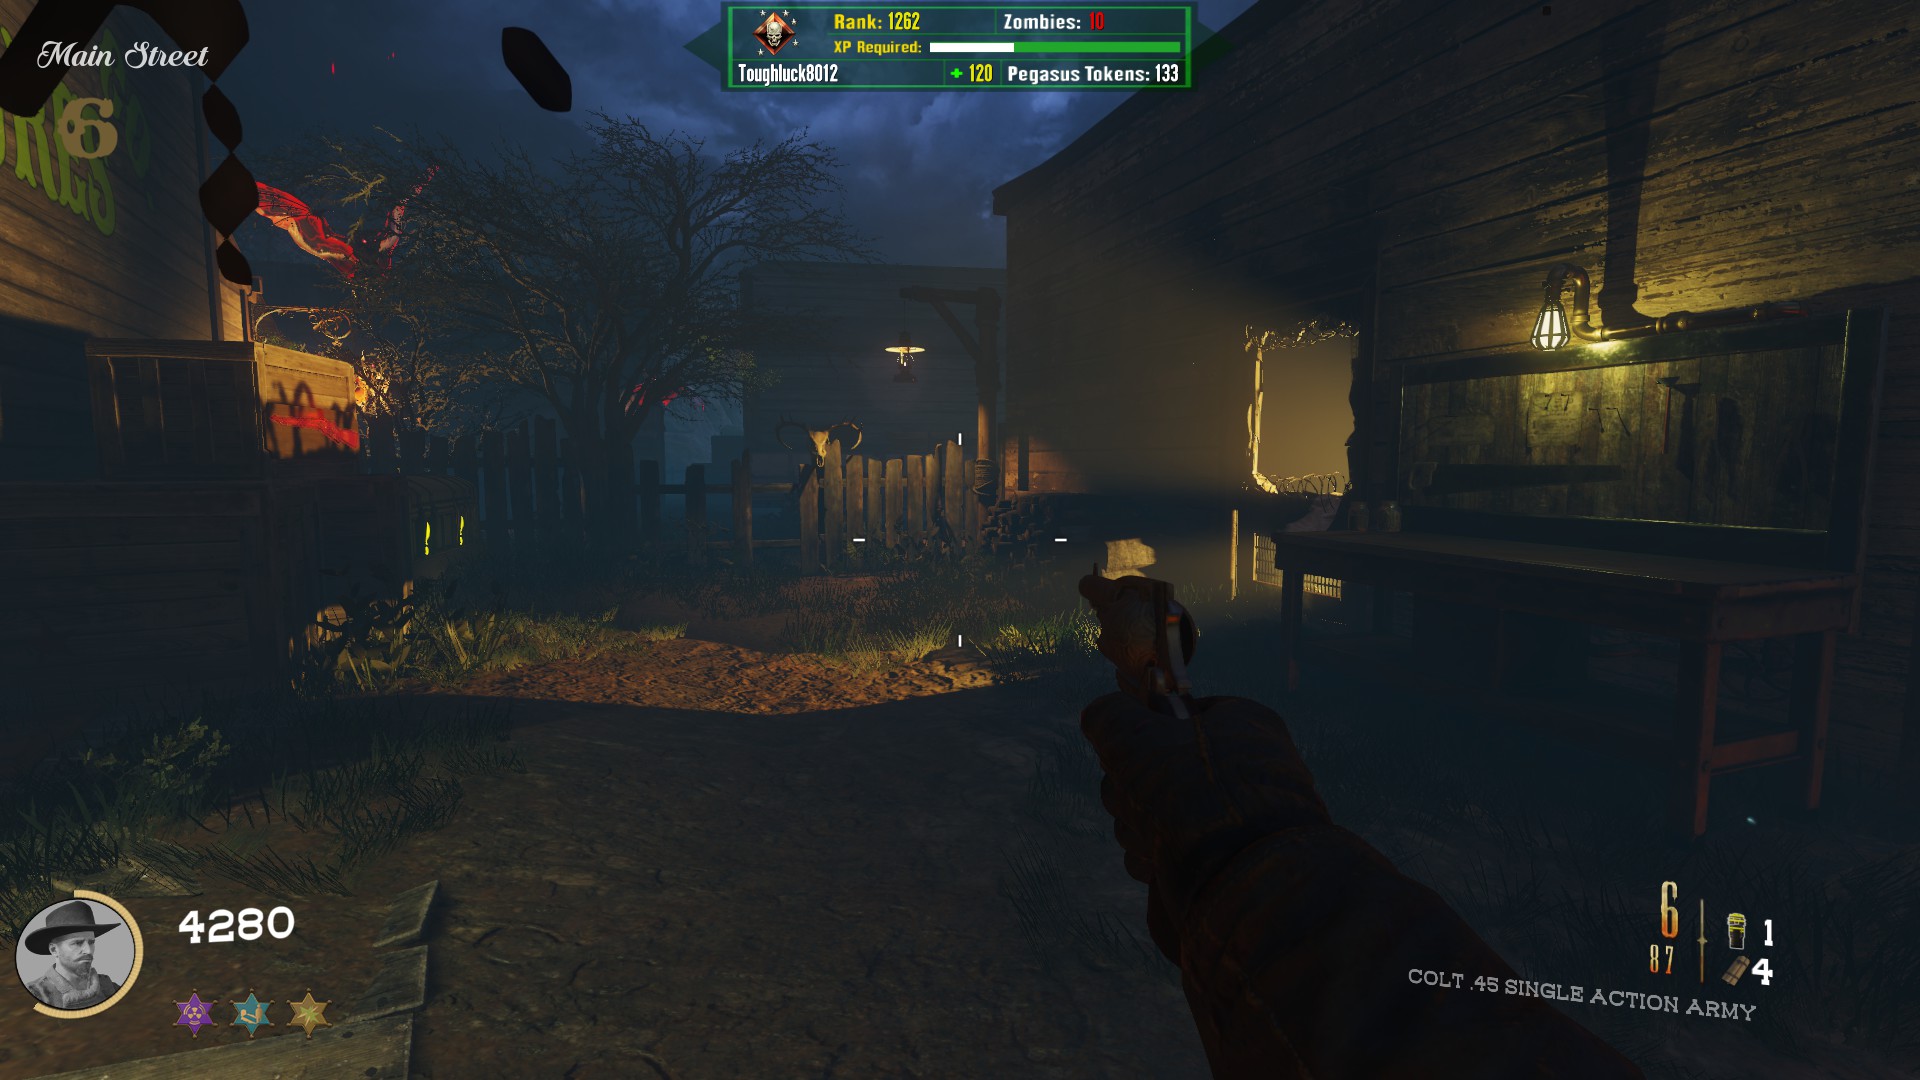
Crafting Table
Behind the saloon (last building on the right)
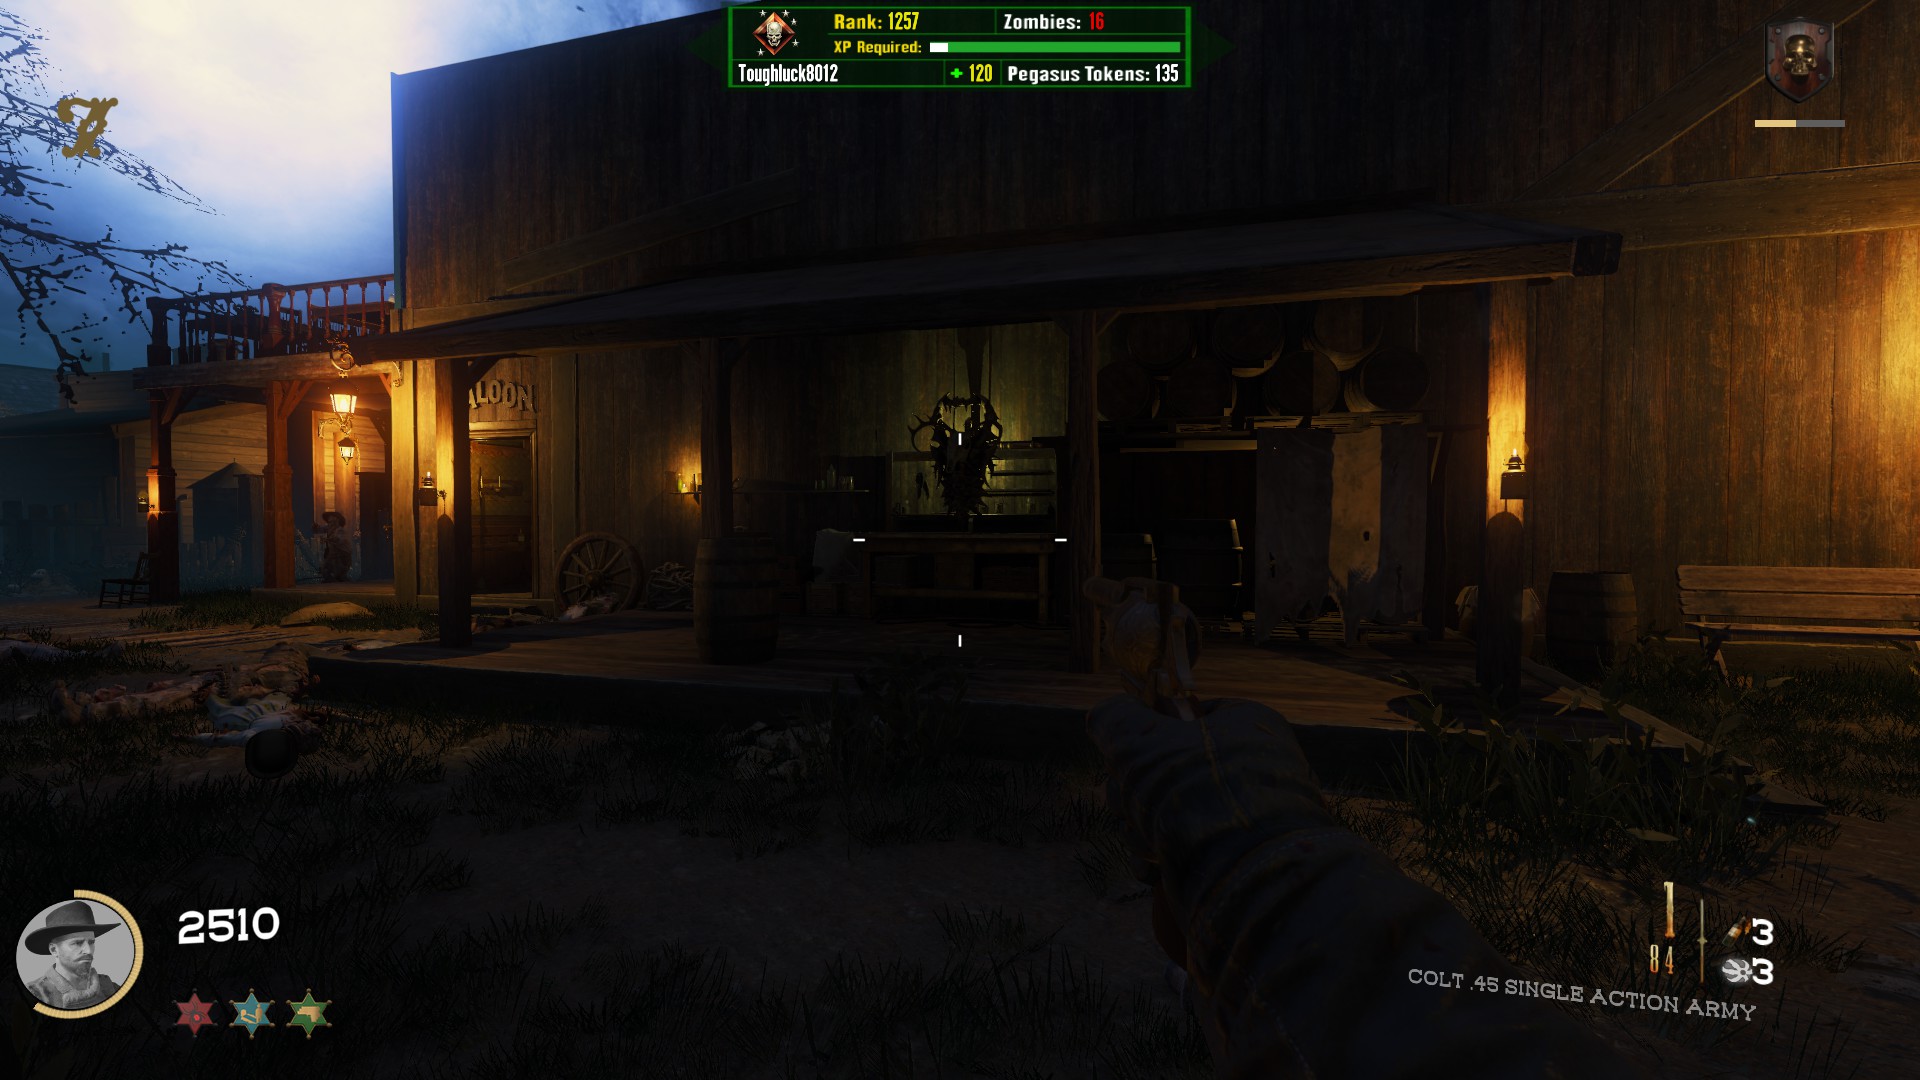
Acid Gat
In the Morgue (middle building on the left), on a table under the stairs
Part A Location 2
In the Sheriff's Office, on the right on a table under the wanted board
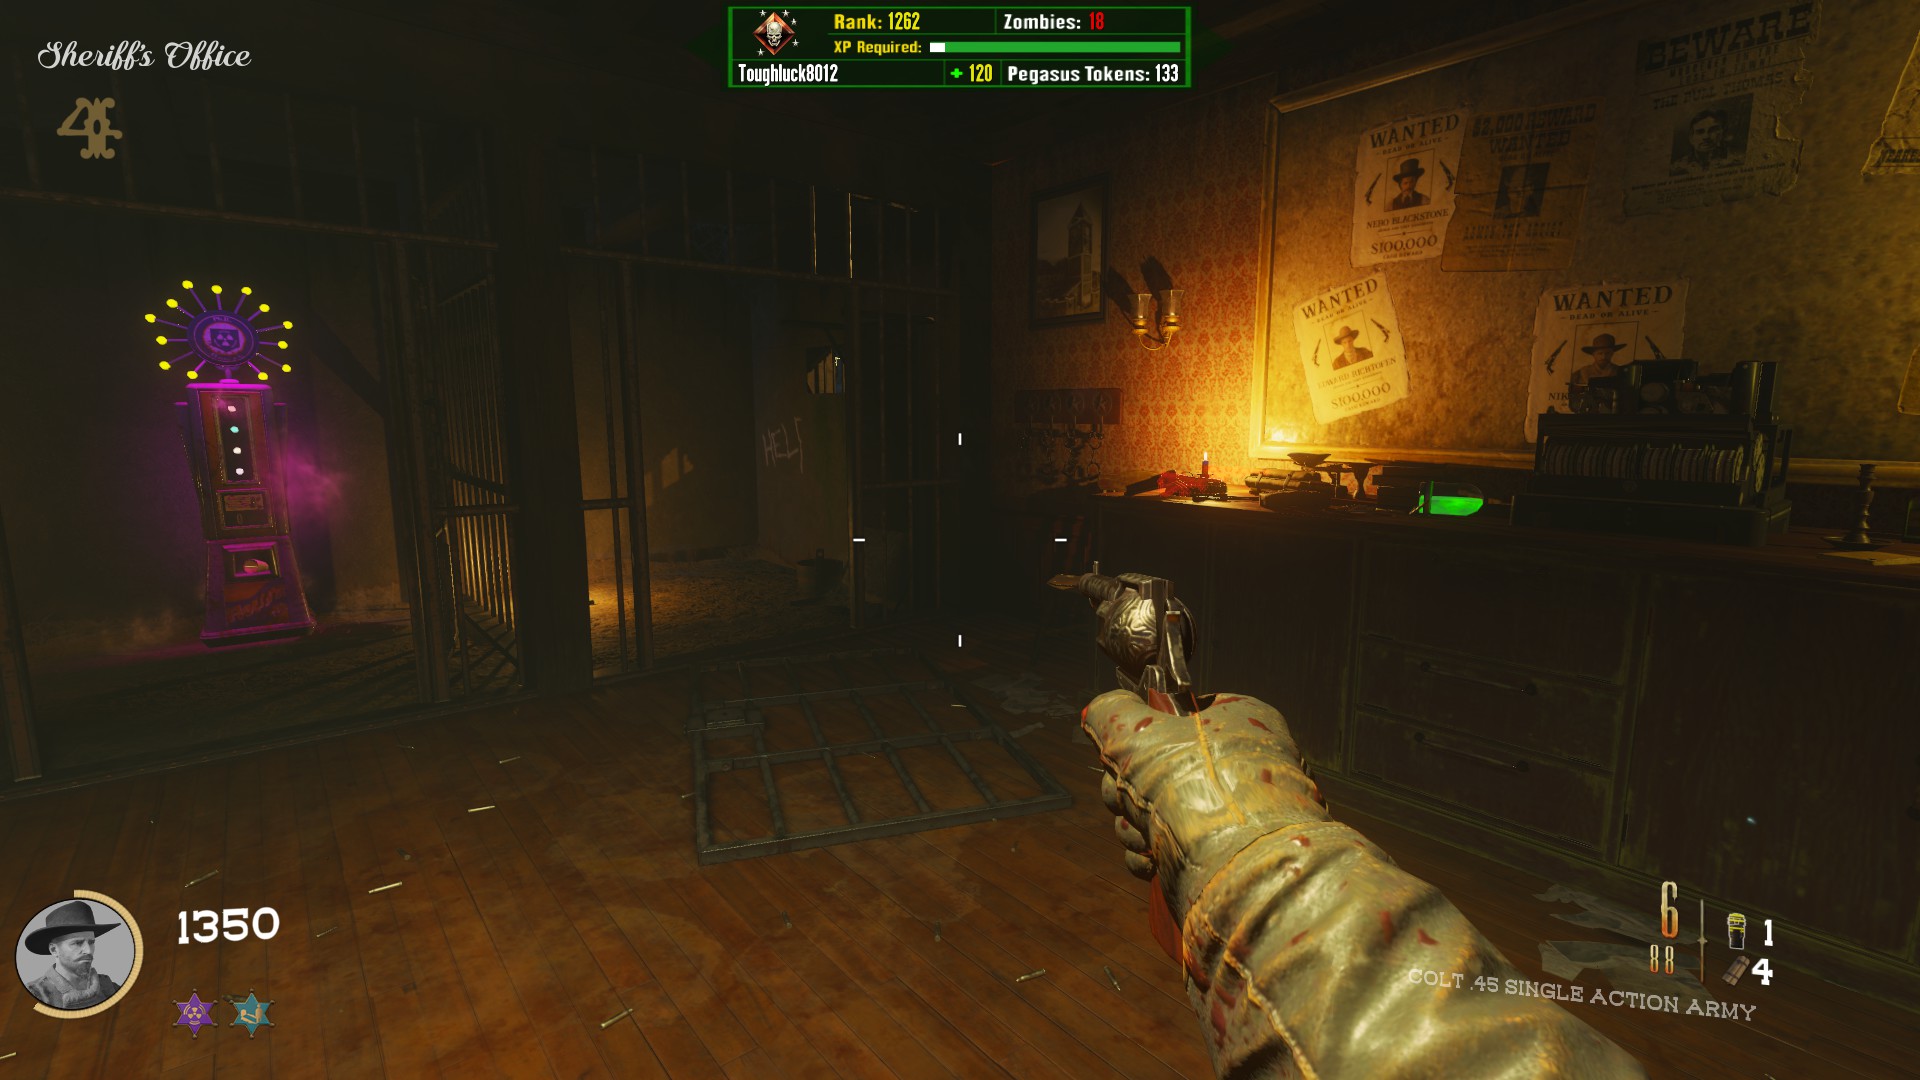
Part B Location 1
Behind the hotel, at the stables between spawn and the Stables Barn, next to the red wagon & shovel
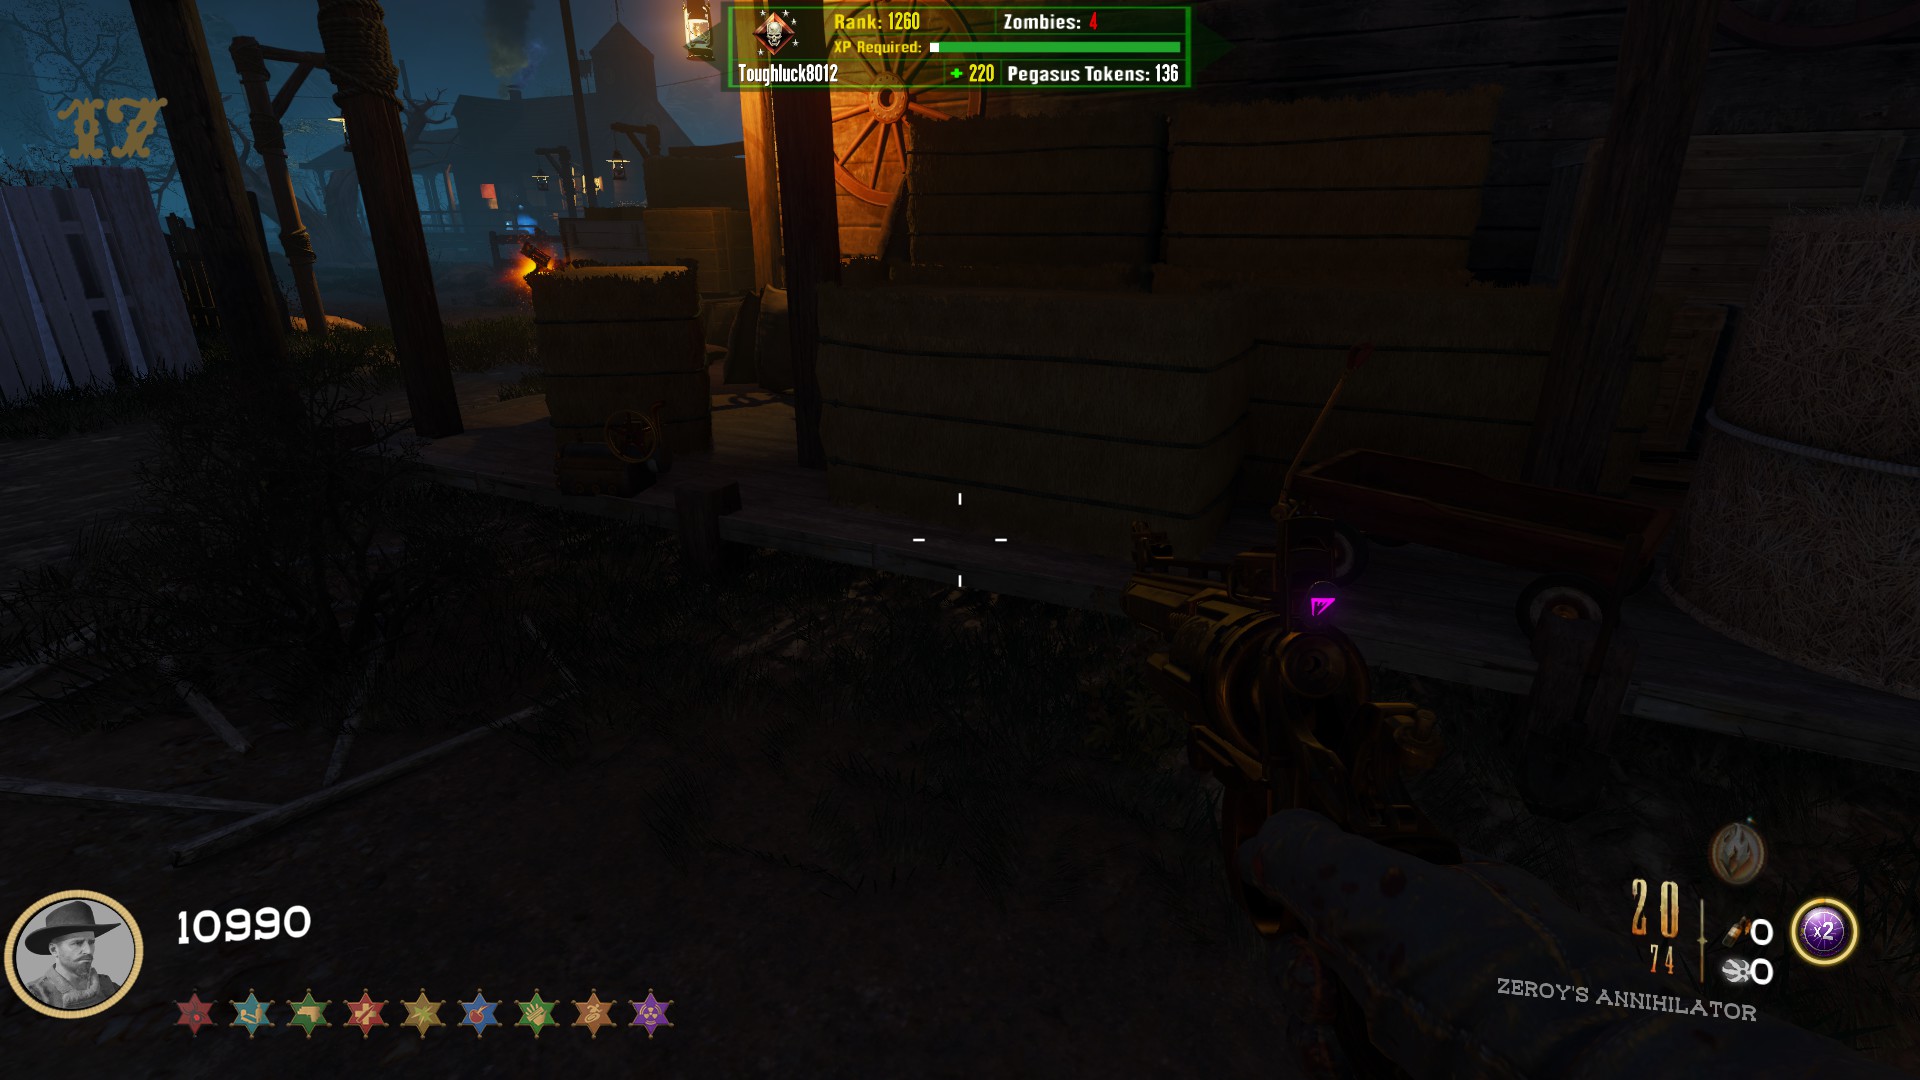
Part B Location 2
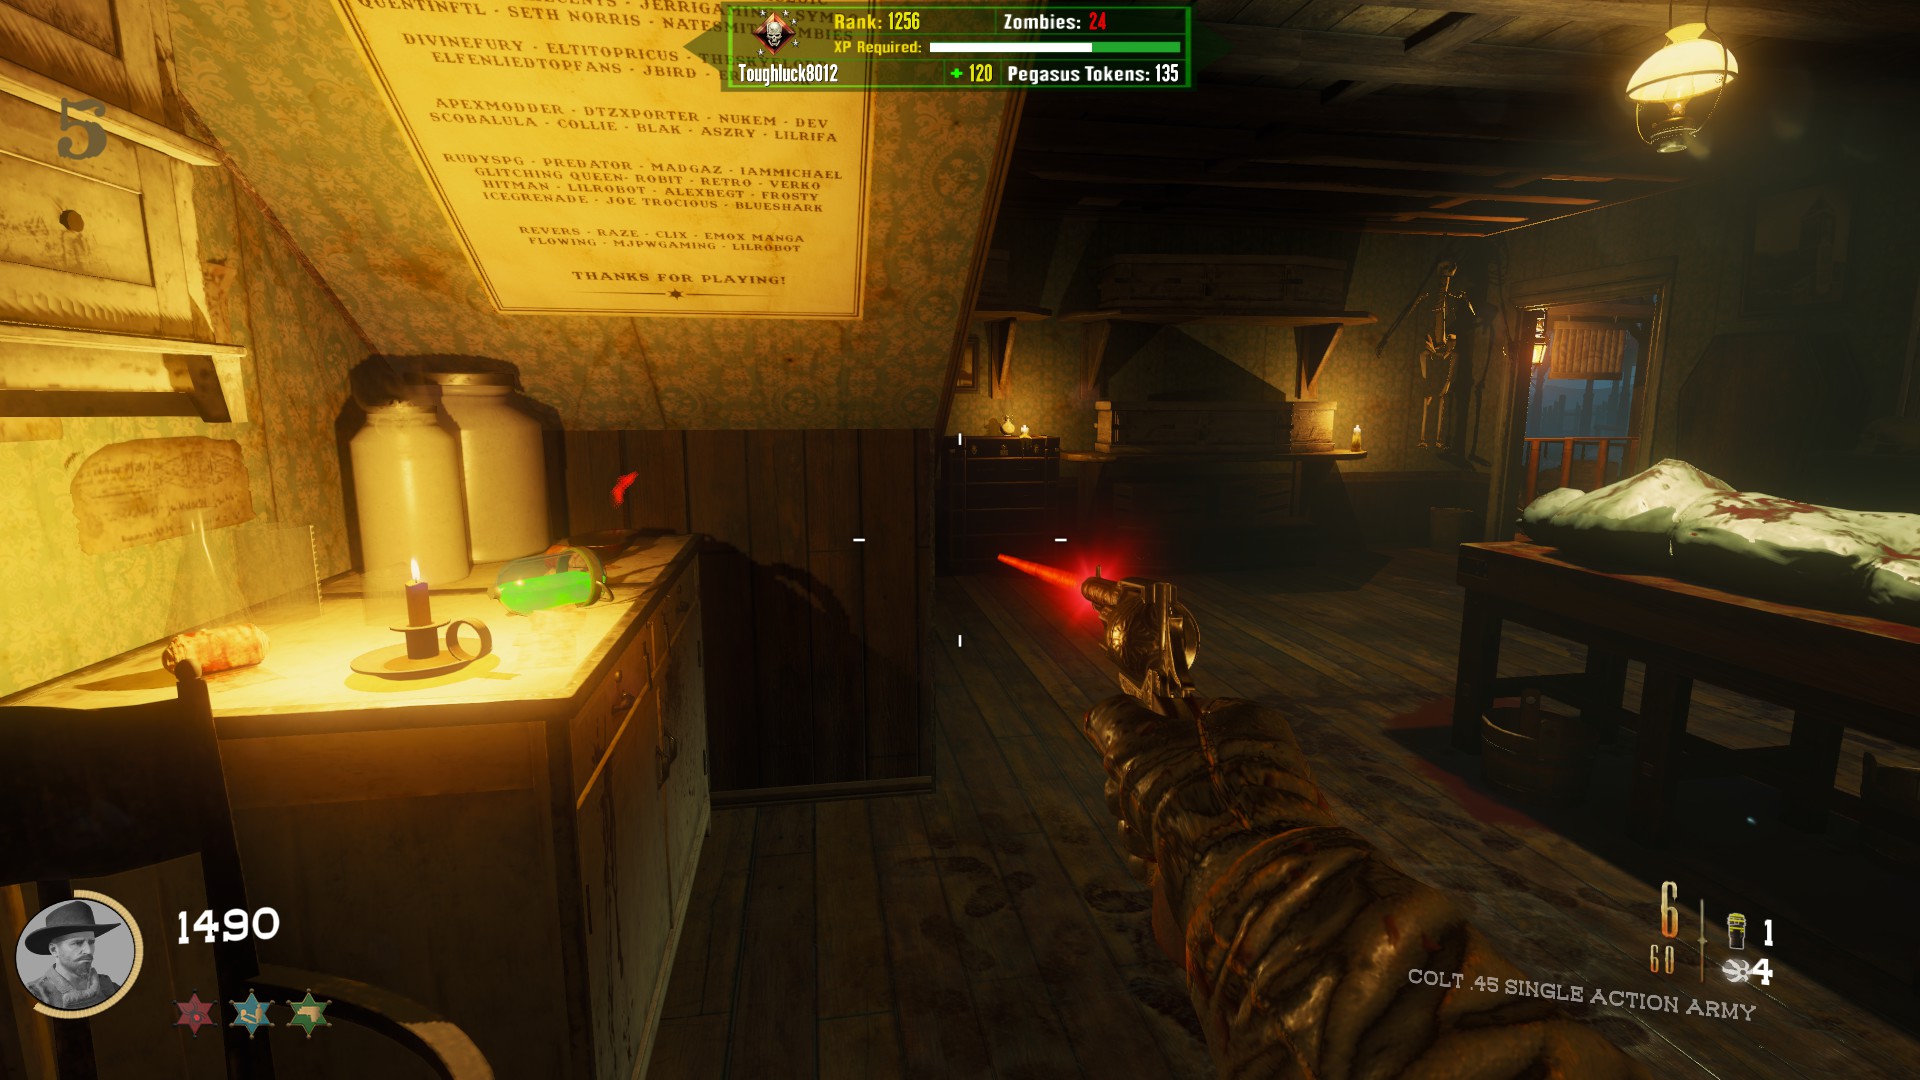
On the second floor of the Saloon, under a table, across from the Molotovs
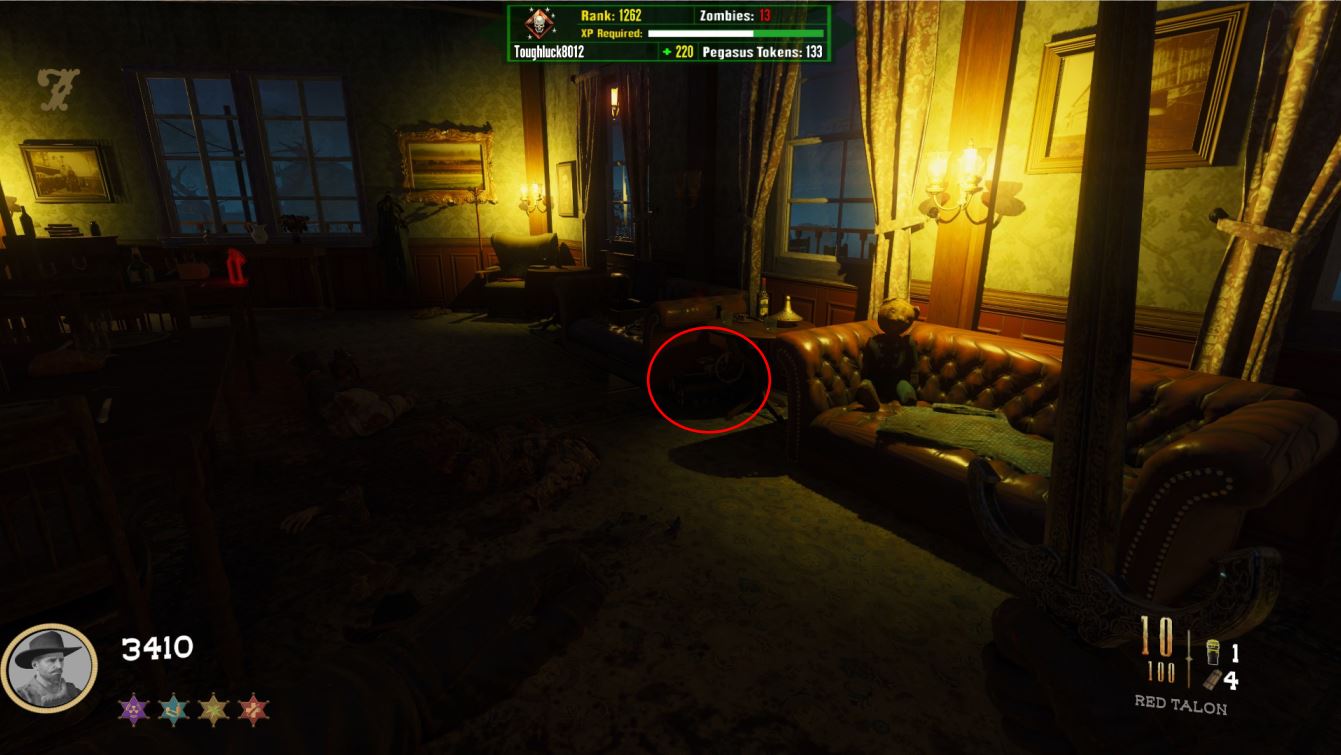
Crafting Table
In between the Blacksmith Barn and the Grocery Store, in the alley on the right side
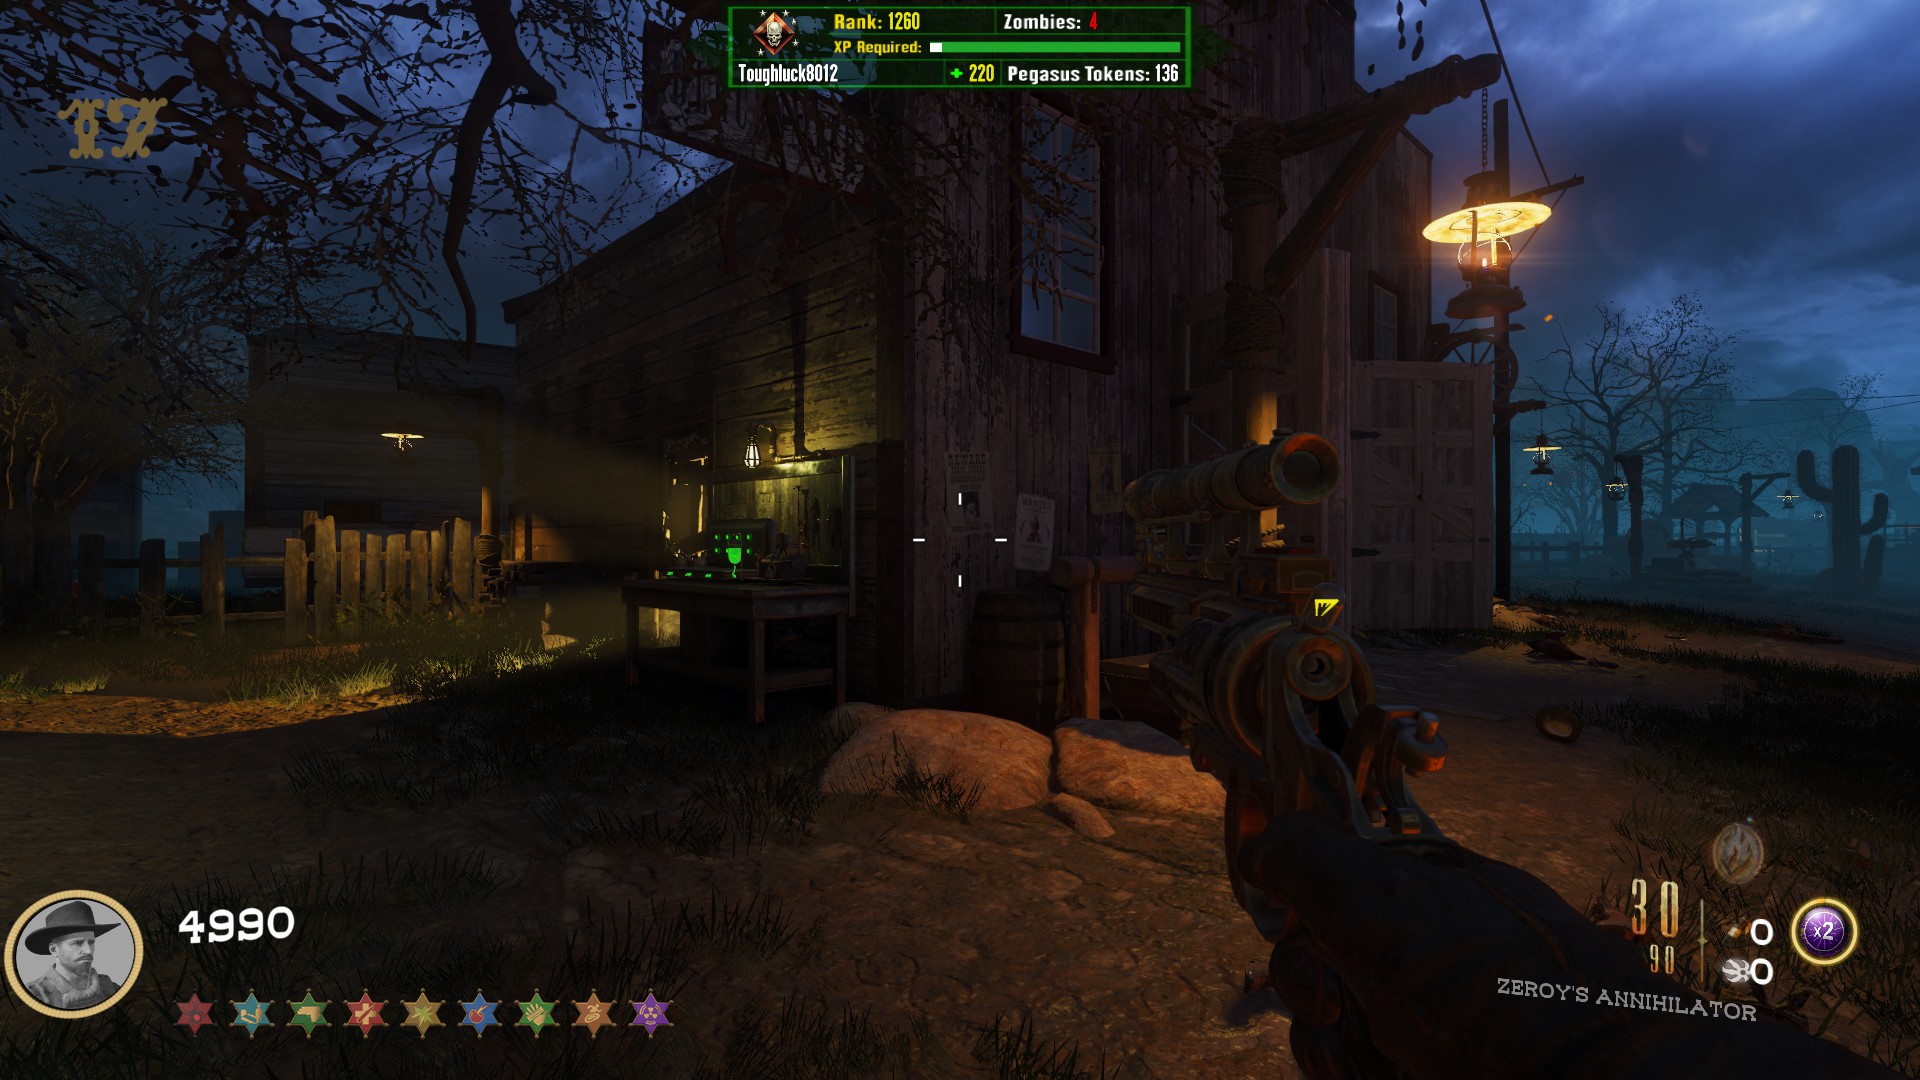
*Do not get confused. There are two types of blundergats in this map: a dual wield pistol variant, and the classic Mob of the Dead shotgun variant. You will need the classic one to do this upgrade. It can be obtained through the mystery box. Additionally, you cannot do the Acid Gat upgrade and the Magma Gat upgrade with the same weapon.*
Magma Gat
You will need to have completed up to step 3 of the main quest (Open PAP) and already have a Blundergat.
*Do not get confused. There are two types of blundergats in this map: a dual wield pistol variant, and the classic Mob of the Dead shotgun variant. You will need the classic one to do this upgrade. It can be obtained through the mystery box. Additionally, you cannot do the Acid Gat upgrade and the Magma Gat upgrade with the same weapon.*
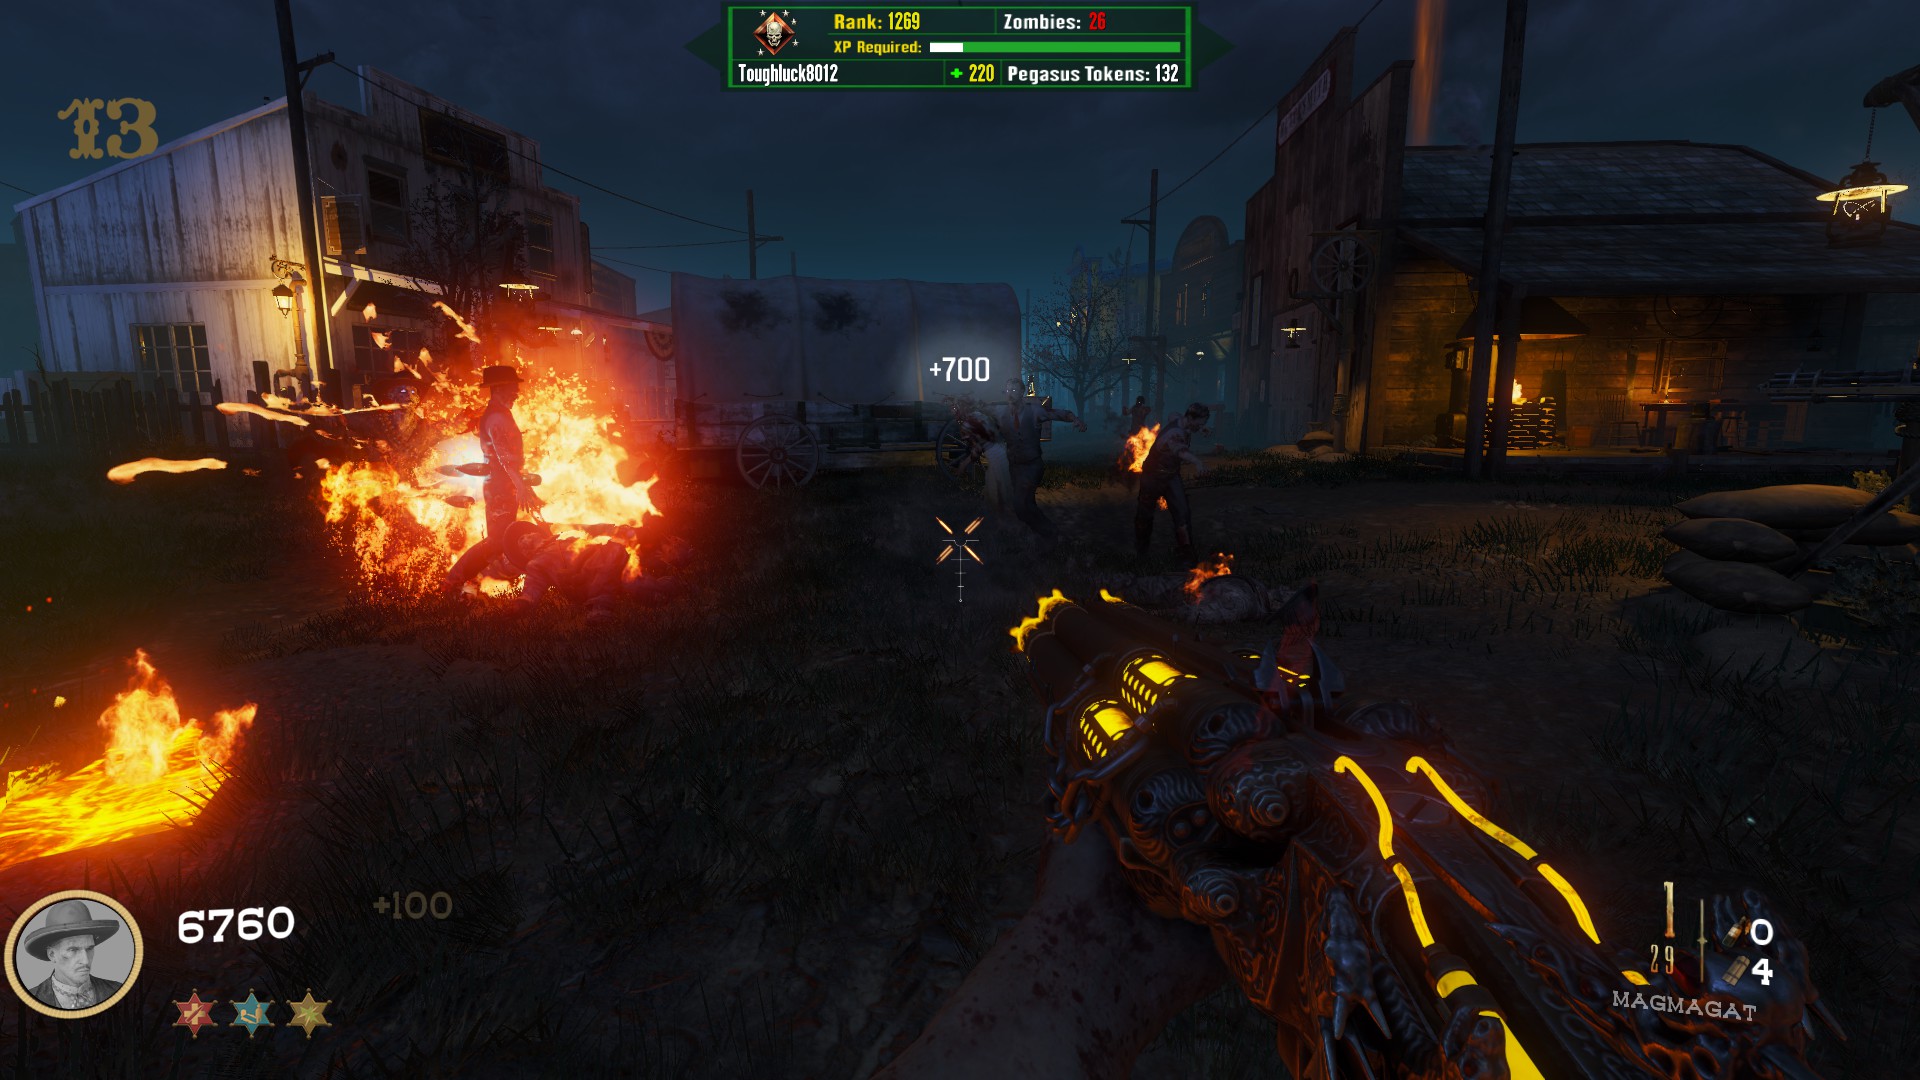
There are a series of 5 antique fireplaces/stoves around the map. They must be meleed in any order. You will hear an auditory confirmation each time and a special sound once you have got them all. If you aren't hearing it, trying using the Bowie Knife, as that's what I used and it worked for me every time. Stables Barn
On the right side, by the bed
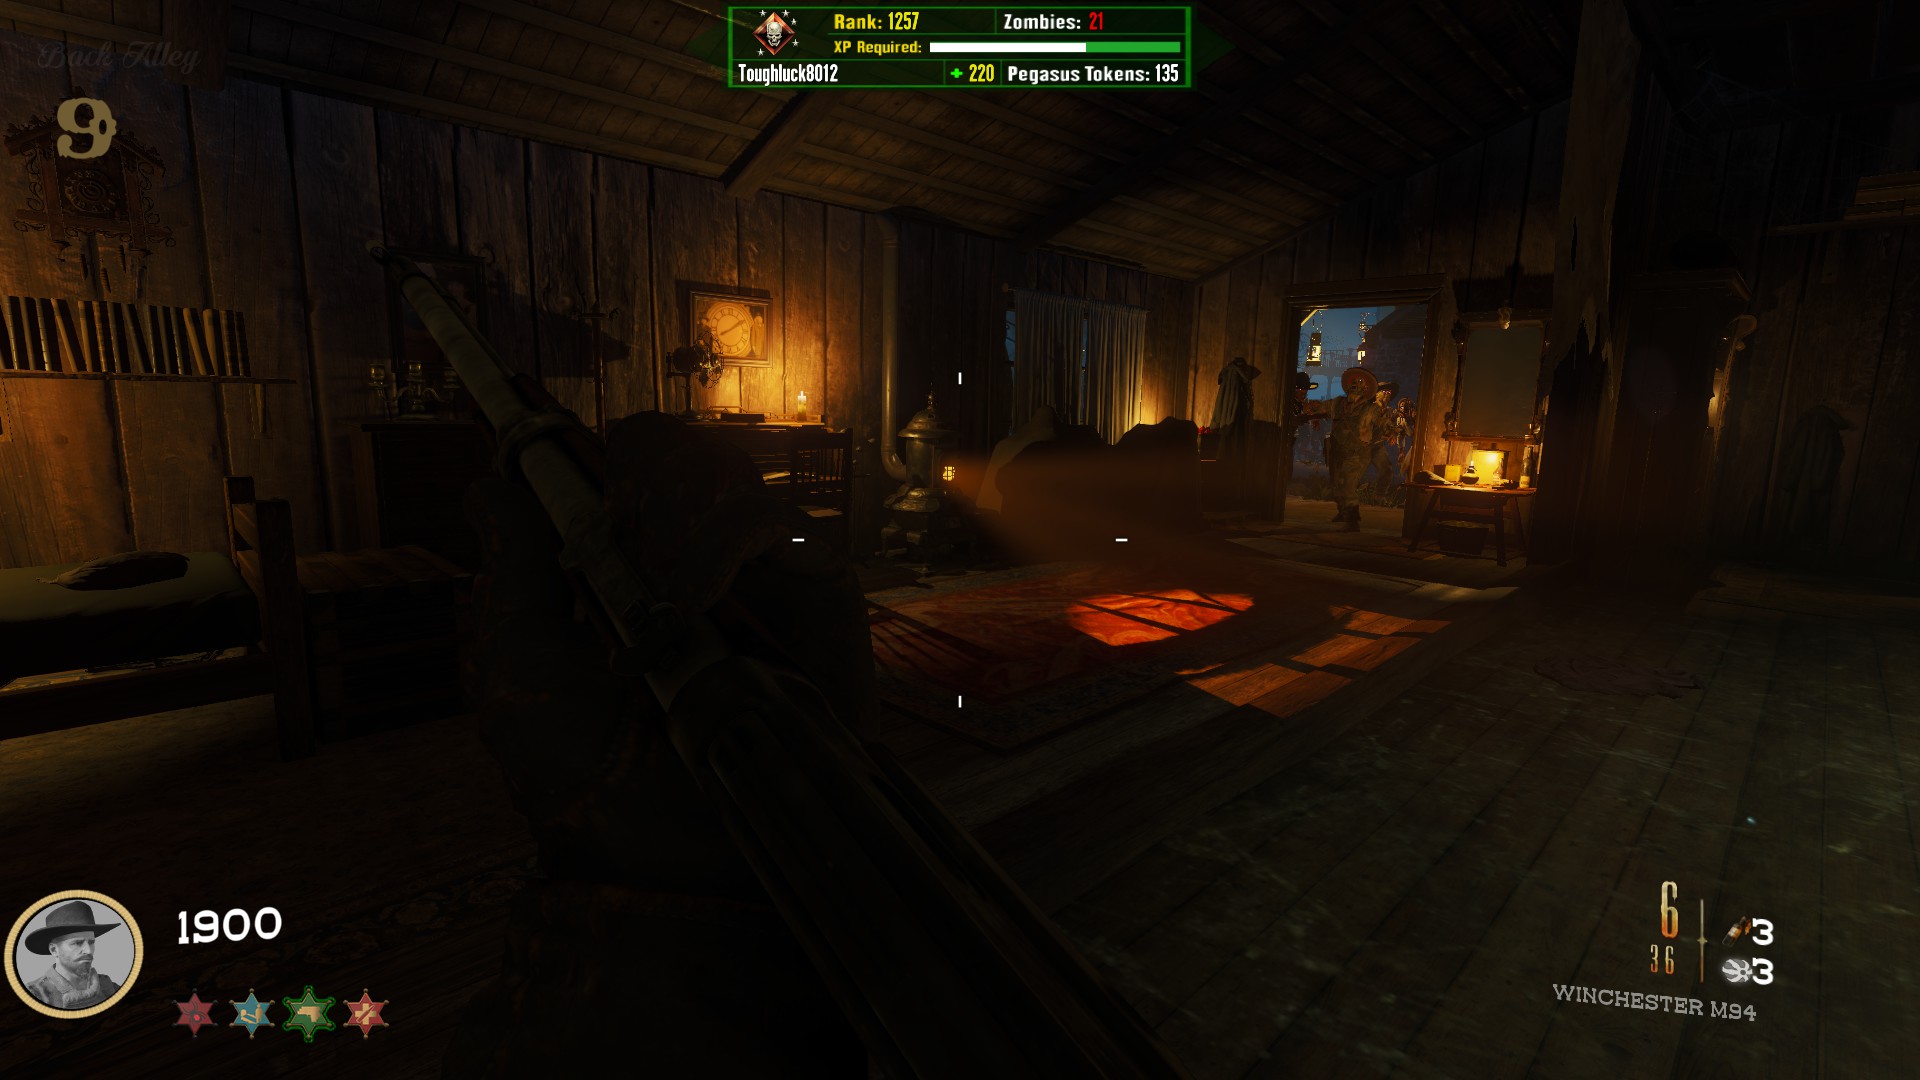
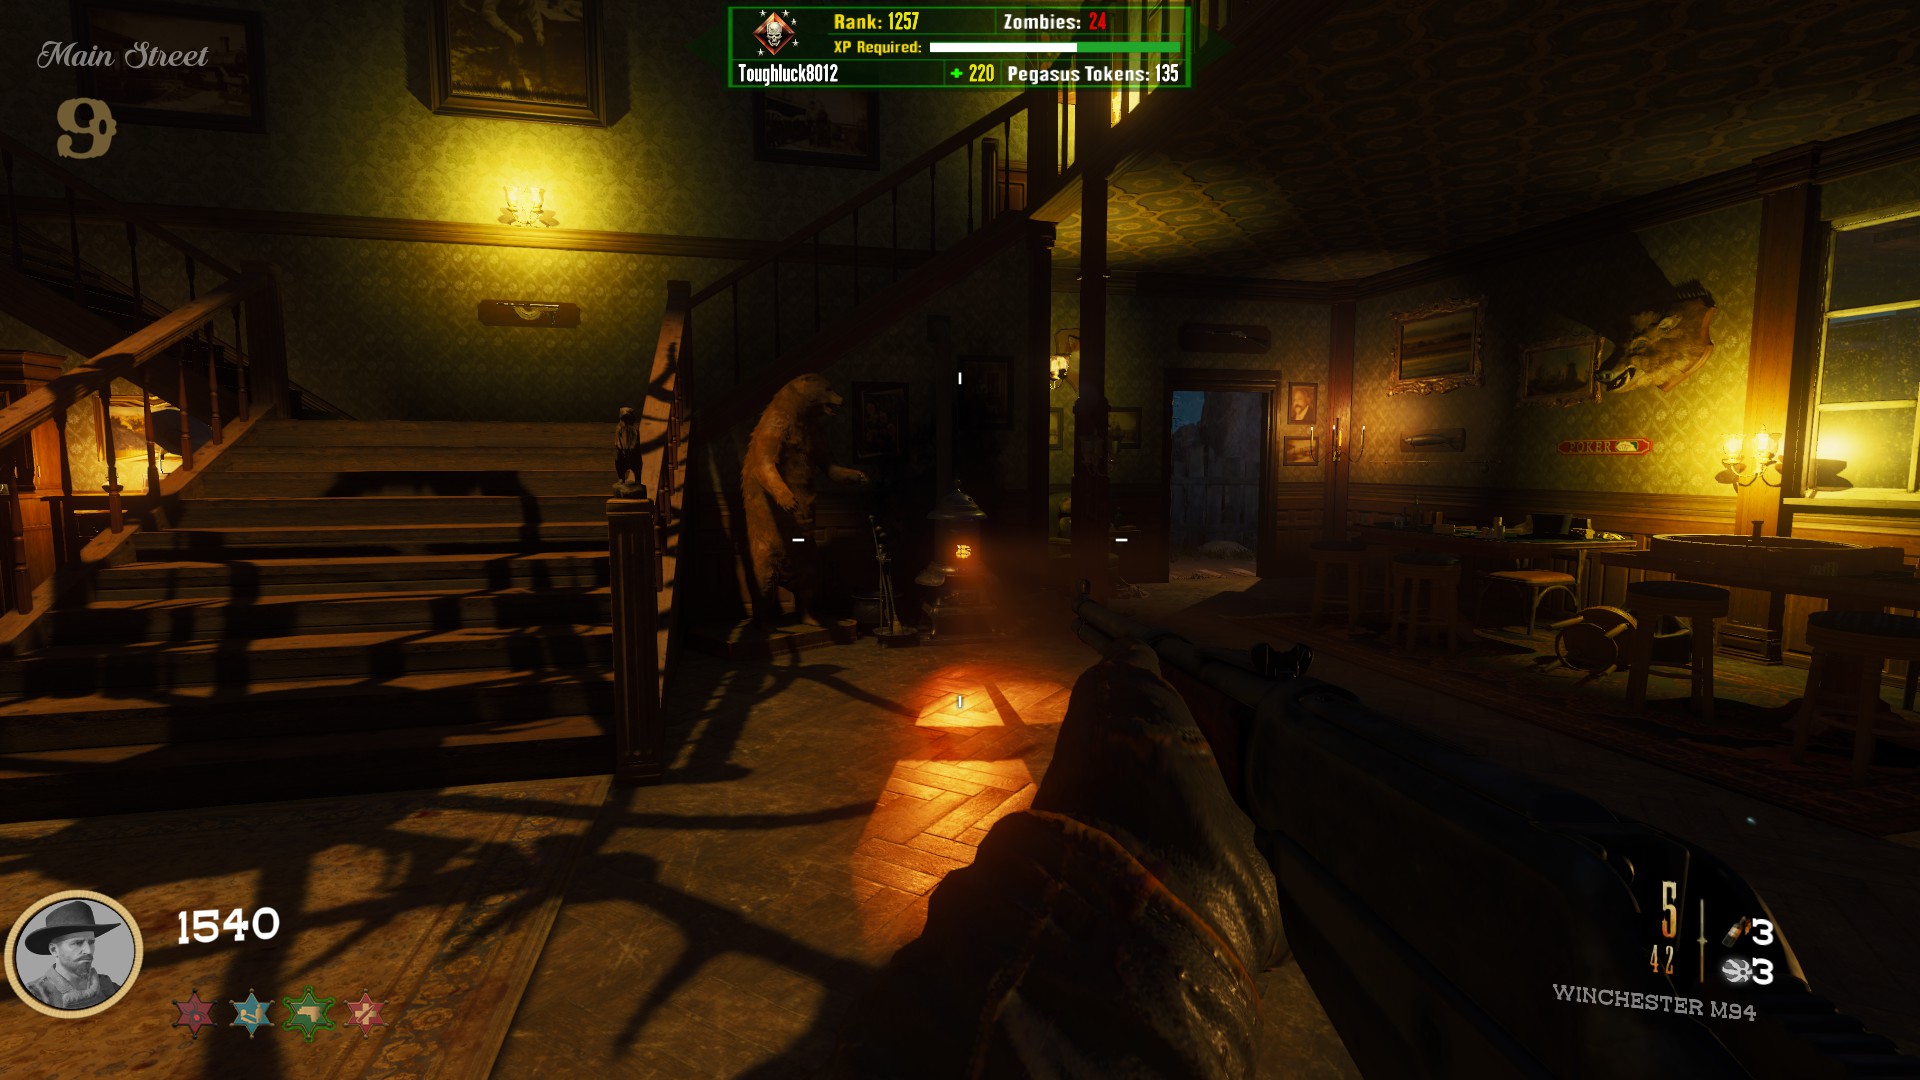
Saloon
On the right side of the staircase, next to the bear
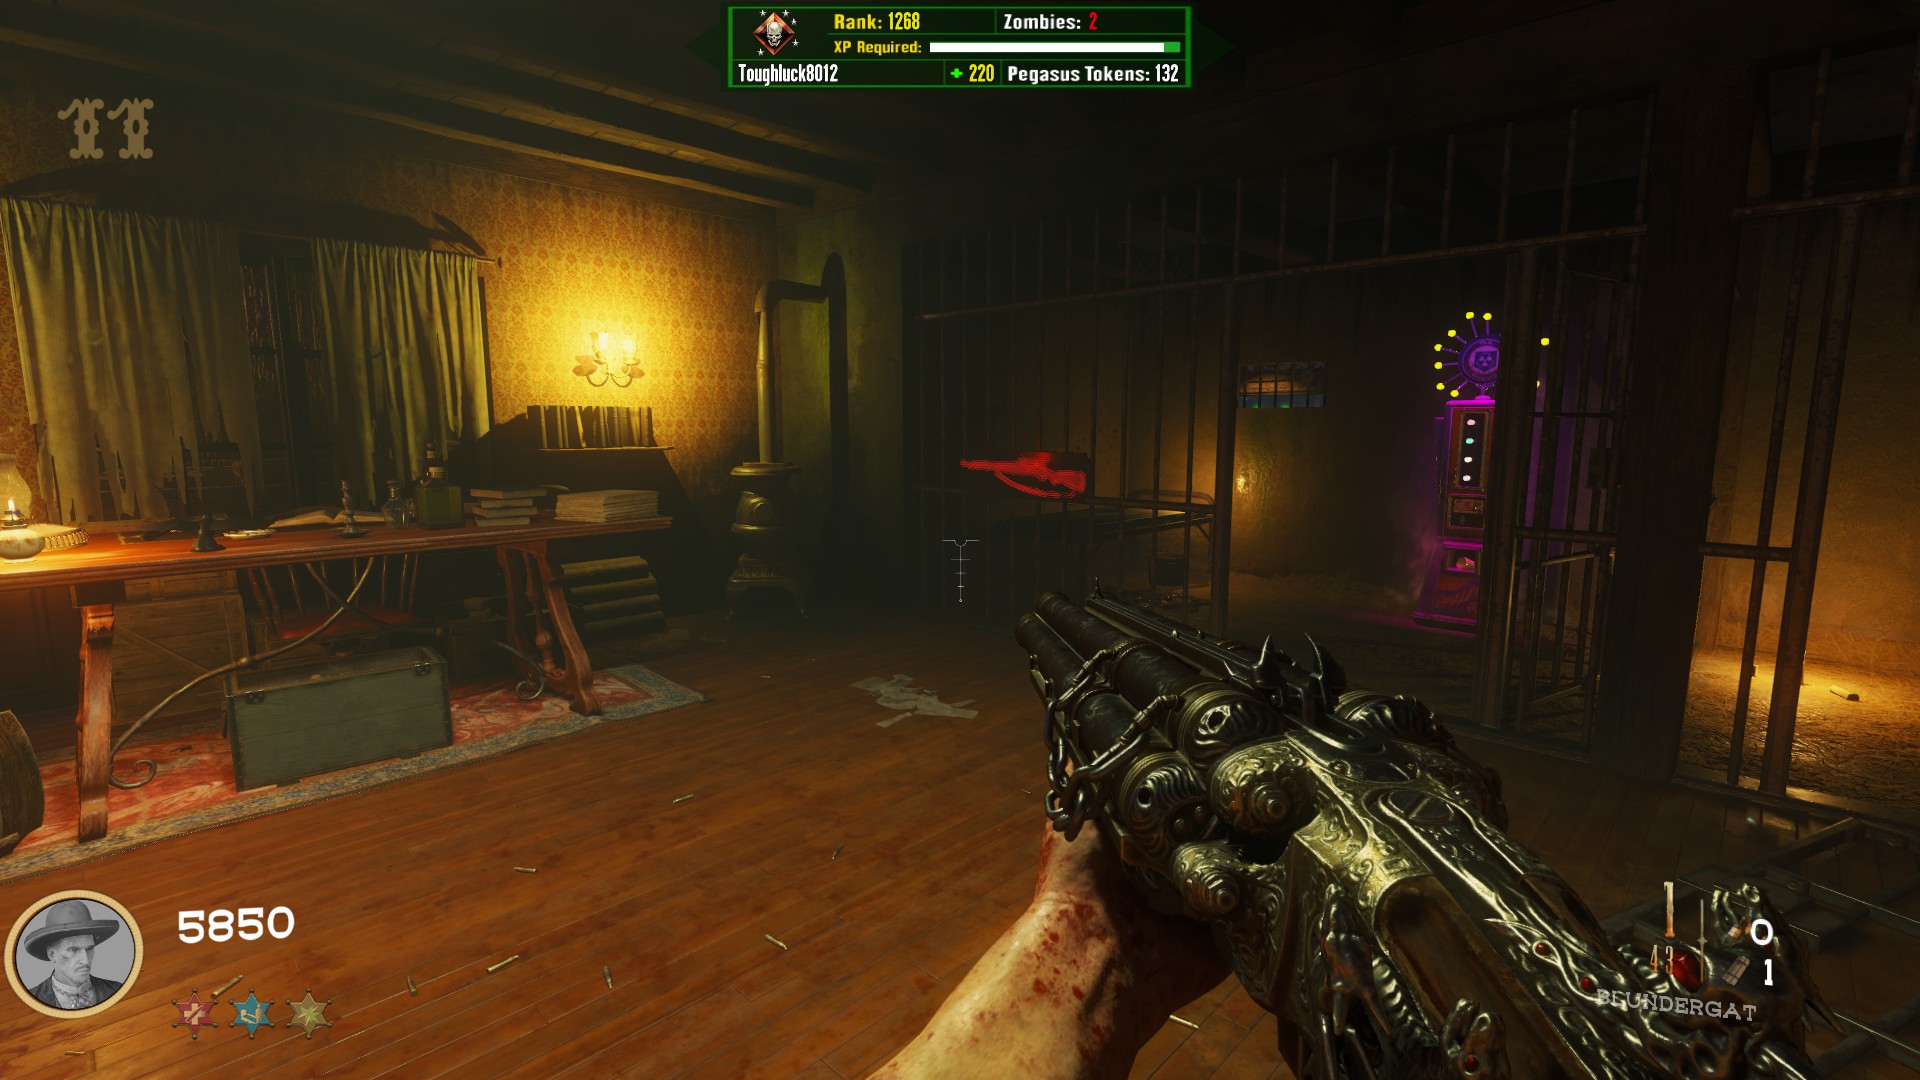
Sheriff's Office
In the corner between the desk and the cell
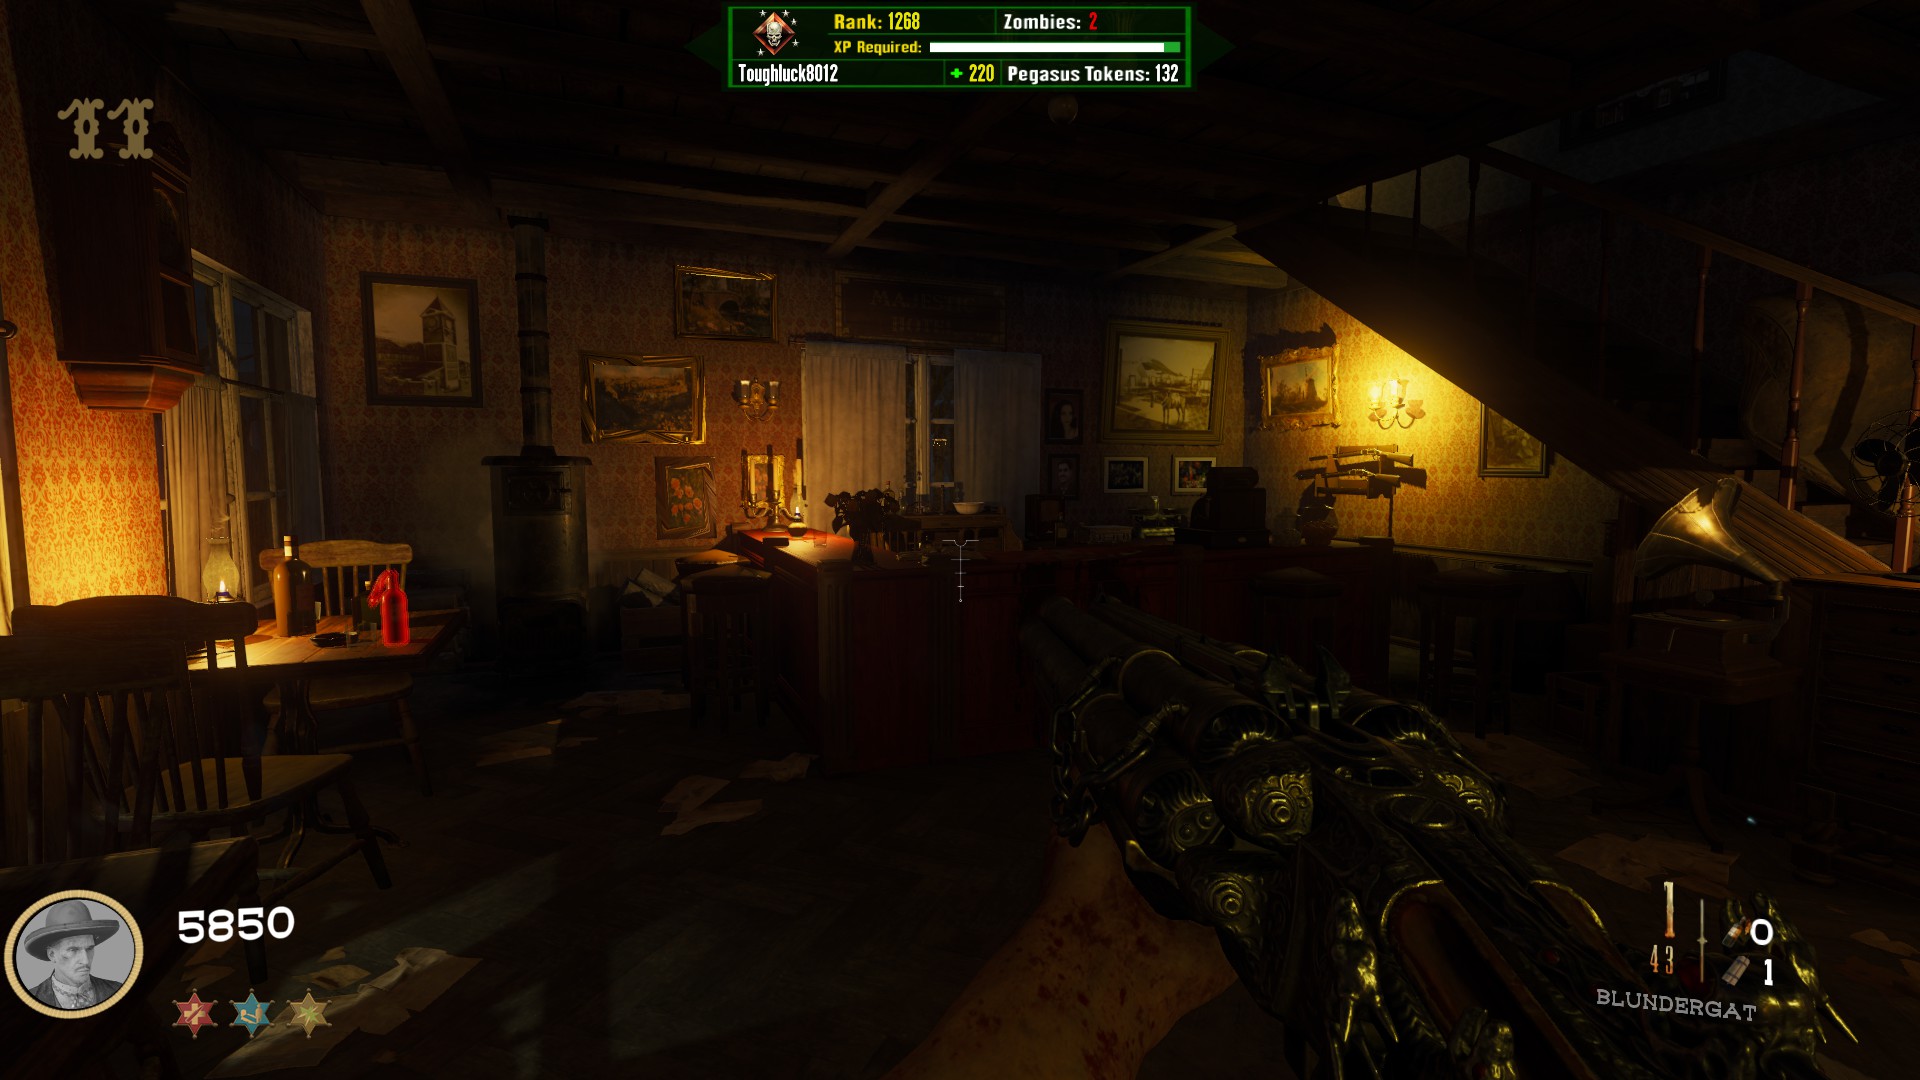
Hotel
In the corner between the desk and the Molotov
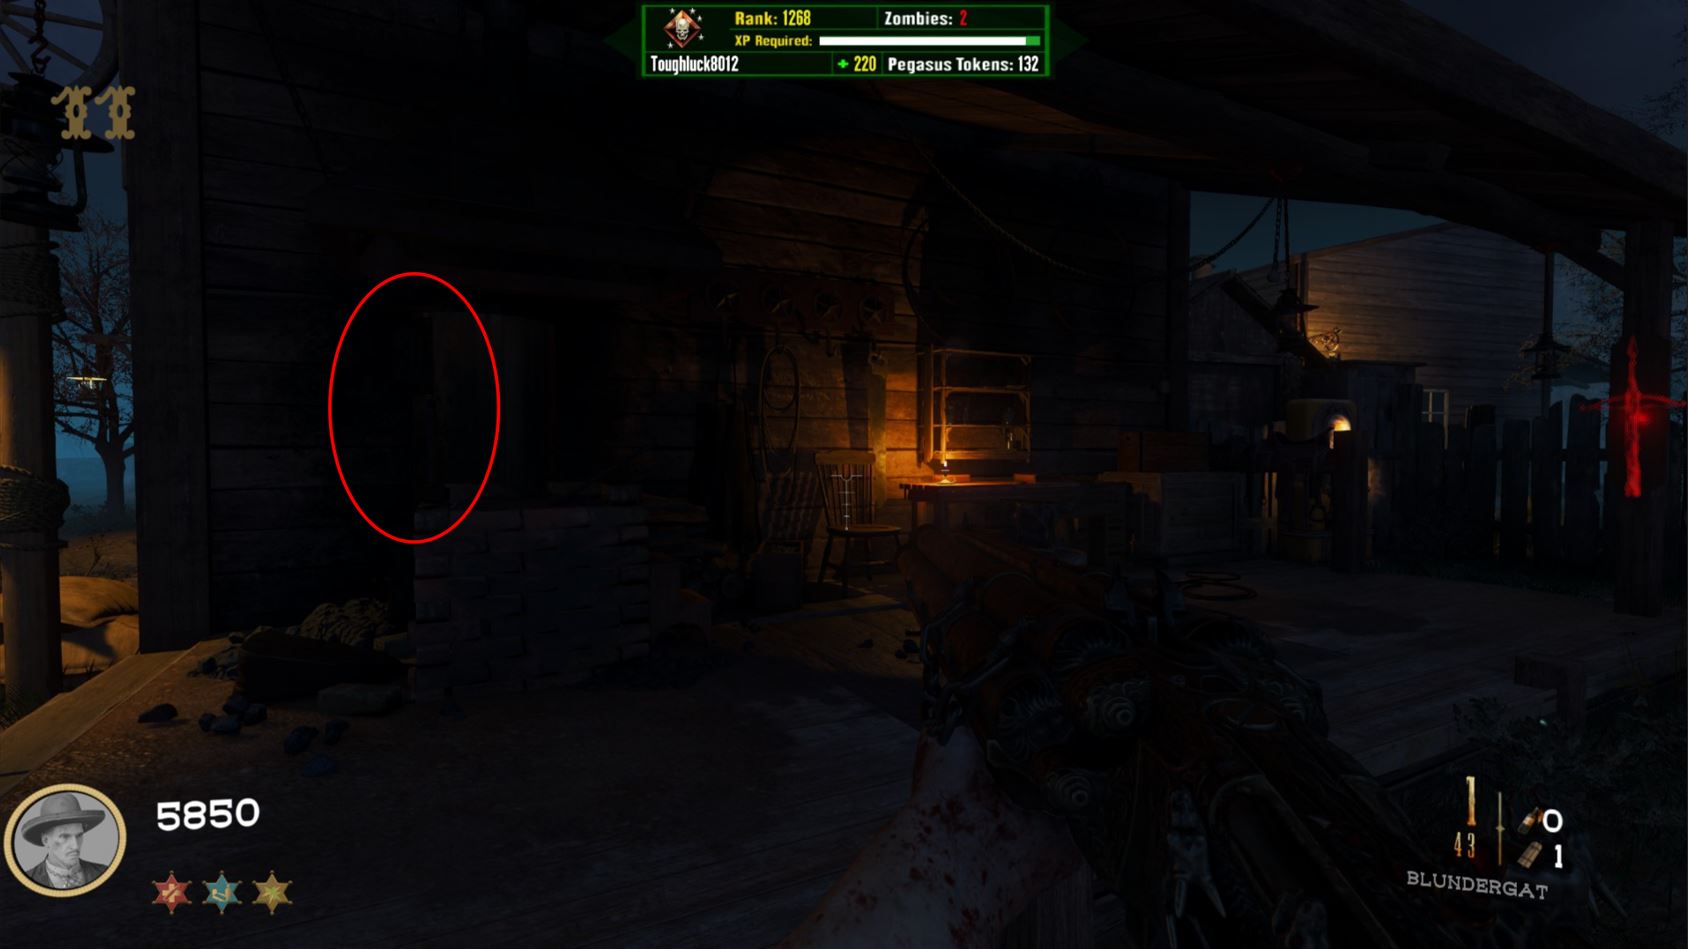
Blacksmith Workspace
In spawn in between the Blacksmith Barn front door and crossbow wall buy & random perk
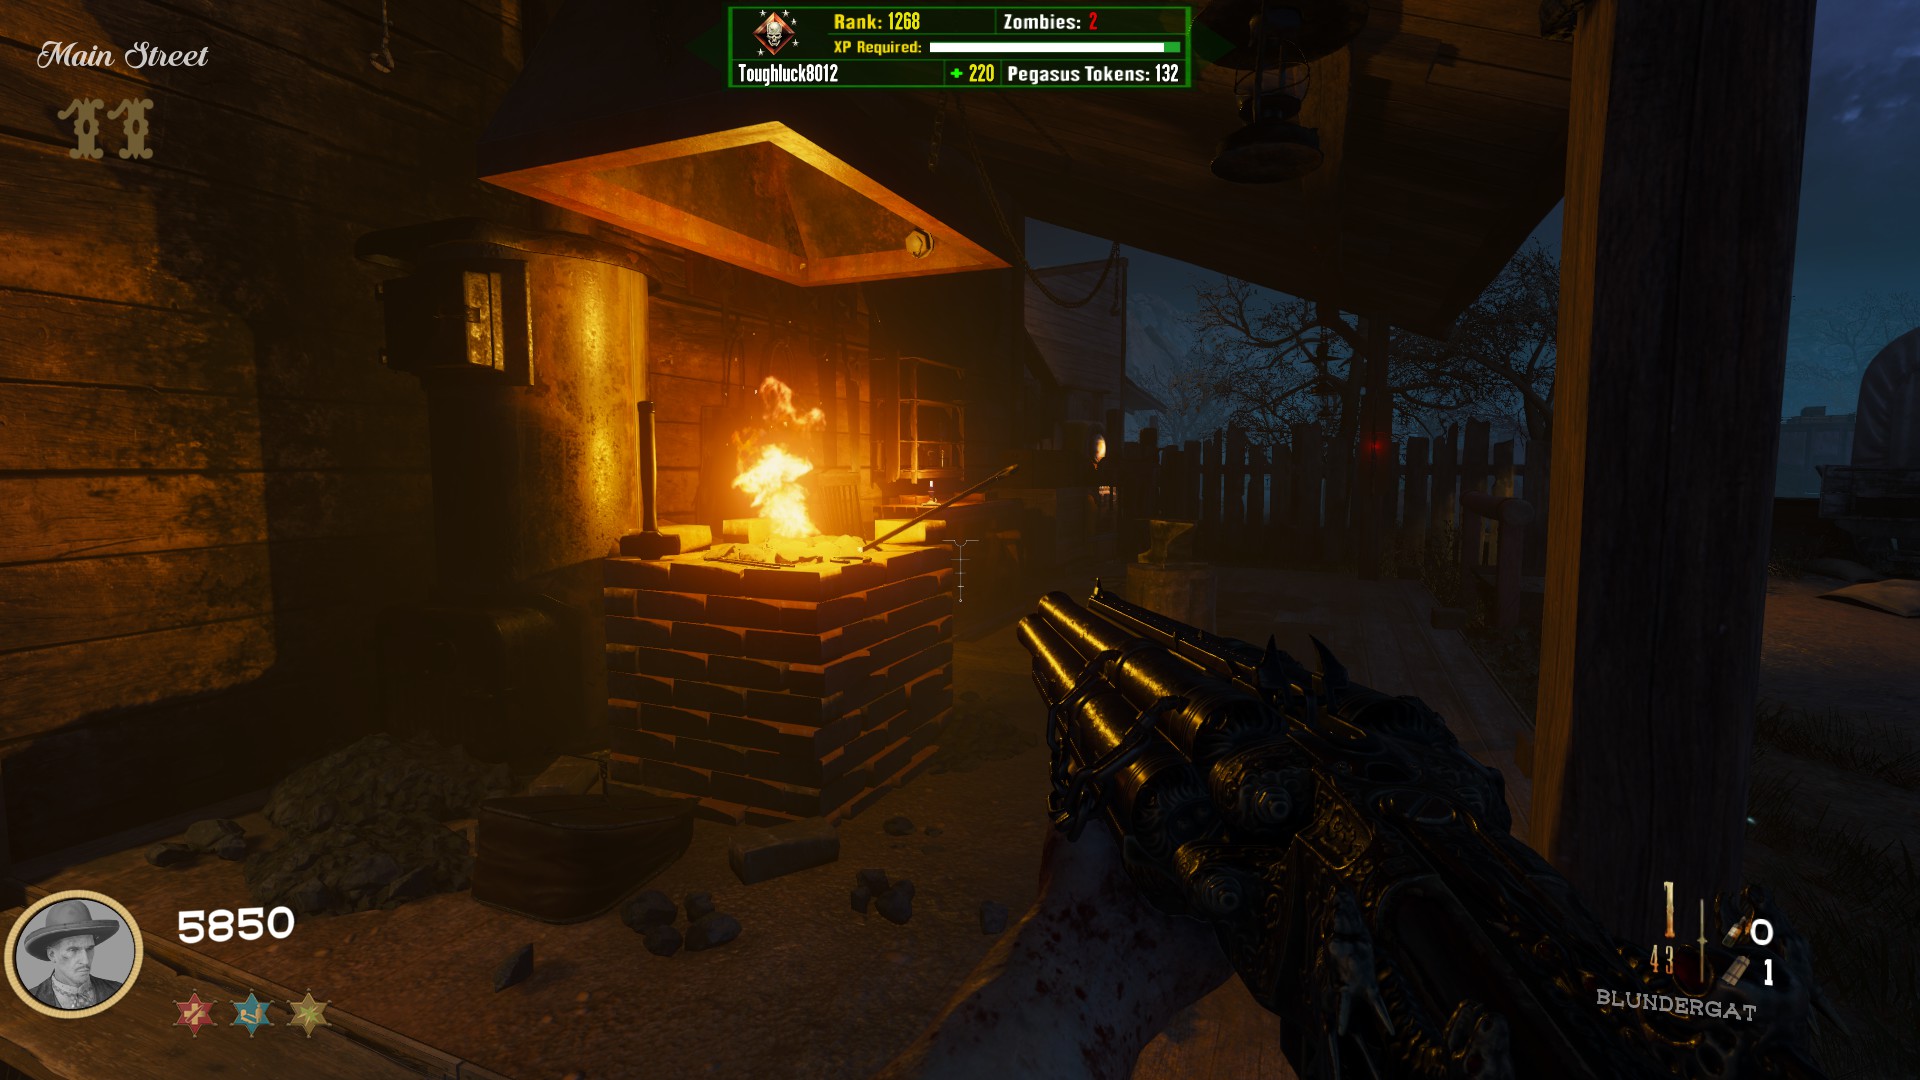
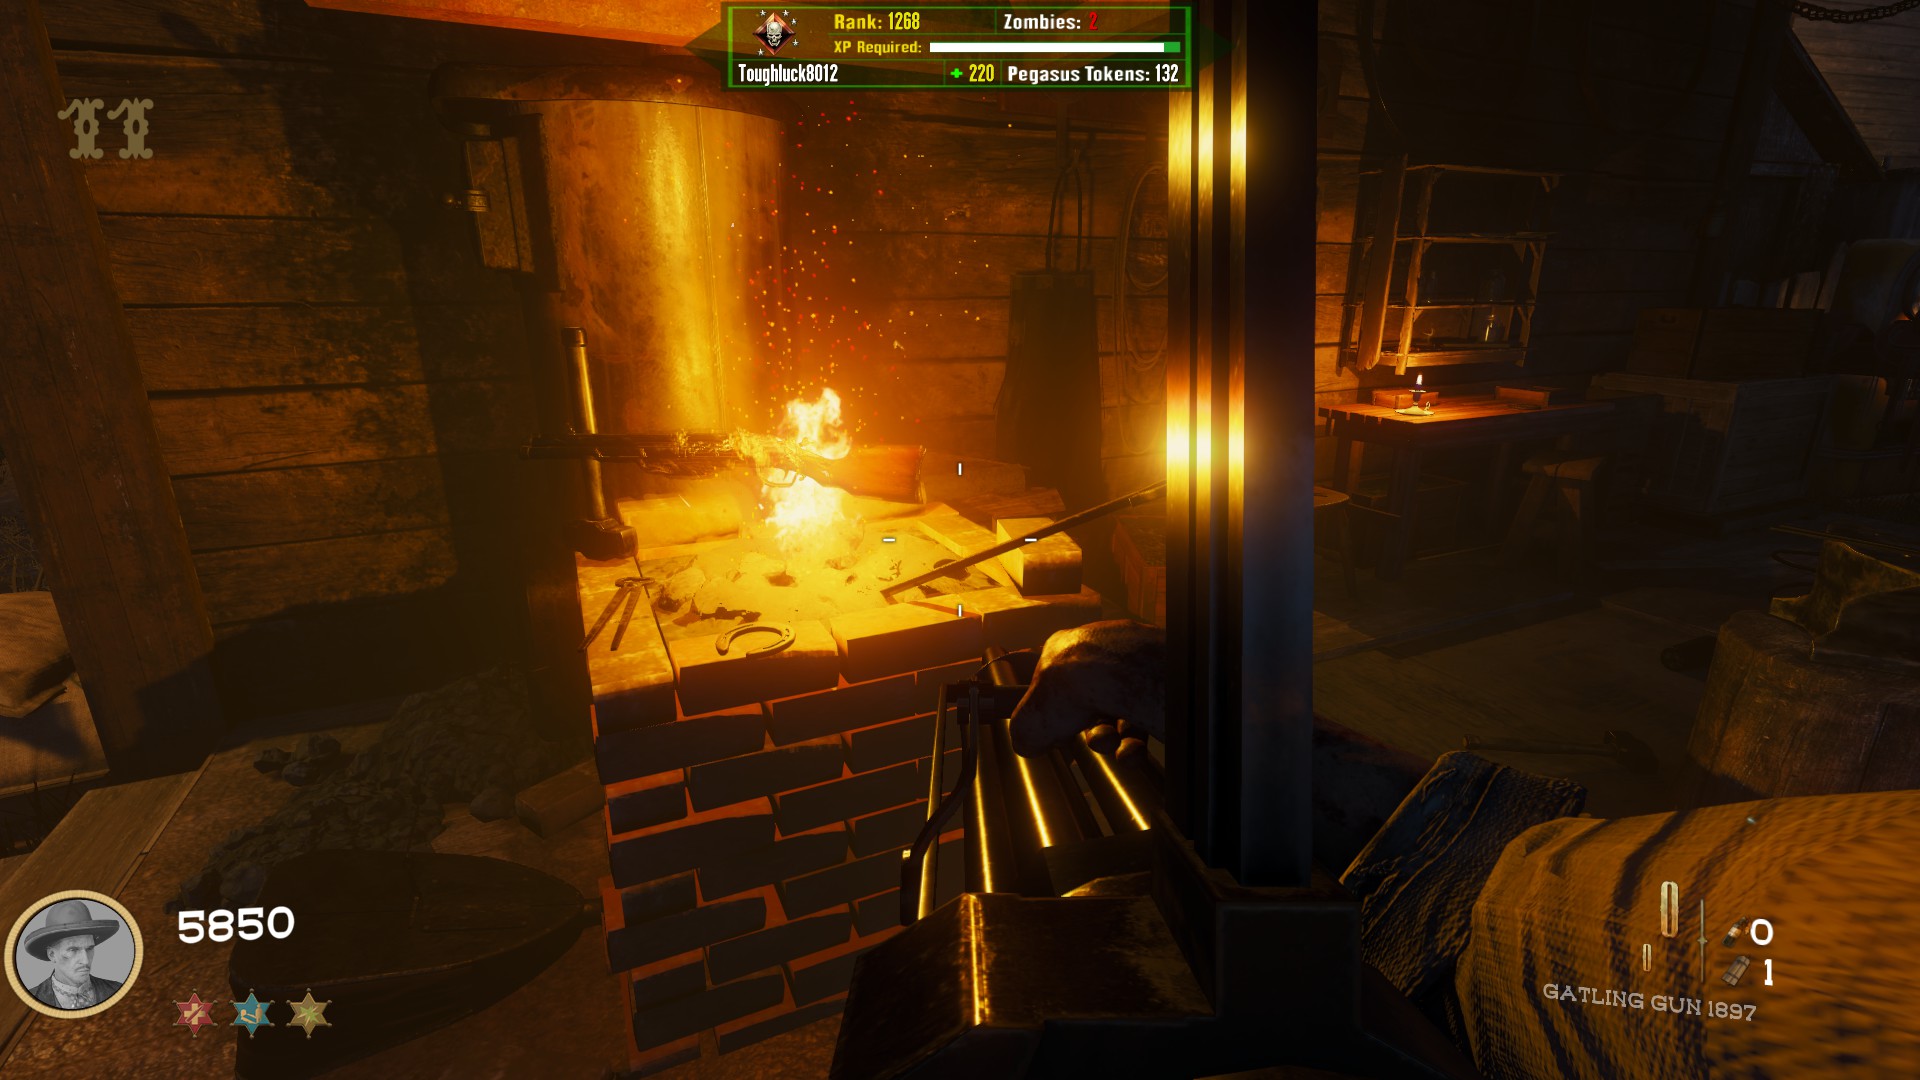
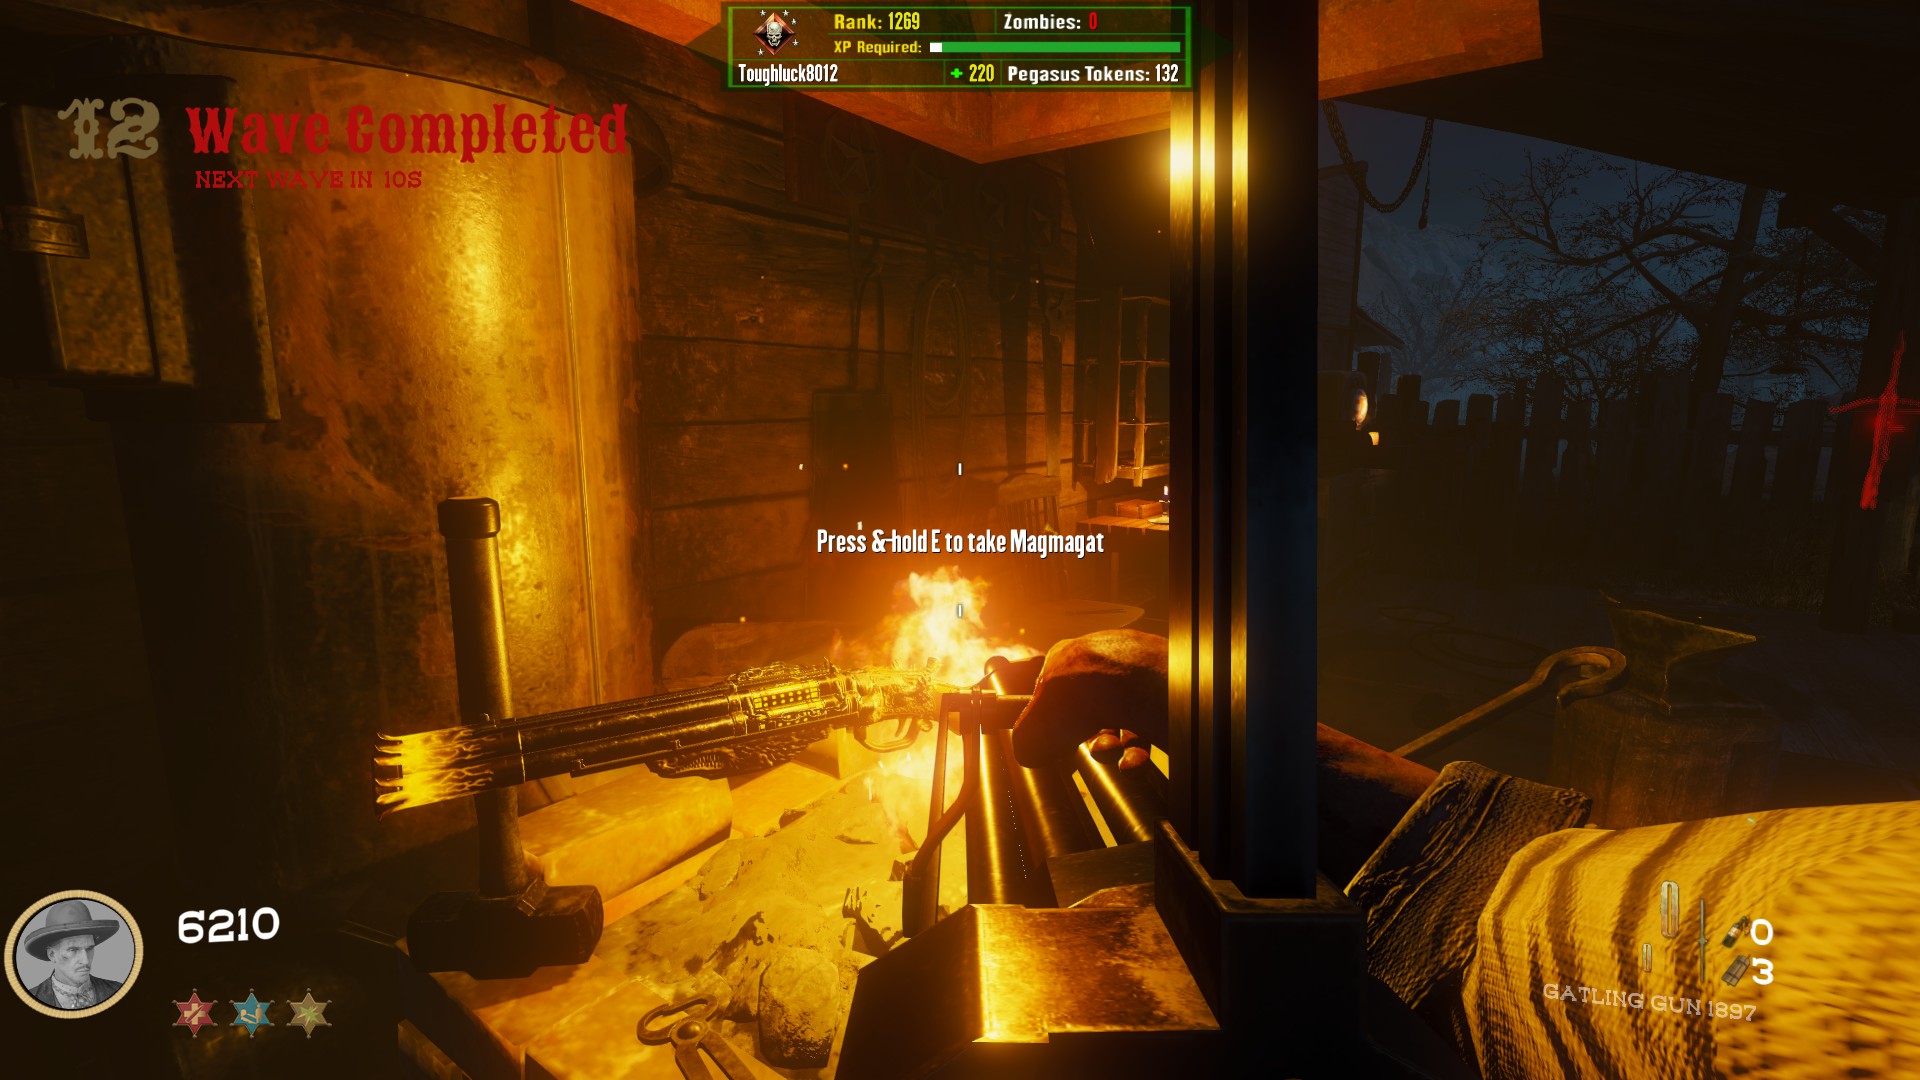
After knifing all 5, head to the Blacksmith Workspace, and you will notice that the stack of bricks near the furnace is now on fire. Place your blundergat into the fire and come back in 1-2 full rounds. You will now be able to pick up your weapon.
Free Alistair's Folly (+ Unlock Electric Cherry)
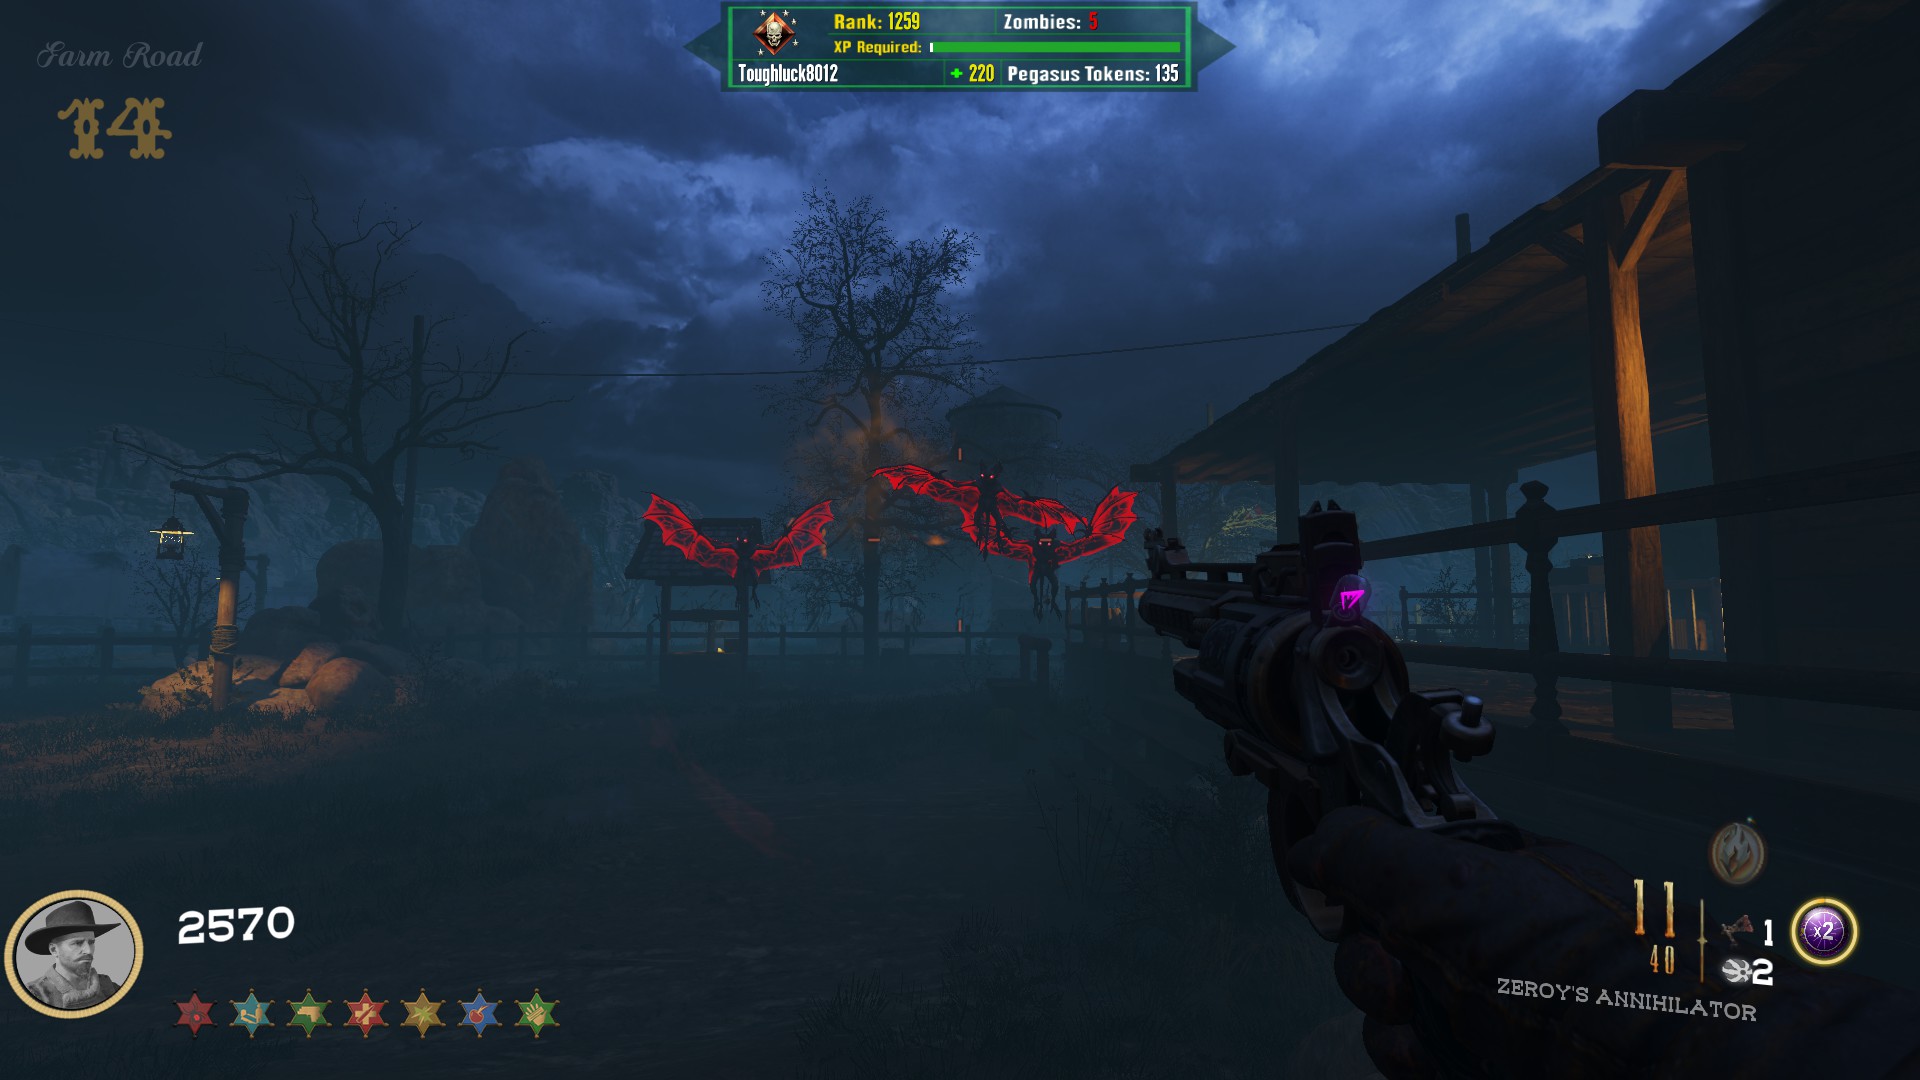 Shoot the bell on the top of the tower at the church with your PAP'd weapon. You will hear a sound if done correctly.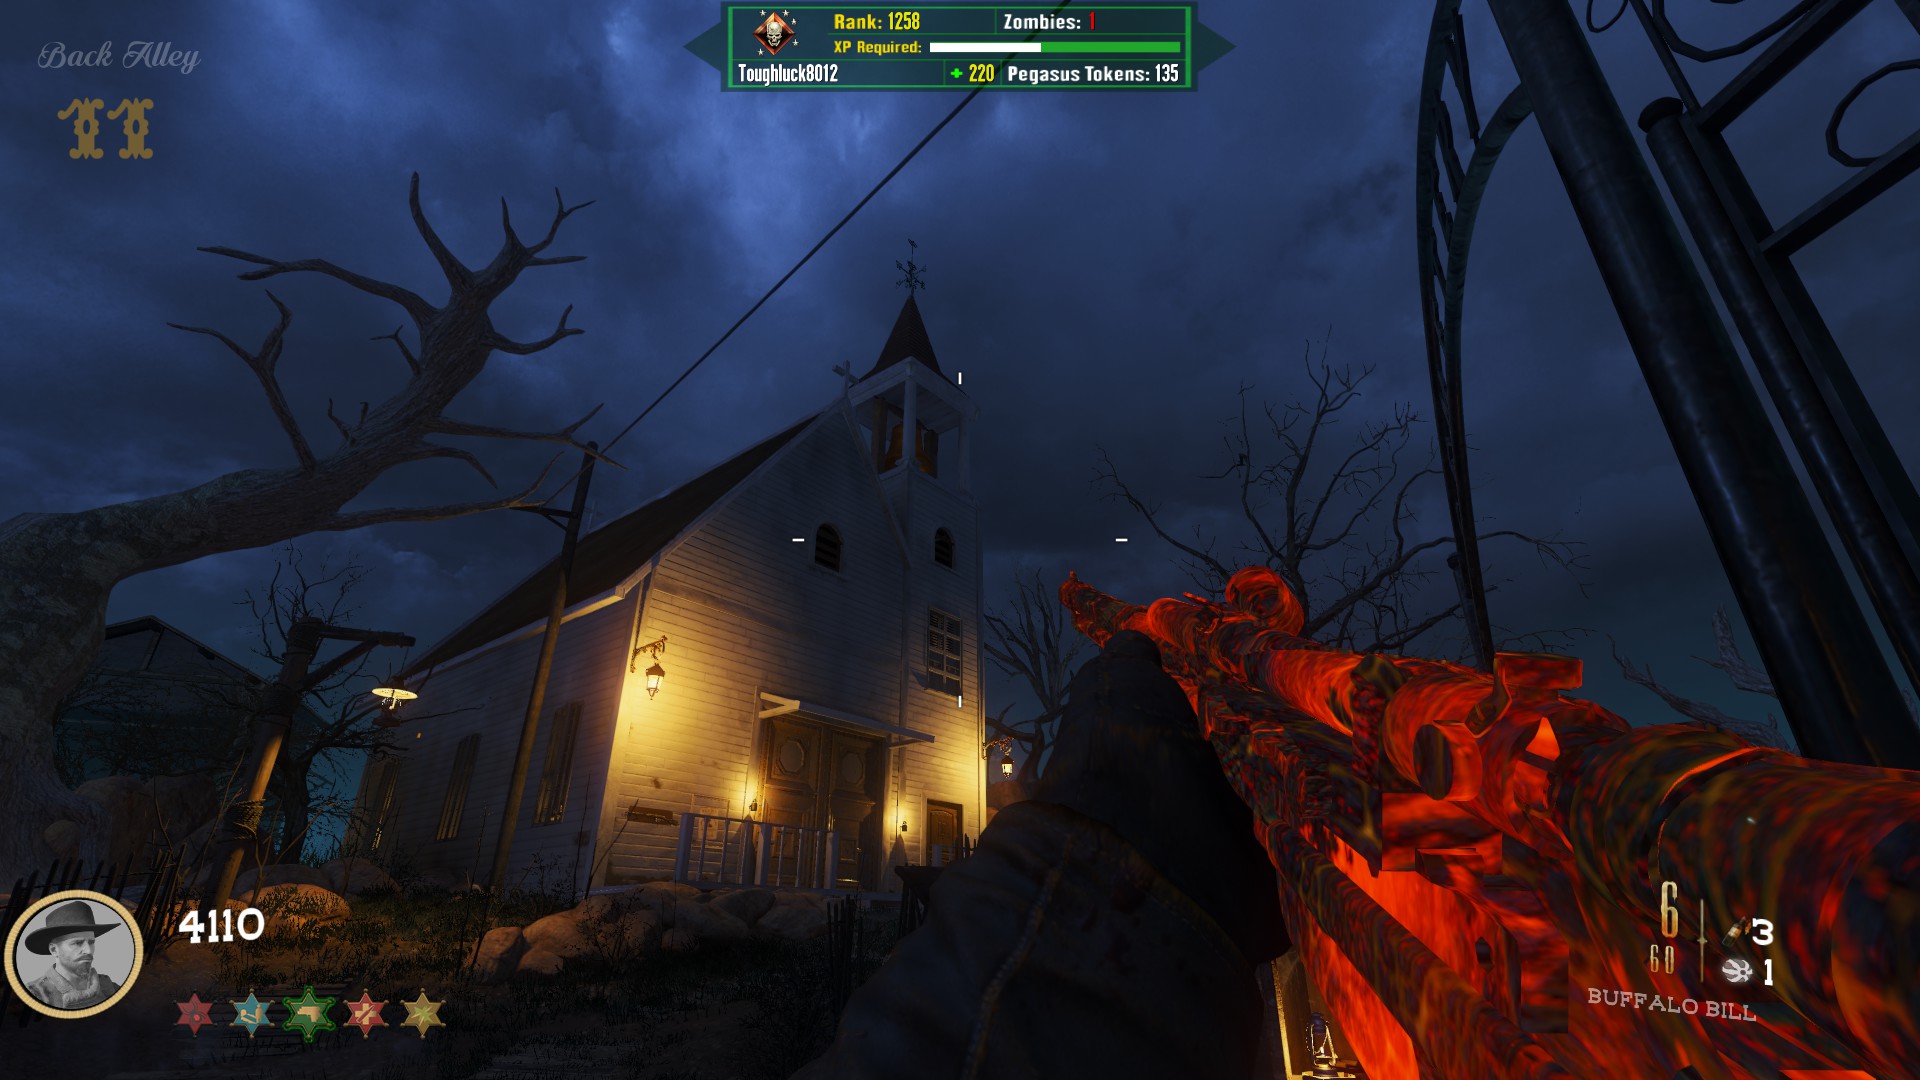
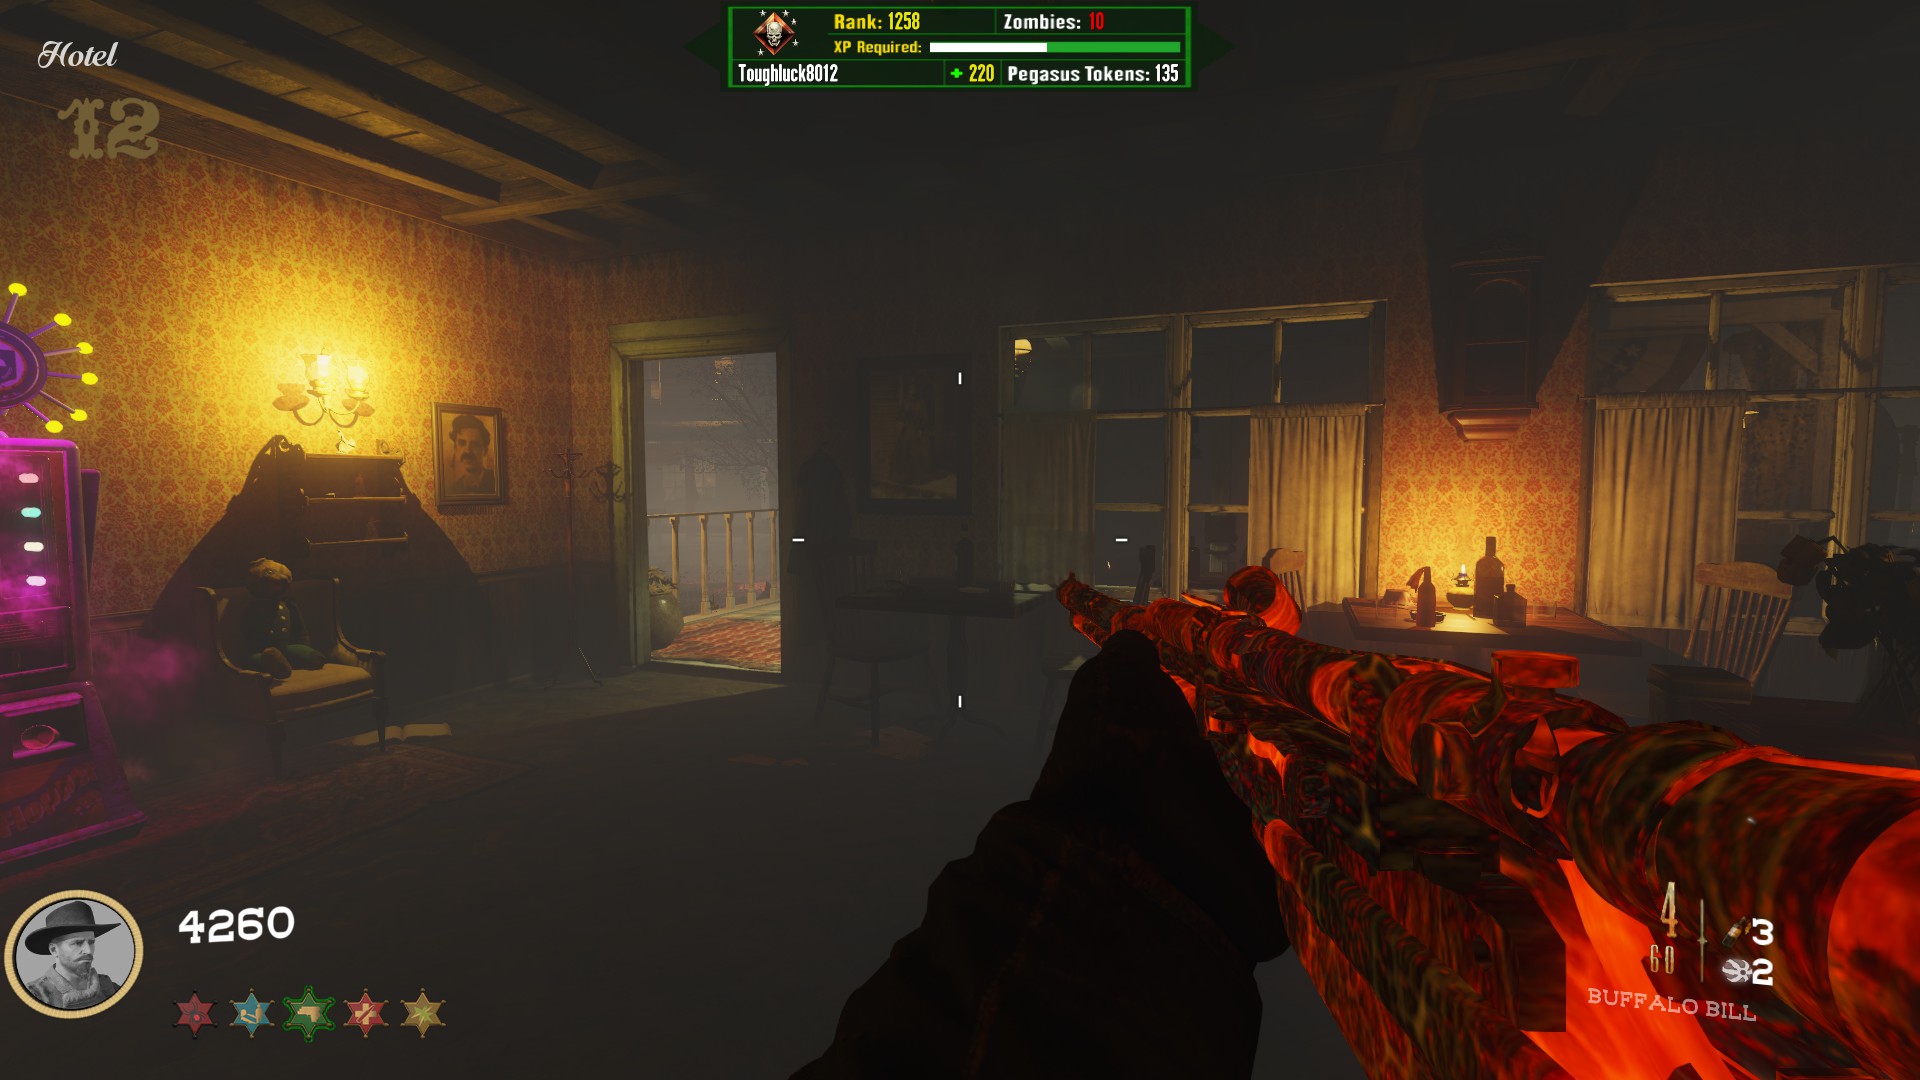
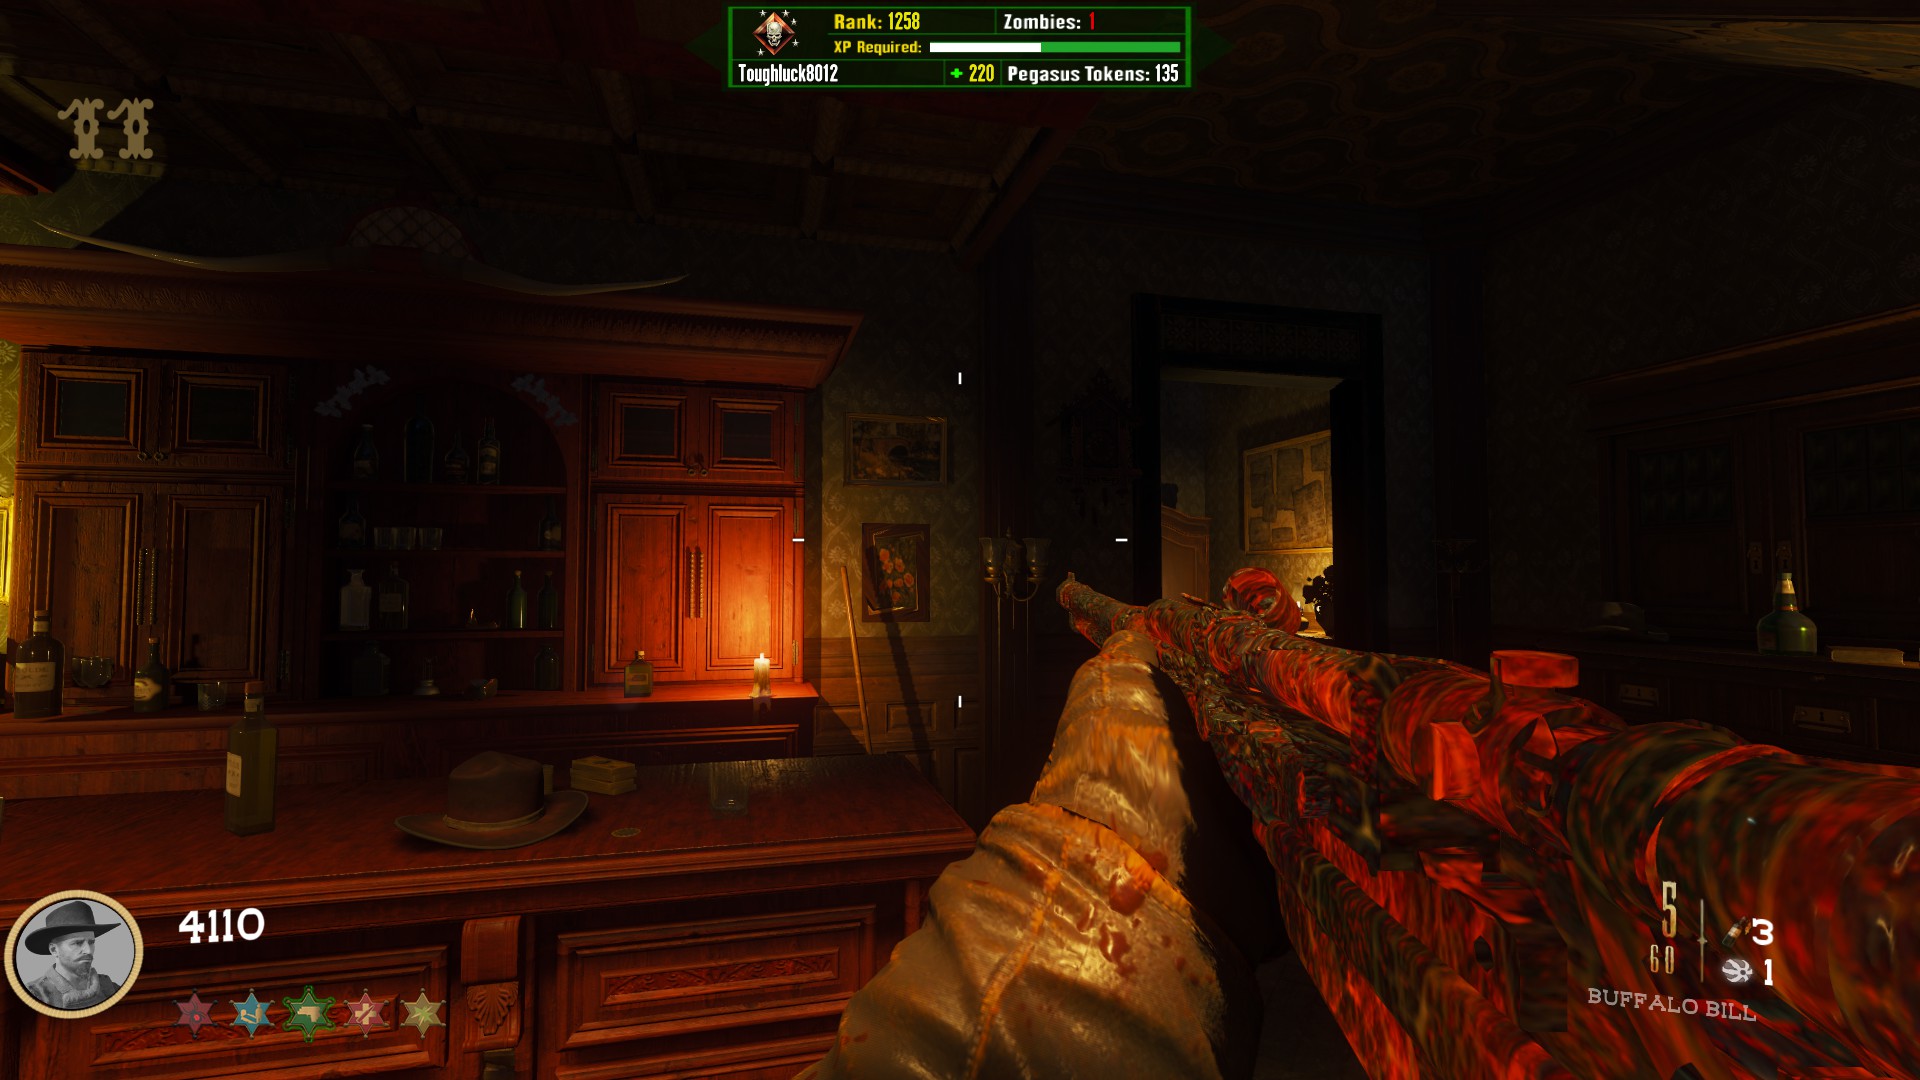
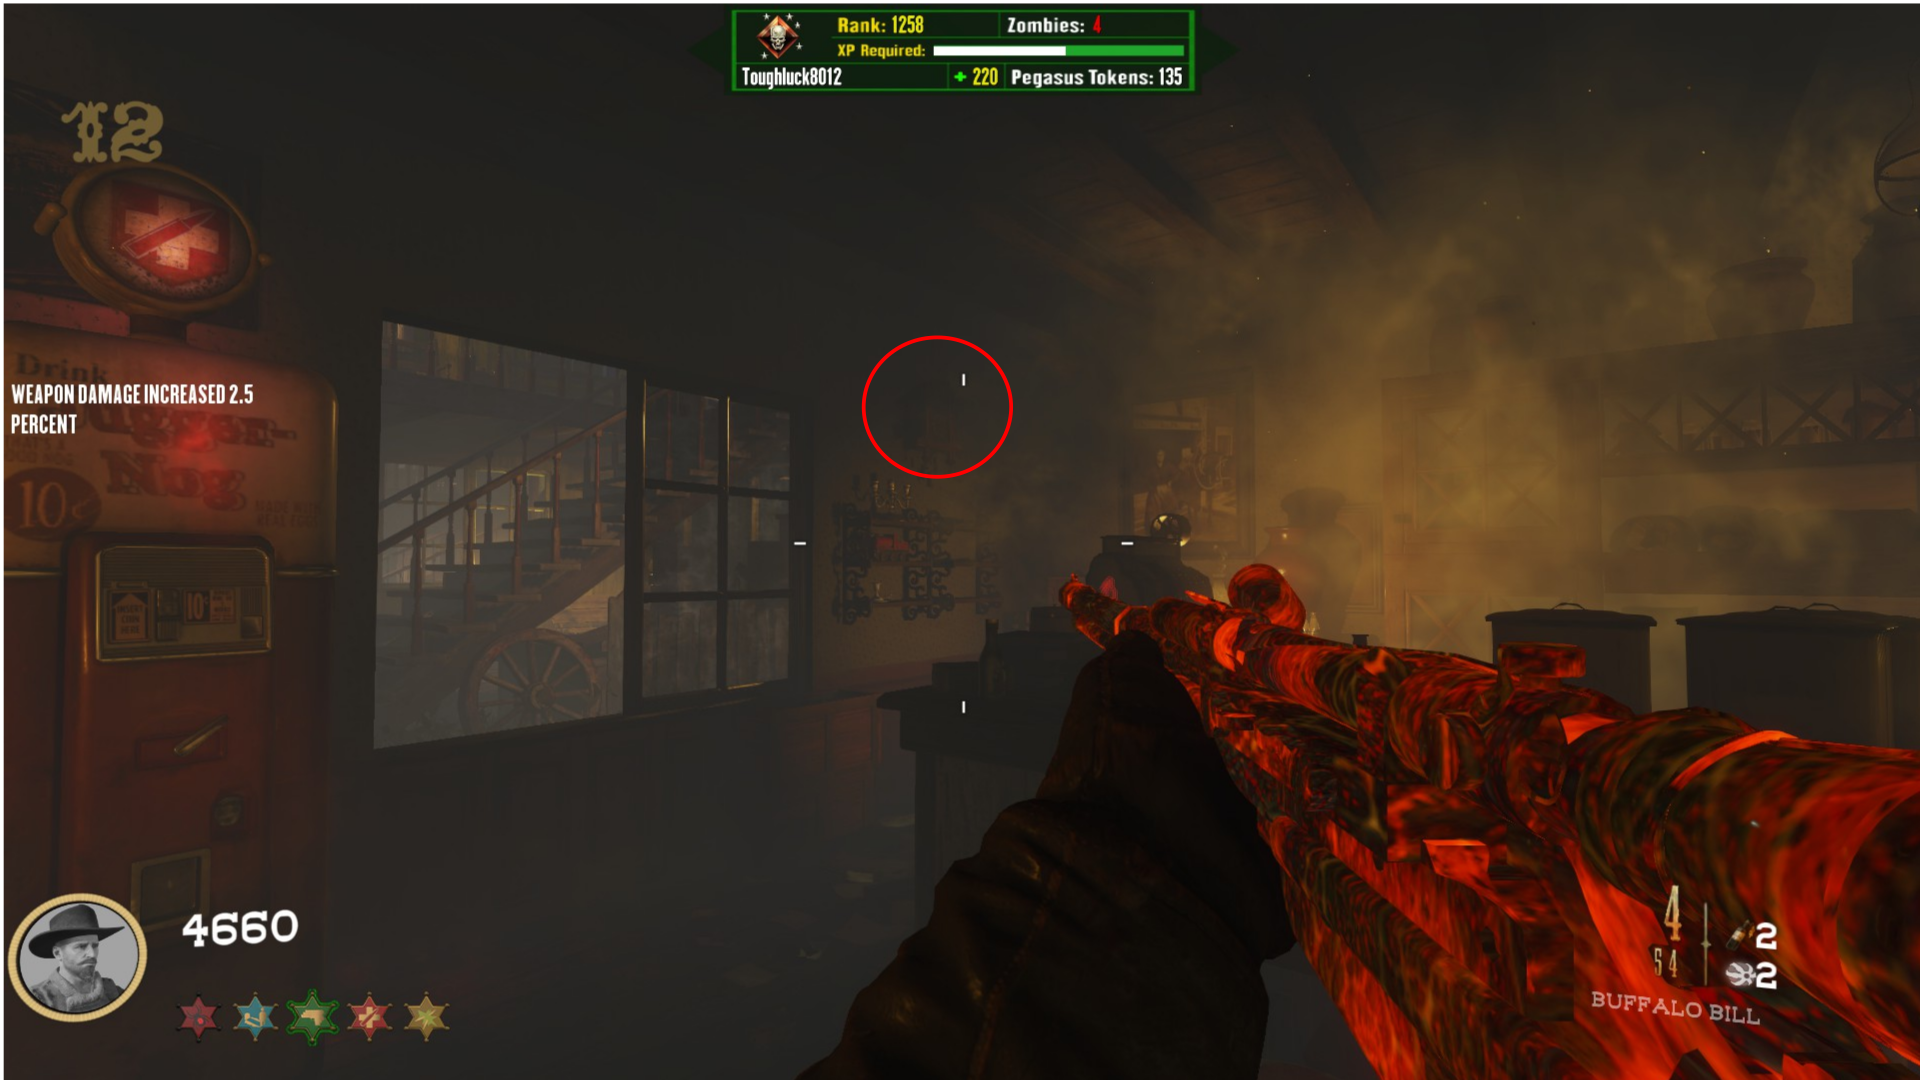
There are 5 wall-mounted clocks around the map that must be found and shot. Use a PAP'd gun for maximum consistency while activating the clocks. A sound will play when properly triggered. Location 1
In the Hotel (first building on the left), mounted on the wall between the windows
Location 2
In the Saloon, to the right of the bar, mounted next to the zombie barrier
Location 3
In the Grocery Store, between the perk machine and the countertop
Location 4
In the Stables Barn on the right side, above the bed
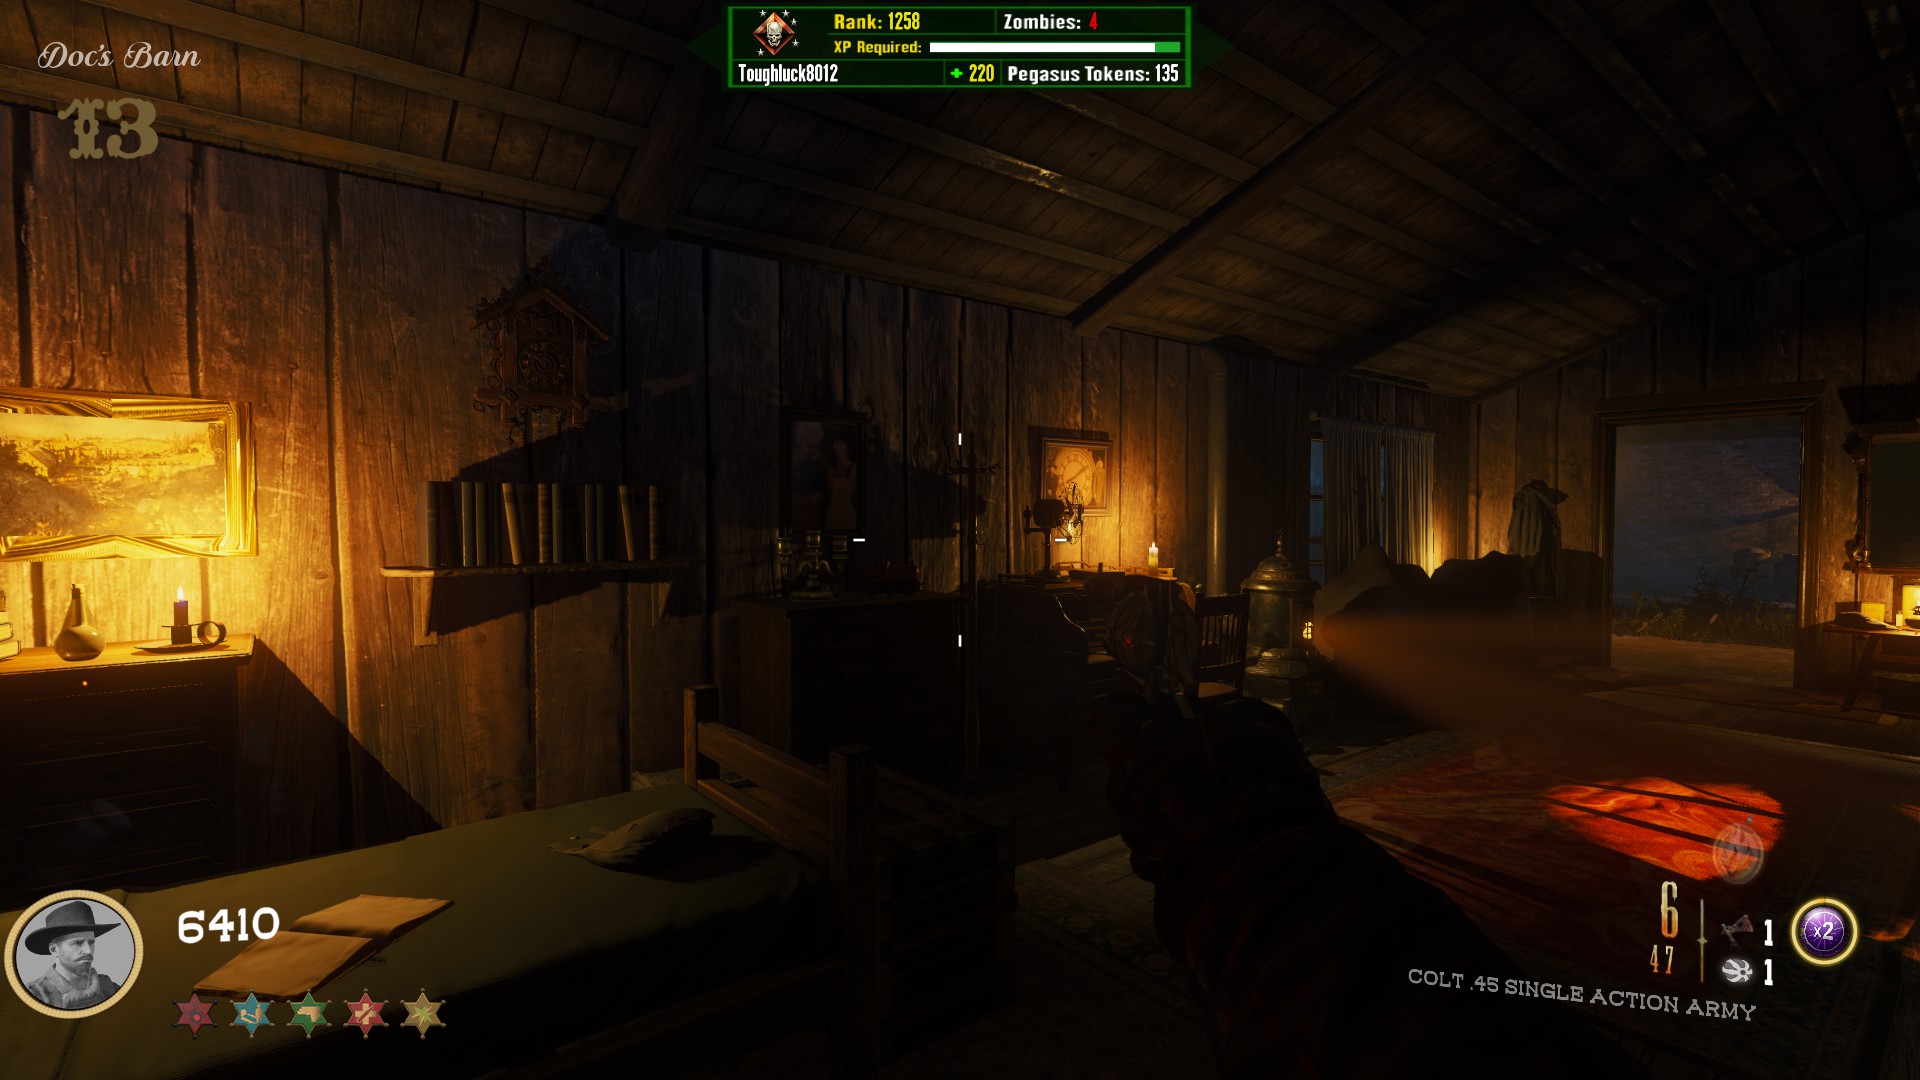
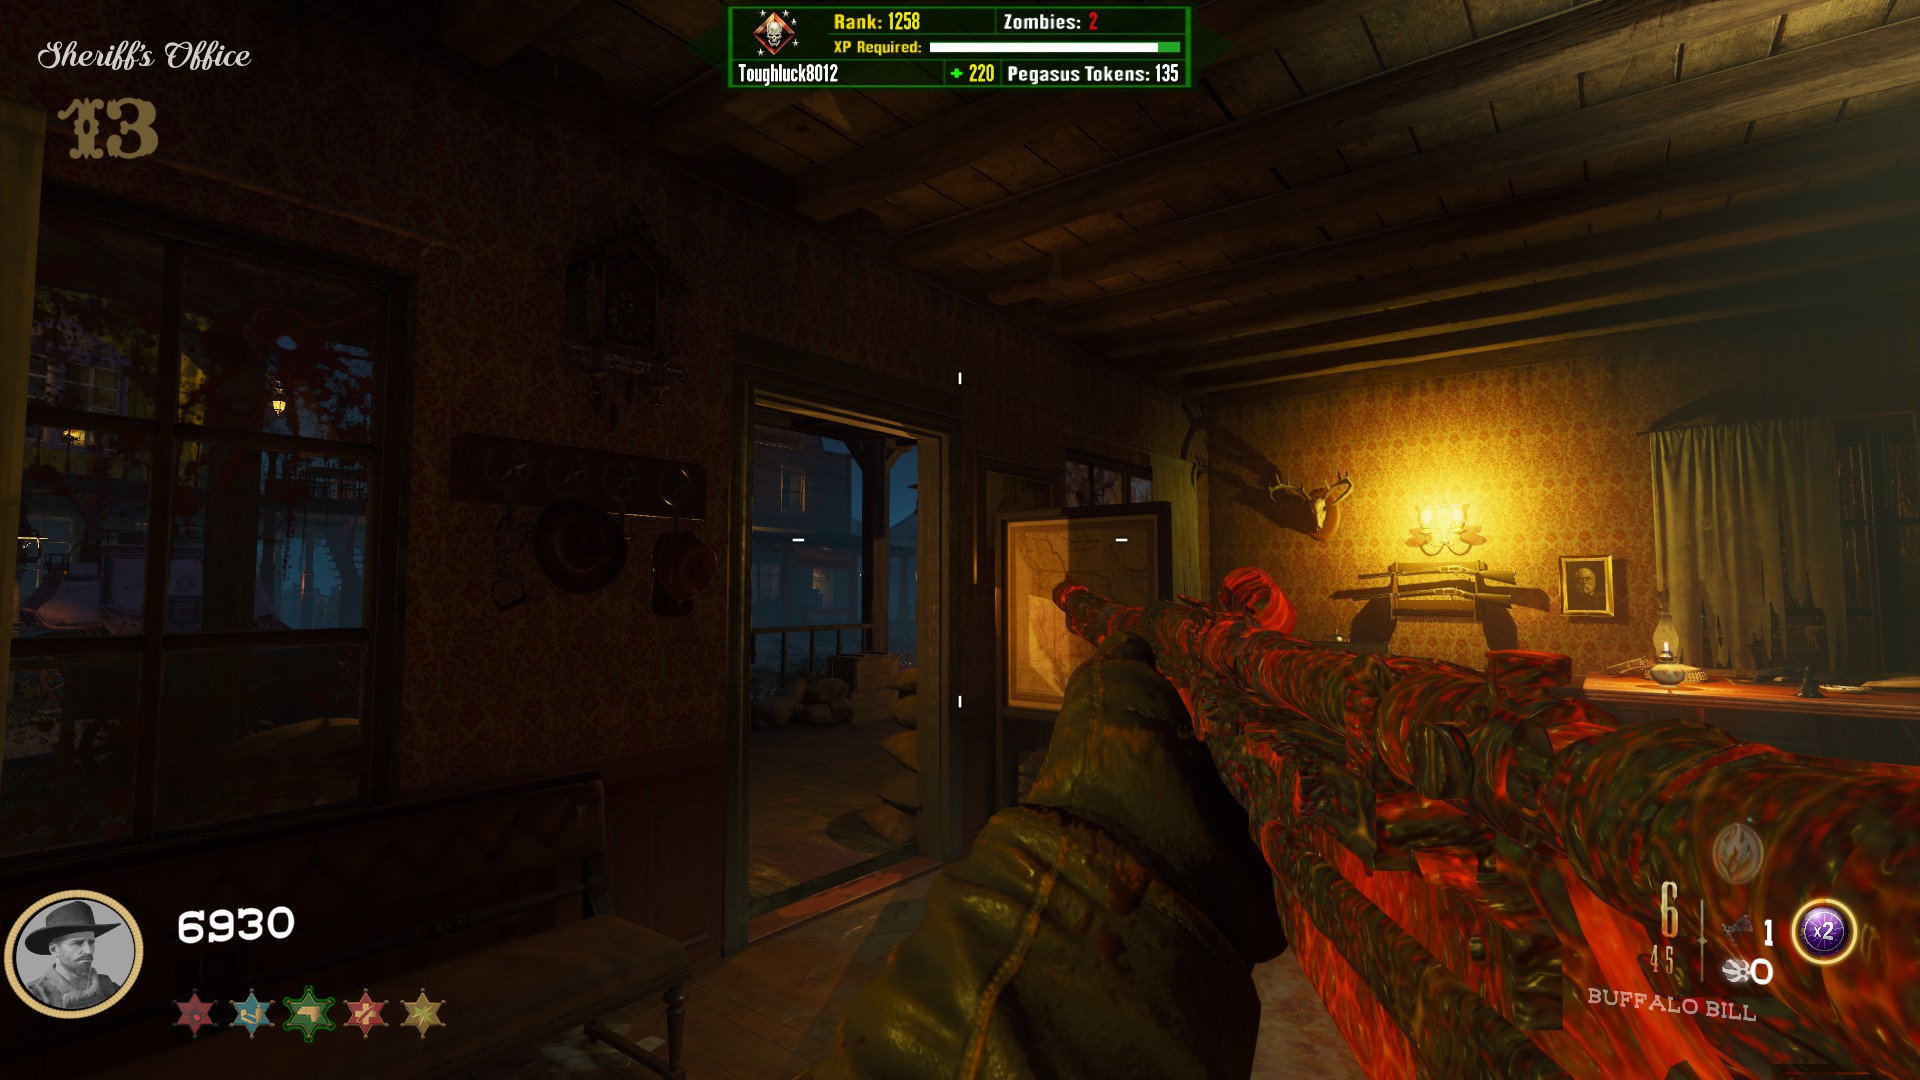
Location 5
In the Sheriff's Office, mounted right next to the front door
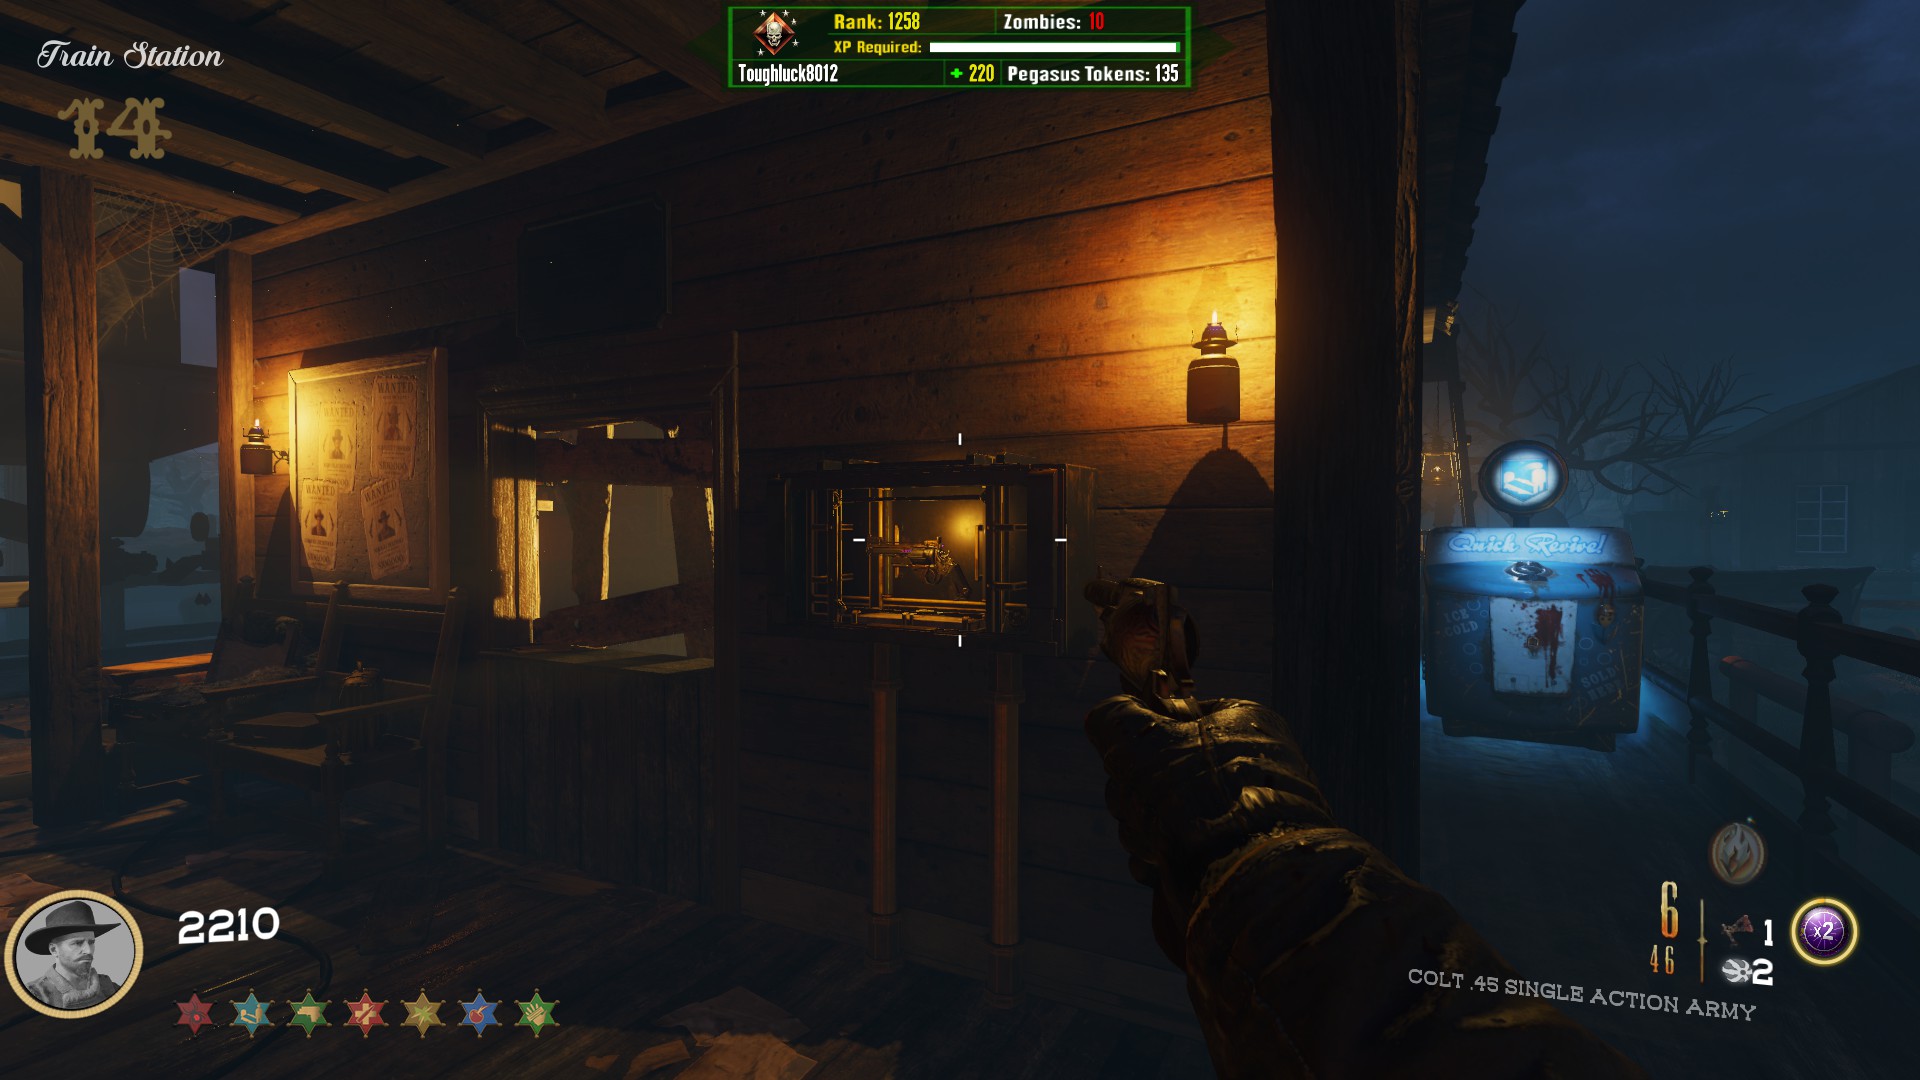
Upon activating the last clock, text will pop up on your screen telling you that you are ready to claim your reward. Head to the Train Station in spawn. By the window next to Quick Revive, the weapon case containing your wonder weapon will now be unlocked.
 Electric Cherry is now unlocked, found in the Blacksmith Barn (first building on the right-hand side from spawn)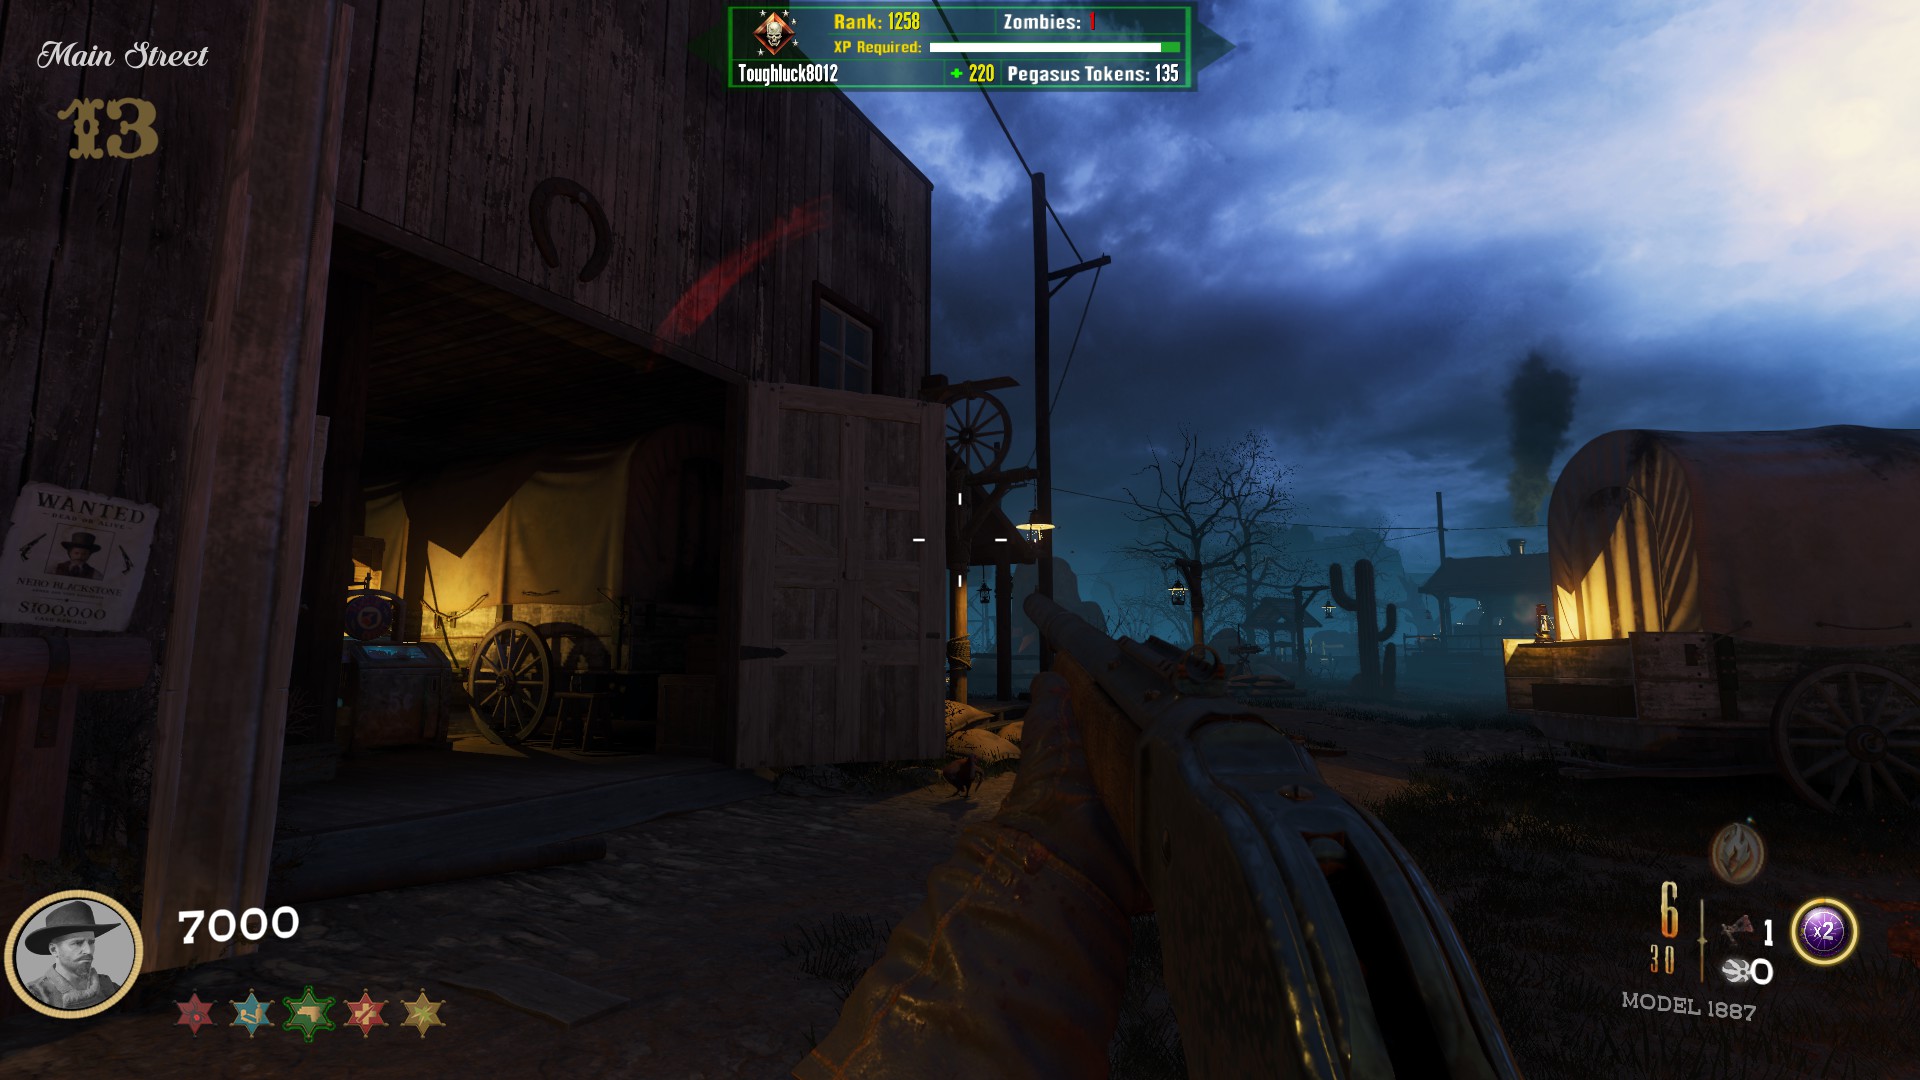
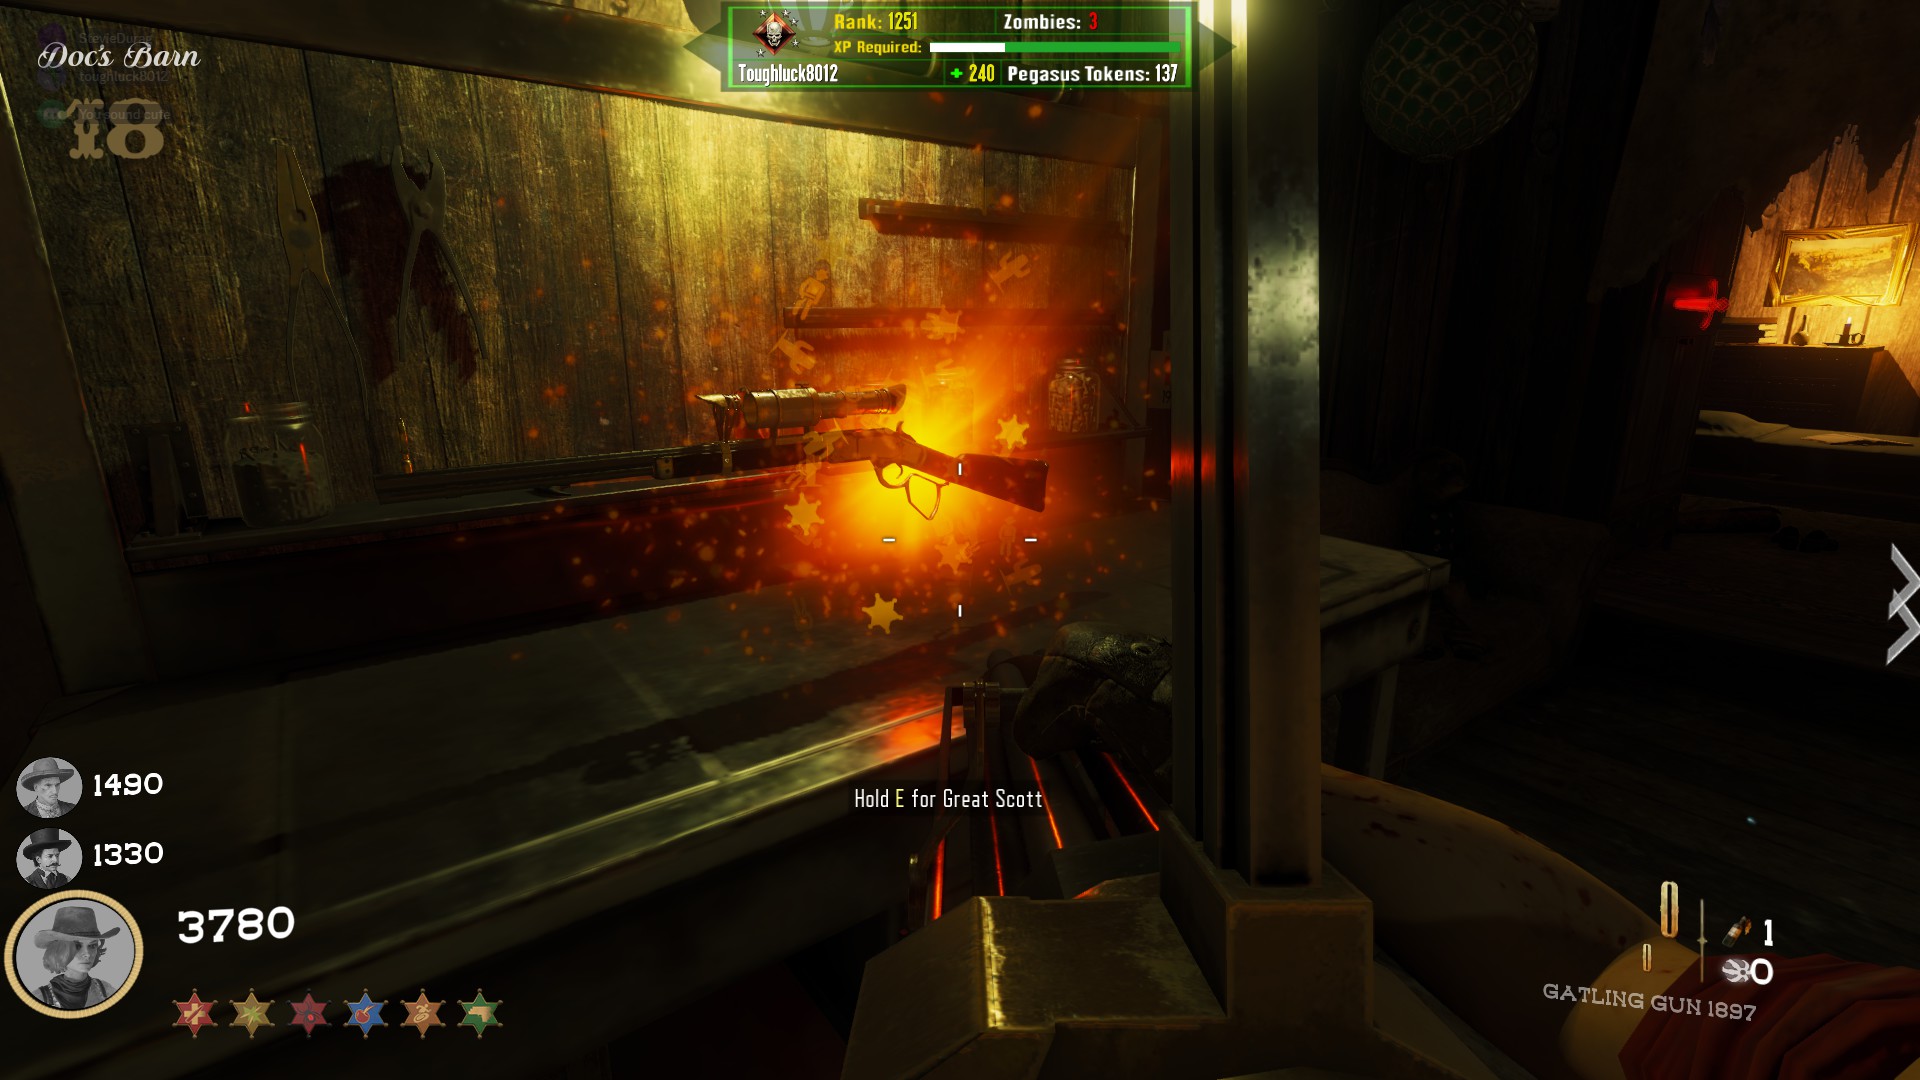
Free "Great Scott" Wonder Weapon
Complete up to and including step 2 of the main quest in order to be able to do this side easter egg
*NOTE: I highly recommend not pack-a-punching this weapon, as it gets worse when upgraded in my opinion. Also, PHD pairs nicely with this weapon.
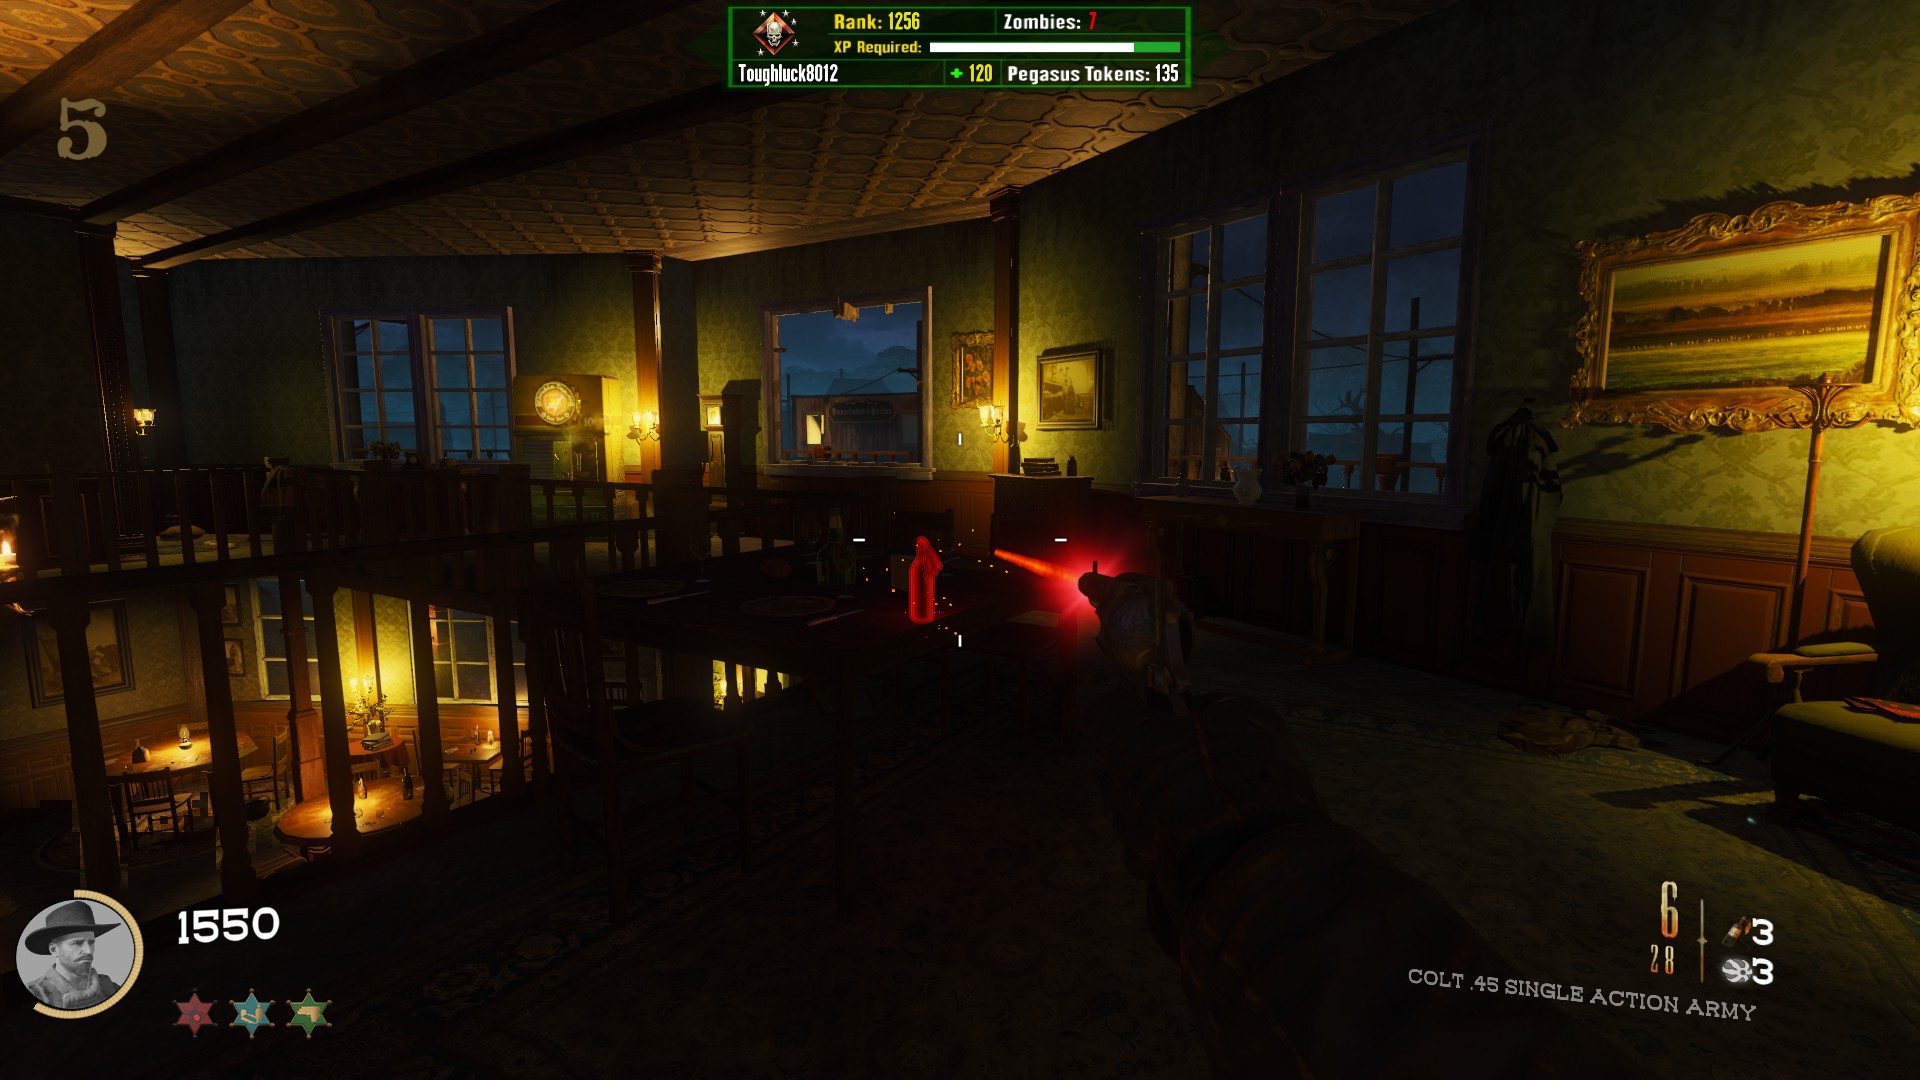
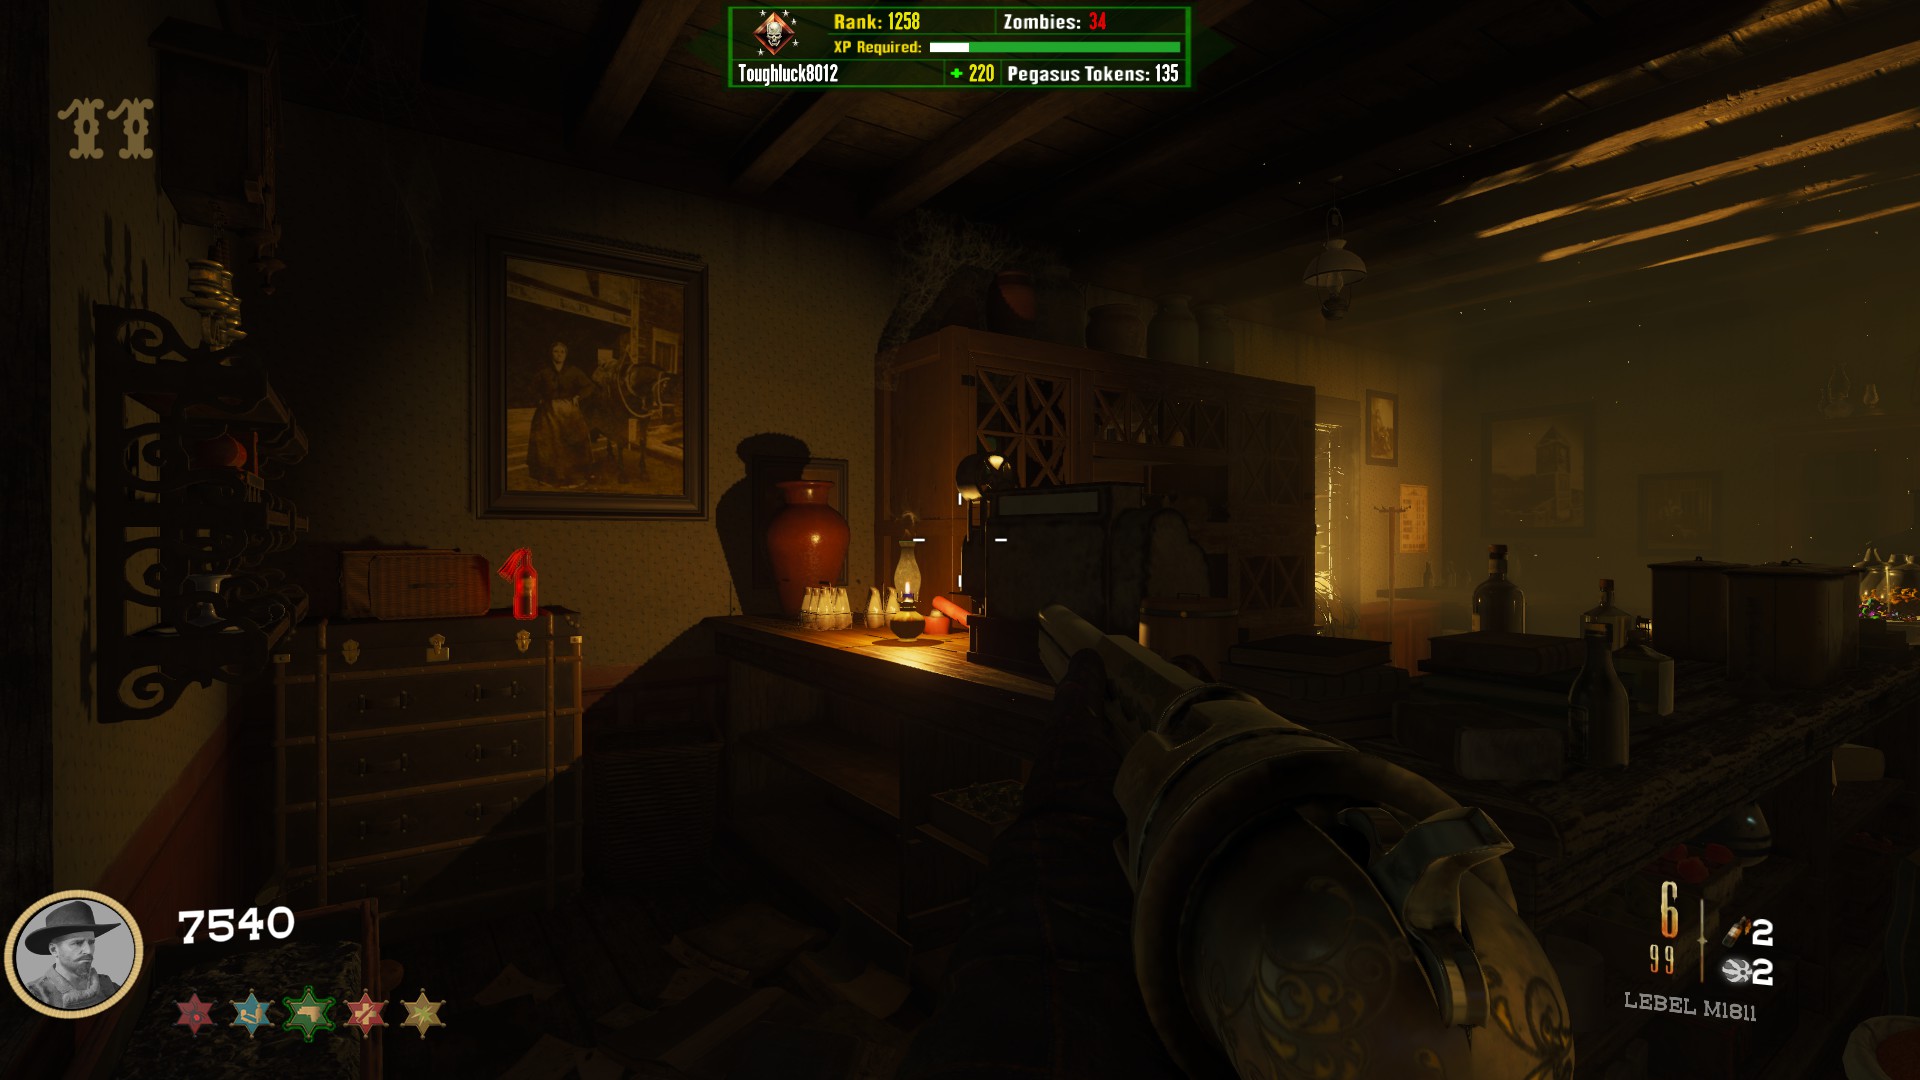
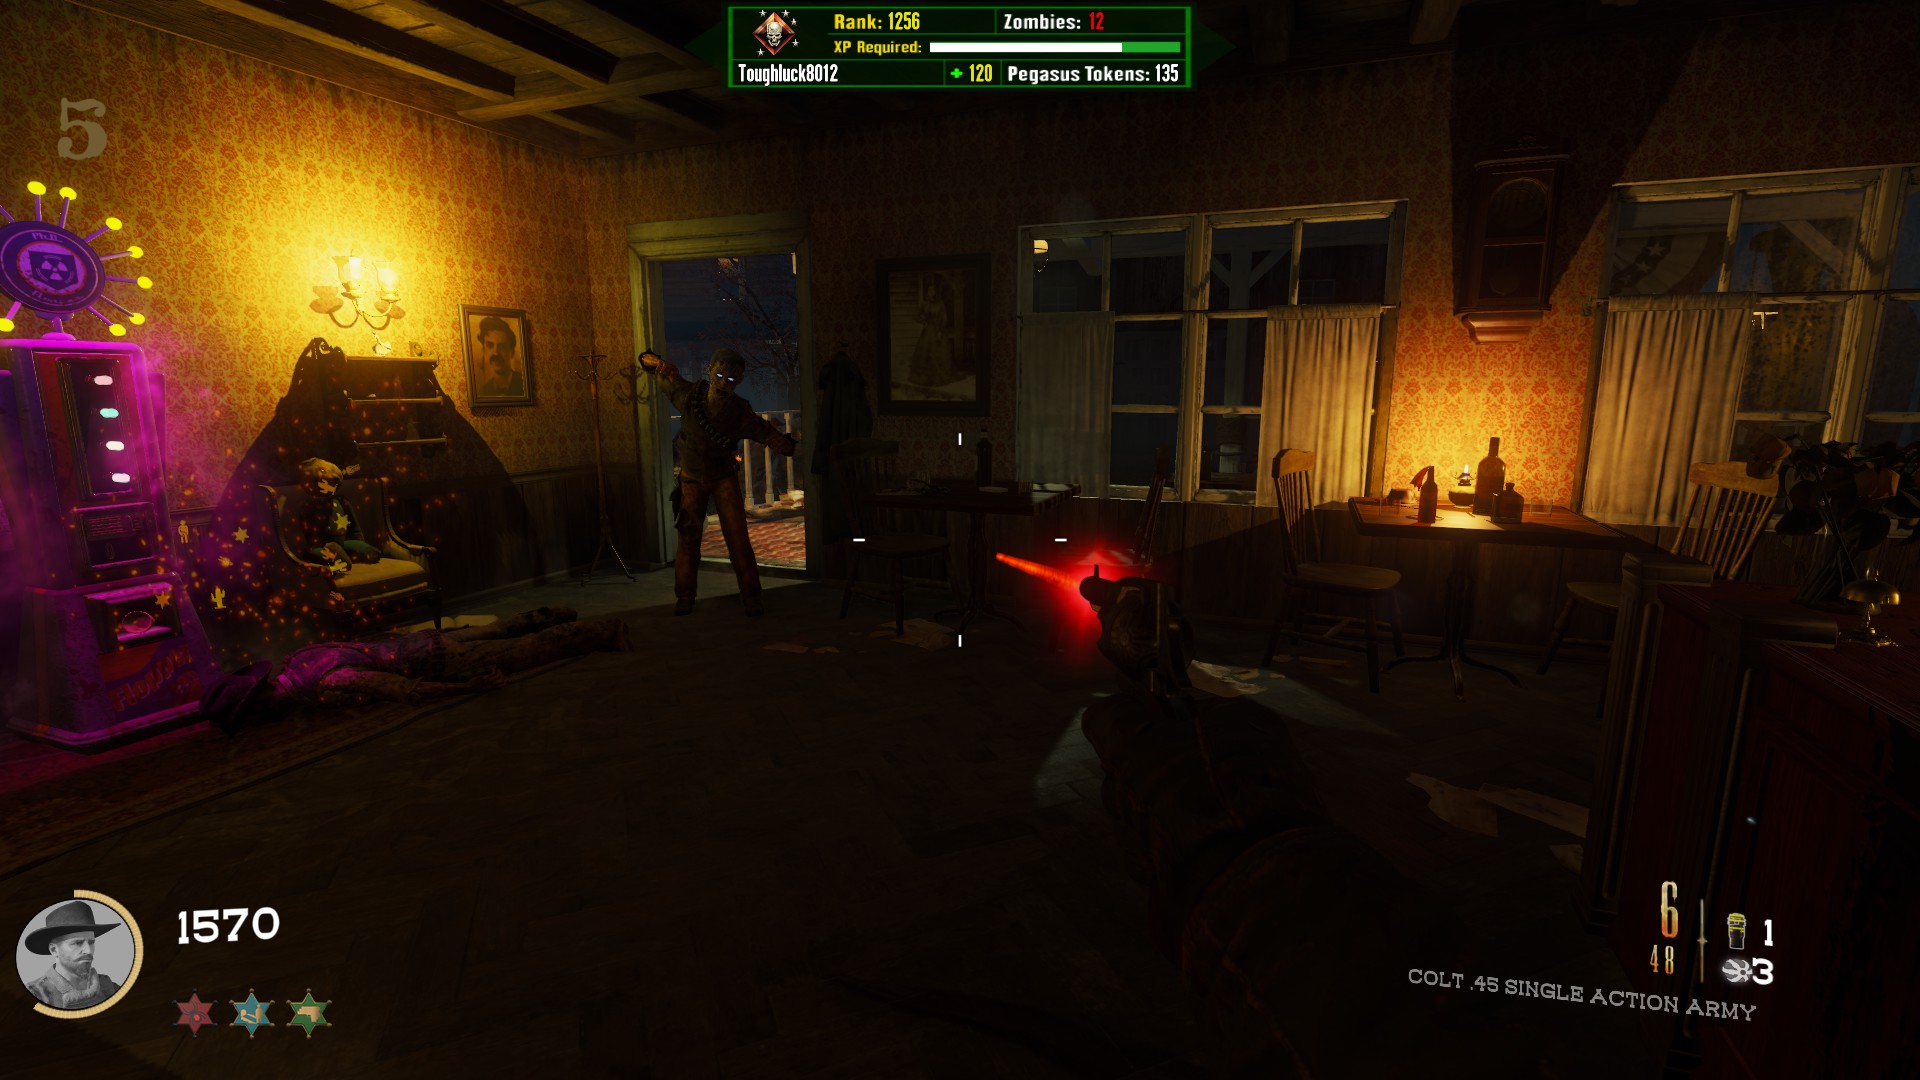
You will need to purchase molotovs from one of a few places. They replace your special grenade slot and only cost $250.
Molotov Location 1On a table on the second floor of the saloon
 Molotov Location 2
In the Grocery Store, to the left of the main counter
 Molotov Location 3
In the Hotel, a table near the front door, under the clock
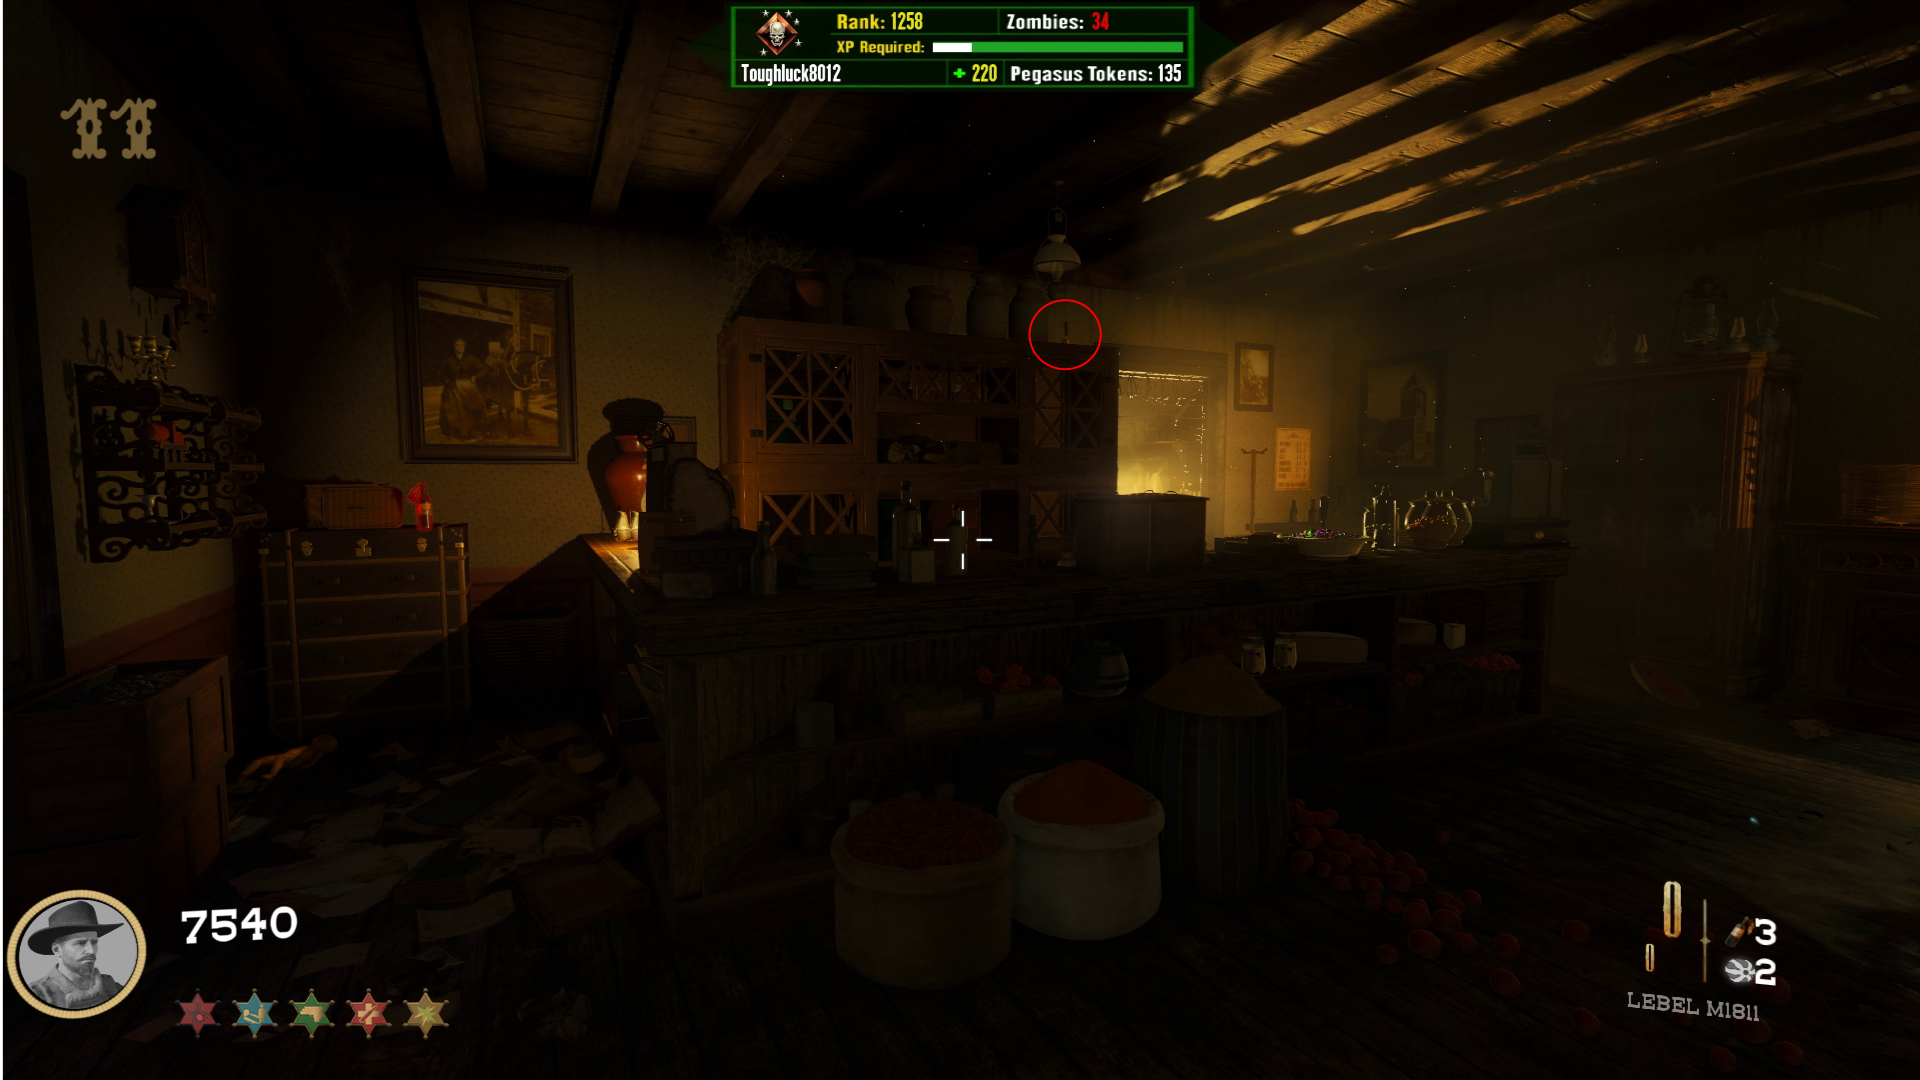
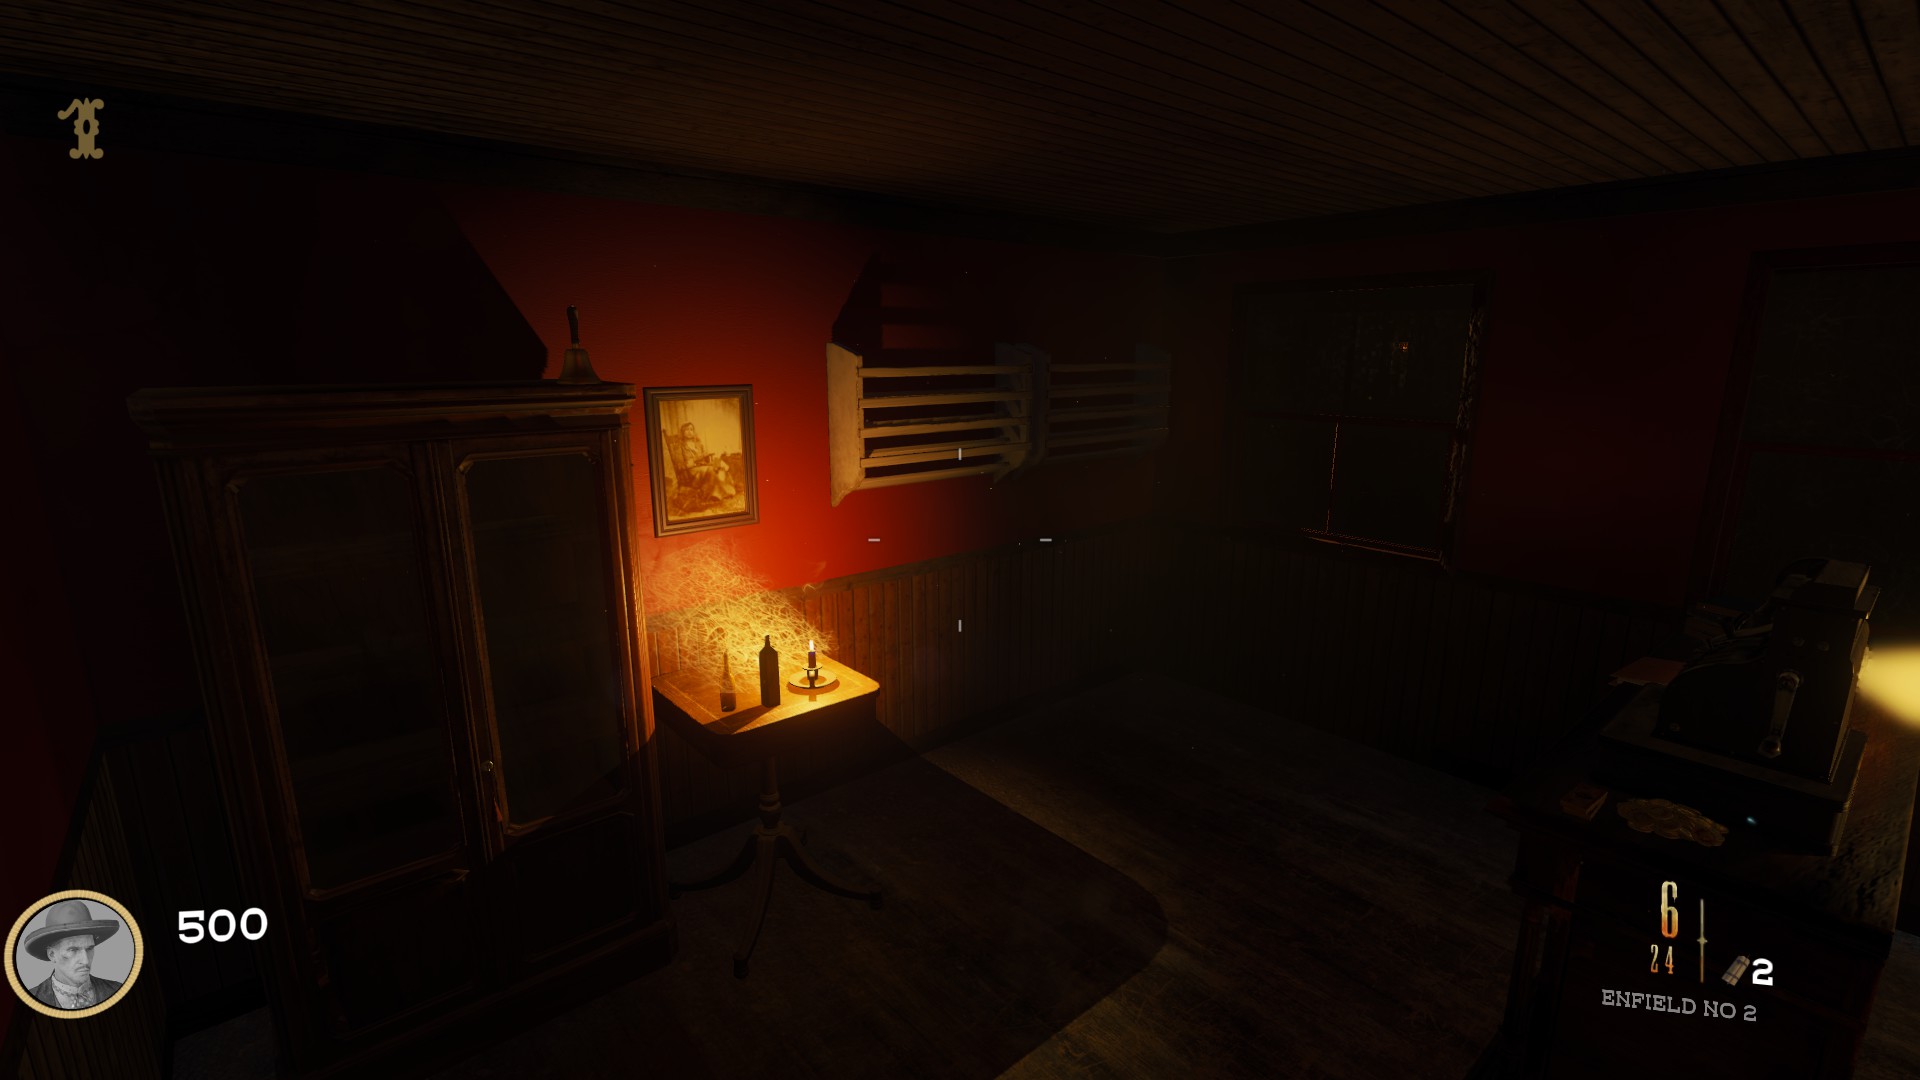
Throw a molotov at the handheld service bells at each of the following four locations:
Location 1In the Grocery Store on the top right of the shelf in the back
Location 2
At the Train Station in spawn, in the window next to the Alistair's Folly wonder weapon box
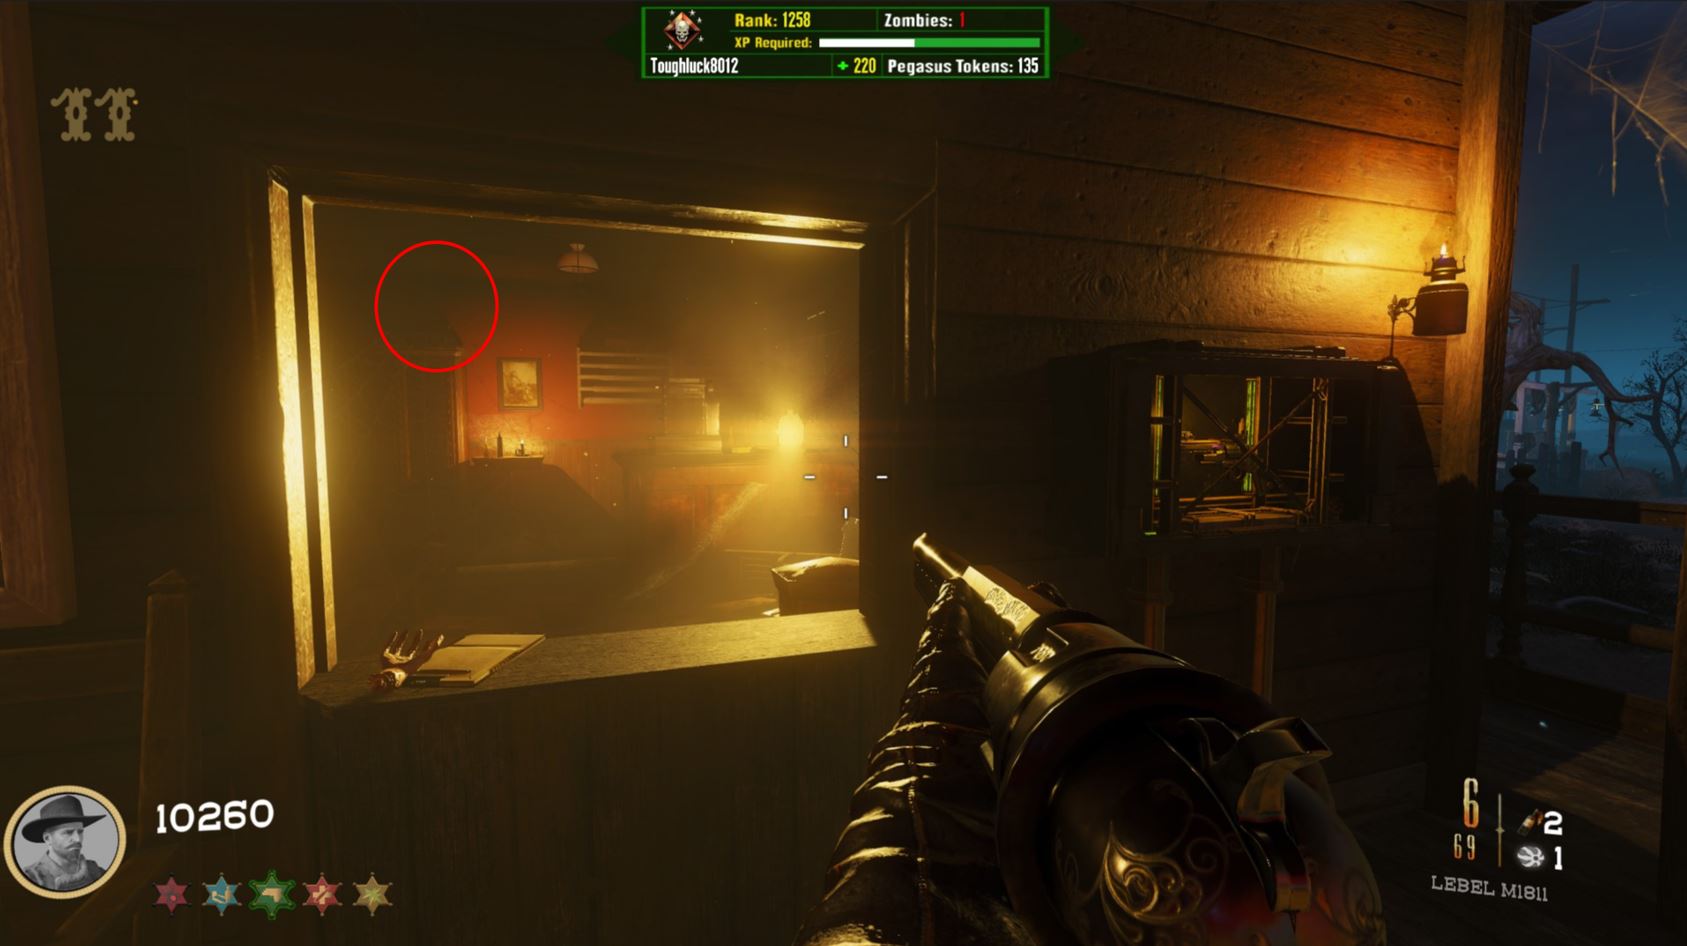
Location 3
In the Sheriff's Office, behind the main desk
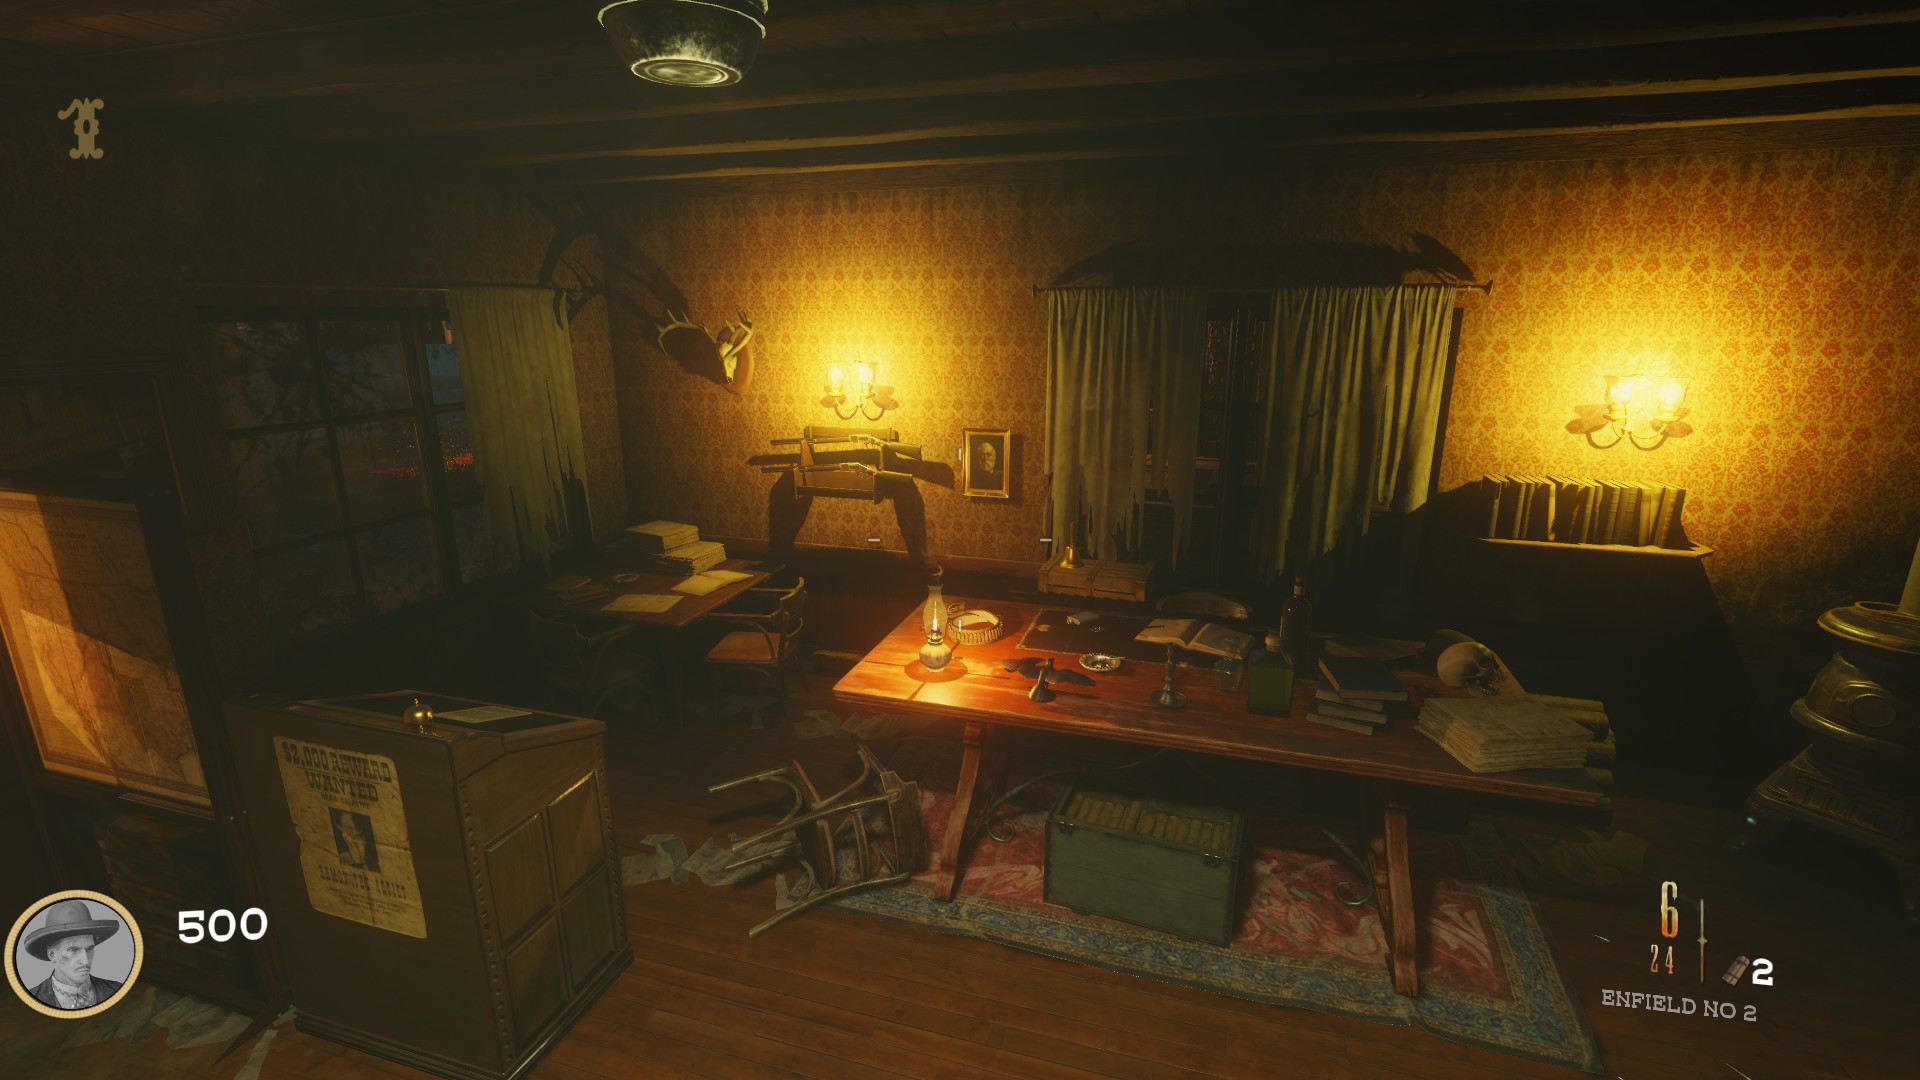
Location 4
On the top left of the bar in the saloon
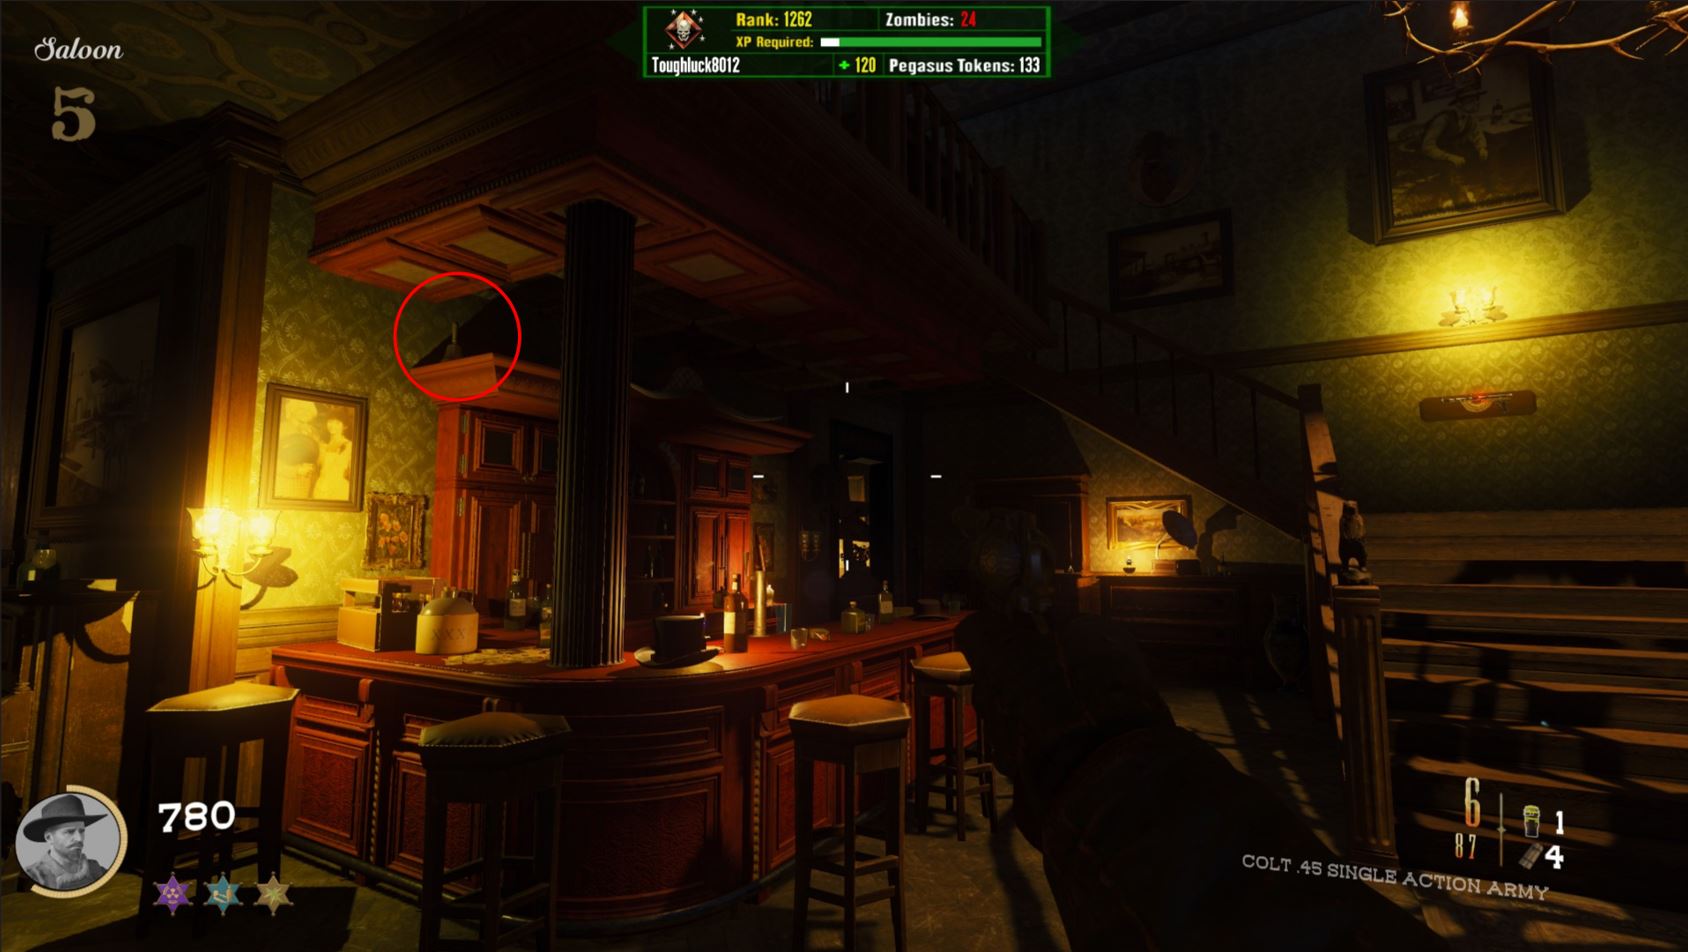
Claim
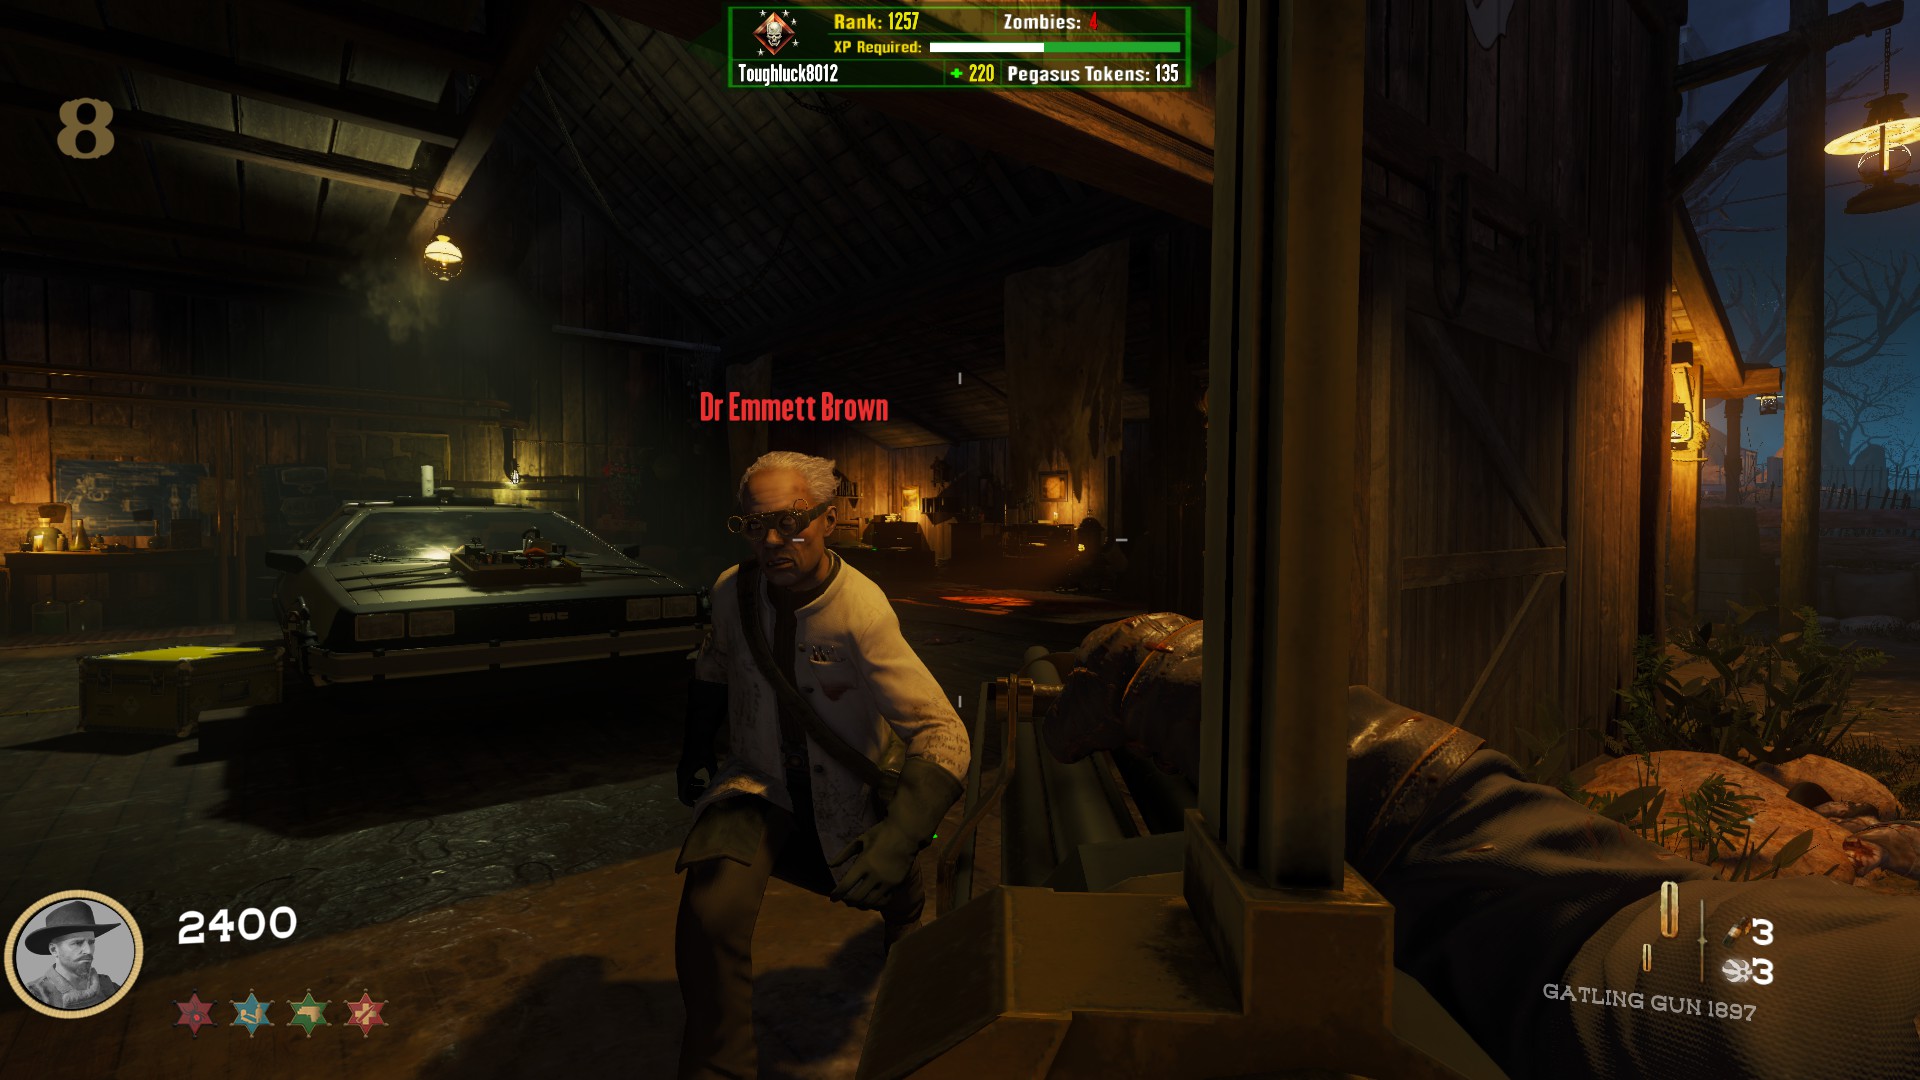
Stables Barn on the crafting table in the back behind the Delorean
Free Wunderwaffe DG-2
Free Thundergun
Musical Easter Eggs
- Johnny Cash- Rusty Cage
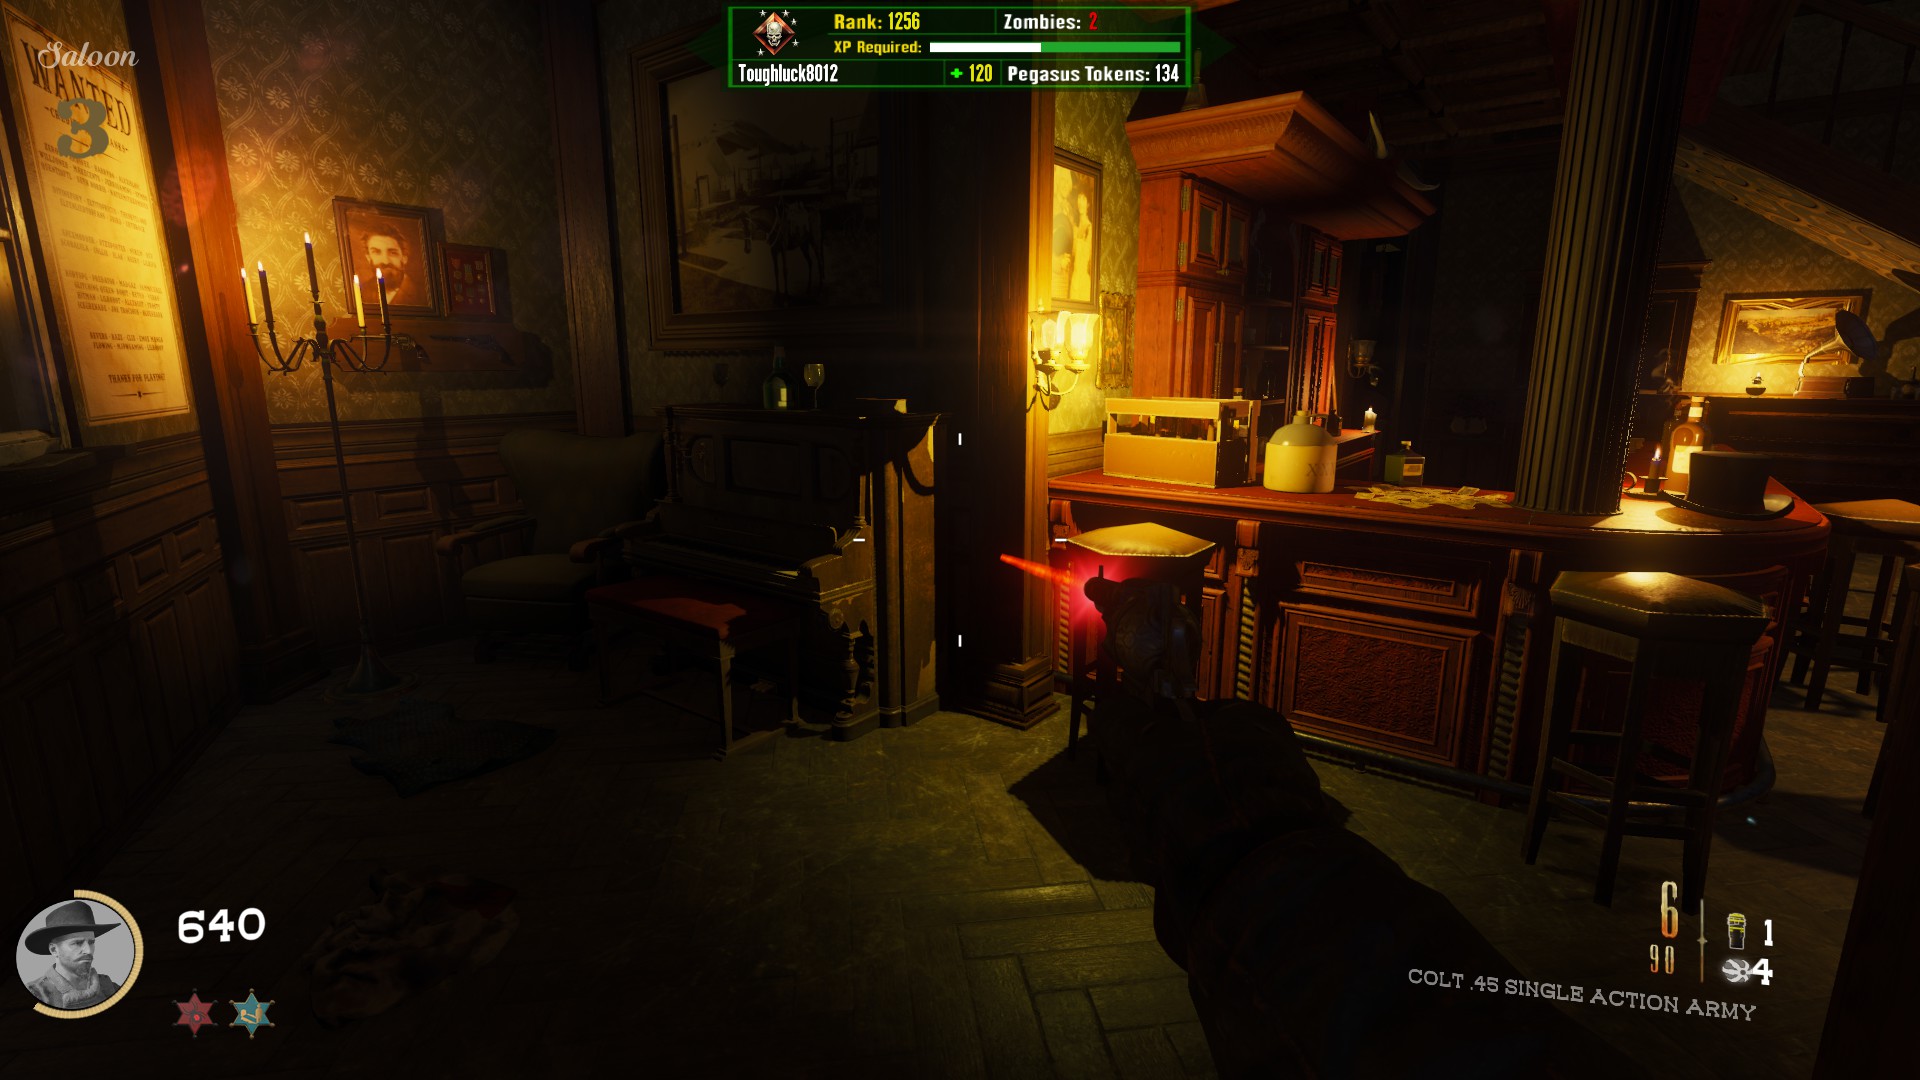
 2) Enter the saloon and on the tight left by the bar is a piano. Interacting with it will cause it to start playing a little jingle.
 3) While still in the saloon, on the right side of the bar (left of the staircase), there is a gramophone that can be interacted with. It too will begin to play music.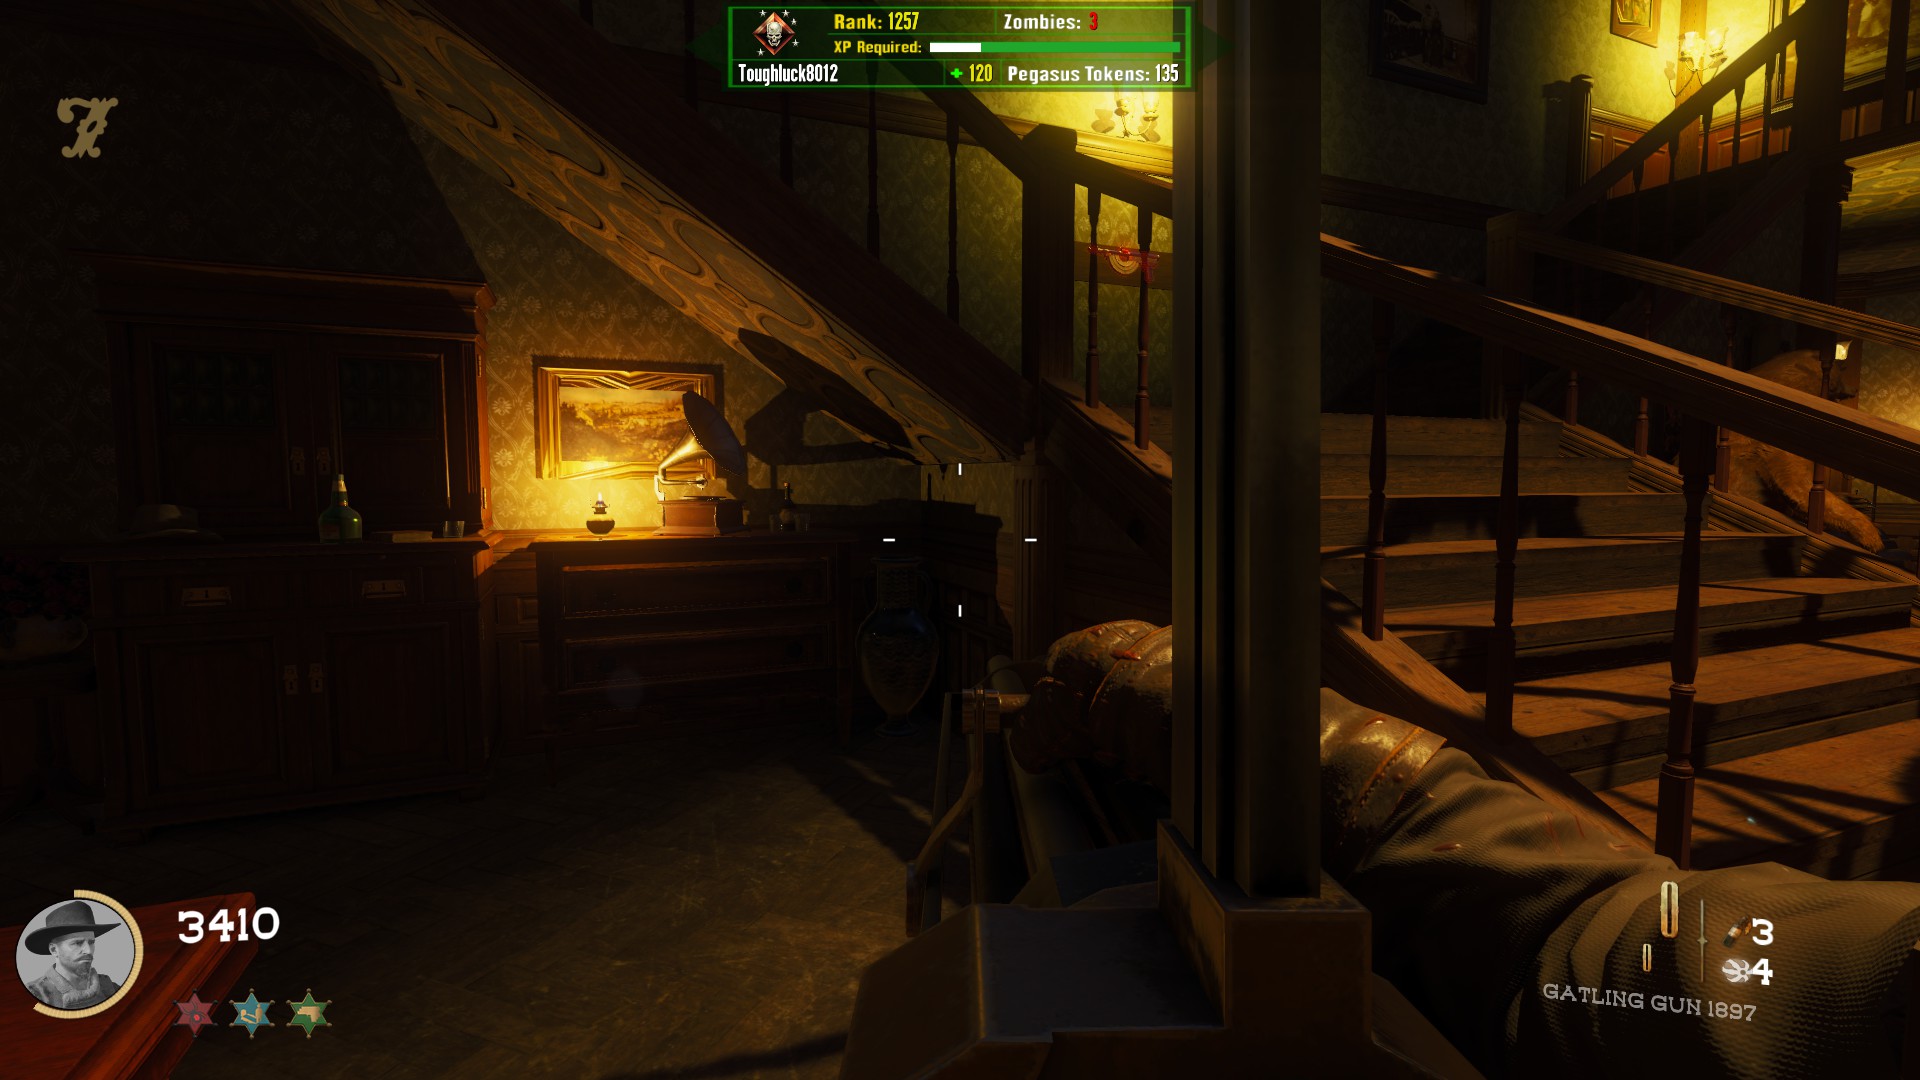
Main Quest Step 1: Collect 2 Skulls
Location 1
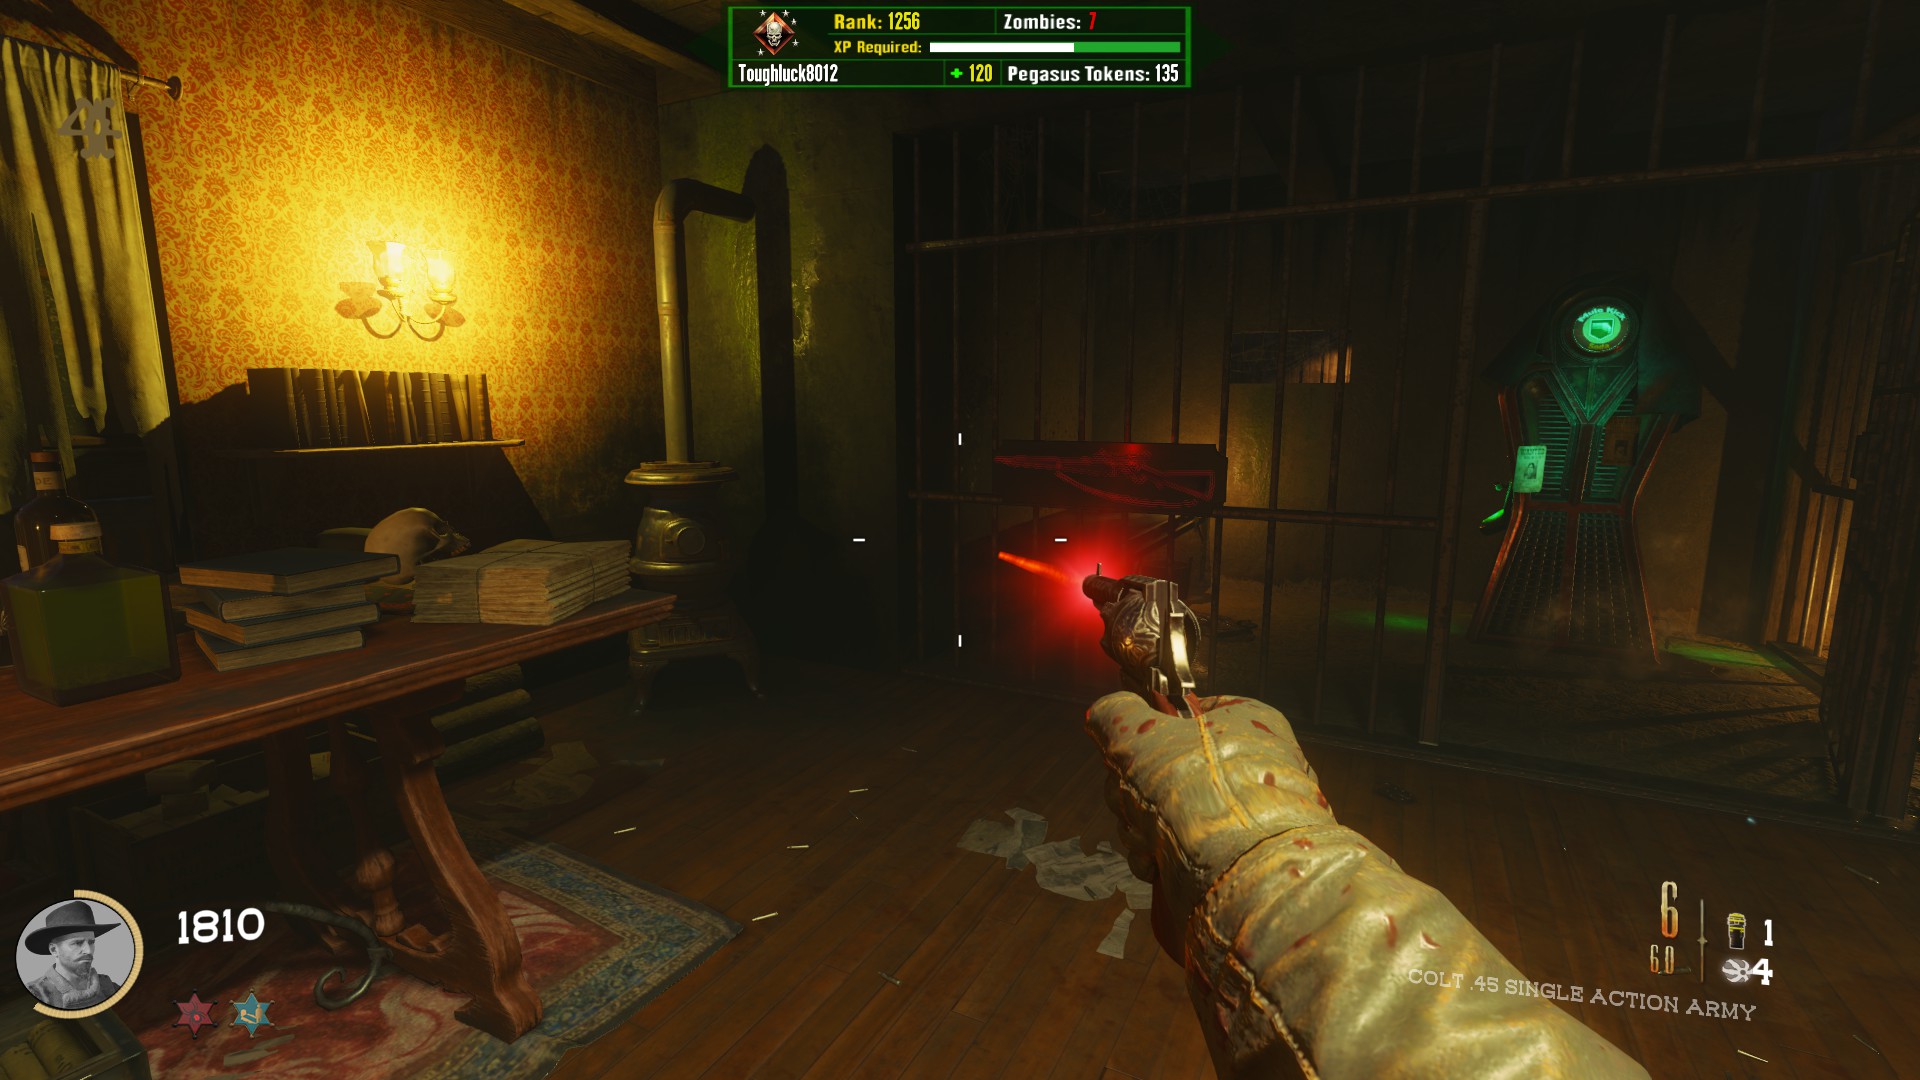
In the Sheriff's Office on the desk next to the cell containing a Perk Machine
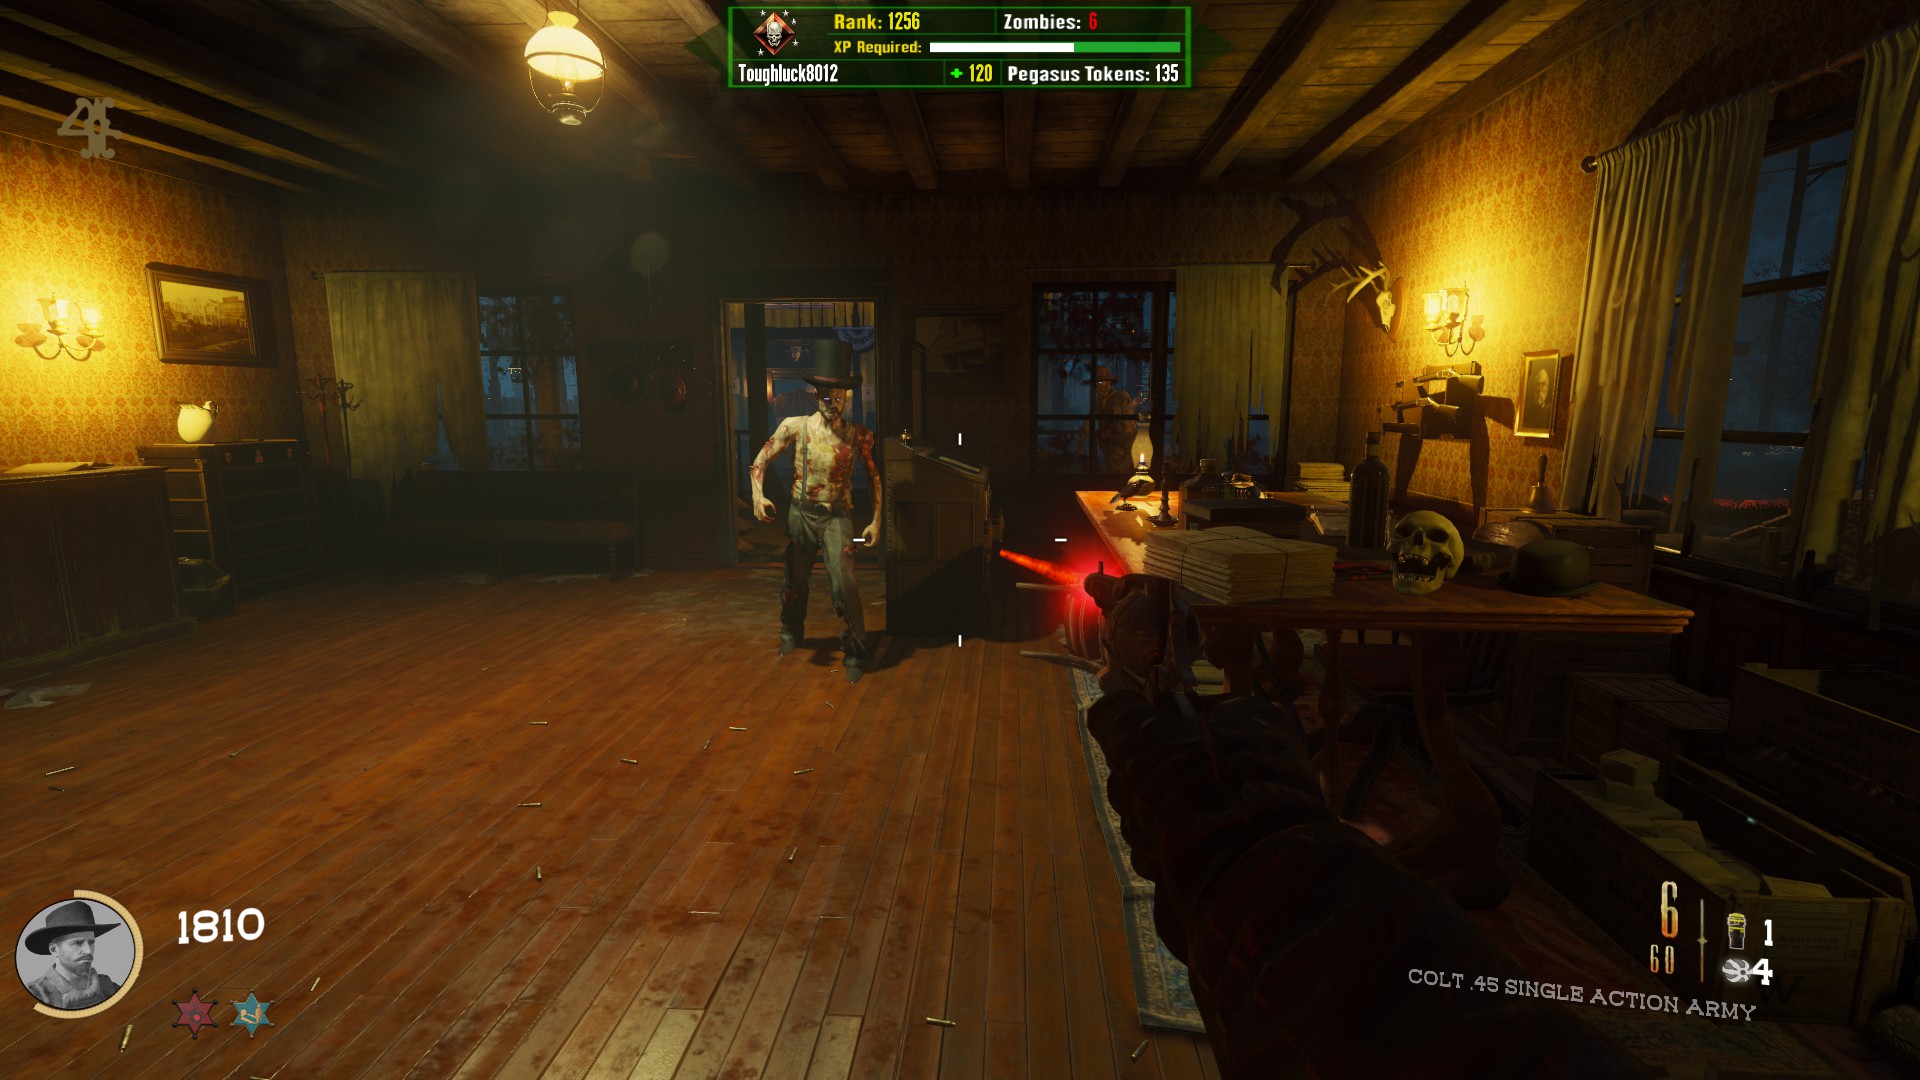
Location 2
In the Morgue (middle building on the left), on a table next to the perk machine
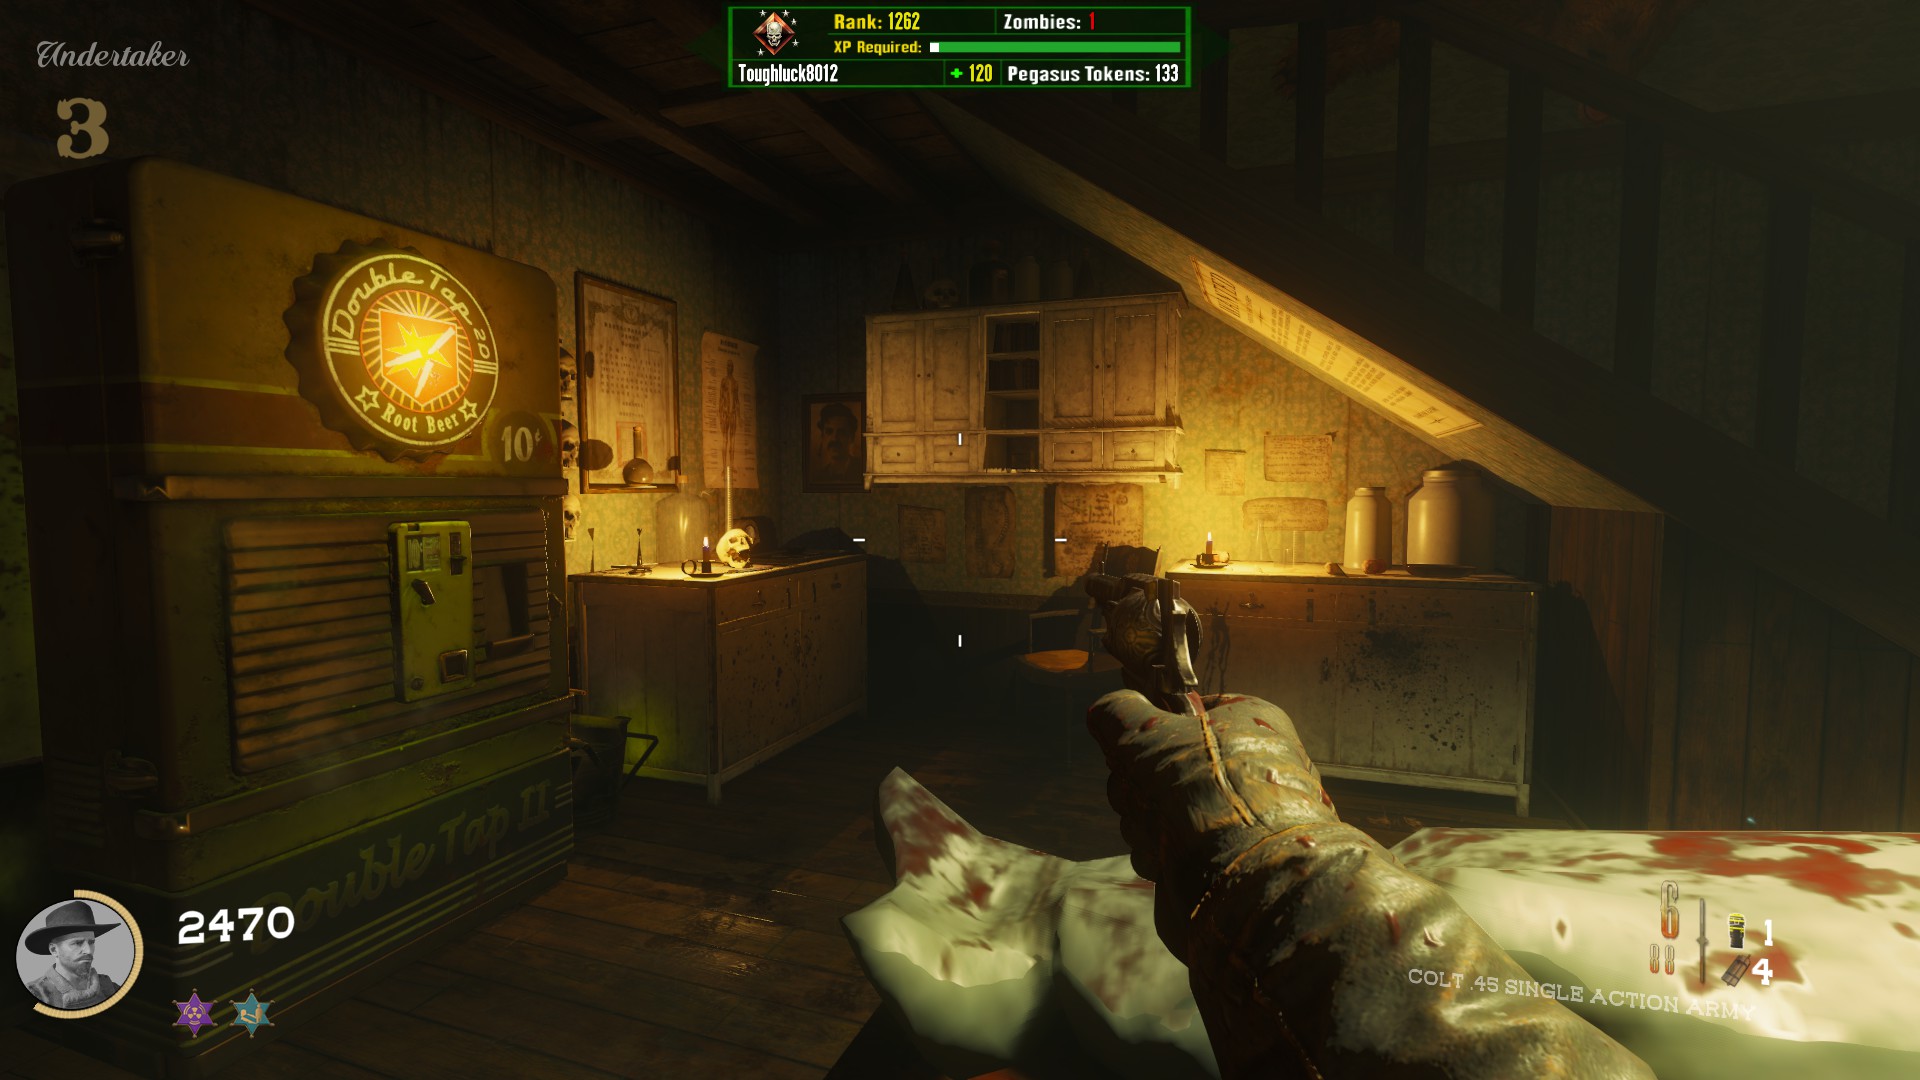
Location 3
In the Saloon, behind the bar
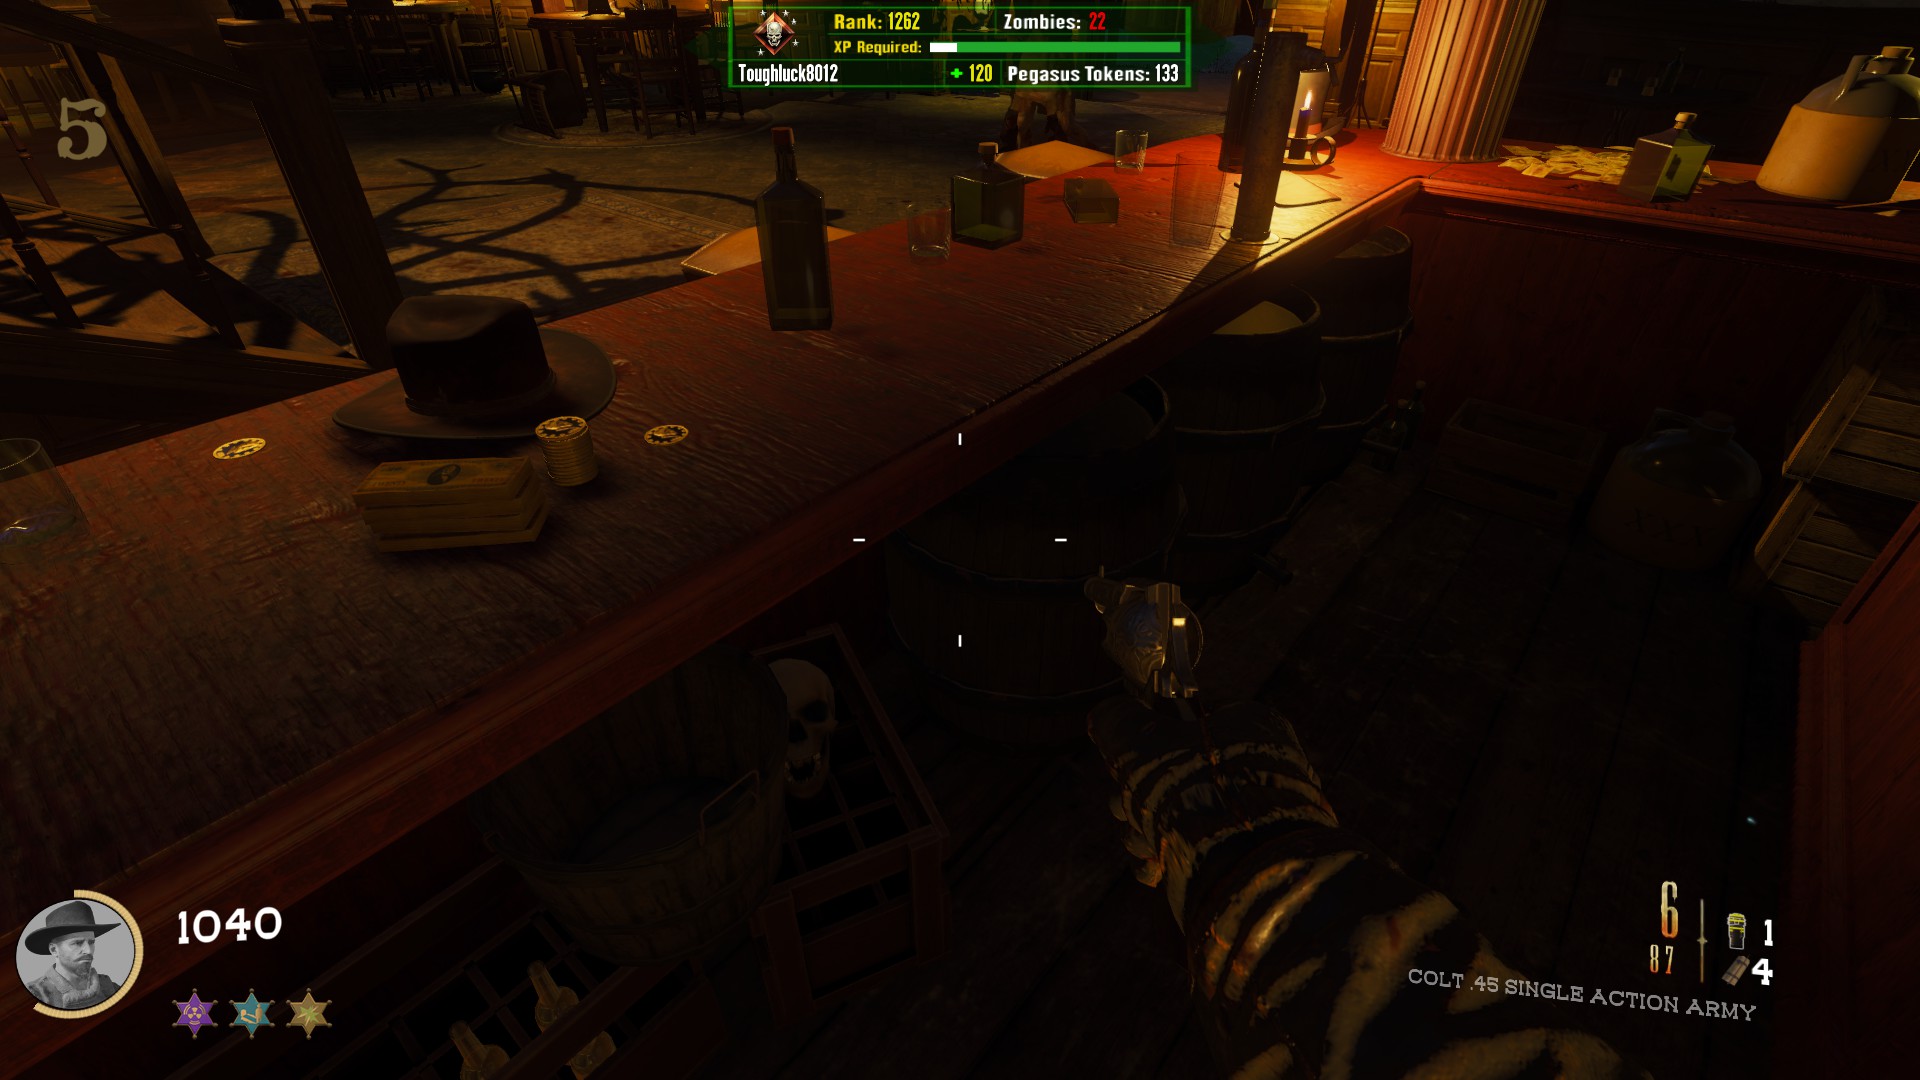
Location 4
In the Hotel, on the table next to the stairs
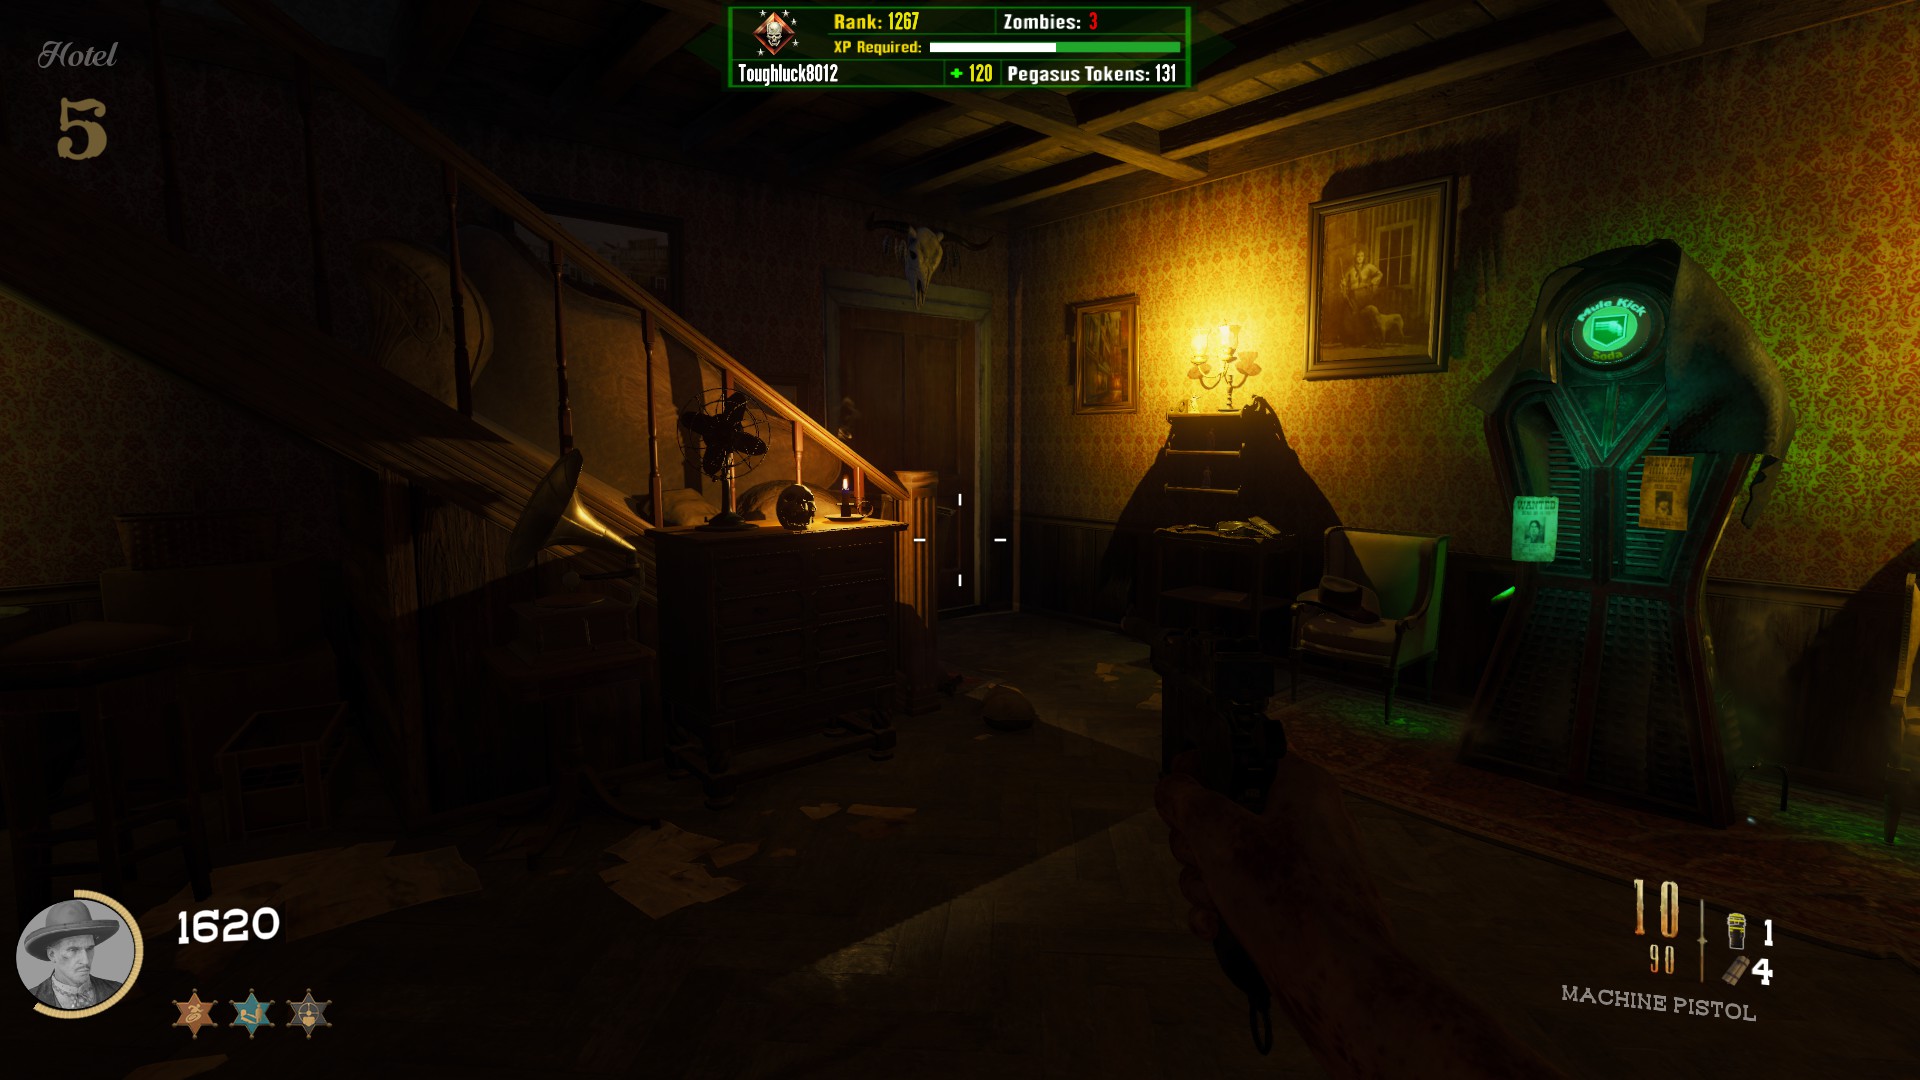
Location 5
On the second floor of the Saloon, on a chair at the end of the balcony
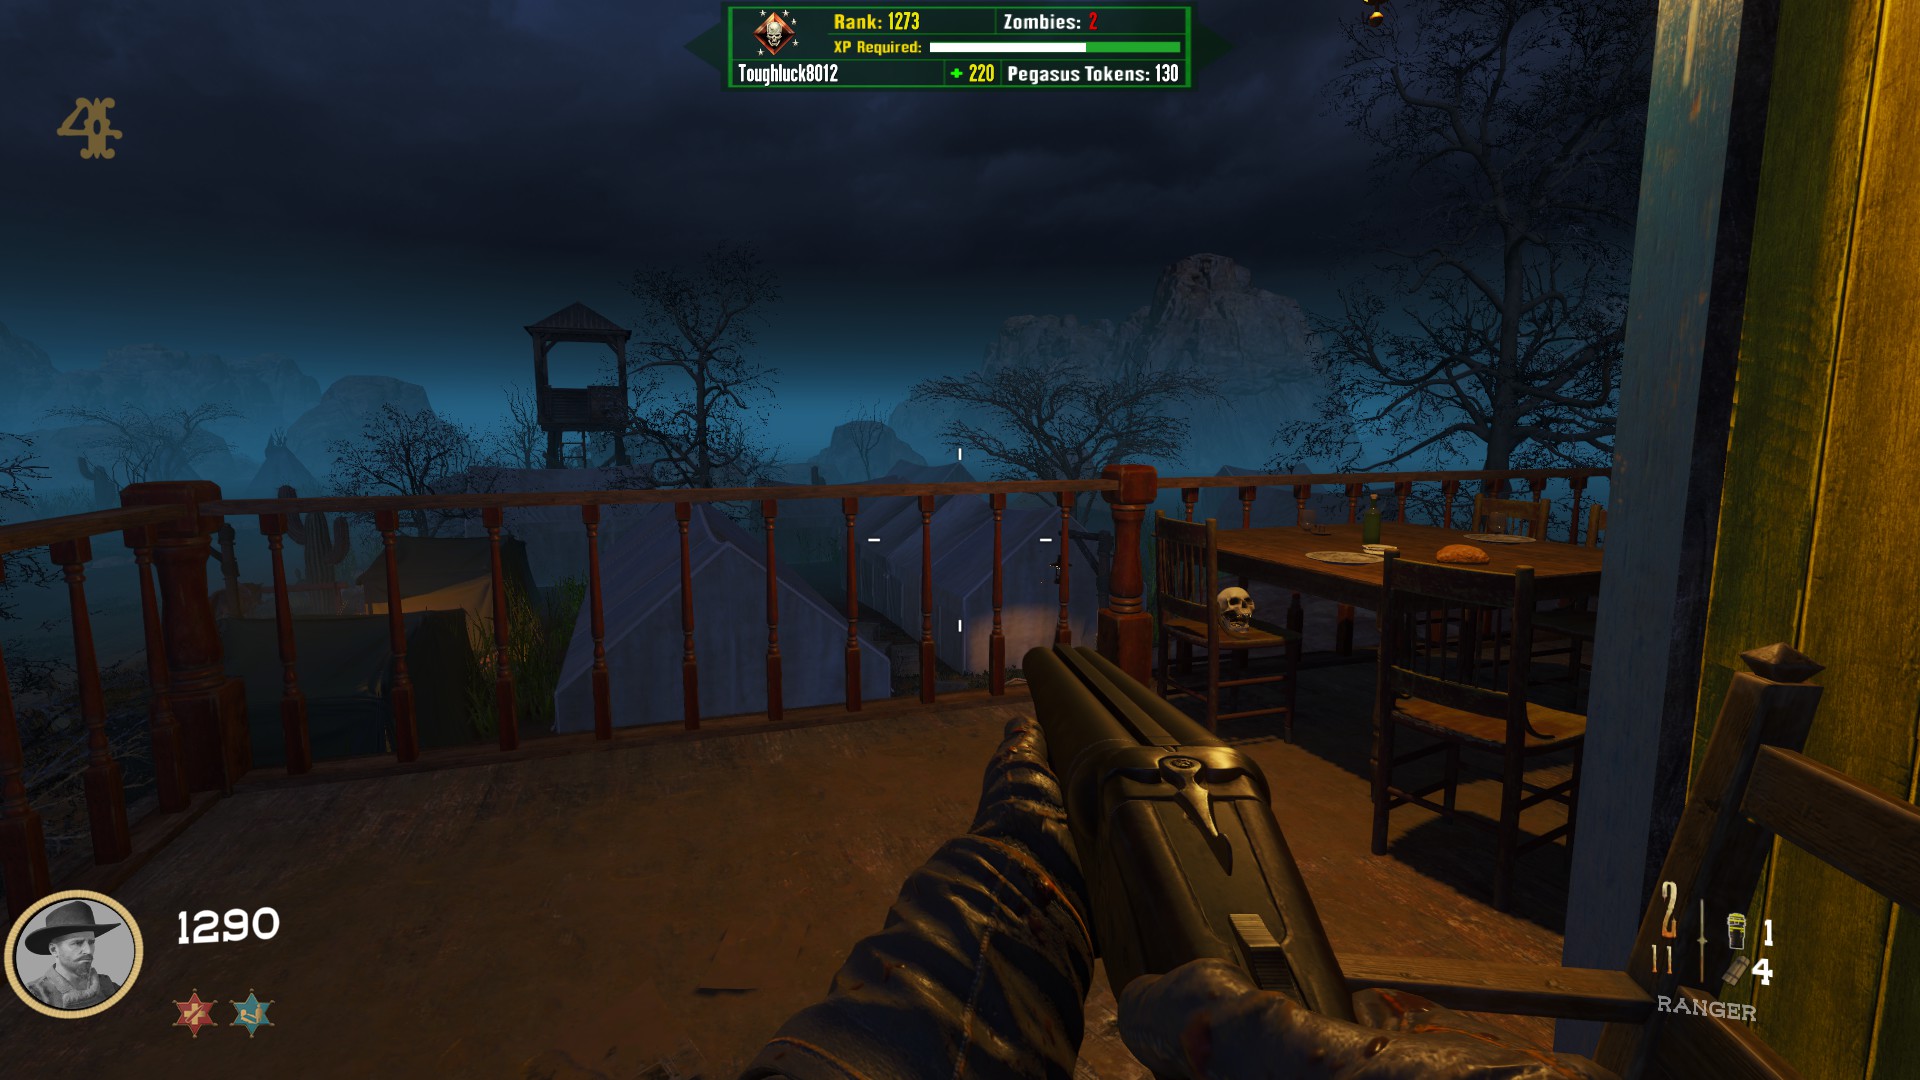
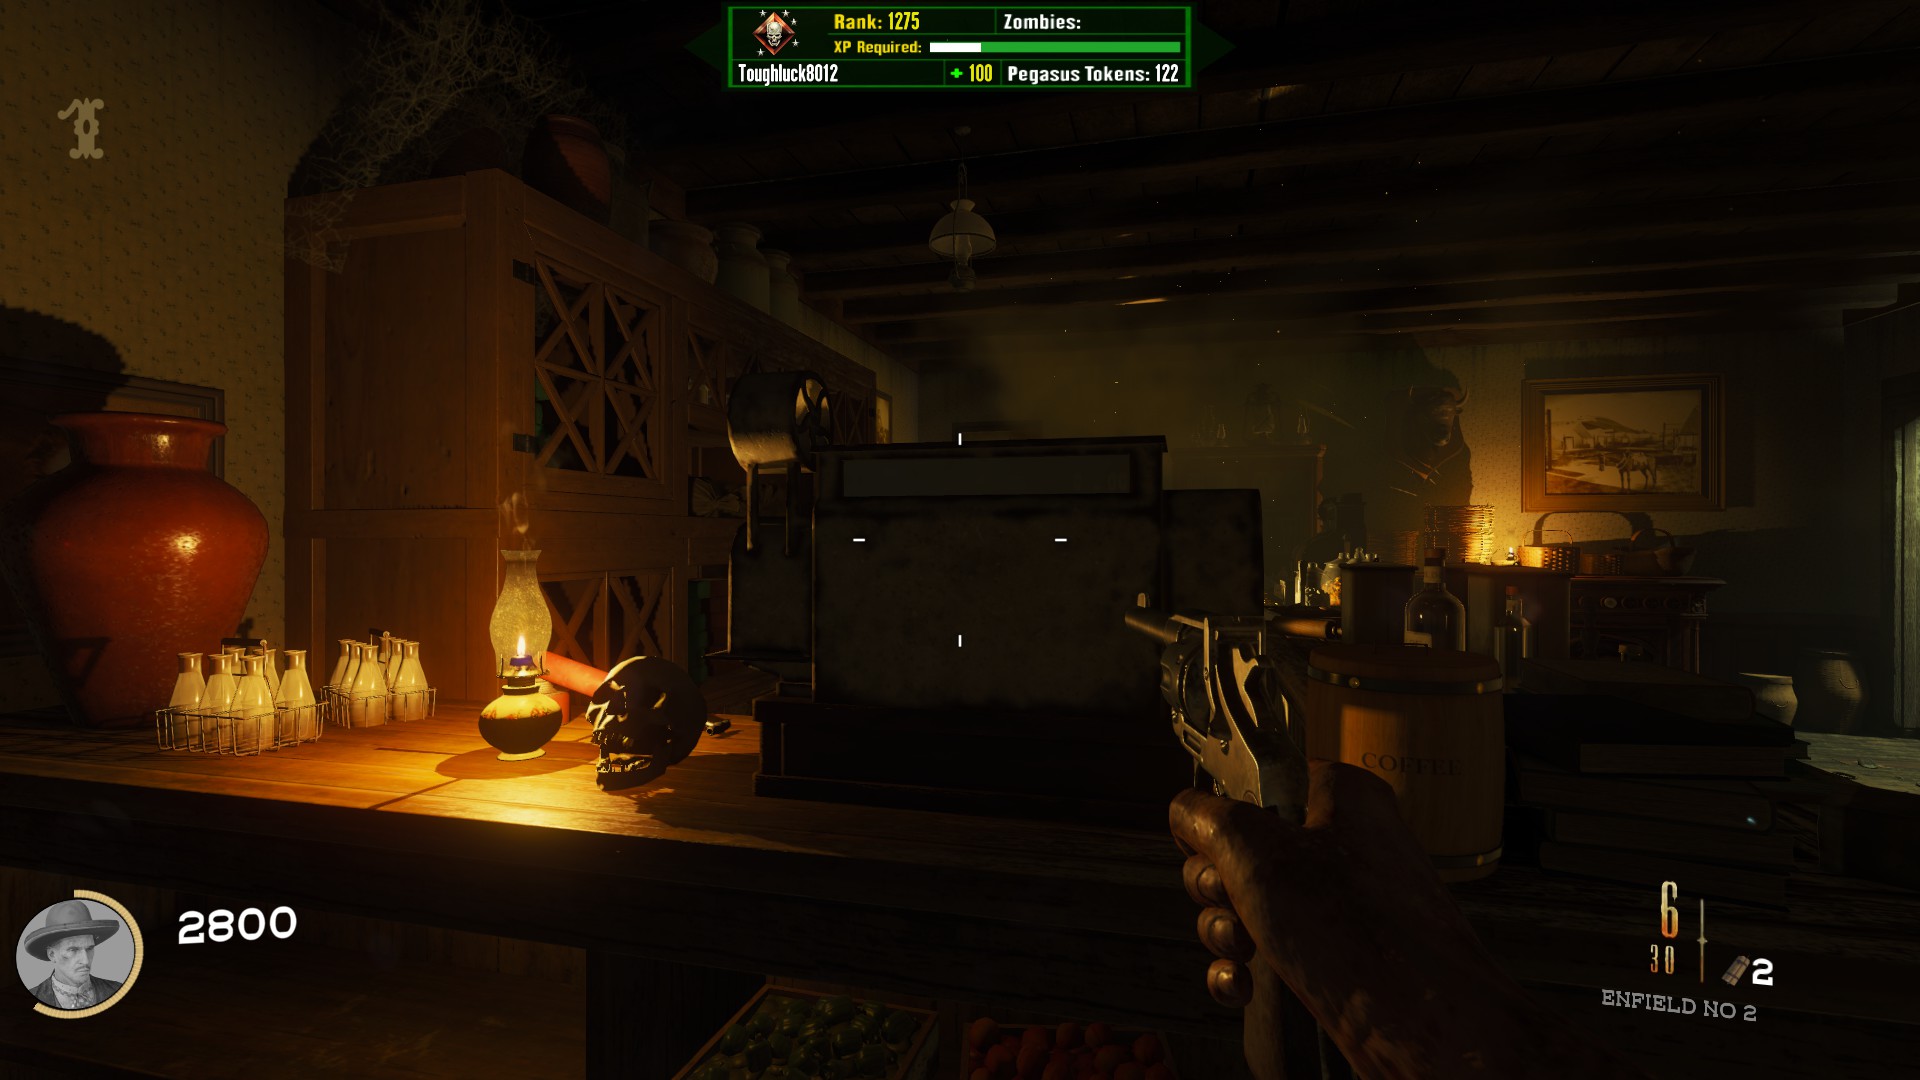
Location 6
In the Grocery Store, on the counter next to the cash register across from Juggernog
Main Quest Step 2: First Boss Fight
Make sure you are equipped with a decent perk and weapon set up for this boss fight, as the boss(es) can be pretty tanky.
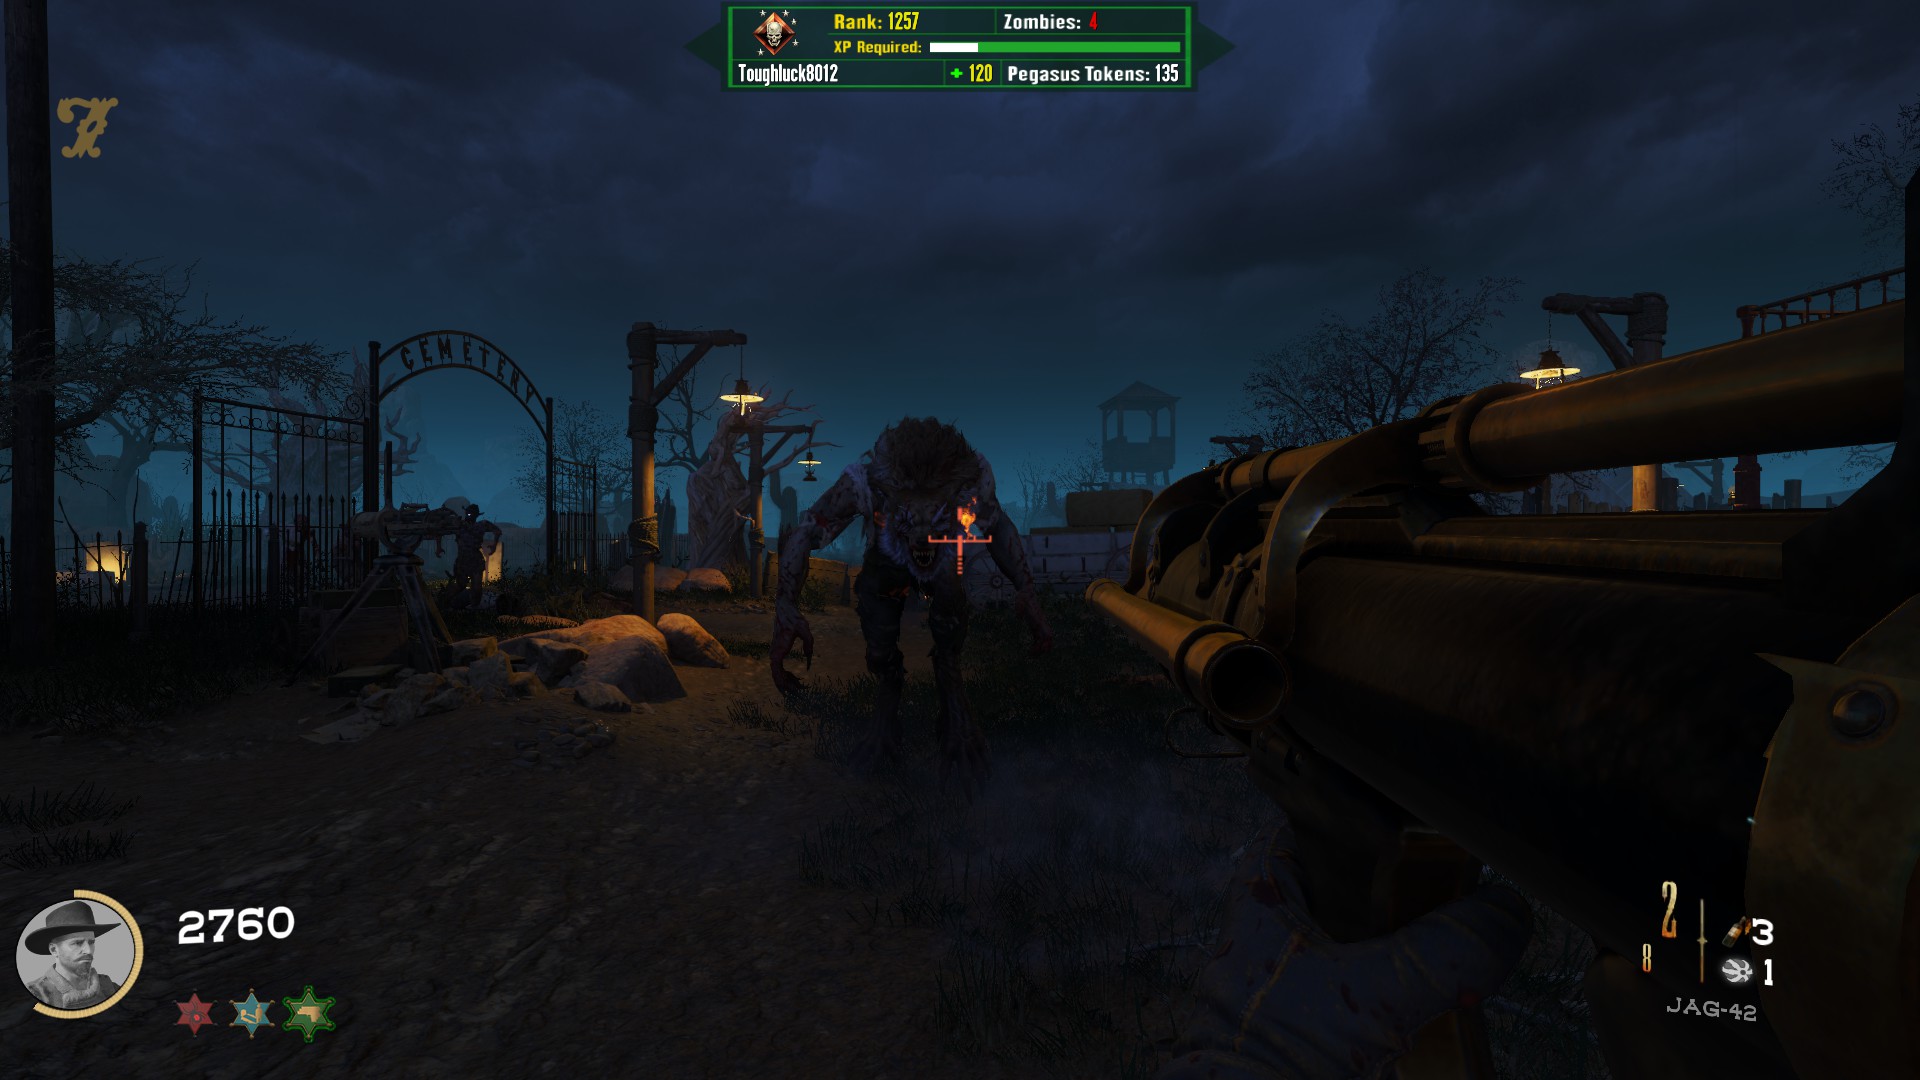
Head to the Graveyard. There will be two grave plots with large sticks coming out of the ground on either side of an exposed coffin. Place your skulls on the sticks to summon the boss. The key to the panel at the Stables Barn will spawn in front of the grave.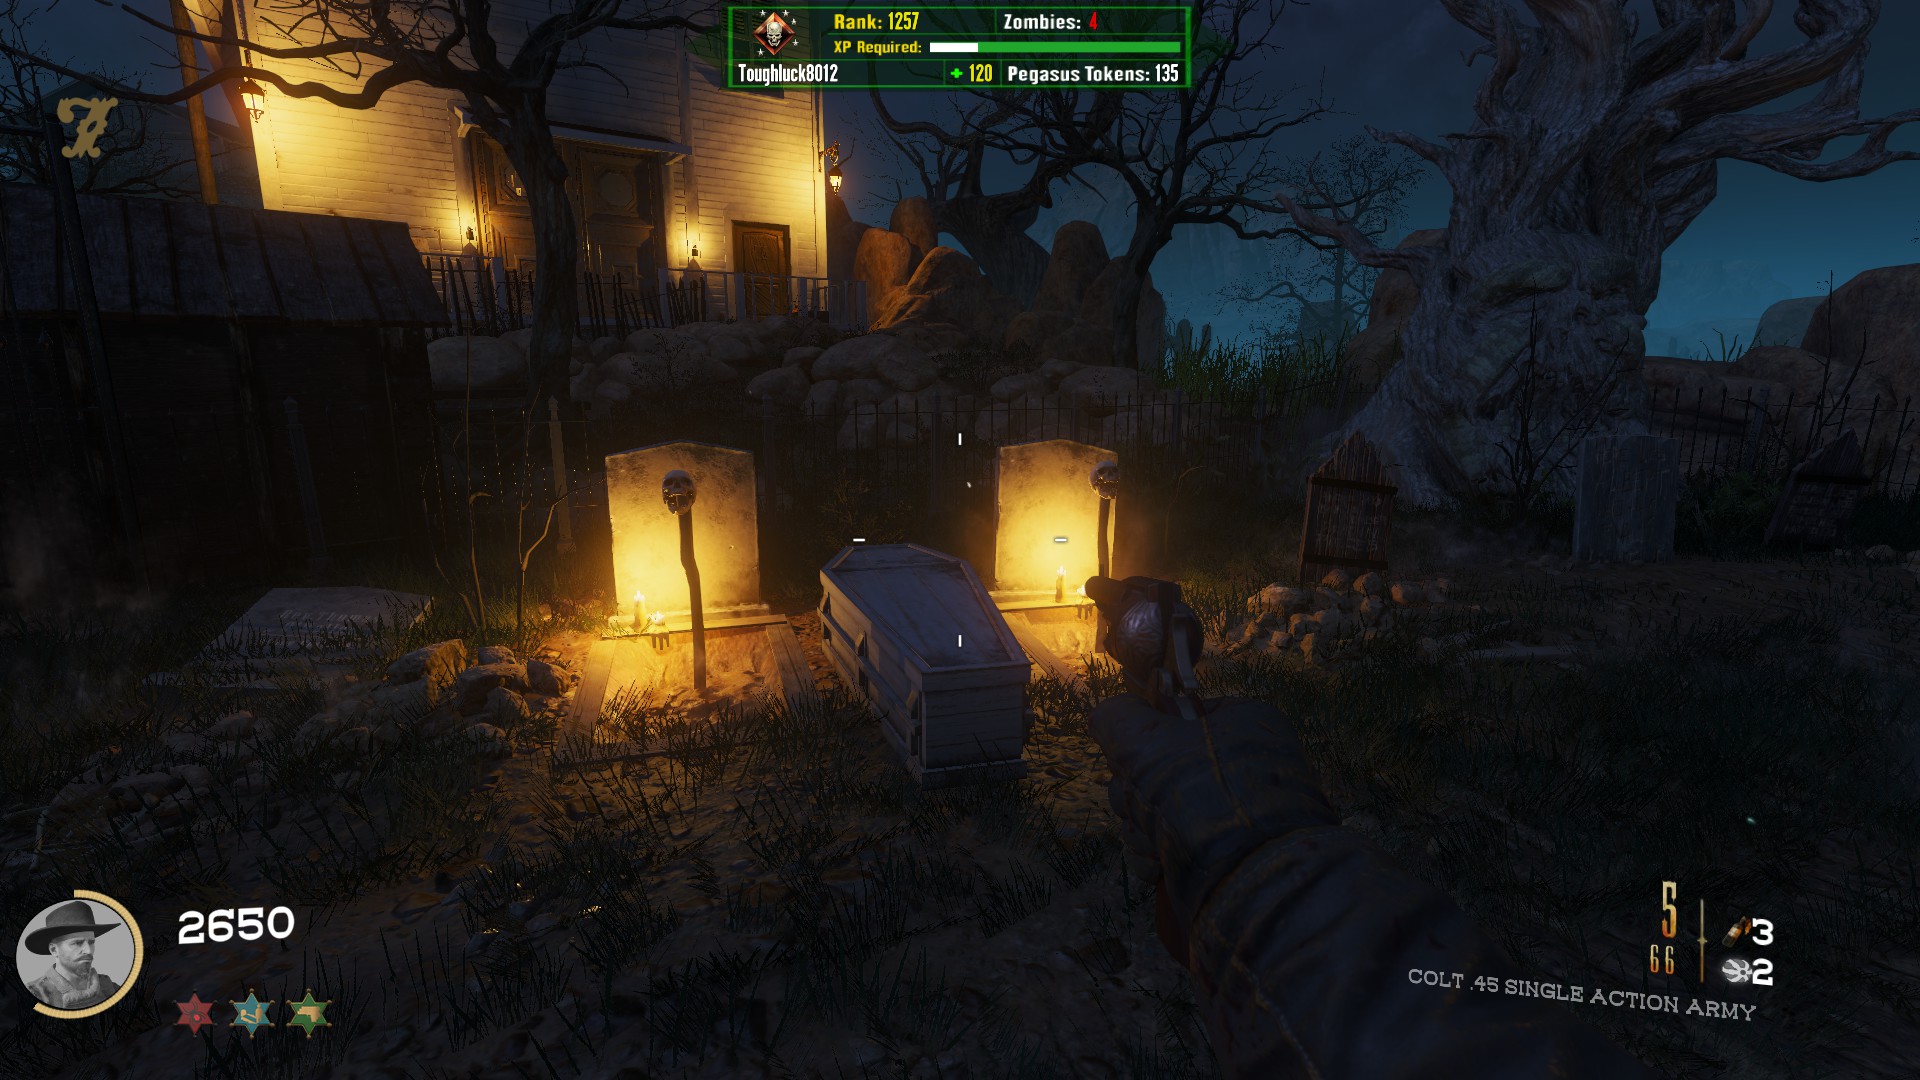
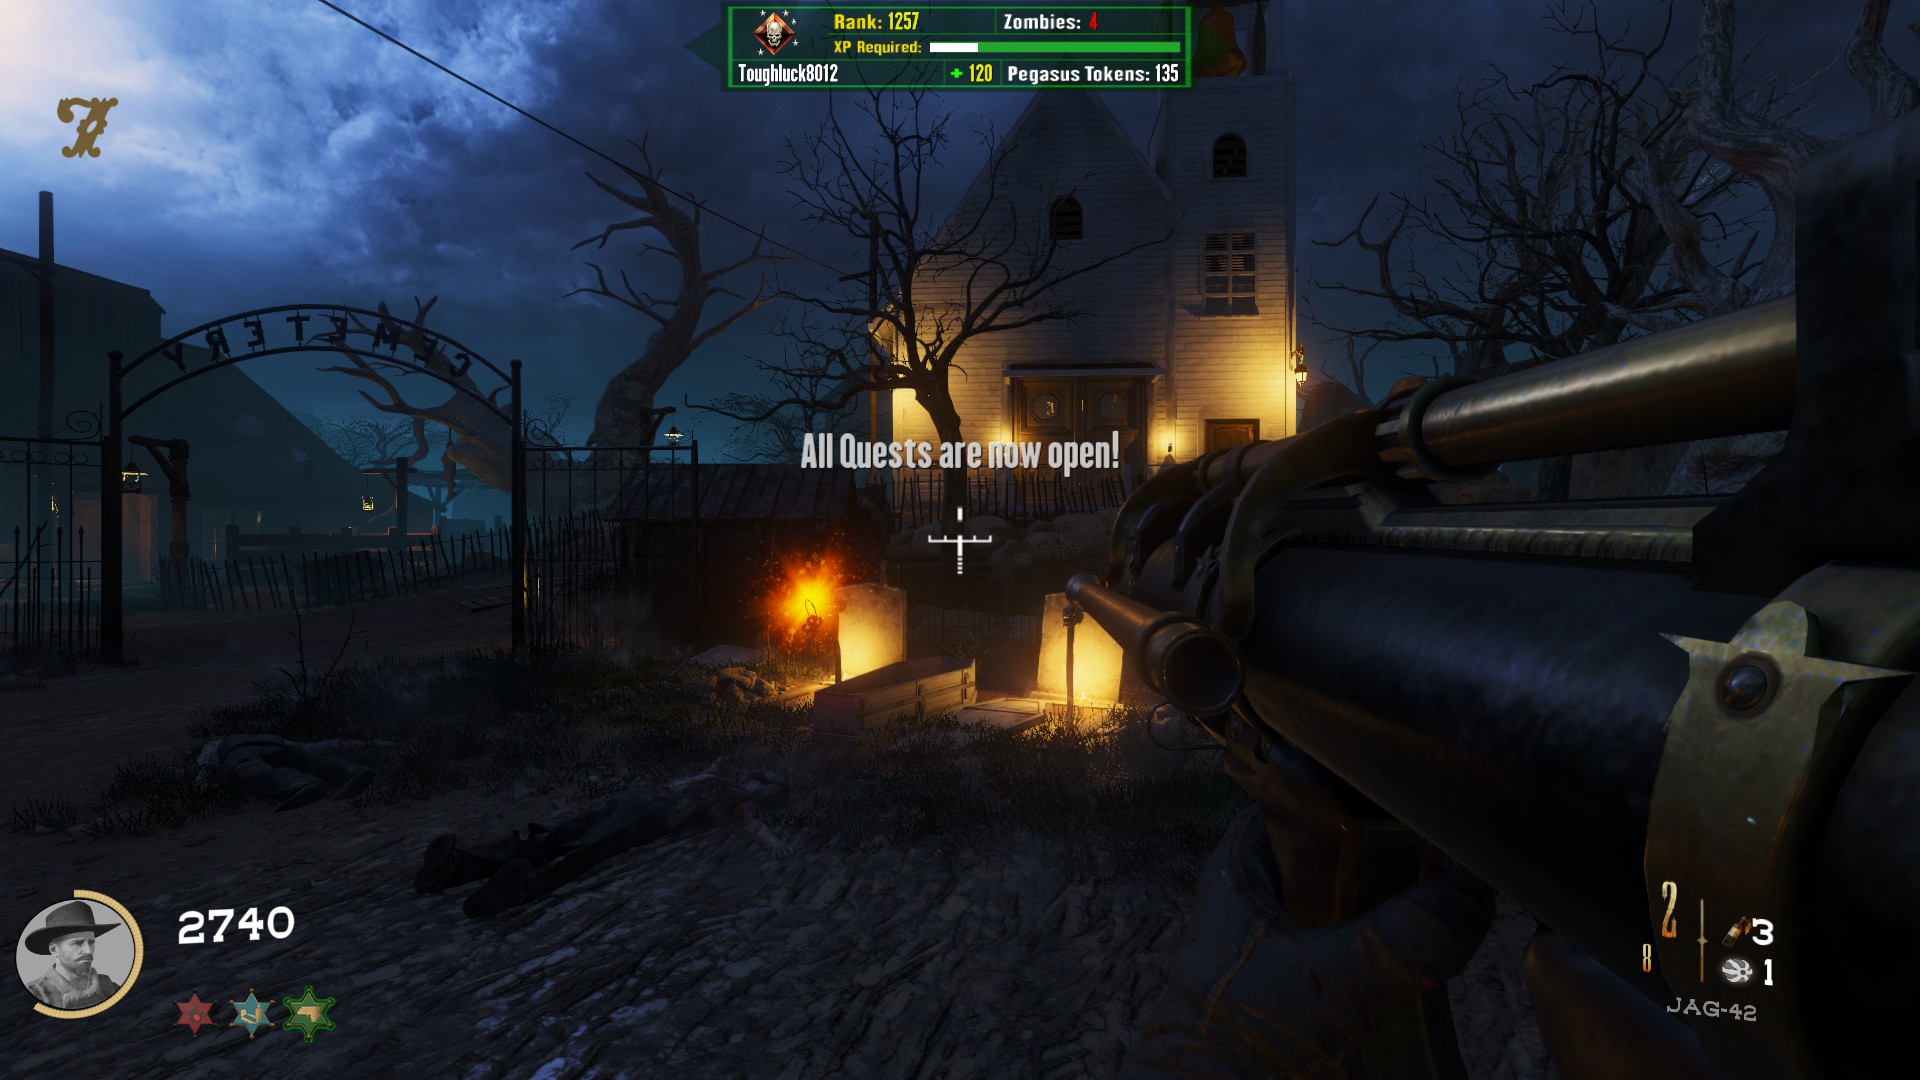 The werewolf from BO4's Dead of the Night will spawn in. In solo, I only had one spawn, but in both 2 player and 3 player games, we had two bosses spawn in. Zombies will continue to spawn in like normal if you don't hold a zombie for this fight, but that can be more hassle than it's worth.
 Take the key to the panel next to the main door at the Stables Barn and unlock it to reveal a terminal much like the one from Mob/Blood of the Dead.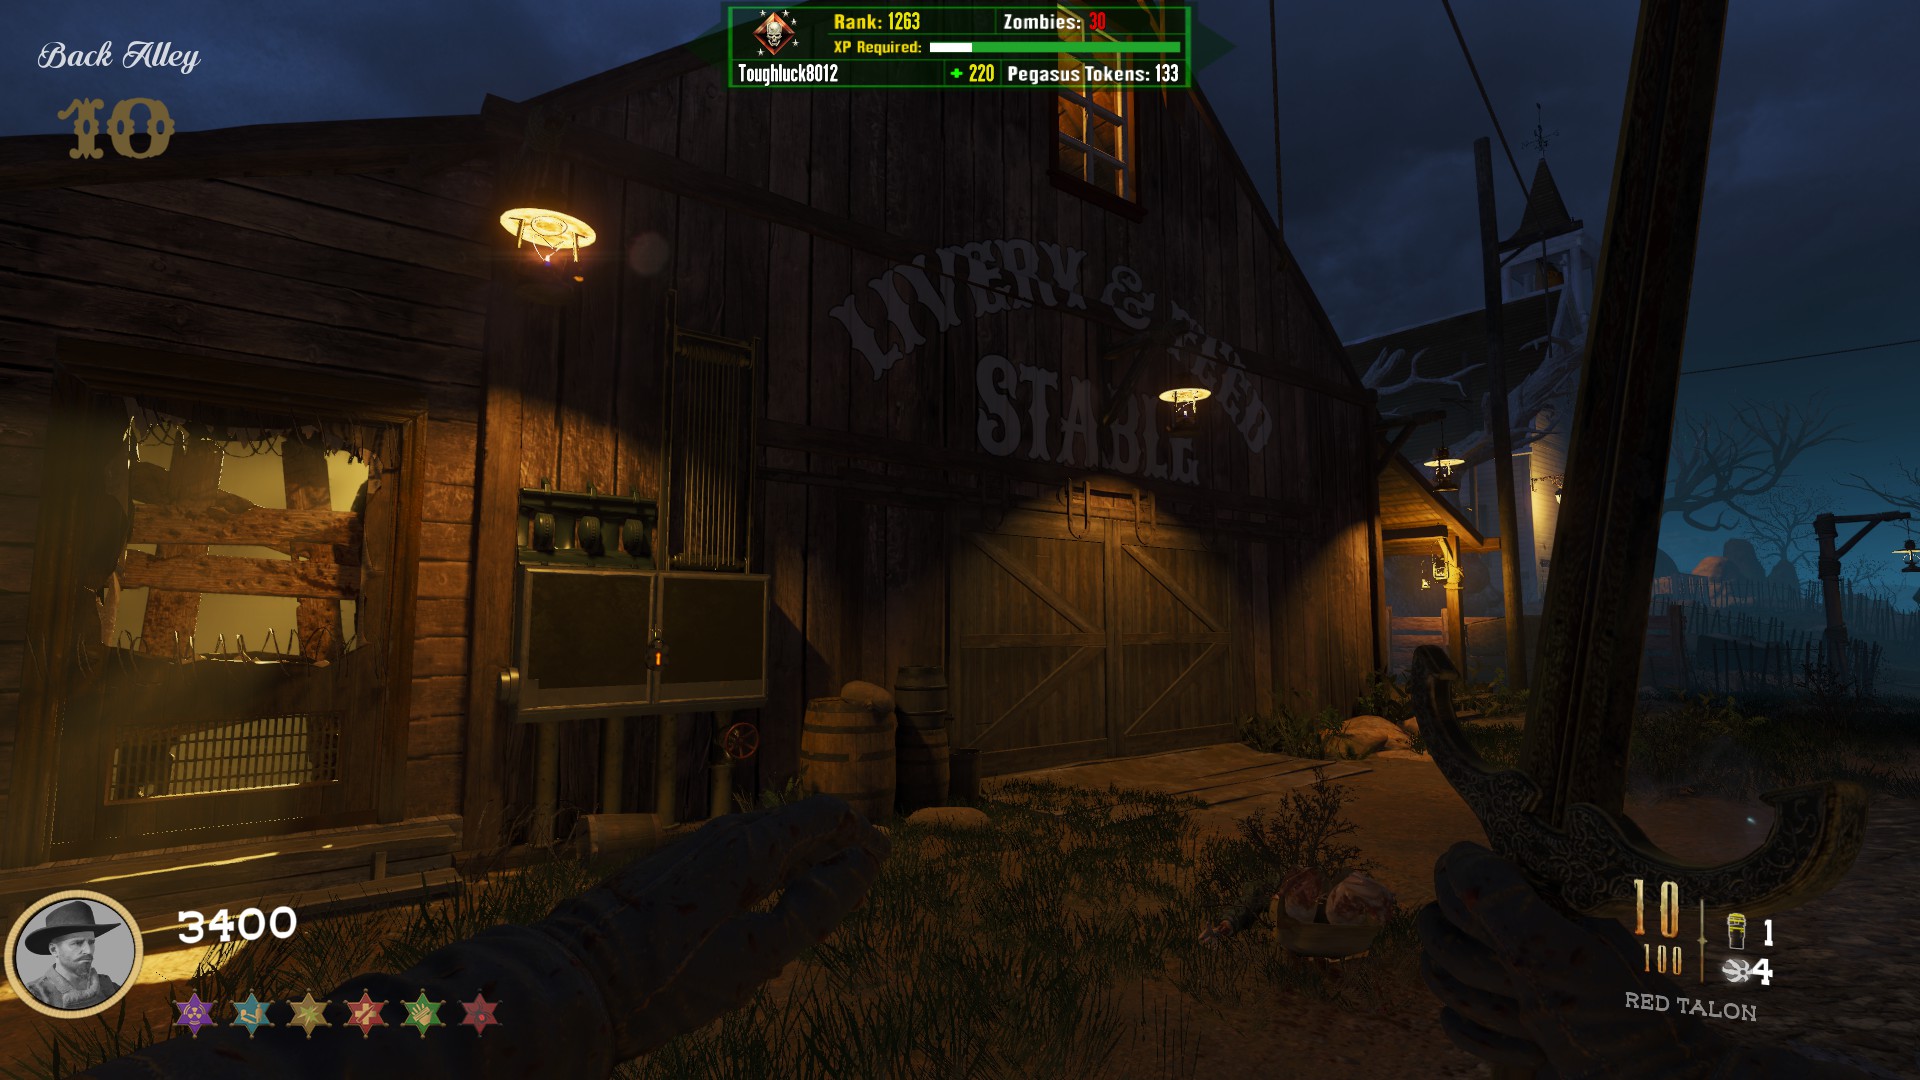
*NOTE* If you have any interest in a free Wonderwaffe DG-2 or the musical easter egg, pause here and reference those sections of the guide before continuing with the main quest, as proceeding further disables the panel needed for those side easter eggs
Main Quest Step 3: Opening Pack-a-Punch (Obtain the Code)
*NOTE* Only proceed if you have already done or plan to skip the musical easter egg and free Wonderwaffe DG-2 side easter egg, as you won't be able to do them after initiating this step.
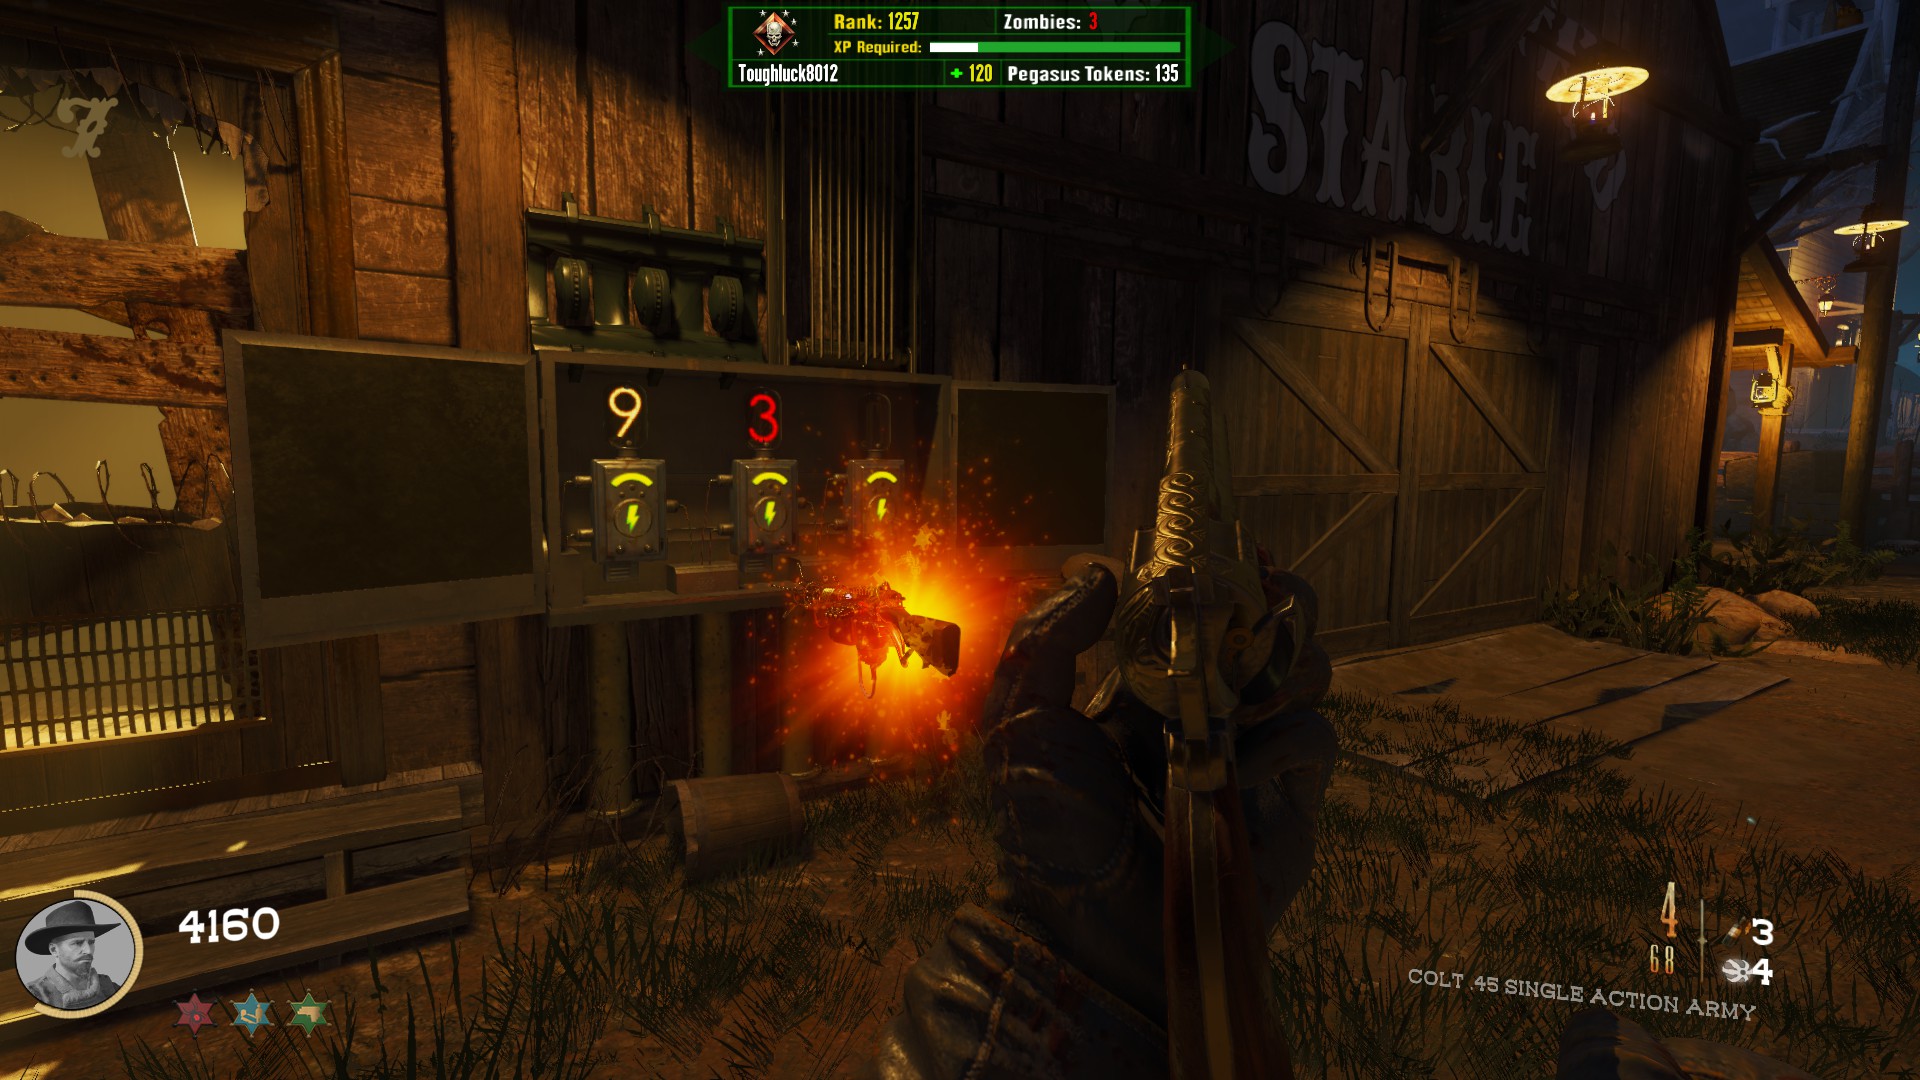
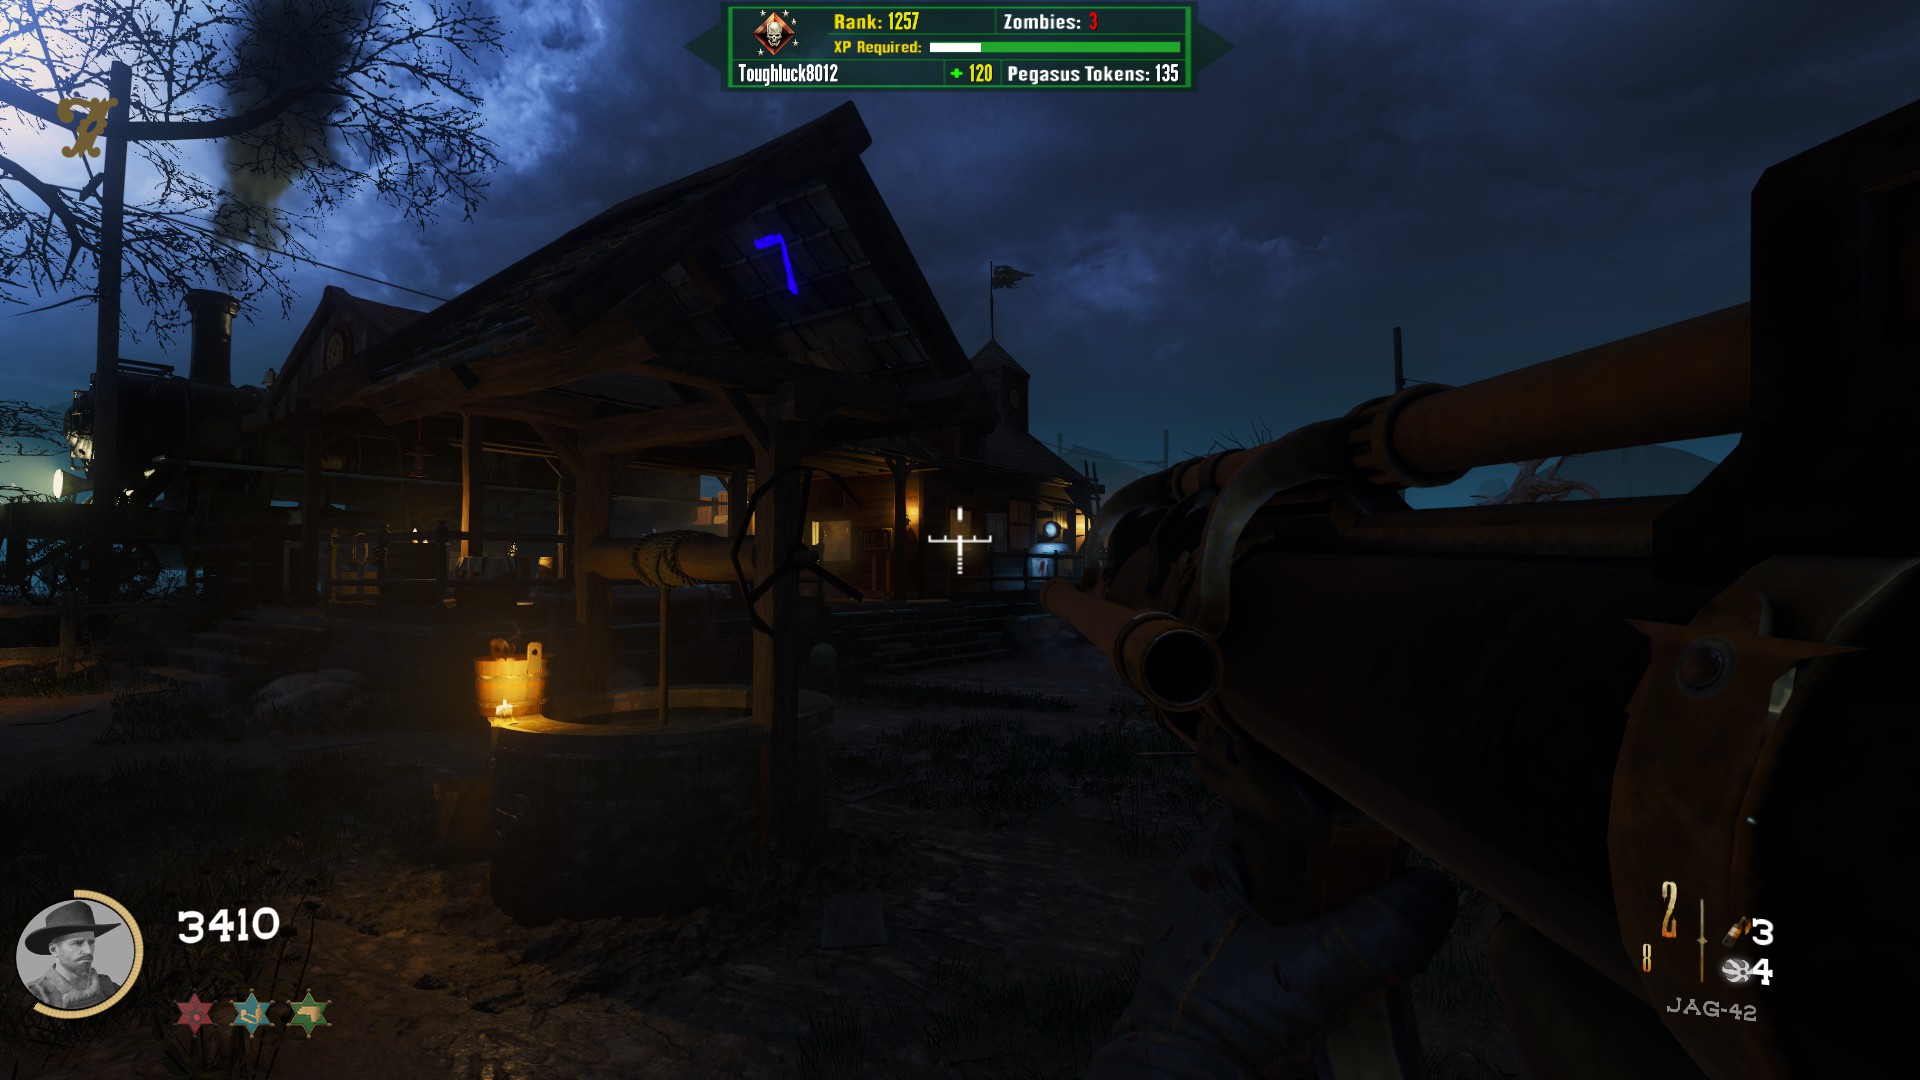
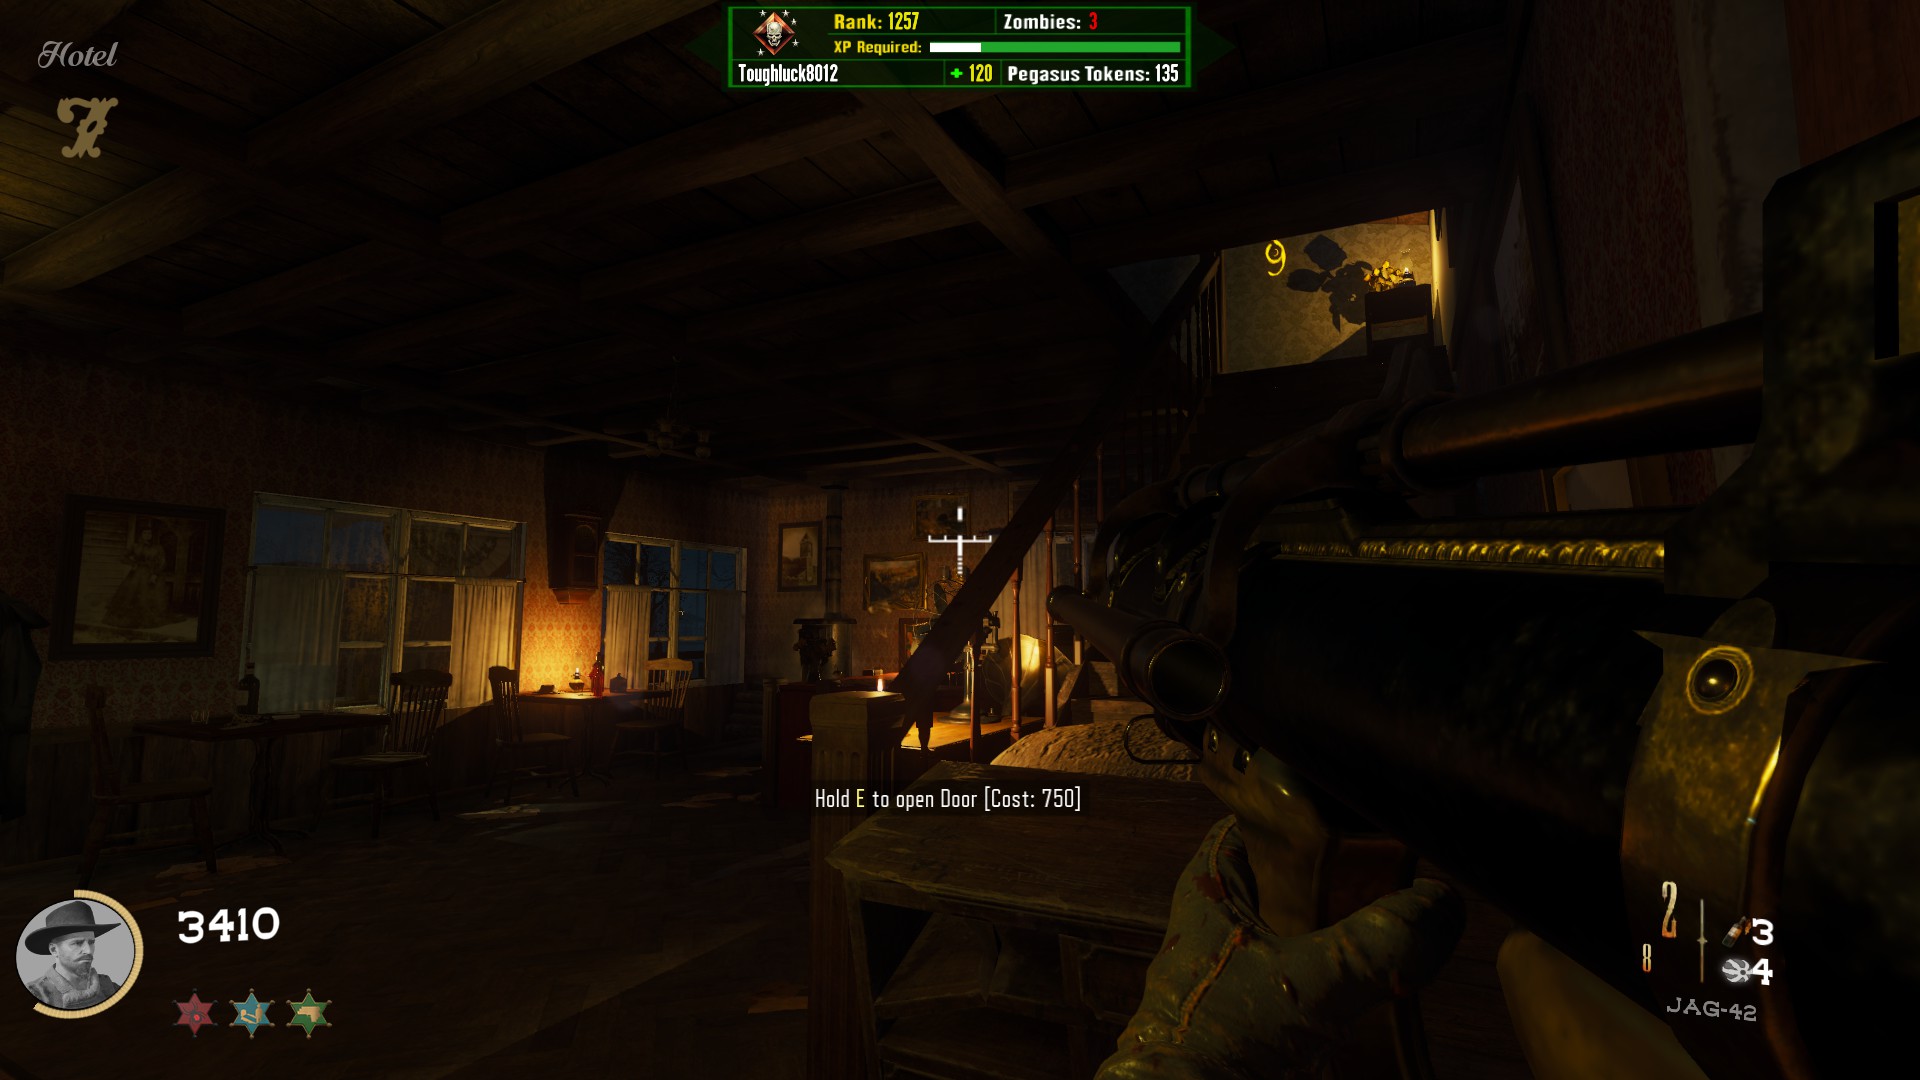
You will need to look around the map for three numbers and take note of their Digit Value and Color. These will change game to game, but the locations will always be the same.
Location 1On the underside of the well-top in spawn
Location 2
In the Hotel (first building on the left), at the top of the staircase on the wall
Location 3
In the Saloon (last building on the right), inside the window to the right of the bar
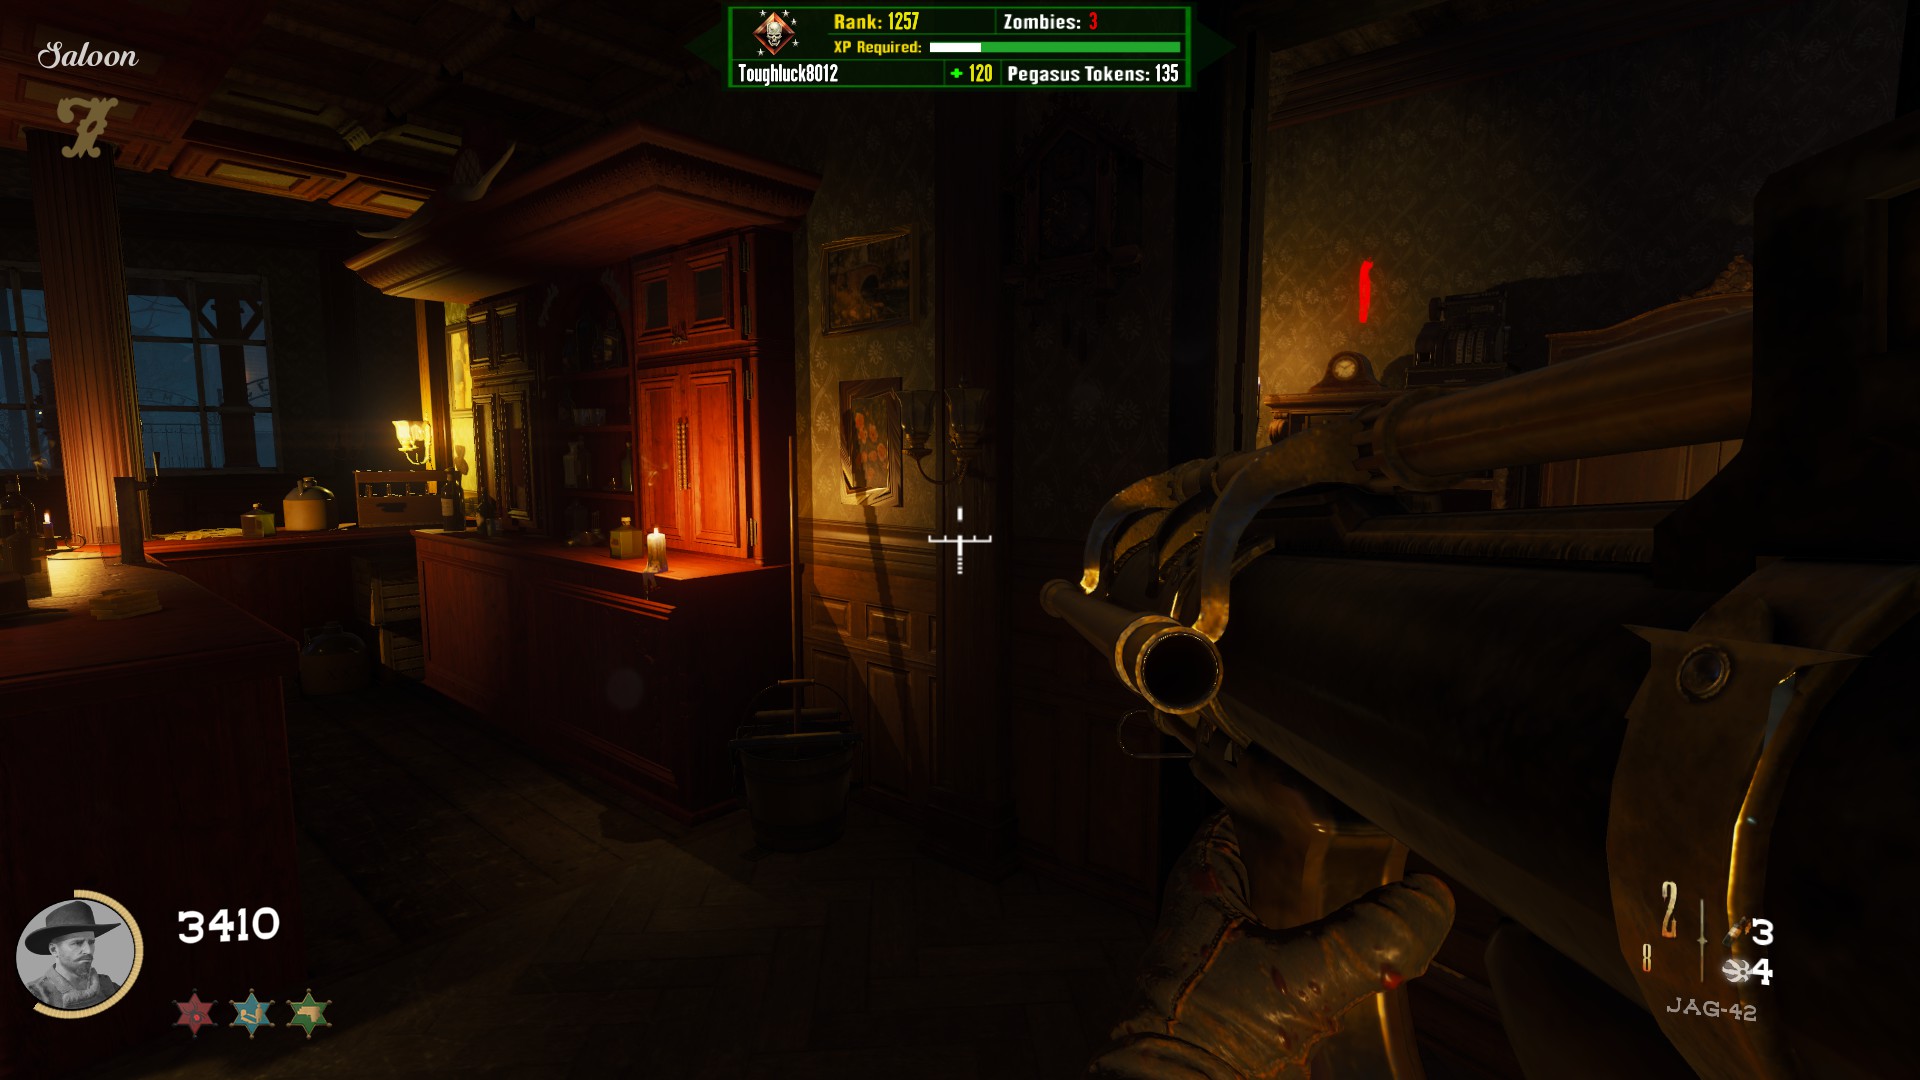
*Note* Before using the code, prepare yourself with a decent amount of ammo. If you have any interest in the Free Thundergun, reference that section of the guide now before proceeding. Enter the code in the panel by shooting or knifing it. The barn door will open and you will have access to everything inside. The Pack-a-Punch is the machine on the left side.
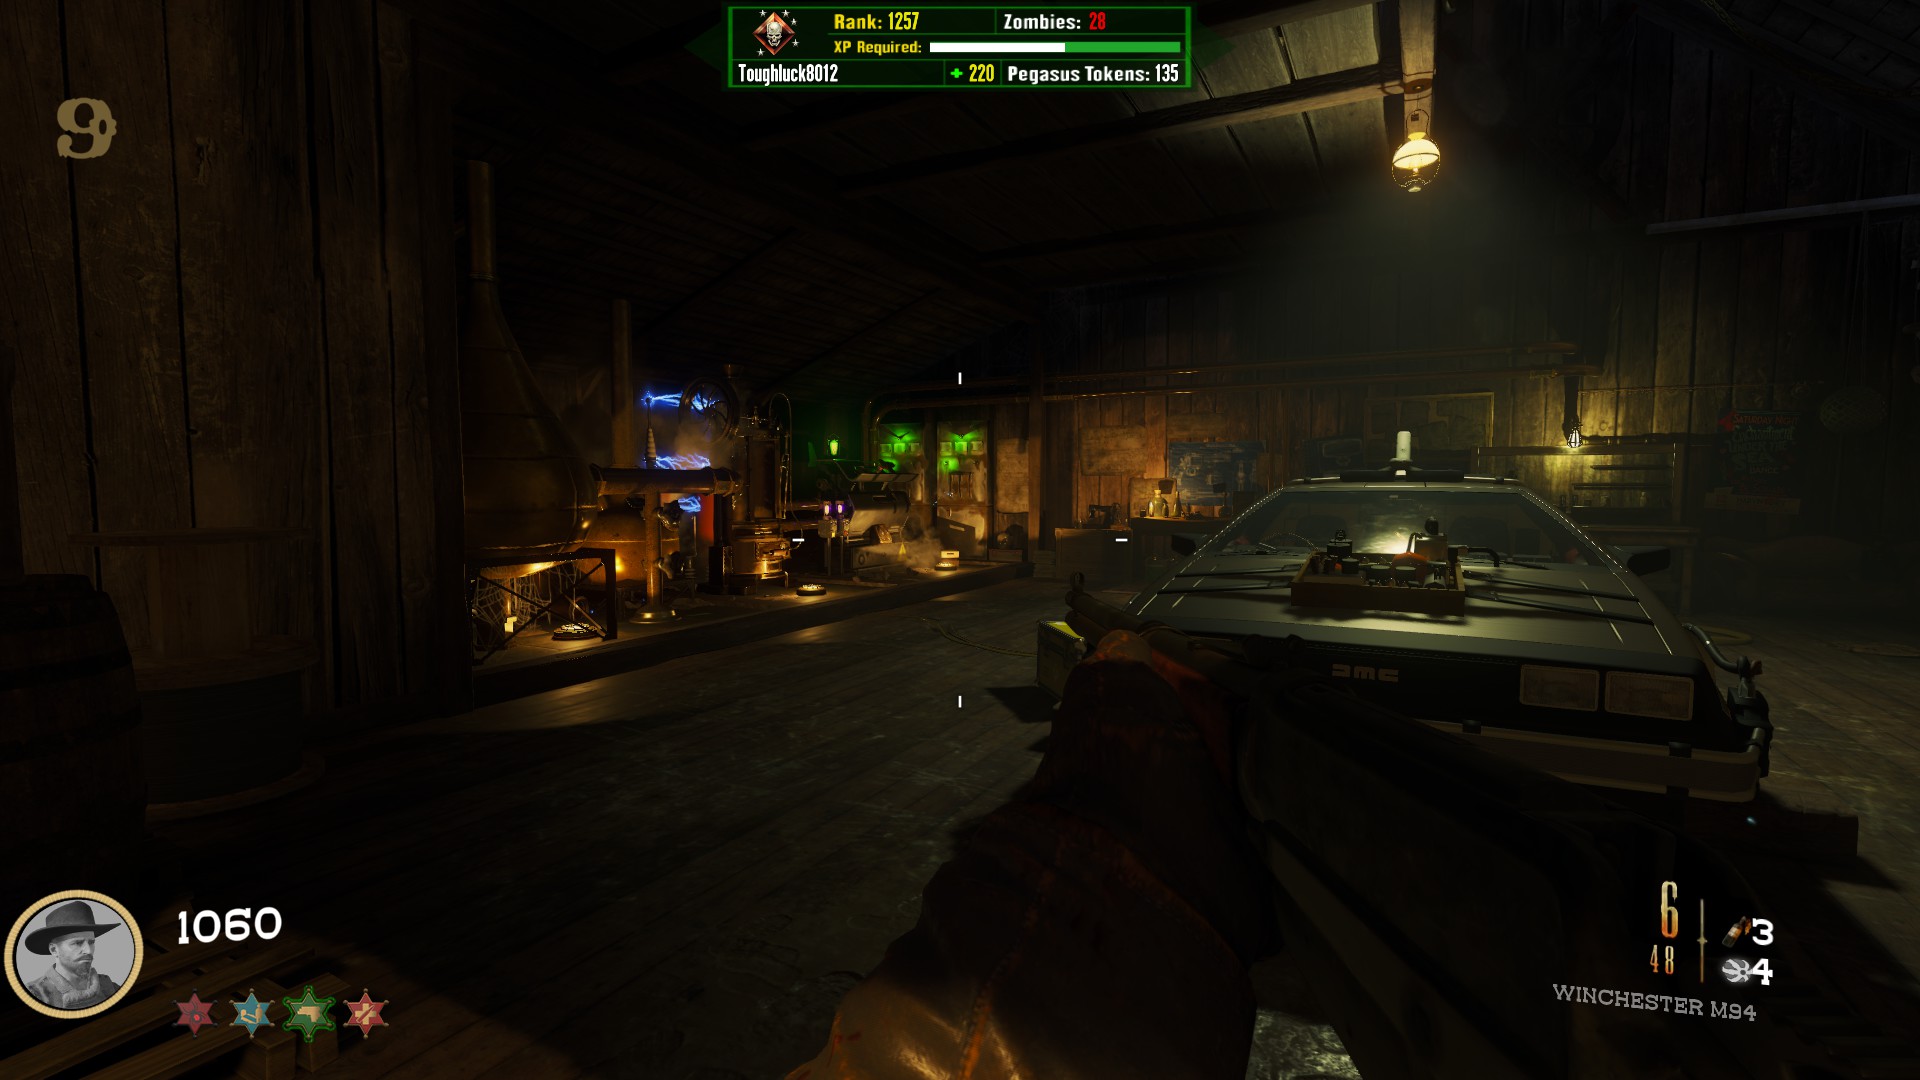
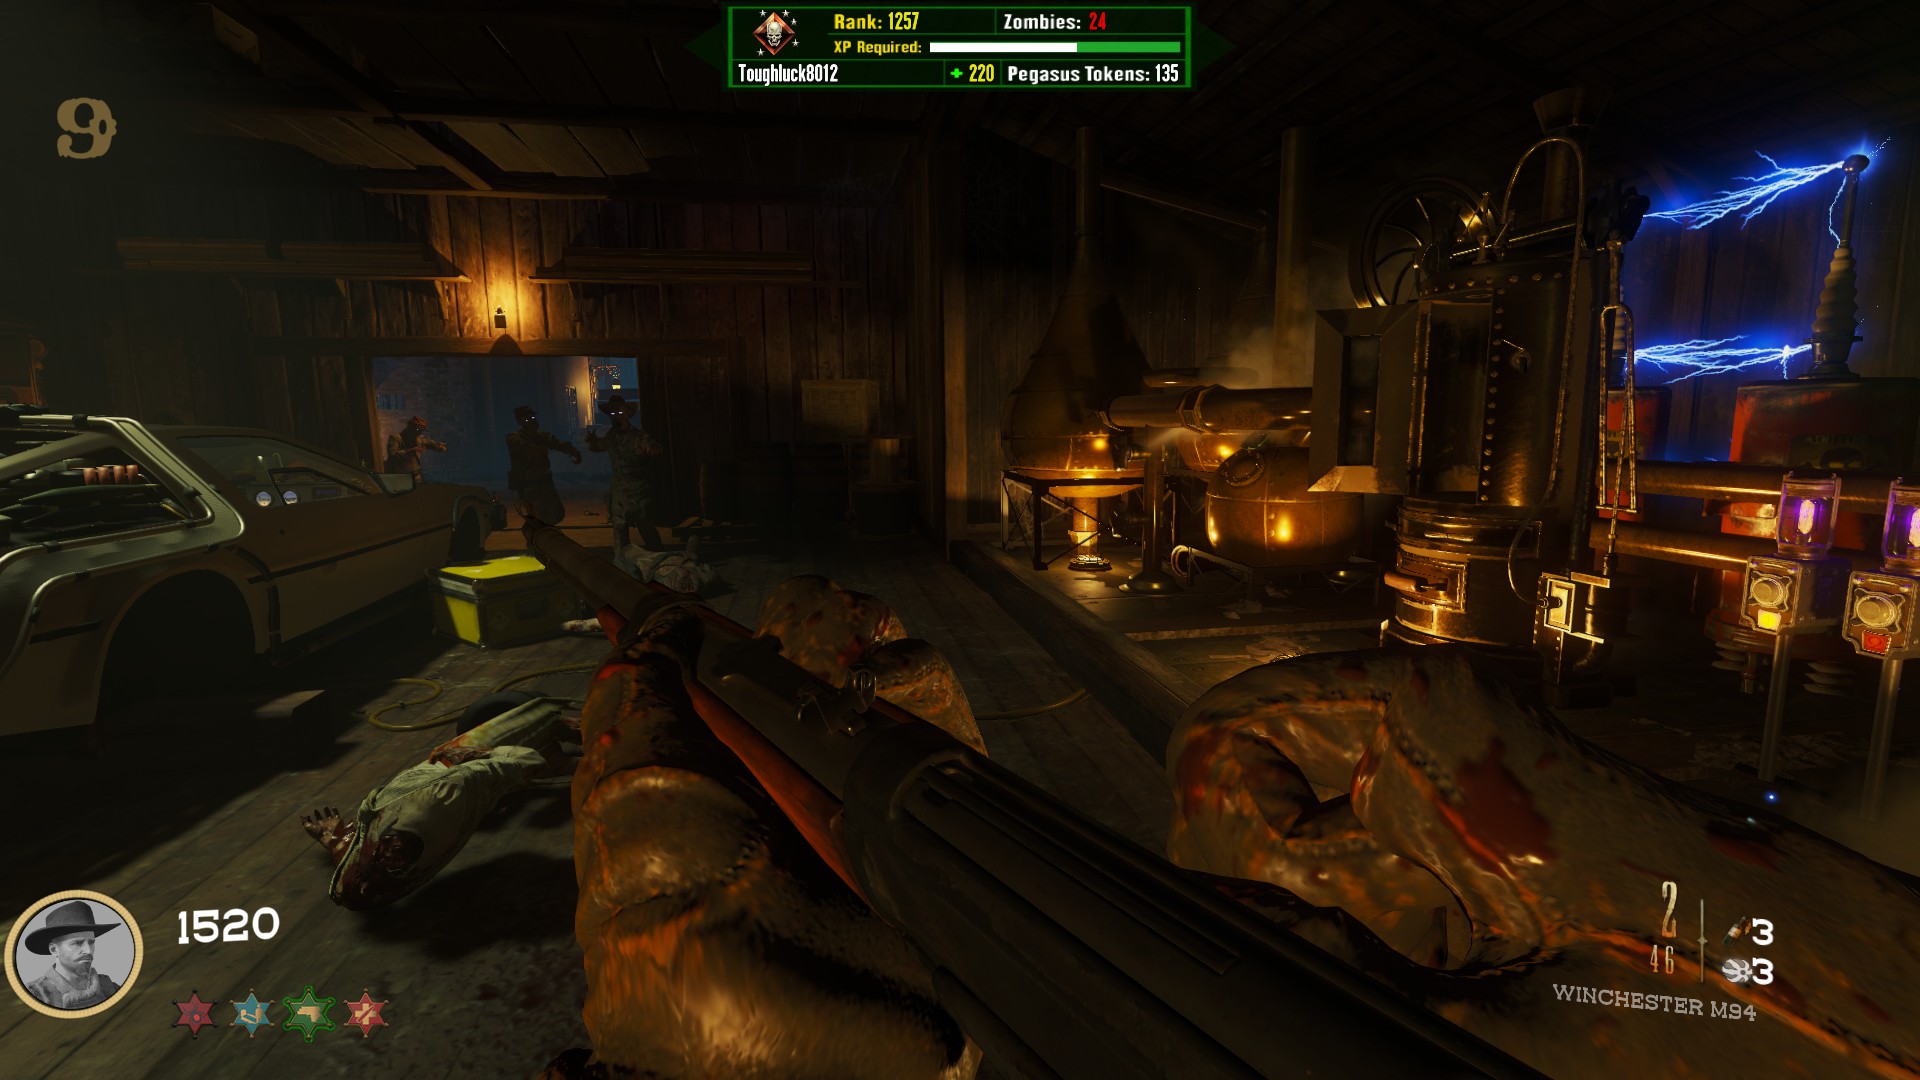
Main Quest Step 4: Hell's Retriever & Bow Specialist Weapon
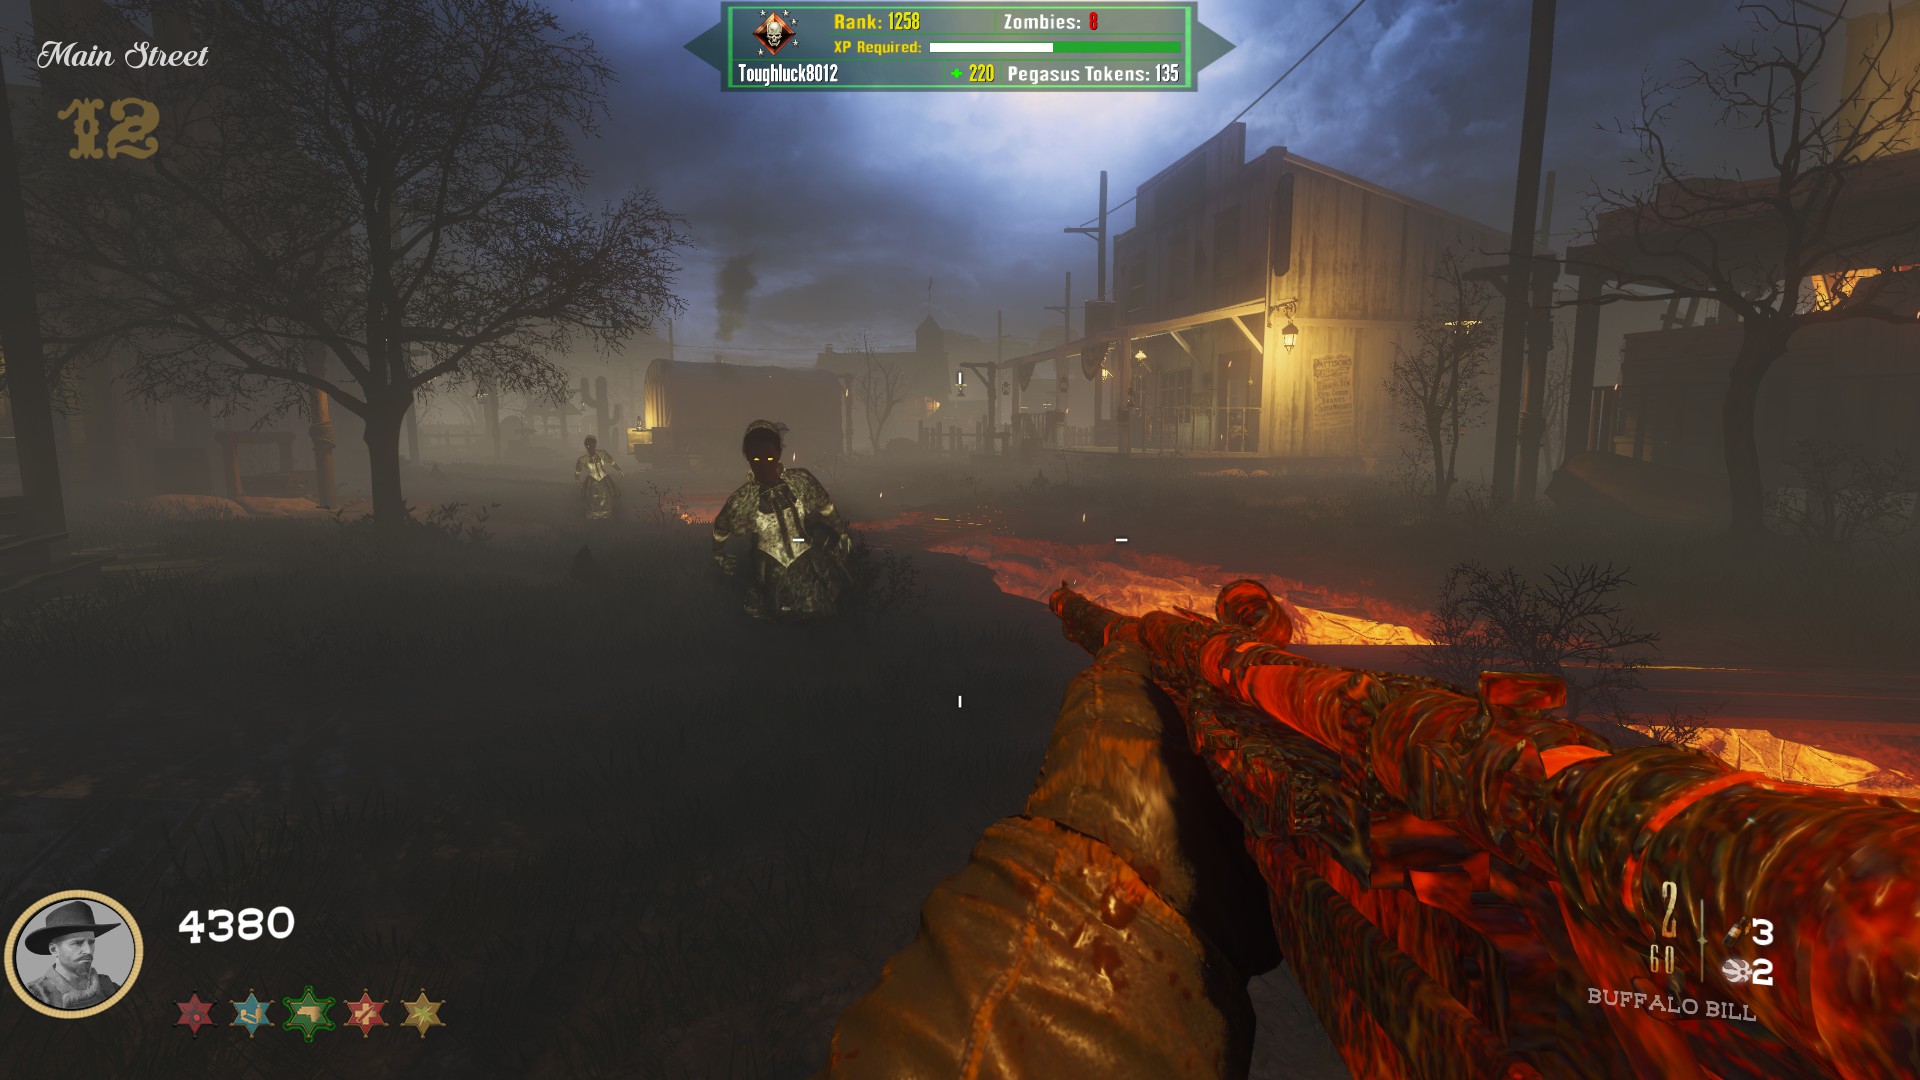
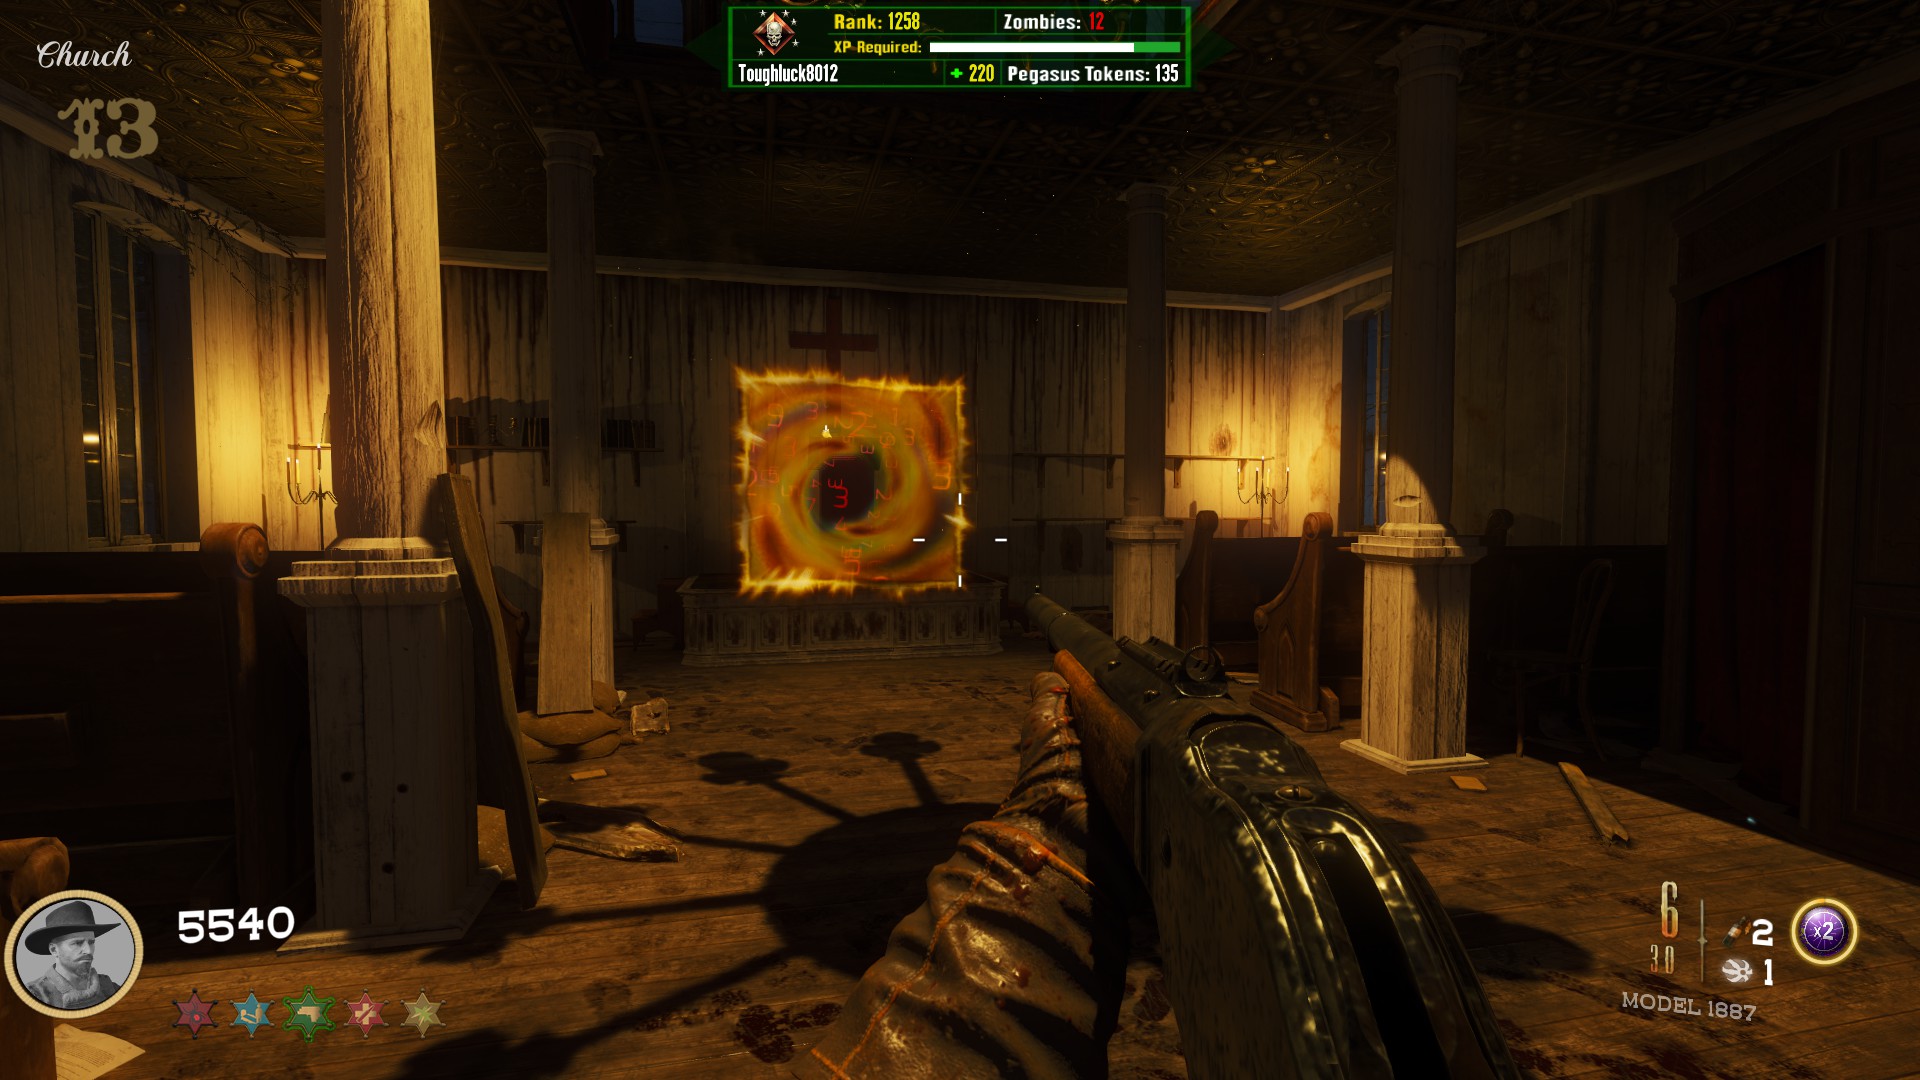
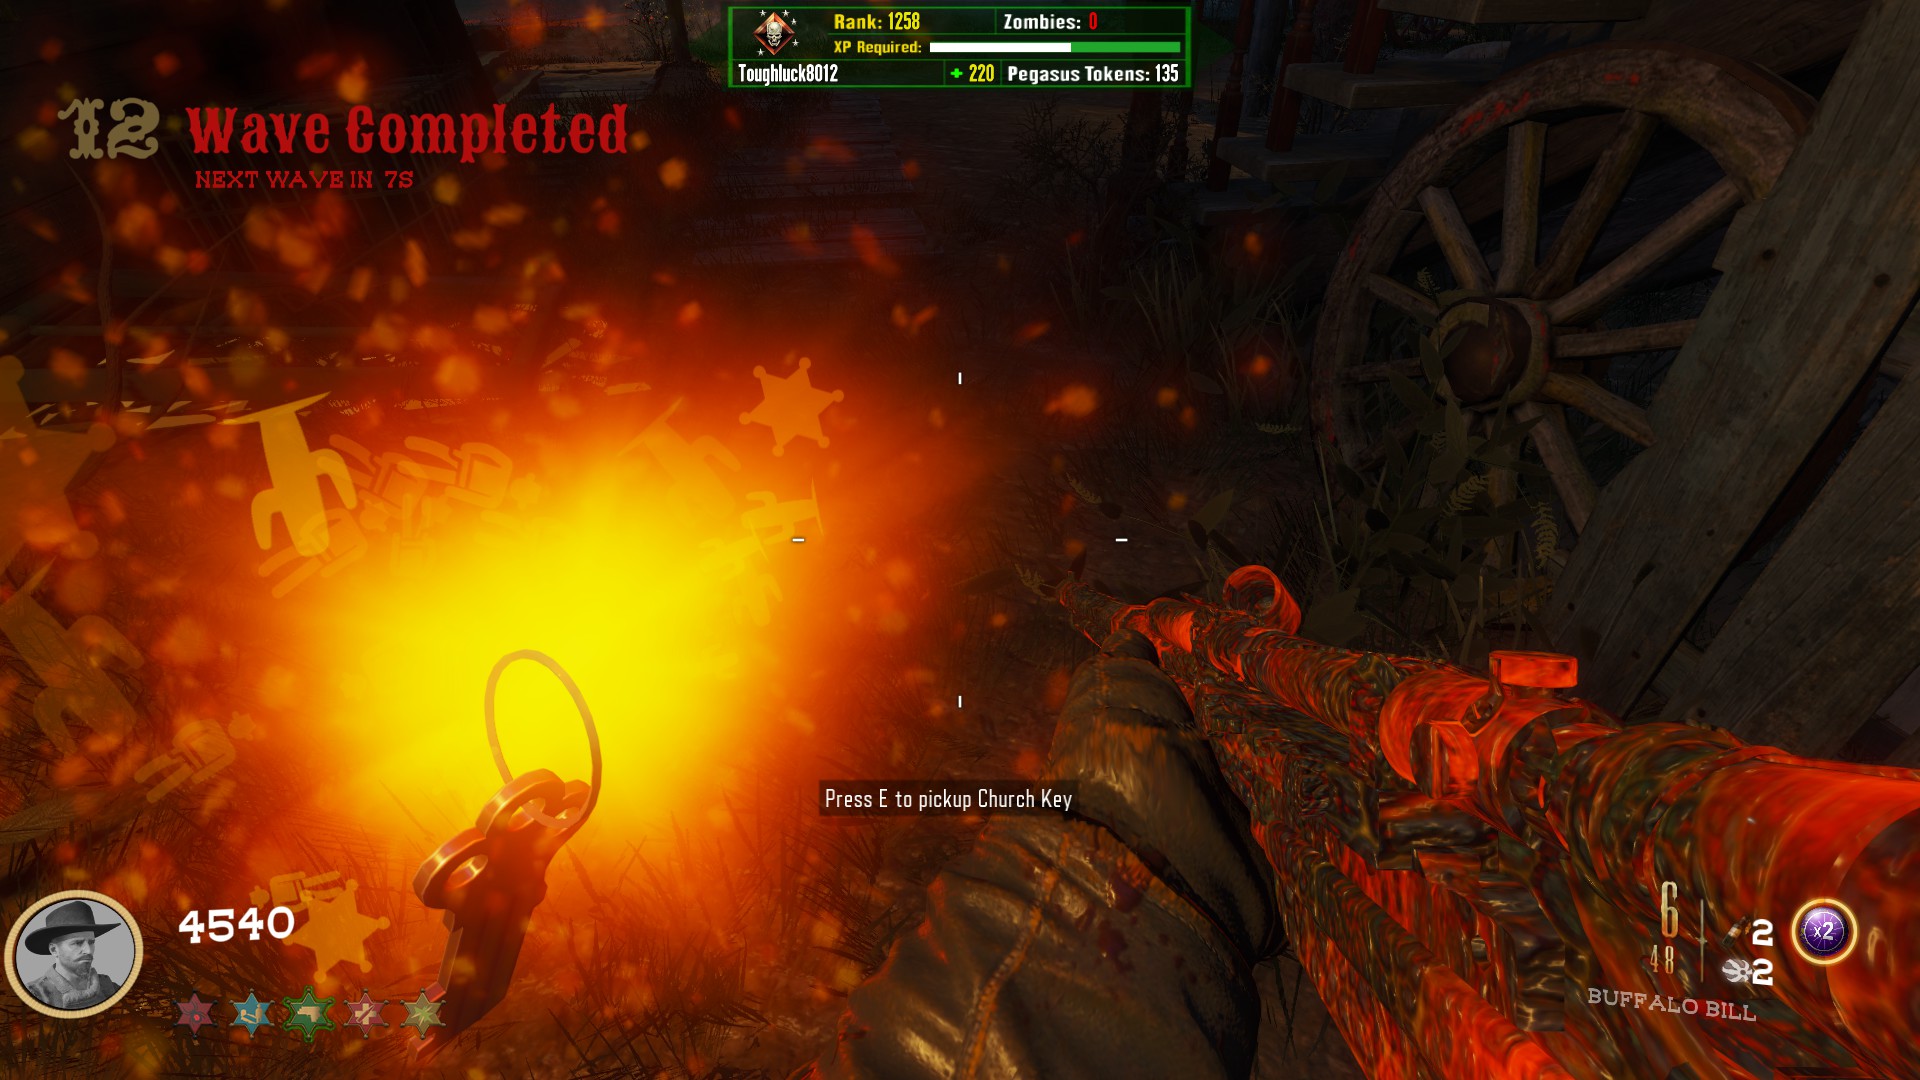 After opening up the church, you will notice a portal in the back. Go through it to enter the campsite.
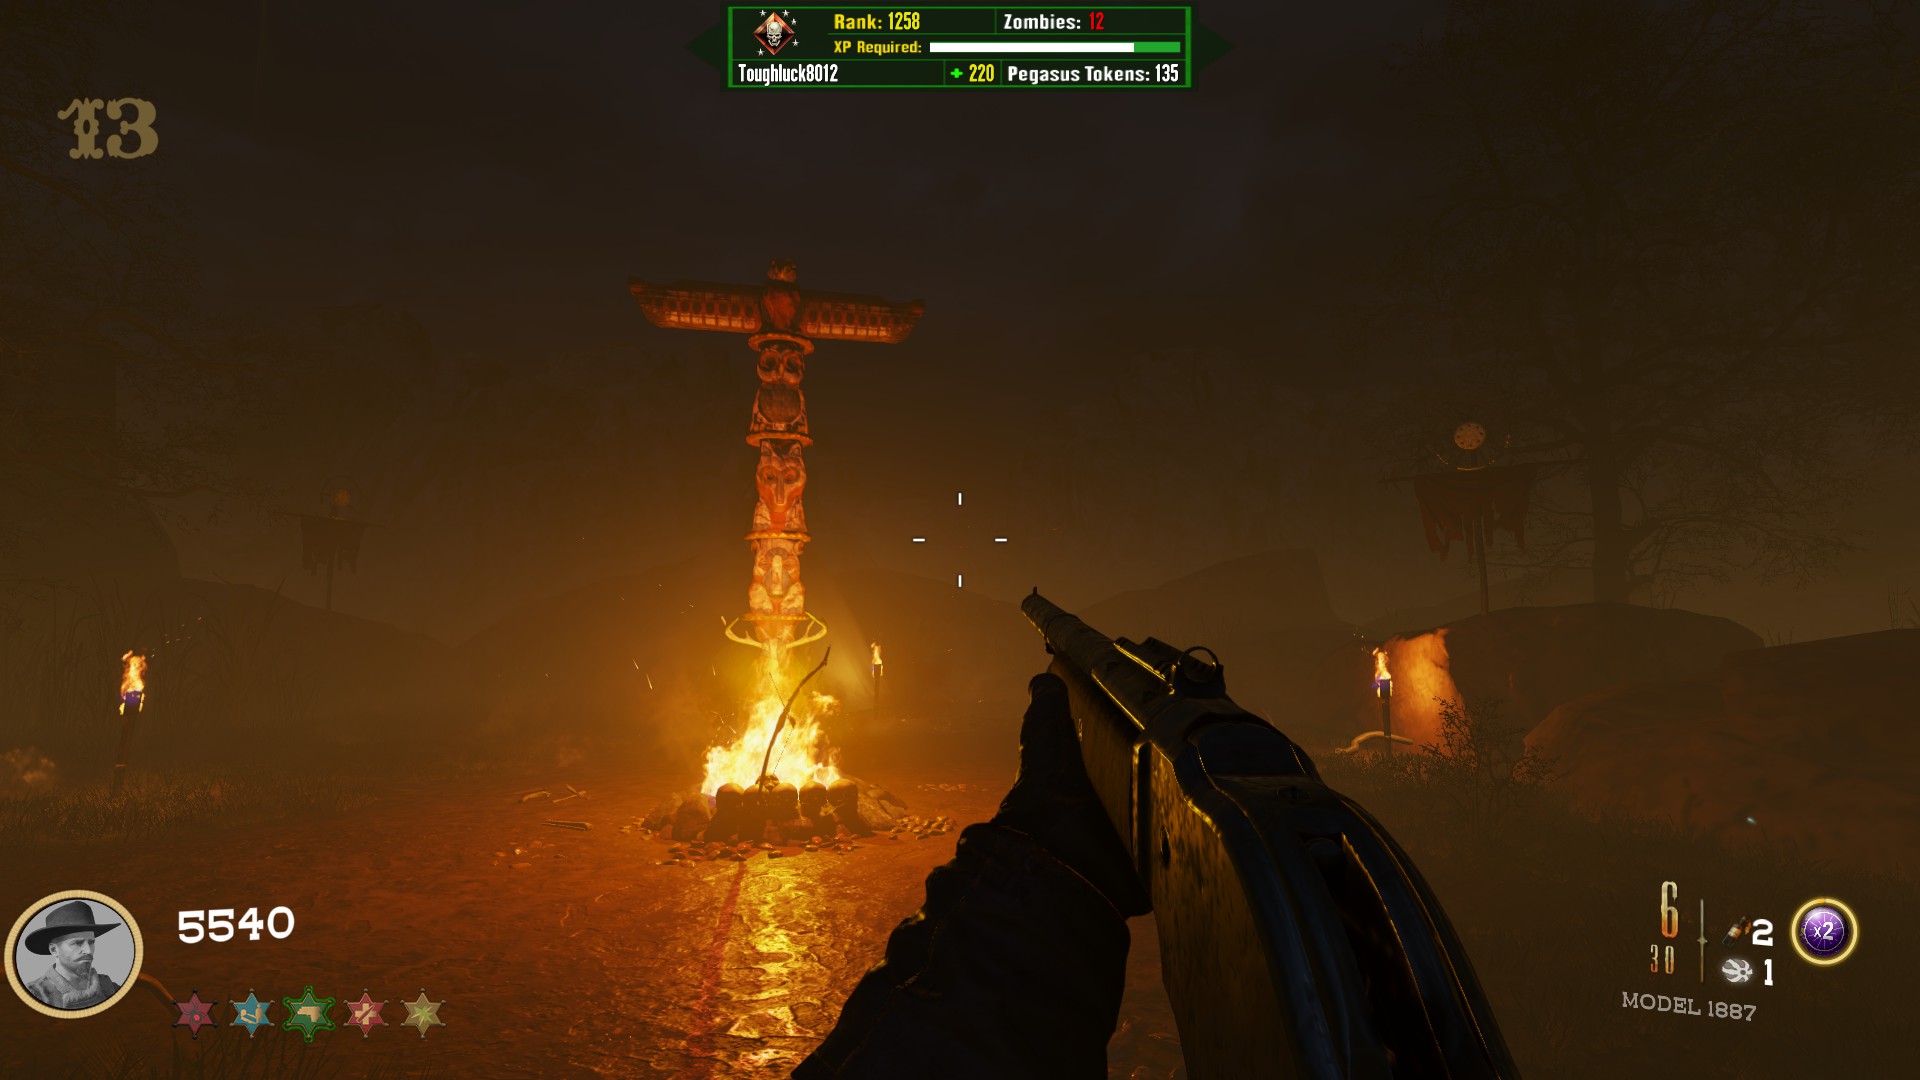
 At the campsite, there will be a floating bow in front of the totem pole. Make sure you pick it up to gain your specialist weapon.
 Behind you, under the spectral wolf is the Hell's Retriever. It will replace your secondary grenade slot. It isn't necessary for any easter egg step for as far as I can tell.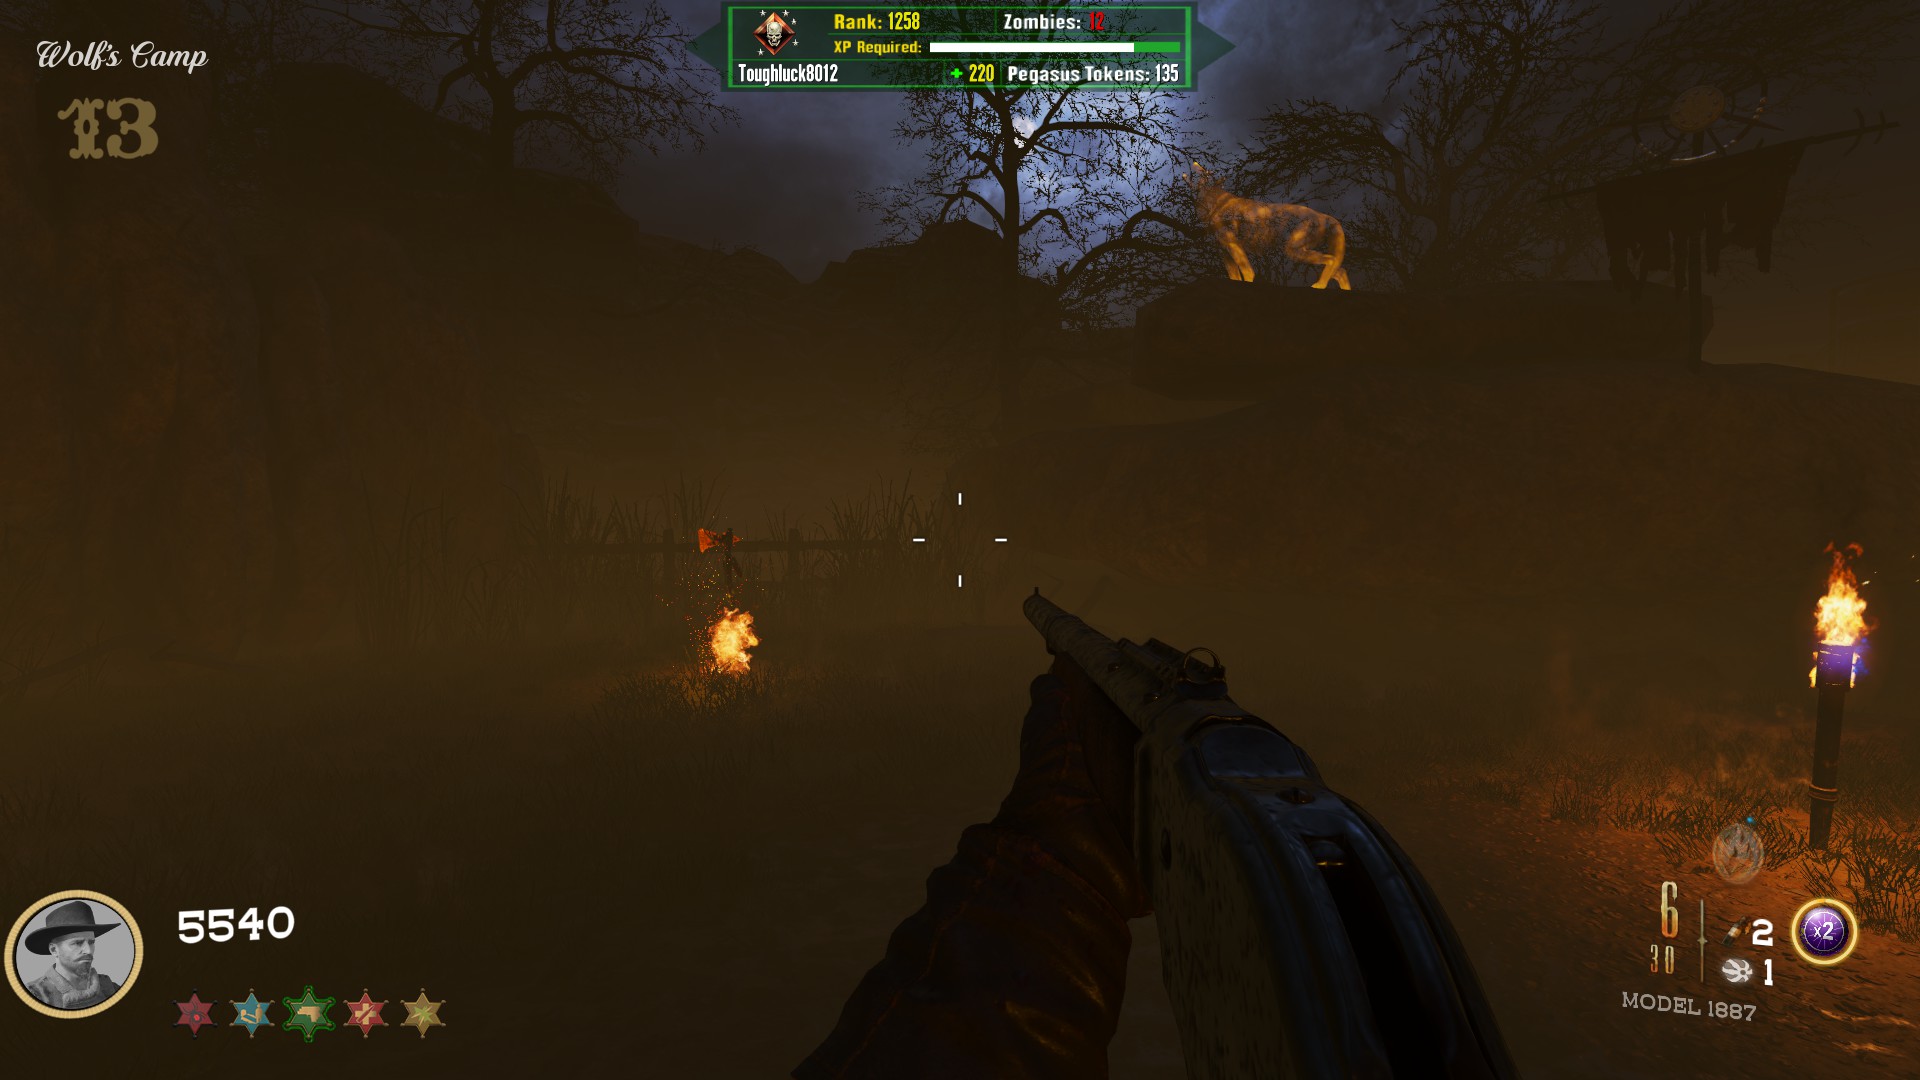
Moments later, you will be teleported back to the rest of the map.
Main Quest Step 5: Fill The Totems
Two flags have now spawned around the map. They resemble the flags from the Shadows of Evil main easter egg quest. Either flag can be done first, or if in co-op, they can be done simultaneously.
*Note: I got soft-locked on one attempt because my bow glitched and never recharged. You typically should spawn with 8 shots (my glitched run only gave me 2), so make them count and don't put your bow away until both flags have been shot in case you run into this glitch. This should occur infrequently so hopefully you won't encounter it.
Go to the Grocery Store (middle building on the right) and shoot the flag on the roof using the bow specialist.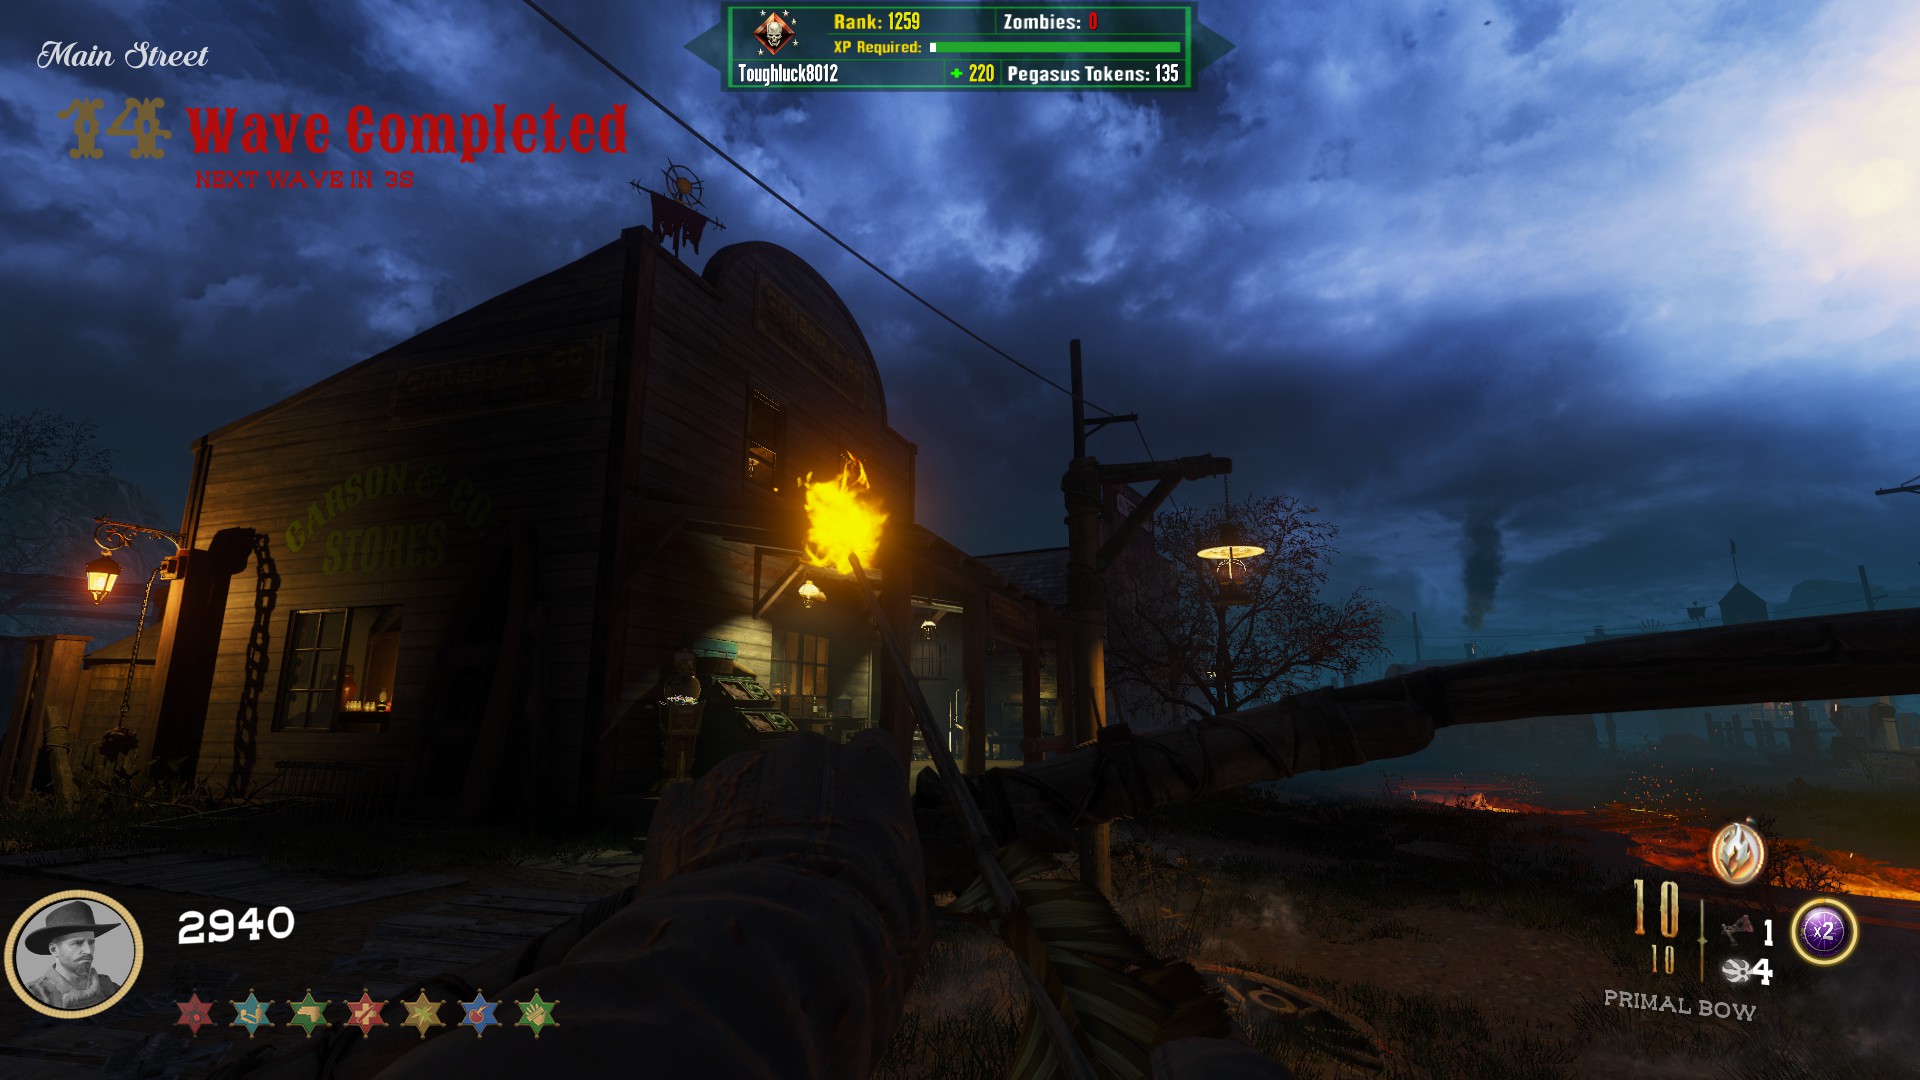
A totem will emerge out of the lava trench in the middle of the map. You will need to kill many many zombies around it to charge the totem with souls. When it is full, it will sink back into the ground and a power up containing an item will spawn on the ground nearby.
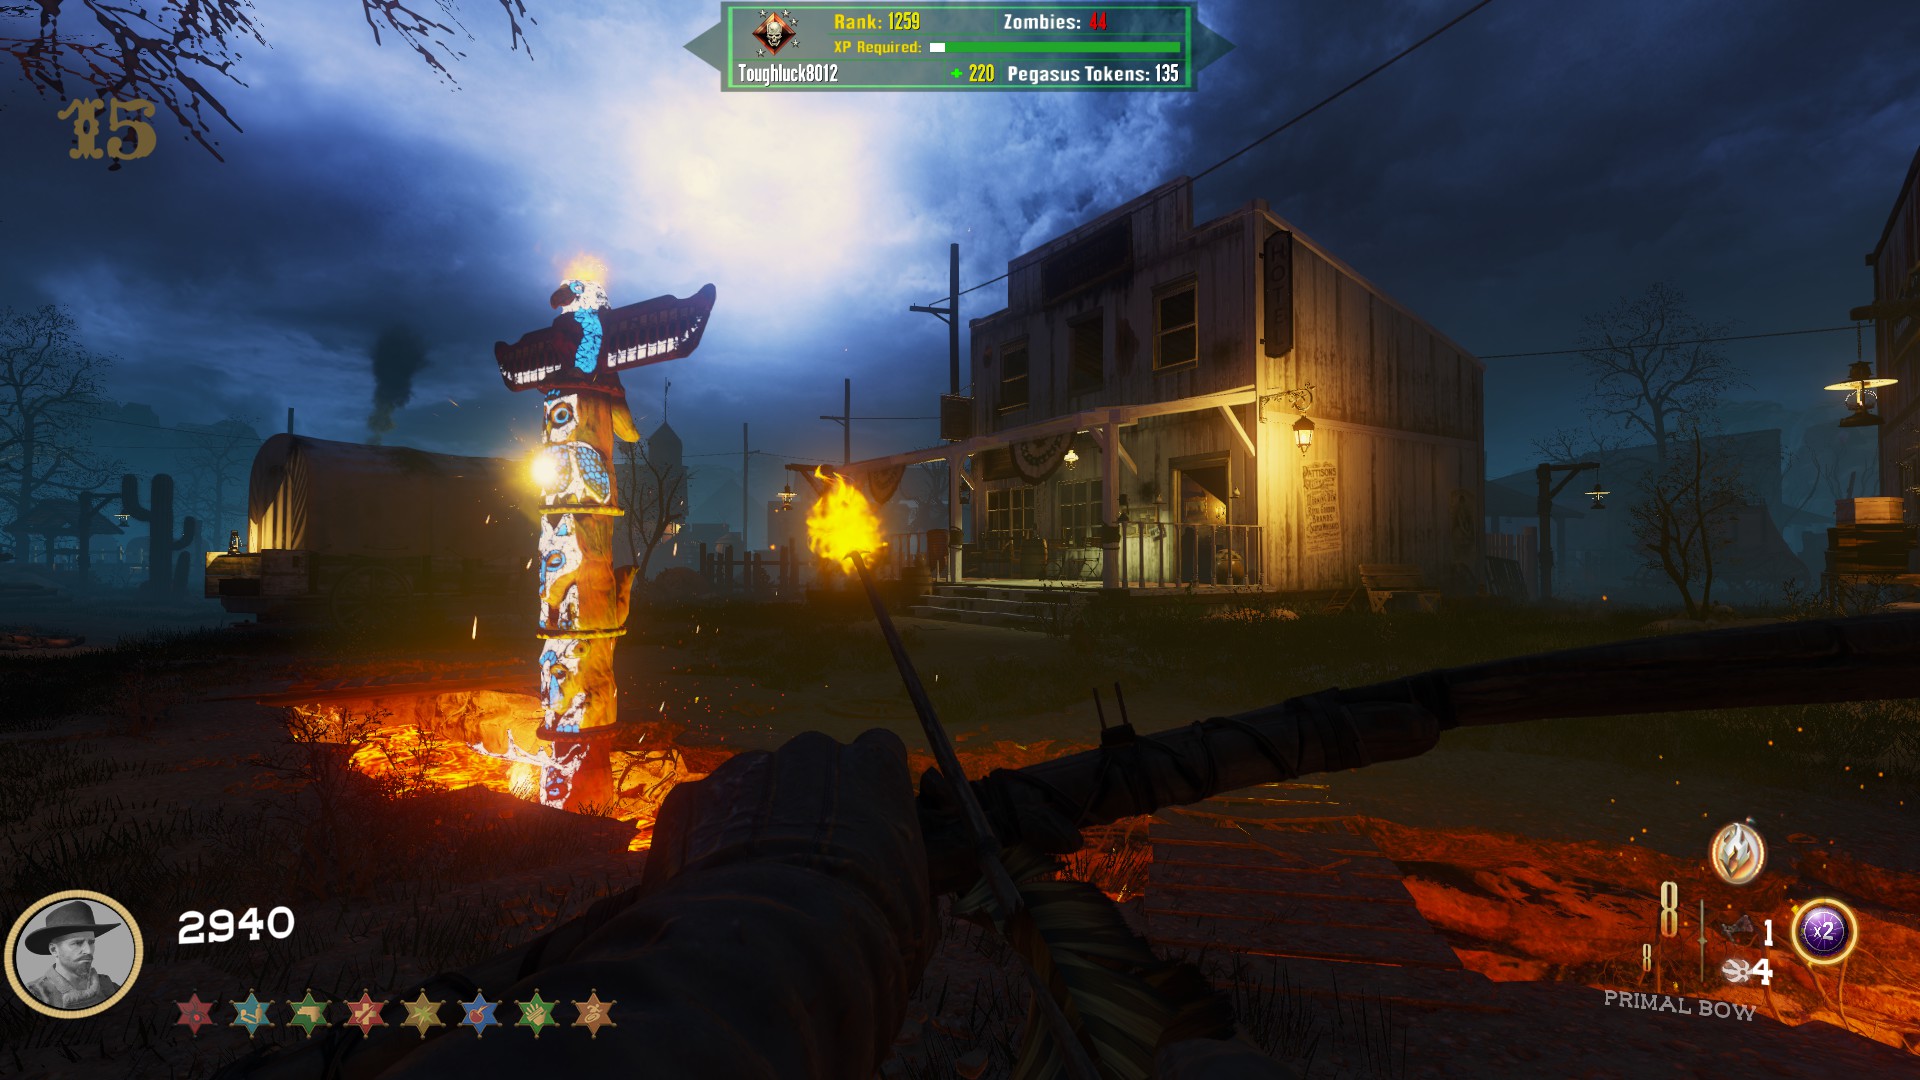
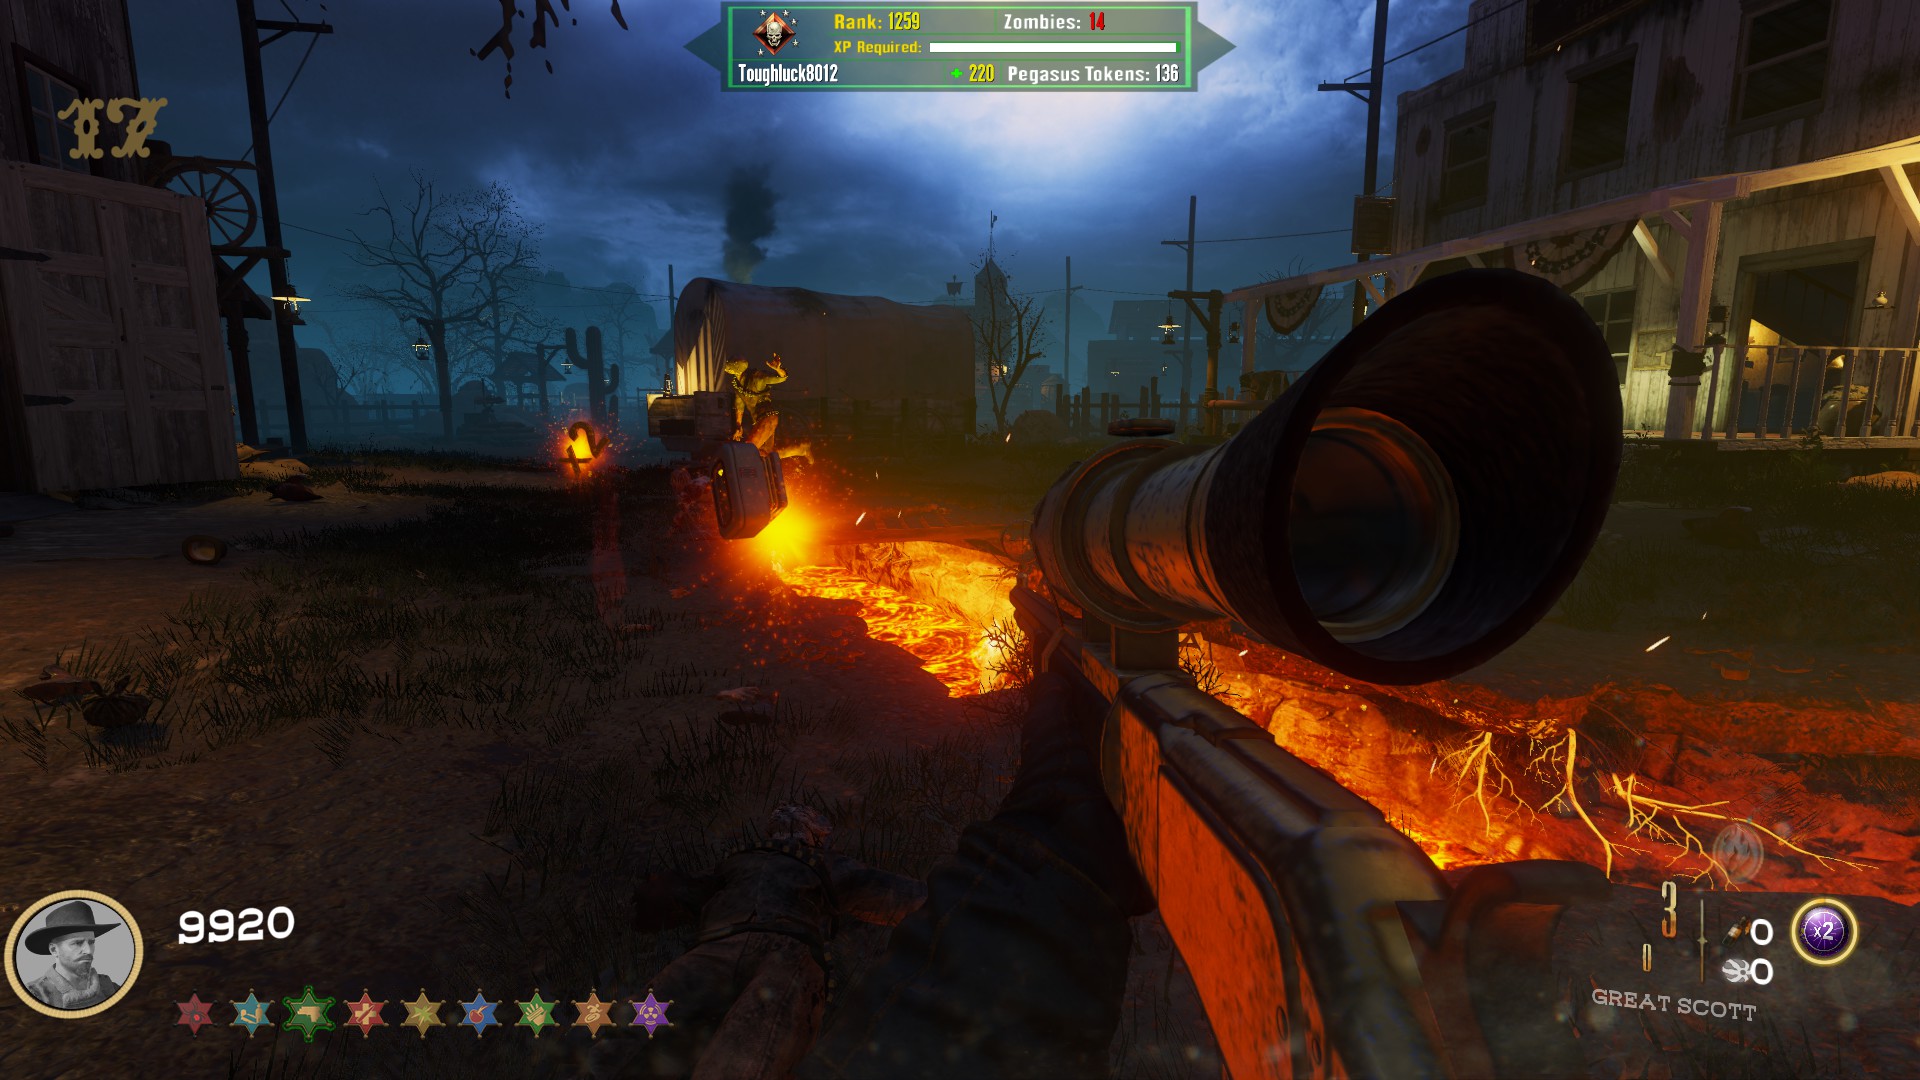
You will need to do the same thing with another flag and totem. The other flag is found on the Train Station roof in the spawn. Shoot the flag with the bow and the totem will emerge out of a small pocket of lava in spawn.
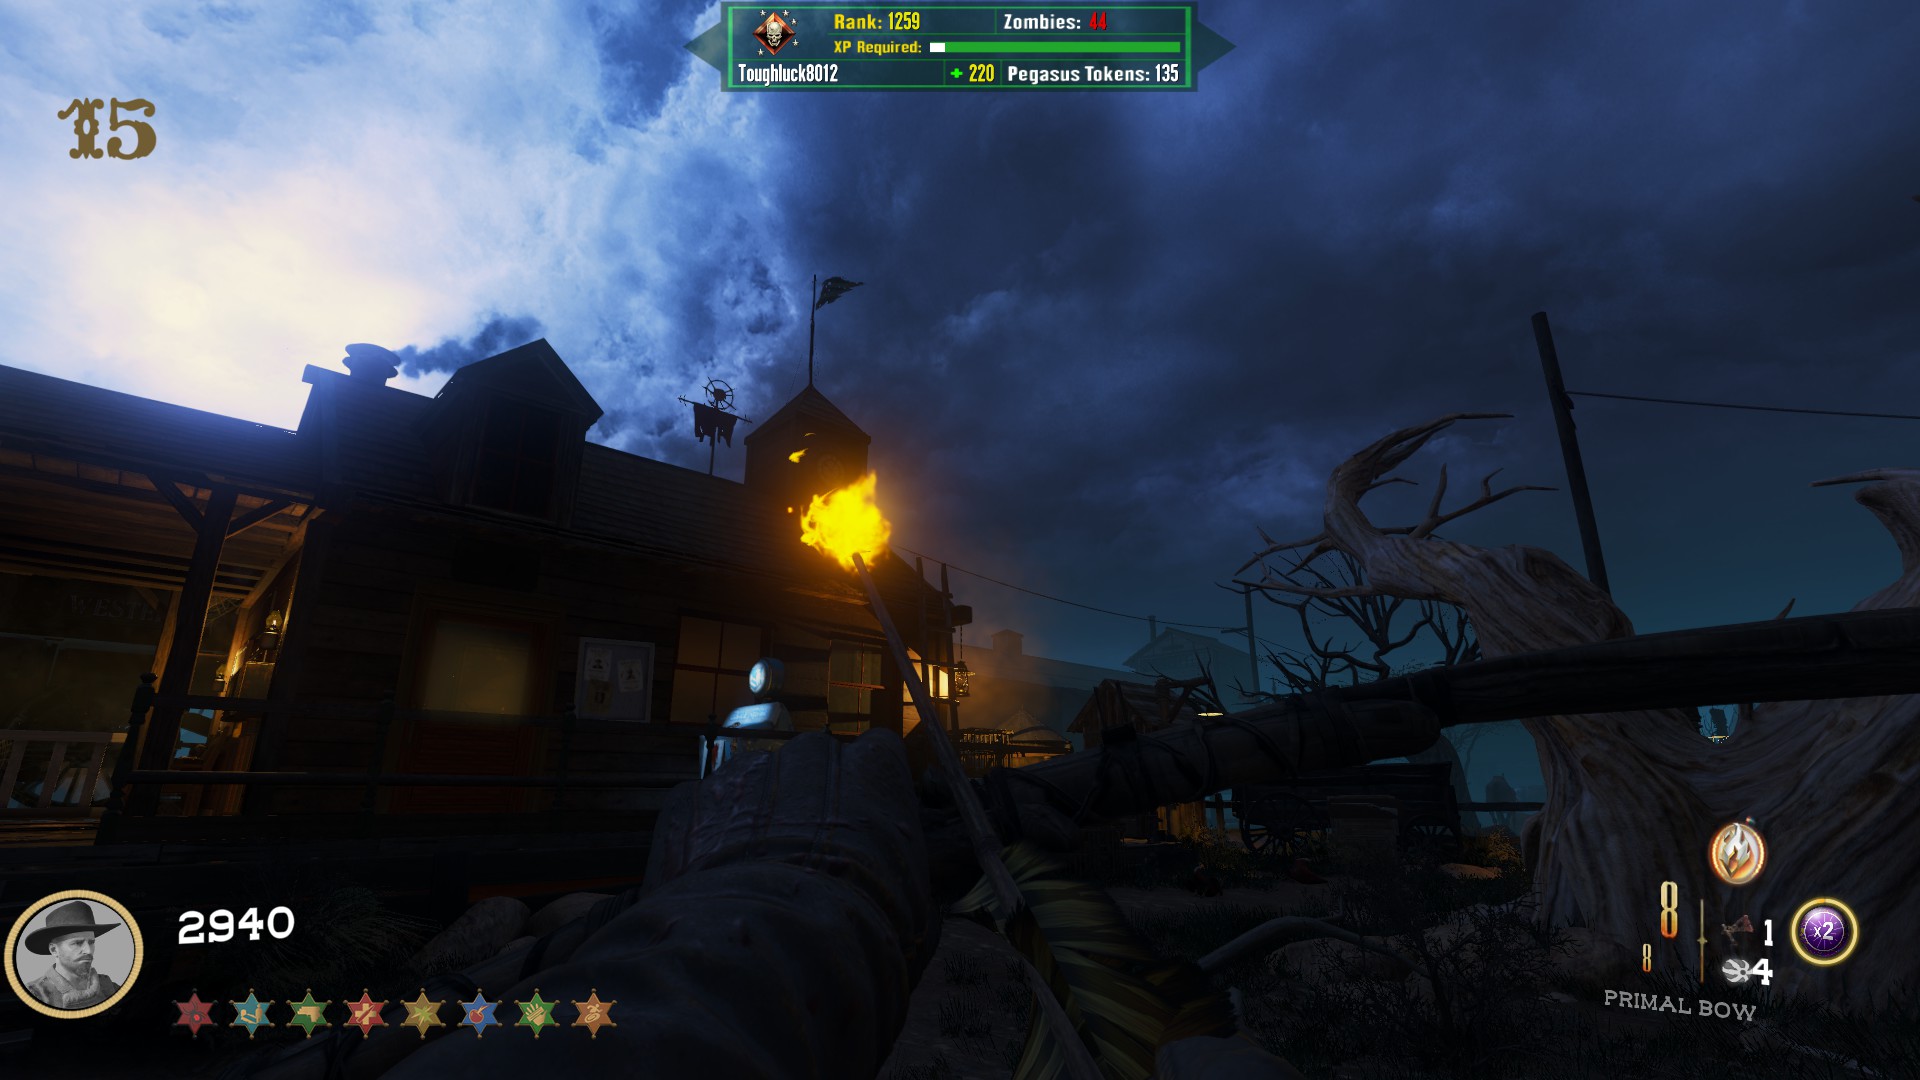
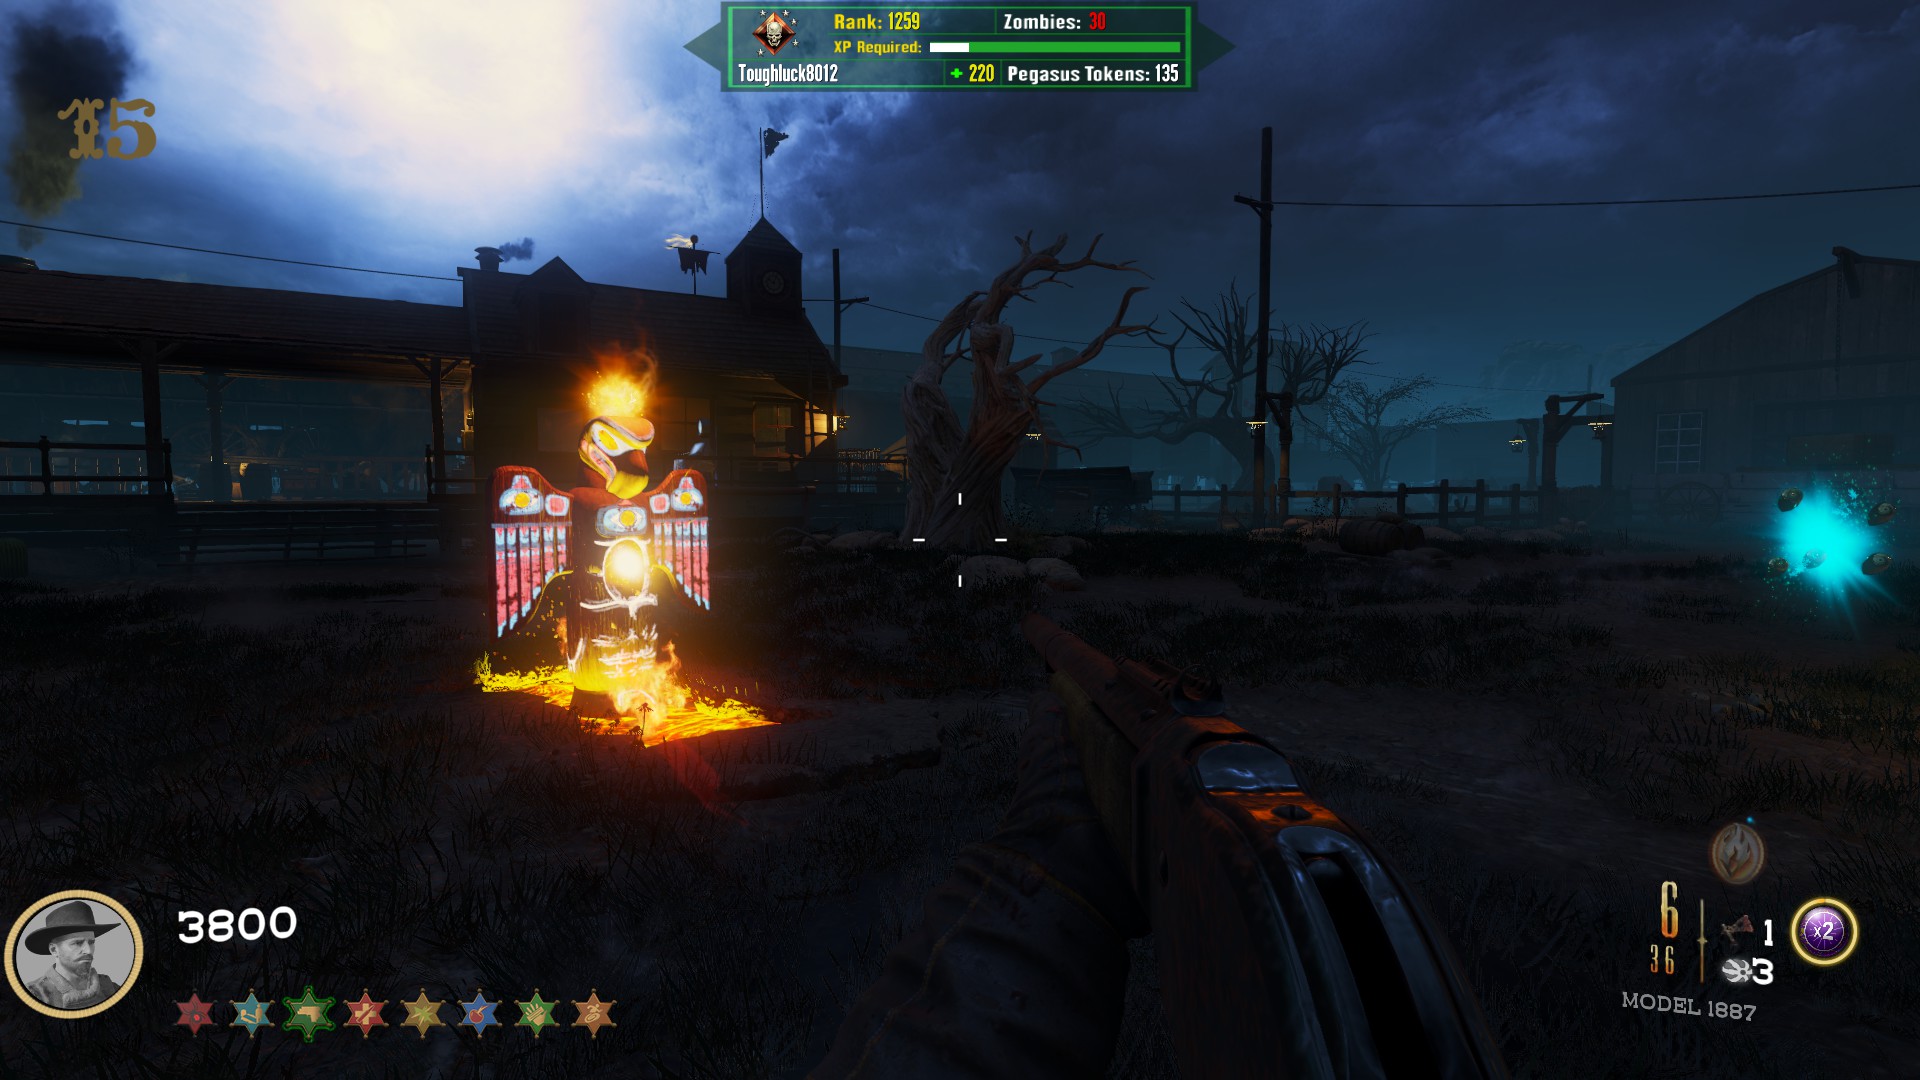
Charge the totem with souls until you obtain the second item.
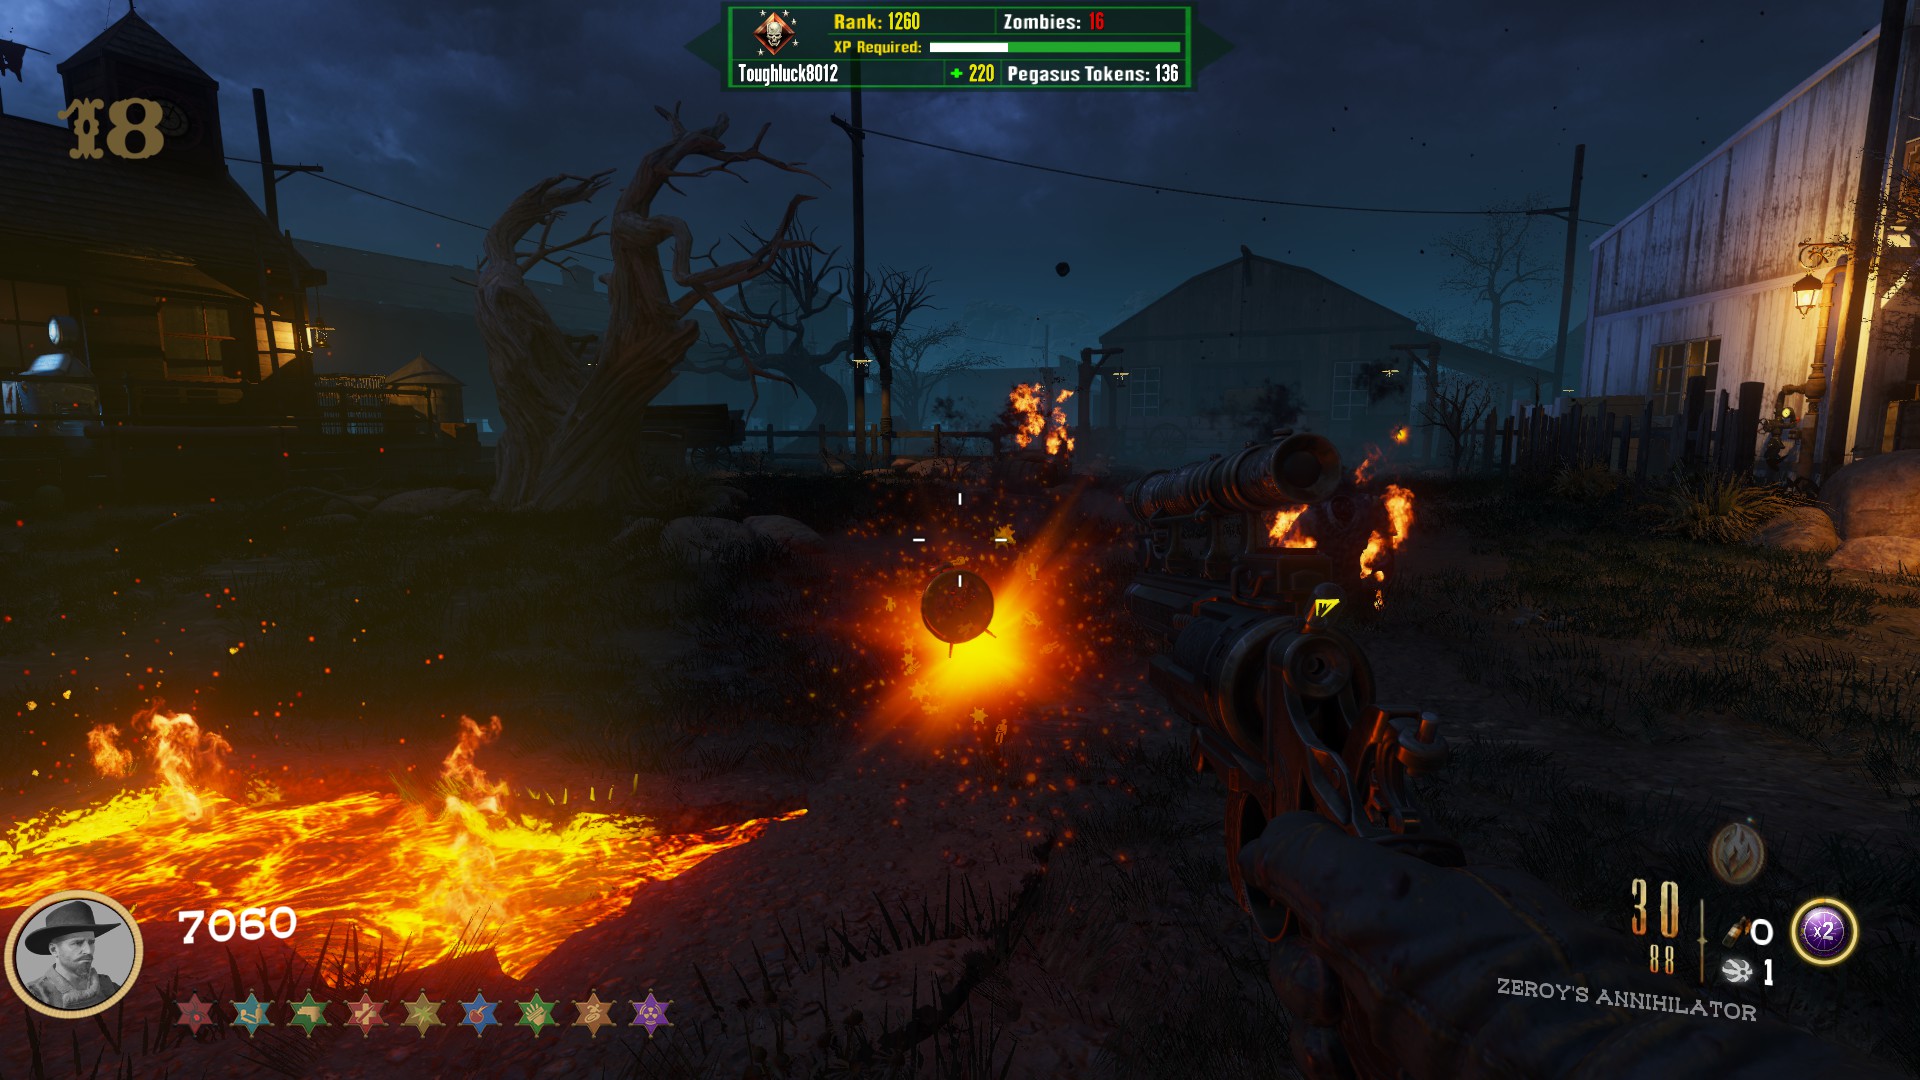 Head back to the church and go through the portal to reach the campsite again. There will be one final totem that requires zombie souls. Infinite zombies will spawn in while you are there. Once full, it will disappear, and you will be teleported back to the rest of the map again.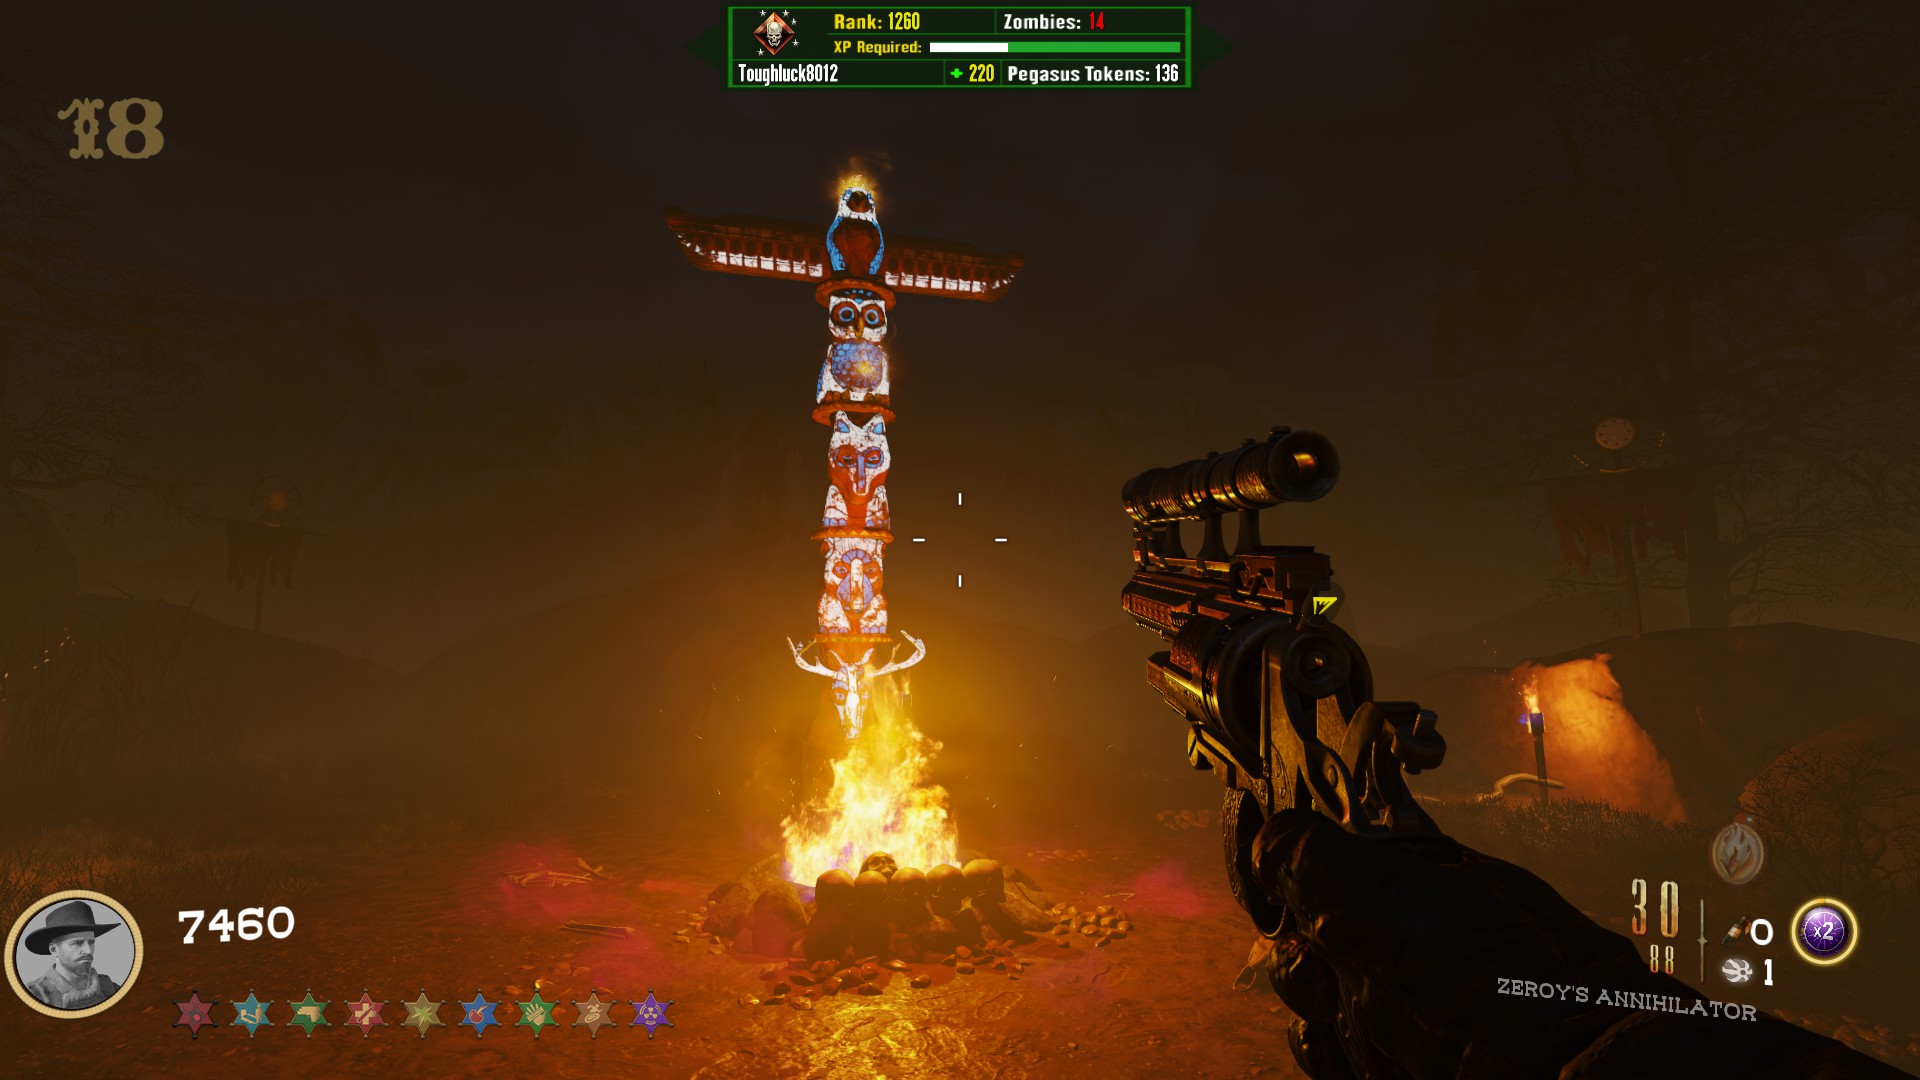
*Note* Sometimes in multiplayer, some of the players will be teleported back to the main map, while other players may be seemingly left behind at the campsite. Simply wait 10-30 seconds, and you will be brought back to the map
Main Quest Step 6: Final Boss Fight
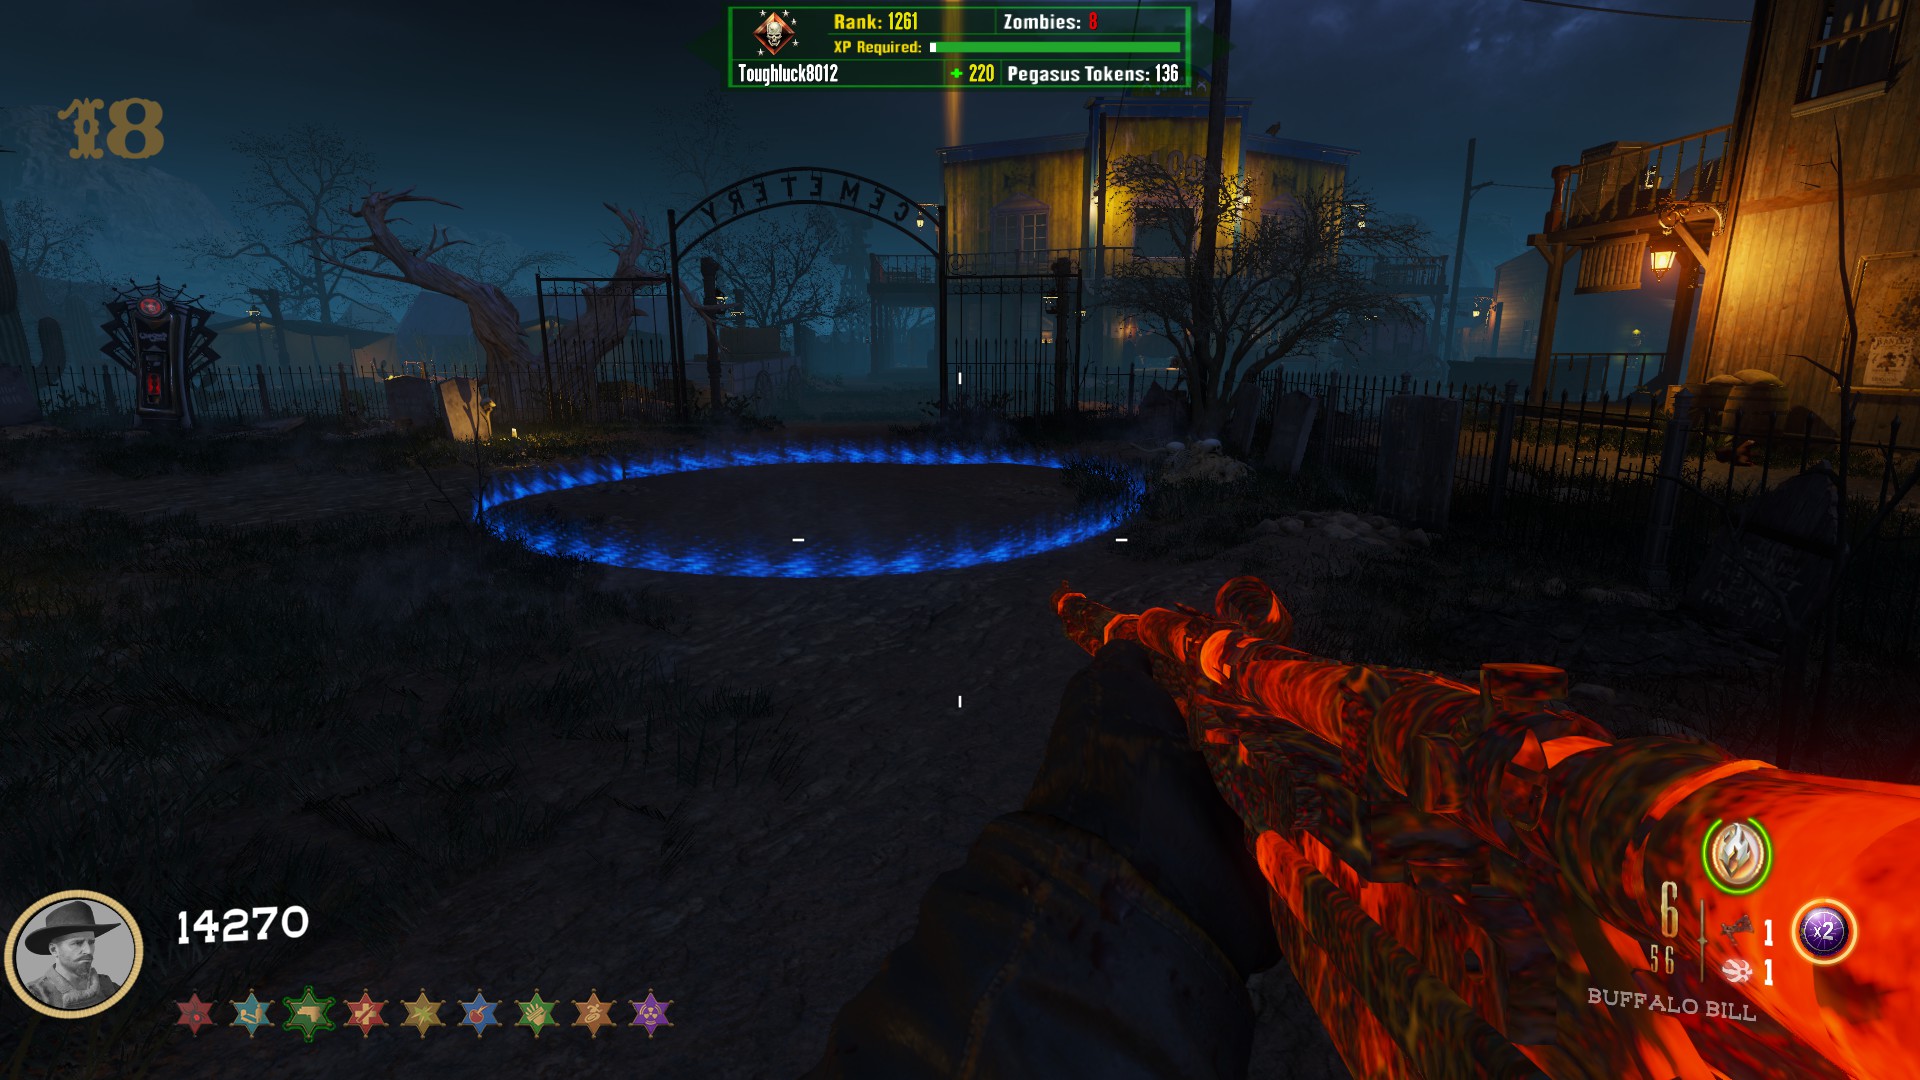 Leroy from Buried will spawn in. He has a ton of health, so use things like death machines and the two minigun traps (in spawn and outside of the cemetery) to whittle down his health-pool. During the fight, he will summon spectral wolves to attack you as well and infinite zombies will be spawning.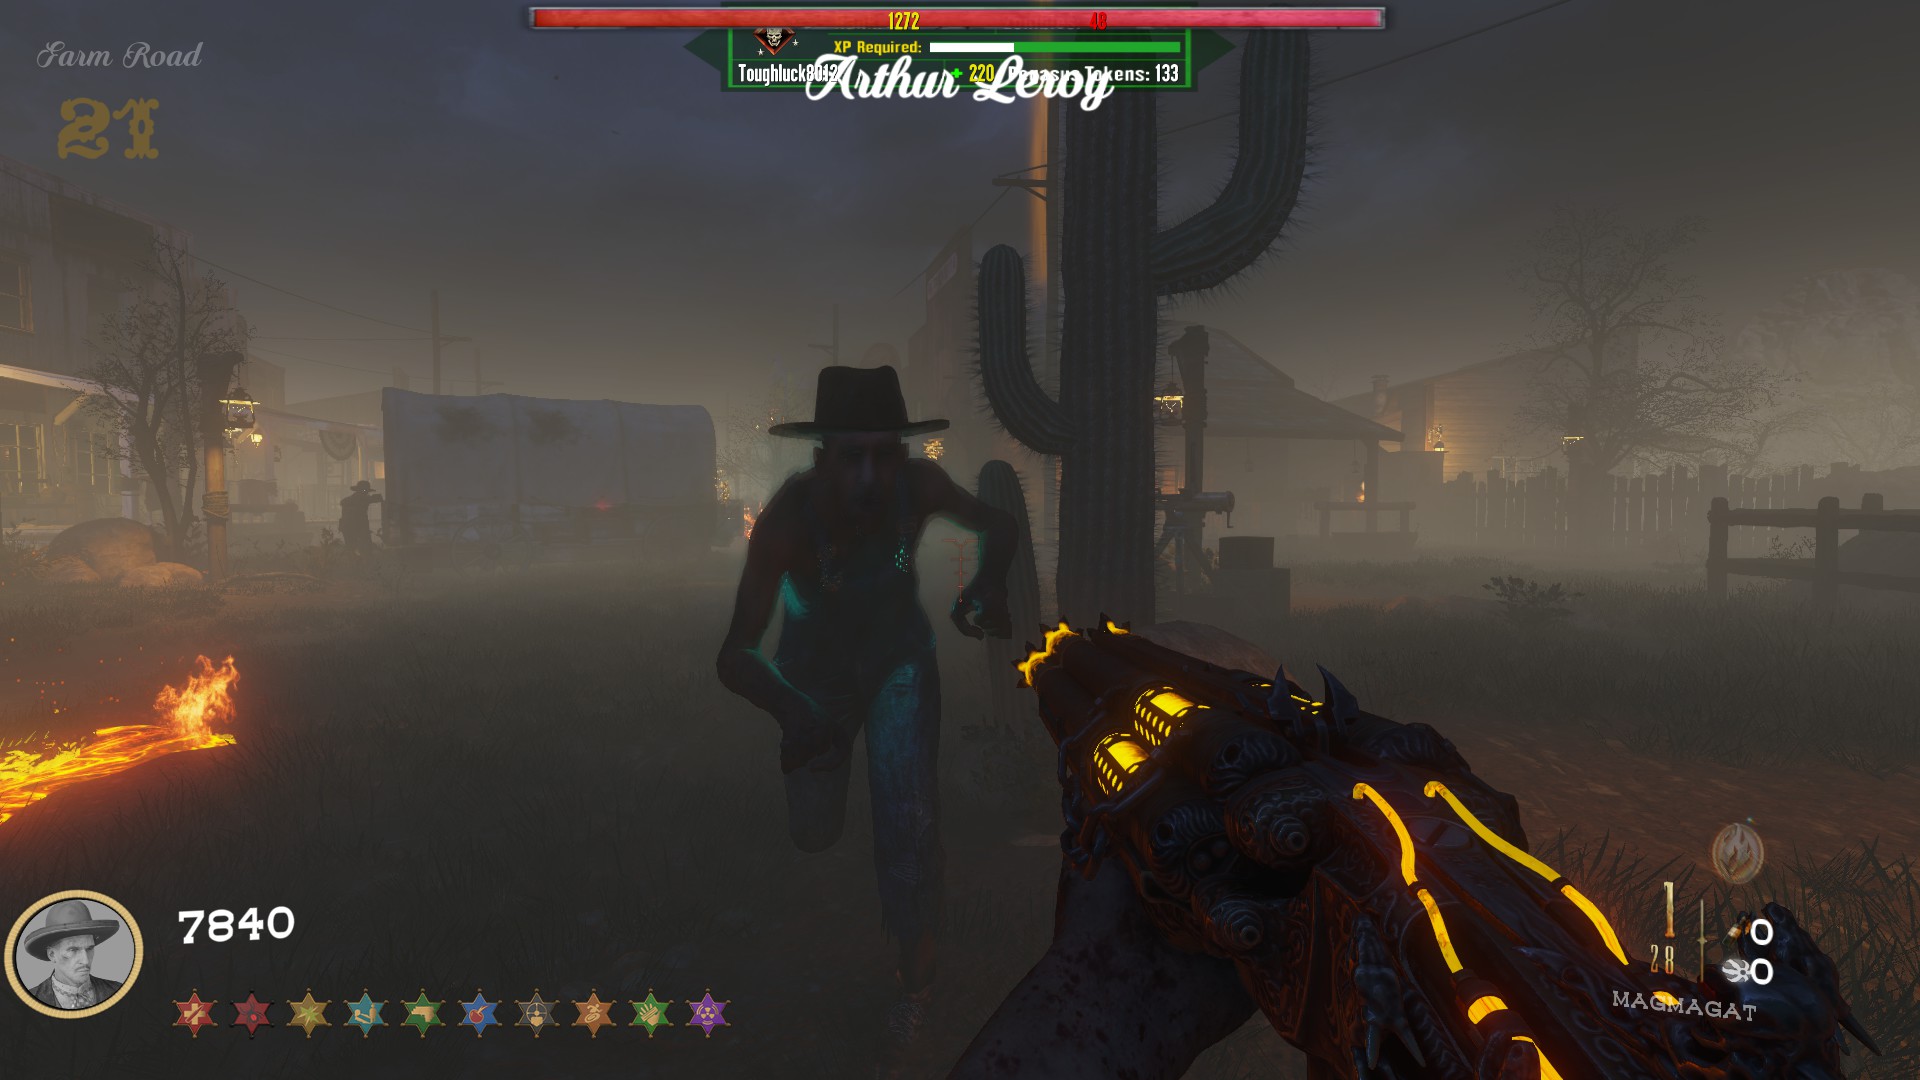
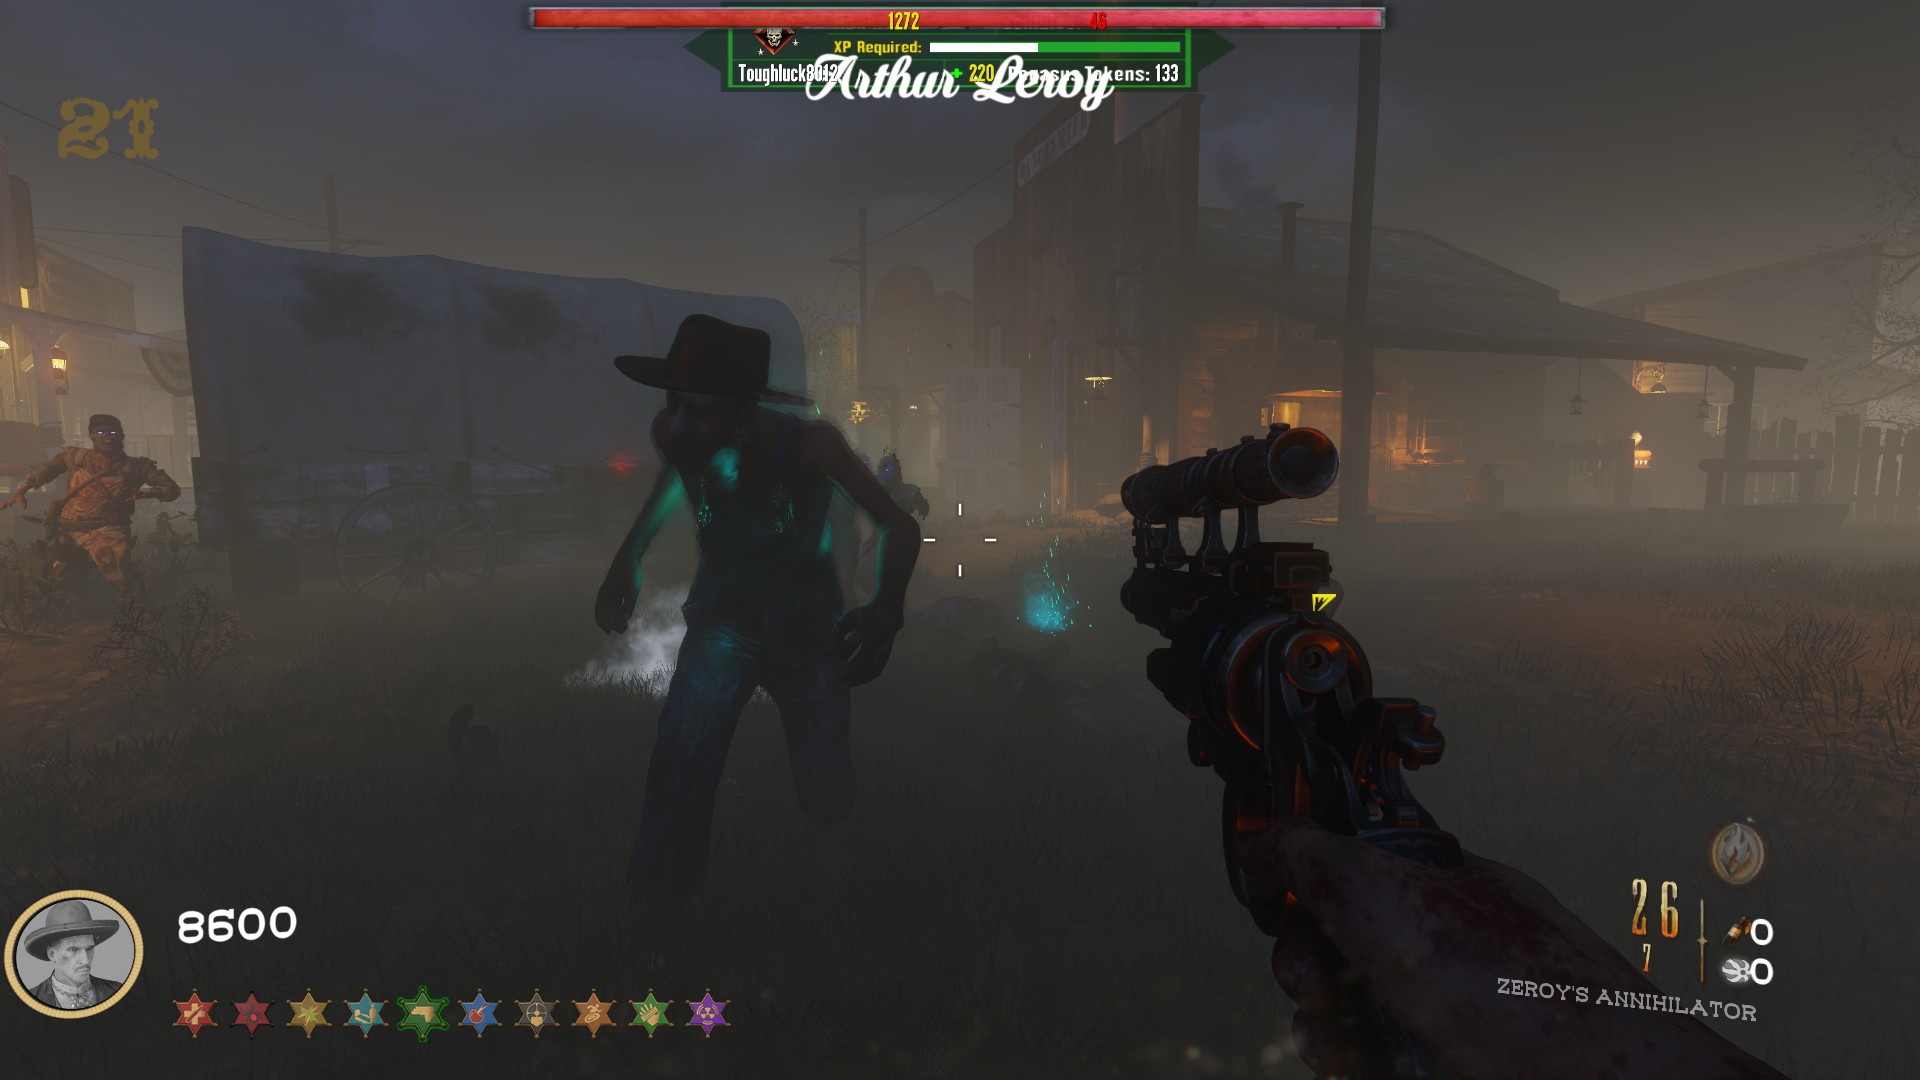 Once you have finally defeated him, he will drop the last item you will need and after picking it up, you are officially ready to beat the map.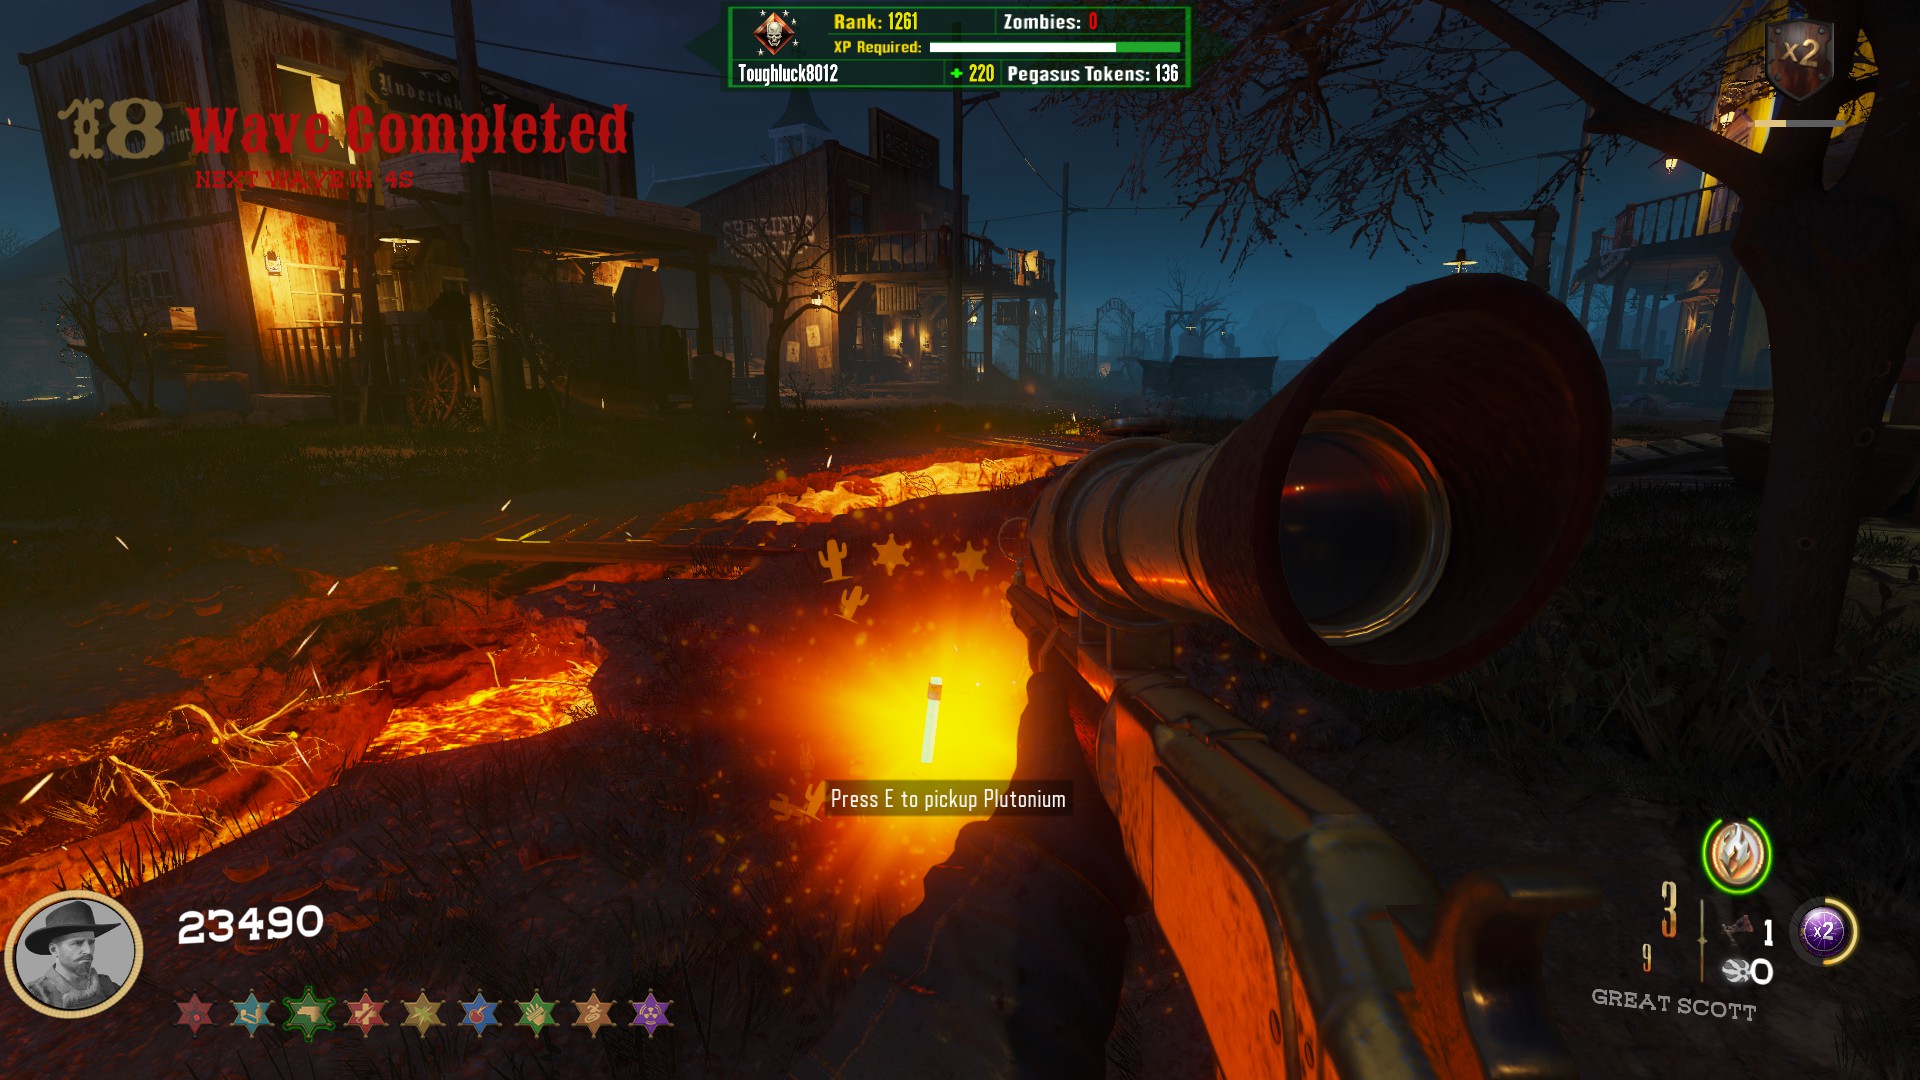
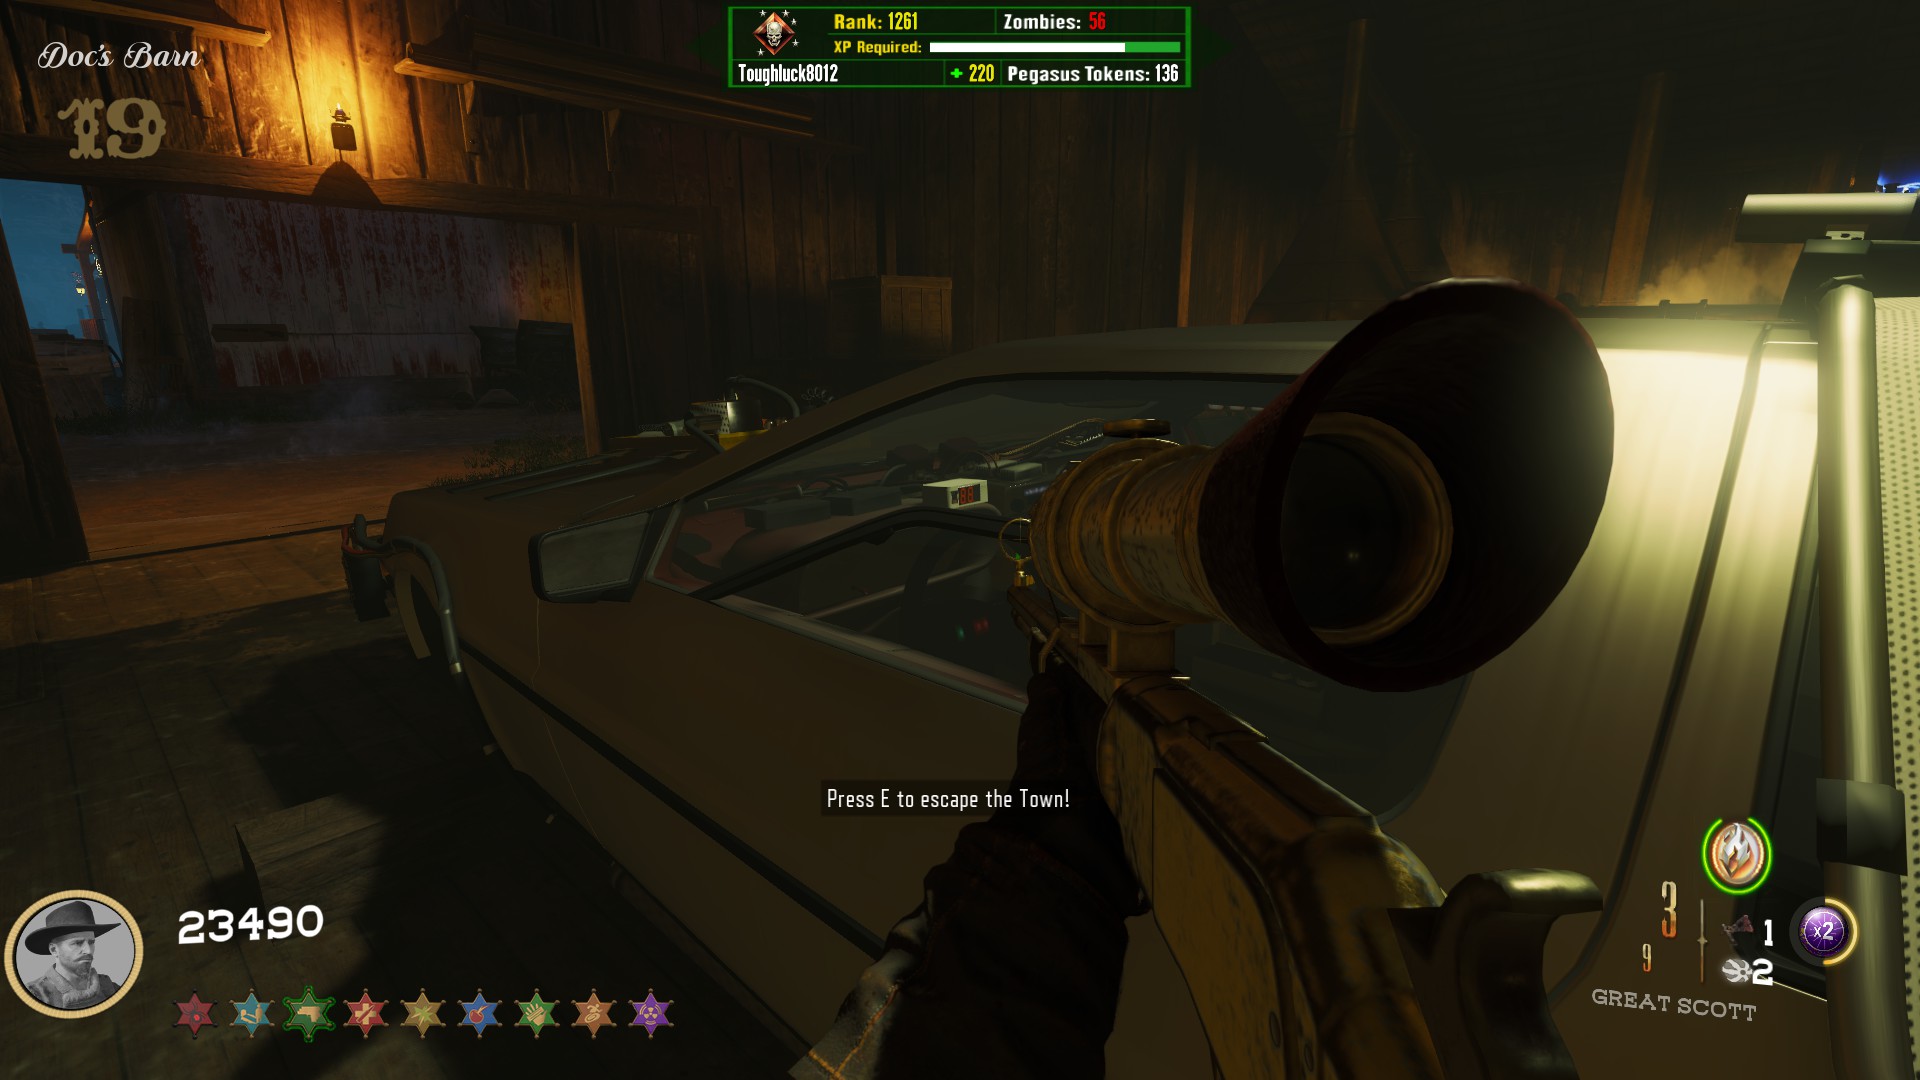
Main Quest Step 7: Escape
- All Around Enhancement Mod Description And Info★ 5 (597)211k views1.2k ♥34 minUpdated Aug 10, 2023
- Black Ops 3: Console Commands★ 5 (1.1k)123k views2.4k ♥7 minUpdated Feb 13, 2020
- Origins Ultimate Guide★ 5 (562)72k views1.7k ♥17 minUpdated Jun 24, 2017
- Guide for Shadows of Evil [2020 updated]★ 5 (1.4k)67k views4.5k ♥24 minUpdated Mar 22, 2024
- Guide for Der Eisendrache [2020 updated]★ 5 (1.3k)65k views4.6k ♥30 minUpdated Feb 22, 2024
- How to download the community T7patch by Serious and play online zombies safely (also FPS Fix)★ 5 (491)62k views1.2k ♥4 minUpdated Apr 30





- Upgrading to PremiumTeam Fortress 2★ 5 (20k)1441k views11k ♥6 minUpdated May 11, 2022
- No More Room in Hell Official ManualNo More Room in Hell★ 5 (2.8k)569k views2.1k ♥29 minUpdated Apr 22, 2019
- NMRiH Community Hosting GuidesNo More Room in Hell★ 5 (526)351k views653 ♥1 minUpdated Aug 10, 2022
- Лучшие кооперативные игры SteamPAYDAY 2★ 5 (1.5k)315k views2.1k ♥56 minRussianUpdated Apr 27, 2025
- Desert Eagle Heat Treated | Blue GemCounter-Strike 2★ 5 (1.6k)292k views1.5k ♥2 minUpdated Jan 16
- Treasure Hunt Puzzle SolutionsTotal War: WARHAMMER II★ 5 (6.9k)281k views15k ♥3 minUpdated Aug 19, 2021






This guide was created by its original author on the Steam Community. Are you the author and want it removed? Request removal.