Mob of the Dead Remastered Guide (MOTD EE)
General Overview
This guide references and pertains to the Mob of the Dead remaster created by ("JariK" and "Cypress"). The steam workshop page is linked below. In addition, a patch has also been made to address some performance and stability issues surrounding the map. The patch is also linked below. Simply subscribe to both items, and run the patch from the "mods" section of the main menu, then proceed to launch the custom map like you would any other.
Download link:
https://steamcommunity.com/sharedfiles/filedetails/?id=1128166280
Patch:https://steamcommunity.com/sharedfiles/filedetails/?id=1725568279
- This is a faithful remaster of how the map was in black ops 2, meaning there is no gobblegum, wunderfizz, double PAP AATs, etc.
- The easter egg CAN be completed on solo. Solo players will always spawn as "The Weasel" because of this.
- Solo mode grants a maximum pool of three Afterlife charges at a time, where as multiplayer grants only one. Using kill switches to enter Afterlife Mode will preserve perks, where as downing yourself in other methods will not.
- The boss zombie Brutus will begin to spawn in around round 7+ or if certain easter egg steps are triggered. Make sure to focus him immediately or he will run around the map and lockdown perk machines and workbenches, which means you will need to pay at least 2000 points (sometimes more) to unlock it before you can purchase the perk or pick up the item from the workbench again.
This guide also pertains to the remastered version by "copforthat", and nearly all content found within the guide should carry over and be relevant there.
Download link:
https://steamcommunity.com/sharedfiles/filedetails/?id=3373649394
Obtaining the Warden's Key
The Warden's Key is used to obtain all 5 pieces to build the plane and access Pack-A-Punch
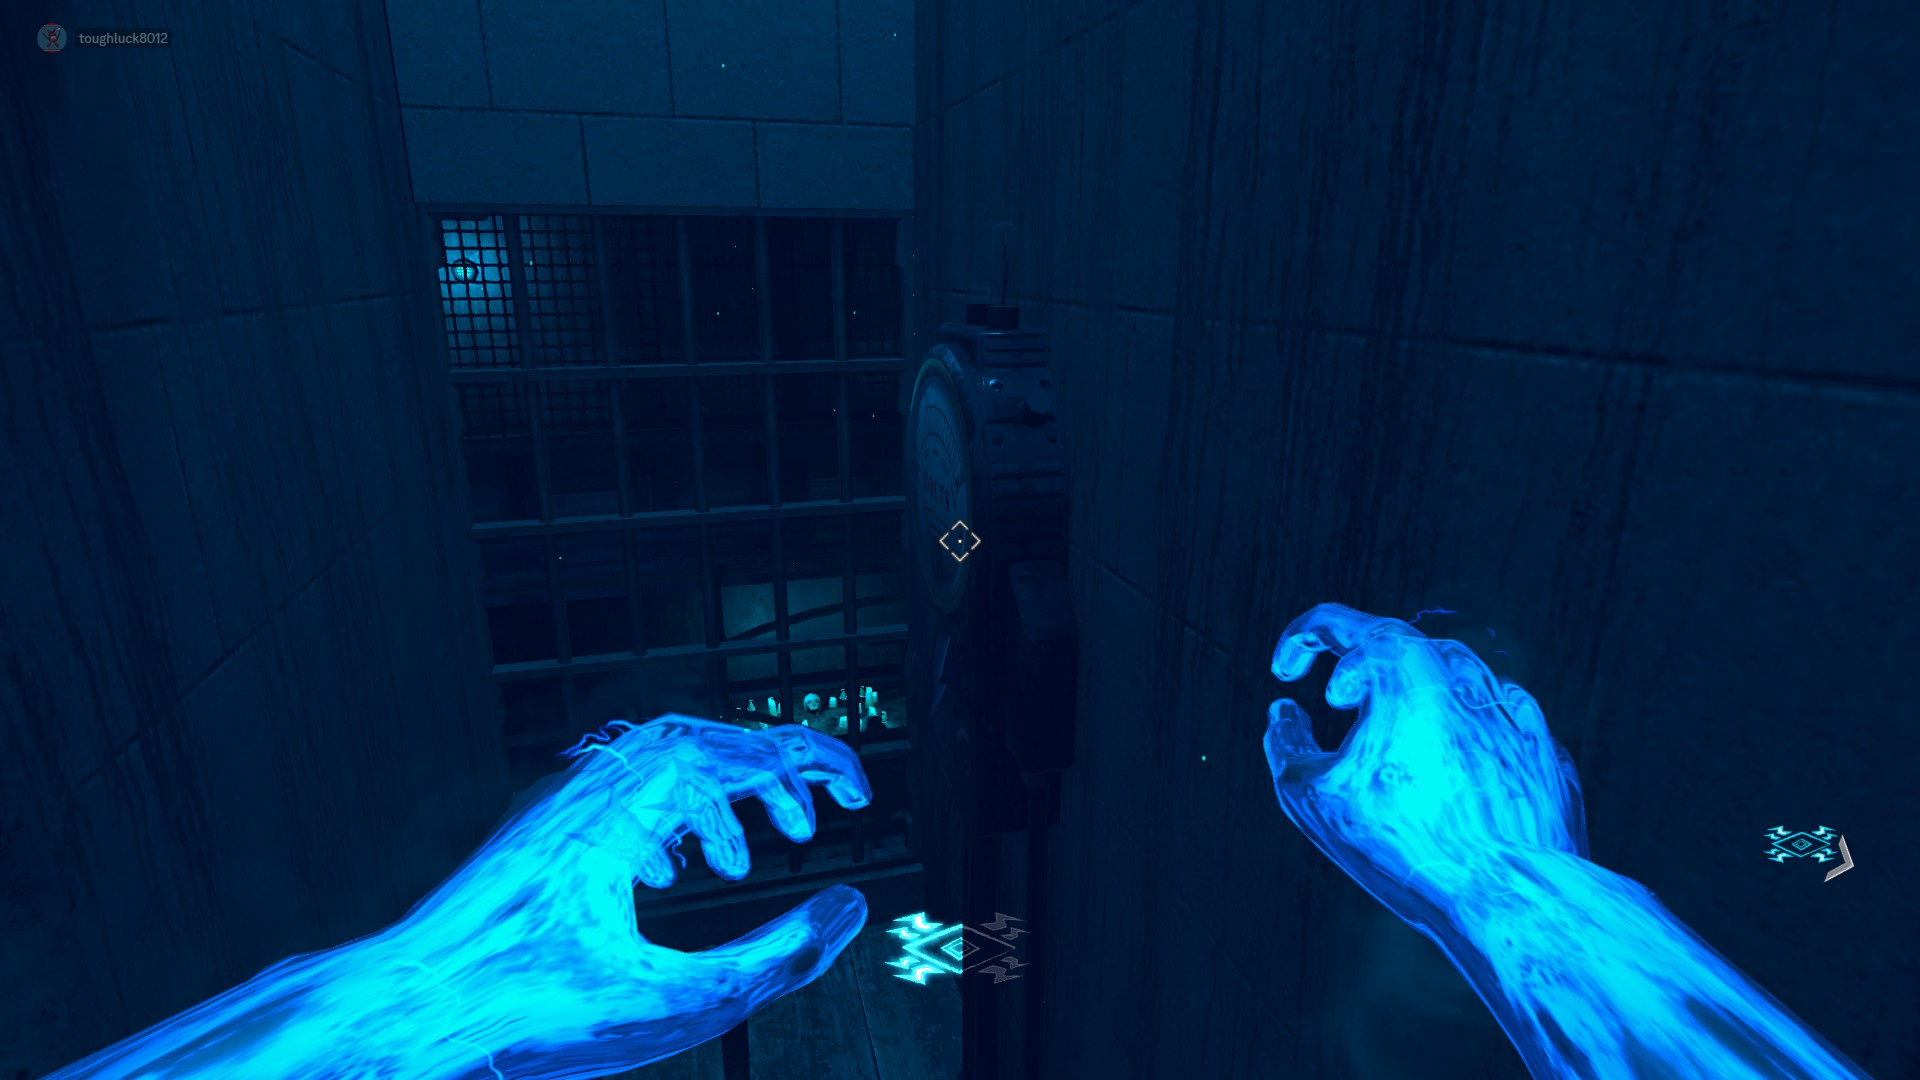
Location 1:Outside of the Cafeteria. Enter Afterlife Mode and jump up through the blue hole. Shock the generator until the lights turn off. The key should descend and you should be able to pick it up once you are out of Afterlife Mode.
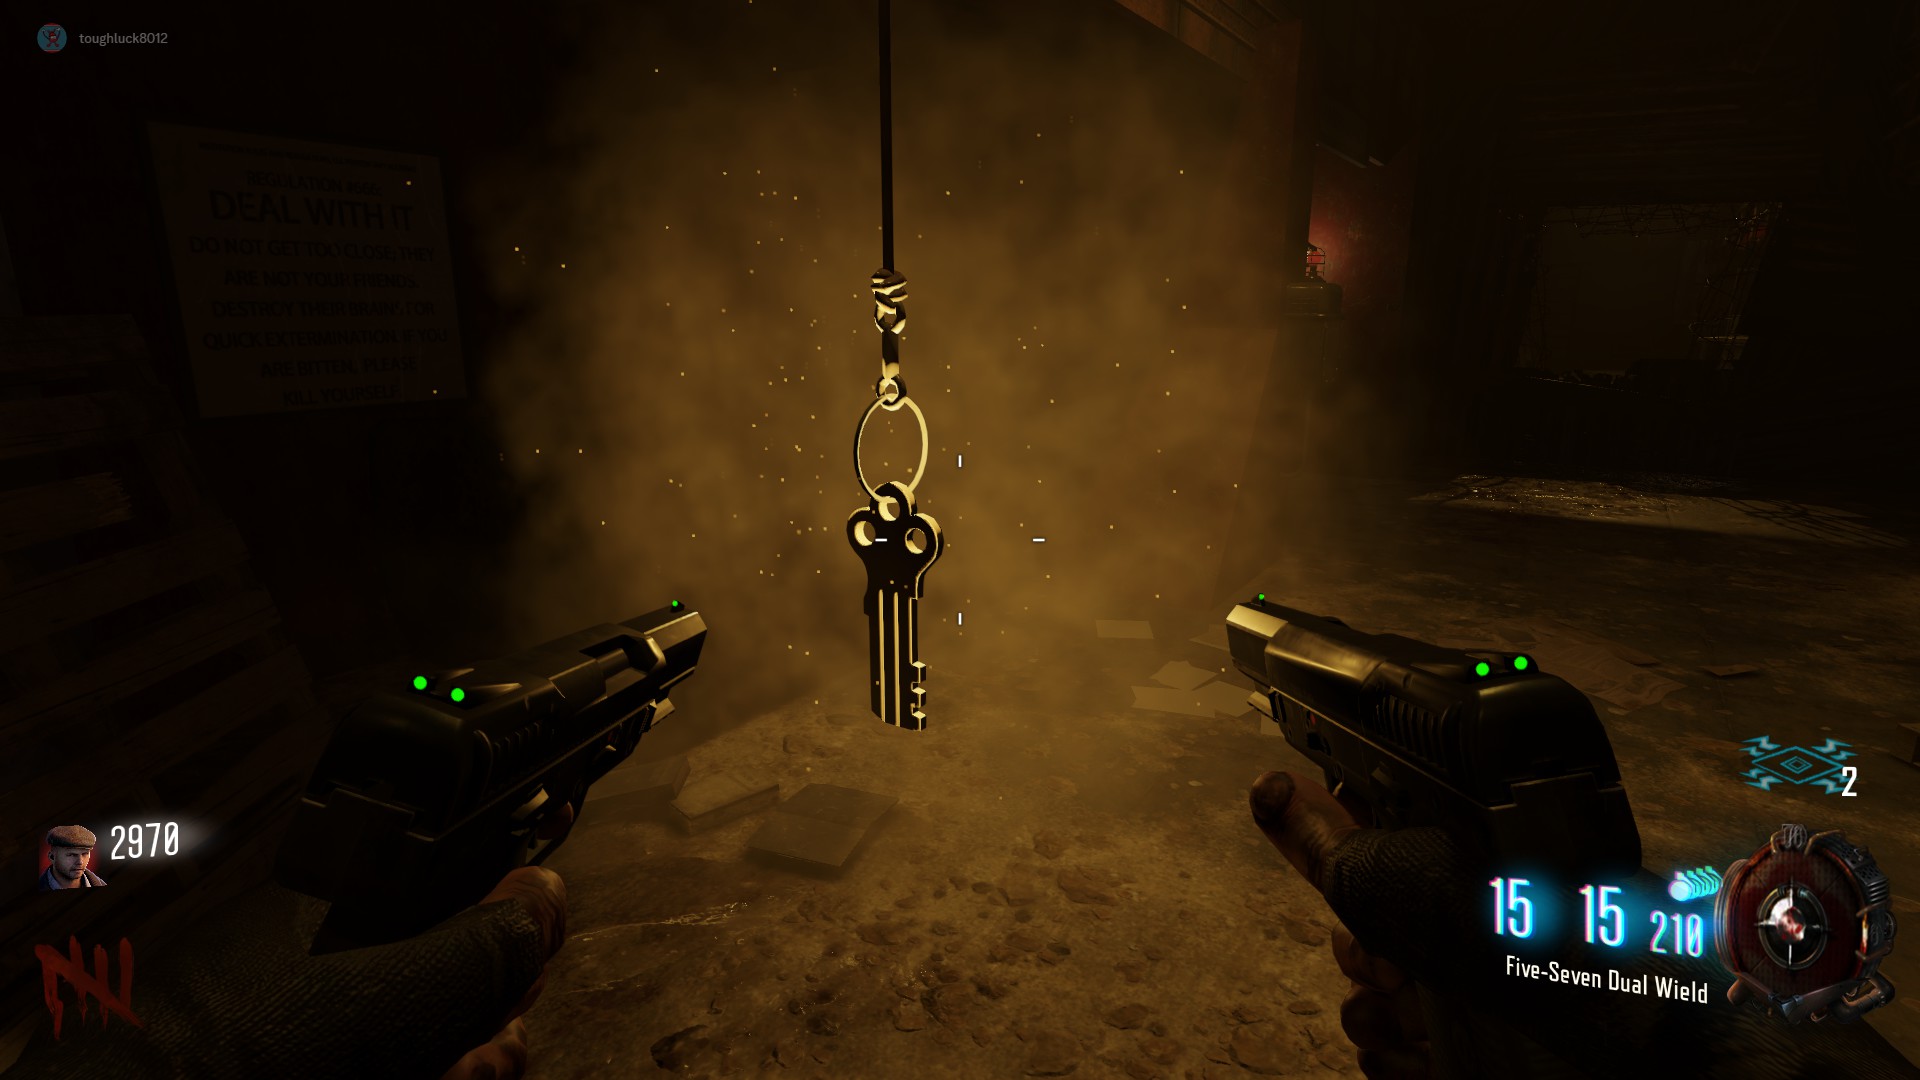
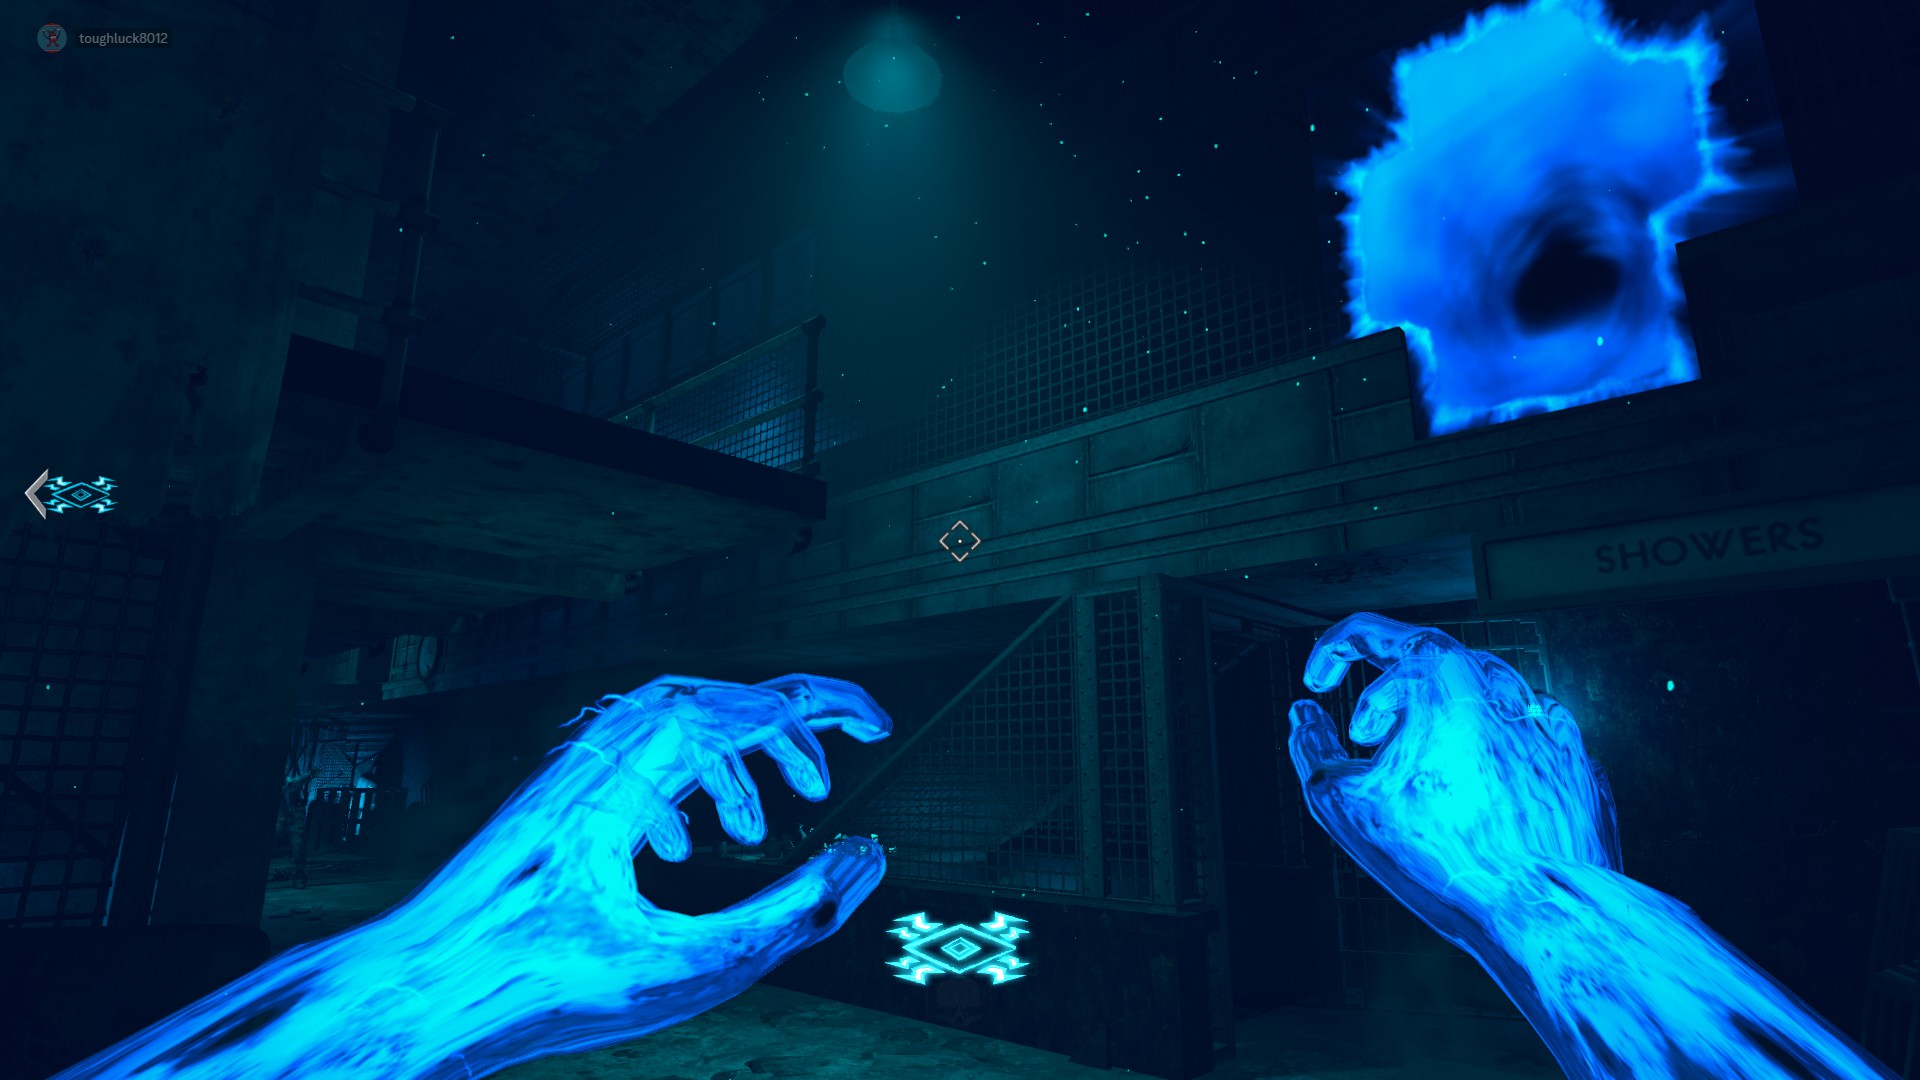
Recommended route to optimize Afterlife:
- Hit the kill switch outside of Cafeteria.
- Jump up and shock down Warden's Key (if applicable)
- Shock Afterlife Shock Box by Cells to reveal an insta-kill (double points in solo)
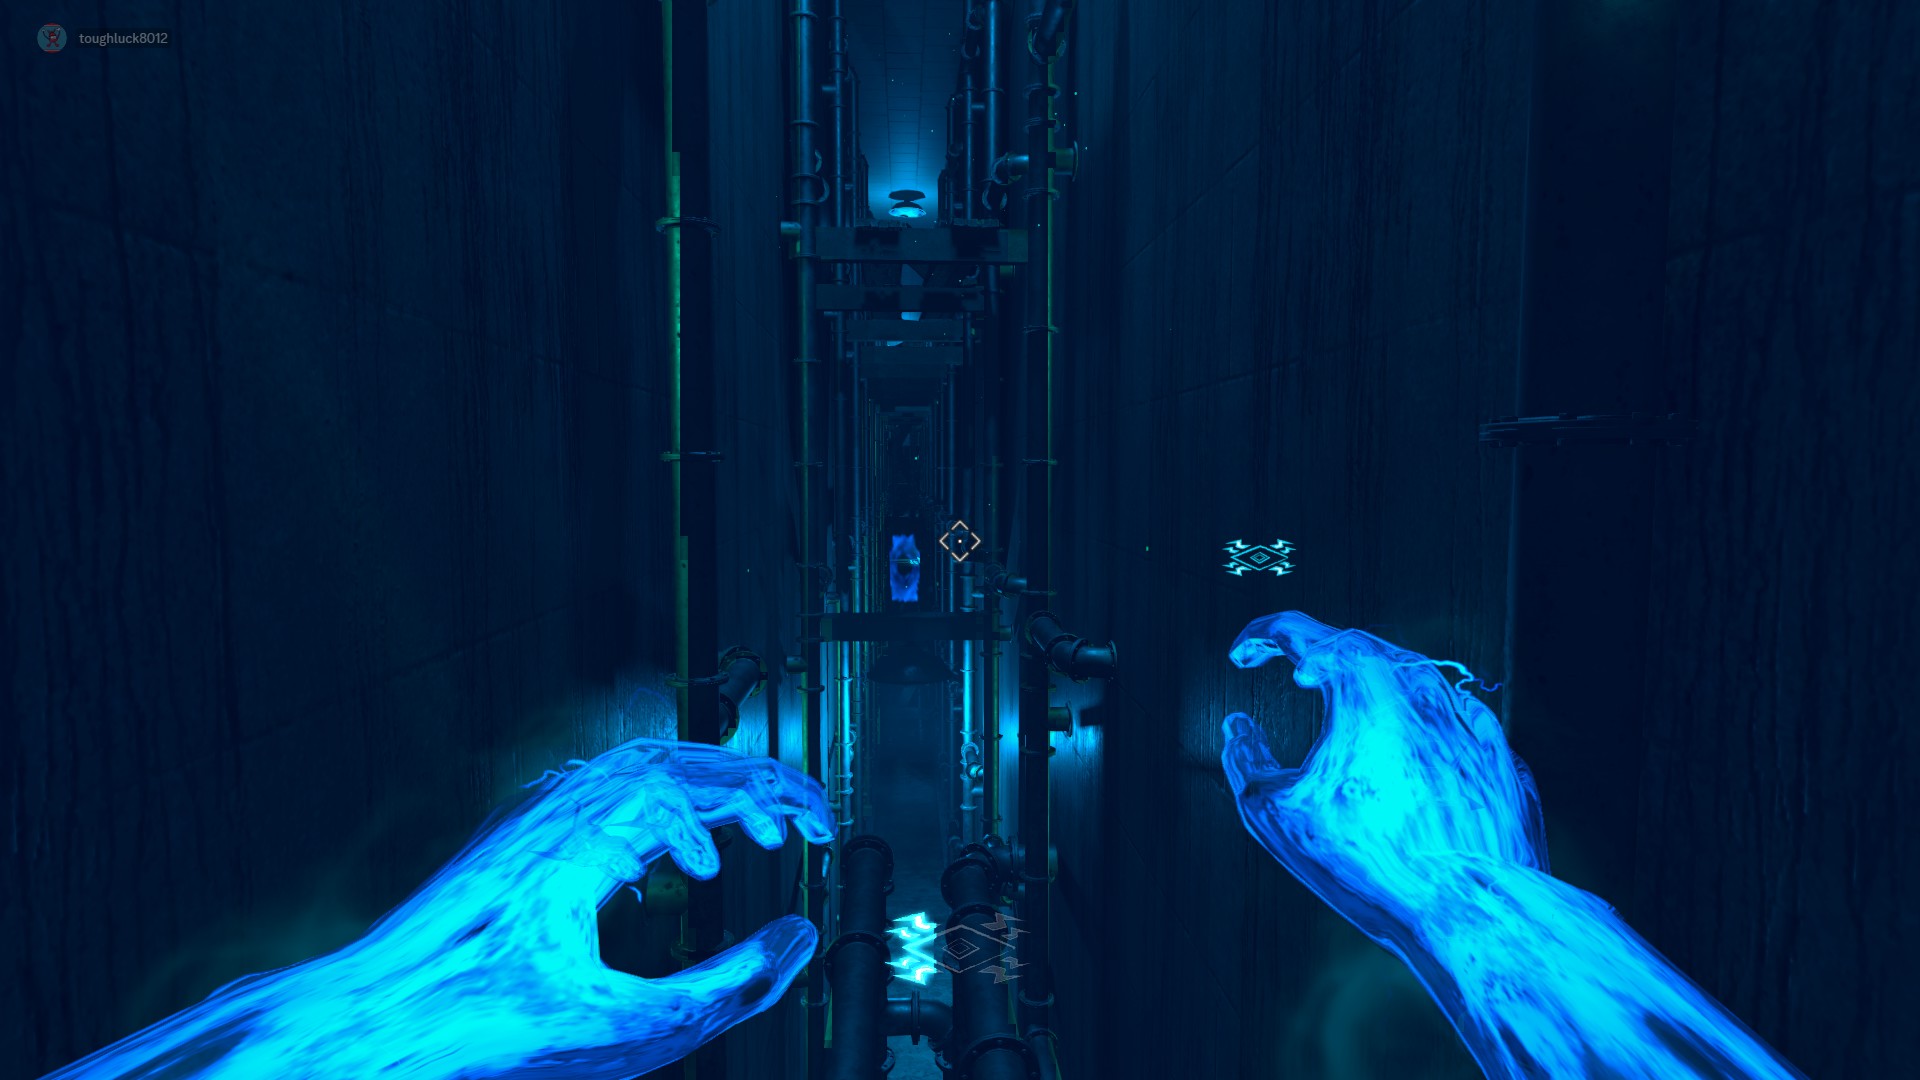
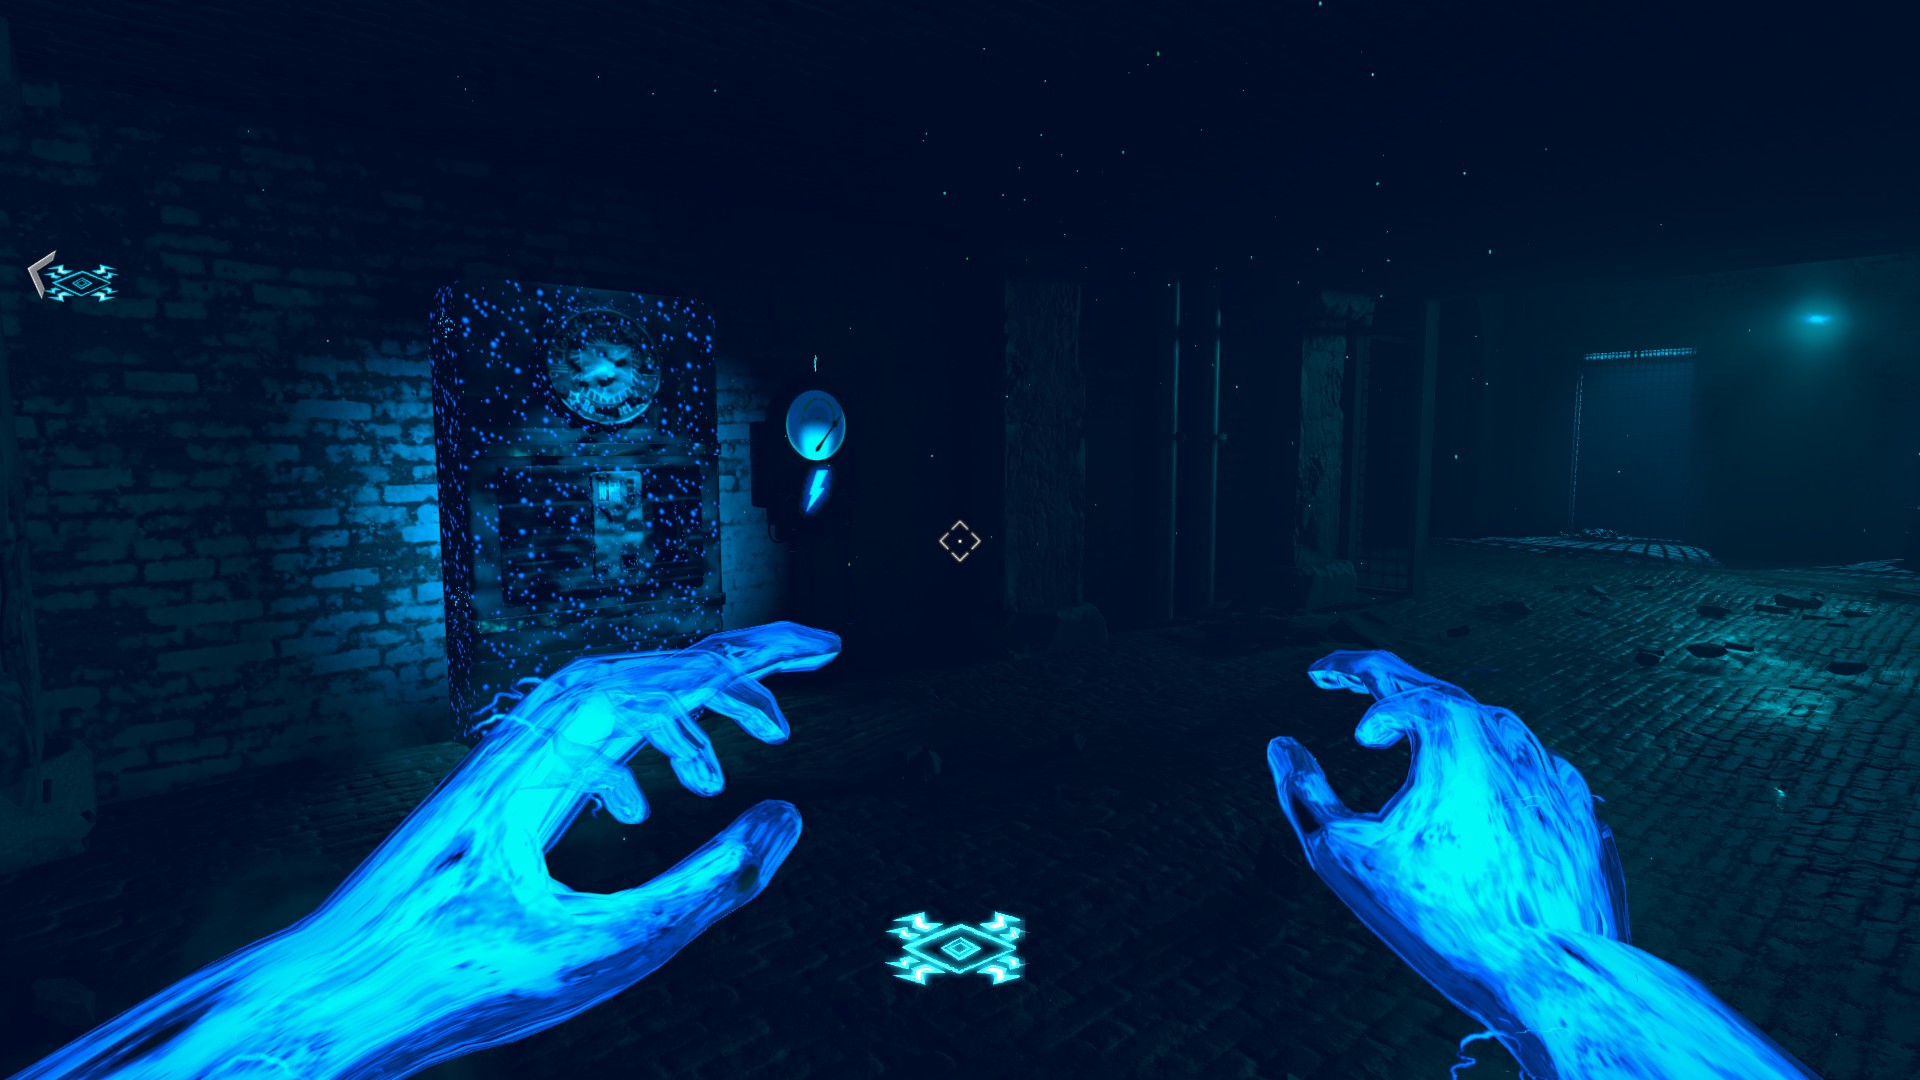
- Run through the hole in the wall and navigate the pipes, jumping up to shock the Afterlife Shock Box at the end. This will open the door to the showers
- Return to the kill switch and revive yourself, or have a teammate do so. If the meter depletes, you will die
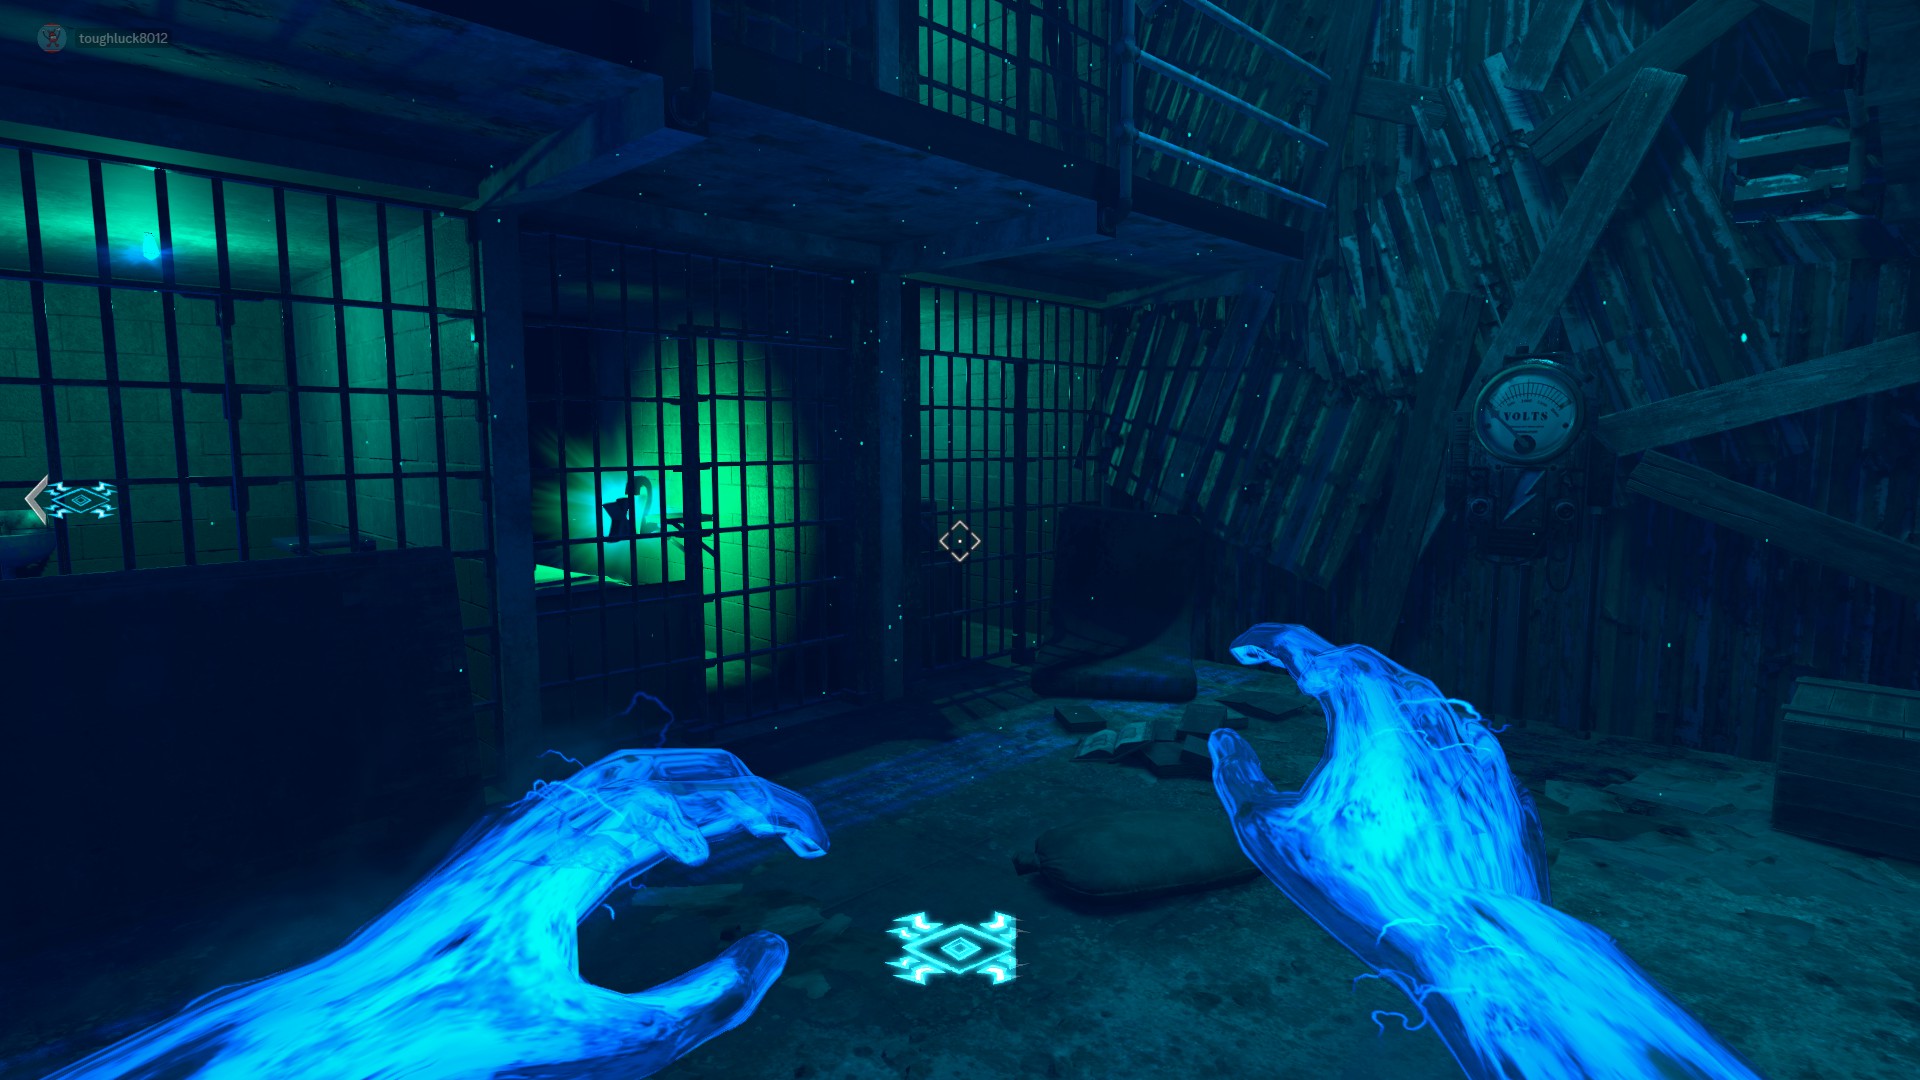
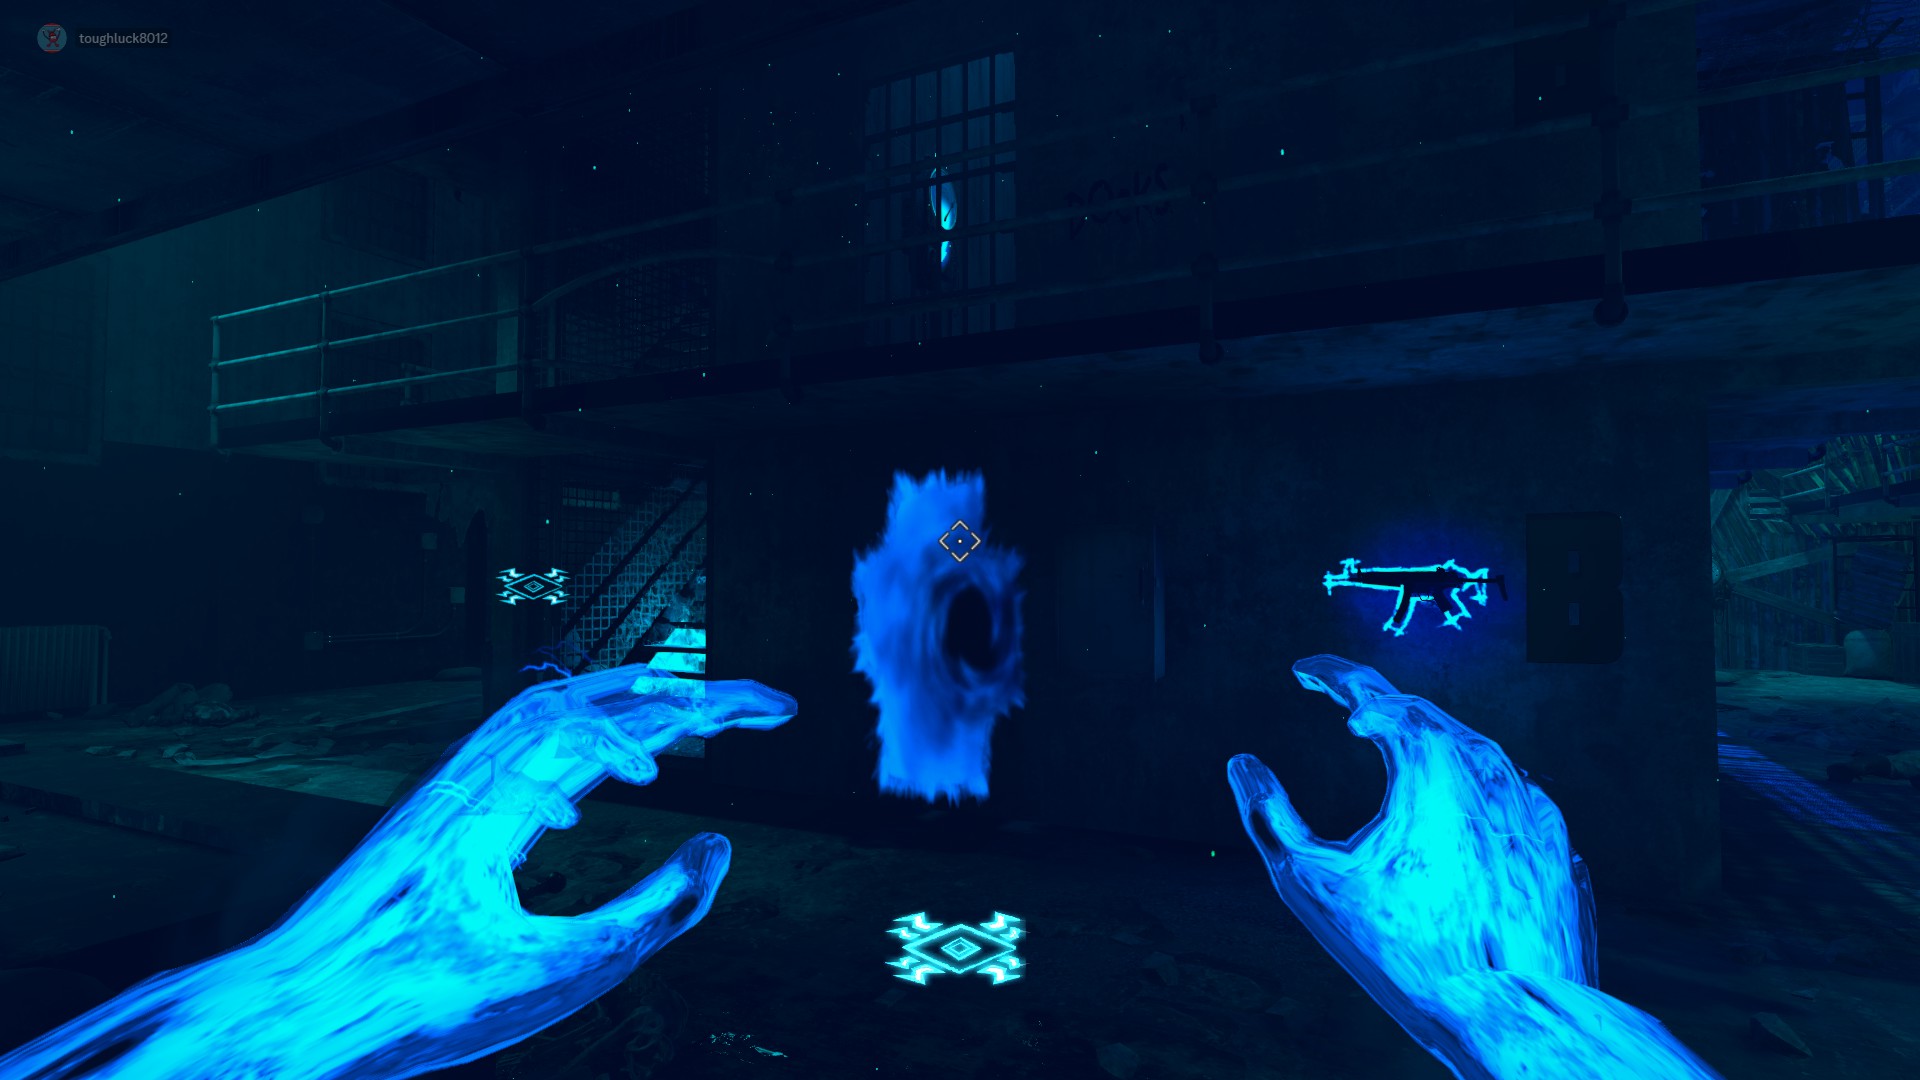
Location 2:
Outside of the Warden's Office. Enter Afterlife Mode and jump up through the blue hole. Shock the generator until the lights turn off. The key should descend and you should be able to pick it up once you are out of Afterlife Mode.
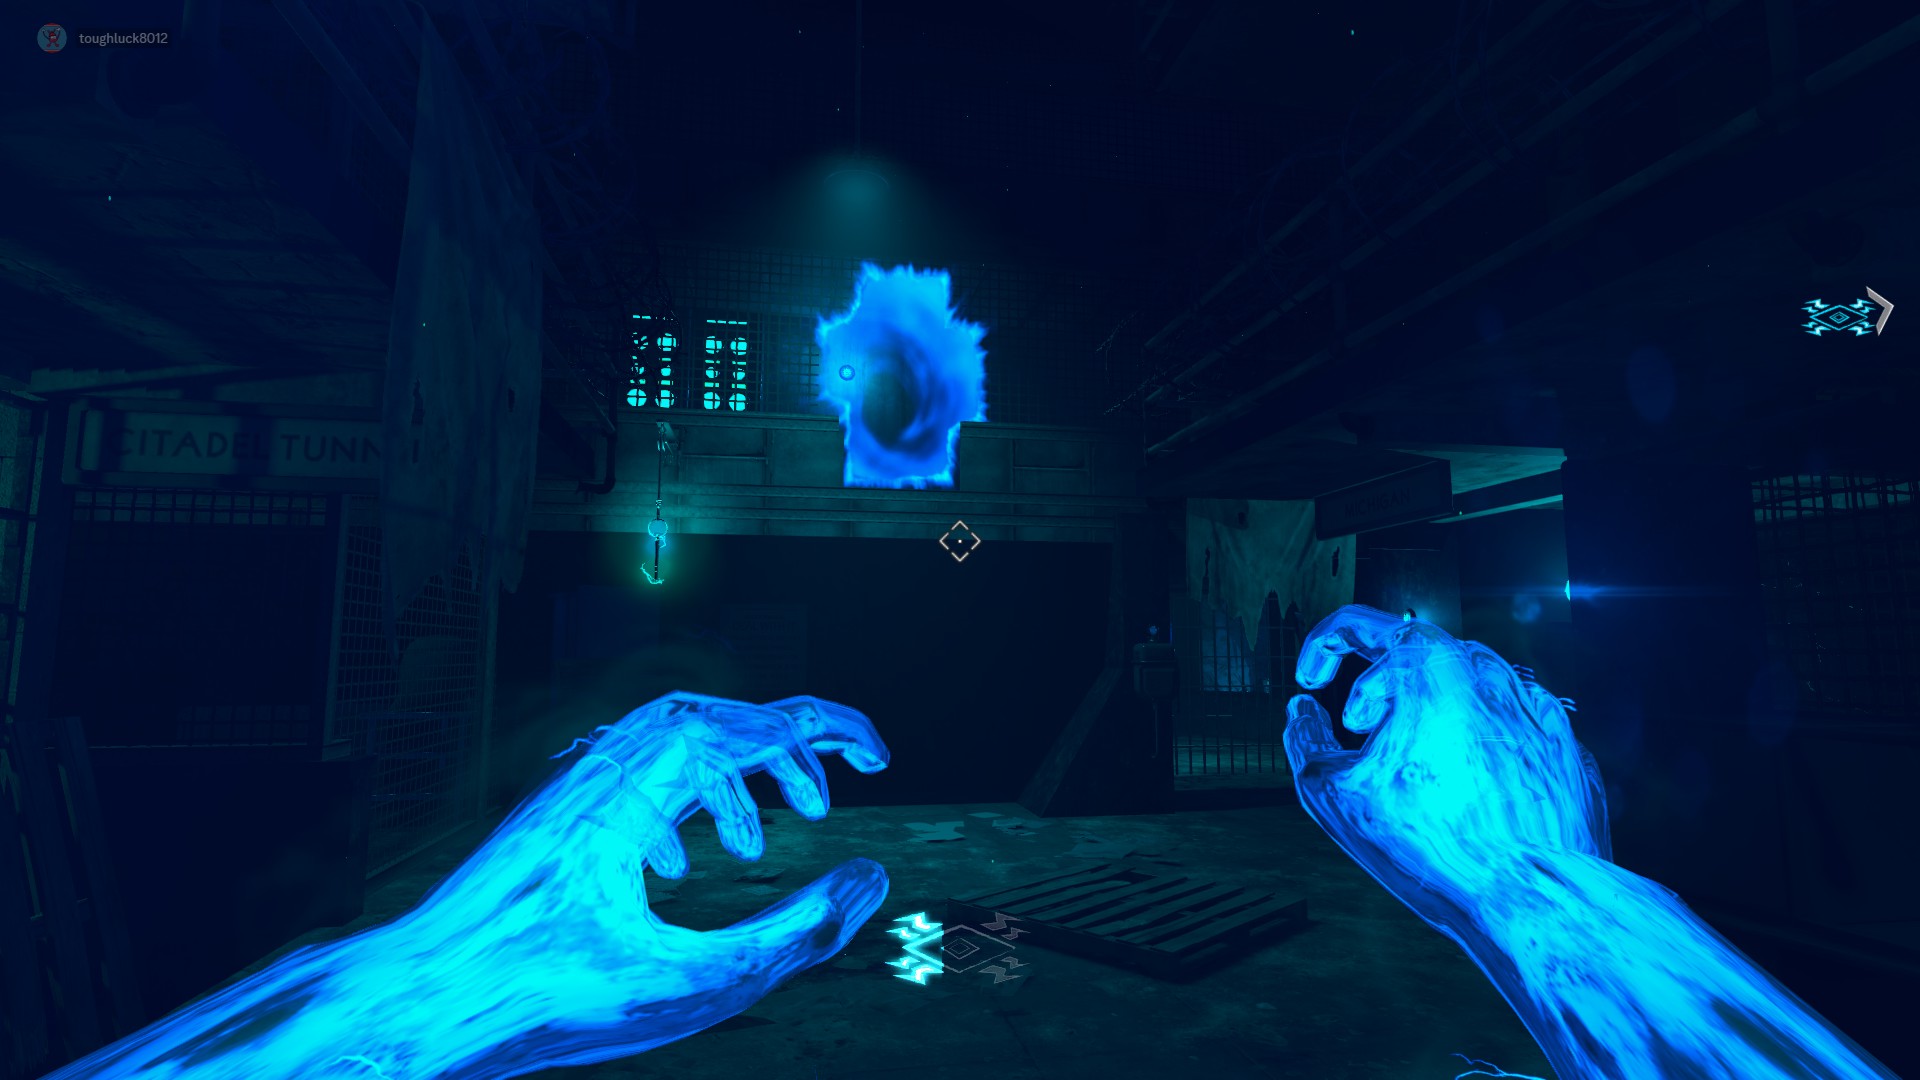 Recommended route to optimize Afterlife:
- Hit the kill switch outside of the Warden's Office
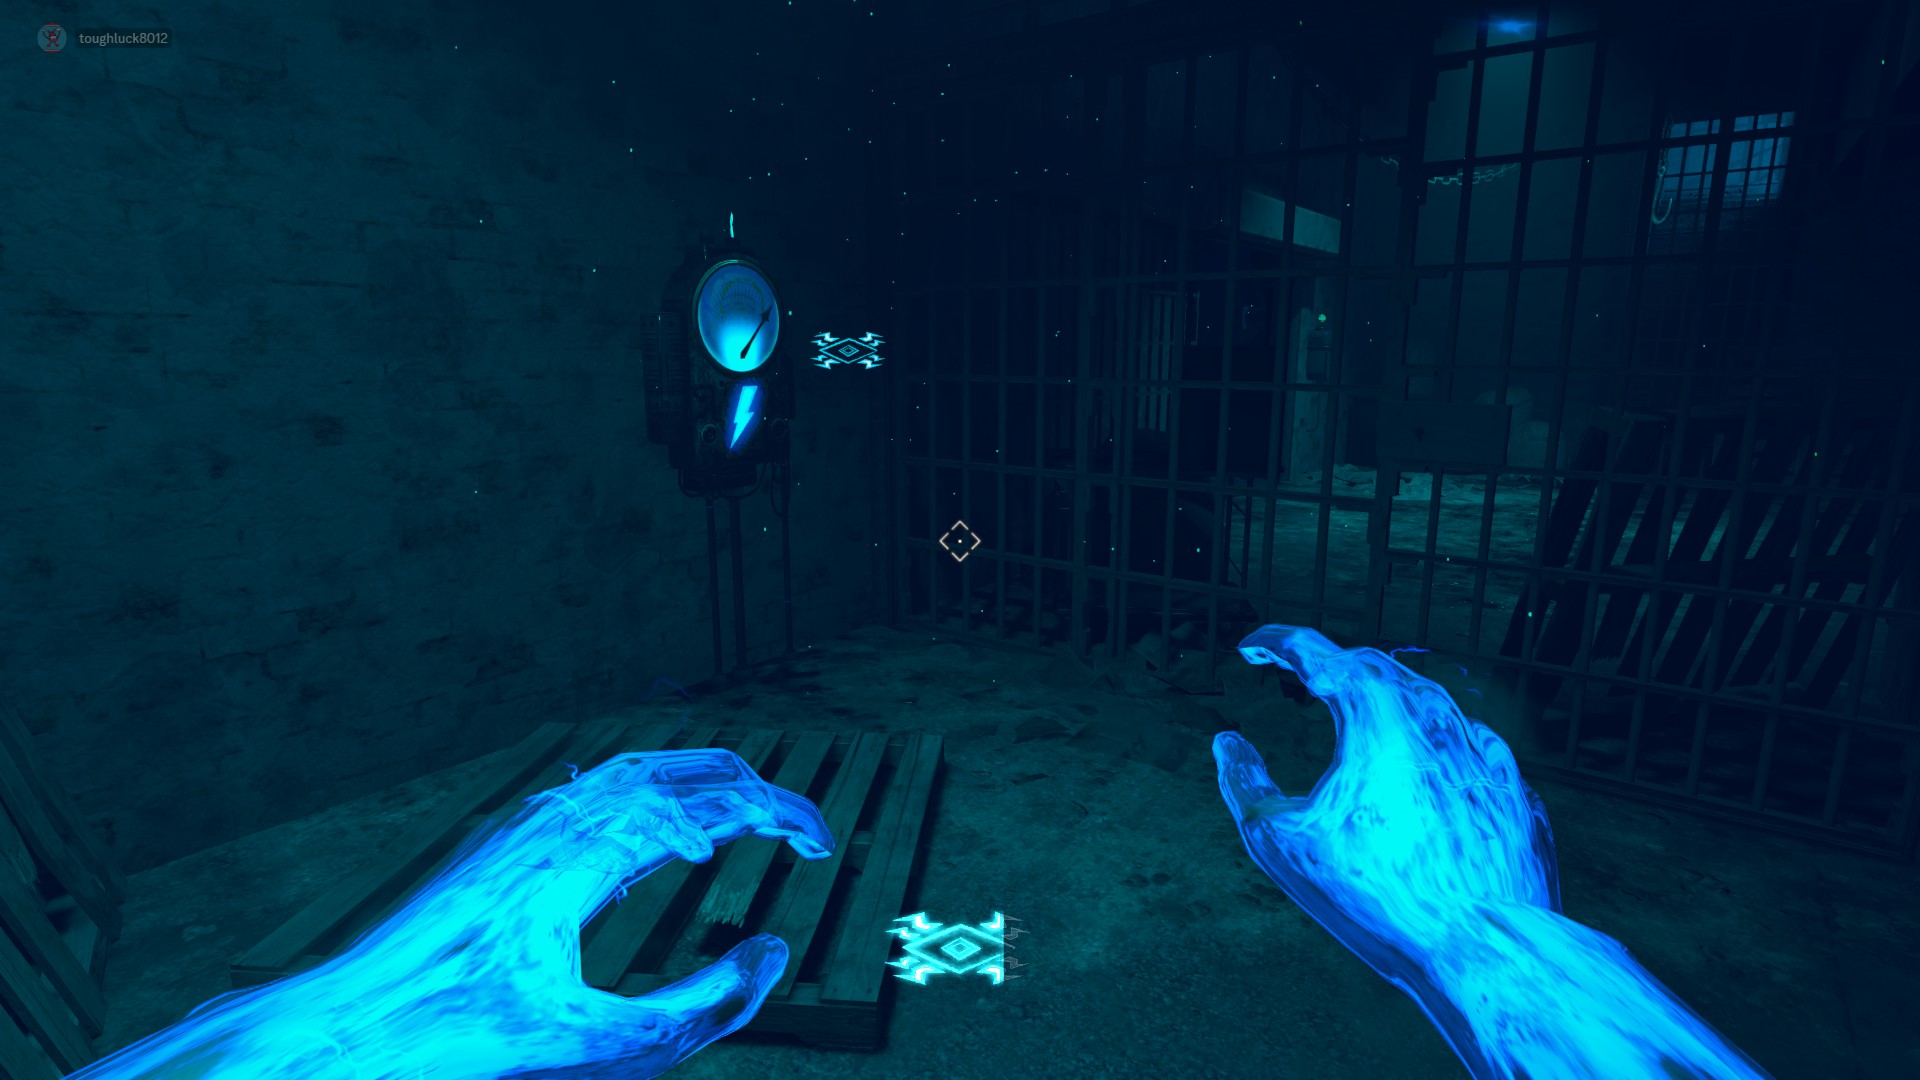
- Jump up and shock down Warden's Key (if applicable)
- Run through the hole on the right side of the catwalk and shock the Afterlife Shock Box. This will open the door to the Warden's Office
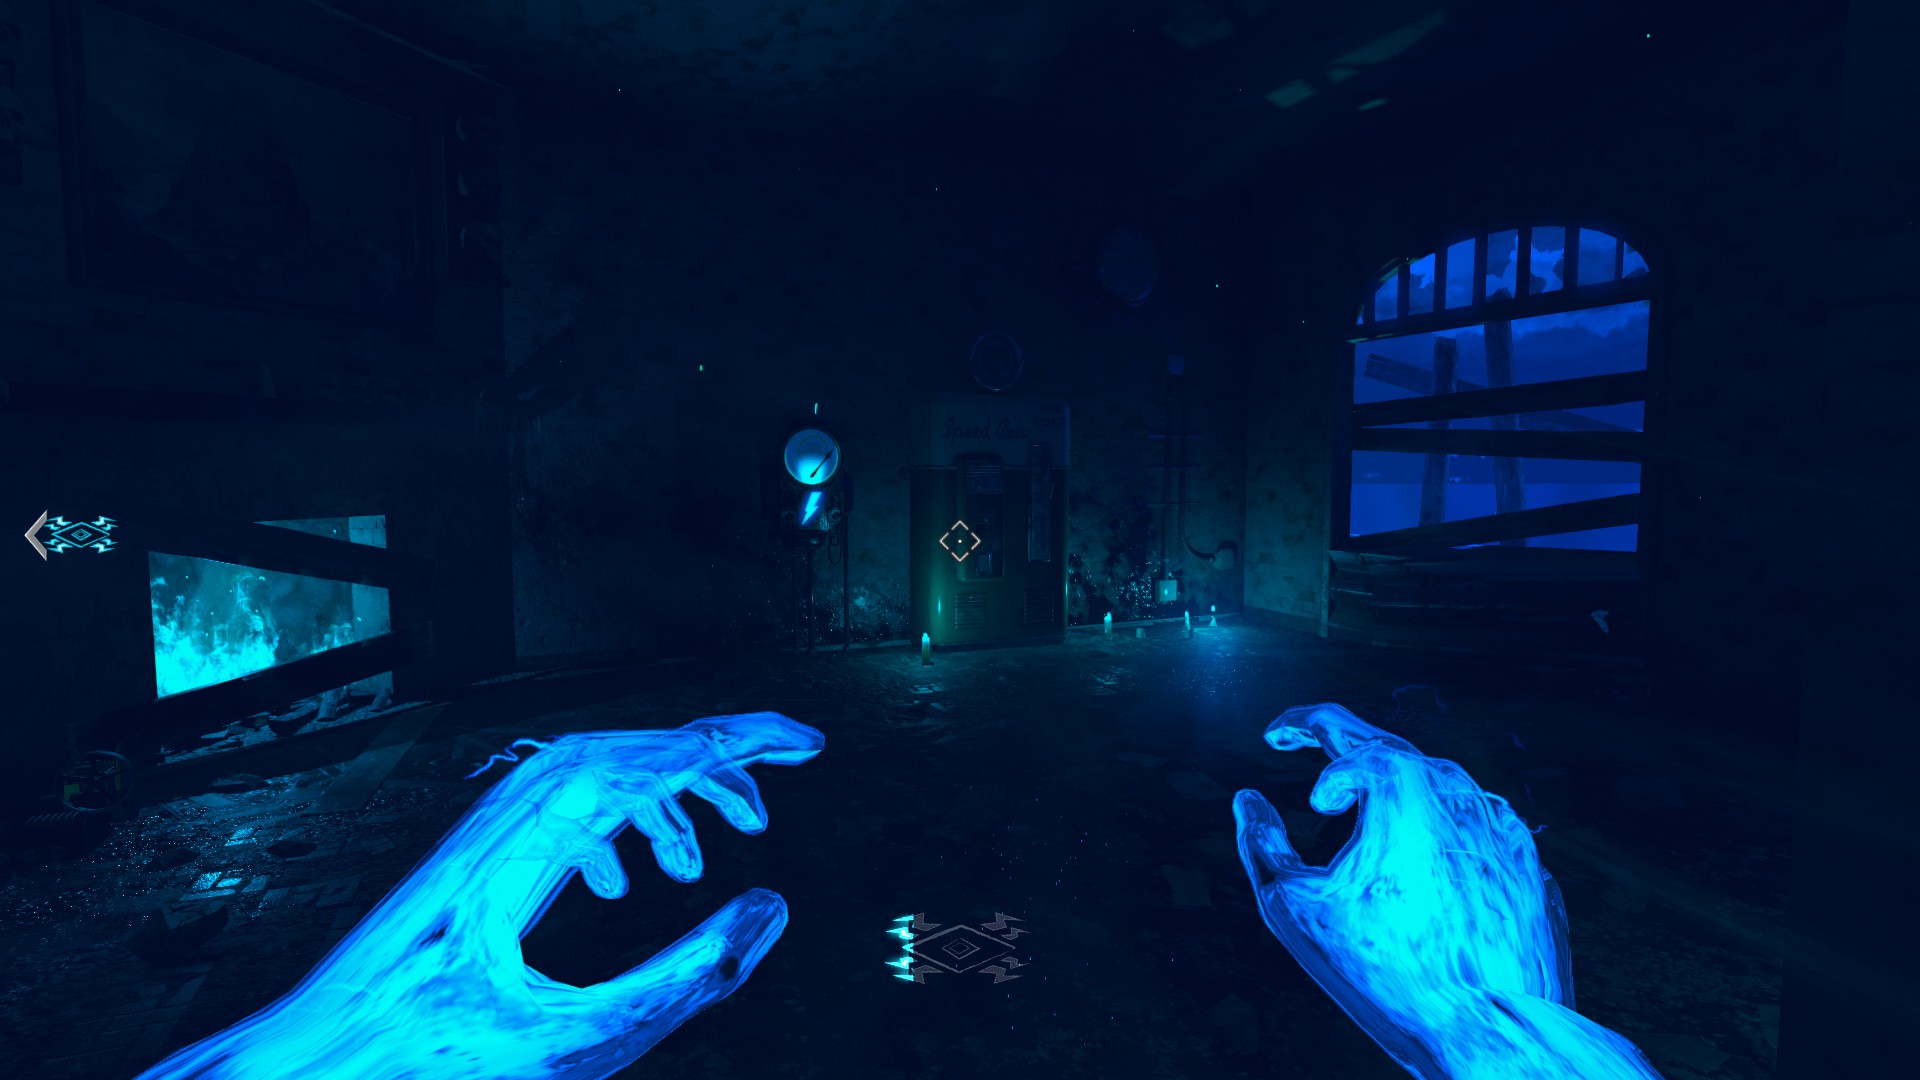
- Run back out and into the back of the Warden's Office and power on Speed Cola via the Afterlife Shock Box
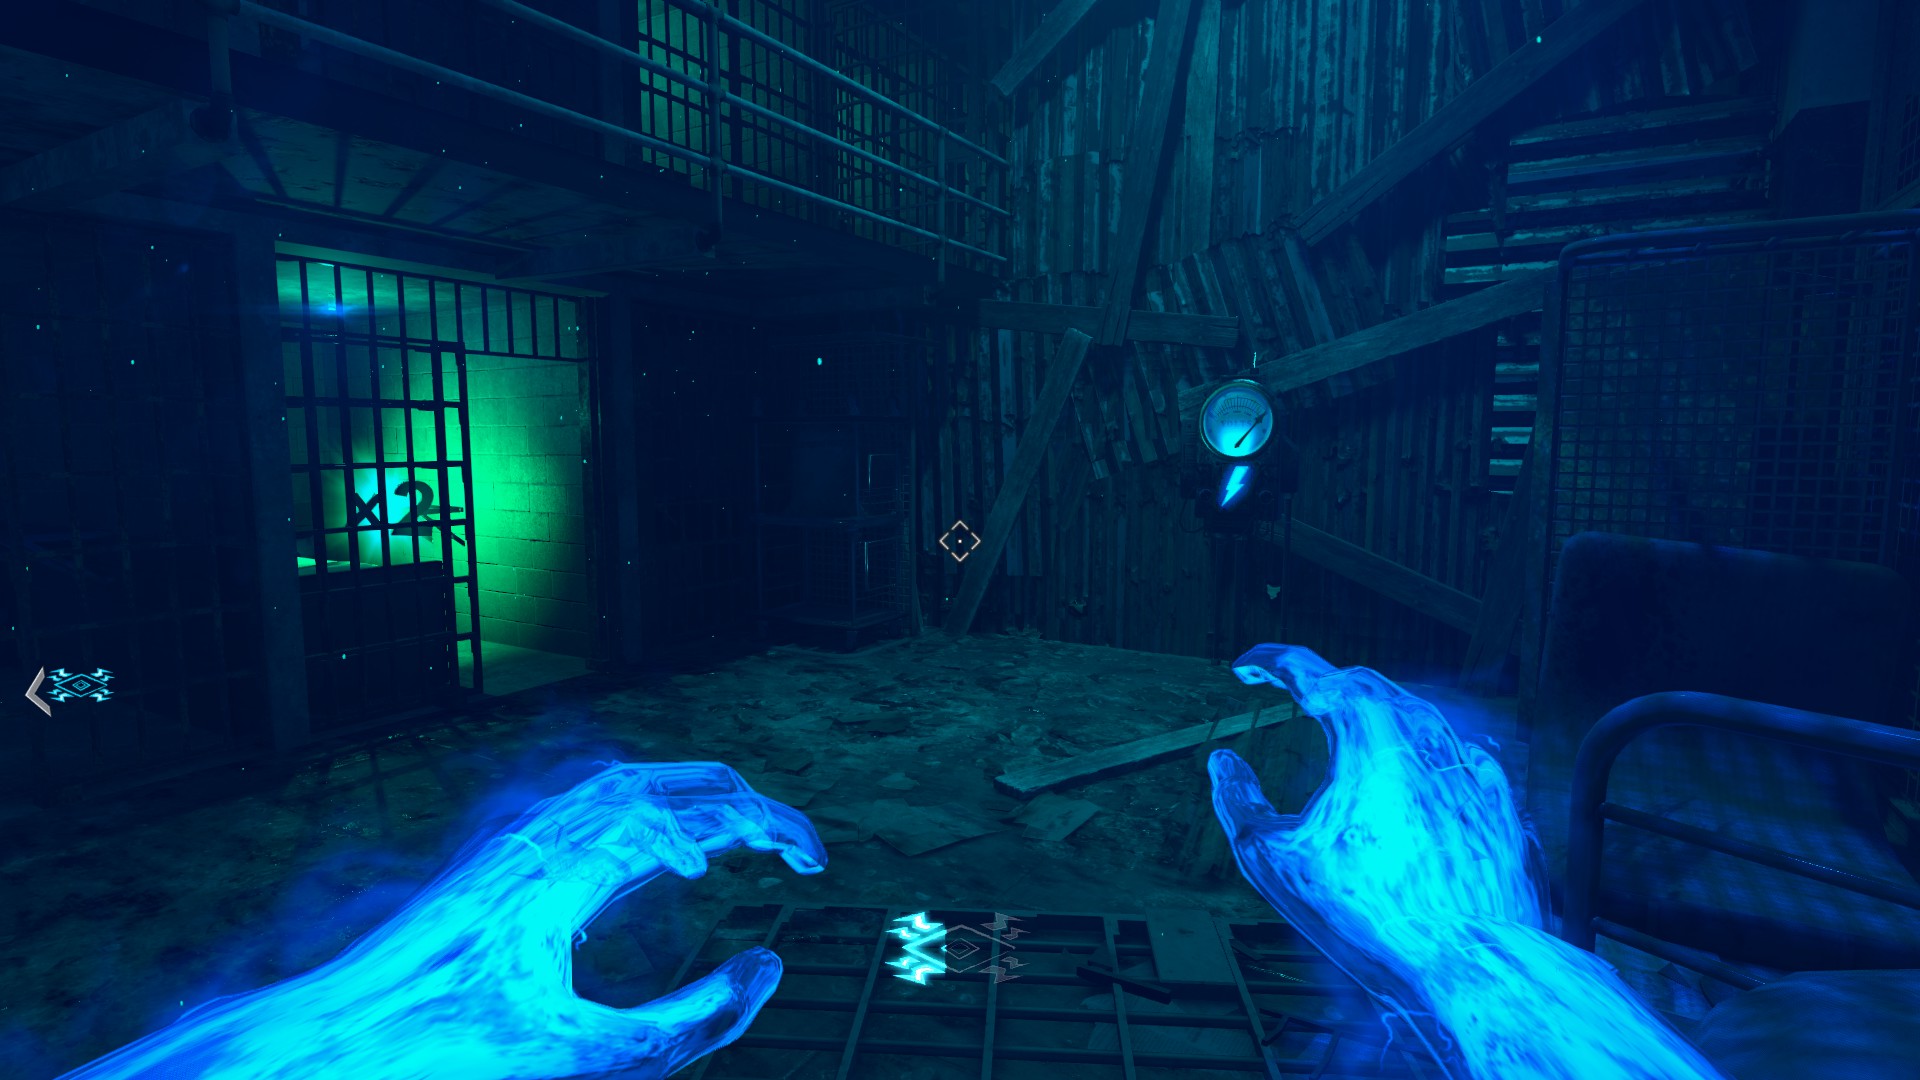
- Run back out and go down the long hall of cells and shock the Afterlife Shock Box at the end of Michigan Cell Block, revealing a Max Ammo (double points in solo)
- If you have the door open already, you can even run down the stairs and power on Double Tap real quick too.
- Return to the kill switch and revive yourself, or have a teammate do so. If the meter depletes, you will die
Building the Plane (Going to Pack-A-Punch)
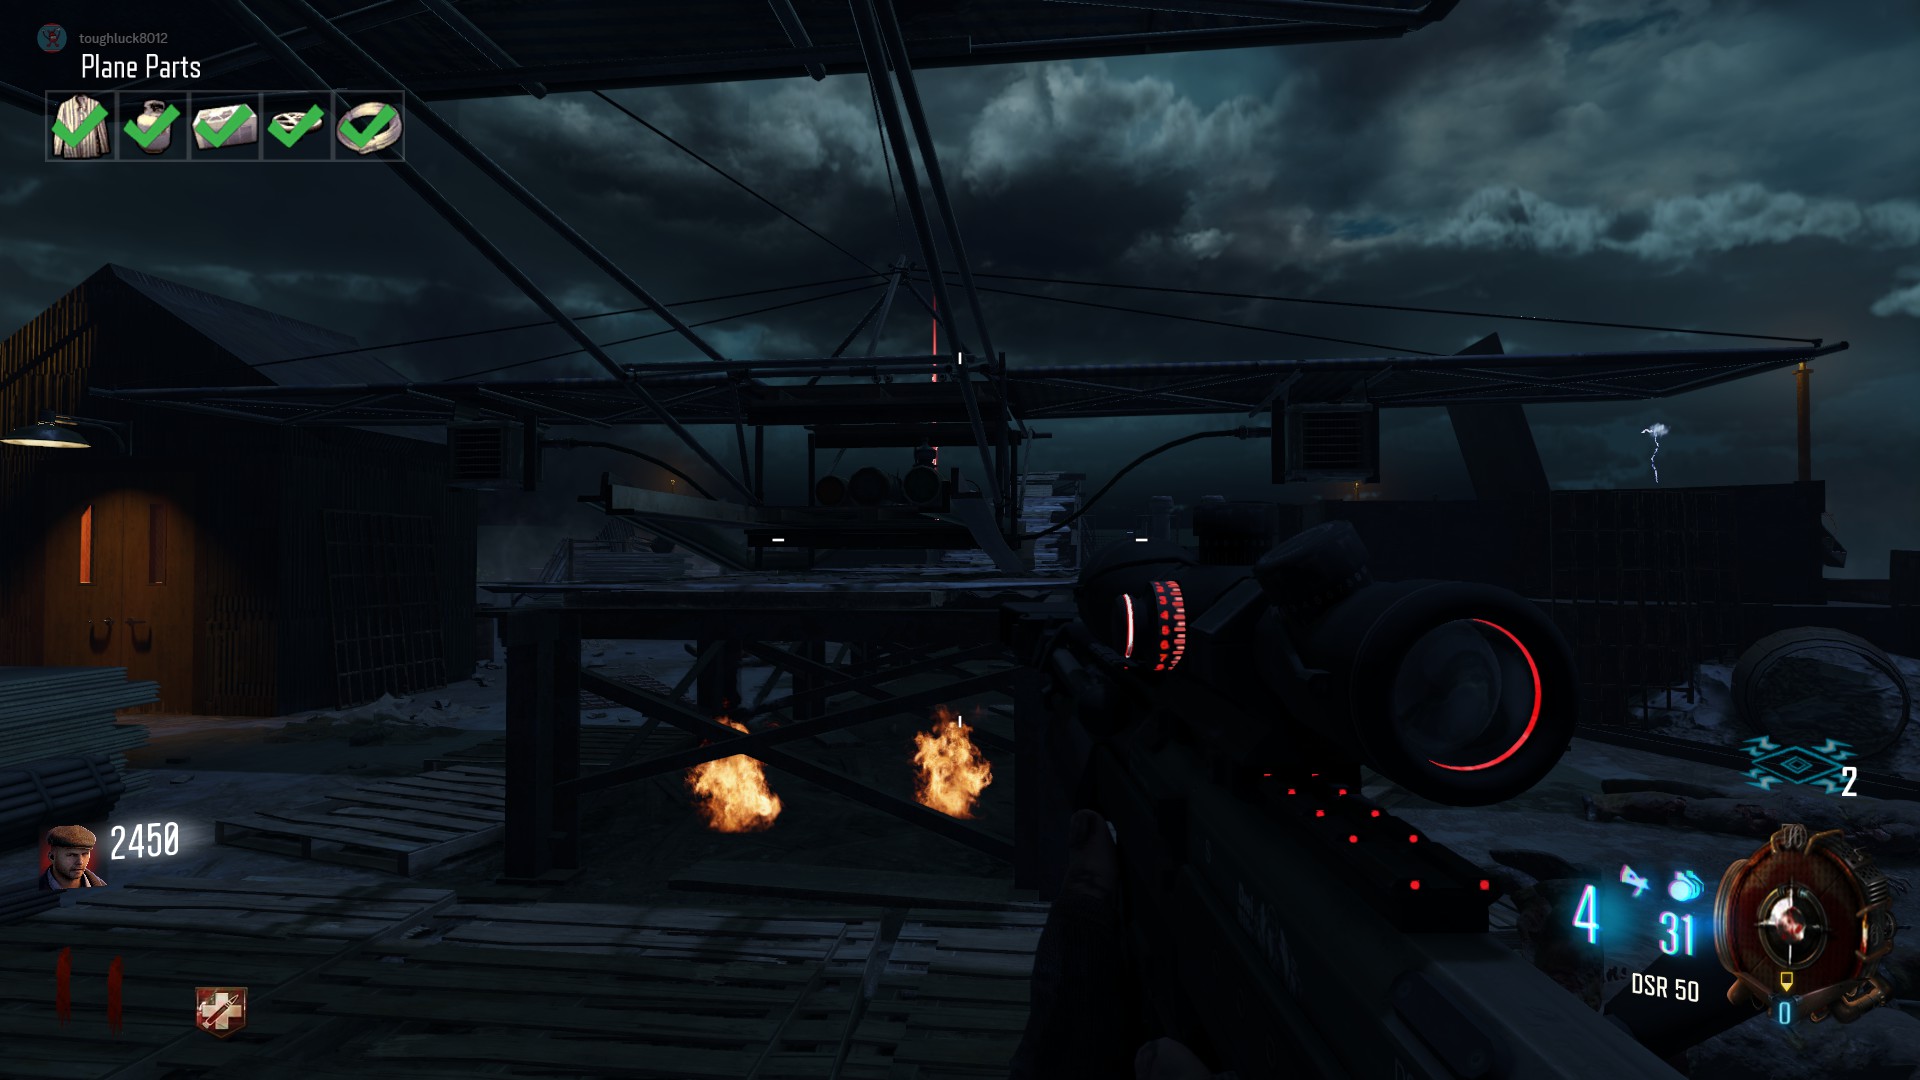
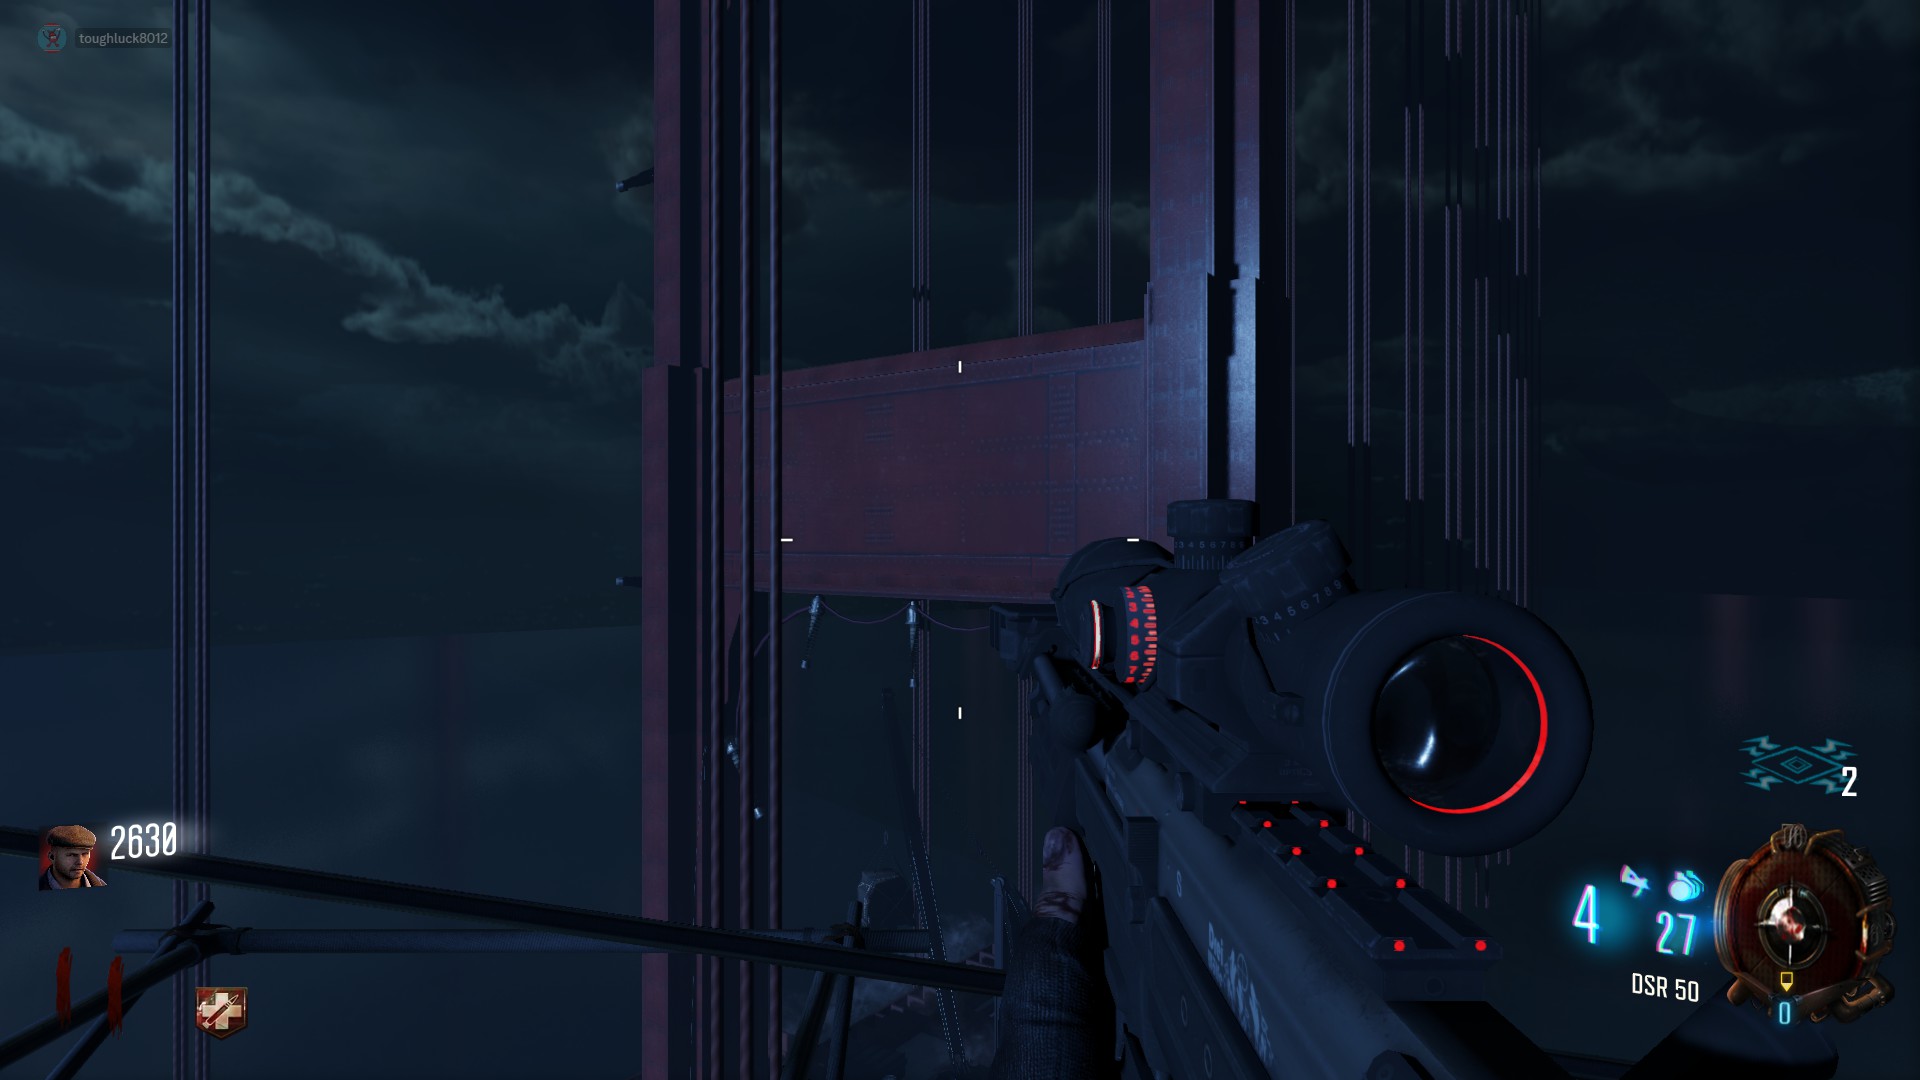
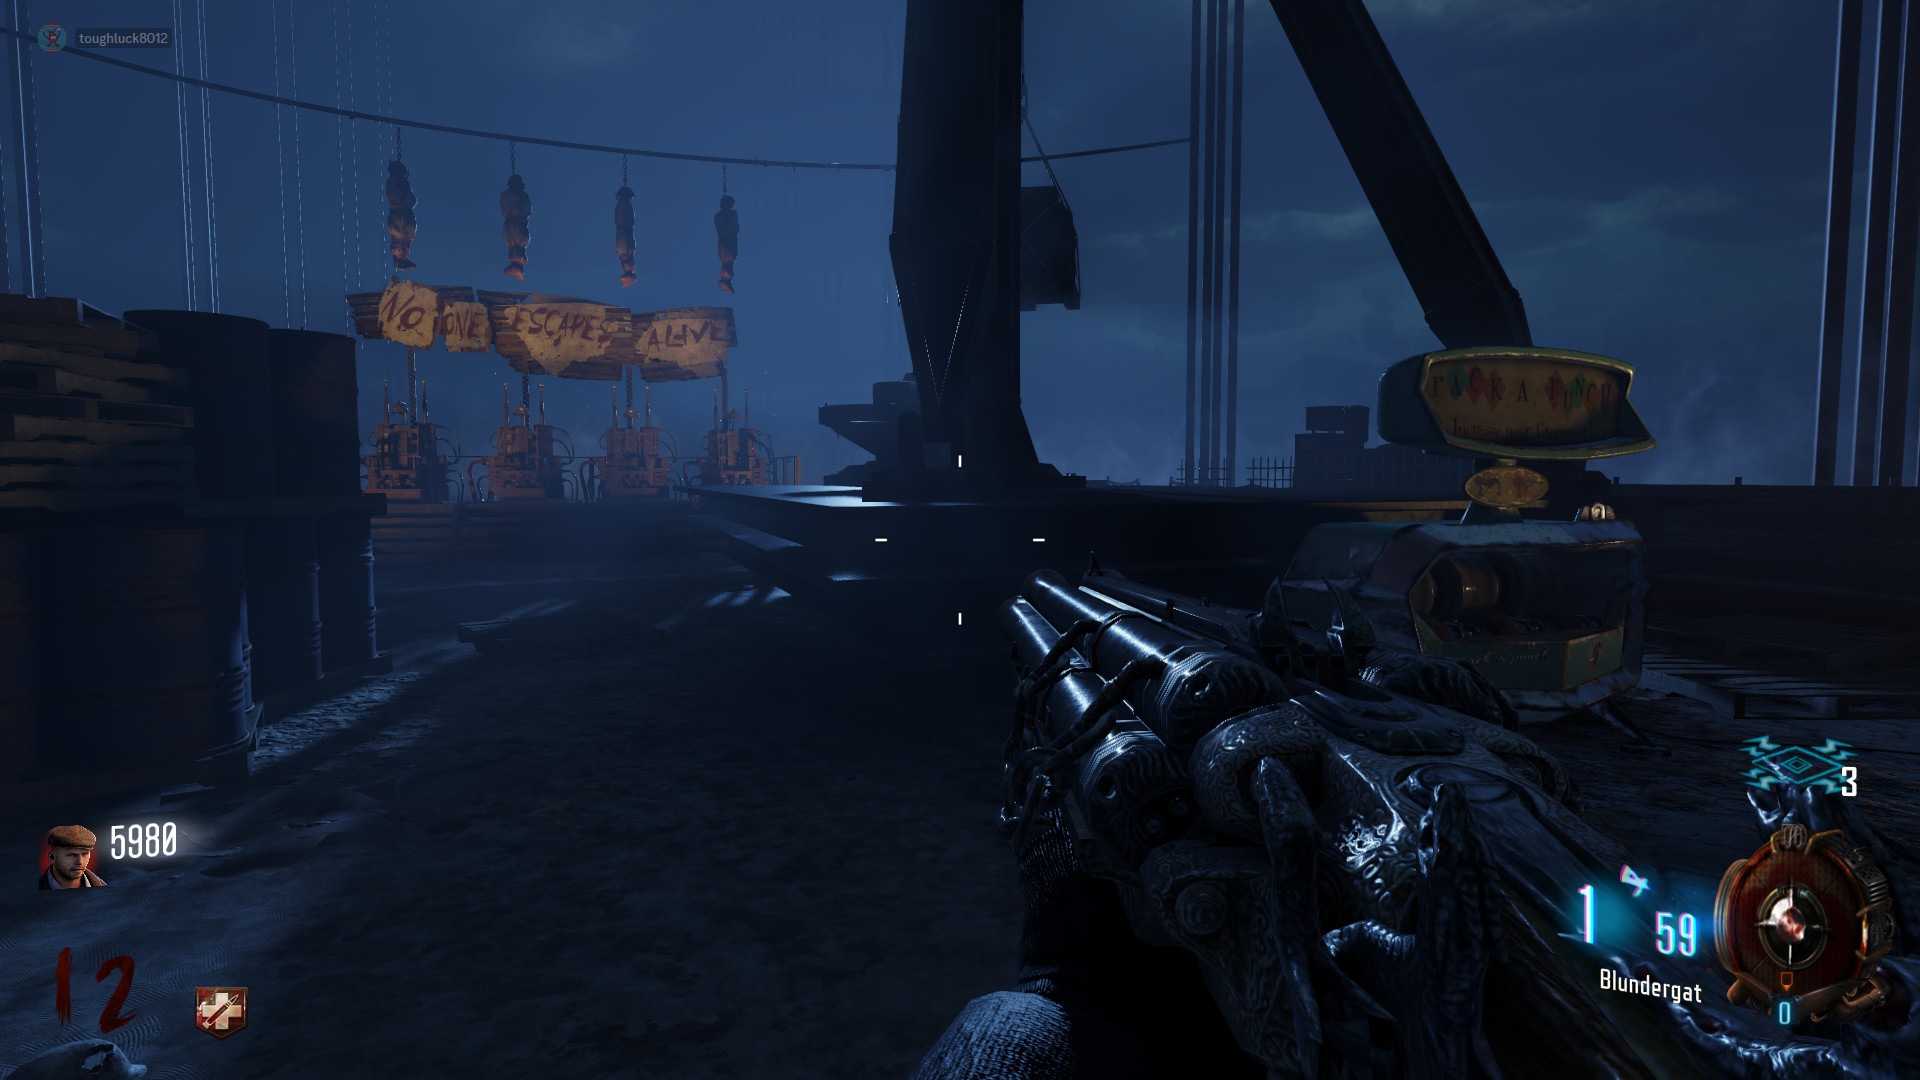
In solo, you can carry all parts on you at one time. In Co-op, you can only carry one at a time, and have to make frequent trips to the roof to add your part to the plane before picking up another, otherwise it will only switch pieces. Be careful when going down and/or bleeding out while carrying a piece, as it may be left where your body is, return to its original spawn, or occasionally bug out and disappear. Roof Access:
Enter the hole in the wall in the glass cell hall opposite the infirmary while in Afterlife Mode. Jump up through the hole in the roof and run towards the door. Shock the Afterlife Shock Box to the right of the door. Make your way back down and revive yourself, powering up Deadshot Daquiri as you pass by.
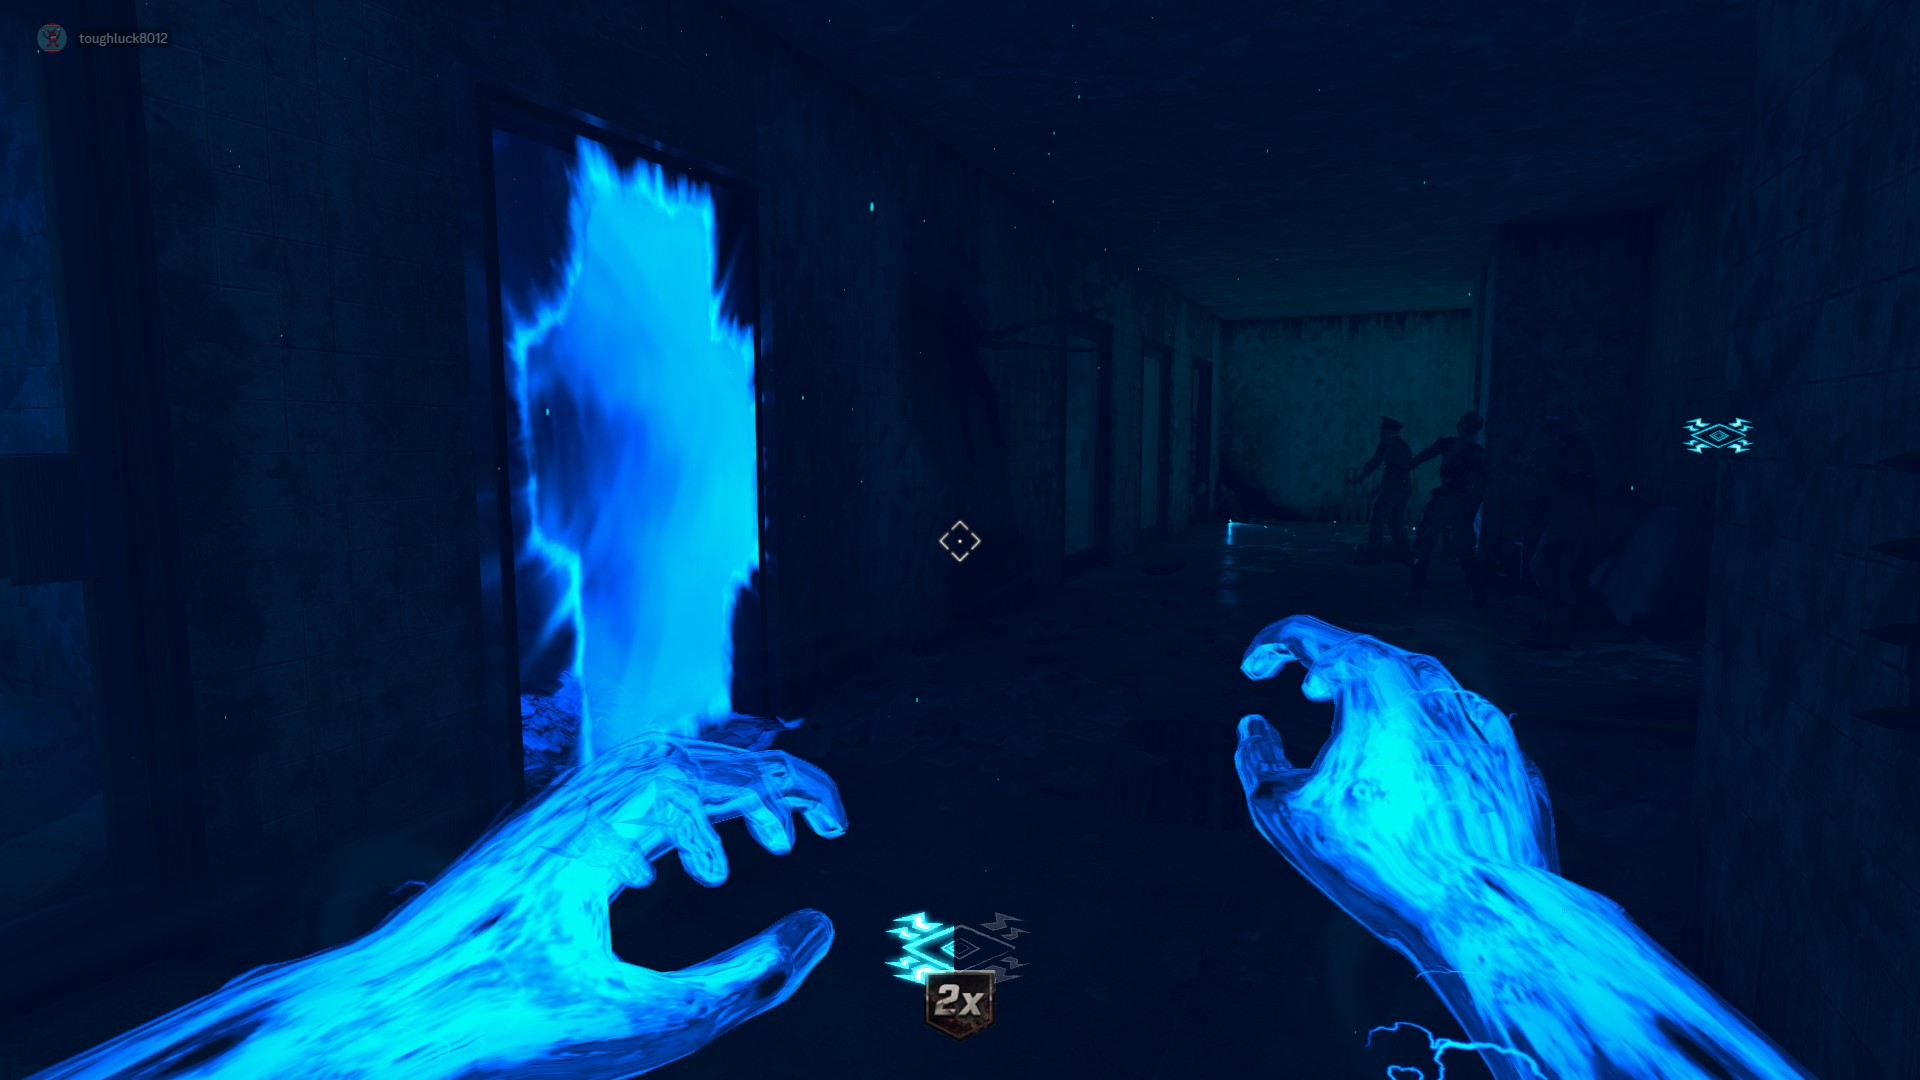
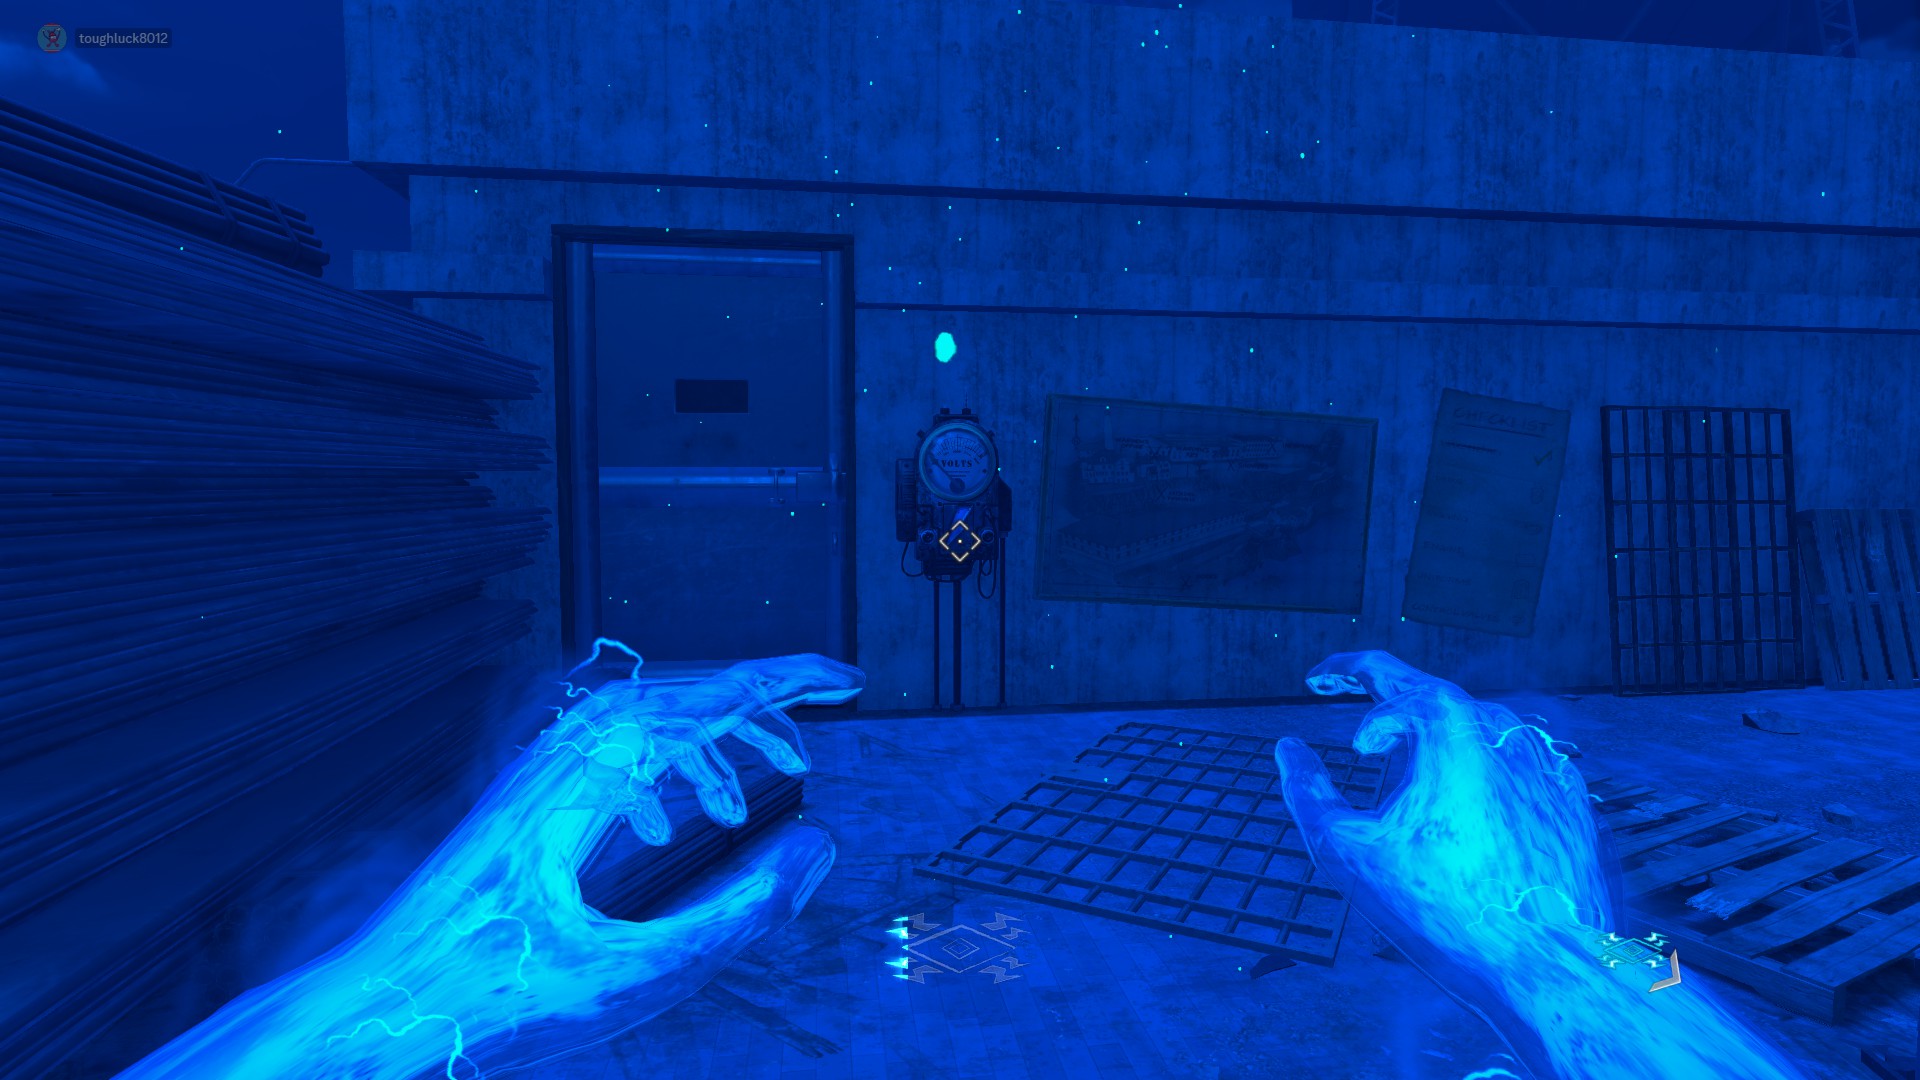 Laundry:
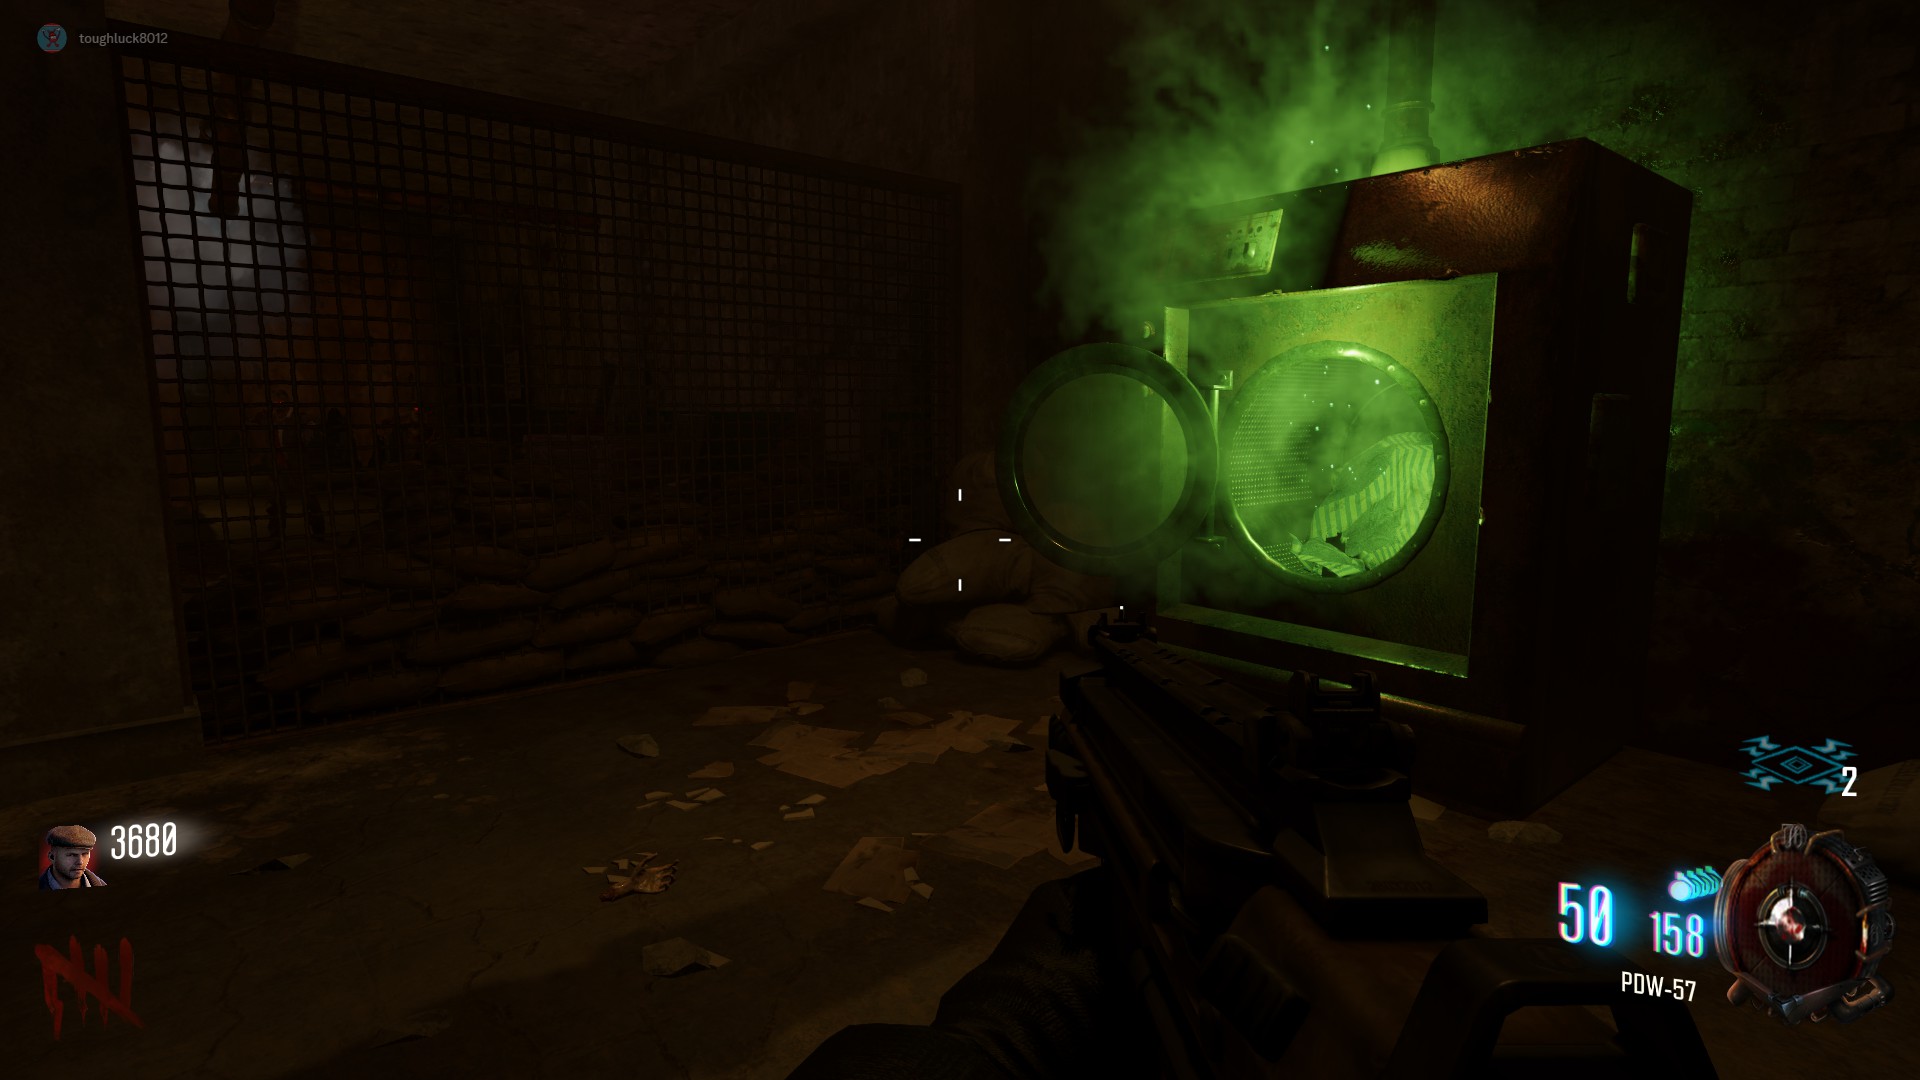
Go to the showers and use the Warden's Key to unlock the Laundry Room. Go into Afterlife Mode and power on the Afterlife Shock Box. This will allow you to press interact on the laundry machine to initiate a lockdown. This will spawn multiple zombies for around 30 seconds to a minute or so, and Brutus is likely to spawn during this lockdown. Once the lockdown is over, you can pick up the laundry from the machine again. Note: Refueling the plane does not require another lockdown to be completed.
 Rigging:
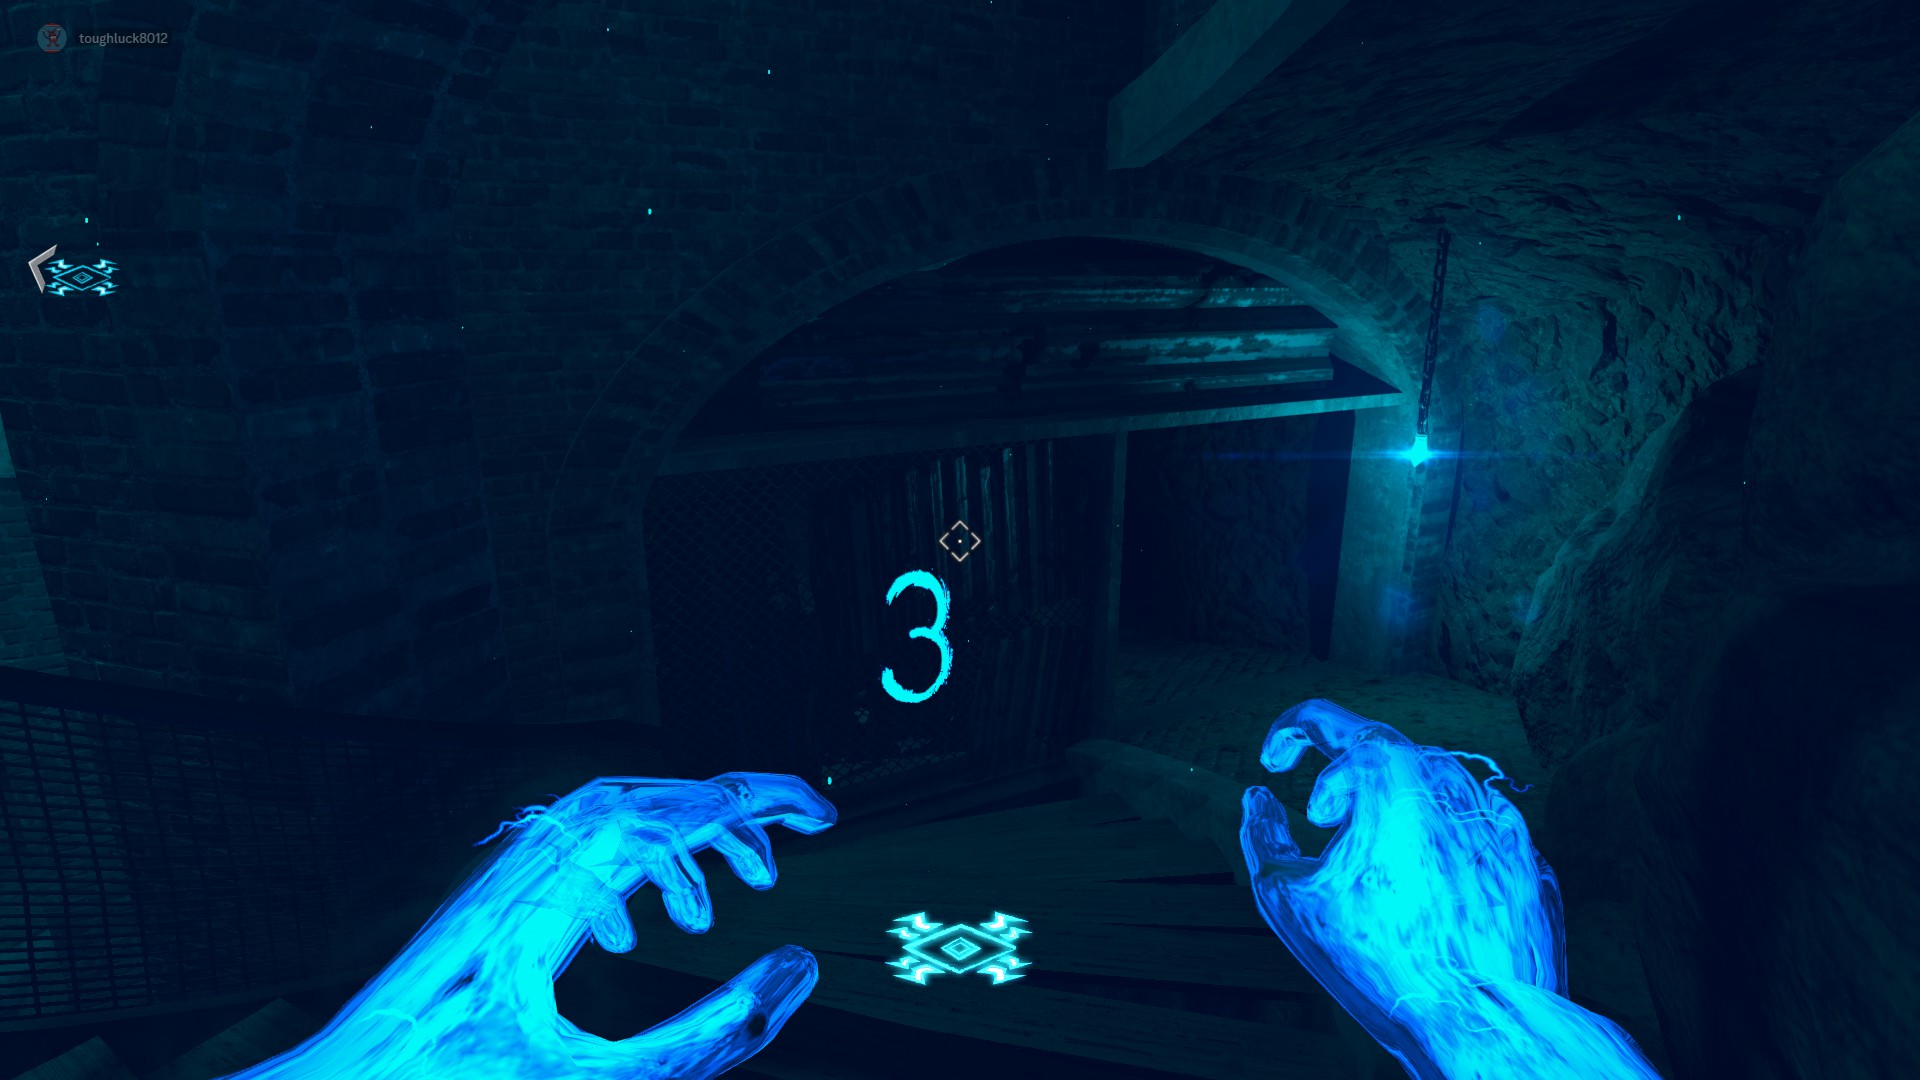
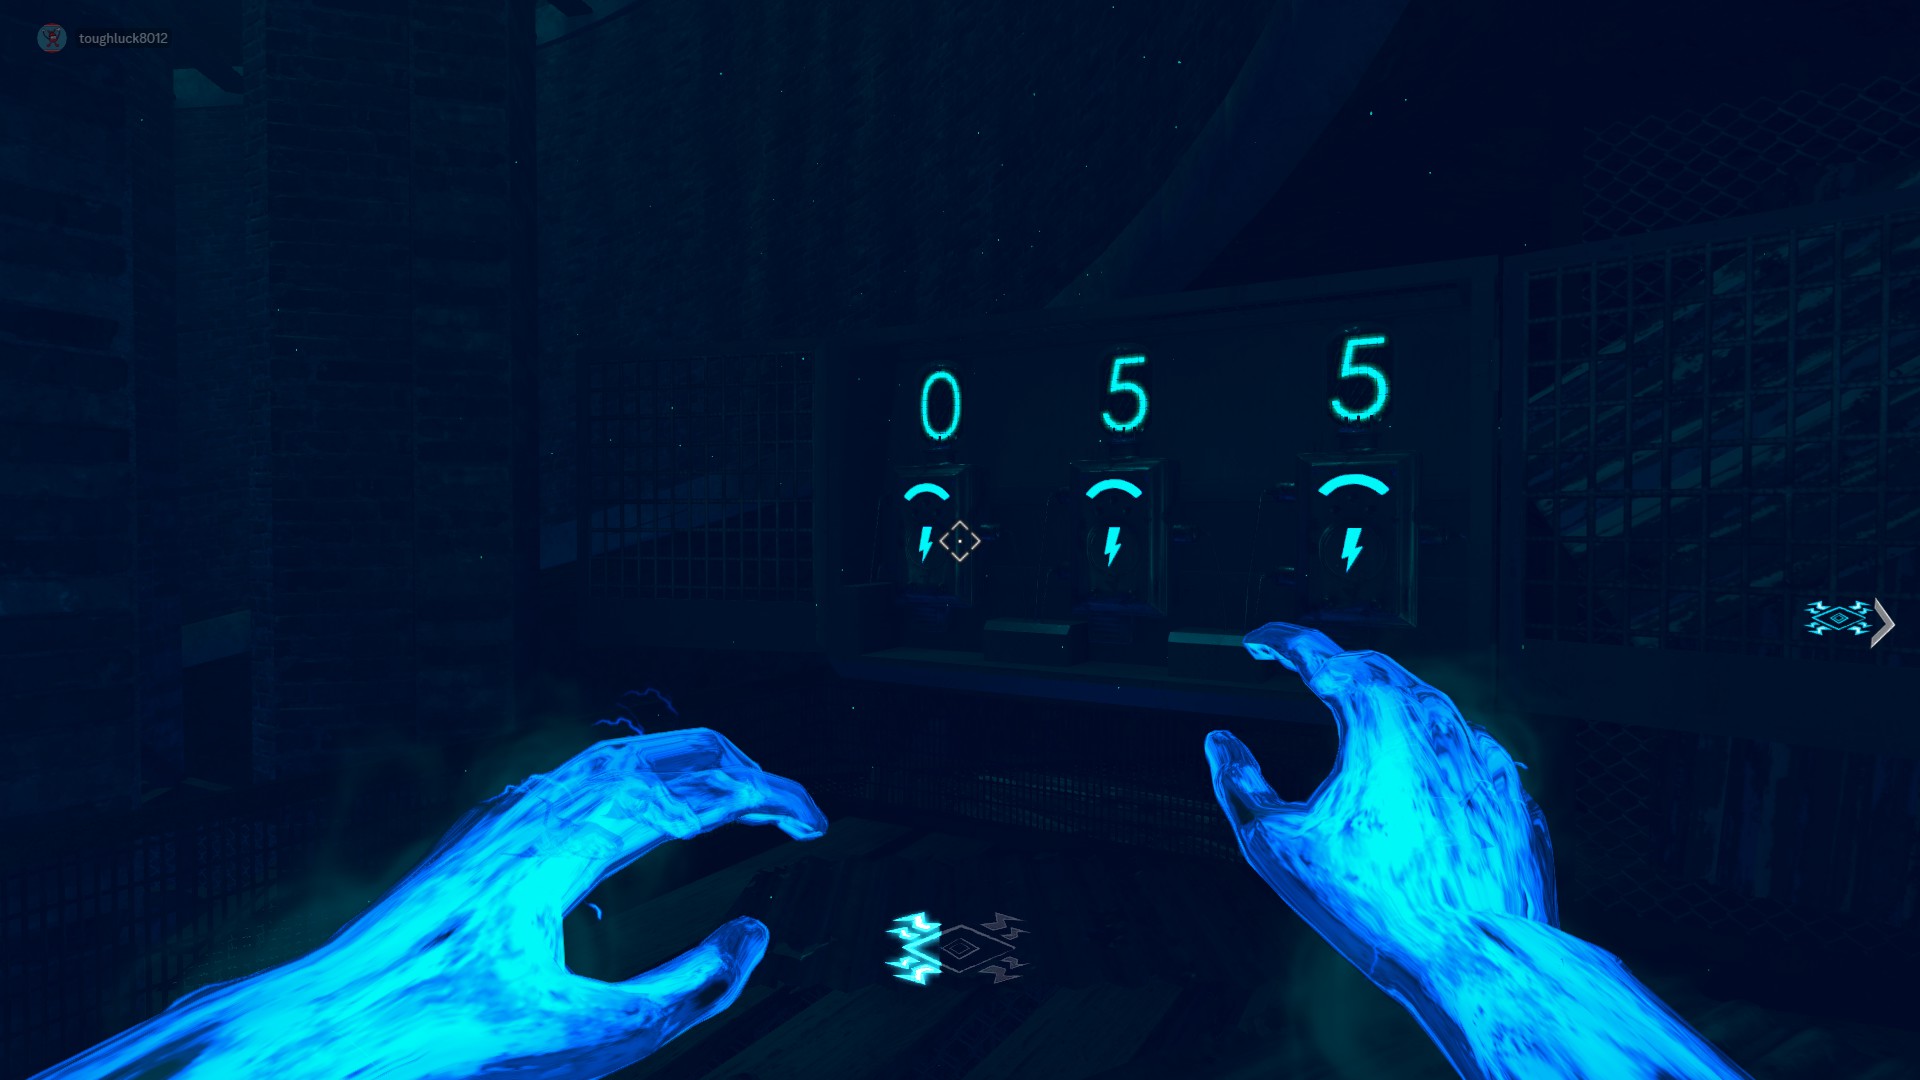
The rigging can be found at the spiral staircase in the Citadel Tunnels. It will be locked in an elevator that is stuck at the top of the shaft, and in order to lower it, you must go into Afterlife Mode. But before you do, make sure you go to the bottom of the spiral and use the Warden's Key to unlock the Code Box. Use the kill switch at the top of the spiral. While in Afterlife Mode, you will see glowing numbers on the walls as you descend. Enter these numbers into the Code Box in the order you saw them in from left to right by shocking each number until they match. Once the sequence is entered, you can go to the bottom of the Citadel Tunnels, and the elevator will be waiting for you. You must open the gate to the elevator within 60 seconds of the code being entered, or it will reset and you must do it again.
 Engine:
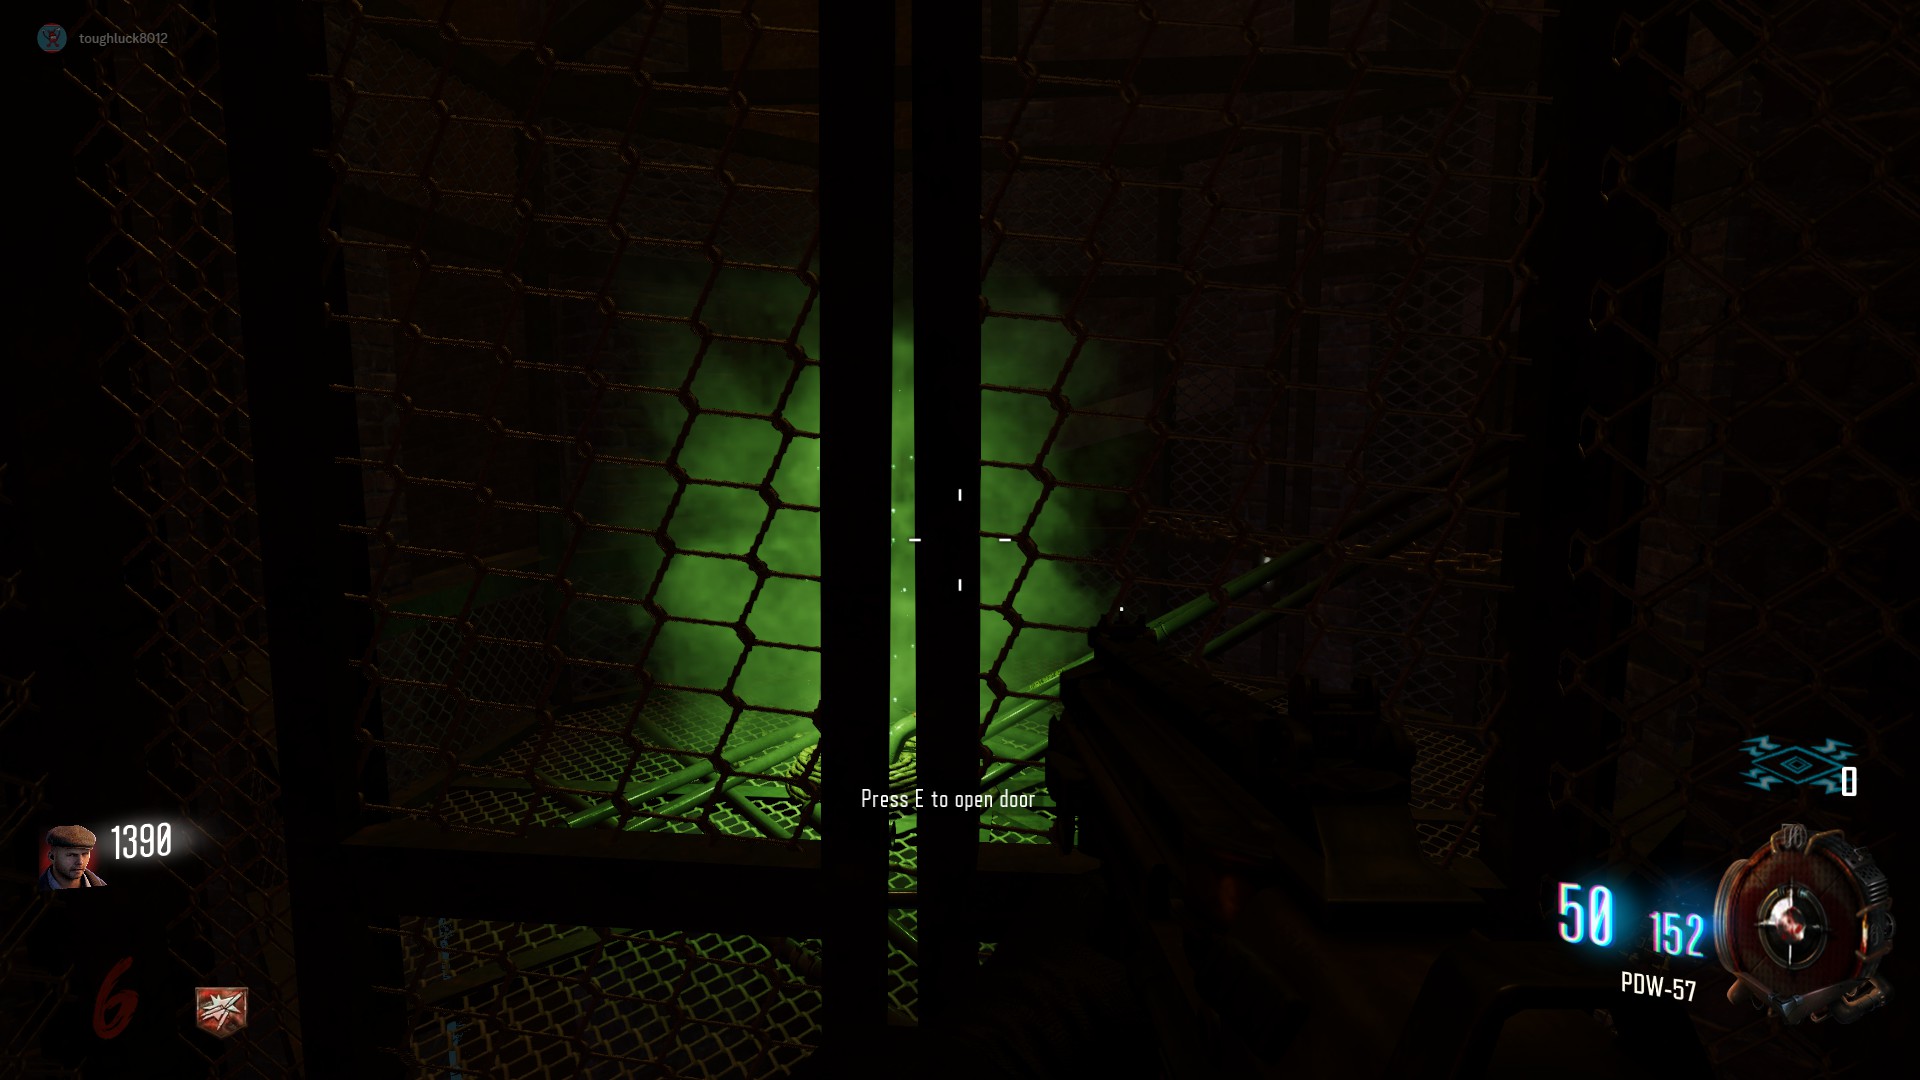
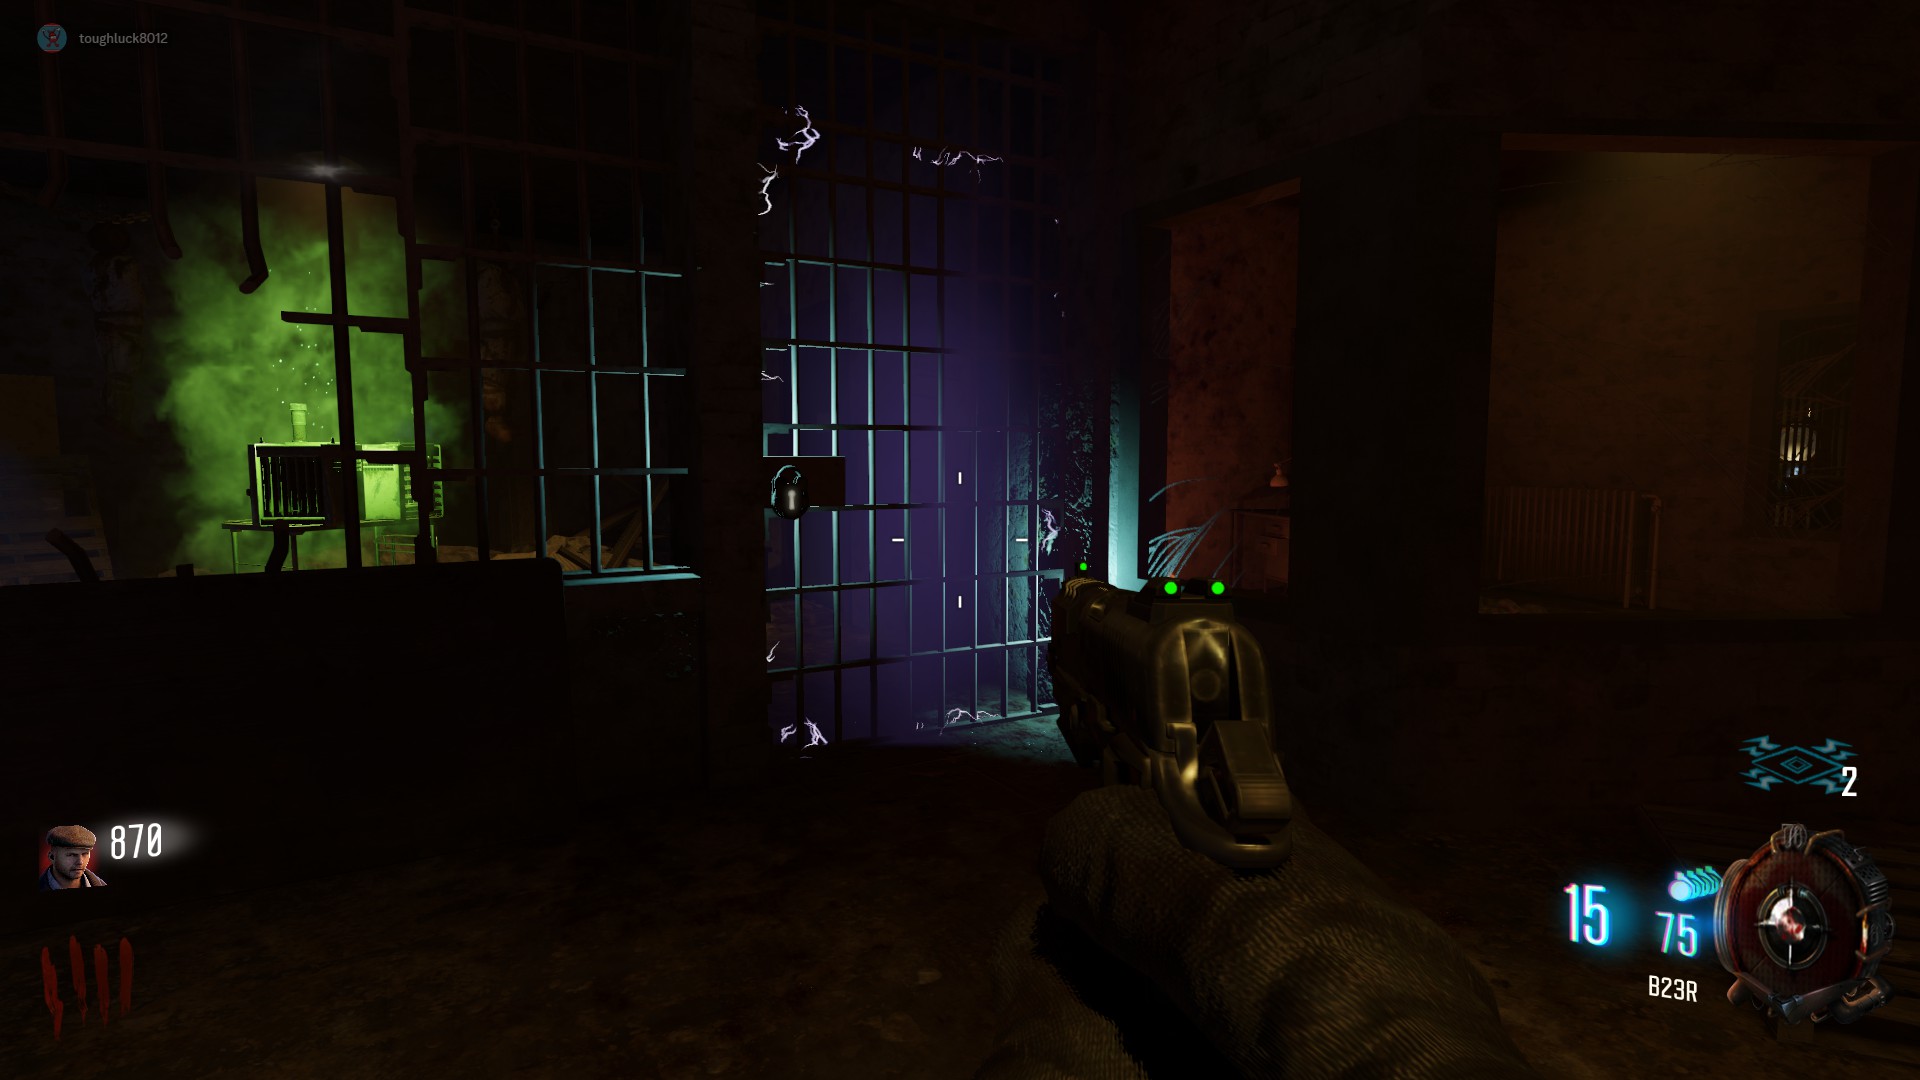
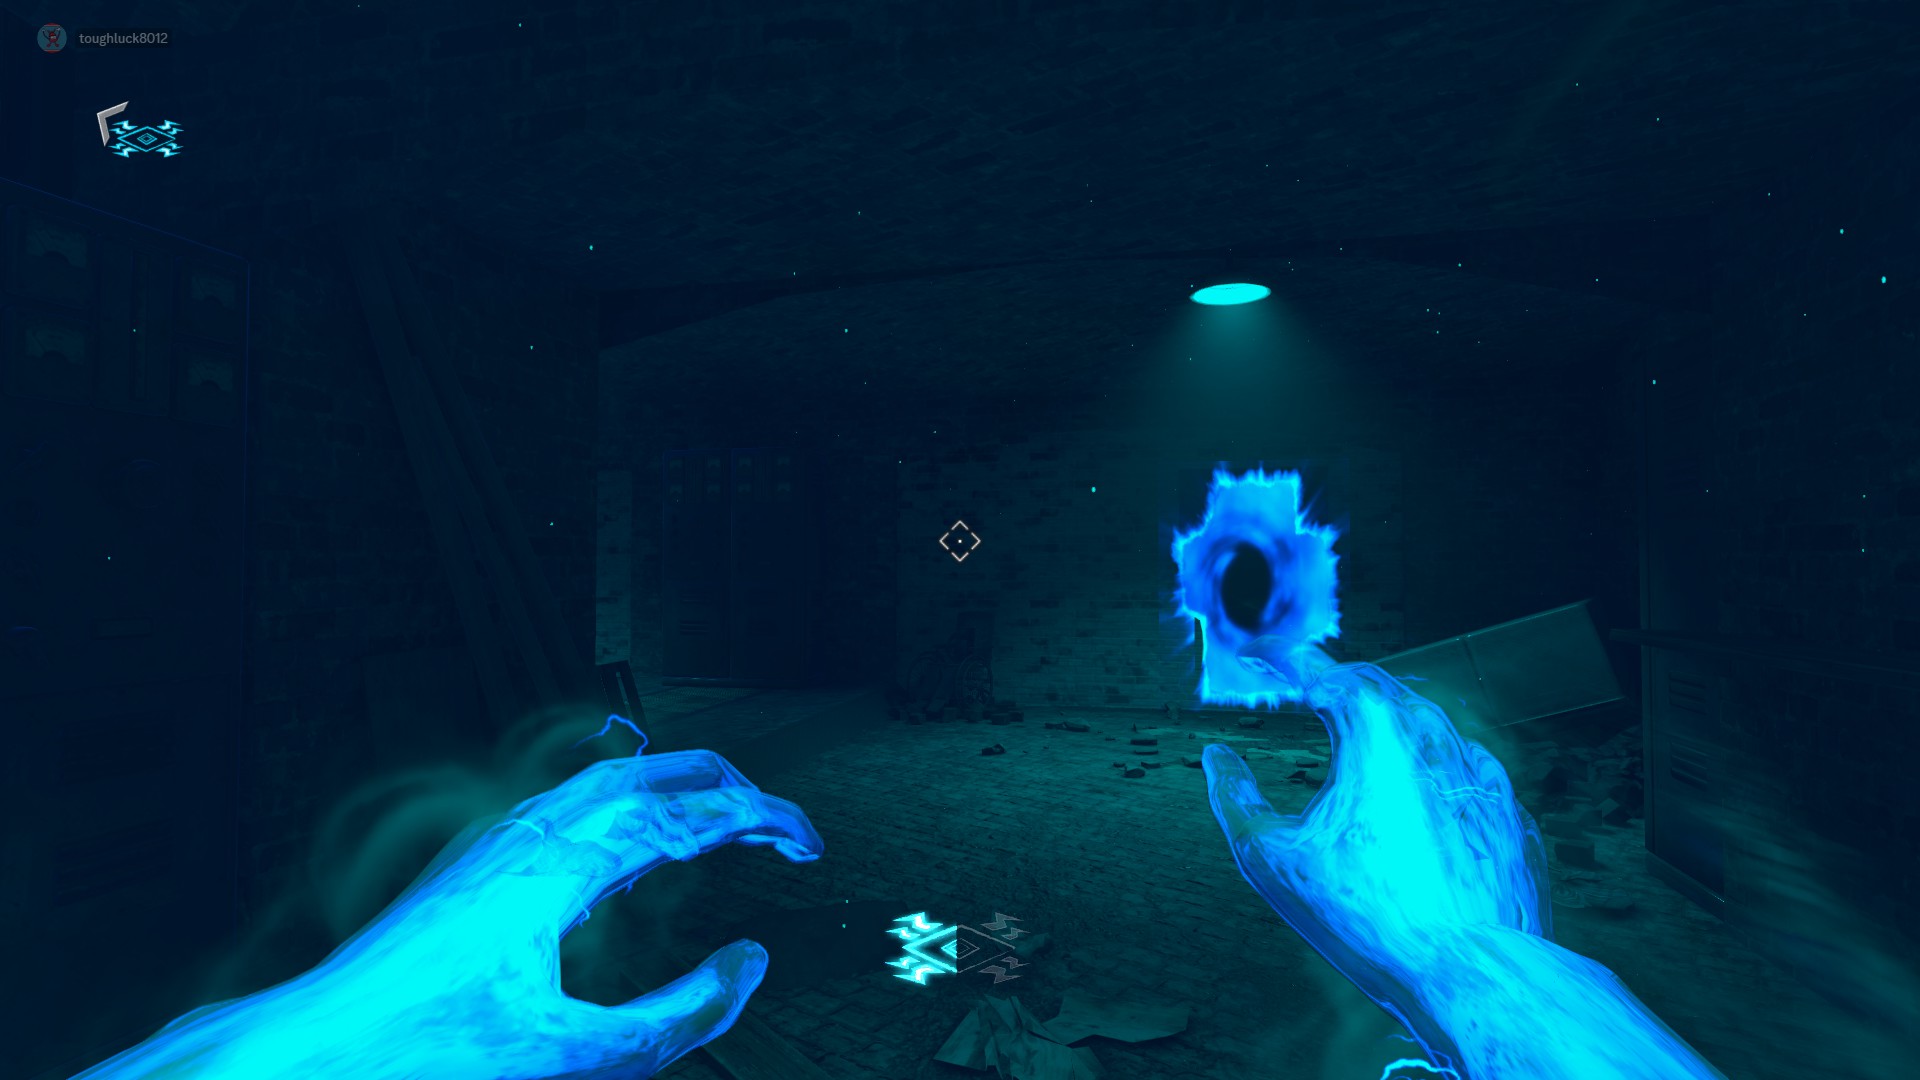
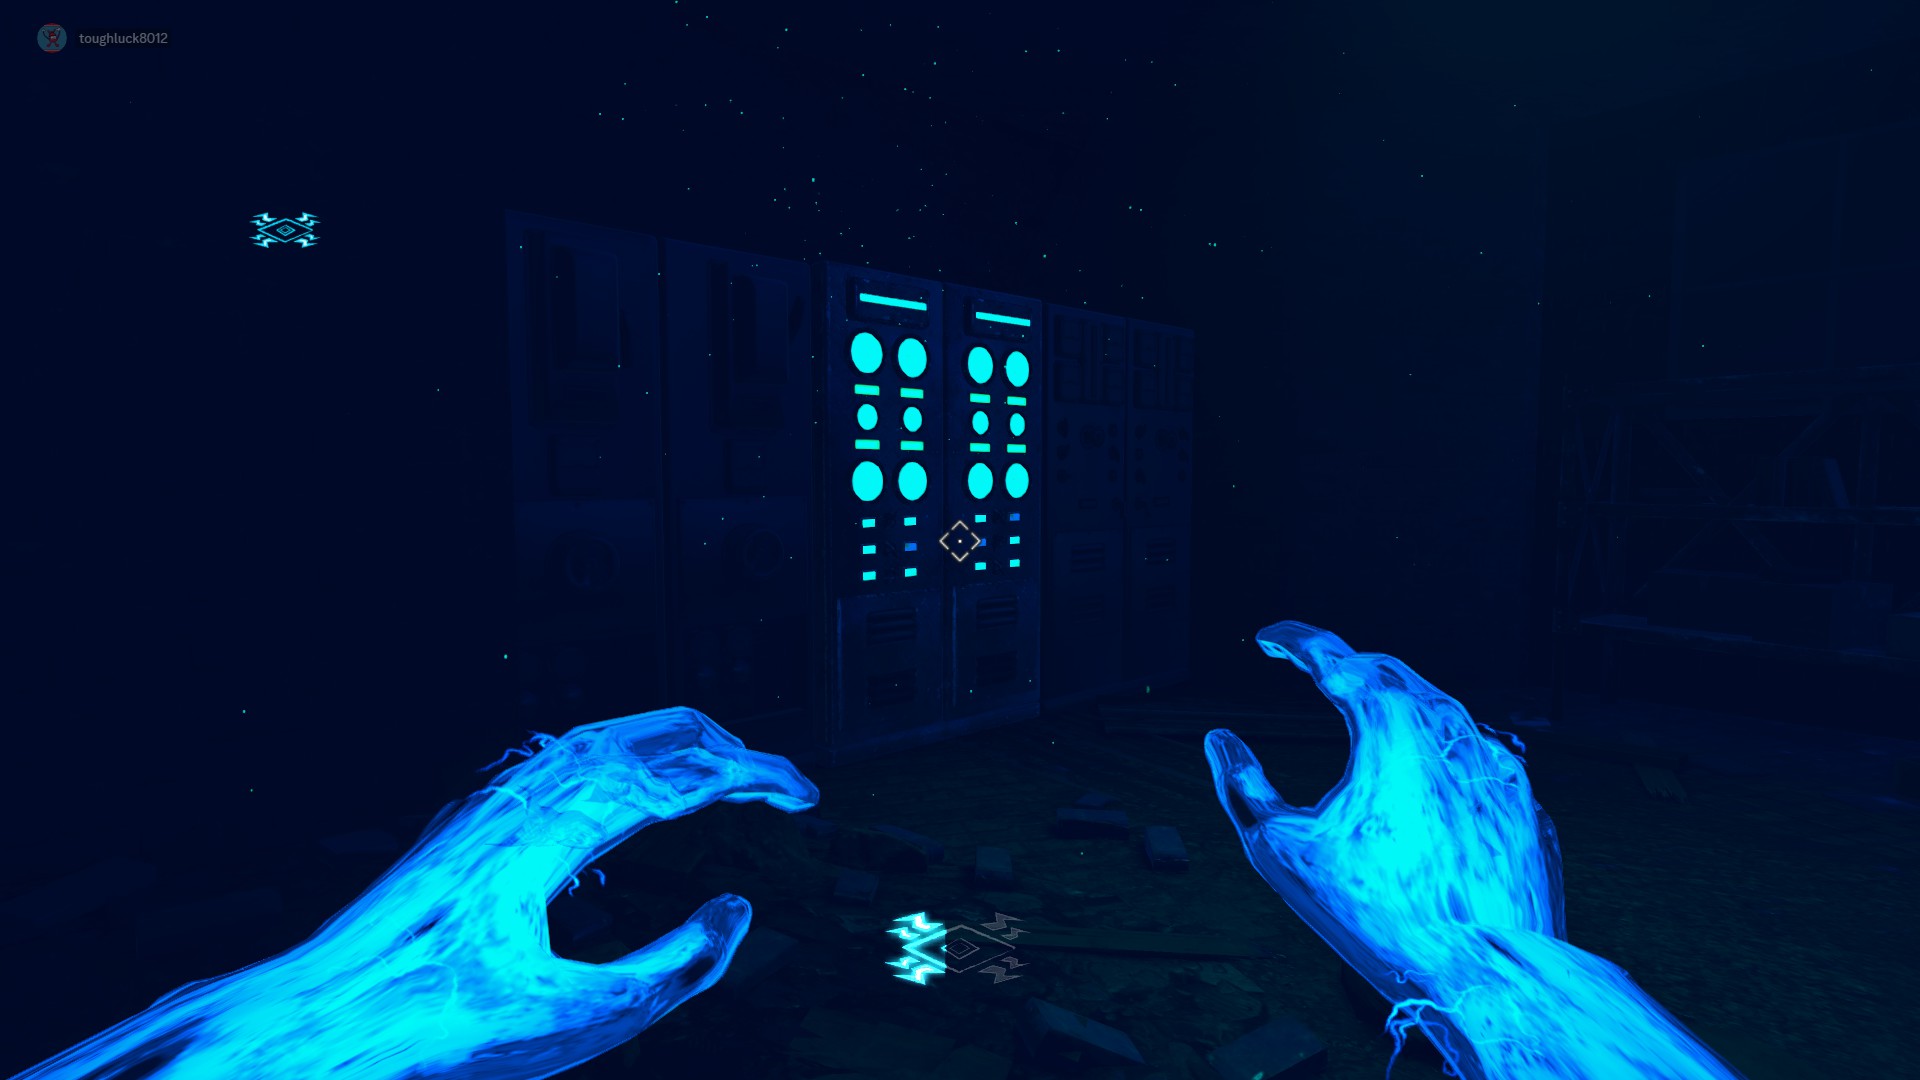
The engine is located inside the cage in the Warden's Office. It is locked behind an electrocuted door. To turn off the power to the door, head down to the generator building by the docks, and go into Afterlife Mode. Shock all three generators until the lights turn off. One generator will always be located behind the wall through a ghost hole. Return to the Warden's Office and the door shouldn't be electrocuted anymore, and can be opened with the Warden's Key.
 Steering Mechanism:
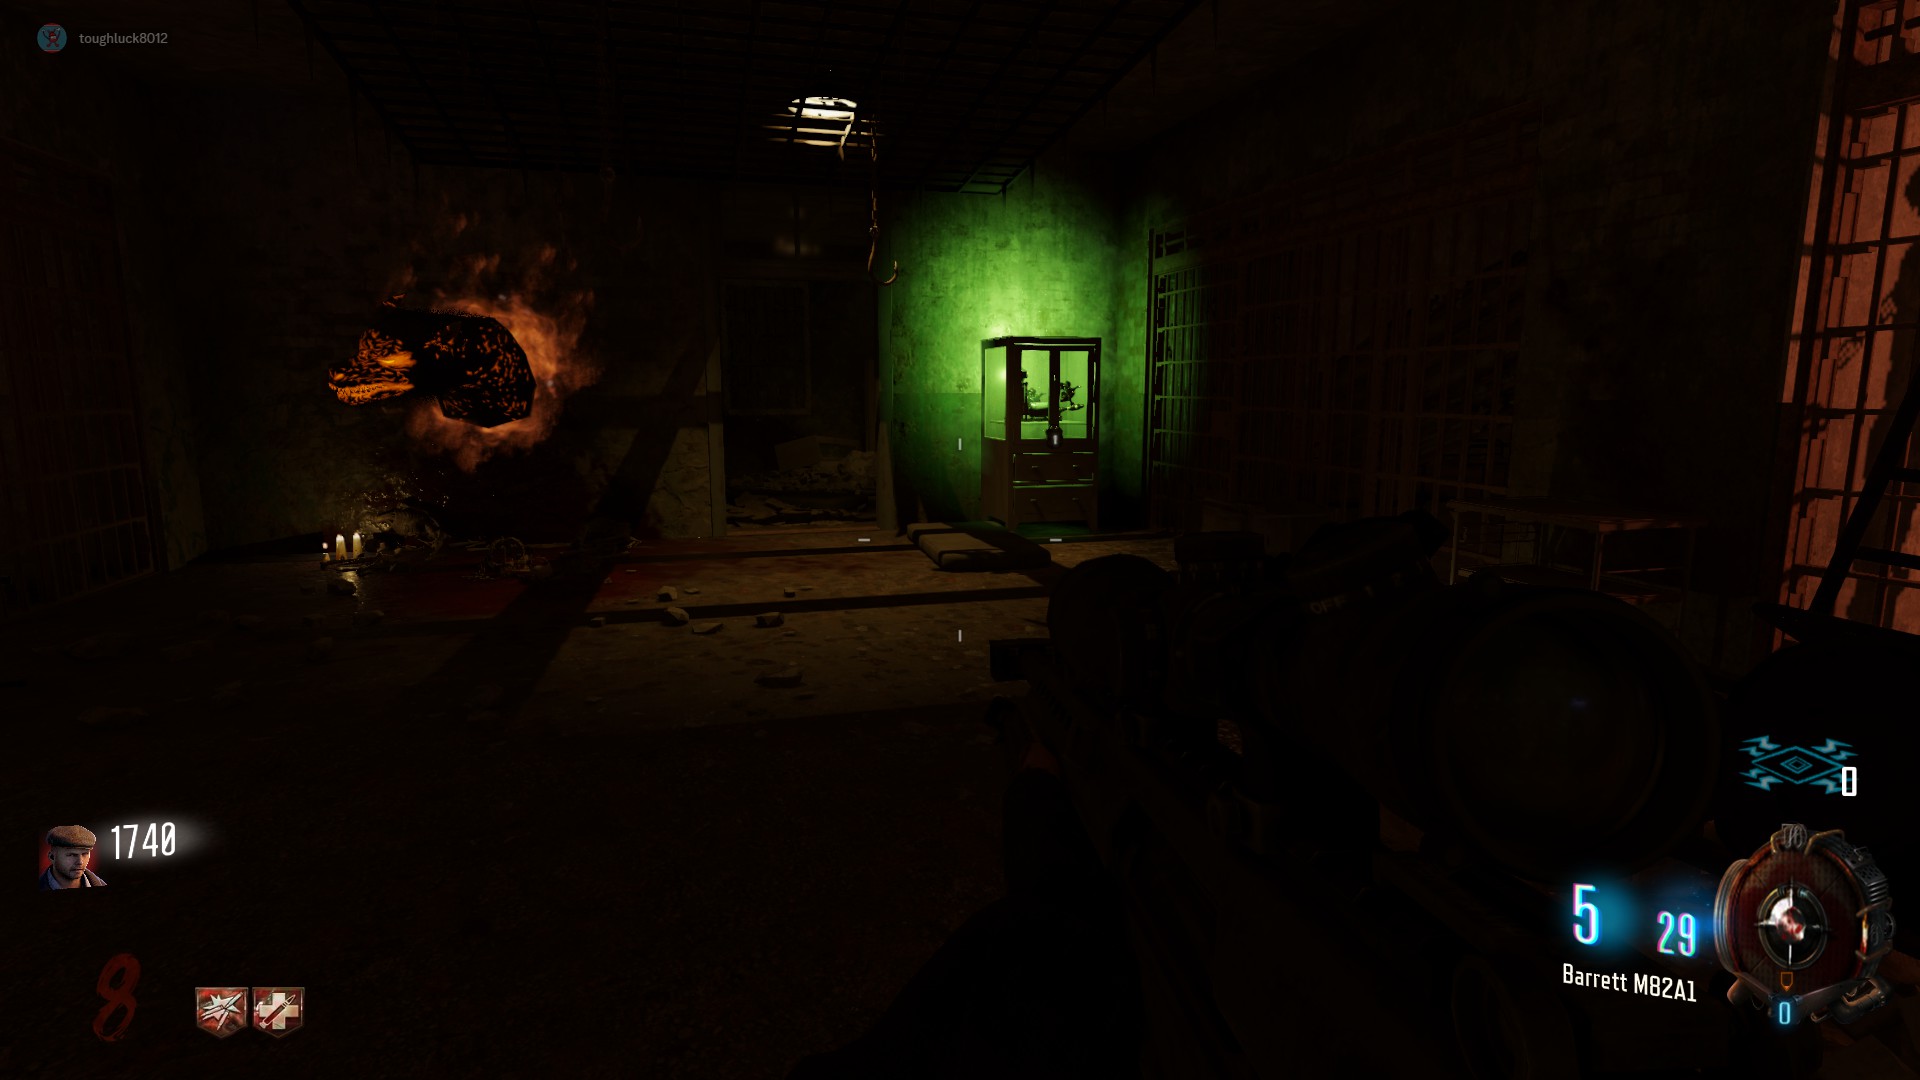
This part can be found just under the roof in the same room as the Infirmary Dog, close to Deadshot Daquiri. All you need to do for this one is unlock it with your Warden's Key.
 Gas Tank:
The gas tank is found at the docks locked behind a 2-part cage. The first door can be unlocked using the Warden's Key. In solo, all you have to do is go into Afterlife and power on the Afterlife Shock Box to open the other door and gain access to the part. In Co-op, shocking the box causes one door to close, as the other one opens, trapping the player. This means you will need to exit Afterlife to pick up the part, and then use the kill switch in the cage next round to reshock the Afterlife Shock Box to escape. Or you can work together with your teammate so one player handles both shocks during one Afterlife charge, while the other navigates the cage. Note: You can shock the Shock Box by jumping and zapping over the fence. You also shouldn't need to worry about getting trapped again after your first trip to the bridge, as the fuel should spawn in the first part of the cage.
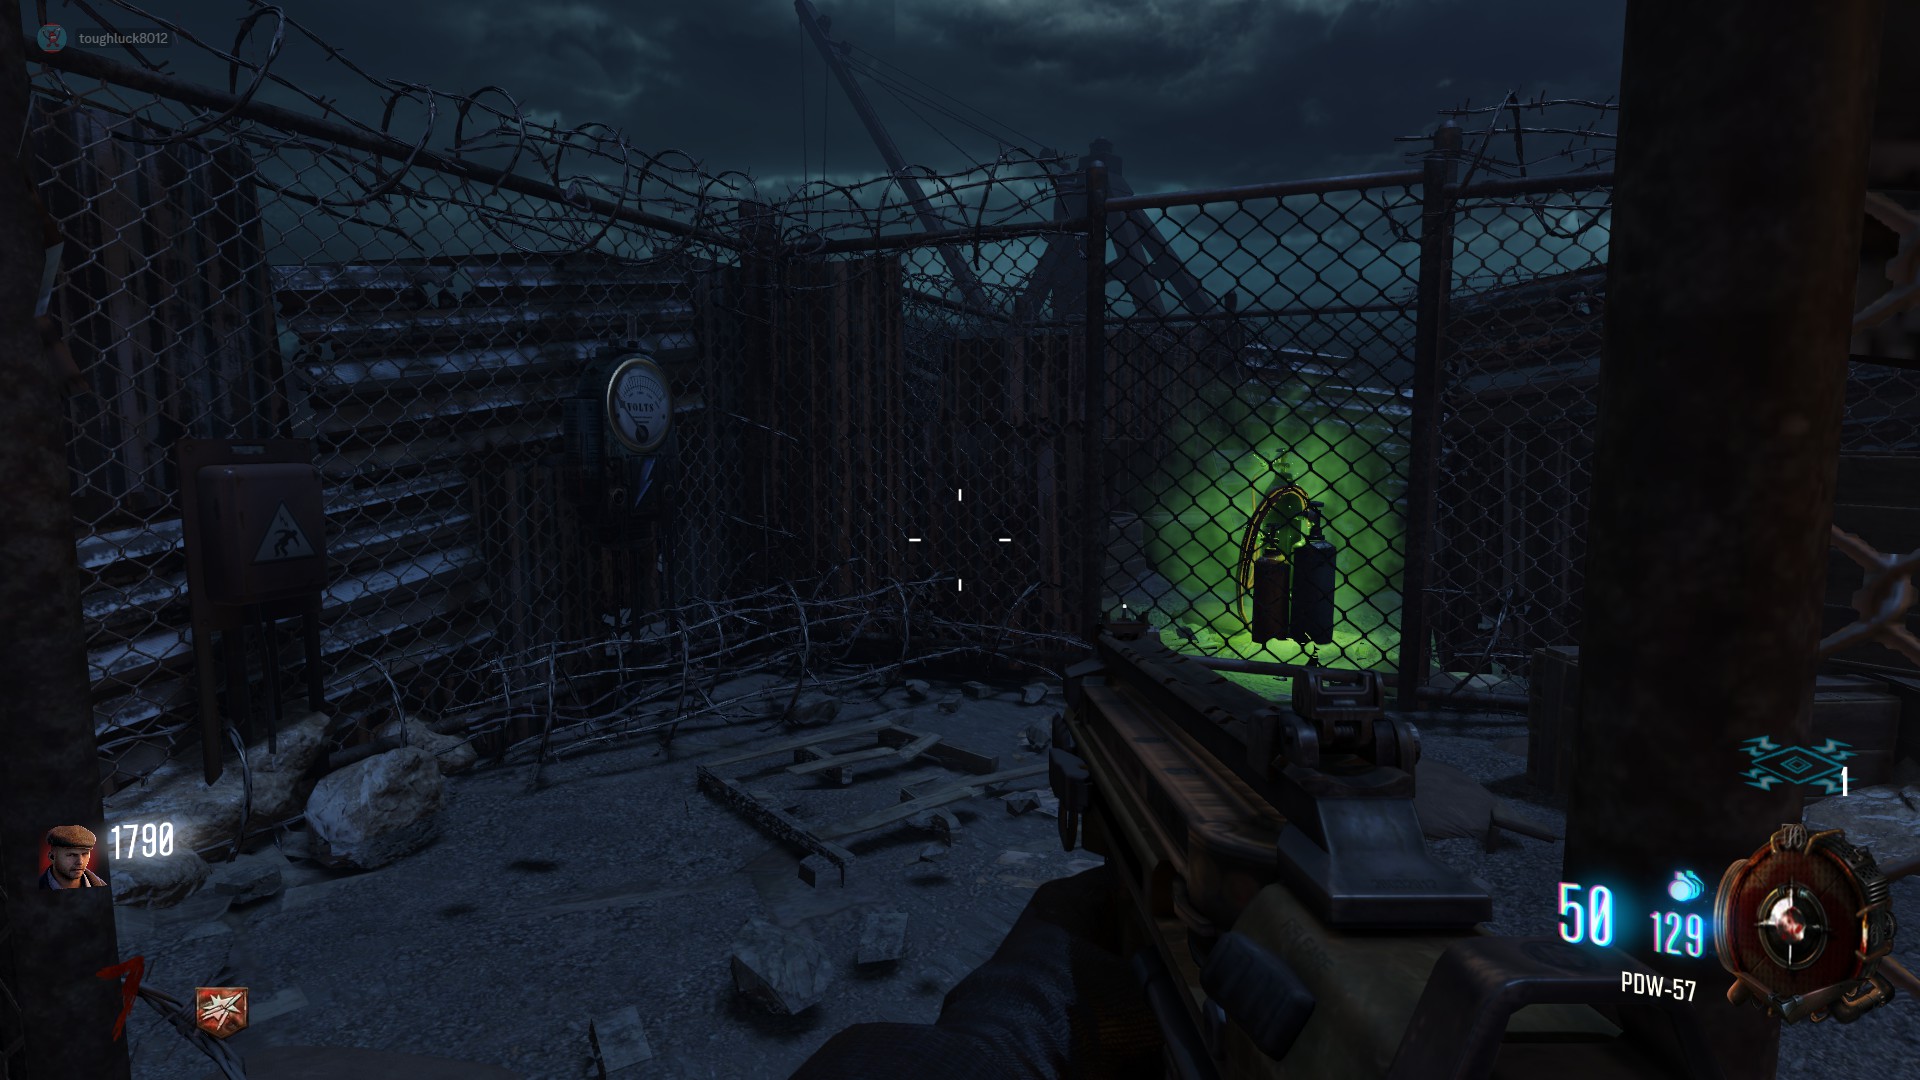 After visiting the bridge one time, you must wait a full round for the pieces to respawn. From this point forward, you will need to gather fuel for the plane. The locations are all still the exact same from the original plane piece spawns. The carrying multiple pieces rule still follows.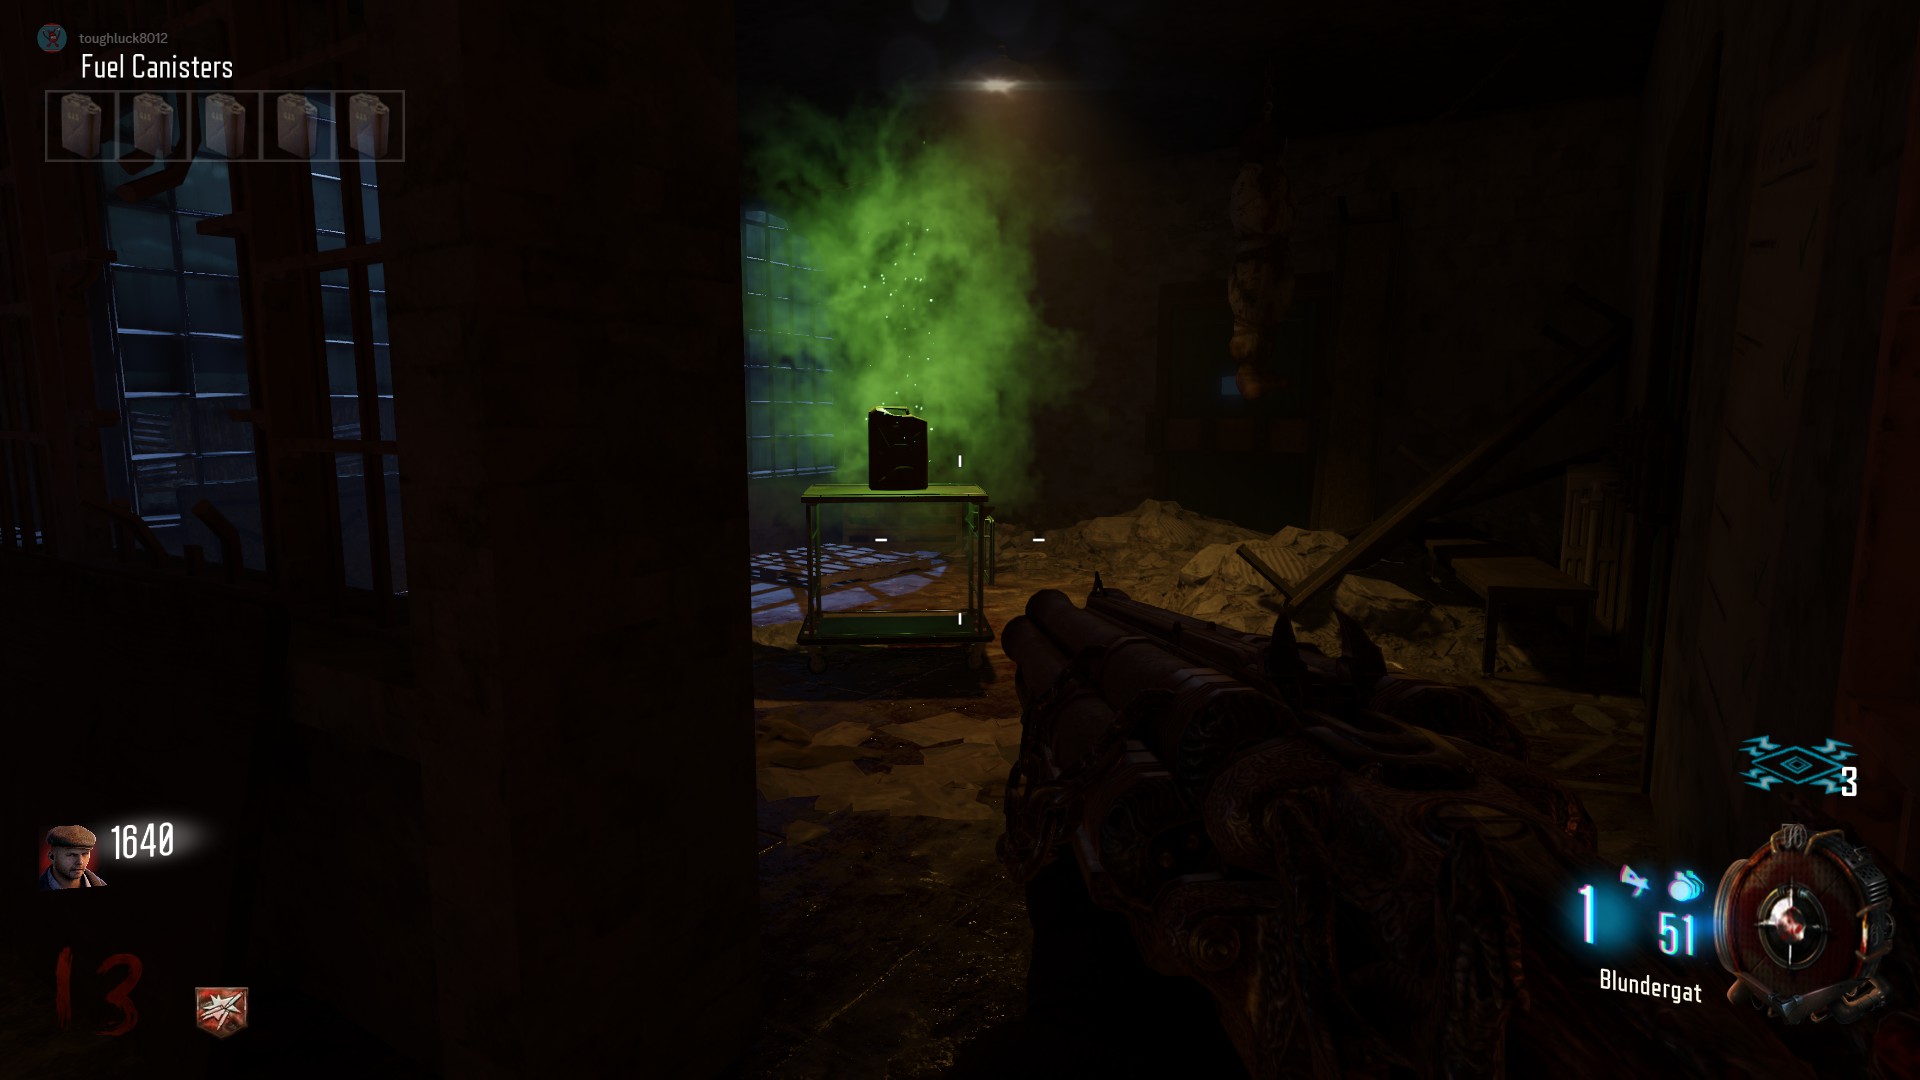
Shield
Part A Location 1:
On the spiral staircase, leaning against one of the walls
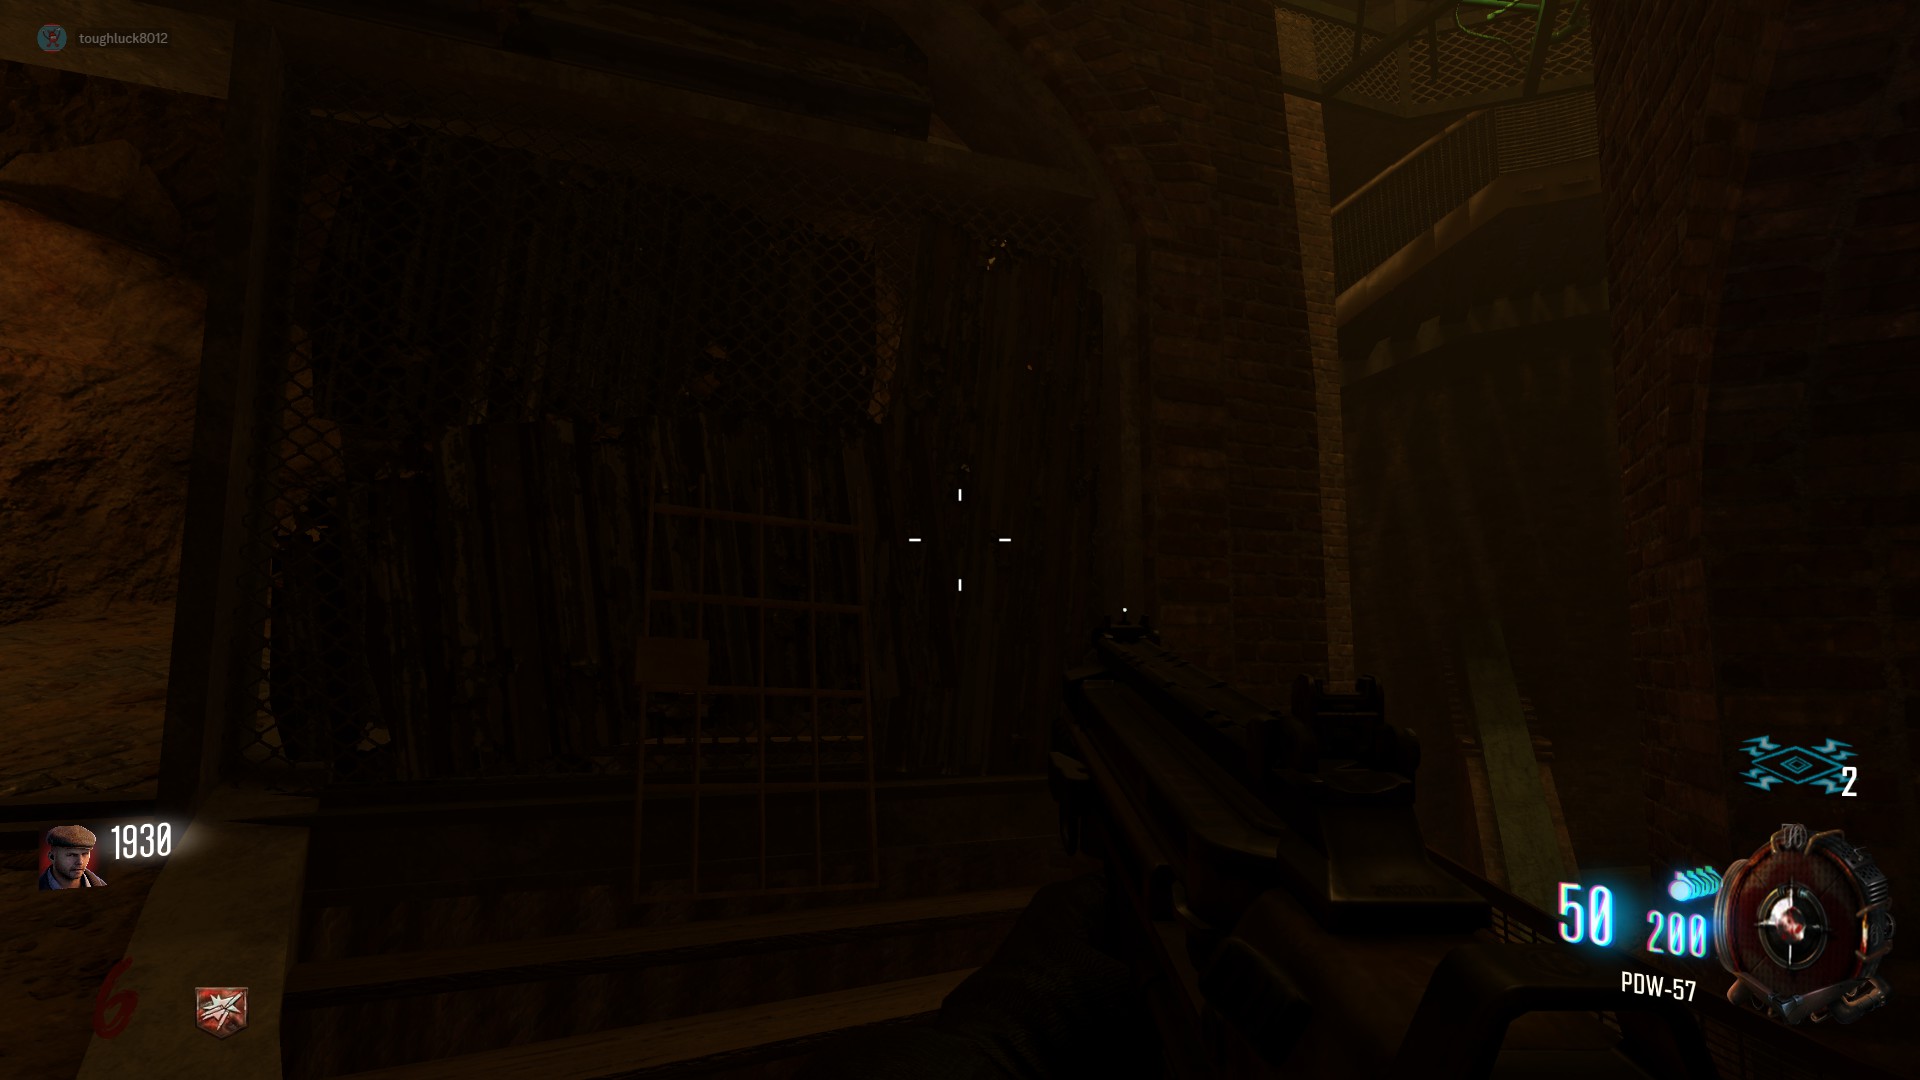 Part A Location 2:
In the alley between the generator building and the Citadel Tunnels, leaning against the wall
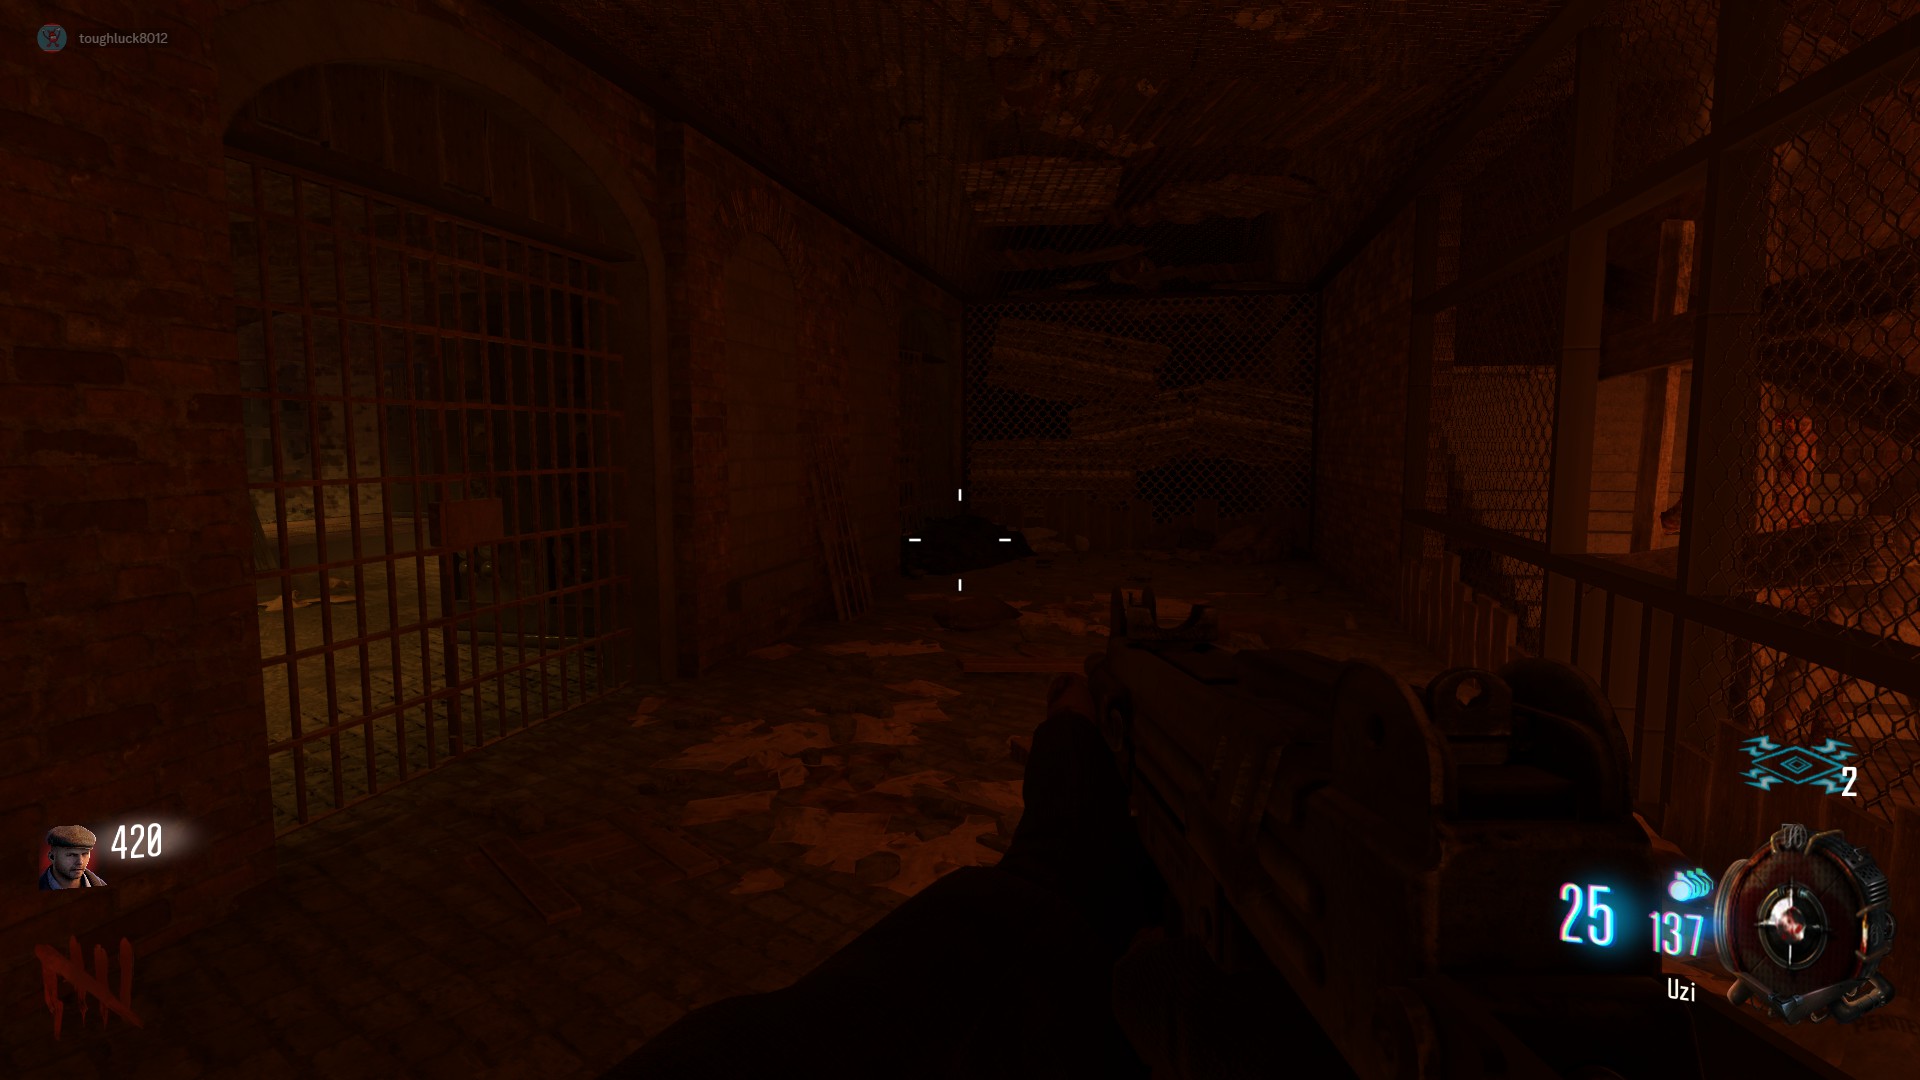 Part A Location 3:
At the bottom of the spiral staircase, In the corner of the tunnel leading to the plane part
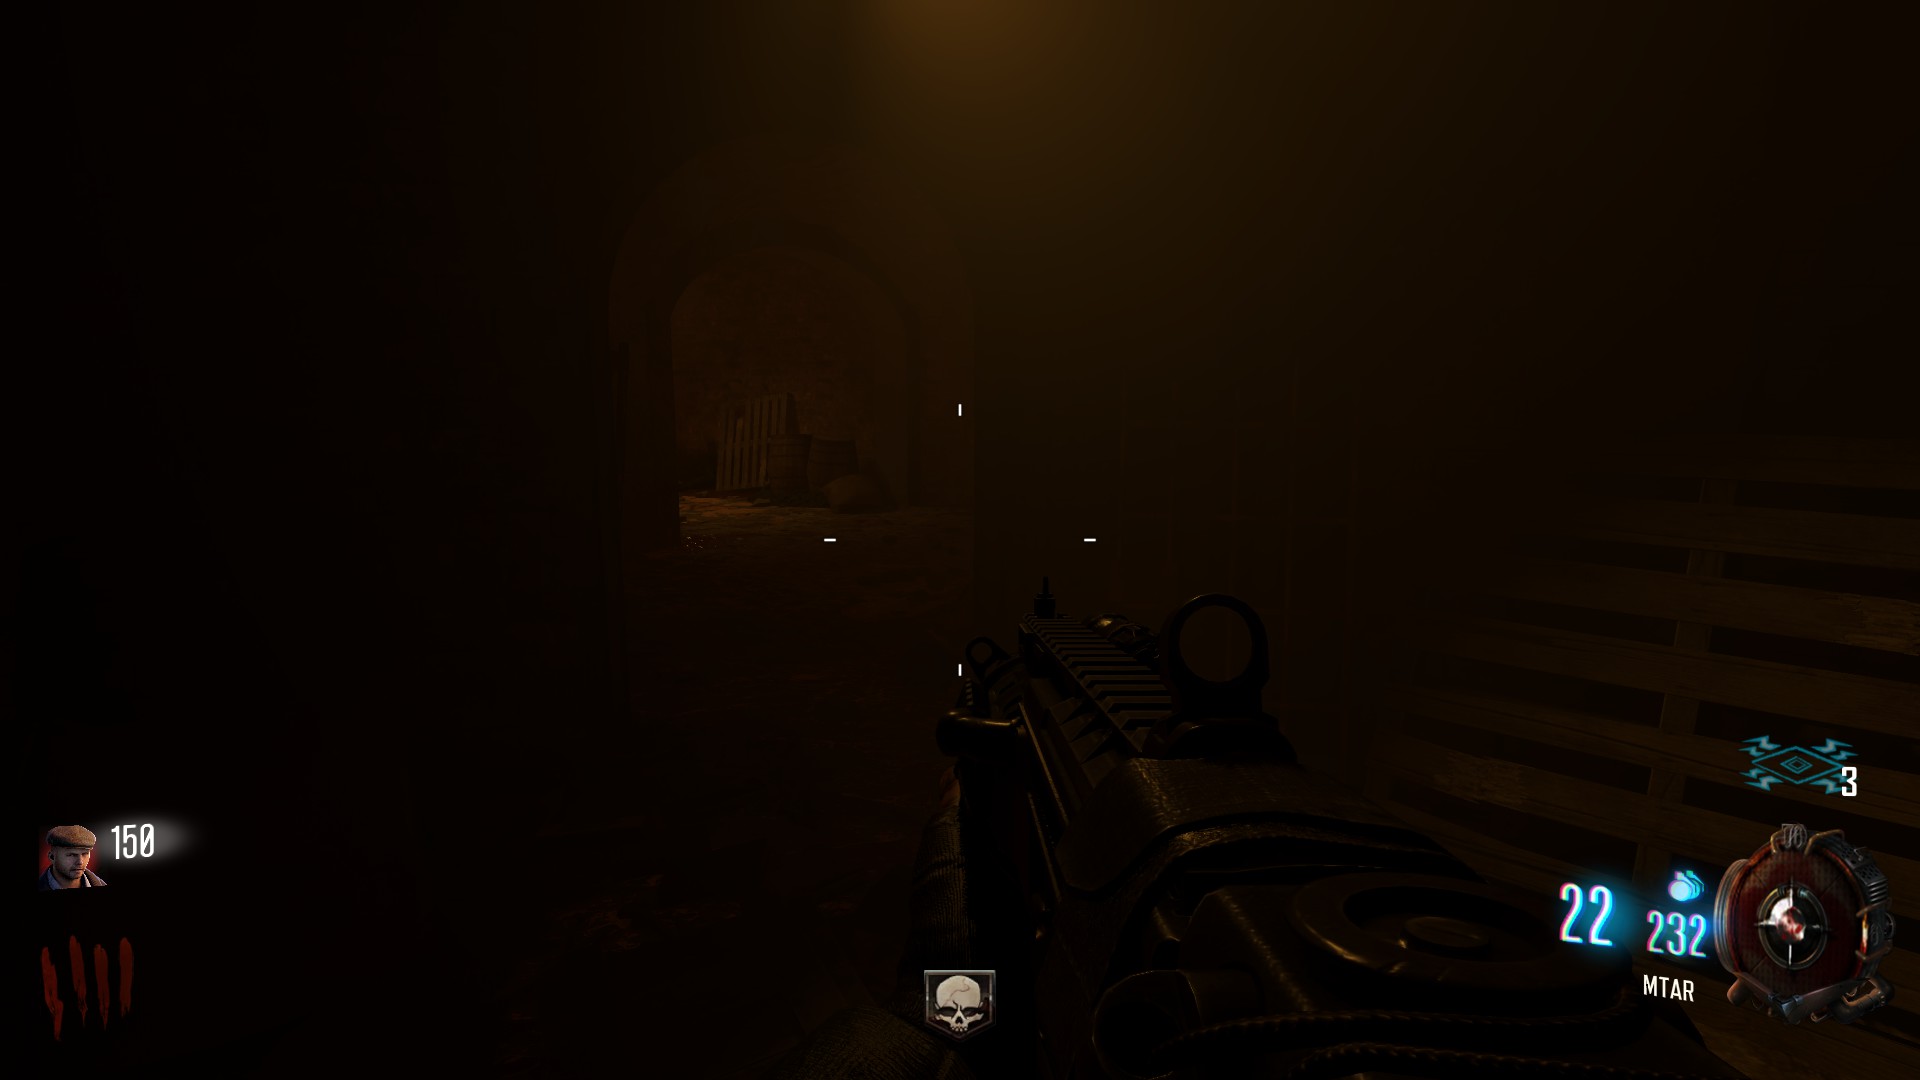
All spawn locations for Part B can be found at the docks
Part B Location 1:Leaning against the center rubble pile at the docks
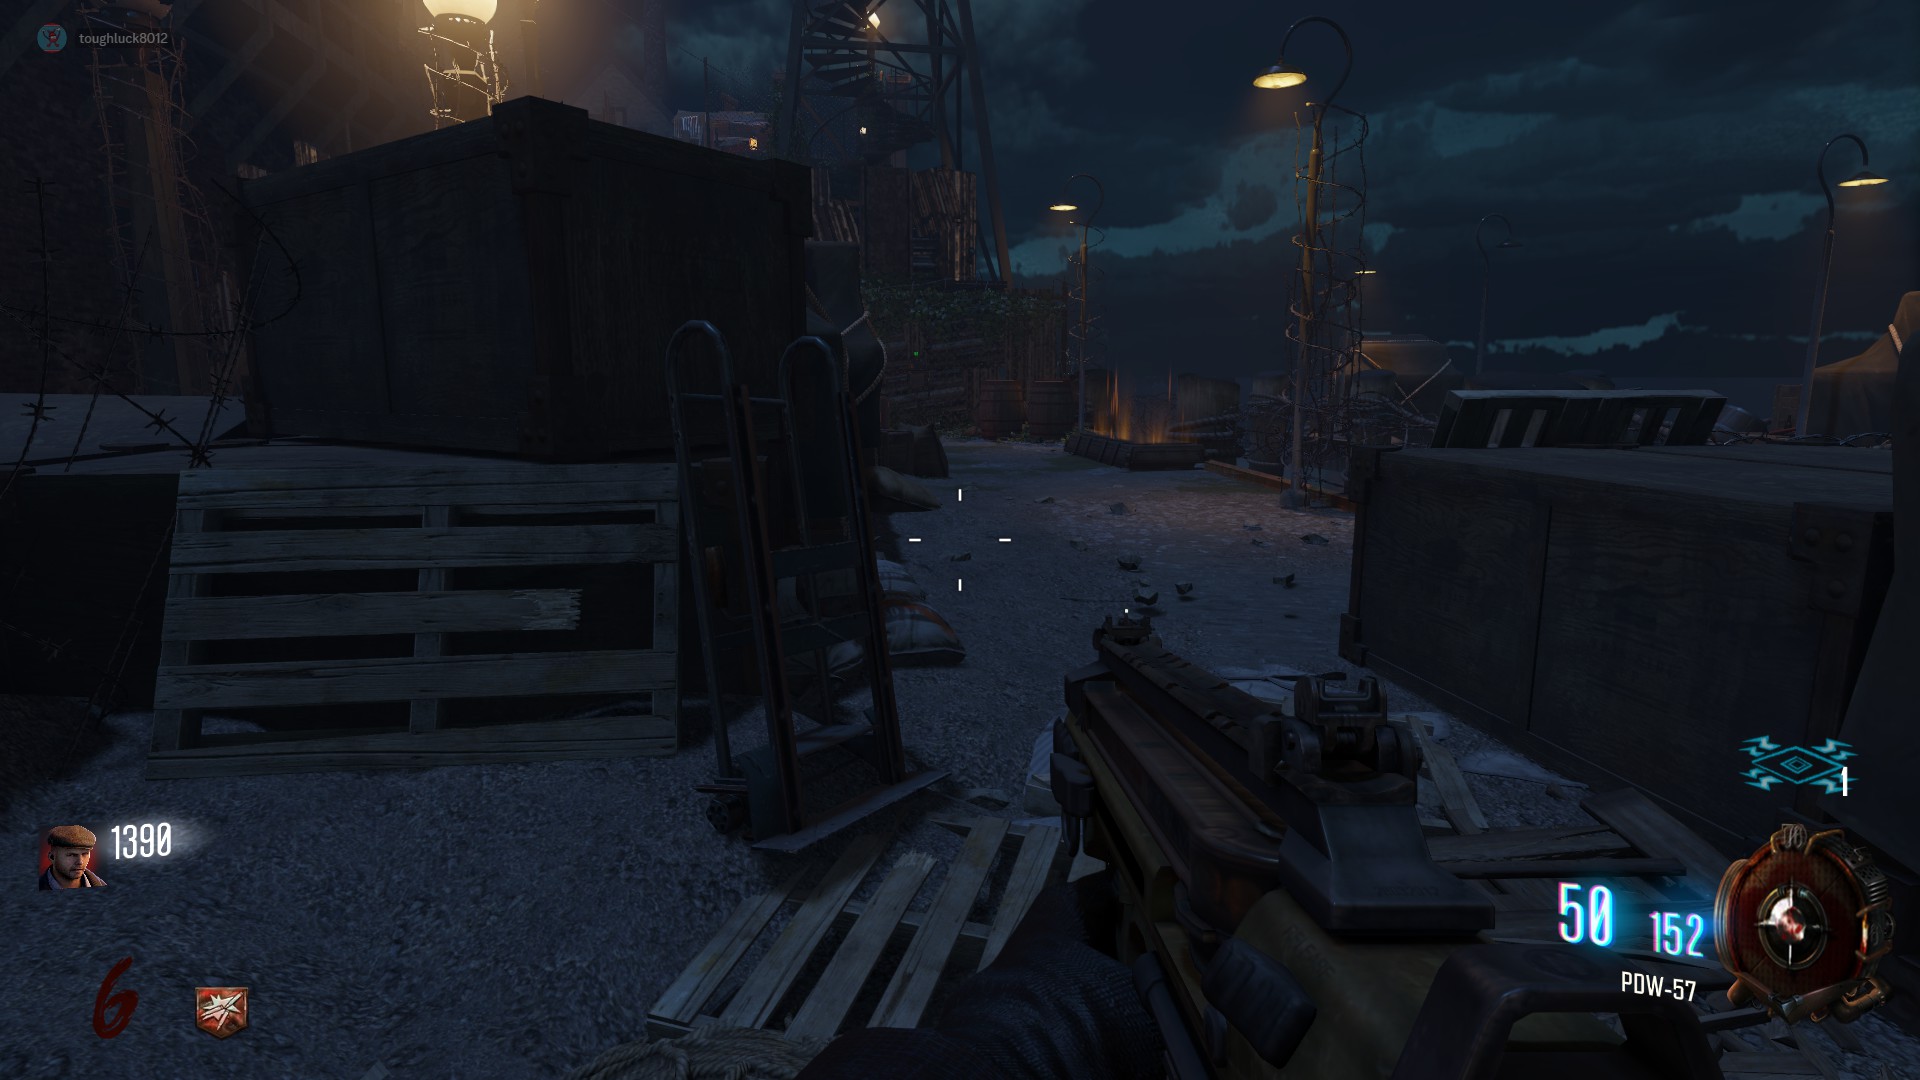 Part B Location 2:
In the same corner where the song bottle by the plane part cage
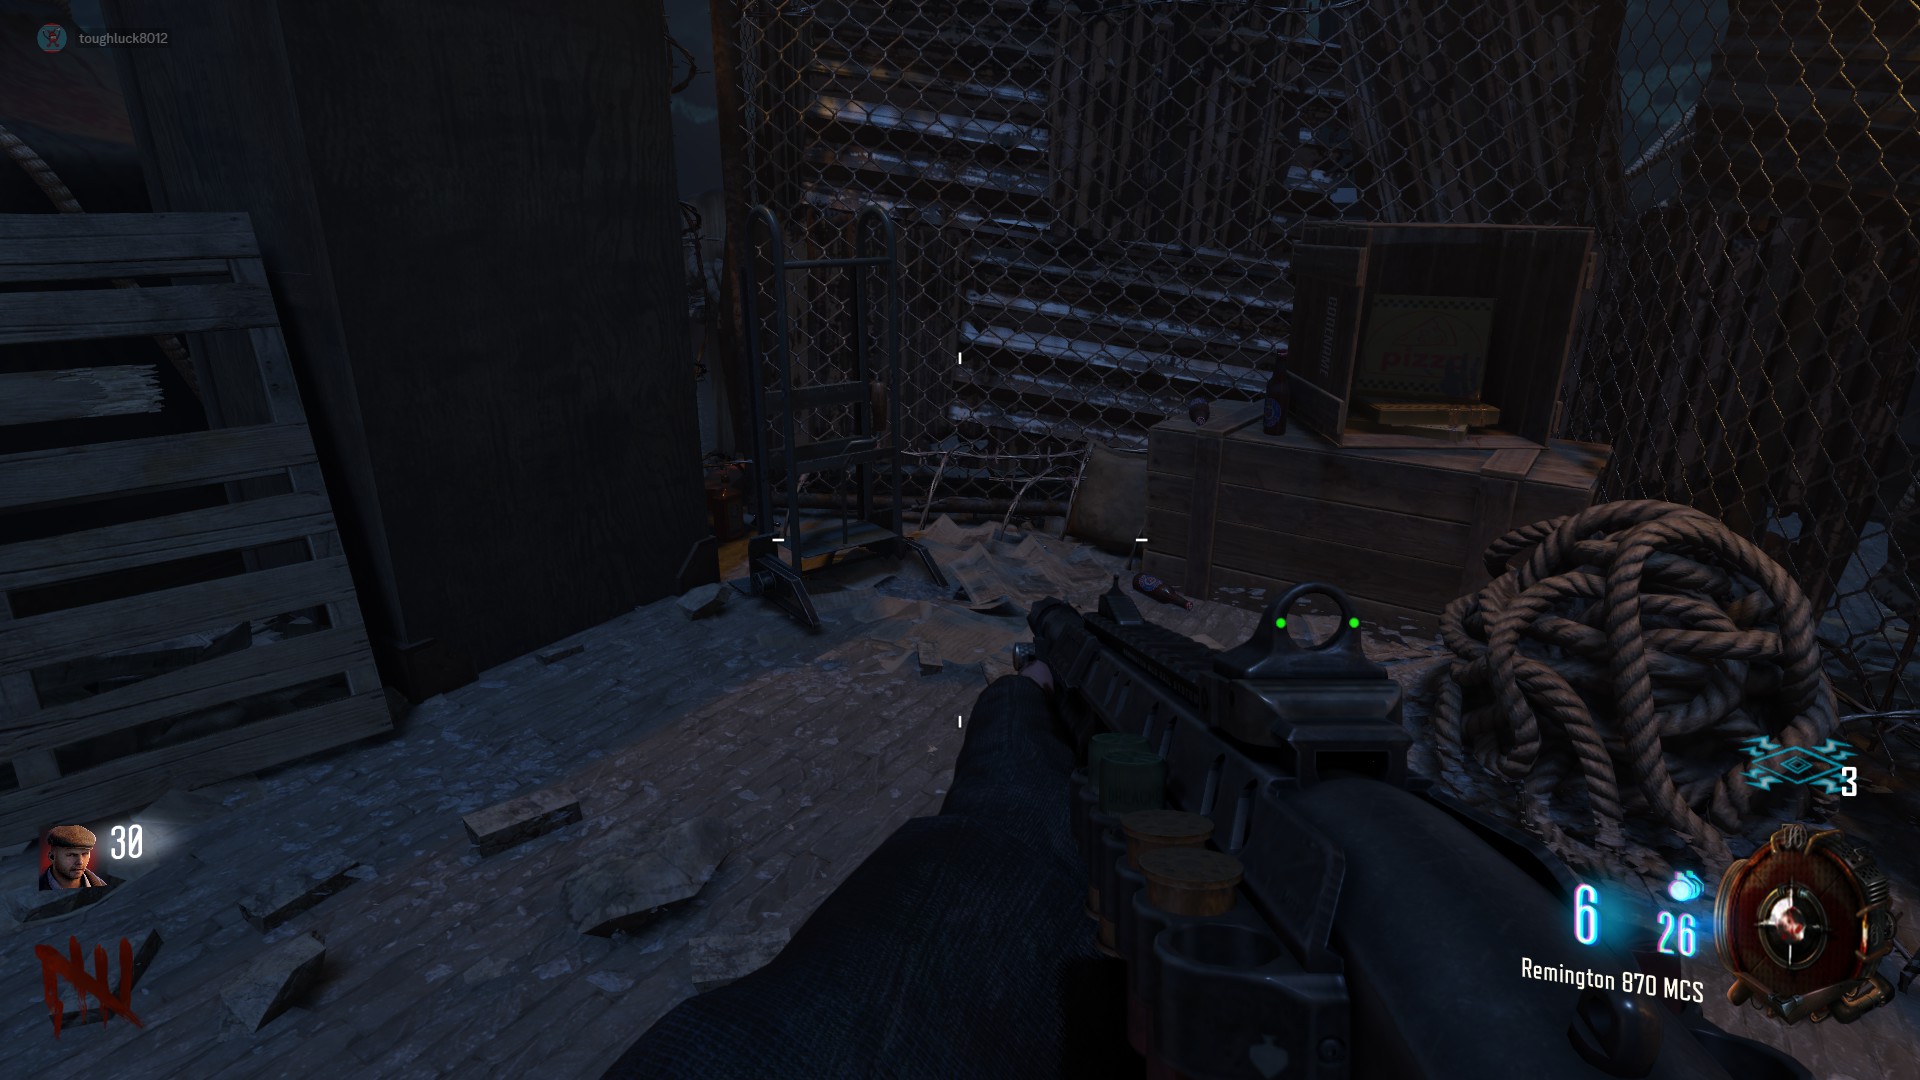 Part B Location 3:
Across from the mystery box location at the docks
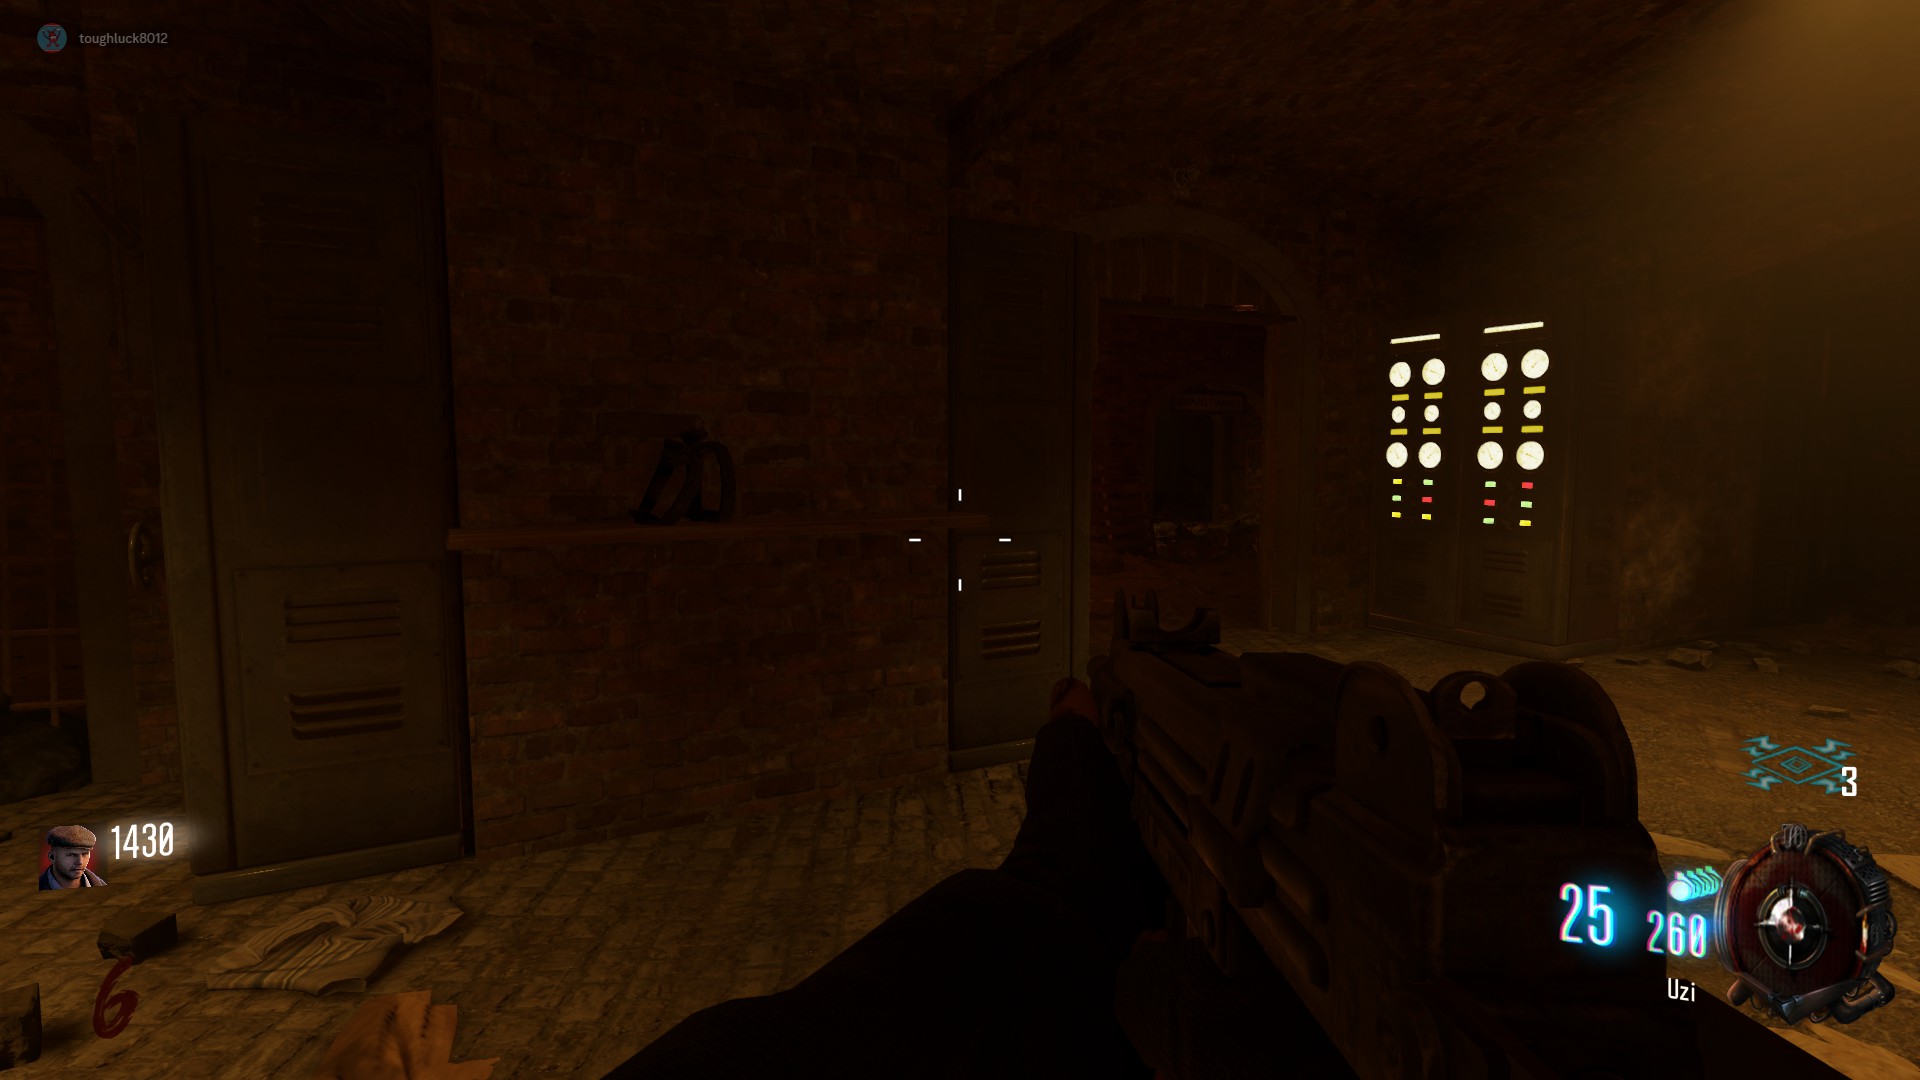
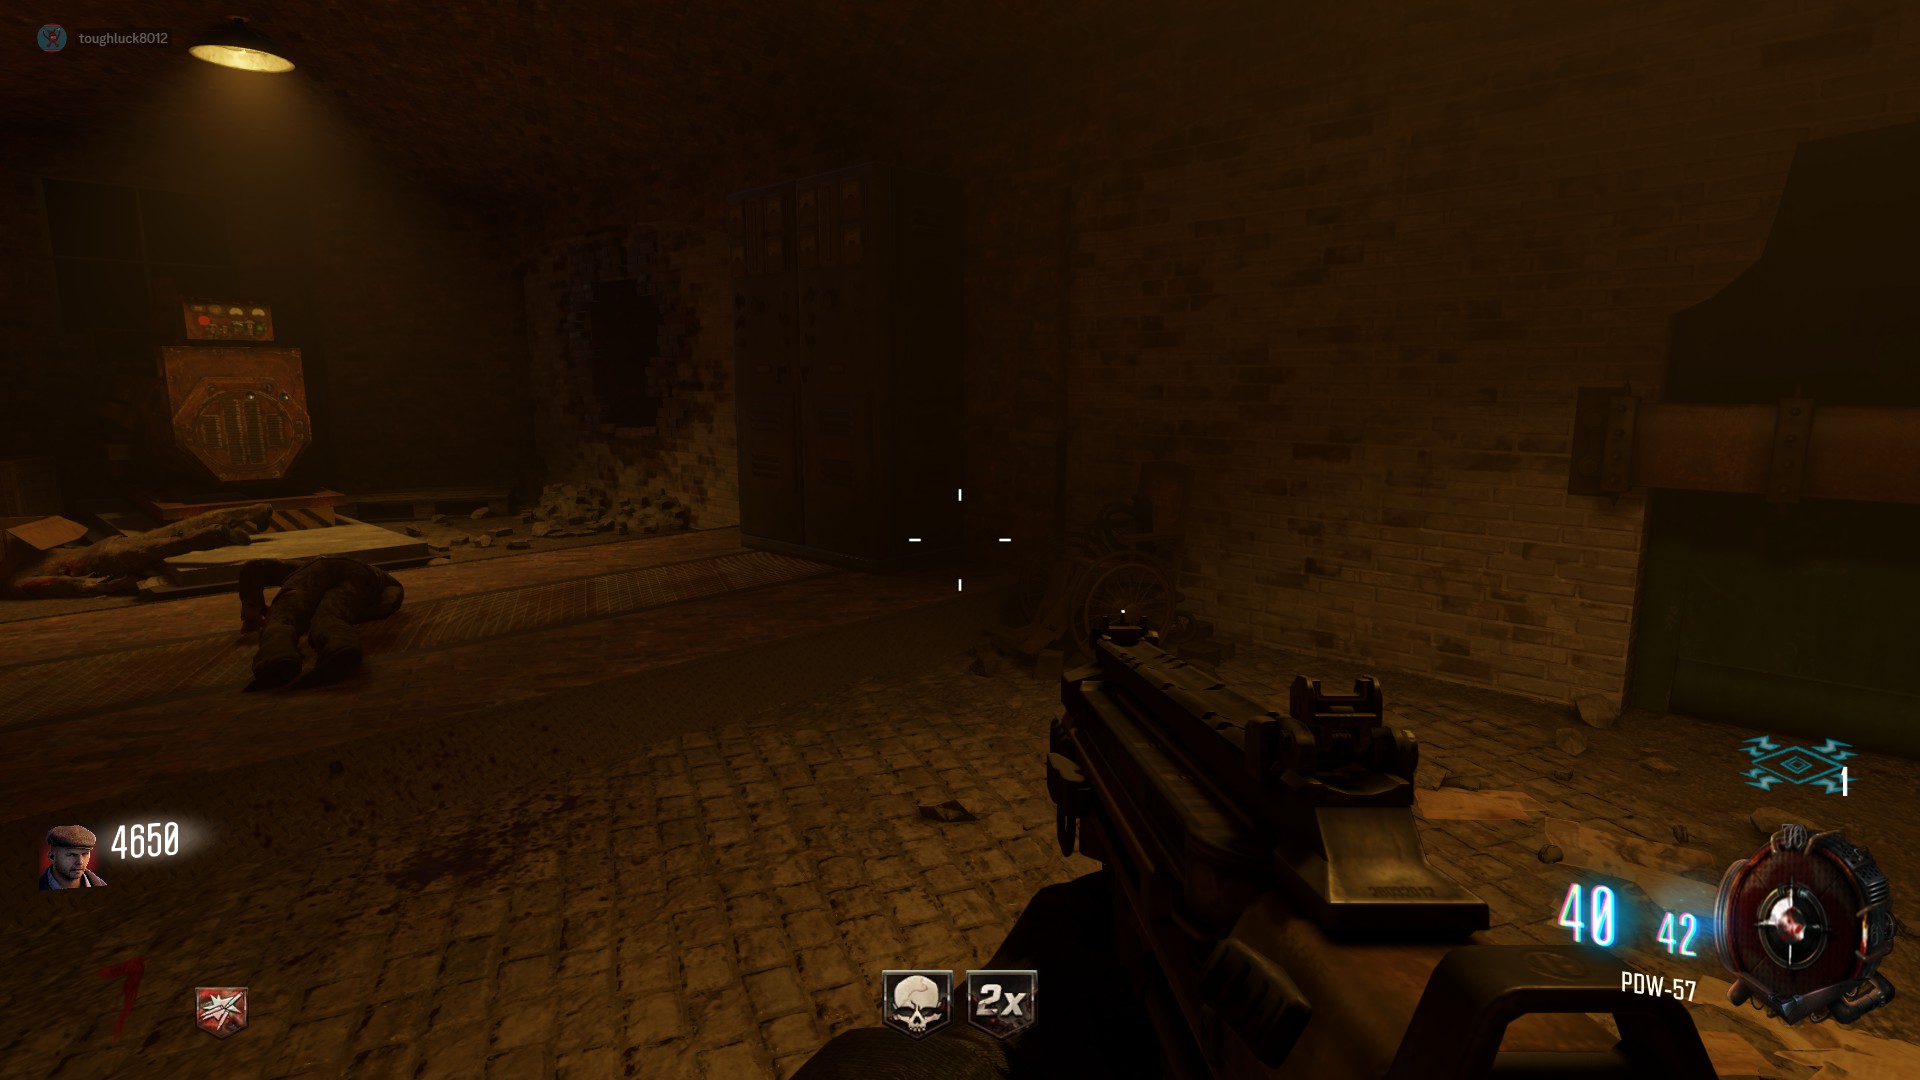
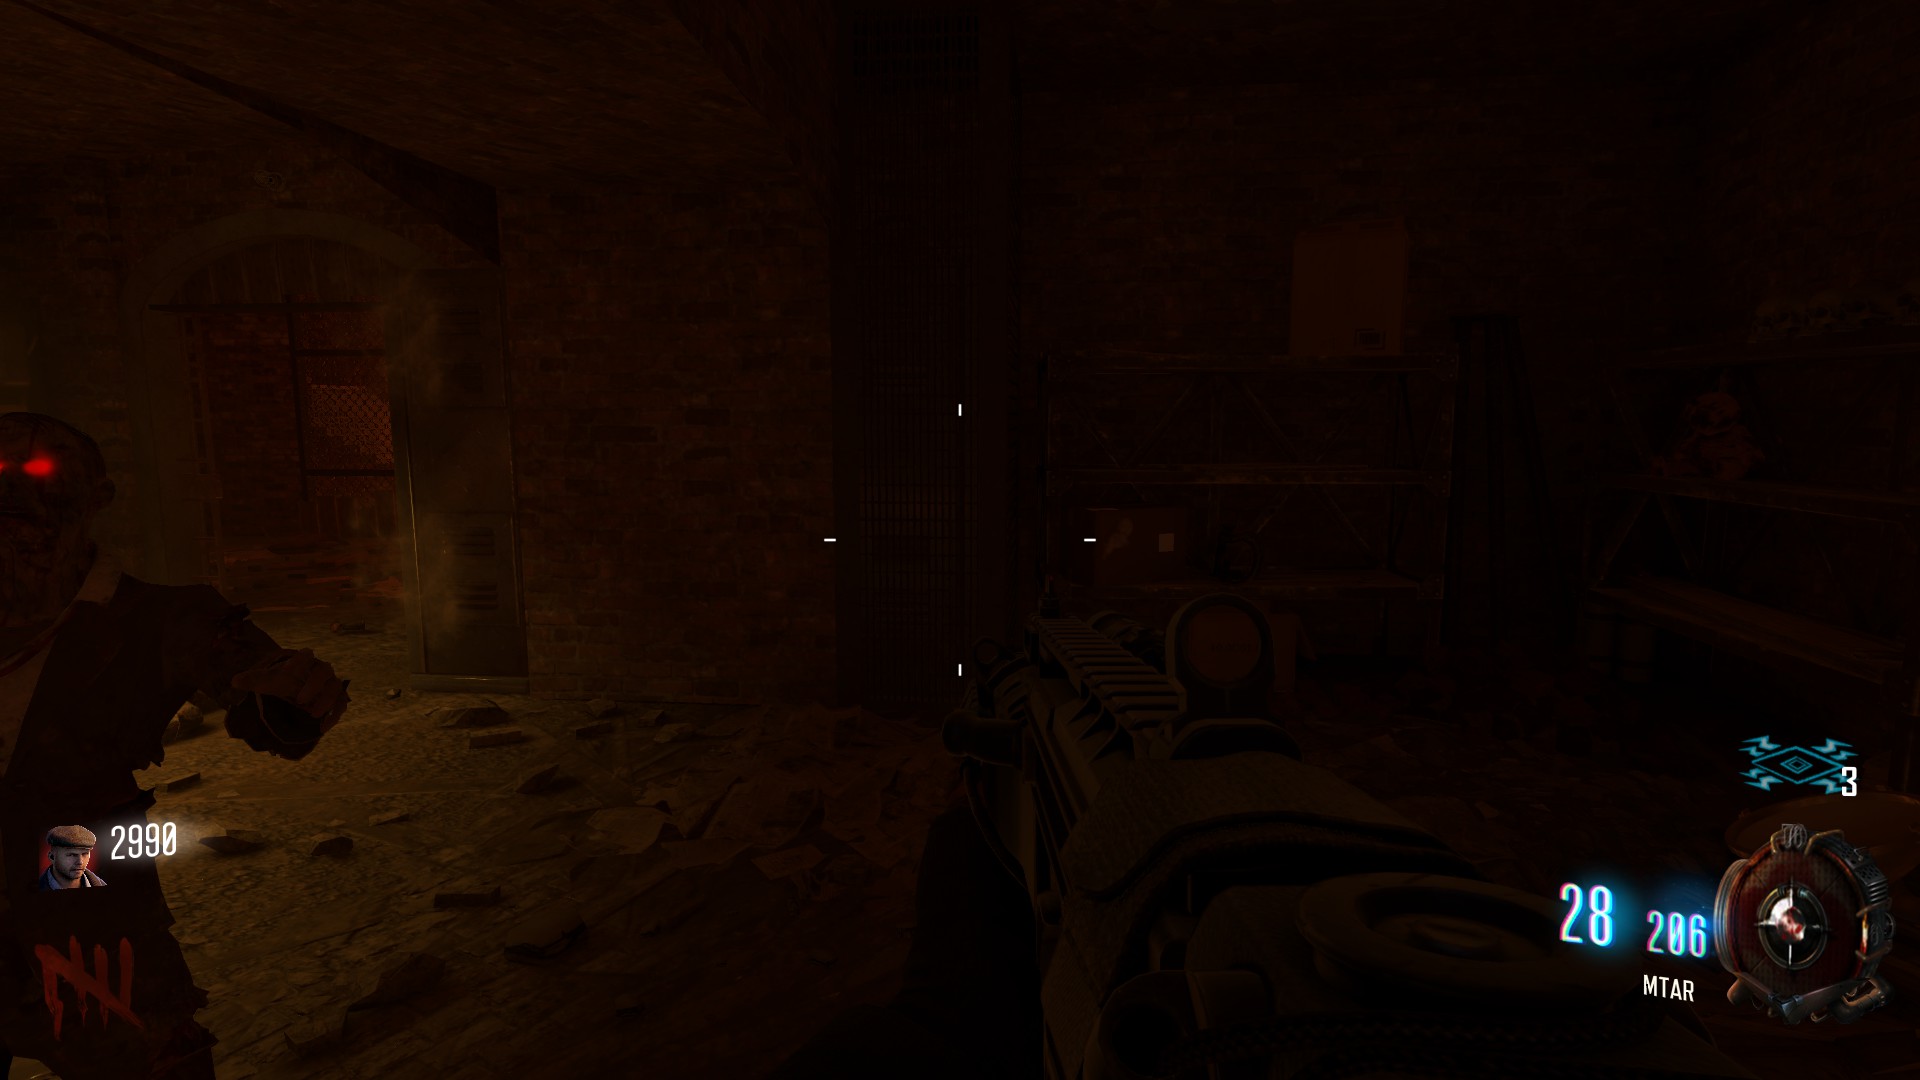
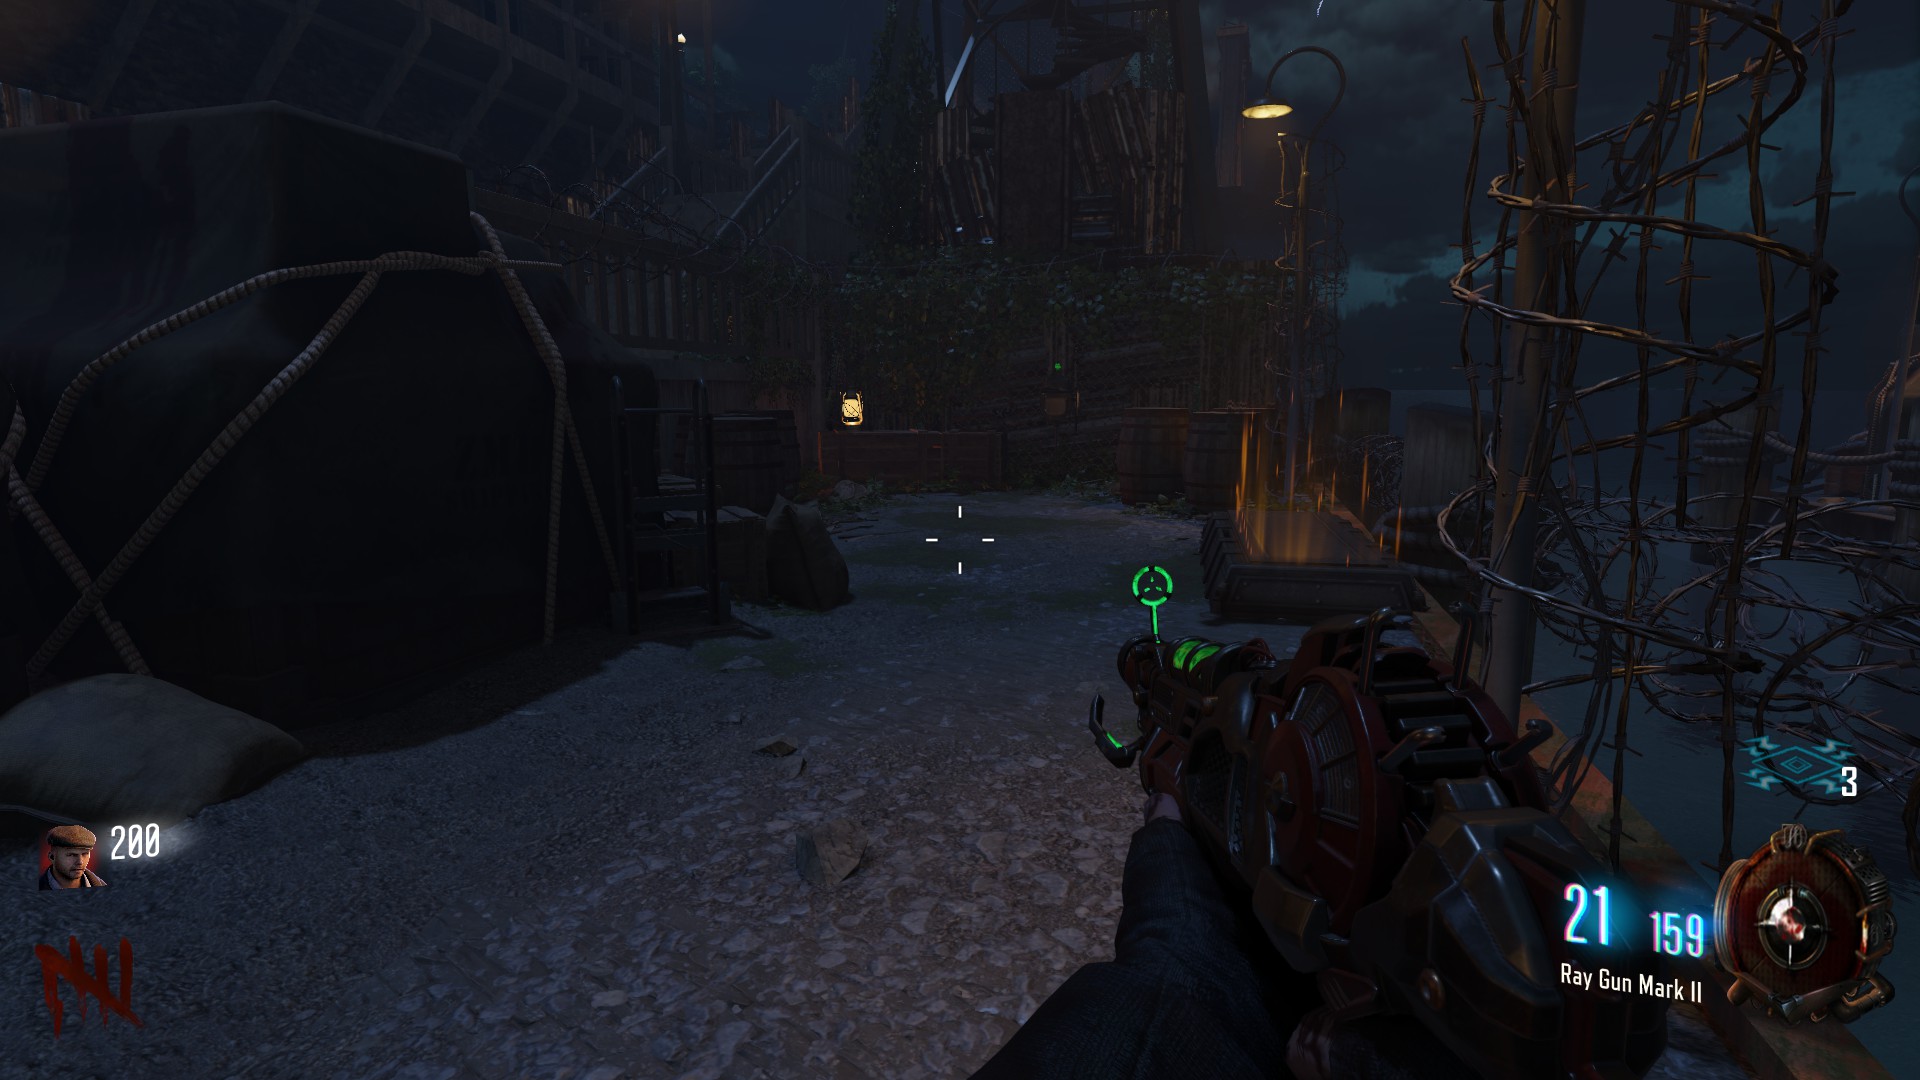 All spawn locations for Part C can be found in the Generator Building by the docks
Part C Location 1:
On the shelf between the two enterances to Generator Building
 Part C Location 2:
On the wheelchair next to the ghost hole in Afterlife Mode
 Part C Location 3:
In the corner of the room on some shelves
 It can be crafted at the workbench located at the docks, by electric cherry, or in the cafeteria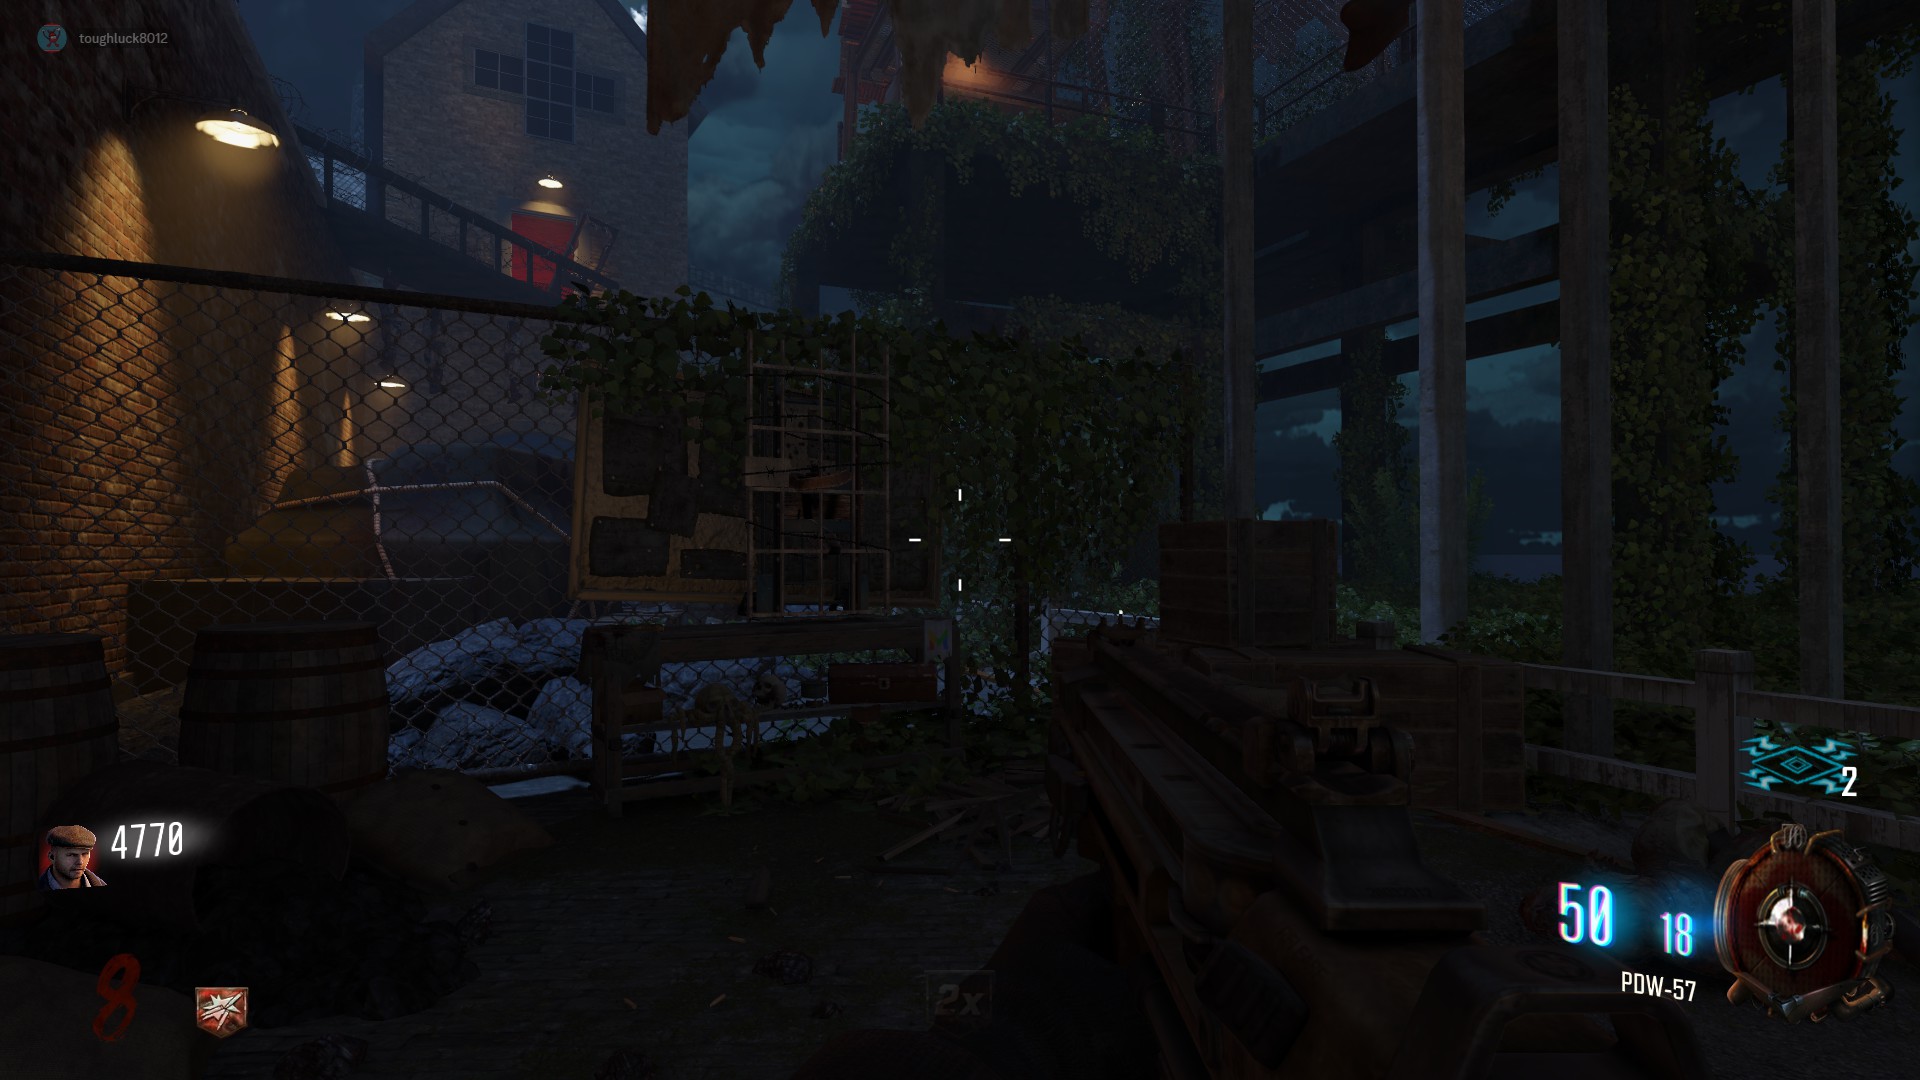
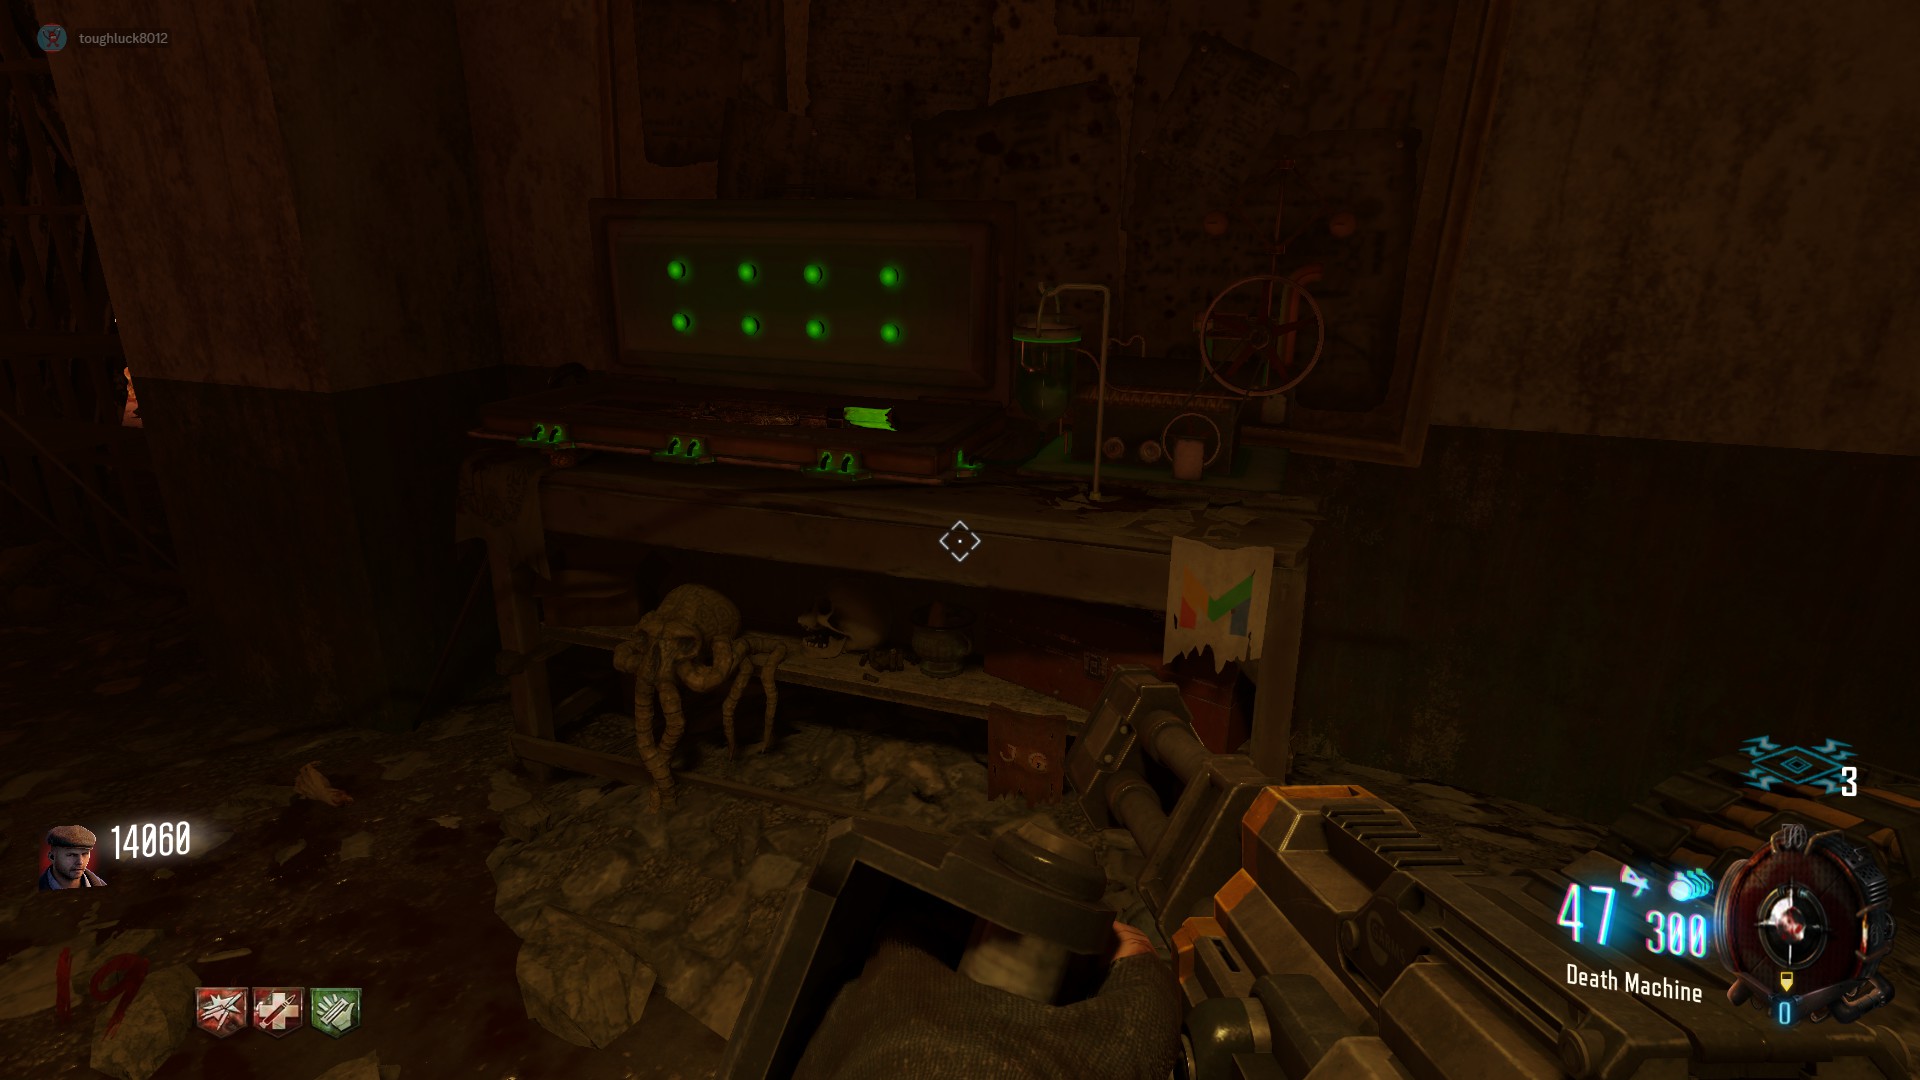
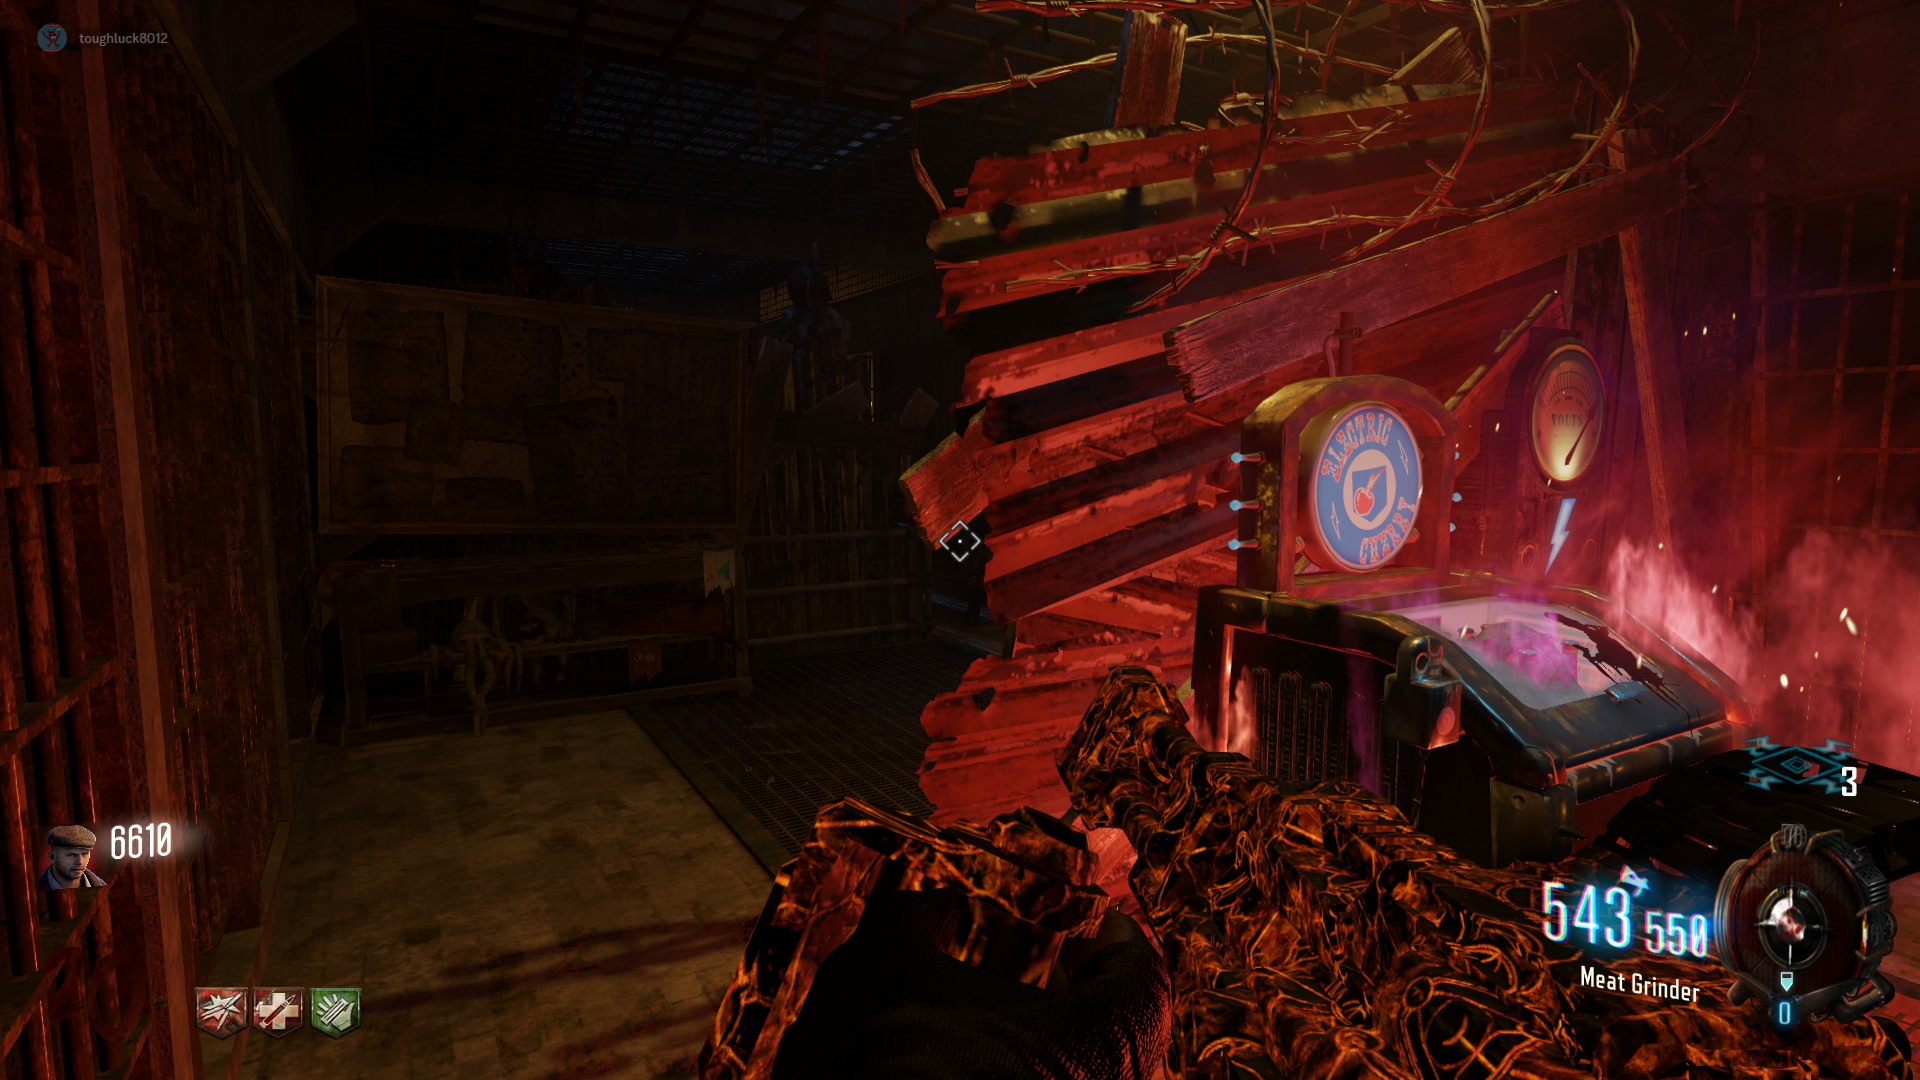
Acid Gat Conversion Kit
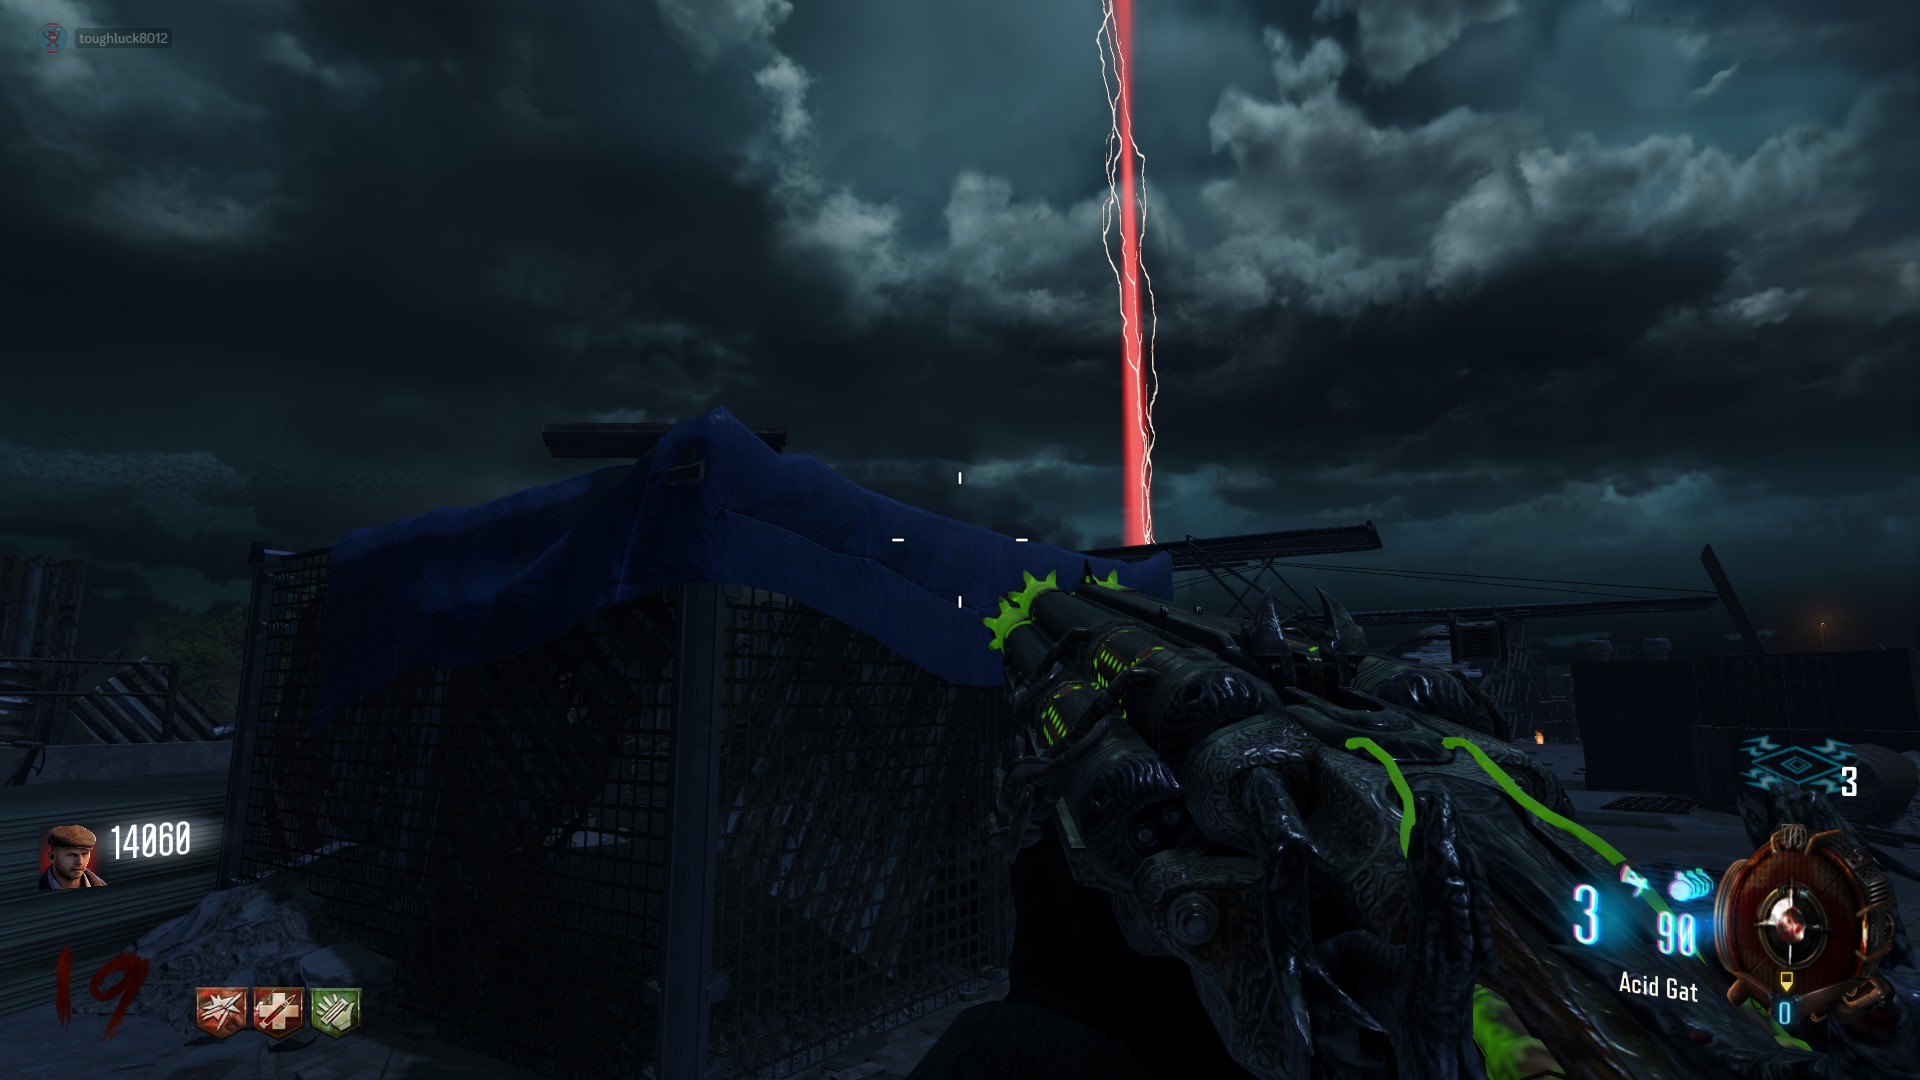
All spawn locations for Part A can be found in the Warden's Office
Part A Location 1:
In the corner next to the electrocuted door for the plane part
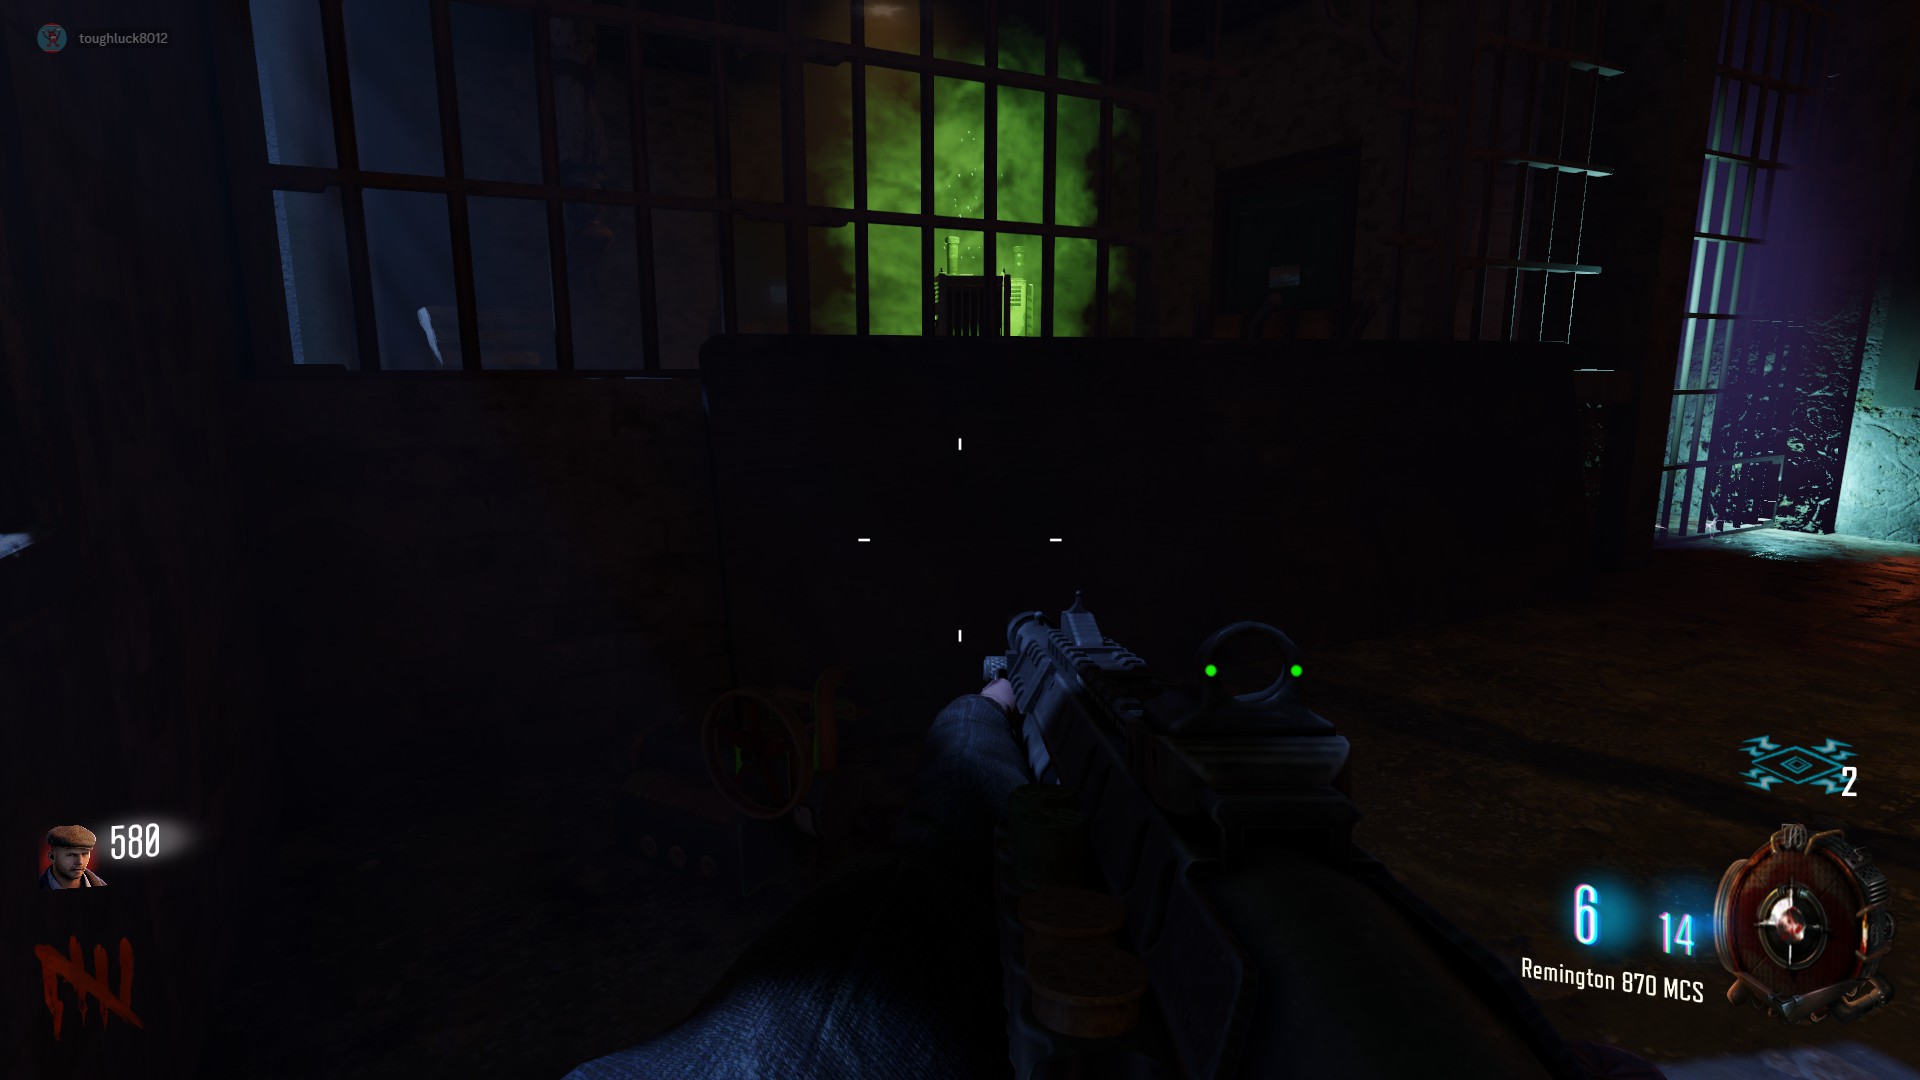
Part A Location 2:
To the left of the box location in the corner
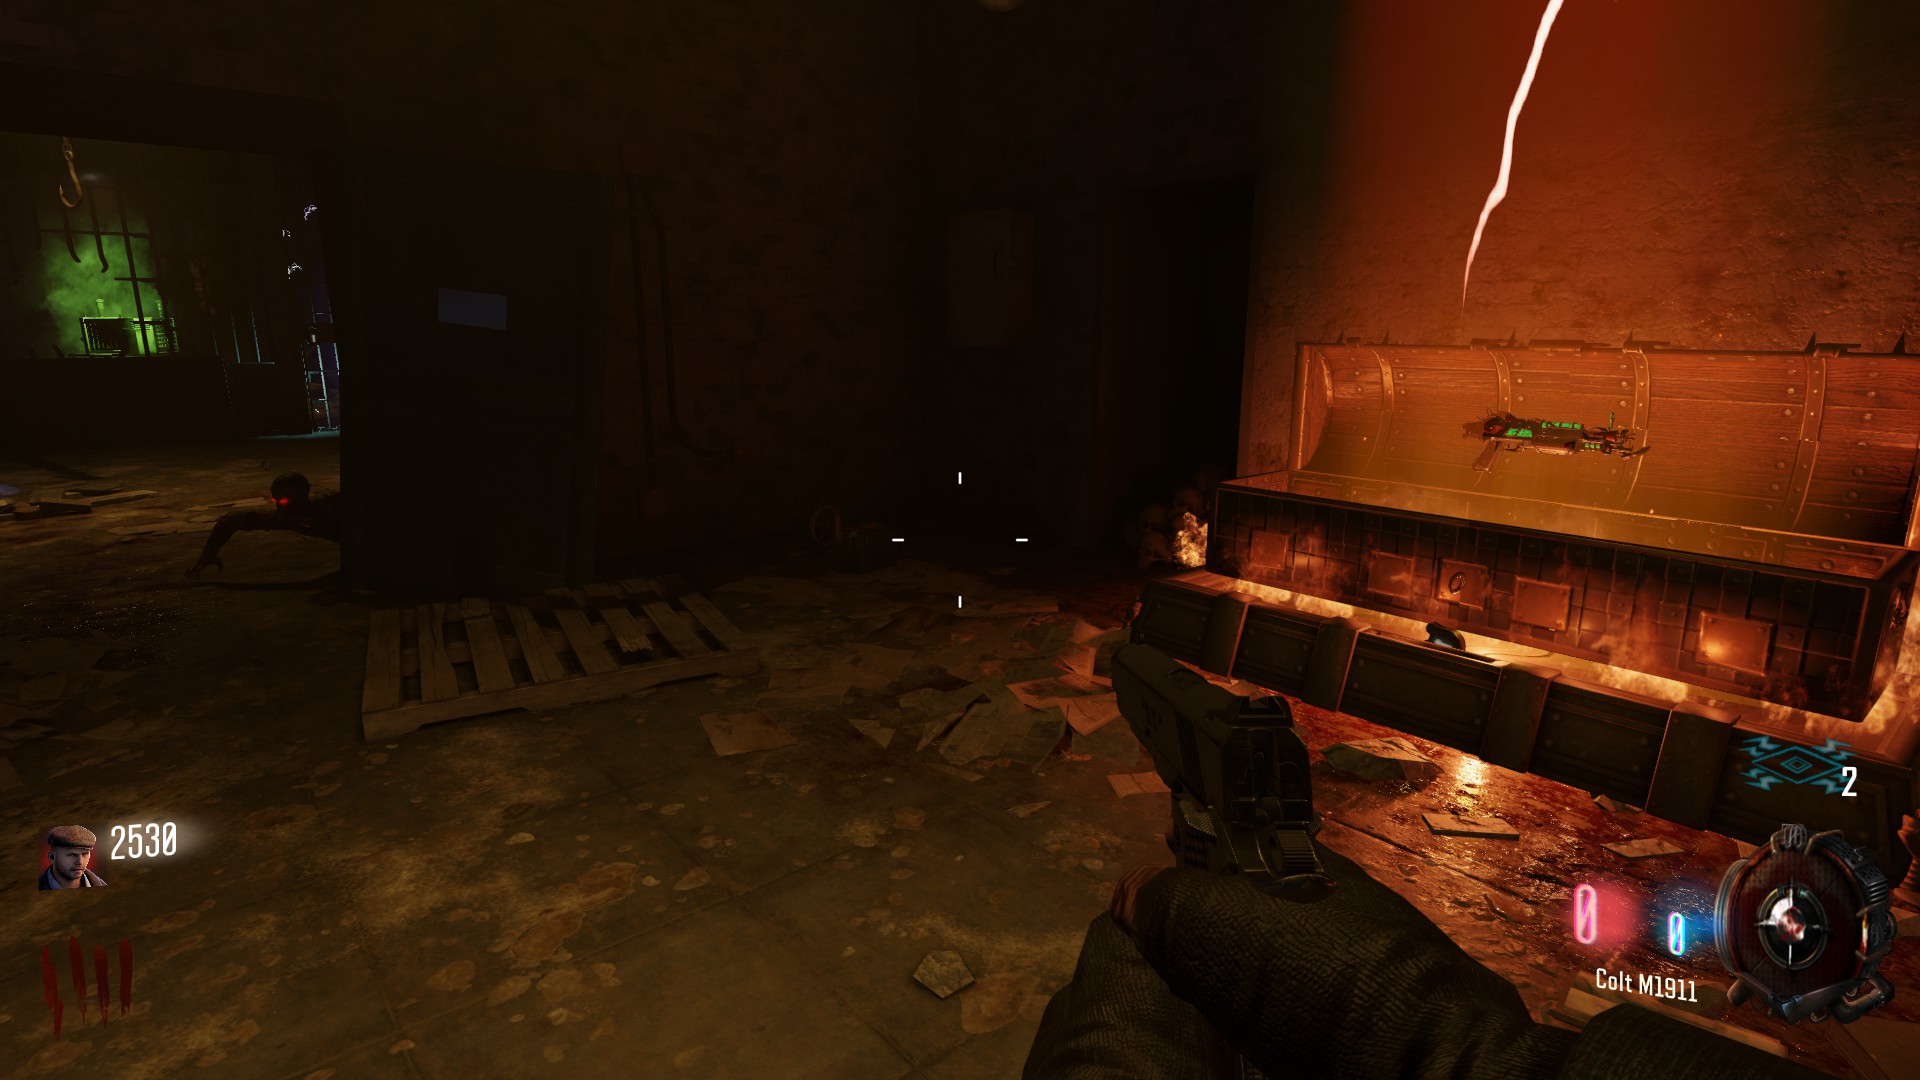
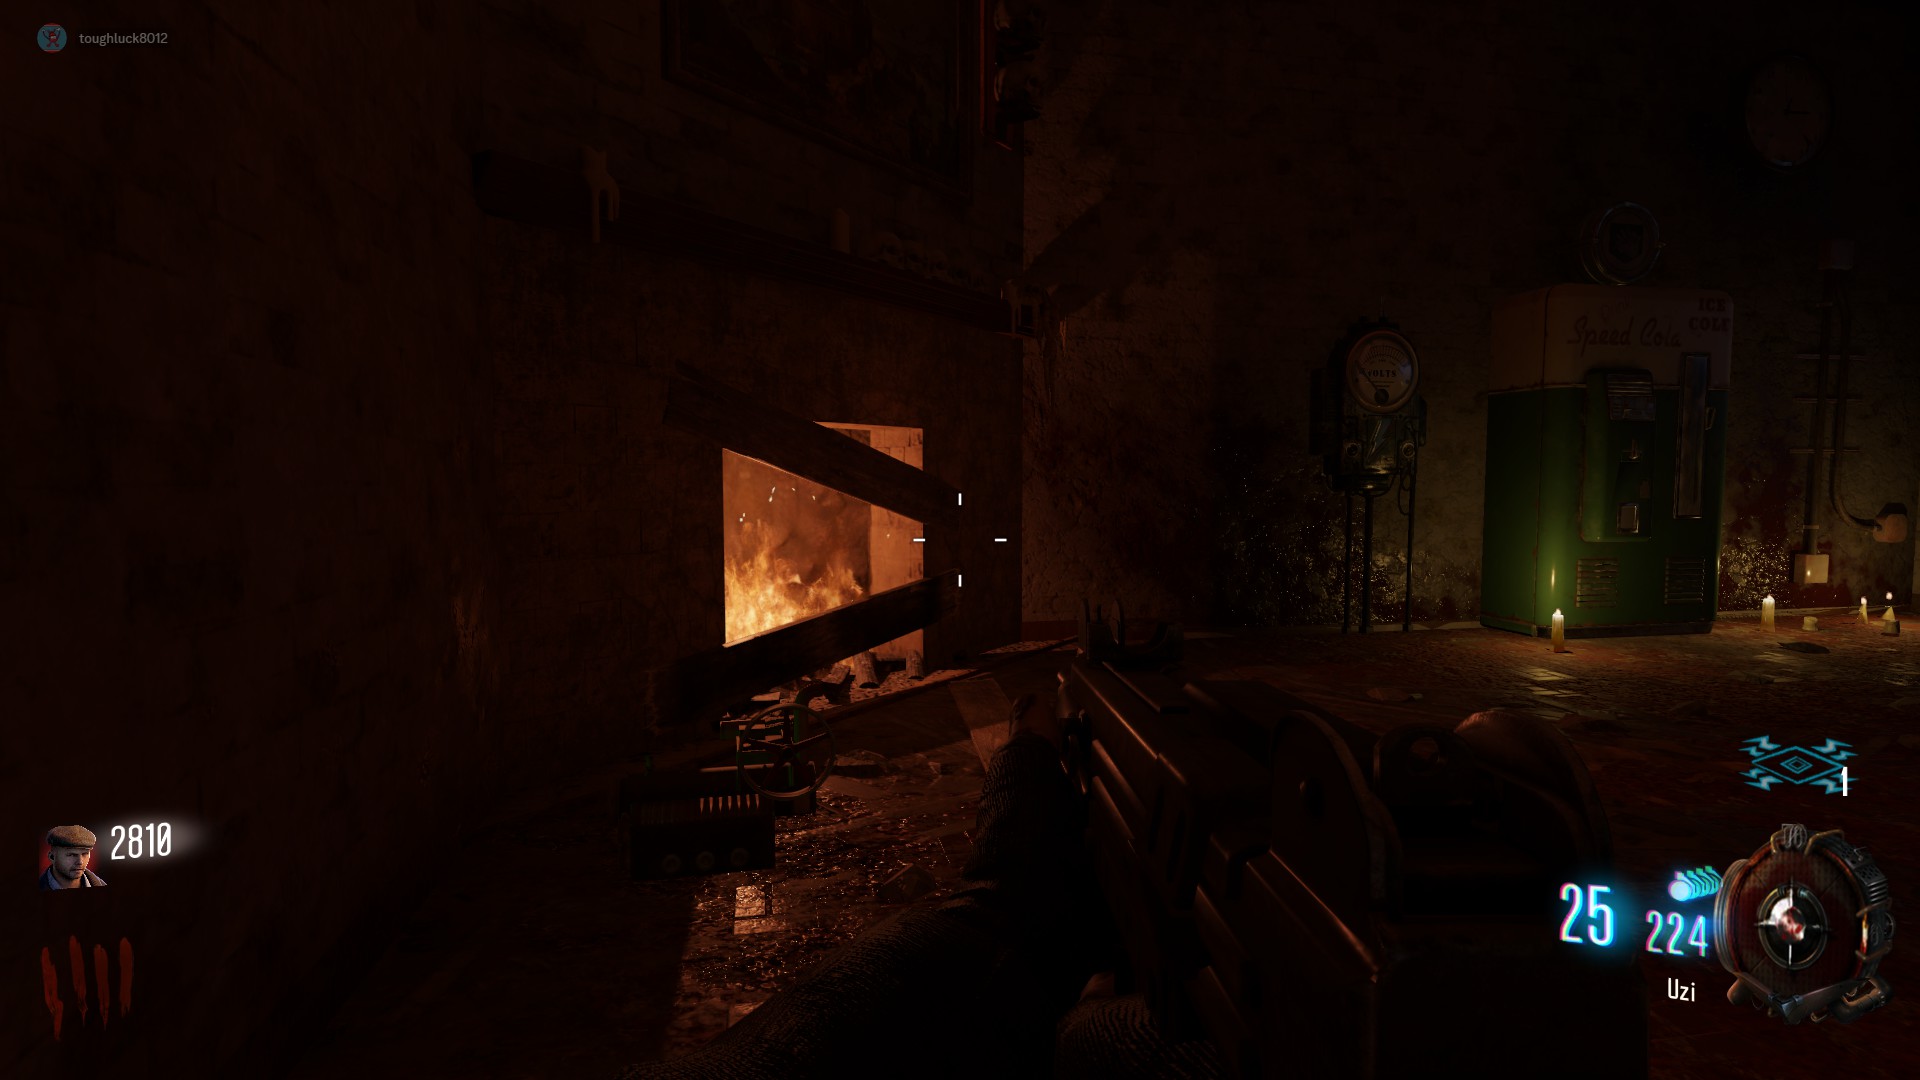
Part A Location 3:
By the fireplace, to the left of Speed Cola
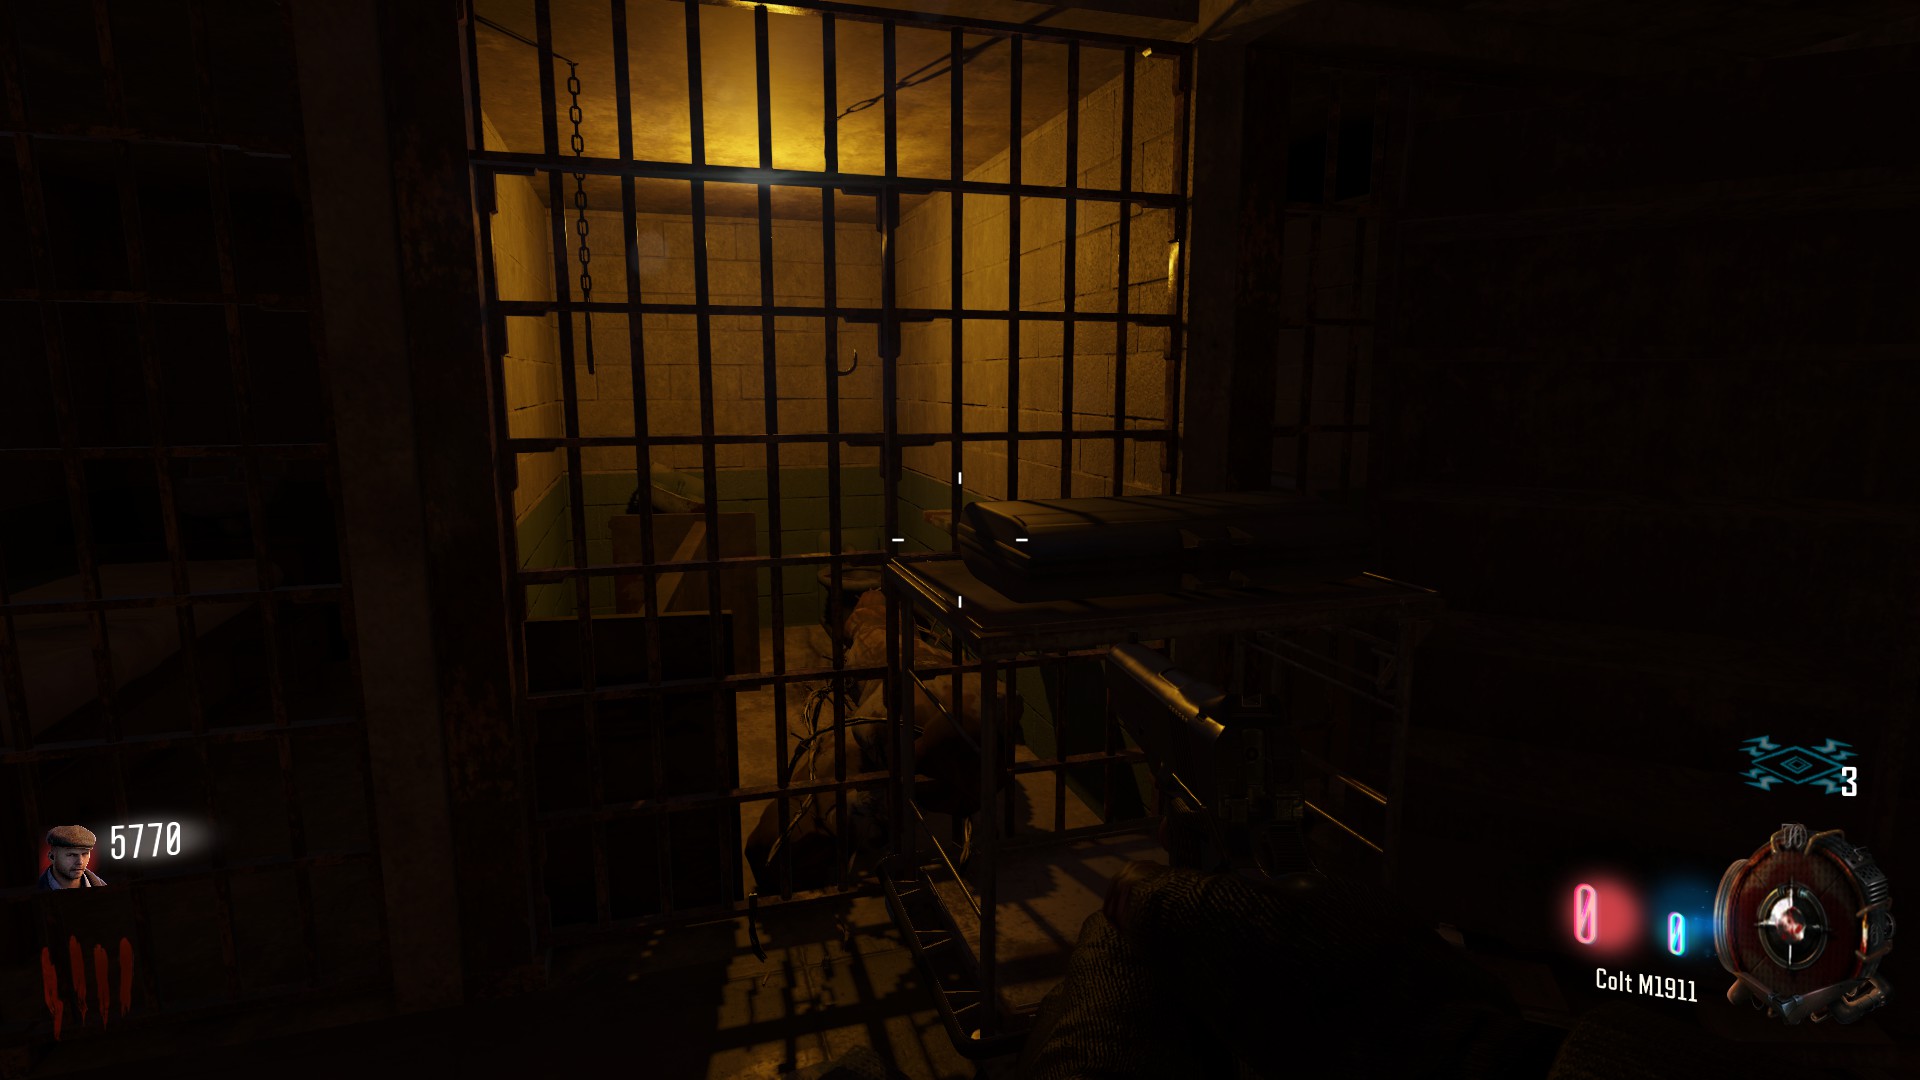
 All spawn locations for Part B can be found in the immediate areas outside of the spawn room
Part B Location 1:
On a cart sitting right outside the Olympia side of the spawn room
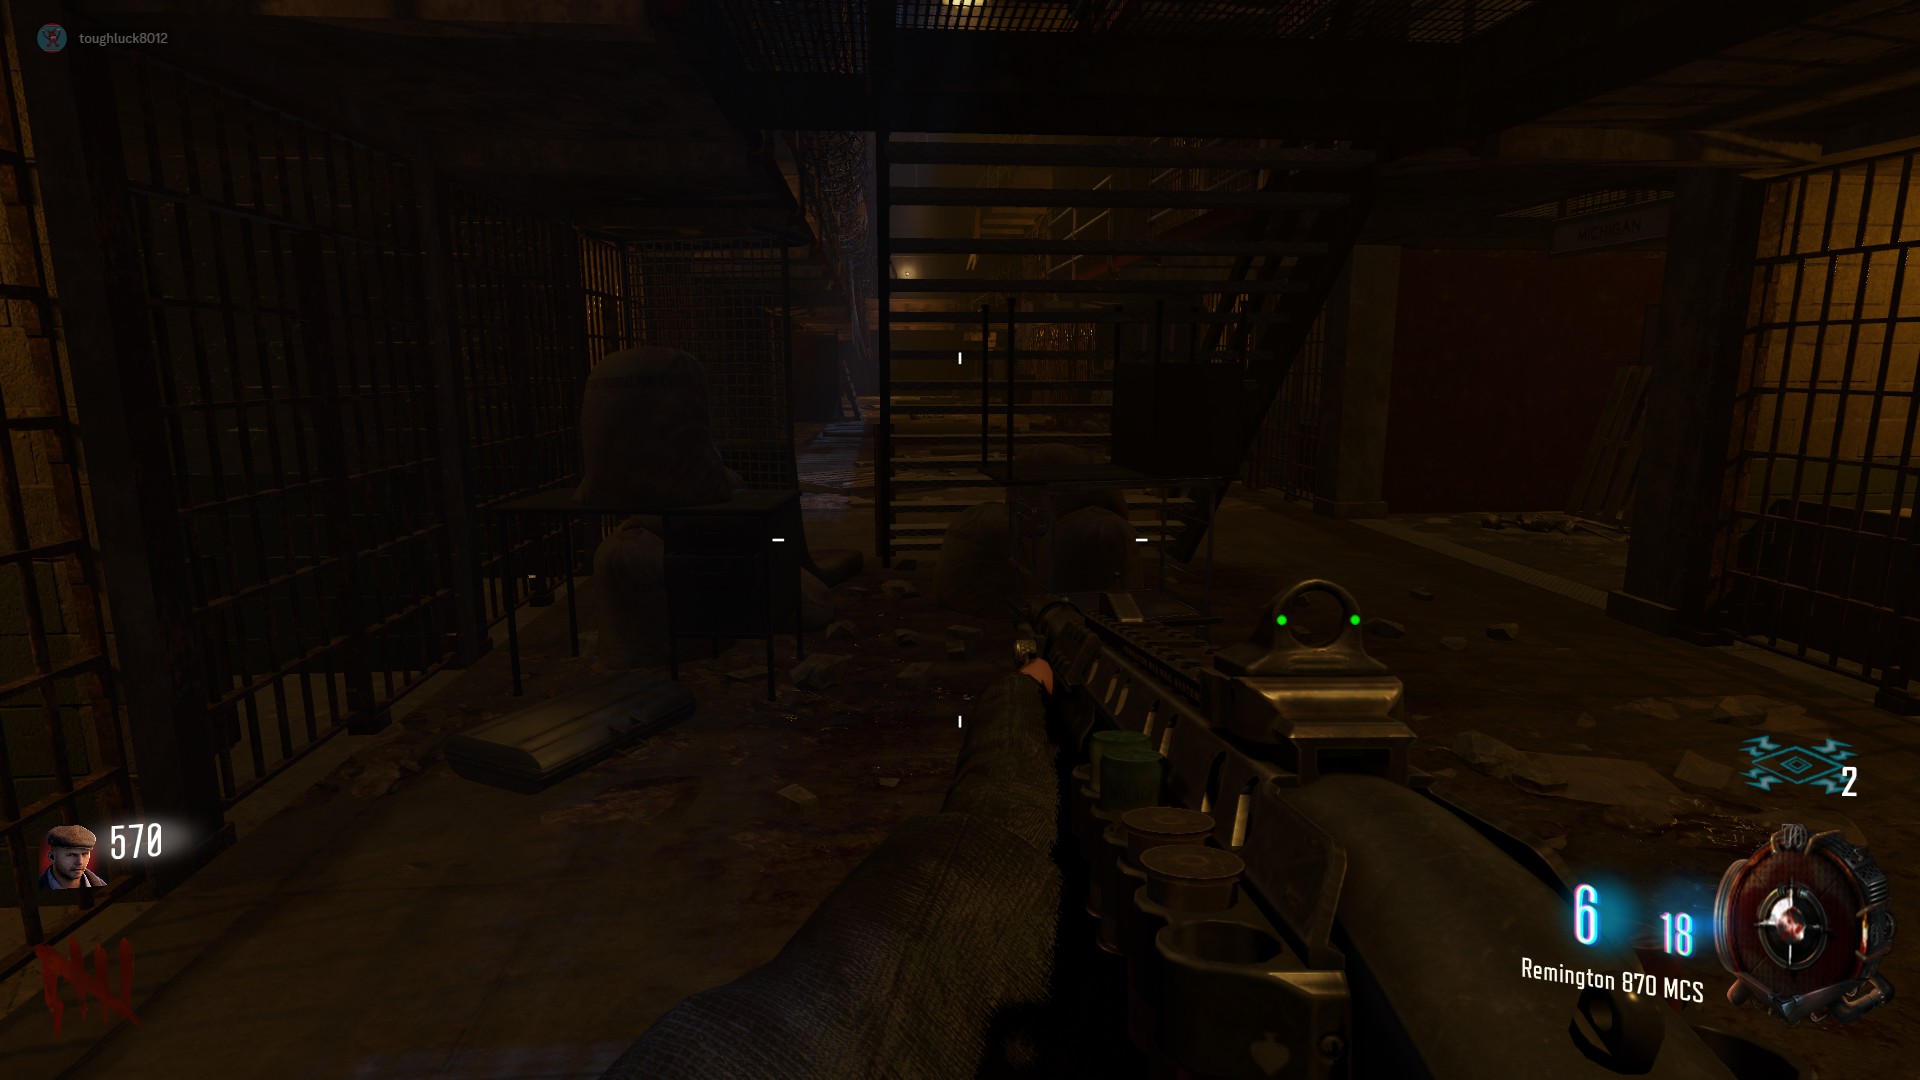
 Part B Location 2:
Under the staircase by the Michigan Cell Block (other side of the Broadway Dog block)
Part B Location 3:
Outside the Cafeteria between the kill switch and the MP5 wall buy, in the corner
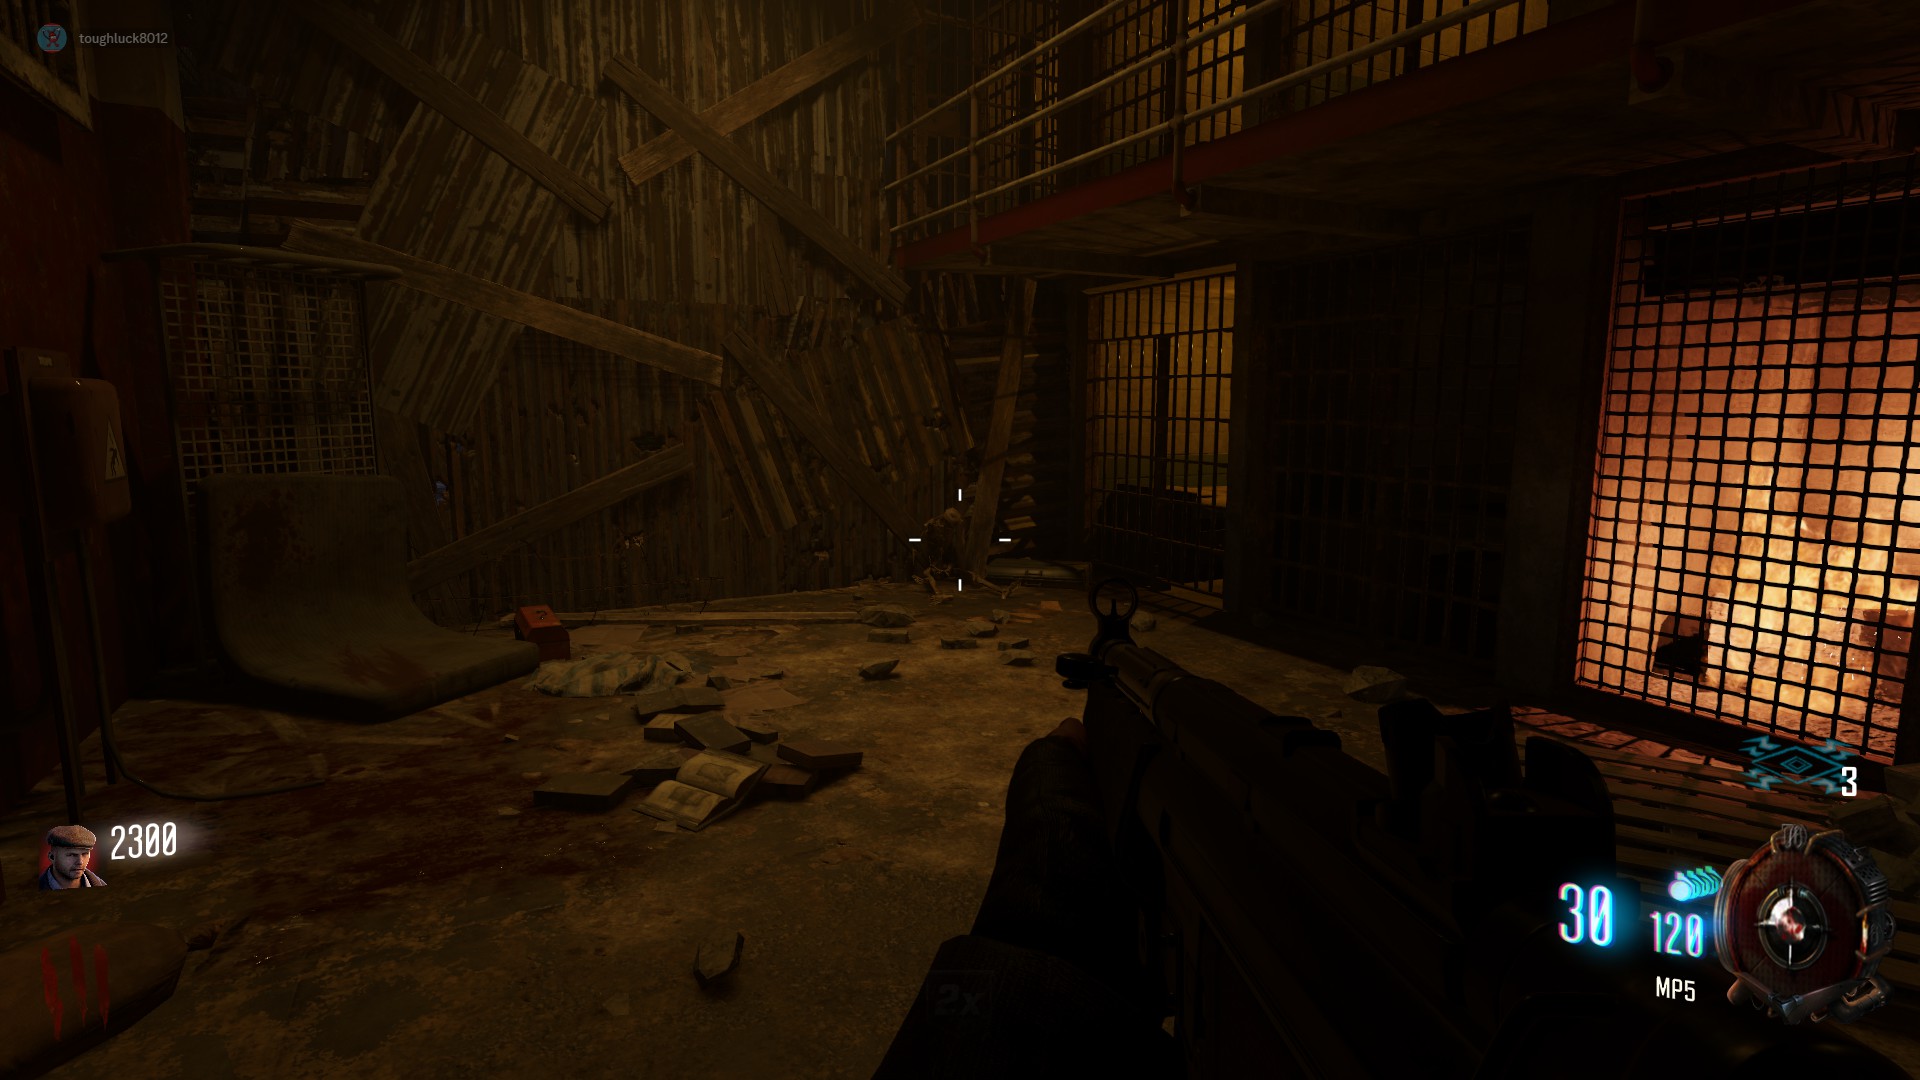 All spawn locations for Part C can be found in or around the infirmary below the roof
Part C Location 1:
On a table in the glass cells hallway before the infirmary dog room
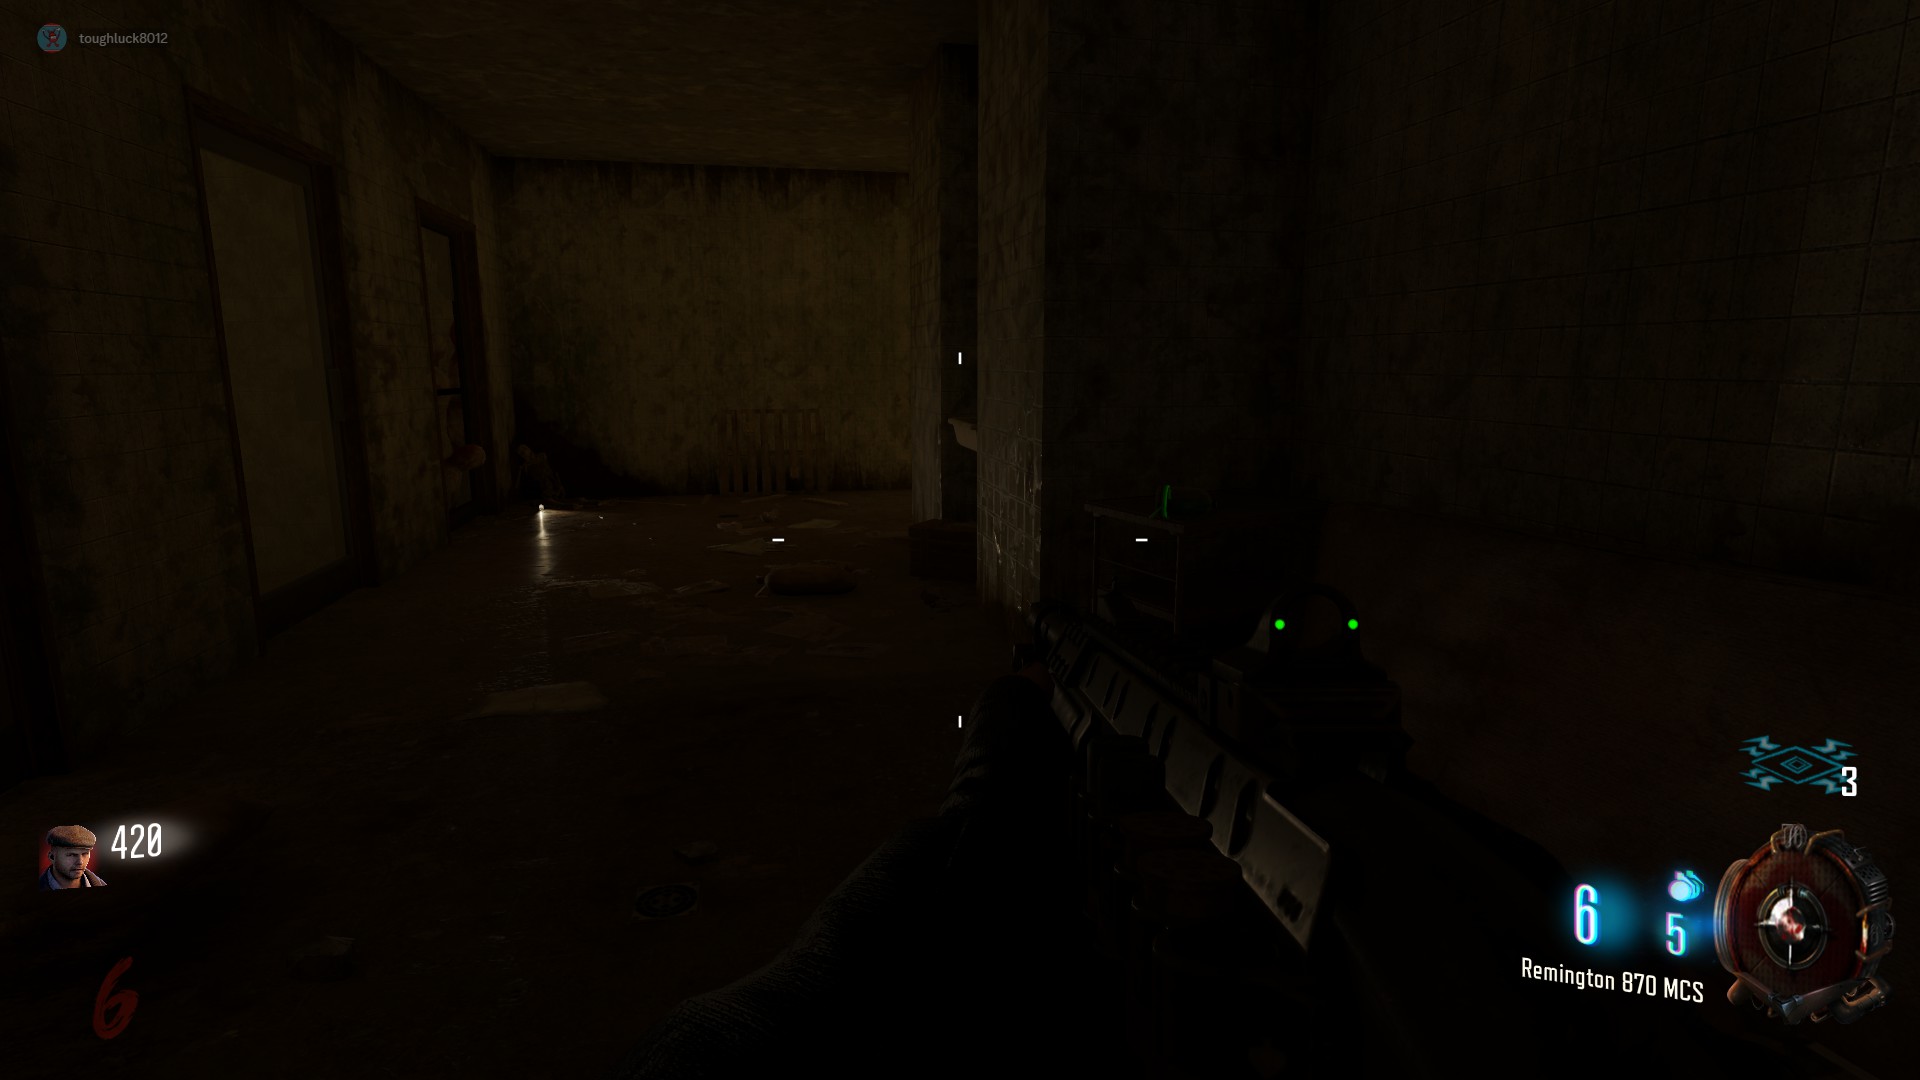
Part C Location 2:
Next to the Blood Tub, on a table
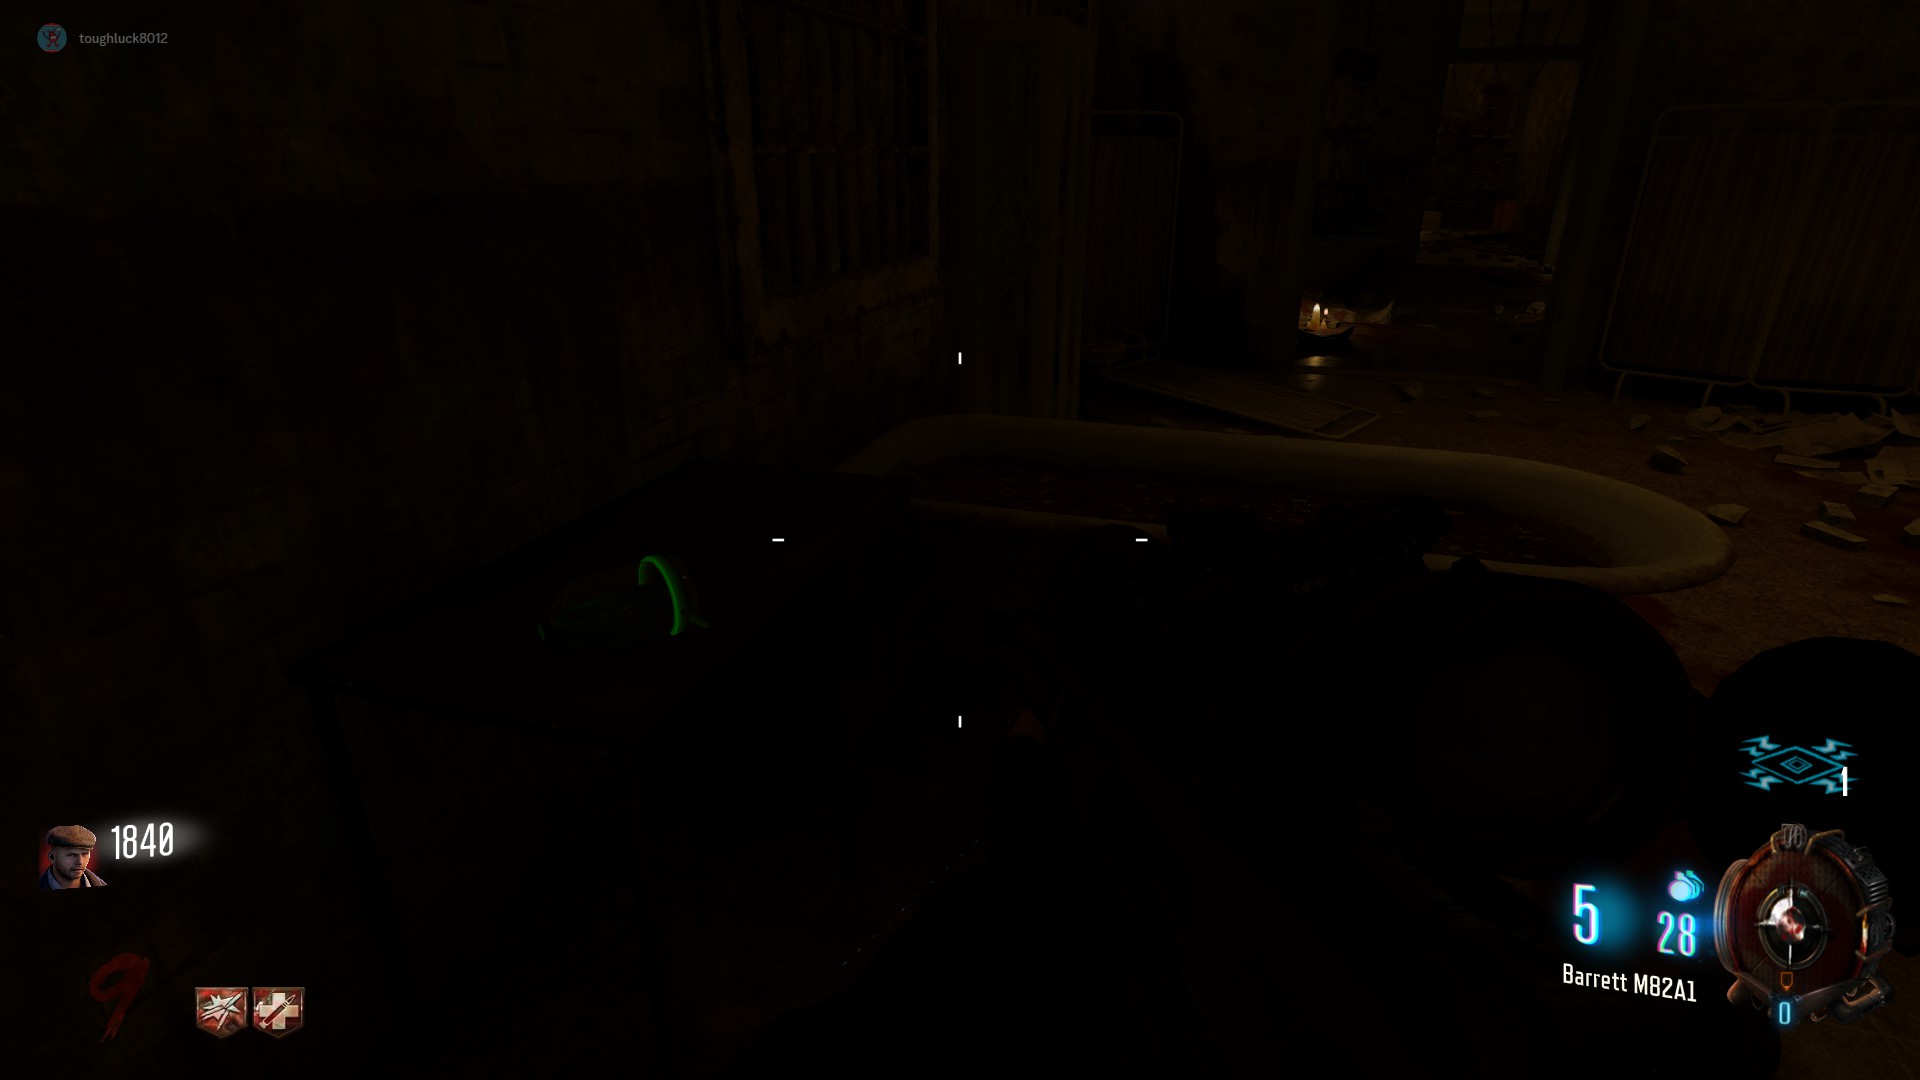 Part C Location 3:
In the corner of the room before the blood tub room
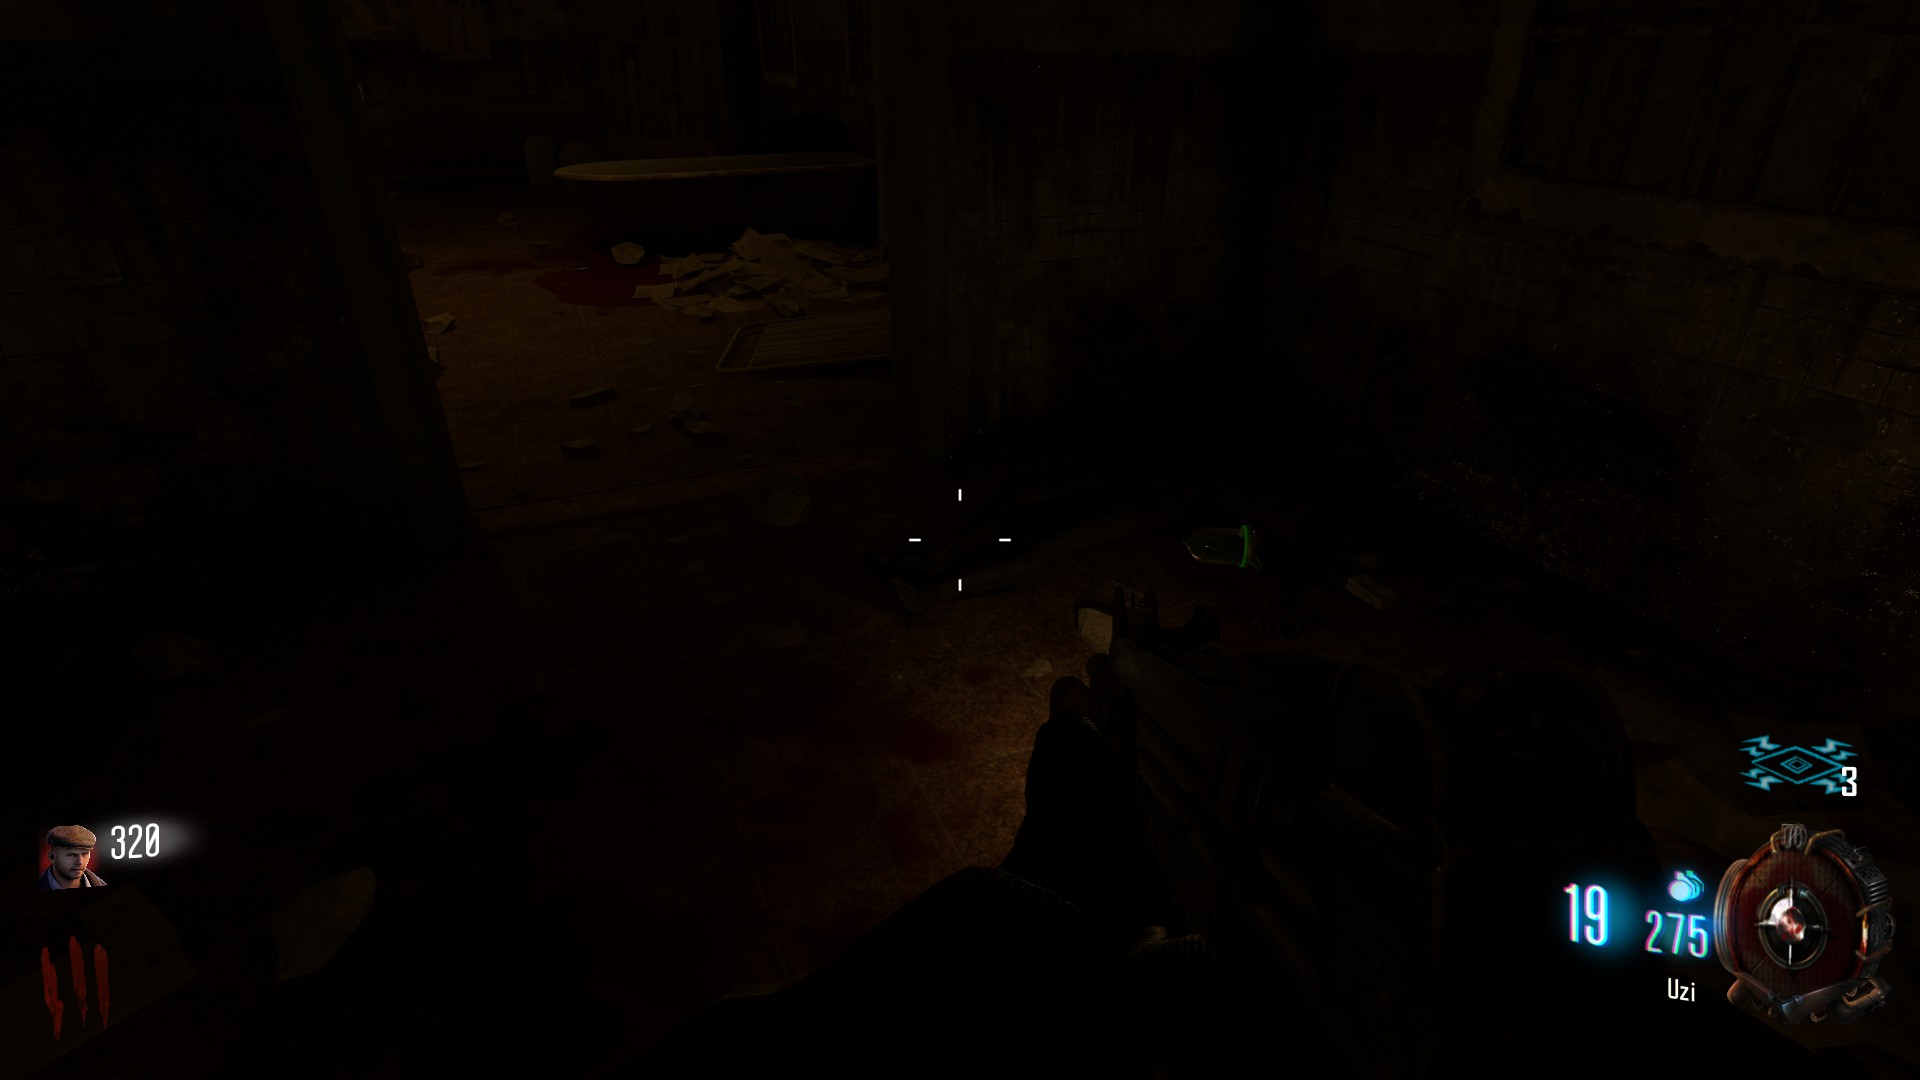 It can be crafted at the workbench located at the docks, by electric cherry, or in the cafeteria
Hell's Retriever
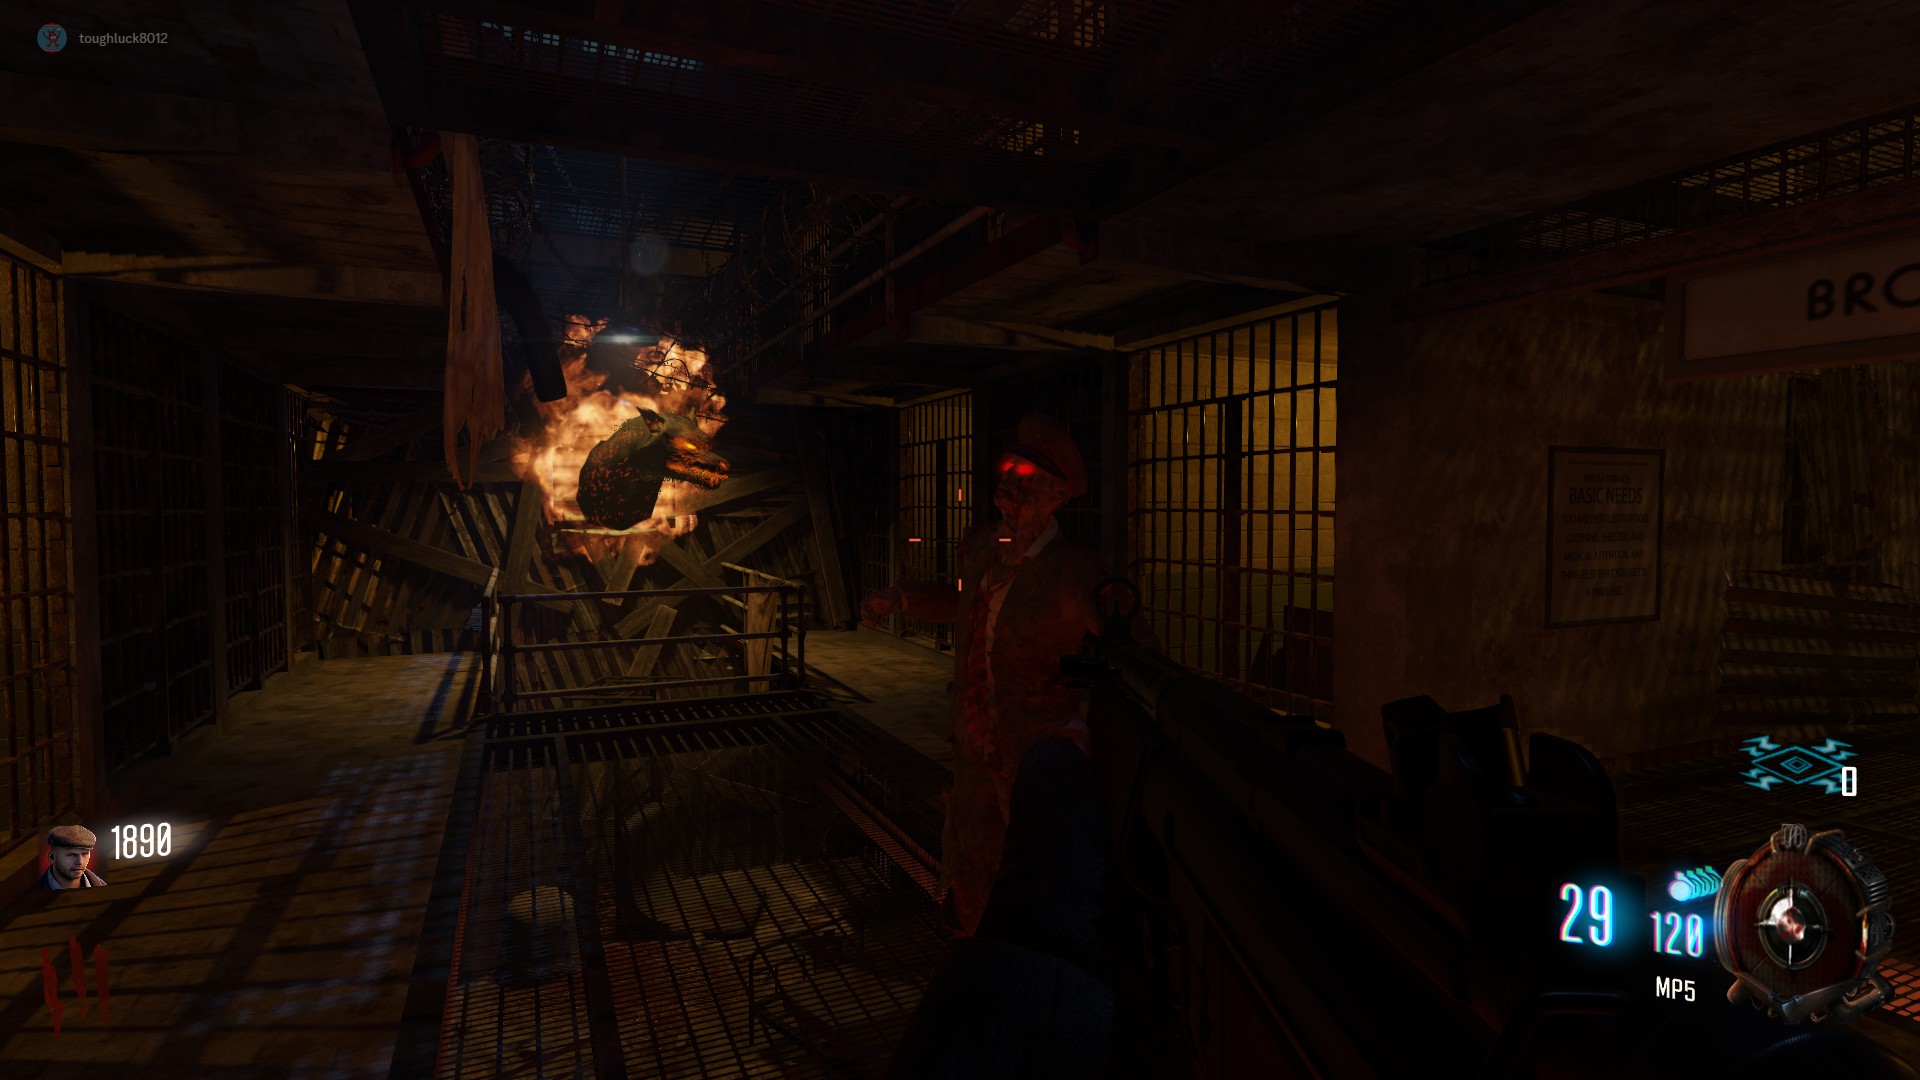
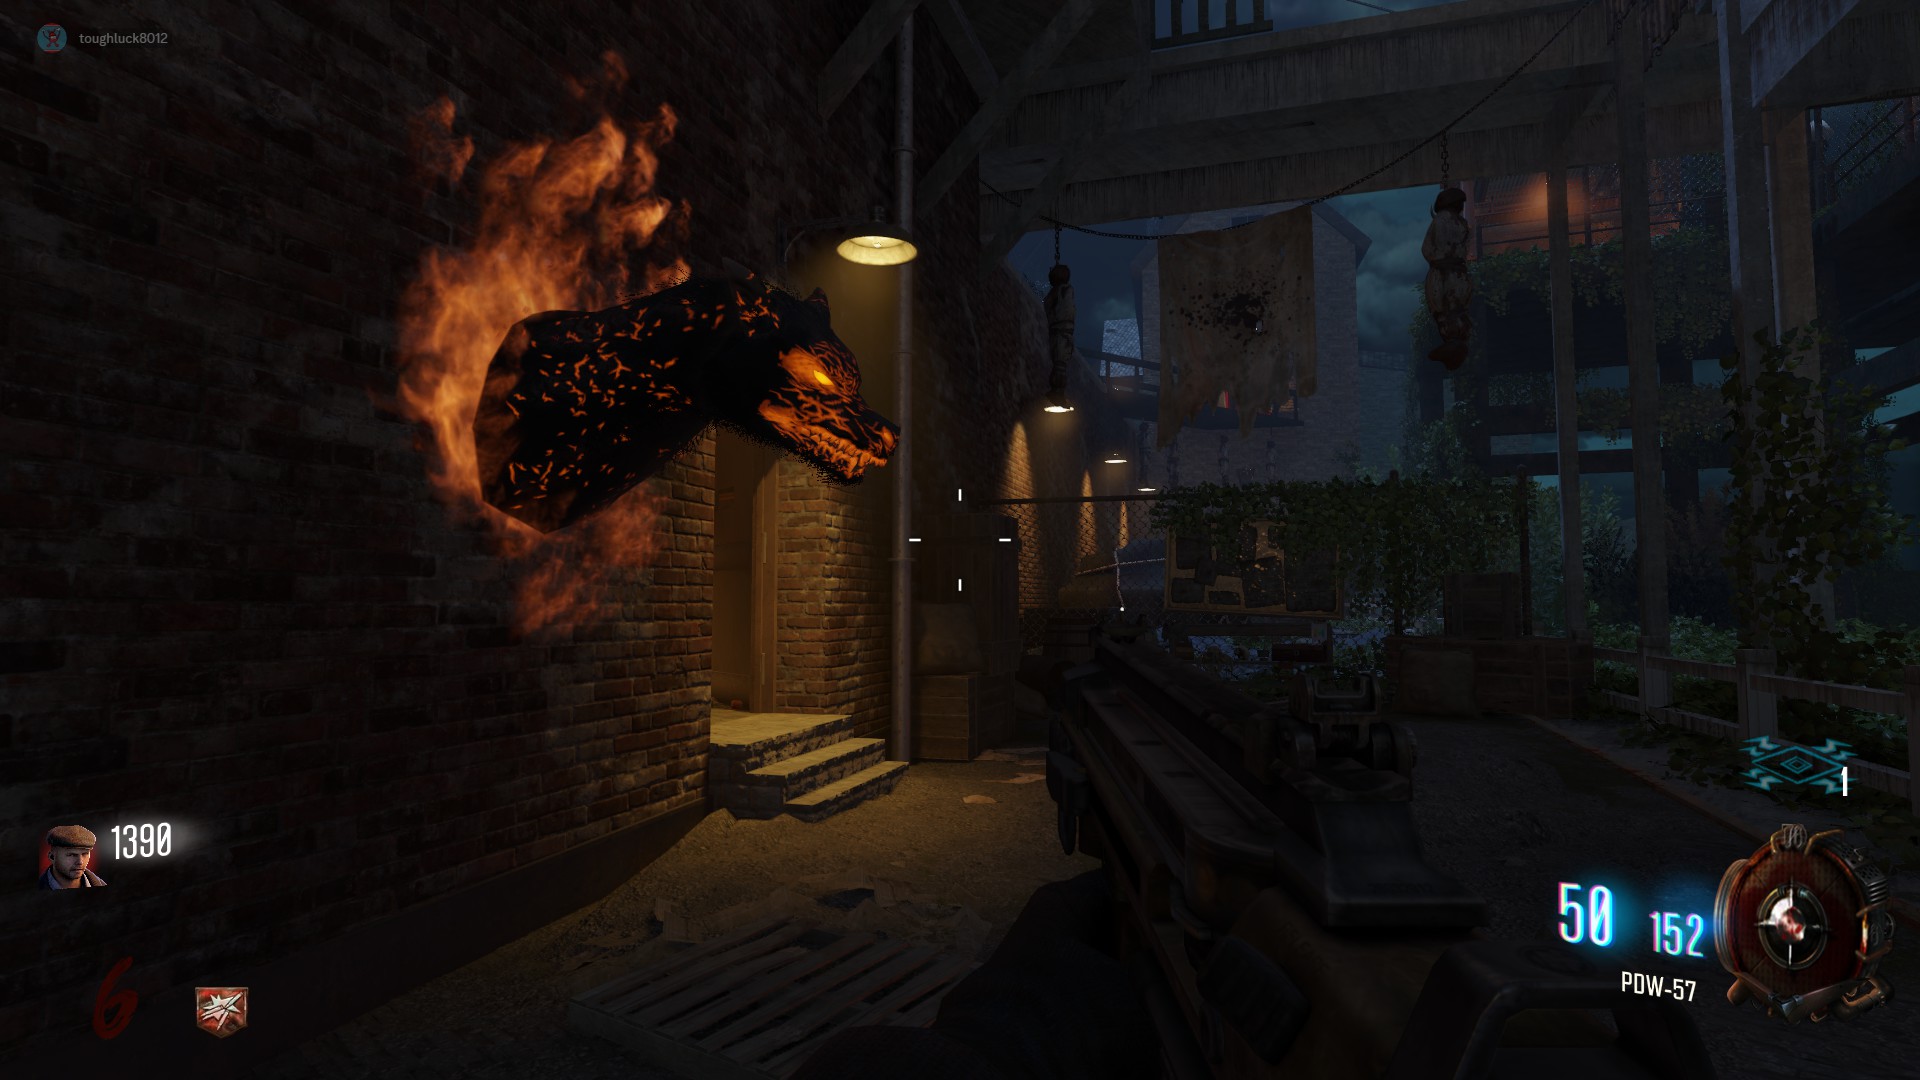
To obtain this tomahawk, you must feed 3 wolf heads around the map. Each will take roughly 5 or so zombies to fill.
Broadway Cell Block:Found on the second floor between the spawn room and the Michigan Cell Block, by the Warden's Office, across from Electric Cherry
 Infirmary:
Found on the third floor, just before the roof access, by the plane part and Deadshot Daquiri
Docks:
Found outside the Generator building by the crafting table
 Claim:
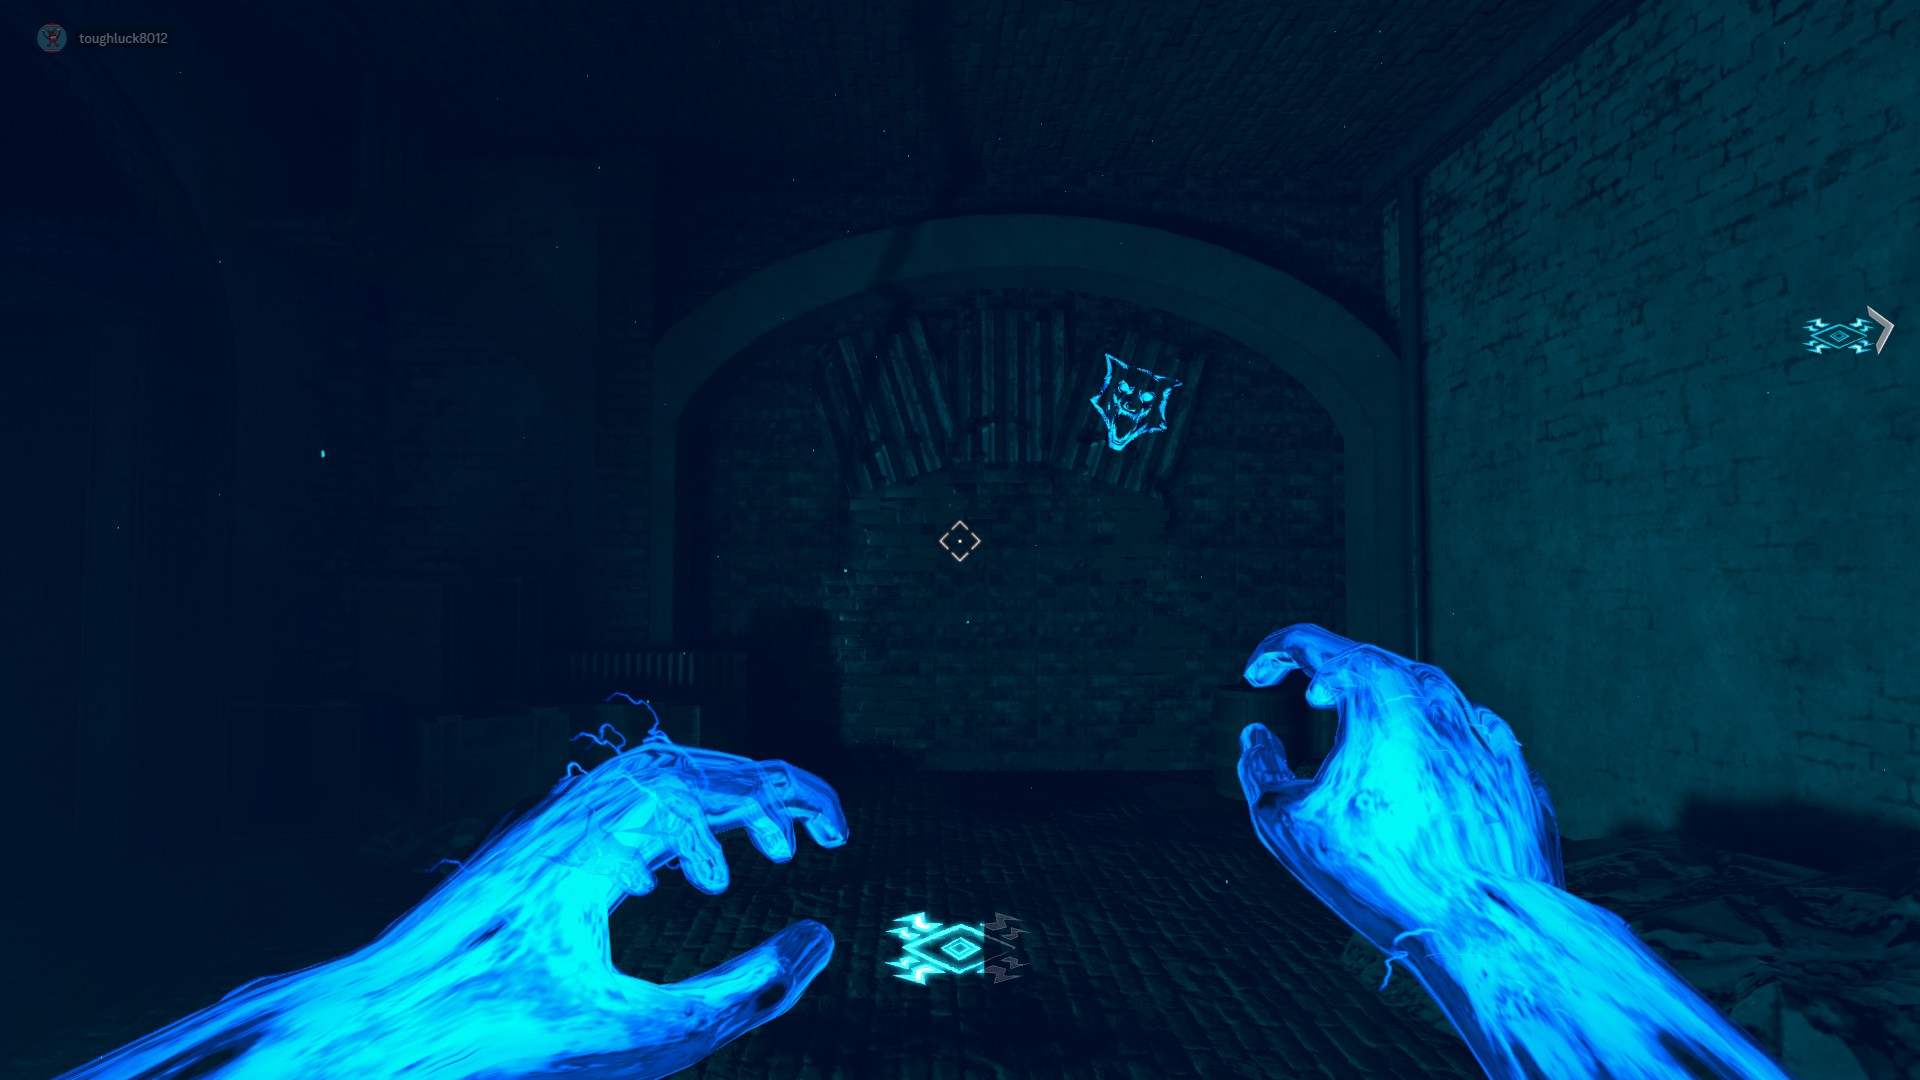
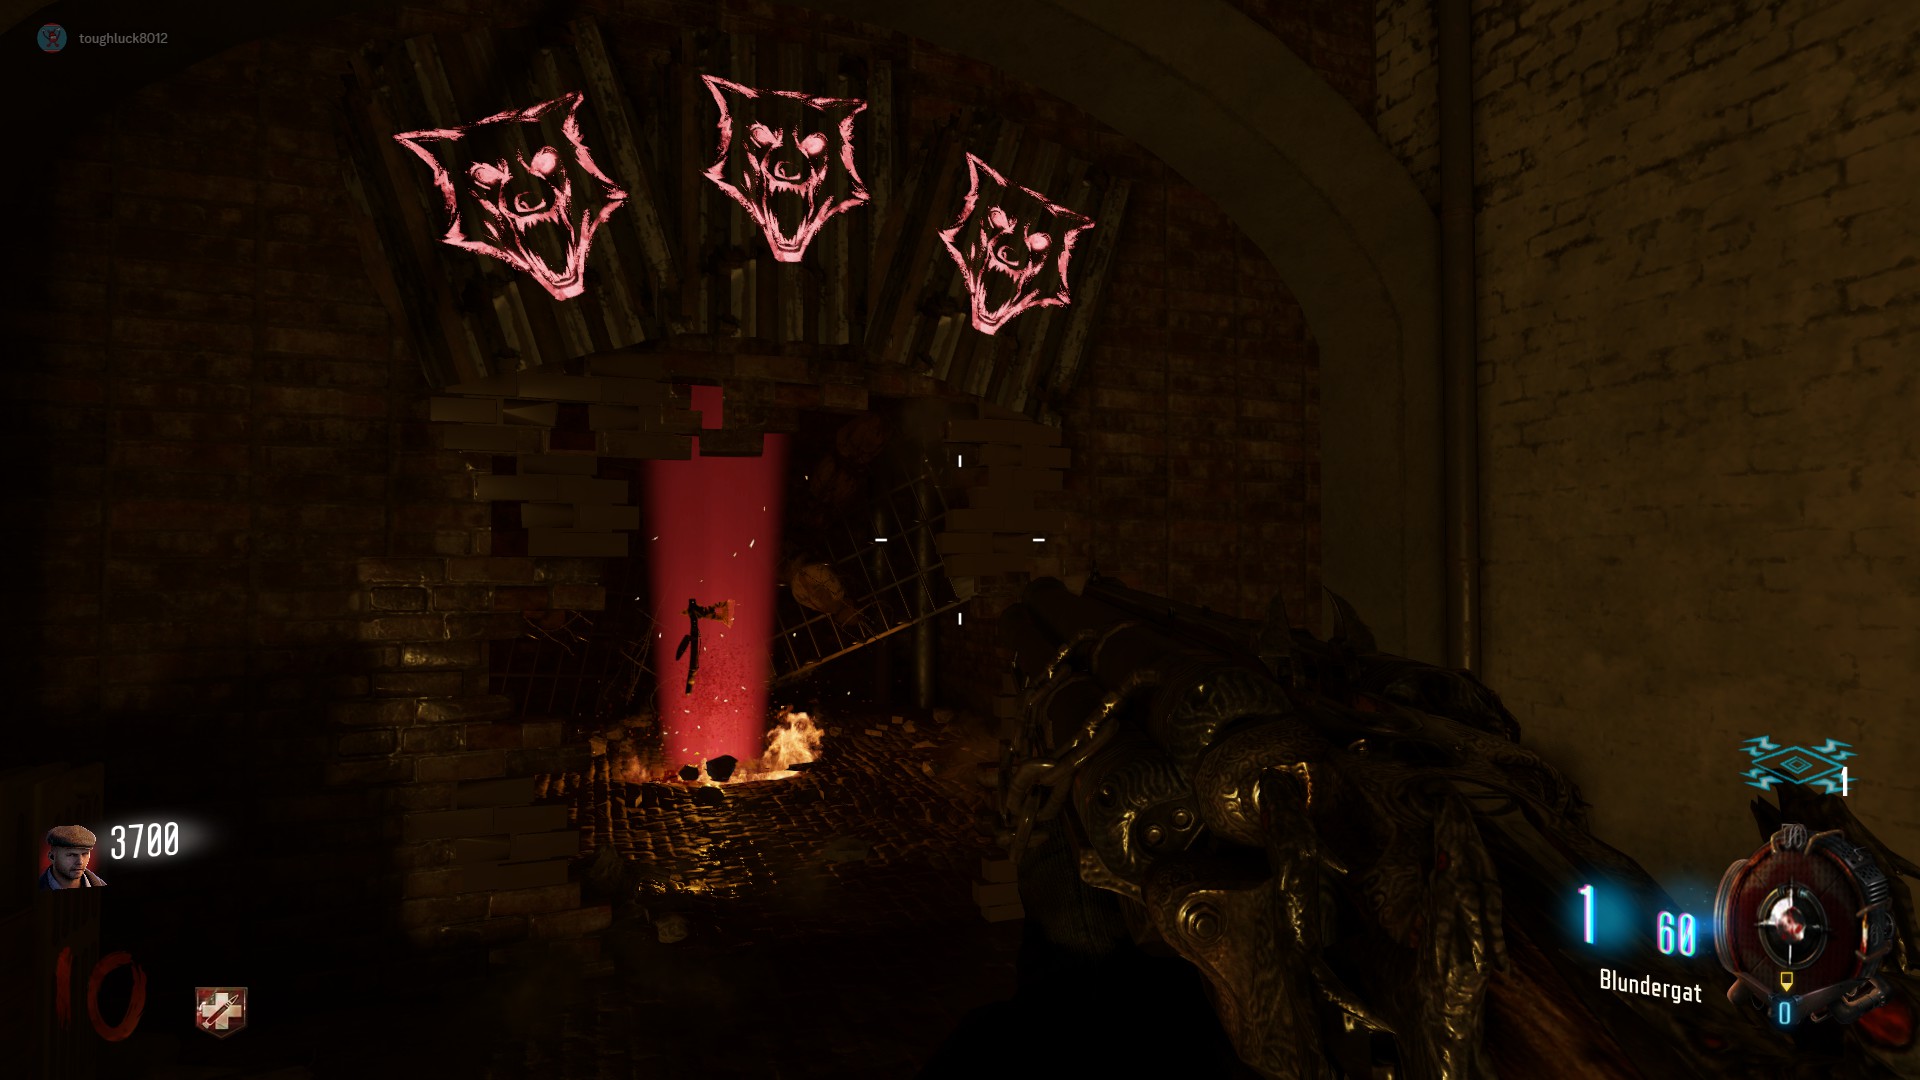
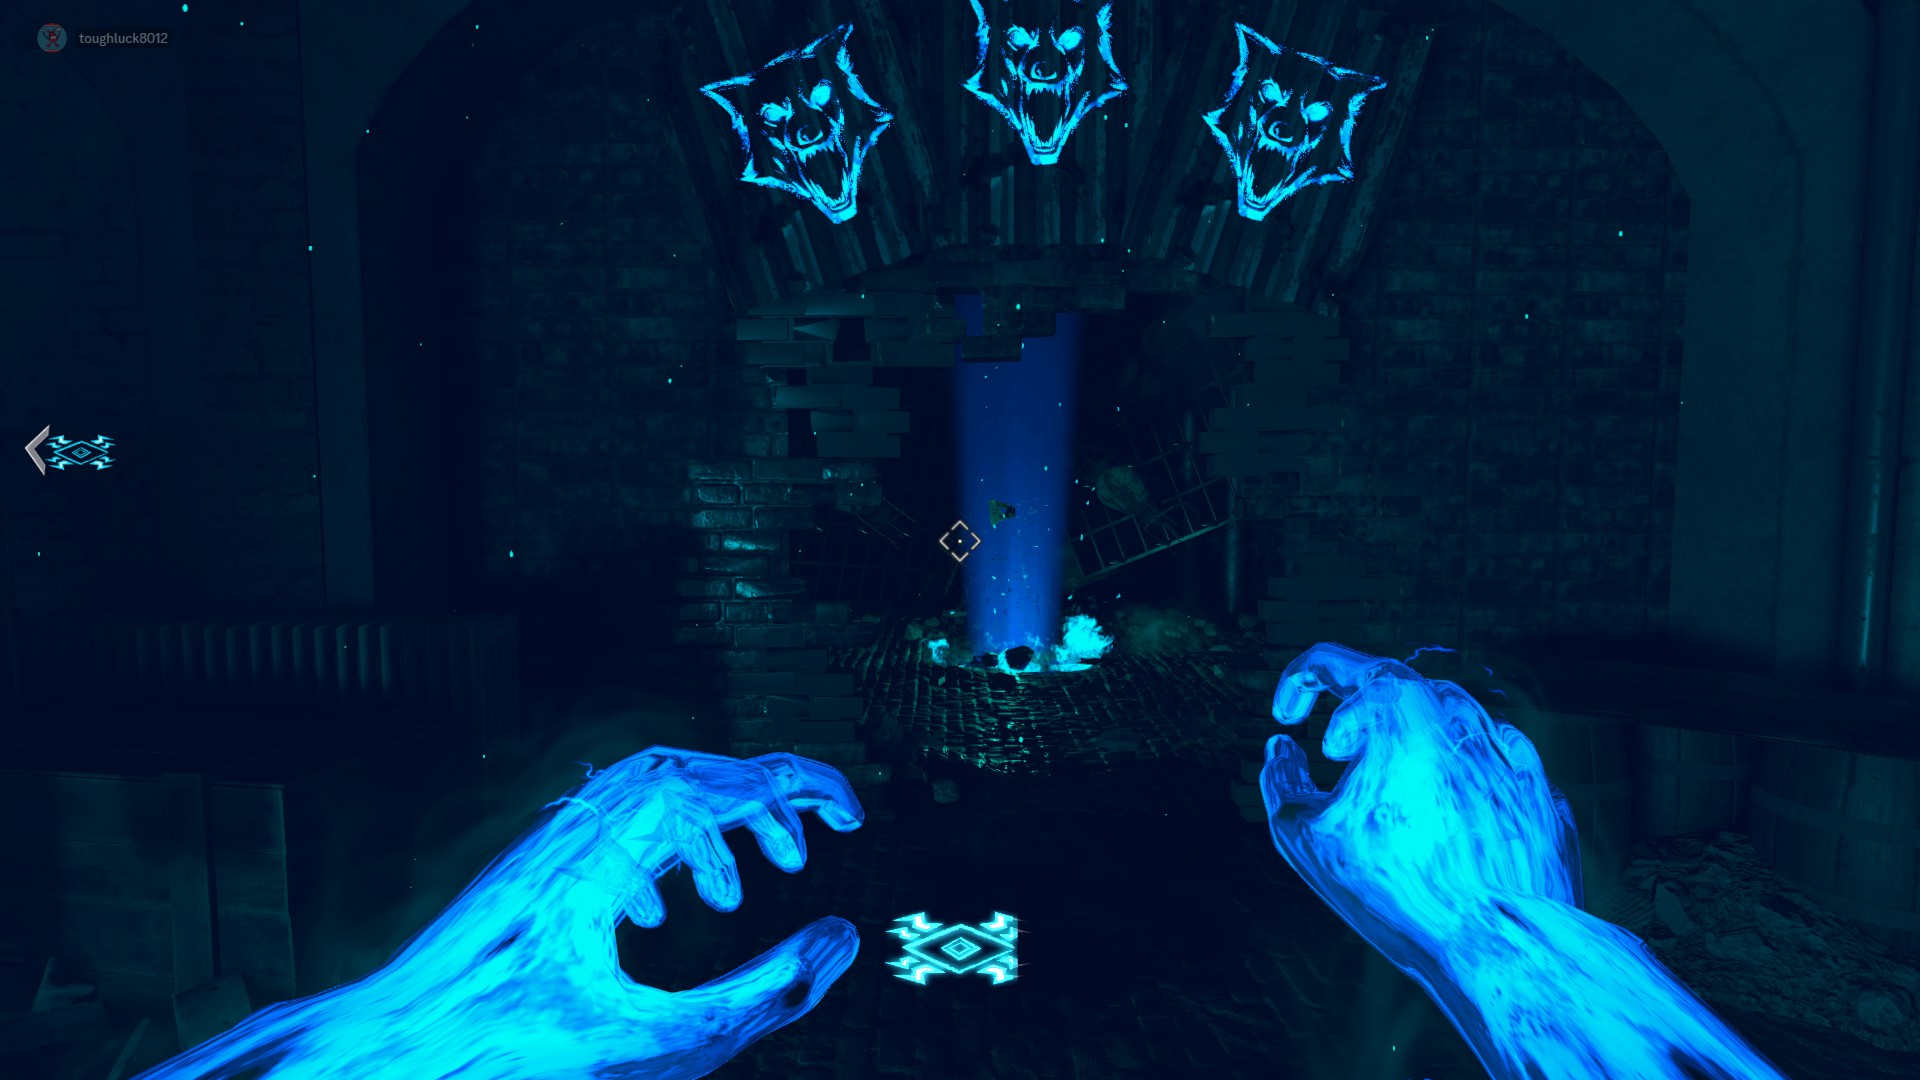
In between the showers and the top of the spiral staircase, there is an area with three dogs painted on the wall. Each dog head will begin to glow after they have been filled. Once all three have been filled, the wall will disappear, revealing a small room with the Hell's Retriever Tomahawk. Press interact to pick it up. This replaces your secondary equipment. It can be thrown at power ups to bring them to you, as well as interact with certain easter egg items. Holding the button before throwing it results in a staged charged throw, making it more effective in the number of zombies it goes for. It will return to your inventory a few seconds after use.
Upgrading the Hell's Retriever (Hell's Redeemer)
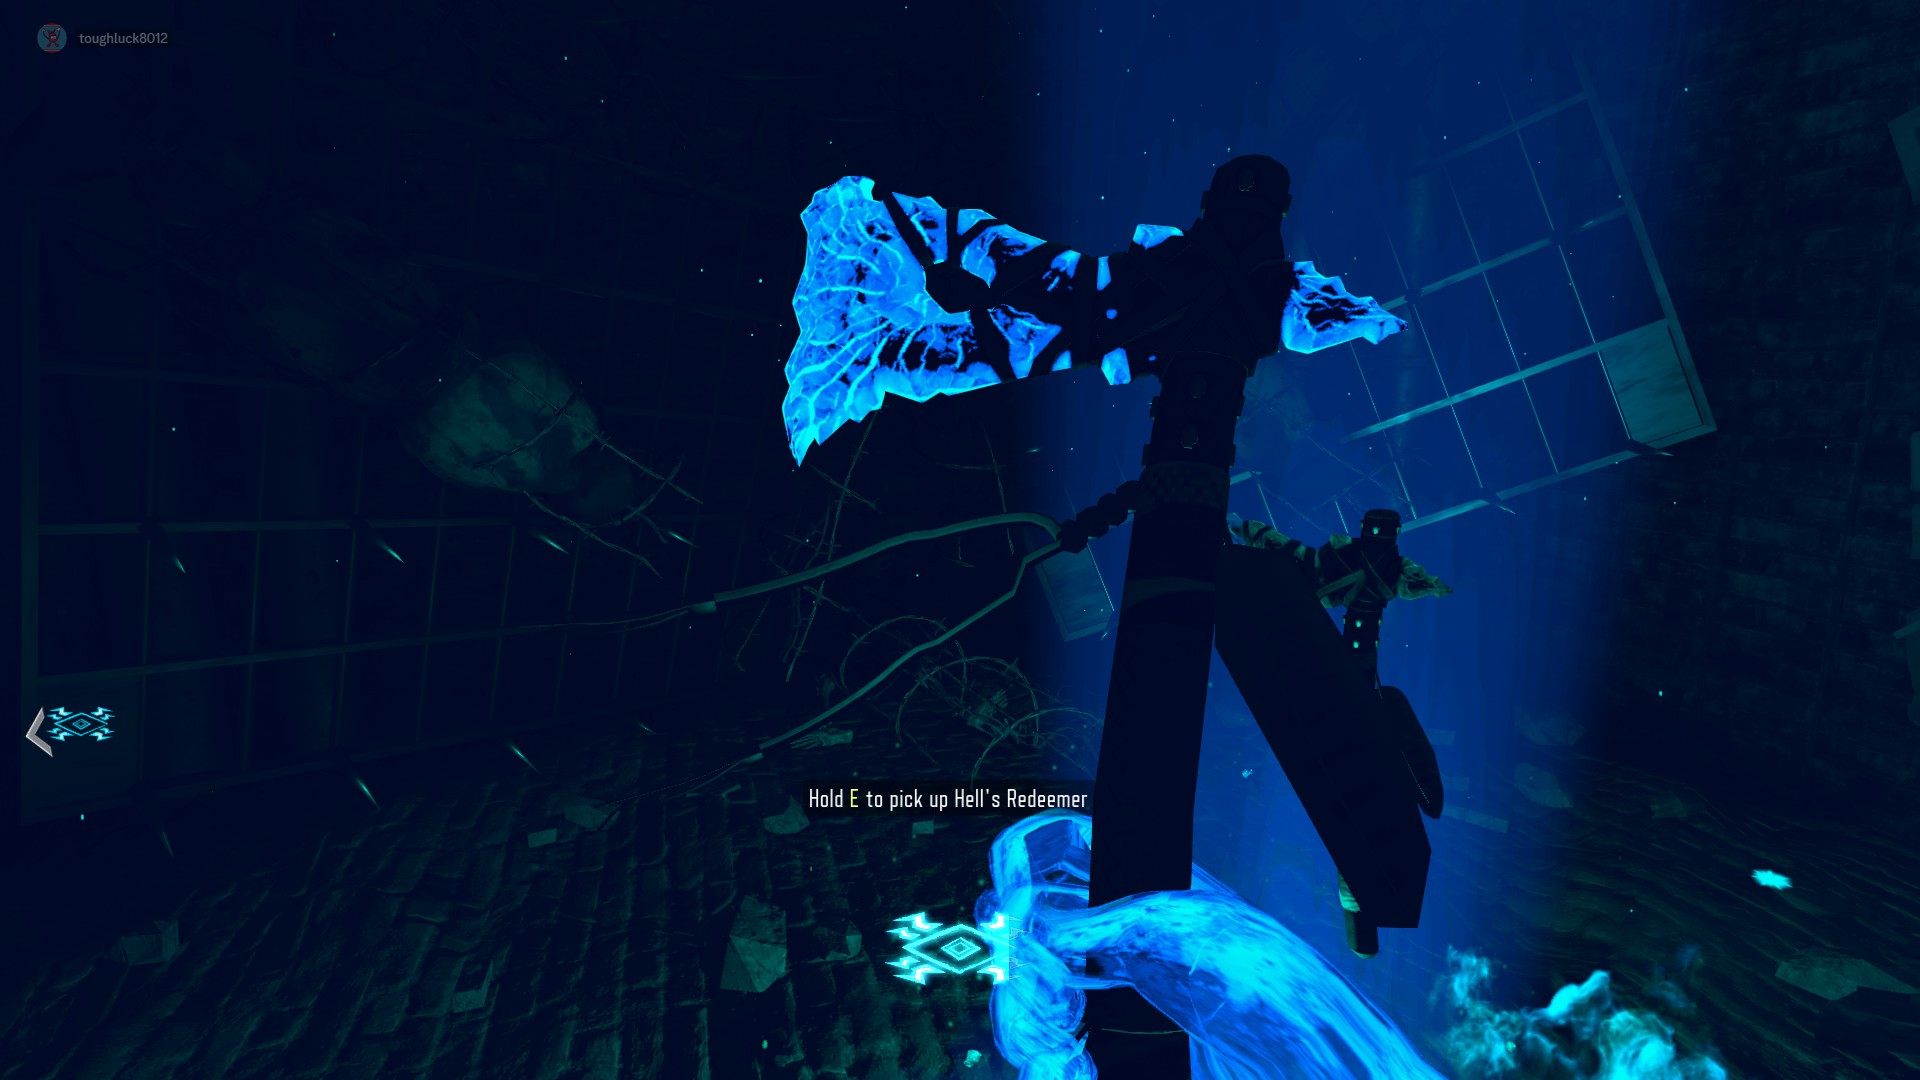
The Hell's Redeemer will deal increased damage and target more zombies than the base version of the tomahawk. It also charges faster.
- Obtain Hell's Retriever
- Go to the bridge
- Survive an entire wave on the bridge using only the Hell's retriever, having gotten at least 30 kills while doing so. No shots can be fired, grenades thrown, etc by yourself or teammates while on the bridge. Power ups don't spawn on the bridge so you shouldn't need to worry about nukes. Not everyone needs to be on the bridge at the same time, but it would probably help control things.
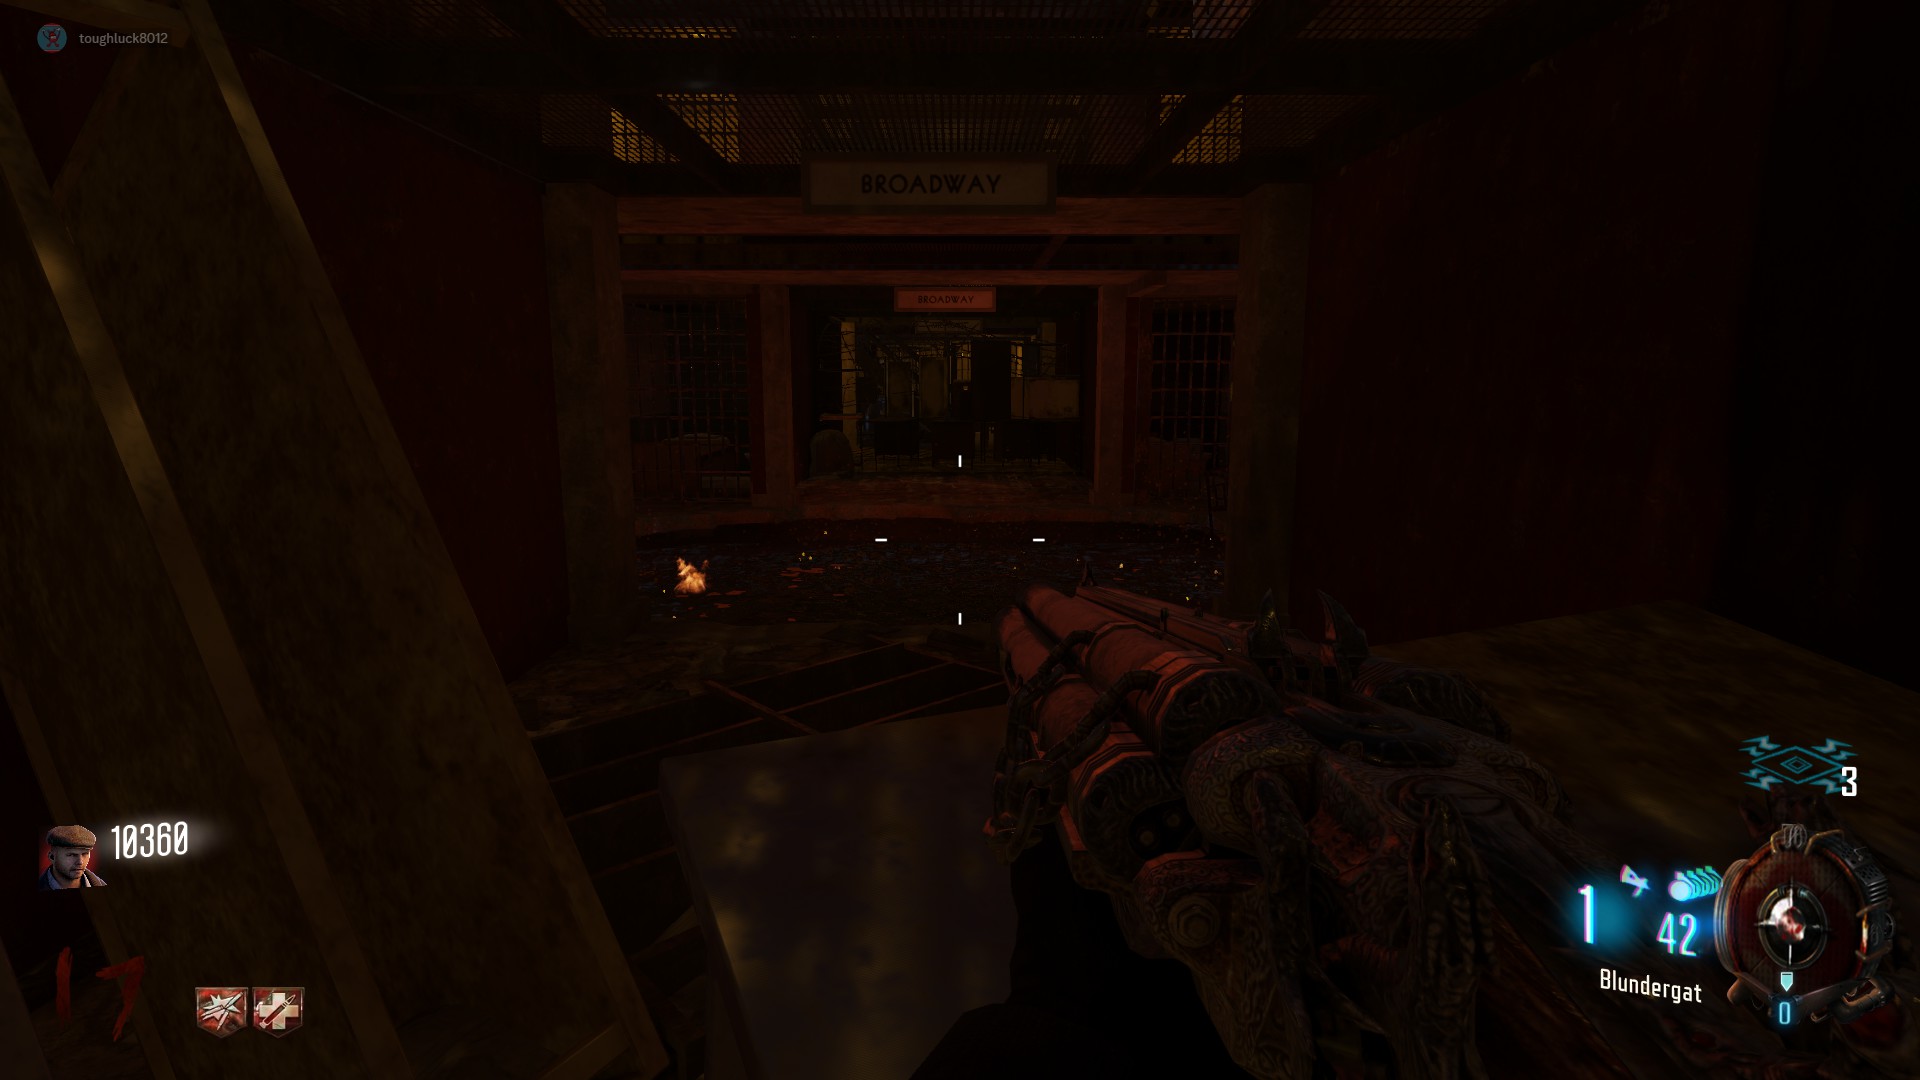
- Throw your tomahawk into the lava pit under the broadway dog spawn (Bonus: throwing frag grenades into this lava pit grants the player 20 points per nade)
- Wait 1 full round
- Go into Afterlife and grab the upgraded tomahawk from the original location in the tunnels before the spiral staircase
Golden Spork & Spoon Melee Weapon
The Golden Spork is a melee upgrade that replaces your knife. It will be a one hit kill until around round 30 or so.
Firstly, you must have acquired the Hell's Retriever and have built the plane and visited the bridge at least one time.
Next, come to the cell block just outside the Warden's Office. You will notice that in one of them, there is a green poster on the wall. Throw your tomahawk at it to take it down. This will now allow you to enter Afterlife Mode and go through a new ghost hole in the wall by the nearby kill switch. Use Afterlife Mode to shock the spoon on the ground. You should hear a laugh if done correctly. Then revive yourself.
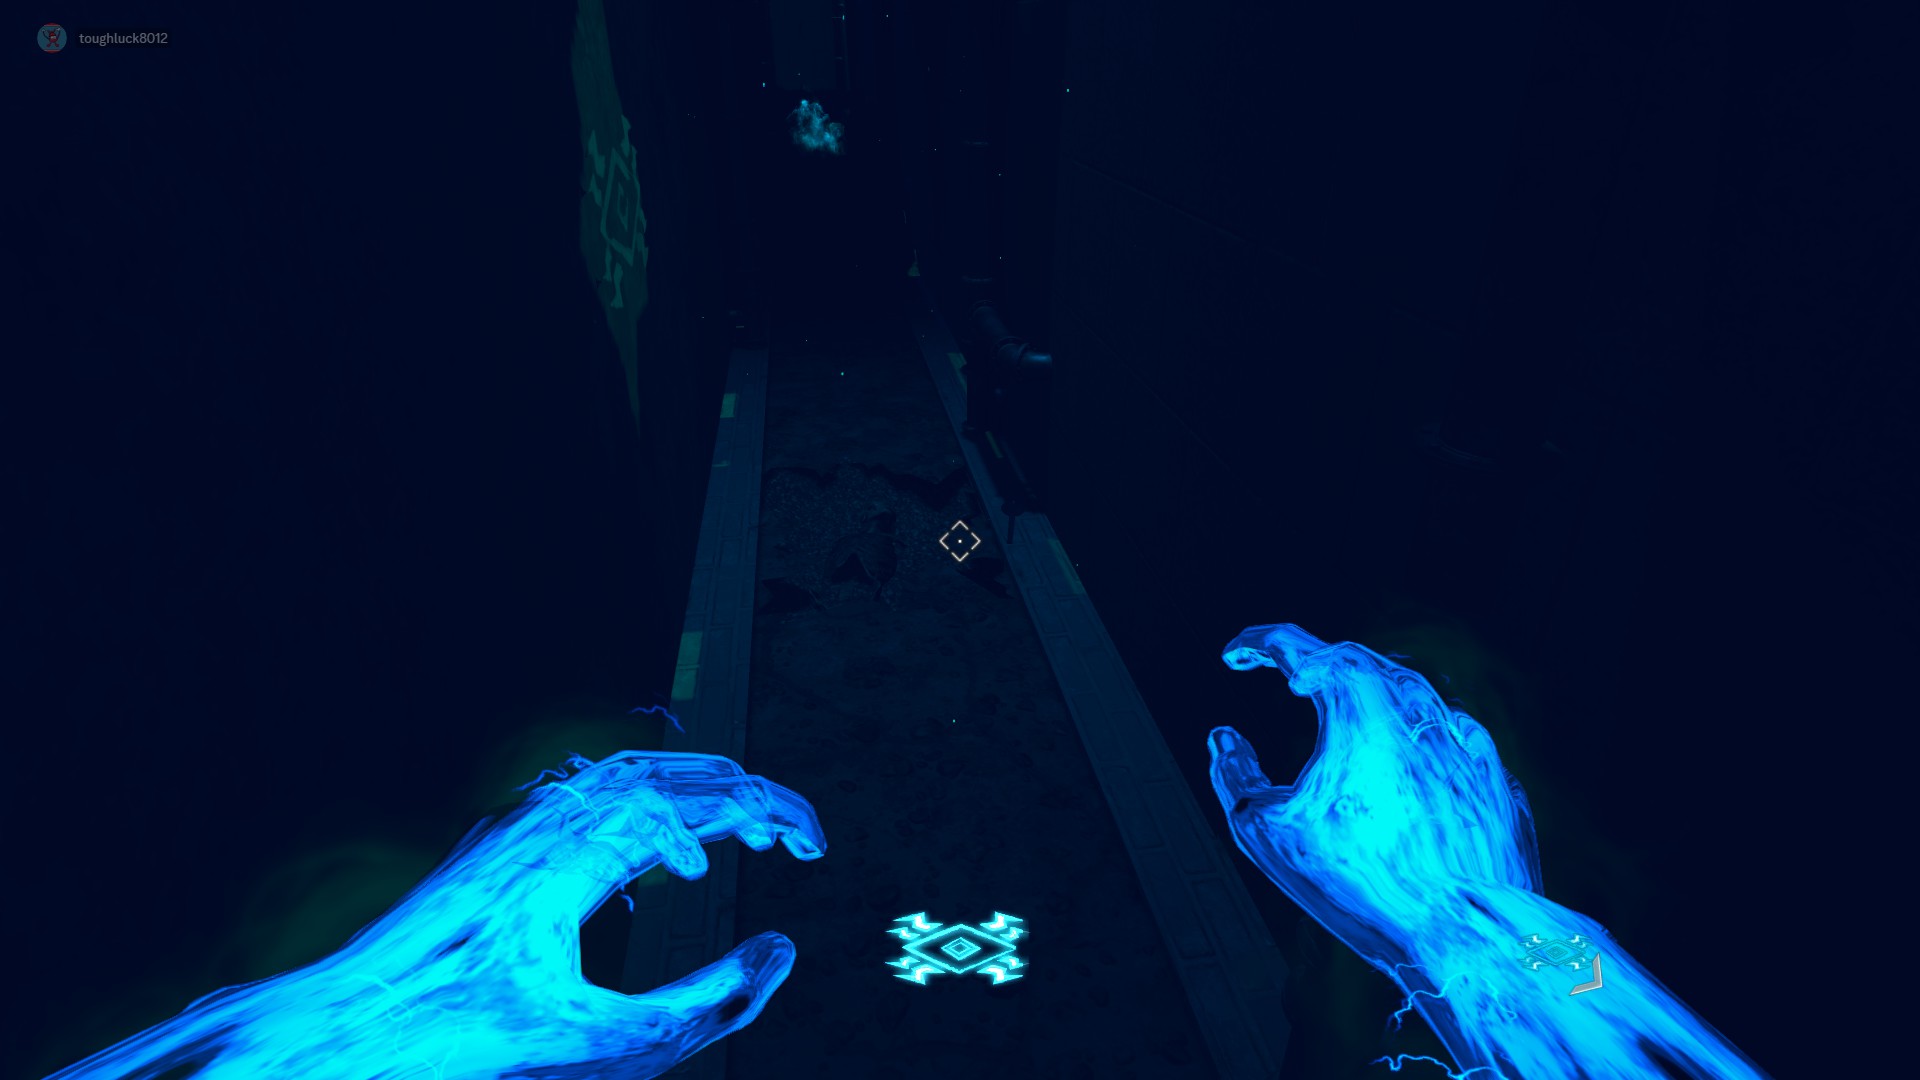
Next, head over to the Cafeteria and look in the zombie spawn window in the back by the workbench. On the left side, there is a table, with a spoon on it (might be hard to see due to lighting/visibility). Throw your tomahawk at this spoon. If done correctly, you should hear Brutus give a quote. This grants you the standard spoon melee weapon that replaces the knife. It moderately increases knife damage, but will be upgraded further.
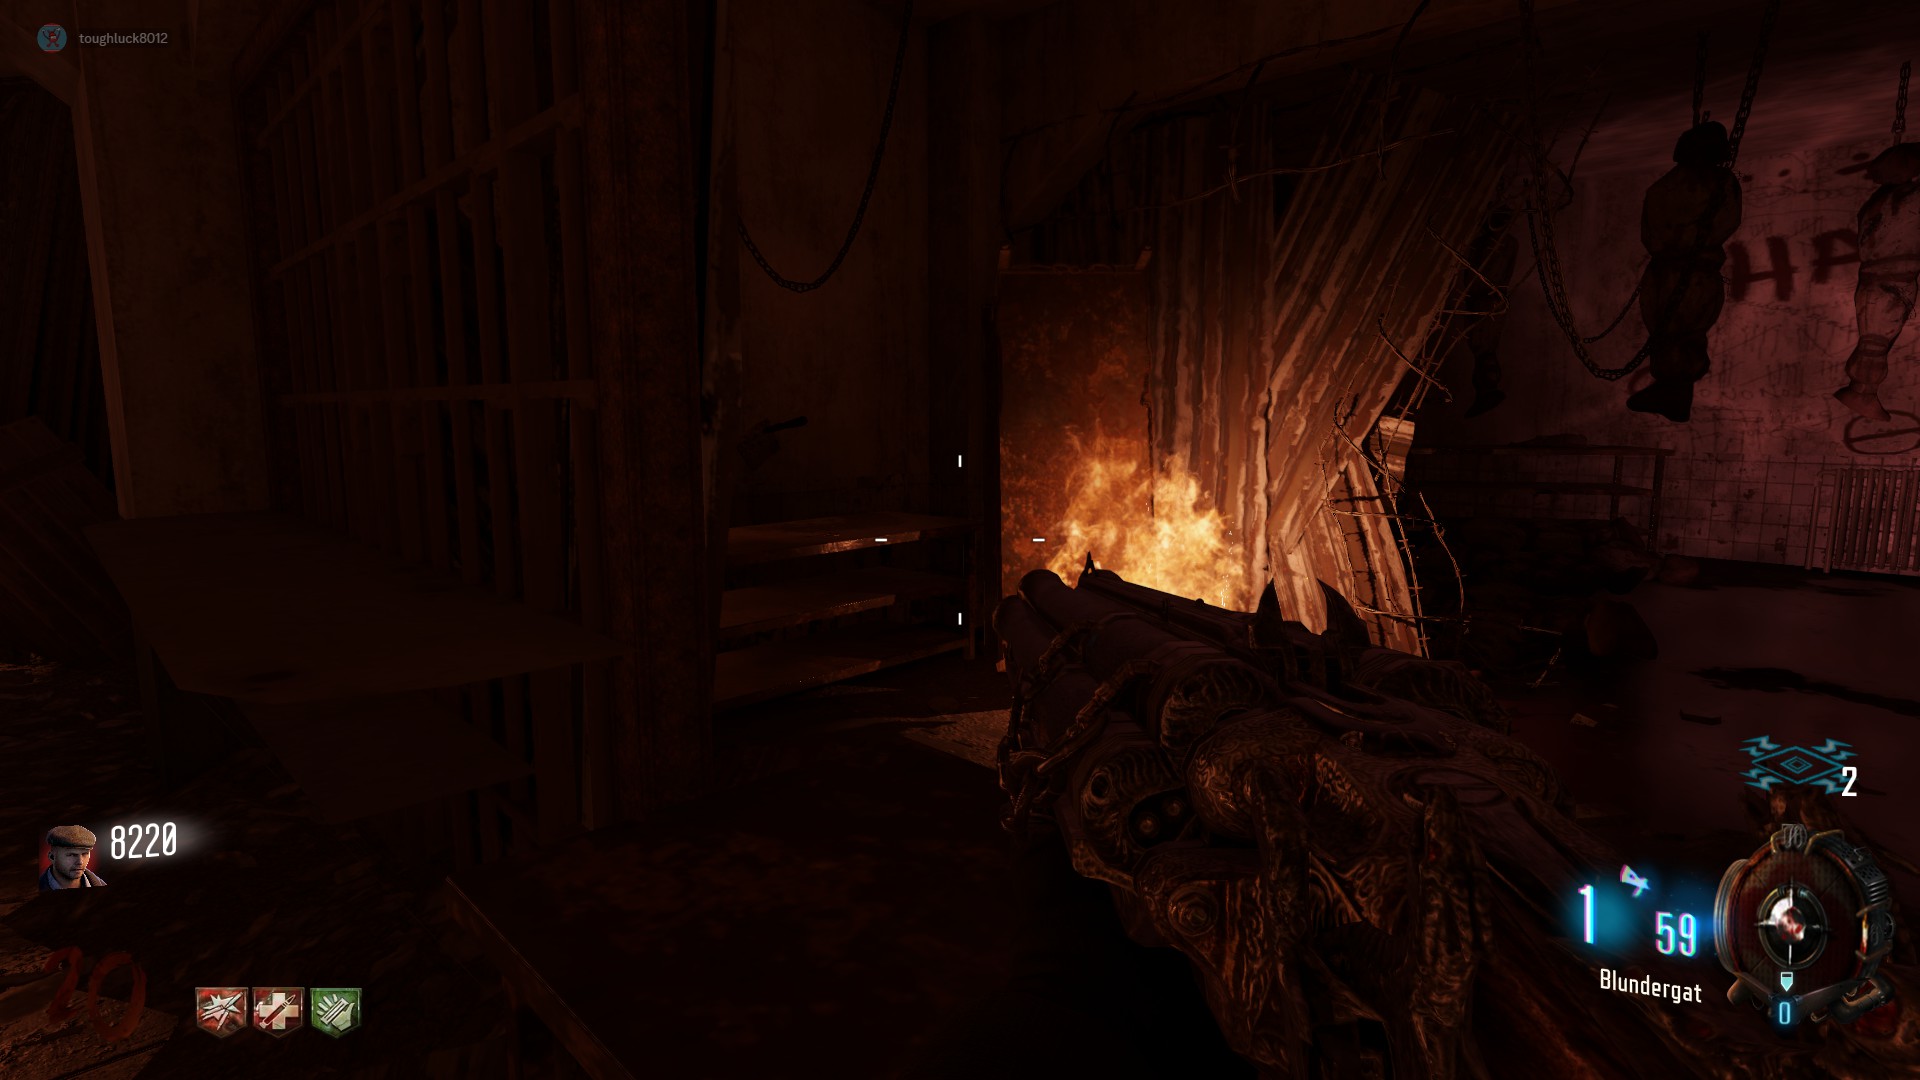
Head upstairs to the Infirmary right below the roof. In the room with the mystery box location, there should be a bath tub filled with blood. Press Interact on the Blood Tub to start stirring the blood.
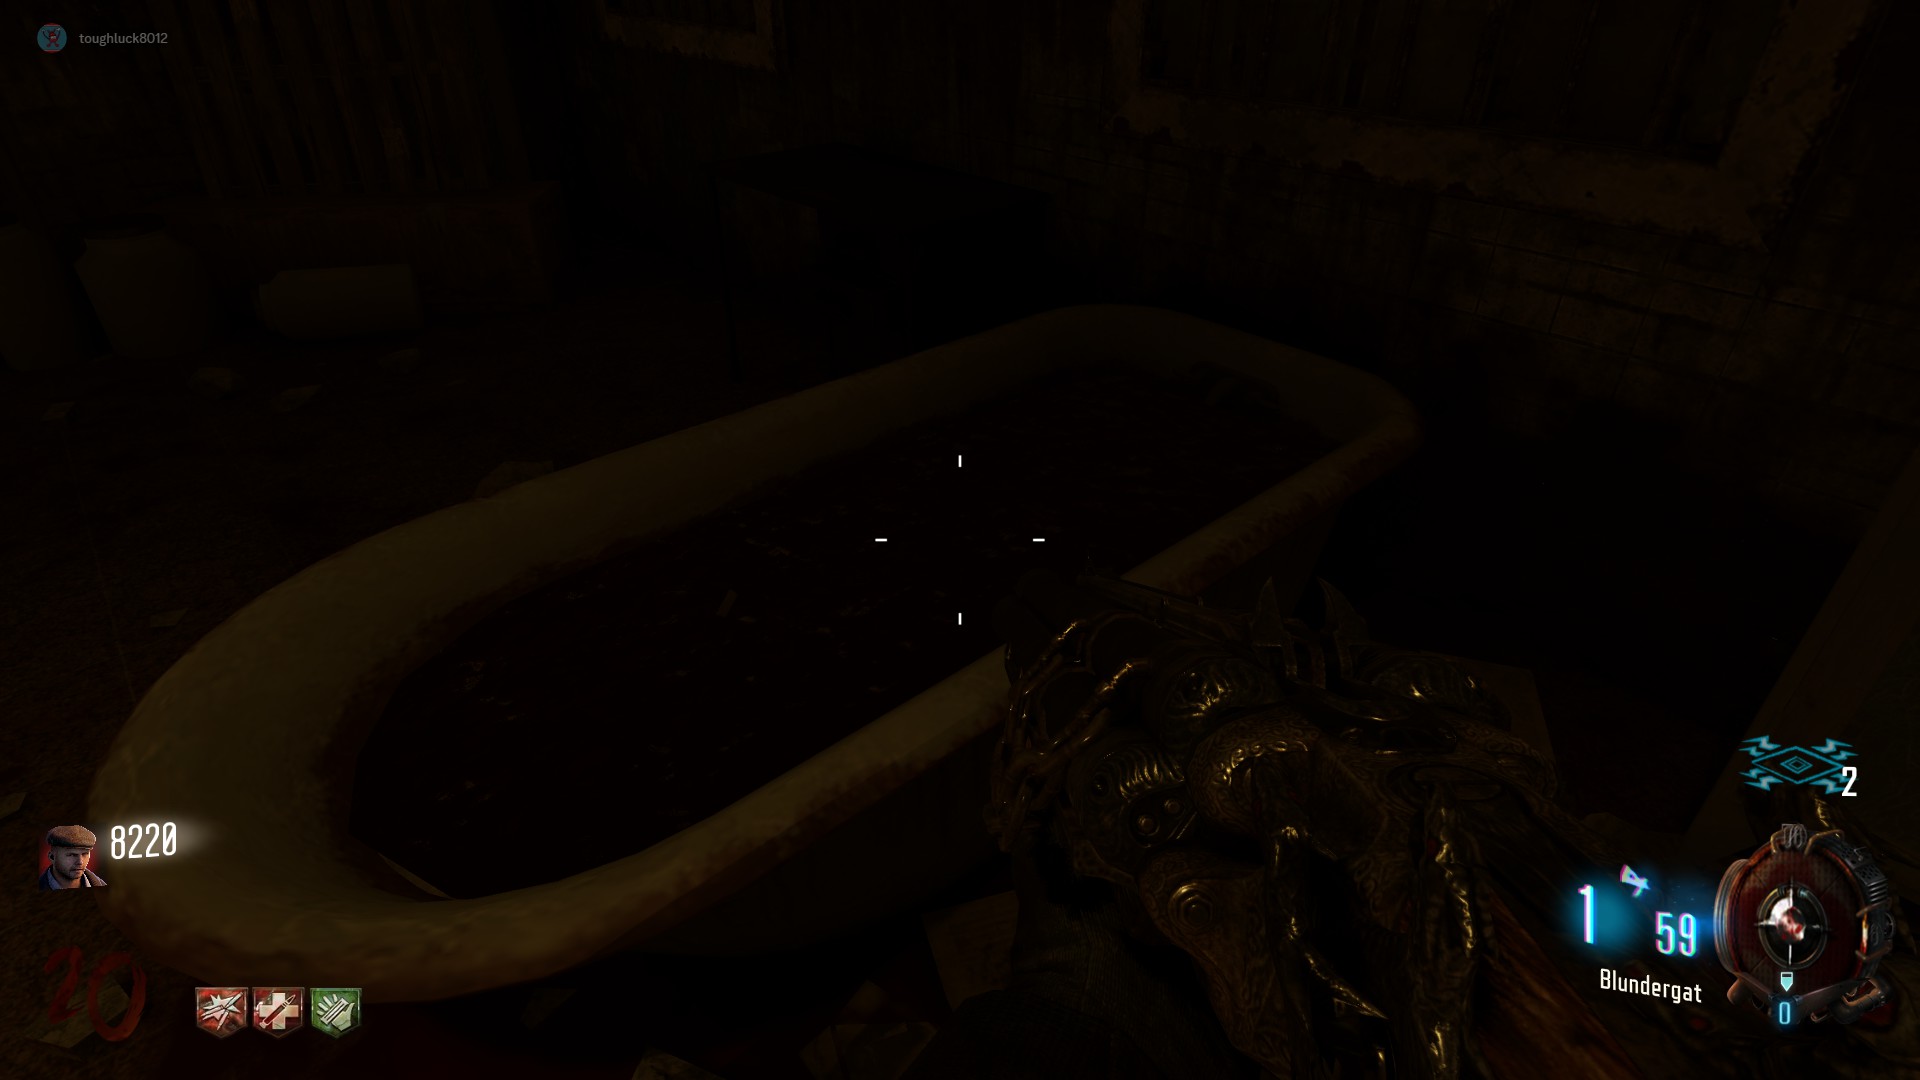 You now need to acquire the Pack-A-Punched Acid Gat (Vitriolic Withering). You can either spin the mystery box to get a Blundergat, or you can reference the "Free Blundergat" section of this guide to acquire one guaranteed every single game. Obtain all 3 parts to the Acid Gat Conversion Kit and assemble it at one of the three work benches (reference guide if needed). Place your blundergat in the kit and give it a few seconds before picking up your Acid Gat. Then take the plane to PAP. Alternatively, you can put the Papped Blundergat, the "Sweeper", into the conversion kit and still obtain the Vitriolic Withering.
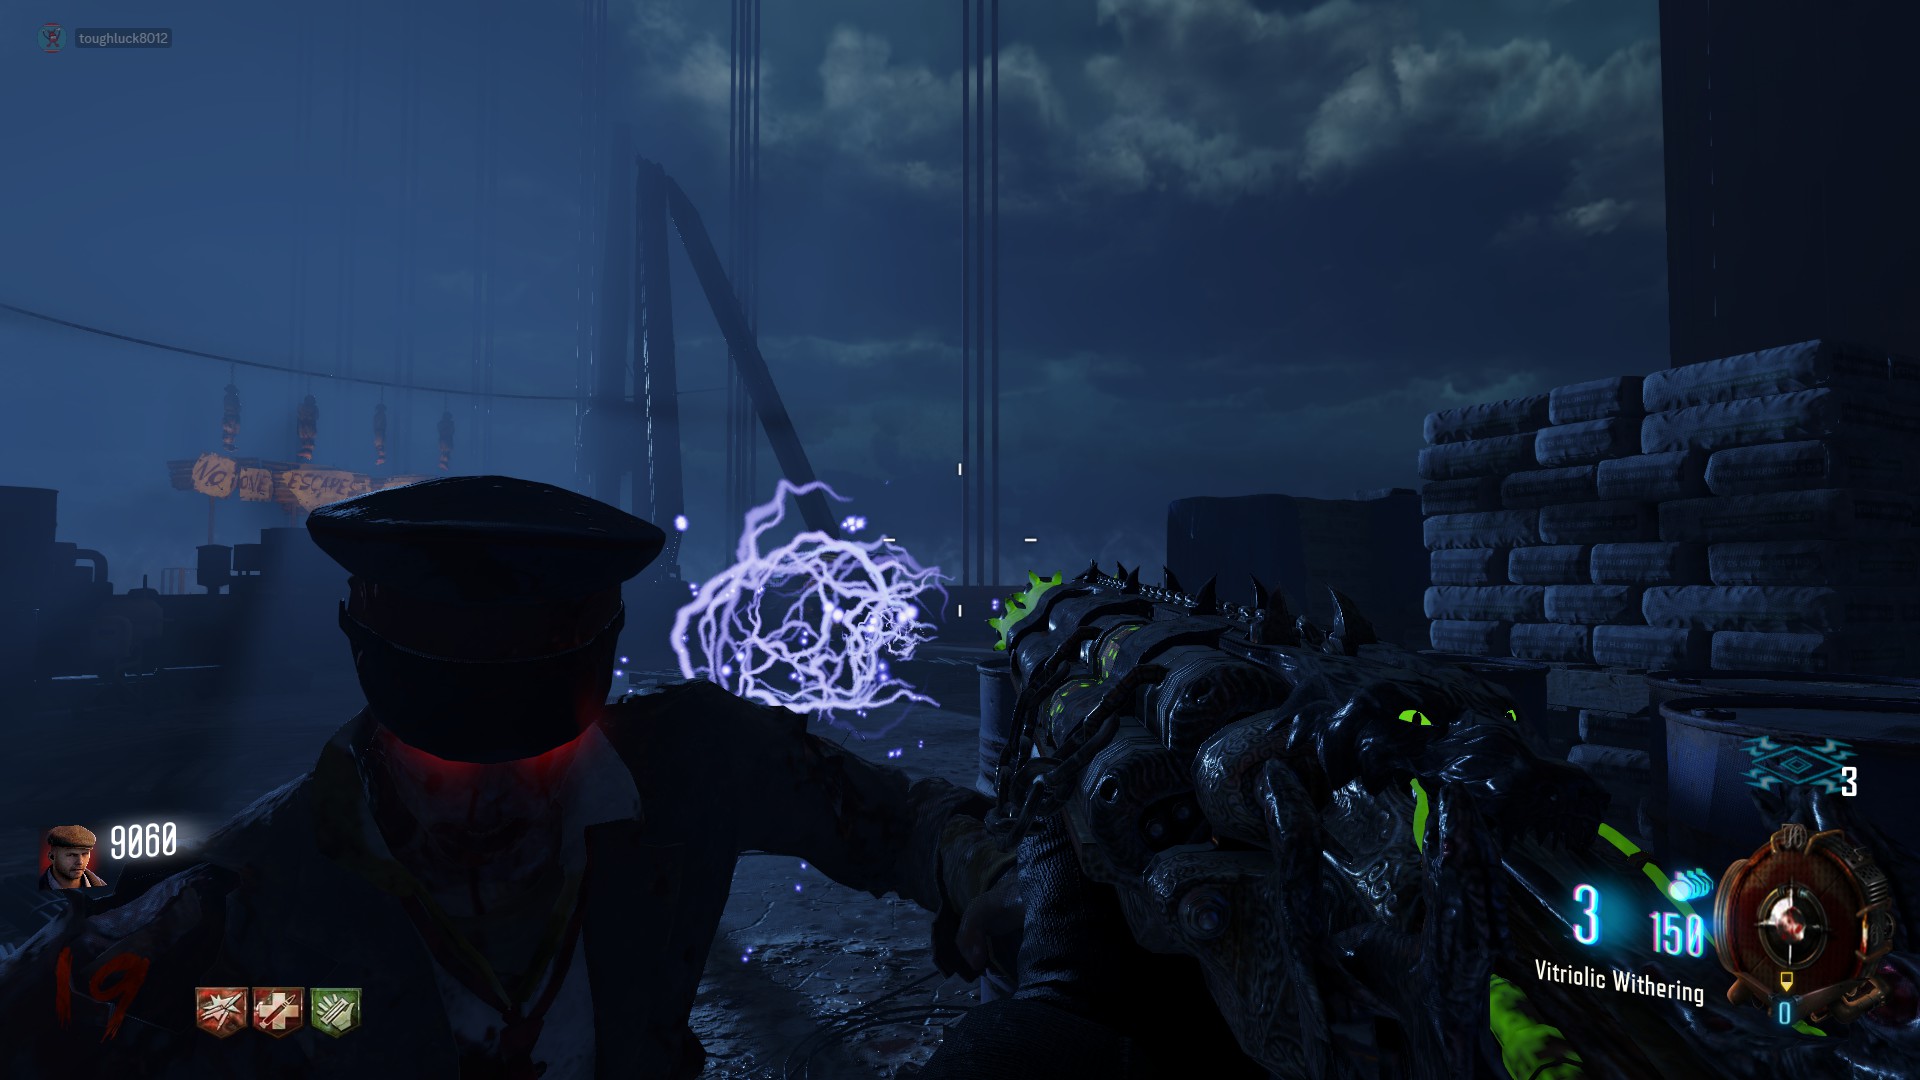 Head down to the laundry room and get lots of kills in the laundry room/showers with the Vitriolic Withering. You will now this step has been completed once you hear a laughing sound effect
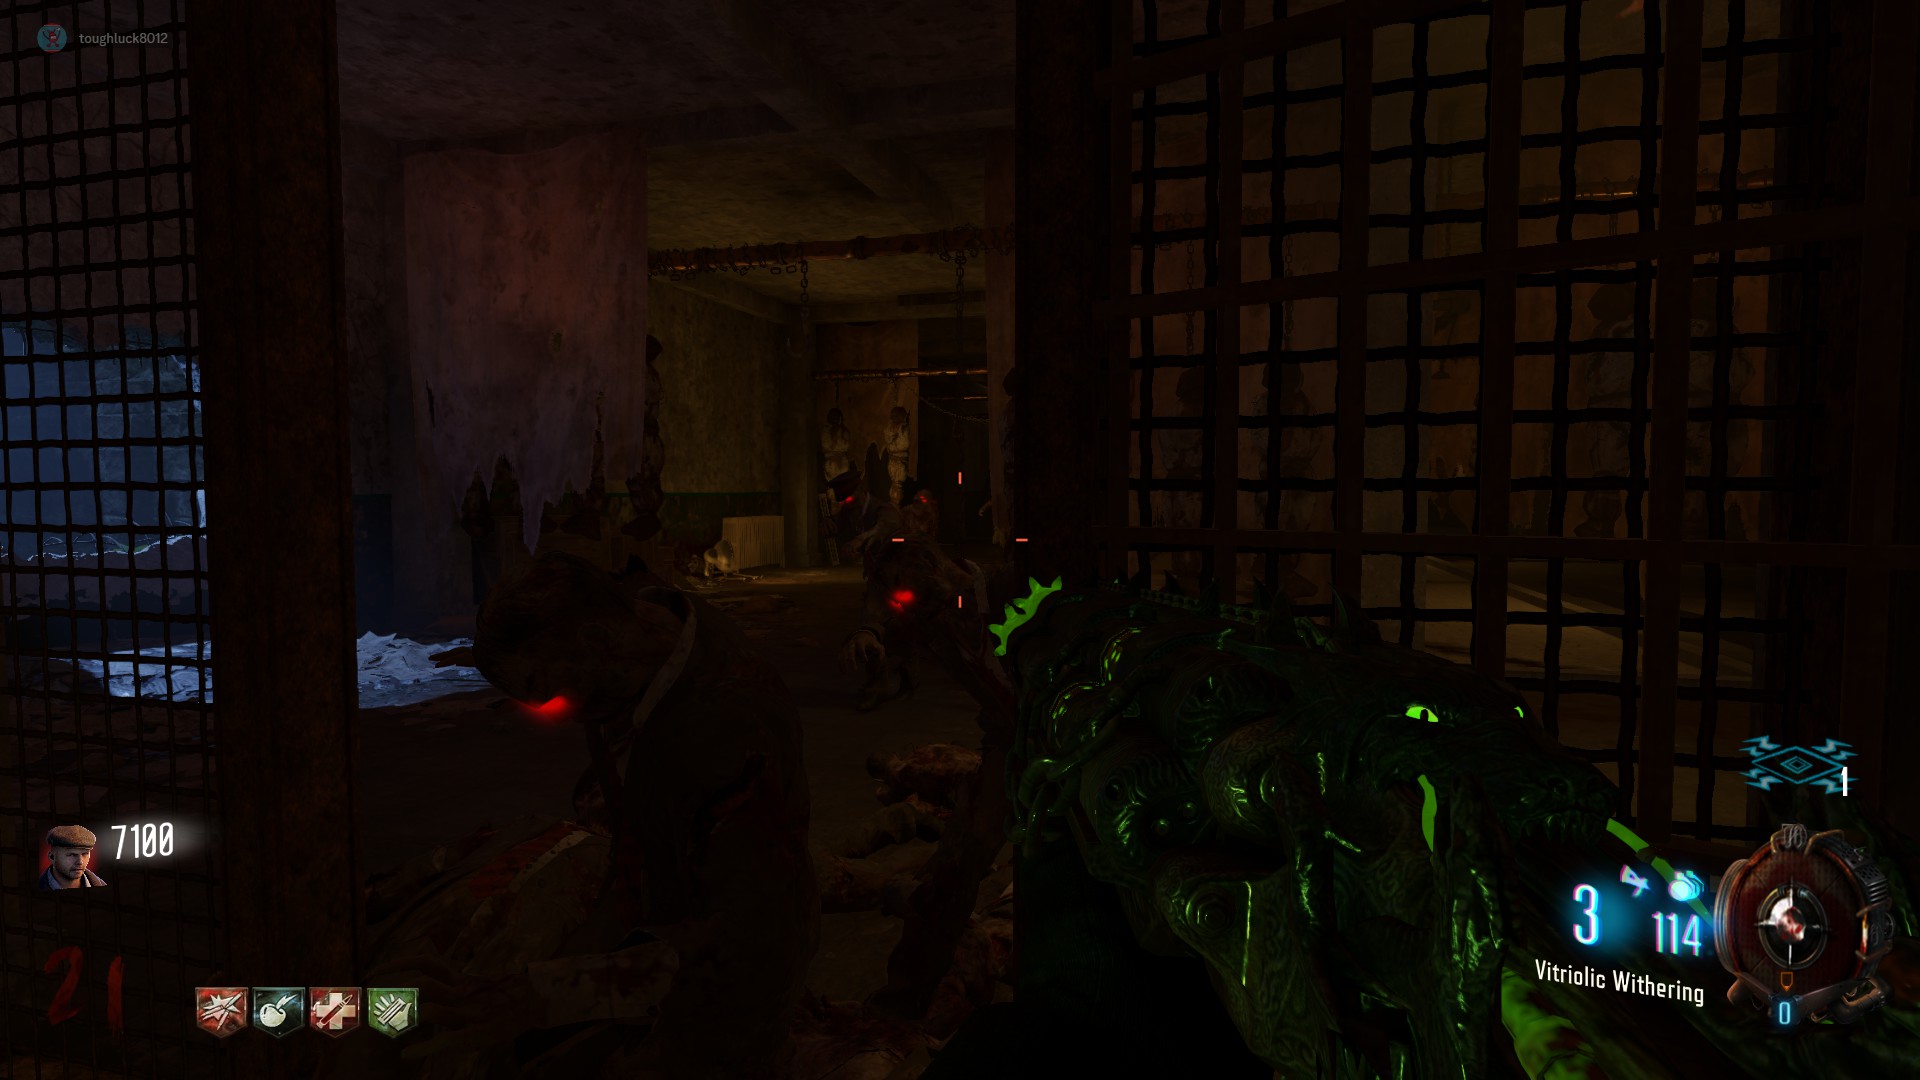 Head back up to the Infirmary and press Interact on the Blood Tub. This will convert your standard spork melee weapon into the Golden Spork.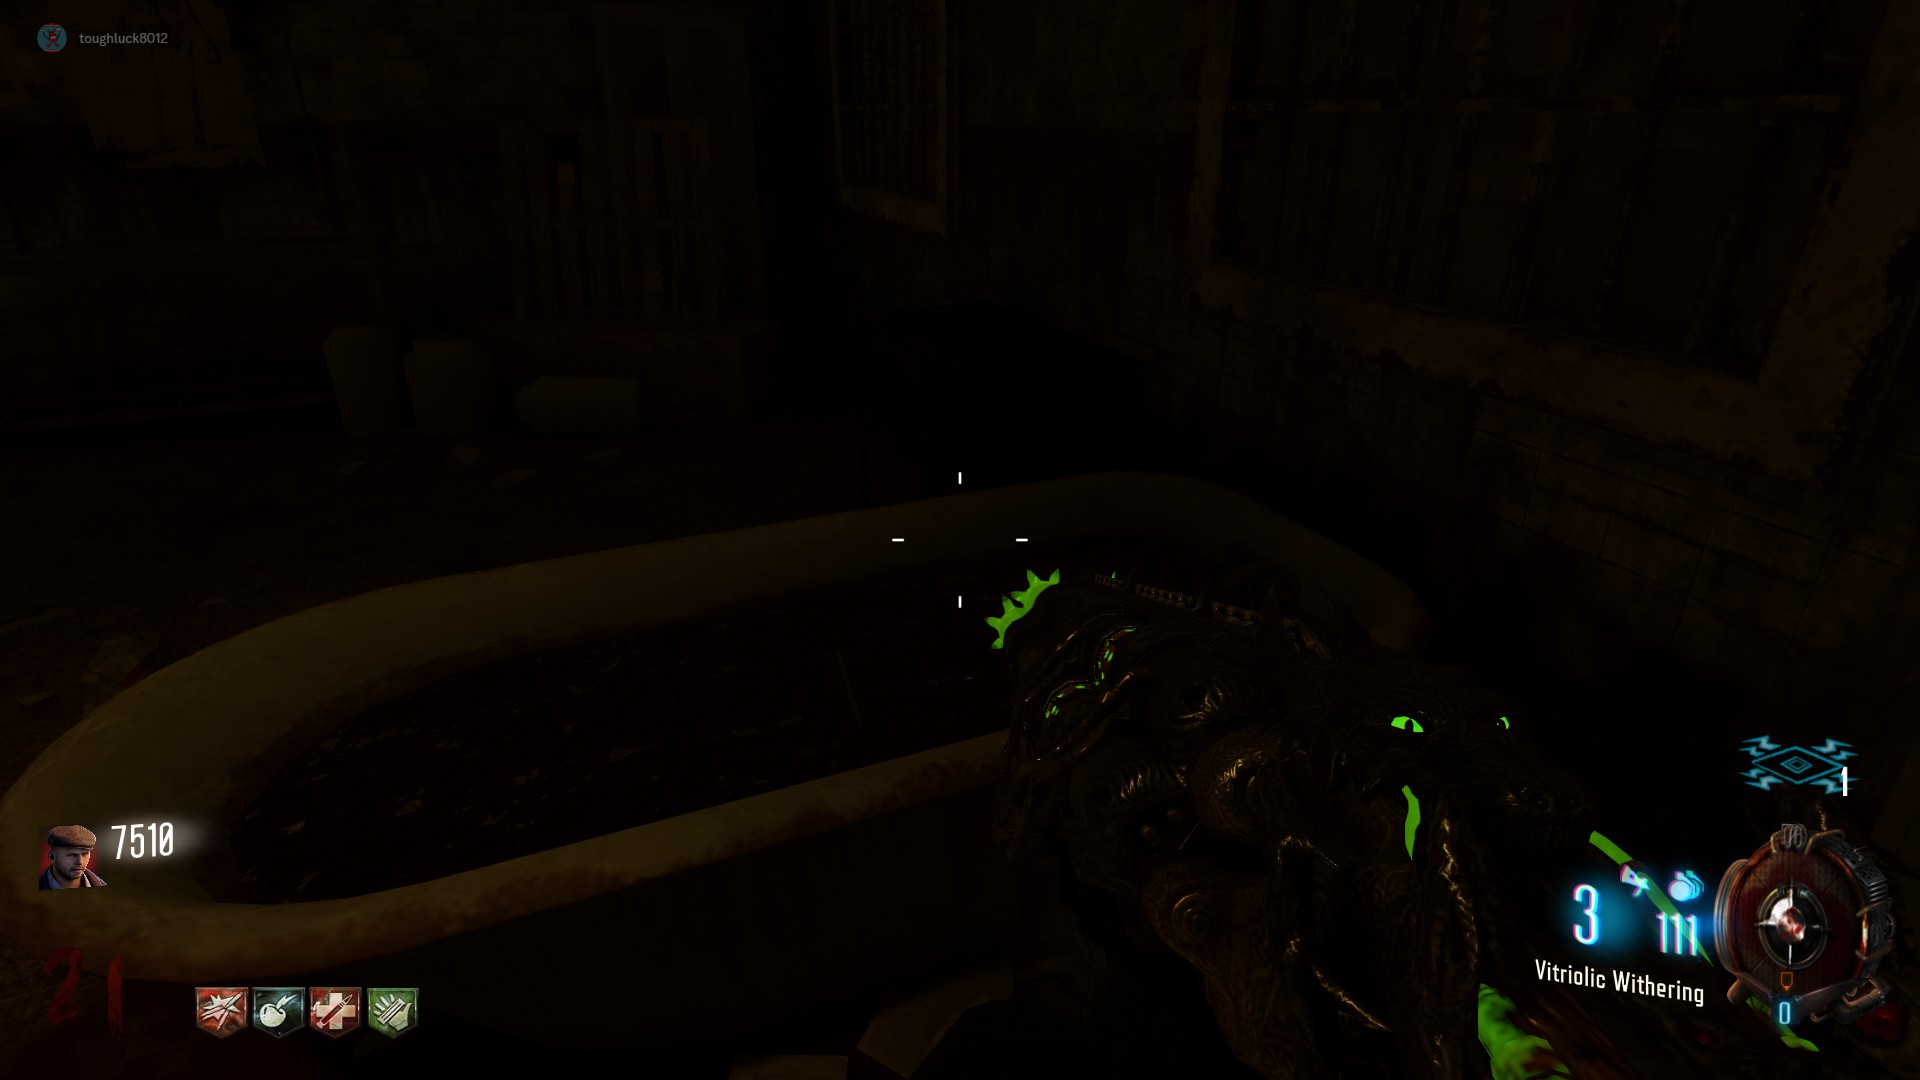
Free Blundergat
This side easter egg requires that you have already obtained the Hell's Retriever. If you are having difficulties getting the skulls, make sure you're aiming at the right spot and have visited the bridge at least once already. There are 5 locations you will need to visit and throw your tomahawk at to retrieve an invisible blue skull.
Outside spawn on the Olympia side, on cell shelf/toilet
Outside Warden's Office Window on left corner of pole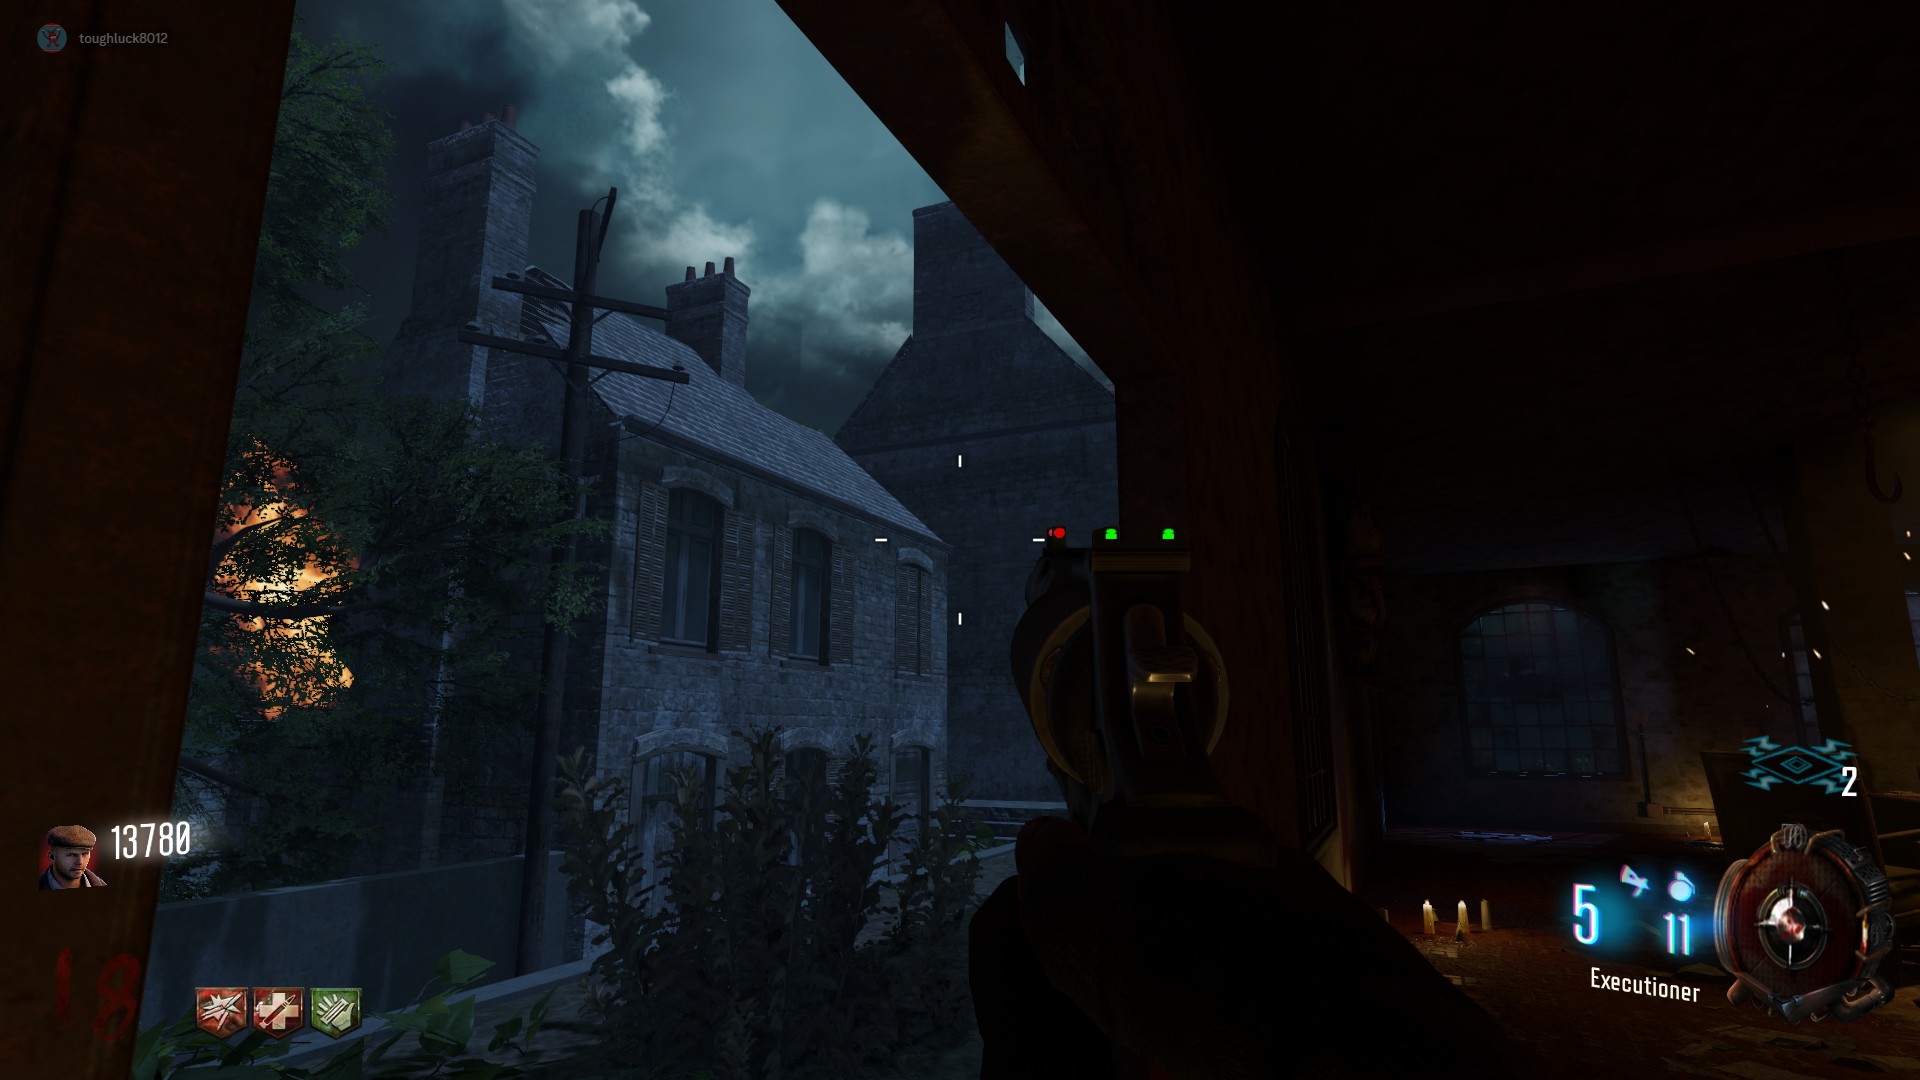 Back left corner of Roof by the jump scare trigger
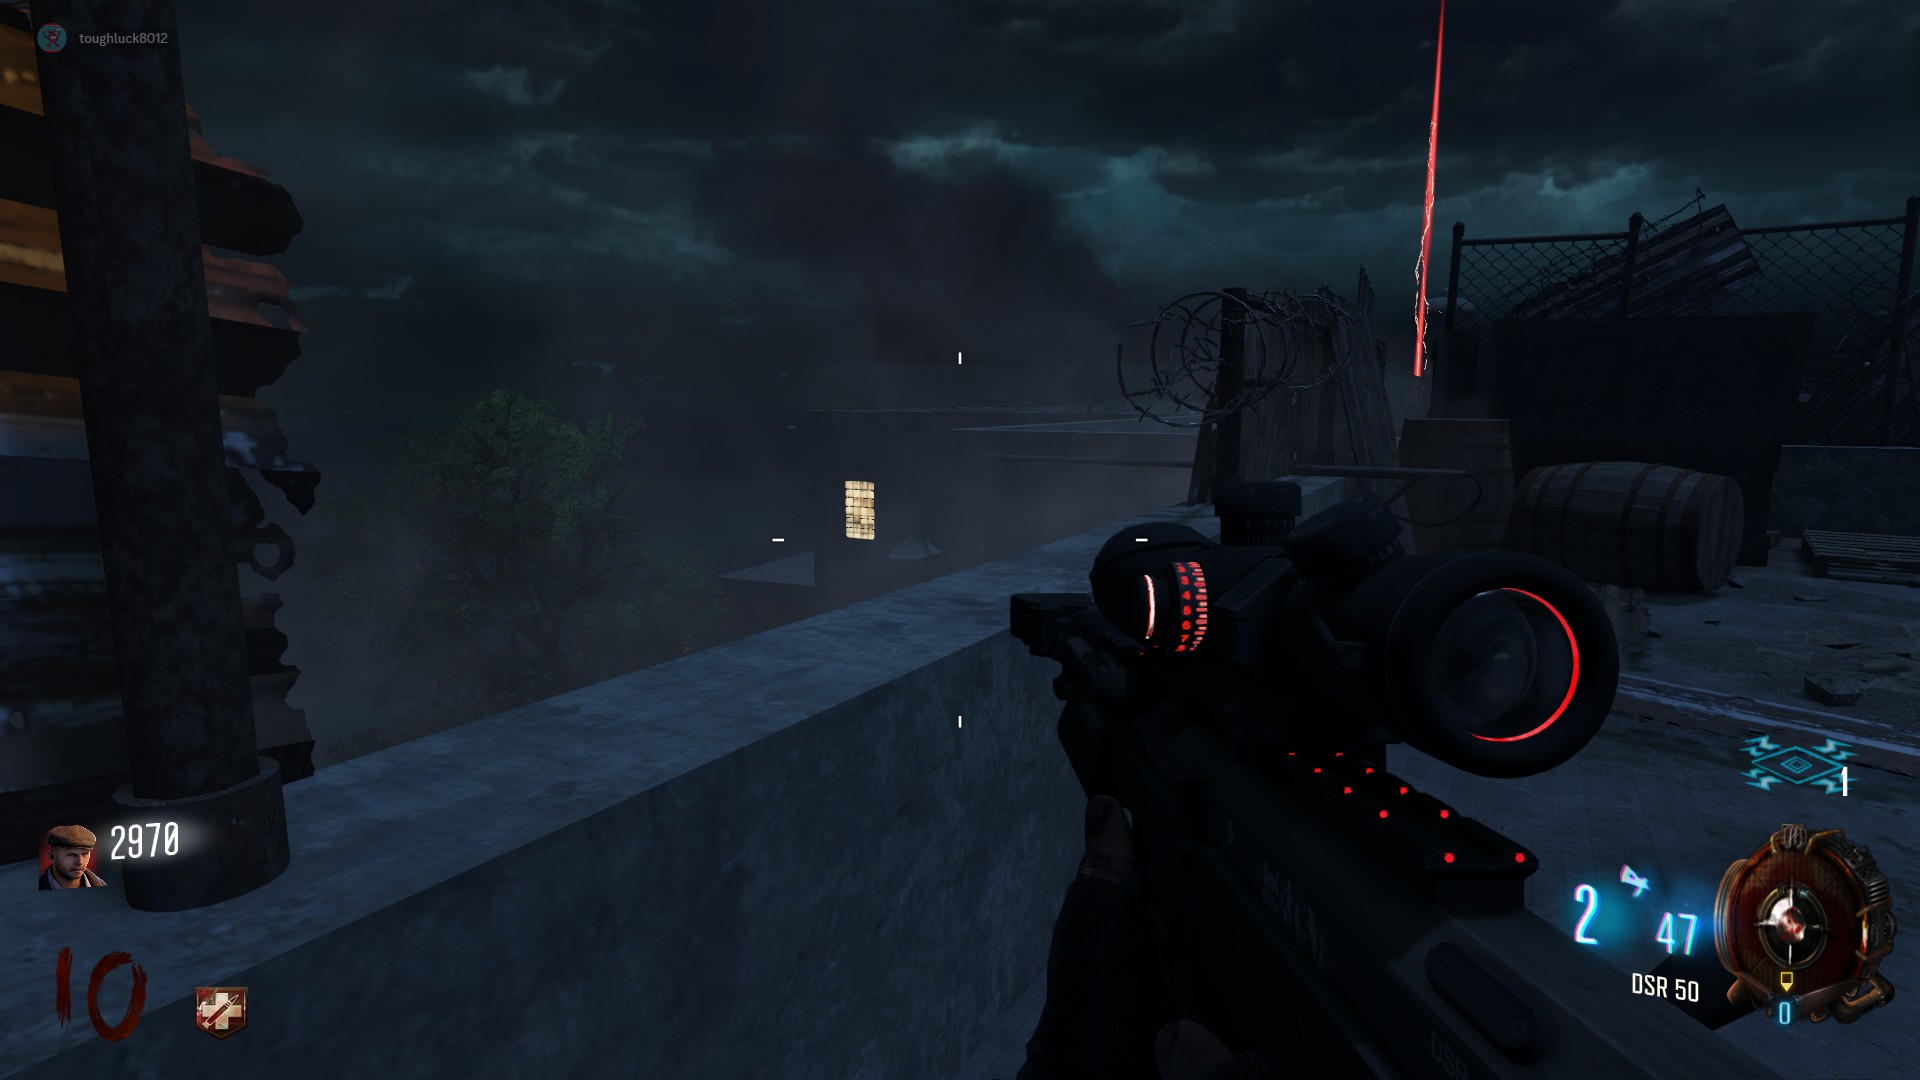 At the docks, on the third post from the left outside the map
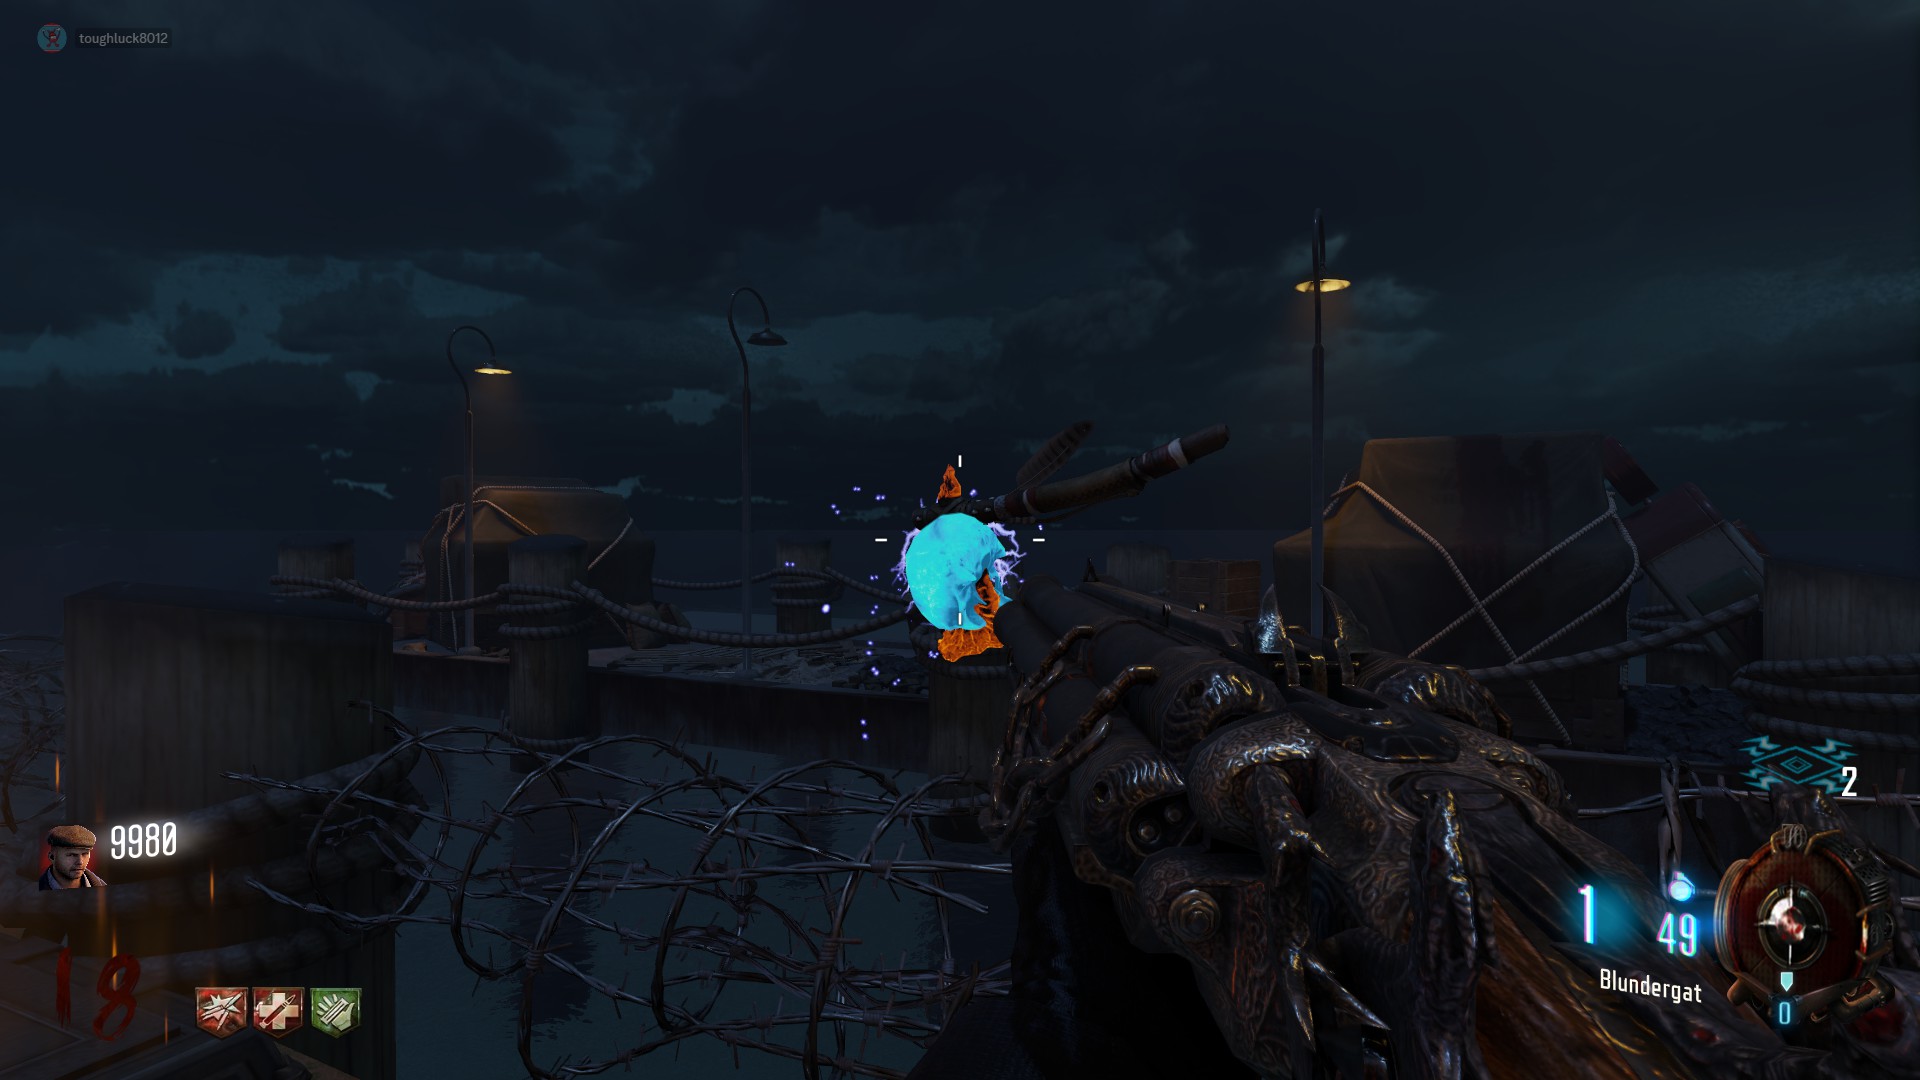 Right outside Juggernog, on the lamp post above the zombie barrier by the gondola path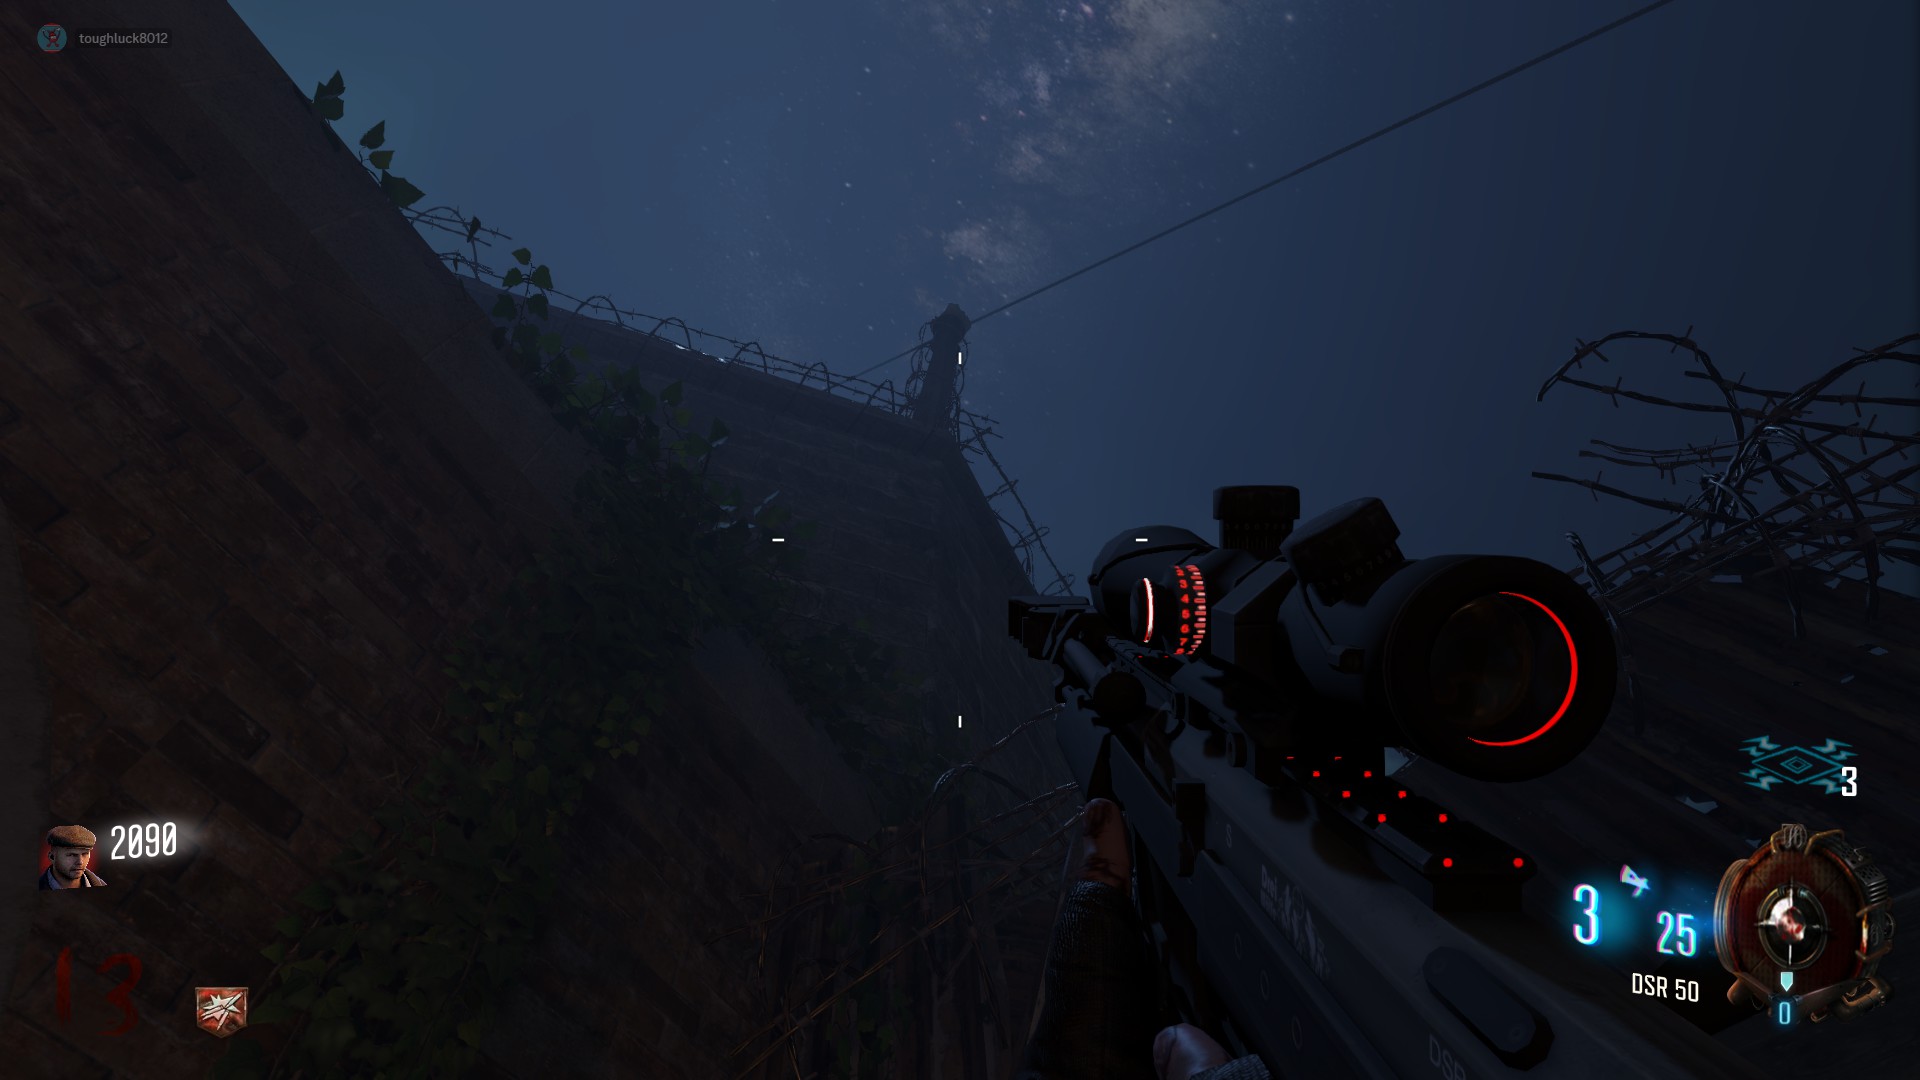
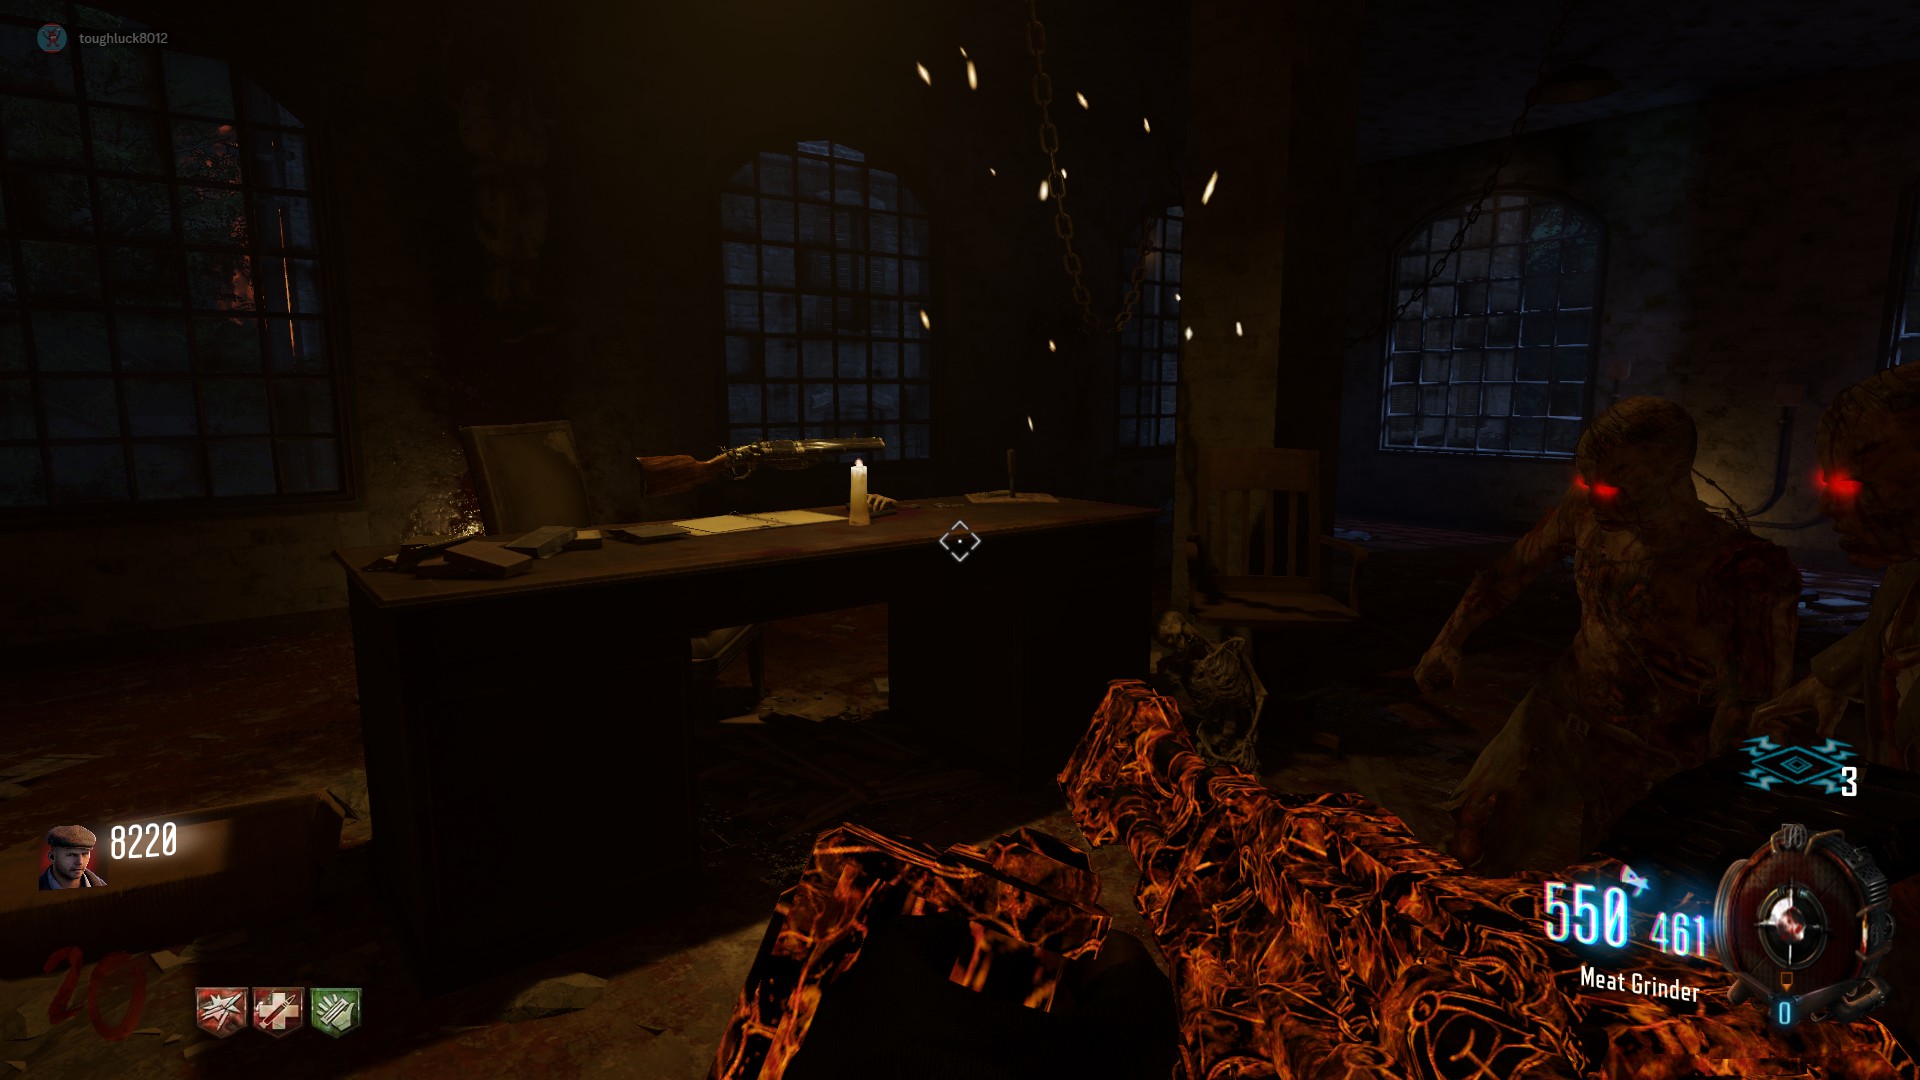
Once you have collected all 5 skulls, head to the Warden's Office. The Blundergat will slowly rise from the desk once a player has entered the room. It will not despawn until picked up.
- What if I already got a Blundergat from the box? Can I still do this easter egg?
- Can multiple players each have a Blundergat?
-
What if I'm already carrying a Blundergat? Can I carry 2?
Musical Easter Eggs (Both Songs)
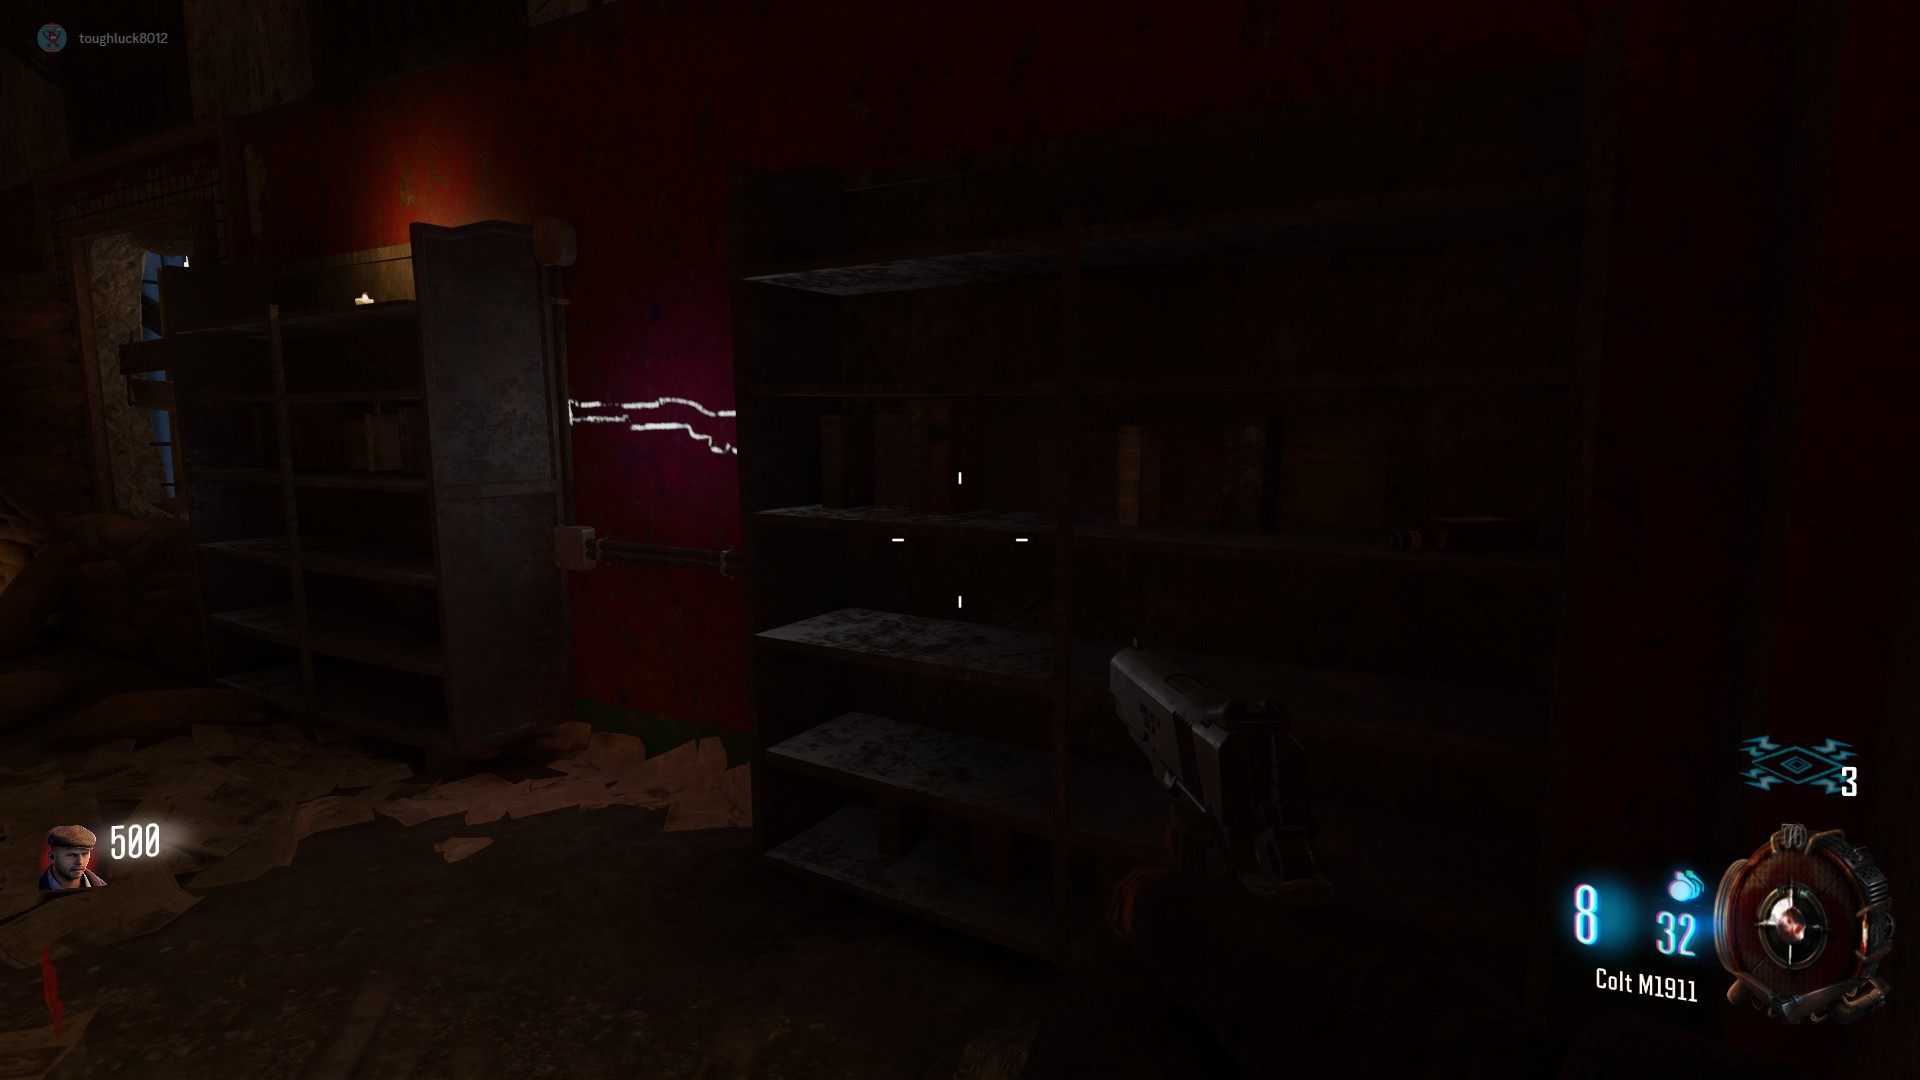
Press Interact on all 3 bottles scattered around the map
Location 1:
In the spawn room, on a bookshelf next to the Olympia wallbuy
 Location 2:
In the Infirmary, in the room before the Blood Tub, on a cart
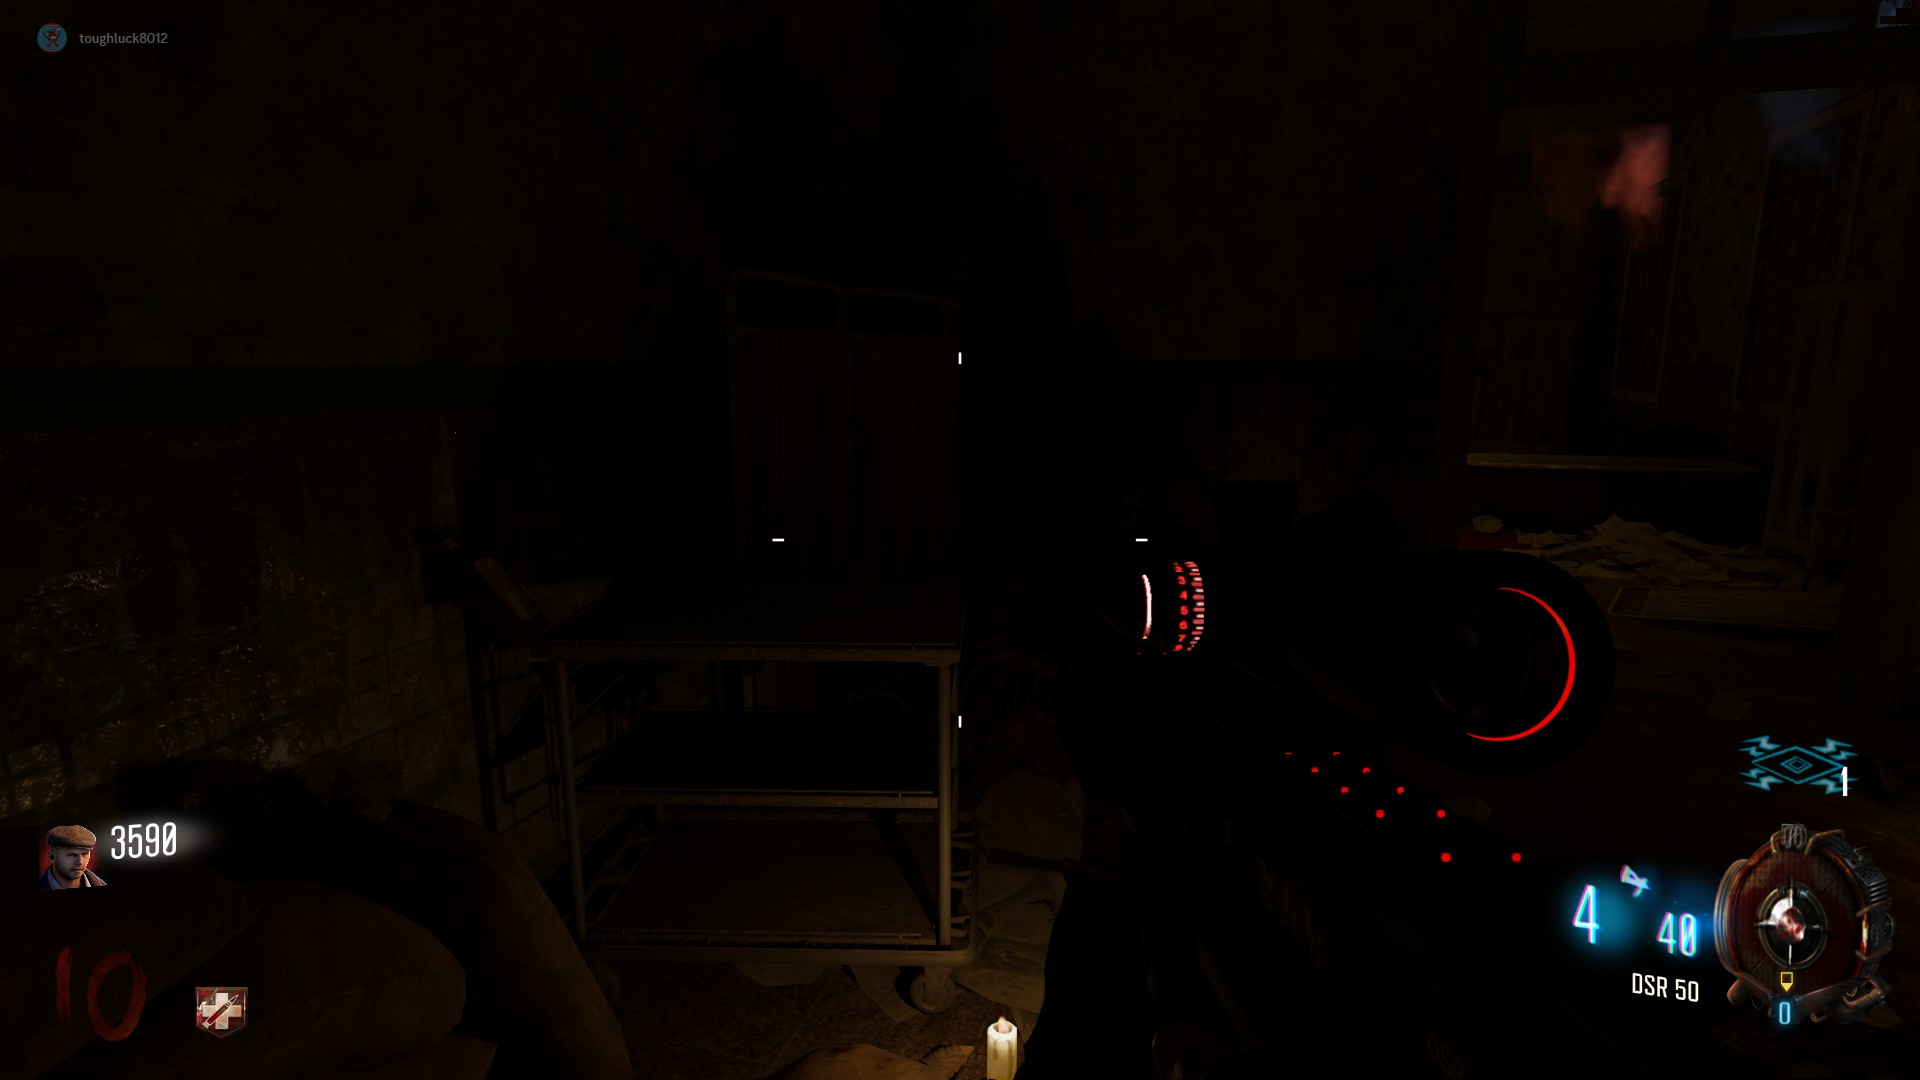
Location 3:
At the docks, in the corner next to the plane part cage
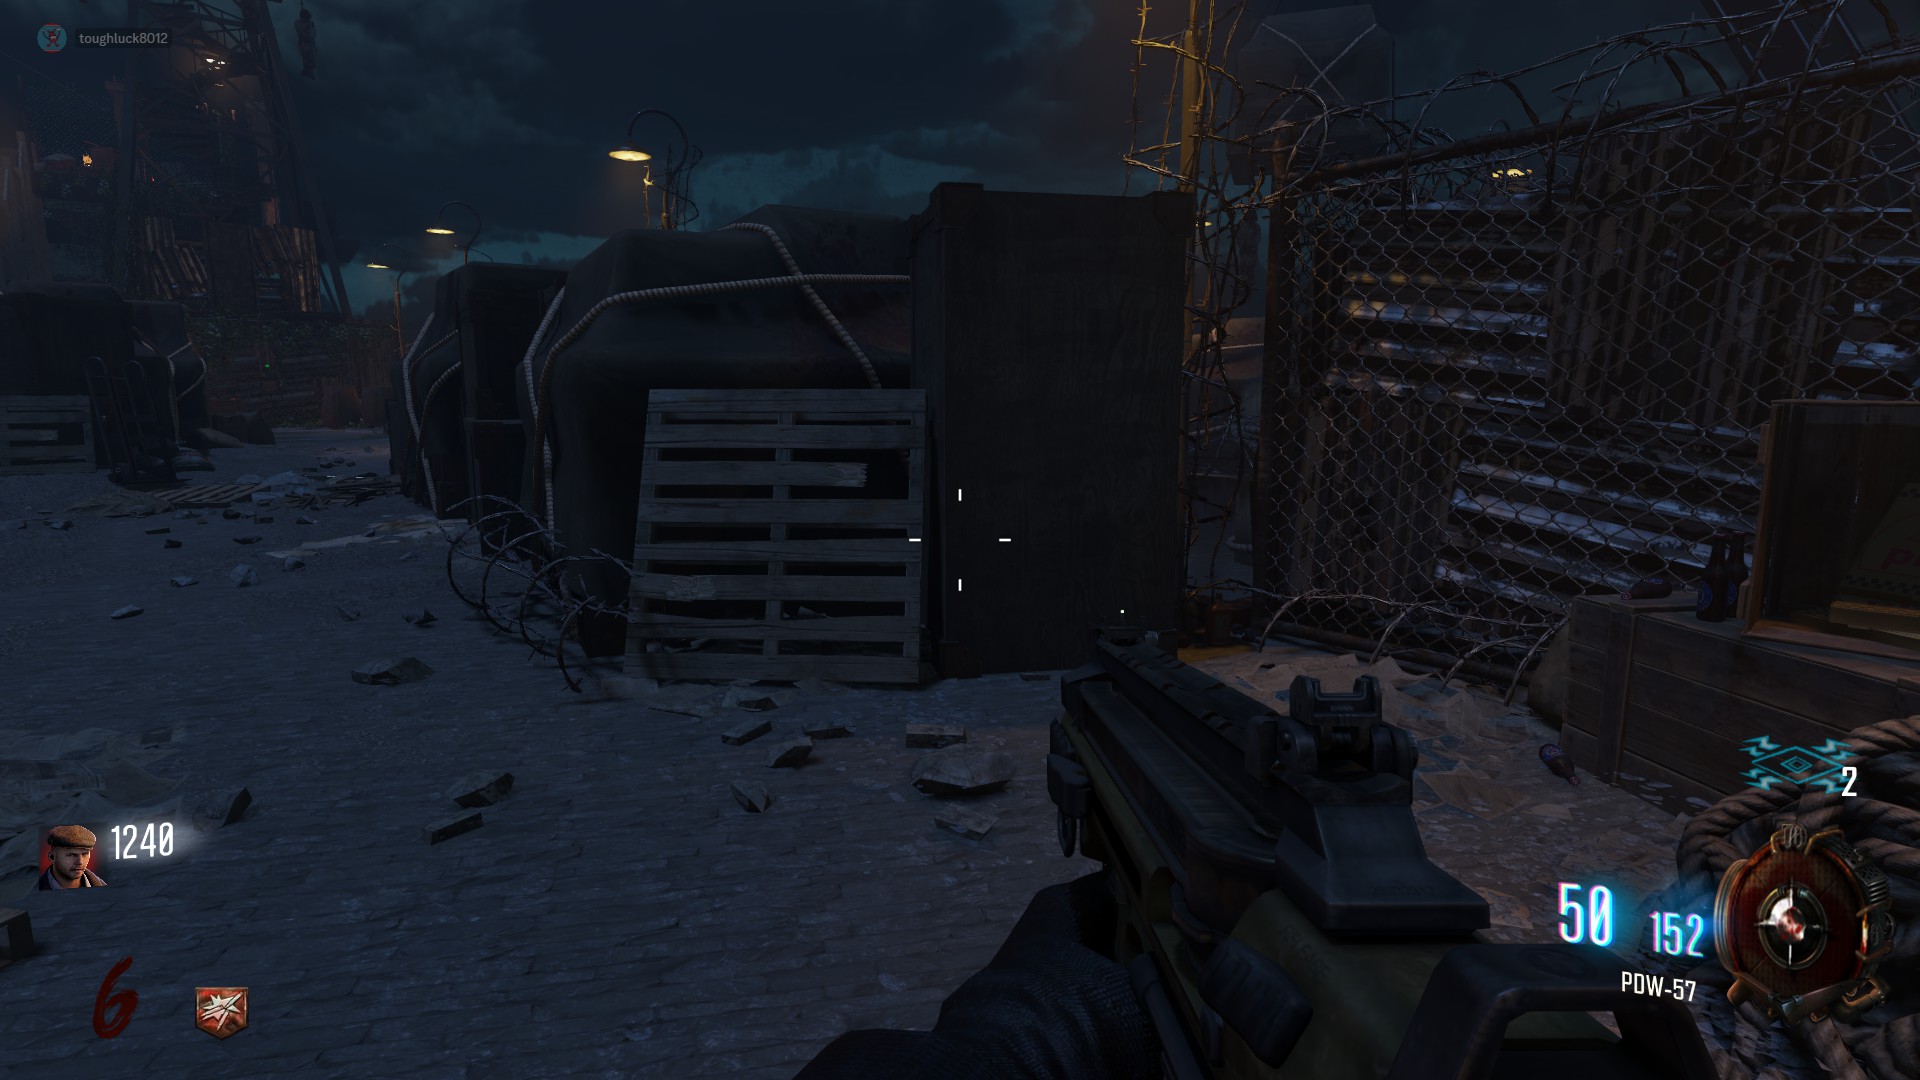
Malukah- "Where Are We Going"
Go to the spiral staircase in the Citadel Tunnels in Afterlife mode. Shock 935 into the code box
Jump Scare Easter Egg
Misc. Easter Eggs
Main Easter Egg Step 1: Poster & Spoon
Make your way to the cells just outside the Warden's office, next to the kill switch. In one of the cells, there should be a poster covering up a hole in the wall. Throw your Hell's Retriever at it and it will disappear.
Around the corner by the kill switch, there should now be a blue ghost hole in the wall. Walk through it and shock the spoon laying on the ground with your primary attack. You should receive an audio line/laugh.
Main Easter Egg Step 2: Gather All 5 Skulls
I already got a Blundergat from the box. Do I still need to do this step?
- Yup. It's more so about trigger Brutus dialog rather than actually getting the wonder weapon.
Main Easter Egg Step 3: Get the Spoon
Main Easter Egg Step 4: Input All 4 Numbers
By this stage of the easter egg, YOU NEED TO HAVE VISITED THE BRIDGE AT LEAST 3 TIMES TO CONTINUE ON. It is also important to not pick up any plane parts anymore. If you have any plane parts, build the plane one more time and wait for all the parts to respawn again, then don't pick any up. This will be your last chance to Pack-A-Punch and/or get the Hell's Redeemer upgrade before the end of the game.
Hold a zombie for the next few steps to make things easier. Head to the Citadel Tunnels spiral staircase. Enter Afterlife Mode and enter the following sets of numbers into the Code Box
- 101
- 872
- 386
- 481
This is done on a timer, and all numbers must be entered quickly. If you are not able to enter all 4 in one Afterlife charge, simply revive yourself and have your teammate continue where you left off. In solo, you will have enough time to revive yourself and use a second Afterlife charge on the kill switch to continue entering the numbers.
You know this step was completed correctly if your screen goes black and white and you begin to hear dialog. If not, wait 1 full round and try to enter the numbers again.
Main Easter Egg Step 5: Audio Reels
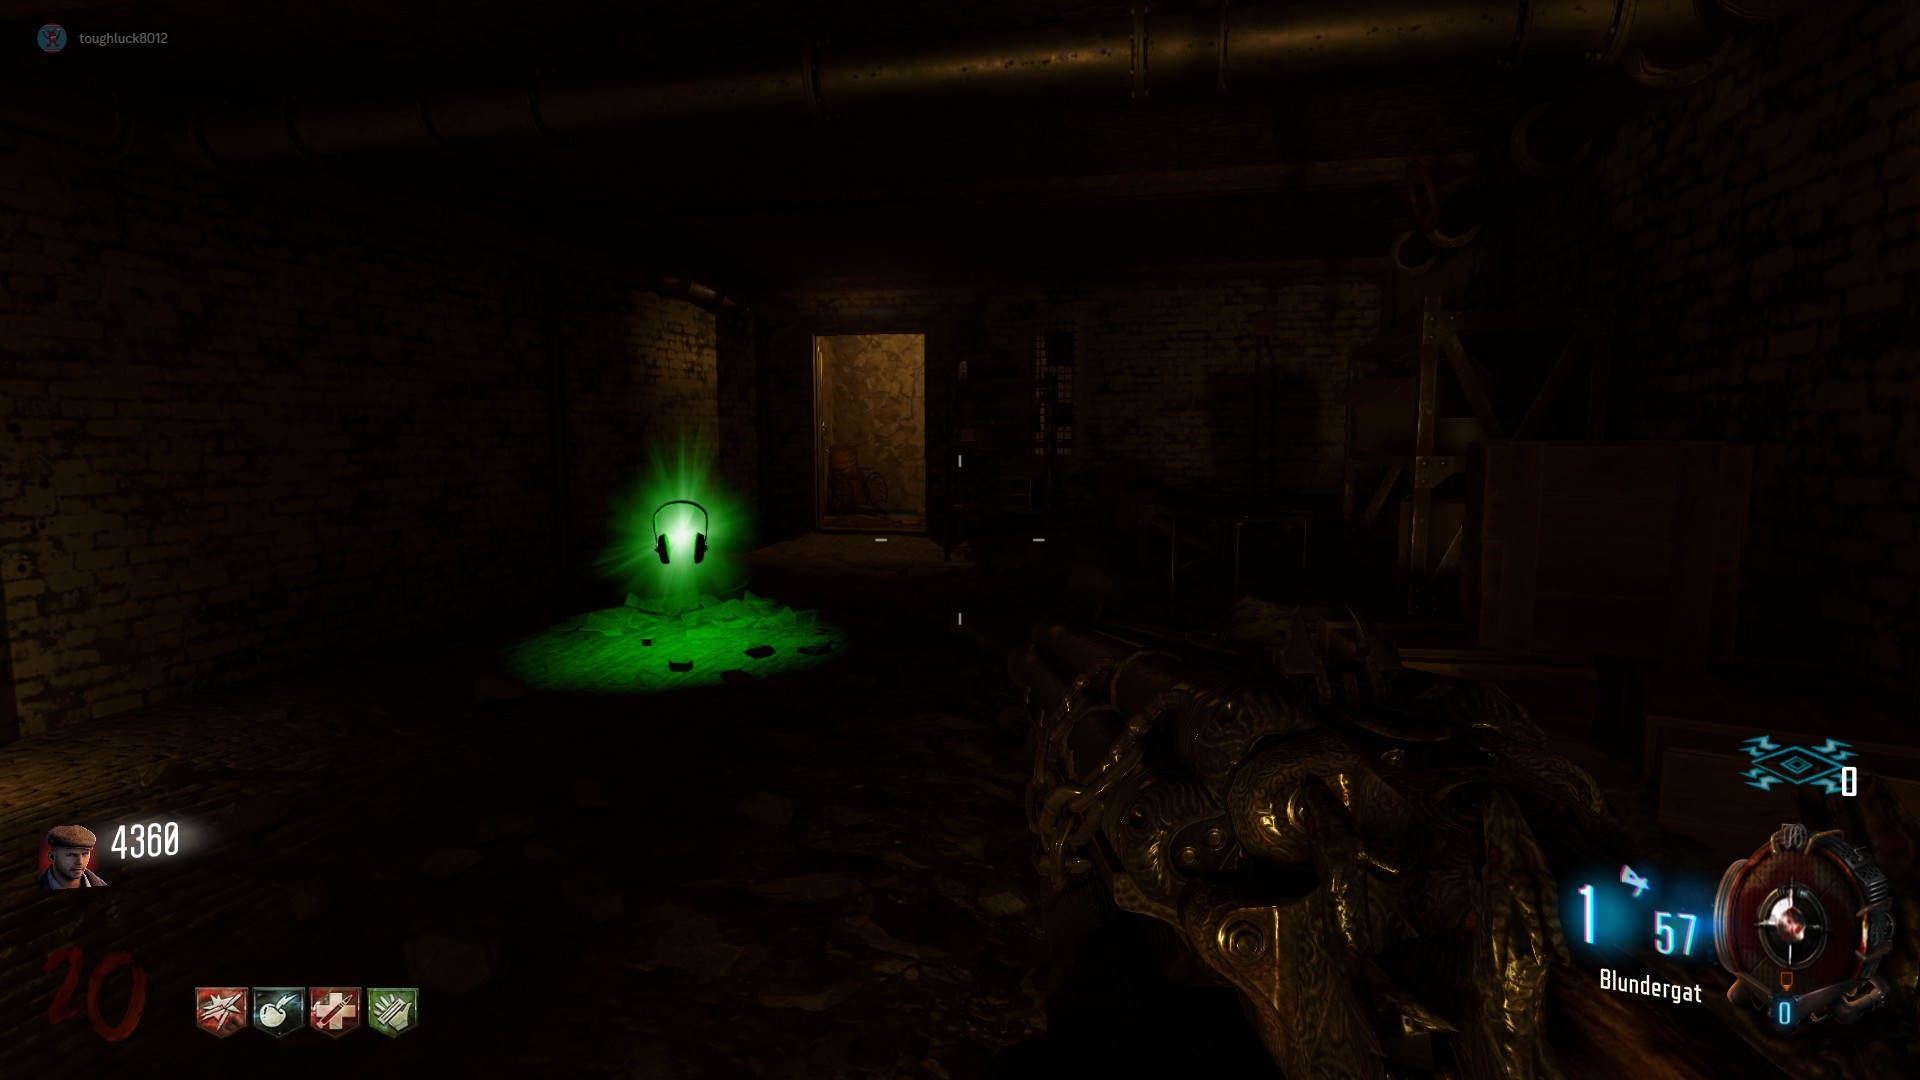
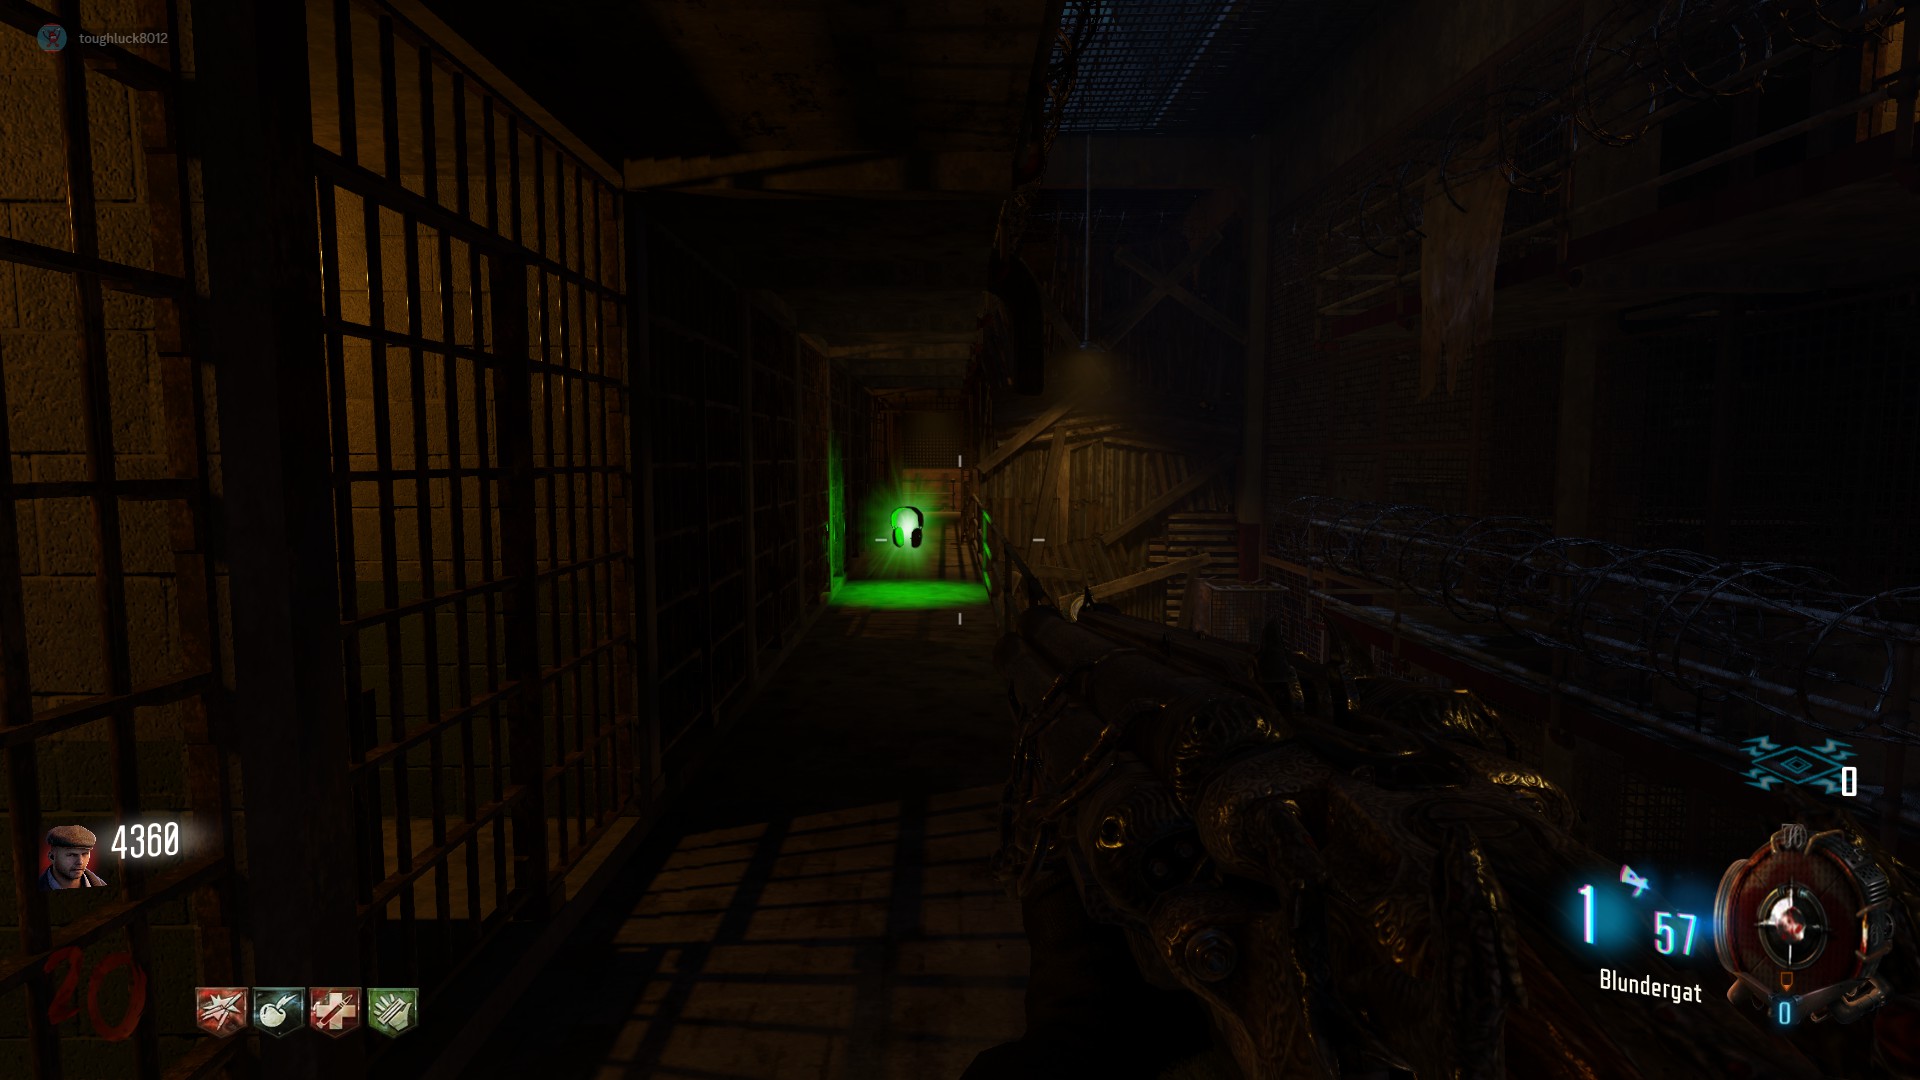
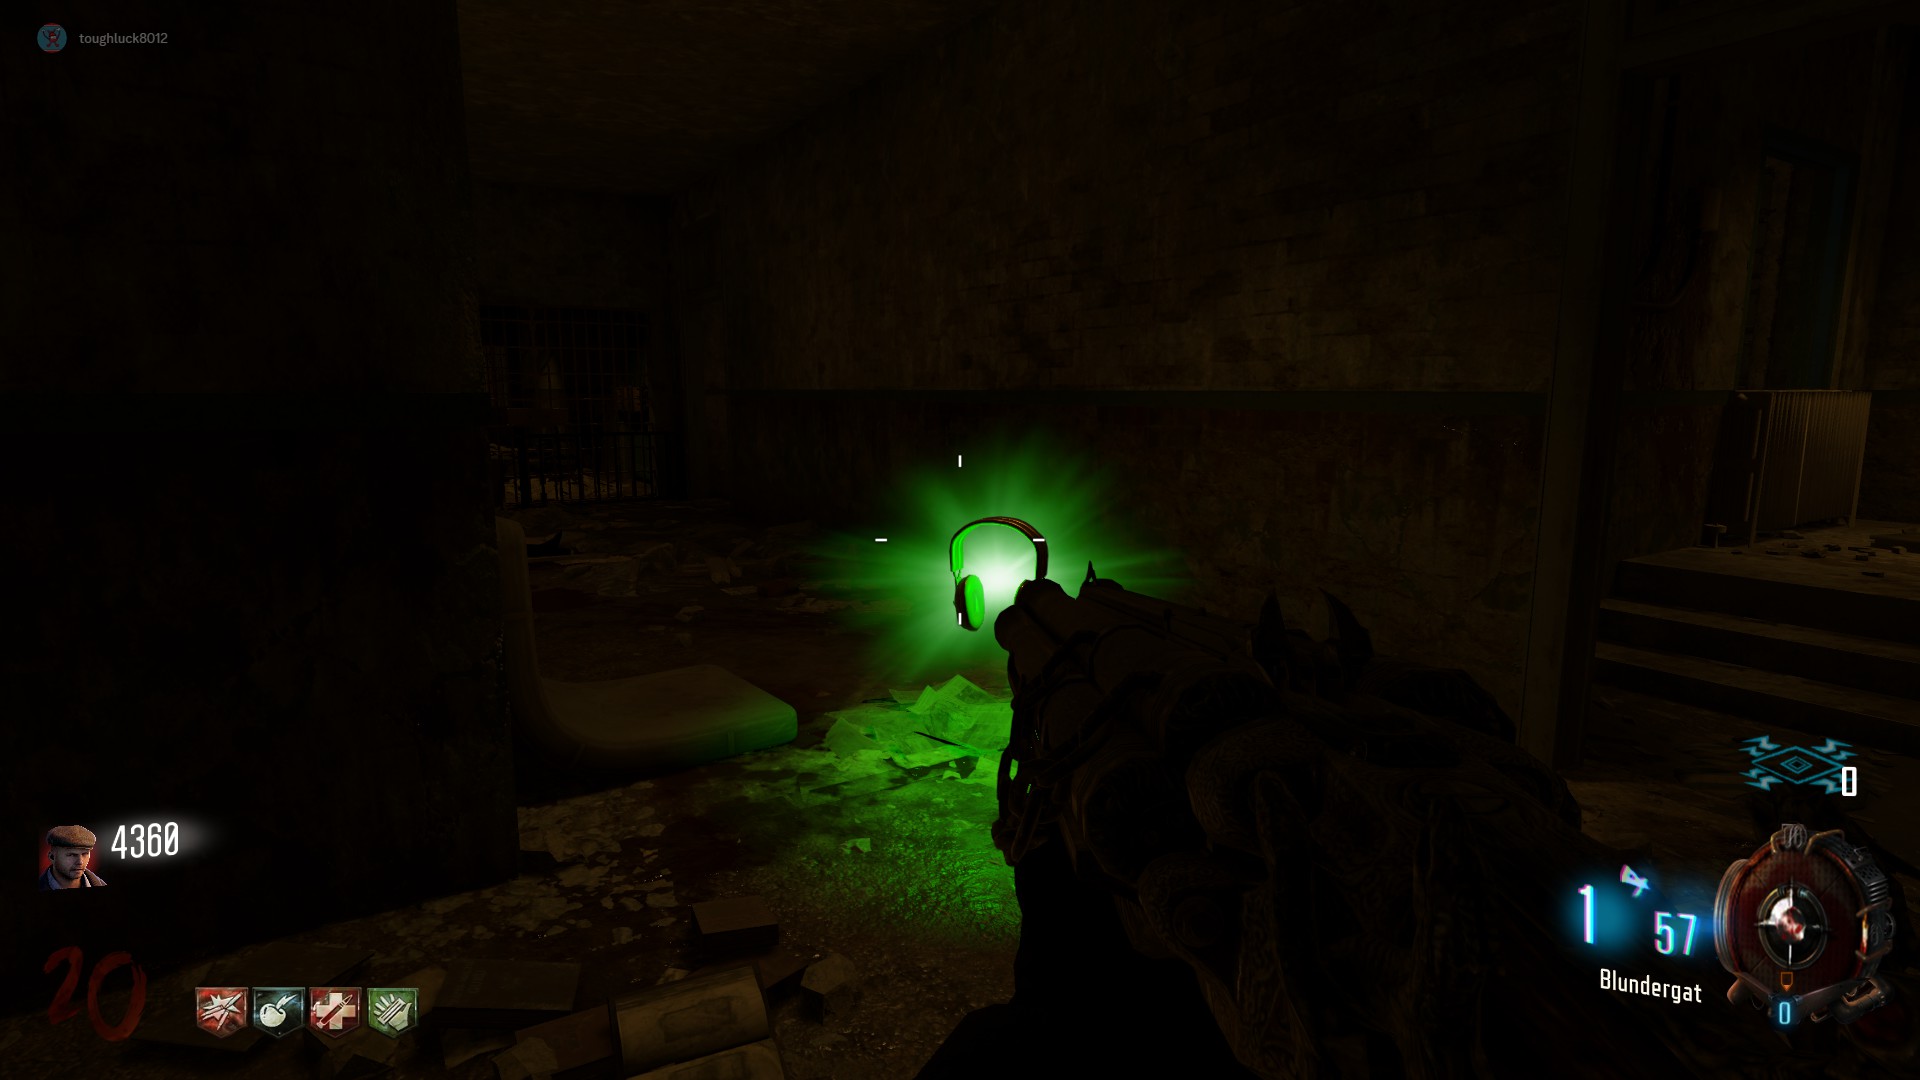
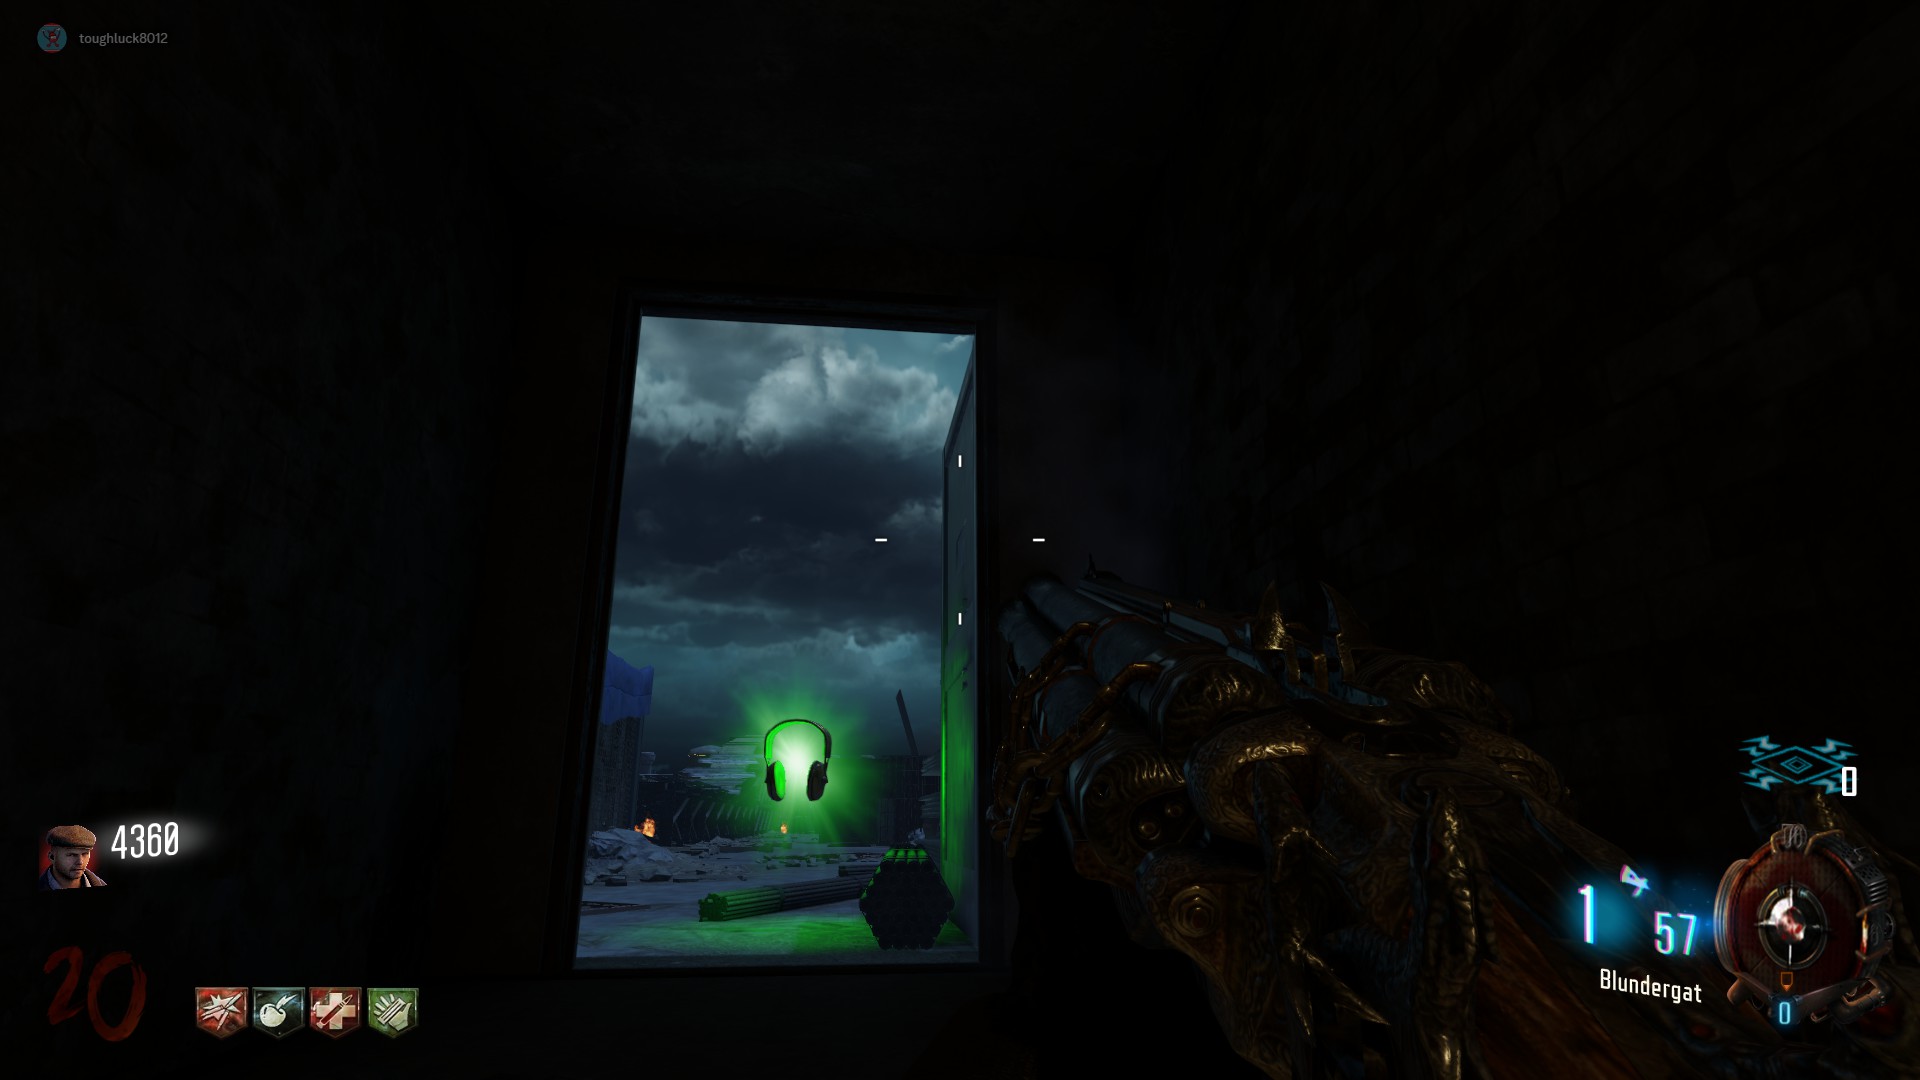
After the first dialog finishes, a series of Audio Headphone drops will spawn one at a time on a set path up to the roof. Simply pick up each one and listen to the dialog before continuing to the next one.
After the initial dialog, there are 5 more drops leading to the roof:- In the staircase between the Hell's Retriever and the spiral staircase
- In the room between Double Tap and the Warden's Office
- On the Catwalk connecting the Broadway Dog to the Cafeteria
- At the top of the stairs leading to the Infirmary
- In the doorway leading to the Roof
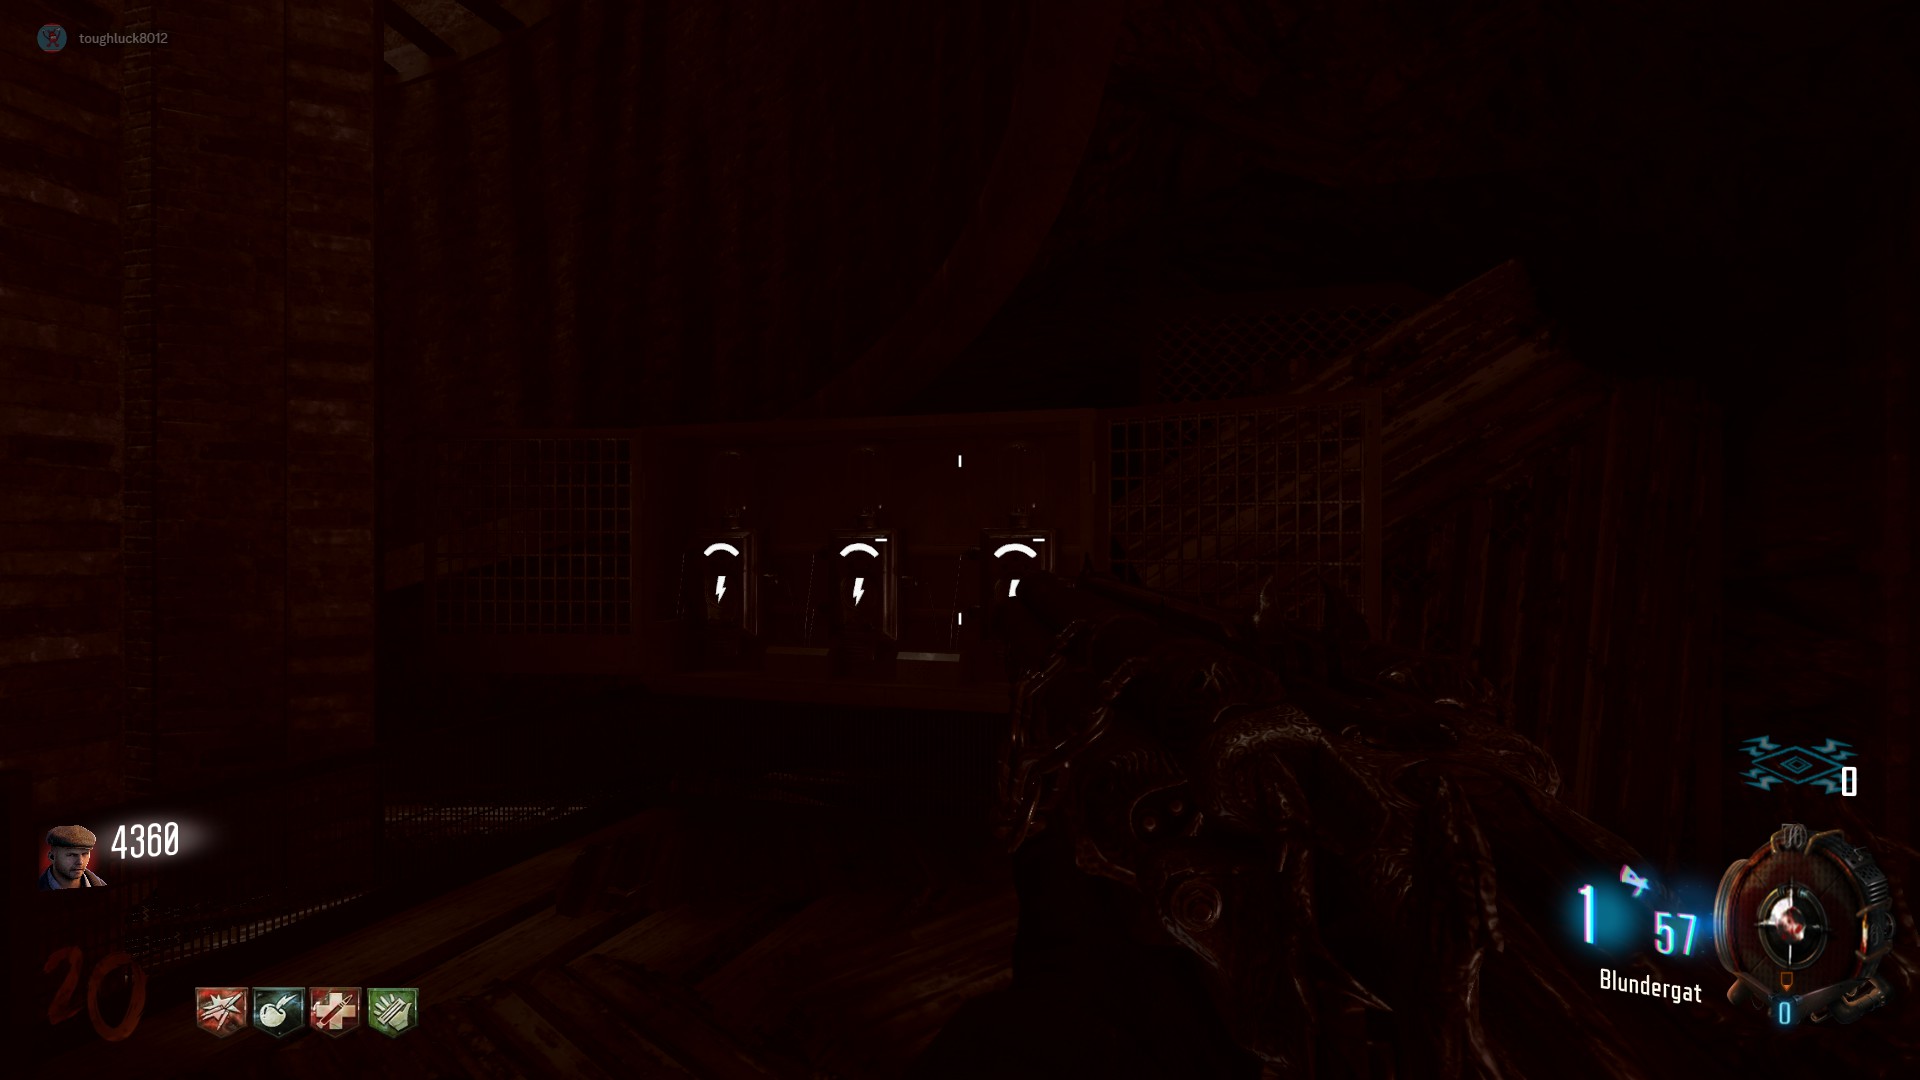
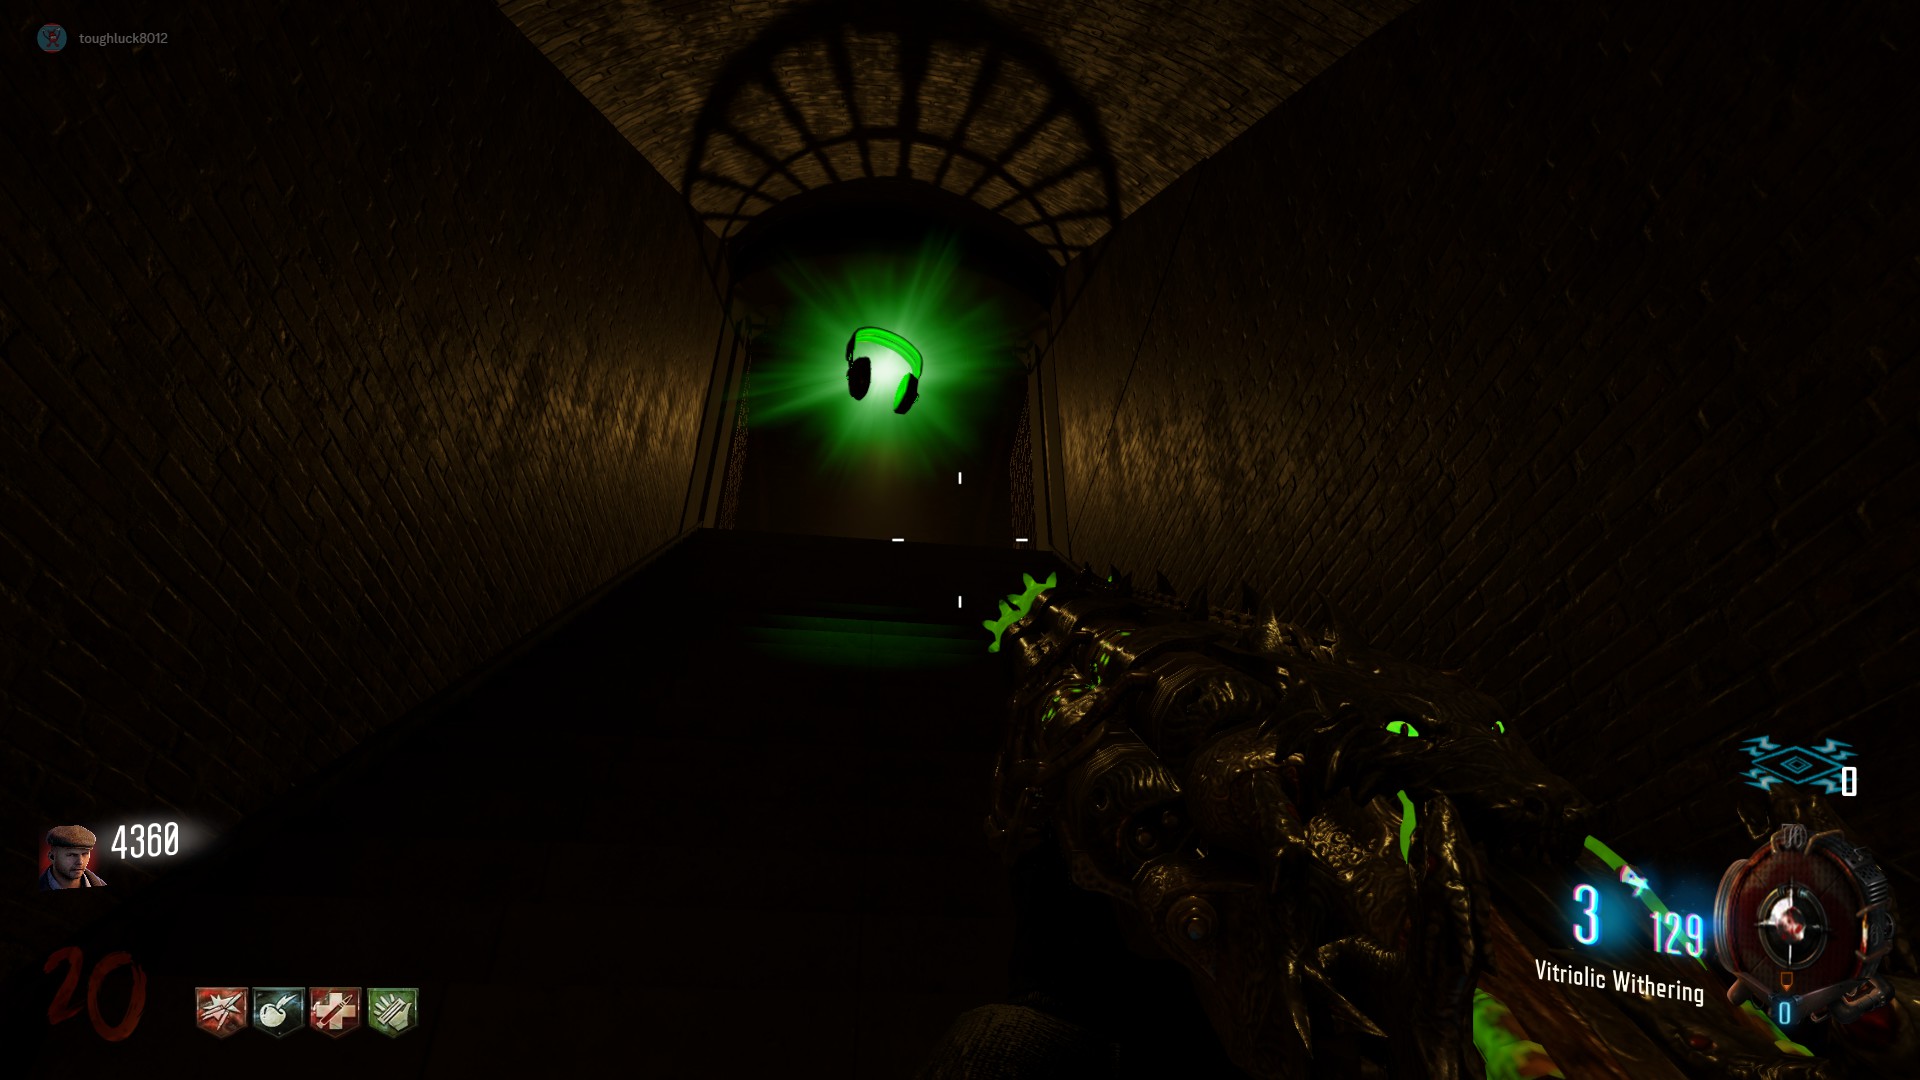
Main Easter Egg Step 6: Ride the Plane in Afterlife
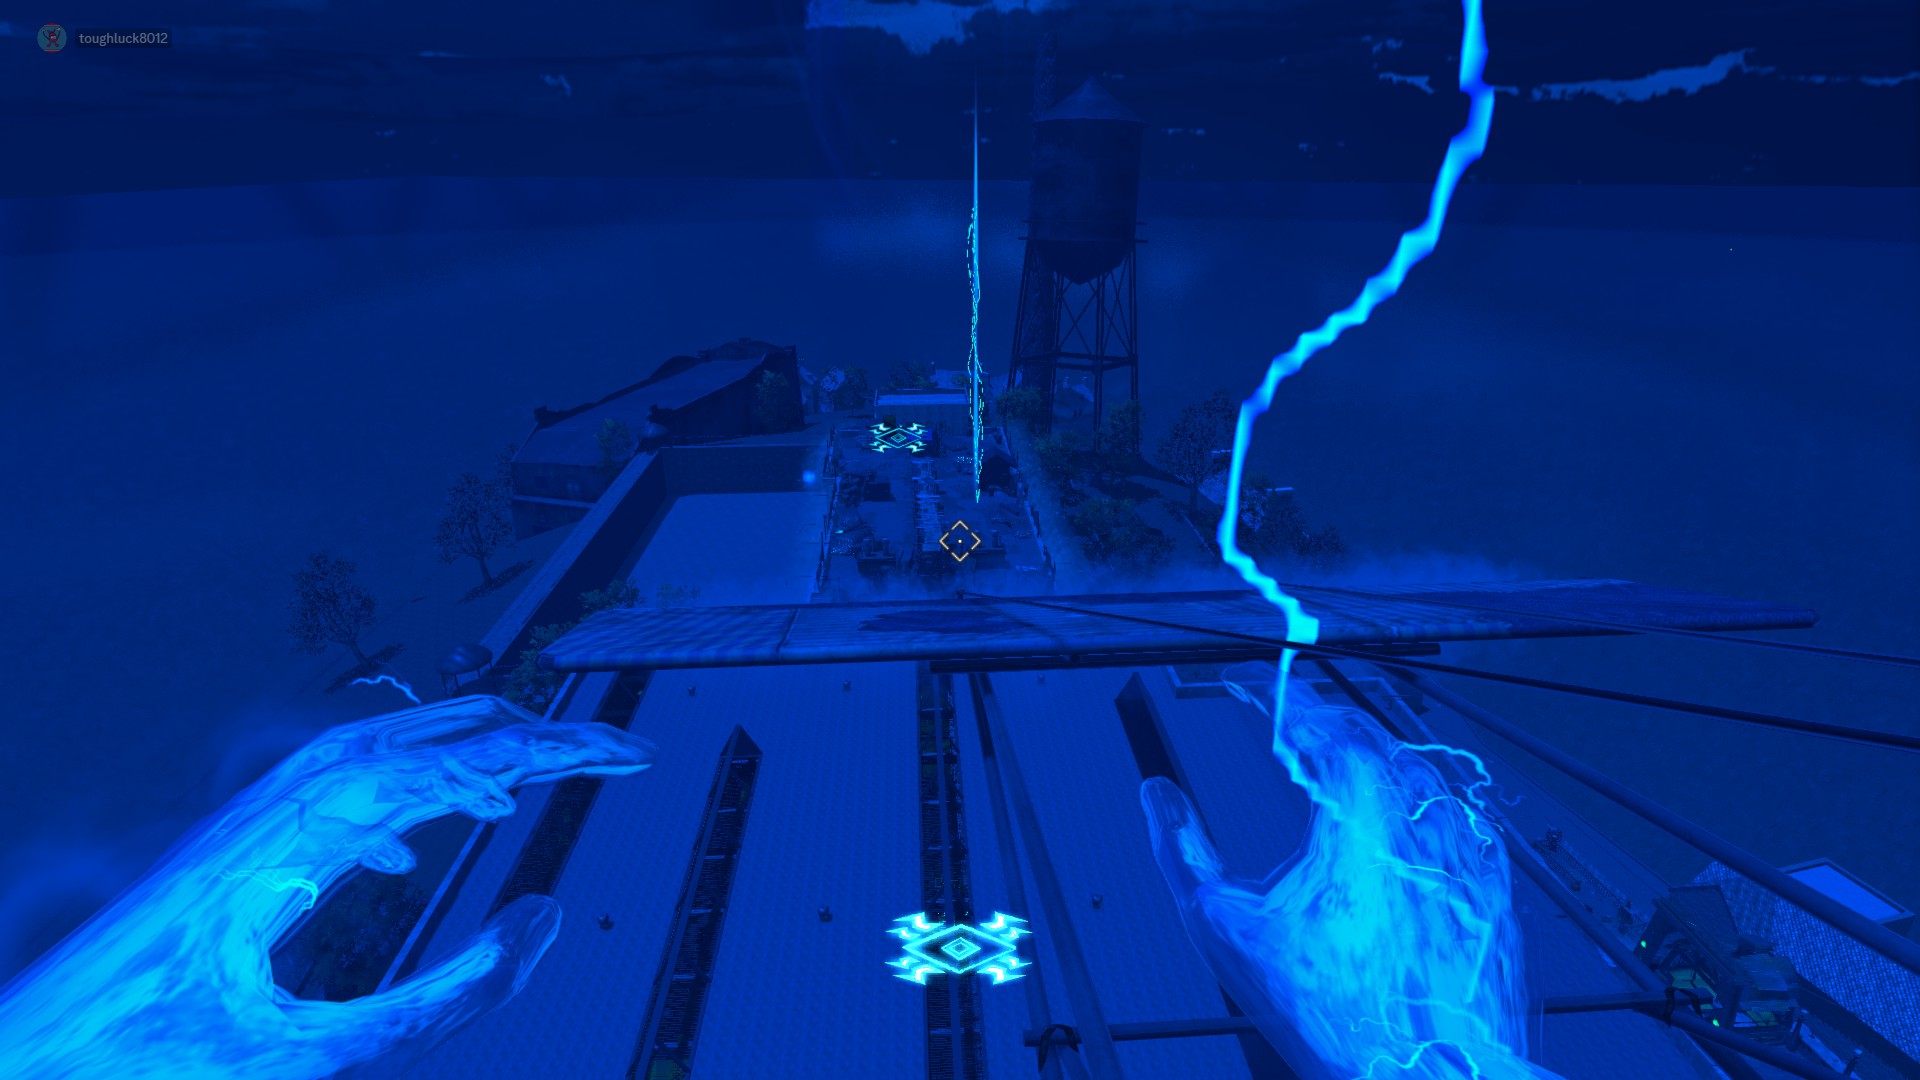
Once on the bridge, head over to the electric chairs and revive yourself. For Solo players, this is the end of the Easter Egg and the end screen will pop up shortly.
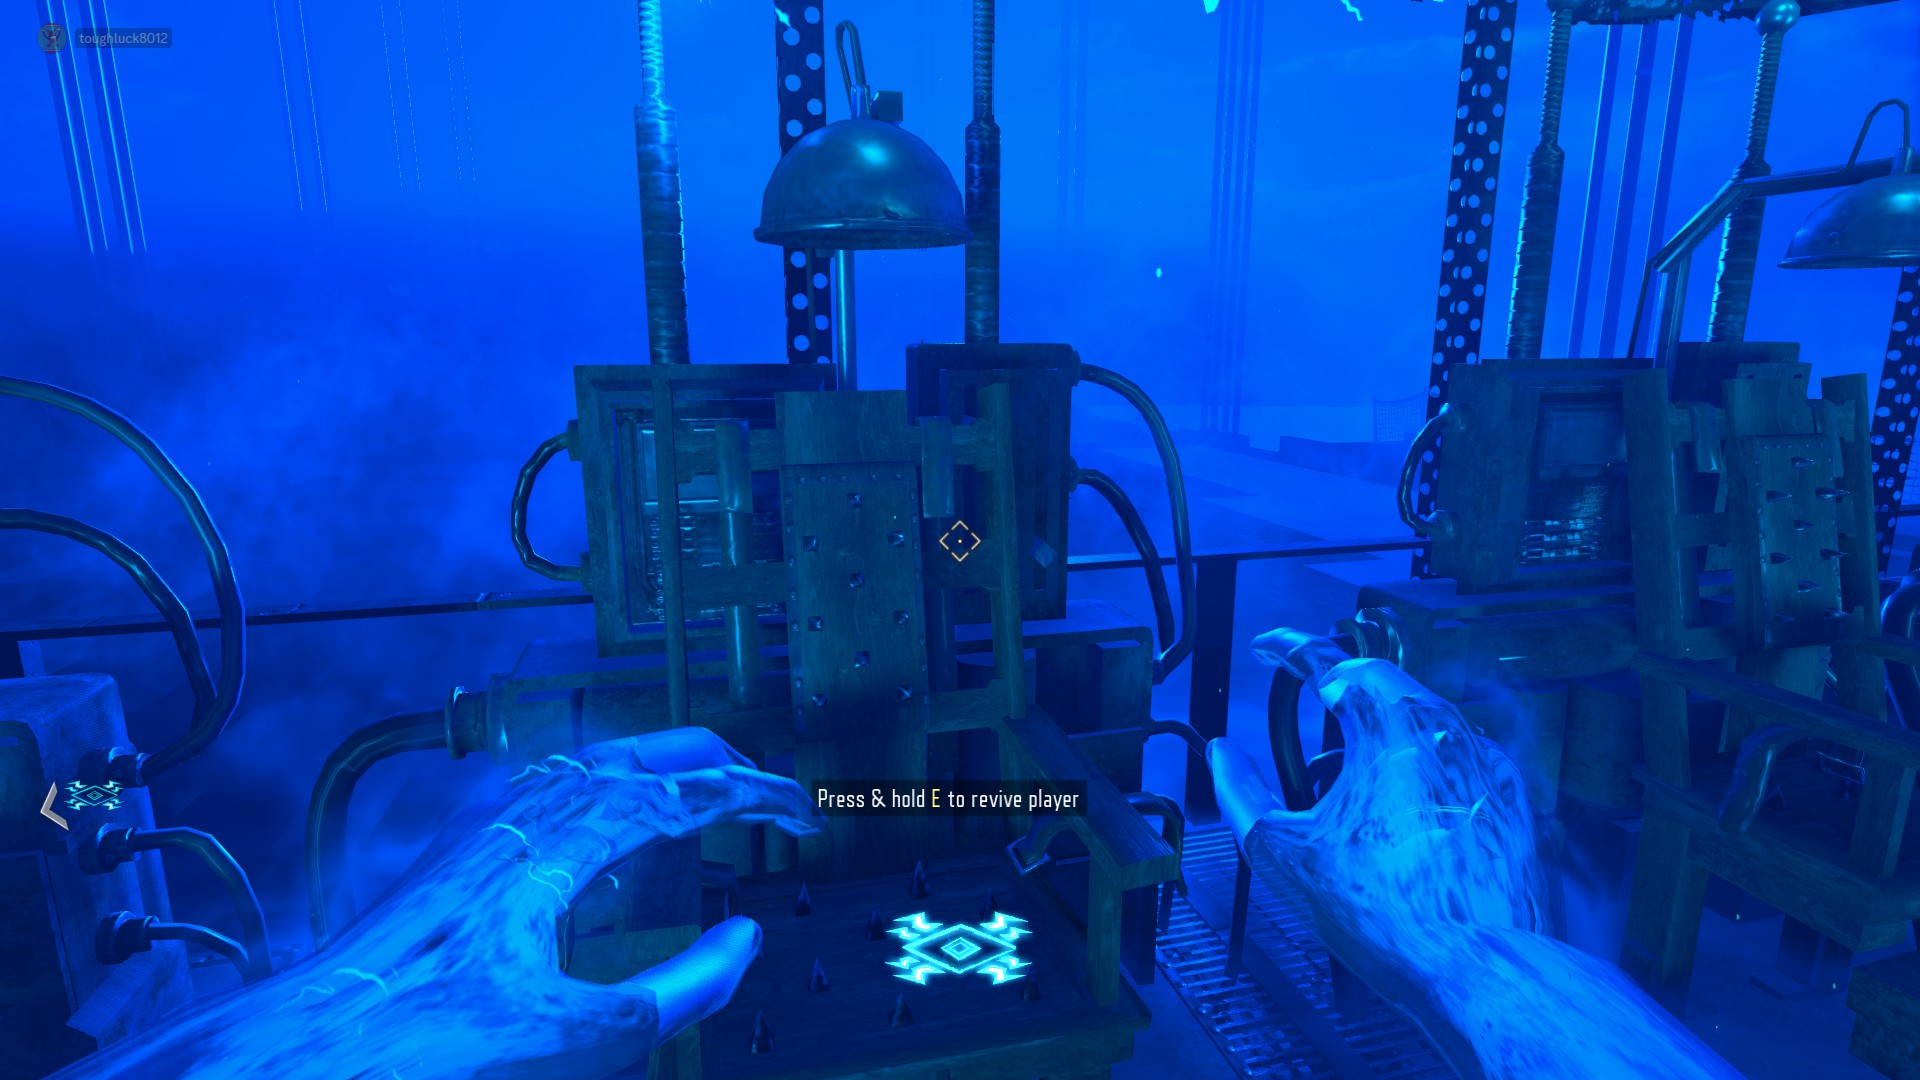
Main Easter Egg Step 7: (Co-Op) Fight
If you are playing with multiple players, you will enter into a PVP section. The player controlling "The Weasel" will be marked for the other players, and vise versa. Weasel should have increased health compared to the other players. Fight among yourselves until the weasel dies or kills the other players.
Upon Weasel Dying, you will be met with the "The Cycle Continues..." screen and will have completed the Easter Egg.
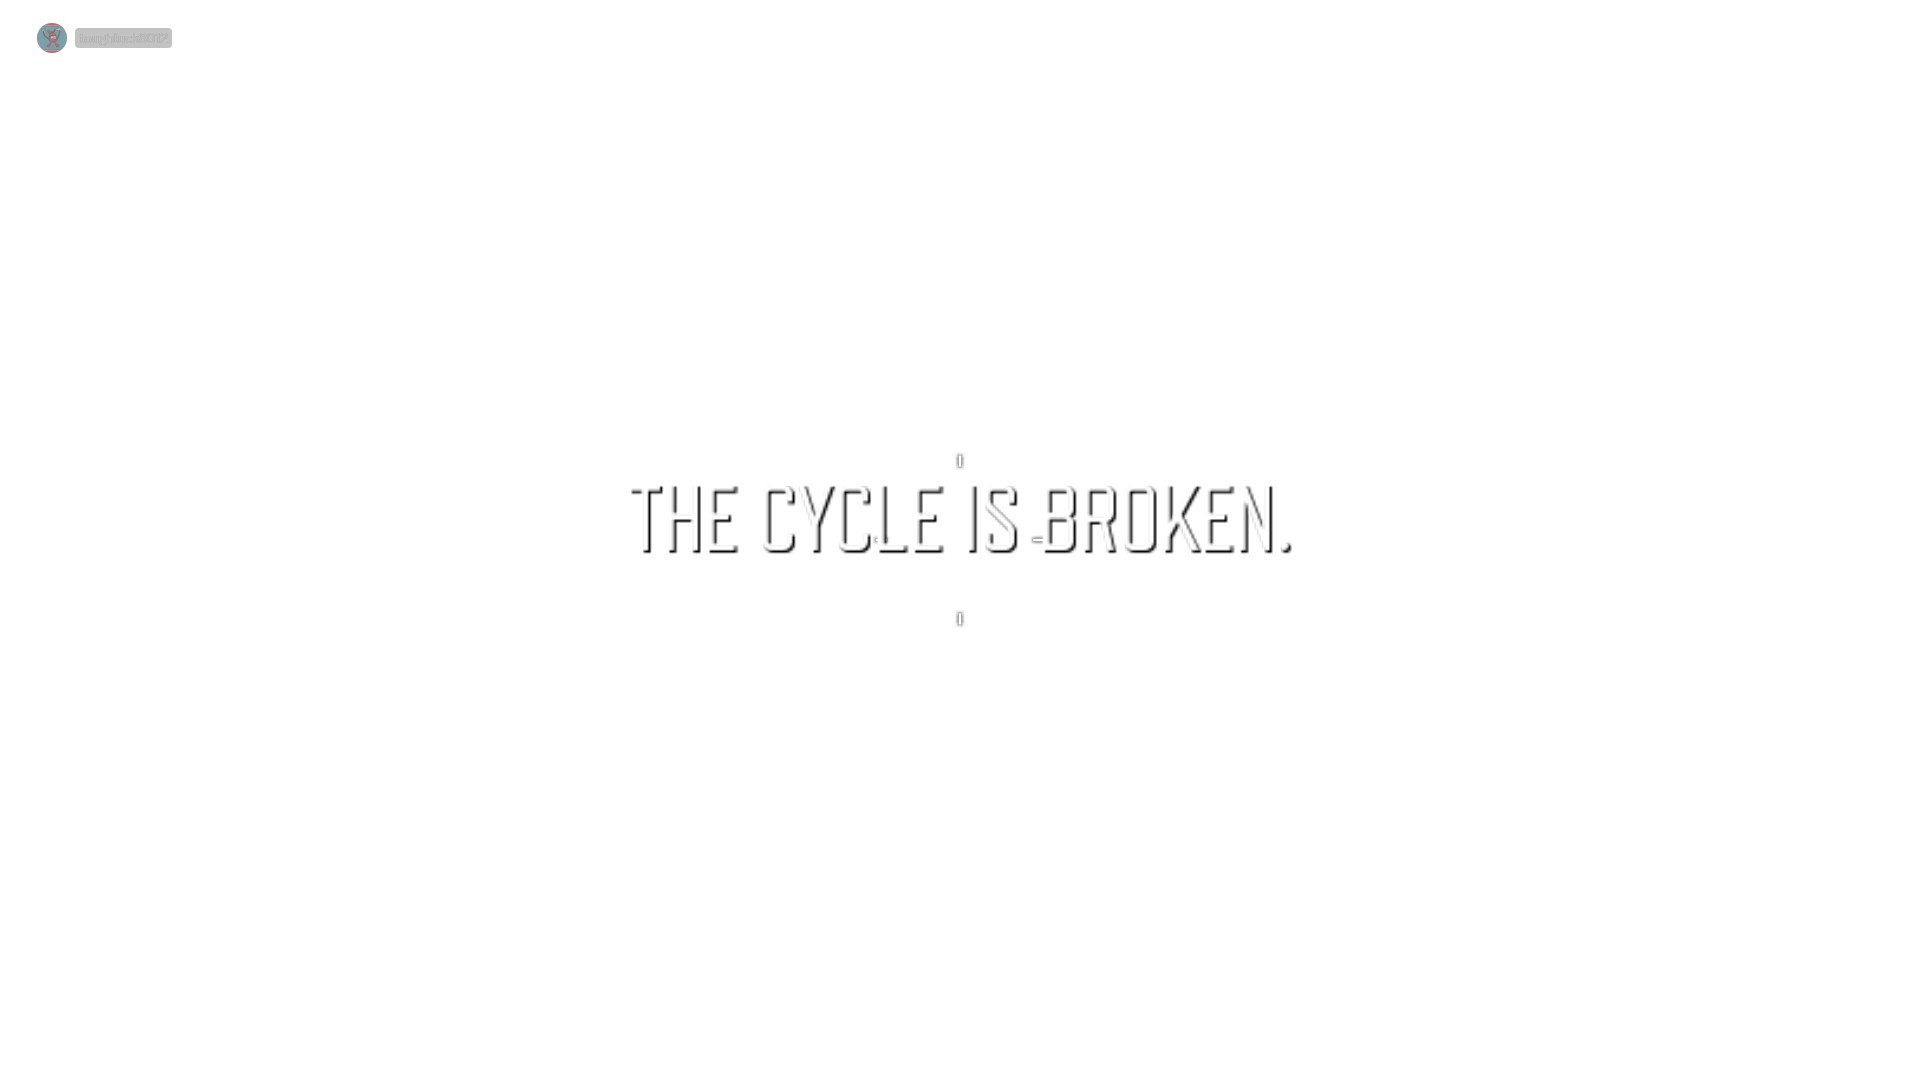
Upon Weasel killing everyone else, or in the case of a solo game, you will be met with the "The Cycle is Broken..." screen and will have completed the Easter Egg.
Main EE TLDR
- Get Hell's Retriever
- Build the Plane and Go to the Bridge
- Tomahawk the poster and shock the spoon behind it in Afterlife
- Get Free Blundergat via the Skulls
- Get Cafeteria Spoon w/ Hell's Retriever
- Go Back to the Bridge a Total of 3 Times
- Input 101, 872, 386, 481 in the Spiral Staircase in Afterlife
- Follow the Audio Reels up to the Roof
- Do Not Get Plane Fuel Parts, All players go ride the Plane in Afterlife Mode
- Revive yourself on the Bridge (Solo EE wins here)
- (Co-Op) Fight among yourselves until the weasel dies or kills the other players.
- All Around Enhancement Mod Description And Info★ 5 (597)211k views1.2k ♥34 minUpdated Aug 10, 2023
- Black Ops 3: Console Commands★ 5 (1.1k)123k views2.4k ♥7 minUpdated Feb 13, 2020
- Origins Ultimate Guide★ 5 (562)72k views1.7k ♥17 minUpdated Jun 24, 2017
- Guide for Shadows of Evil [2020 updated]★ 5 (1.4k)67k views4.5k ♥24 minUpdated Mar 22, 2024
- Guide for Der Eisendrache [2020 updated]★ 5 (1.3k)65k views4.6k ♥30 minUpdated Feb 22, 2024
- How to download the community T7patch by Serious and play online zombies safely (also FPS Fix)★ 5 (491)62k views1.2k ♥4 minUpdated Apr 30





- Upgrading to PremiumTeam Fortress 2★ 5 (20k)1441k views11k ♥6 minUpdated May 11, 2022
- No More Room in Hell Official ManualNo More Room in Hell★ 5 (2.8k)569k views2.1k ♥29 minUpdated Apr 22, 2019
- NMRiH Community Hosting GuidesNo More Room in Hell★ 5 (526)351k views653 ♥1 minUpdated Aug 10, 2022
- Лучшие кооперативные игры SteamPAYDAY 2★ 5 (1.5k)315k views2.1k ♥56 minRussianUpdated Apr 27, 2025
- Desert Eagle Heat Treated | Blue GemCounter-Strike 2★ 5 (1.6k)292k views1.5k ♥2 minUpdated Jan 16
- Treasure Hunt Puzzle SolutionsTotal War: WARHAMMER II★ 5 (6.9k)281k views15k ♥3 minUpdated Aug 19, 2021






This guide was created by its original author on the Steam Community. Are you the author and want it removed? Request removal.