The 100% Guide of Terminal Reimagined
The Beginning of the Game
Okay, you just finished the loading of the map and you arrive here : on a runway. This map has a lot of cool features and one of them is how you start the game. You have to fly in a jet aircraft.
How do you do that ?
Look on the left when you spawn and run to the aircraft.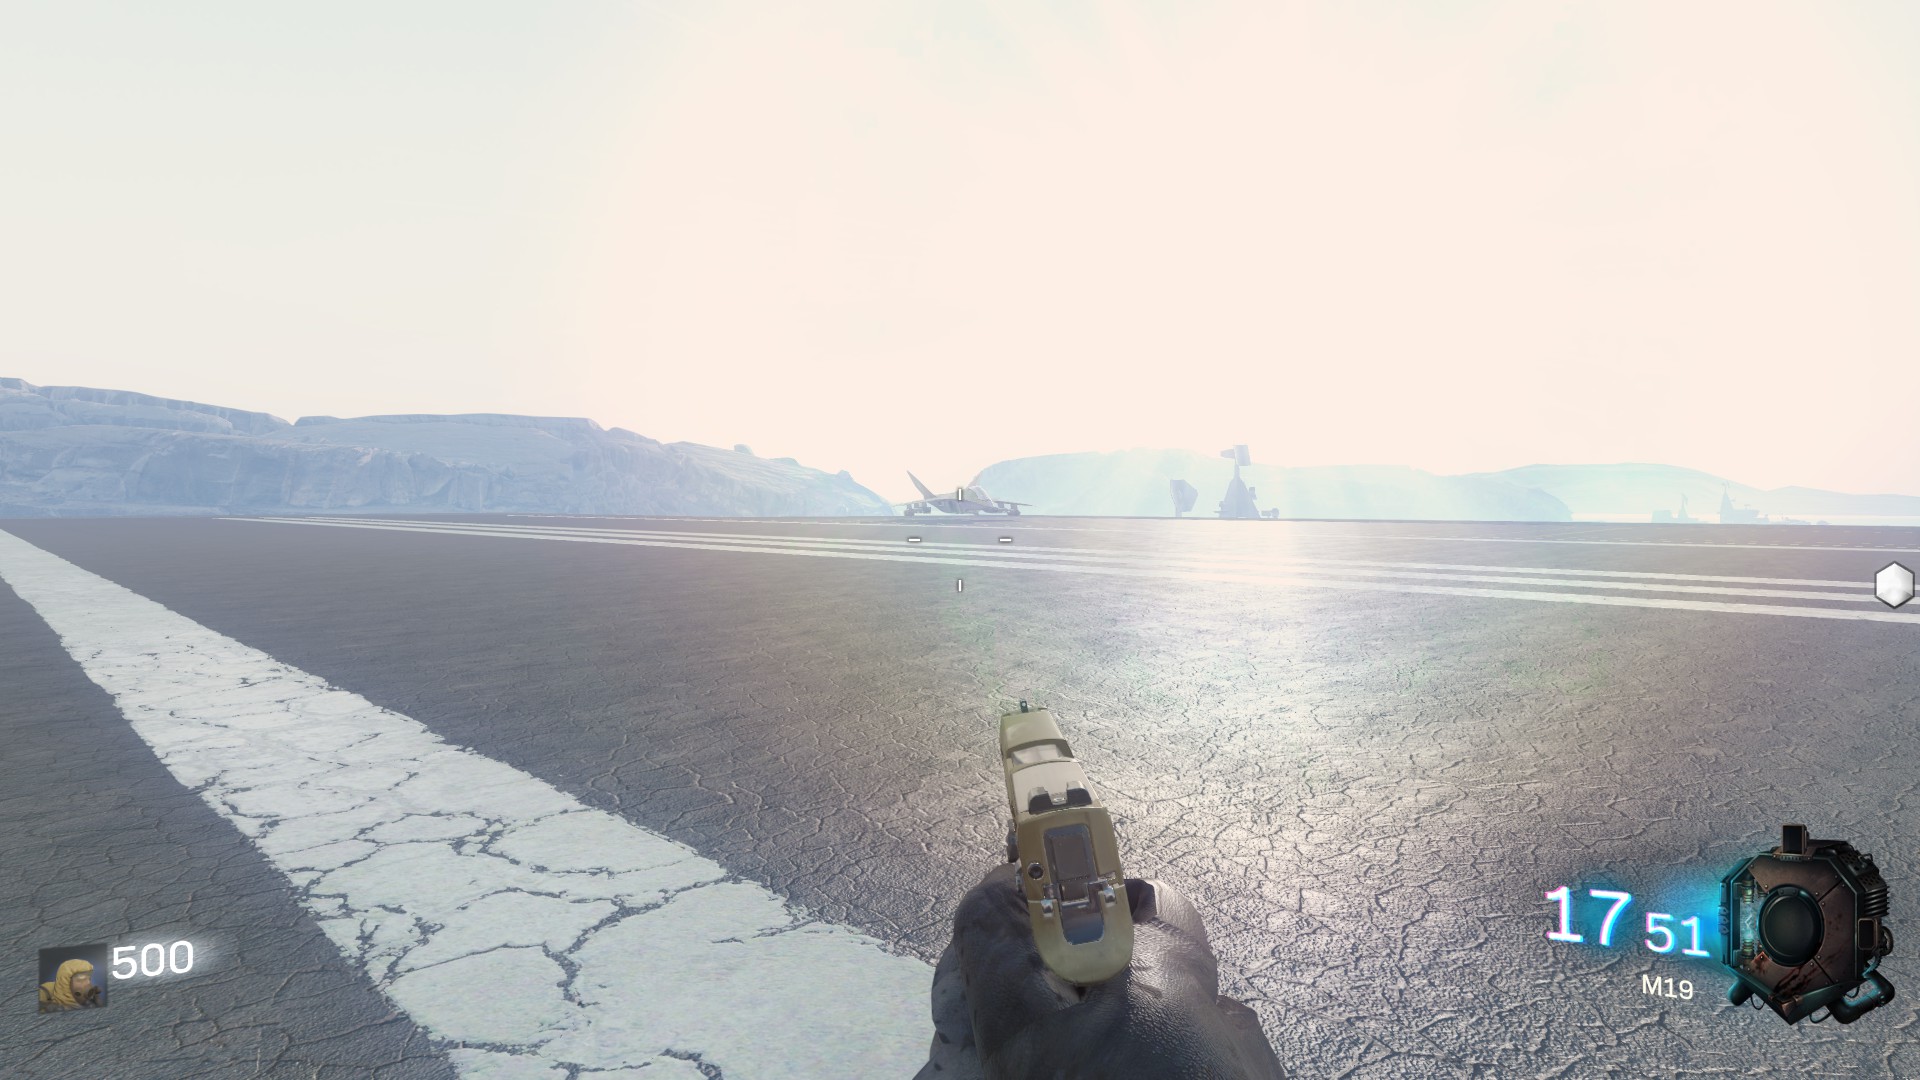 When you stand in front press your action button.
 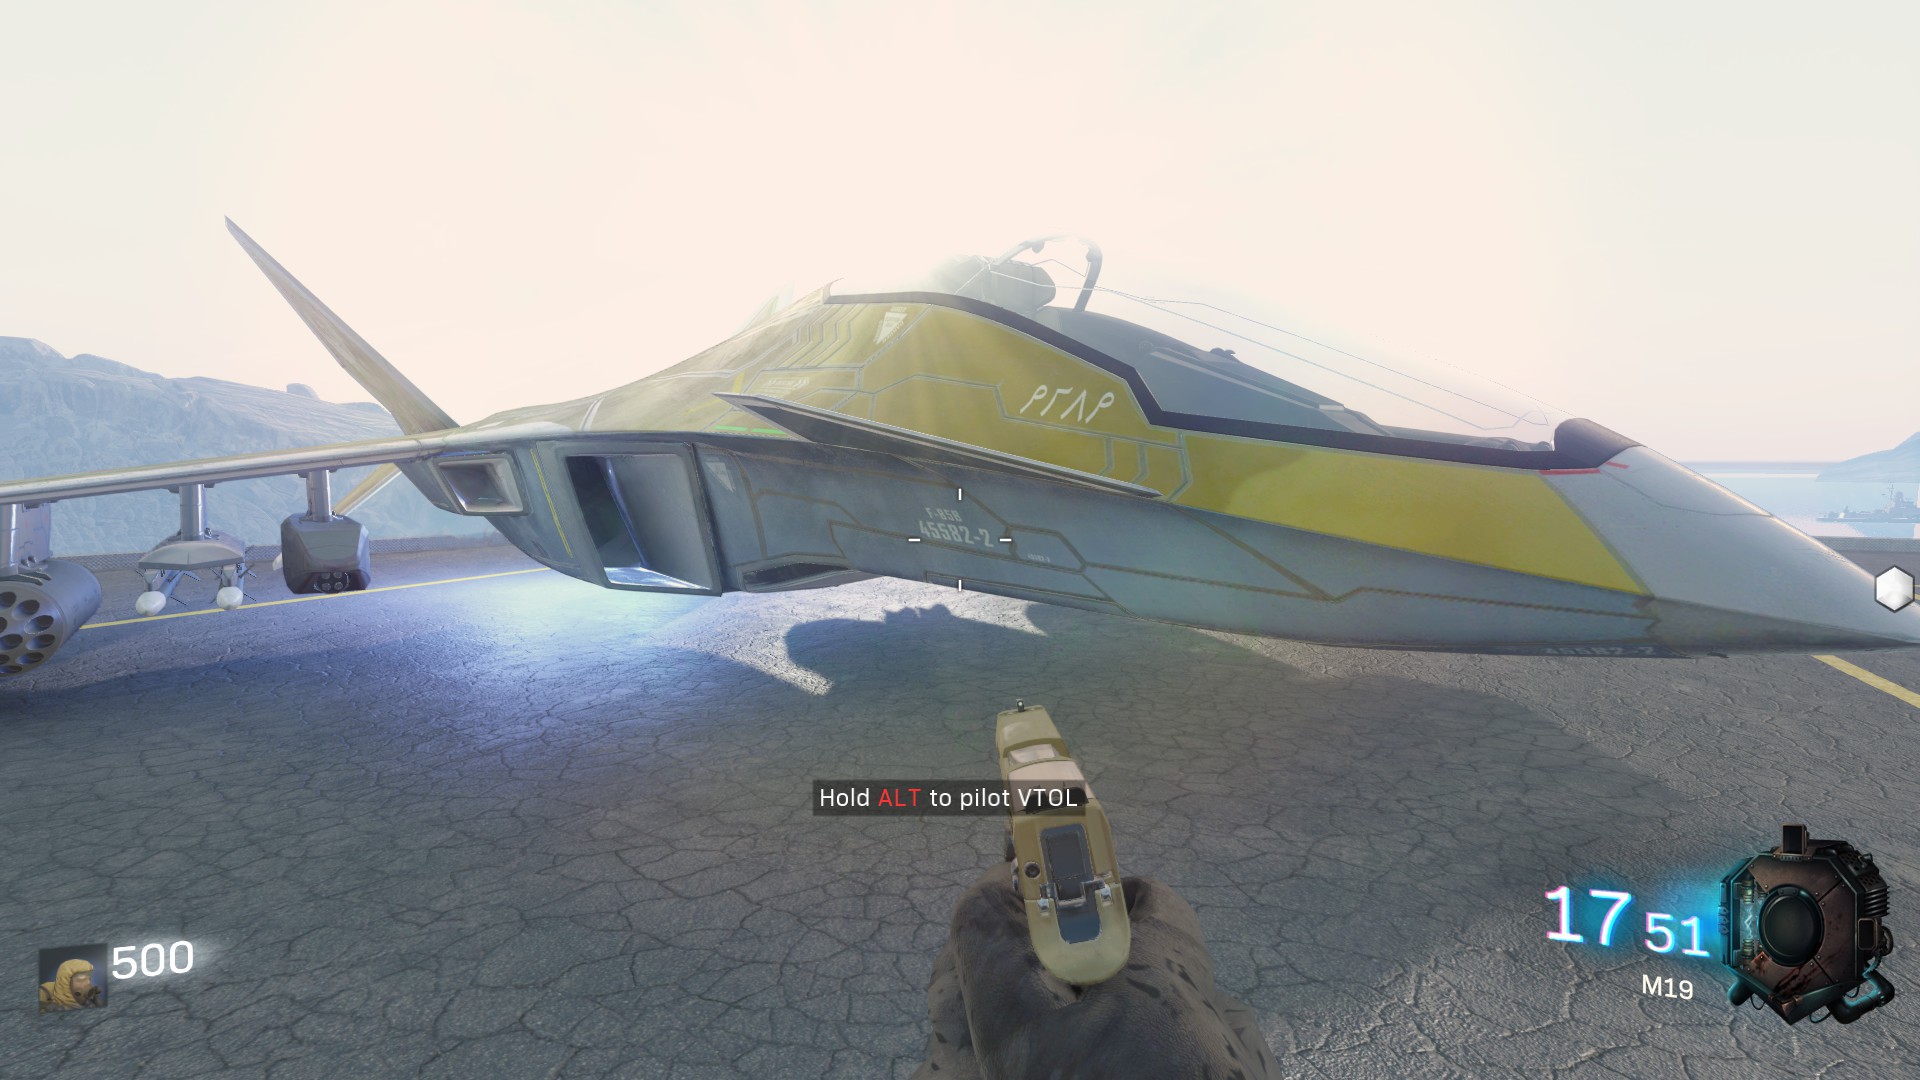 Fly towards the Waypoint Alpha.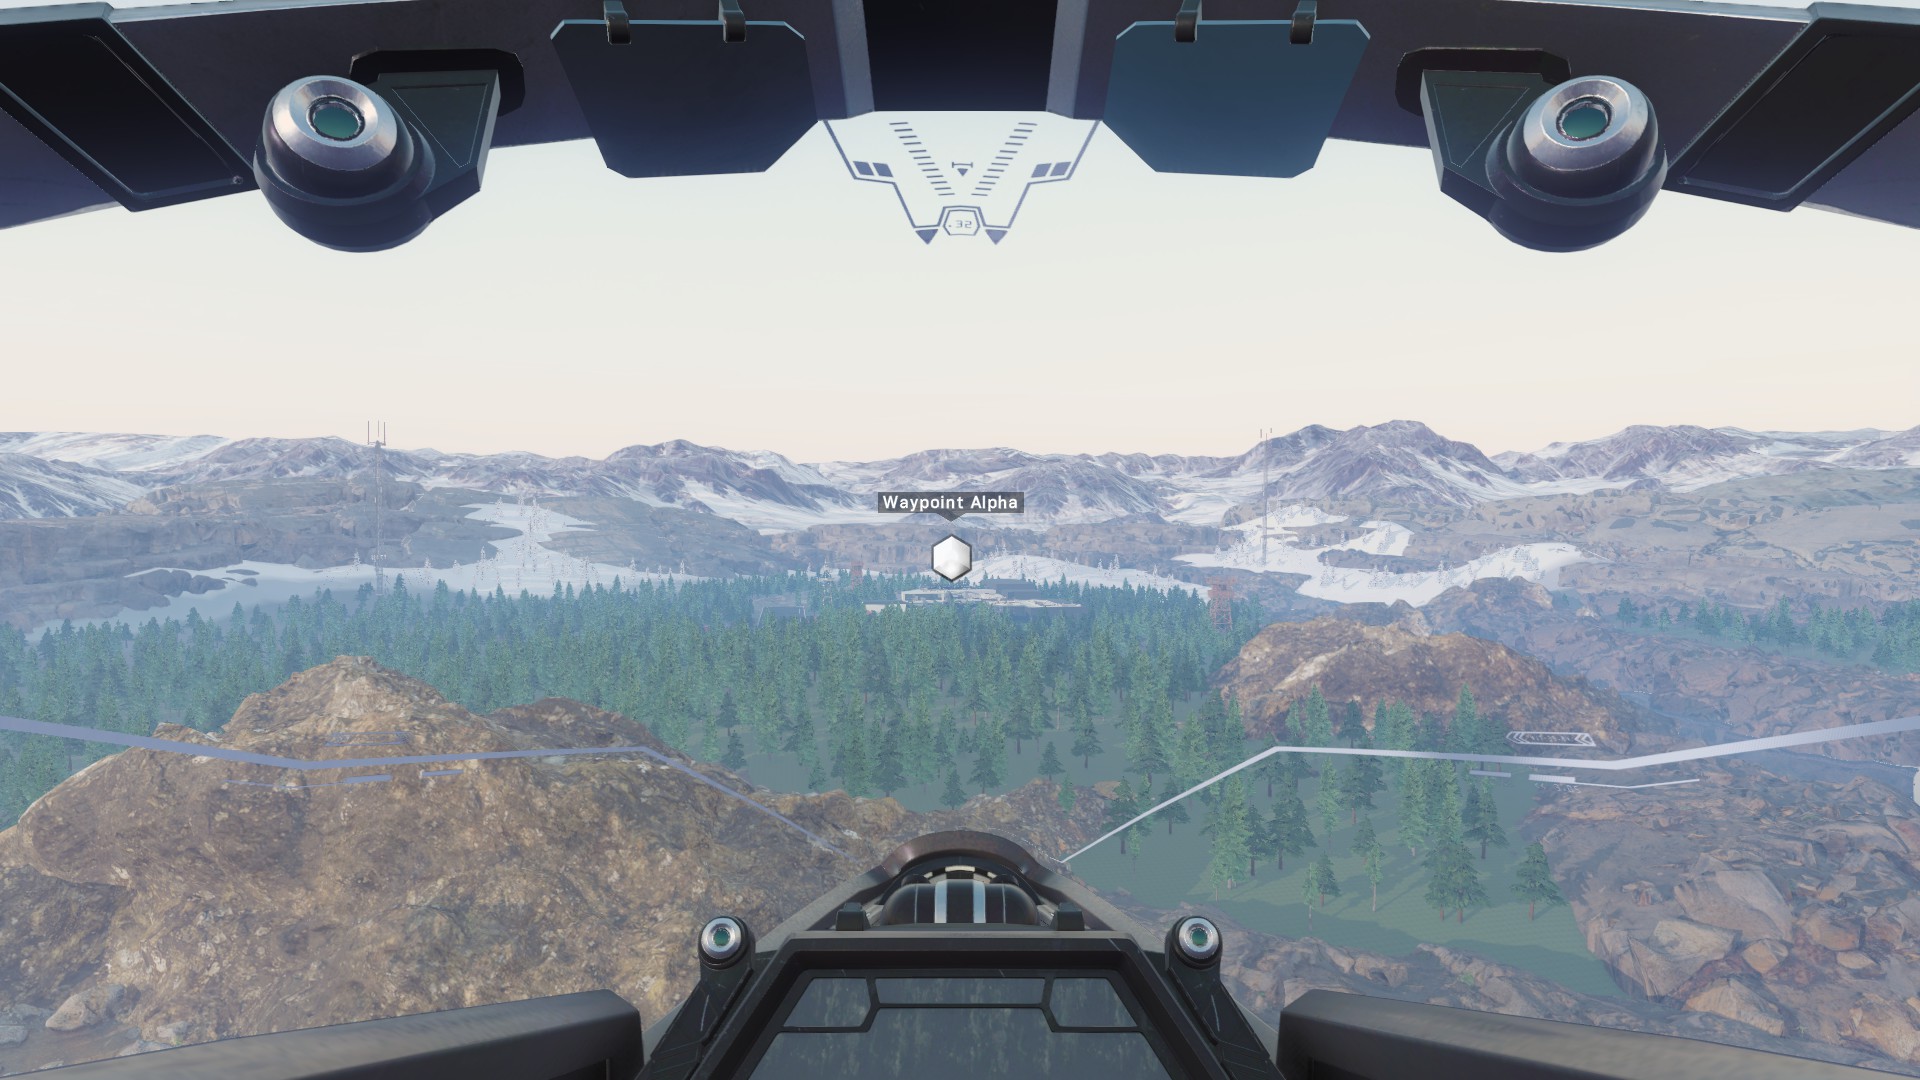
And what if you play in co-op mode ?
This is the same thing but instead of having one plane you'll have two. Funny thing, the first who arrive on the map will receive Juggernaut. So.. Good race !
The Four Craftable Items
I hope your landing and your first rounds went well because you'II have a lot of work to do ! There is four craftable items on this map : the Power, the Shield, the X-Ray and the Pack a punch.
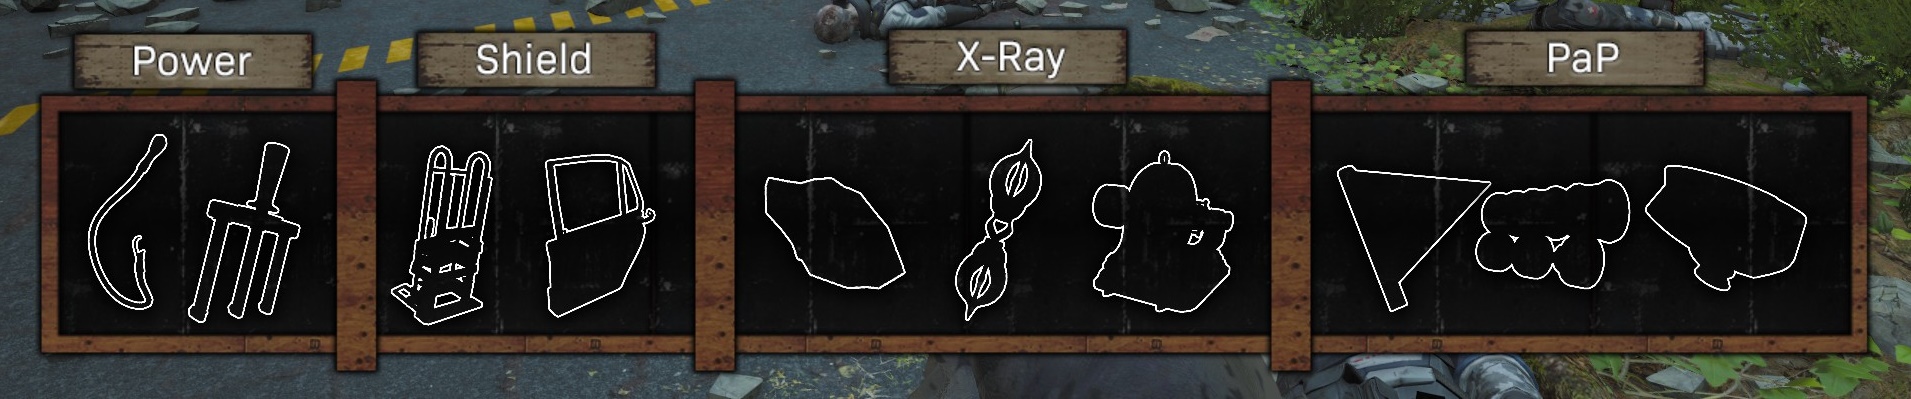
1. The Power
The Power Station is the most usefull item of the four. You need it for the secret, perks, etc... You'II find it on the roof of the map so save well as you will need money ! (something like 6000 points)
The best way to go
In the first room take the right path to the forklift (cost : 500P).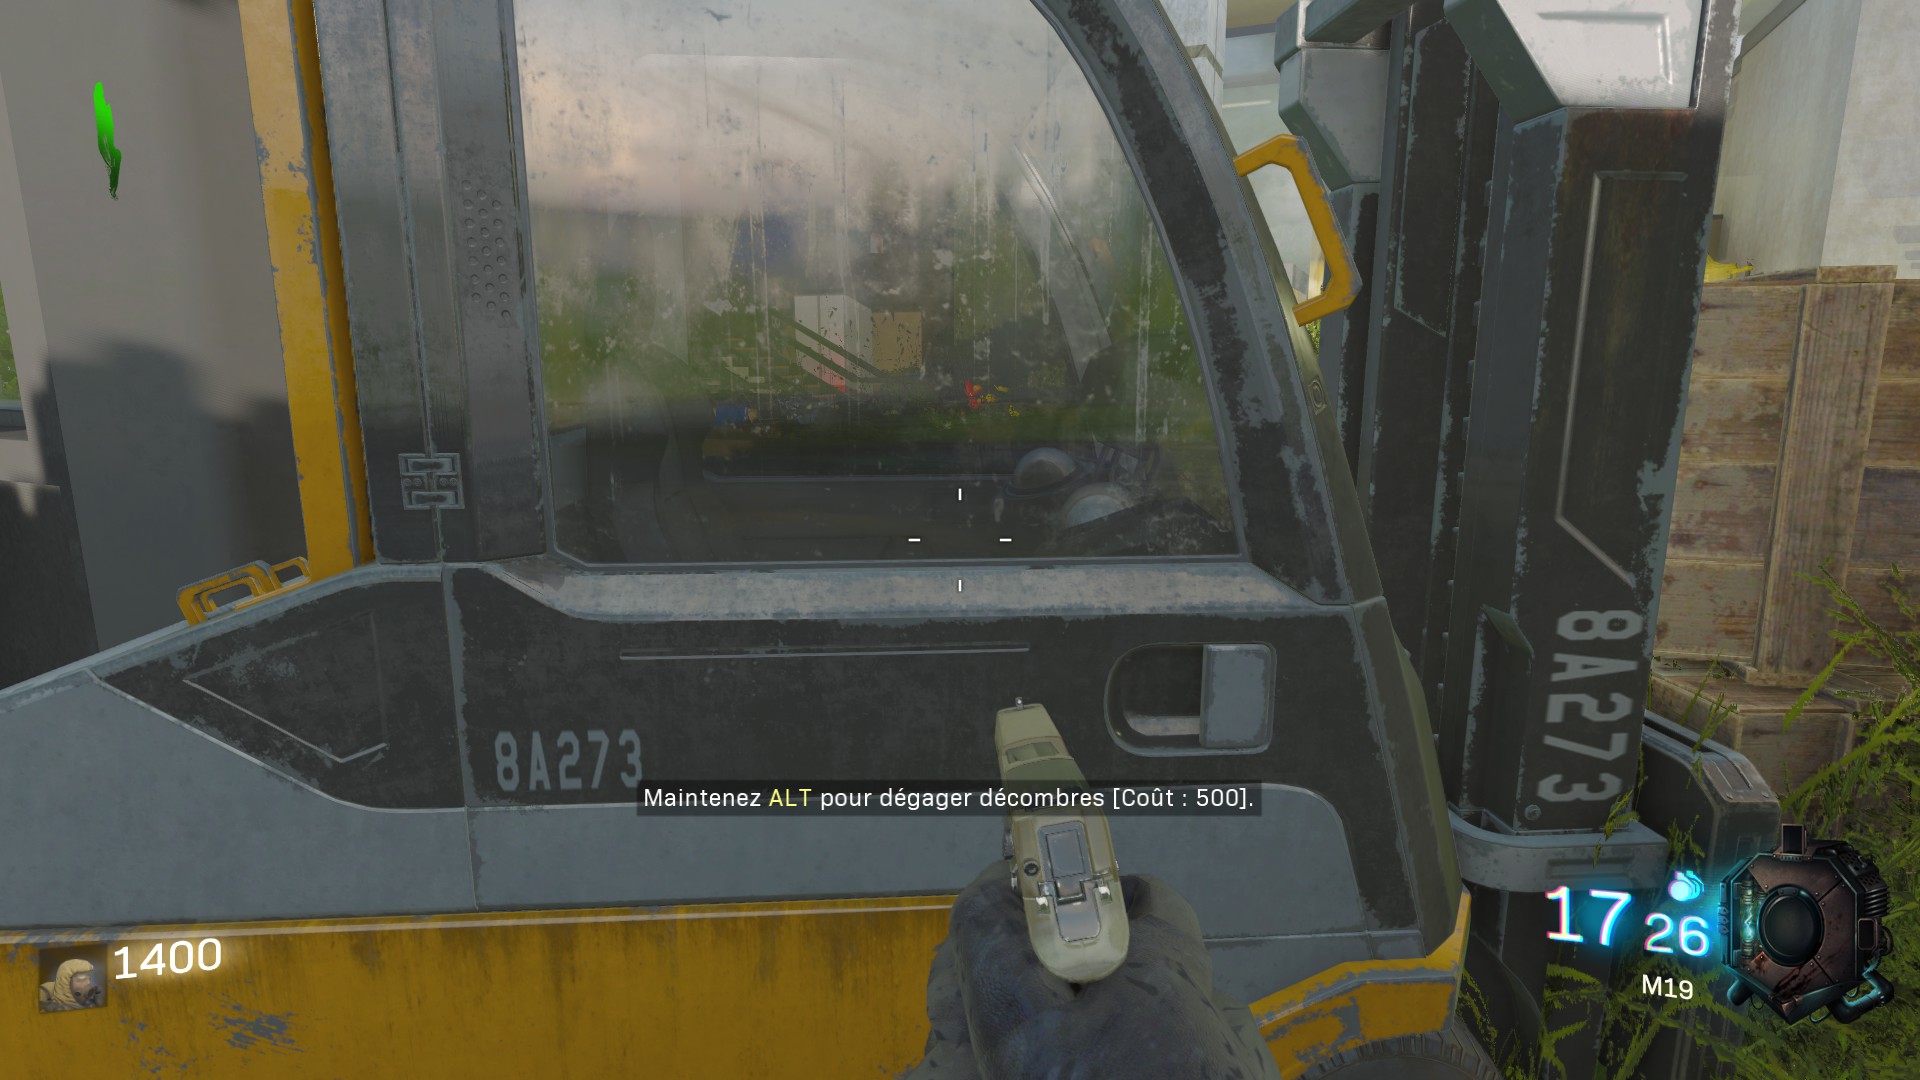
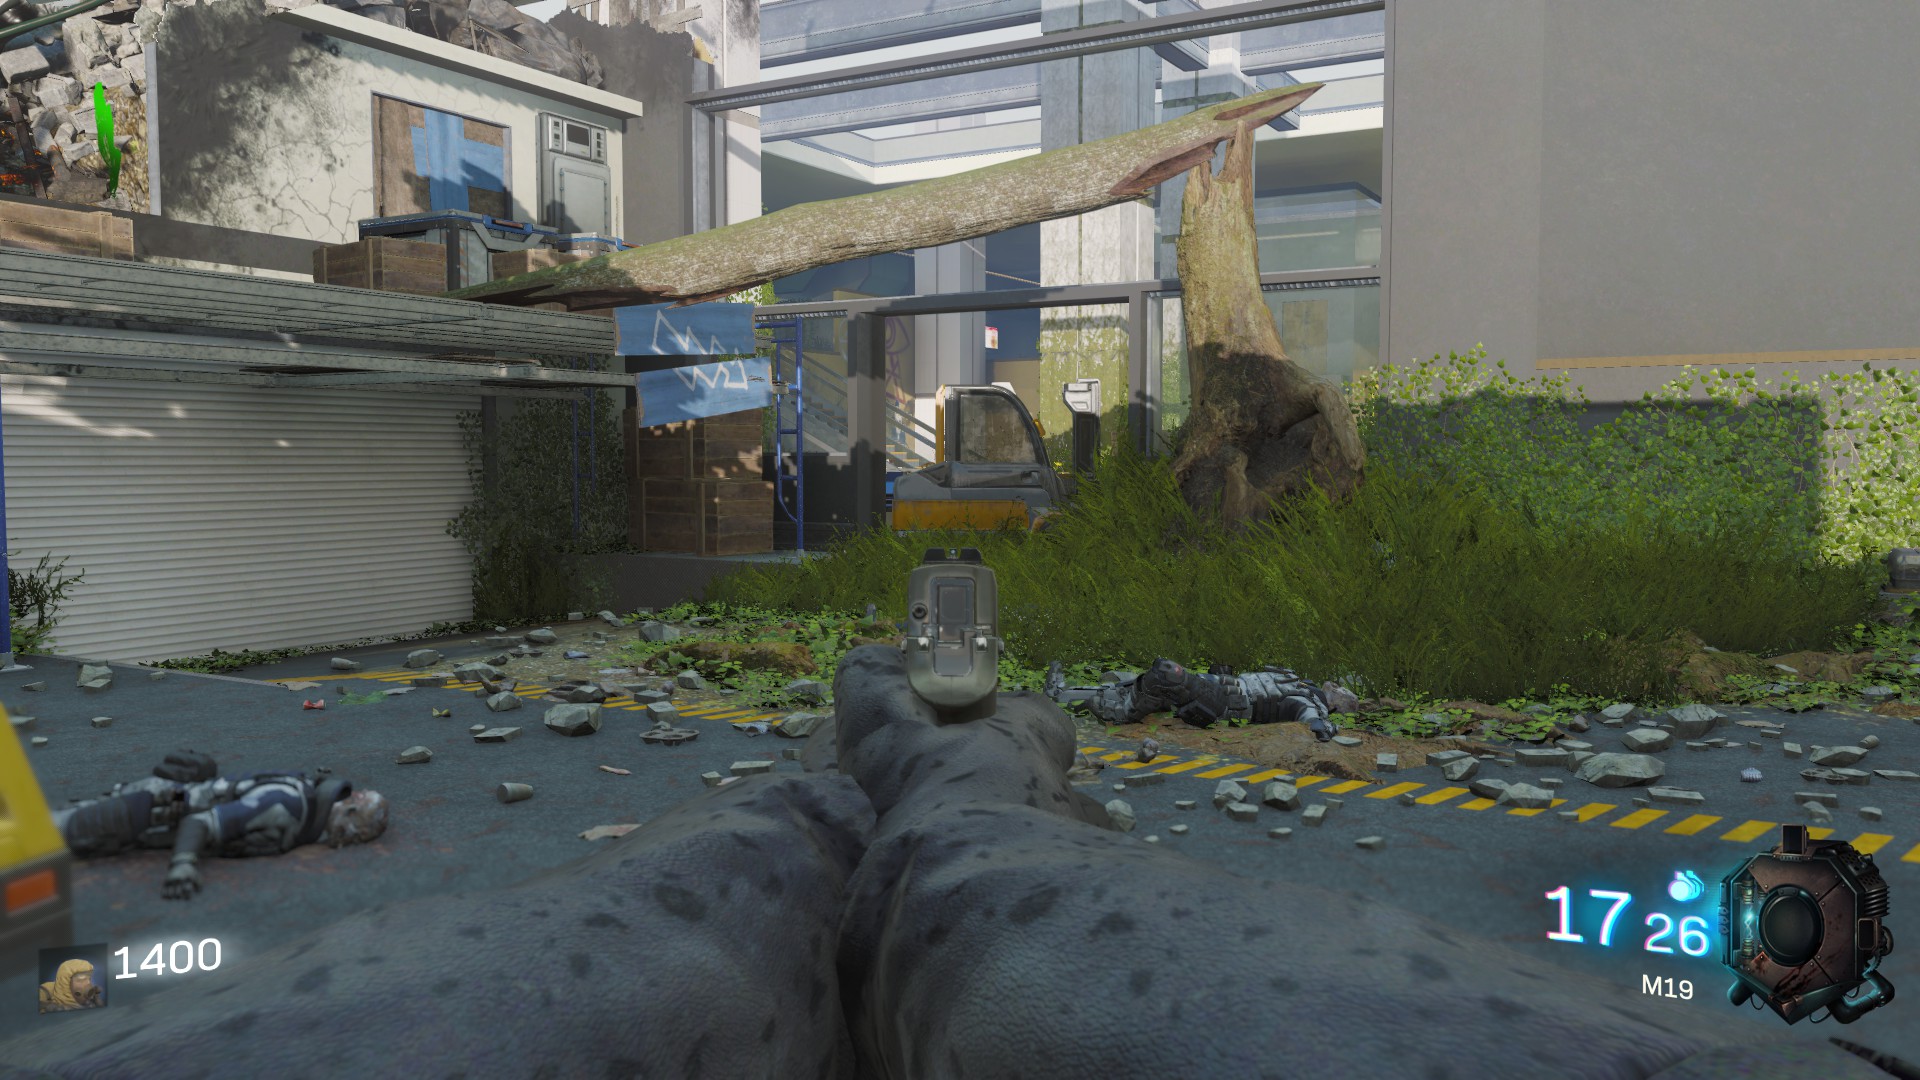
Then climb the escalator to your left (cost : 750P).
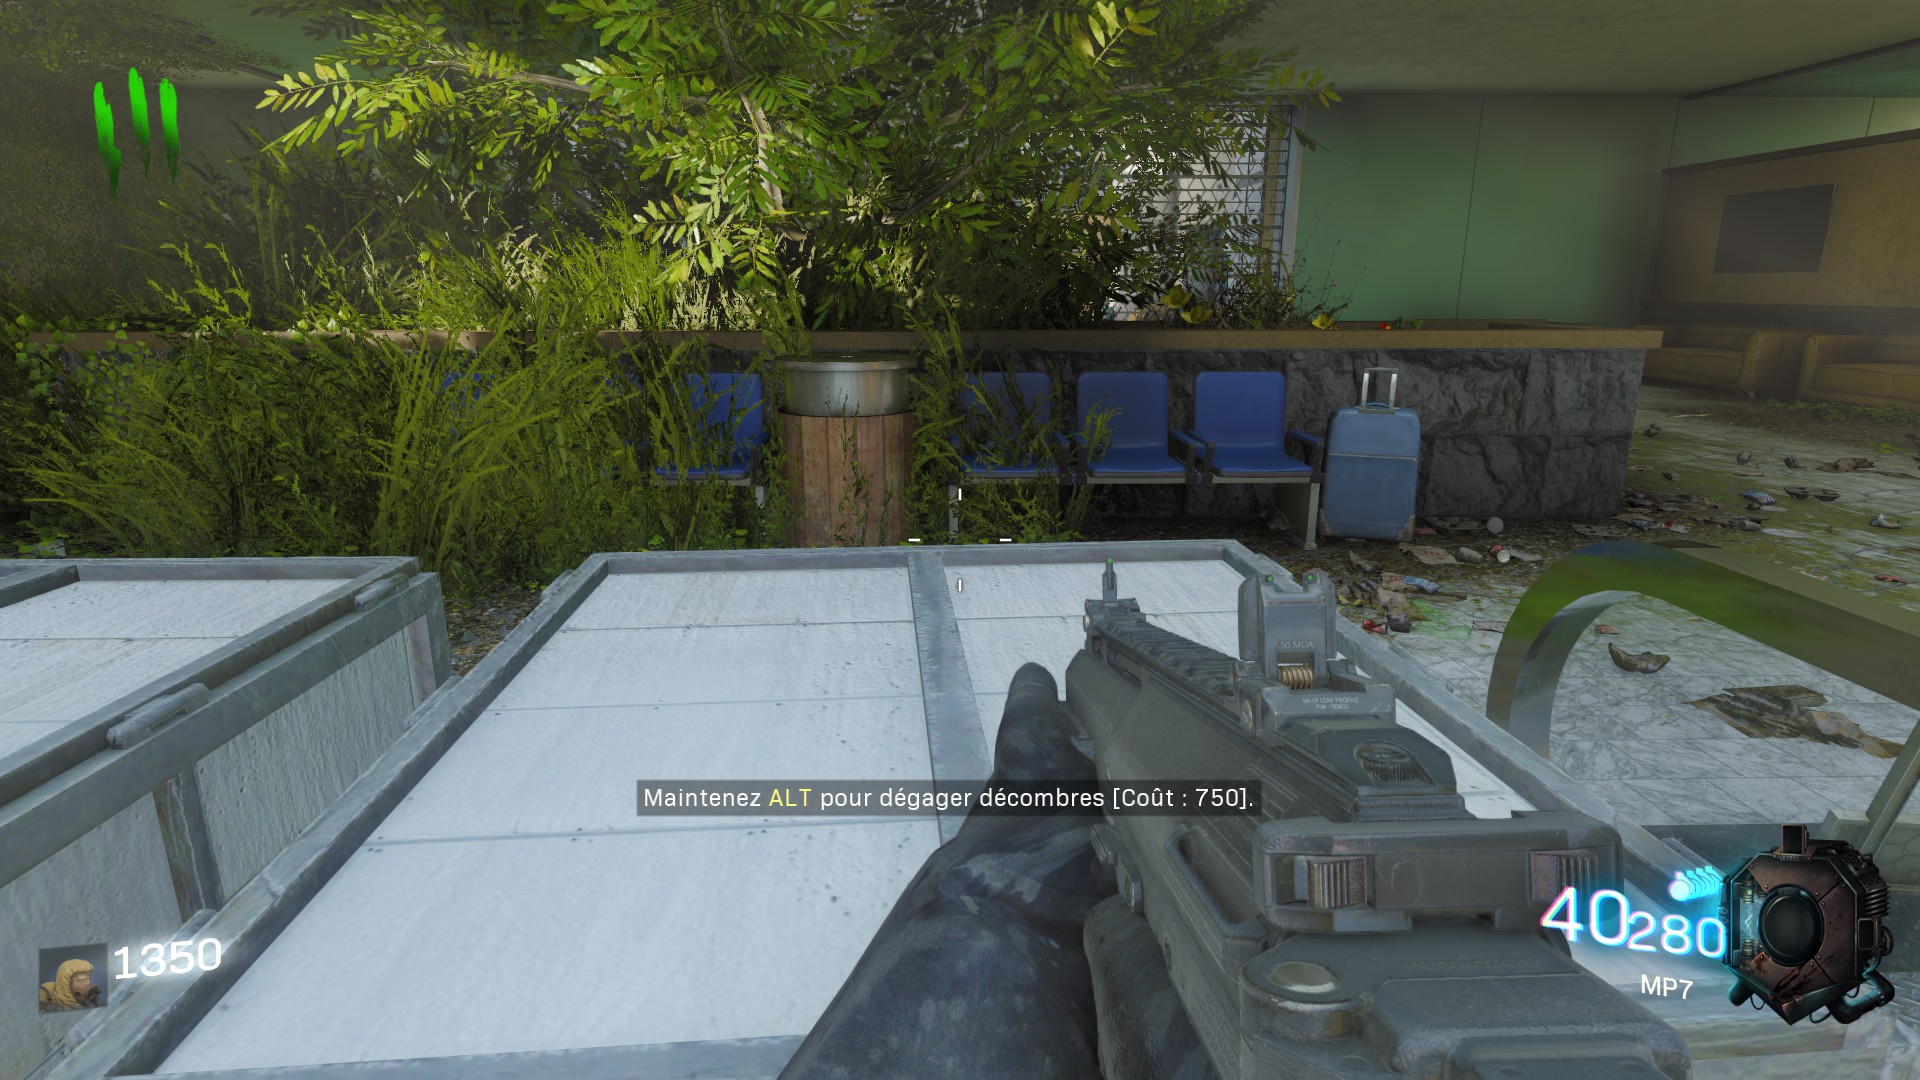
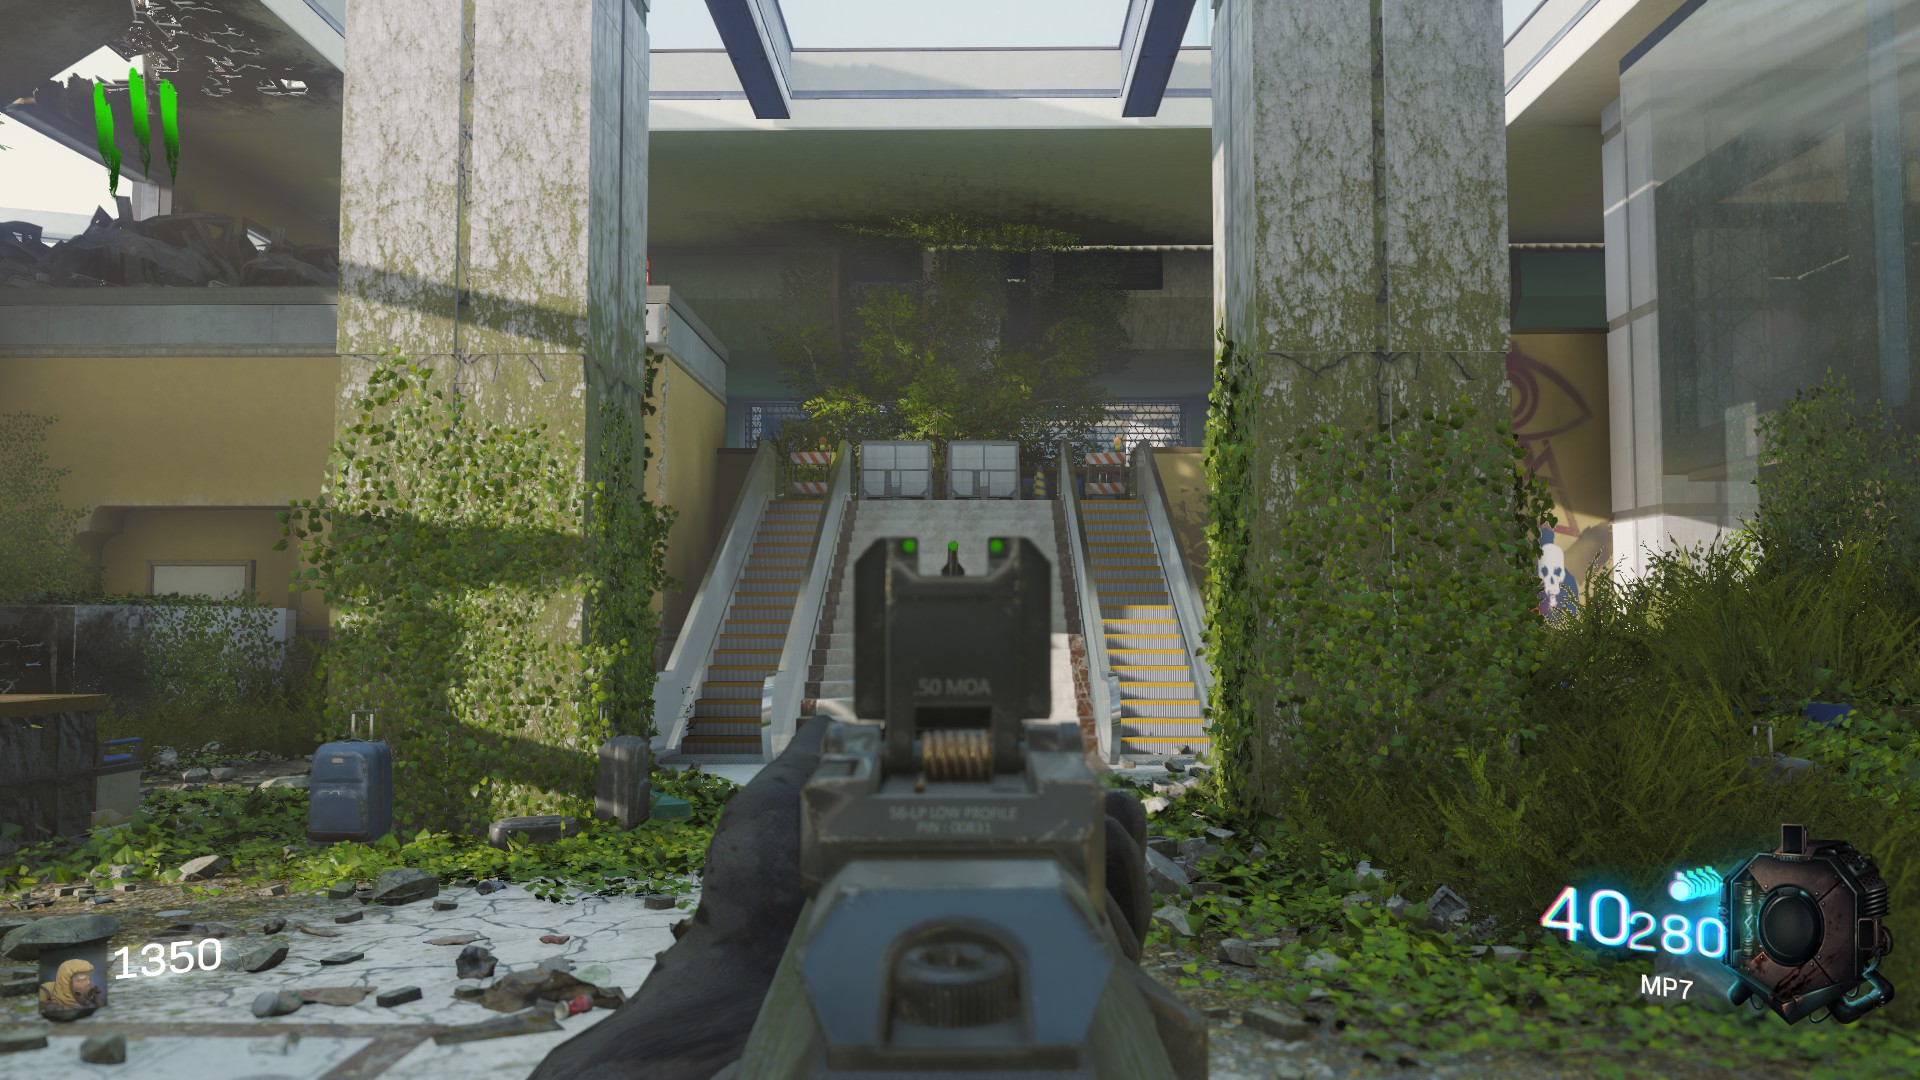
Go straight (cost : 750P).
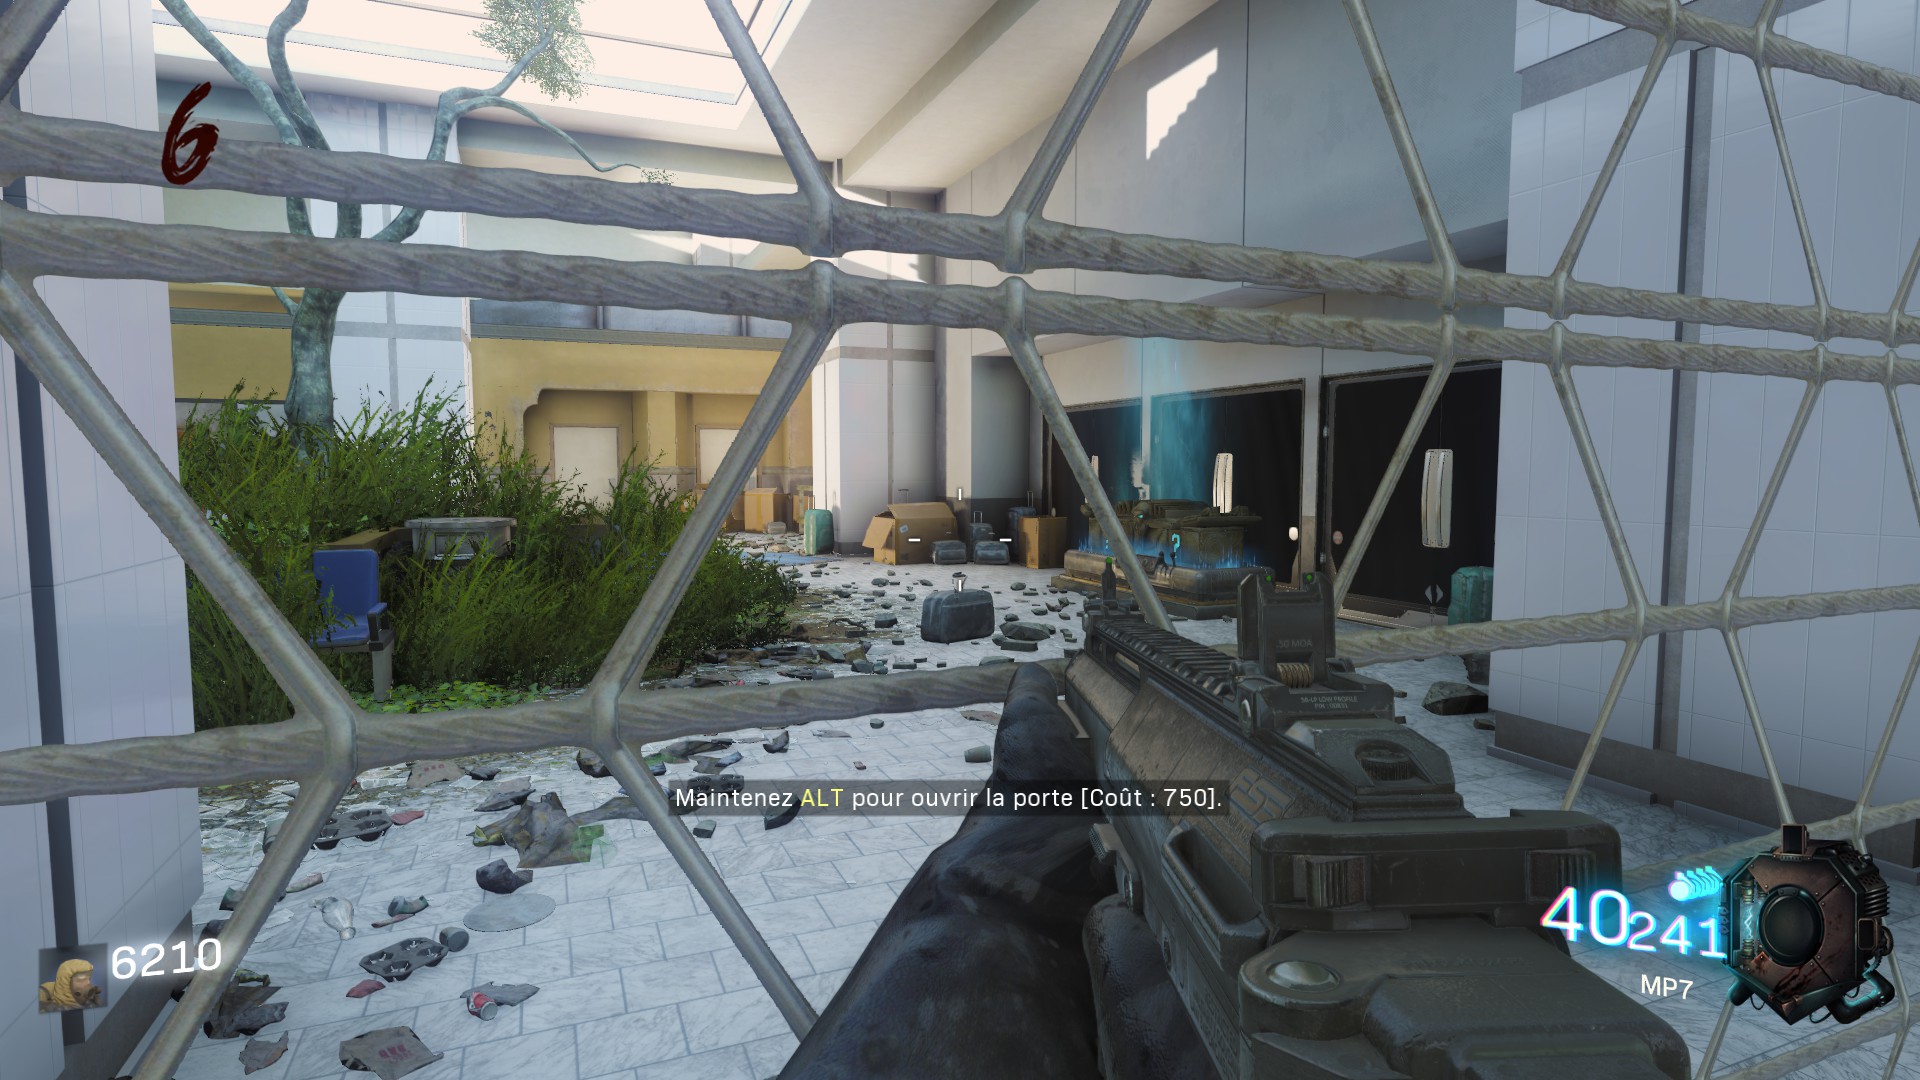
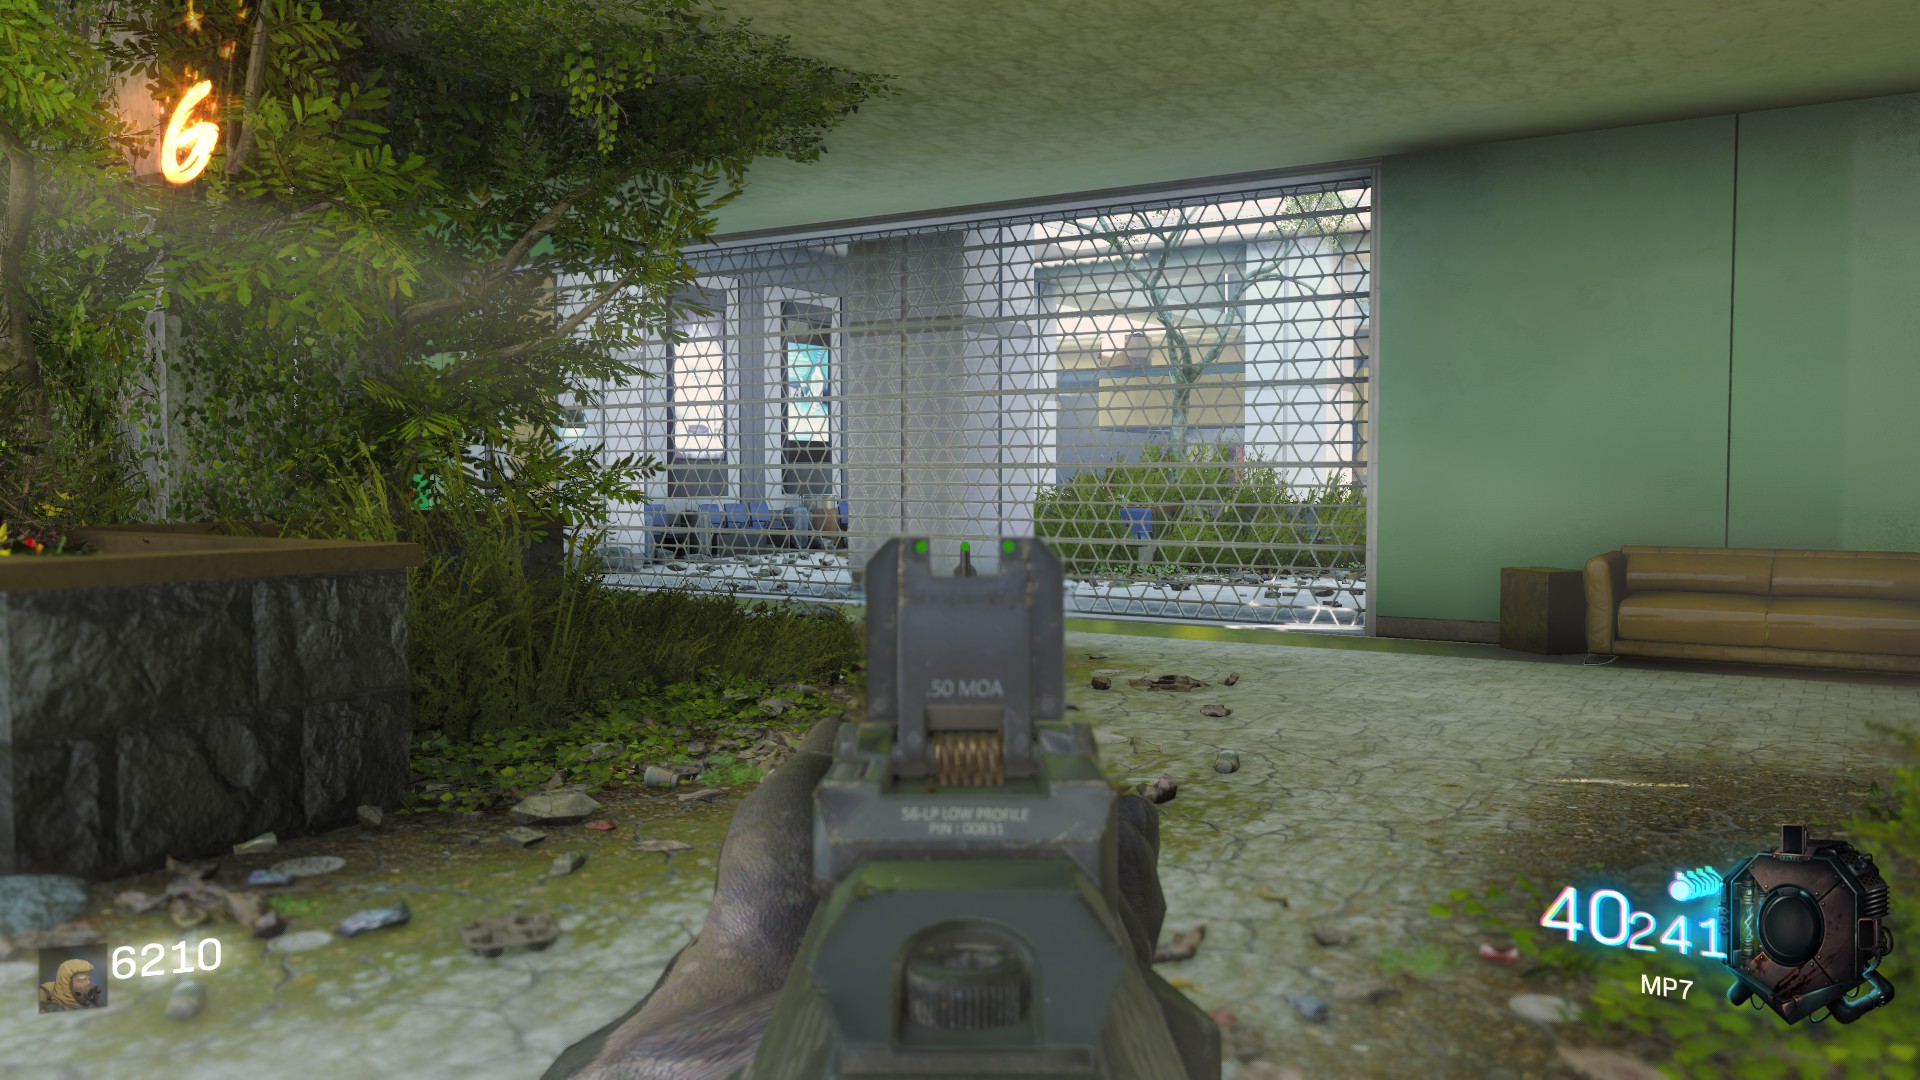
Continue to your left near the Double Tap perk (cost : 1000P).
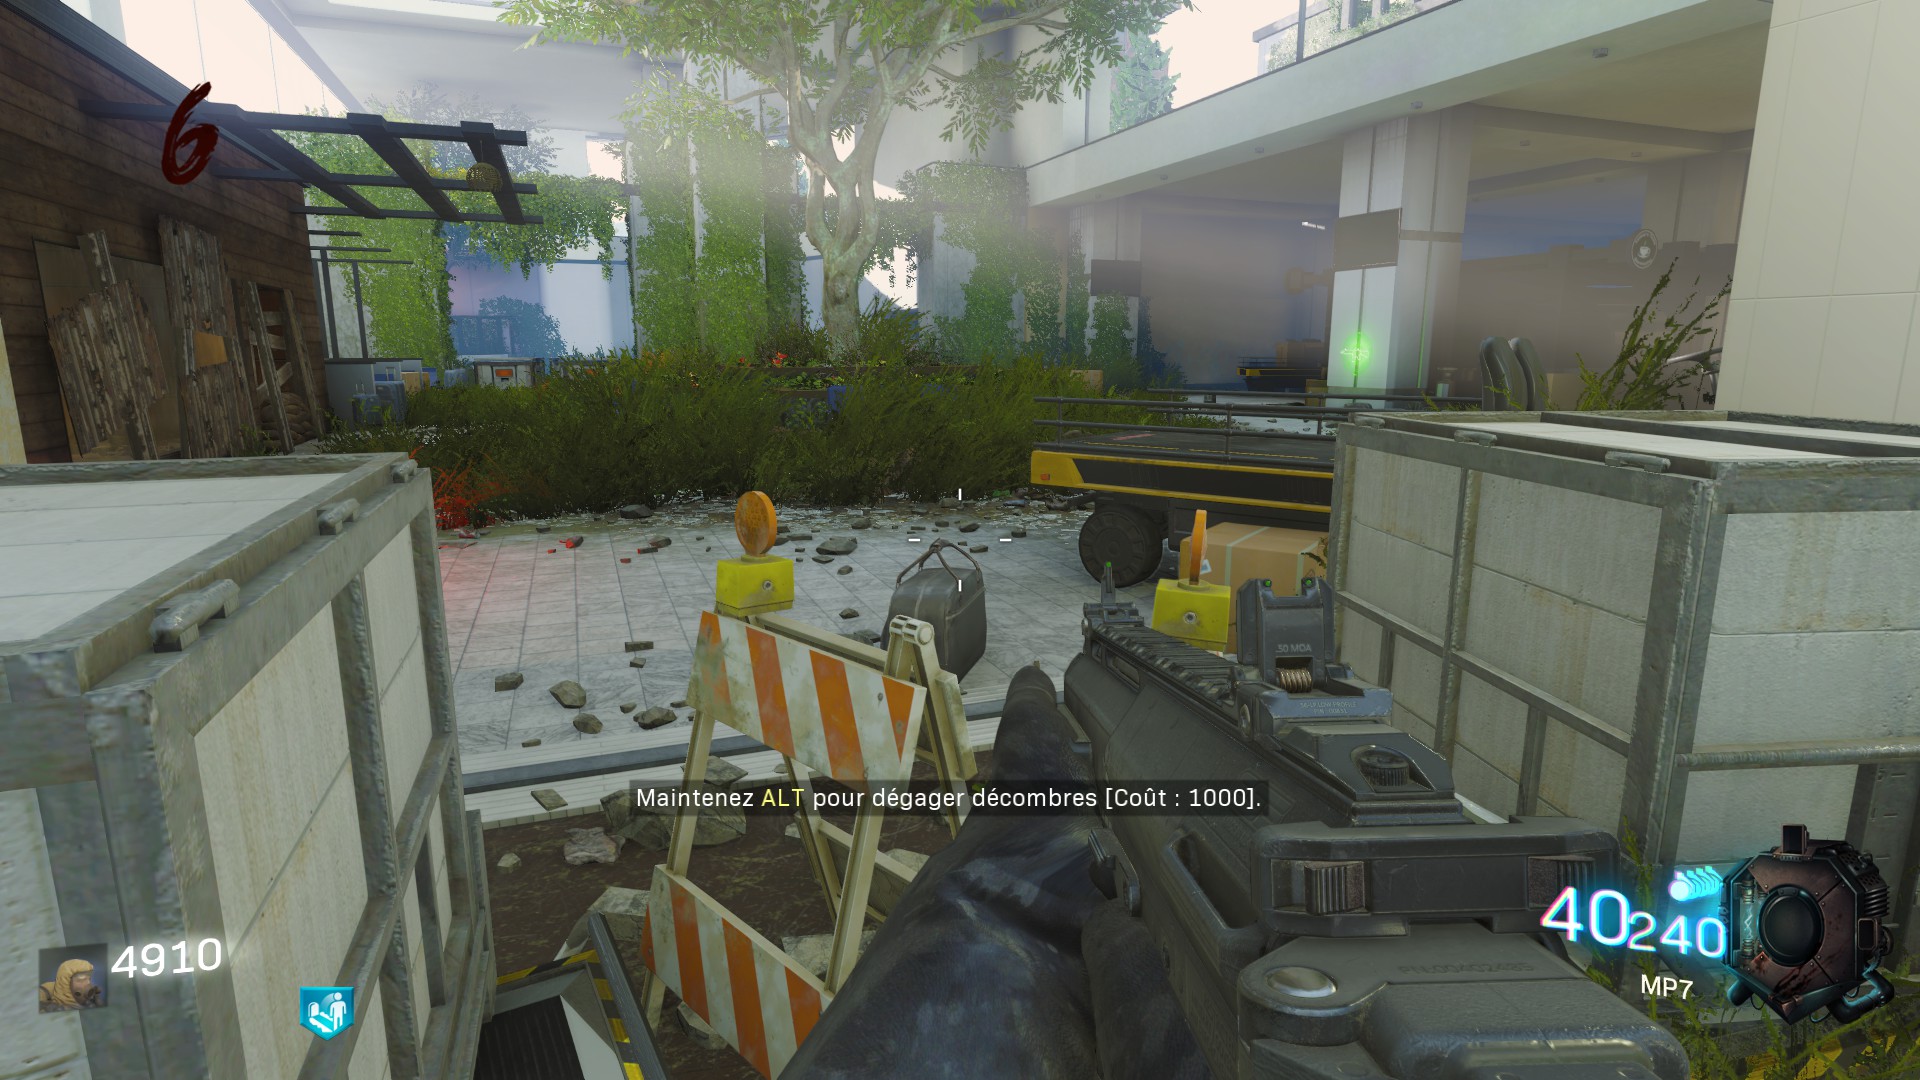
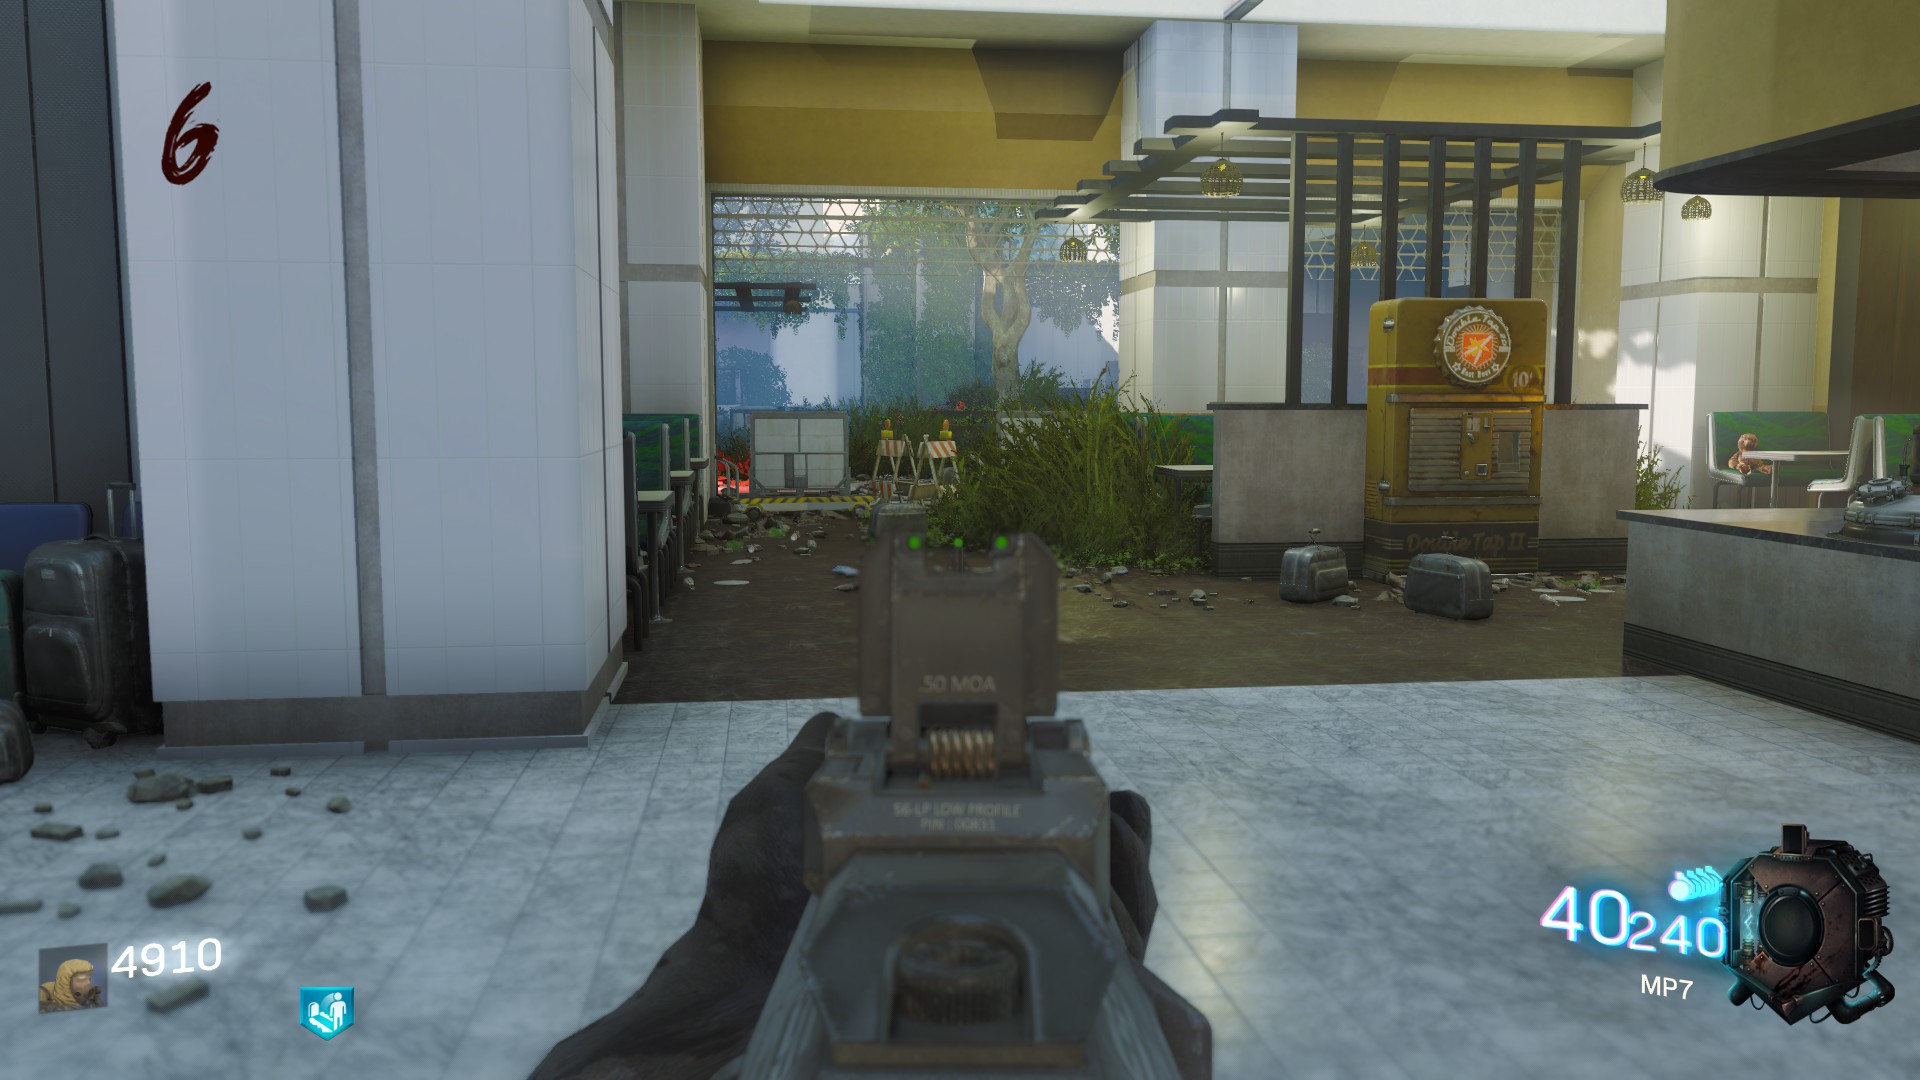
In the middle of this place turn right, go to the end of the large corridor and turn right again (cost : 1500P).
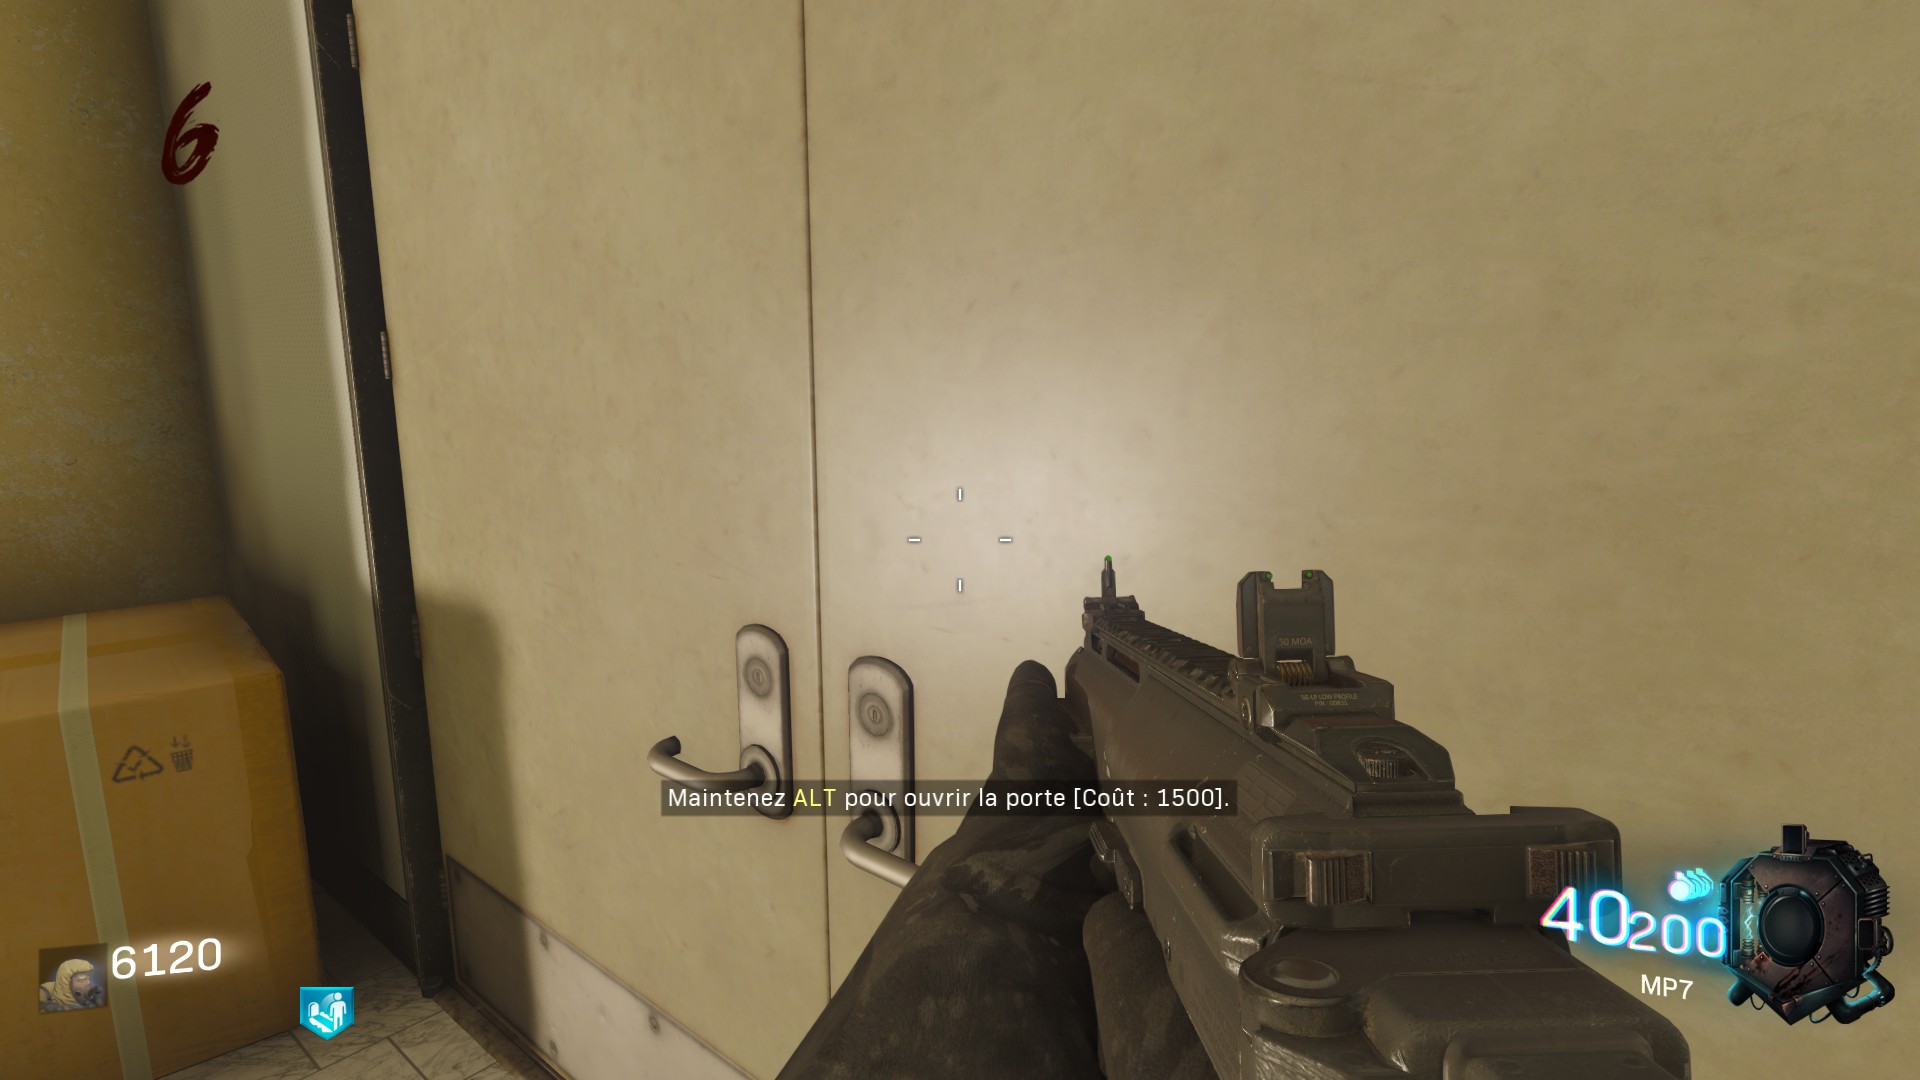
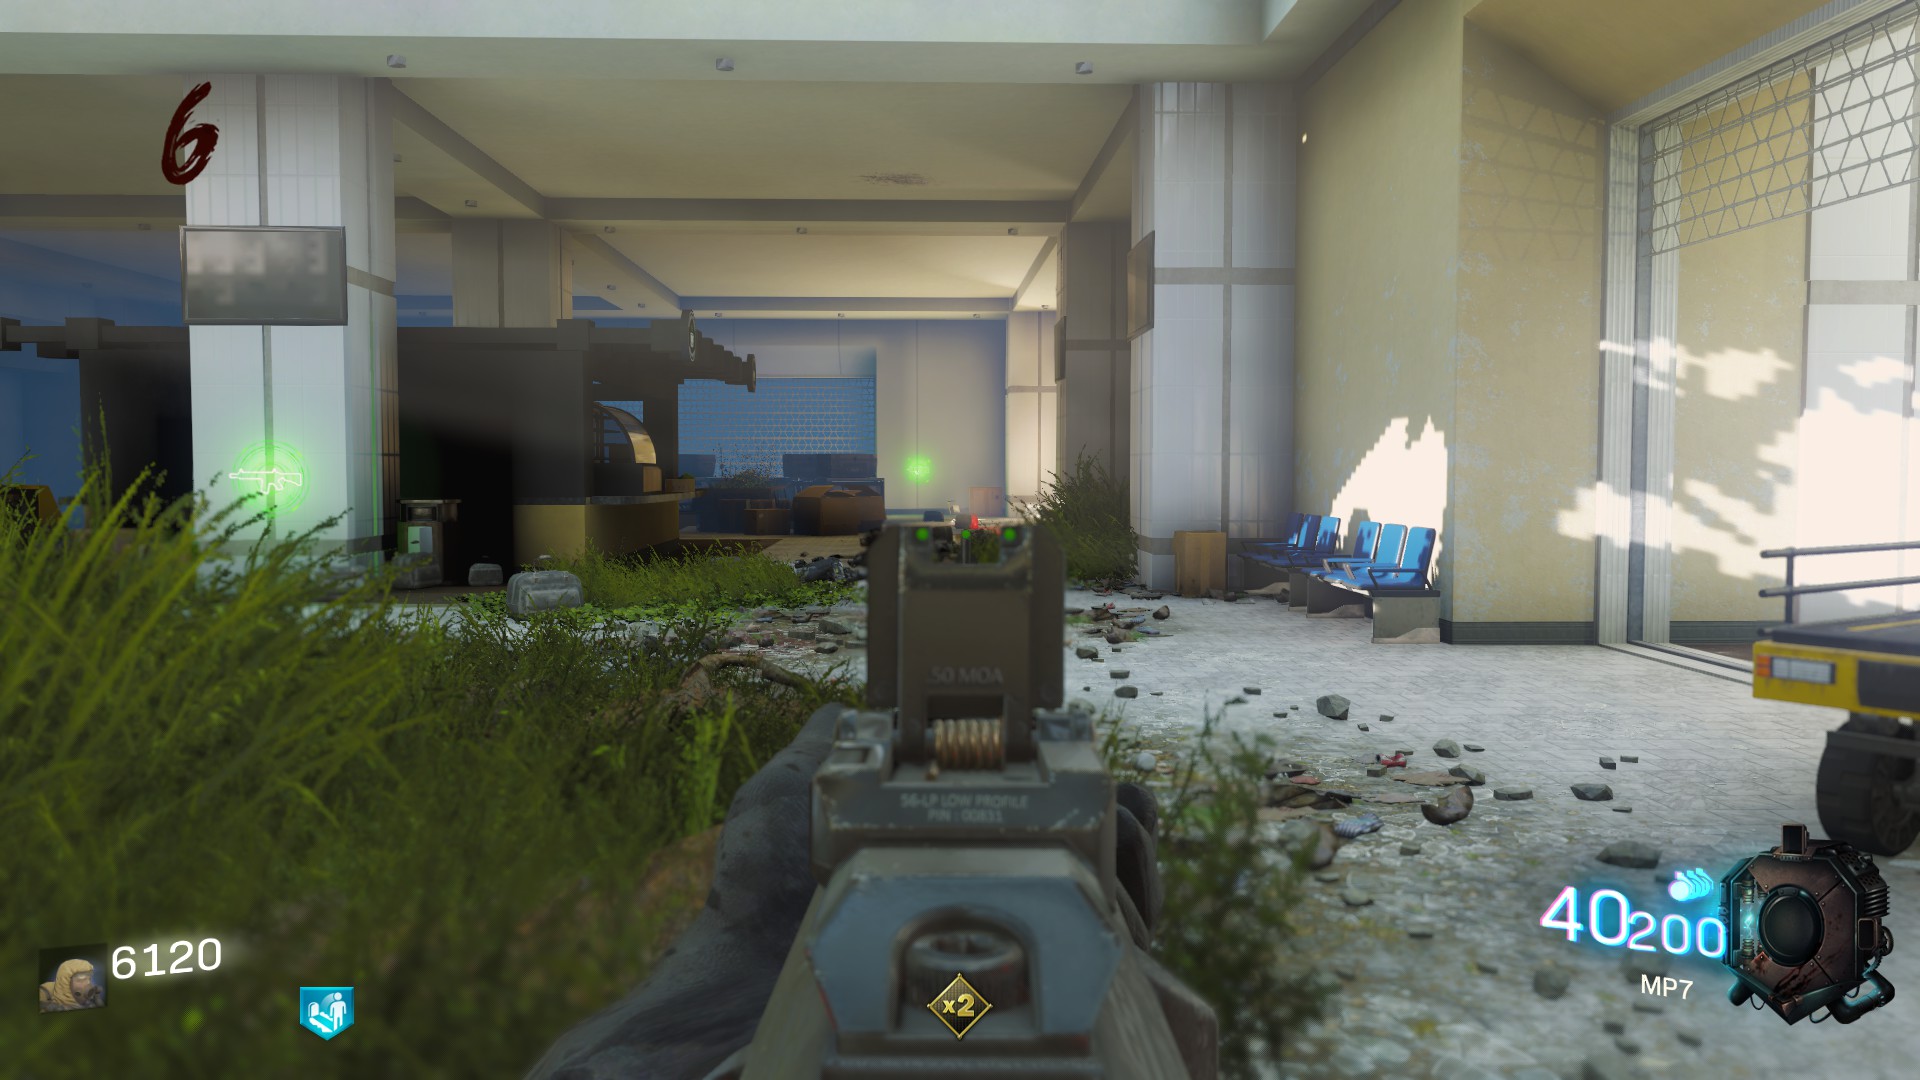
Take the stairs and turn right when you see PHD Flopper (cost : 1500P).
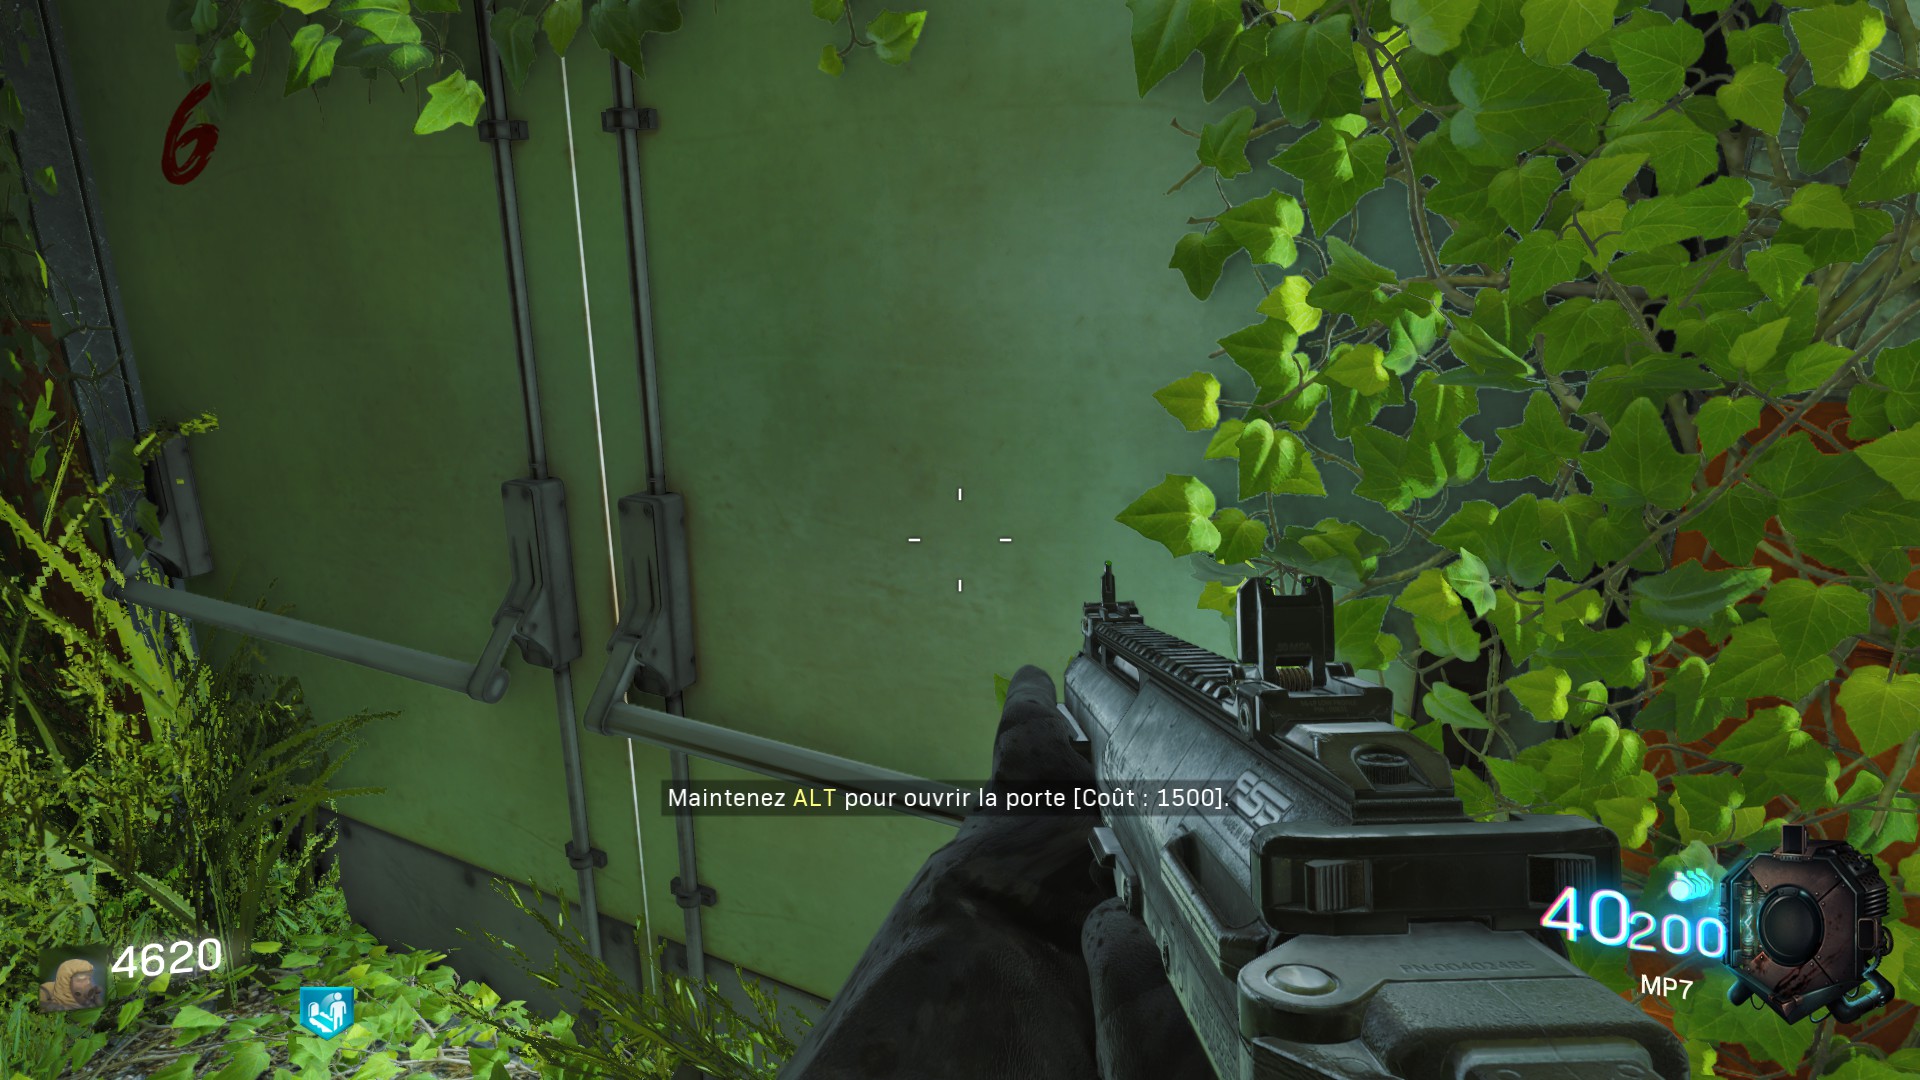
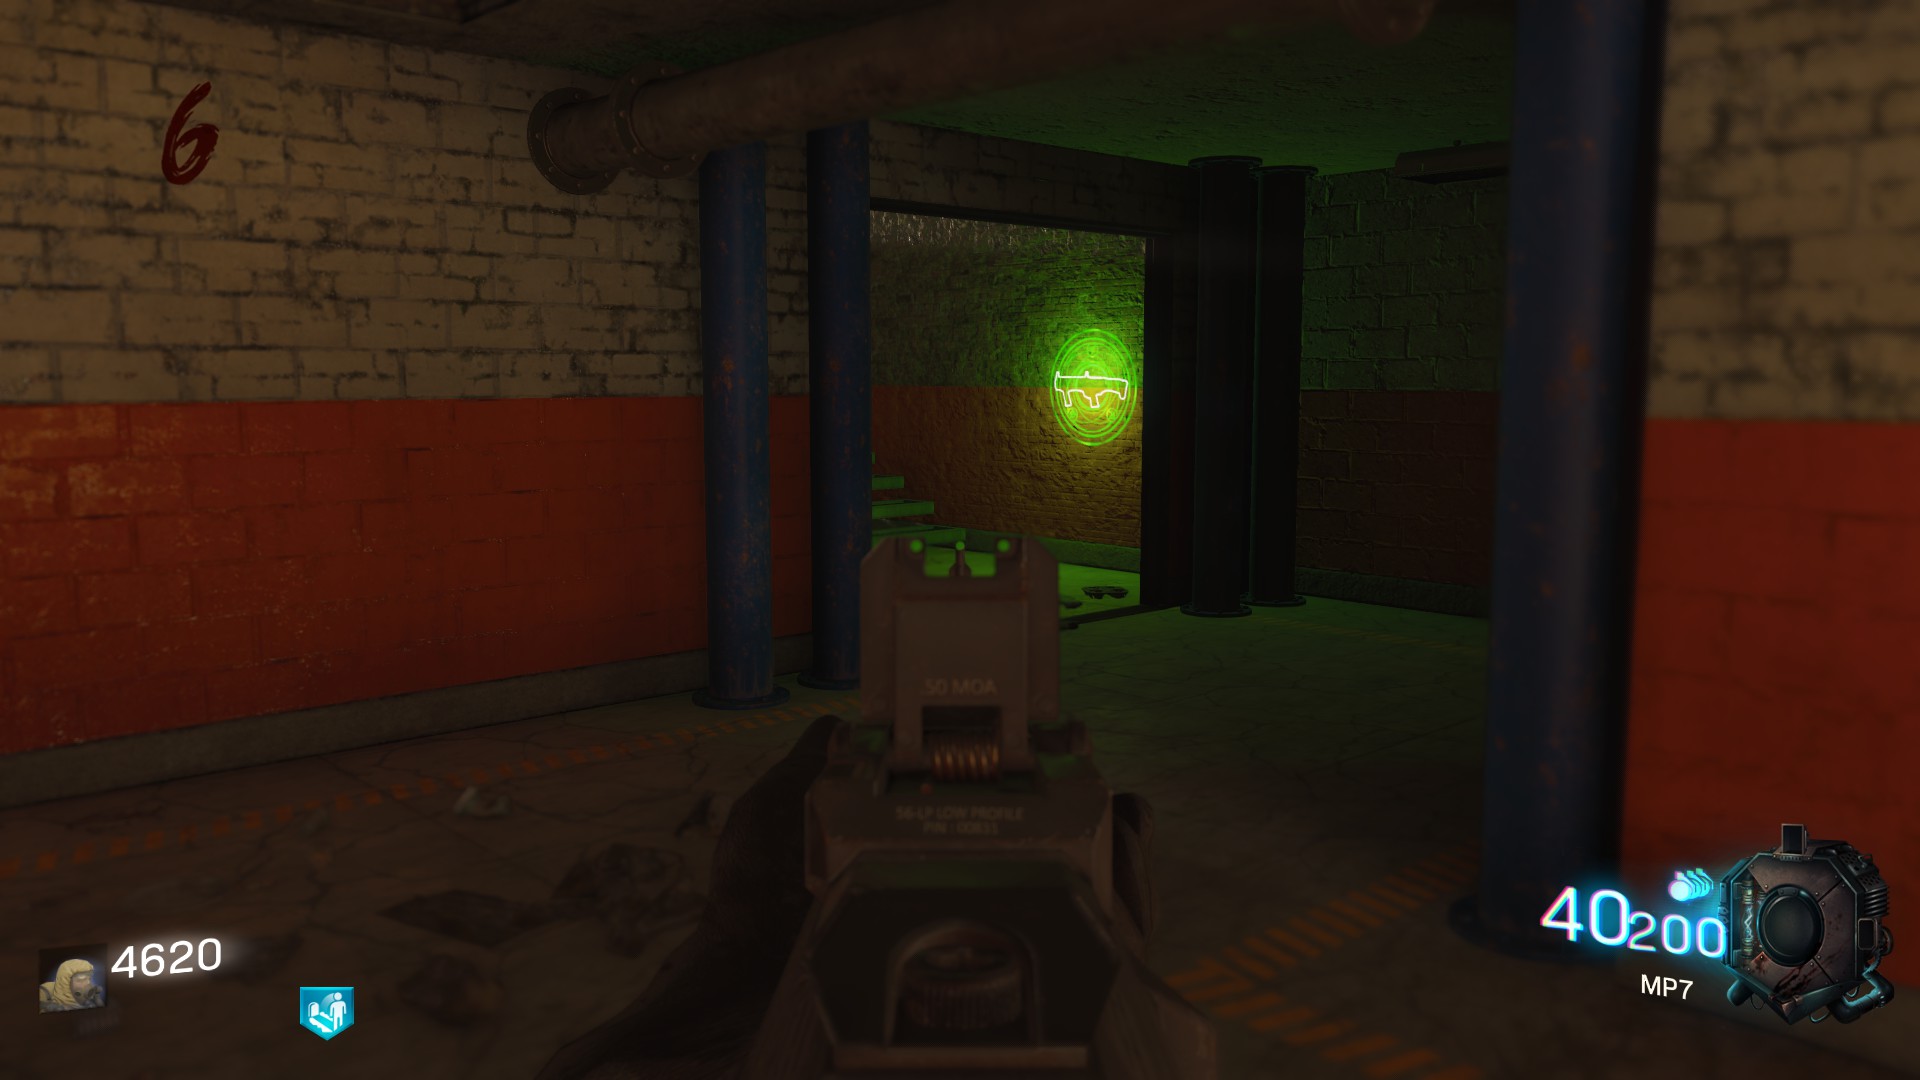 And there you are ! The two parts of the power are in this place. You'II find the electrical wire on a box to your right and the lever on a box too : in the middle of this area.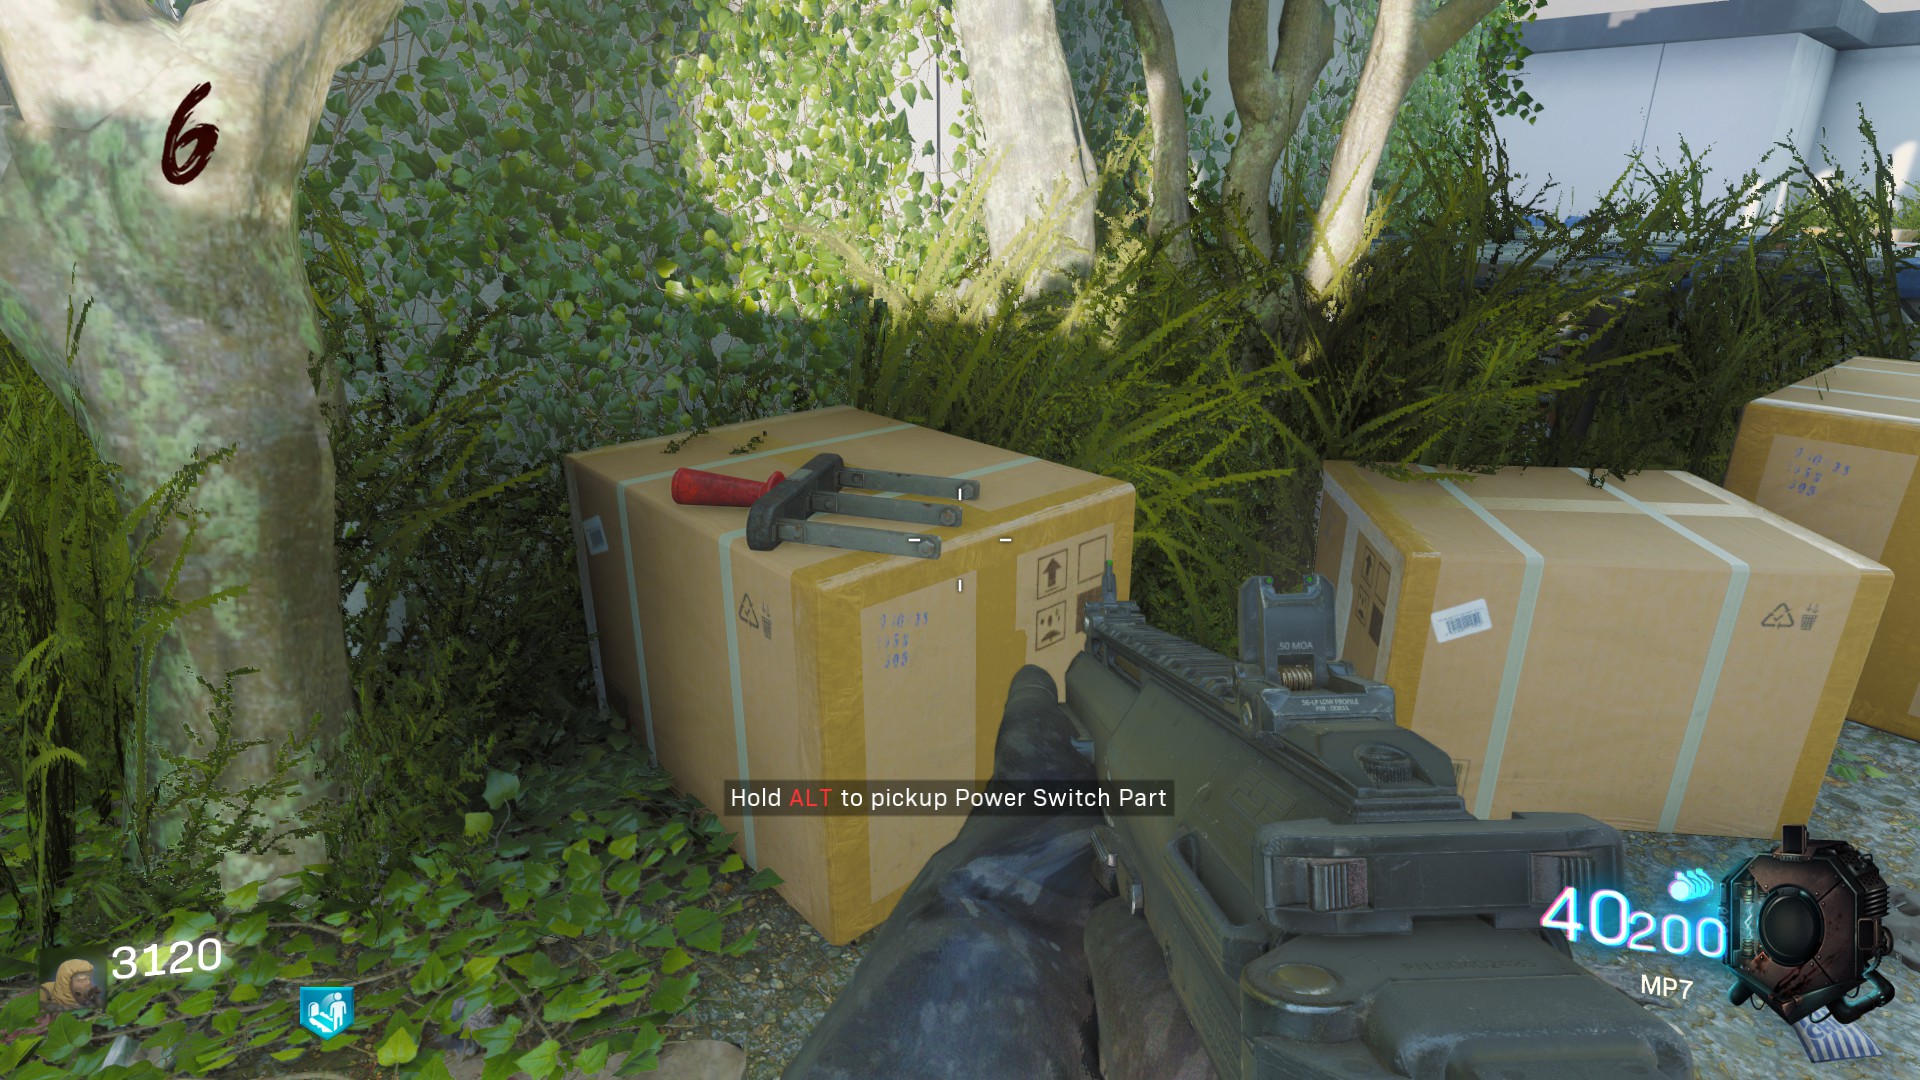
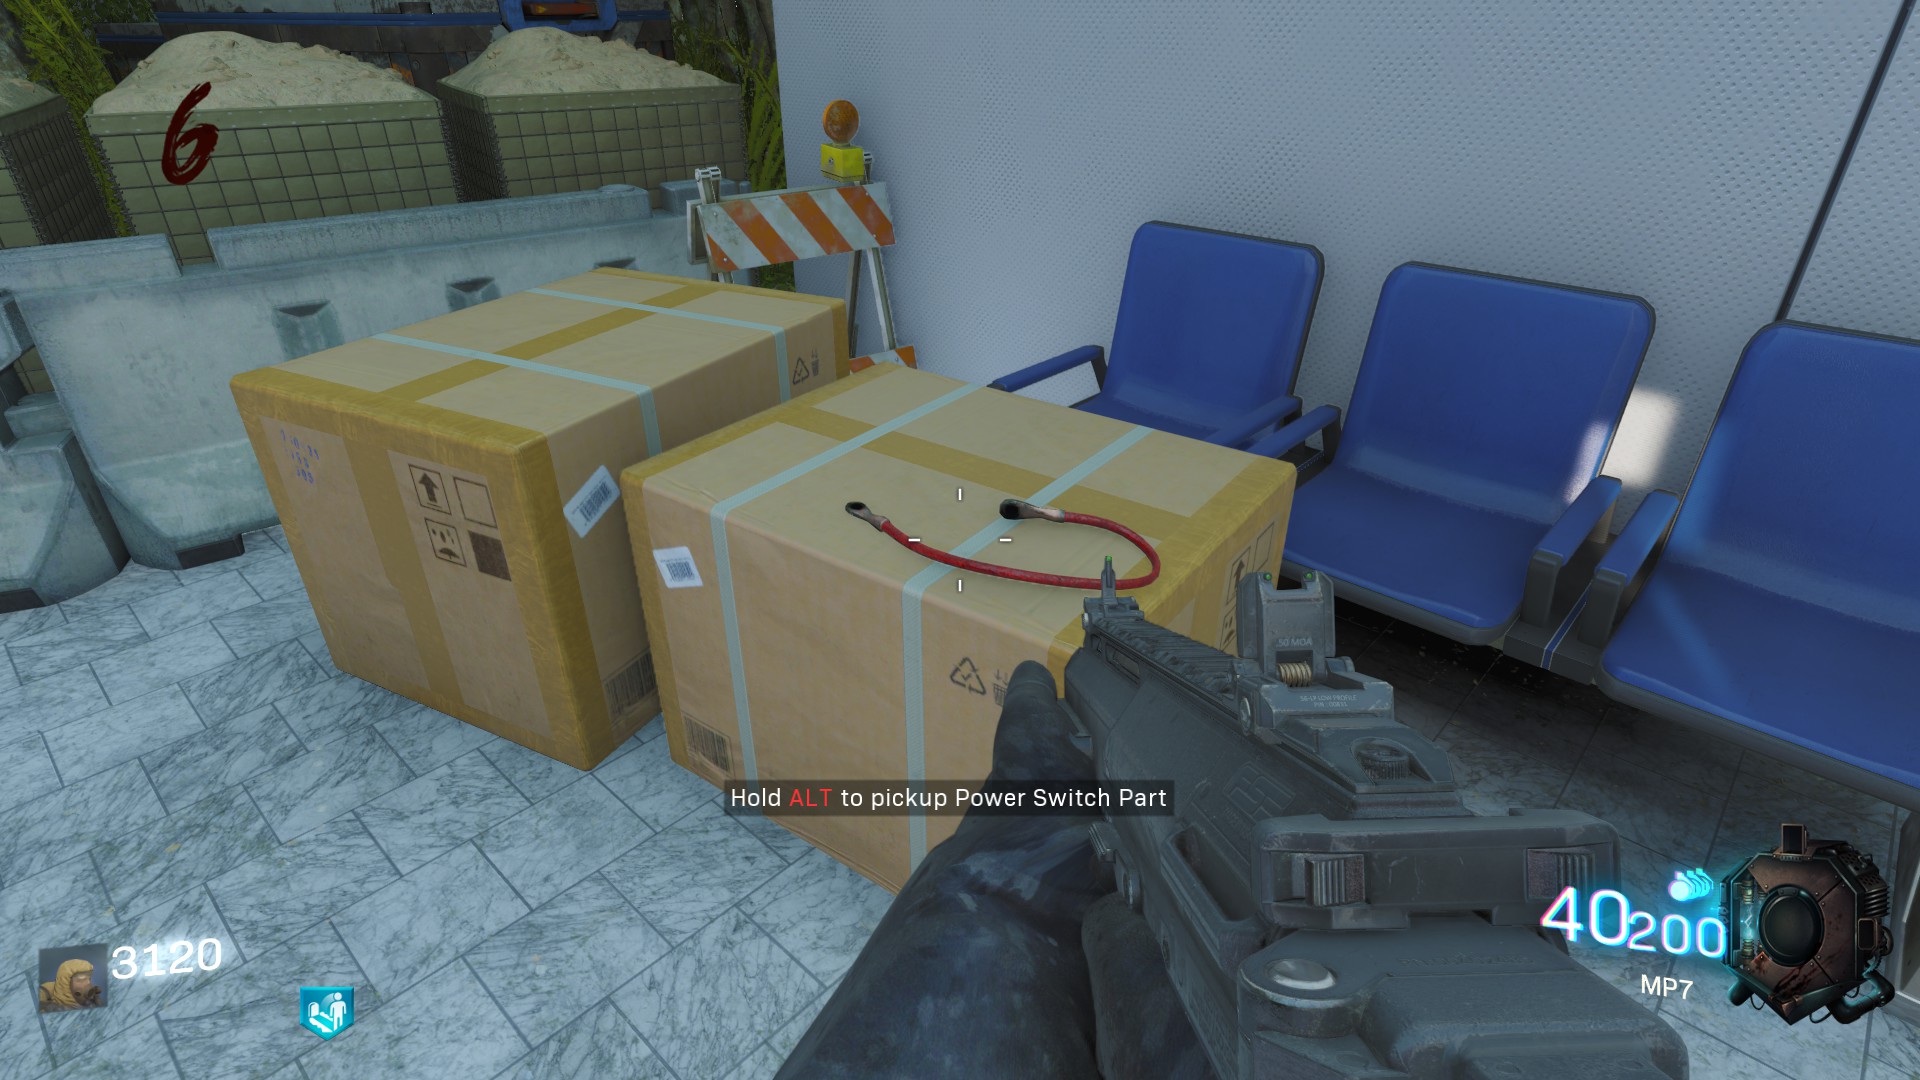 You can craft the Power Station in the little building on the left of the electrical wire.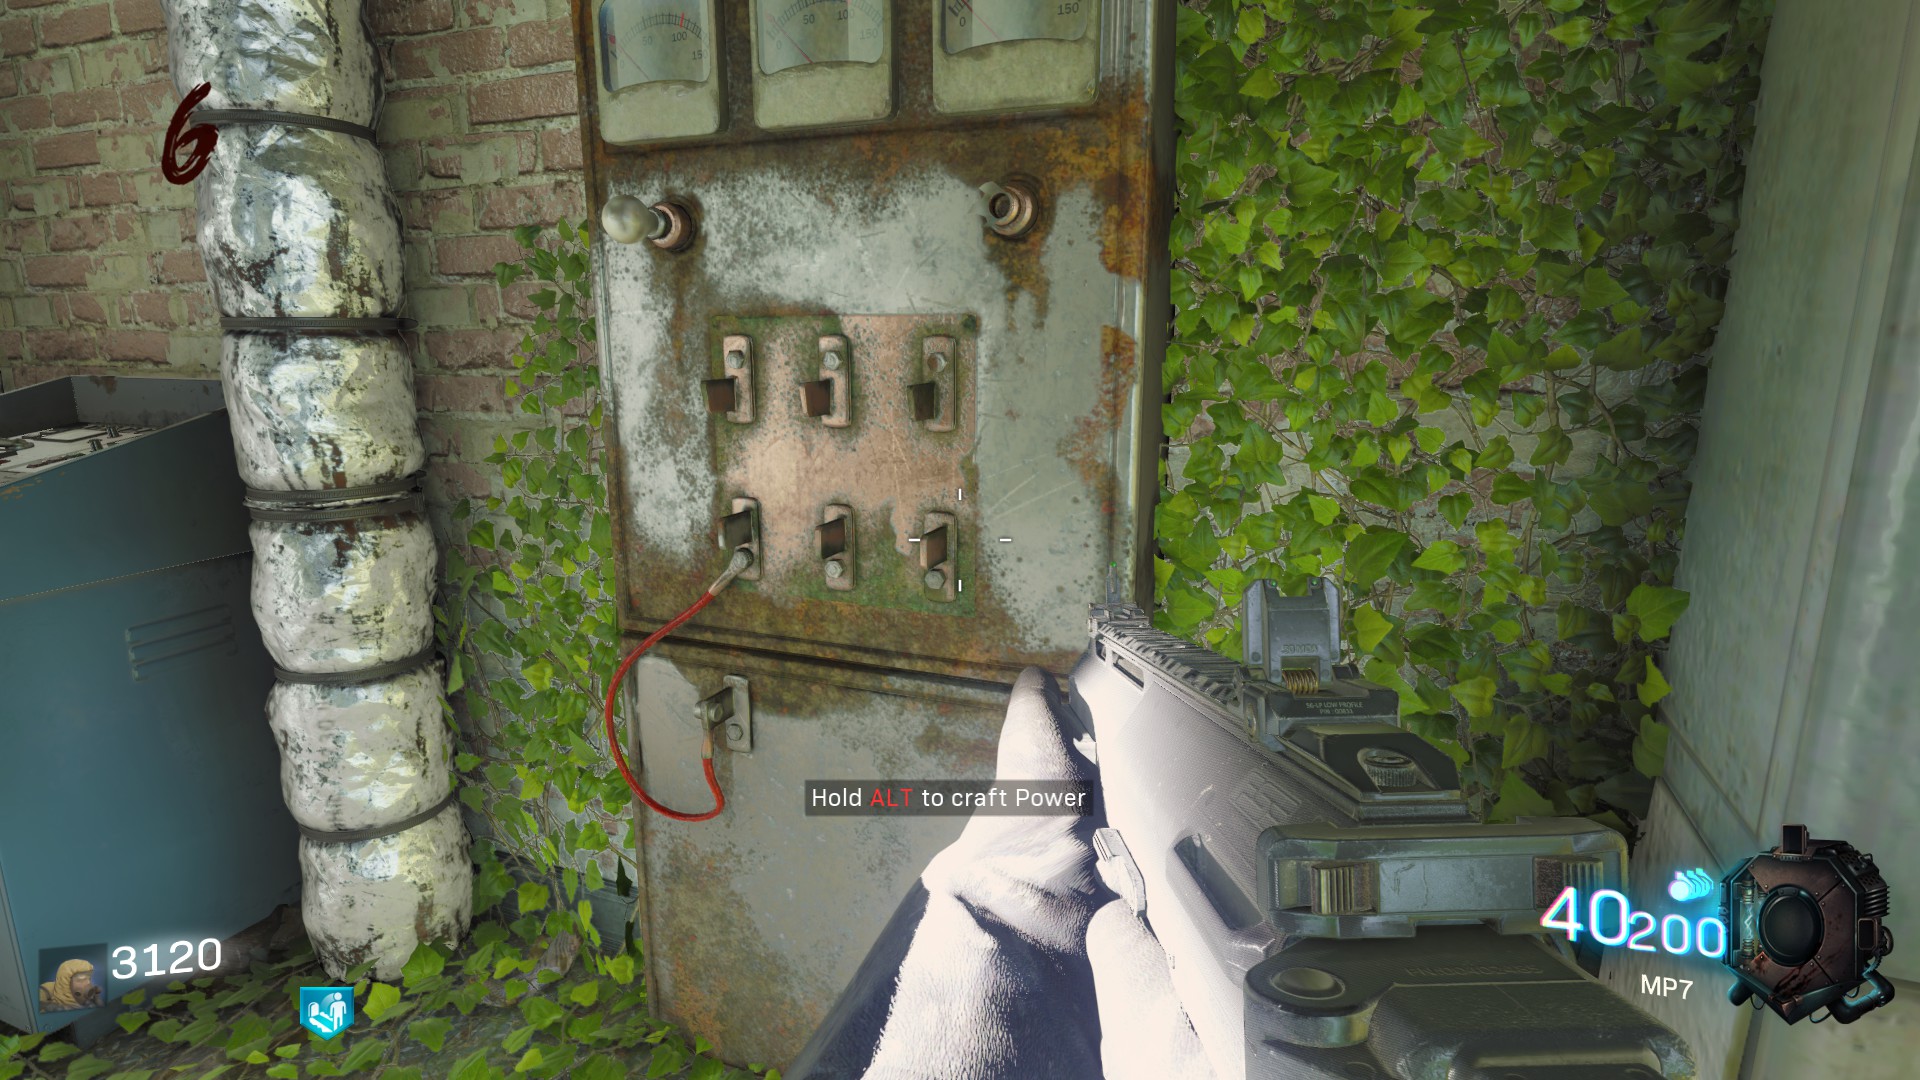
2. The Pack a Punch
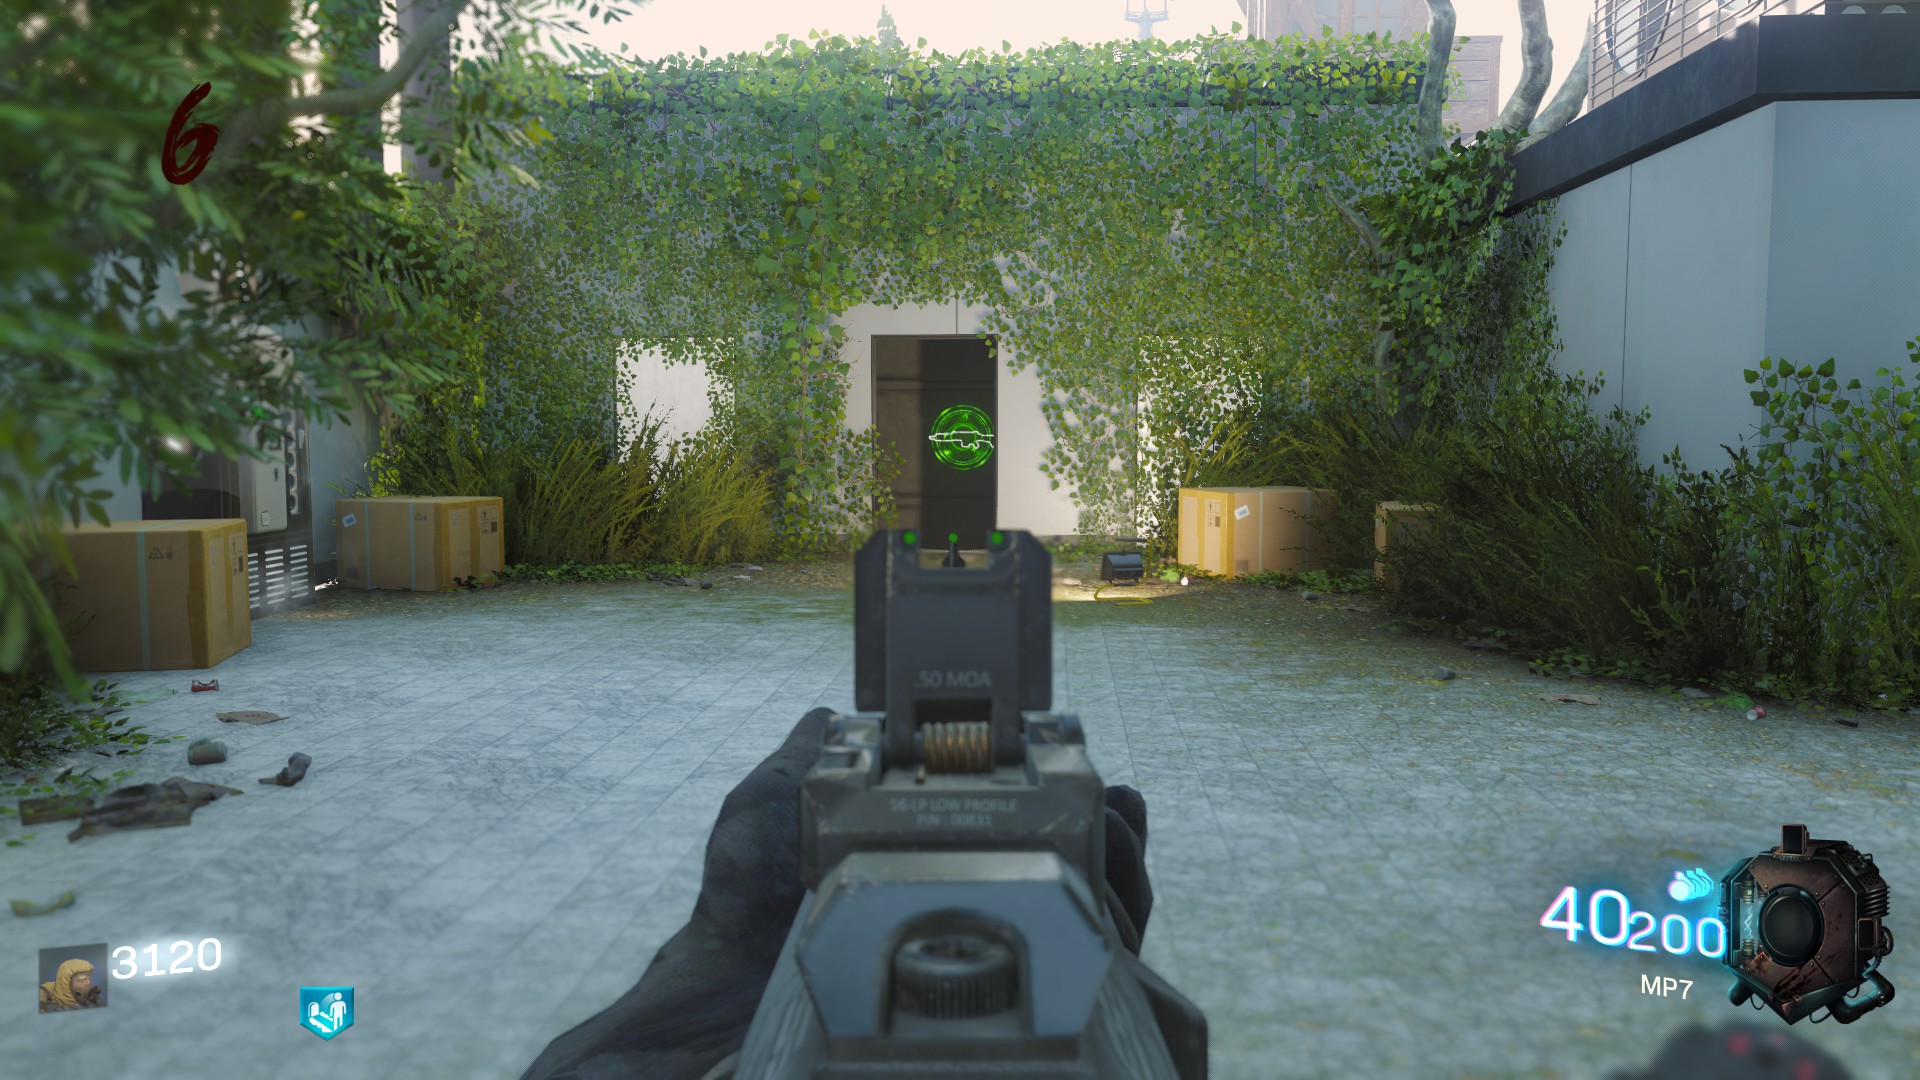
Good news ! For this one you don't need to spend more money. There is three parts to find and the first one is down the elevator at the far end of the roof. (note : you have to activate the Power or the elevator won't be open !)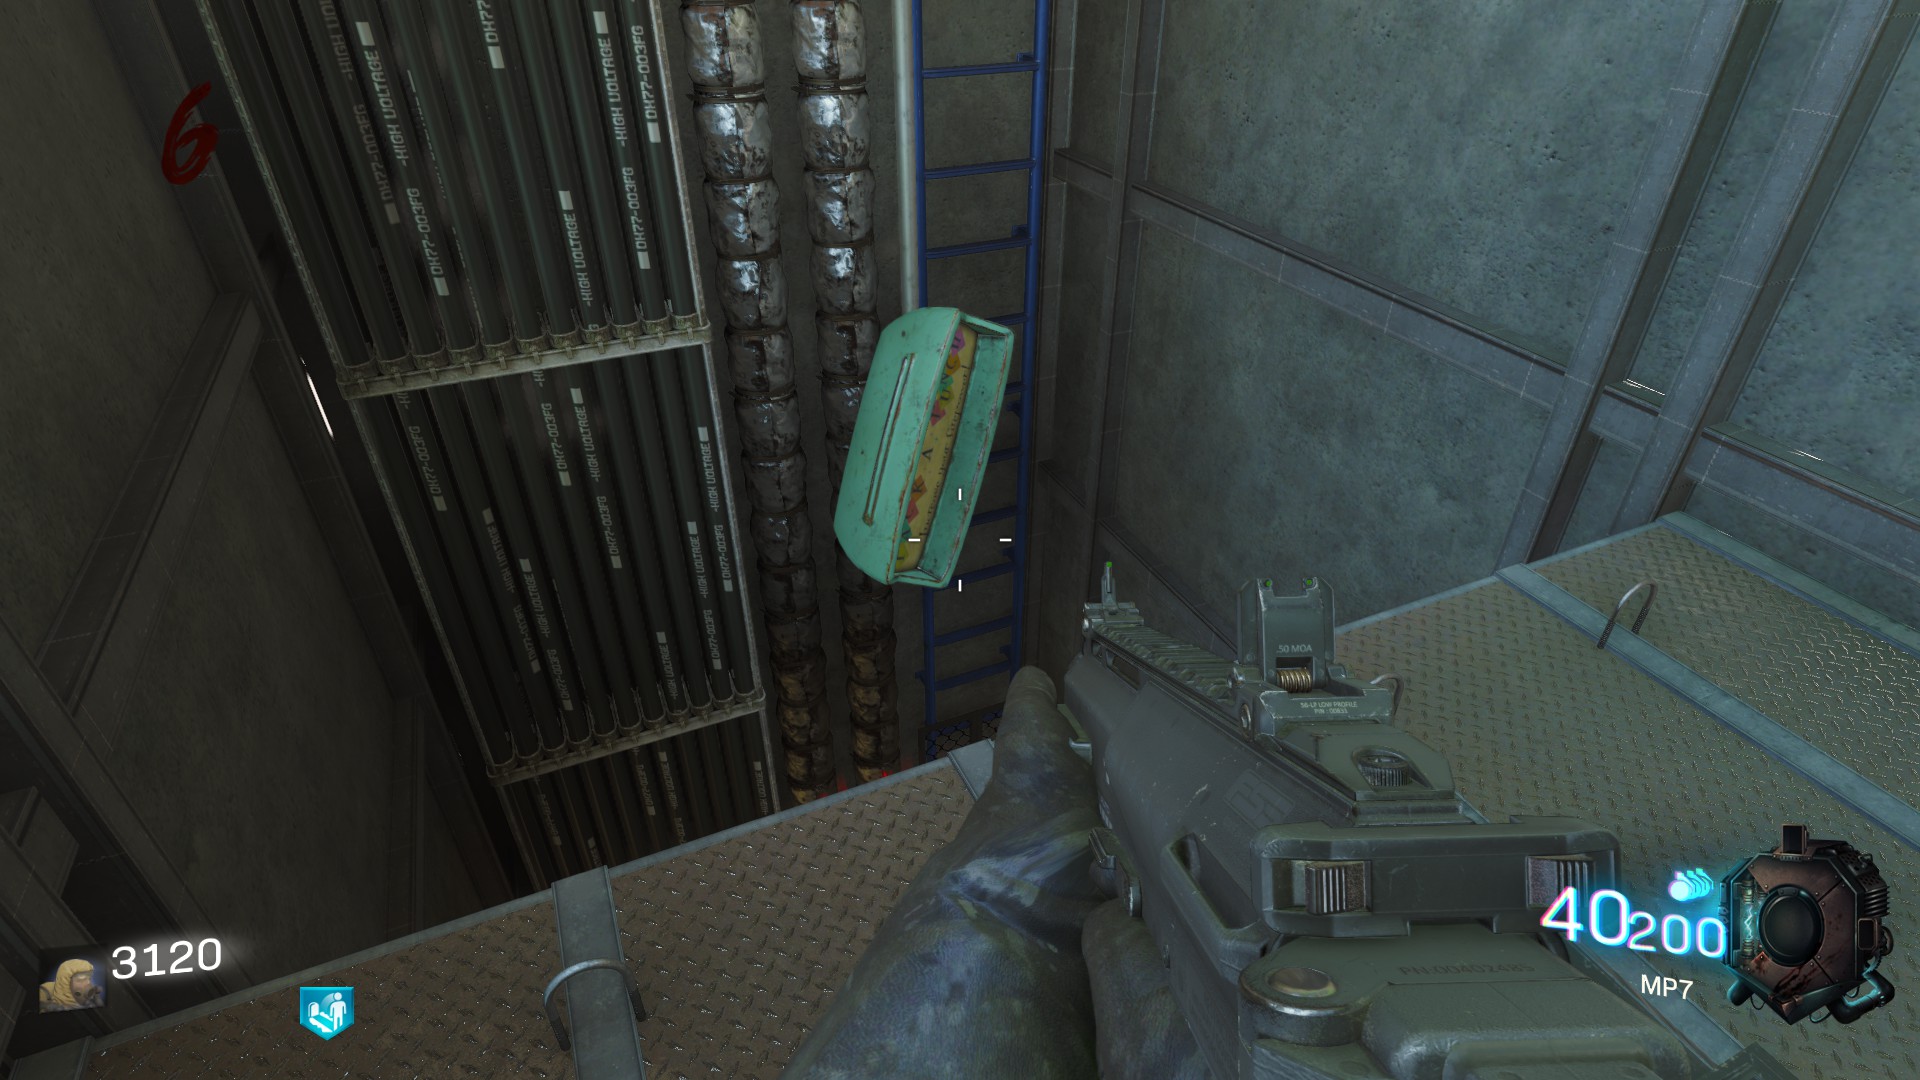
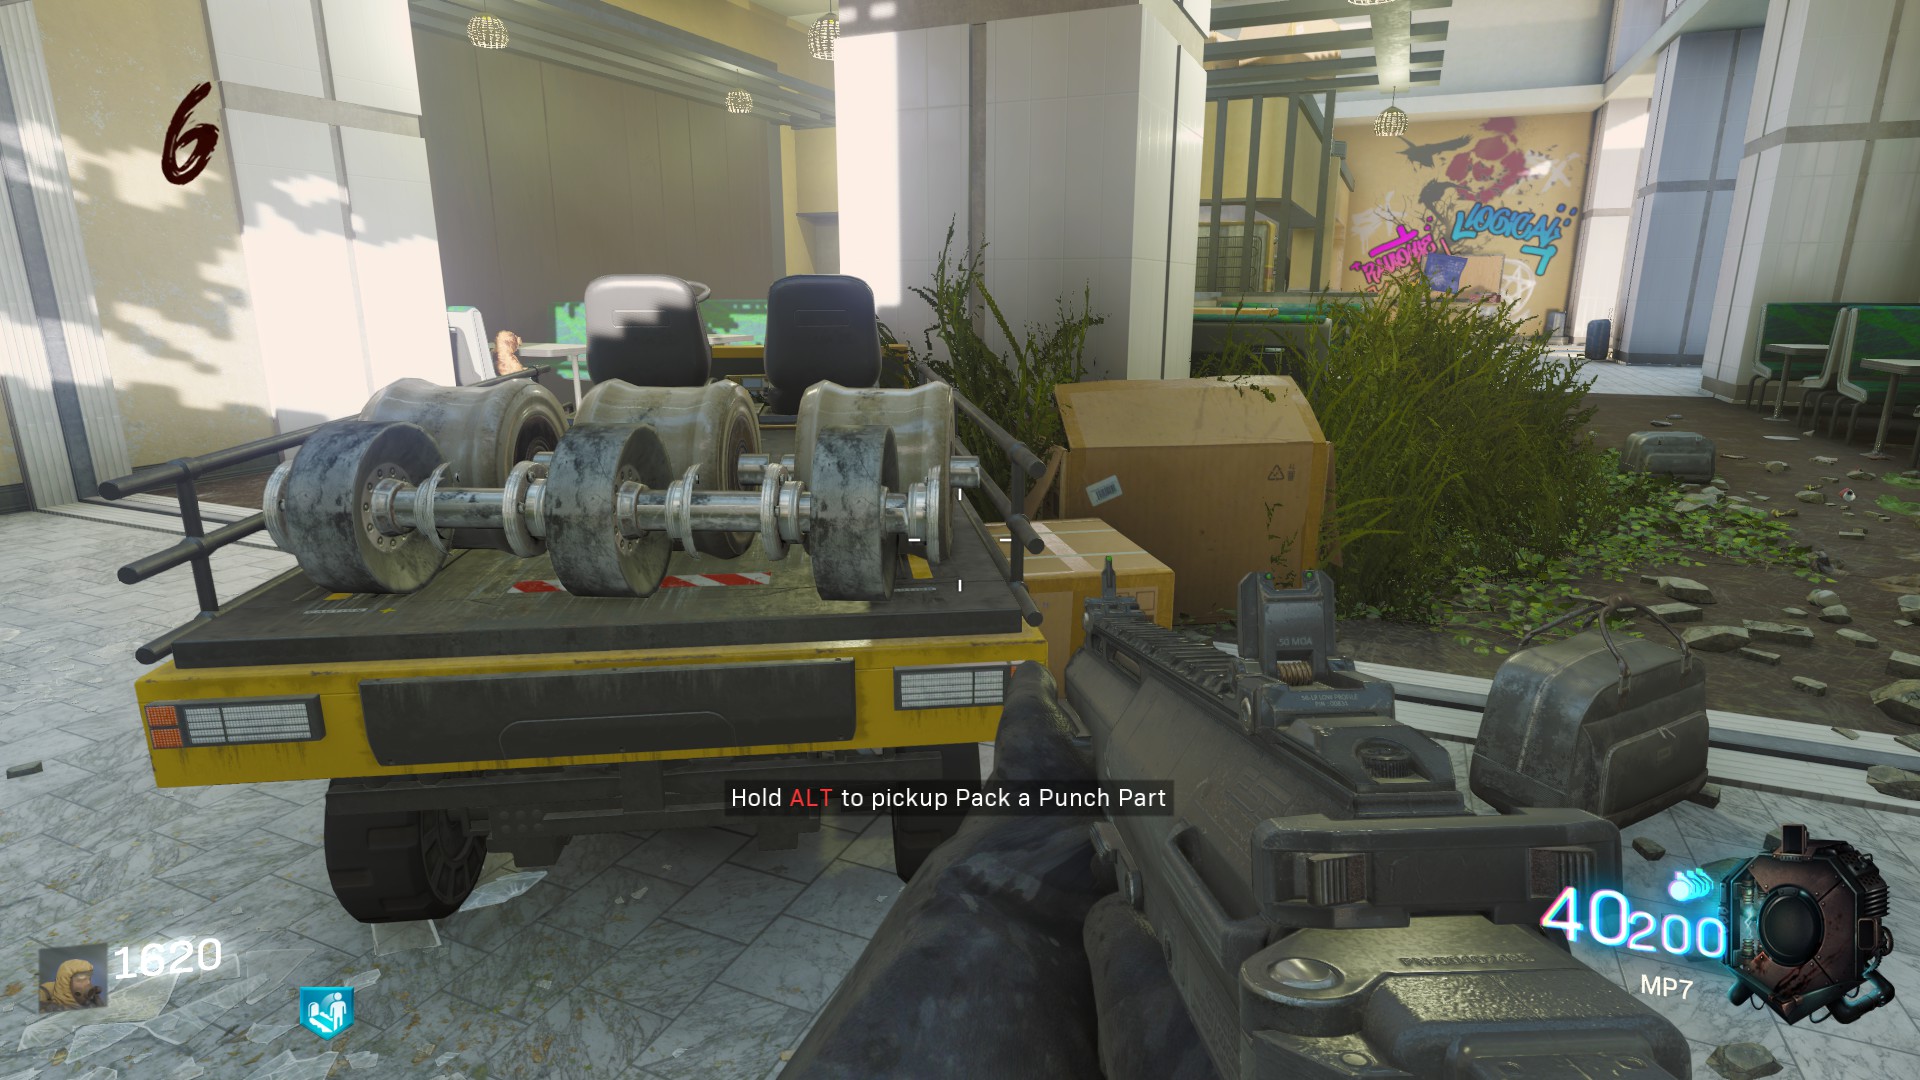
The next one is on the motor trolley behind the Double Tap perk.
 For the last part you need to return to the first room and climb up the broken wing of the plane. Jump to the left and you'II find Juggernaut together with the little flag of the Pack a Punch.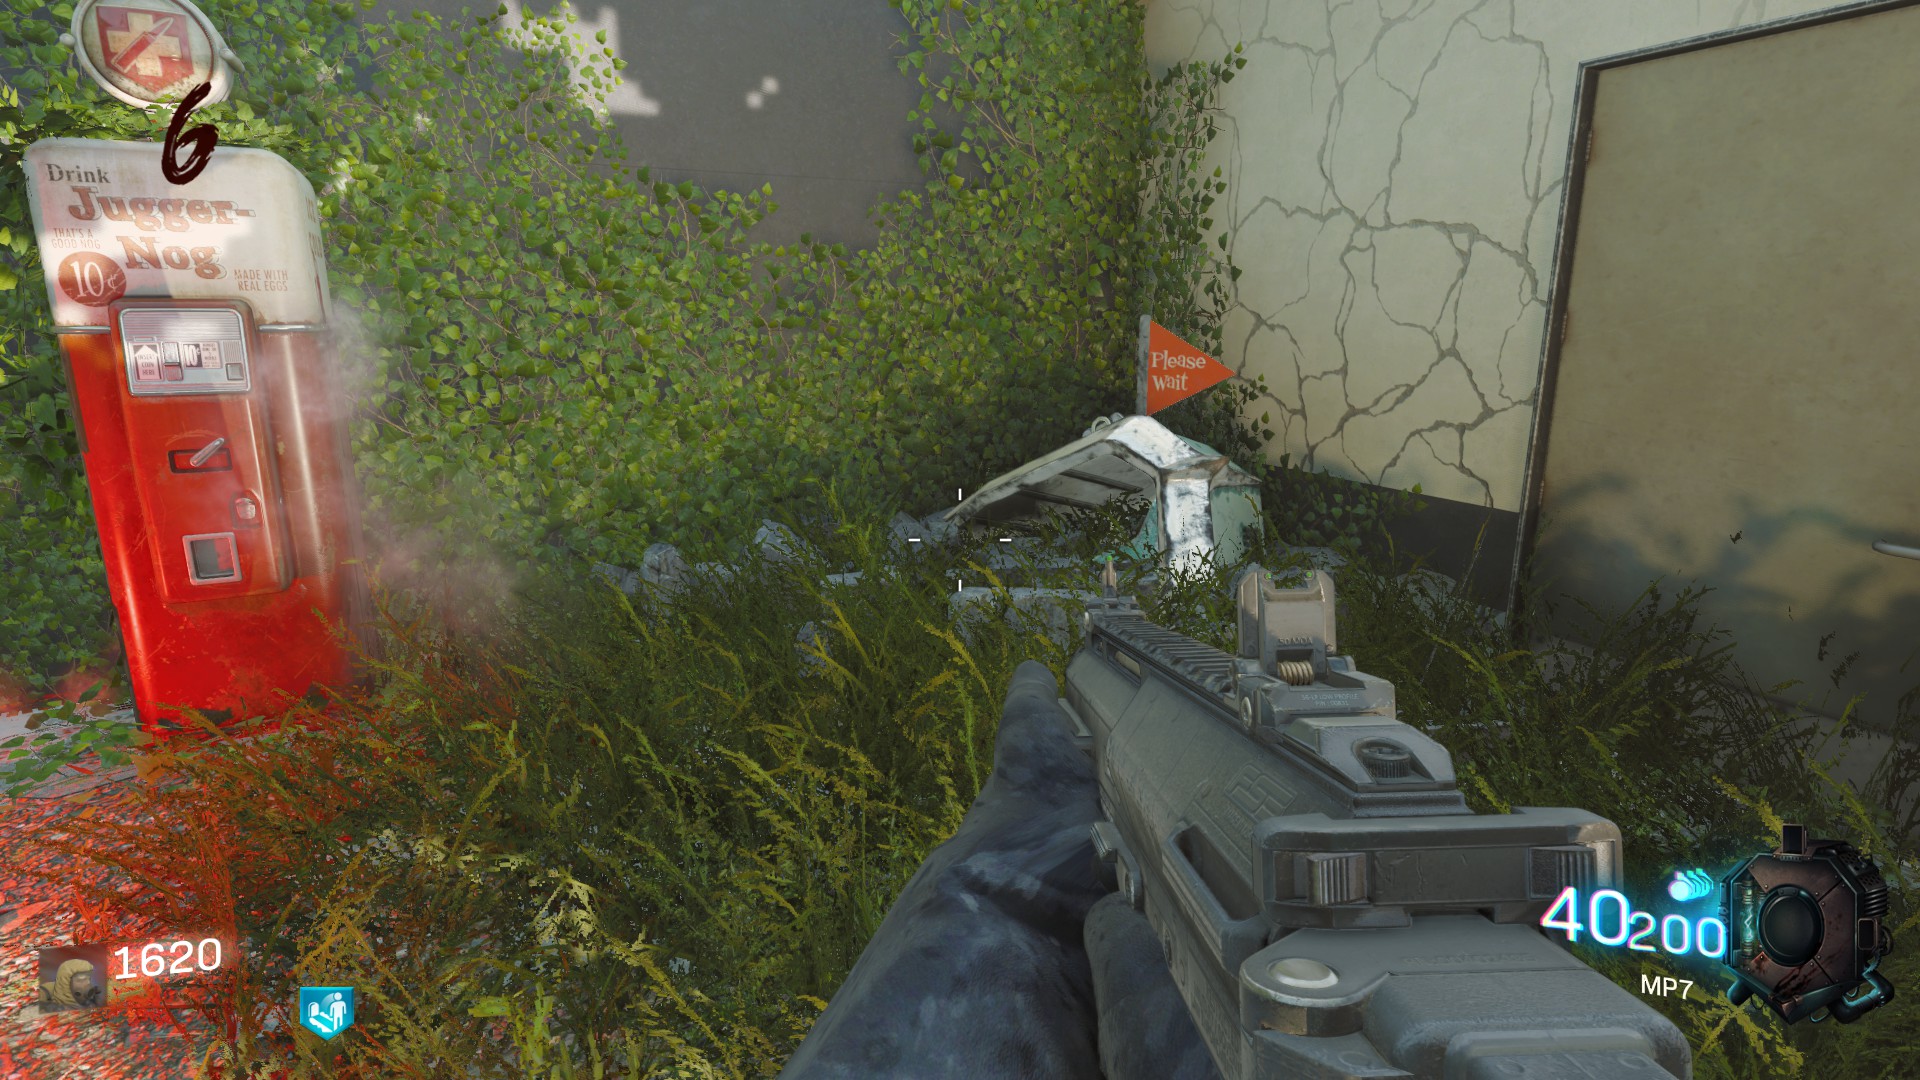
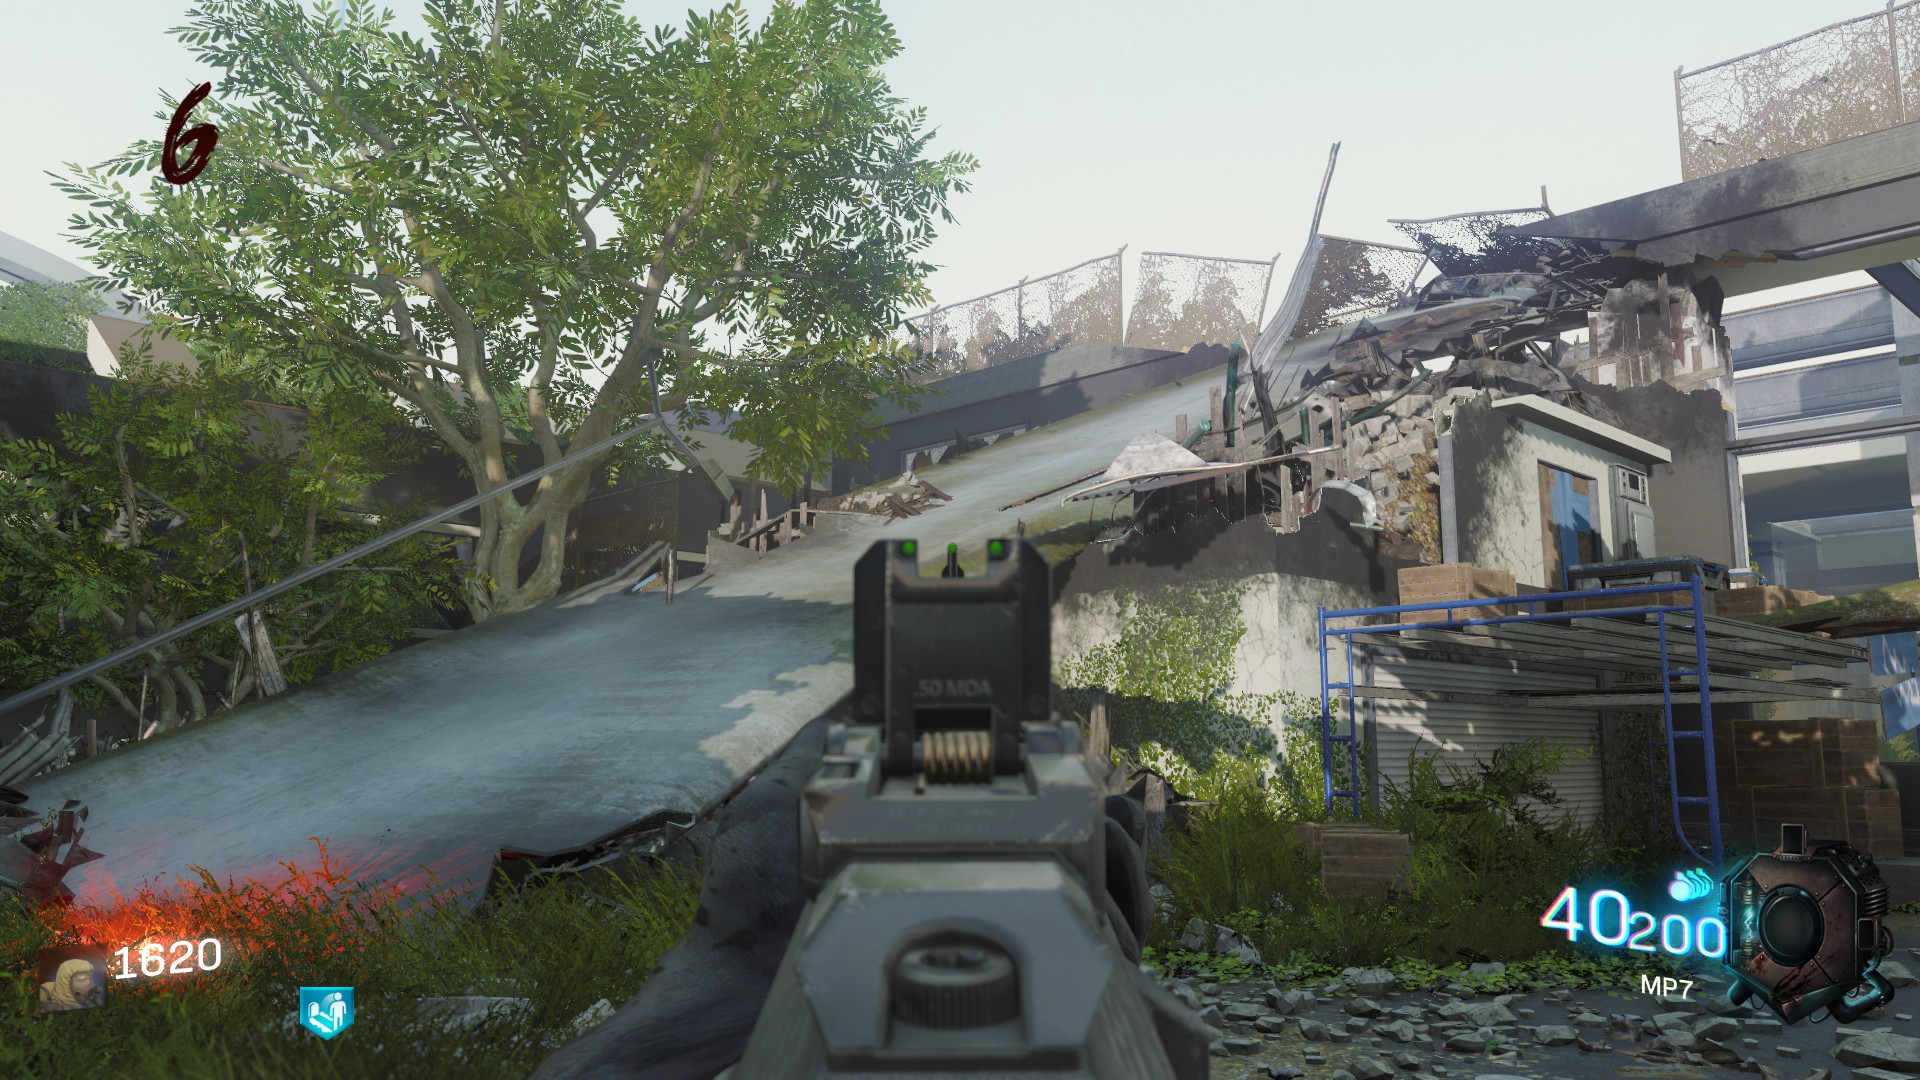 Finally, return to the roof and put all the pieces together in front of the broken Pack a Punch.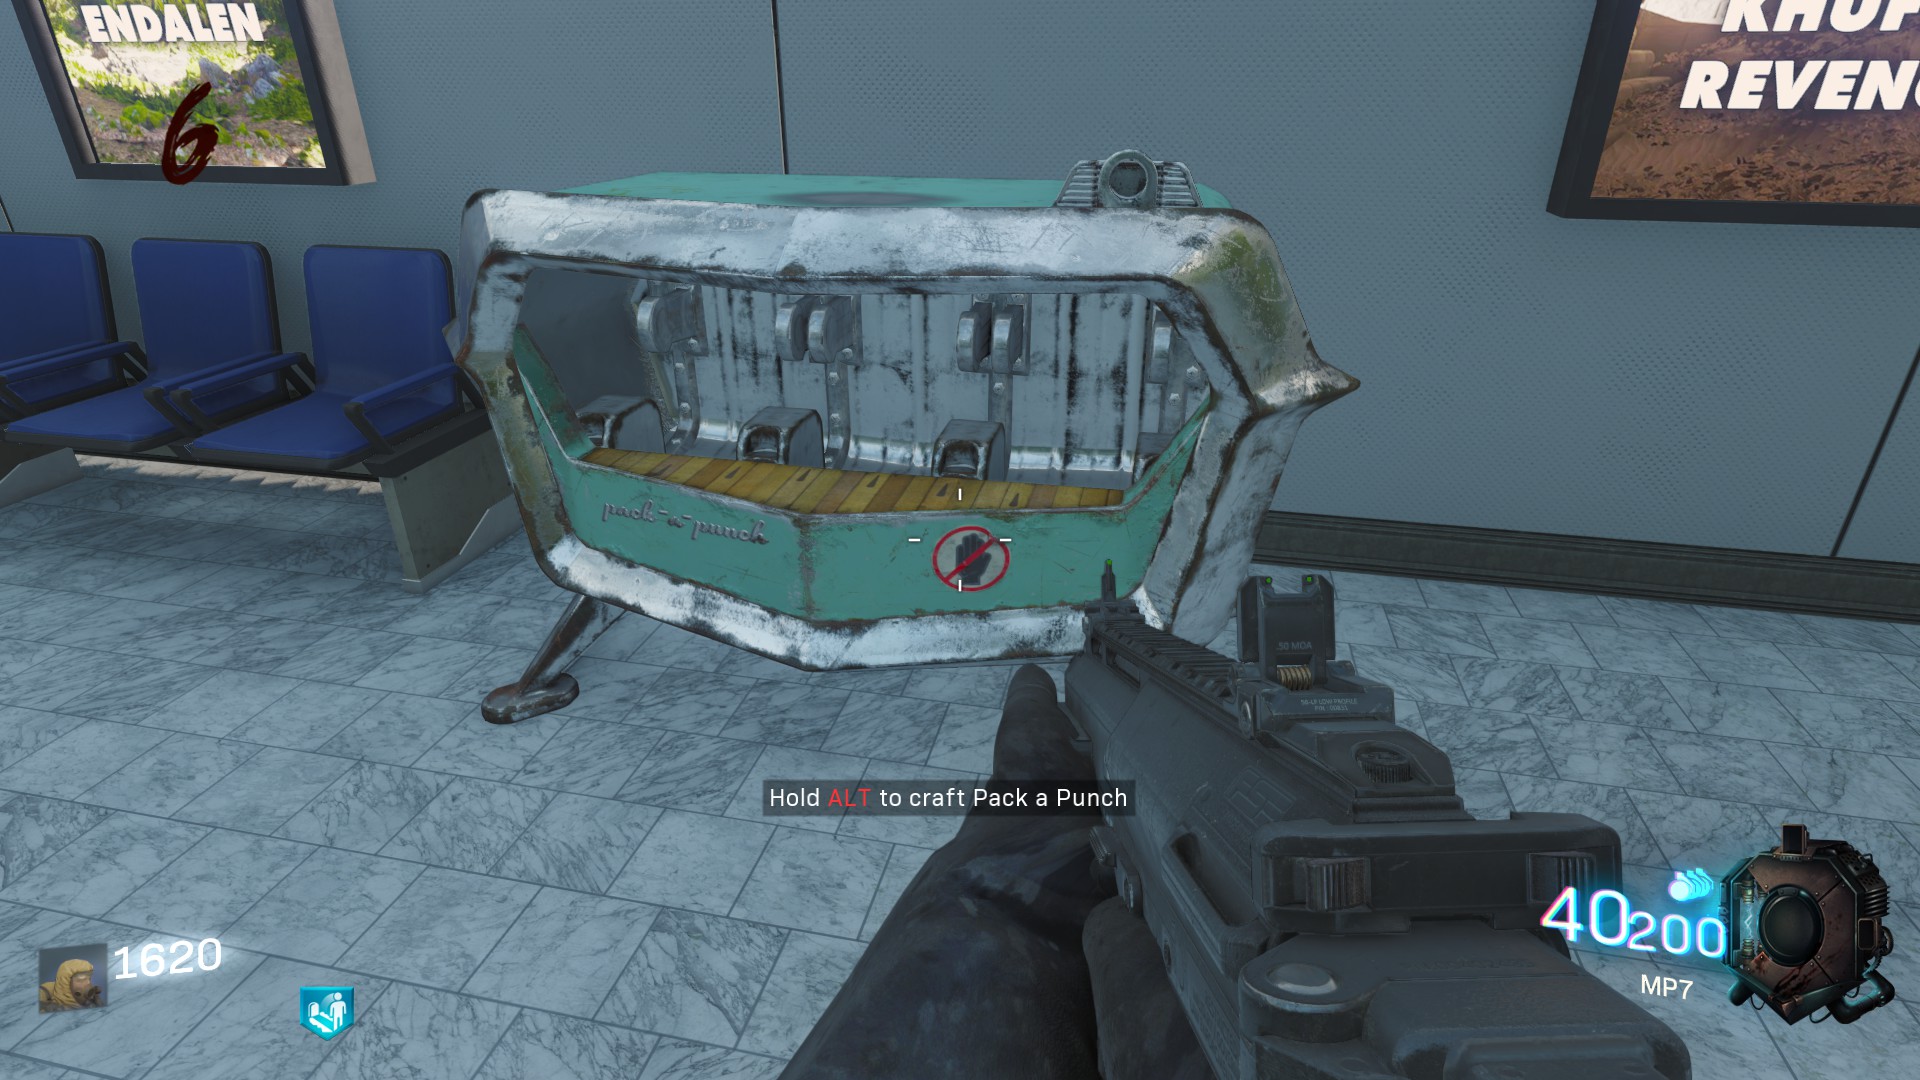
3. The Shield
The shield is quite simple to build, you only need two parts.
The metallic mount is in the escalator room, when you take the right path from the first room.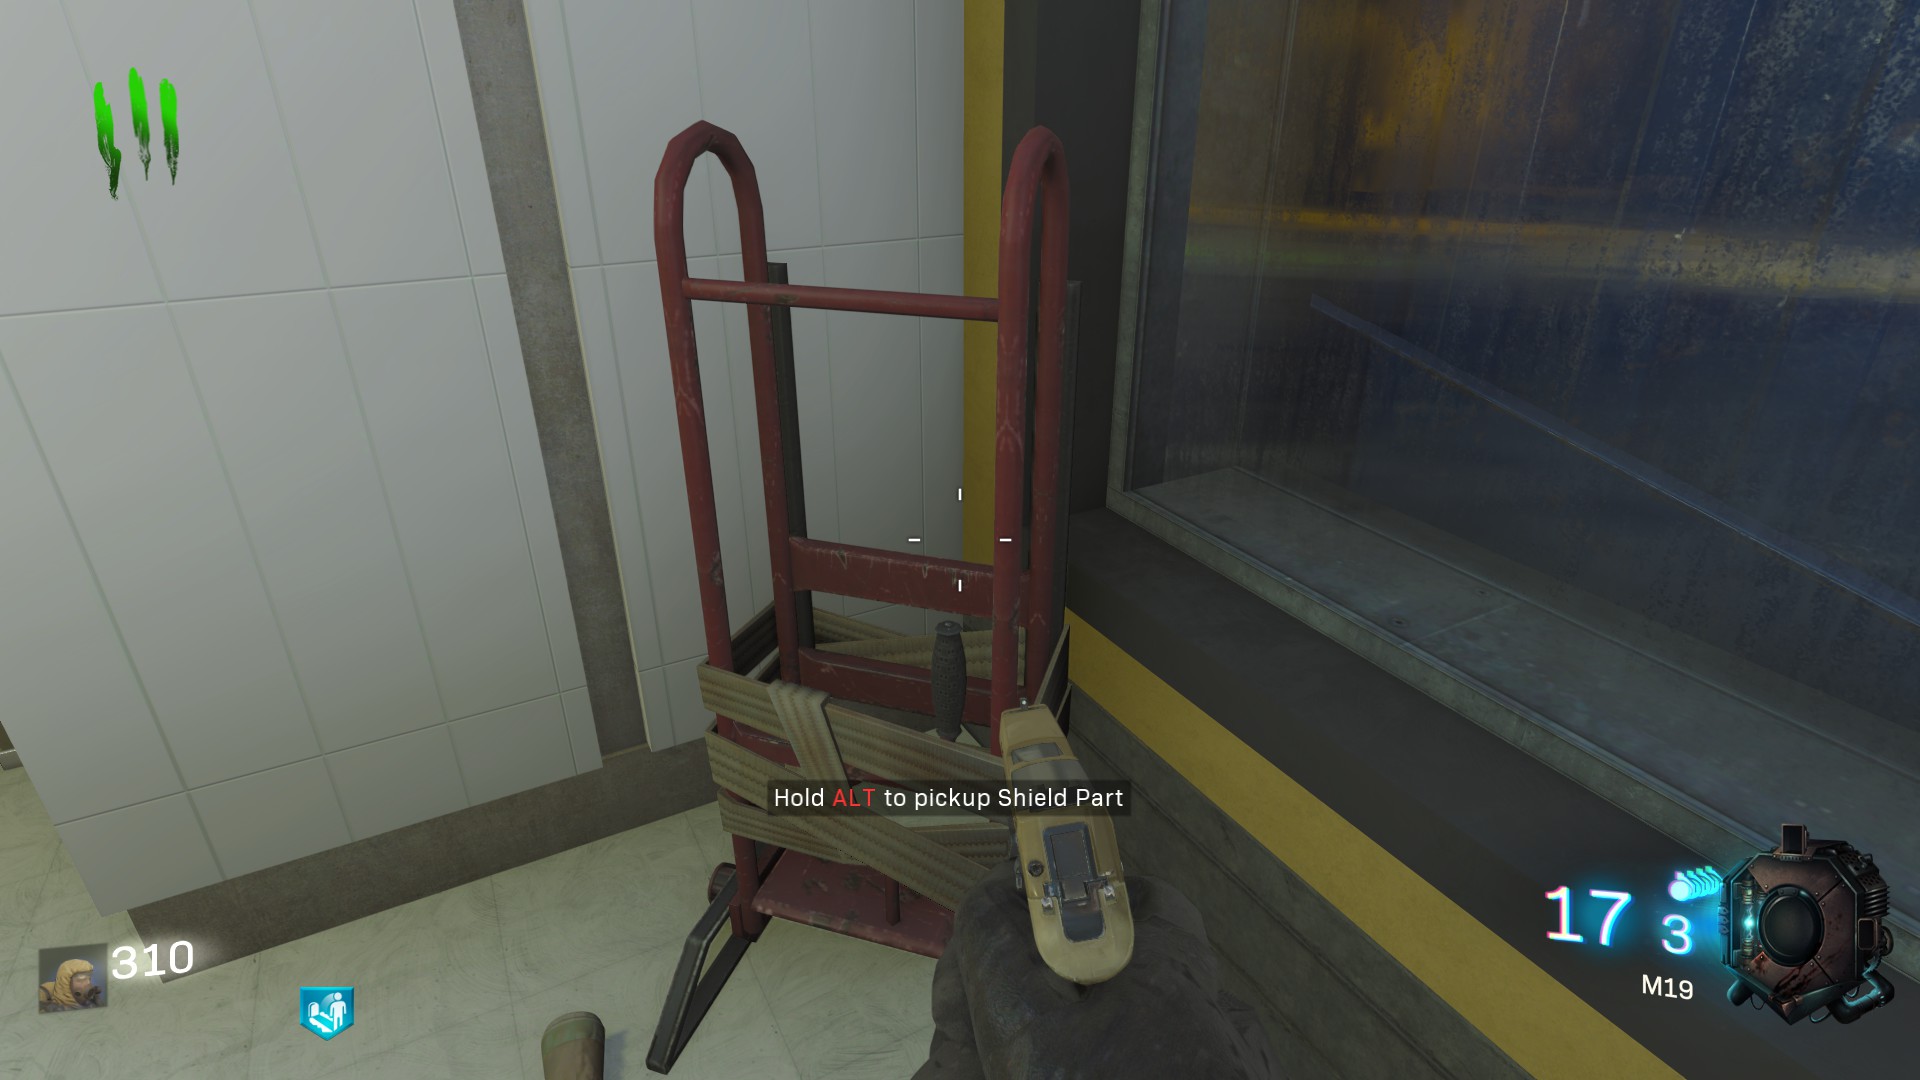
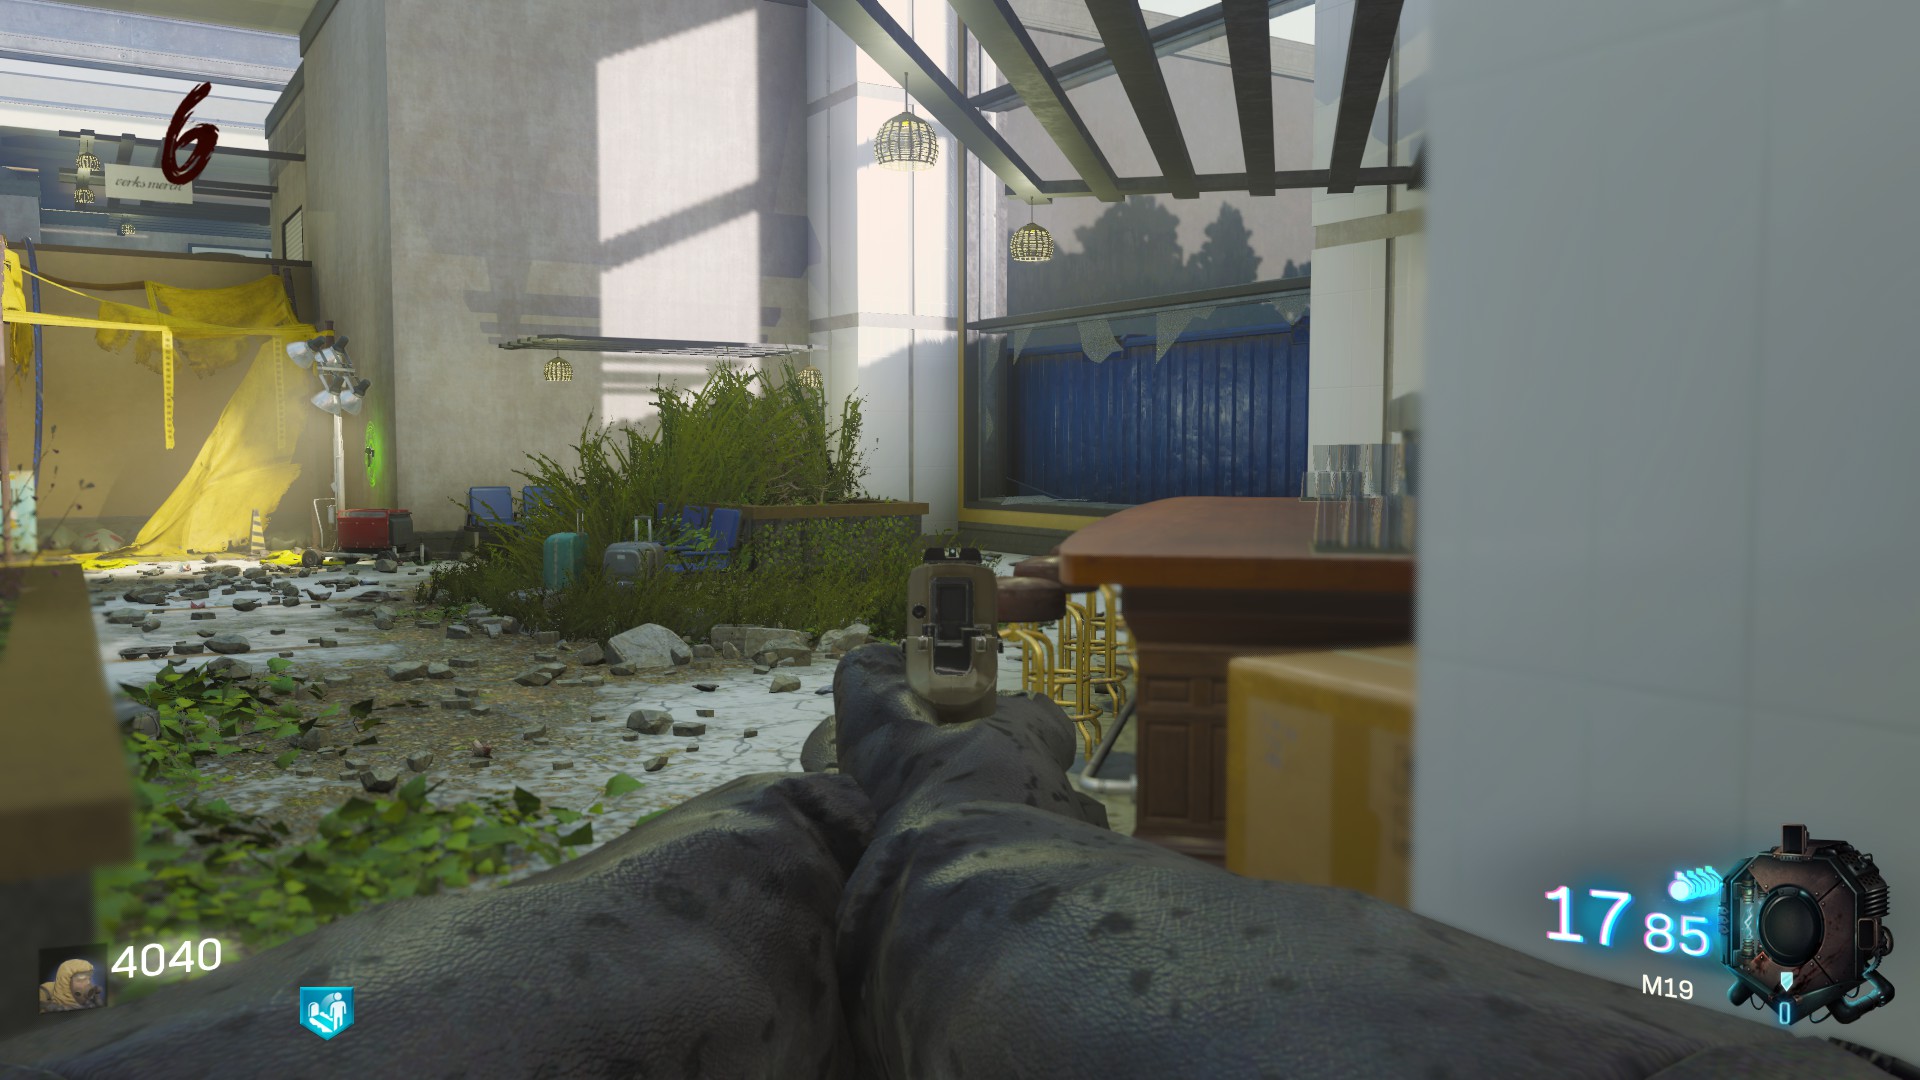
Then go to the middle of the airport and search for the Mule Kick perk. The second part is on the counter of one of the shops, on the right of the perk I mentionned before.
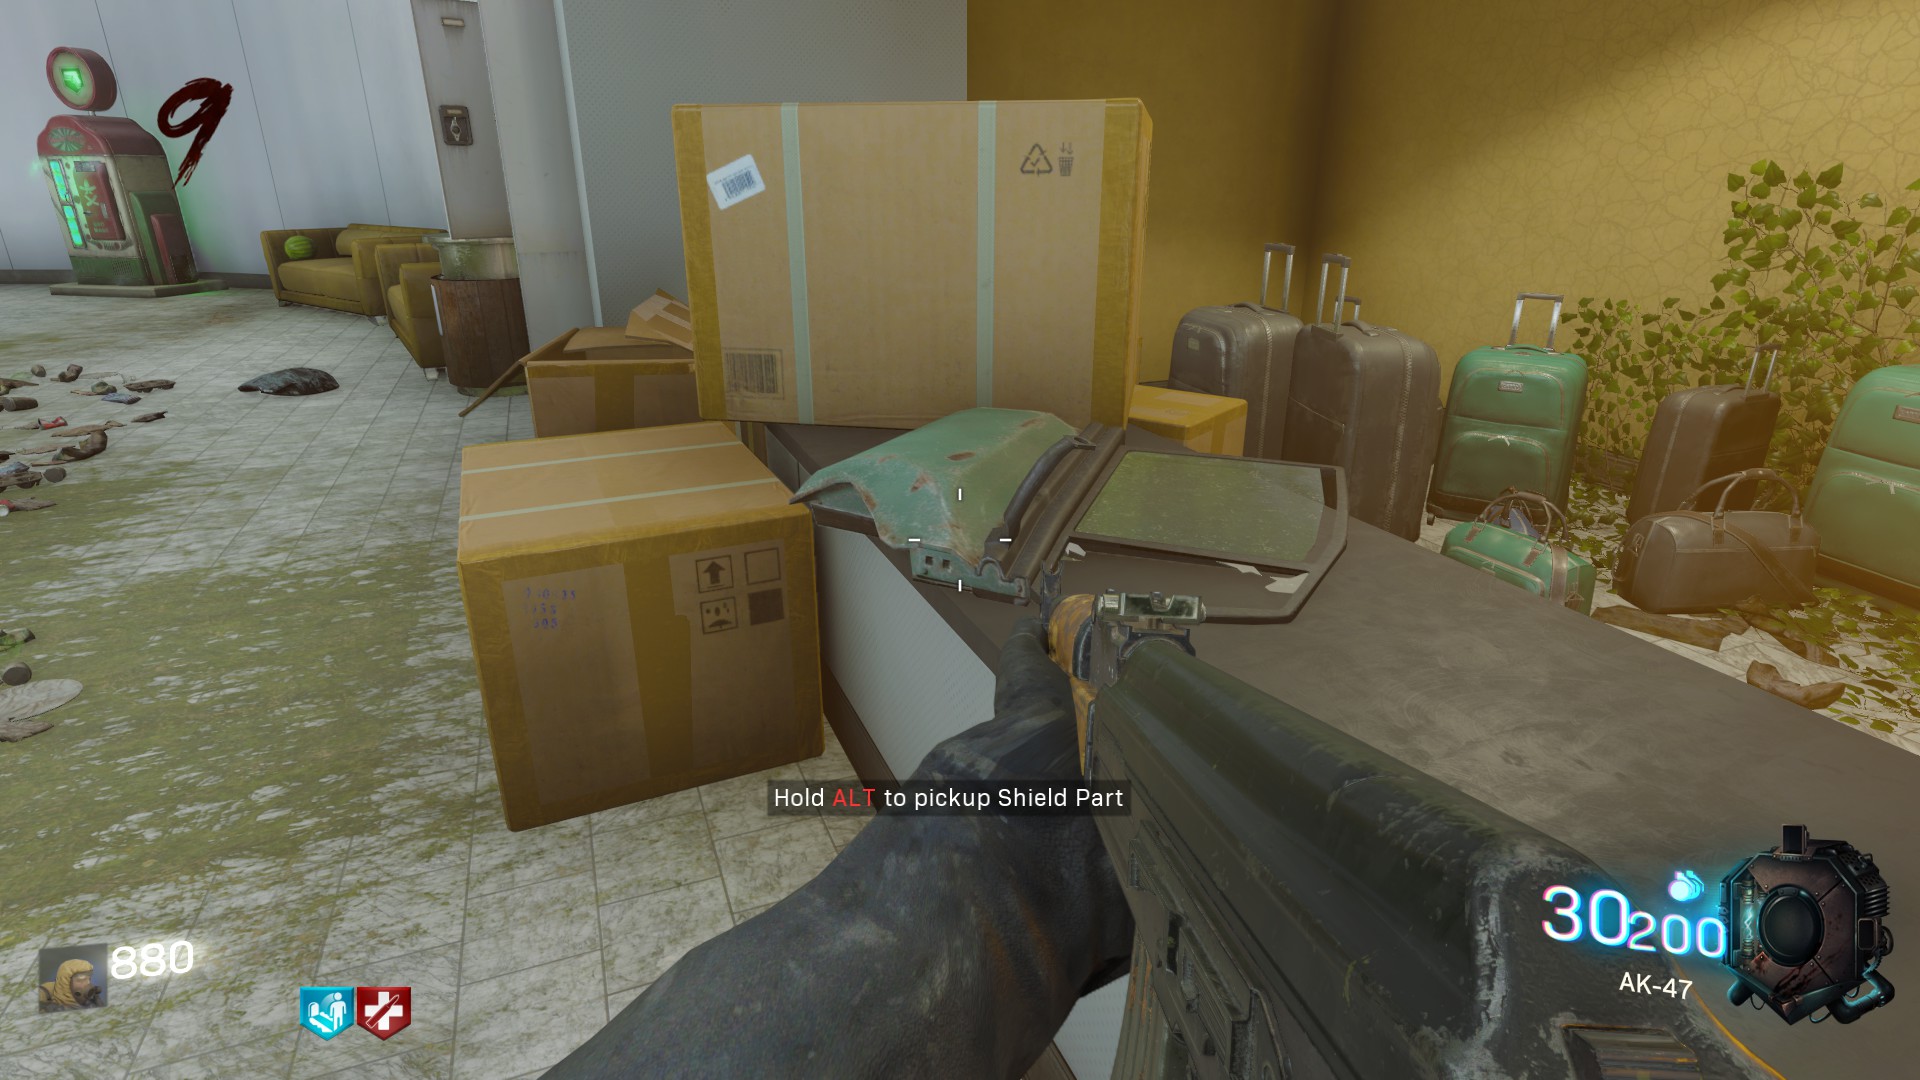 When you have this two parts, walk in the direction of Double Tap and the crafting table is in front of this perk.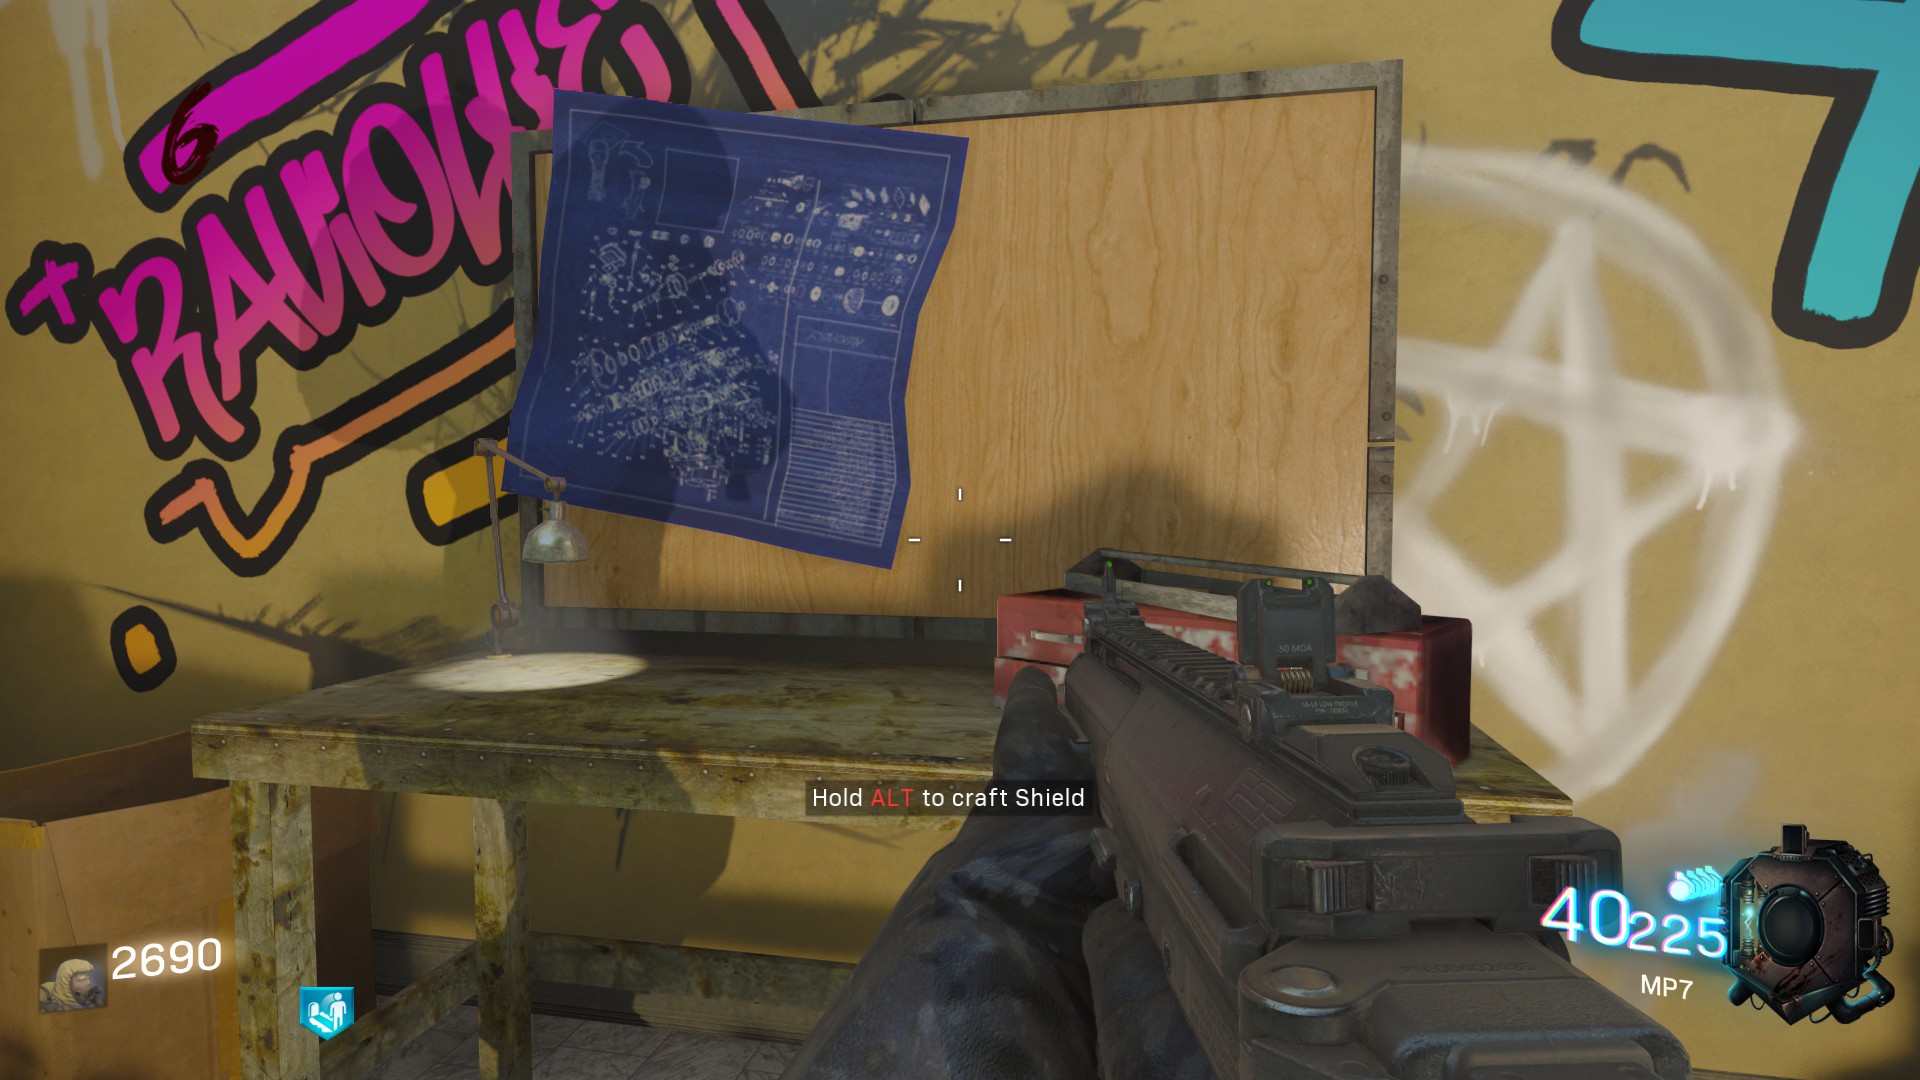
4. The X-Ray
Congrats you're almost done. I've keeped the X-Ray for the end because this item is only usefull for the secret and nothing else. Also, the way we craft it is a bit different than the three other items. Let me show you.
You will receive the first part of this item by dropping it when you finish the first special round of your game "The Sentinels Round". I must warn you : this part of the secret is a bit buggy, sometimes the part cannot be picked up, don't know why.
So to get the part you have to kill all the Sentinels and the last one will drop you this thing.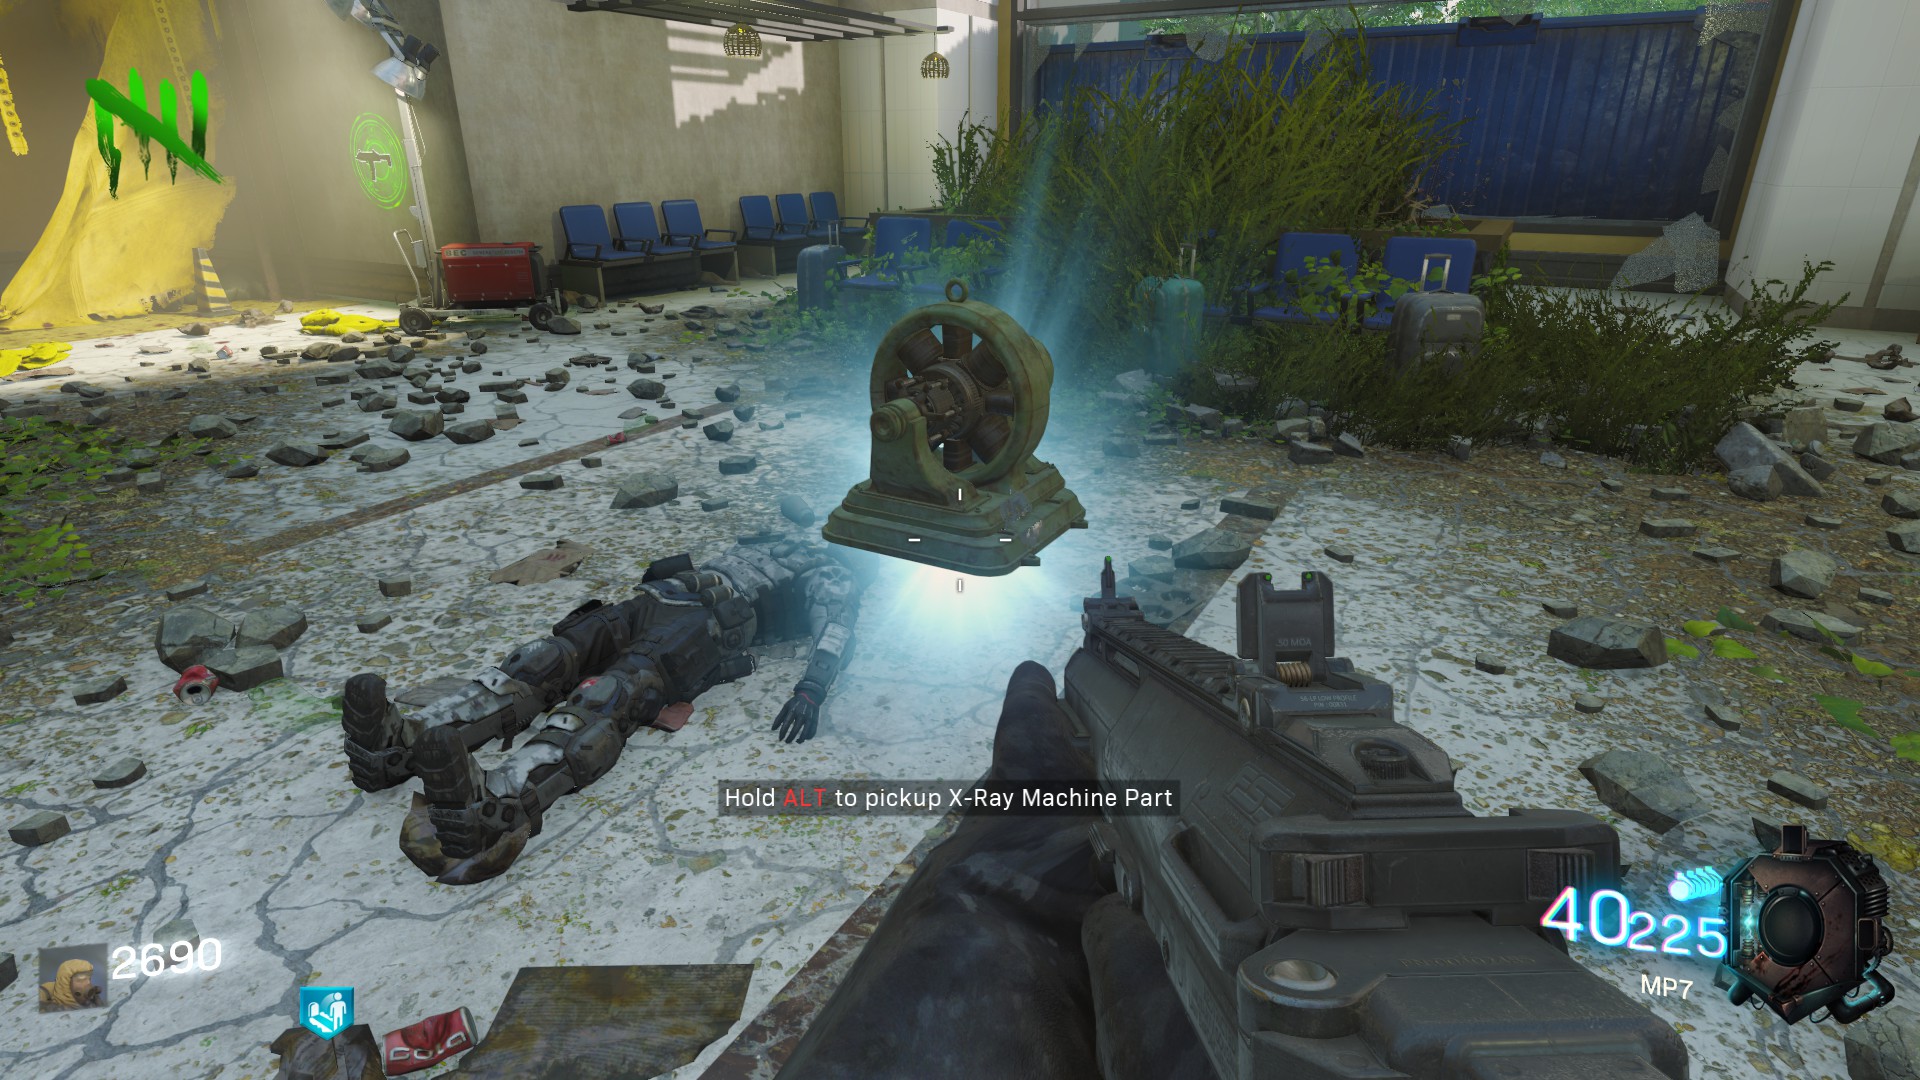
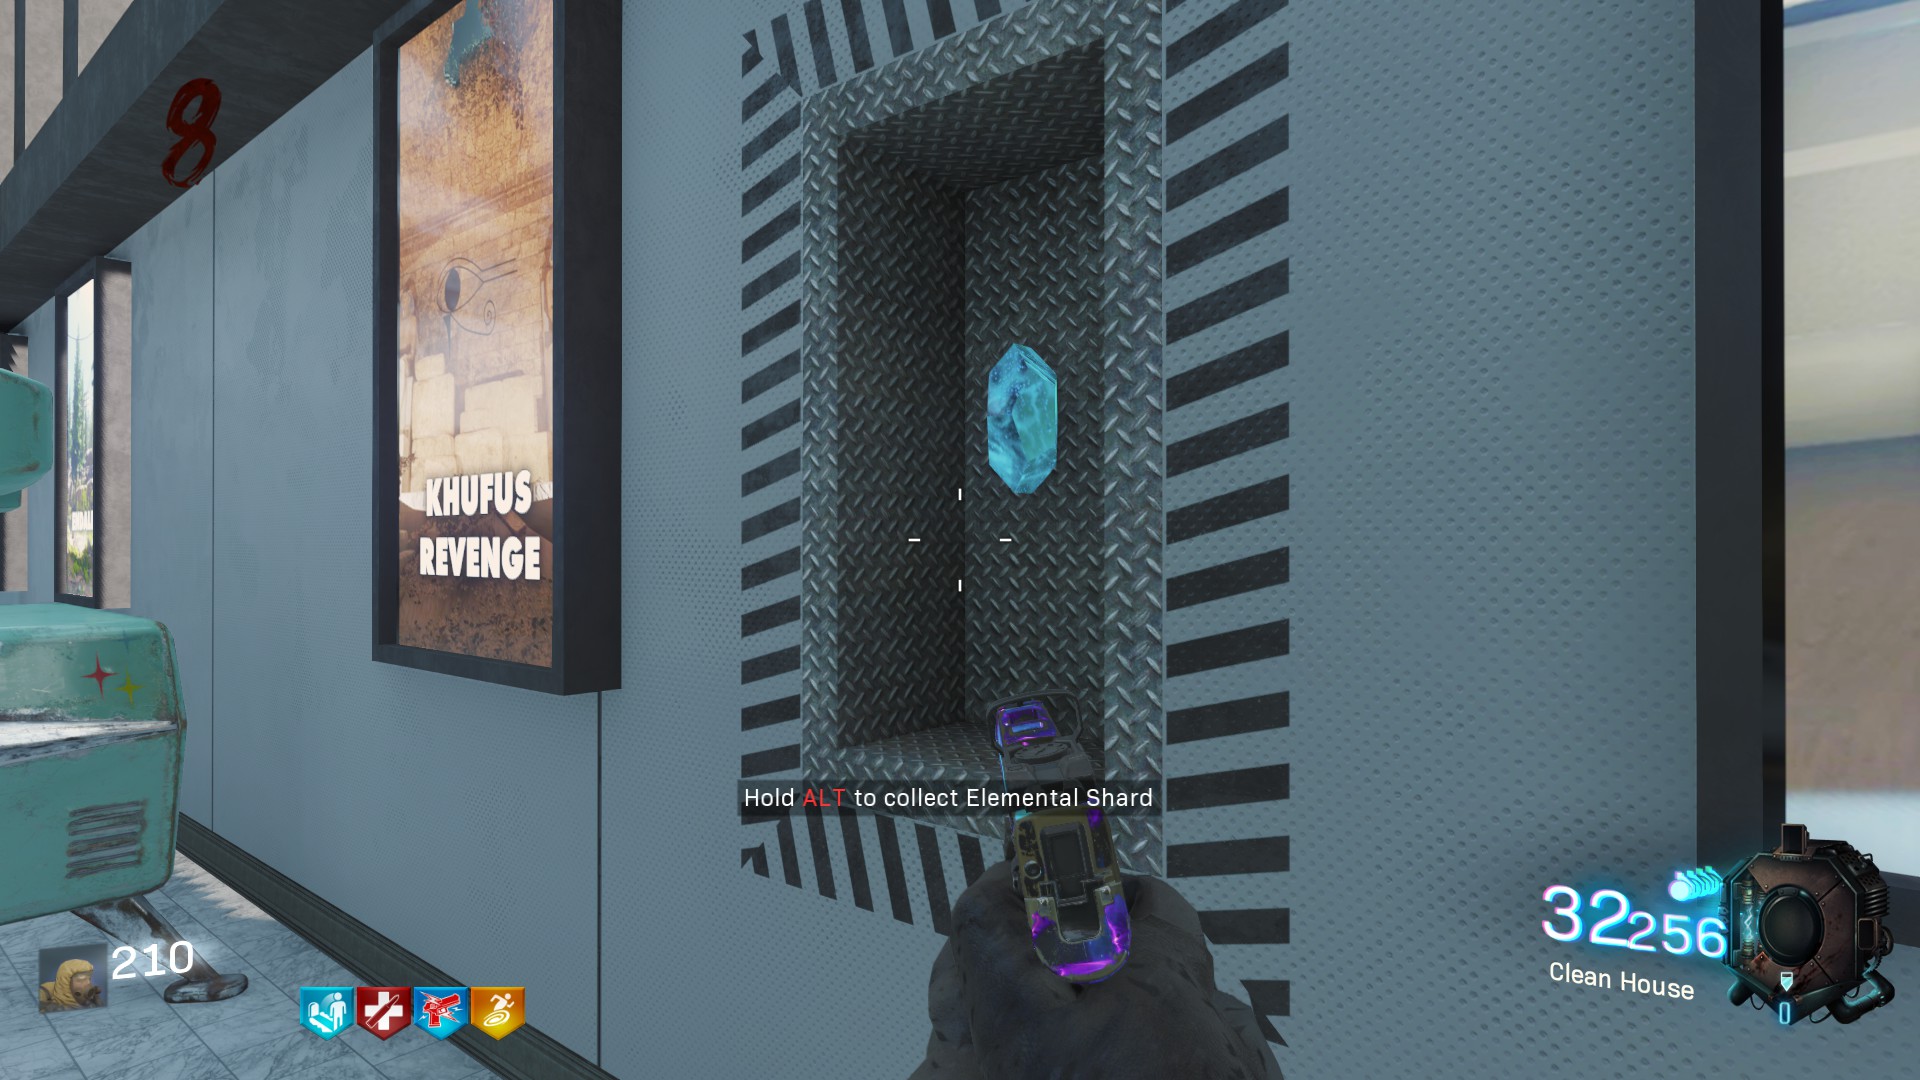
When you have it you can go to the roof (yes again) and on the right of the Pack a Punch you'II find the Elemental Shard.
 Then for the last part you have to make rounds until you see your first Panzer (carefull this mob is a world boss without an appropriate weapon) and when you kill him, he will drop you the last part of the X-Ray.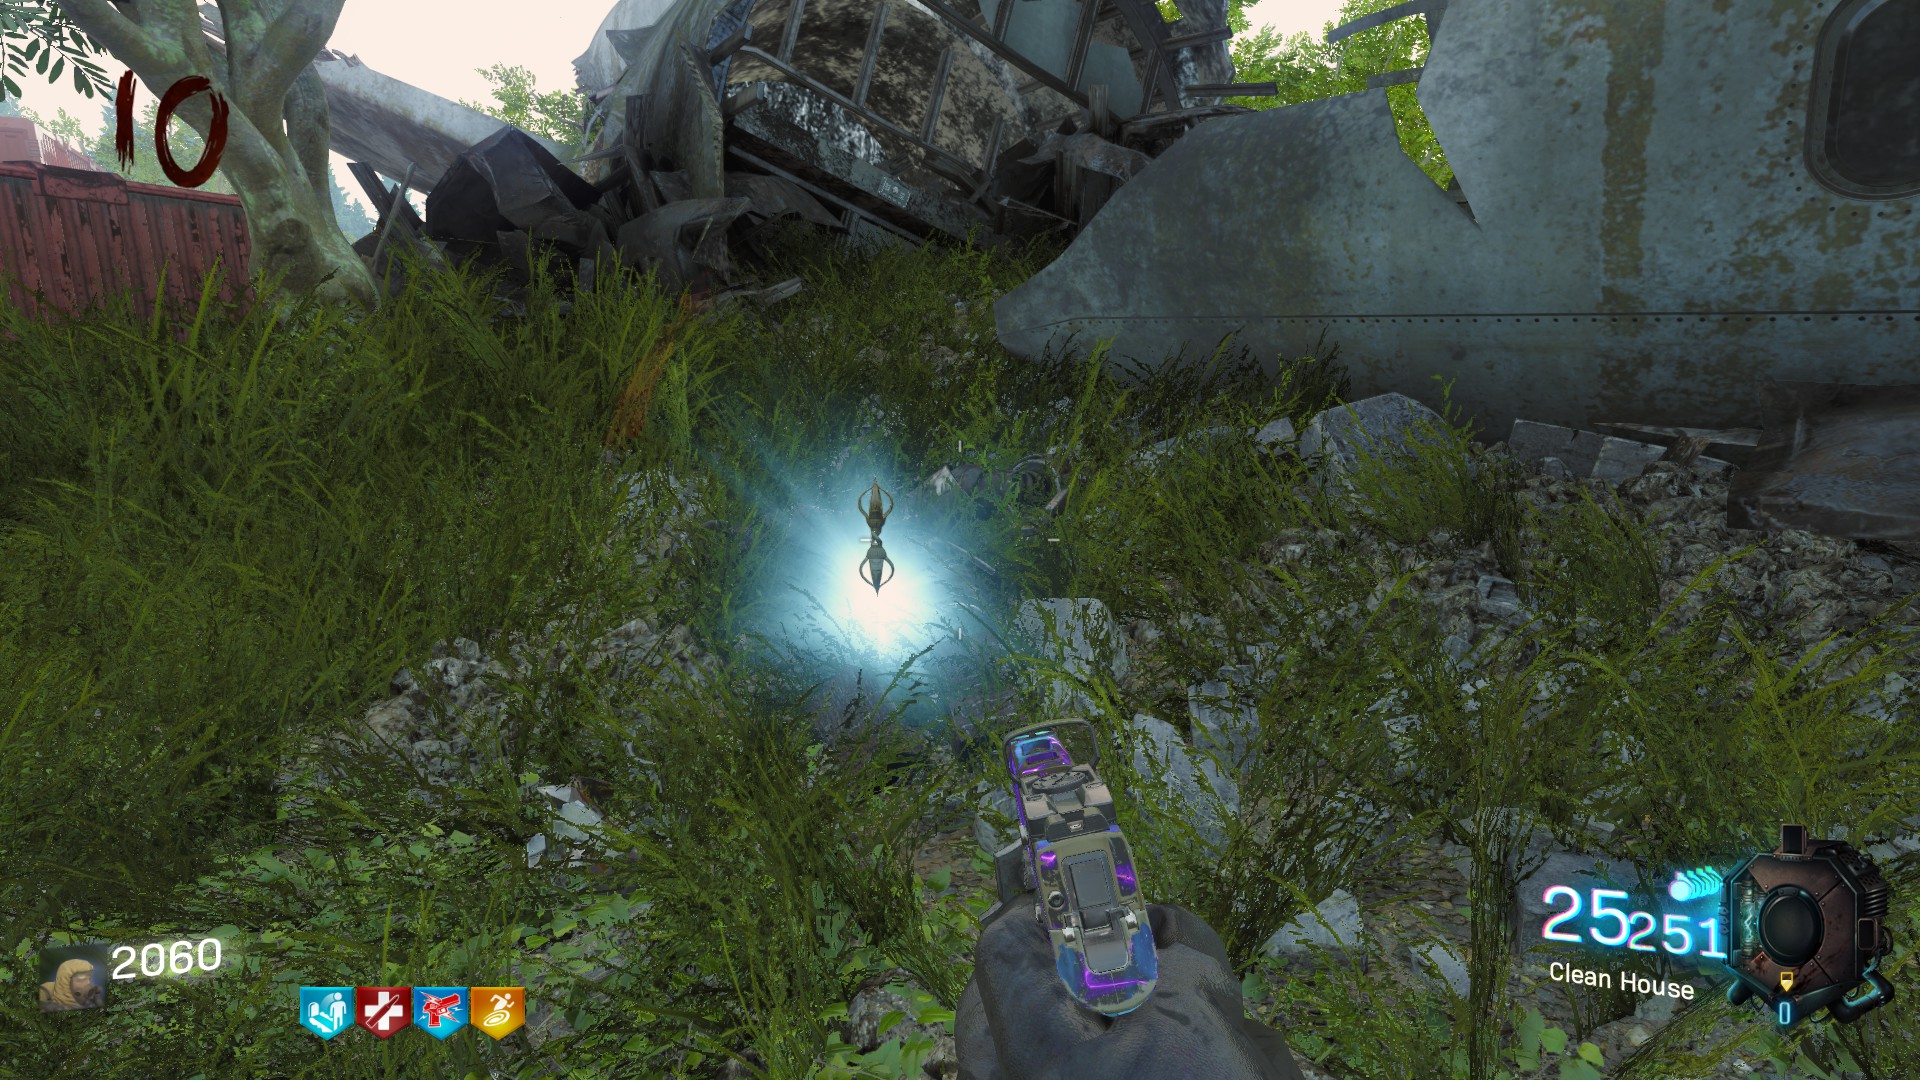
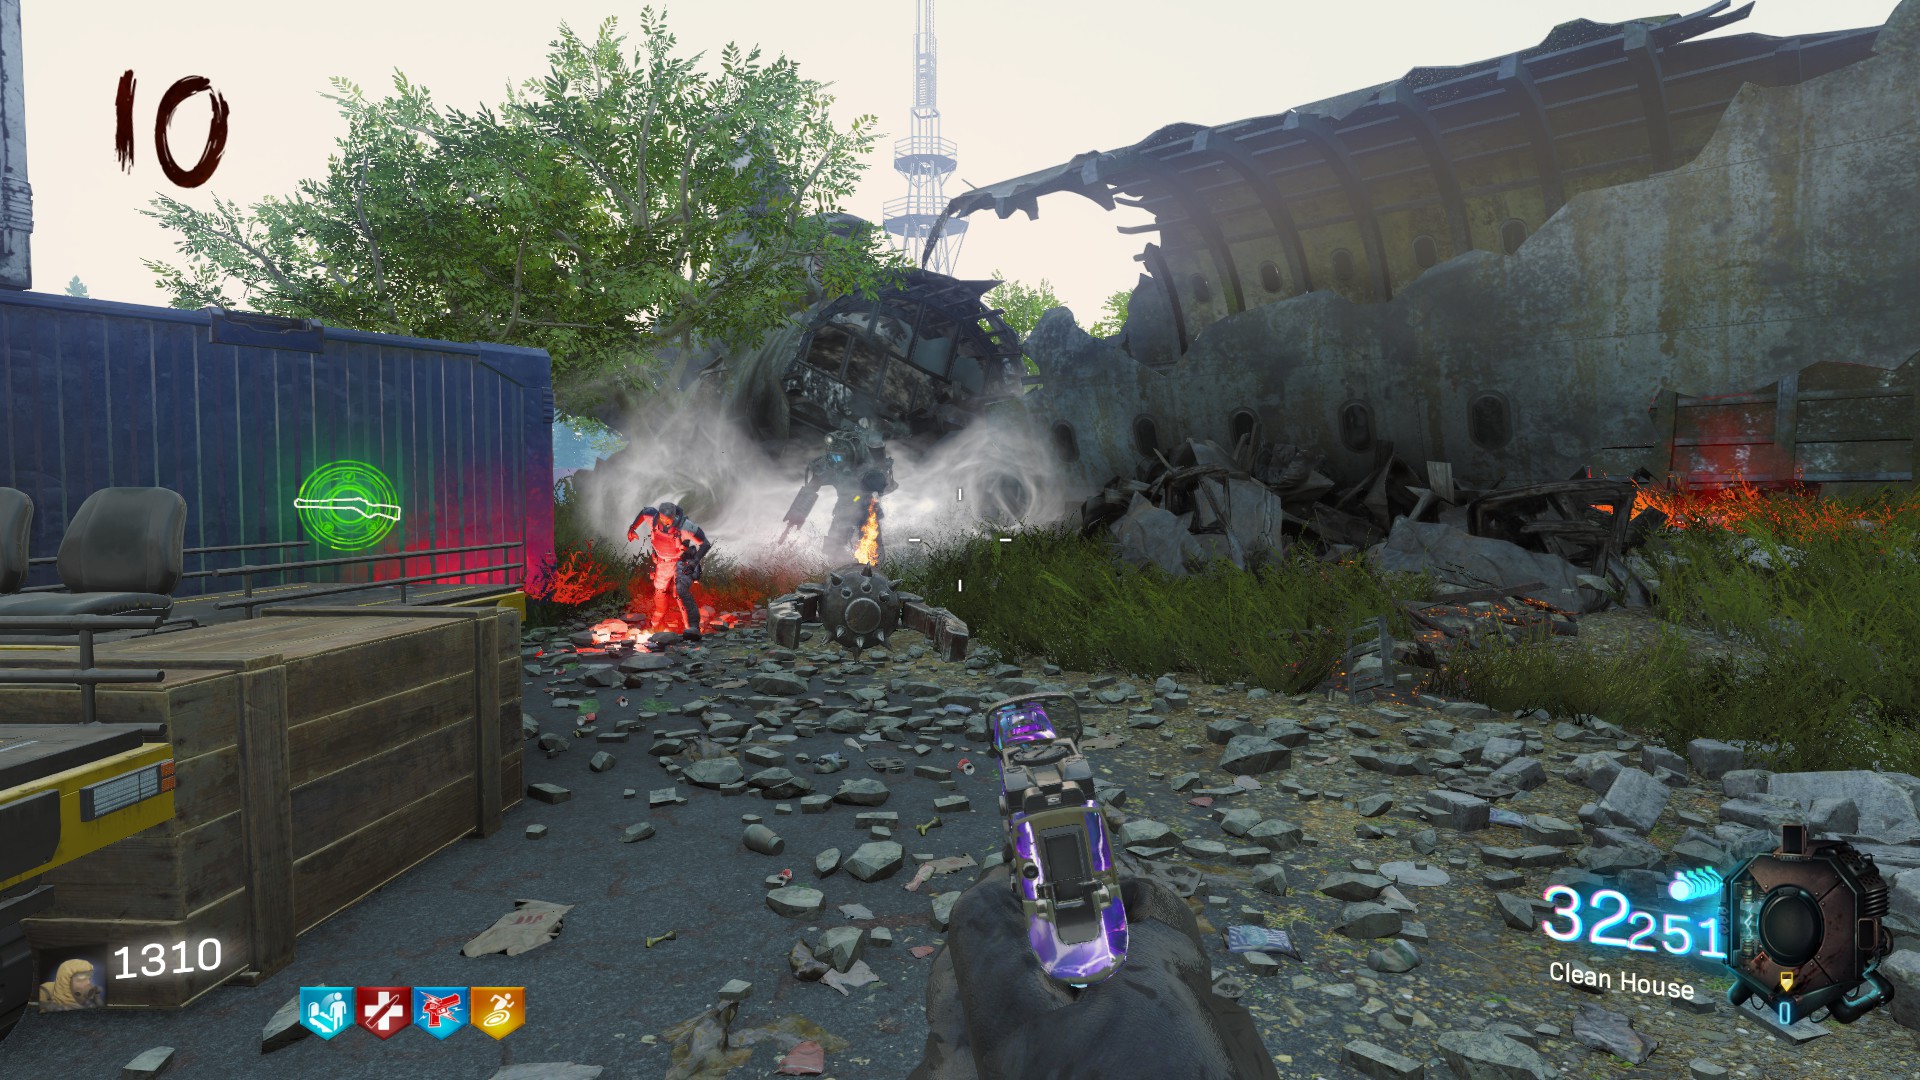 You will find the X-Ray behind the Xela's store on the left when you take the escalator.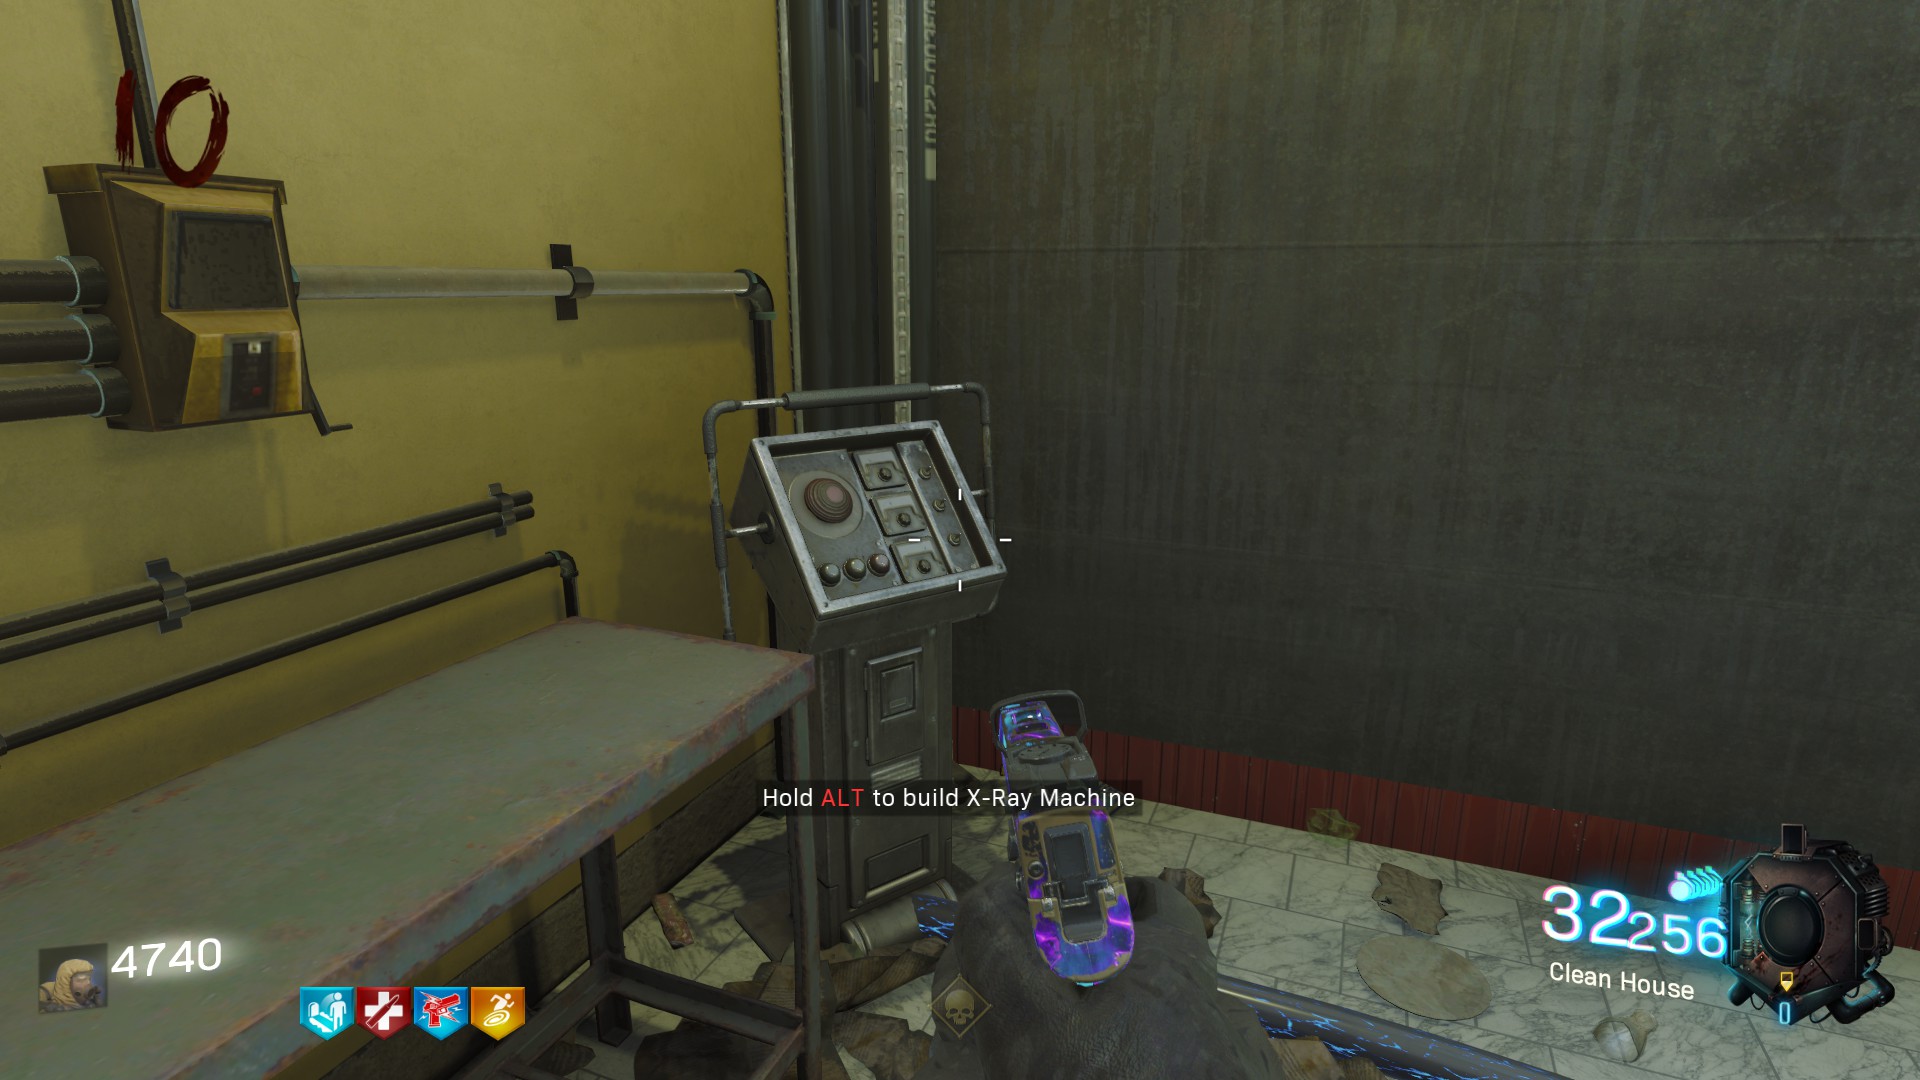
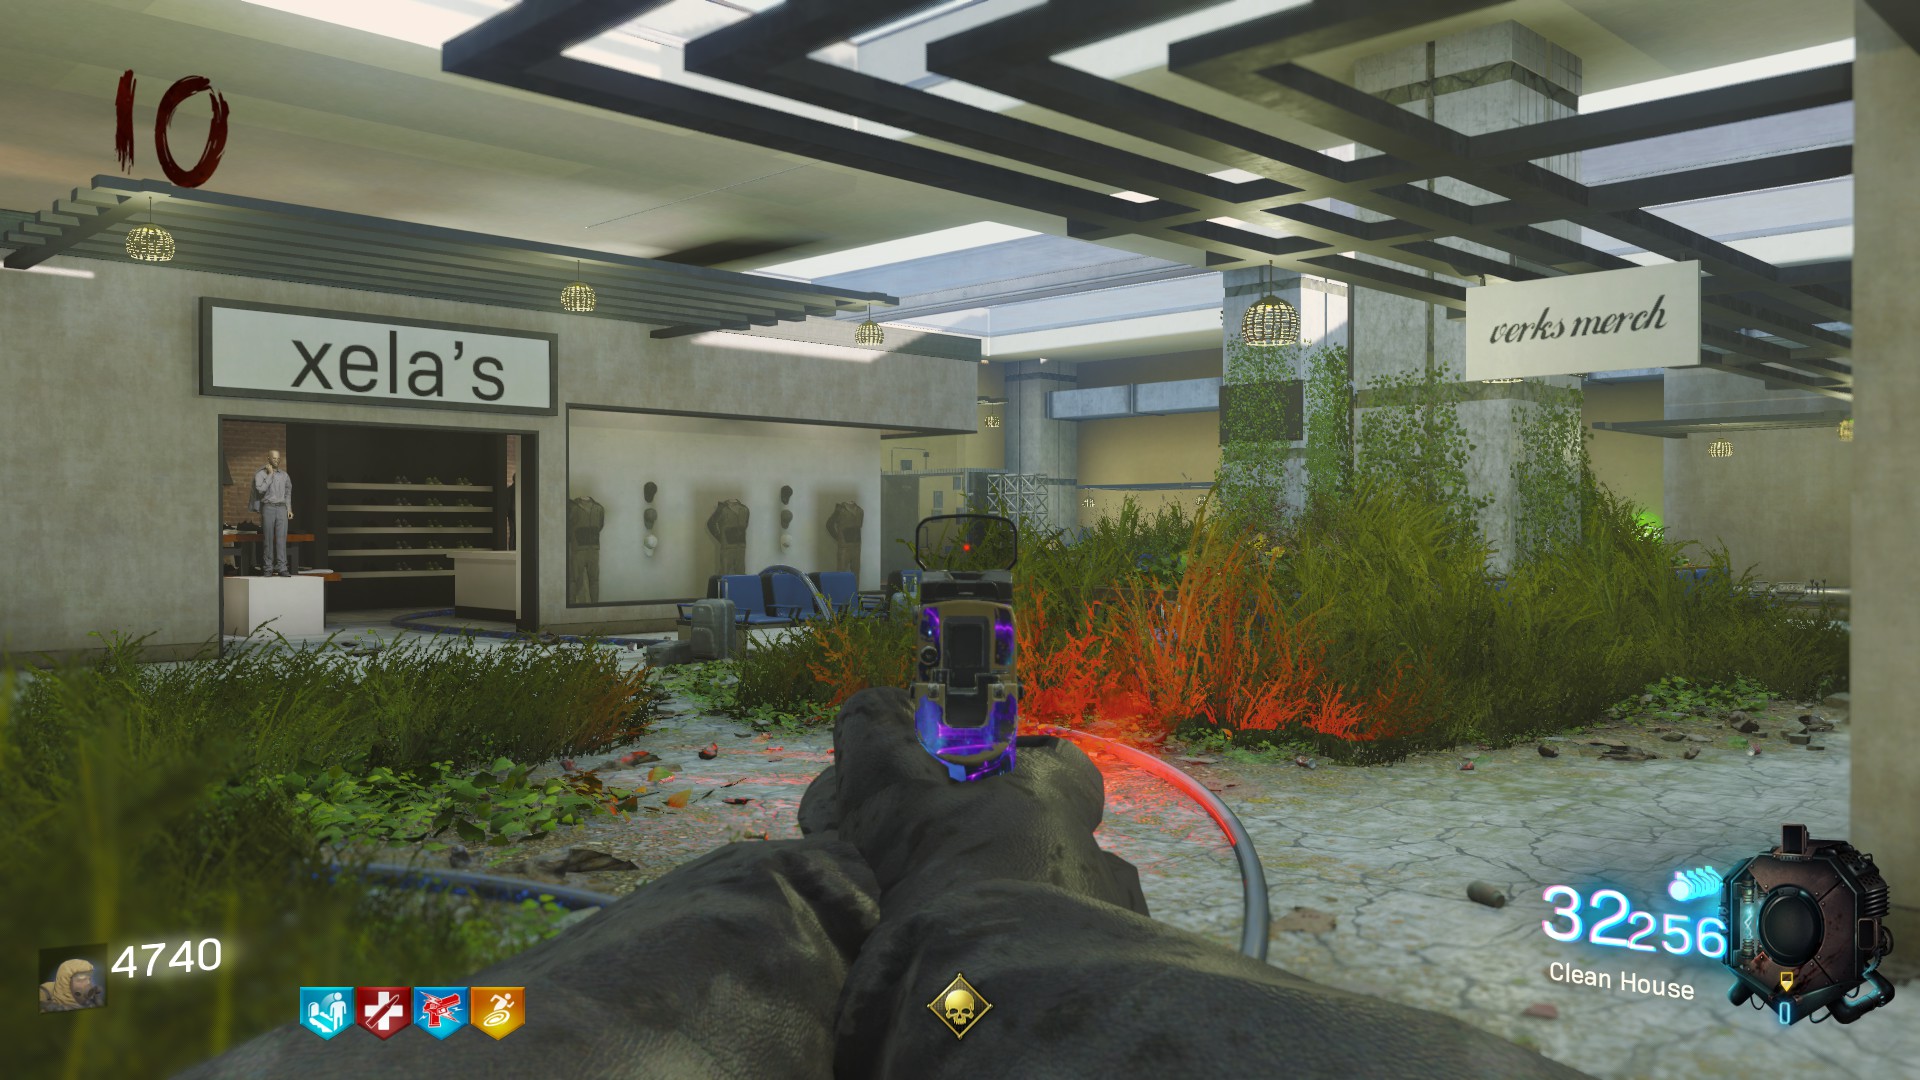
After you build it you will see a message telling that the X-Ray need some power to work, don't panic we will see that very soon.
The Five Easter Eggs
This map contains five easter eggs as far has I know. There is the Deagle room, the music, the melons perk, the Yuri perk and the Spuddley bonus points.
1. The Deagle Room
It's the most simple of the five and you can do it directly at round one. By completing this easter egg you'Il open a secret room and receive the .50 GS (a really powerfull weapon trust me !).
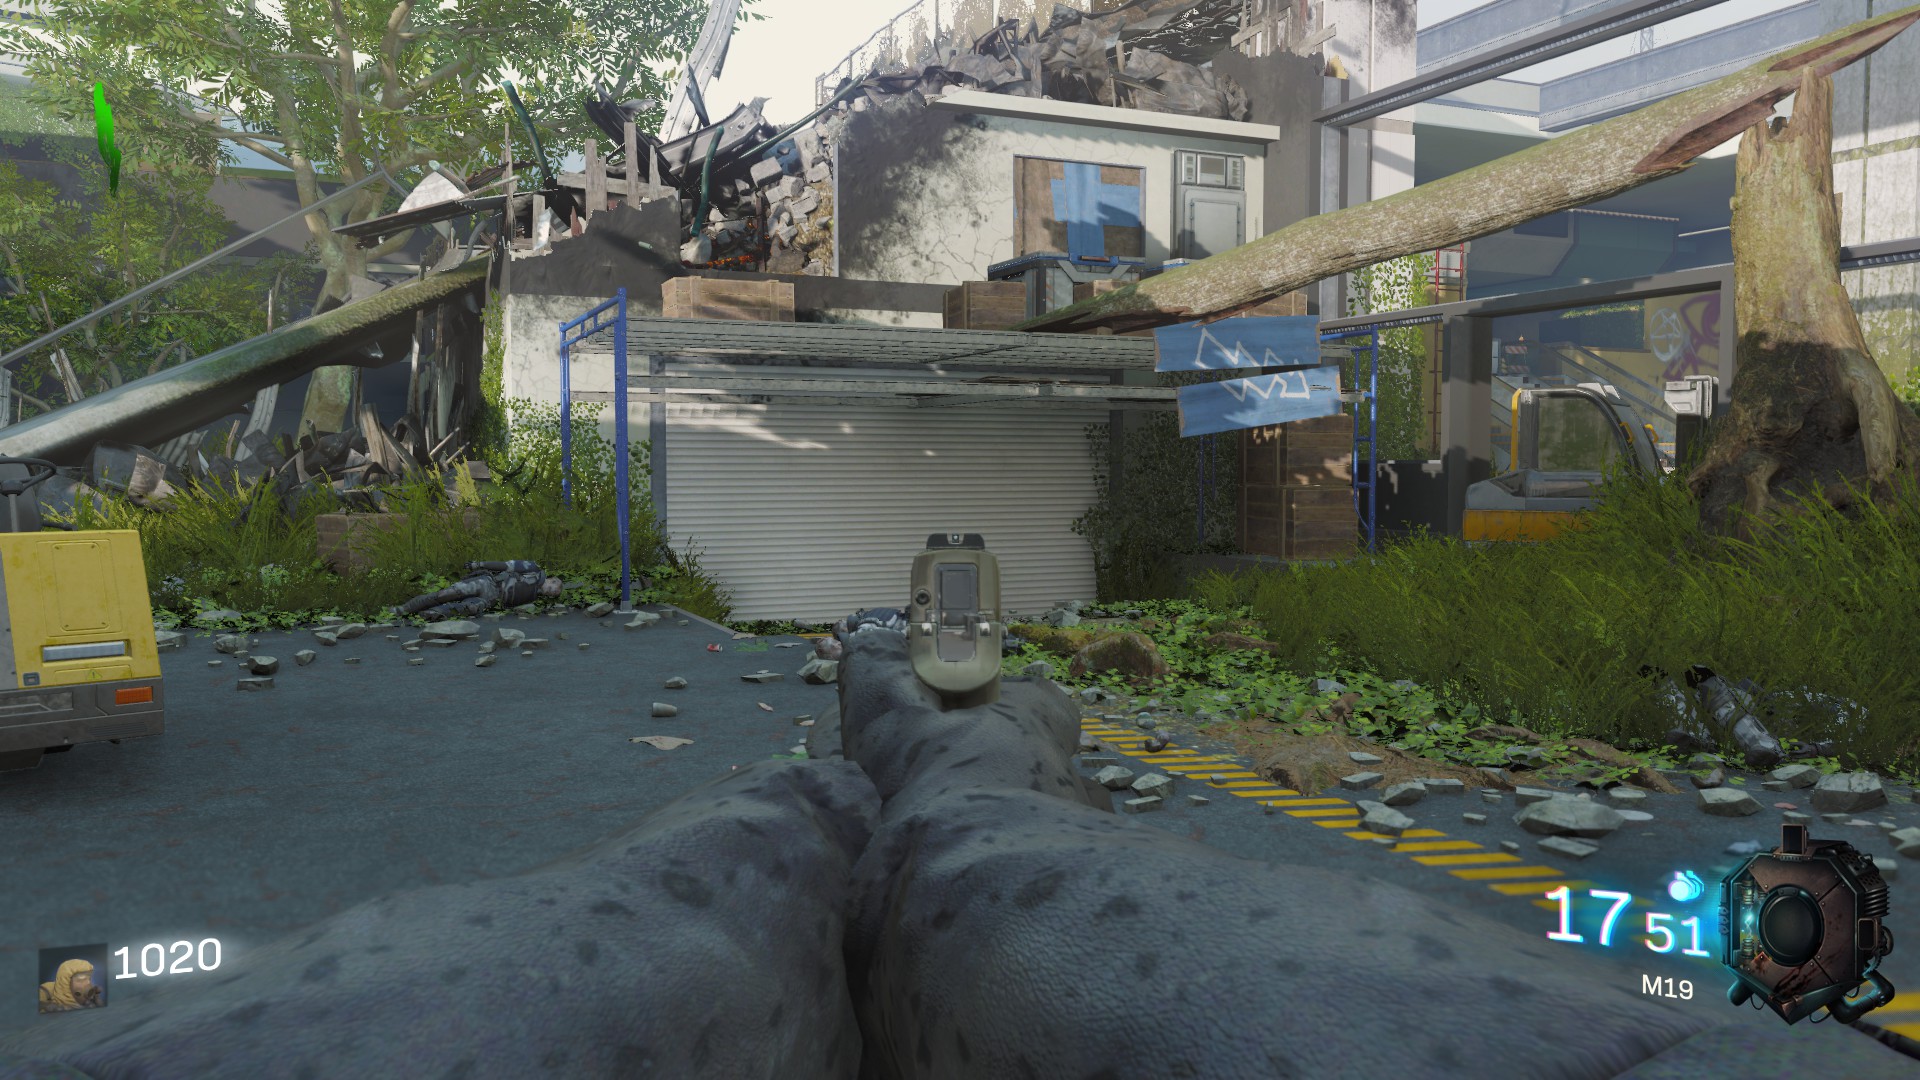 To begin this easter egg you need to shoot on the top right door above the secret room. When you've done it, you will see a violet smoke who escape and you'Il eard a sound.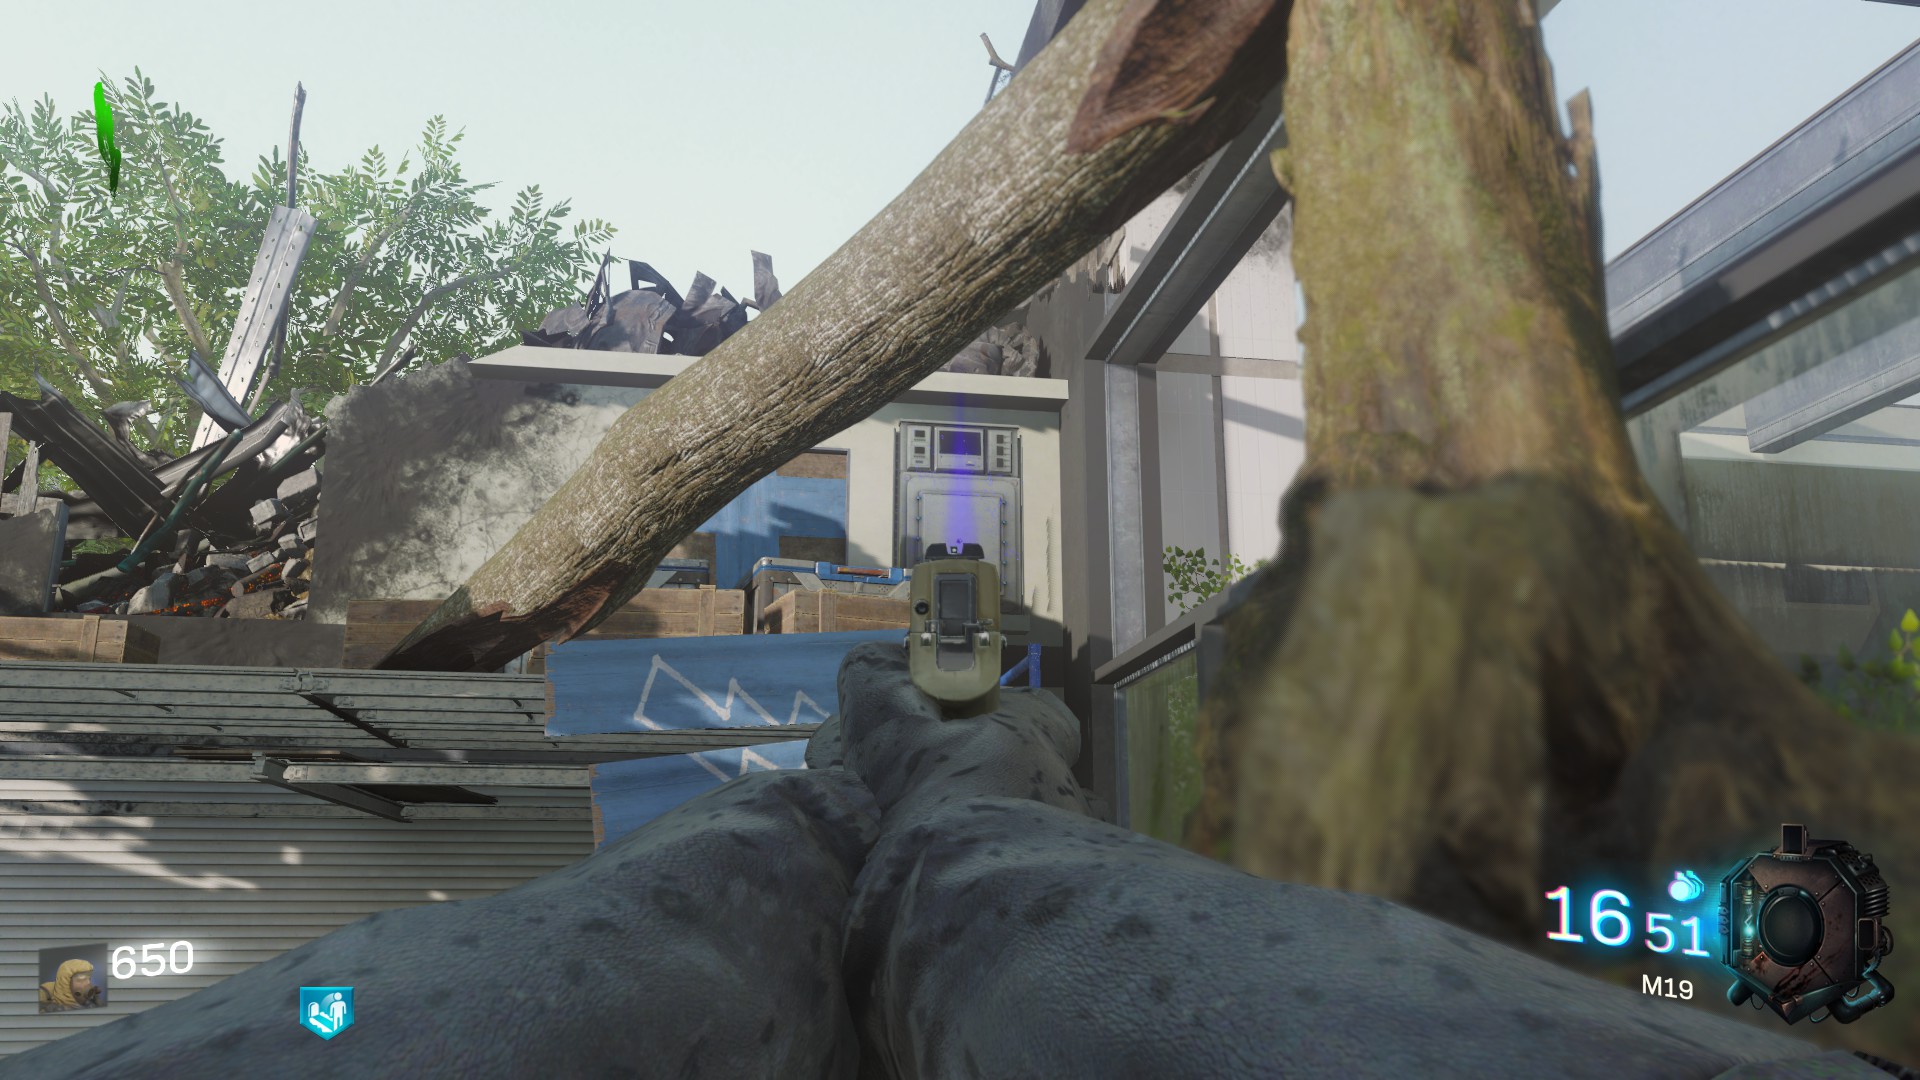
For the second part you must activate three panels.
The first one is on the container on the left of Quick Revive.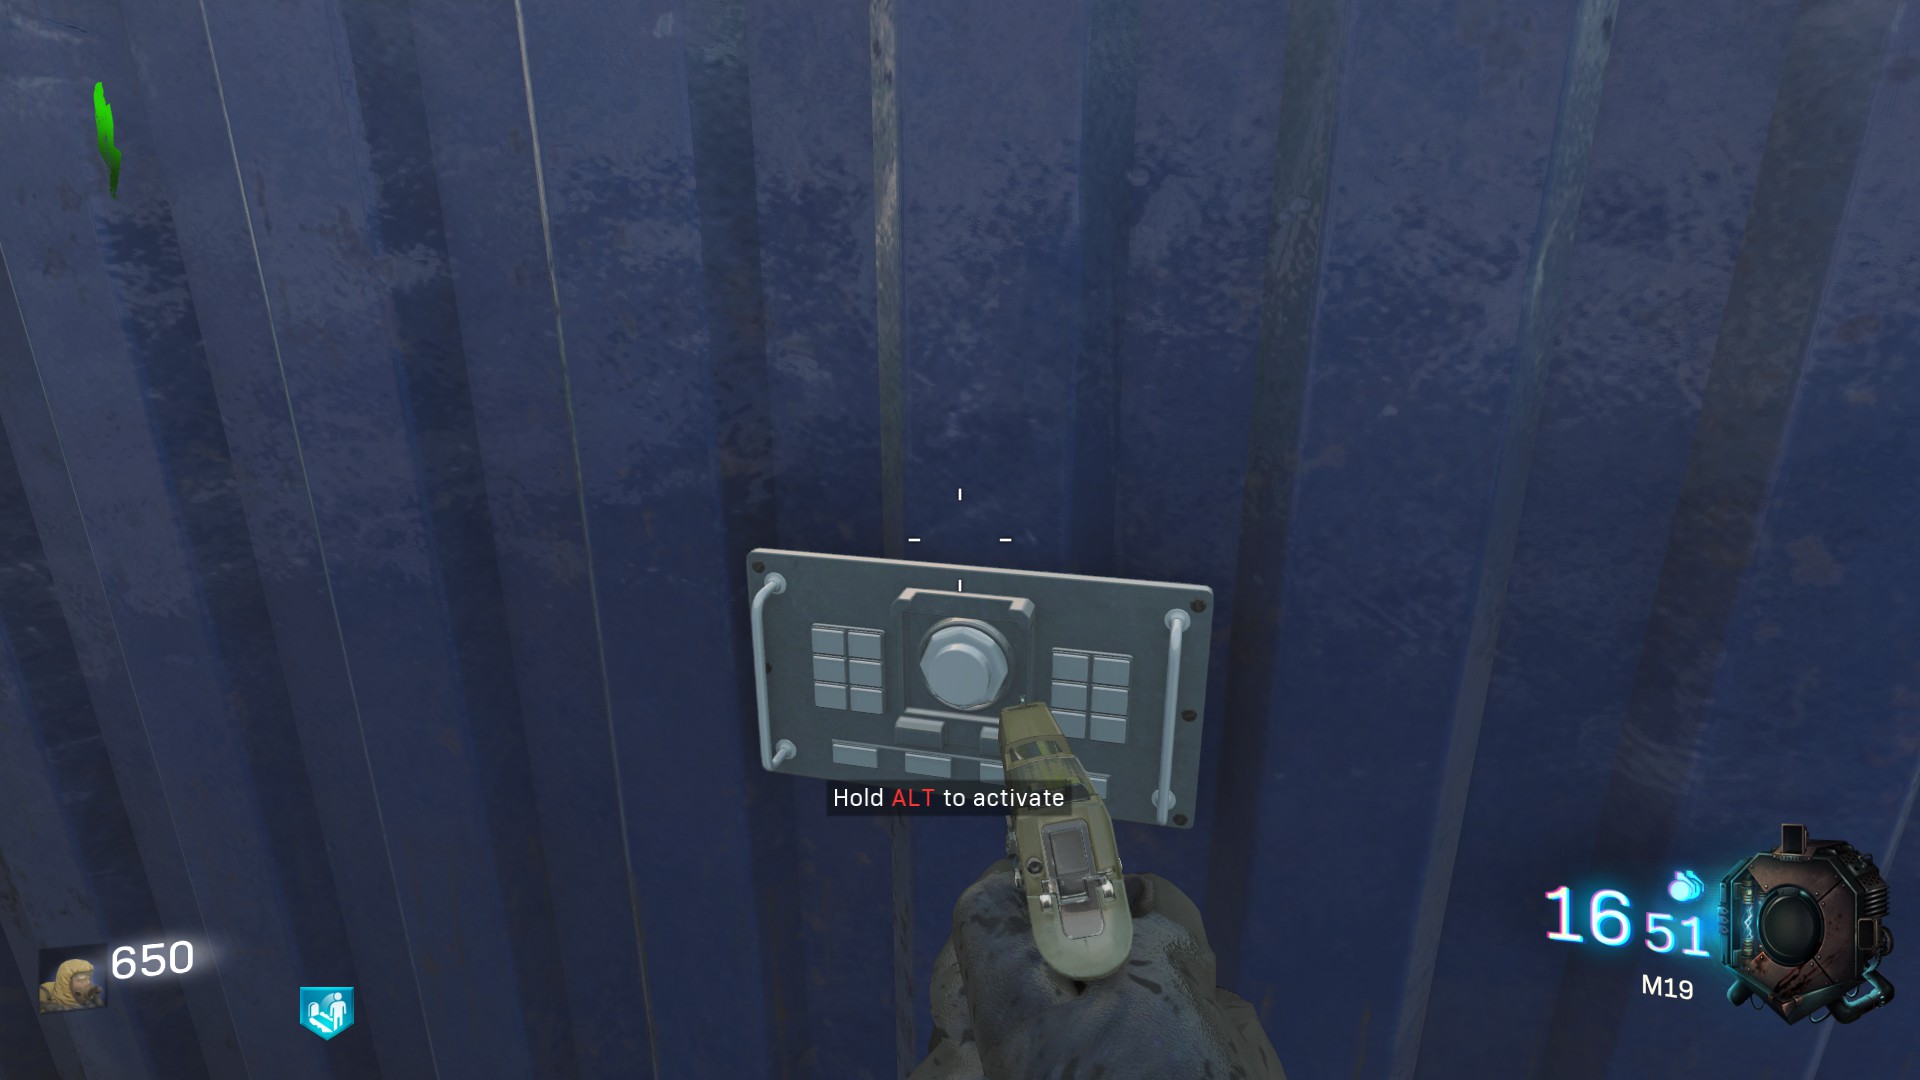
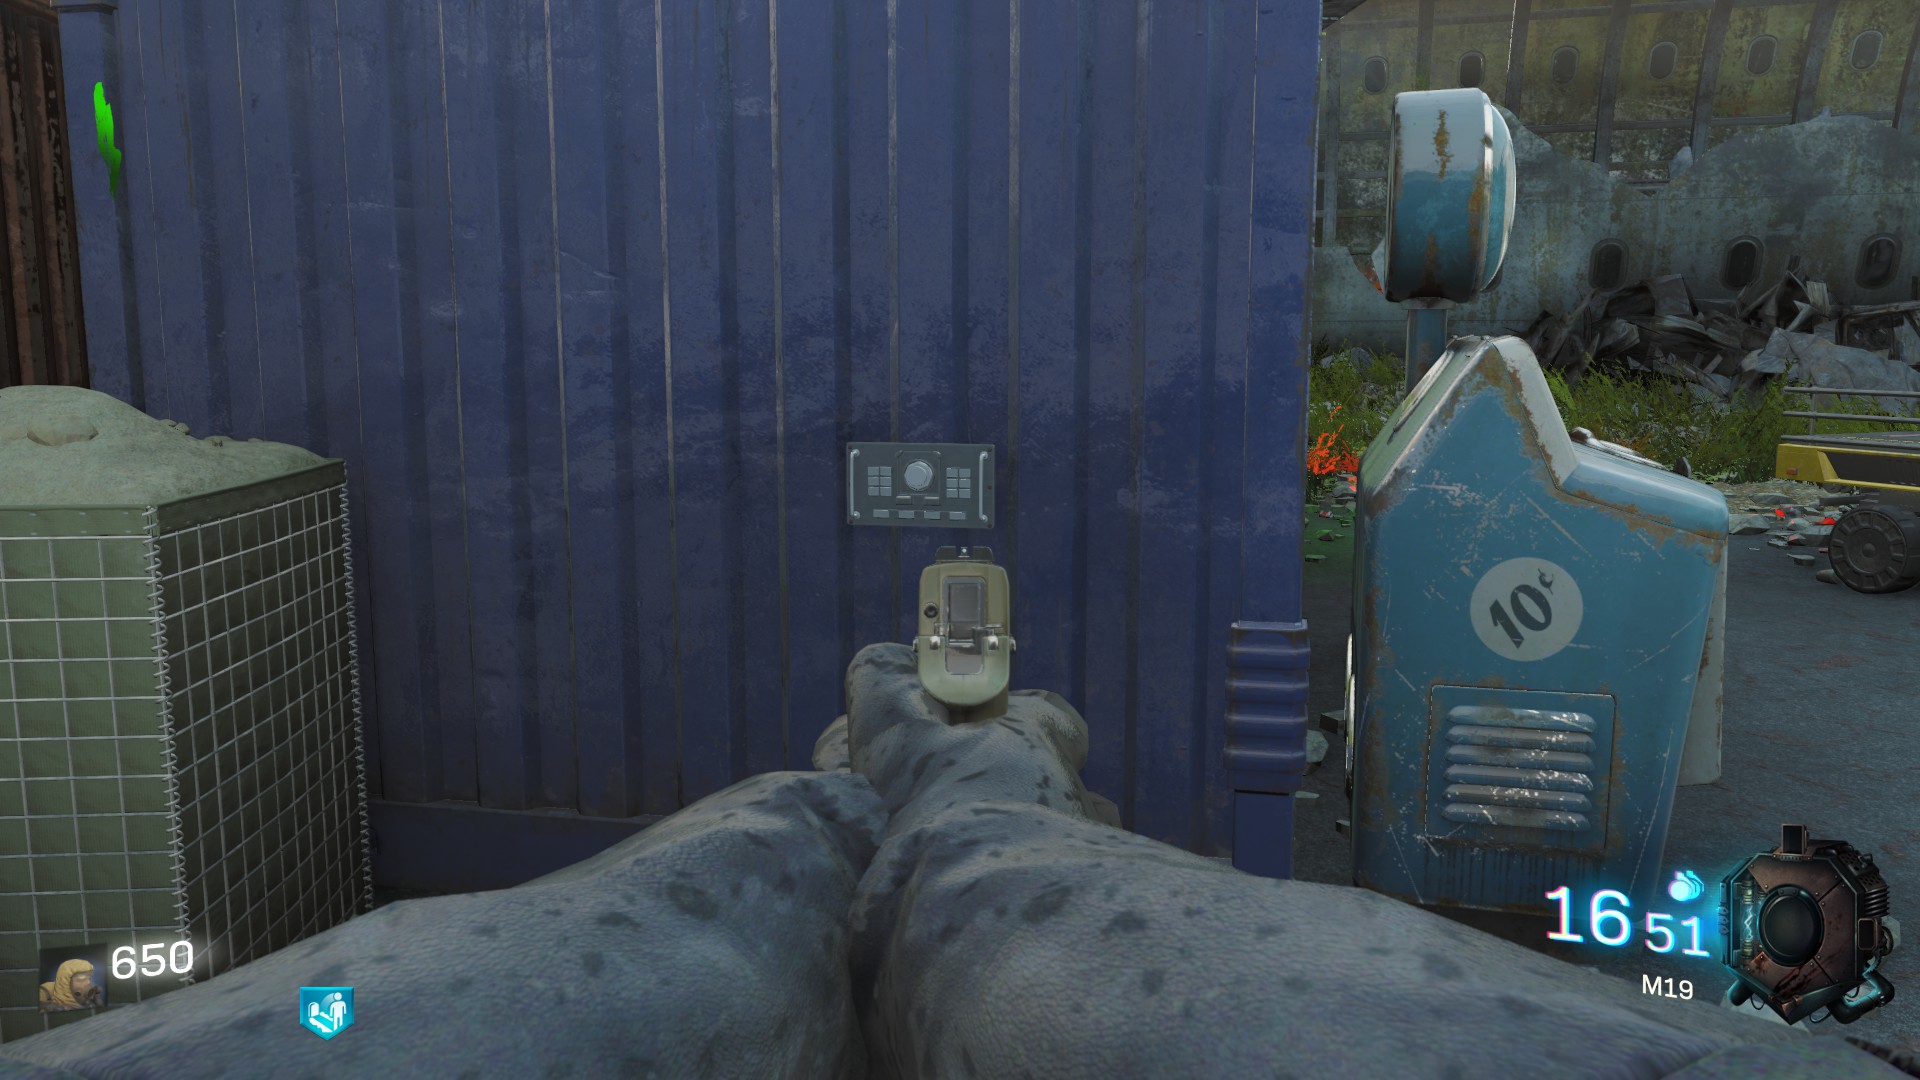
The second one is in the tail of the crashed plane.
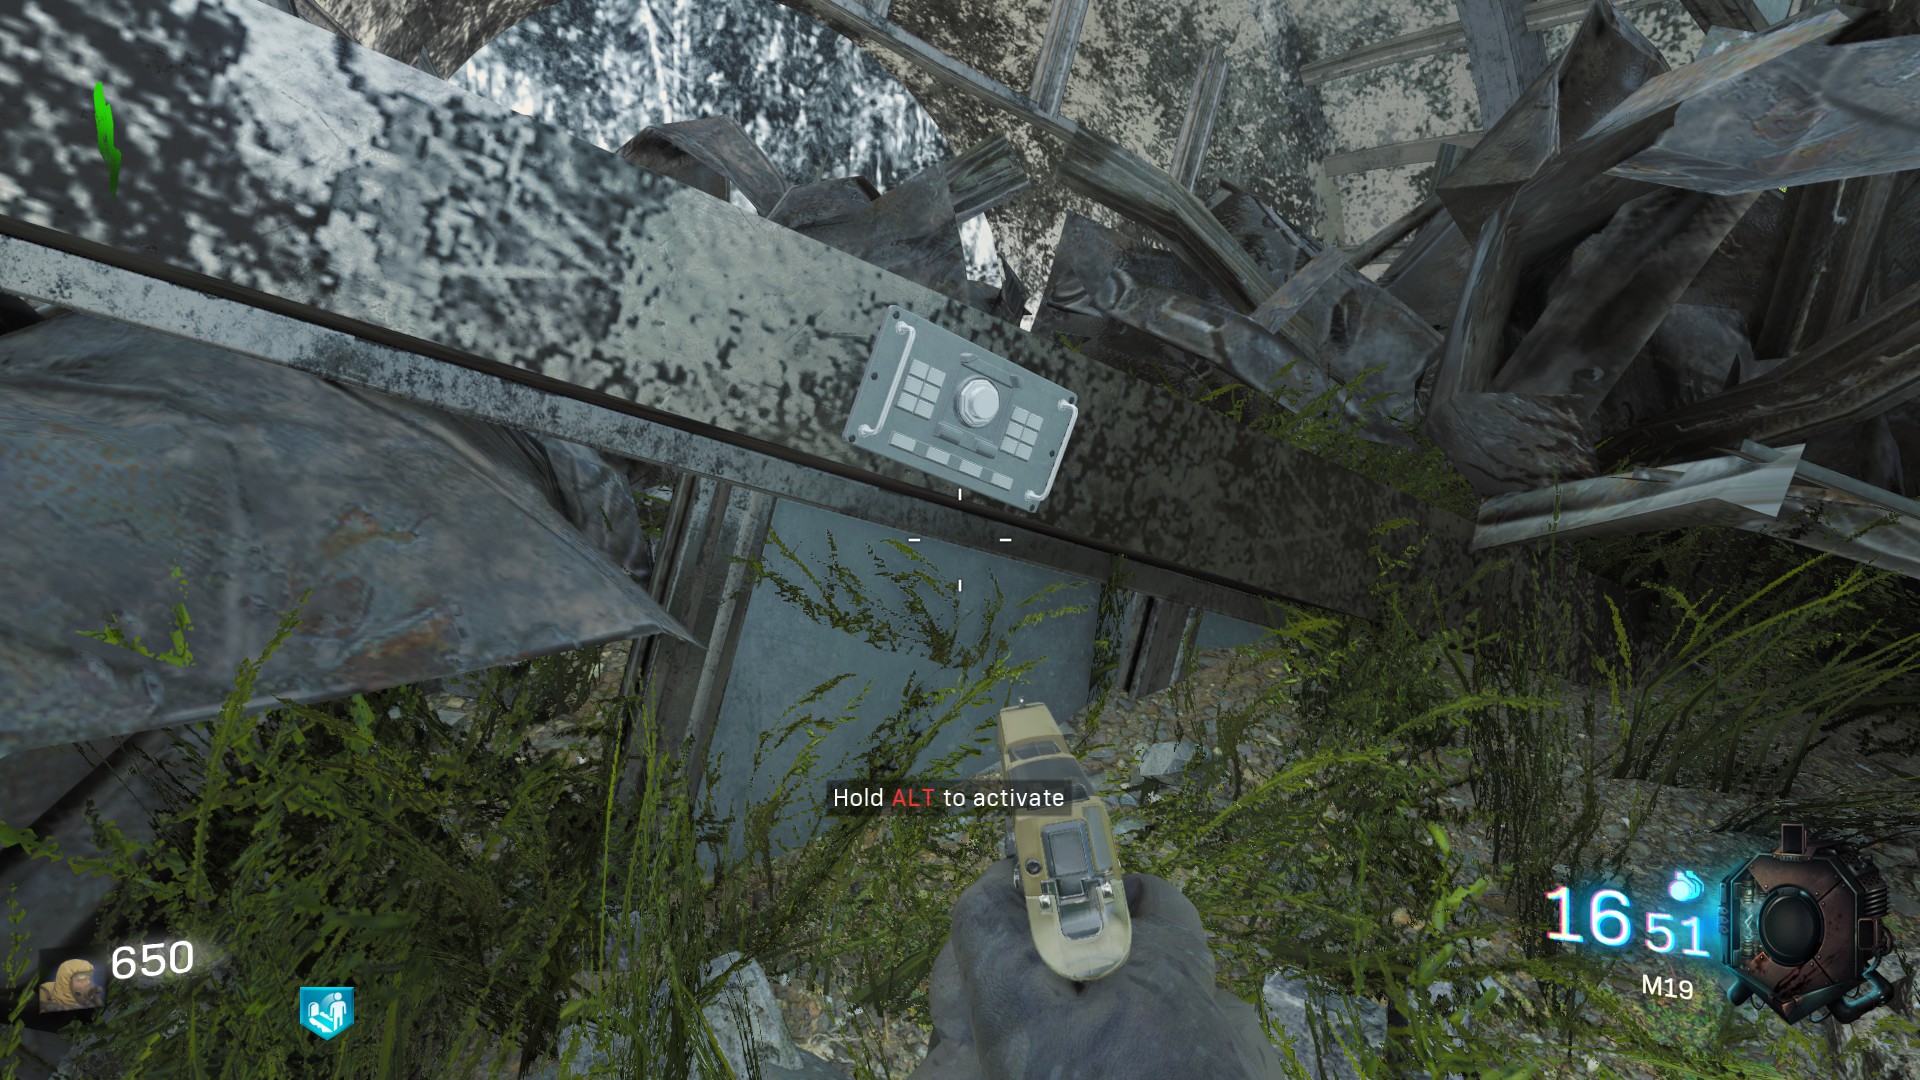
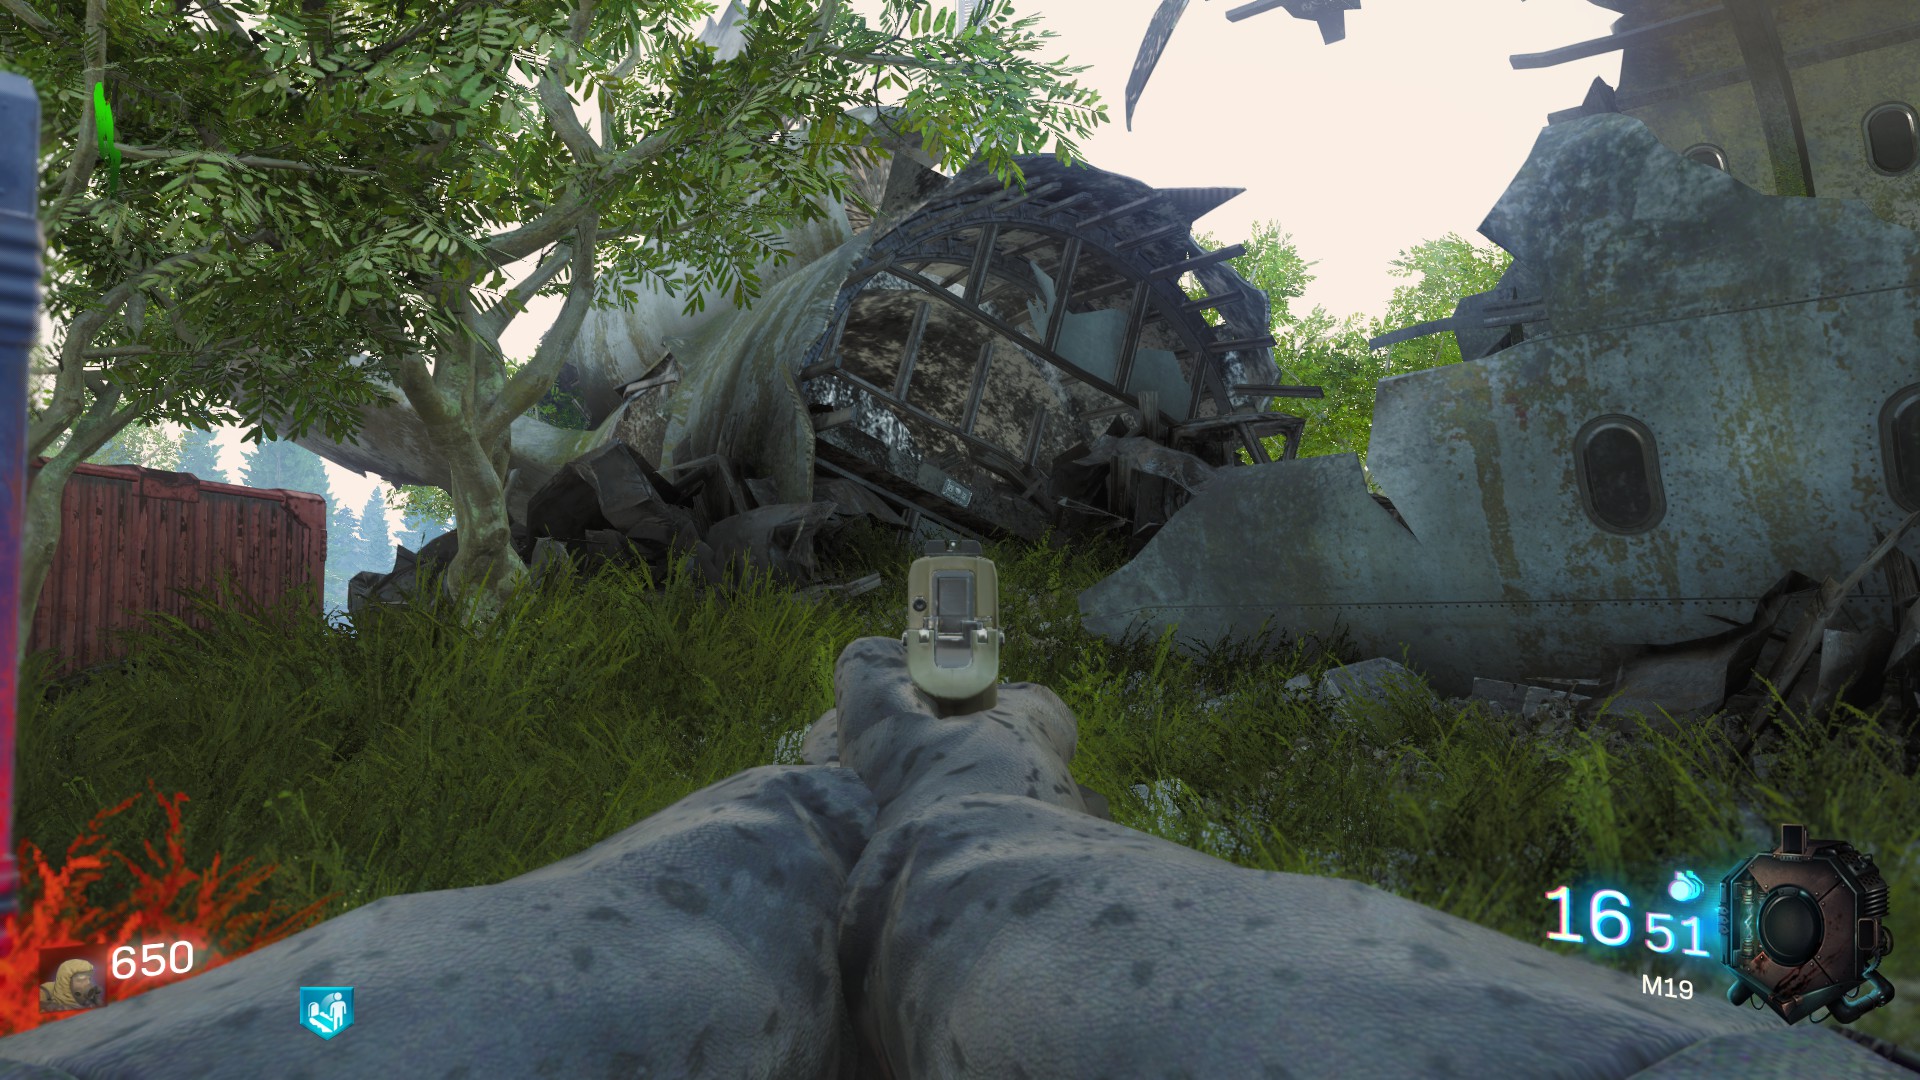
And the third one is on the right wall in the Juggernaut room (you can reach this place by climbing up the wing of the plane).
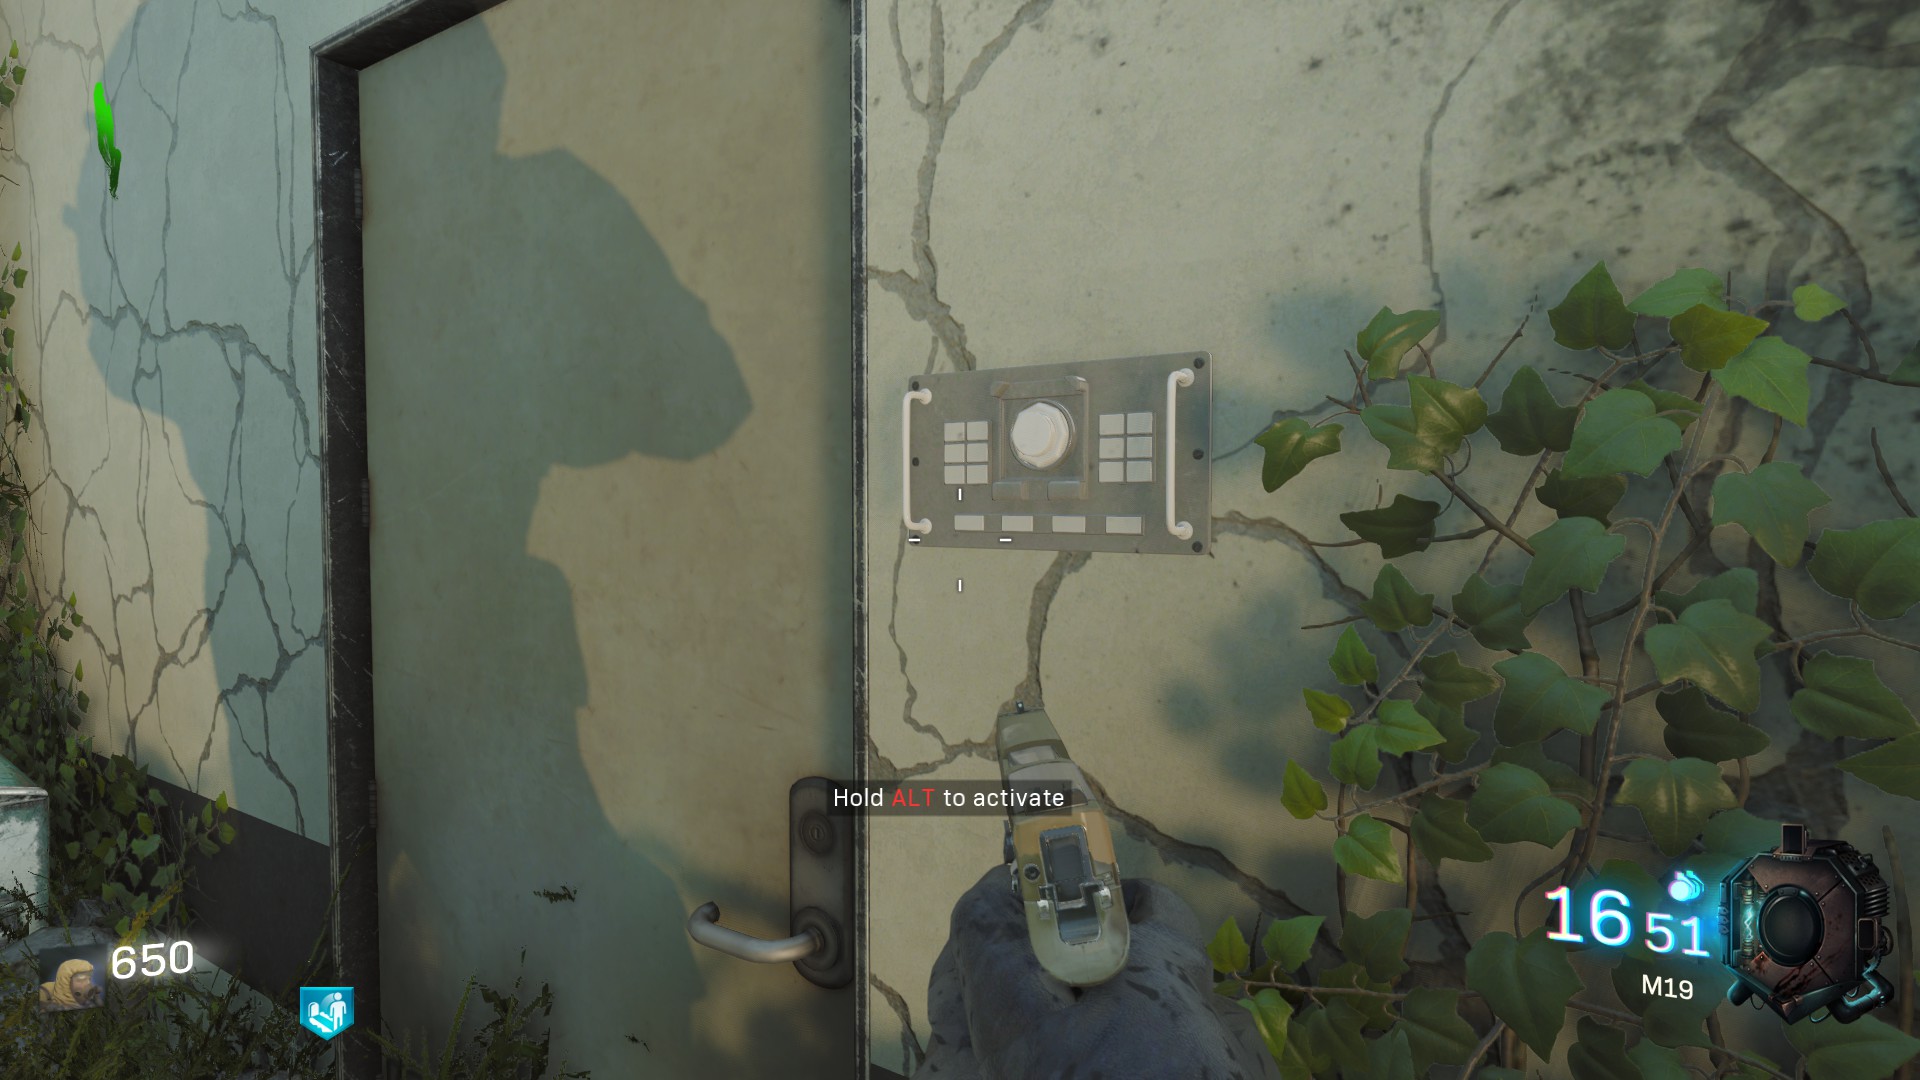
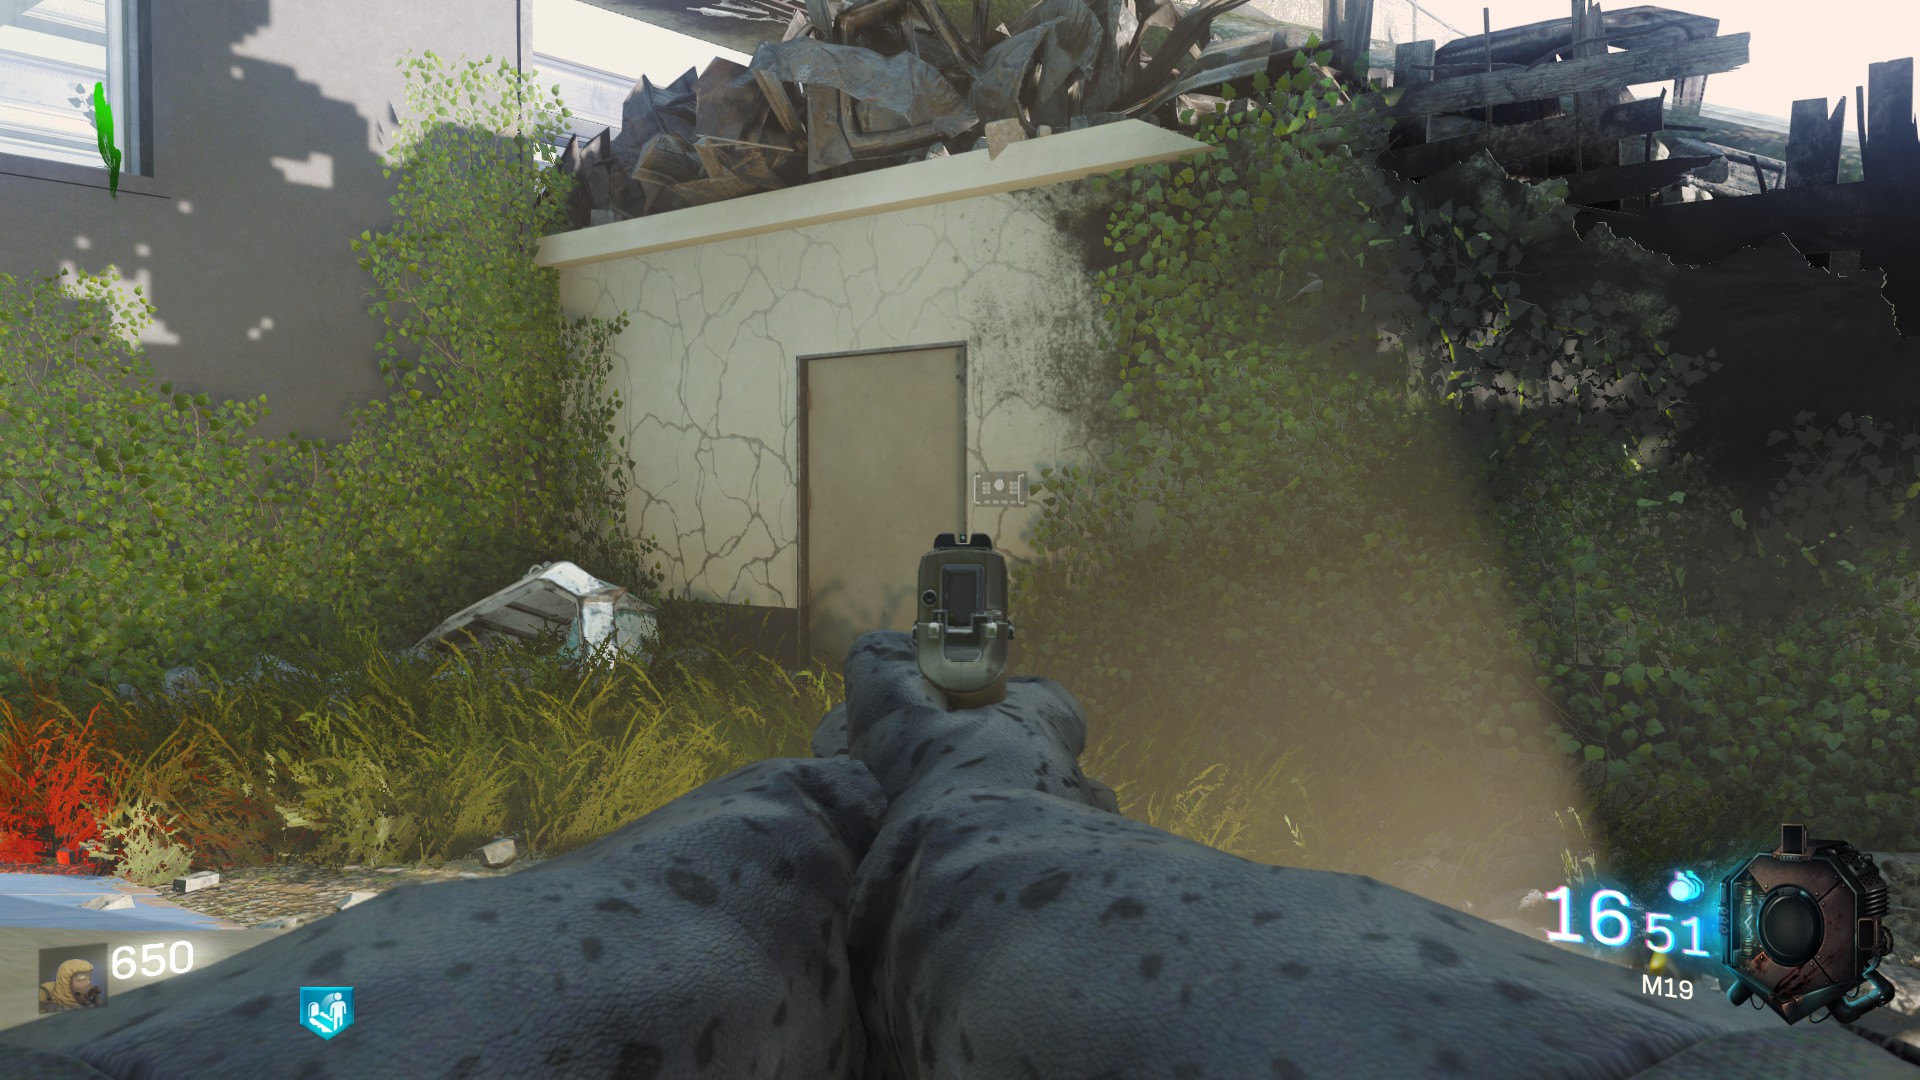 After doing that you can enter in the secret room and at the end of it you'Il find your .50 GS !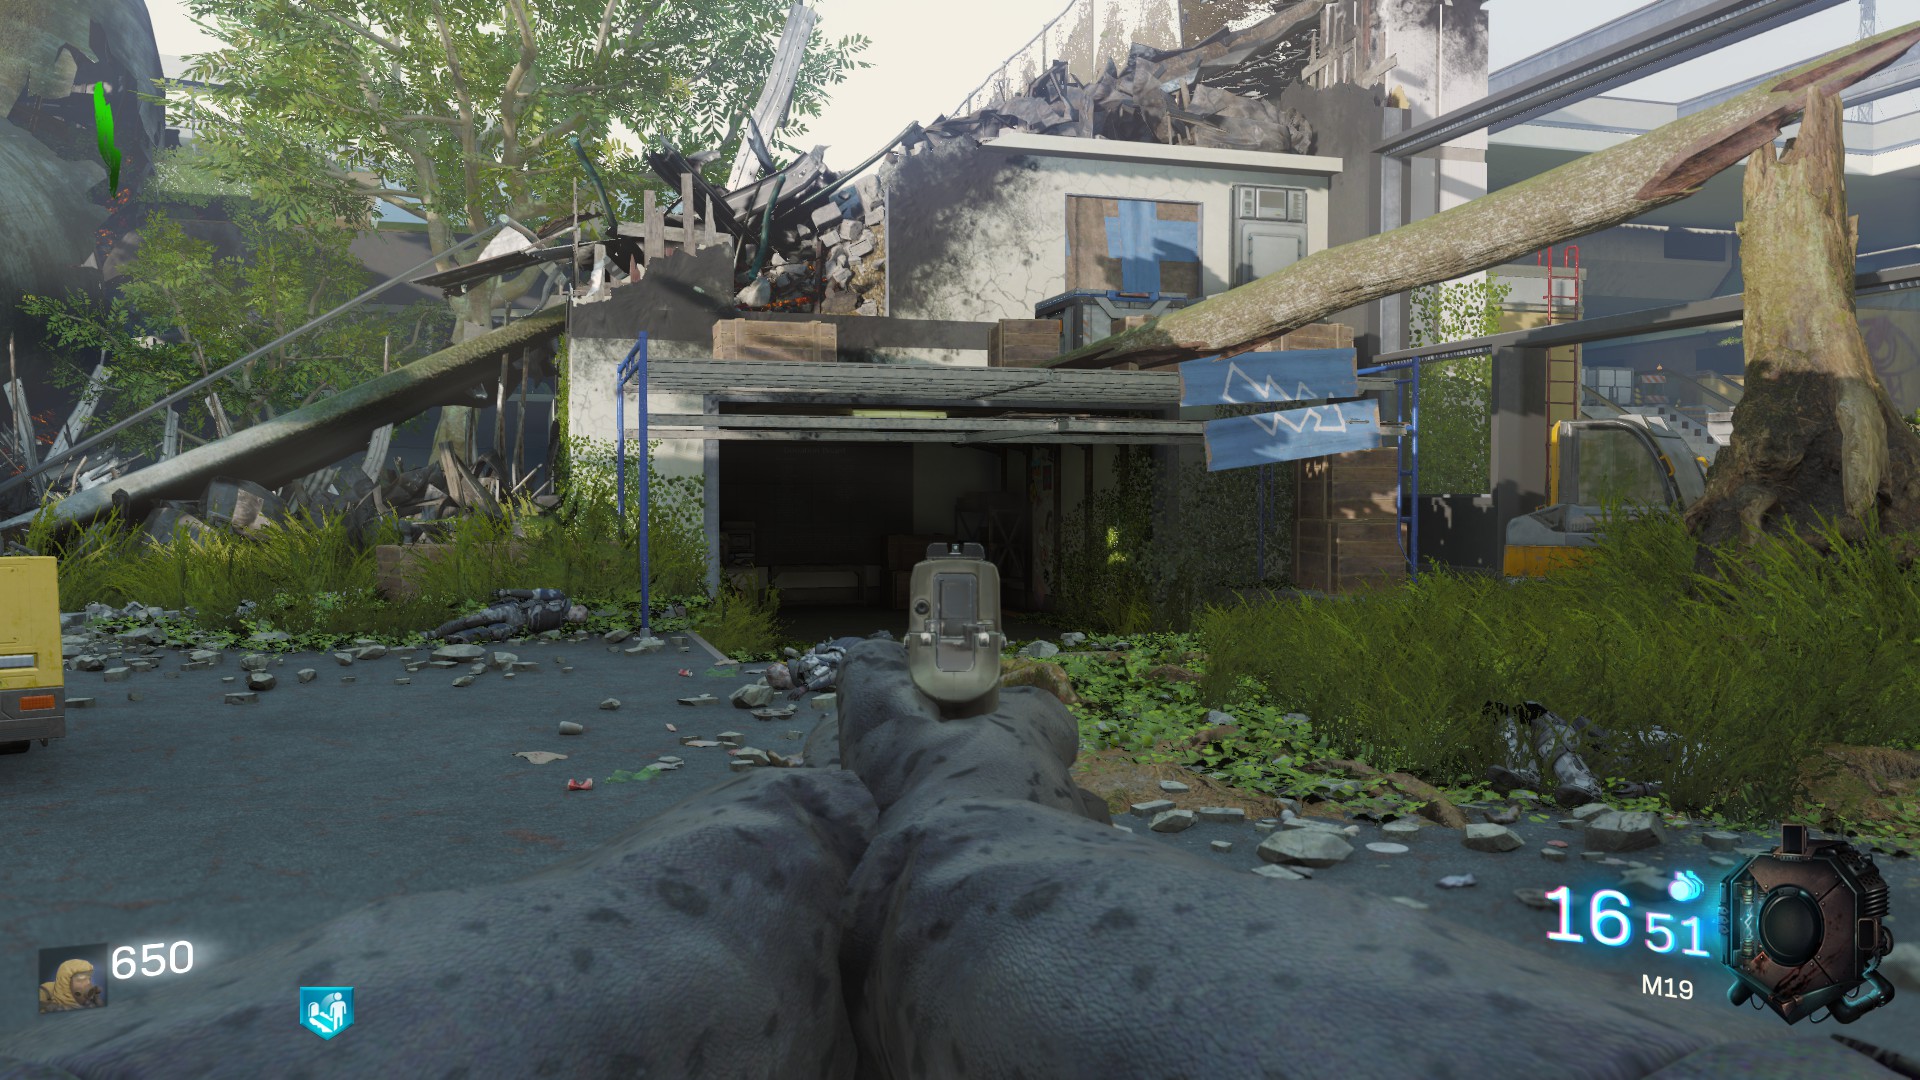
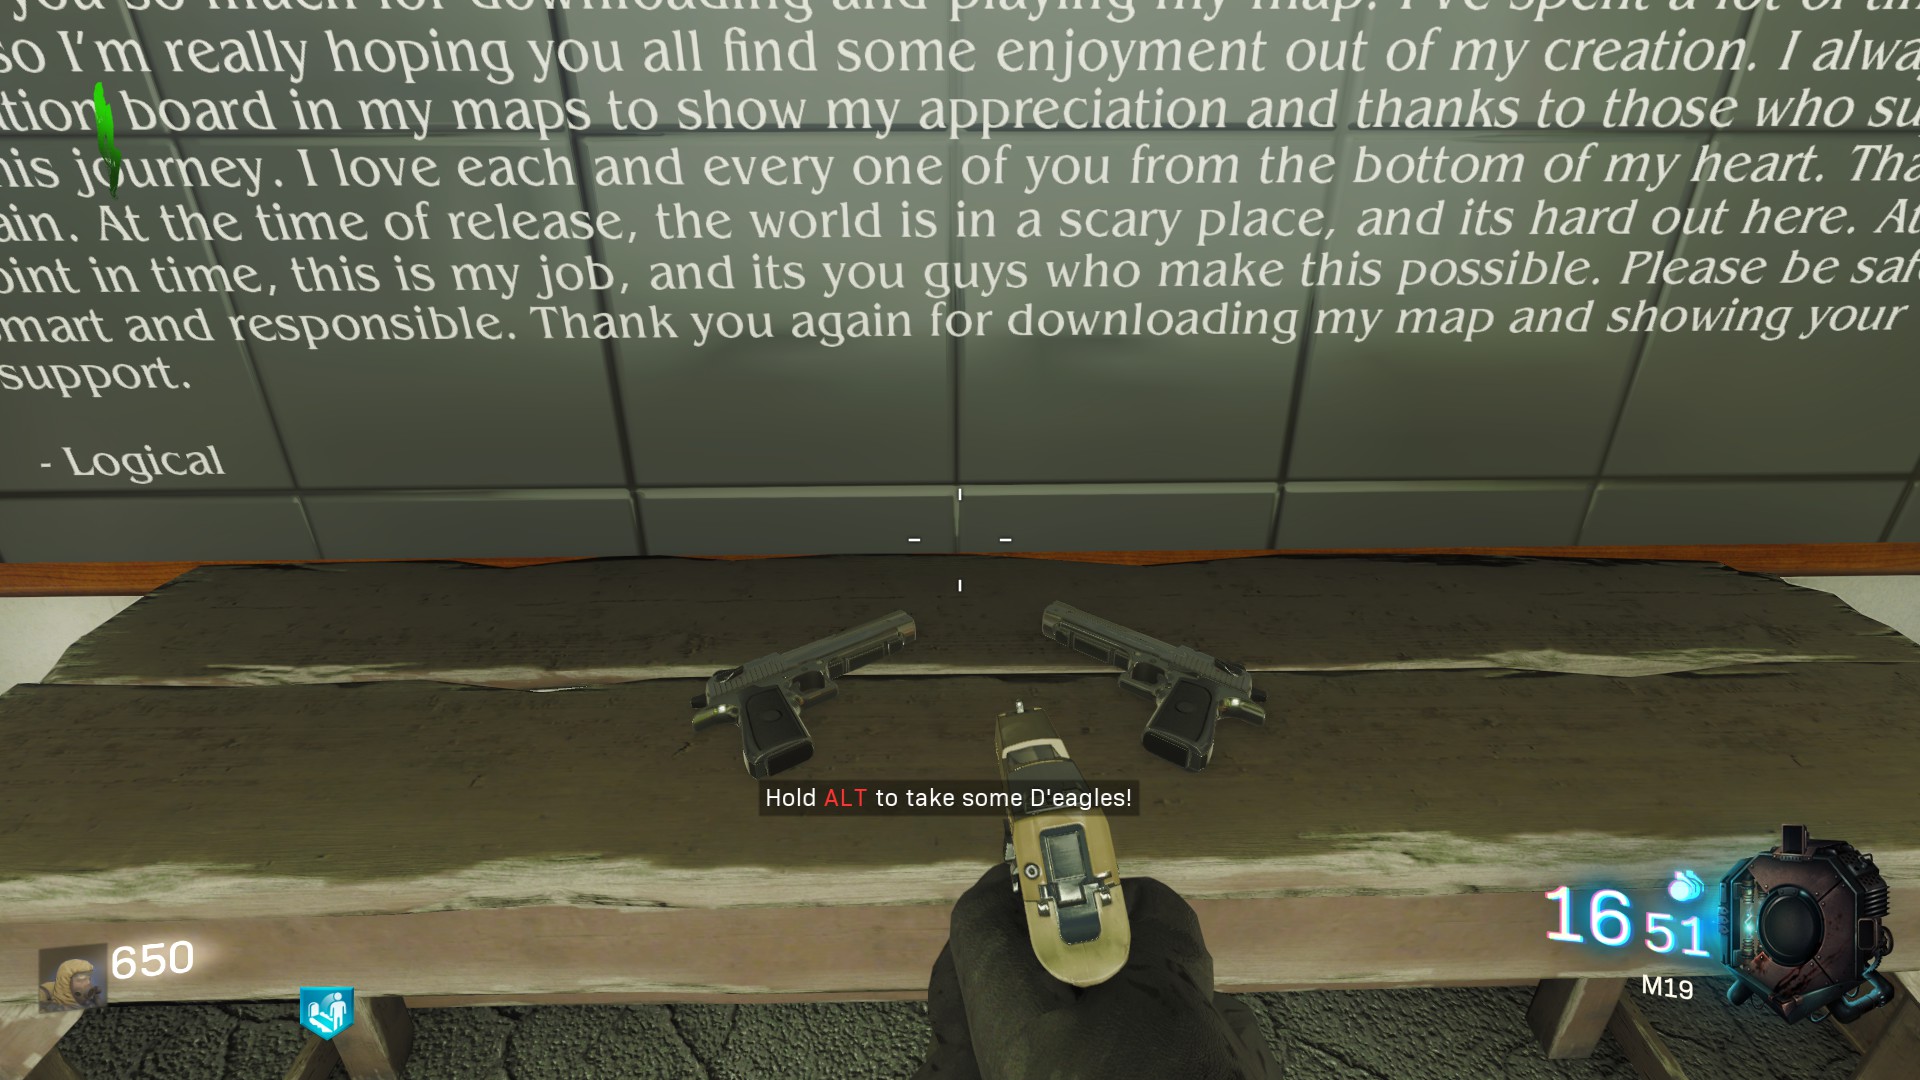
(xoxo Logical we love you too)
2. The Music
The creators have really good tastes in term of music and if you like Metal you'Il not be disappointed ! (I'm not telling you what song it is I'm keeping you the surprise) There is three Teddy Bears to activate around the map for unlock this easter egg.
You will find the first one on a seat on the right of the Double Tap perk. You must activate it by holding your action button.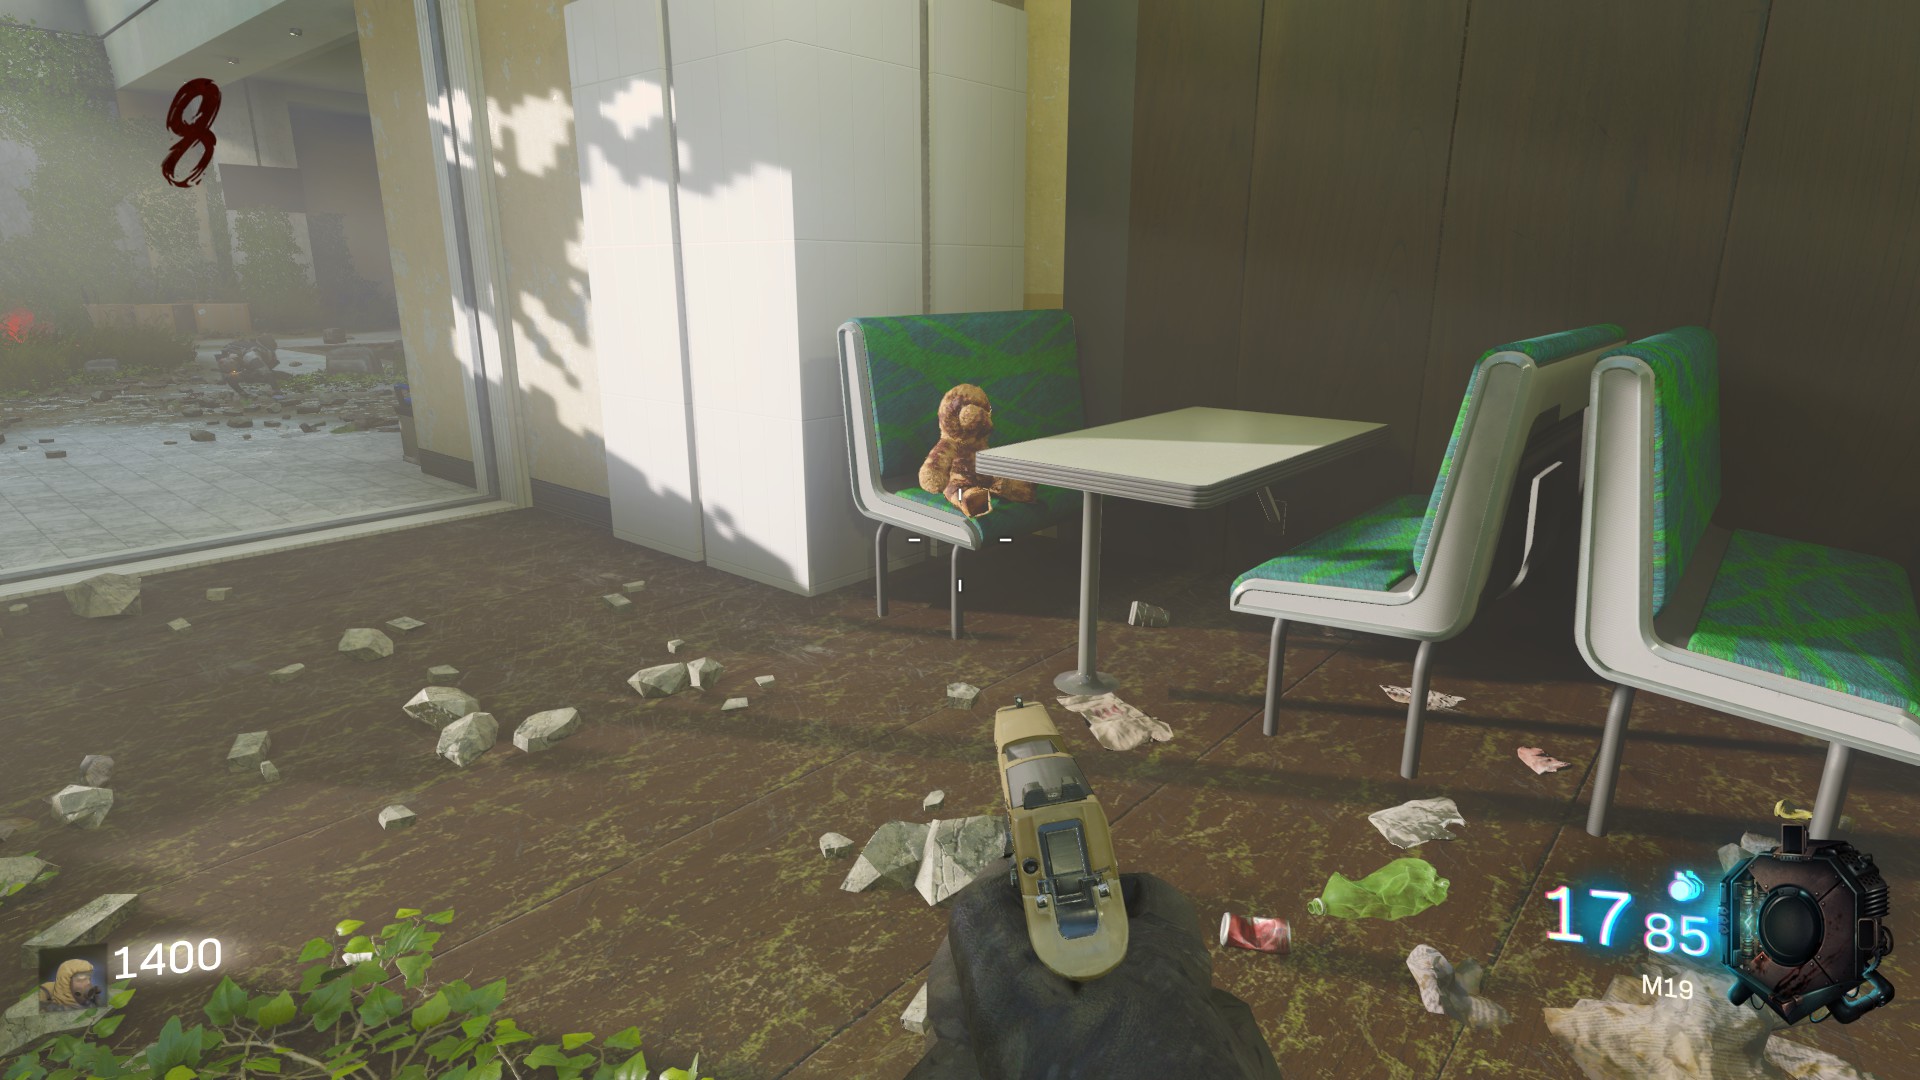 The next one is at the bottom of the elevator in the right entrance (near the Widow's Wine perk).
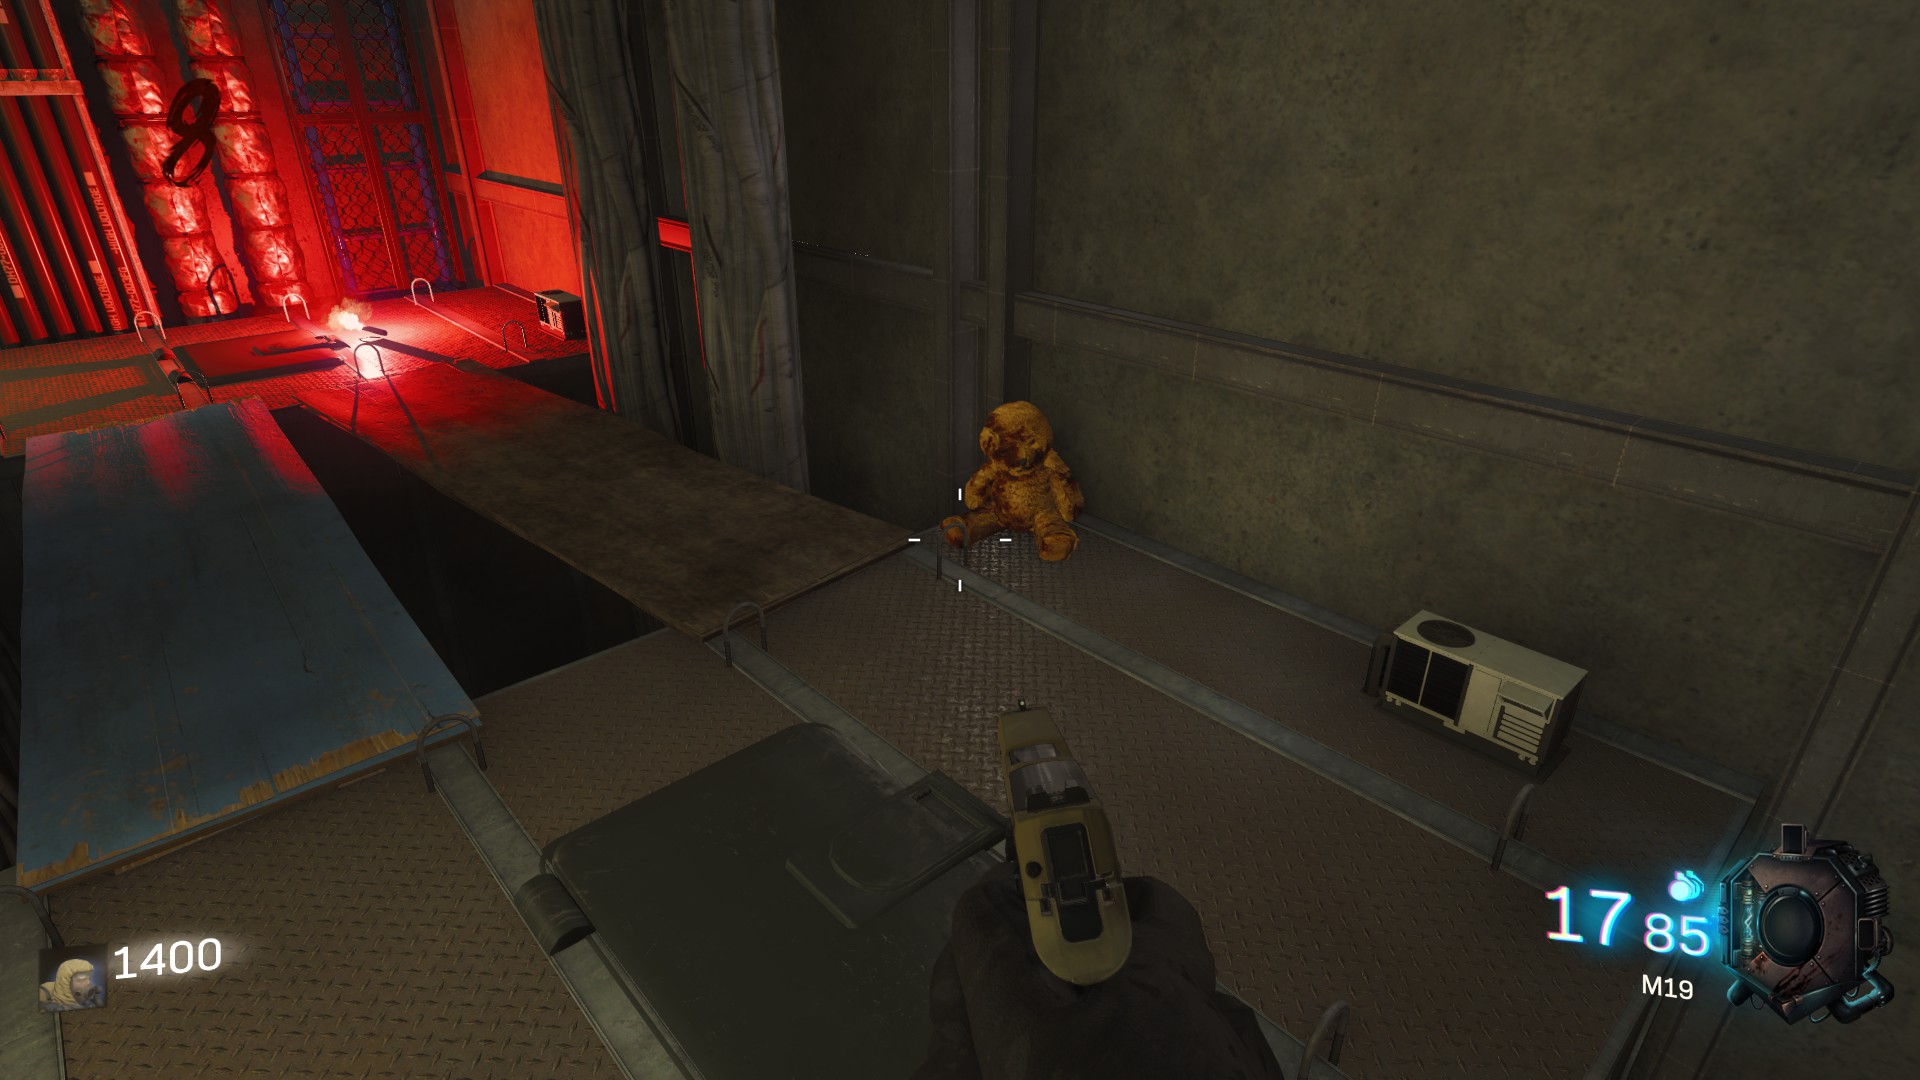 The last one is sitting on a bench on the right of Speed Cola.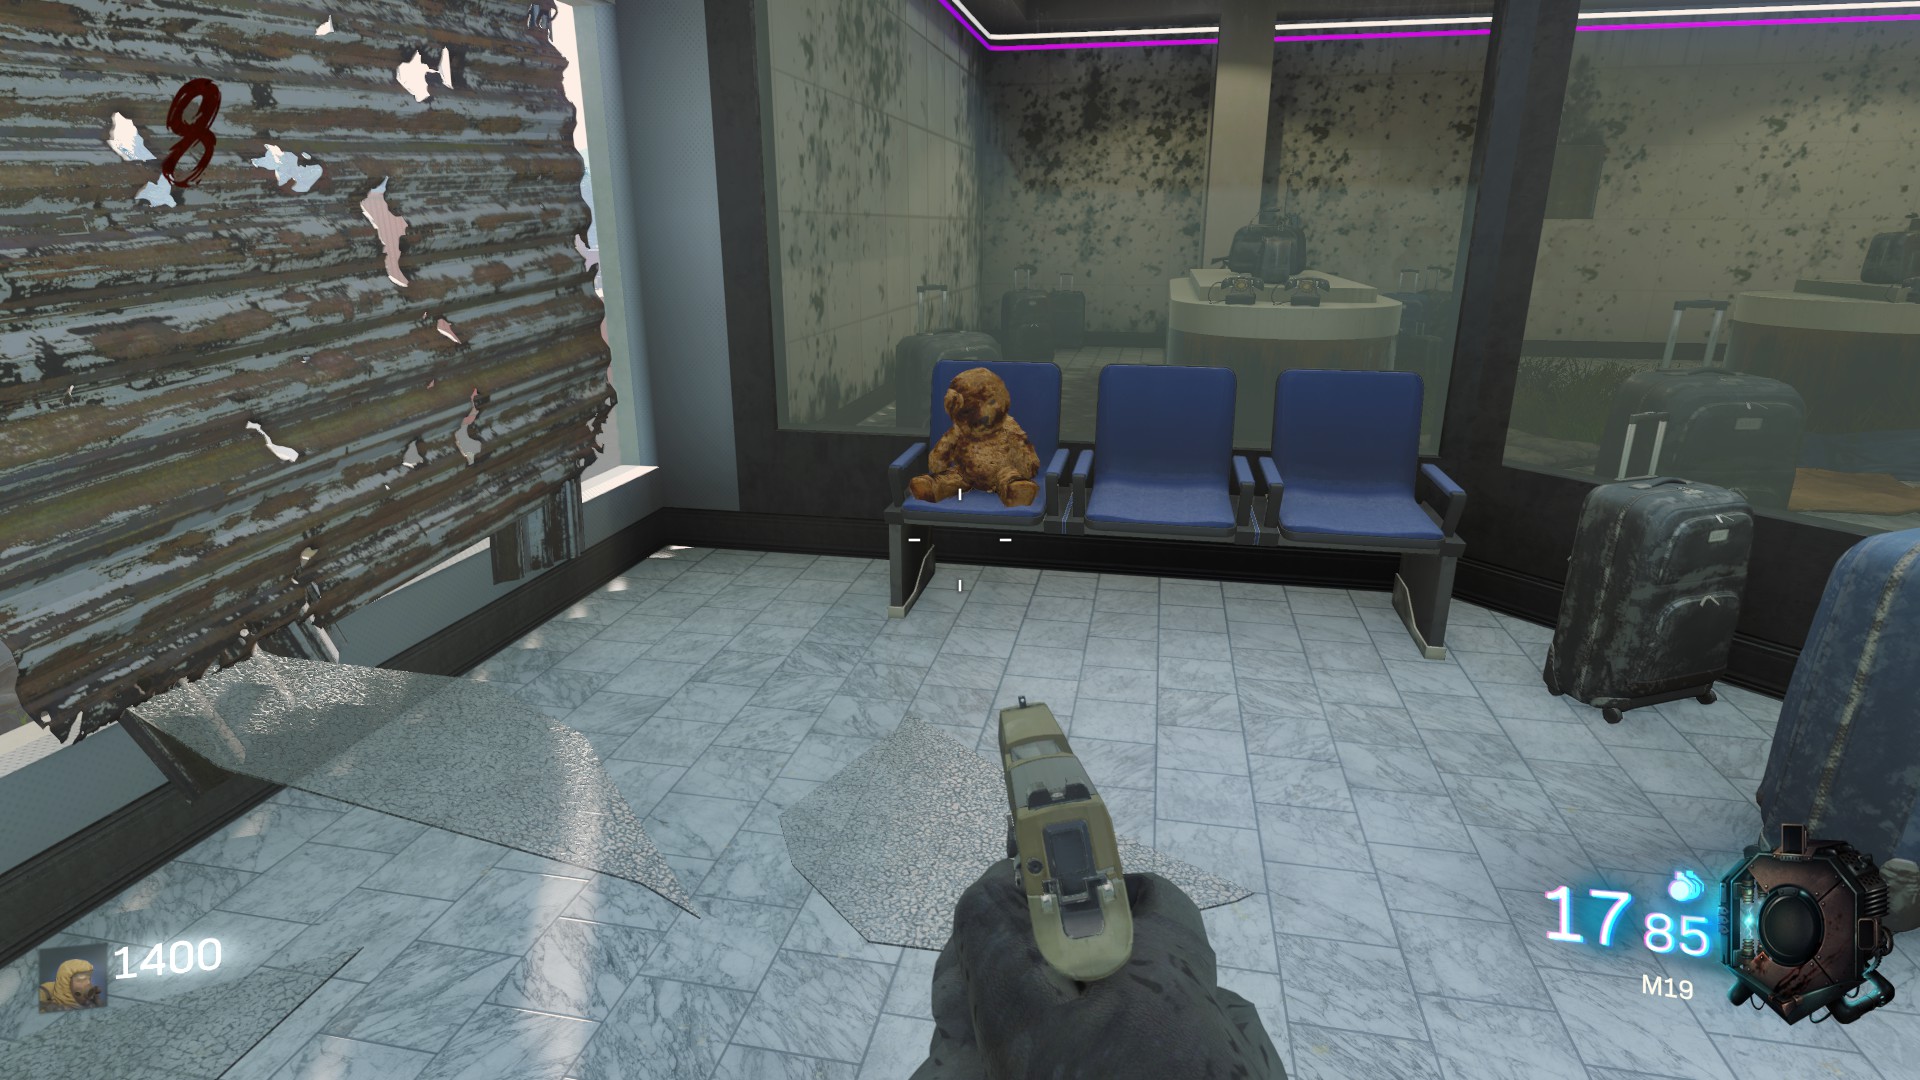
3. The Watermelon Bonus Perk
Save your money and play smart, you will earn a prize ! You can receive two free perks very easely on this map. So how do we do this ? Firstly you need to cut some watermelons and here are their locations.
The first melon is on a sofa on the right of Mule Kick.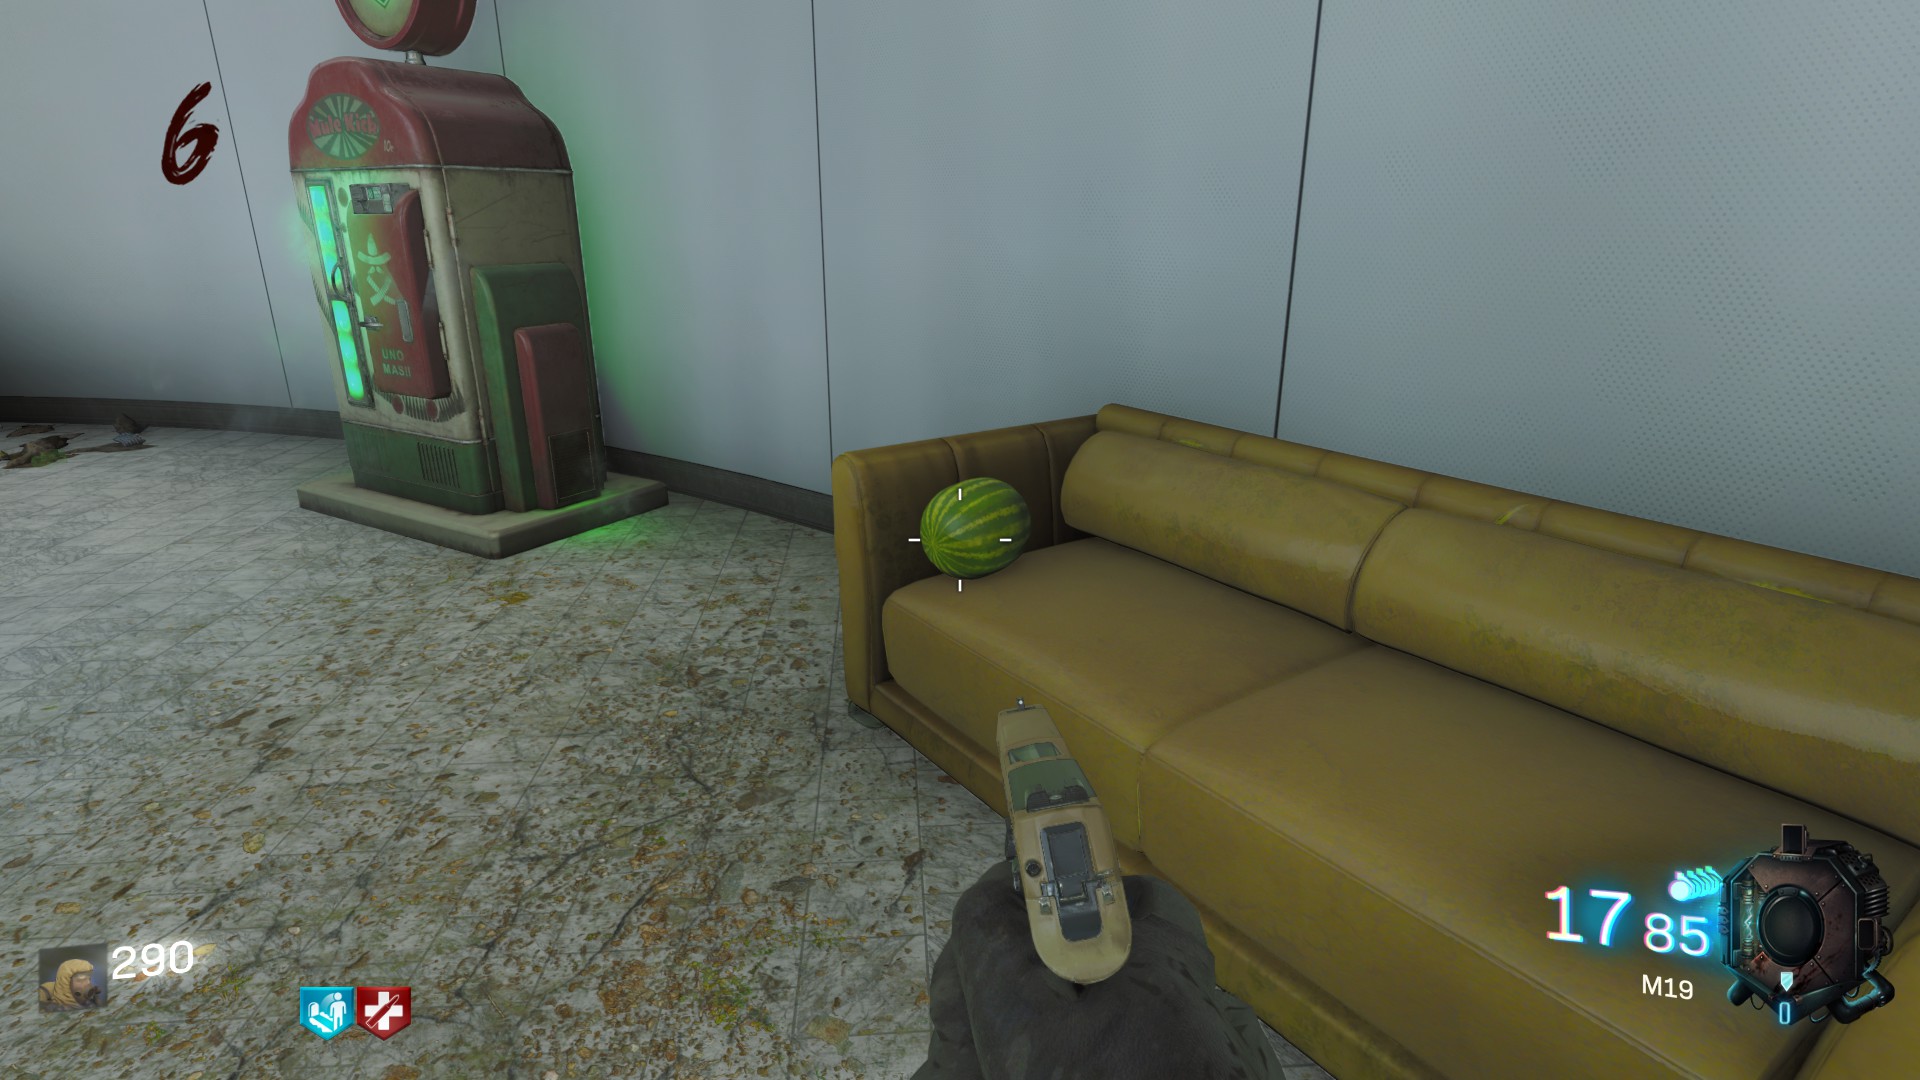 You will find the second melon when you take the direction of the elevators and Widow's Wine. Look at the counter of the little shop behind Widow's Wine and there he is.
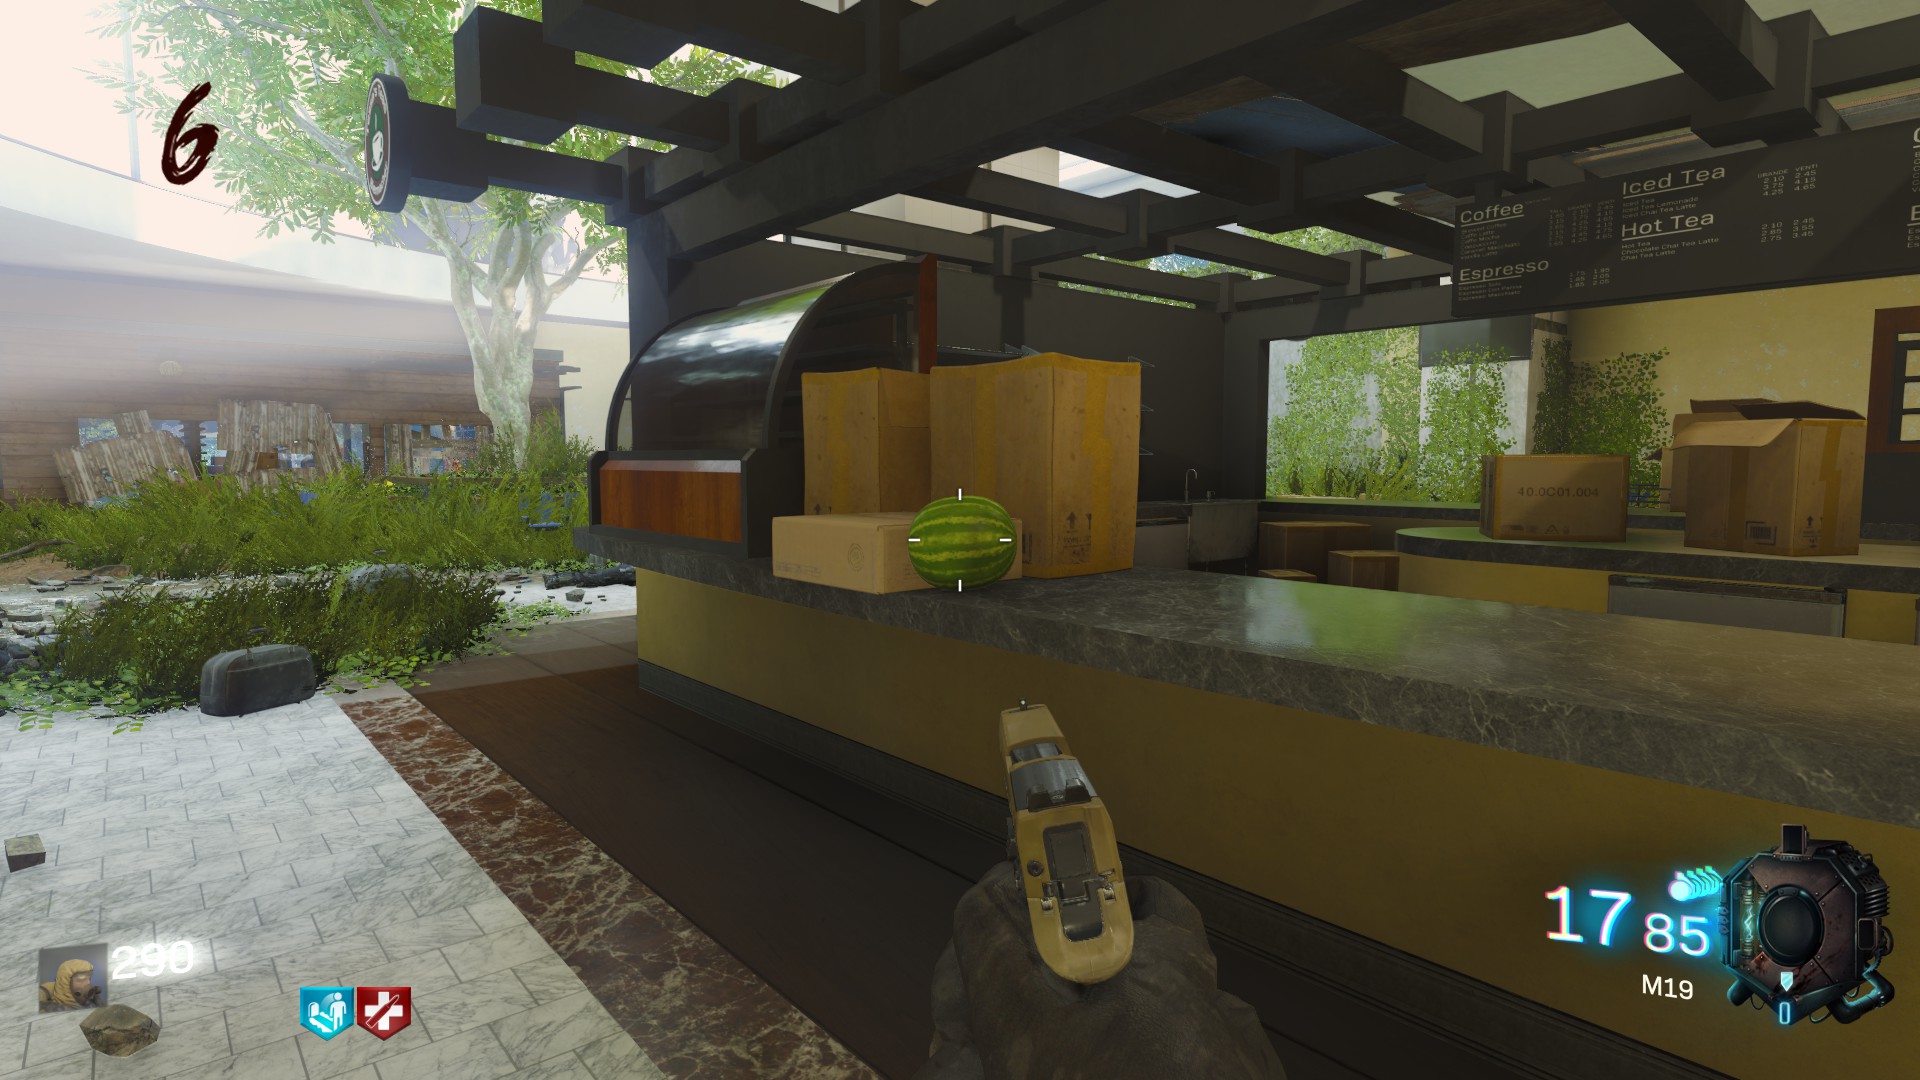 The third is a little further. You need to find the lounge bar who is on the right of Wendy's Burger (take the right path when you arrived at the top of the escalator) and you'Il find it on a counter again.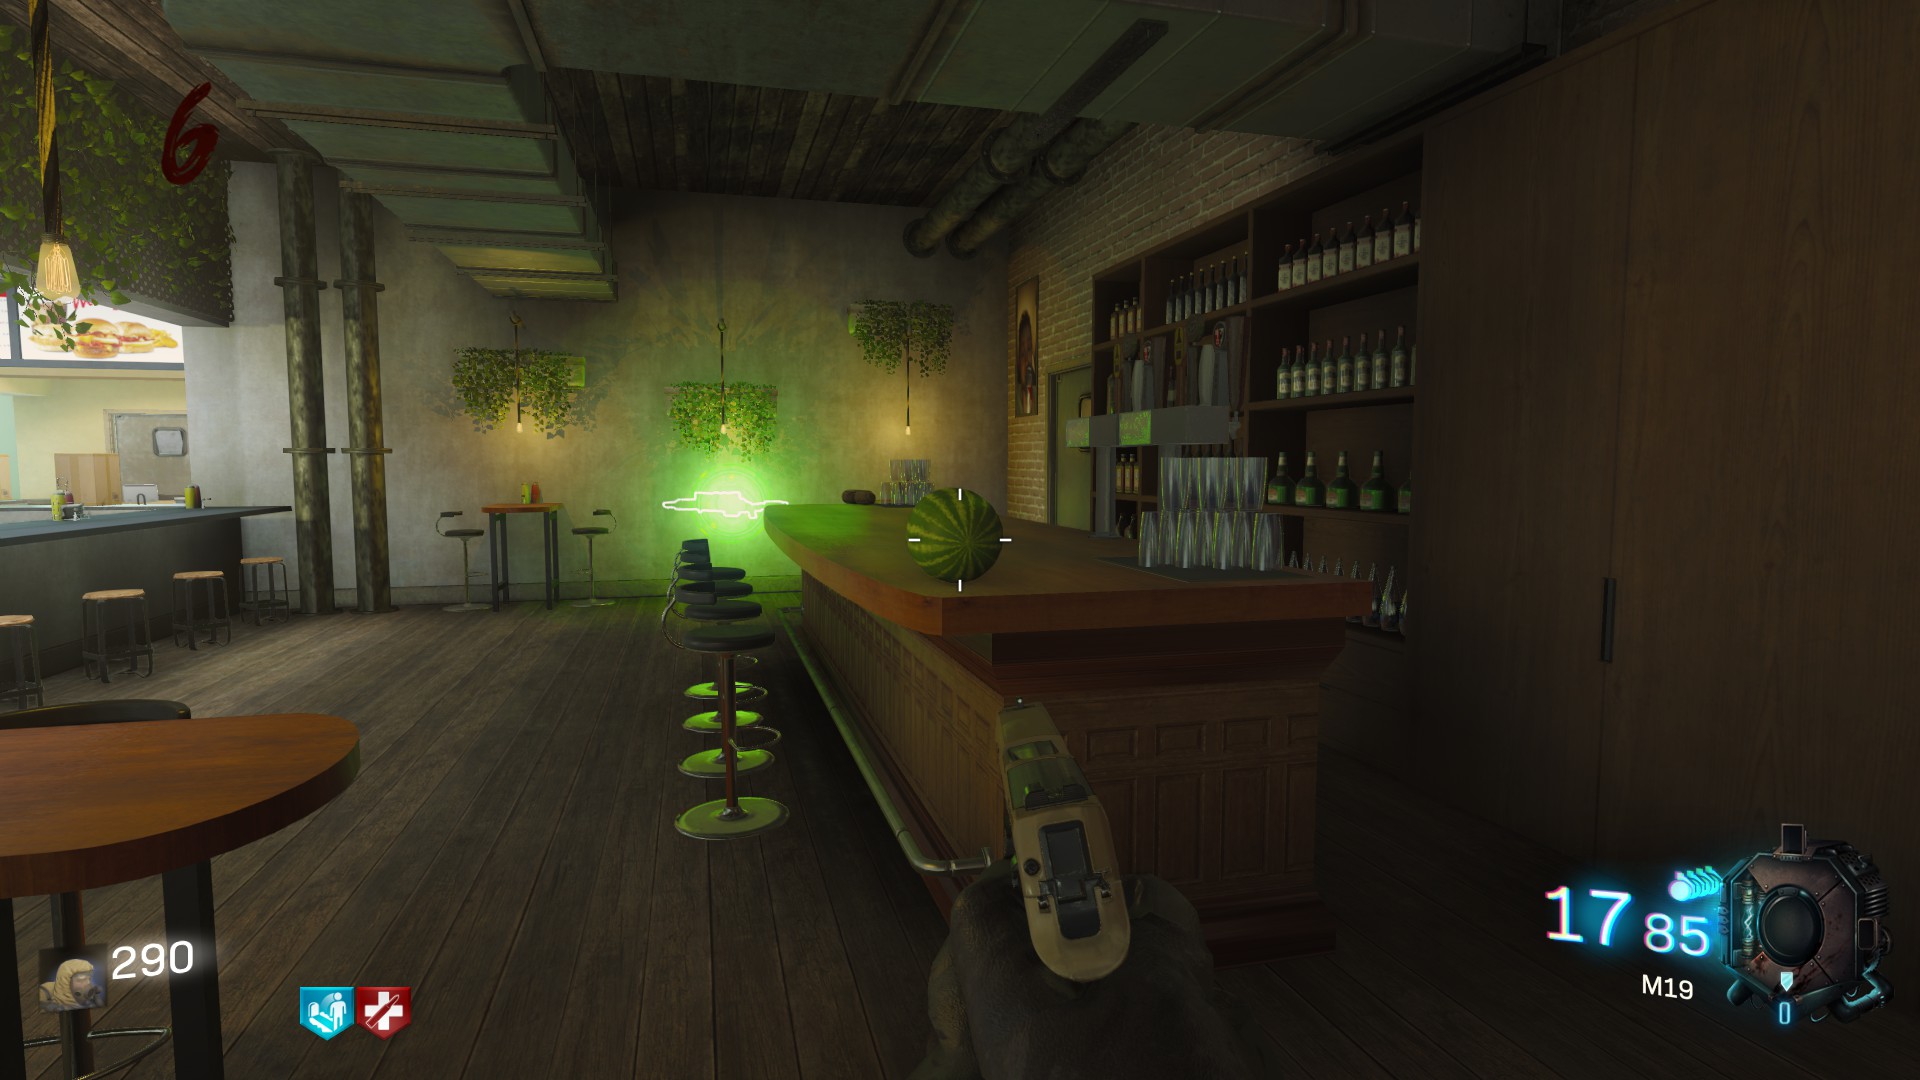
Ok at this point you've collected all your watermelons, now you need to blend them !
Return in direction of Double Tap and you will see another counter with a blender on it. Make sure you have a proper weapon and at least Juggernaut because you're about to launch an endless wave of zombies. You need to make it through 1"30' so be prepared !
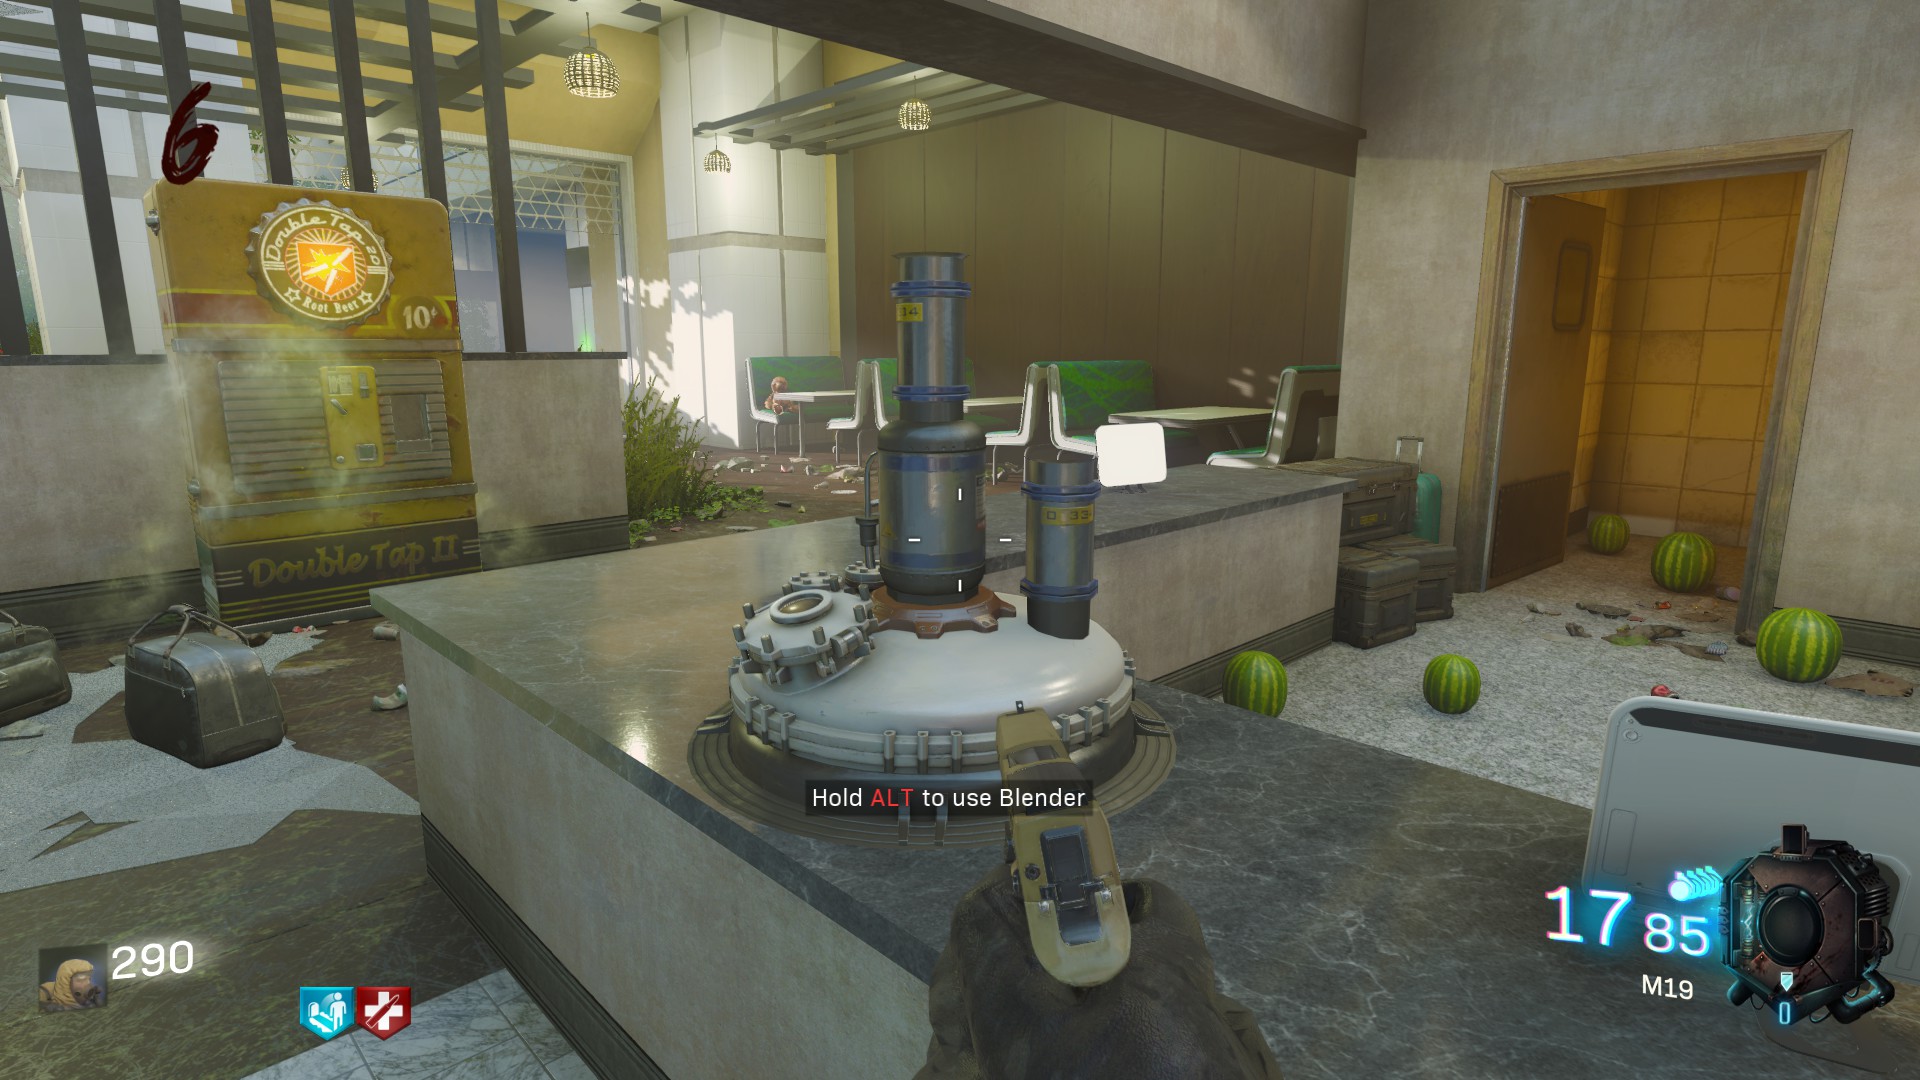
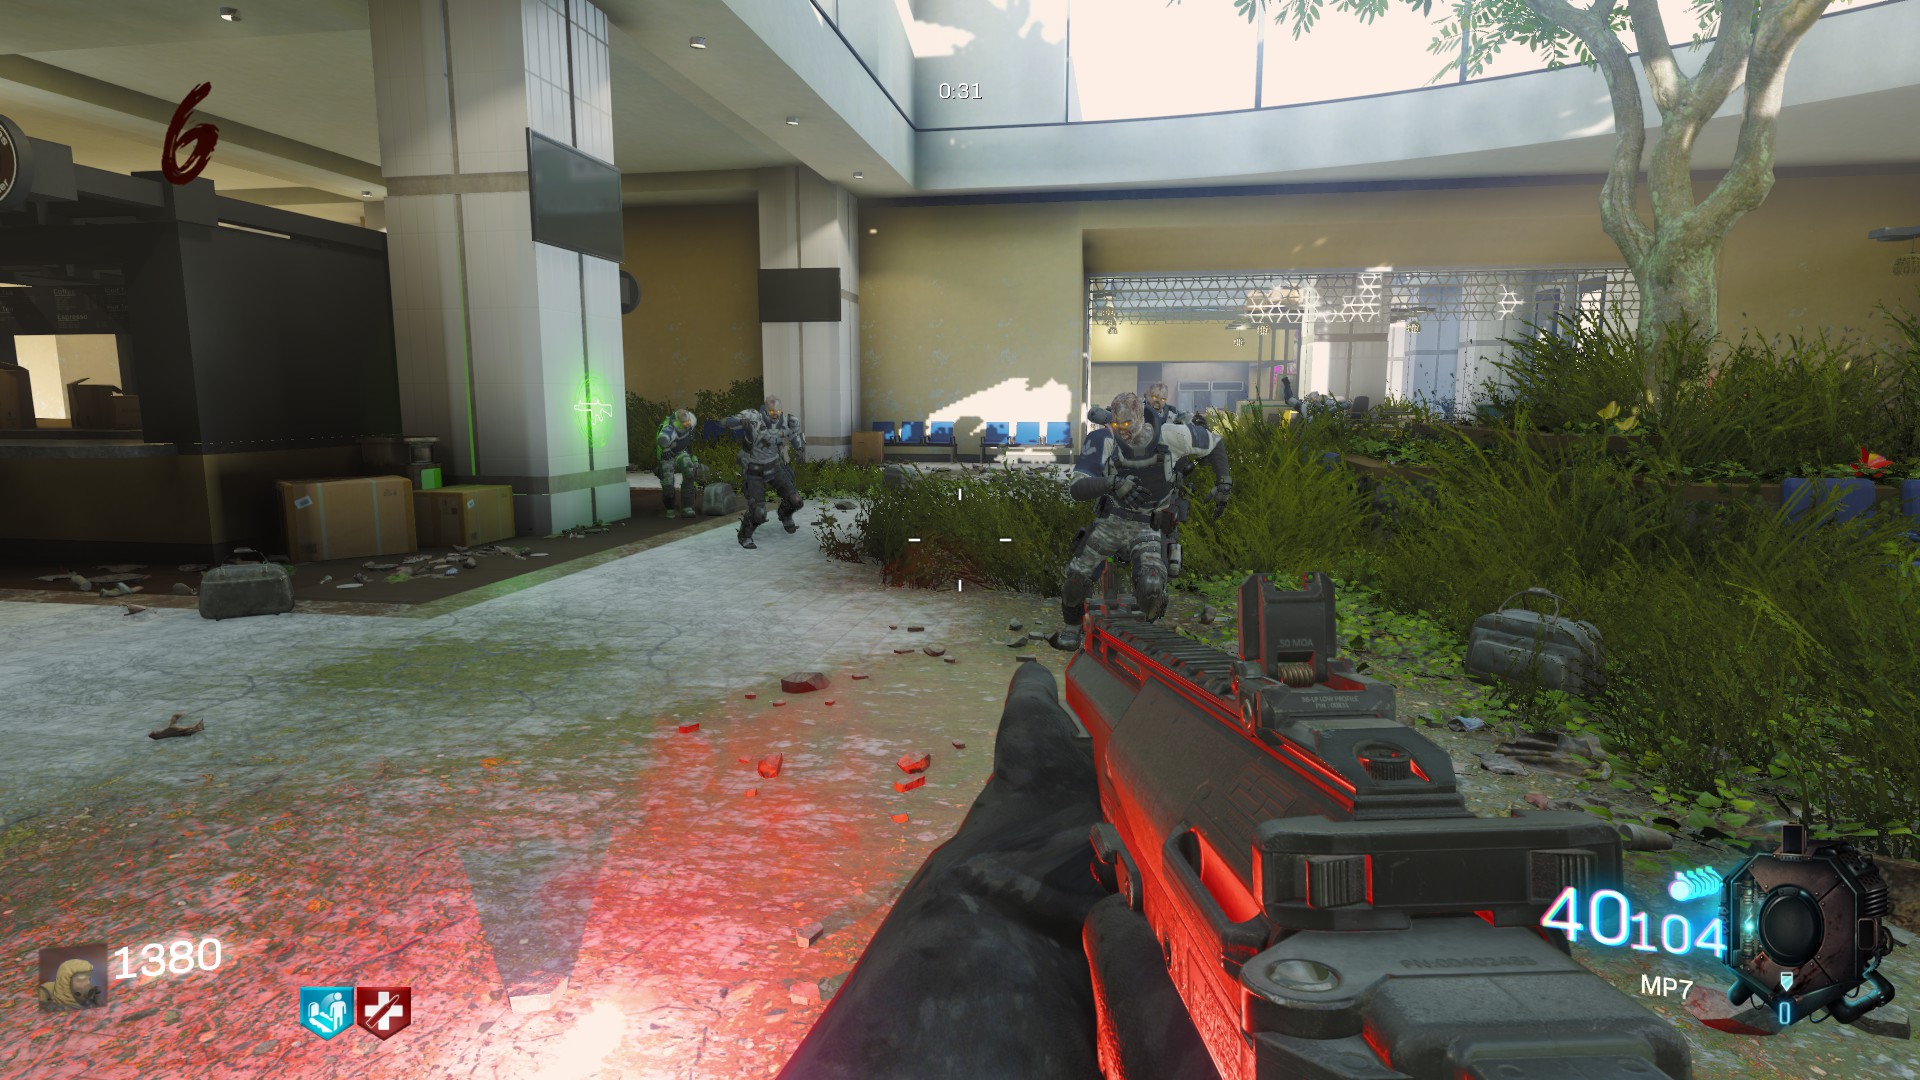
 (You don't have to stand near the blender during this infinite wave).
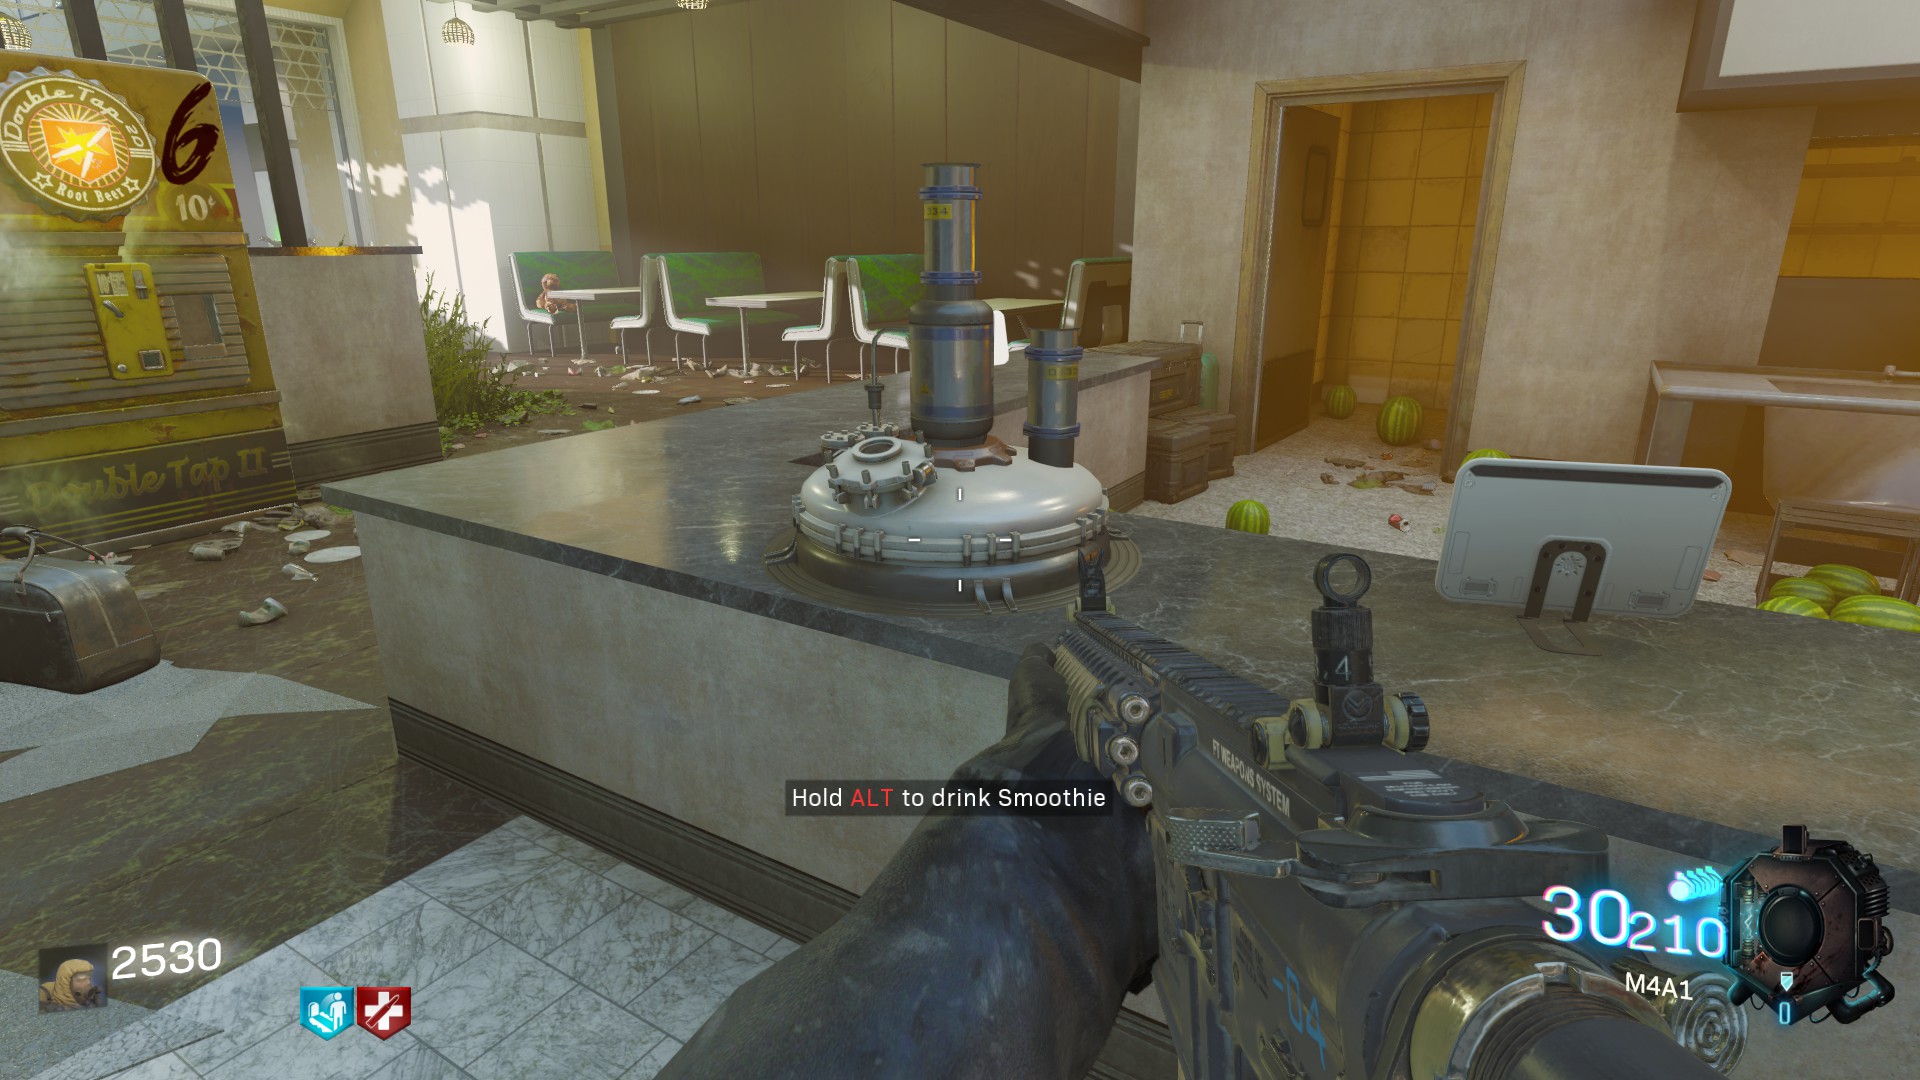
If you survived well played ! Now you can return to the blender, drink your smoothie quietly and enjoy your new perk.
(You don't have to stand near the blender during this infinite wave).
If you survived well played ! Now you can return to the blender, drink your smoothie quietly and enjoy your new perk.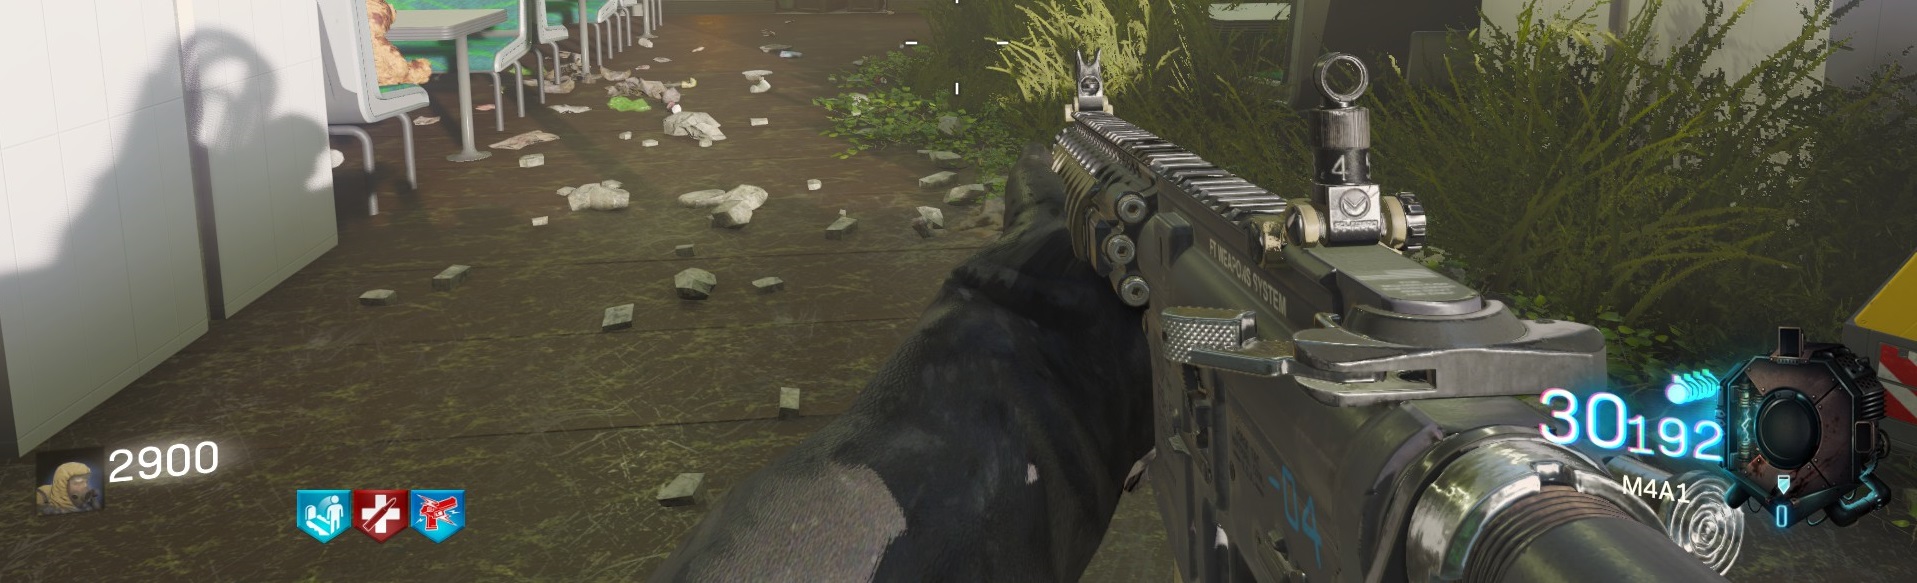
4. The Yuri Bonus Perk
You're not satisfy with one bonus perk ? Ok, ok I can understand that and the Yuri's easter egg is here for you. By the way this one is faster to complete than the previous one.
First you need to search for the MG's Guns that you'll find in an elevator on the left when you climb escalators.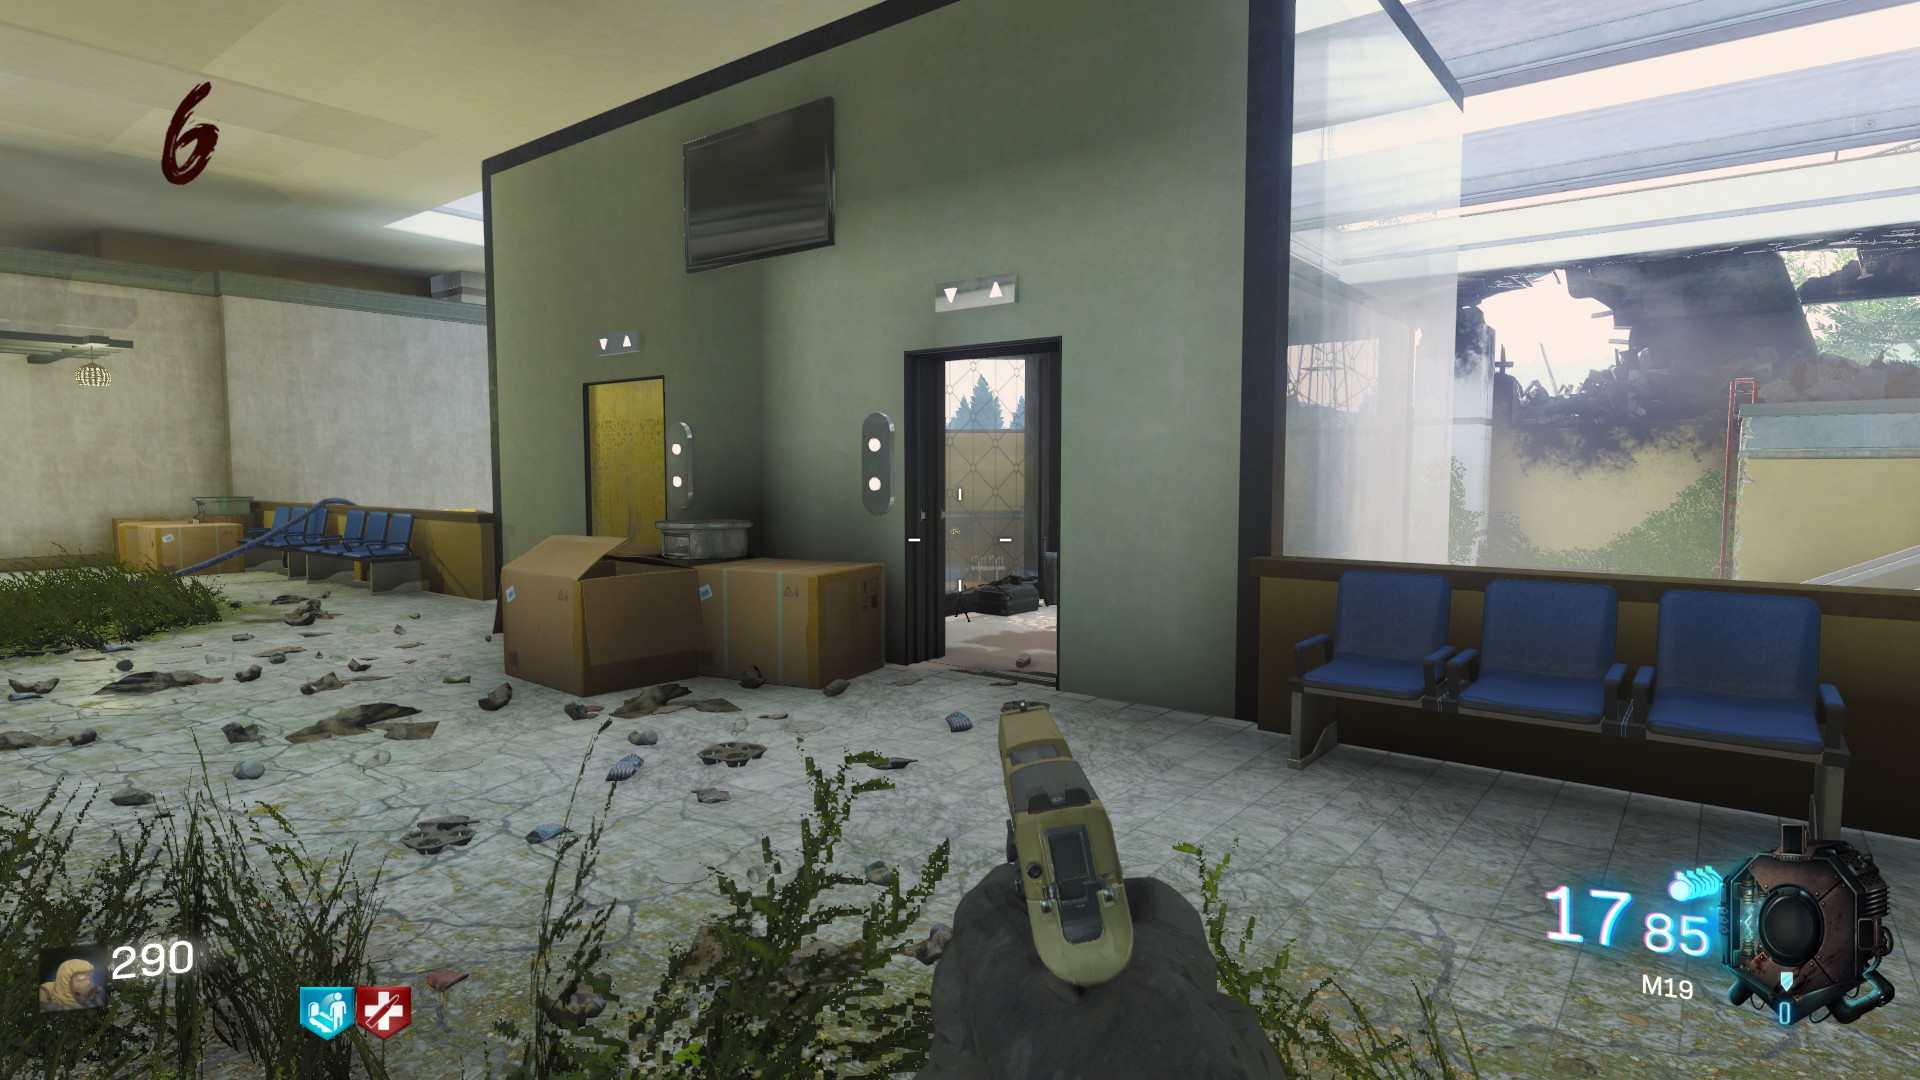
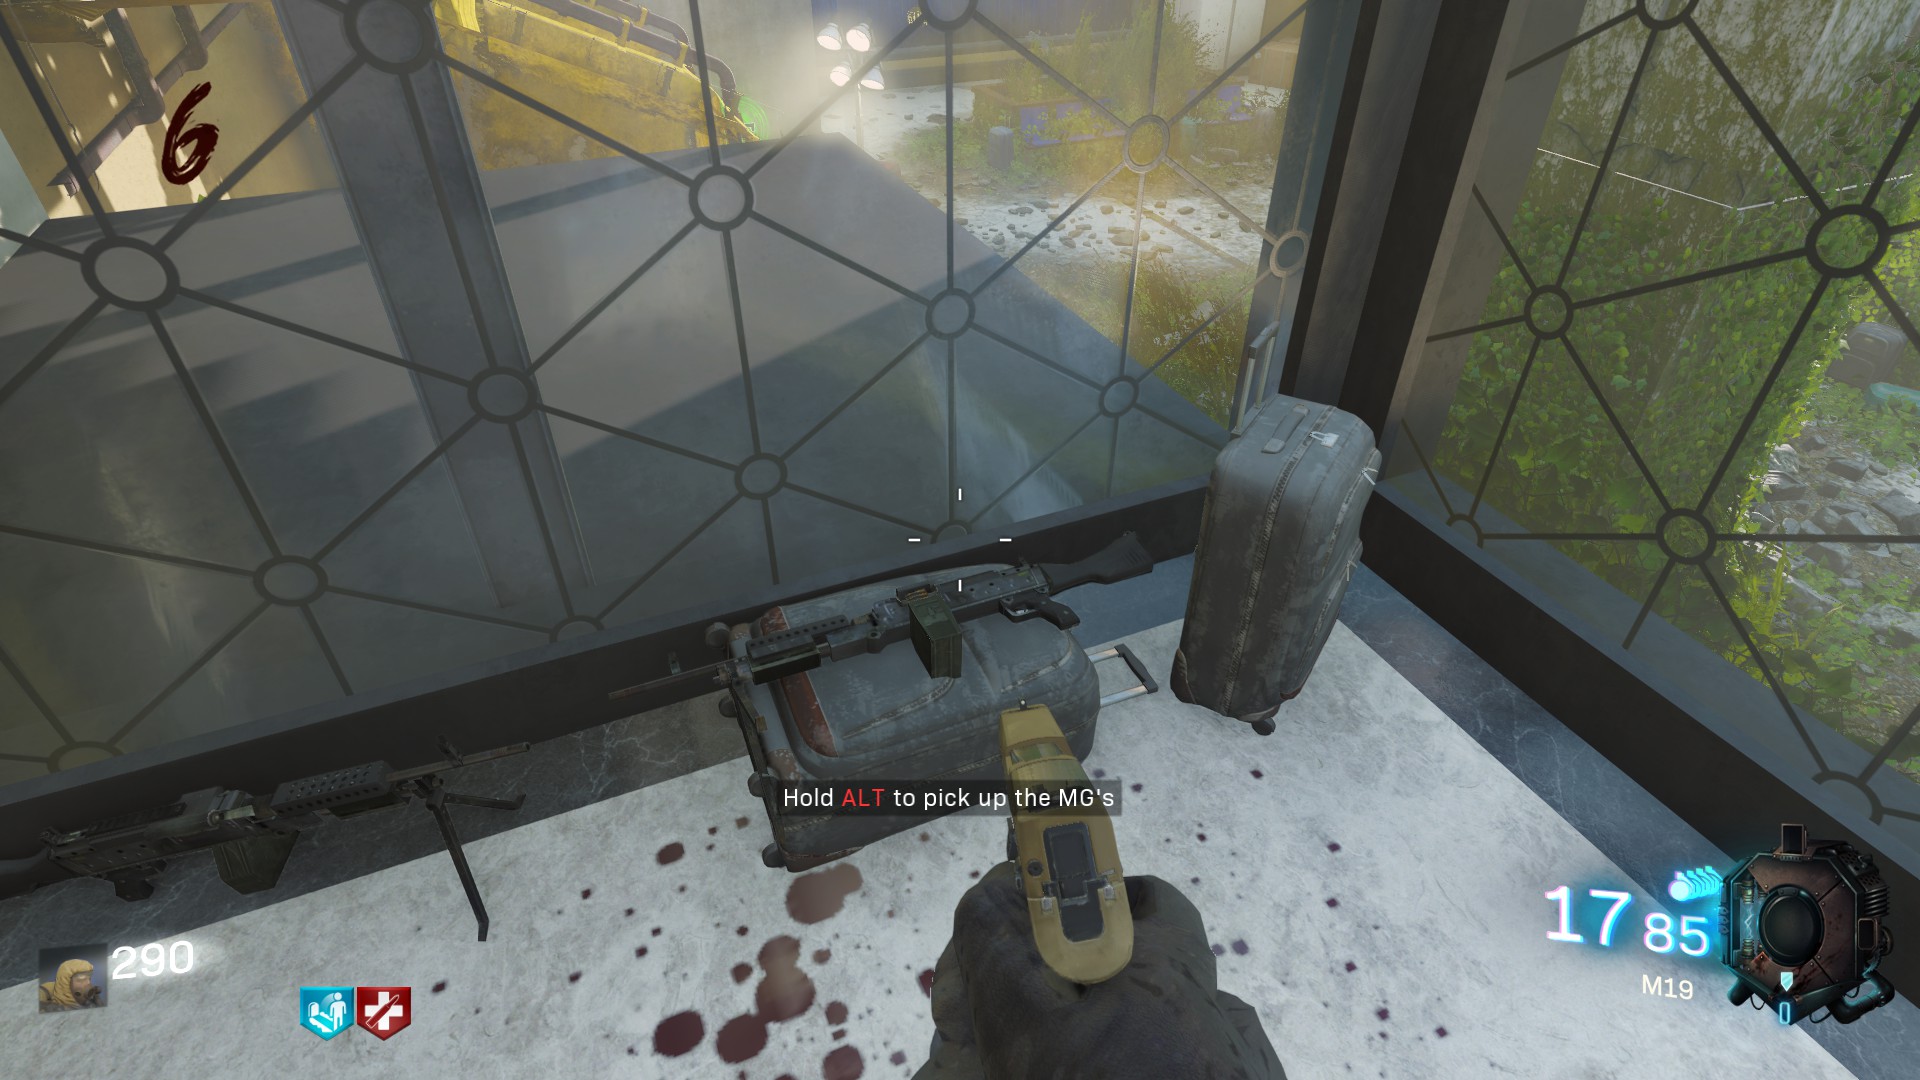 Then go in the middle of the airport in direction of Widow's Wine. Near the other elevator (the one with a Teddy Bear inside) you'II see a Grafiti on the back wall, go to it and depose the weapon right below it to "honor the Fallen"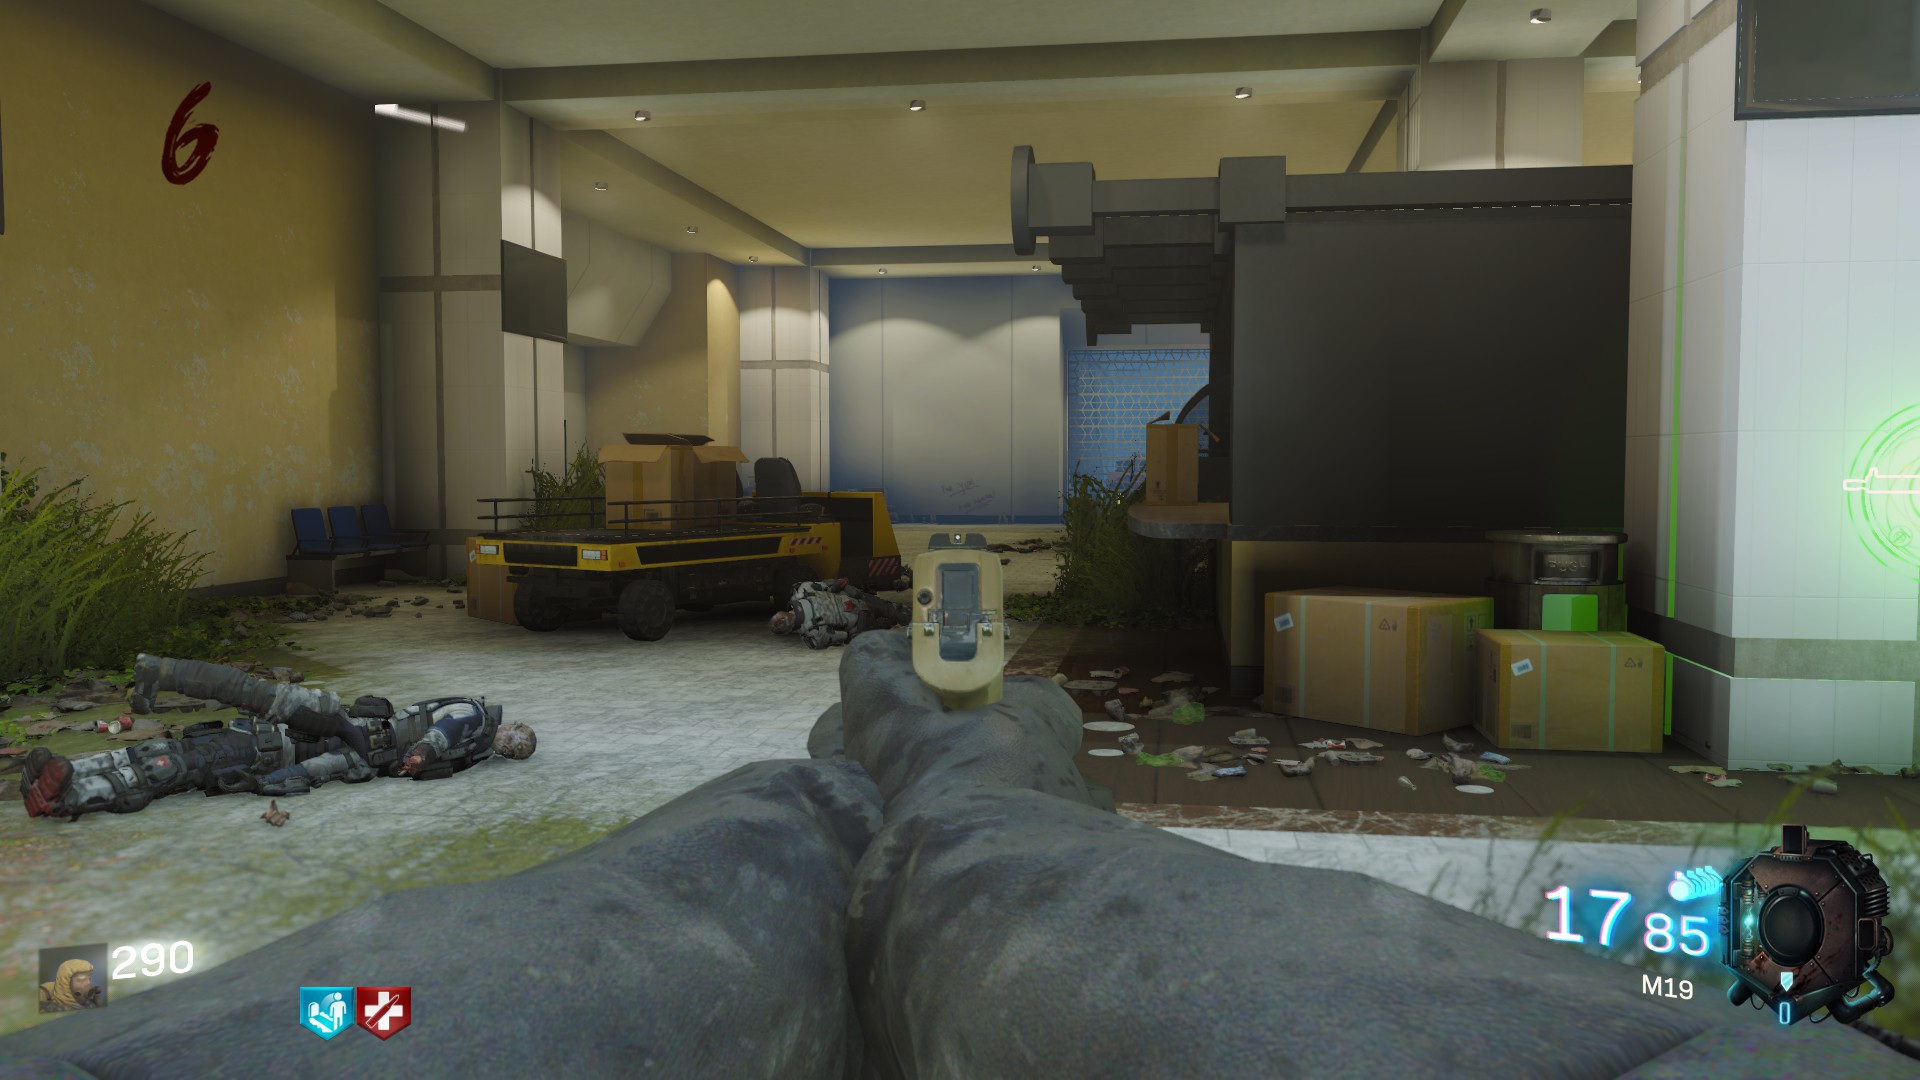
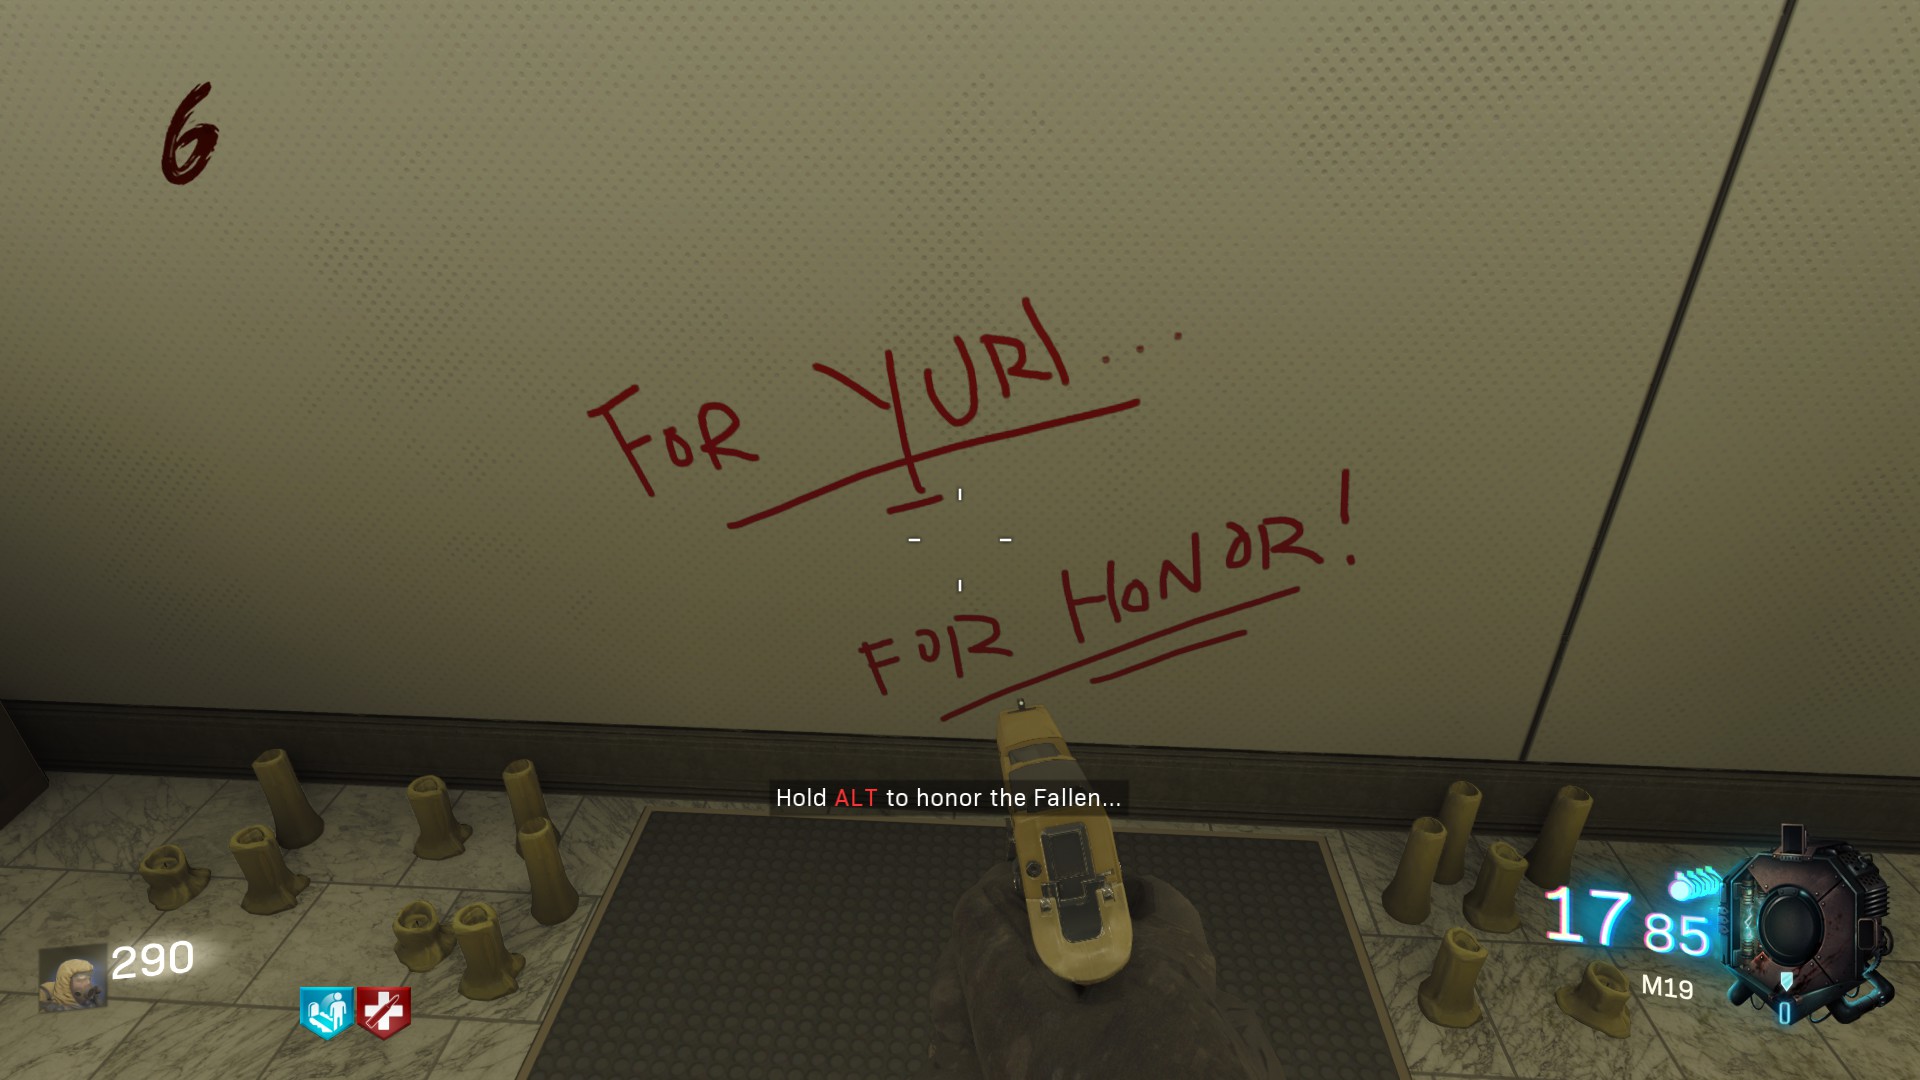
And there is your free perk. For Yuri.. For honor !
5. The Spuddley Bonus Points
This last one is for those who struggle to save their money : an additionnal 2500 points.
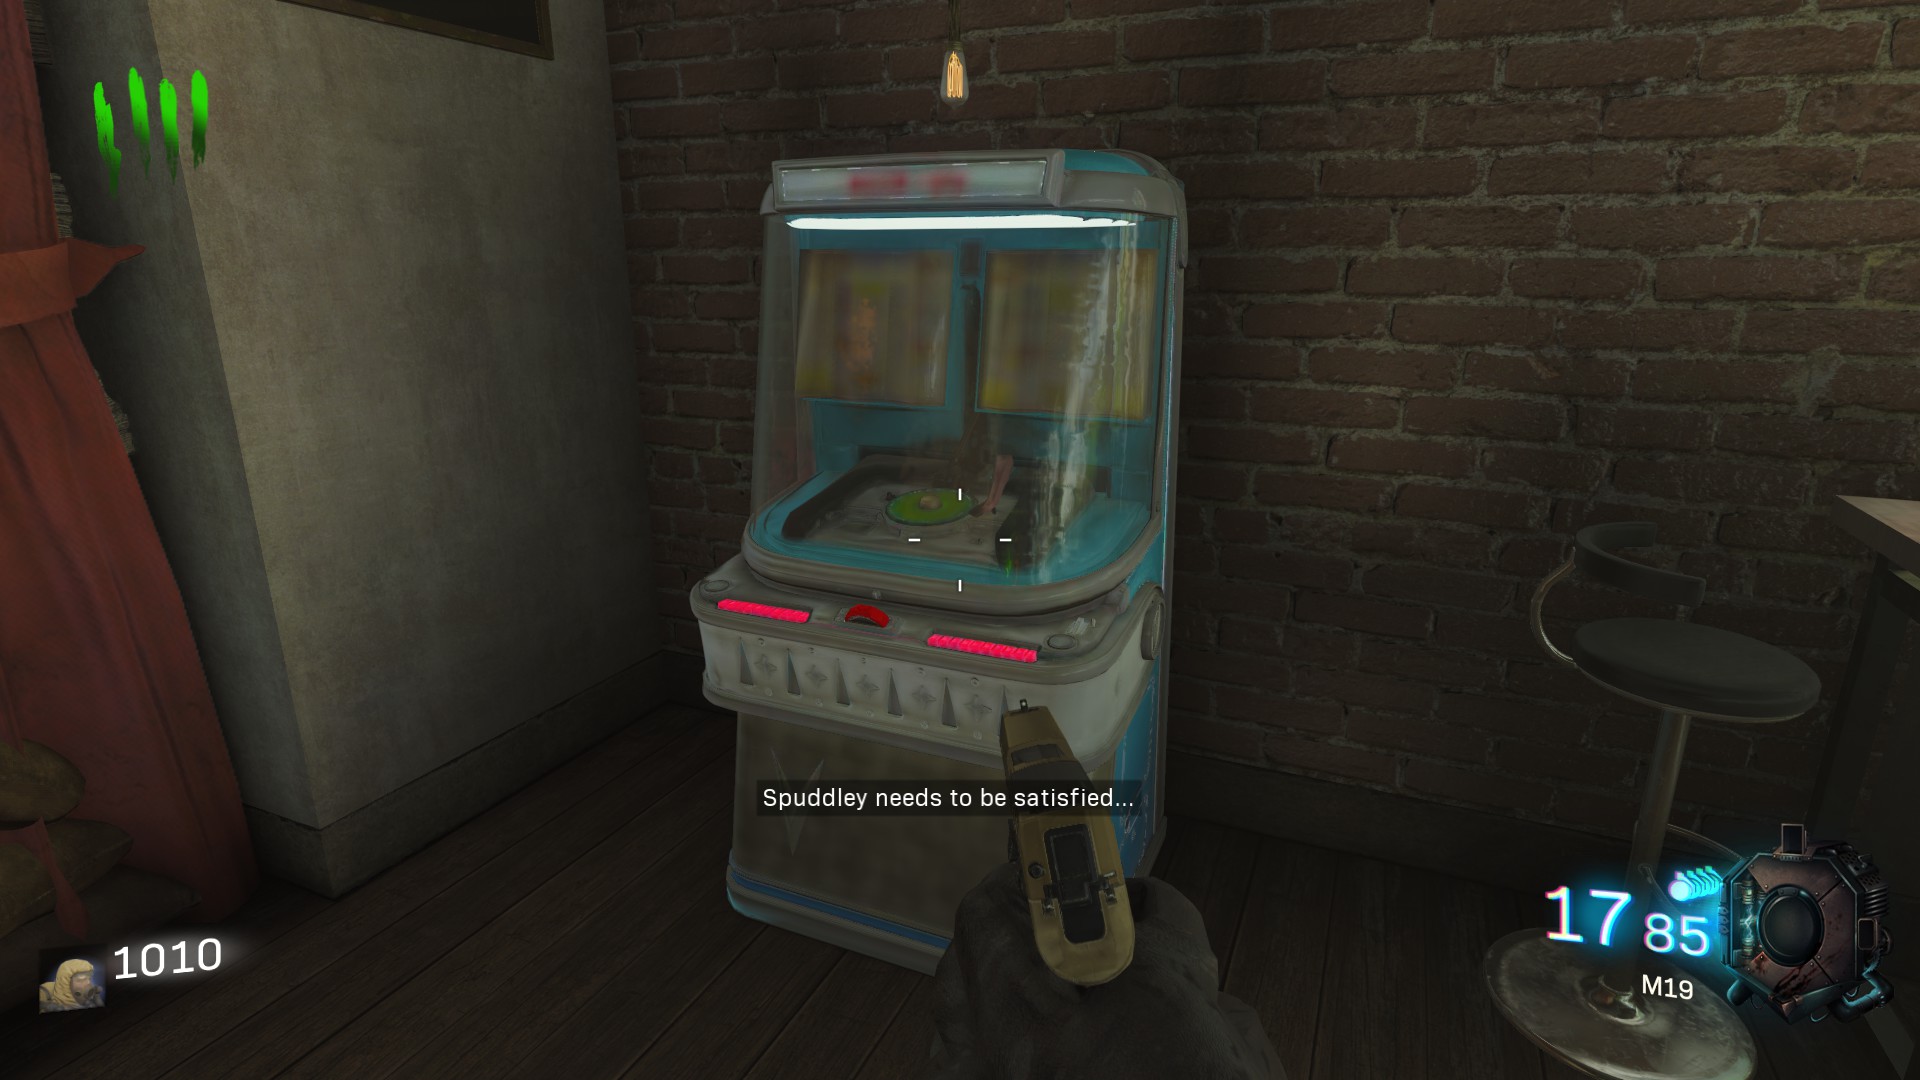
For obtain them walk towards Stamina perk and get into the bar. At the back right you will find this machine that you need to satisfy. For that, look for the three pictures in the room and shoot at them.
 All the three pictures are on the wall right behind the bar counter, I show them below.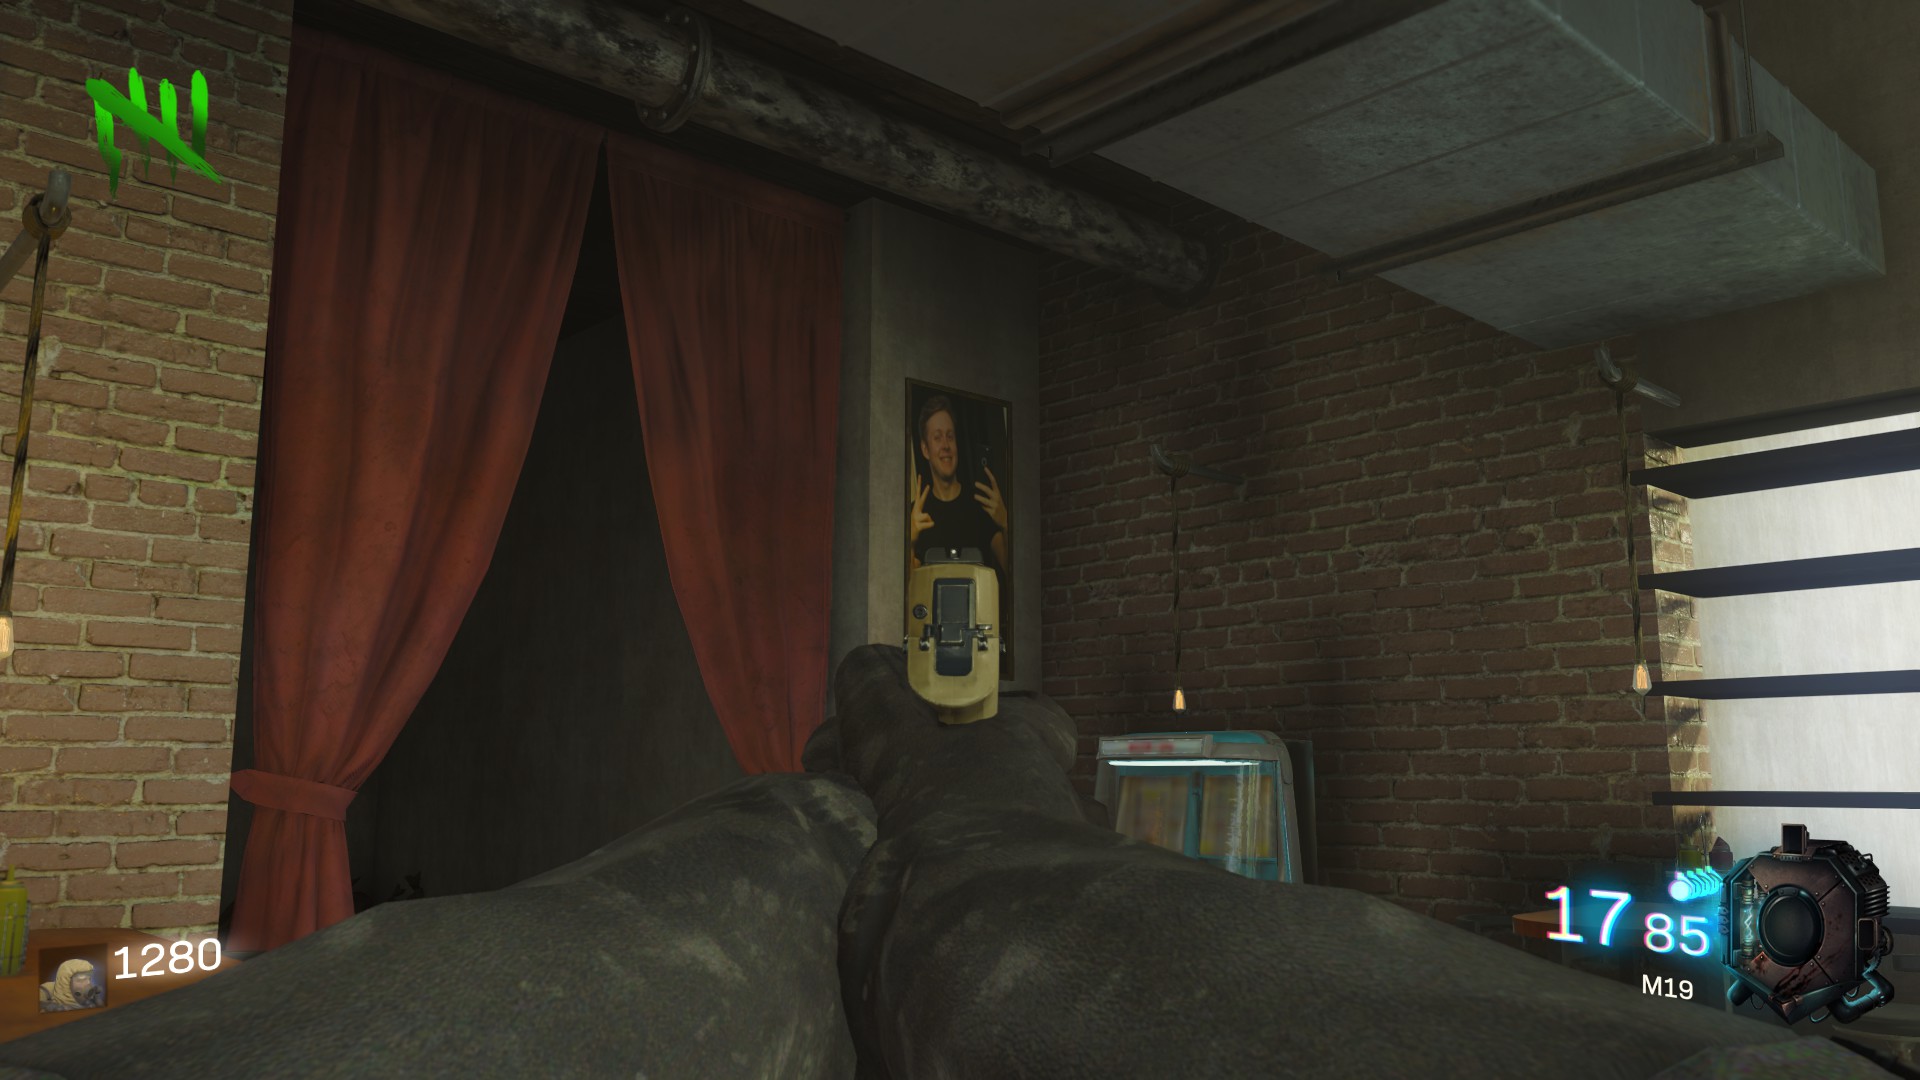
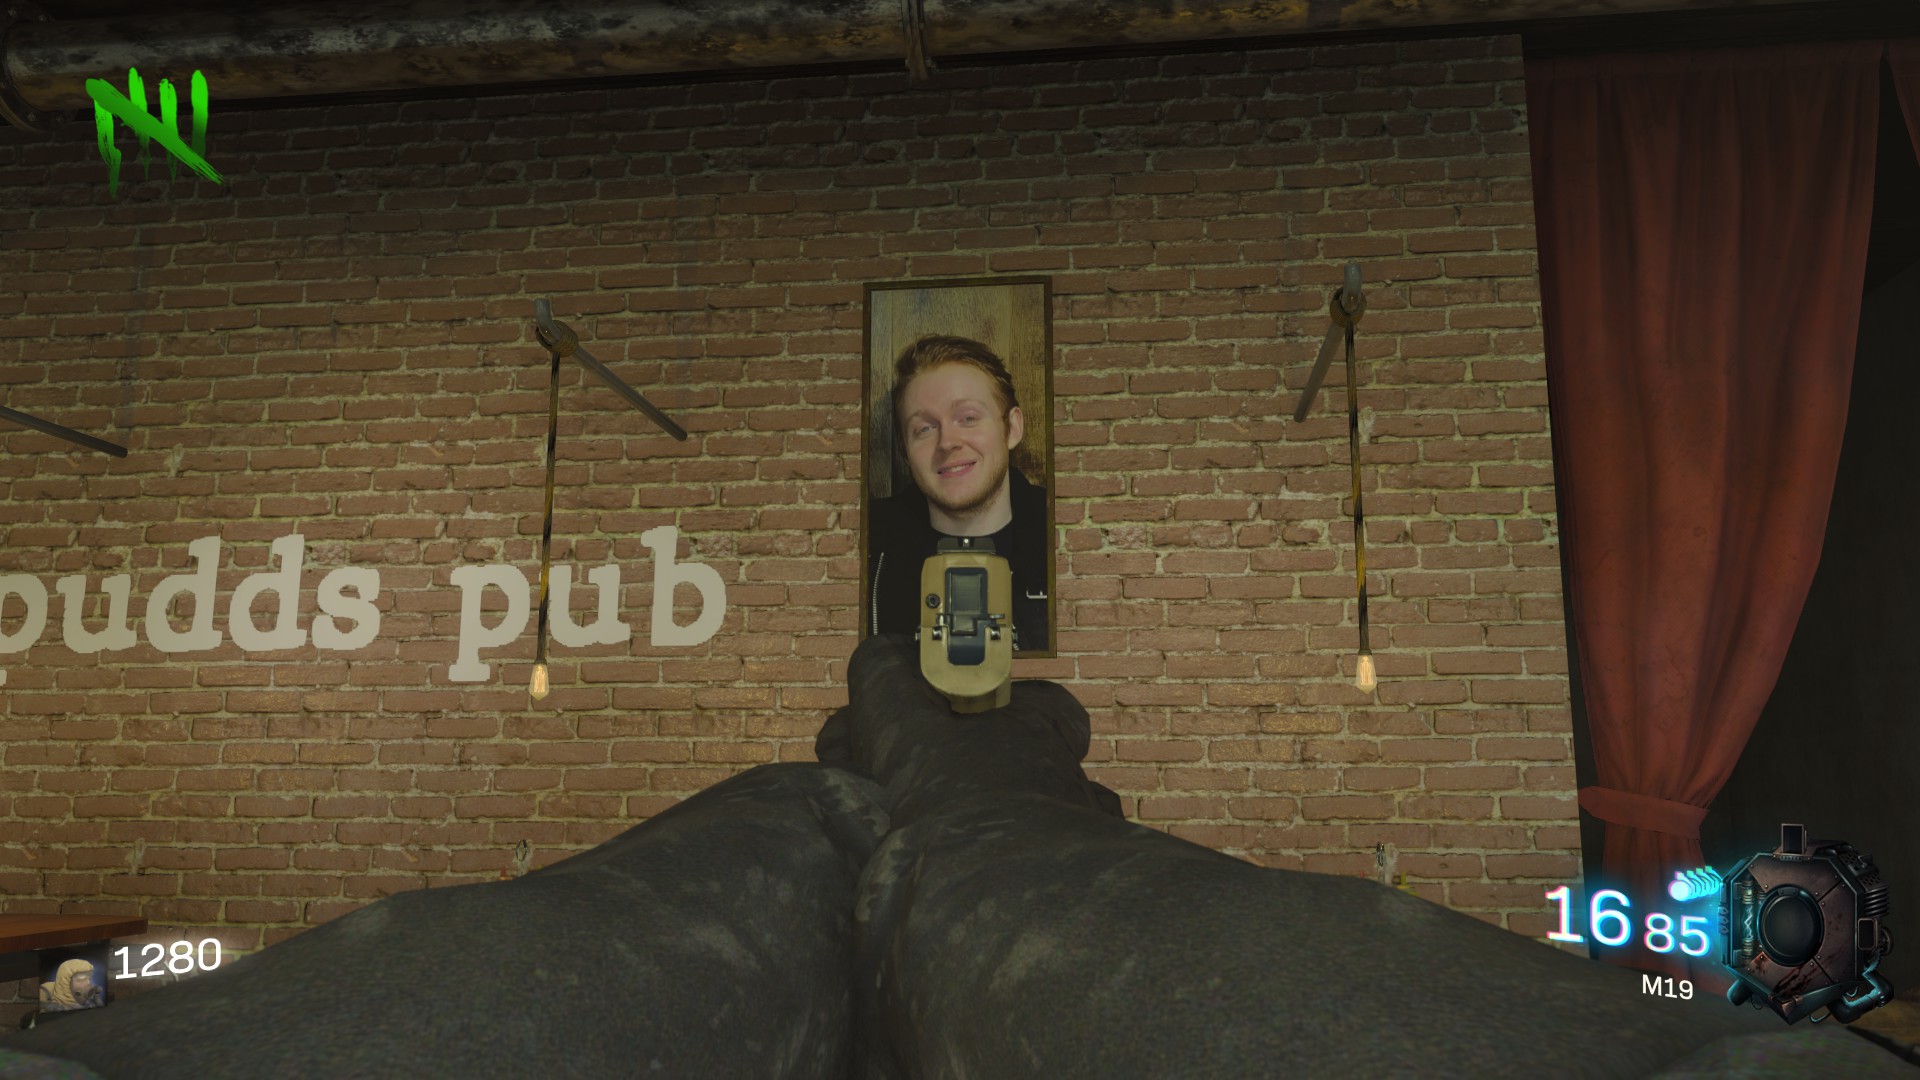
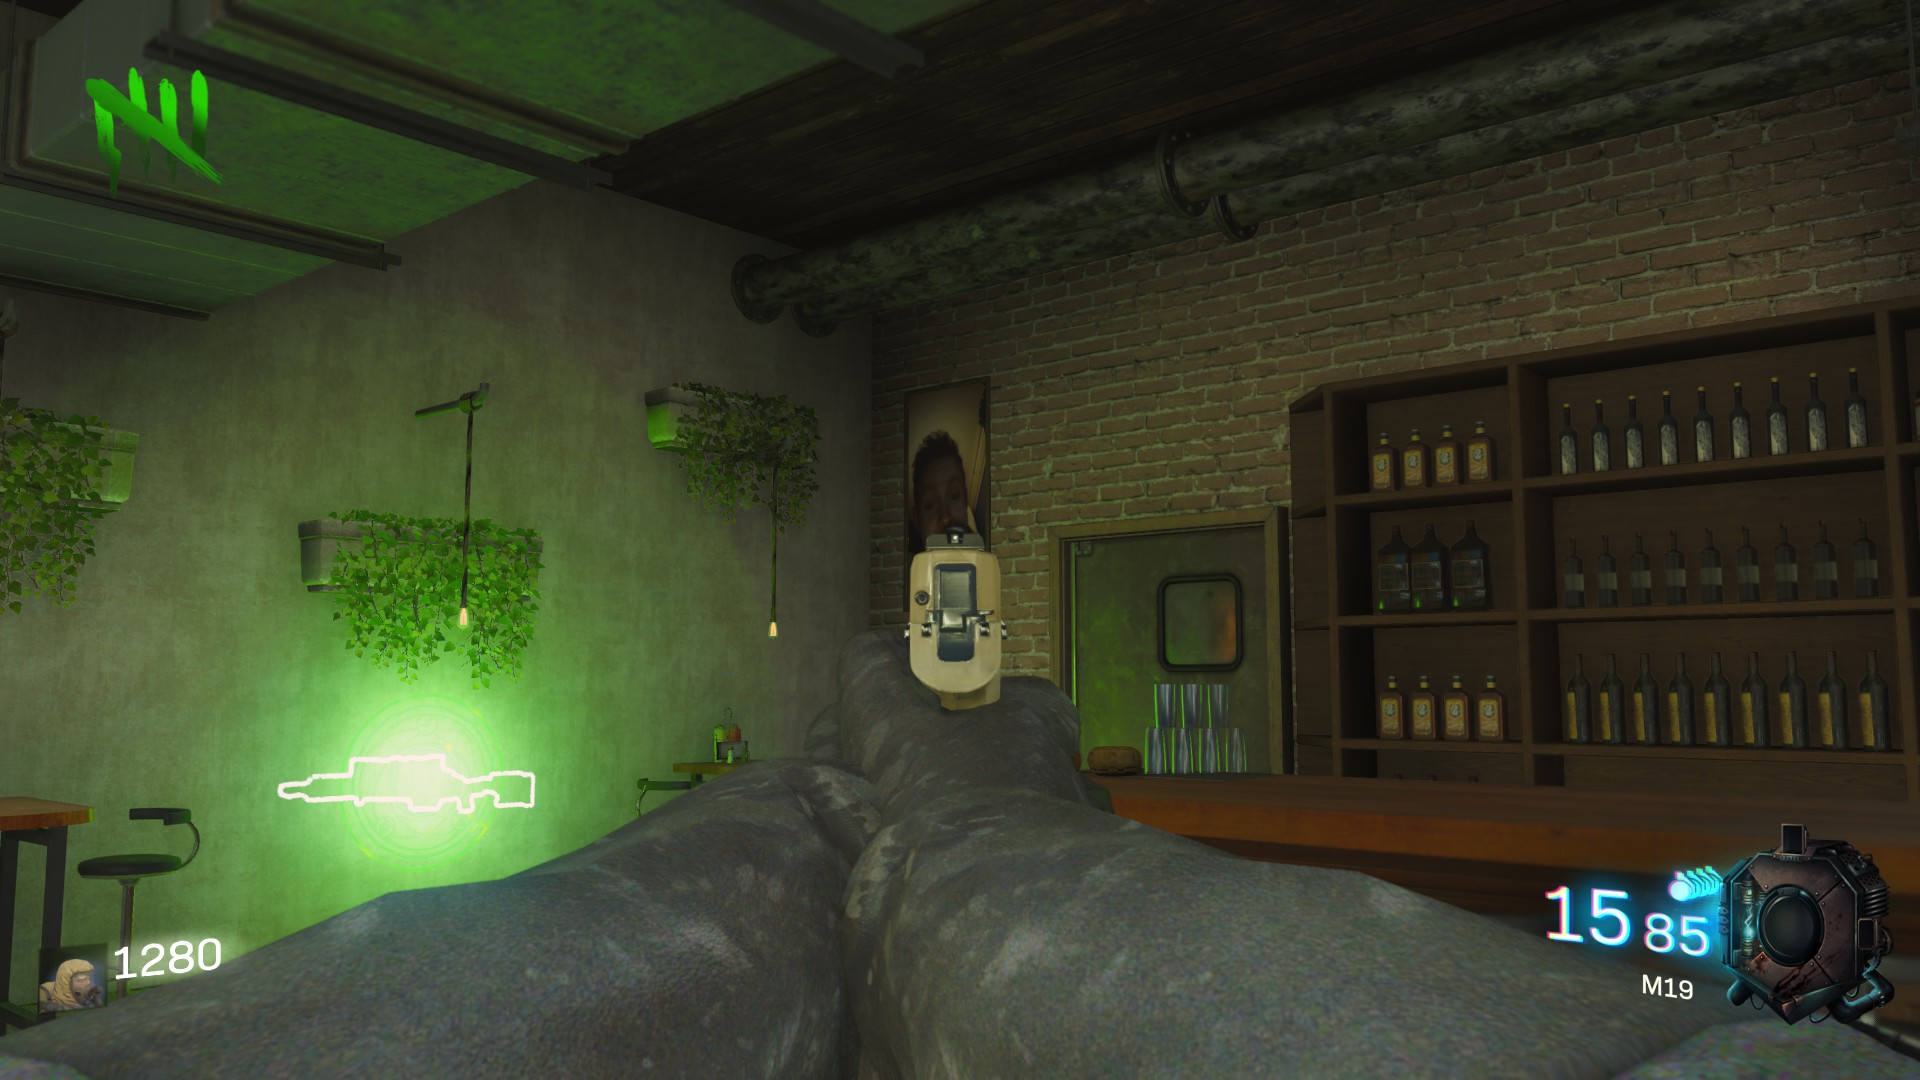 When you've done it return to the machine and hold your action button for receiving your prize !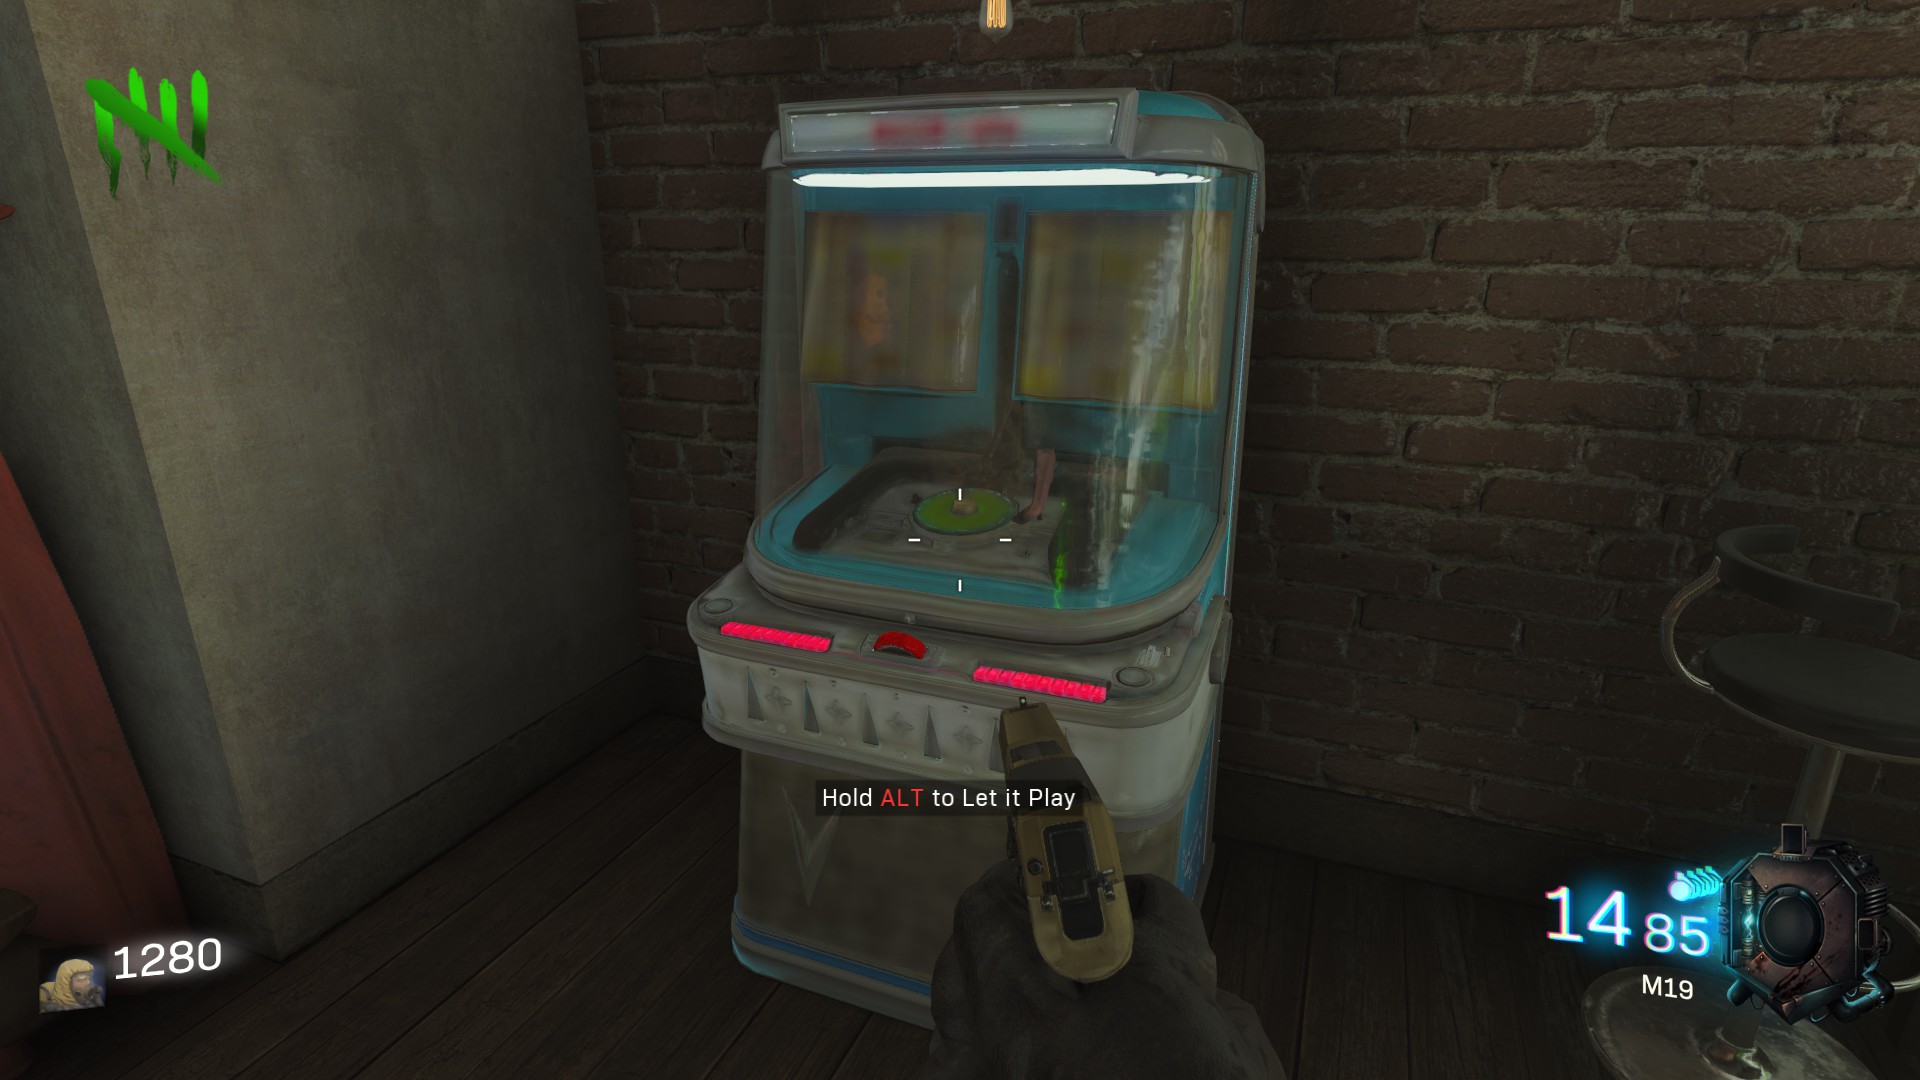
The Secret
The secret of this map is quite simple to do and it's funny. There are three steps to accomplish for receiving your prize. Let's explain that right below !
0. Requirements
Before starting, here are some advices that will help you a bit.
First, make sure you have proper weapons and perks because there are few soul chests and infinite waves during the steps.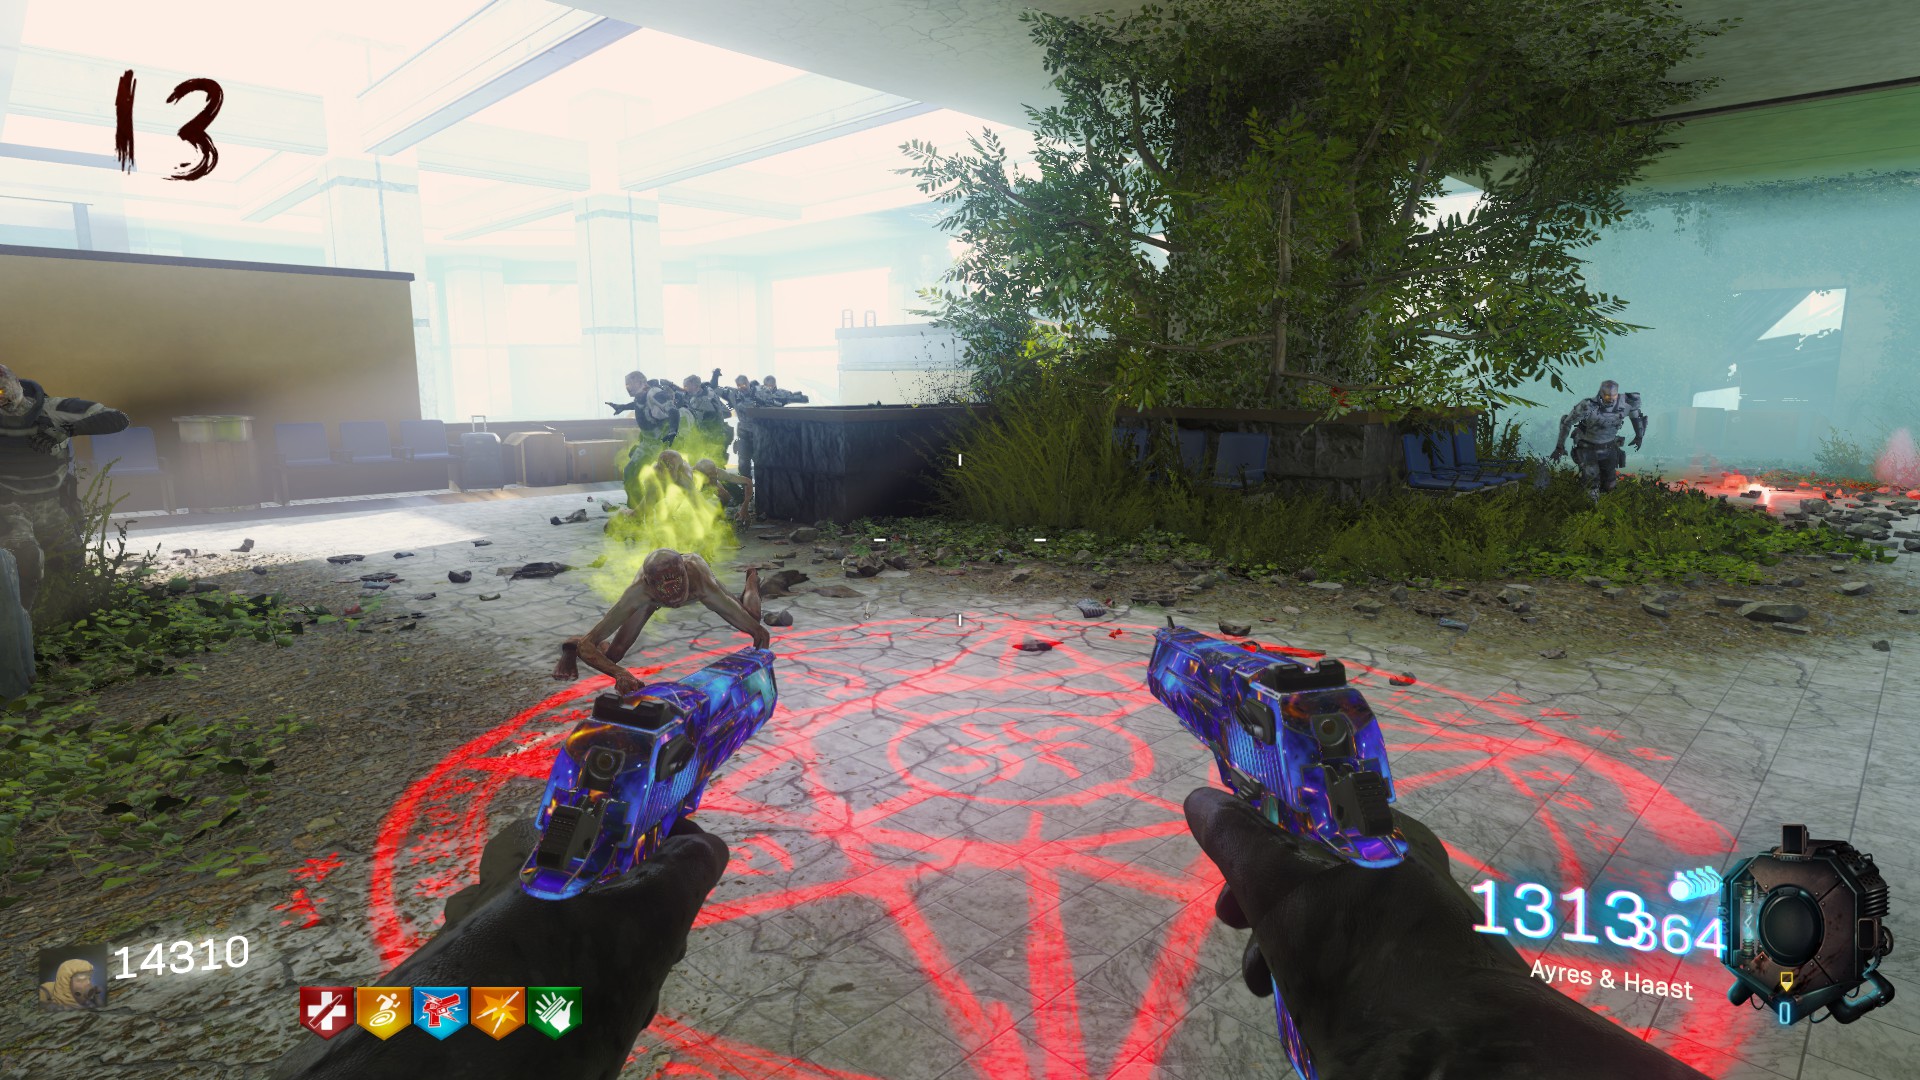 Next, open the map fully and activate Power.
And from that point, you can start the secret with confidence !
1. The X-Ray Machine
First of all, you'II have to build the X-Ray : for that you need to collect three parts. I've already explained how you can find them in the "Four craftable Items" section.
When it's done, you can now power up the X-Ray with a generator that you will find in the escalator room. The generator is located on the left of the metallic mount of the shield. At this point, you'II face an infinite wave of zombies who gonna last something like 1'30".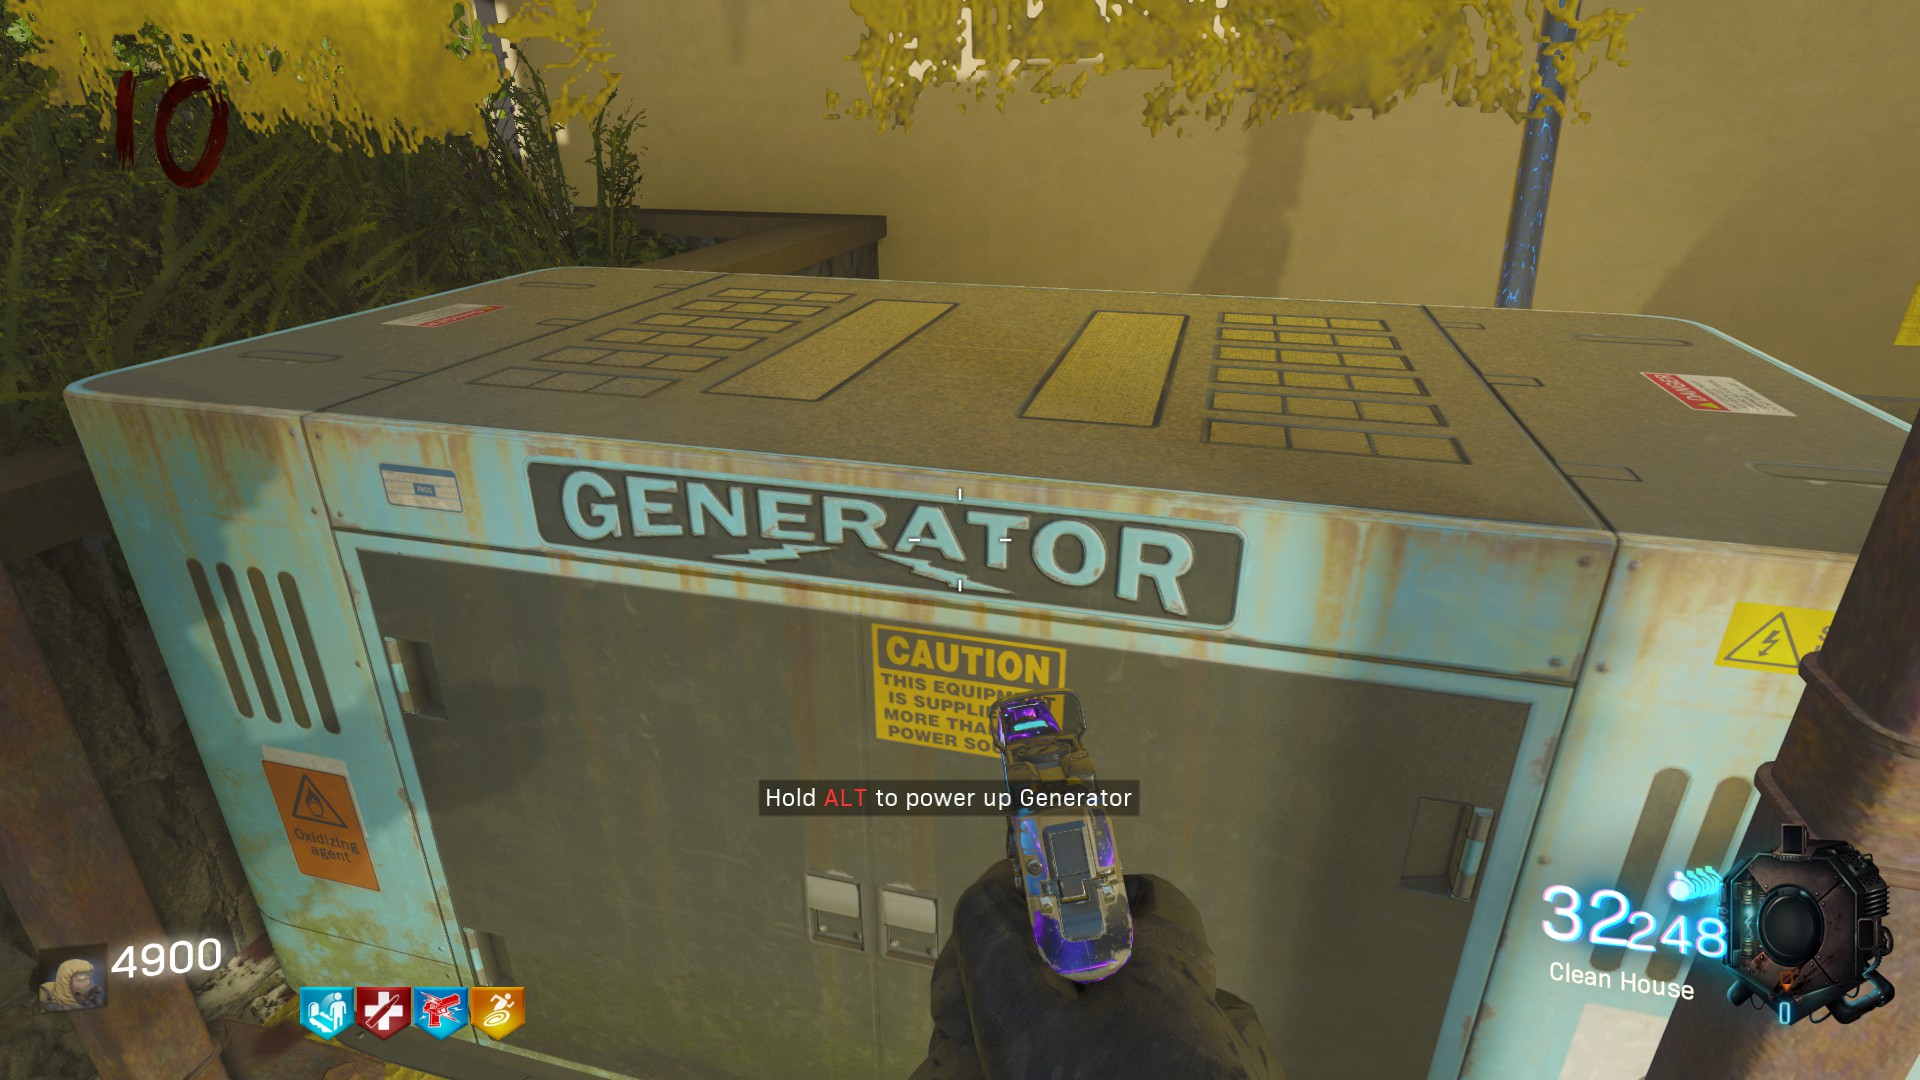 If you survive that you can then return to the X-Ray Machine for fully activate it.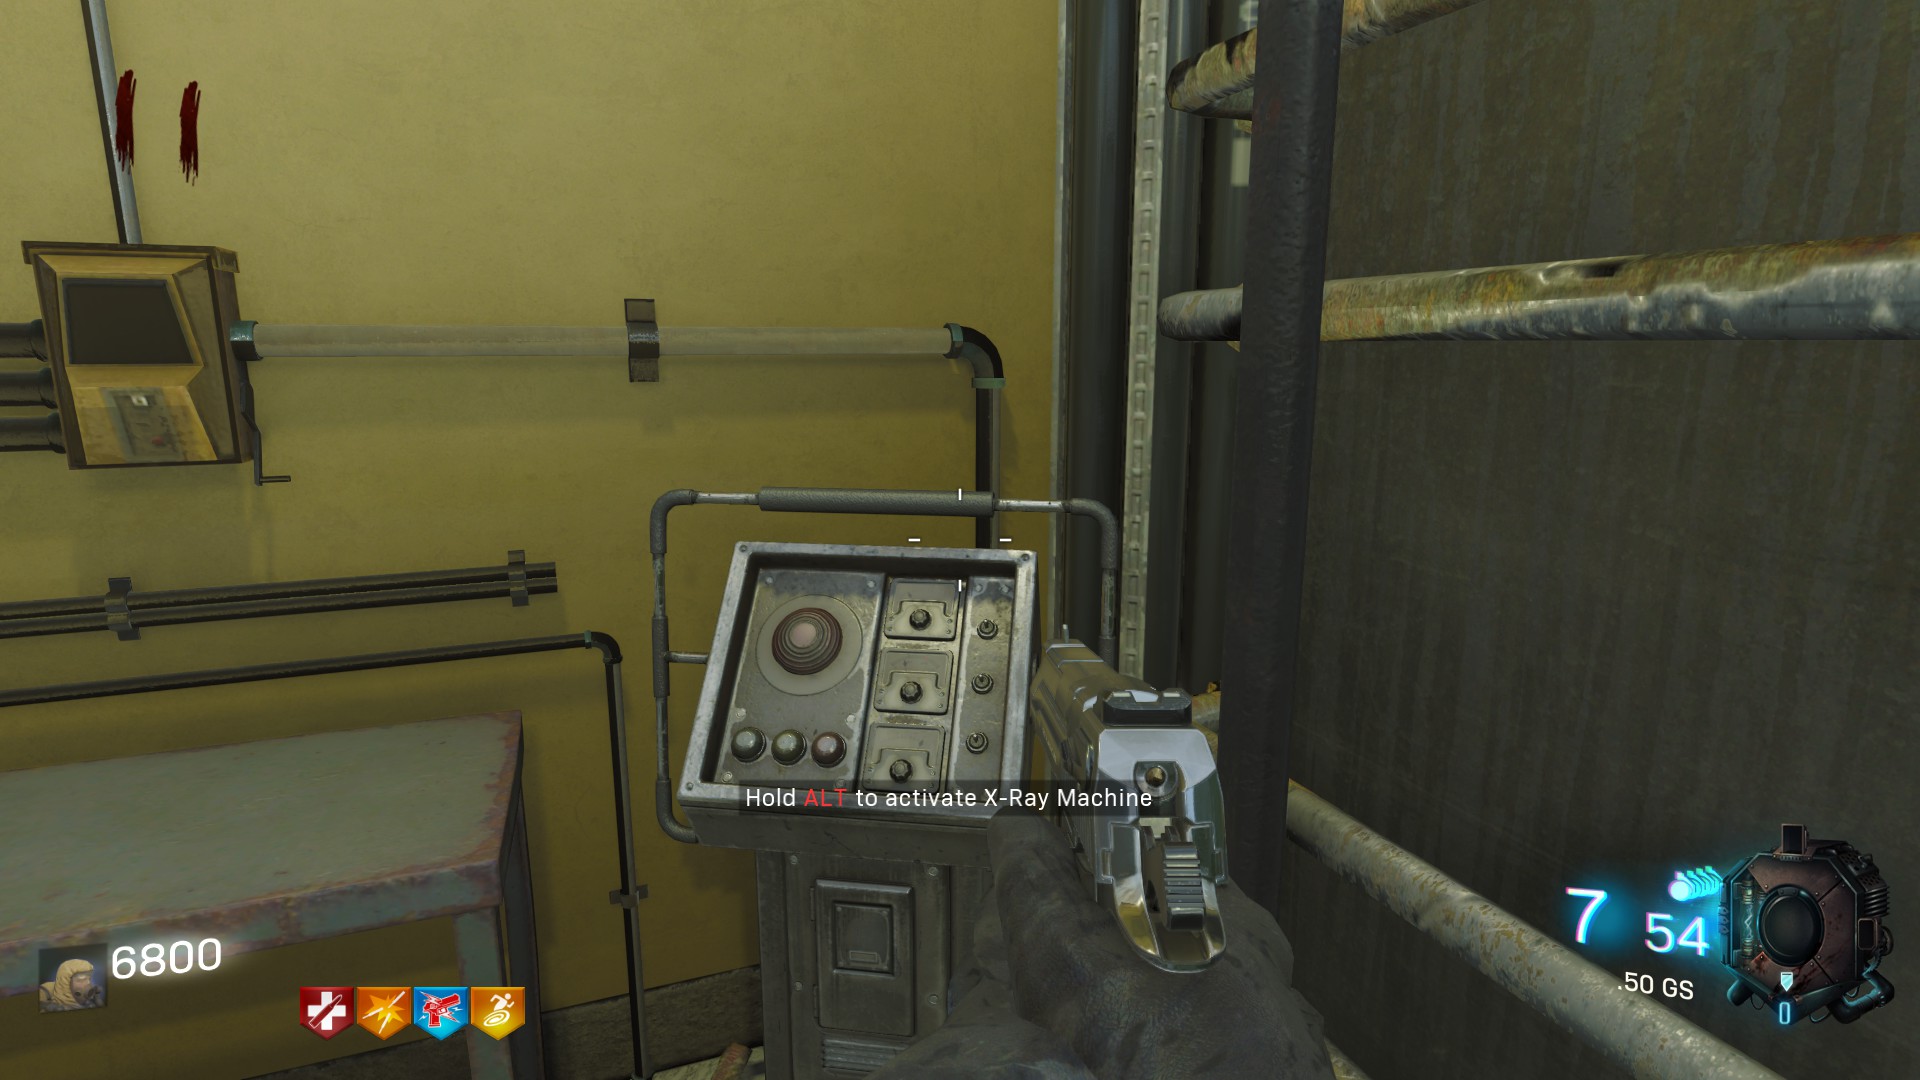
2. The Skeletton
The goal of the X-Ray is to transform a zombie (a standard one or a crawler) into a skeletton, and this is the second step of the secret. So, how do we do it ?
It's pretty simple, you have to pass your zombie through the gantry of the X-Ray Machine. You will see two lightnings get into the zombie while transforming it.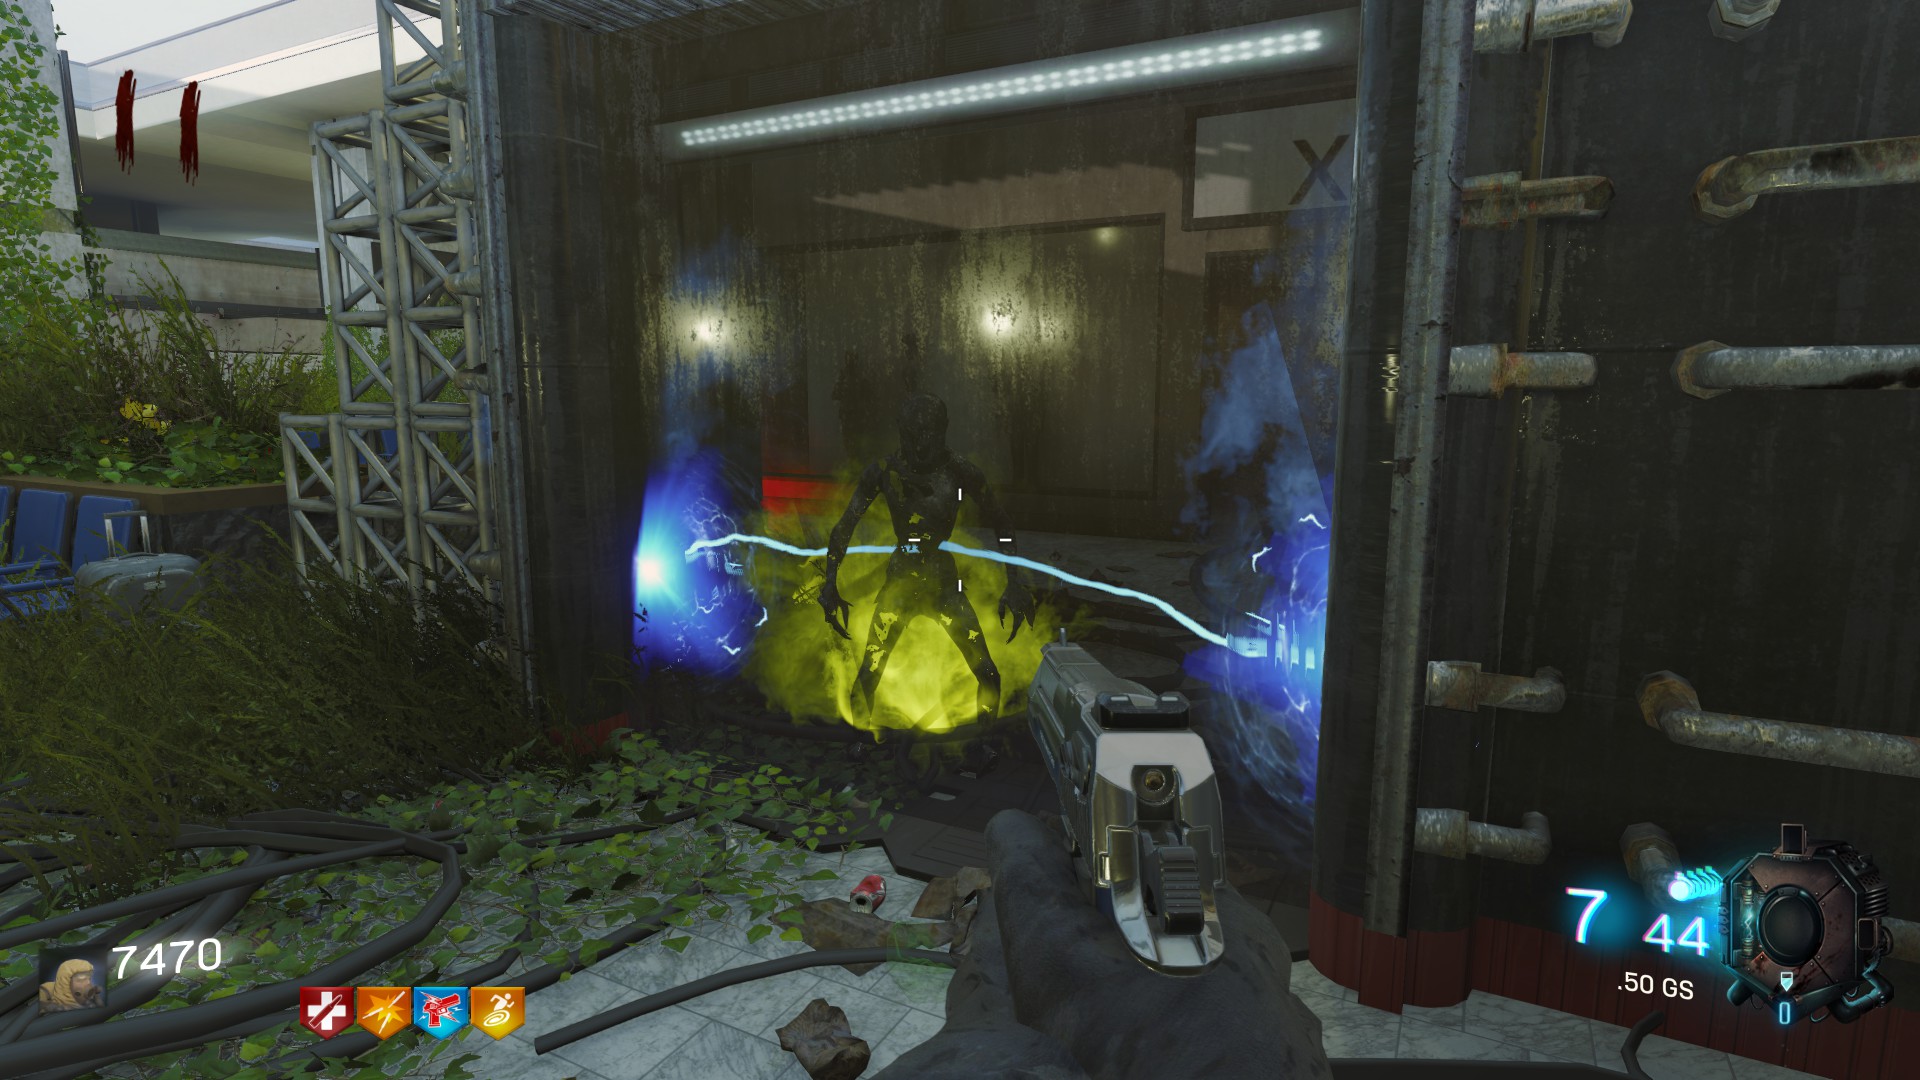
After that, you'Il see your skeletton starting to run at three precise locations on the map, go with him (note : the skeletton is not always following the same pattern so keep that in mind).
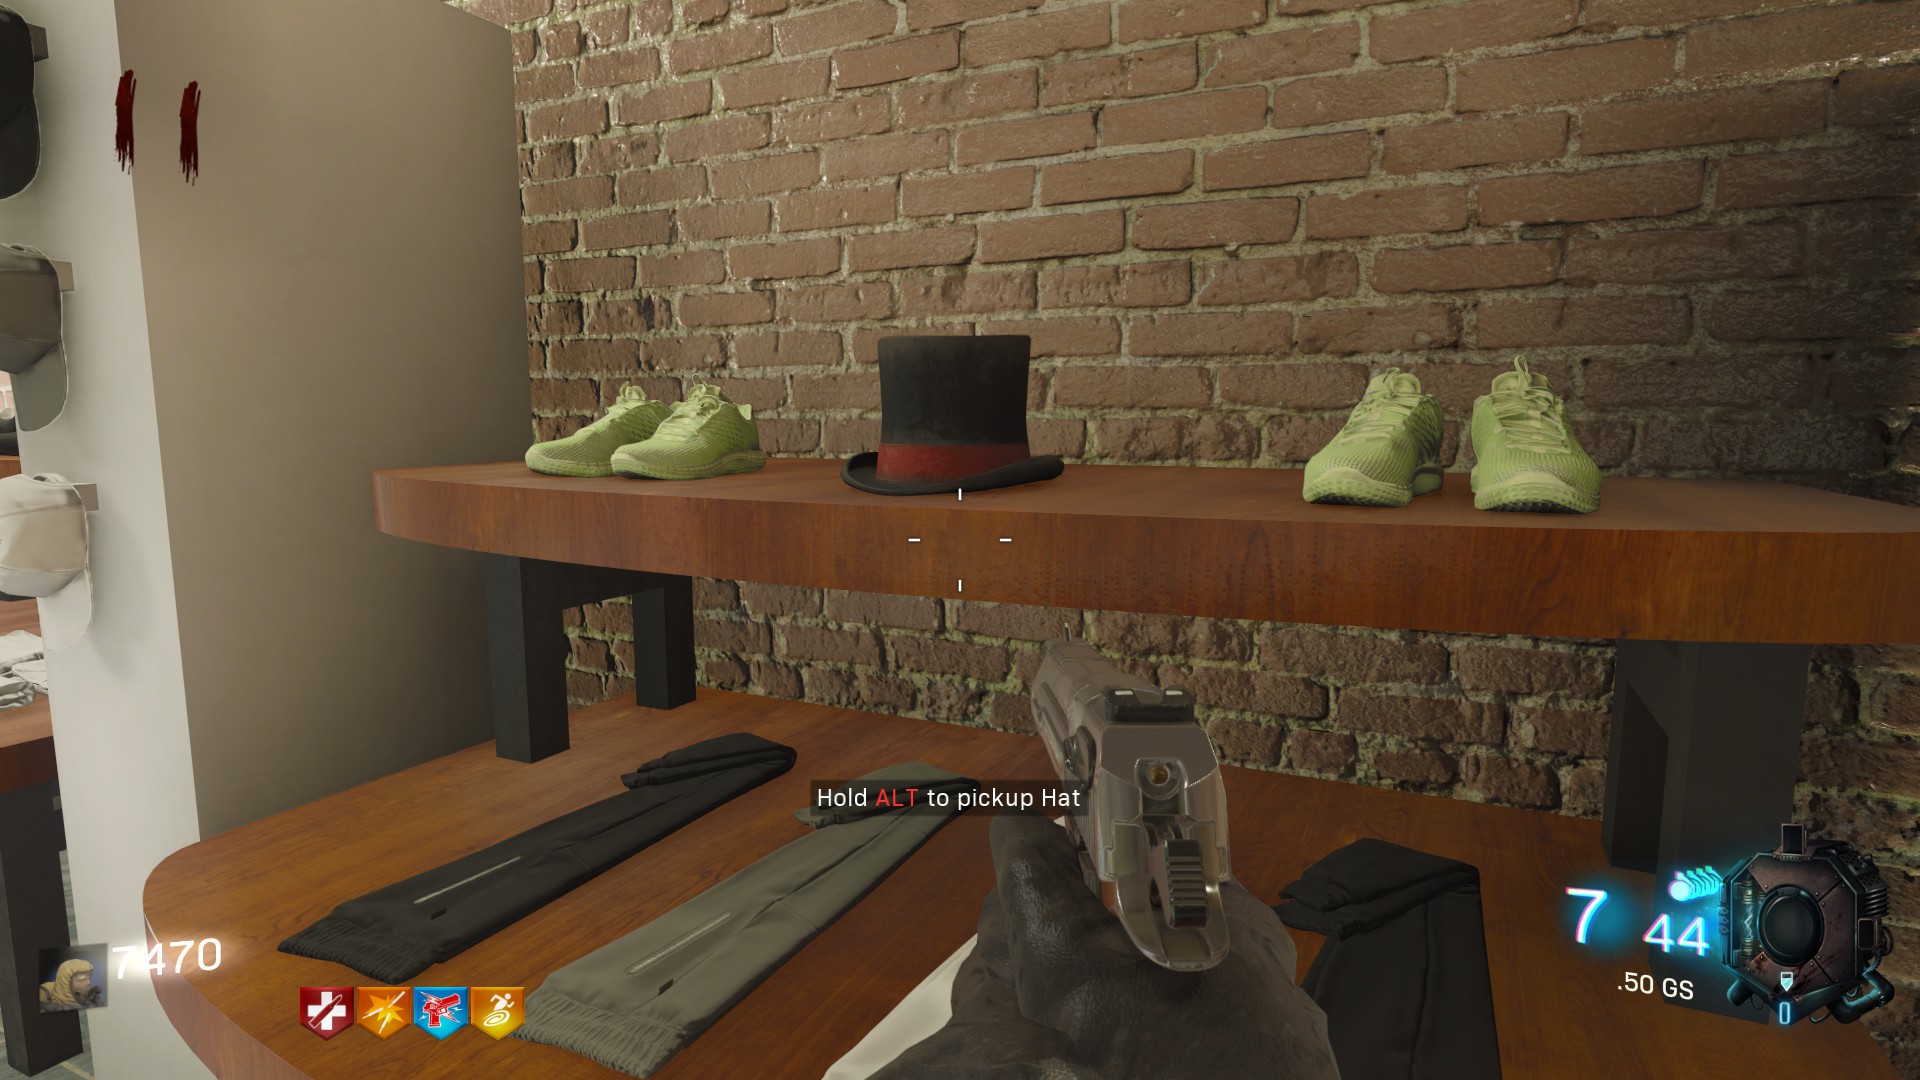
First, you need to go in the Xela's Store, who is in front of the X-Ray for picking the hat of the skeletton. You'Il find it on one of the shelf of the store.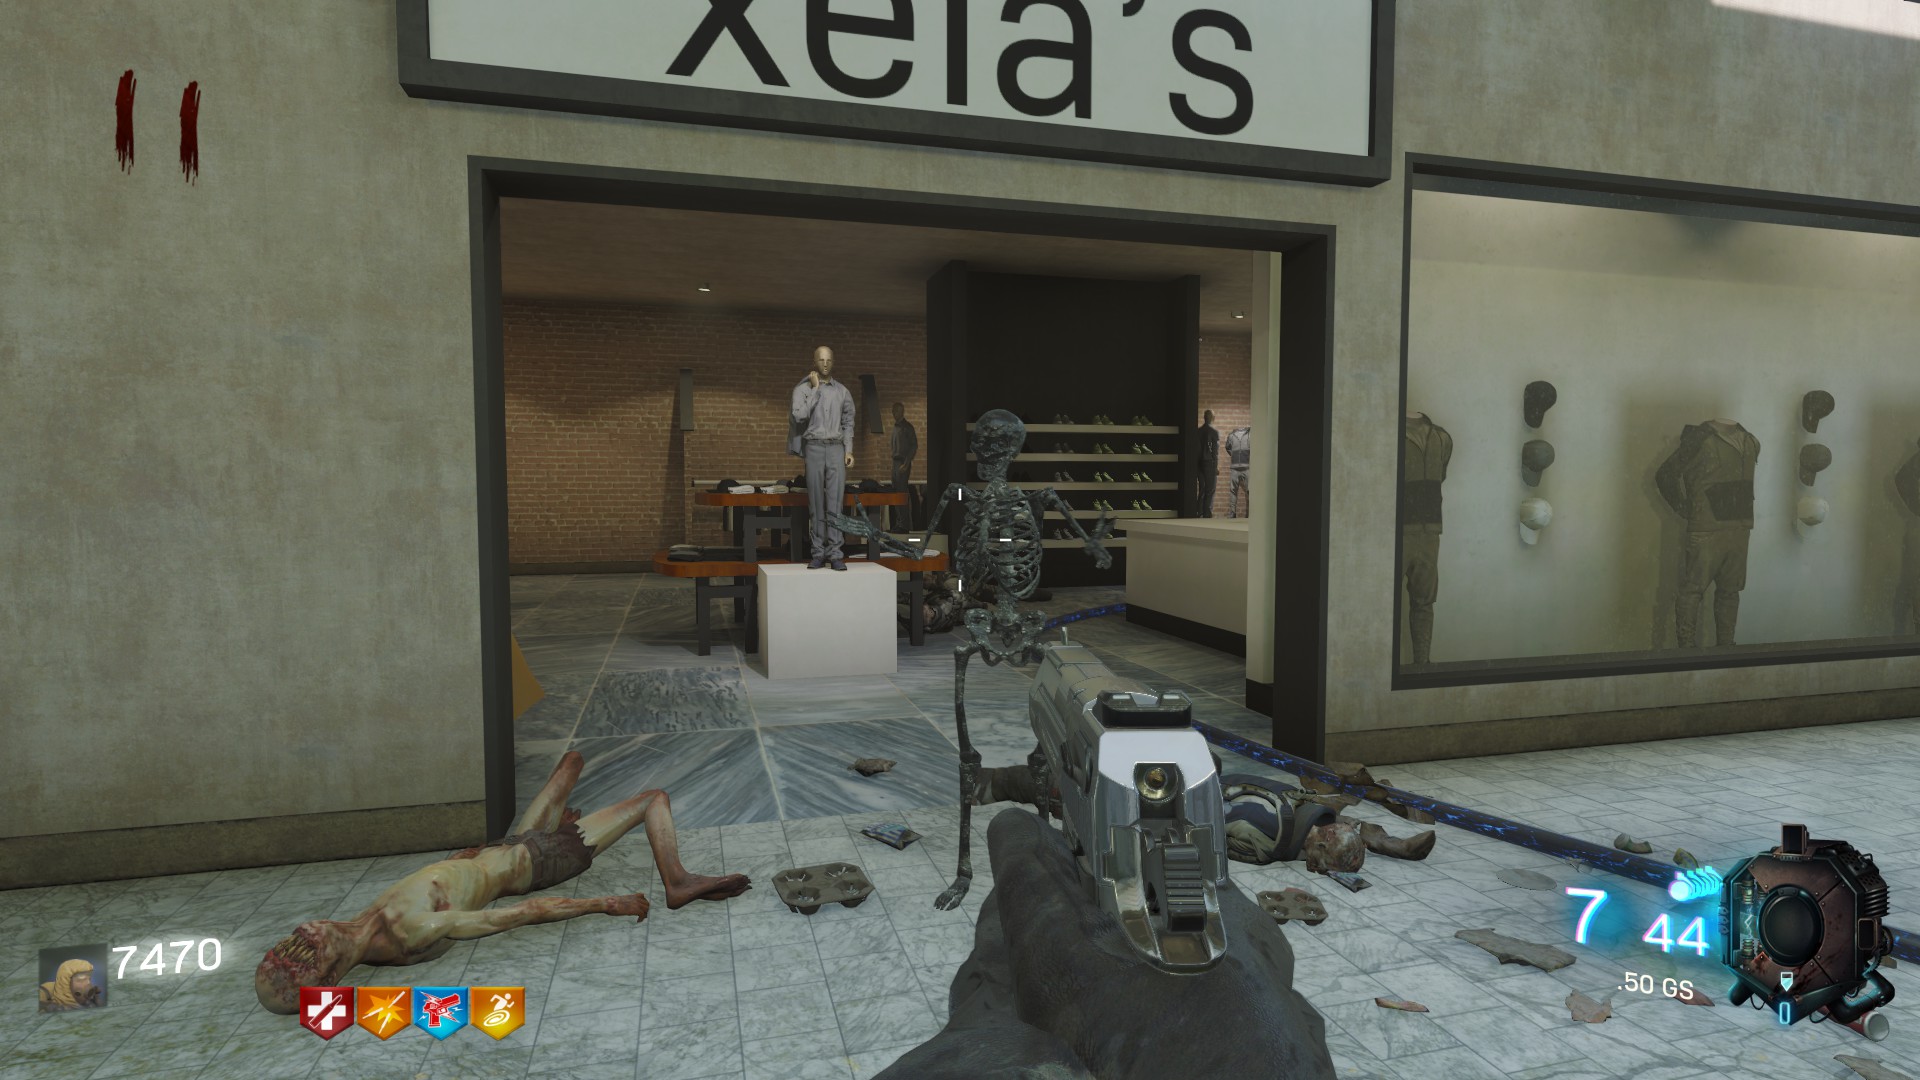
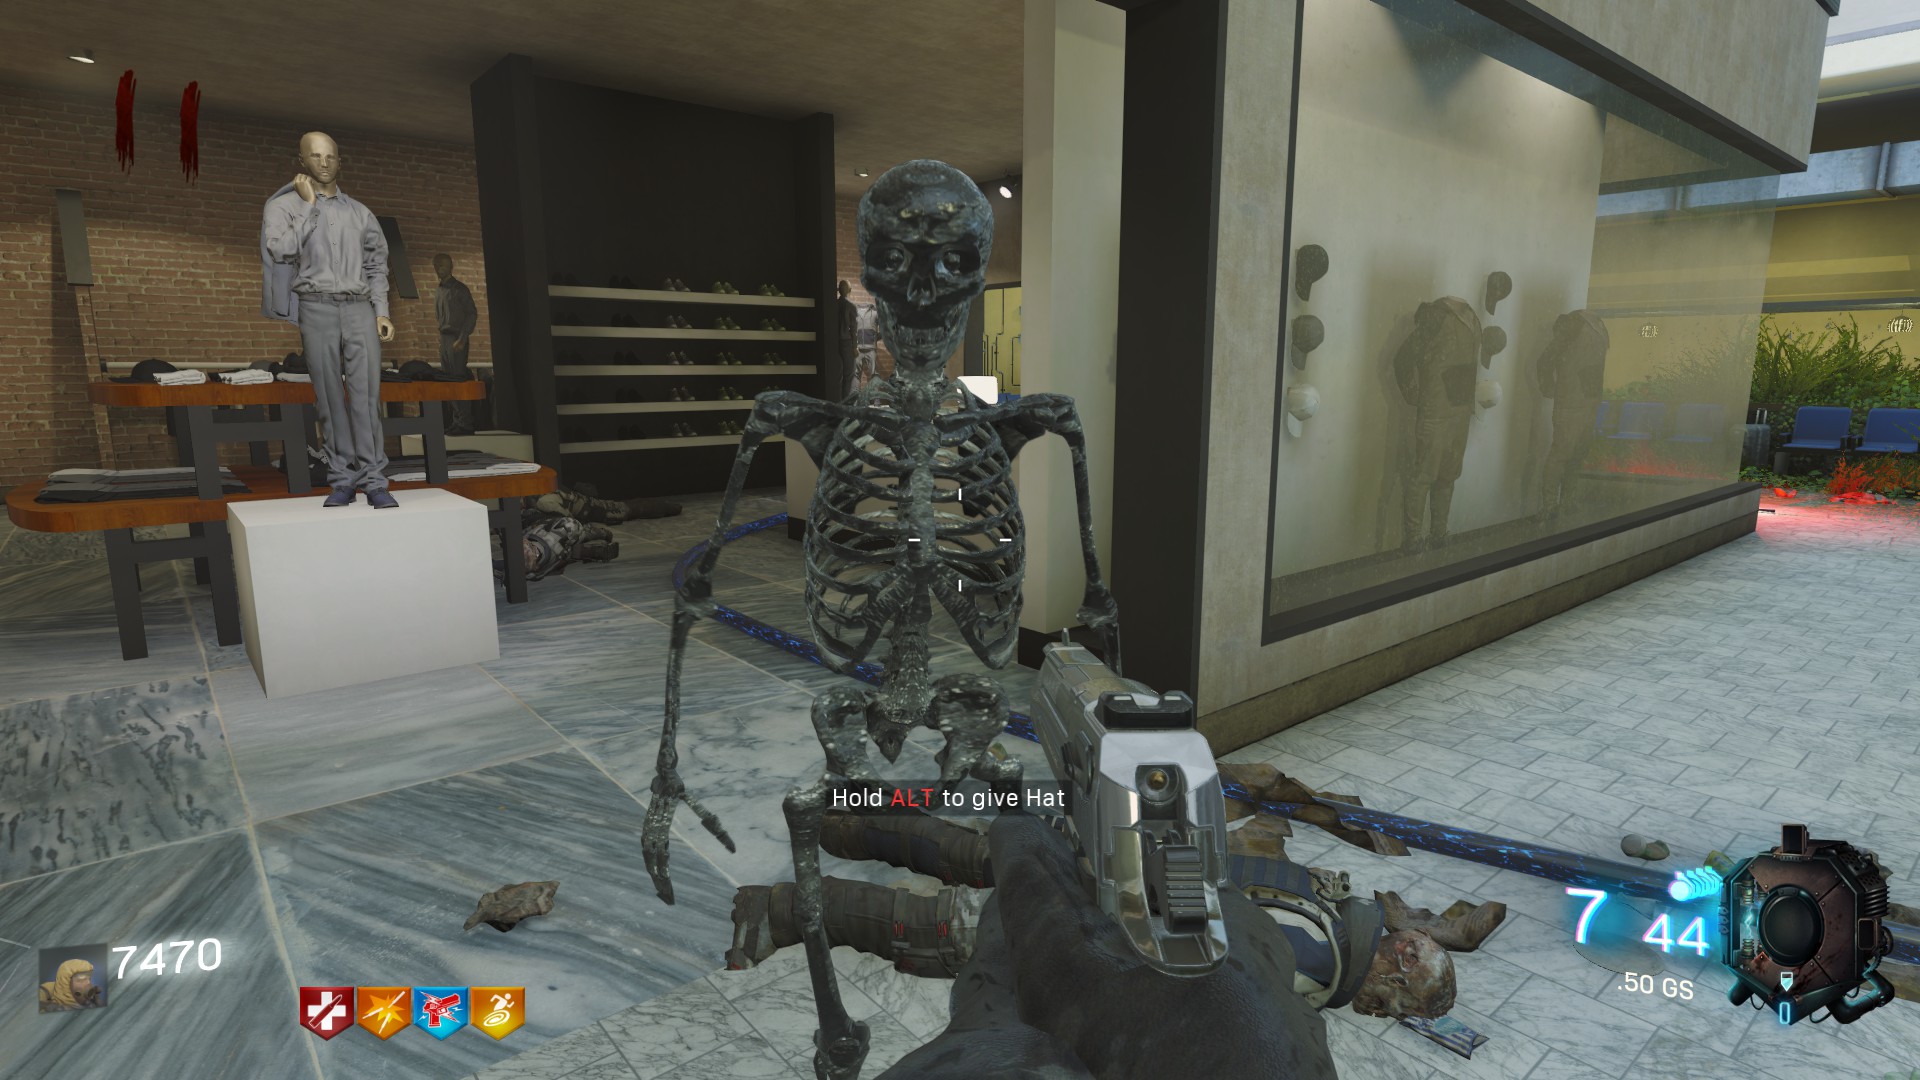
 Give the hat to the skeletton next.
 The next location is on the right of Mule Kick, near the counter with a part of the shield on it. Here, you search for shoes that you'Il find in a locker.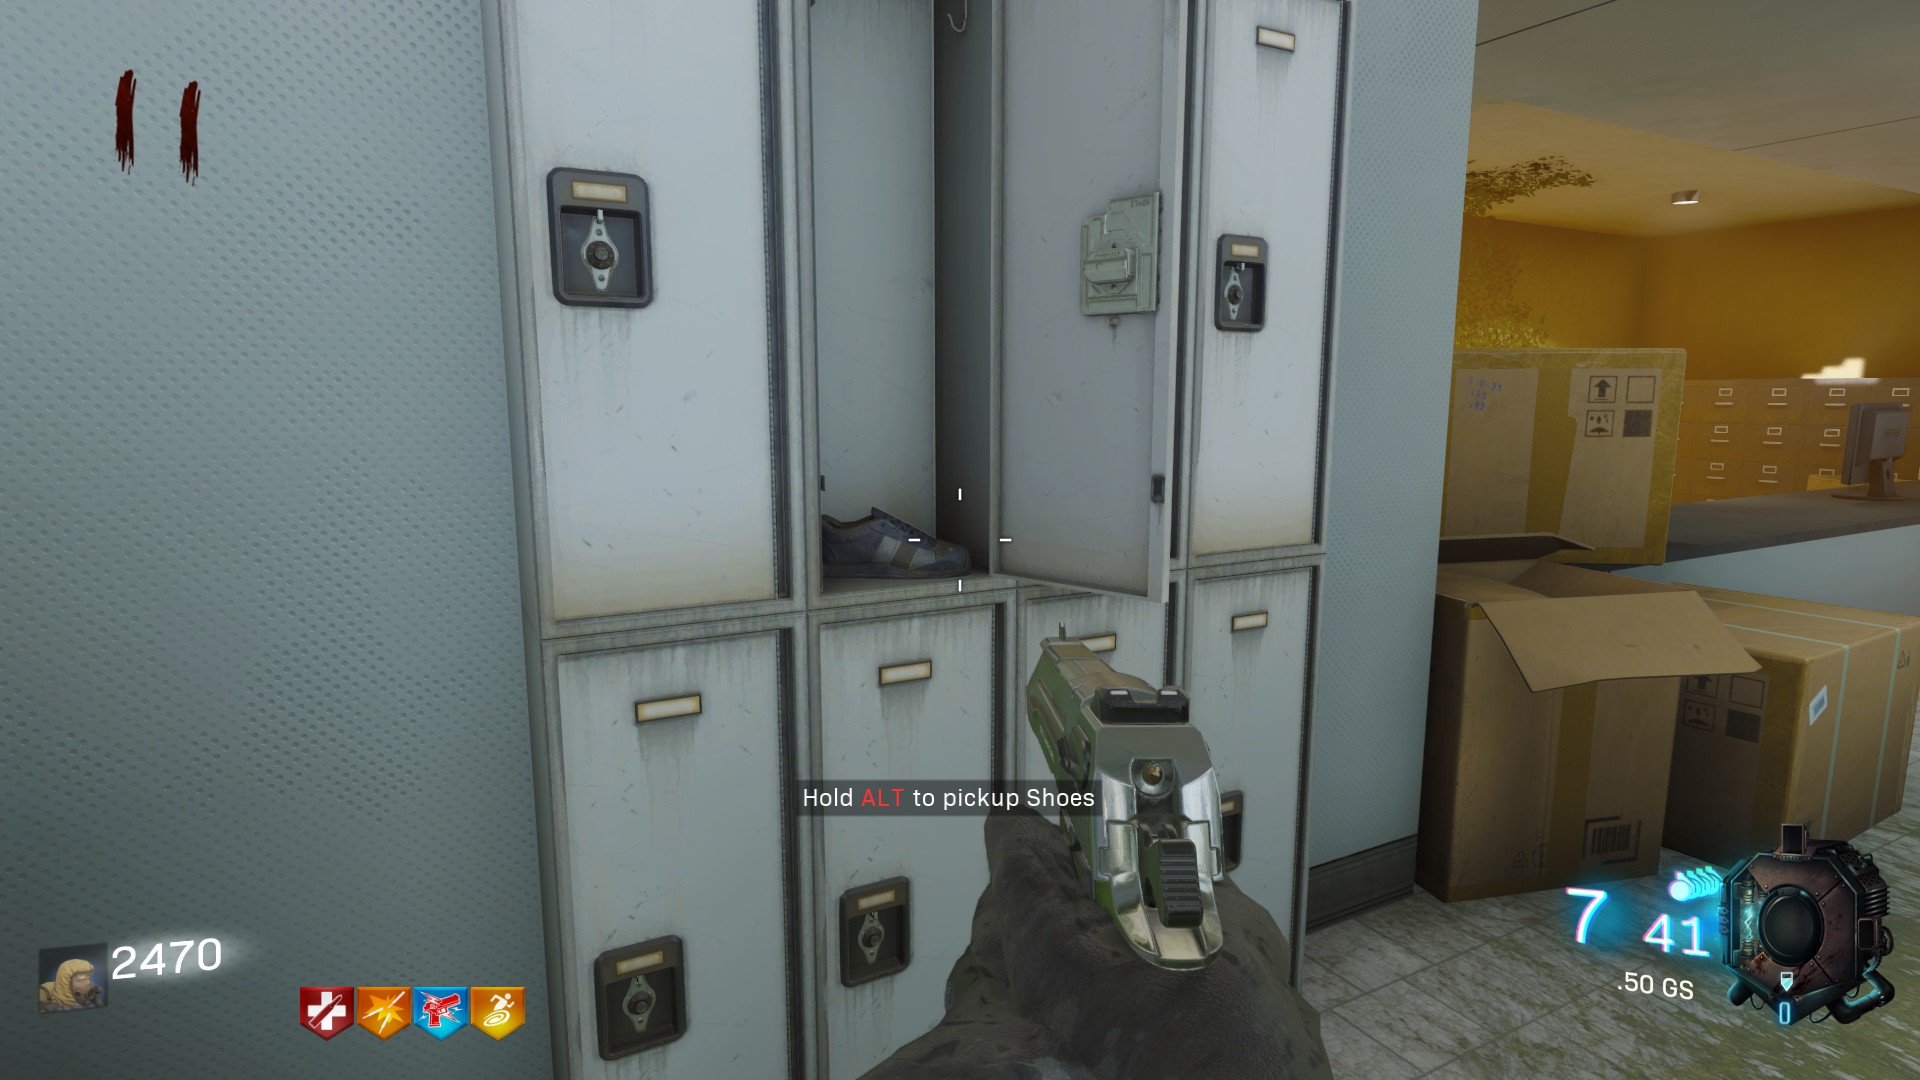
Same thing, give the shoes to your skeletton.
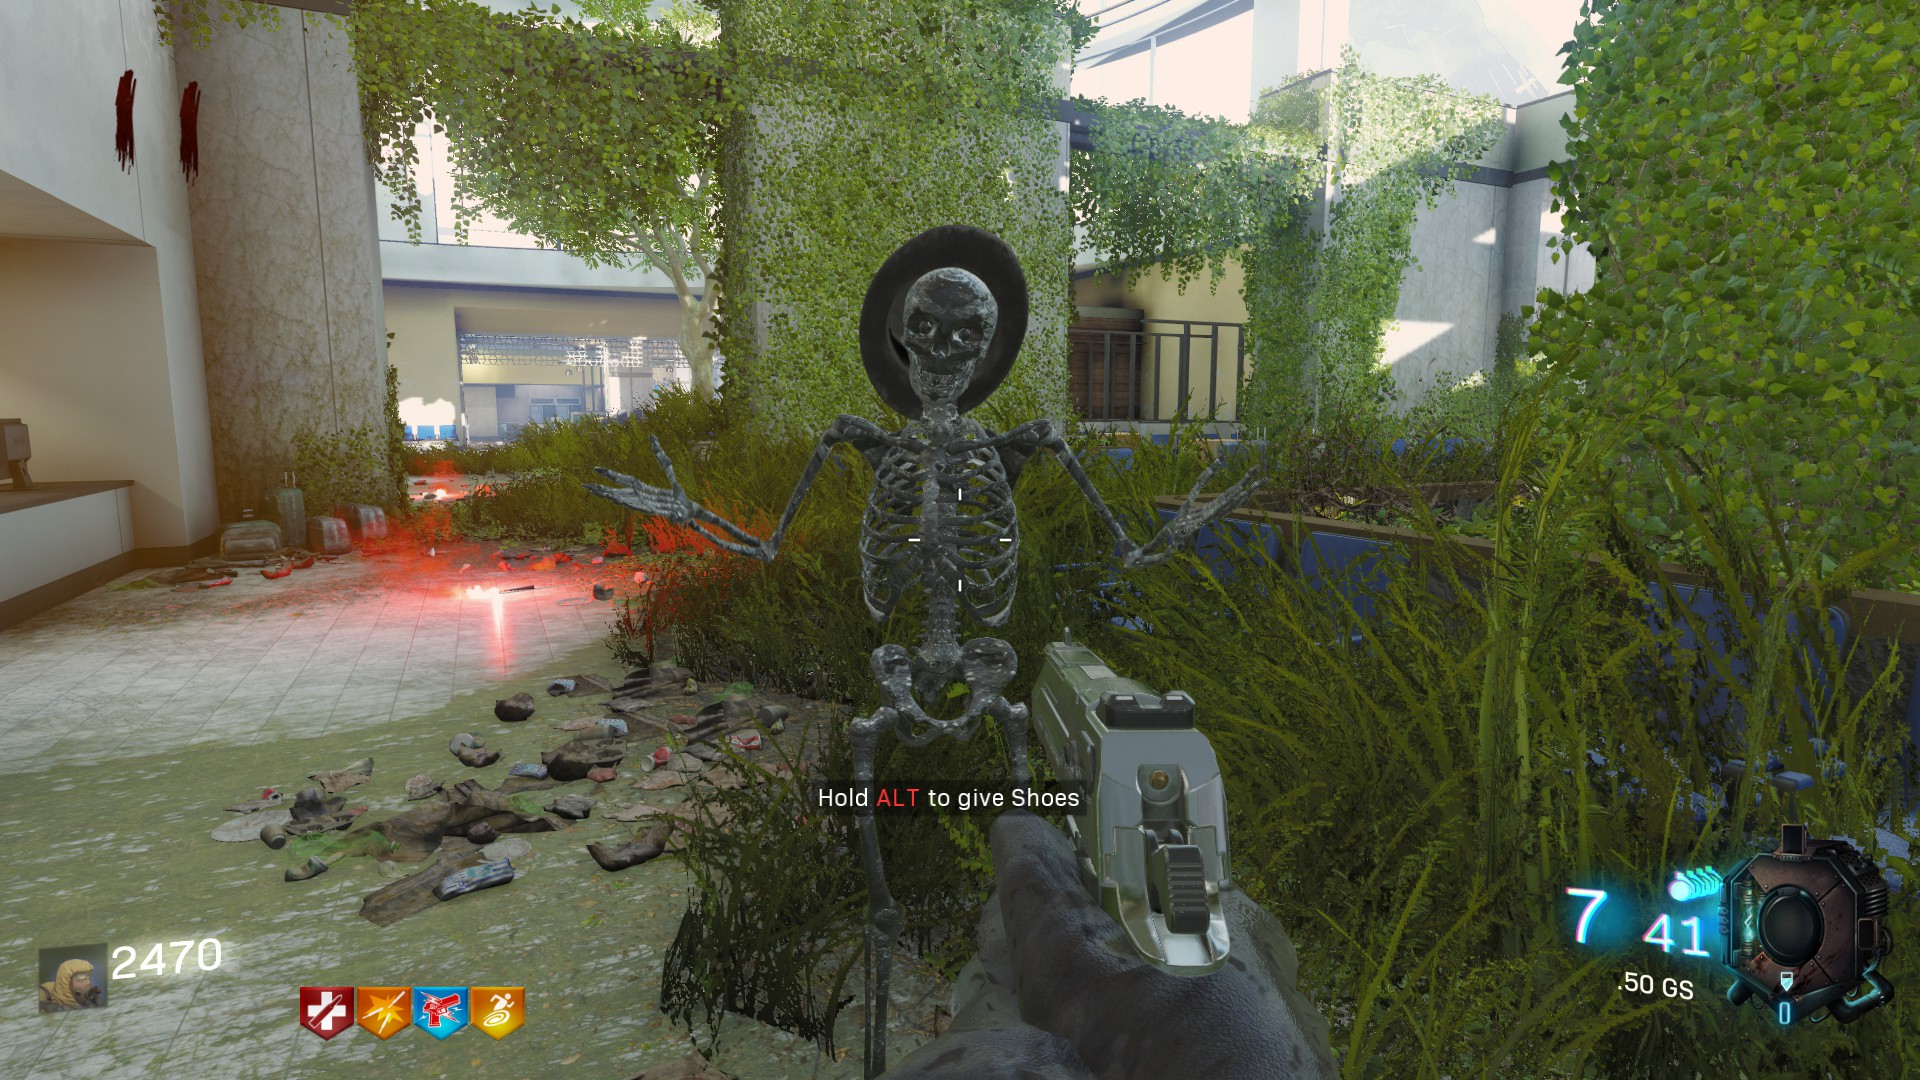
When you've done it, go to the last place behind Widow's Wine. Here, there is the brain of the skeletton. When you approach it you'Il see it starting to fly up and down. This last part is not a collectable item, it's a soul chest.
For completing it, just stay around this place and let the skeletton killing some zombies, you will see blue lights going in direction of the brain.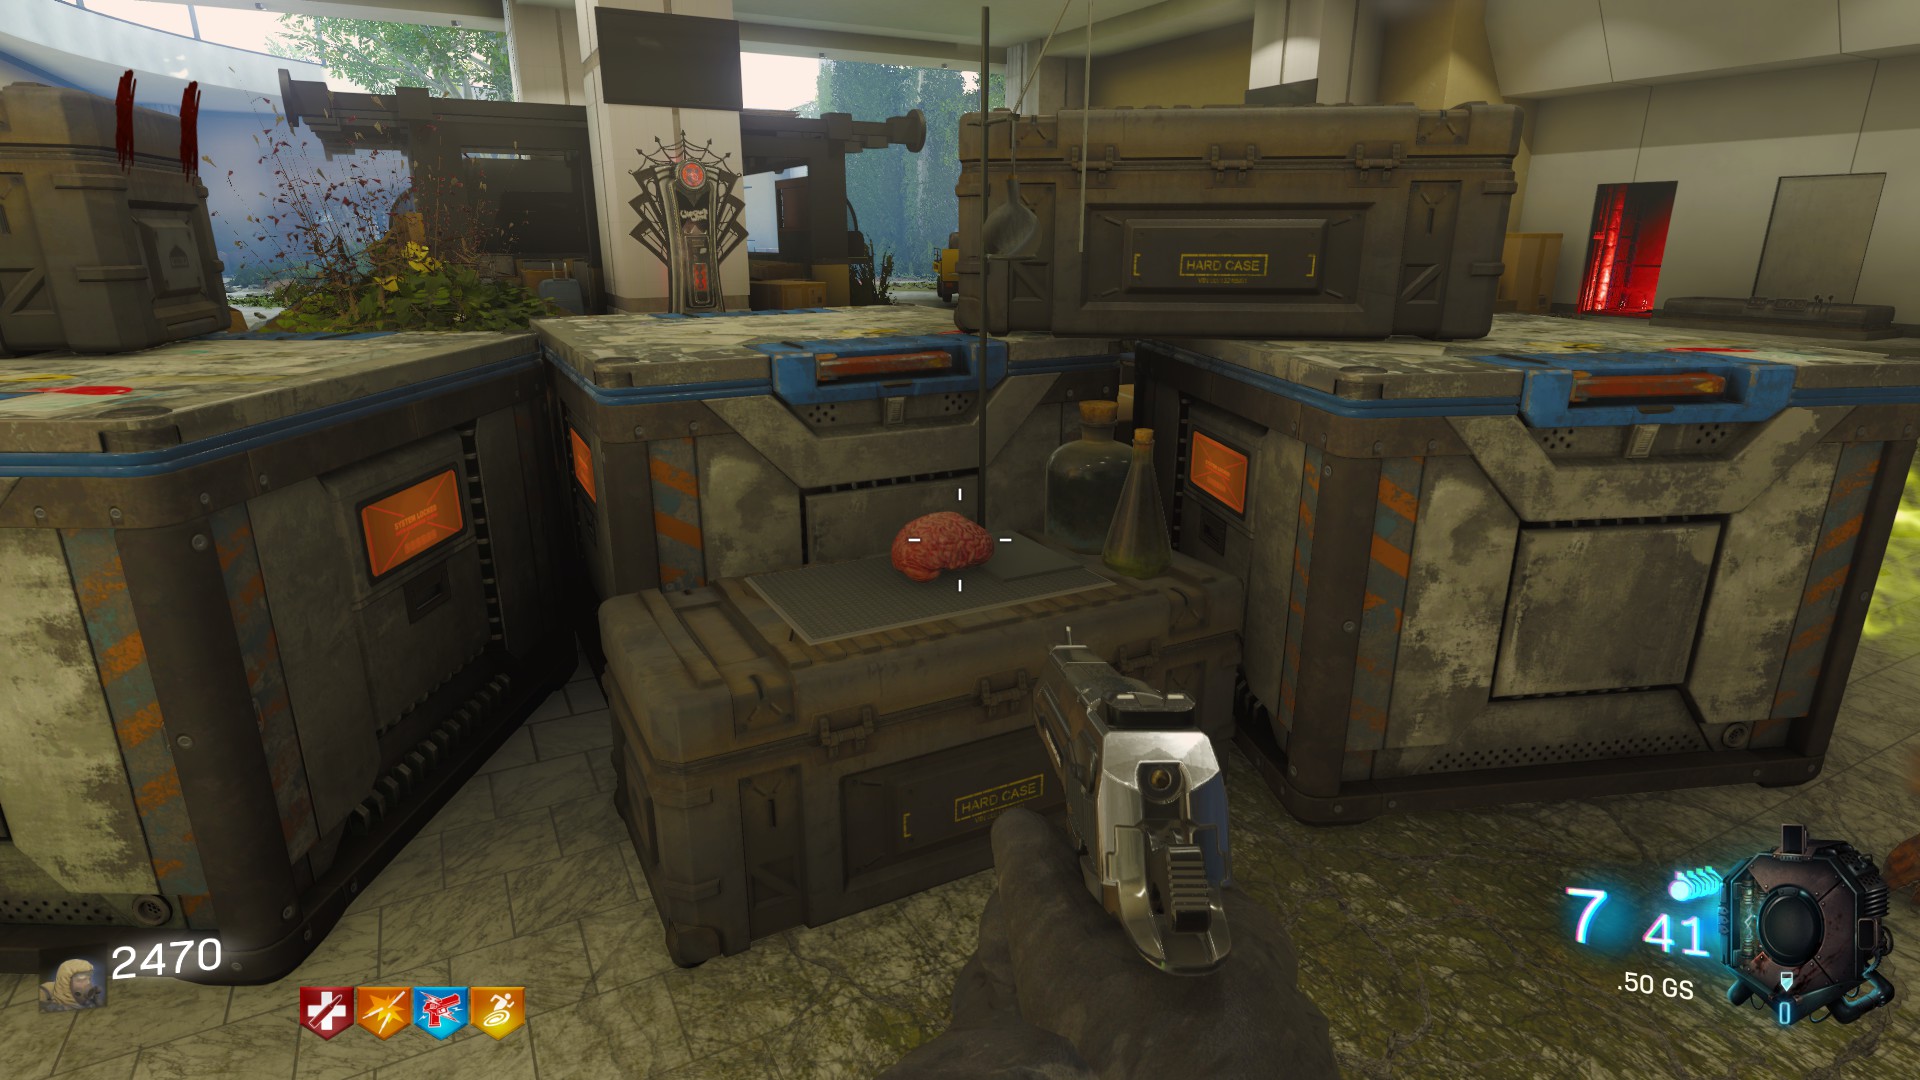
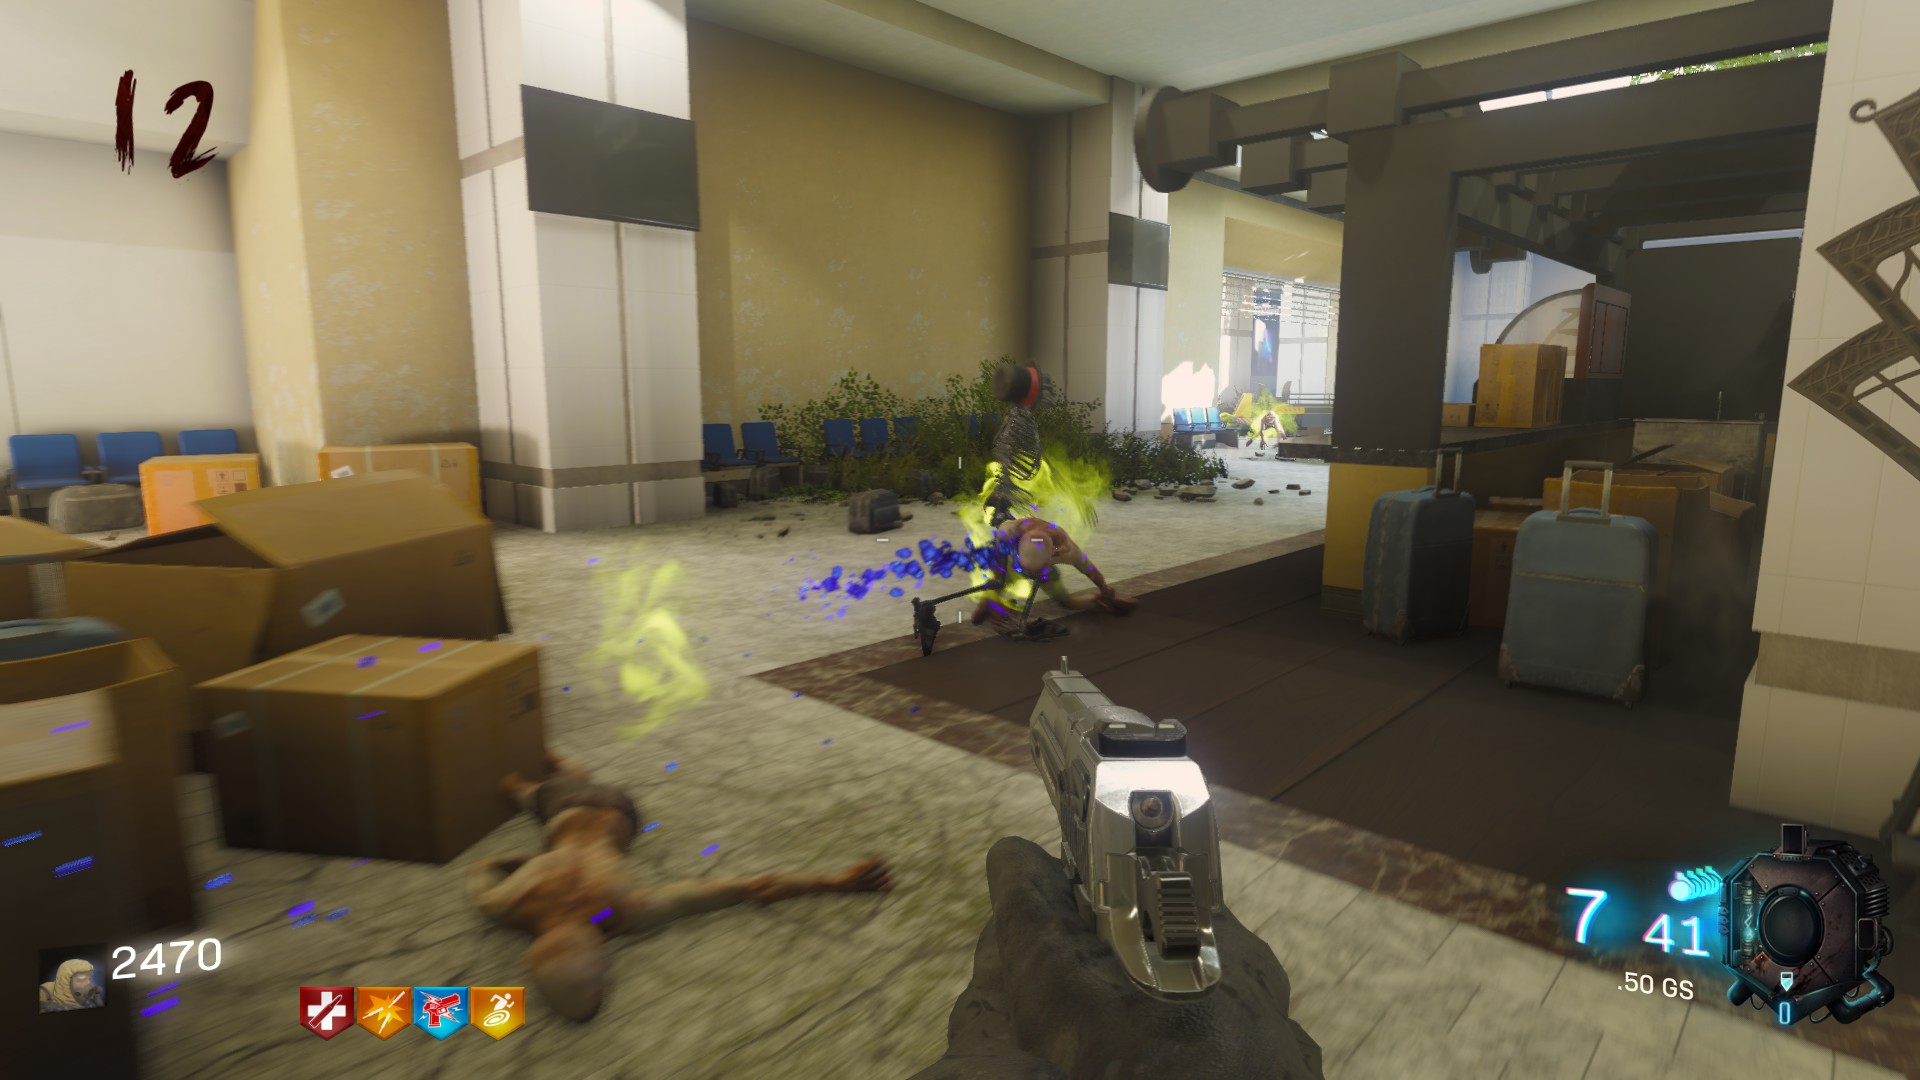
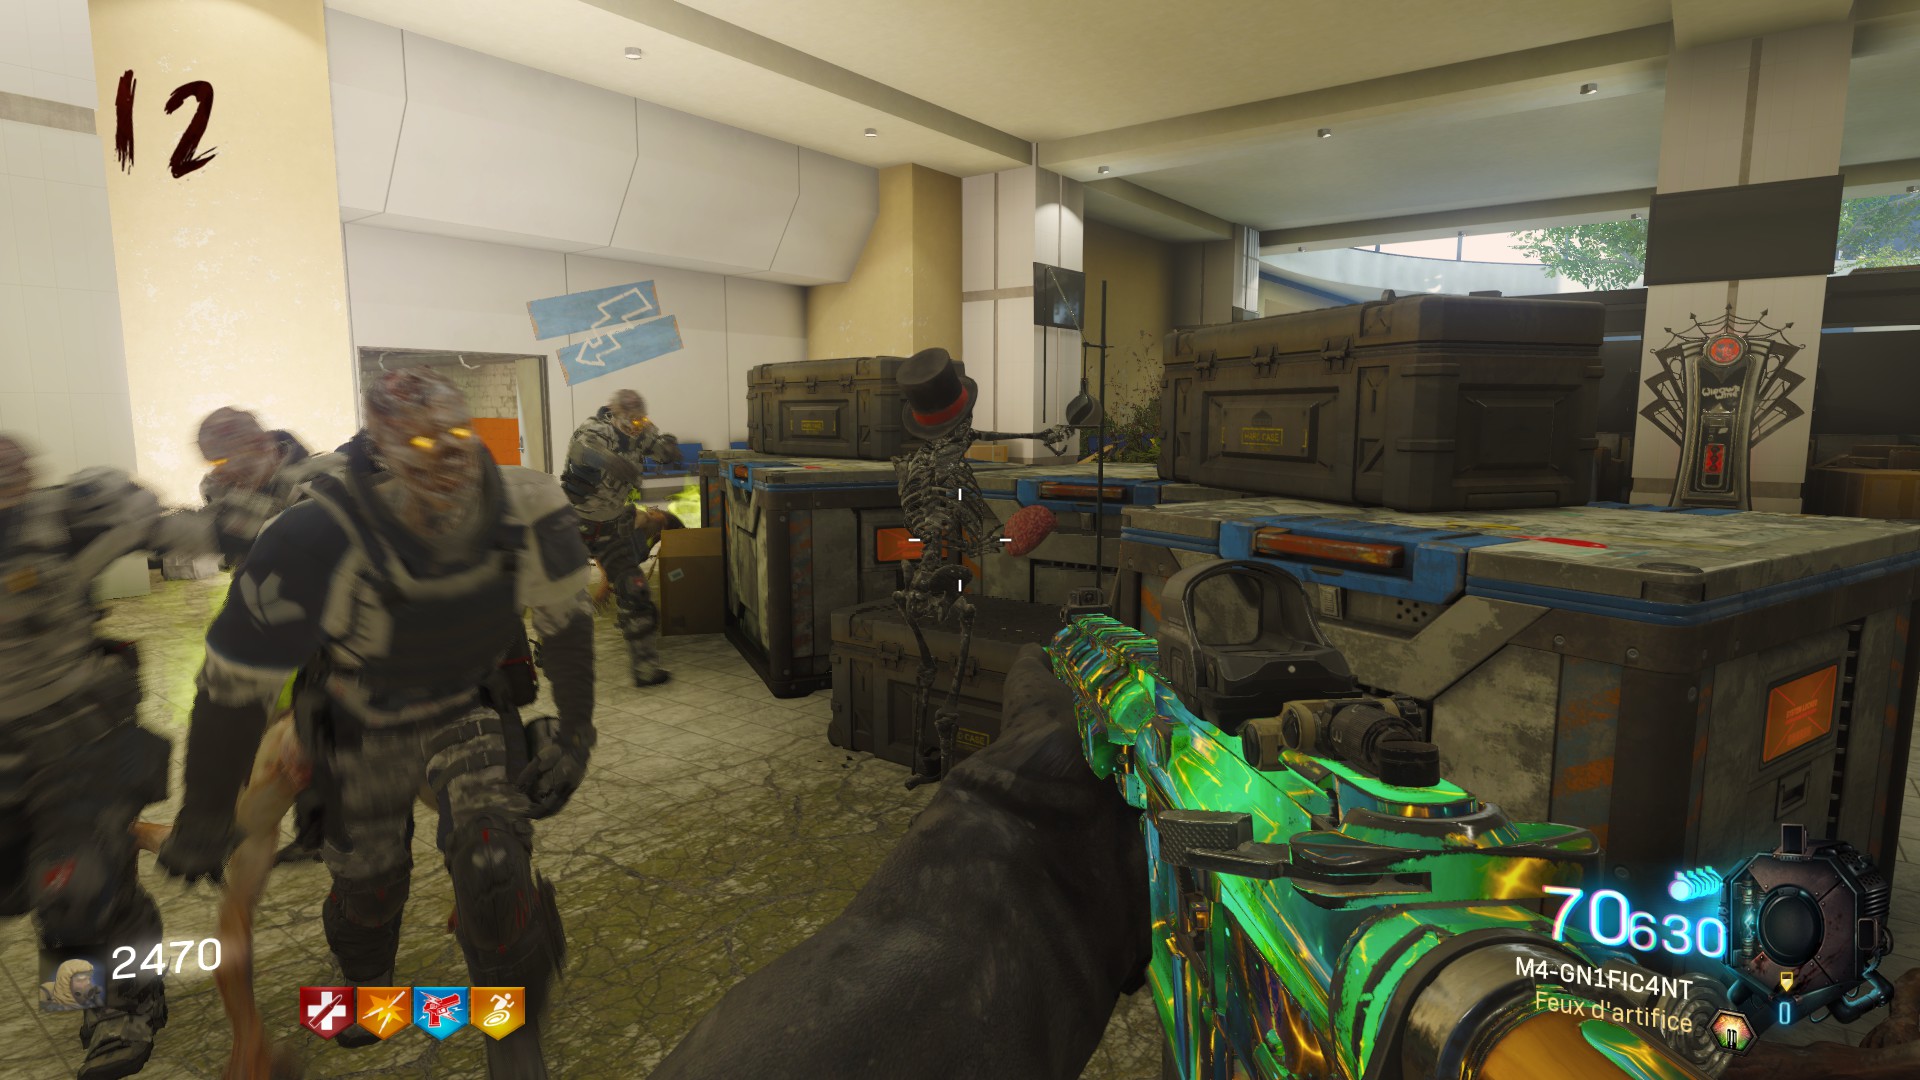
After a certain number of zombies, the skeletton will go back to its brain to "cook" it and then to eat it. And, once he take his meal, he will blow up with a caracteristic noise.
3. The Four Gas Canisters
The explosion will open a new area behind the location of the brain. You have to take four gas canisters in it : two on the left and two on the right. Then you have to place them in four locations around the map.
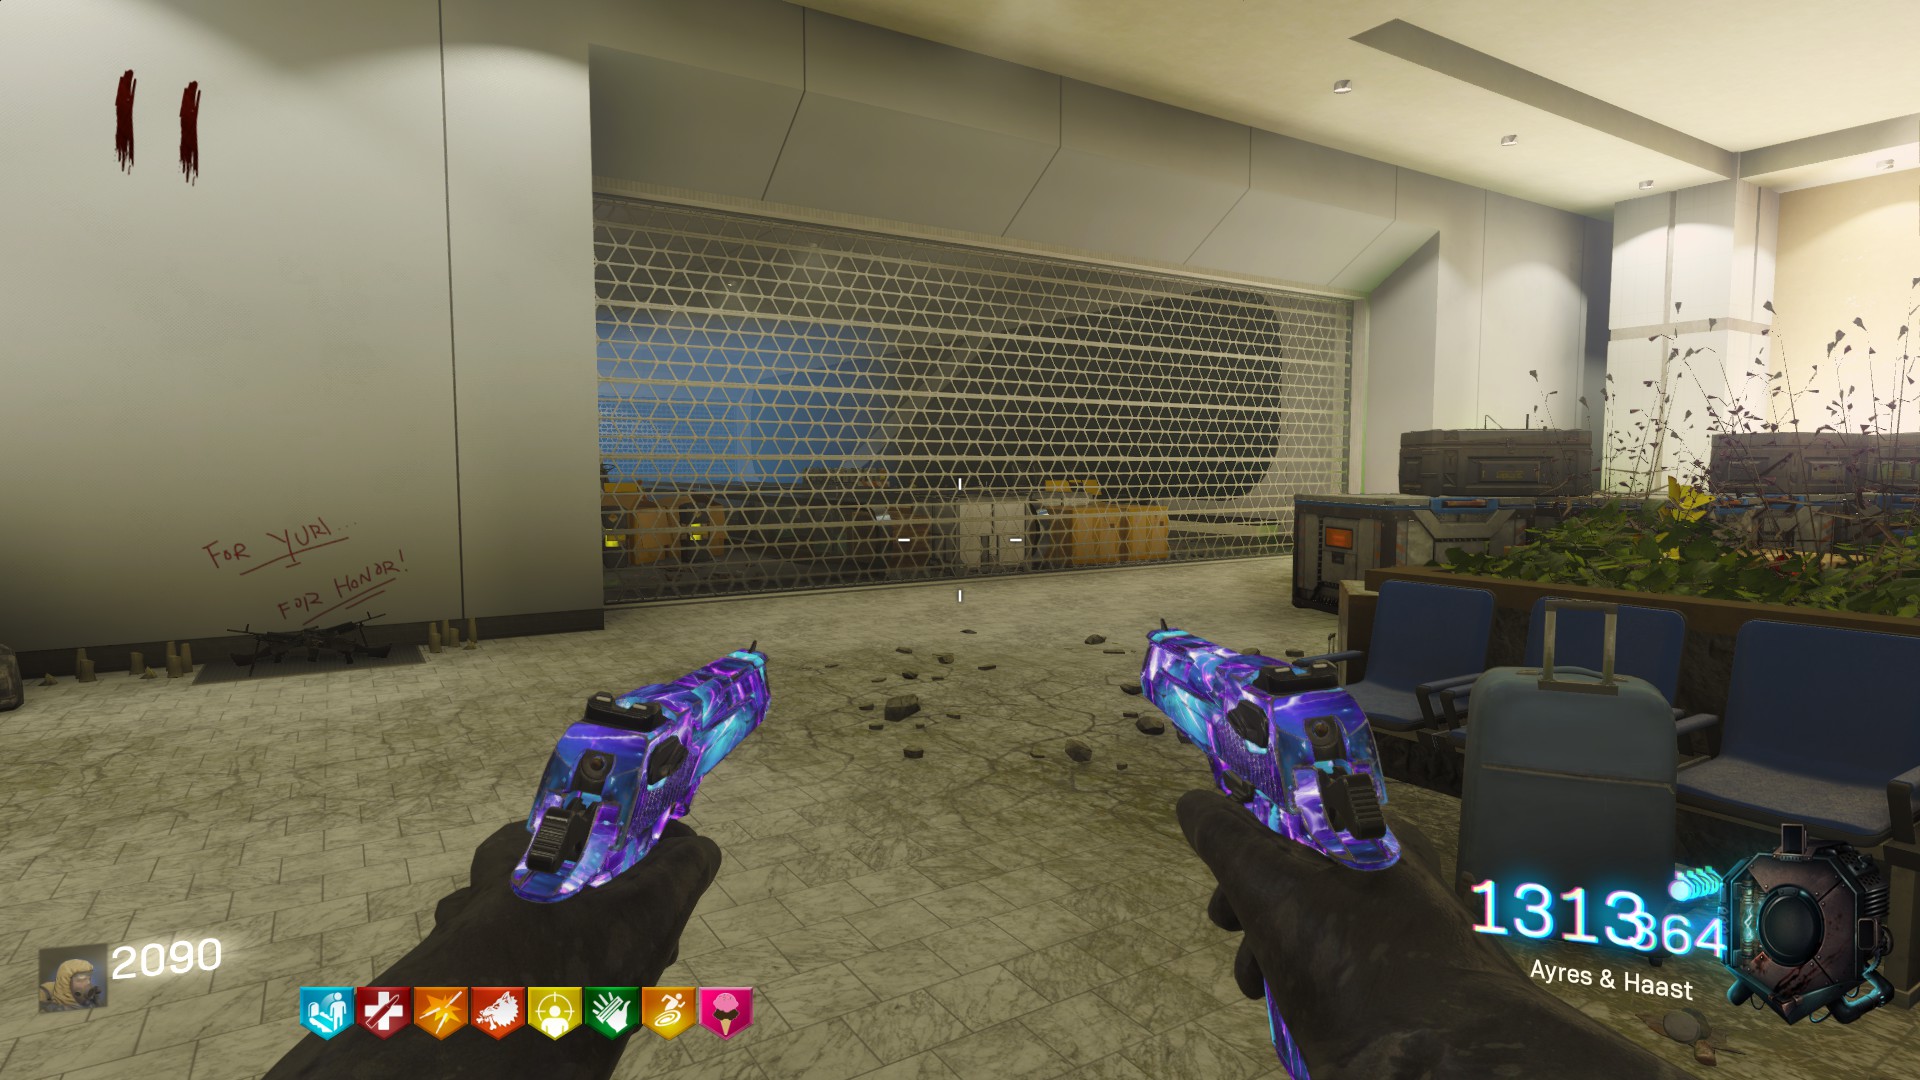
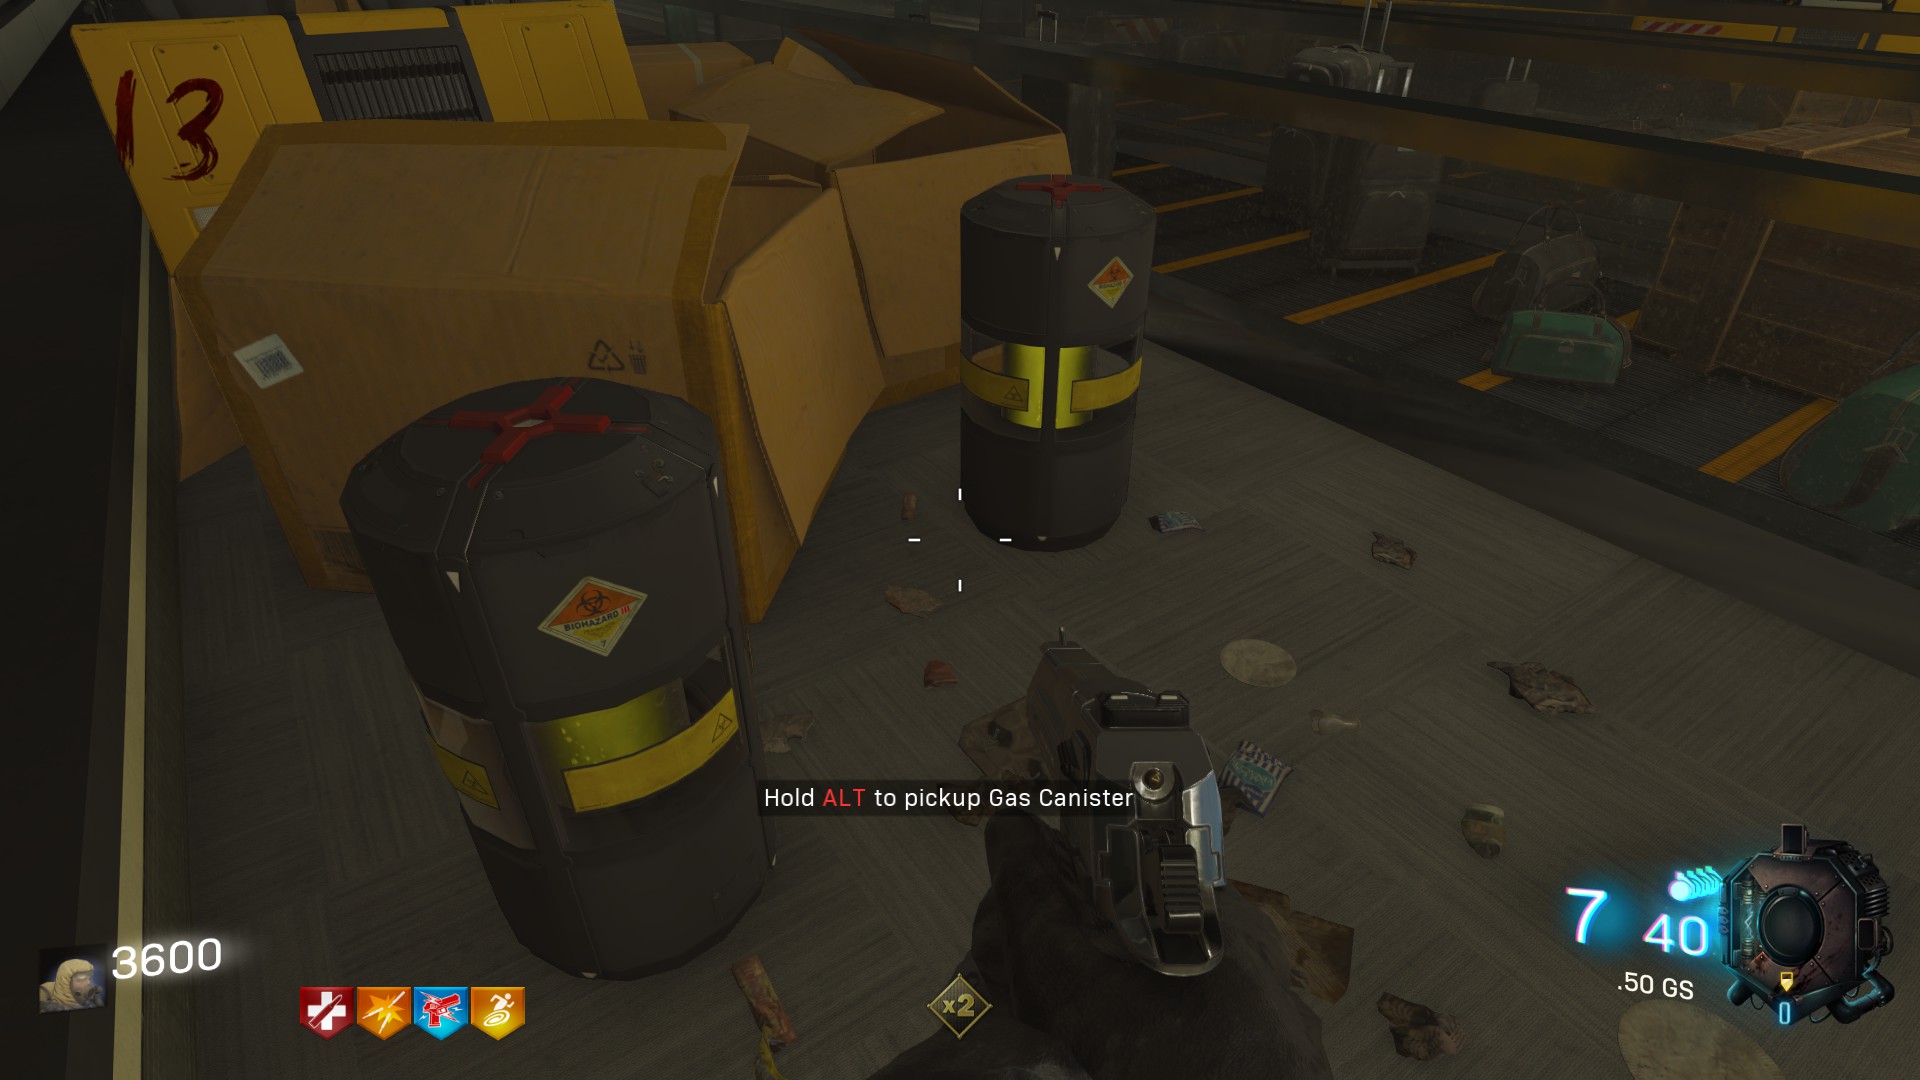
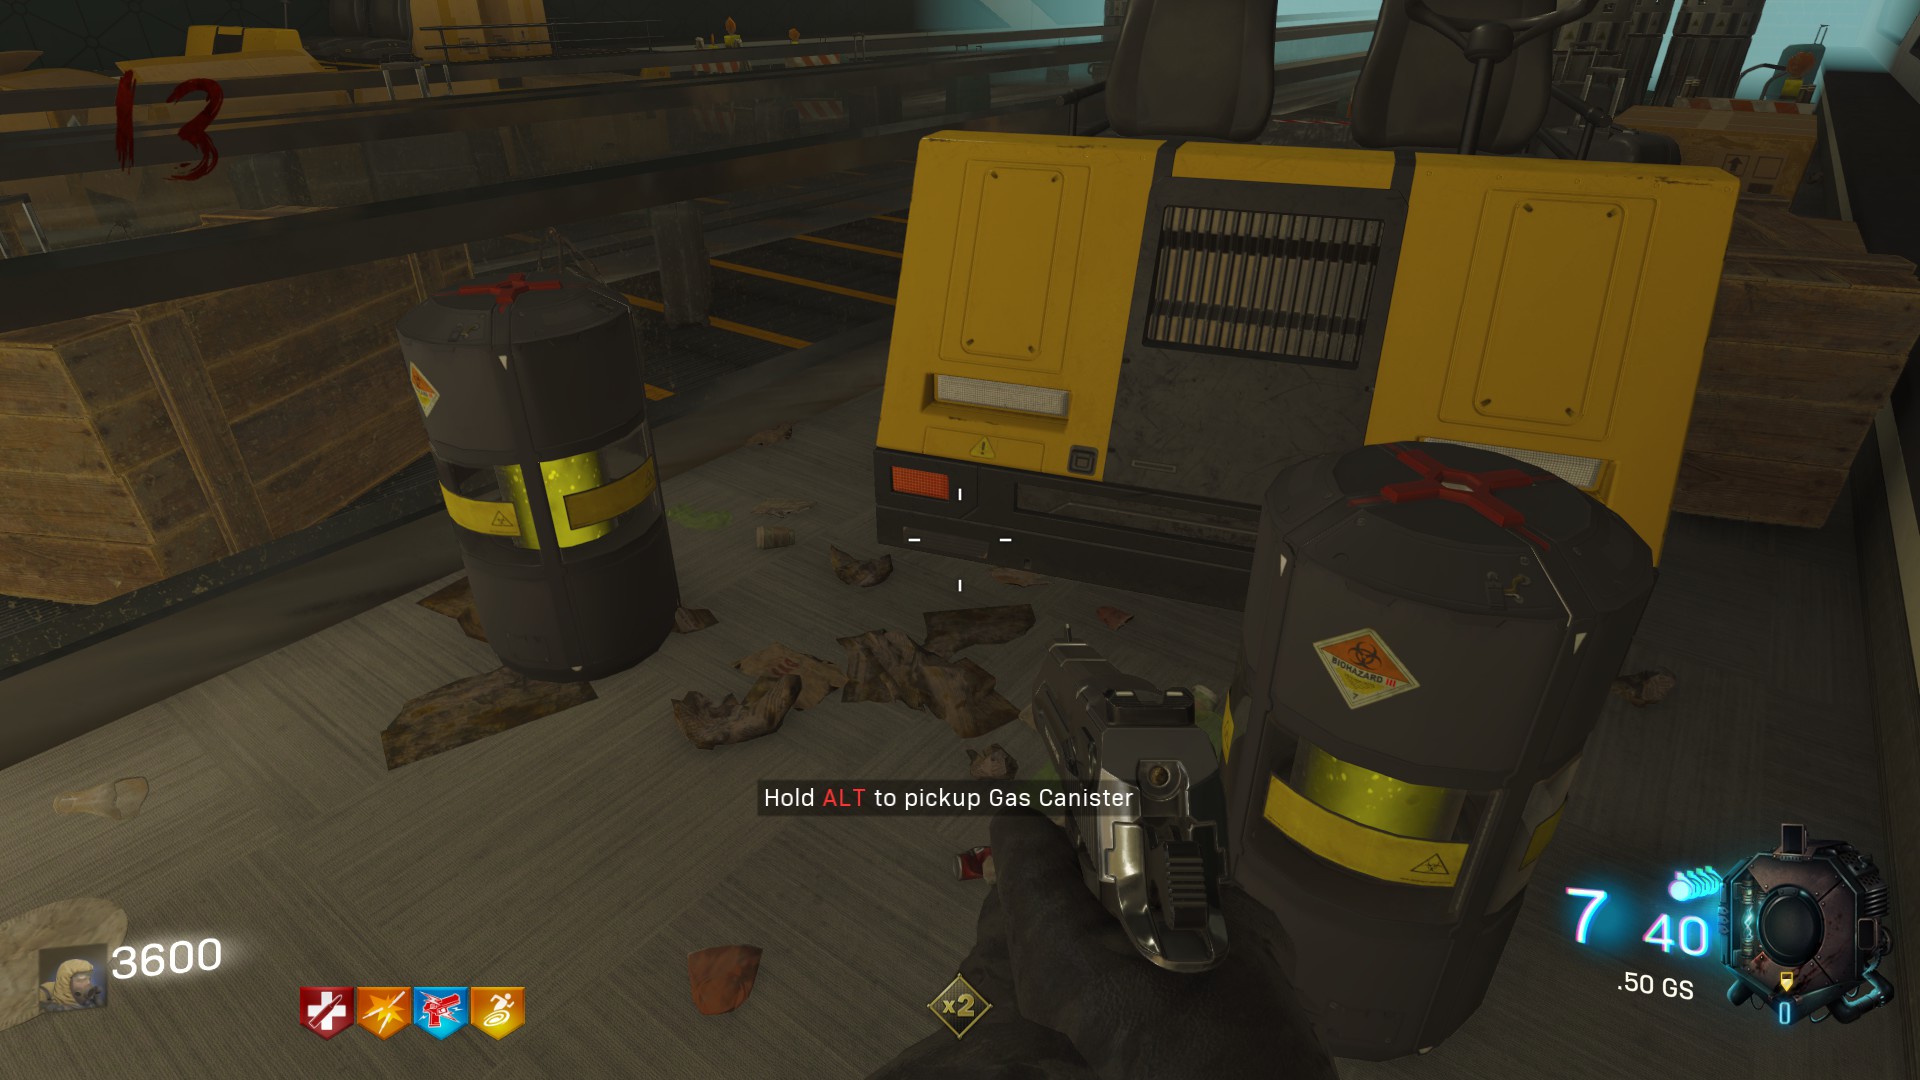 The first location is on the roof of the map, in front of the Pack a Punch.
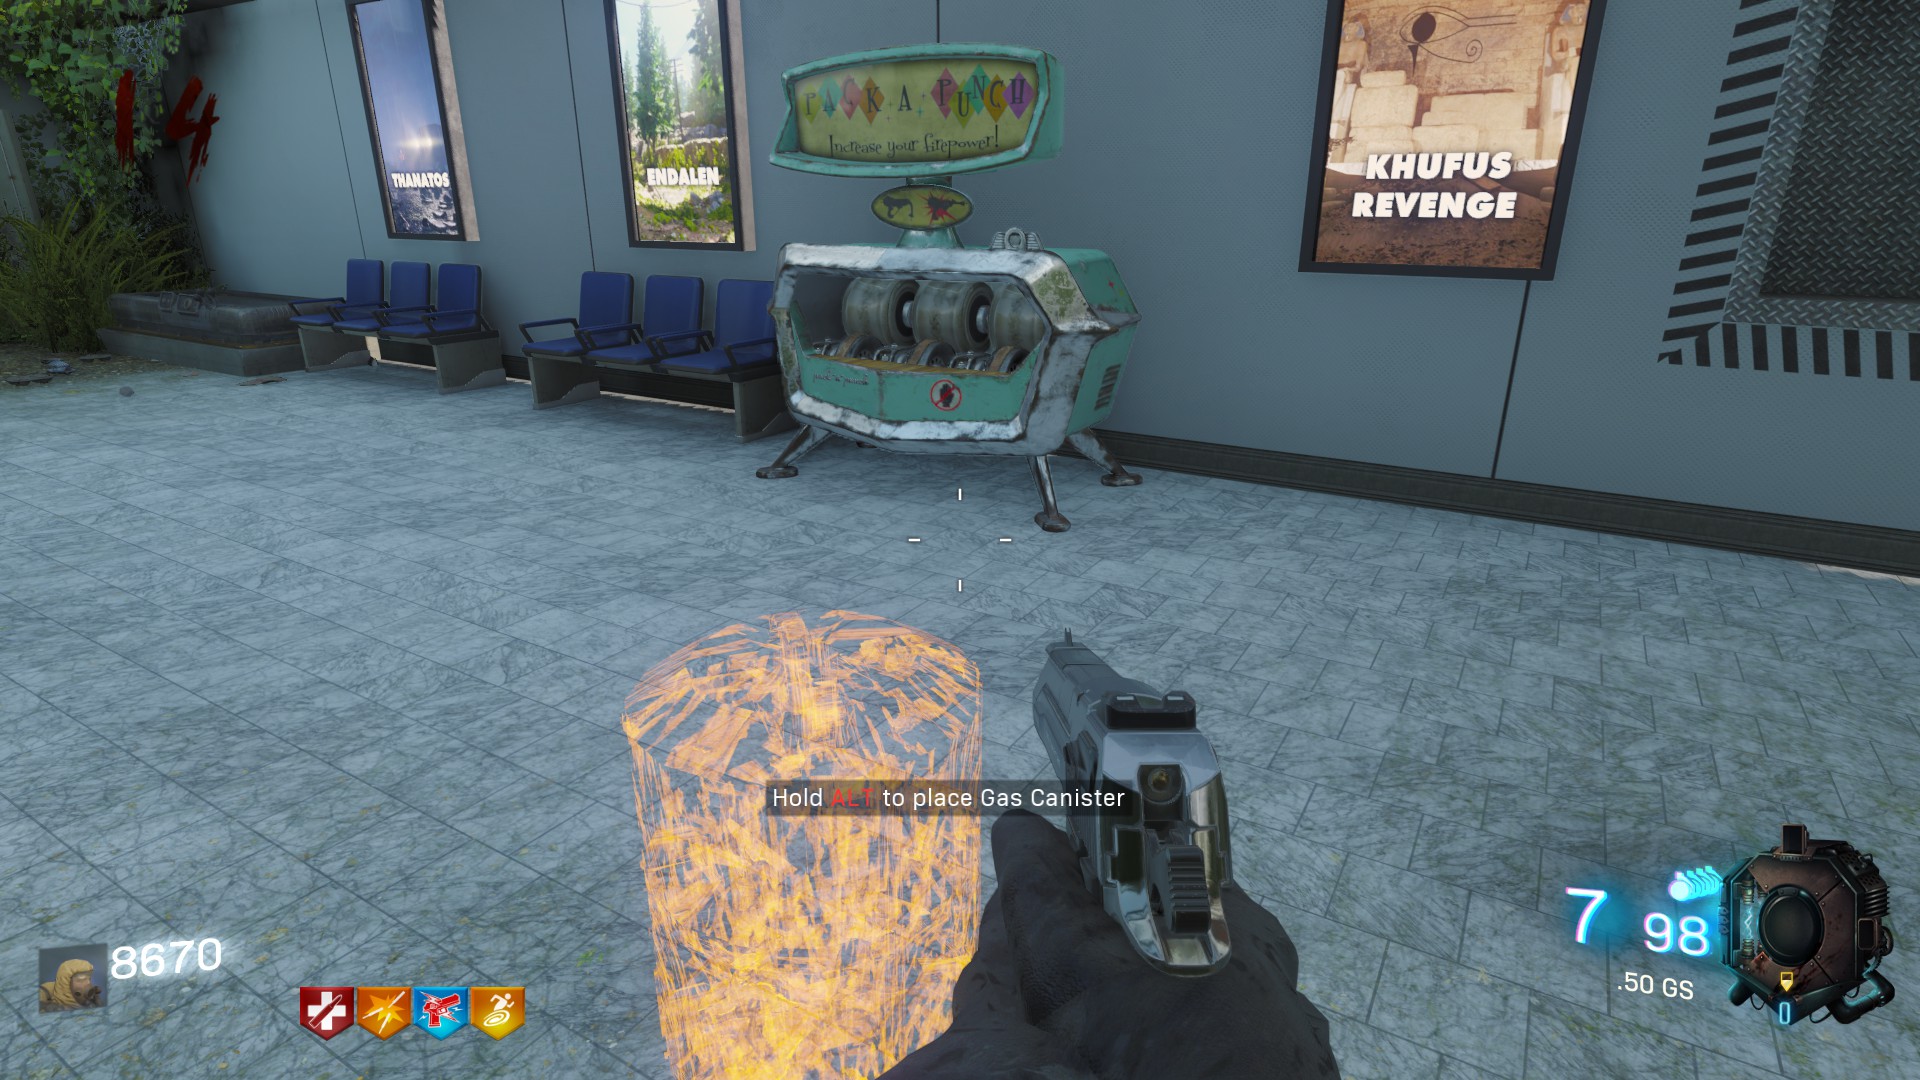 The second one is near Speed Cola.
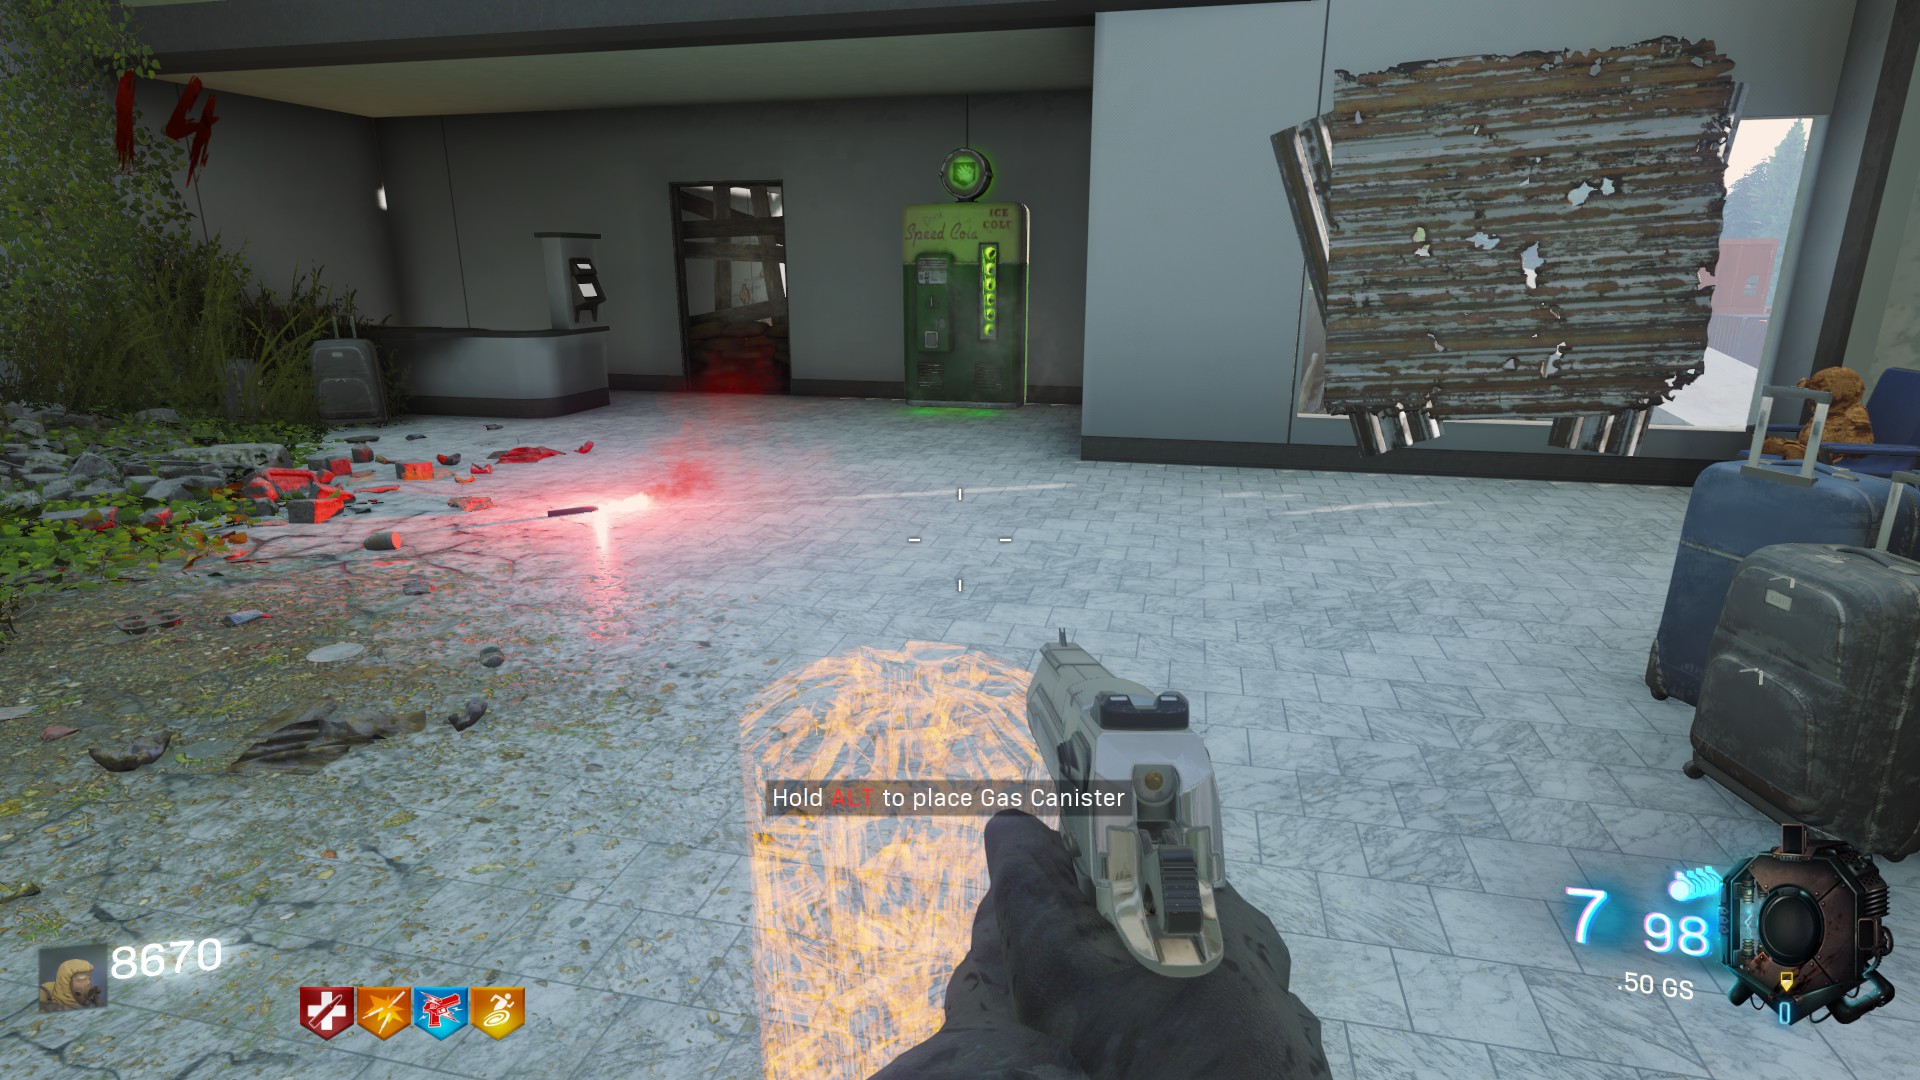 The third one is in the first room, behind Quick Revive.
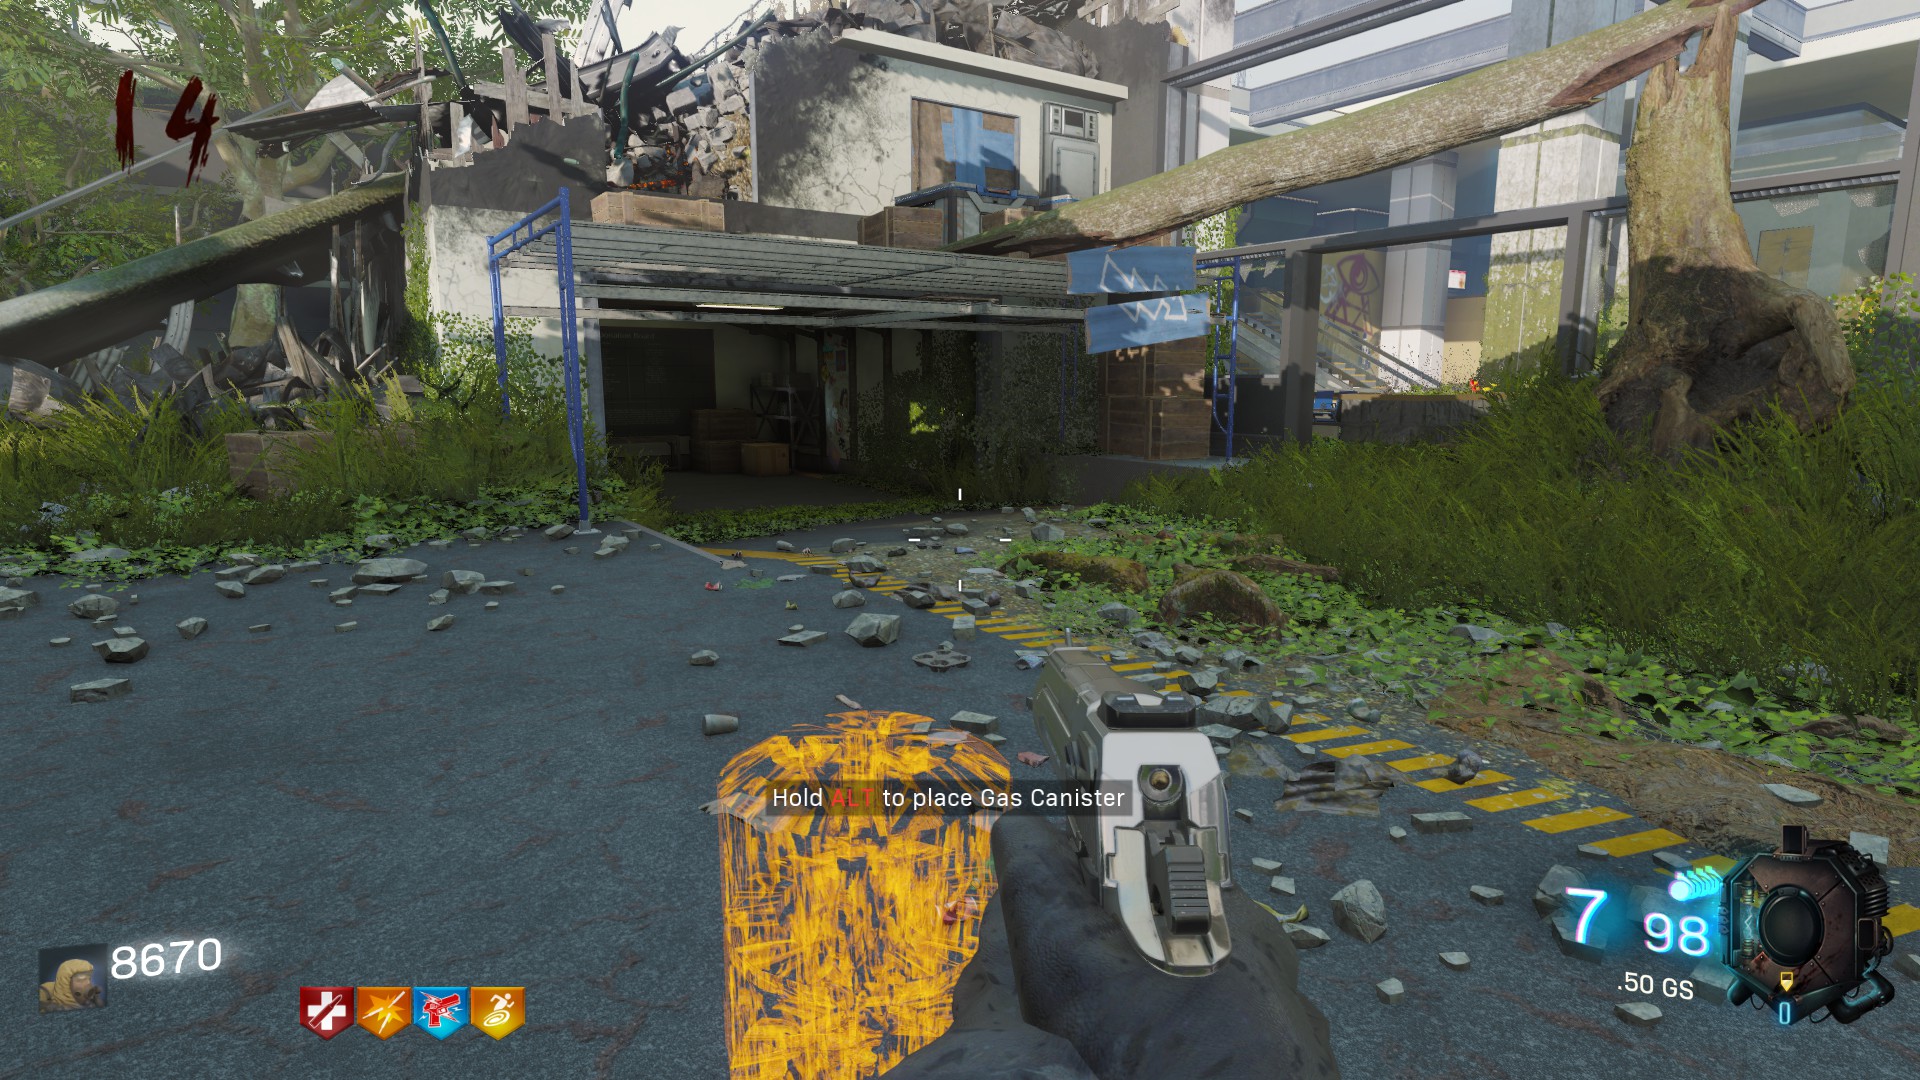 And the last one is in the small place between the elevator with the Yuri's Guns and Stamina.
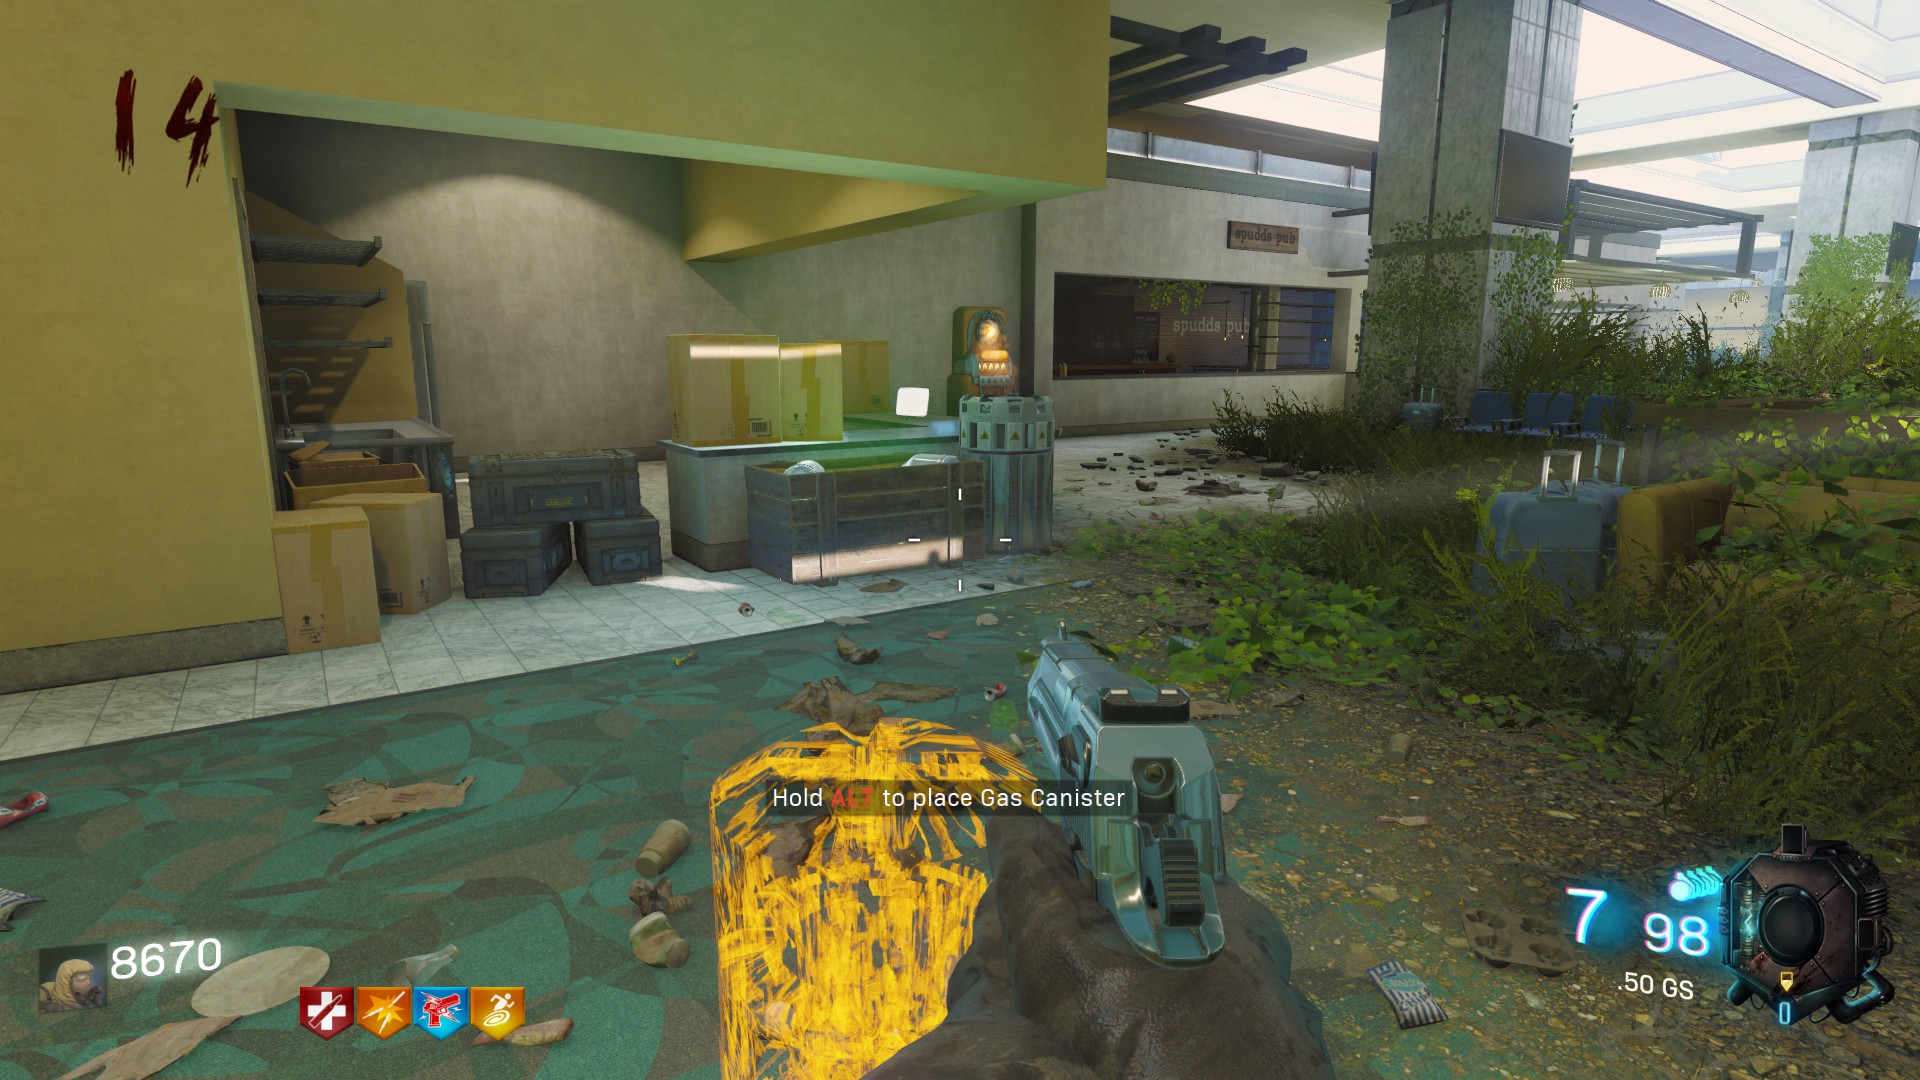 After placing all the four Gas Canisters, return on the roof and go to the little building with the Power Station in it to start the sequence.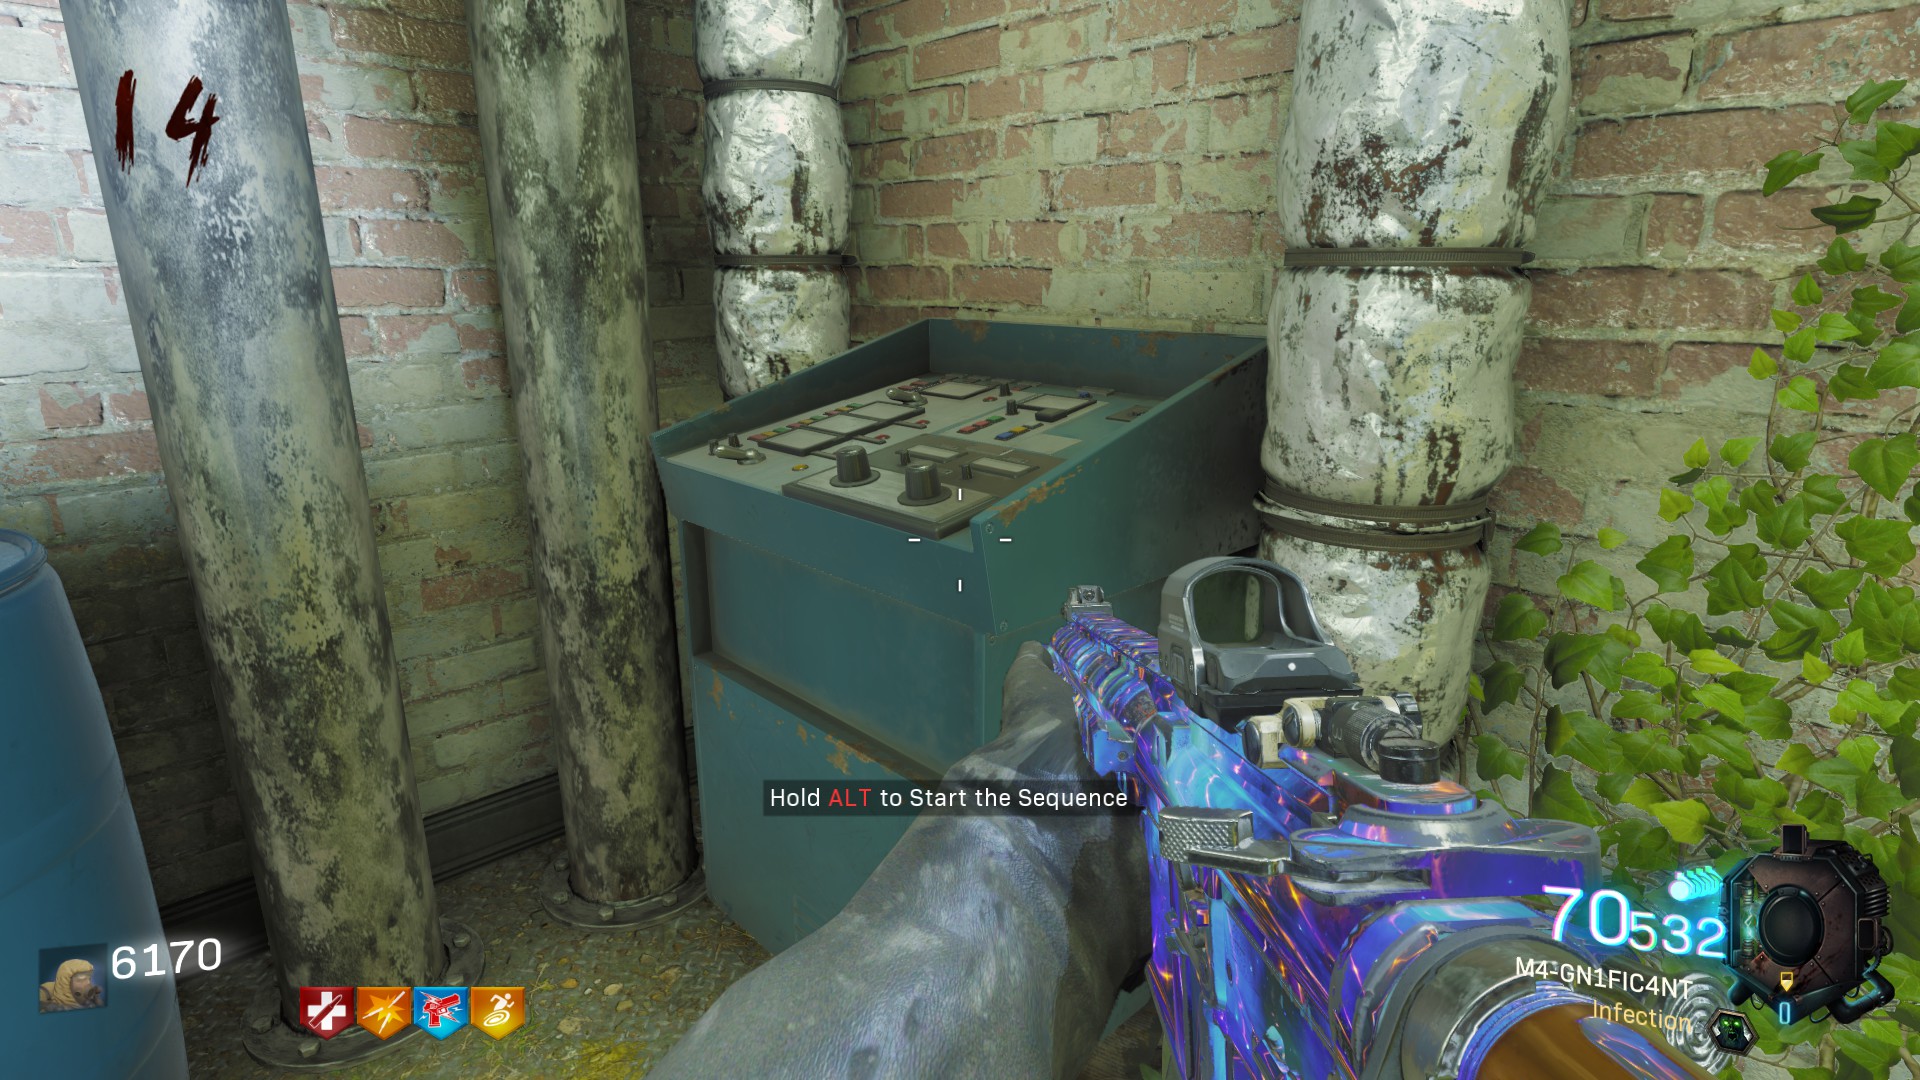
You'Il hear another explosion indicating that canisters have exploded and, at this point, you have to kill zombies near the places I showed you. They're not difficult to find because you will see big red circles on the floor draining the souls of the zombies.
The first circle is at the exit of the little building where you start the sequence.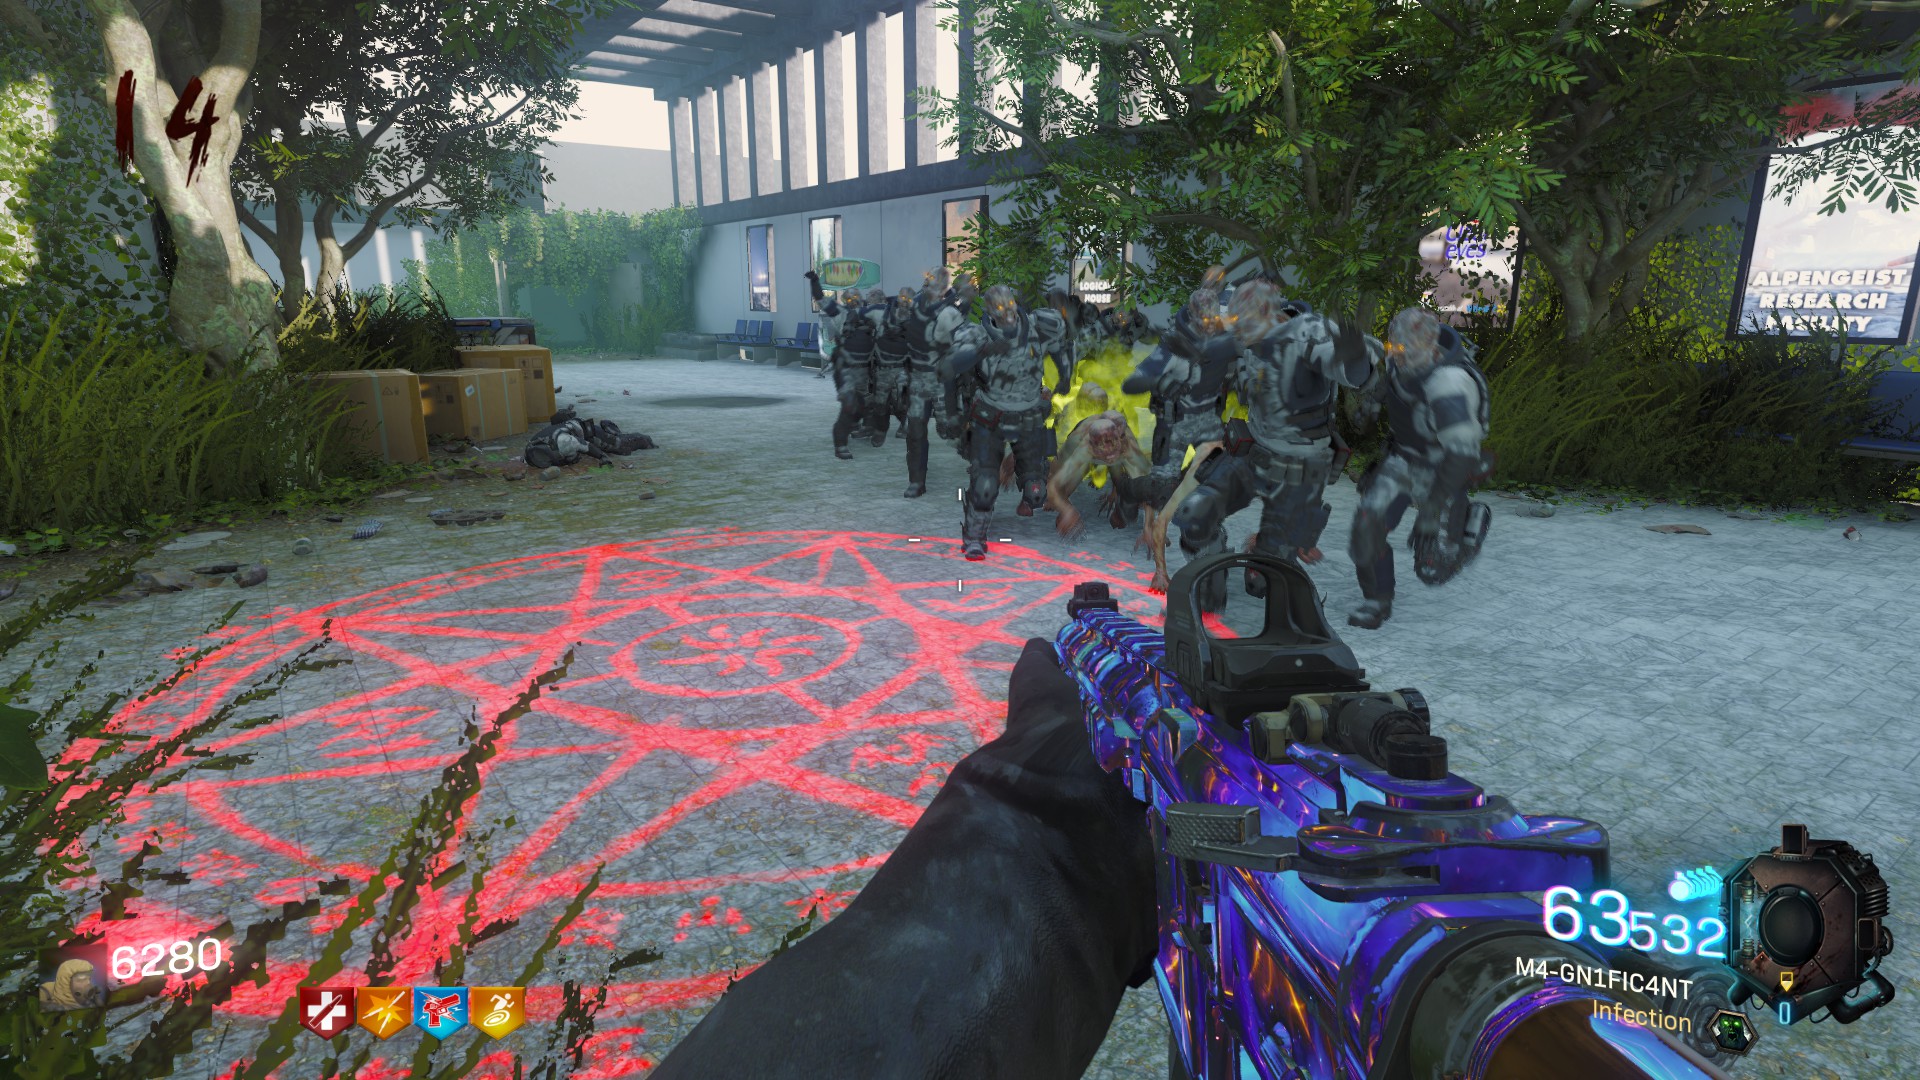 The second circle is just down the elevator of the roof, jump into it: it's easier.
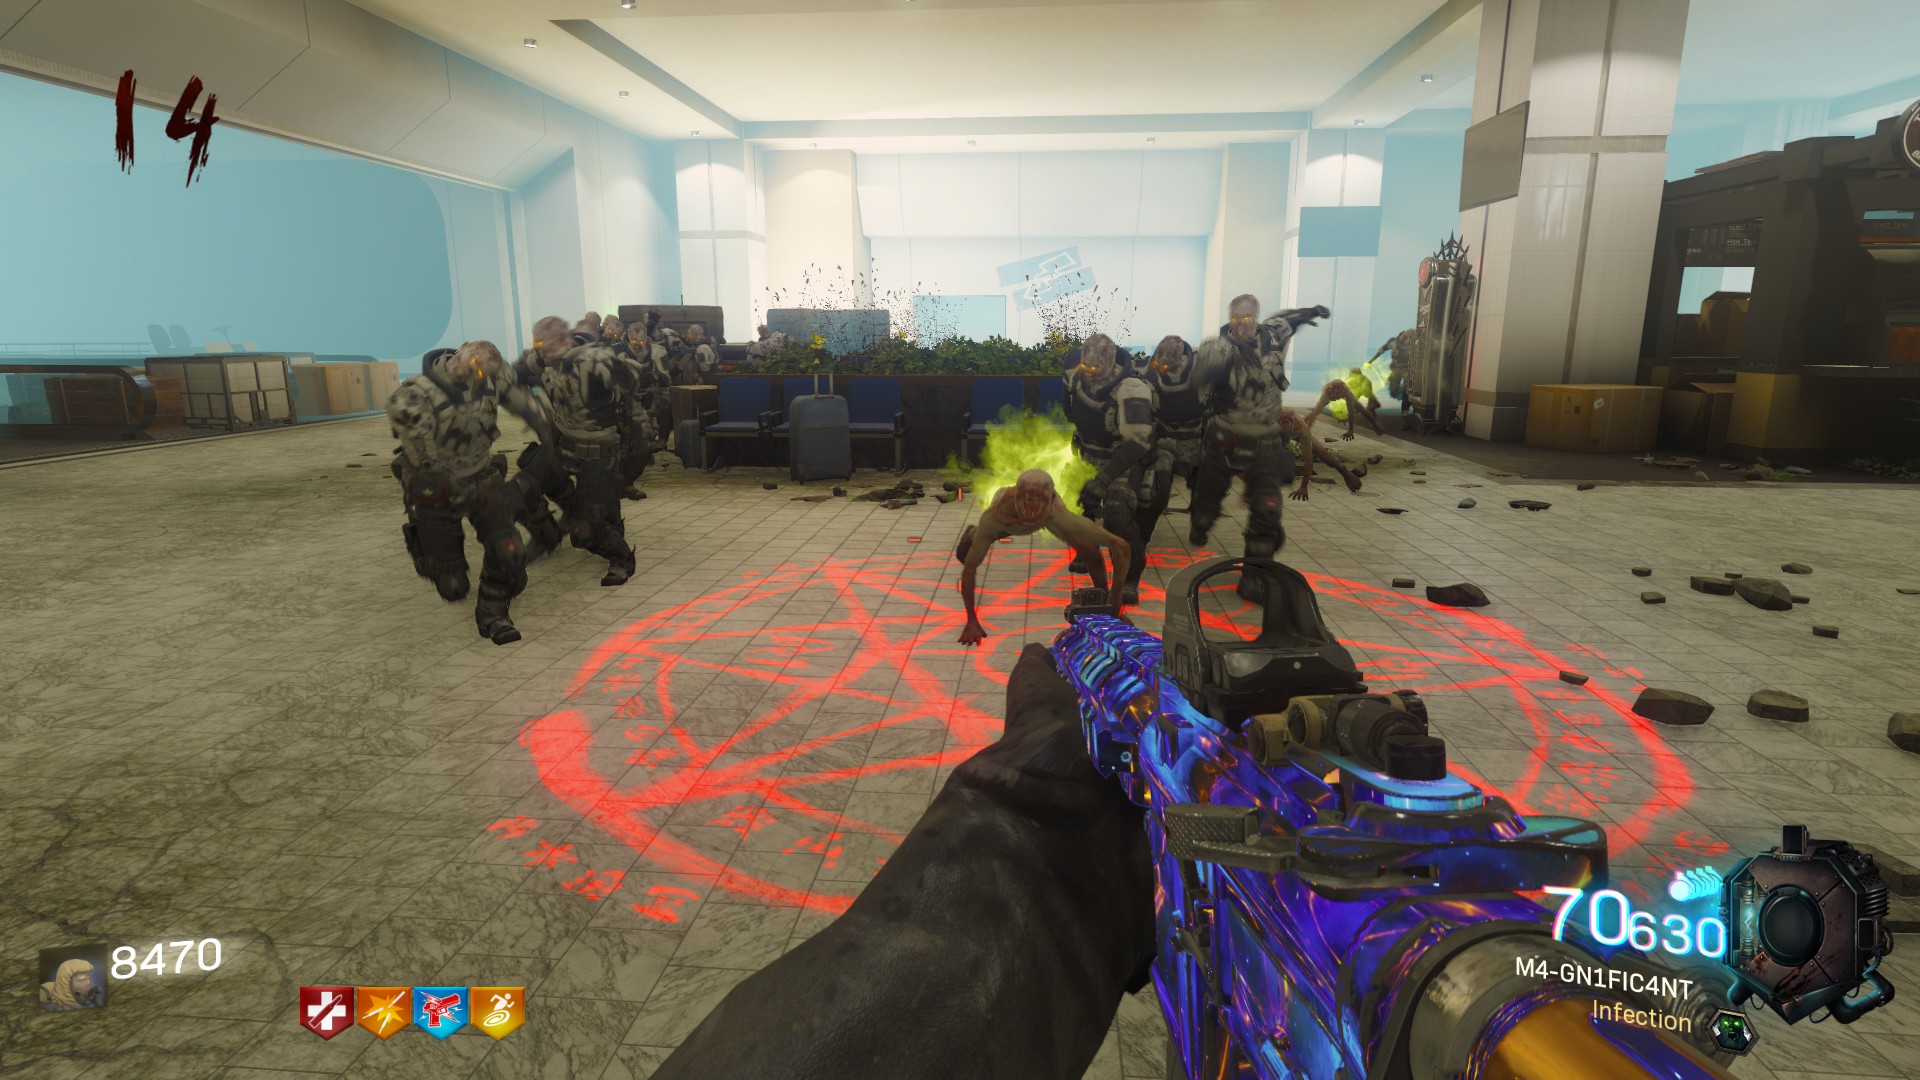 The third one is in front of Speed Cola, in the large corridor.
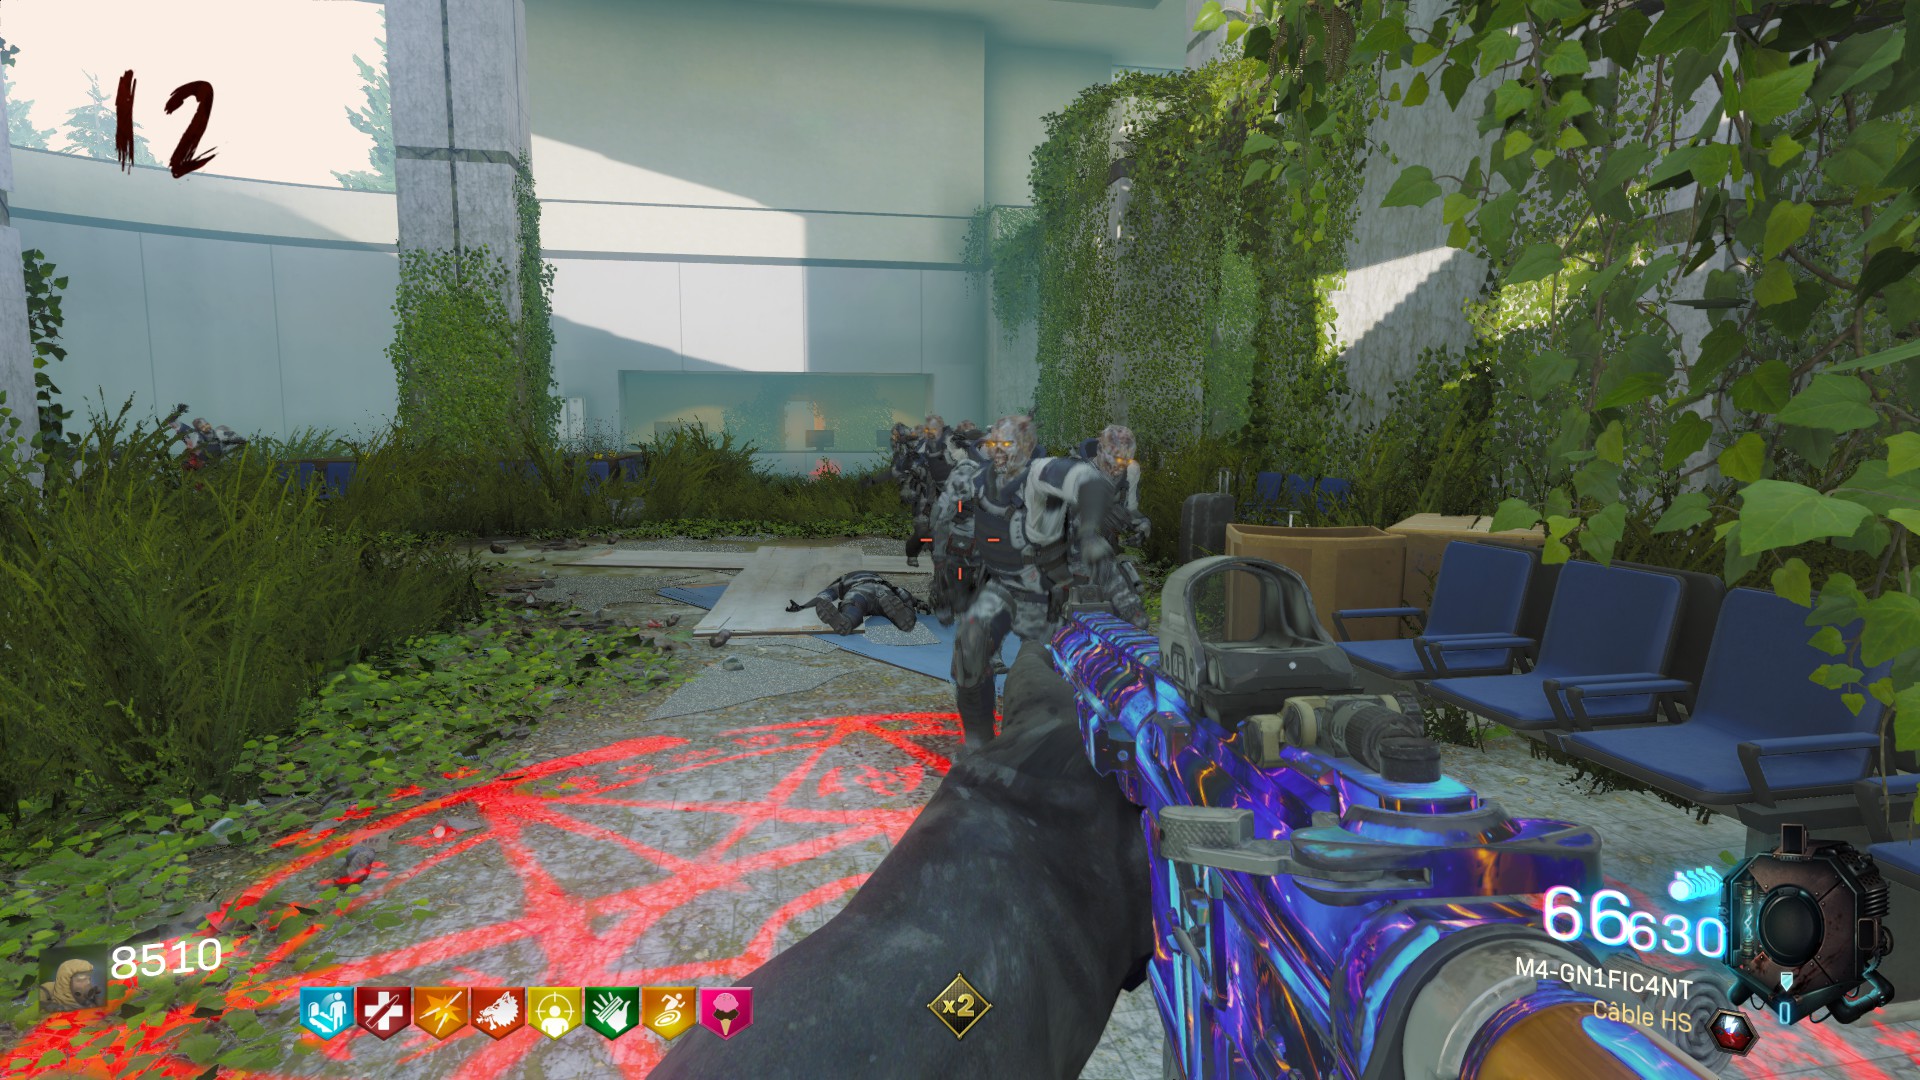 Next you have to return in the first room near the Quick Revive perk.
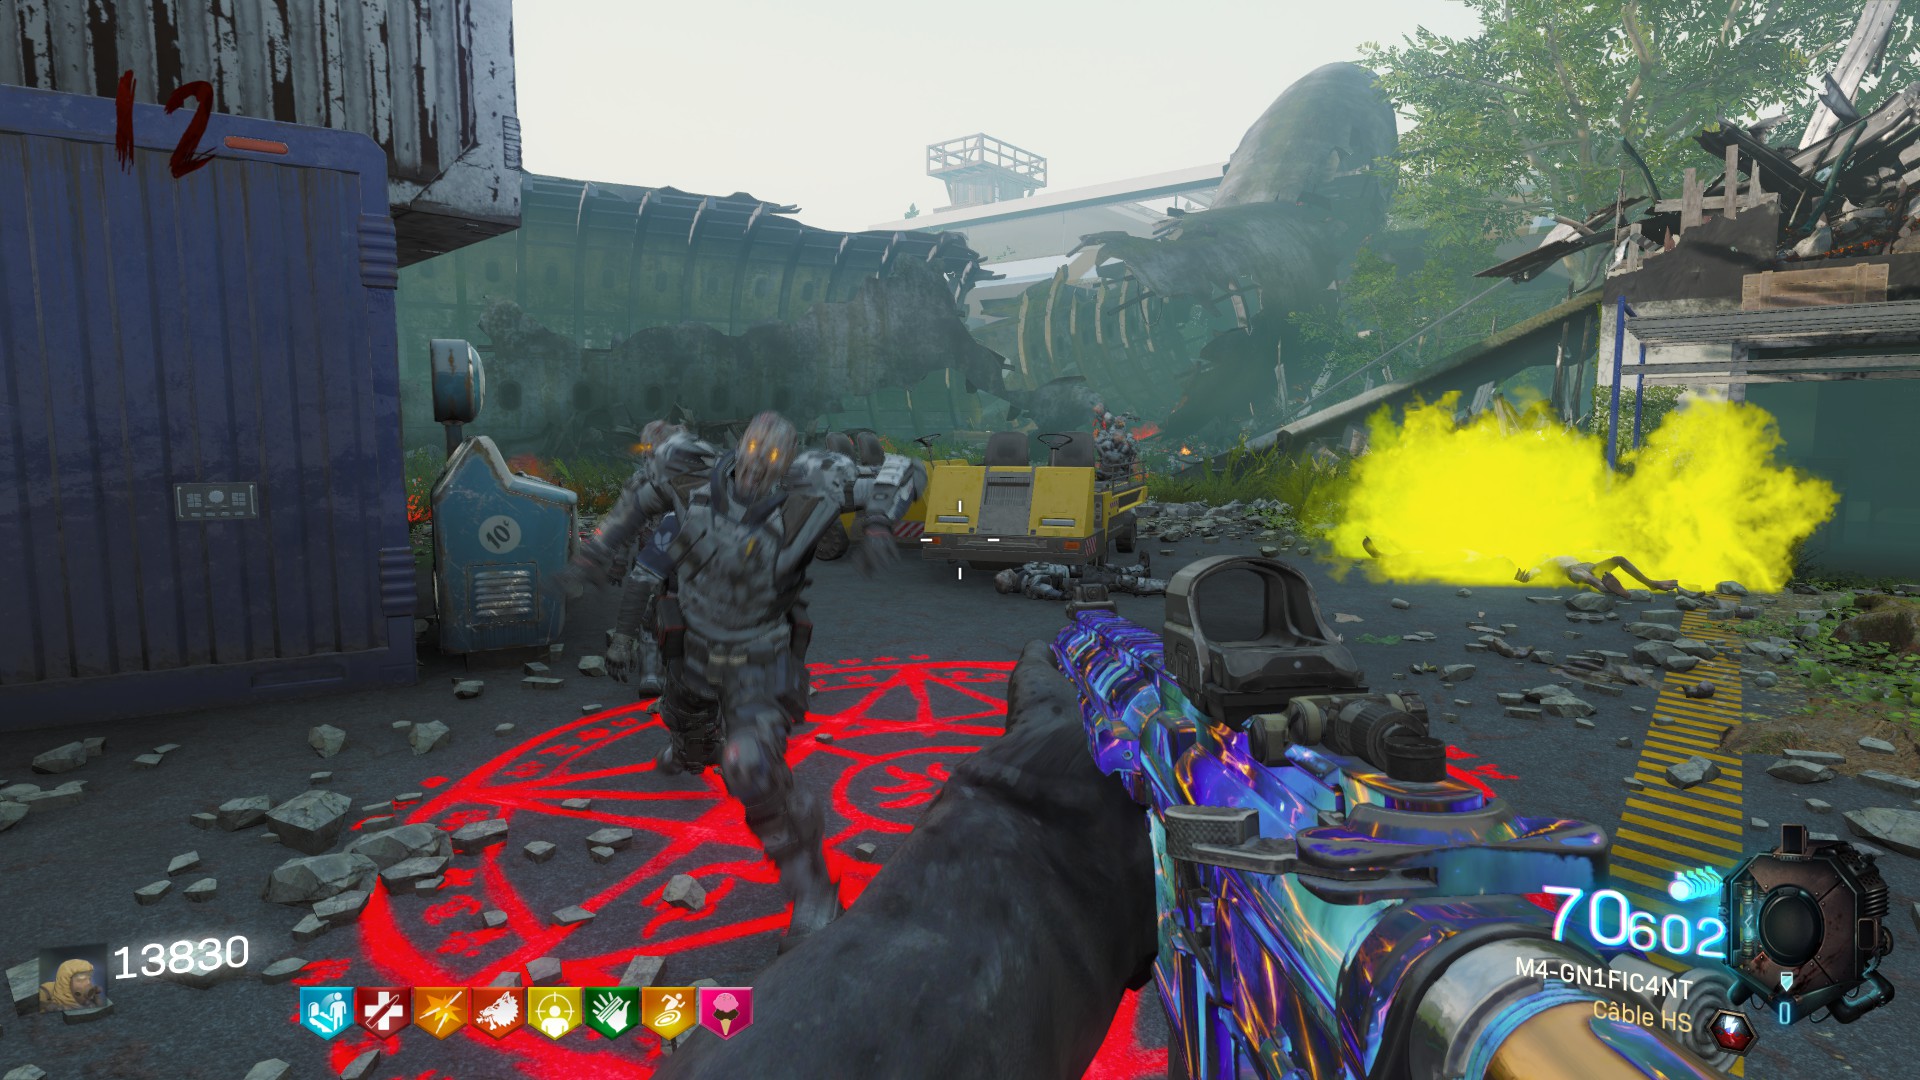 And for the last one you have to climb the escalator and fight in the small area separated by a tree.
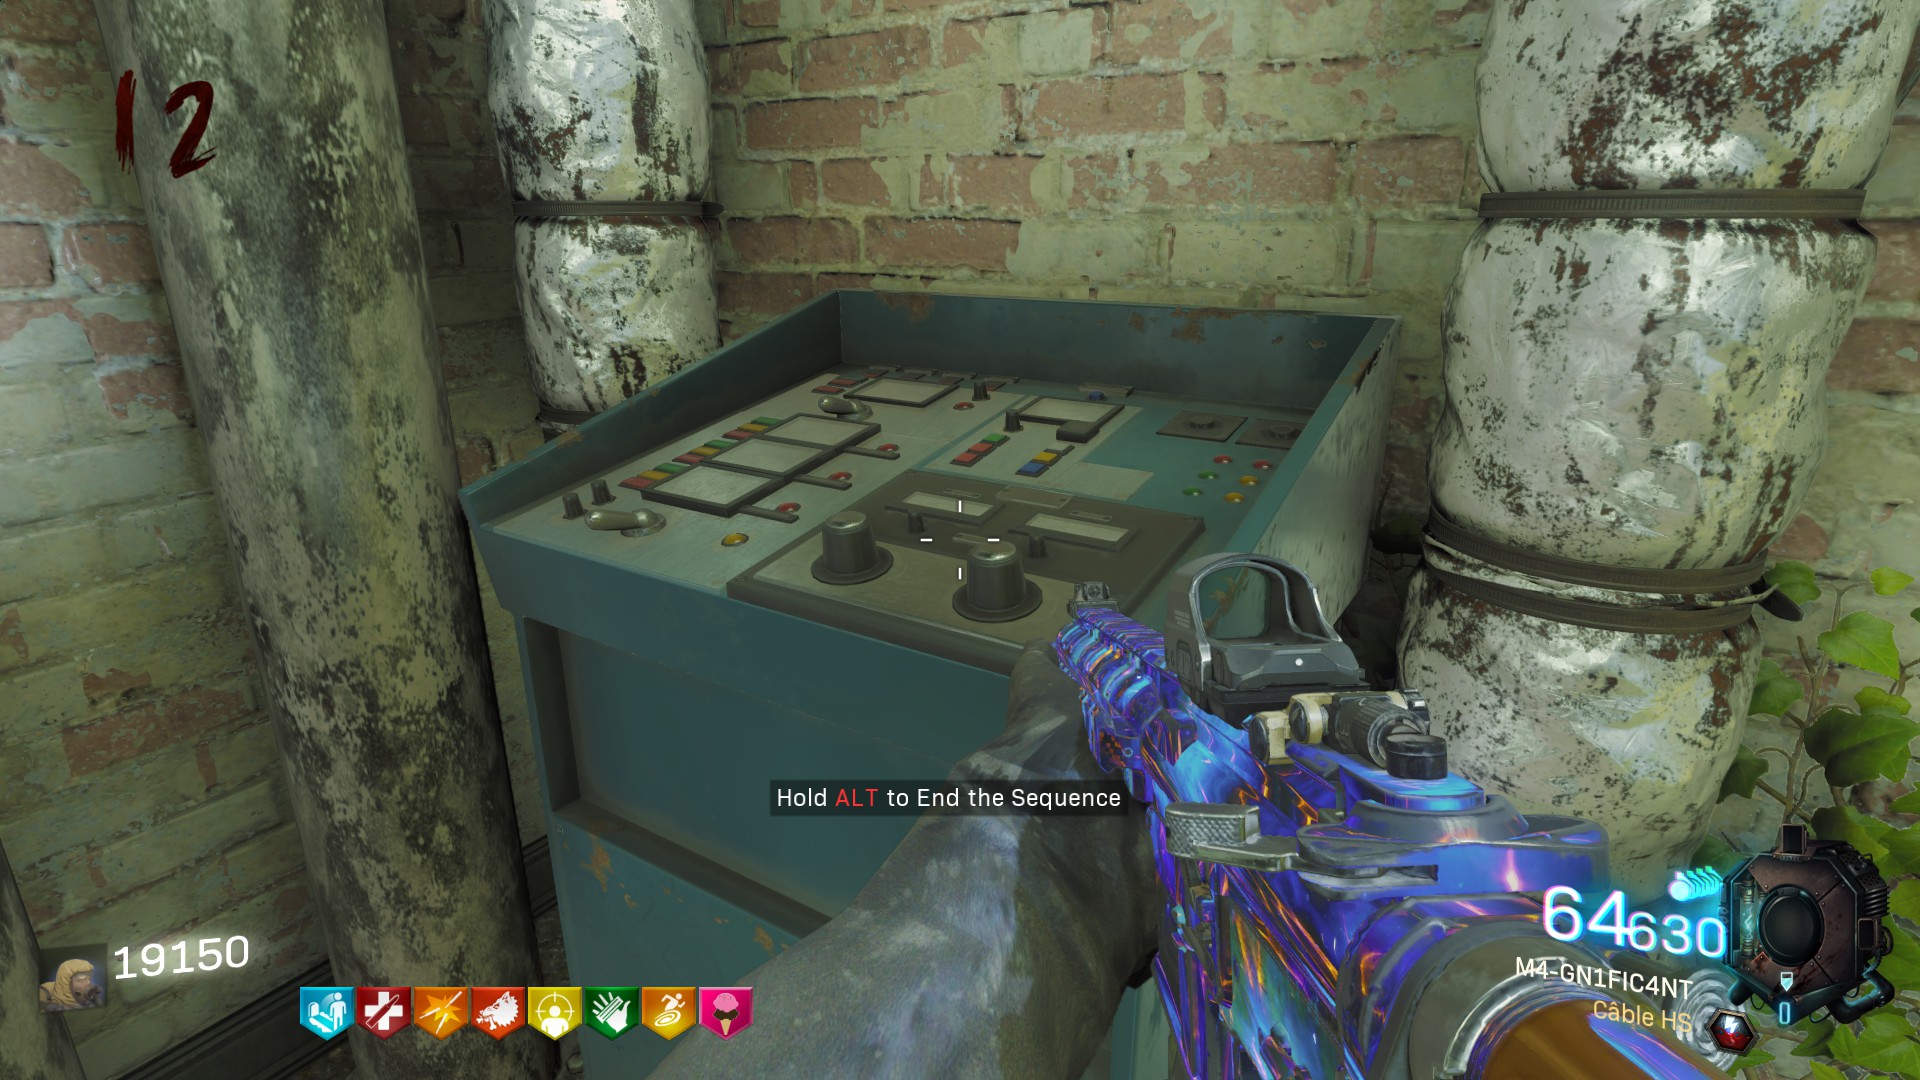
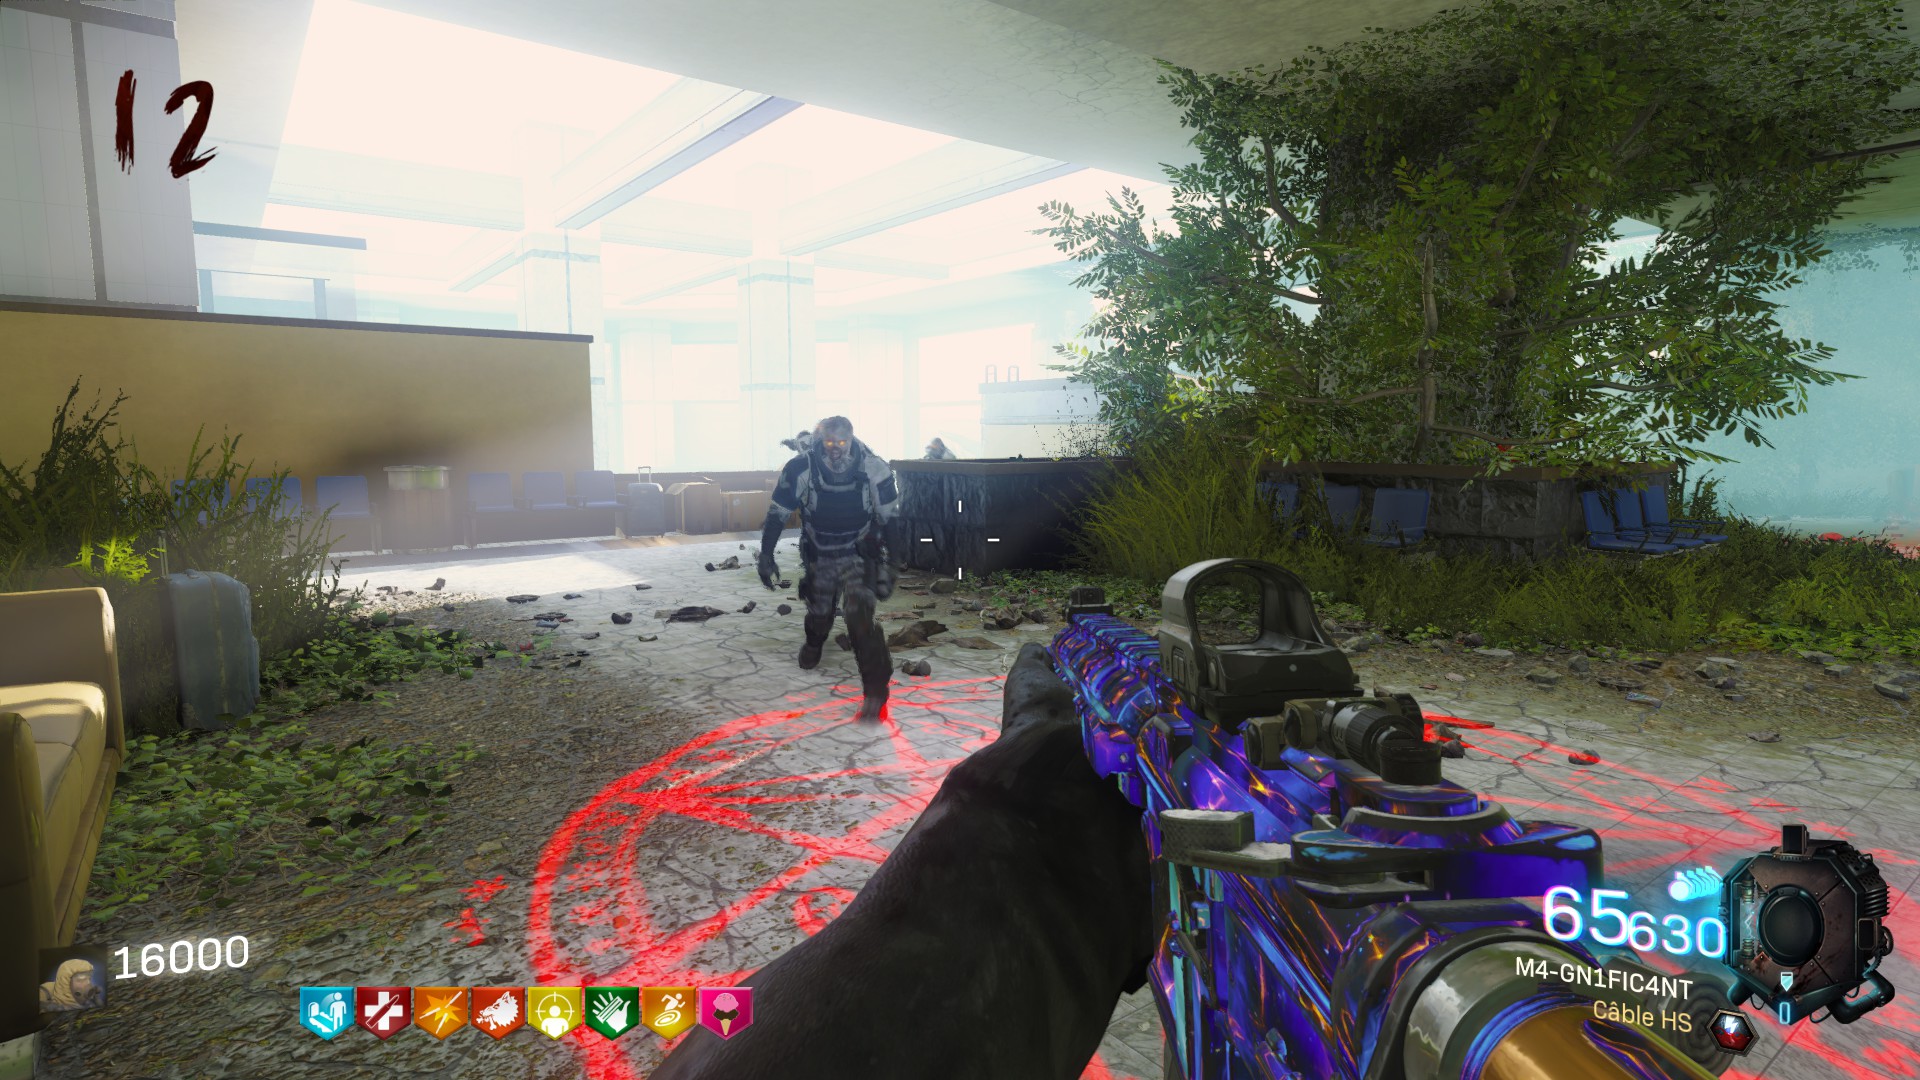 Then return into the Power Station room on the roof and hold your action button for ending the sequence and completing the secret !
 After that you will receive all the perks available on the map and even more.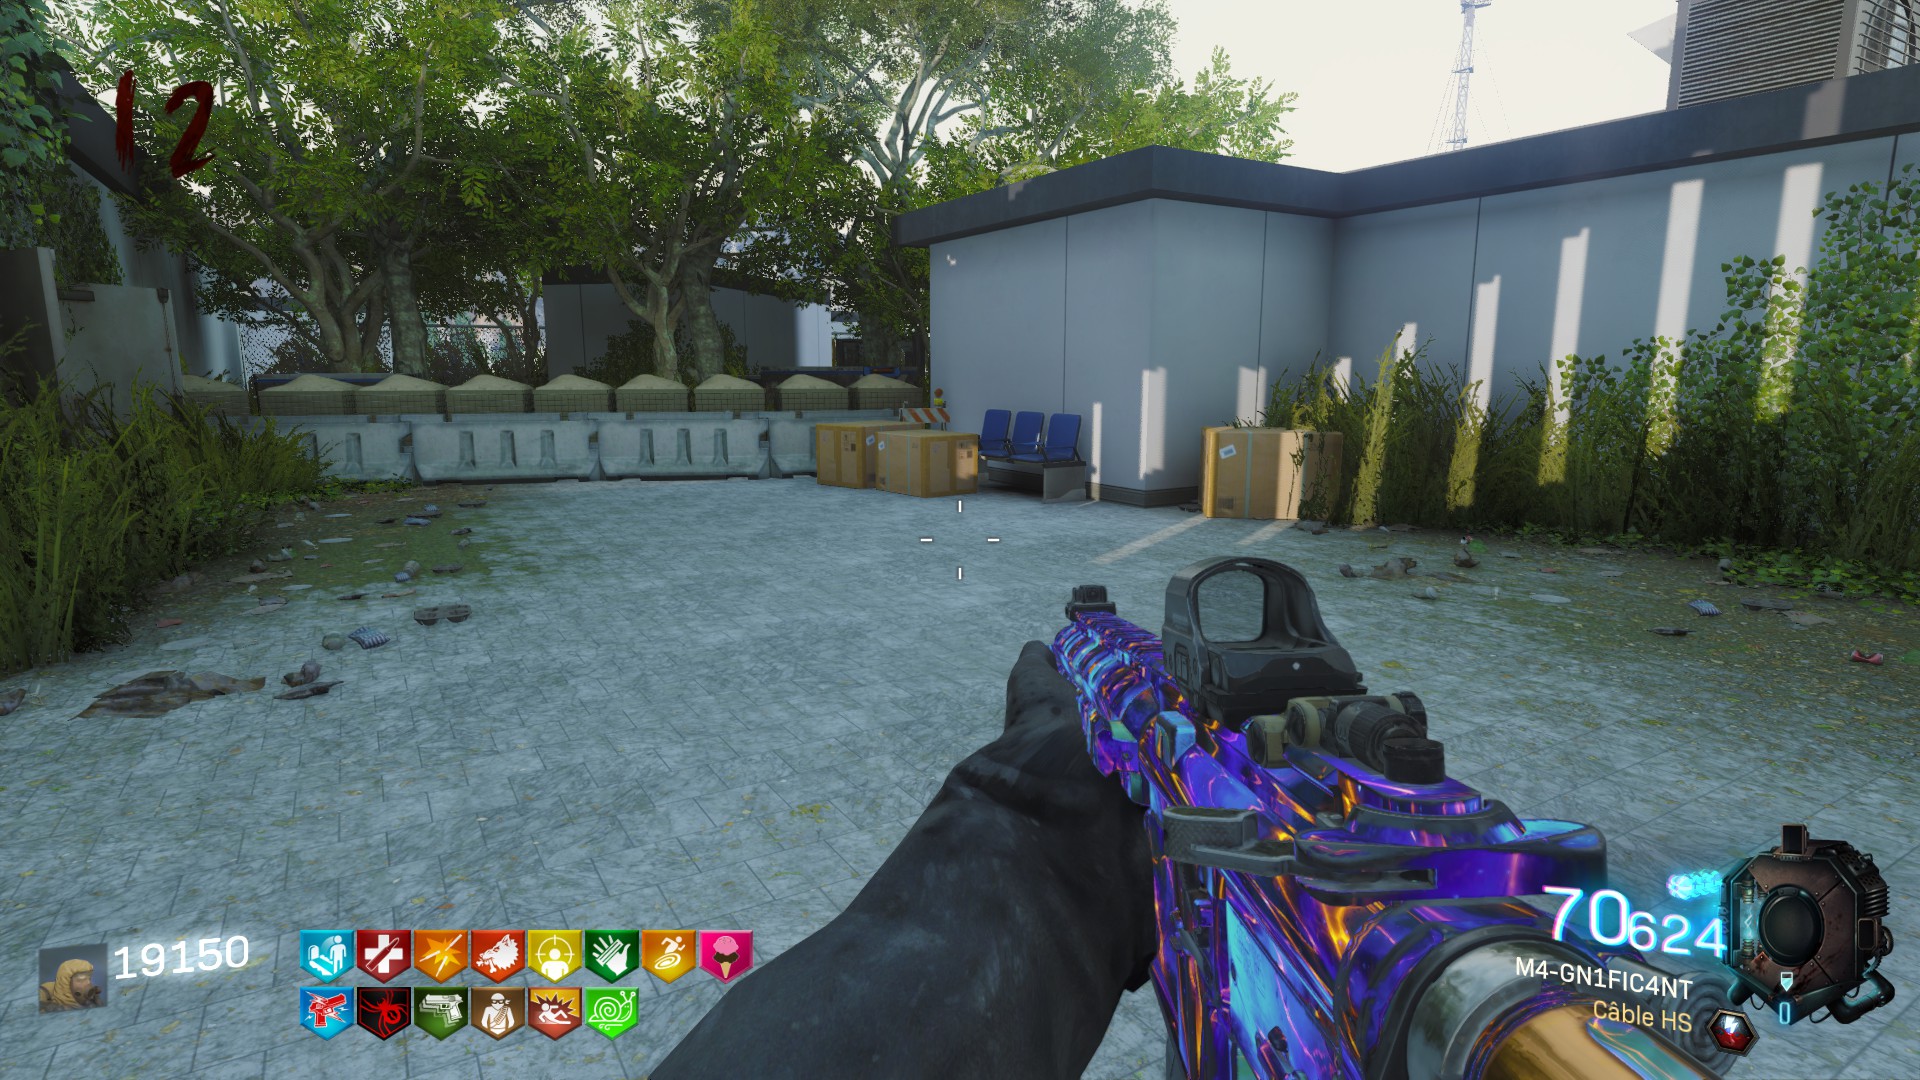
GG boys and girls !
Special Round and Entities
The goal of this section is to avoid you some unpleasant surprises. Do not worry the creators of the map have not been too bad !
First of all : The Special Round !
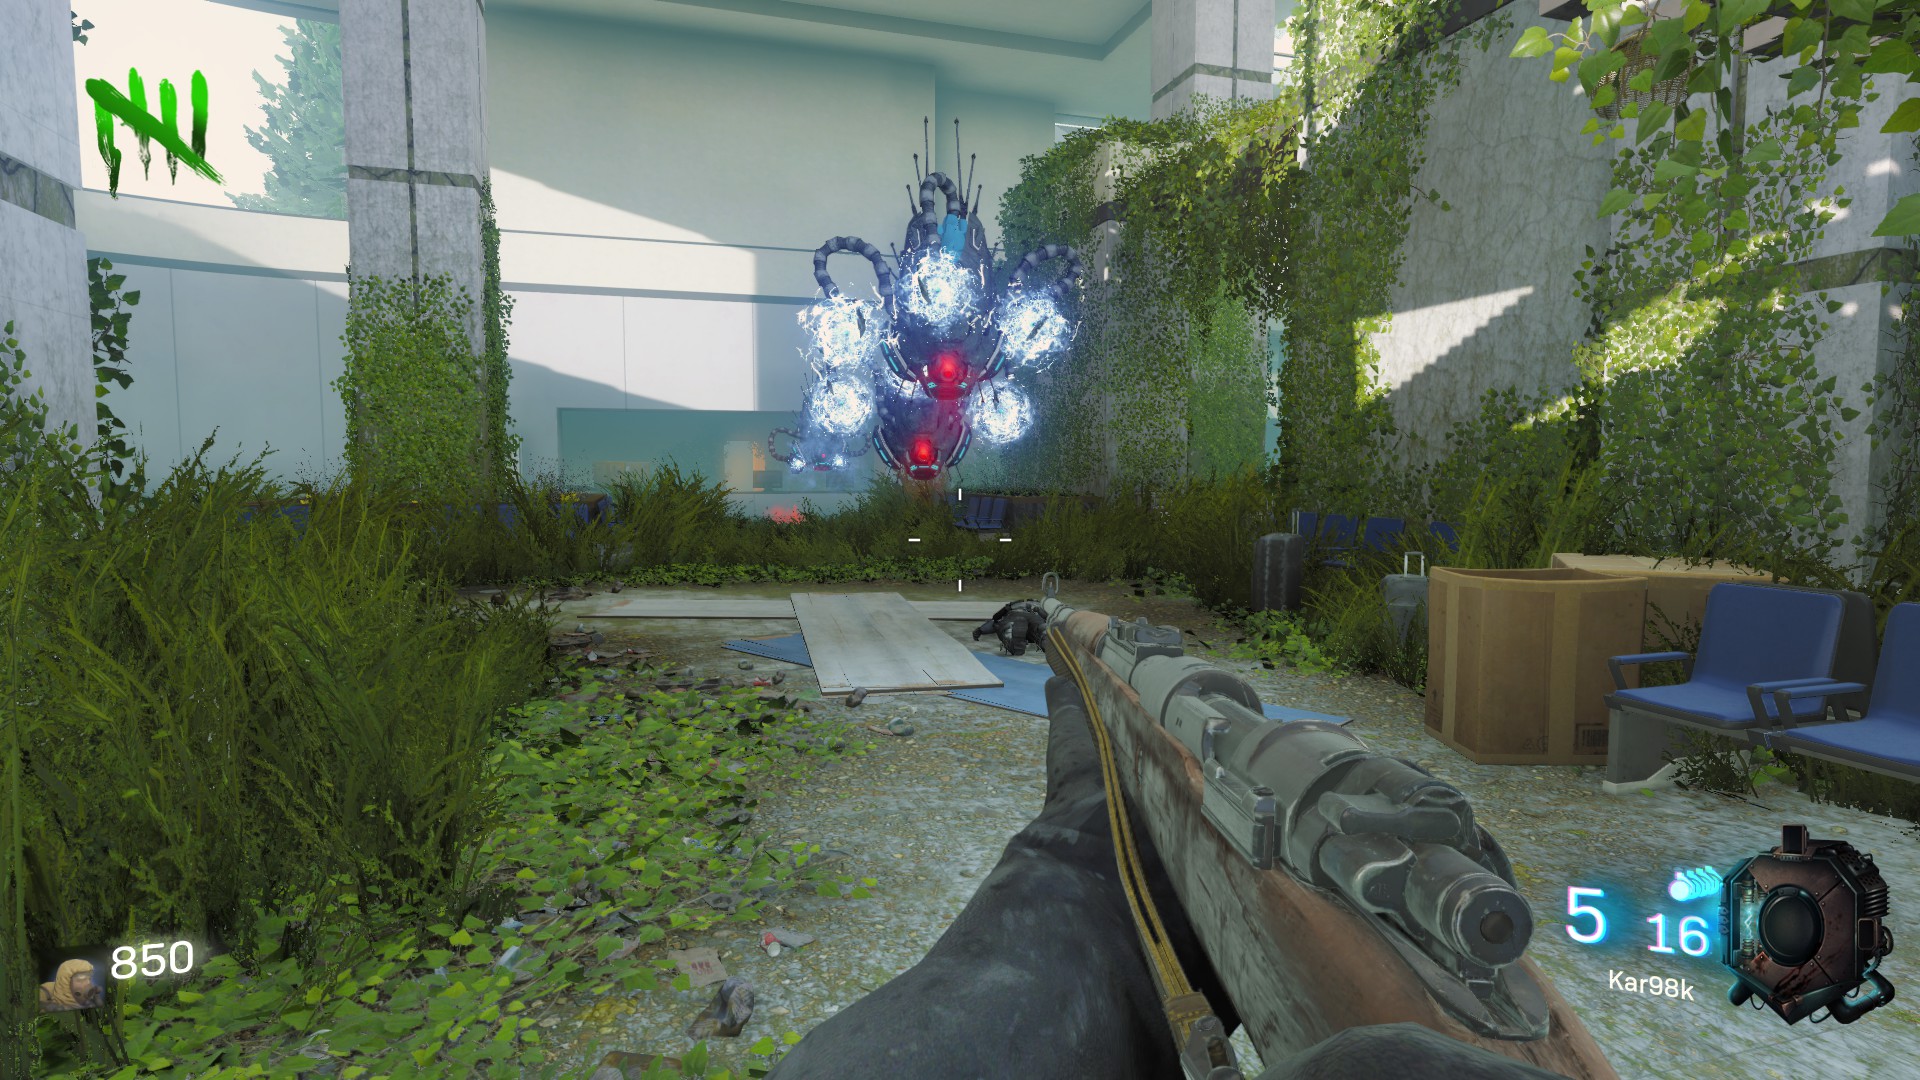
Starting at the round five or six and every five or six rounds you will face entities named "Sentinels". Like dogs in regular maps from Treyarch they spawn at the number of three per player and give you ammunitions when you finish the round (and a part of the X-Ray at round five !). You need to be carefull when you facing them because without Jugg they can down you really fastly.
The best way to kill them is by shooting in their red eye in the middle of their body. I have to warn you that they sometimes get the urge to rush at you while exploding.
The special entities
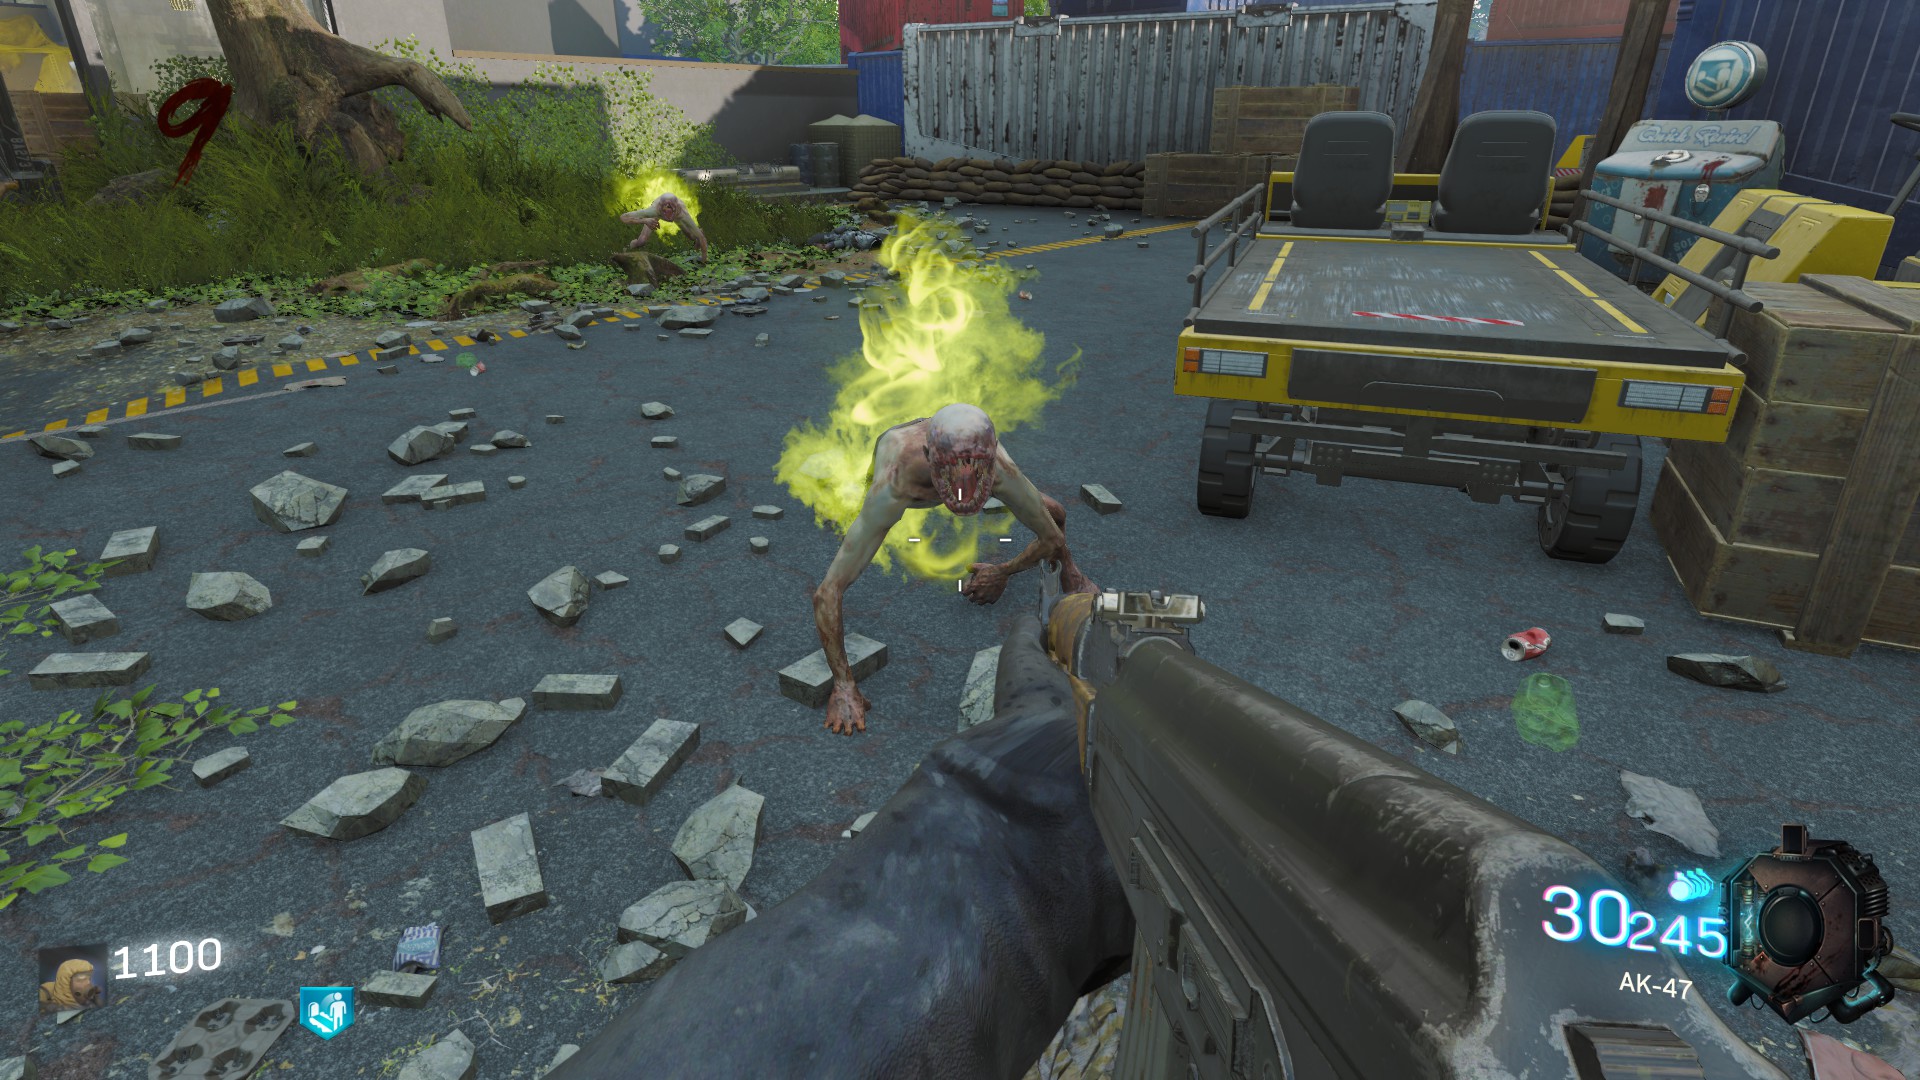
1. The Crawlers
Yes you will find them on this map and those are the same as those of Black Ops Zombies ! Like in Kino Der Toten, the Crawlers will spawn at the moment you activate the power. When you kill them, their bodies explode in a cloud of Nova Gas that will hit and stun you.
The only thing you need to be aware of is that their spawning systems can surprise you because of their randomness.
2. The Panzers
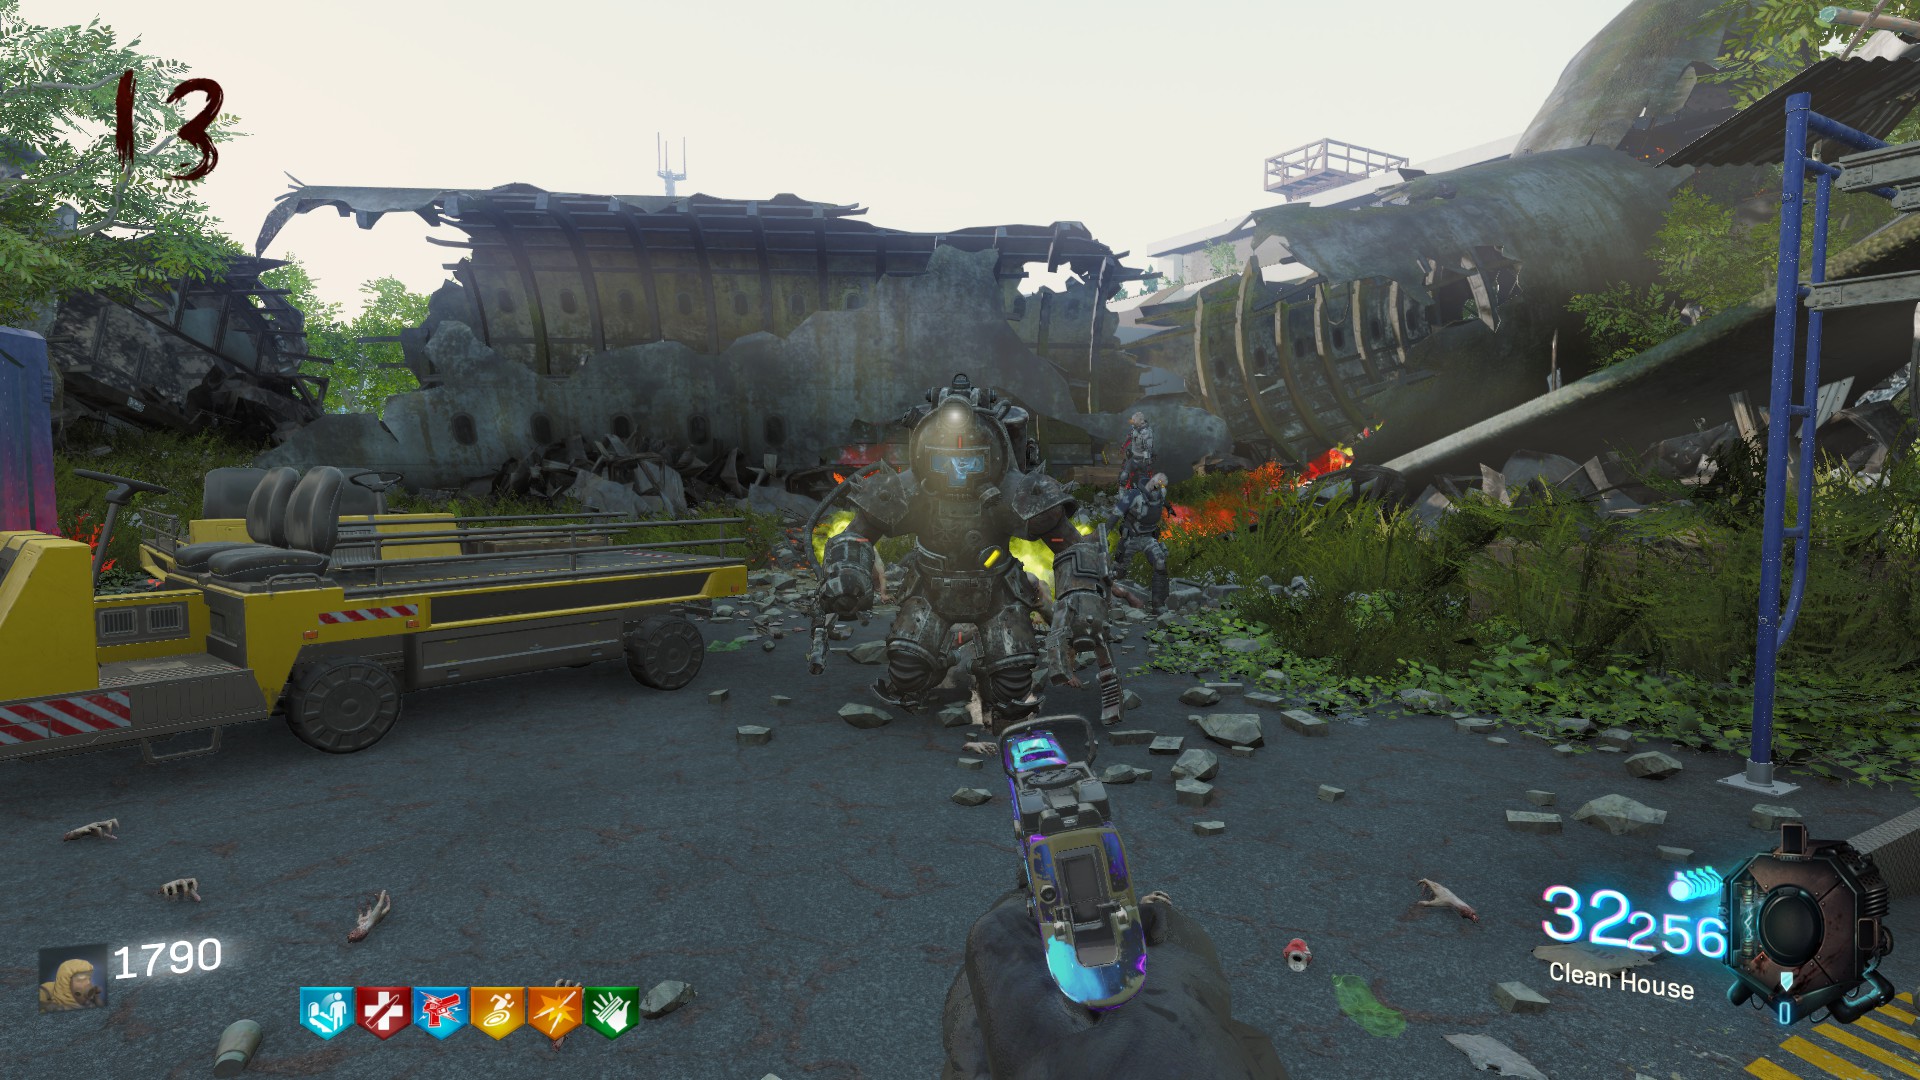
The Panzer is the most annoying mob in my opinion. They spawn randomly from the round 10 and their numbers increase along the rounds. When you kill them, you receive a Max Ammo or a part of the X-Ray Machine (for the first one you kill). They can grab you and if you don't kill them at this moment you'II soon find yourself surrounded. If you are a little bit too close to them your character will start to burn. And lastly they're buggy, sometimes they spawn but not directly on the map so their numbers accumulate and it brings down your FPS.
3. The Skeletton
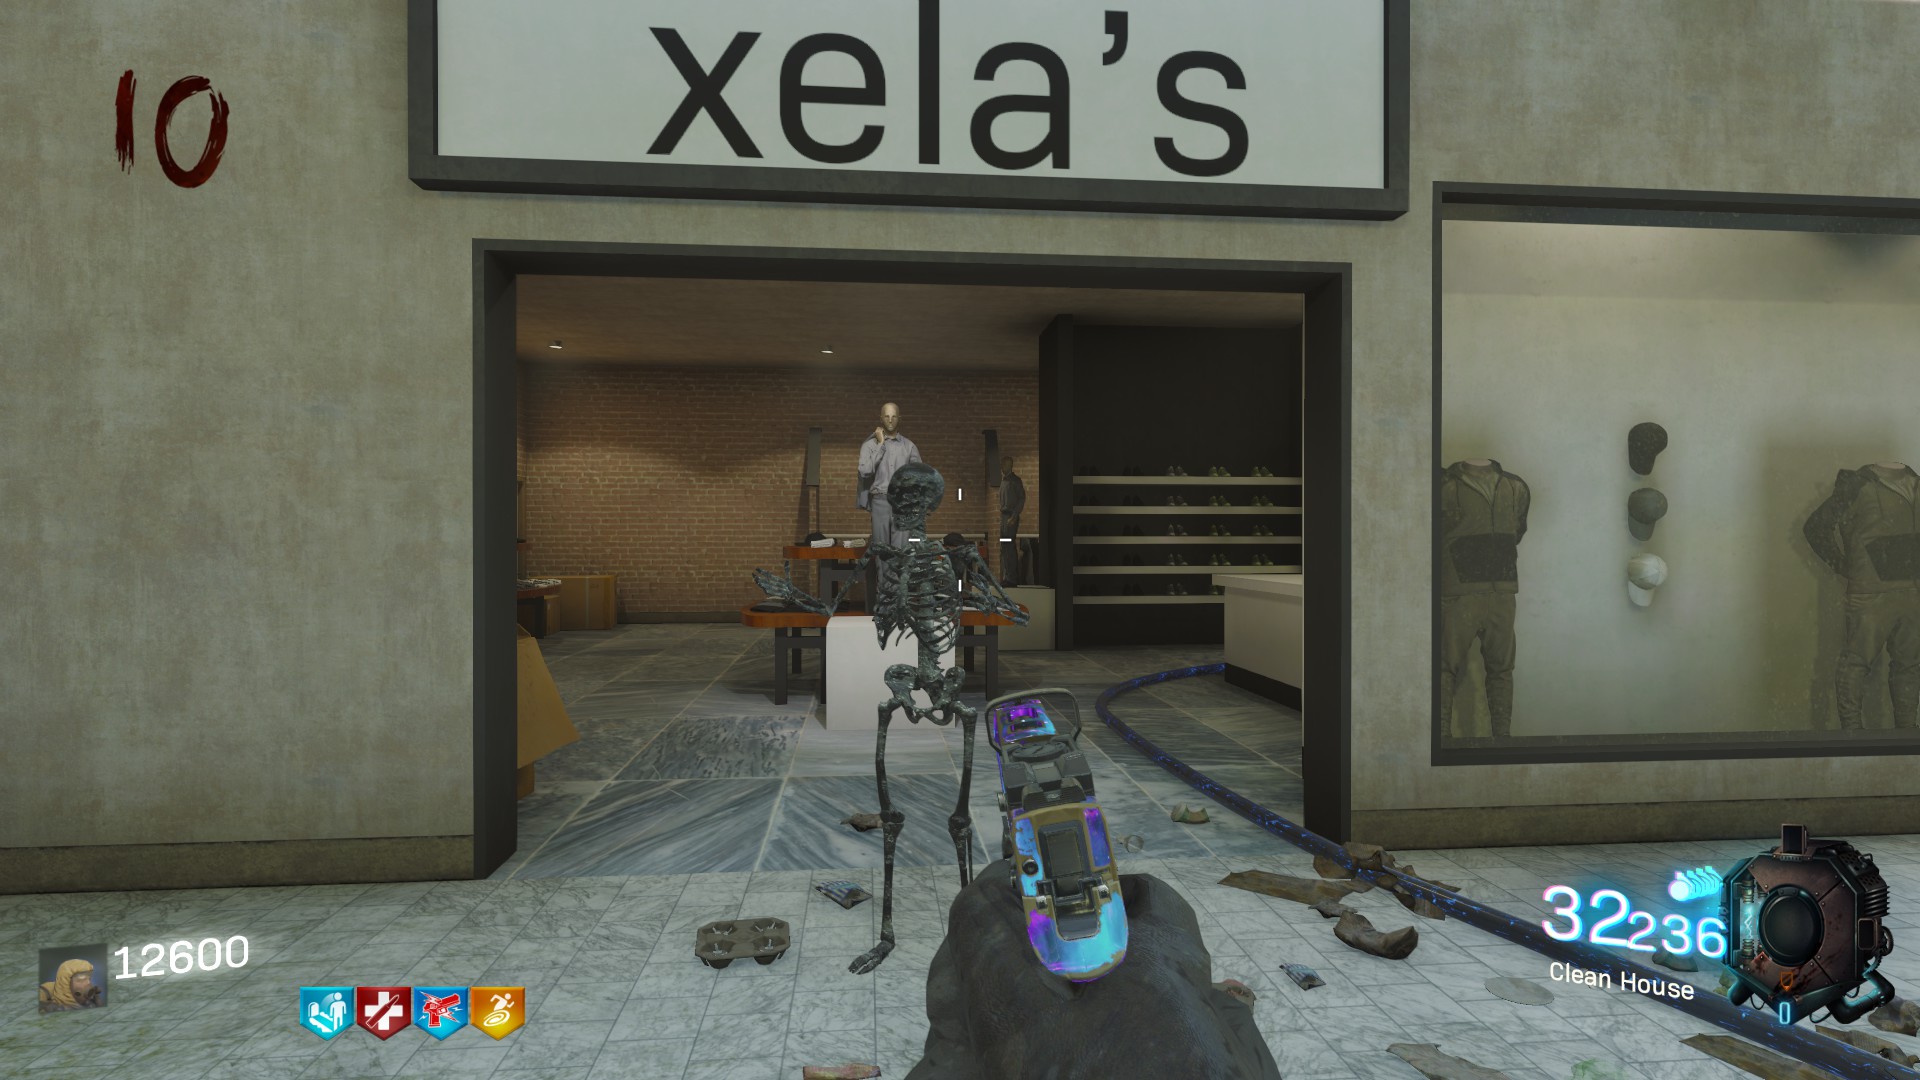
The Skeletton isn't a real "special mob", it's part of the secret. You create him by putting a zombie or a Crawler in the X-Ray machine. Then he will be hanging out around the map searching for his hat, shoes and his brain. He's a passive mob until you try to block him and for now I've never try to killed it so I don't know if it's possible.
Special Perks and Weapons
The Special Perks
There is a lot of perks on this map that you can buy from vending machines. And two of them are modded perks : here's what they does.
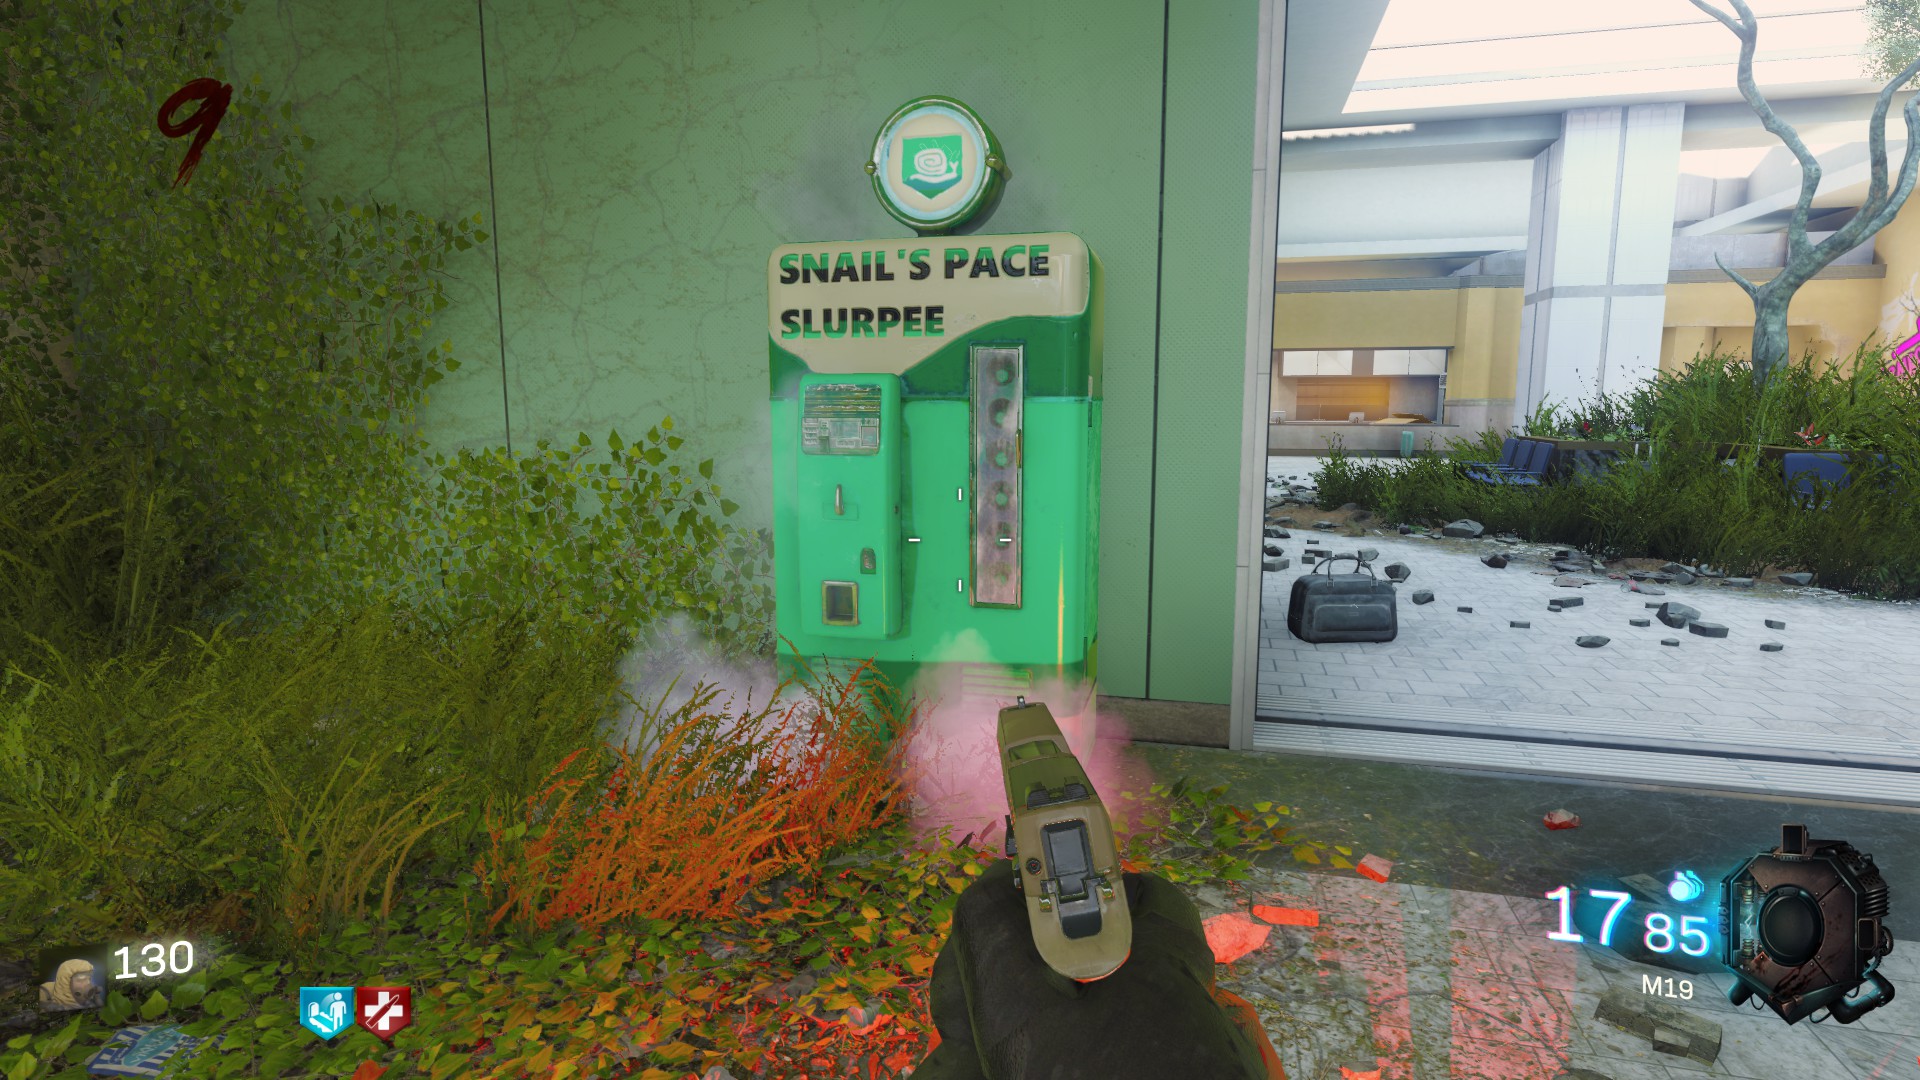
1. Snail's Pace Slurpee
Boom snails ! Yes this perk might seem odd at the first look but he's very usefull if you want to make rounds.Snail's Pace Slurpee will slow down any zombie's movement by 38% when it enters within a radius of a player who has it. When the zombie reaches another smaller, inner radius, or if it gets too far away from the player, it is sped back up.
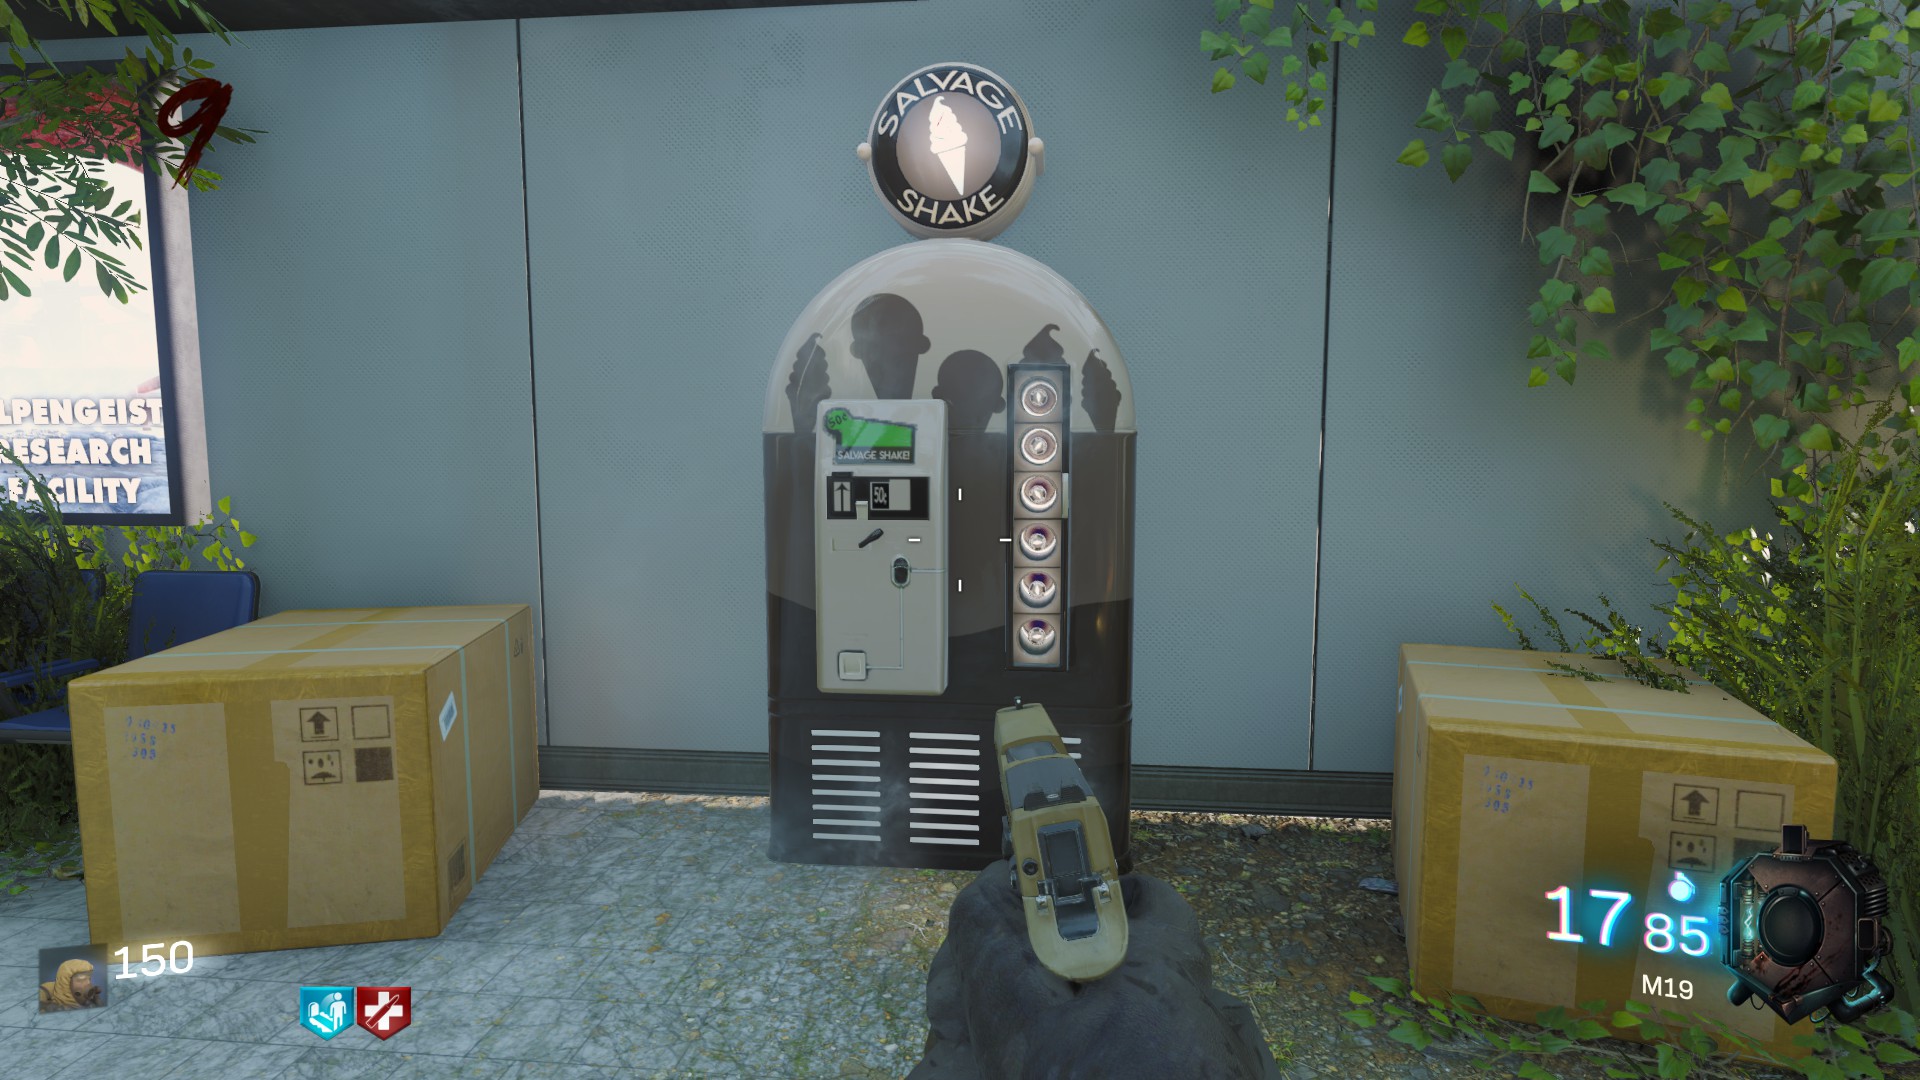
2. Salvage Shake
This perk is not a crucial one because of it's price (4500 points). So what does it do ?Every 10 seconds or so, a percentage of your ammo in your holstered weapon regenerates.
The Special Weapons
The .50 GS aside, all the special weapons findable on this map are available in the magic box.
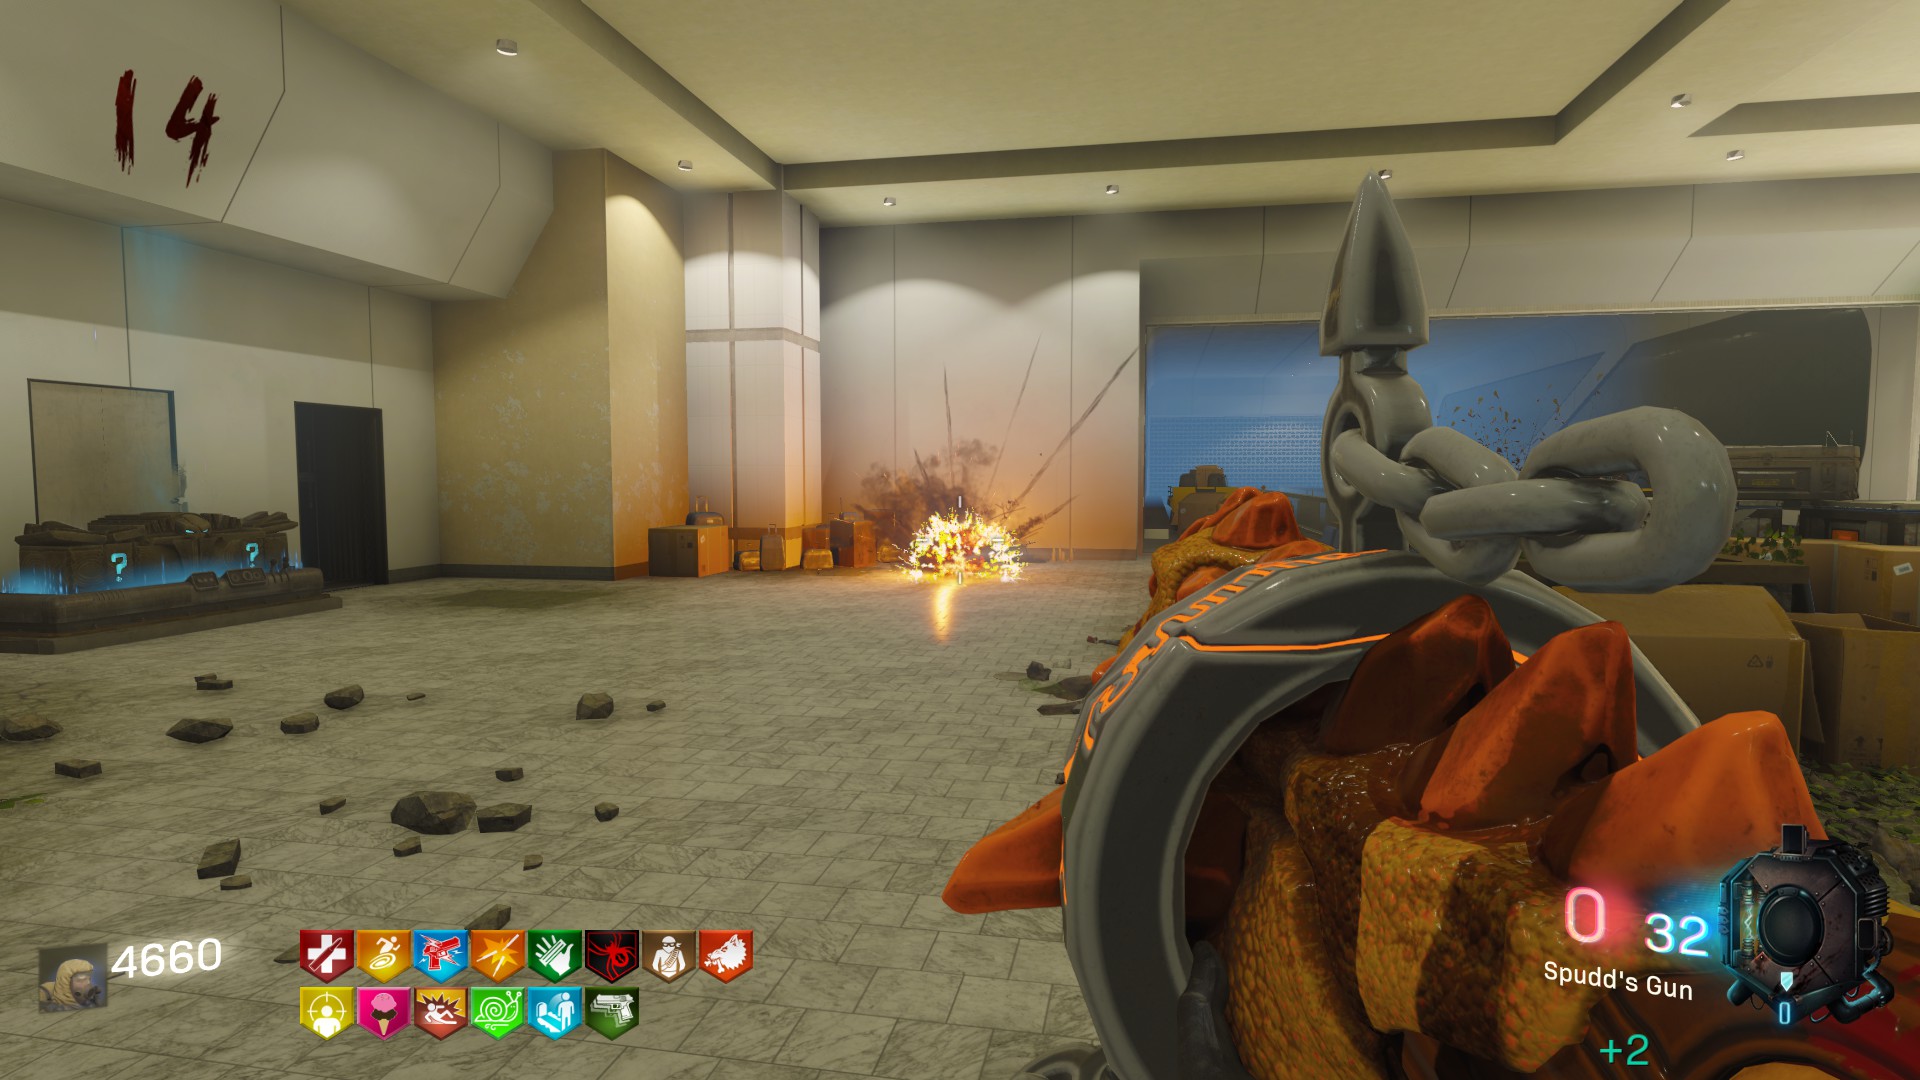
1. The Spudd's Gun
If you like dragons this thing is made for you.The Spudd's Gun is a grenade launcher that has a cool design.
2. The Raygun Mark II
Do I really need to describe this weapon ? Yes of course. The Mark II is an upgrade of the Raygun. It's a three-shooter rifle with a lot of recoil but bullets doesn't bounce back, so you can use it safely.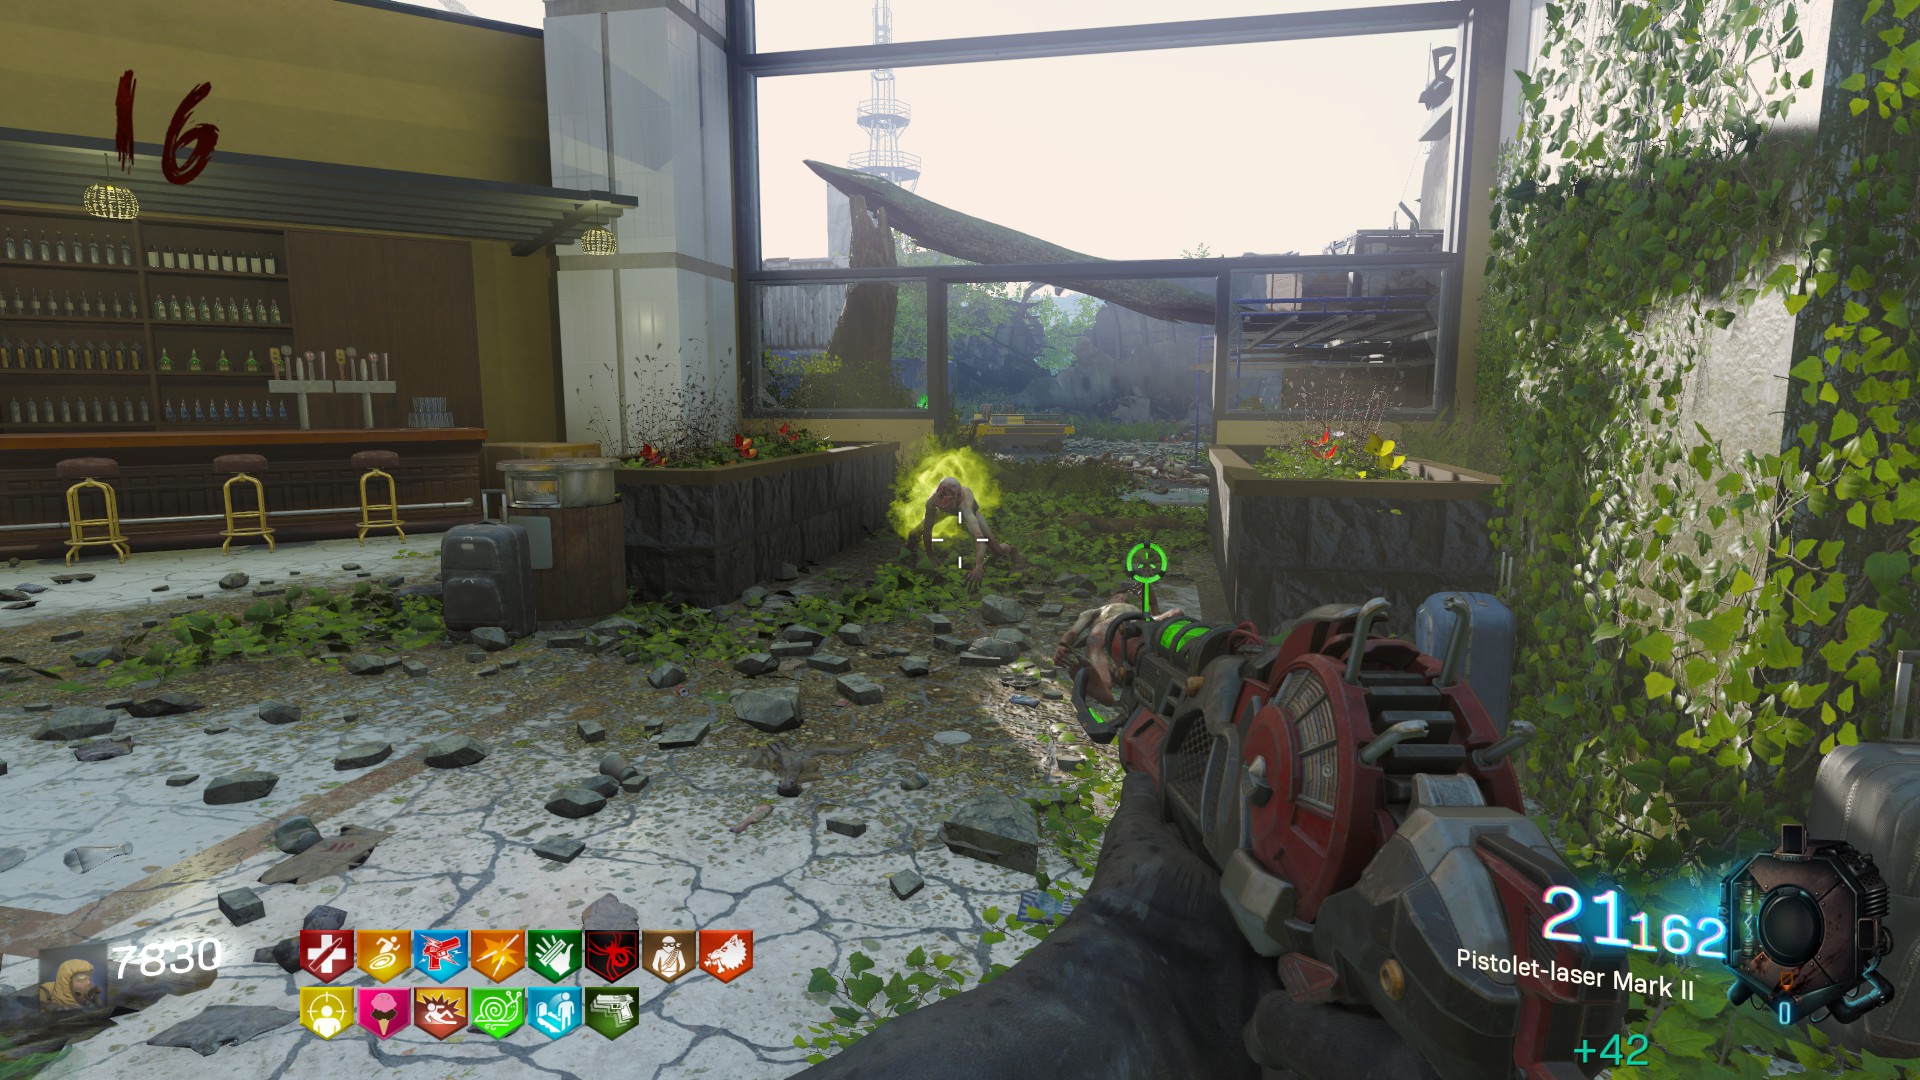
3. The Spudd's Laser Rifle
Everything is in the name, it's an automatic laser rifle with a Halo like design.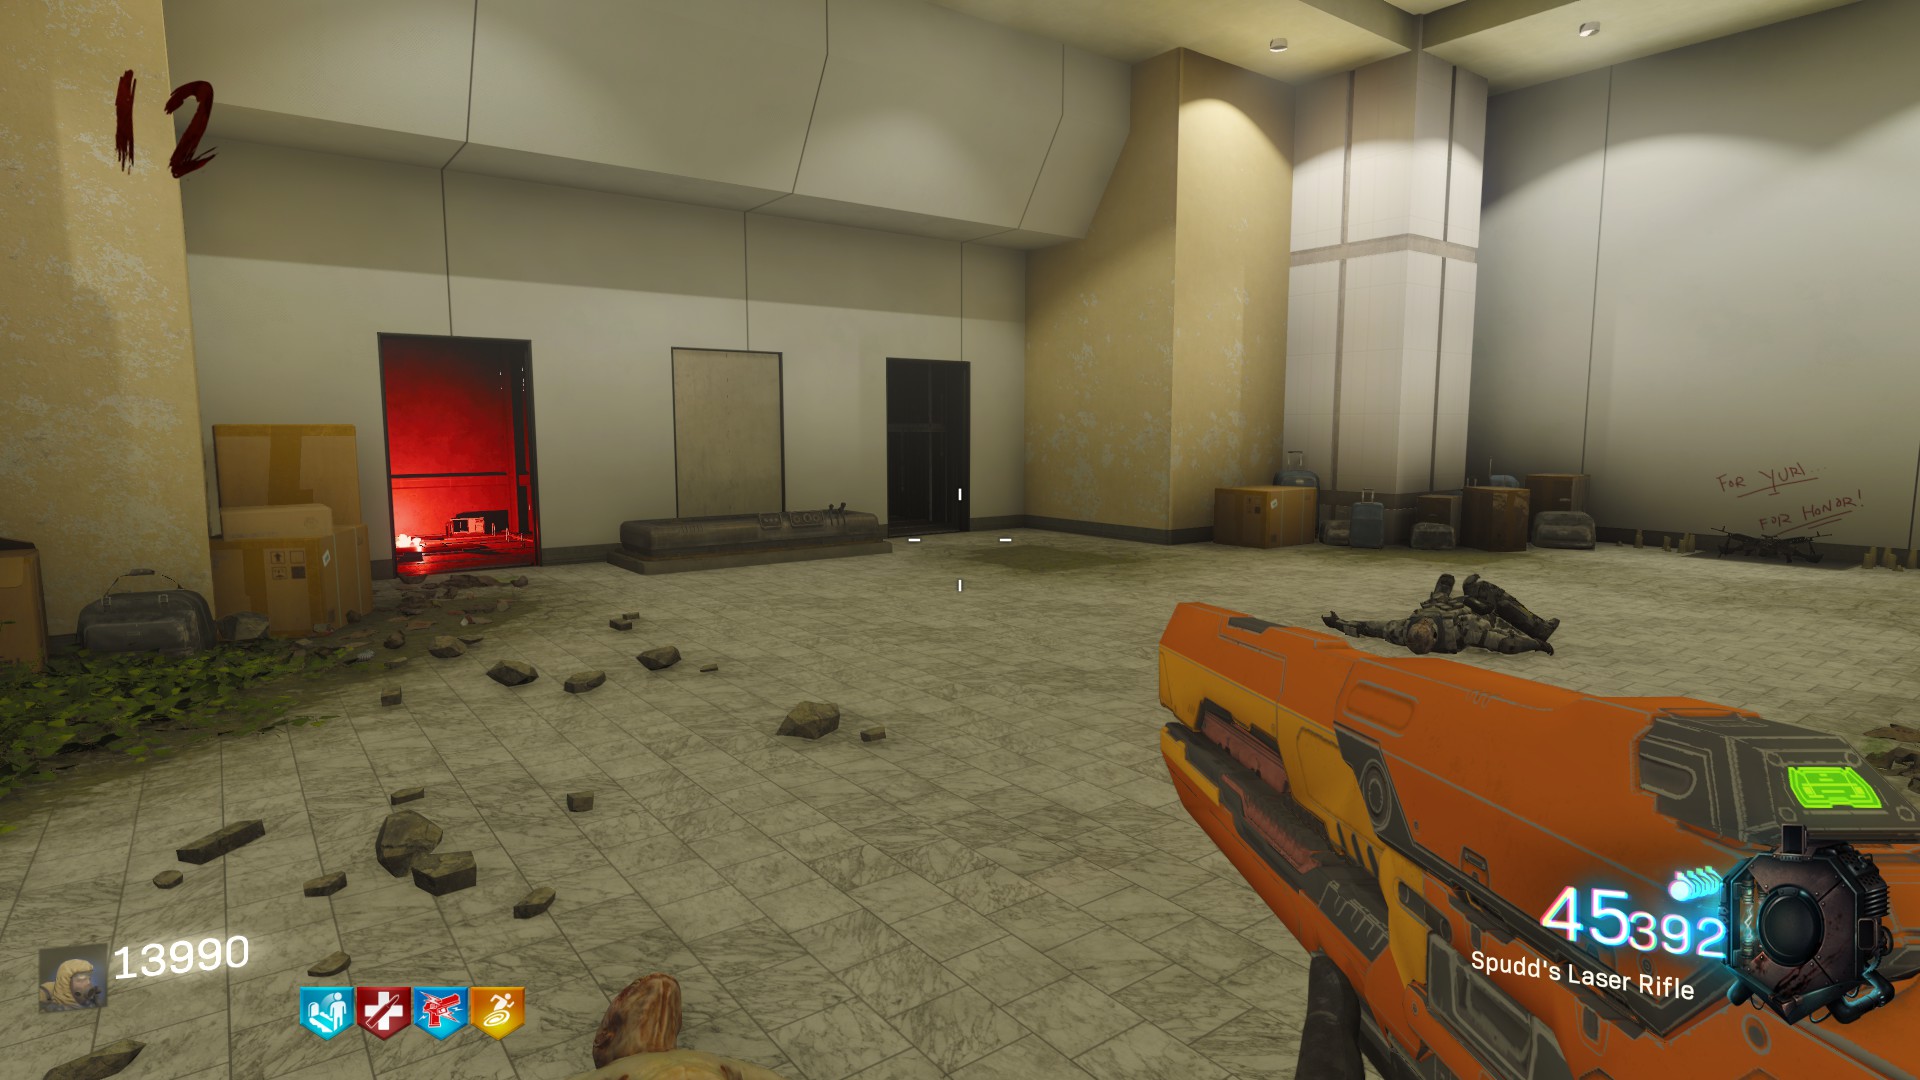
4. The Zeus Cannon
Here are the cool weapons ! The Zeus Cannon is made for the high rounds. This gun releases a huge amount of air in front of it that saves you from tricky situations. Moreover, it's the fastest weapon you can run with !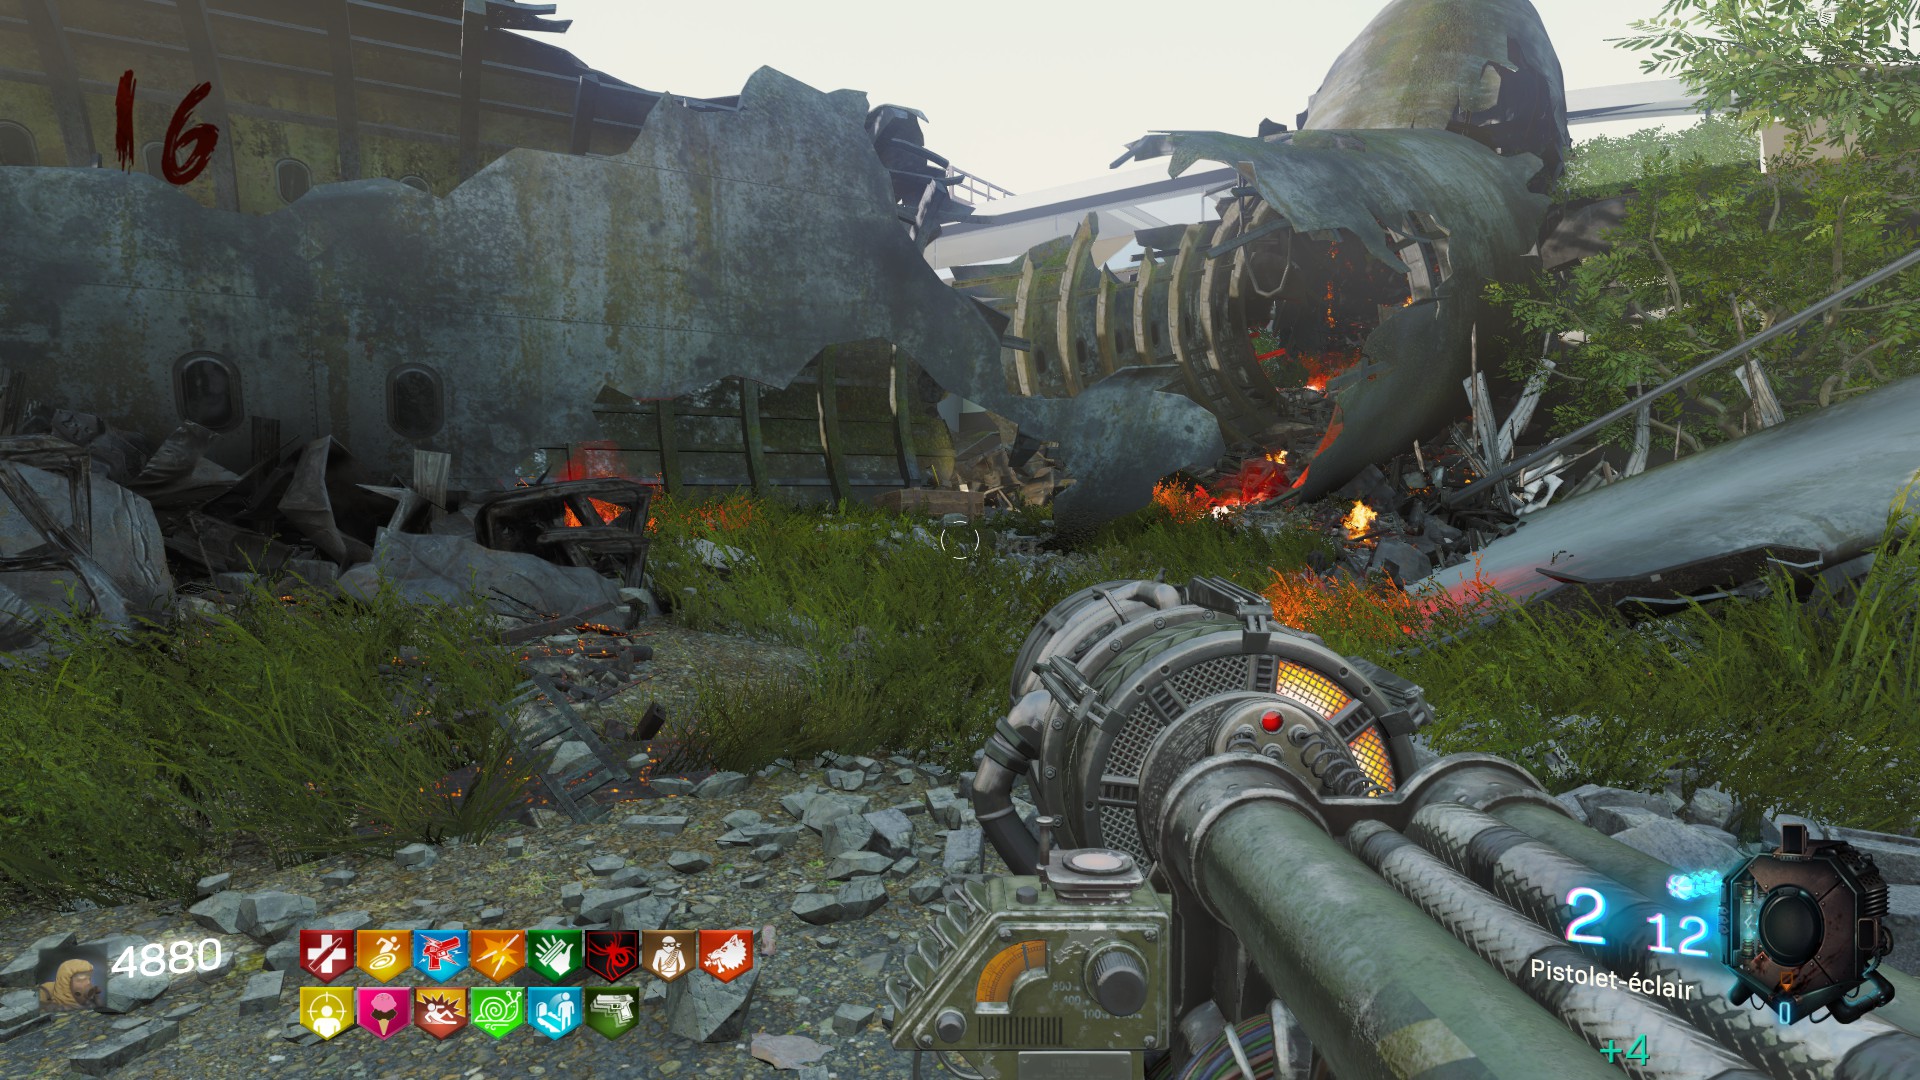
5. The Wunderwaffe DG-2
My favorite one, this gun is a piece of art ! You shoot an electric ball that propagate across the zombie wave.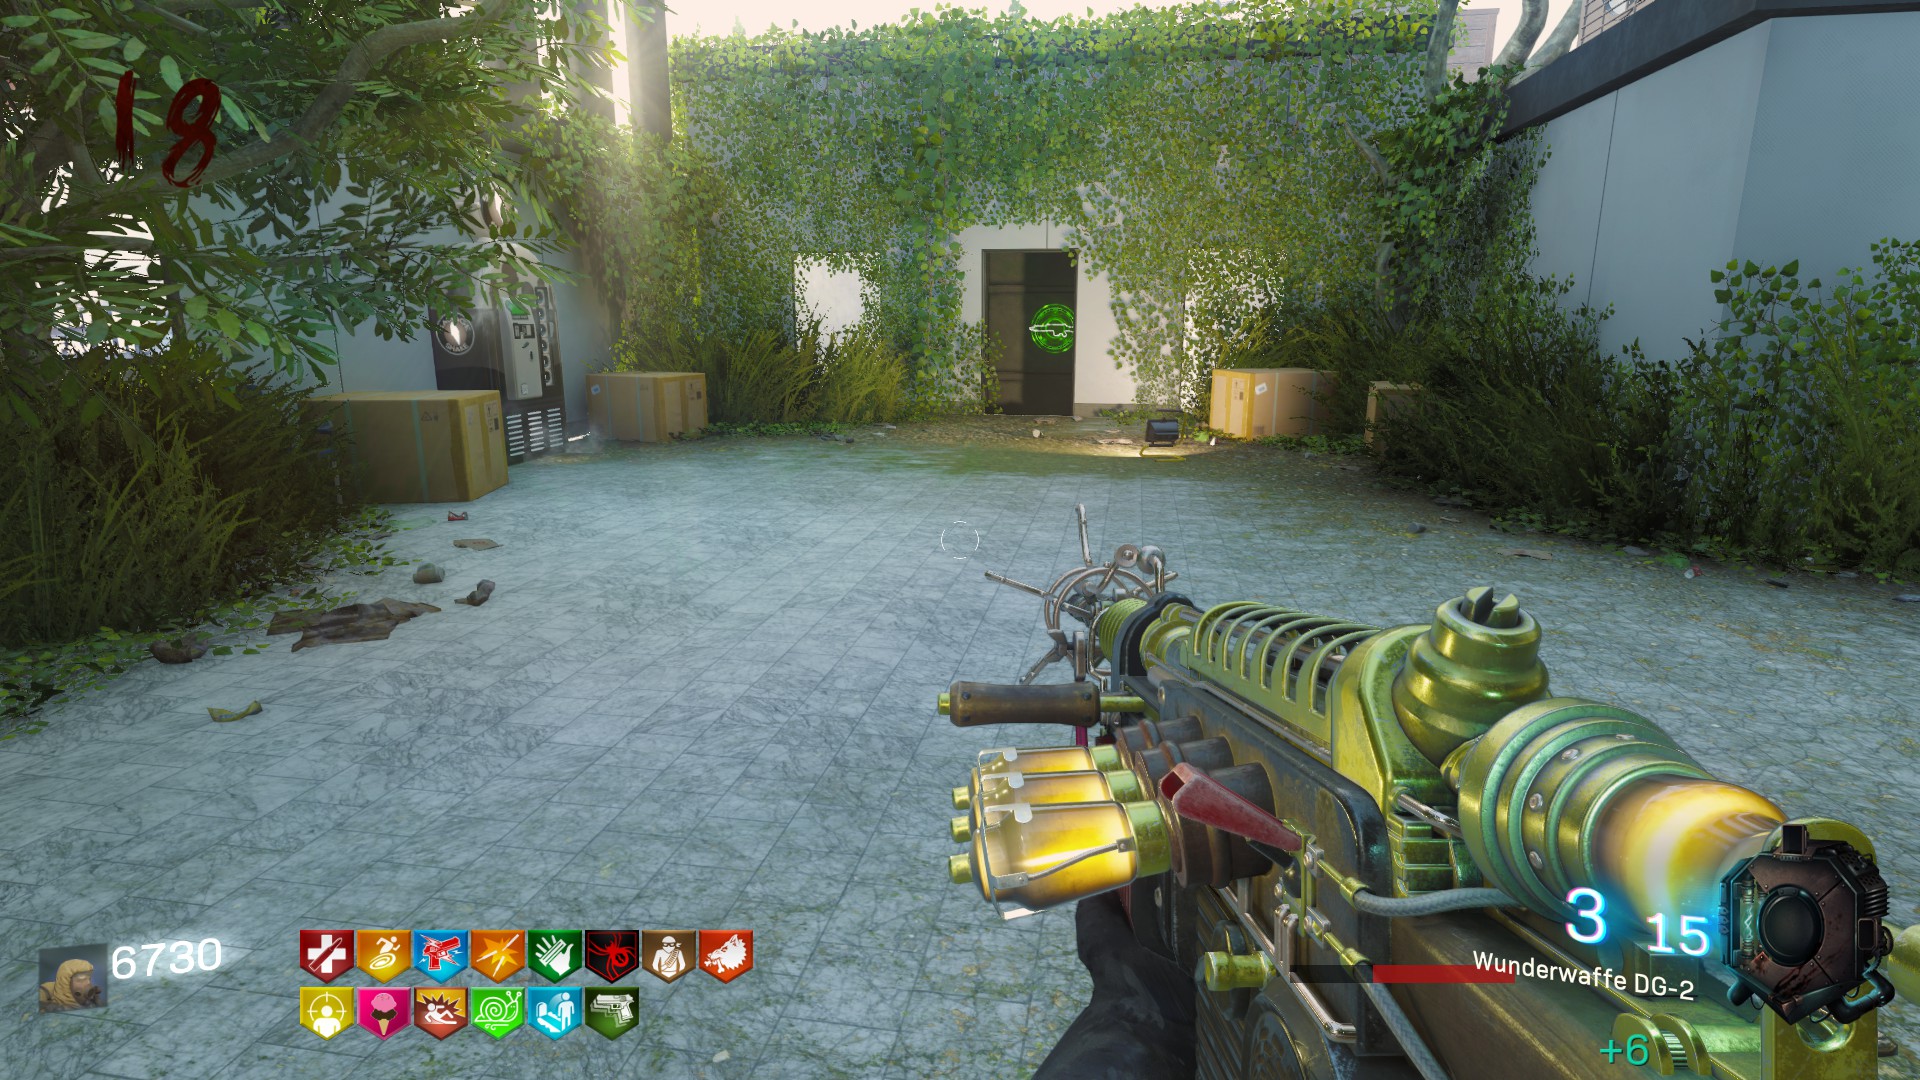
6. The .50 GS
Yeah it's just a D'eagle but a really powerfull one ! You receive it by completing an easter egg in the first room (I've described how to do it in the "Five easter eggs" section).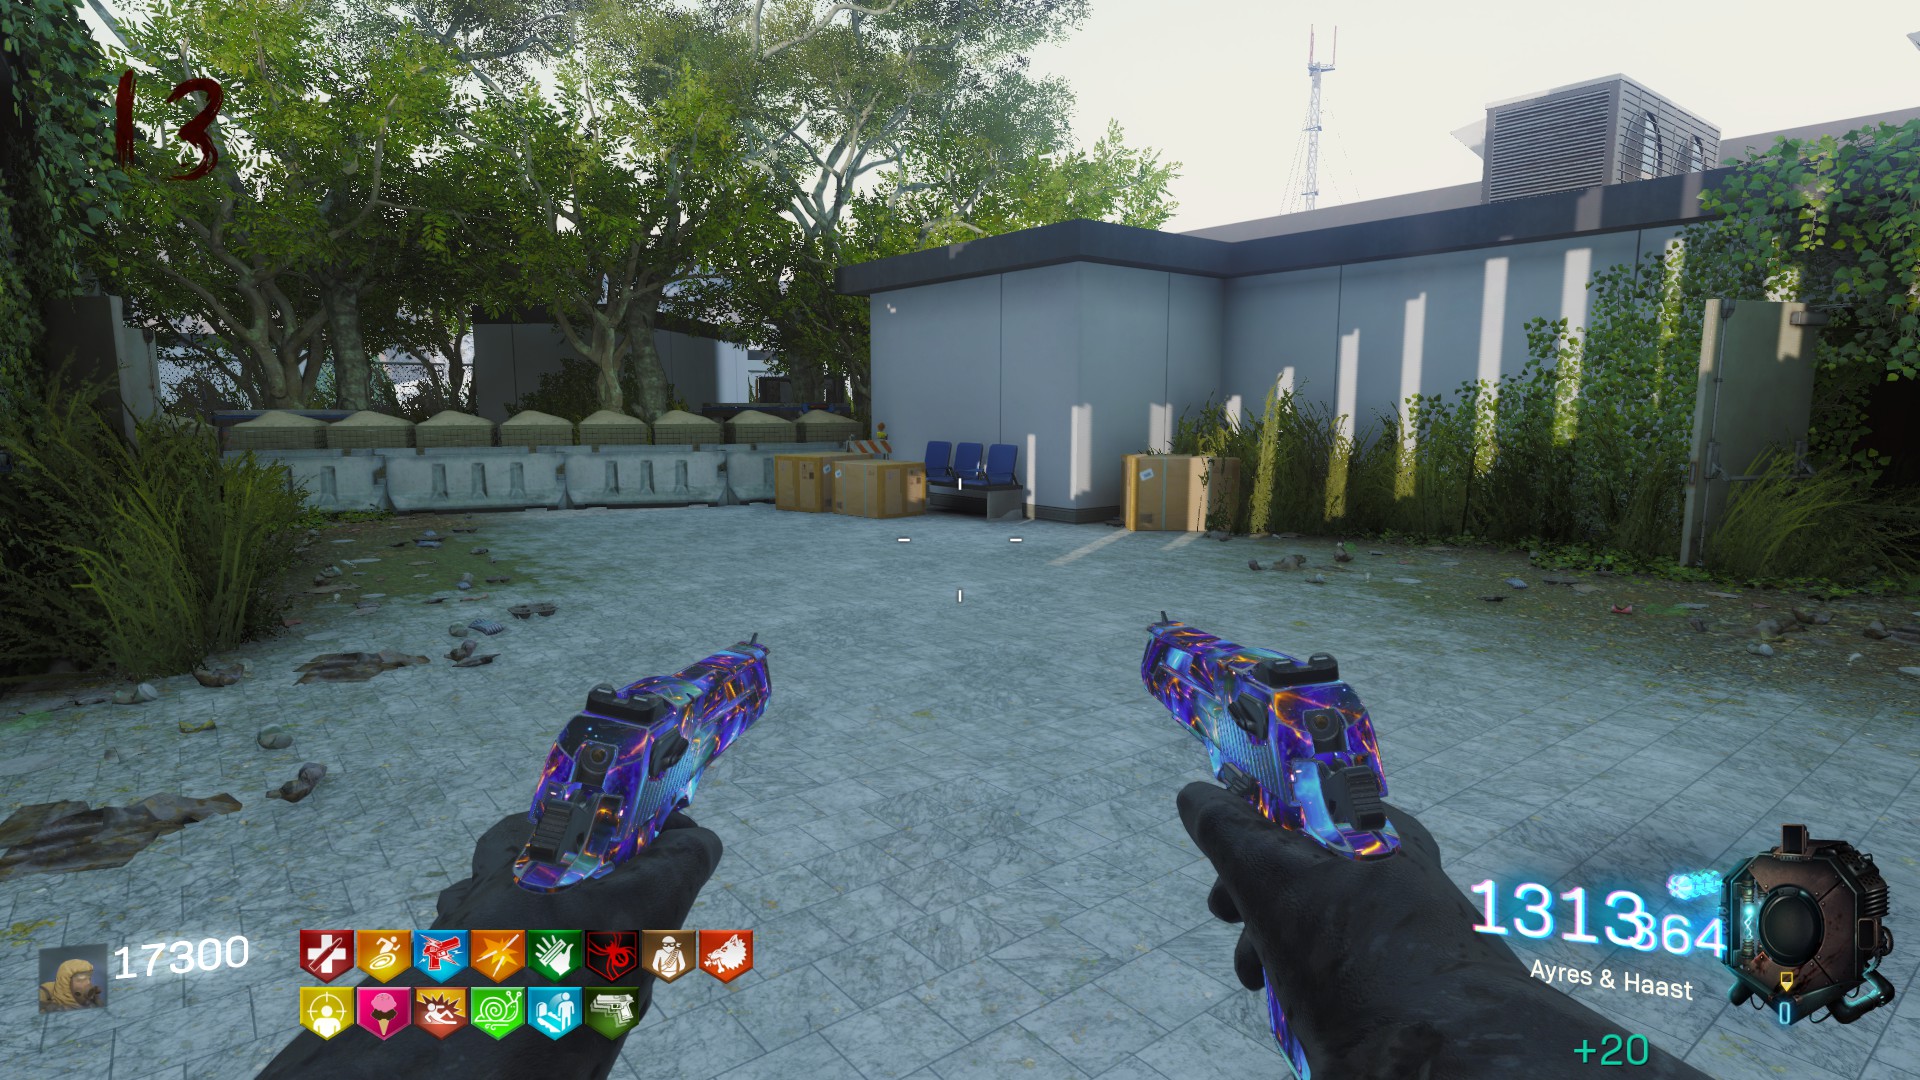
The Ending of the Game
There is two ways to end your game : the first and the most obvious one is by death. The second option is the buyable ending. For that you need to complete the secret and when it's done you can go, one final time, on the roof.
Once at the top, go to the electrical room and on the left of the Power Machine you'II find the control console for properly finish your game. It will cost you 75,000 points.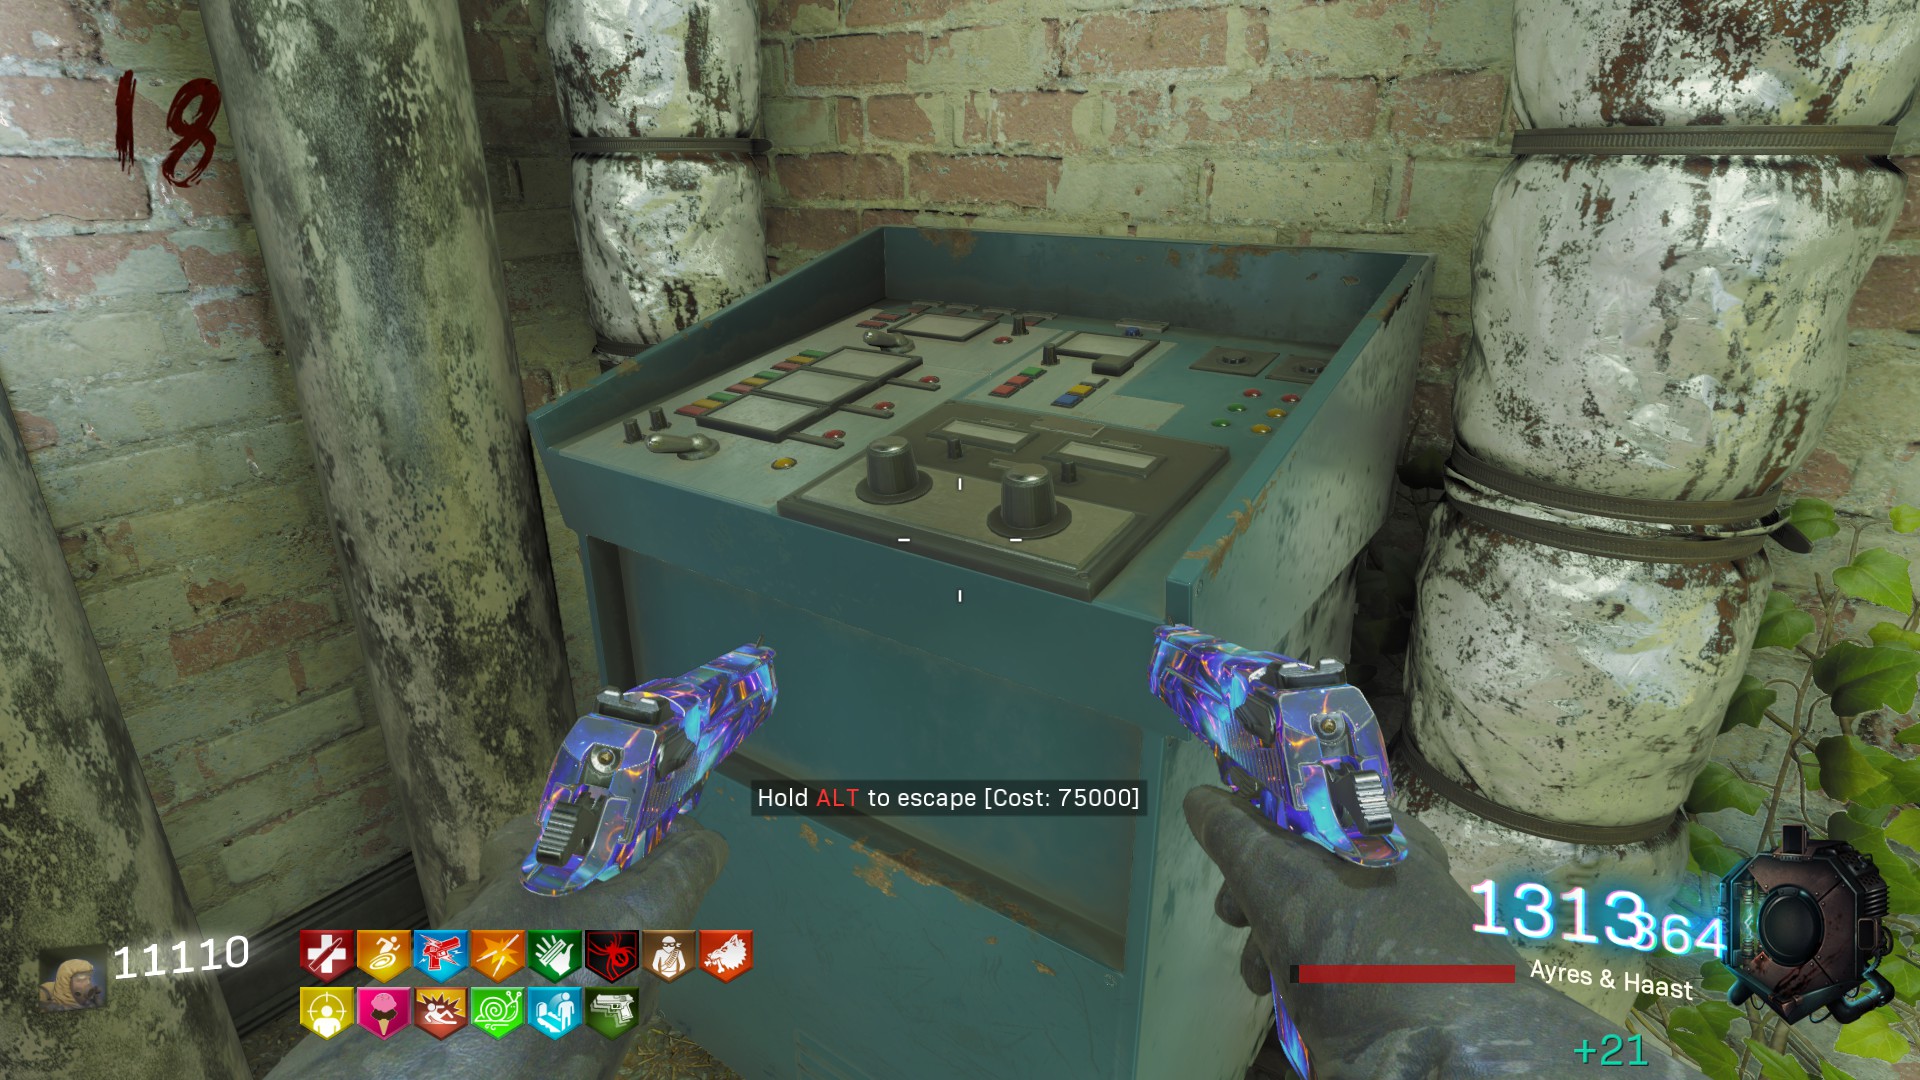
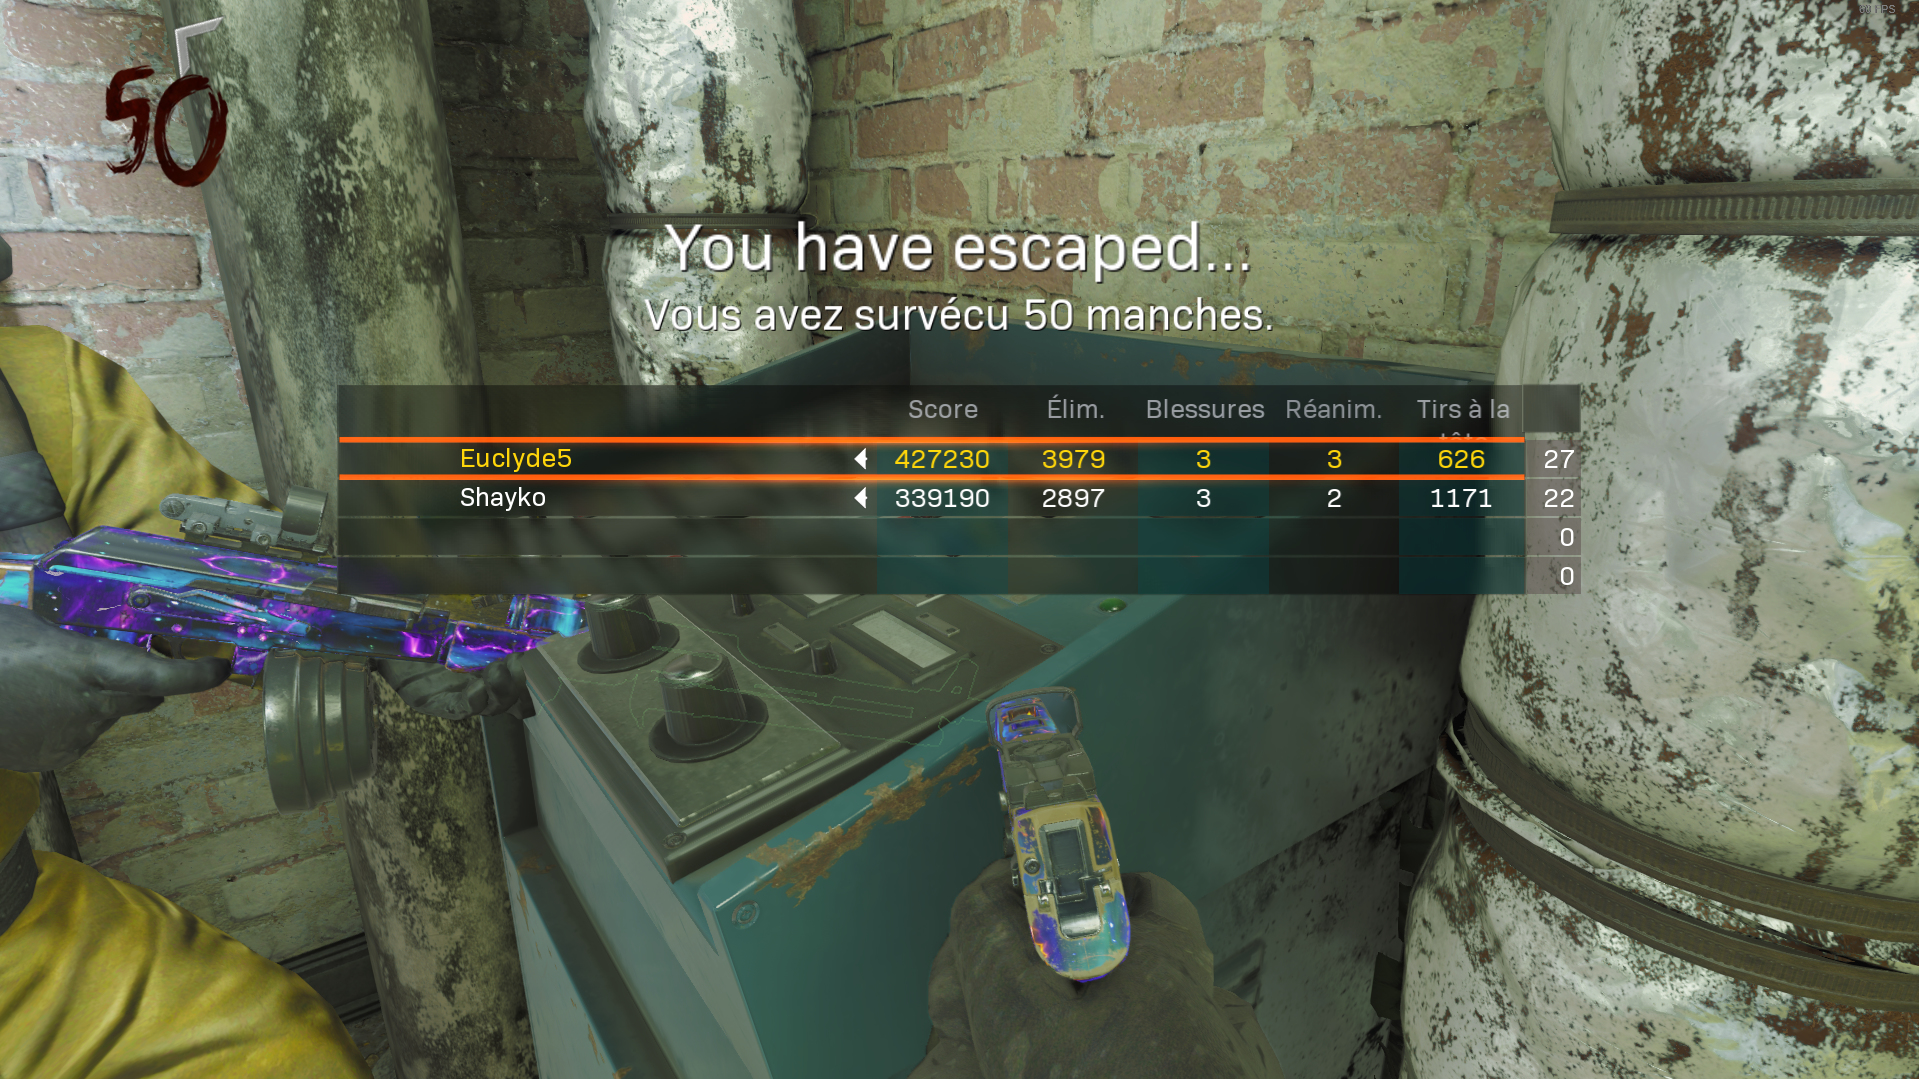
Beat Call of Duty: Black Ops III's 100% run?
Flex it — let your friends know you pulled it off.
- All Around Enhancement Mod Description And Info★ 5 (597)211k views1.2k ♥34 minUpdated Aug 10, 2023
- Black Ops 3: Console Commands★ 5 (1.1k)123k views2.4k ♥7 minUpdated Feb 13, 2020
- Origins Ultimate Guide★ 5 (562)72k views1.7k ♥17 minUpdated Jun 24, 2017
- Guide for Shadows of Evil [2020 updated]★ 5 (1.4k)67k views4.5k ♥24 minUpdated Mar 22, 2024
- Guide for Der Eisendrache [2020 updated]★ 5 (1.3k)65k views4.6k ♥30 minUpdated Feb 22, 2024
- How to download the community T7patch by Serious and play online zombies safely (also FPS Fix)★ 5 (491)62k views1.2k ♥4 minUpdated Apr 30





- Upgrading to PremiumTeam Fortress 2★ 5 (20k)1441k views11k ♥6 minUpdated May 11, 2022
- No More Room in Hell Official ManualNo More Room in Hell★ 5 (2.8k)569k views2.1k ♥29 minUpdated Apr 22, 2019
- NMRiH Community Hosting GuidesNo More Room in Hell★ 5 (526)351k views653 ♥1 minUpdated Aug 10, 2022
- Лучшие кооперативные игры SteamPAYDAY 2★ 5 (1.5k)315k views2.1k ♥56 minRussianUpdated Apr 27, 2025
- Desert Eagle Heat Treated | Blue GemCounter-Strike 2★ 5 (1.6k)292k views1.5k ♥2 minUpdated Jan 16
- Treasure Hunt Puzzle SolutionsTotal War: WARHAMMER II★ 5 (6.9k)281k views15k ♥3 minUpdated Aug 19, 2021






This guide was created by its original author on the Steam Community. Are you the author and want it removed? Request removal.