Dead High Complete Map Guide (Full Easter Egg)
General
Dead High is a school themed custom zombie map created by Green Donut . The map is linked below so you can leave positive feedback on its page. This guide contains spoilers for various features that might be fun to discover on your own, so if you are sensitive to spoilers, proceed with caution.
Download link:
https://steamcommunity.com/sharedfiles/filedetails/?id=885119667
If there is something that I have failed to cover in this guide or if any information is found to be inaccurate, please let me know in the comments below.
Since the map is still updating, I will be adding more things as the map updates are released.
Note: This guide was made based on Sassy Asi great video, I will leave the link below for more information.
https://www.youtube.com/watch?v=0ggH8FQu7F8
Download link:
https://steamcommunity.com/sharedfiles/filedetails/?id=885119667
If there is something that I have failed to cover in this guide or if any information is found to be inaccurate, please let me know in the comments below.
Since the map is still updating, I will be adding more things as the map updates are released.
Note: This guide was made based on Sassy Asi great video, I will leave the link below for more information.
https://www.youtube.com/watch?v=0ggH8FQu7F8
Turning on Power
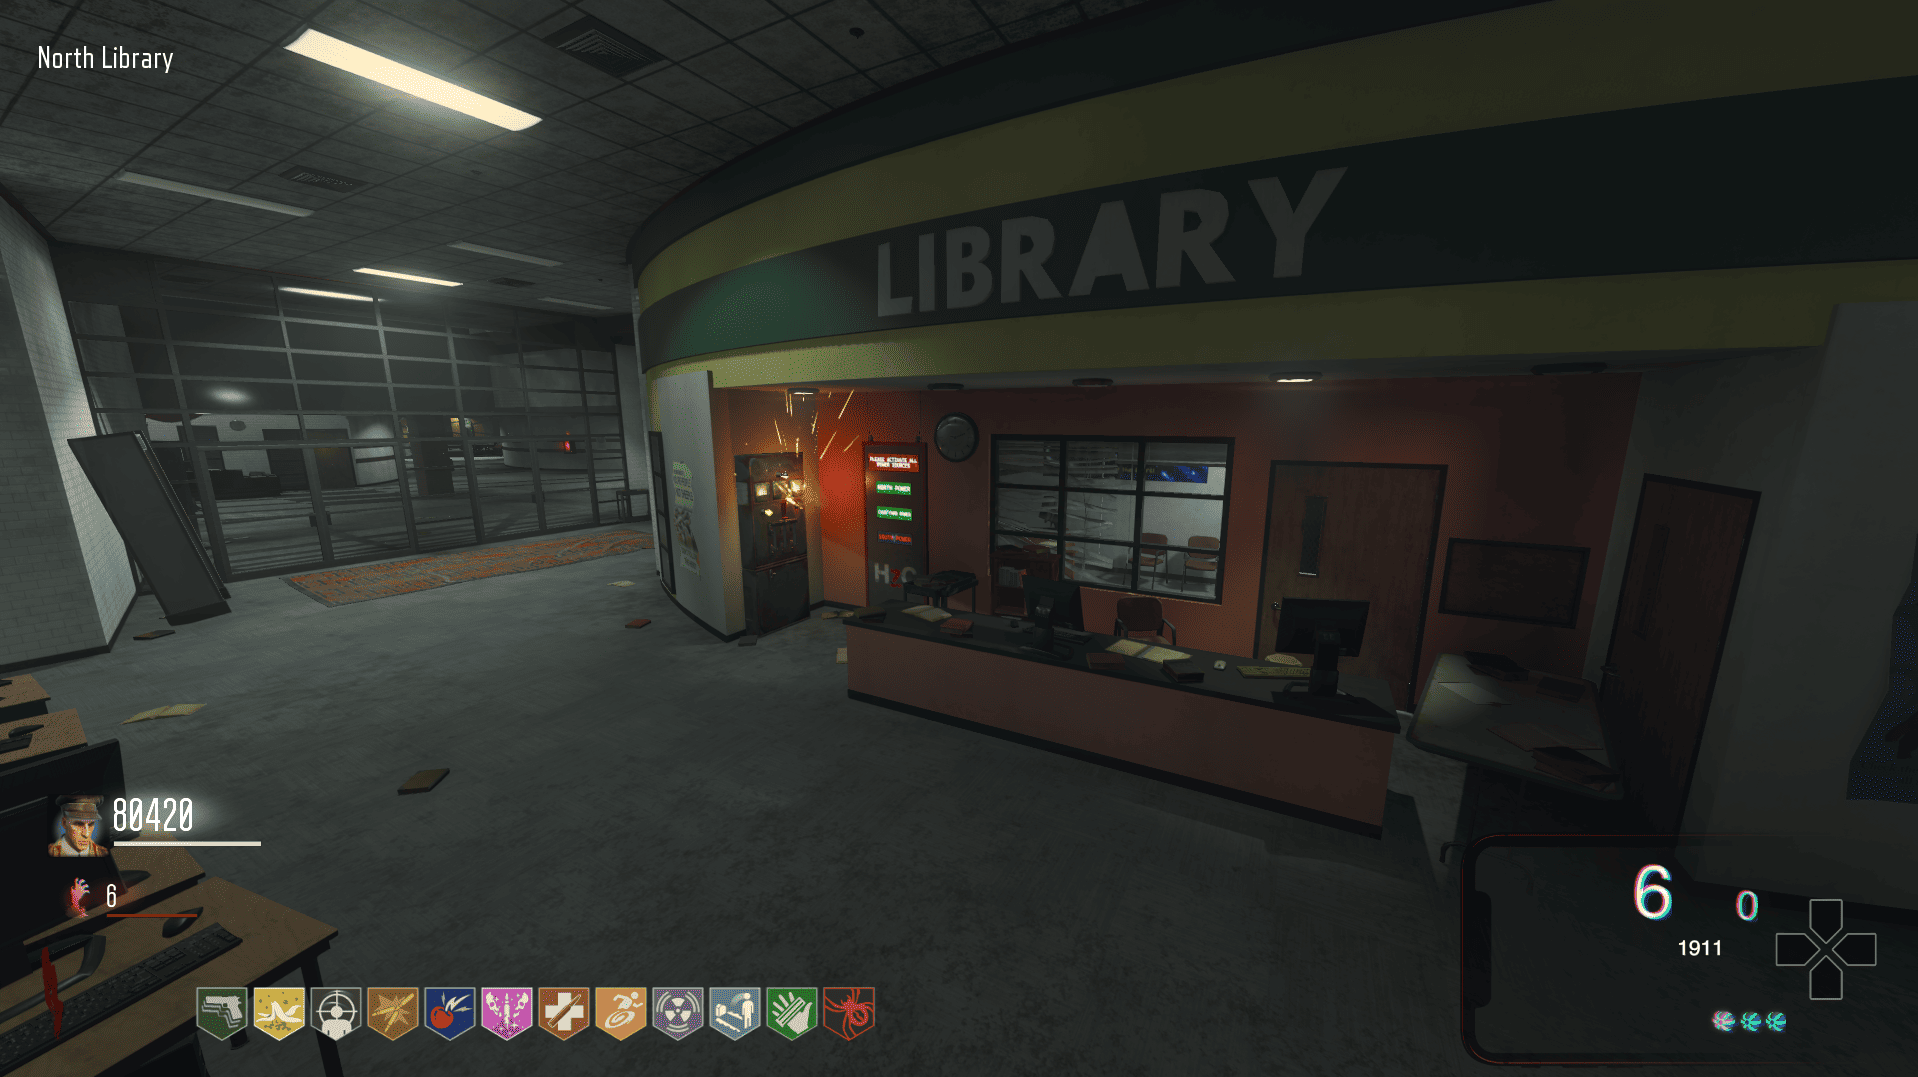
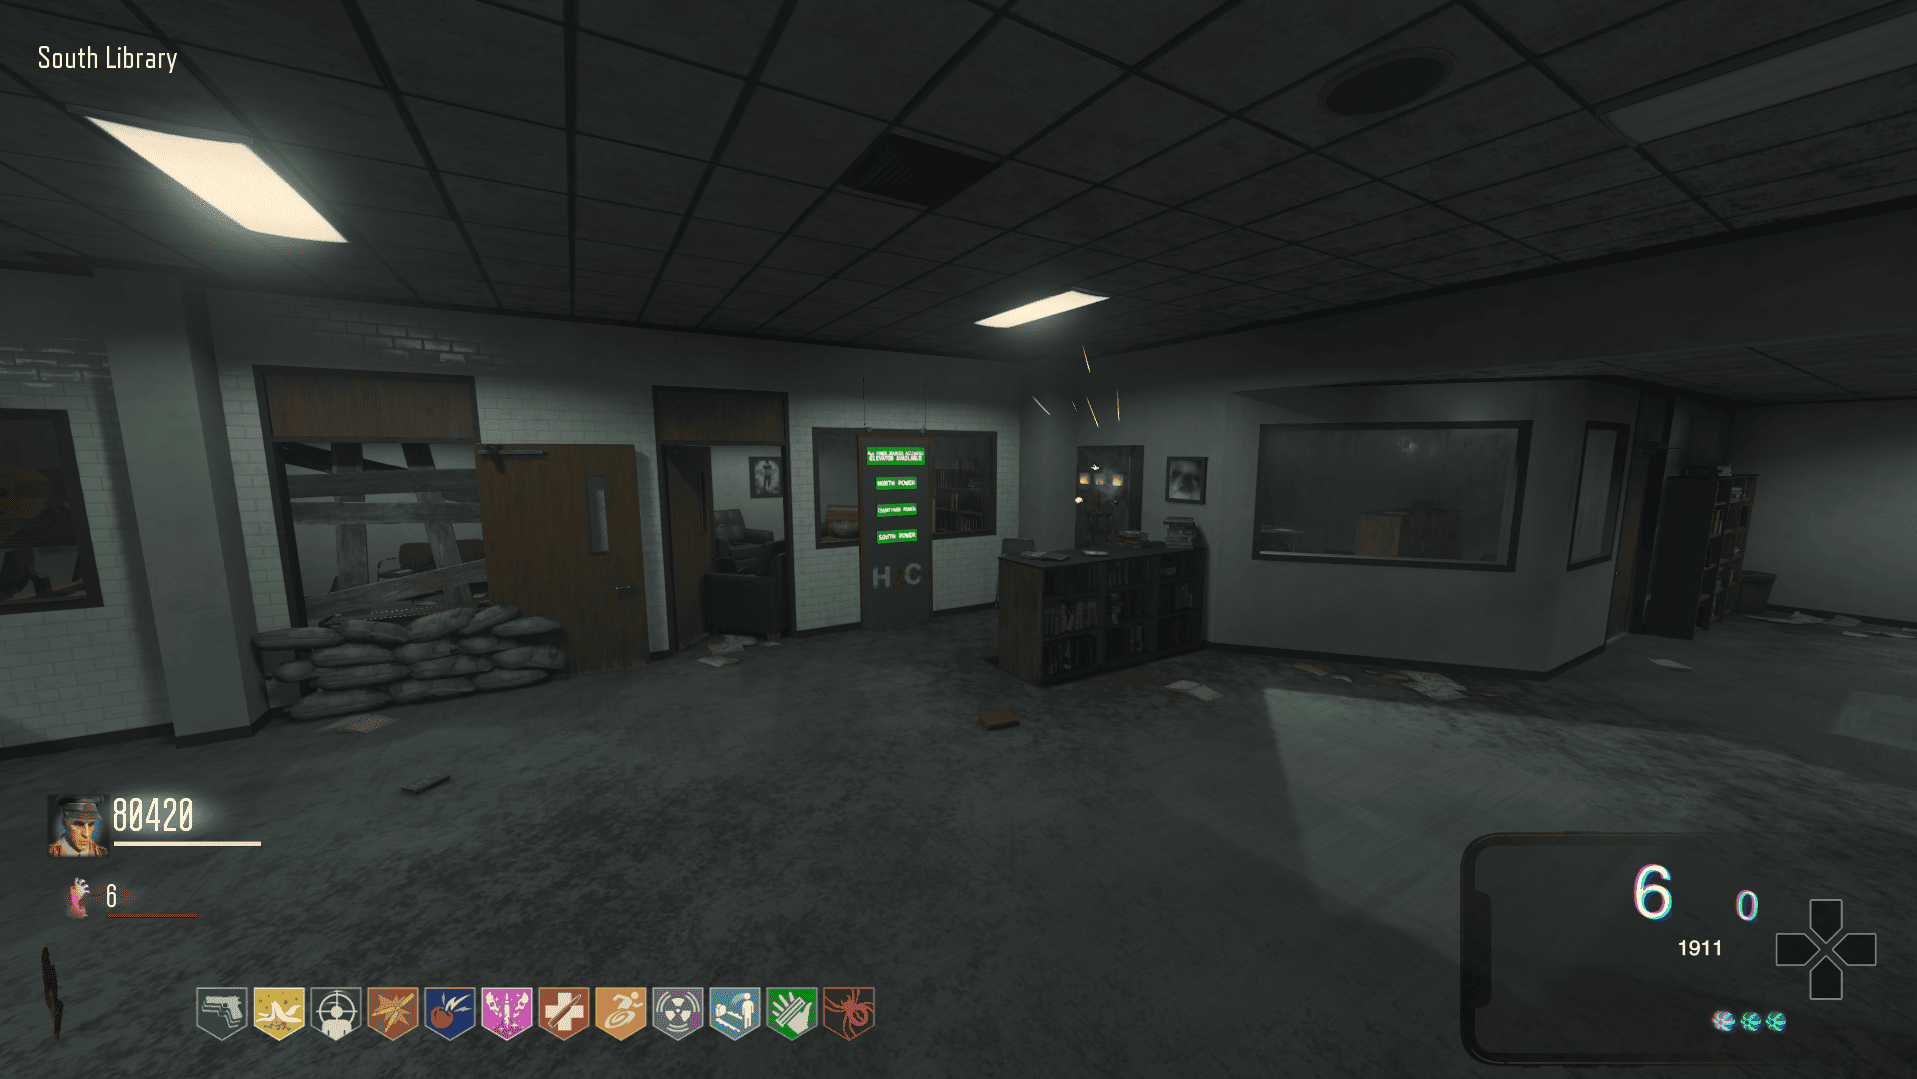
Your first time playing the map, you may struggle to find the power. The energy of this map is divided into 3 levers:
North Library
South Library
Spawn, at the gate that goes towards the fountain.
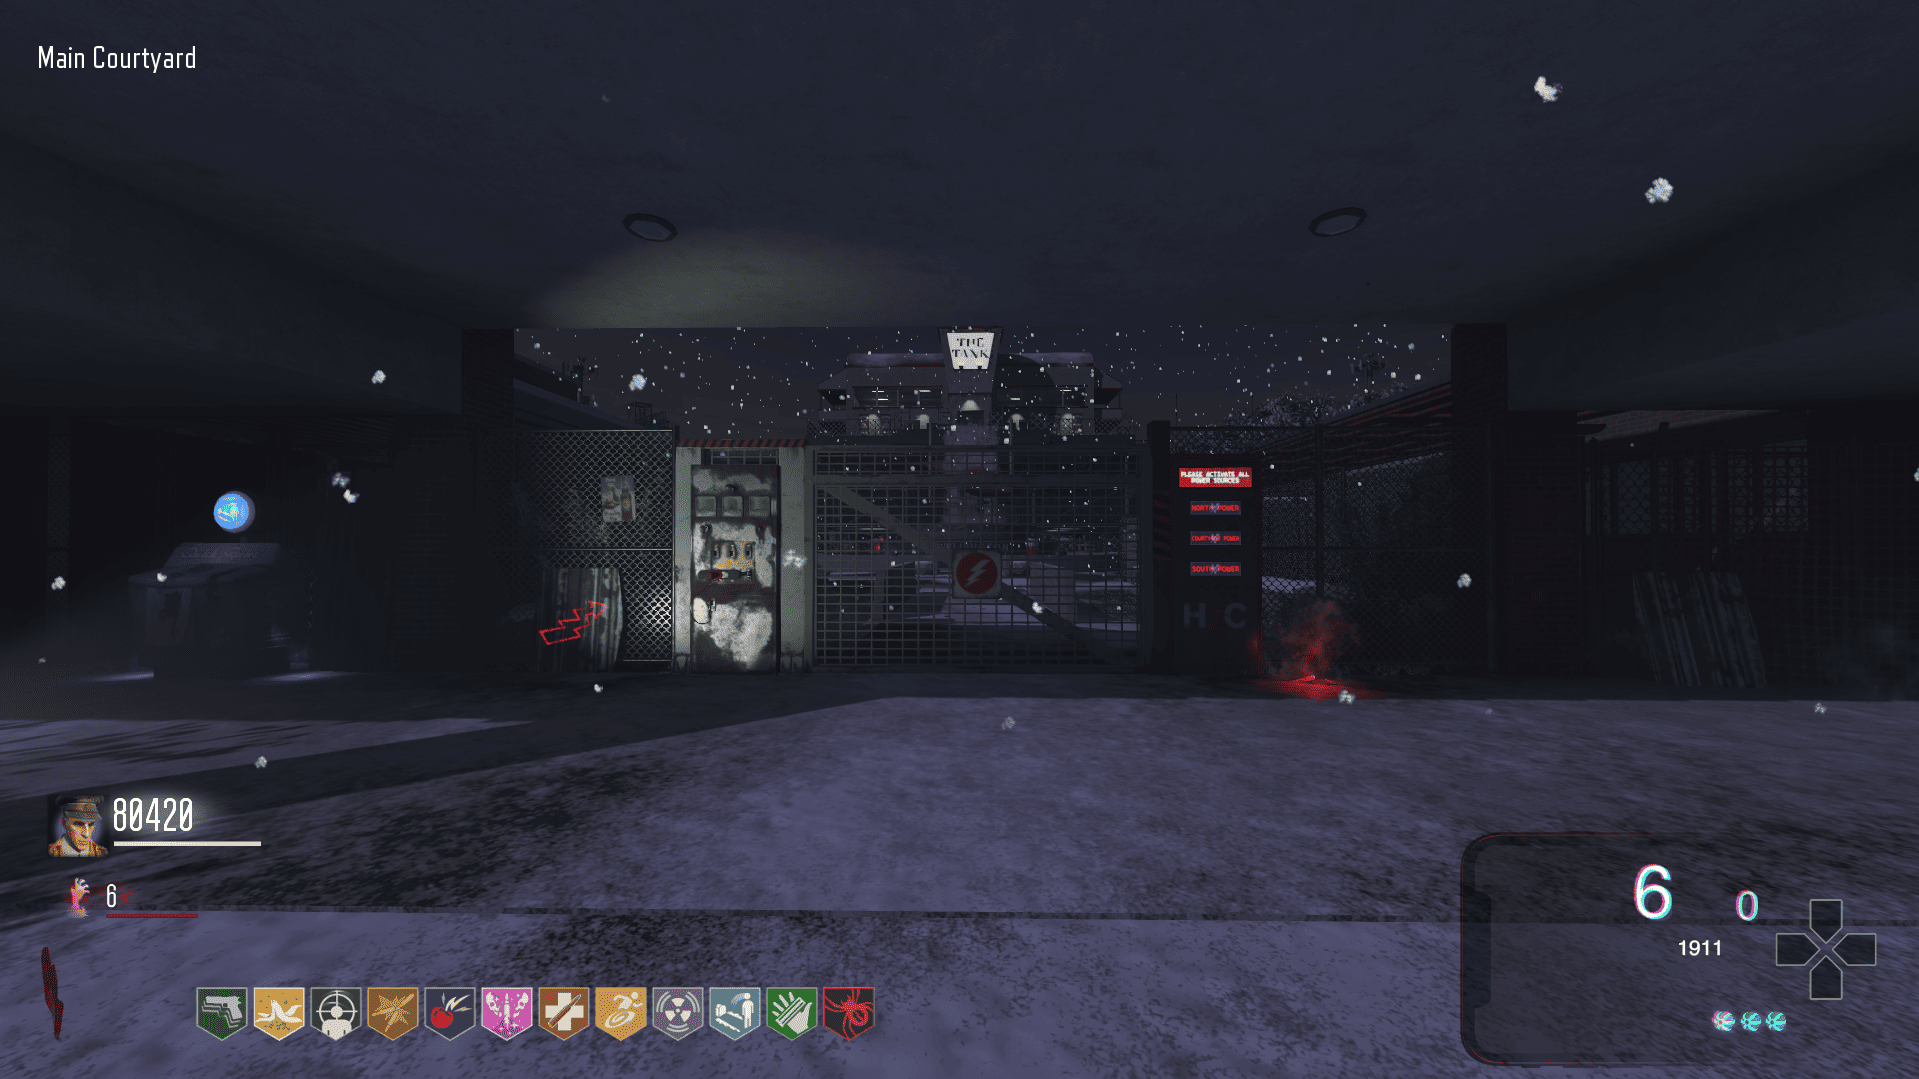
Overall, it becomes easy to turn on the power once there are red neon drawings on the walls, indicating the direction of the lever.
North Library
South Library
Spawn, at the gate that goes towards the fountain.
Overall, it becomes easy to turn on the power once there are red neon drawings on the walls, indicating the direction of the lever.
Main Quest
For the main easter egg, it is necessary to build the map's wonderweapon, called the HZC Protobuffer.
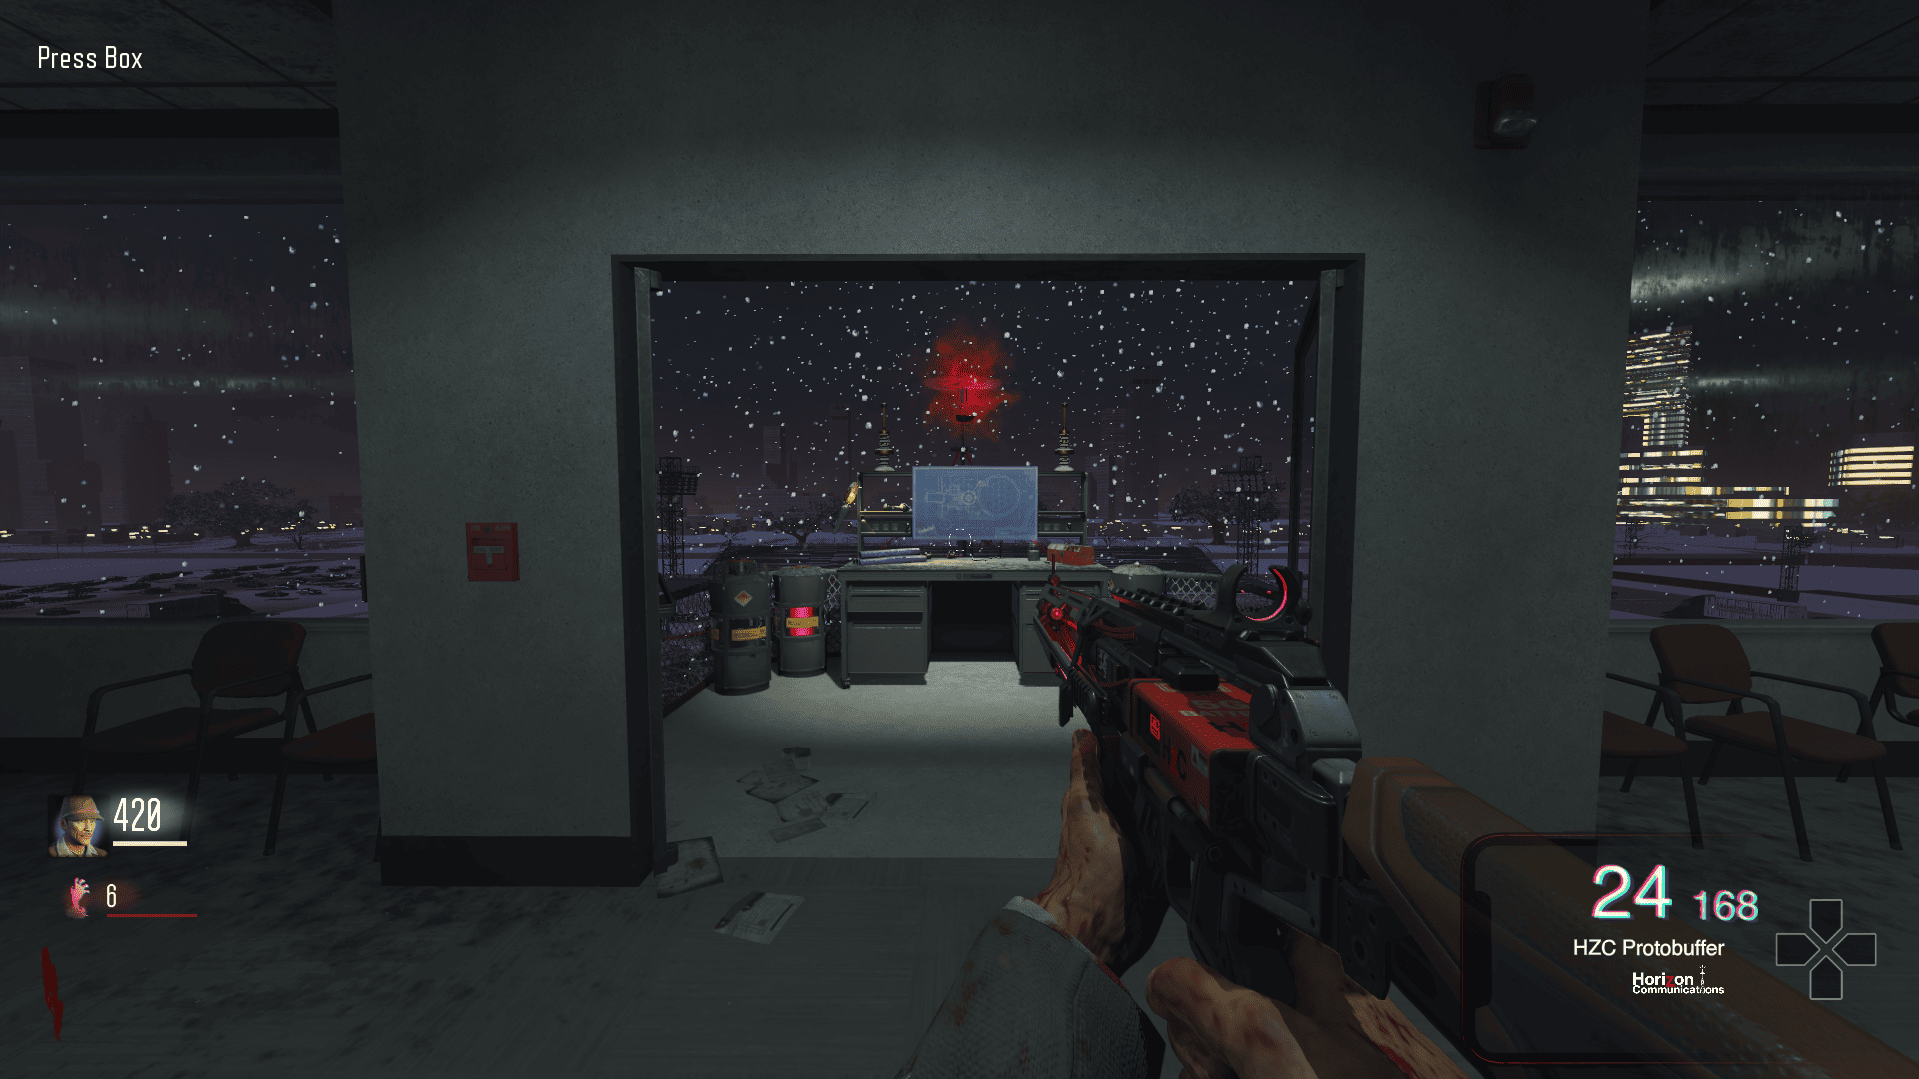
After activating all the power levers, return to the first lever near the spawn. The gate will be opened, giving access to a fountain and an elevator. Upon entering this elevator, you will be taken to a room where there will be a mini "cutscene" on the television. On the table below the TV, there will be an item called "Protobuffer Keycard".
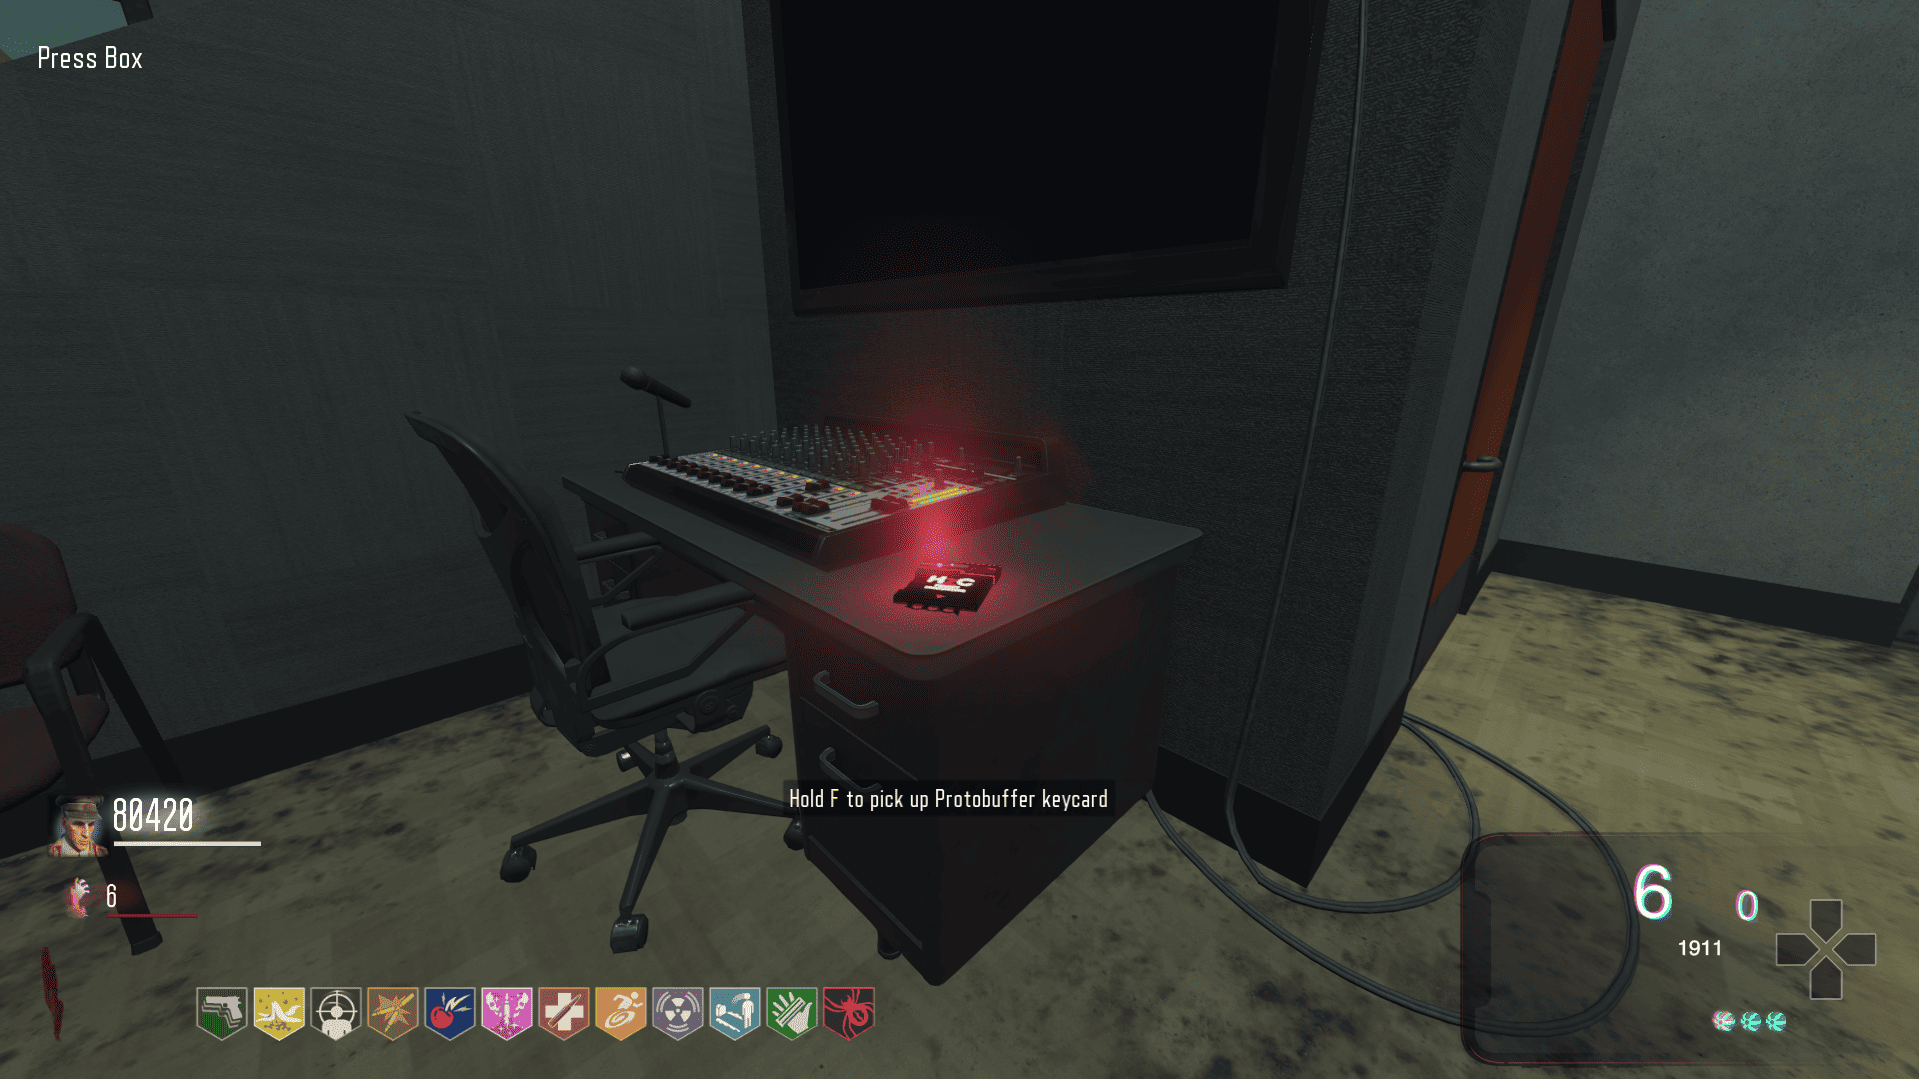
In the next steps, I will be teaching how to make the variants of the Protobuffer, which are super necessary for the boss fight.
After activating all the power levers, return to the first lever near the spawn. The gate will be opened, giving access to a fountain and an elevator. Upon entering this elevator, you will be taken to a room where there will be a mini "cutscene" on the television. On the table below the TV, there will be an item called "Protobuffer Keycard".
In the next steps, I will be teaching how to make the variants of the Protobuffer, which are super necessary for the boss fight.
RHO Variant
Skill:
By holding the left button and shooting, a 5G vortex will appear, which slows down enemies and explodes after a short time.
After finishing the construction of the Protobuffer, there will be some boxes scattered around the map.
When you find the box, shoot the top of it to release the canister and start the quest of this variant.
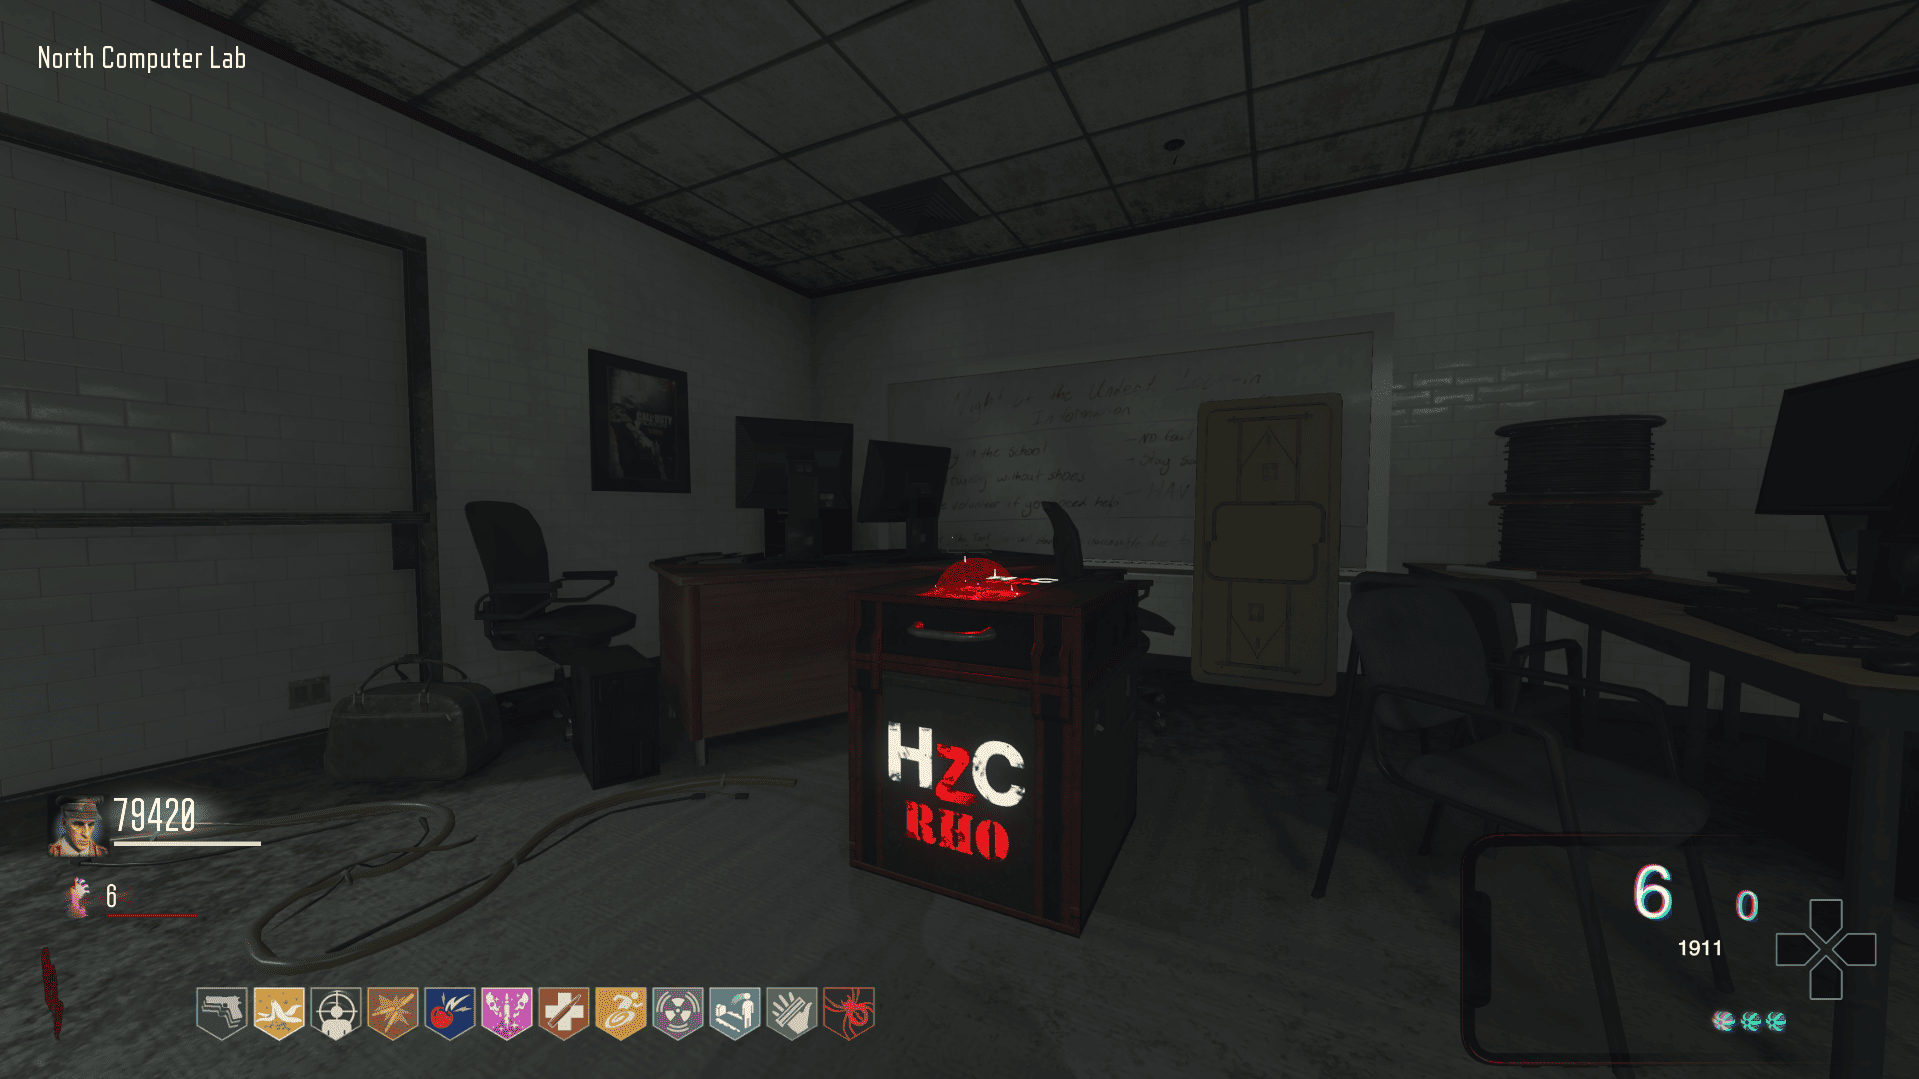
After picking up the RHO canister, there will be some 'towers' glowing red on the map. In total, there are 3 towers, which will be in the following locations:
Spawn
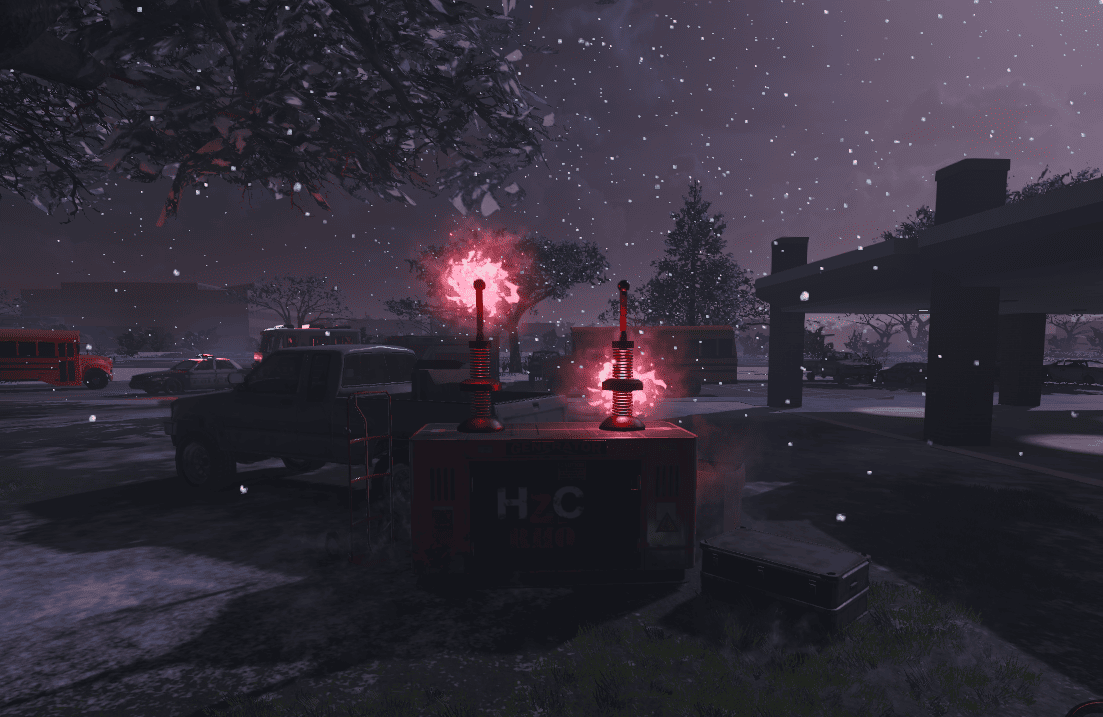
North Cafeteria
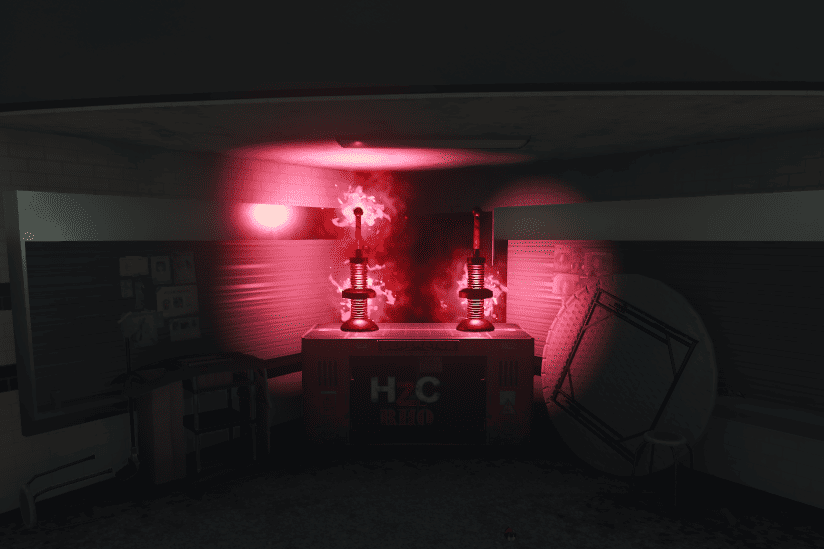
South Cafeteria
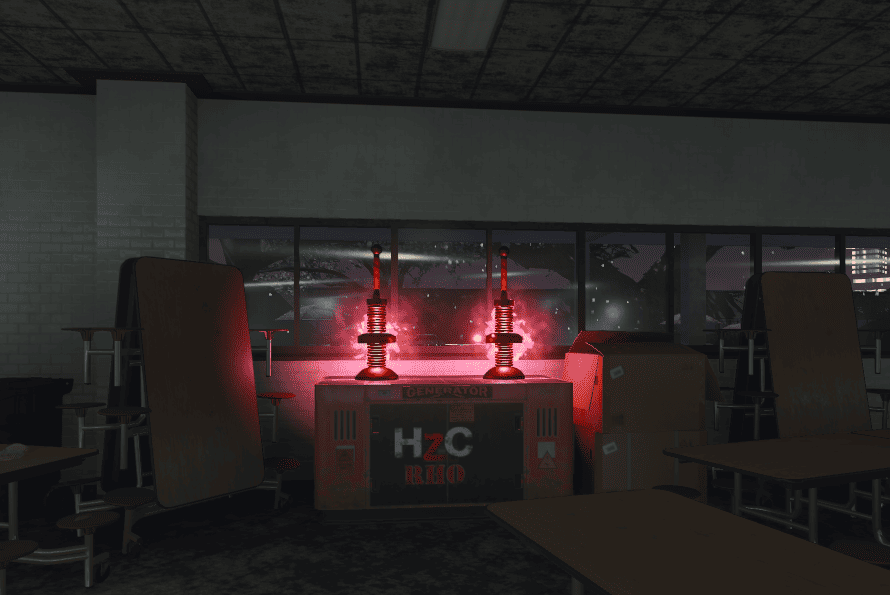
It will be necessary to memorize their lighting pattern, as there will be a table in North Band Hall where you can interact to make the lighting the same pattern.
When aligning the first tower on the table, return to the tower's location and shoot the red orb. When you shoot, a red circle will appear, where you will need to kill zombies inside it.
Once finished, the circle disappears and you can proceed to the next tower. This will be done three times in total.
After that, return to the large fountain near the spawn, there will be the primed canister.
To finish crafting this variant, go to the South Lunch Area, where there will be a container where the canister will be placed.
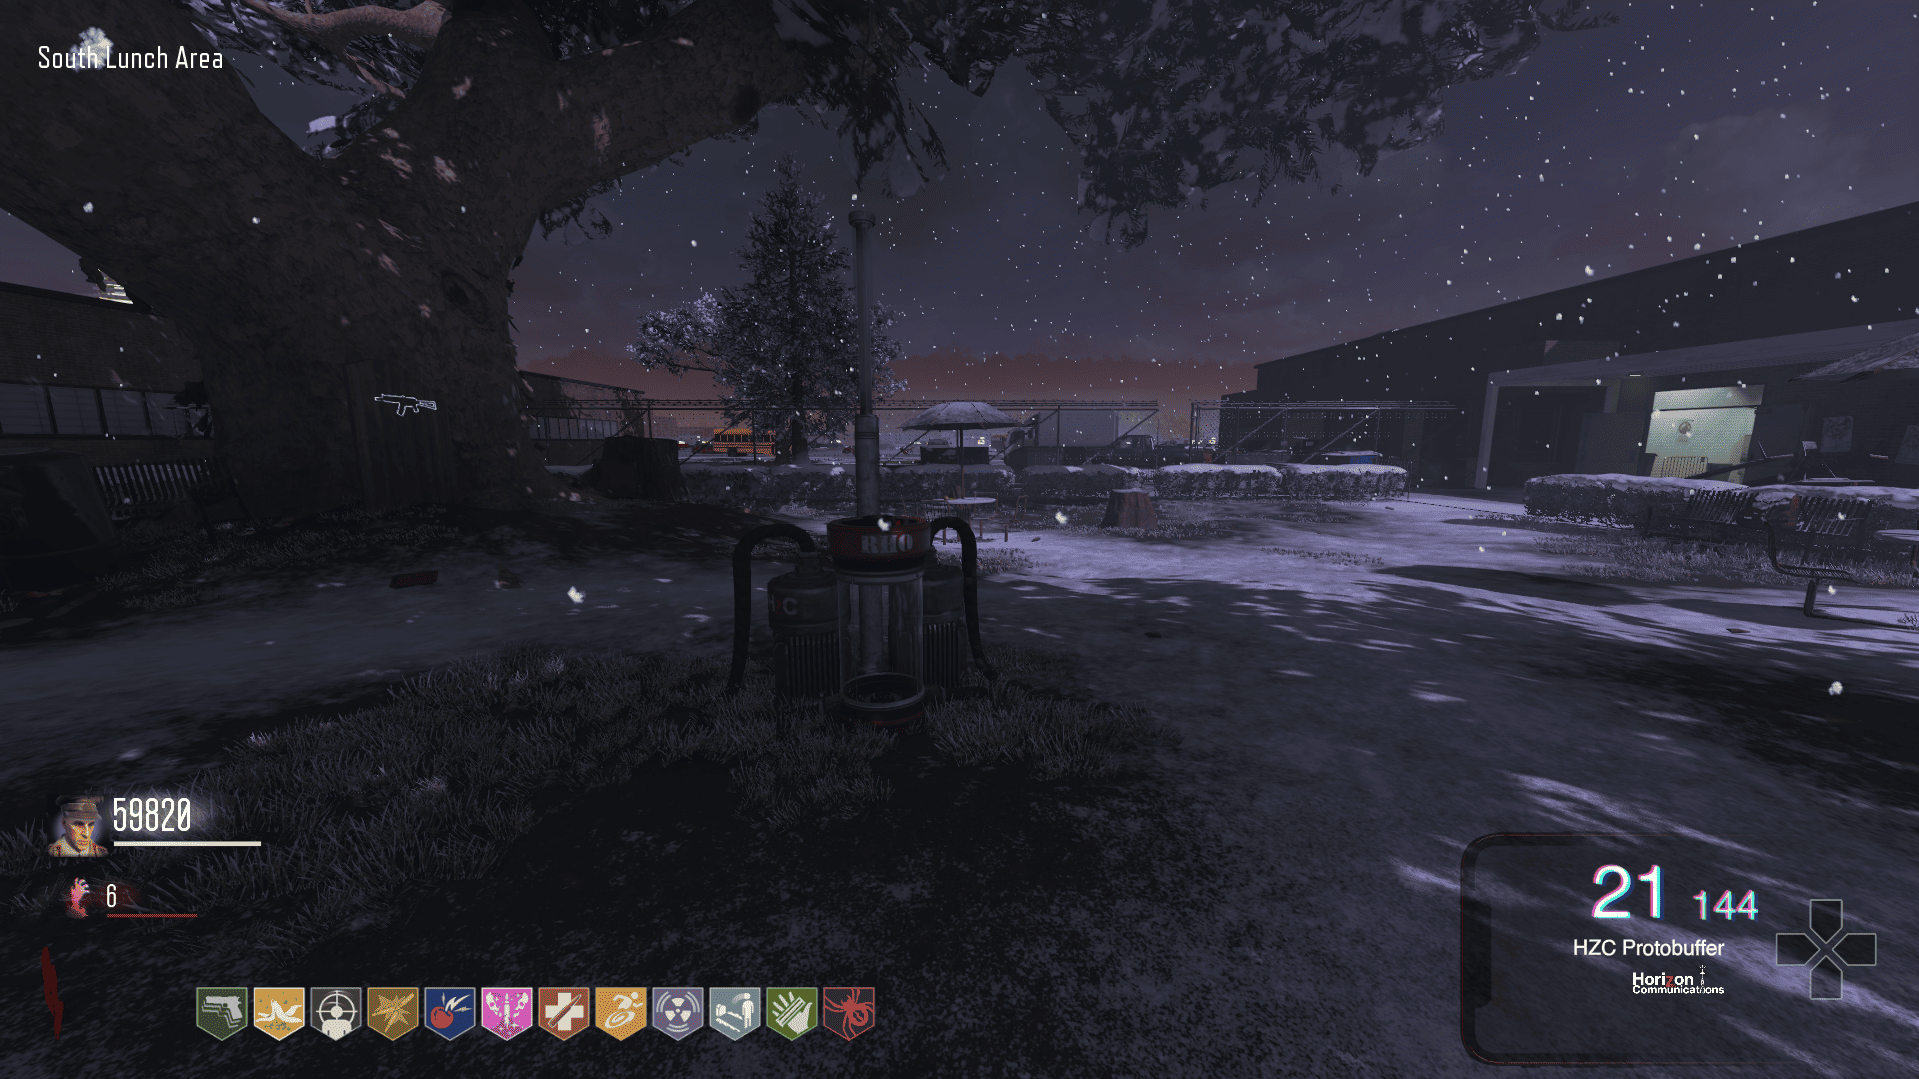
Then, it will be necessary to kill some zombies around the container until it fills. Once full, the variant is complete.
By holding the left button and shooting, a 5G vortex will appear, which slows down enemies and explodes after a short time.
After finishing the construction of the Protobuffer, there will be some boxes scattered around the map.
When you find the box, shoot the top of it to release the canister and start the quest of this variant.
After picking up the RHO canister, there will be some 'towers' glowing red on the map. In total, there are 3 towers, which will be in the following locations:
Spawn
North Cafeteria
South Cafeteria
It will be necessary to memorize their lighting pattern, as there will be a table in North Band Hall where you can interact to make the lighting the same pattern.
When aligning the first tower on the table, return to the tower's location and shoot the red orb. When you shoot, a red circle will appear, where you will need to kill zombies inside it.
Once finished, the circle disappears and you can proceed to the next tower. This will be done three times in total.
After that, return to the large fountain near the spawn, there will be the primed canister.
To finish crafting this variant, go to the South Lunch Area, where there will be a container where the canister will be placed.
Then, it will be necessary to kill some zombies around the container until it fills. Once full, the variant is complete.
TAU Variant
Skill:
By holding the left button and shooting, a 5G eletric ball will appear, slowing enemies and dealing massive damage over time.
When you find the box, in South Upper Commons, shoot the top of it to release the canister and start the quest of this variant.
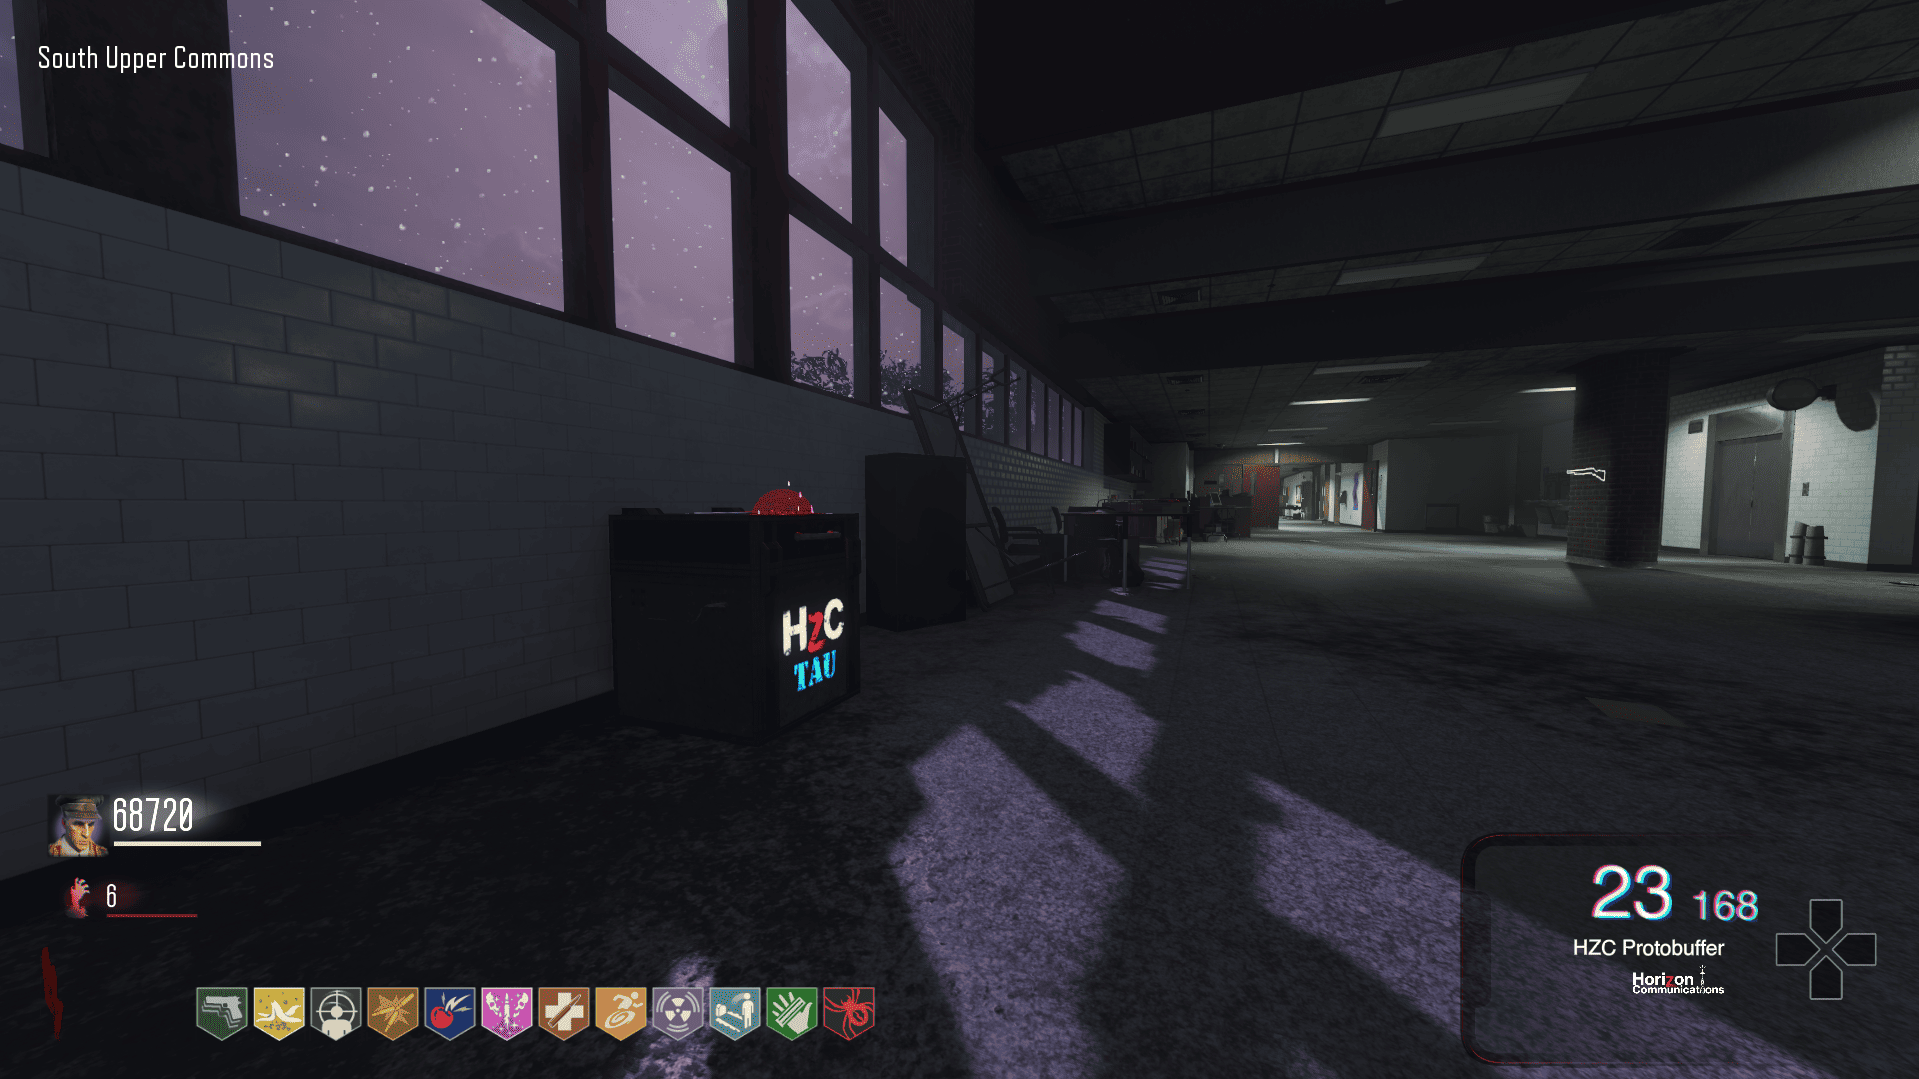
After picking up the TAU canister, there will be some fuse boxes scattered across the map, with a blue light on the top part.
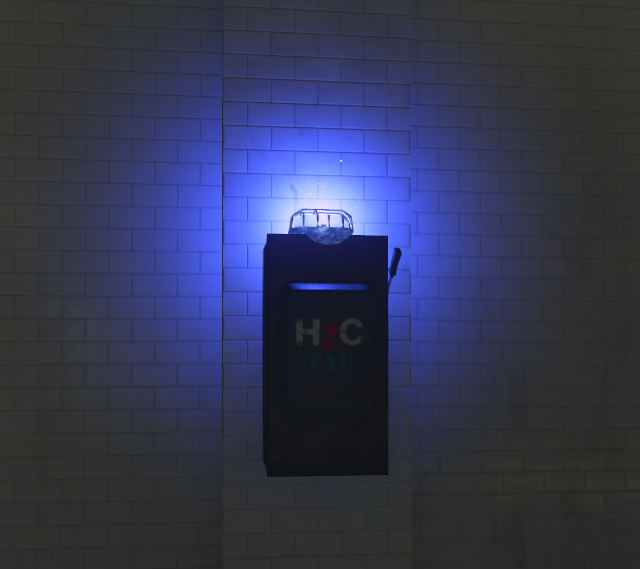
In total, there are 4 fuse boxes, which will be in the following locations:
Upon finding a fuse box, shoot the illuminated blue ball on the top. It will blink a number of times, memorize this number and return to the TAU table, which is in South Library Yard, near the Perk Banana Colada.
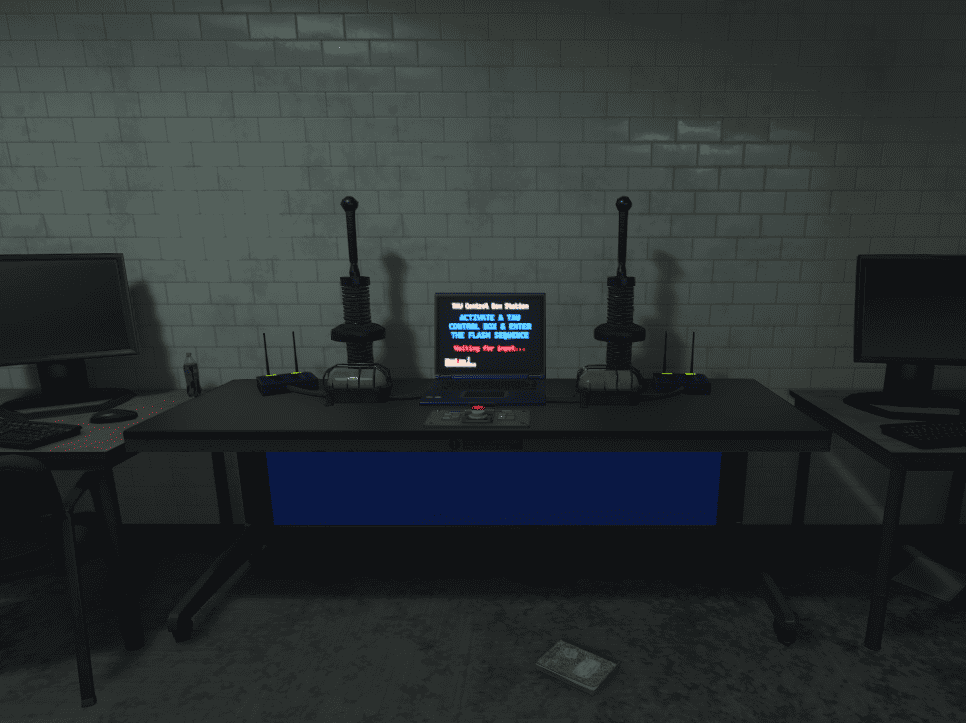
At the table, blink the same number of times you memorized. If correct, it will display a green message on the screen. Return to the fuse box and it will be glowing; shoot it to release a glowing blue circle on the ground, where you will need to kill zombies.
Once finished, the fuse box will close and you can proceed to the next. This will be done four times in total.
After that, return to the large fountain near the spawn, there will be the primed canister.
To finish crafting this variant, go to the North Cafeteria, where there will be a container where the canister will be placed.
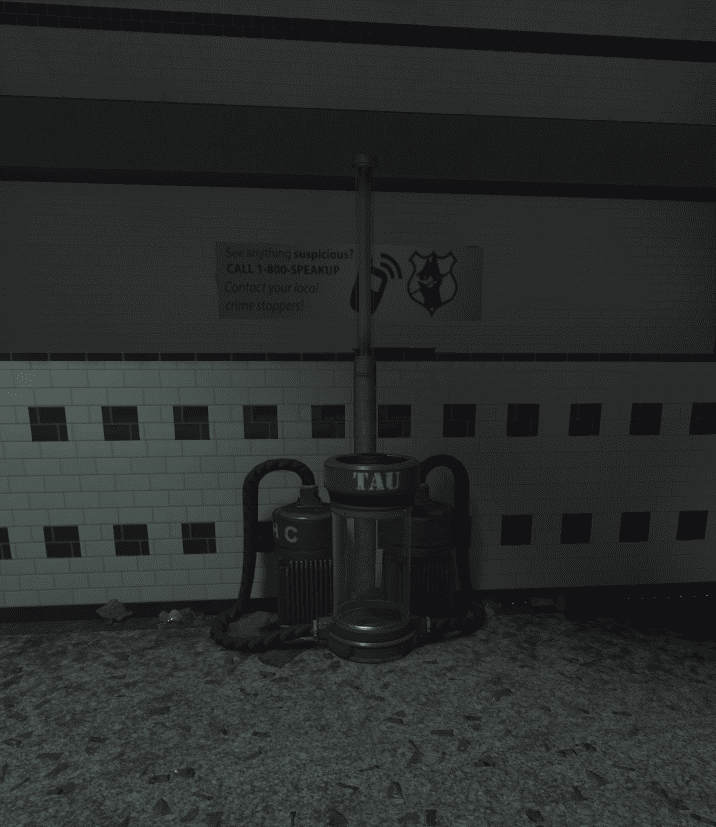
Then, it will be necessary to kill some zombies around the container until it fills. Once full, the variant is complete.
By holding the left button and shooting, a 5G eletric ball will appear, slowing enemies and dealing massive damage over time.
When you find the box, in South Upper Commons, shoot the top of it to release the canister and start the quest of this variant.
After picking up the TAU canister, there will be some fuse boxes scattered across the map, with a blue light on the top part.
In total, there are 4 fuse boxes, which will be in the following locations:
- North Entrance
- North Gym
- South Gym
- South Entryway
Upon finding a fuse box, shoot the illuminated blue ball on the top. It will blink a number of times, memorize this number and return to the TAU table, which is in South Library Yard, near the Perk Banana Colada.
At the table, blink the same number of times you memorized. If correct, it will display a green message on the screen. Return to the fuse box and it will be glowing; shoot it to release a glowing blue circle on the ground, where you will need to kill zombies.
Once finished, the fuse box will close and you can proceed to the next. This will be done four times in total.
After that, return to the large fountain near the spawn, there will be the primed canister.
To finish crafting this variant, go to the North Cafeteria, where there will be a container where the canister will be placed.
Then, it will be necessary to kill some zombies around the container until it fills. Once full, the variant is complete.
CHI Variant
Skill:
By holding the left button and shooting, a 5G healing aura will appear, rapidly regenerating health and shields for any players.
It also revives downed players inside the aura, keeping all of their perks.
When you find the box, in North Choir Room, shoot the top of it to release the canister and start the quest of this variant.
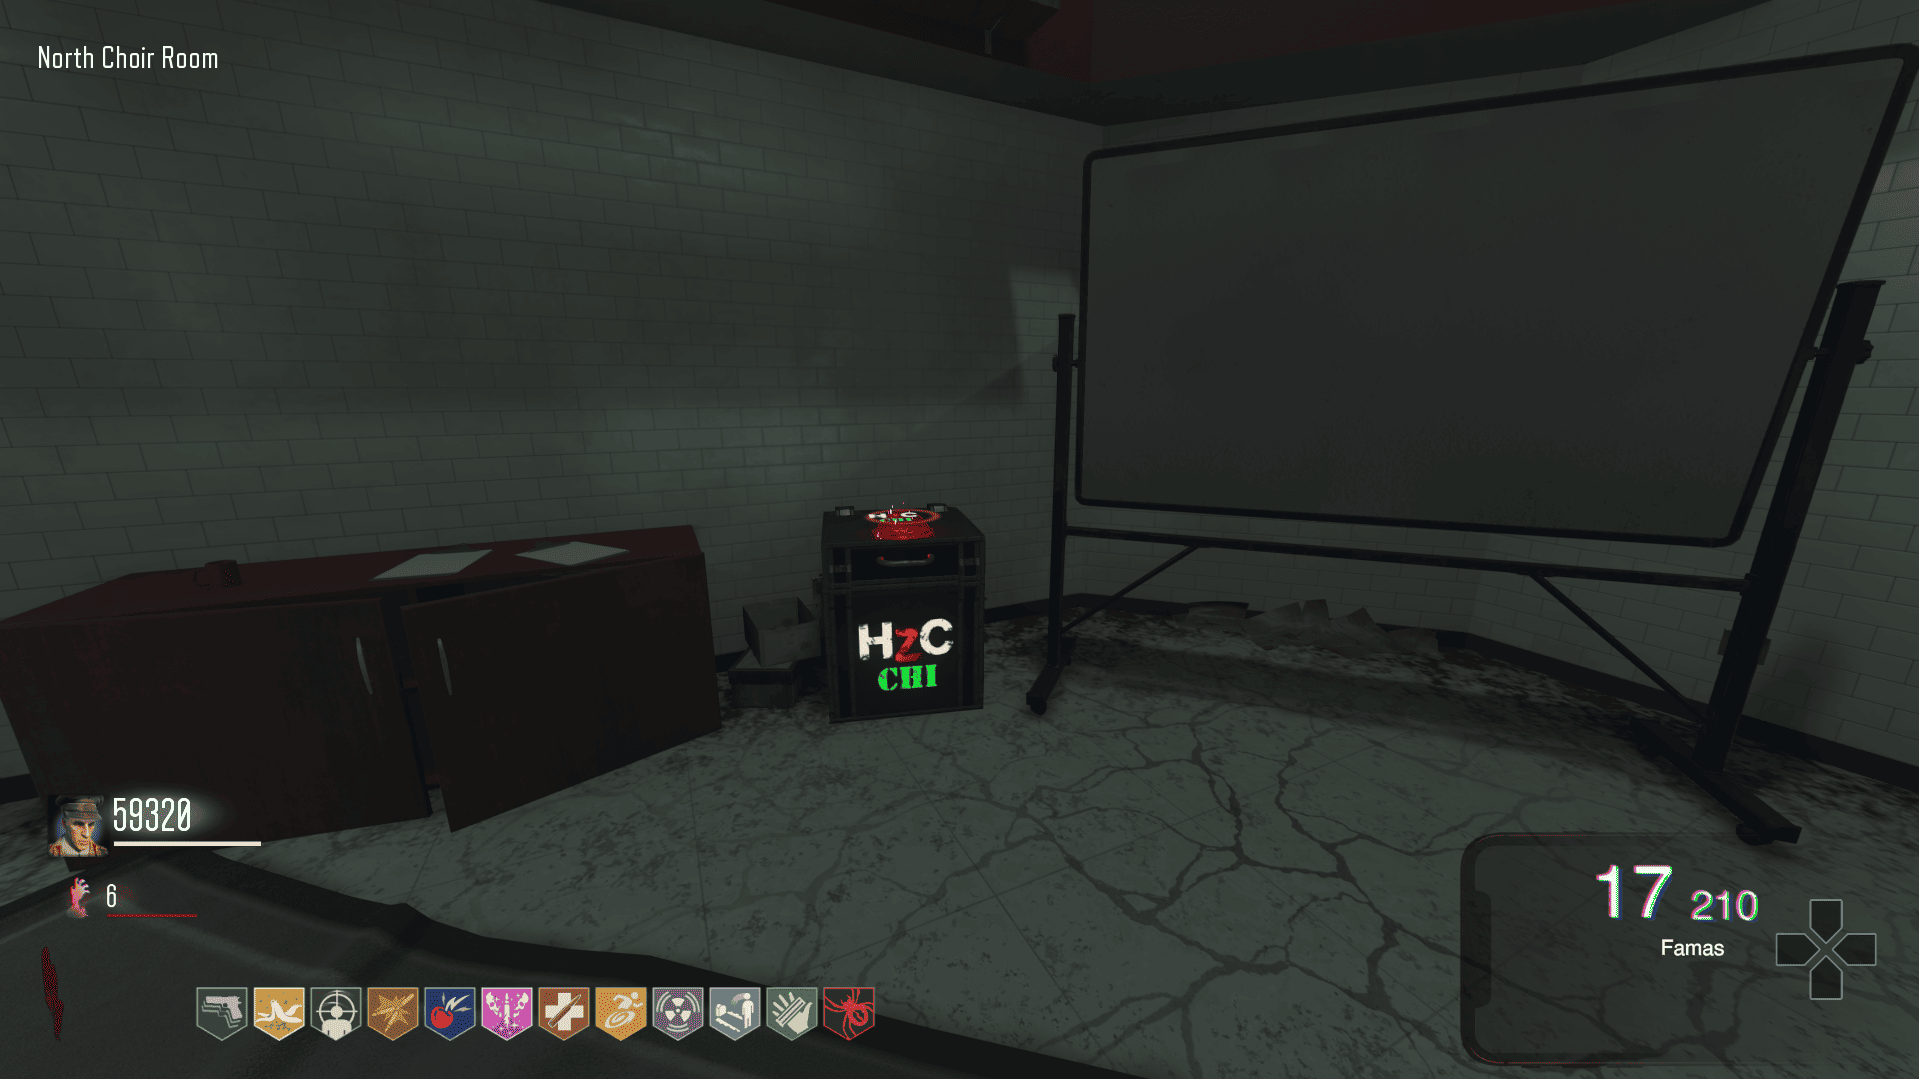
After picking up the CHI canister, there will be some first aid boxes scattered across the map, with a green light icon.
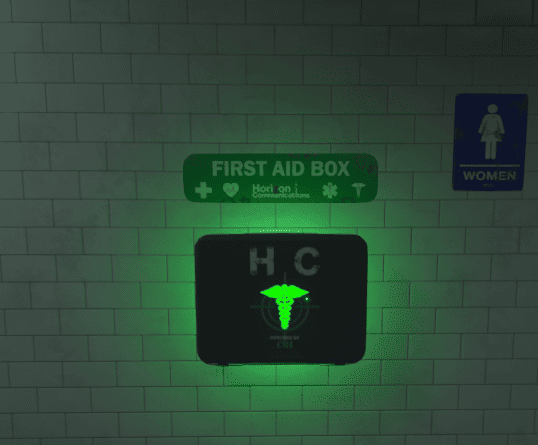
In total, there are 4 first aid boxes, which will be in the following locations:
Each first aid box will have a specific symbol glowing in green, like a heart, a cross, the medical symbol, etc. For each box, there will be a green floating orb with the same symbol across the map (random location).
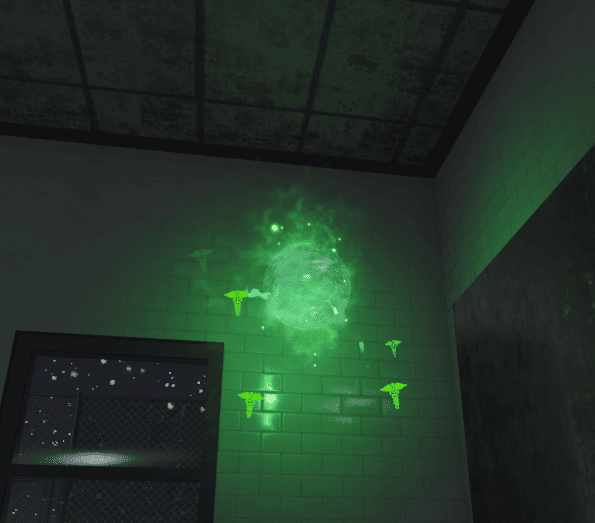
By shooting the first aid box, you become surrounded by the aura of that box. To complete it, you need to find the orb corresponding to that box and shoot.
Important: There is a time limit to make the box/orb connection, so I recommend first locating each one and memorizing it. Using the telepeds helps a lot.
After that, return to the large fountain near the spawn, there will be the primed canister.
To finish crafting this variant, go to the South Band Hall, where there will be a container where the canister will be placed.
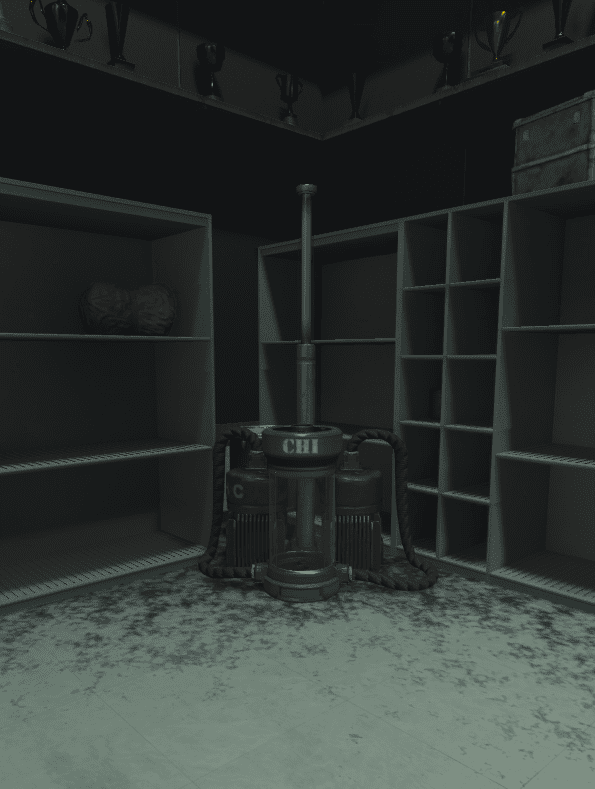
Then, it will be necessary to kill some zombies around the container until it fills. Once full, the variant is complete.
By holding the left button and shooting, a 5G healing aura will appear, rapidly regenerating health and shields for any players.
It also revives downed players inside the aura, keeping all of their perks.
When you find the box, in North Choir Room, shoot the top of it to release the canister and start the quest of this variant.
After picking up the CHI canister, there will be some first aid boxes scattered across the map, with a green light icon.
In total, there are 4 first aid boxes, which will be in the following locations:
- South Hallway Staircase
- North Lower Hallways
- North Lobby
- South Commons
Each first aid box will have a specific symbol glowing in green, like a heart, a cross, the medical symbol, etc. For each box, there will be a green floating orb with the same symbol across the map (random location).
By shooting the first aid box, you become surrounded by the aura of that box. To complete it, you need to find the orb corresponding to that box and shoot.
Important: There is a time limit to make the box/orb connection, so I recommend first locating each one and memorizing it. Using the telepeds helps a lot.
After that, return to the large fountain near the spawn, there will be the primed canister.
To finish crafting this variant, go to the South Band Hall, where there will be a container where the canister will be placed.
Then, it will be necessary to kill some zombies around the container until it fills. Once full, the variant is complete.
PSI Variant
Skill:
By holding the left button, a pair of purple 5G portals will be created, which teleports and increases the speed of any player who passes through it.
Shoot your own foot to leave your current location.
When you find the box, in South Dance Room, shoot the top of it to release the canister and start the quest of this variant.
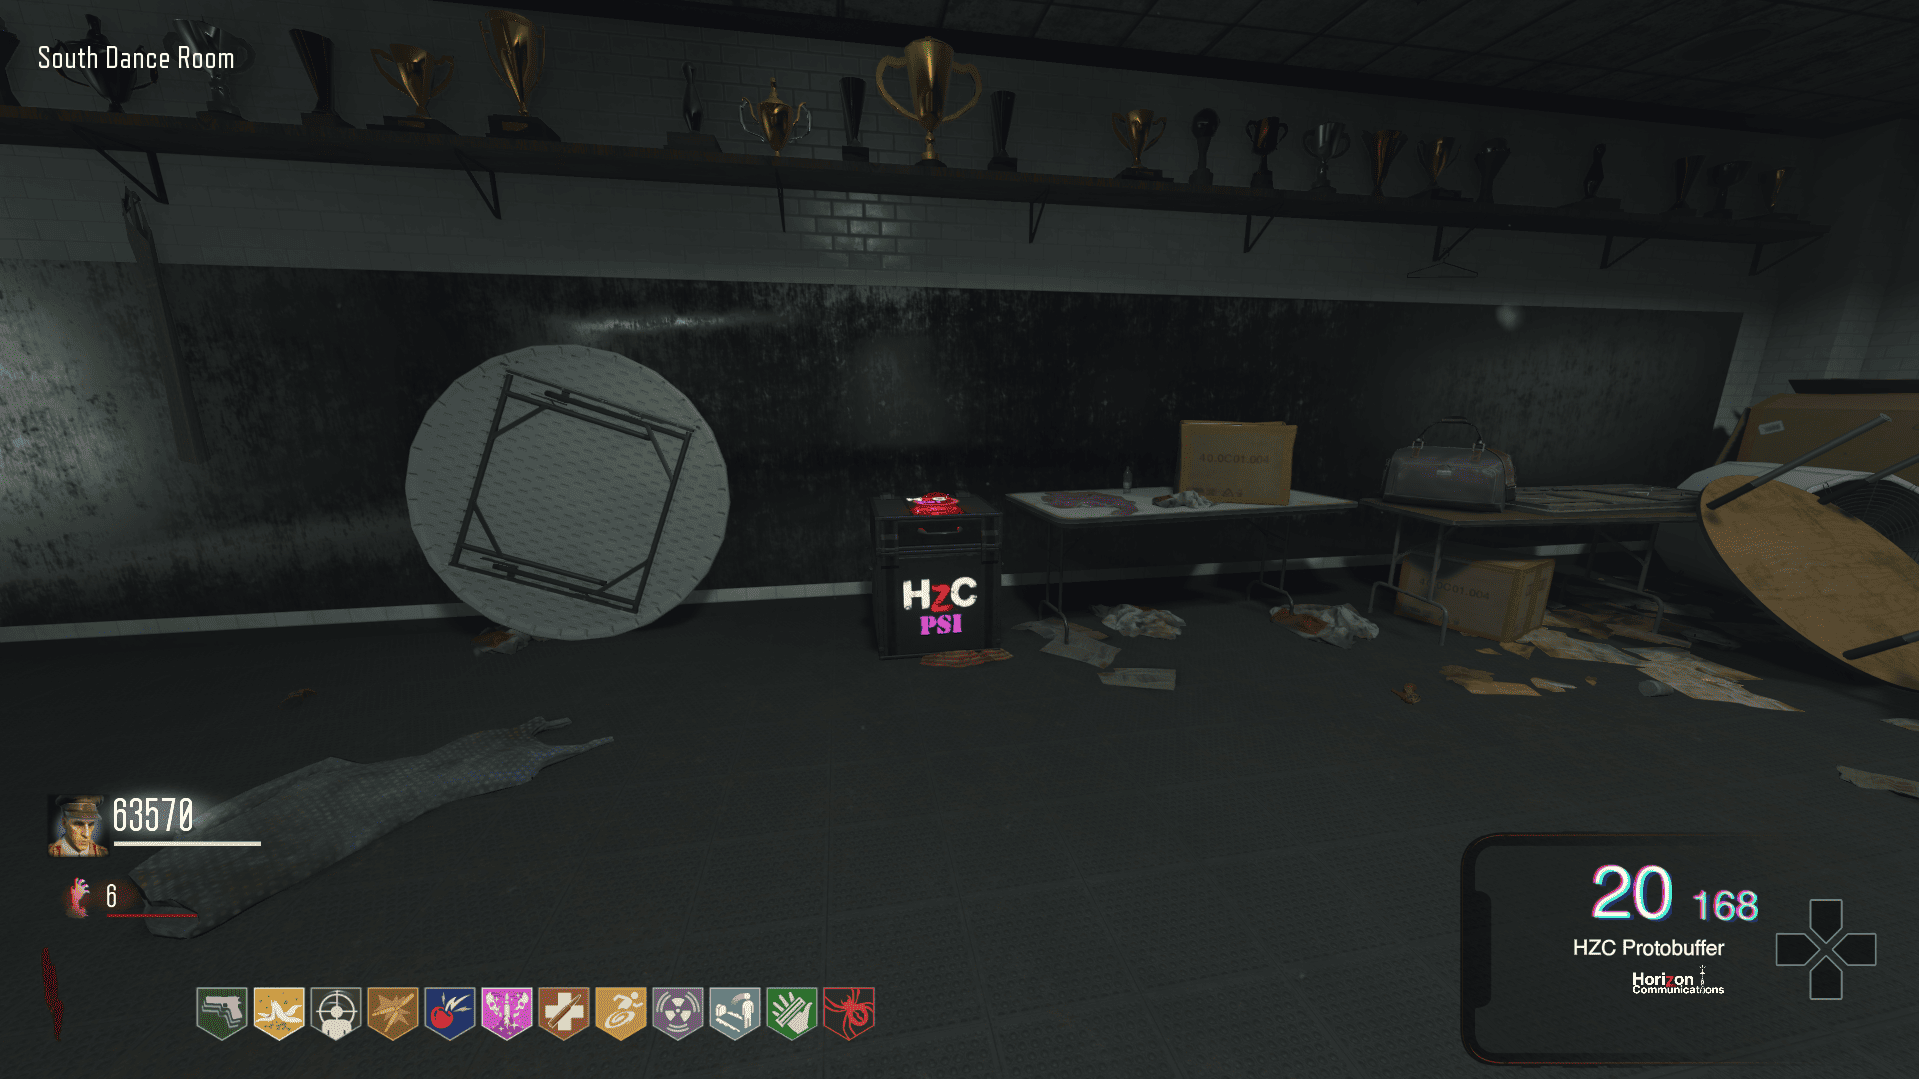
After picking the PSI canister, go to all the teleporters on the map; at each teleporter, there will be 4 antennas. One of them will have a stronger purple aura, with more particles, shoot only that highlighted antenna. Do this at all the teleporters.
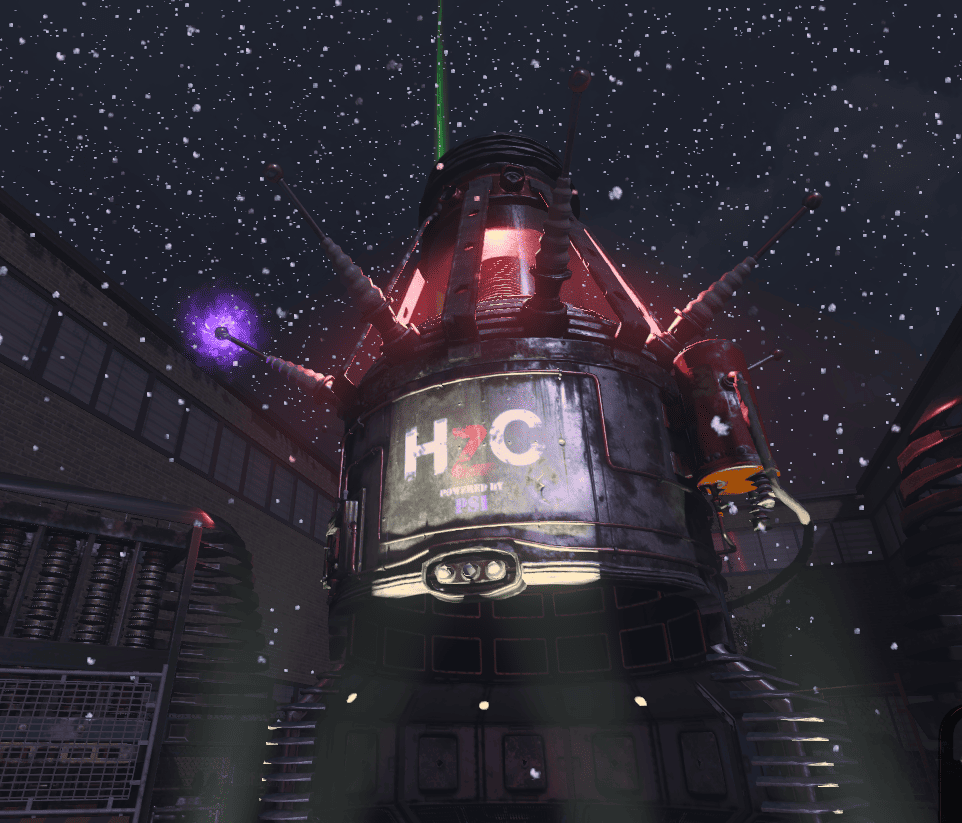
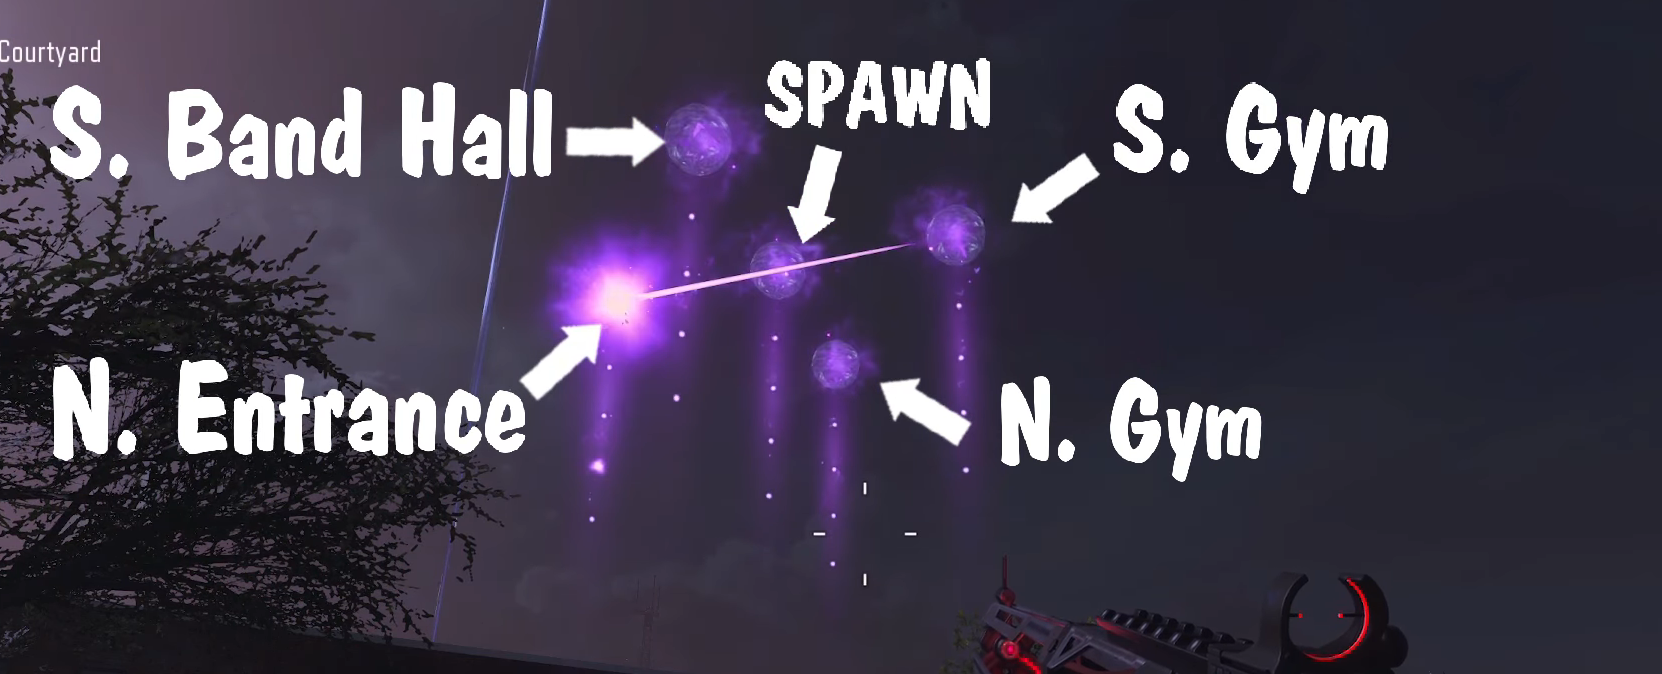
After activating all the teleporters, return to the spawn. In front of the teleporter, you will see 5 large orbs. Each orb represents a teleporter on the map, as shown in the image below.
How does the code work?
Each orb will have 4 mini-orbs underneath, and some will be lit while others remain off.
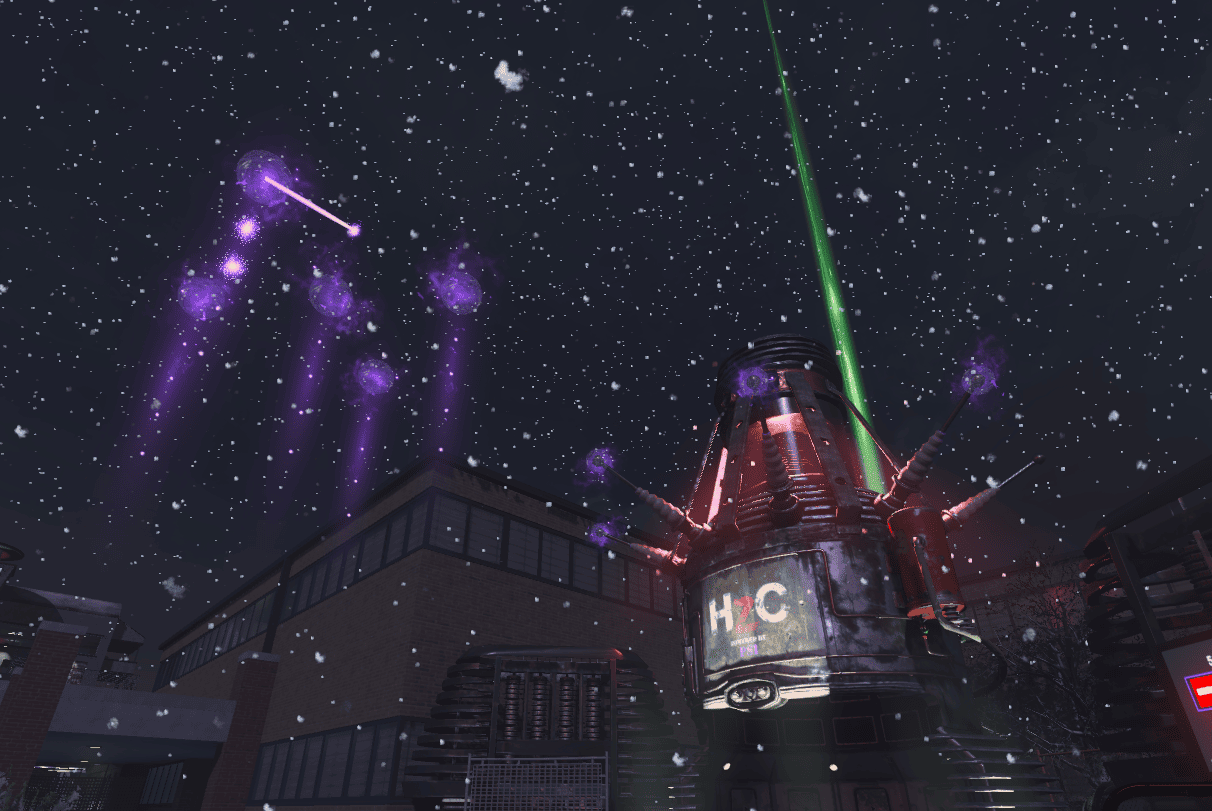
After figuring out the code for a teleporter, go back to it.
Now look at the 4 antennas and count from left to right: 1, 2, 3, 4
If the code for that teleporter is, for example, 1 and 3, then you should leave only antennas 1 and 3 lit.
Important: To turn on an antenna, shoot it once. To turn it off, shoot it again.
After configuring everything correctly, return to the spawn. In front of the teleporter, the primed canister will be there.
To finish crafting this variant, go to the North Entrance, where there will be a container where the cannister will be placed.
Then, it will be necessary to kill some zombies around the container until it fills. Once full, the variant is complete.
By holding the left button, a pair of purple 5G portals will be created, which teleports and increases the speed of any player who passes through it.
Shoot your own foot to leave your current location.
When you find the box, in South Dance Room, shoot the top of it to release the canister and start the quest of this variant.
After picking the PSI canister, go to all the teleporters on the map; at each teleporter, there will be 4 antennas. One of them will have a stronger purple aura, with more particles, shoot only that highlighted antenna. Do this at all the teleporters.
After activating all the teleporters, return to the spawn. In front of the teleporter, you will see 5 large orbs. Each orb represents a teleporter on the map, as shown in the image below.
How does the code work?
Each orb will have 4 mini-orbs underneath, and some will be lit while others remain off.
After figuring out the code for a teleporter, go back to it.
Now look at the 4 antennas and count from left to right: 1, 2, 3, 4
If the code for that teleporter is, for example, 1 and 3, then you should leave only antennas 1 and 3 lit.
Important: To turn on an antenna, shoot it once. To turn it off, shoot it again.
After configuring everything correctly, return to the spawn. In front of the teleporter, the primed canister will be there.
To finish crafting this variant, go to the North Entrance, where there will be a container where the cannister will be placed.
Then, it will be necessary to kill some zombies around the container until it fills. Once full, the variant is complete.
Boss Fight
After the construction of the 4 Protobuffer variants, the stadium area will be released after passing through the elevator.
In this area, we will have the first boss fight. When pressing for the lockdown, you and your friends will have to survive in that area for 2 minutes.
Important: When pressing the button, be aware that it will not be possible to go back, only after the boss fight. So get ready!
After surviving for two minutes, the path into the stadium will be clear.
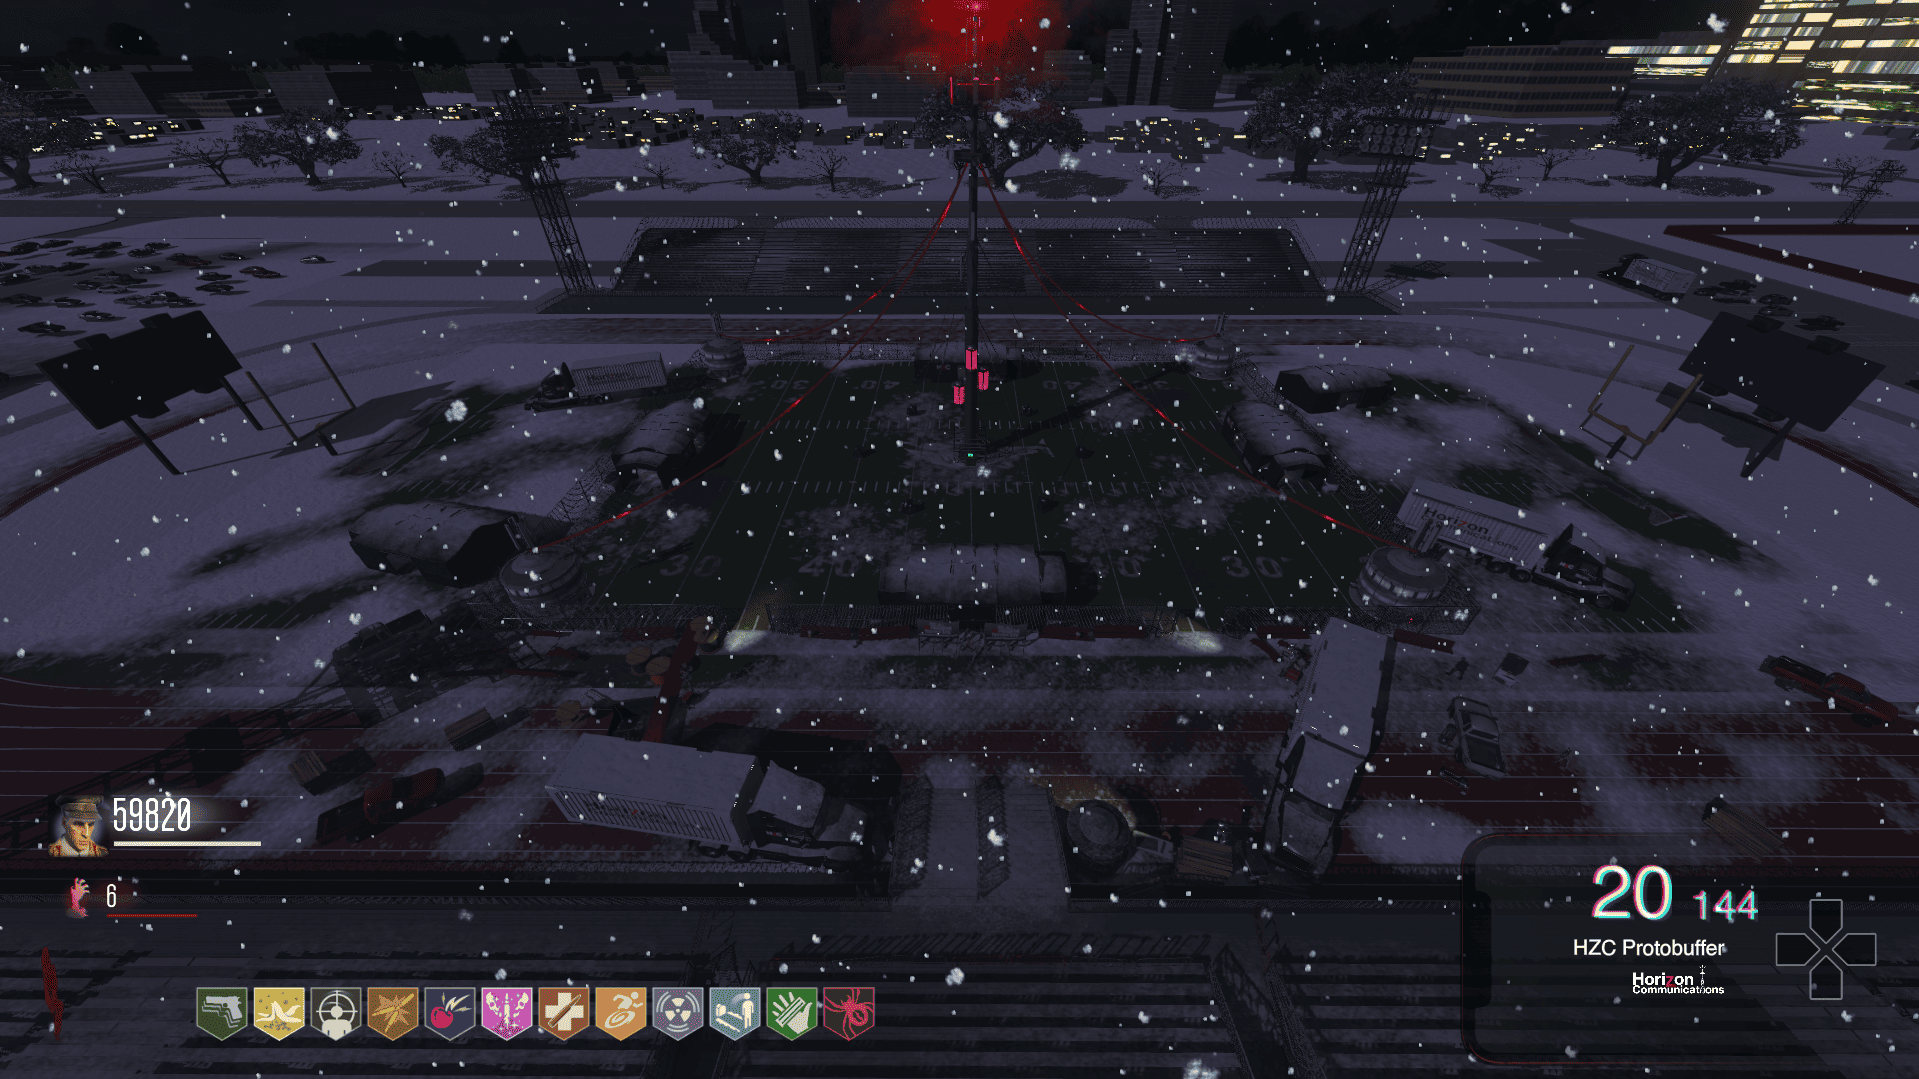
Inside, there will be a large tower, some cabins with resources (random perk machine, ammo machine), and 4 generators, as shown in the image below.
How does the boss fight work?
By activating the main tower, the boss fight will begin. The large tower will shoot some lasers, and the objective is to make these lasers hit the 4 generators.
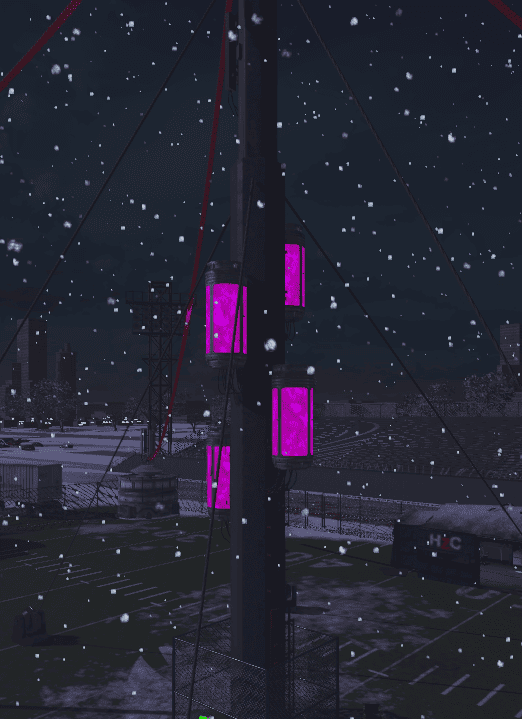
After hitting a generator, a pink battery on the large tower will turn red, indicating that it should be shot. If done correctly, some maximum ammo benefits will appear.
This must be done 4 times in total. After successfully completing it, your reward will be a perk-a-holic and access to the final variant of the Protobuffer.
In this area, we will have the first boss fight. When pressing for the lockdown, you and your friends will have to survive in that area for 2 minutes.
Important: When pressing the button, be aware that it will not be possible to go back, only after the boss fight. So get ready!
After surviving for two minutes, the path into the stadium will be clear.
Inside, there will be a large tower, some cabins with resources (random perk machine, ammo machine), and 4 generators, as shown in the image below.
How does the boss fight work?
By activating the main tower, the boss fight will begin. The large tower will shoot some lasers, and the objective is to make these lasers hit the 4 generators.
After hitting a generator, a pink battery on the large tower will turn red, indicating that it should be shot. If done correctly, some maximum ammo benefits will appear.
This must be done 4 times in total. After successfully completing it, your reward will be a perk-a-holic and access to the final variant of the Protobuffer.
OMEGA Variant
Skill:
By holding the left button and shooting, a 5G vortex will appear, showing the true power of all four 5G variants in one.
After the end of the first boss fight, go back up to the pack-a-punch area using the elevator.
In this area is the OMEGA box, so shoot the protobuffer on top of it to get the canister.
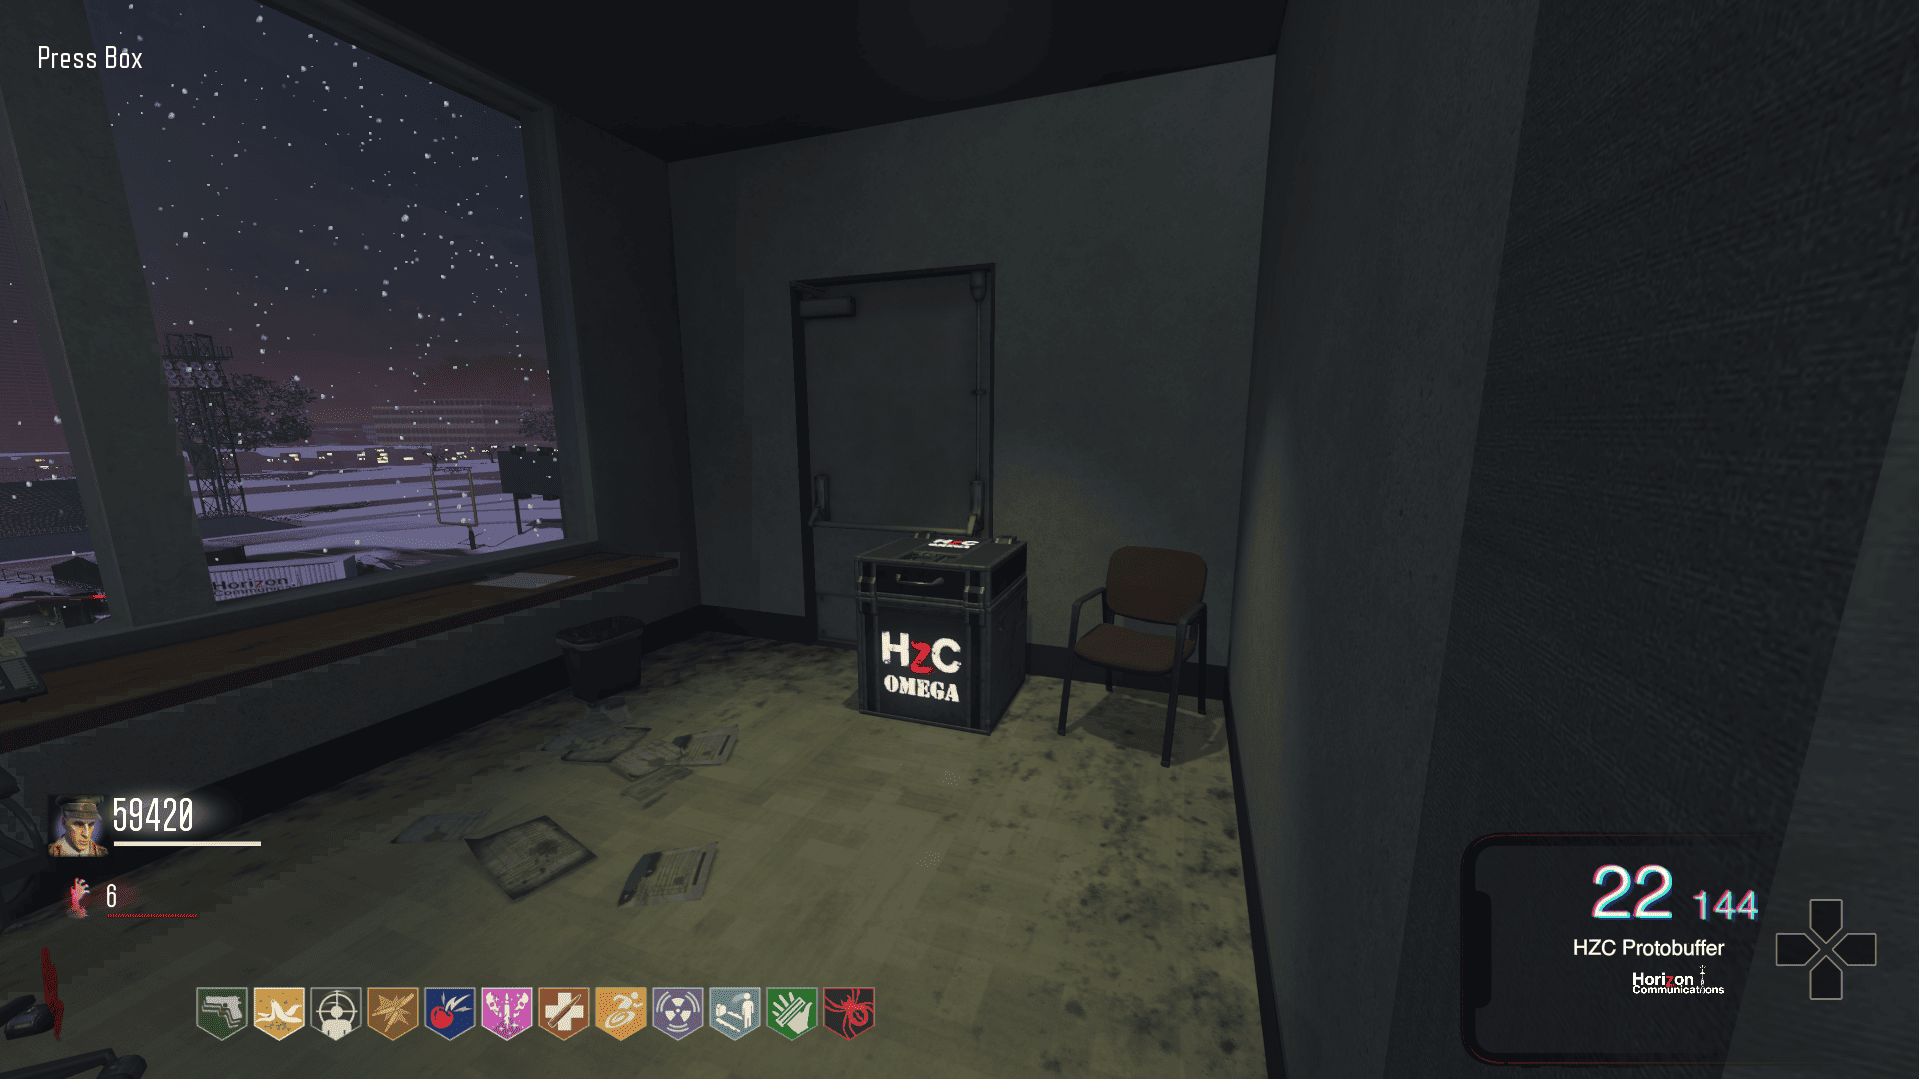
The step for this variant requires the use of all the other variants.
Return to the large fountain and, with each variant, kill zombies and completely fill the fountain. By killing the right amount in each variant, an orb of the color will float near the tower, until it is fully completed.
Once finished, take the primed canister and enter the area after the elevator again, where there will be a container to place the canister.
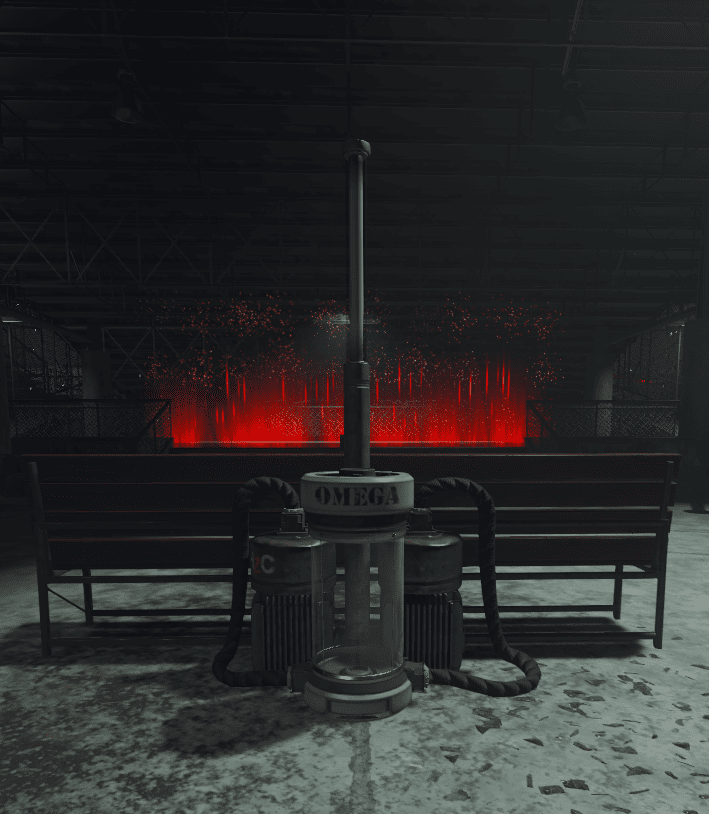
Then, it will be necessary to kill some zombies around the container until it fills. Once full, the variant is complete.
By holding the left button and shooting, a 5G vortex will appear, showing the true power of all four 5G variants in one.
After the end of the first boss fight, go back up to the pack-a-punch area using the elevator.
In this area is the OMEGA box, so shoot the protobuffer on top of it to get the canister.
The step for this variant requires the use of all the other variants.
Return to the large fountain and, with each variant, kill zombies and completely fill the fountain. By killing the right amount in each variant, an orb of the color will float near the tower, until it is fully completed.
Once finished, take the primed canister and enter the area after the elevator again, where there will be a container to place the canister.
Then, it will be necessary to kill some zombies around the container until it fills. Once full, the variant is complete.
Teleporters
There will be 5 teleporters around the entire map.
Two in the southern part, two in the northern part, and one at the spawn, as shown on the map below.
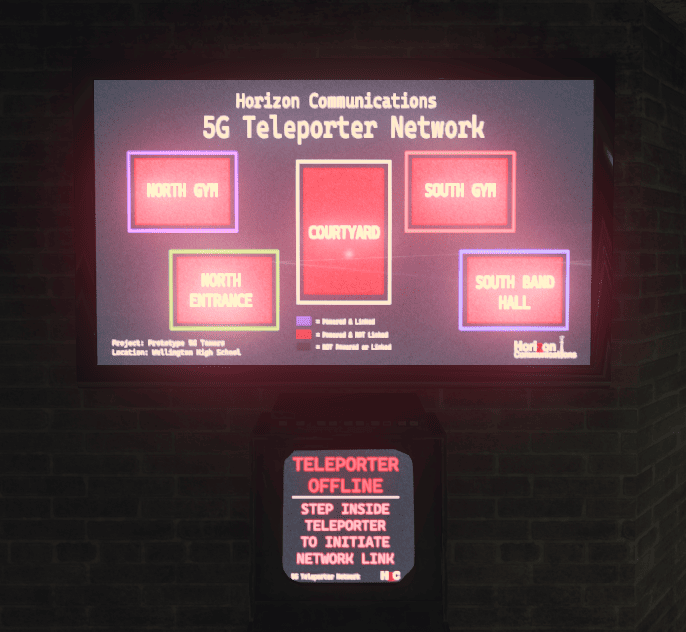
Upon entering a teleporter, a "quest" will begin where you will have to connect it to a terminal. There will be a large cable glowing red on the ground, showing the way to the terminal.
After completing it, you will receive 500 points per teleporter.
By completing this step at all teleporters, the ammo mod machines will be unlocked.
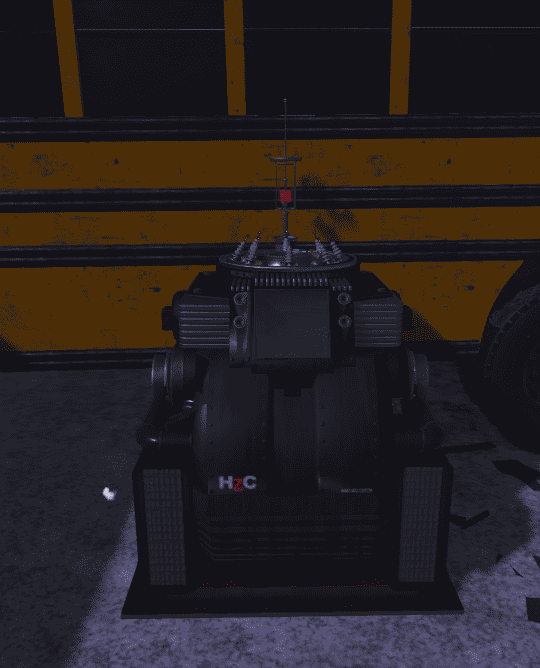
Two in the southern part, two in the northern part, and one at the spawn, as shown on the map below.
Upon entering a teleporter, a "quest" will begin where you will have to connect it to a terminal. There will be a large cable glowing red on the ground, showing the way to the terminal.
After completing it, you will receive 500 points per teleporter.
By completing this step at all teleporters, the ammo mod machines will be unlocked.
Craftables
On this map, we have two craftable items, which I will explain below how to get them.
RAGNAROKS
The same operator item that we have in some standard zombies maps. You can use it repeatedly for a limited time to slam down, creating an electric shock wave which instantly kills nearby zombies, before needing to be charged up again by killing Zombies.
Its first piece is found right after gaining access to the elevator.
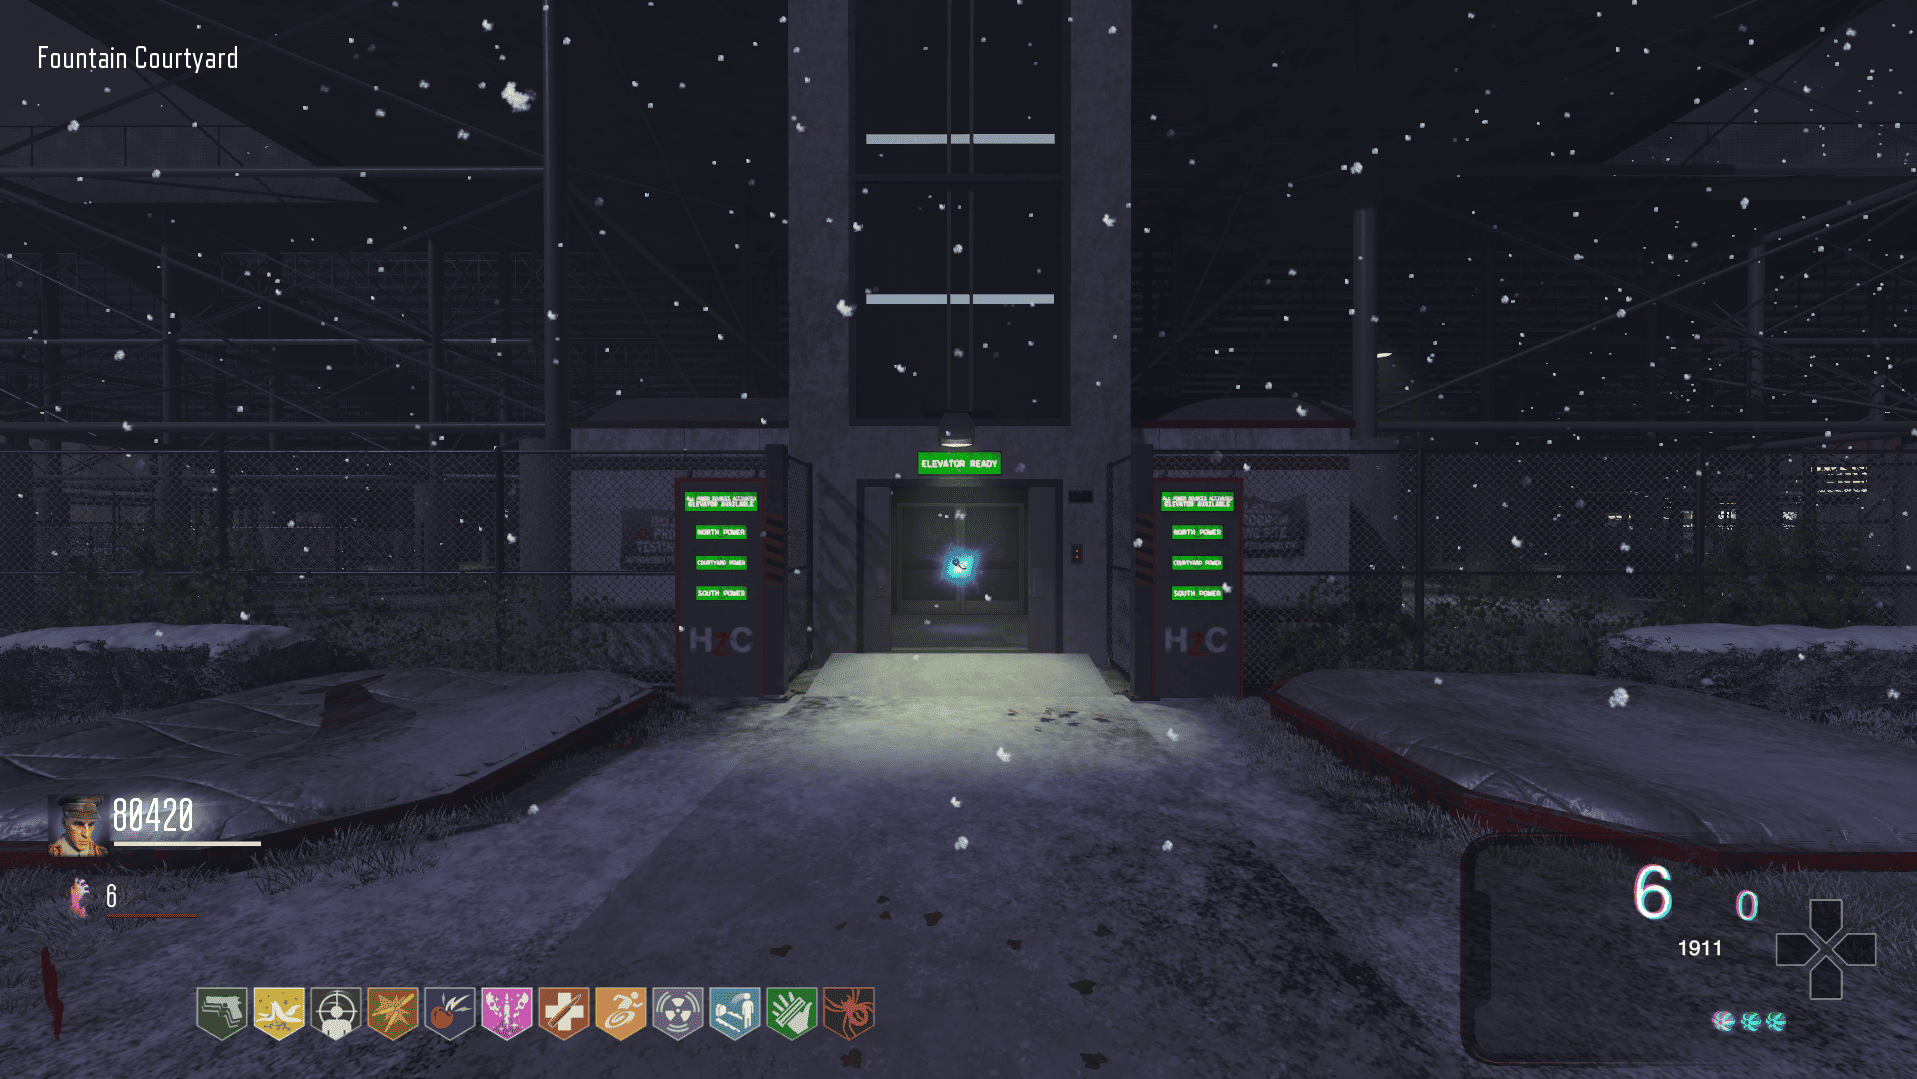
Its second piece is unlocked by killing the first panzer. The third piece is unlocked by performing the lockdown on the large screen in the spawn area.
SHIELD
A common element in zombies maps. Composed of 3 parts:
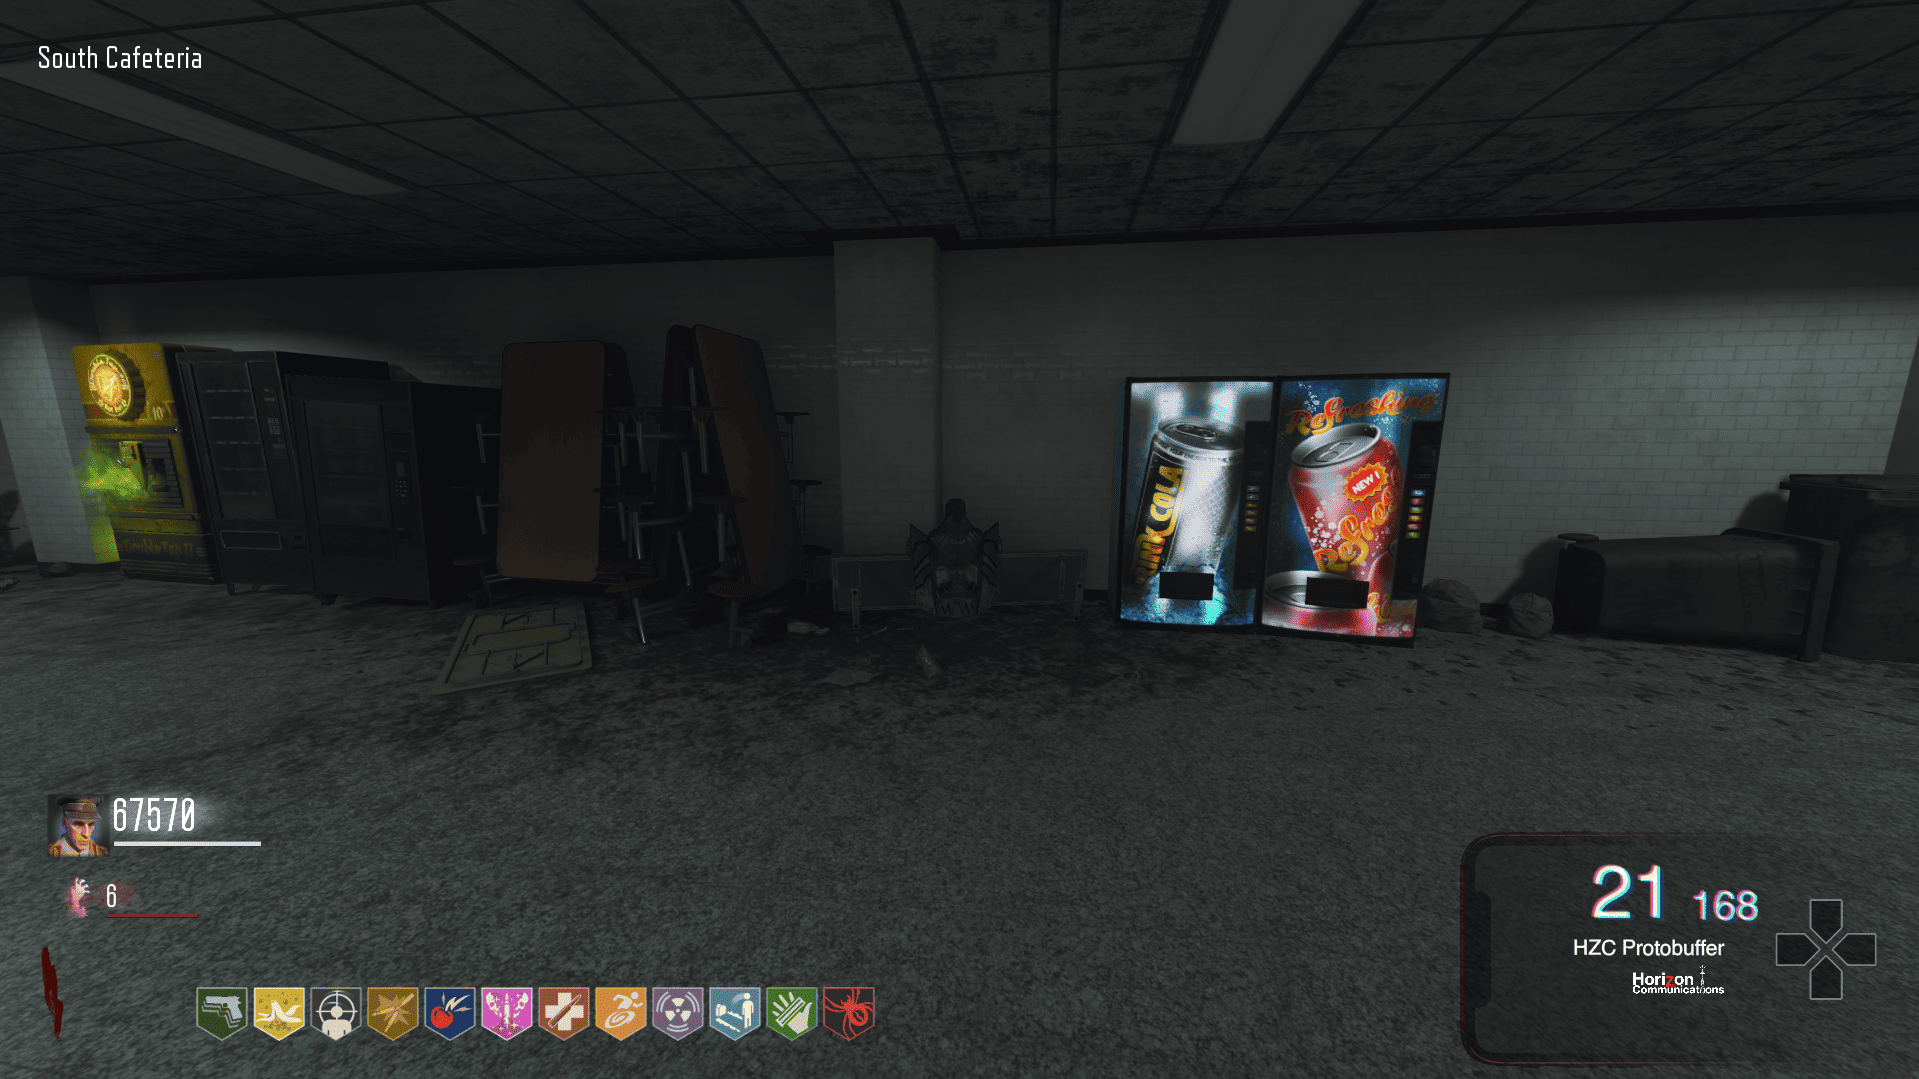
1. The Eagle
I found this piece in the South Cafeteria, but it can also be found near South Commons.
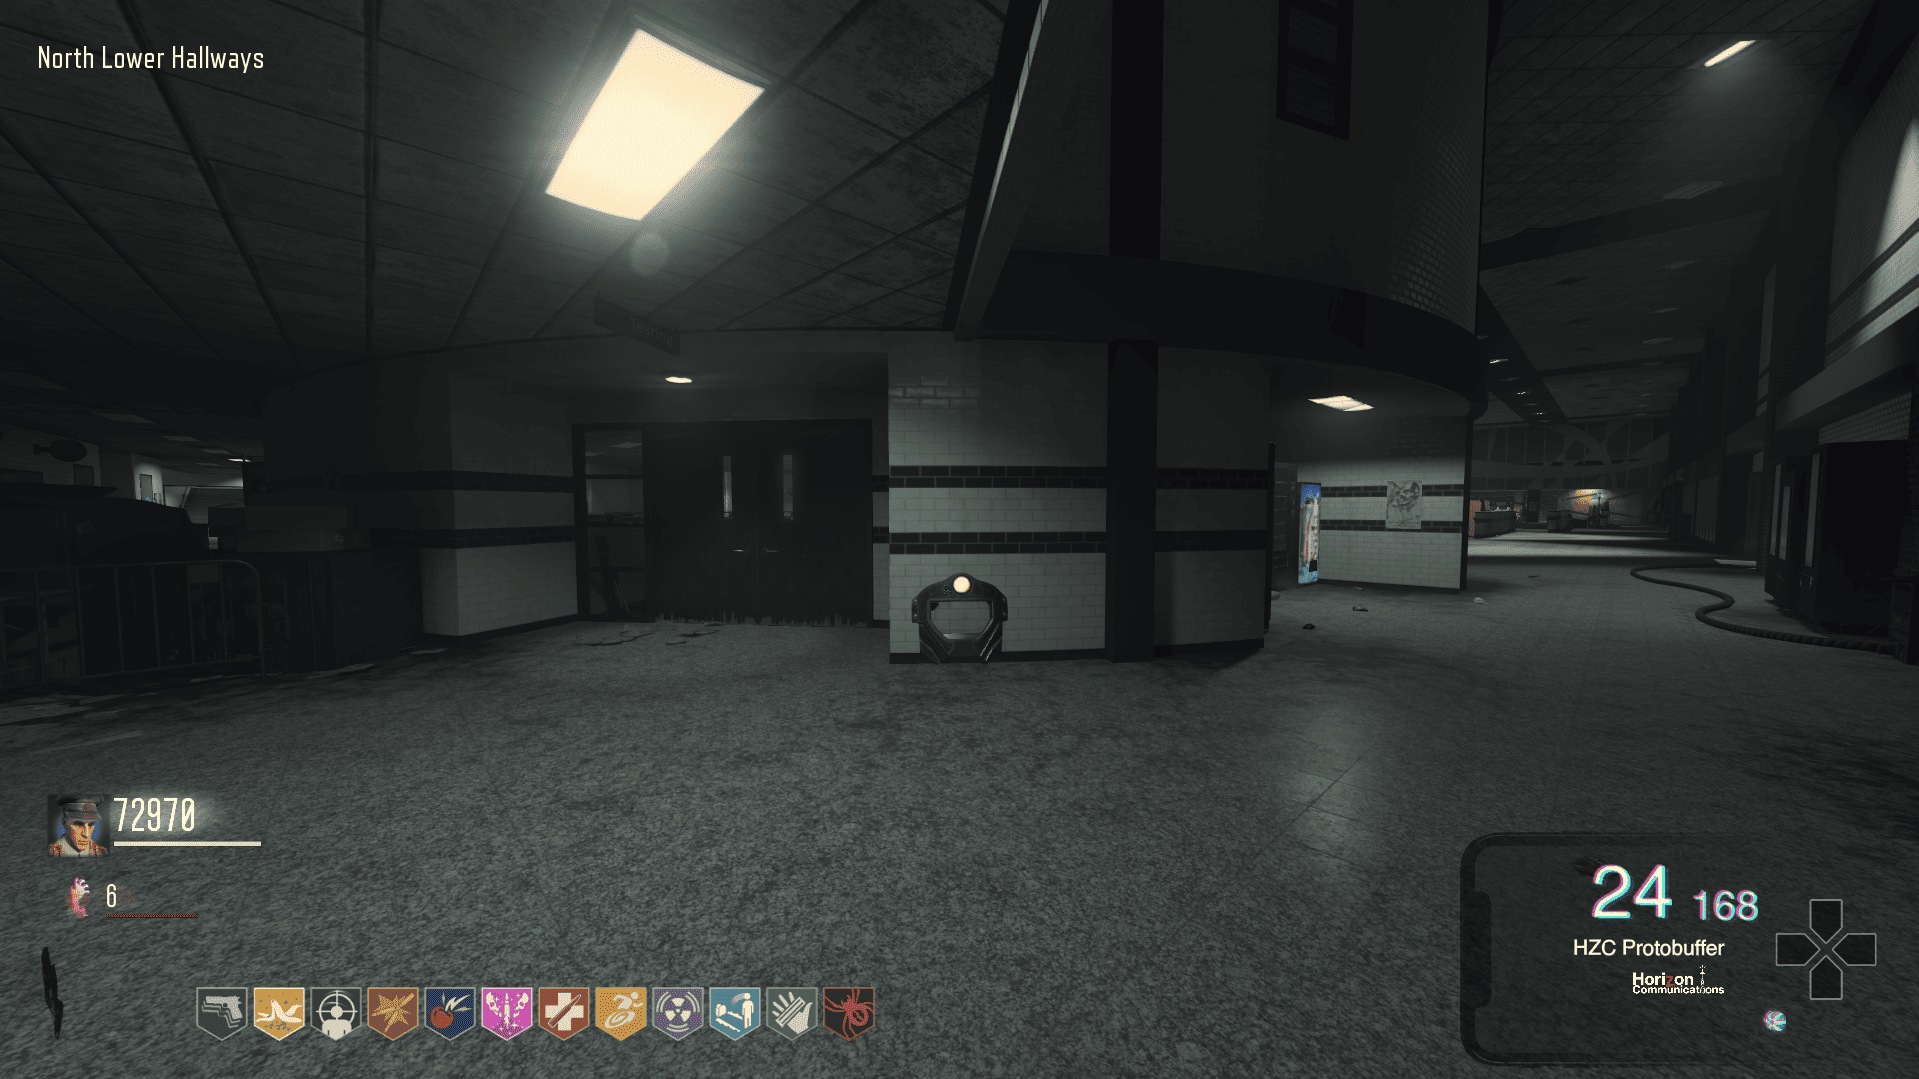
2. Face piece
I found this part in North Lower Hallway, but it can be in North Cafeteria or North Lobby.
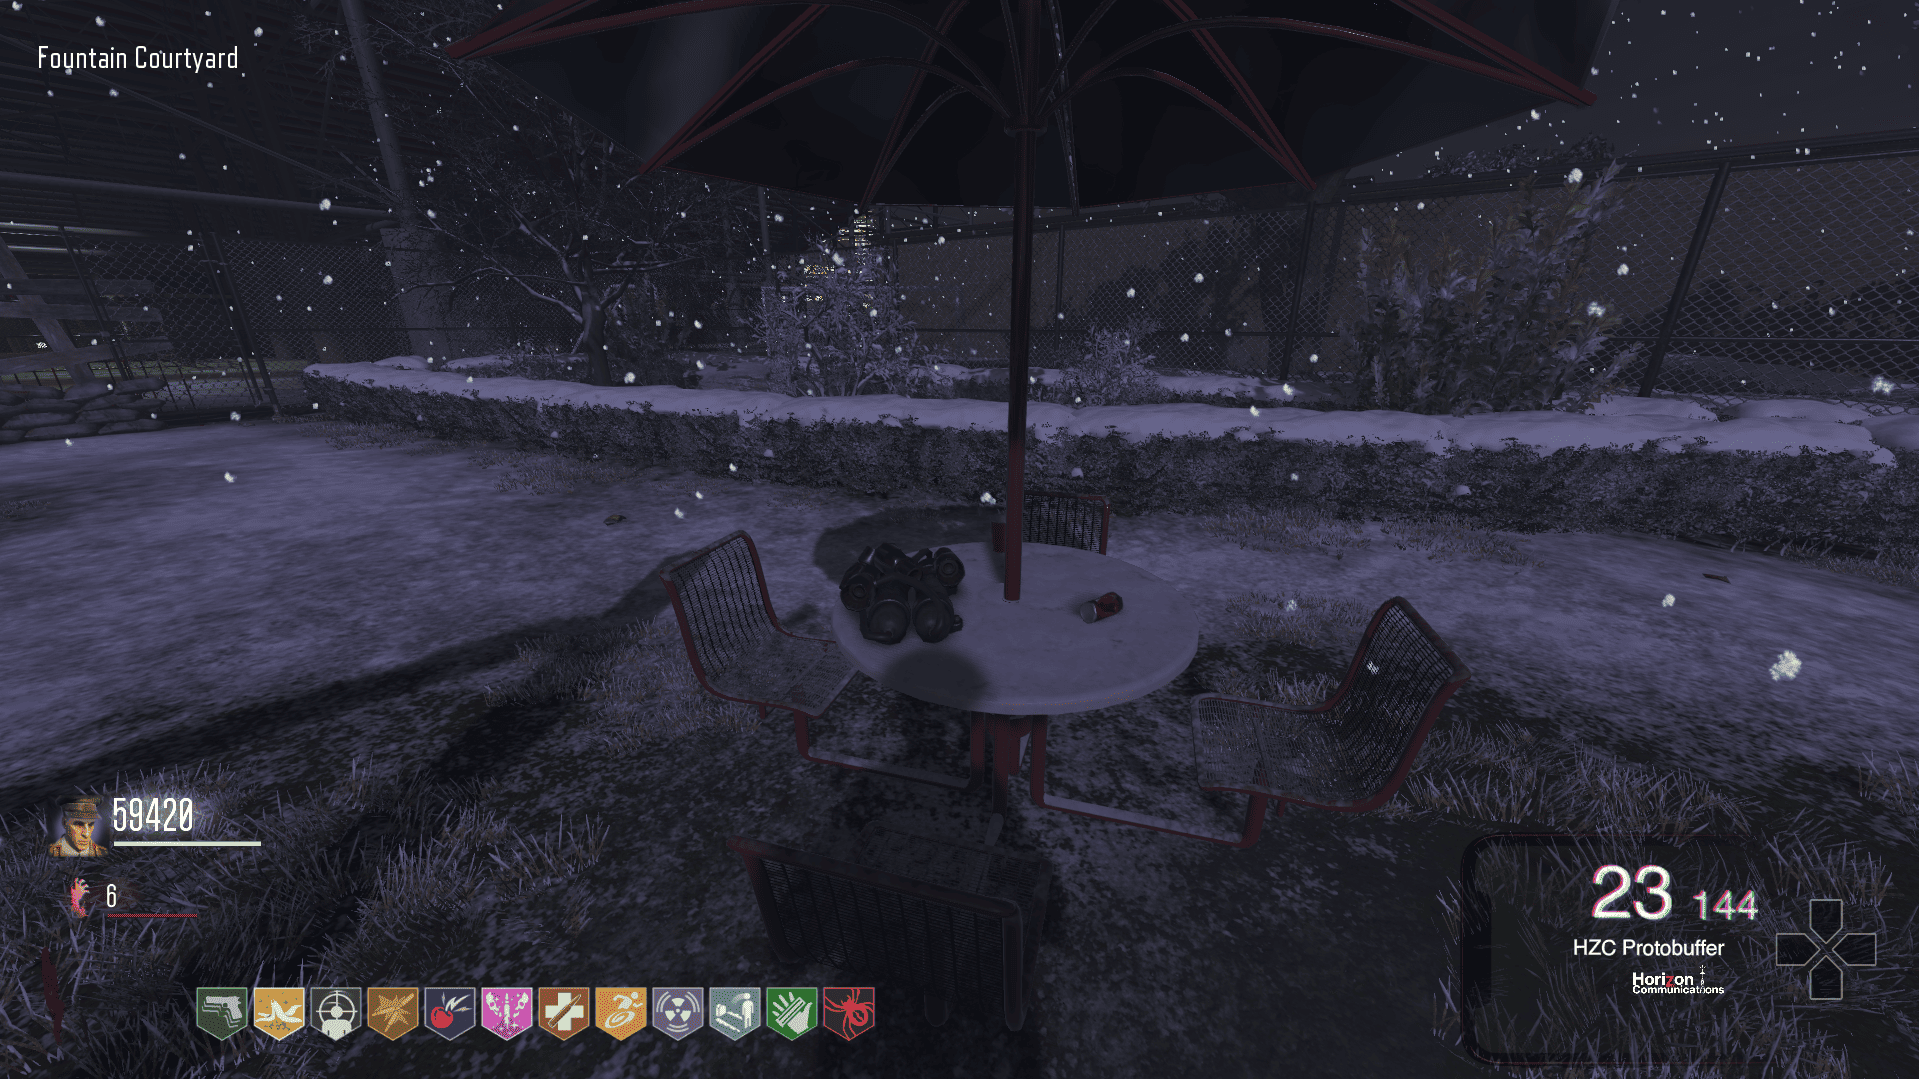
3. Gas Canisters
This last piece was found on the small tables near the large fountain, but it can be throughout that area.
RAGNAROKS
The same operator item that we have in some standard zombies maps. You can use it repeatedly for a limited time to slam down, creating an electric shock wave which instantly kills nearby zombies, before needing to be charged up again by killing Zombies.
Its first piece is found right after gaining access to the elevator.
Its second piece is unlocked by killing the first panzer. The third piece is unlocked by performing the lockdown on the large screen in the spawn area.
SHIELD
A common element in zombies maps. Composed of 3 parts:
1. The Eagle
I found this piece in the South Cafeteria, but it can also be found near South Commons.
2. Face piece
I found this part in North Lower Hallway, but it can be in North Cafeteria or North Lobby.
3. Gas Canisters
This last piece was found on the small tables near the large fountain, but it can be throughout that area.
Side Quests
We currently have 3 side quests on this map, but only two of them have been discovered so far.
Monkey Bomb Upgrade
For this step, it is necessary to find the three monkey plushies on the map, which can be found at:
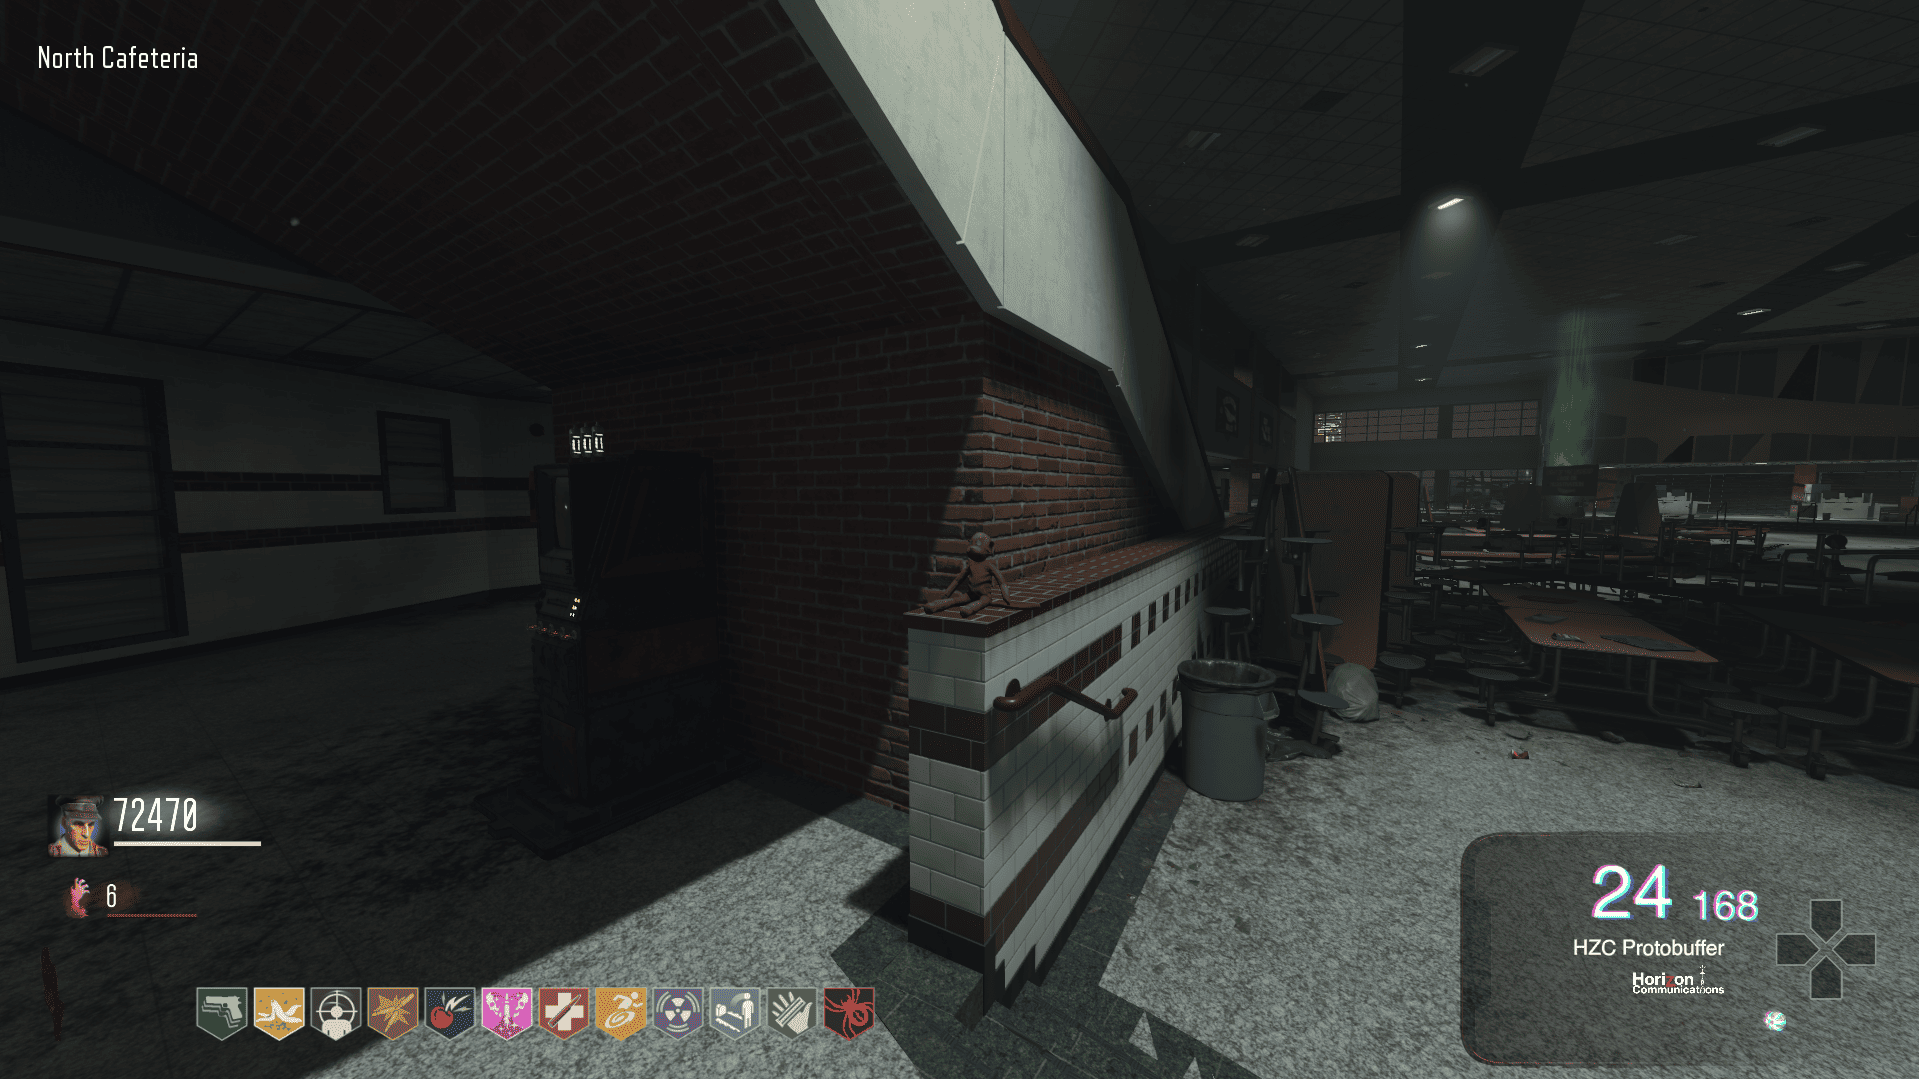
- North Cafeteria (below the stairs)
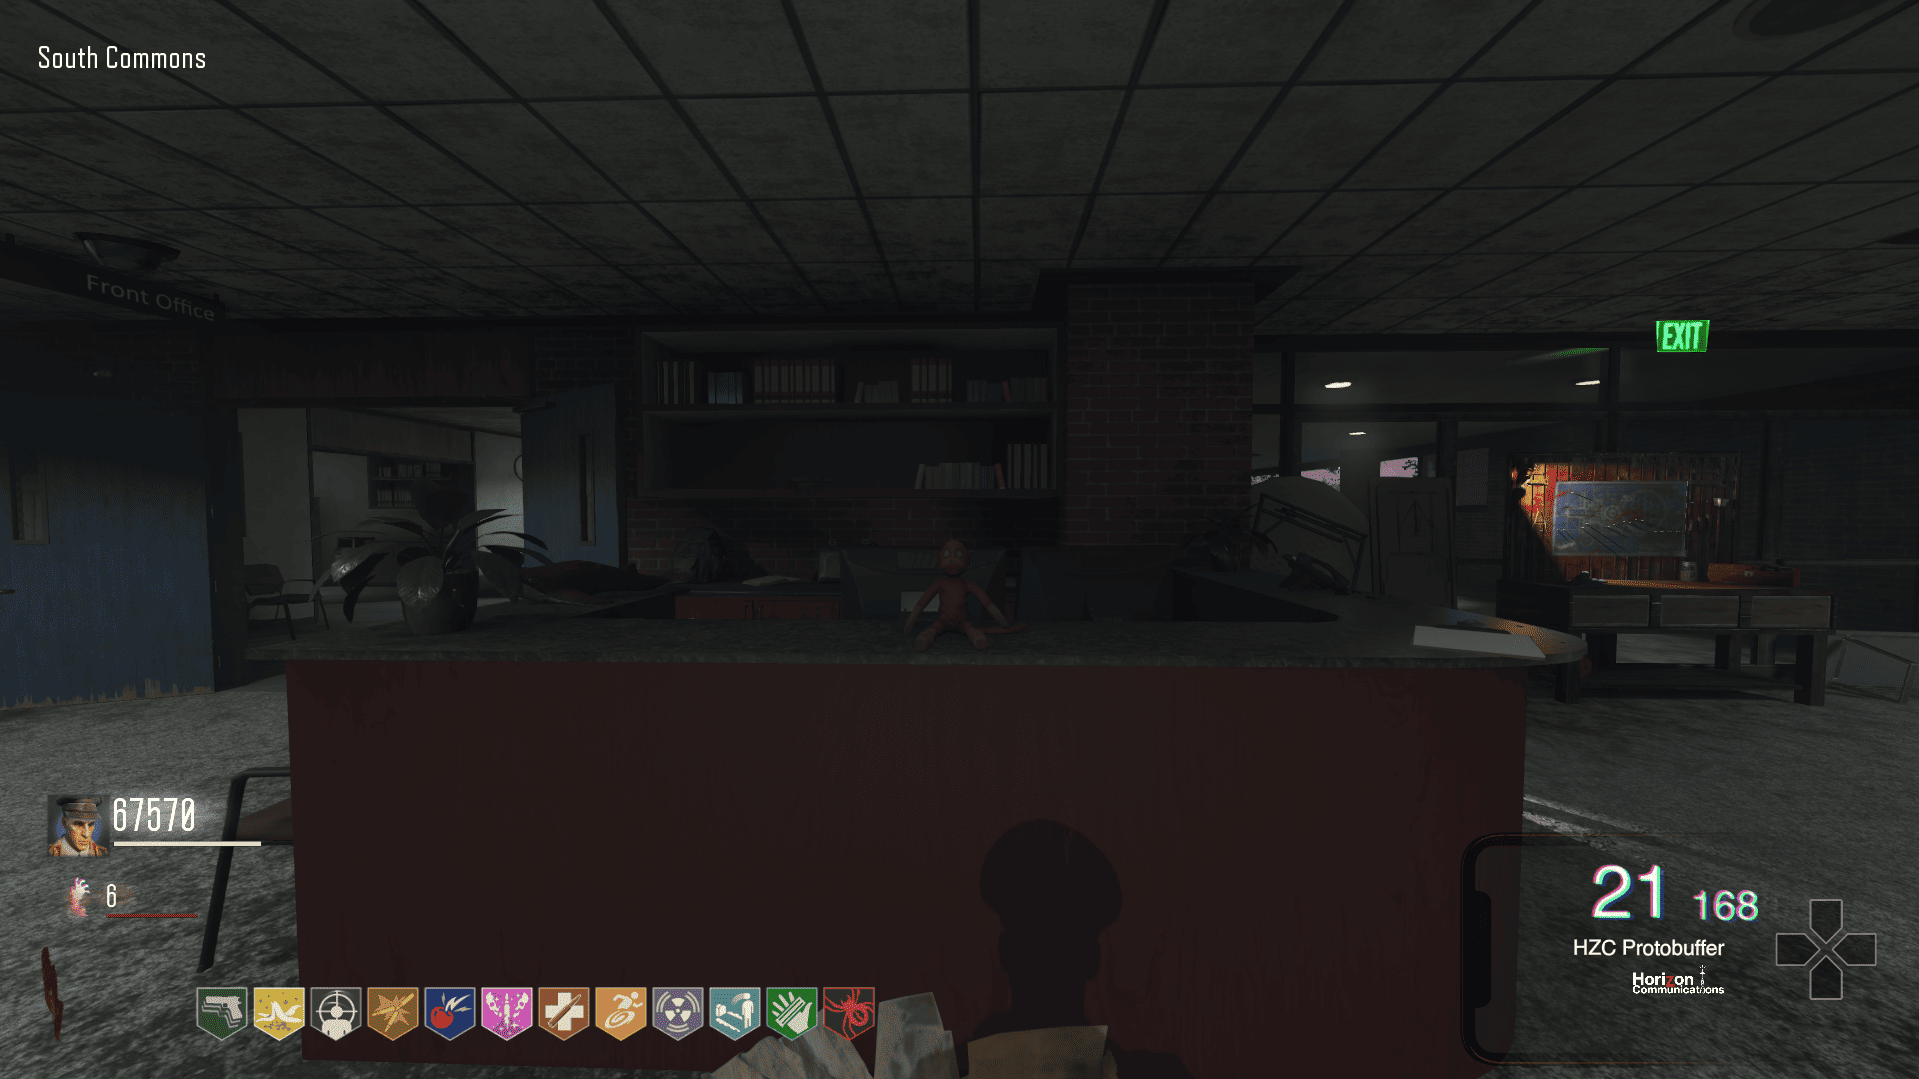
- South Commons (on the counter in front of the office)
- Fountain (after turning on the power, to the left of the Juggernog)
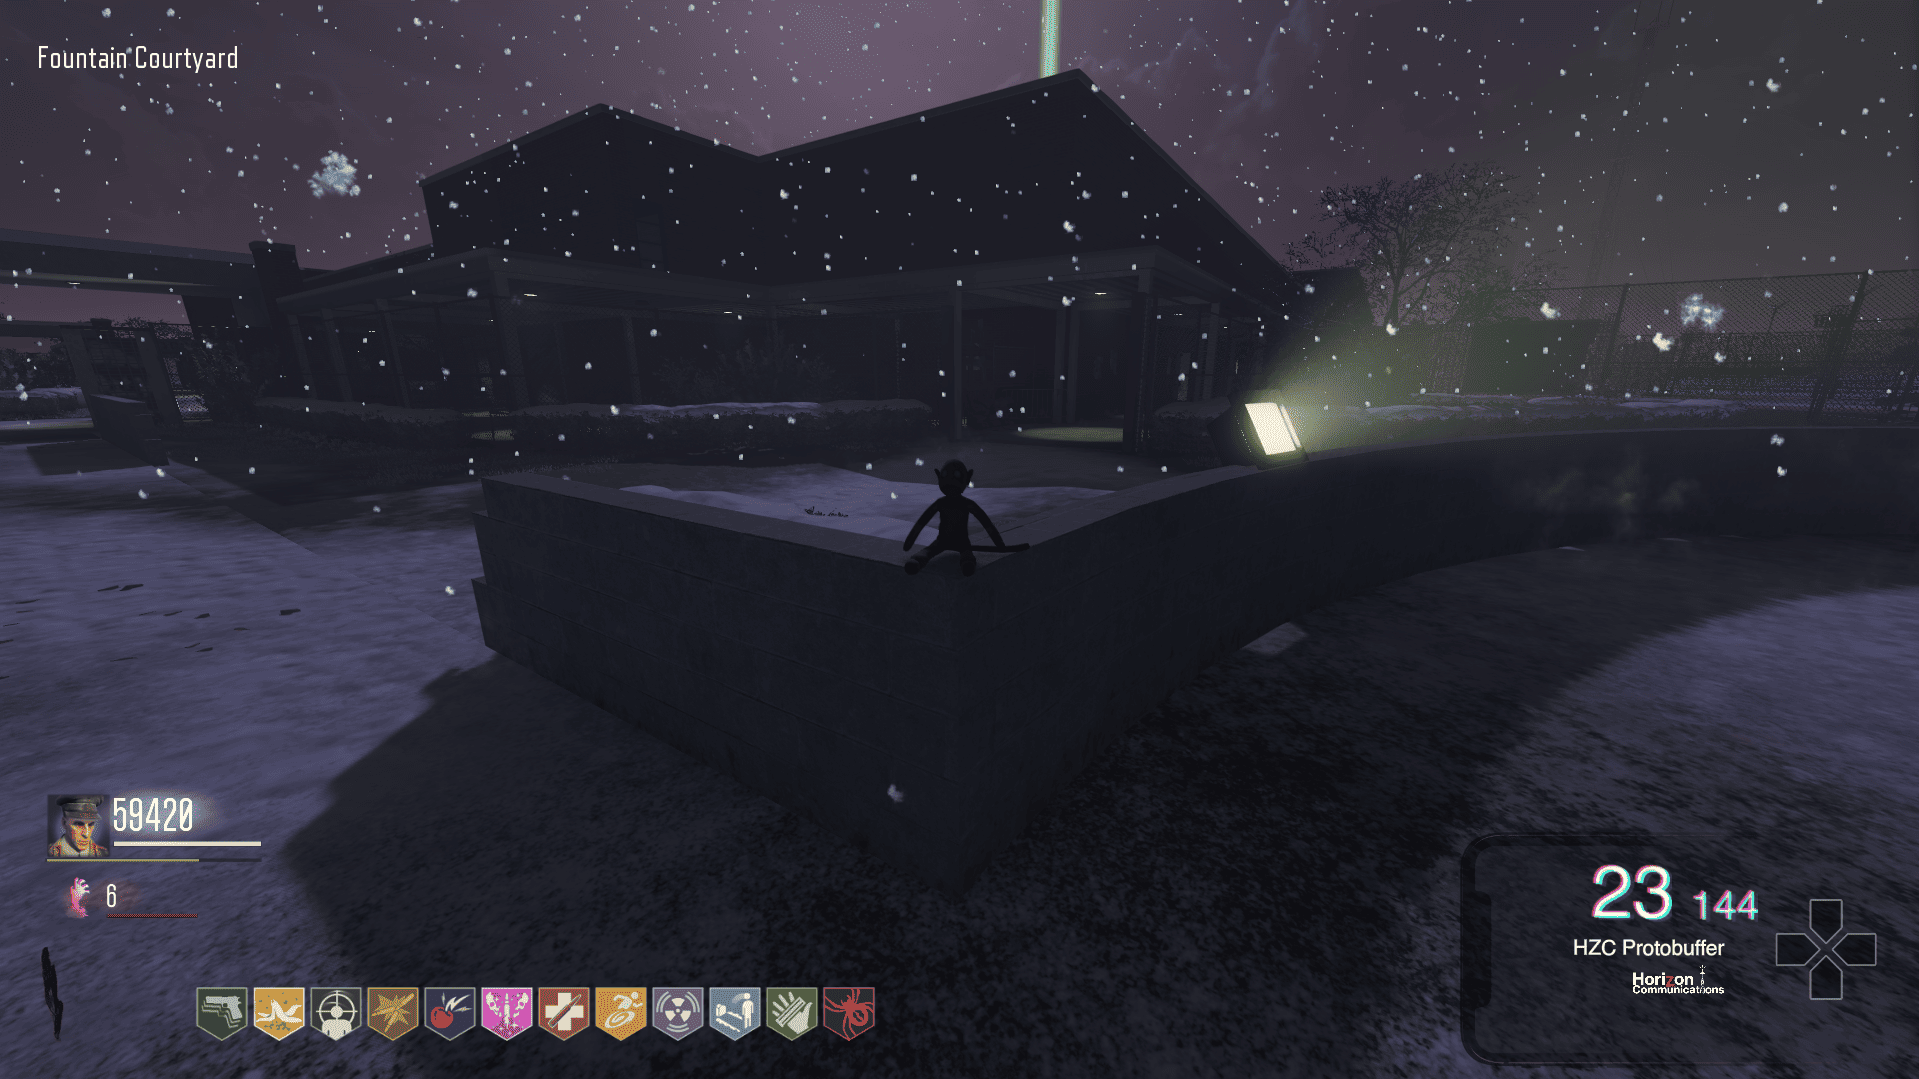
At each monkey, interact to start a sort of hide and seek. The monkey will hide in small nearby objects, such as snacks, cups, toilet paper, etc. If the step has been done correctly for each plush monkey, it will unlock in the spawn area the upgrade, which glows in gold.
Runescape Weapon
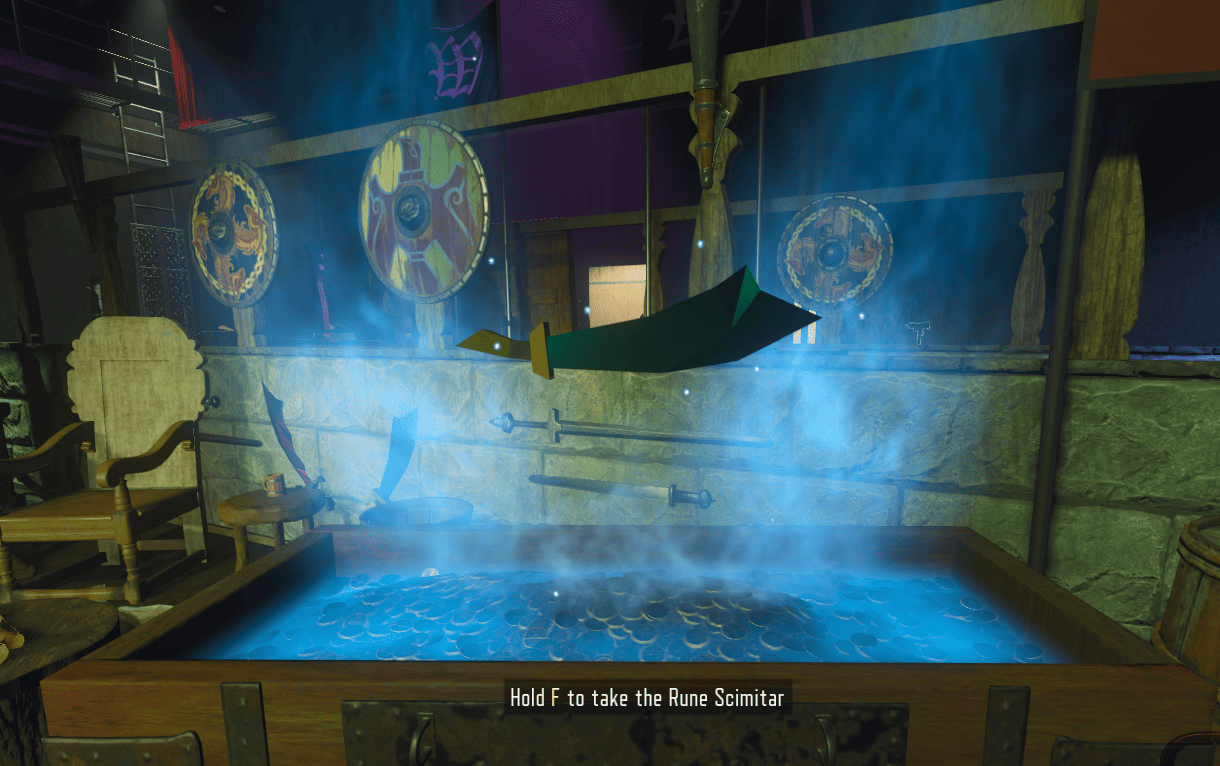
Our other side quest on this map, where we will unlock the Runescape sword.
To start this quest, we will have to go to the South Auditorium and interact with this chest.
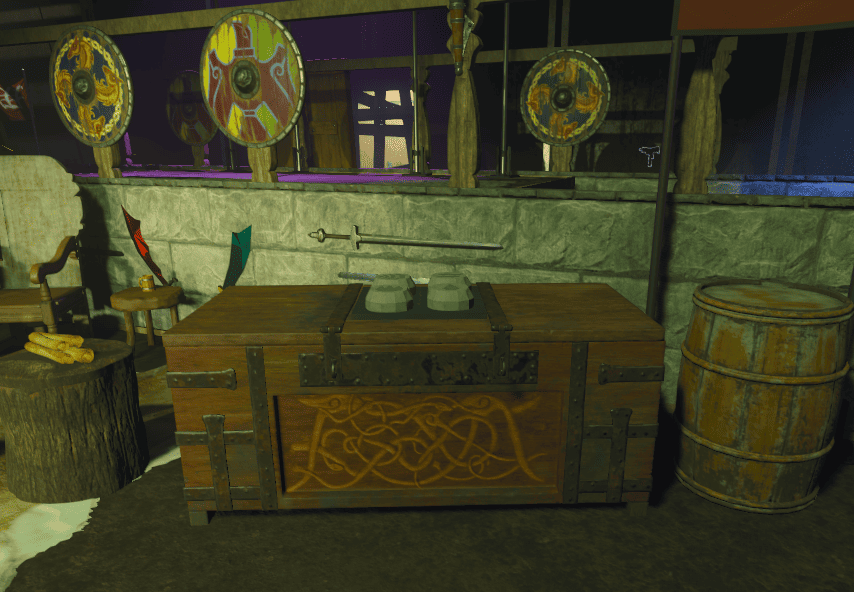
After interacting, 4 stones will float and hide in some places on the map, each representing an element.
1. Fire
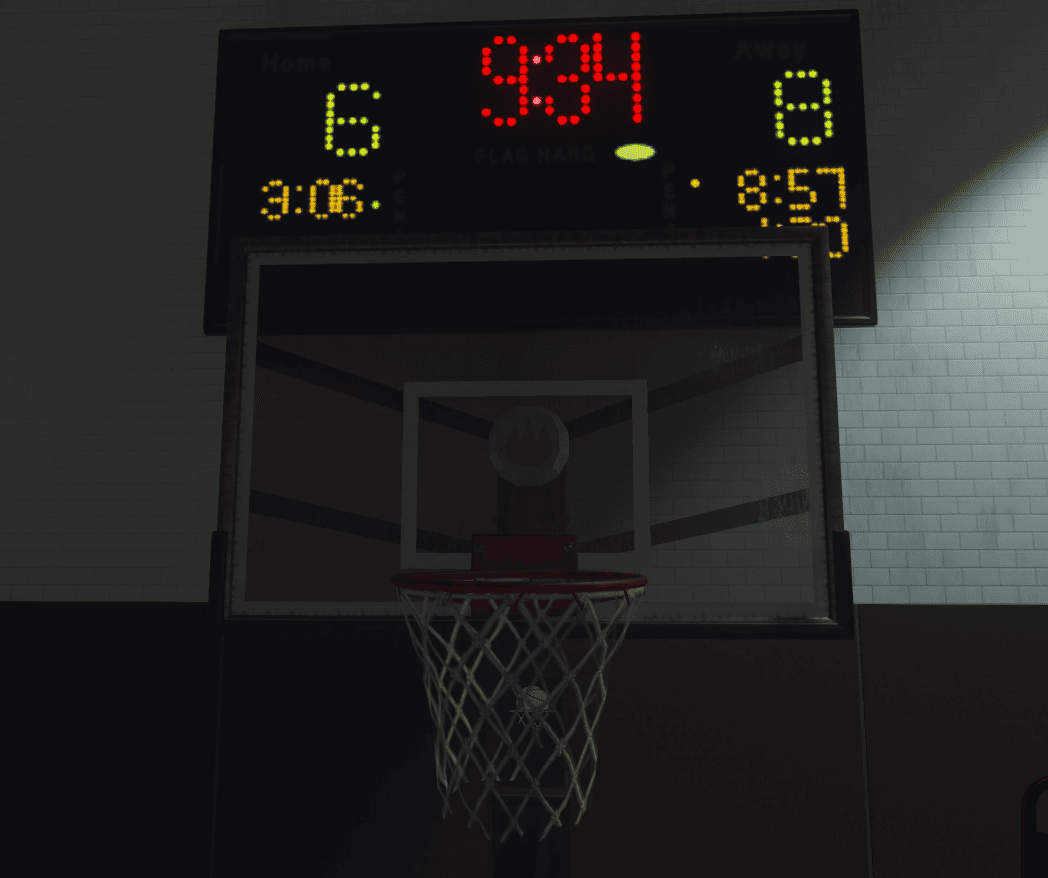
This stone is usually found near the basketball hoops on both courts (south and north) or on the tennis court near the large fountain.
2. Air
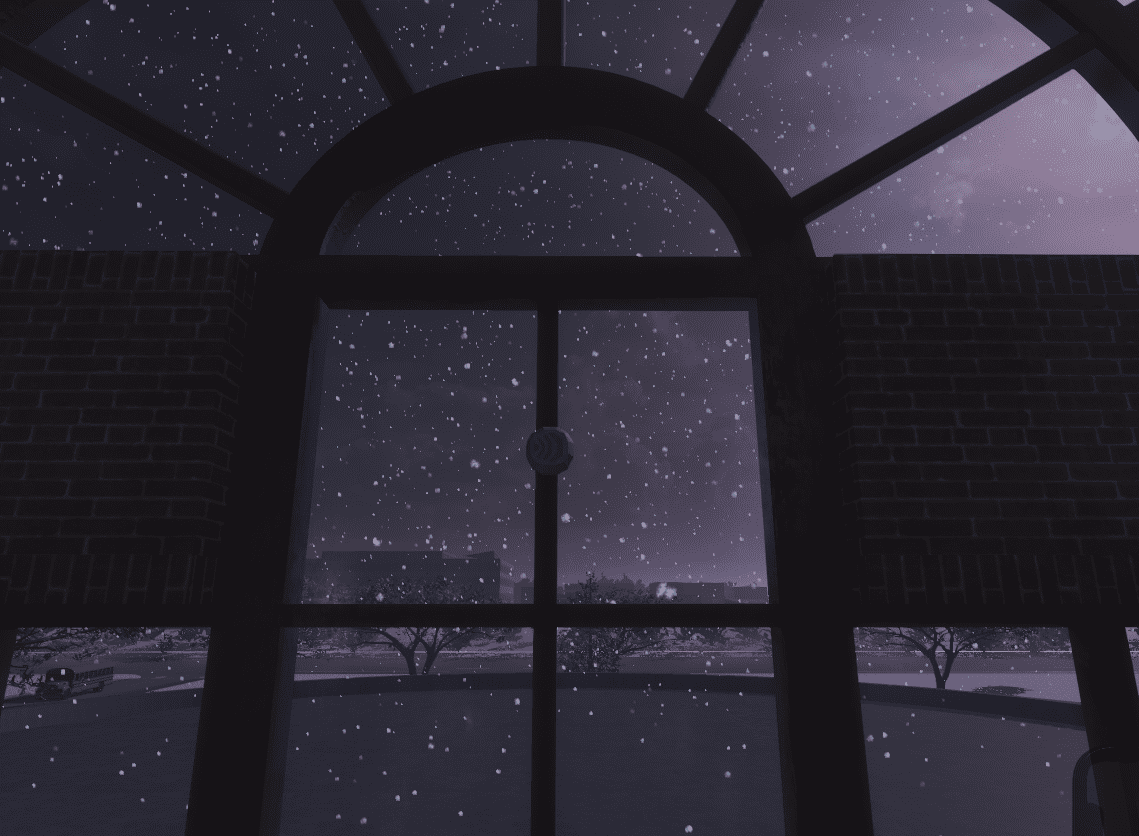
This stone is usually found in windows floating very high. It can be in the window near South Upper Commons, in a window of the North Cafeteria, or behind flying over the computer at the spawn.
3. Earth
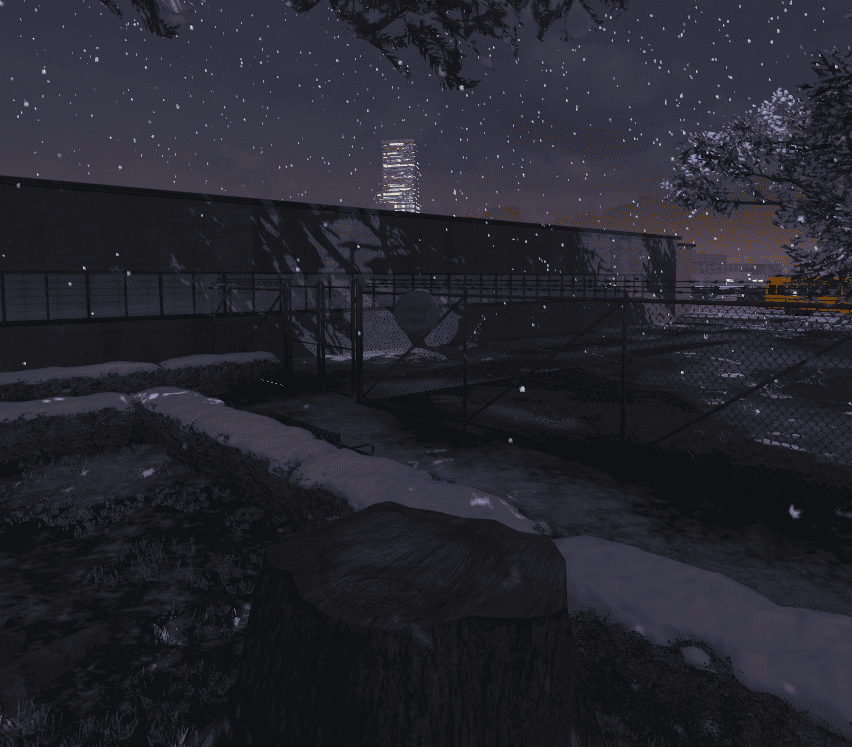
This stone is usually found in locations close to the ground, such as the tree in the South Lunch Area, the stones around the large fountain, and the teleporter at the North Entrance.
4. Water
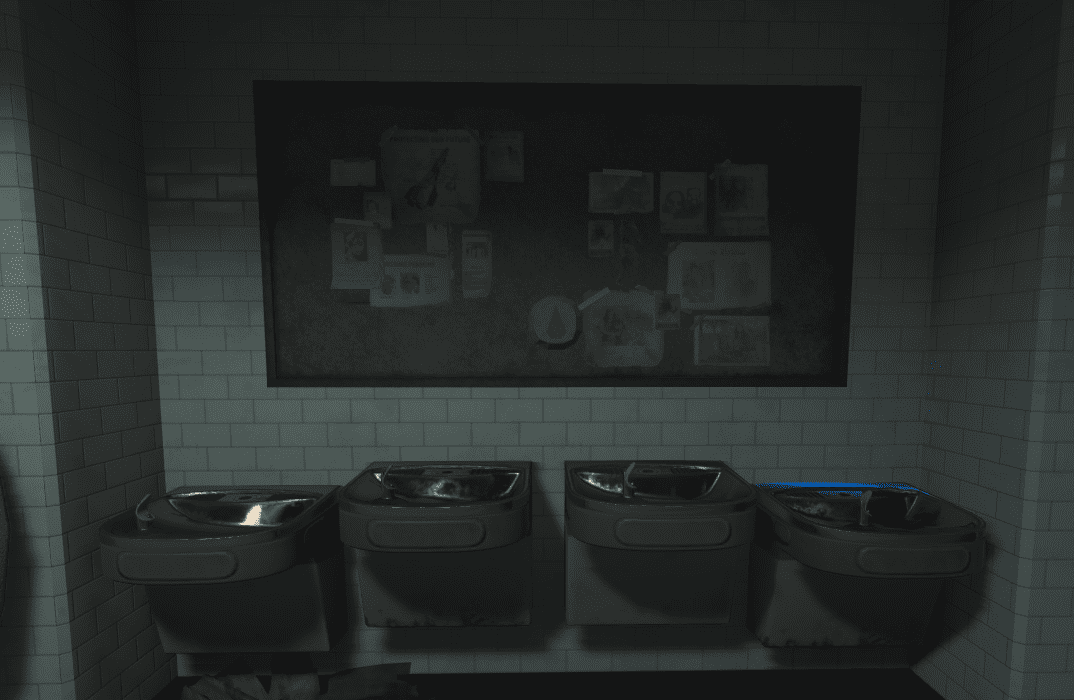
This stone is usually found in locations near water, such as the large fountain at the spawn, the small fountain by the Banana Colada perk, and the water fountains near Widows Wine.
After finding each little stone with an element, shoot it. It will immediately glow in the color of the element and disappear. After shooting at the 4 stones, return to the auditorium and your sword will be there.
Monkey Bomb Upgrade
For this step, it is necessary to find the three monkey plushies on the map, which can be found at:
- North Cafeteria (below the stairs)
- South Commons (on the counter in front of the office)
- Fountain (after turning on the power, to the left of the Juggernog)
At each monkey, interact to start a sort of hide and seek. The monkey will hide in small nearby objects, such as snacks, cups, toilet paper, etc. If the step has been done correctly for each plush monkey, it will unlock in the spawn area the upgrade, which glows in gold.
Runescape Weapon
Our other side quest on this map, where we will unlock the Runescape sword.
To start this quest, we will have to go to the South Auditorium and interact with this chest.
After interacting, 4 stones will float and hide in some places on the map, each representing an element.
1. Fire
This stone is usually found near the basketball hoops on both courts (south and north) or on the tennis court near the large fountain.
2. Air
This stone is usually found in windows floating very high. It can be in the window near South Upper Commons, in a window of the North Cafeteria, or behind flying over the computer at the spawn.
3. Earth
This stone is usually found in locations close to the ground, such as the tree in the South Lunch Area, the stones around the large fountain, and the teleporter at the North Entrance.
4. Water
This stone is usually found in locations near water, such as the large fountain at the spawn, the small fountain by the Banana Colada perk, and the water fountains near Widows Wine.
After finding each little stone with an element, shoot it. It will immediately glow in the color of the element and disappear. After shooting at the 4 stones, return to the auditorium and your sword will be there.
Musical Easter Egg
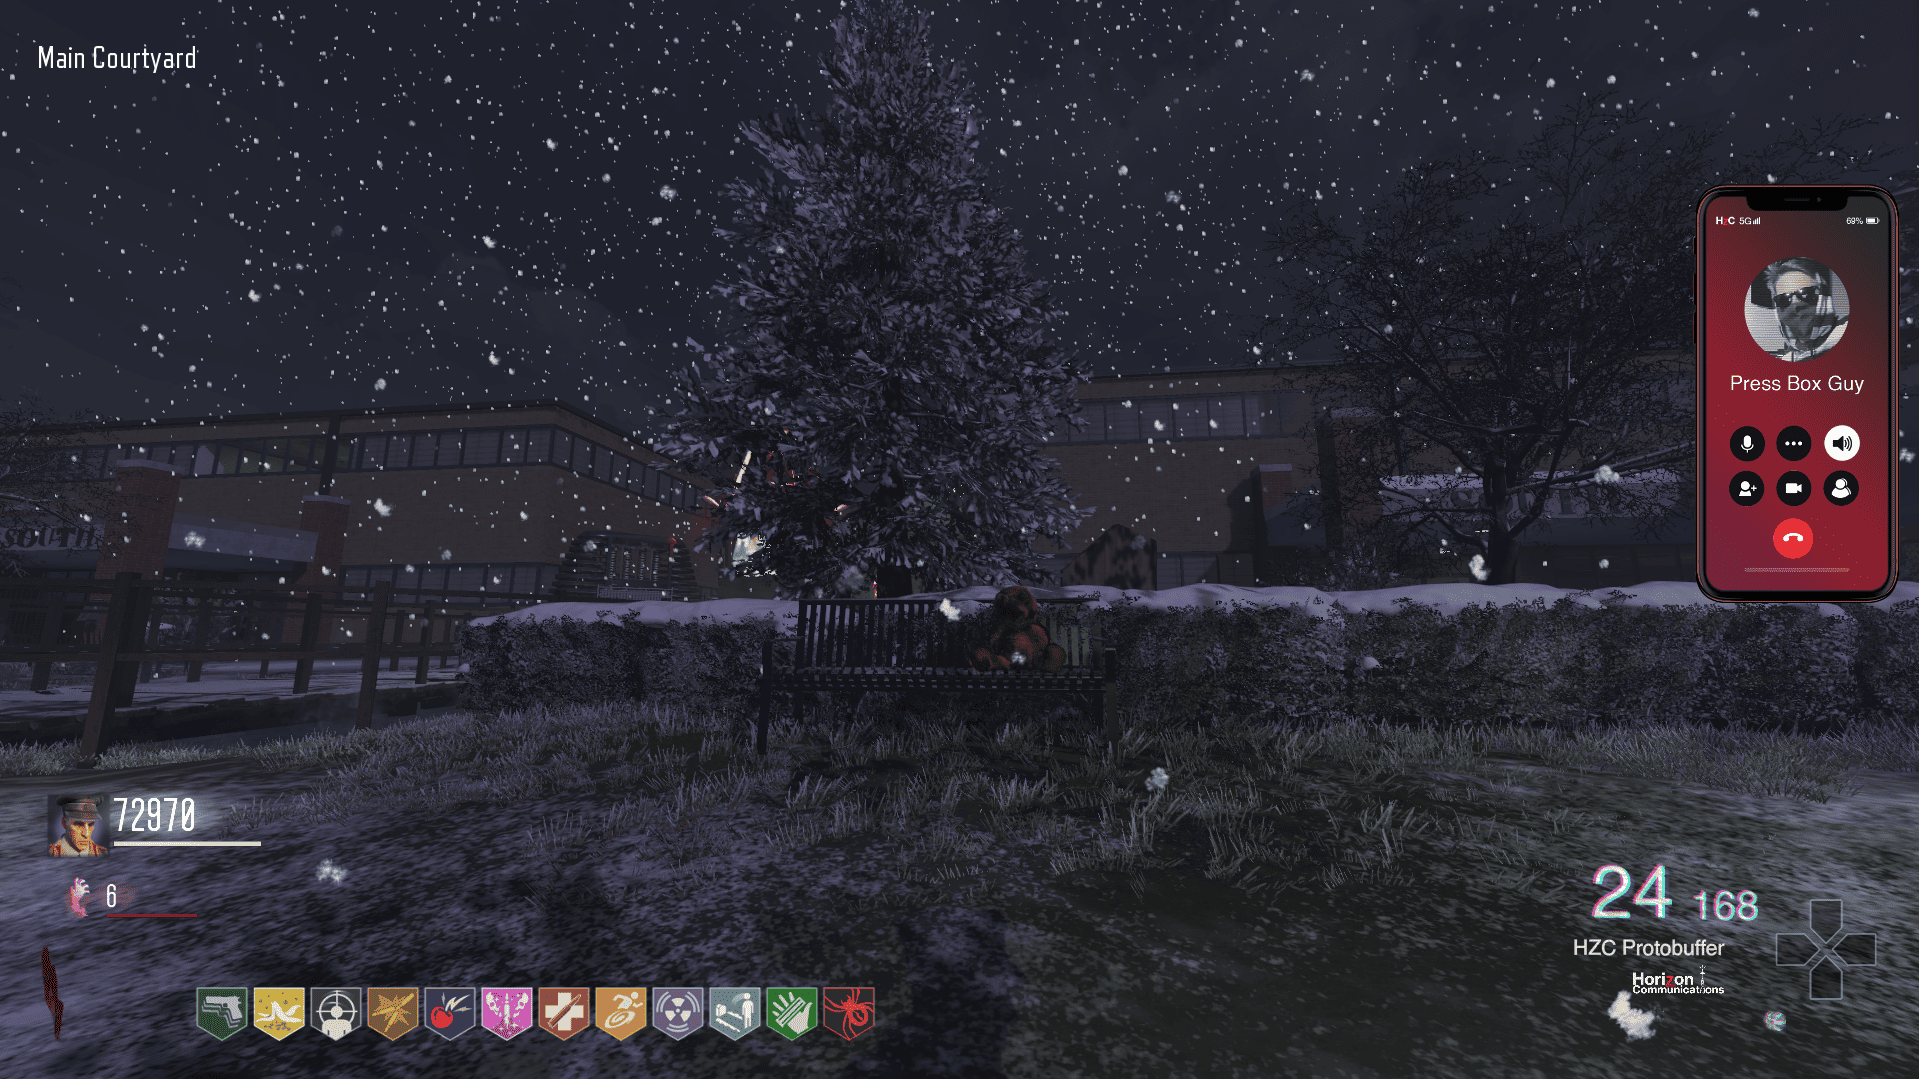
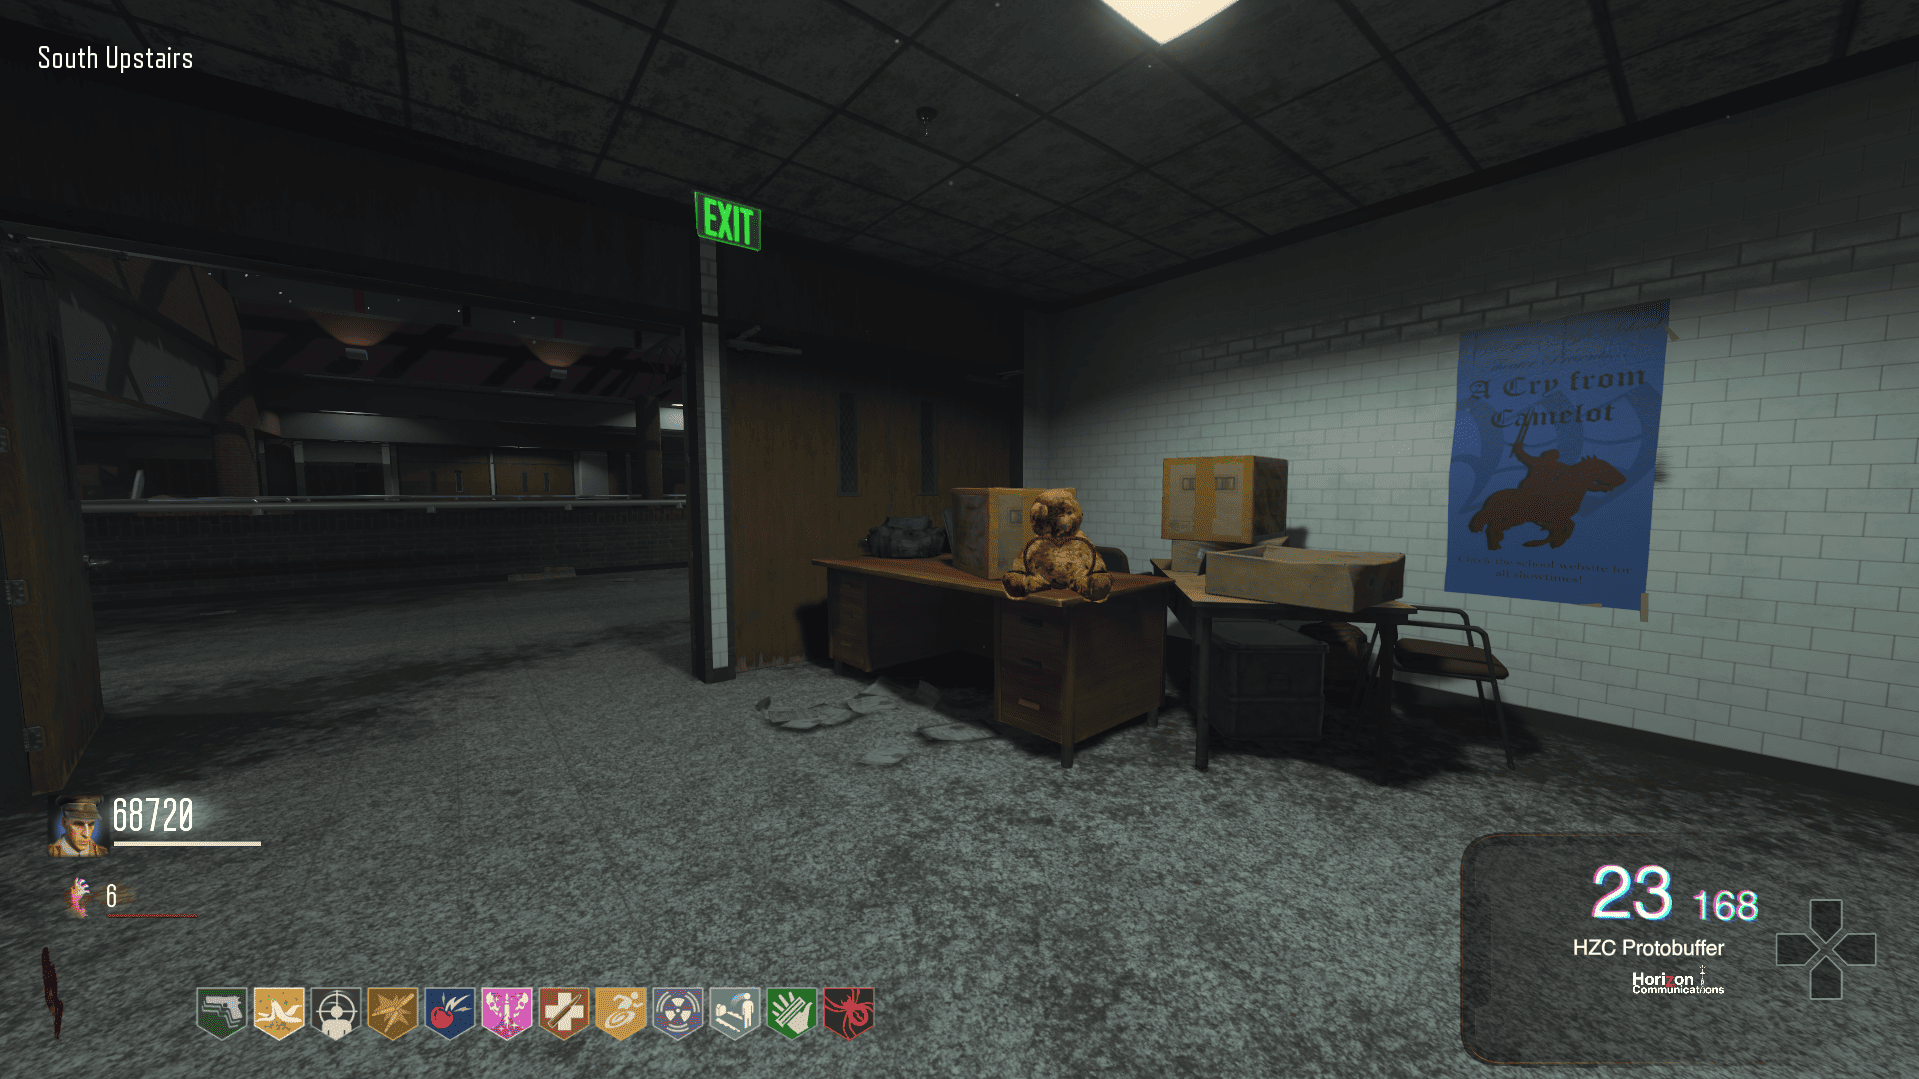
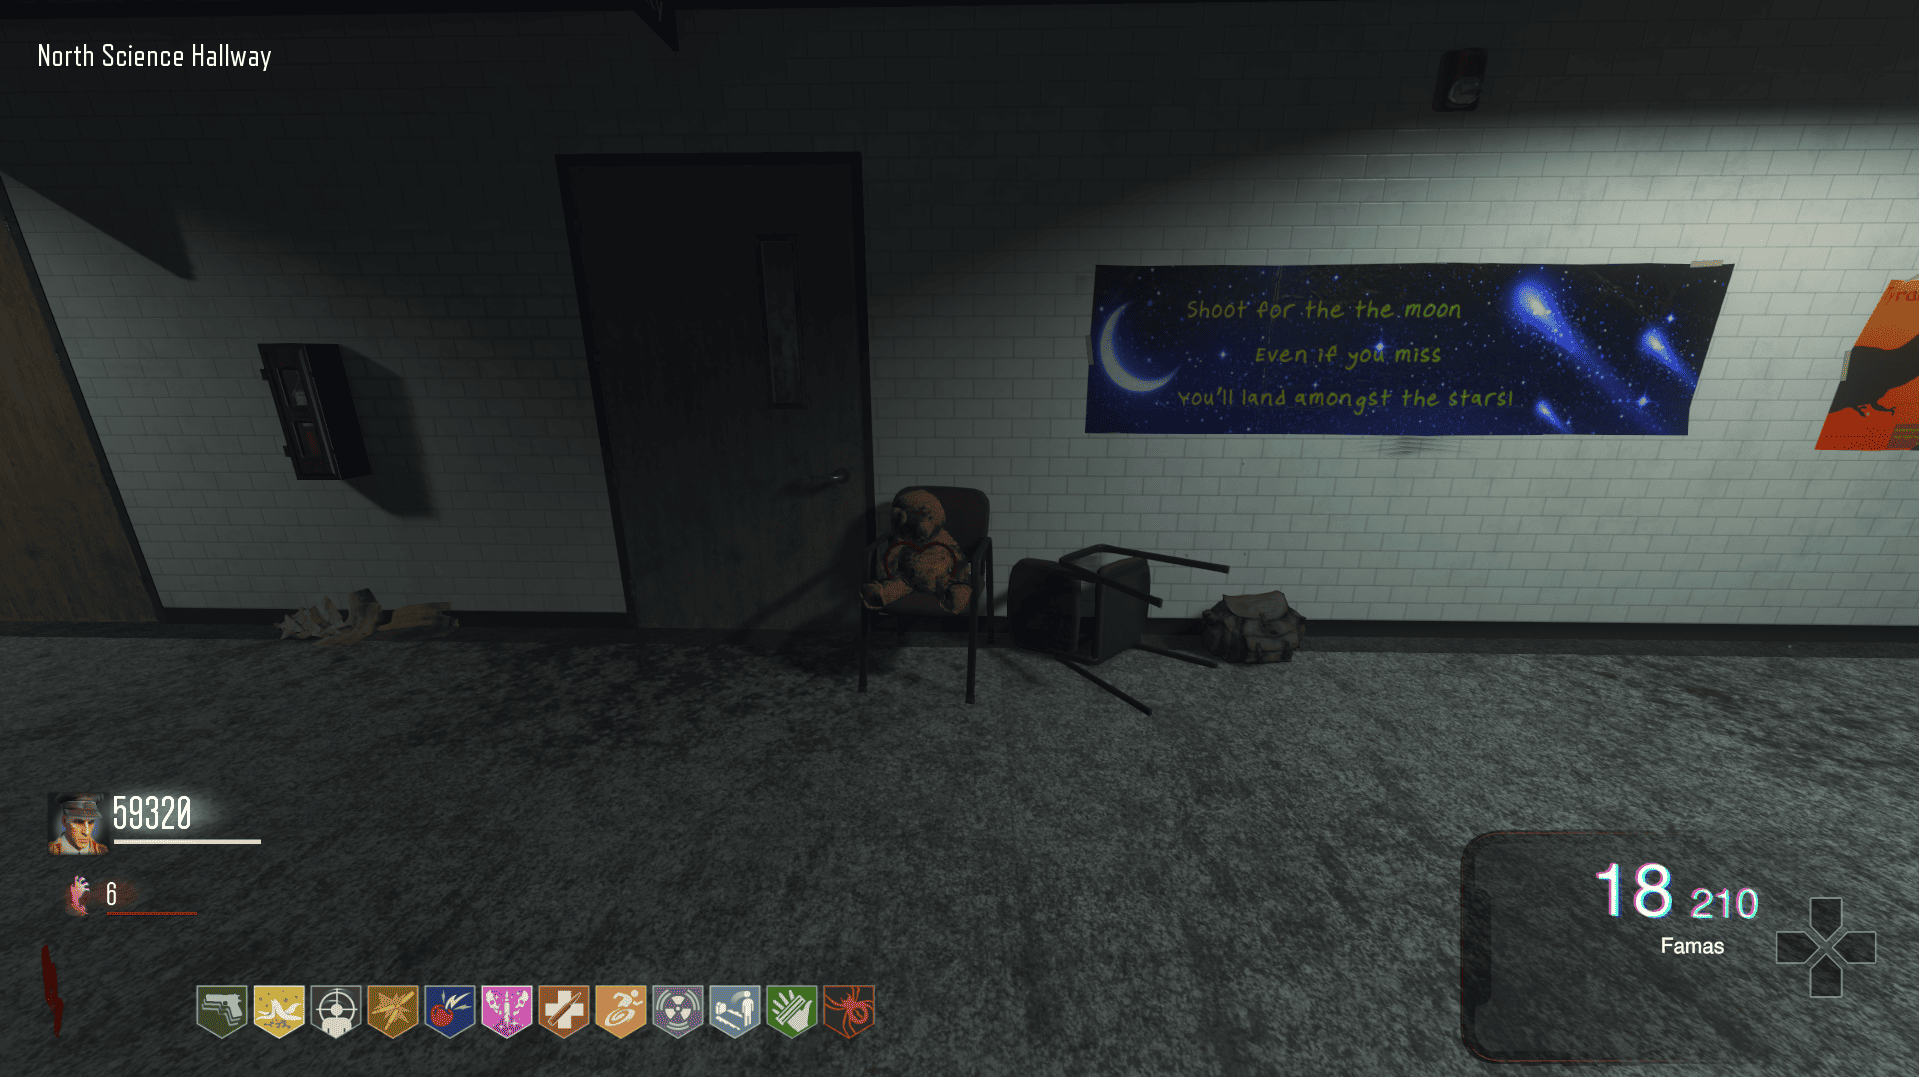
For this EE, it is necessary to find the three teddy bears on the map; when finished, In Love - A.Bear will play.
1) The first teddy bear is located at the spawn, on a bench towards the North side.
2) The second teddy bear is located right at the exit of south upstairs, on top of a small wooden table.
3) The third teddy bear is located in the north science corridor, on a chair next to a large blue comet poster.
1) The first teddy bear is located at the spawn, on a bench towards the North side.
2) The second teddy bear is located right at the exit of south upstairs, on top of a small wooden table.
3) The third teddy bear is located in the north science corridor, on a chair next to a large blue comet poster.
Cellphone Ringtones
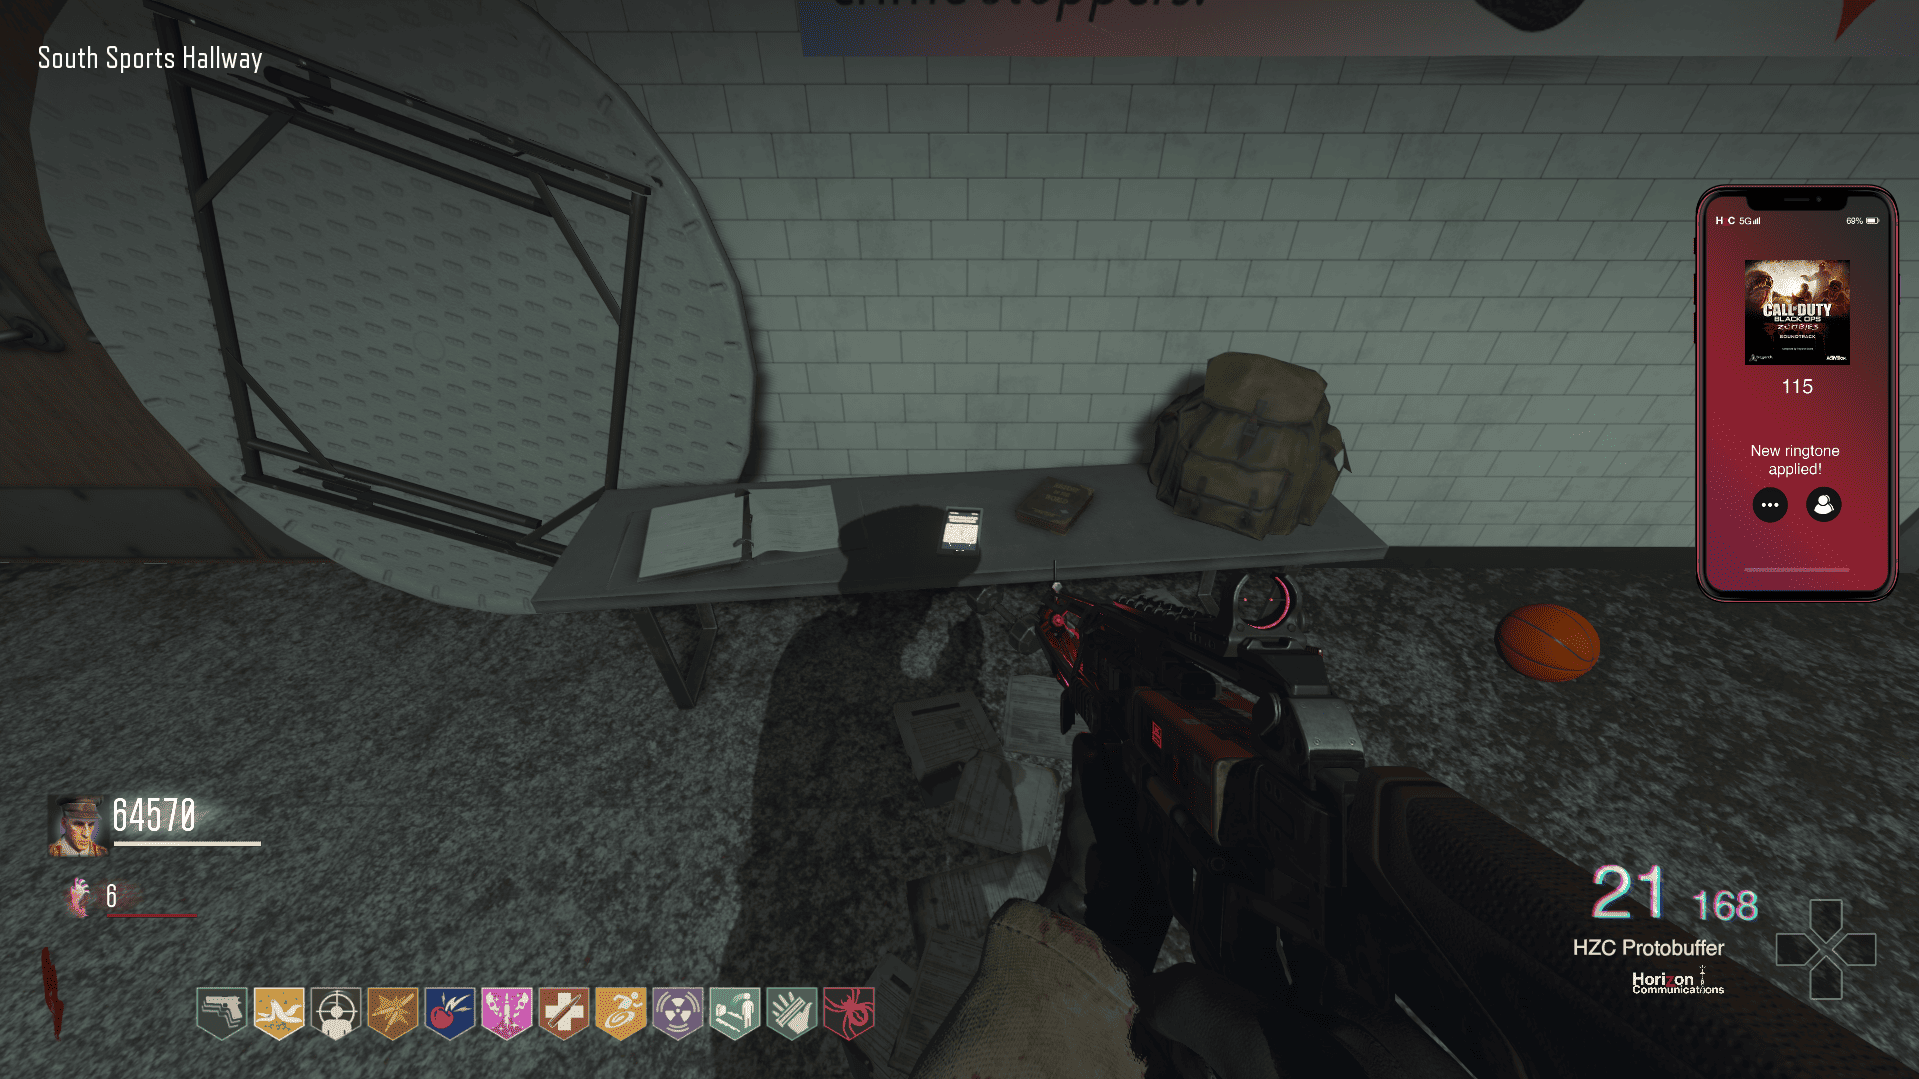
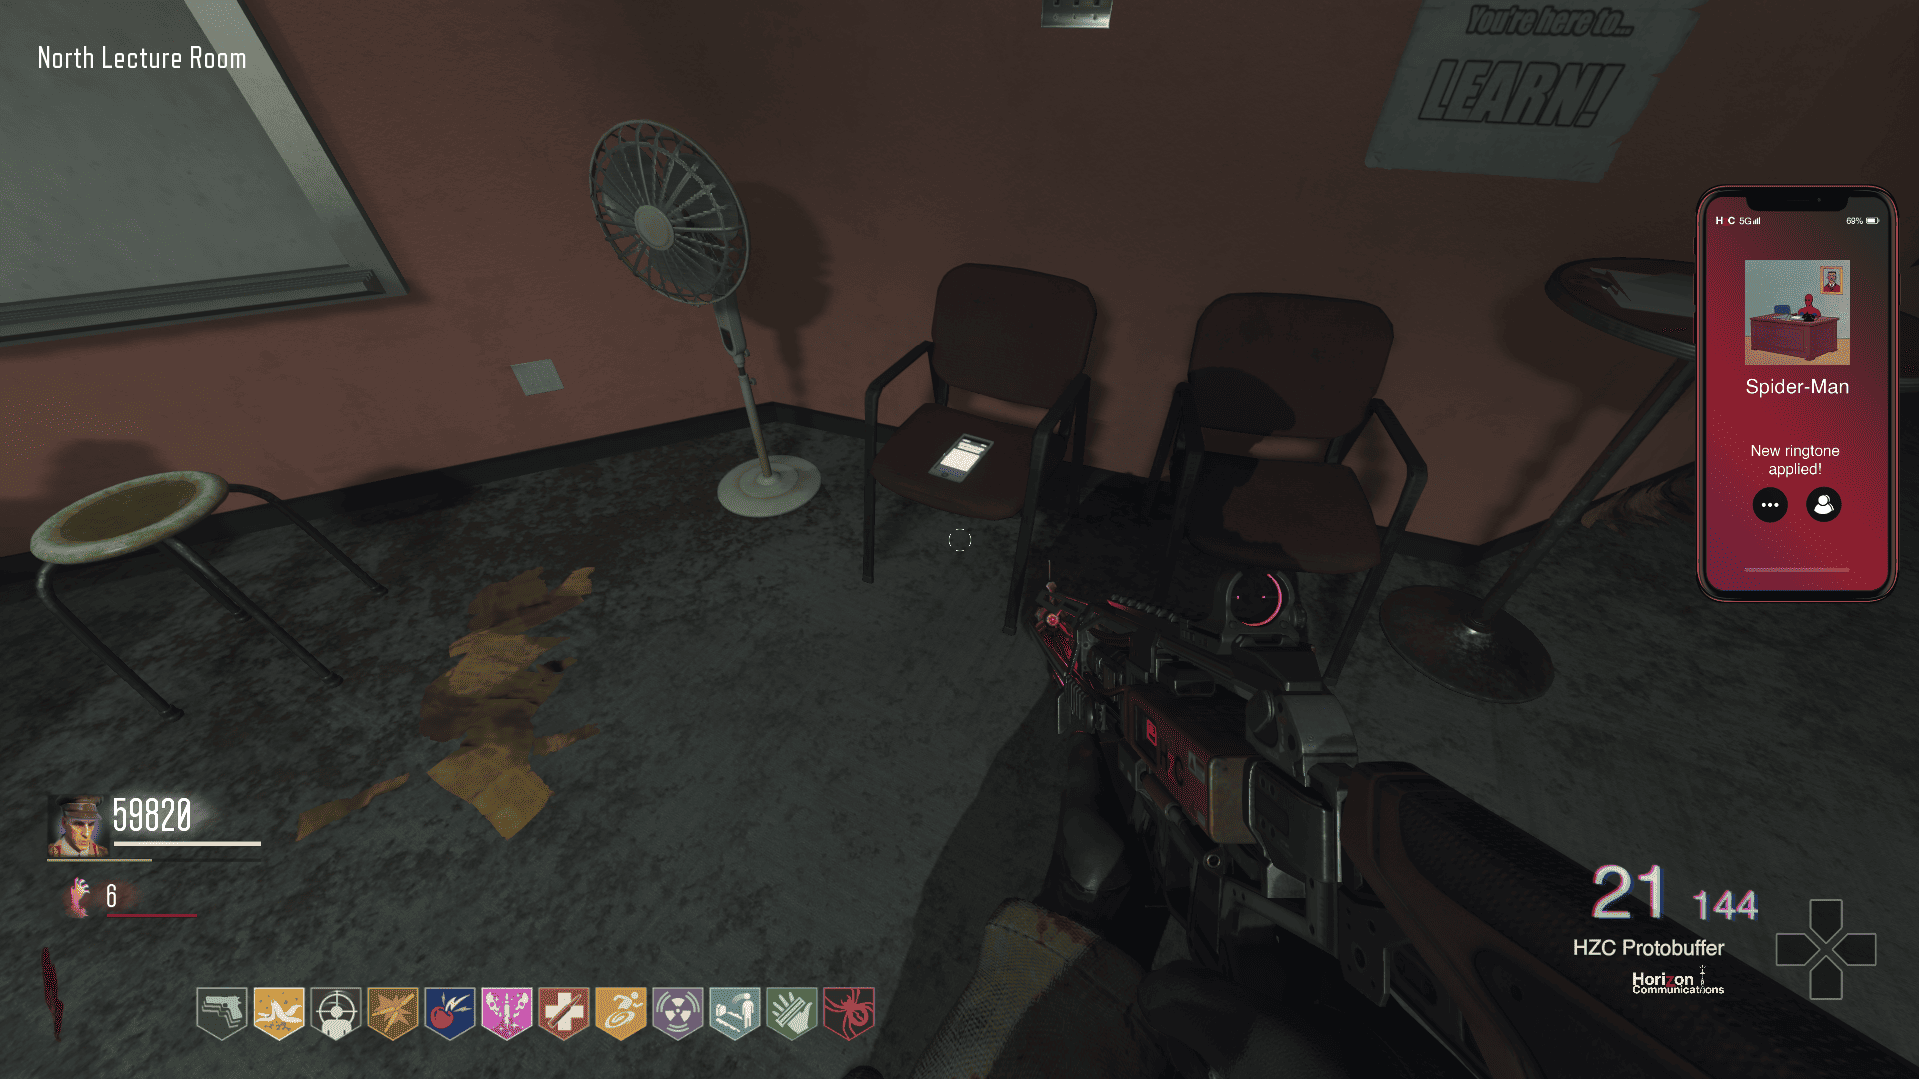
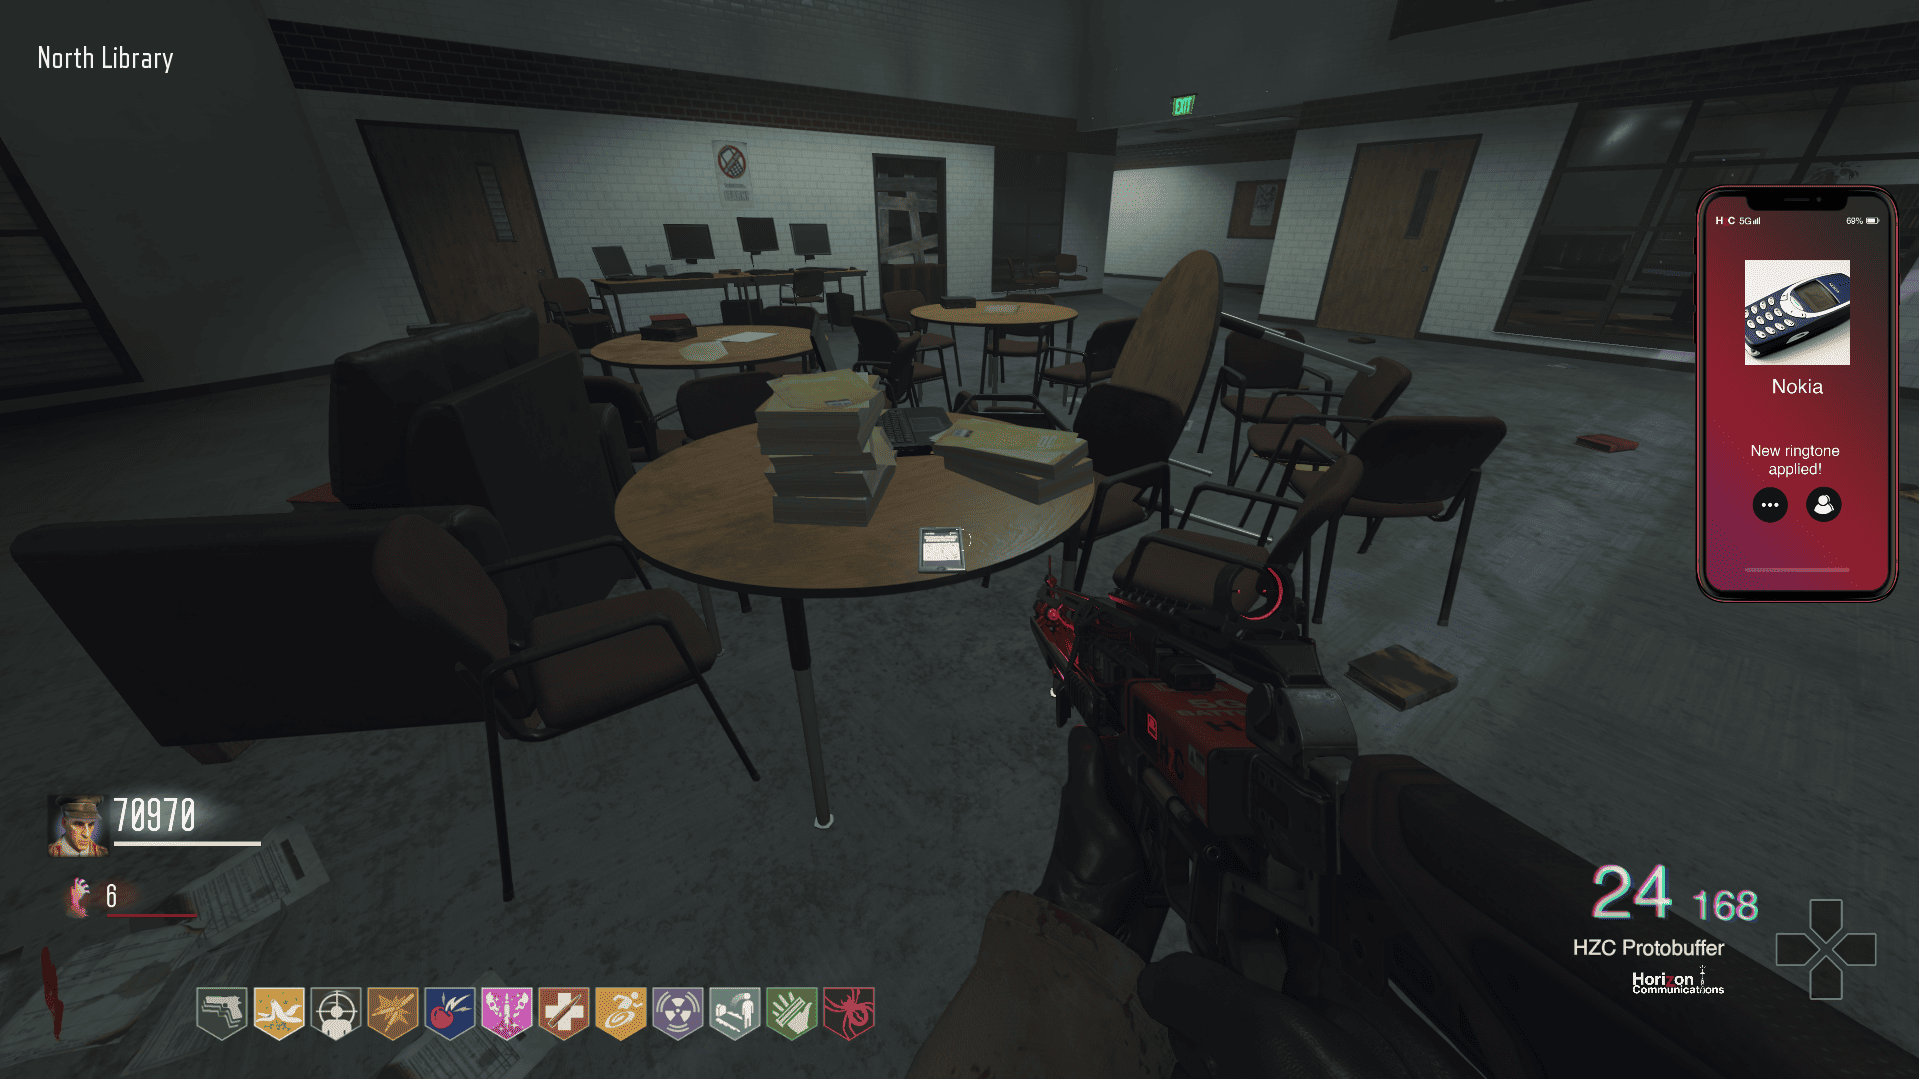
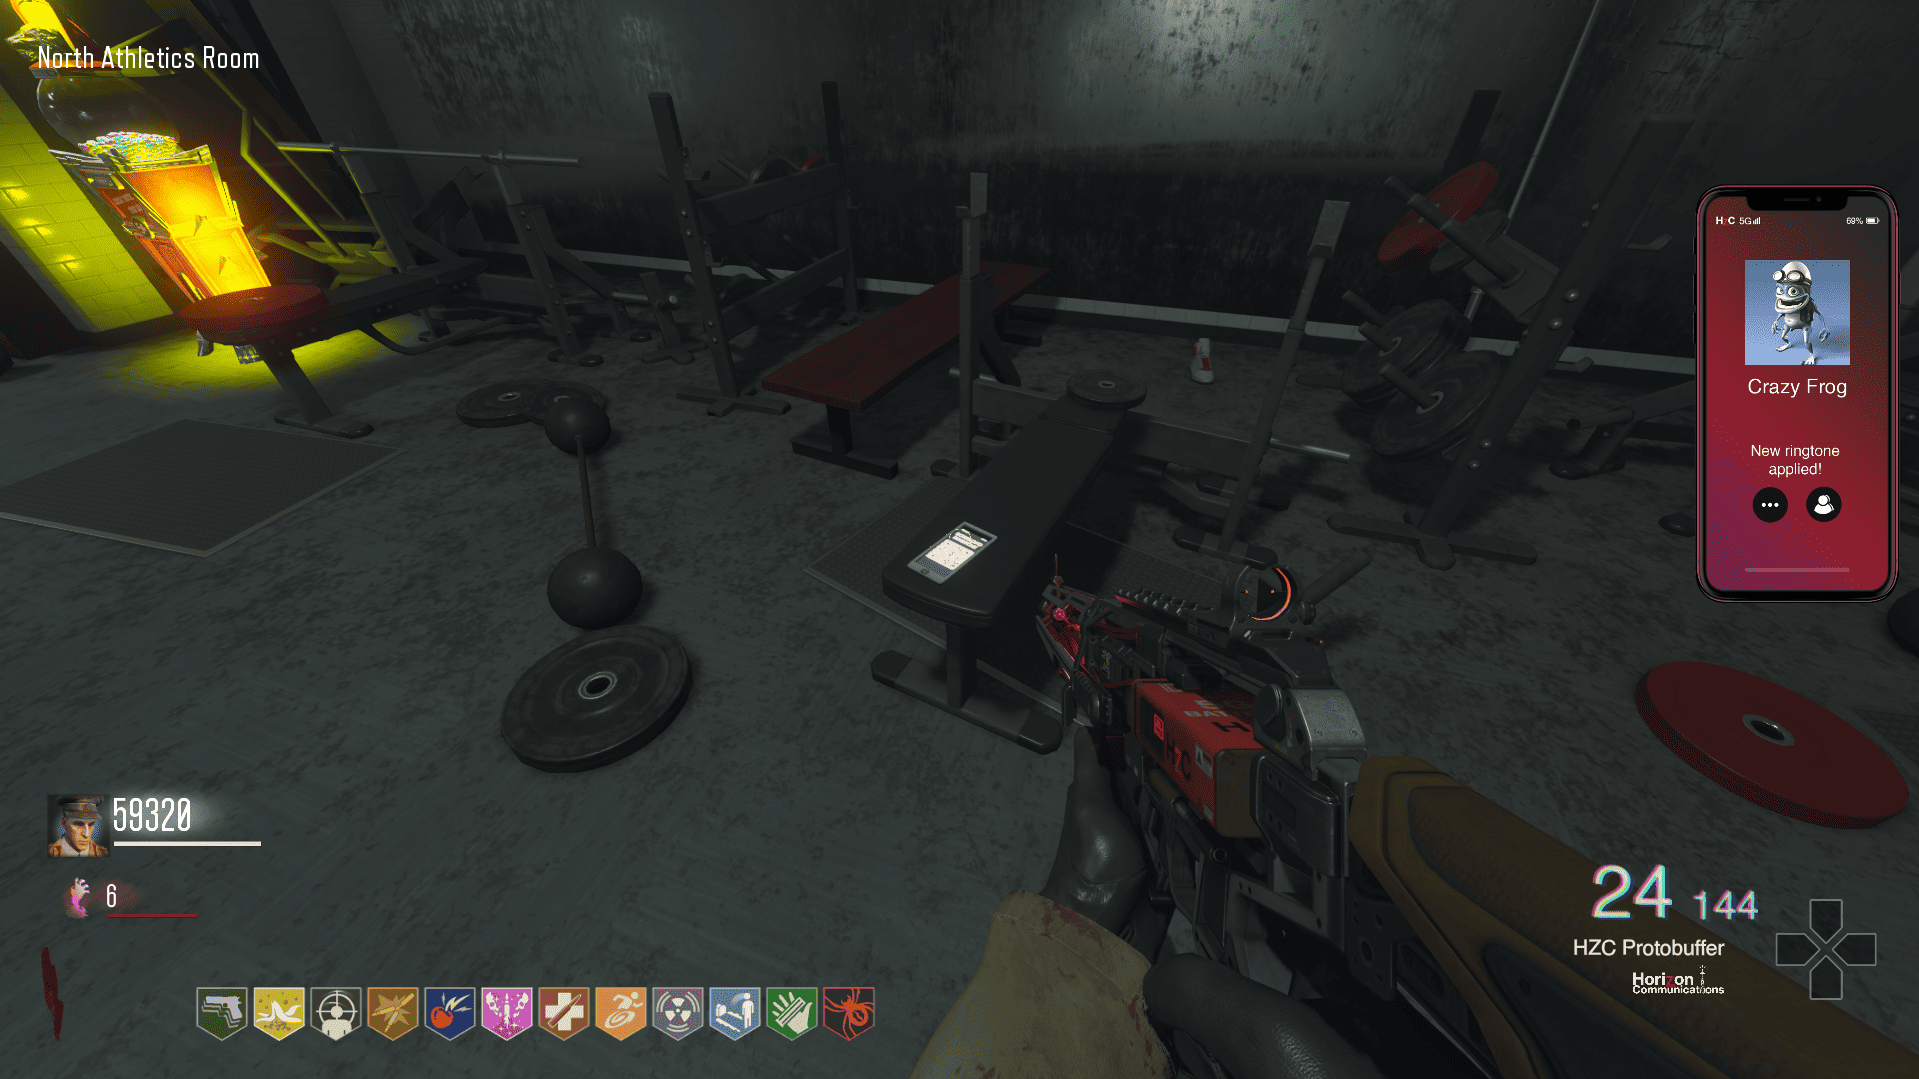
After unlocking the elevator (PaP) and receiving the cell phone, it is possible to change the ringtone by finding some cell phones with a white screen throughout the map.
The available ringtones are:
115 (South Sports Hall)
Spider Man (North Lecture Room)
Nokia (North Library)
Crazy Frog (North Athletics Room)
Discord (South Library)
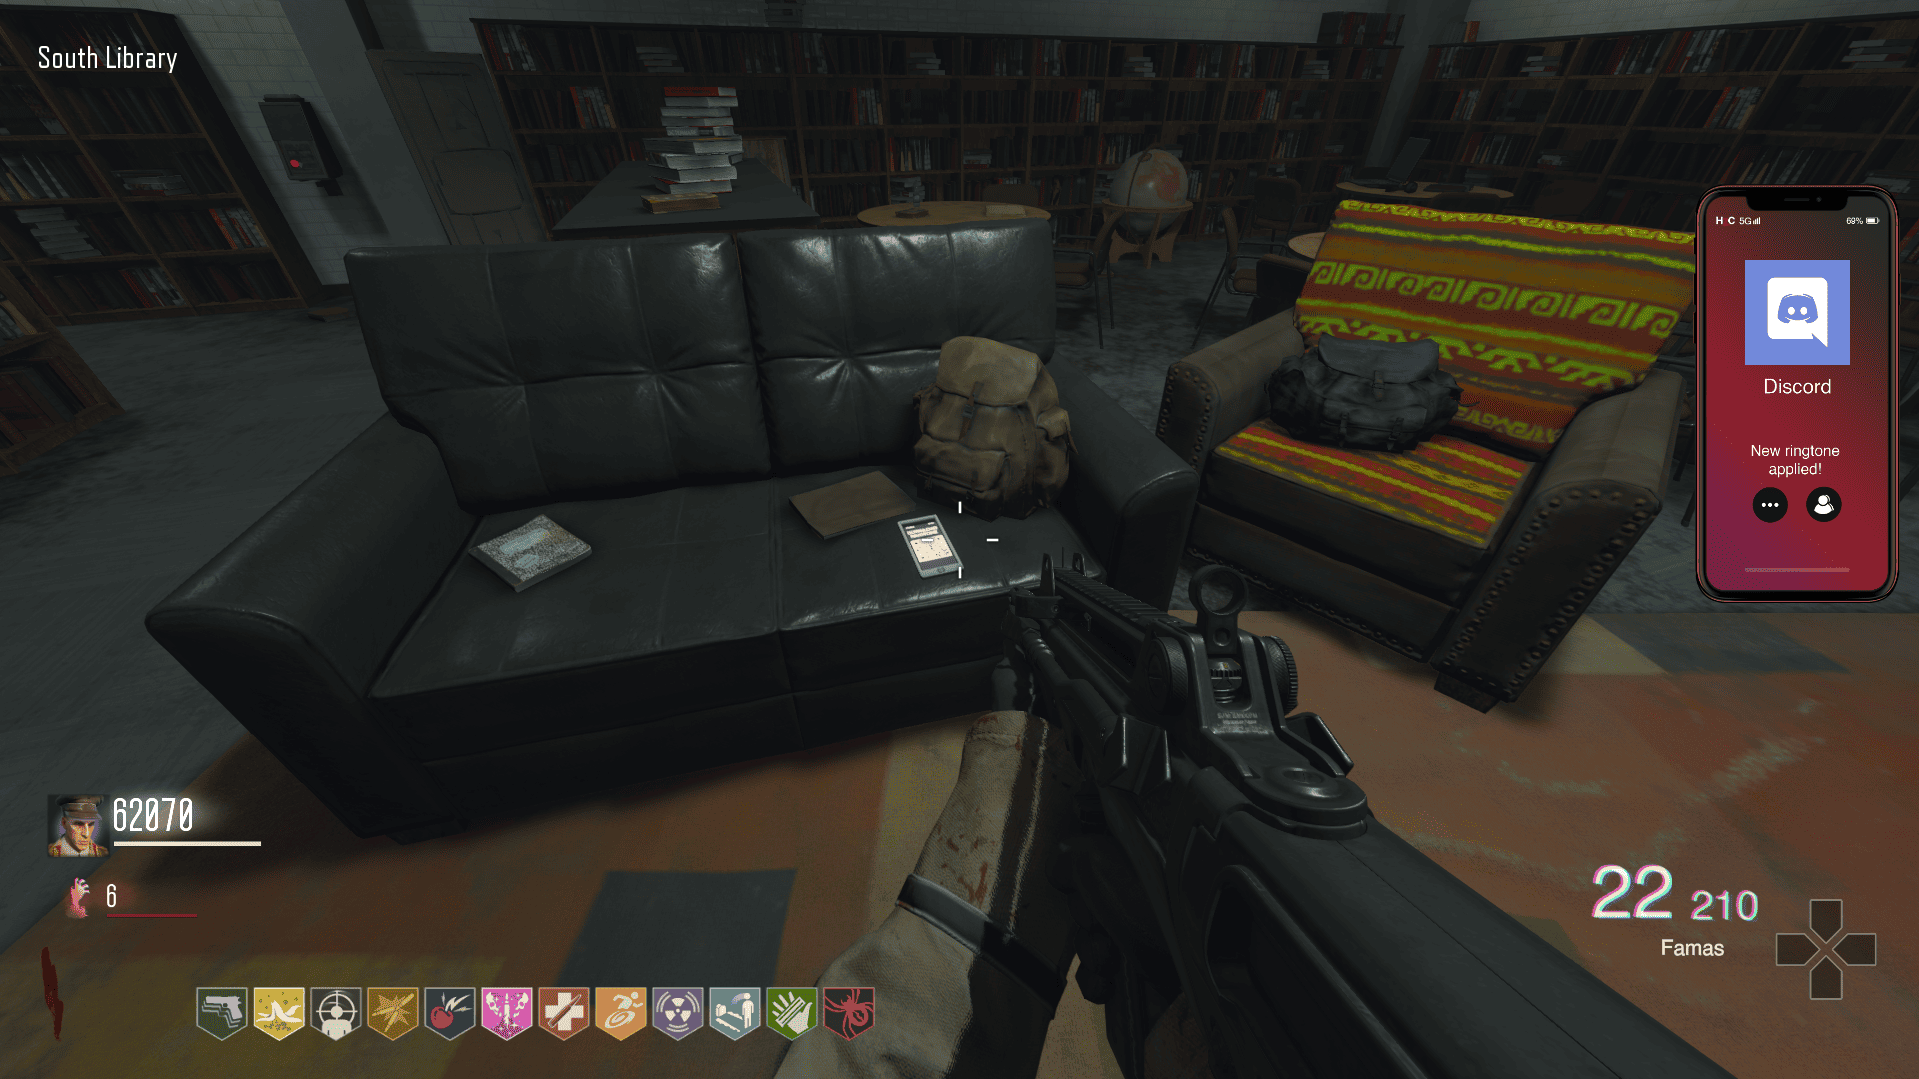
Skype (North Upstairs)
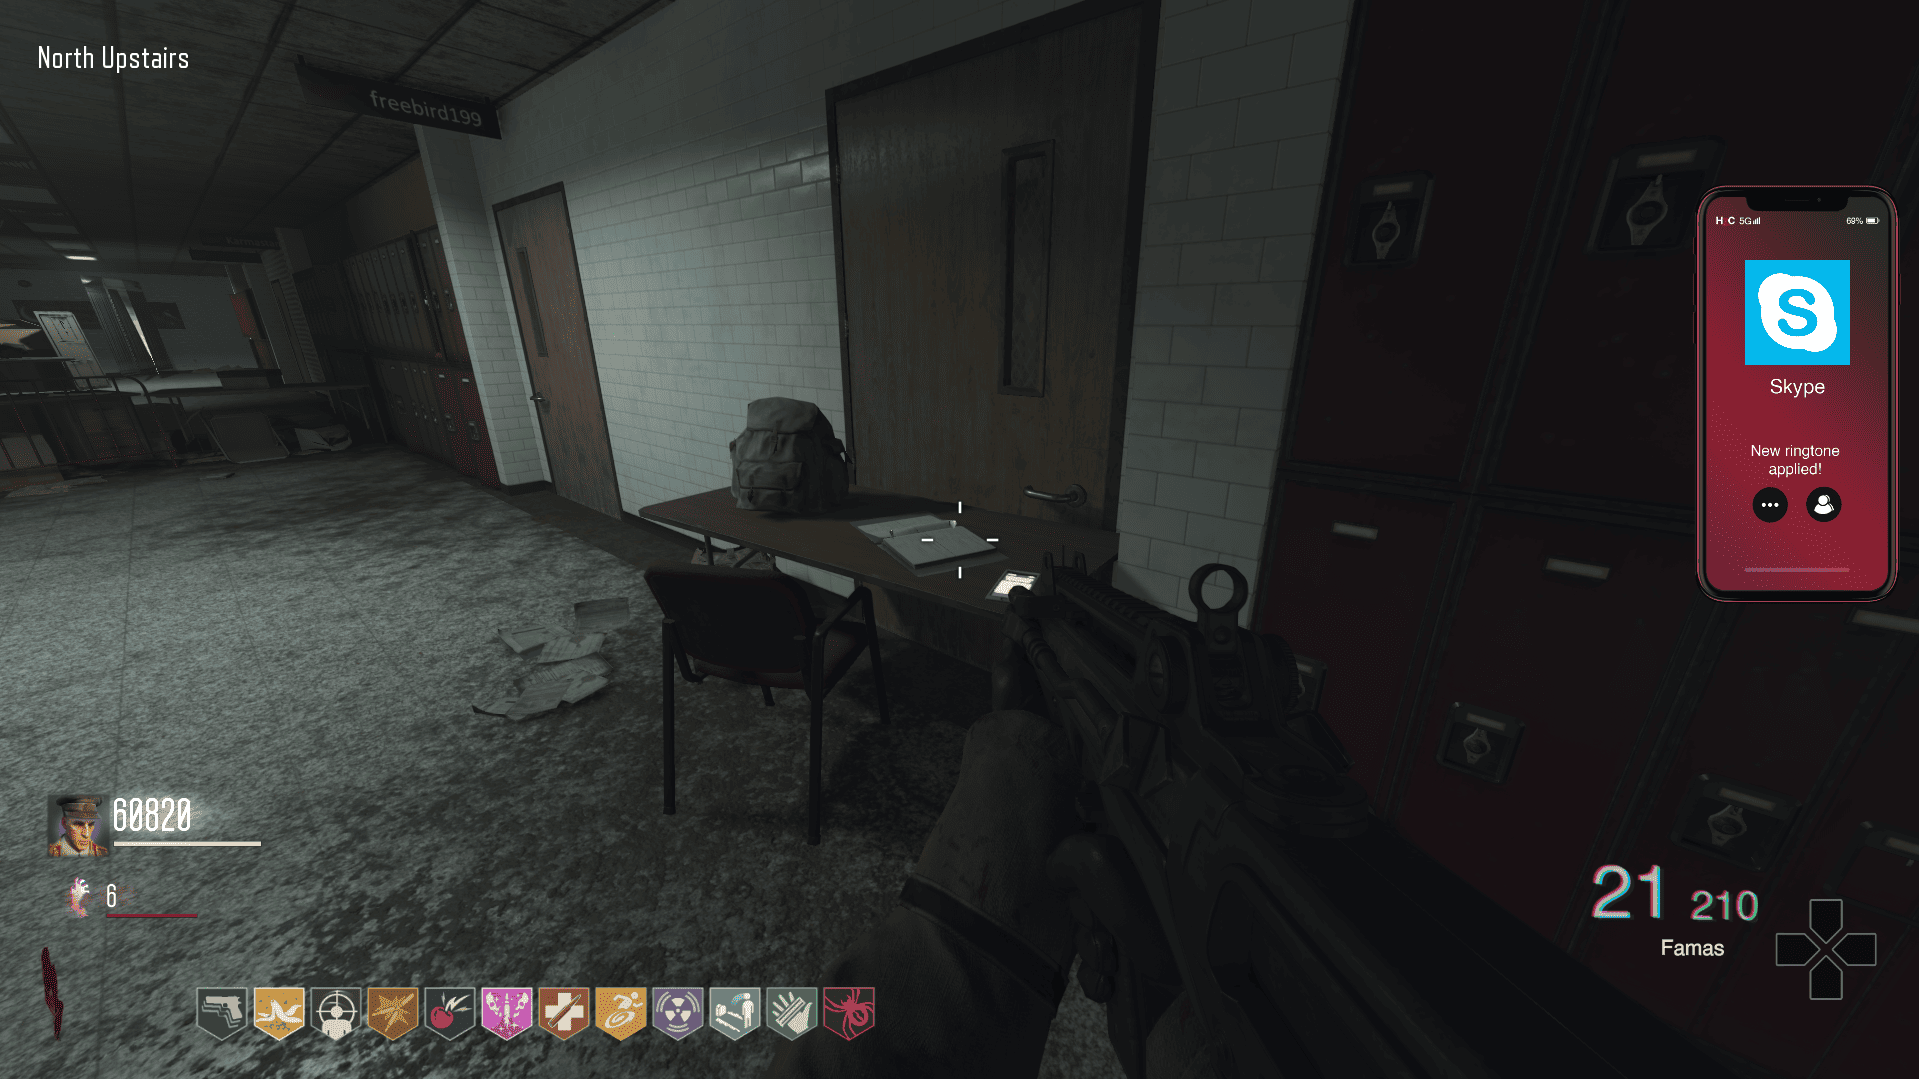
Dixie Horn (South Band Hall)
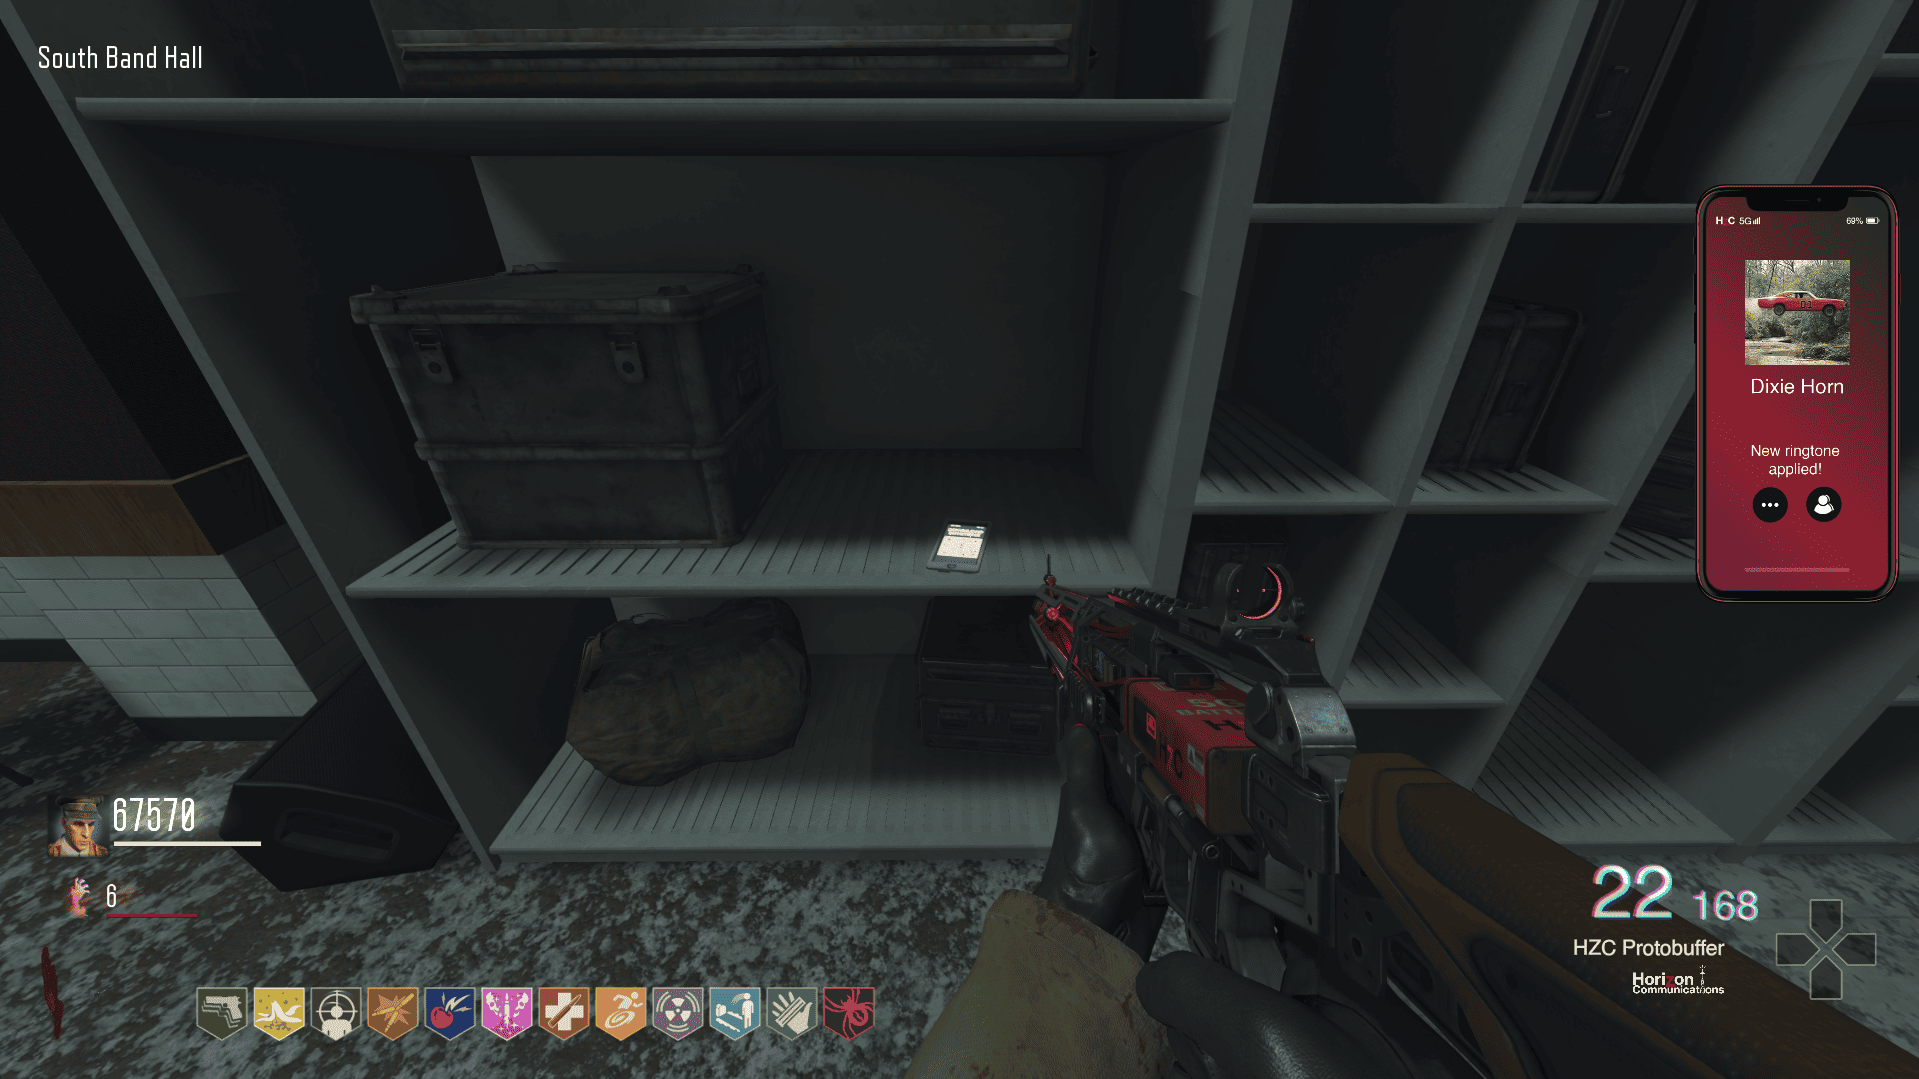
Rick Roll (South Teachers' Lounge)
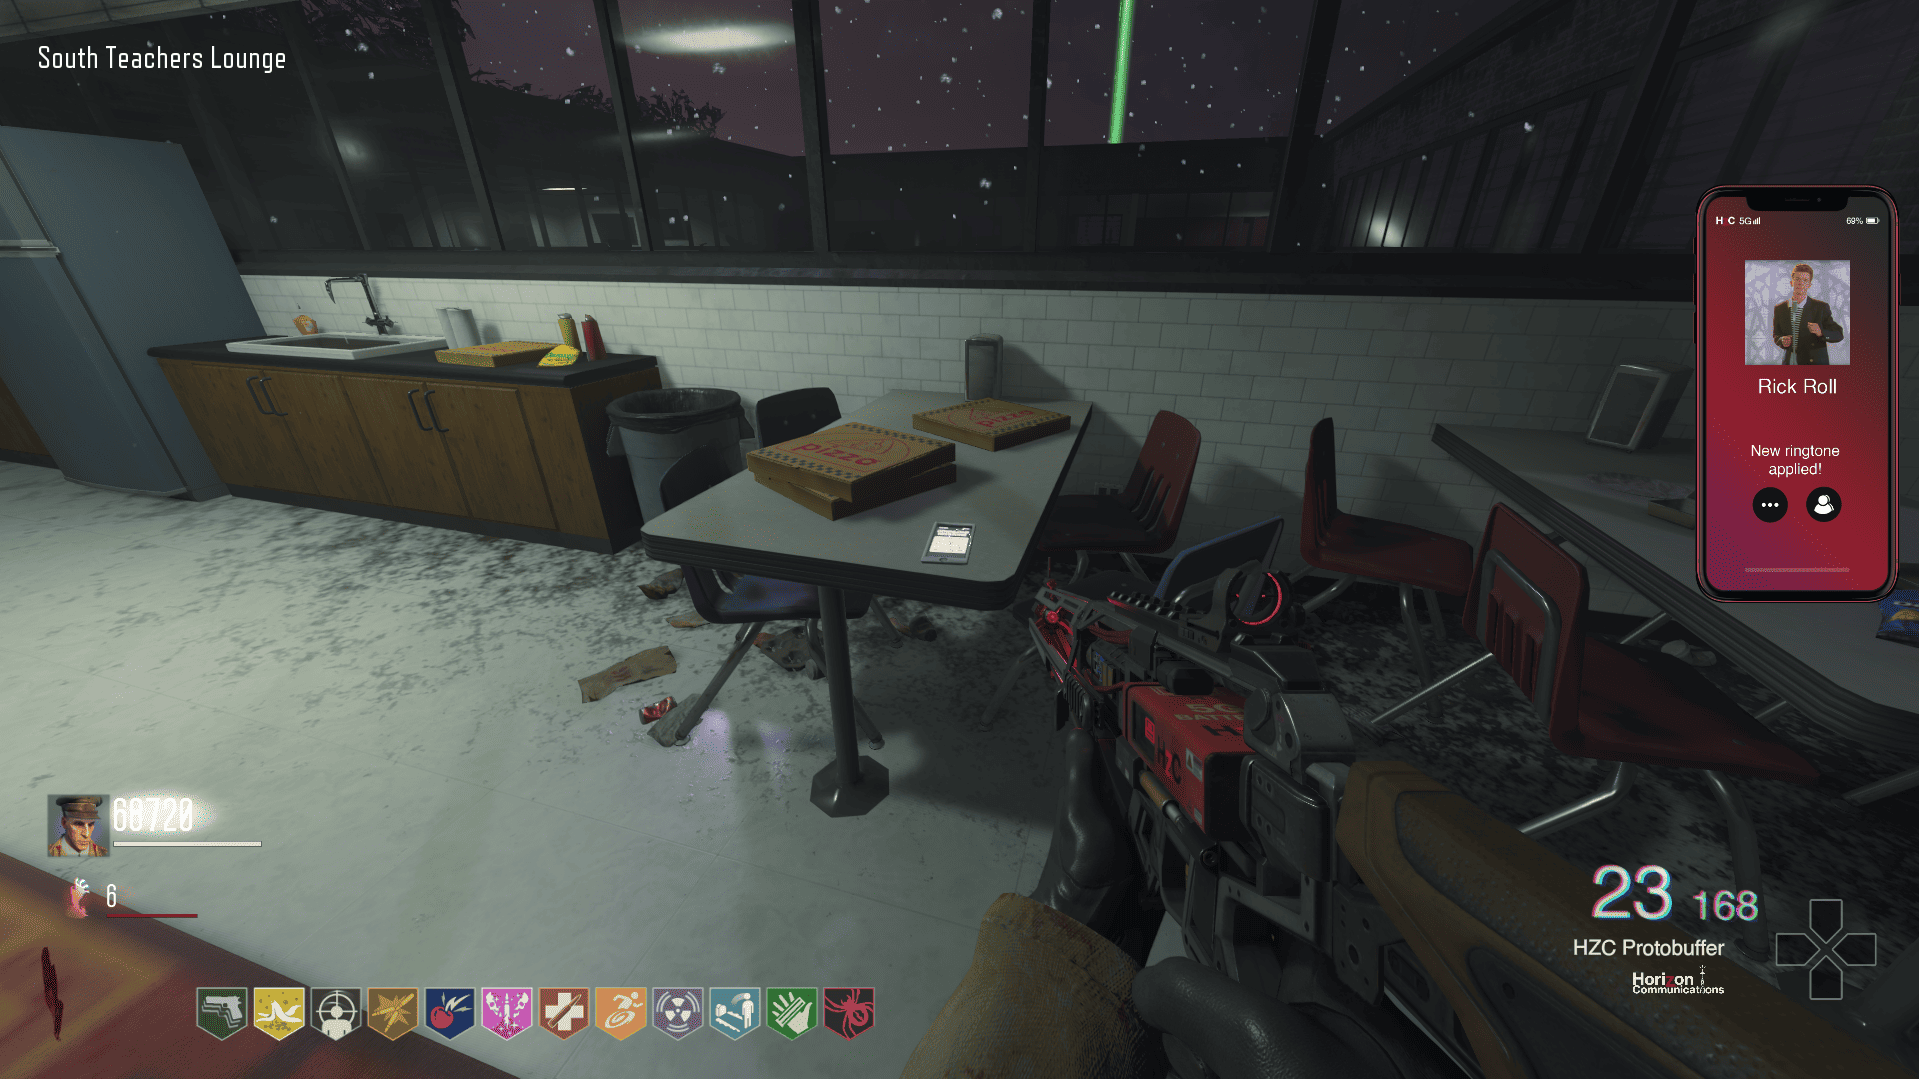
Just Vibrate (Pack a Punch)
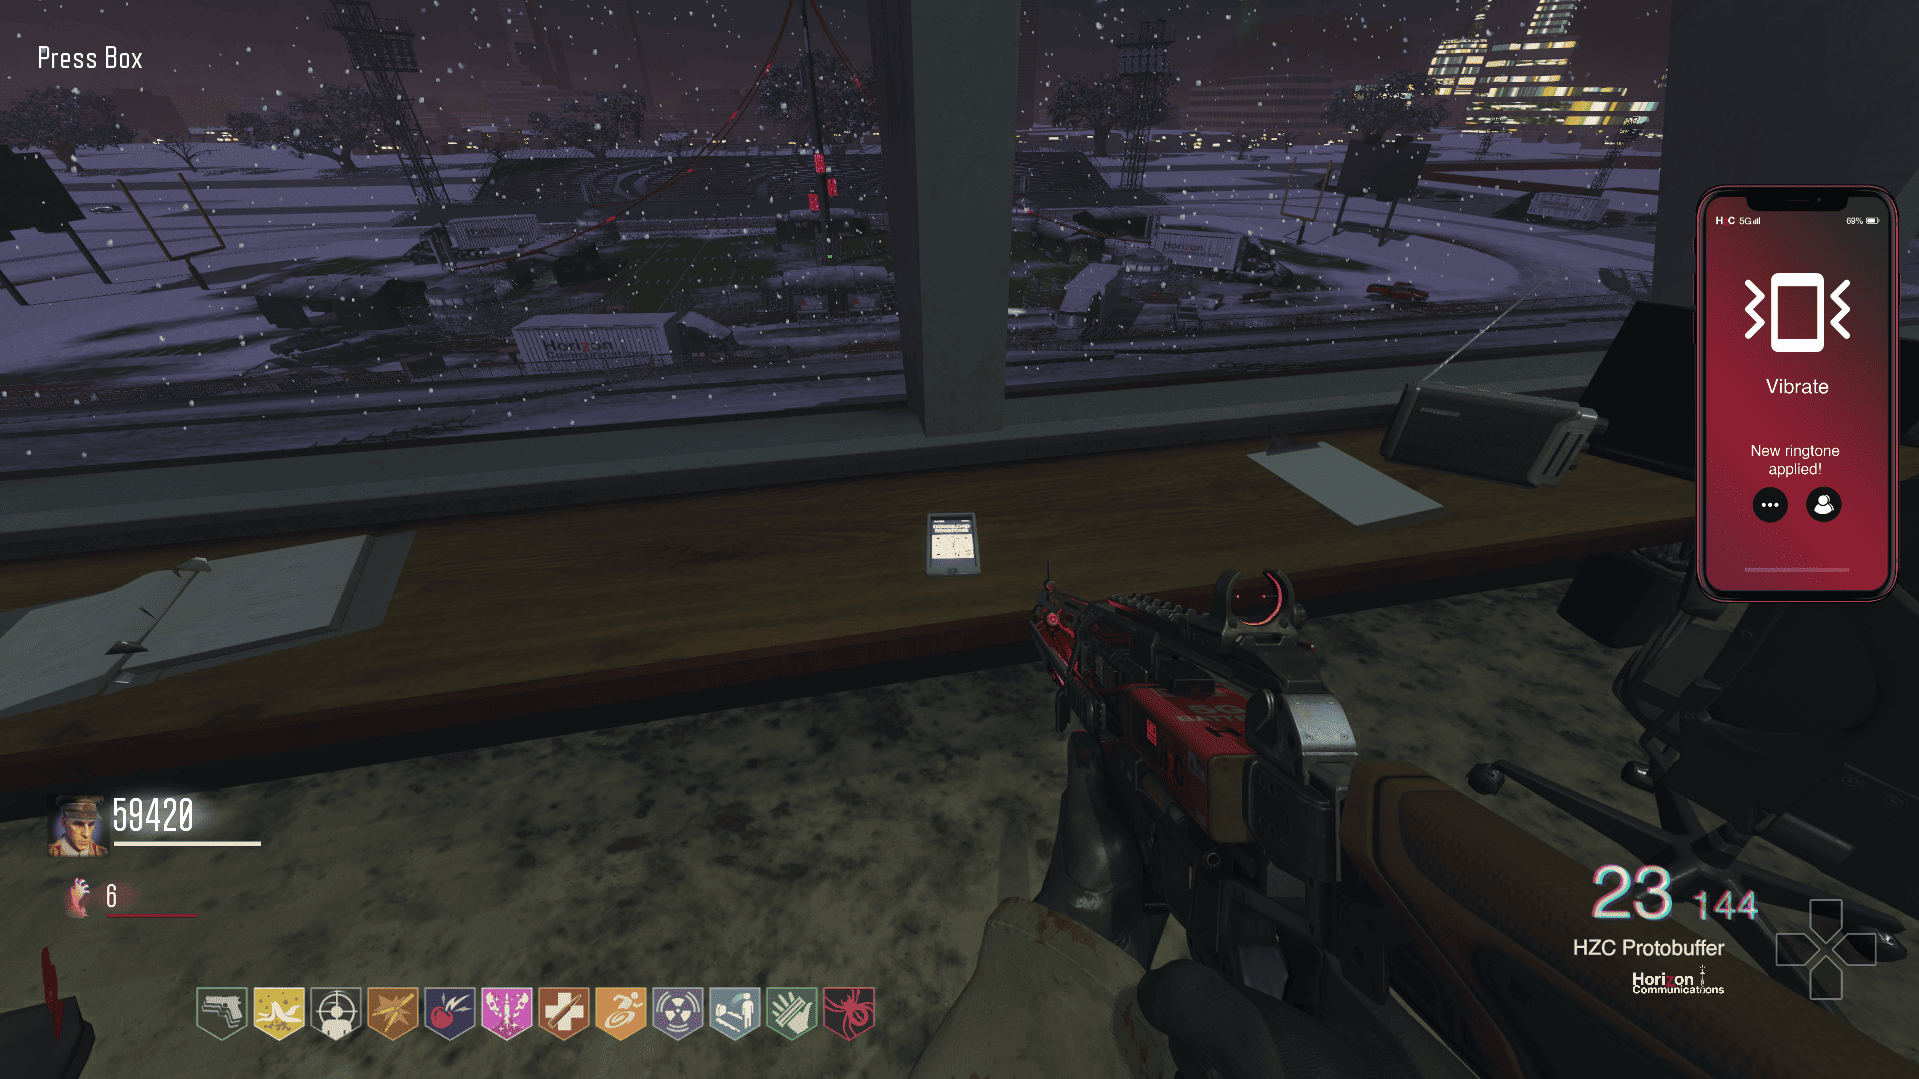
The available ringtones are:
115 (South Sports Hall)
Spider Man (North Lecture Room)
Nokia (North Library)
Crazy Frog (North Athletics Room)
Discord (South Library)
Skype (North Upstairs)
Dixie Horn (South Band Hall)
Rick Roll (South Teachers' Lounge)
Just Vibrate (Pack a Punch)
More Call of Duty: Black Ops III guides
- All Around Enhancement Mod Description And Info★ 5 (597)211k views1.2k ♥34 minUpdated Aug 10, 2023
- Black Ops 3: Console Commands★ 5 (1.1k)123k views2.4k ♥7 minUpdated Feb 13, 2020
- Origins Ultimate Guide★ 5 (562)72k views1.7k ♥17 minUpdated Jun 24, 2017
- Guide for Shadows of Evil [2020 updated]★ 5 (1.4k)67k views4.5k ♥24 minUpdated Mar 22, 2024
- Guide for Der Eisendrache [2020 updated]★ 5 (1.3k)65k views4.6k ♥30 minUpdated Feb 22, 2024
- How to download the community T7patch by Serious and play online zombies safely (also FPS Fix)★ 5 (491)62k views1.2k ♥4 minUpdated Apr 30





🔥 Popular guides
- Upgrading to PremiumTeam Fortress 2★ 5 (20k)1441k views11k ♥6 minUpdated May 11, 2022
- No More Room in Hell Official ManualNo More Room in Hell★ 5 (2.8k)569k views2.1k ♥29 minUpdated Apr 22, 2019
- NMRiH Community Hosting GuidesNo More Room in Hell★ 5 (526)351k views653 ♥1 minUpdated Aug 10, 2022
- Лучшие кооперативные игры SteamPAYDAY 2★ 5 (1.5k)315k views2.1k ♥56 minRussianUpdated Apr 27, 2025
- Desert Eagle Heat Treated | Blue GemCounter-Strike 2★ 5 (1.6k)292k views1.5k ♥2 minUpdated Jan 16
- Treasure Hunt Puzzle SolutionsTotal War: WARHAMMER II★ 5 (6.9k)281k views15k ♥3 minUpdated Aug 19, 2021






This guide was created by its original author on the Steam Community. Are you the author and want it removed? Request removal.