Mineshaft Mysteries Complete Map Guide (All EE Steps)
General Overview
This guide pertains to the Mineshaft Mysteries custom map created by "YouSlaggg" and "Shidouri". It covers everything from map basics and mechanics, to the main quest and boss fight. I highly encourage you to leave positive feedback on their workshop page, as they have clearly put a lot of effort into this project.
Steam Workshop Page (Map Download):
https://steamcommunity.com/sharedfiles/filedetails/?id=2990458290
If you know of something I did not cover in the guide or wish to offer a correction, I encourage you to do so respectfully in the comment section below this guide.
Layout (Basic Labeled Map)
Spawn Area
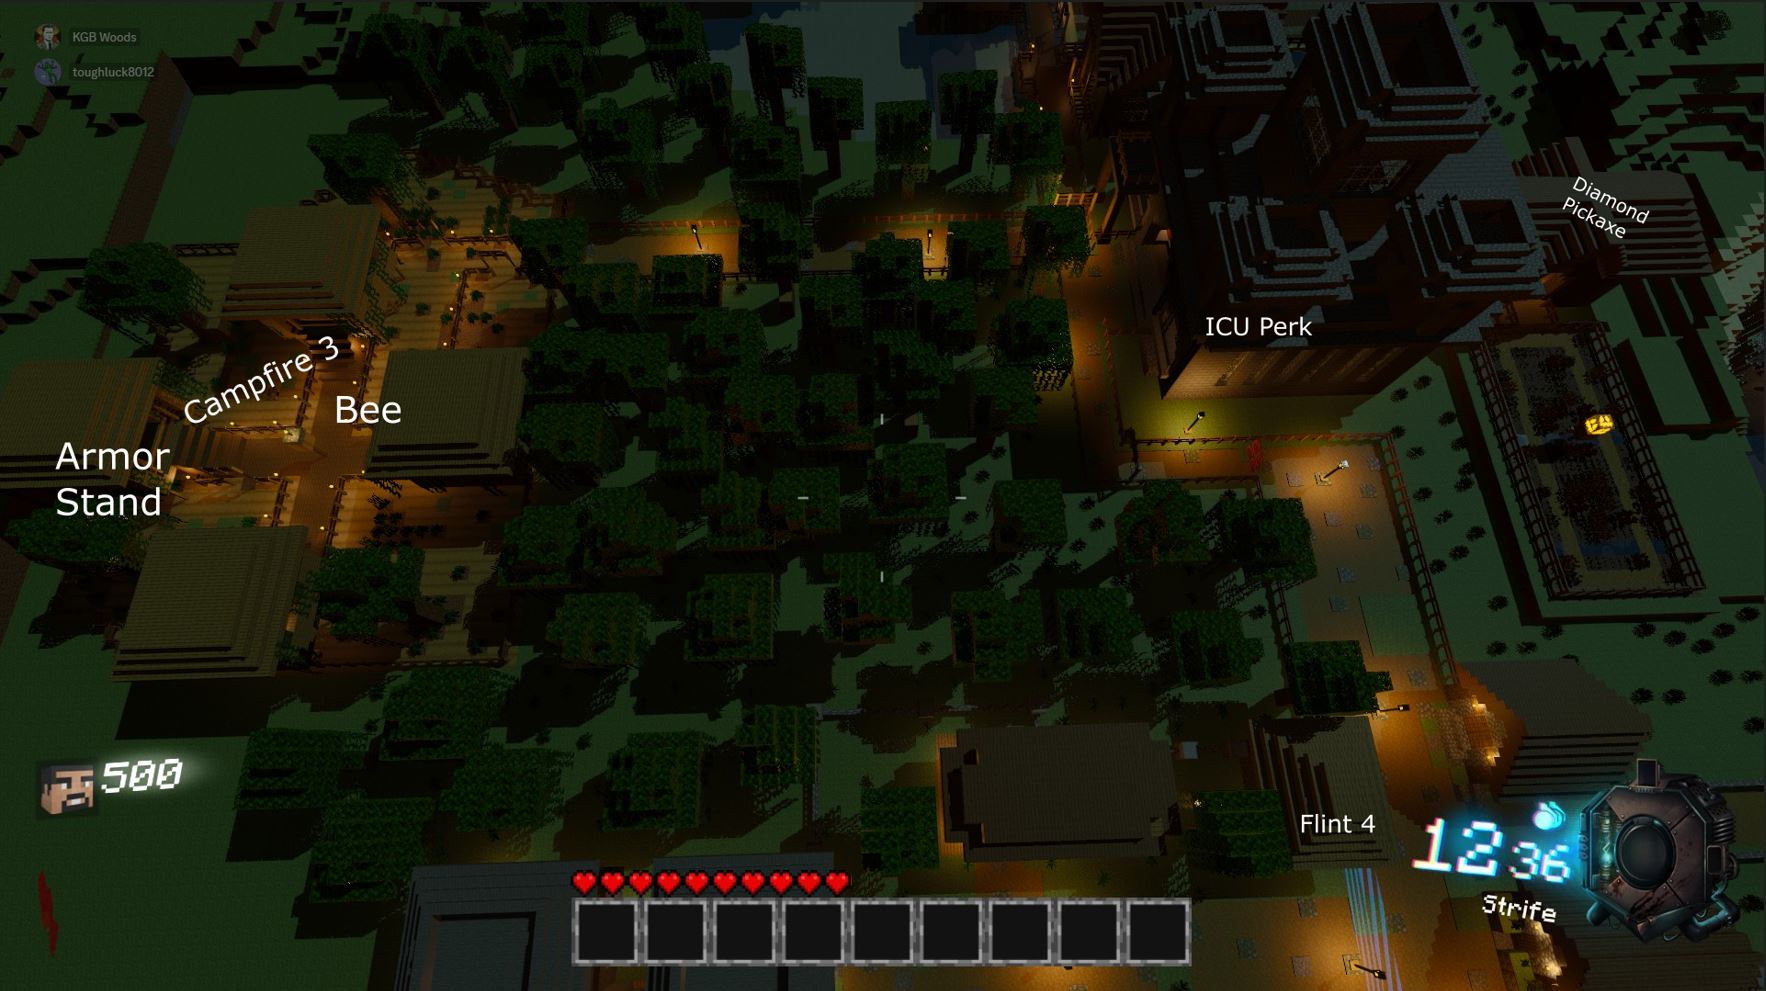
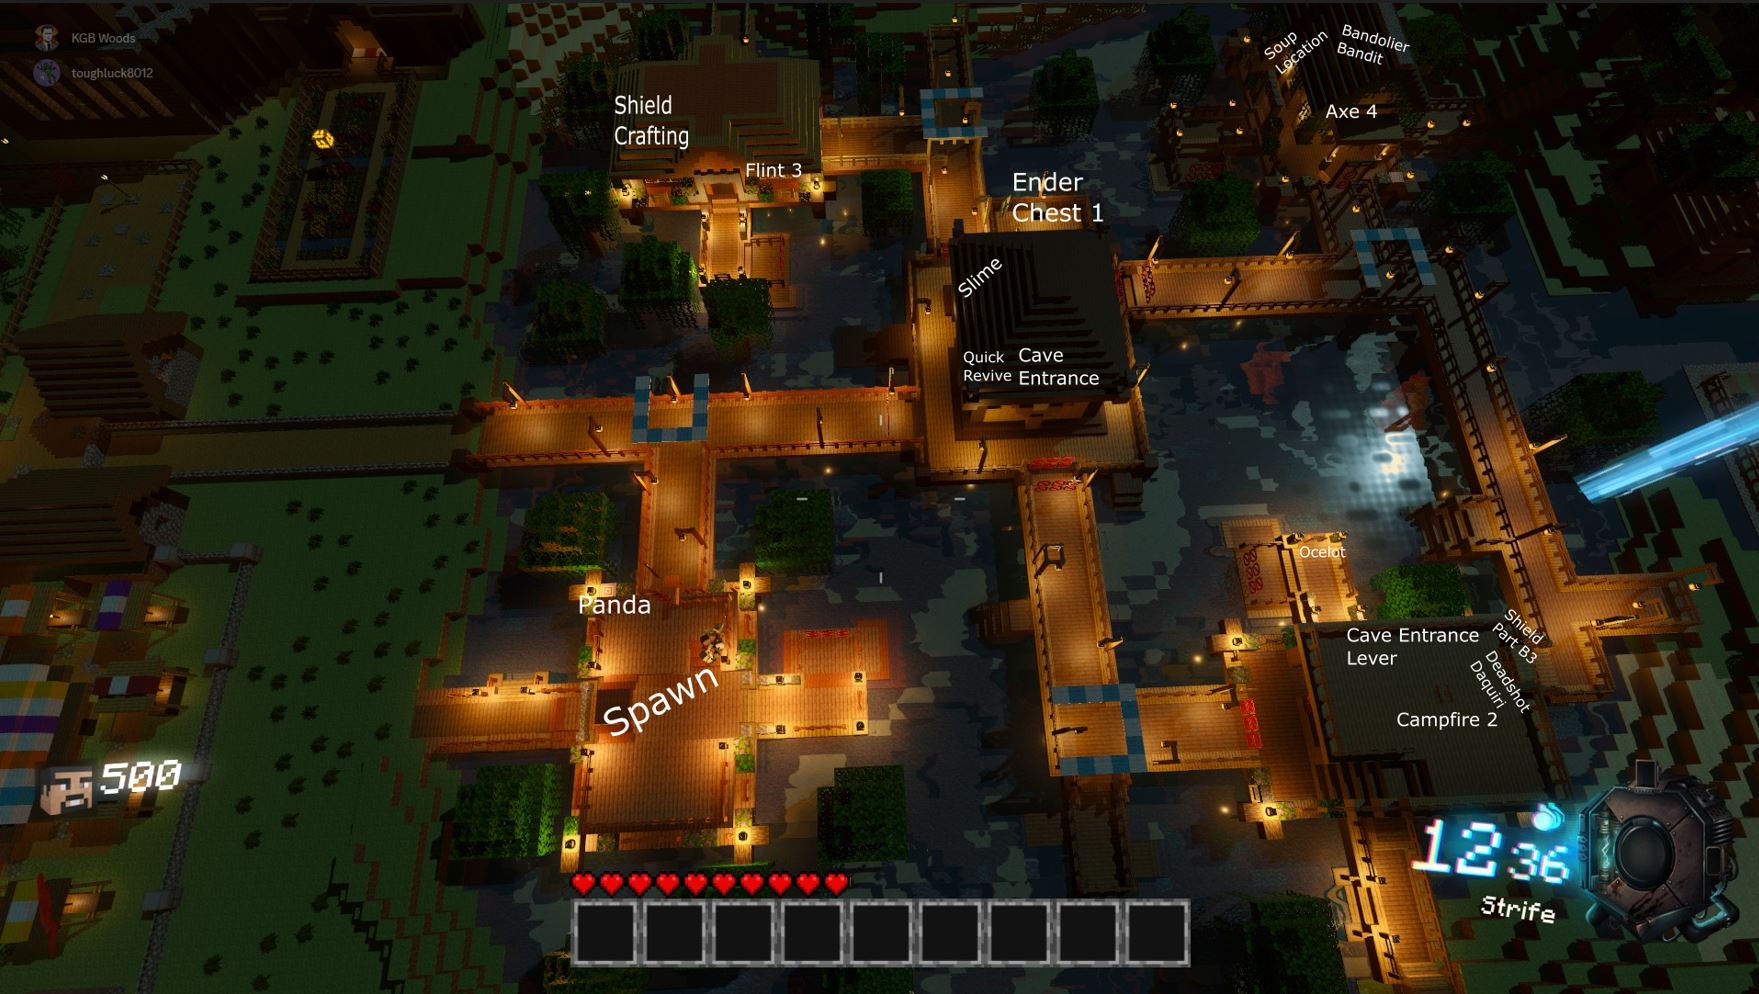 Swamp Area
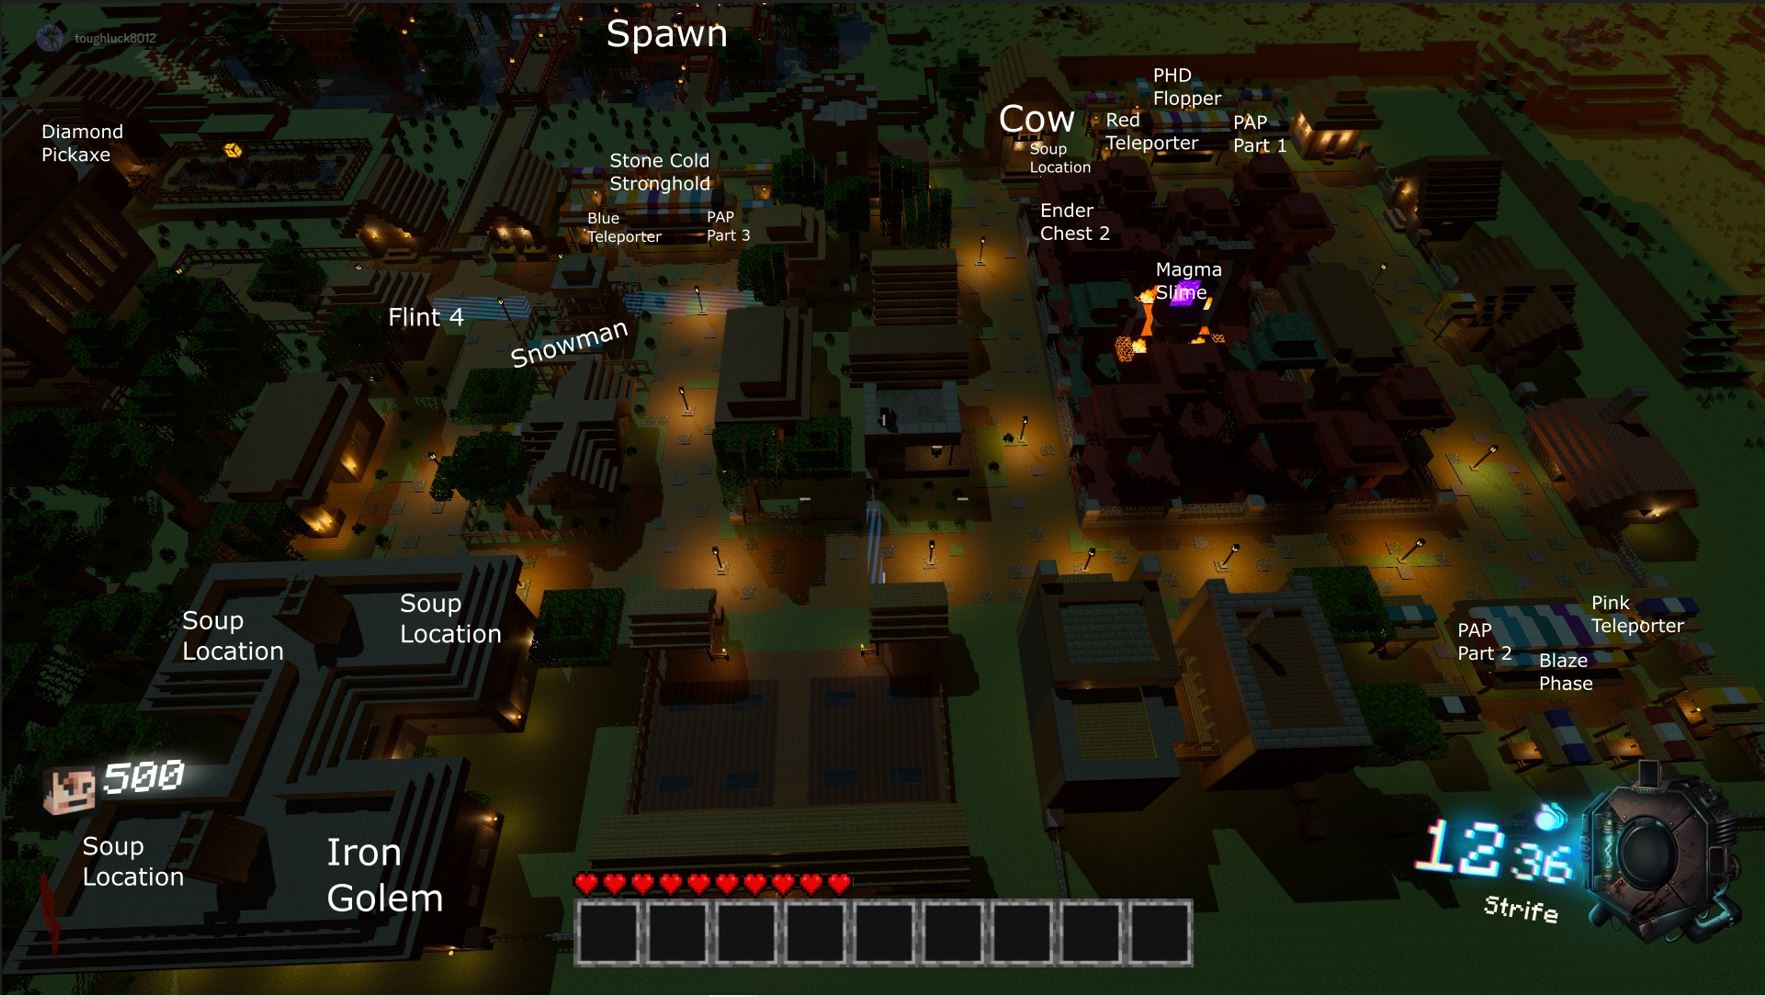
 Market Area
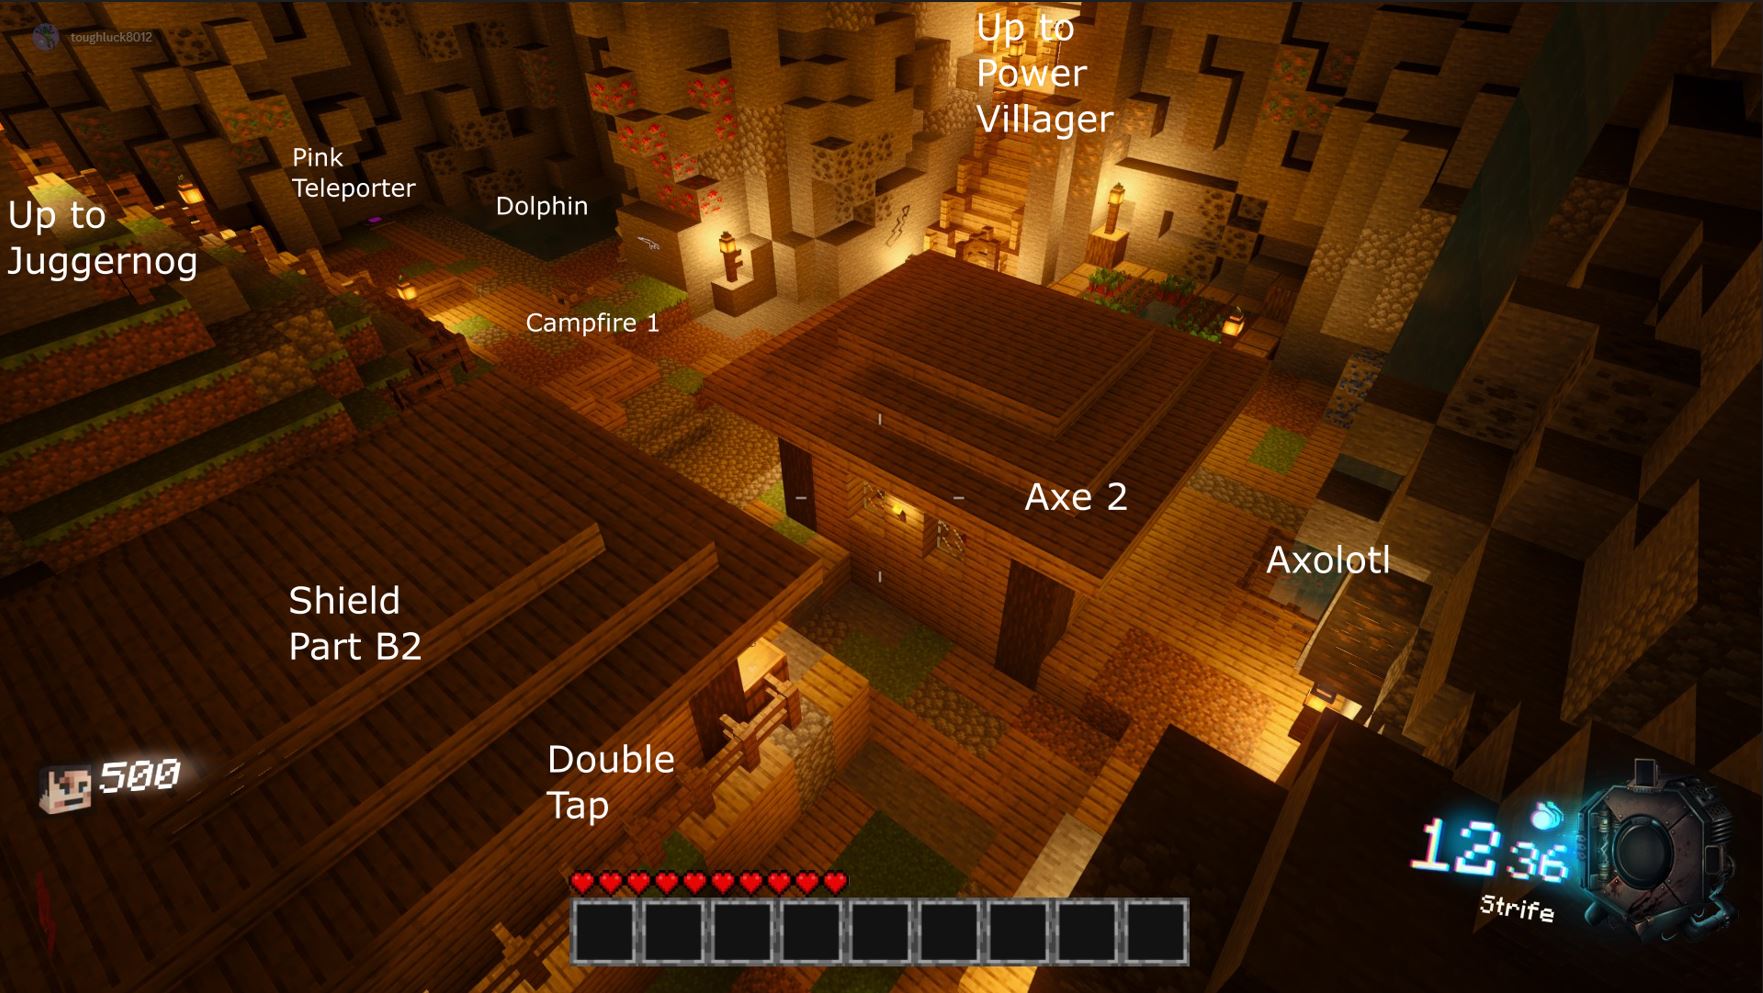
 Open Cave Area
 Underground Stronghold Area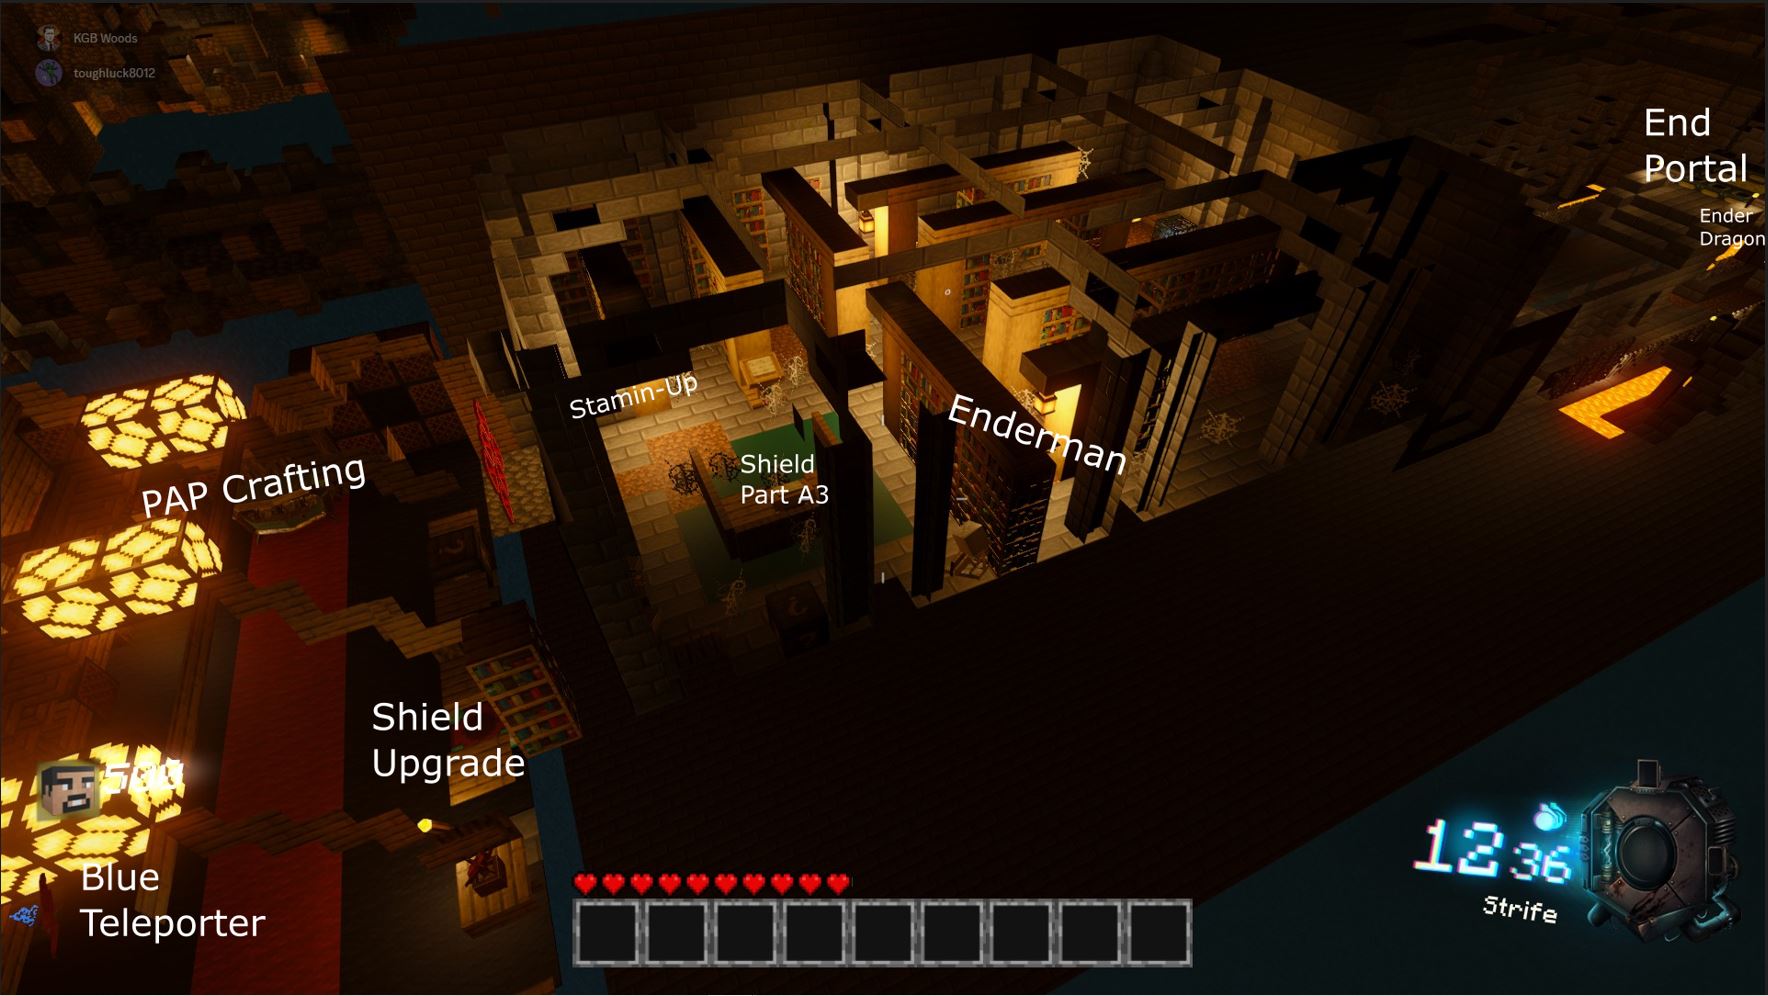
Restoring Power (Power Emerald Quest)
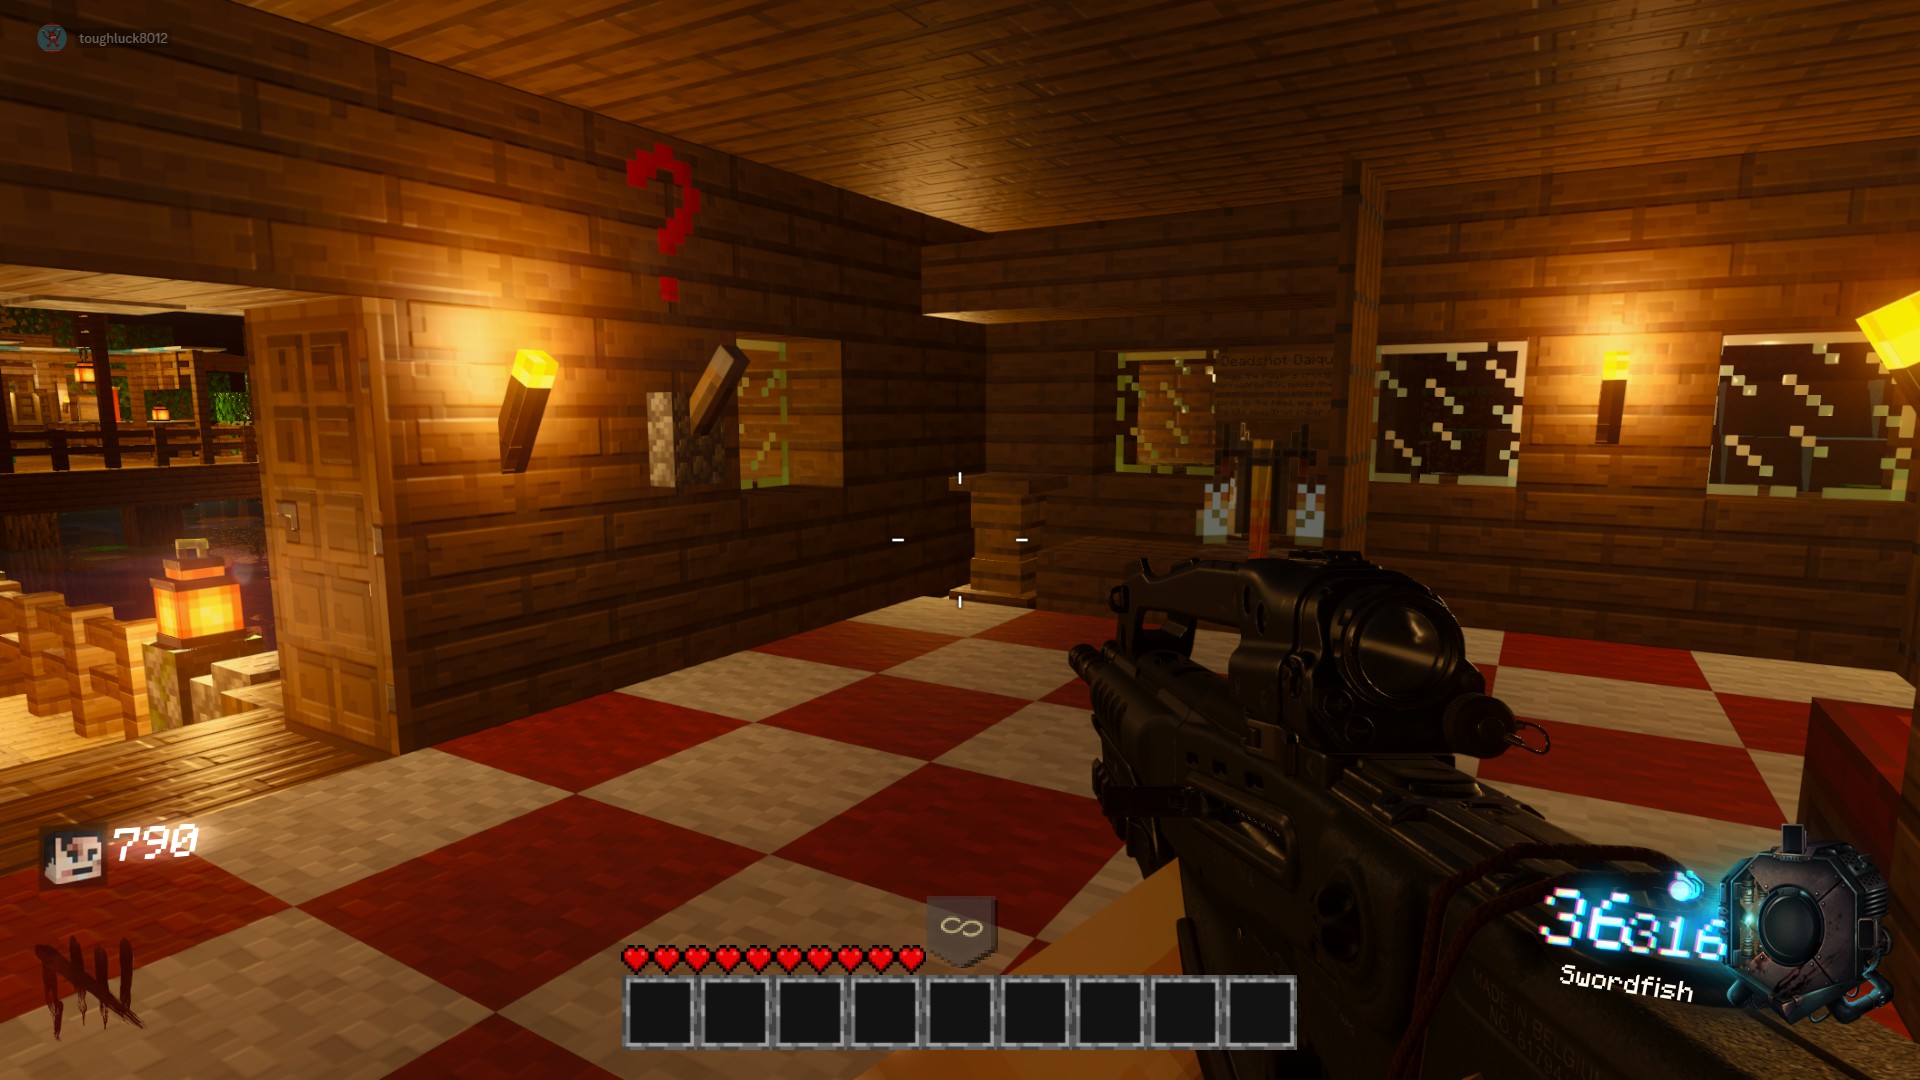
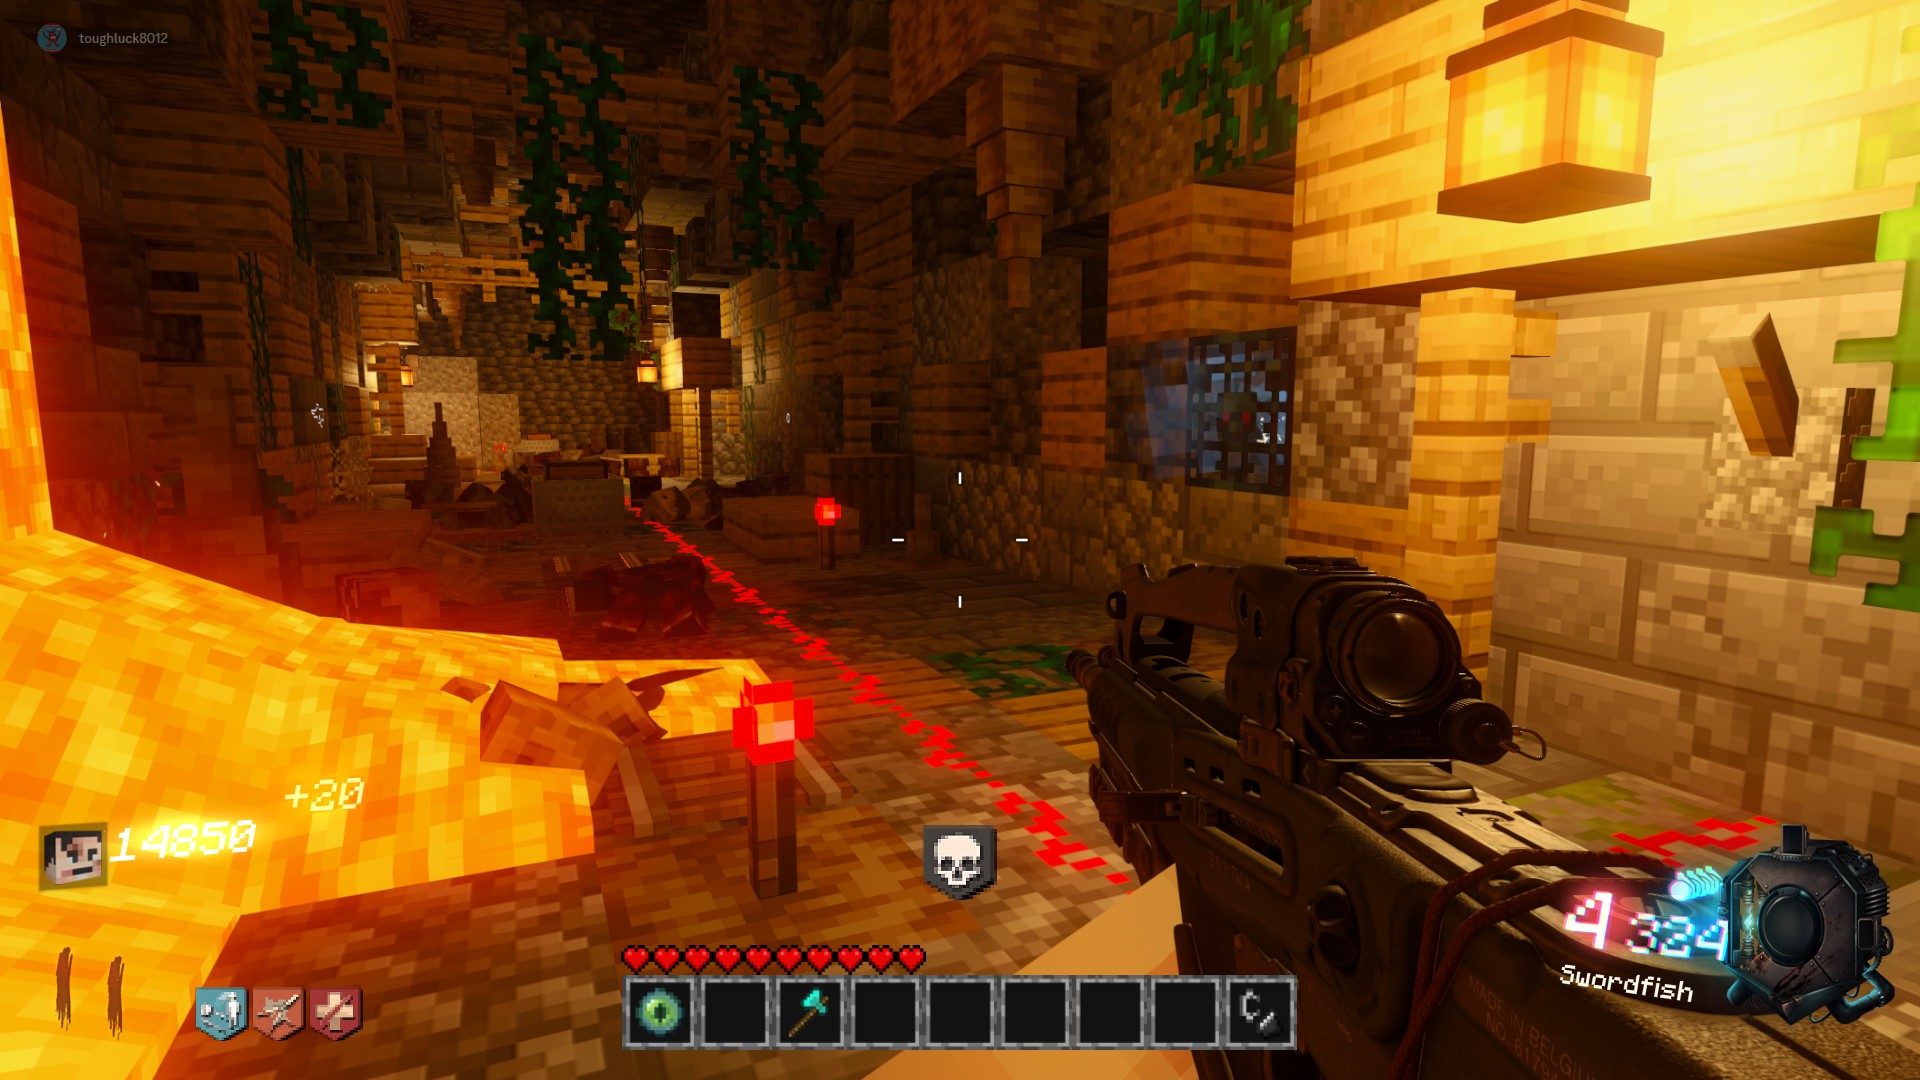
Purchase the switch and make your way back to the center building with the Swordfish wall buy. Open the door from either side and proceed down the newly opened Cave Entrance. Progress straight ahead through the cave until you reach a long staircase into an open cave area. Remember to destroy all cobwebs you find in the cave system for easy free points (0-200 per cobweb) and to increase mobility in these areas.
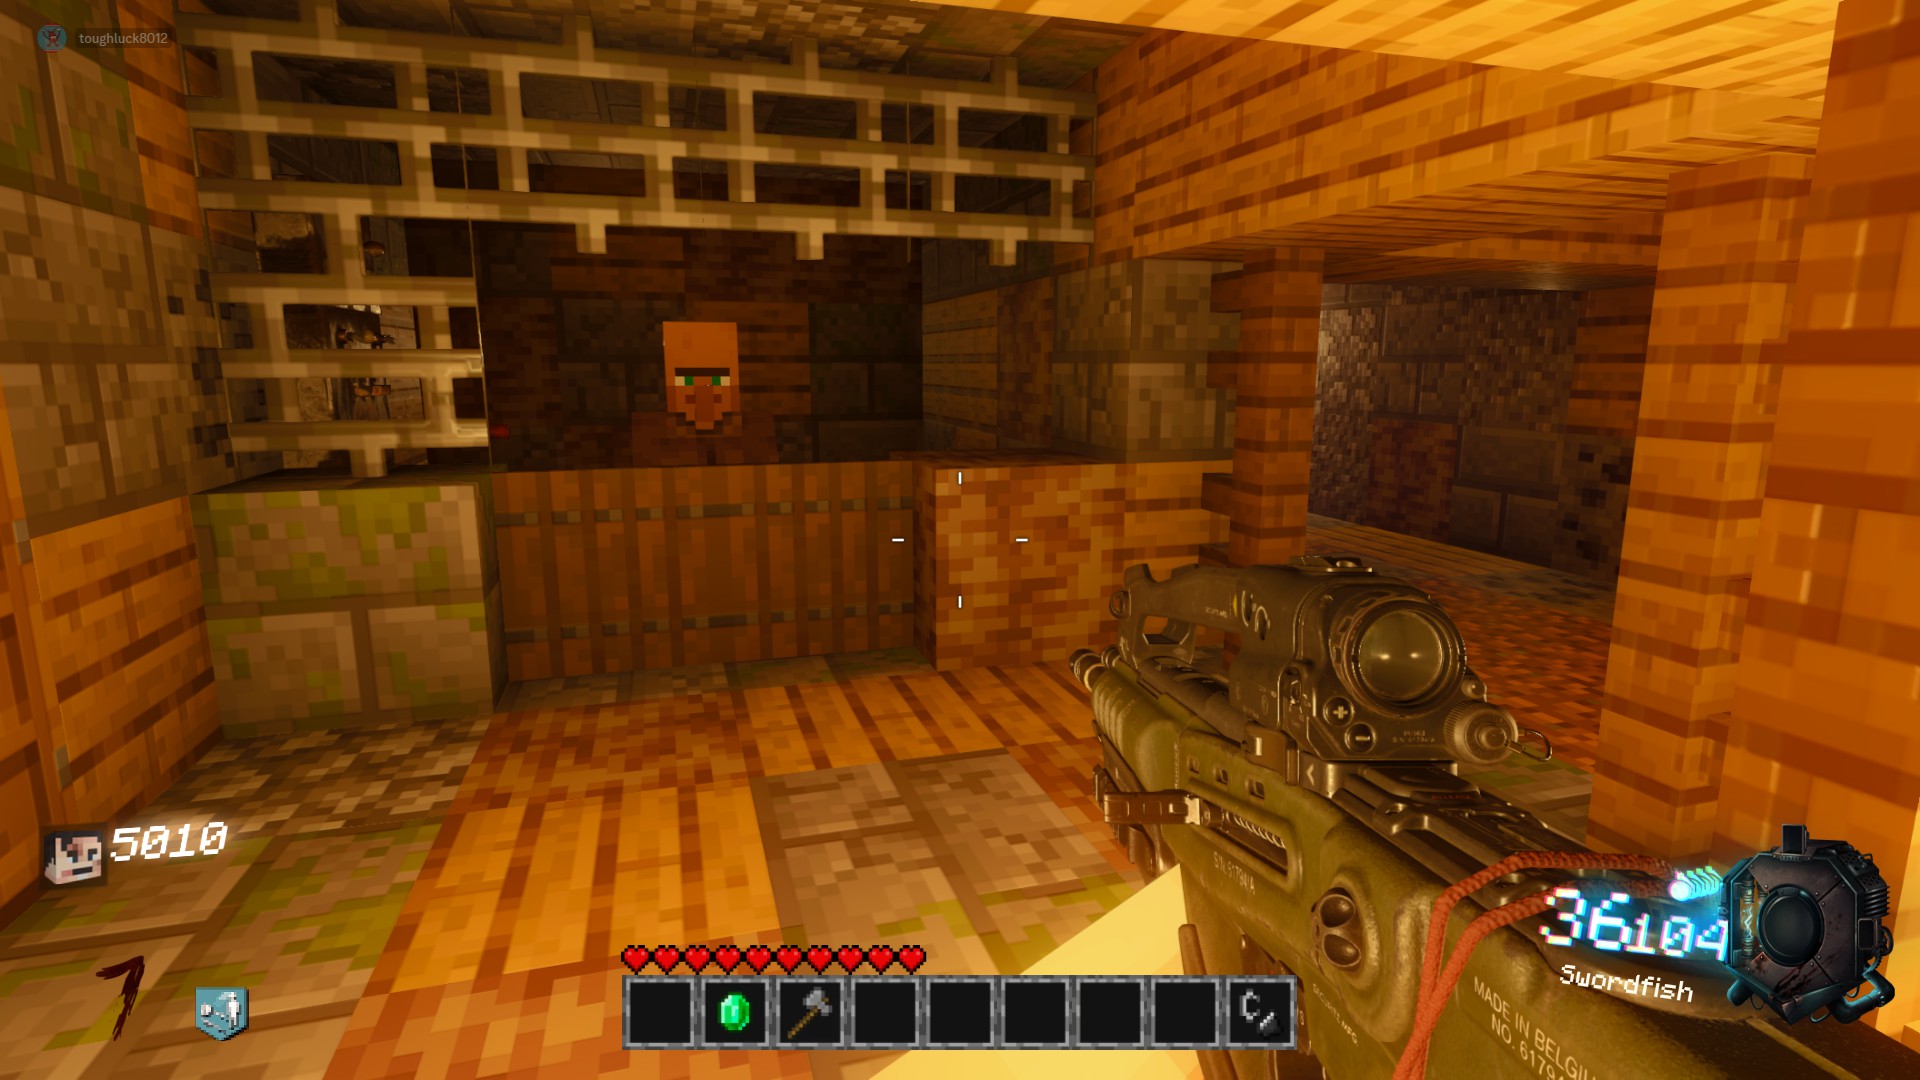
Go up the stairs on the other side, and you will see a villager. This is the Power Villager whom you will interact with for most quest prompts.
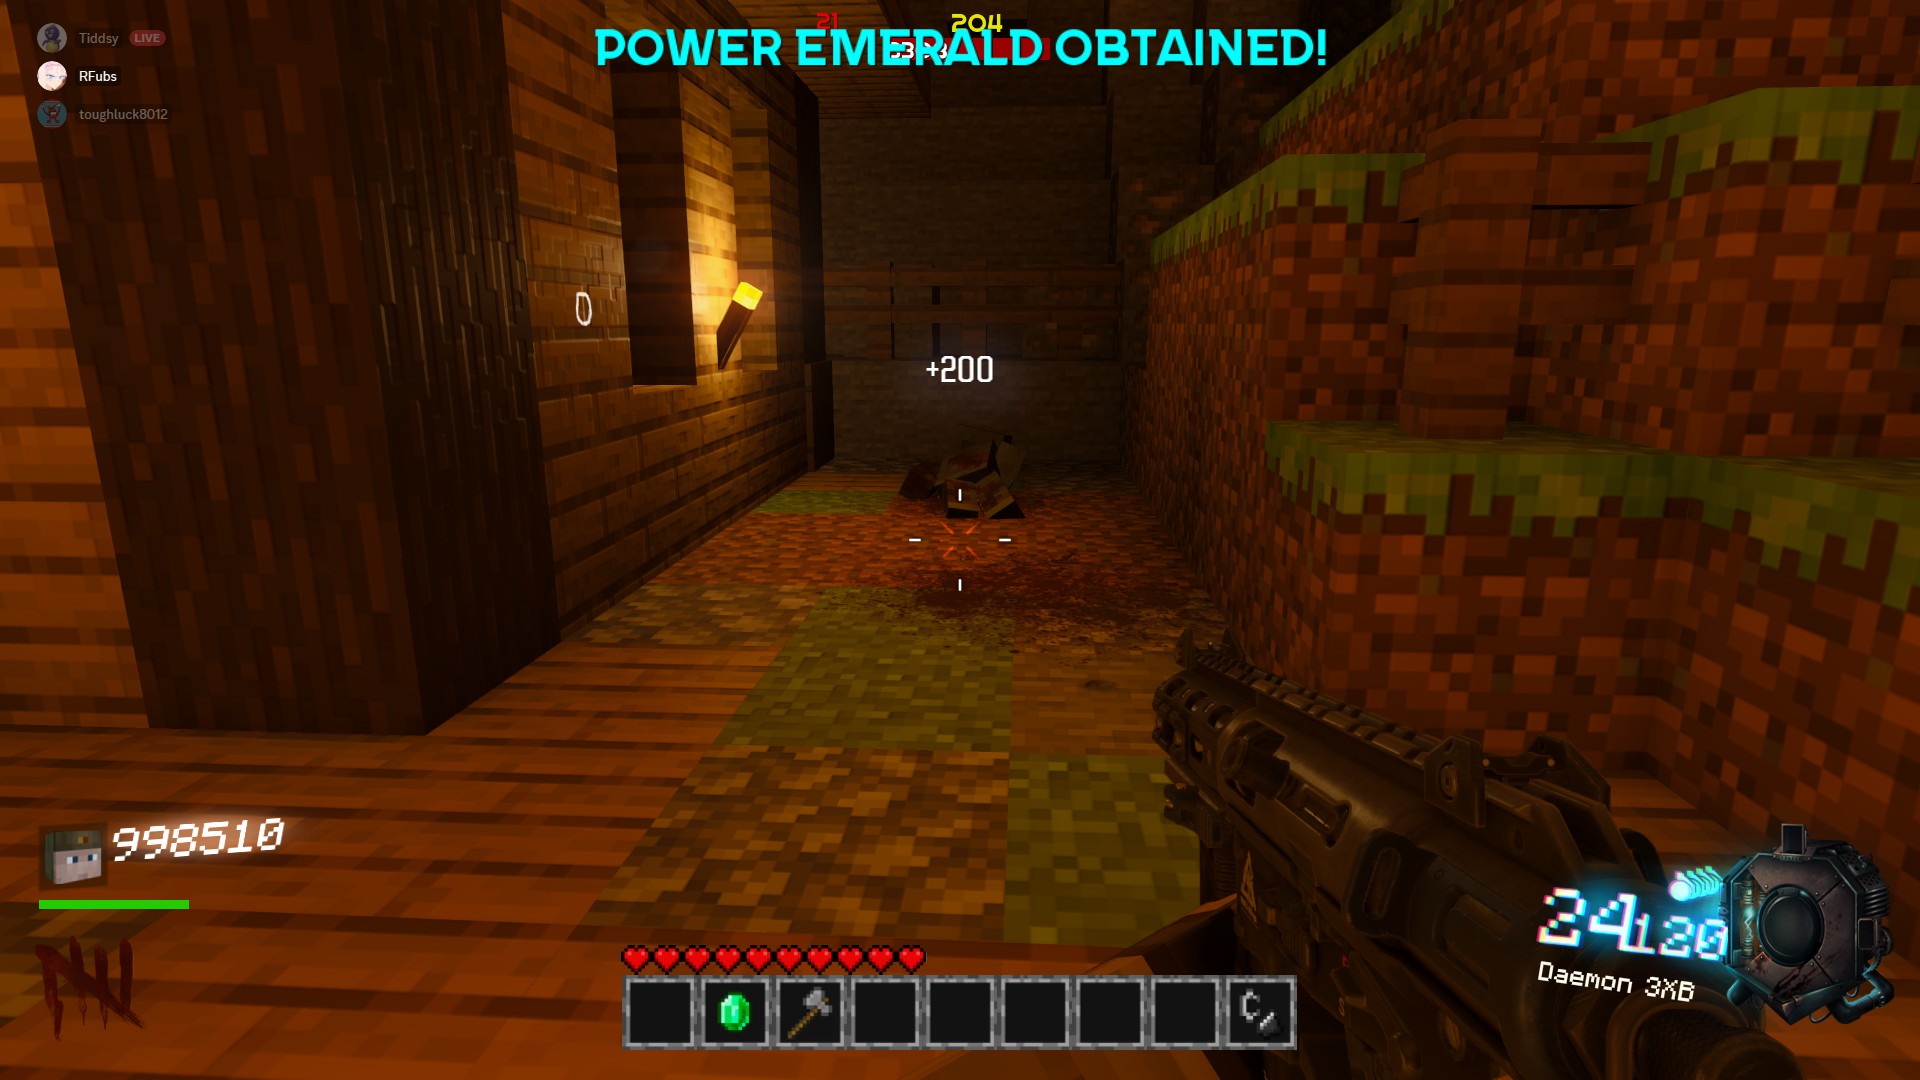
To restore the power, you must acquire the Power Emerald. This is dropped randomly by killing zombies within the first few rounds of the game. It will appear as a blue orb that travels from the dead zombie into your inventory automatically. Simply give the villager this emerald and they will turn on the power for you.
Perks
There are a total of 16 Perks on the map. They look like Potion Brewing Stands with wooden signs next to them giving a description and price of the perk. Remember to prone at the base of the stands for free money.
In the Boss Fight Arena, there is a prompt to spend 5000 points for all perks, so you don't have to spend rounds preparing for the boss by buying perks, and also in case you go down during the fight
Juggernog (2500):
Description: Sets Player Health to 250
Location : By the Cave Entrance Stairs next to the Anvil Quest Villager
ICU (2500):
Description: Faster health regen, speed boost on low health & invincible while performing actions
Location : On the right side of the castle building found between the spawn bridge and the bungalow area
Quick Revive (500/1500):
Description: Solo: grants an automatic revive upon down, max 3 uses Co-op: Allows you to revive downed teammates quicker
Location : In the Cave Entrance Building to the right of spawn, above the stairs
Double Tap (2000):
Description: Increases rate of fire and damage
Location : In the right hut when entering the giant cave area
PHD Flopper (2000):
Description: Grants Immunity to Player originated explosives, and generates a large explosion around the player when jumping from substantial heights (has a short cooldown)
Location : Red Teleporter Trading Post outside of the church and the Nether Garden
Mule Kick (4000):
Description: Allows the player to hold 3 guns
Location : At the end of the long hallway in between Power and Widows Wine
Blaze Phase (2000):
Description: Crouching causes a charge up of fire, standing releases it and flings you forward igniting zombies
Location : Pink Teleporter Trading Post, outside of the Nether Garden
Stonecold Stronghold (3000):
Description: Standing still forms a ring around you generating armor over time
Location : Blue Teleporter Trading Post, outside wishing well by spawn bridge
Speed Cola (3000):
Description: Increases reload speed. Also increases the speed at which you place barricades on zombie spawn windows
Location : In a stone brick tunnel between the long underground mineshaft and the staircase leading up to Power
Deadshot Daquiri (1500):
Description: Makes the player's crosshairs narrower by 35%, momves the aim-assist lock-on location from the torso to the head, and removes the idle sway while using sniper rifles
Location : In the right most building just outside of spawn, by the Cave Entrance Switch
Death Perception (3000):
Description: Makes the player see zombies through walls and objects in a red outline
Location : At one end of the underground mineshaft tunnel, in between the redstone lever and the stairs to PAP
Electric Cherry (2000):
Description: When reloading, you shock all zombies in a radius around you. The radius of the shockwave increases the lower the capacity of your magazine is
Location : Next to the Red Teleporter at the end of the underground mineshaft
Stamin-Up (2000):
Description: Increases sprint duration and speed
Location : In the Library in between the PAP room and the End Portal
Widow's Wine (4000):
Description: Your grenades turn into sticky web grenades. If you are hit by a zombie, one of your grenades will explode, ensnaring nearby zombies in webs. Your knife will deal more damage and has a chance to ensnare zombies in webs upon melee attack
Location : Just outside of Power
Bandolier Bandit (3000):
Description: Extra ammo for all weapons, extra ammo appears under ammo on hud
Location : Next to the Shield Crafting Building and the Cave Entrance Building
Tacti-quilla (2000):
Description: Fire while sprinting, gain a chance to regain fired ammunition, and multi kills grant bonus points
Location : In the lockdown room by the door. You need to have reached Step 6 of the Main Quest for this room to be unlocked
Shield Part Locations
In the underground mineshaft tunnel, next to the bonfire, laying against some boxes
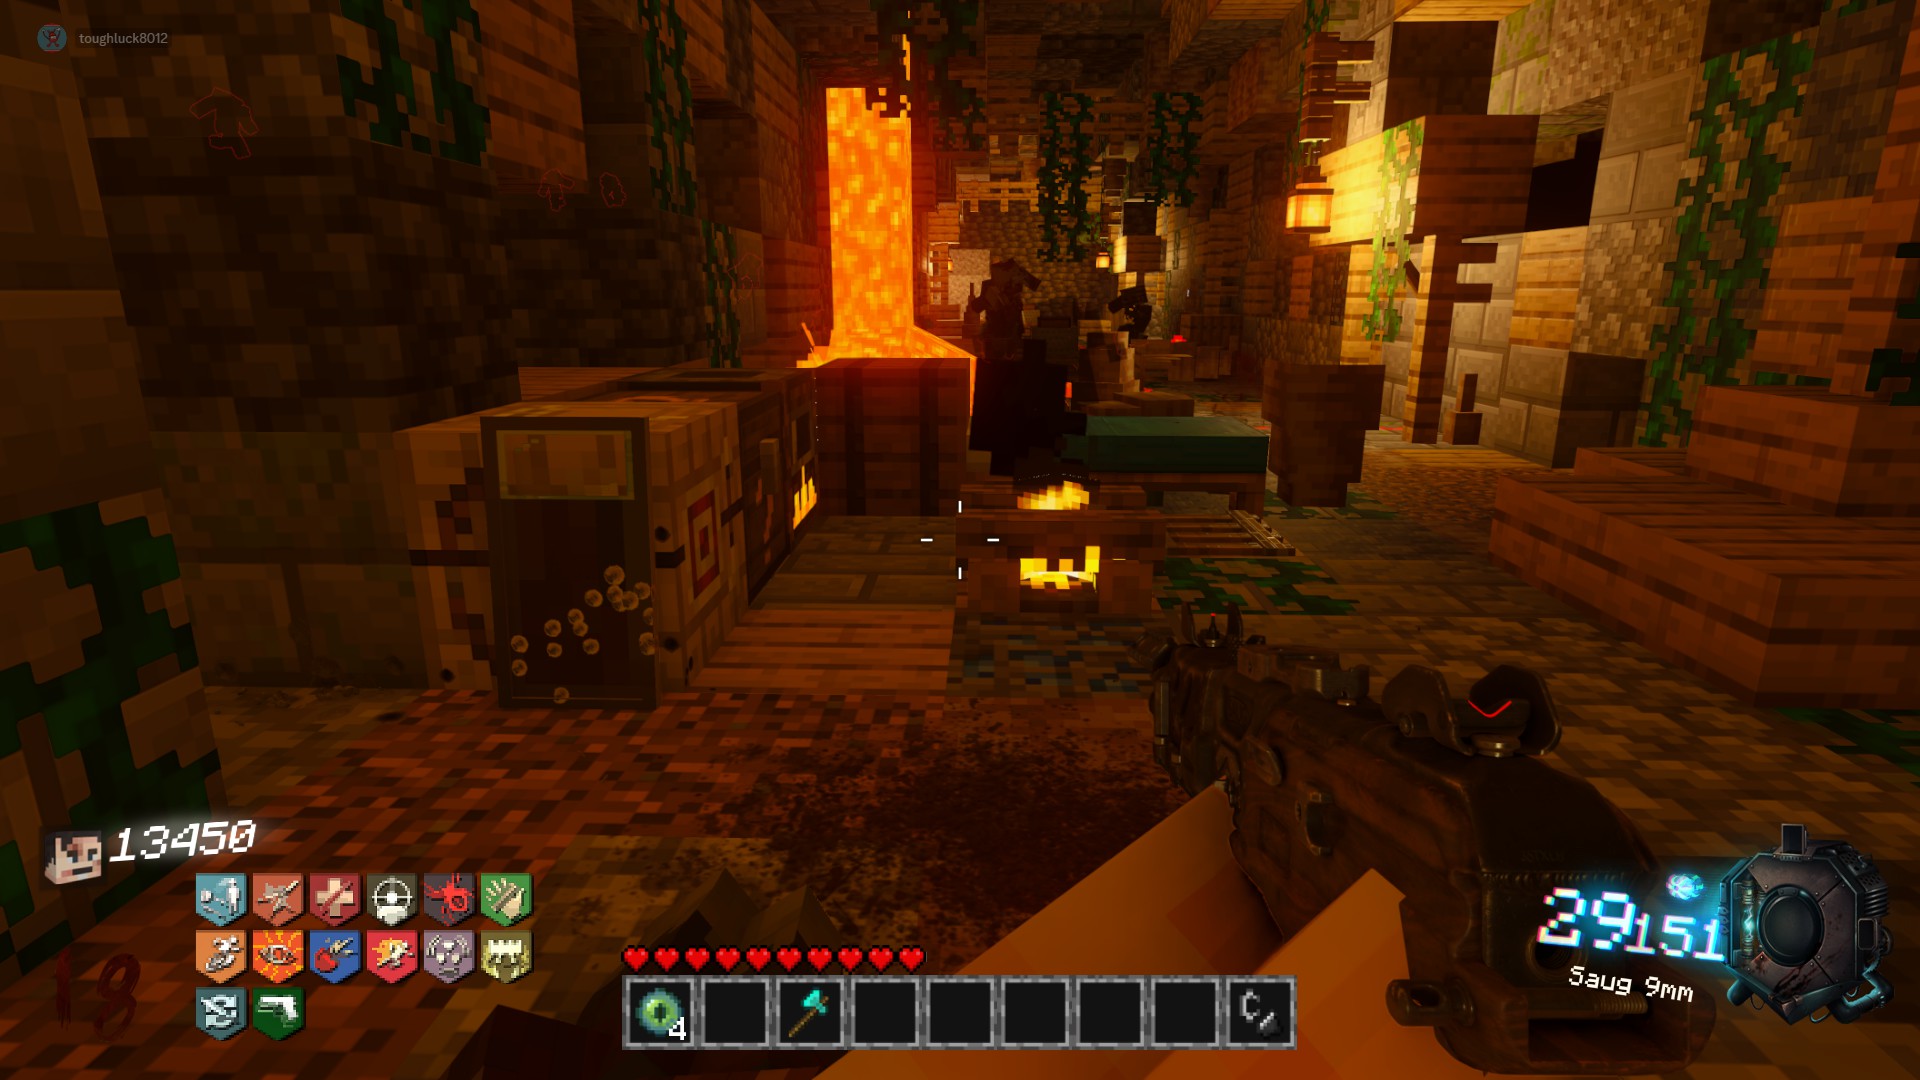 Part A Location 2:
At the end of the long hall between Widow's Wine and the Power Villager, next to Mule Kick
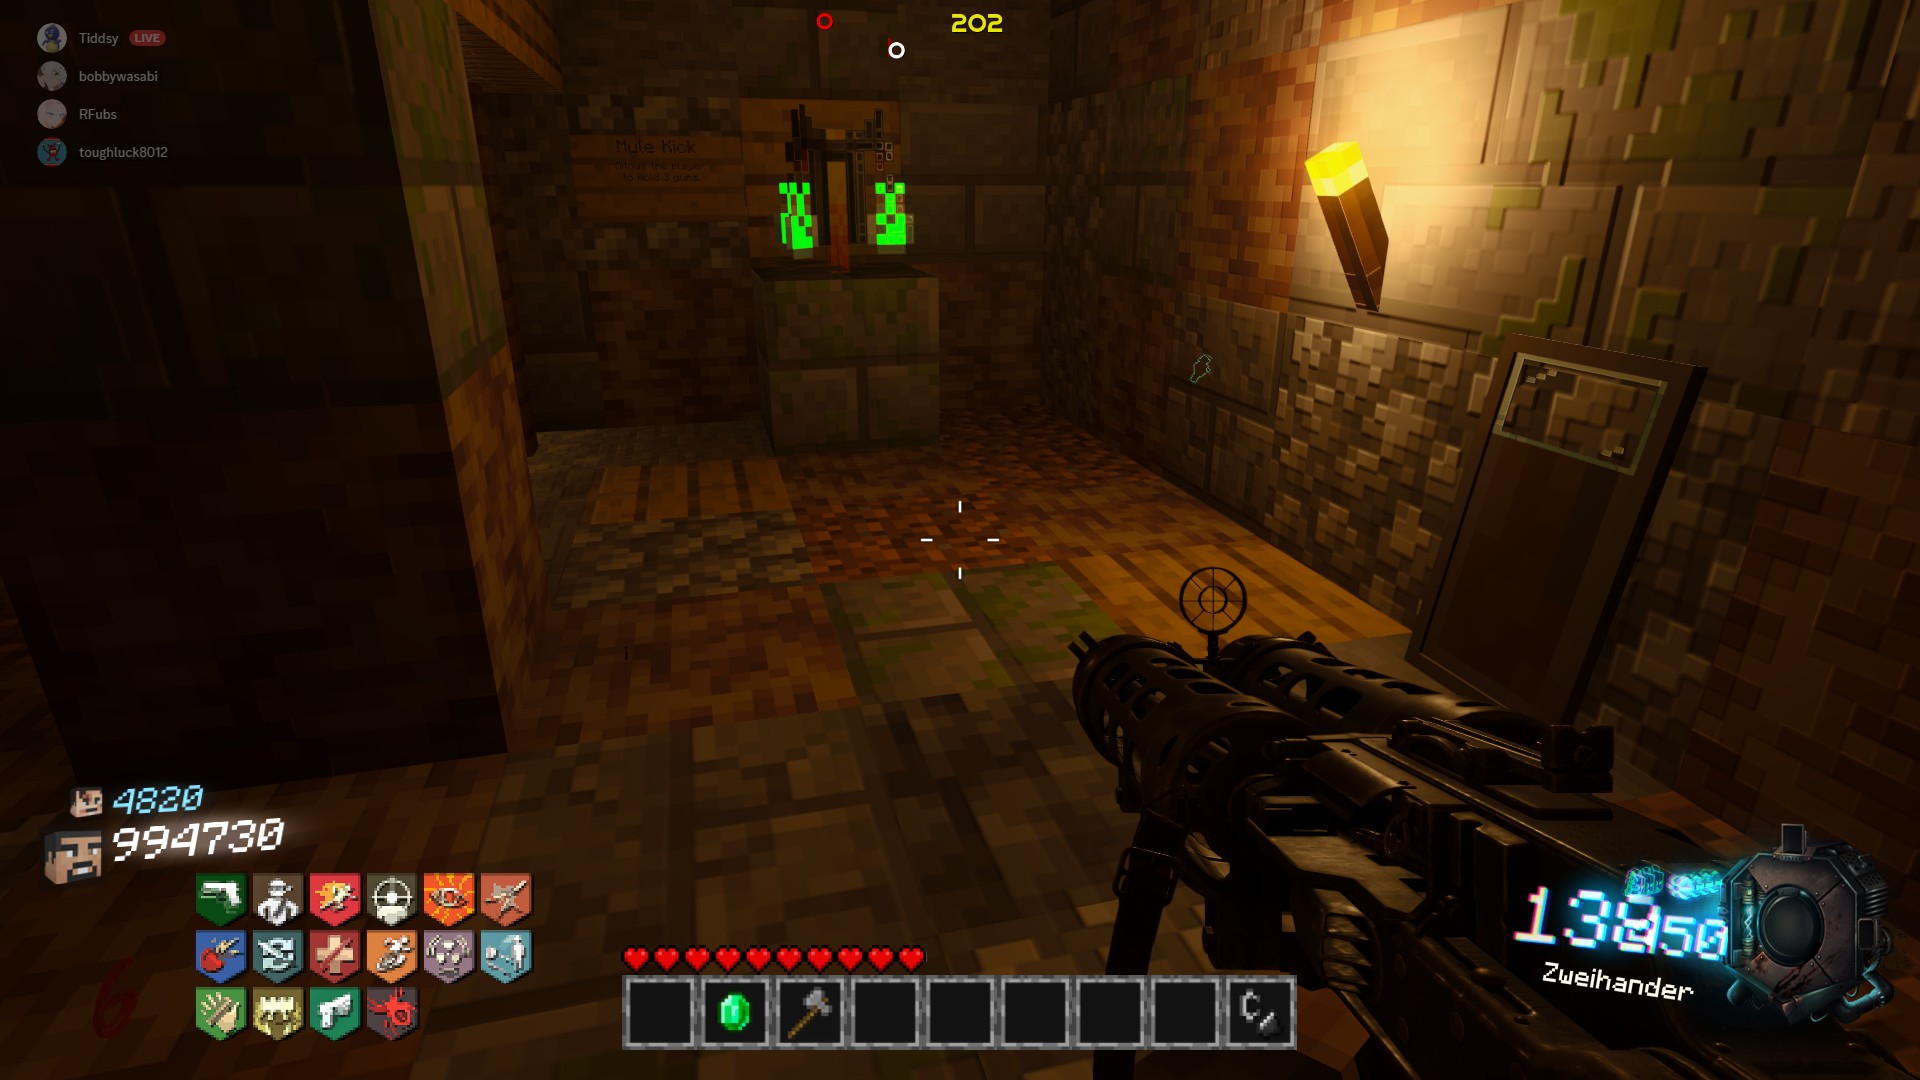 Part A Location 3:
In the Library, laying by a podium across from Stamin-Up, outside of PAP
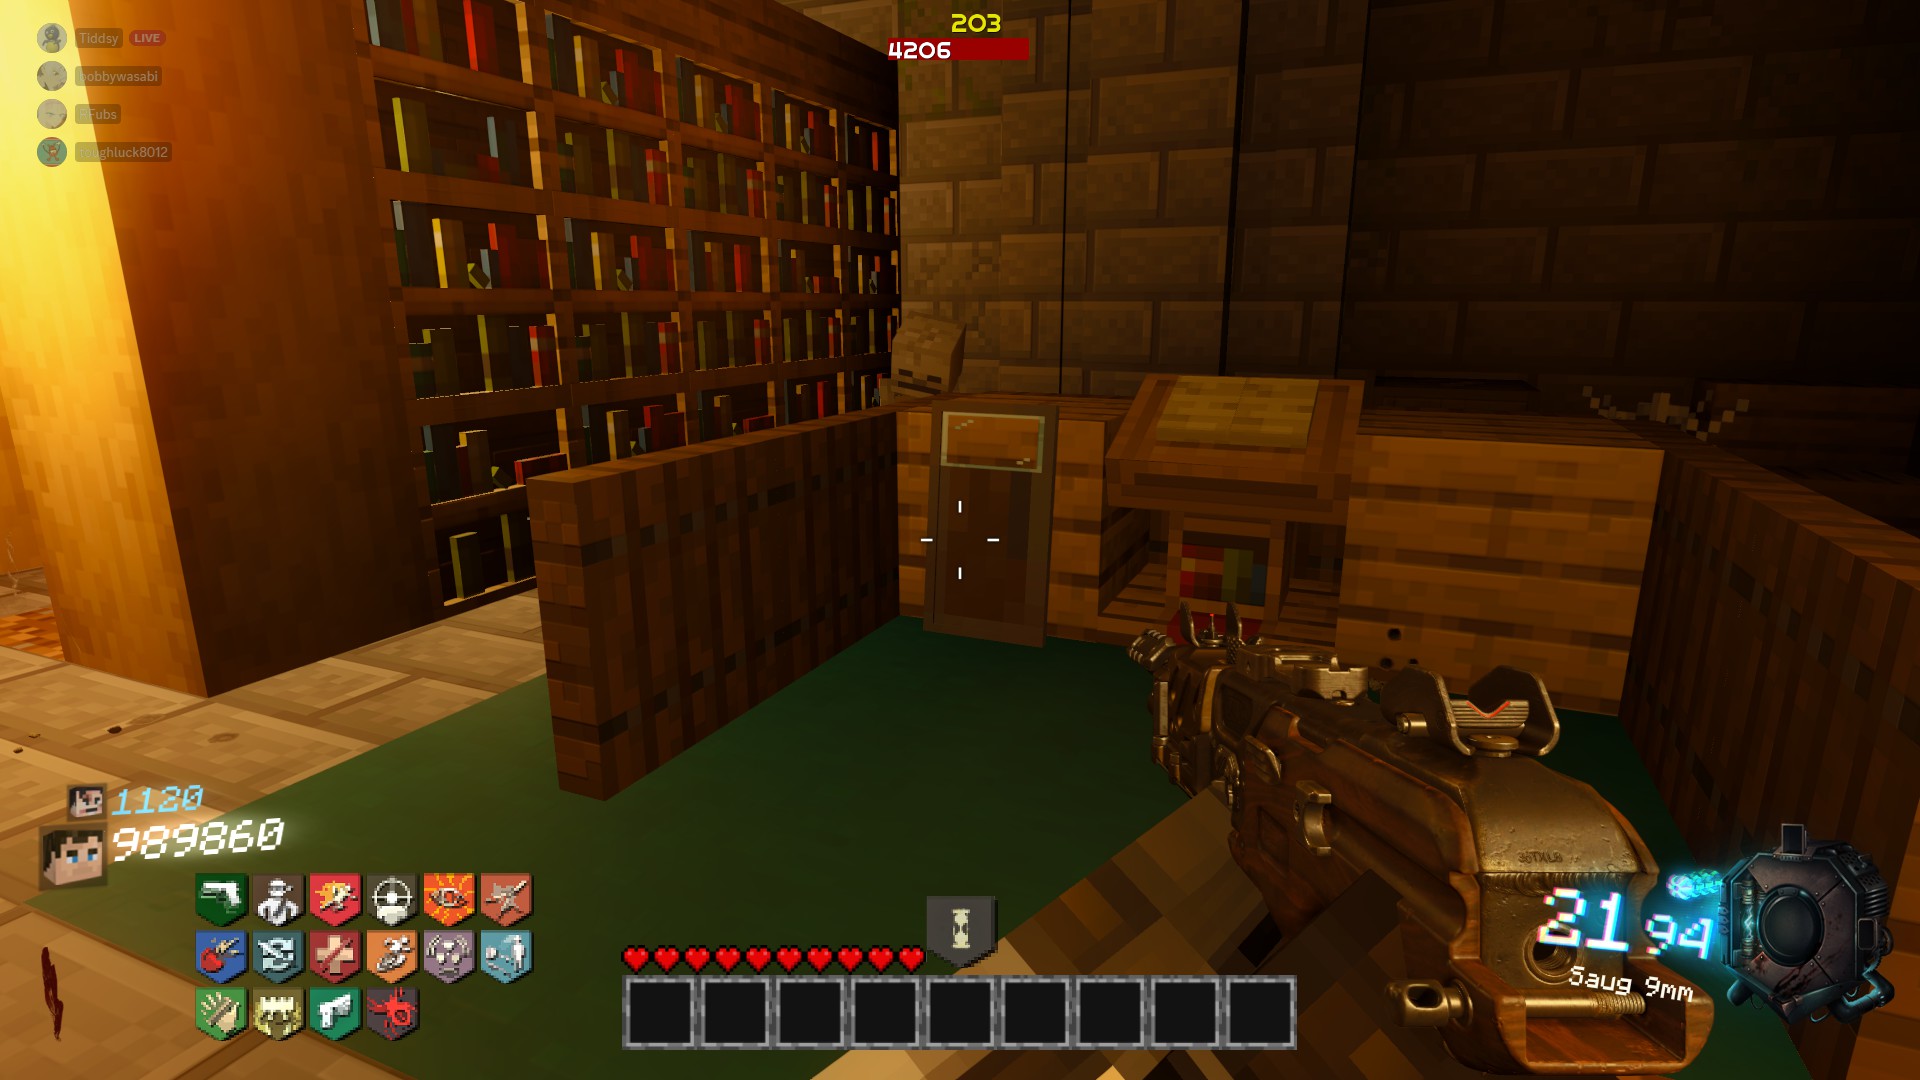 Part B Location 1:
At the beginning of the Cave Entrance, right under the Saug 9mm Wallbuy
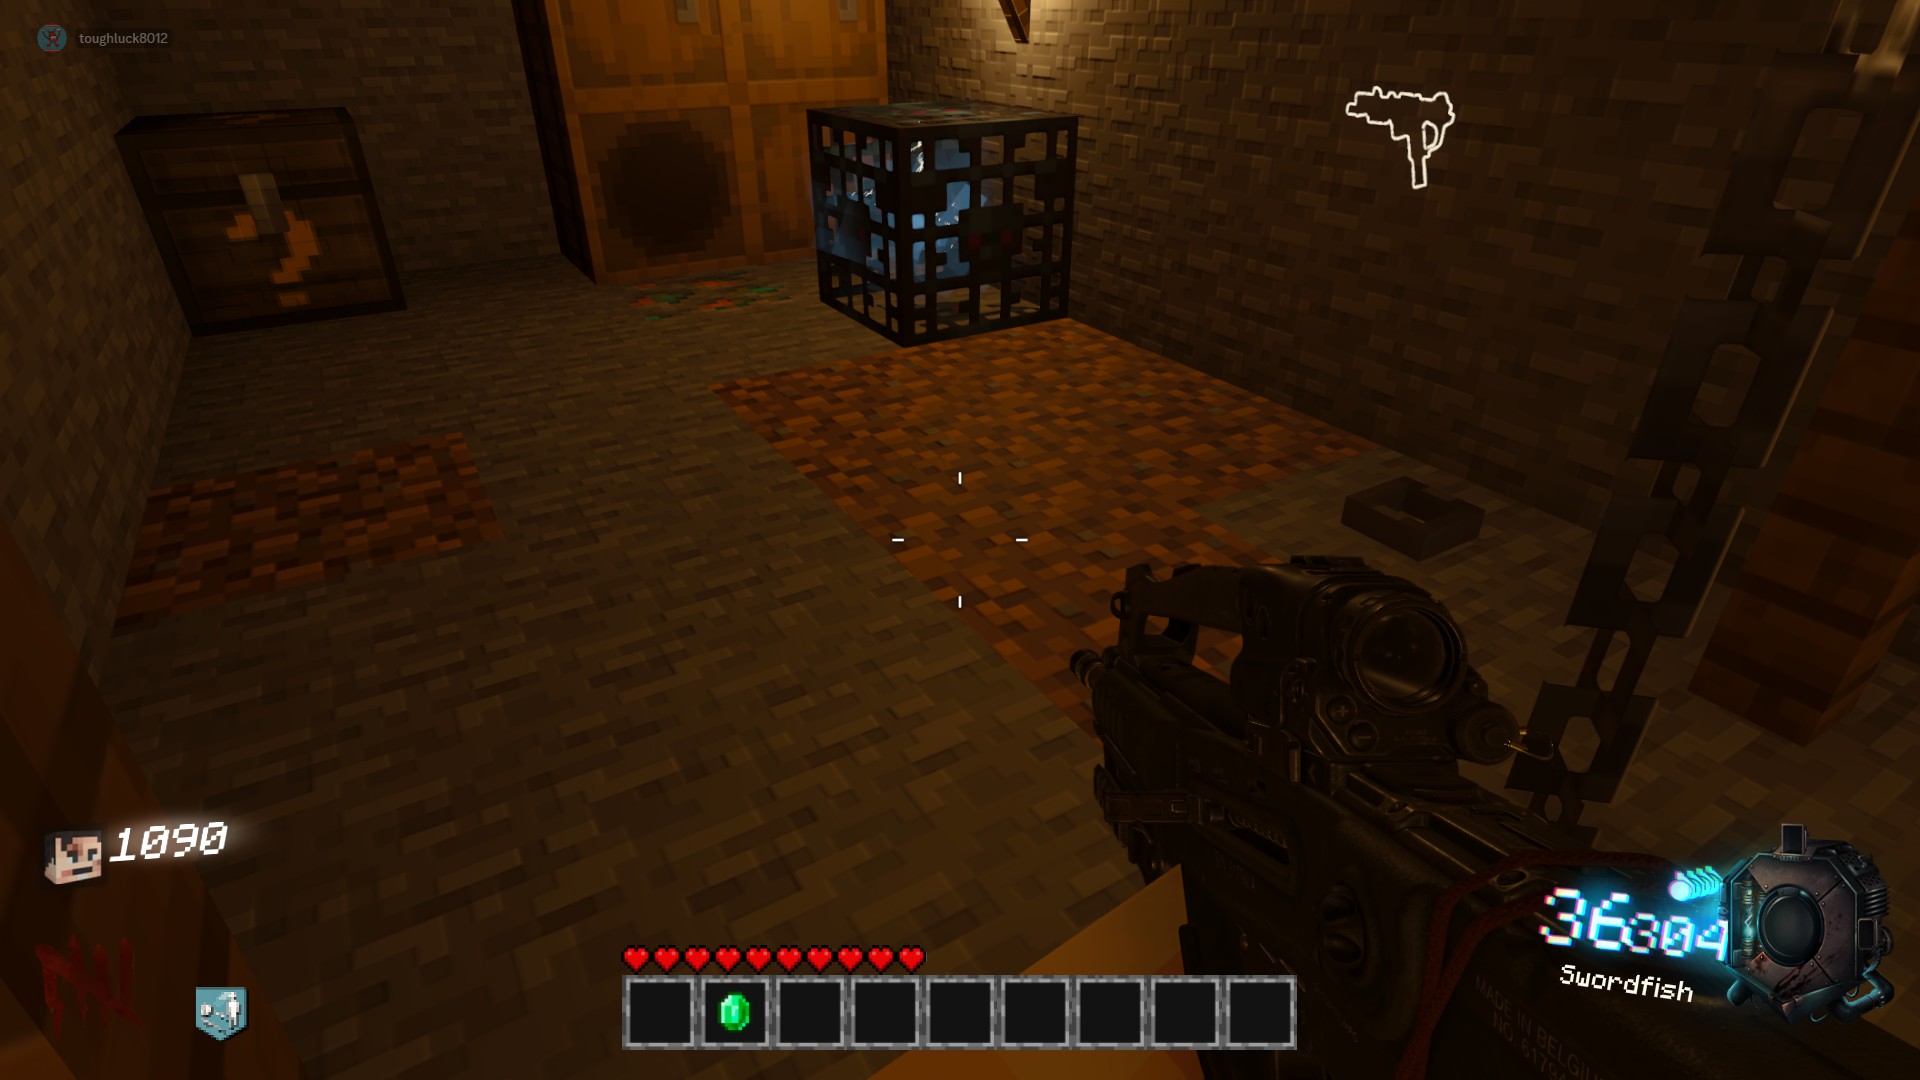 Part B Location 2:
In the same hut as Double Tap, in the Big Open Cave area
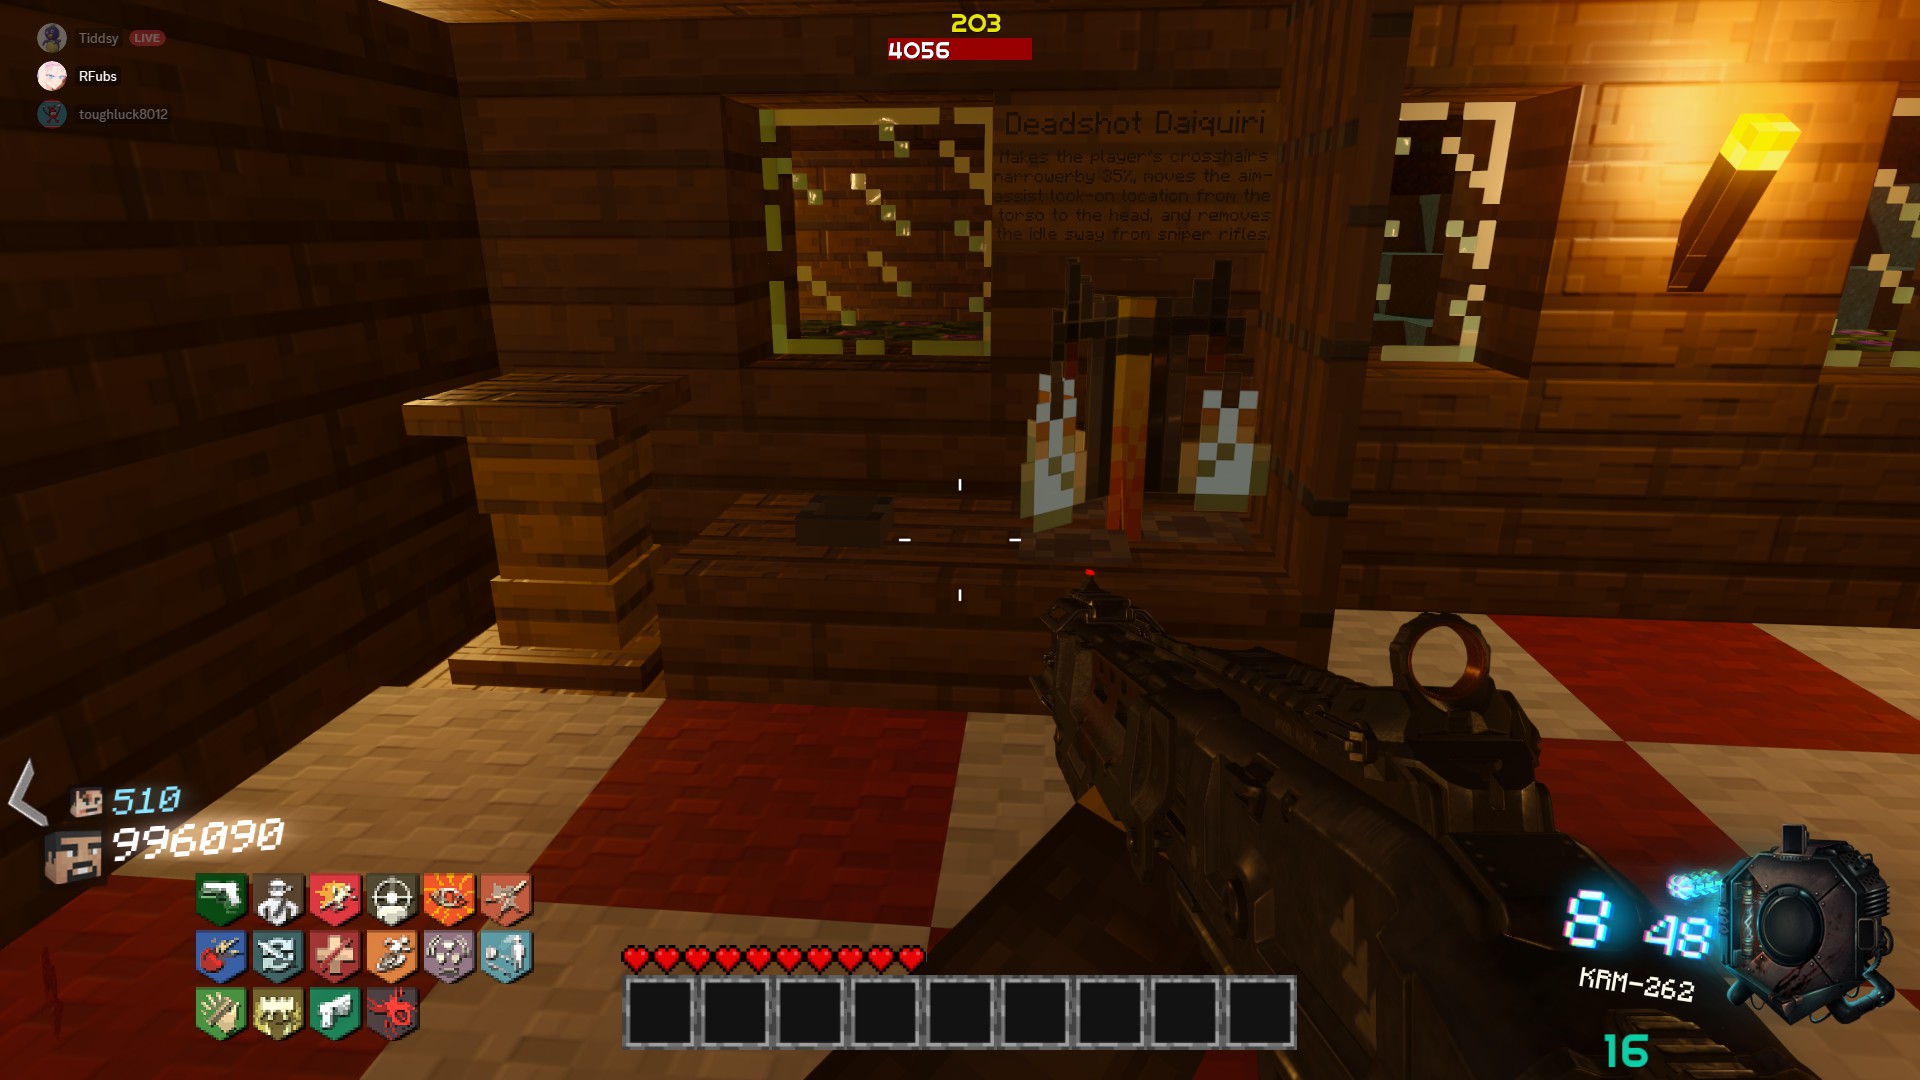
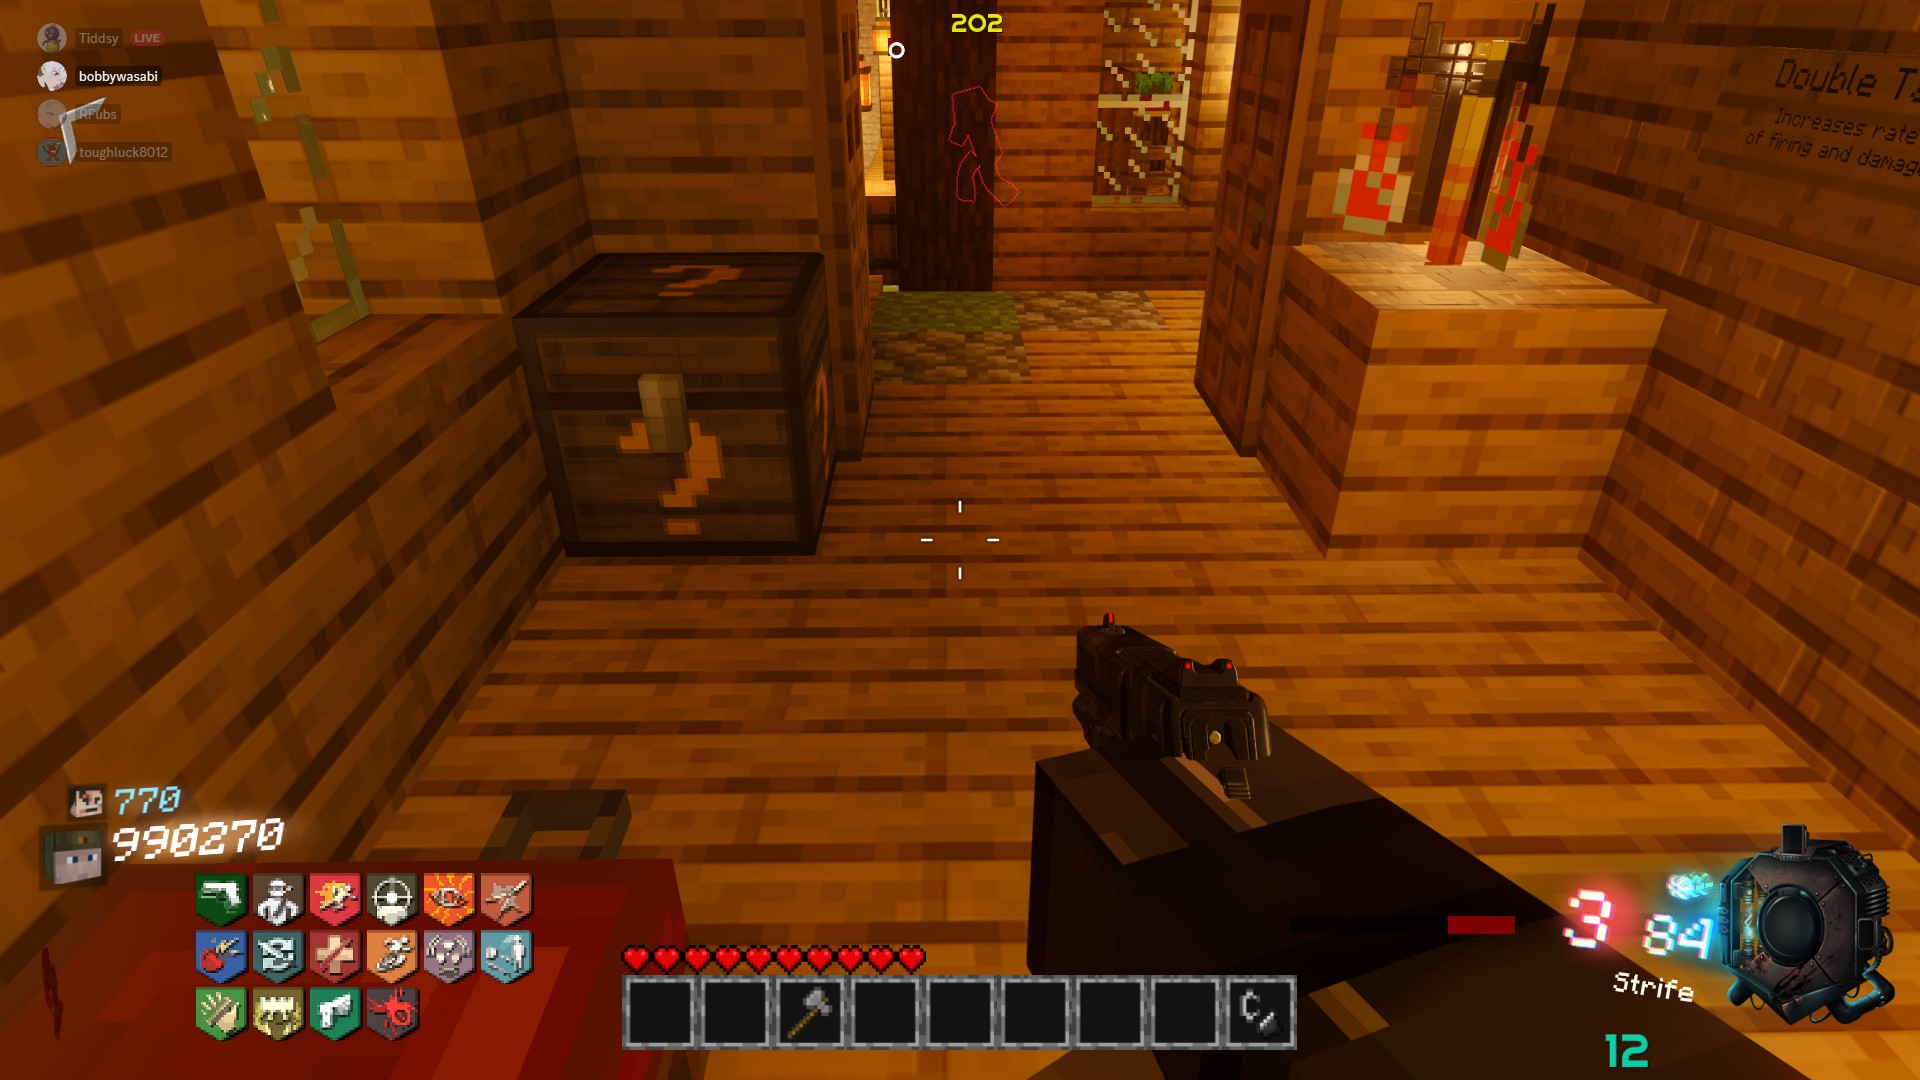 Part B Location 3:
To the left of Deadshot Daquiri in the Cave Switch Building
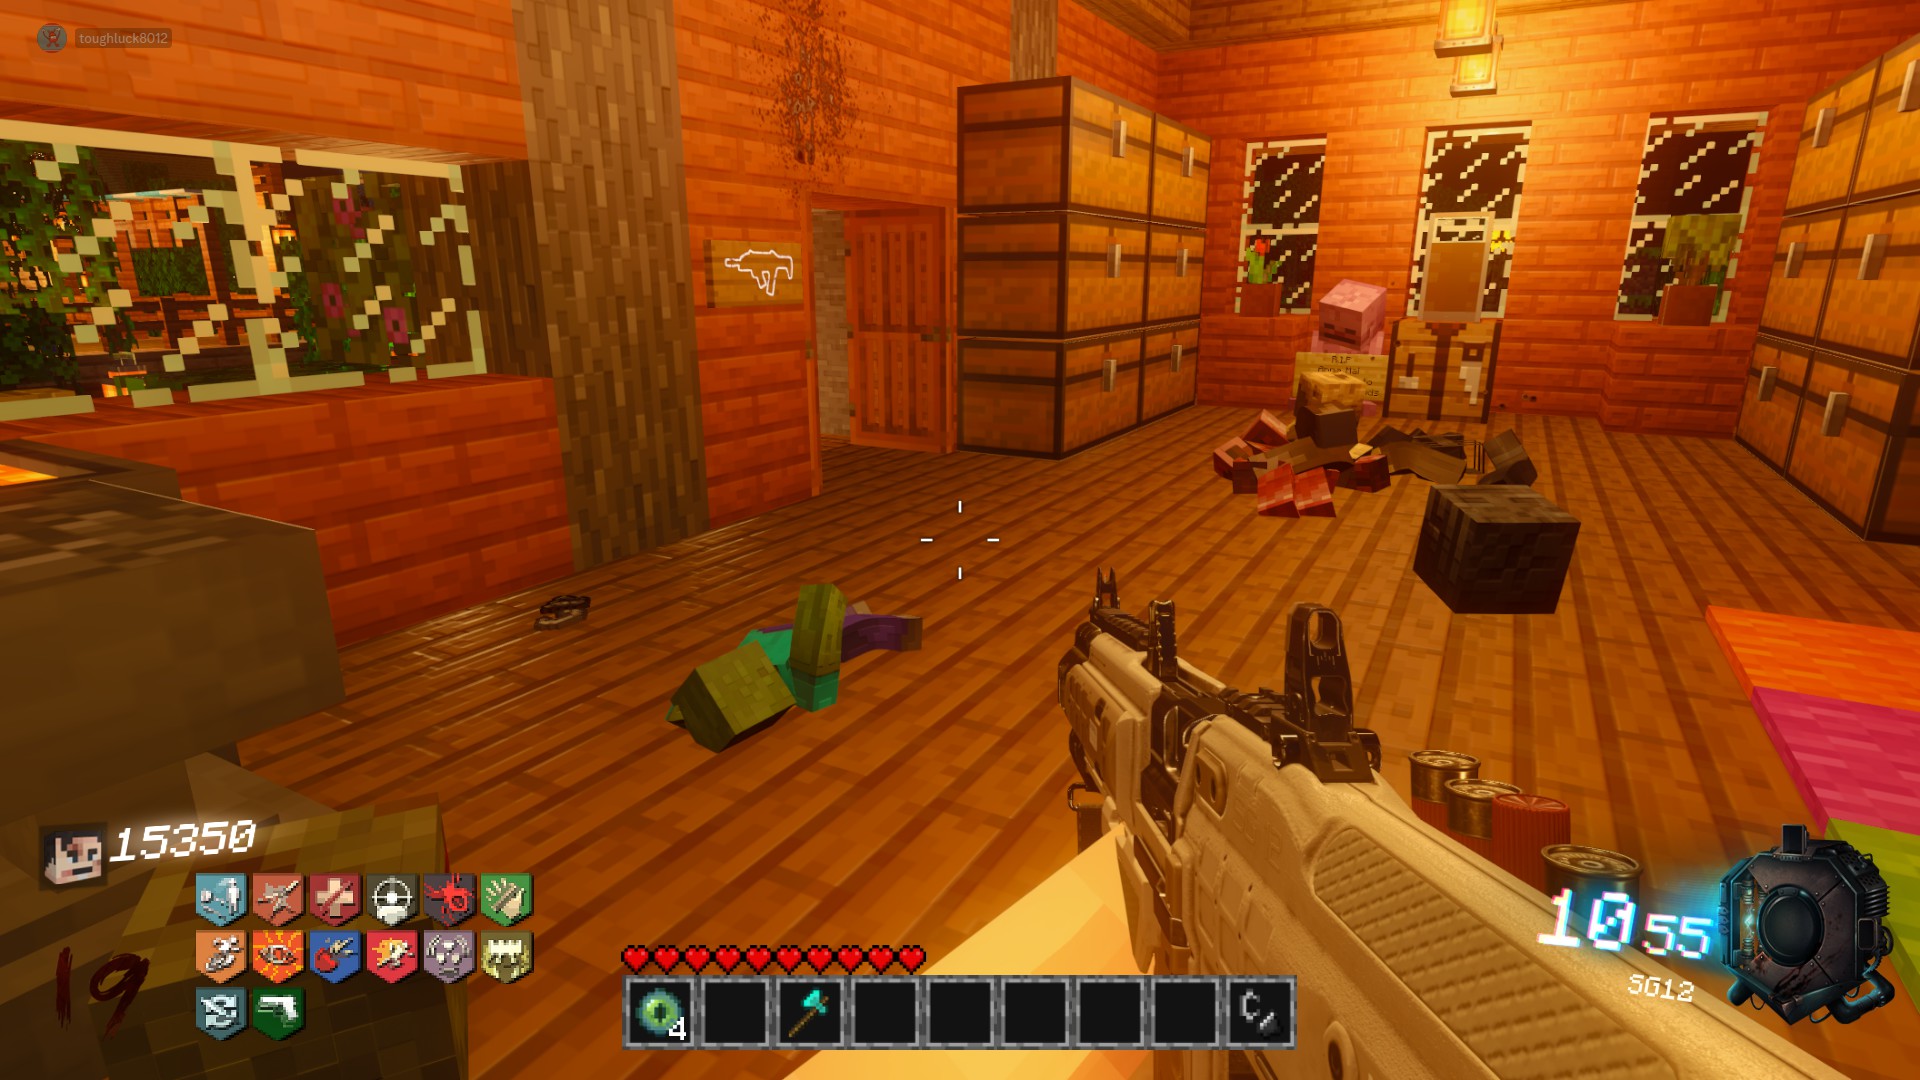
 Buildable Bench:
The shield can be crafted in the building just outside the Cave Entrance Building, between Quick Revive and Bandolier Bandit.
Axes & Chests (Anvil Quest)
How it works:
Axes are used to open up certain loot chests around the map.
- + or - money (0-1500ish)
- 0.75 x Health & Speed for ~30 seconds
- 1.25 x Health & Speed for ~30 seconds
- Invincibility for ~30 seconds
- Free Perk
- Nothing (Empty Chest)
- Double Points
- Nuke
- Fire Sale
- Insta Kill
- Carpenter
Location 1:
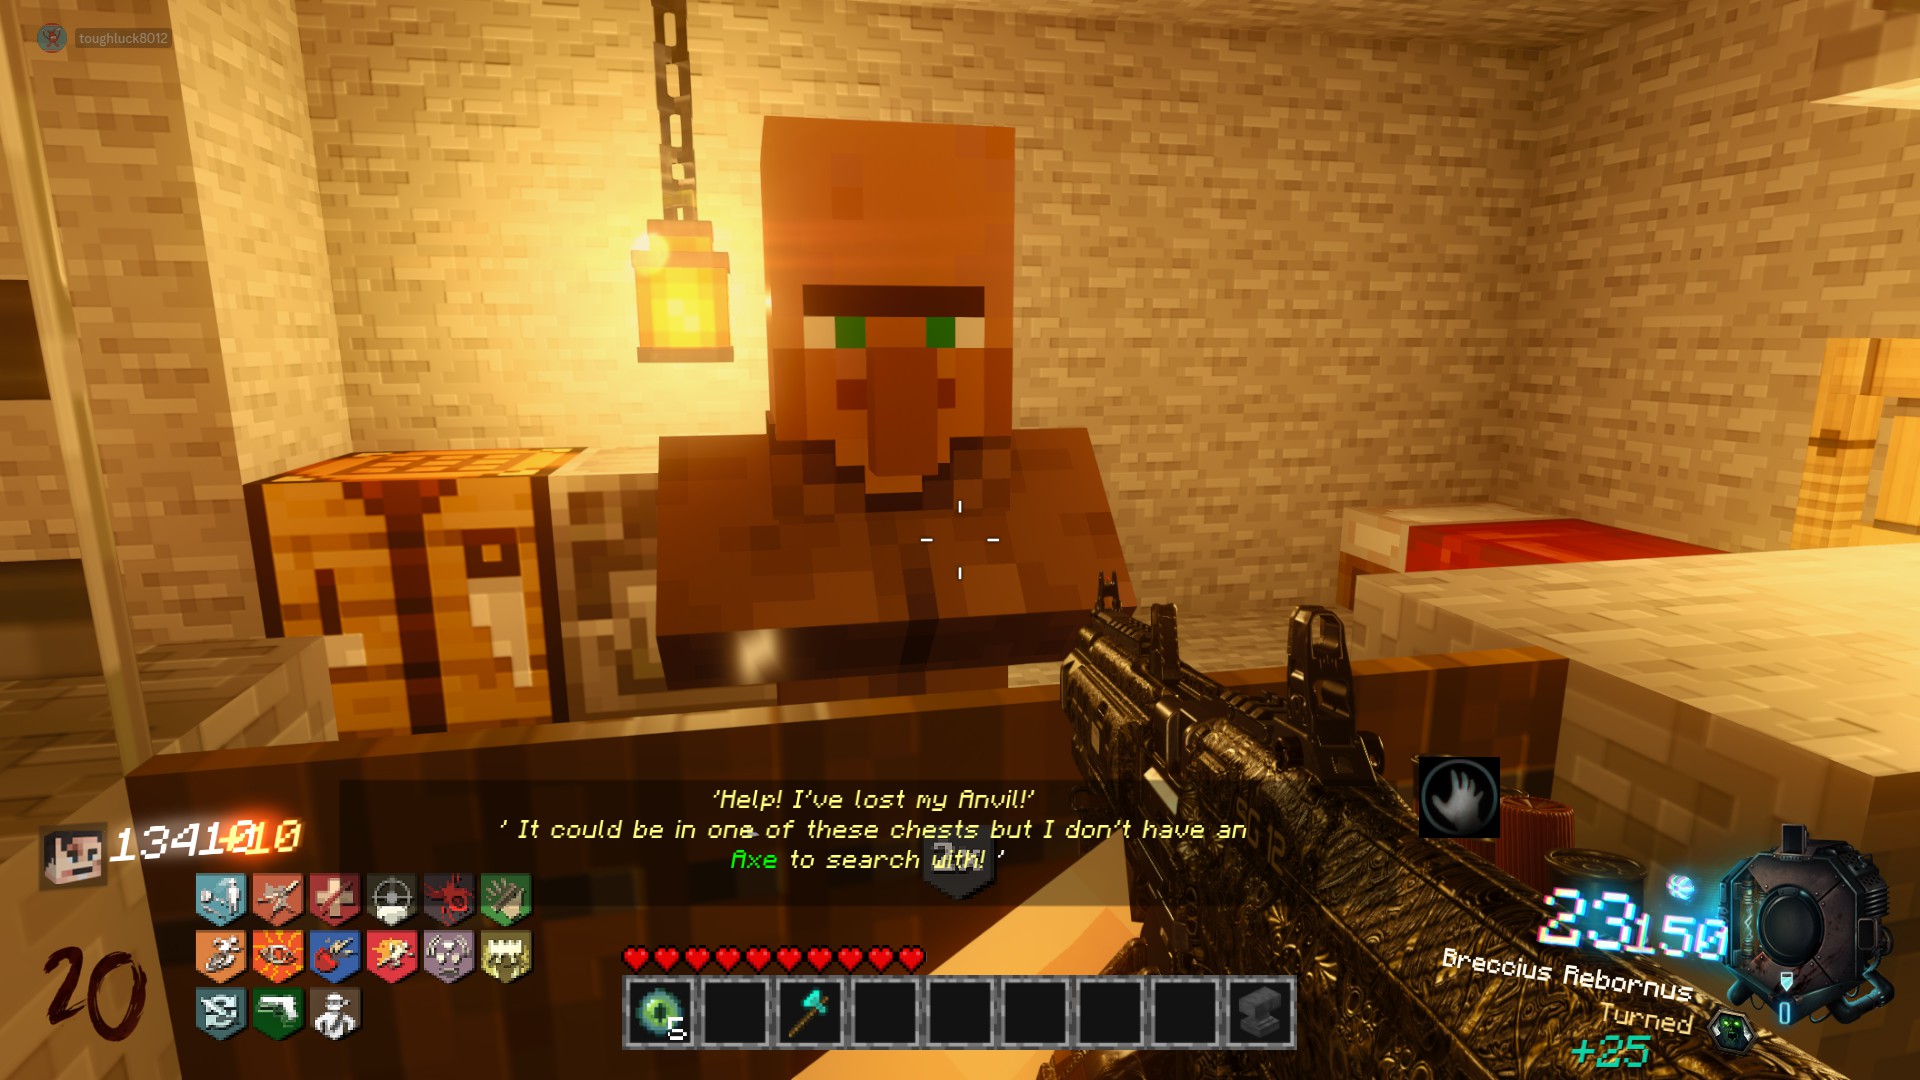
On the ground next to the Anvil Quest Villager in the Cave Entrance
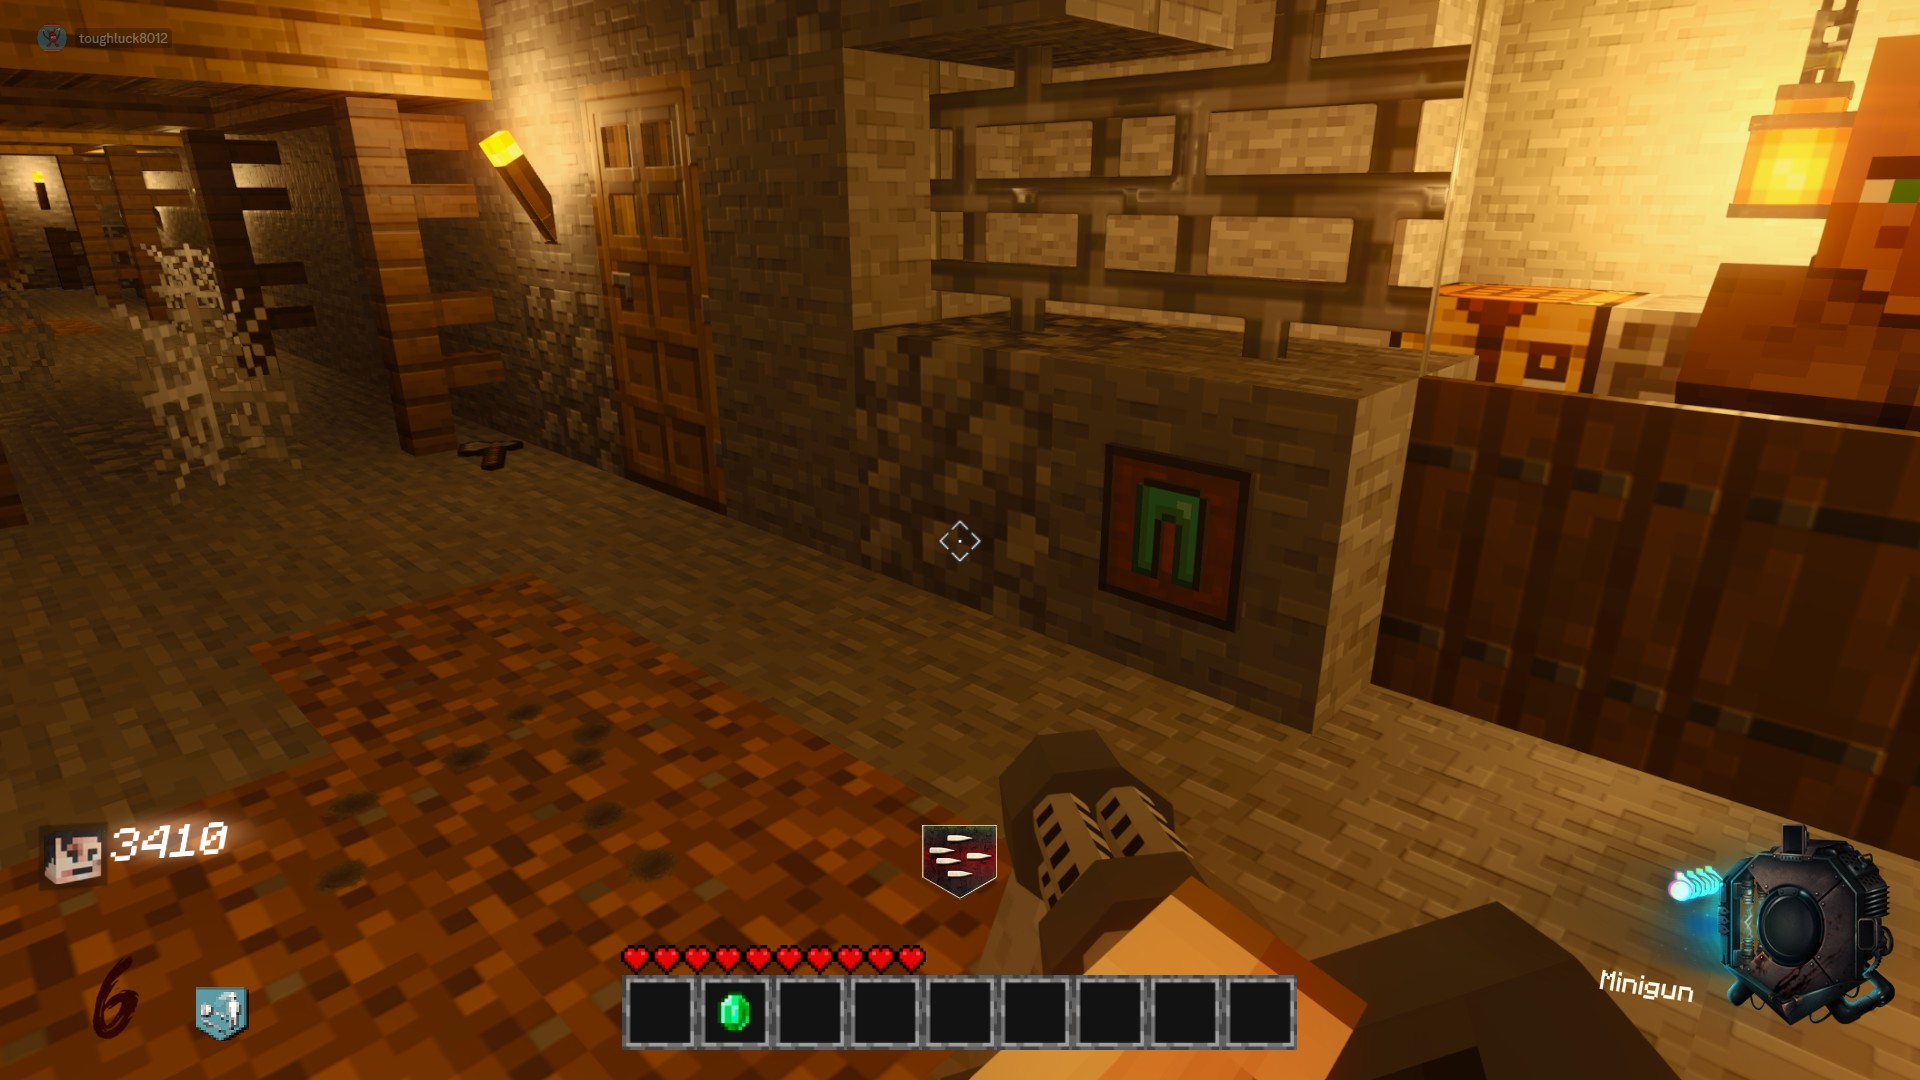
Location 2:
In the house on the left, opposite the Double Tap hut in the open cave area
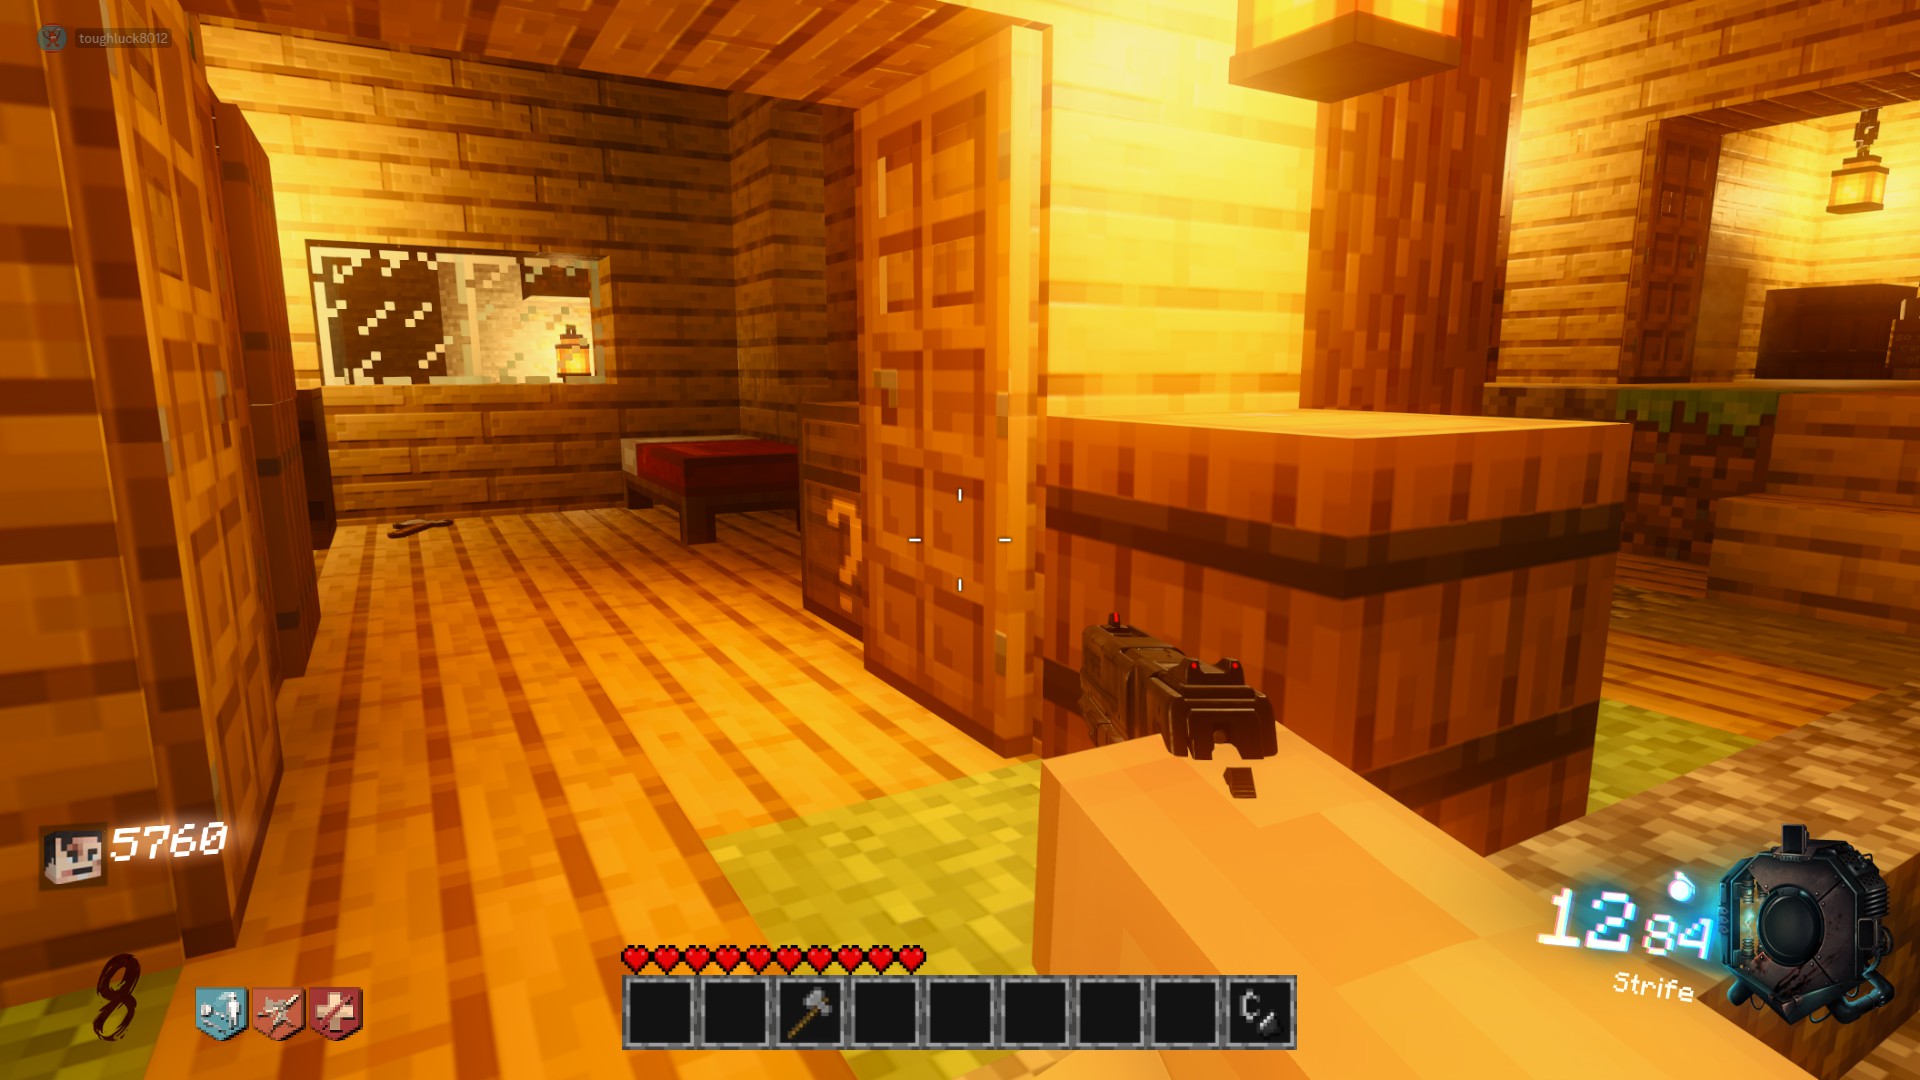 Location 3:
Straight back from the Speed Cola hallway, in the alcove along the underground mineshaft wall
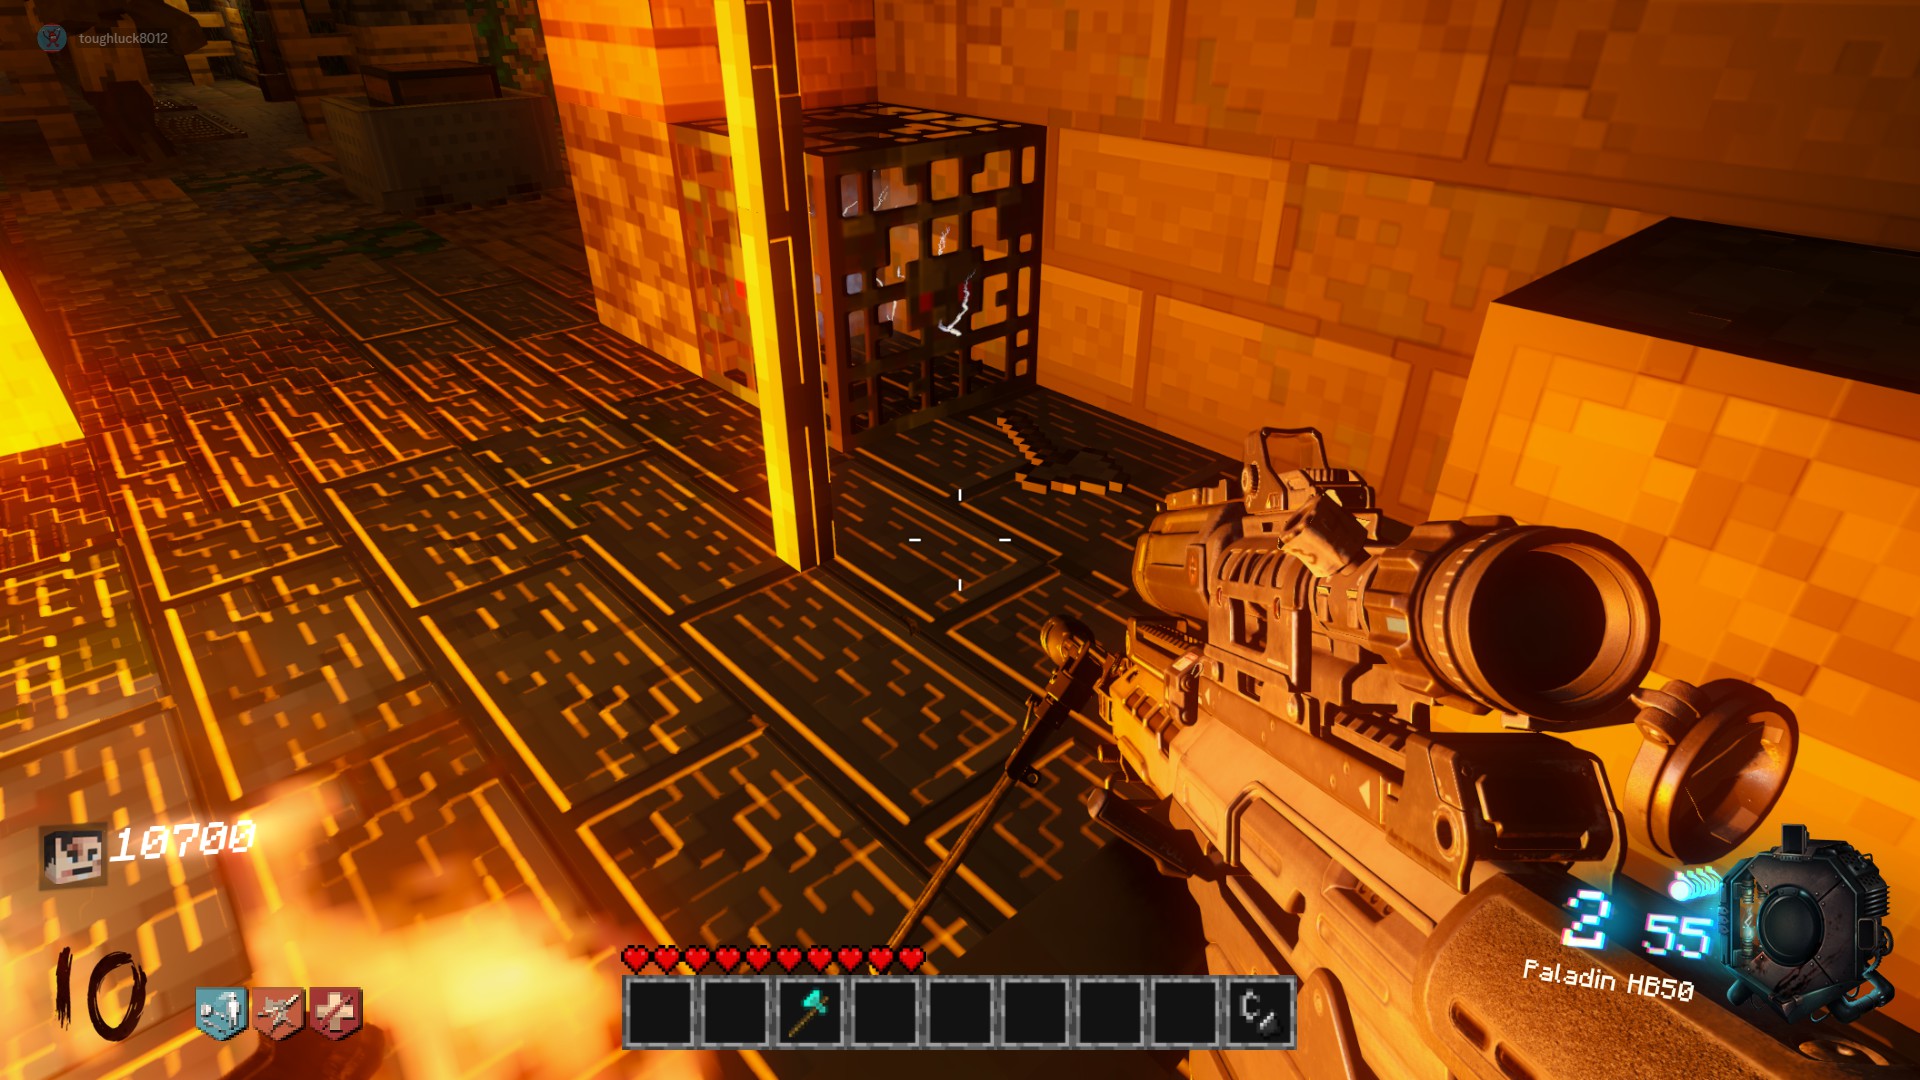
Location 4:
On the Armor Stand in the Bandolier Bandit Building, by the docks
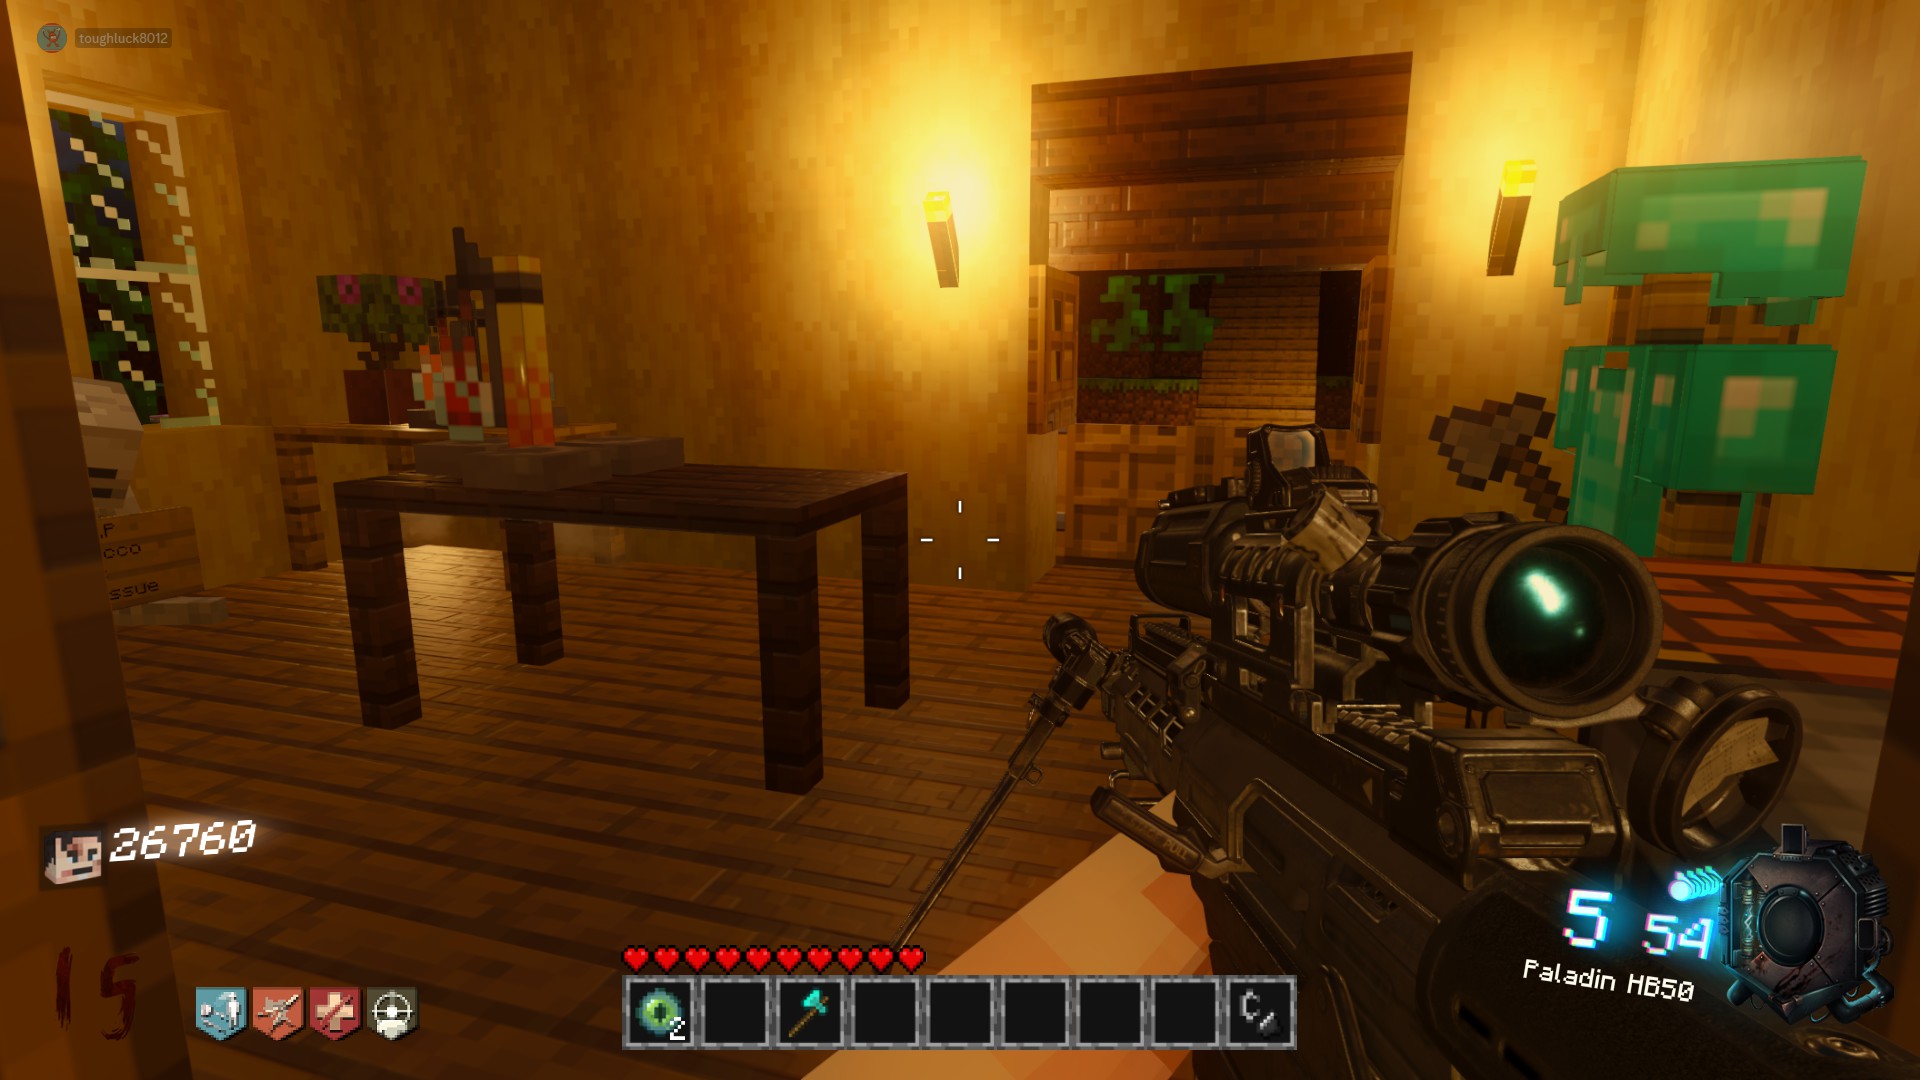 This is what the chests look like. You are looking for the ones that have a question mark on them rather than the traditional classic minecraft ones. Simply approach one with an axe in your inventory and press and hold the "interact" button for a moment to search the chest.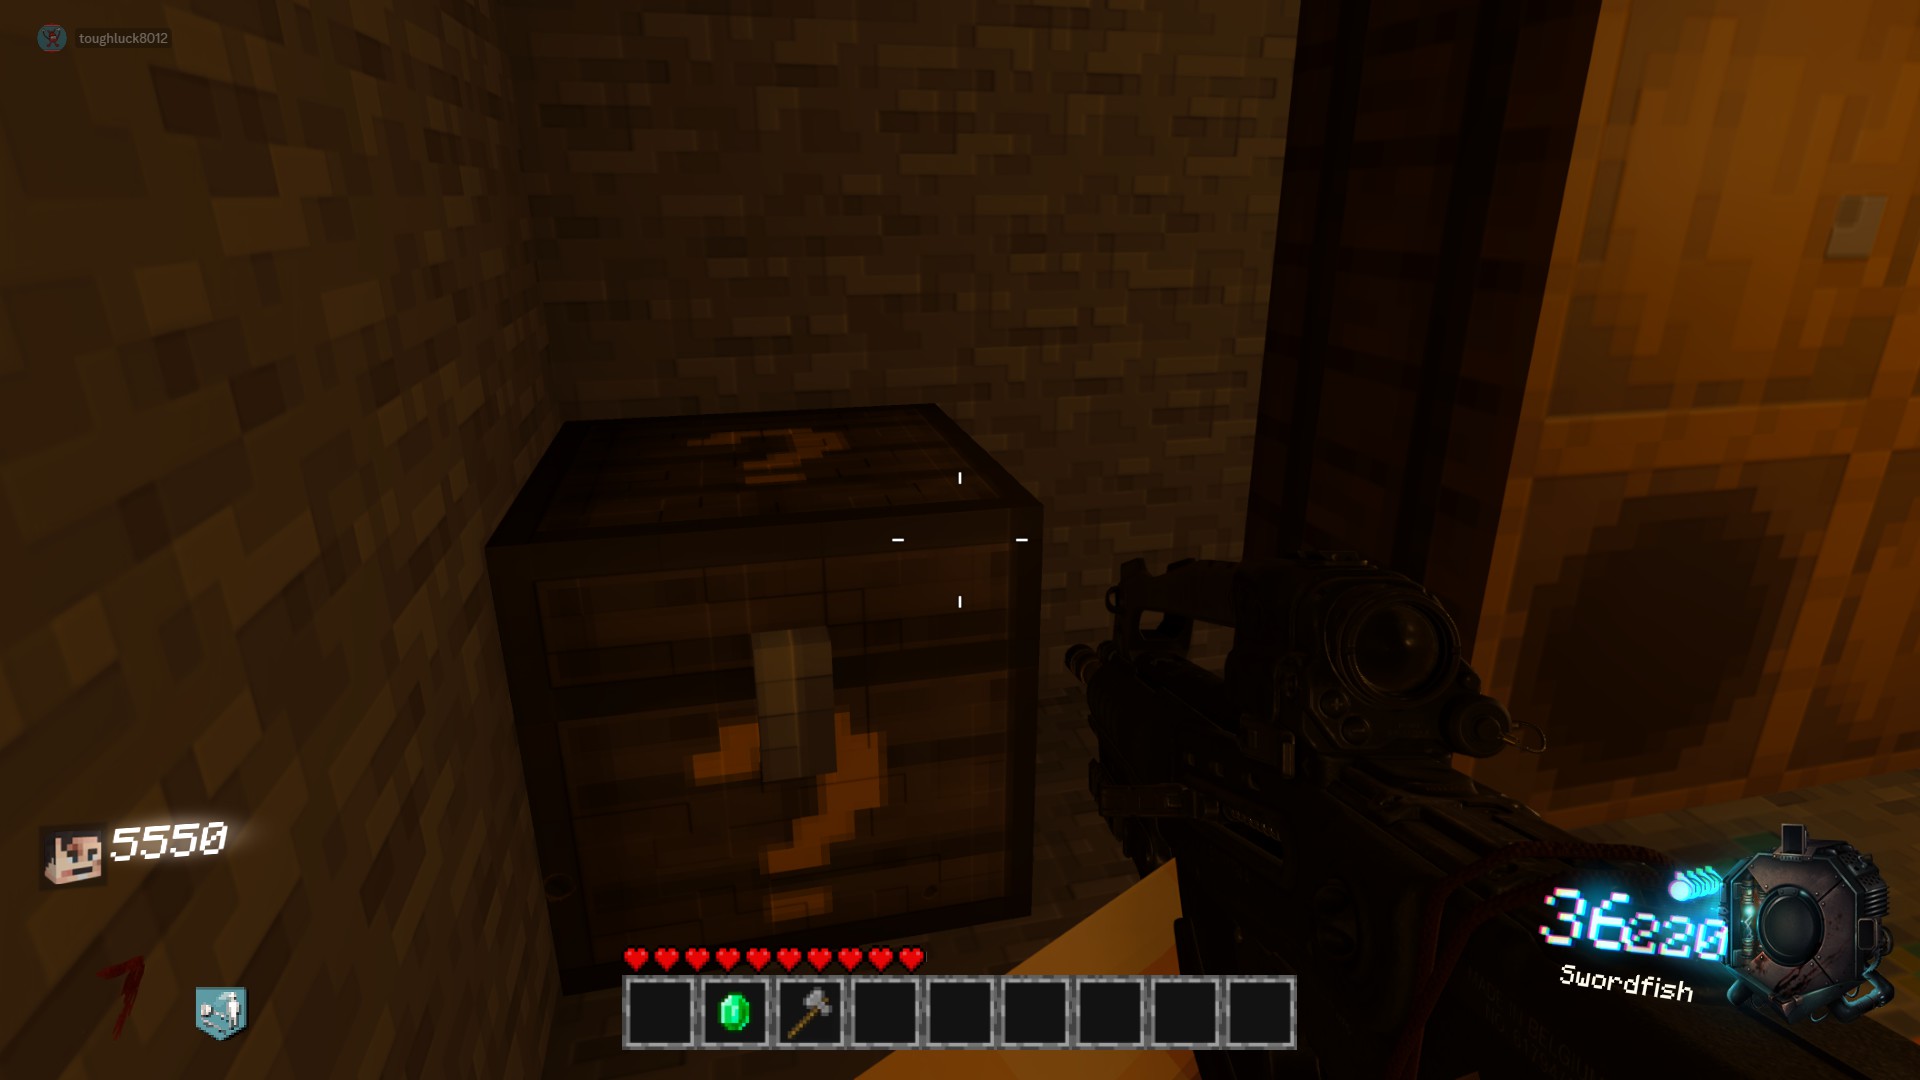
Diamond Axe:
Similar to the golden shovel from Origins, the diamond axe is the upgrade to the traditional axe, obtained through opening several chests. It isn't unlocked through a set amount of chests that must be opened, but rather is awarded randomly when opening any number of chests. It does not affect the speed at which you open chests, but does increase the likelihood that you receive a positive loot rather than a negative one.
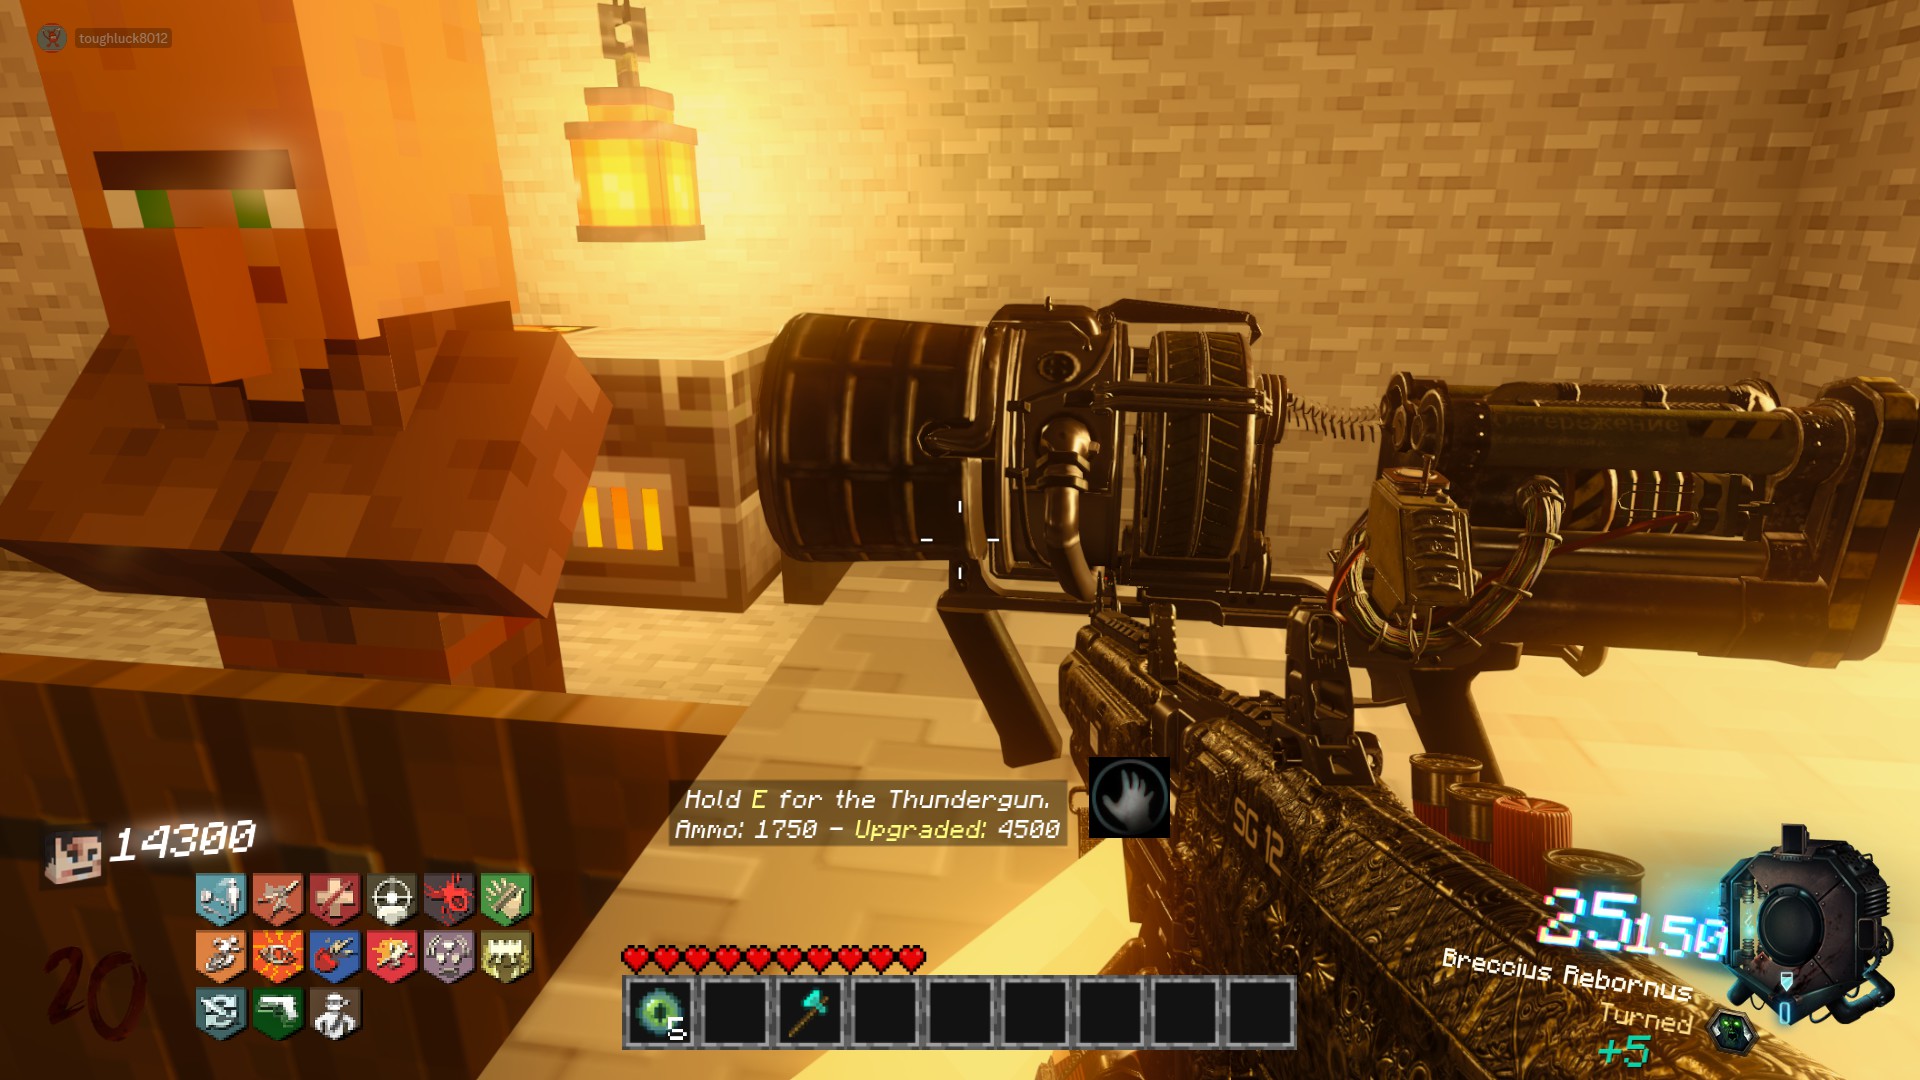
The Anvil is obtained randomly by opening any number of chests (not after a set amount). You do not need the Diamond Axe first to obtain the anvil. The only use for it is to simply give it to the Anvil Quest Villager. In return, they will give out Free Thunderguns to all players. This will remain an option for the entire game, meaning you can get rid of your thundergun and come back and get a new one later on.
Flint & Steel
The only use for Flint & Steel is to light the 4 Bonfires for the Main Quest (used to obtain 4 Eyes of Ender in total). It can only be used once the power is on.
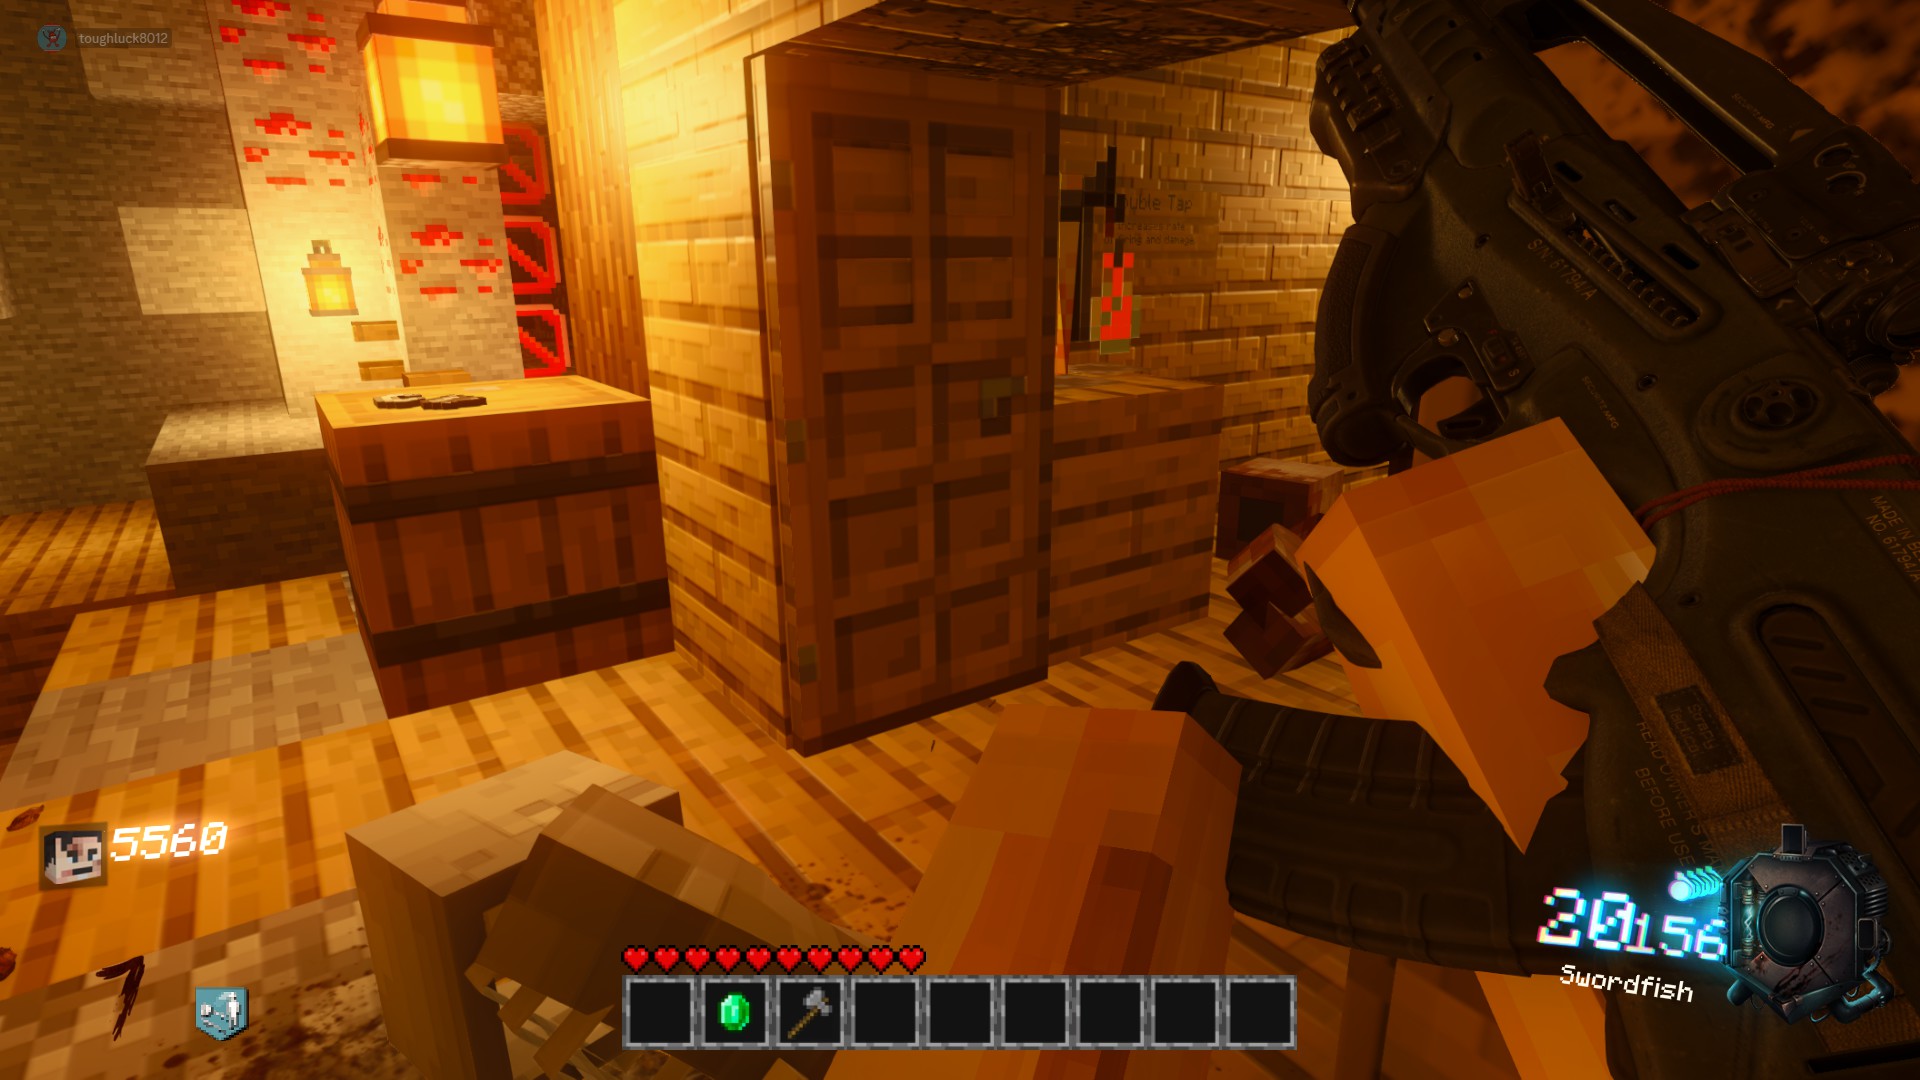
Location 1:On a barrel just outside the Double Tap hut in the giant cave area before the power
 Location 2:
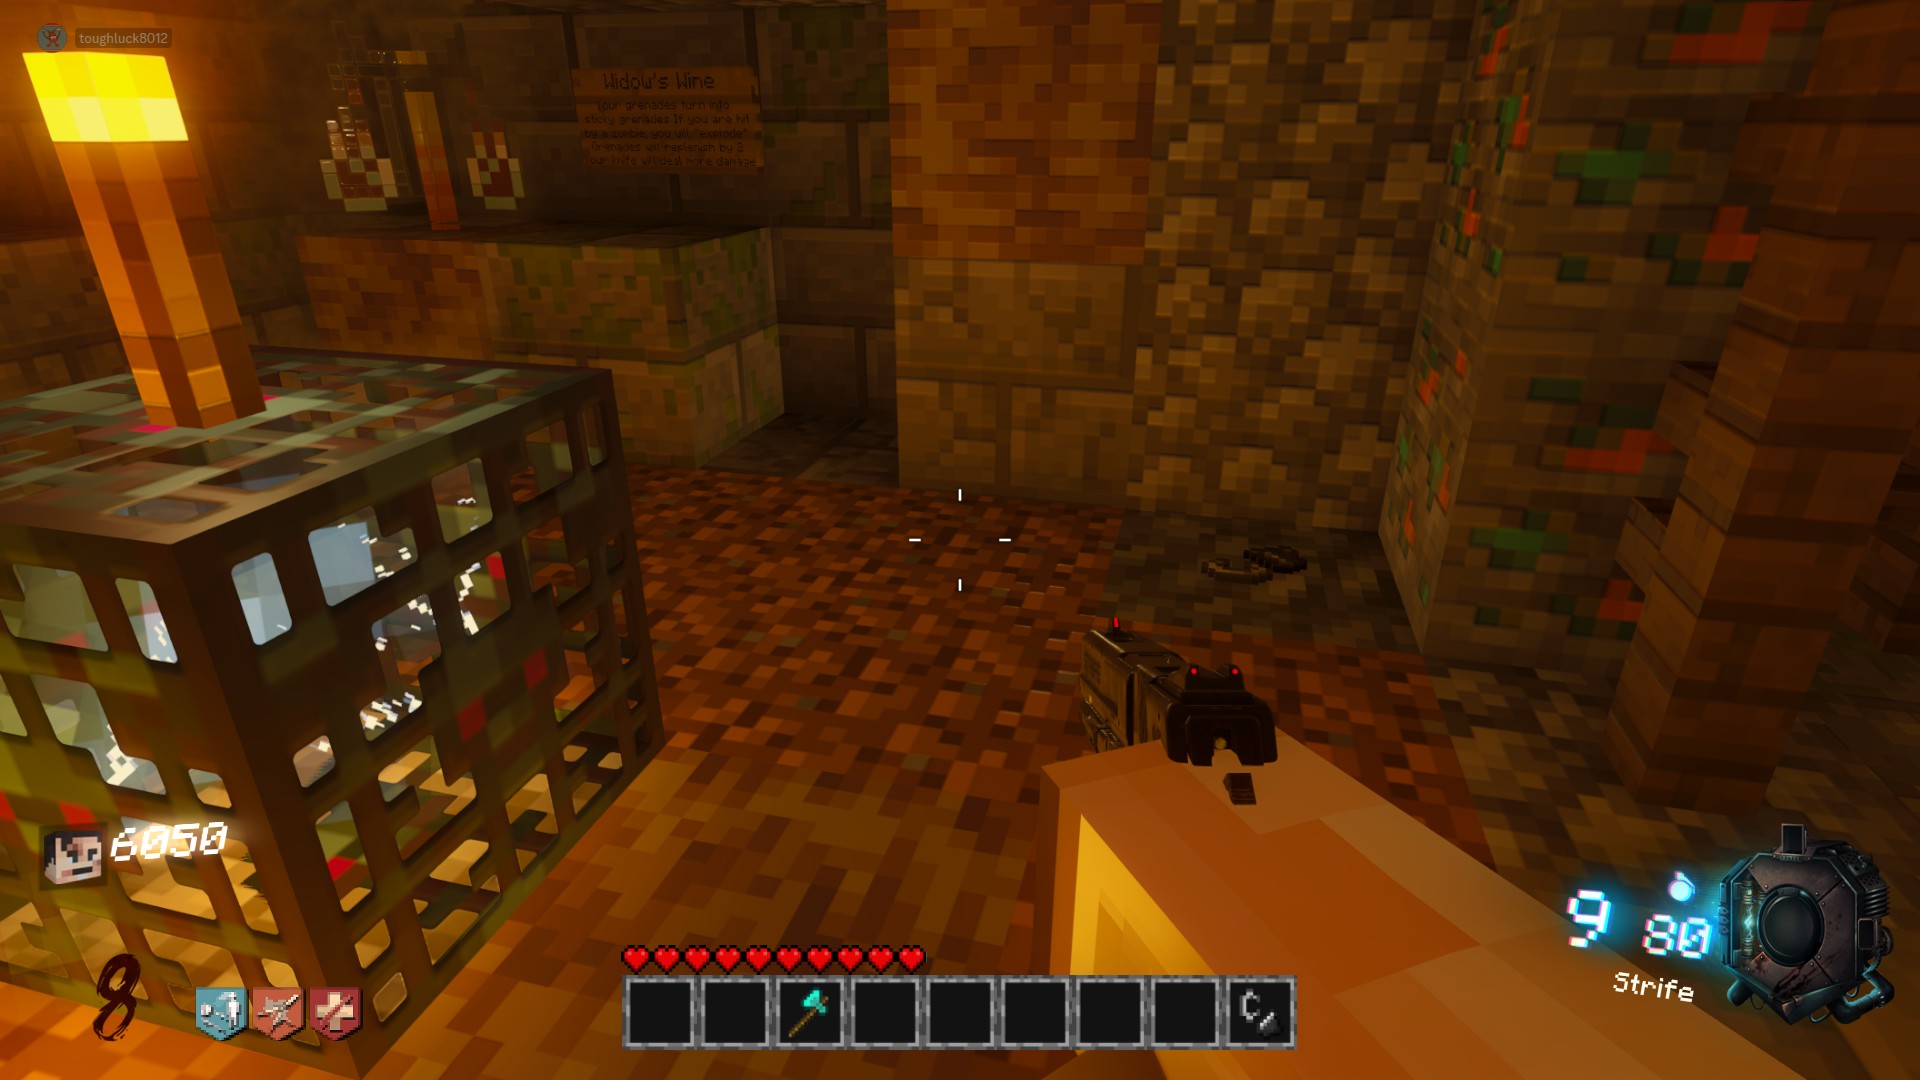
In the corner of the Widow's Wine room next to the Power Villager, on the ground
 Location 3:
By the entrance to the Shield Crafting Building
Location 4:Across the spawn bridge, in one of the little houses by the Wishing Well
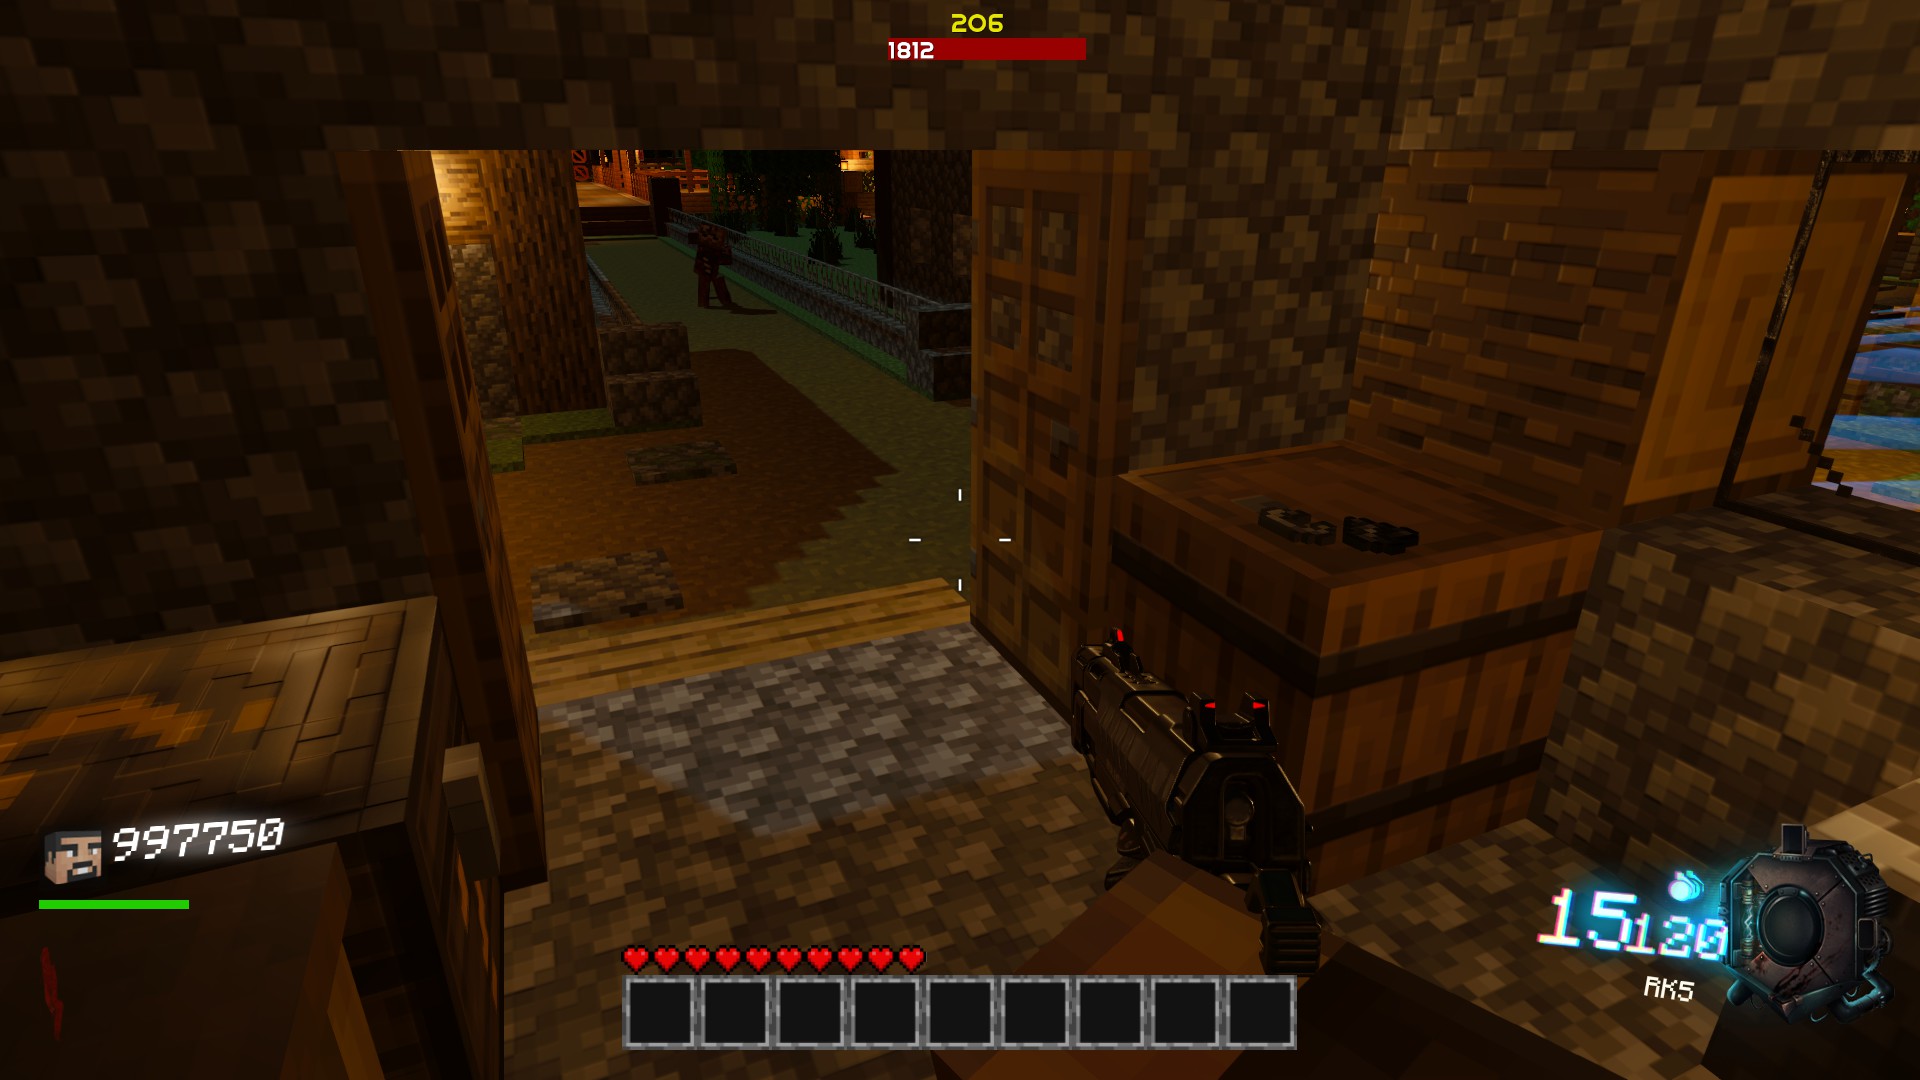
Teleporters
In the big open cave area, by the Juggernog staircase and campfire
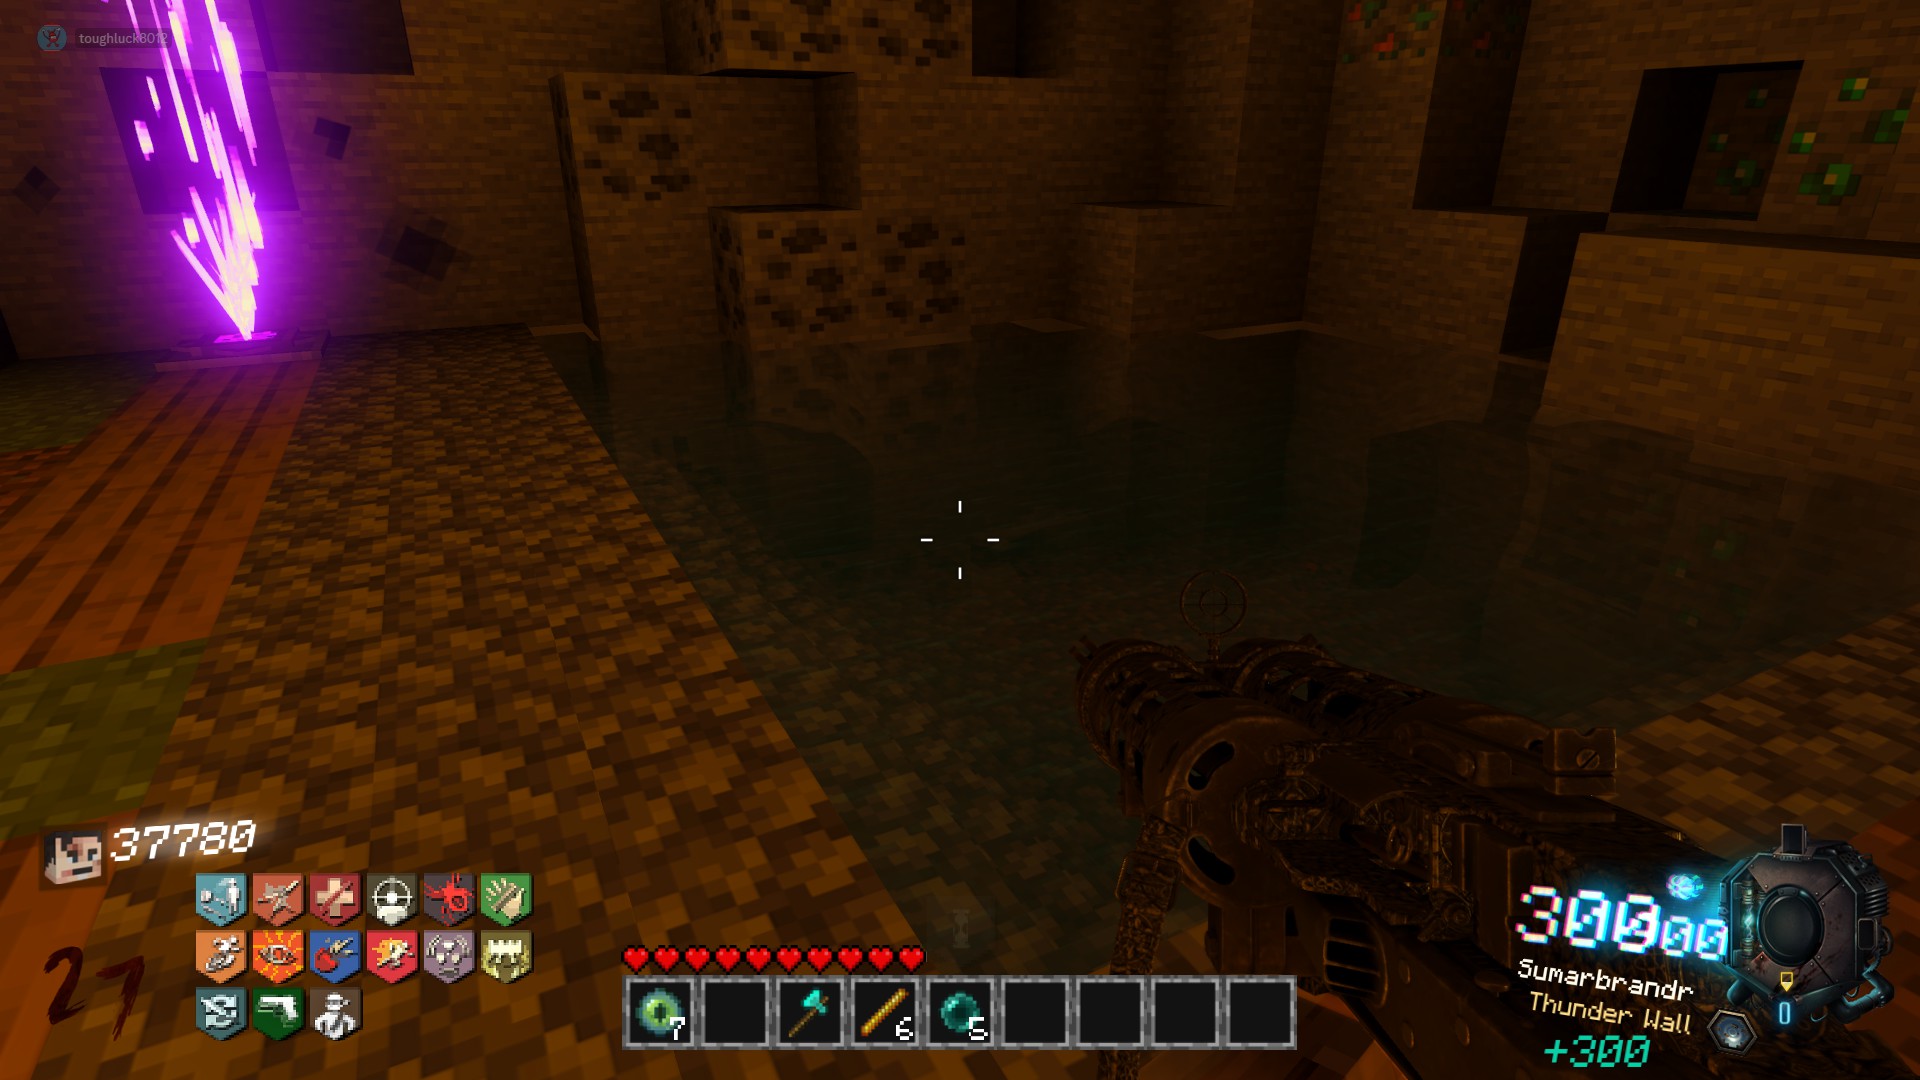 Pink 2:
At the Trading Post by Blaze Phase, outside of the Nether Garden Portal
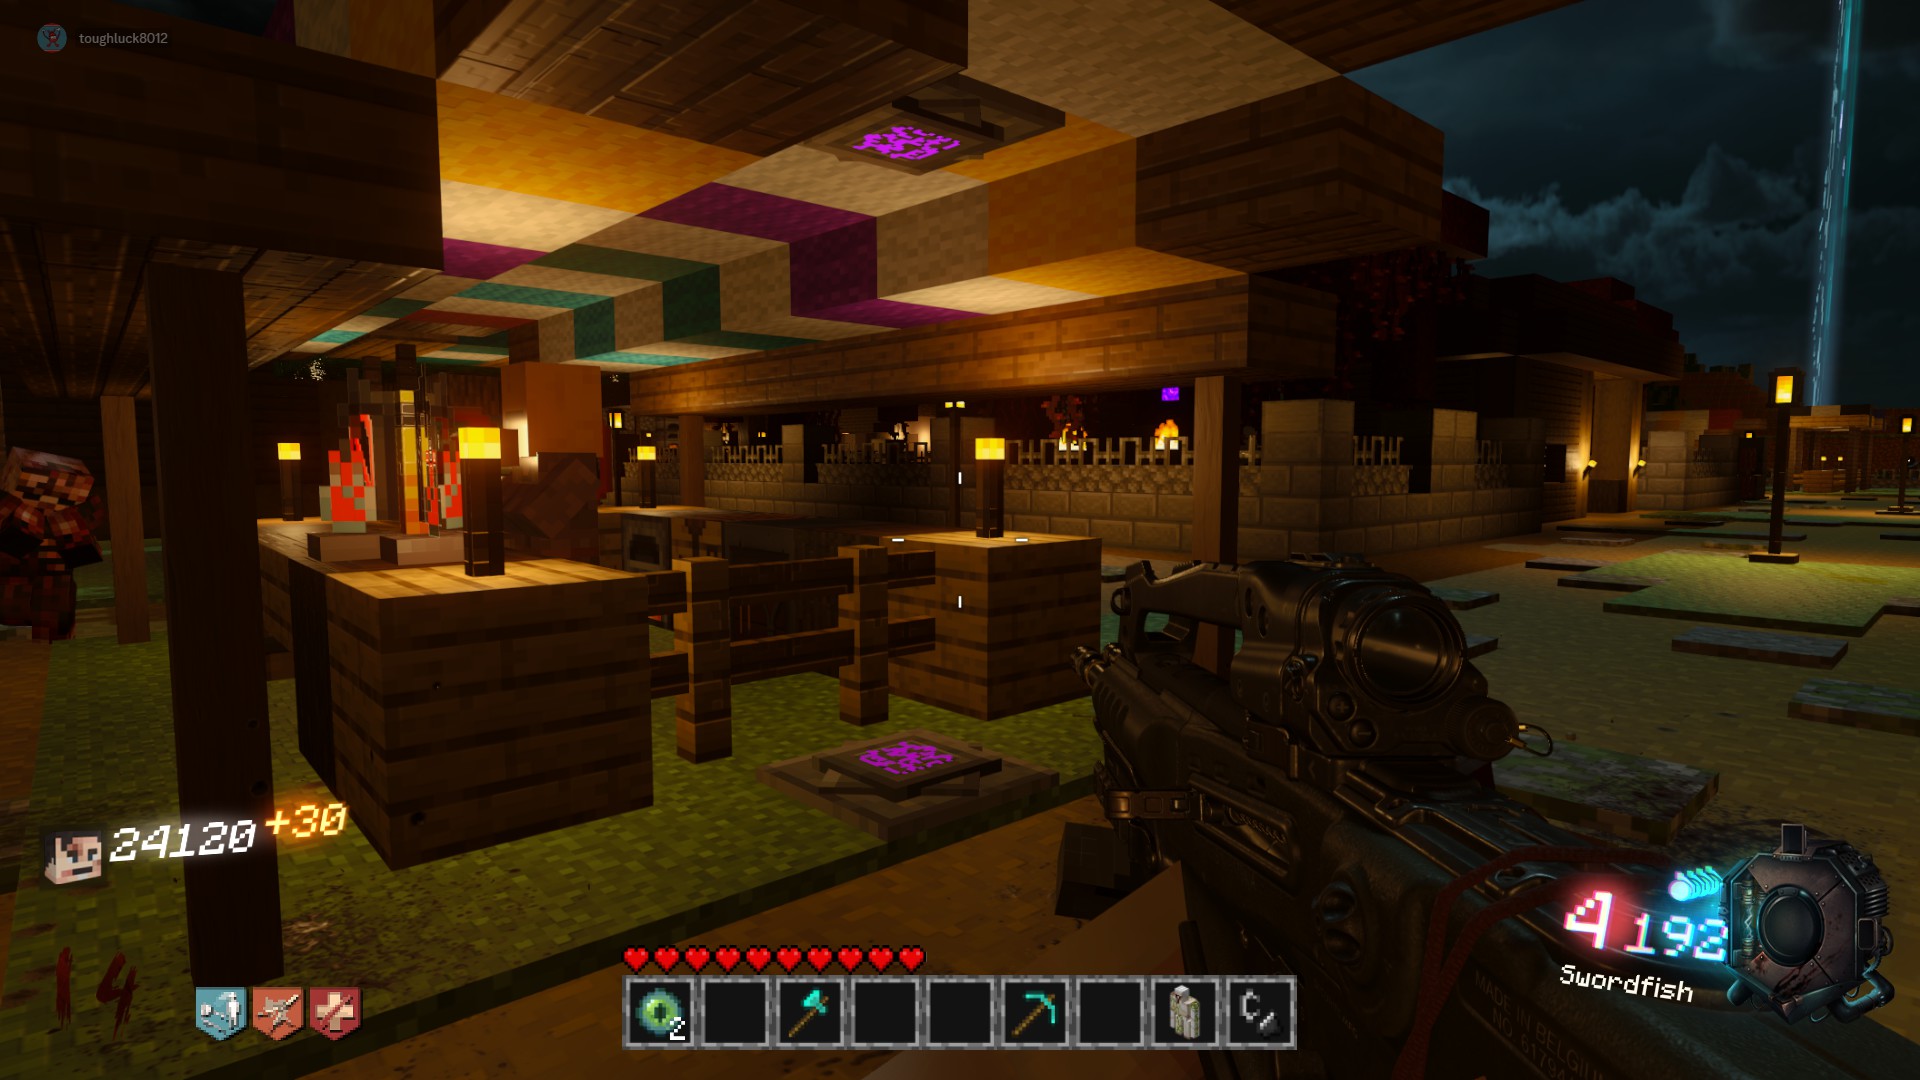 Blue 1:
In the PAP Room, between the underground mineshaft tunnel (buy the 2000 redstone switch) & the Library
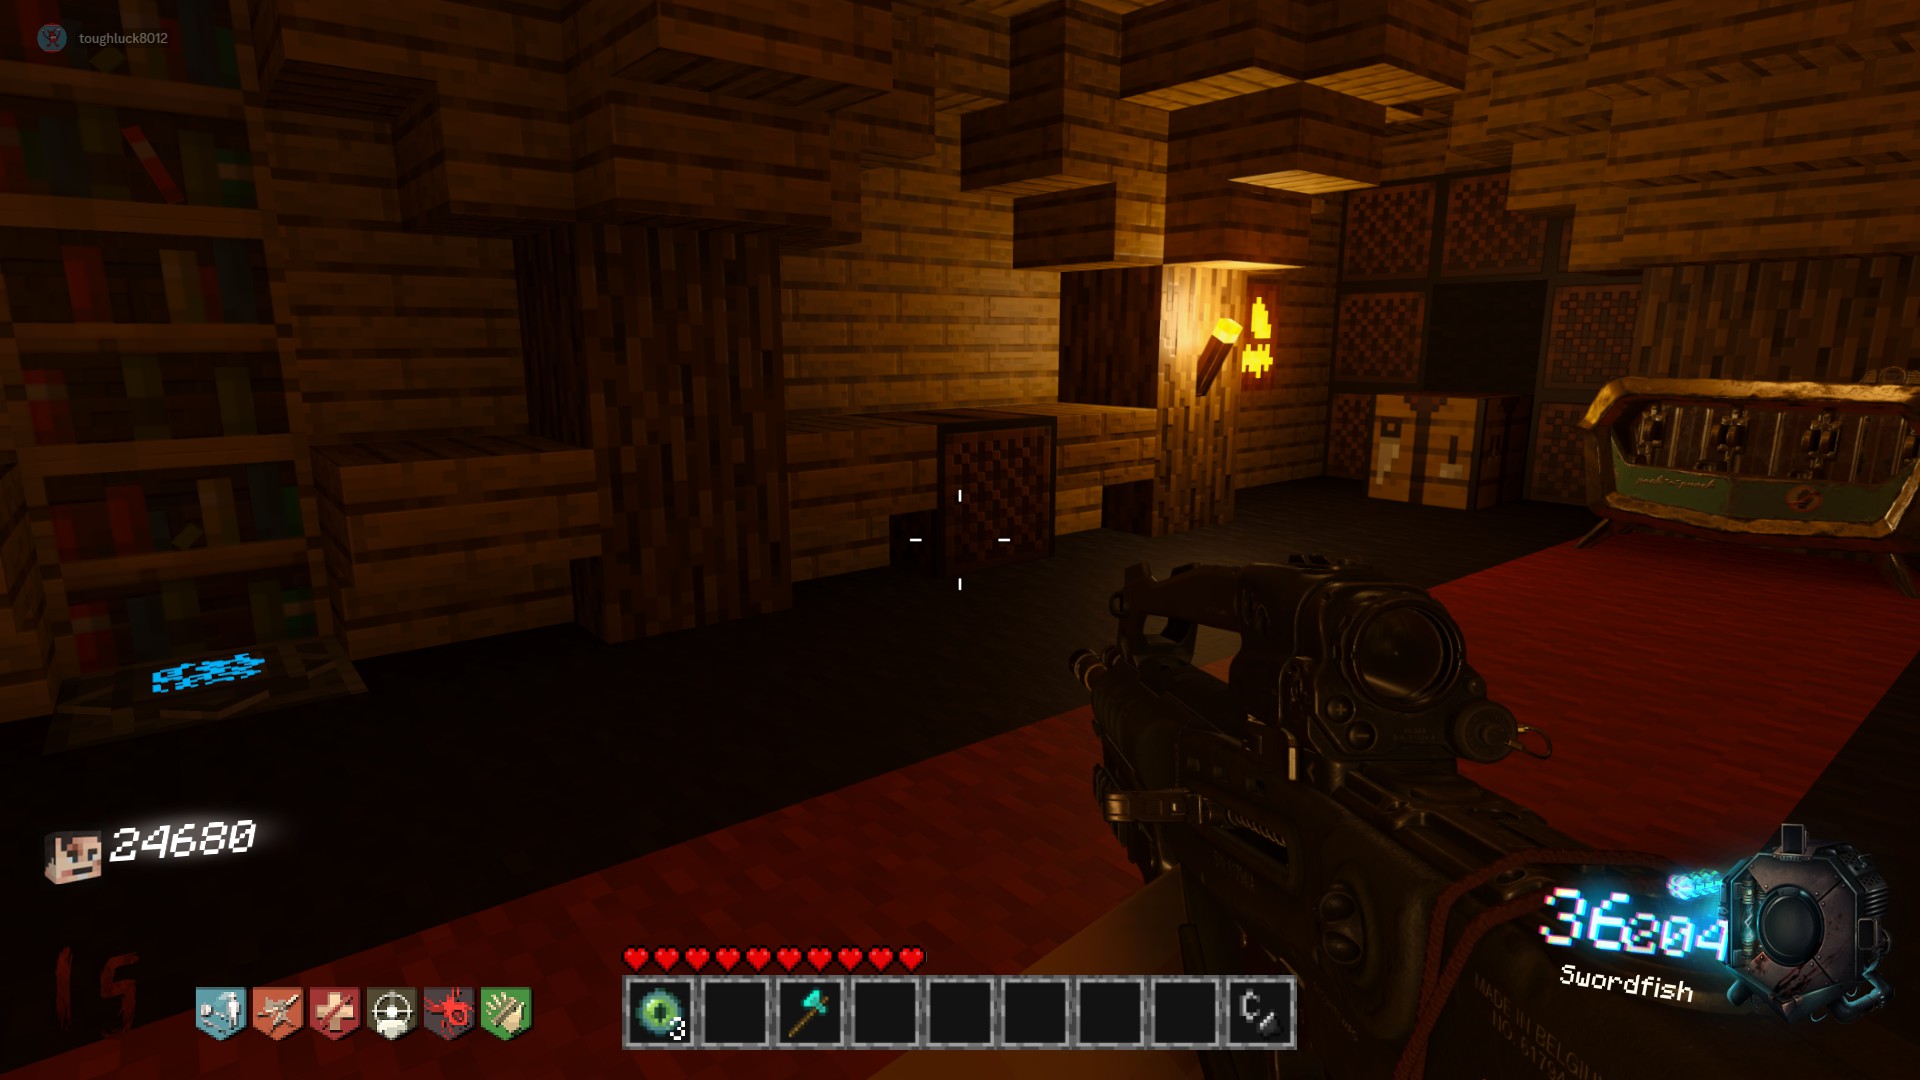 Blue 2:
At the Trading Post by Stone Cold Stronghold, by the wishing well & spawn bridge
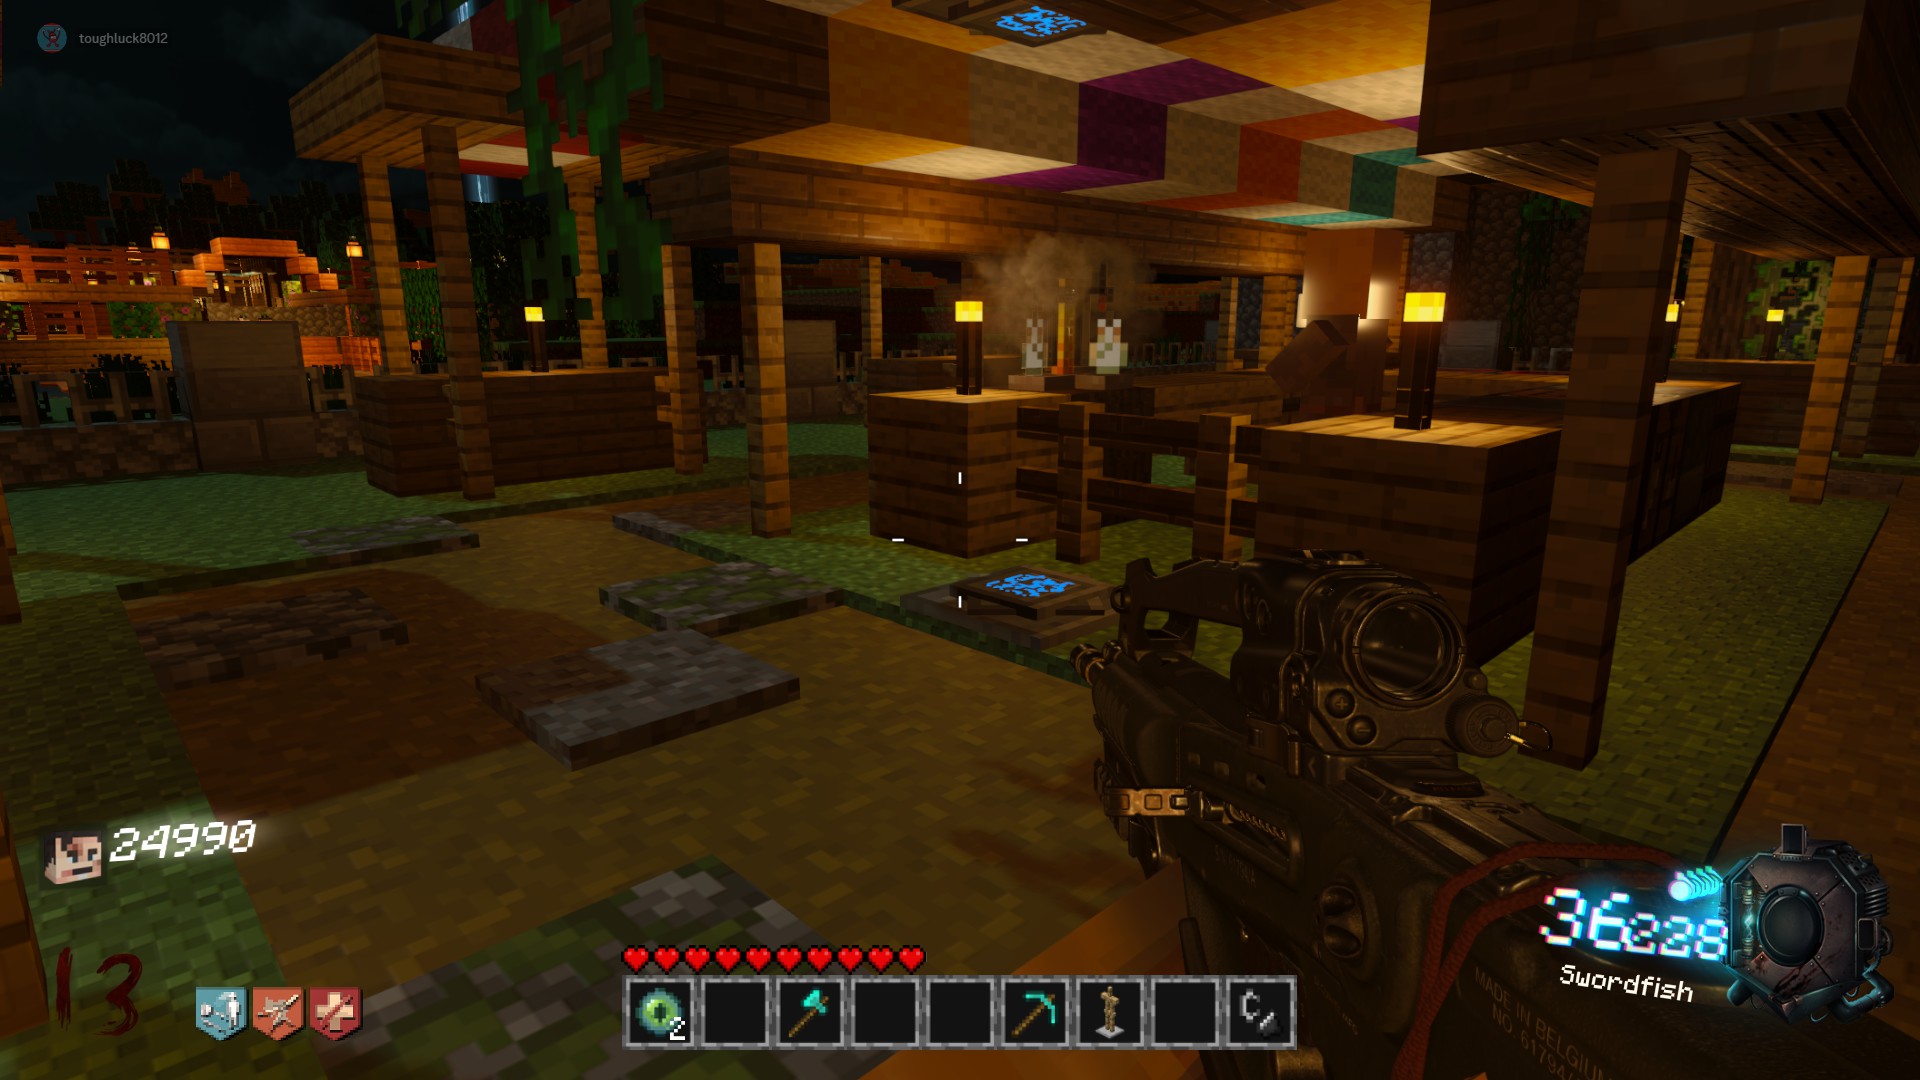 Red 1:
At the end of the underground mineshaft tunnel, next to Electric Cherry
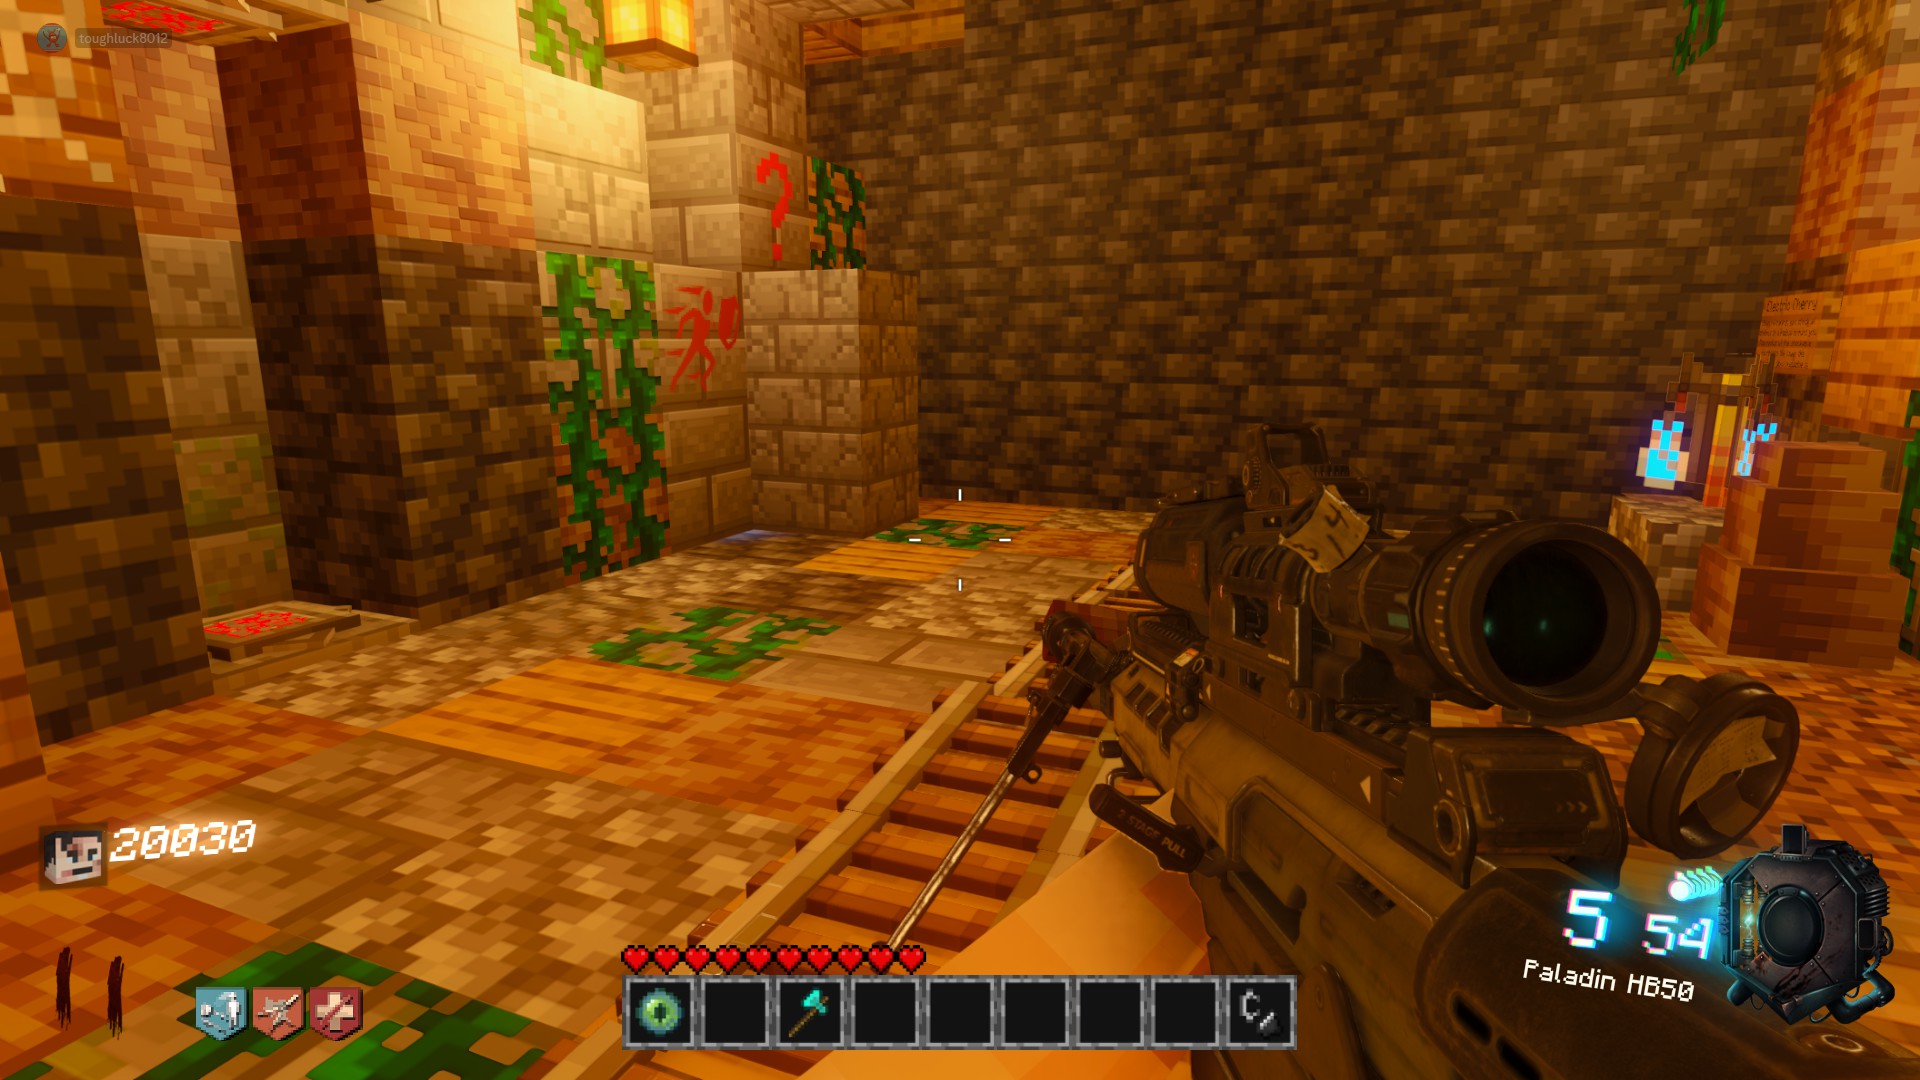 Red 2:
At the Trading Post by PHD Flopper, near the Nether Garden Portal & Church
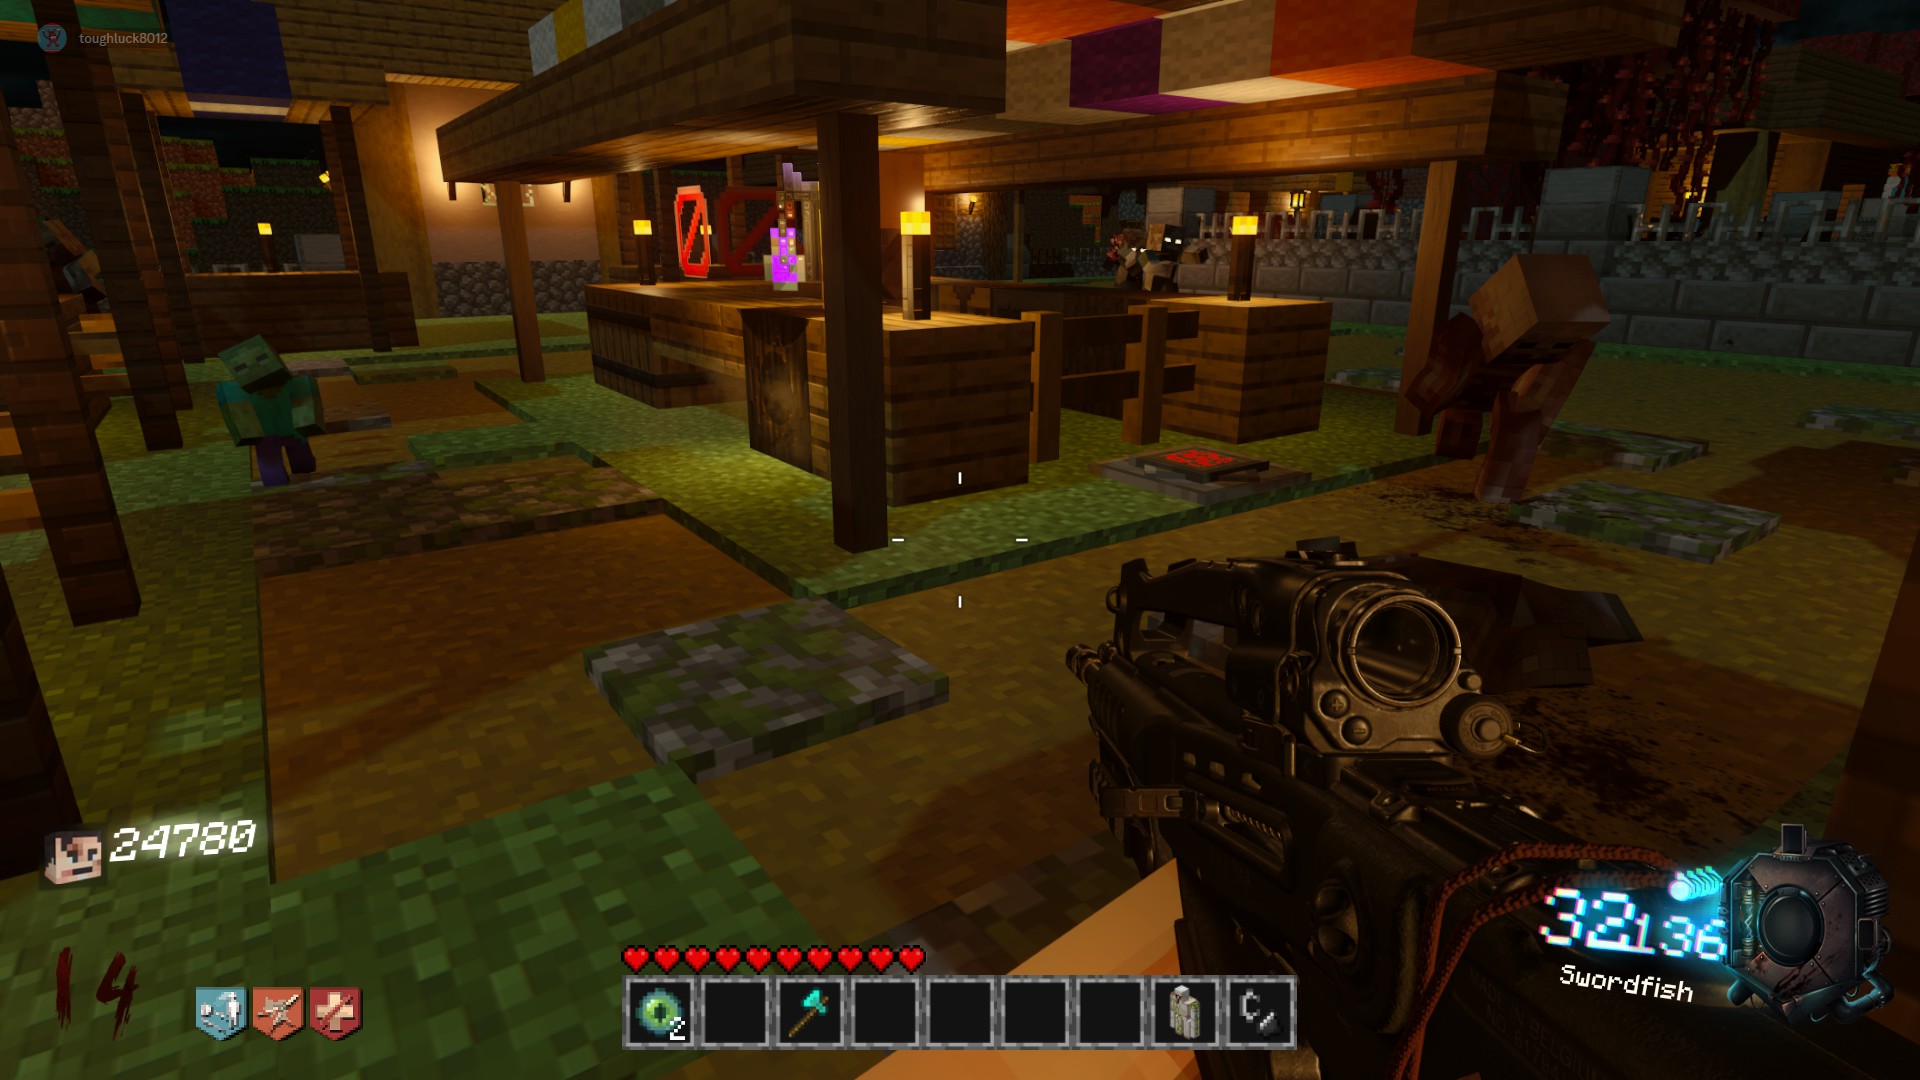
Pack-A-Punch
Red Teleporter Trading Post by PHD Flopper, near the Nether Garden Portal and Church
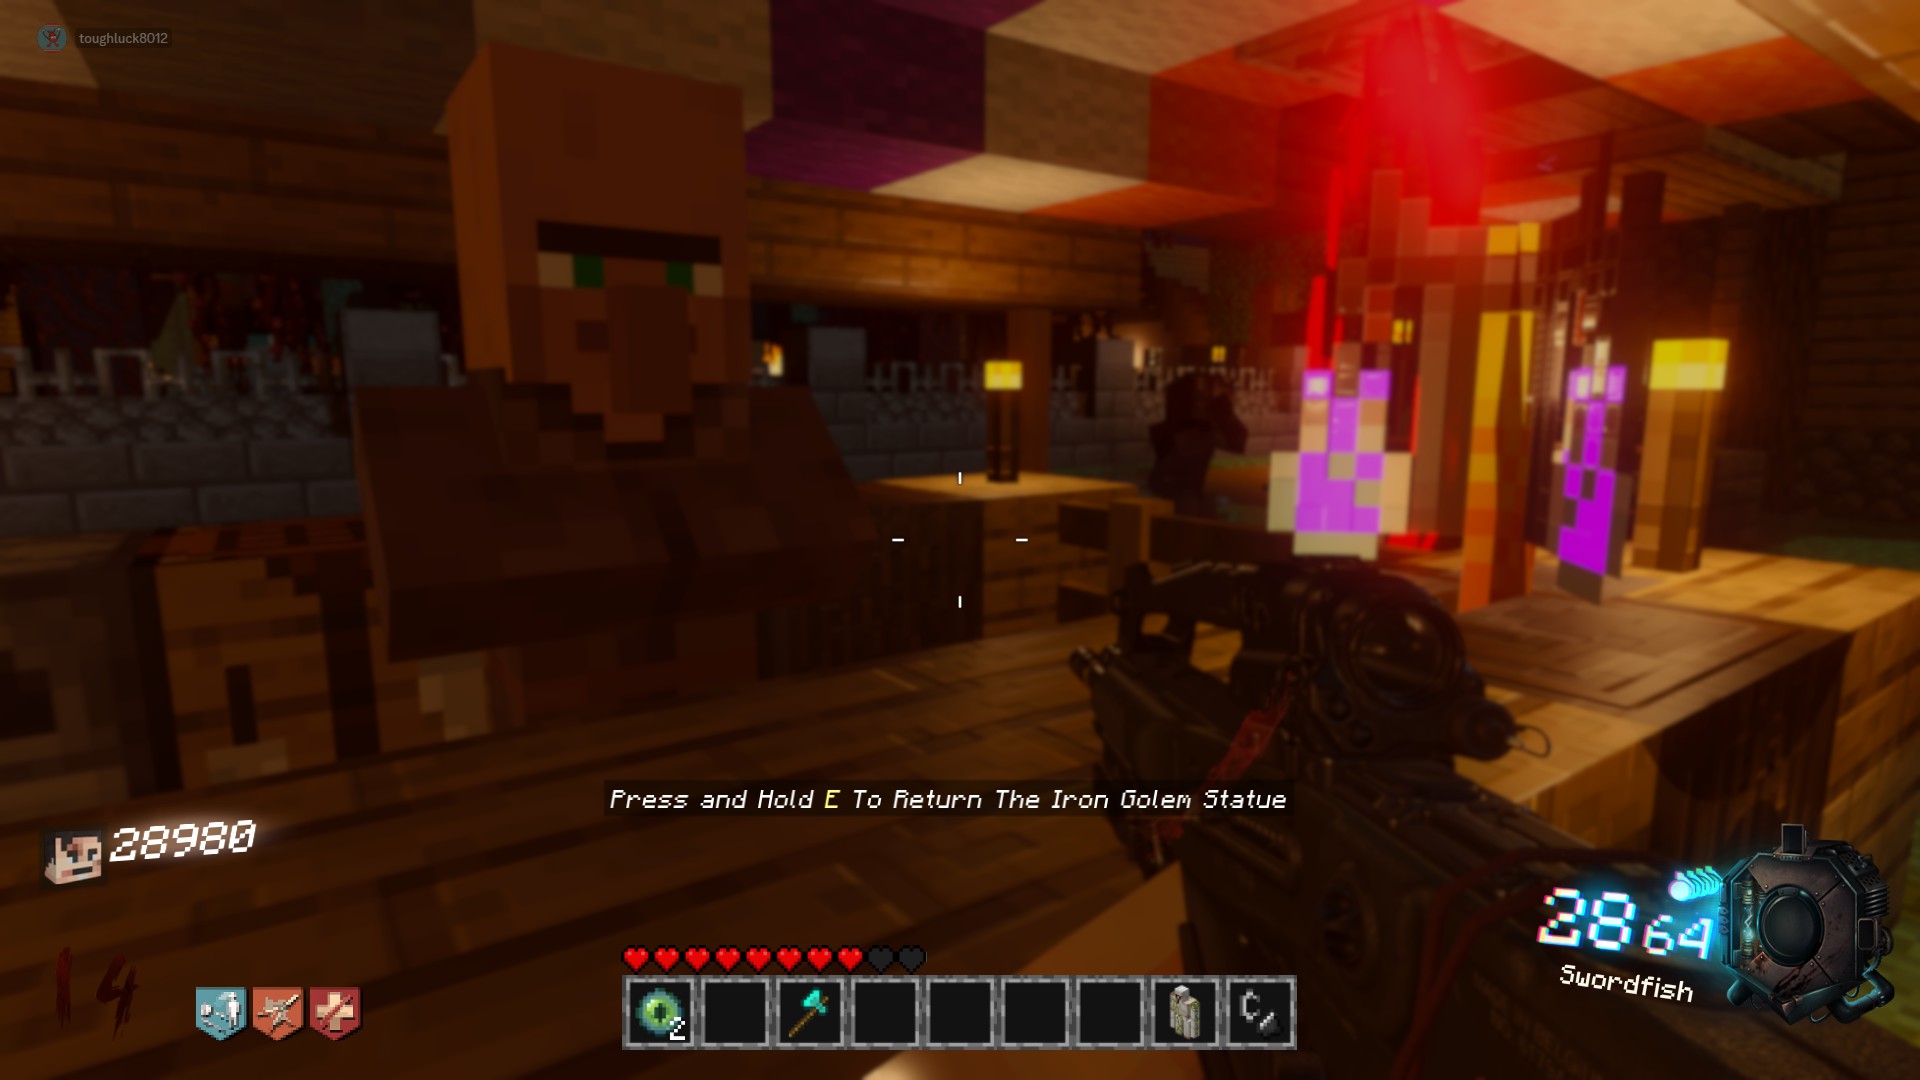 Iron Golem:
Found in the back left unit of the quad-plex building, straight back from the wishing well, under a counter
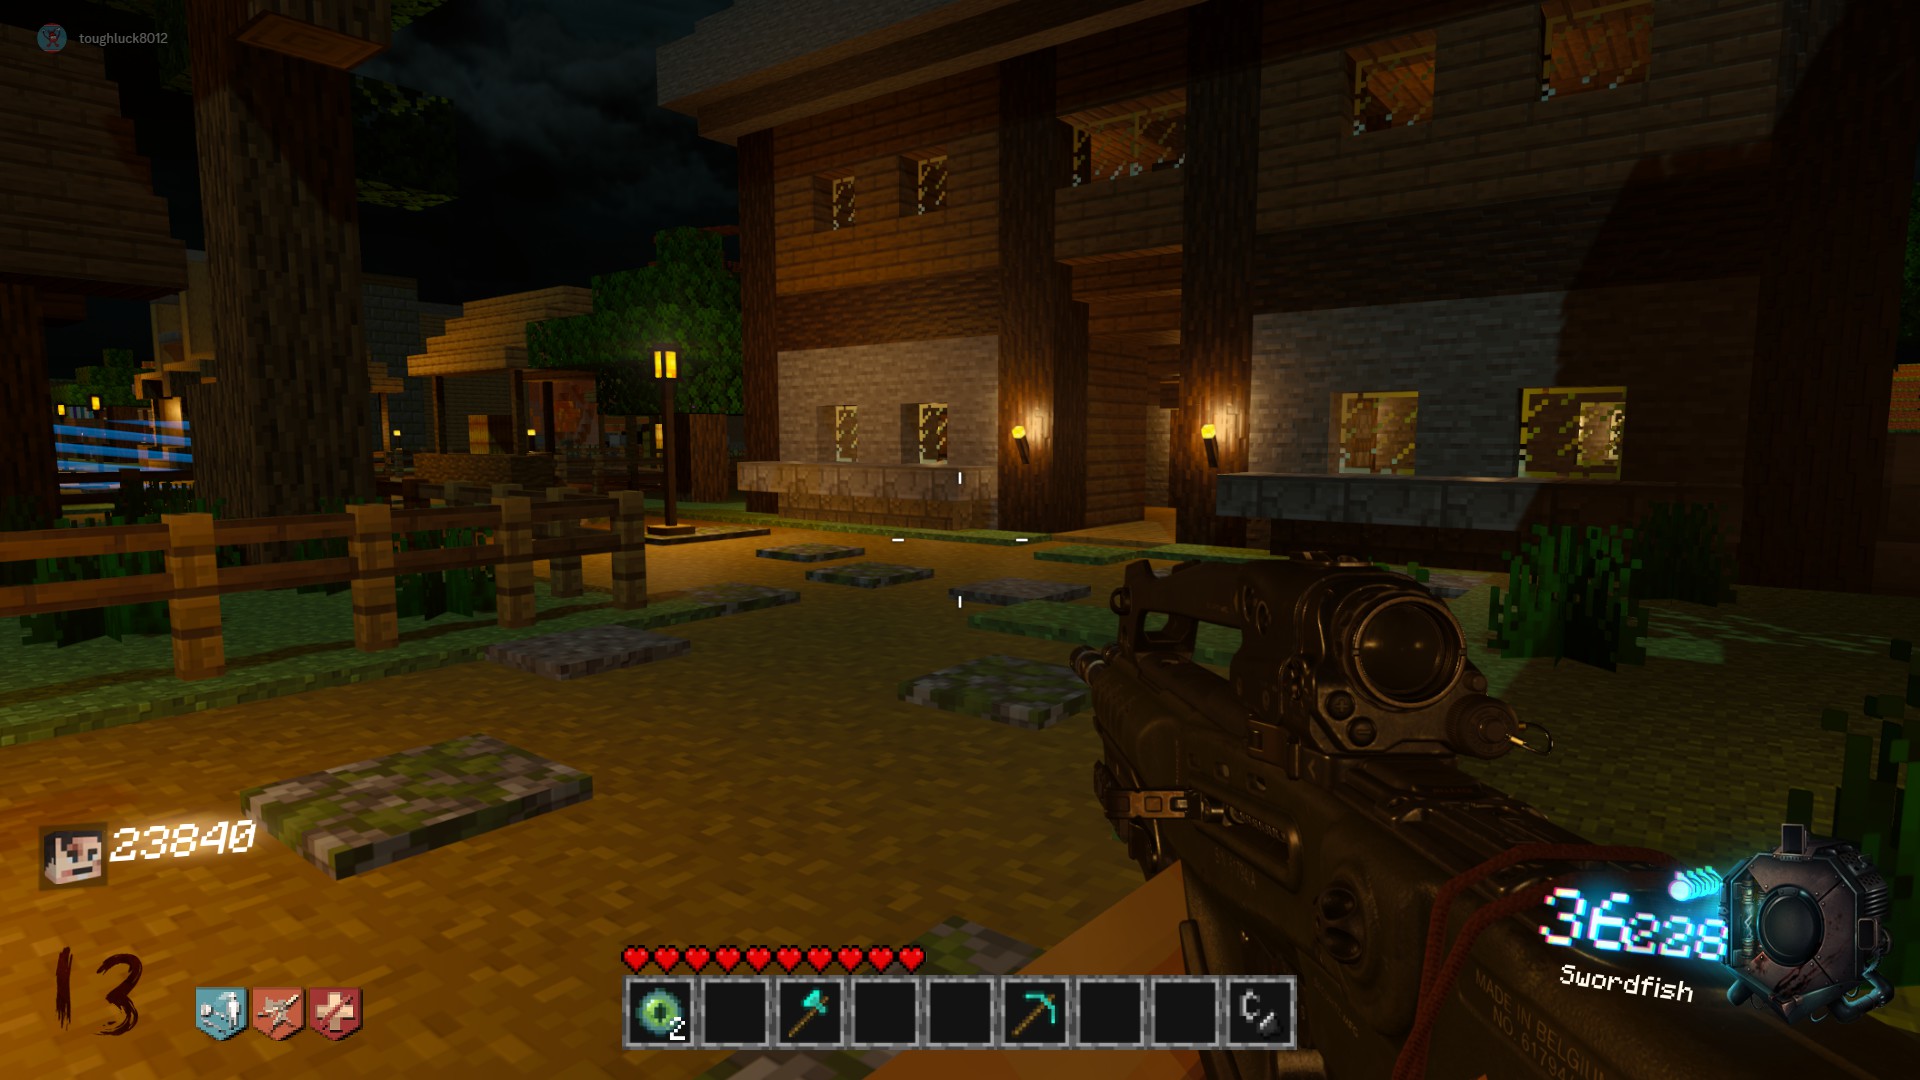
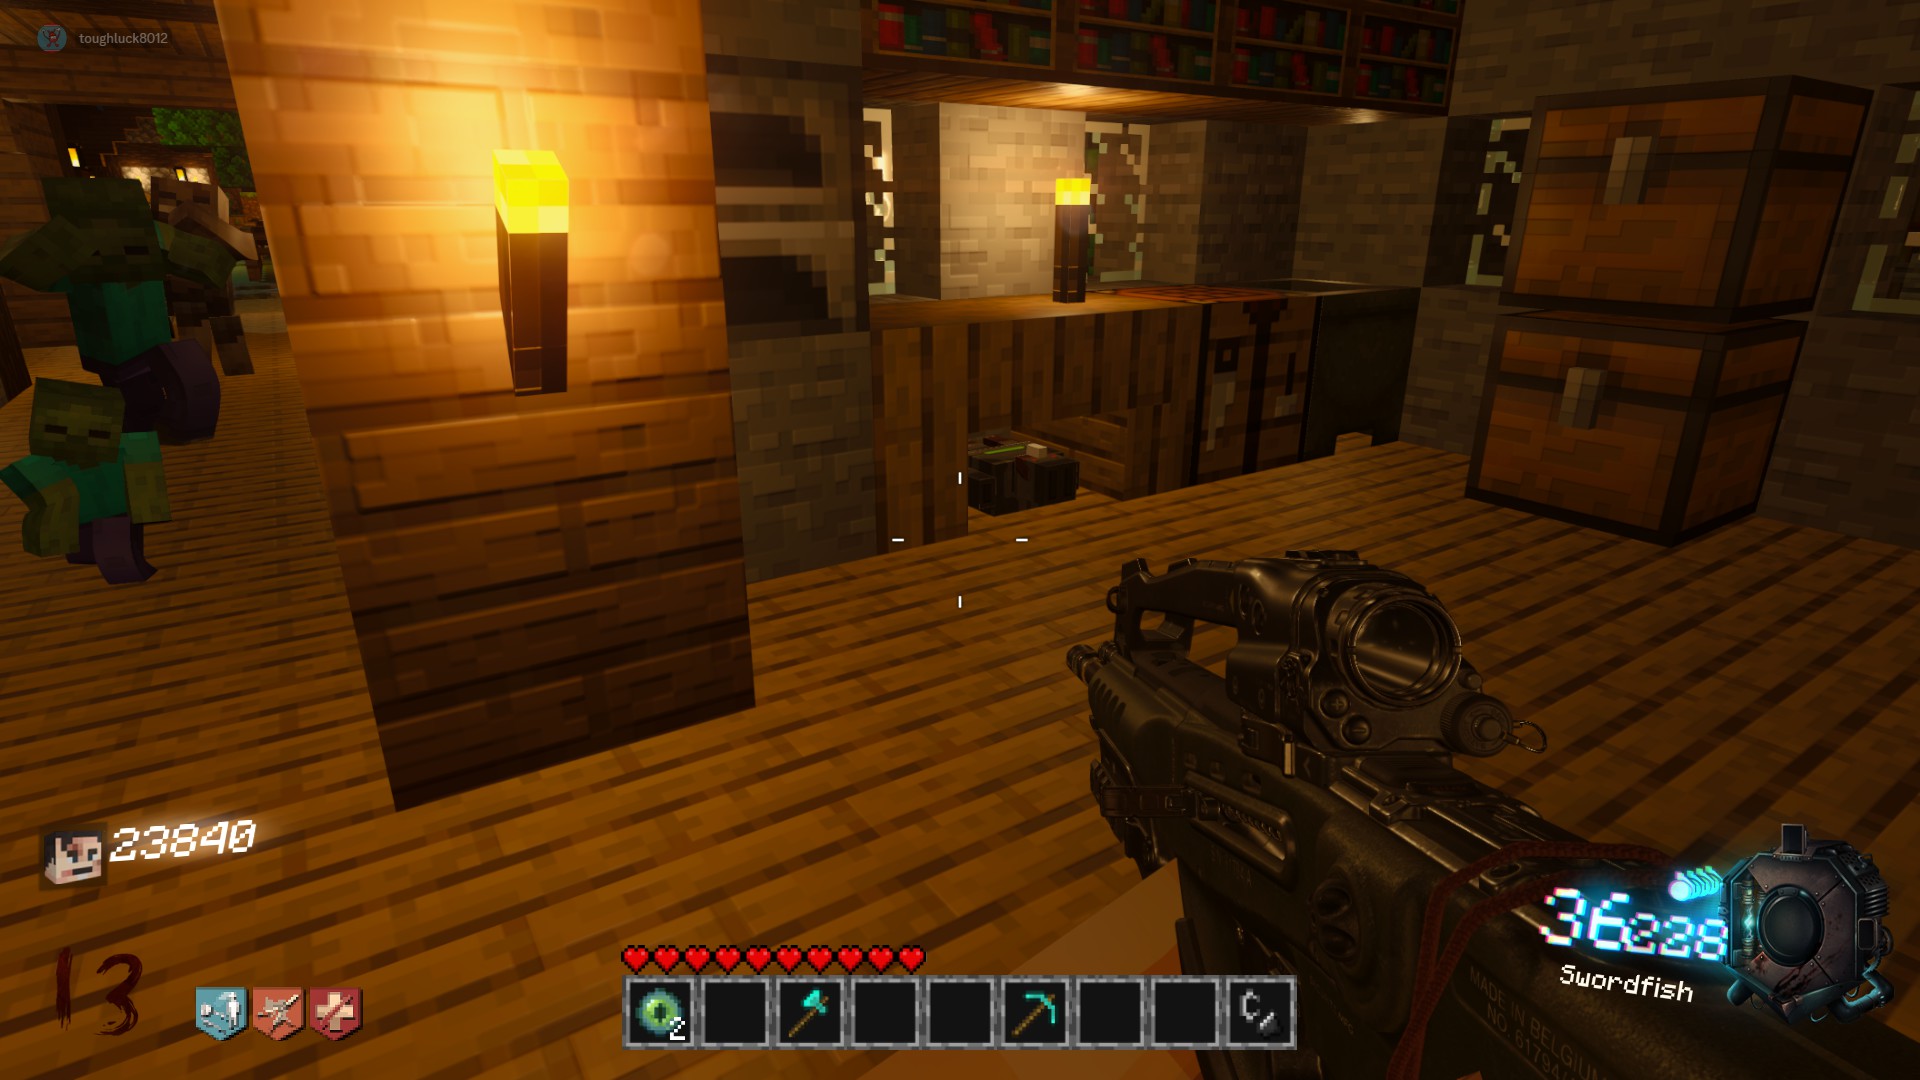 Part 2:
Pink Trading Post by Blaze Phase, outside of the Nether Garden Portal
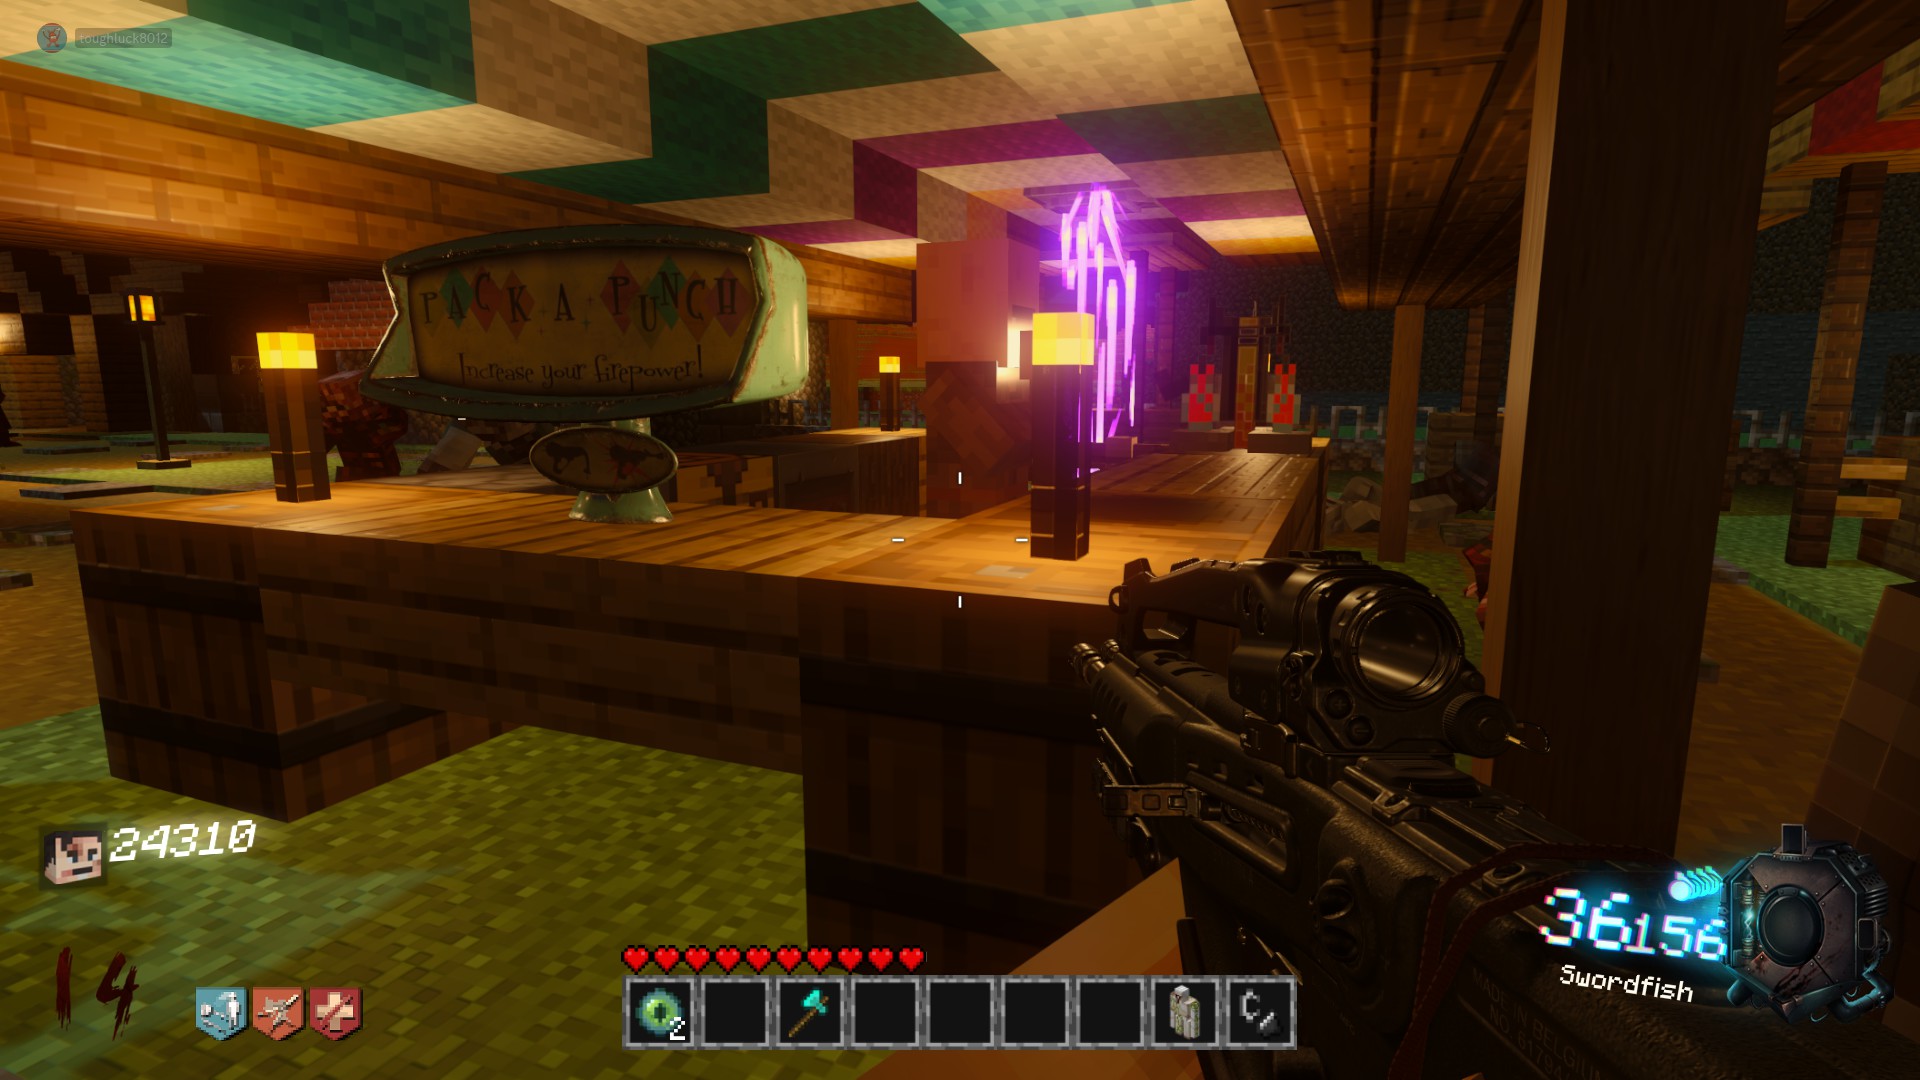 Diamond Pickaxe:
Located at the back of the castle building that has the ICU Perk in it, before you enter the farm
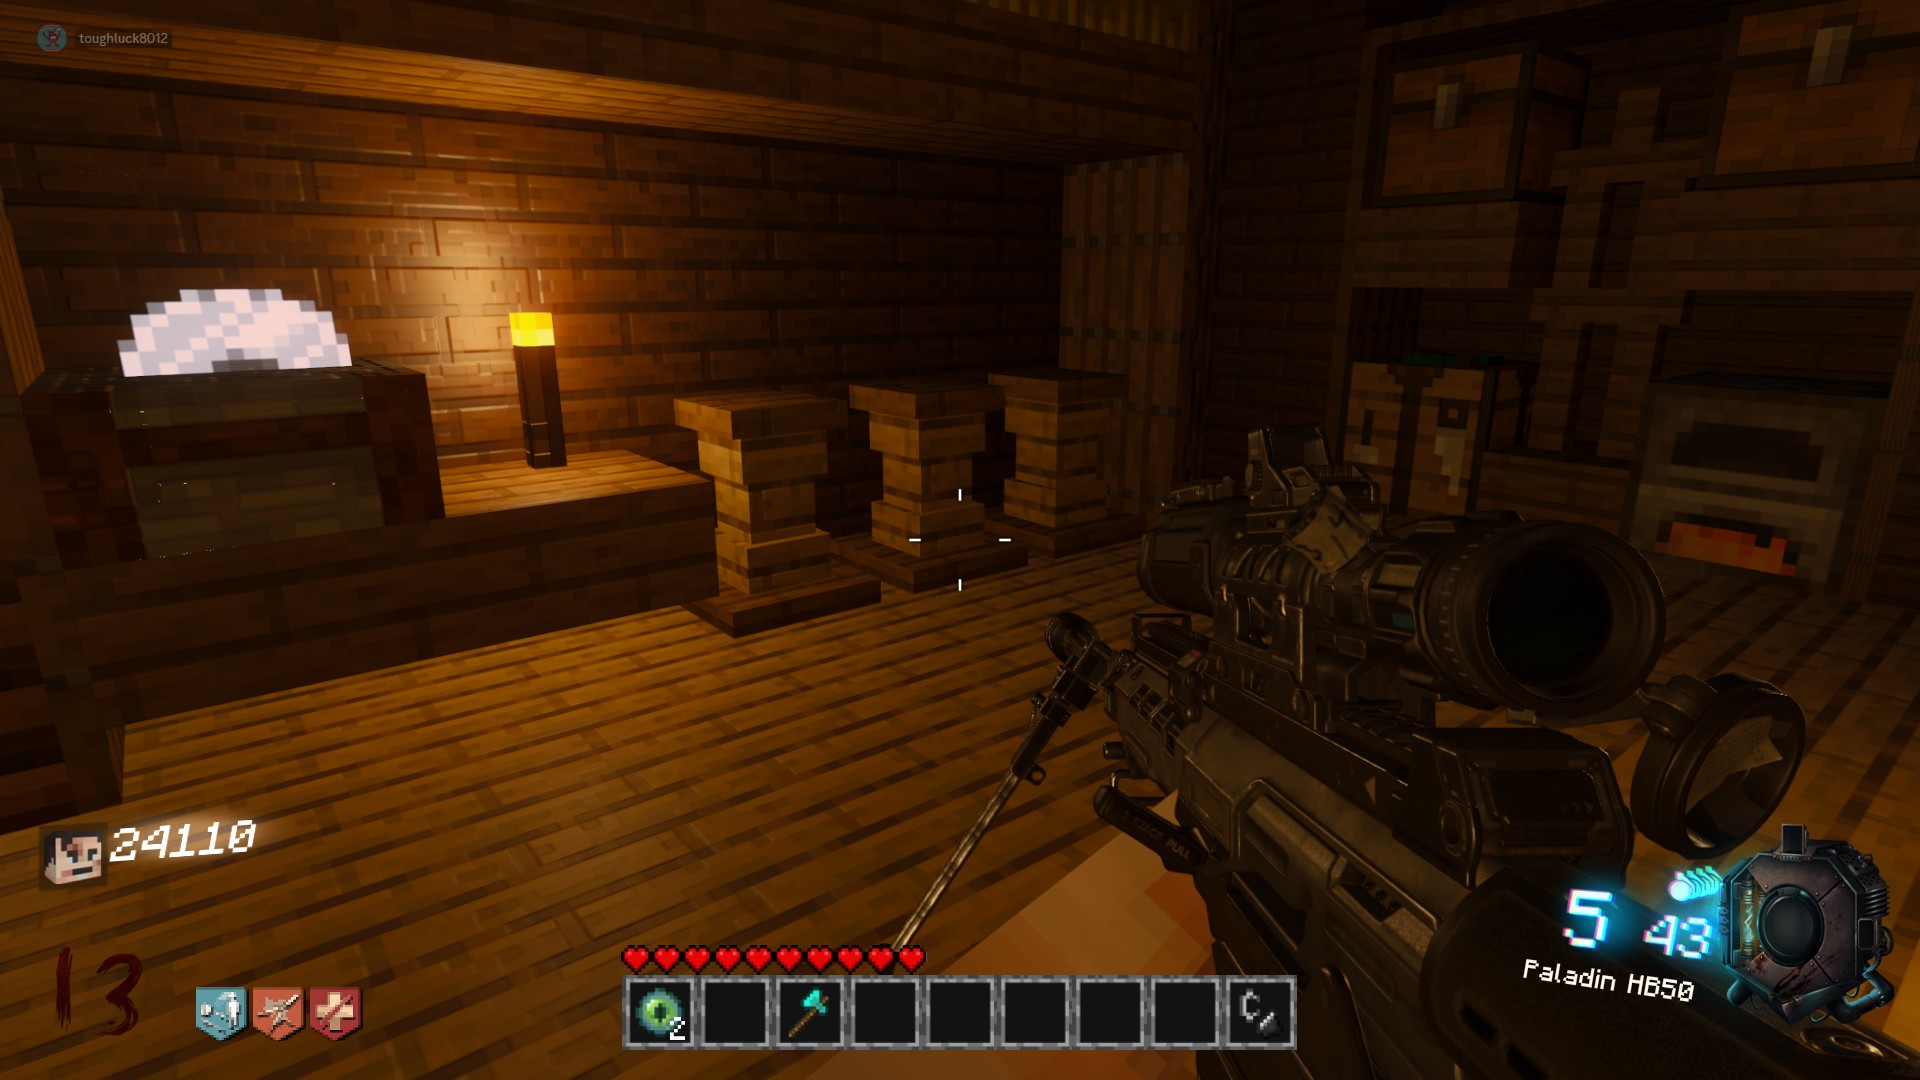 Part 3:
Blue Trading Post by Stone Cold Stronghold, outside of the wishing well & spawn bridge
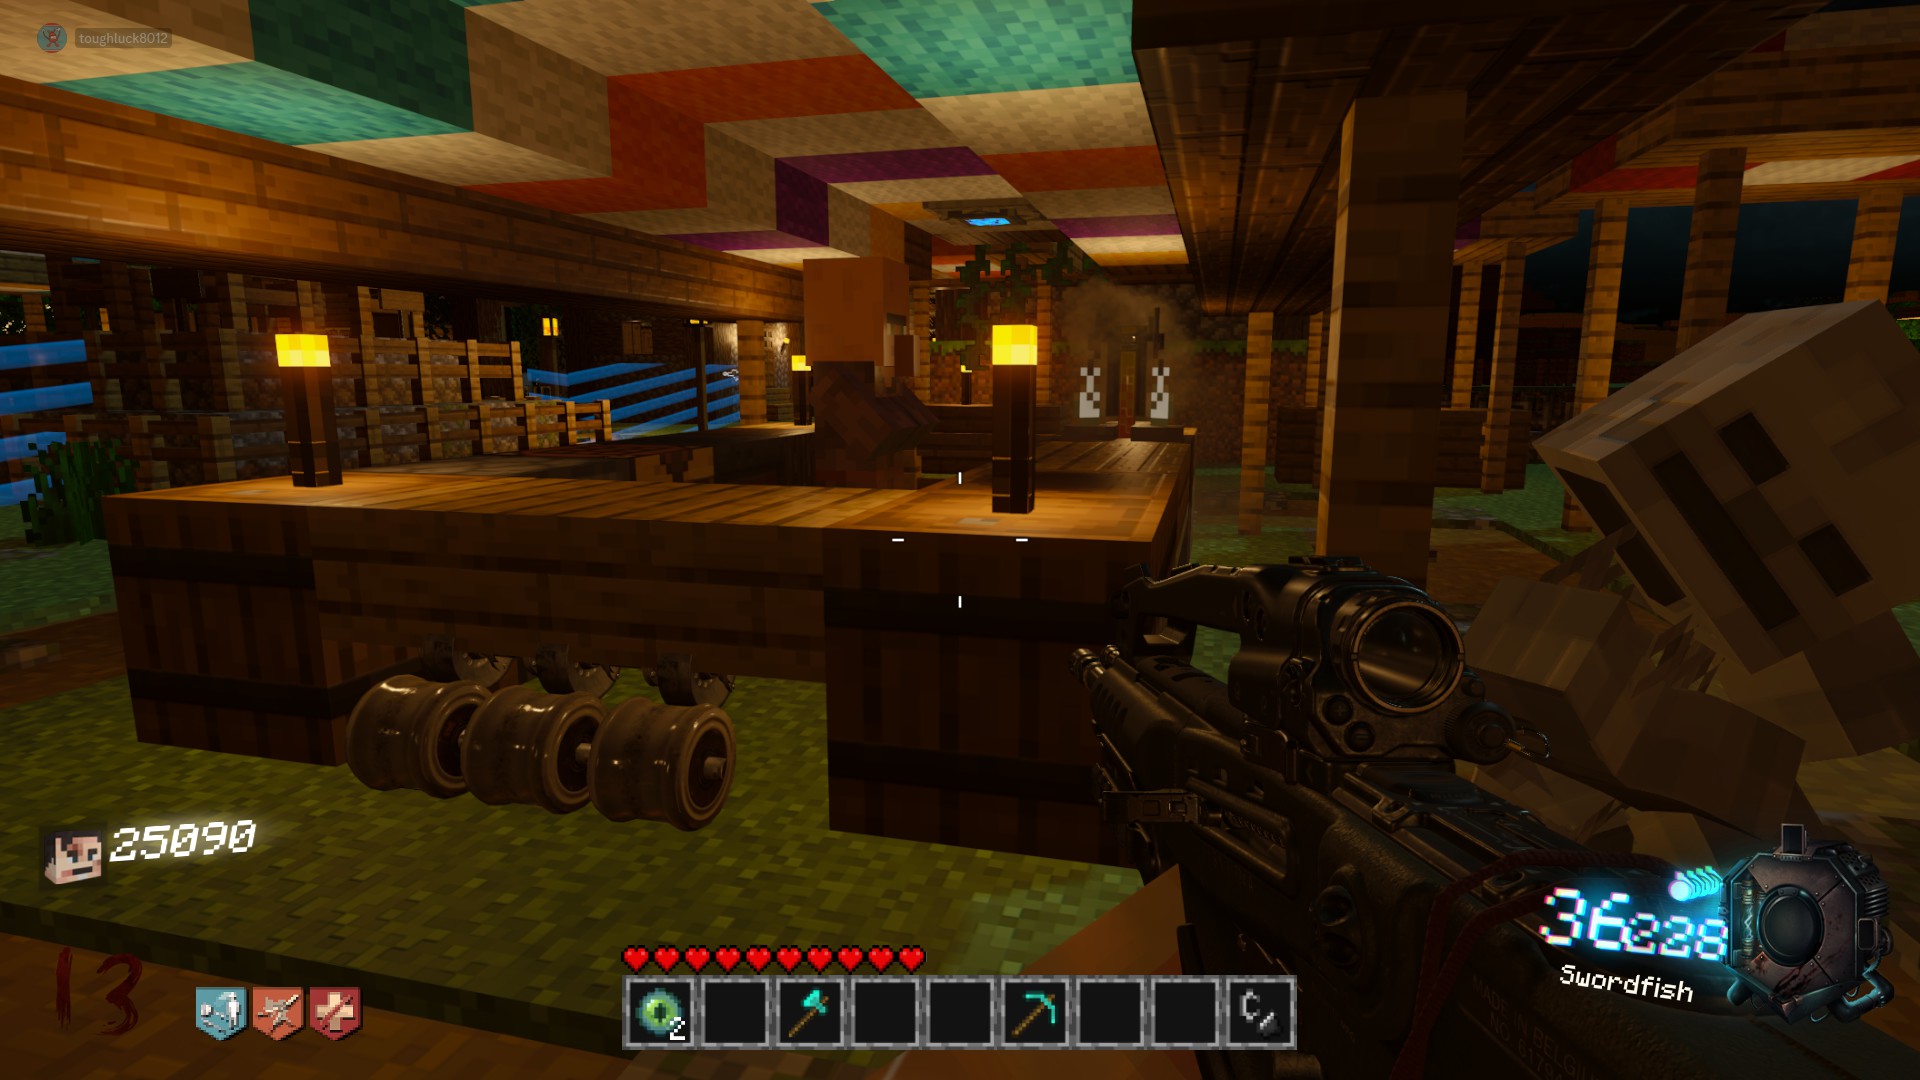 Armor Stand:
Found in the corner of the back middle bungalow, across from the castle building
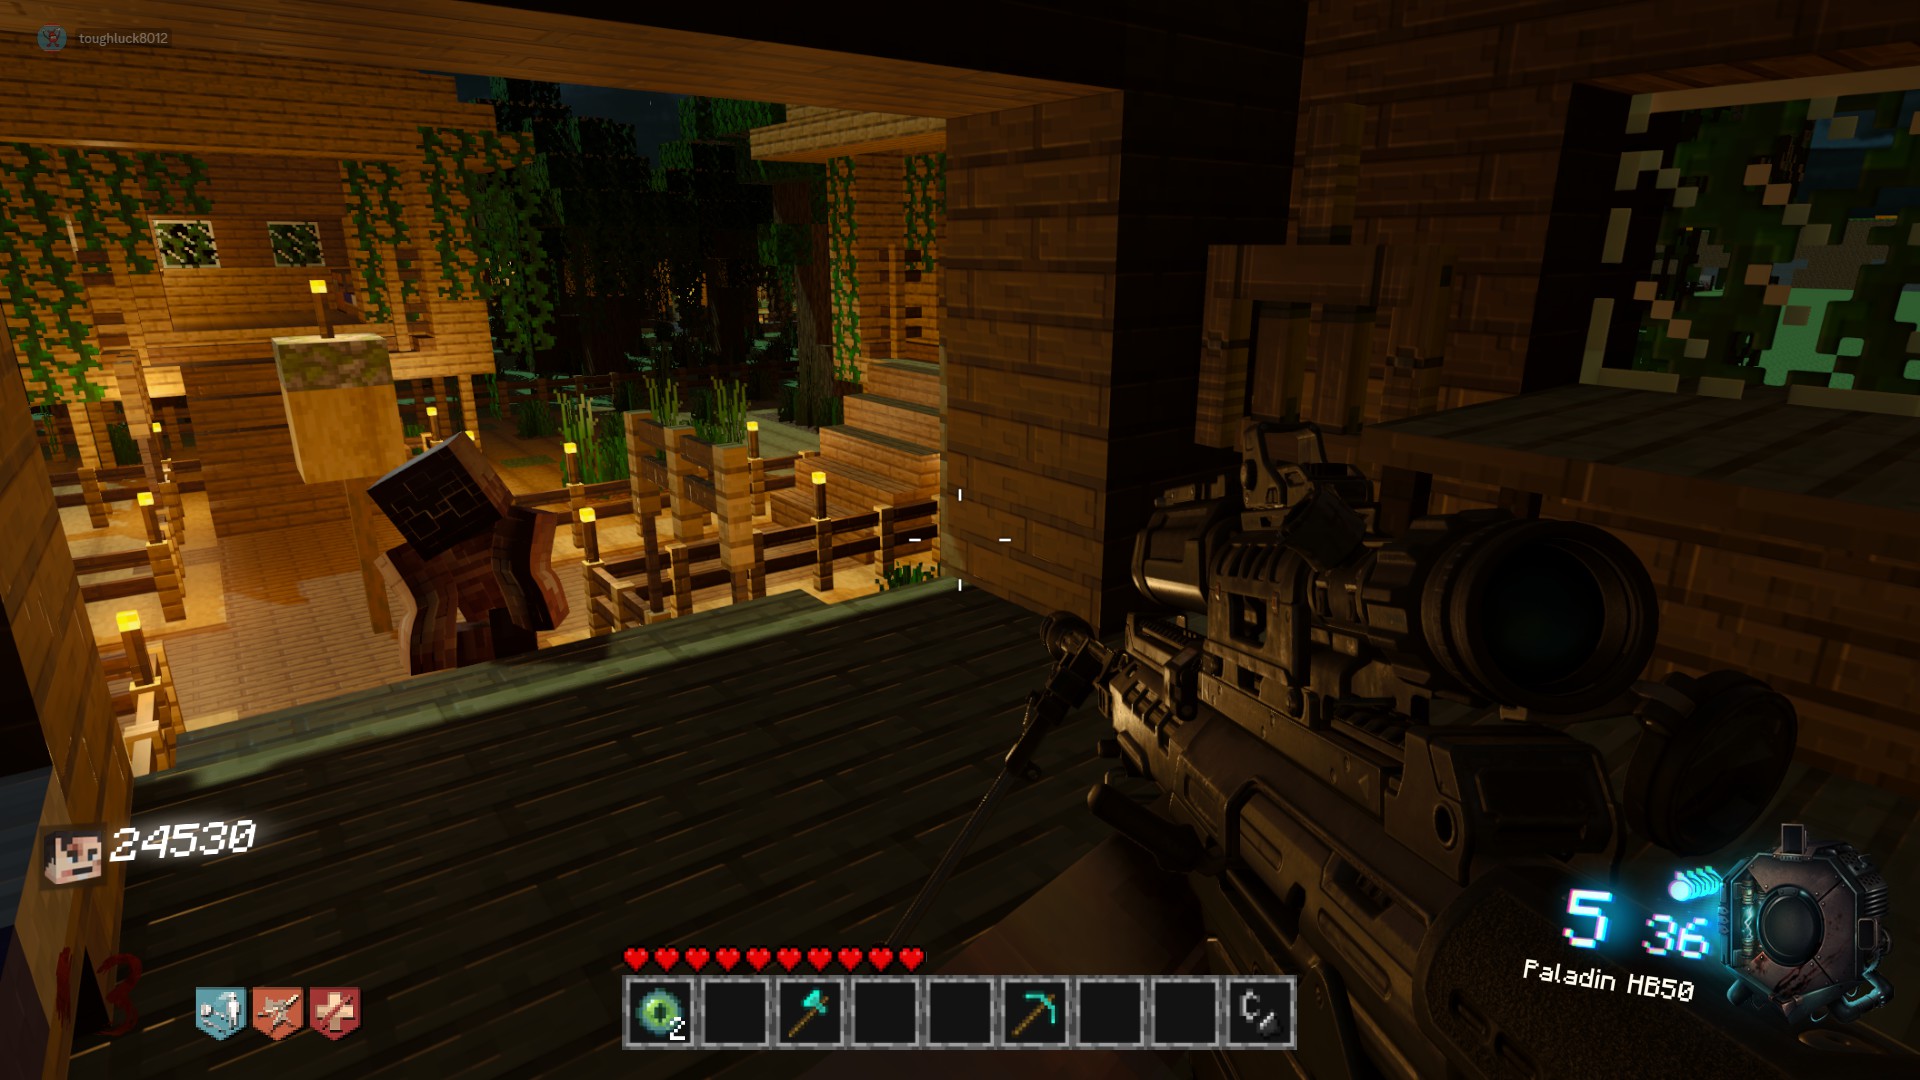 Build Location:
Make your way to the end of the underground mineshaft tunnel. There should be a red question mark on one of the walls, and a trail of redstone leading back to a switch on the wall. Spend 2000 to open the secret passage and head up the stairs and to the left.
 In the back of the room, use the crafting table to assemble the Pack-a-Punch machine.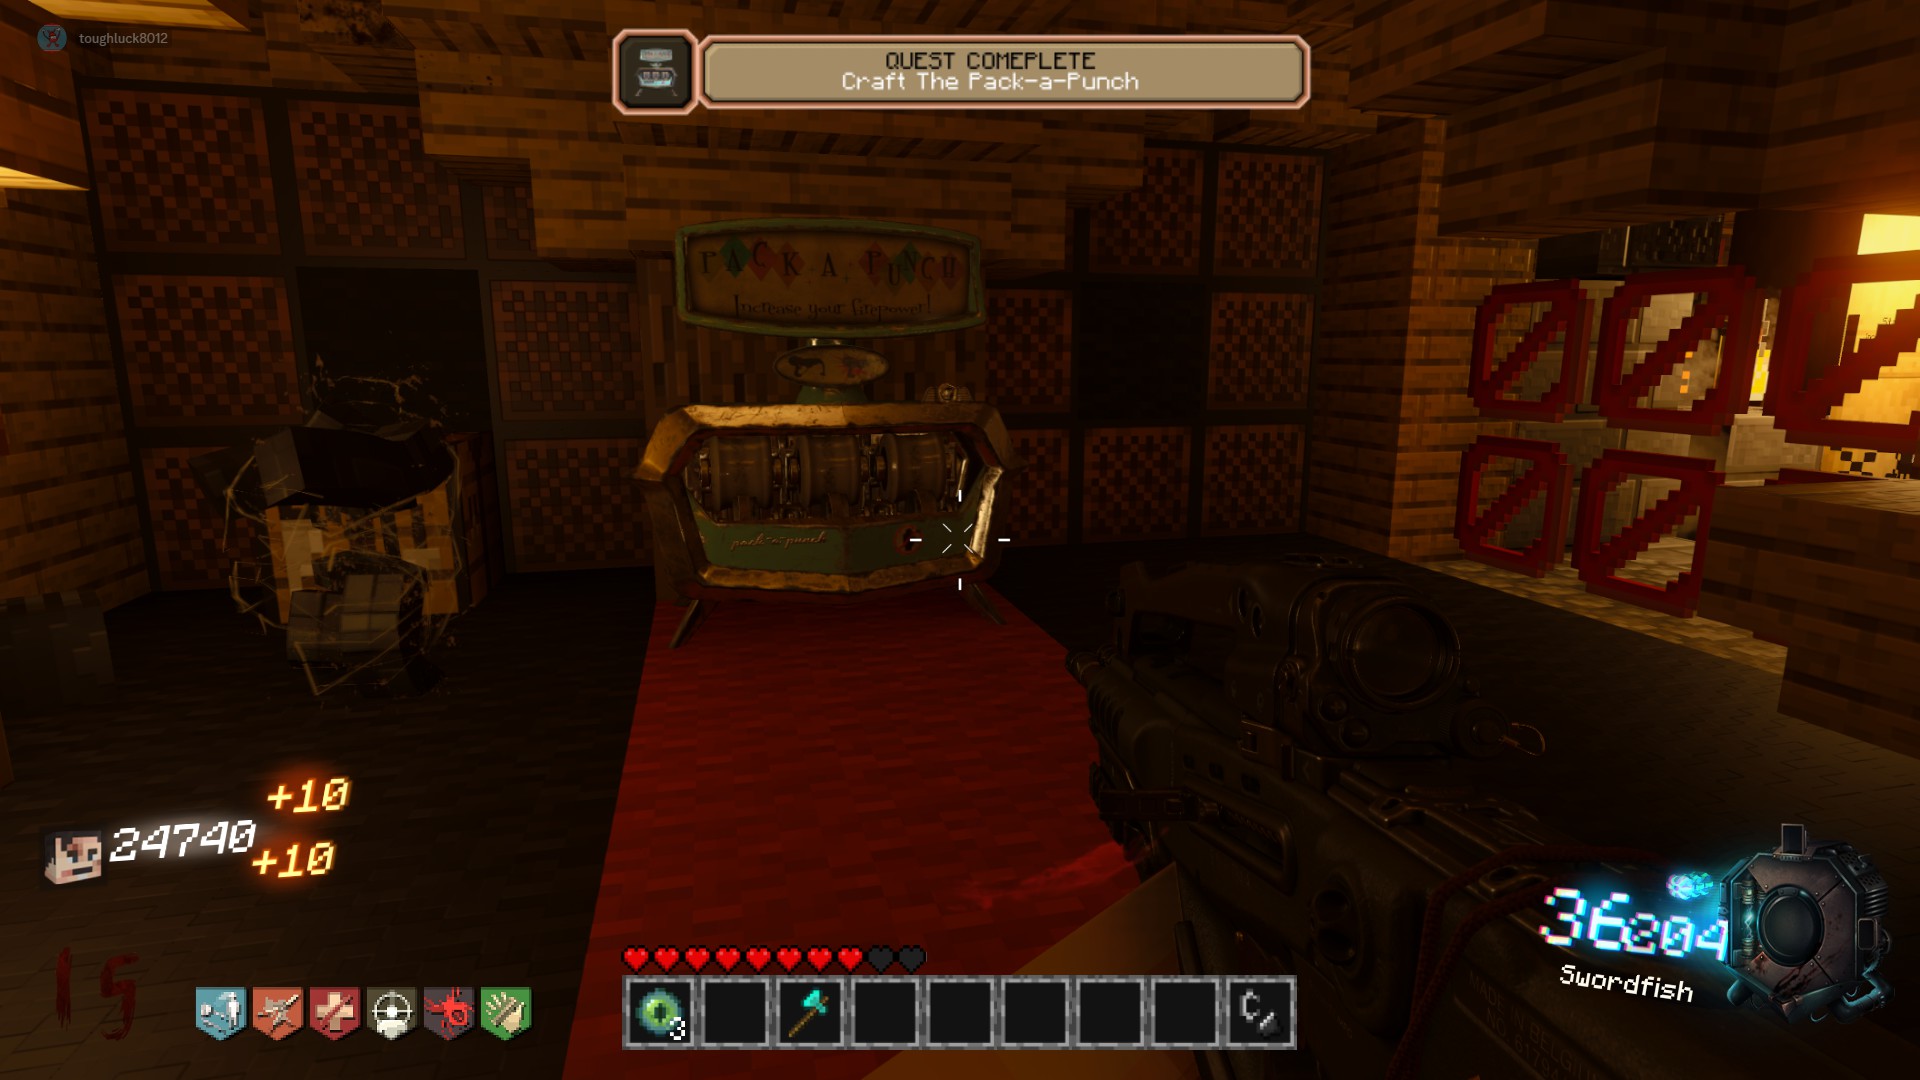
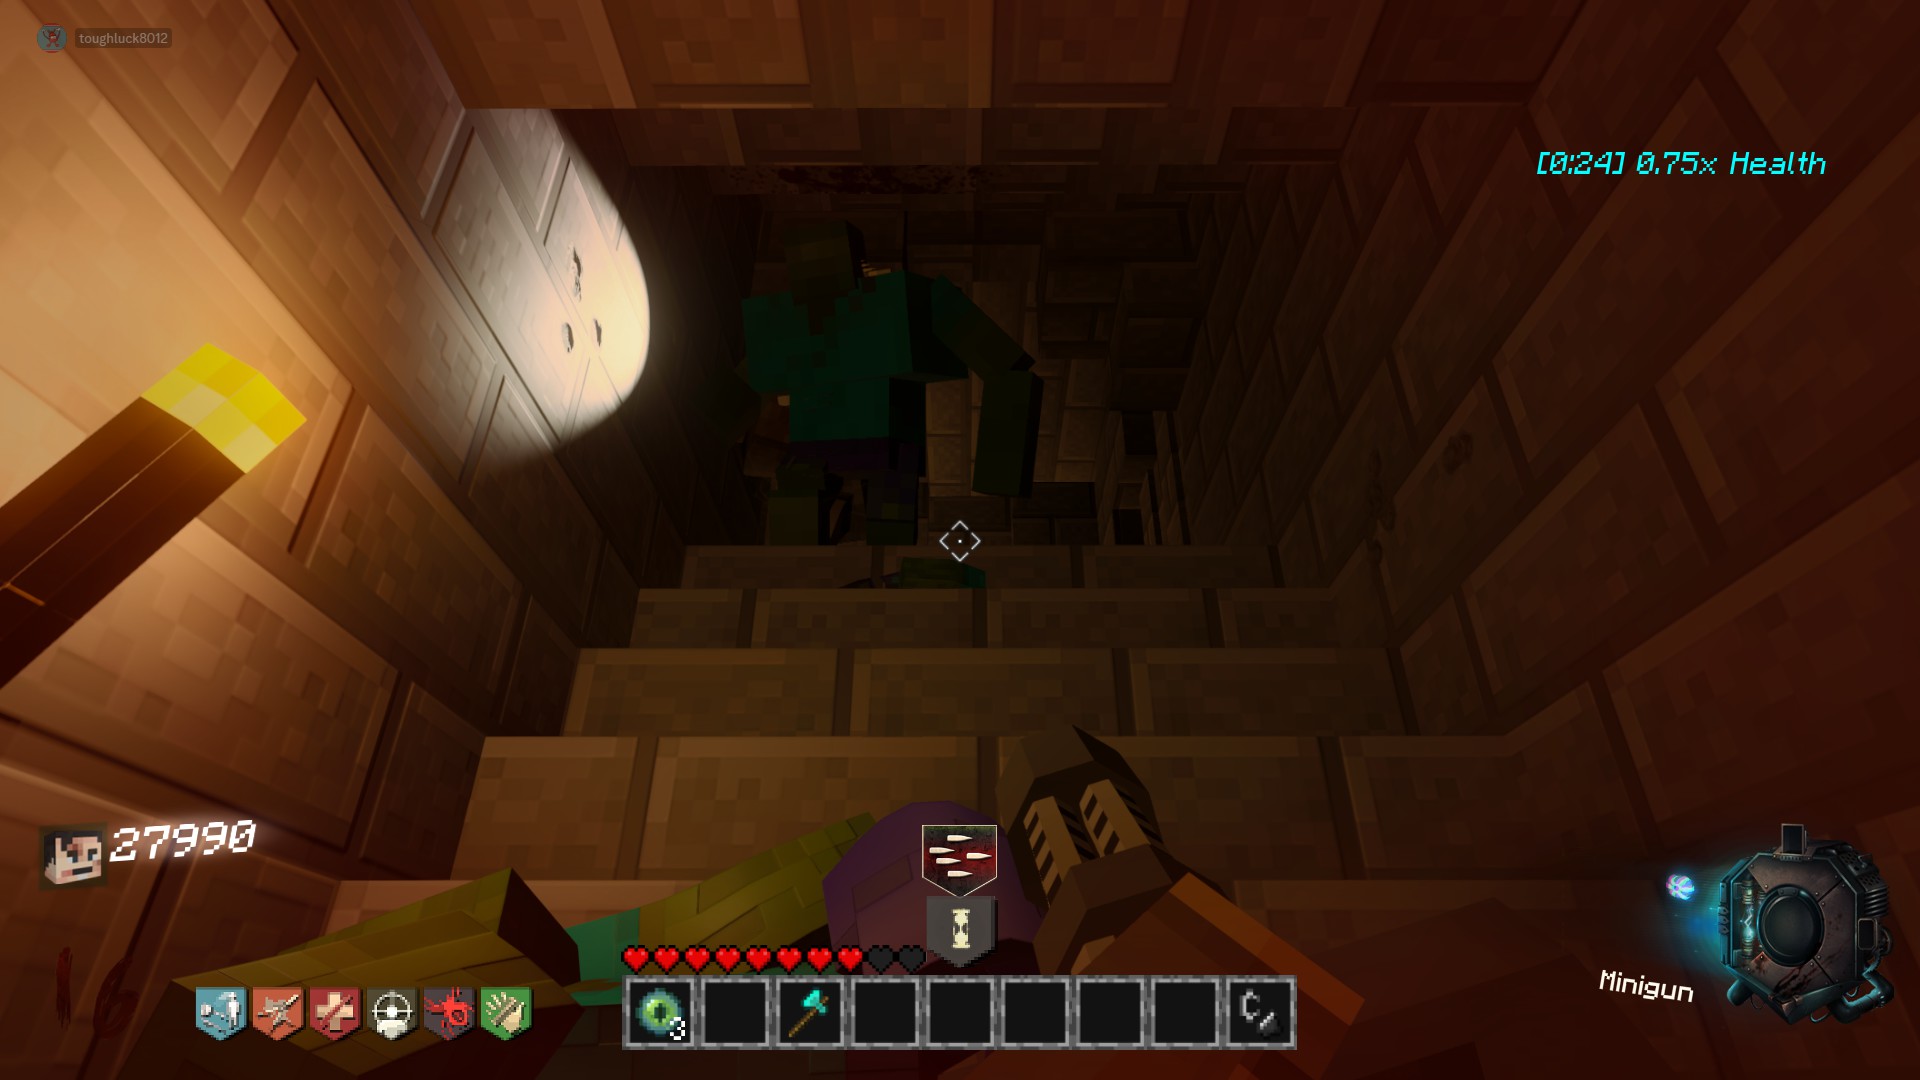
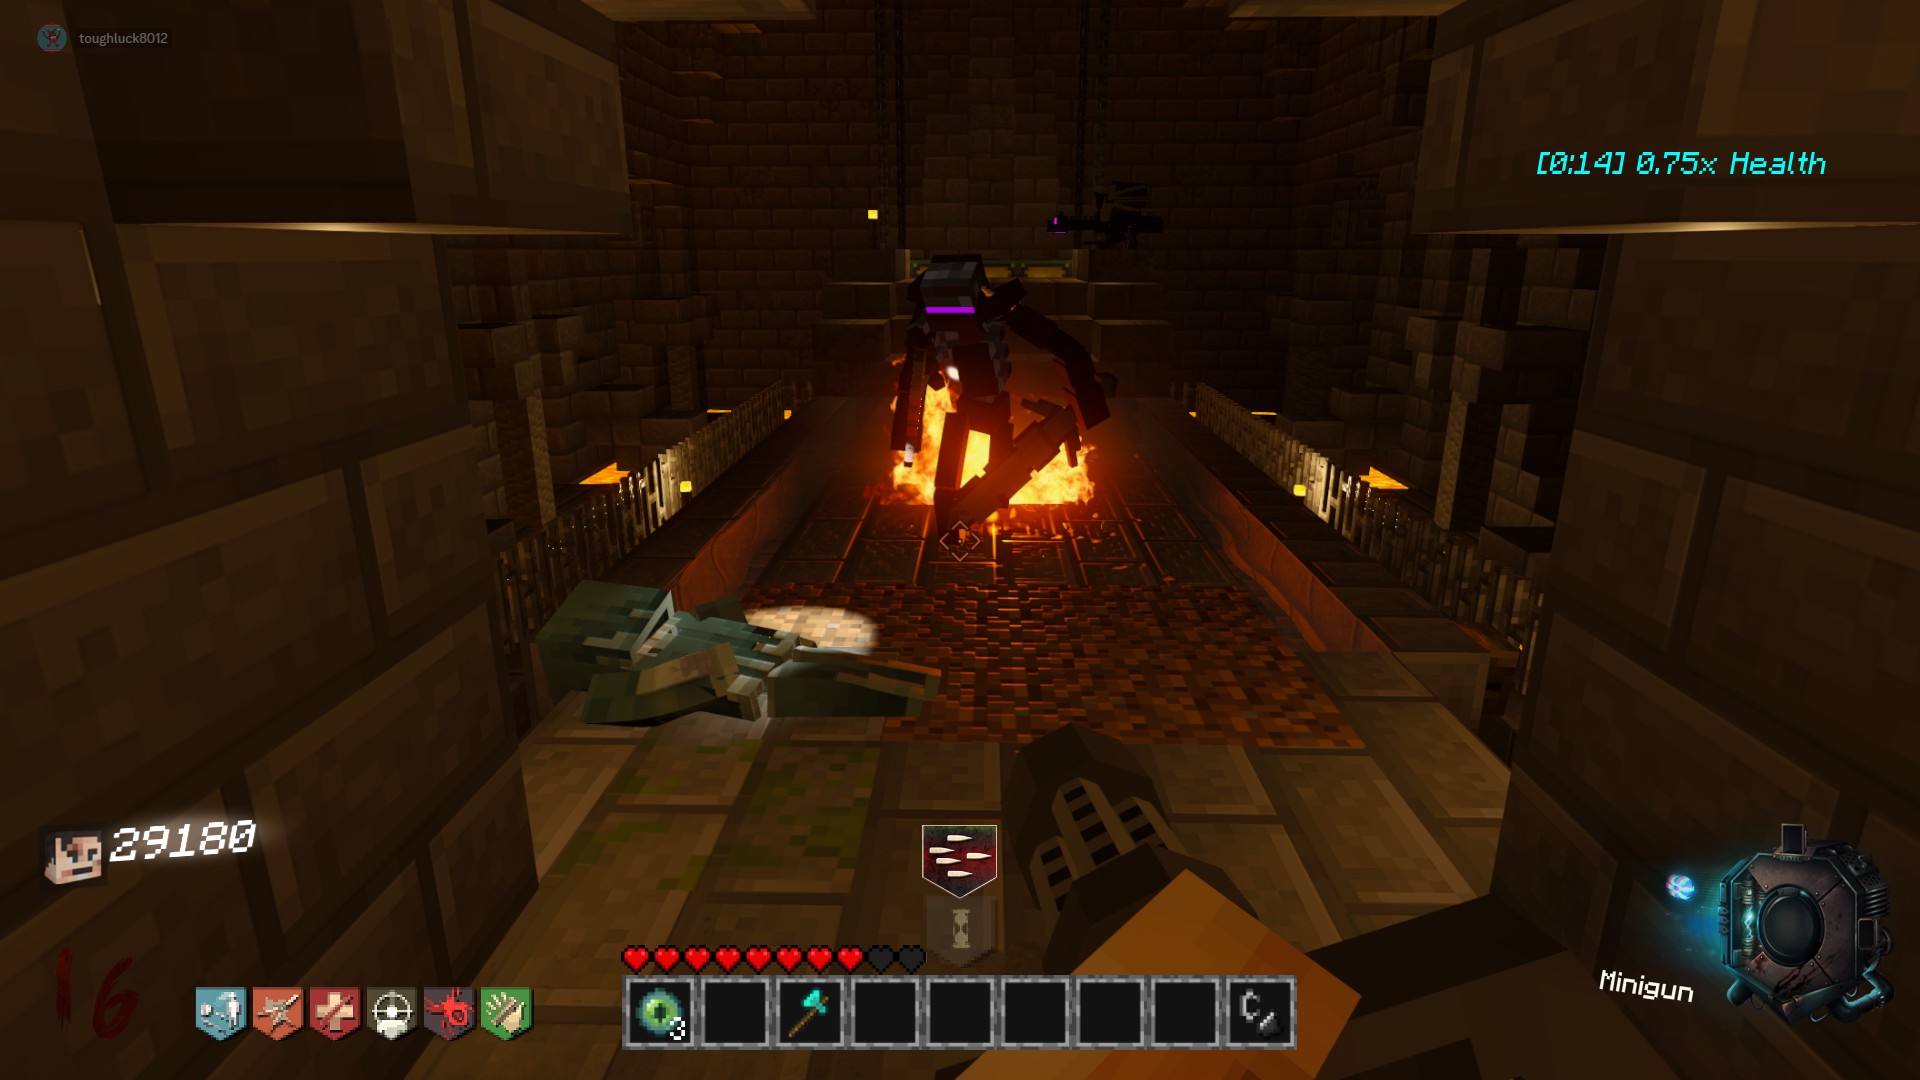
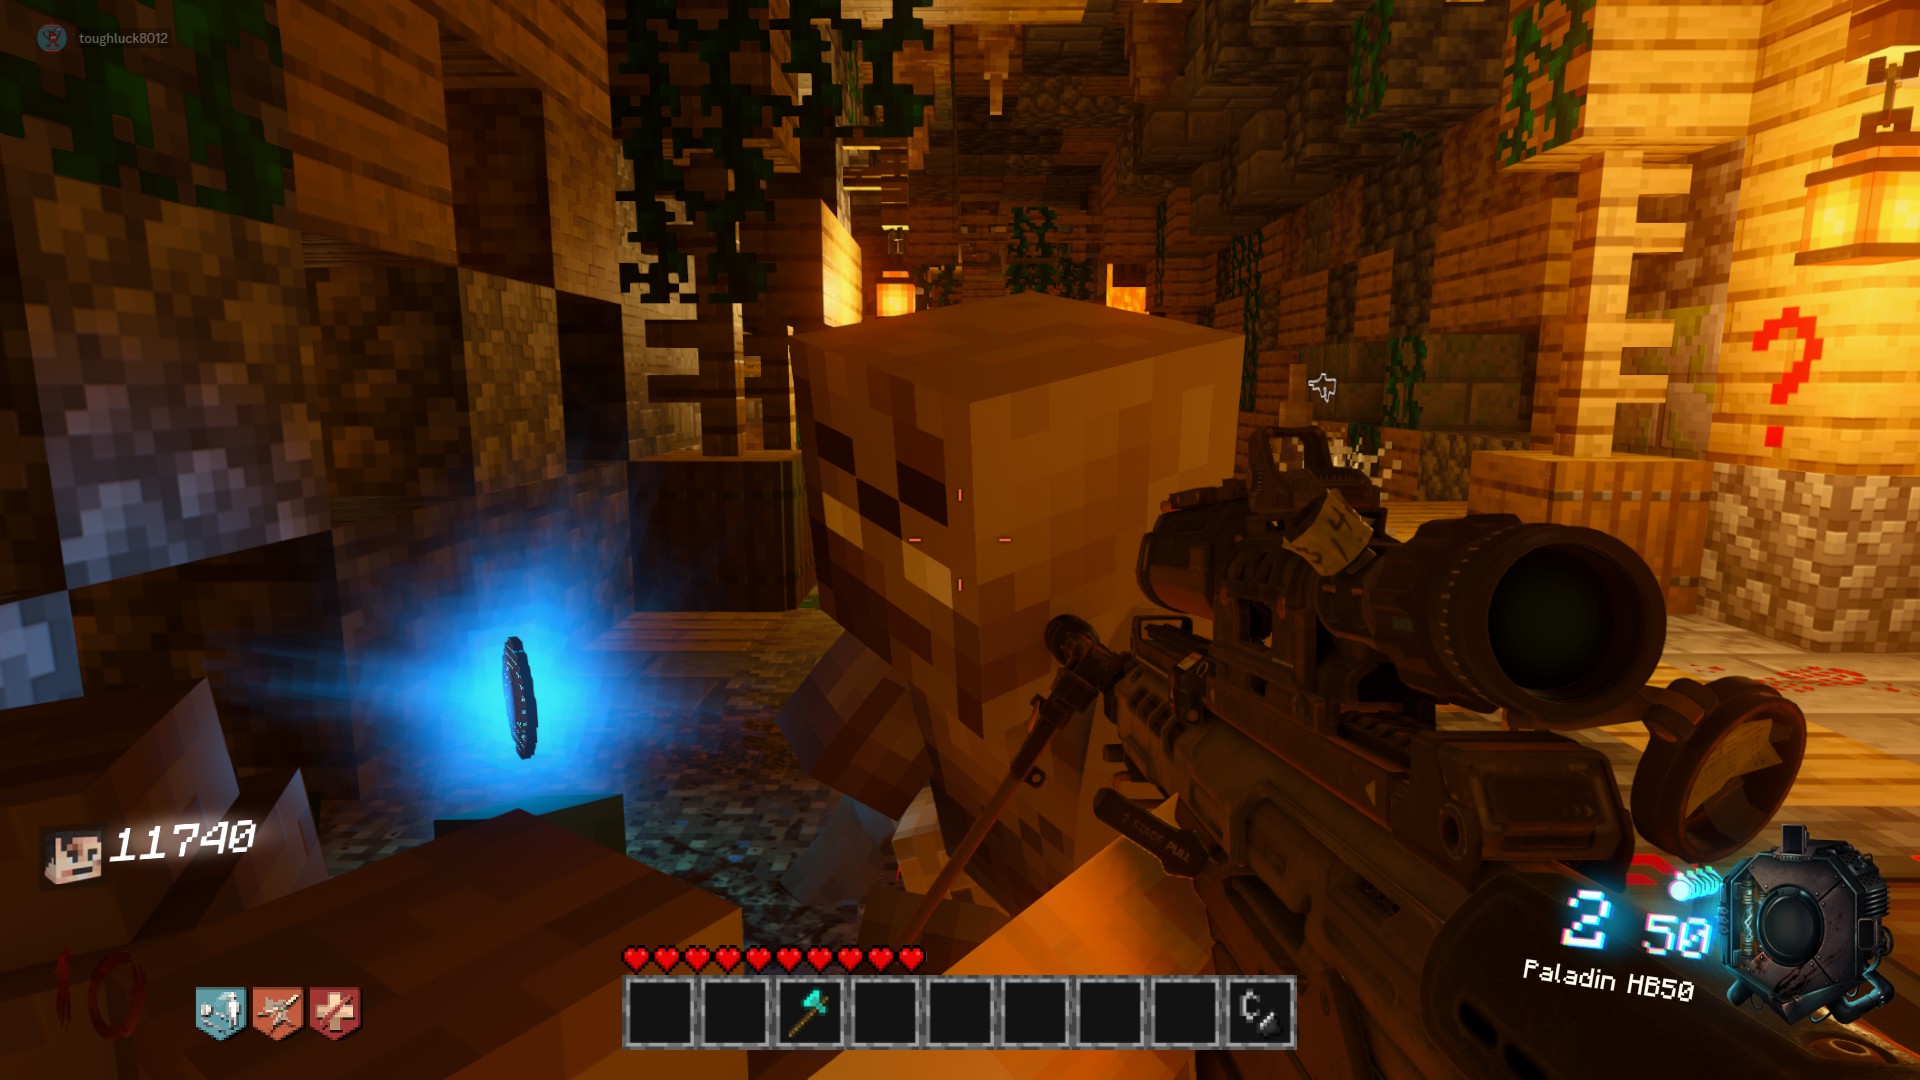
Main EE Step 1: Kill a Brutus Zombie
Main EE Step 2: Fill All 4 Campfires
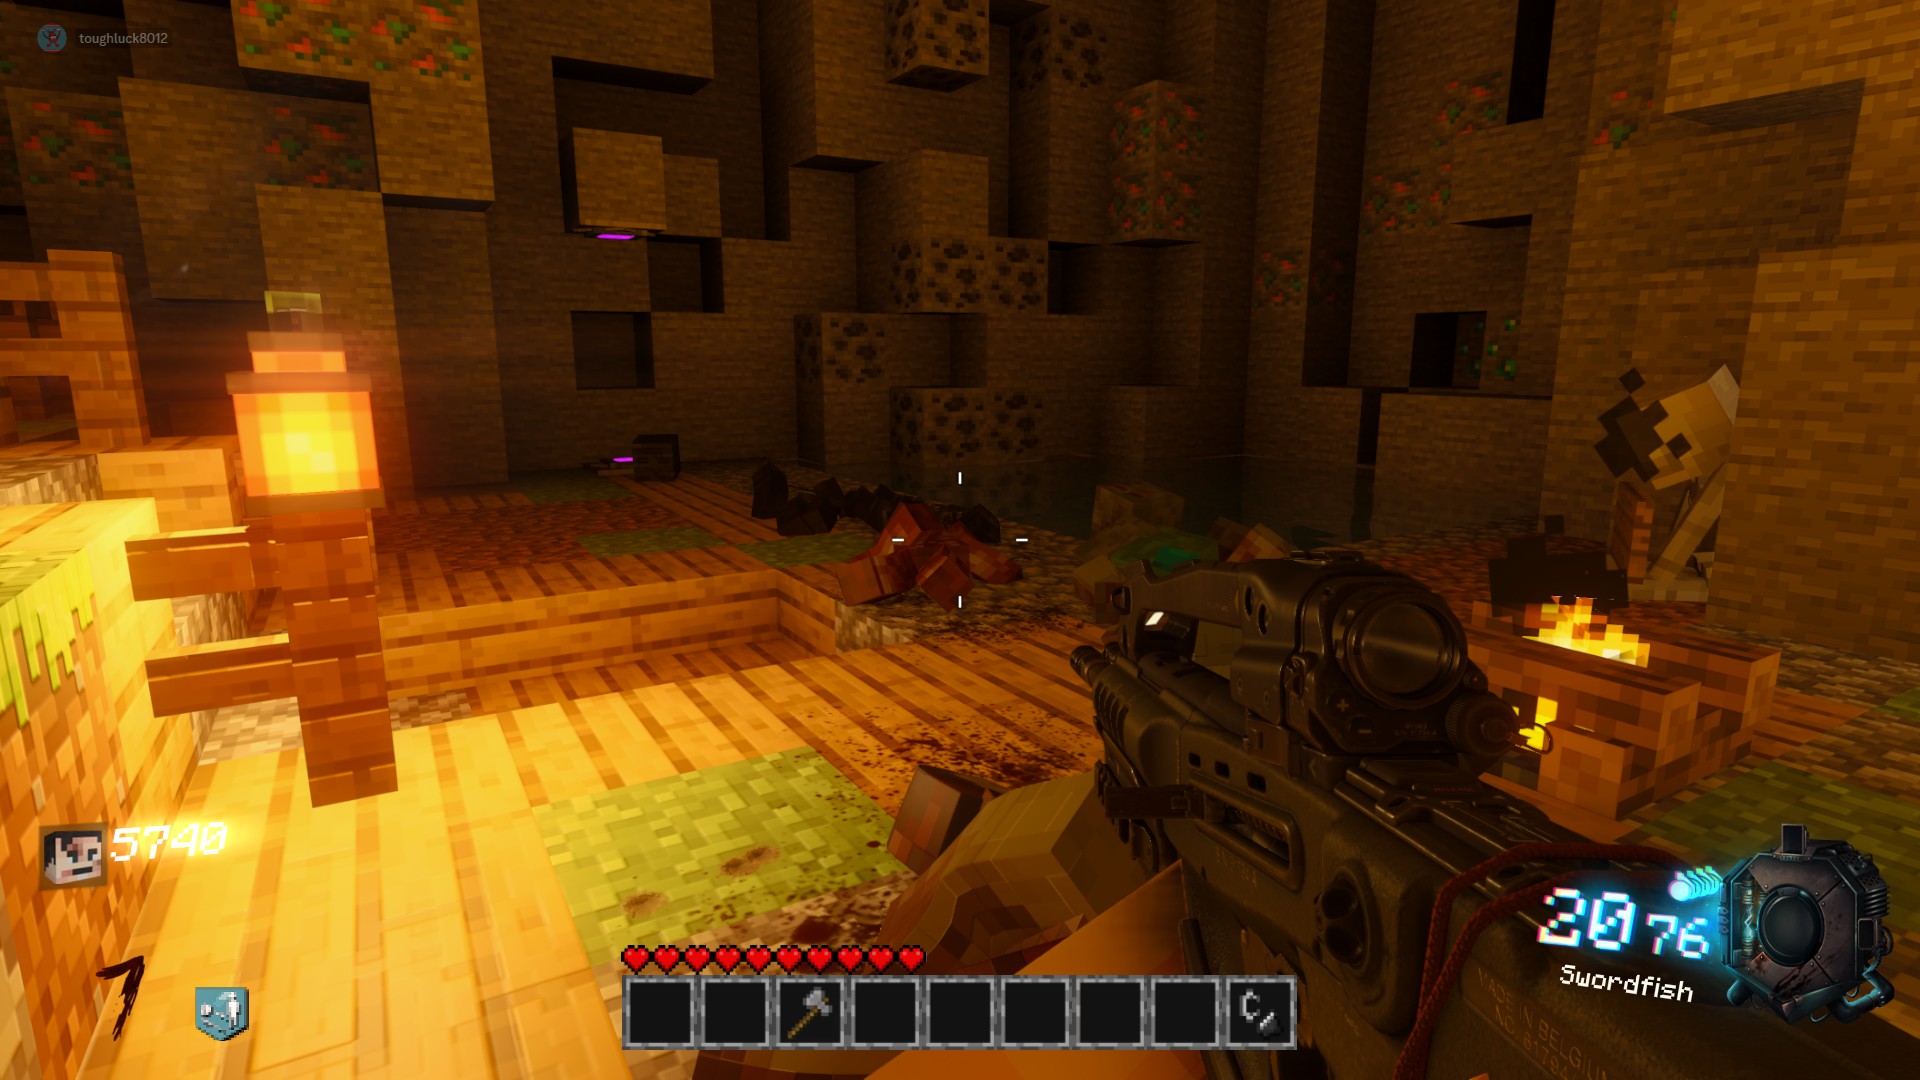
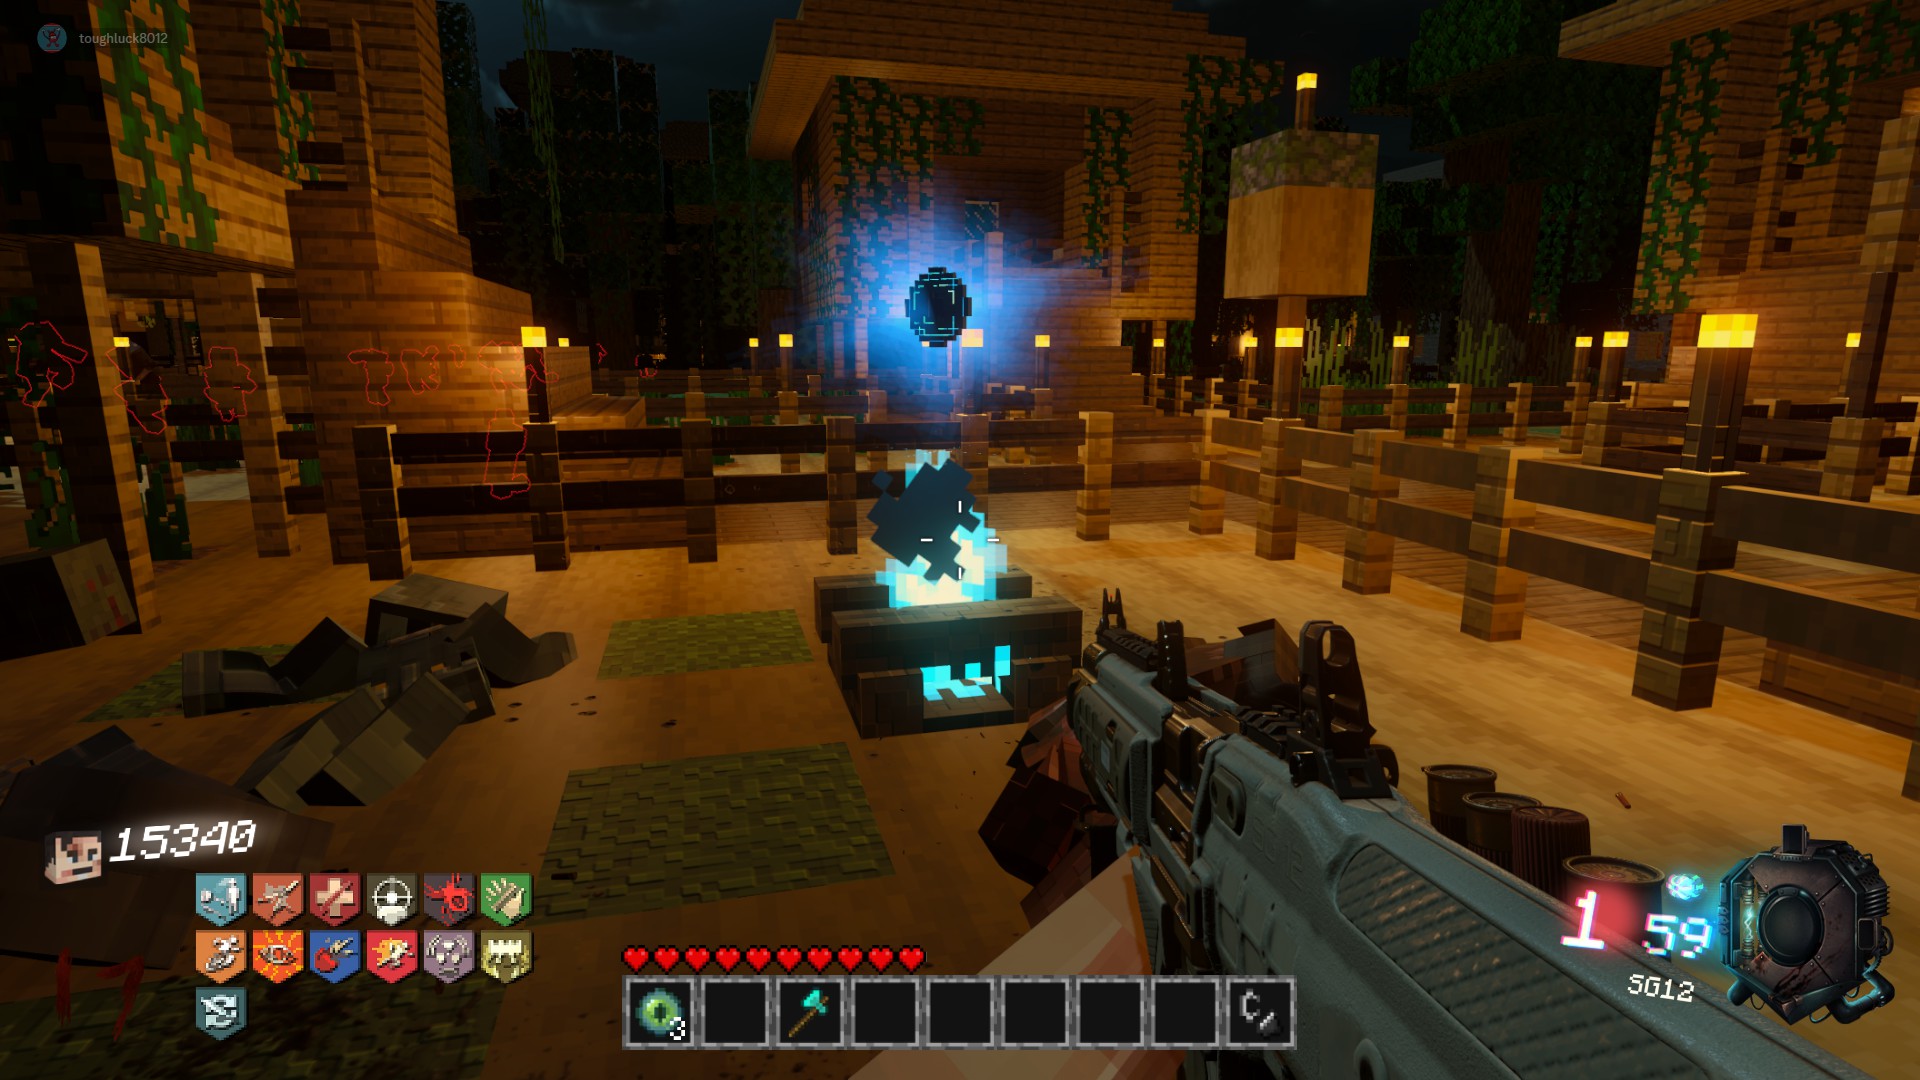
Fill the soul box by getting roughly 15 kills. Once it is done, the flame will turn blue, and an Eye of Ender will spawn above each of the campfires. You can light a new fire on the same round you filled one up already, and this should be done for peak efficiency.
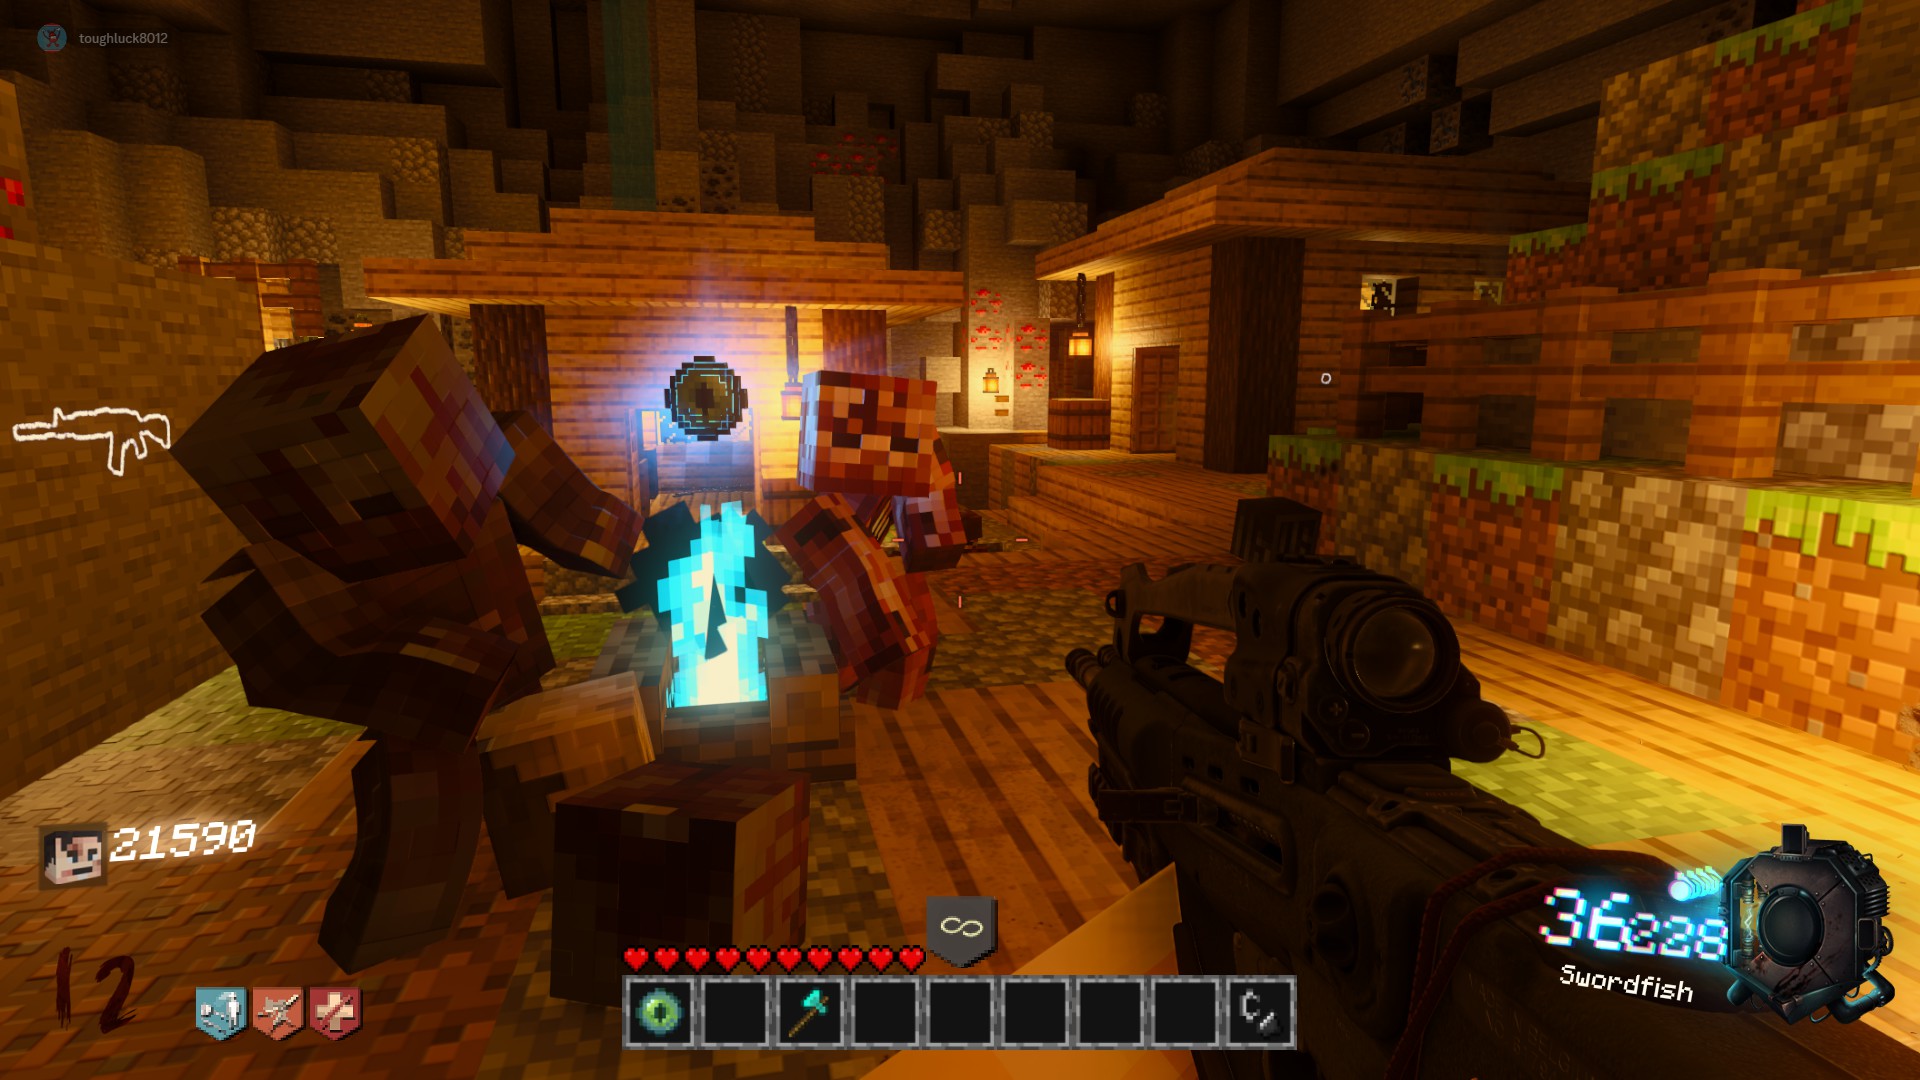 Location 1:
In the middle of the big open cave area between Double Tap and the Pink Teleporter
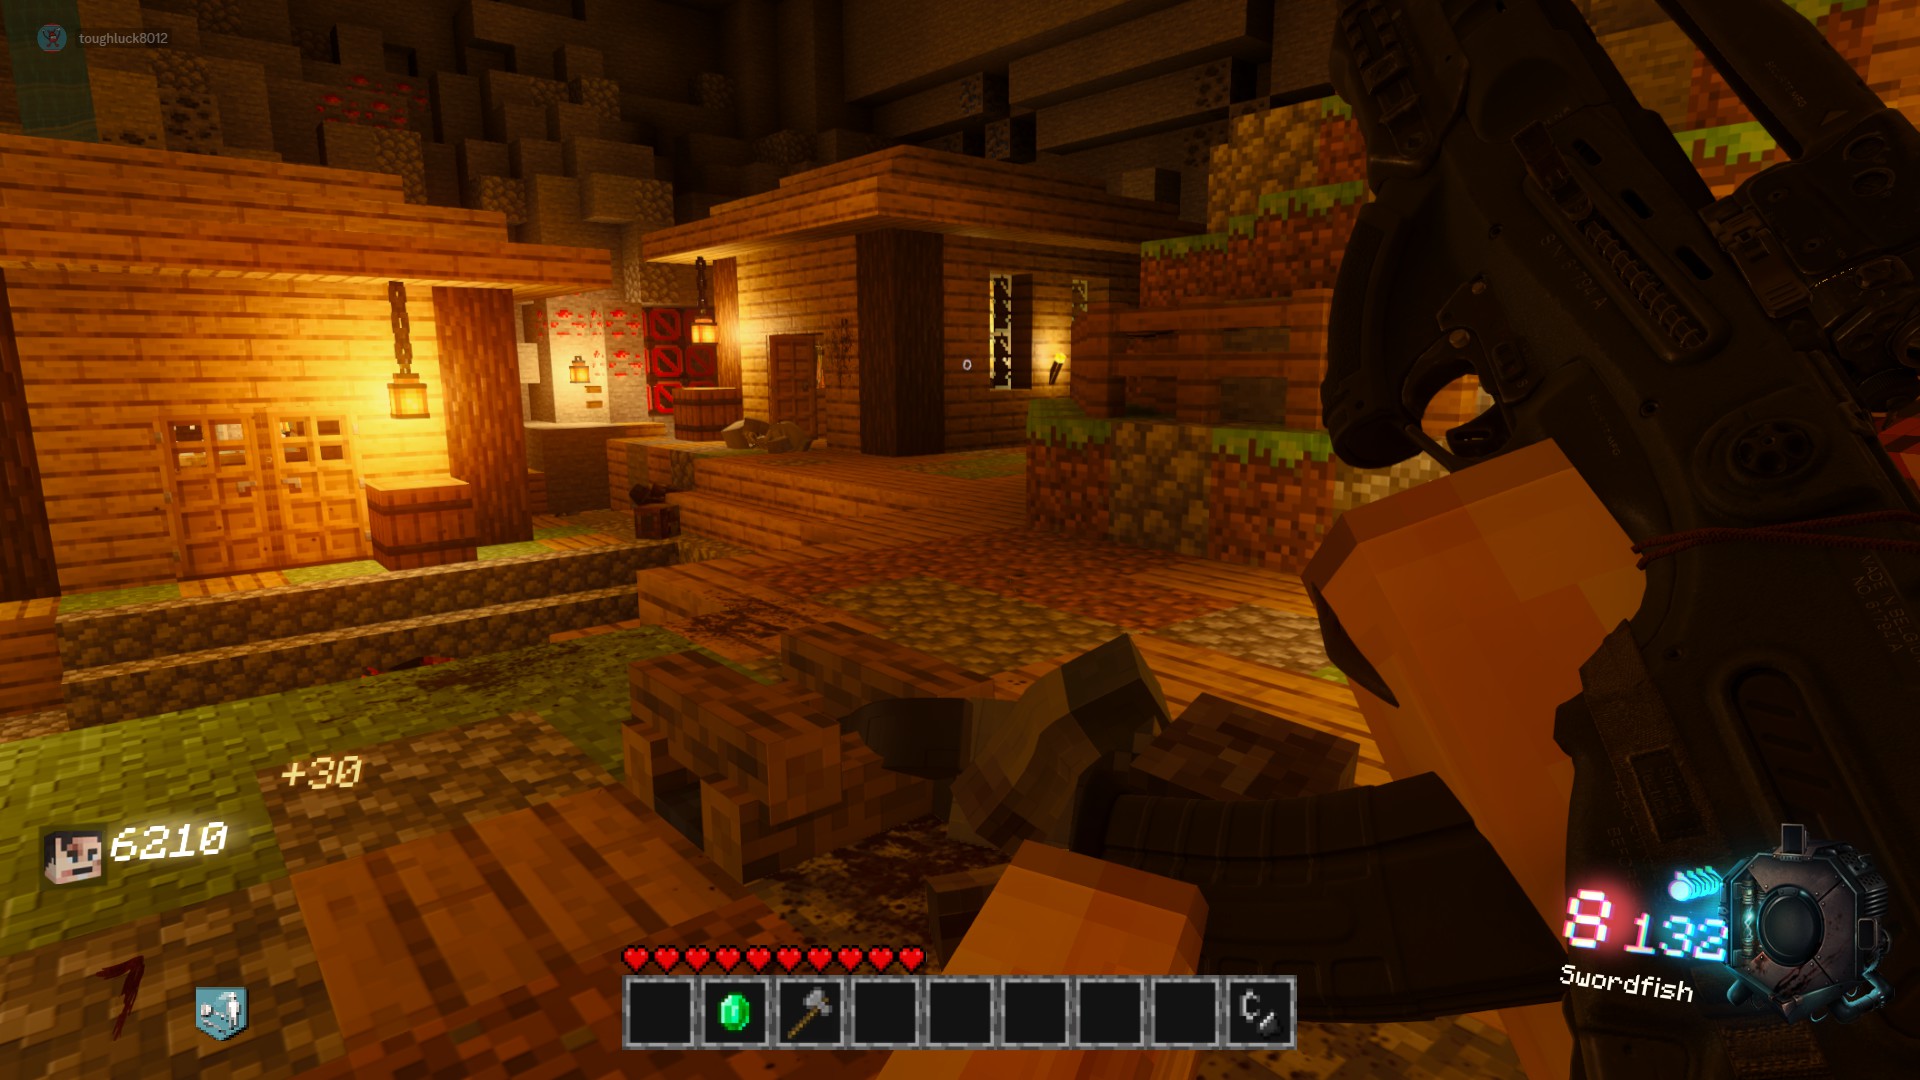
Location 2:
On the roof of the Deadshot Daquiri & Cave Switch Building
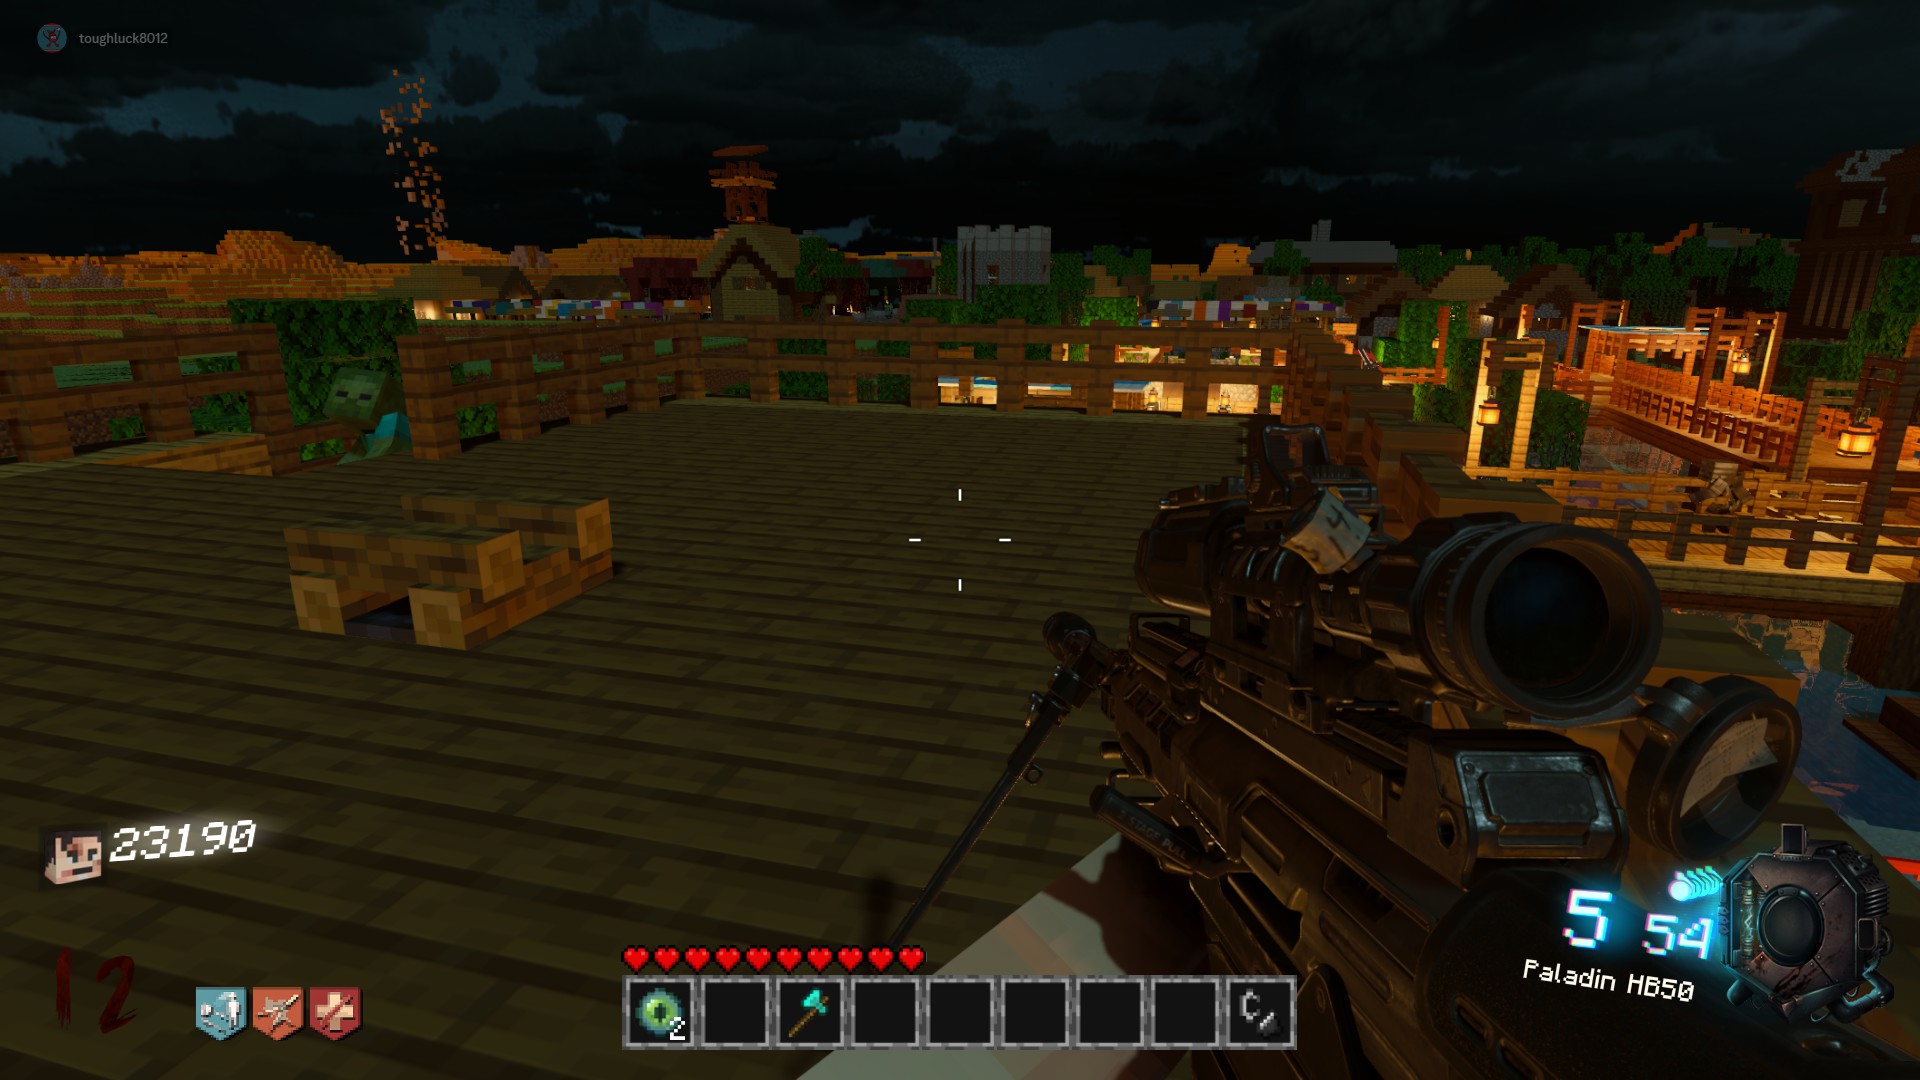
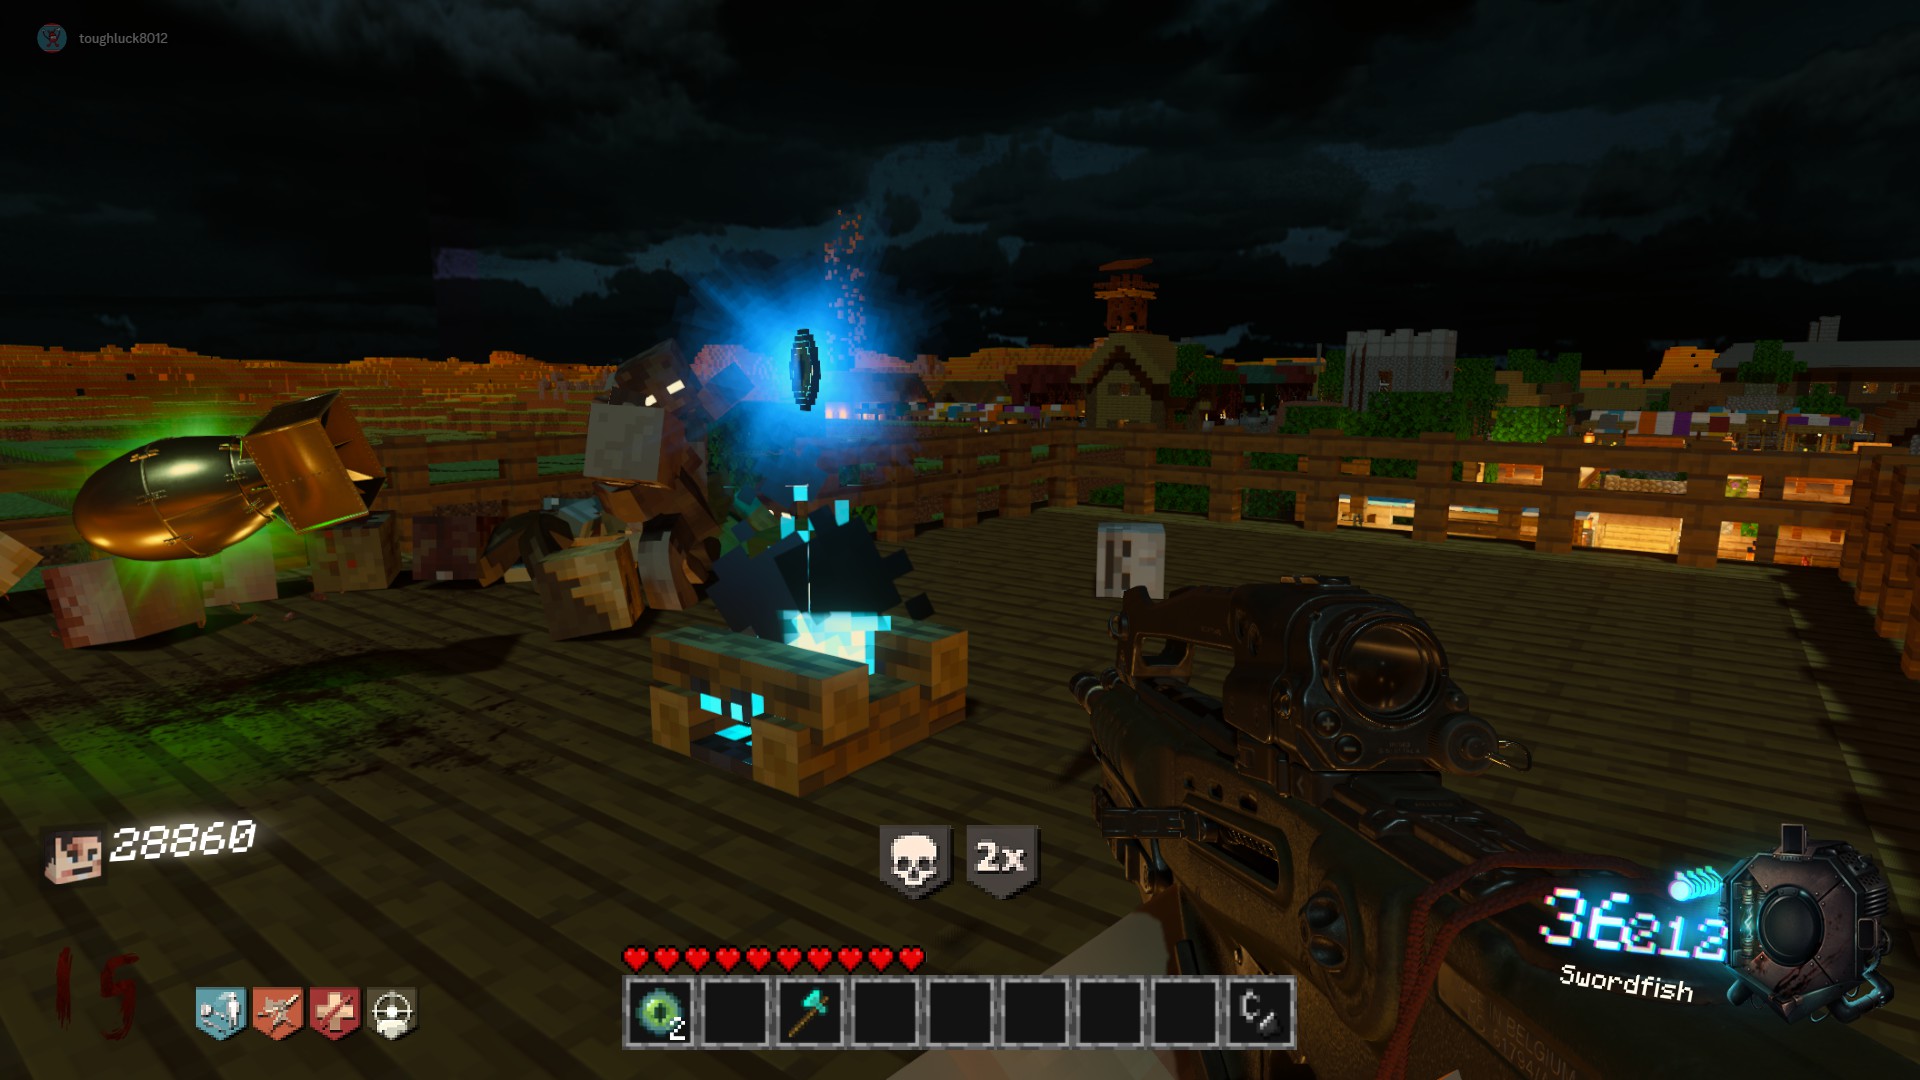 Location 3:
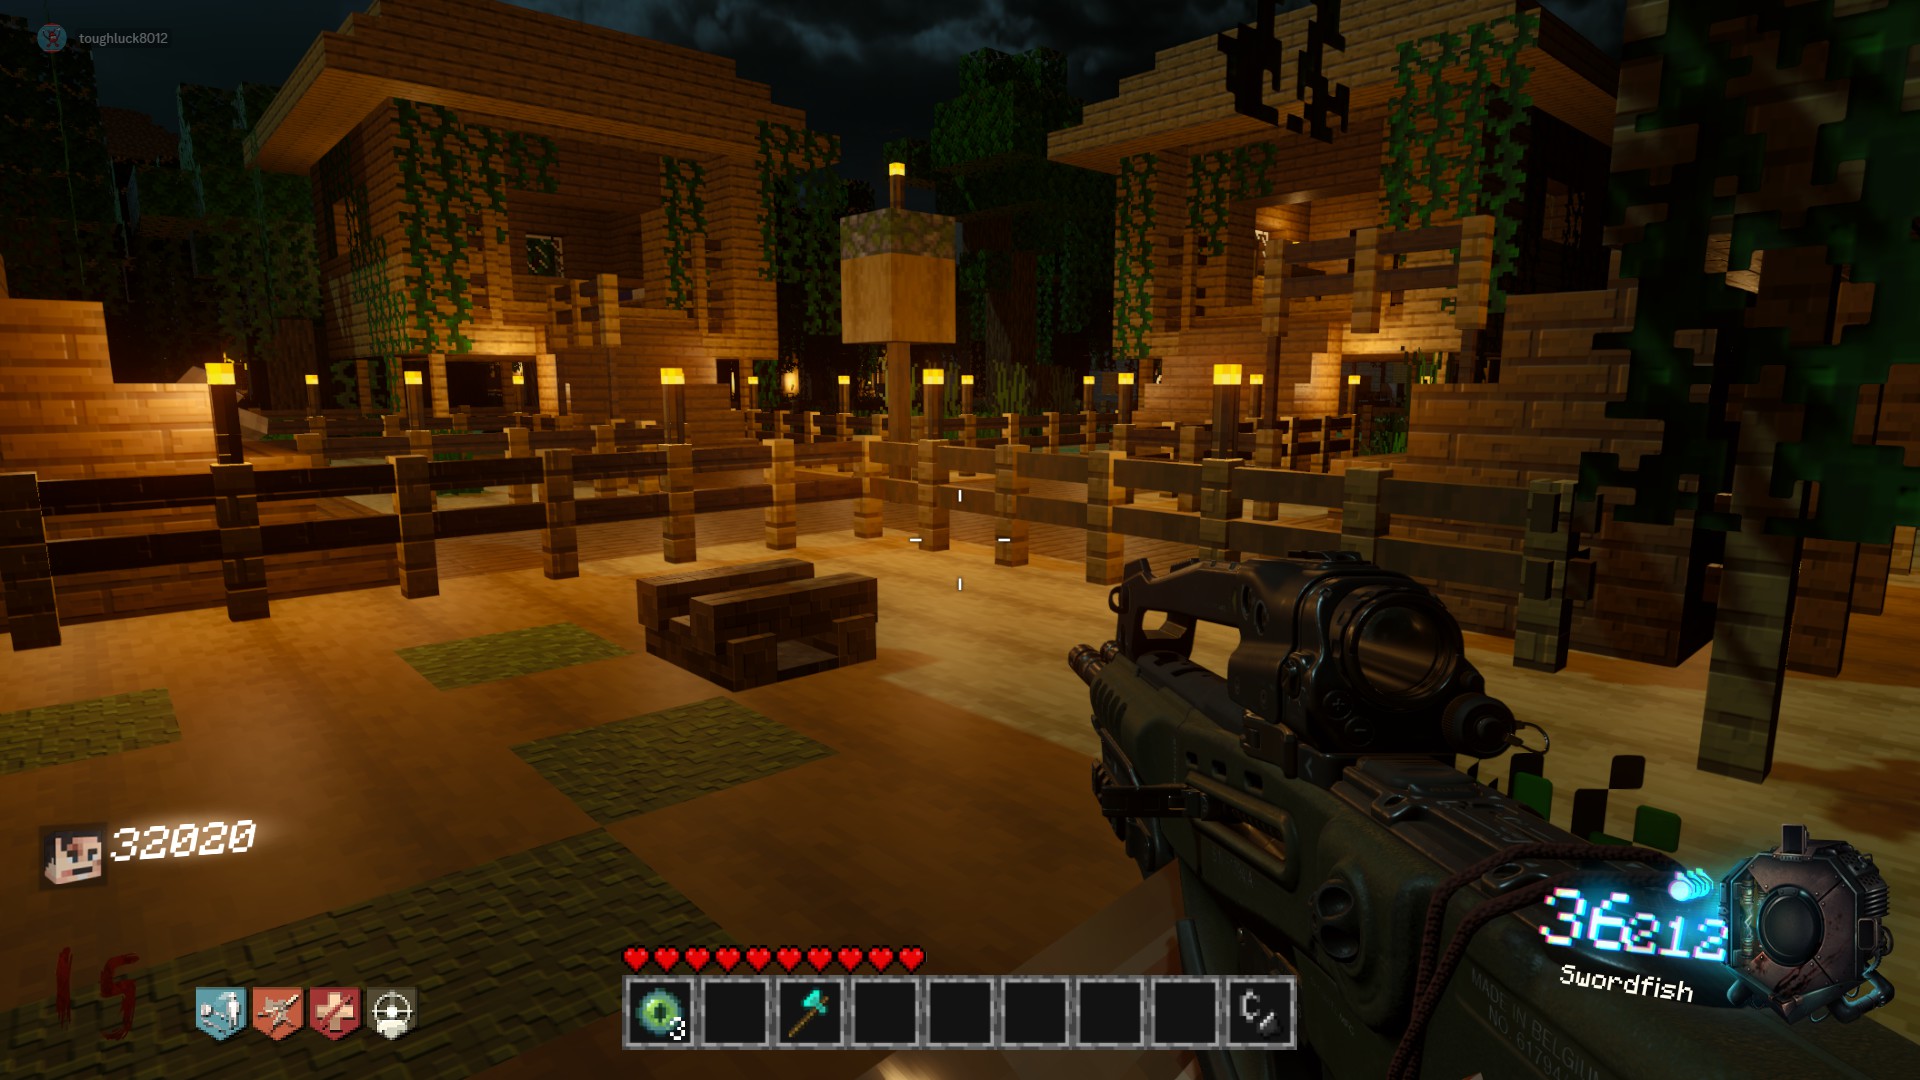
In the Bungalow Area, just outside the fences
 Location 4:
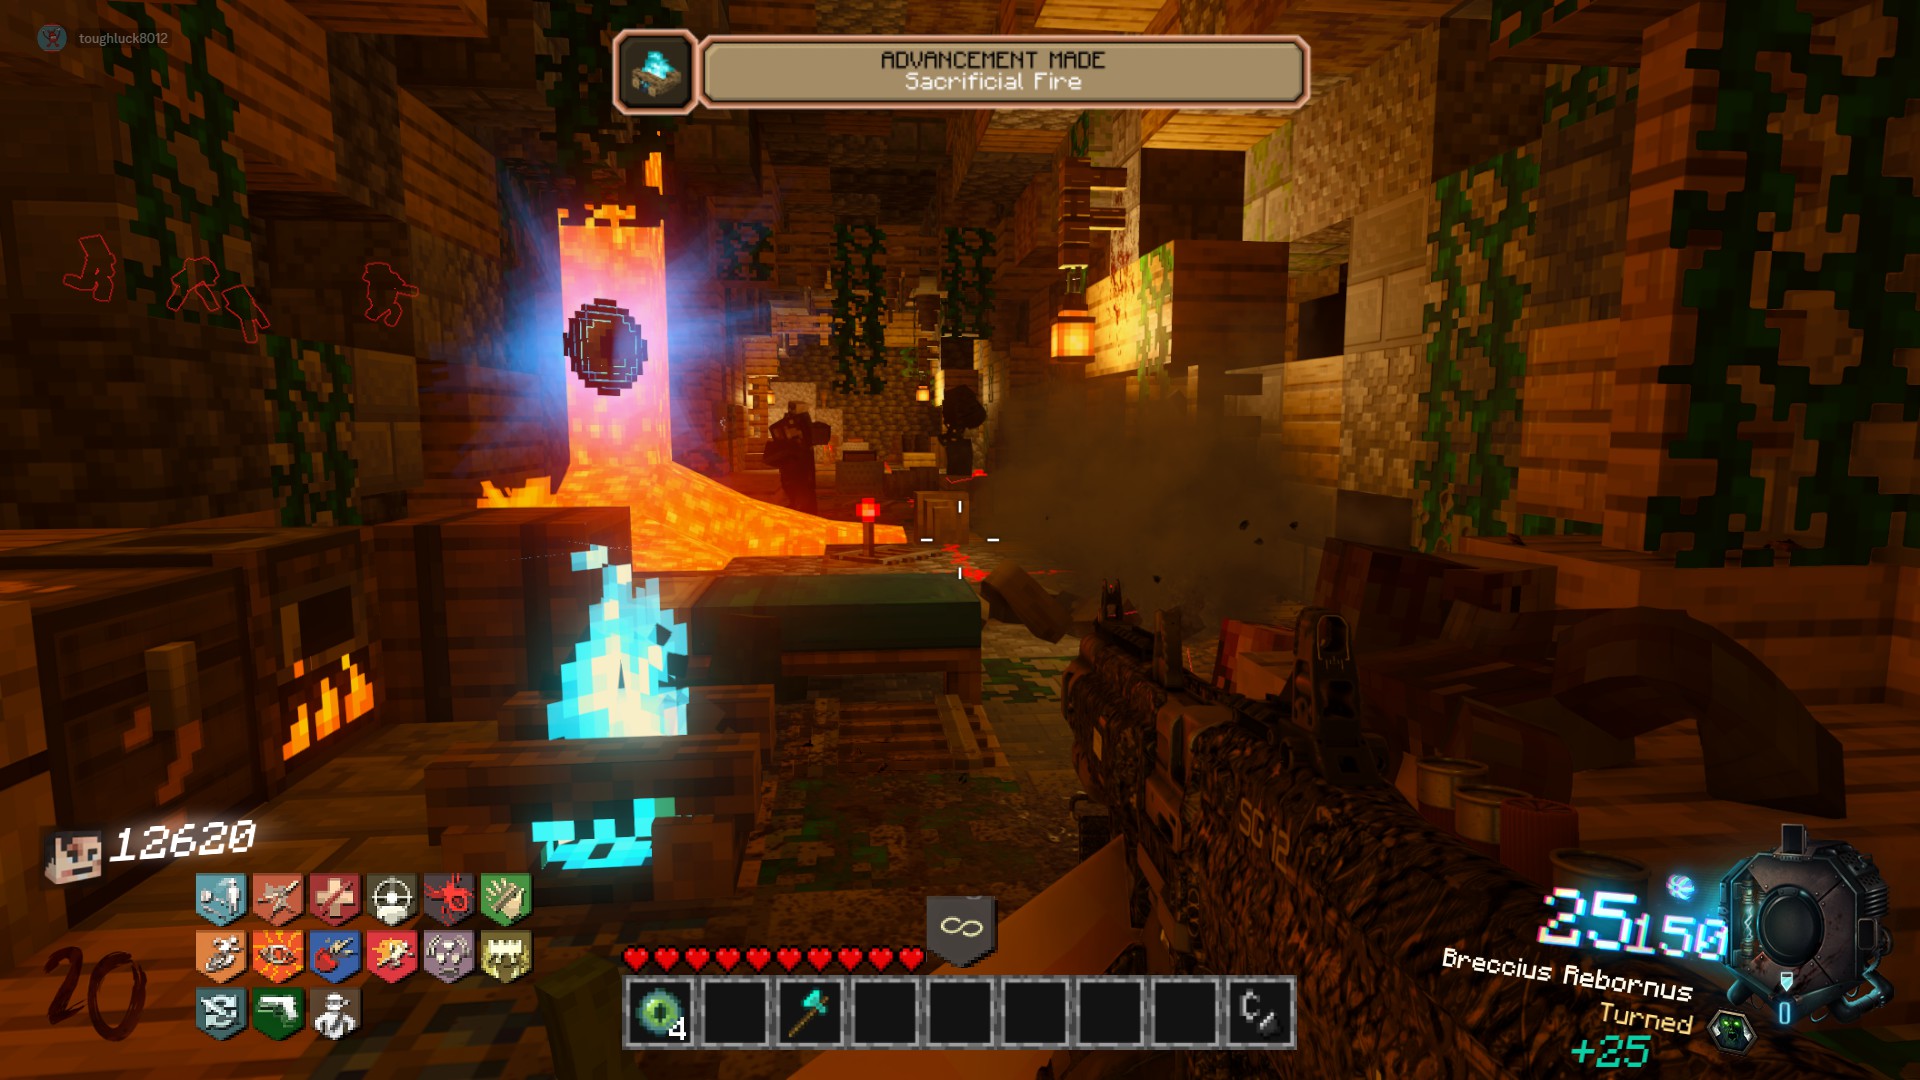
In the underground mineshaft tunnel, towards the middle left
Main EE Step 3: Complete All 3 Chest Challenges
These challenges can be worked on at any point throughout the easter egg, but is best to get an early start on them and do them in the background while you are working on other steps.
Chest 1: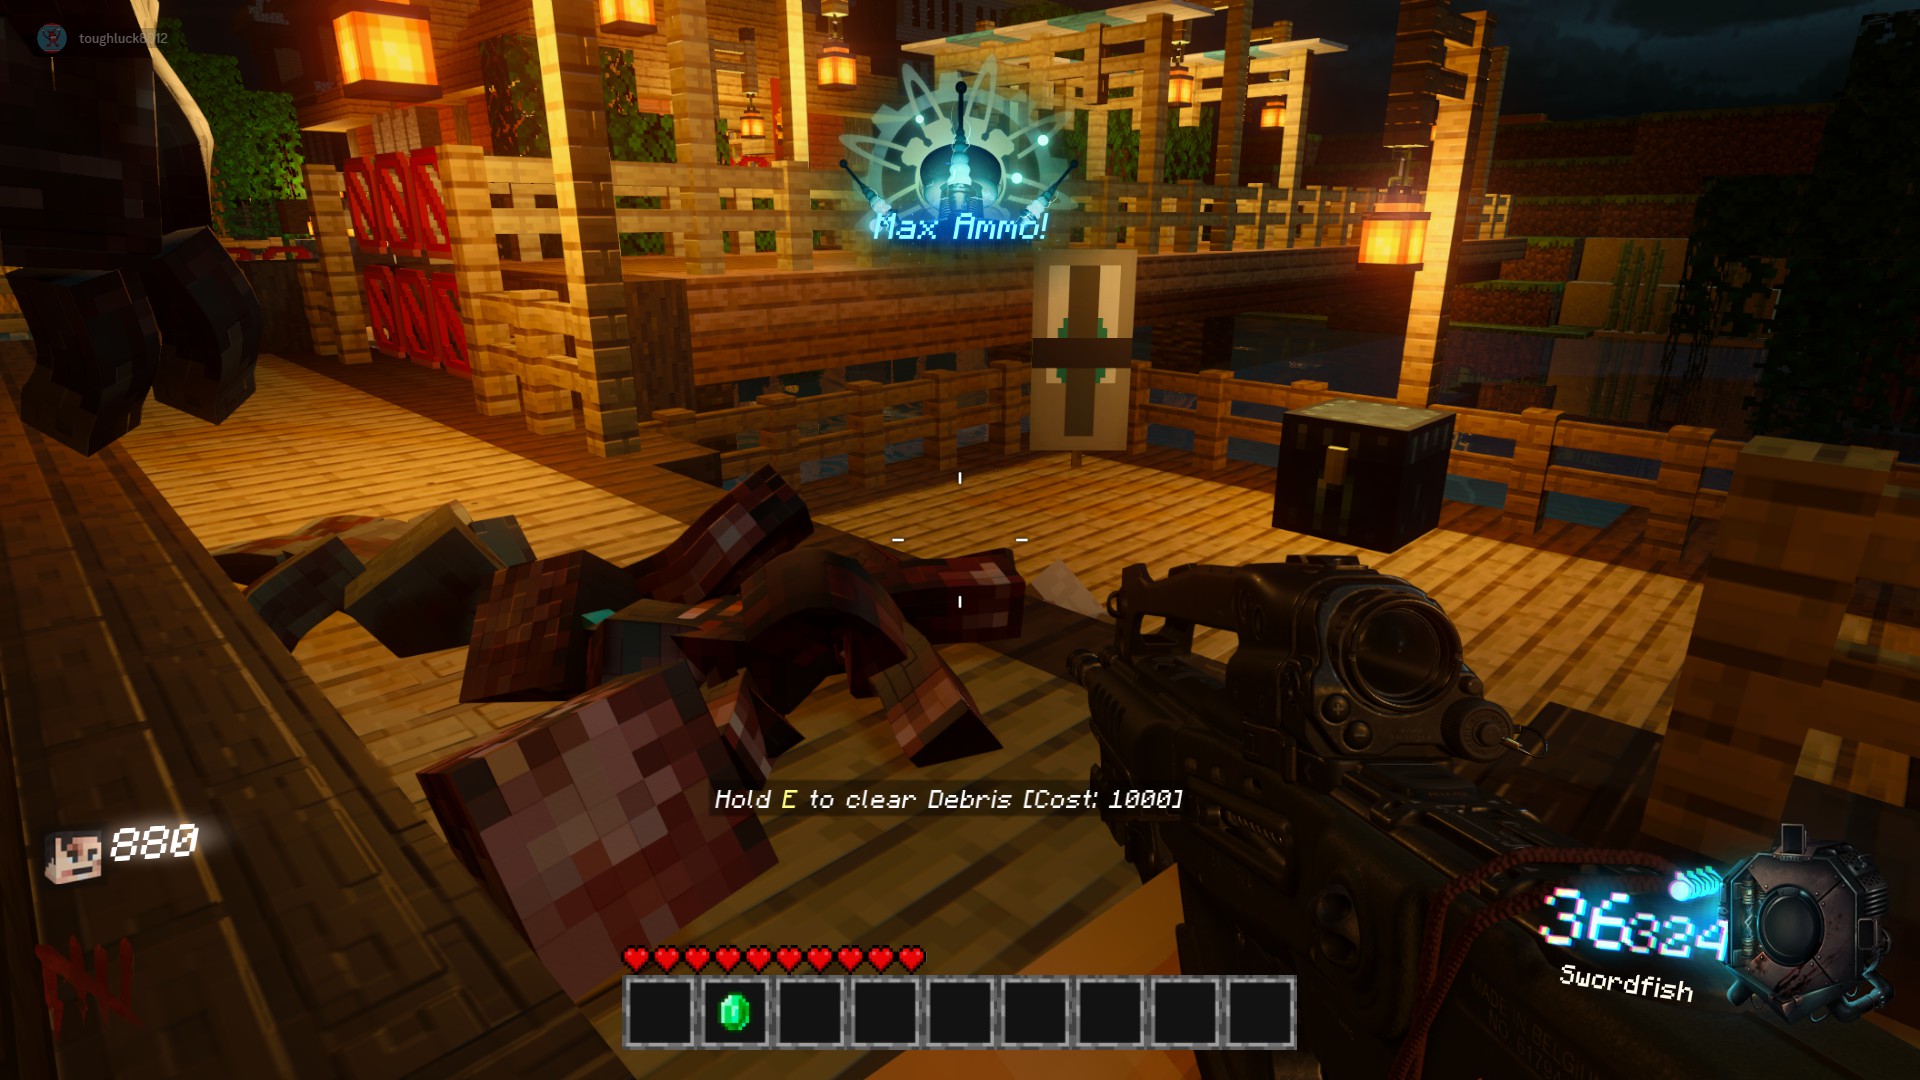
- Located just outside of the Cave Entrance Building that houses Quick Revive.
- This challenge is always the same: Get 50 Kills in the Nether
Chest 2:
Located in the corner of the Nether Garden by the Nether Portal
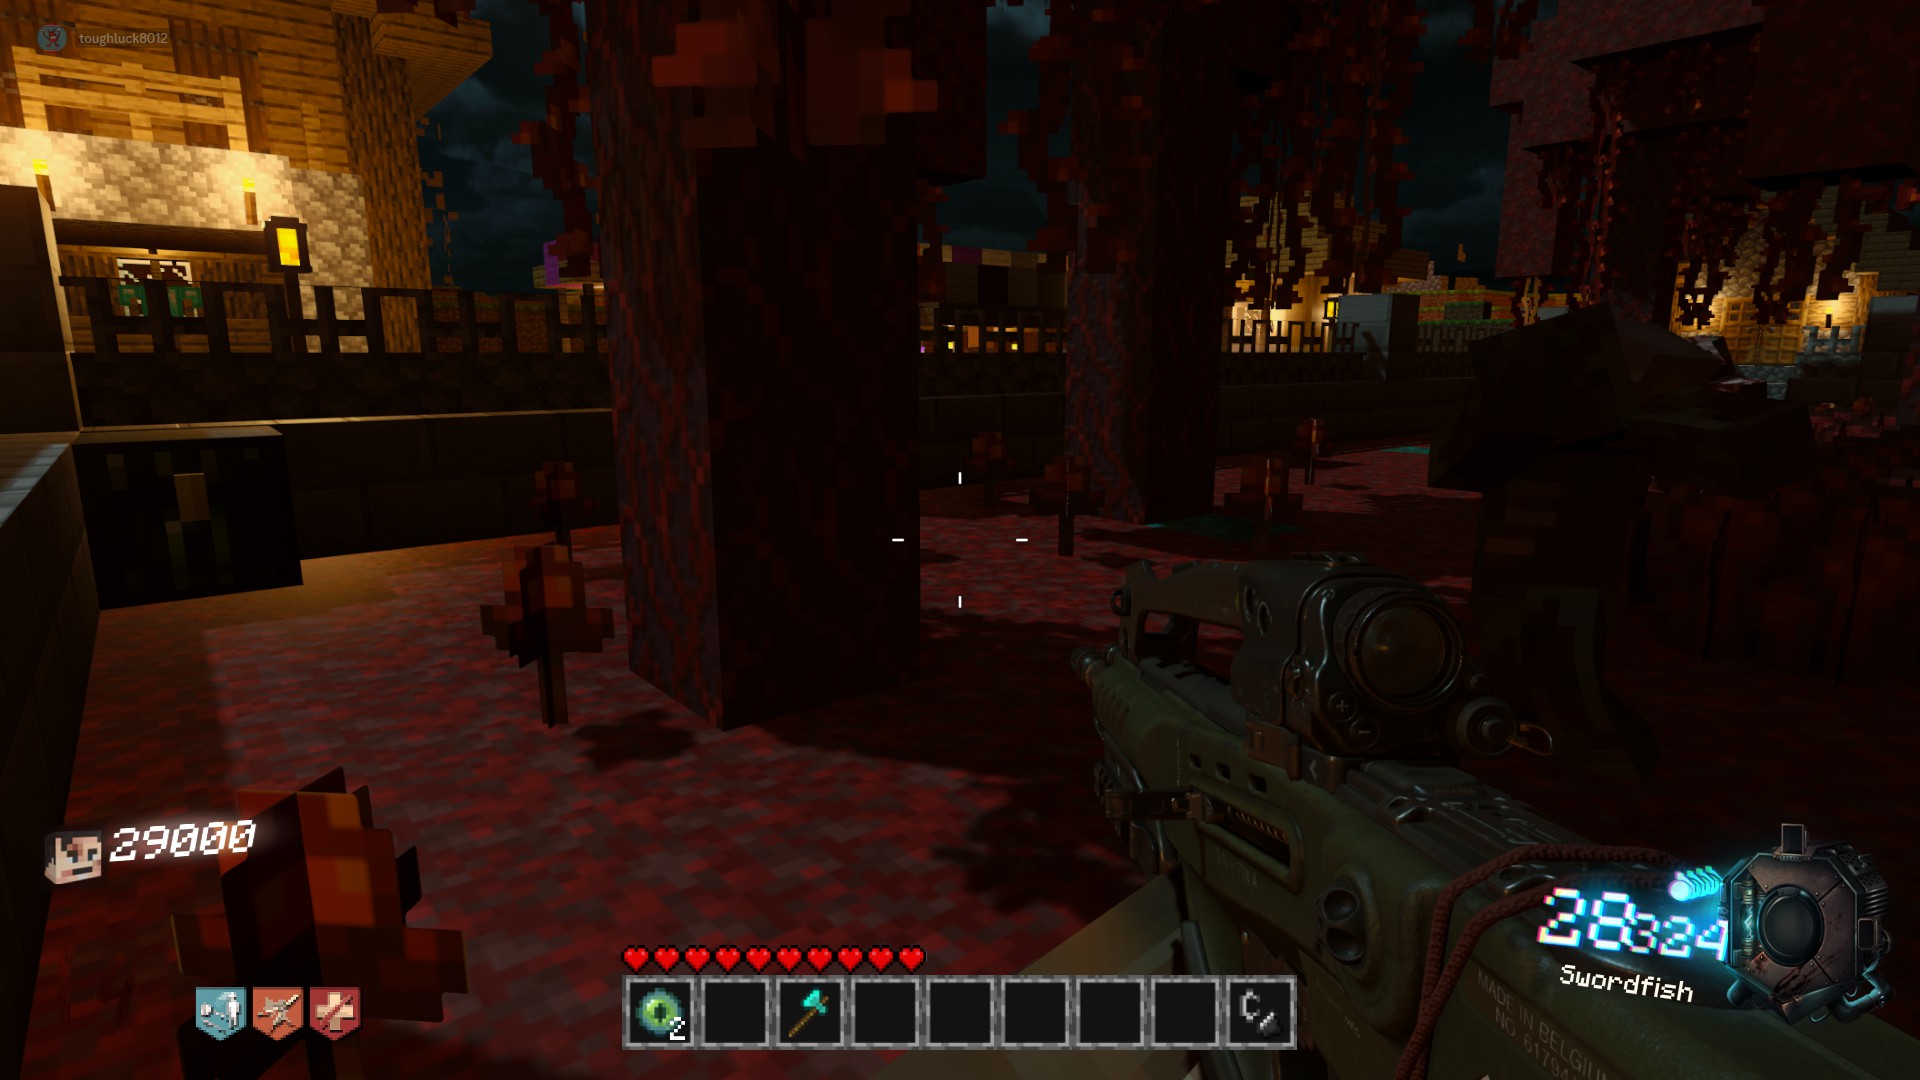 Chest 3:
Right outside the Anvil Quest Villager, by the blue pool
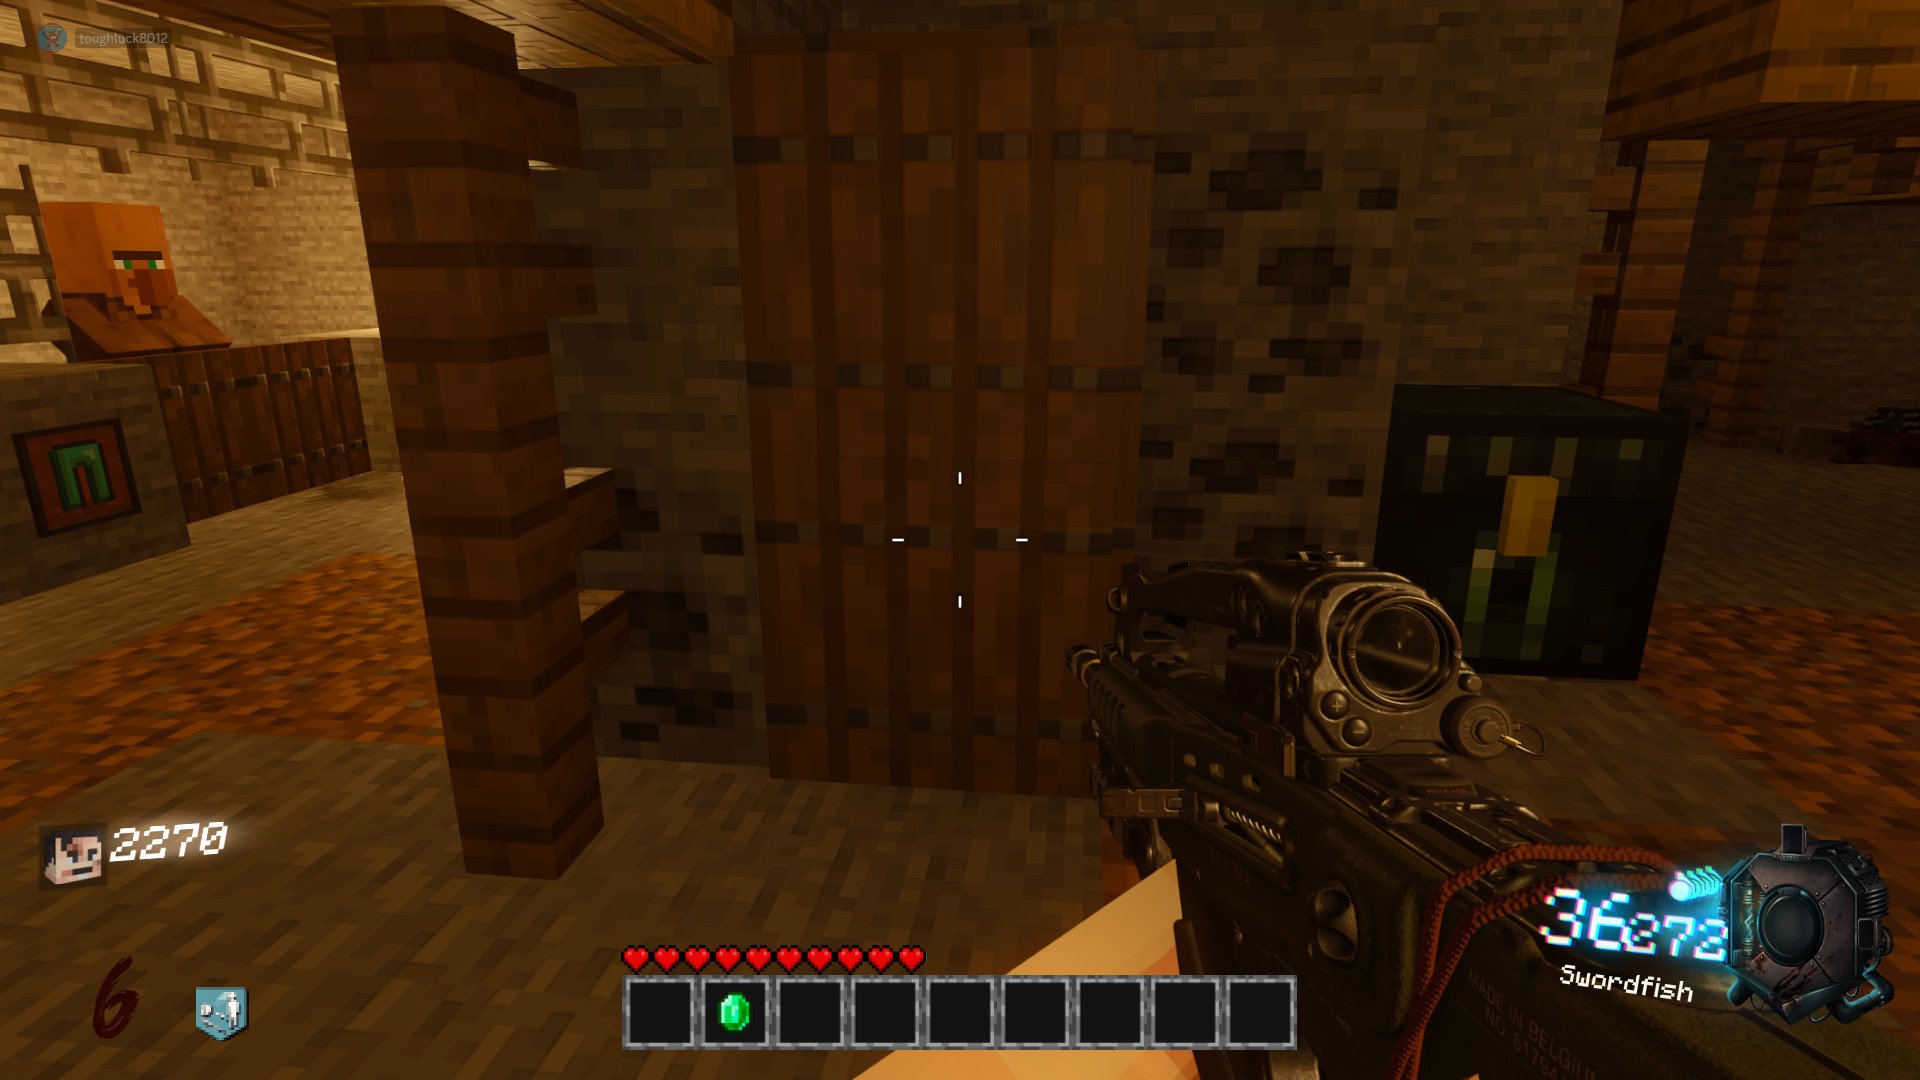 Some Possible Challenges:
- Get 25 kills while jumping
- Get 25 kills with pistols
- Get 45 kills with SMGs
- Get x kills with shotguns
- Get 25 kills while crouched
- Max Ammo
- Fire Sale
- Eye of Ender
Main EE Step 4: Obtain Mushroom Stew
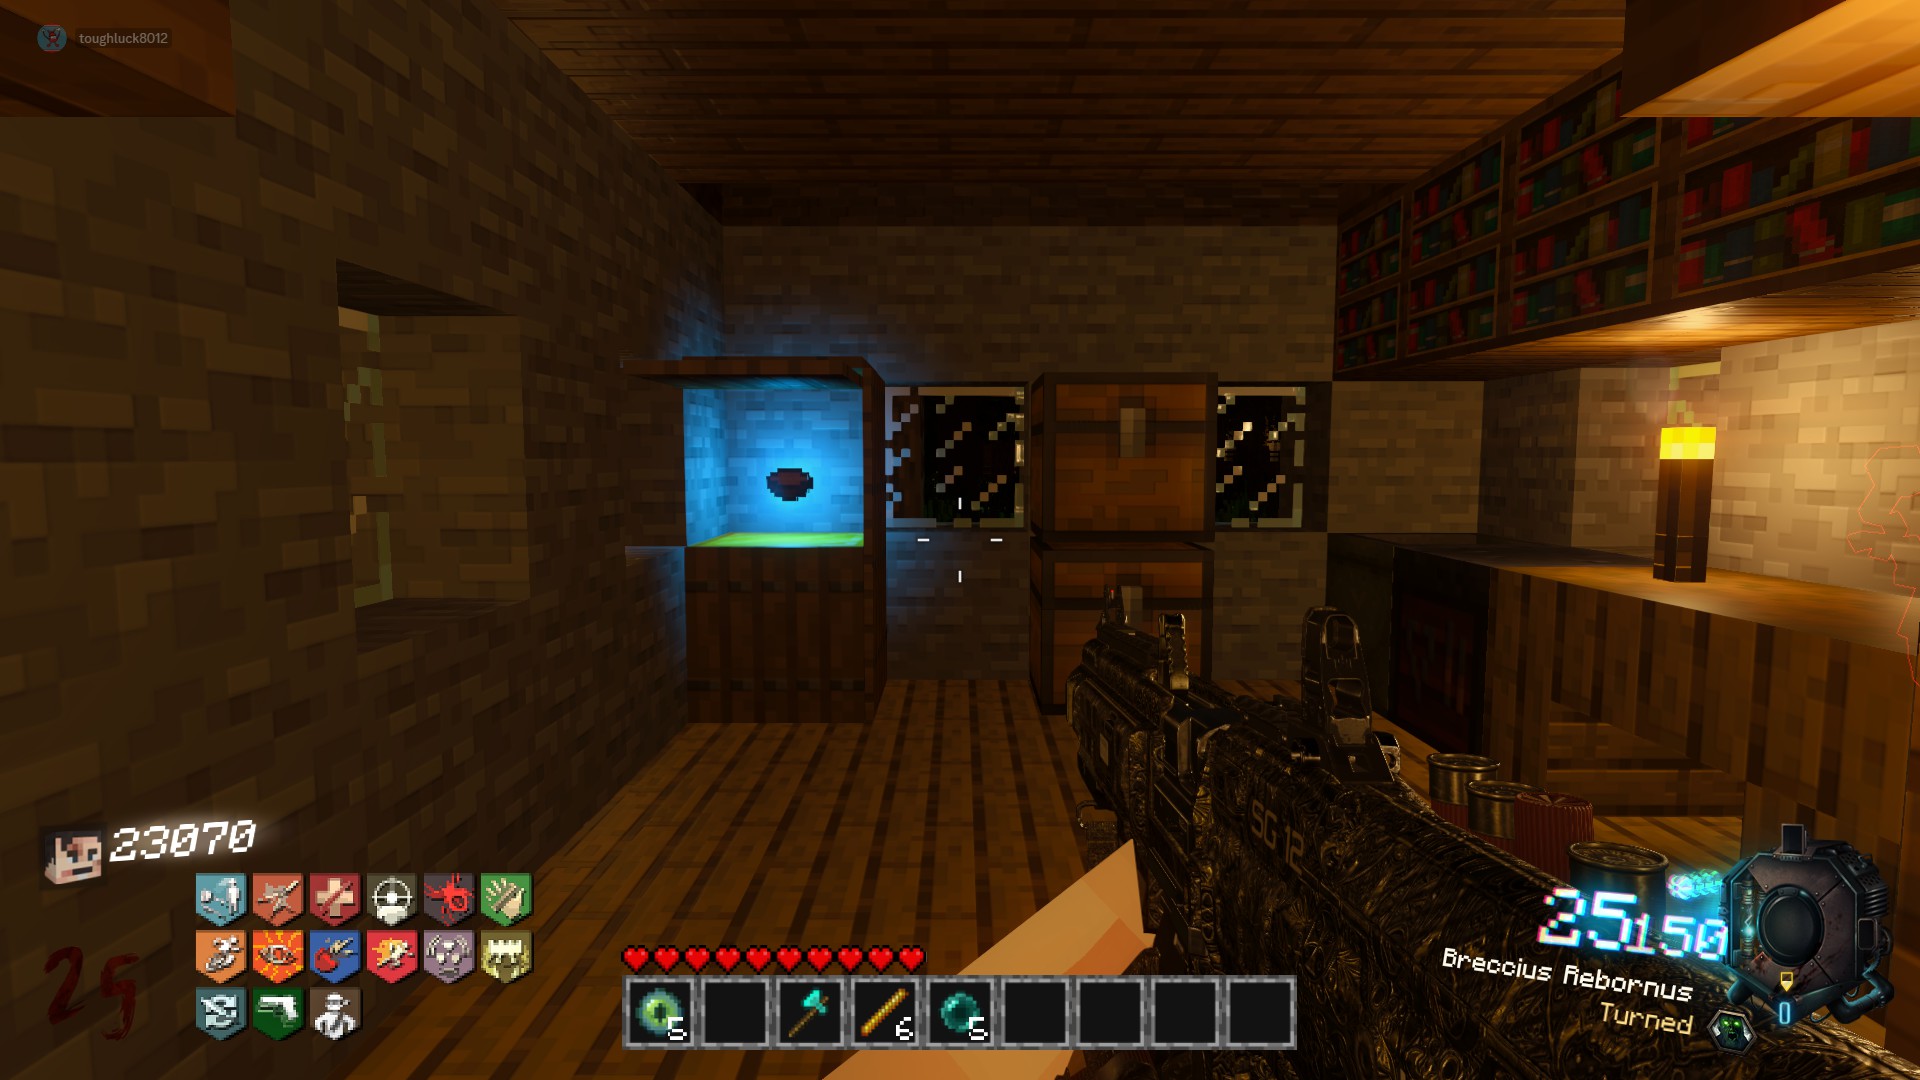 One place it is commonly hidden is in cabinets that are made of the wooden trap doors and can be opened by pressing "interact" on them. They also can just be in the open on tables in houses. I would first start checking the houses in the village by the Nether Garden Portal.
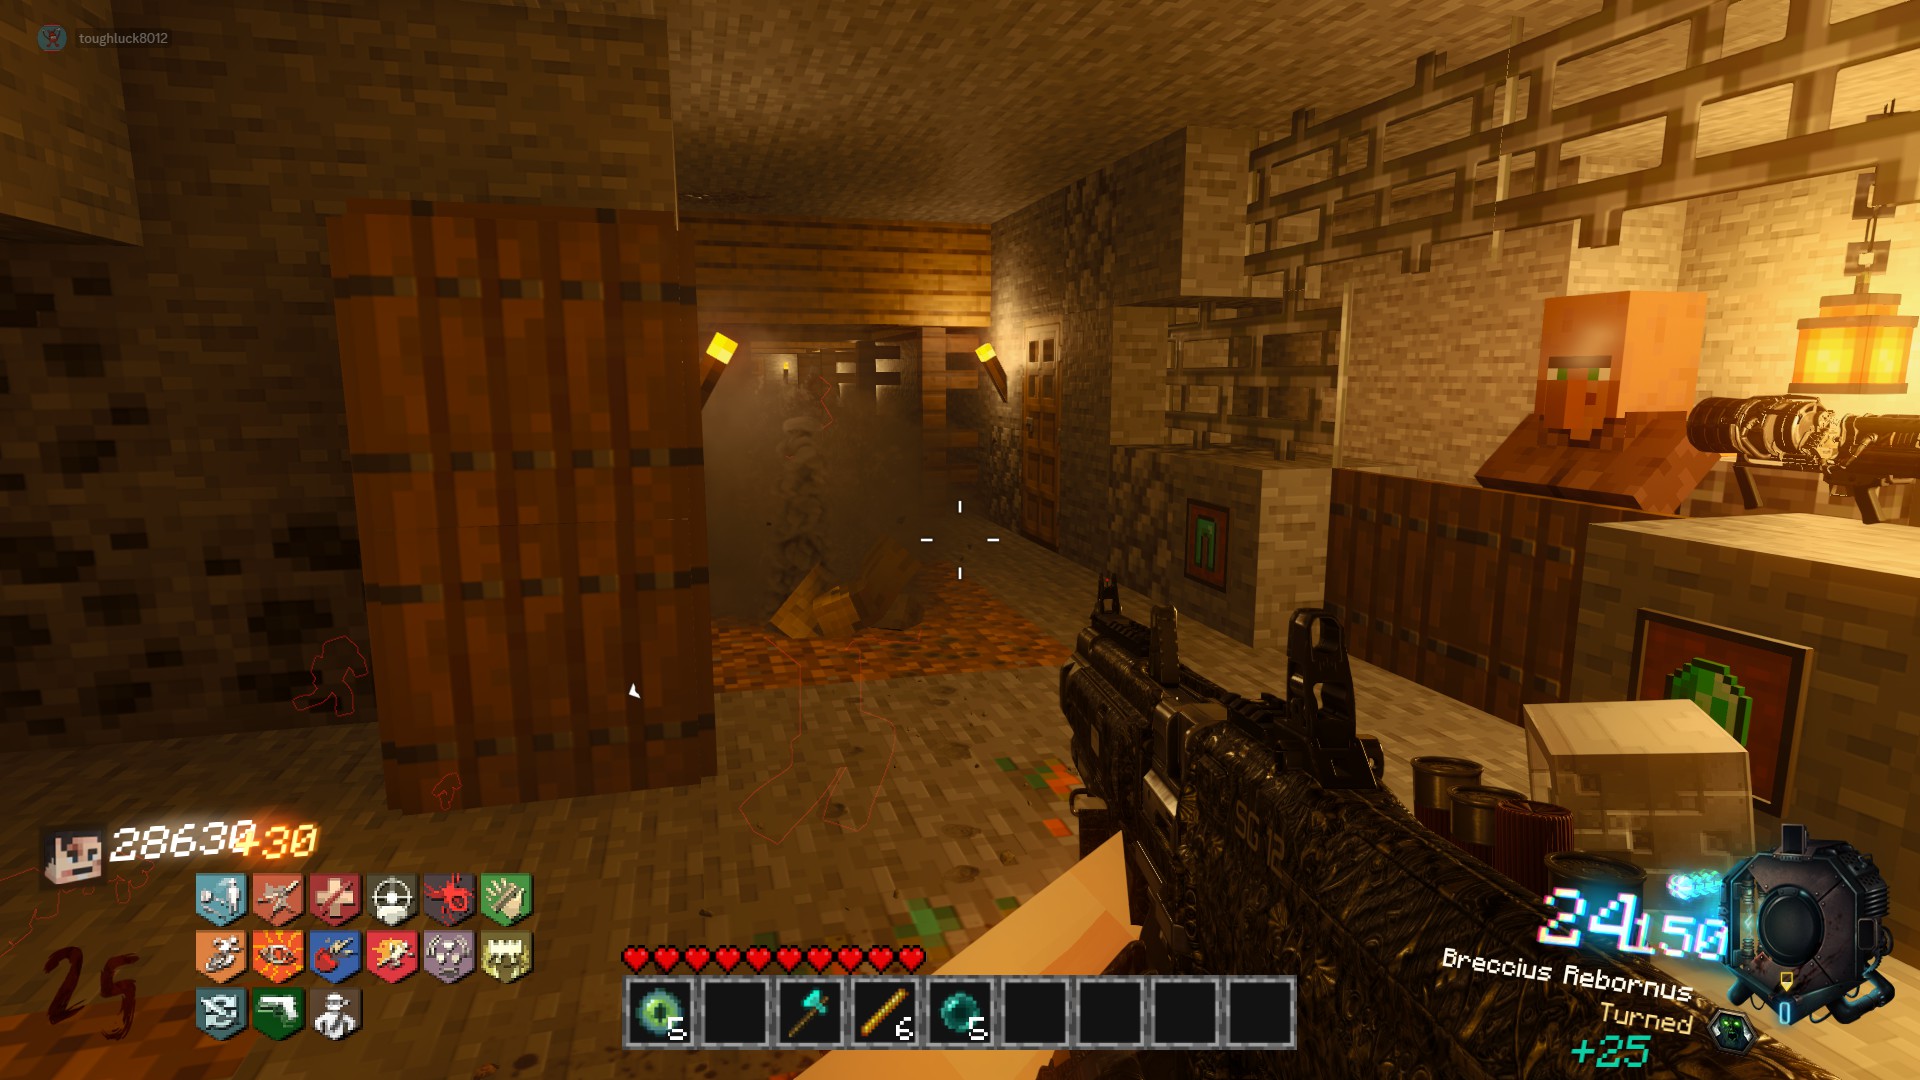 In the multiple times I've completed this easter egg, I have found a soup at the following locations:
- In the trap door cabinet by the Anvil Quest Villager
- In the quad-plex style home in multiple different cabinets
- In the village houses near the church, on tables in the open
- In the church, on a table
- In the hut with Bandolier Bandit in a cabinet
Once you have picked up the soup, bring it back to the Power Villager.
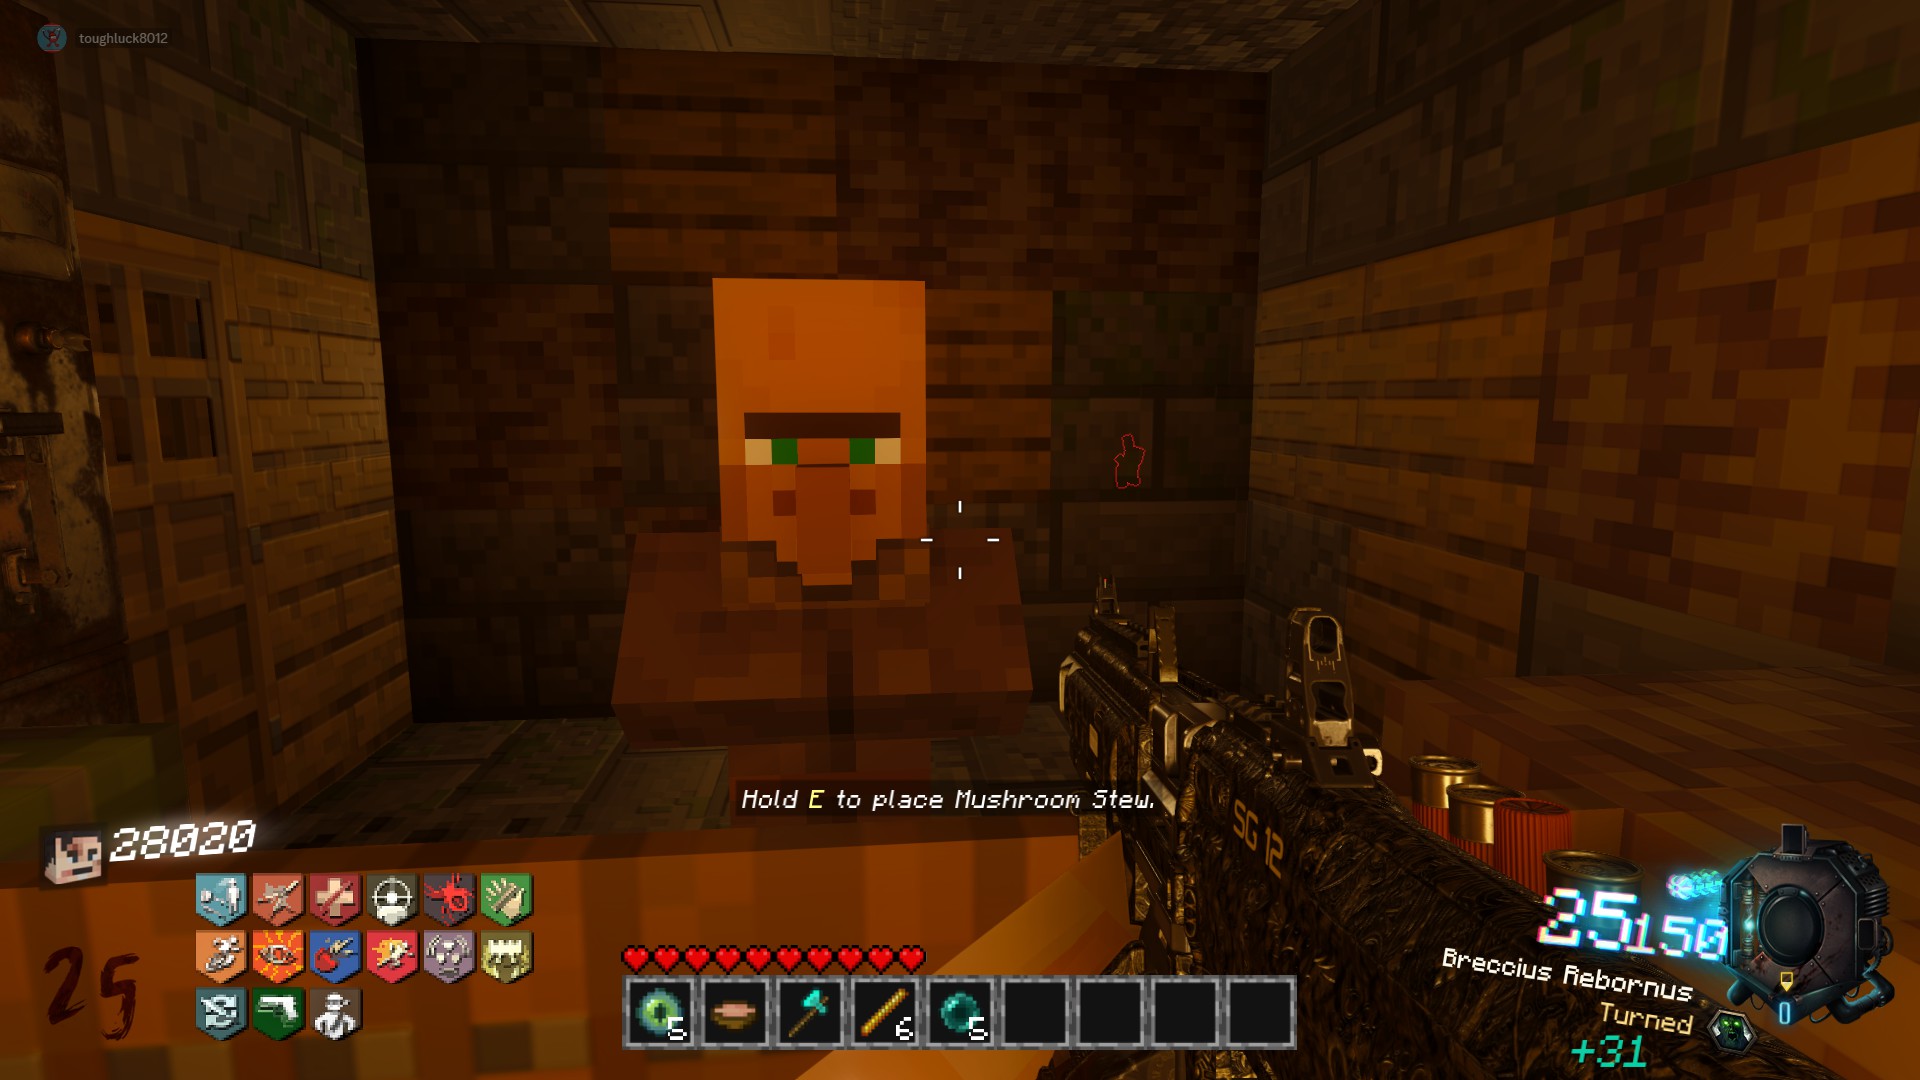
Main EE Step 5: Obtain Rabbit Soup
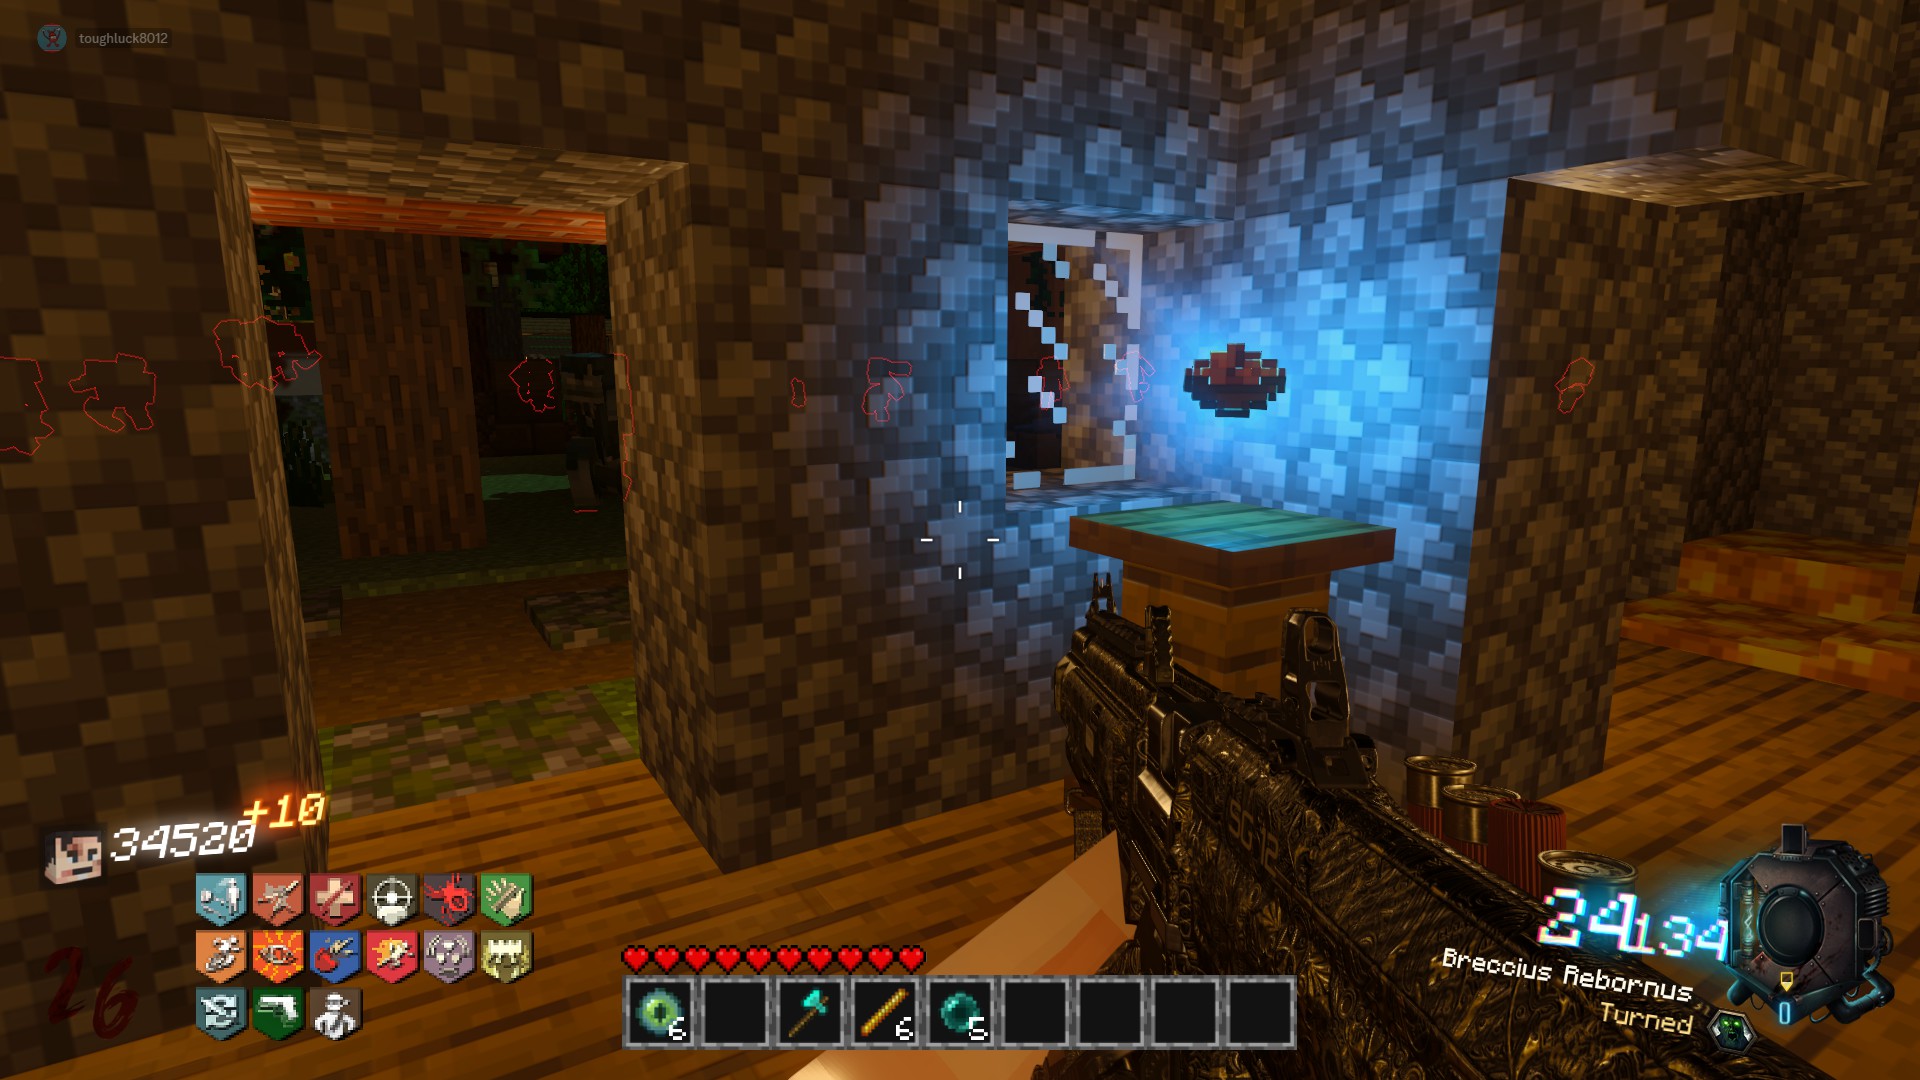
Upon obtaining the soup, bring it back to the Power Villager. This will reward you with an Eye of Ender, but also spawns in a boss zombie.
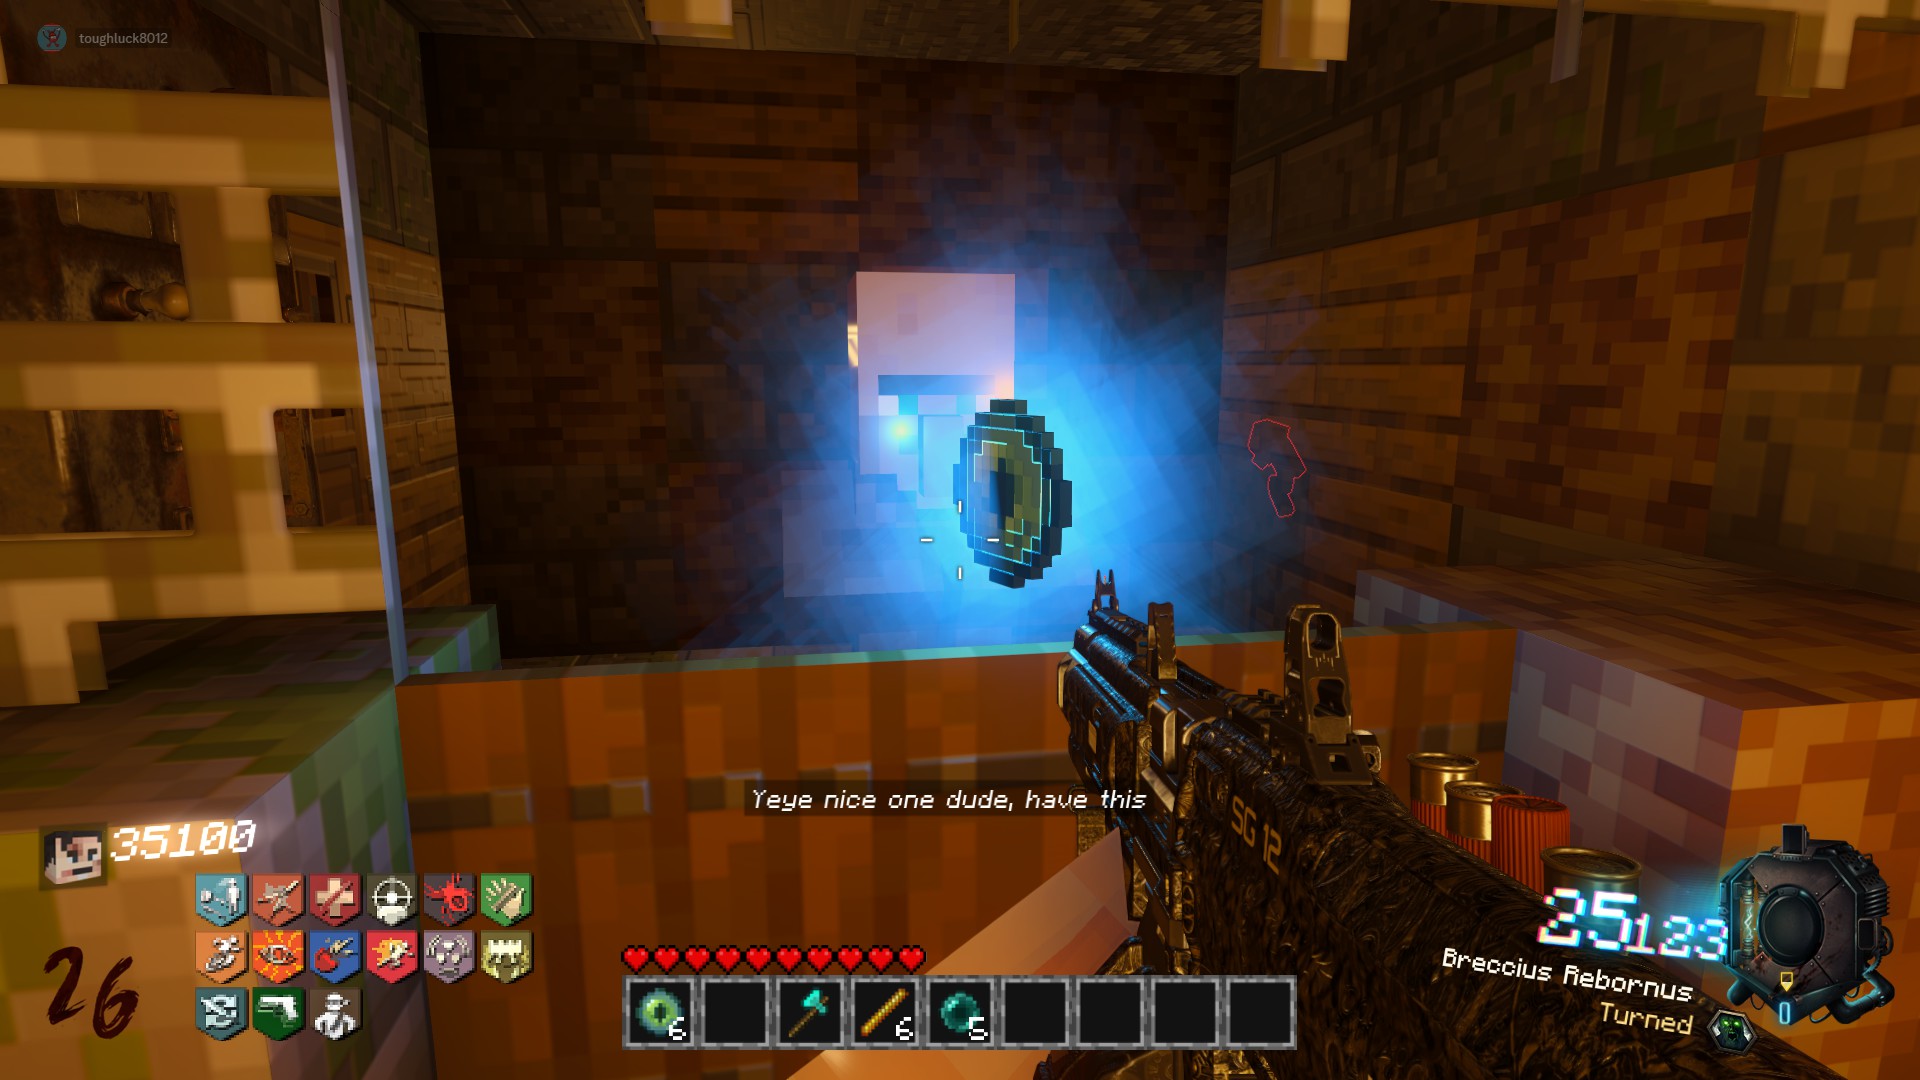
Main EE Step 6: Lockdown
Upon talking with the Power Villager, they will unlock the path to the crypt. It can be found close to the Anvil Quest Villager and the Cave Entrance Ender Chest, down the stairs. Simply go to the center of the room and interact with the fire. This will initiate a lockdown. Zombies will spawn non-stop for a few minutes.
After the lockdown is finished, an Eye of Ender will spawn above the campfire. Pick it up, and the Enchanted Book will spawn above the fire as well.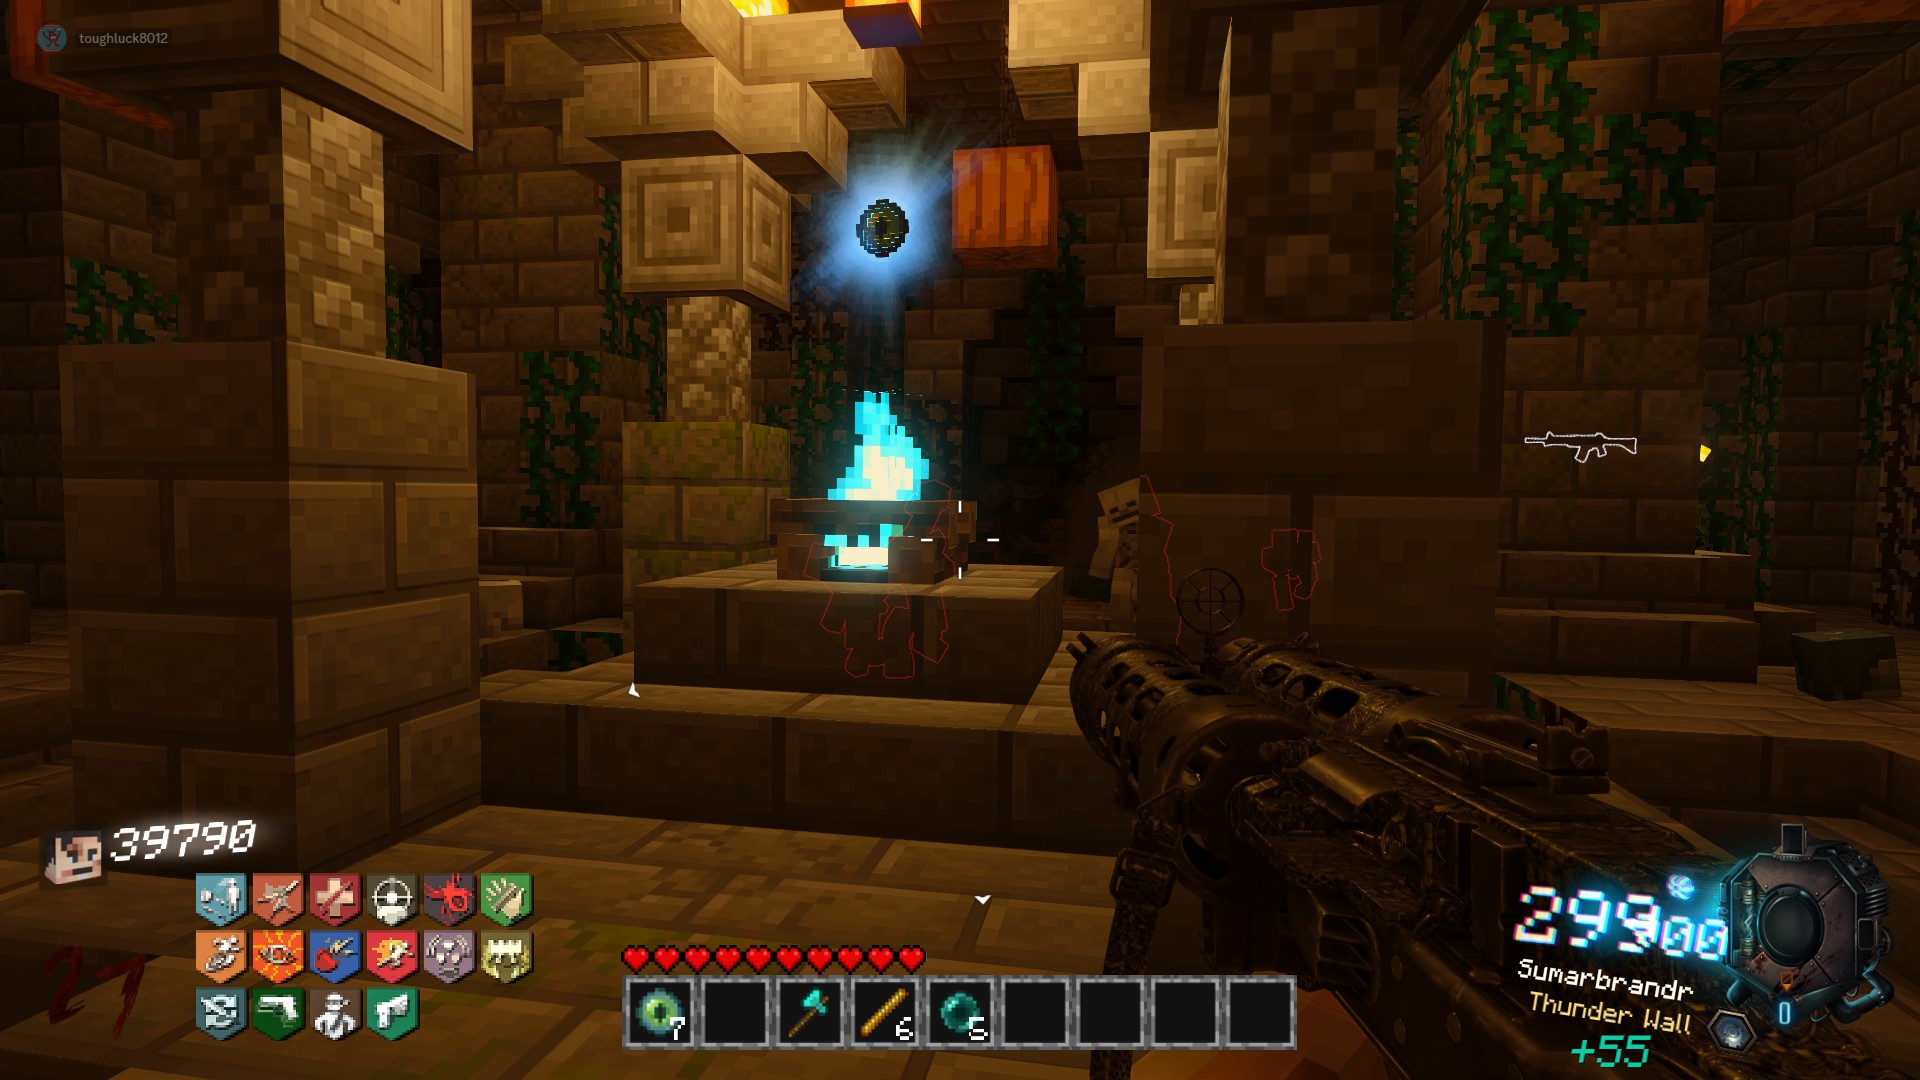
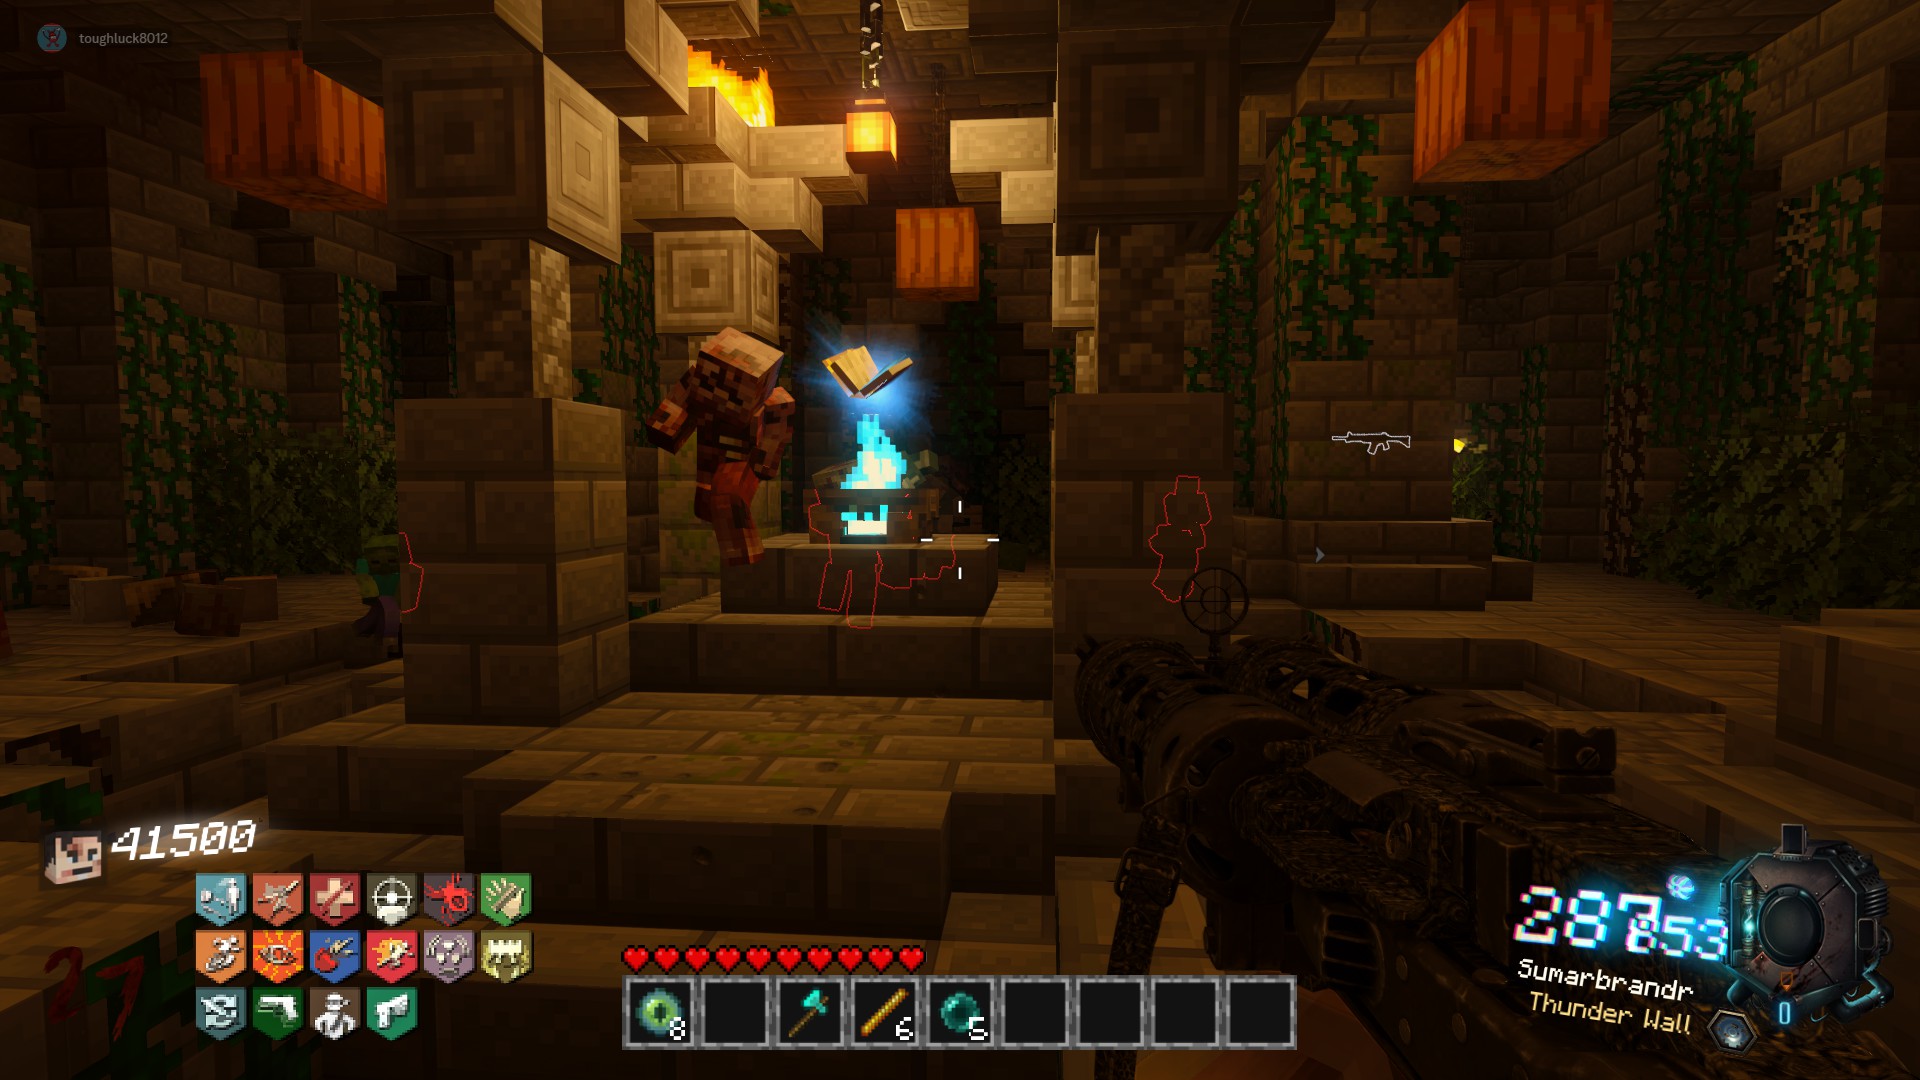 Upon gaining access to the lockdown room, you can now purchase the Tactiquilla Perk for 2000.
 Additionally, in the room behind the lockdown room, you can find the Sabre, a fire sword melee weapon on the benches before the altar. However, at this stage of the game, it is probably too weak of a weapon to be used as a replacement to your primary.
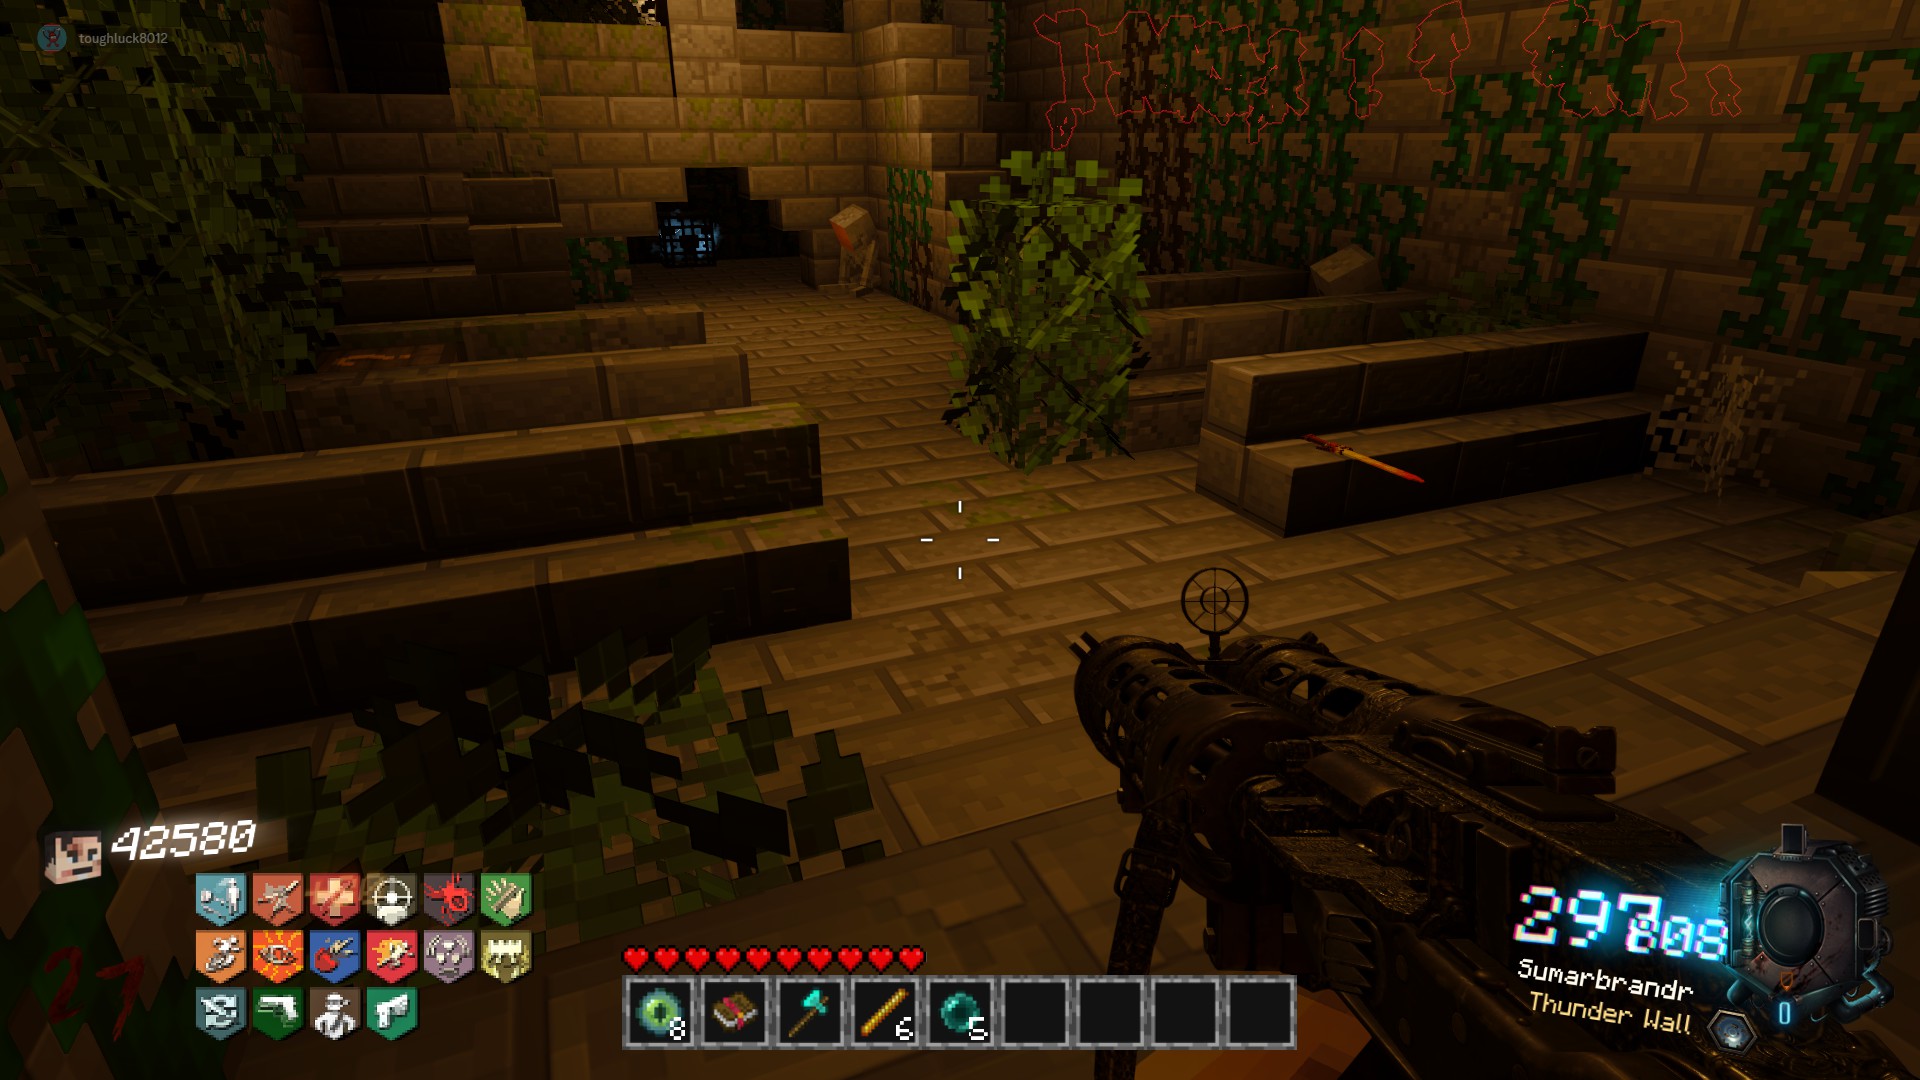
Main EE Step 7: Upgrade the Shield
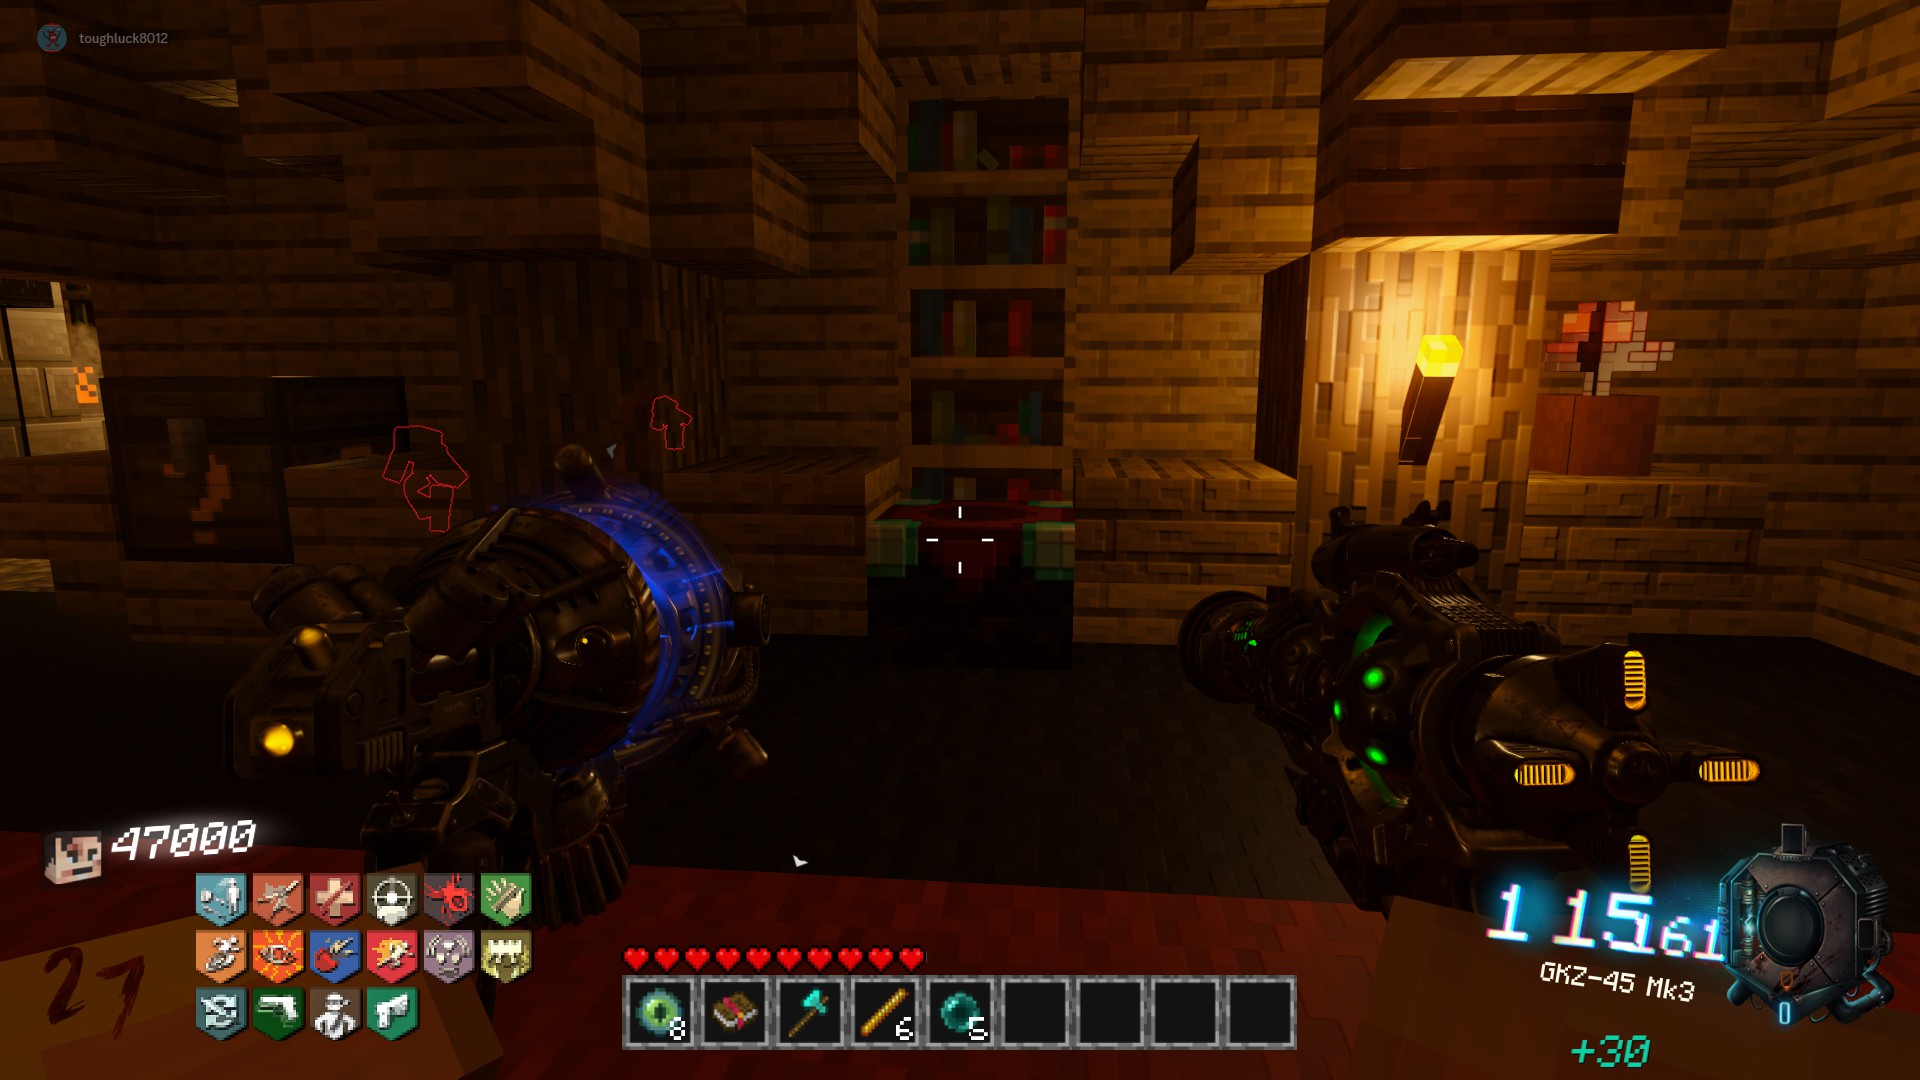
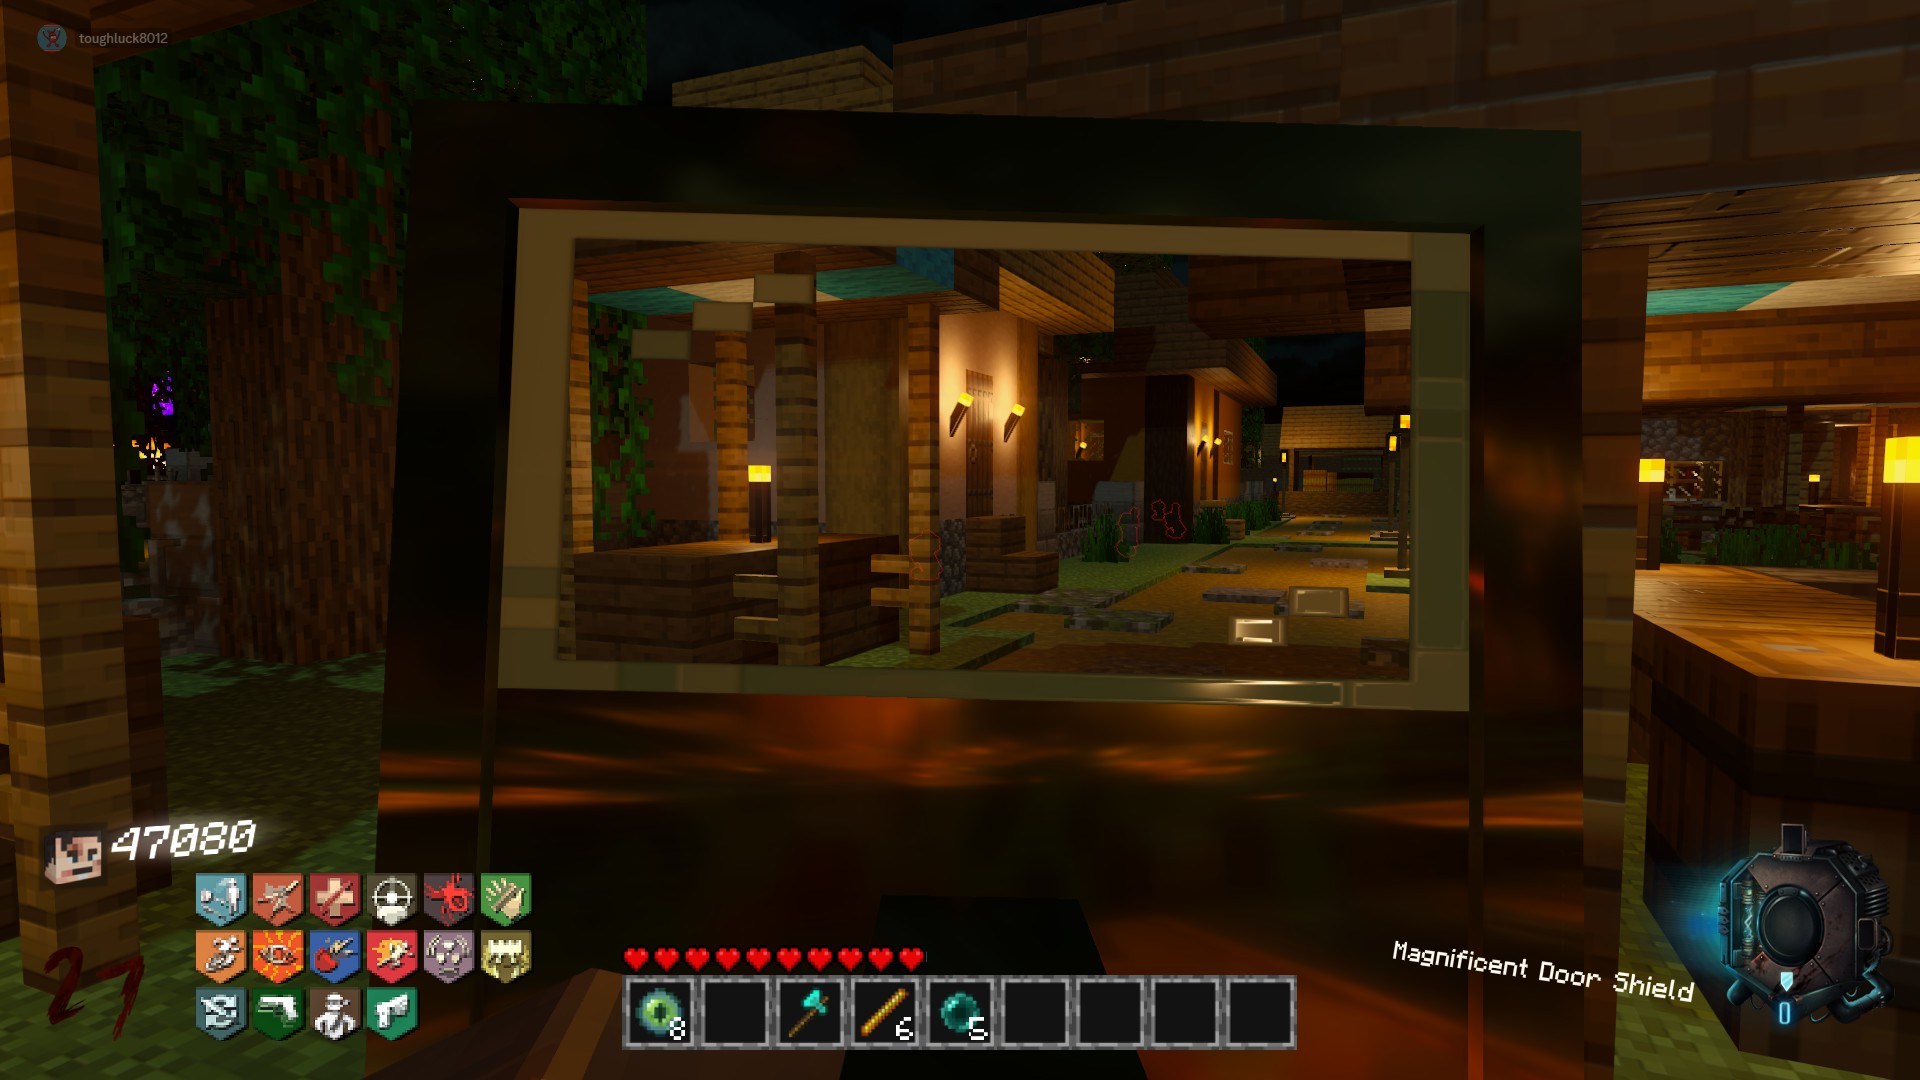
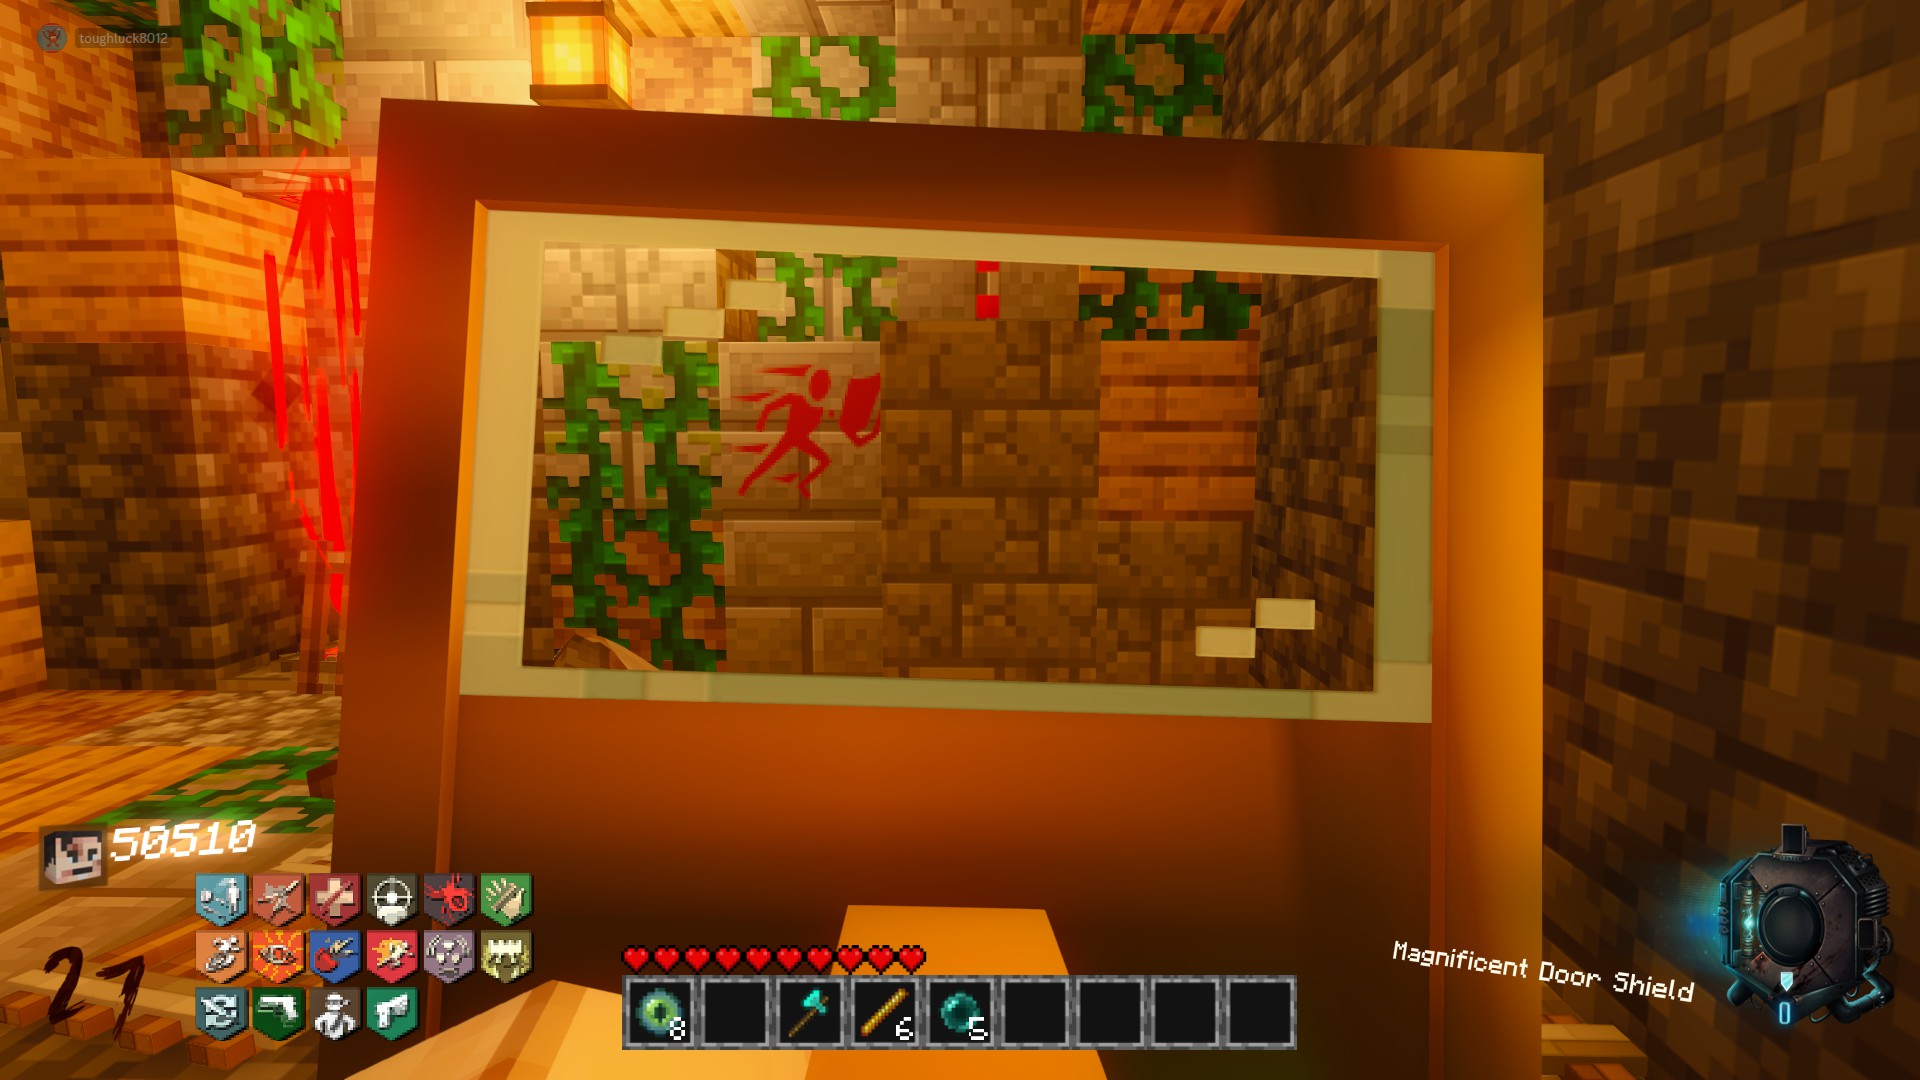
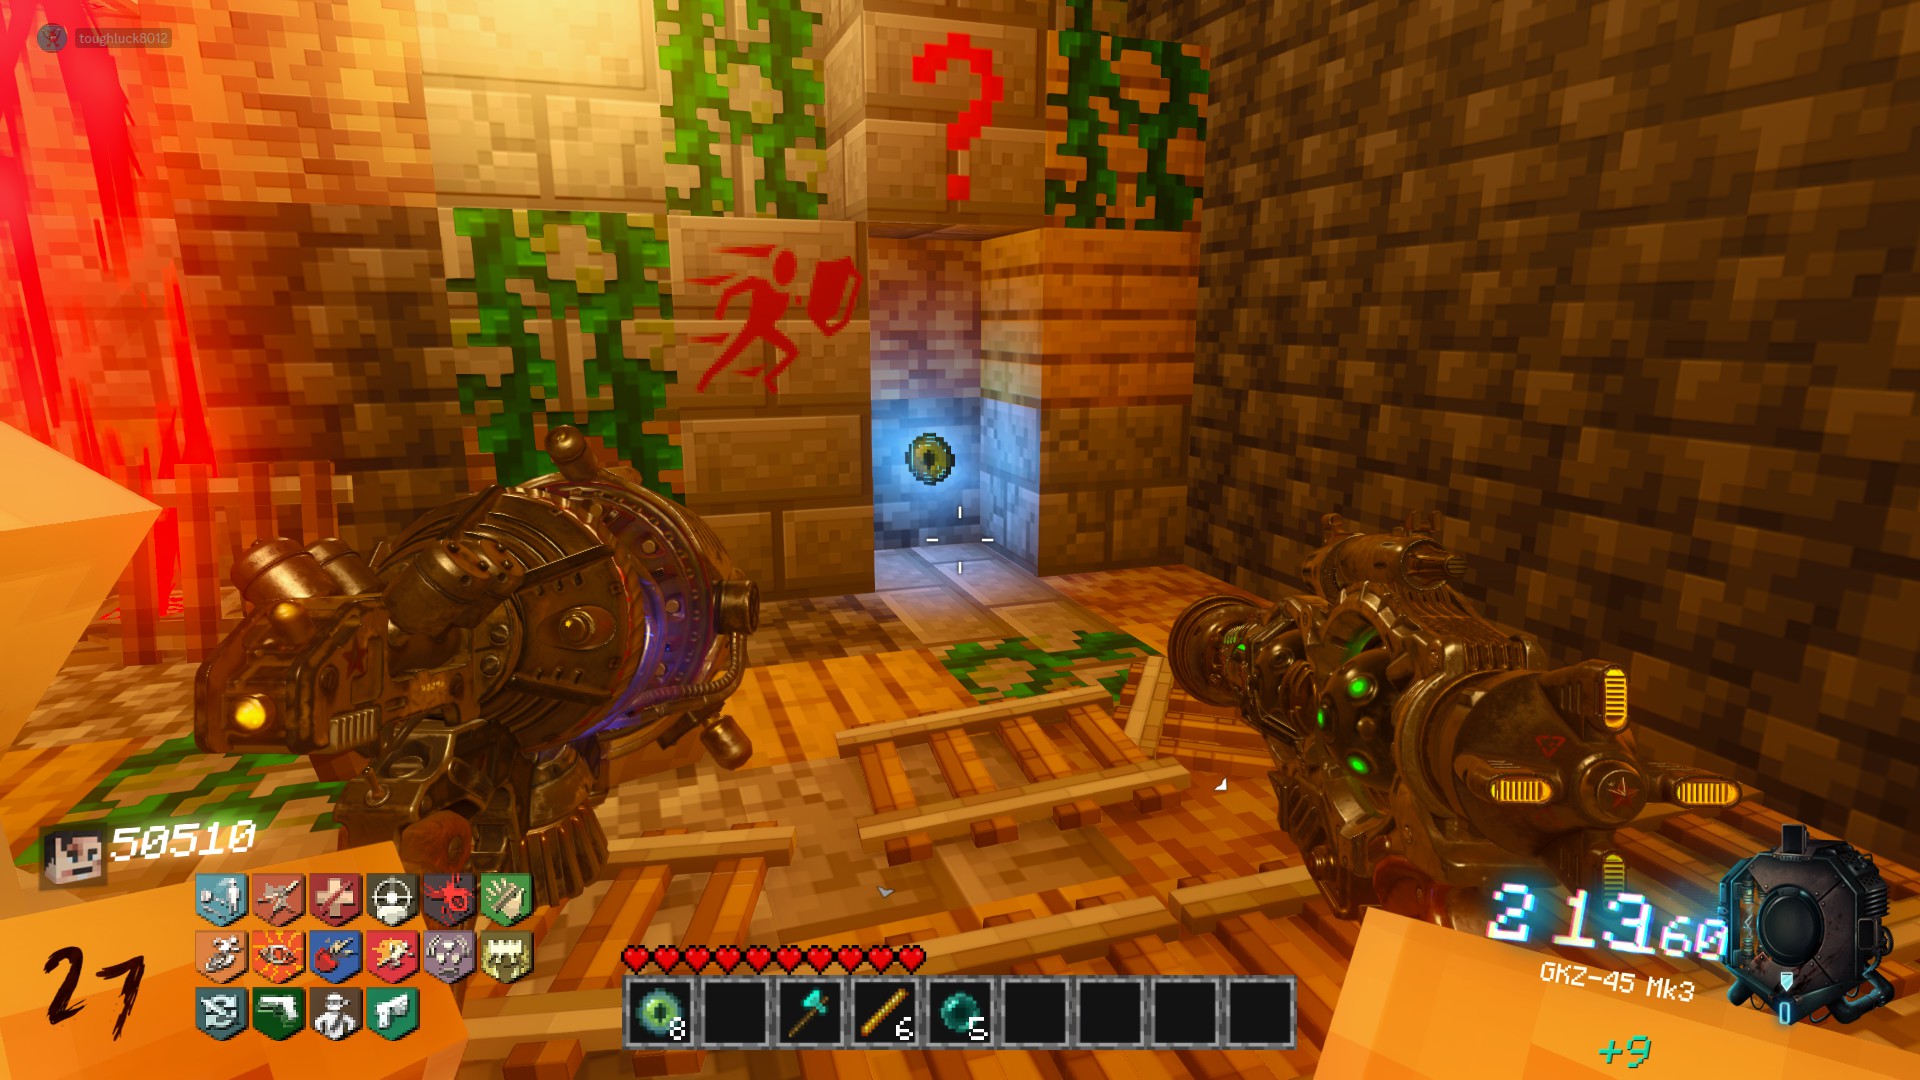
Make your way to the end of the Underground Mineshaft Tunnel, across from Electric Cherry. There is a red question mark and an image of a person with a shield. Simply pull out your upgraded shield and shield bash the part of the wall sticking out. This will reveal an Eye of Ender.
Main EE Step 8: Obtain and Trade 5 Ender Pearls & Blaze Rods Each
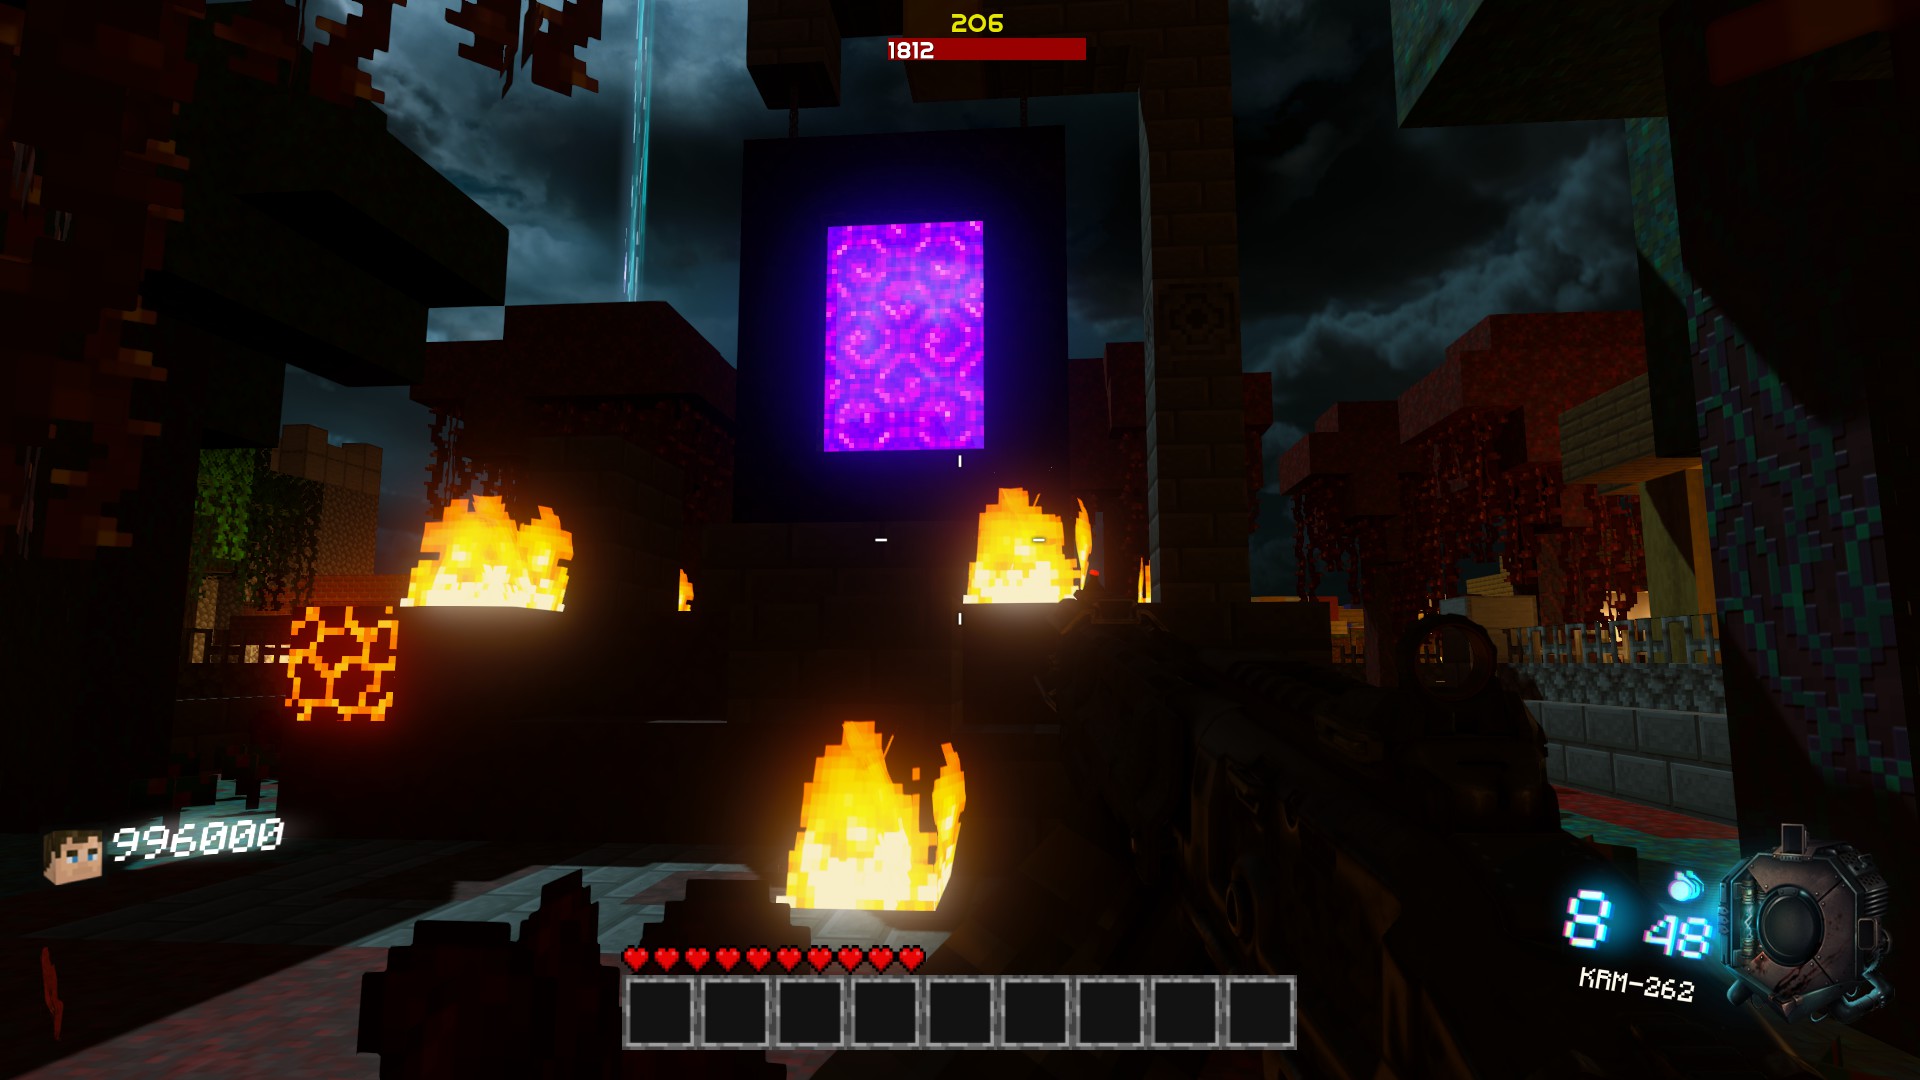 Once you arrive at the Nether, start killing zombies. Eventually, they will drop a blaze rod or an ender pearl in the form of a glowing blue drop. Quickly run over them to collect them so they don't despawn. You will need a total of 5 of each. It is possible to collect more than 5 of each, but any more will only count as extras and serve no purpose.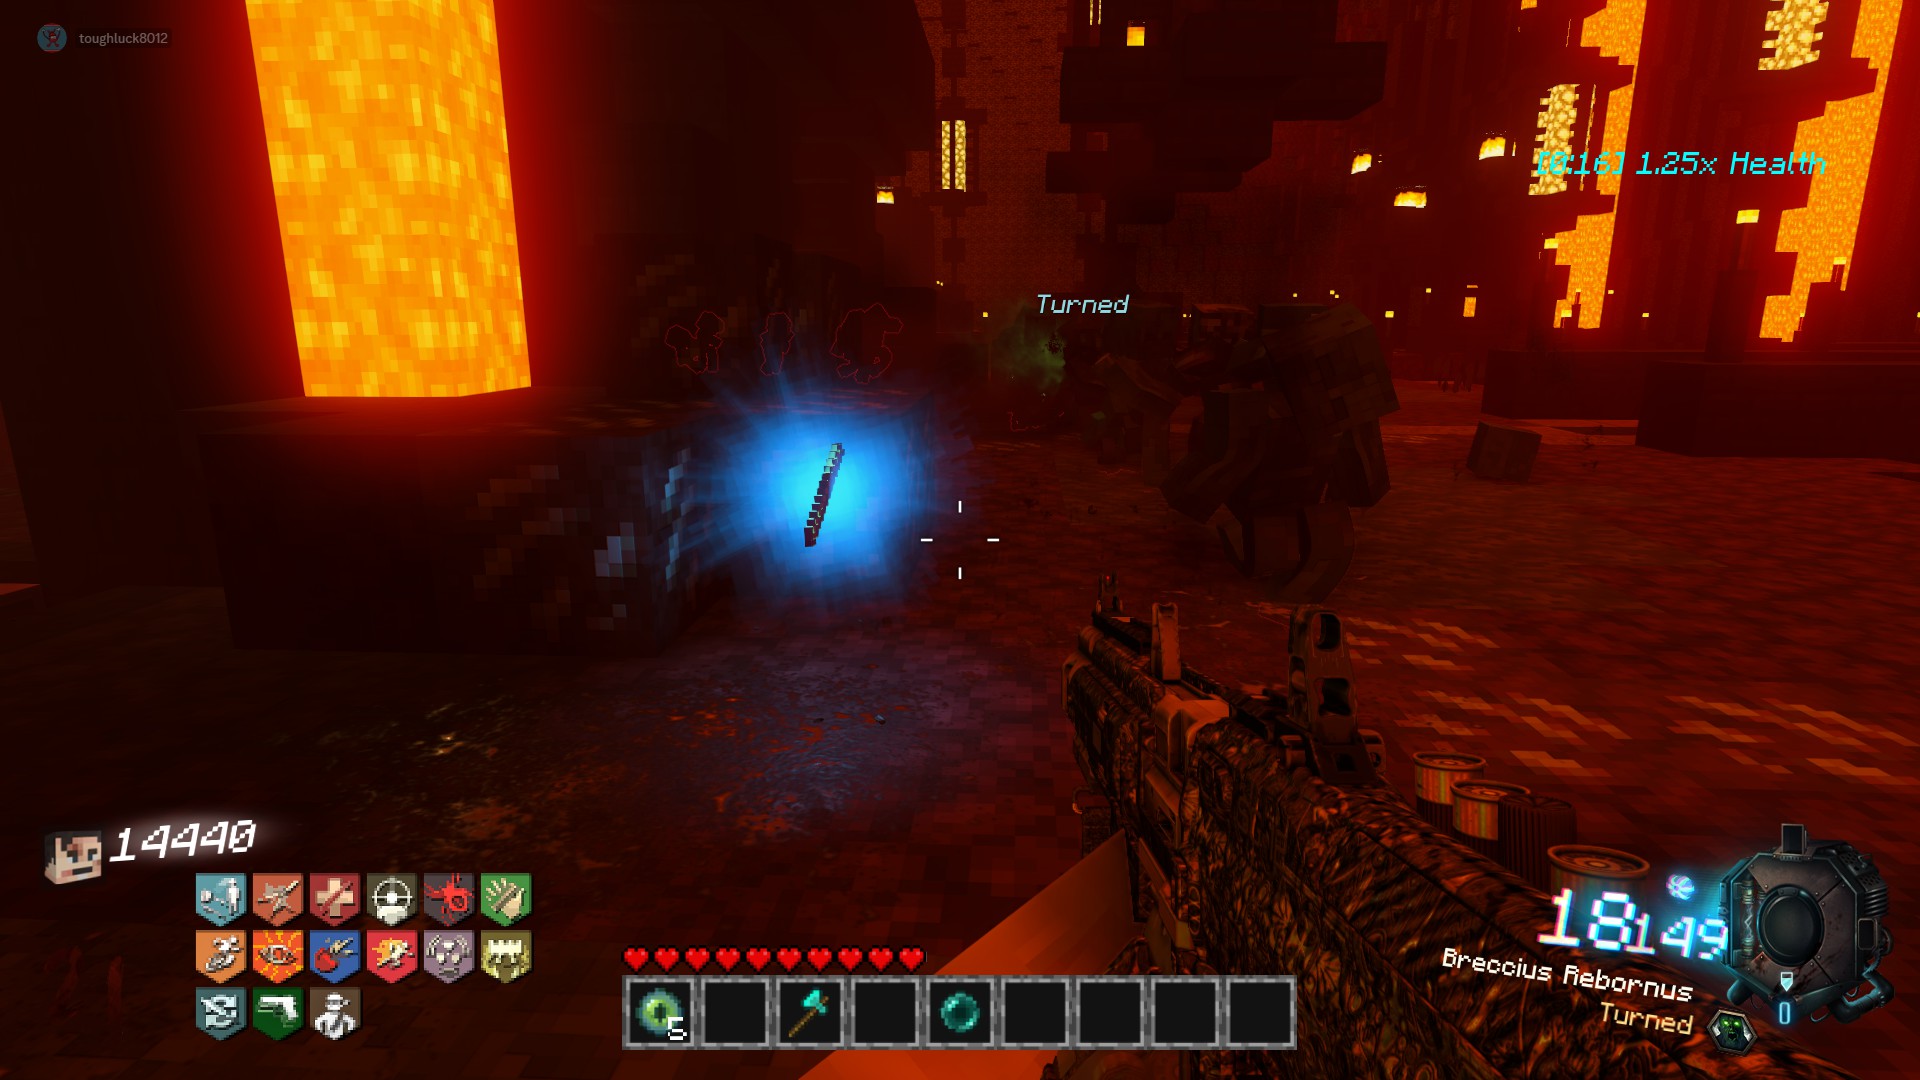
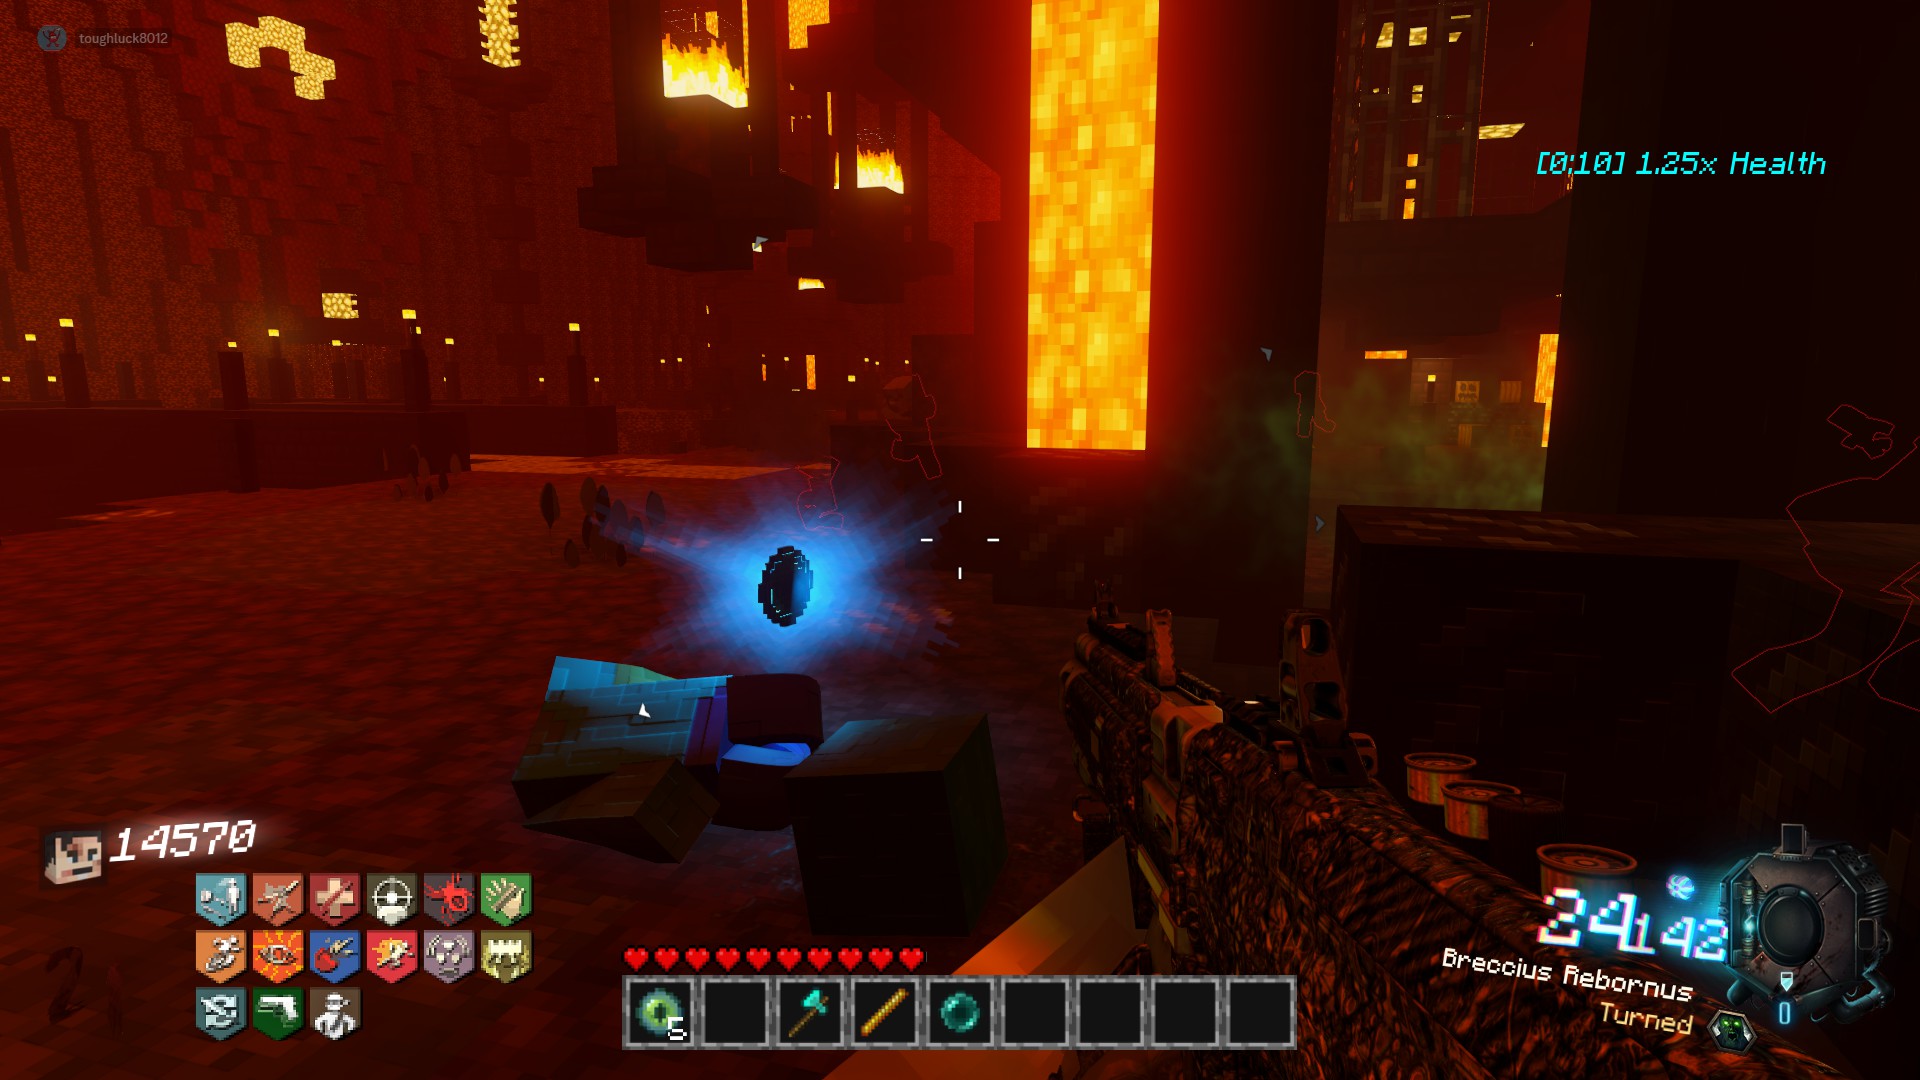
This step can be done at any point throughout the easter egg. It is smart to activate your 50 Nether kills Ender Chest Challenge and work on that in the background while hunting for these drops. Return to the Power Villager and turn in each of the items you collected. You will be rewarded an Eye of Ender for turning in the Blaze Rods, and another for turning in the Ender Pearls.
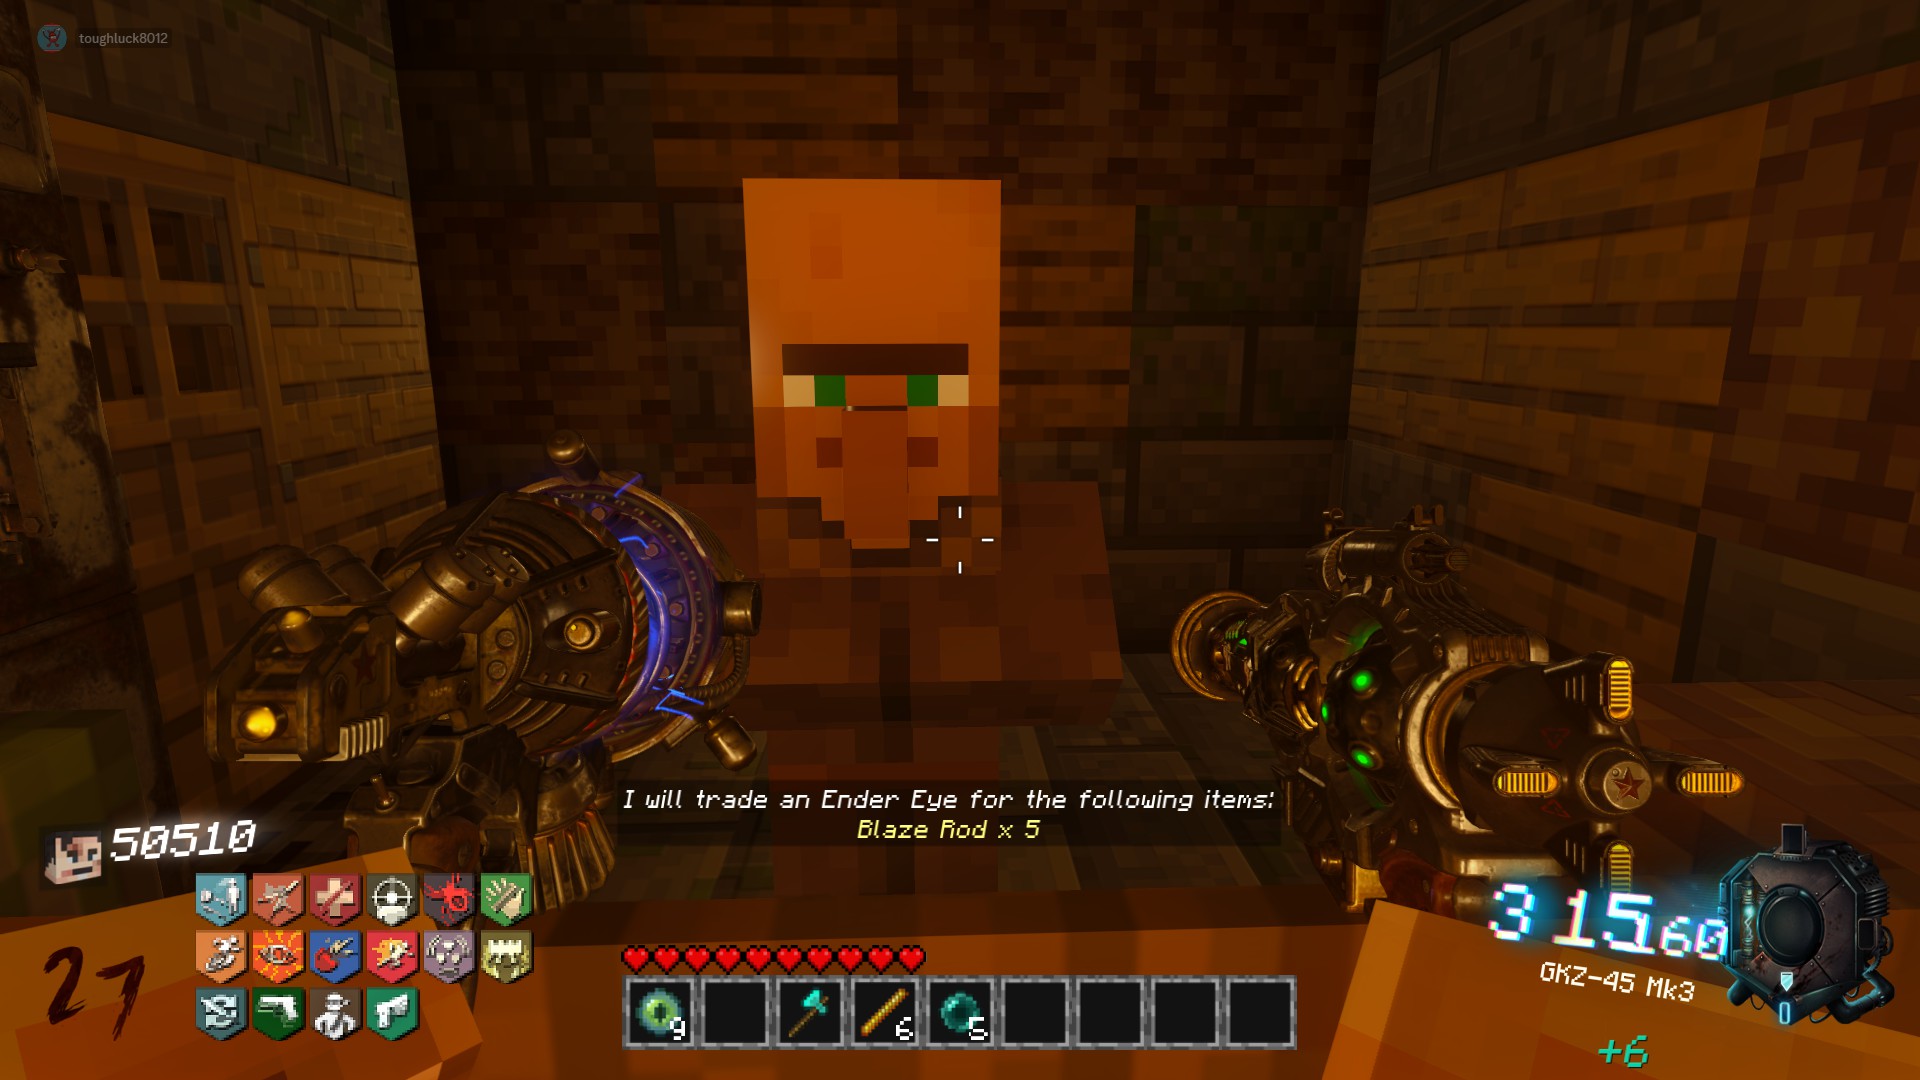
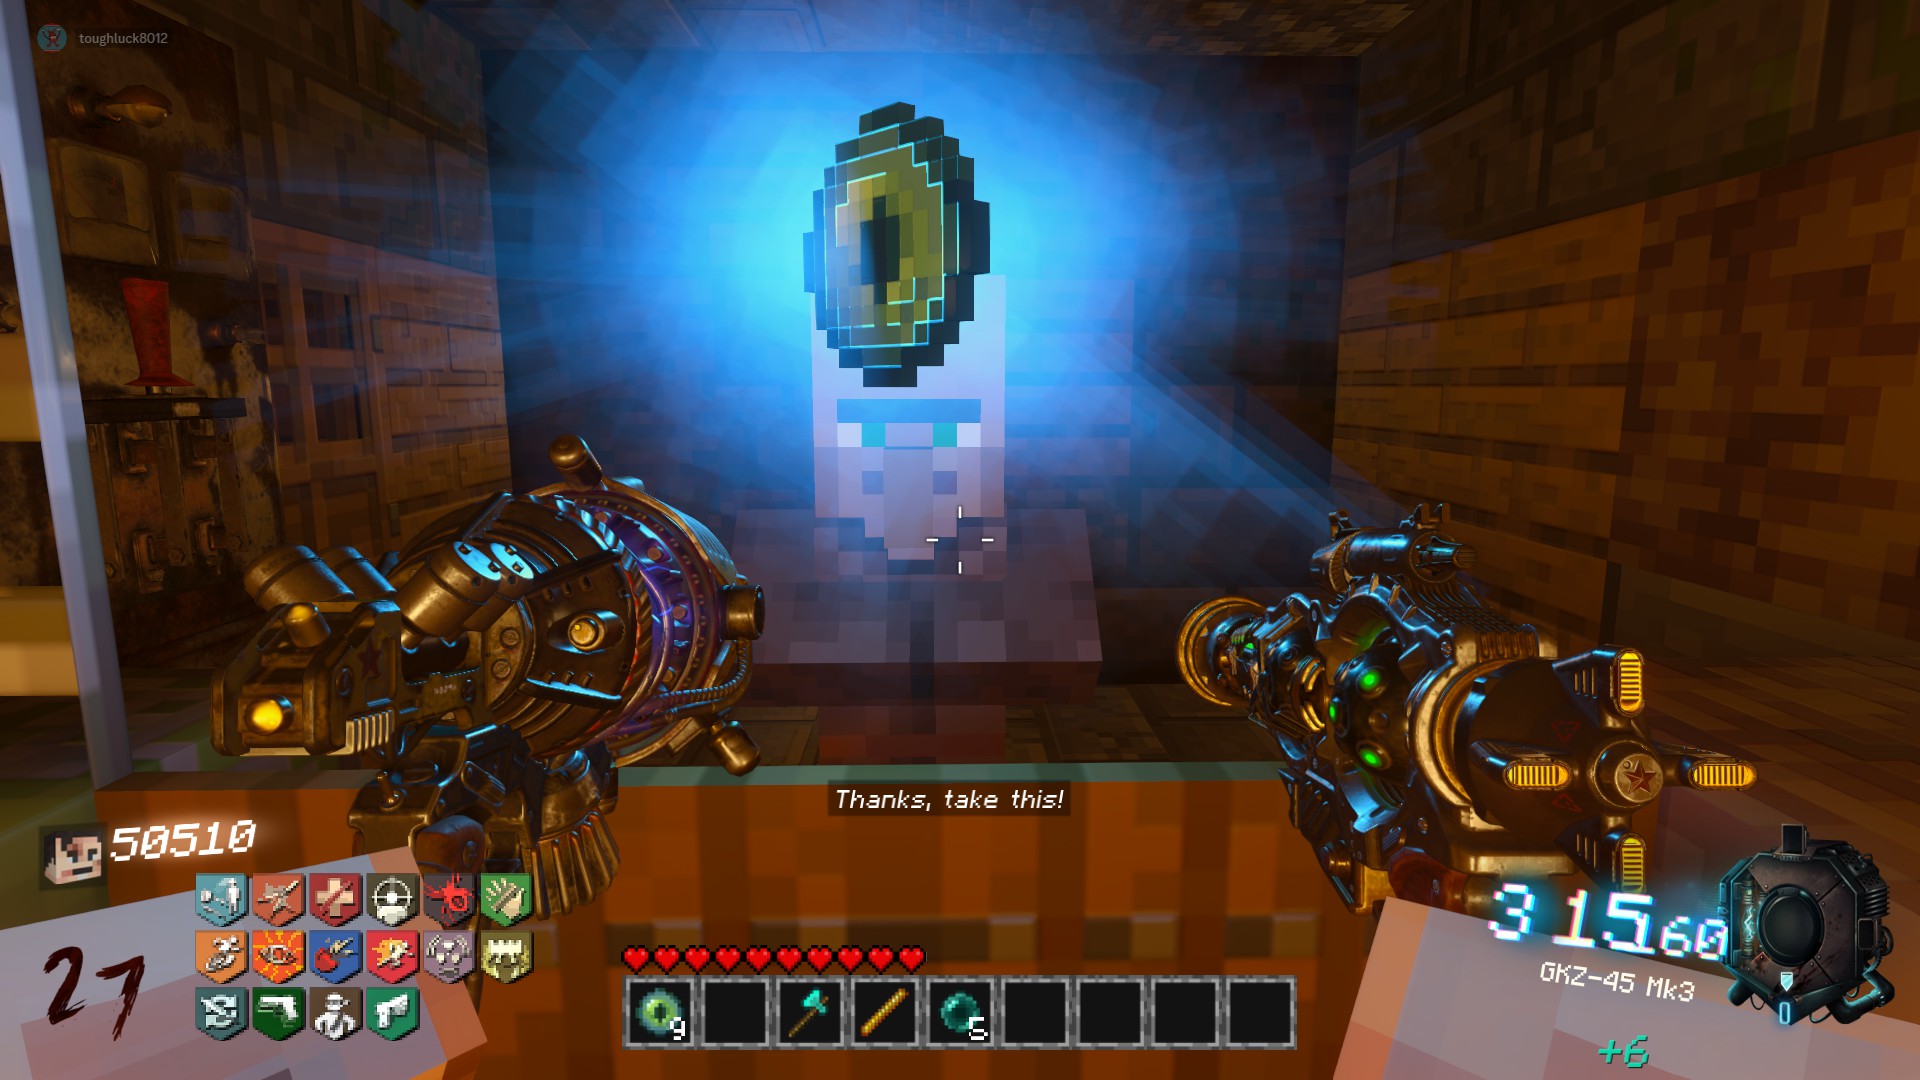
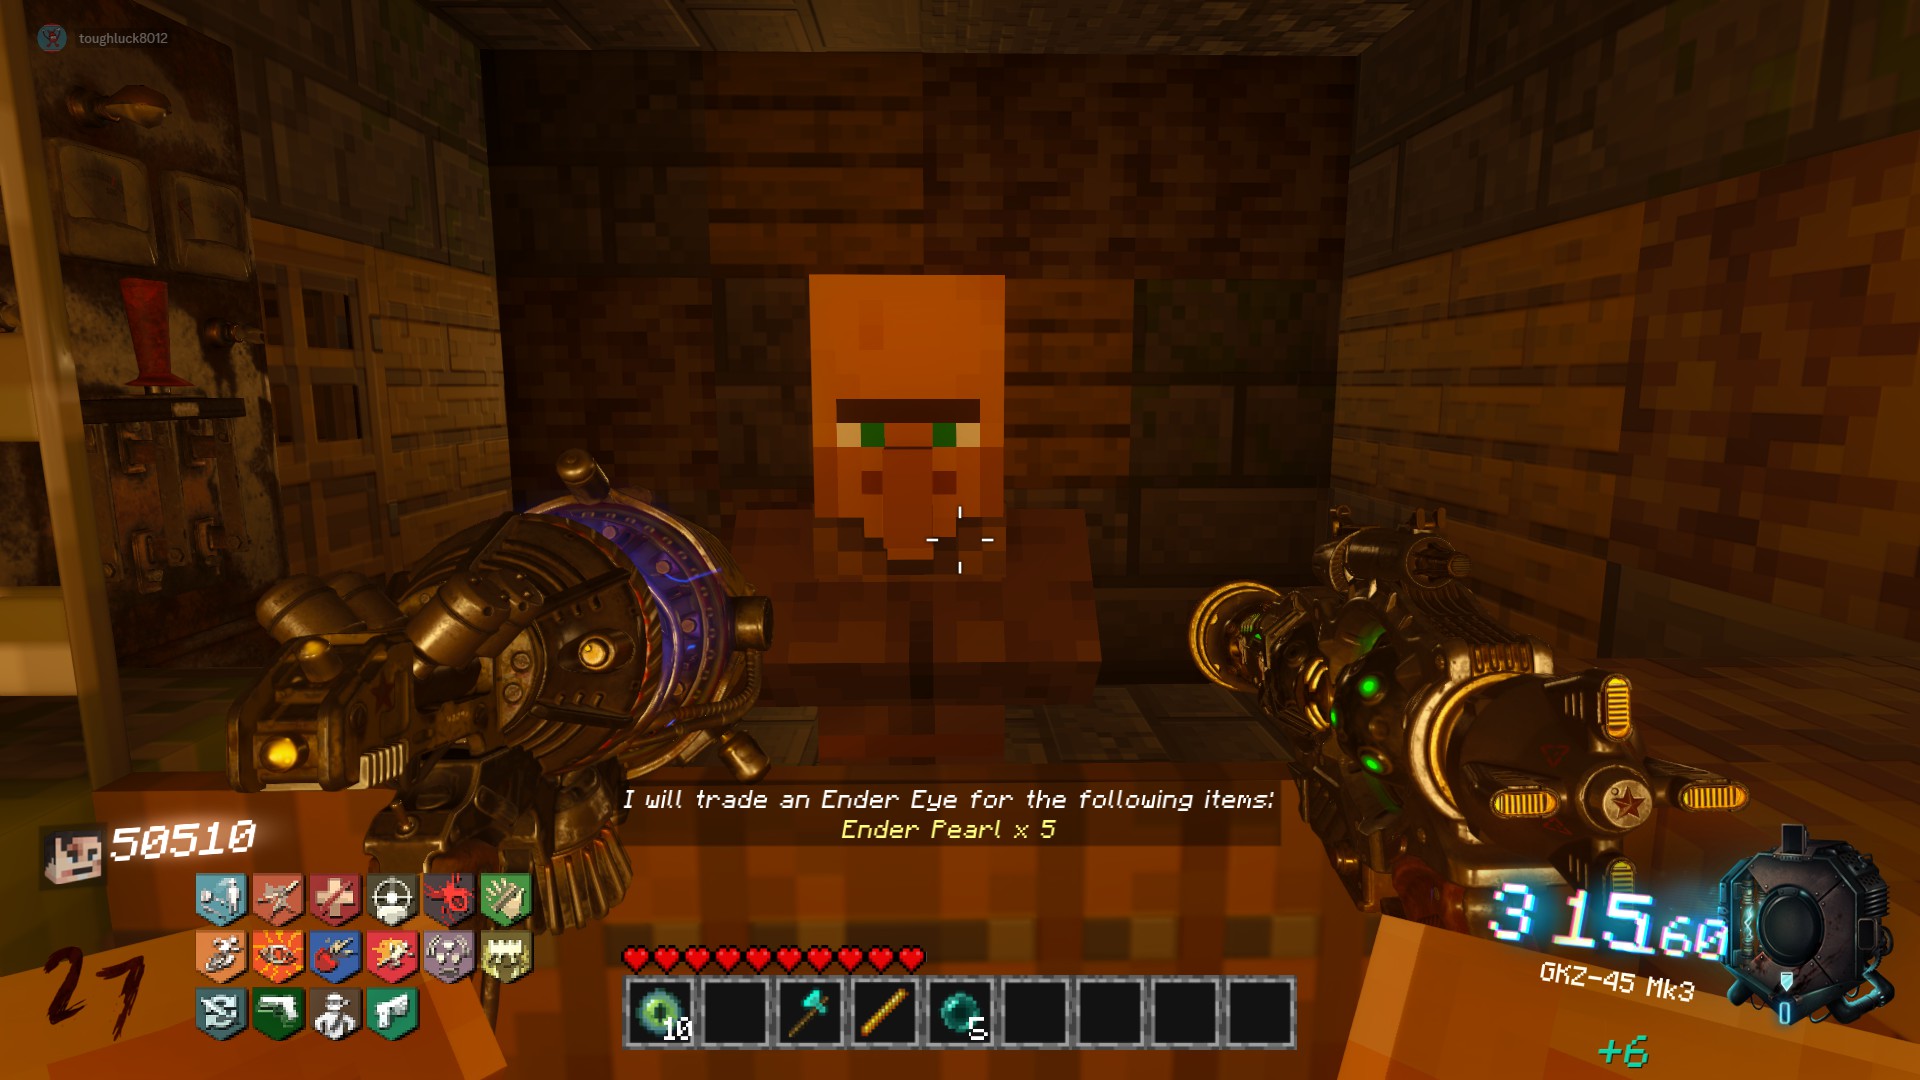
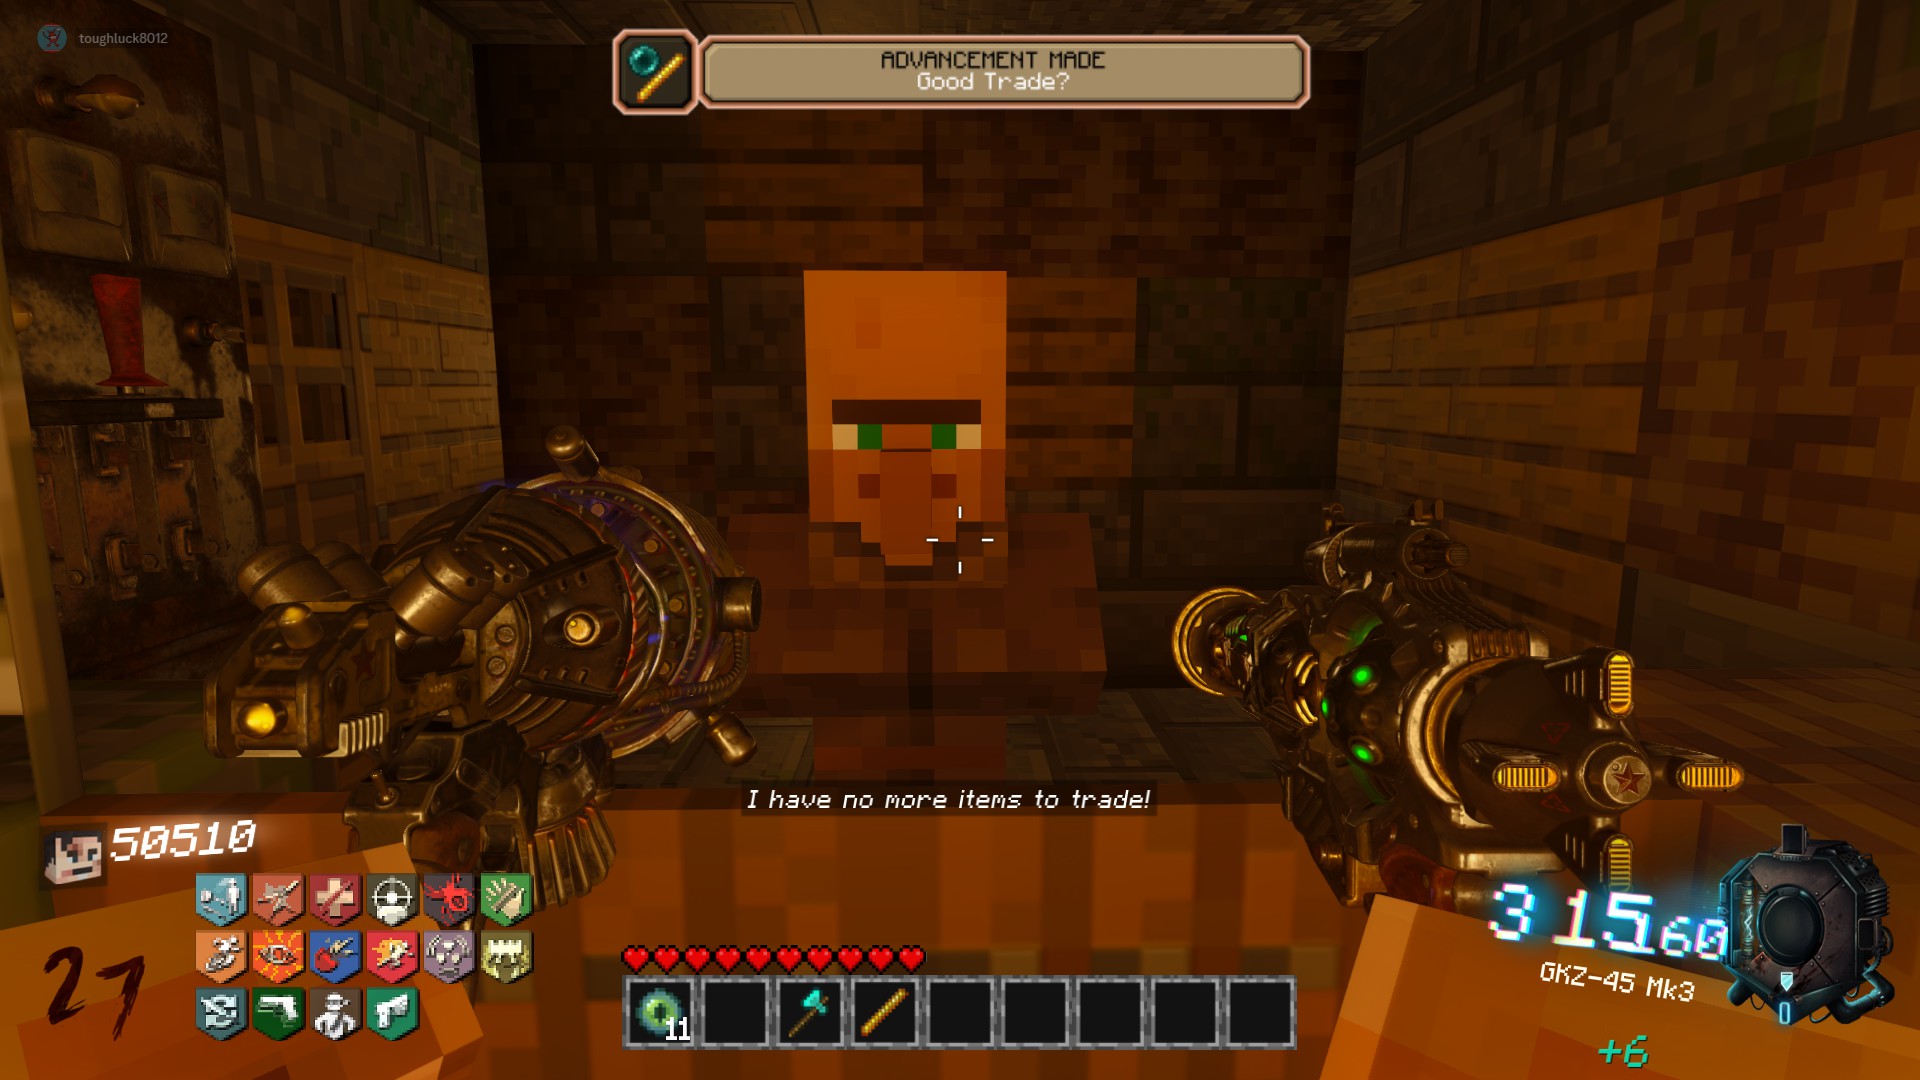
Main EE Step 9: Obtain All 12 Plushie Locations
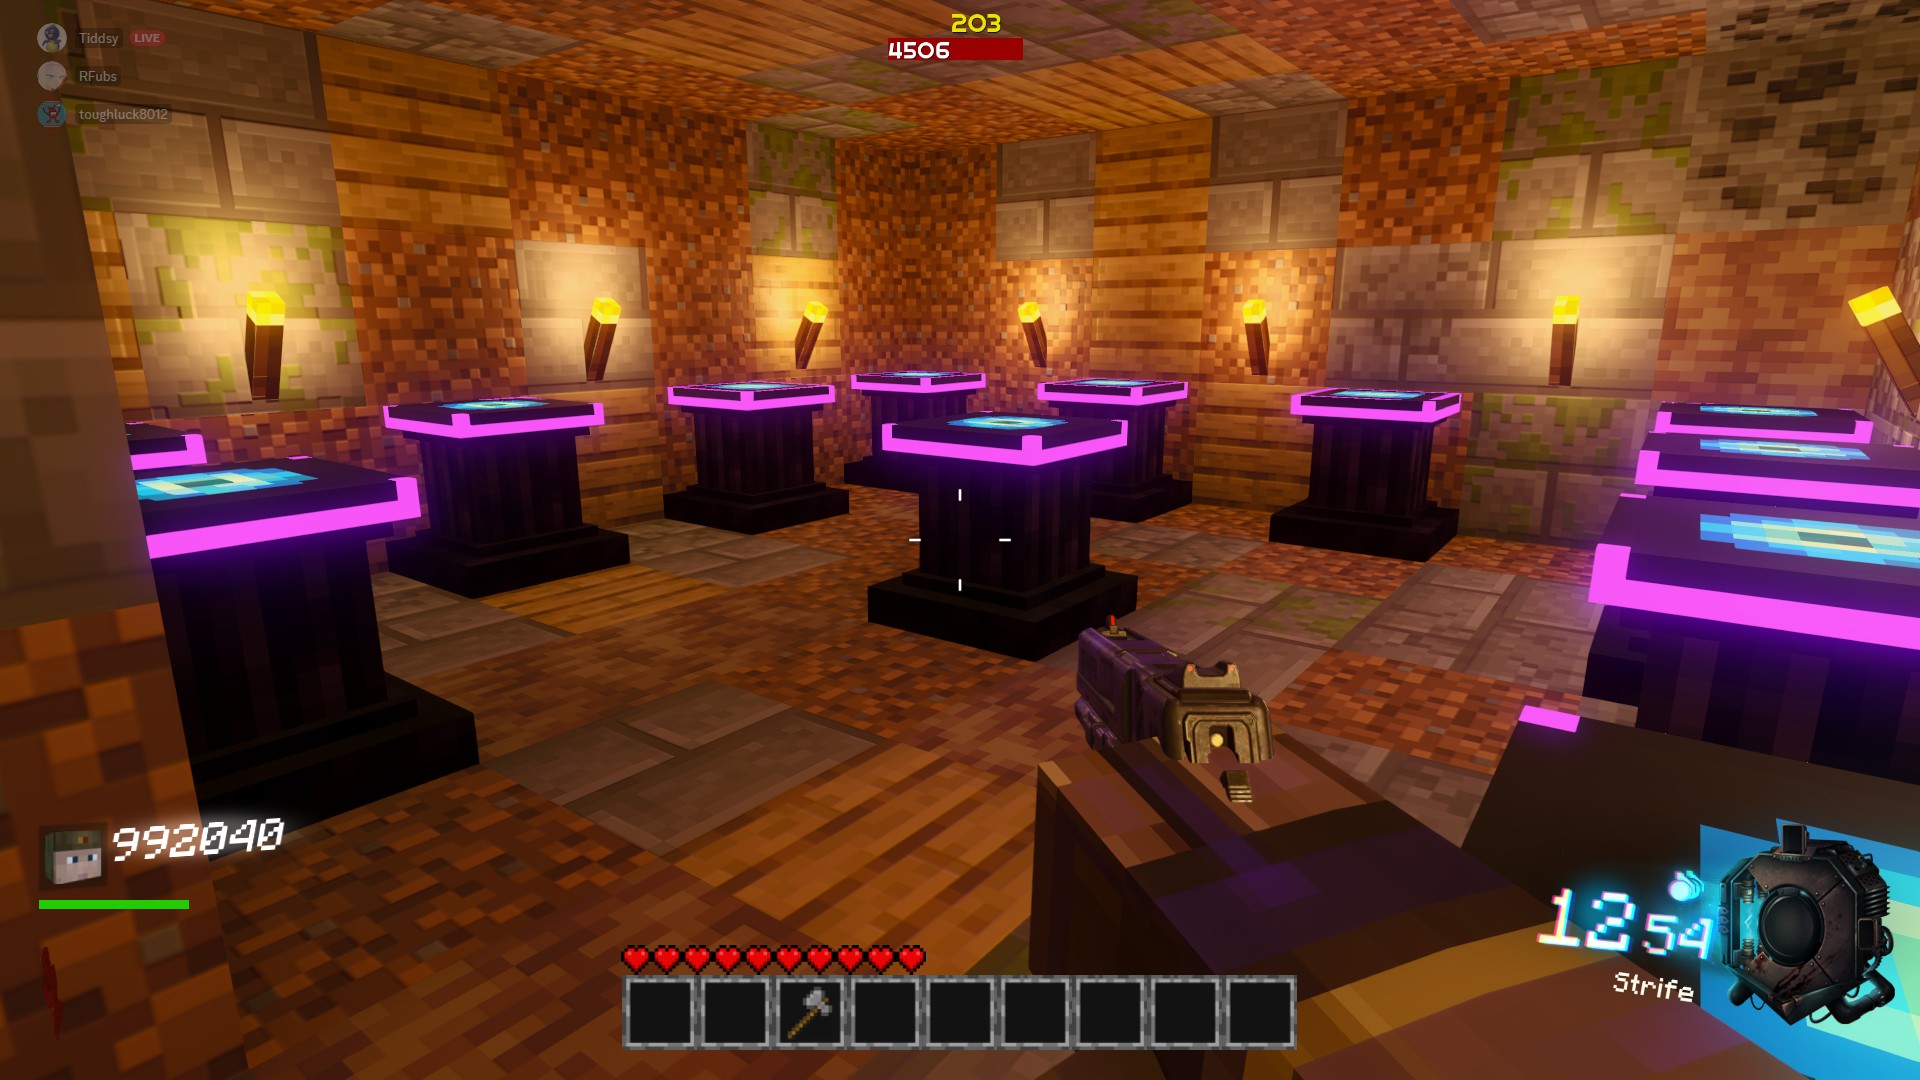 Panda:
In the corner of the spawn room, by the first door
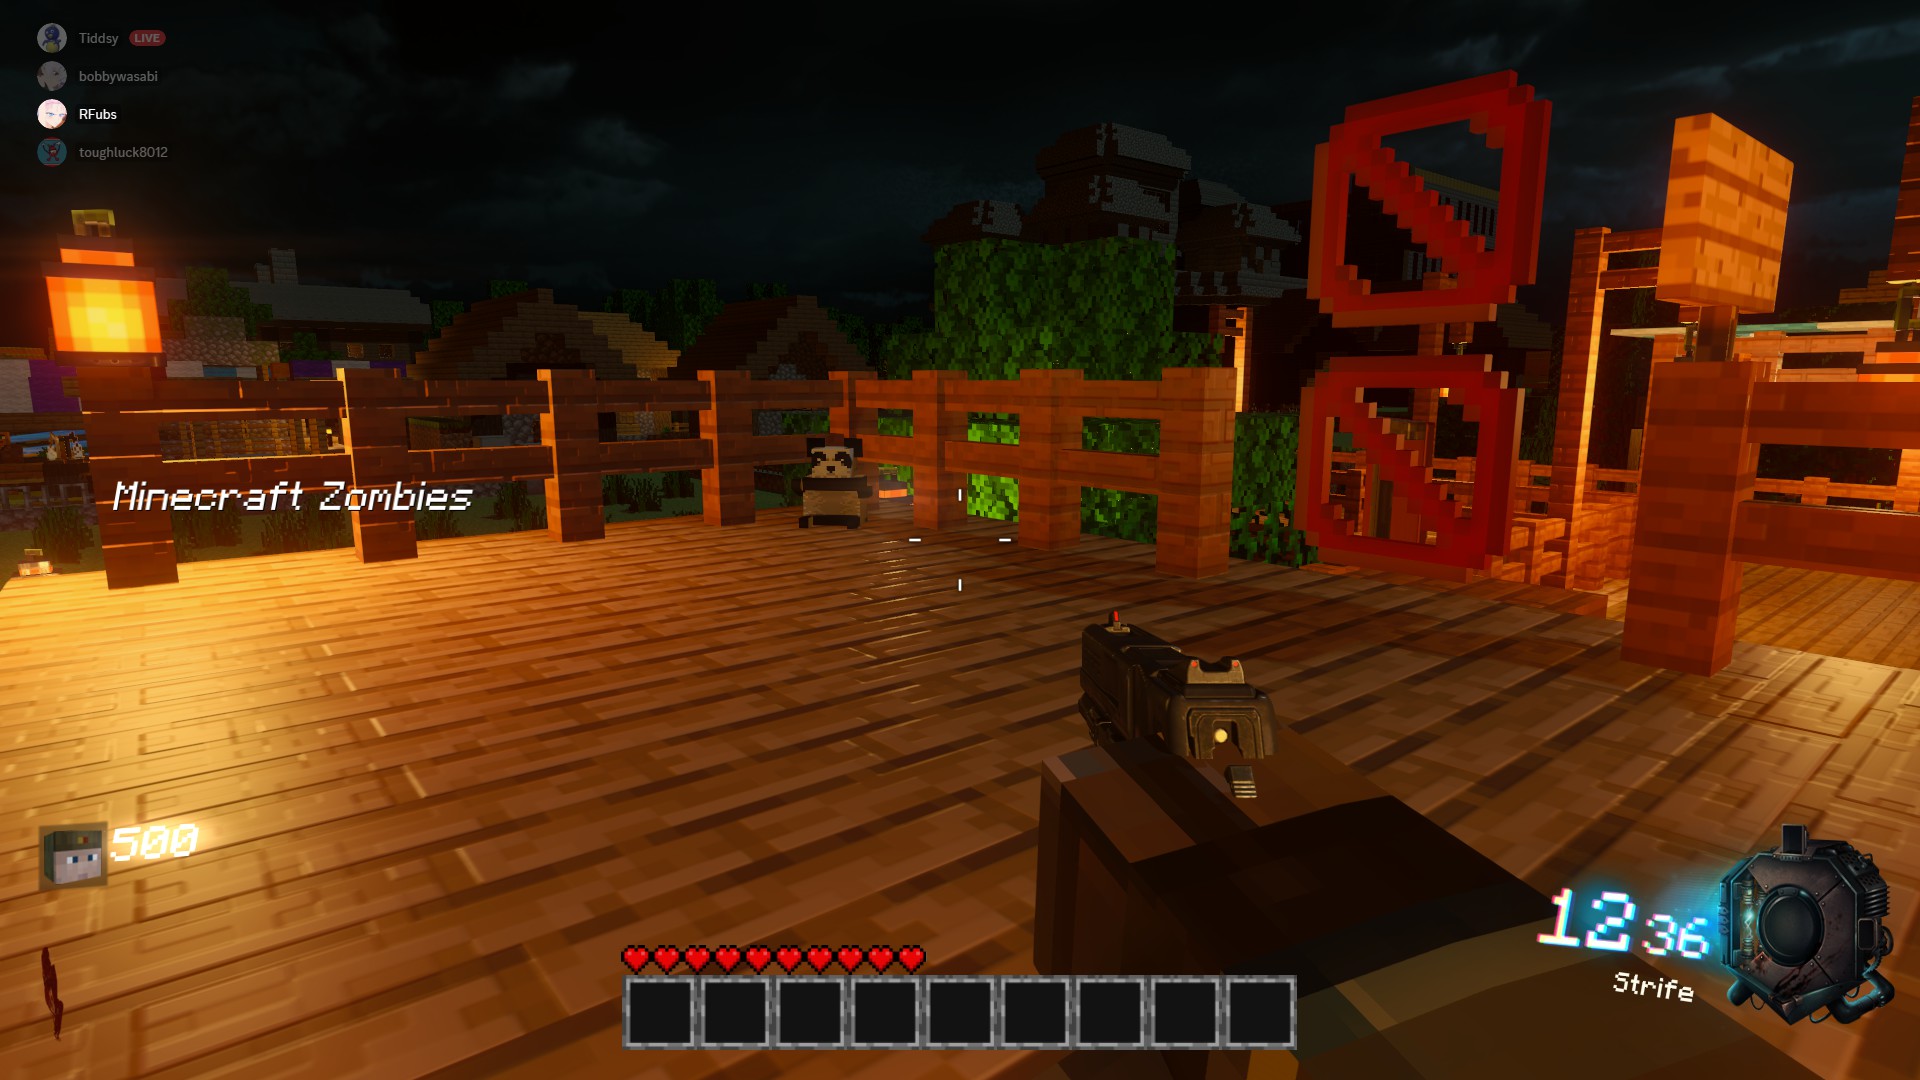 Cat:
Cat:On the corner of the dock by the Deadshot Daquiri and Cave Switch building
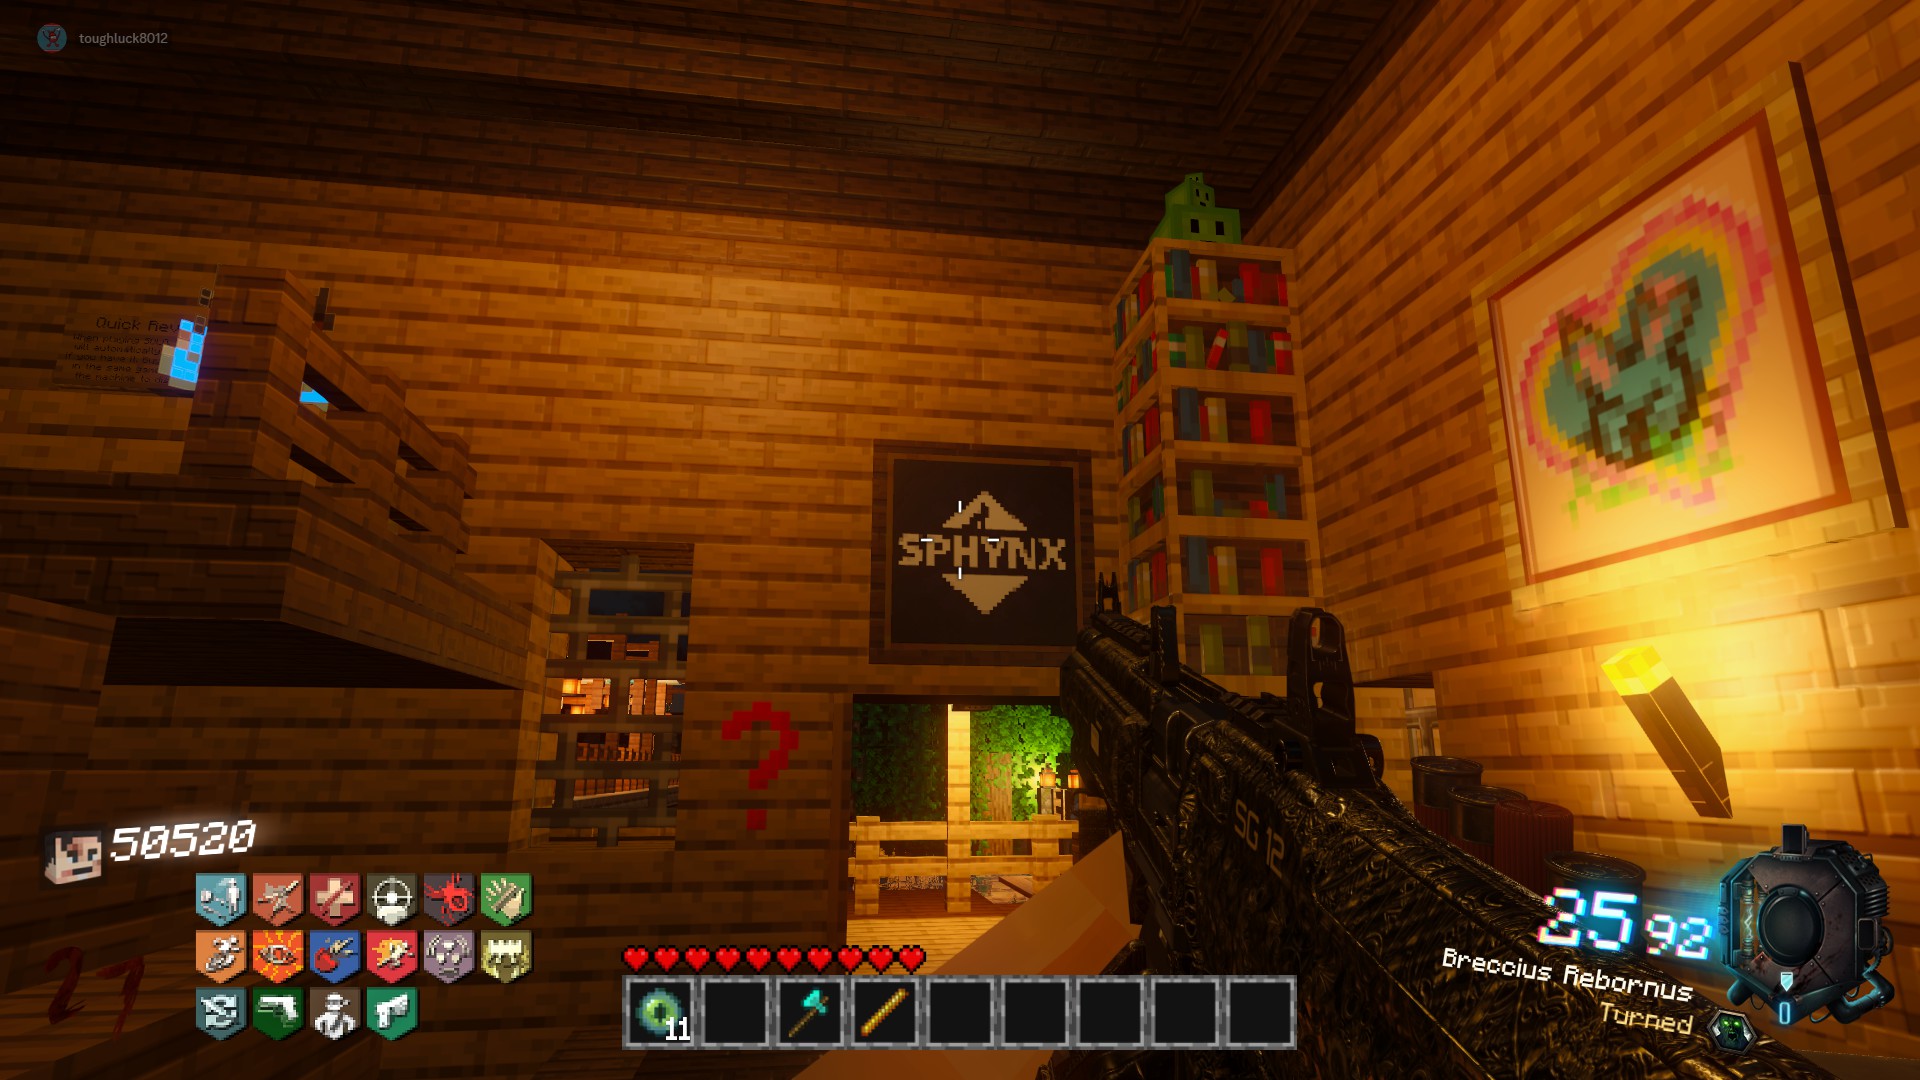
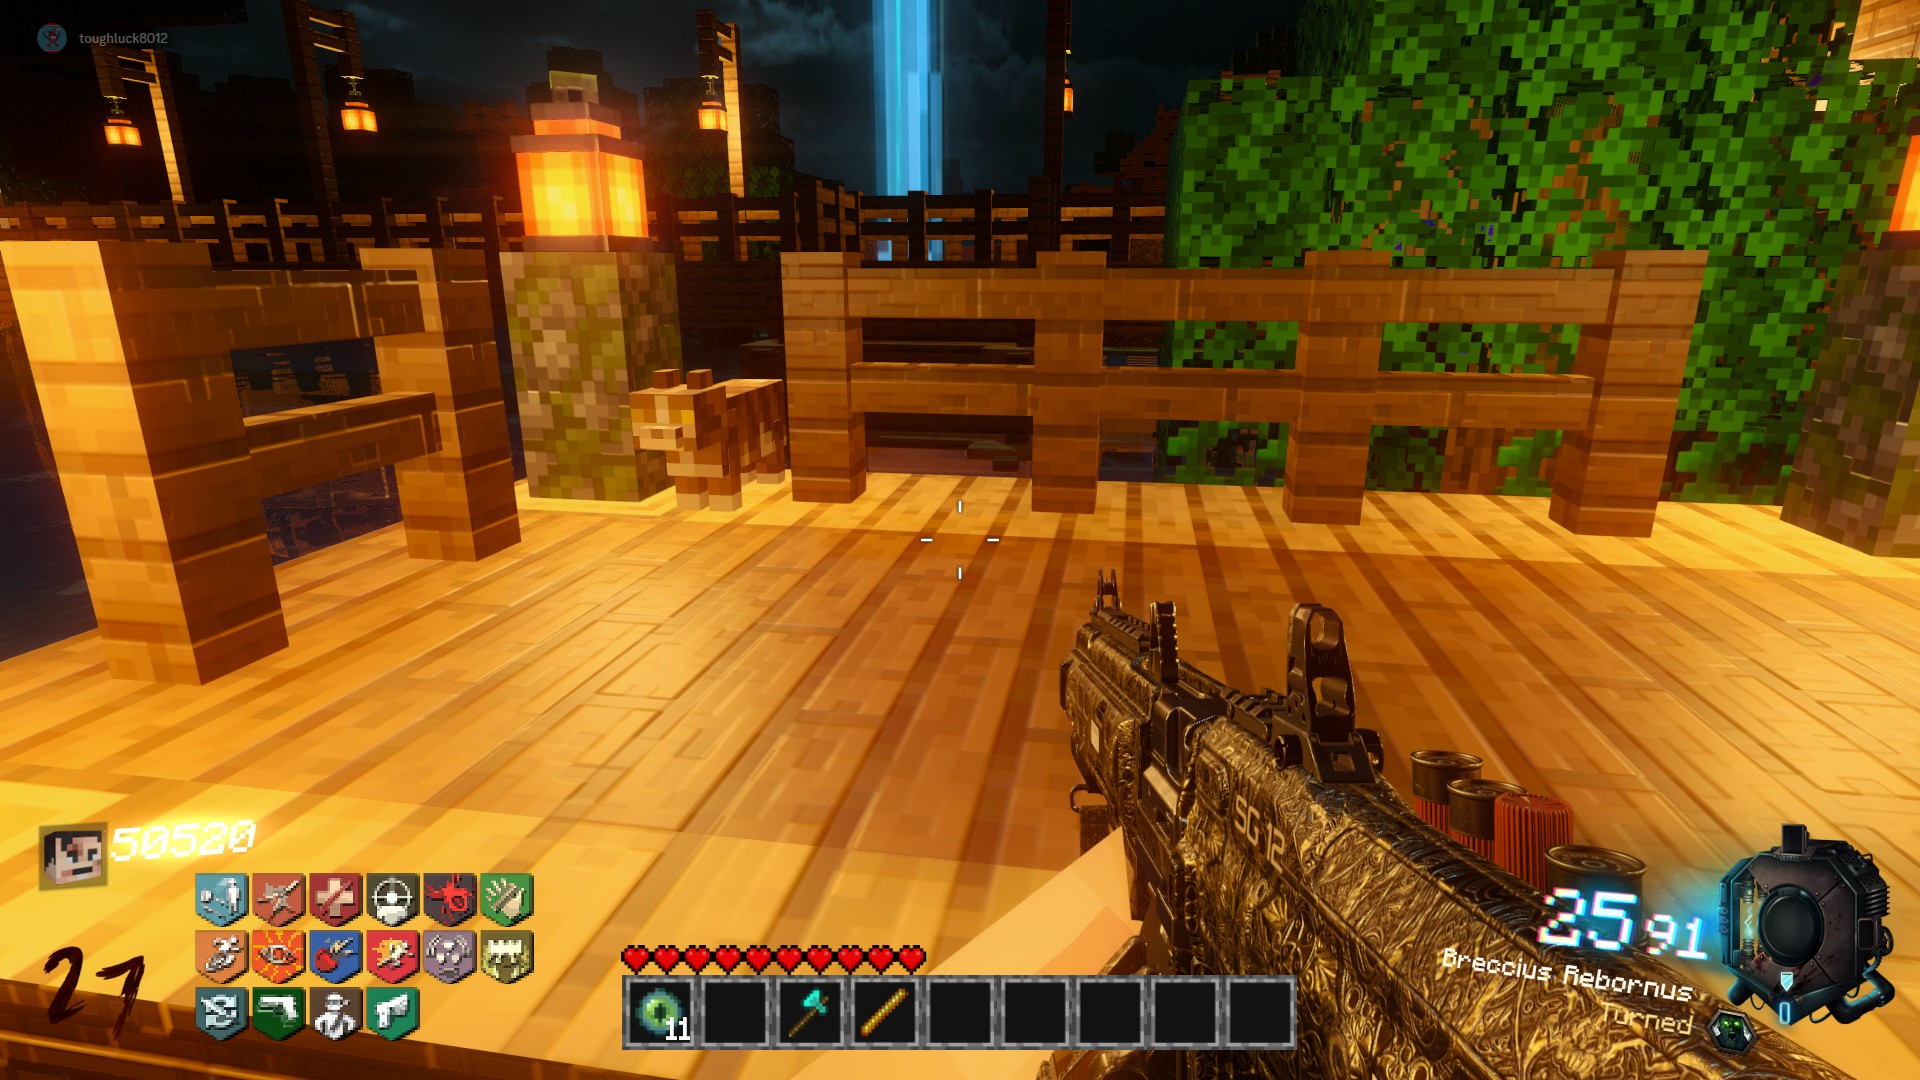 Slime:
In the Cave Entrance and Quick Revive Building on top of the bookshelves
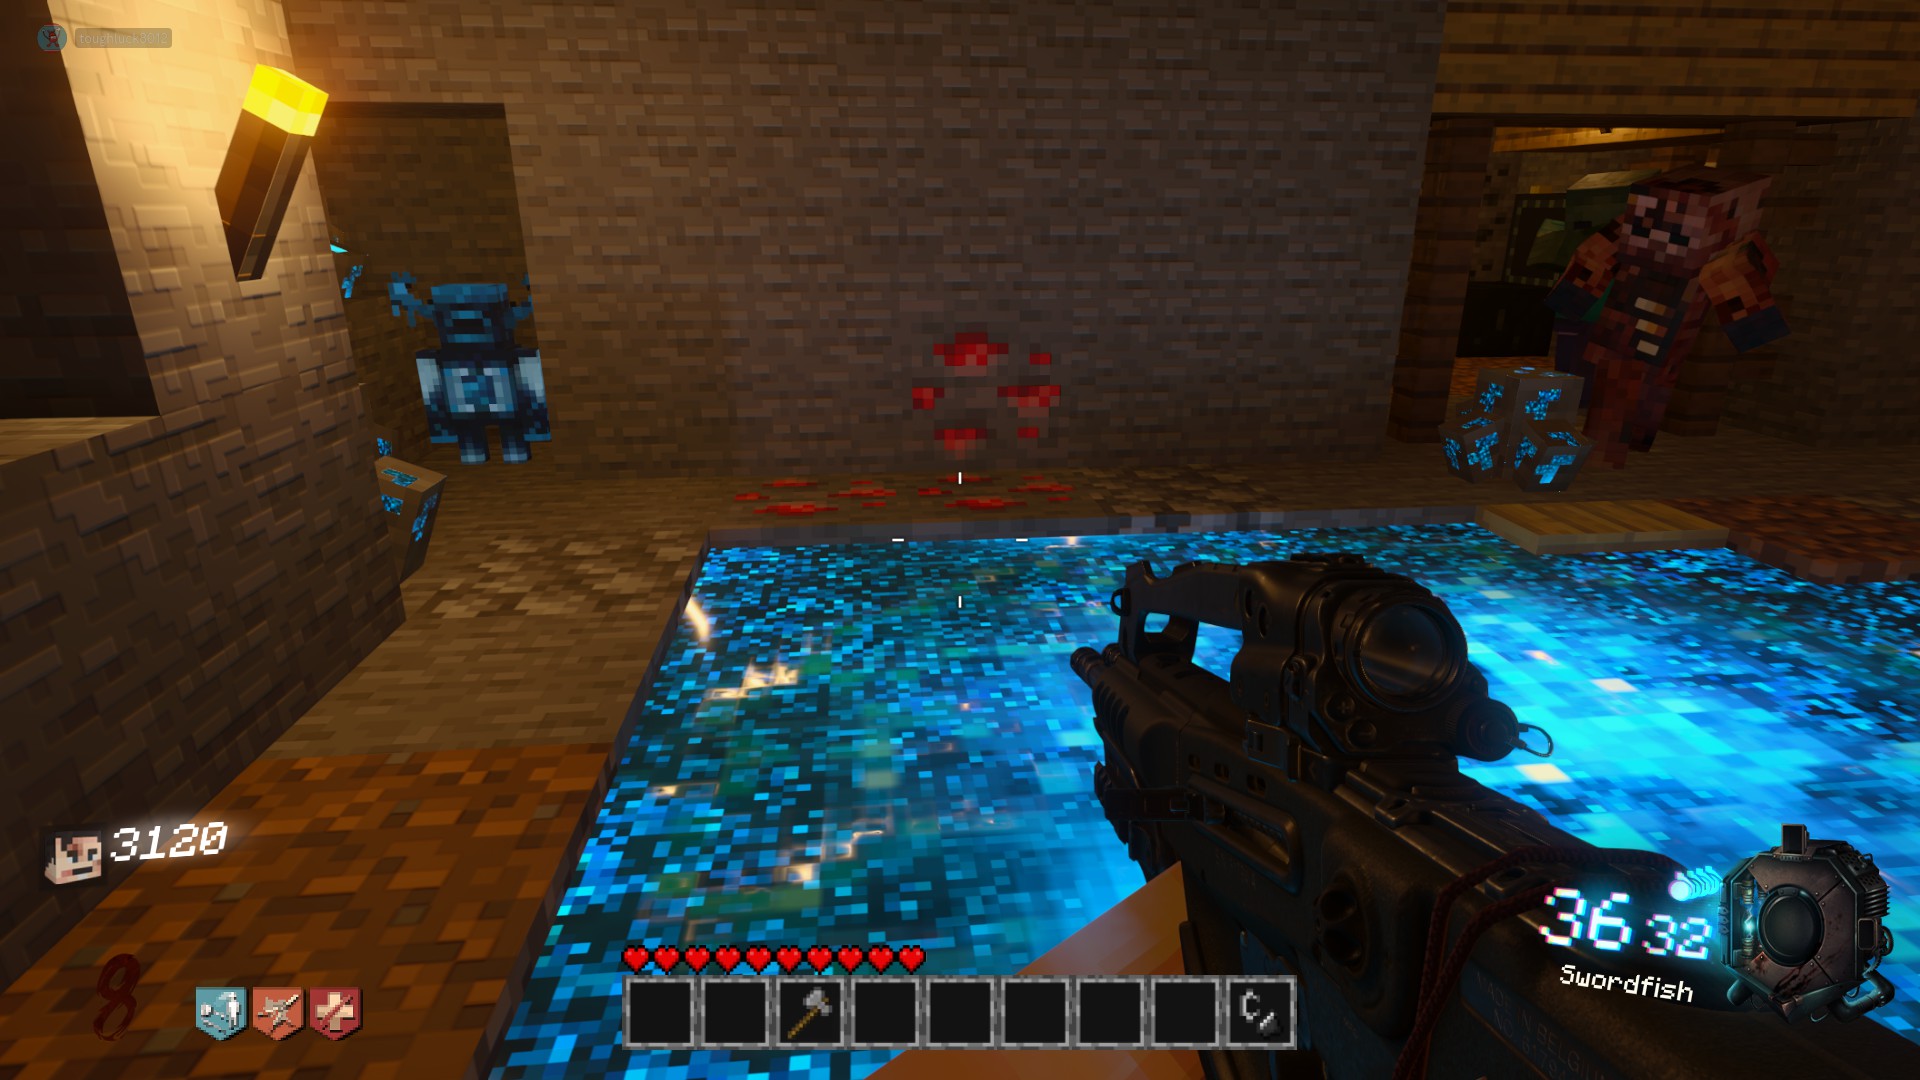
 Warden:
In the corner of the Blue Pool Room, at the beginning of the Cave Entrance, by the Anvil Quest Villager and Ender Chest Challenge
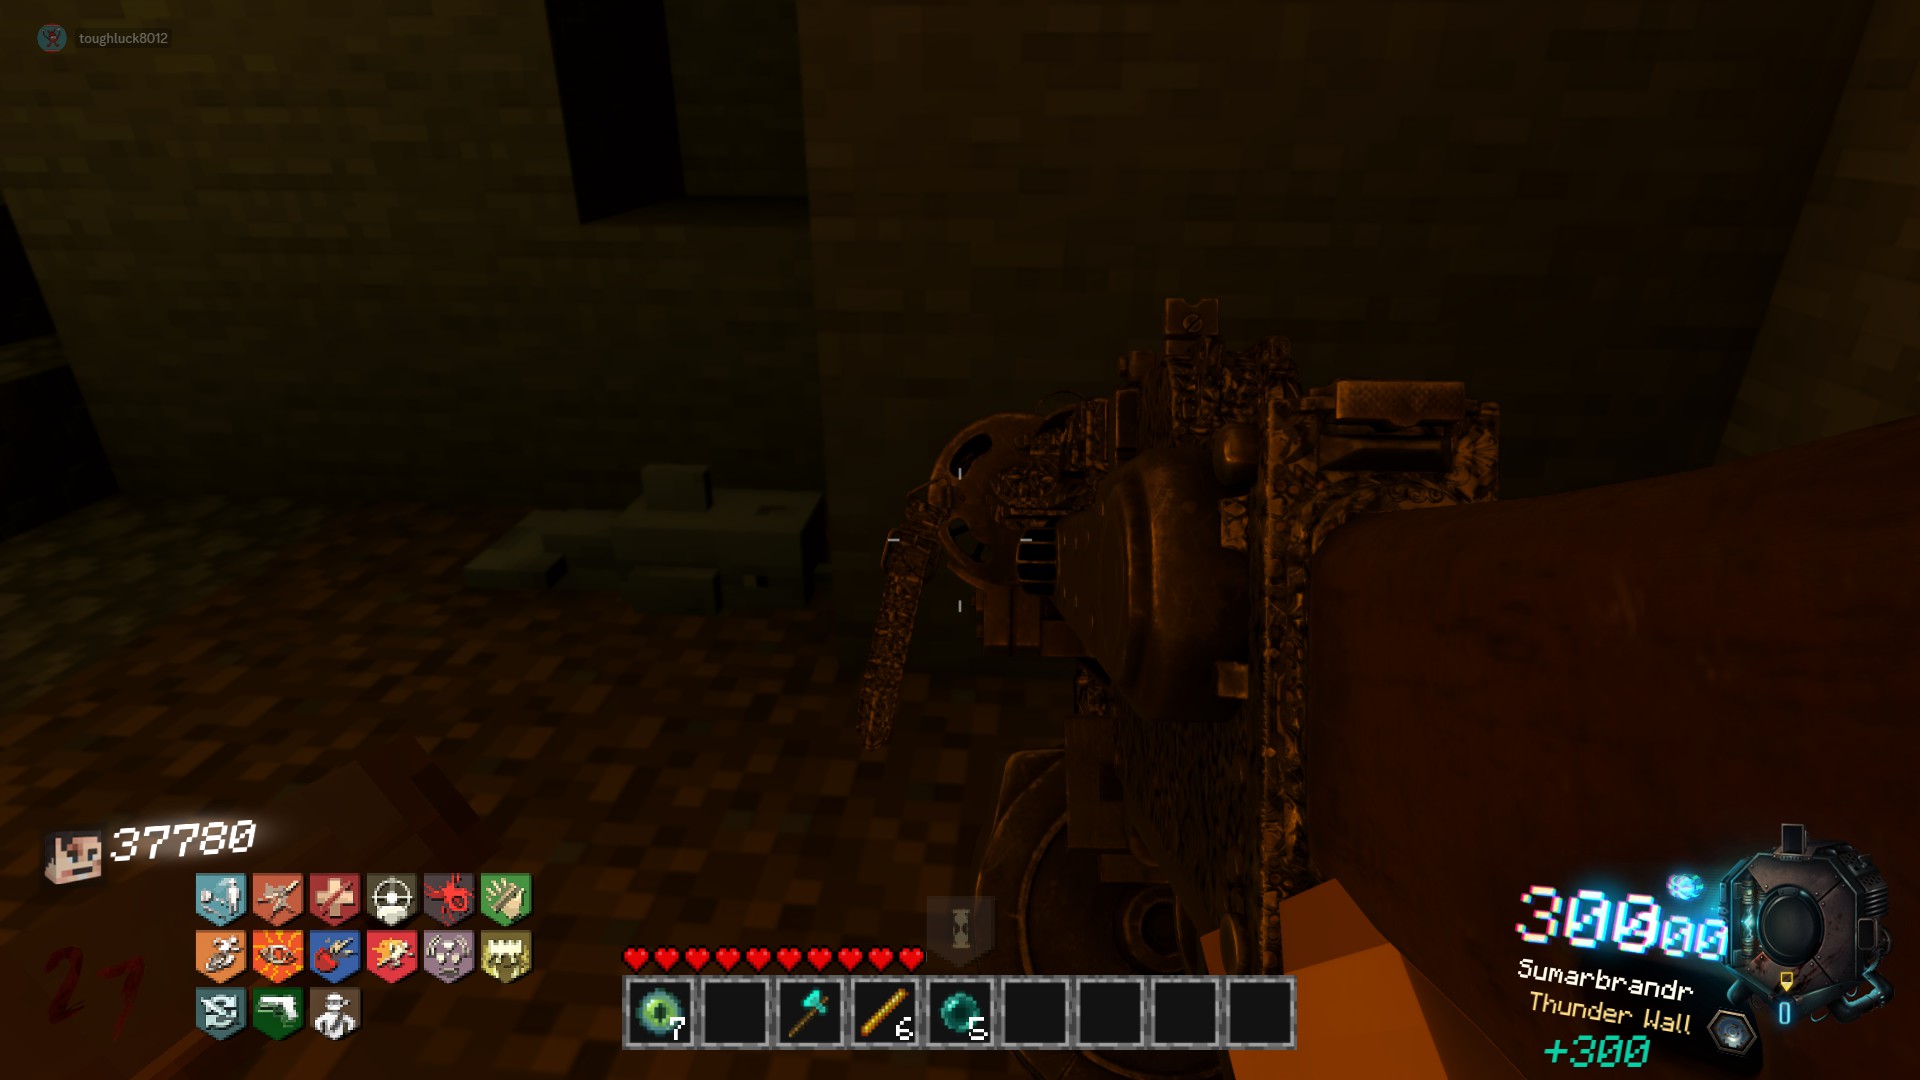
Dolphin:
In the Water Pool next to the Pink Teleporter and campfire in the open cave area
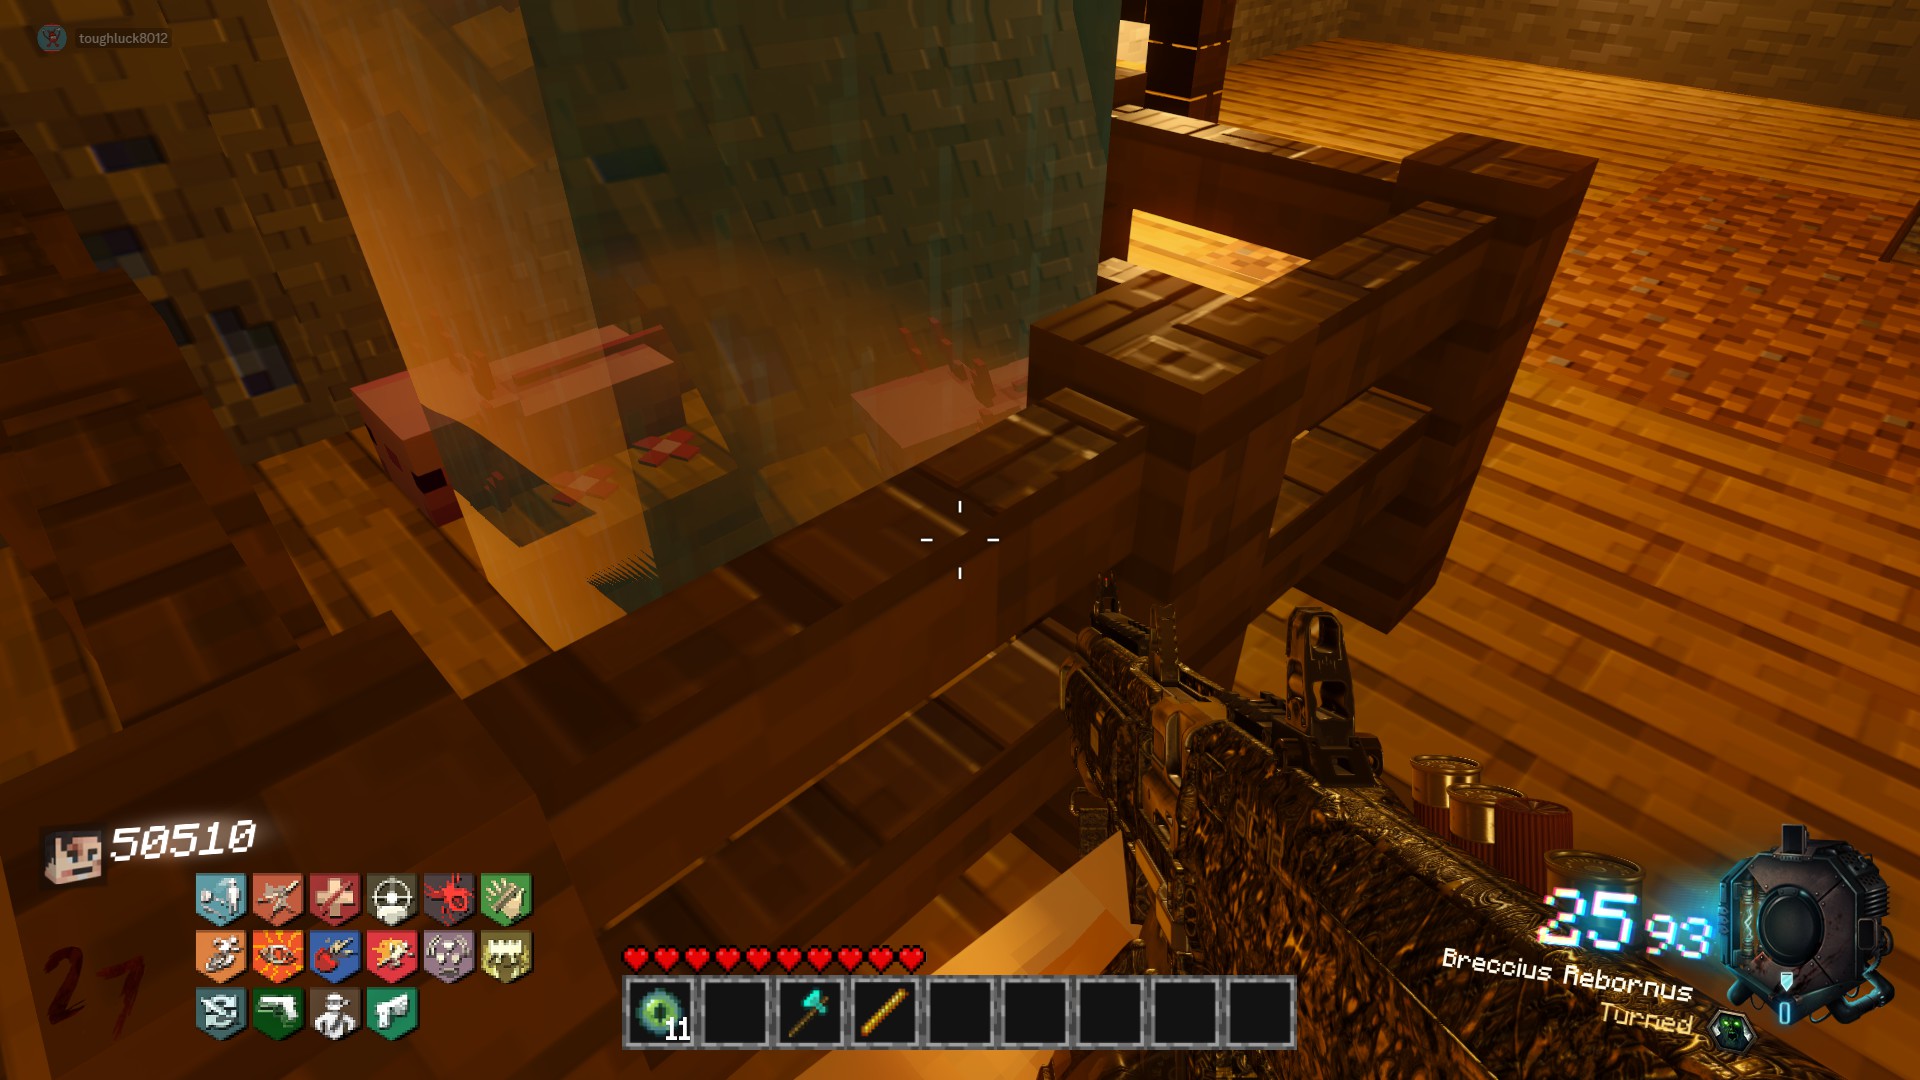
 Axolotl:
Behind the waterfall next to the crops in the open cave area, behind the huts, between the two short cuts to the mineshaft tunnel
 Snow Golem:
Next to the wishing well to the left of spawn on a pedestal, near the Blue Teleporter Trading Post
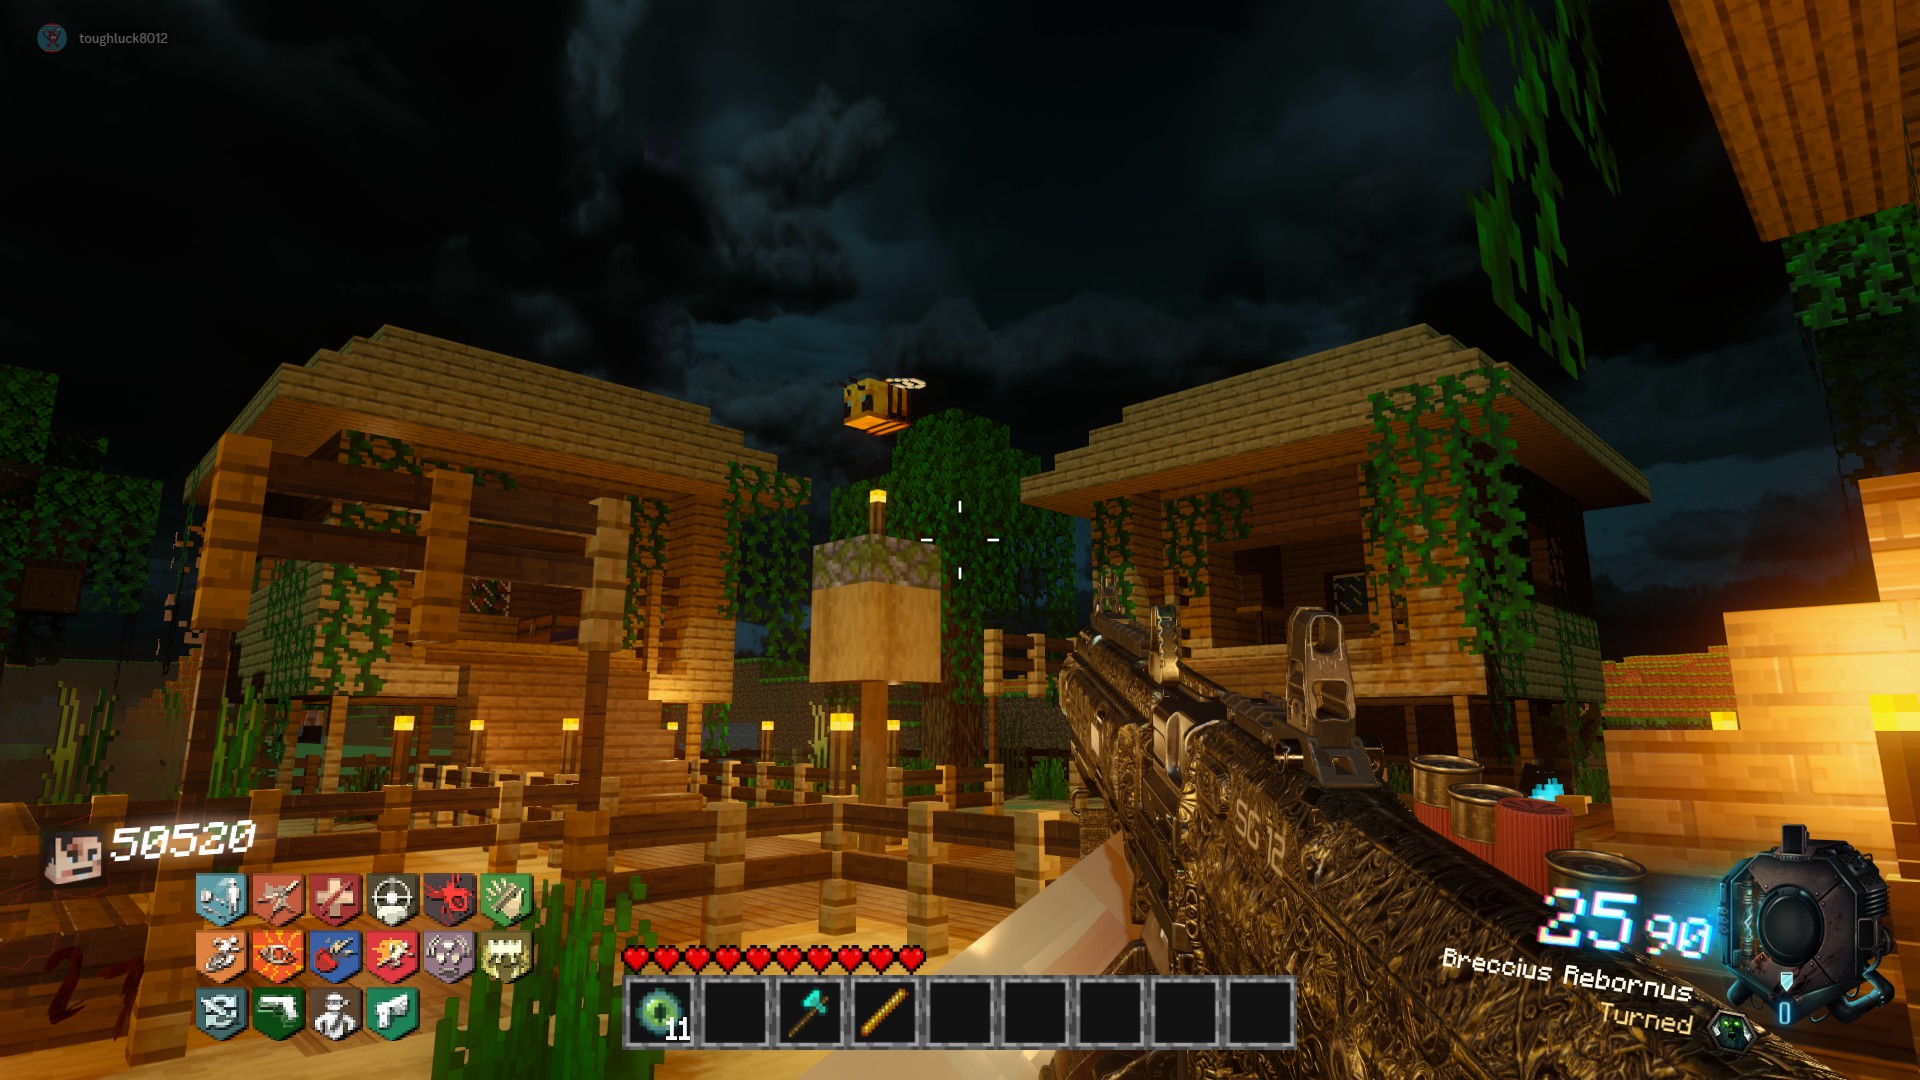
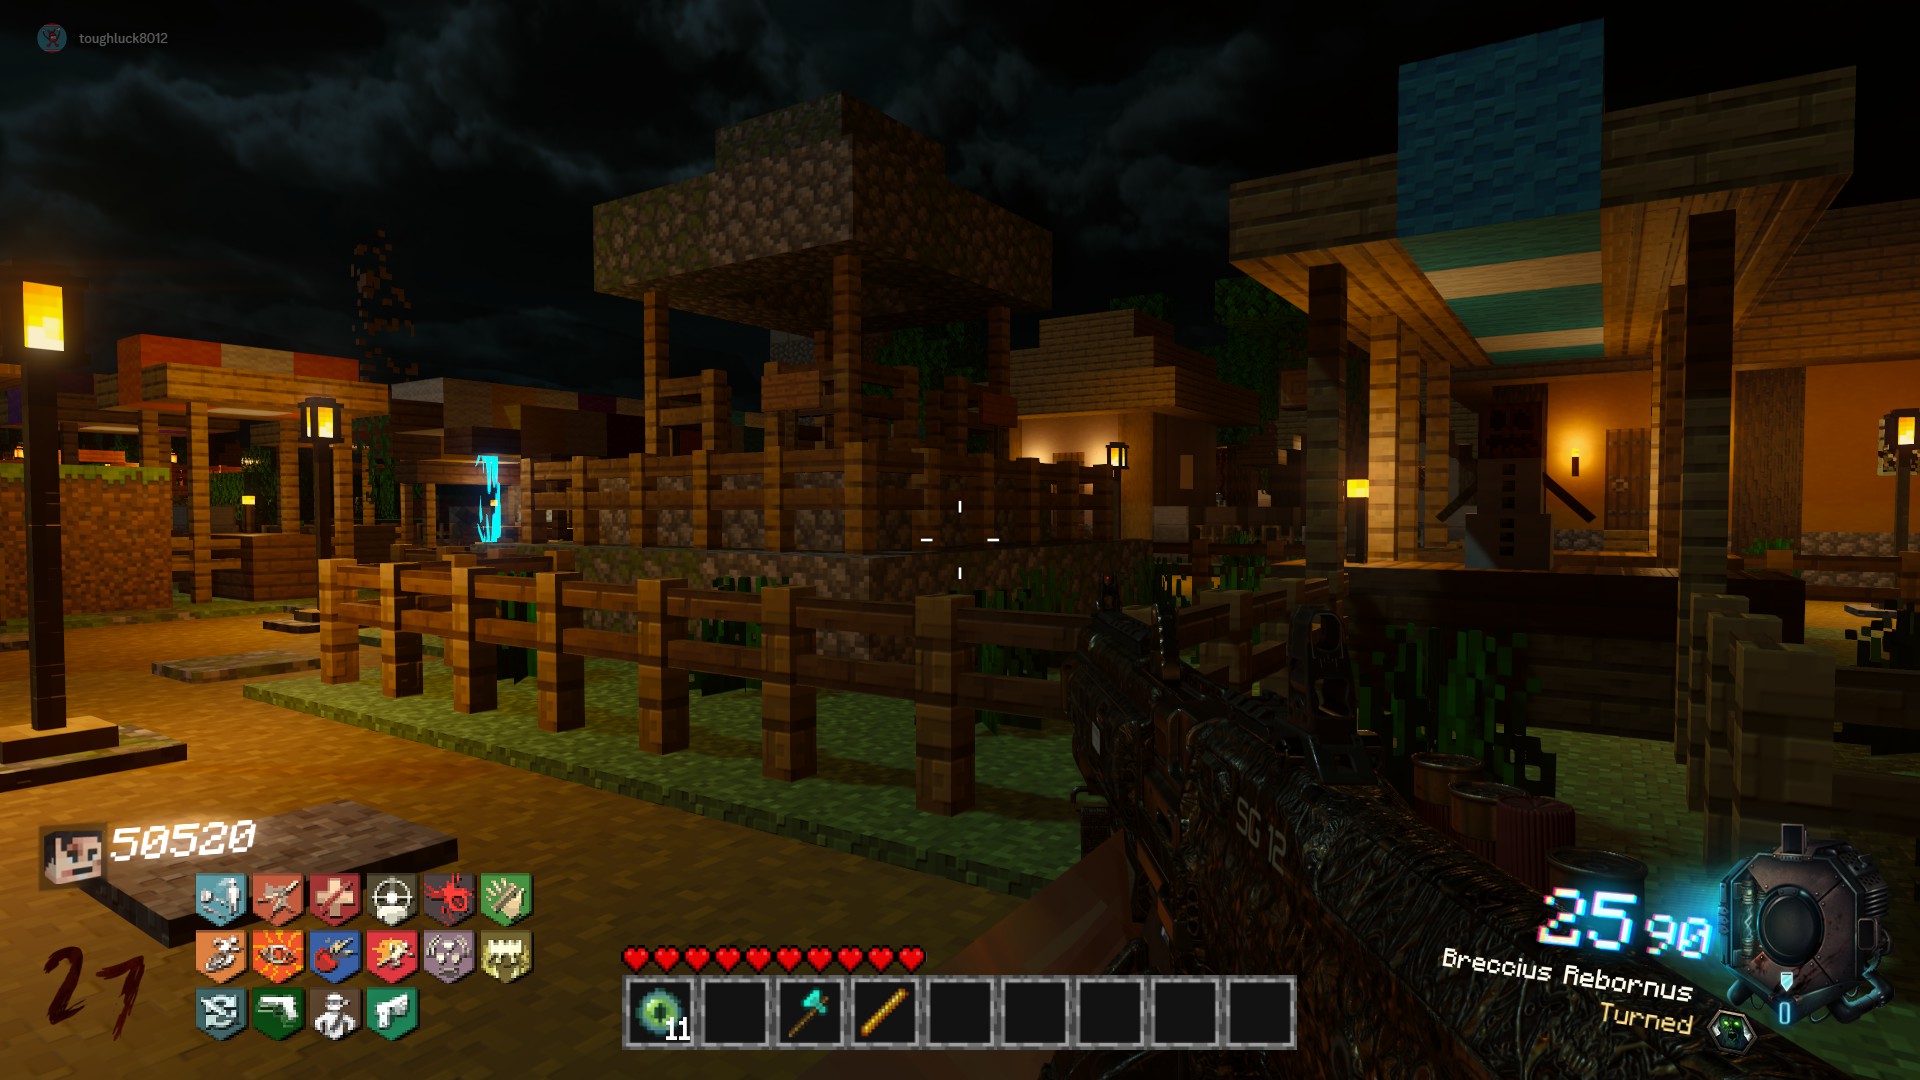 Bee:
Bee:Floating in the air above the bungalow area by campfire 3
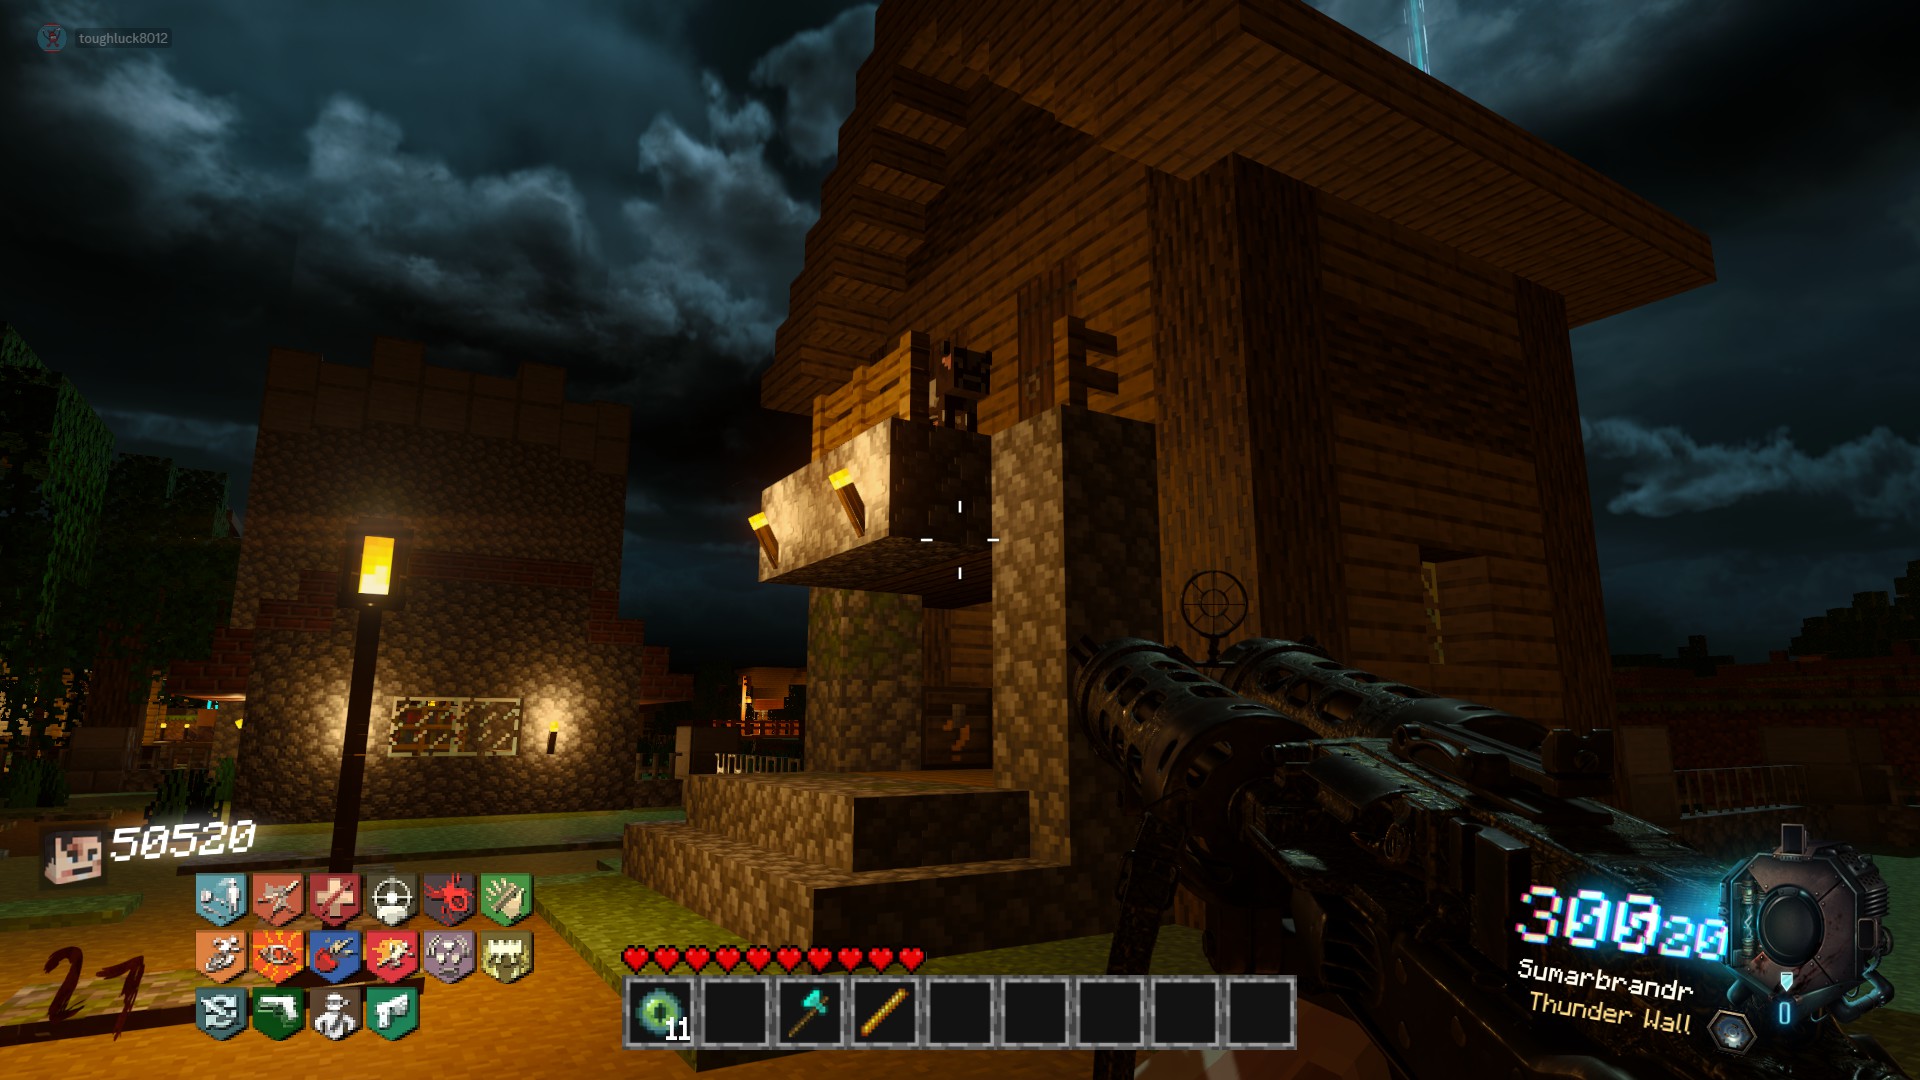
 Baby Cow:
On the roof of the house between the church and Red Teleporter Trading Post
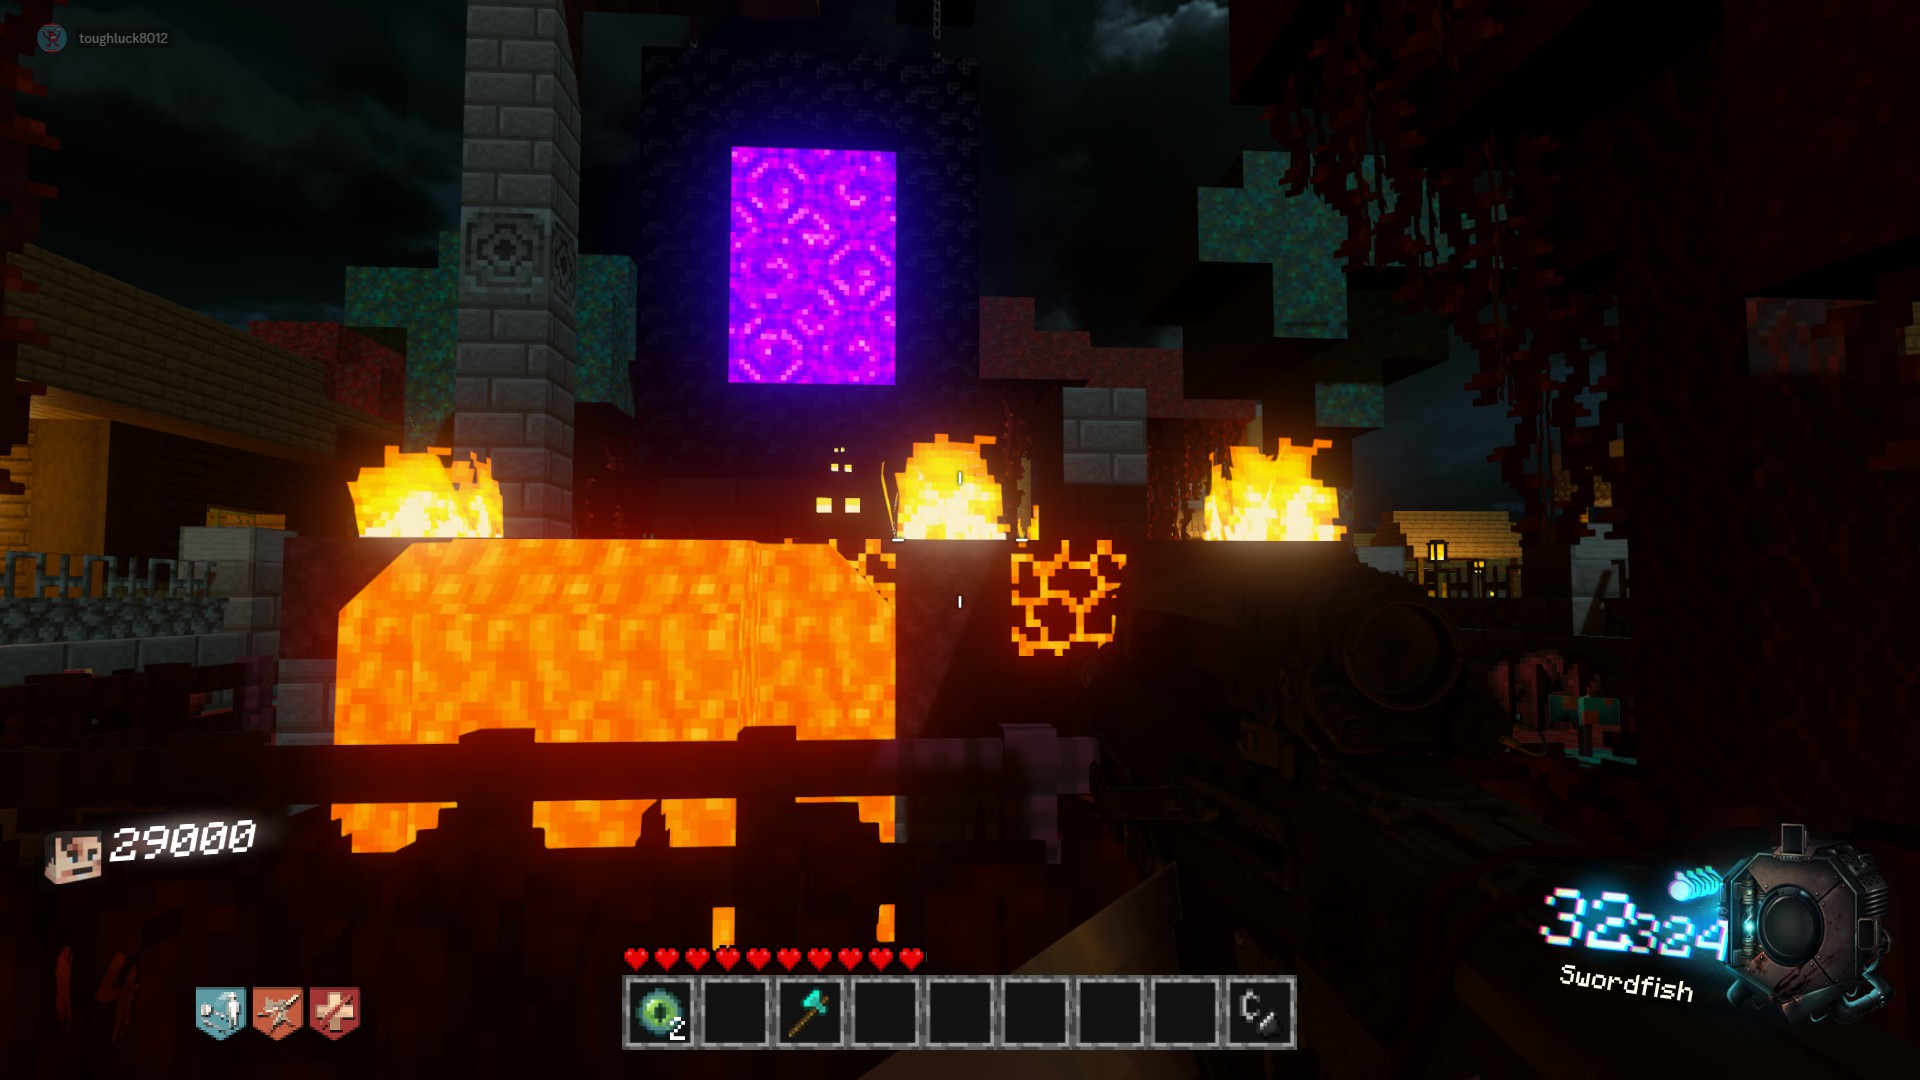
 Magma Slime:
On the backside of the Nether Gardens, behind the Nether Portal
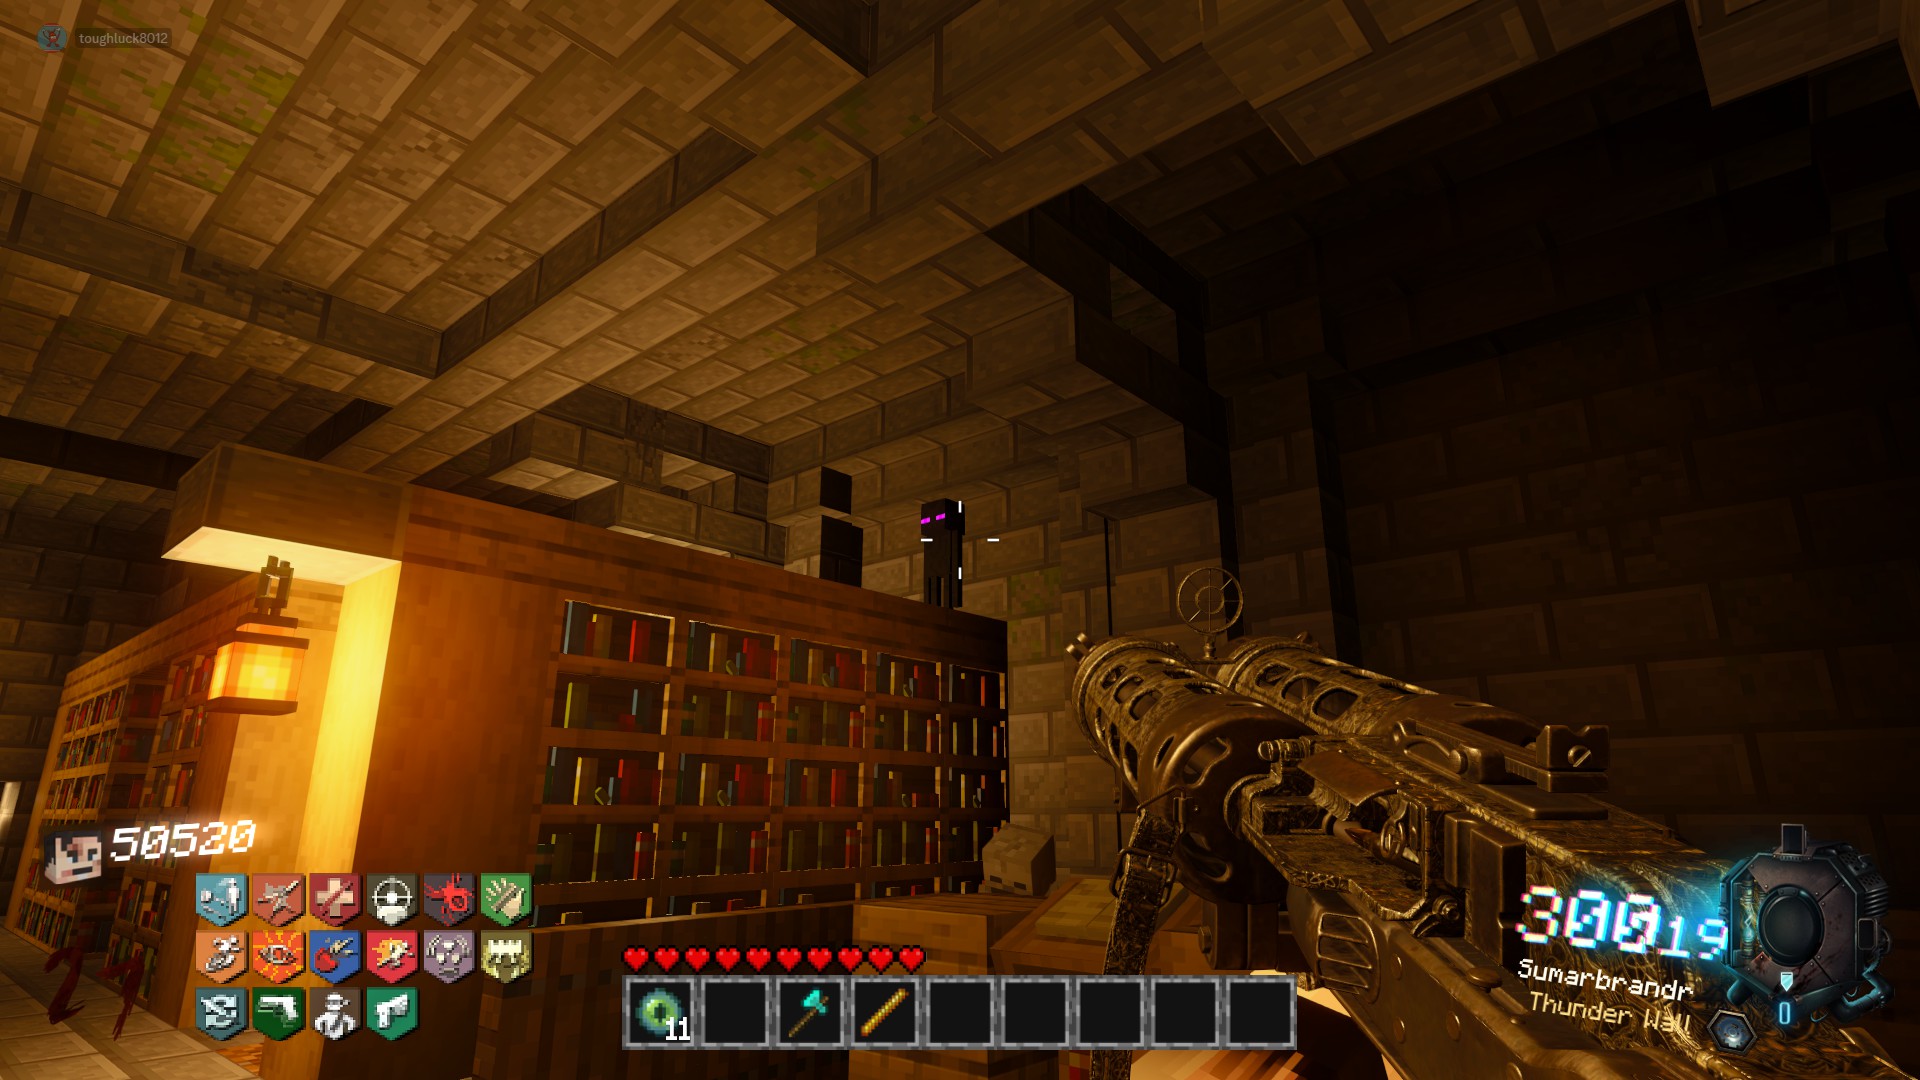
 Enderman:
On top of some bookshelves on the right side upon entering the Library off of the PAP room
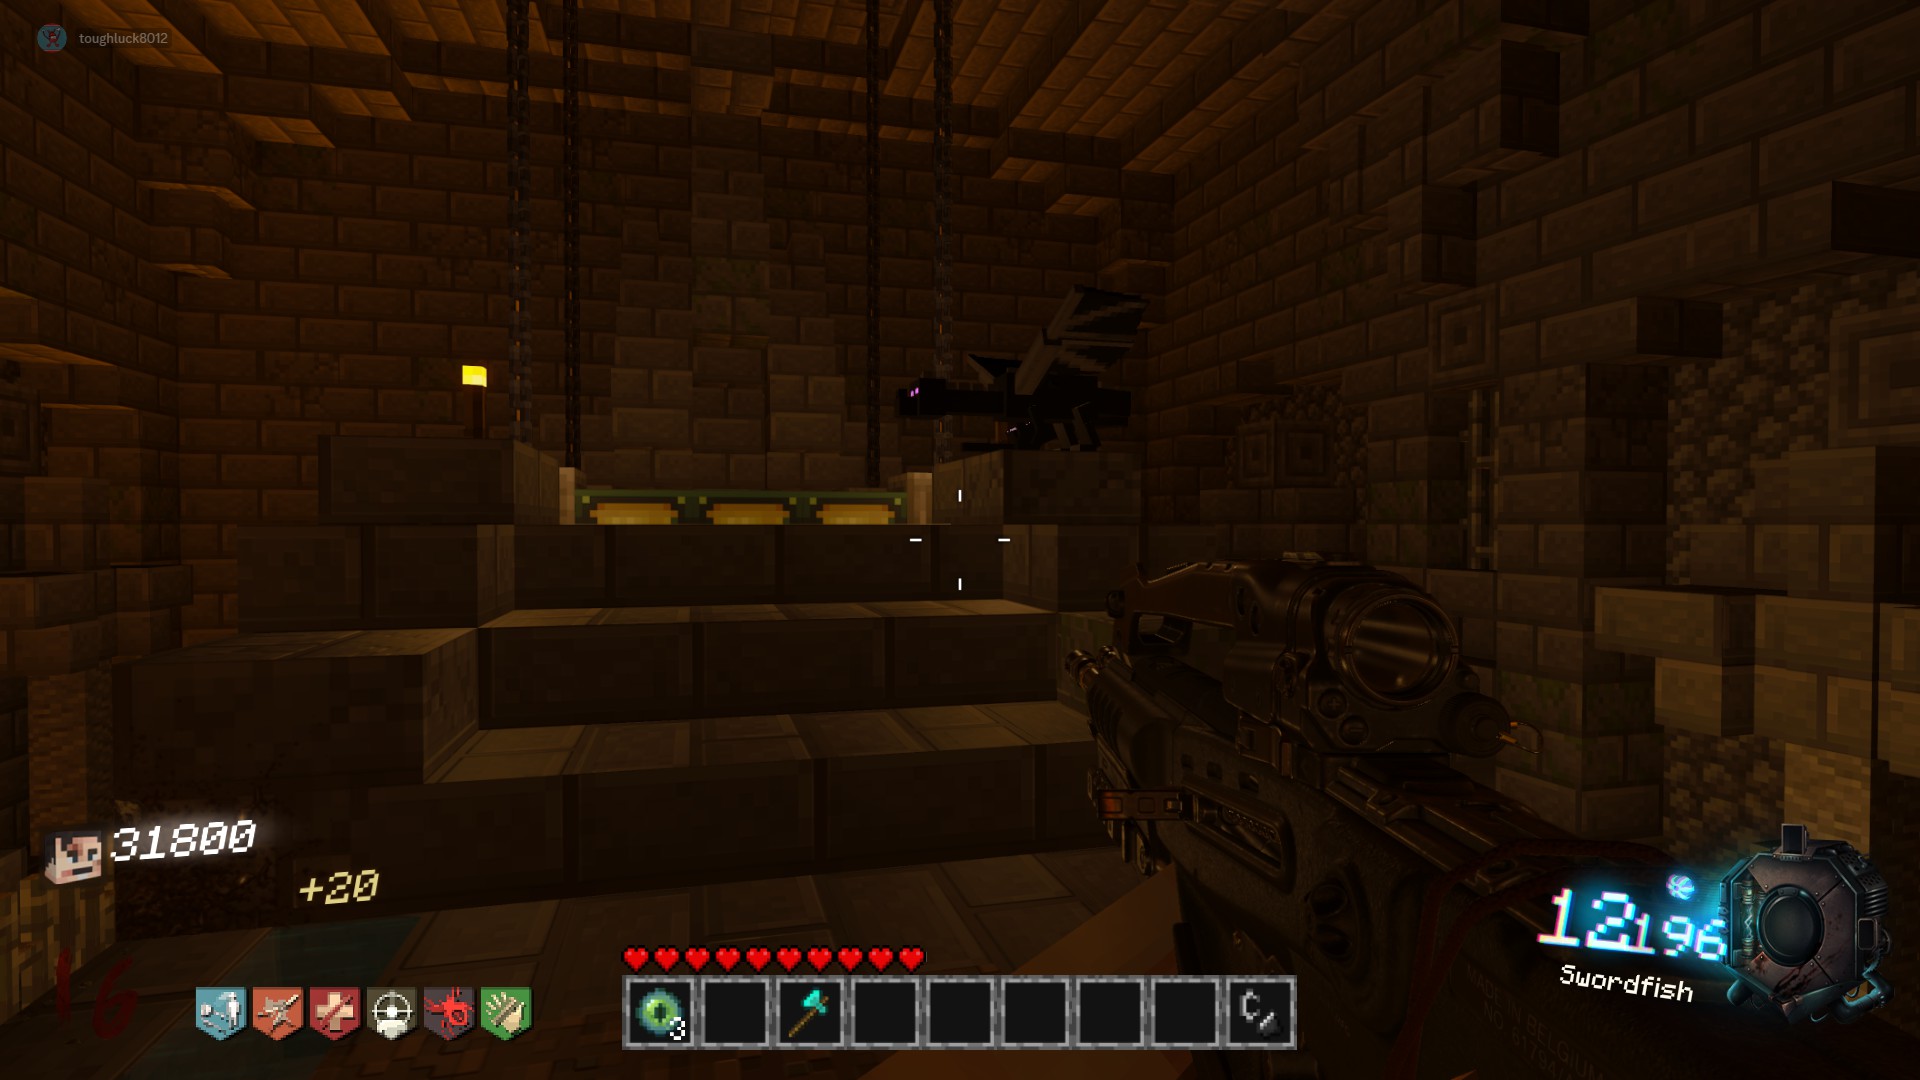
 Ender Dragon:
Sitting on the Ender Portal Frame in the final room after the Library
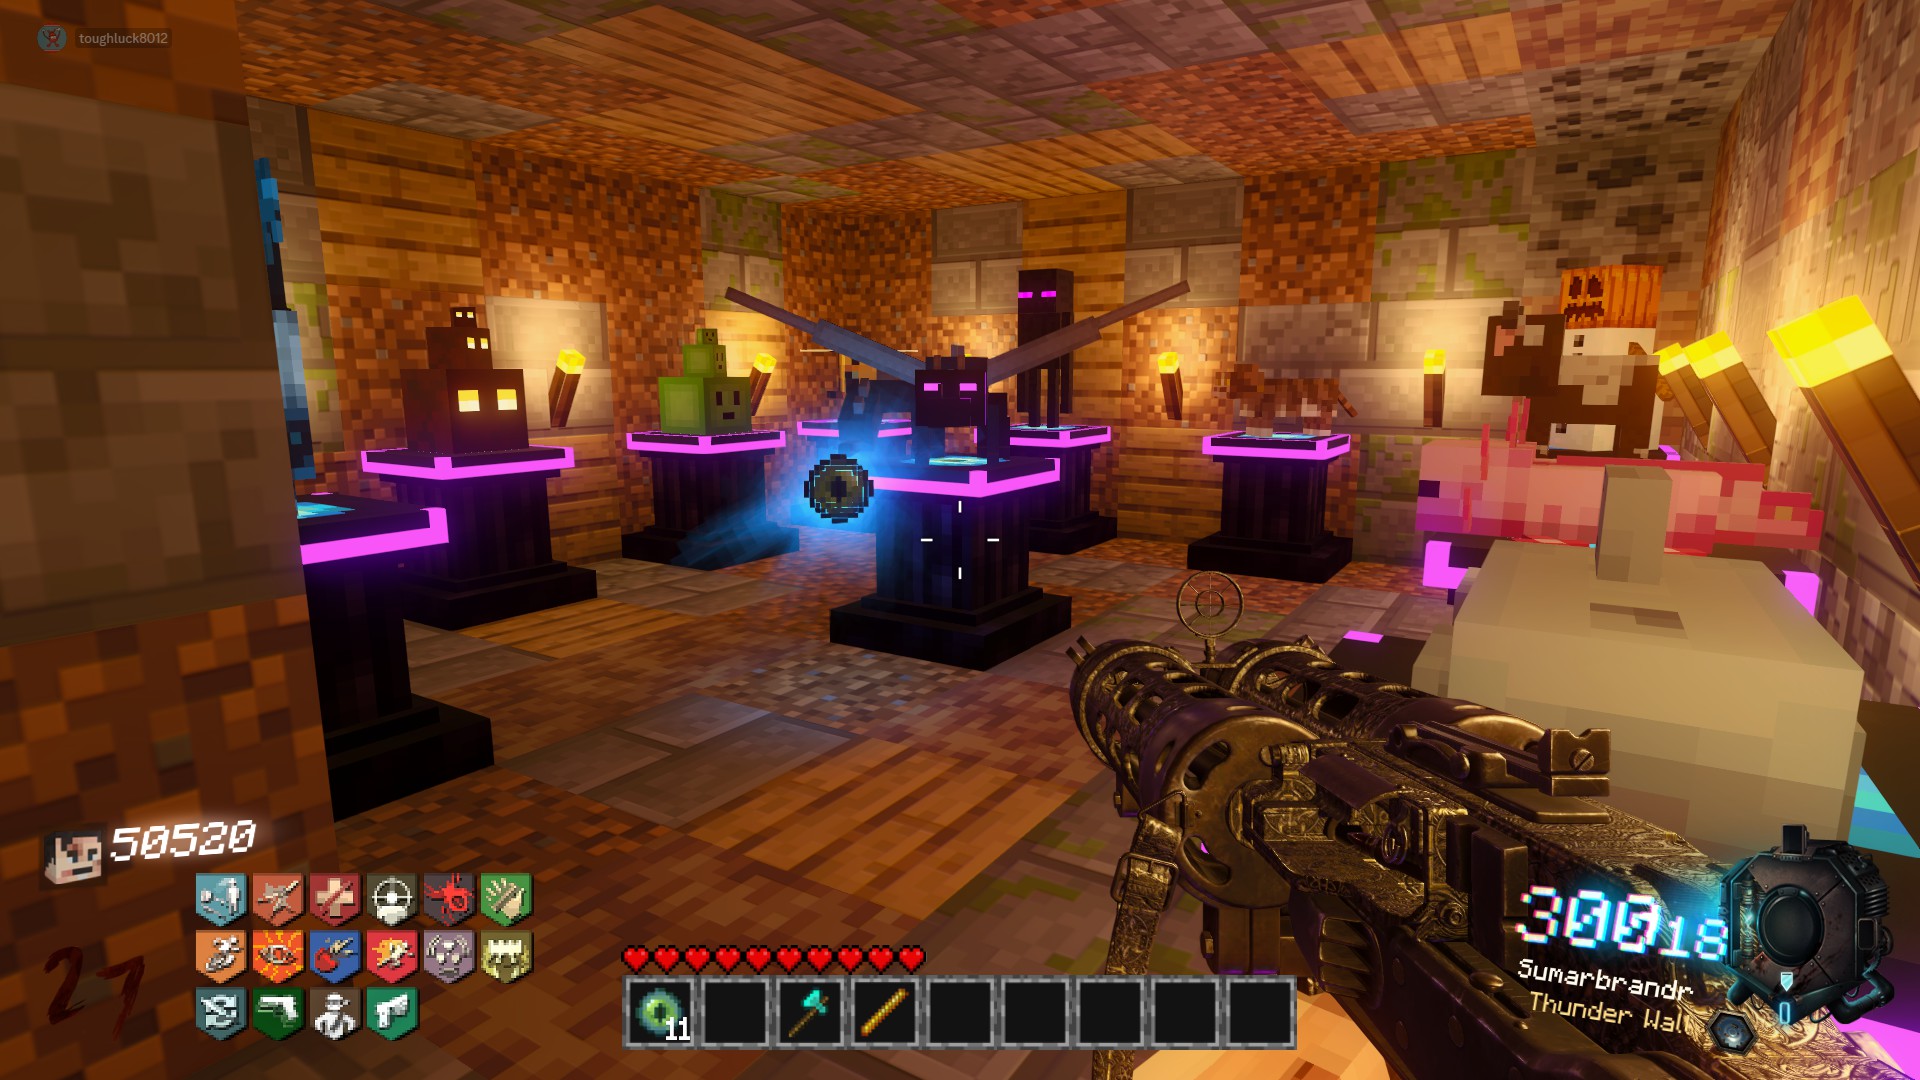
 Upon collecting the 12th and final plushie, the "True Collector" advancement will pop at the top of your screen. Head back to the Trophy Room to collect your final Eye of Ender.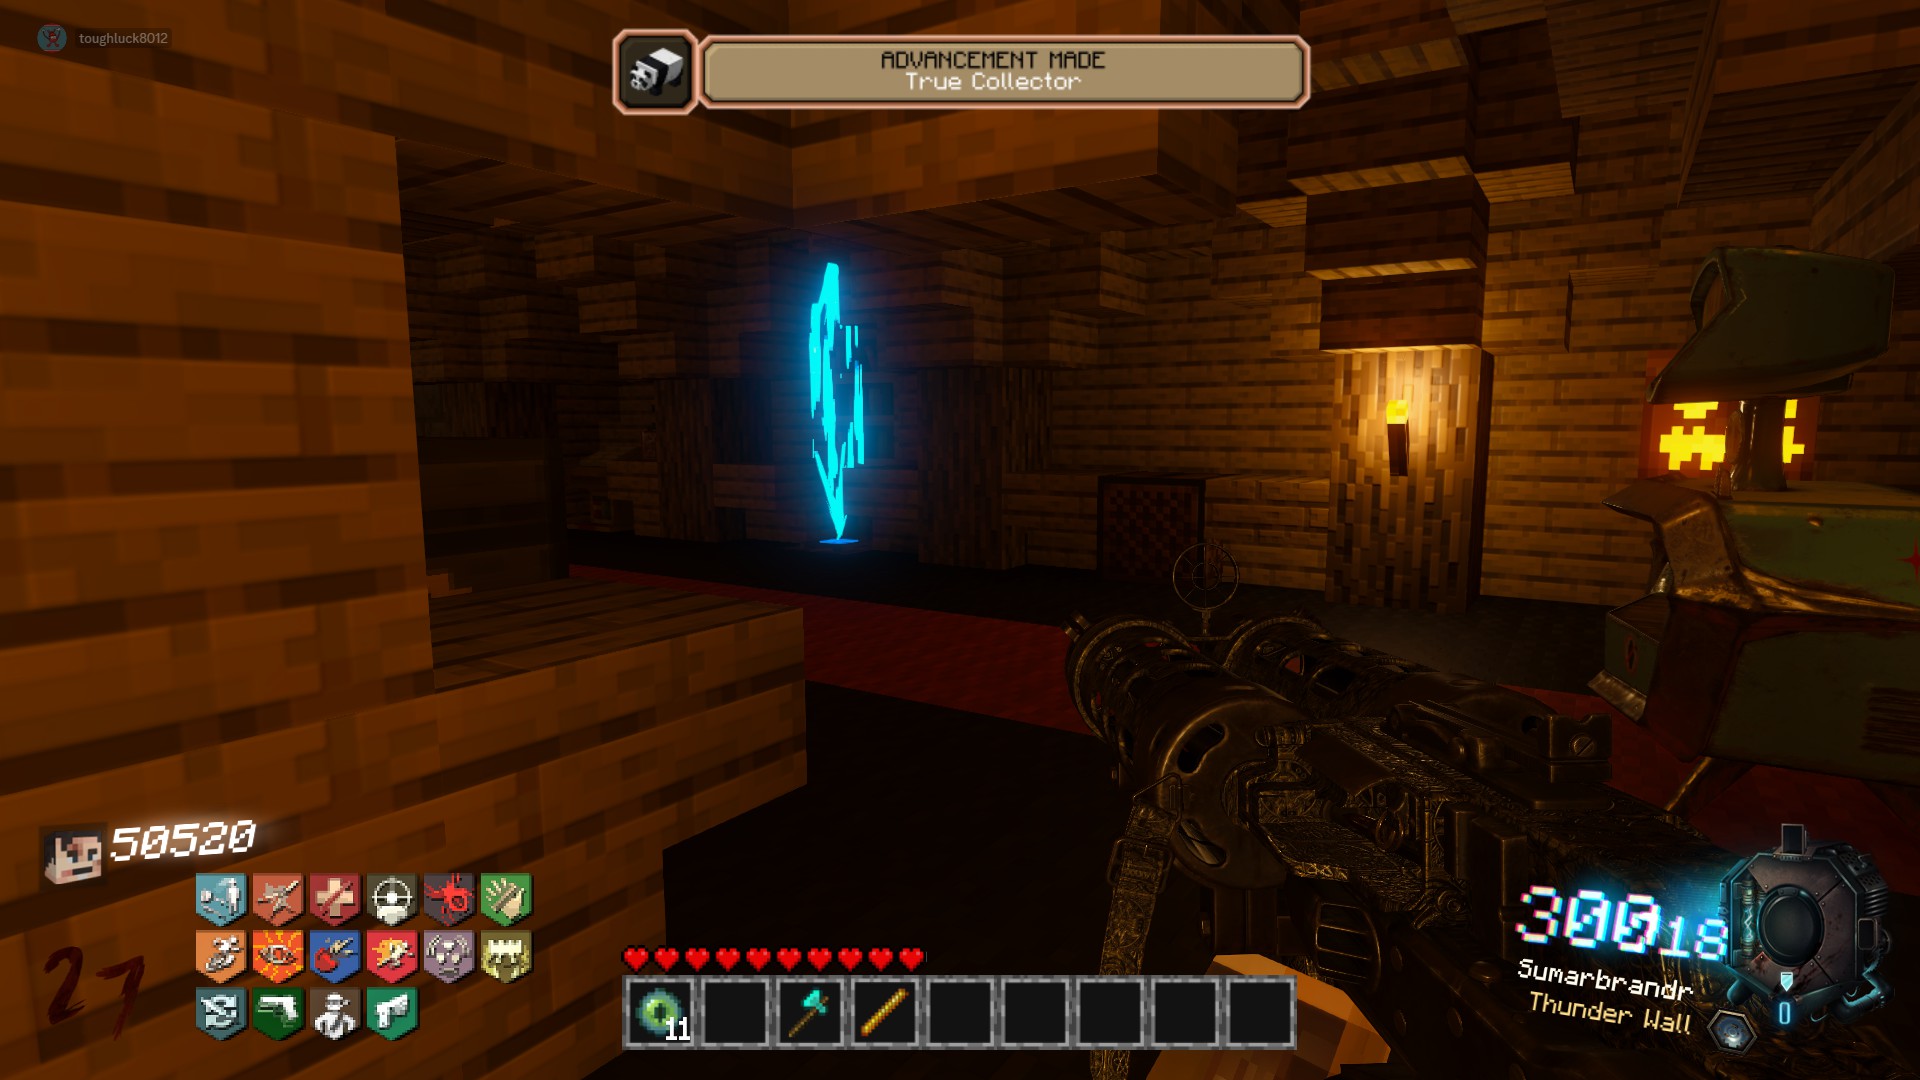
Main EE Step 10: Complete the End Portal
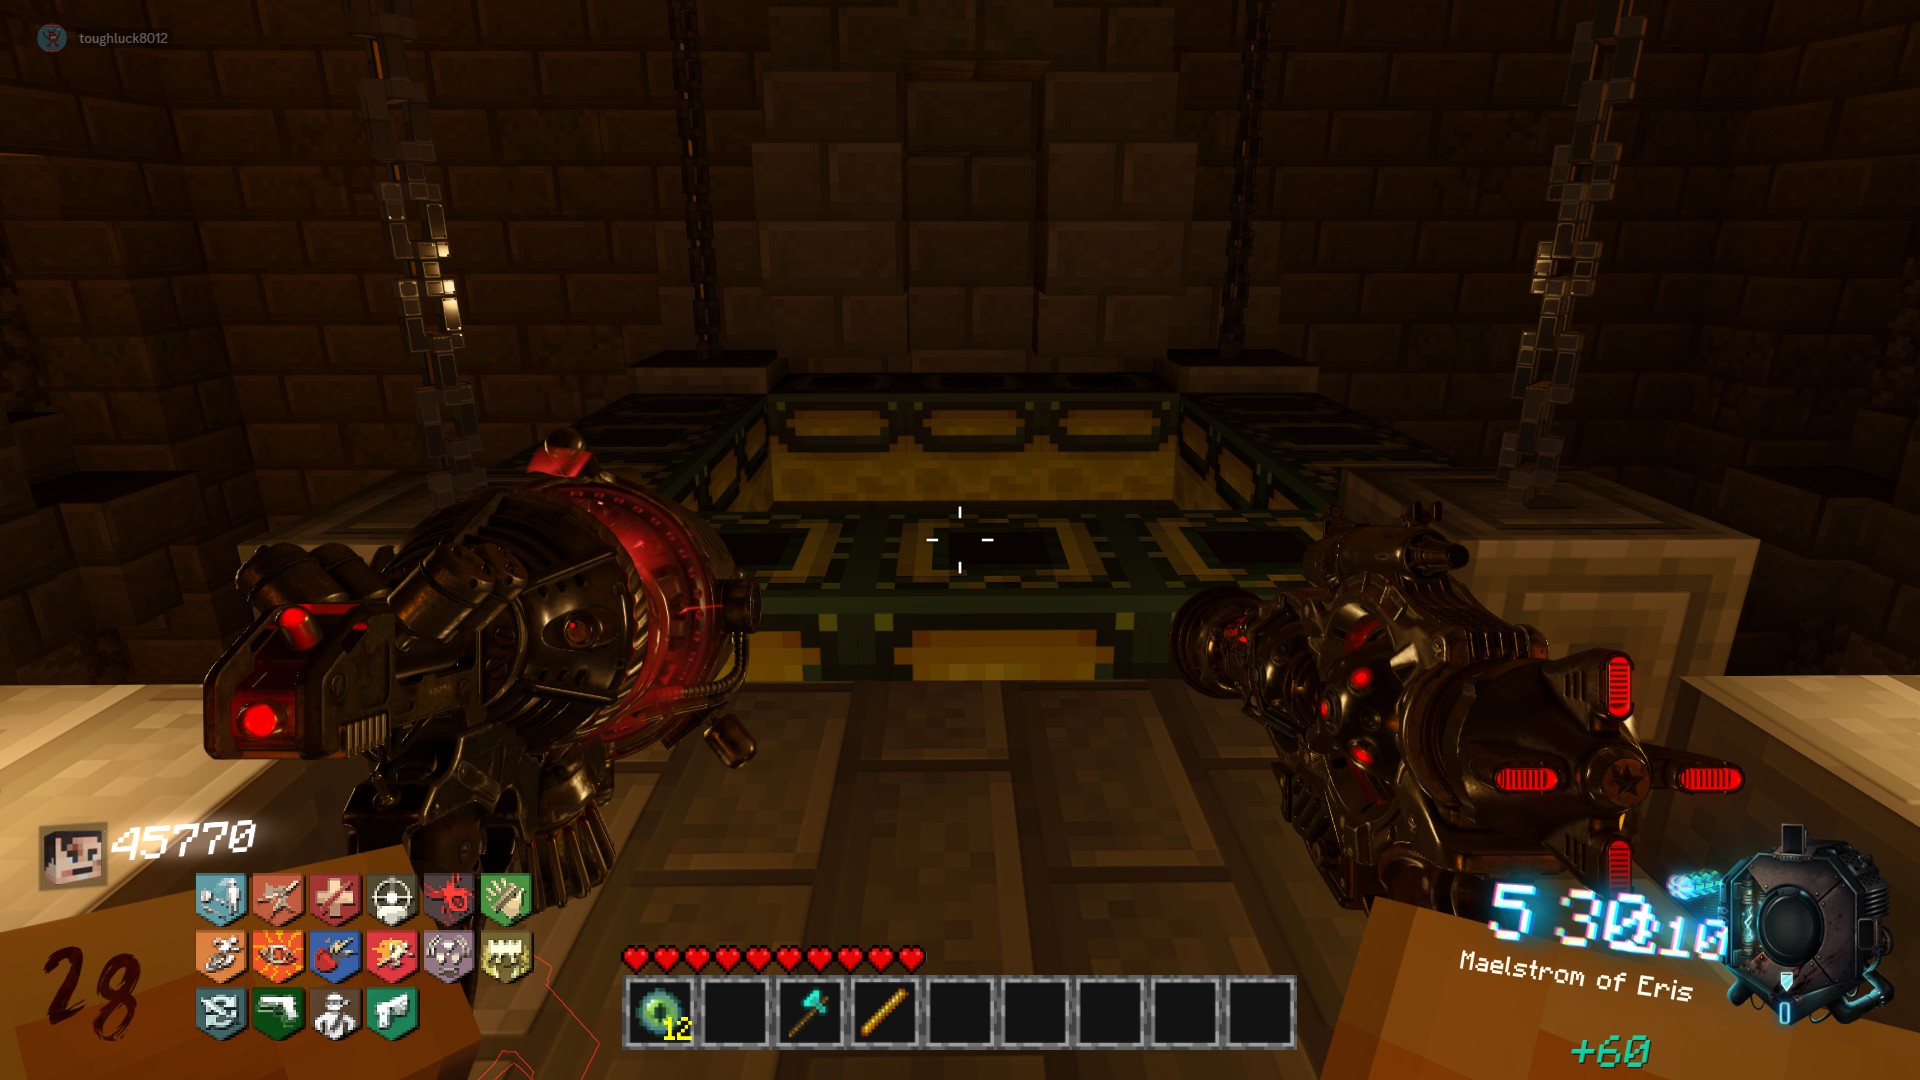
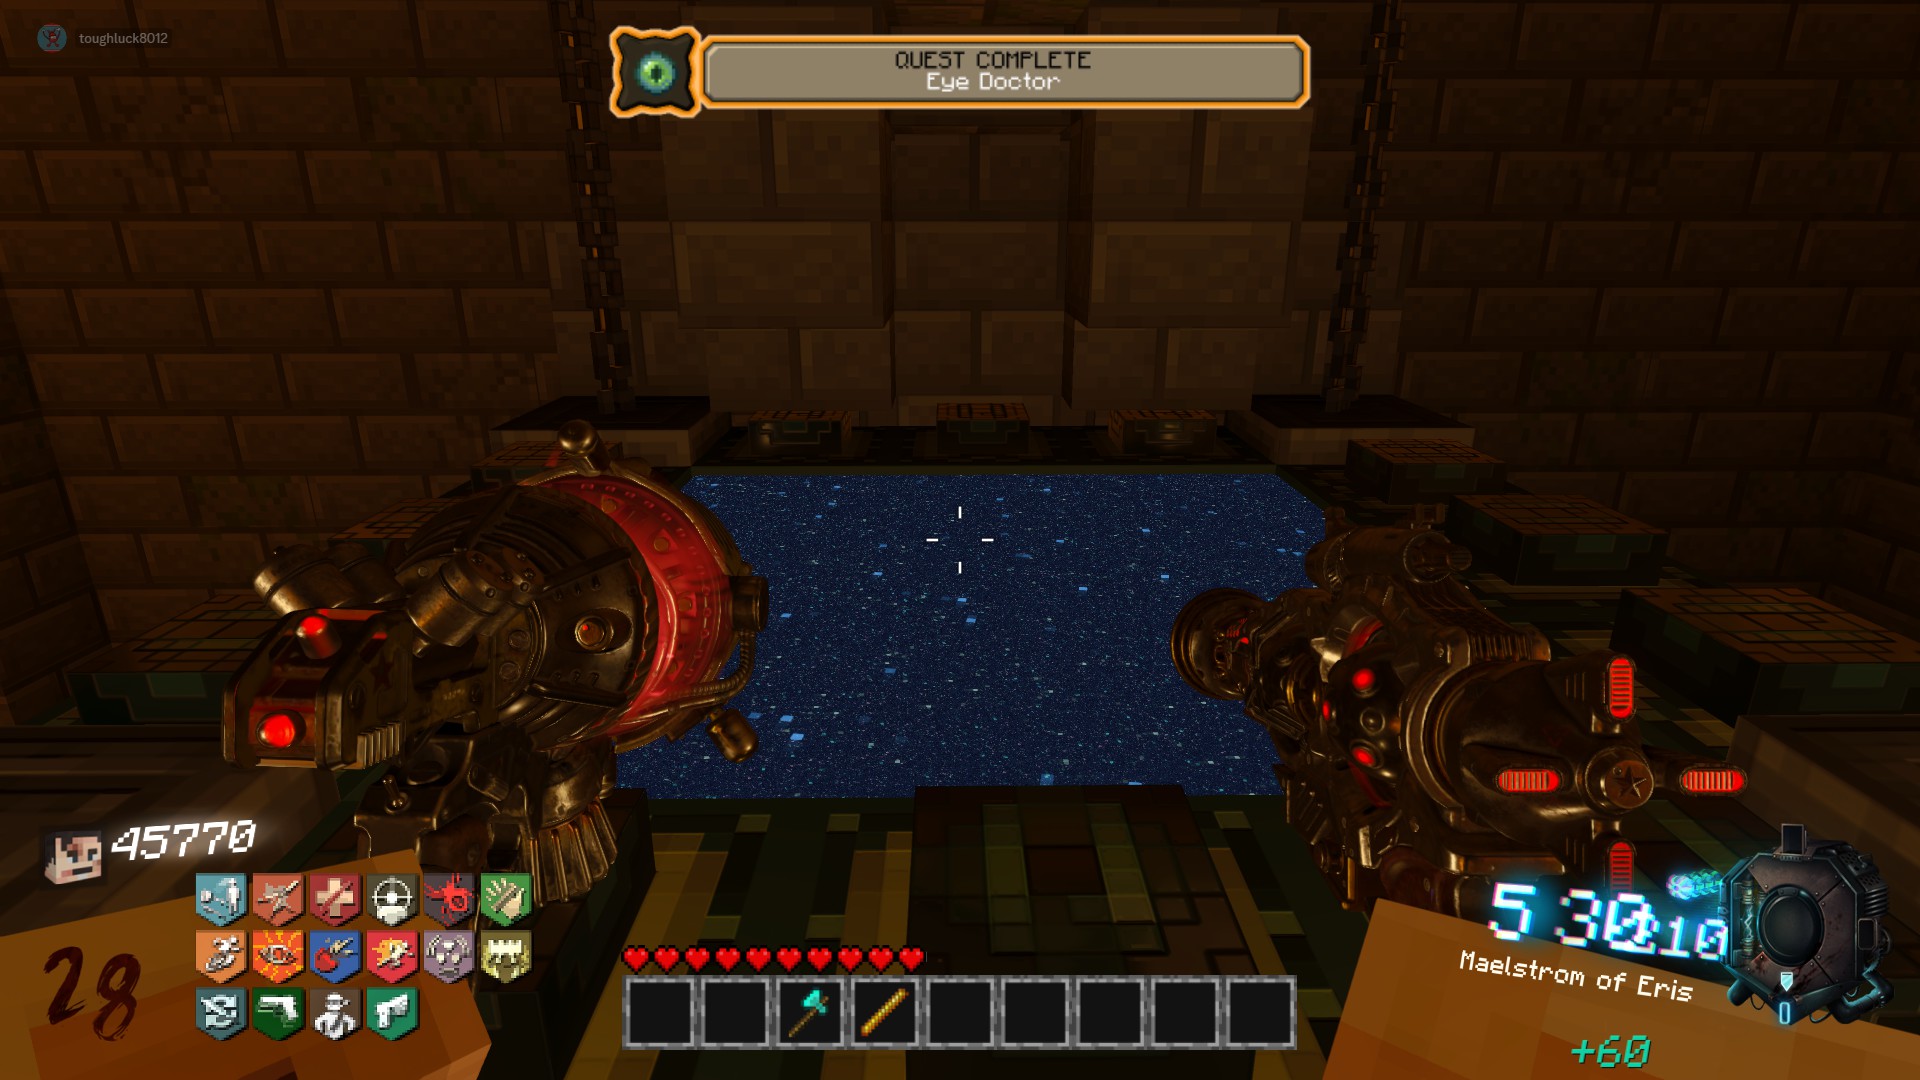
Main EE Step 11: Boss Fight
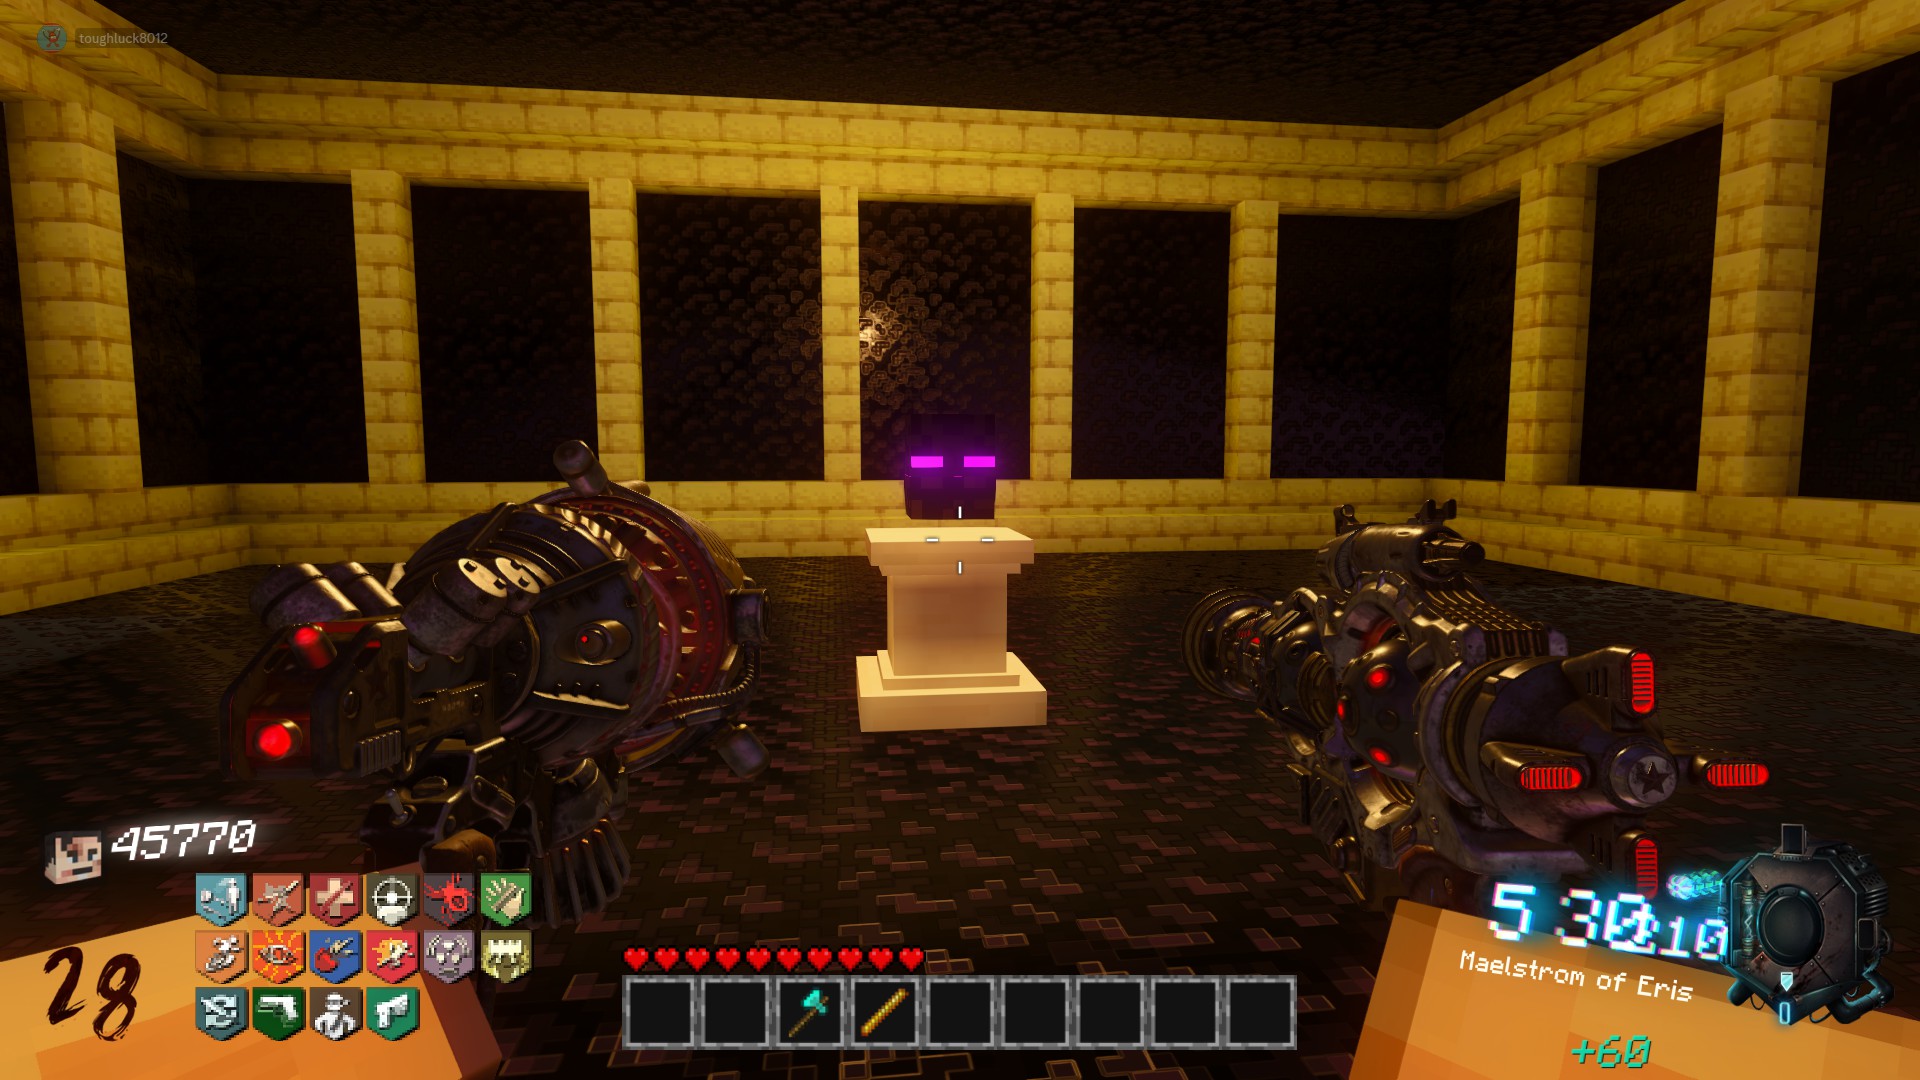 If you entered the arena still needing perks, or if you go down during the fight, there is a potion under a rock arch that you can purchase for 5000 points to grant every perk in the game.
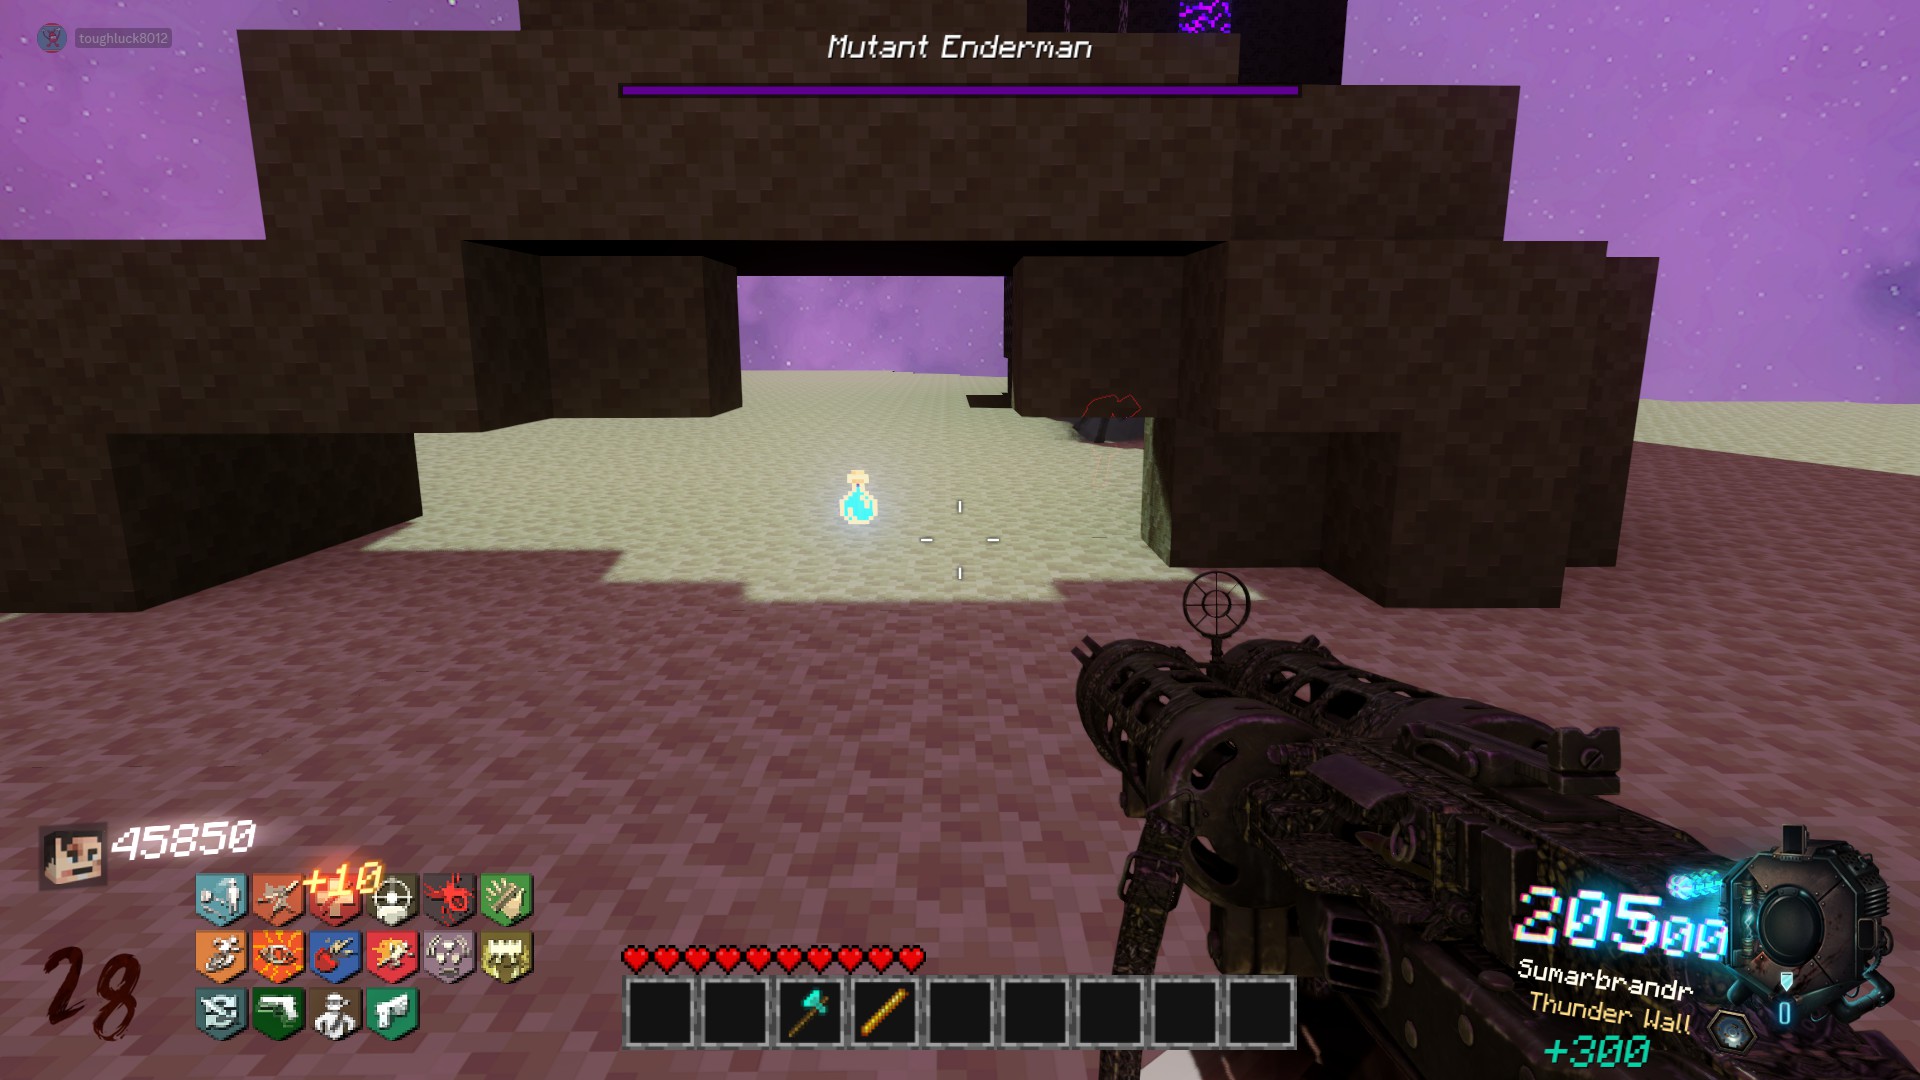 The final boss is a Mutant Enderman. It starts out with an energy shield protecting it from damage. It will perform a series of ranged and melee attacks against you, as well as summon more enderman zombies to help it fight.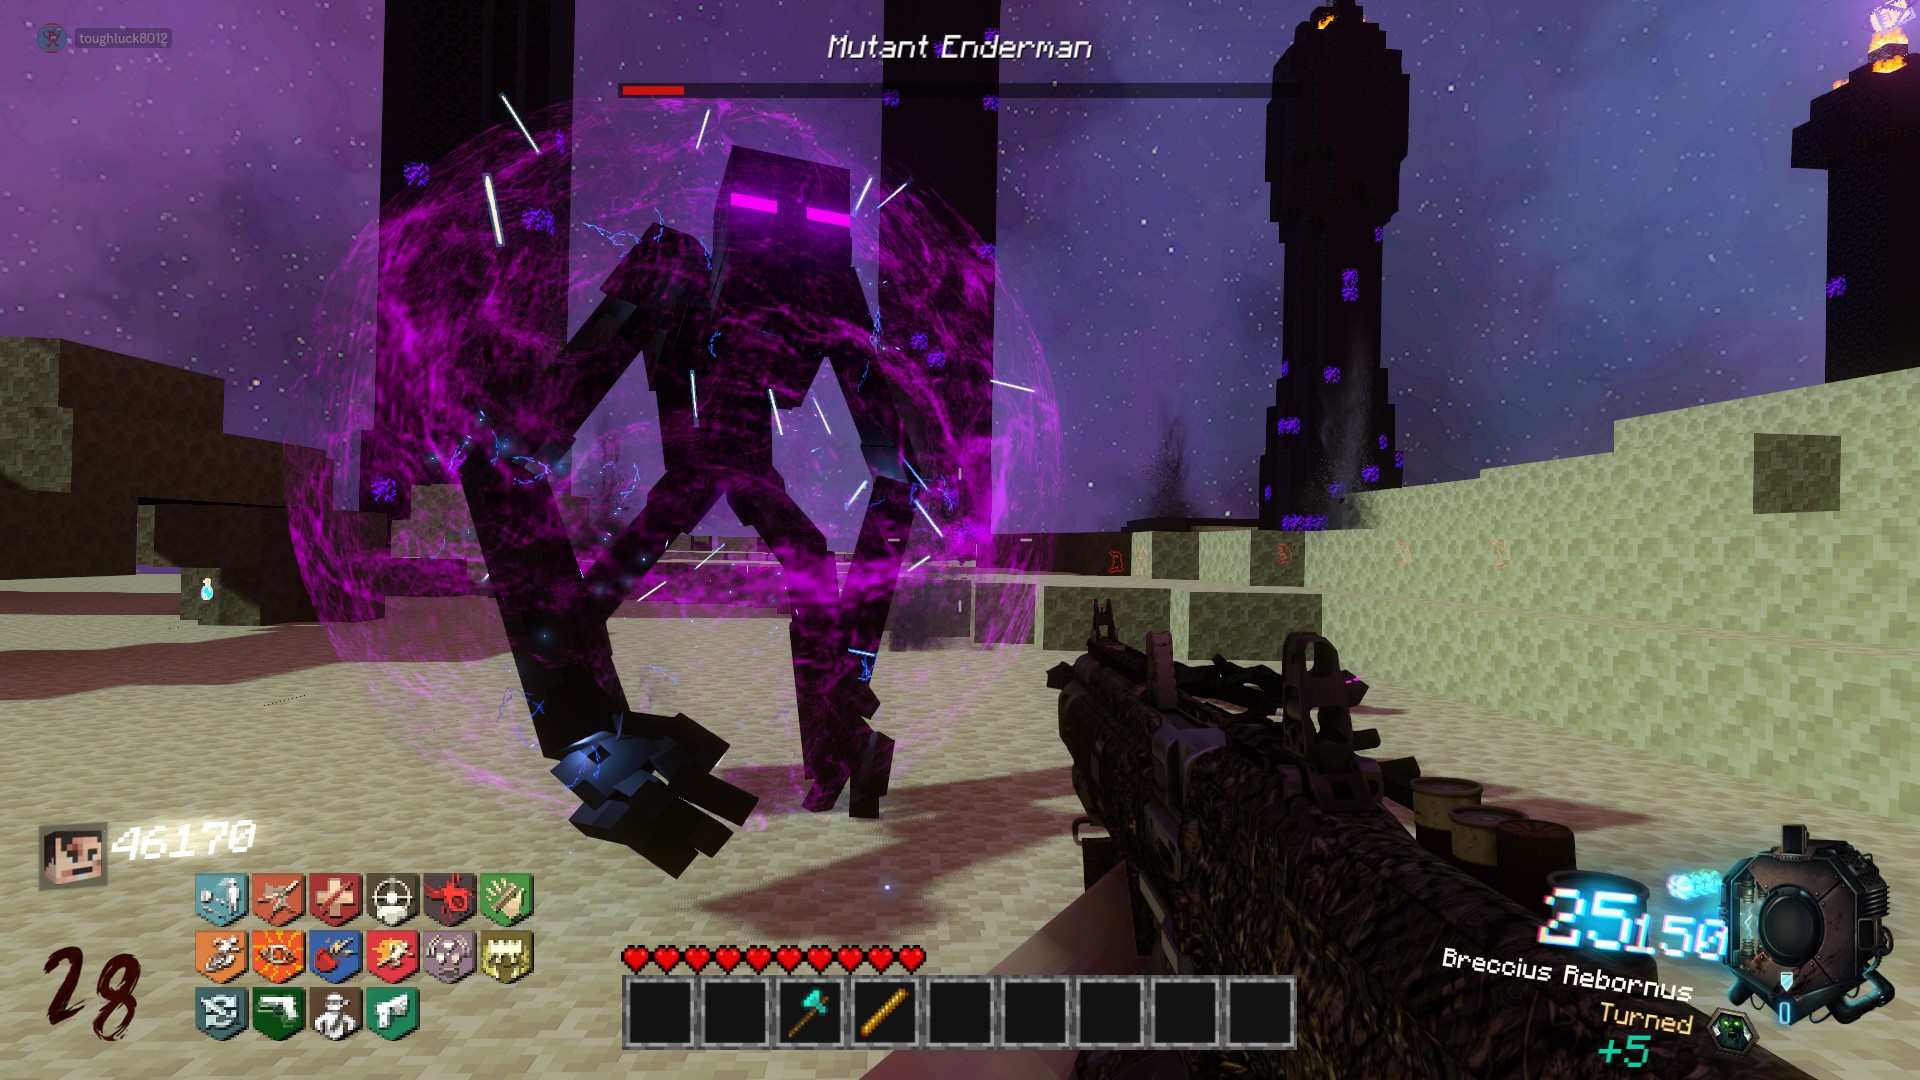
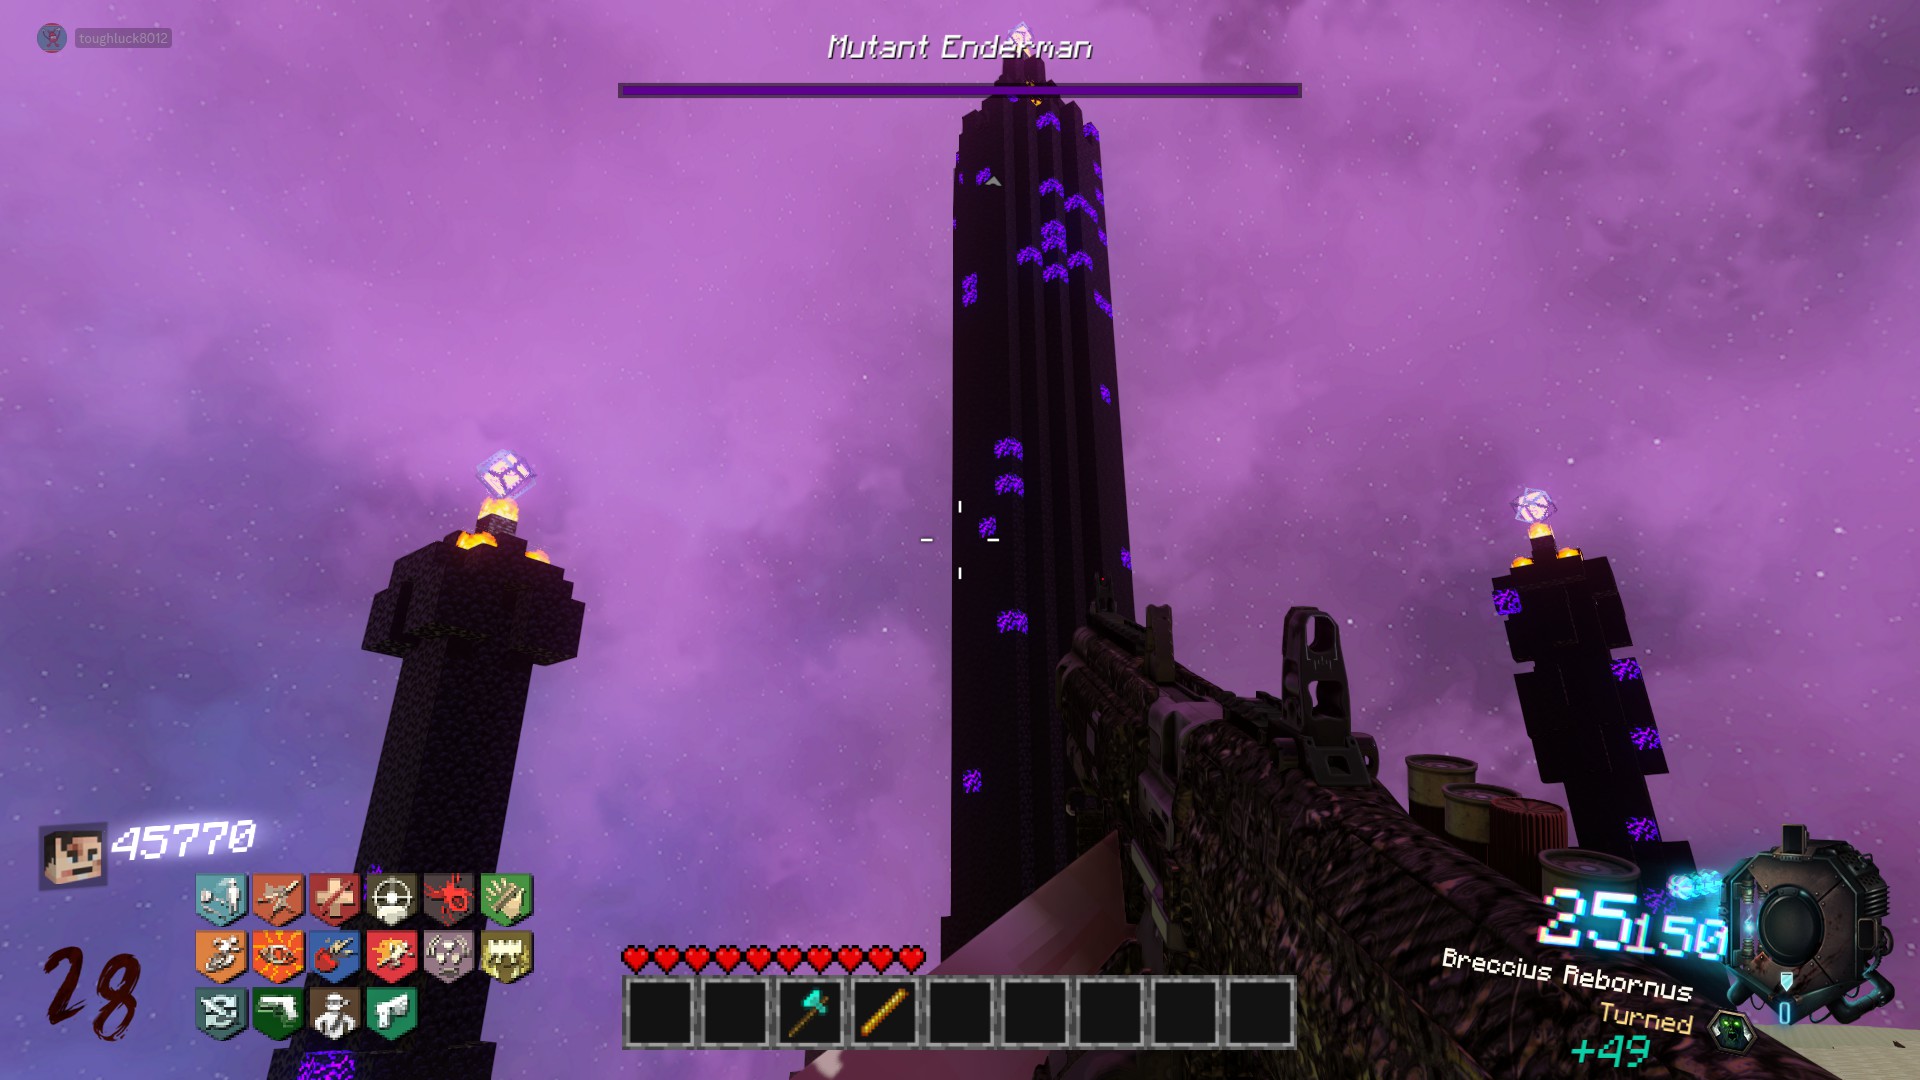
To lower the shield, use a bullet based weapon to shoot the crystals that are hovering above each of the tall obsidian towers. Once all have been broken, you have a short window to deal damage against the boss. I have found that bullet based weapons deal the most damage to it (specifically the SG-12 shotgun tears through it. Luckily this is a wall weapon in the tomb section by the lockdown room)
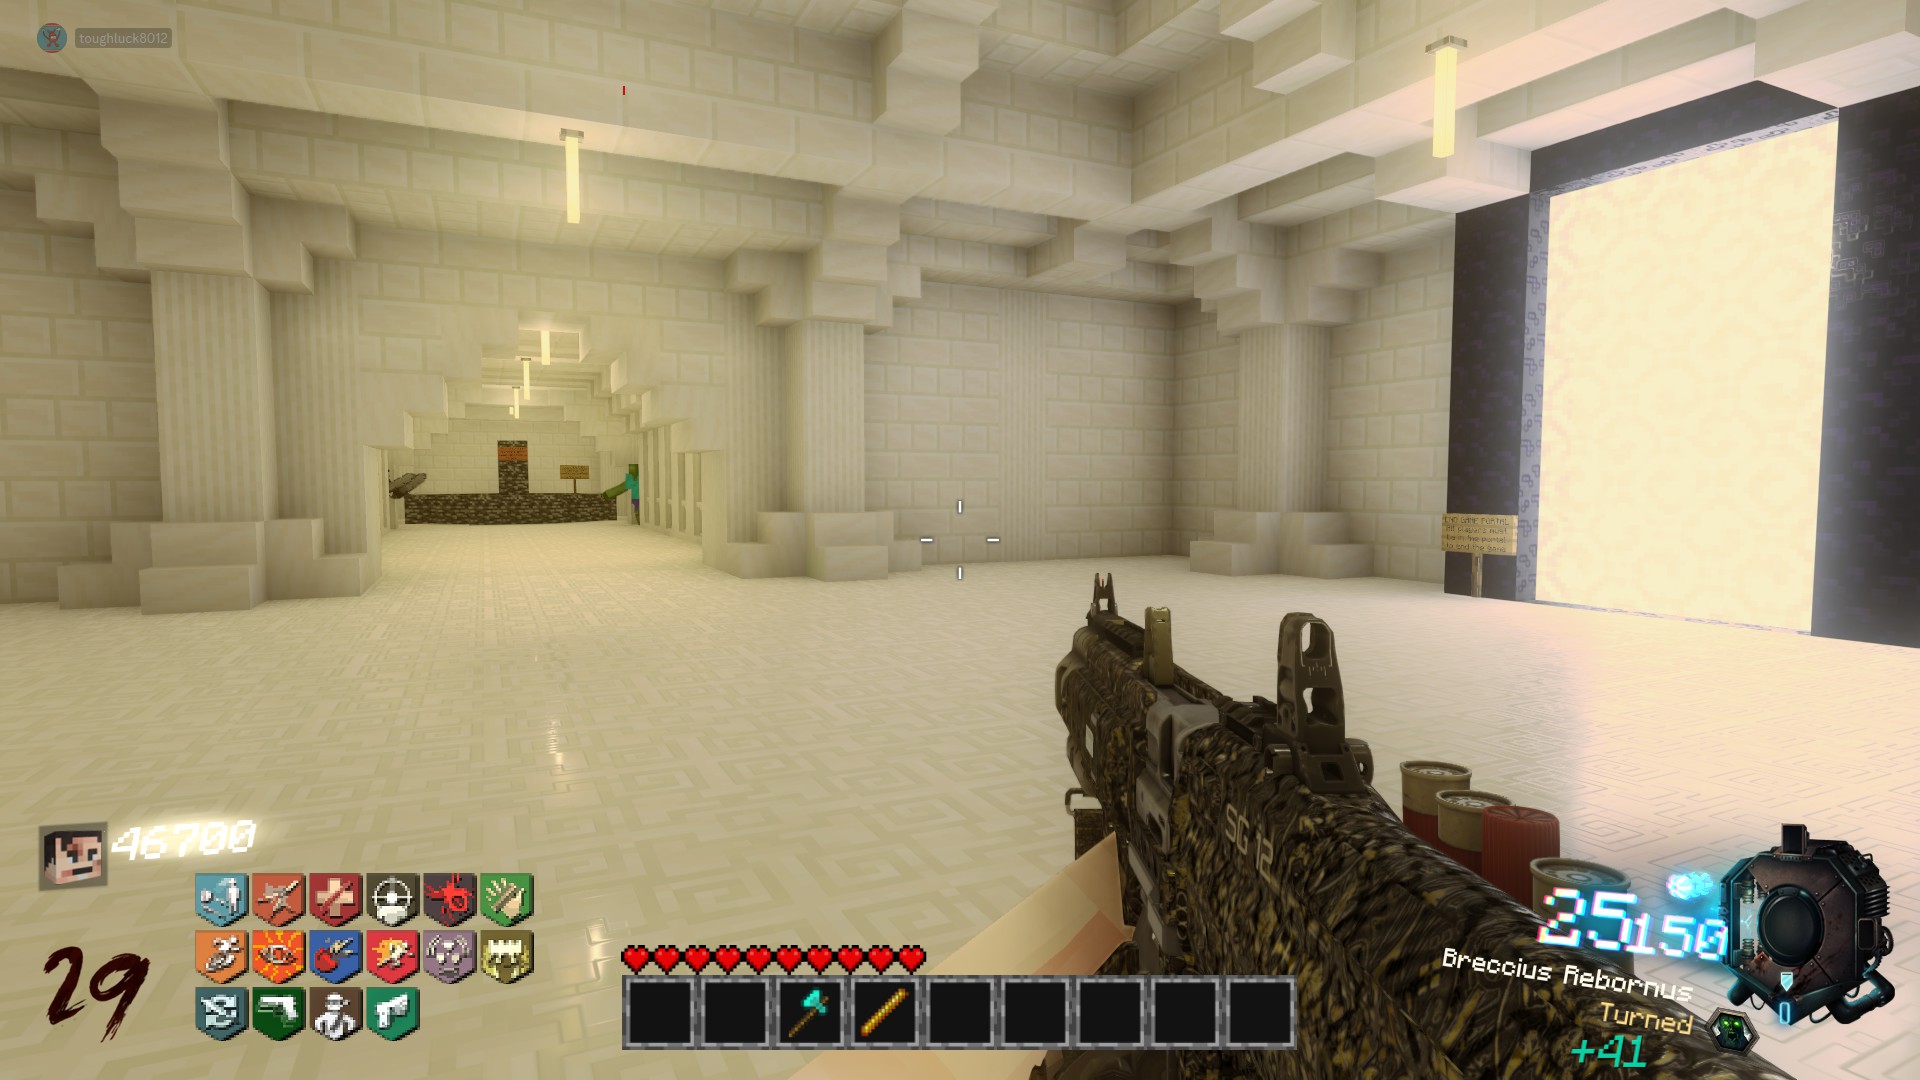
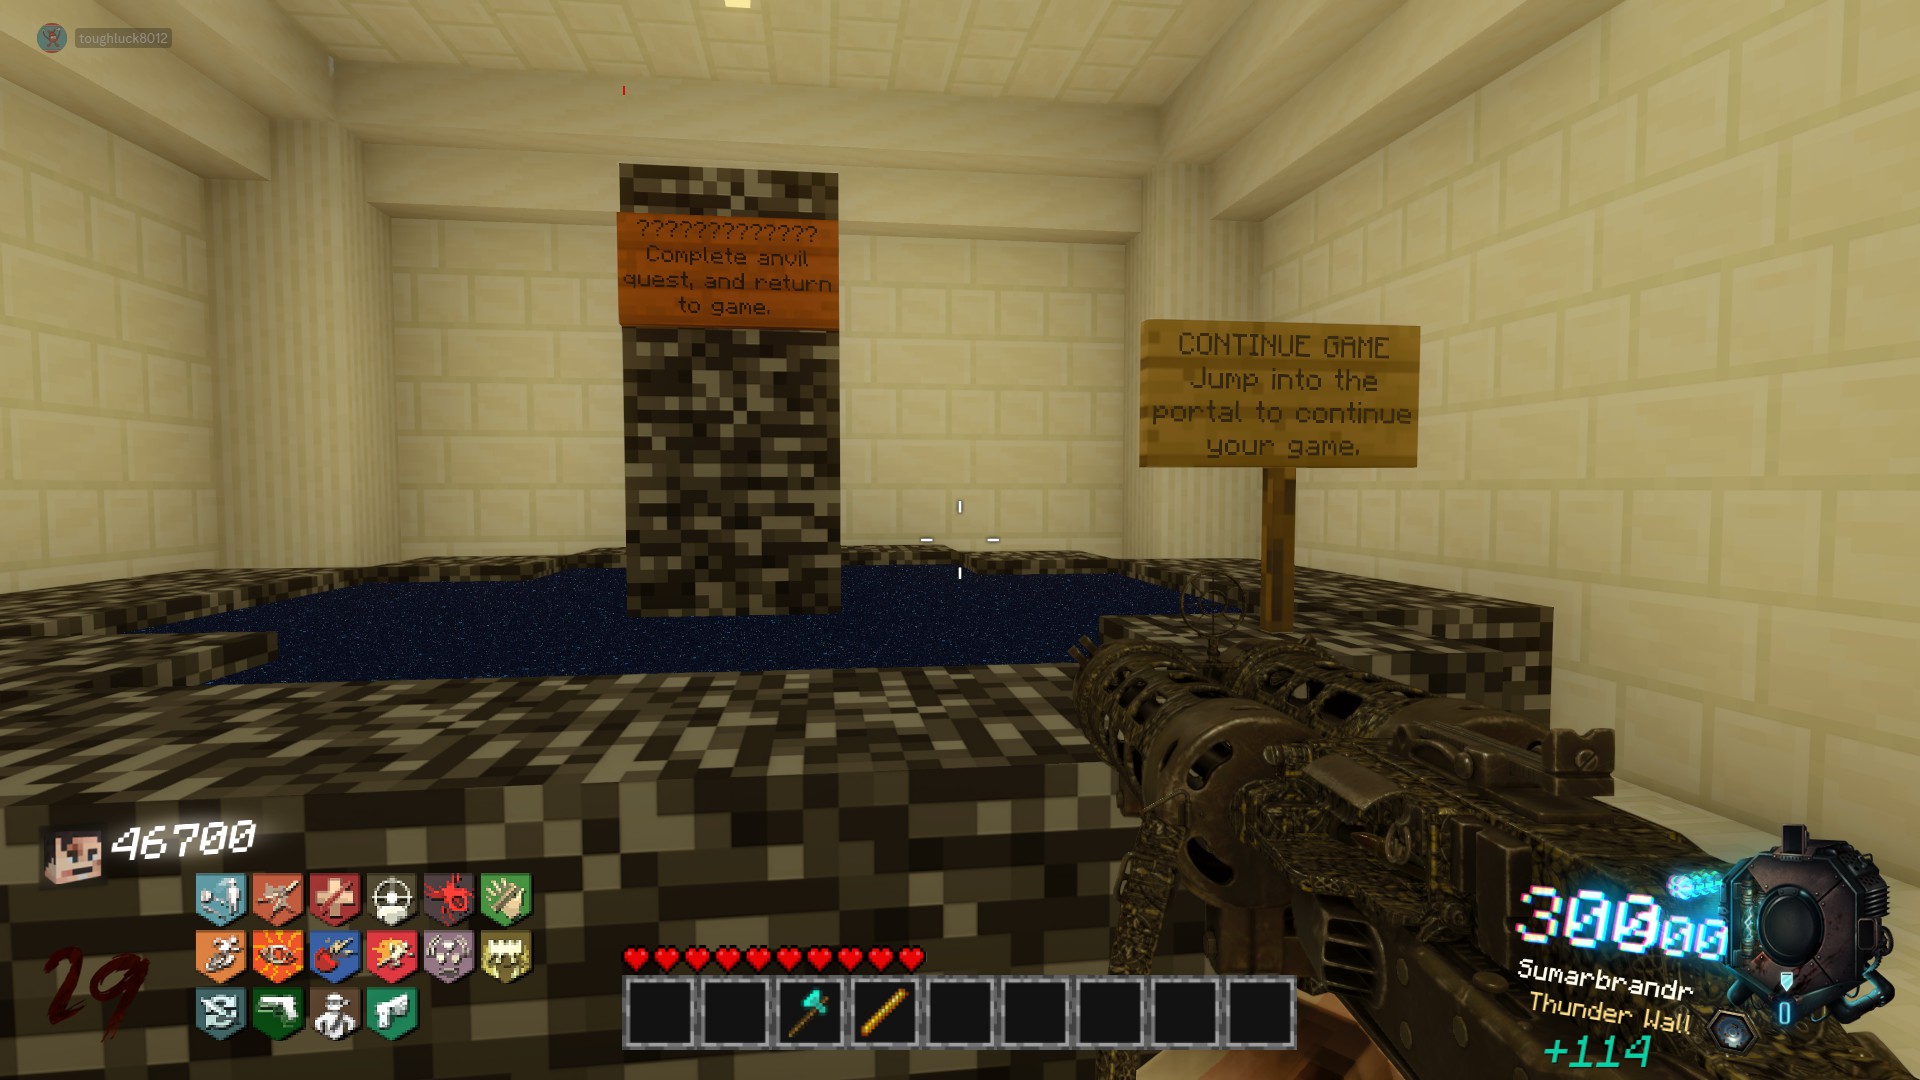
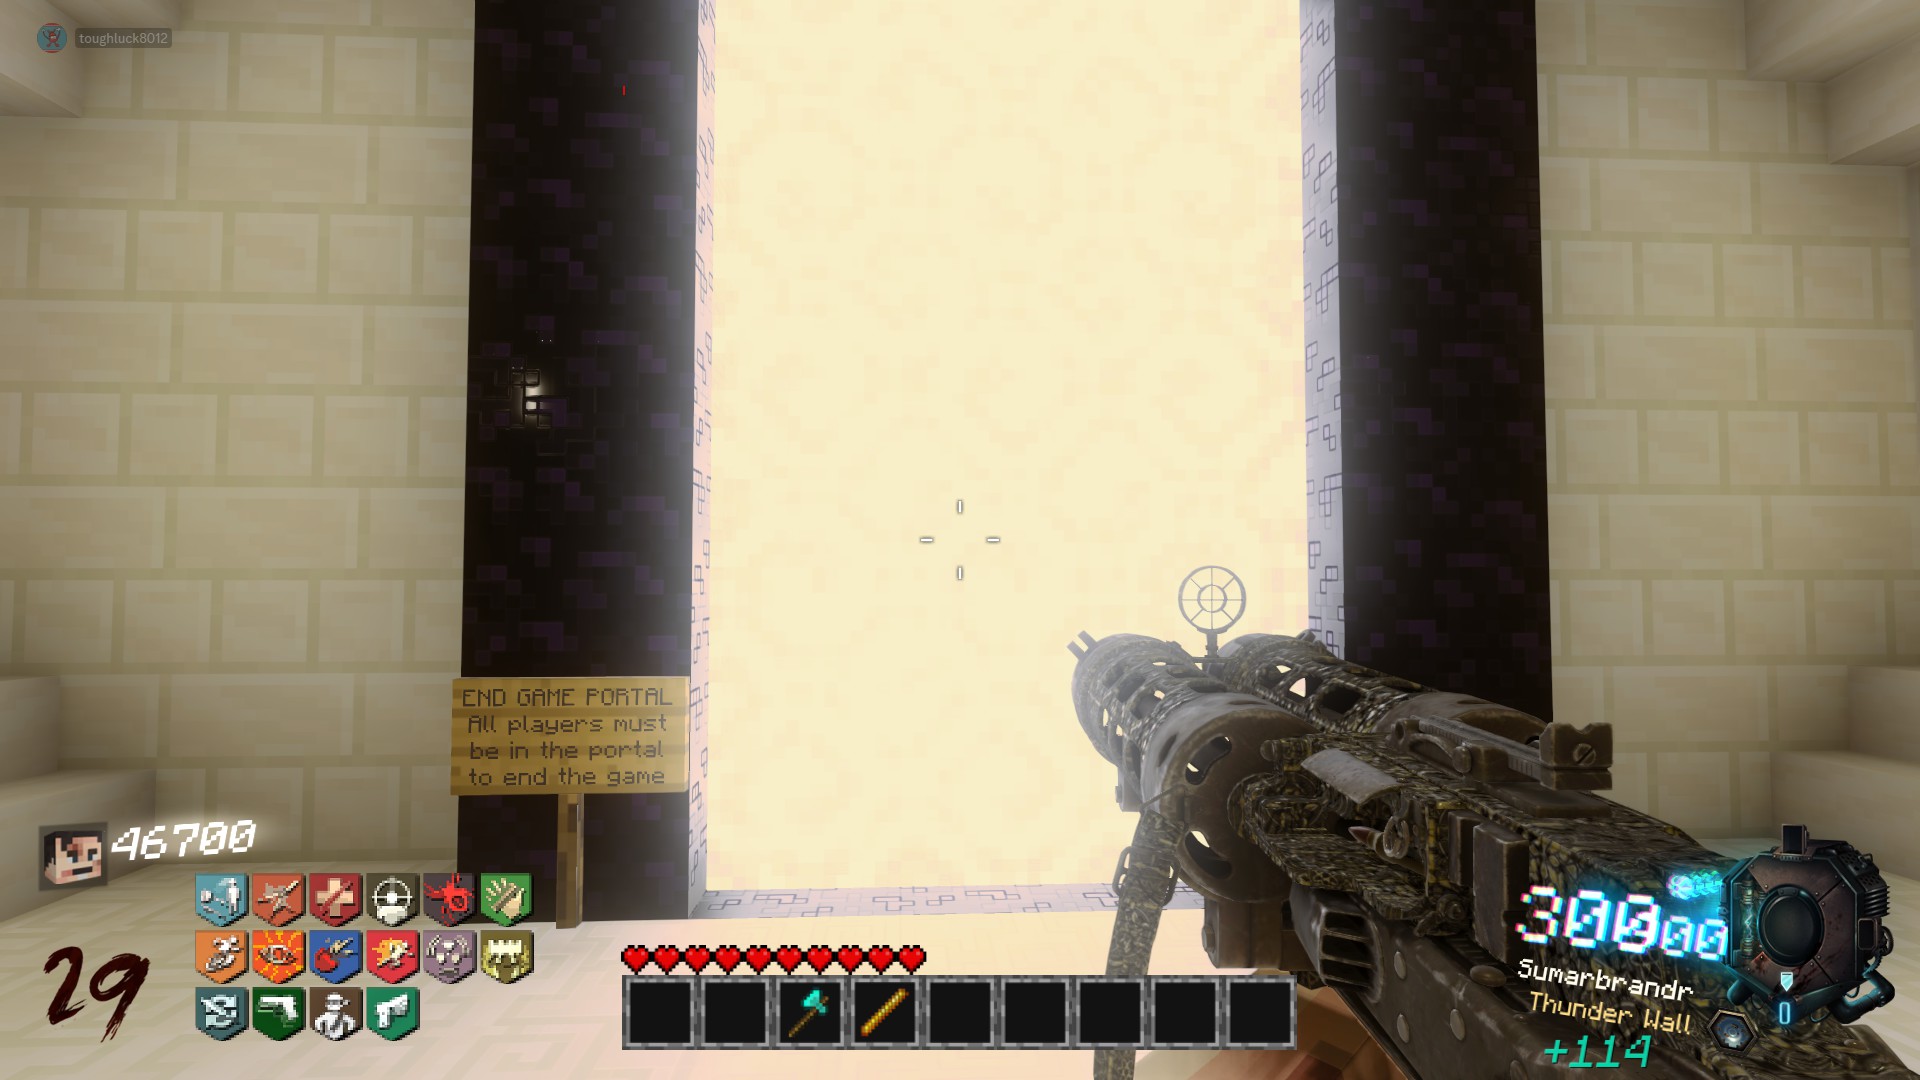
 Upon defeating the boss, you will be teleported to a small temple, and given the option to either continue playing (Bedrock Portal on the left), or end the game (White Portal straight ahead).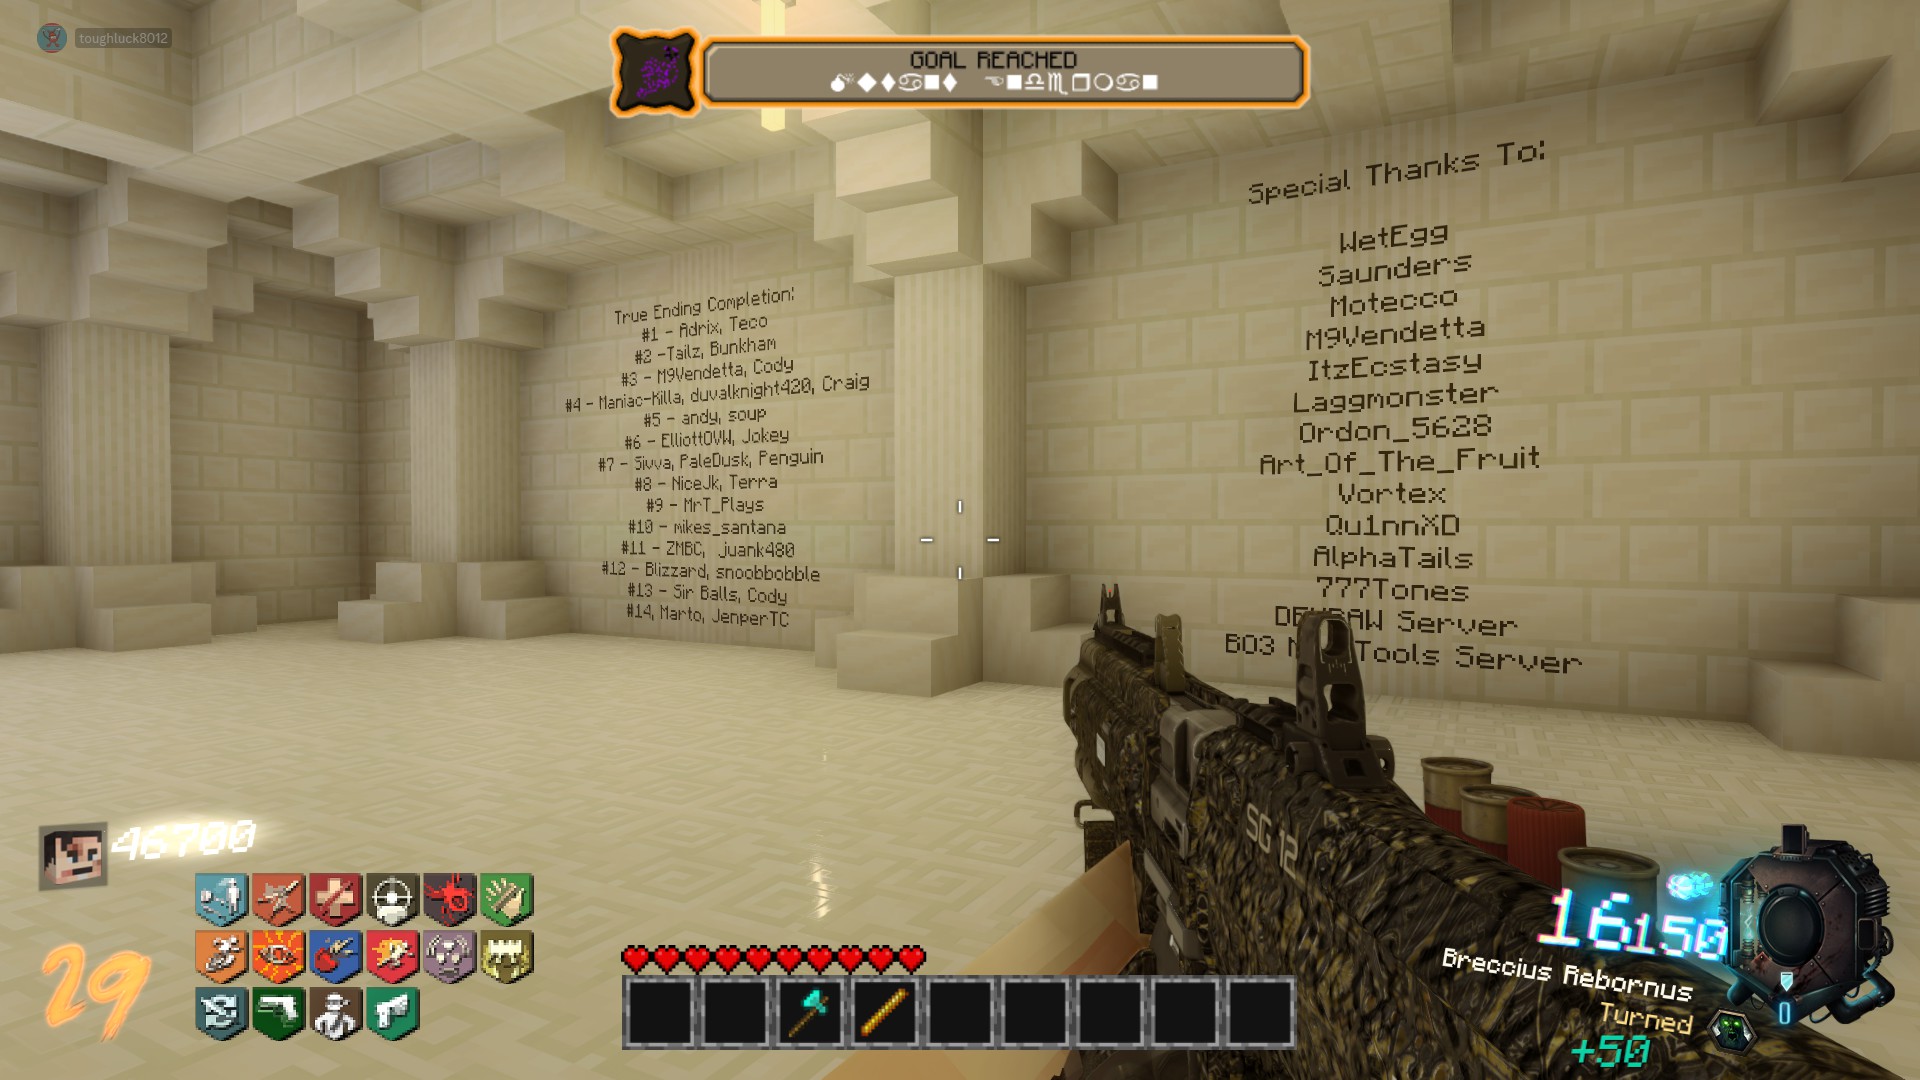
- All Around Enhancement Mod Description And Info★ 5 (597)211k views1.2k ♥34 minUpdated Aug 10, 2023
- Black Ops 3: Console Commands★ 5 (1.1k)123k views2.4k ♥7 minUpdated Feb 13, 2020
- Origins Ultimate Guide★ 5 (562)72k views1.7k ♥17 minUpdated Jun 24, 2017
- [2.0]All Around Enhancement Mod Description And Info★ 5 (186)71k views600 ♥38 minUpdated 16 May
- Guide for Shadows of Evil [2020 updated]★ 5 (1.4k)67k views4.5k ♥24 minUpdated Mar 22, 2024
- Guide for Der Eisendrache [2020 updated]★ 5 (1.3k)65k views4.6k ♥30 minUpdated Feb 22, 2024






- Upgrading to PremiumTeam Fortress 2★ 5 (20k)1441k views11k ♥6 minUpdated May 11, 2022
- No More Room in Hell Official ManualNo More Room in Hell★ 5 (2.8k)569k views2.1k ♥29 minUpdated Apr 22, 2019
- NMRiH Community Hosting GuidesNo More Room in Hell★ 5 (526)351k views653 ♥1 minUpdated Aug 10, 2022
- ULTIMATE GUIDE FOR GAME DEV TYCOONGame Dev Tycoon★ 5 (5.8k)326k views10k ♥4 minUpdated 23 Jan, 2014
- How to 'Git Gud' Soon™MORDHAU★ 5 (2k)318k views3k ♥68 minUpdated Nov 16, 2024
- Лучшие кооперативные игры SteamPAYDAY 2★ 5 (1.5k)315k views2.1k ♥56 minRussianUpdated Apr 27, 2025






This guide was created by its original author on the Steam Community. Are you the author and want it removed? Request removal.